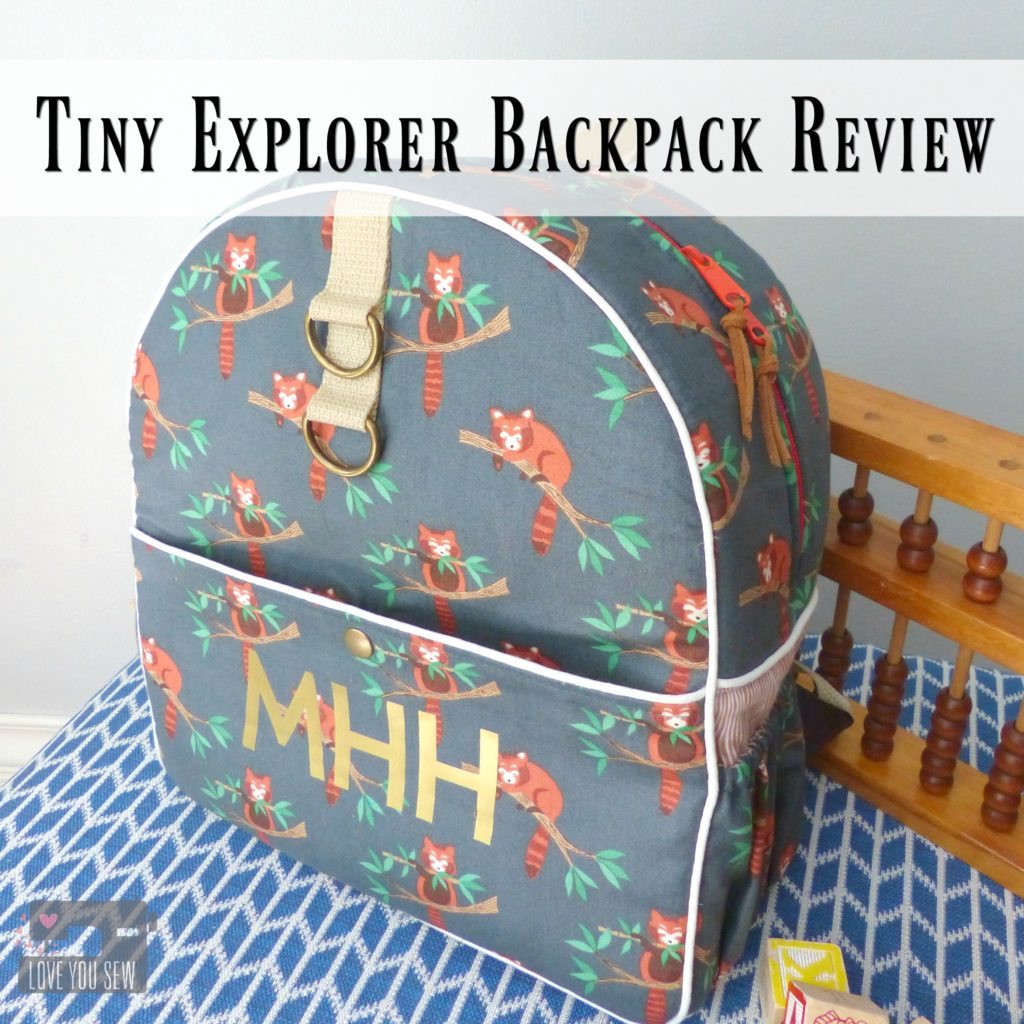
Its’s back-to-school season and that was enough motivation to [finally] get me to blog about the Tiny Explorer Backpack I made all the way back in June for my niece. I wanted to make something special for her first birthday which she could grow into and use for awhile.
This toddler-size pattern by the fabulous Erin Morris of Diedel*Bug Handmade, was exactly what I wanted. If you’ve been sleeping under a rock and don’t know her work, you’ll have to check out her Facebook and Instagram pages. She makes the most amazing bags and because of this, I knew her own pattern was going to be well written with lots of pictures. There was no disappointment here!
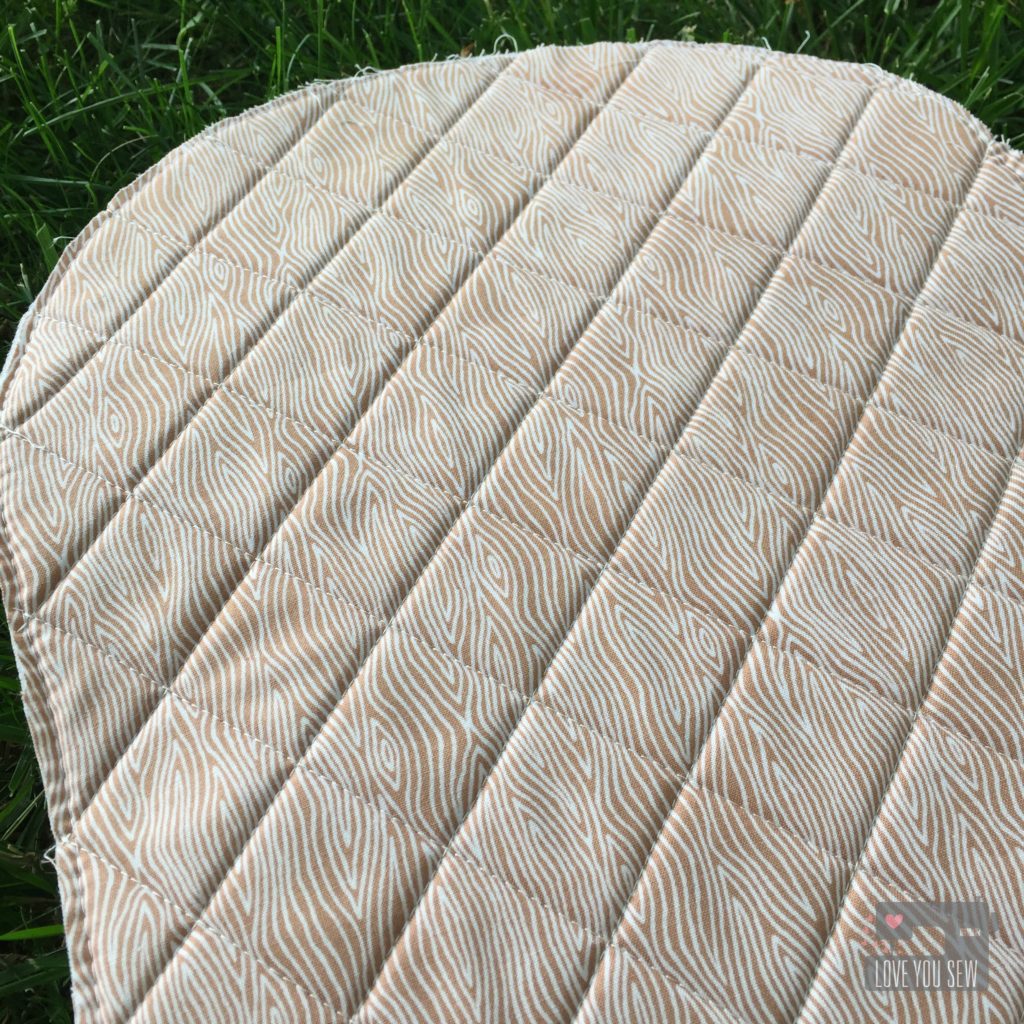
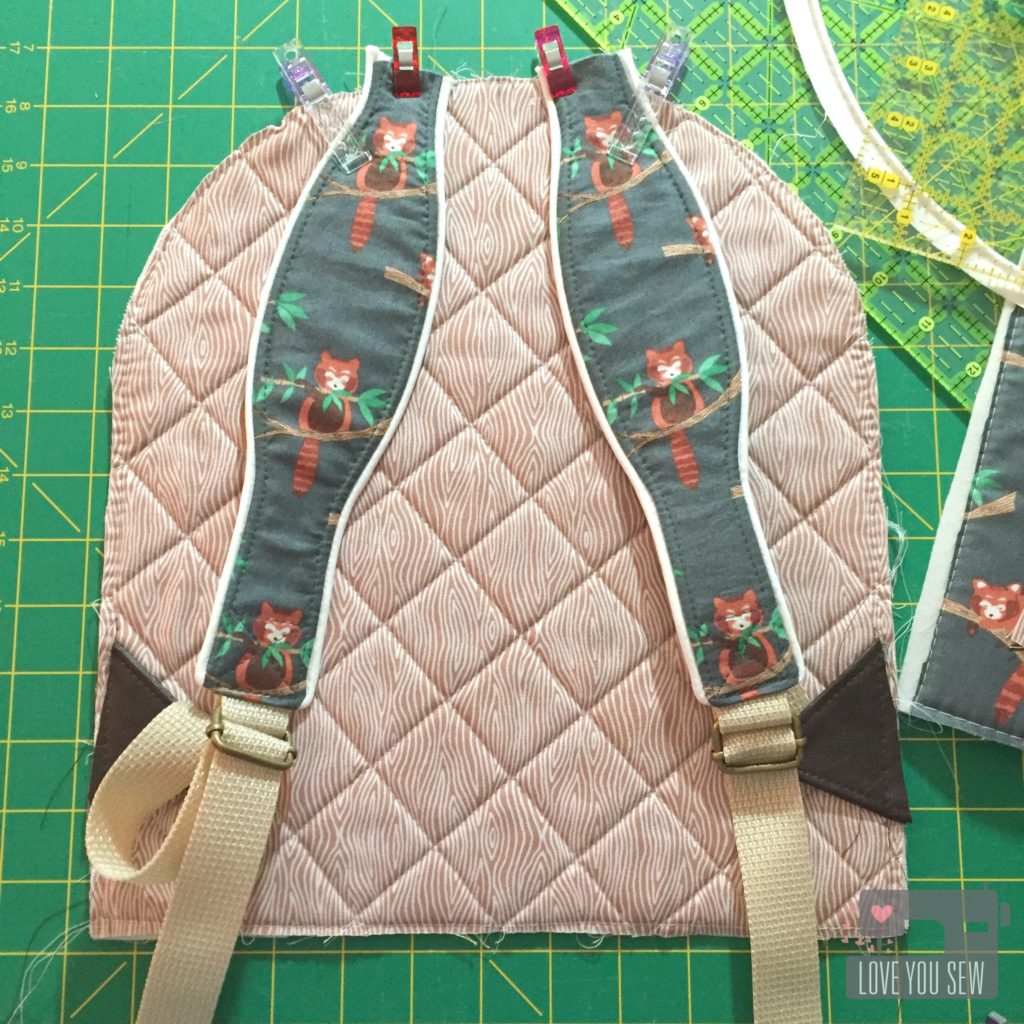
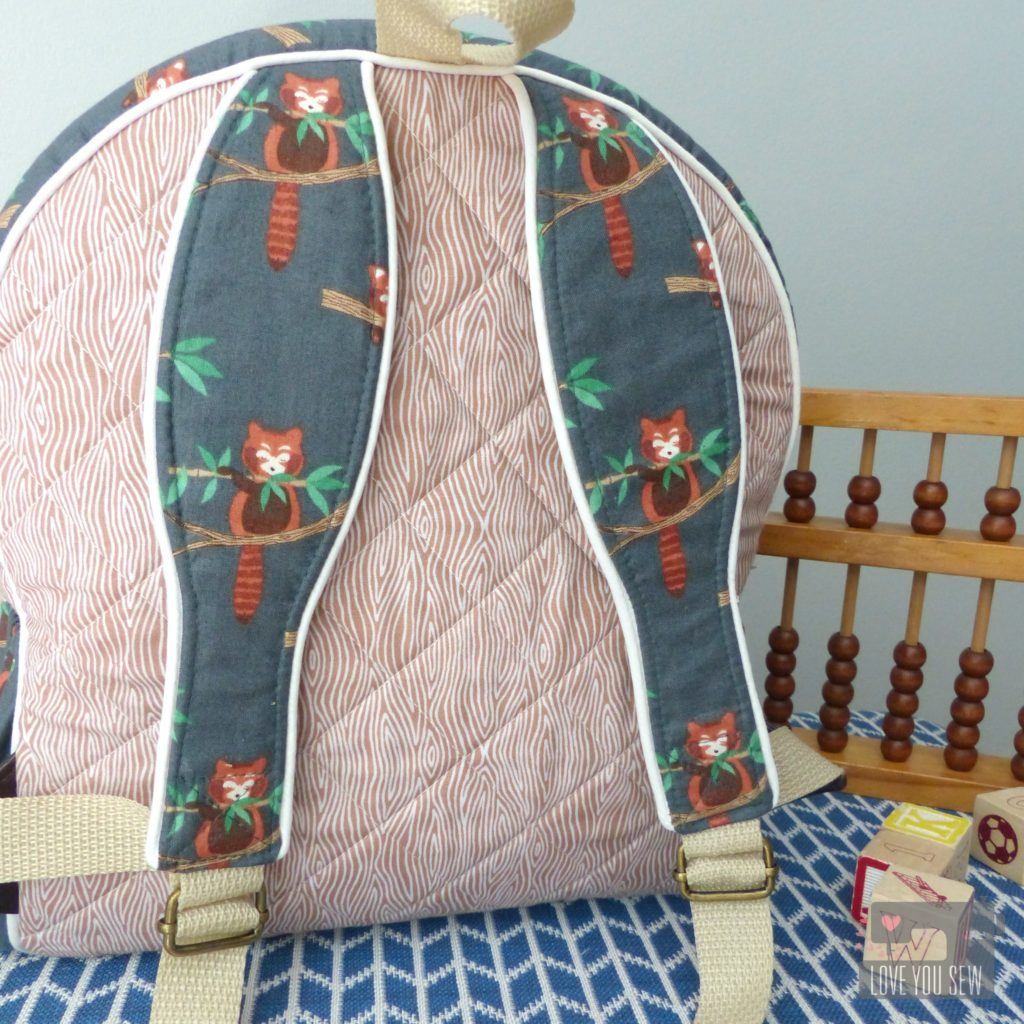
From the get-go, I decided to use Soft & Stable instead of the recommended fusible fleece. I was inspired by some store bought backpacks to quilt the back for a nice feature but to also cushion the back. Plus, how can I ever pass up the opportunity to do a little quilting, right?!?
TIP: Cut the back pattern pieces a little larger and quilt. Then use the pattern template to cut to size since you’ll lose some area depending on how much quilting you do.
Red pandas are my niece’s favorite animal and I could not resist snatching up this MinShan fabric by Lewis & Irene. The woodgrain is Gentle Forest by Tea and Sympathy for Studio E Fabrics.
TIP: To keep the fabric nice and tight on the Soft & Stable, baste with 1/4″ seam allowance. Gently tug on the fabric as you sew to keep it smooth.
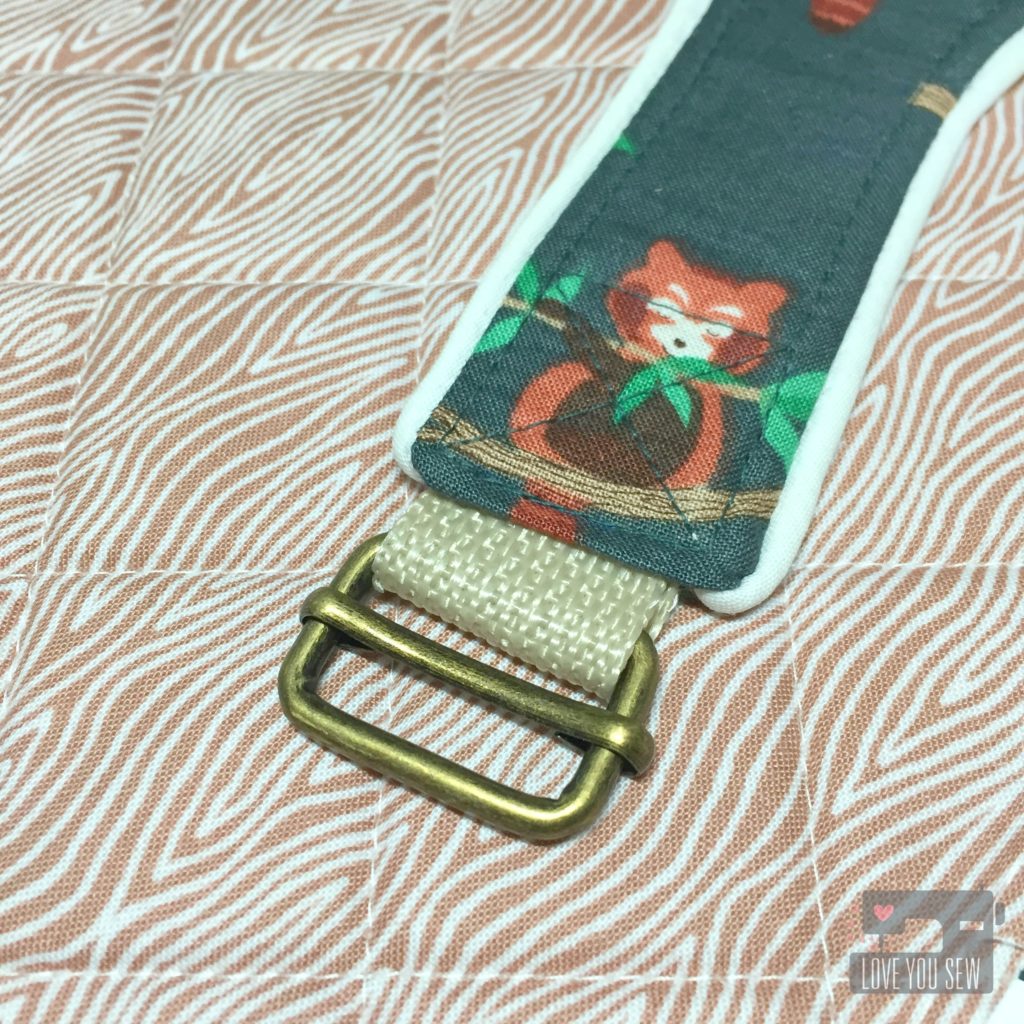
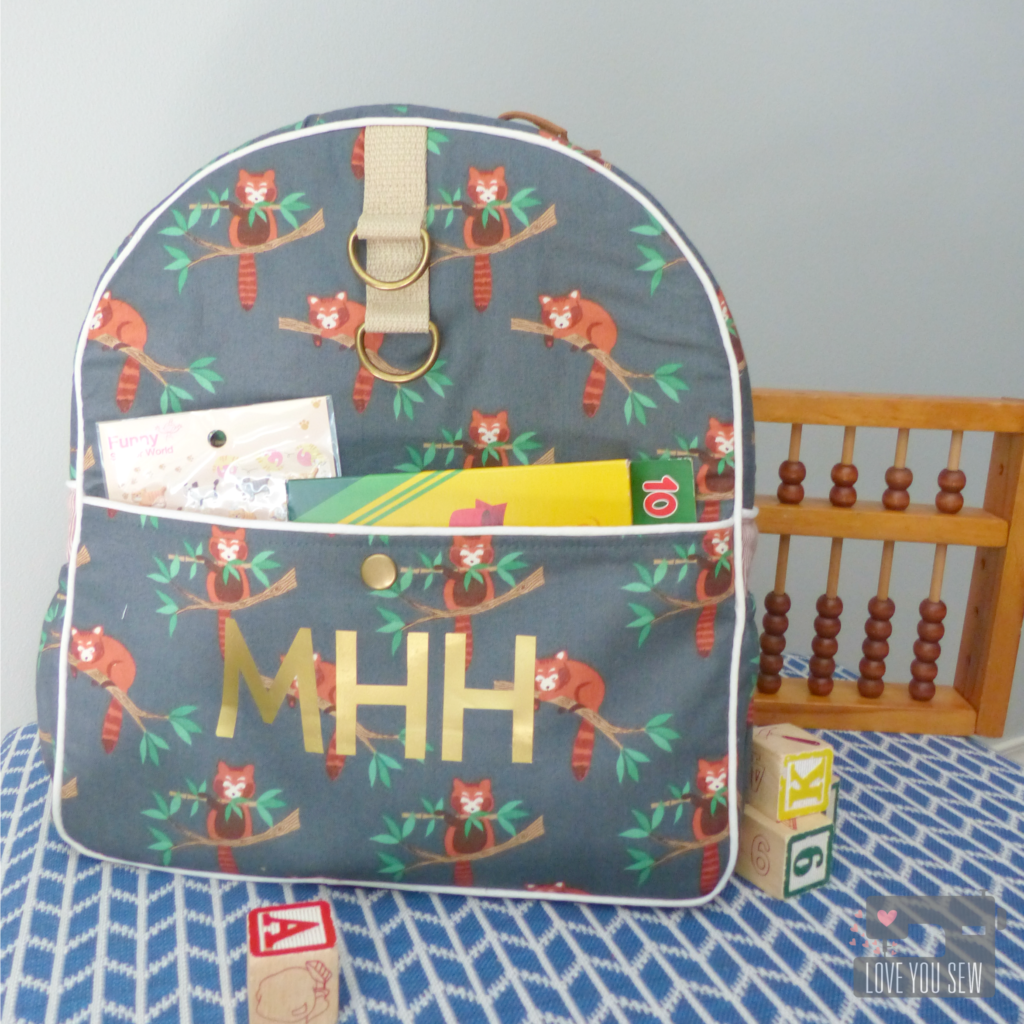
Aren’t these little guys, the cutest? All hardware was from Emmaline Bags and the webbing was from Joann’s Fabrics.
TIP: Heat seal the ends of the webbing with a lighter before sewing. My webbing had unraveled at the edges and pulled out after being sewn. Sealing will prevent this from happening.
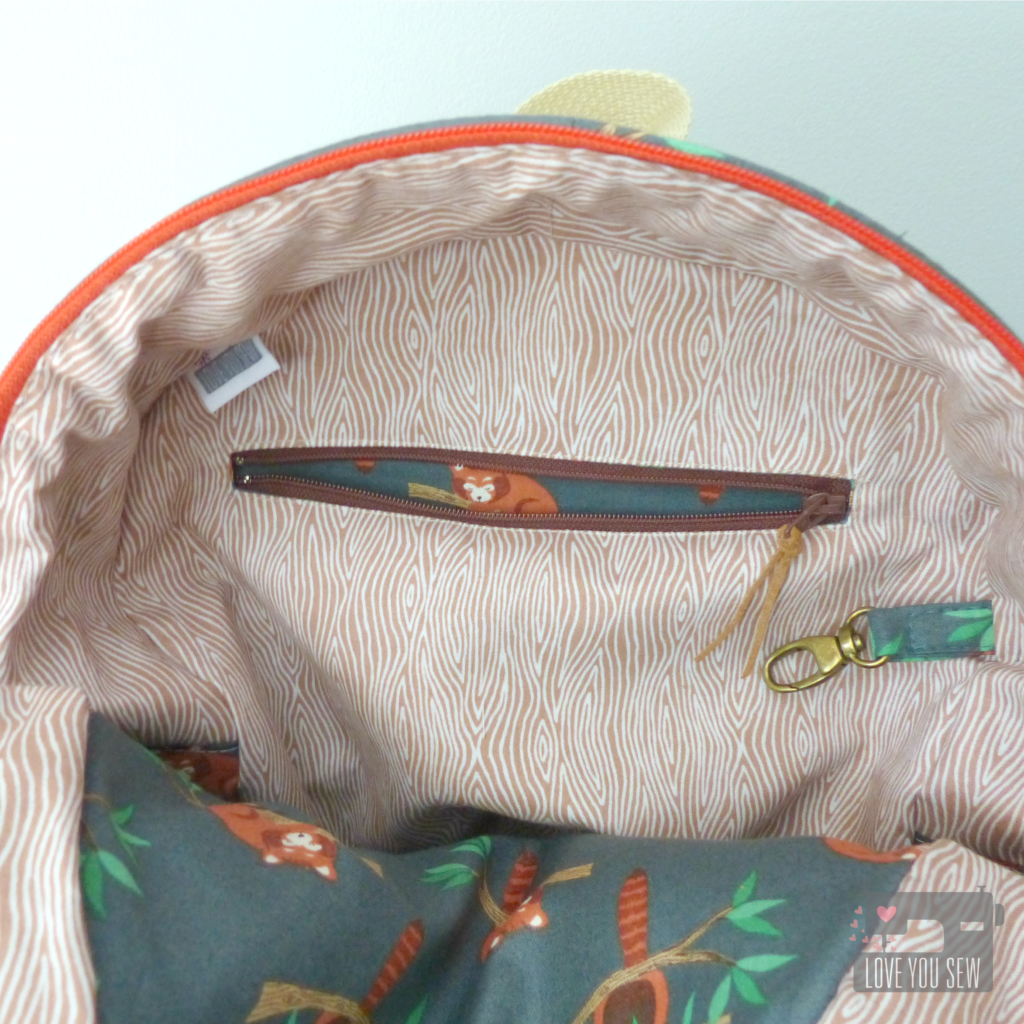
I also used Soft and Stable for the side panels of the bag to keep it’s shape. As a little toddler, I figure it would be easier to find toys that way. I added this key fob to the interior in case mom and dad ever need it 😉
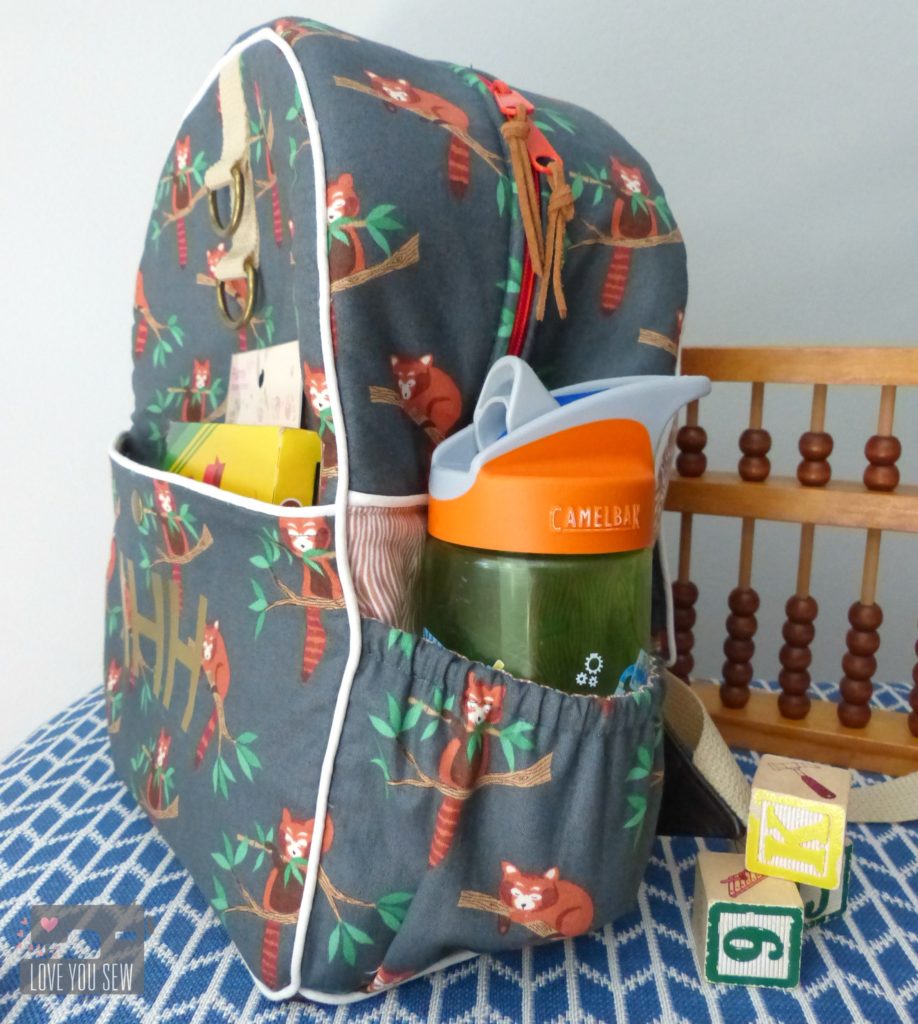
TIP: Add zipper pulls to help little fingers open and close pockets. I use some leftover suede to complement the fabrics.
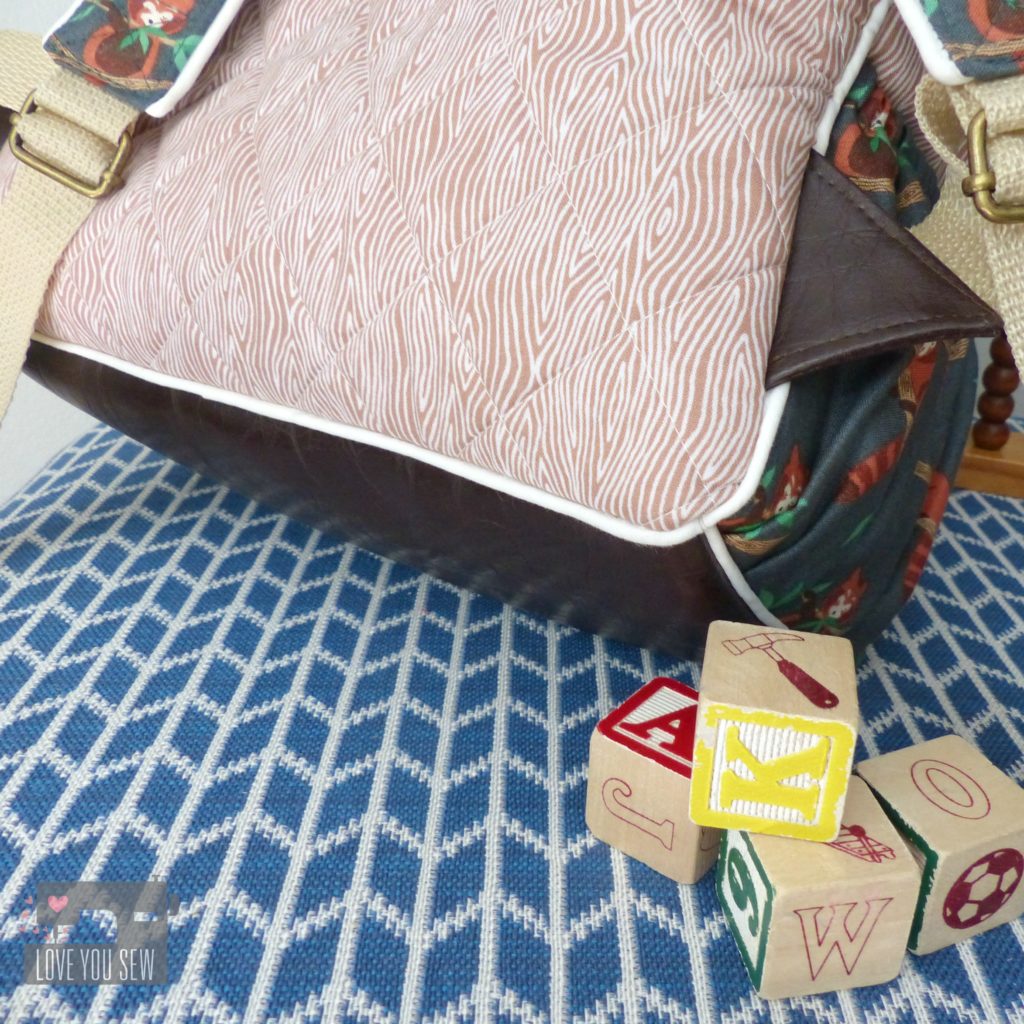
As I assembled the exterior, it was difficult to stitch close enough to the piping through all the layers. I had to hand-stitch these bottoms corners a little bit to clean them up and make them match. It might have been a little OCD, but since this was a gift, I just had too!
With this directional print, you do have to account for a little extra fabric, especially fussy-cutting the shoulder straps and side panels like I did.
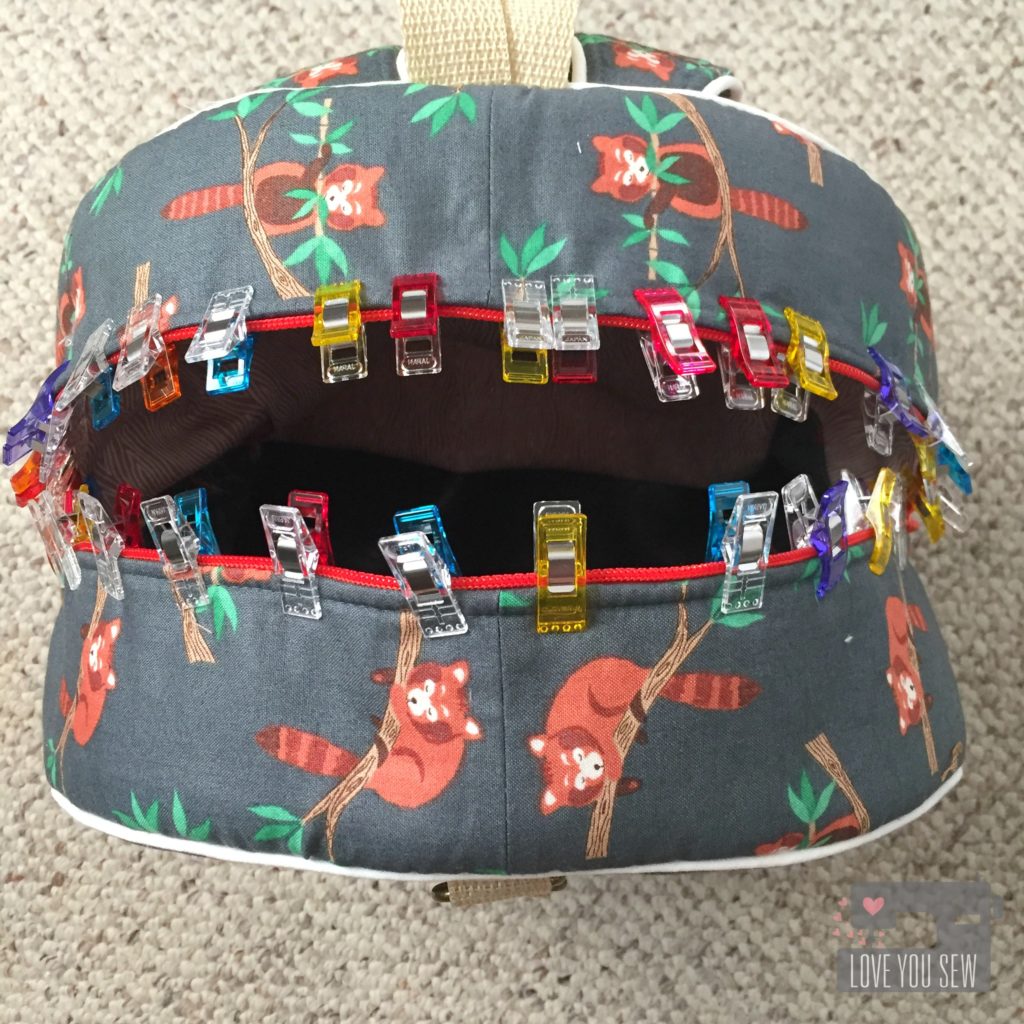
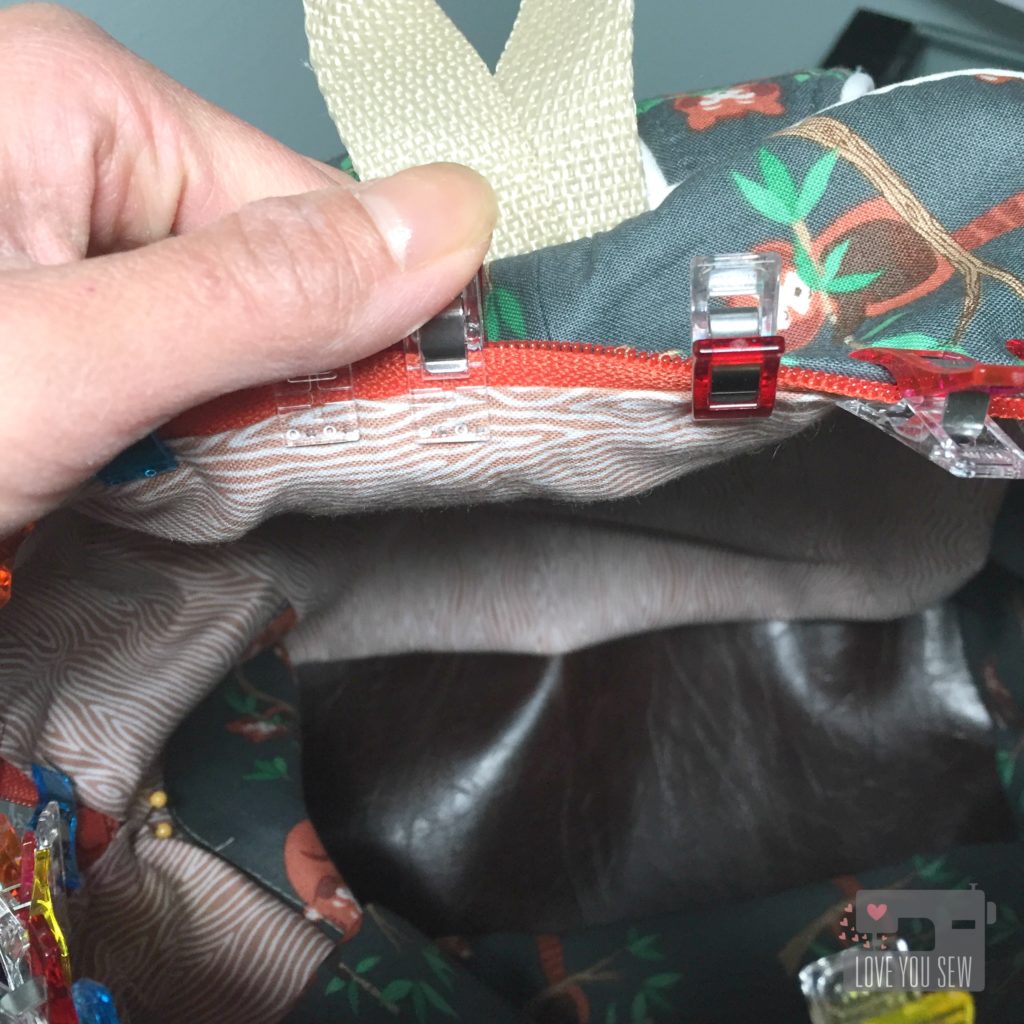
TIP: The entire lining is drop-in. I used lots of clips to keep it centered and secure before top-stitching it into place.
With kids, there are always spills, so I used some vegan leather on the bottom to help with easy clean up and for better wear and tear.
TIP: Pull the lining up to just barely cover the zipper stitches. This way you’re guaranteed to catch it as you top-stitch.
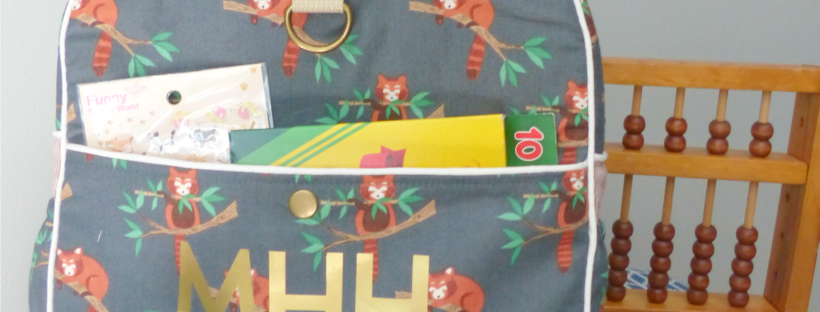
There were three additions made to the front of the bag — Two D-rings were sewn on with leftover webbing so toys could be clipped on. I also added a snap to the main exterior pockets to keep little treasures safe. The most noticeable are my niece’s initials. I used my Silhouette Cameo machine to cut the gold heat transfer vinyl.
TIP: If you would like to add a snap, place it centered 1″ down from the top of the pocket and secure into place before sewing in the lining
Since I used a long-pull double zipper, I decided to to exclude the zipper tabs. I also omitted the side pocket binding just to streamline the look a little bit. Don’t leave the pockets off entirely though…they are great for holding drinks and snacks!
Voila! A fun toddler backpack for my little niece!
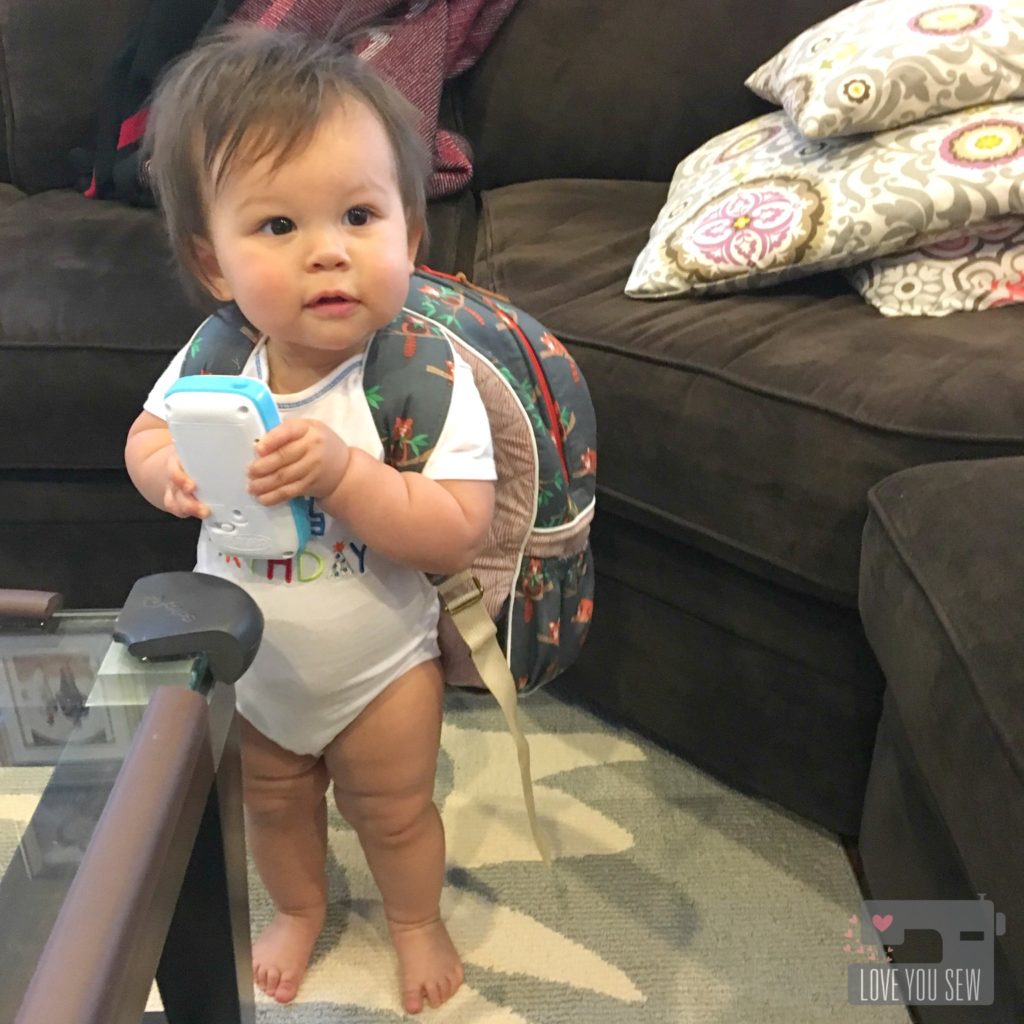
Here is my little munchkin with her bag. Look at her rolls on rolls! <3 Doesn’t she look like she’s ready to catch some Pokemon 😀
Happy Sewing,
Cristy
This was not a sponsored post. I purchased the pattern and all opinions are my own.
