Introducing the Audrey Envelope Wallet

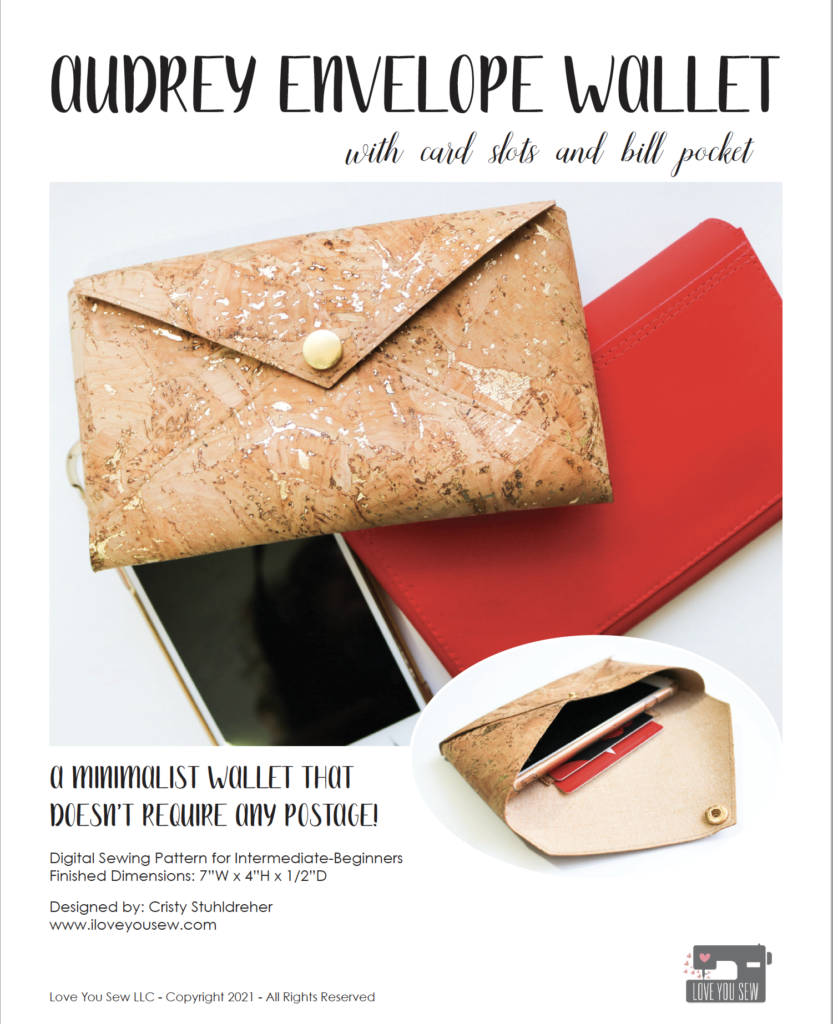
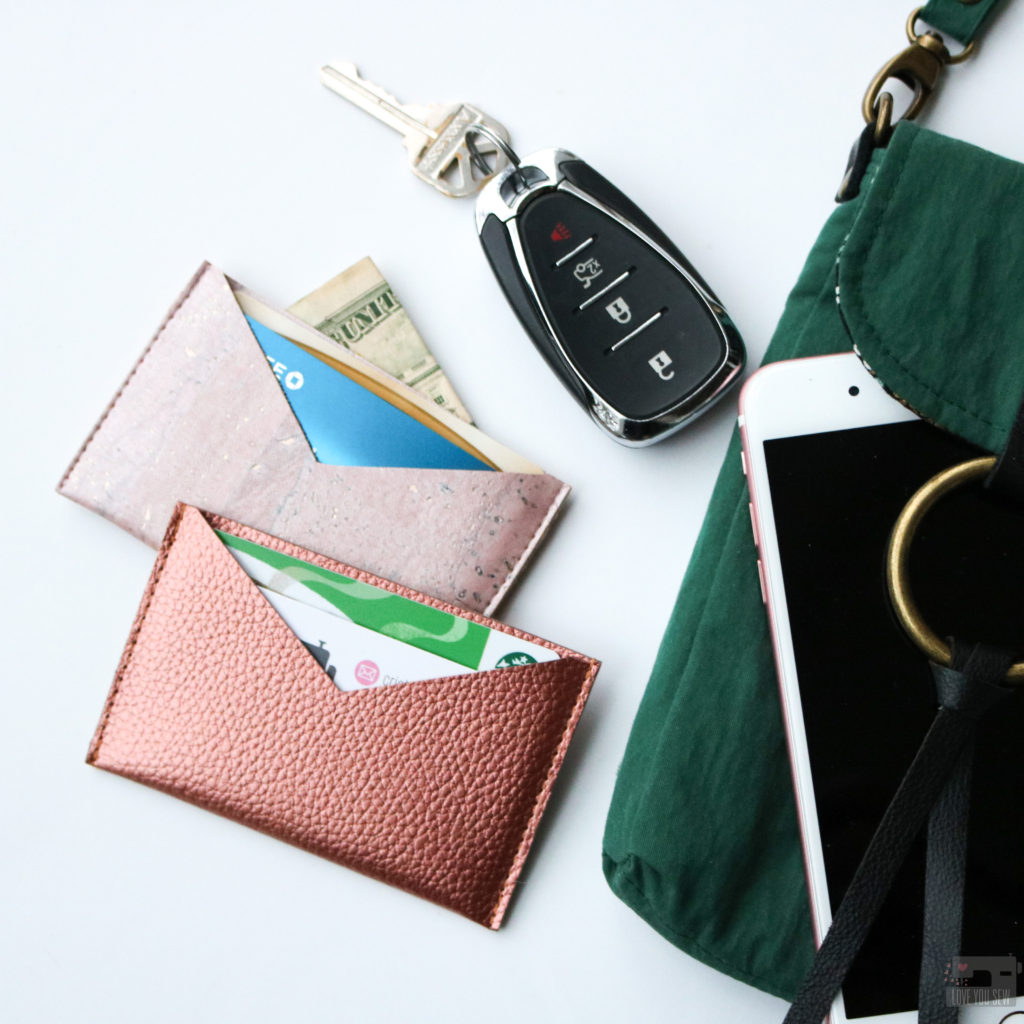
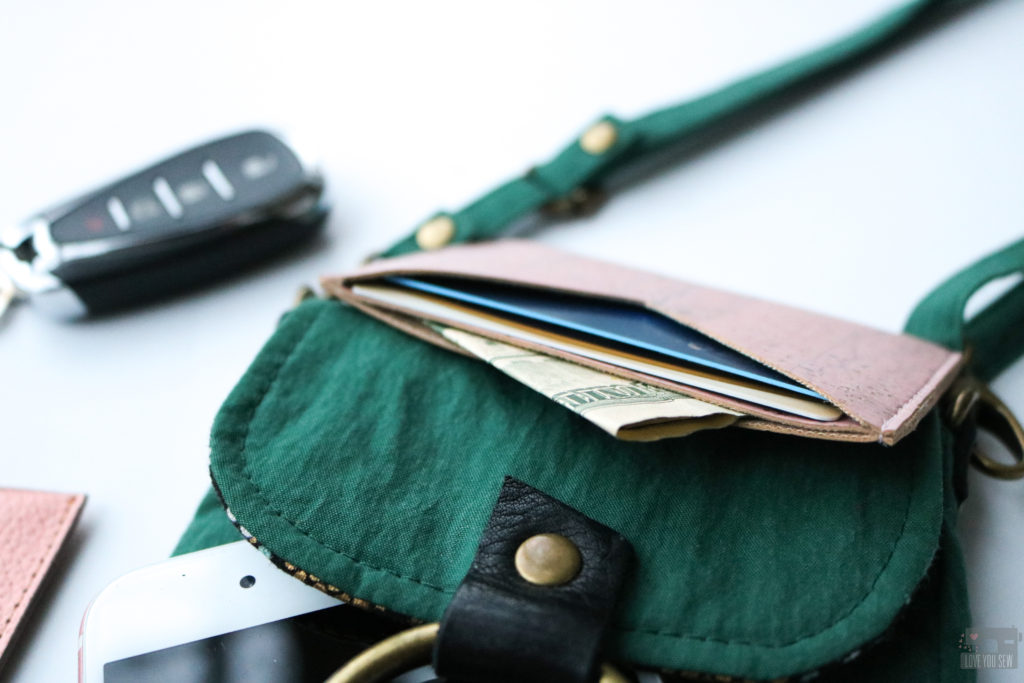
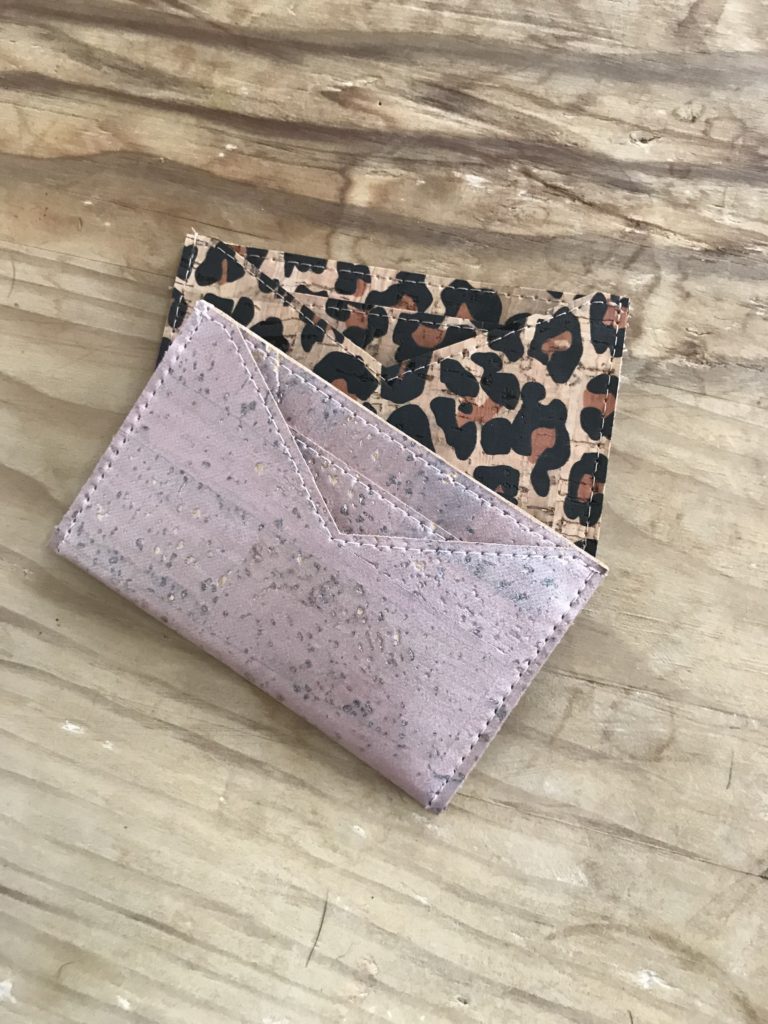
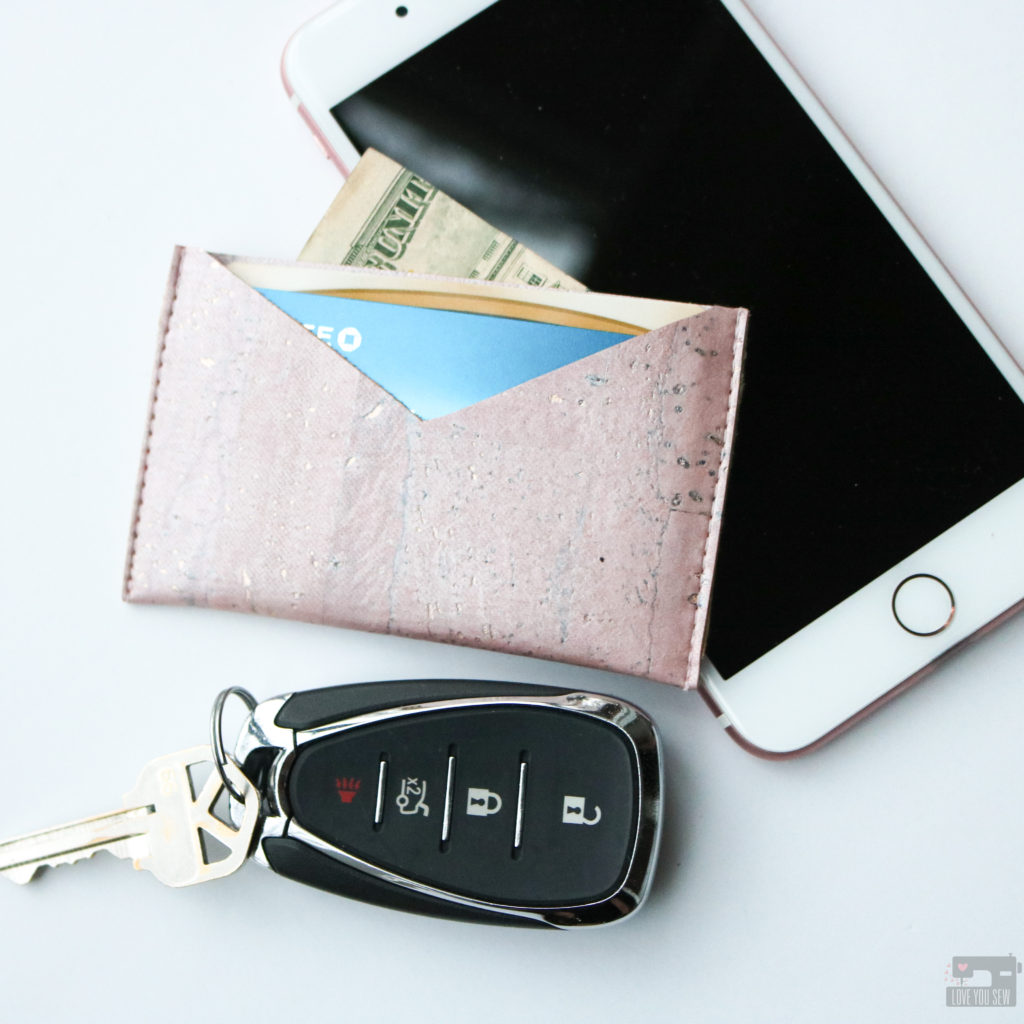
The Audrey Envelope Wallet is a quick and easy project with minimal sewing and tons of style! It has the your classic envelope shape, but also features three card slots and a large slip pocket for bills (which also doubles to hide your stitching.) 
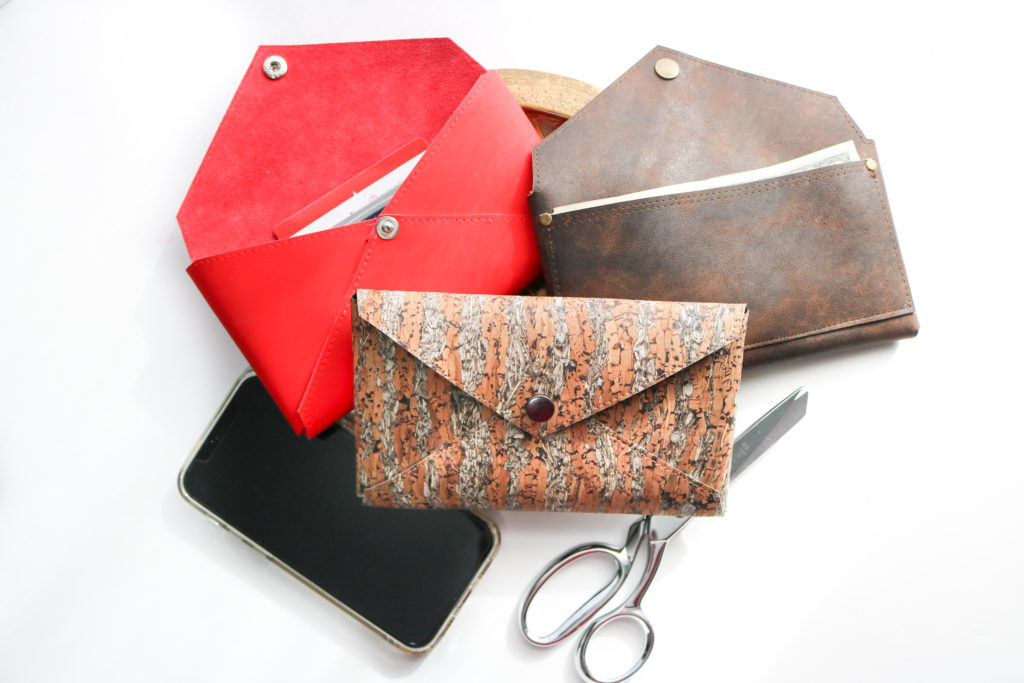
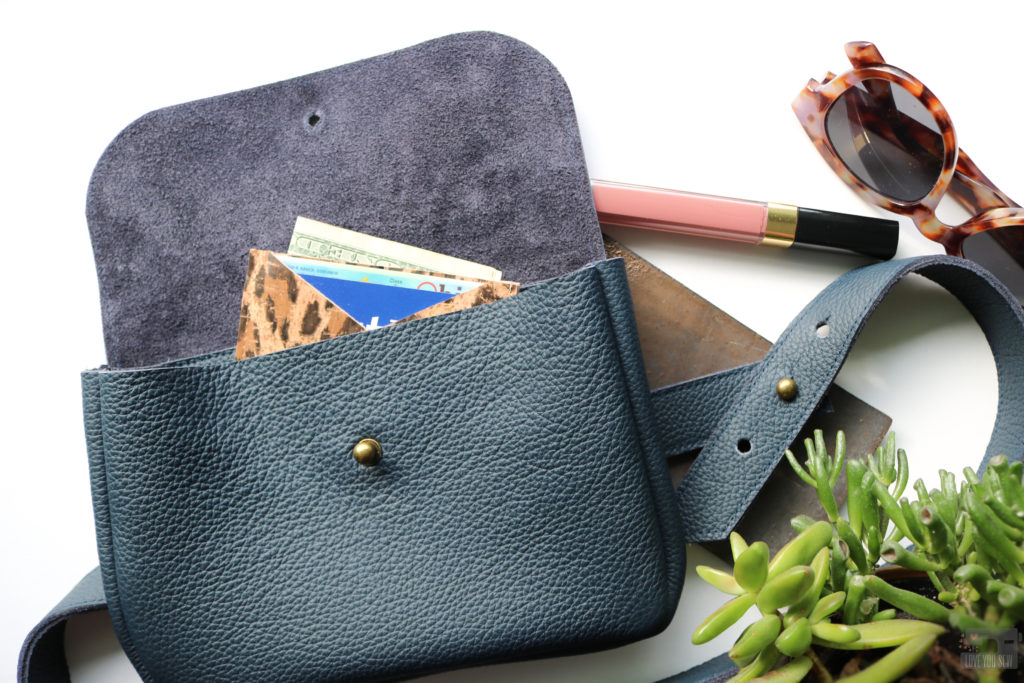
After designing the Christine Sling, I found myself using that bag almost all the time (which also happens after every bag launch…I can’t help it!)  While my “regular” full wallet could fit, it didn’t leave much room for anything else.  I was able to get away with the Shuffle Cardholder for a long time.  But in some recent situations at sporting events, I felt like I could lose the small cardholder since I was constantly in and out of the bag.  So I needed something in between.
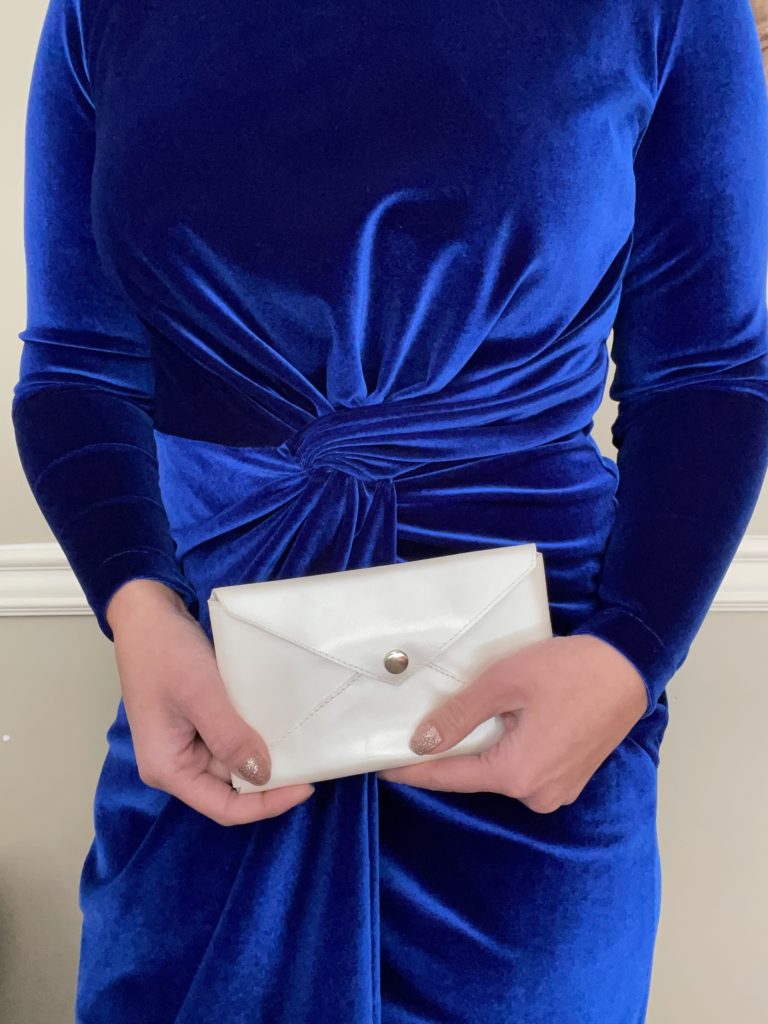
Inspiration

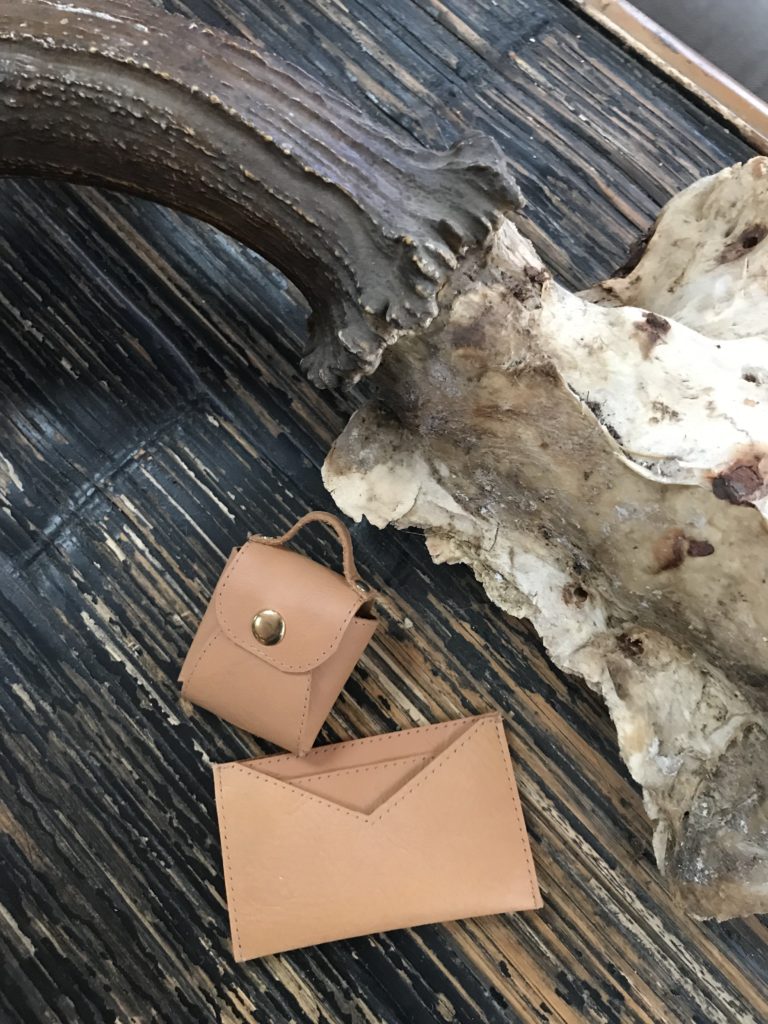
I taught a leather stamping class years ago at a local art studio as a social night out…but with hammers!  I used a smaller envelope design and had the students stamp words onto the wallet and onto the wristlet strap we created together.  The wristlet was pretty cute, but too small for my needs.  I knew back then, the envelope design needed to be bigger for more functionality and adding basic wallet card slots and a pocket for bank notes was needed.

As you know, I really like clean lines and classic styling to most of my bags.  I was really drawn into the simplicity of the envelope shape and how something so functional could be made with limited materials — HELLO stash buster!  With the holidays approaching, I love having a gift that can have an impact (especially in some gorgeous leather) but not take a whole week to make.  Time is precious right now!

It only seems proper that this chic compact wallet be named after my niece, Audrey.  She is a vibrant young woman is likes to be out on the town and is definitely game to join any adventure.  Audrey is lots of fun to be with and to always have around.  She lives all the way out on the west coast, so I definitely miss her a lot!  She also happens to be engaged with a wedding planned for next summer.  I already know I will HAVE to make a clutch with this design just for the occasion!.

Fabric
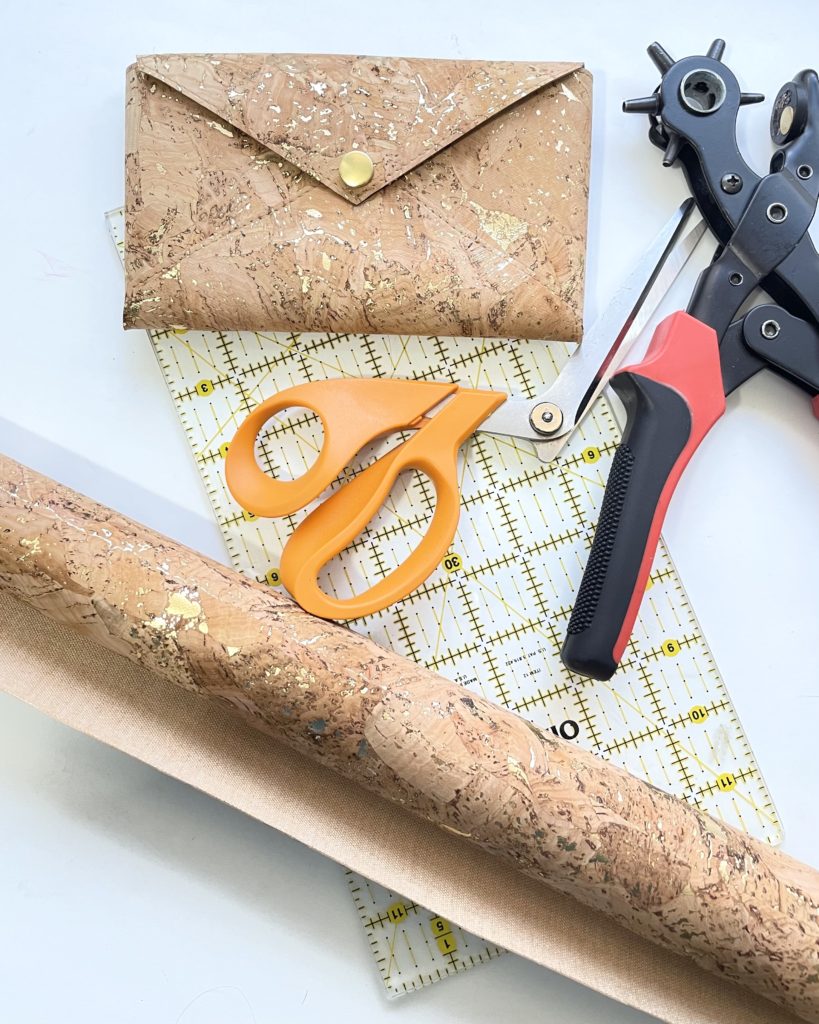
This pattern is written for fabrics which can be left with a raw edge without any additional finishing required. This includes leather, vinyl and cork.  While these substrates can be on the pricey side, the Audrey Envelope Wallet requires very little in material.  If there is no direction to your print or grain, you just need over 1 sq ft of fabric.  This makes it SO great for using up old scraps or upcycling from an old jacket.
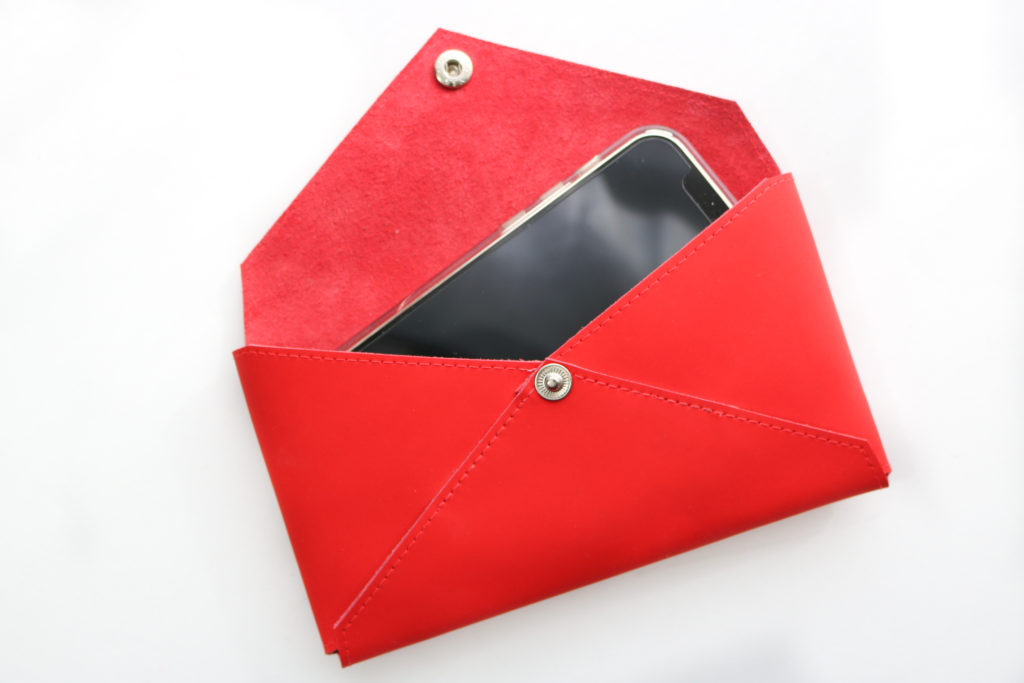
On the cover page, I used a fun Gold-Fleck Cork from Cork and Cloth.  It’s a great high-quality Portuguese cork…I would recommend staying away from any of the cheaper imitations you find at the big box stores.  They tend to flake more than the ones from Portugal.  The other wallet on the cover page (and the one featured in the instructional video) features a Red Matte Firm Temper Leather from Measure Fabrics.  As of the publication of this post, the red version is sold out, but there is a gorgeous cobalt blue hide that’s ready for a maker.  I really loved working with this leather given it’s super smooth finish and firm hand.  It gives the wallet such a nice shape, even when completely empty!

HARDWARE
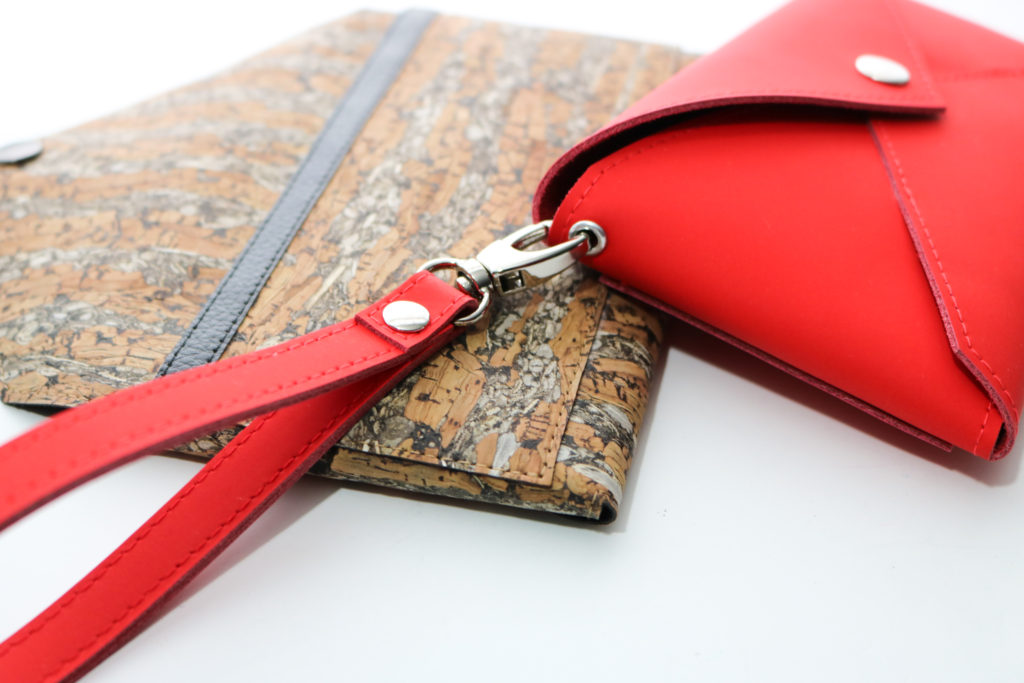
Hacking Ideas: Add a wristlet strap or a contrasting strip to the back pocket

Besides using little material, you only need one fastener for the whole wallet.  In the video and the pattern instructions, I used a set of snaps, but you can easily substitute them for something you have on-hand.  A small turn lock or even button studs would look great with this bag.

As I was playing with the wallet, you can also add an eyelet for a wristlet strap as well.  These are not part of the pattern, but can be easily added for more versatility as a wristlet.  You can even change the card slots with a contrasting fabric or add rivets to help secure the pockets.  There are so many ways hardware can change up the look of Audrey.

Supplemental Video

Since this is a pretty simple pattern of just 6 pages, I already filmed a video to help with construction.  Since the video is for public viewing, you will still need the pattern template for cutting and the instructions for specific measurements.  I hope you enjoy the extra resource to help you through sewing!


I hope all of you enjoy this quick and easy pattern as much I had in developing it!  Who would you gift an Audrey Envelope Wallet to this holiday season?


Happy Sewing!

Cristy


This post may contain affiliate links.  You can read my disclosure here.
Christine Sling Tester Inspiration

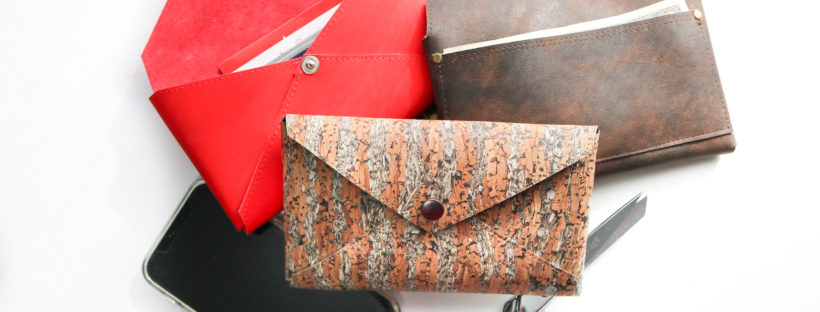
The Christine Sling pattern pulls together a classic camera bag silhouette with a modern wide statement strap. The possibilities of fabric combinations are truly endless.  For a full rundown of pattern specifics, including features and where to source materials, check out the Christine Sling Intro here.

TESTER BAGS

As I develop a pattern, there are so many considerations that have to take place.  My first priority is to always make a bag approachable for beginning sewists who have basic domestic machines.  That’s why I like to always like to have full fabric versions of a pattern, but I also like to show more complex versions with other substrates for more advanced bag-makers.  My testing group runs the gambit of experience and I am so appreciative of their knowledge and different skillsets.

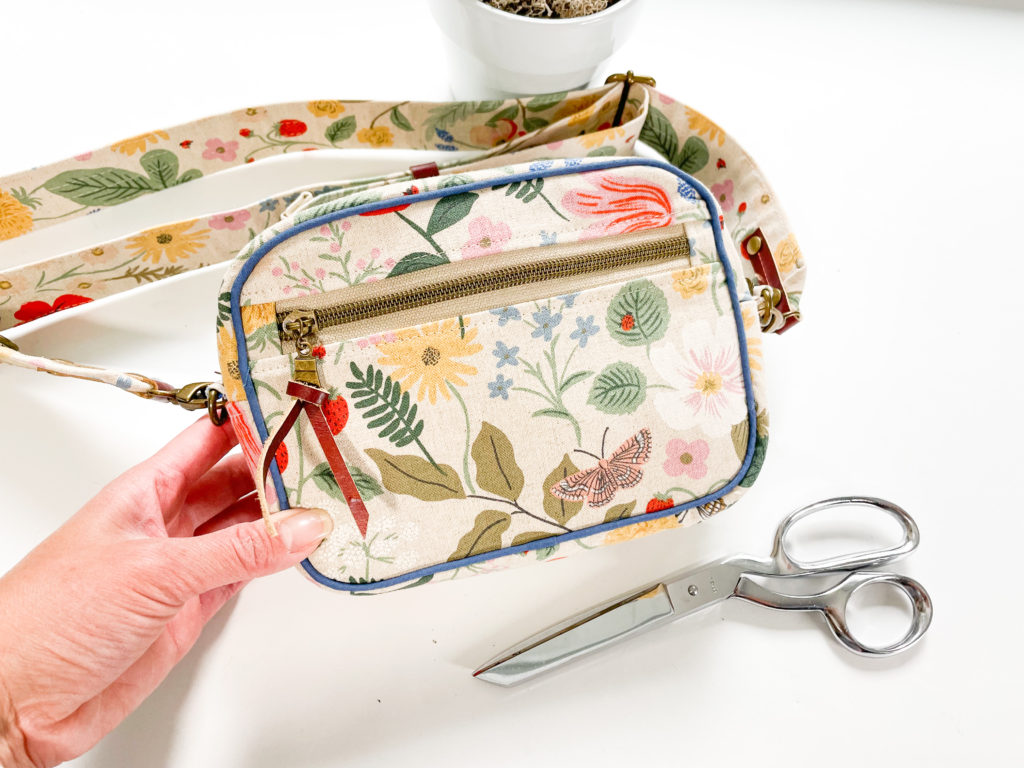
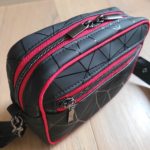
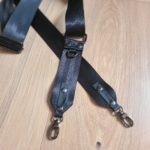
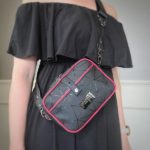
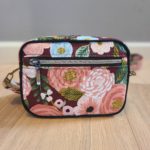
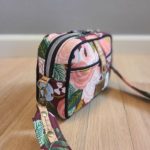
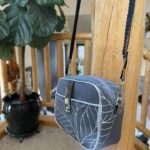
Carrie (@carriedwithyou) made not one, but TWO tester versions of the Christine Sling.  Her first make was this sweet floral version with natural cork accents and metal-look nylon zippers.  Then…Carrie went to the other side of the spectrum for a dark and sleek version of the bag using some webbed matte vinyl and incredible red accents. She used seatbelt webbing for the strap giving the whole look some chic vibes!  You can find out her patterns and finished bags for sale at www.carriedwithyou.com.

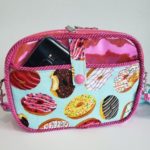
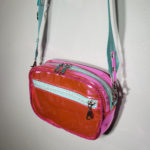
Maggie (@ms.maggiemakes) is an incredible bag-maker and I love her use of different fabric patterns and color.  Her version of the Christine Sling did not disappoint my expectations at all!  She used this great pink mirror-effect vinyl along with a mix of donut quilt cotton for her bag.  I love the way she using upholstery trim for the piping instead of the “plain” stuff I used.  It makes her bag SO much fun!  Follow her instagram to see her makes…many are for sale too 😉

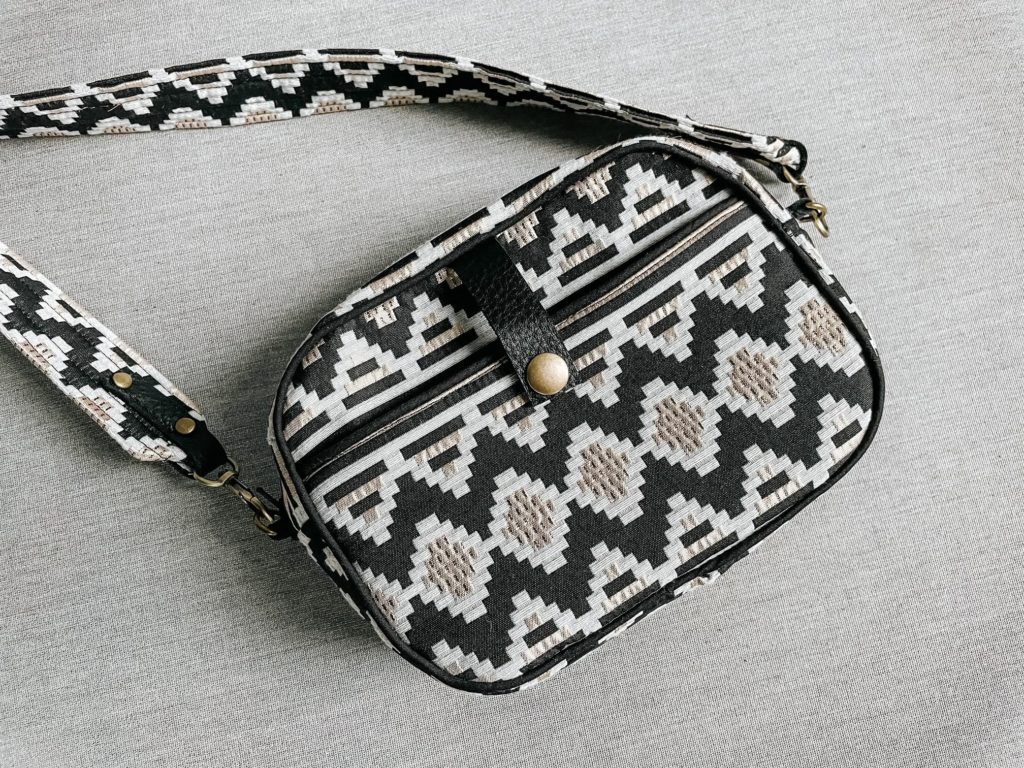
Mallory (@malloryhillmakes) is a local friend and also my copy-editor.  She makes incredible bags and clothes, which makes her invaluable with technical knowledge.  Her boho version of the Christine is just perfect for everyday!  The leather accents and piping, help to give more depth and framing to the bag.  It will make a statement with any outfit!  You can follow her blog at www.malloryhill.com.

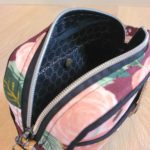
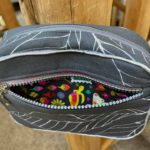
Robbin (@sewfarmquilter) is the newest team member of the testing group.  I have been following her since my quilting days and was so happy to know she wanted to test the Christine! Her version of the bag is very classy and demure on the outside, but pure party on the inside.  I’m a sucker for a wild bag lining (since RTW ones are always boring!) and this one is perfect.  If you can see, Robbin scalloped the edges of her leather accents to add more texture and appeal.  It is such a great look!  Check out all of Robbin’s makes on her instagram.


I’ve said it before and I’ll say it again, but NOTHING is more heart-warming than it is to see my patterns sewn up by all of YOU!  For a full-range of different takes on the Christine Sling, check out the hashtag, #christinesling, on Instagram.  You know I follow it 😉 and LOVE being tagged in all of your makes.

These pictures are so inspirational and I hope you are able to get some ideas when you make your Christine Sling.  Pattern available here.


Happy Sewing,

Cristy

Tutorial: Seal Edges of Cork, Leather or Vinyl

If you are looking for a simple way to finish the edges of your non-fraying substrates, this is it!  The following tutorial will help you seal the edges of cork, leather, suede and vinyl.  Many of the man-made substrates have a fabric backing which can still fray over time.  Sealing the edges with  paint ensures that you have a clean finish and won’t see any of that fraying.  This tutorial is great for:

TUTORIAL

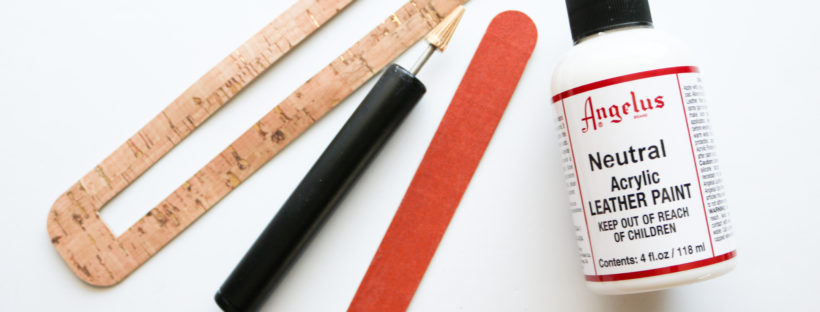
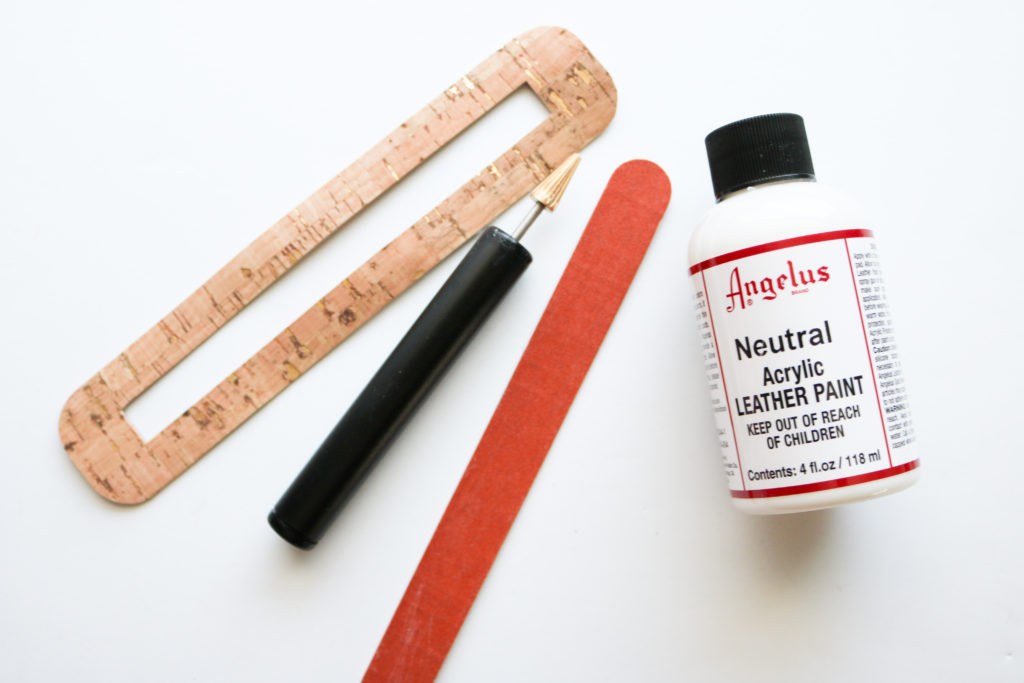
To get started, these are the Materials Needed (with affiliate links):

  • Project – cork, leather, suede or vinyl
  • Leather Paint- I used “Neutral” as an all-purpose clearcoat
  • Paint Applicator – There are many out in the market and this works well for my needs as long as the post is clean and oiled well
  • Cup/Dish – I use a simple bathroom cup which I can throw away later
  • Emery board or Fine grit sandpaper


Click into the video ABOVE to view the full process.

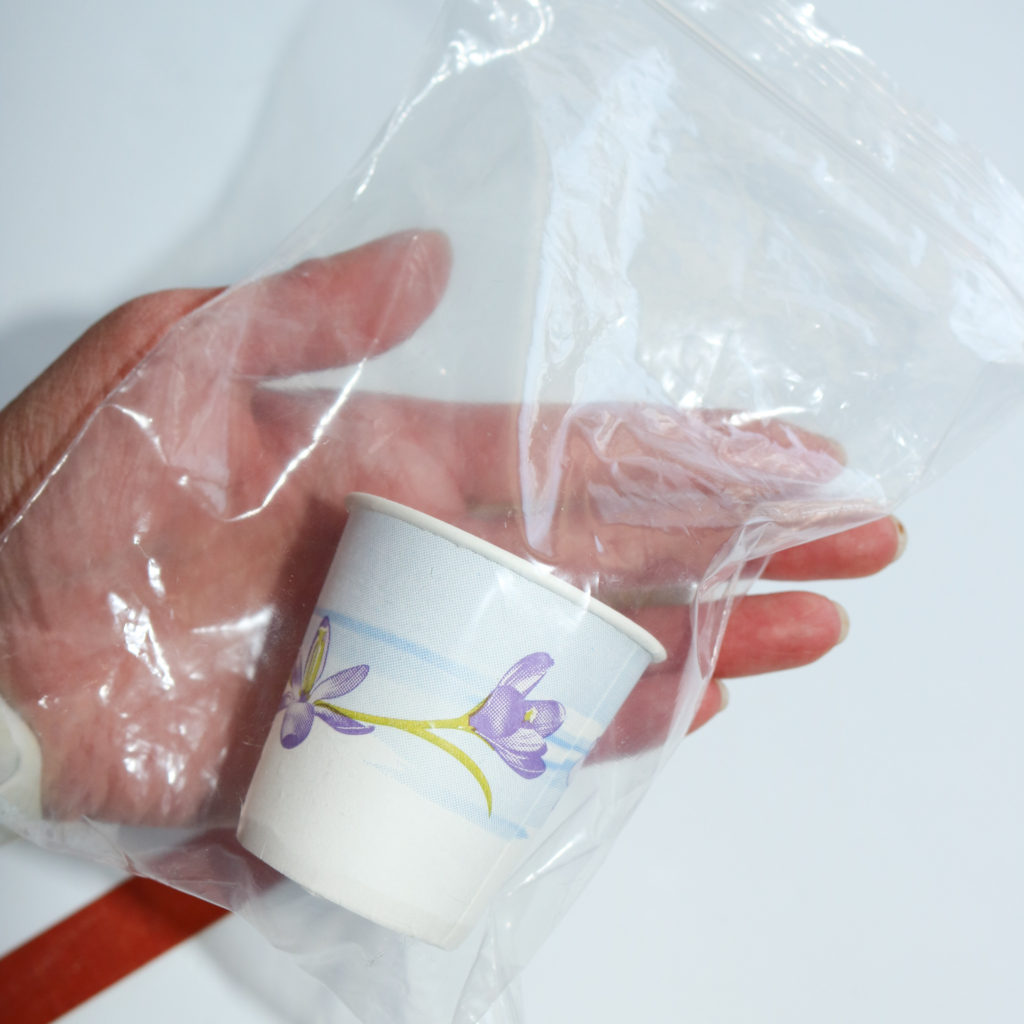
TIP:  In-between coats drying, I like to seal up the extra paint in a bag so that it doesn’t dry out.  This allows me to maximize the paint and the paint has stayed wet for over a day for me.

I hope you enjoy this tutorial to make your projects look even MORE professional!


Happy Sewing,

Cristy


This post may contain affiliate links.  Please read my Disclosures, here.

FREE Shuffle Card Holder Pattern

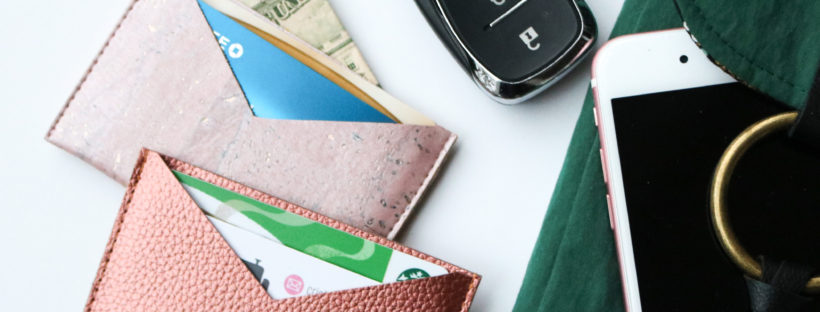
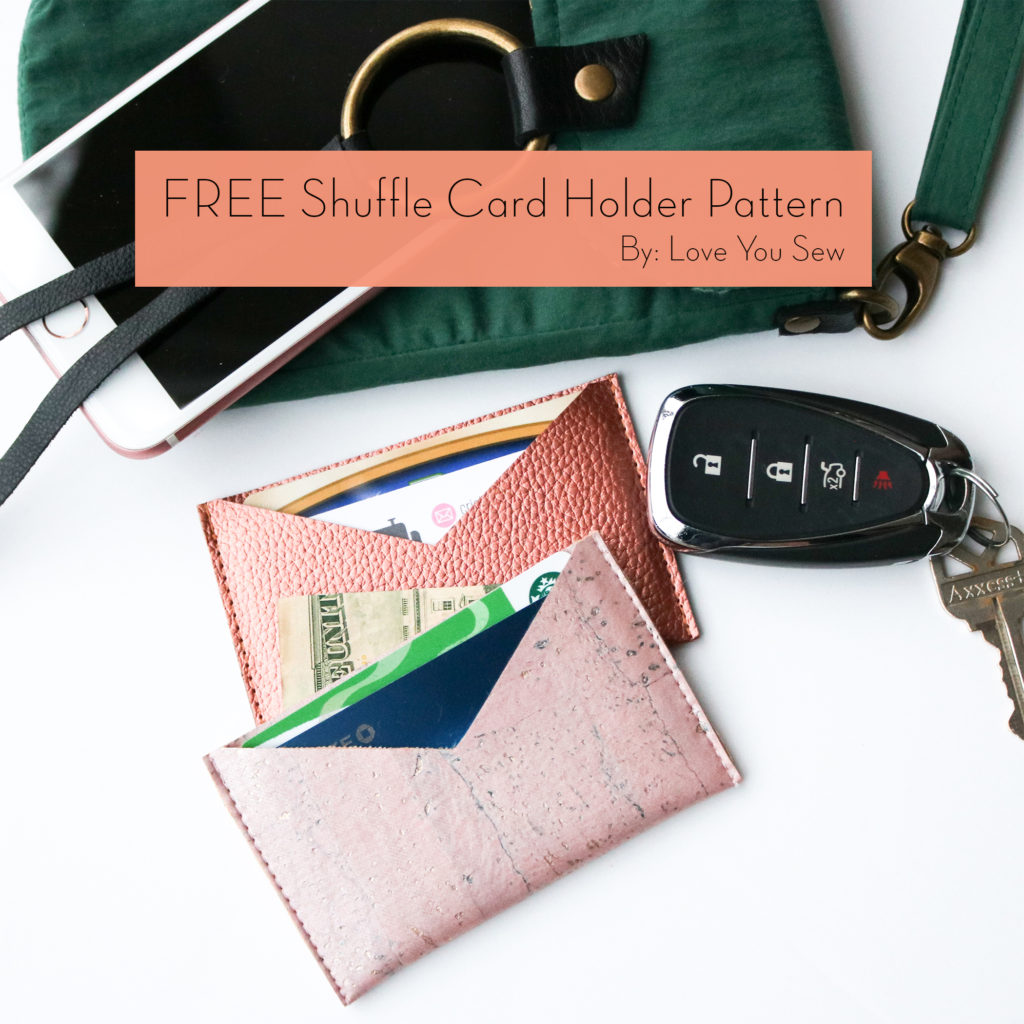
For my Newsletter subscribers, the Shuffle Card Holder isn’t a new pattern to you.  But in light of our current Covid-19 shelter-in-place environment, I’d like to offer the Shuffle Card Holder pattern completely FREE without having to sign-up for anything.  This is a quick and easy project for raw-edge substrates and is a great stash-buster for all of the little bits of cork, leather, suede or vinyl you may have lying around.  If you have ever wanted to learn how to sew on these substrates, now is the time!  A small project like the Shuffle will make things bite-sized and manageable too.

The Shuffle Card Holder is designed with 3 pockets.  There are two in the front — perfect for an ID and debit card.  But there is also a third pocket which is hidden and a great spot for a little stash of cash and even a key!  The front and back are made from a single folded piece of fabric with all sides left raw.

For a more polished look, you can take the extra minute to add some top-stitching at all of the pocket openings.  It adds a nice finishing to make the card holder extra special.

TIP:  Use a Walking Foot for nice even stitches, especially on vinyl or cork where a regular presser foot could stick.

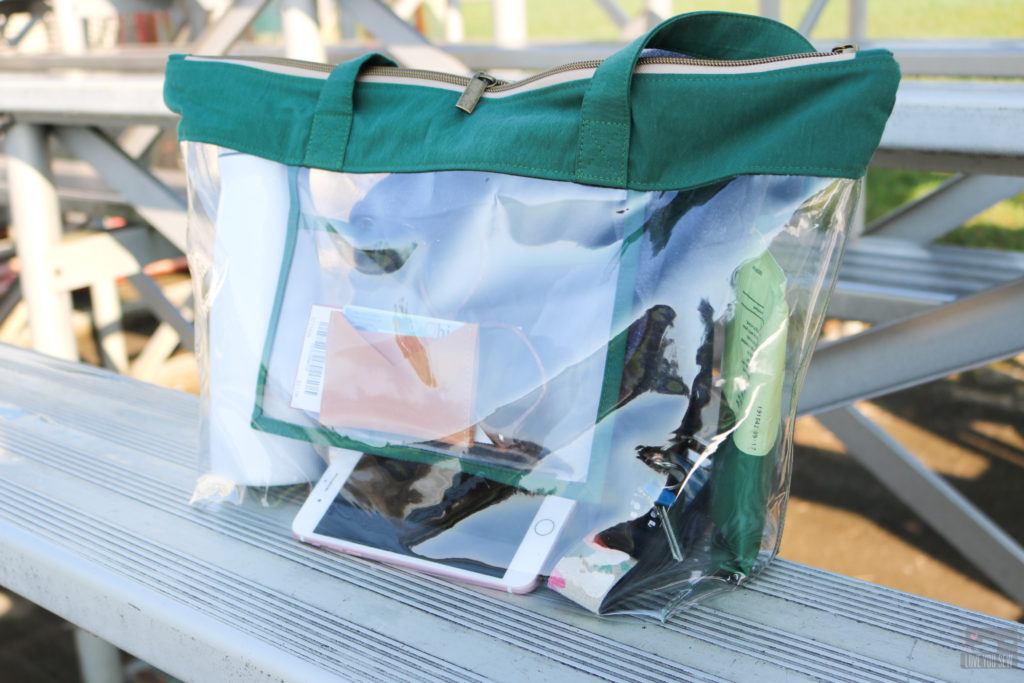
I love using the Shuffle Card Holder when I’m switching between purses and especially when moving into a smaller bag.  It goes perfectly with the Emma Stadium Bag to keep my money hidden at public sporting events and I also love using it with the Kelly Waist Bag to keep things as light as possible.

Emma Stadium Bag by Love You Sew

As we spend more time walking and taking bike rides, the cardholder is perfect for just slipping into your back pocket or in a bike pouch.

Kelly Waist Bag and Clutch

This is also a great way to present a gift card – especially to those who are working essential jobs or just a way to let someone know you are thinking about them at this time.  You can even pair it up with The Tiny Sophia Bag for a complete on-the-go gift set!

||    Click HERE for the FREE Shuffle Card Holder pattern!    ||


Project Details:


Hugs and Stitches,

Cristy


This post may contain affiliate links.  Please visit my Disclosures page for info.

Emma Stadium Bag by Love You Sew

Tips and Tricks – Sewing with Clear Vinyl

Expanding your sewing repertoire is always so exciting, but there can also be some challenges along the way. As I wrote the Emma Stadium Bag, I included some tips with construction specific to my pattern, but thought you might appreciate more general guidance when sewing with clear or other see-through vinyl!

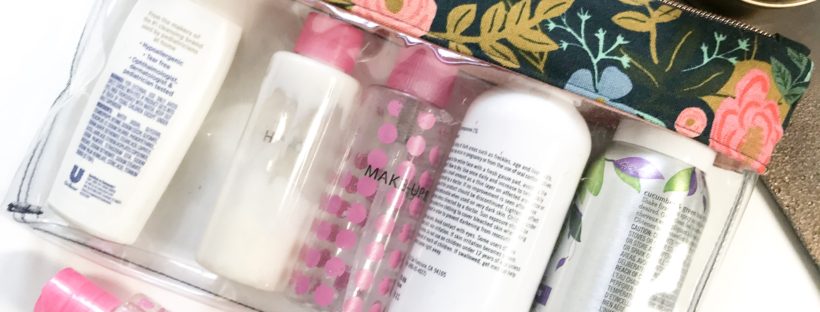
First, let’s talk about vinyl. This term is used for a lot of different flexible plastic substrates, but I am referring to sewable 100% PVC (polyvinyl chloride,) which is generally polished on one or both sides and you can see through it. Vinyl is a tough and durable substrate that can be used to provide moisture and/or humidity protection. This type of vinyl is available it many different colors and even thicknesses.

20 gauge (above) vs 12 gauge (below)

Vinyl is measured by gauge number. This refers to the thickness of the vinyl sheet. Most big box craft stores carry from 8-20 gauge and hardware stores can carry even thicker products. But for our sewing purposes, I think 8-20 gauge is within our wheelhouse. The 8 gauge is the thinnest at 0.008″ which is the most flexible and the easiest to sew. I think this is a great size if you are using this for a window in a pouch or organizer project. I wouldn’t recommend this for the body of a bag or pouch because it would be able to hold it’s shape well (unless you are going for the slouchy look!) On the opposite end, the 20 gauge is thickest at 0.020″ and is more rigid, but still flexible. I would recommend this thickness for projects which you want to keep the shape intact, like a tote or pouch. However, not all domestic sewing machines will be able to handle the thickness. My semi-industrial Juki 2010Q can handle this after some tension adjustments, but I think 12 gauge is the best bet to start for most machines IMO. Please test the gauges and see what you like best!

Let’s start with vinyl prep and handling. The following are a few tips to get you started:

  • Do NOT use your Favorite Fabric Scissors – Use your “paper” or “all-purpose” scissors to cut through the vinyl because it could dull your fabric ones – especially if you are using a higher gauge. I have an old rotary cutter marked for all-purpose use. Generally, when my fabric rotary blade gets dull, I move it over to the “all-purpose” Fiskars cutter and use that on these special projects and when I’m trimming PDF paper patterns.
  • Use Clips to Hold Vinyl Together – Whether you like to use Clover Clips or binder clips, these all do the same job. They hold vinyl together without leaving a permanent hole like a sewing pin would. I’ve also heard of others using paper clips and even bobby pins too.
  • Do NOT Directly Iron onto Vinyl – This will melt and leave permanent marks on the plastic. If you do have deep creases that you would like smoothed out, you can hover the iron above the vinyl or use a pressing cloth with light and quick presses. A heat gun or a hair-dryer (on low setting) can also help. Make sure you don’t have multiple layers of vinyl directly touching each other as you use heat or they can melt together.

Now, let’s get into sewing with vinyl! Below are tips from my own experience. Please let me and other readers know if you have any additional tips of your own in the comments section below. I would love to read them!!!

Left to Right: Teflon Foot, Walking Foot and Zipper Foot (with washi tape)
  • Use a Teflon Foot (preferred) or a Walking Foot – Vinyl is notorious for it’s “stickiness” when rubbed against a metal presser foot. A smooth Teflon foot doesn’t create the same friction as a metal one would and allows the vinyl to pass through the feed dogs. I prefer this foot for it’s slim profile and the ability to maneuver around more than the clunky Walking Foot. However, the Walking Foot does do a great job with the extra set of feed dogs to help shift the vinyl through. Other machines may have leather/vinyl specific feet as well with rollers. I don’t have these with my Juki and can’t speak to them specifically. Relieving presser foot pressure (if available on your machine) will also help reduce friction.
  • Grab some Washi Tape – If you don’t have any of the feet mentioned above, you can try to use washi tape (available at most craft stores) and adhere it to the bottom of your regular foot. I use this method with my zipper foot (pictured above) since I rarely have the need for a Teflon one. I will caution that you do need a higher quality tape where the sticky side remains where it’s suppose to and doesn’t transfer to the non-sticky side. $1 bin tapes are usually like this and if you have any tackiness on the right side of the tape, it pretty much negates it’s use.
  • Reduce friction on your Sewing Machine Bed – Some vinyls are stickier than others when moving across the painted table of your sewing machine. (It glides over smoothly on the bare metal plate.) You should test how the vinyl glides against your machine before starting. If there is quite a bit of sticking, I recommend detaching the extended table and/or laying down several pieces of washi tape on top of it. This will allow the vinyl to glide a bit more. You may also have to lift the vinyl as you sew to avoid contact with your machine, working a few inches at a time.
  • Use Regular/Sew-All Polyester Thread – You want a nice strong thread with the vinyl, but you don’t want anything that is too thick because it will create more rubbing. This is the same if sewing with faux or real leather. There is more friction when you use a thicker thread and although you can also switch to a larger needle, sometimes you just can’t get a needle large enough and will end up with skipped stitches.
  • ALWAYS use a Brand New Sharp Needle – Since you are puncturing plastic, a brand new needle is essential. If it is dull, this can effect timing and can lead to skipped stitches.
  • Practice sewing on scraps – Vinyl will leave permanent holes, so it’s important to get your tension and stitch-length right before sewing. As you increase thickness, you may also have to increase your stitch-length to compensate.

As for the care of vinyl, it is always a good idea to keep any type of it away from prolonged sun exposure. This will keep your vinyl the same color as purchased and keeps it malleable. You can use a damp cloth to wipe away messes.

Now that you have the tips and tricks down, are you ready to sew with vinyl? All of the clear vinyl bags in these images are 12 gauge clear from JoAnn Fabrics (aff link.) If you stop by the store, you can ask for swatch samples in the other gauges. You can also order clear vinyl from Fabric.com (aff link) which ships to many countries. If you are into some of the specialty vinyls, I LOVE Sew Hungry Hippie’s shop (aff link.) This is where I bought the rainbow vinyl in the pictures above and I’ve been eyeing up all the glitter offerings.

You can grab the Emma Stadium Bag digital pattern here for your first clear vinyl project 😉

Hugs and Stitches,

Cristy


This post may contain affiliate links. You can read my full disclosure here.