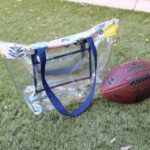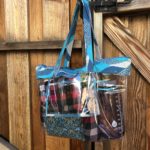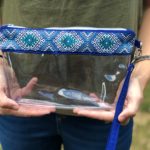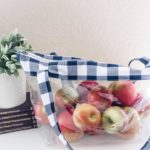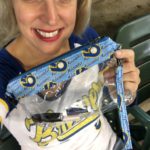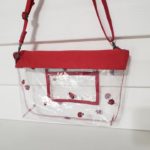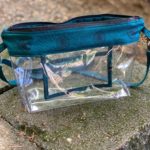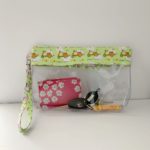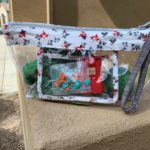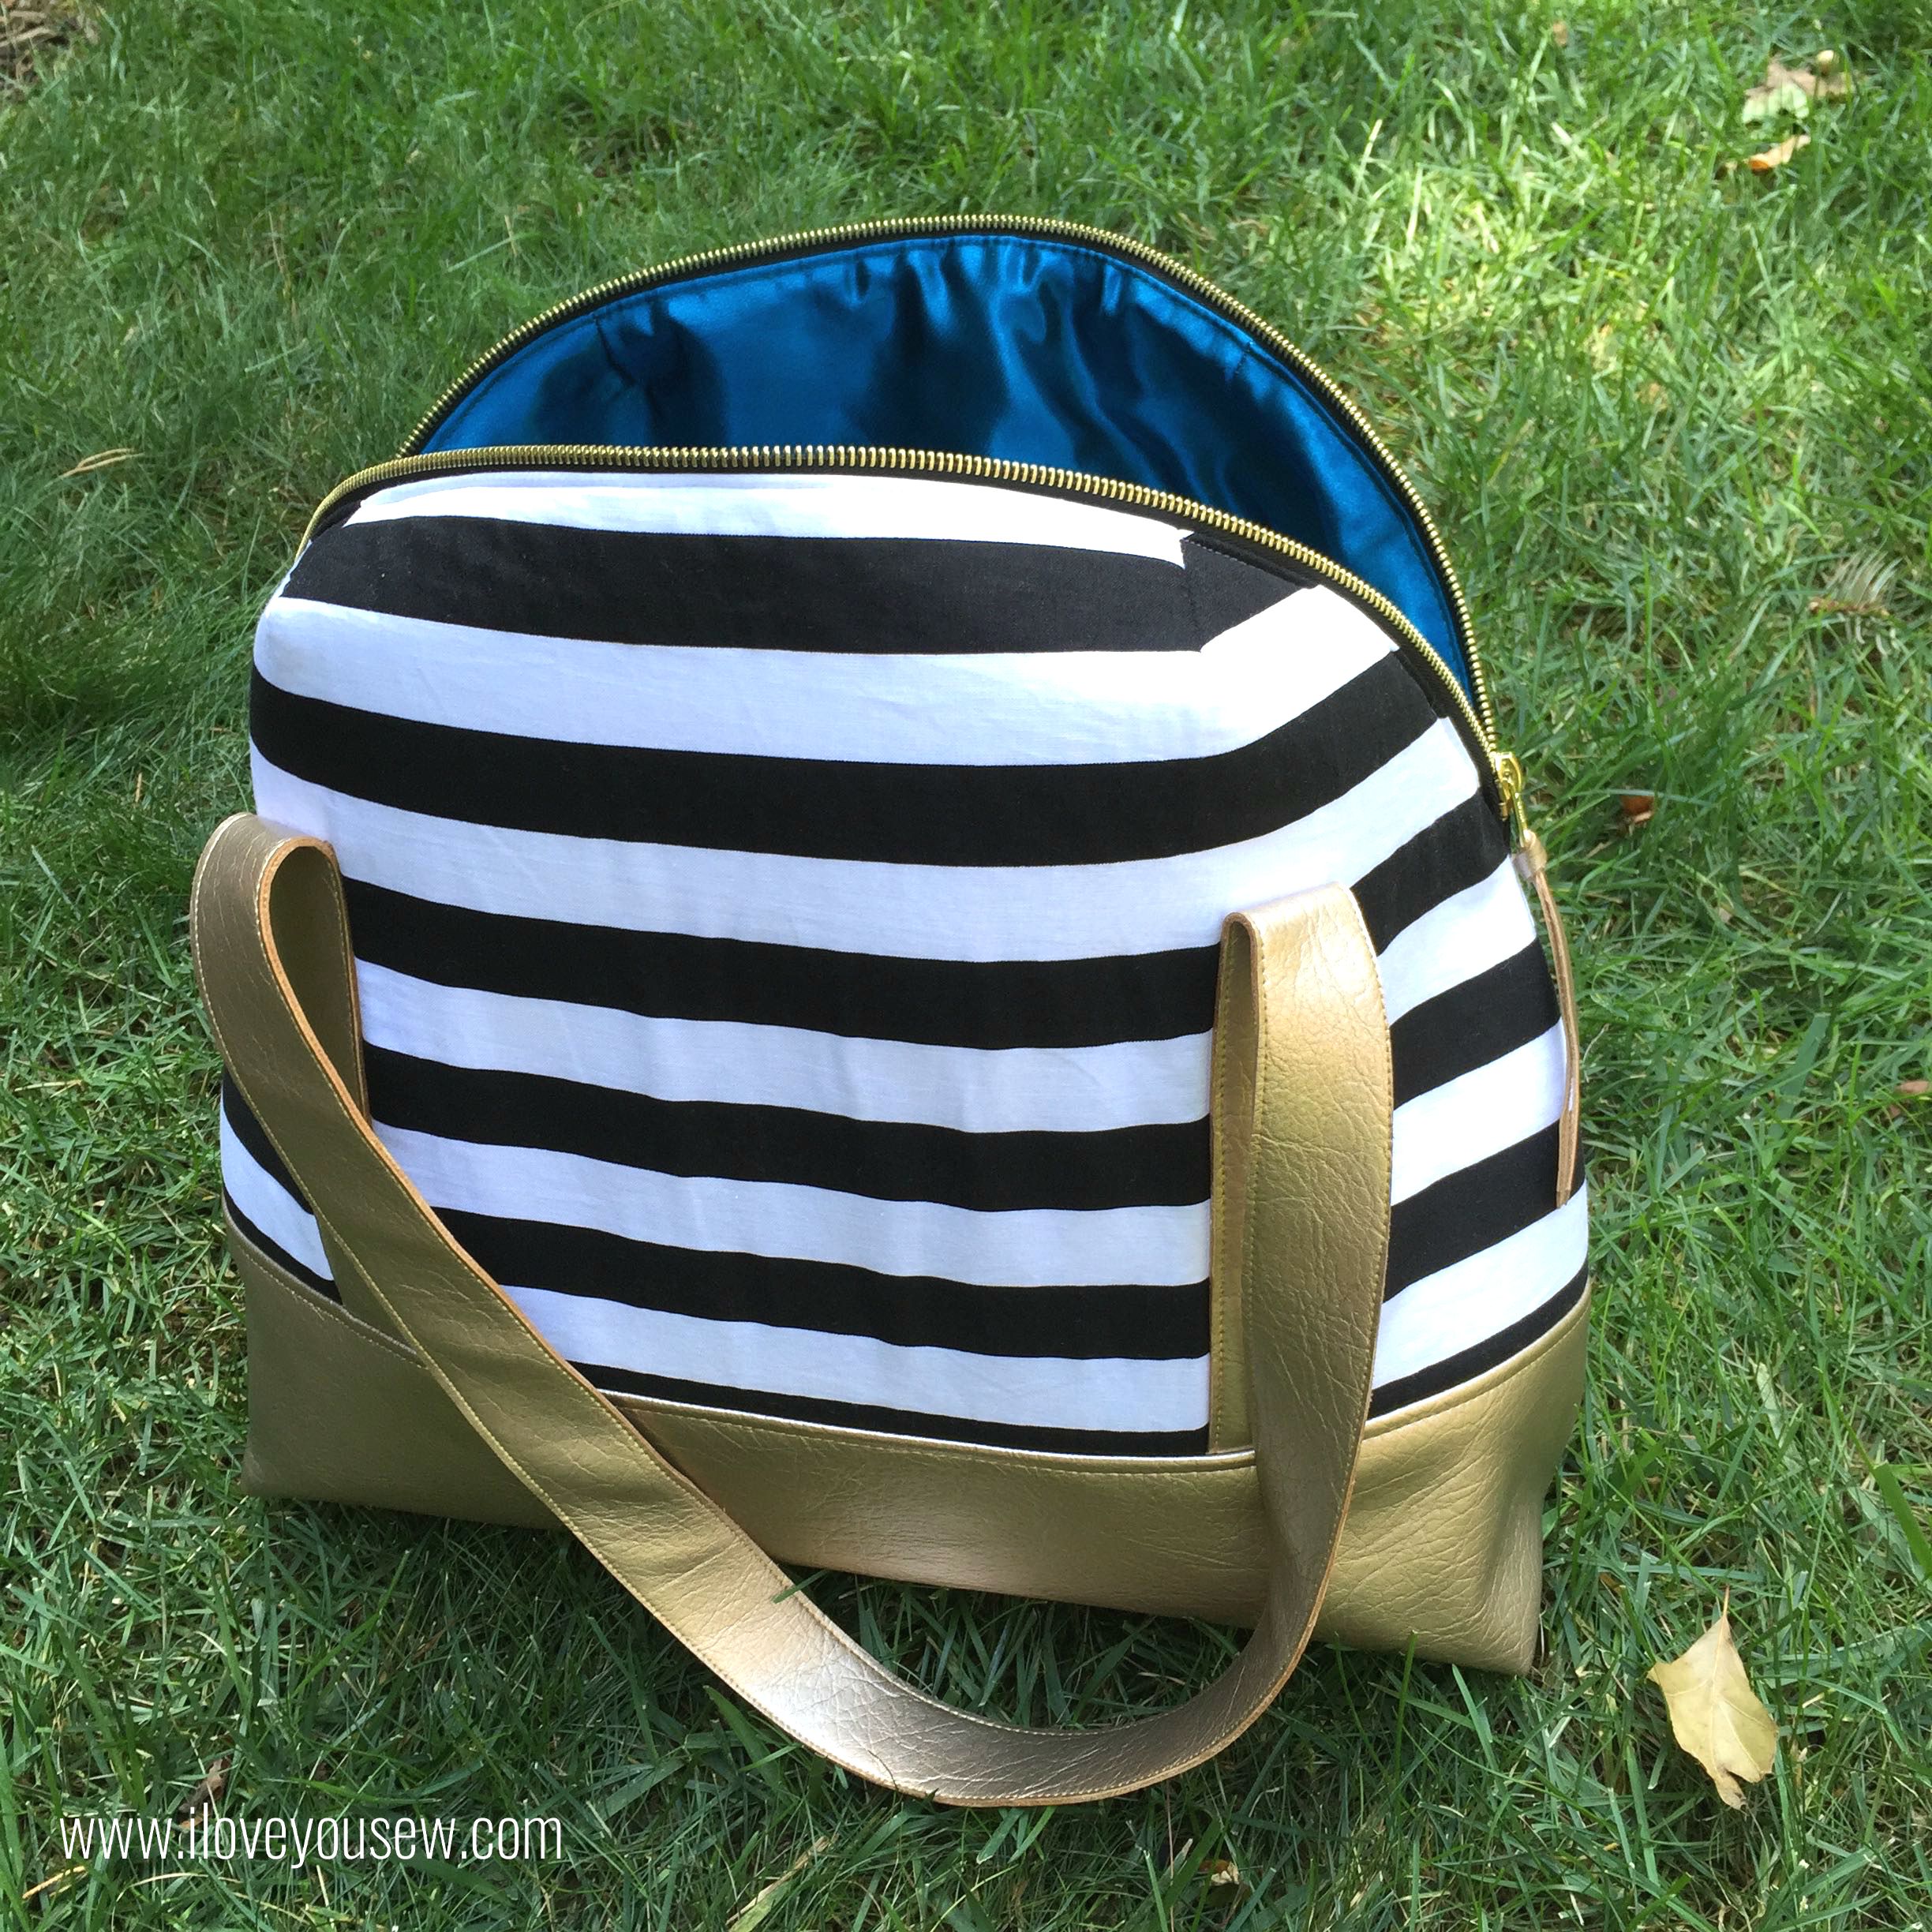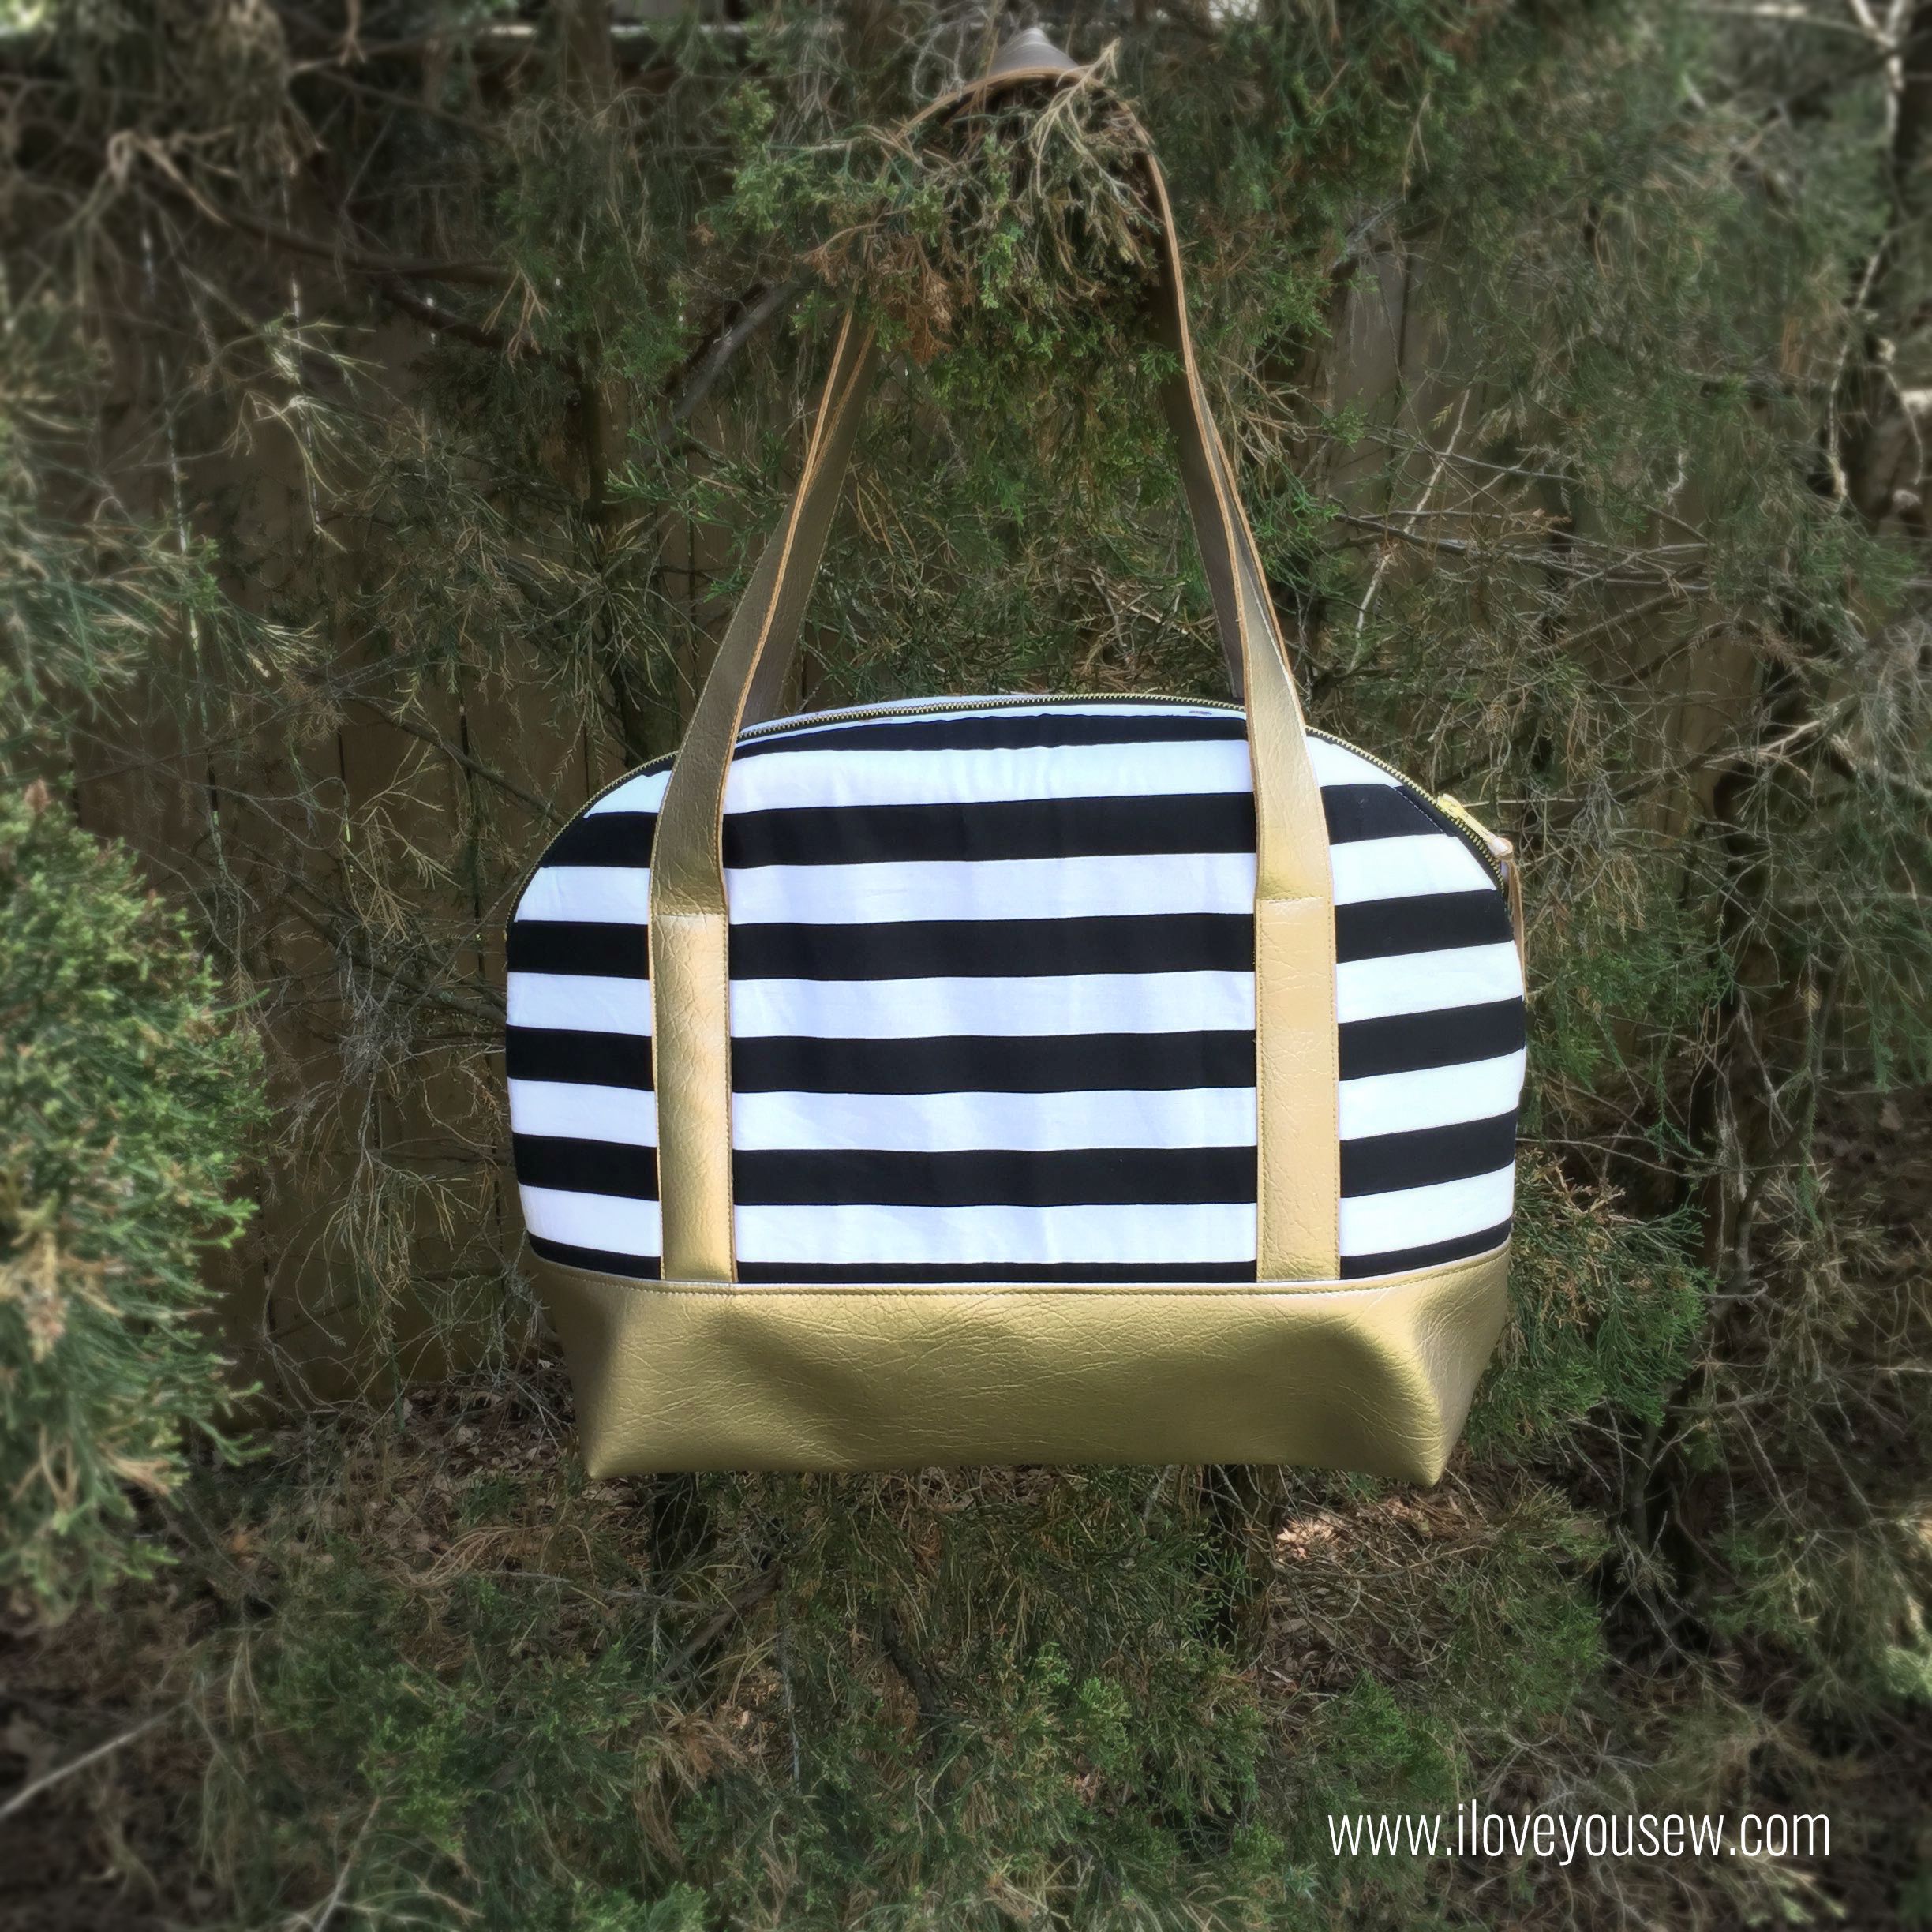
Emma Stadium Bag by Love You Sew

The Emma Stadium Bag – Intro

Emma Stadium Bag by Love You Sew

Right before I left for a college football game last year, there was just something that made me check the stadium’s bag policy, even though I’ve attended games at the same venue for years.  Thank goodness I did because it turned out, I couldn’t bring in the bags I always used to!  I could either bring in a small wristlet that couldn’t even fit my phone, or opt to bring in a clear bag to accommodate more of my stuff.  With this game being out of state and lots of walking around the campus, I knew I had to bring a clear bag.  With some remnant vinyl and scraps of canvas from my stash, the Emma Stadium Bag was born.
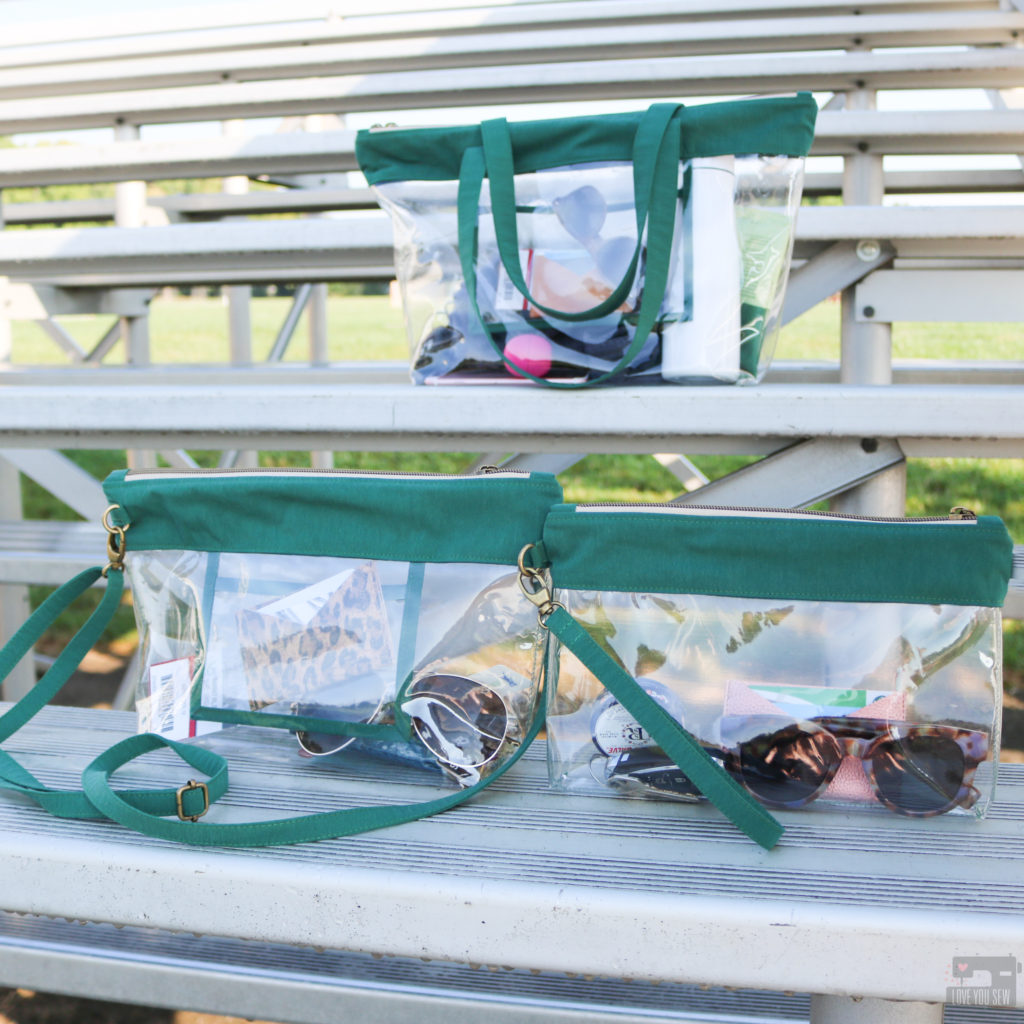
At first, I didn’t think this bag would be a pattern.  It was a just a quick late night project based on need rather than want.  But with public safety on the forefront of large gatherings, there has been a continuous change of bag policies across other public venues and schools.  We are seeing the need for more and more clear bags to ensure safety for all.  Even with this movement, I know us, bag-makers still love to add our own personal spin to a make.   We have the power to make things our own and I hope you are able to use the Emma Bag to keep your own style and show off your personality while out and about.
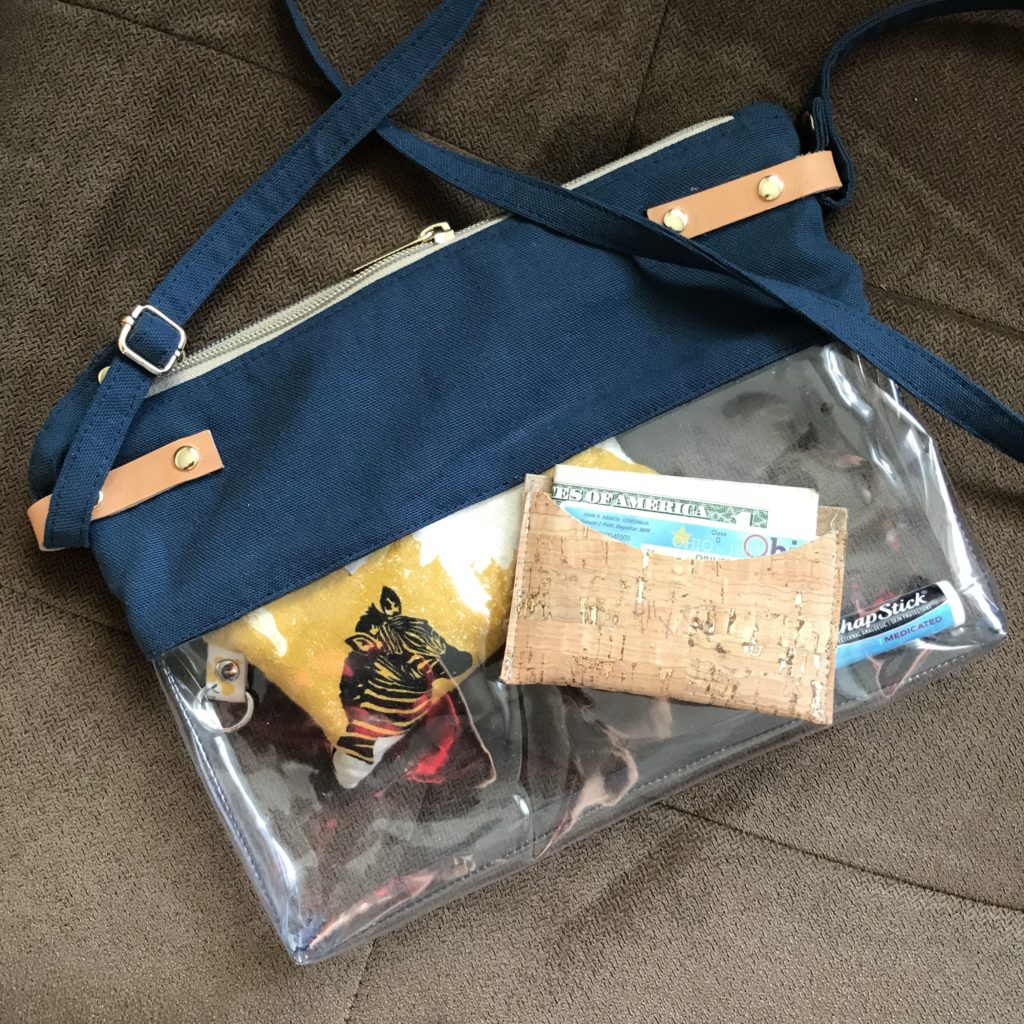
Original from Fall 2018 – I didn’t have the right hardware late & improvised with leather and plenty of rivets

The Namesake
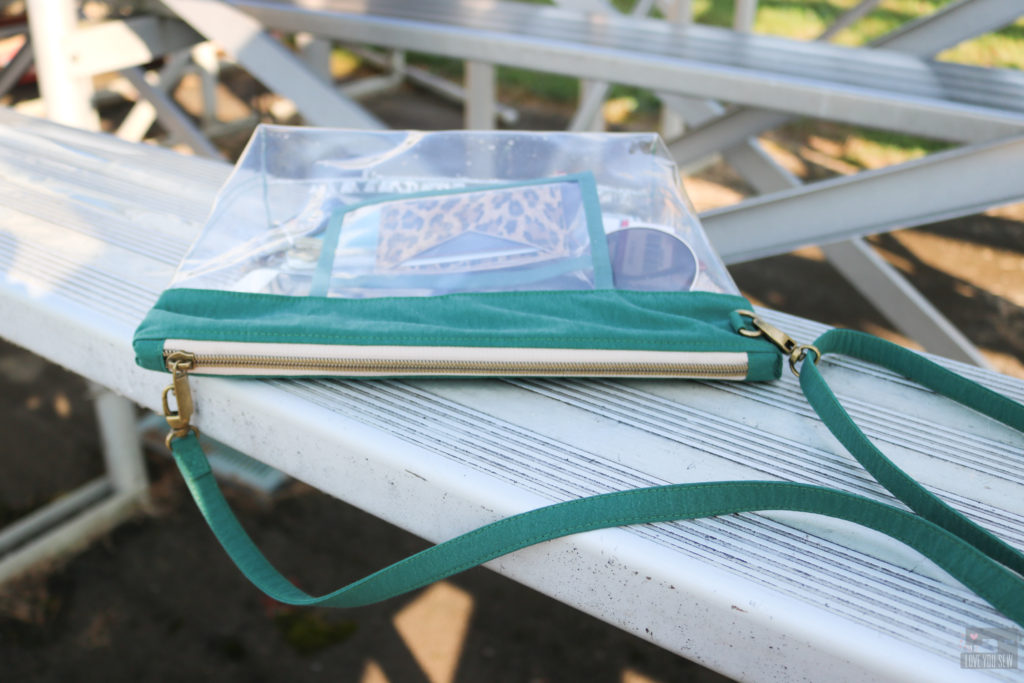
As with all my bag patterns, they are named after one of my eleven nieces.  Emma is the youngest girl on my husband’s side of the the family but she is far from the “baby” of the bunch.  This young lady has so much grit and confidence from being her household’s resident jock.  Emma has played travel, club, and high school soccer which allows her to criss-cross the midwest for tournaments.  She is also an incredibly talented track star, so it’s only fitting that the bag inspired by sports venues is named after my strong and beautiful Emma.

Features
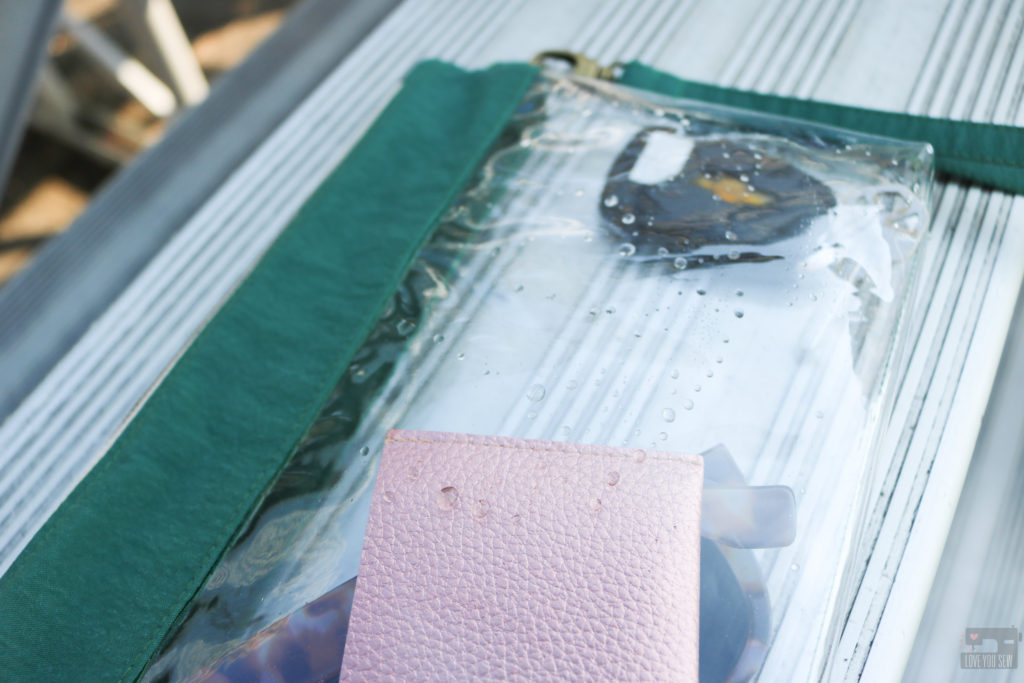
The Emma Stadium bag is based on using clear vinyl as the main body with a fabric zipper top.   This makes the zipper easier to sew on and allows you to use your favorite fabric to stay unique and stand out from the crowd. Not only does the zipper keep your belongings from falling out, it keeps strangers’ hands out too.  It helps protects your phone and wallet from the elements, as well as from that possible beer spill 😐
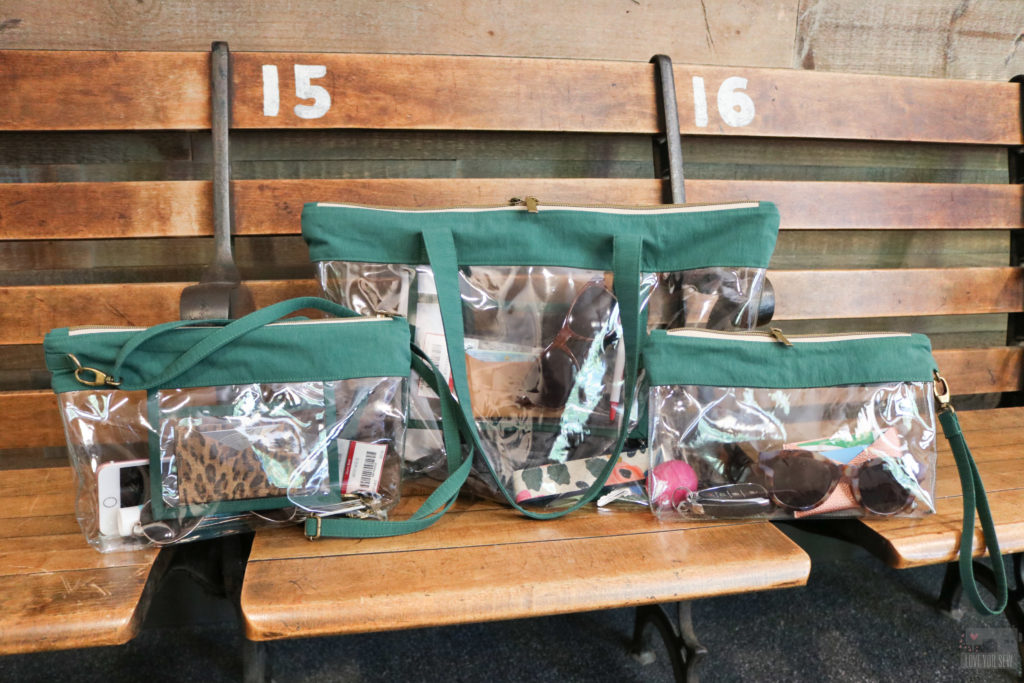
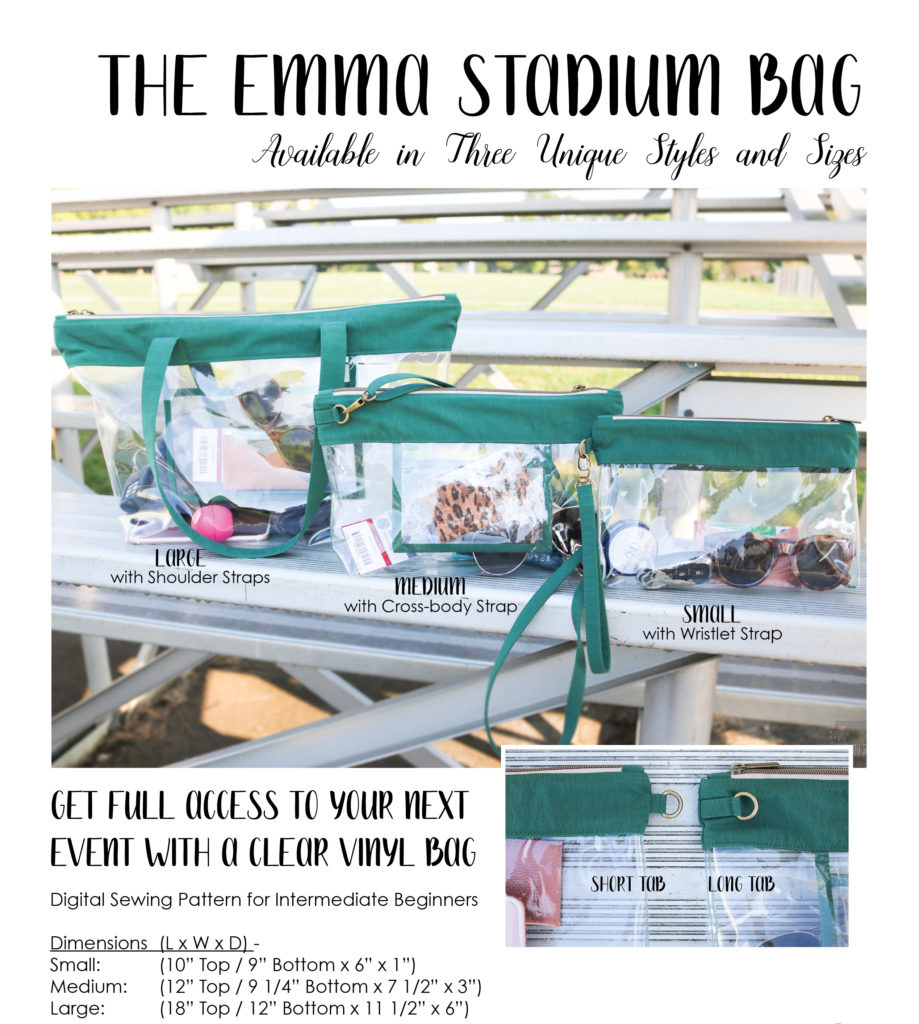
This is my first pattern offered in multiple sizes.  I did a little crowd-sourcing on Instagram and asked all of you about my ideas for this bag.  Initially, I thought I would write a pattern for the maximum sized bag allowed in the NFL – thinking you would want to maximize your space.  But you told me smaller was actually better!  So, I listened hard and have THREE different sizes available for all of your needs.
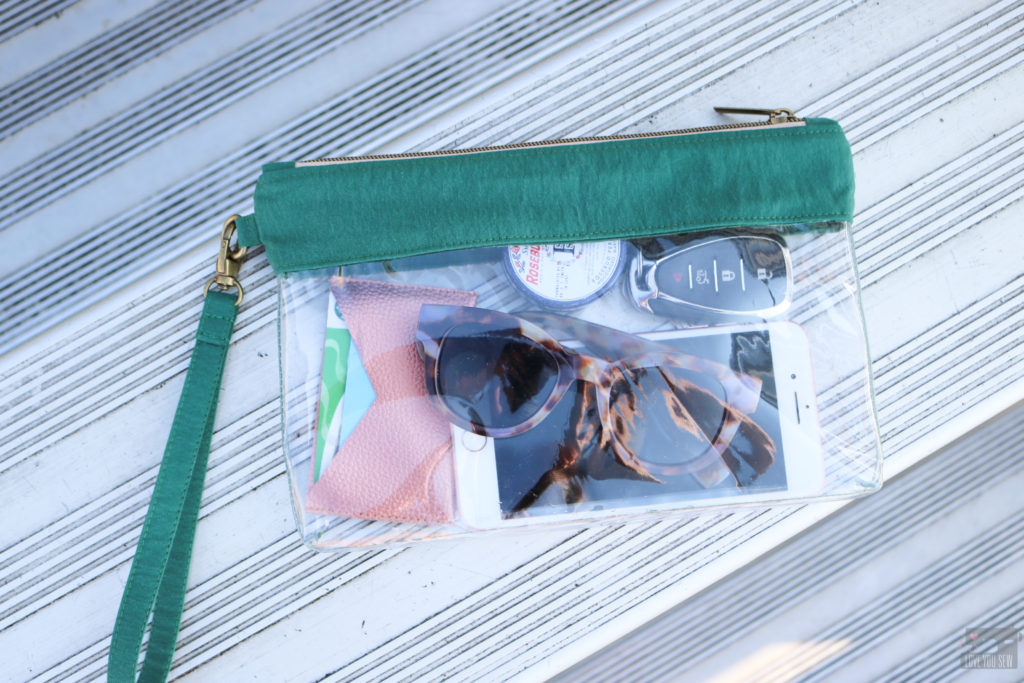
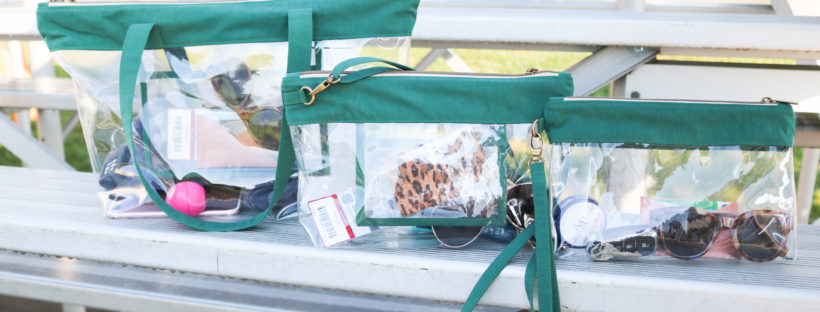
  • Small with Wristlet strap – This size is for the light packer who just needs the essentials.  It fits a cell phone, sunglasses, a small wallet like the Shuffle Cardholder, plus tissues, keys and lip balm.
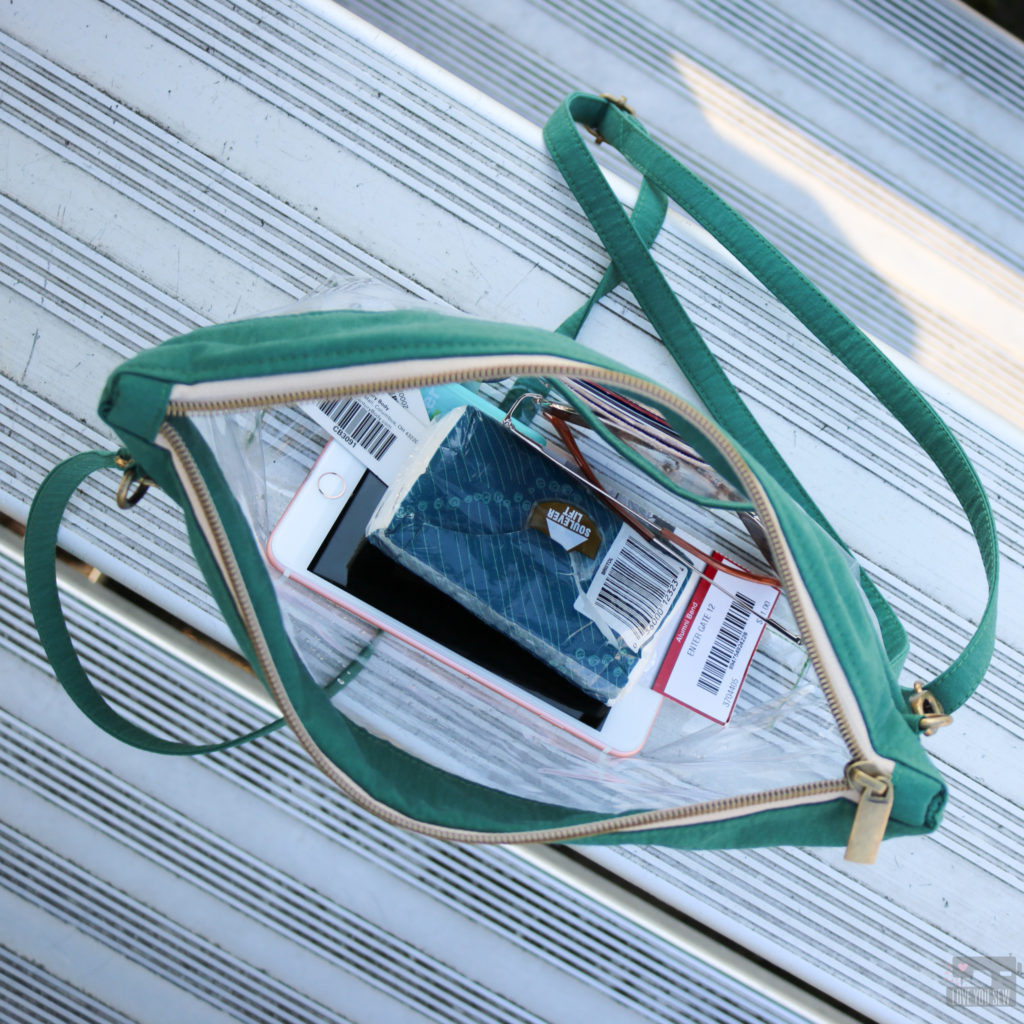
  • Medium with Cross-body Strap- This a great size to hold more items while still having the ease of a cross-body.  You can hold items for a whole day’s worth of activities from tail-gate to the game.  I like this size in colder weather to hold earmuffs, hand warmers, and gloves.
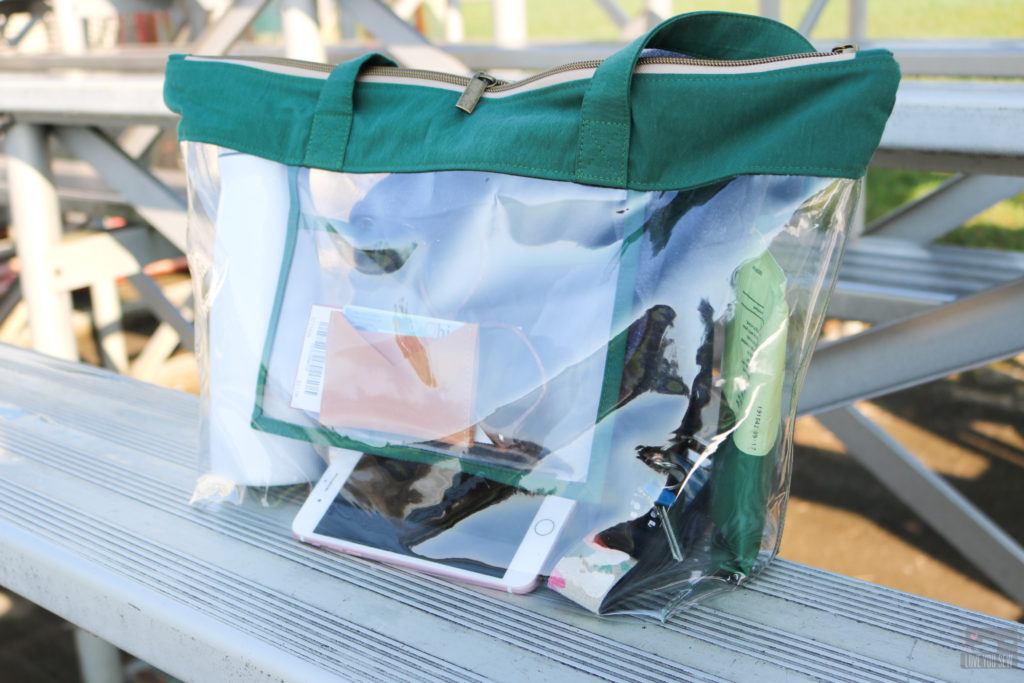
  • Large with Shoulder sStraps- The large bag, will hold the most when you want to bring in all of the above plus an extra sweatshirt or blanket.  It can hold seat cushions and all the game-day merch you want to buy!  *While it does not exactly conform to the NFL/PGA policy.  It IS the same on a volume basis.  I don’t know if you would run into issues, since all security is different.  You can open the zipper when going through security if they ask to measure the bag.
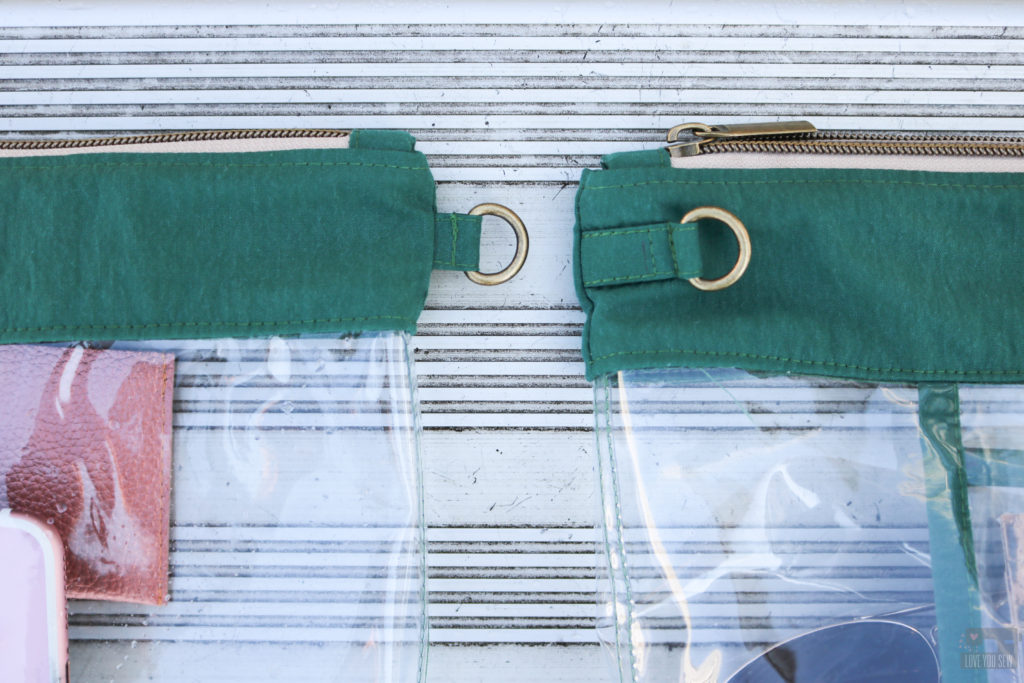
  • Although each size has it’s own instructions for straps, you can mix and match the styles along with two different ways to attach D-ring tabs.  There is a short optional that leaves an “ear” on your bag while the long option sews the tab back onto the body for a smooth side silhouette.
  • Pockets – The medium and large sizes include instructions to include slip pockets for extra organization.  This is perfect for your tickets and slim wallets.
  • Vinyl side seams are sewn down for smooth interior – Your hands won’t be scratched by hanging seam allowances, especially if using a more rigid vinyl.
  • Fabric Zipper Top completely encloses the vinyl body for a clean finish inside and out
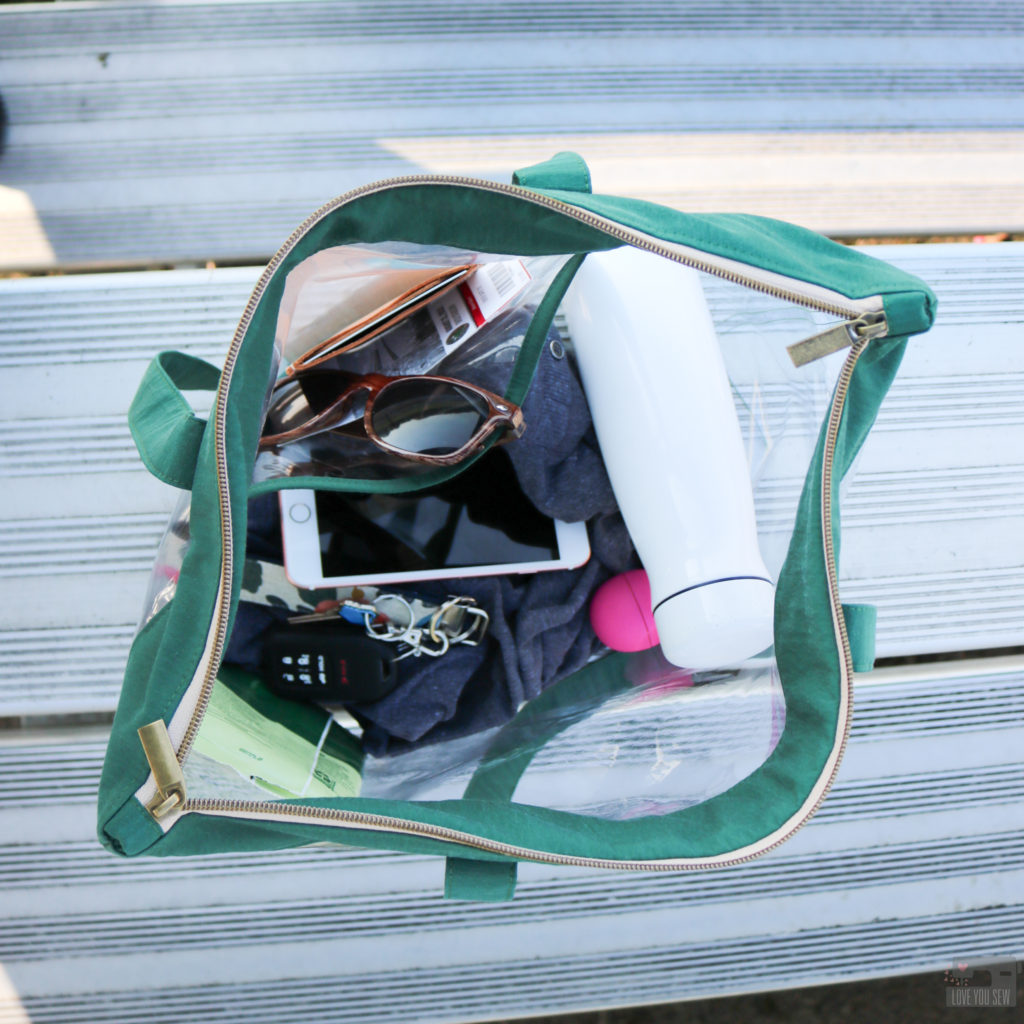
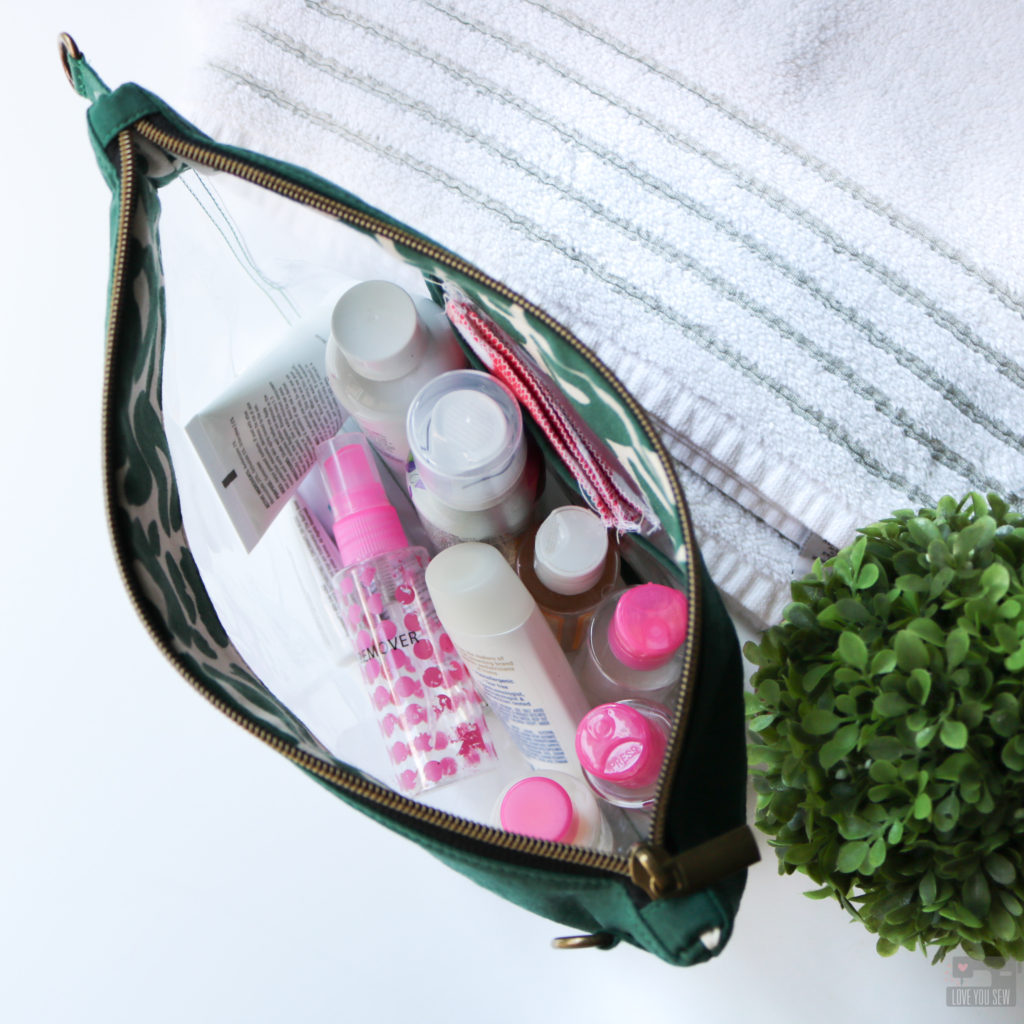
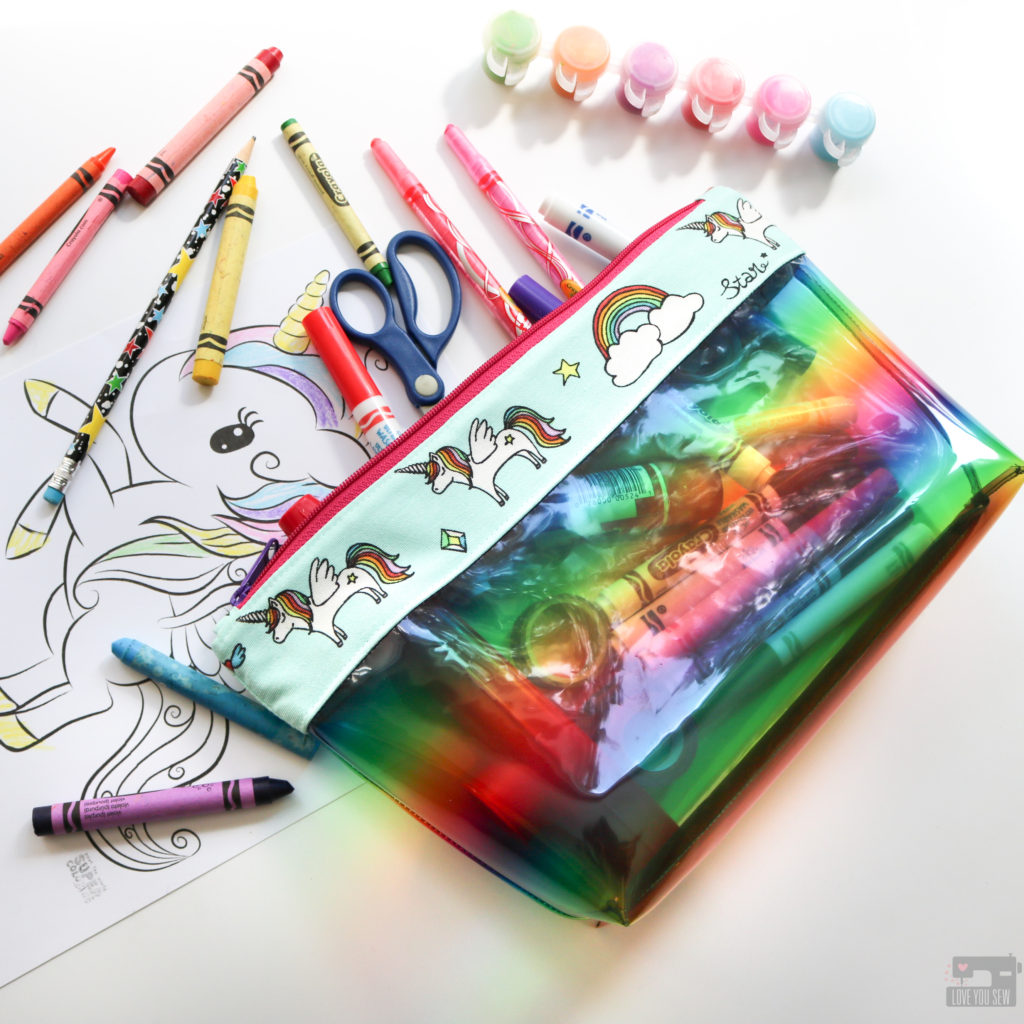
The Emma Stadium Bag is definitely not just for sporting events.  Many concert halls have similar policies and many schools are adopting a clear bag policy.  If you’ve ever worked in retail, there has generally been a clear bag policy to avoid theft.  The large size can double as a school/work bag with its generous sizing.   The medium size makes for a great project bag for yourself or the kids!  It can hold lots of art supplies and you can easily wipe down the sides.  It’s also a great toiletry bag for travel and the gym.  With the TSA a permanent fixture at airports, the small can be used in lieu of all of those quart sized bags – saving the planet and your contents from spillage!
Fabrics

The body of the Emma Stadium Bag is about 2/3 vinyl, so there is not much fabric involved to make this bag.  The zipper top was designed to use Quilt Cotton and other similar weight woven fabrics.  This allows you to use your favorite fabrics and customize each of your makes.  All of my examples are using a waterproof lightweight canvas which makes them great for the outdoors and for my traveling adventures with the family.
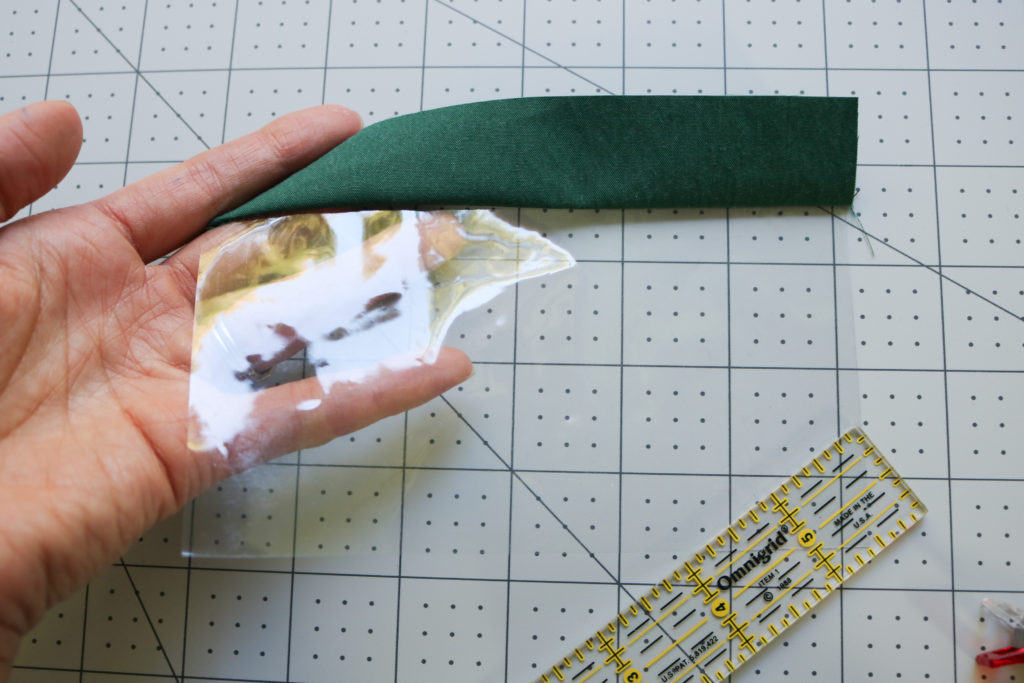
Vinyl thickness is measured by gauge number – with the smaller number being thinner compared to a larger number.  A 20 gauge will provide a more rigid bag, but a 12 gauge is easier to sew and more pliable when trying to manipulate your bag under your sewing machine.
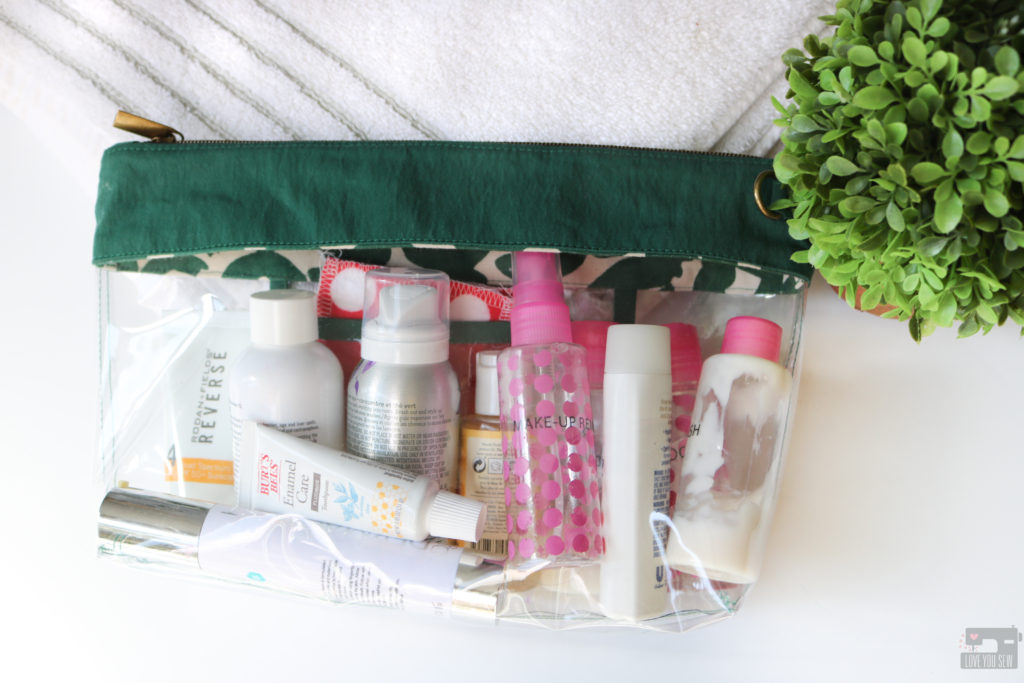
Supplies

Tester Inspiration

Check out all of the amazing tester versions of the Emma Bag.  I love their uses of different fabric and how they decided to use their bags.  Click on each image to find the maker on Instagram.

I hope you enjoy making the Emma Stadium Bag as much as I have loved designing it!  You can find other examples of the bag by following #EmmaStadiumBag and find my other patterns with #LoveYouSewPatterns.

Hugs and Stitches!

Cristy


This post may contain affiliate links.  You can read about my Disclosures here.
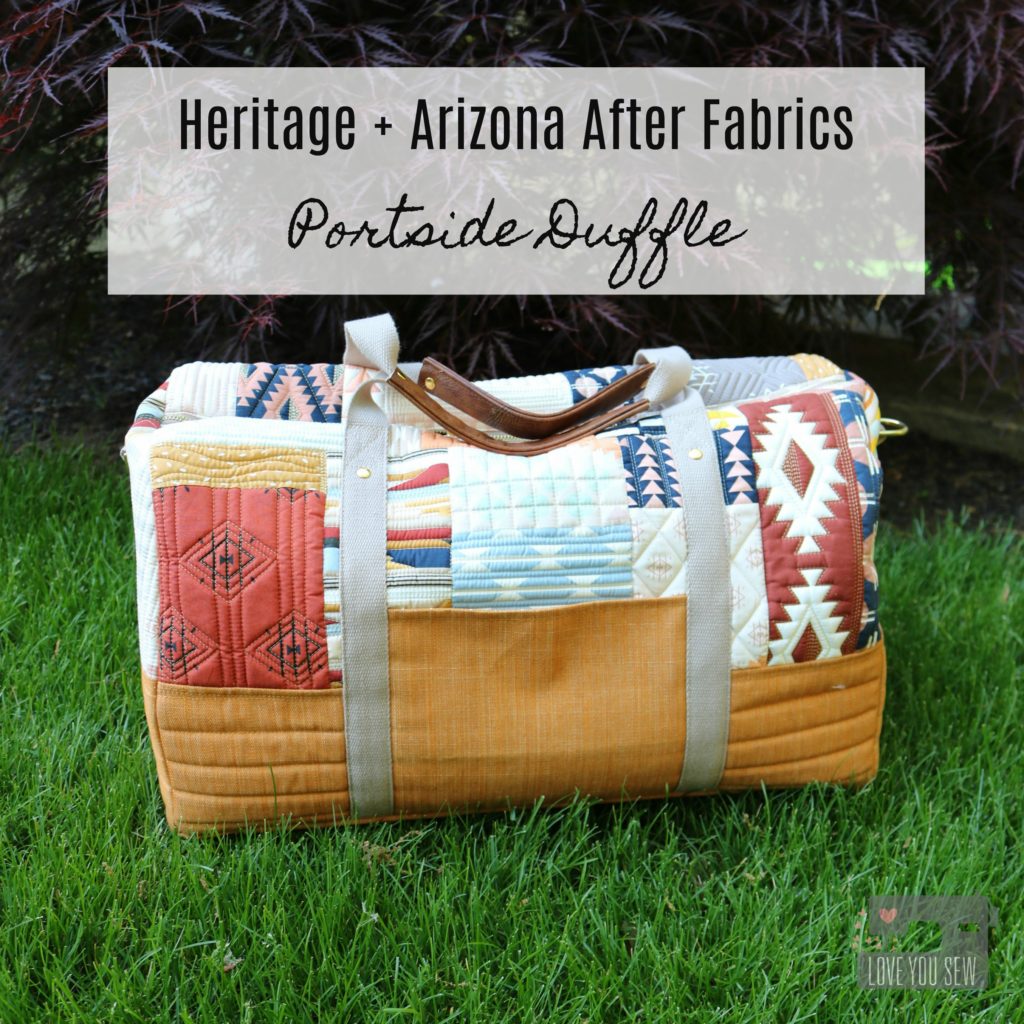
Heritage and Arizona After Fabrics :: Portside Duffle

April Rhodes has done it again.  She has just dropped not one, but TWO new fabric collections with Art Gallery Fabrics.  Arizona After is a gorgeous extension of April’s inaugural Arizona line with some new prints and some recolored with soft dusty pink and blues along with some deep rust and mustard.  The color combos she puts together are always so striking.  Heritage fabrics consists of garment focused substrates…including the new RAYON.  With April’s clothing patterns, she has always been a designer who knows scale for the quilters and the garment sewist alike.  It’s the perfect collection for the me-made makers!

Beyond the fabrics, April’s inspiration for the collections is just so touching.  The way she talks about her family and memories of her father and grandmother is just pure love.  Truly awesome. I love how a lot of the designs were just a part of April’s everyday life and over time, have been permanently imprinted in her head.  To bring these images to life brings so much light to her eyes and it’s been amazing to witness it all. These fabrics are just gorgeous and I’m happy she’s shared them with all of us….because whoa, right?!?

When I was asked to make a bag for April’s Spring Quilt Market Booth, I (of course) agreed.  She has become a dear friend and I will always help her, as she has helped me in so many ways.  April asked me to make a larger duffle and suggested a quilt-as-you-go method for easy patchwork because with Market…comes some tight deadlines.  I got to immediate work, but quickly realized I had to Turn. It. Up.

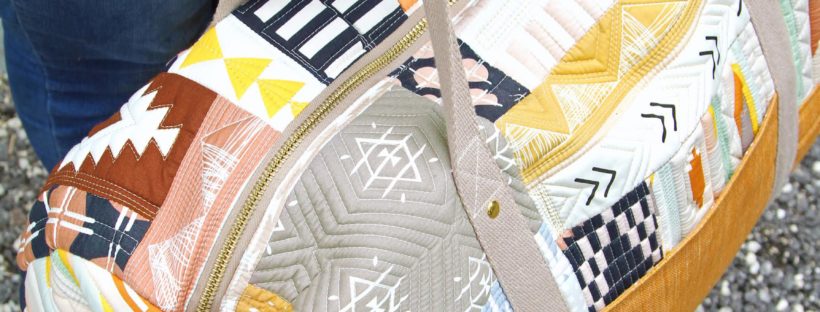
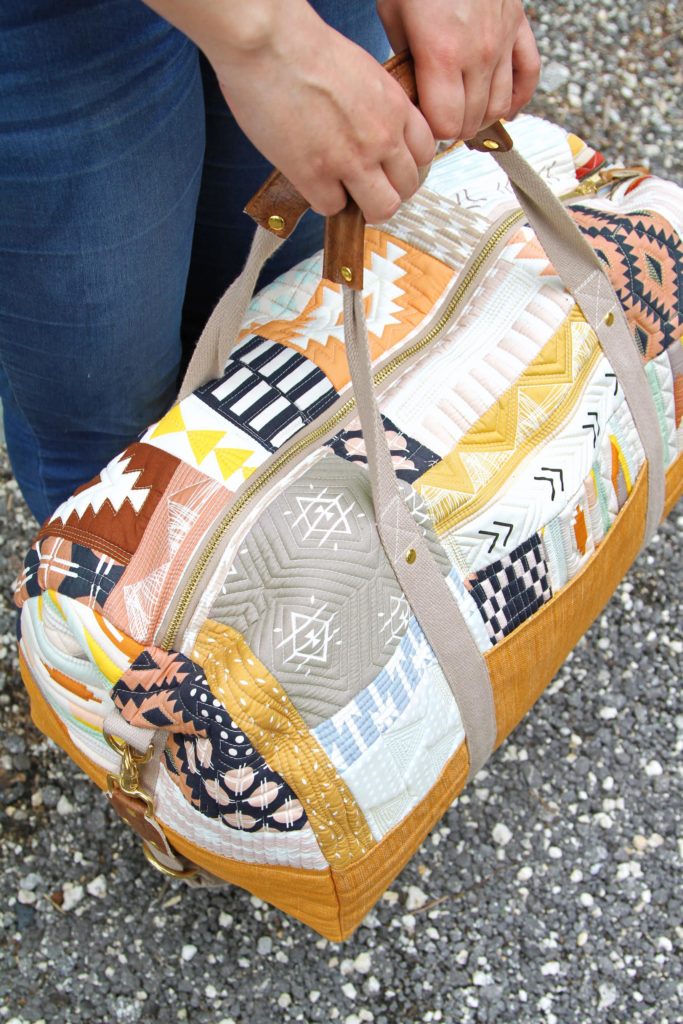
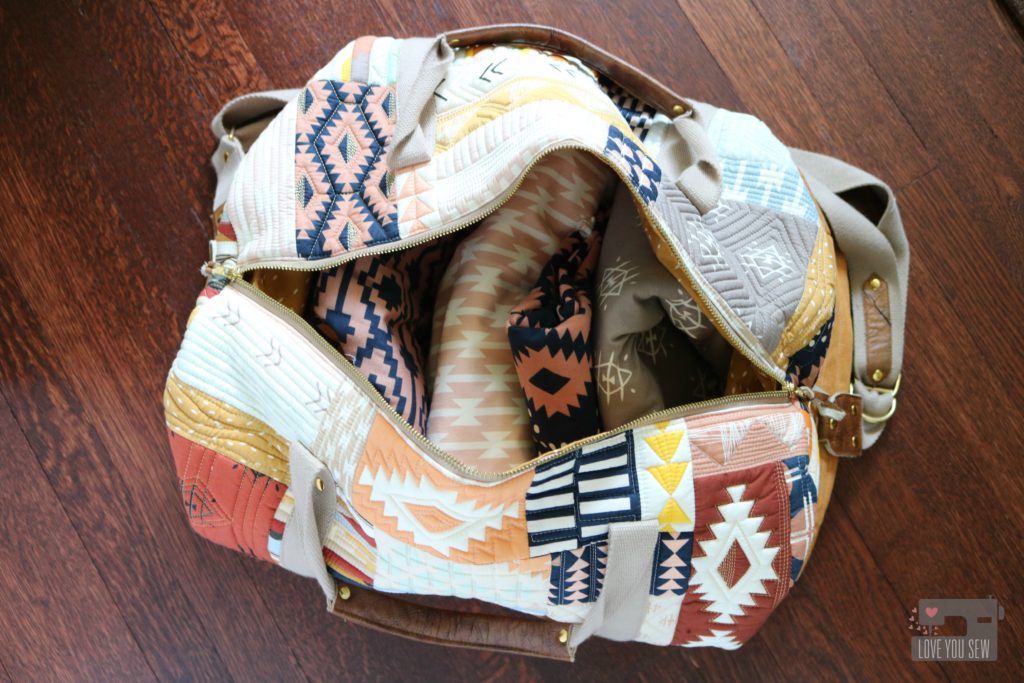
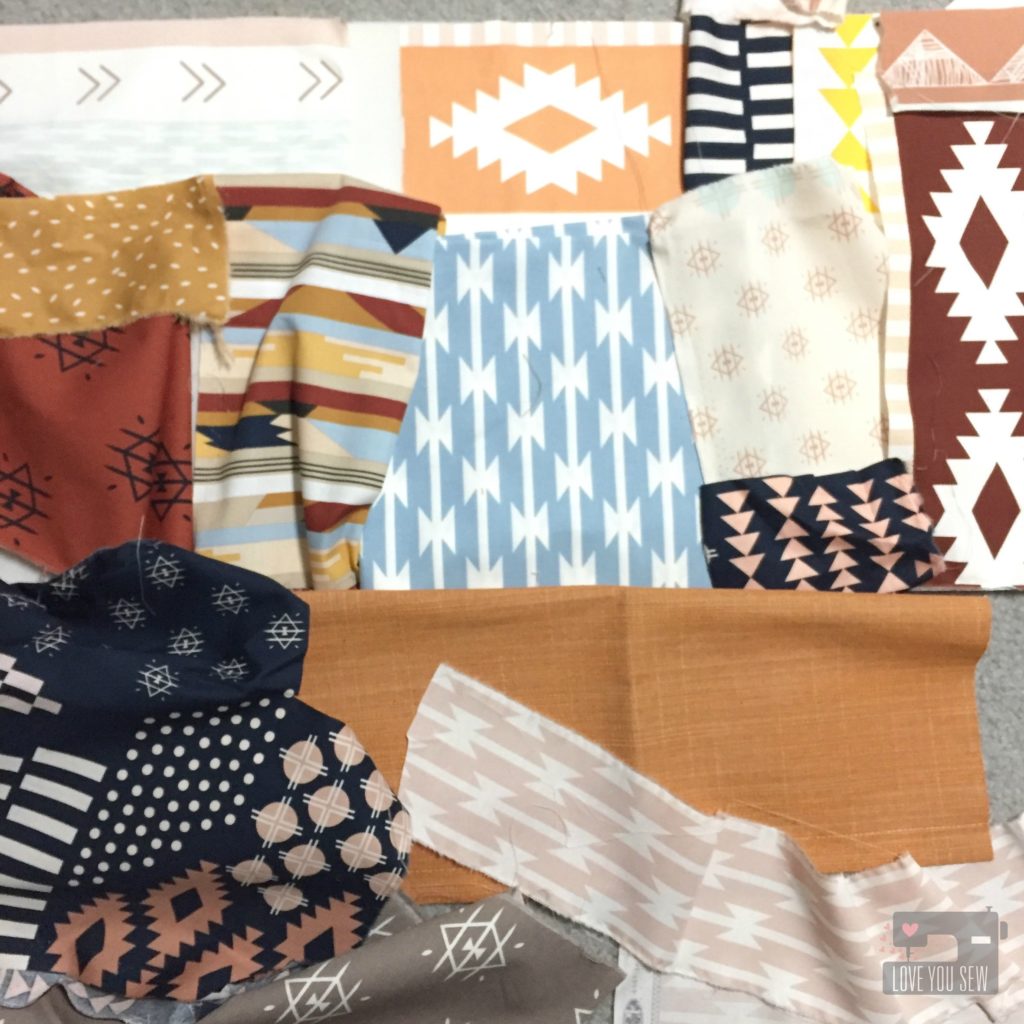
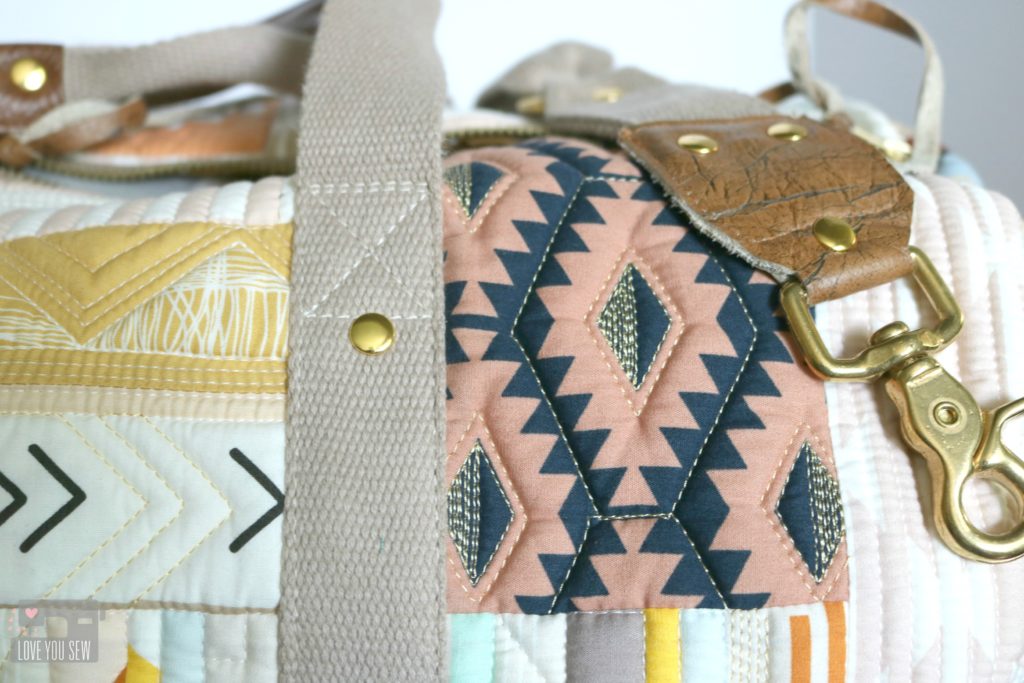
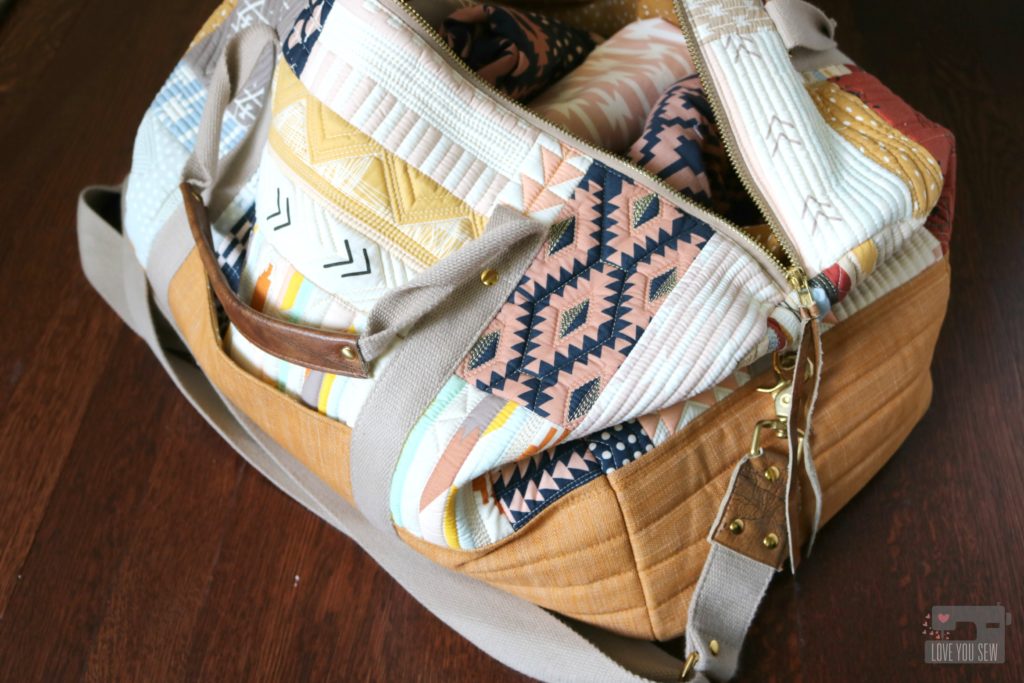
All 14 quilt cottons in the Arizona After collection was used to make the Portside Duffle Bag by Grainline Studios.  It’s the perfect bag to showcase these fabrics with all that surface area.  I loved playing with all the color combos while mixing and even deconstructing, some of the prints.

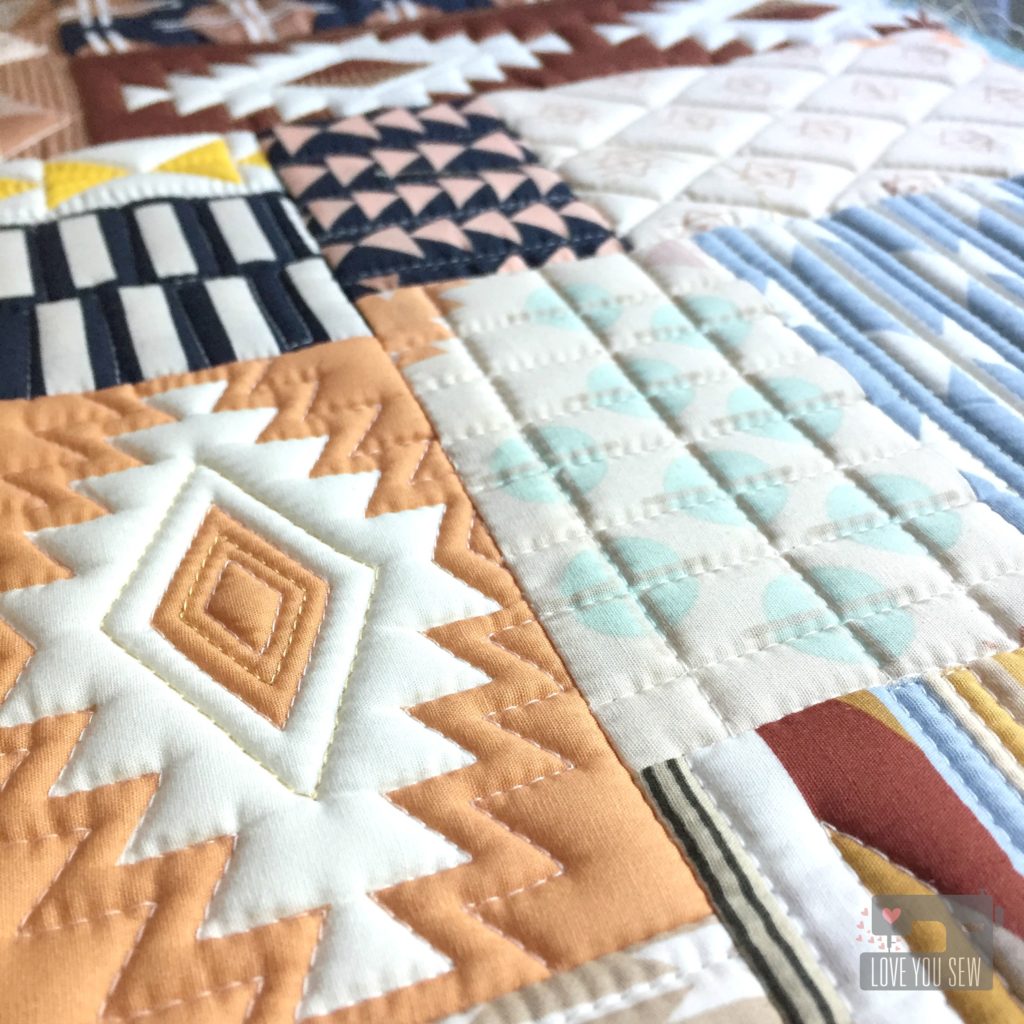
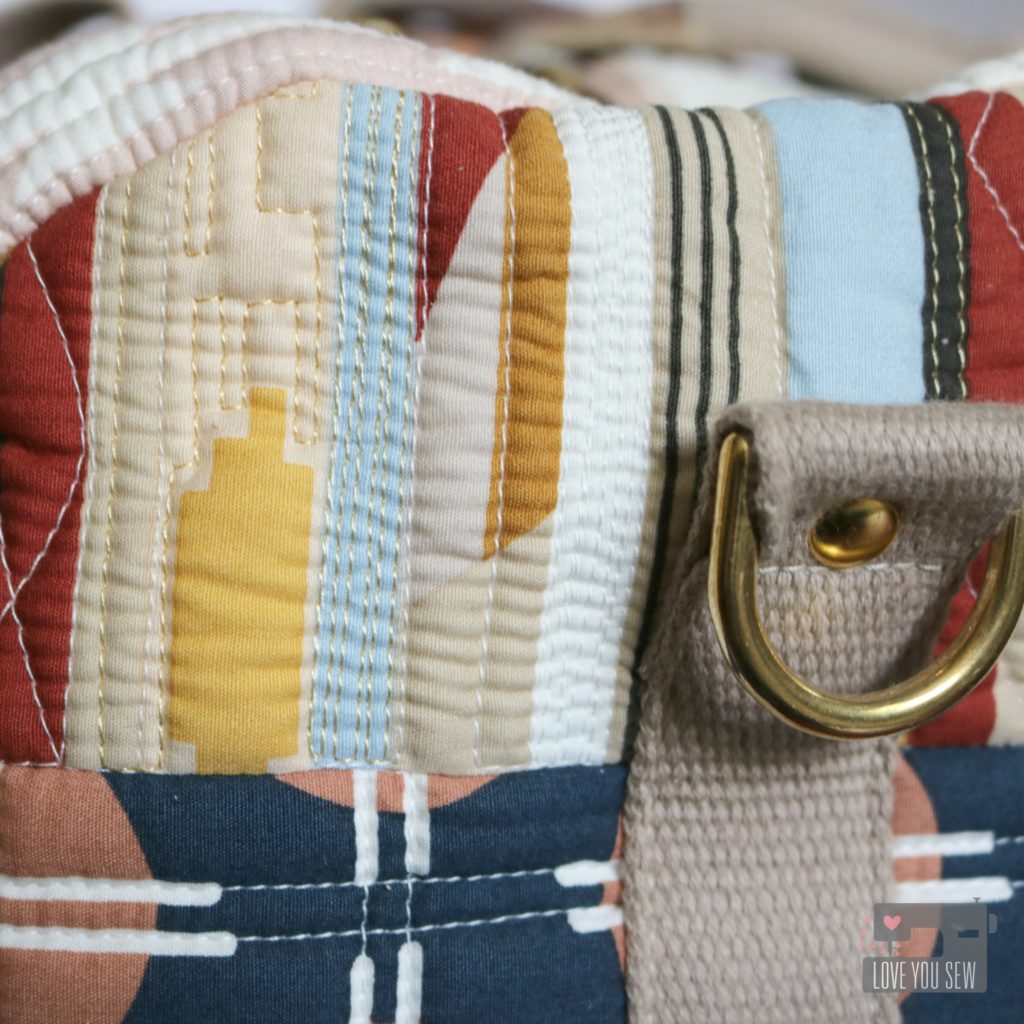
Once I started to quilt with my walking-foot on the Soft and Stable, that texture just got me.  I knew I had to add more and more quilting…and change up the designs with each print. Then it dawned on me….ooooh, metallic thread would be A-mazing with this palette.  The gold really brings out the colors and I’m so happy with how it turned out. TIP: Cut a larger piece of soft and stable than the pattern requires. Quilt and then cut to size. Don’t forget to baste those edges!

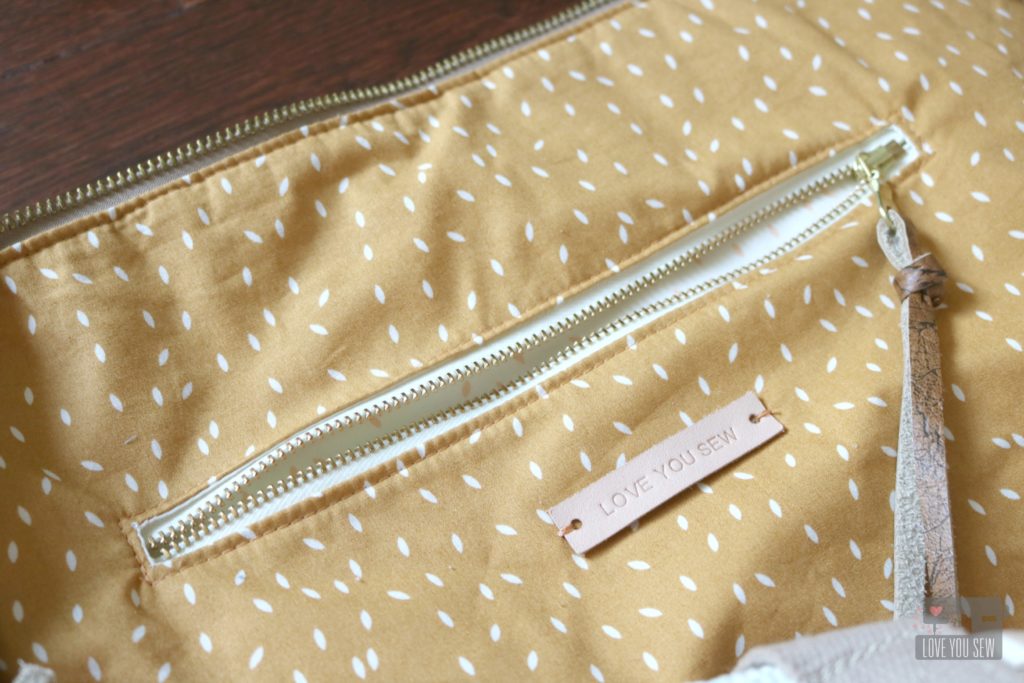
Art Gallery’s textured denim in Canyon Sunset was the perfect complement to Arizona After and is a nice durable fabric for the bottom accent of the duffle bag.  On the inside, I used the Scattered Wood print and added an additional zip pocket…because we can always use some extra pockets.  I love the look of brass zippers and with the gold thread, this combo obviously had to happen.

For more texture and to turn this bag up another notch, I used hardware from ARmercantile combined with some leather from my sacred stash.  Guitar-inspired bag straps are popping up all-over the place and I just had to add that look to this duffle.  The added rivets bring out more of the brass and help round out the look.  Who says a quilted bag can’t be modern and on-trend?  I love being able to combine my love of quilting with my love of bag-making….and the gorgeous fabric definitely helps.  Thank you Arizona After for the inspo!

Make sure to check back on April’s blog and Instagram all throughout July for the up-to-date info on the Blog Tour.  Next up will be an Instagram loop on July 5th and I heard there maybe prizes involved 😉

Last, but not least, don’t forget to tag #heritagefabrics and #arizonaafterfabrics with all of your makes.  I can’t wait to see all of them!

Project Summary:


Fabric and pattern for the Arizona After + Heritage Blog Tour was provided.  There are affiliate links in the Project Summary.


Chalk and Paint Fabrics Blog Tour {Crimson and Clover Traincase}


Traincase Full Profile A

Welcome to the kick-off for the Chalk and Paint Fabrics Blog Tour!  I am so happy to share my project with these new Art Gallery fabrics with you.  Sew Caroline has quite an amazing line-up ahead for the next few weeks and I know each blogger will have something amazing with Chalk and Paint.

Logo-PNG2

I have been a long-time admirer of Sew Caroline‘s garment patterns (umm..hello, Kimono Jacket..here and here…)   It is no exception when it comes to her fabrics.  All of her collections are youthful and so fun.  But this newest line has a more muted pastel palette, which I just adore!

Traincase Top

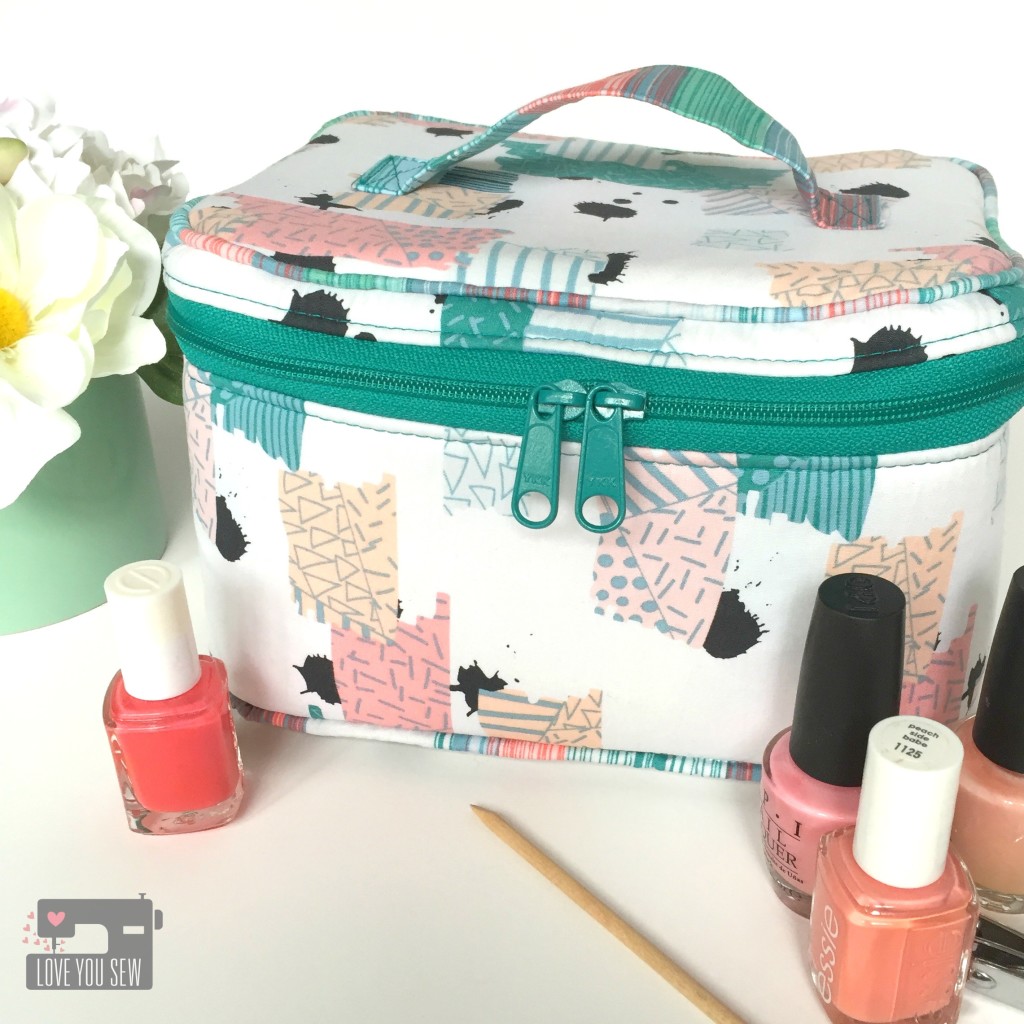
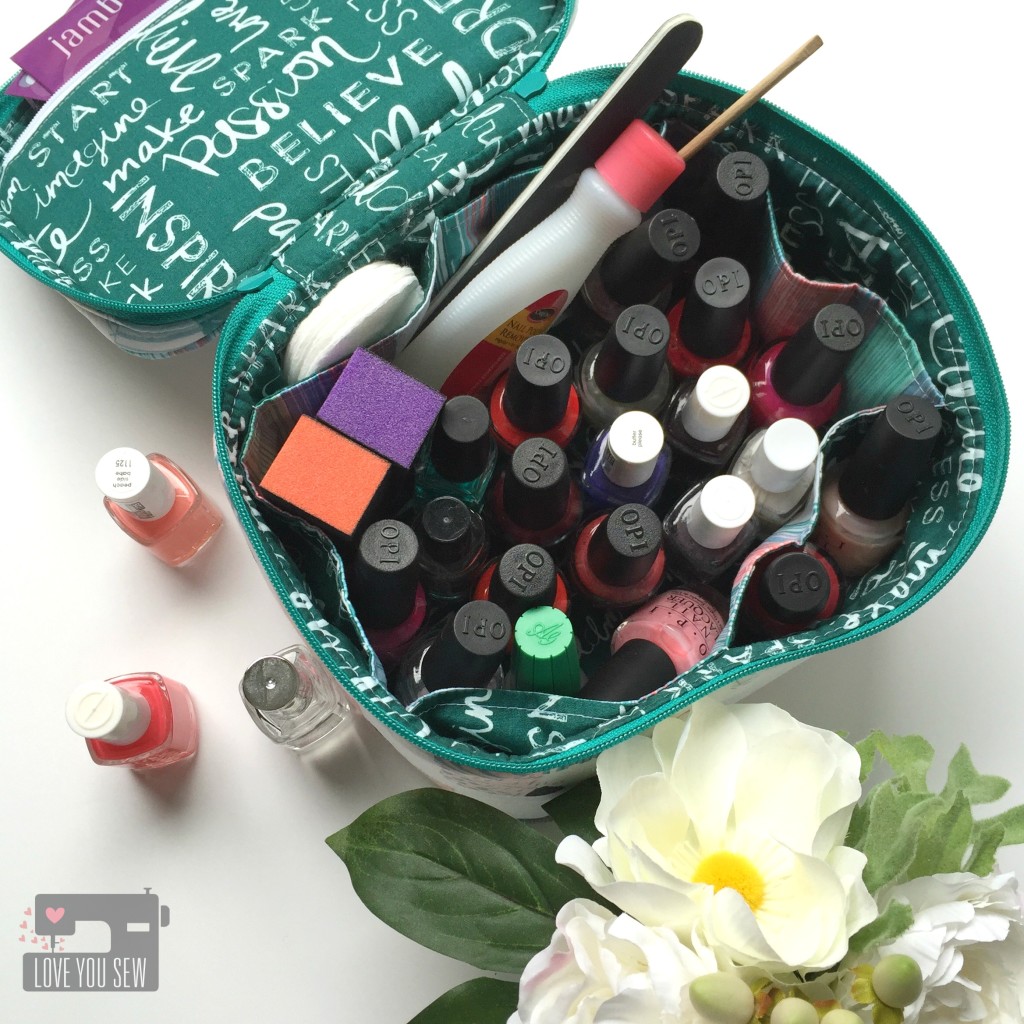
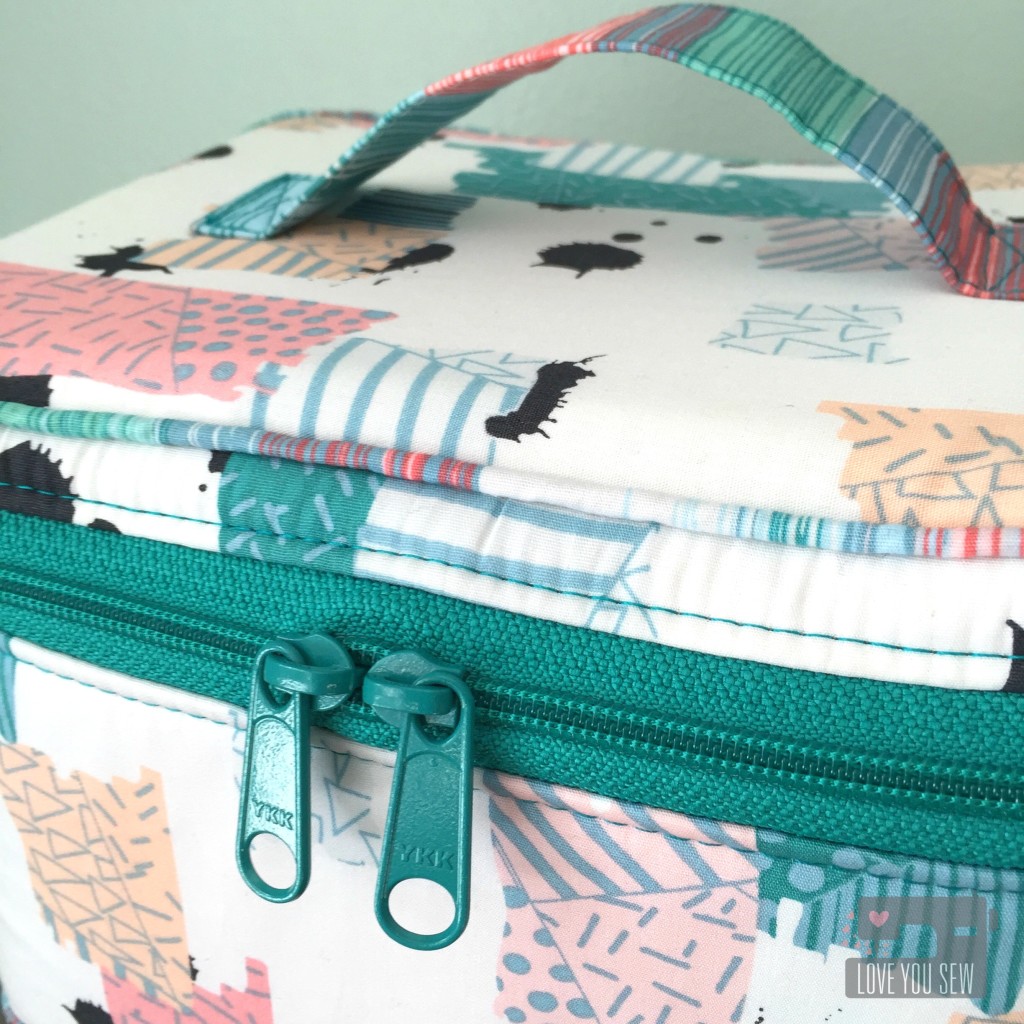
When I saw Untaped Splatter Frost, I knew it was going to be my next Crimson and Clover Travelcase (pattern by Sew Sweetness.)  I love this case because it holds everything…and it’s not even the larger size.  The interior side pockets are so nice for organization and lord knows I need all the help I can get!

Traincase Open Full Polishes

As I was sewing this bag, I realized why I put the two together….it was my sewn version of a Caboodle!  This exterior fabric has an 80’s vibe and being the child of immigrant parents, I never had one.  “What..a shoebox wasn’t good enough to hold your junk?”  They never understood the need for adolescent acceptance…haha.

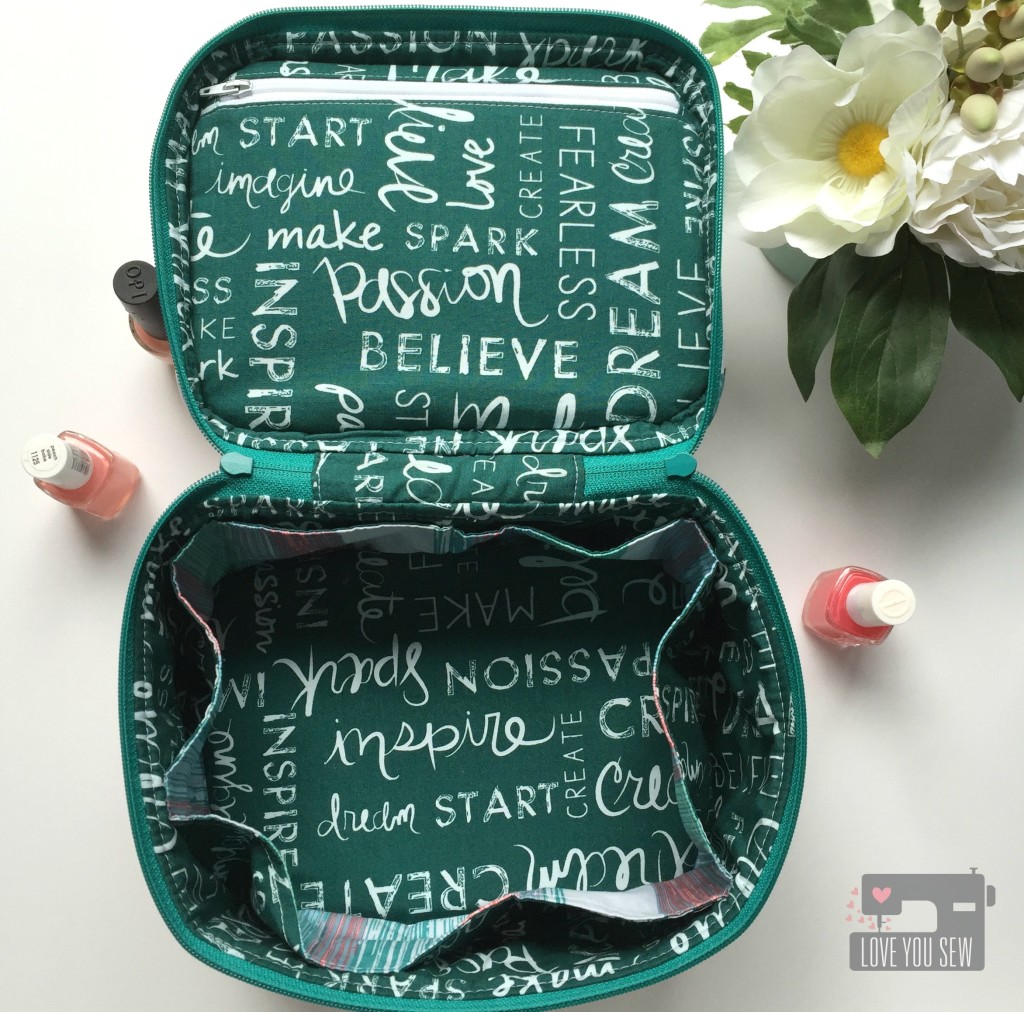
Traincase Open Empty

For the interior, I used Writings on Boards as a darker complement to hide any spills or smudges which may occur (yes, I know myself well.)  How cute is this text fabric, right?  I love the inspirational words to welcome me every time I open this bag.

Traincase Front Zipper CloseUp

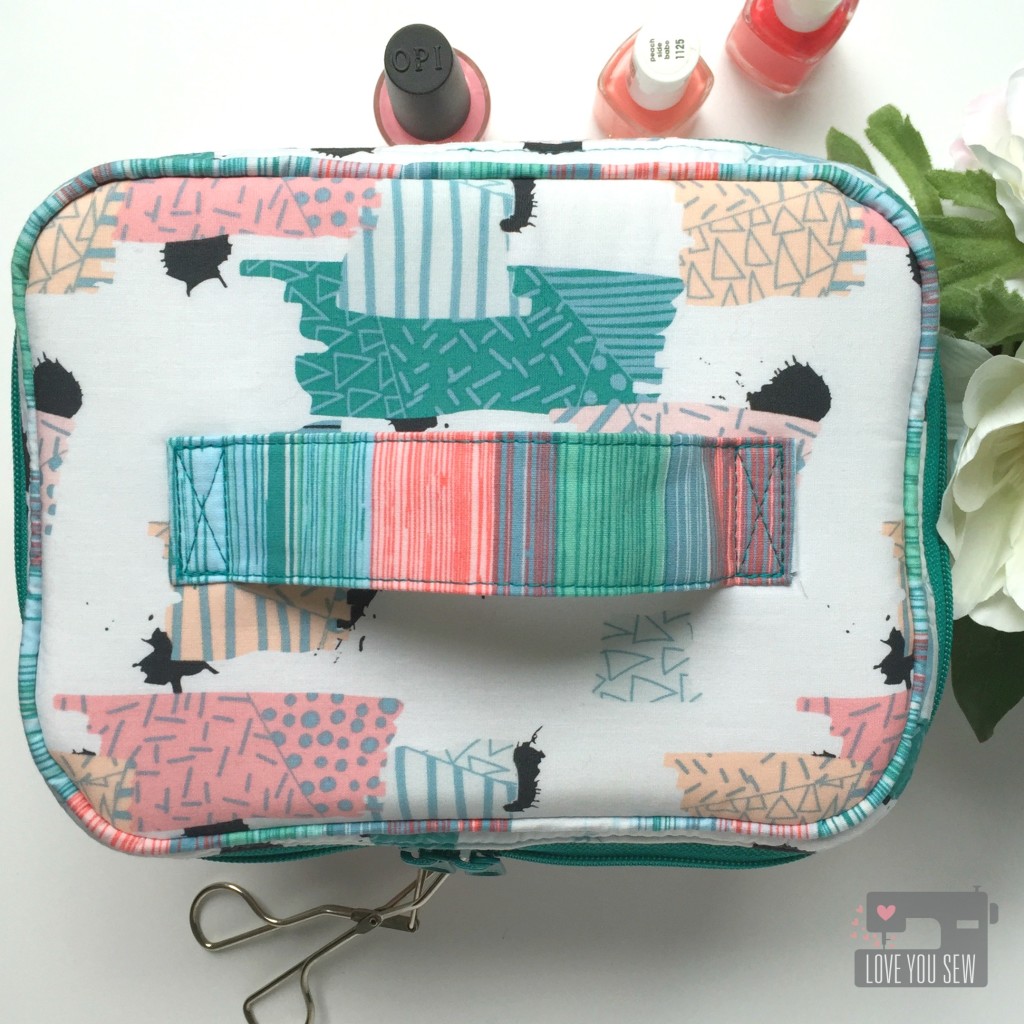
For the piping, handle and interior pocket accents, I used Dripping Paint Cooling.  You get so much color and texture in such a small amount of yardage, that it was just perfect for that extra “pop.”  Now…I think my “Caboodle” is pretty rad, isn’t it? 😉

Don’t forget to visit all of these amazing blogs for more Chalk and Paint projects!

Cristy // Love You Sew –> Right here!

Katie // The Simple Life

Jenn // Quilts and Conversations

Robin // Pattern Revolution

Alicia // Love Knot Photo

Holly // Holly Gets Quilty

Chris // The Tattooed Quilter

Alexis // My Sweet Sunshine

Adrianna // Hey June Handmade

Taylor // Taylor Made Creates

Casey // Casey Taylor Threads

Hayley // Welcome to the Mouse House

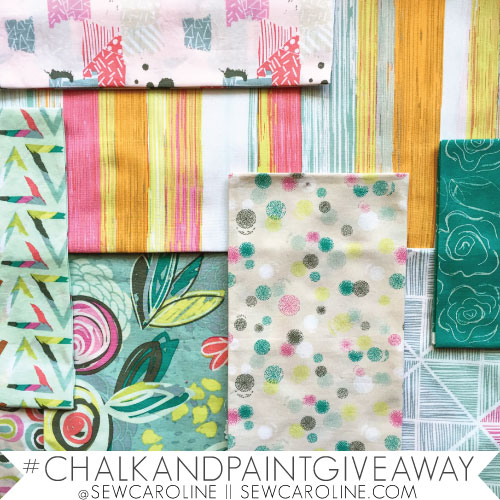
Giveaway-Graphic

What would you make with the Chalk and Paint collection?  You have a chance to WIN a Full FQ Bundle on Instagram by (re)posting your favorite image from the blog tour using #chalkandpaintgiveaway and tagging @sewcaroline. (Full Details are on Caroline’s blog.)


Good luck!


***This post may contain affiliate links which help me on the back end to fund this site.  Compensation is only through your own purchase. 

Aeroplane Bag: Pattern Review with Vinyl & Satin

AeroplaneTitle

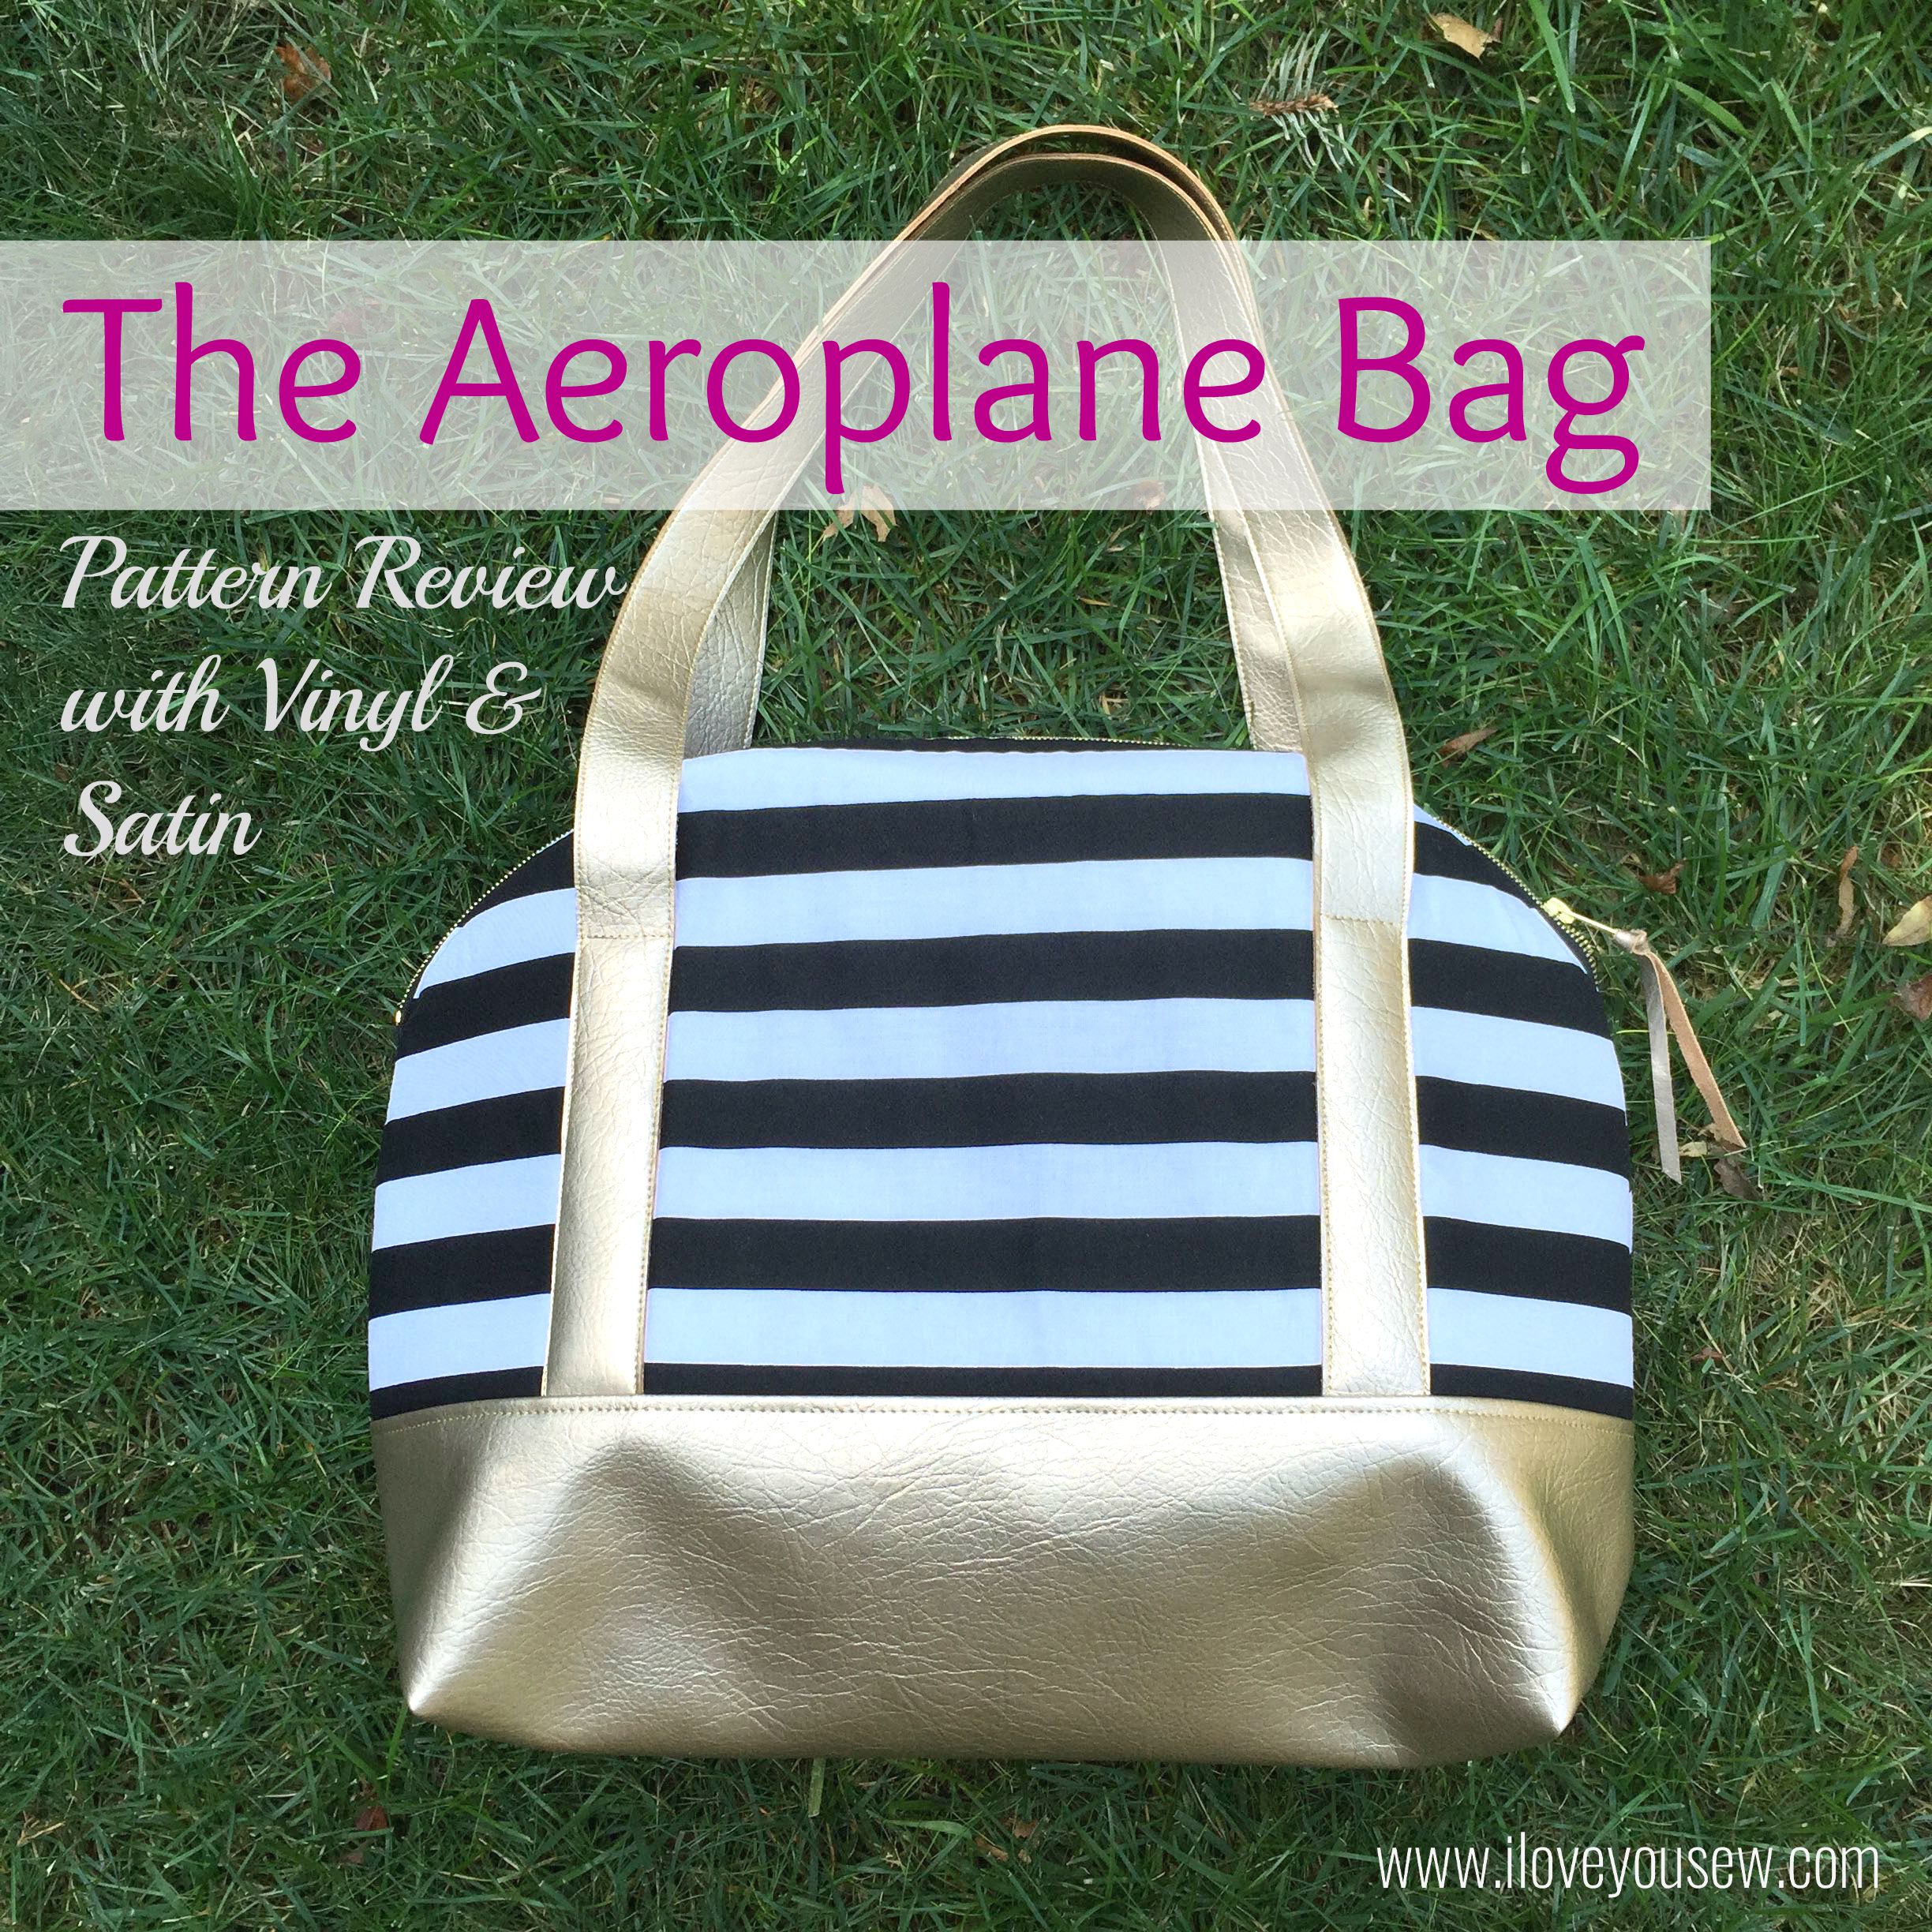
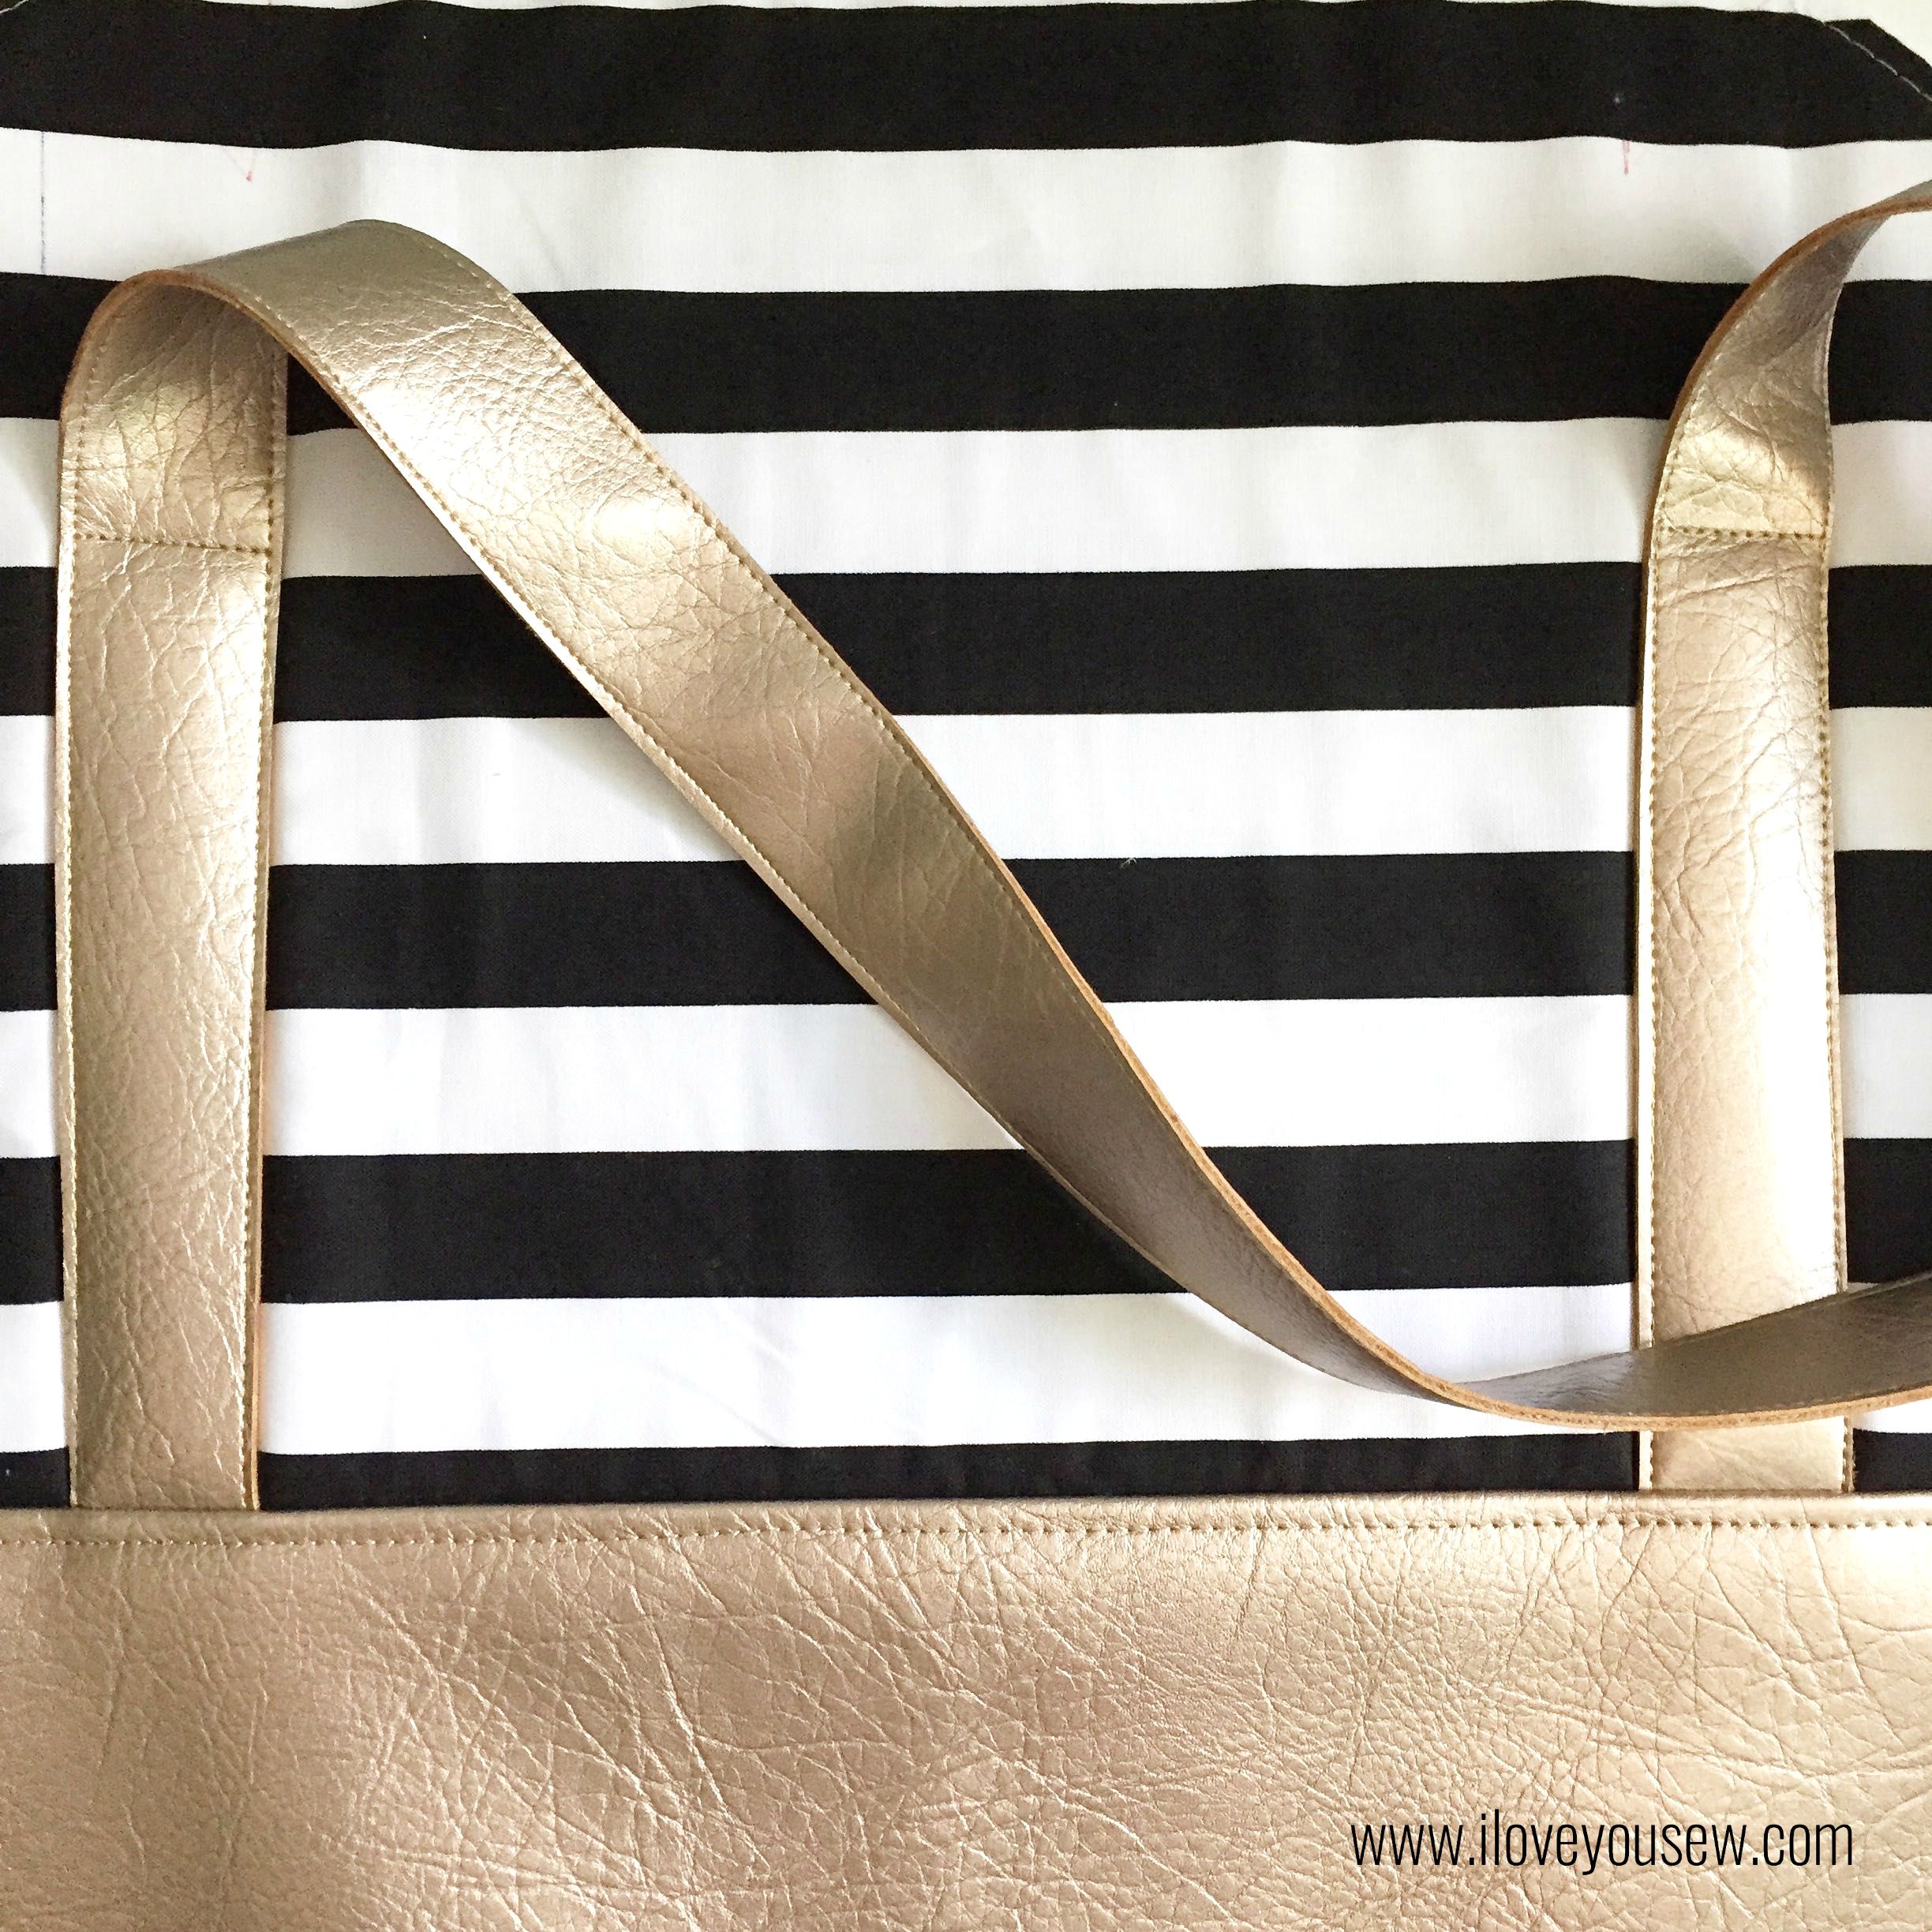
I know there are a ton of pattern reviews on Sew Sweetness‘ beloved Aeroplane Bag, but I REALLY love how the gold metallic vinyl (pleather), bold stripes and teal satin turned out!  I was debating if it deserved a post, but after so much love on IG, I decided to share what I made and what I learned on the way 🙂


AeroplaneFabricPull

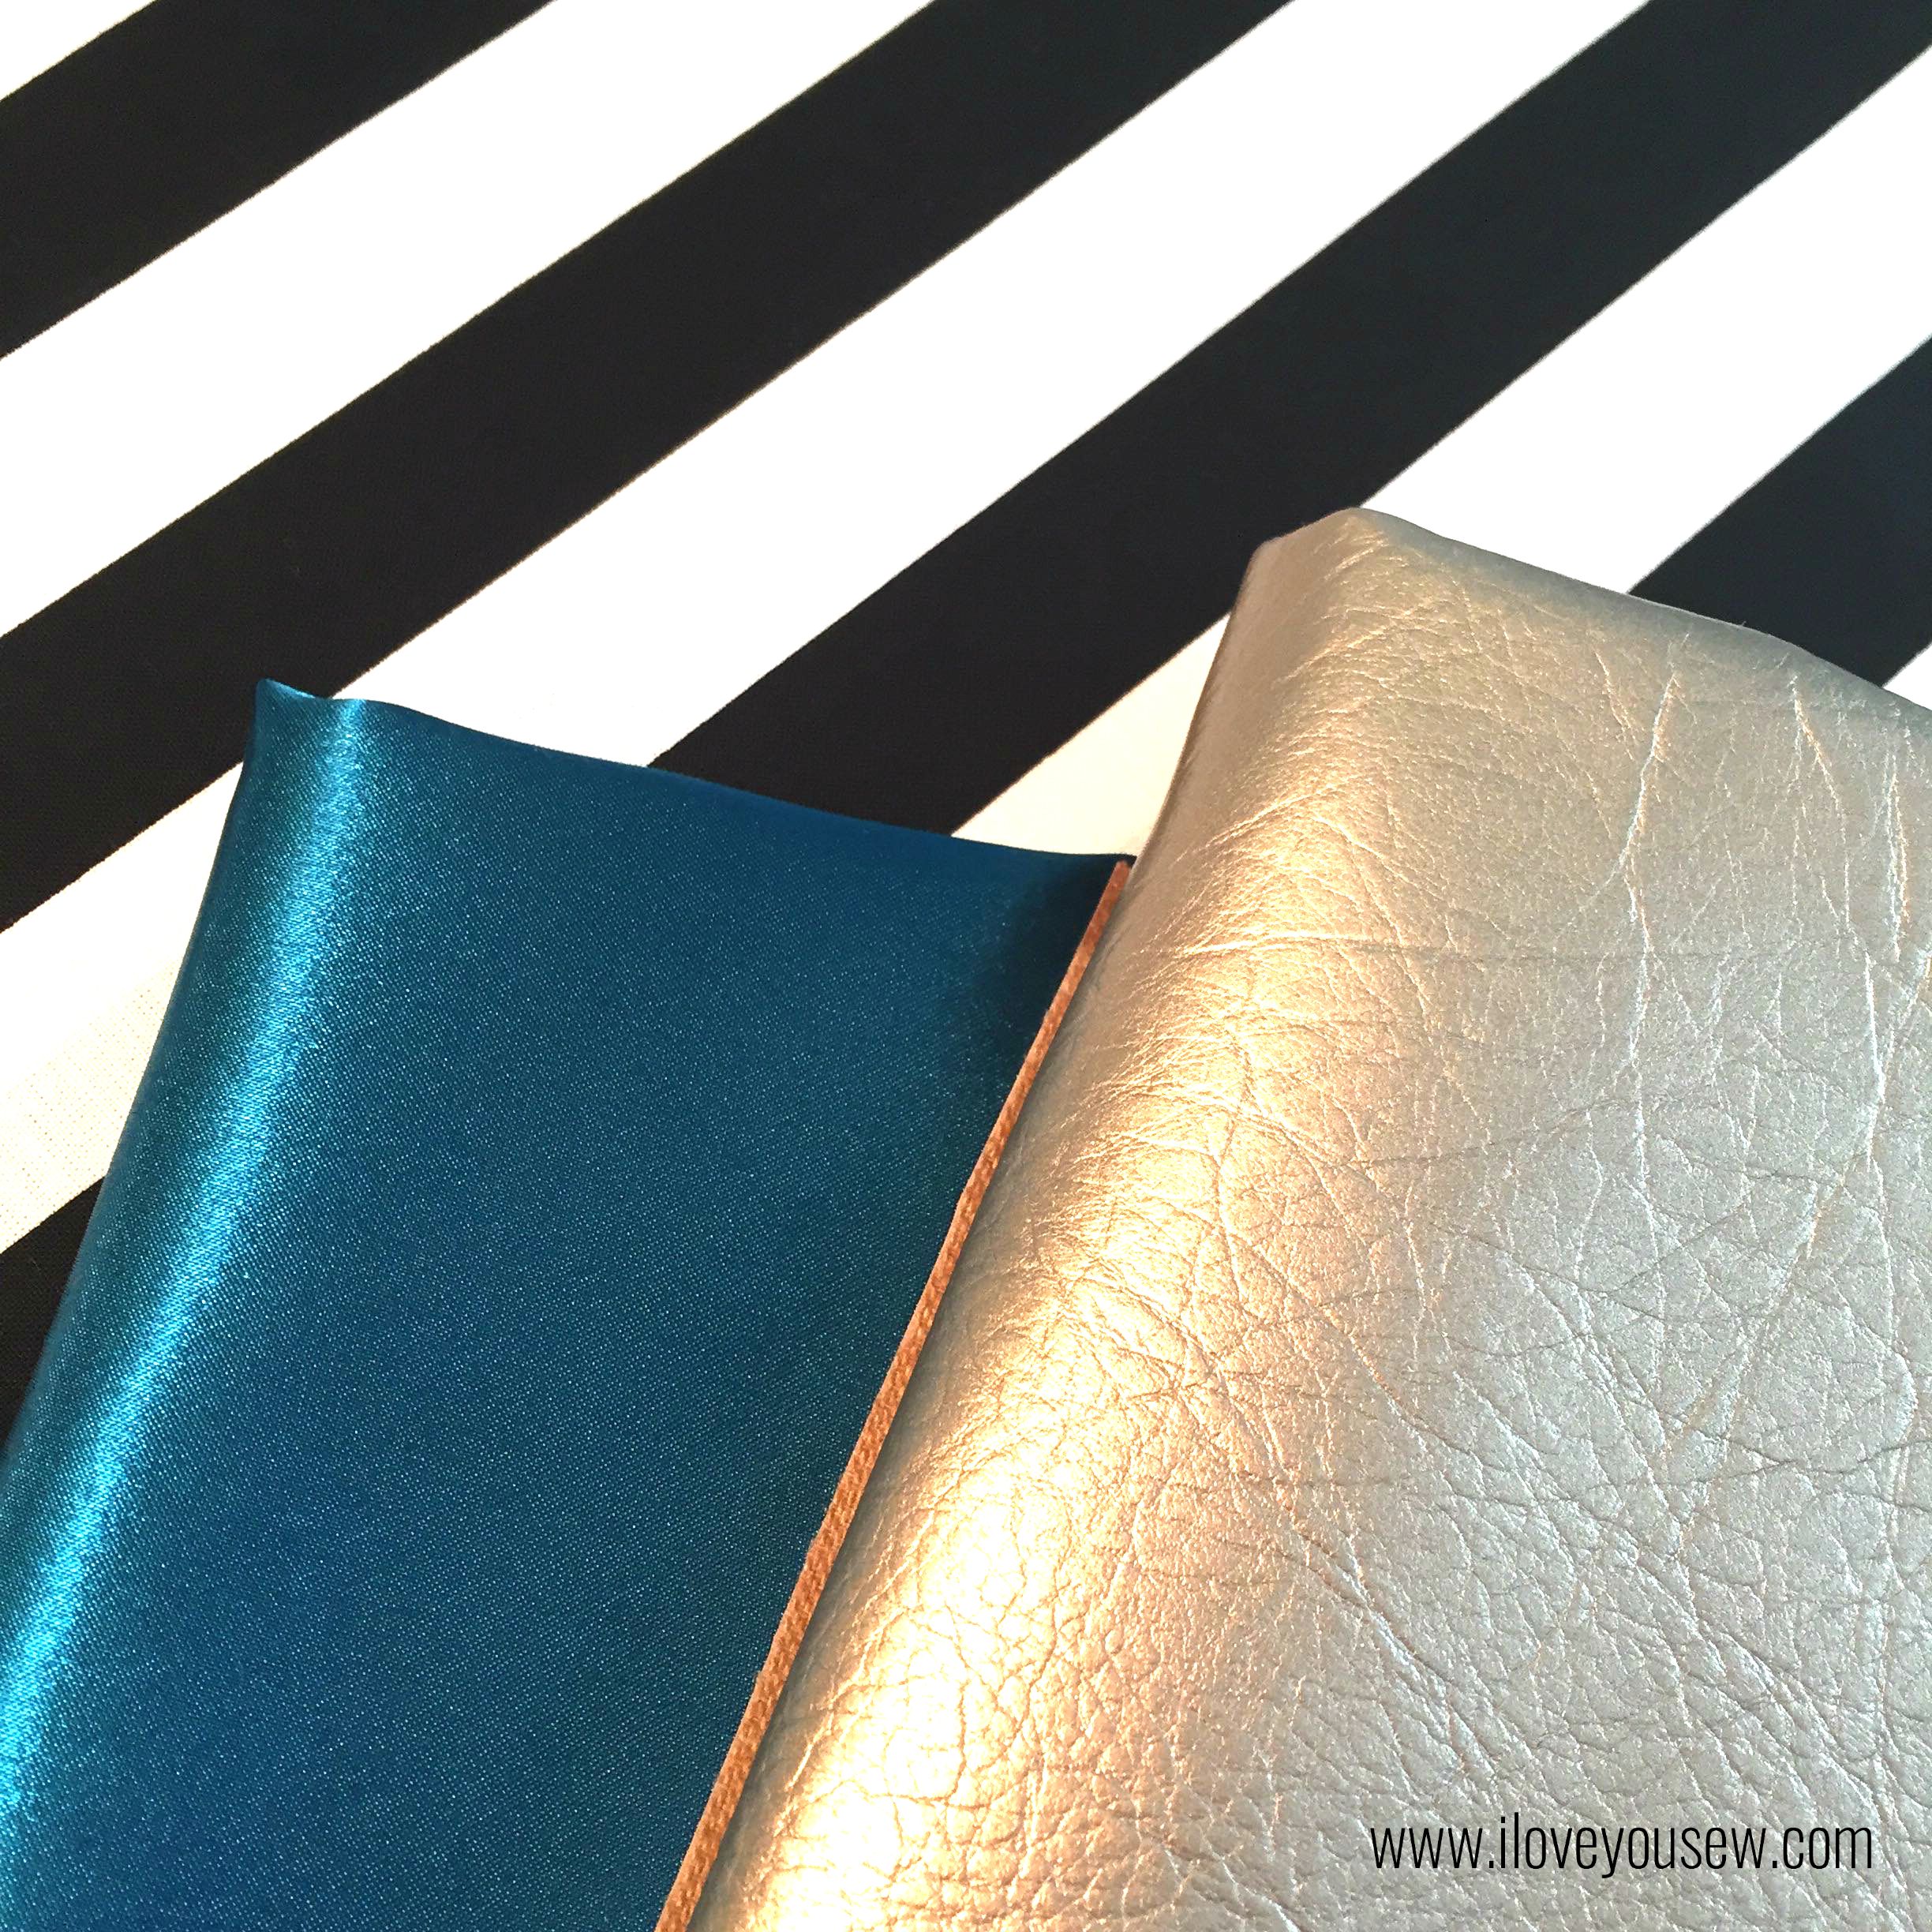
This fabric pull was inspired by my good friend over at Platopoo.  We made a crafty trade – she made me some awesome vinyl cut t-shirts and I would make her a custom bag.  I love a good barter…don’t you???  Well, her business cards are black and white stripes with some gold accents and I wanted to kick up this bag a notch, so we came up with this great combination:


StrapsandBottomSewn

Vinyl Strap Collage


Since I was using the vinyl for the bottom and straps, there were a few adjustments that had to be made:

  • Omit the strap interfacing
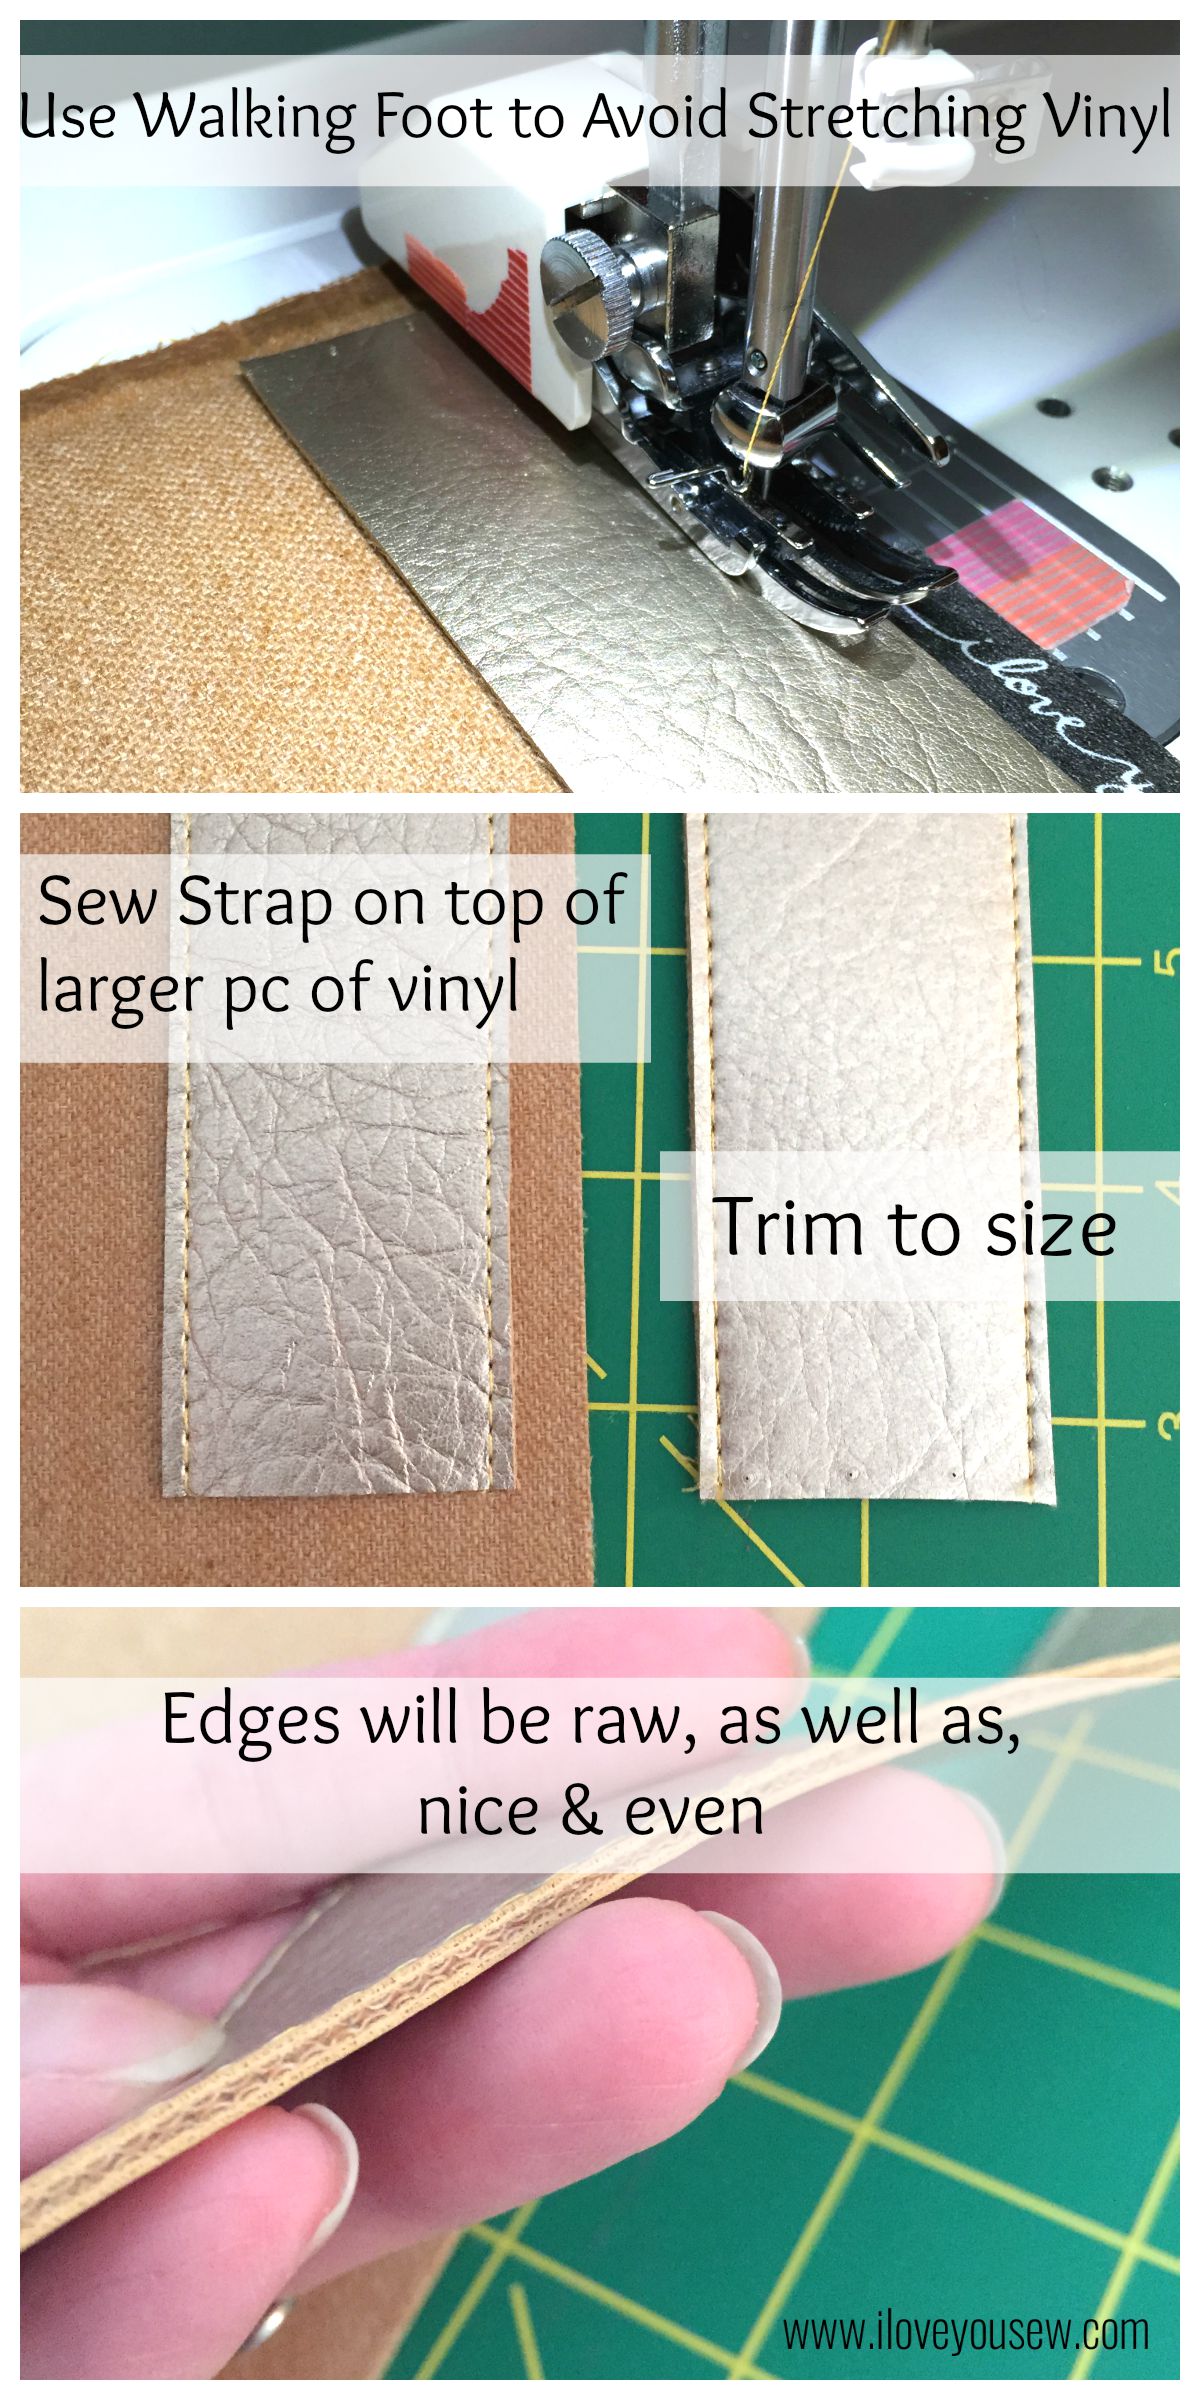
  • Cut 2 straps to 1.5″ width. Since the WOF (width of fabric) on the vinyl is 54″, the straps were then cut to 42″ in length
  • TIP: Take one 1.5″ x 42″ strap and sew it onto a larger piece of vinyl. Sew with 1/8″ seam allowance.  Trim the excess of the larger piece to size. Repeat with 2nd strap. (This allows you to have even top and bottom strap pieces.)
  • Be sure to use your walking foot to not stretch out the vinyl
  • Edges of the straps will be raw. You can use some permanent fabric glue or Fray-Check to “seal” the sides if you wish.  Some vinyls do fray the slightest bit over time…


ZipperGrill

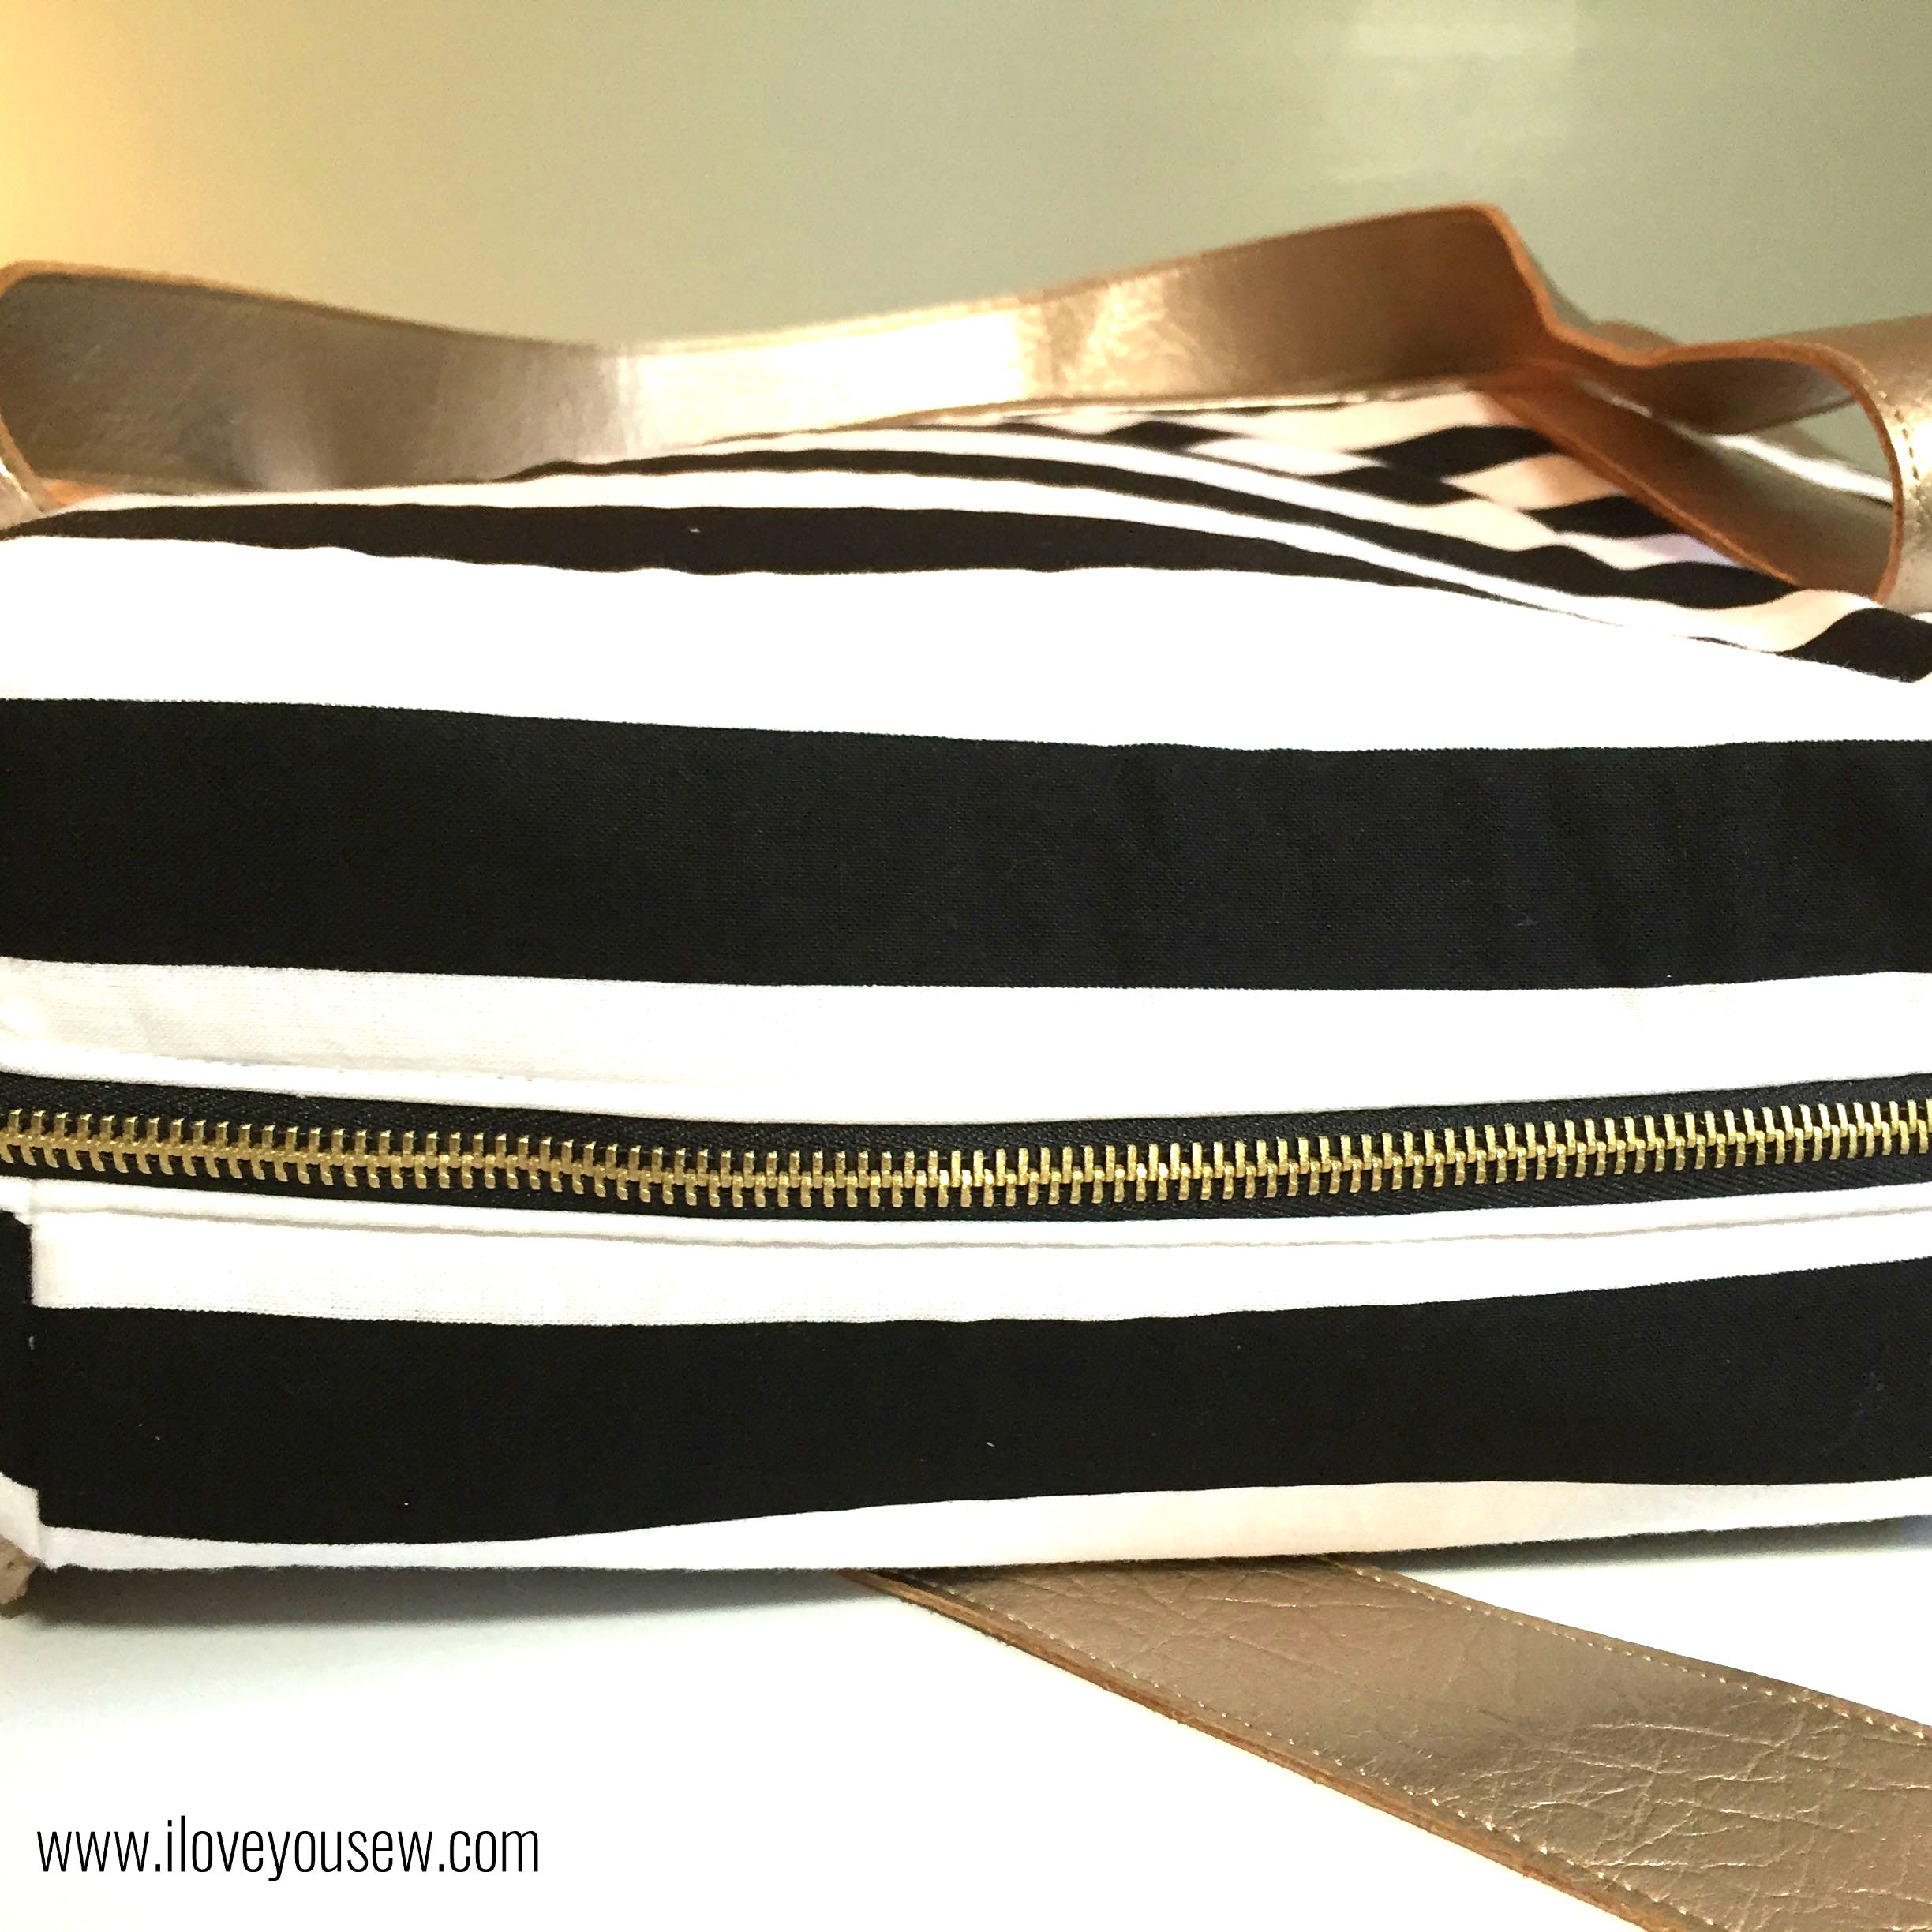
Another detail to amp up this bag was the zipper.  I found this great black one with brass teeth at JoAnn’s as well.  It matches perfectly with the pleather and adds that extra professional look.

TIP – I used my walking foot to topstitch over the zipper.  There is quite a lot of volume between the exterior, lining and Flex-Foam (used in place of Soft & Stable.) This allowed me to get more even stitches without having to tug on the fabric as much.


CloseUpZipper

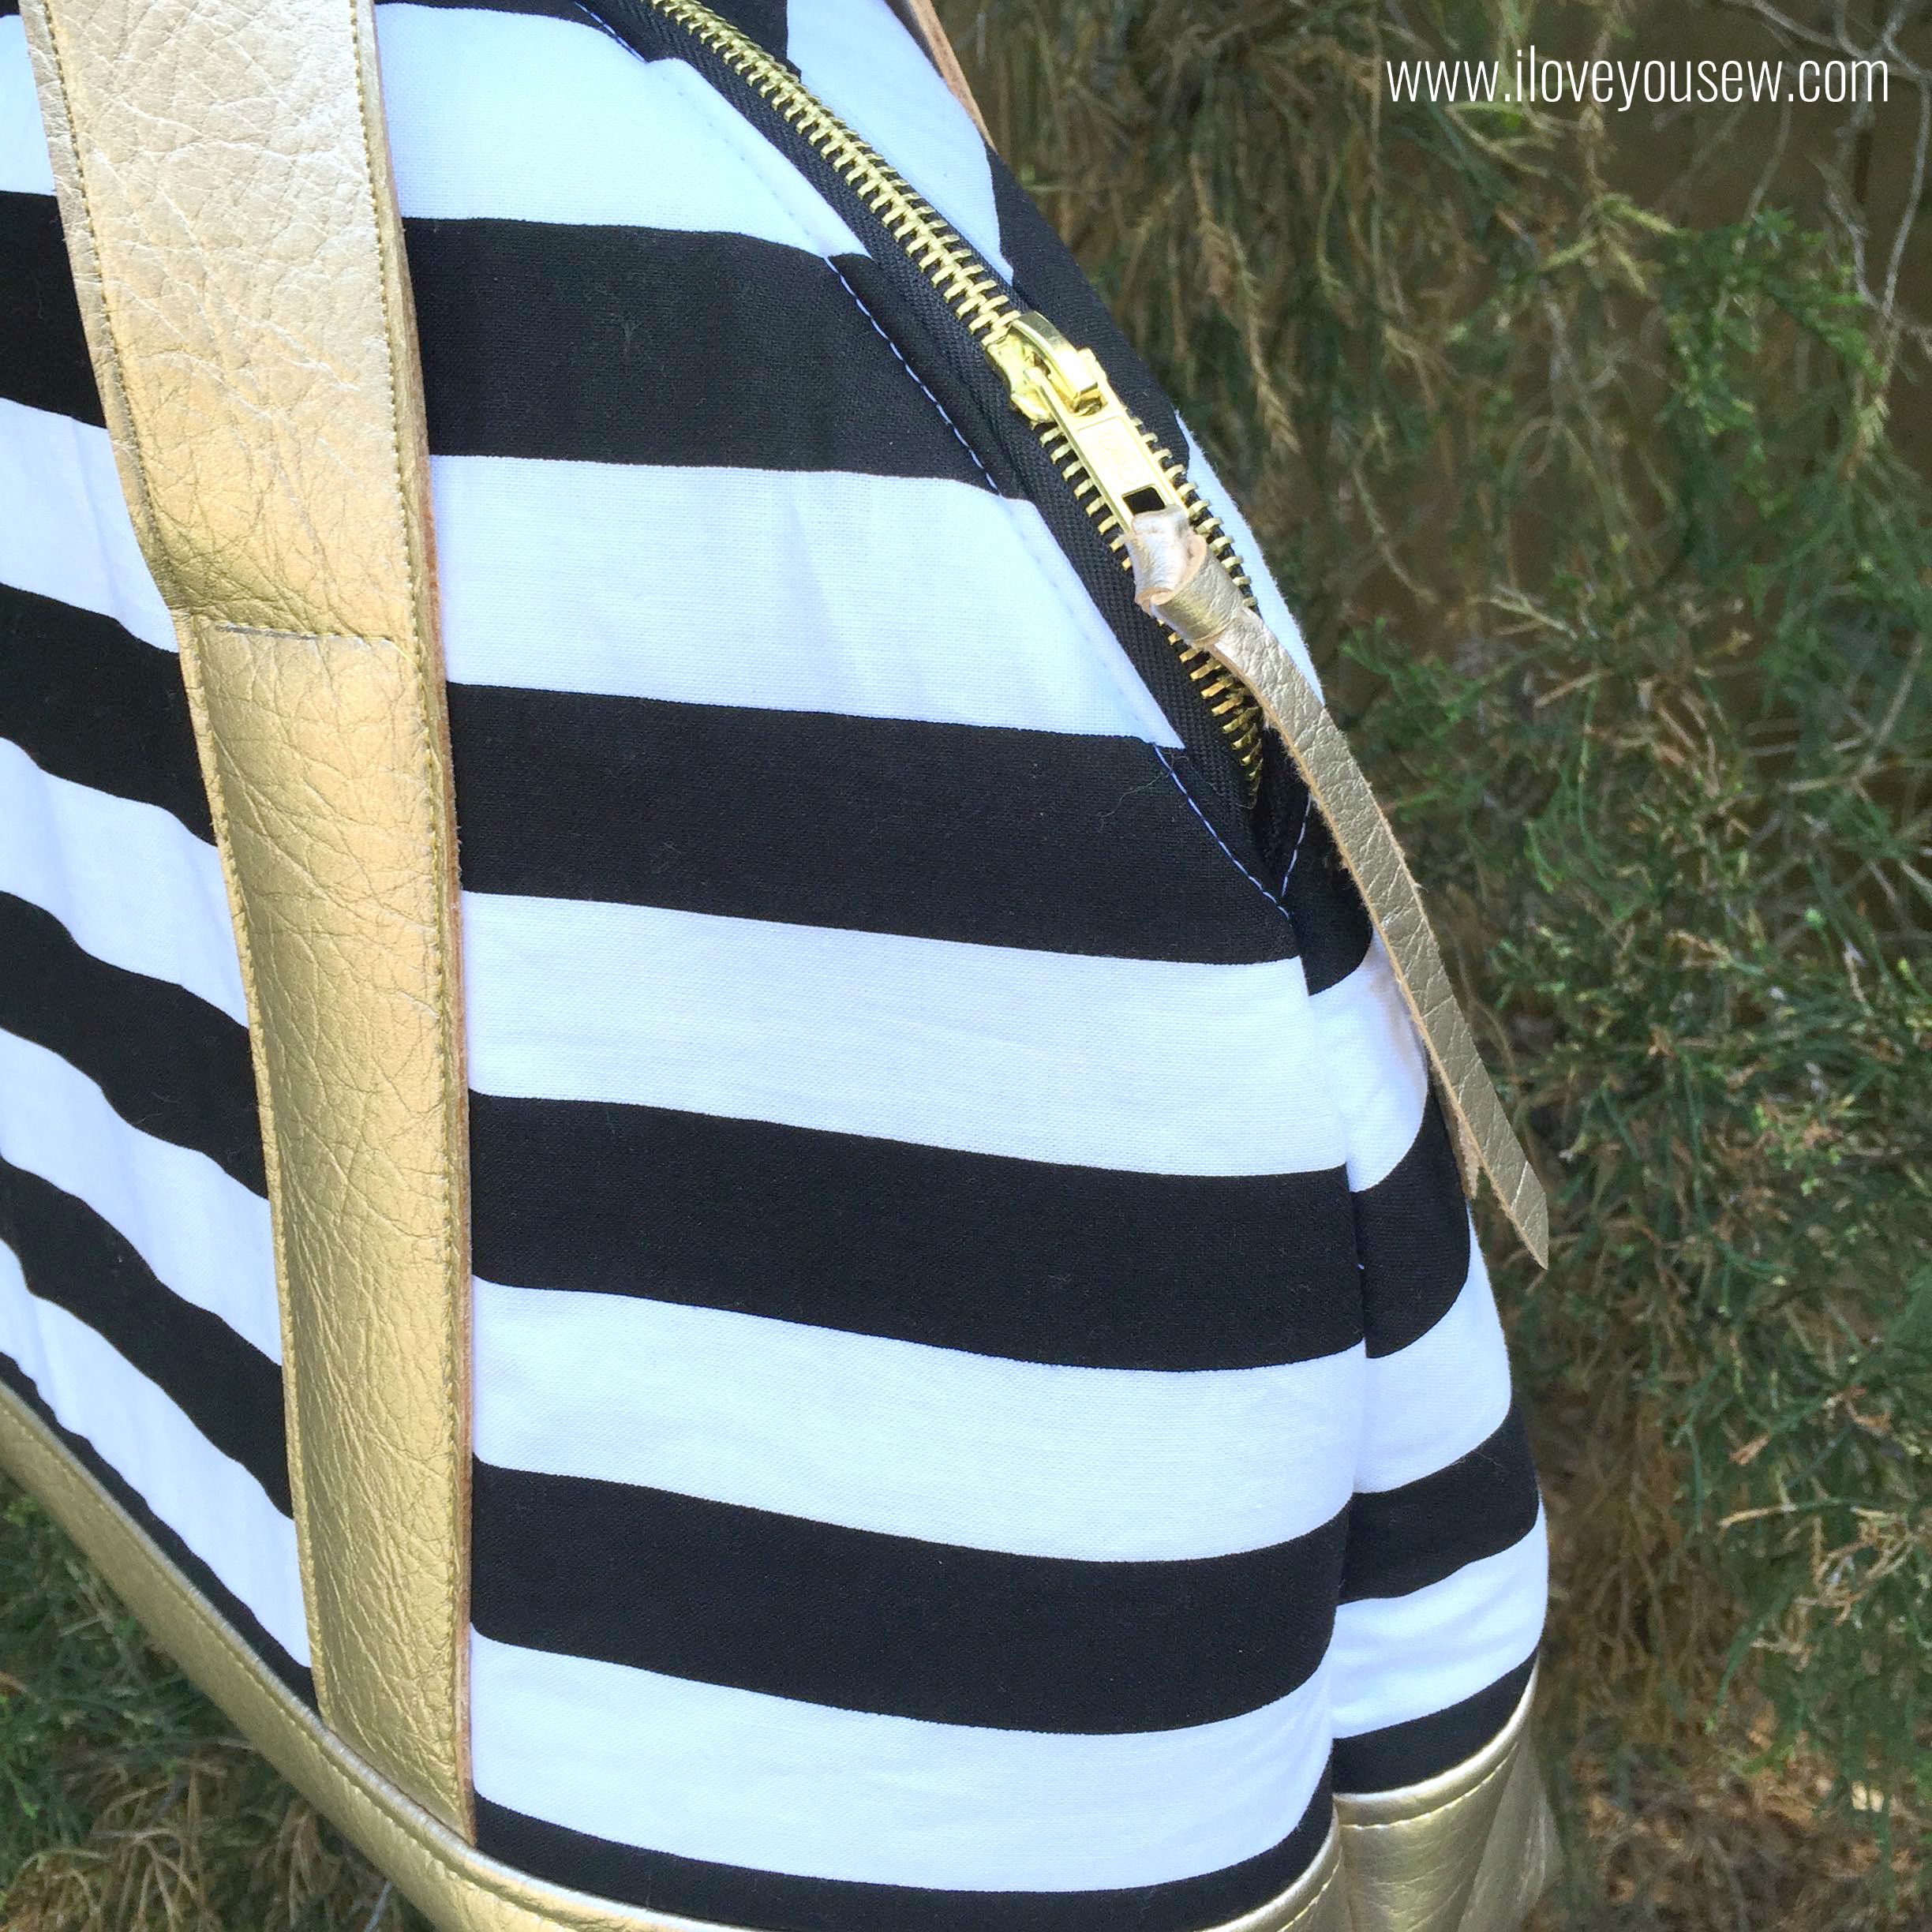
Additionally, I cut off 1/4″ by about 8″ of scrap vinyl to add a pull on the zipper.  Again, this little detail helps make the bag look more polished and pulls in more of the metallic look.  Plus, those little pulls are never long enough!


Interior

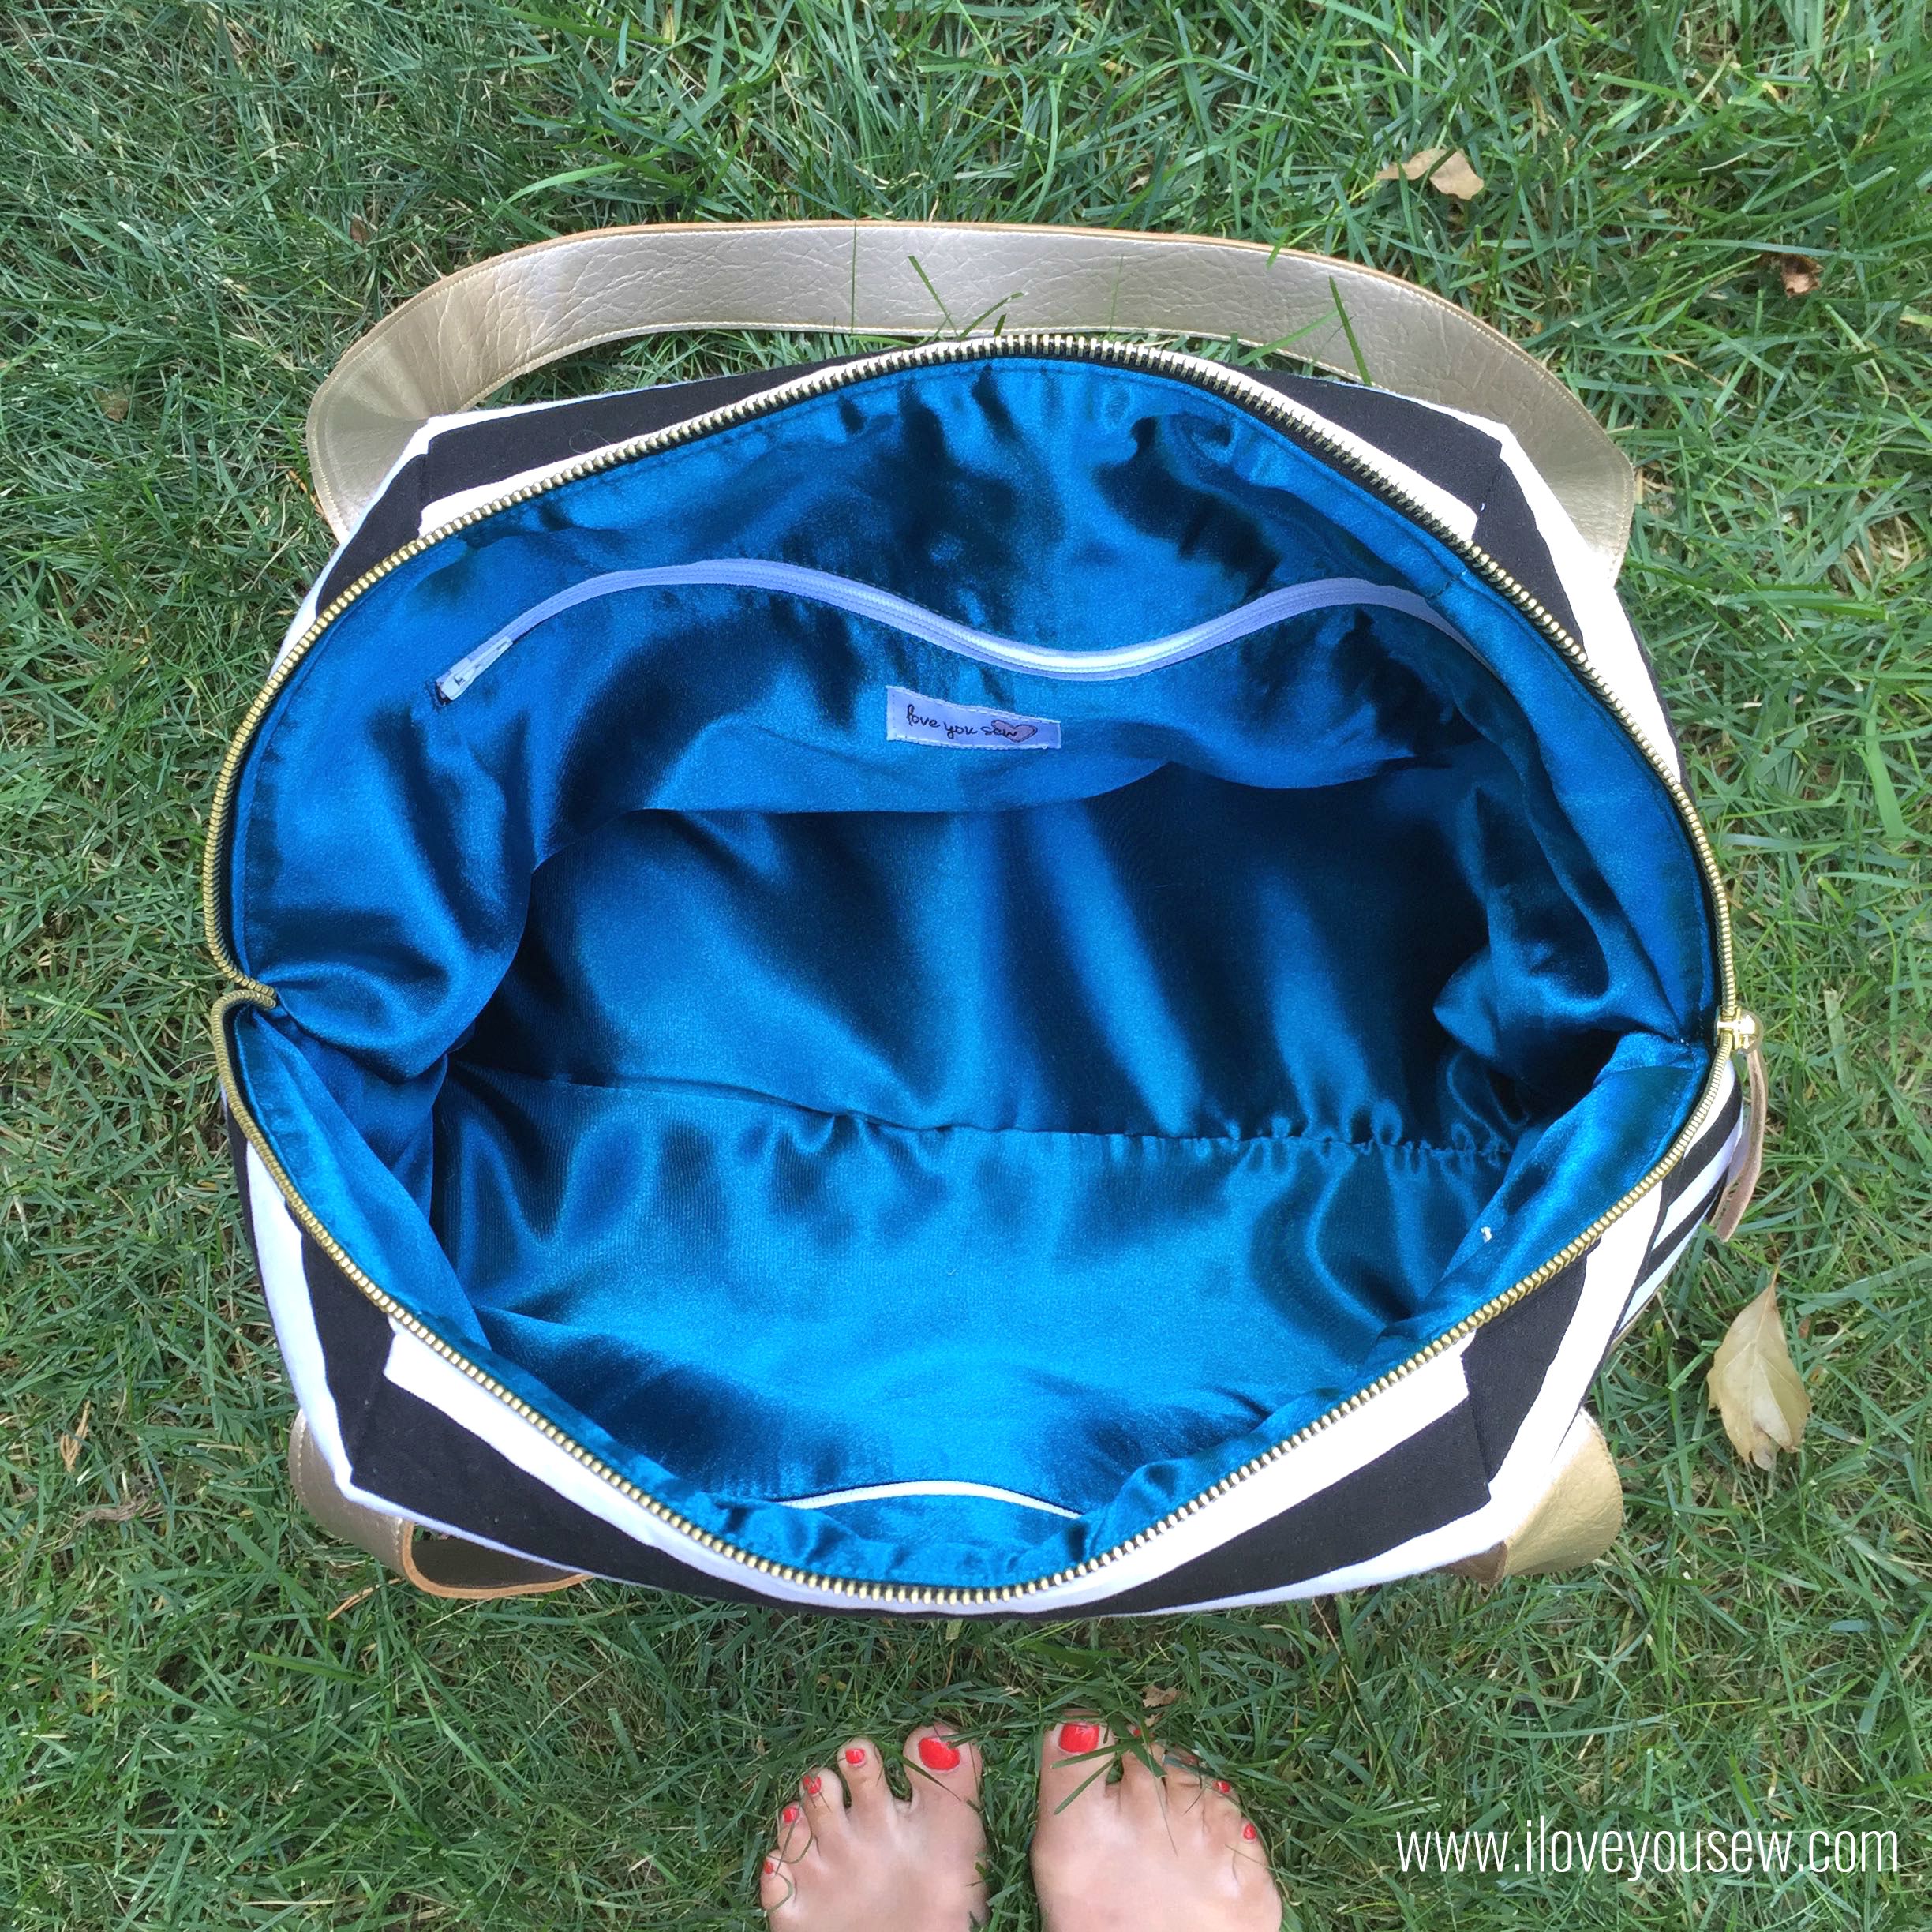
Do you like the satin interior? I am digging this pop of color and the change in texture for the interior.  I also love the 14″ zippered pockets.  They are generous in size to hide lots of goodies.  The only thing I wished I had were brass zippers for these pockets. (I got the wrong size from the store and was not going back anytime soon…I was already there twice in one week!)  They would have completed the look, for sure…

TIP – Cut the Shape-Flex larger than the interior pattern and fuse it onto the satin before cutting. The satin is delicate and can unravel pretty easily.  It is easier to handle if you iron the interfacing on first.

OpenTop

I love the wide opening of this design.  There is ample space to get your weekend gear into this bag….and this is just the “regular” size.  I can’t wait to try out the “long” pattern!

BagonTree

This was a fun project but definitely at the confident beginner to intermediate level.  Be sure to check if your machine can handle up to 6 layers of vinyl and Peltex at a time. I have a Juki TL-2010Q that can sew through with a Heavy Duty Organ Needle, but I still broke one needle in the process!

It’s going to be sad when I have to part with this baby, but at least I can make more 😉


The Newest Aeroplane Bag Fan,

Cristy


This post may contain affiliate links for which I do receive a small compensation…It helps me keep this site running 🙂

FREE Walking Geese Needlebook Tutorial

Love You Sew Needlebook Tutorial

I’m new to the world of Swaps.  I’ve seen and followed quite a few through Instagram and finally signed up for a few.  The #IGneedlebookSwap was my second sign-up, but my first which has been sent and received.  After looking at a few online, I wanted to design my own and share it for FREE with you!!!  If you are unfamiliar, these swaps have a theme (in this case, a needle book) and you have to post progress shots on your IG account.  They are usually secret and you have great fun finding out…aka “stalking” your partner’s tastes and preferences.    I like it because you get work on something new and it’s challenging to have some parameters set….including a deadline!

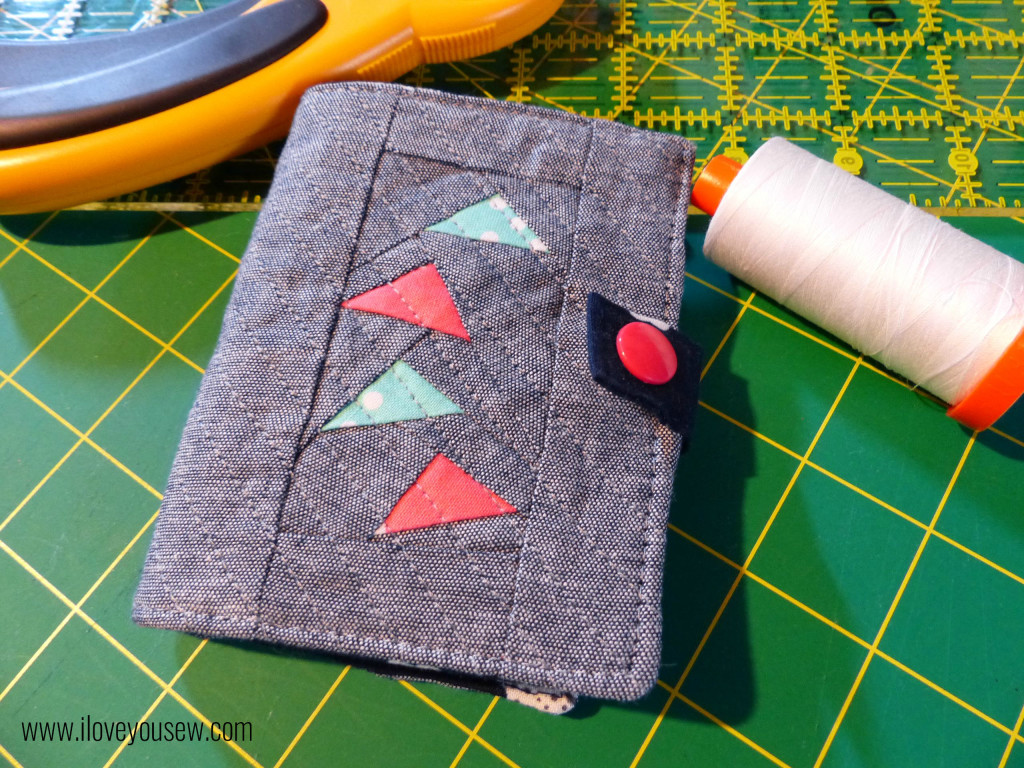
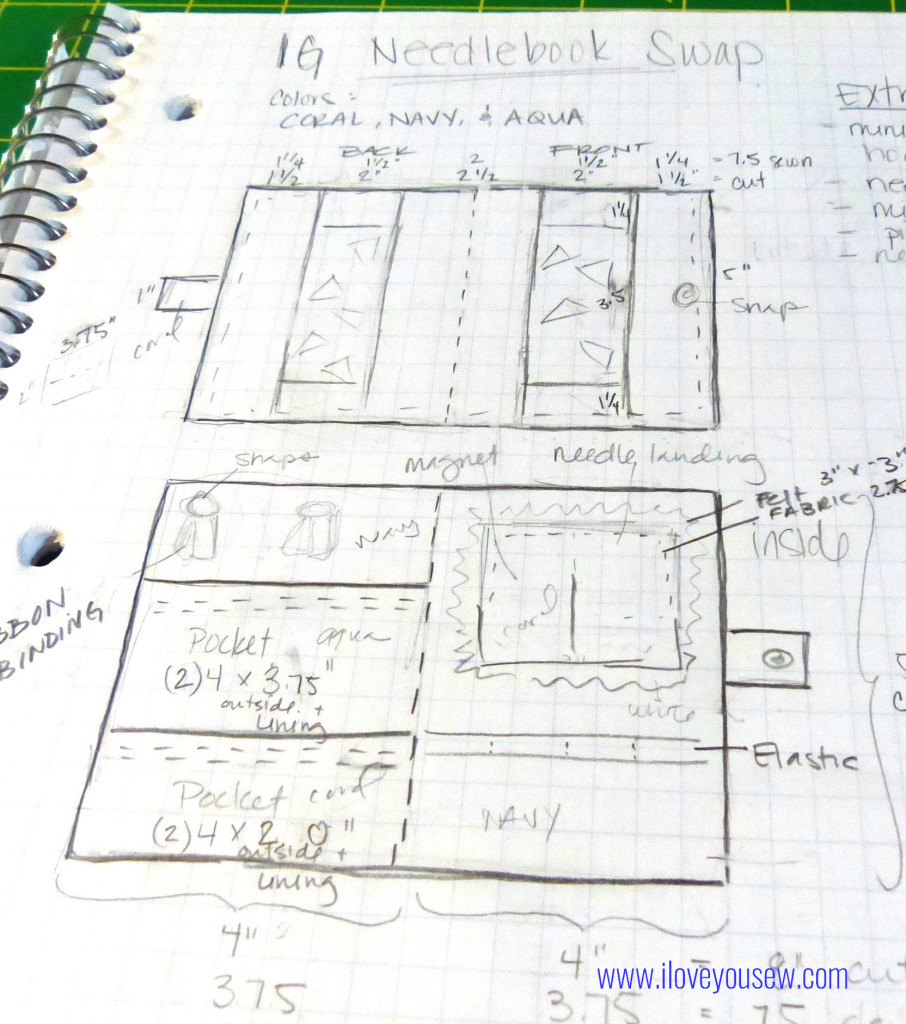
My partner asked for a Needlebook with a pocket to hold a small set of scissors, so I went about designing one myself!  How can I screw up the math on something that finishes at 4.5″ x 7″ (open) and 4.5″ x 3.5″ (closed), right???  My partner also specified using navy, coral and aqua…so I incorporated a design to showcase all of those colors.

Needlebook Sketch

Needlebook Sketch

==========

Material Requirements:

  • Exterior Fabric (shown in Robert Kaufman IndigoChambray)
    • 1.5″ x 5″ rectangles [cut 2]
    • 2″ x 5″ rectangle [cut 1]
    • 1.25 x 2″ rectangle [cut 4]
    • Goosing Borders [sew 2]
  • Interior Fabric (shown in Cotton + SteelHatbox – Navy Desert Flower)
    • 4″ x 5″ [cut 2]
    • 4″ x 7″ [cut 1 for pocket A]
    • 4″ x 4″ [cut 1 for pocket B]
    • 2″ x 3.75″ [cut 1 for snap closure tab]
  • Accent Fabric 1 (shown in Cotton + Steel Dottie in Bluebird)
    • 2.5″ x 4″ [cut 1 for pocket A]
  • Accent Fabric 2 (shown in Cotton + SteelXOXO in Coral)
    • 2.5″ x 4″ [cut 1 for pocket B]
    • 2.75″ x 2.75″ [cut 1 for needle-landing]
  • Felt for needle-landing
    • 3″ x 3″ [cut 1]
  • Batting
    • 5″ x 8″ [cut 1]
  • KAM Snaps [2 sets]
  • 2″ Grosgrain Ribbon
  • 3/4″ Magnet

Use 1/4″ seam allowance unless noted.

==========

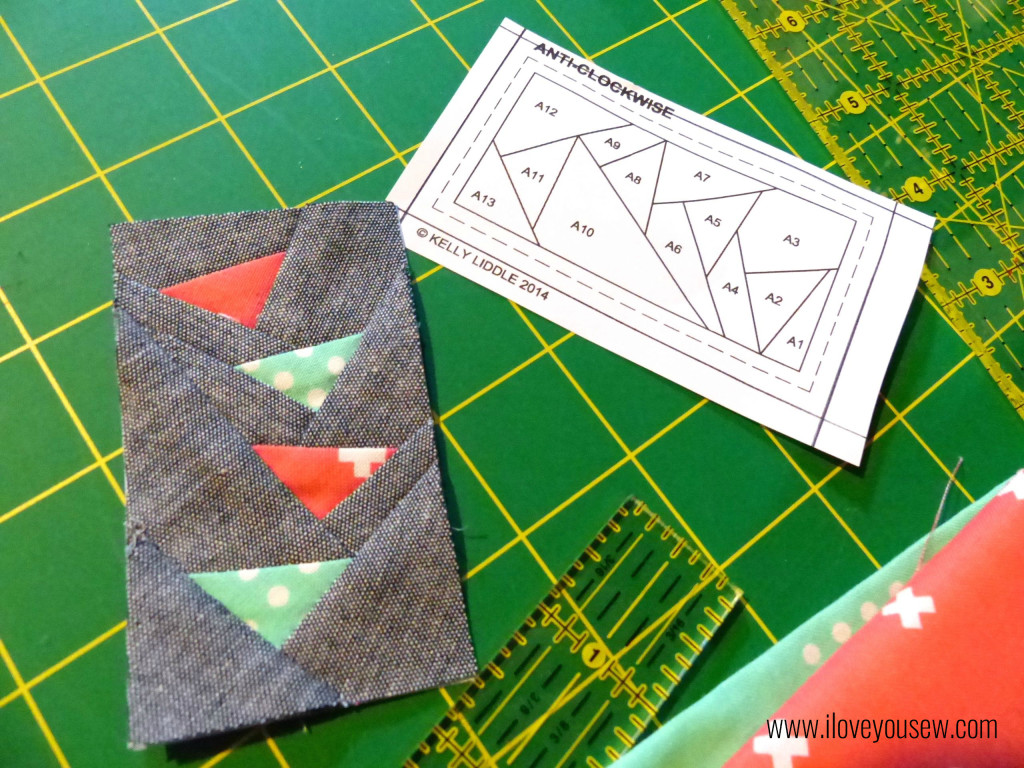
FPP Geese Close-up

FPP Geese Close-up

For the outside of the book, I used Jeli Quilts’s (surprise!) Goosing Borders and shrank the design down to 50%.  The geese are Cotton + Steel basics in Bluebird and Coral.  For the background and borders of the exterior, I used Robert Kaufman’s Chambray in Indigo. I love chambray for a clean sophisticated look and the added texture.  It’s definitely one of my go-to fabrics and always keep some in my stash.

For a nice video on Foundation Paper Piecing (FPP) click here.  I watched this to help me wrap my head around the fabric being sewn as a mirror image.  This technique takes some practice but you will quickly become addicted, like me 🙂 The finished Geese blocks should measure 2″ x 3.5″.  Attach the 1.25″ x 2″ rectangles to the short-sides of each Geese Block.  Then attach the 1.5″ x 5″ blocks to one side of each block.  Use the 2.5″ x 5′ rectangle to attach the Geese blocks together.  Quilt the exterior to the batting and trim 5″ x 7.5″.
Interior left with Pockets

Interior left with Pockets

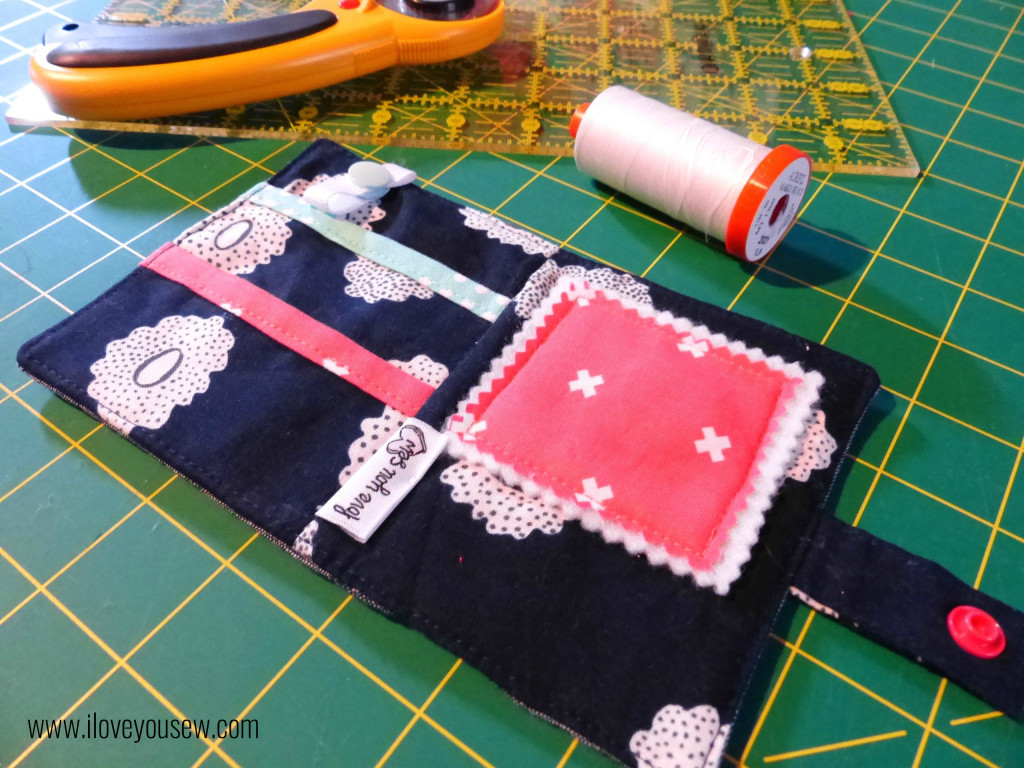
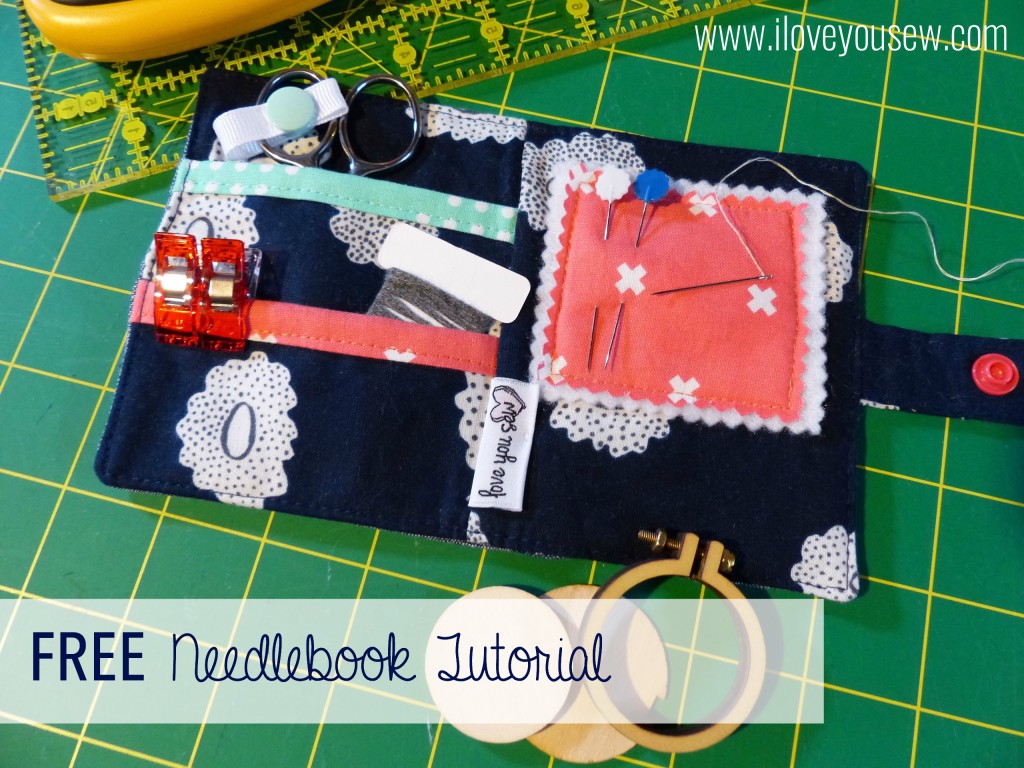
On the inside, I chose another Cotton + Steel fabric.  This time, a navy from Hatbox by Alexia Abegg.  I decided to make two pockets – a larger one for scissors and/or a spool of thread or pen.  The smaller pocket could be used to hold floss, clips, or a spare packet of needles.  The binding helps to grip the pockets and adds some visual appeal.

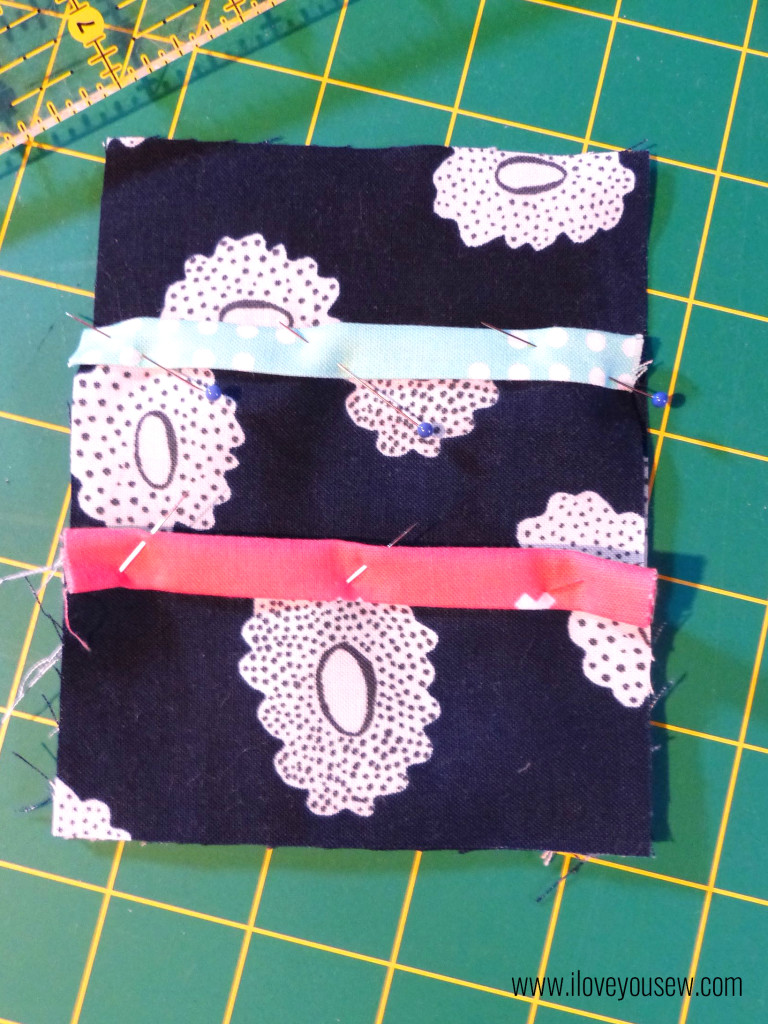
Iron both pockets in half length-wise so [A] is 3.5″ x 4″ and [B} is 2″ x 2″.  Take each piece of binding and machine-bind down just like you would a quilt.  Lay Pocket [B] on top of Pocket [A] on top of 4″ x 5″ interior fabric, matching up corners at the bottom. Pin all in place.

Right above the Pocket [A], I cut a 2″ piece of grosgrain ribbon, sealed the ends, and made a loop to hold the scissor handles in place.  I am a big fan of KAM Snaps and used them with the ribbon as well as with the closure of the entire Needle-book.

Preparing Needle-landing with built-in Needle-minder

Preparing Needle-landing with built-in Needle-minder

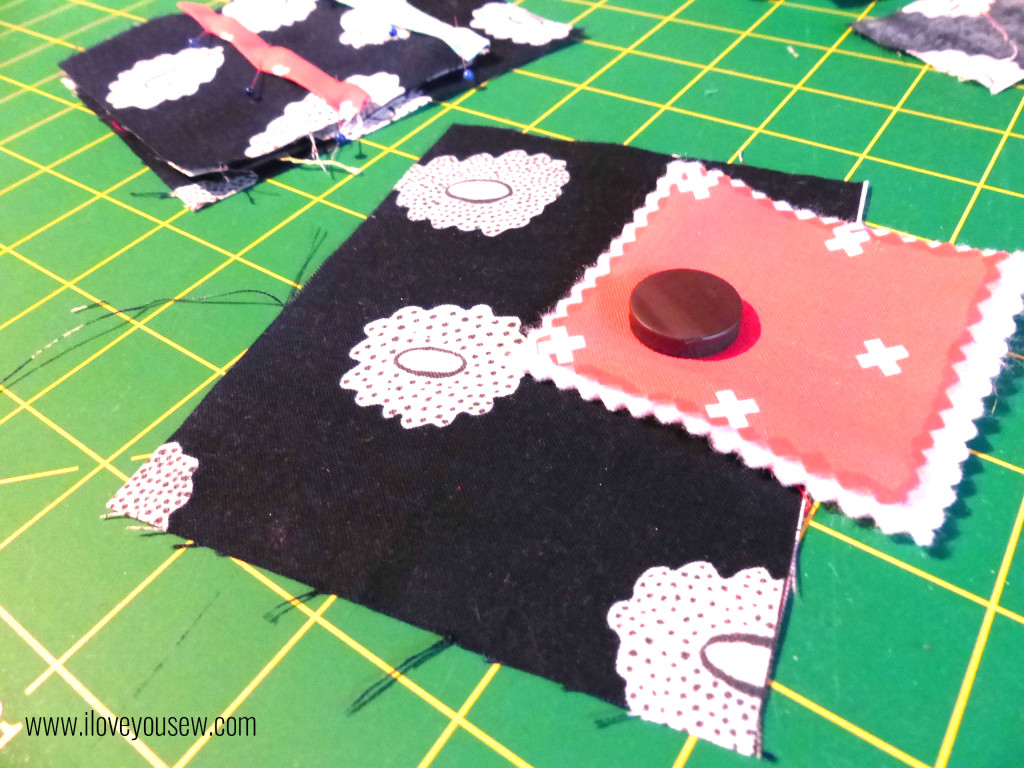
On the right side, there needed to be a needle landing (because it wouldn’t be a needle book, otherwise, right?!?) I just used craft felt and my Gingher serrated scissors to cut out the rectangle.  But I wanted some more color, so I added the same Coral fabric on top as a nice accent.  I sewed 3-sides up with a 1/8″ seam along the Coral and slipped in a small 3/4″ magnet for a built-in needle-minder!  Then I sewed up the last side making sure the magnet was fully enclosed. With right-sides together, sew the two interior panels together to create a center seam.

Needlebook Exterior

Needlebook Exterior

To create a tab, press the fabric lengthwise in half then open.  Press each long-side to match the center fold then fold in half, matching up the short-ends.  Top stitch all around to secure.  Attach KAM Snap at this point. Pin the tab half-way on the right interior panel facing in.
On the exterior panel, mark where the tab will meet and attach your other KAM Snap.  With right sides together, sew the Interior and Exterior  panels to each other leaving a 3” opening to turn. Snip corners, turn the Needlebook right-side out and press.  Top-stitch 1/8″ all around the book to close up the opening.  “Stitch in the ditch” along the center inside seam to allow the book to easily fold.

Completed Interior

Completed Interior

And….that’s it 🙂  This was a nice easy sew that you could use as a “Swap Extra”  or a stocking stuffer for a good sewing friend.  If you are not a snap person or do not have any on-hand, you can alternatively use a button and elastic cord closure or long pieces of ribbon to tie it all together.  If you looked closely at my sketch, I was initially going to add some elastic loops under the landing, but decided to omit them to keep this simple…but it’s a great idea if you want to add an additional feature.
Since I’m not a seasoned tutorial author (yet!), please let me know if you have any questions. Don’t forget to share pictures of any completed projects as well!
I’m linked up to Late Night Quilters Tips and Tutorials Tuesday.  Please visit the page to see some more great sewing and blog related pointers!

#WalkingGeeseNeedlebook #IGNeedlebookSwap #LoveYouSew


Hug and Stitches,

Cristy

Love You Sew