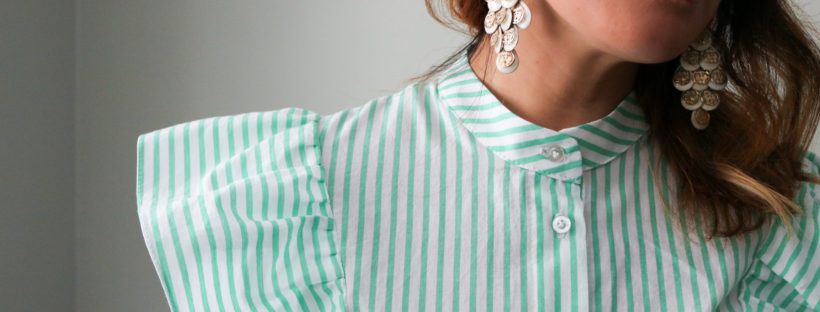
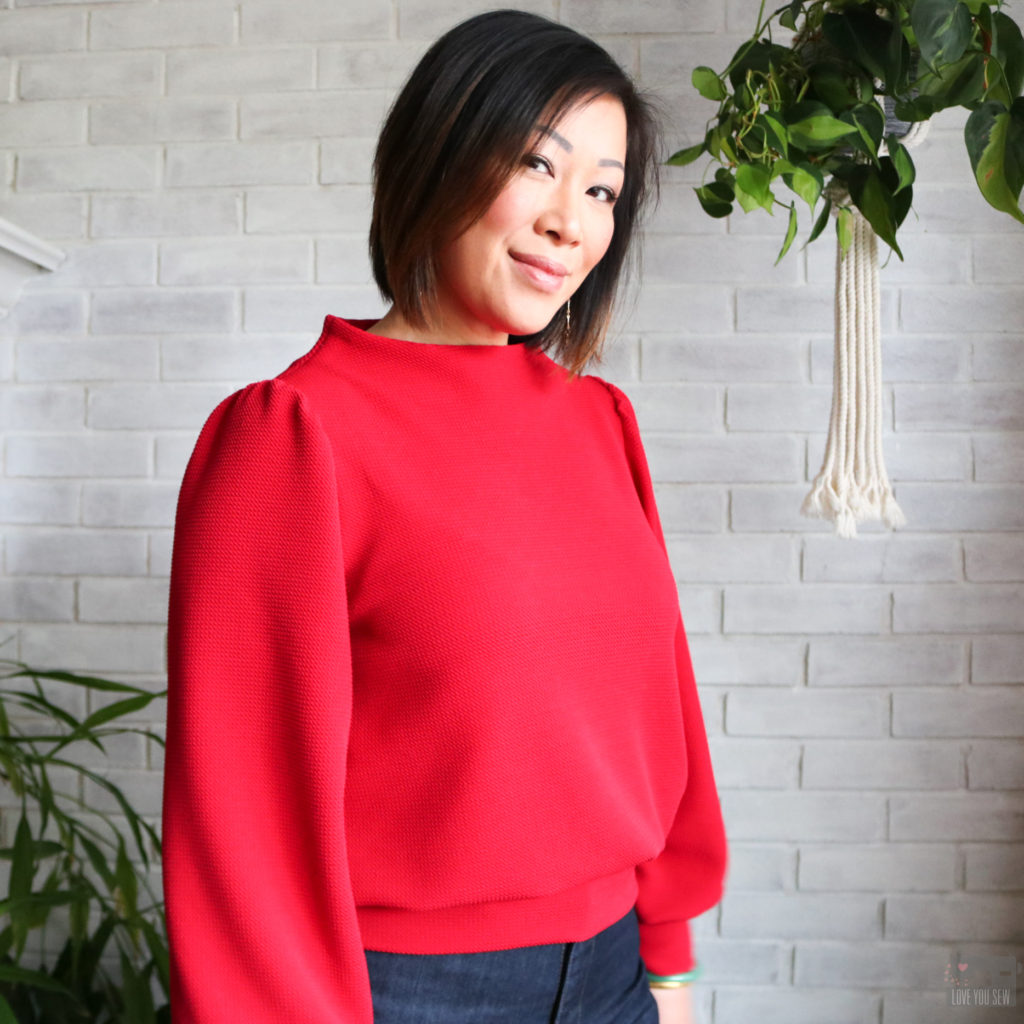
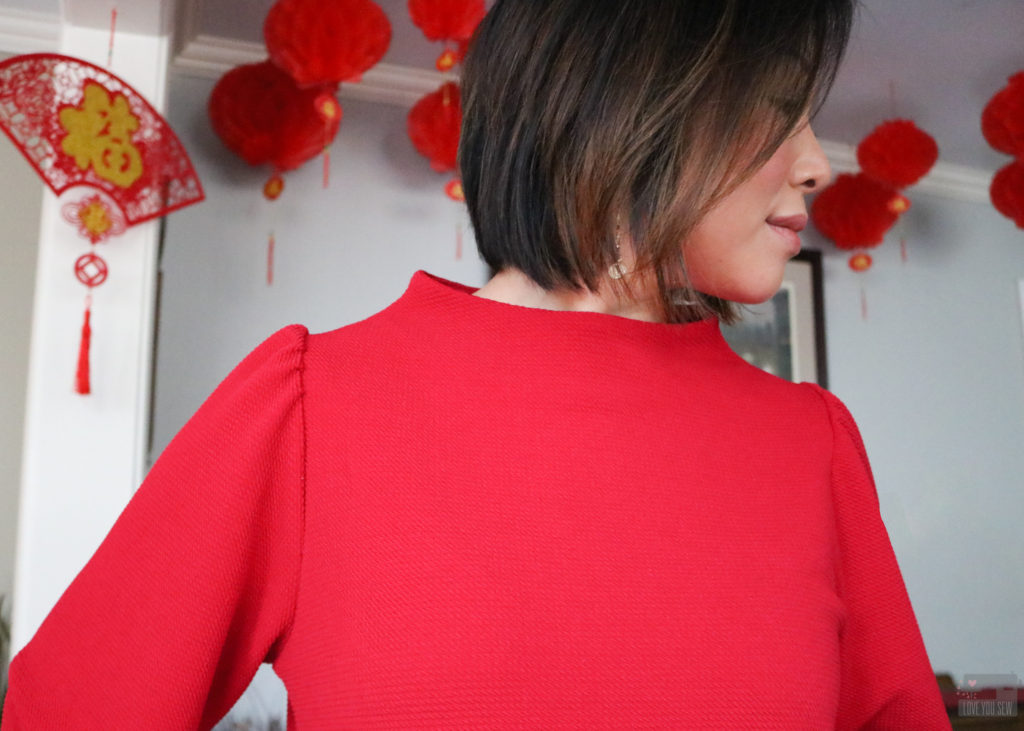
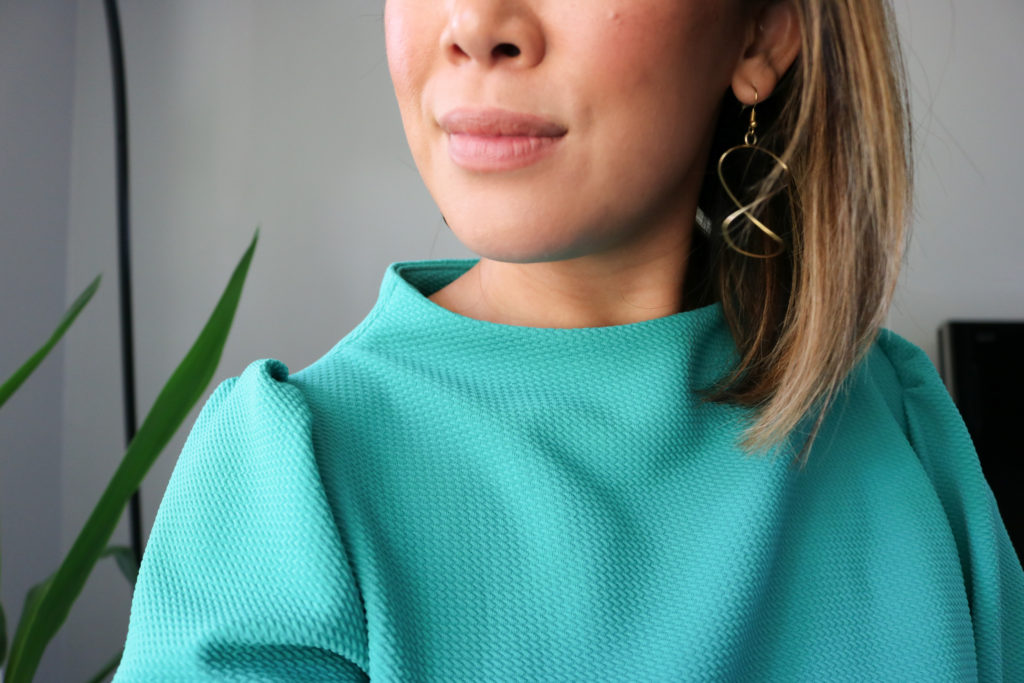
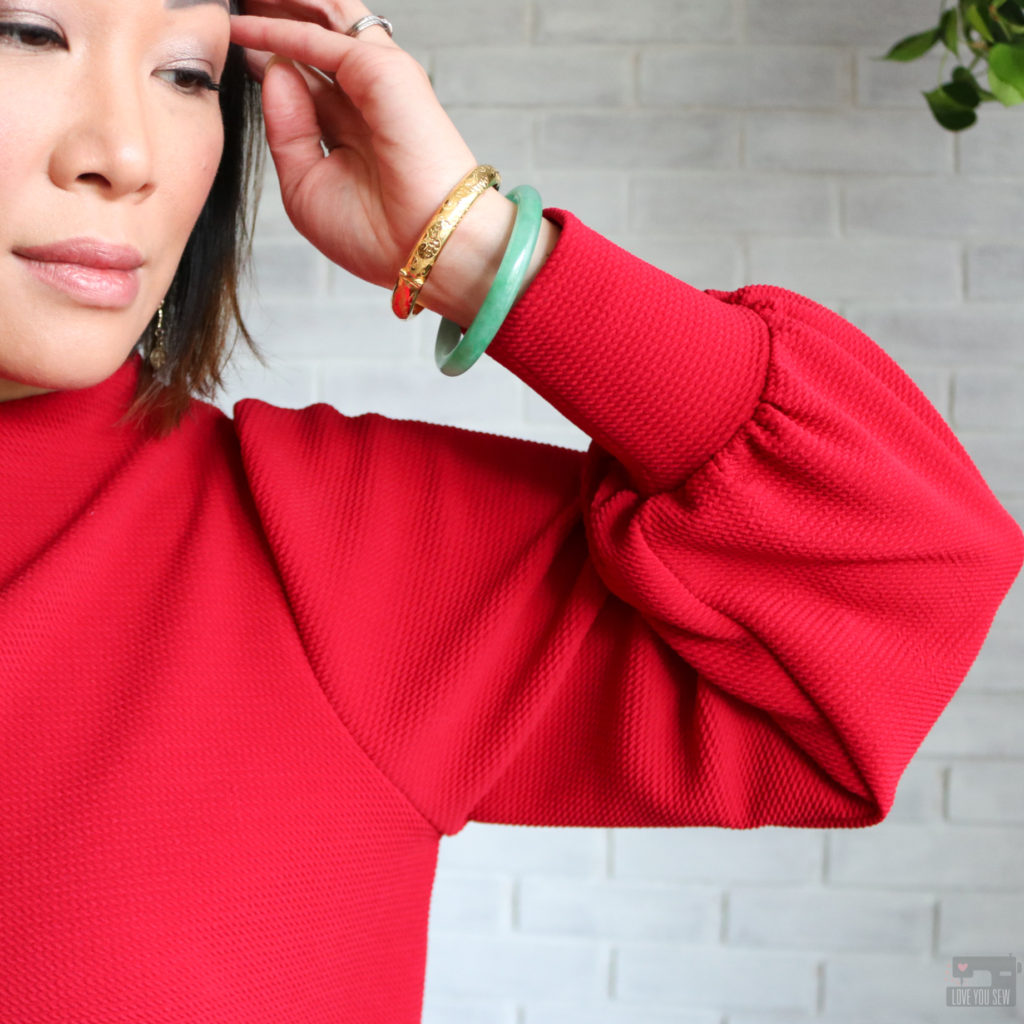
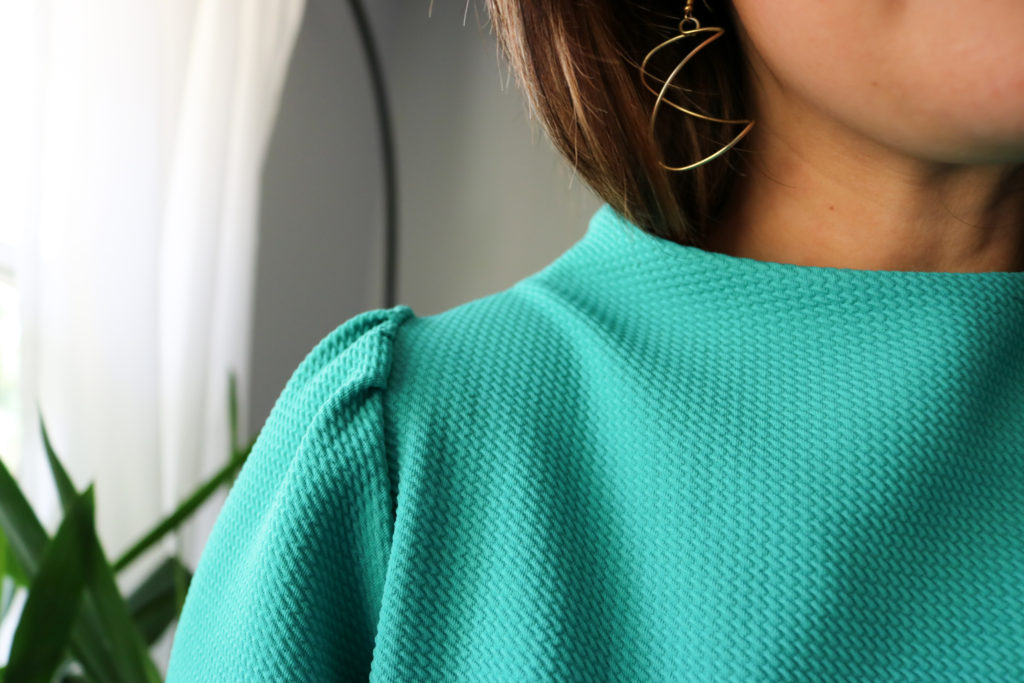
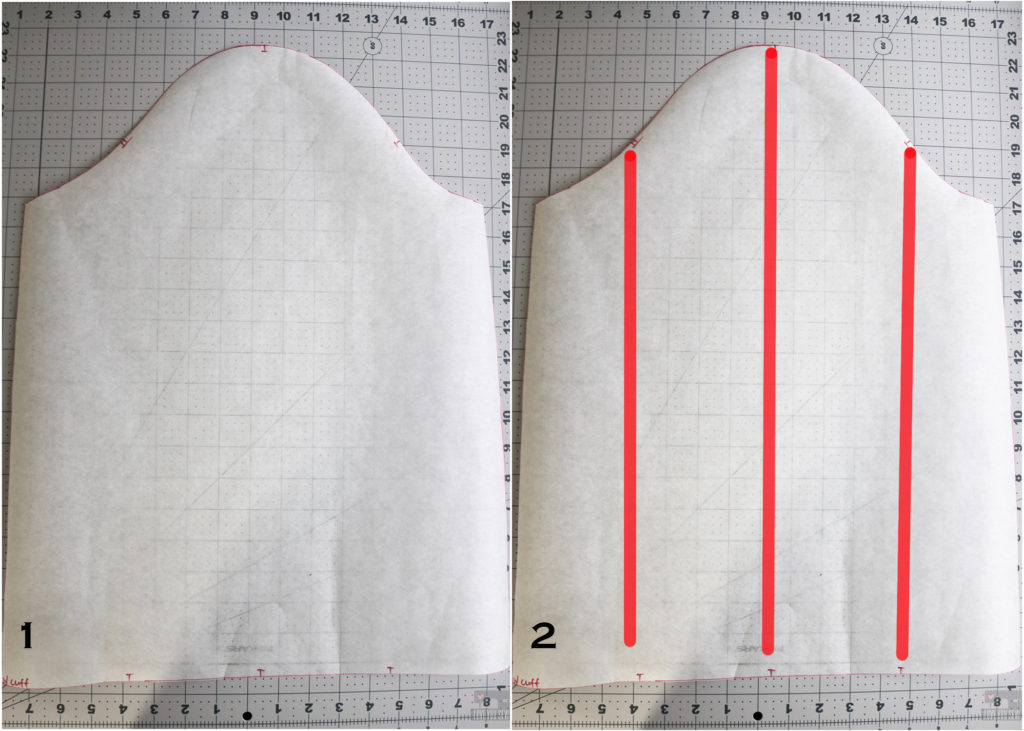
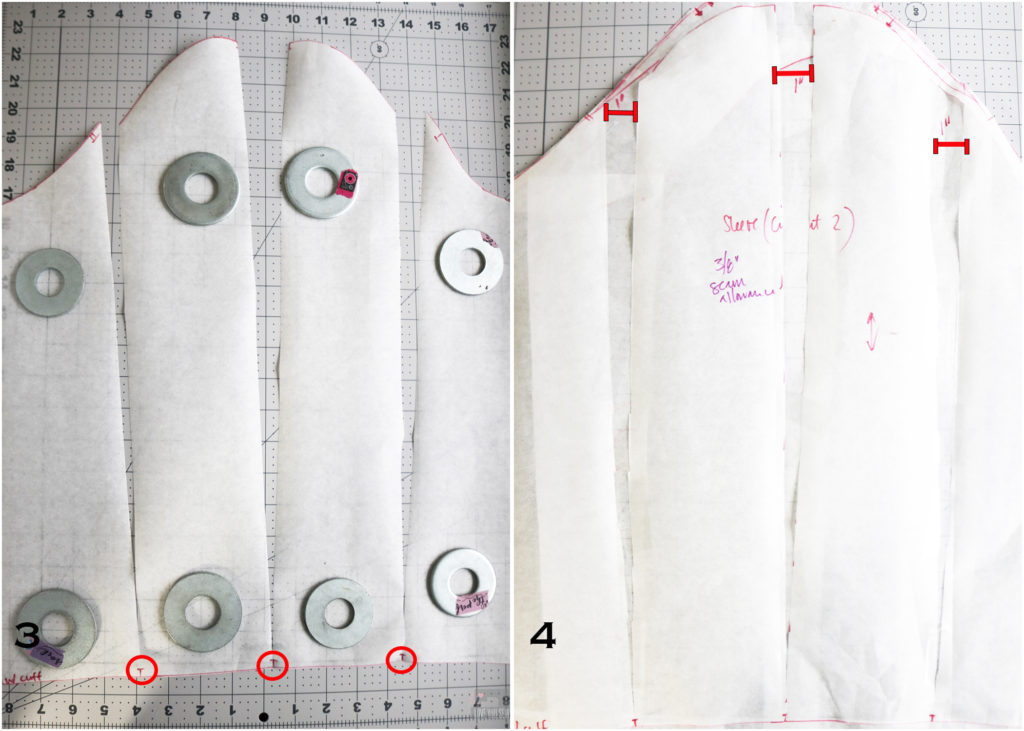
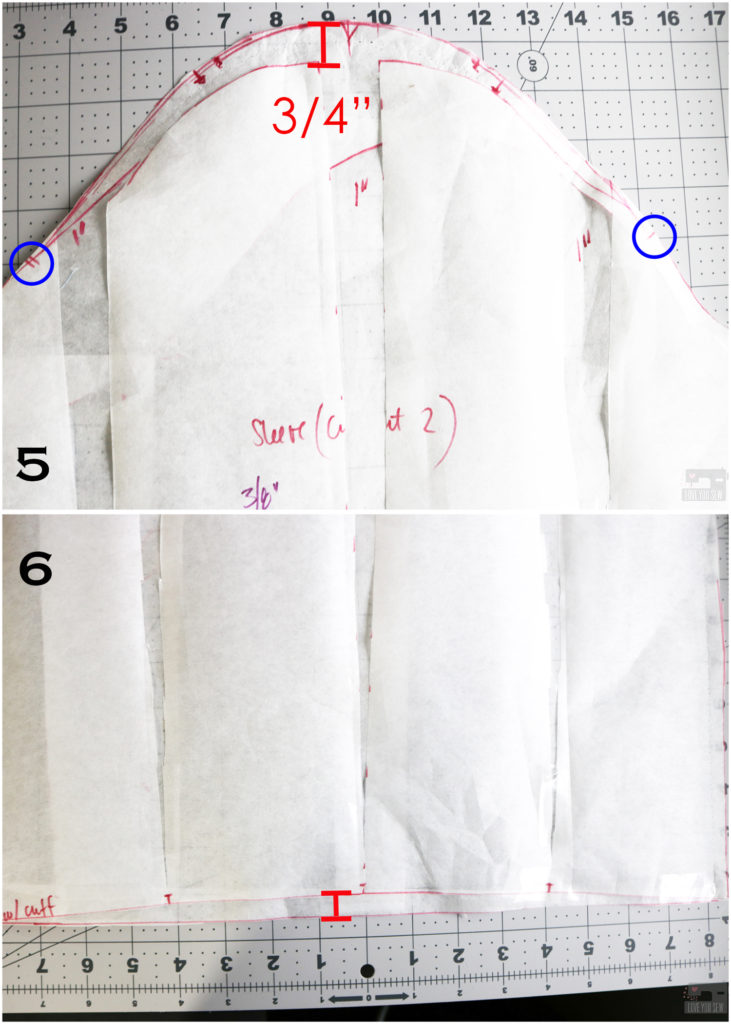
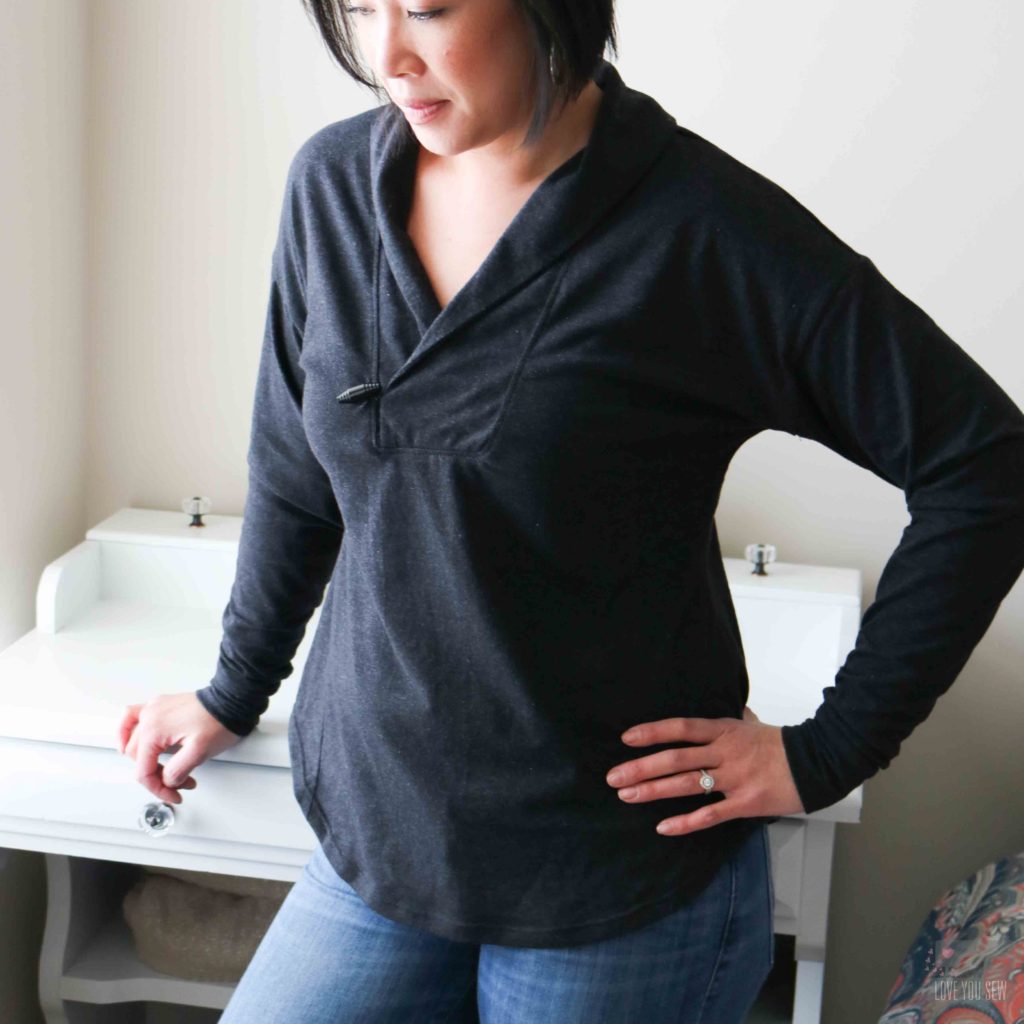
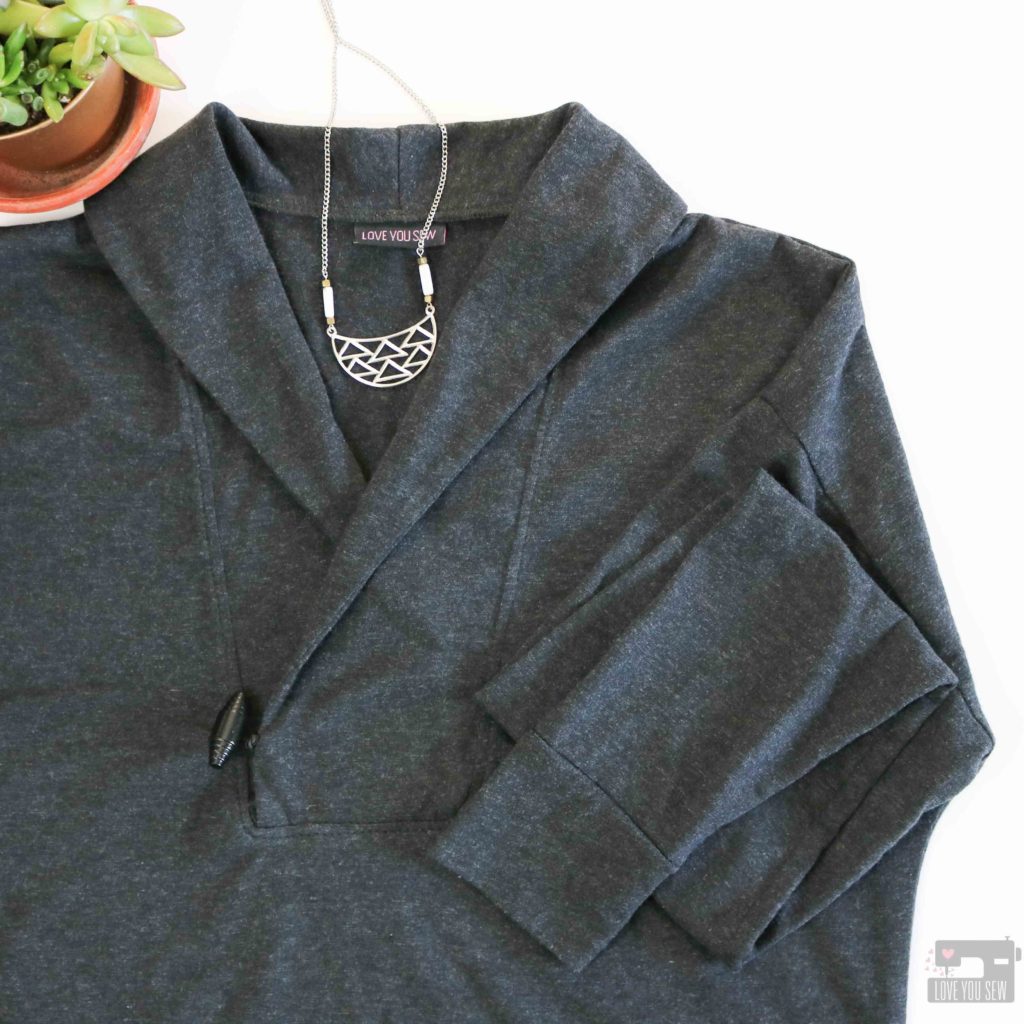
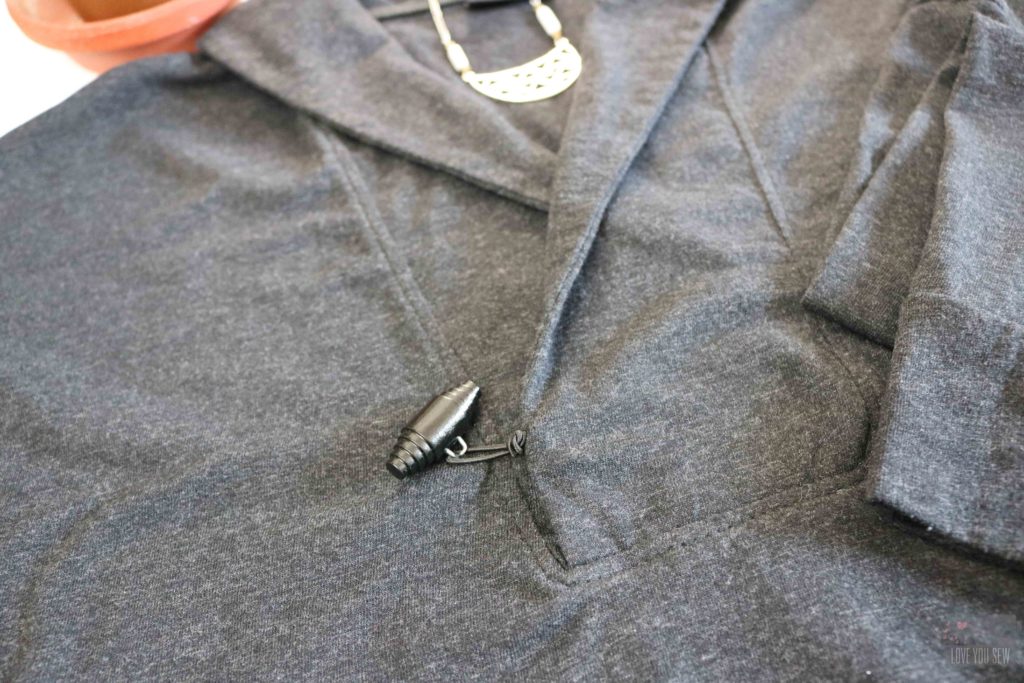
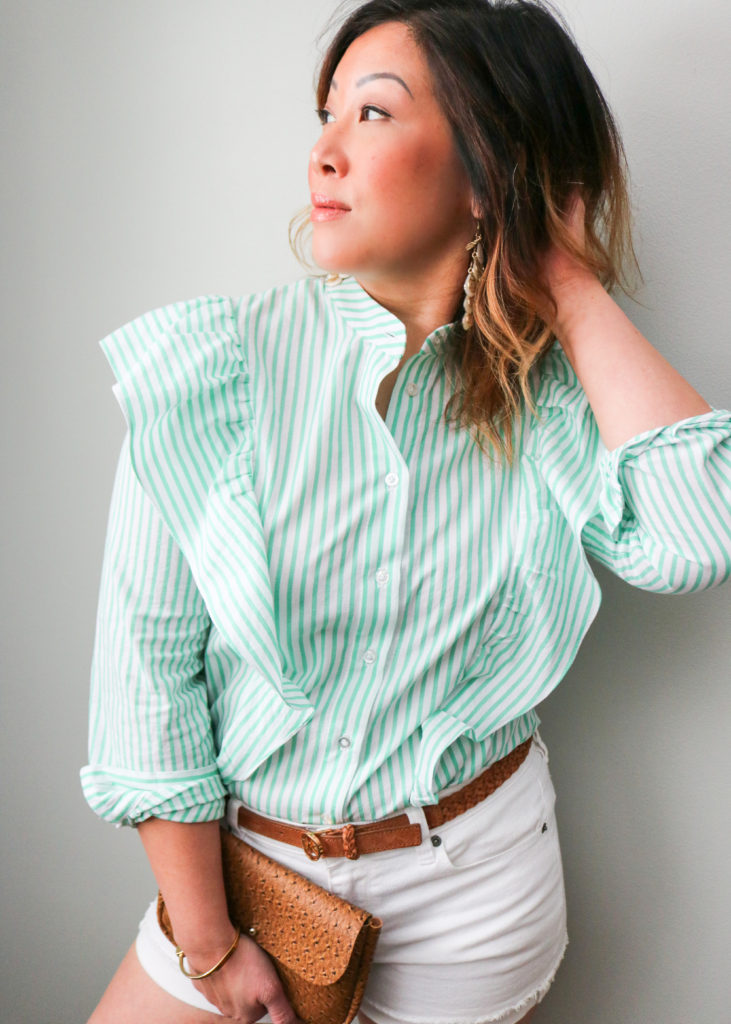
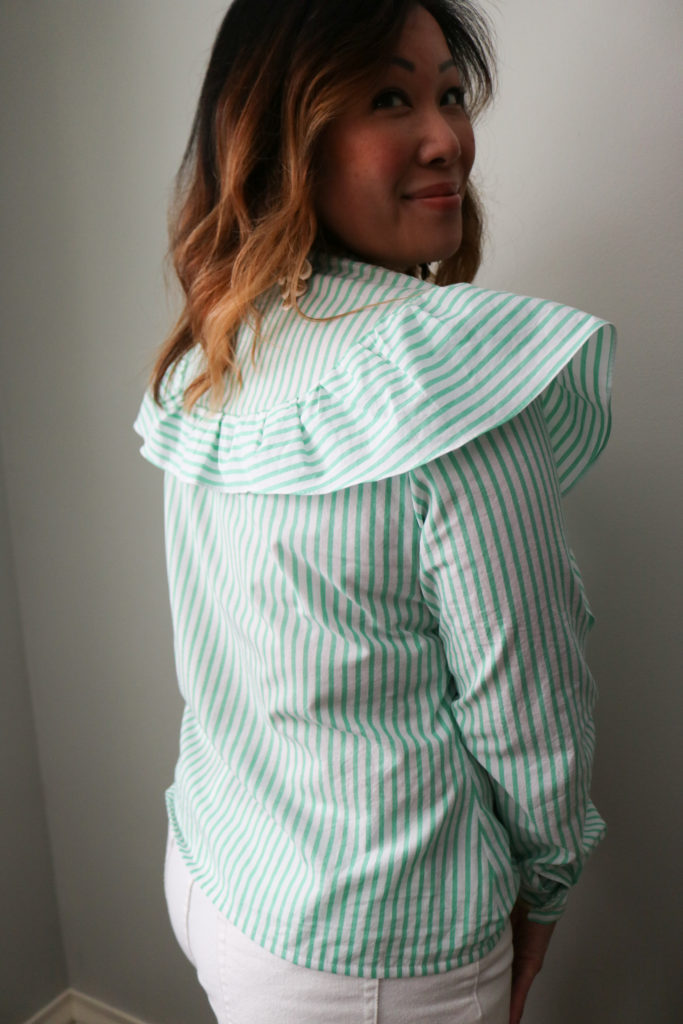
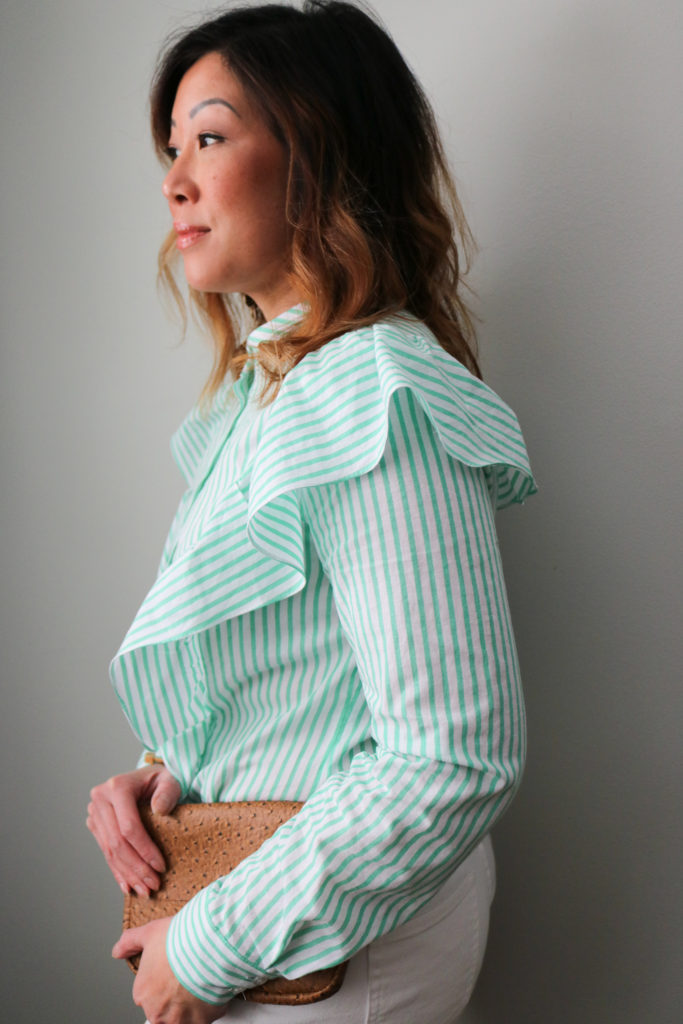
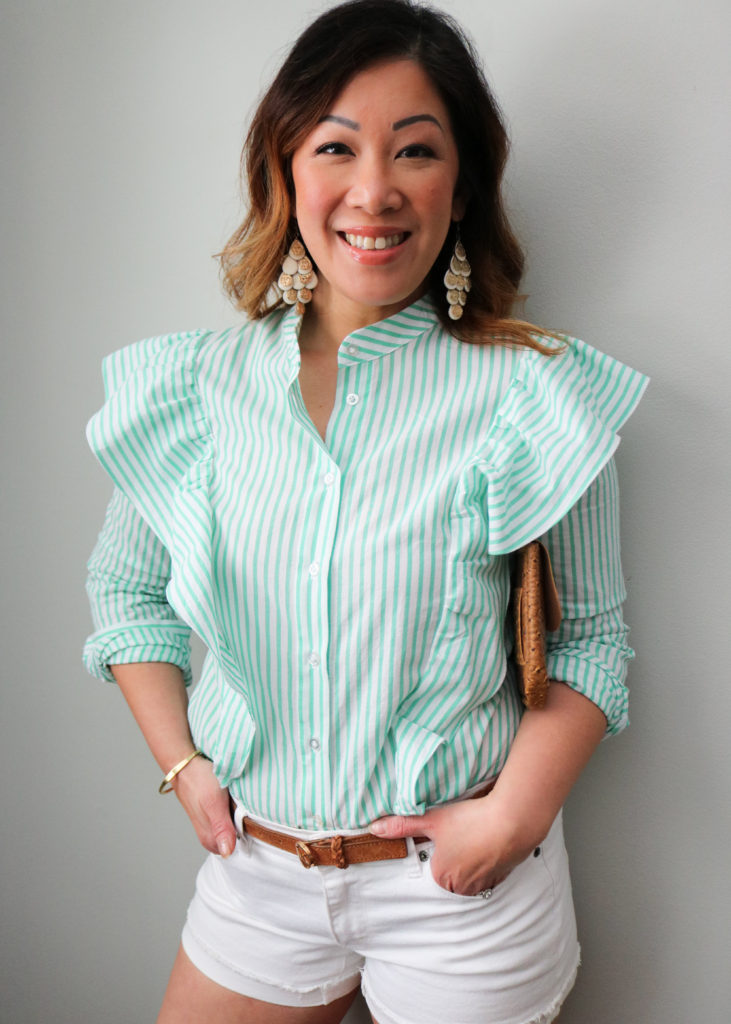
 When I saw the previews for issue 13 of the Fibre Mood Magazine, I was awestruck with the flirty and fun nature of the Paulette Blouse. This button-up top has a ruffle starting from one princess seam running around the back to the other. The hem line runs straight and hits right at the high hip. With a band collar and two-button cuff, this blouse has all of the features of a classic shirt, but has that feminine touch with all the ruffles!
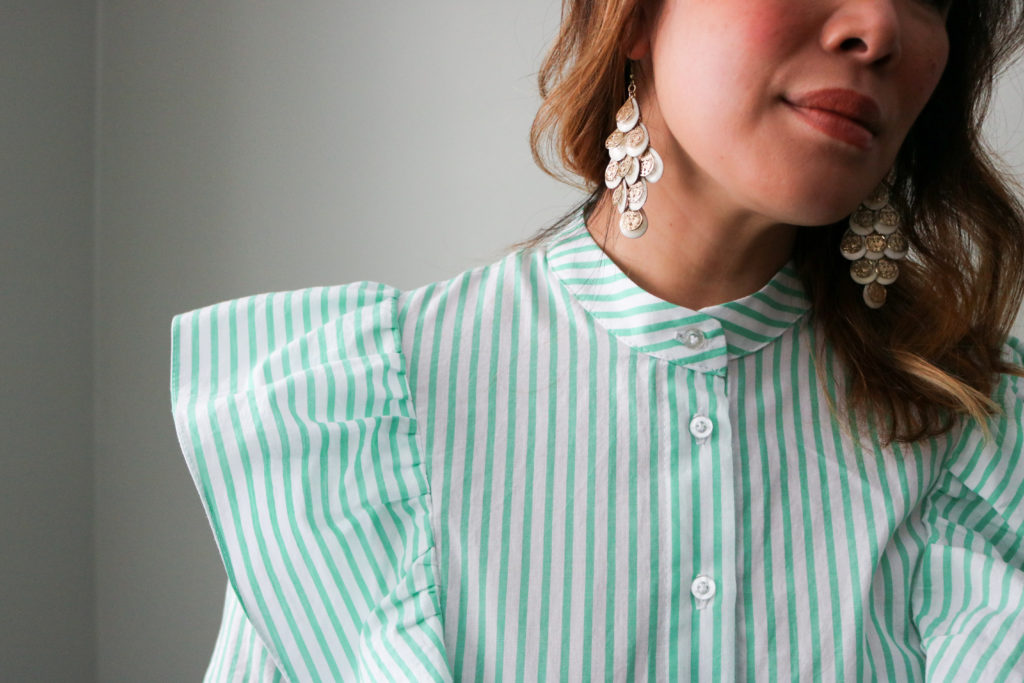 We’re still in a life of Zoom calls, so statement blouses are all on trend. That means the prairie influence of last year is hanging around even a little longer than trends generally go — YAY! I know not everyone is into that “cottage-core” style, so updating it with the right fabric can make the look last a little longer than the all-out trend.
FABRIC
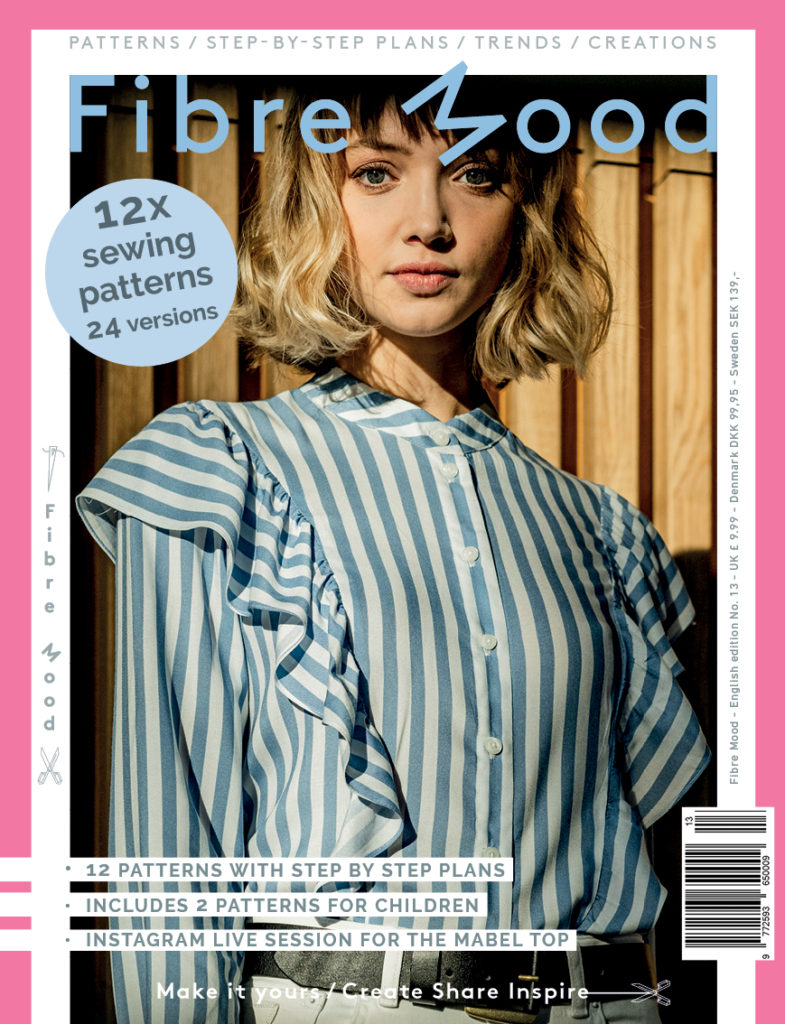 I LOVED the sample version of the Paulette when I first saw the stock photos! Is anyone not surprised it made the cover of Issue 13? There was just something with the directional play on stripes and the classic mix with softer ruffles that just really worked for me. But, of course, I wanted to make this blouse with my own spin…
 While in the middle of deep Ohio snow, I knew I needed to start thinking about warm weather and spring clothes. This cheerful green and white striped lawn came up in one of my late night searches. While I initially found it on Fabric.com, I was worried about delayed shipping times (due to COVID-19) and not being able to make my FM ambassador deadline. PRO-TIP -> I checked Amazon to see if they carried the same fabric (since they also own Fabric.com.) If you have a Prime Membership, many times you can get the same fabric cheaper AND faster than if you purchase through Fabric.com. I even have a business account with Fabric.com and it turned out Amazon + Prime was still a better deal!!! #winning
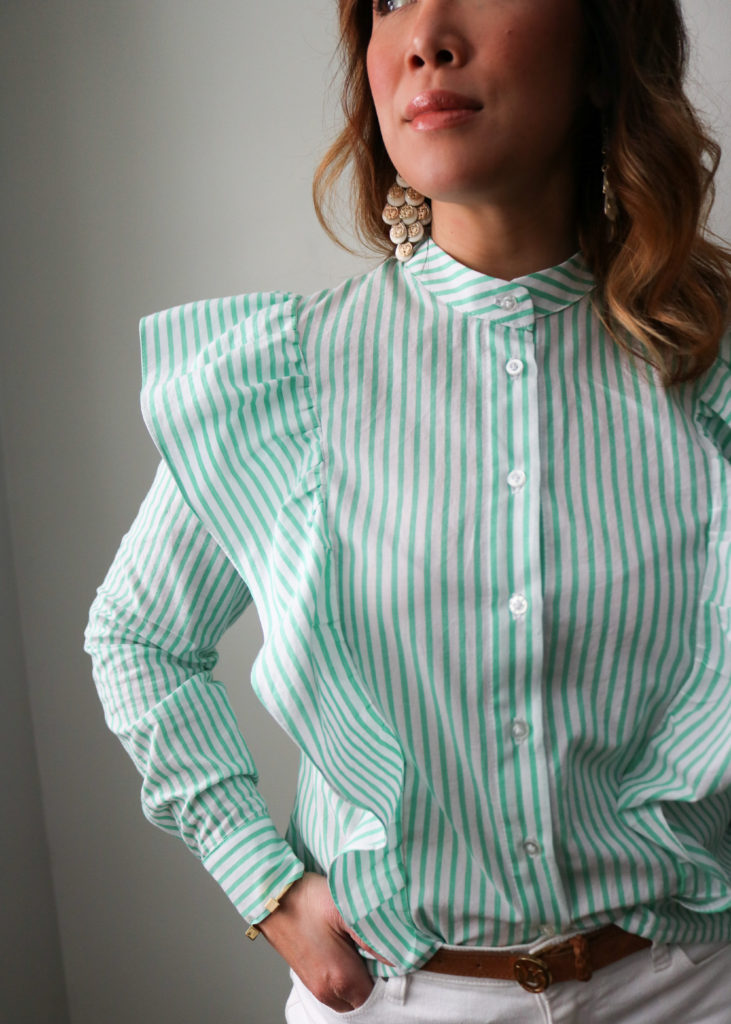 I chose to use lawn since it’s very lightweight and breathable — perfect for warm weather. However, it also tends to be semi-sheer. So lawn is great for blouses and other tops….but you will definitely need a lining for a dress or pants. The other great feature of lawn…especially 100% cotton version, is that it holds great structure while still having a soft hand. While the fabric is light, you can really get great body and volume that won’t cling onto every curve and still make some gorgeous statement ruffles! If you like the look more of the FM cover sample, something more drapey like a rayon challis or light tencel twill would give you that look.
 This fabric purchase was made on a whim since I loved the green and white stripes. And…I’m happy to report I would definitely buy it again. It washes and dries well since the fabric is 100% cotton (and I do NOT like to line dry if I don’t have to!) It sews up easily without shifting issues like your typical quilt cotton. Since the fabric is lightweight, I did drop my regular needle size down to 70, but used my normal all-purpose Gutermann white thread for construction.
PATTERN
 Fibre Mood sells their patterns either as a full set through their magazine (definitely a great deal if you want 3 or more patterns) or digitally, a la carte. The instructions are available to any registered user through the website (in 5 different languages!) which is a really generous feature. So, you can read through the complete instructions and understand the steps BEFORE buying the actual pattern!
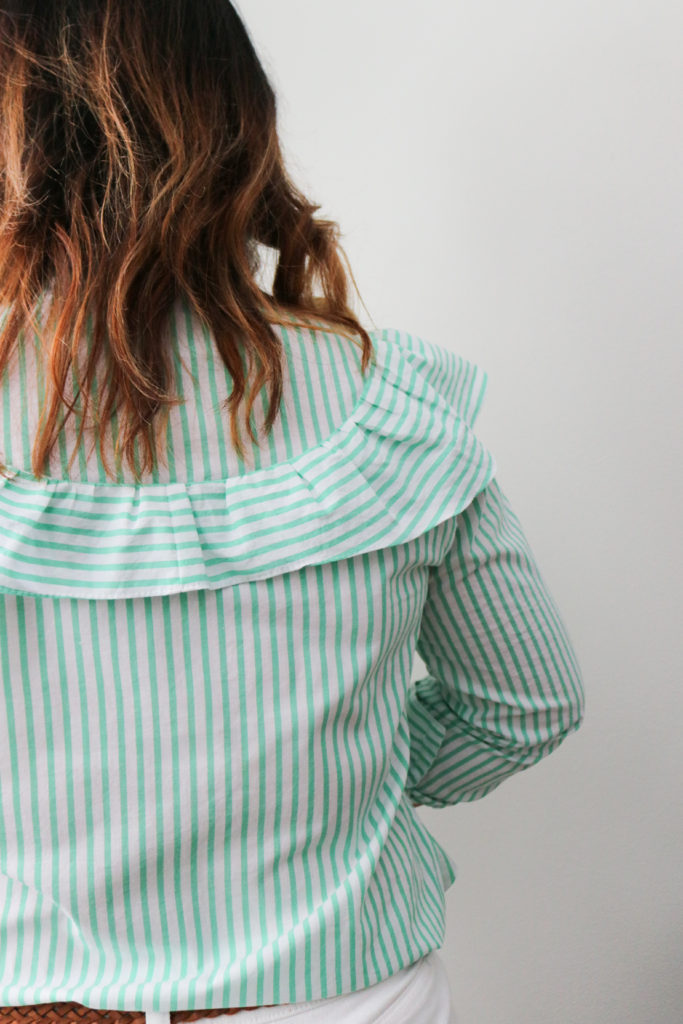 I printed the Paulette pattern at home and loved being able to uncheck the other tiled sizes I didn’t need. While it’s definitely more labor intensive to print and assemble the pattern at home, I was working against the clock and with bad weather conditions, I didn’t even want to send the A0 copy shop version out to the local printer.
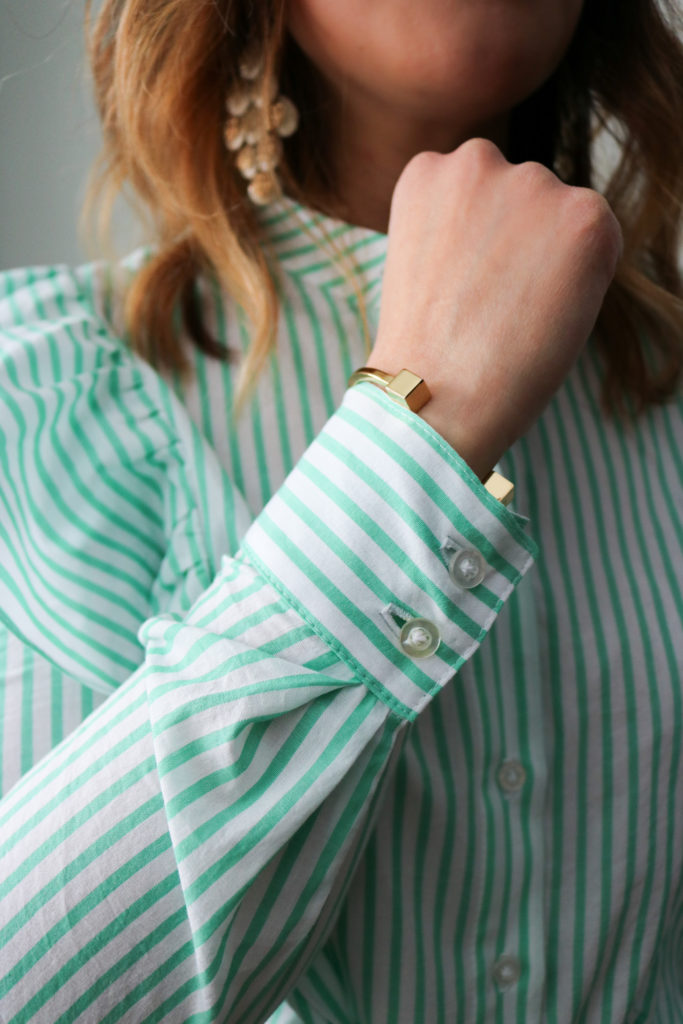 For this Fibre Mood pattern, I measured as an 8 in the bust and waist, while also being a 12 in the hips — which is typical for my body. Construction went very well with the ample amount of notches (I do love them!) and the great instructions. I have made many other blouses with button plackets like the Archer and Aida tops, so I knew what to expect.
Overall, I stayed true to the pattern and made only the following modifications:
- Graded the waist out to a 12 in the hip
- Used a 1/4″ hem instead of 3/4″ to lengthen the top. Next time, I may add an extra inch for more coverage to tuck in…and I’m only 5’3″!
- Increased the overall bust by 1/2″ by letting out 1/8″ from each princess seam. The finished measurement of the blouse is suppose to be ~40″. But when I tried on the blouse, it was pressing against my chest as I moved and didn’t have nearly the ease as it should. Even after releasing that 1/2″ from the princess seams, the finished bust measured at 39″ and not 40″ as stated. My pattern pieces and seam allowances were correct, so I would highly recommend a muslin and/or sizing up if you are in-between.
Please note, I am on the Fibre Mood influencer team and an affiliate member. I received this pattern for free but was not obligated to write this blog post. This post may also contain affiliate links. Please read my disclosures here.
