
When I first hacked the Grace Rashie by Swim Style Patterns two years ago, I never documented the process…Big mistake, I know! It was one of my late night experimentations which you can find here. I honestly didn’t know if it would work or not and got so wrapped up in the process that I didn’t write down measurements or take photos of my complete step outs. But luckily, I knew I needed at least a second rashguard for myself and made sure to document it this time!

Supplies Needed
- Grace Rashie Suit Pattern by Swim Style Patterns
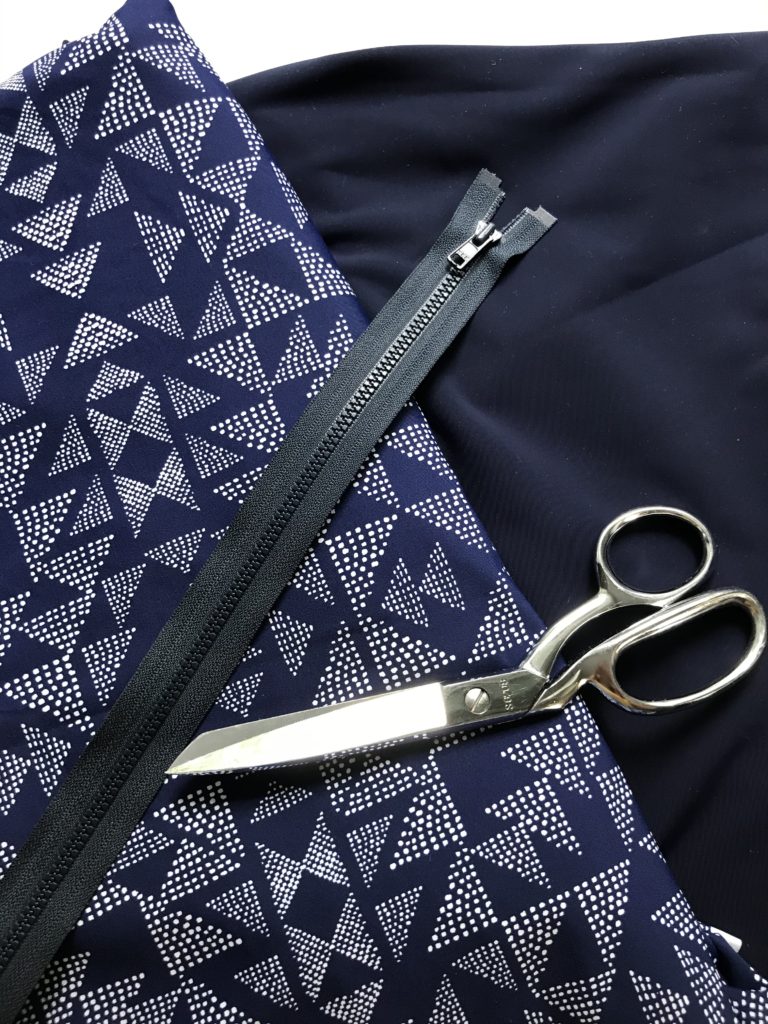
- Swimming Fabric – It’s good to use fabric that is specifically labeled for swimwear. They typically are better suited for chlorine and intense sun exposure. Pictured Geometric Print is from LA Finch Fabrics (sold out) and the Solid Navy is from (the now closed) Imagine Gnats Shop.
- 18″ Sport Style/Plastic Molded Separating Zipper – This length would be good for M or L sizes.
- Extra interfacing
- Wash-Away Wonder Tape (aff link)
- Marking Tool
Tutorial
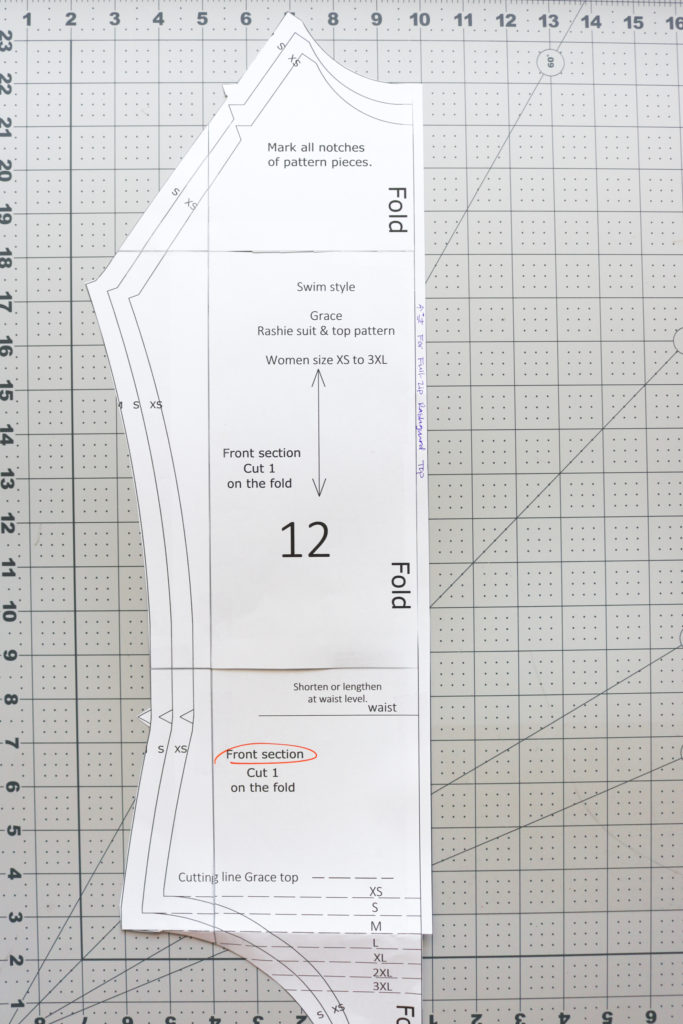
Step 1: Cut all pattern templates according to instructions. Pull out the “Front Section” and add 1/4″ to the center-front as shown. You will cut at the dashed line for just the “Top.”
Note: I made a size M and all measurements for center front, zipper guard, and zipper are ALL for this size. You will have to adjust as needed for your sizing.
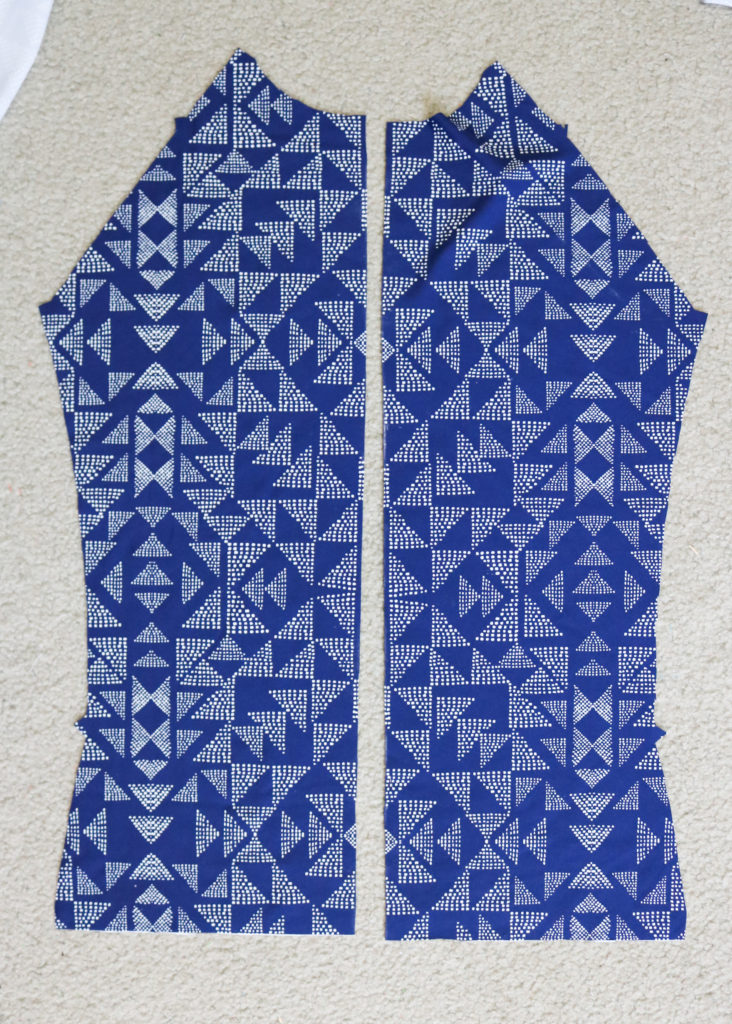
Step 2: Cut all fabric according to instructions EXCEPT for the “Front Section.” Instead of cutting the “Front Section” on the fold, you will cut TWO separate mirrored pieces using that 1/4″ you added in.
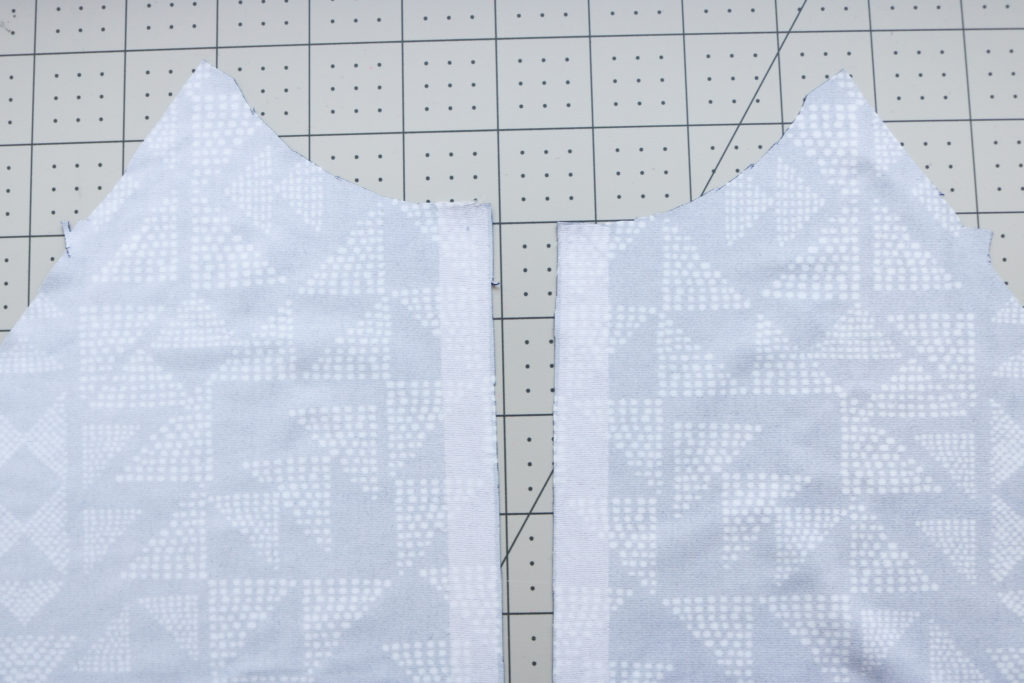
Step 3: Cut (2) 19 1/4″(length of the center front) x 1/2″ strips of interfacing and fuse to each wrong side of the center “Front Sections.” Set aside.
left side of image is the Bottom and the right side is the Top
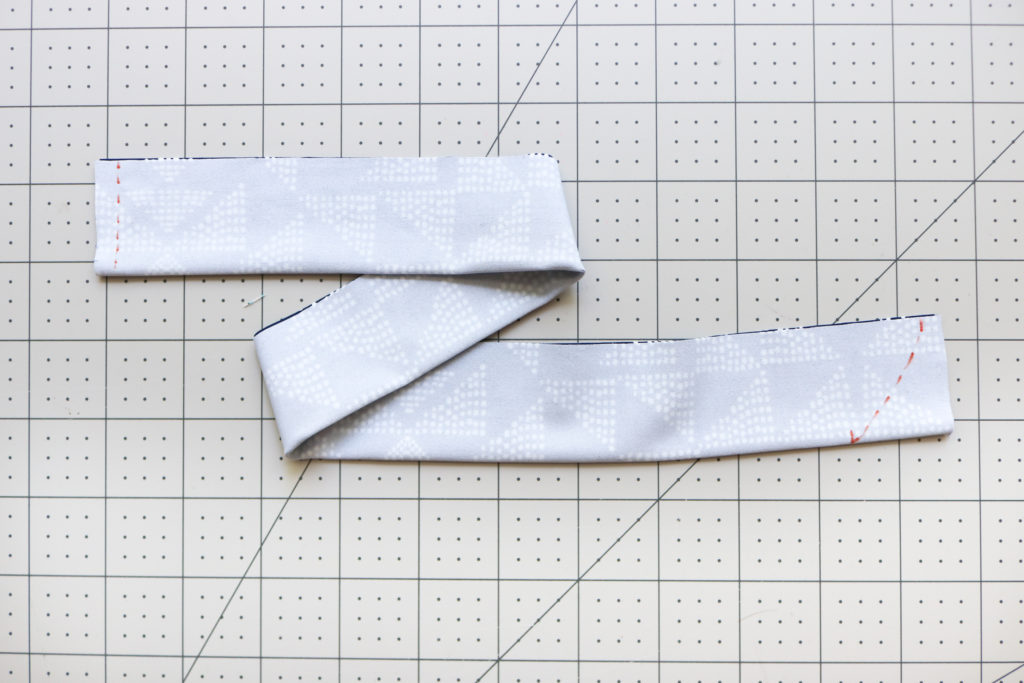
Step 4: Cut (1) 19 1/4″ (same as length of center front) x 3″ strip of Main Fabric for the Zipper Guard. Fold the fabric lengthwise with right sides together and press with low-heat iron, if needed. Mark seam with 1/4″ at the bottom. For the top, measure 1/4″ down at the raw edge and then 1″ down on the folded side. Connect the two points with a curved line as shown. It doesn’t need to be precise!
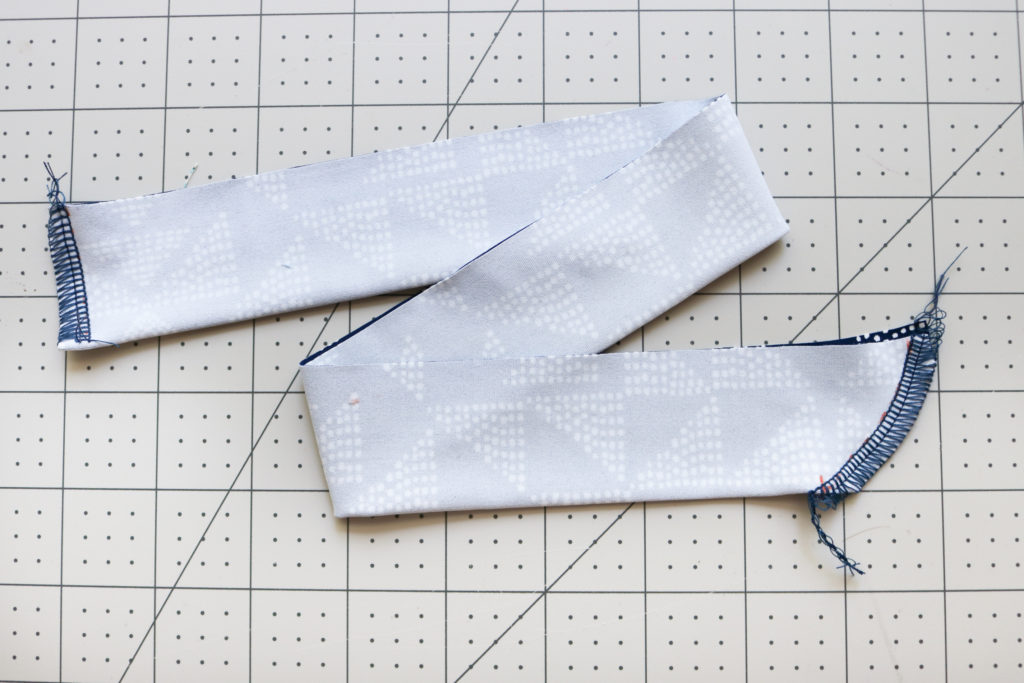
Step 5: Sew on the markings you made. (They don’t need to be serged, but I went ahead and serger the seams while my machine was set up.)
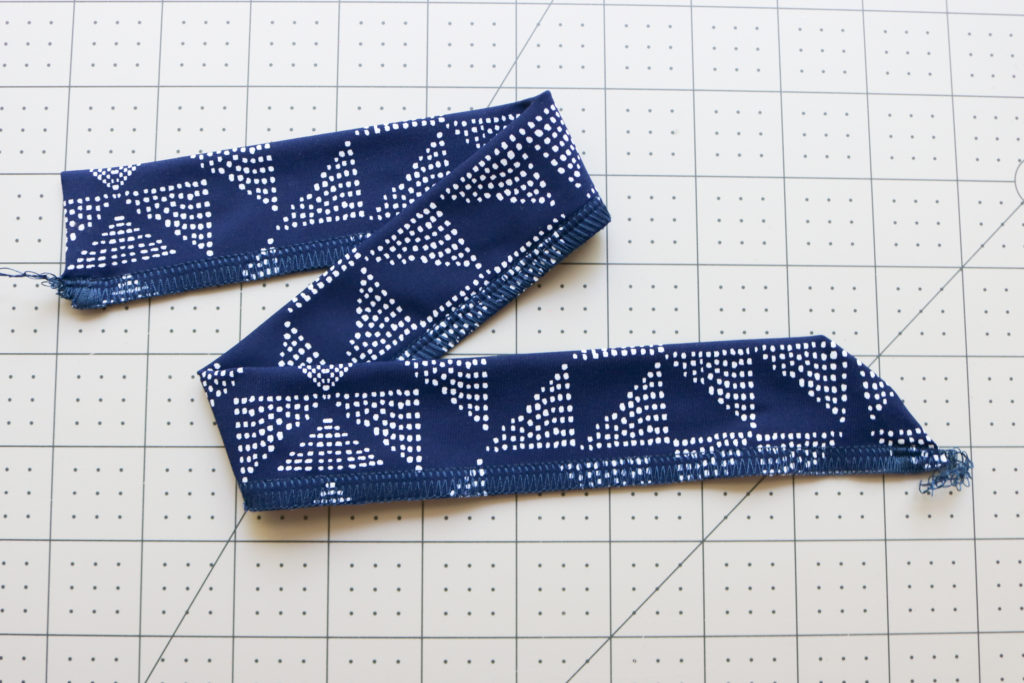
Step 6: Flip the Zipper Guard right side out, pushing out the bottom corner and the top curve. Press with a low-heat iron. Match the raw edges and finish with serger or zig-zag stitch. Set aside.
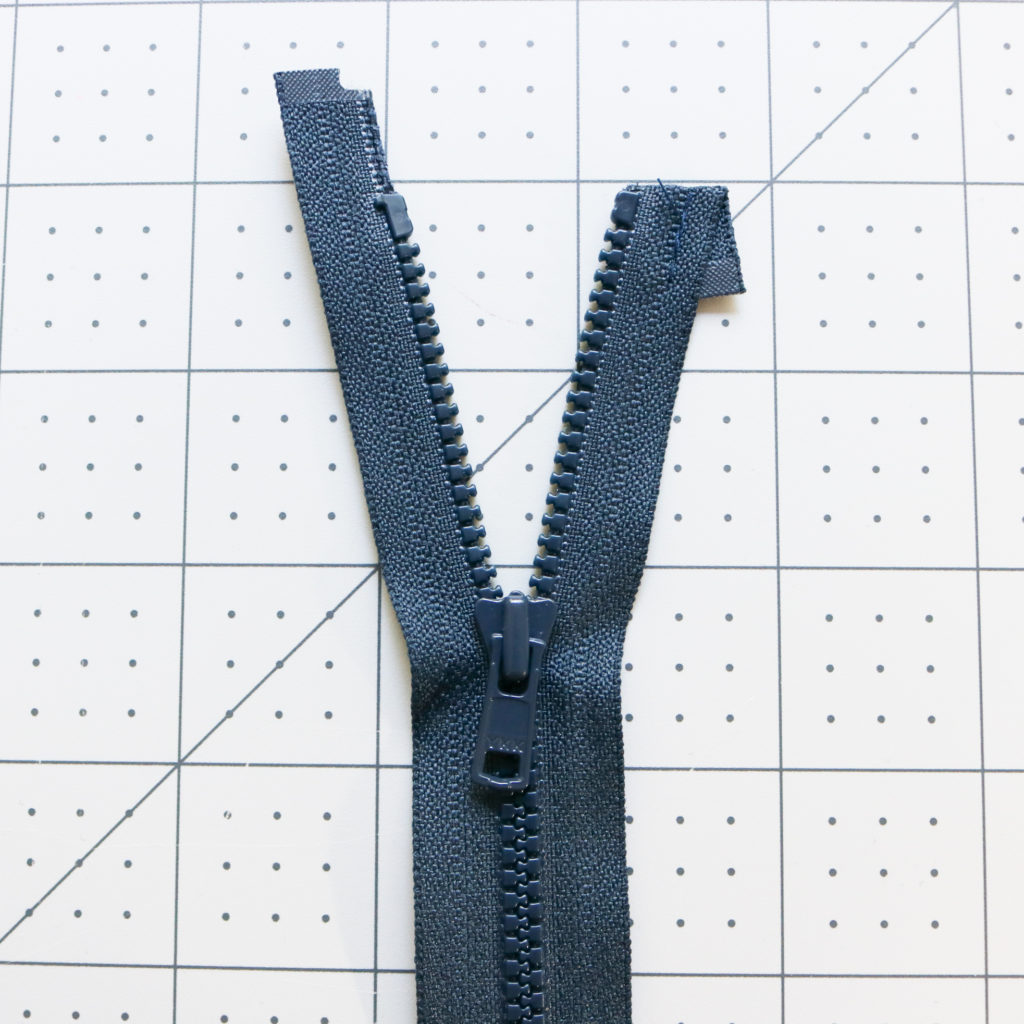
Step 7: Prepare Zipper by folding down the excess tape above the top stoppers. Tack the fold into place approx. 1/8″ away from the edge. Trim the overhanging tape. (If you are making size L, you might be able to skip this step and use the full length of the zipper.)
***Follow instructions to complete the Grace Rashie (skipping all zipper steps.) When you get to the hem, double check that the length of the finished center front matches the length of the zipper.
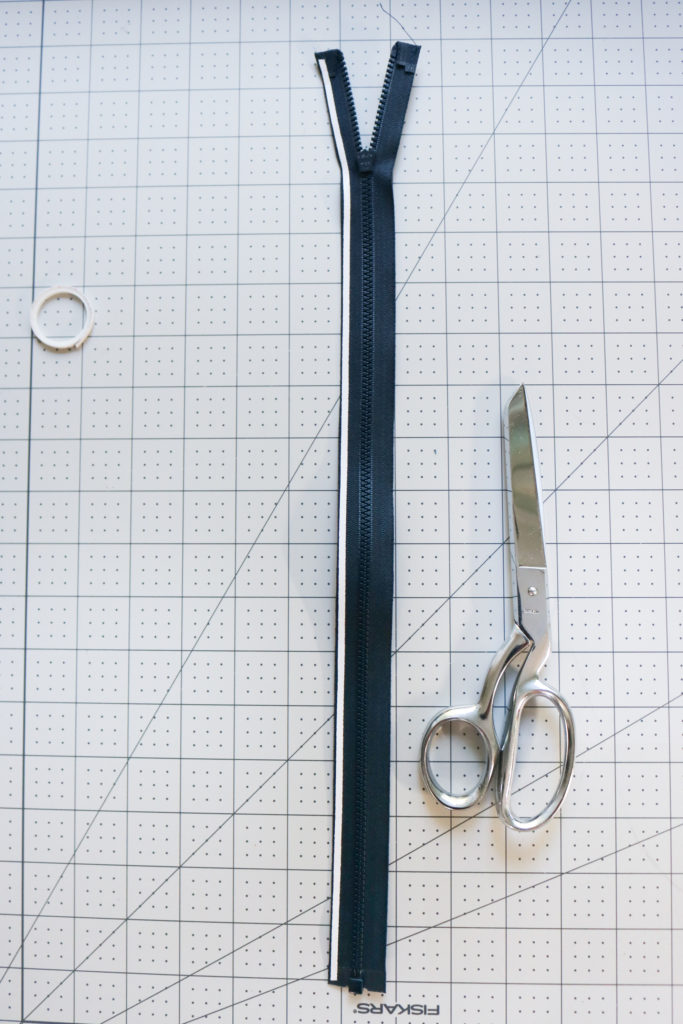
Step 8: With the wrong side of the Zipper facing up, add Wonder Tape to each long side of the tape.
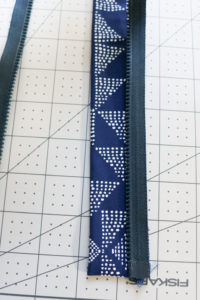
Bottom
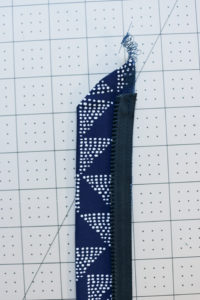
Top
Step 9: Separate the Zipper and lay one zipper side down on the stitched side of the Zipper Guard. Pictured is the LEFT side of the zipper (without the head,) but my previous version had the head with the guard. I honestly don’t know which side of the zipper should sit with the guard, is technically correct. I was playing to see if there was any real difference in how it wore on the body and I didn’t feel anything different…
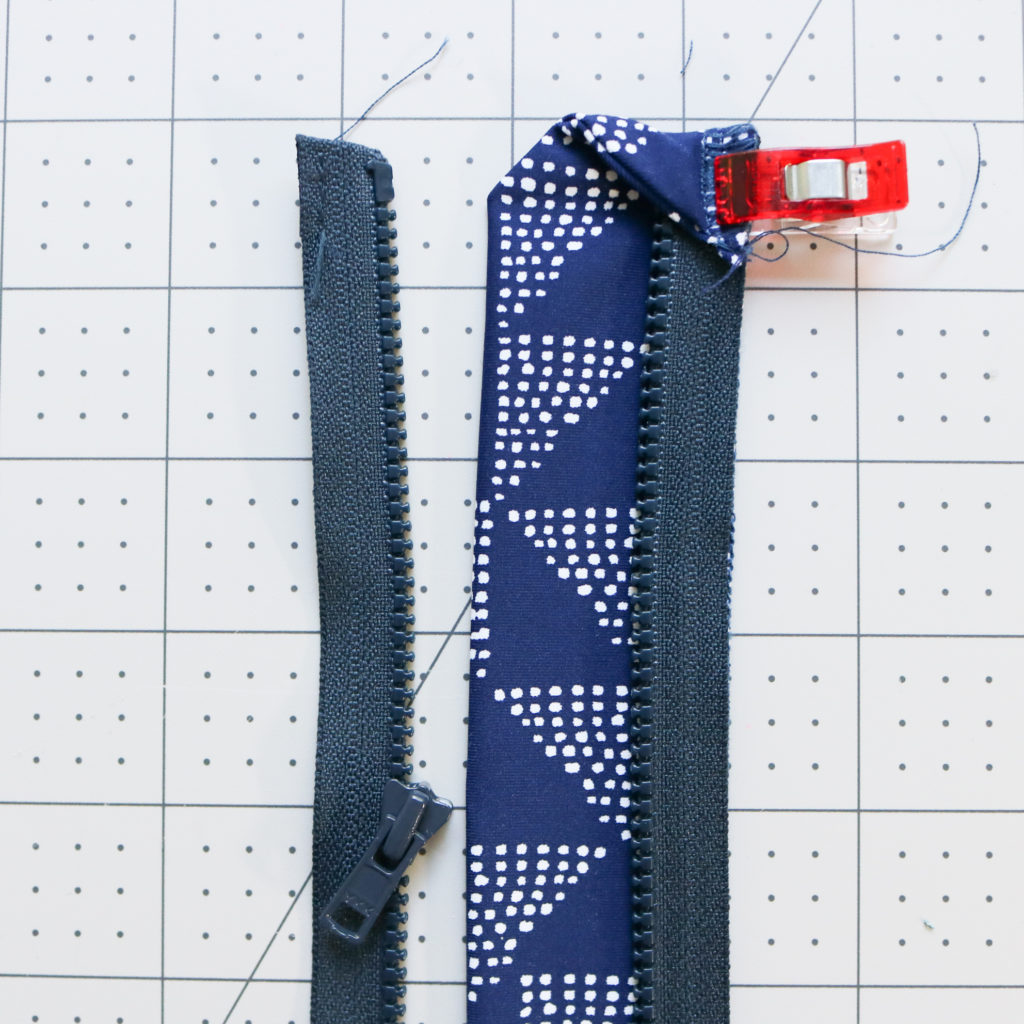
Step 10: Fold the Top of the Zipper Guard over Zipper and tack into place with 1/8″ seam allowance.
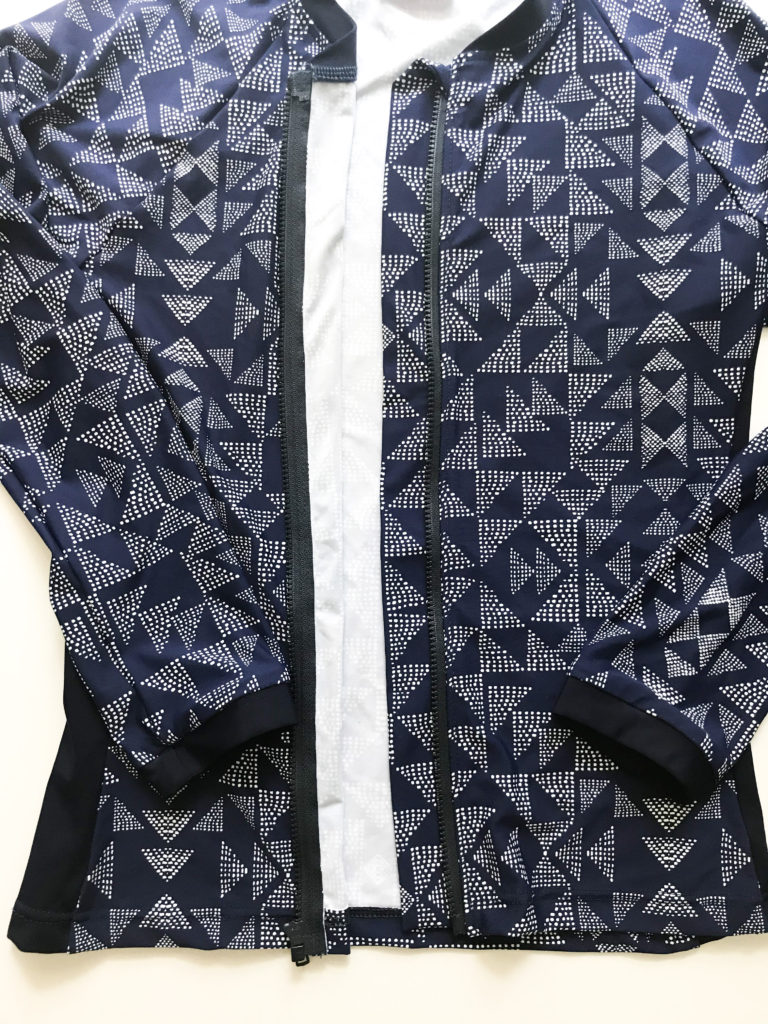
Step 11: Working on the LEFT side of the garment, match the center front of the Rashie with the Zipper Guard, right sides together. Use a zipper foot and sew itogether with a 1/4″ seam allowance. Open the Zipper Guard and press seam allowance to the back. Top-stitch 1/8″ from the edge of the Zipper, going through the Main Fabric, Zipper, and seam allowance. Repeat with the RIGHT zipper.
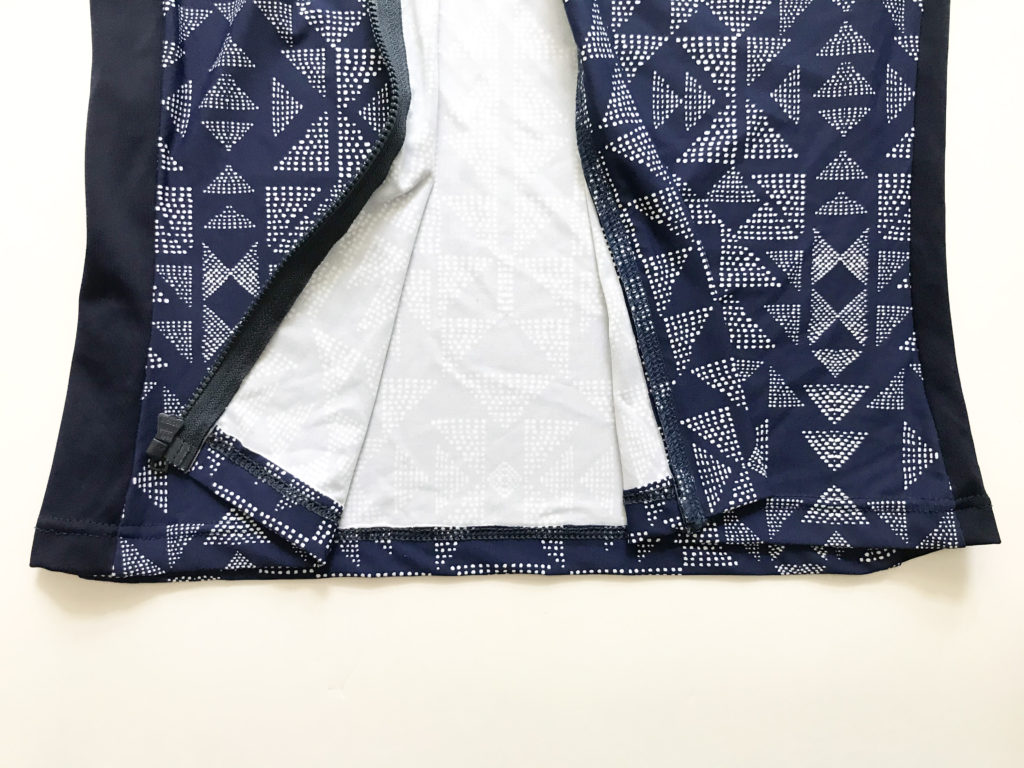
Congratulations! You now have a custom swim rashguard to protect your skin against the sun and elements. I love having these for the cool winds of the lake. The best part is when the rashguard gets wet, I can easily zip it off!
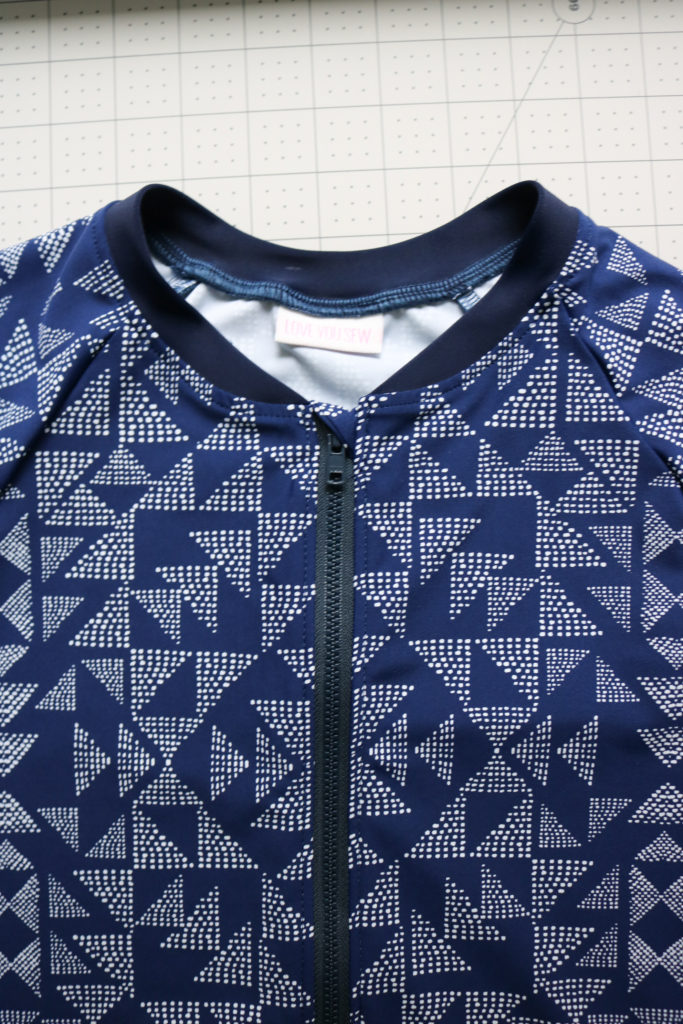
Please let me know how this tutorial worked for you!
Happy Sewing,
Cristy
This post may contain affiliate links. Please read about my Disclosures, here.
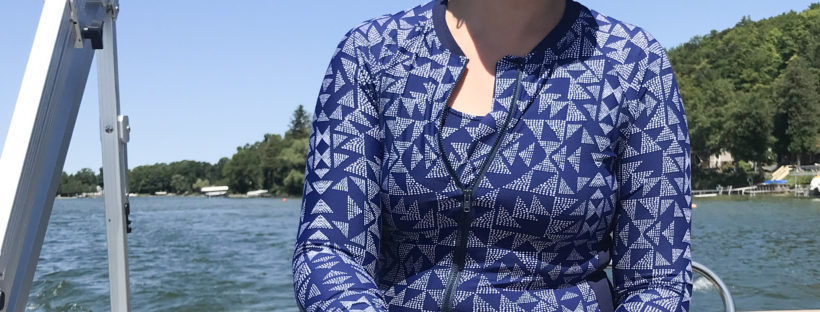
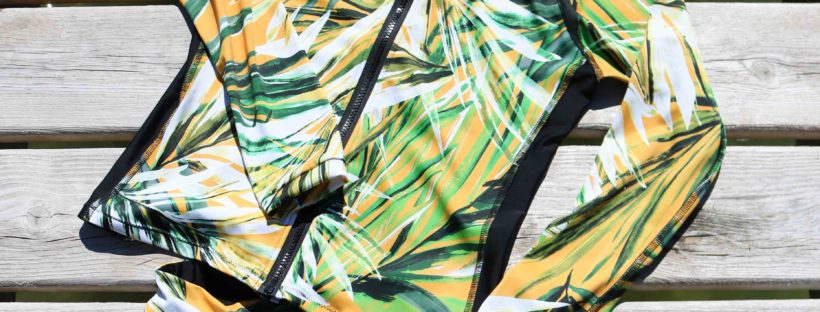
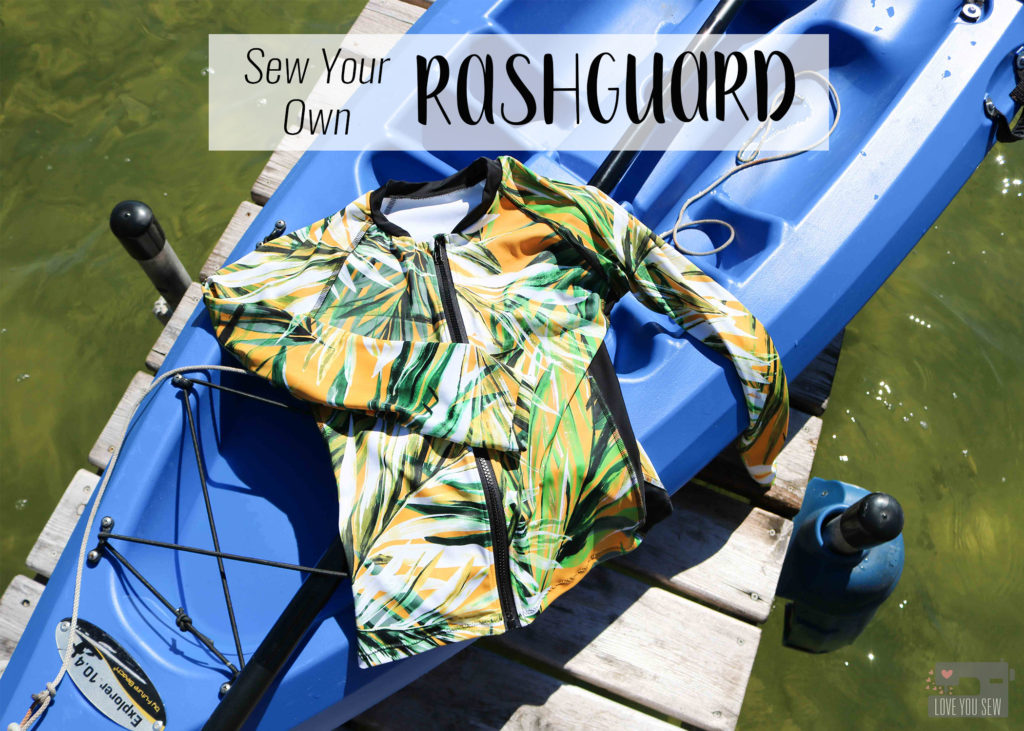
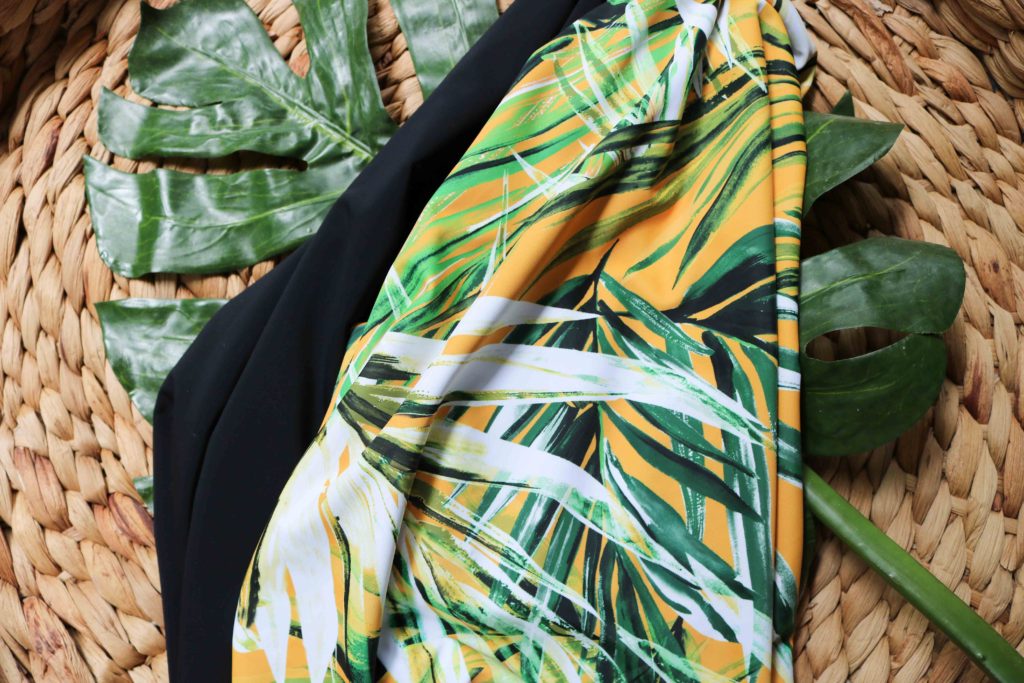
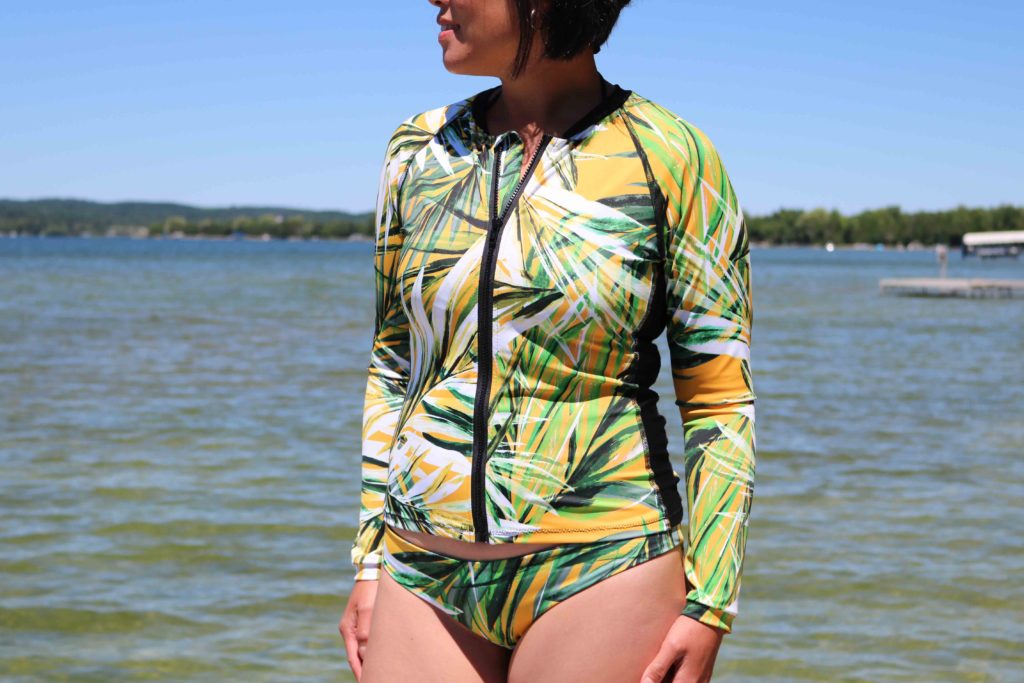
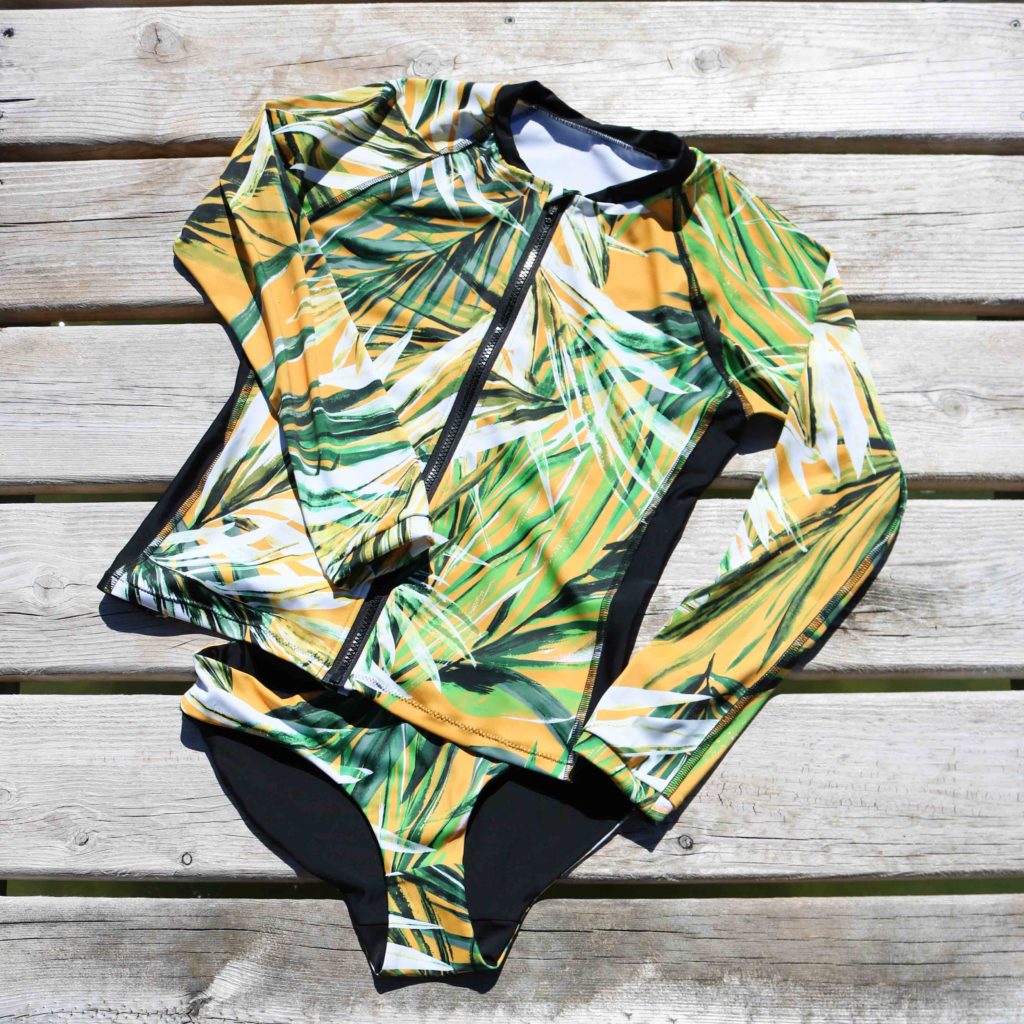
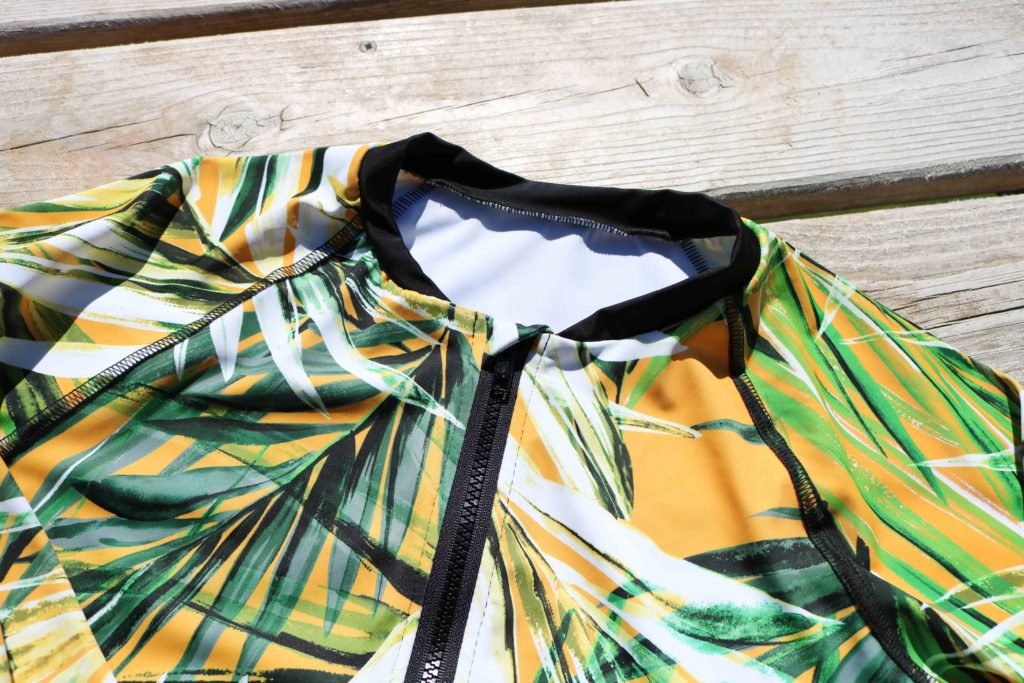
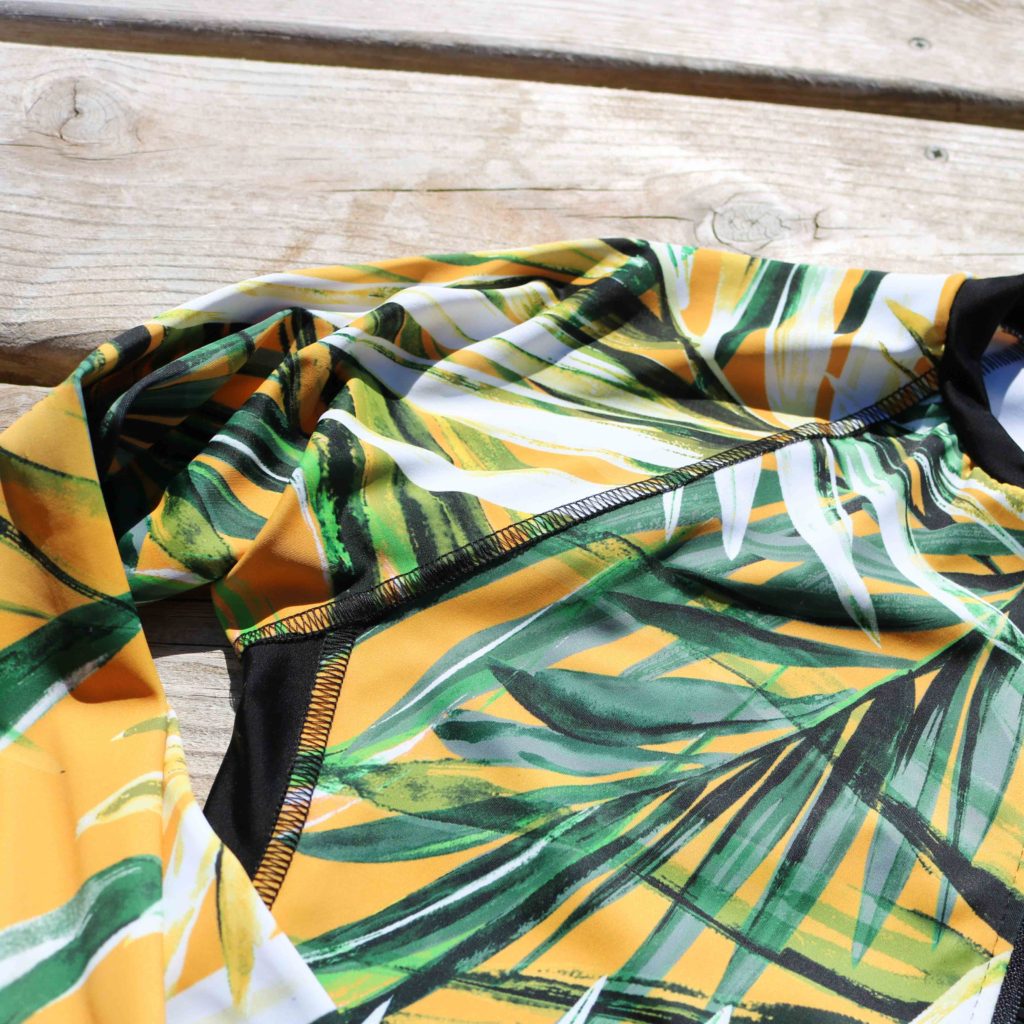
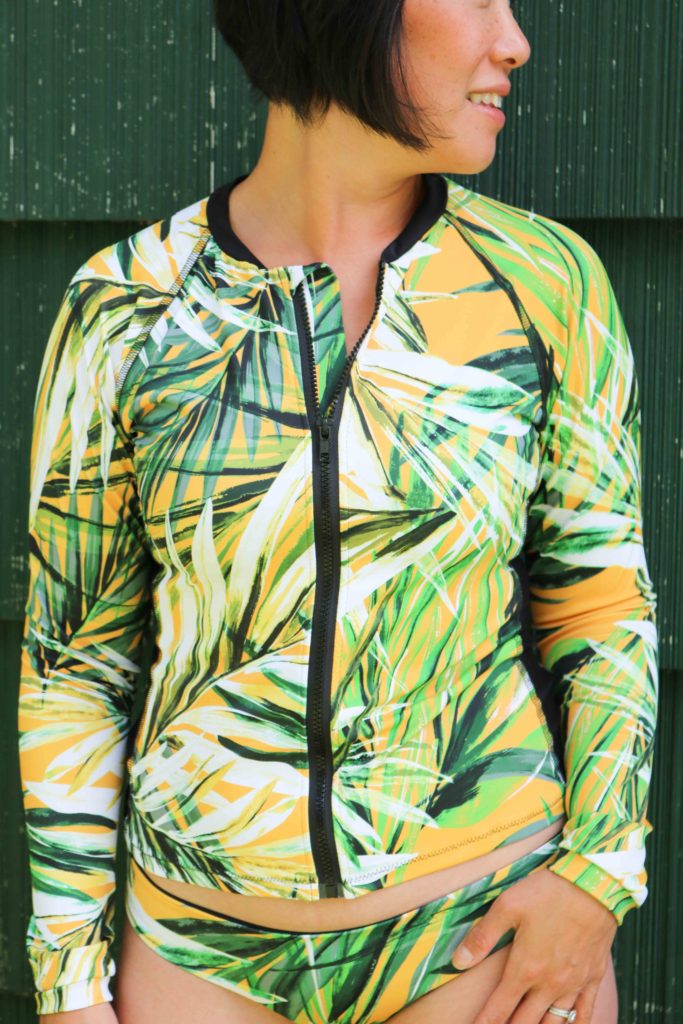 The neck and wristbands were all serged onto the rashguard but I used a simple sig-zag stitch around the hem and it has held up well. There has been a bit of tunneling after wear, so maybe a bit of knit stabilizer like this