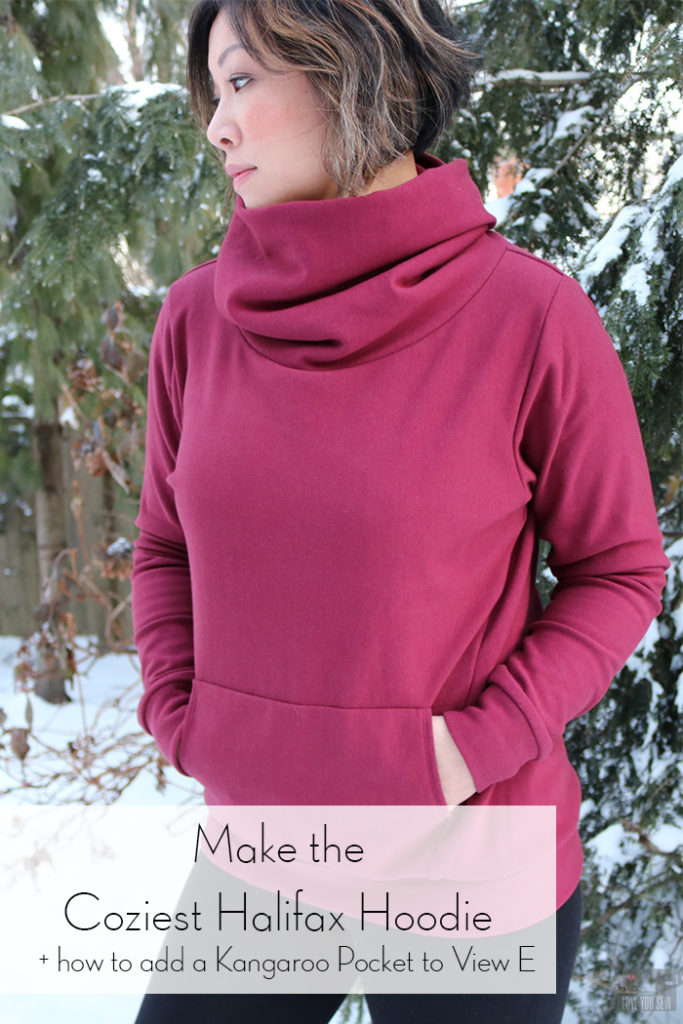
Make the Coziest Halifax Hoodie + Kangaroo Pocket Hack for View E

After the holidays, January is such a drag. Then, throw in the Polar Vortex that hit the Midwest this week and it’s just downright depressing.  We can’t go anywhere, school had been cancelled two-days in a row, I can’t send the kids to go out and play….plus, it’s just so friggin’ COLD! I am thankful, however, to have made this Halifax Hoodie the other week. The plush softness of this fabric combined with a comfy cozy sweatshirt design is keeping me pretty warm through this cold spell.
FABRIC:

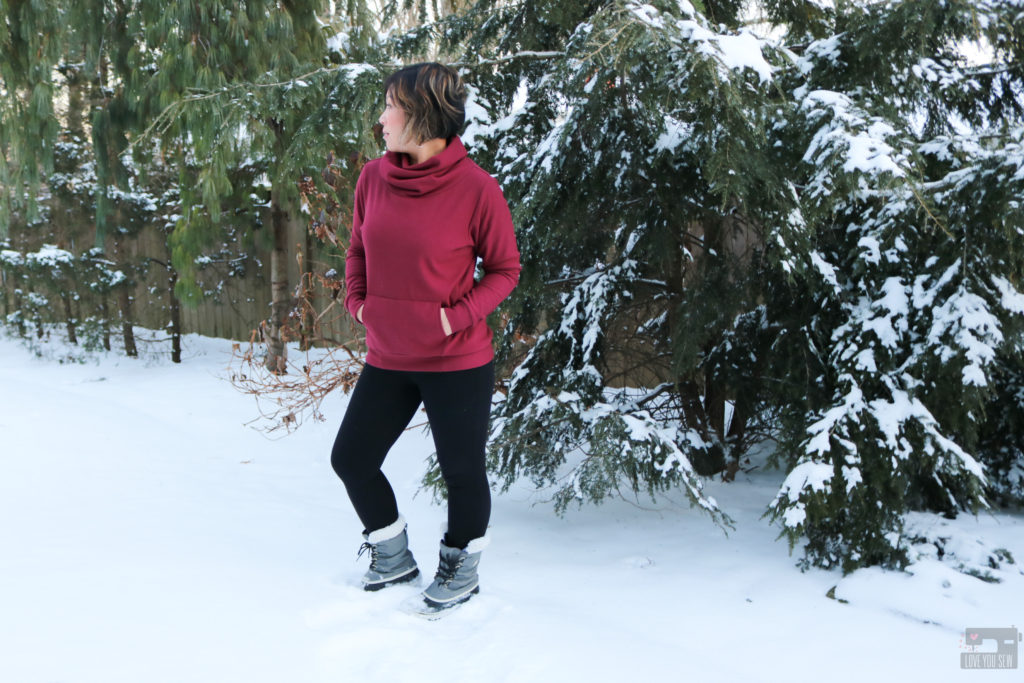
I picked up this heavyweight bamboo/cotton sweatshirting in Heretic from Imagine Gnats.  Right now, the shop carries a number of different colors of this fabric, as well as matching ribbing!  When I bought my fabric, they were sold out of the ribbing (which was a bummer,) but the 25% four-way stretch in this sweatshirting is more than enough for the cuffs and waistband.  I love how soft the fleeced inside of this fabric is from the bamboo…even after multiple washings.
PATTERN:

The Halifax Hoodie by Hey June Handmade is a very popular pattern with it’s classic casual design and multiple features.  This is a great pattern for knits and allows for so many different styles and combinations….whether you want a full zip-up hoodie or just a crew-neck sweatshirt.

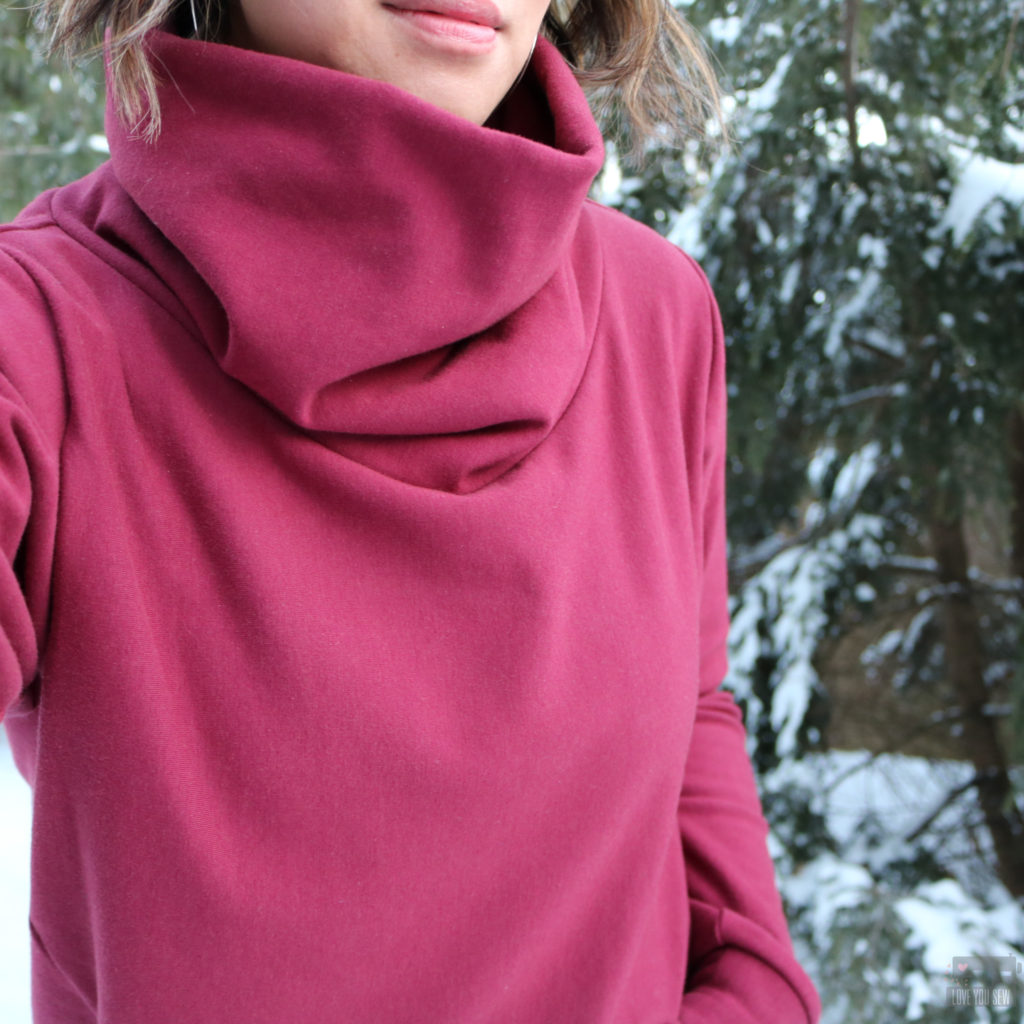
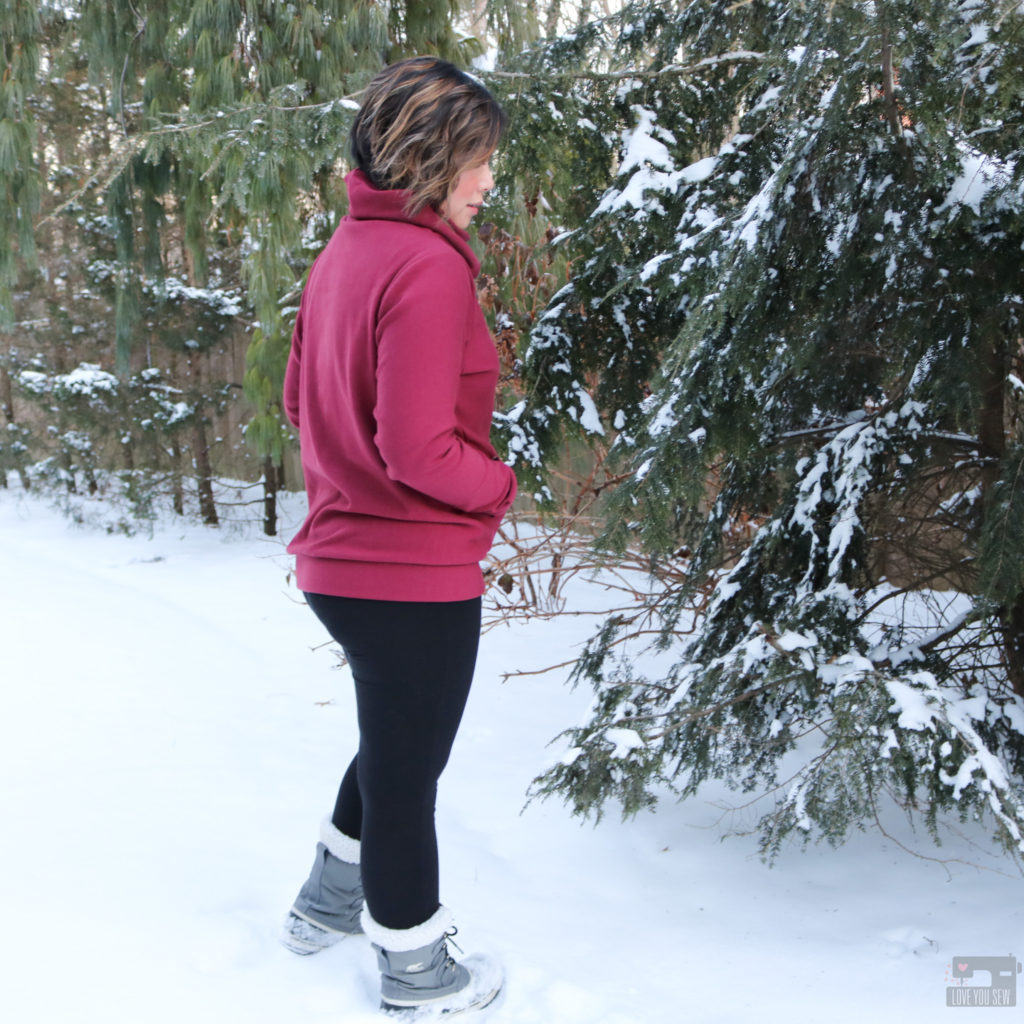
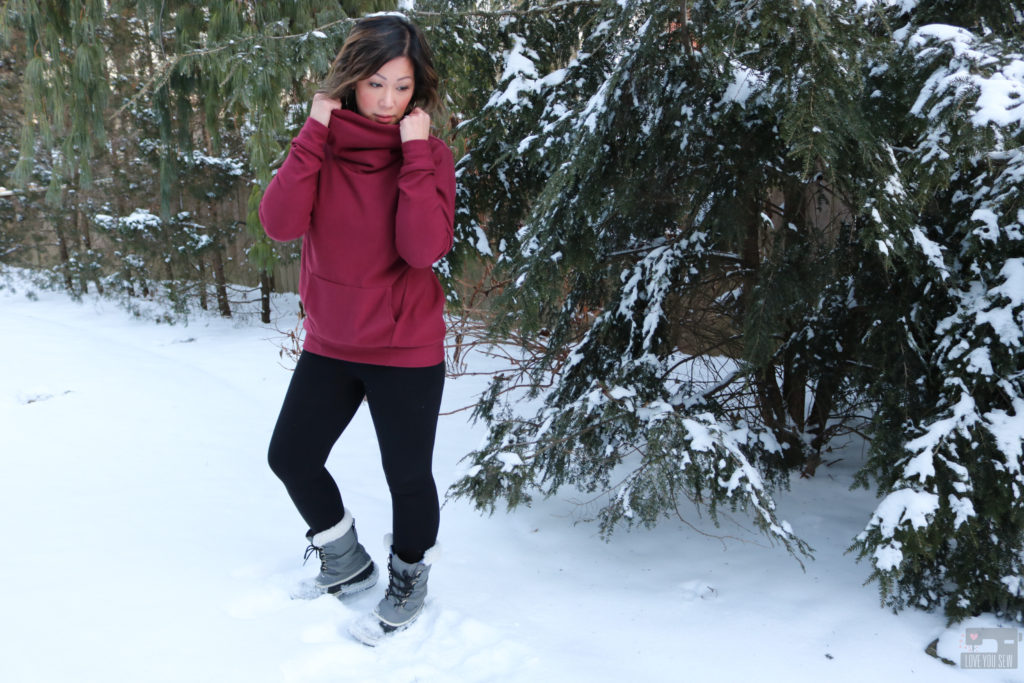
I opted for View E with the angled side seams this awesome funnel neck.  I’m a big fan of Lululemon athleisure-wear and they tend to have higher necks in many of their jackets and tops.  I love this feature since I’m always cold and can’t say no to a built-in scarf 😉 I even raised the funned neck an additional 1.5″ on the fold (3″ overall,) to add even more of the cozy factor.  The thickness of the sweatshirting helps the funnel neck stand up and provide volume. If you are using a regular weight knit, you may end up with more of a cowl look instead.

KANGAROO POCKET HACK:
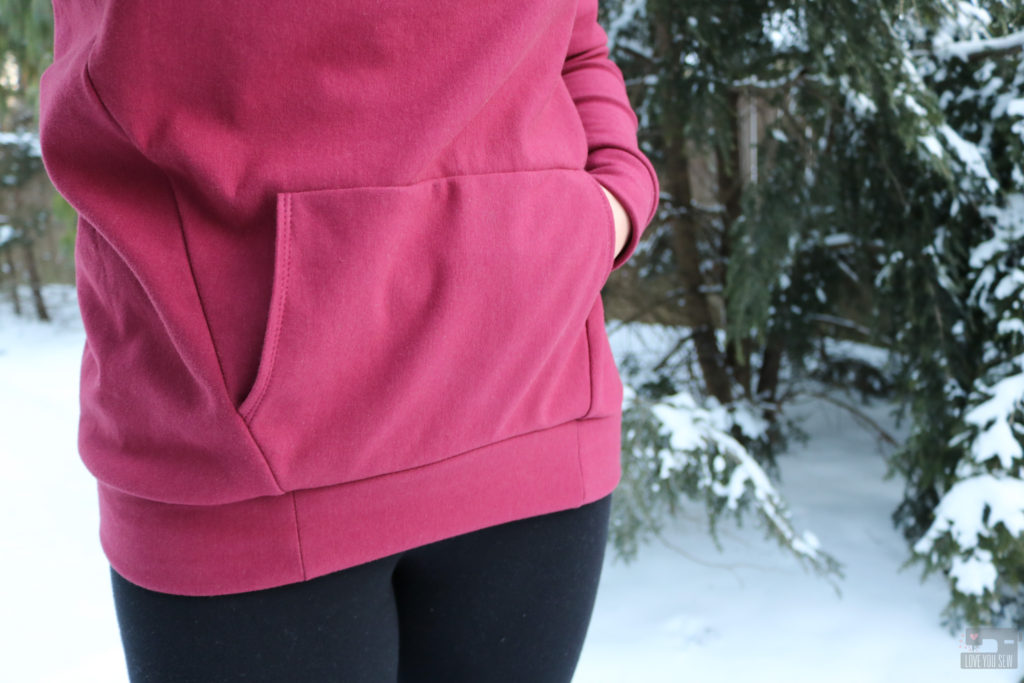
While the other views of the Halifax had pockets, View E did not.  When I was planning this too, I just wanted the extended neck, but I happened to be wearing a regular crewneck sweatshirt while cutting out the pattern pieces.  I realized how many times I was reaching for my stomach to warm up my hands, just like when I wear my hoodies.  I decided I definitely needed a kangaroo pocket and you can follow how I made one below.
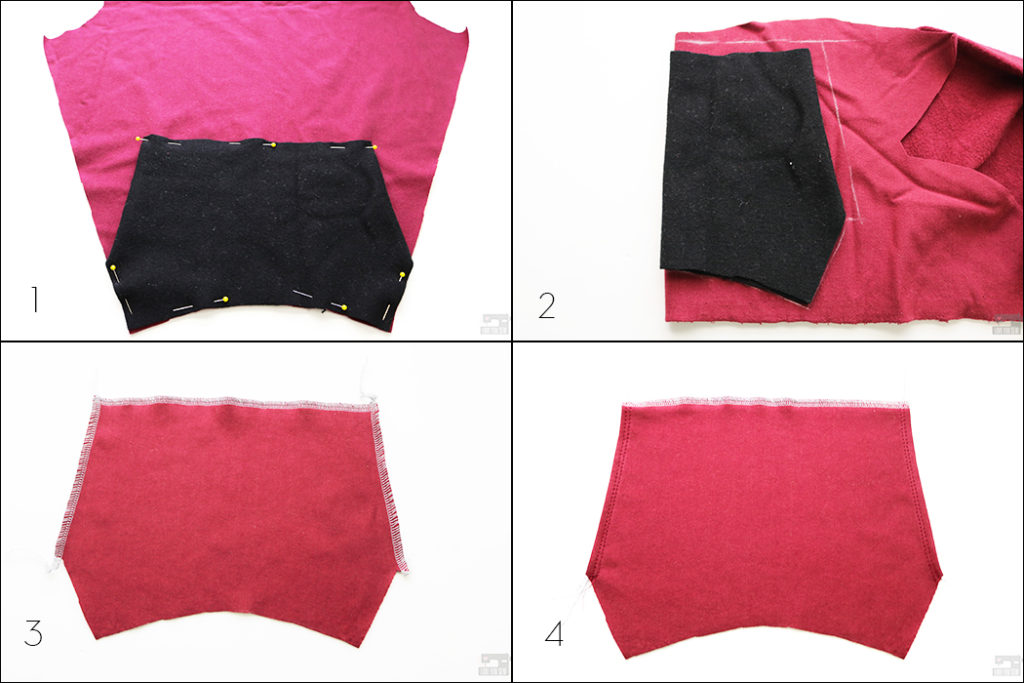
1. With the angled side seams. I wanted to make sure the pocket followed the same sharp lines and thus, didn’t use the pocket pattern included (which has rounded openings for the hands.) I used a scrap piece of knit fabric to create a new pocket.  The scrap was laid down and I played with the sizing by folding the scrap until it looked right.  I used my own hands to make sure the opening was big enough for me to easily access the pockets.  Then I trimmed up the scrap to match the lines of the front sweatshirt hem and side seams.

2. Folding the new template in half, transfer the design to my fabric and added 1/2″ seam allowance at the top and side hand openings.

3. Open up the pocket and finish the top and side hand openings by serging or by using a zig-zag stitch.

4. Fold under the side pocket openings by 1/2″ and top-stitch.  I stitched at 1/8″ and at 1/4″.
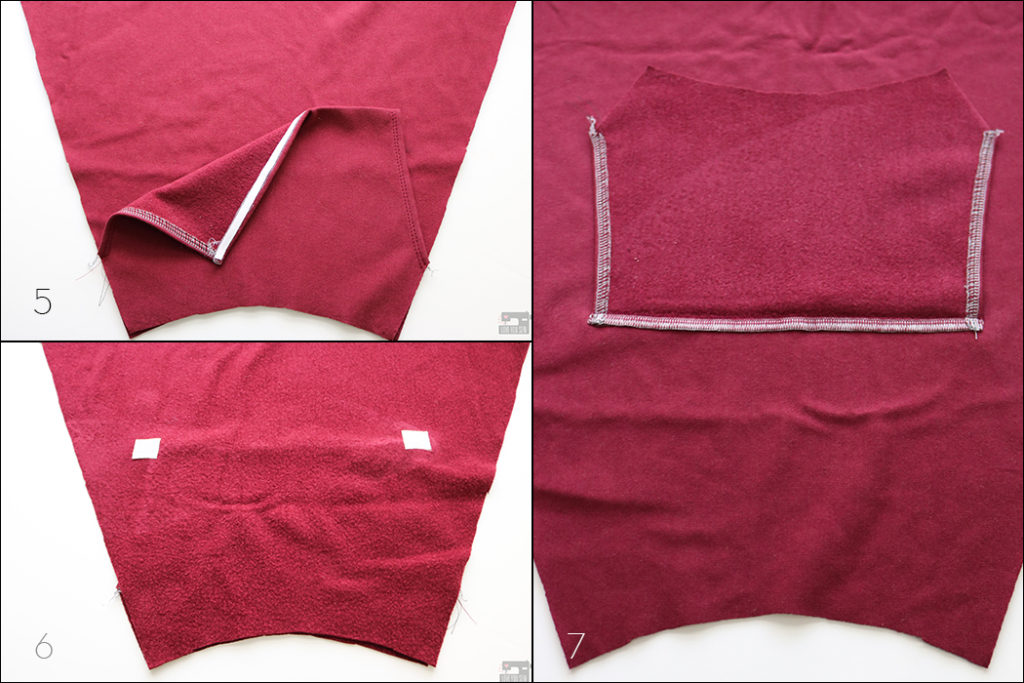
5. Press under the top of the pocket by 1/2″.  Add some Wonder Tape along the seam allowance and remove the backing.  Press the pocket into place centered on the front to prevent the pocket from shifting.

6. On the wrong side of the front, fuse small scrap pieces of interface at the top corners of the pocket.  You can feel the corners through the fabric.

7.  With the right side of the front facing up, flip up the pocket and sew along the top of the pocket. Backstitch well at the beginning and end
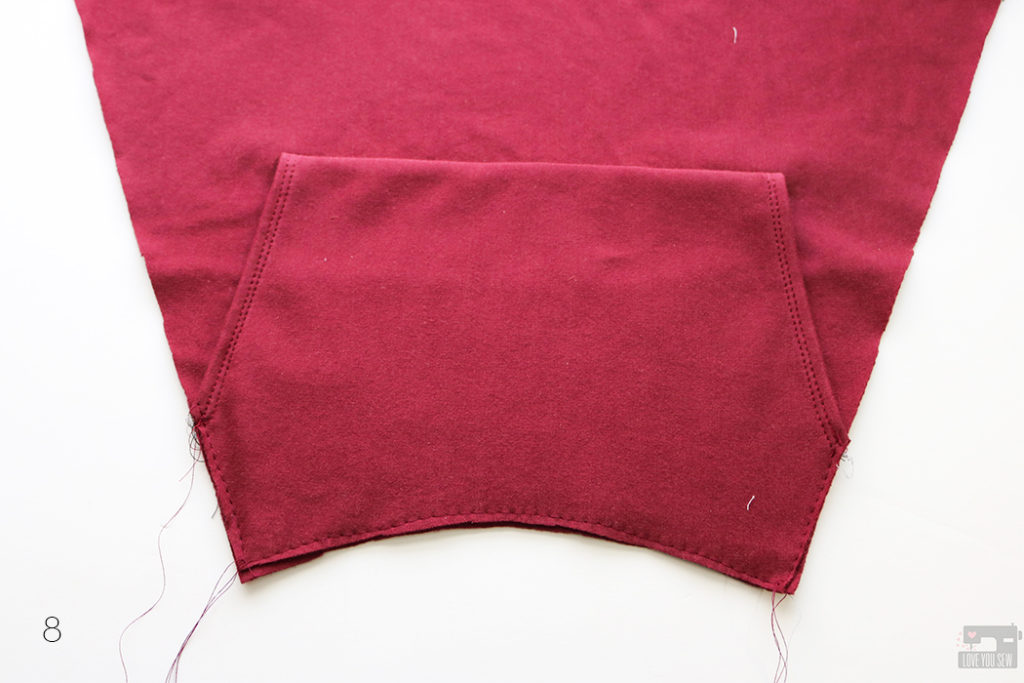
8. Flip the pocket back down and baste the sides and bottom of the pocket to the front.  After I took these pictures, I went an extra step and tacked down the top corners of the pockets for extra strength.
SIZING

I’m a 36″ bust, 40.5″ around the hips and made a straight medium. Being 5’3″, I usually have to make a sleeve length adjustment, but left it all the same to keep the slouch and ease. I love this generous fit and the stretch in this fabric allows for great movement. I probably won’t make any adjustments when I make my next Halifax.
I hope you are all staying warm or have fled to warmer climates! In the meantime, I hope you checkout the Halifax Hoodie and this tutorial to add a pocket to View E.


Happy cold-weather sewing!

Cristy
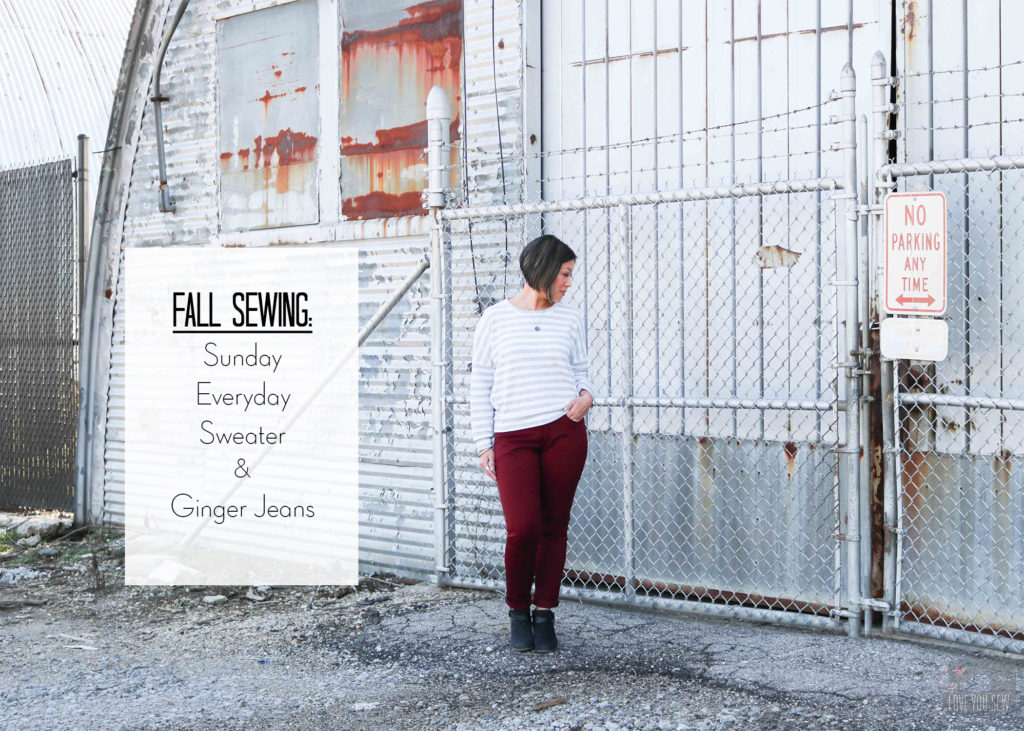
Fall Sewing :: Sunday Everyday Sweater and Ginger Jeans with Stylemaker Fabrics

Fall is my very favorite garment-making time.  I love being able to sew comfy clothes to go along with my favorite autumn activities like having bonfires and heading out to the pumpkin patch. Stylemaker Fabrics is an amazing resource to make all of that sewing happen.  Michelle, the owner, does her trend research and sources beautiful garment substrates.  Most often, these are deadstock fabrics, which are leftover from other manufacturer’s products.  I love being able to use these types of fabric as a small step to keep them out of our landfills.

Stylemaker Fabrics new fall release includes over 150 new fabrics and it was SO hard to narrow down what I wanted to make with these lovelies.  I battled between something fun with a lot of personality, like a large print maxi dress.  But I know I’ll get the most wear out of my “mom uniform” — a loose-stretchy top with a pair of jeans.  It sounds boring, but I knew I could take it all up a notch with my fabrics!

ginger Jeans

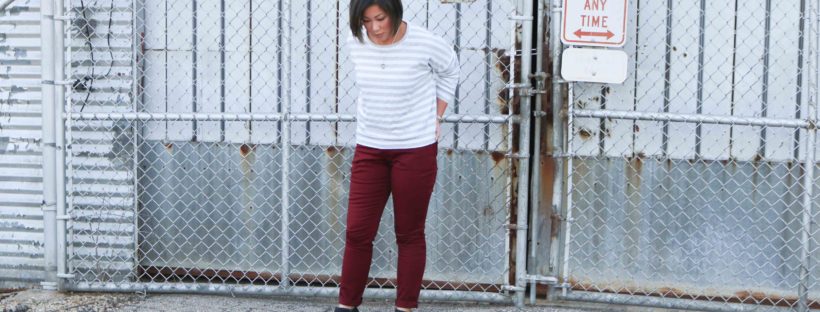
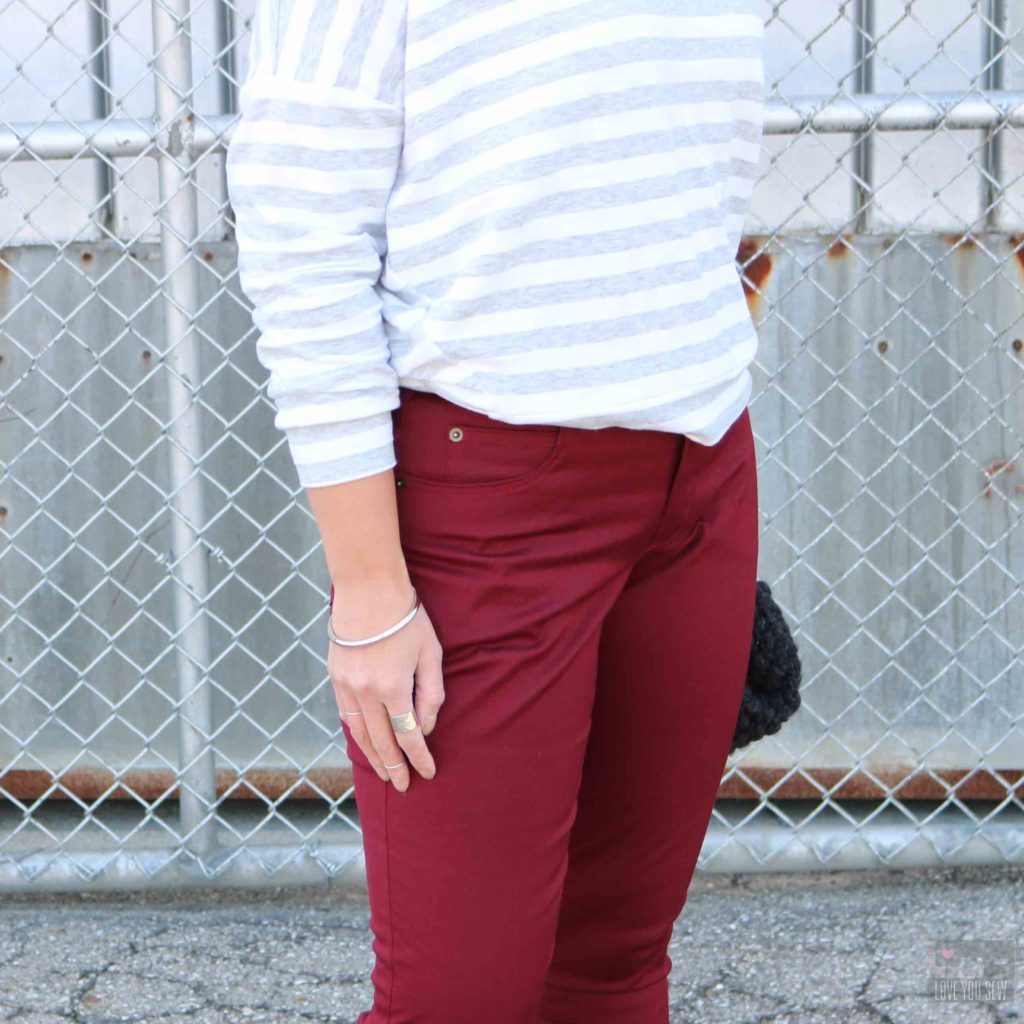
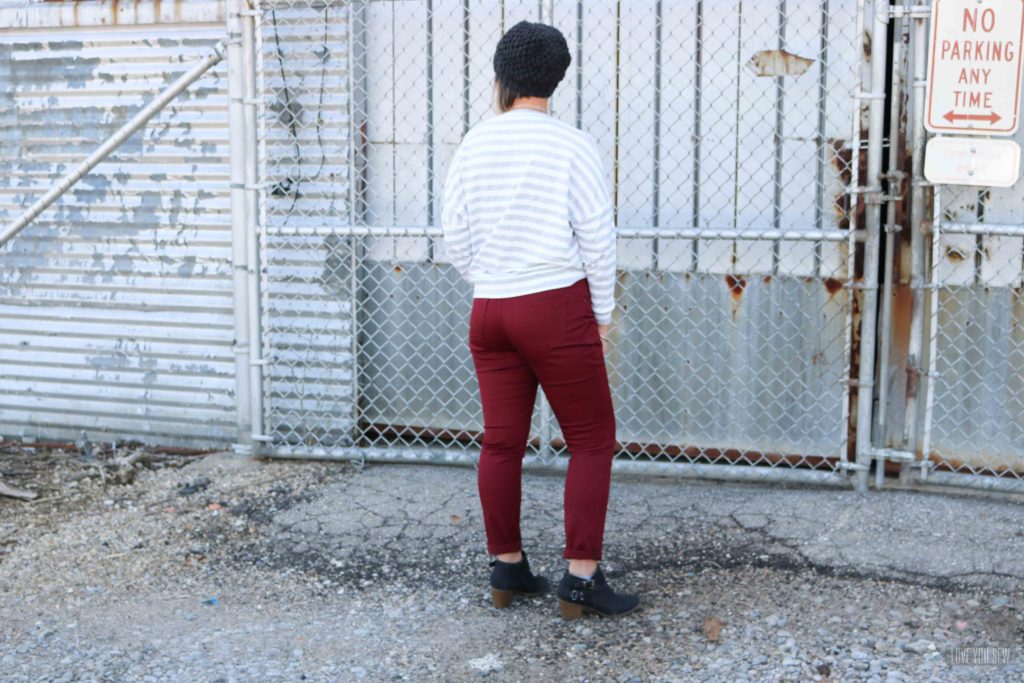
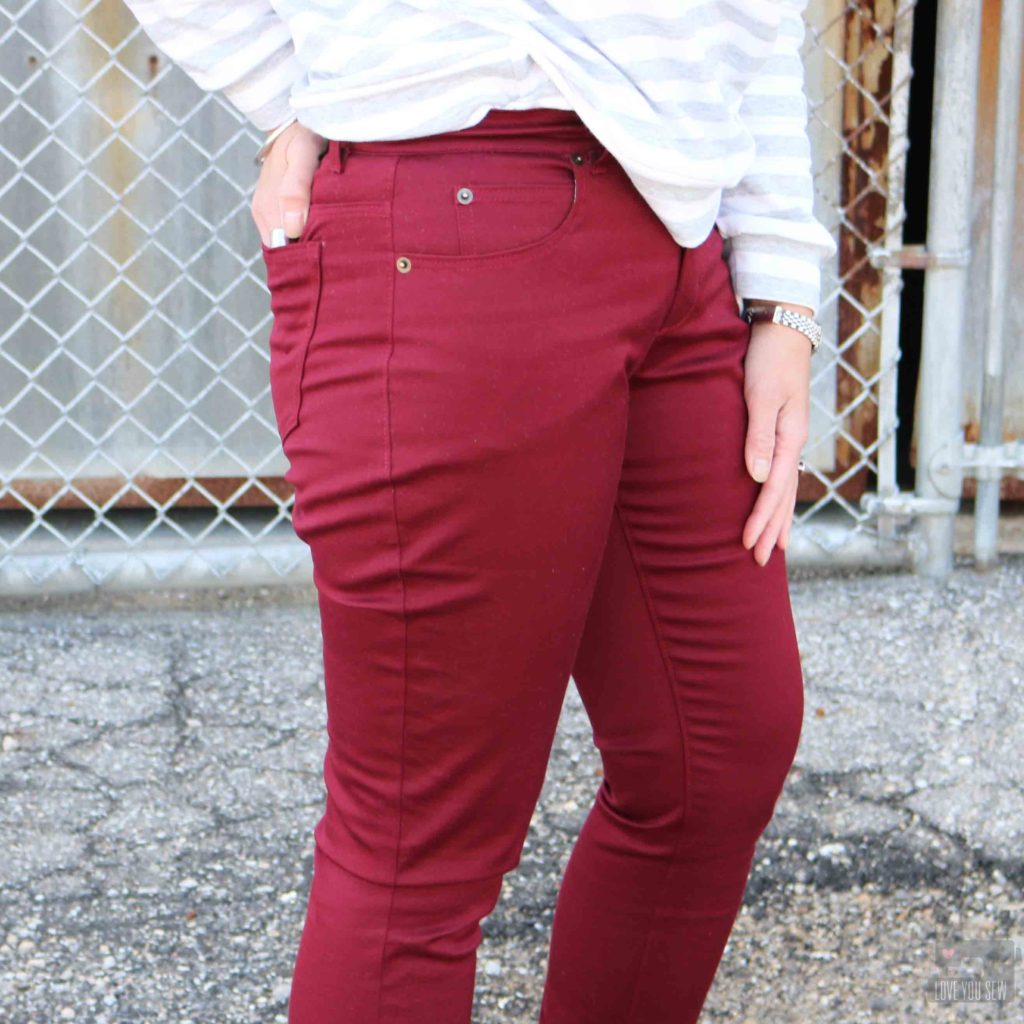
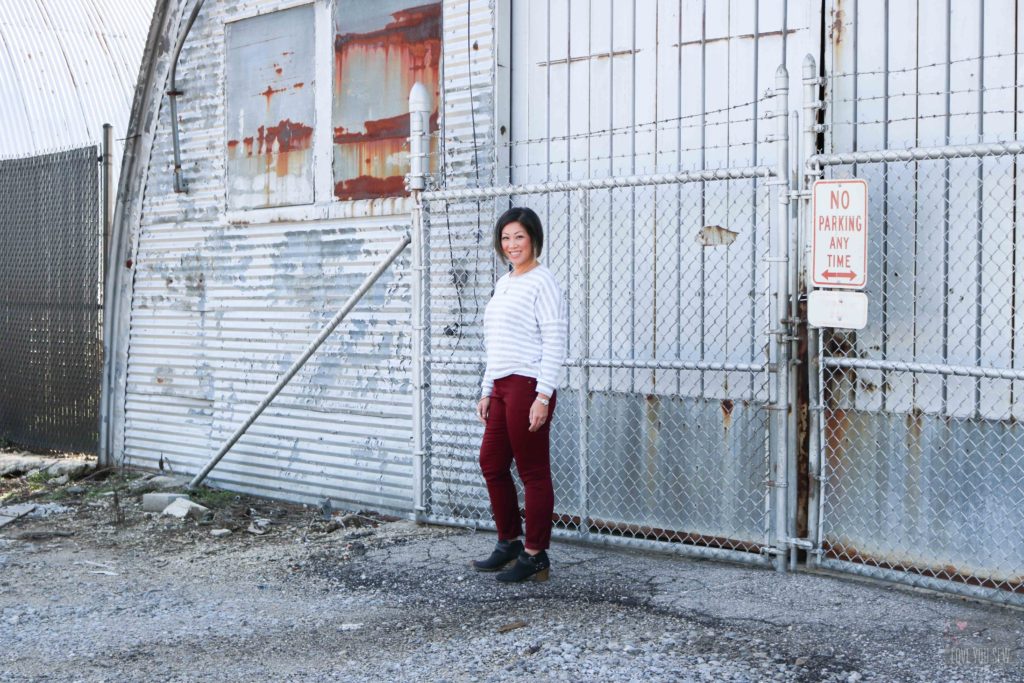
If I’m forced out of athleisure clothing, I only wear blue or black jeans…with the occasional olive twill pants thrown in.  So, I thought a pair of statement pants would help me elevate my fall wardrobe with color alone.  I could have a pair of comfort-zone skinny jeans made of this Stretch Cotton Sateen in solid Cranberry for a pair of Ginger Jeans AND have an interesting garment to bring life into my wardrobe.  This deep saturated gem tone is a great color that is a lot of fun, but  dark enough to be everyday chic.

I’ve made a few pairs of pants before like these Chi-town Chinos and have altered quite a few ready-to-wear pants, so I know the modifications I have to generally make.  It sounds like a lot to do, but you will get the hang of it as you test and see what works with your body shape.

With the Ginger Jeans, I made the following adjustments to the pattern:

  • Shortened length by 3 3/8″
  • Graded from an 8 waist to a 10 hip and back to 8 legs
  • Removed additional 1/2″ out of back yoke
  • Deepened crotch curve by 1/2″ to remove bagginess below the seat
  • Extended crotch curve by 1/2″ to eliminate the wedgie look
  • Made a 1/4″ calf extension to remove bagginess around the knees

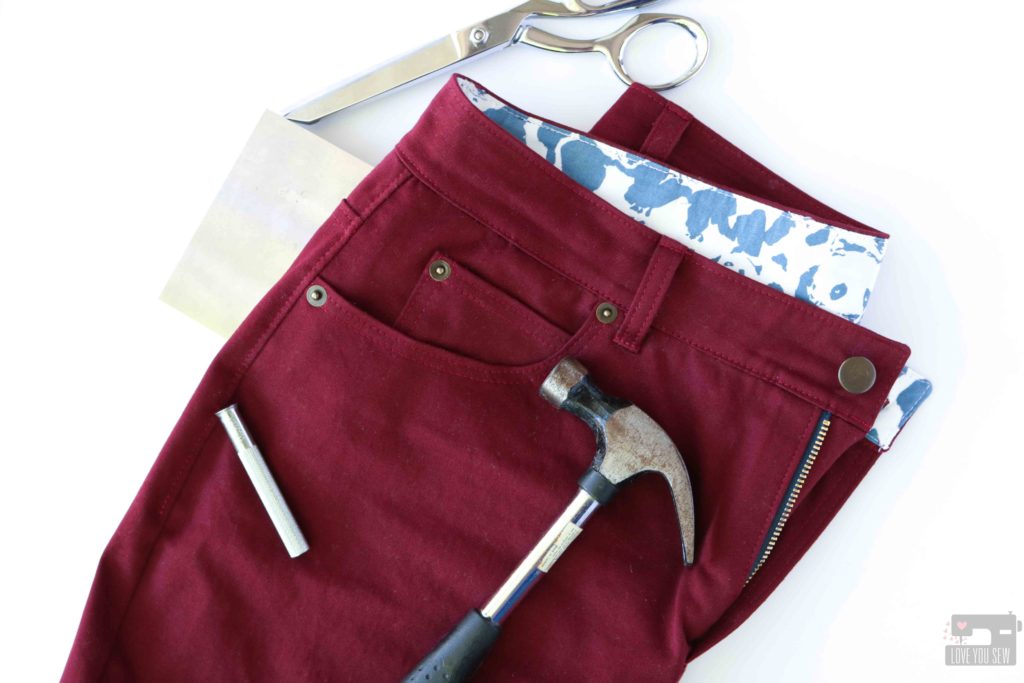
If you are looking for hardware, Stylemaker fabrics carries plenty of kits you can find here.  I mixed up the zipper from a kit along with some hardware I already had in my own stash.

I’ve been wearing these pants around town to truly get a feel for them, and I’m impressed with both the stretch AND recovery from this fabric.  There is great movement without it being too constricting.  The Stretch Cotton Sateen in solid Cranberry  also doesn’t leave deep wrinkles like with 100% cotton fabrics, so that’s a huge perk for this Uber-mom driver!

Sunday Everyday Sweater

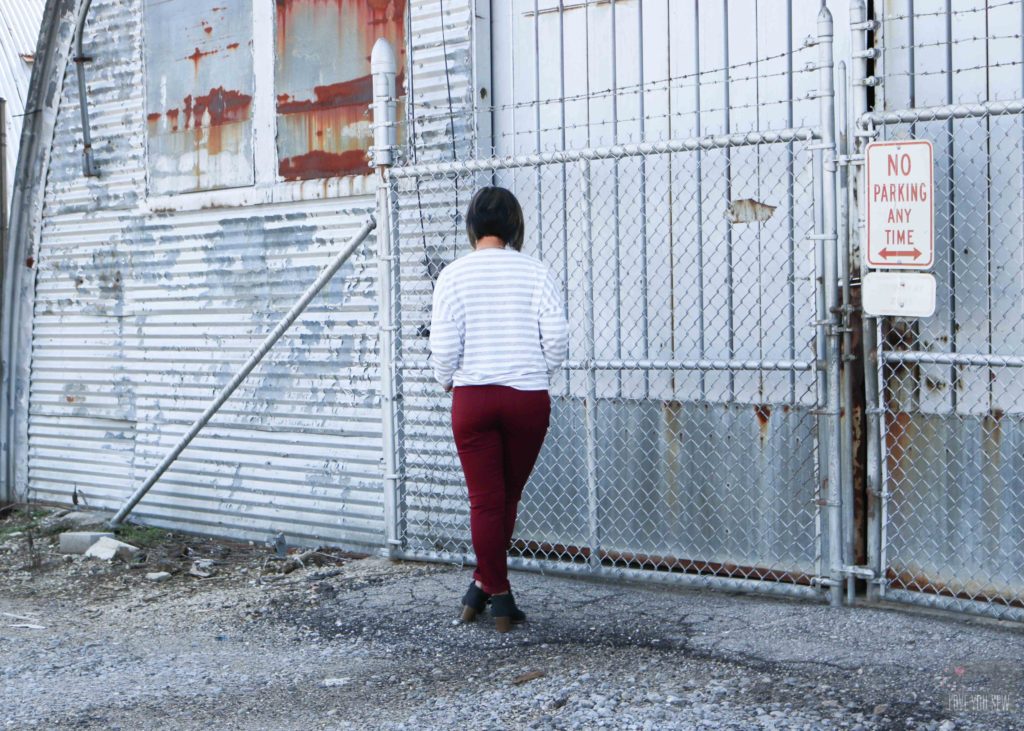
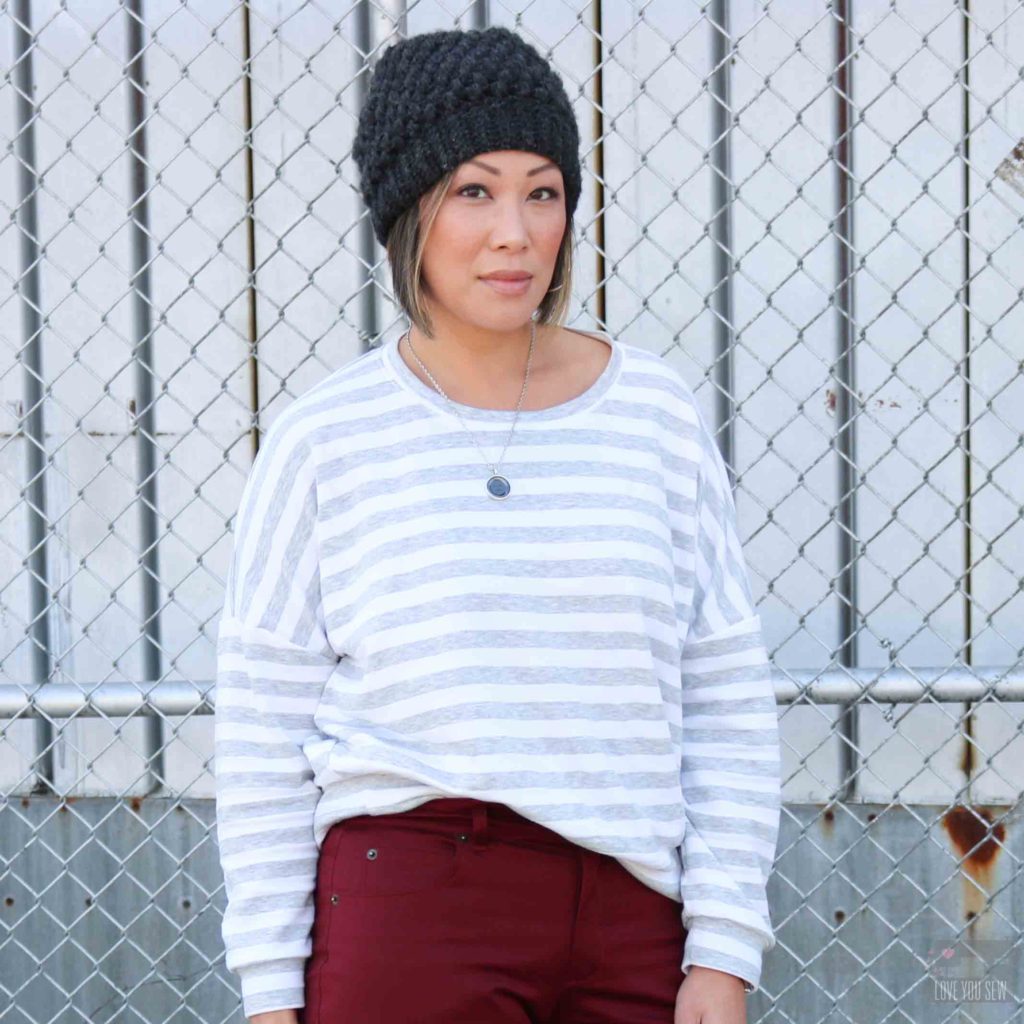
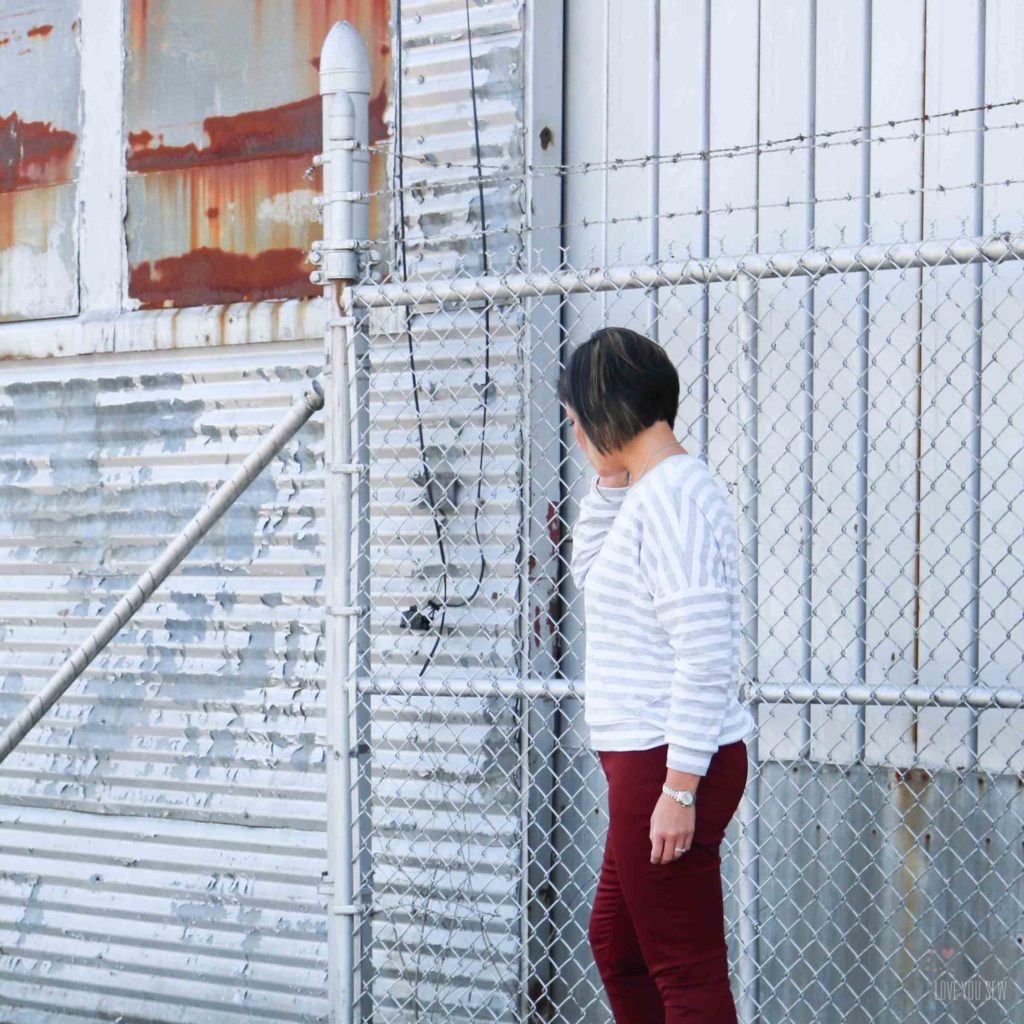
With the 90s on trend and athleisure still full swing, sweatshirts are either oversized (which looks ridiculous on 5’3″ me) or cropped,  which doesn’t work with my modesty level at all…I’m keeping this belly under wraps!   But, I figured I could work the short, boxy sweatshirt look , but still be covered with the cropped version of the Sunday Everyday Sweater by Ensemble Patterns.  This pattern has a generous fit with dropped shoulders and dolman-esque sleeves, but provides a slight cocoon shape with a hem band to keep everything at bay 😉

I made the Basic version before, which you can find here, and knew I could size down and still get the oversized look and feel I was going for.  My modifications are as follows:

  • sized down based on measurements to a 6
  • shortened sleeves by 2″
  • narrowed cuffs by 1/2″
  • shortened hem band by 3″ to maintain the cropped length

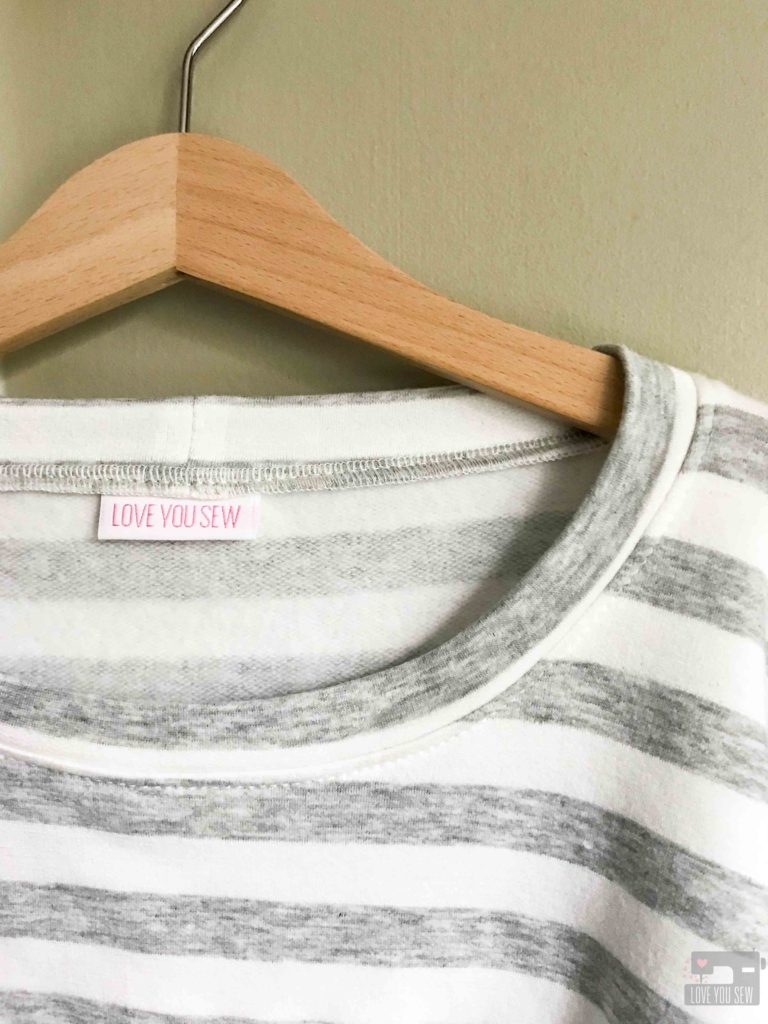
This Cozy Stripe Sweatshirt Fleece is such a dream!  It was the perfect weight for this pattern and the fleece on the wrong side of the fabric is just so incredibly soft.  I think the heather gray stripes must make it extra cozy 😉  This sweatshirt will definitely  be a wardrobe staple in the car-pool line.  I already want to wear it everyday!

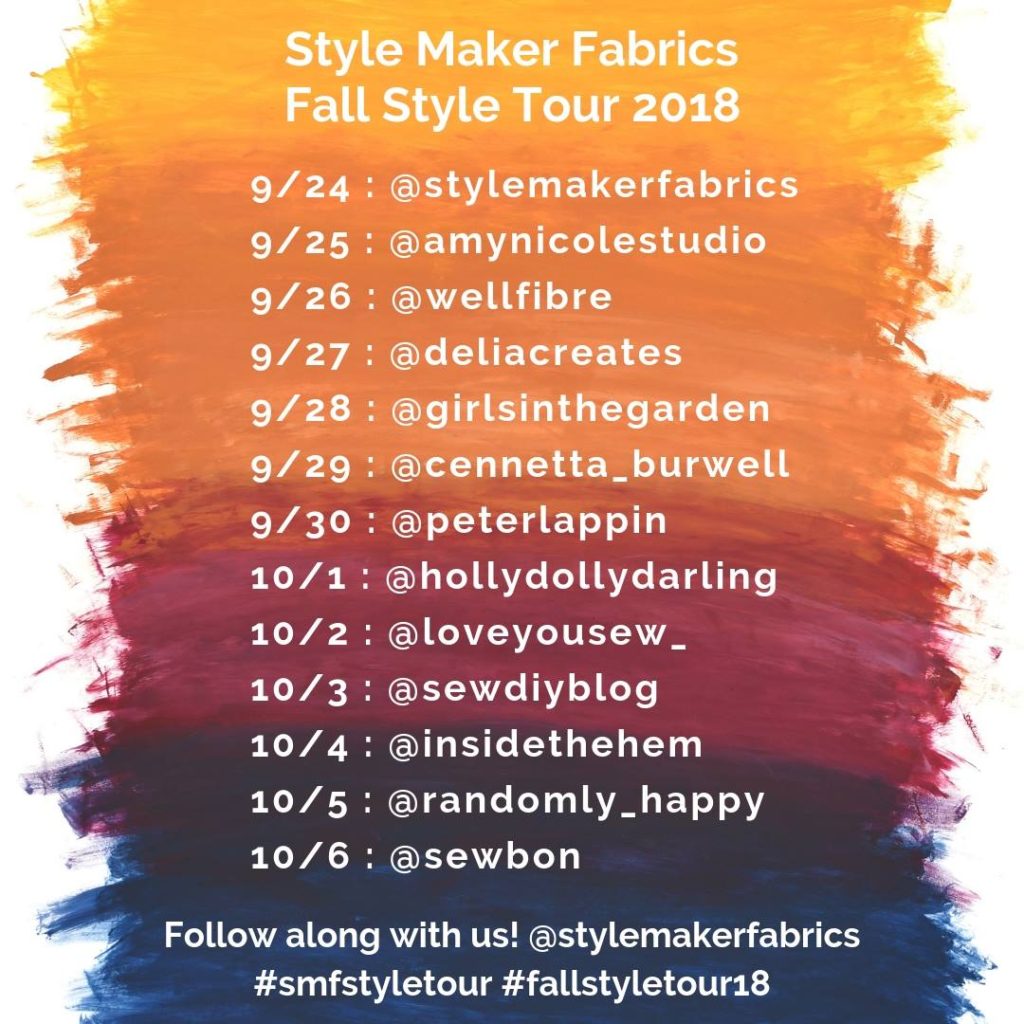
Don’t forget to check out the rest of the Stylemaker Fall Tour inspiration and links here!  Tomorrow, Beth with Sew DIY will reveal her make.  Below is the entire tour card if you would like to follow along via Instagram as well.

What are you making this fall???

Happy Sewing Friends!

Cristy


Fabric was provided by Stylemaker Fabrics for this post.  All opinions are genuinely my own. 


Moto Sweatshirt with Indiesew

What you might not know about me is that I’m an “Old Lady”…a very proud one, in fact.  As you can probably tell, it’s not by age or because I quilt (ha!), but because I love my husband AND his motorcycle.  I really enjoy riding with my guy and even though I haven’t gone very much after having kids, I still love that moto style.  So when I saw this collaboration between Indie Sew and Seamly for the Moto Sweatshirt, I knew I HAD to make this pattern!

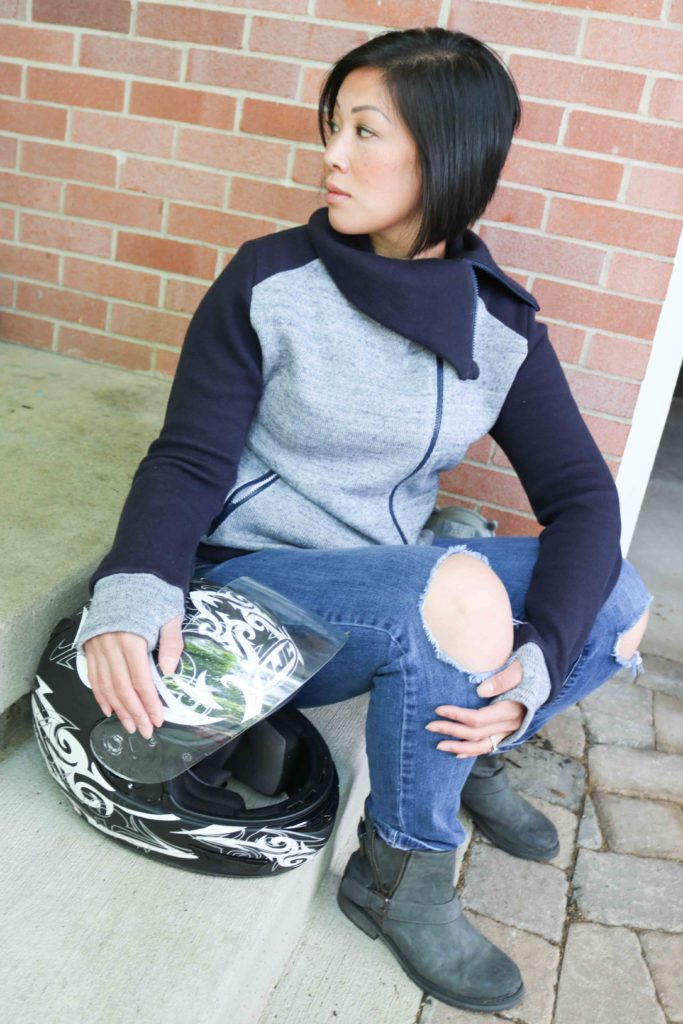
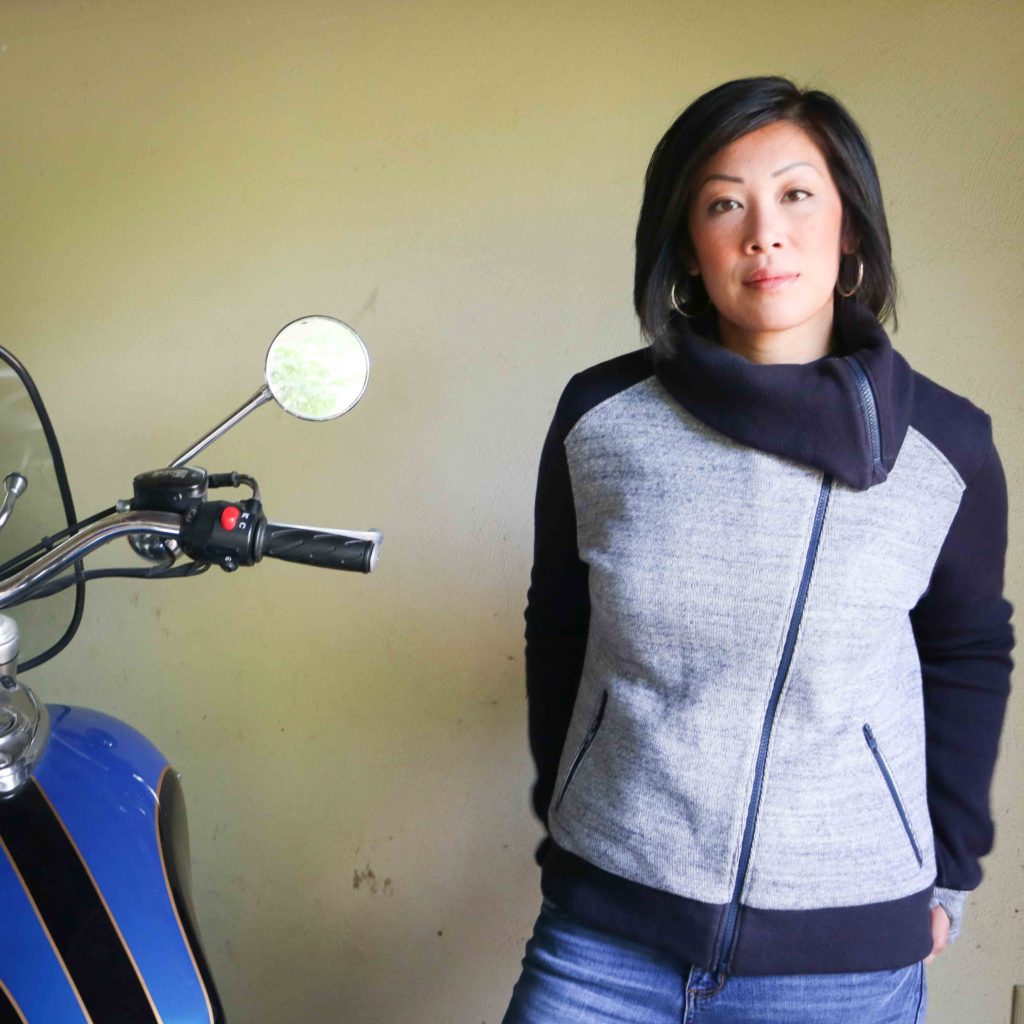
The Moto Sweatshirt is such a great stylish and edgy jacket designed for knit fabrics.  After seeing Allie Olsen’s tester version, I knew I wanted the same double-knit from her shop.  There is so much more versatility with a double-faced fabric (you can use either side of the same fabric) and it is perfect for some color-blocking.  Since this is also a sweater knit, it makes the jacket SO comfy and warm for those cool summer rides.

It’s usually not a good idea to procrastinate with a project, but in my case, it turned out to be the best thing I did..er…didn’t do 🙂  I wasn’t aware there would be a sew-along of the Moto Sweatshirt when I picked this garment to make.  Needless to say, I was so pleased to see it announced and you know I read through every post before starting on my own project.

The first recommendation I took was to make a narrow shoulder adjustment.  I saw how the shoulder seams were low on many of the testers and other versions online.   I’m pretty narrow in the shoulders as a 5’3″ woman and knew this was for me.  However, the next time I make this sweatshirt, I would probably will take in another 1/4″ off the shoulders.  You can read about how to make the simple changes here.

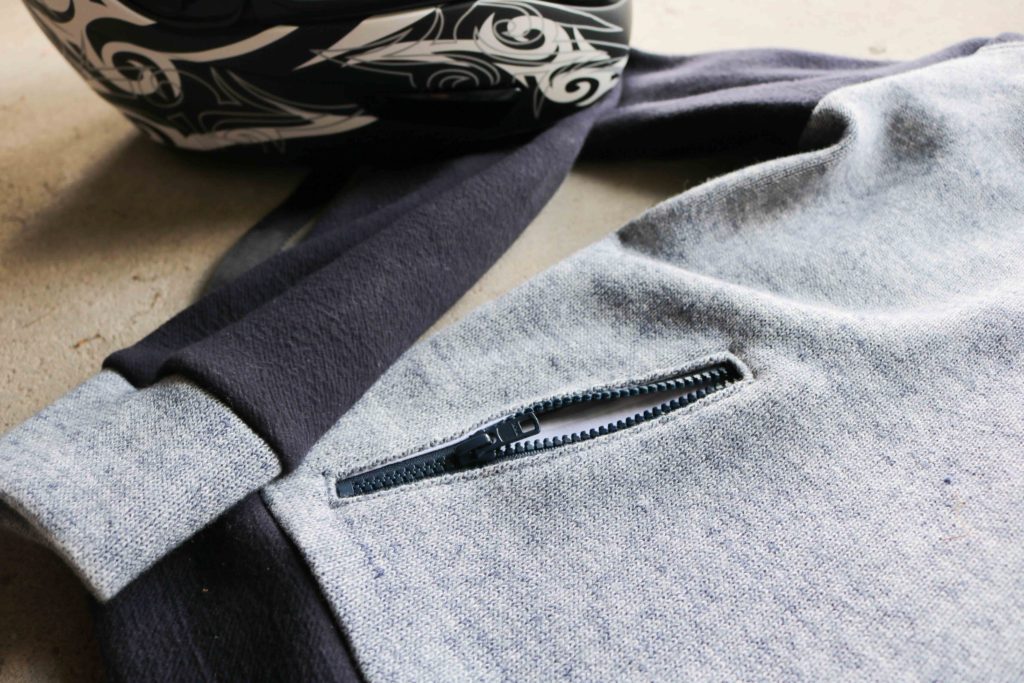
If you have never used a double-faced sweater knit before, it’s thicker than most jersey knits.  That’s why I decided to use a quilt cotton for the pocket linings.  Not only does it provide a thinner fabric to sew through, the woven nature makes it MUCH more stable.  If you have not sewn a zipper welt pocket before, I would highly suggest using the quilt cotton to save the stress and potentially extra time with your seam ripper…

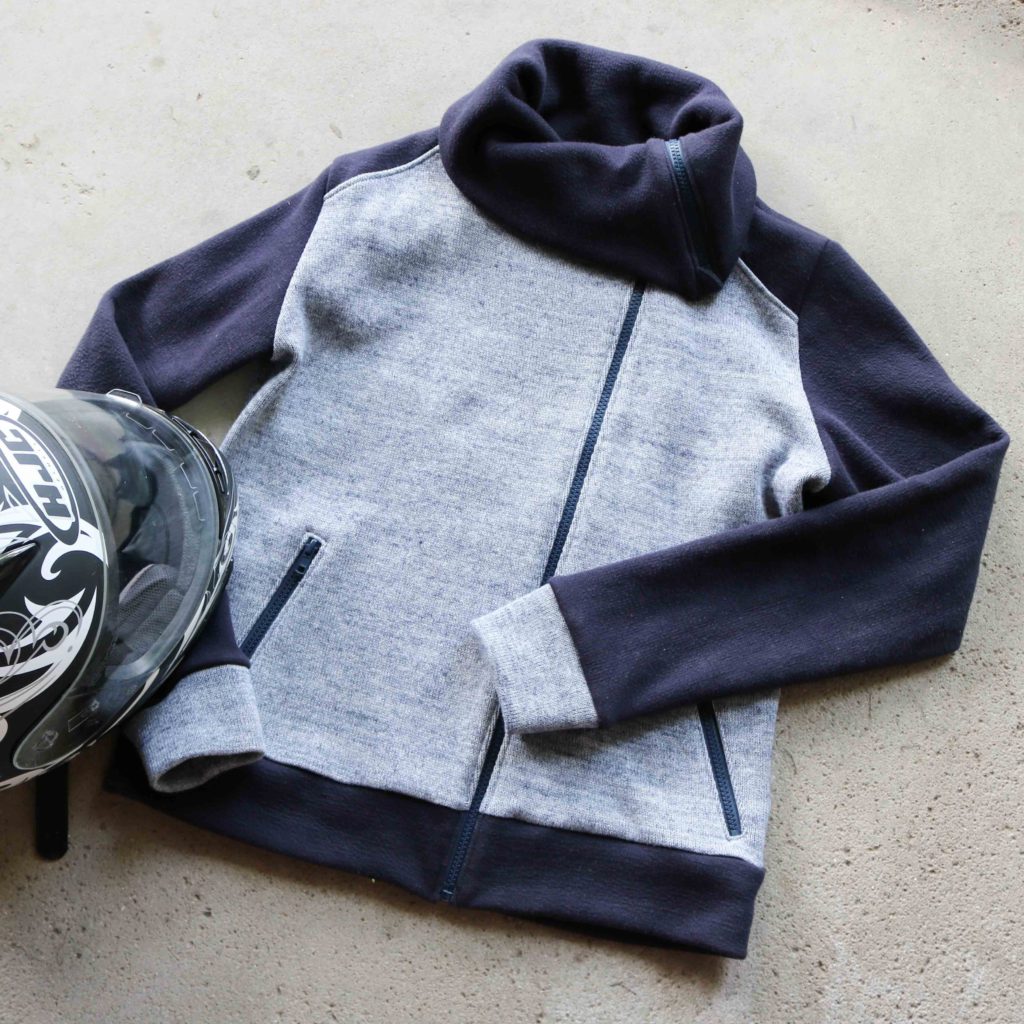
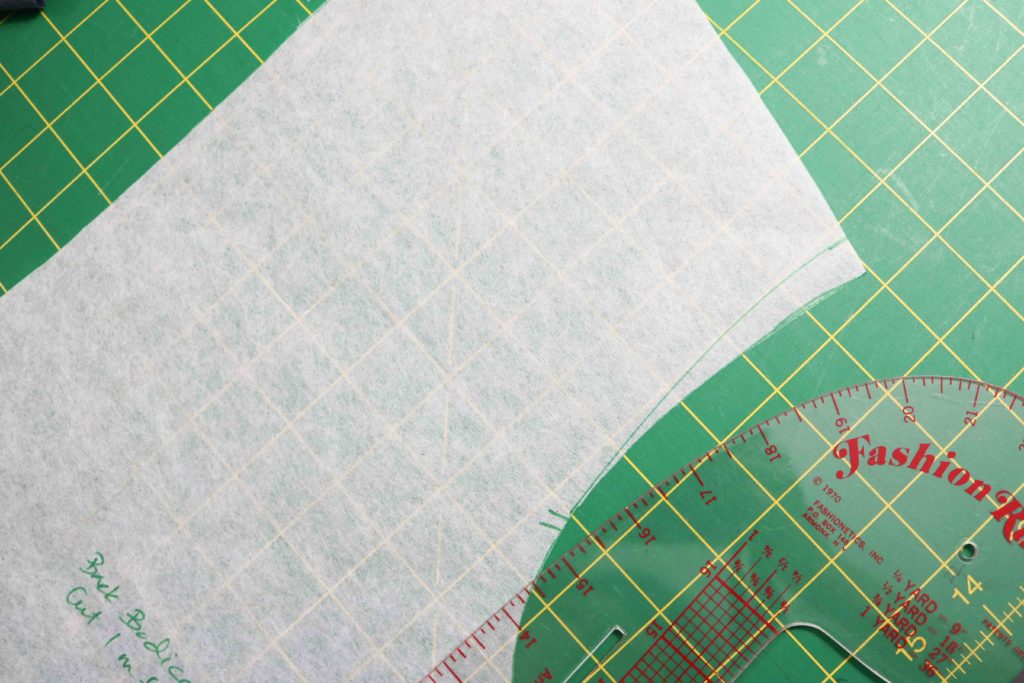
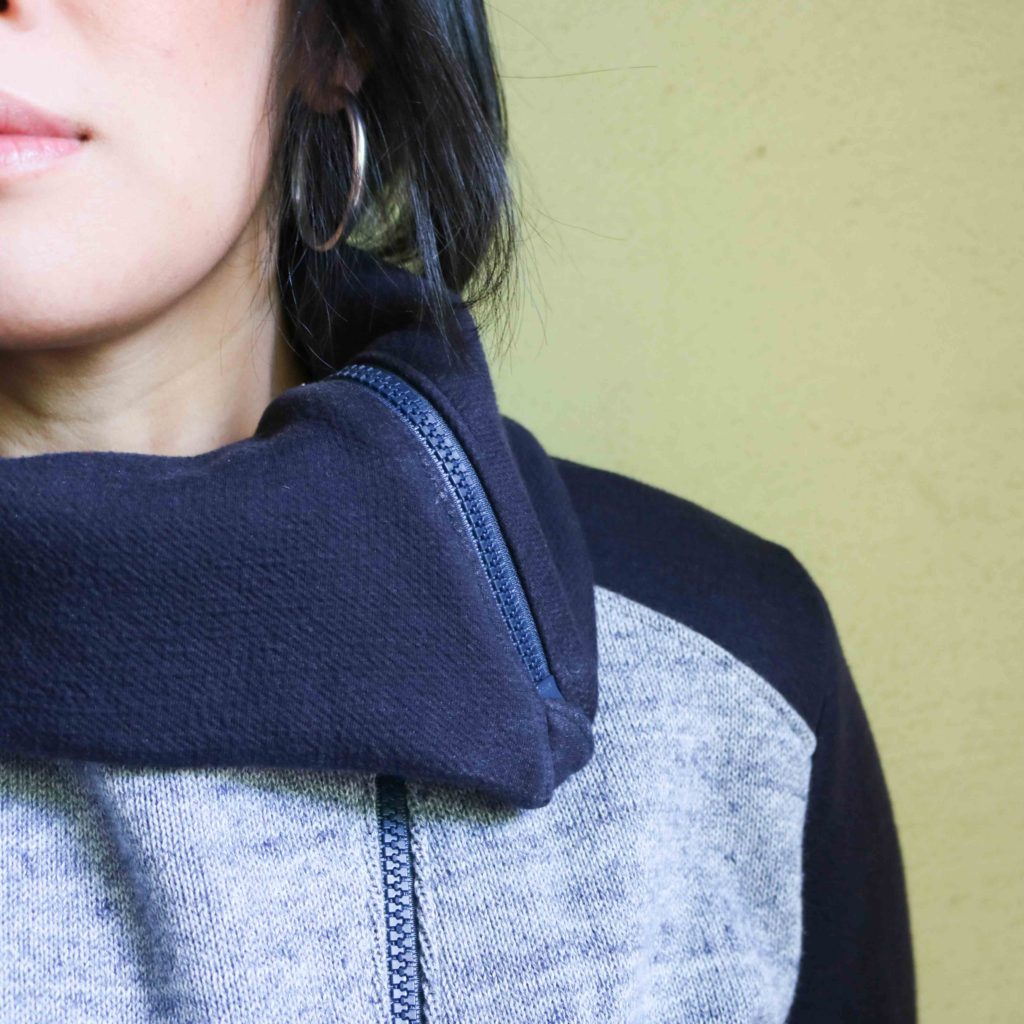
One of the biggest changes I made to the bodice patterns, although still very subtle, is the shoulder accent.  I blocked out each shoulder (front and back) with the dark navy side of the sweater knit.  This is a safety and design feature in many moto jackets in case you may fall off a bike.  I made my own pattern pieces by drawing the shoulder line, cutting out the pieces and then added the seam allowances back in.  I was pretty nervous doing this type of hack, but it worked…after many tests against the original pattern pieces. (It’s always good to check and to re-check!)

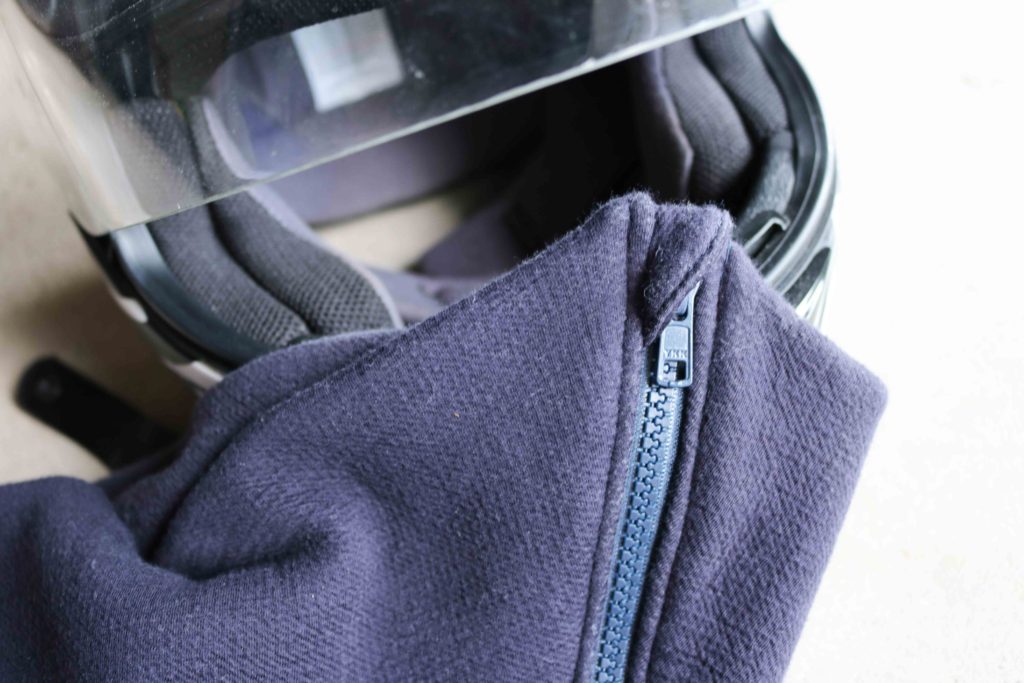
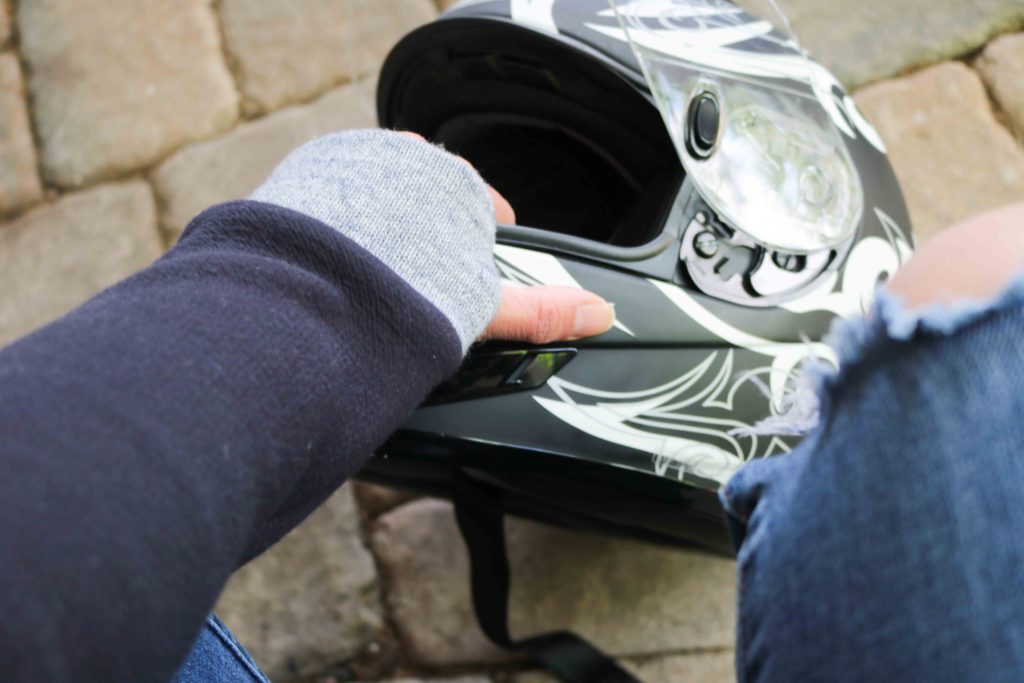
Since I made this sweatshirt for actual motorcycle riding, I wanted to make sure this was safe enough for the road.  The large folded collar is great for sun protection and for warmth, but I was afraid the zipper may have the potential to flip up depending on our speed and weather conditions.  That’s why I made sure to add in a cover for the zipper head.  When pulled all the way closed, the zipper’s pull is completely encased and isn’t dangling down.

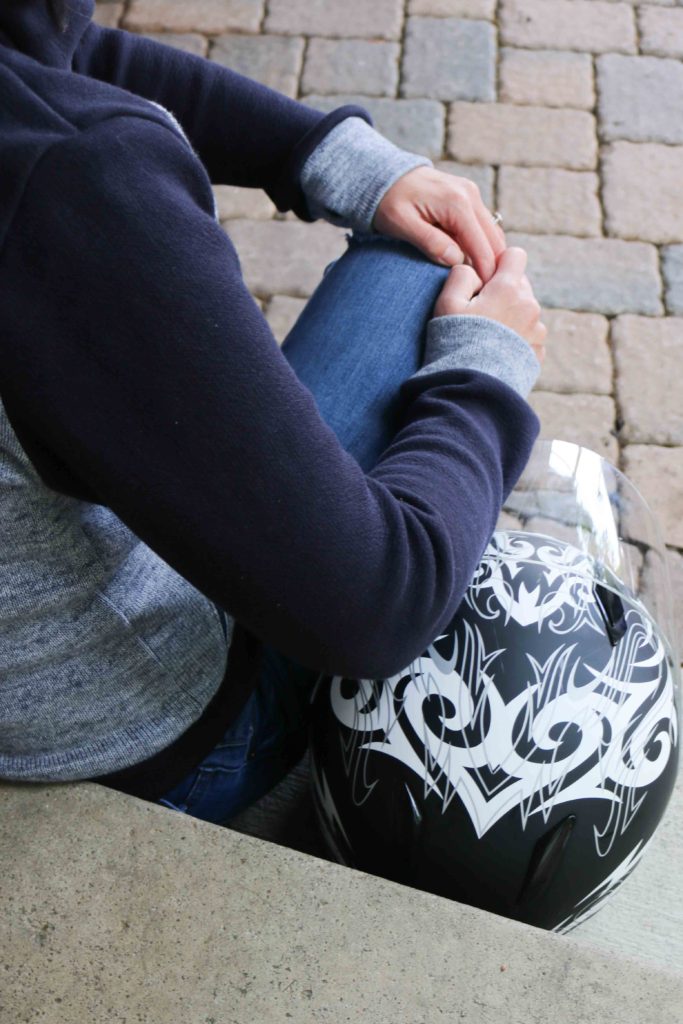
With almost all sweatshirts I make now, I like to add in thumbholes.  They are so great if you are like me and always cold.  But from a functionality standpoint, these are also perfect features to help keep my sleeves down.  Sometimes the air flow can push things back and I certainly won’t let my husband go just to readjust sleeves!

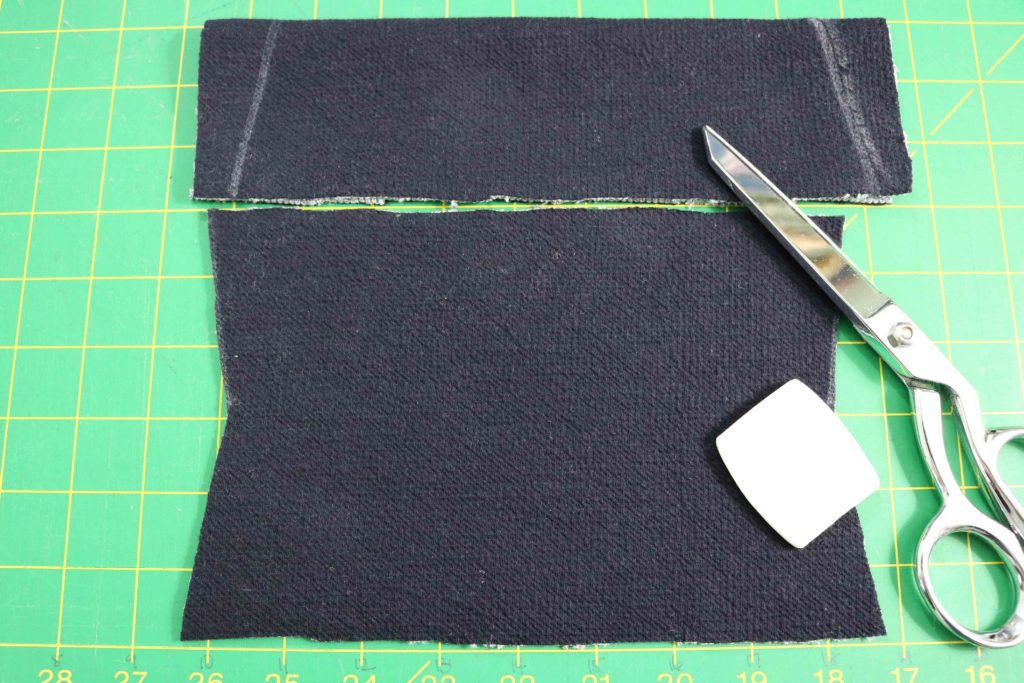
And with that in mind, I made sure to narrow out the entire cuffs themselves.  Again, with air pushing against me as I ride, I wanted to make sure these were more snug on my wrists.  I took 1/2″ off both sides and angled in 1″ where the cuff folds for a cleaner look.

Overall, I’m very pleased with the sizing and fit (after adjustments) with this Moto Sweatshirt.  The instructions and graphics were pretty clear, but it’s always nice to have extra visuals.  The sew-along on the Indiesew Blog was very helpful with showing additional pictures of each step.  I’m very grateful it was available and it made this project go much faster than anticipated. Yay!!!

Project Summary:

  • Pattern:  Moto Sweatshirt – If you want to grab the pattern, click here.
  • Fabric:  Double-Faced Japanese Sweater Knit from Indiesew
  • Zippers:  Molded Plastic Jacket style from Wawak
  • Thread: Gutermann
  • Machines:  Juki MO-2000QVP Serger and Juki TL-2010Q


I hope you enjoyed this review and my hacks to the pattern.  Will you wear your Moto Sweatshirt while walking or while riding???

Happy Sewing, Friends!

Cristy


The Seamly Moto Sweatshirt pattern and Double-faced Sweater Knit were both discounted by Indiesew for this blog post.  But as always, the make is my conception and all thoughts and opinions are my own.

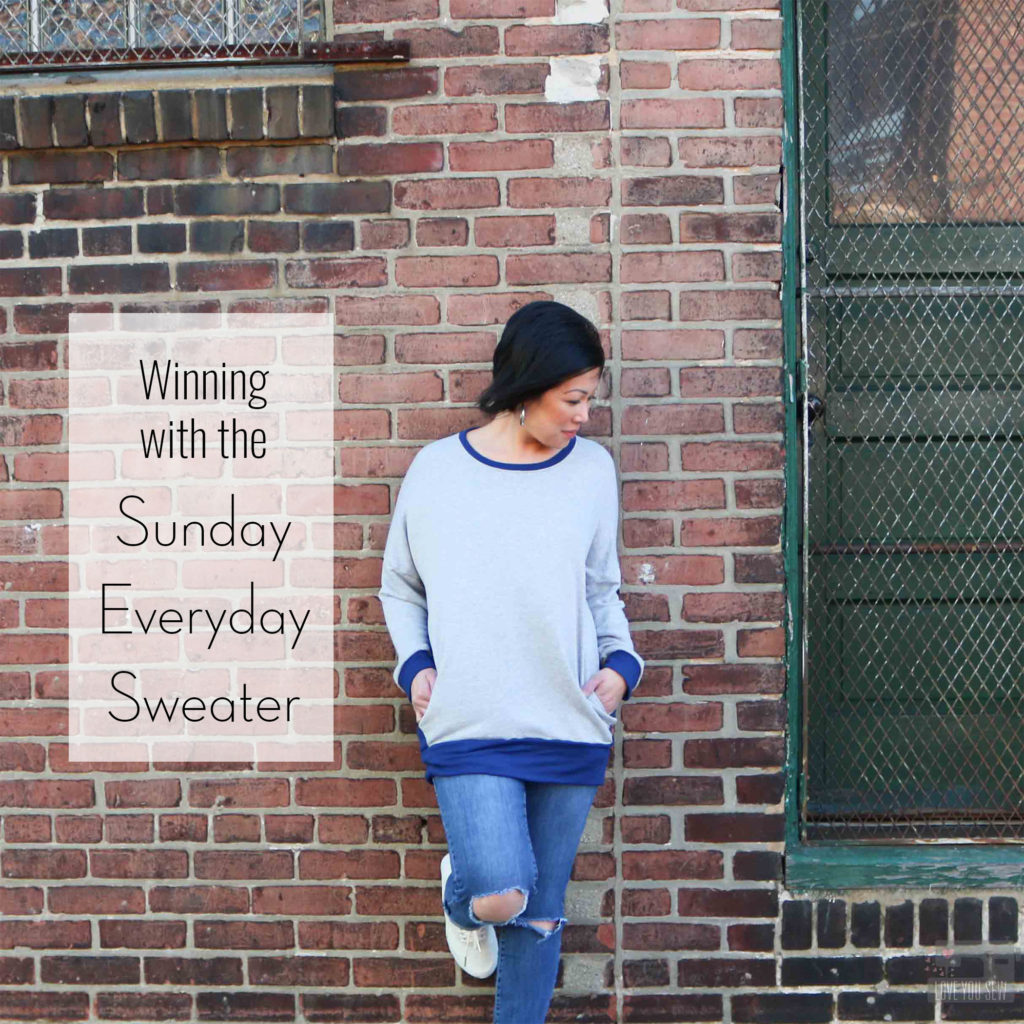
Winning with the Sunday Everyday Sweater

I love finding new independent garment designers and was so happy to find Ensemble Patterns just a few months ago!  They have a great mission of creating comfy and stylish pieces which are intended to work with one another.  With the launch of the company and their first pattern, the Sunday Everyday Sweater, Ensemble had a great giveaway on their Instagram account.  You had the chance to win this pattern AND the next THREE  releases.  And guess who won??? This girl!!!

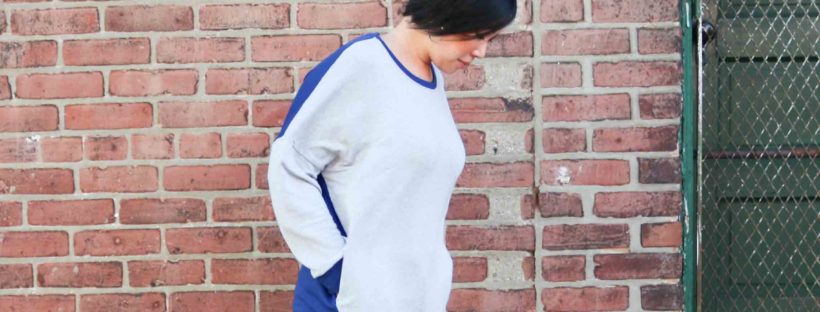
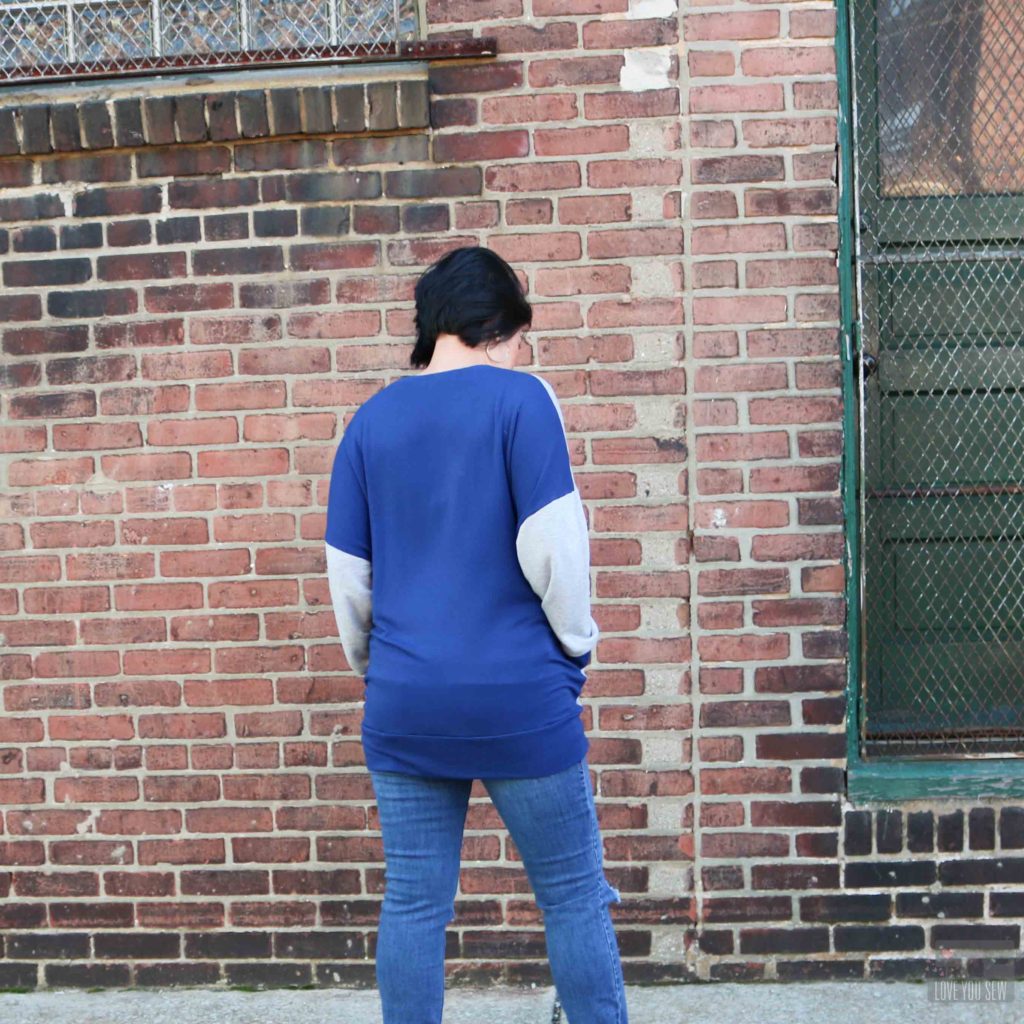
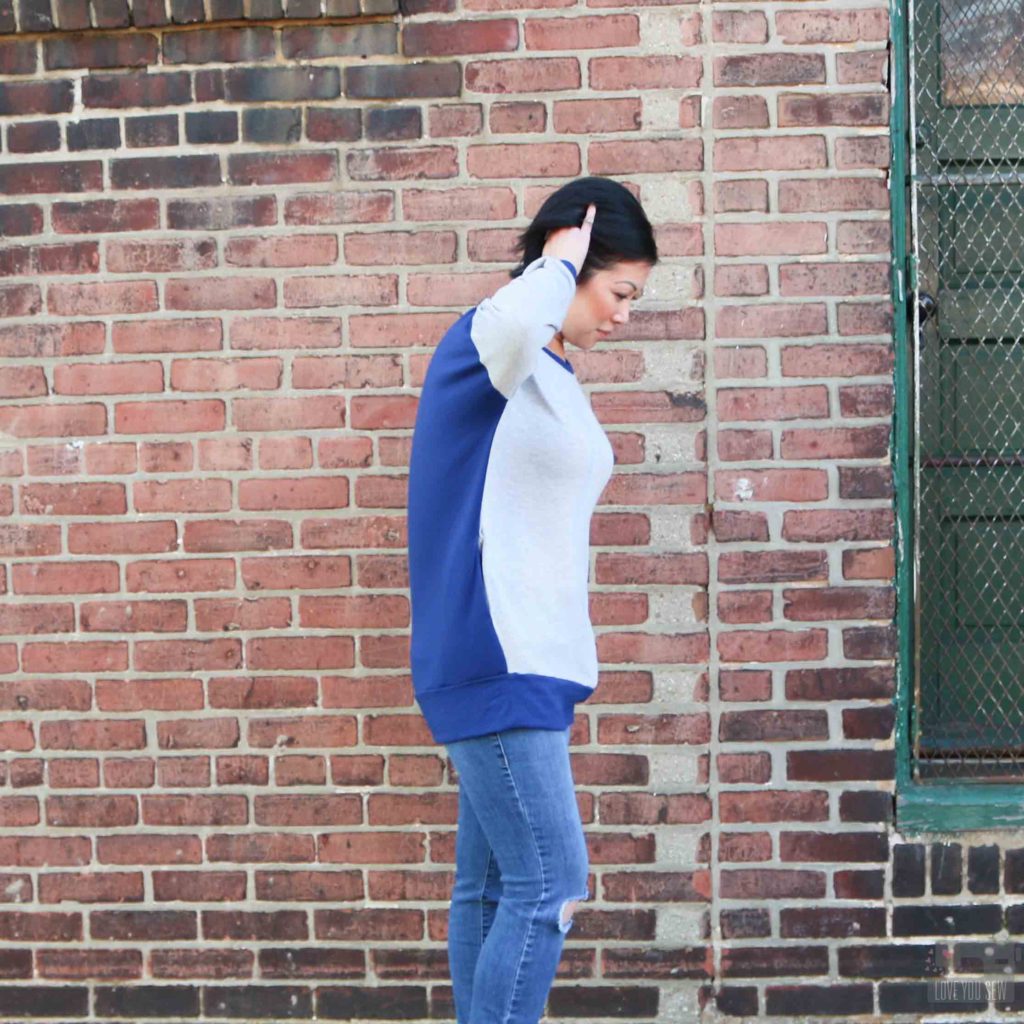
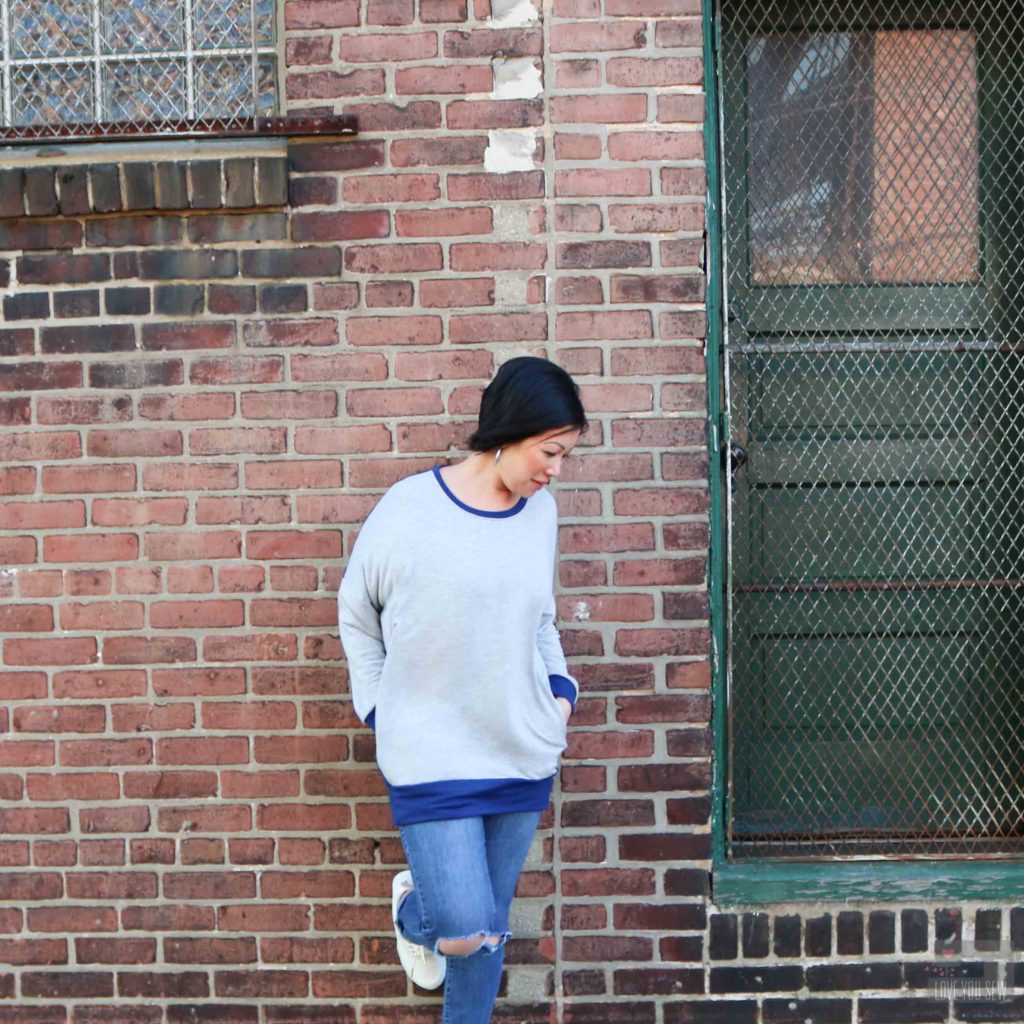
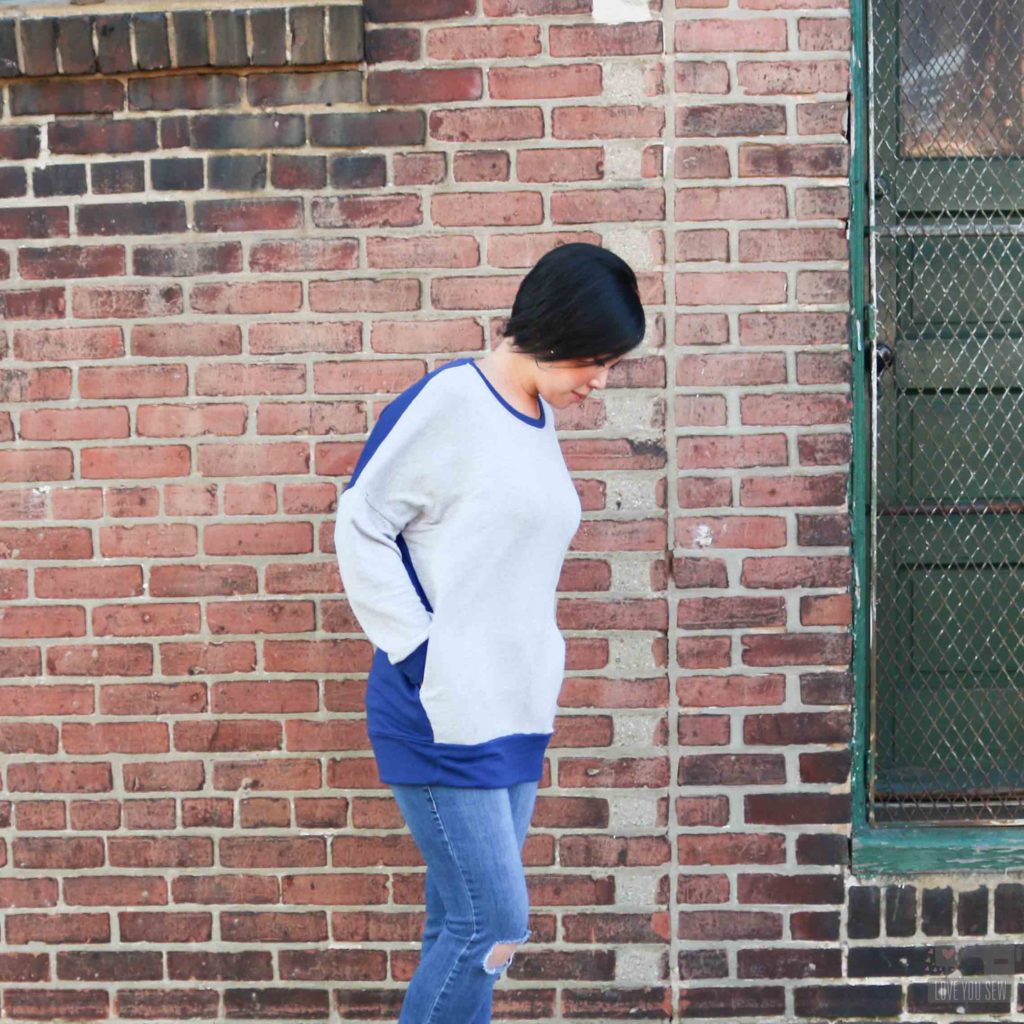
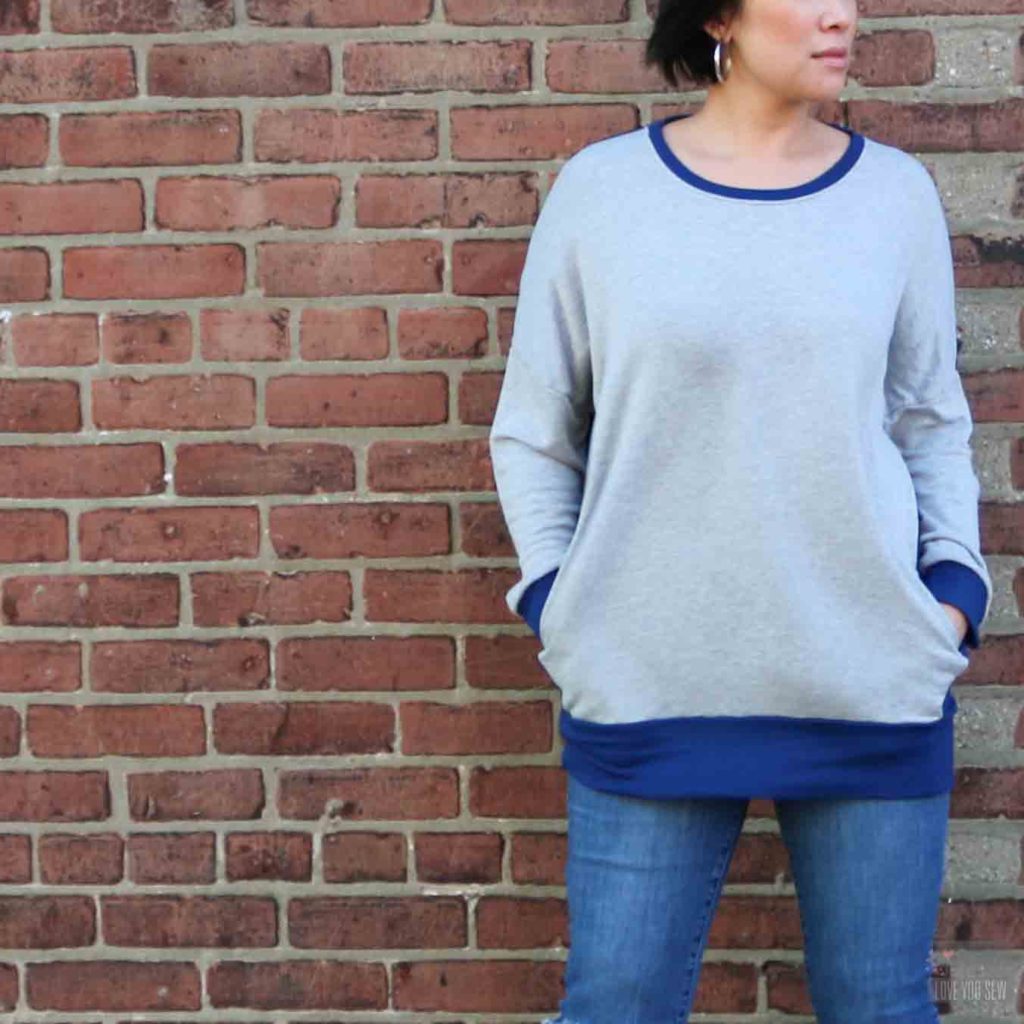
As much as I love all the pretty dress patterns out there, my busy “mom” lifestyle enjoys comfort and lots of athleisure.  So, when I received this pattern for a chic, oversized sweater, I got to work!    I wanted to color block this design and when I saw the gorgeous Bamboo brushed fleece from Imagine Gnats, I was done.  The grey and royal blue colors were just perfect…not to mention how crazy soft they are.

For the cut, I chose the straight hem and the basic view with the regular length.  I was torn between the cropped (because I’m a shortie) and the regular length..knowing it probably would become tunic length on me.  But the option of pockets pushed me over to the regular length.  And I’m so happy with them.  I just love how they are hidden and really amp up the cozy factor.

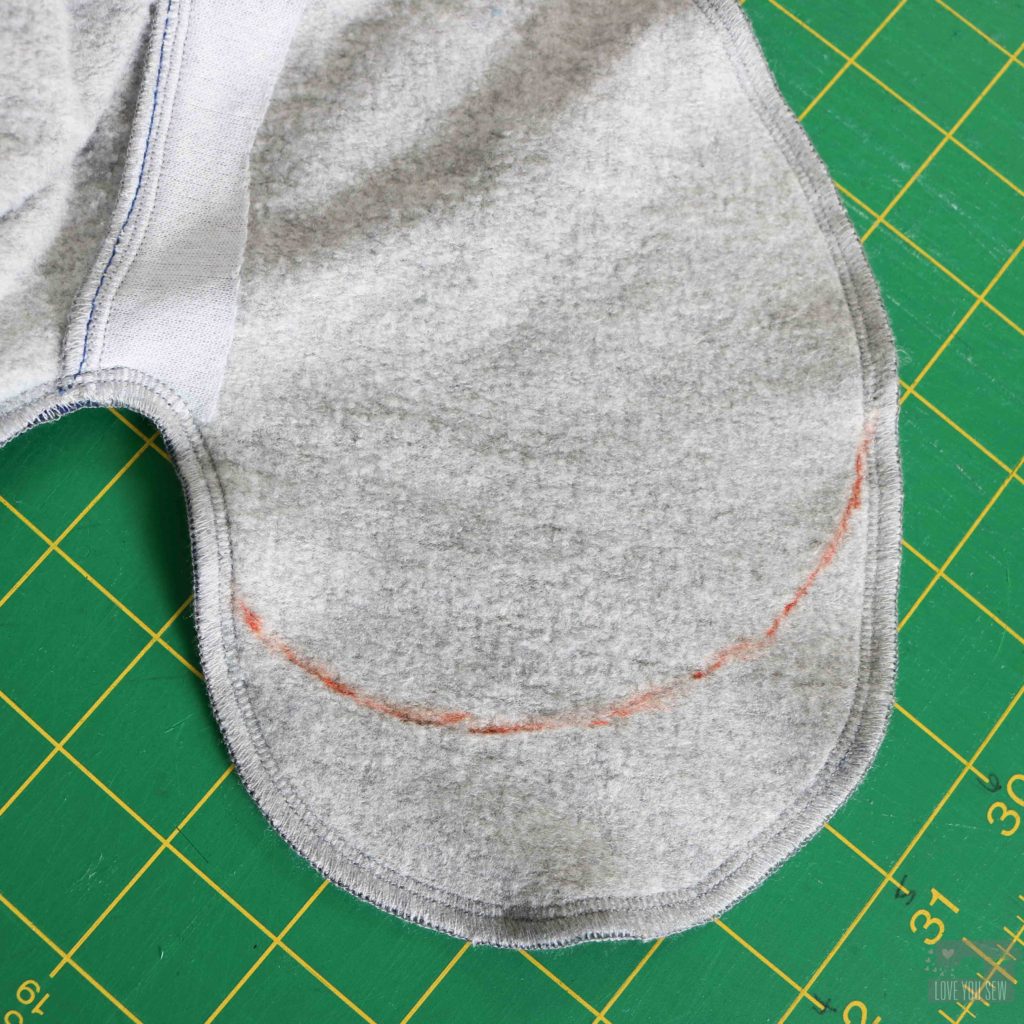
With the 40% stretch in this fabric, I ended up having to trim the pockets down by about 2 inches.  They were hanging too low.  So the pockets were either peeking out under the hemmed or they were being pushed up into the body which was creating some unsightly bulge.  I used the pattern piece to create a new curve from the pocket’s lowest point and now they are perfect.

In addition to the pockets, I also took two inches off the sleeves.  Again, I’m a shortie and the sleeves were just bunching up too much for me.  I left enough on to still keep the relaxed look and feel.

One of the other great features of this pattern are the use of notches for the cuffs, hem and neckbands.  It makes lining them up much easier for a beginner.  Most patterns assume you know how to evenly distribute the band around the neck, but I appreciate how there were additional notches for where they meet up with the shoulder seams.

Overall, I really enjoyed this pattern (not just because I won it!)  There is both a PDF and copy shop print options, so I was pleased off the bat.  Taping paper together is on the bottom of my enjoyable sewing tasks list…ugh….  I do love the oversized look and feel of this design….and who doesn’t love pocket options?!?  Next time I make this pattern, I want to try it with a heavier weight knit and in the cropped length, but I still want to incorporate the pockets.  We’ll see if I can squeeze in some smaller ones like I altered here.

Are you into comfy oversized sweaters like this design?  I’m a definite YES!  I can’t wait to see the next pattern releases.


Happy Sewing!

Cristy