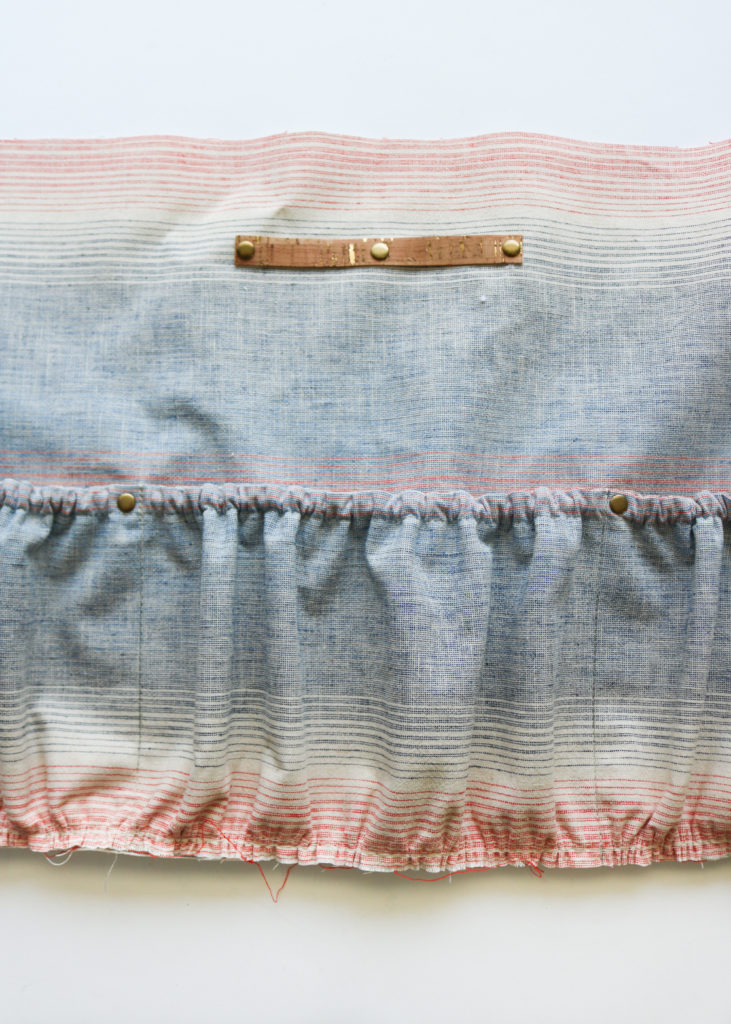
Welcome Back to the Erin Backpack Sew Along! We are now on Part 5: Make the Lining. If you missed any of the prior blog posts, you can find them below:
- Erin Backpack Introduction
- Sew Along Announcement with Fabric and Supply Information
- Part 1: Cutting, Interfacing and Hardware Prep
- Part 2: Make the Strap and Key Fob
- Part 3: Create the Back Panel
- Part 4: Create the Front Panel
With this part, we will tackle the entire lining and even assemble it!
Zipper pocket
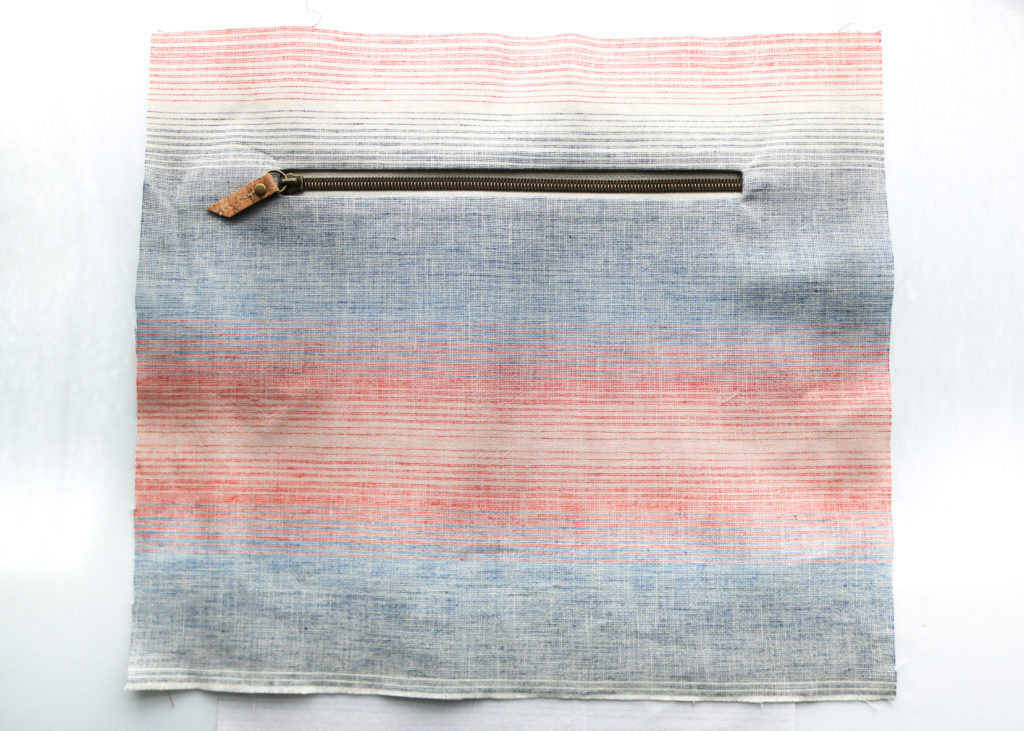
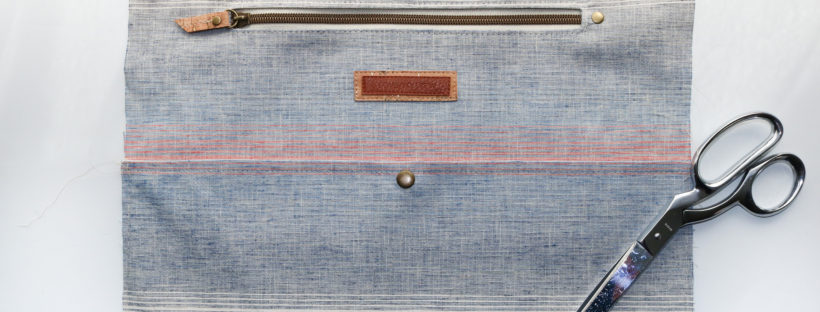
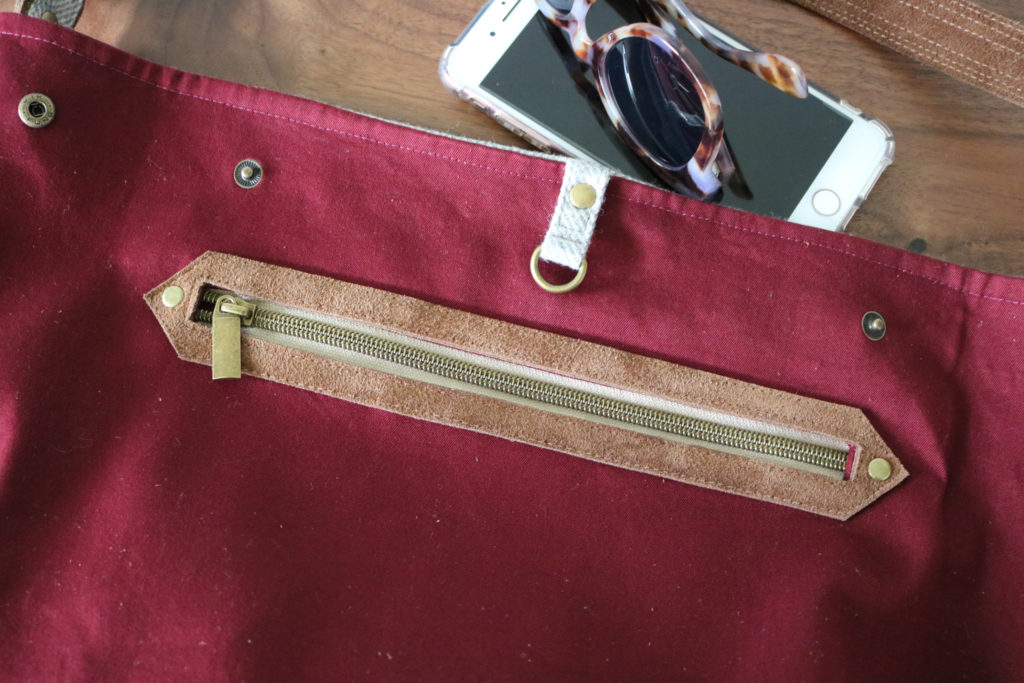
The interior Welt Zipper Pocket is constructed the same way as the outside one, except without the Zipper Plate. So, we don’t have to go through all of the steps again. If you need a fresher, you can head back to Part 4.
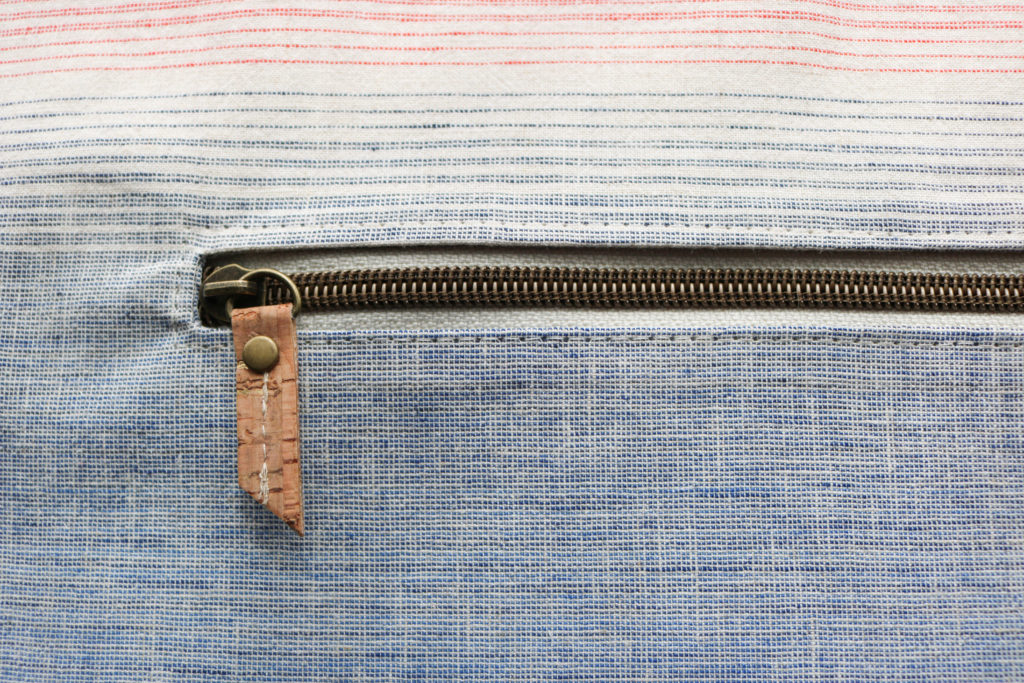
With this pocket, there is no basting, just a regular topstitch to secure the zipper to the lining (as shown above.) .
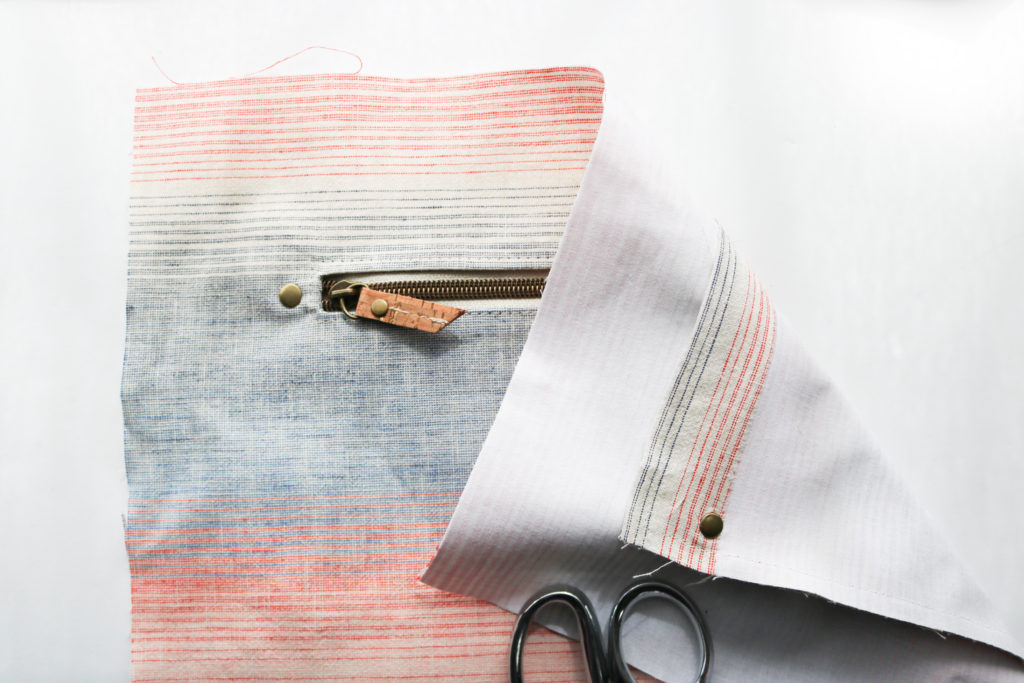
For some more visual interest, you can always add another Zipper Plate or add in some rivets. I placed one on with side of the zipper opening, 3/8″ from each end AFTER pocket has been closed up. This helps add a little more security to the pocket lining.
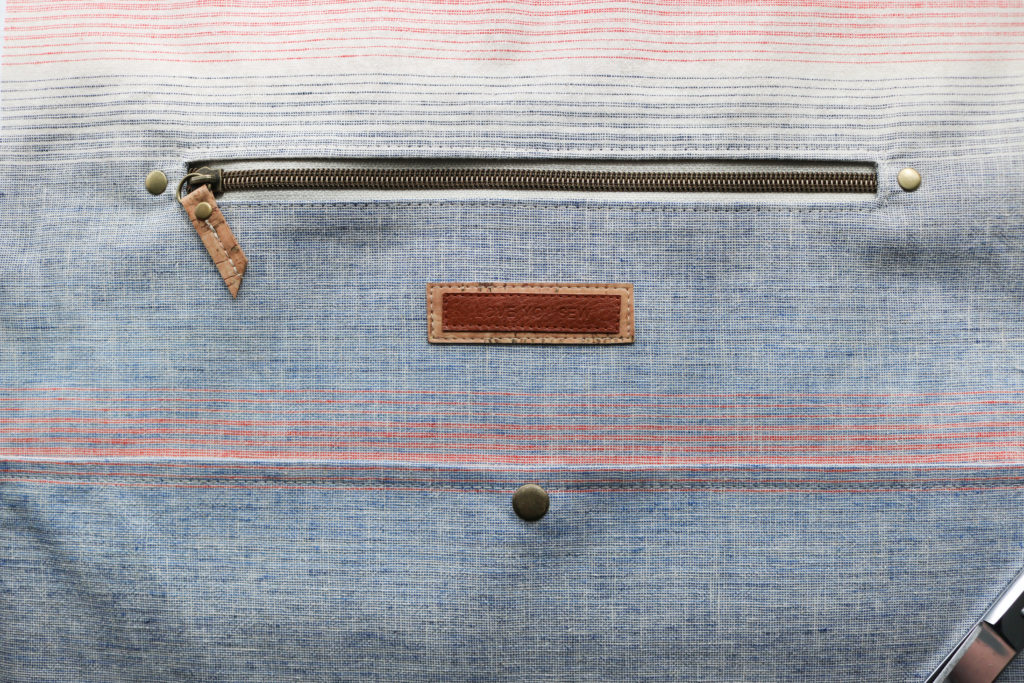
You may have noticed that I added in a branding tag. This is not apart of the instructions, so I skipped it in the video. But if you would like to add one in this same spot, I sew the tag after finishing the Welt Zipper Pocket. The leather stamped tags are from ViVi in Oz.
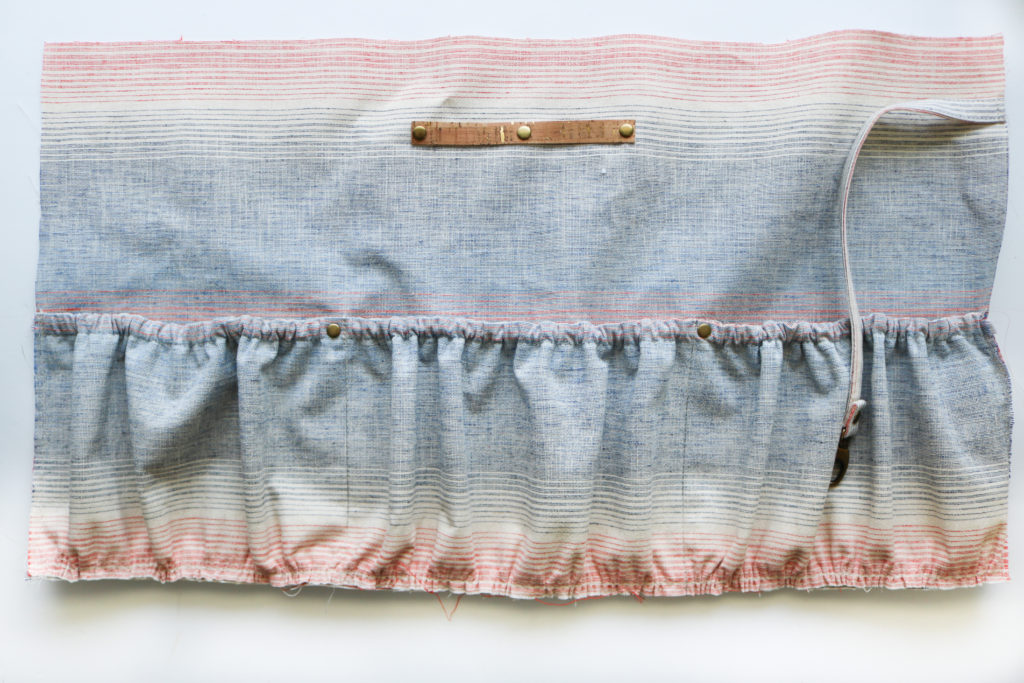
Slip Pocket, Elastic Pockets and assembly
The rest of the Lining construction and assembly can be found in the video above. You can view the different sections timestamped as follows:
- Slip Pocket (00:10)
- Elastic Pockets (01:35 )
- Accessory Strap (04:25)
- Key Fob (04:58)
- Assembly (05: 06)
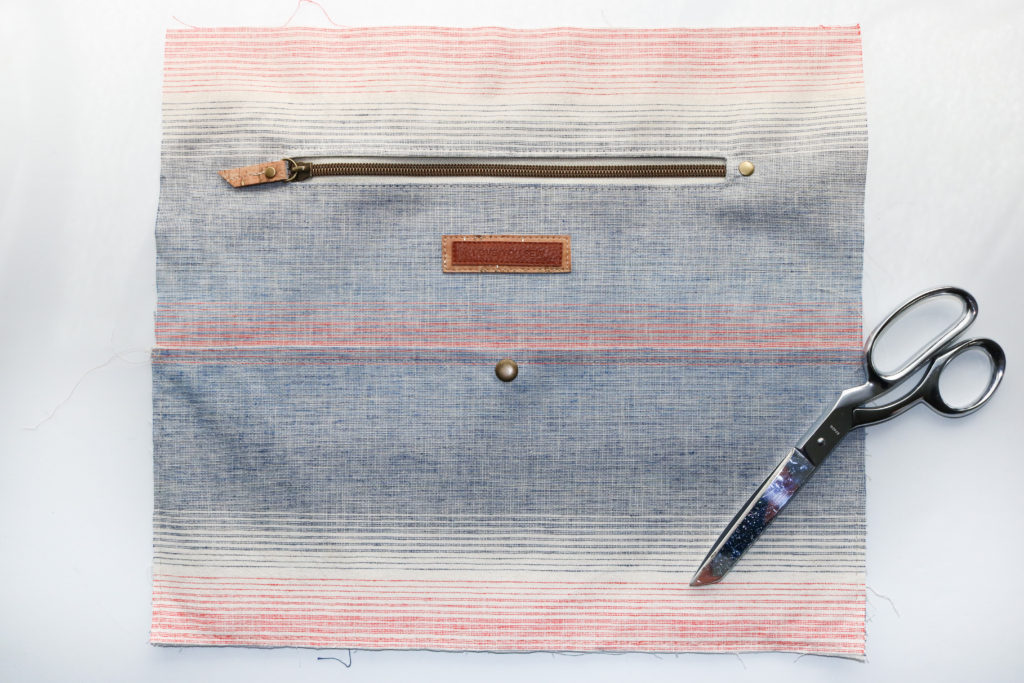
Items to note:
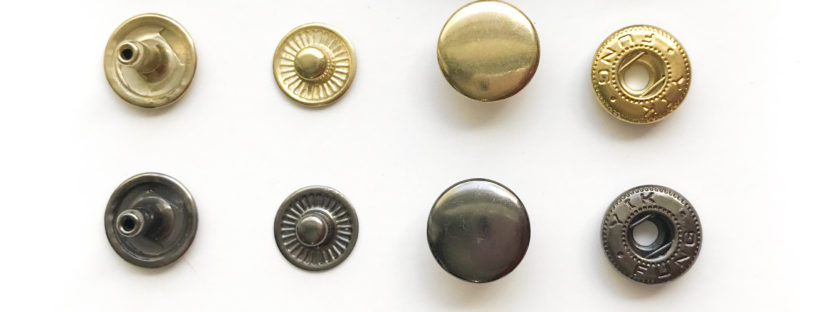
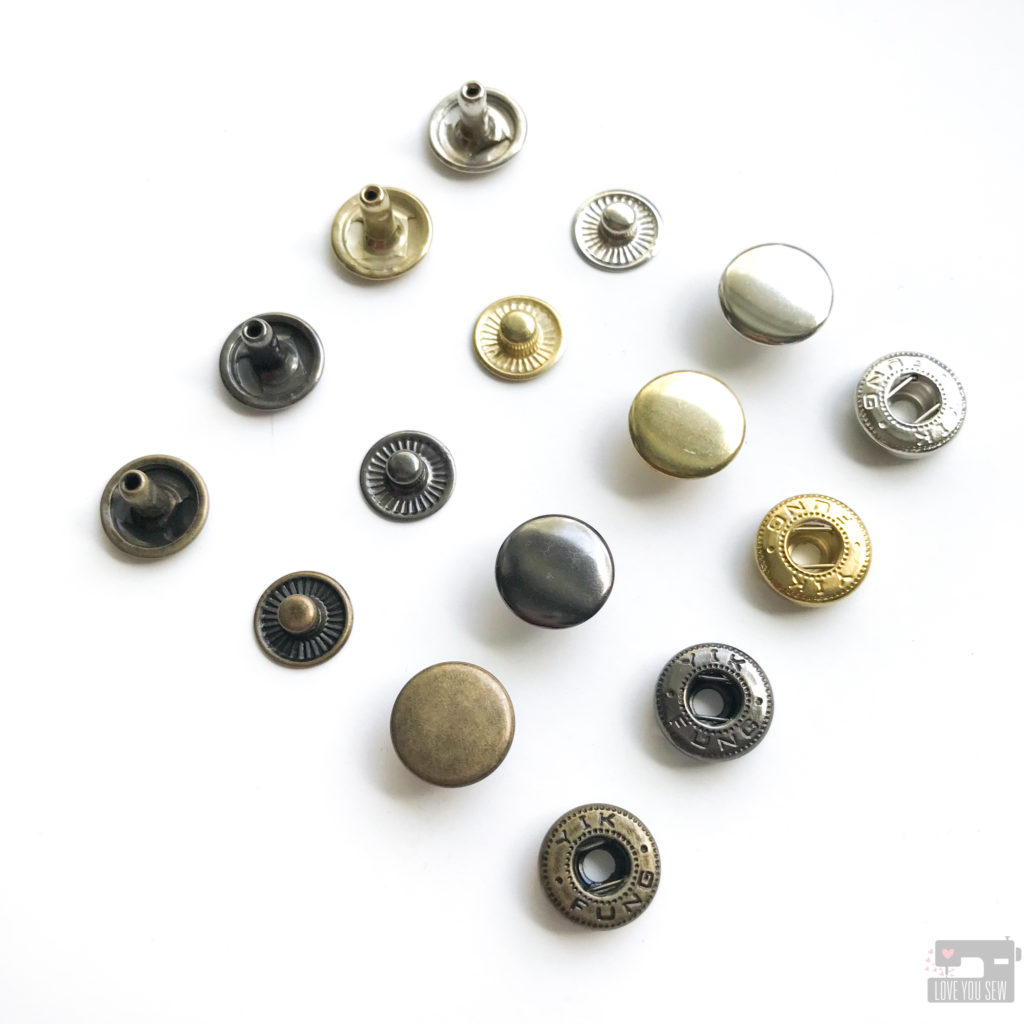
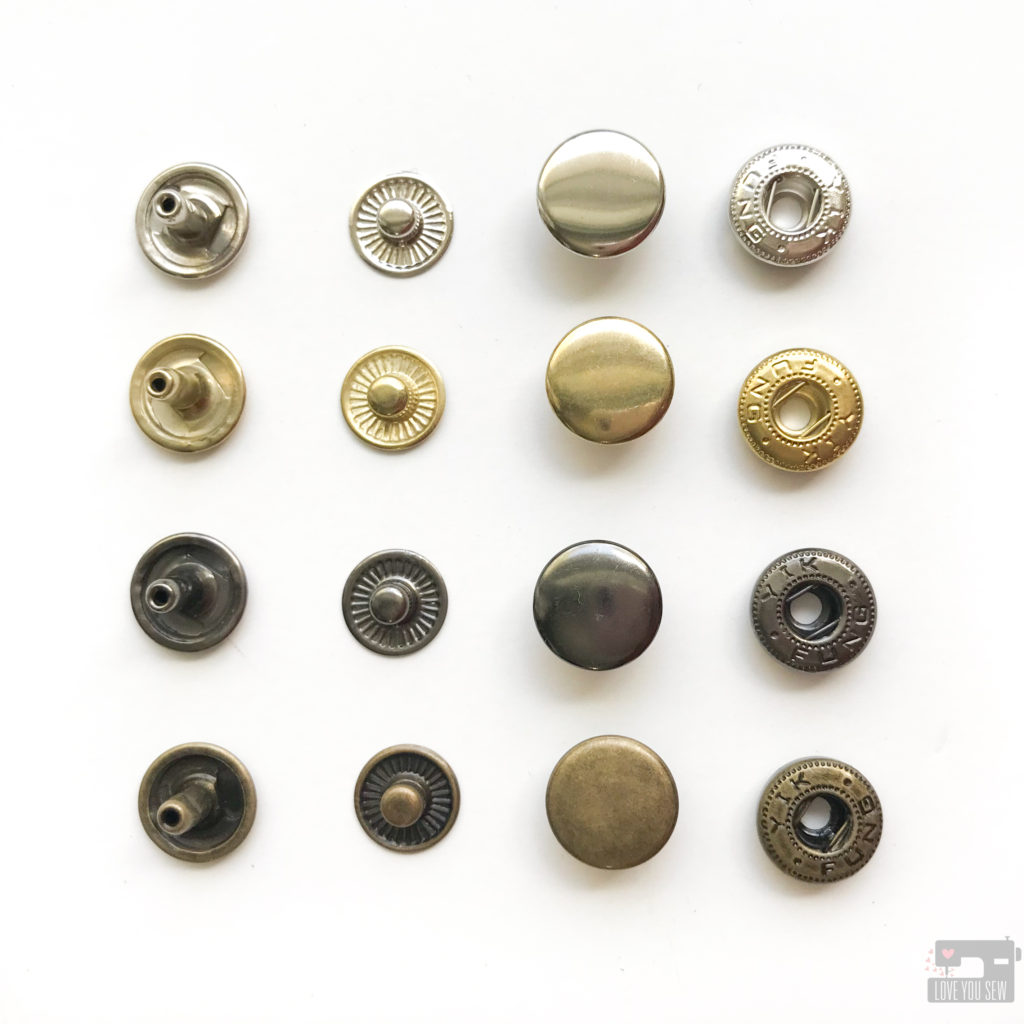
- You can get extra hardware help by clicking on these posts -> Rivets -> Spring Snaps
- May need to adjust the length of elastic based on what type/style you are using. You want to have enough pulled in so that the Elastic pocket is bunched up enough to equal the length of the Front Lining.
- DON’T skip the 2nd line of baste stitching for the gathering. It makes life MUCH easier –especially when trying to gather stiffened fabric from the interfacing.
- If you would like to take the option of adding rivets to the Elastic Pockets, make sure to NOT punch the holes directly on a seam.
- Yes, the Front Lining IS suppose to be shorter than the Back Lining. This takes the width of the zipper into account and incorporates it as part of the backpack’s front wall.
Can you taste the finish? The very last of the Erin Backpack sew along comes later this week, Part 6: Final Assembly. I hope you have been enjoying the process. Don’t forget to use #erinbackpack #erinbackpacksewalong and #loveyousewpatterns on Social Media! I’m so excited to see your finished bags!
Hugs and Stitches,
Cristy
