Split Hem Sheridan Sweater

Winter finally hit here in the midwest.  And by winter, I mean the below-freezing temps with wind that just bites at your face!  Since I walk my dog everyday, I’m out in this cold whether I like it or not.  In the mornings, I usually just throw on a sweatshirt over a few layers, but for 2022, I feel like I need “nicer” cozy clothes.  Don’t get me wrong, the dog walks will probably always include a sweatshirt, but I would stay in them all-day long and that’s the cycle I want to break.  It’s been two years of sweatsuits and I’m ready to get out!  So, with this sweater knit I bought last year and  my TNT, Sheridan Sweater, I’m working to get out of this rut.
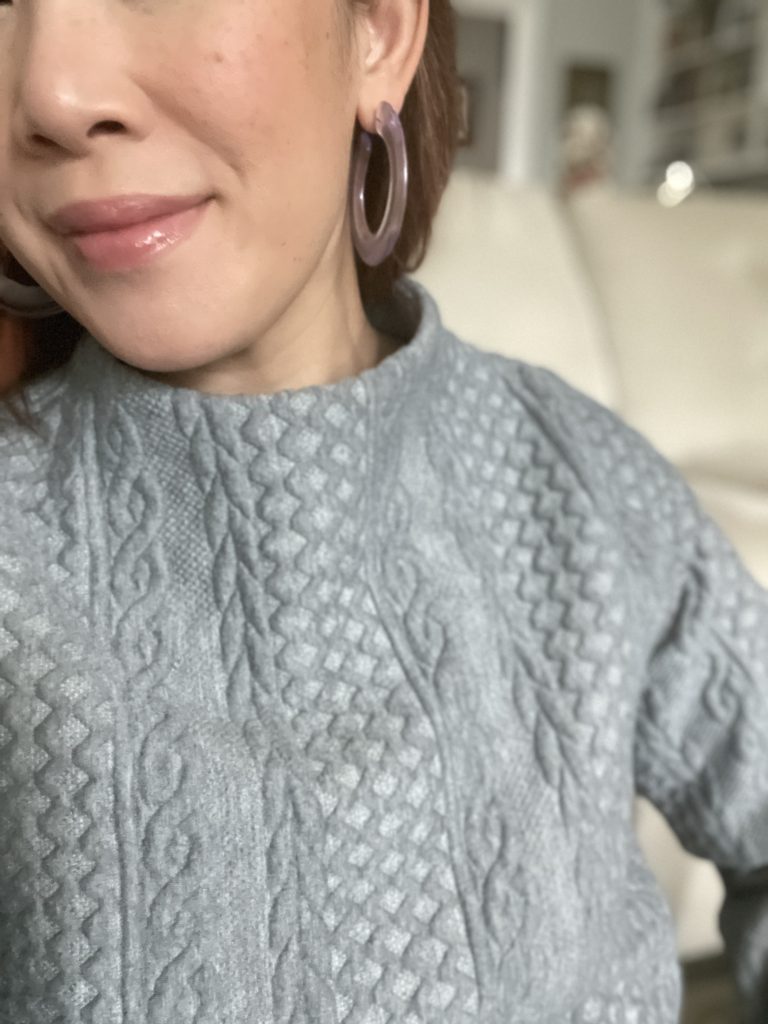
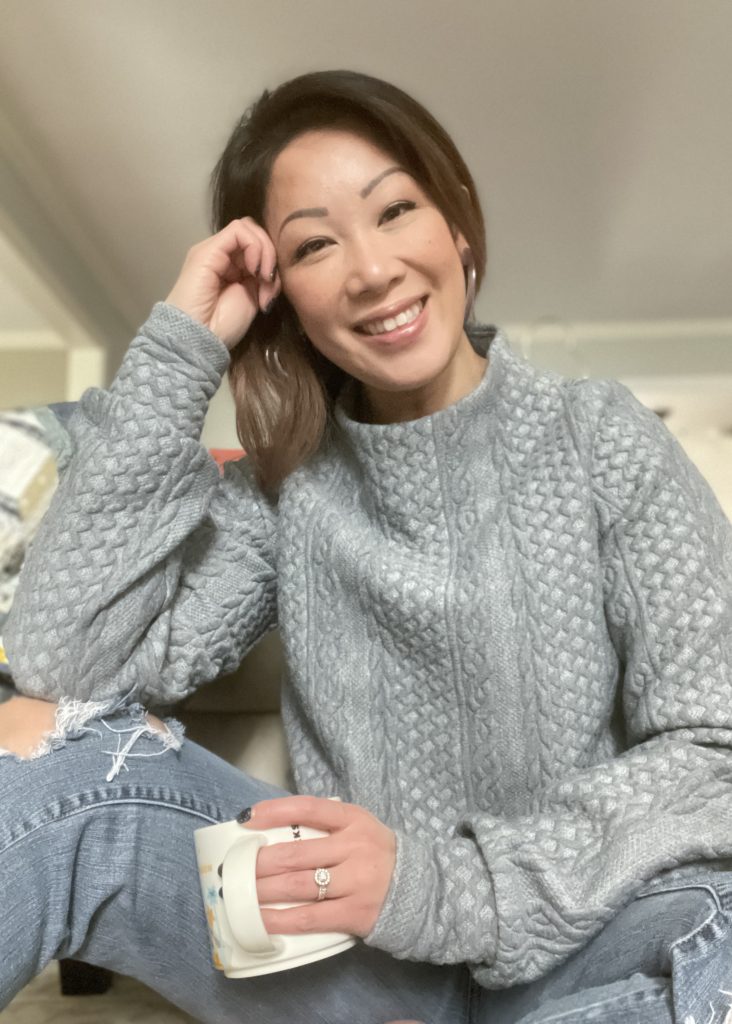
I know I need more texture in my tops (not just the knit sweatshirt/jersey look) and sweaters would bring it in.  But since I don’t knit or crochet, I have to bring it in through other ways.  For sure, I have to do some thrifting, but I also had this incredible cable knit-look fabric in my stash. I bought this from Fabric.com  after seeing so many other makers use it and it certainly delivers.  The fabric is a really nice thick knit that isn’t too heavy but has the feel of a real sweater.  While the inside “stuffing” frayed a bit depending where you cut the fabric, I was able to use my regular sewing machine, serger, and even cover-stitch to make this top.
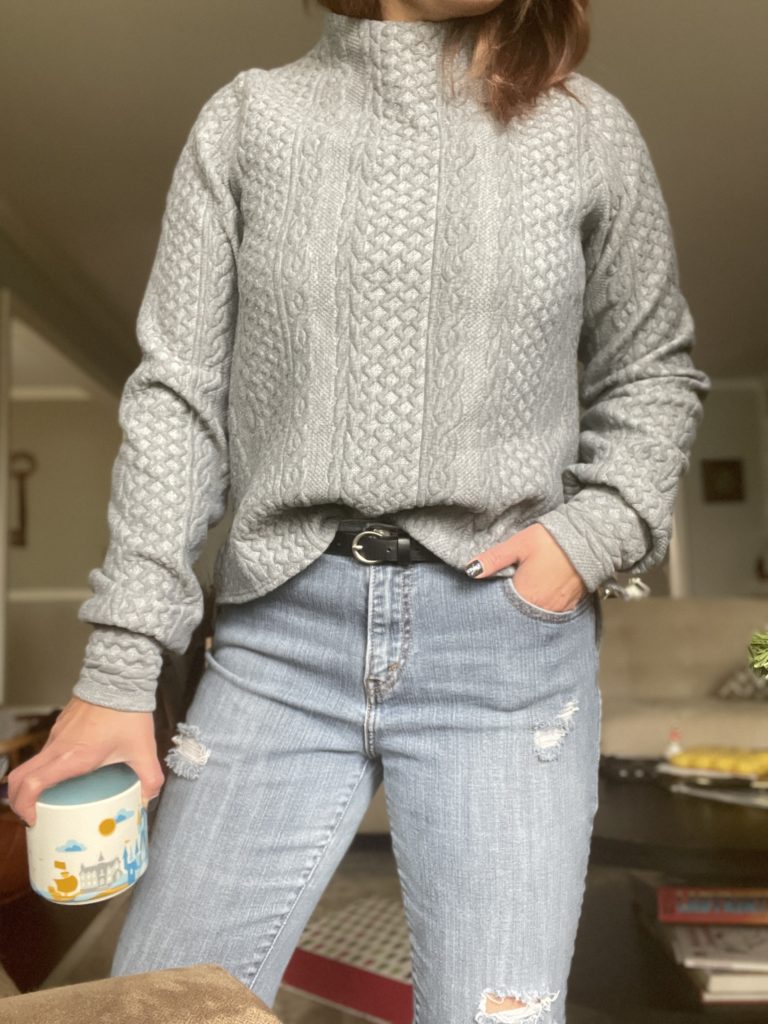
This is the fourth time I’ve made the Sheridan Sweater, a pattern by Hey June Handmade.  You can check out two I made on this post.  I’m a big fan of this pattern and really love the funnel neck view.  I’m always the “cold” one in the family and I like to have my neck covered, but I’m not a fan of turtlenecks.  My skin is pretty sensitive with fabric textures, so I always like some kind of loose covering like a cowl seen here in my Halifax Hoodie or this funnel neck.  Since I already have two Sheridans that are identical with the exception of color, I knew this one had to be different.  In addition to the fabric, I also hacked the pattern to make an uneven split hem, which is perfect for to half-tuck into my jeans.
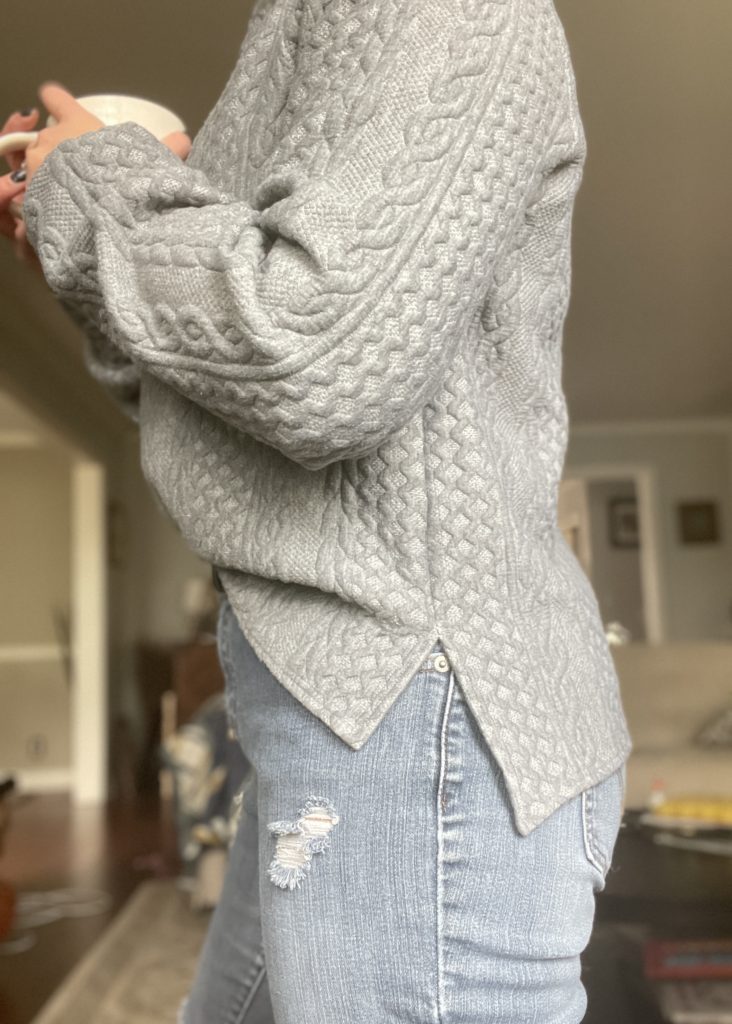
These are all of the modifications on my size 10, view B Sheridan:

  • Increased the funnel neck by 1/2″
  • Omitted interfacing on the neck facing (fabric is thick enough)
  • Lengthened full front by 1″ and the back by 2 1/2″
  • Marked 3 1/2″ from the bottom front for the split hem
  • Used 3/8″ single fold with cover-stitching for hem
  • Made a 1/2″ narrow shoulder adjustment (typical for me with HJ patterns)
  • Narrowed out the sleeve 2″ on each side (4″ total) for a less formal balloon sleeve
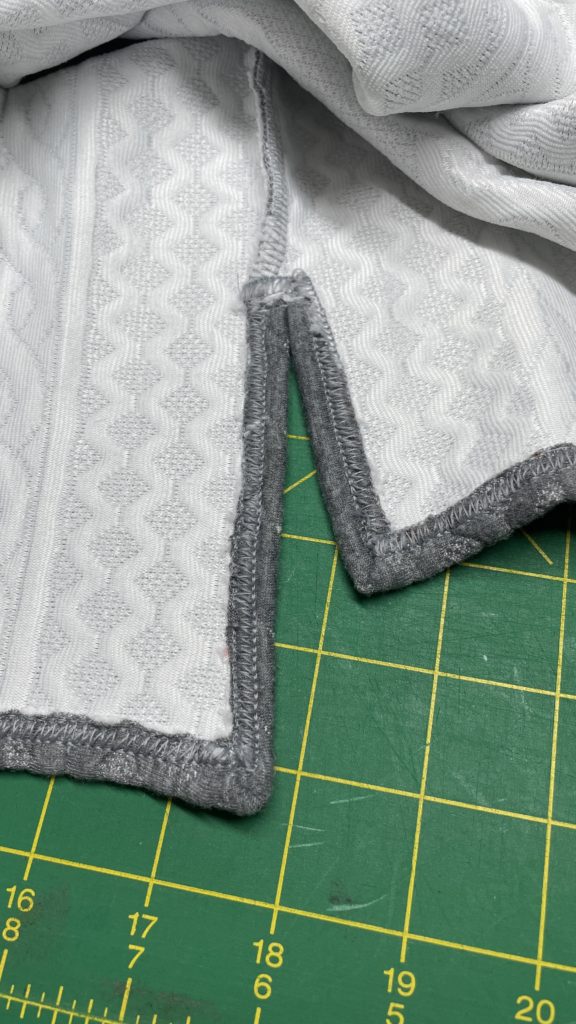
I was “winging” the split hem (which I kinda regret now) and wished I added more length to the hem and especially at the side seams for the split.  While this isn’t the prettiest cover-stitching, you can’t really tell from the outside (thank goodness!) it worked out in the end.  I used some Mettler Seraflex to help tack down the hem right at the split (on the side seams) and after using my cover-stitch, realized I should’ve just used it on the hem this whole time — Lesson Learned! It’s a great thread that has stretch which you use with a straight stitch.  Since the hem is loose and not getting much strain, the Seraflex would’ve been a good alternative to cover-stitching.  I also used it in the cuffs (for less bulk than my serger) and also for tacking down the funnel neck to the facing.
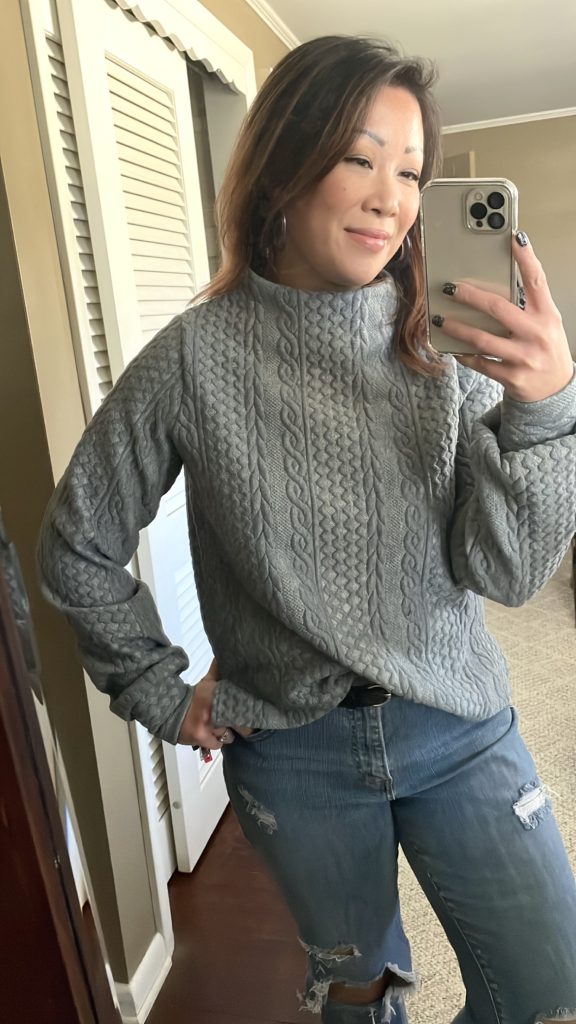
Despite the small regret with the hem, I’m really pleased with this Sheridan Sweater.  It has the comfy-cozy, cable knit look I needed and it’s VERY warm too!  This was a great wardrobe addition  while I brace this bitter cold!  Do you like this knit-look without being a real sweater?  I think I may have to invest in some more of this fabric!

Happy Sewing,

Cristy


This post may contain affiliate links.  You can read my disclosures, here.
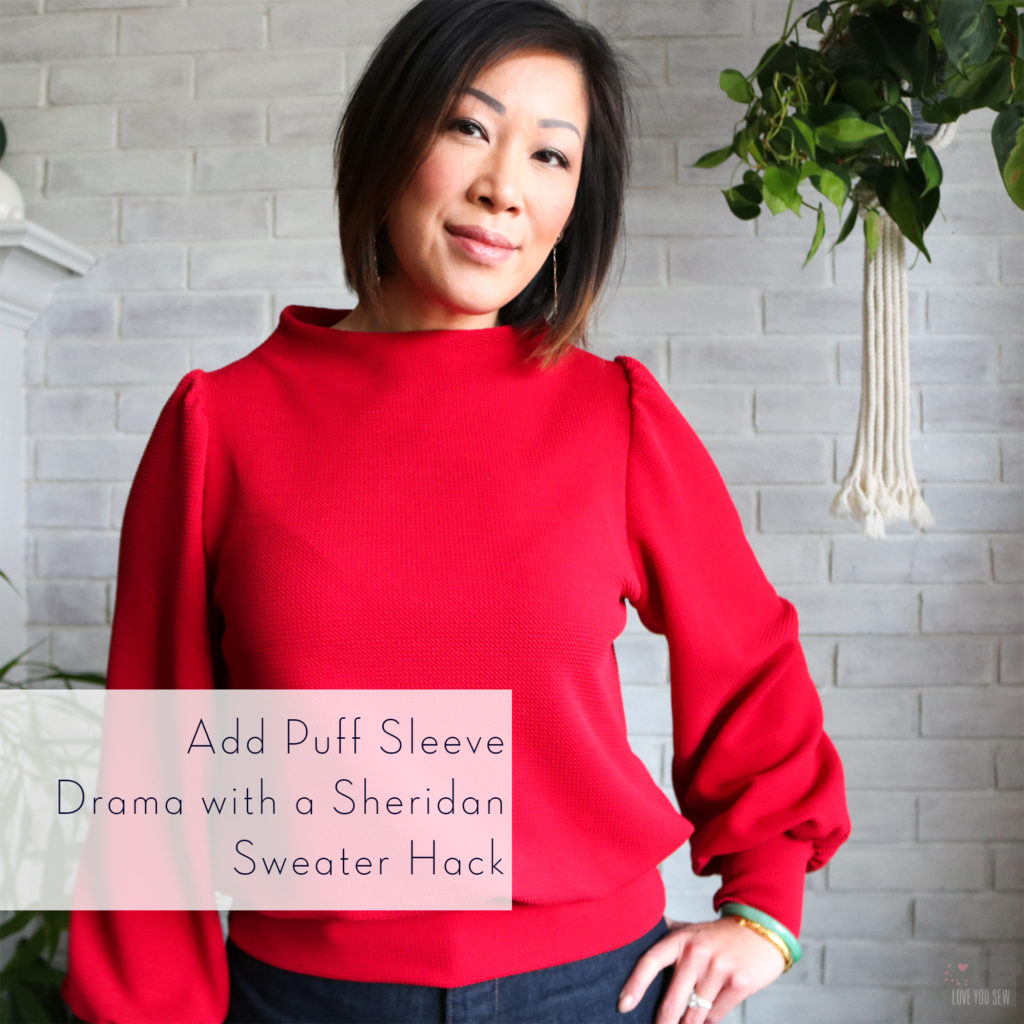
Add Puff Sleeve Drama with a Sheridan Sweater Hack

This post was originally published on the Hey June Handmade Blog in January, 2020.  Edits are in italics and additional pictures have been added (since I love this pattern SO much!)

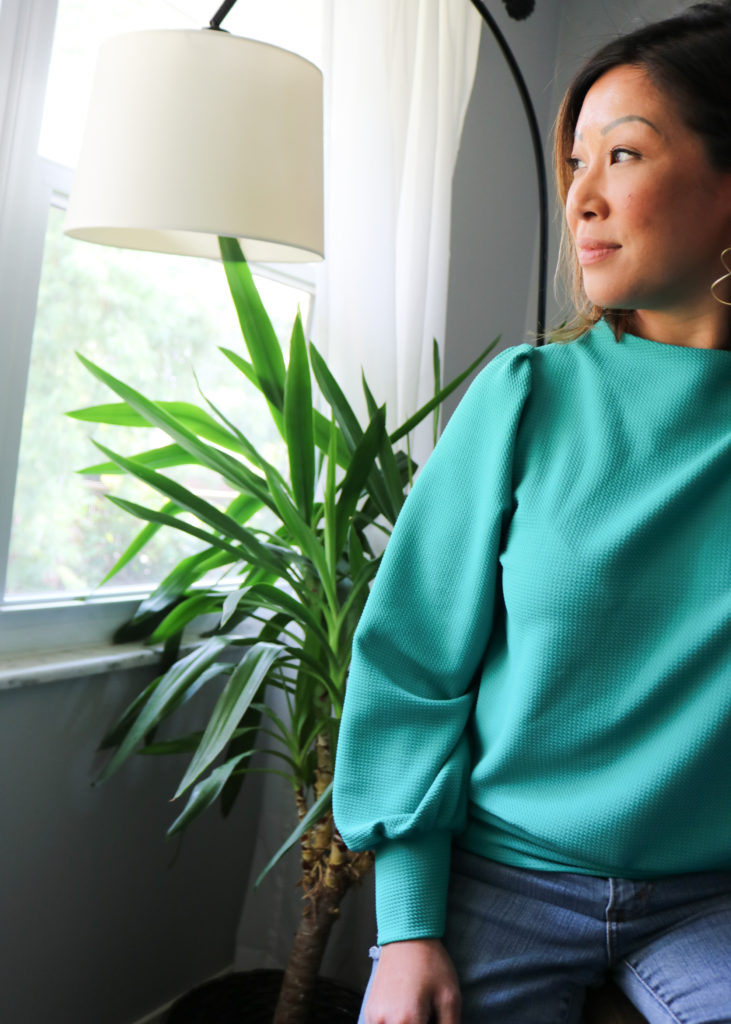
When I first hacked this Sheridan Sweater for the Hey June Handmade Blog, I had no idea it was going to become one of my MOST worn tops. Prior to March, life was pretty normal while we were just starting to hear about the pandemic. My social world was still moving along and was able to wear my Sheridan to Lunar New Year celebrations (as planned!), Galentine’s Day fun with my girls, and was my go-to for a night out.  I knew even back then that I wanted another Sheridan.

After a #sewingfail with the wrong fabric (it was a red and cream colored stripe that clashed and looked HORRIBLE with my skin tone and hair highlights,) I was ready to make another.  This time I wasn’t going to mess around.  I knew I would ADORE my new Sheridan because I used…the same hack…and the same fabric as my OG…just a different color!


Back in early December, I knew I needed a new red top.  My one cardigan just wasn’t enough for all of the holiday school parties, concerts, church events and even family get-togethers.  I wore that one piece of red clothing OUT and knew I needed something else to add to my festive wardrobe.  But did I really need a new top???  Did I really want to make one??? Then the Sheridan Sweater was launched and my questions were answered.

All of my internal fighting against wanting “another” knit top disappeared.  After seeing the Sheridan launch, my mind switched and I bought the pattern right away.  Of course, I need  a new red top!  It WILL work through the holiday season, AND into the Lunar New Year AND be useful for Valentine’s Day school parties!  Why wouldn’t I need the Sheridan Sweater in my life?!?

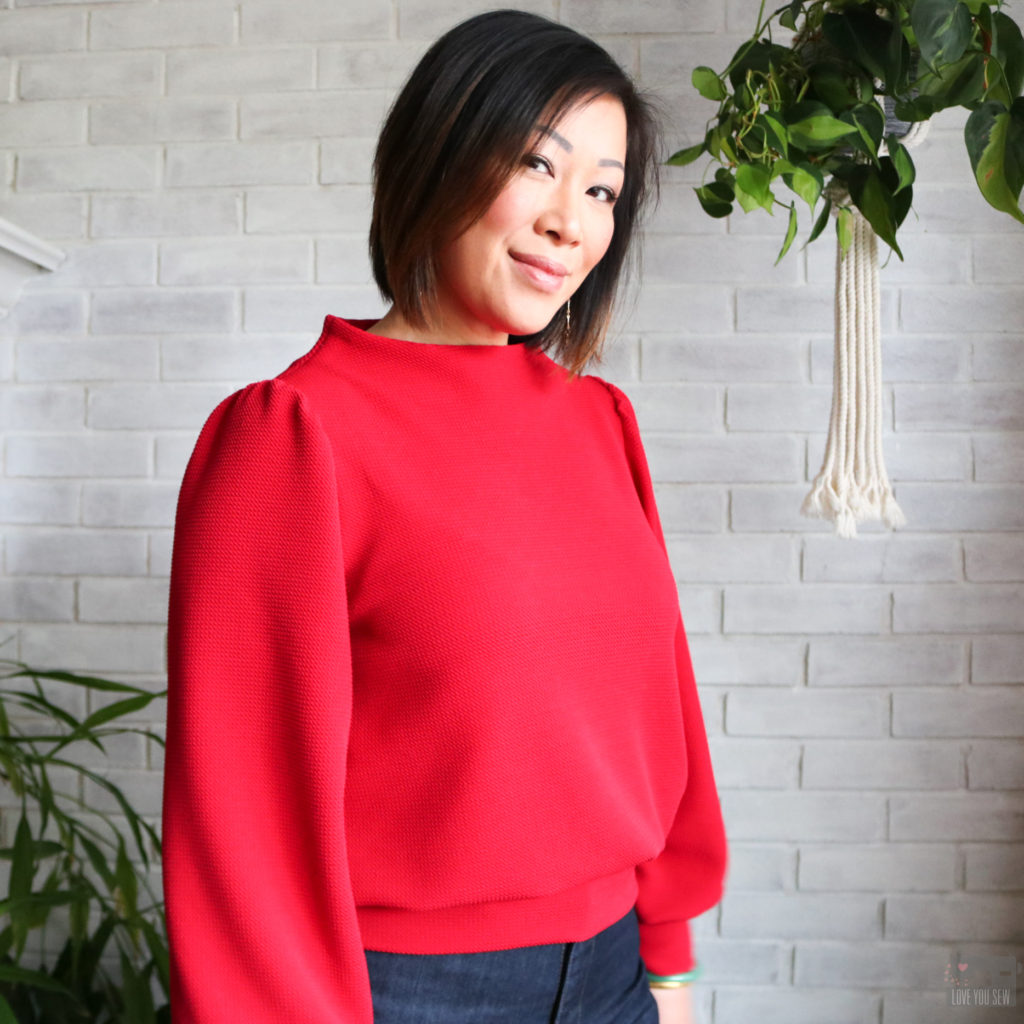
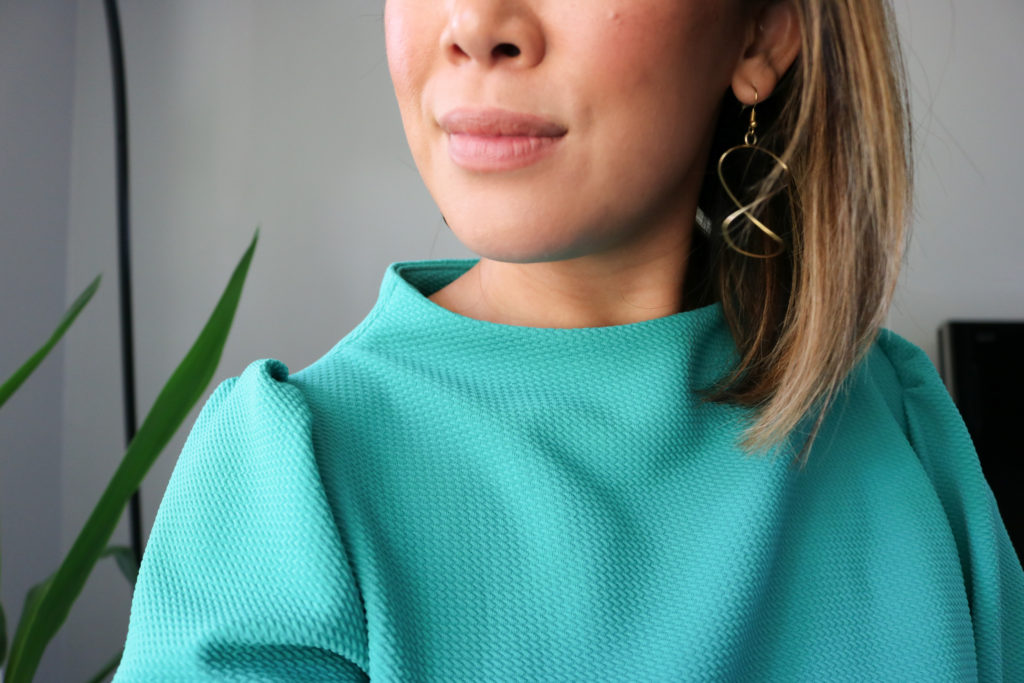
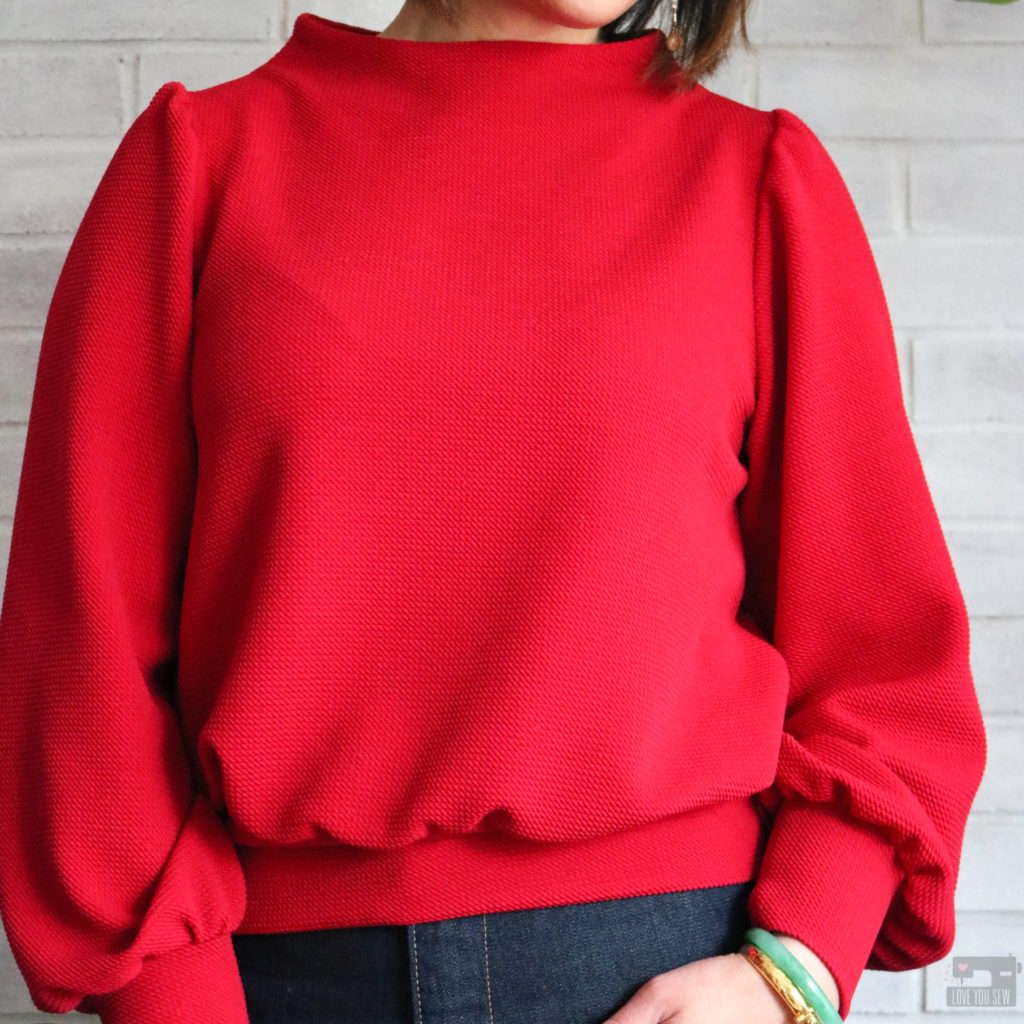
Adrianna did a fantastic job designing the different views and I’m obsessed with the seamless funnel neck, which I haven’t seen in any other DIY pattern.  The Sheridan Sweater also has the big statement sleeves which is on still on trend and I knew both of these features would really stand out in red.  But since this was going to be my all-winter holiday top, I wanted to bring it up juuuuust an extra notch.

FABRIC

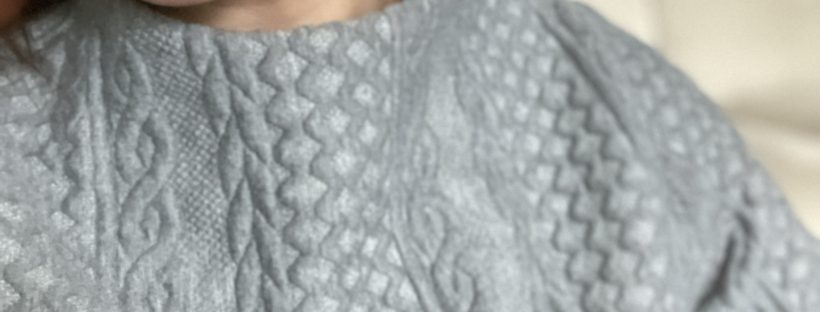
I found this beautiful textured waffle knit from Telio fabrics.  One of the reasons this sweater has been on constant wardrobe repeat is the fabric.  As a poly/spandex blend, the color saturation is on point.  After all of the washing and drying I’ve done, the color still looks as intense as day one.  I was concerned that the texture might be lost over time with dryer heat, but it’s all still there!

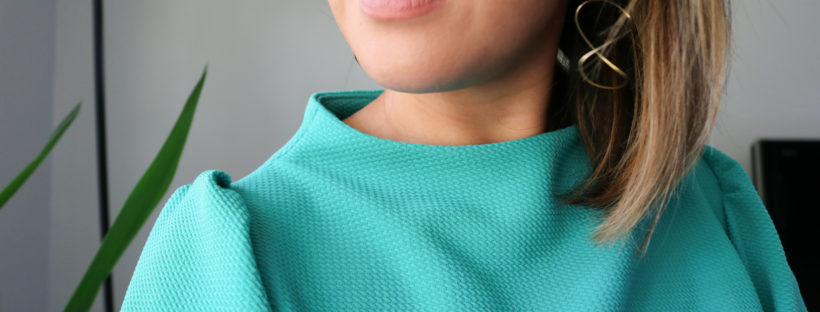
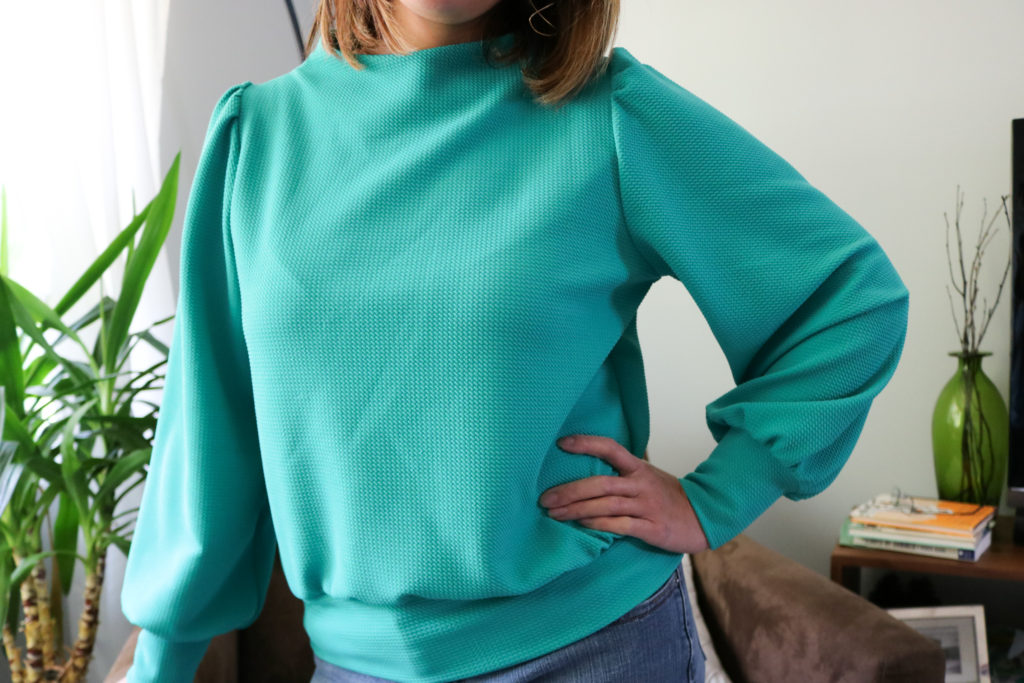
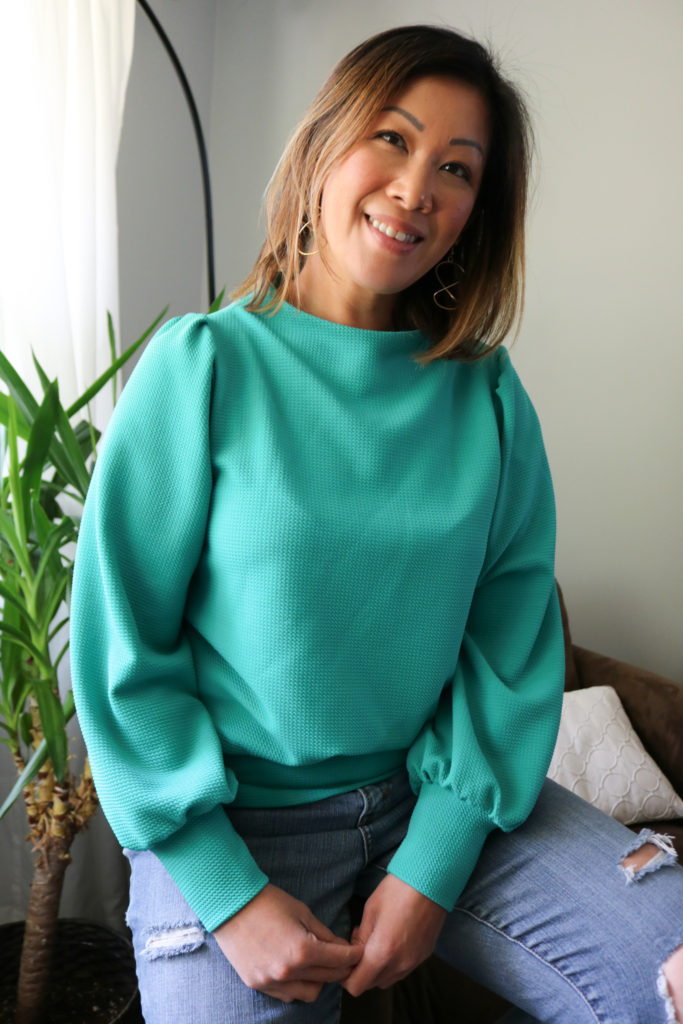
The Paola Pique Liverpool’s medium weight was a perfect complement to this pattern.  It has great body and really shows off the full sleeves.  The stretch and recovery is also very nice.  When I pull up on the sleeves and adjust the waistband, it  holds it’s size well and doesn’t stretch out over the course of the day.  This fabric comes in so many rich jewel tones that I had to have the Emerald.  The pictures come up more teal, but this color swings more to the green side in-person.

TUTORIAL

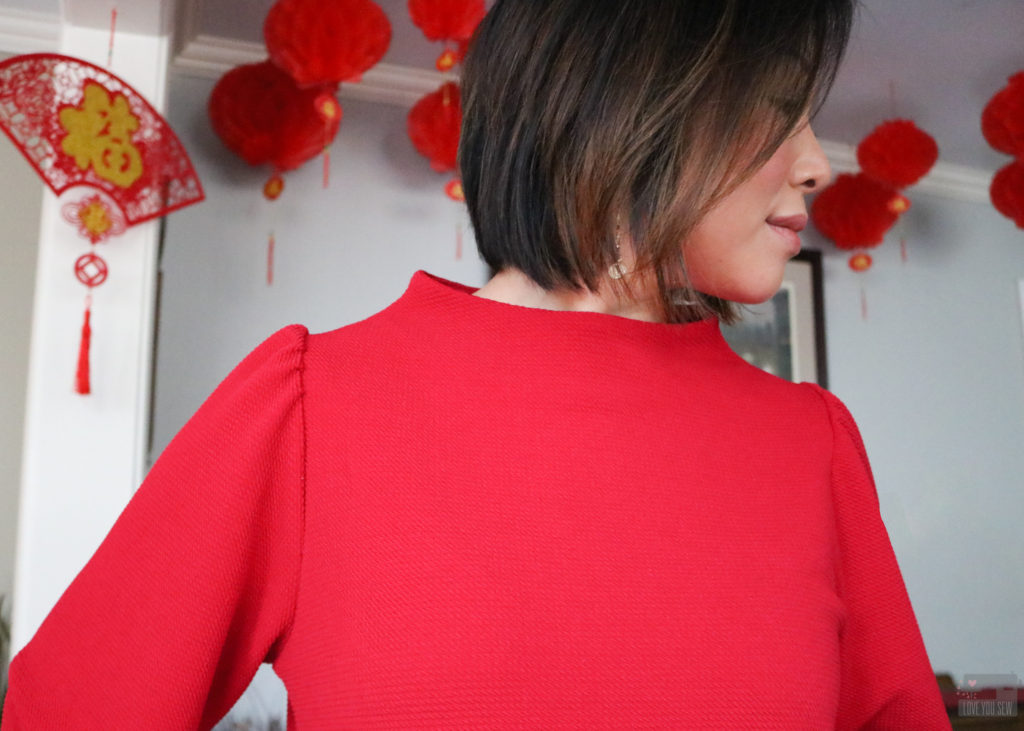
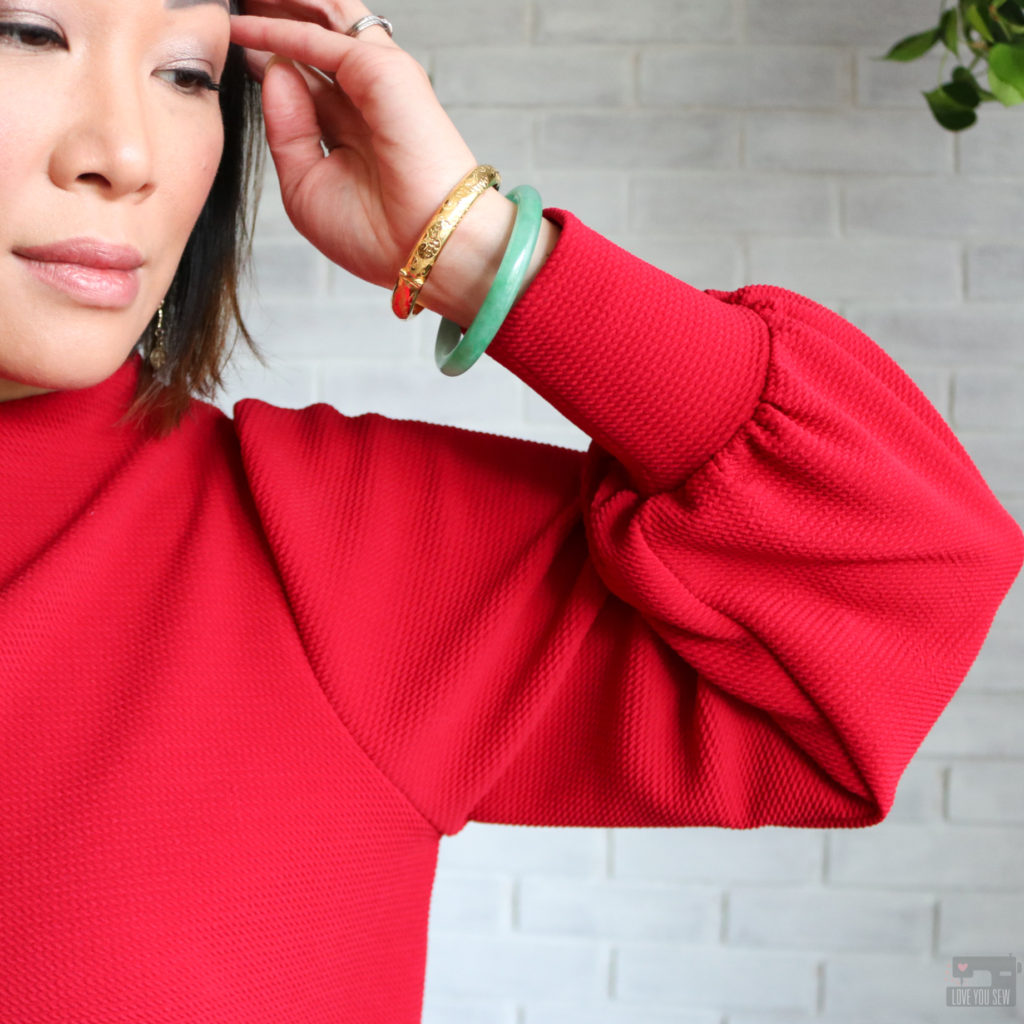
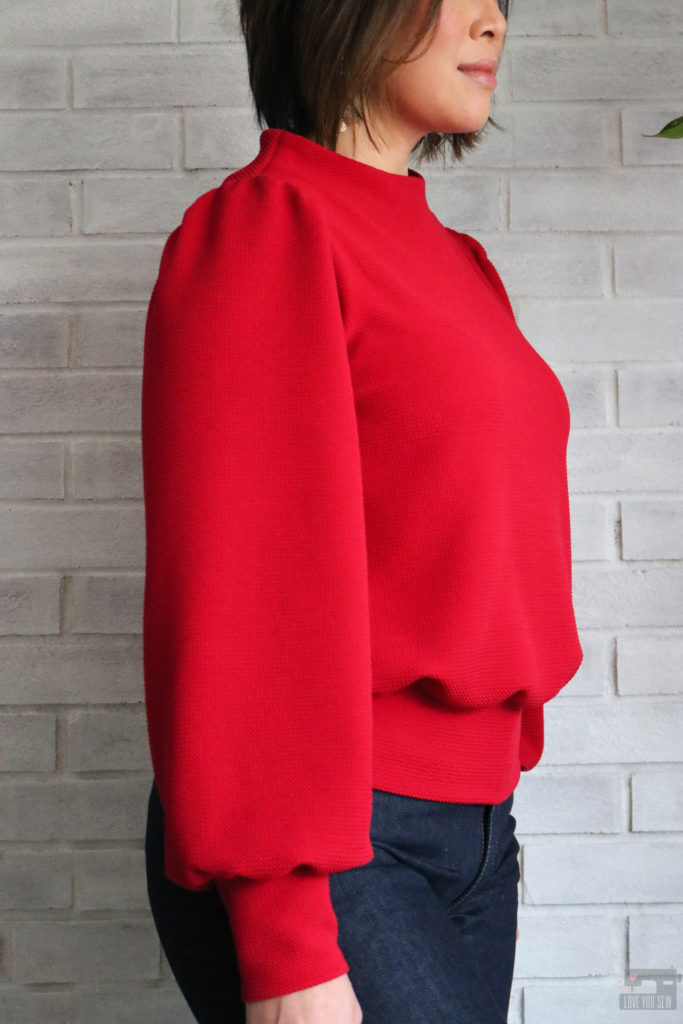
I figured if I was going red, I wanted to make the sleeves stand out even more. So….I hacked the sleeves to be more voluminous in the sleeve head for All. Of. The. Drama.  Below is my quick and definitely non-technical way to achieve that extra shoulder poof.

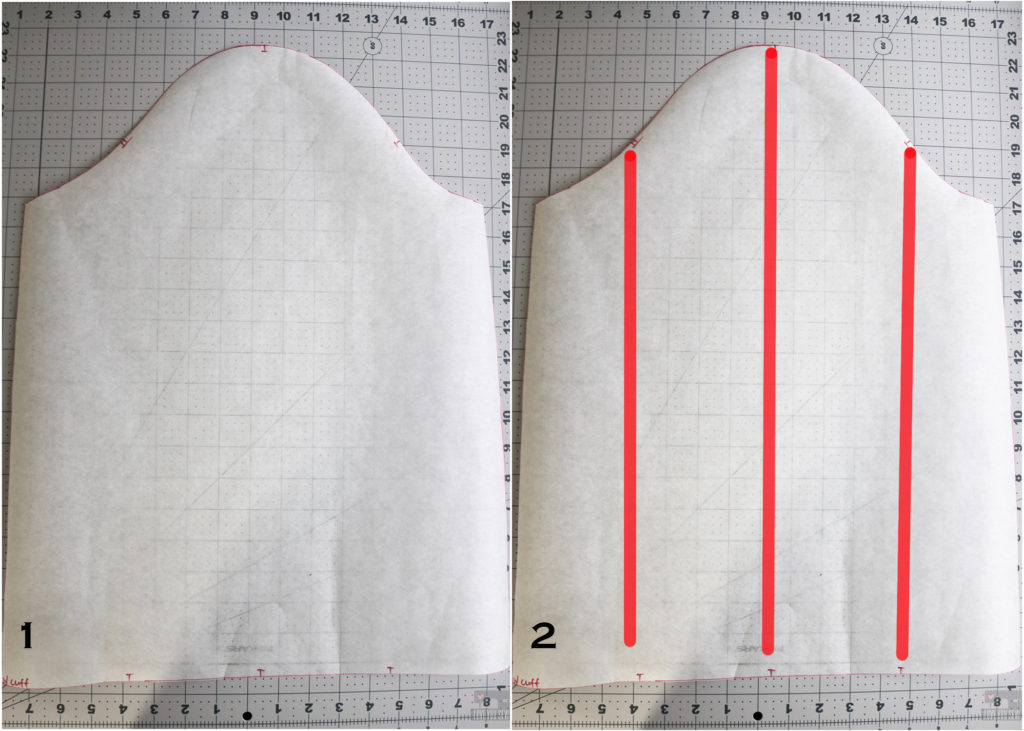
1. Take the sleeve pattern and make a copy.  (I traced the pattern onto some Swedish tracing paper I had on-hand.  I like using this since it’s more pliable than regular paper and can be pinned/sewn without being destroyed.)

2. Divide the sleeve into approximately 4 equal sections by width.  With the nice notch markings already drafted as part of the pattern, I used these as guide when splitting the sleeve.

3. Cut the pattern to separate these sections from the sleeve head all the way down to the cuff, but NOT cutting through.  All of the sections should be hinges and able to move.

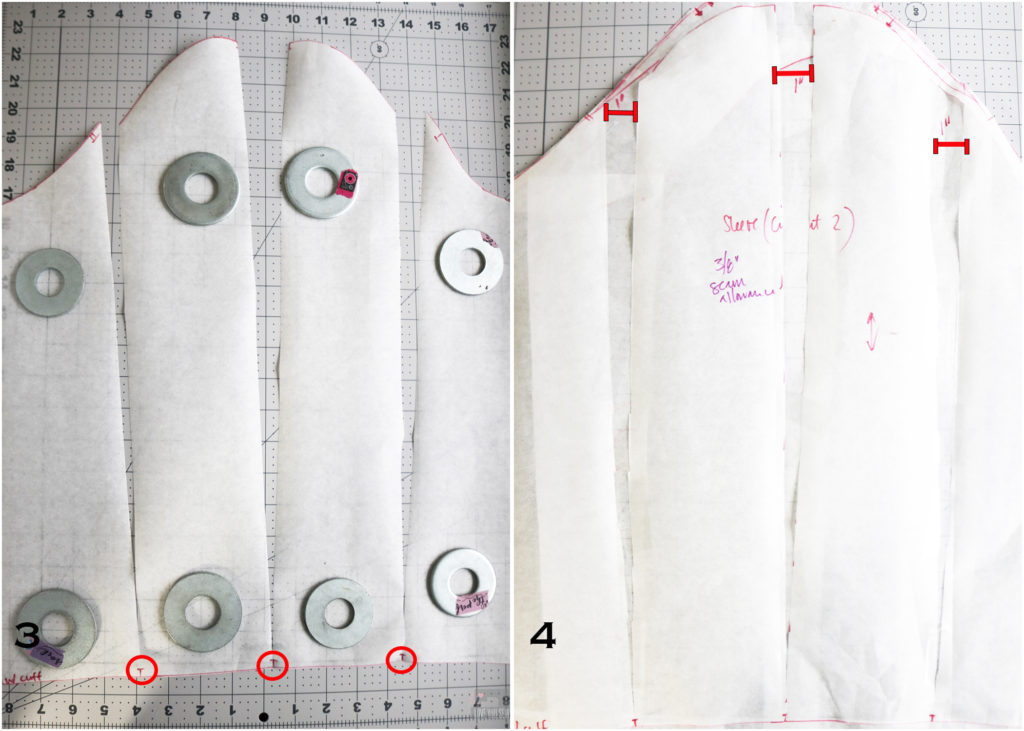
4. To start, I added 1” in between each section.  I placed scrap paper underneath the pattern, and hinged each section out by 1” at the sleeve cap.  Then I taped the pattern onto the scrap.  Repeat 2 more times between the sections.  If you would like more volume, you can increase the hinge widths.

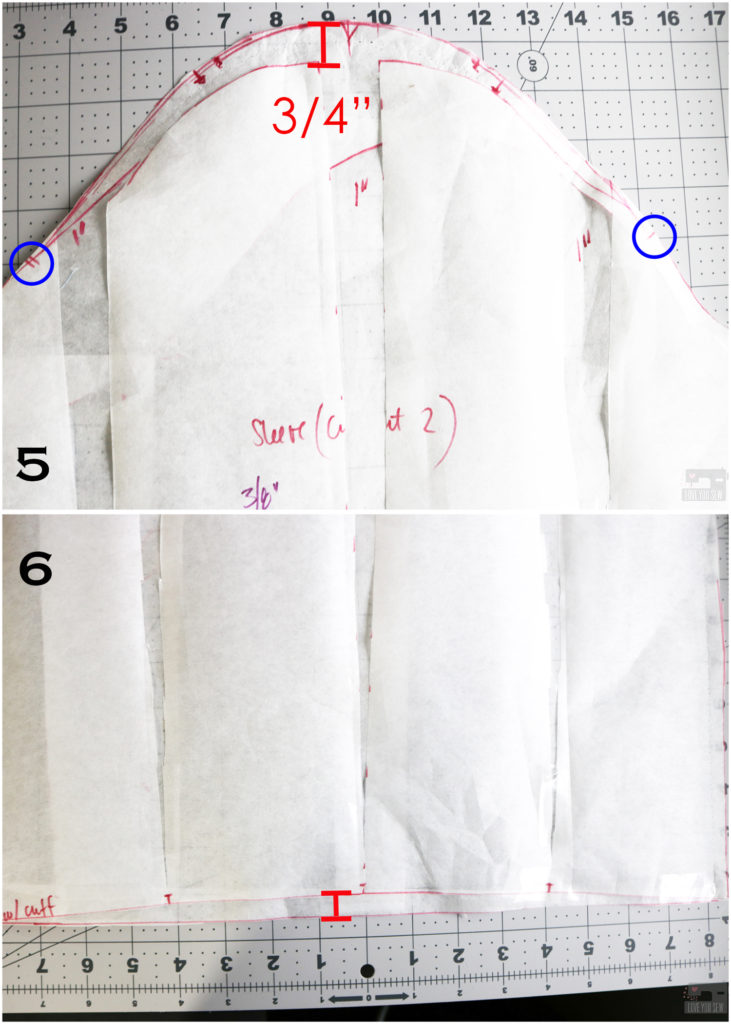
5. To get the extra volume at the top of the cap, I added 3/4” to the top and blended the line back to the notched parts of the cap, all while following its shaping.  Again, if you want a little more puff in the sleeve cap, feel free to add a little more to length to the top.

6. At the cuff line, true up the pattern so it is straight again.

At this point, I cut out the pattern and did make a muslin, but only had quilt cotton on hand.  It gave me an idea of the extra volume and shape added to the sleeve.  I did have to consider the extra weight and stretch with the knit fabric.  But it was still good enough for me and I went ahead to cut into the main fabric.

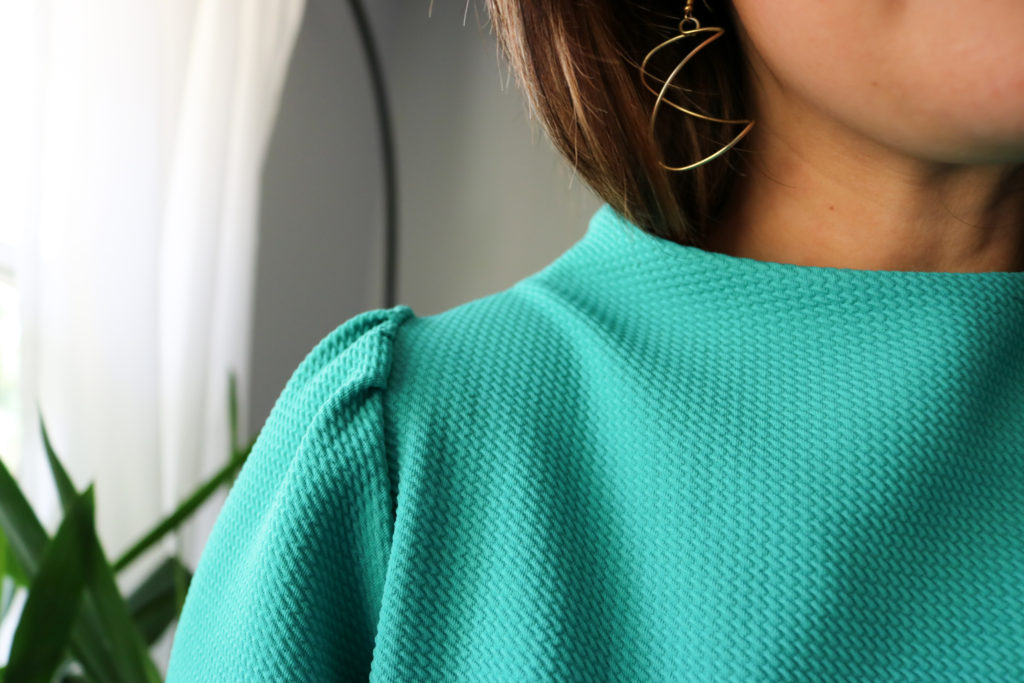
To insert the sleeve, I made gathers between the sleeve notches not exactly knowing how it would all look.  But I ended up marking 3” on either side of the shoulder seam and pushed all the gathers in between those markings.  I basted the sleeve into place and was very happy with the result!  With that, I finished sewing the sweater and have never been more pleased!

This hack turned out exactly like what I wanted and just love how “extra” the sleeves are.  The additional gathers and volume in the sleeve cap really balance out the overall ease in the sleeve and I love the extra long cuff to show it all off.  This top is pretty fancy and ready for every occasion now.  It’s still comfy in a stretch knit, but also so incredibly unique and special!

Project Summary

  • Pattern: Sheridan Sweater by Hey June Handmade; View: B; Size 10
  • Mods: Narrowed shoulders by 1/2″ each, increased the cropped length by 1″, used Puff shoulder hack above
  • Fabric: Telio Pique Liverpool Knit from Fabric.com in Hermes Red and Emerald

This hack can be used on just about any pattern with a set-in sleeve.  I may have to try it on a woven pattern this fall/winter.  Please let me know in the comments if you use this hack!  I would love to hear what you think!


Hugs and Stitches,

Cristy


This post may contain affiliate links.  You can read my full Disclosure here.