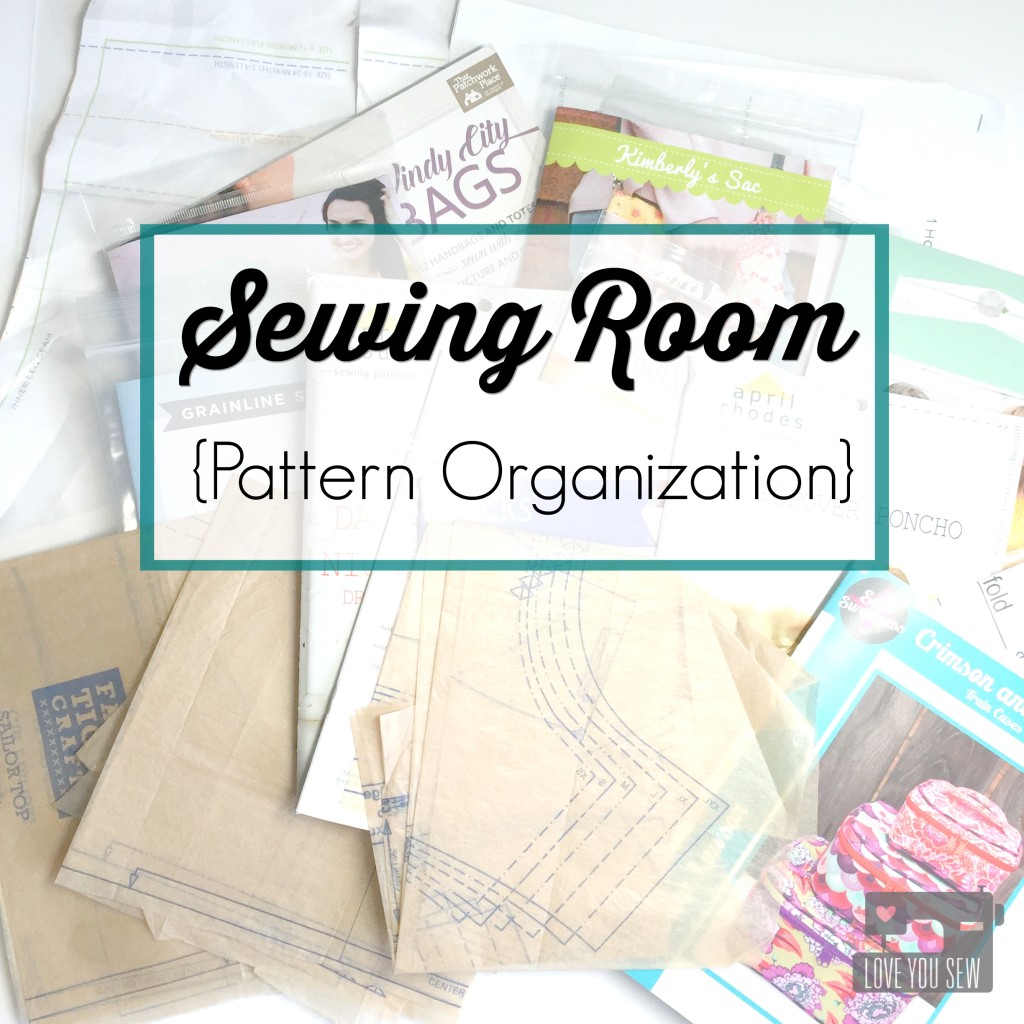
It’s funny when I’m asked what kind of sewist I am. Quilter? Bag-Maker? Garments? Well….I tell everyone, “I am all of the above.” I like to dabble in everything — to challenge myself and I just love being able to make as much as I can with my own hands. With this variety in my sewing repertoire, comes a TON of patterns!
I have a mix of both digital and paper patterns. If given the option, I almost always take the full printed pattern. As much as I love the instant gratification of downloading a digital pattern, the extra taping is a bit annoying and I have more difficulty tracing with printer paper. I know…it’s nice to always have a back-up of a pattern on my computer, but be rest assured, I always make copies. I trace garment patterns onto muslins and I create cardstock templates of bag pieces. Which type of pattern do you prefer?
With all of the patterns and their print-outs…and the traced muslins…and the instructions…how do I organize them all? As much as I would love a one-size fits all solution, it just doesn’t work for me. I have three different methods of organizing my sewing patterns and maybe one, two, or all three of them may work for you.
Classic Filing Method
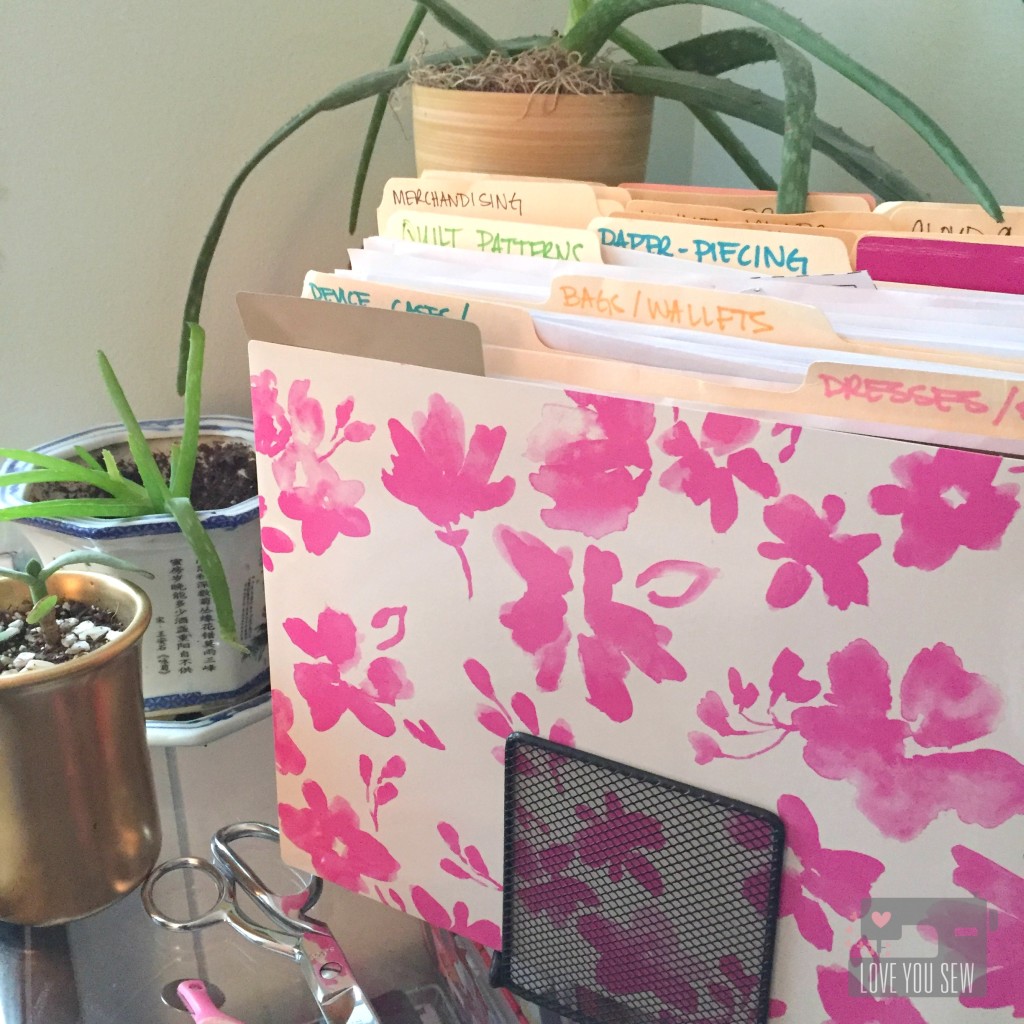
This has place from my former corporate office days. It also was my first method when started sewing. Having all the supplies on-hand didn’t hurt either. I had a stack of file folders, a desktop tiered rack, plastic file boxes and even a metal cabinet.
I use this method to hold my digital patterns and printout of free tutorials on-line. (Thank you fellow bloggers!) These are all categorized by my most frequent sews as shown.
Shelf Method
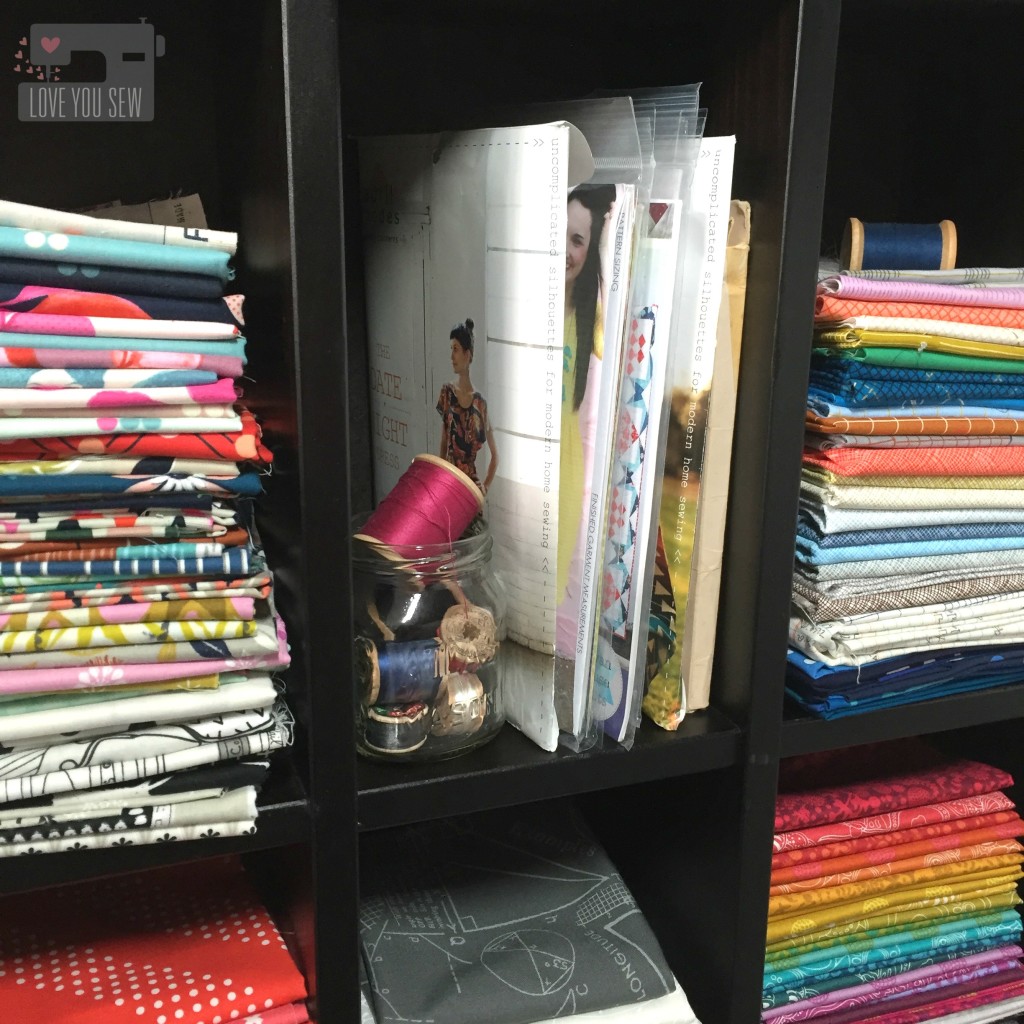
Most physically purchased paper patterns are about 6″ x 10″. They can easily get lost in regular shelving and other paper storage containers. For awhile I had mine in cute little wire bins…but the patterns were quickly outgrowing my bins and I couldn’t see them well.
Fortunately, I had a friend who wanted to get rid of a DVD shelf…and it was nice solid piece. (I bartered a toddler dress for this…score!) This DVD shelf not only is the perfect size for paper patterns, but it holds fat quarters perfectly. I love how I can see everything and my patterns are in easy access.
Art Portfolio
So we tackled, letter-sized patterns and instructions with the file folders and the smaller printed patterns, but what about the big stuff? For awhile, I folded all the taped pdfs up in those file folders and even used a large binder with those clear plastic sheet protectors, but they didn’t last long. The patterns were all poking out and the folders got too full too quickly. I needed something bigger…
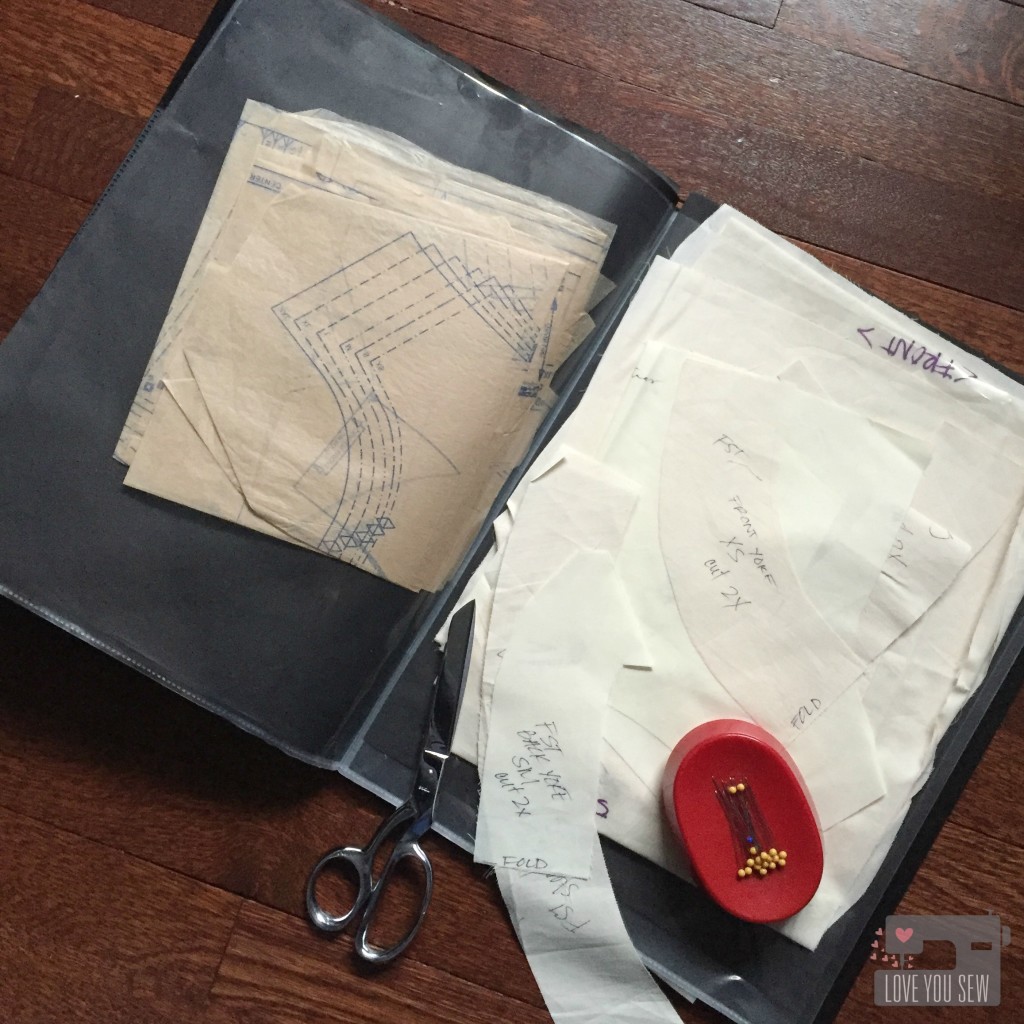
When my kids started to bring home arts and crafts from school, I wanted to save all their cute projects. So I picked up a smaller size art portfolio from my local big box retailer. I use them to organize each year of school for my guys. Then….it dawned on me one day that I should use one for my big paper patterns.
This 11″ x 17″ portfolio size is perfect for my needs. All of my patterns fit with only one or two folds without needing advanced origami skills to get them back into original form. I love how it also holds my muslins and the clear pockets allow me to quickly identify what patterns are which.
How do you store all of your patterns?
Have a great week!
Cristy


