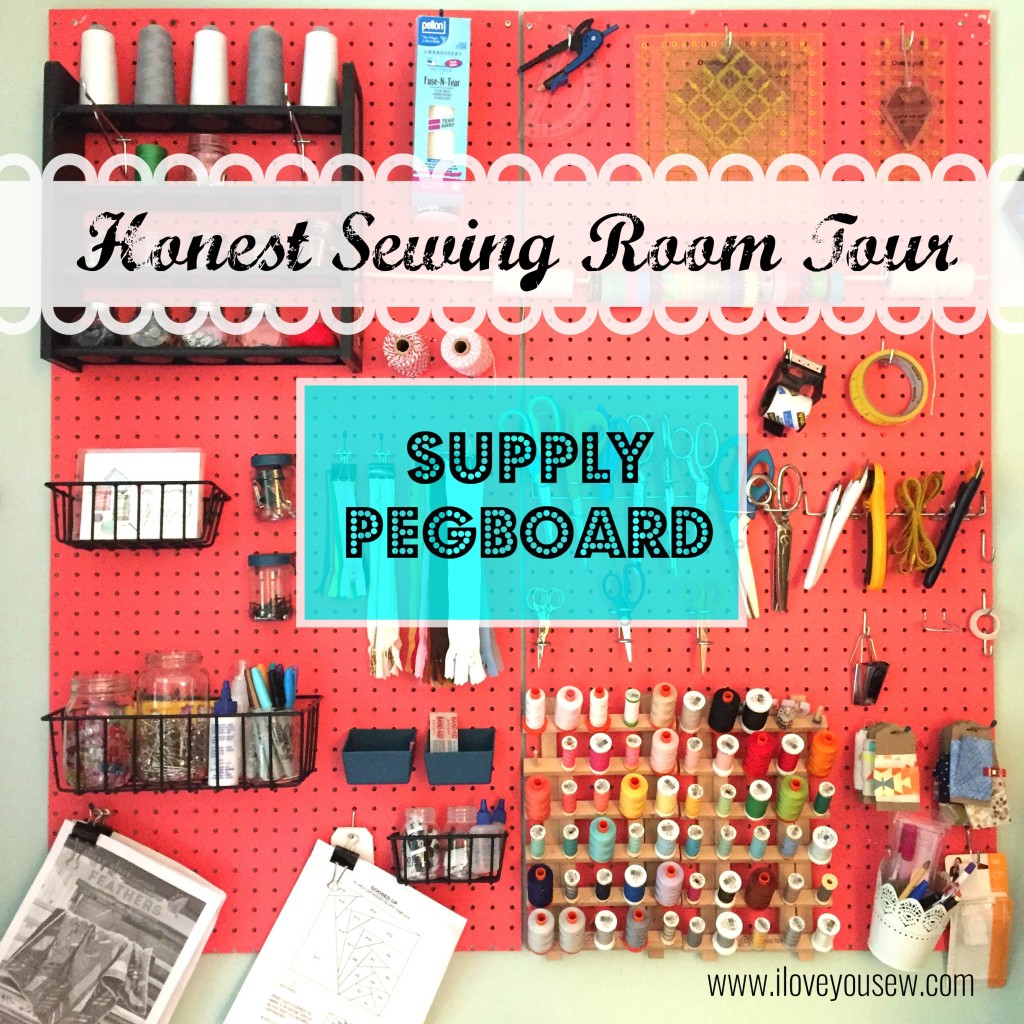
I’m going to give you a sneak peek into my new sewing & crafting room. It is still a work in progress…I’ll show you sections of it as I go and this post will be all about the Pegboard! If you have been following me on Instagram @loveyousew_, you’ve already gotten a look but I’ll explain the method behind the madness here 🙂
For the past 5 years, I’ve been sewing down in the basement and I called my space the “Dungeon.” It’s dark, has poor lighting, and I was sewing with the creepy crawlspace in front of me. Combine that, with having the water heater to my left, and the rumbling furnace behind me and you can understand why the “Dungeon” tag name was appropriate!
Earlier this year, I moved my boys into the same bedroom. They were so excited to share the space and I was even more excited to move above ground…with natural light! After I painted the room and moved some furniture around, the first part of the sewing room to be tackled was the Pegboard.
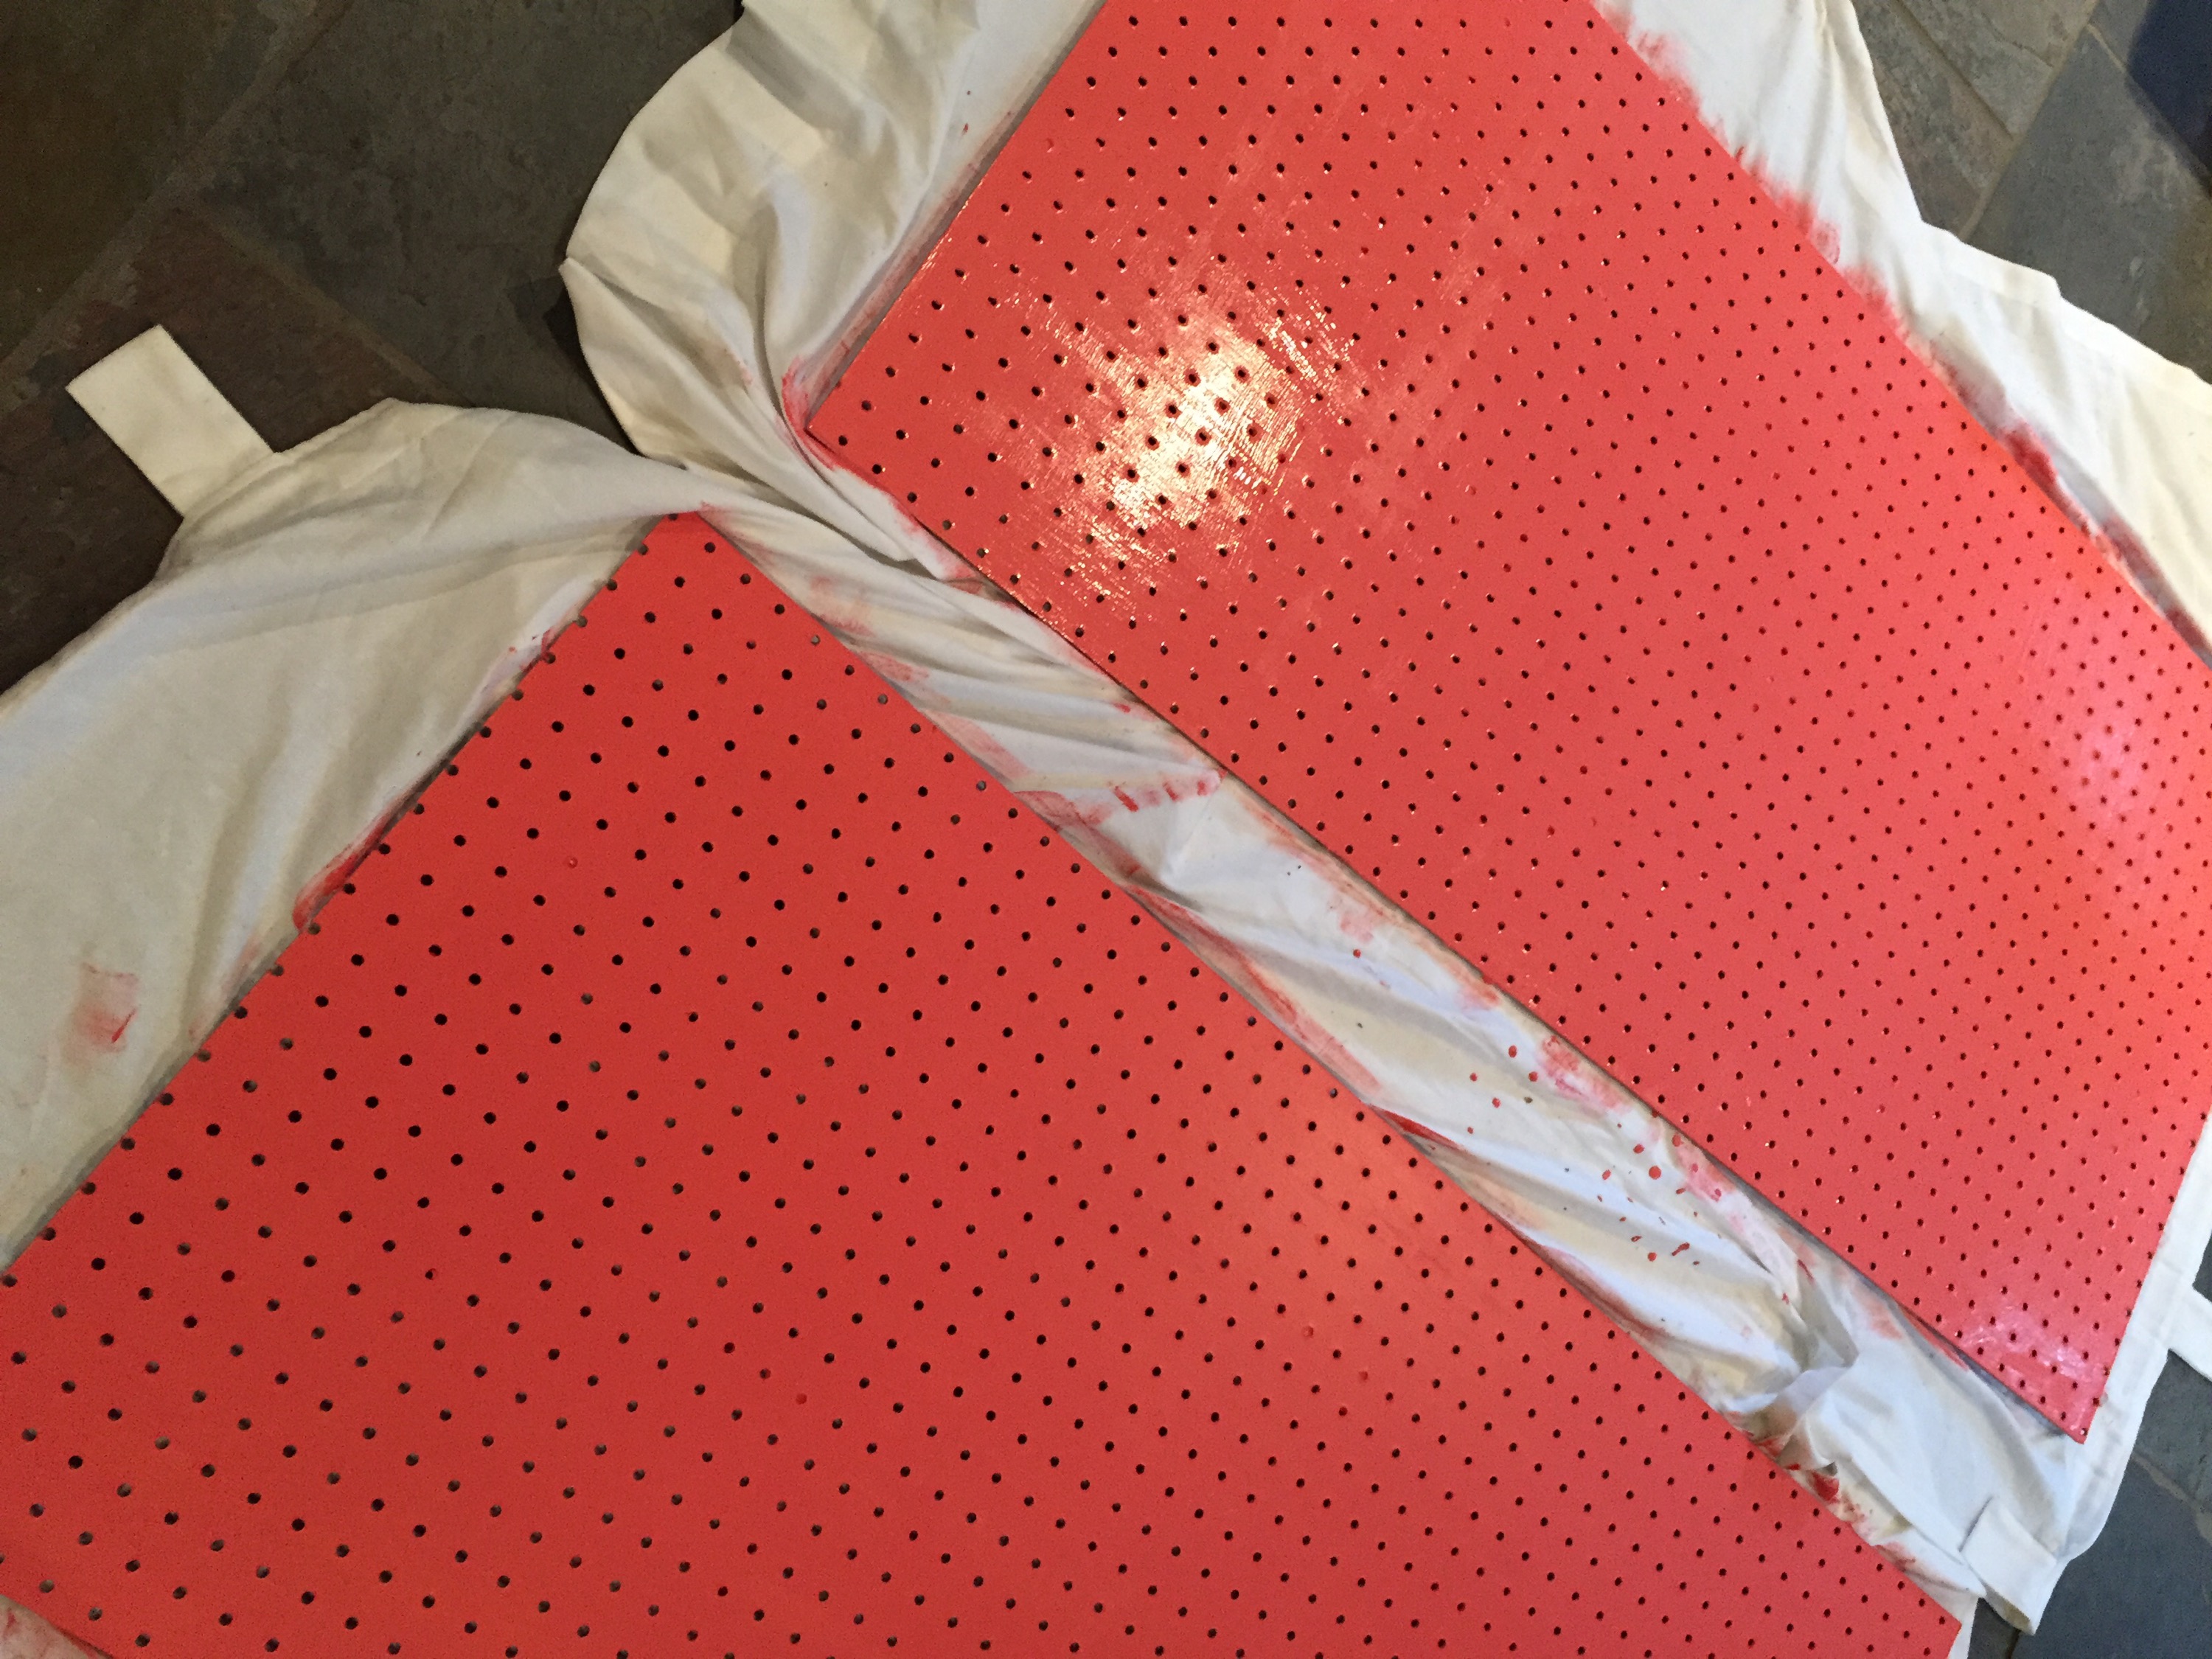
I bought two of these 24″ x 48″ boards from a big box hardware store but you can also find them here. These were initially painted with acrylic in coral to add a little life down in the dungeon but when I moved them, I freshened up the finish with Valspar household paint in Passion Pink. I wanted to keep the same color and vibrancy for my special space 🙂
Here are a few reasons why I love the Pegboard:
- Supplies are accessible – If I’m in the sewing “zone,” I hate to get up and ruffle through a bunch of boxes to find something. I like to keep my most used supplies right in front of me.
- Inventory Management – I can easily keep tabs of what needs to be replenished. The pegboard keeps me from wasting money by buying items I already have because they were lost in a box!
- Space-saver – I don’t have a big closet or a lot of floor space, so this also allows me to better utilize the walls for supplies.
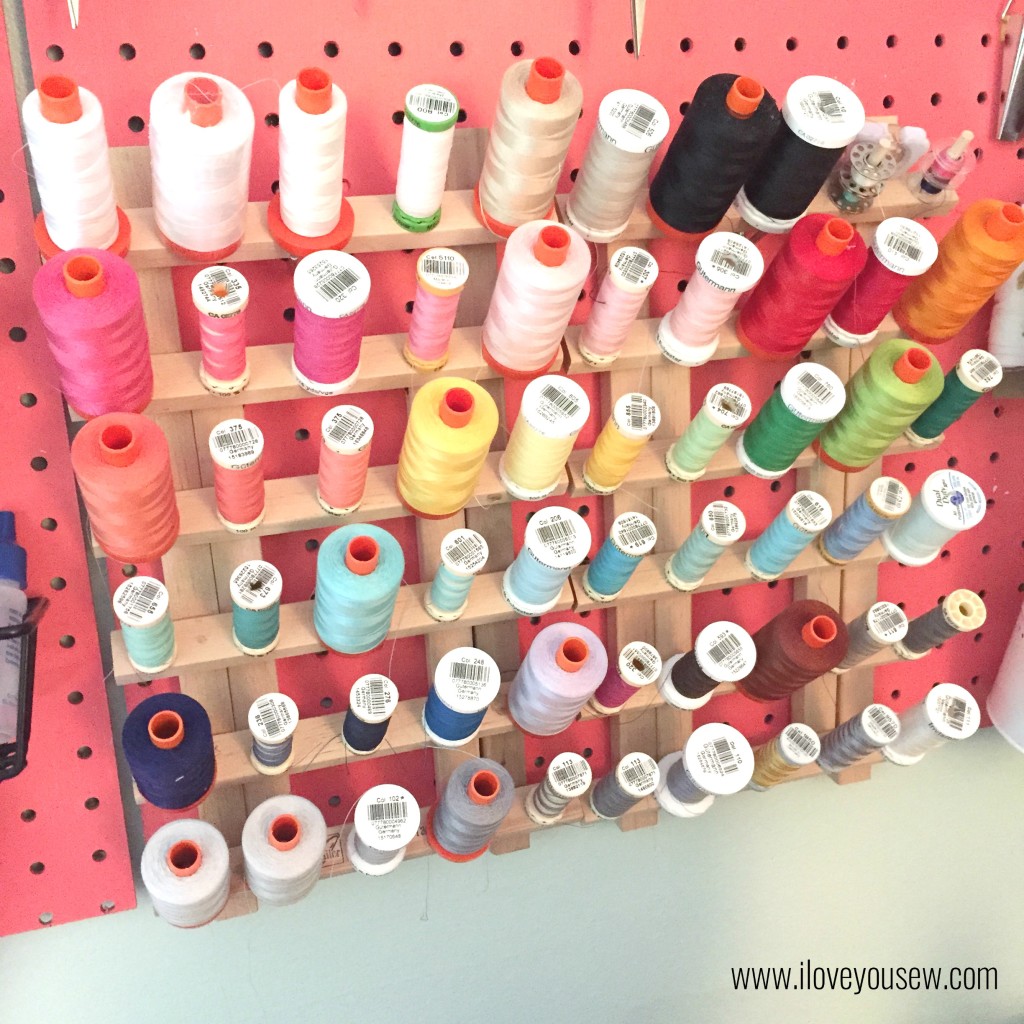
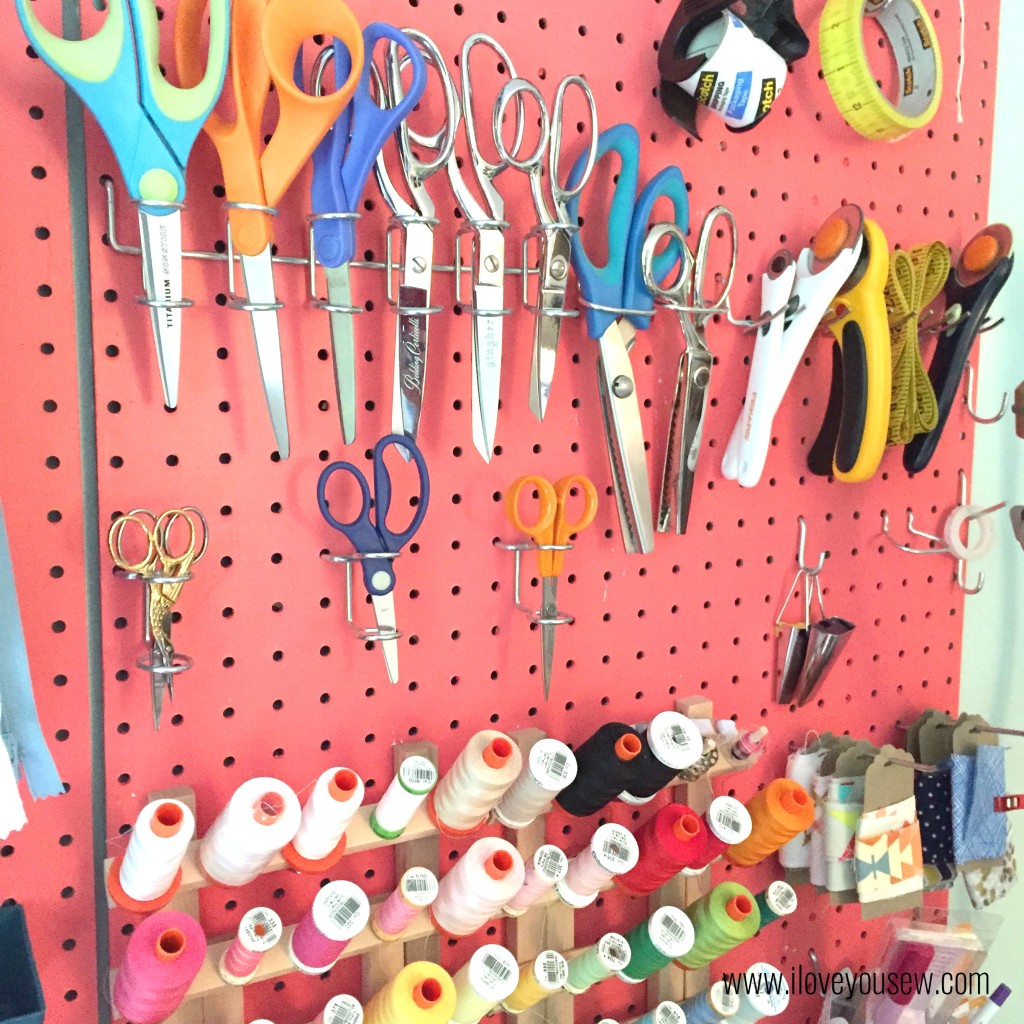
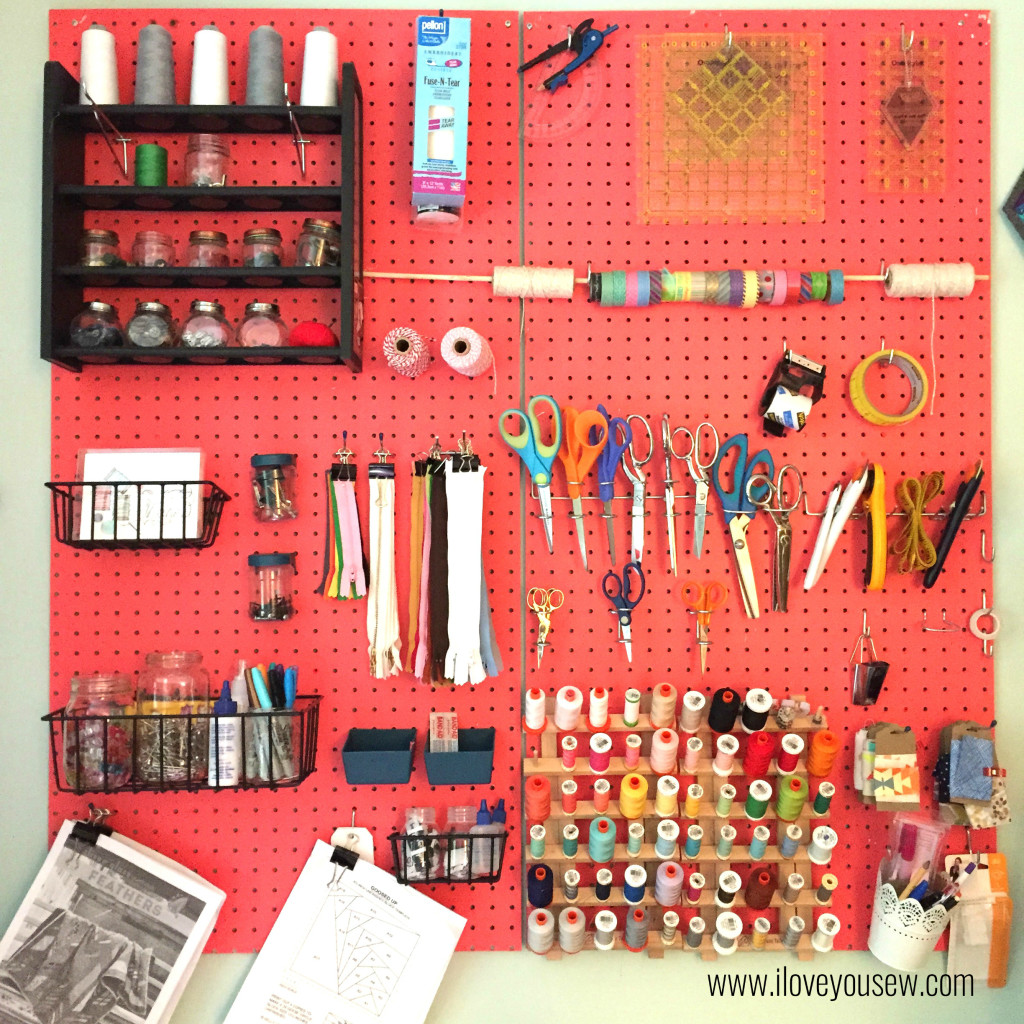
So what do I keep on the board? Of course, my most used thread! With the Etsy shop and a lot of side projects, I tend to go through many colors and types of thread in a single session at the machine. It’s nice to be able to just reach over and grab my next color without missing any momentum. I keep back-ups of these threads in my supply closet as well.
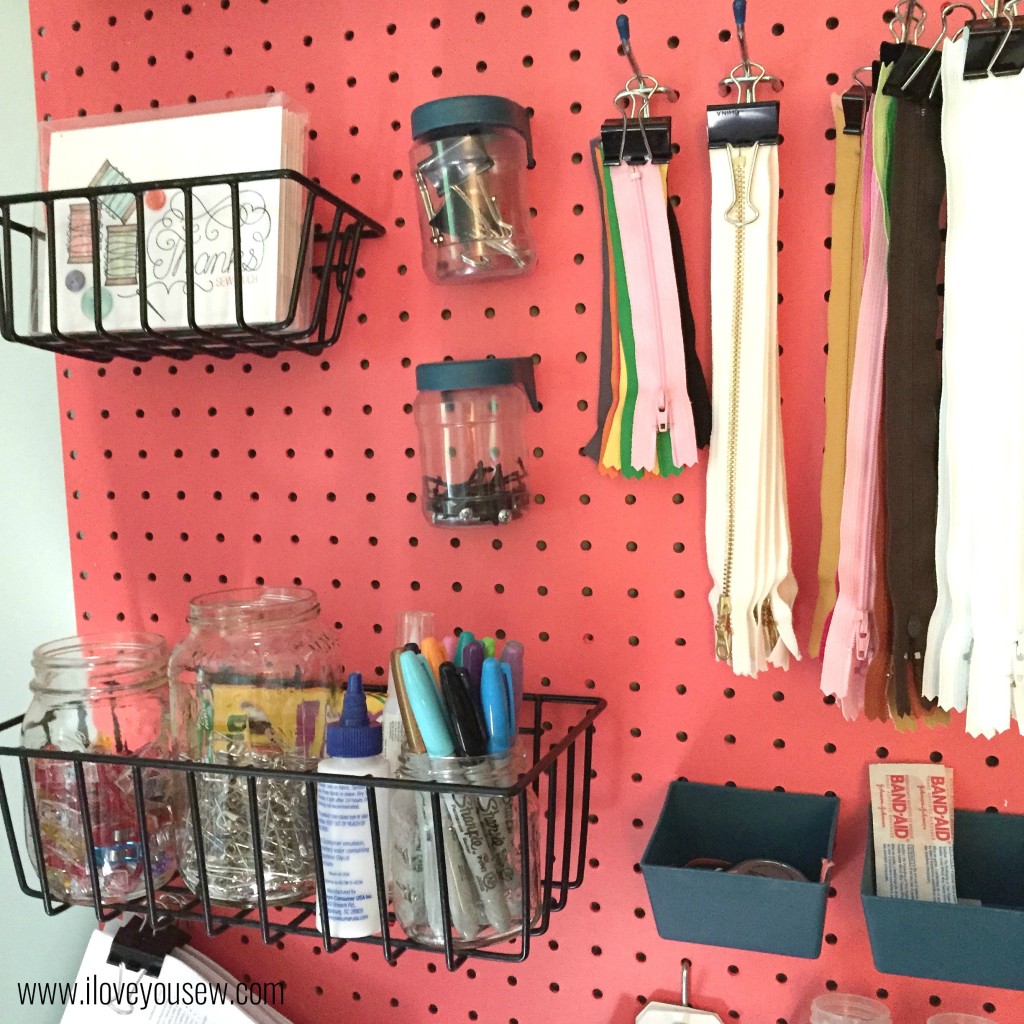
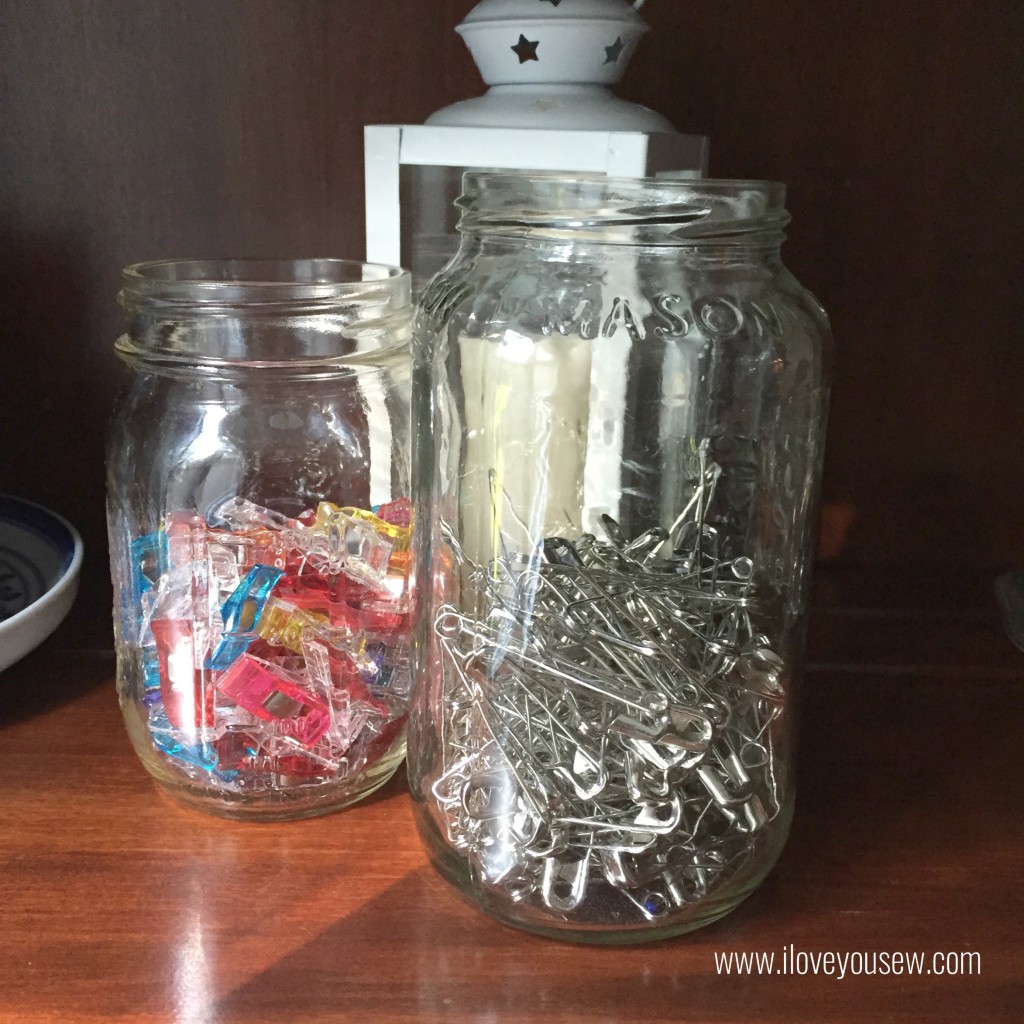
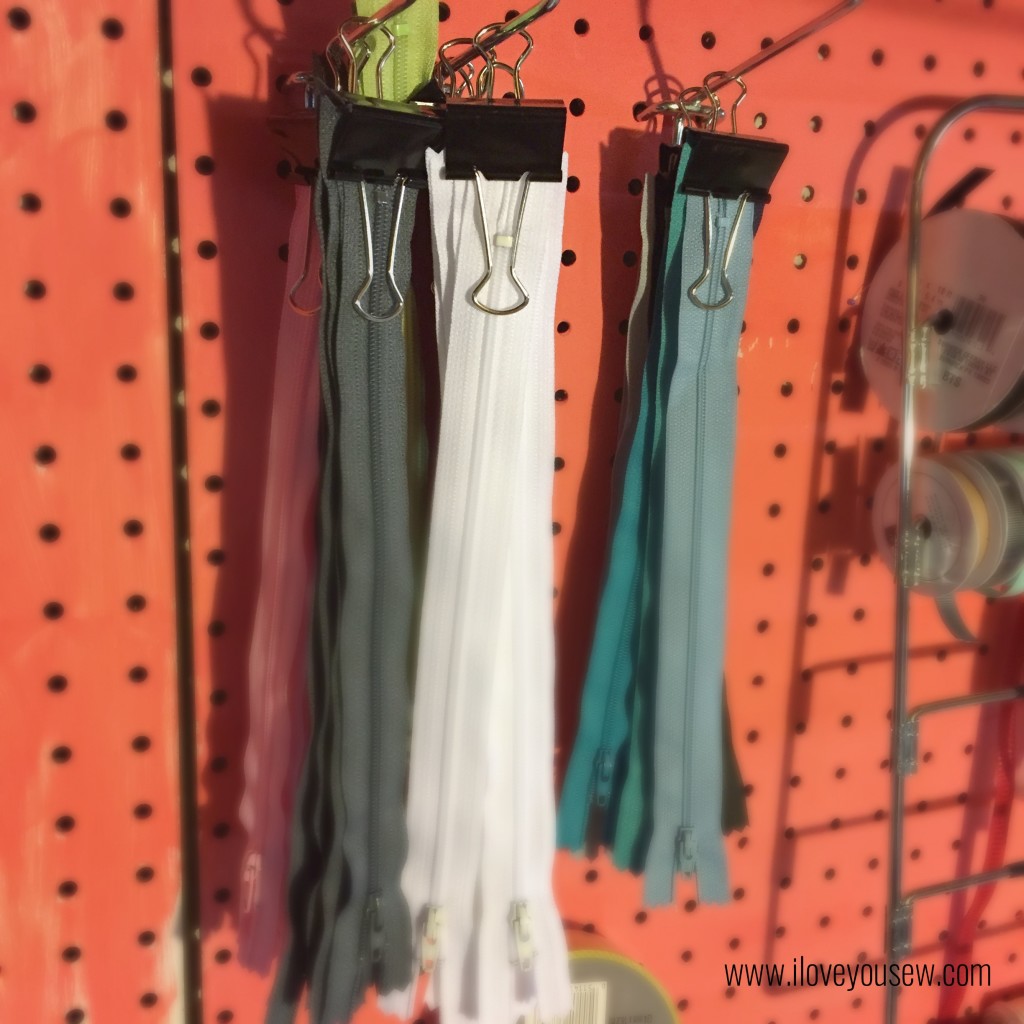
Remember my first Organizational Tips post? Here are the Mason Jars sitting in a basket ready for use at any time with my Wonder Clips and Quilting Pins. The Binder Clips are keeping my zippers organized and I can readily pick out the color and size I need for projects. I have a box of these great handmade cards my brother made me up in the corner. It’s always nice to have pretty inspiration on the board too! And last, but not least, I need some Band-Aids around for when I poke myself with needles….we do not need blood on fabric, right?!?
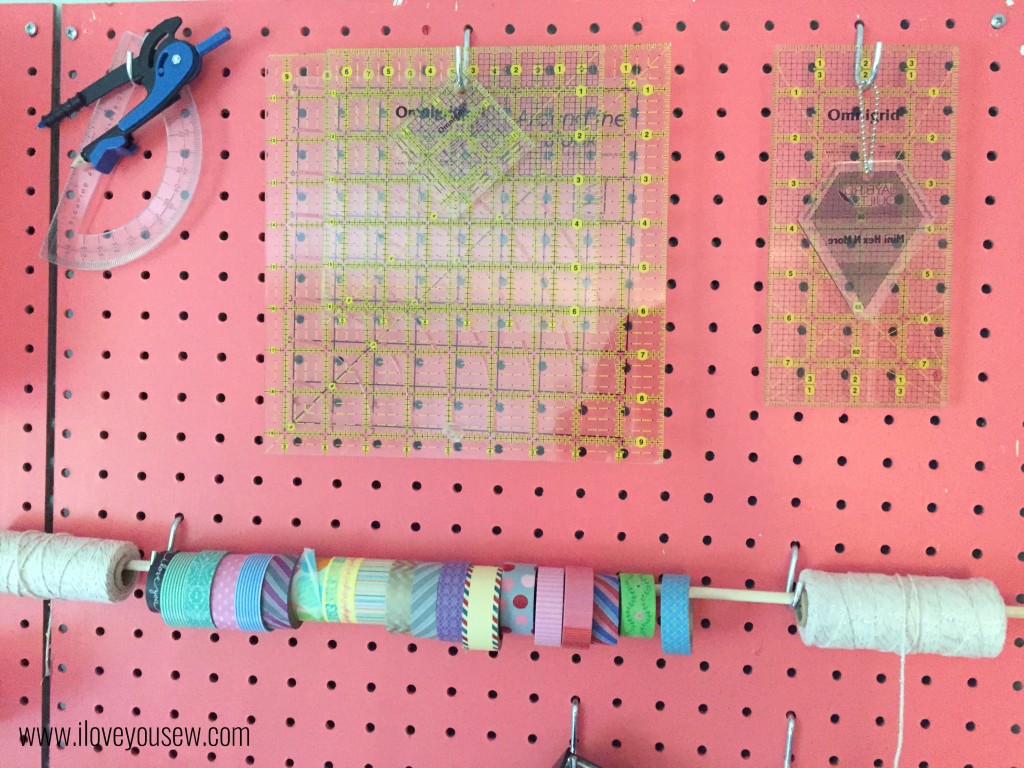
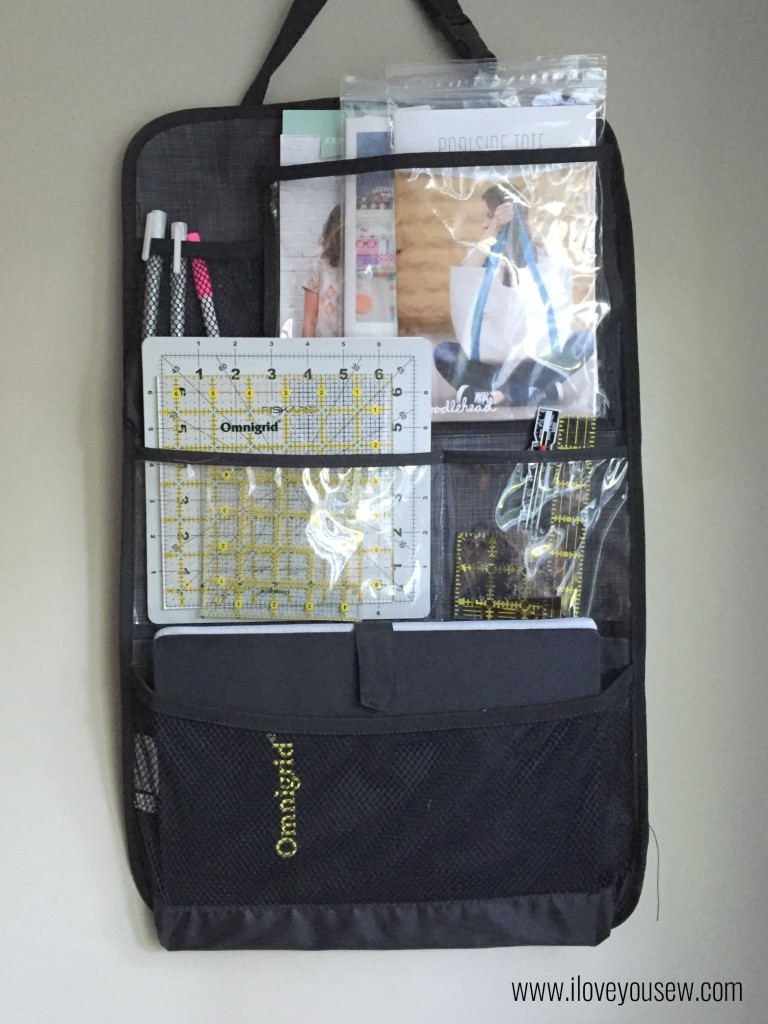
I like to keep these rulers and washi tape up at the top of the Pegboard. They are quilt specific so I keep them organized but up higher since I don’t use them as often. The dowel for the tape and twine has been a great help. I can see all the different rolls I have and grab as much as I need without have to move them off the board! Bonus – I use the dowel at craft shows with some display hooks!
The scissors….I love my scissors and rotary cutters. I keep a lot around for different purposes. When I’m deep in projects, they end up all over my sewing room, so I (obviously) need extras 😉 These are all held in a standard Multiple Tool Holder for pegboard. I used larger tool holders for my Pinking Shears. As you can see, I have plenty of fabric ones, but I also keep Dollar Store cheapies just for paper crafts or cutting patterns. My 4-year old even has a safety pair on my board. Whenever he wants to hang out with me, we work on his scissor skills with scraps of paper. He gets a kick out of having something in the room that is all his own. Speaking of safety…with my sewing room being right next to my boys’ room, I need to keep all of these sharp object up and out of their reach. The pegboard and some education helps give me some peace of mind…
I hope you enjoyed the mini-tour. I’m quite eager to share the rest of my new sewing space with you…but I have a little more work to do before then 😉 If you would like to follow the progress or see more, check out #LYSstudiomigration on IG.
Stitches and Hugs,
Cristy
Note: This post may contain affiliate links. By clicking on them and purchasing products through the links, I receive a small commission. This helps cover the costs of keeping this blog running.
