Indigo Sky Quilt

Indigo Sky Quilt Title

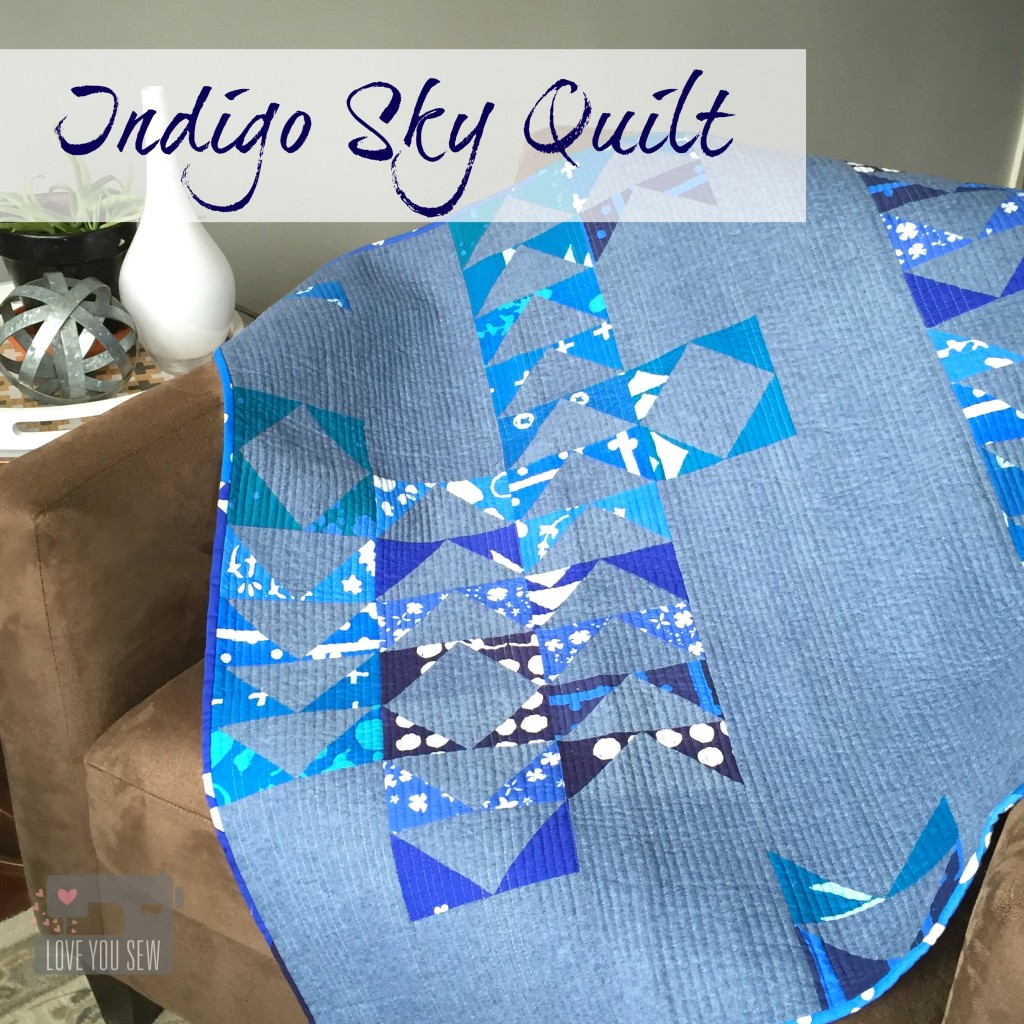
It seems like all of my friends are all having babies right now.  I try to hand-make at least one gift for each of them…but of course, time is usually too short.  (Sound familiar, anyone?)  My girlfriend, whom I’ve known since kindergarten (!!!) is pregnant and is expecting this week!  Her baby shower has already passed, but at least I was able to squeeze this quilt in before he’s born 😉

Handcrafted Indigo

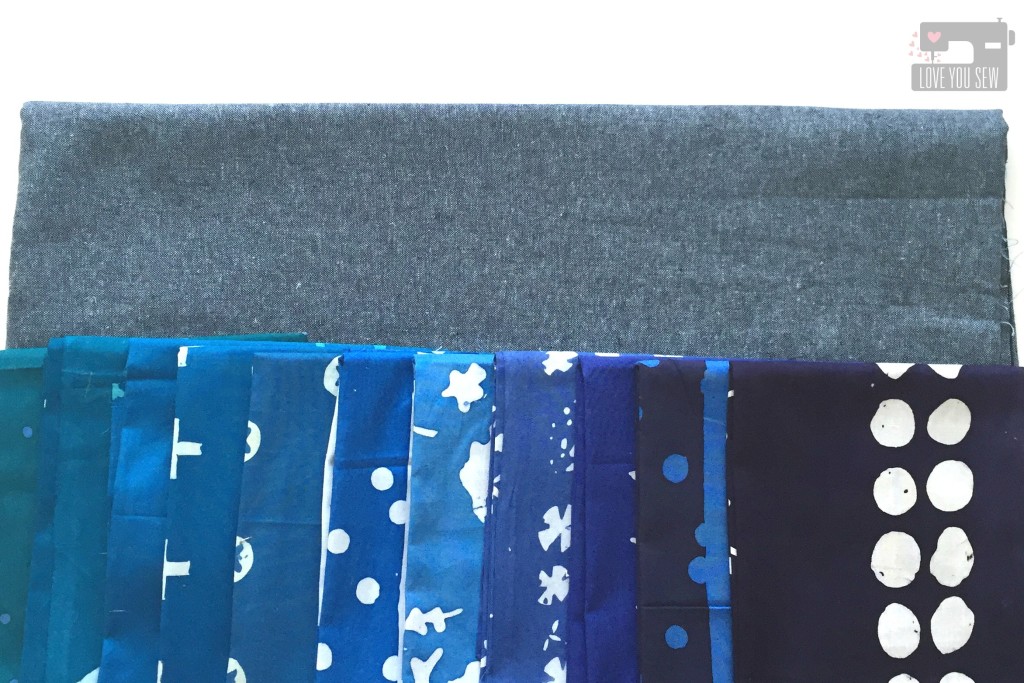
This stack of Handcrafted Indigo by Alison Glass for Andover Fabrics is like “whoa,” right?!?  I love love blues and all of these different variations are just killer!  These beauties were picked up at my little quilt shop when was first released about 5 months ago and they’ve just been sitting in my stash.  When I found out my friend was having a boy, I immediately went to these fabrics.  I was going to use solid white to have these blues “pop” but quickly reconsidered since this was for a baby.  Wise decision.  Instead, I went to Essex yarn-dyed Linen in nautical as one of my go-to blenders.  It’s such a nice alternative to a solid and gives a great layer of texture.

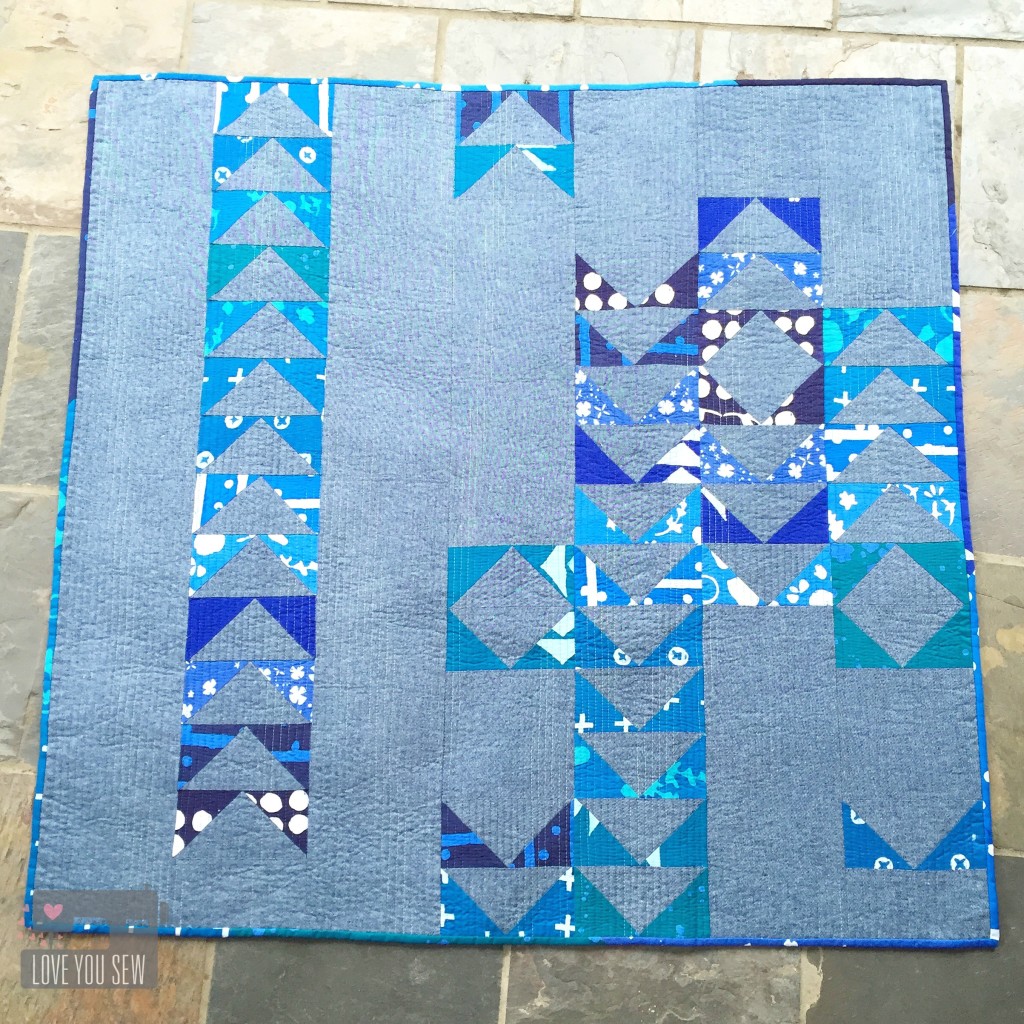
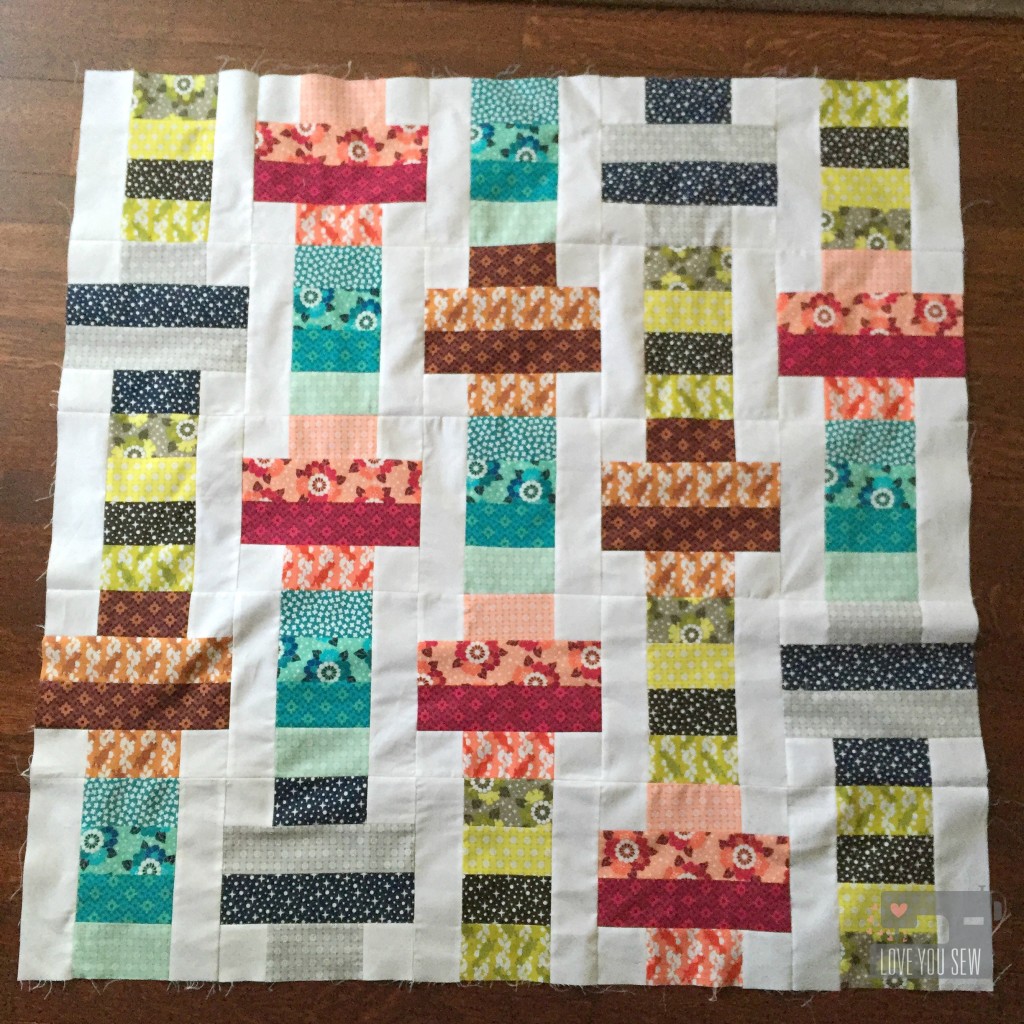
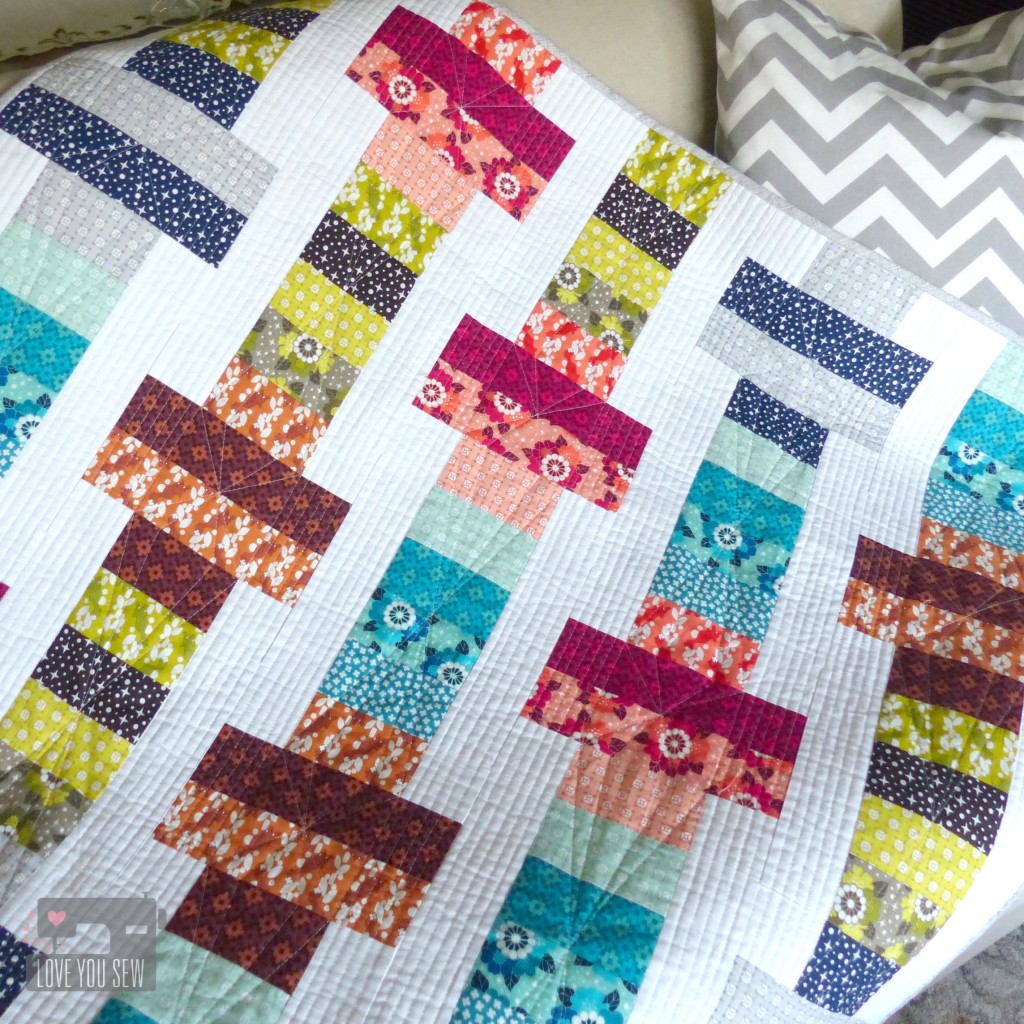
Indigo Sky Quilt Full Profile

Although I didn’t have an exact quilt pattern in mind, I knew I wanted to make some Flying Geese and keep the quilt asymmetrical.  So I figured I’d kinda improv the design.  I used Connecting Threads tutorial to make two no waste geese blocks per fabric.  Each block is 6.5″ x 3.5″.  After lots of playing around, I settled on my random design of stacked geese with lots of negative space.

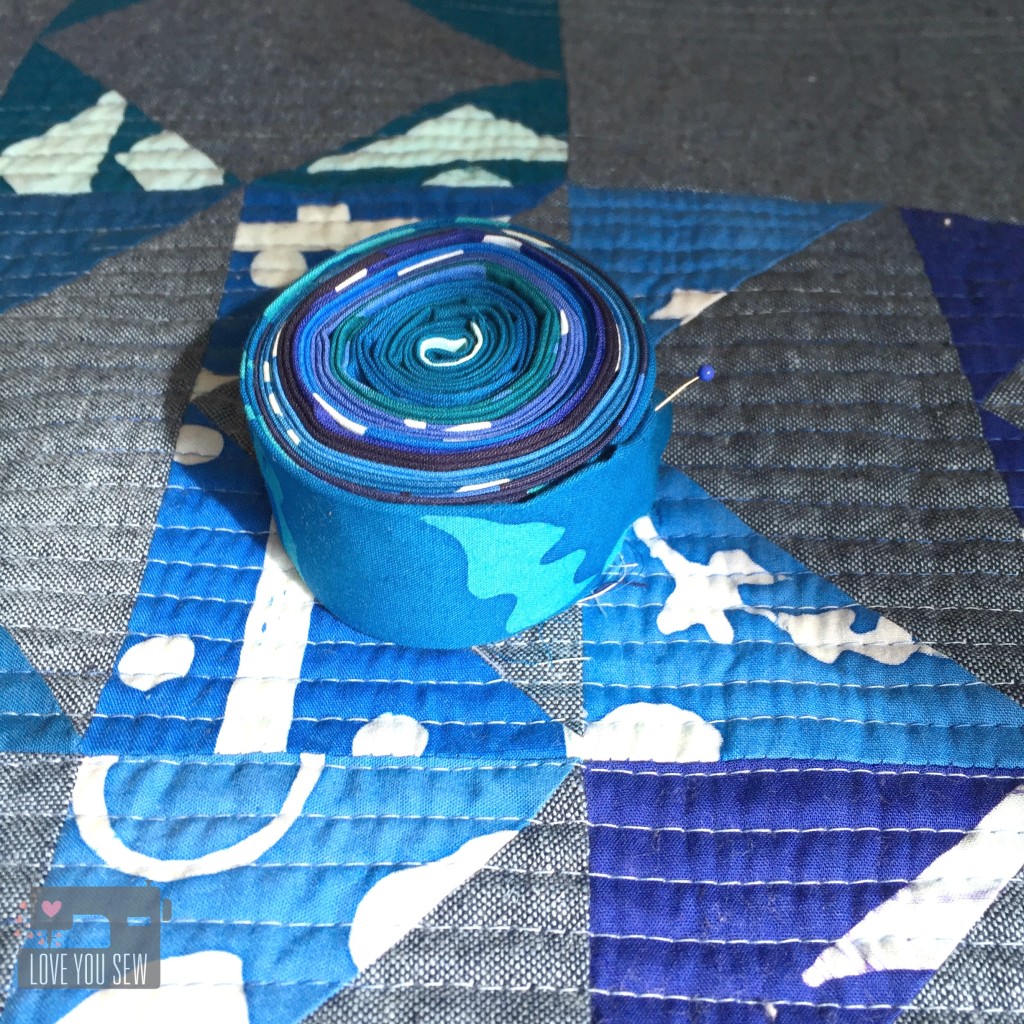
Indigo Sky Quilt Binding

With so much Essex Linen, the binding on this quilt had to be scrappy in order to highlight the Indigo and add some fun.  It’s a bit of work to attach all the different binding fabrics, but well worth the effort.

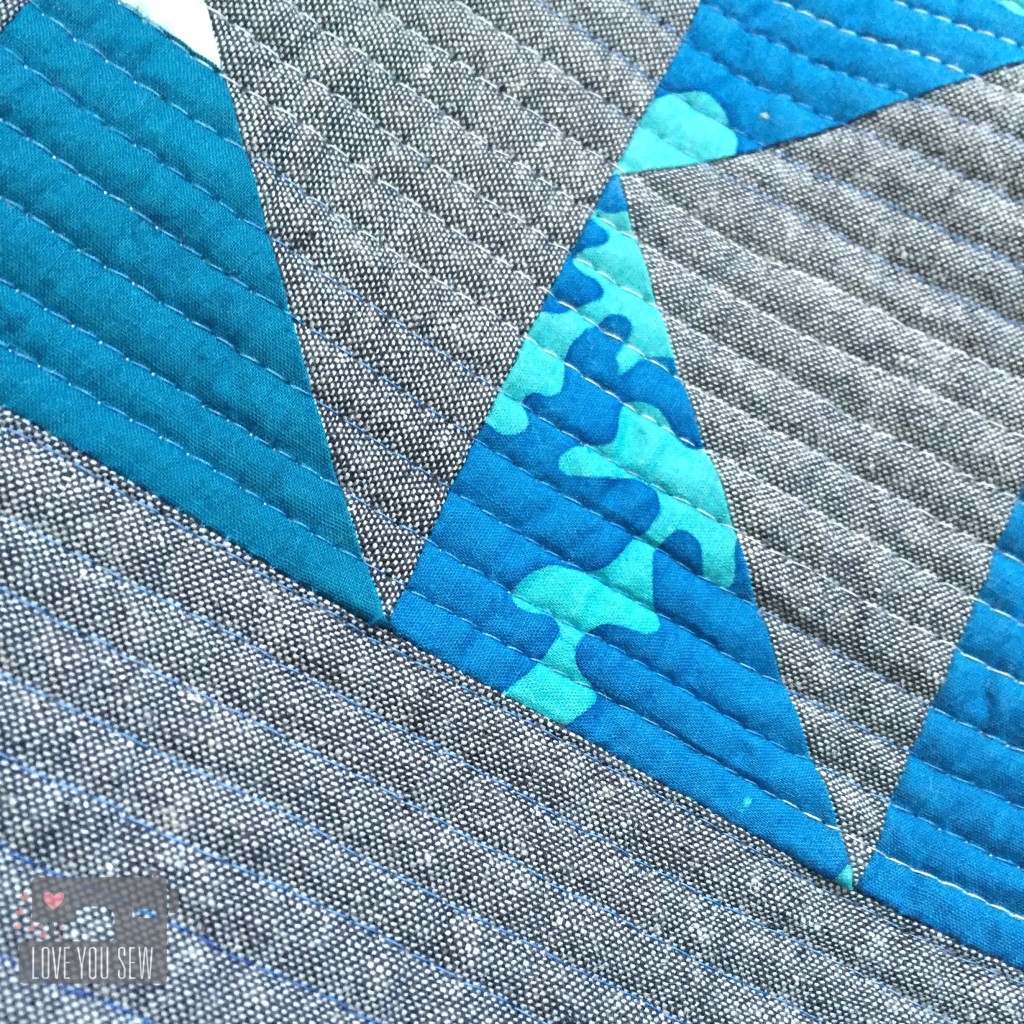
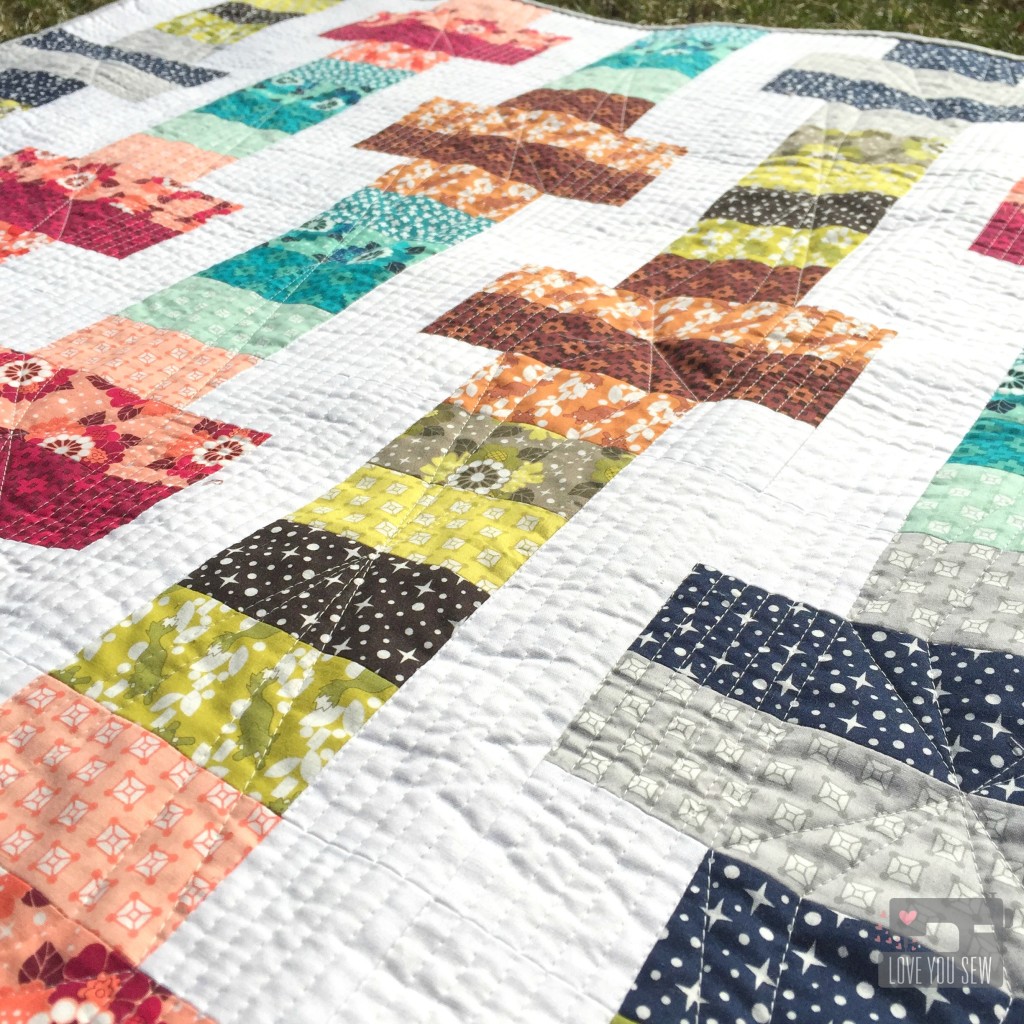
Indigo Sky Quilting close up

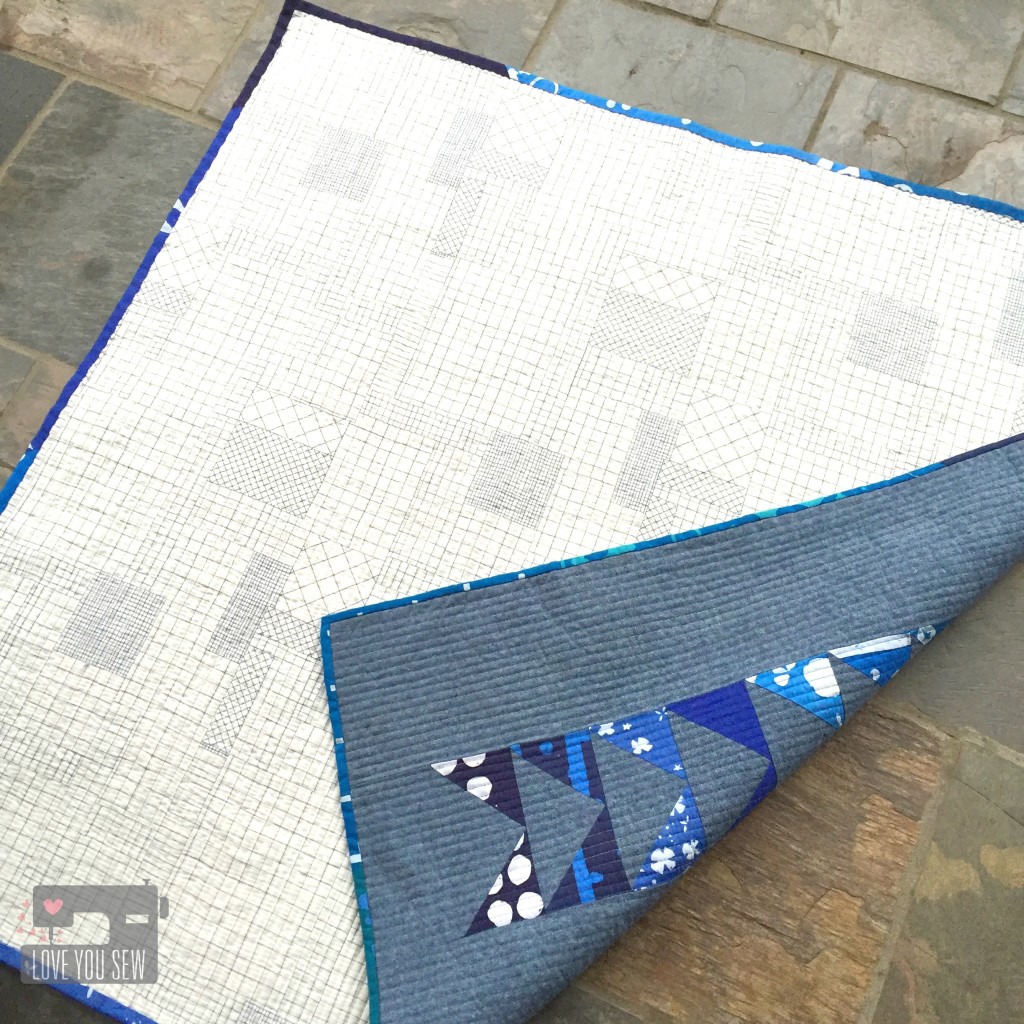
The quilting was straight-line 1/4″ apart using Gutermann’s blue variegated thread.  This was my first time quilting with the 100% cotton thread and it won’t be my last.  The changes in the thread color are very subtle against the Essex and of course, the blues.

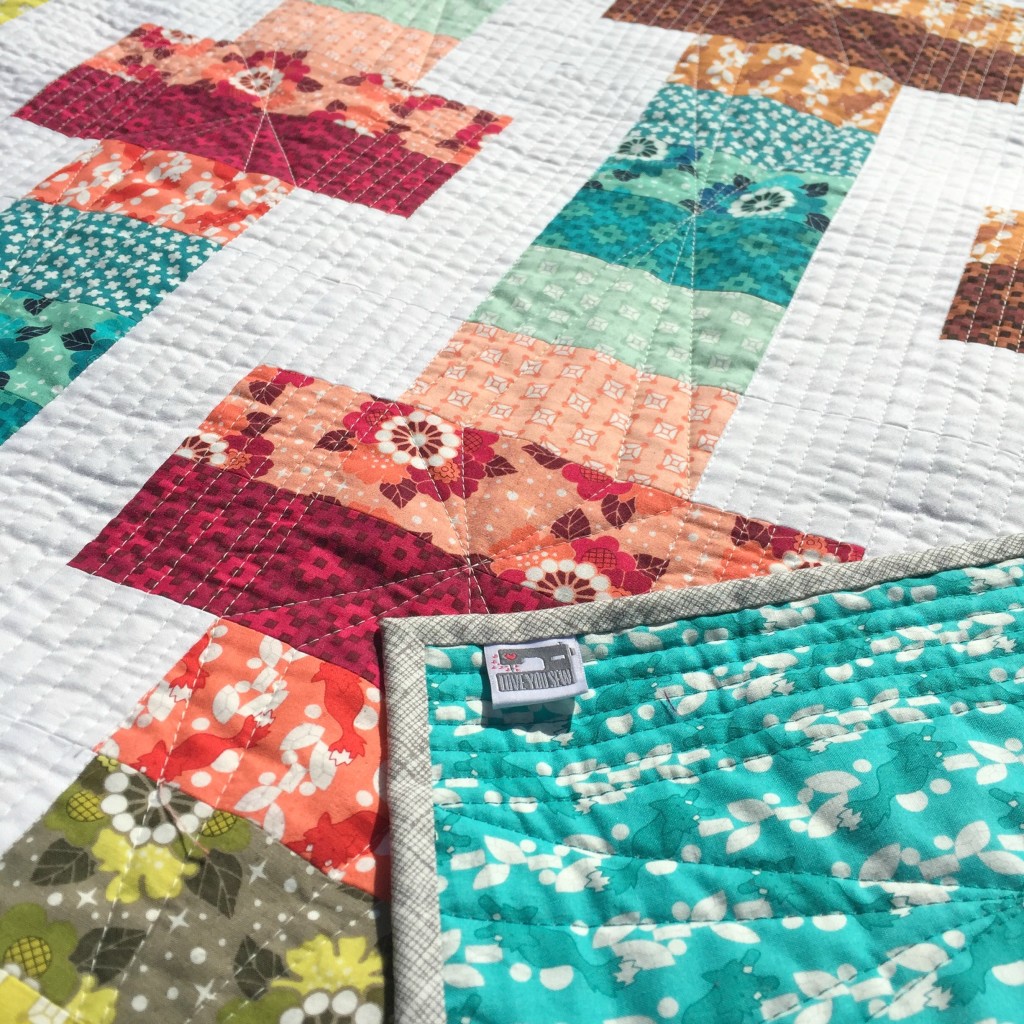
Indigo Sky Quilt Back

For the backing, I was lucky to have this Doe fabric from Carolyn Friedlander for on hand.  (1) It’s a nice contrast to the front design. (2) It really complements the quilting and (3) I’ve been on a fabric diet…

This quilt was so fun to make.  I loved every moment and hope baby boy enjoys it just as much!


Keep Stitchin’

Cristy
 

Make an Easy and Simple Design Wall

Design Wall Title

I am fortunate enough to have my own sewing room.  However, I do have to share my space with a full size bed.  It is “suppose” to be for guests but has functioned as my design area for awhile.  The bed, unfortunately, is becoming more extra storage space with all the projects I juggle at the same time.  If I need to lay out a quilt, it ends up on the floor.  But you know that leads to an open invitation for my kids to run over my blocks…

That’s why I need a new design wall.  There are quite a number of options out there.  I definitely don’t have the space for the portable versions like this one (or the money.)  I didn’t want to hang rods for a design curtain.  The wall needs to be flat and flush as possible.  When guests have to actually have to use the bed, I also want something that wasn’t permanent.

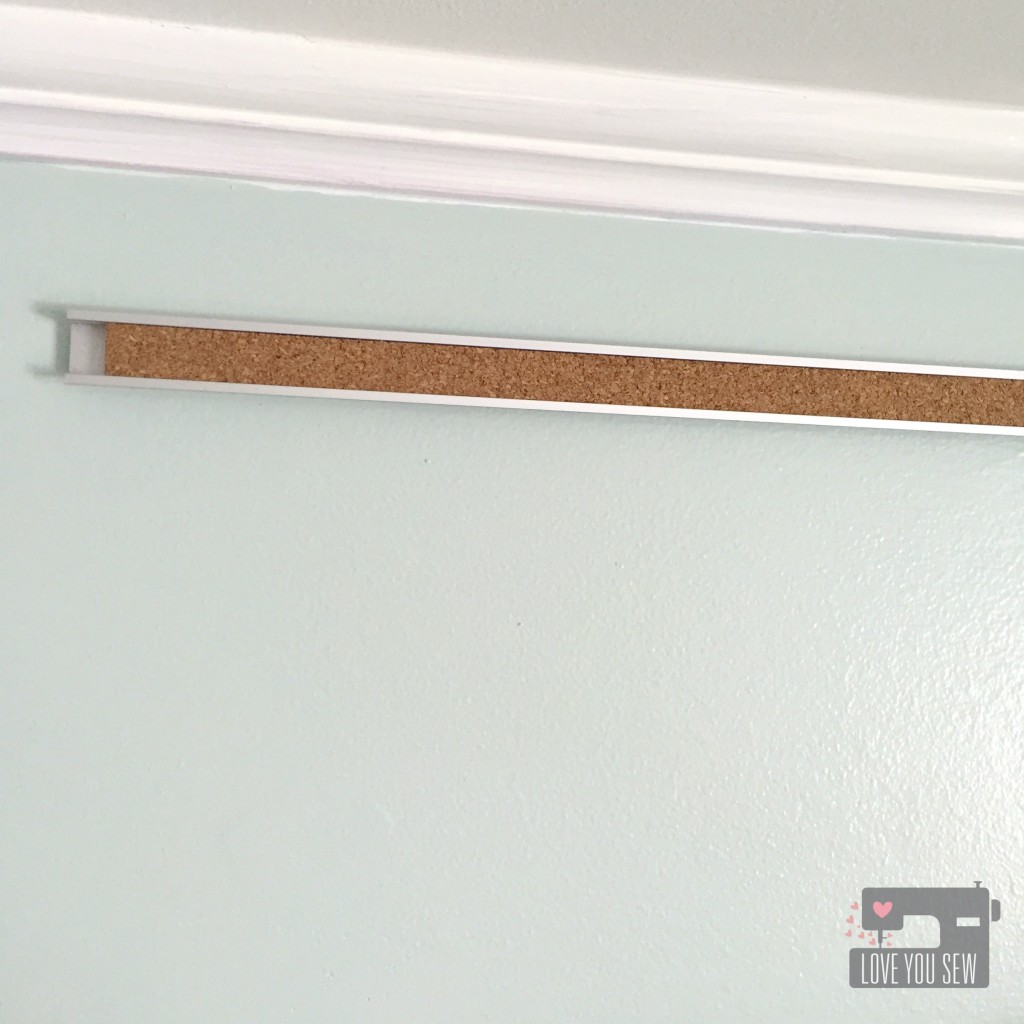
Design Wall Cork Bar Hung

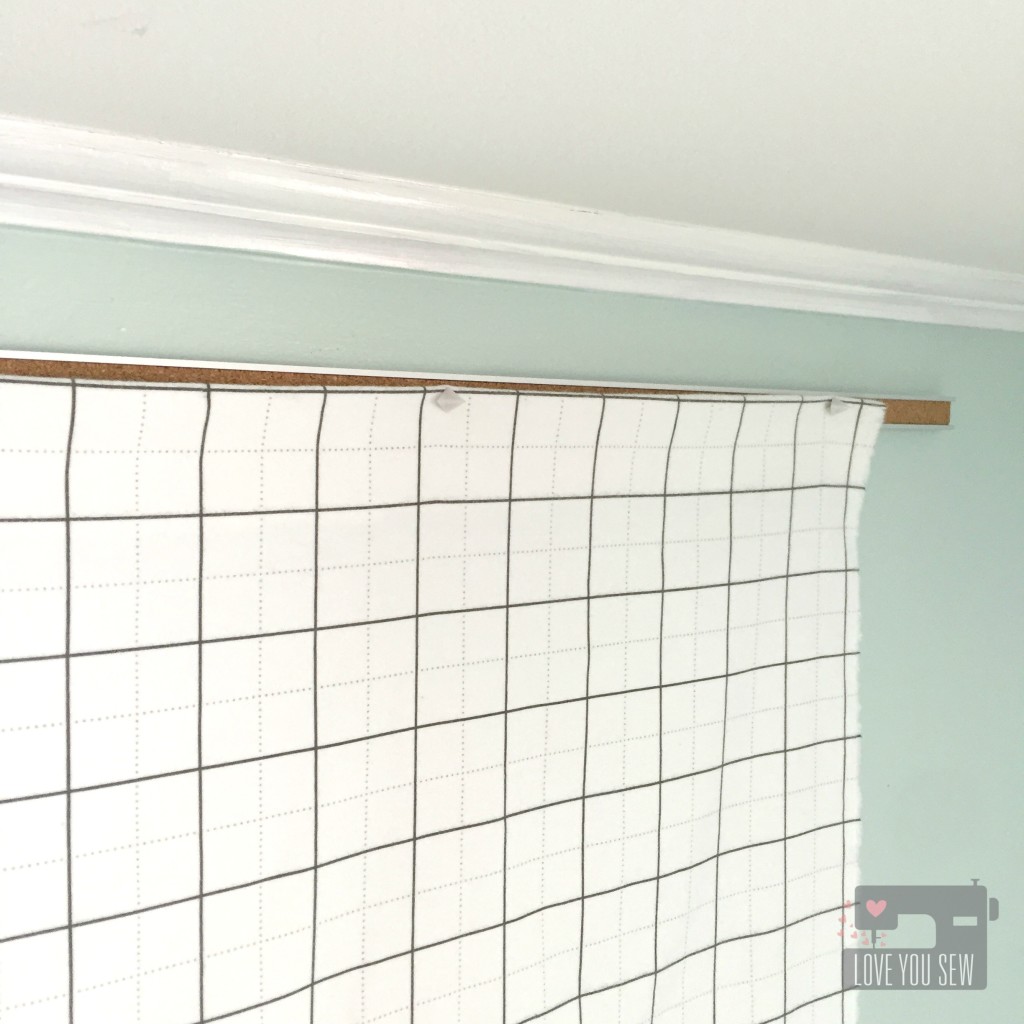
My solution?  A cork strip and some flannel fabric.  I bought this great 48″ long cork strip here.  You can probably find the same cork strip at an office supply store, but who can compete with Prime shipping, right!?!

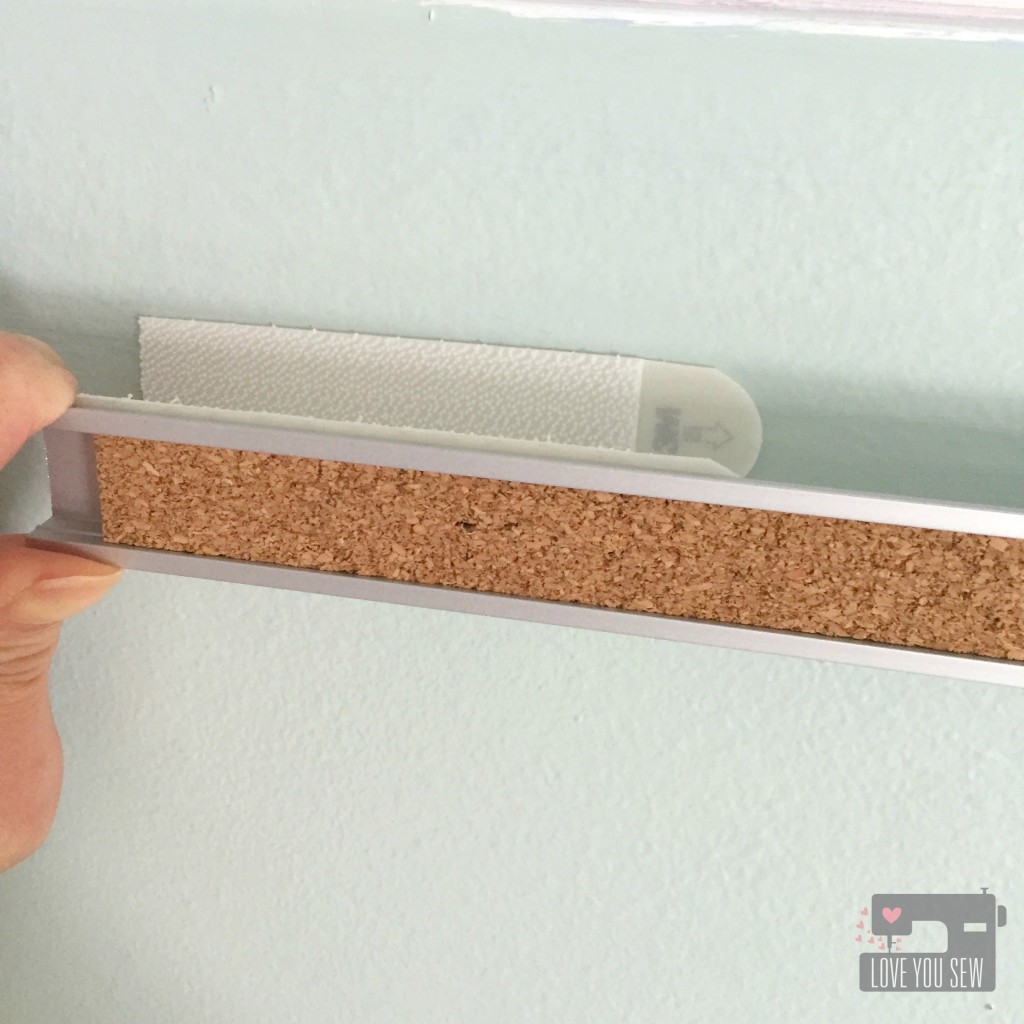
Design Wall Attaching
Initially, I tried to use the mounting strips that came along in the package, but they couldn’t handle the weight when the flannel was added.  Instead, I used some large picture-hanging strips to hold up the cork.

Design Wall w Flannel Fabric

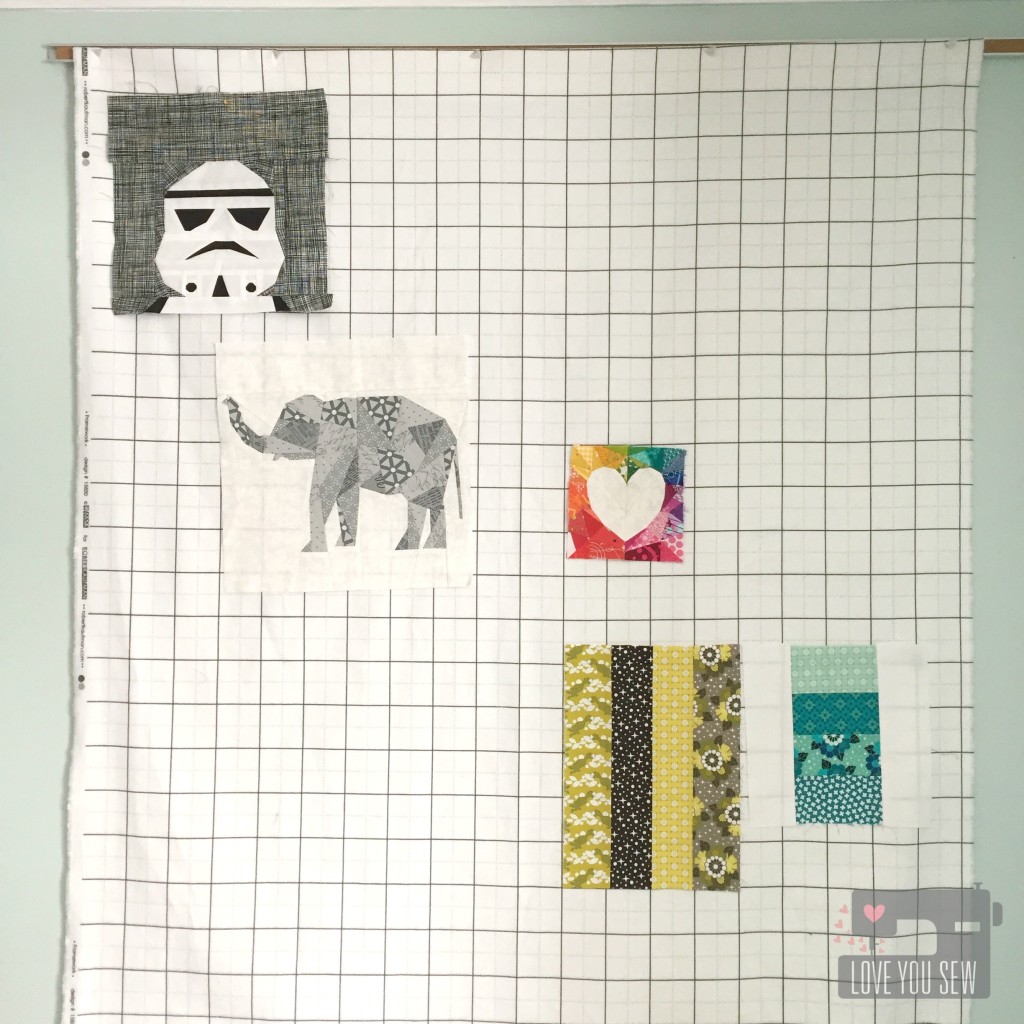
As luck may have it, Robert Kaufman has this great grid fabric in flannel….perfect for a design wall.  The flannel allows quilt cottons and other flannels to “stick” without the need of pins.  Initially, I used some cute thumbtacks to hold up the flannel, but the cork strip is actually not that thick.  But nothing a few quilting pins can’t fix 😉

Design Wall Finished

And here’s my fast and functional design wall.  It is quite simple and I love it.  The best part is I can quickly remove the flannel when needed.  What do you use for a design space?


Happy Sewing,

Cristy


Post contains affiliate links.  I receive modest compensation only if you purchase.

Jelly Roll Slice Shortcut Quilt

JellyrollSliceTitle

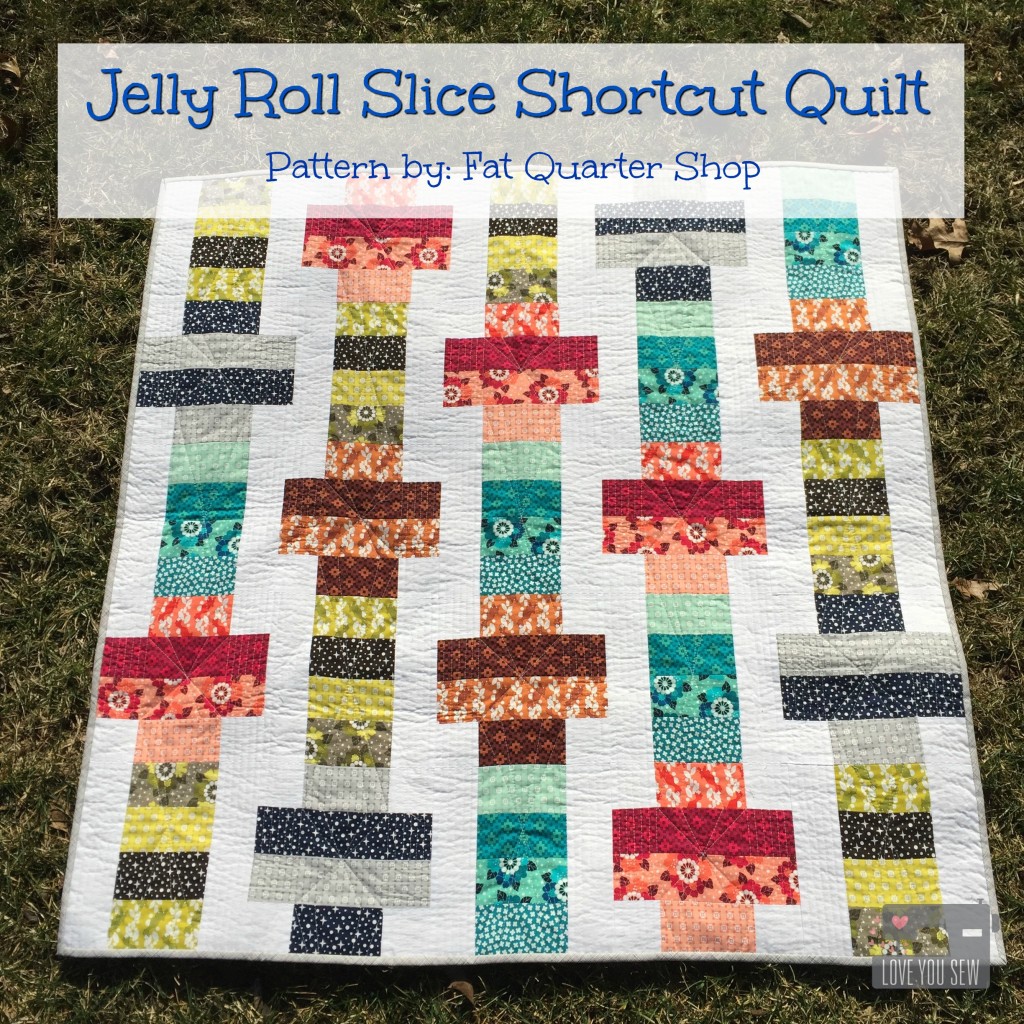
Whatever the reason, there are times we get into a sewing rut and need something quick and easy to pull ourselves out.  Fat Quarter Shop has just that project in their new FREE Jelly Roll Slice shortcut quilt pattern.  It’s important to feel that sense of accomplishment and get that “sew-jo” revved up again!

RhodaRuthJellyroll

{Insert Heart Eyes}

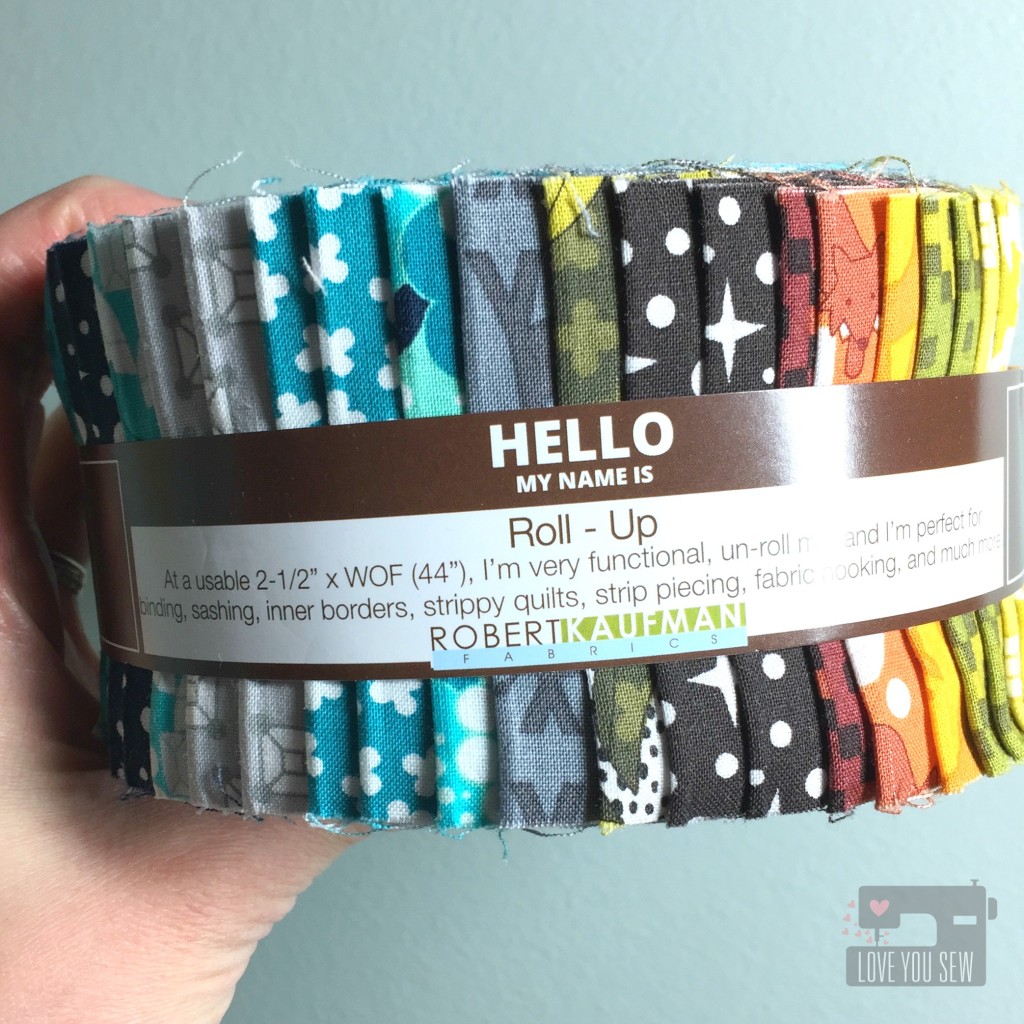
For my jelly roll, I chose Elizabeth Hartman’s Rhoda Ruth for Robert Kaufman Fabrics.  It has a fun and earthy palette with a mix of some animal prints.  This crib quilt is ear-marked for my future niece 🙂 and I think these colors are going to be perfect with her nursery.

JellyrollSlicePieced

{All Pieced}

Thanks to the 2.5″ strips, the Jelly Roll Slice blocks came together very quickly.  The hardest part was just selecting the order of my fabric!

You can check out Kimberly’s video tutorial (above) to see how she “slices” and to find that shortcut.

JellyrollSliceCloseup

{Quilting Closeup}

For the quilting, I used a mix of straight-lines and geometric shapes reflective of the different fabric designs.  It was a bit of a gamble, but am pleased with how it turned out.

JellyrollSliceQuiltingCloseup

{Bold Backing}

For the backing, I chose the bold Nightfall Foxes.  These little guys are just so so cute and who doesn’t love a shot of gorgeous teal?  The neutral binding (and one of my stash staples) is Carolyn Friedlander’s Crosshatch.  (It just works with so many quilts!)

JellyrollSliceCouch

{Ready to Snuggle}

With no crazy angles and a nice shortcut method, this Jelly Roll Slice quilt was truly simple and could be pieced in just an afternoon. Who doesn’t love that?  Do you have any quick projects to get your “sew-jo” back?


Below is the full list of participating Bloggers for the Jelly Roll Slice pattern launch.  Check them all out for additional ideas!

Taunja of Carried Away Quilting
Cheryl of Meadow Mist Designs
Terri Ann of Childlike Fascination
Eileen of Eileen in Stitches
Hayley of Moobird Stitches
Shelley of The Carpenter’s Daughter Who Quilts
Kathryn of Kathryn Jones Quilts


Don’t forget about these Quicklinks for the Jelly Roll Slice Quilt:

Videohttps://www.youtube.com/watch?v=KOIuFJrIkQU

FREE Patternhttp://static.fatquartershop.com/media/wysiwyg/pdf/JellyRollSlice-CompletePattern.pdf

Quilt Kithttp://www.fatquartershop.com/jelly-roll-slice-quilt-kit

Fabric (found in the video, pattern & kit) http://www.fatquartershop.com/moda-fabric/vintage-picnic-bonnie-and-camille-moda-fabrics/


Enjoy + Happy Stitching!

Cristy


***This post contains affiliate links and was sponsored by the Fat Quarter Shop.  Pattern and fabric was provided for use in this post.  All opinions are original and my own.

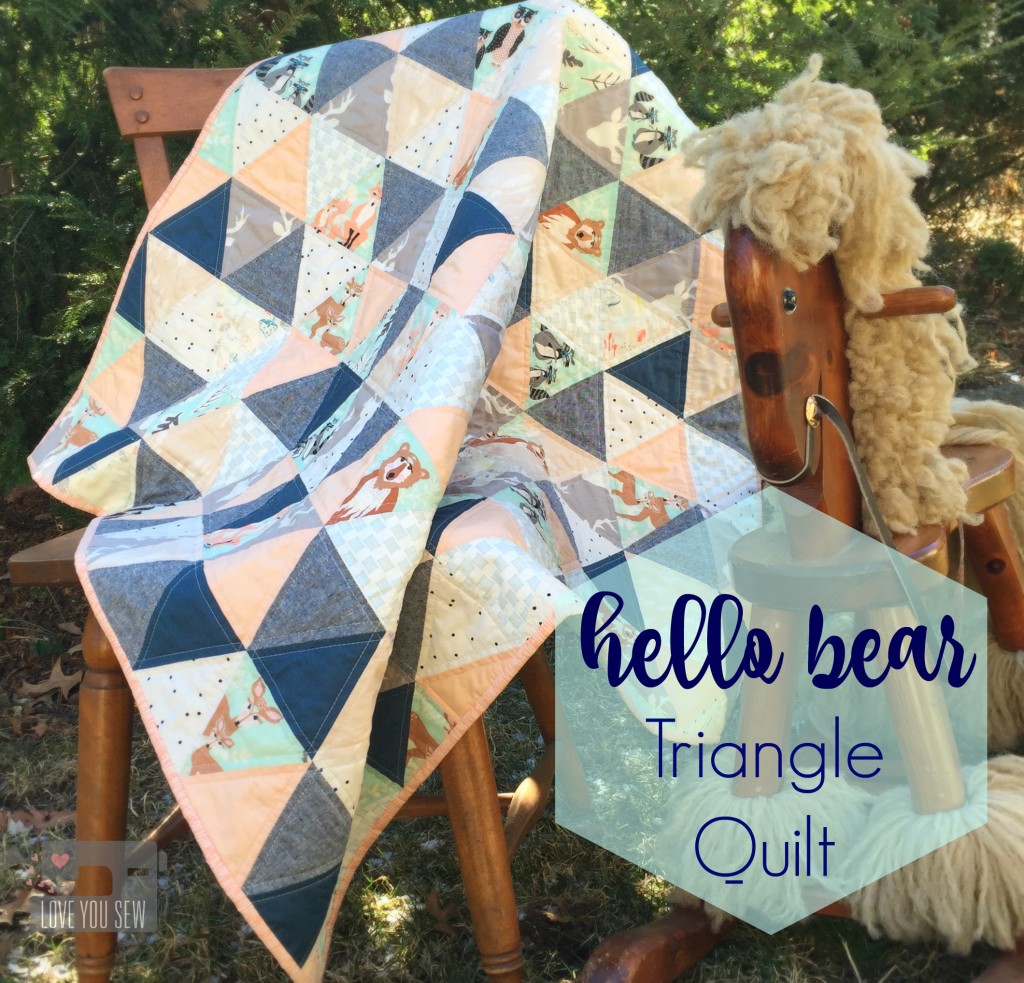
Hello Bear Triangle Quilt

HBTriangleQuiltTitle

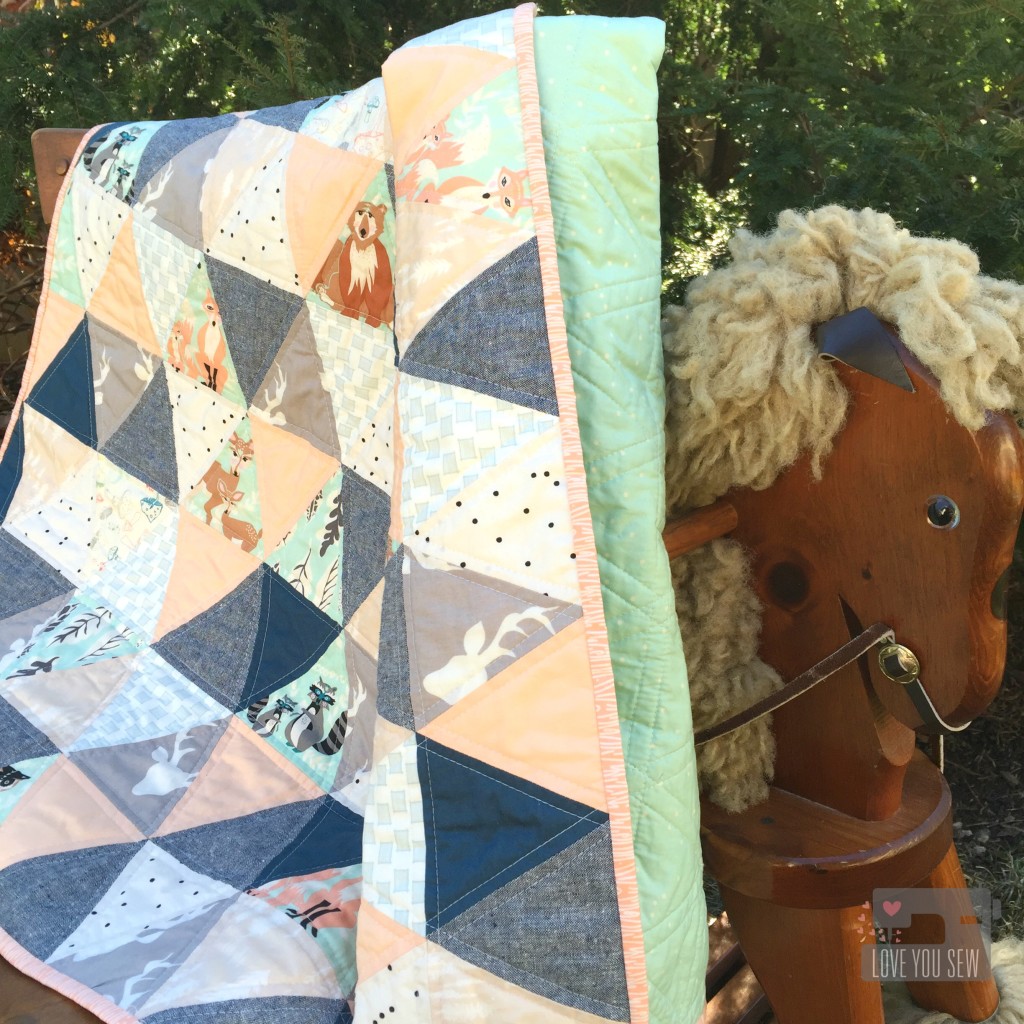
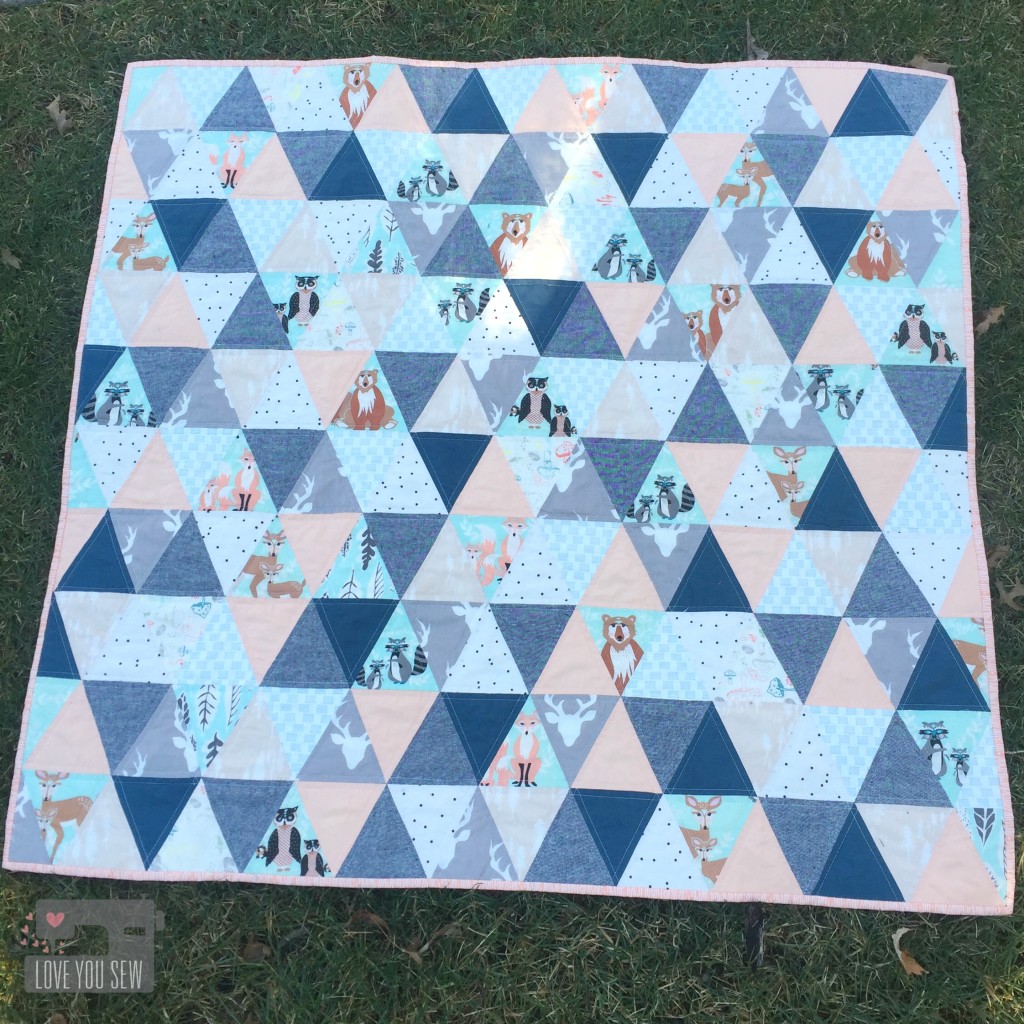
One of my dearest friends is expecting and I knew I wanted to make something very special for her.  The Hello Bear collection by Bonnie Christine for Art Gallery Fabrics came to mind immediately…especially, since I just made the Dwelling Quilt with it.  It’s whimsical and playful with such a soothing palette…and best of all, it’s gender neutral!  My girlfriend wants to be surprised with the baby’s sex, so I chose colors that could go either way.

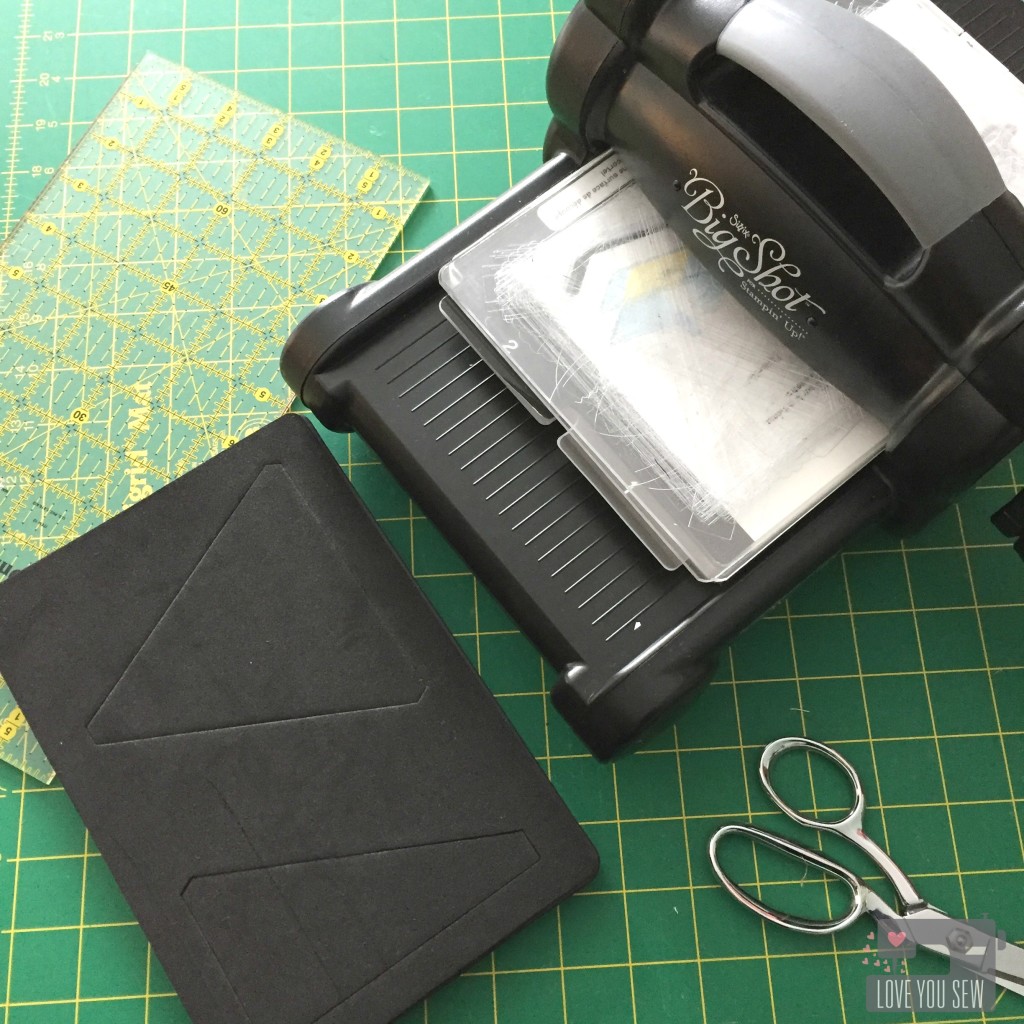
SizzixTriangleDie

On Black Friday, I picked up several Sizzix Quilting dies, including this 4.5″ Isosceles triangle one.  I made one other triangle quilt awhile back and definitely cut off all the tips as I pieced the top together. There is such a striking look with all the triangles and I knew getting a die to help me cut my fabric would help me keep the point intact!

I have a paper-crafter friend who bought a new Big Shot for herself awhile back.  She then sold me this one for less than half the price….score!  I initially just wanted to use it for paper but quickly found out about the fabric dies.  These are a bit pricey, but I’m hoping to add to the collection as I scout out good sales.  Let me know if you ever see one 😉

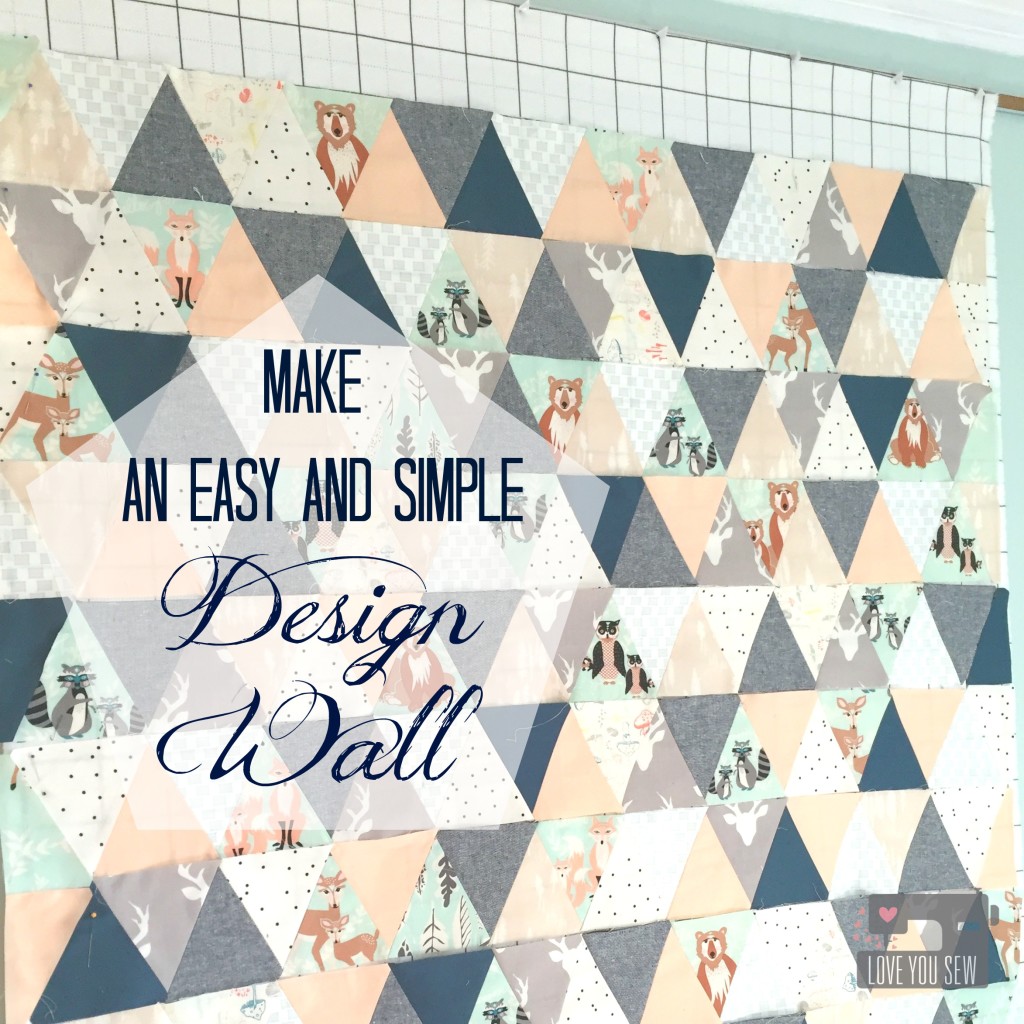
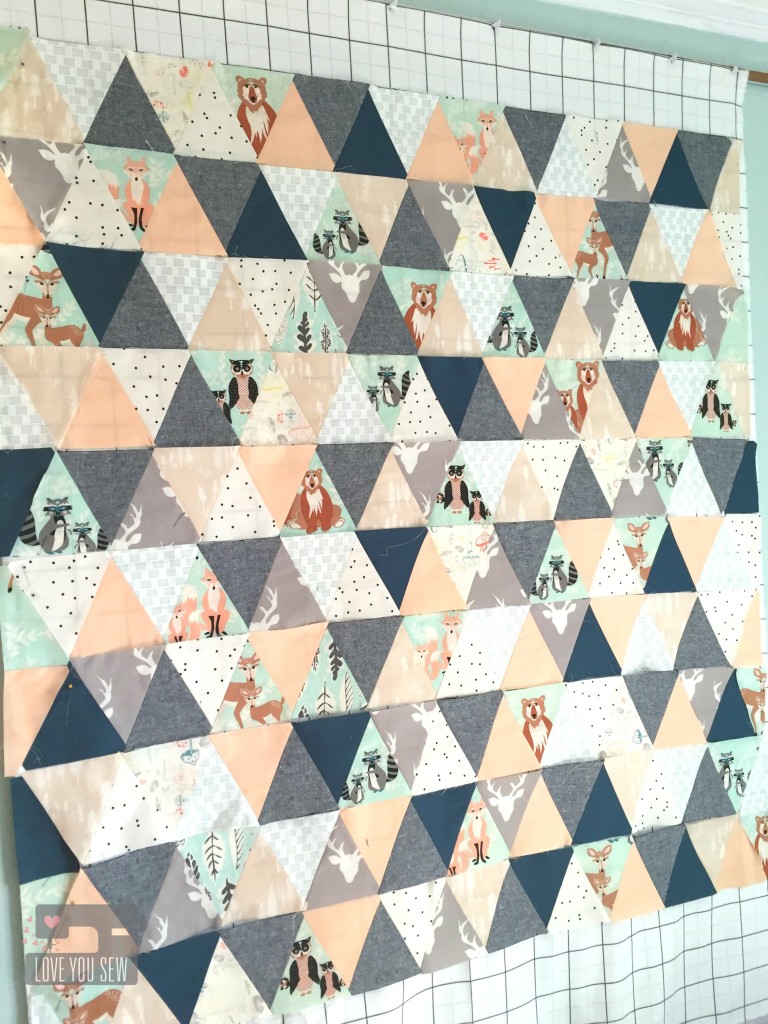
HBTriangleQuiltDesignWall

Since there is a finite width to the Big Shot, some pre-cutting is needed to fit the fabric on the dies.  But since I could cut up to 4 layers of fabric in one turn, this was still the faster way to go.

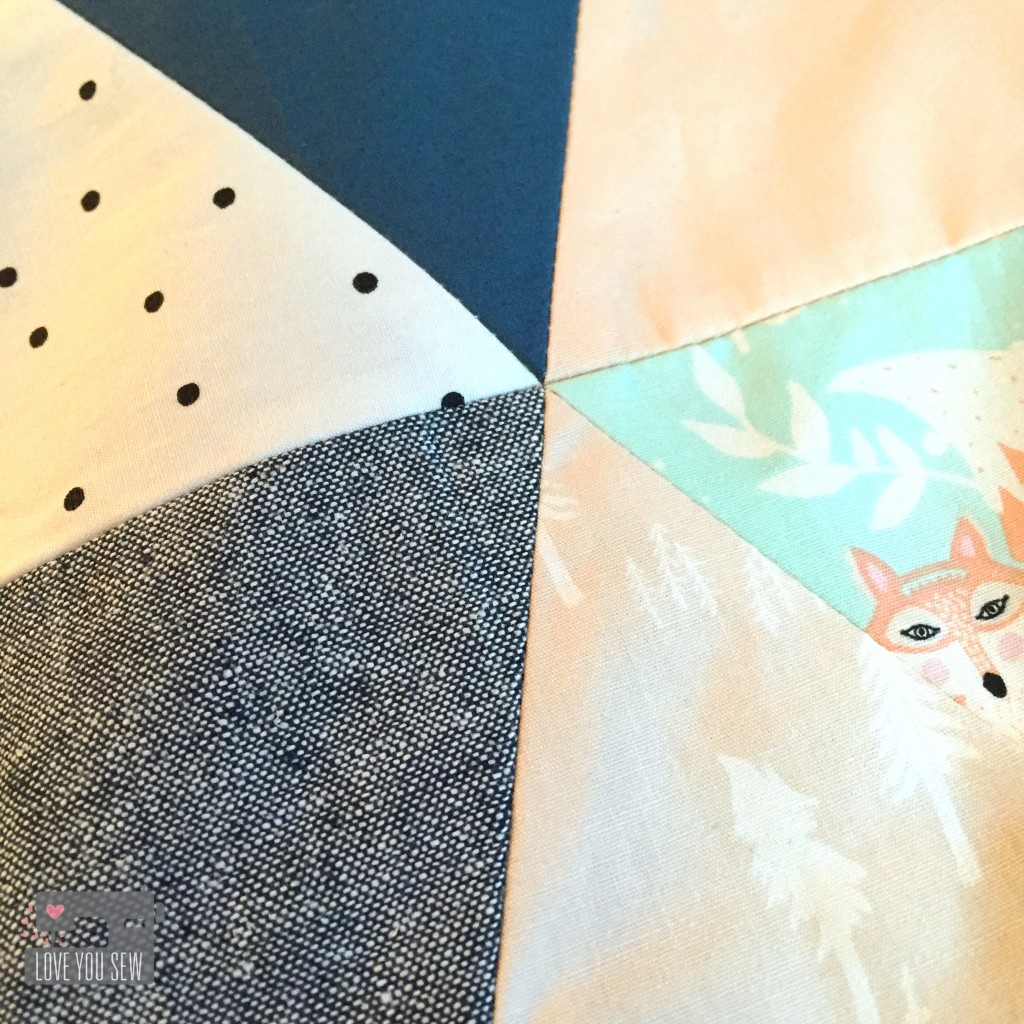
HBTriangleQuiltPointsMatch

The die gives you the perfect notches to make piecing SO much easier and more accurate.  I’m pretty proud of these beautiful points (above!)  And did you know, you don’t have to trim after piecing?  That’s the winning feature for me because I despise trimming.  That is probably my least favorite thing to do…

HBTriangleQuiltCloseUp

To add more texture and variety to the Hello Bear fabrics, I used Robert Kaufman Essex Linen in Indigo.  You can also see some solids from Art Gallery’s Pure Elements and I added a splash of Bound from April Rhodes.

HBTriangleQuiltFullProfile

The finished baby quilt is 40″ x 40″.  I quilted along the triangle edges to not distract from all the fun forest creatures you can see here.  This was such a fun quilt to make as I tried out my new Sizzix “toy”….but it was more special because this is going to such a dear friend.  <3  I can’t wait to see her baby wrapped up in this quilt!!!


Happy Stitching,

Cristy


Plaid Flannel Cargo Duffle

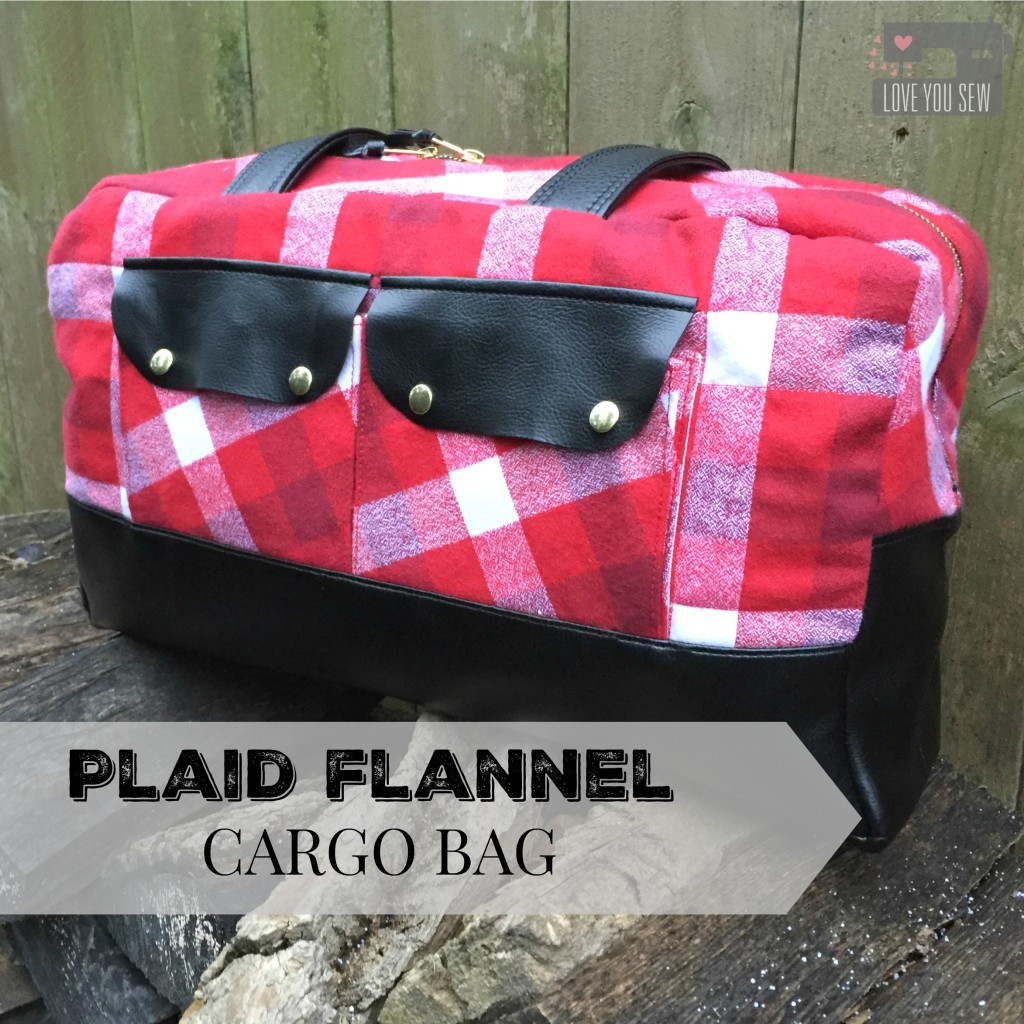
CargoDuffleTitle

After I made my first Noodlehead Cargo Duffle for Sew Sweetness‘ Pursepalooza shown here, I quickly received a request to have one commissioned.  How many times has that happened to you?  However, the request came from my sister…so you know it turned into a gift instead 😉 Now that Christmas has passed, I can finally show you this version!

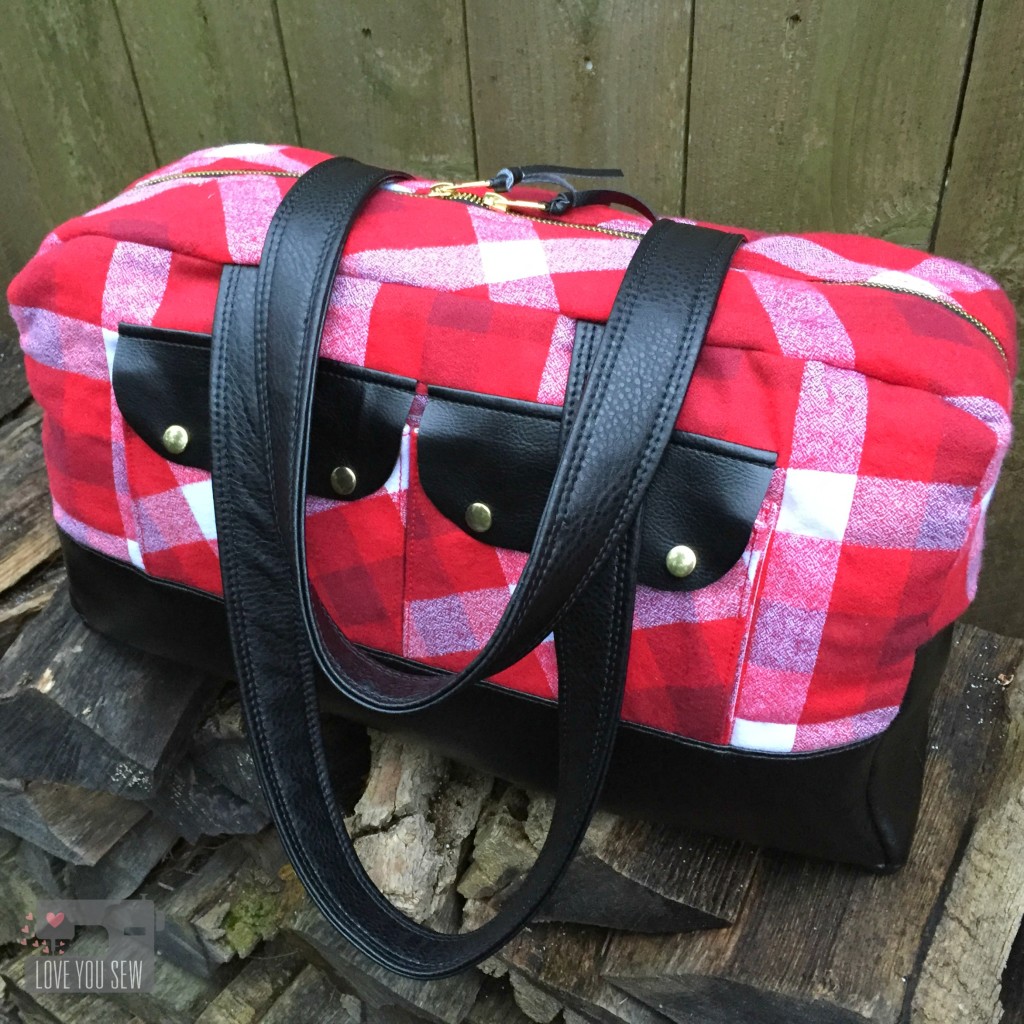
FullProfileWStraps

My sister wanted a plaid flannel just like my original…so of course, I went back to Robert Kaufman’s Mammoth Plaids.  They are just SO soft.  The black vinyl is “suede cloth” purchased from my local JoAnn’s.

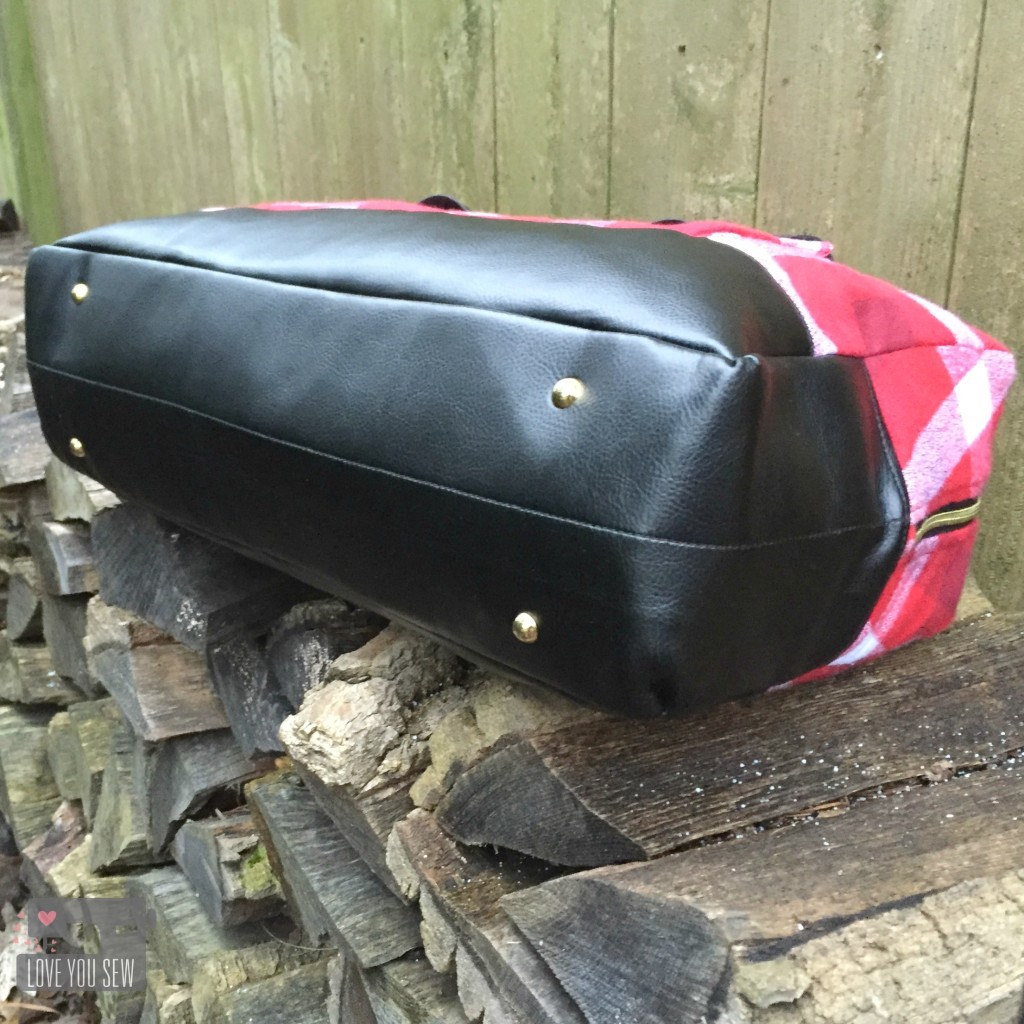
BottomFeet

Purse feet are a great added touch to make a bag look more professional.  These are from Emmaline Bags.  I adjusted the spacing to them vs my original to be a little closer together. They are approximately 14″ apart lengthwise and 1.5″ in from the outer seams.  The pocket snaps are from Tandy Leather.

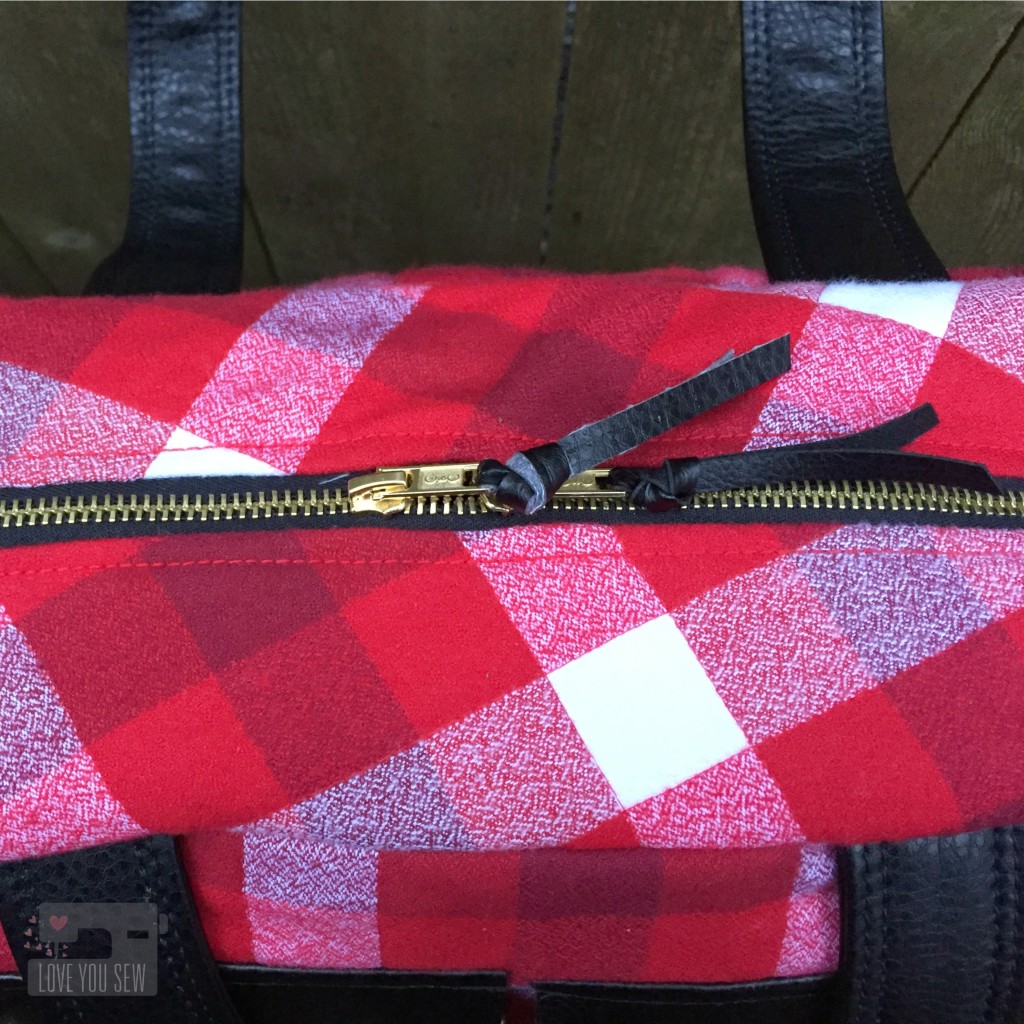
DuffleTop

If I can use a metal zipper on a bag, I always will….they are just so pretty!  The outer zipper is a coverall style by Coats and Clark.  The interior zipper is YKK.

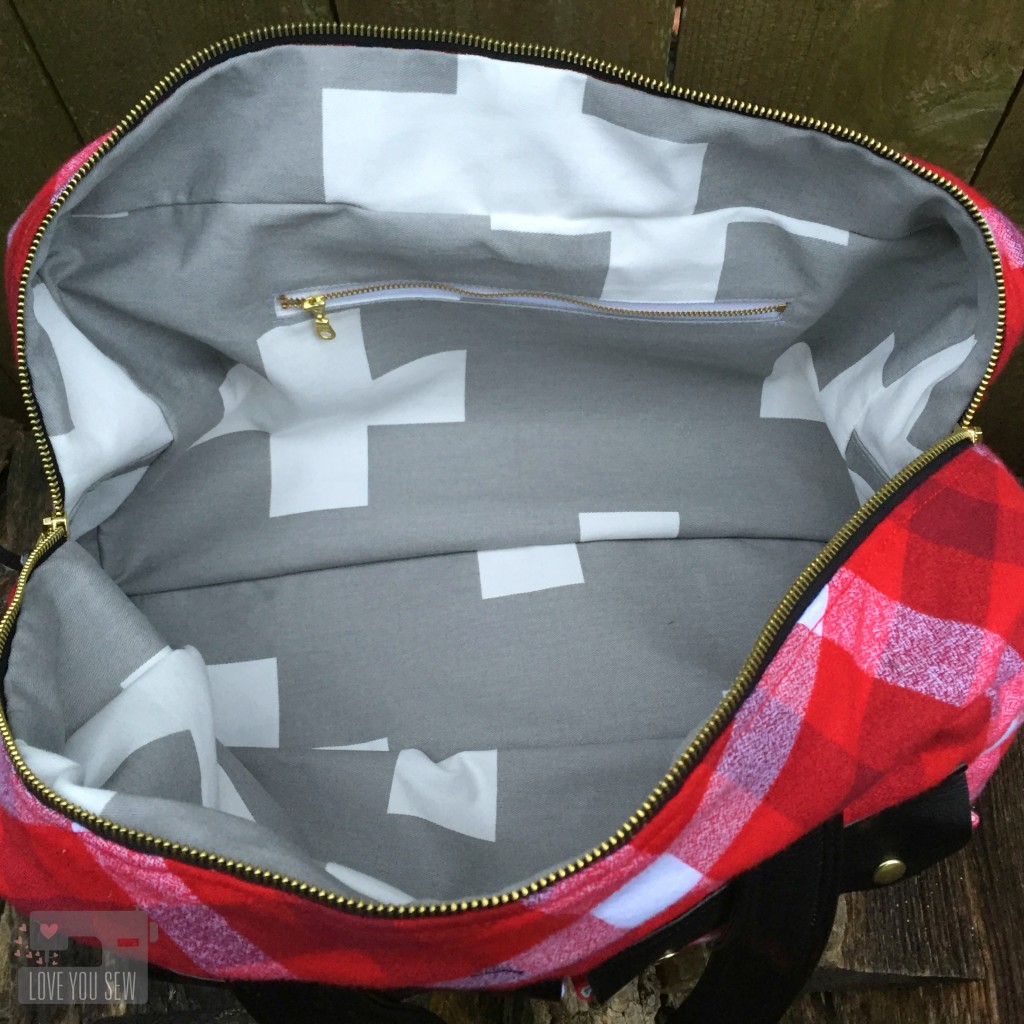
InsideView

The biggest difference with this bag is the interior.  I used this tutorial by Small Town Thread to create a drop-in lining.  I tacked the liner to the bag’s top corners then hand-sewed it to the zipper.  This was just to keep the look clean and keep any extra fabric away from being snagged into the zipper.

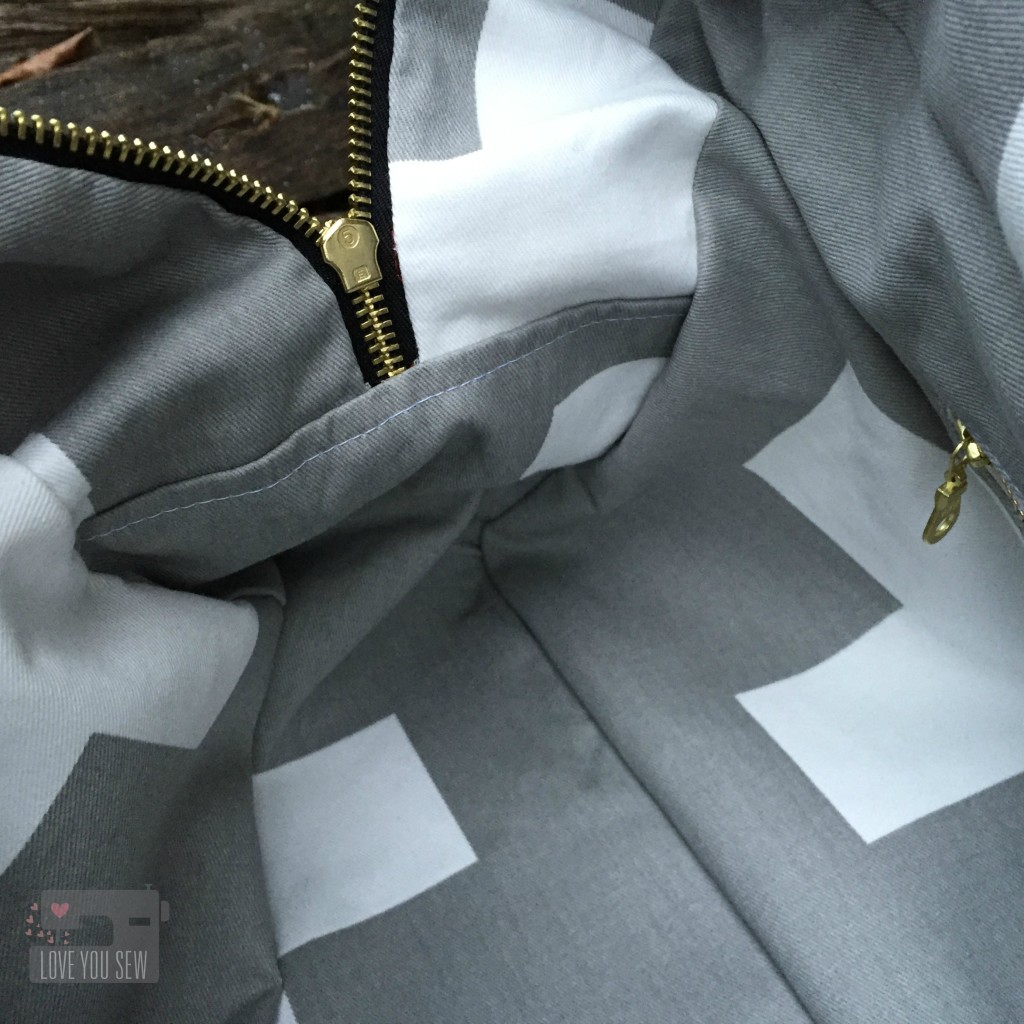
InteriorCloseUp

I use a lot of Premier Prints home dec fabric and this interior fabric is no different.  It is the larger Swiss Cross pattern.  This fabric complements the red and black exterior while echoing the plaid design as well….I really love it 🙂

I’m happy to report my sister loves this bag as well!  She is one of my strongest supporters and also one of my best salespeople.  It is quite flattering that she wanted one of my bags to go alongside all of her designer ones.  Now I’m off to make her another bag….haha!  It never ends, right?!? 😉


xoxo – Cristy