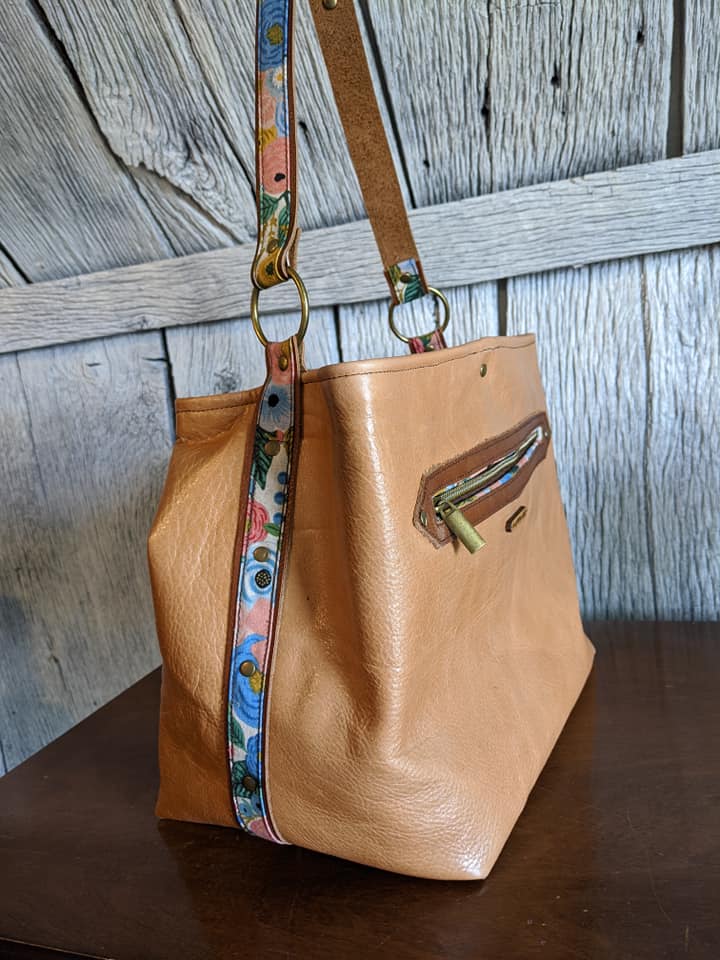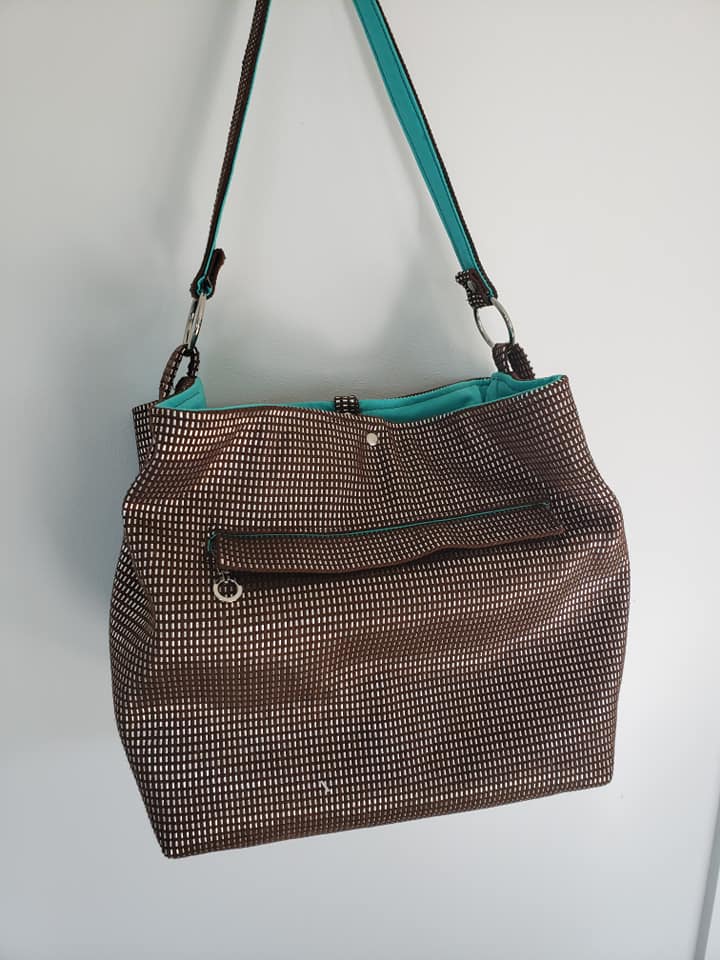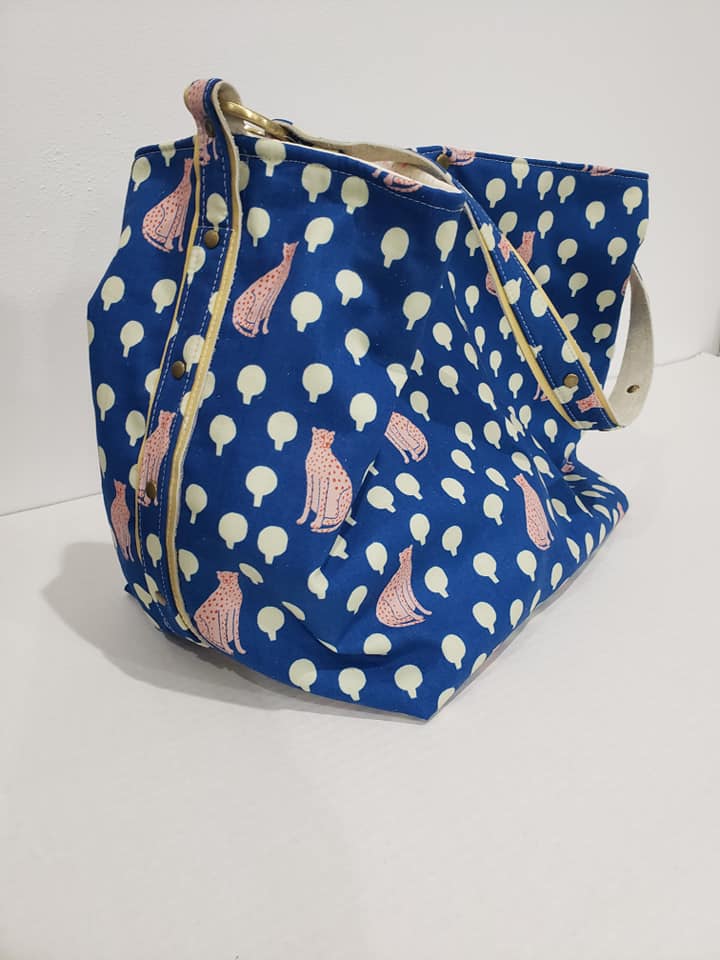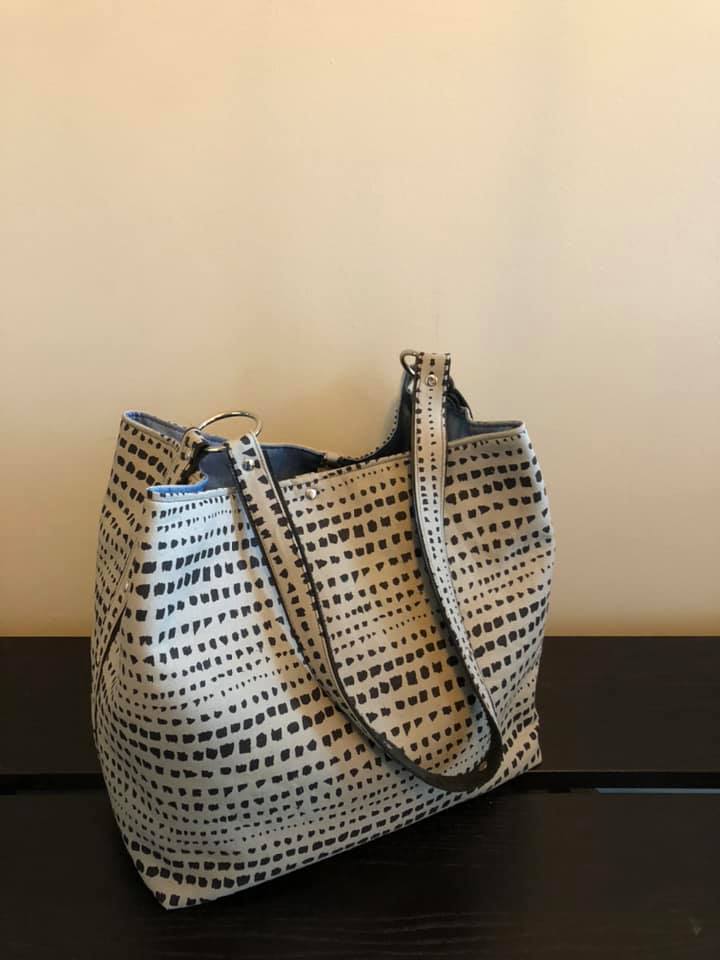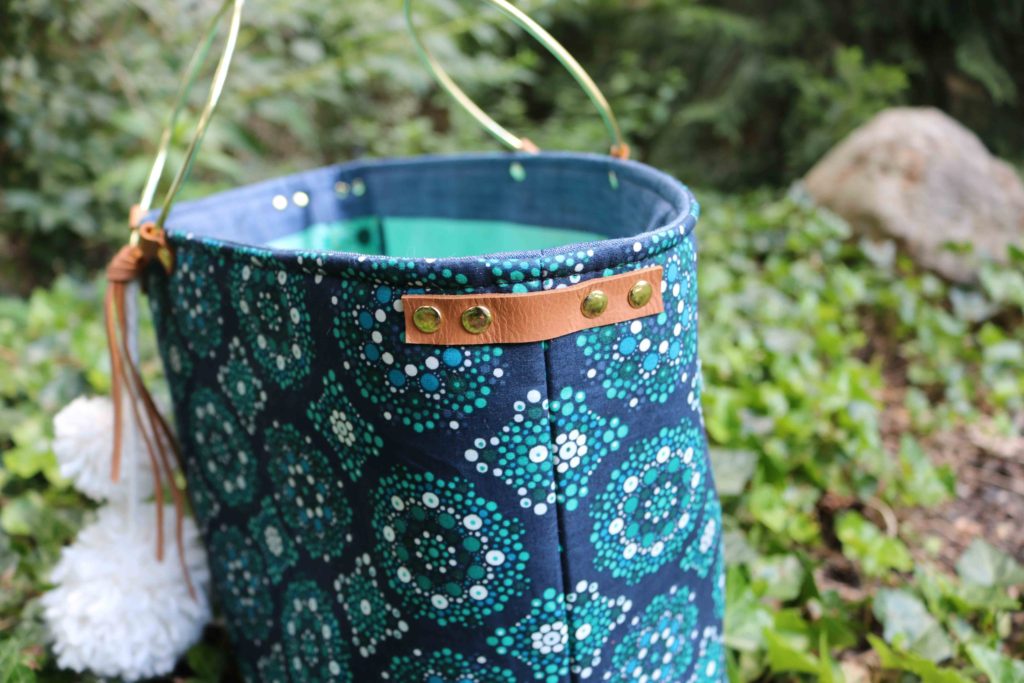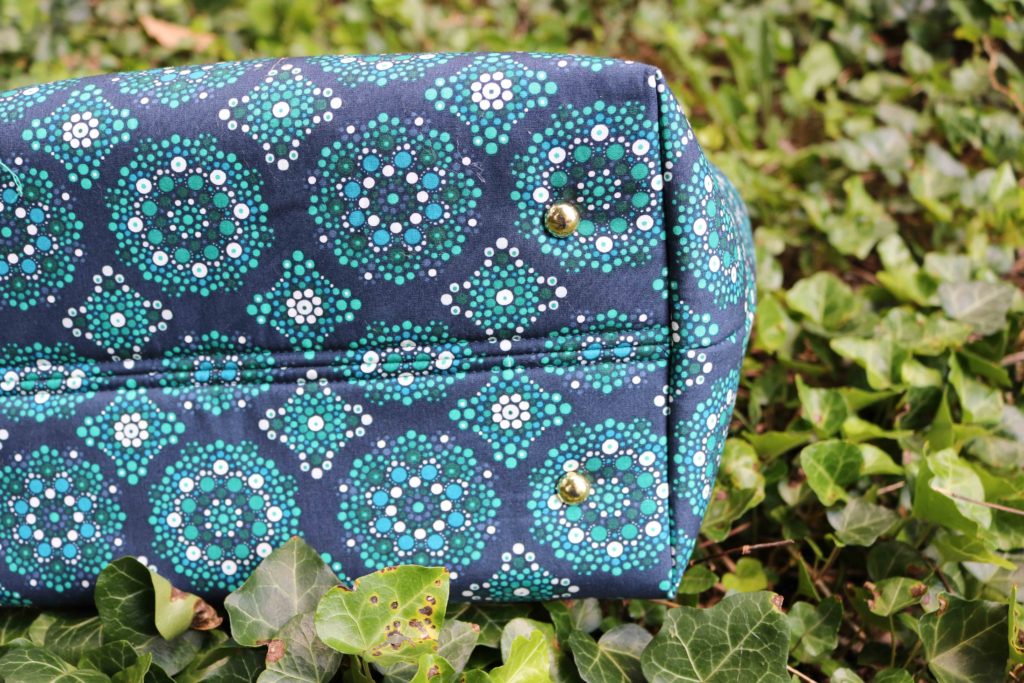
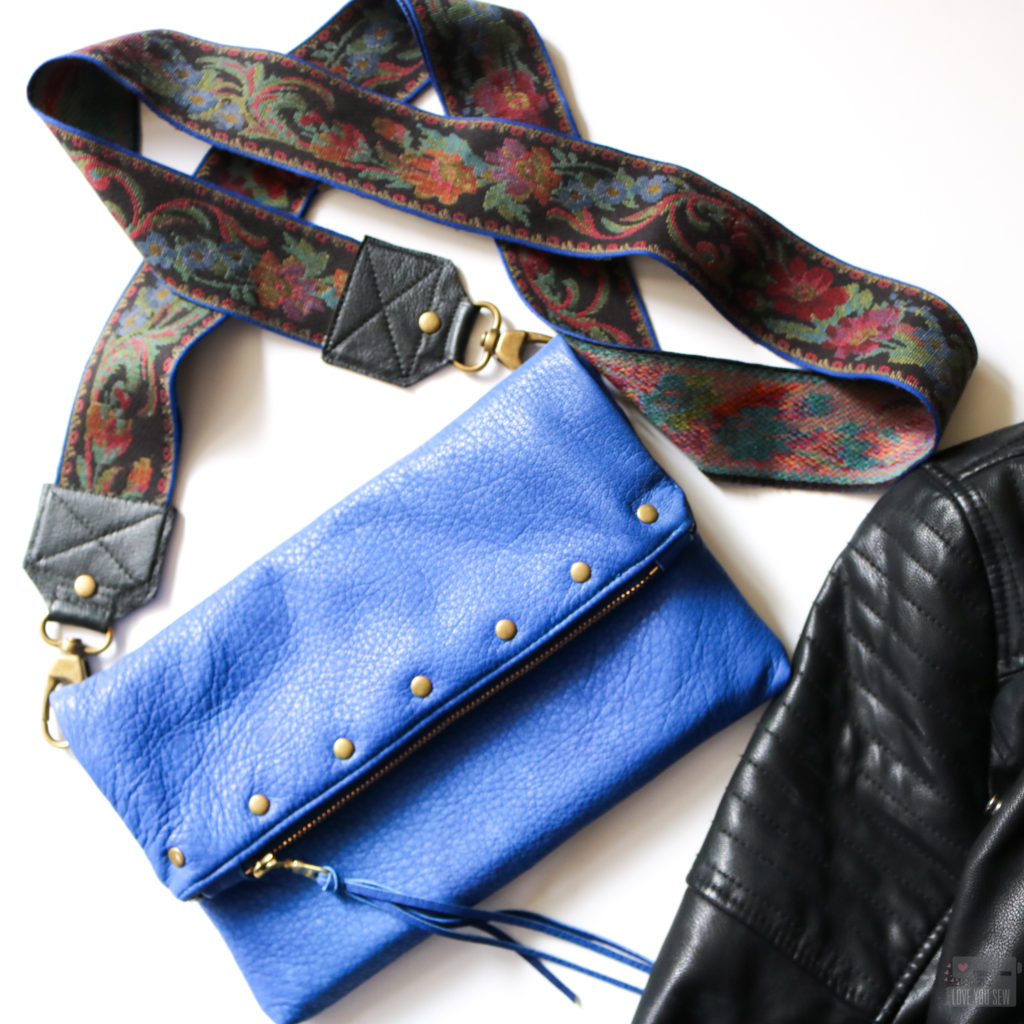
Of all the things I’m asked about in my sewing, I get the most questions about hardware. It’s such an easy way to take a project to the next level like with the Megan Bucket Bag and Claire Foldover Clutch hack. ‘Just an extra touch of metal can really take a bag from “homemade” to “handcrafted.” That’s exactly what I was looking for in my bag creations. Before I got a “fancy” hardware press, I installed all my rivets by hand for at least a year. And even with the press, I still set them manually based on my needs. Below is a quick video to show you how to install rivets and lots of my personal tips as well!
Materials
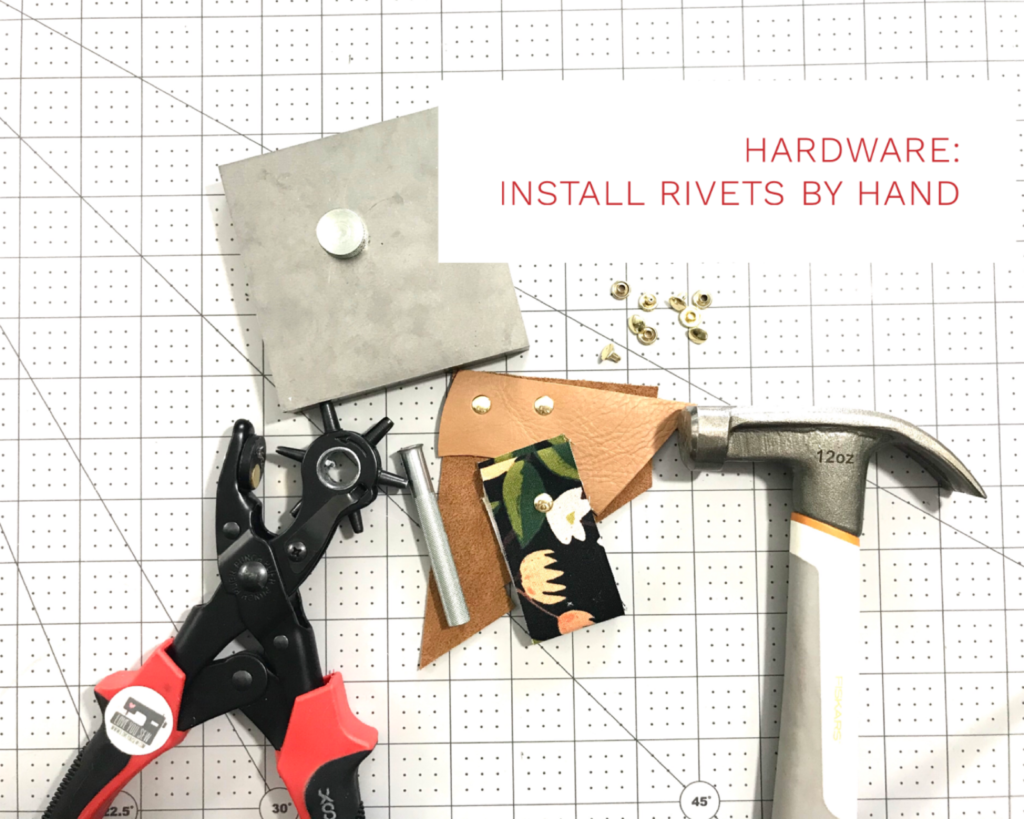
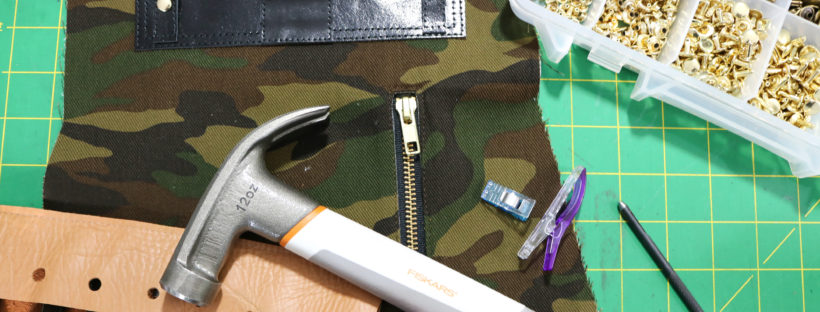
First, you need the right materials. Below are the materials and links (some affiliate) which I use in the video.
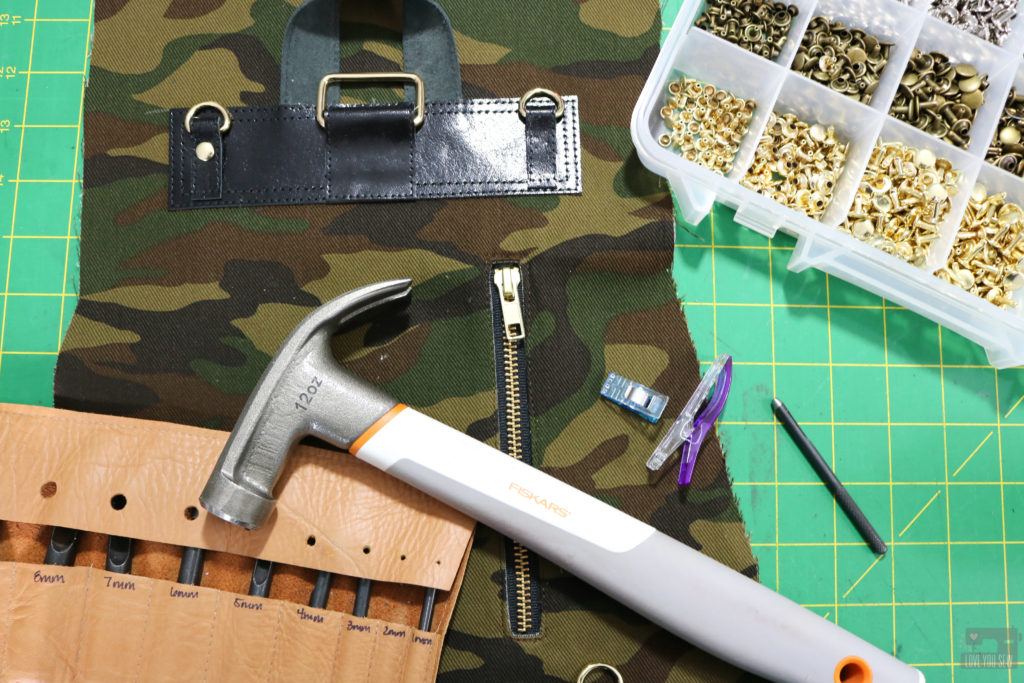
- Steel Jeweler’s Bench – This is a small but mighty block and handles all of my own personal hardware needs. I used to set rivets on the basement floor (which you shouldn’t do, but we’ll discuss that later) and this block is such a game changer so I can use my own cutting table and not have to go down two flights of steps.
- Fabric Hole Punch Pliers – This type of punch plier is by far my favorite. The bed of the tool where you place your fabric is plastic vs. metal. Some people like the metal bed because it will last longer, but I MUCH prefer the plastic bed because you will get better cuts and the actual hole bit will stay sharp longer. Yes, the bed will begin to wear away but there is a replacement and each one will last you a long time…probably longer than the bit.
- Rivet Setter – My preferred tool is this larger 9mm one because I personally use rivets with caps this large. This will be able to set smaller ones too!
- Concave Anvil – Since I’m using double-cap rivets, a concave anvil is needed to keep the shape of the other cap, else it will completely flatten.
- Hammer – I’ve used a few different hammers – small and large and I really like this Fiskar’s one. The grip is comfortable and the 12 oz head allows for a good solid strike. You can certainly use a mallet instead, but I’ve had good luck with just a hammer.
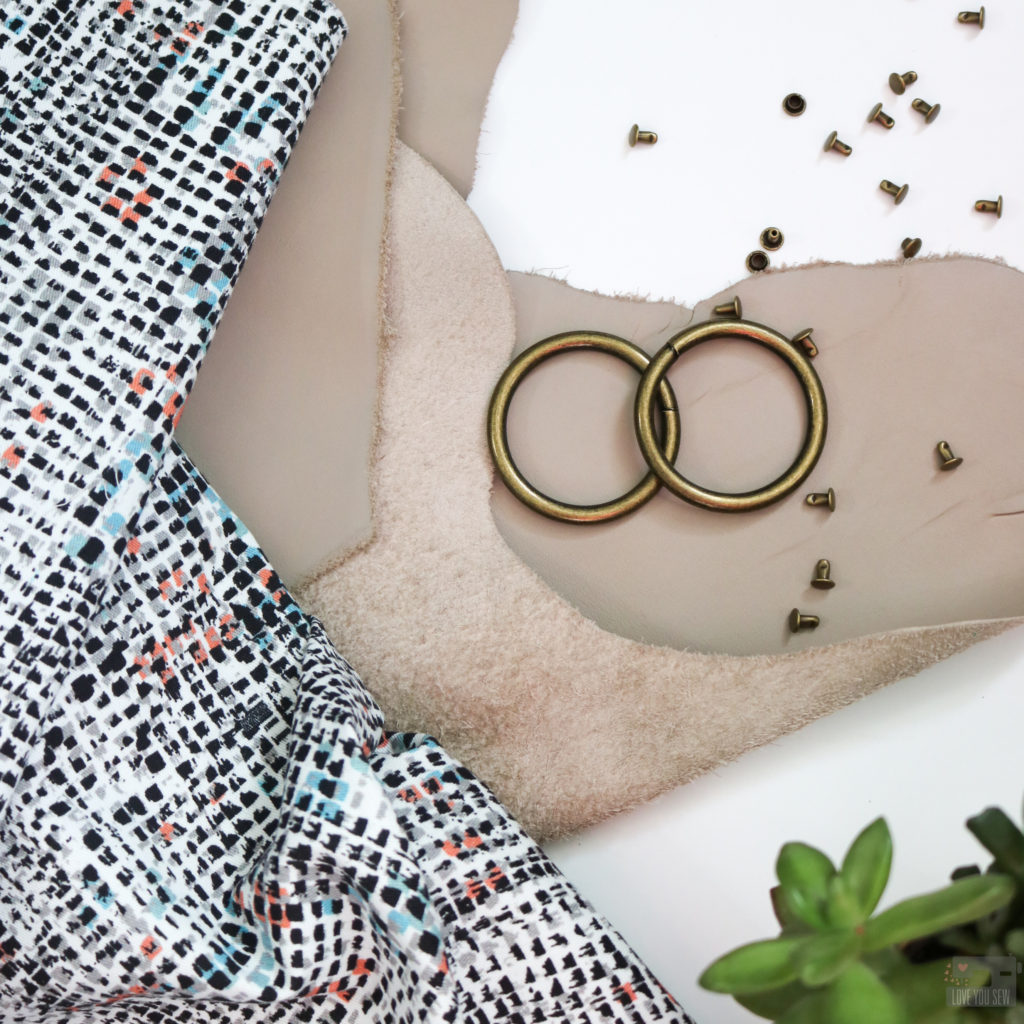
- Double-Cap Rivets – These are the “small” rivets with an 8 mm head and 6 mm stem. I use this size the most for decorative application and will move up to a longer stem for thick folded straps. I prefer double to single cap rivets purely for inventory purposes to handle all of my needs.
Process
In the video, I take you through both leather and fabric applications which are pretty much the same. I included a few tips but want to elaborate a little more based on my own experience.
- Work at counter-height – For me, my results are MUCH better when I work at counter-height (while standing) versus working on the floor. I know when you first start out, the concrete basement or garage floor might be the hardest surface you have and this is definitely how I started out with rivet application. But there is something about leaning over a project that increases the arc (maybe?) of my swing and I ended up with a lot of crooked, ill-placed rivets. So, if you can, I highly suggest working on an old table – over one of the legs for extra stability.
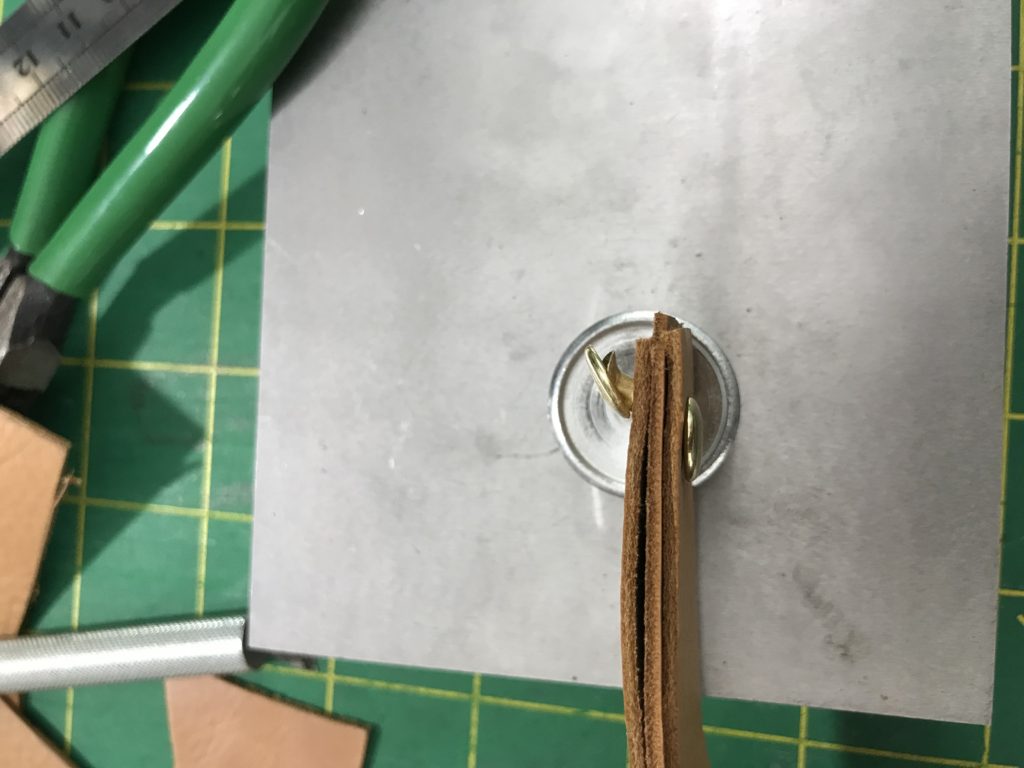
- Select the right size rivet for EACH project – Initially, you may get the urge to just buy one size to fit all of your needs, but there is a reason there are SO many difference size combinations. While the cap is more for aesthetics, the stem length is key in a proper application. I recommend about 3-5mm stem longer than the thickness of your project when you finger-press down on it. You want the stem to be long enough to mushroom into the cap. Else, your project may pull apart later with use. But you don’t want it so long that it could “over-mushroom” and damage the cap. The extra length also provides more opportunity for a crooked installation. So, that’s why you want to minimize your risk. 6mm and 8mm posts were pretty much all I used for a long time and then I expanded out later when I was working with thicker substrates
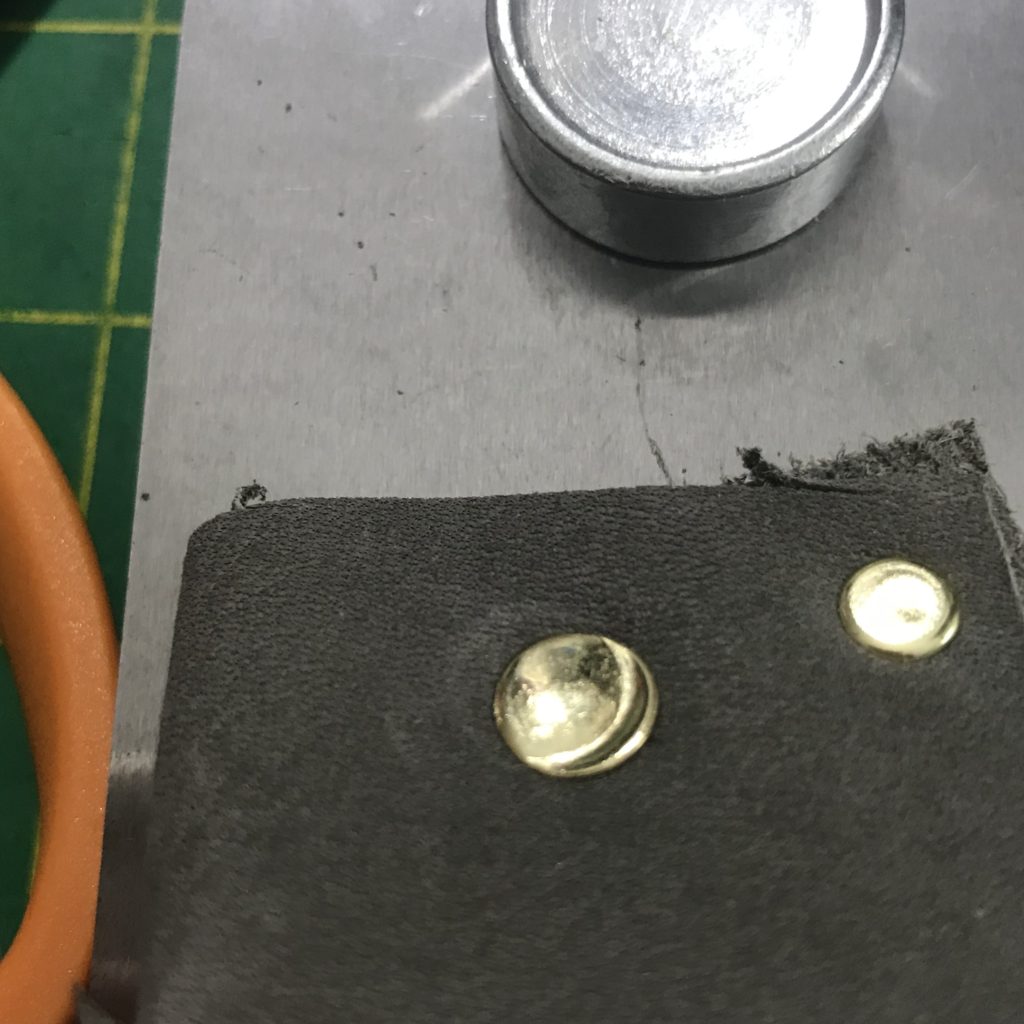
- Hold Setter down at base close to rivet – This provides the most control so the setter is aligned and straight over the rivet. If you hold the setter too high, the impact of the hammer may move the setter and you could get an unsightly imprint on the cap.
- Spin the rivet between your fingers to check for a proper application (1:18 in video) – You know that the rivet is completely installed when you can’t rotate it between your fingers. It shouldn’t be able to move at all. If the rivet is still loose or you can still see the stem, go back and install again.
If you do have a crooked installation or accidentally mis-aligned the setter on a rivet cap, I’ll show you how to remove a rivet with next week’s blog post. Please share below if you have even more tips to help along fellow readers!
Enjoy!
Cristy
This post may contain affiliate links. Please read about all of my disclosure here.
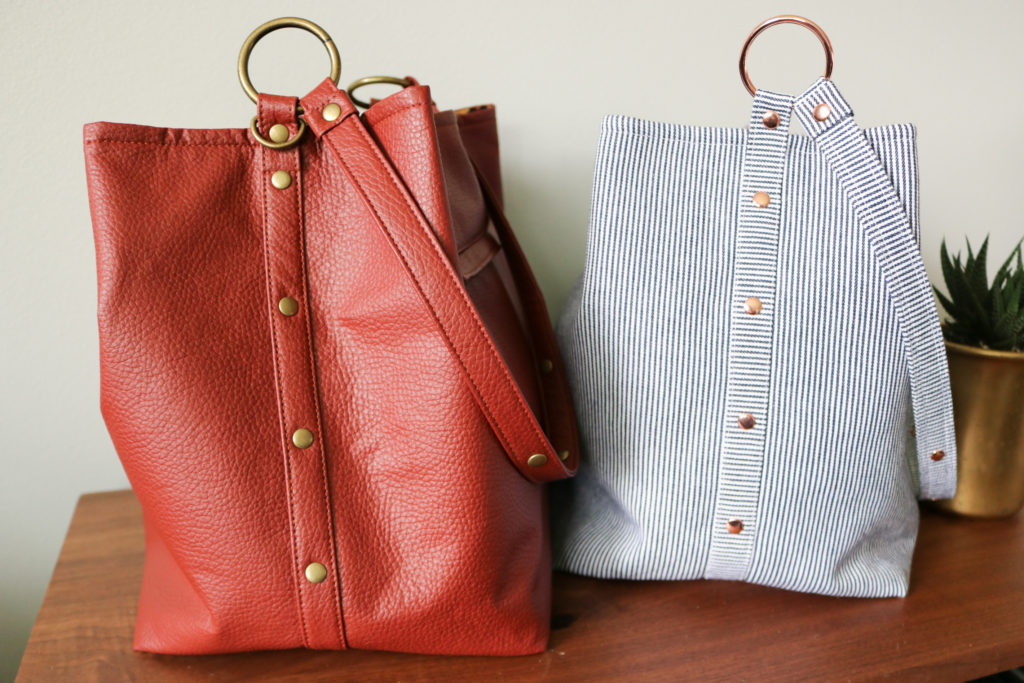
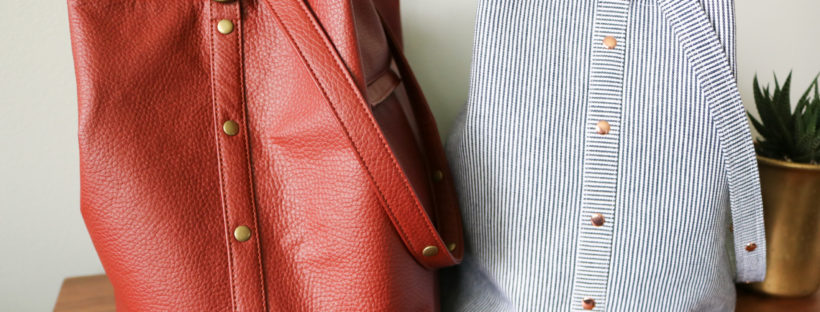
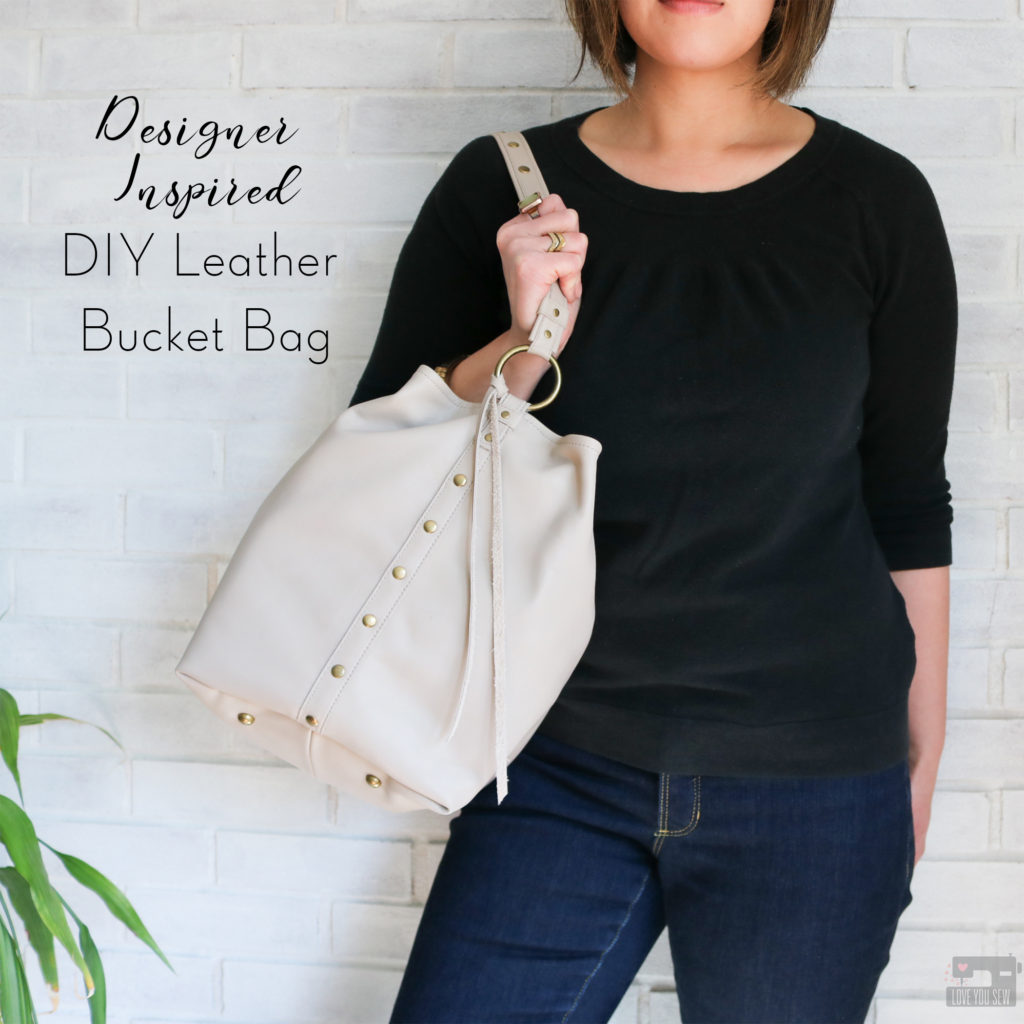
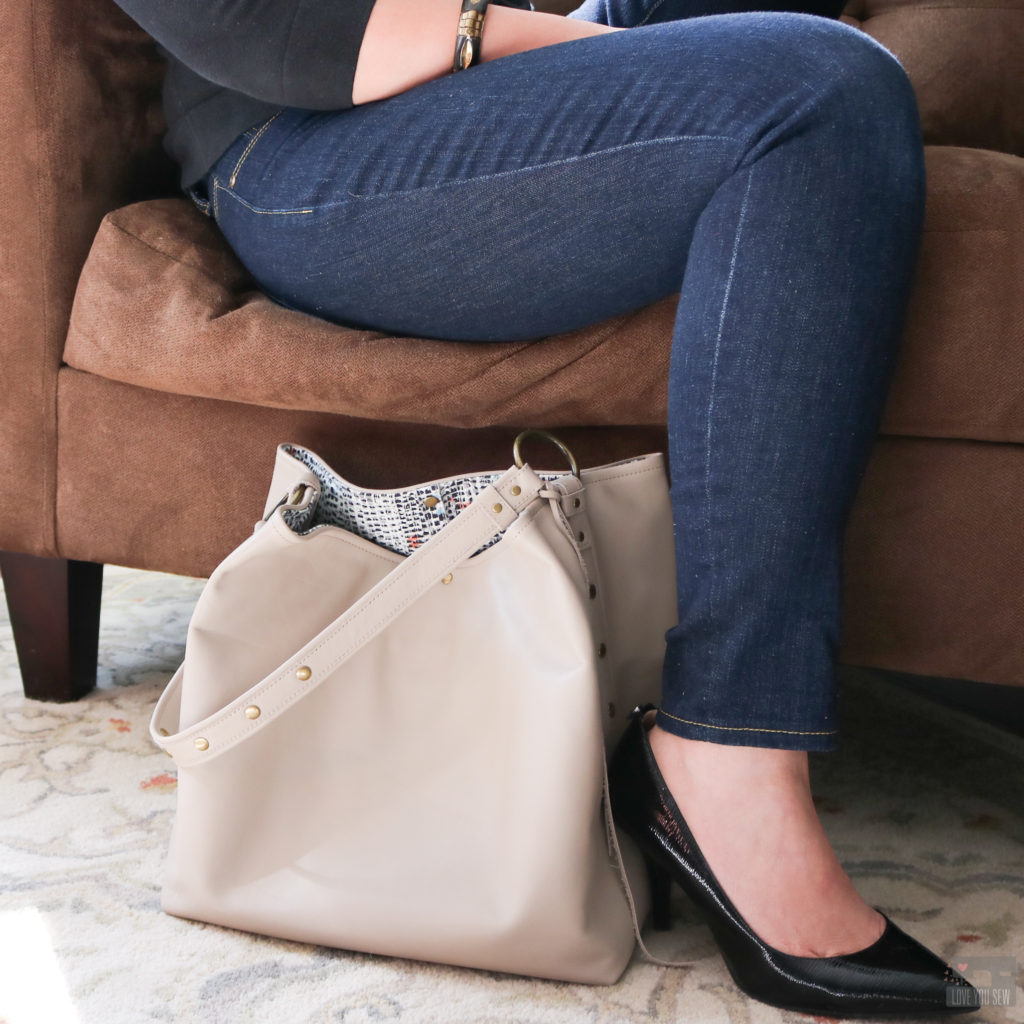
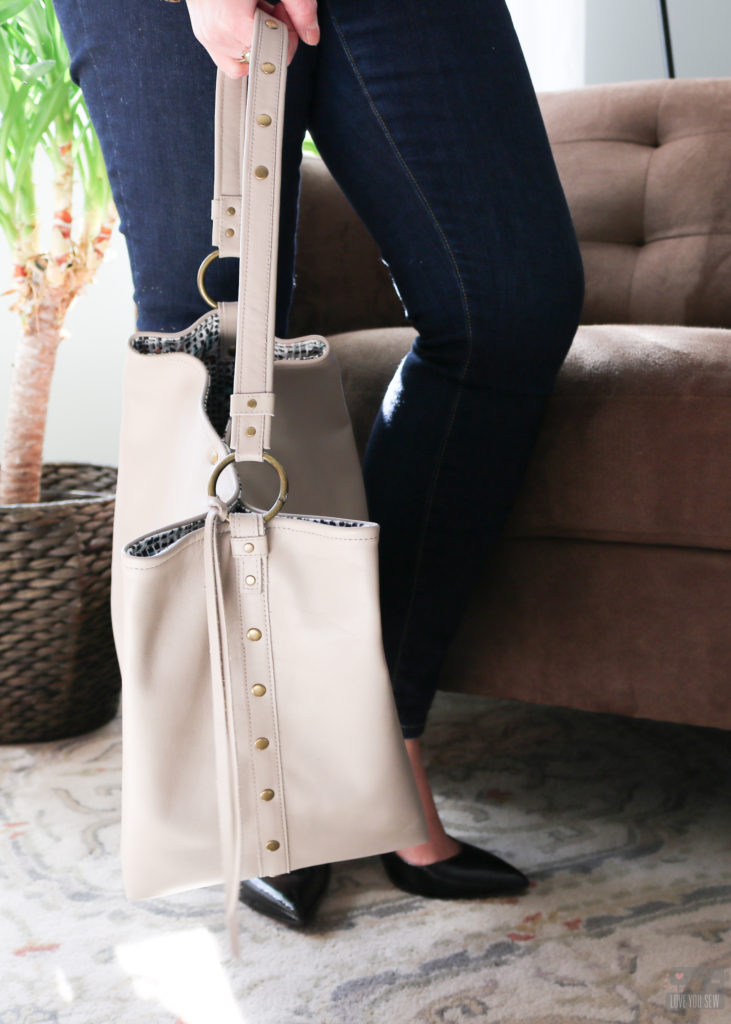
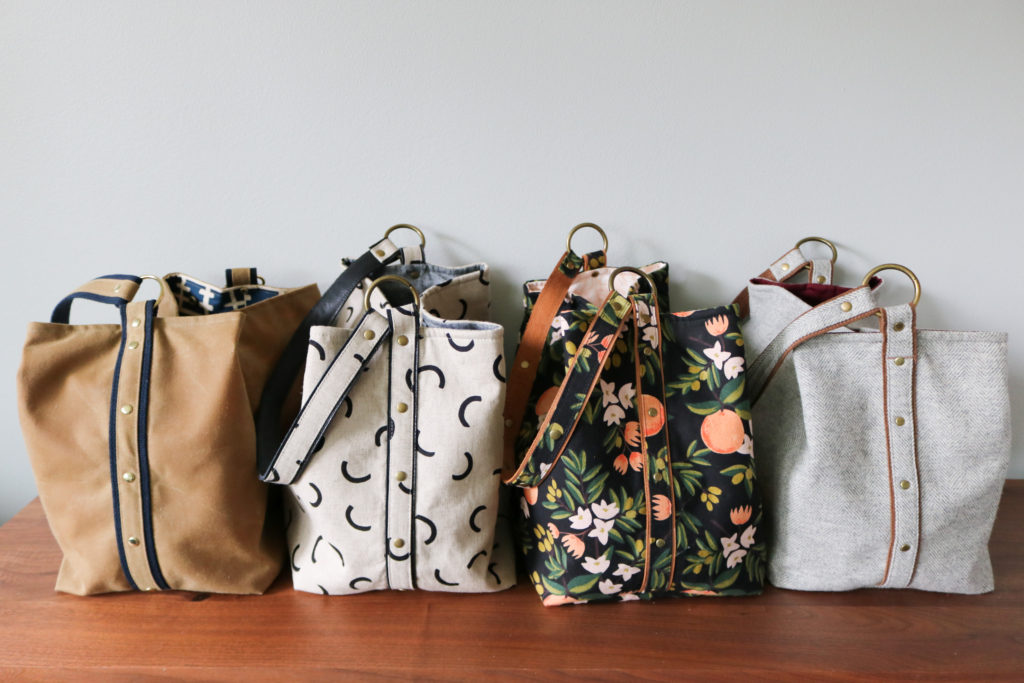
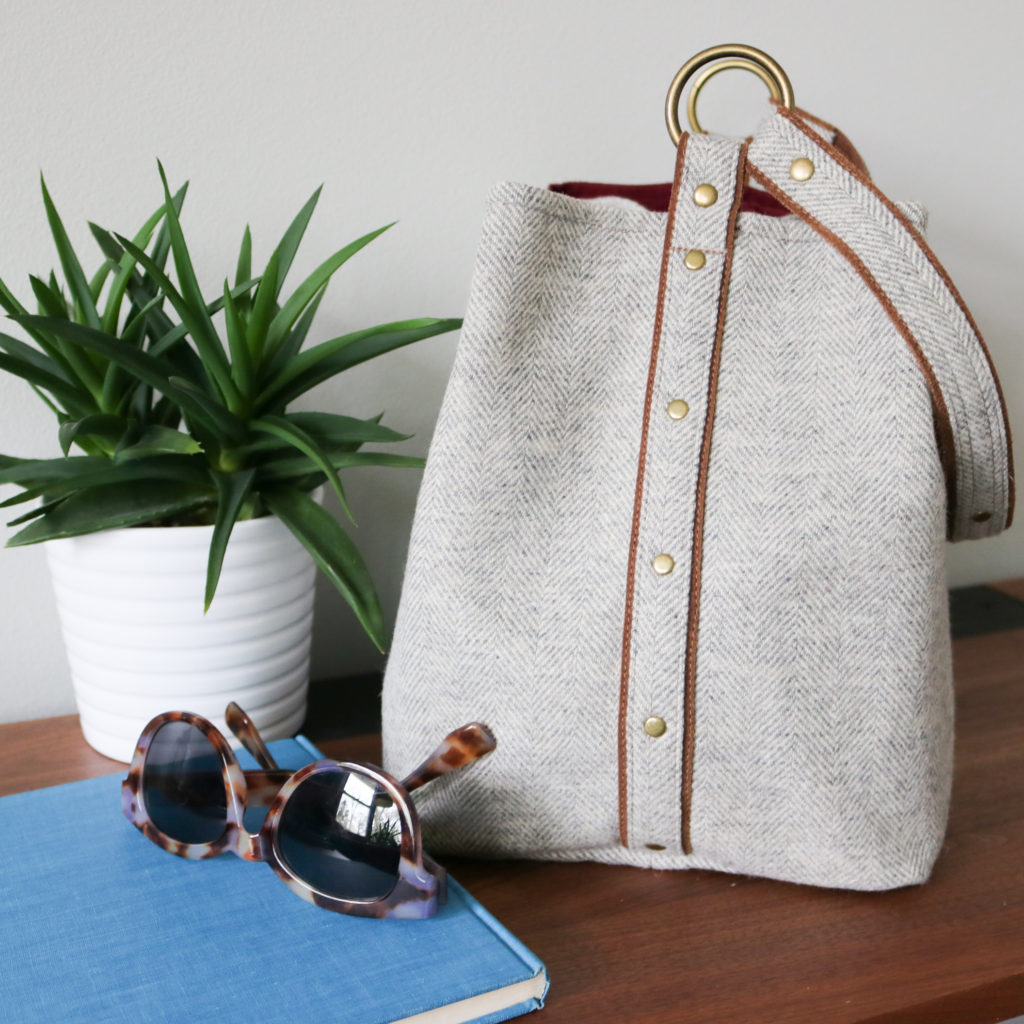 This bag is named after another one of my sweet nieces, Megan. Every time I would see her, she always carried around a large purse and I knew a generously sized bucket bag would HAVE to be her’s! She was always an avid reader and so this bag can carry around a small library if needed. Megan loves theater and has SUCH a beautiful voice. It only made sense to have plenty of mix and match bag options for whatever “role” would come next. Like my dear Megan, this bag is practical yet has just enough edge to stand out from the crowd.
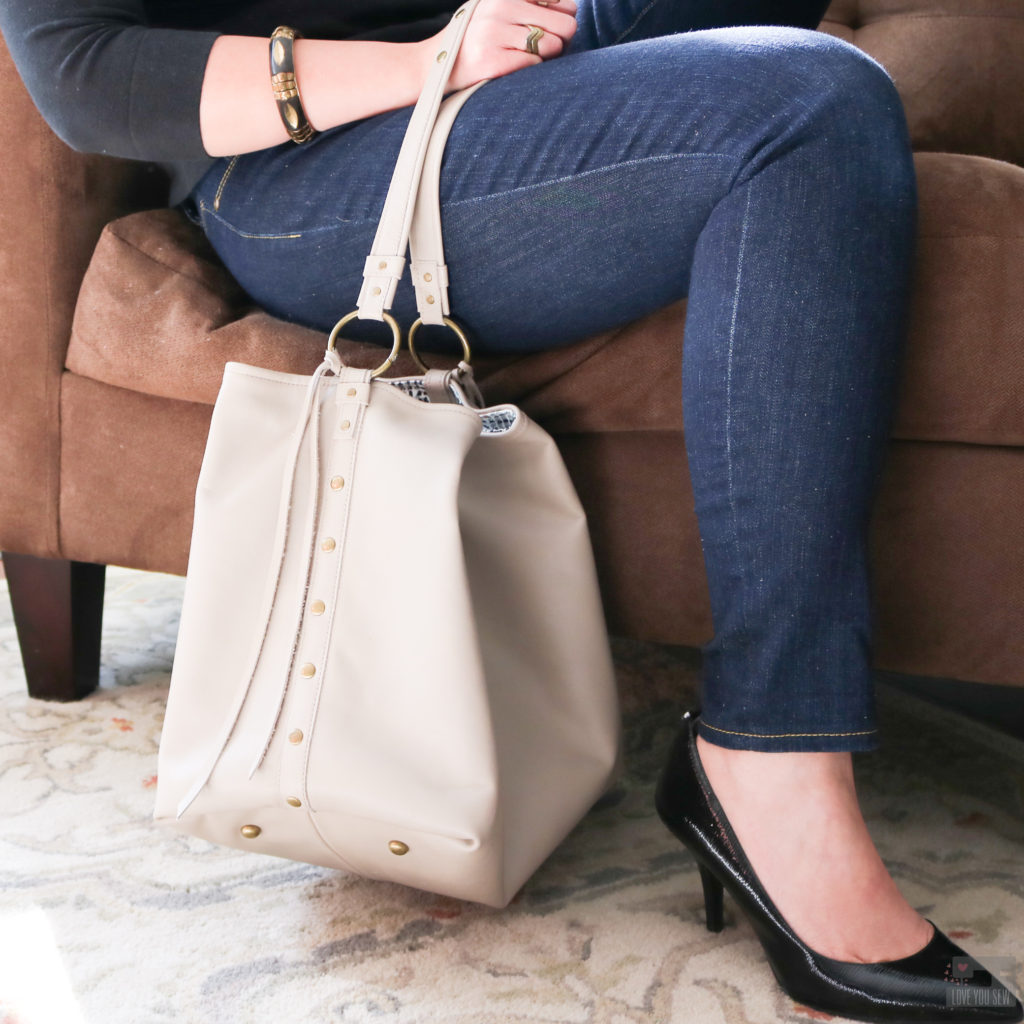 I’ve made nine different versions of the Megan Bucket Bag, starting with the OG, made with buttery taupe cowhide, which you can read about
 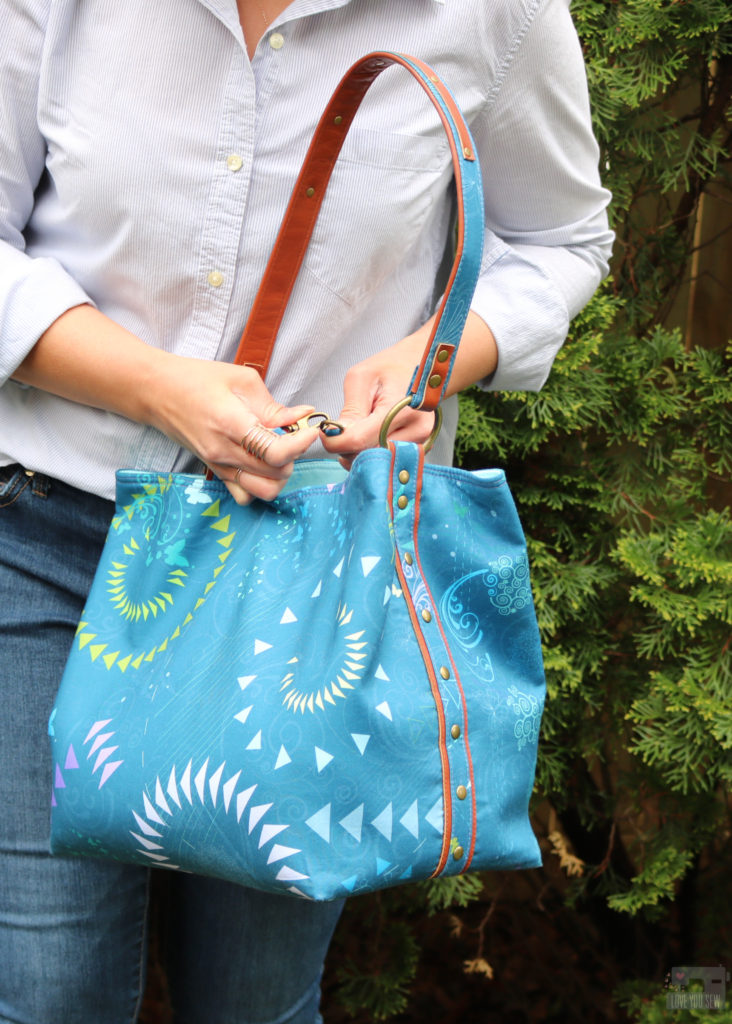 This was another prototype version you can check out here. This was my first fabric version I made while, of course, holding onto the leather details. I still love that extra thin piece of leather on top of the strap….I’ll have to remember that for my next Megan bag!
 After teaching many bag classes and workshops, I know that many students want to make professional looking bags, but don’t necessarily have all the right equipment – including a heavy duty sewing machine. So my goal with the construction, was to use some alternative techniques to take the bulk out of bag-making. This helps to think outside the box so you can make bags with a wider array of equipment…not just industrial grade machines.
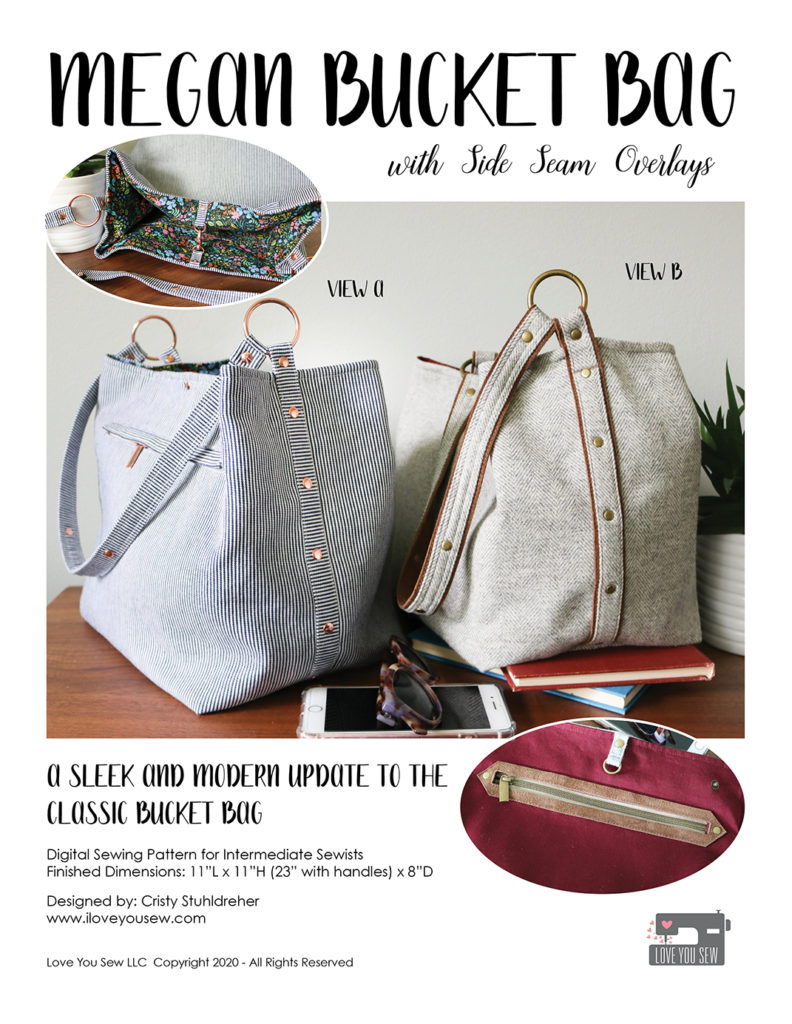
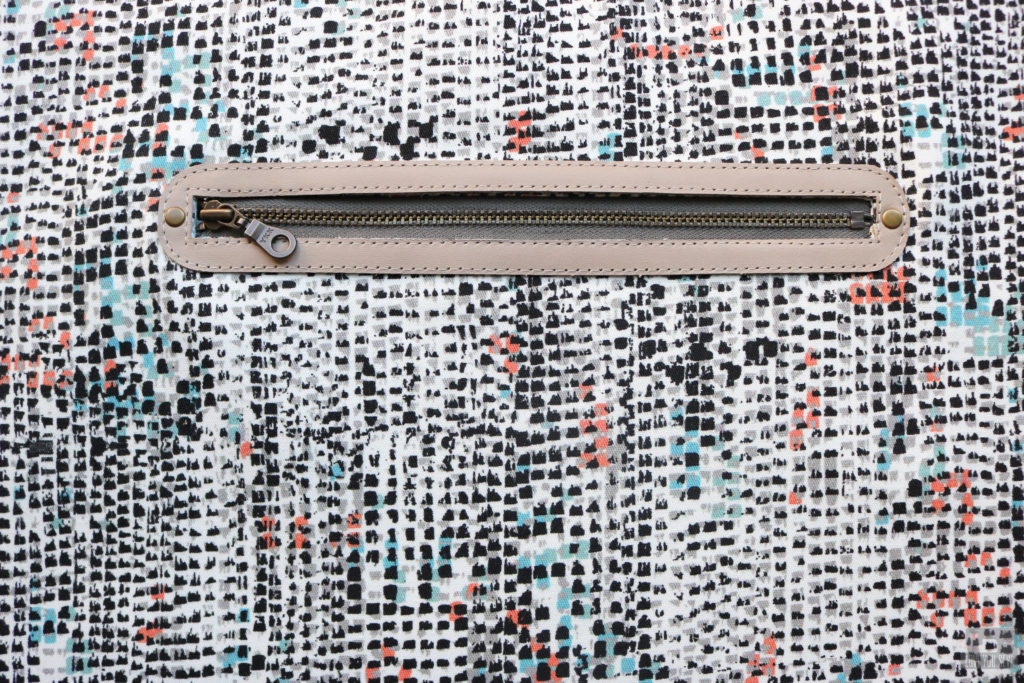
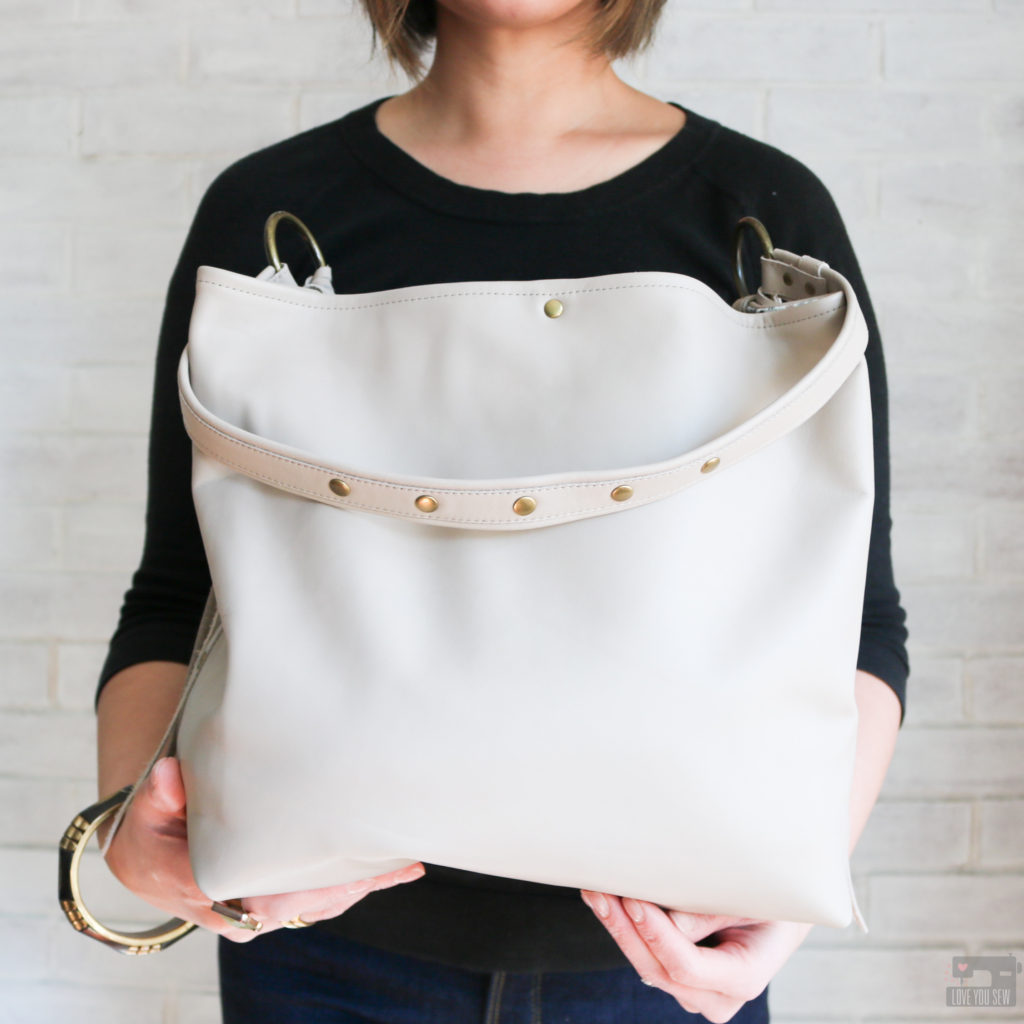
 “The Megan Bucket Bag is a fresh take on the classic slouchy bag silhouette, but with a more pronounced cube shape. The lines are clean with side seams hidden by overlays and rivets. There are two different views whether you want to make the Megan out of one fabric, or if you would like to use a raw-edge accent fabric to add a little more depth to the look. With this pattern, you will learn different strap making techniques to take the bulk out of your fabric and gain ways to present a welt zipper pocket with plates or a cover. You will also learn an off-set bag technique for the overlays that won’t compromise your side seam stitching. There are plenty of options with snaps and the use of accent fabric for you to mix and match for your perfect bag.”
This is a pattern for you to learn:
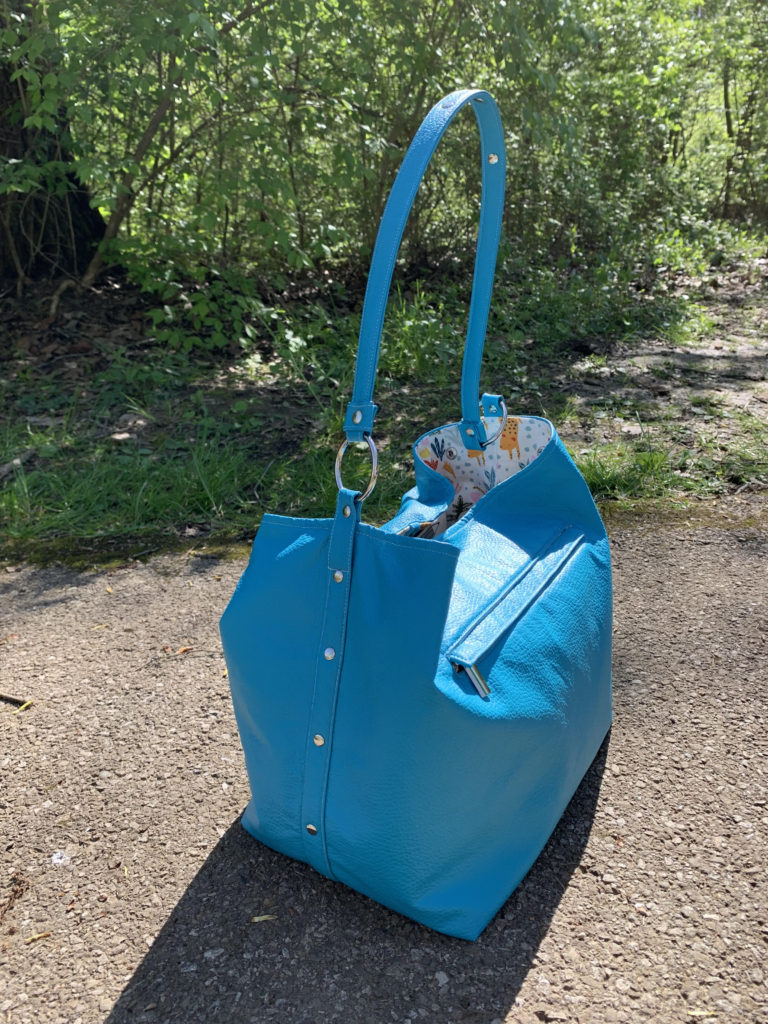
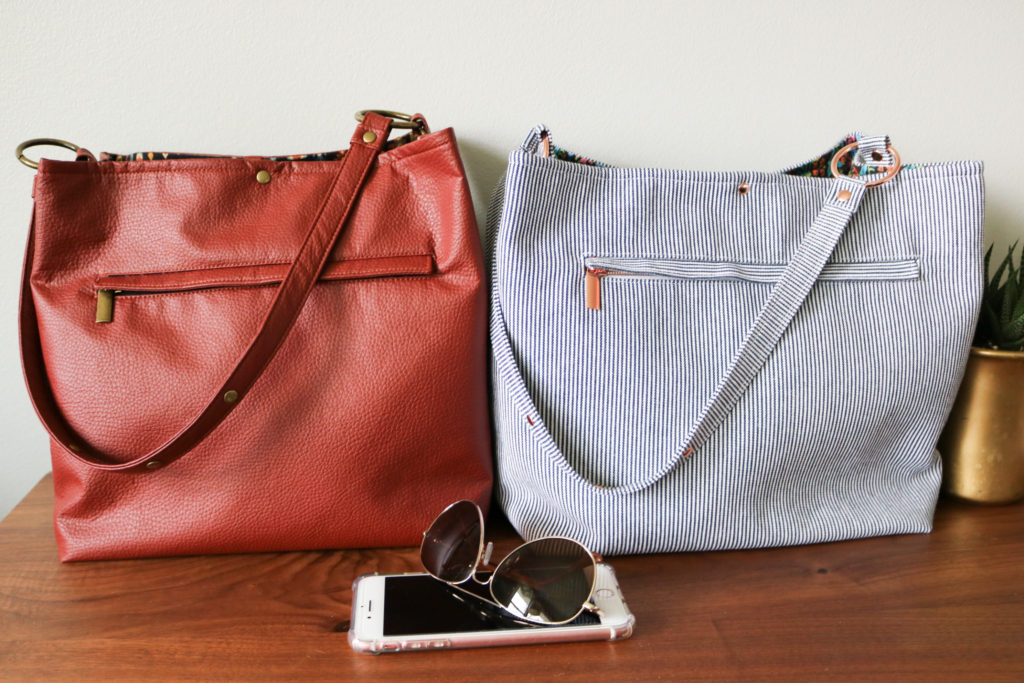 View A was designed for a single fabric and perfect for a newer bag-maker who wants to just use canvas. This is a great way to start and learn new purse techniques without having to deal with other substrates. However, this same version can be used with a single faux leather and still have a striking look. This view has a handy outside pocket with a cover to keep the look smooth and sleek but still has other details like the strap loops to add more interest.
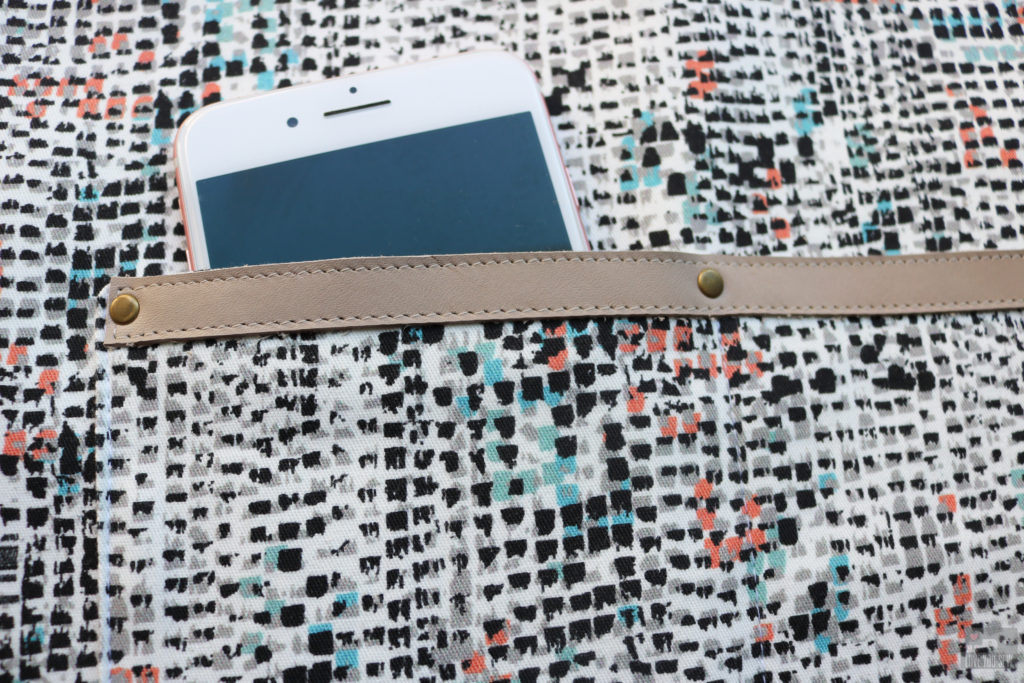
 View B uses an accent fabric such as leather, suede, cork or vinyl that can be left raw edged without fraying. These substrates are great looks to add more depth and texture to a bag. The accent fabric is incorporated on to the side overlays, strap, and is used as decorative plating against the zipper pocket and slip pocket. However, you can also swap out the accent fabric with some webbing to speed up your project.
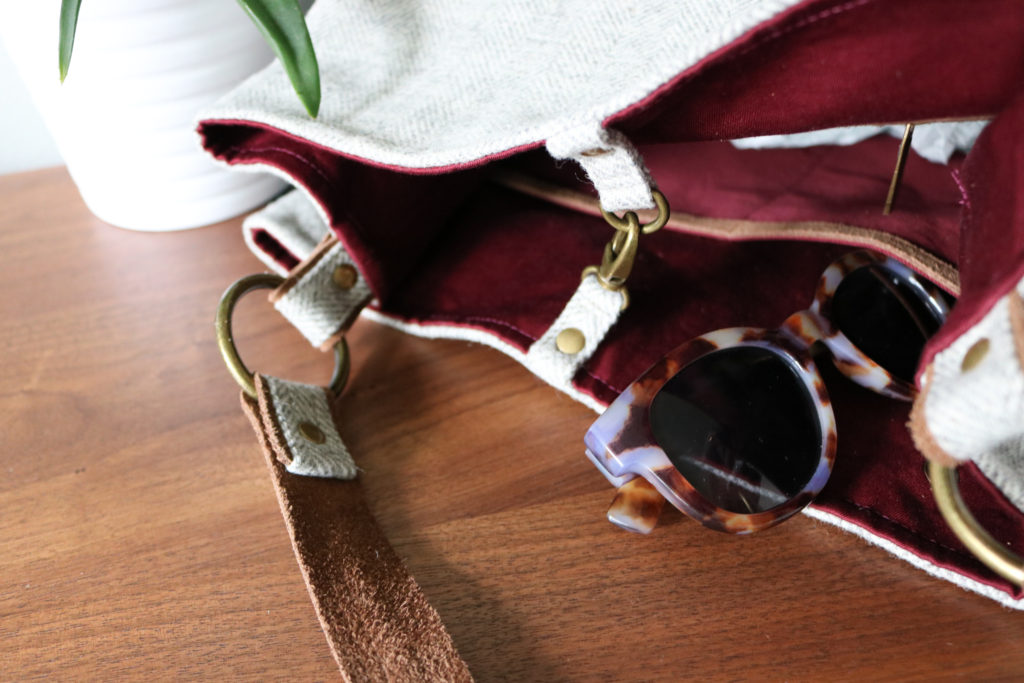
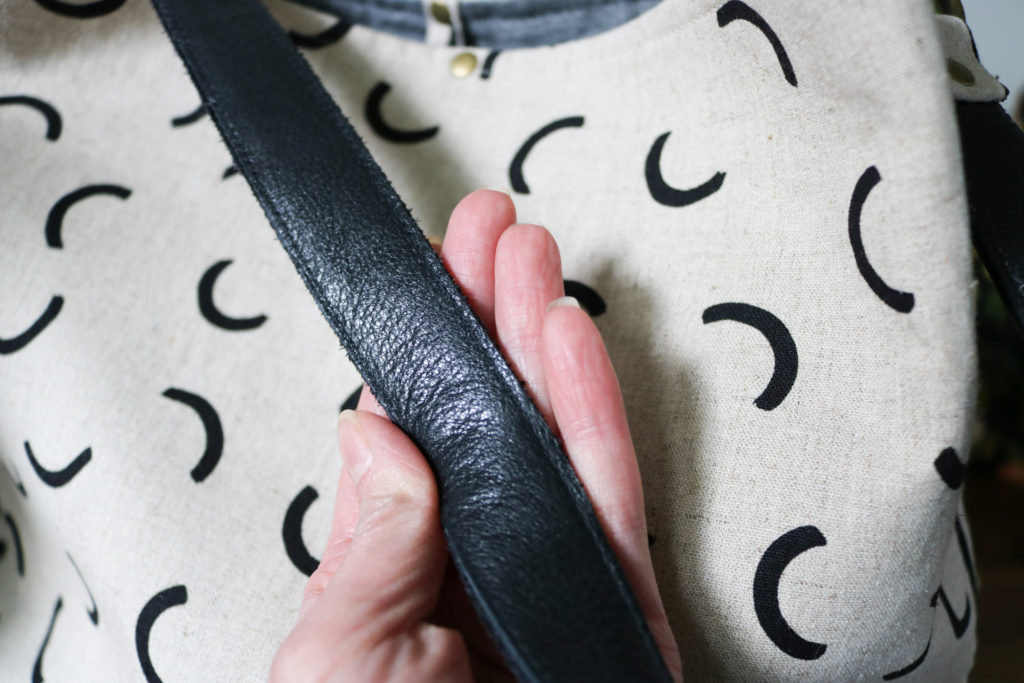
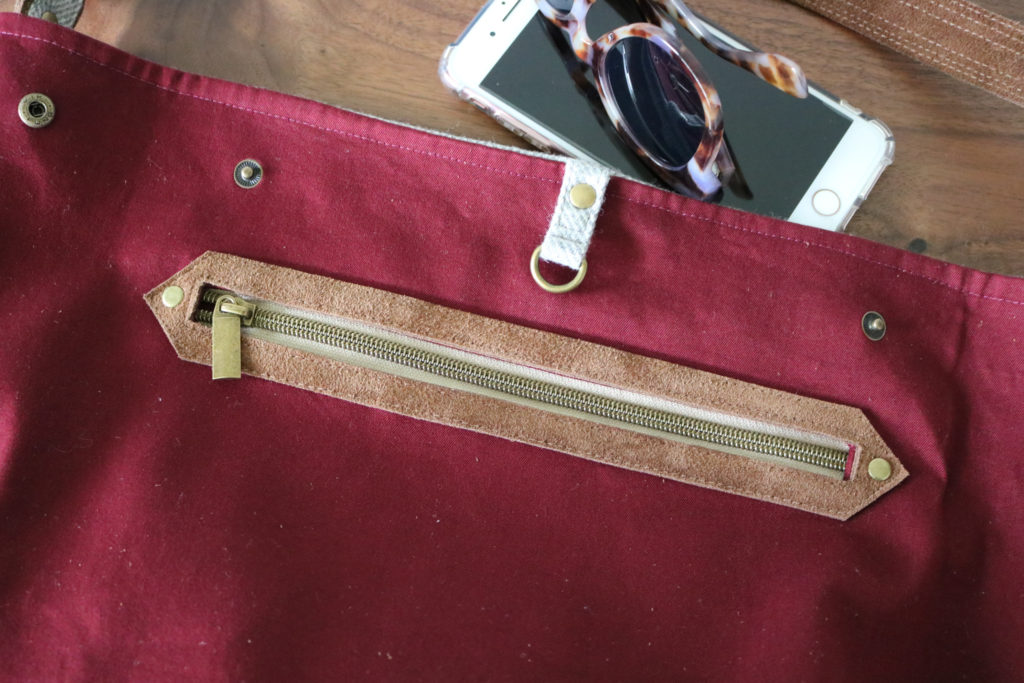 This pattern was written with mid-weight accent fabrics in mind with 2-3mm thickness to have enough structure in the strap. However, I know there are a number of other fabrics you may want to use that are lighter and thinner – especially many types of cork. Consider adding a second layer of accent fabric to the back of the strap as shown below. Play around and see what you like!
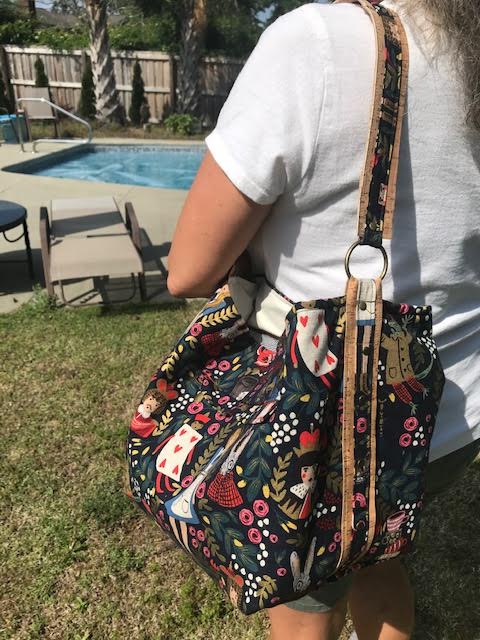
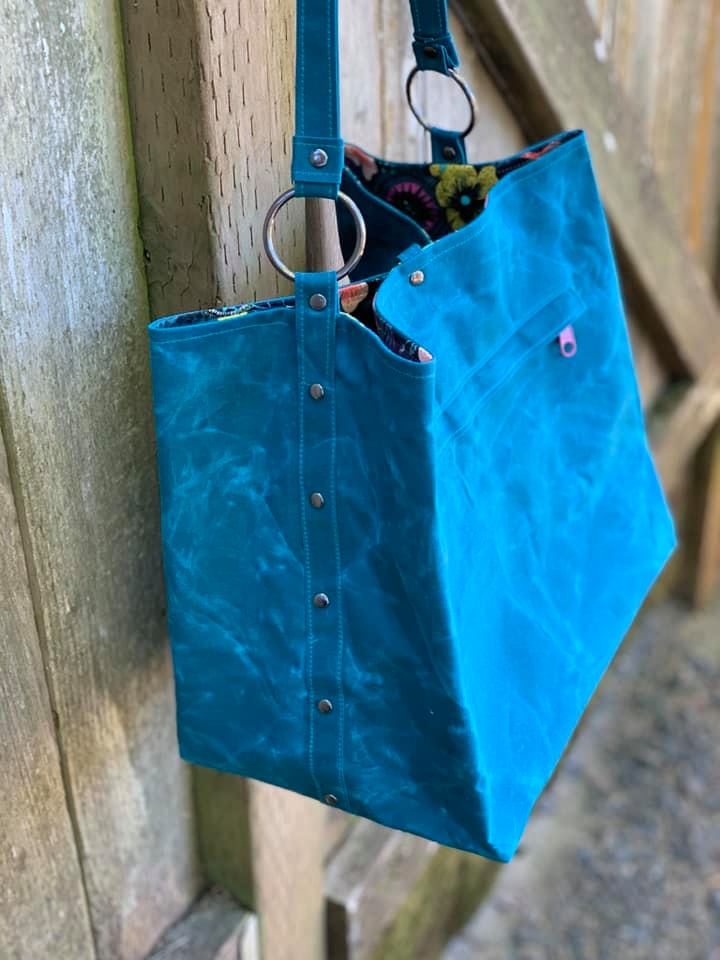
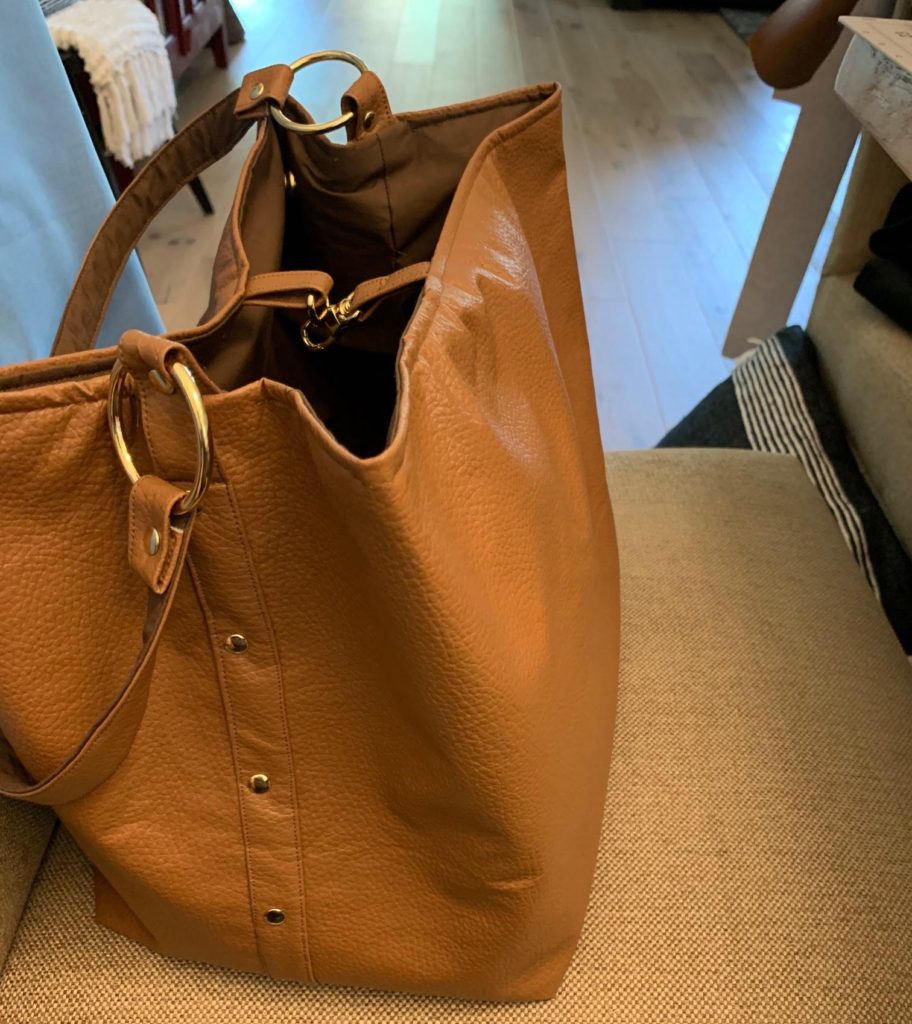
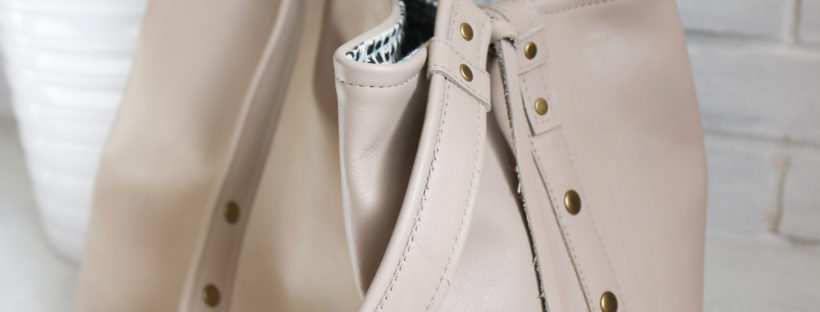
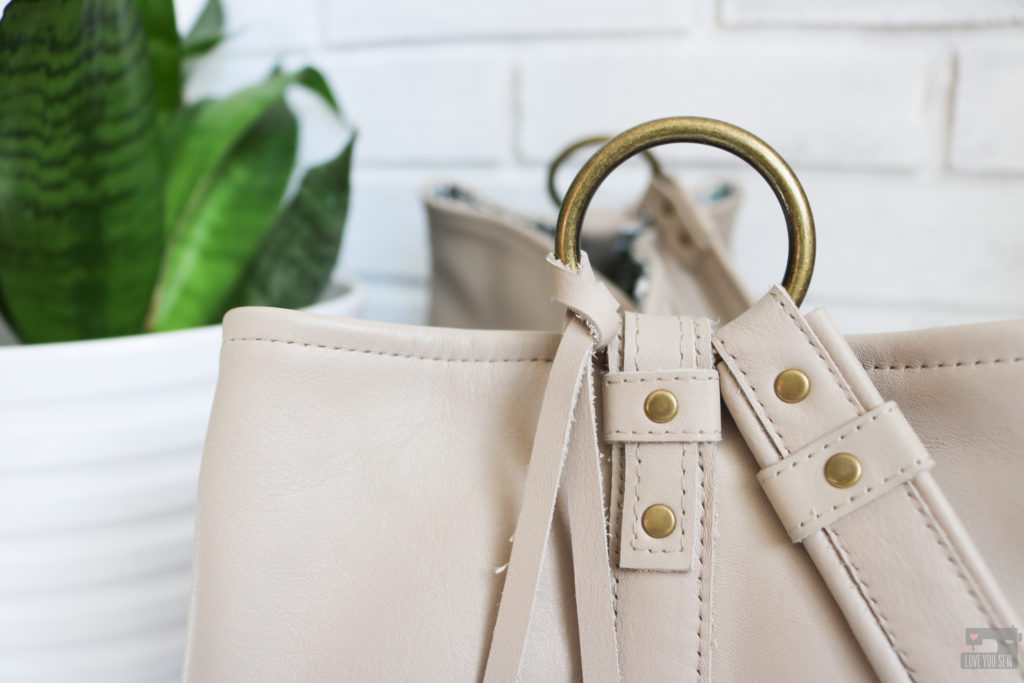
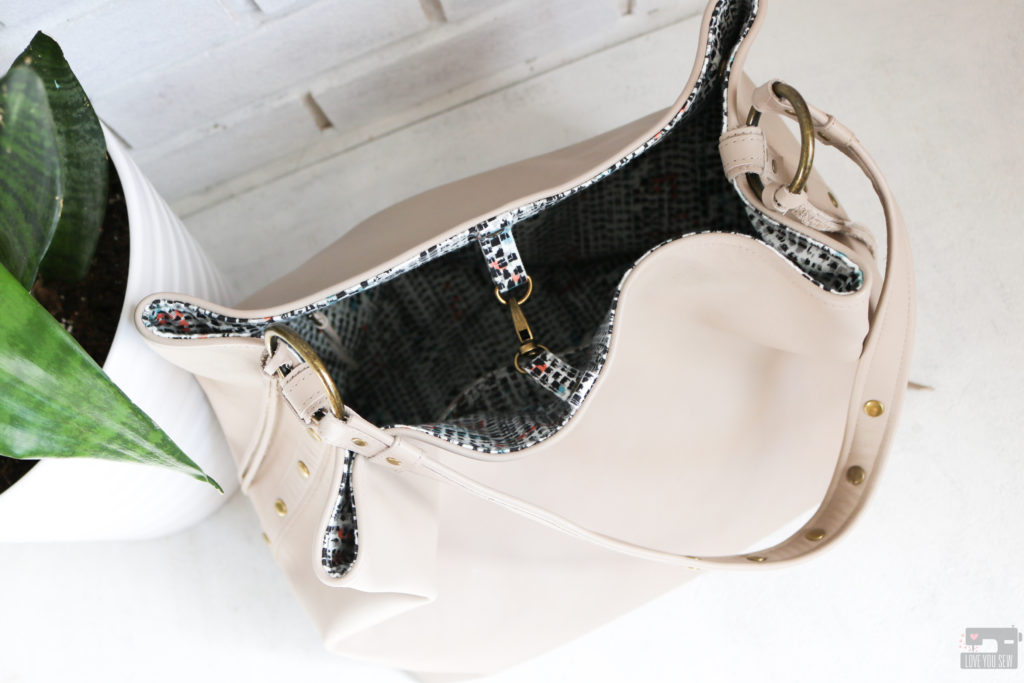
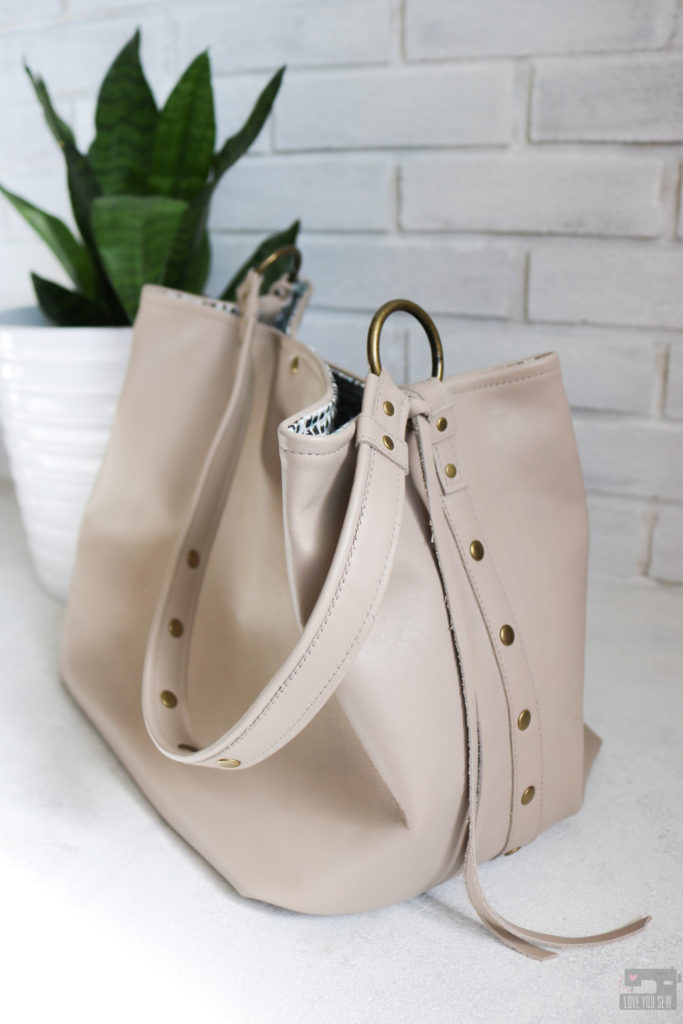
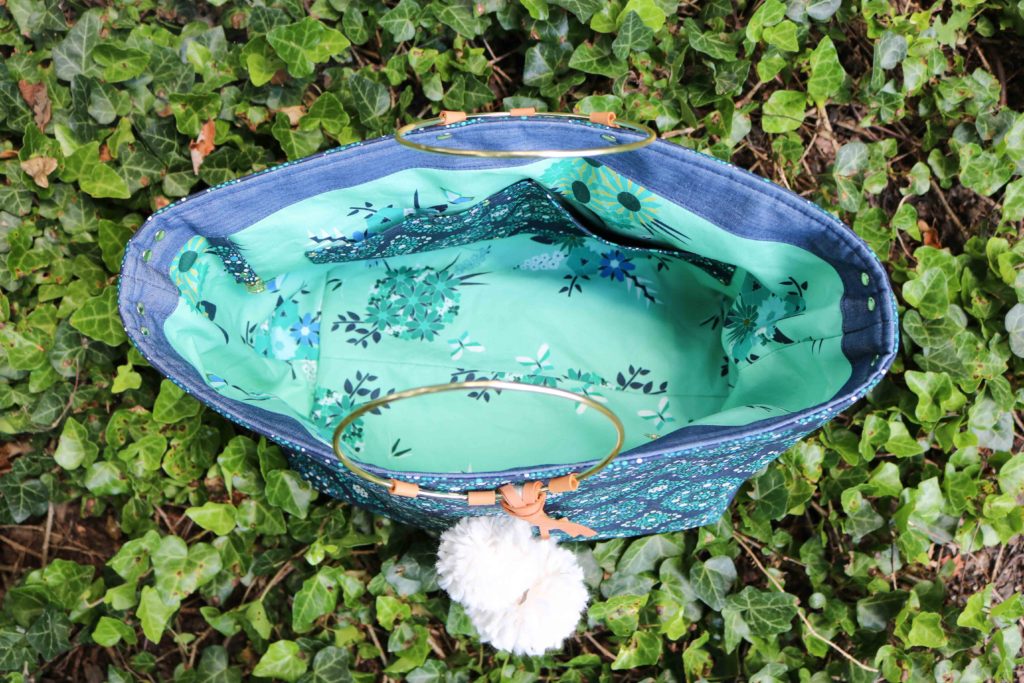
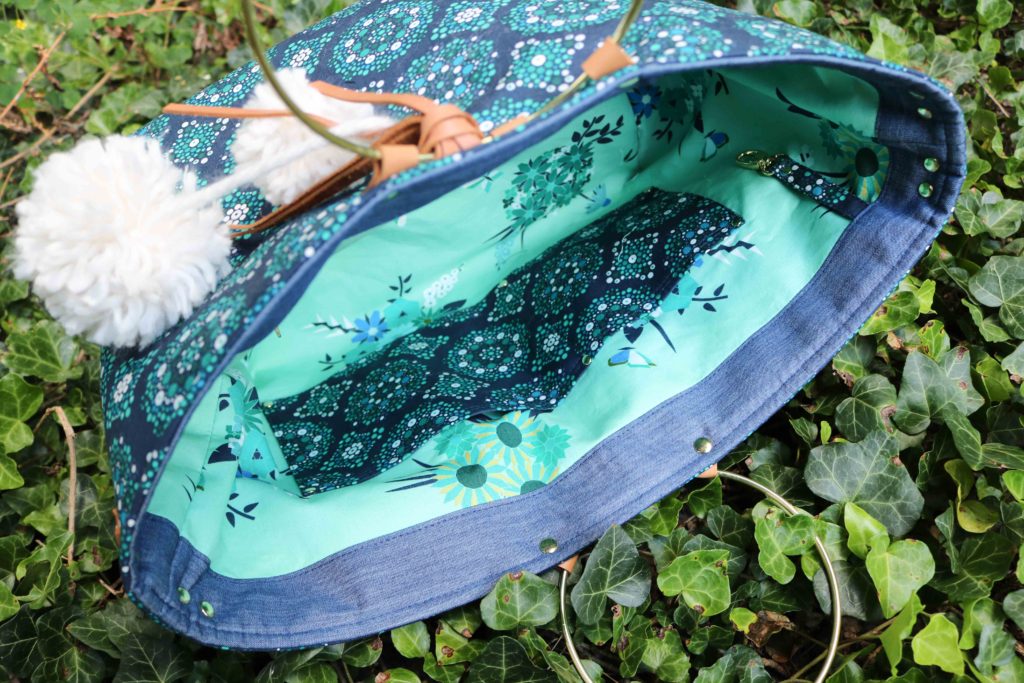
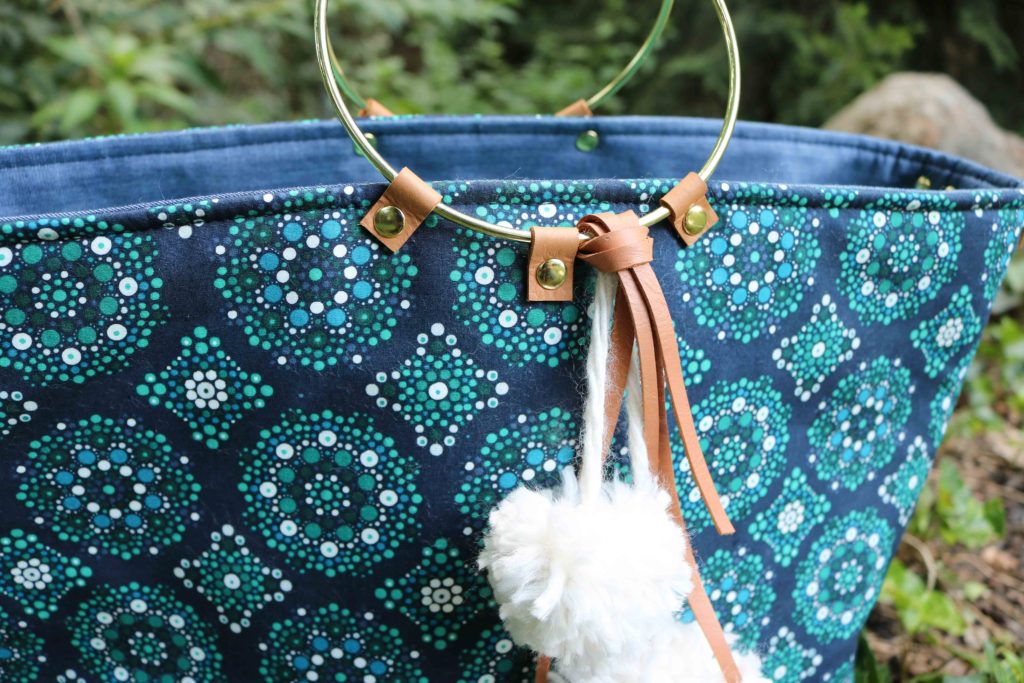
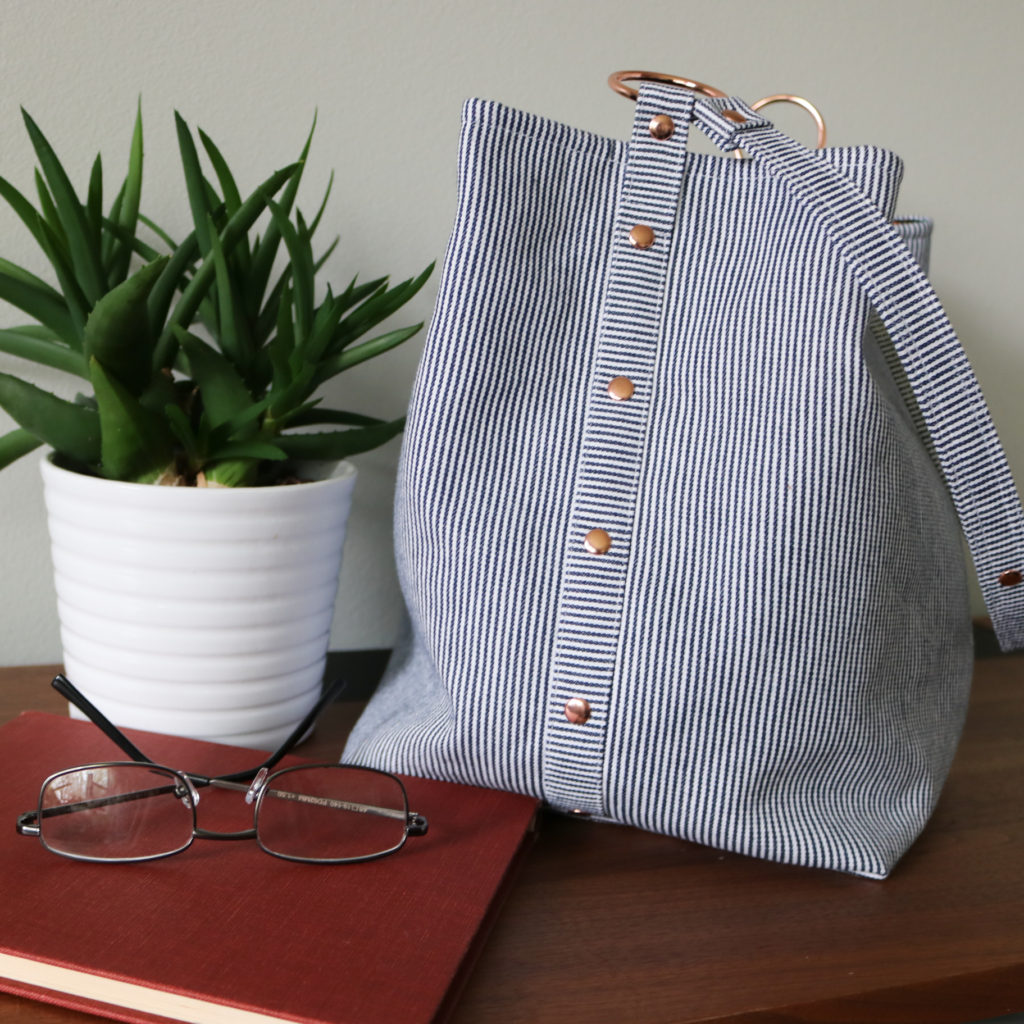 The main aesthetic element to the Megan Bucket Bag is the side overlay with a row of bright beautiful rivets. Although I’ve used rivets for a long time with my bags, they were only in the patterns as alternation options for securing straps and such. This time, the rivets are the featured stars and are not just for looks, but also for structural purposes. They help secure the strap in place around the gorgeous O-rings. This give such a strong, yet delicate look.
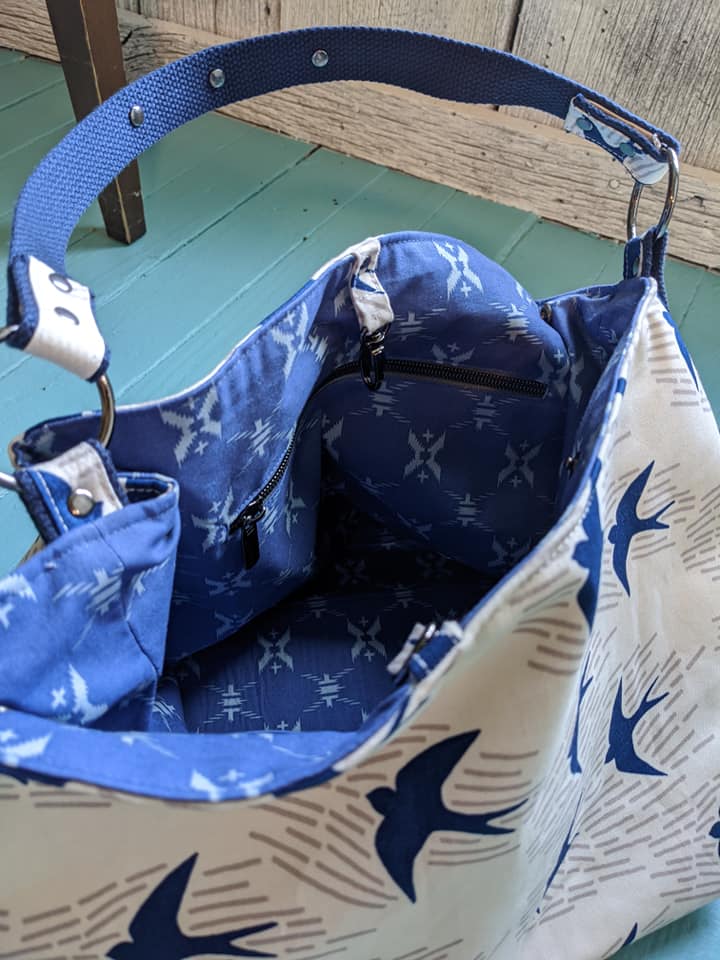
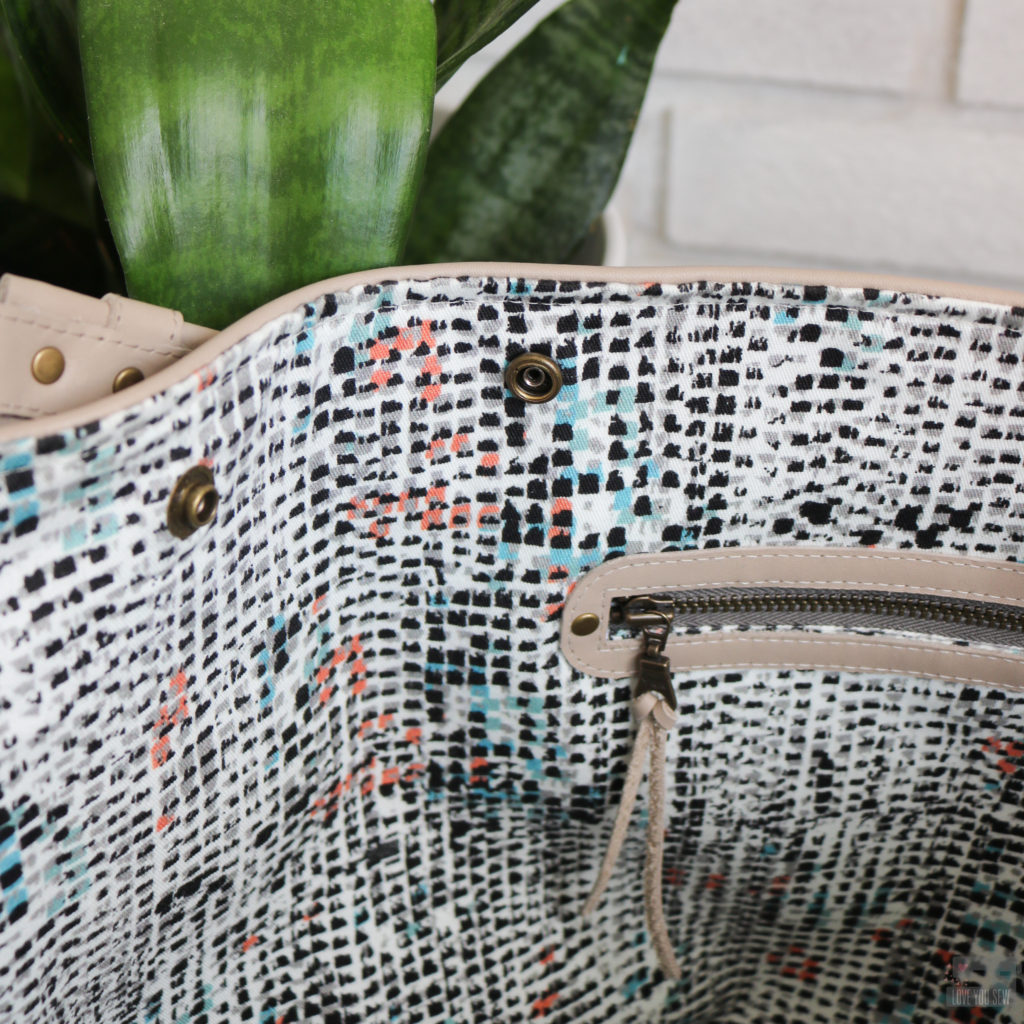
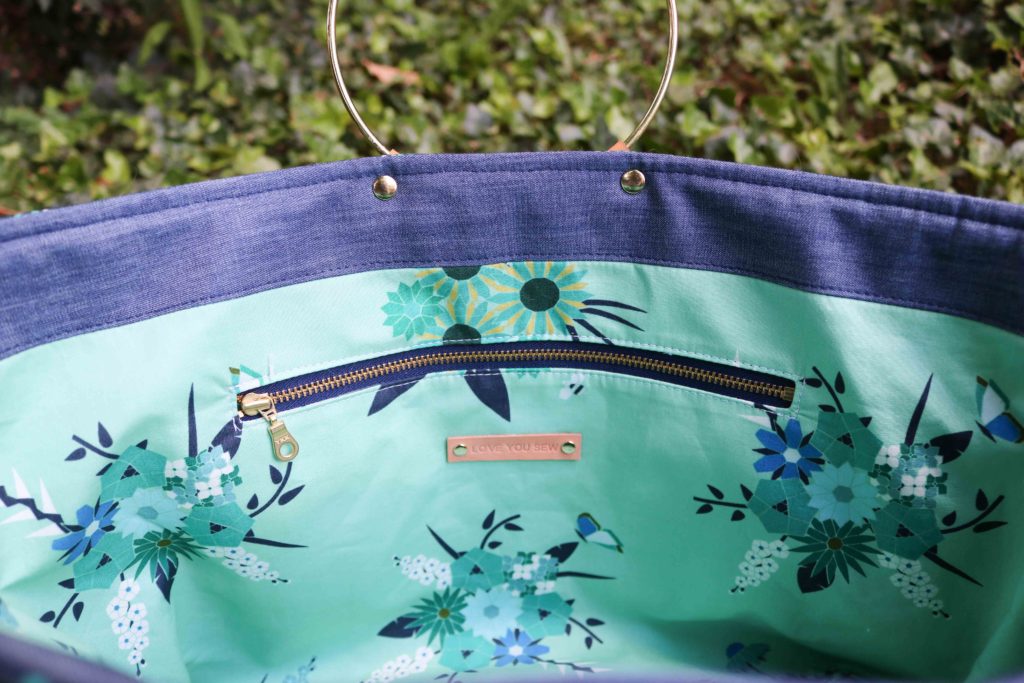
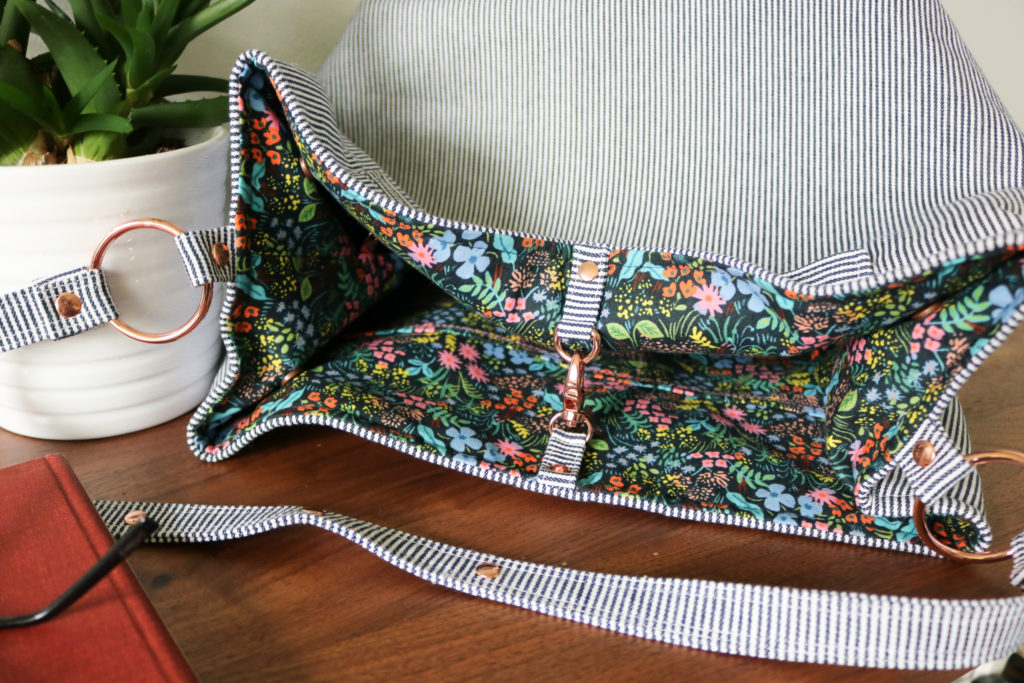 To help hold the shape of the bag and keep contents safe, four sets of snaps are added to the lining. They help keep the cube shape of the Megan while still staying slouchy like a good bucket bag does. The purse can then be easily expanded by just releasing the snaps.
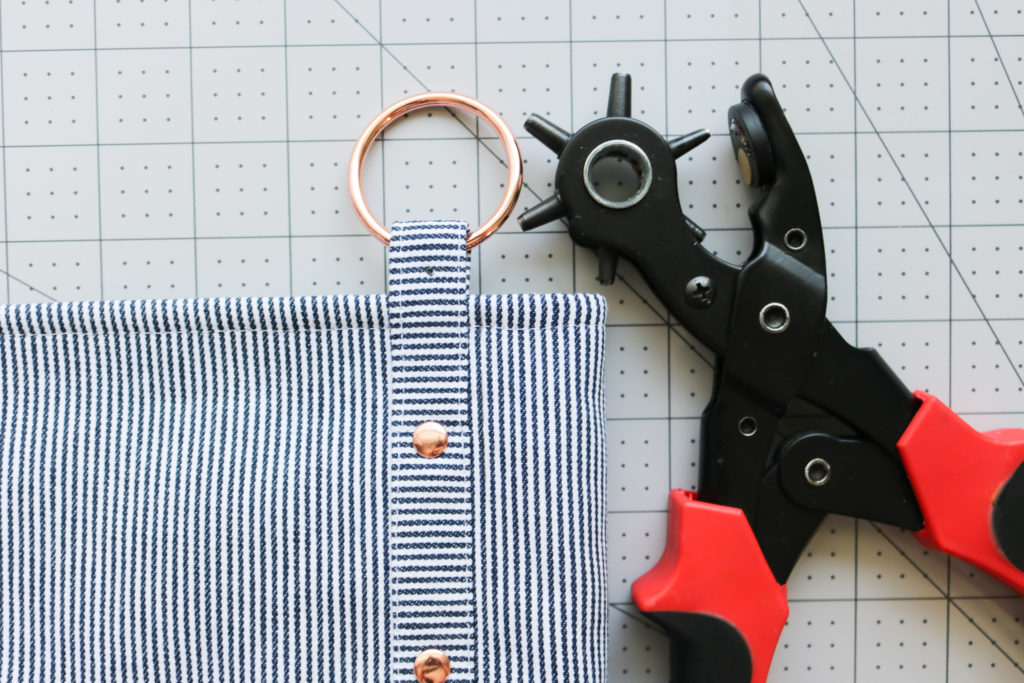 Although the pattern includes the use of rivets and snaps, there are no actual instructions to install them. Since there are SO many different types of hardware out there with multiplied by different tastes of the sewist, there was no way to include instructions for everything. Rivets can be single sided and double-sided. They can be shaped like pyramids, domes, or flat like burrs. Snaps also have a number of different sizes and features as well. I prefer “spring” double cap snaps, but you can use magnetic or even sew-in snaps too! This pattern allows you to use YOUR preference of material. But just like with interfacing, you must remember to follow manufacturer’s instructions. I’ll be showing my preferred methods of rivet and snap installations all next week, so keep an eye out!!!
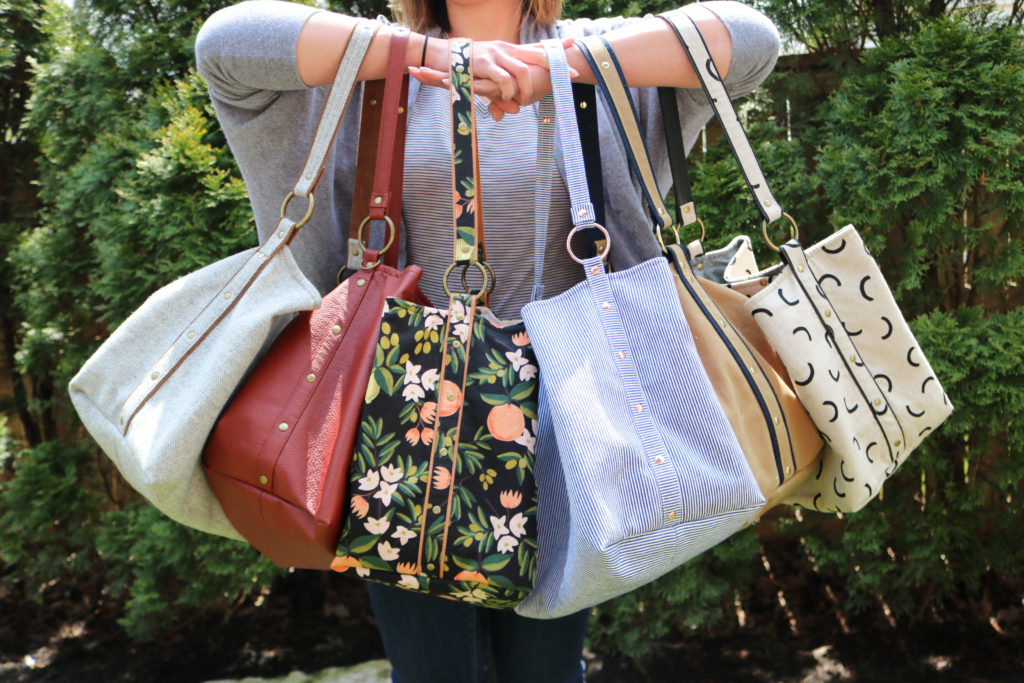 There are truly SO many different ways to make the Megan Bucket Bag. If you are ready to make your own, click below for the pattern AND the hardware kits….it doesn’t get any easier, right?
