Observer Fabric Tour >> Quilted Envelope Clutches

ObserverBlogTour_Title

It’s here!  It’s here!  The Observer collection by April Rhodes for Art Gallery Fabrics has finally made it way to shops and I’m so happy to show you my projects on the #OBSERVERfabrictour.  In true fashion, April does not disappoint.  These designs come from her own eyes and what she has seen both physically and mentally.  My favorite print is Aerial View…mainly because it was inspired by Columbus, OH (where we both live) and just shows how little we are in such a big world…

Observer-Fabric-Tour

I was very fortunate to play with the early strike-offs for this line, and you can view my other projects in this previous post.

P1060647

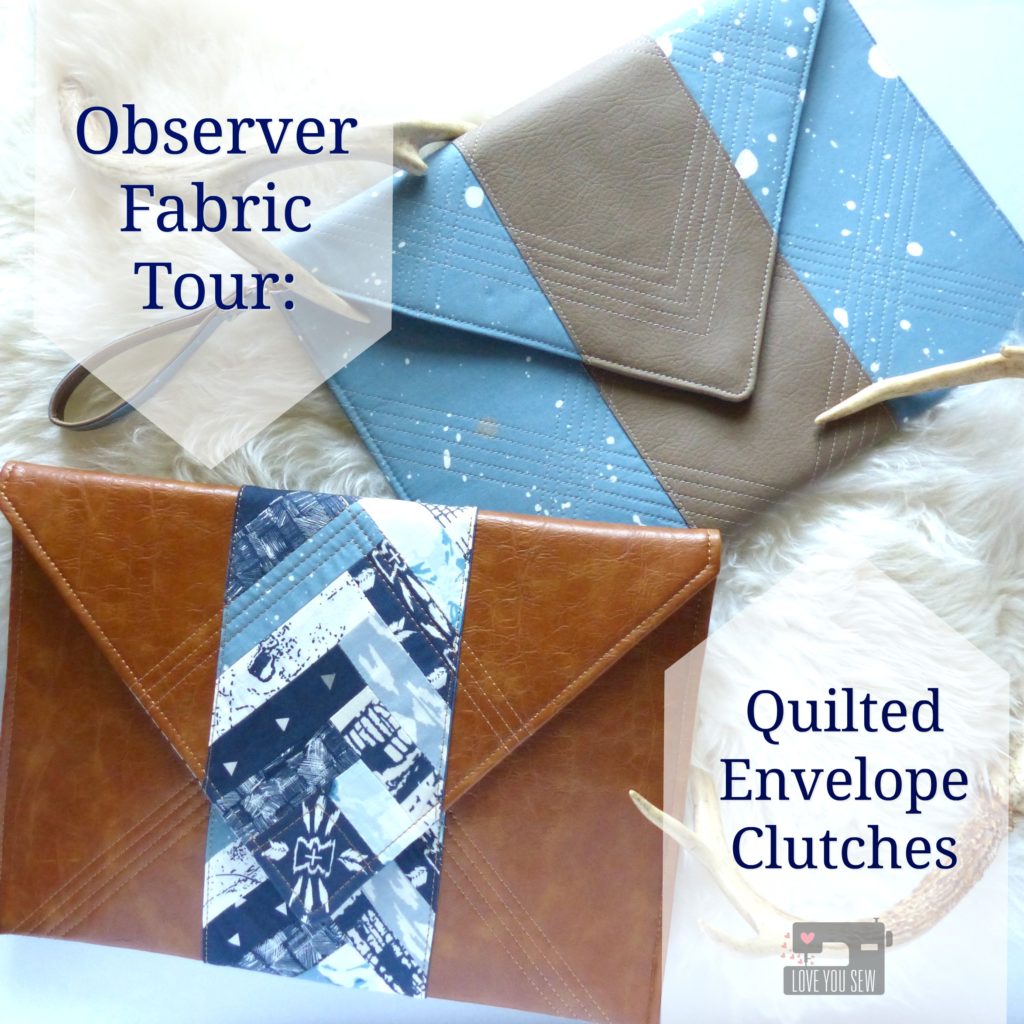
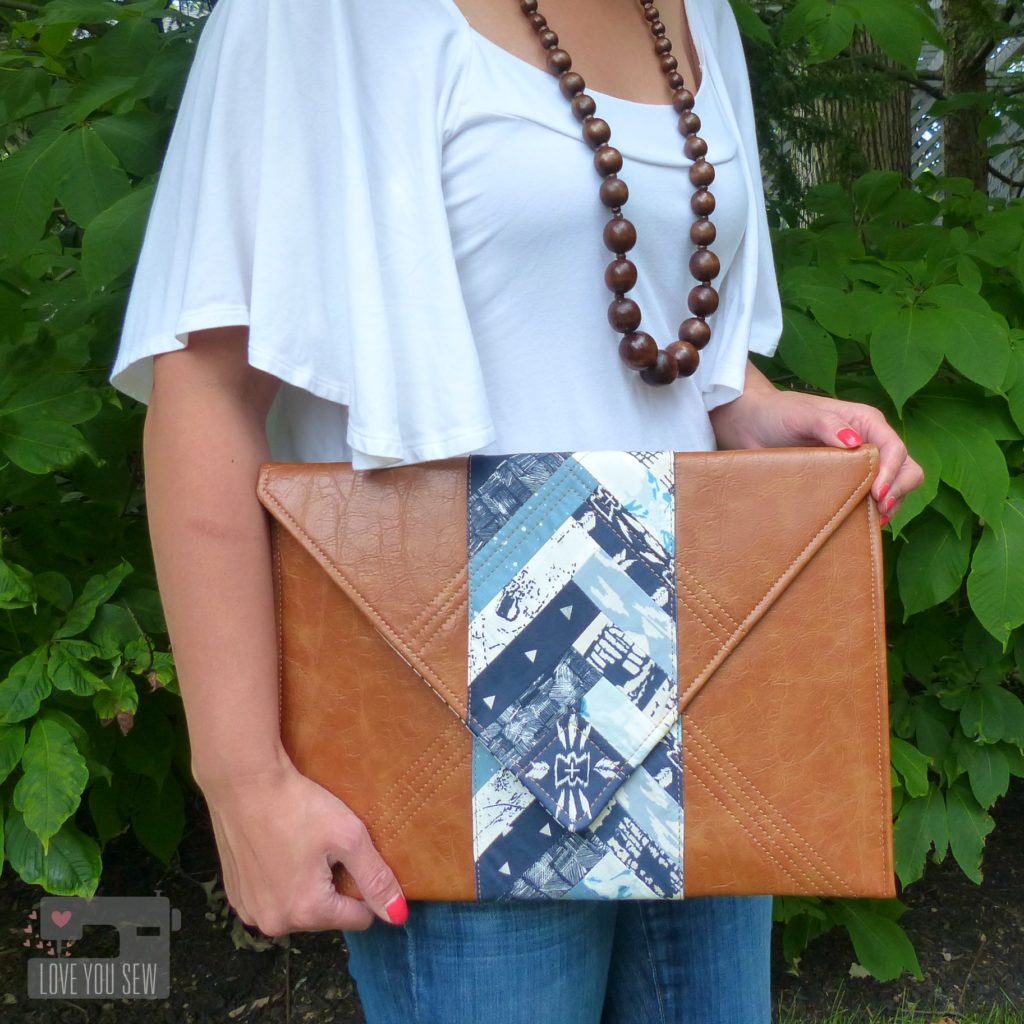
I’m kicking the tour off with these fabulous oversized Envelope Clutches.  Ever since I had swatches of these fabrics in my studio, I was trying to think of what I wanted to make as a personal project.  These curry and sulfur colors mixed with sand and copper play SO well with the indigos, grey-blues and navy.  I fell head-over-heels with this palette and have plans for a dress in Overshot Gold.  With that in mind, I thought a trendy Envelope Clutch would be perfect in the Shard colorway.

P1060617

As a modern quilter, I continually try to show the rest of the world that patchwork and sewing are still “cool.”  Sound familiar, friends???  I thought combining the sophistication of (faux) leather with a simple block would be the perfect marriage of current Boho-Gypsy love and traditional quilting.

IMG_6780

This was initially going to be a one-off creation just for myself, but the sneak peeks on Instagram created such positive feedback, that I knew I HAD to write a pattern for all of you. EDIT:  Tutorial can now be found HERE. 

IMG_6770

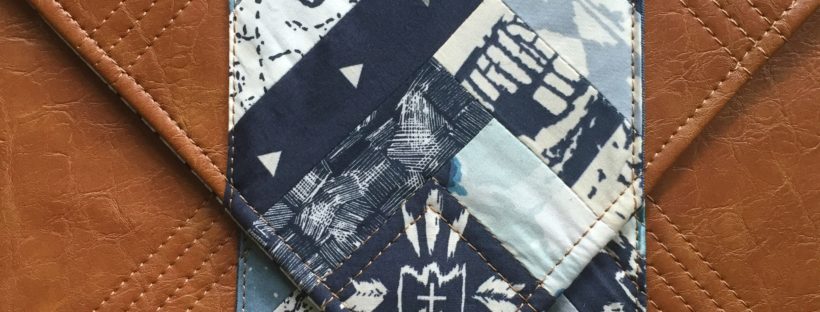
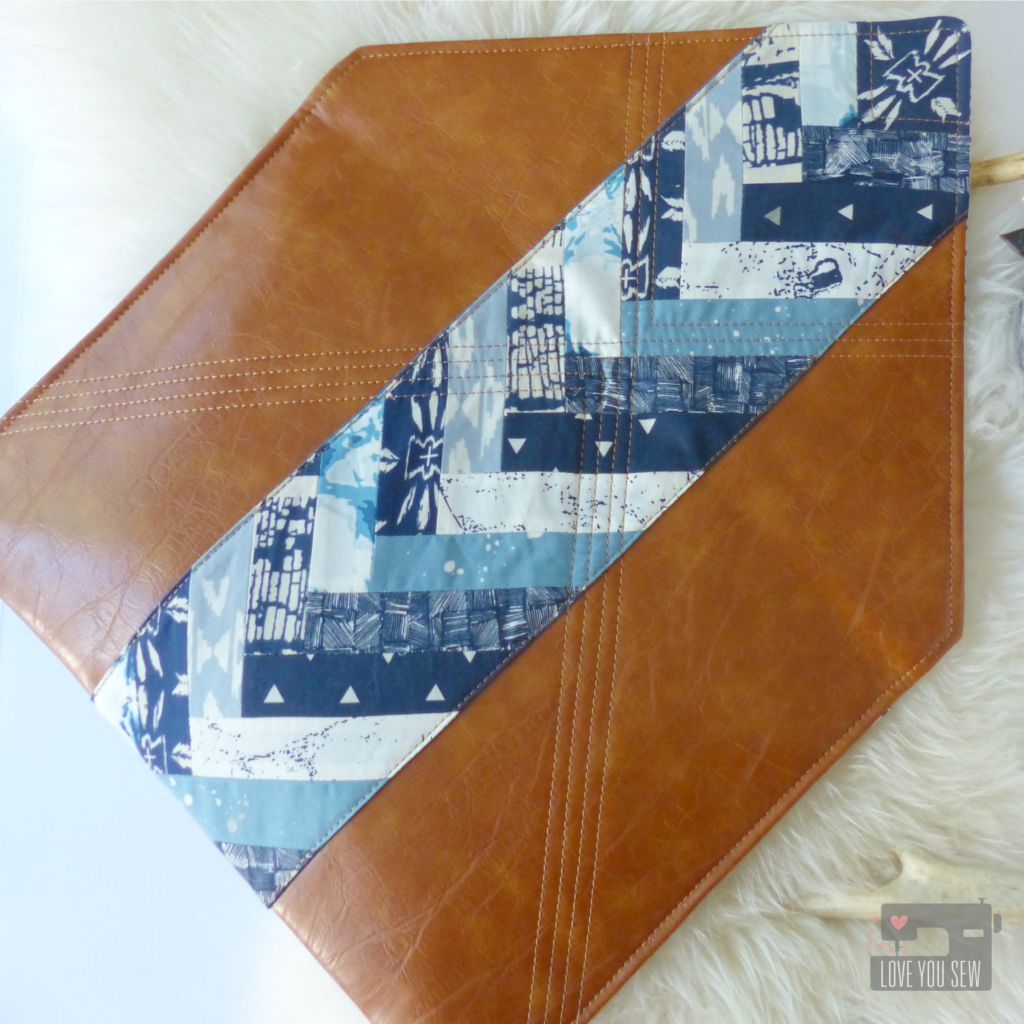
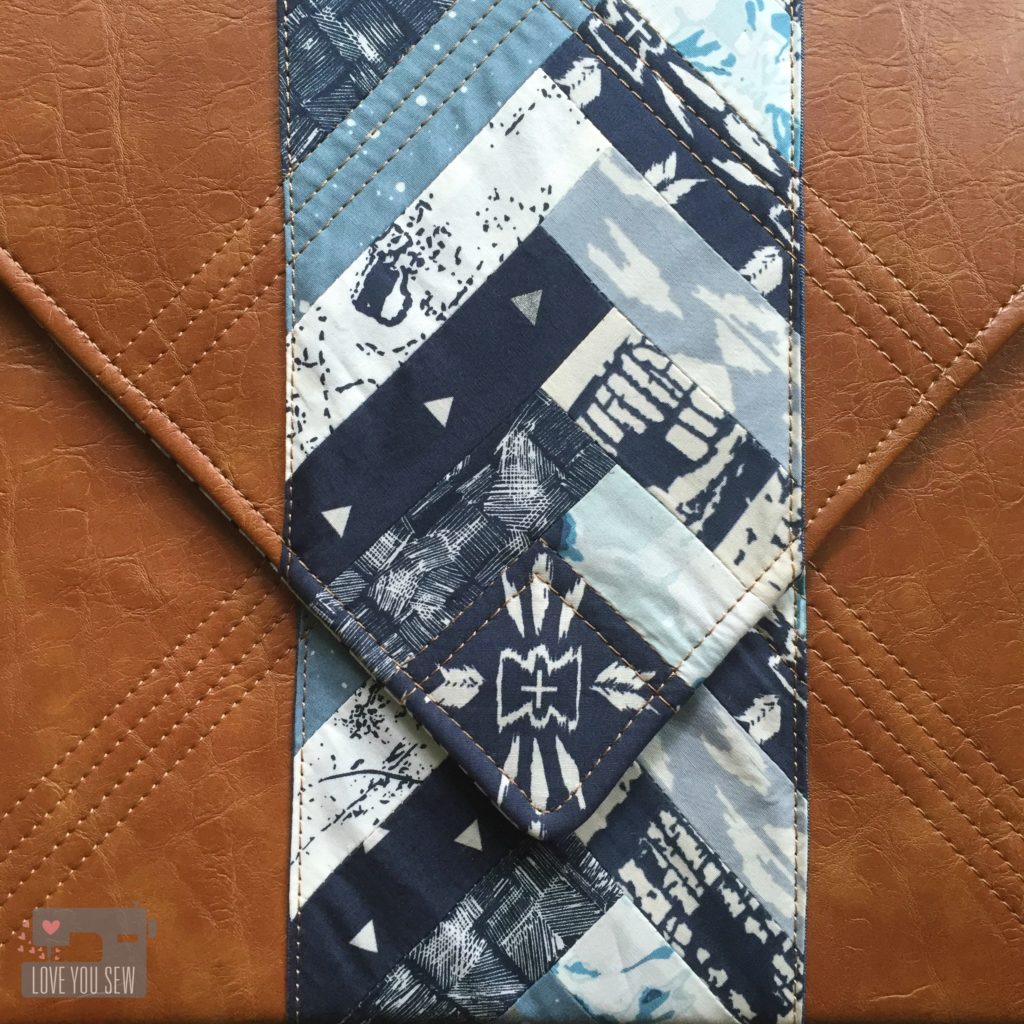
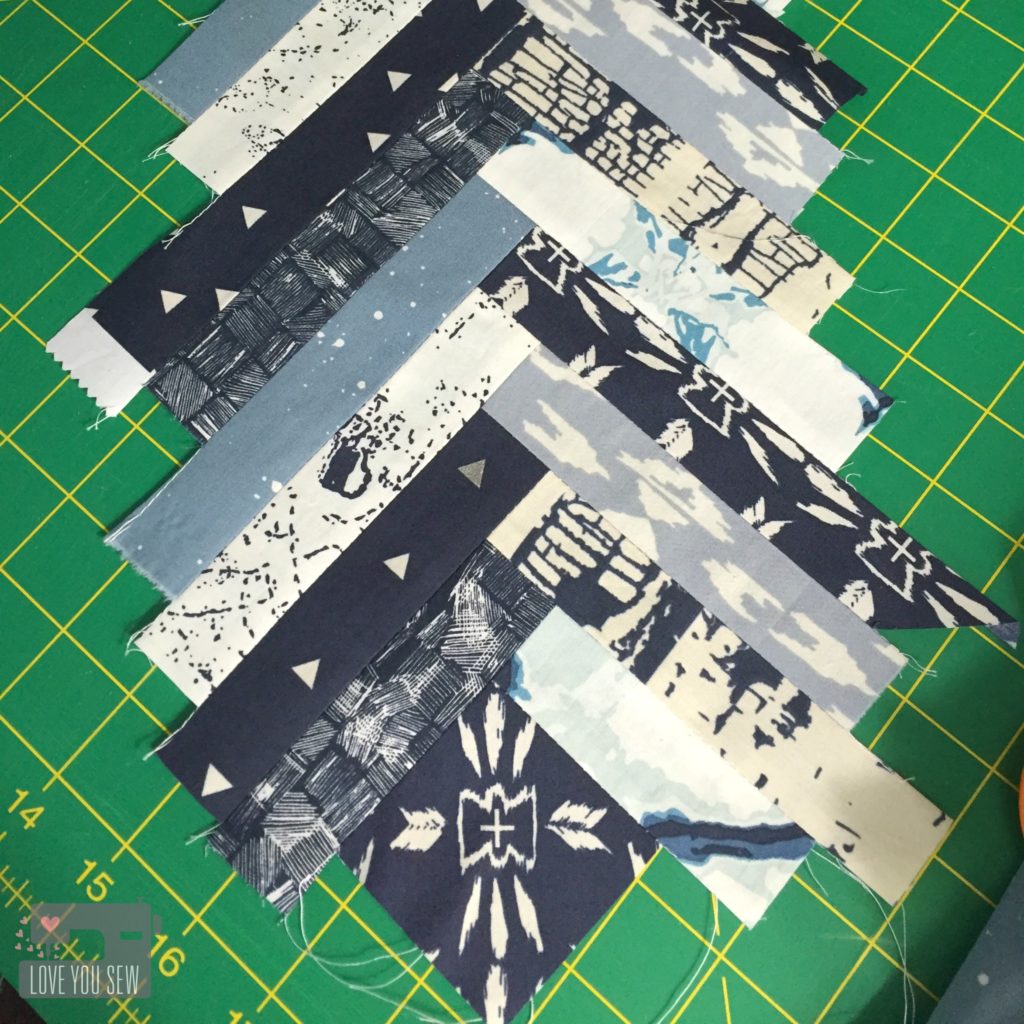
Working with the envelope design, I used a simple half log-cabin pattern to work with the flap’s 90 degree angle.  I used a 2.5″ fussy-cut square from the Homespun Praxis and used various 5″ (or longer) x 1.5″ strips to make a 28″ panel.  The panel was then trimmed to 5.5″ wide.

IMG_6772

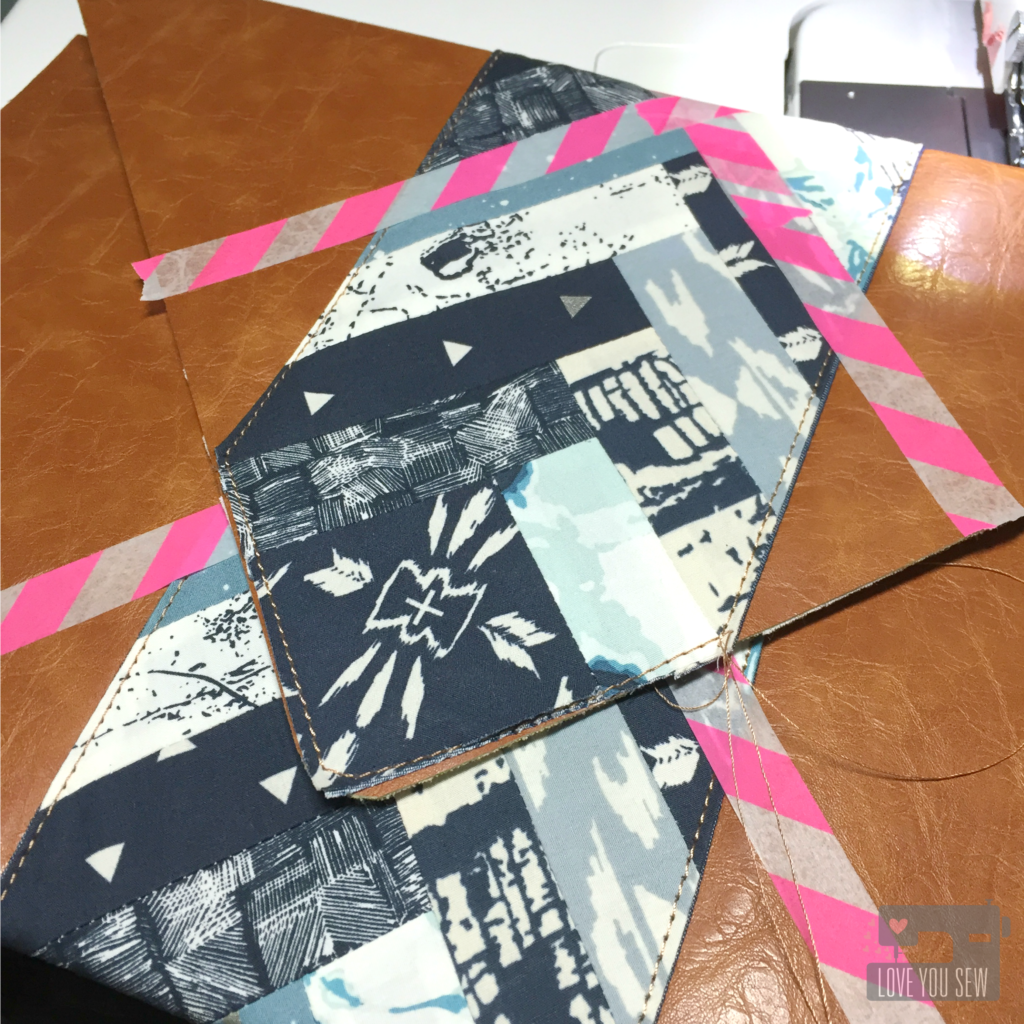
The pieced panel was then sewn onto a coordinating AGF Solid Smooth Denim with right sides together. They were turned out and pressed.  The results are clean even edges which are then top-stitched down onto the (faux) leather.  I used Gütermann upholstery thread which provides a nice raised look and slides well through the leather.  Washi tape was used as the quilting guidelines since pen and chalk can smear.  I followed the lines of the piecing  to create additional texture and add more design detail onto the clutch.

P1060621

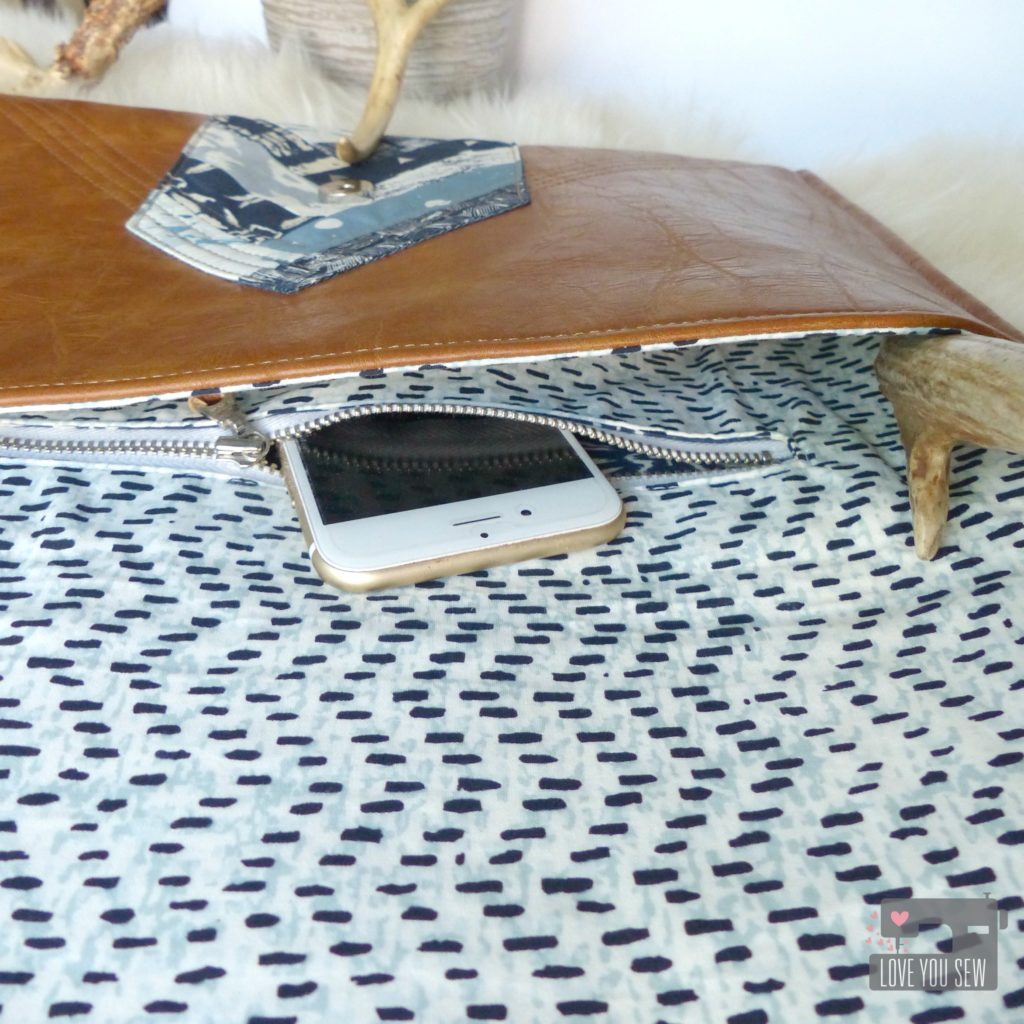
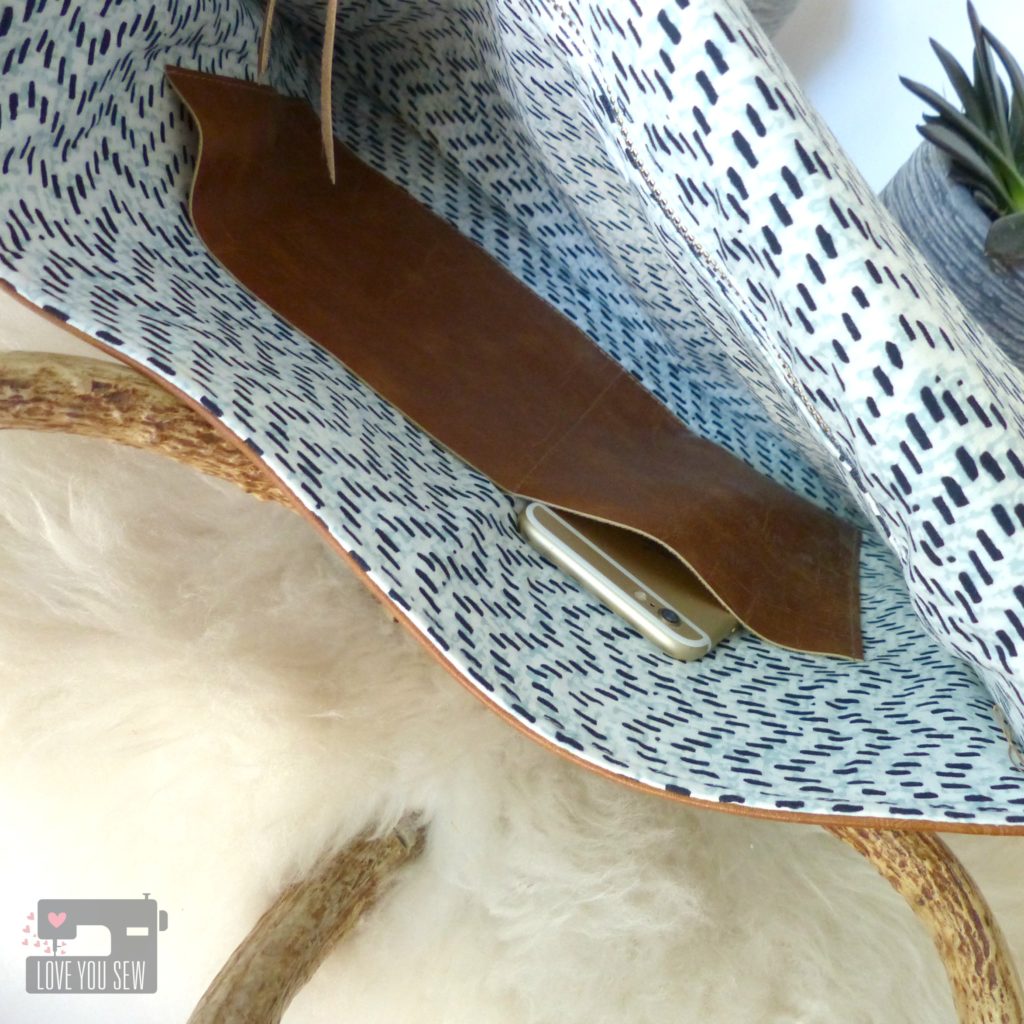
This Envelope Clutch, although oversized to carry a lot of stuff, still needs the basic features of any bag.  The lining is made out of Treadle Tradition with a generous sized pocket using a 9″ metal zipper from Zip It Zippers.  Metal zippers add that extra professional look I just love.

P1060620

On the opposite side of the lining, I added simple slip pockets.  These are unlined, using leftover leather so there is no fraying.  They were sewn down with unfinished edges.  I just made sure one pocket was the proper size for my cell-phone…priorities, right? 😉

P1060649

Metal snaps were added and now I’m ready to hit the town with my chic boho clutch!

IMG_6880

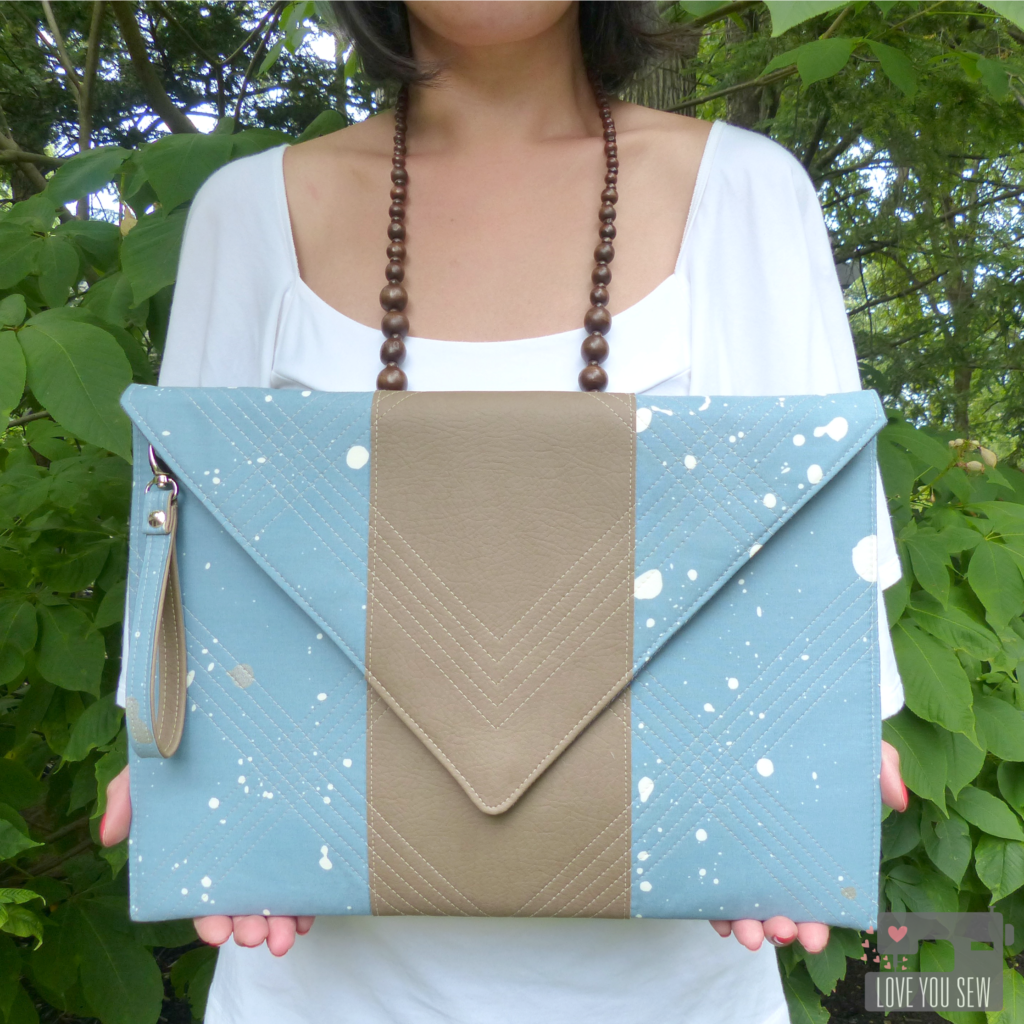
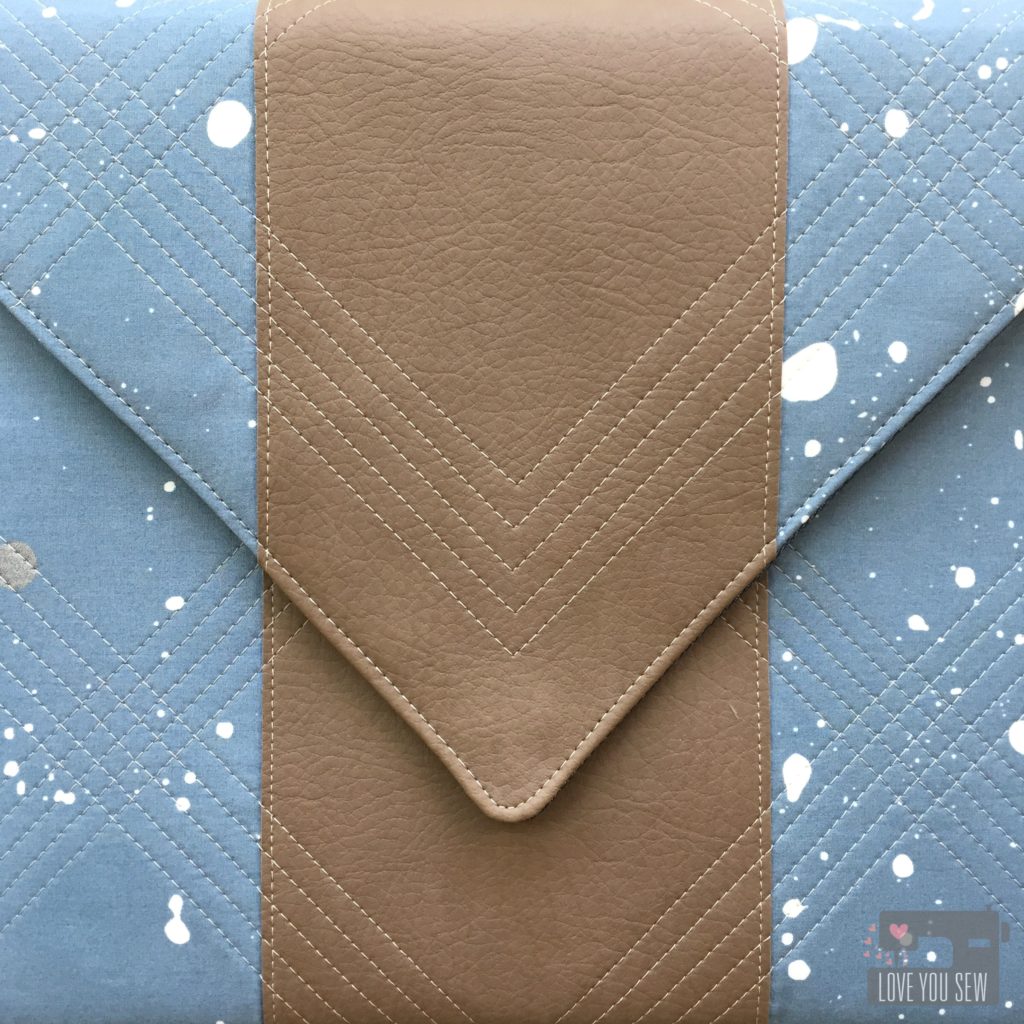
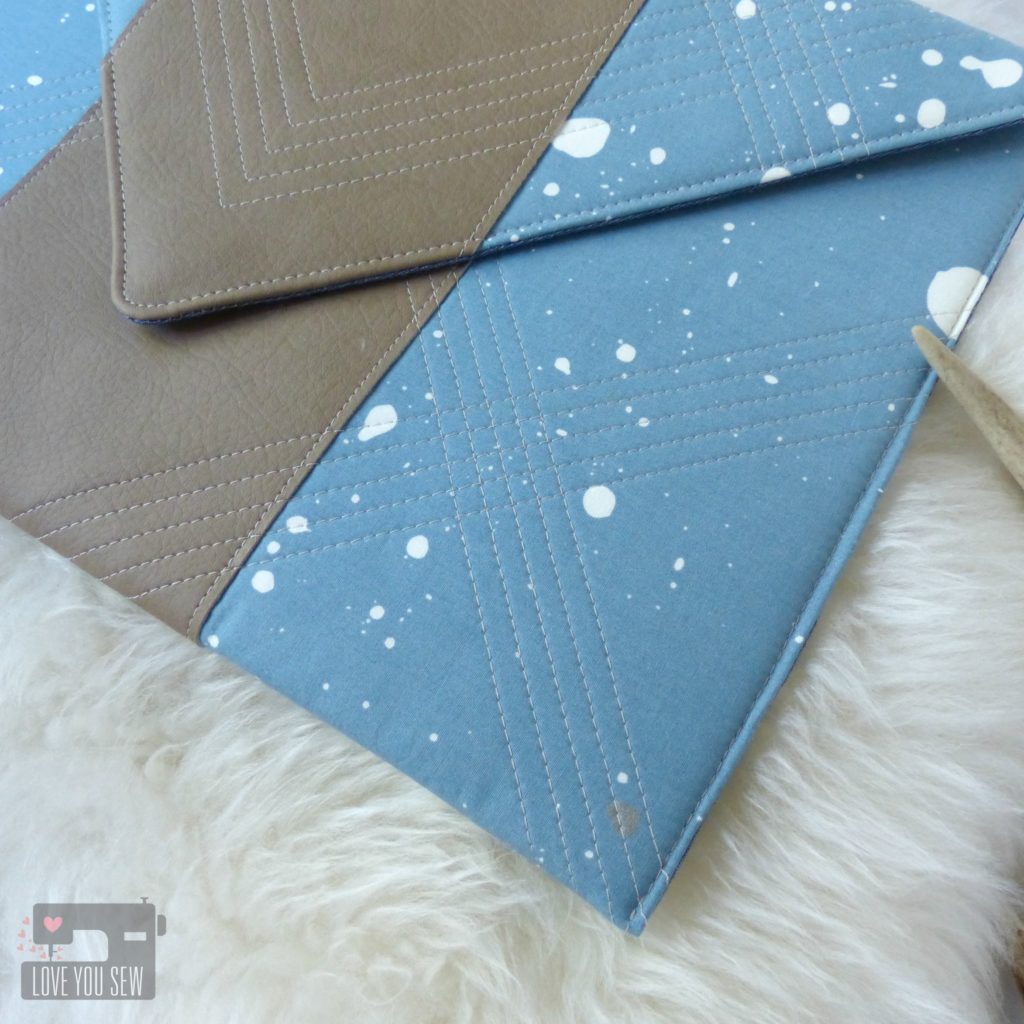
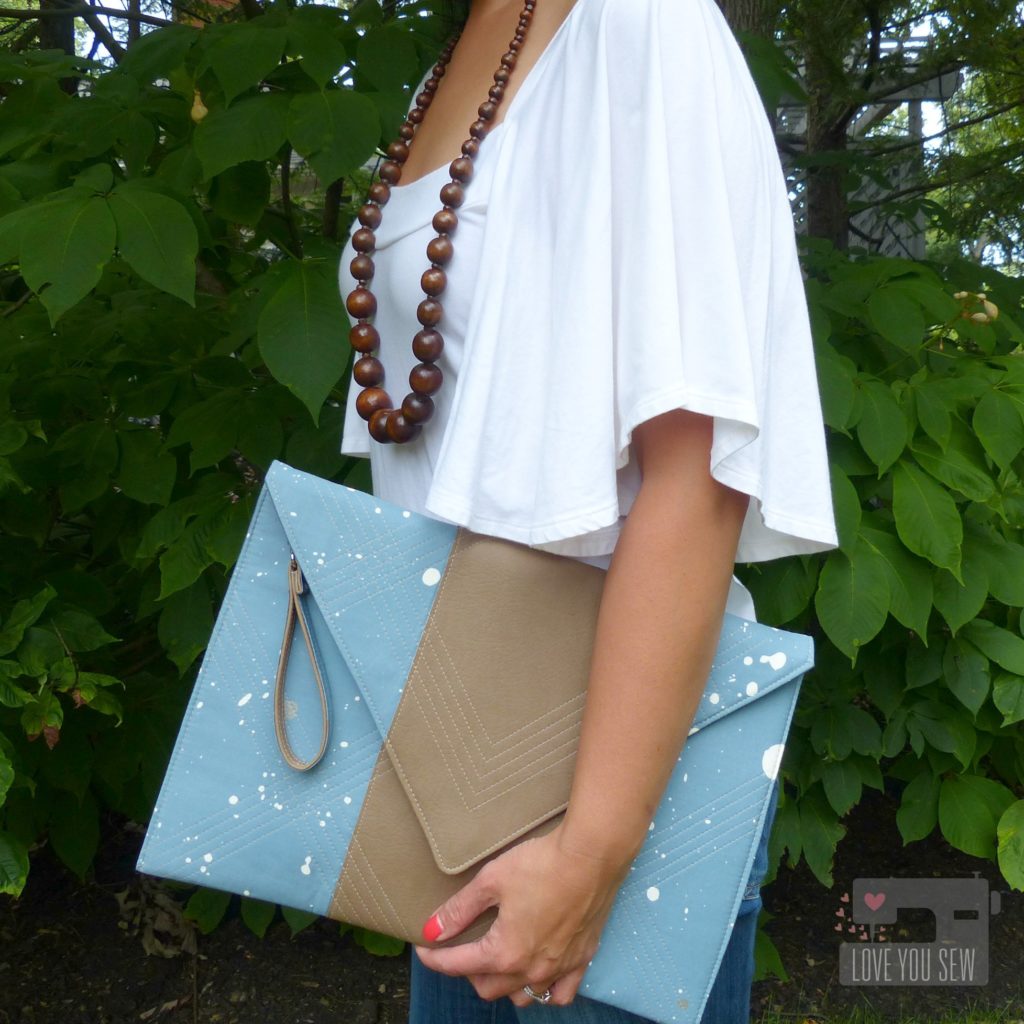
Sewing through faux leather can be a challenge on many domestic machines.  So I wanted to come up with a similar style Envelope Clutch which is MUCH easier to sew.  This design is shown in Speck Stardust and utilizes some fusible fleece with just a single panel of raw-edge faux leather.  I love how this print color reminds me of a perfectly worn pair of jeans and the leather match my favorite fall booties.

P1060626

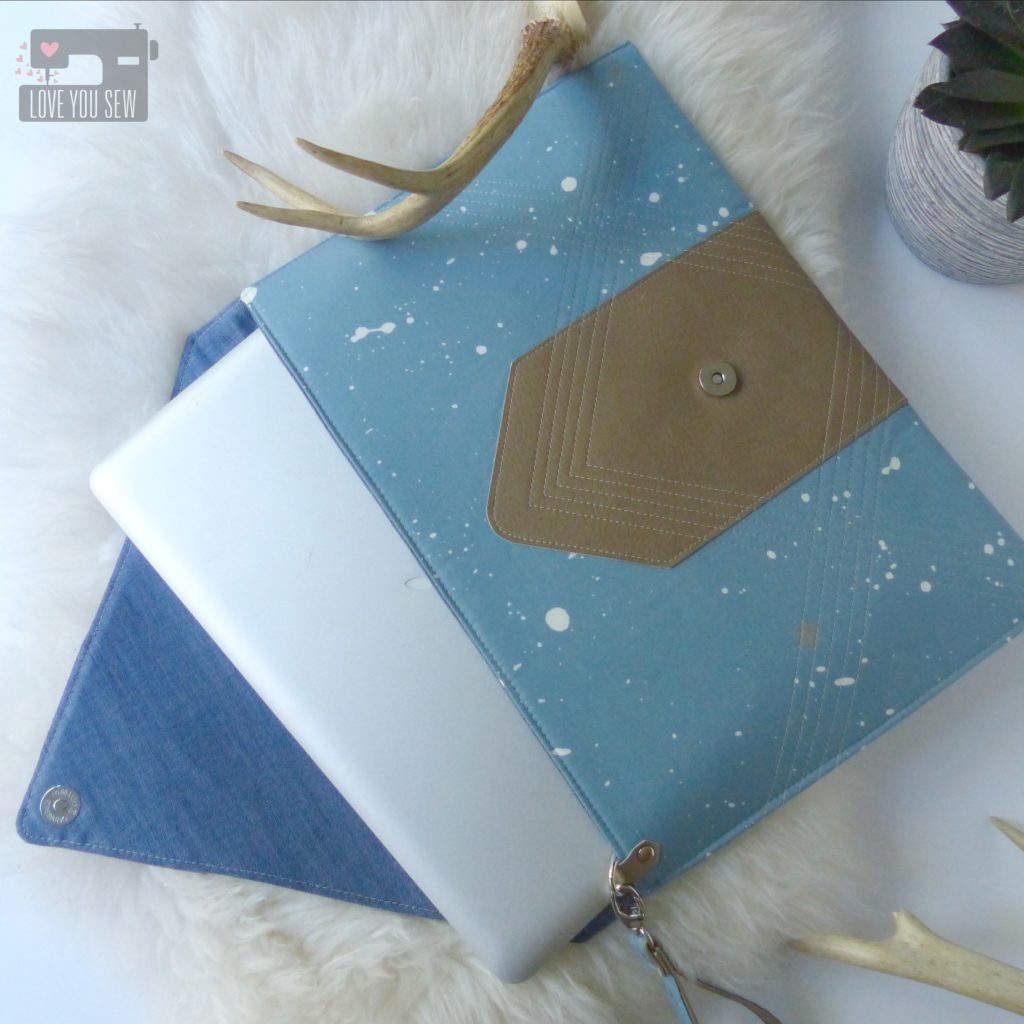
I wasn’t able to find upholstery thread to match this vinyl, so I used Gütermann Sew-All polyester.  This slides through the faux leather really well and still provides a great look and quilting texture.  I changed up this quilting design to make some fun cross-hatching.  ‘Slow and steady with the walking foot kept the lines straight and even.

P1060628

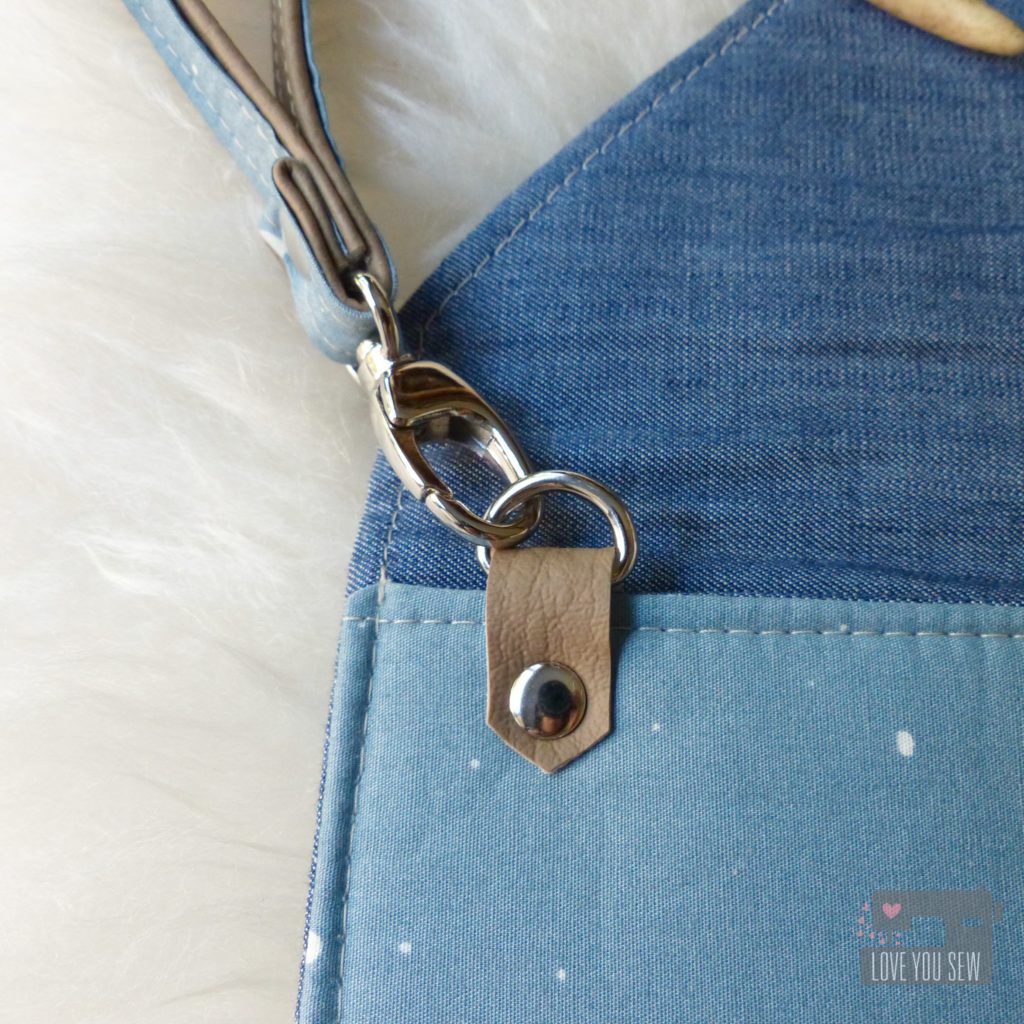
With this version, I added a wrist strap using hardware from Emmaline Bags and scraps of both the (faux) leather and Speck Stardust.  Using half fabric and half leather is easier to work with rather than trying to sew through multiple layers of leather.

P1060629

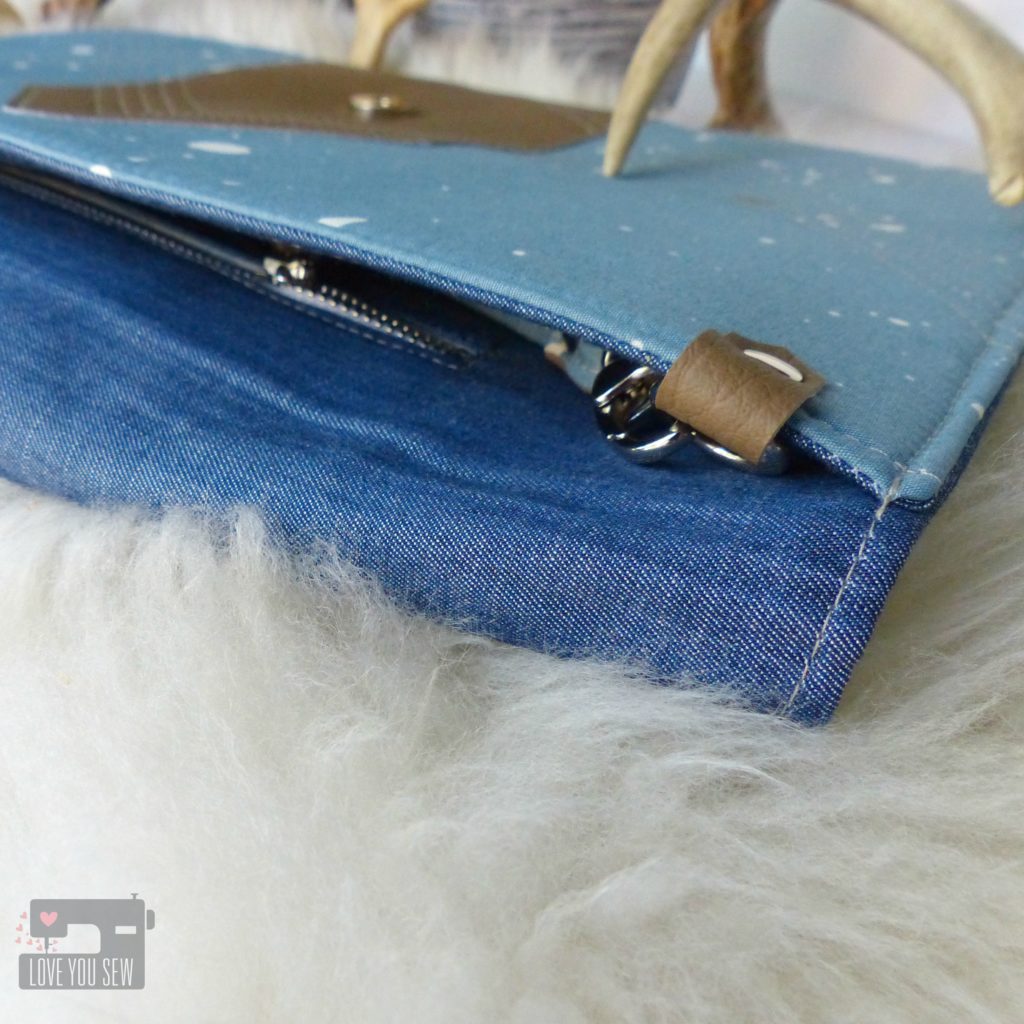
The D-ring was added to the front of the clutch rather than sewn into the side.  This provides the option to be hidden.  It also doubles as a spot to hook your keys.  The lining was made from Indigo Shadow Solid Smooth denim and I created the same zipper pocket one side and two slip pockets on the other.

P1060638

Ironically, this design also fits my laptop.  So with the fusible fleece, this Envelope Clutch can be used as a laptop cover.  The pockets are great for cords and small headphones.

P1060648

I know I’ll be rocking this clutch out on the town with the girls though….

What’s on your project list with Observer?


Make sure to stop by April’s blog to get the up-to-date schedule with 6 weeks full of dreamy inspiration.  The line-up of bloggers is quite impressive 😉  If you need even more ideas, head to Art Gallery Fabric’s Observer Lookbook….you might even recognize someone’s name in there 😉

#ObserverFabrics #ObserverFabricTour #ArtGalleryFabrics #WeAreFabrics


Sew On,

Cristy

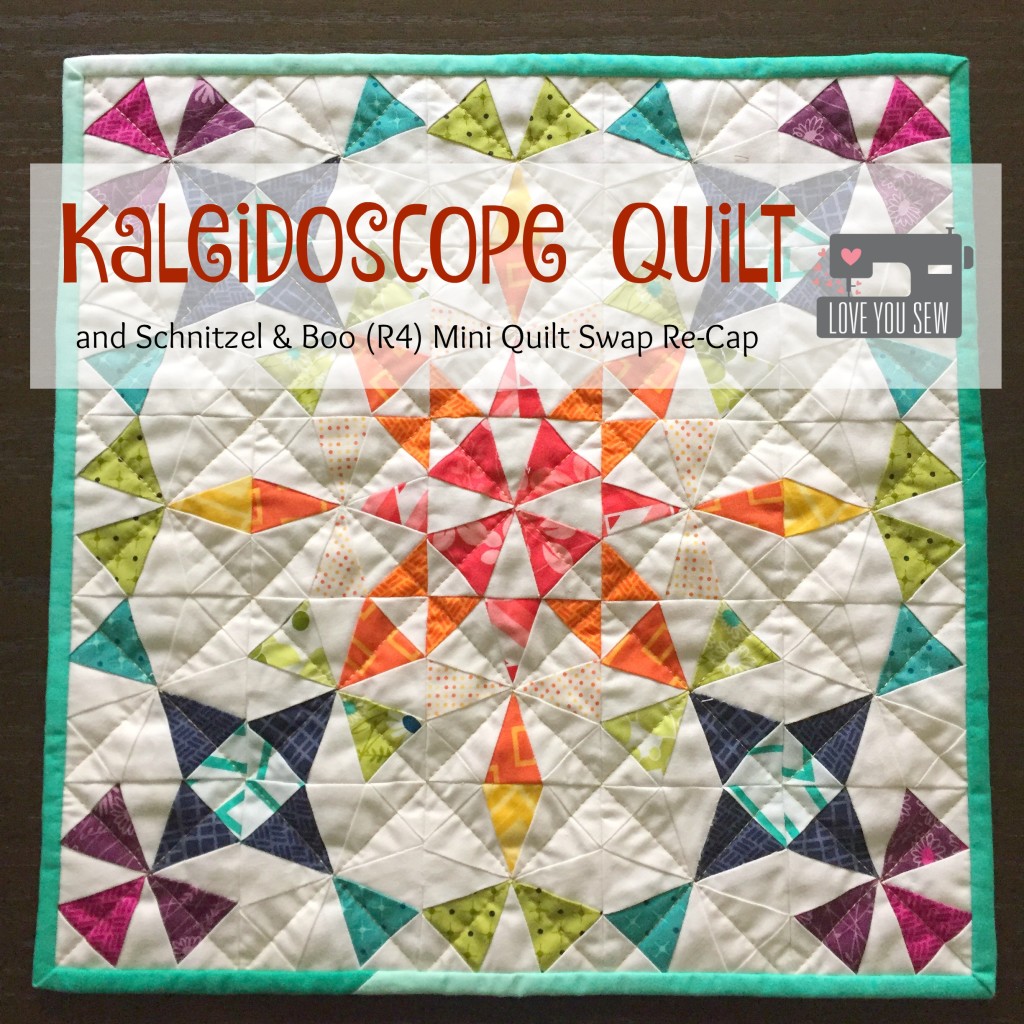
Kaleidoscope Quilt and Schnitzel & Boo (R4) Mini Quilt Swap Re-Cap

KaleidoscopeTitle

The Schnitzel and Boo Mini Quilt Swap was the first swap I followed on Instagram.  I was pouring over the hashtag #schnitzelandboominiquiltswap and trying to figure out what the heck was going on!  This swap has the claim of being the original swap where you are blind partnered (the recipient doesn’t know who is the maker) to make sweet mini quilts and thus, it had over 1000 participants…wow!

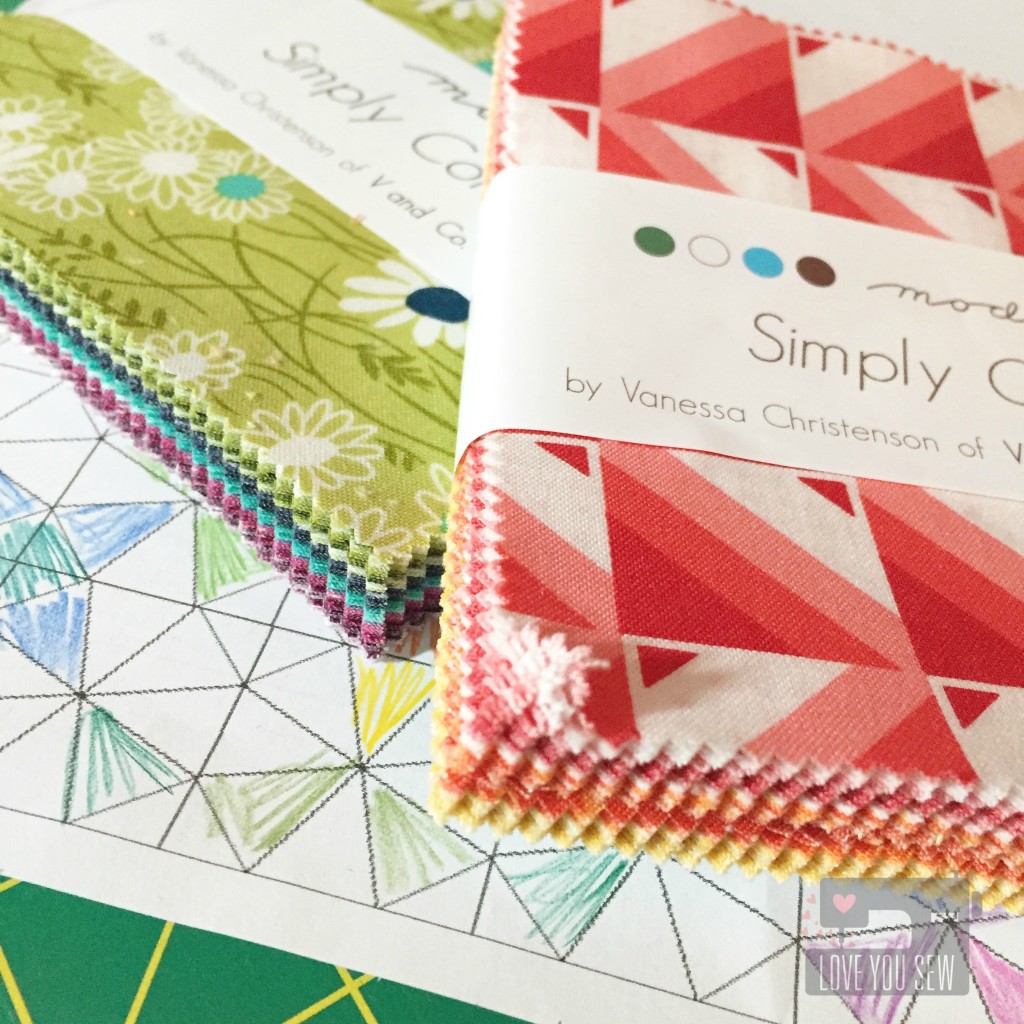
FabricandColoringSheet

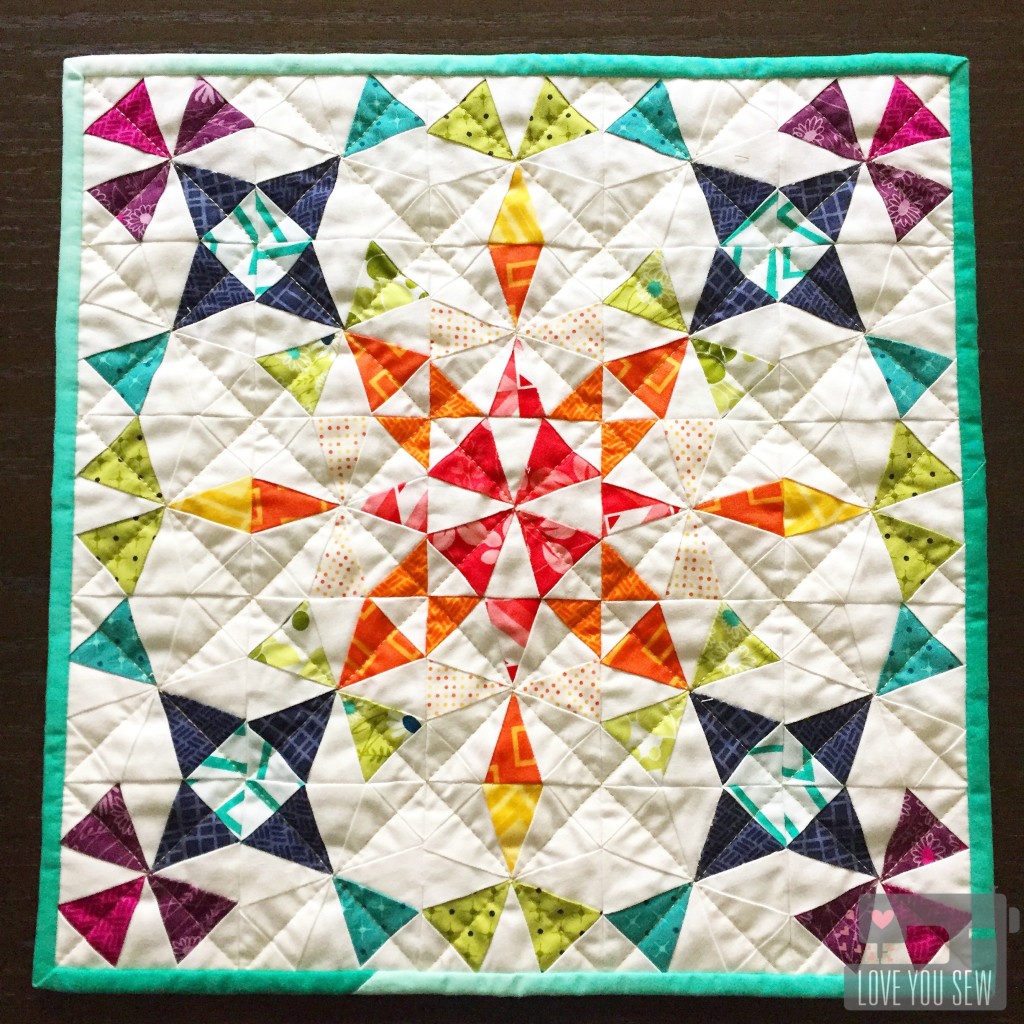
I had the pleasure of making a quilt for someone that liked V & Co fabrics and happened to have charm packs of the newest Simply Colorful and Simply Colorful II lines.  With the popularity of this swap, I felt some pressure to make something pretty nice….so I thought a Kaleidoscope design would be perfect.  It’s very striking and is perfect for some rainbow action 😉

The Kaleidoscope is a traditional paper-pieced pattern I got from Quilter’s Cache.  This is an amazing website with tons of FREE patterns!  The original pattern finishes at a 6″ block.  In order to fit the parameters of a mini, I shrank the pattern to 47% of the original to create a 3″ block. (I don’t know why 50% reduction didn’t work, but a little playing around helped me get to the size I wanted.) To plan out the colors and layout, I used this coloring sheet I found by Debbie Kratovil.  I think every quilt designer should have coloring sheets with their patterns.  They make life SO much easier!

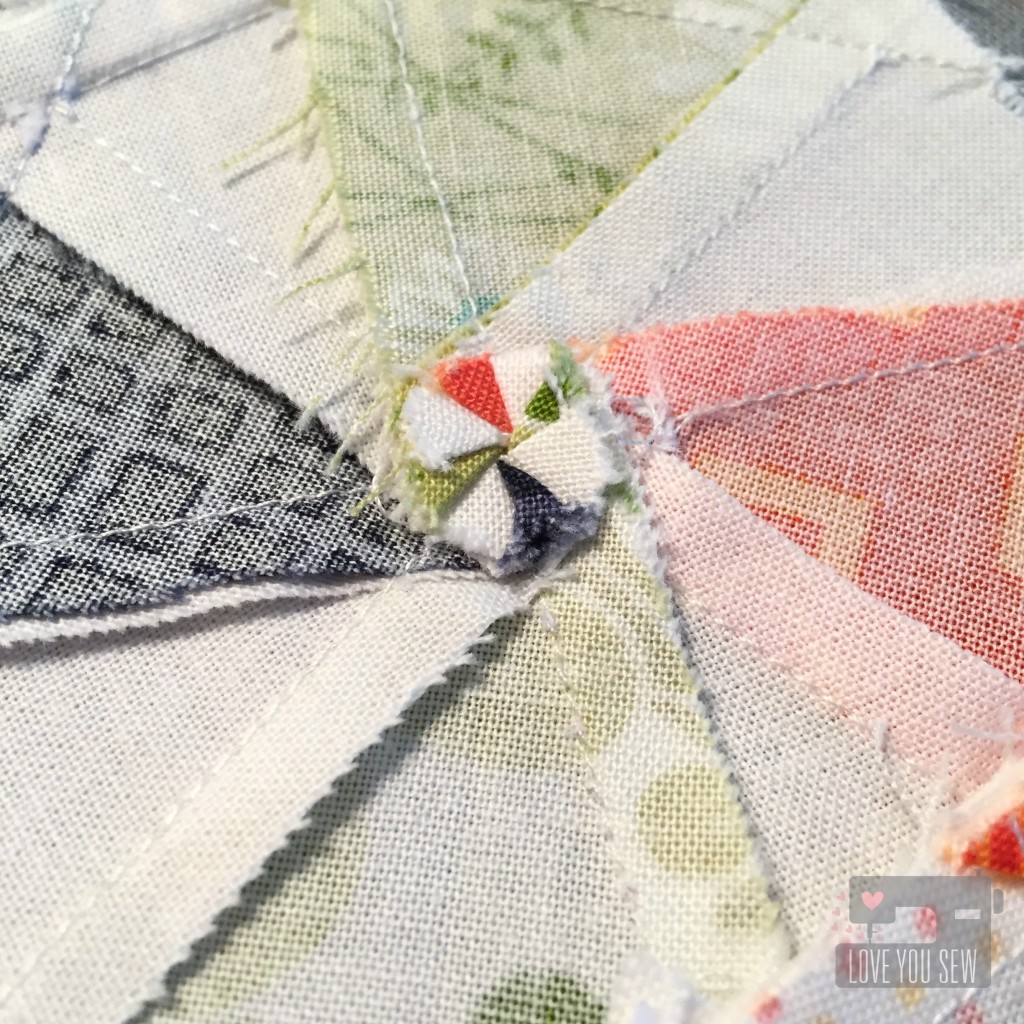
SpiralNestingSeams


TIP: When piecing together the blocks, there is quite a bit of fabric that ends up at the center.  It is quite thick and can be a nuisance to quilt over later.  Initially, I tried to grade the seams and by luck, saw that I could make a little rosette by opening my seams  back a 1/4″ and tuck the seams under as shown above.

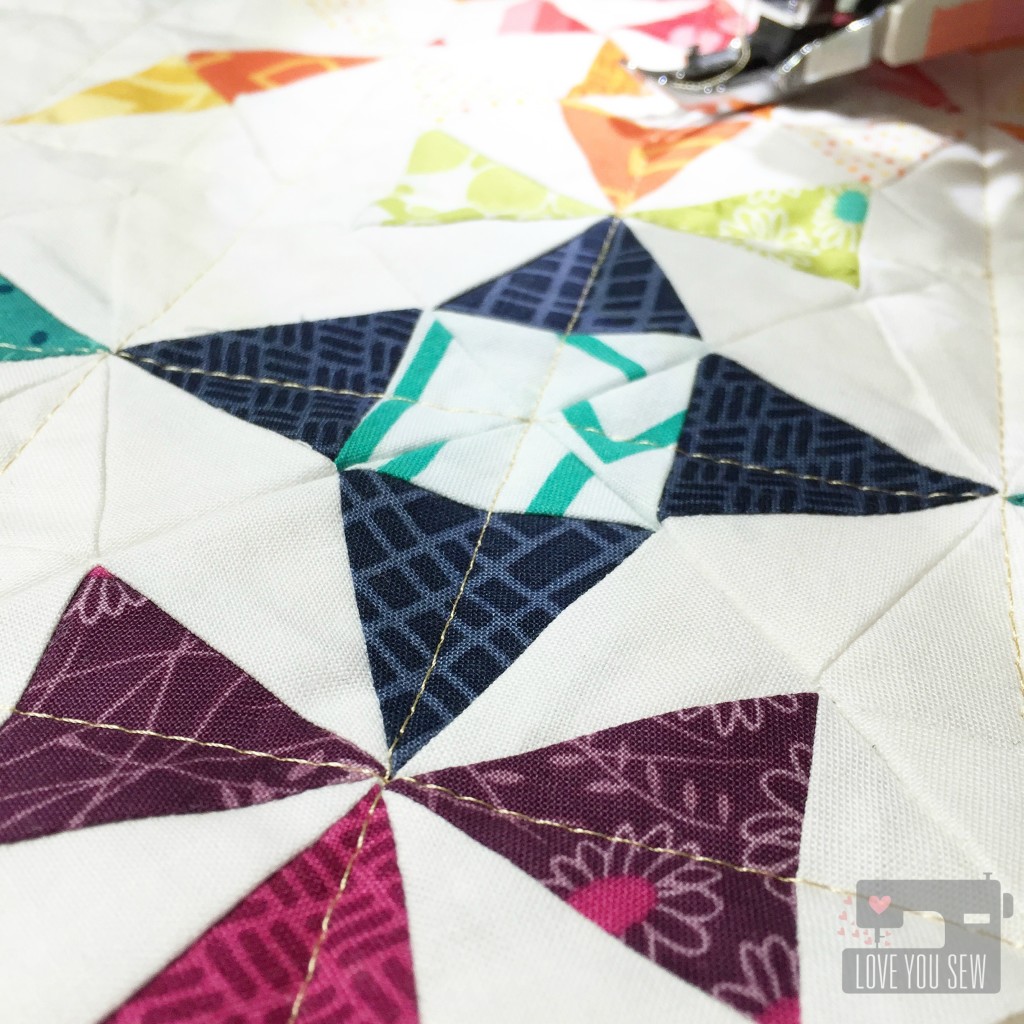
GoldThreadDetail

To finish, I used gold thread to quilt (insert heart eyes emoji!!!)  I just love using metallic thread whenever I can.  It just adds that extra “something” special and matched with the gold dot backing.  For the binding, what else would be better than MORE V & Co…and in Teal Ombre?!?  The ombre was fun to use and made this design really pop.

Complete

Kaleidoscope Quilt – Completed


MiniReceived

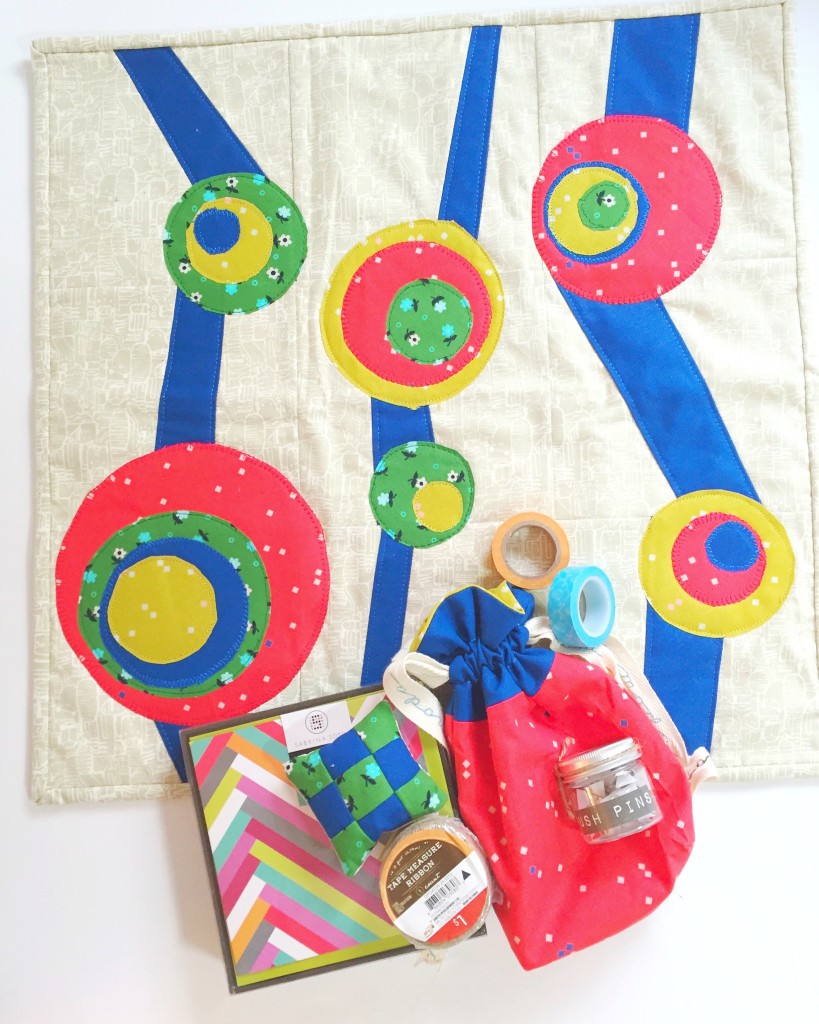
In return for sending off the Kaleidoscope,  I received this beautiful mini with extras from  @amandafech. Isn’t it so fun with the primary palette and appliqué work?  I am 3 for 3 with great swap experiences….all delivered on time with amazing work!  Hopefully, all of you have had positive swap experiences or will decide to join your first one 🙂  They are lots of fun!!!

I’m going to be a swap mama soon so I hope these good vibes carry over 😉


#MakeAQuiltMakeAFriend

Cristy


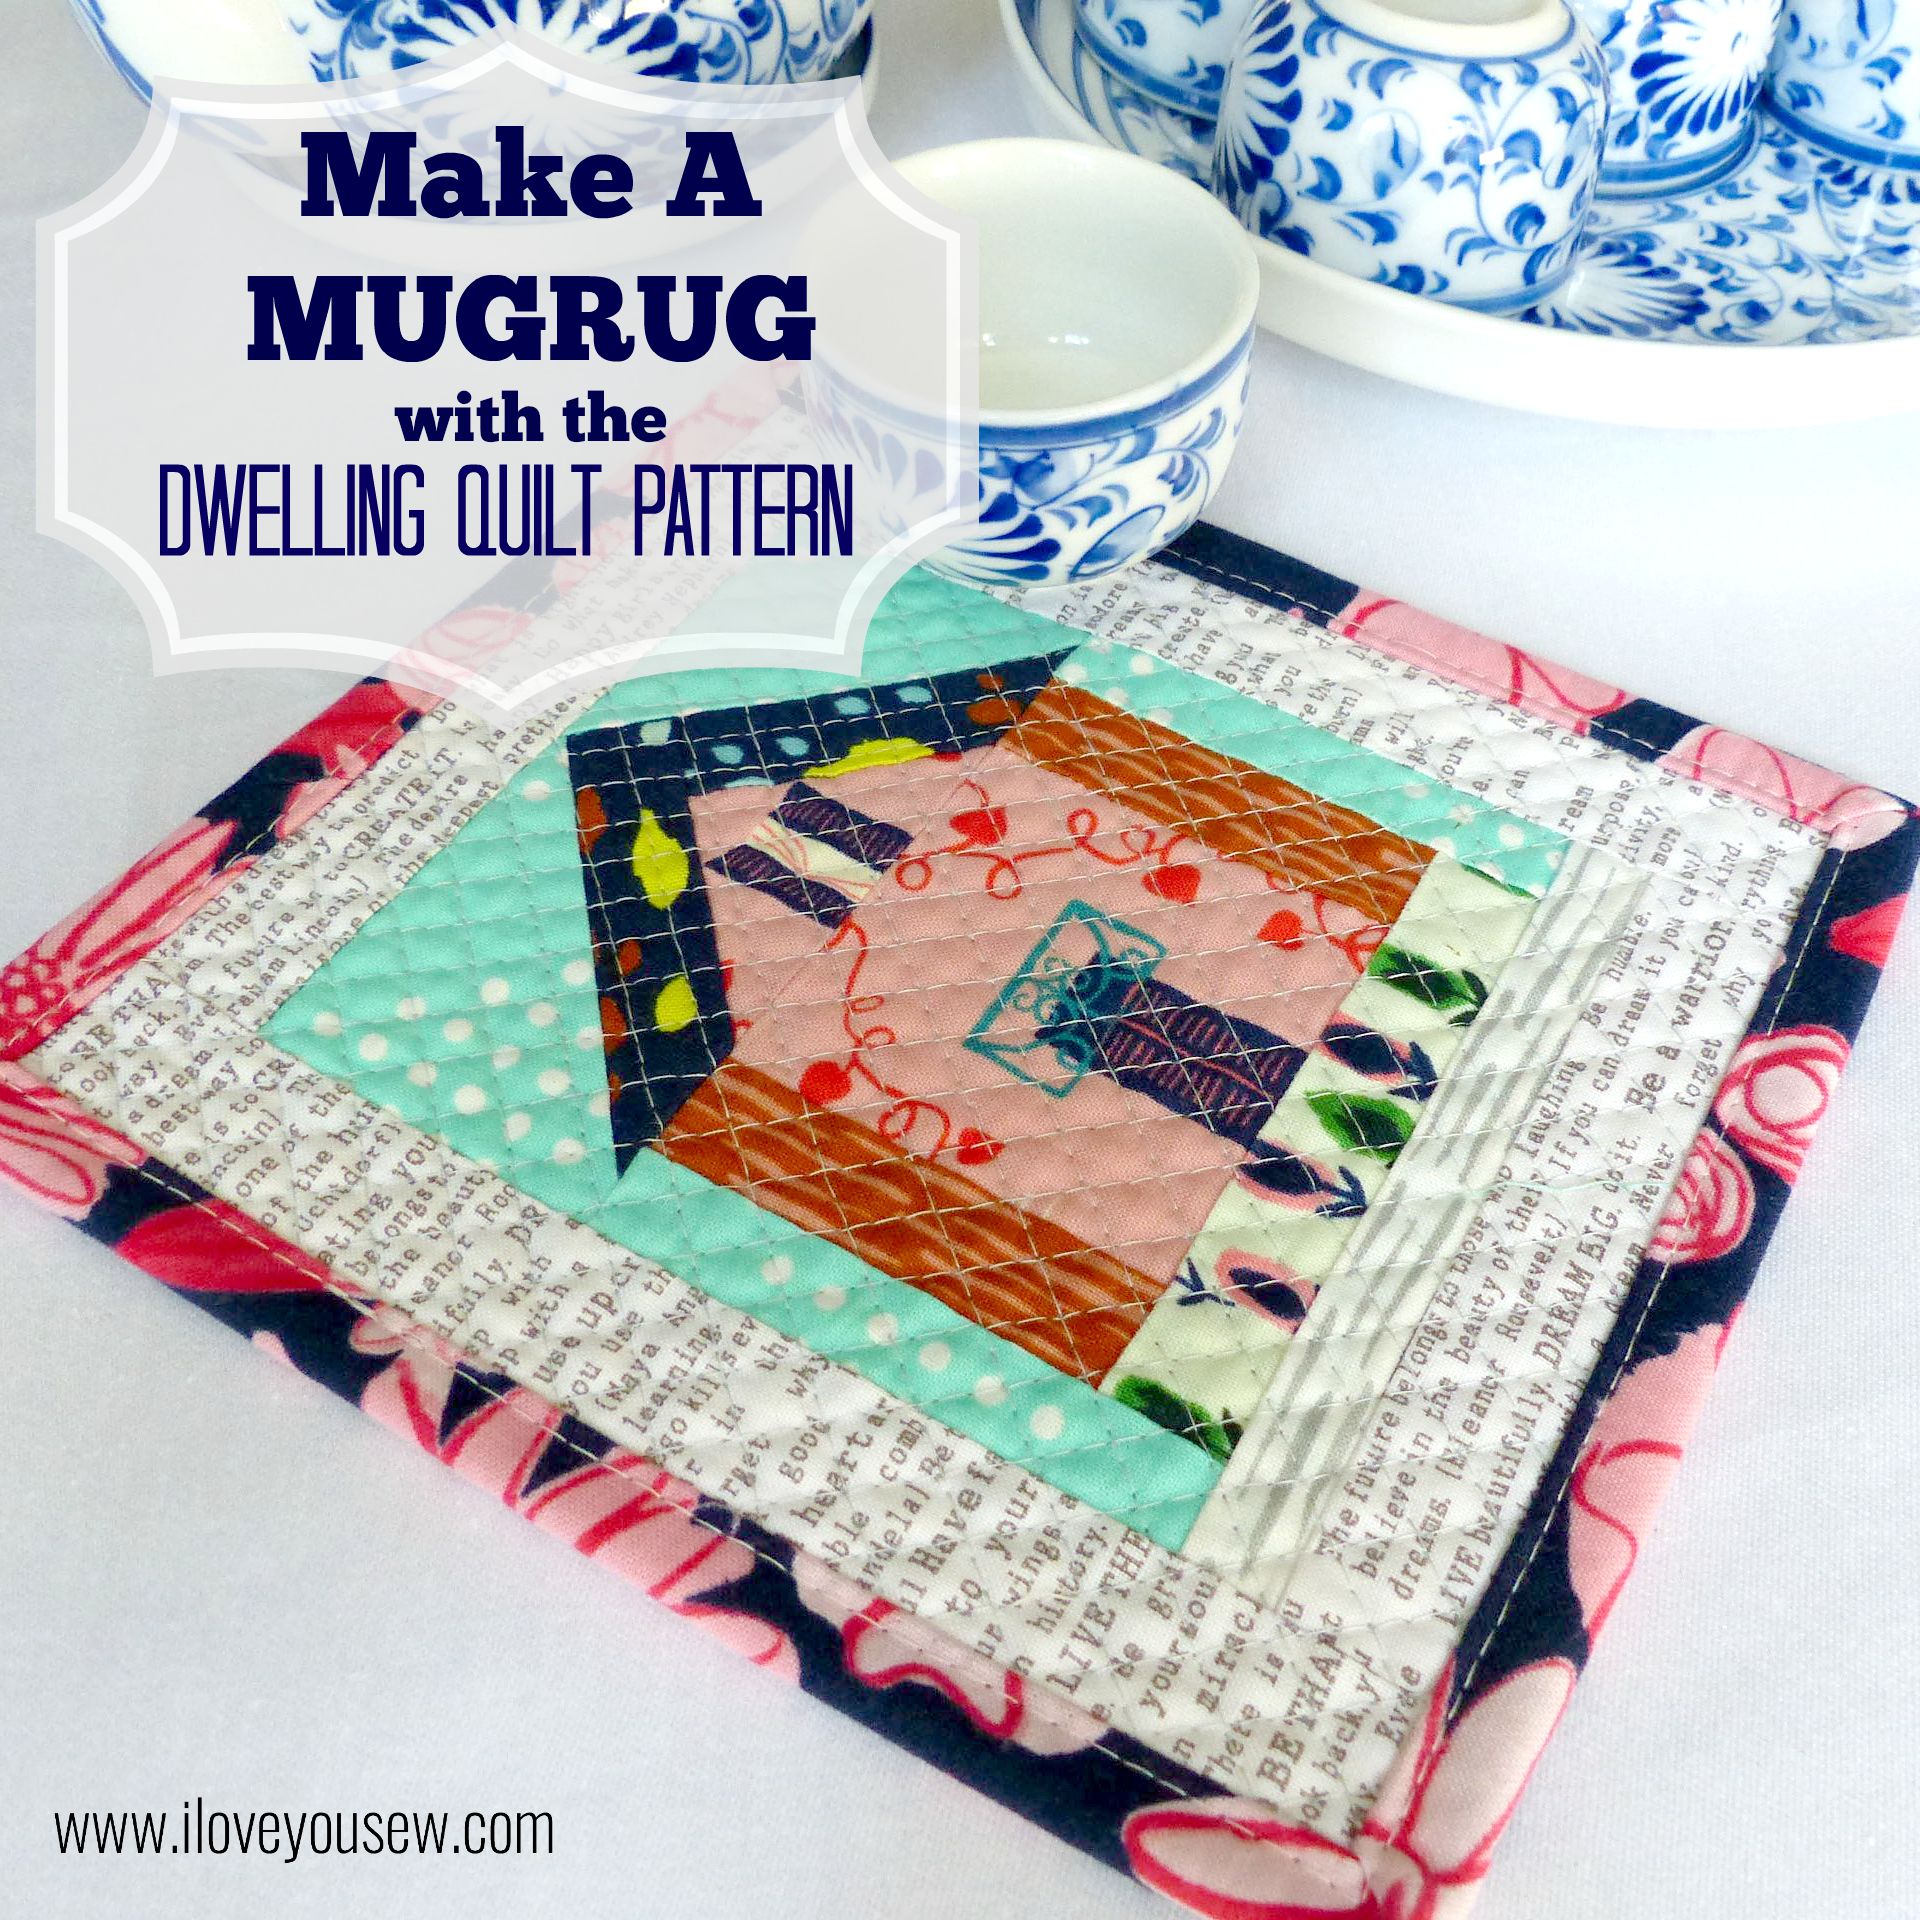
Make a Mugrug from the Dwelling Quilt Pattern

P1050776

When Holly Gets Quilty asked for pattern testers for her newest Dwelling Quilt pattern, I couldn’t help but get involved.  I first became familiar with Holly’s patterns through her Squash Blossom pattern I used in the Squash Blossom Bouquet mini.  She makes the most gorgeous quilts and I love how her patterns are so nice and clean…as well as beginner friendly. And this paper-piecing pattern does not disappoint!

IMG_1141

When I received the pattern, I decided to first make the smaller of the two blocks offered.  It measures 4 3/4″ x 5 3/4″ unfinished and I thought it would make for the cutest little mugrug.

IMG_1153

As a single block on its own, I wanted to fussy cut all of the pieces and bring out the literal design to resemble a home.  I dug back into the Cotton + Steel archives and pulled out some Homebody and Hatbox.  These fabrics created the most ideal walls, roof, street and even a little garden!

IMG_1155

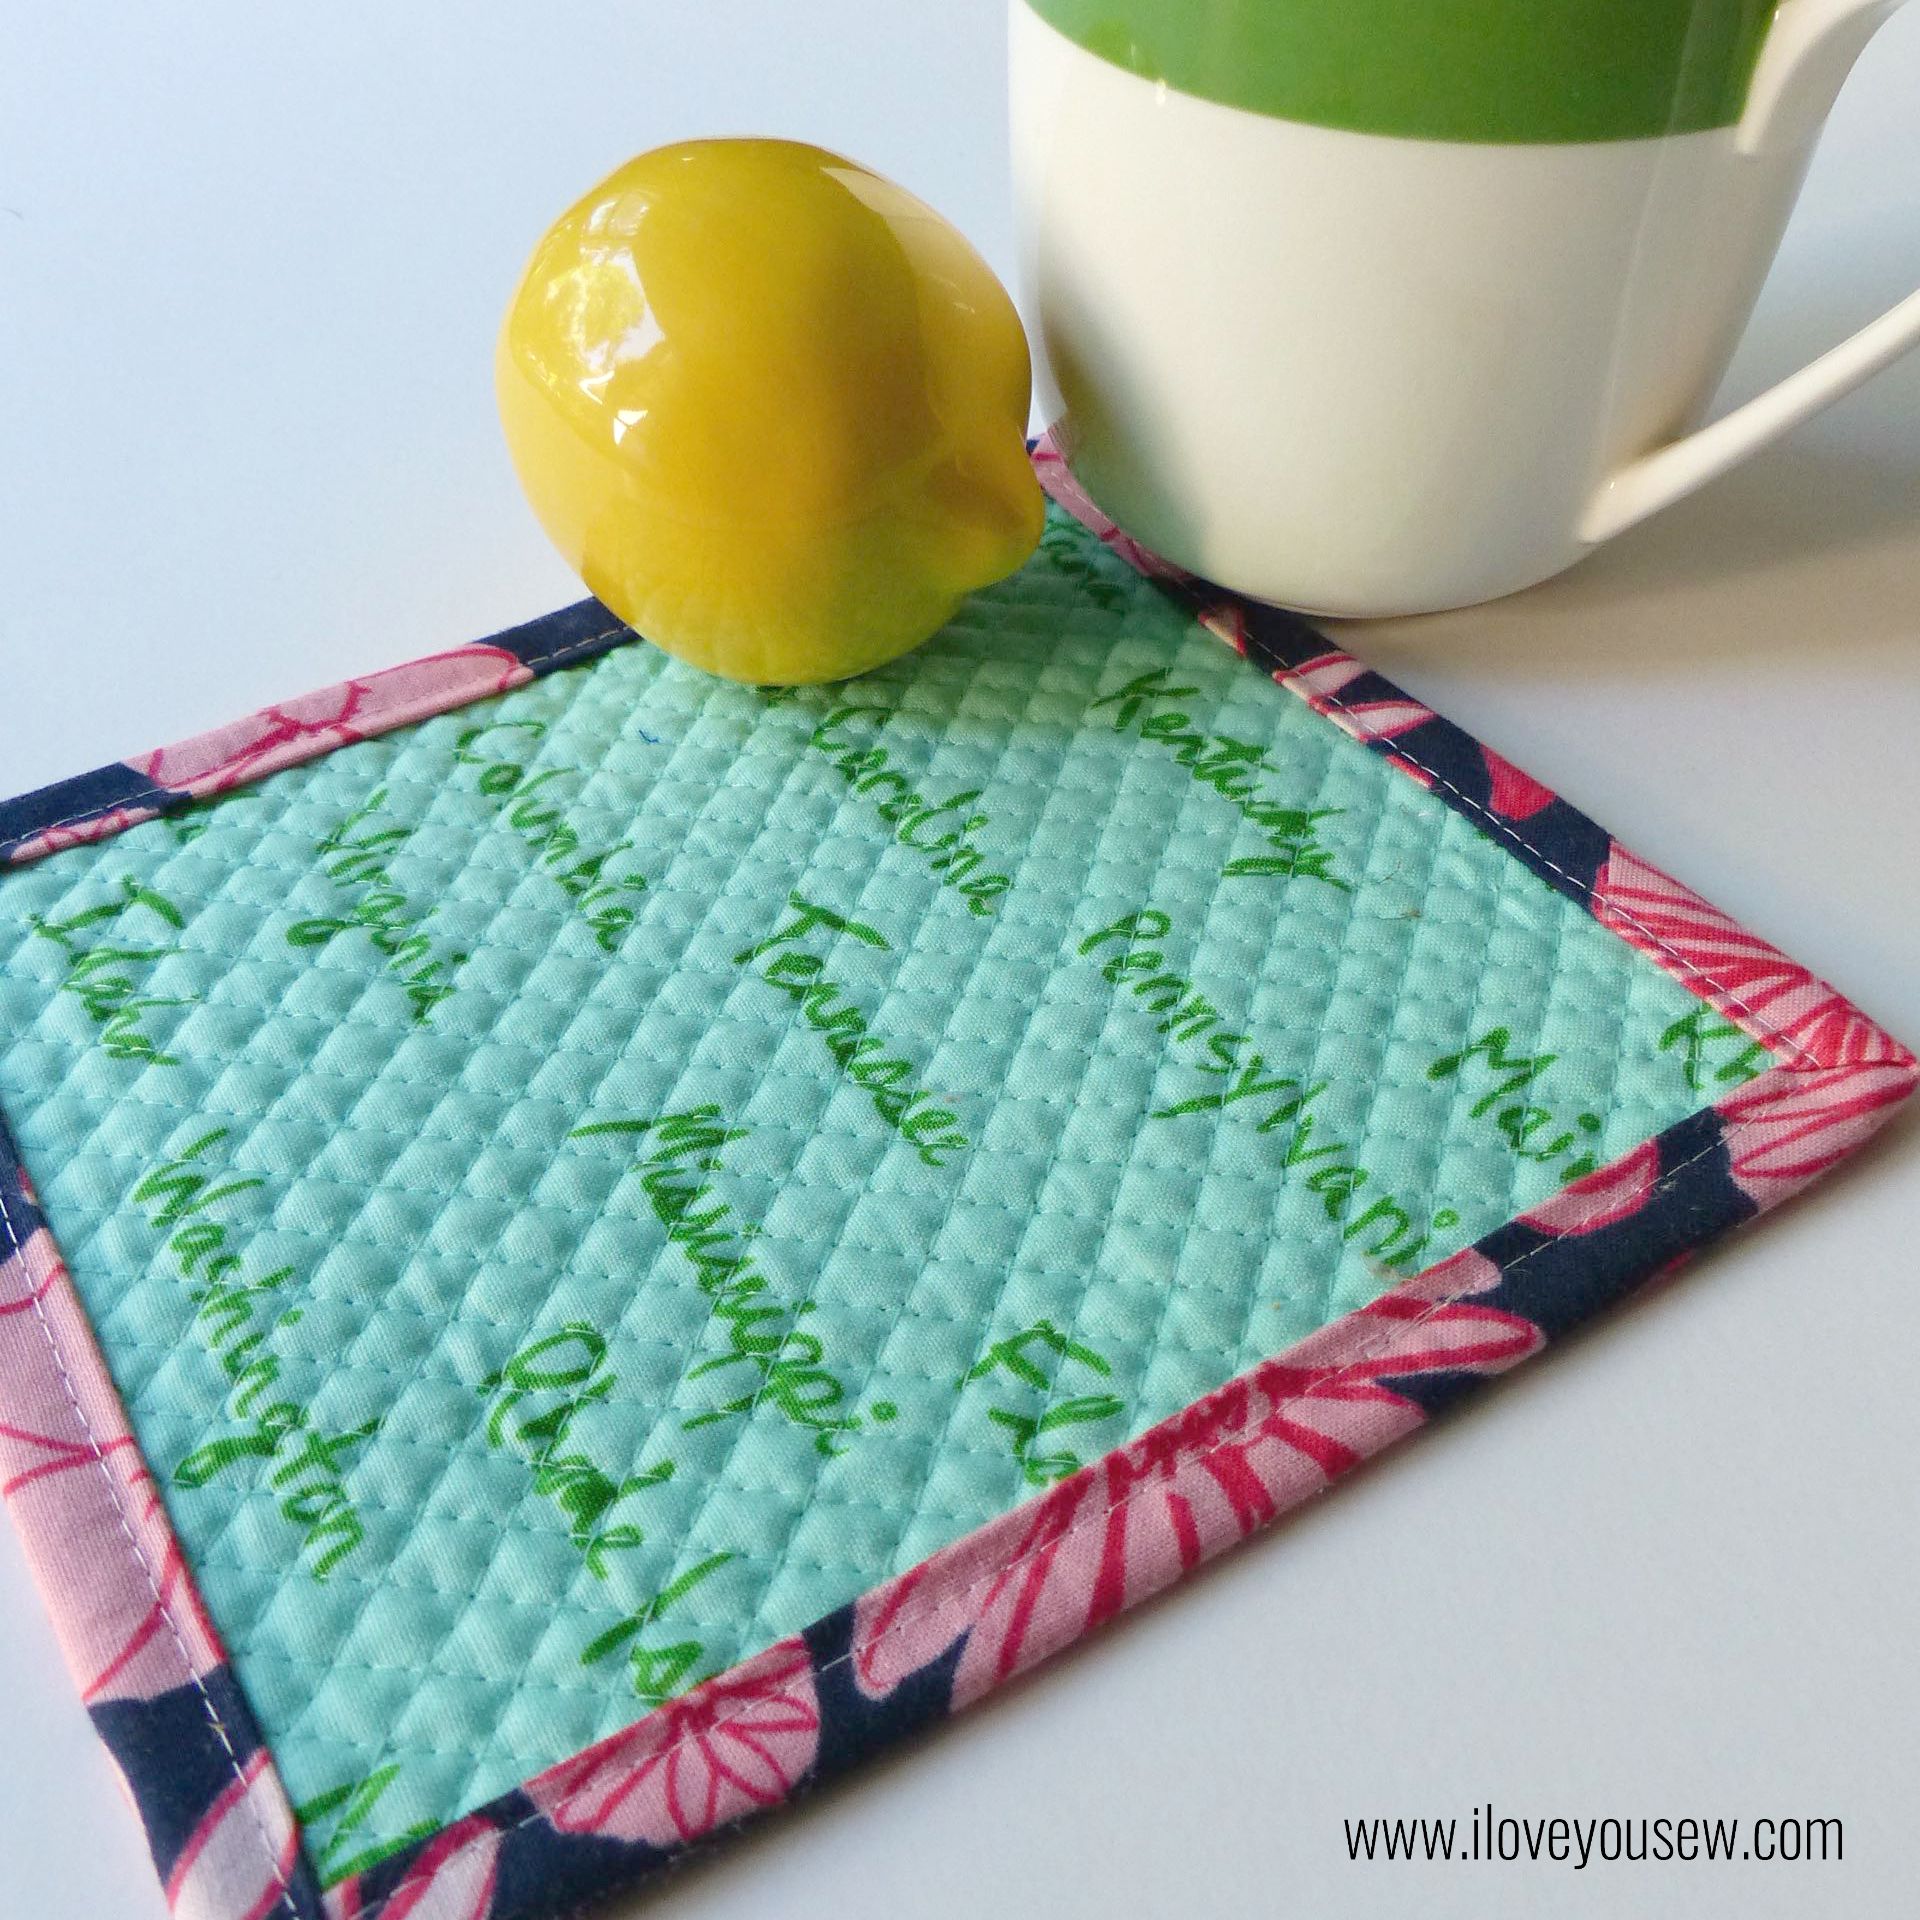
1 1/4″ strips were added all around  the block to give a little more area to the block.  I wanted enough room for my larger mugs and even for a little snack 😉  Riley Blake’s newsprint is my favorite text print (out of print, of course…but if someone wants to share any, let me know!) and it goes with the whole house theme, right?

IMG_1156

I used a scrap of cotton batting and more Cotton + Steel for the back to complete the quilt sandwich.  Since you know I’m a straight line quilter, I just cross-hatched the mugrug a 1/4″ apart in a diamond pattern with Auriful 2030 and ….

P1050818

To finish, you know C + S had to be using in the binding too.  Since this was such a small project, I used Cut to Pieces glue binding method to secure the binding into place without the use of Wonder Clips.  It was fast and I top-stitched the binding all around.  I can never get even amounts of the back binding with “stitch-in-the ditch” method, so I sewed about 1/8″ inward to help me with my OCD…

This was a nice quick project you could have completed in an afternoon.  Holly’s Dwelling Quilt pattern is simple and pre-cutting the pieces (measurements provided!) will help cut down on quilt time.  Are you ready to make your mug rug?!?

Check out these Instagram hashtags for more inspiration: #DwellingQuilt #HollyGetsQuiltyPatterns


Hugs and Stitches,

Cristy
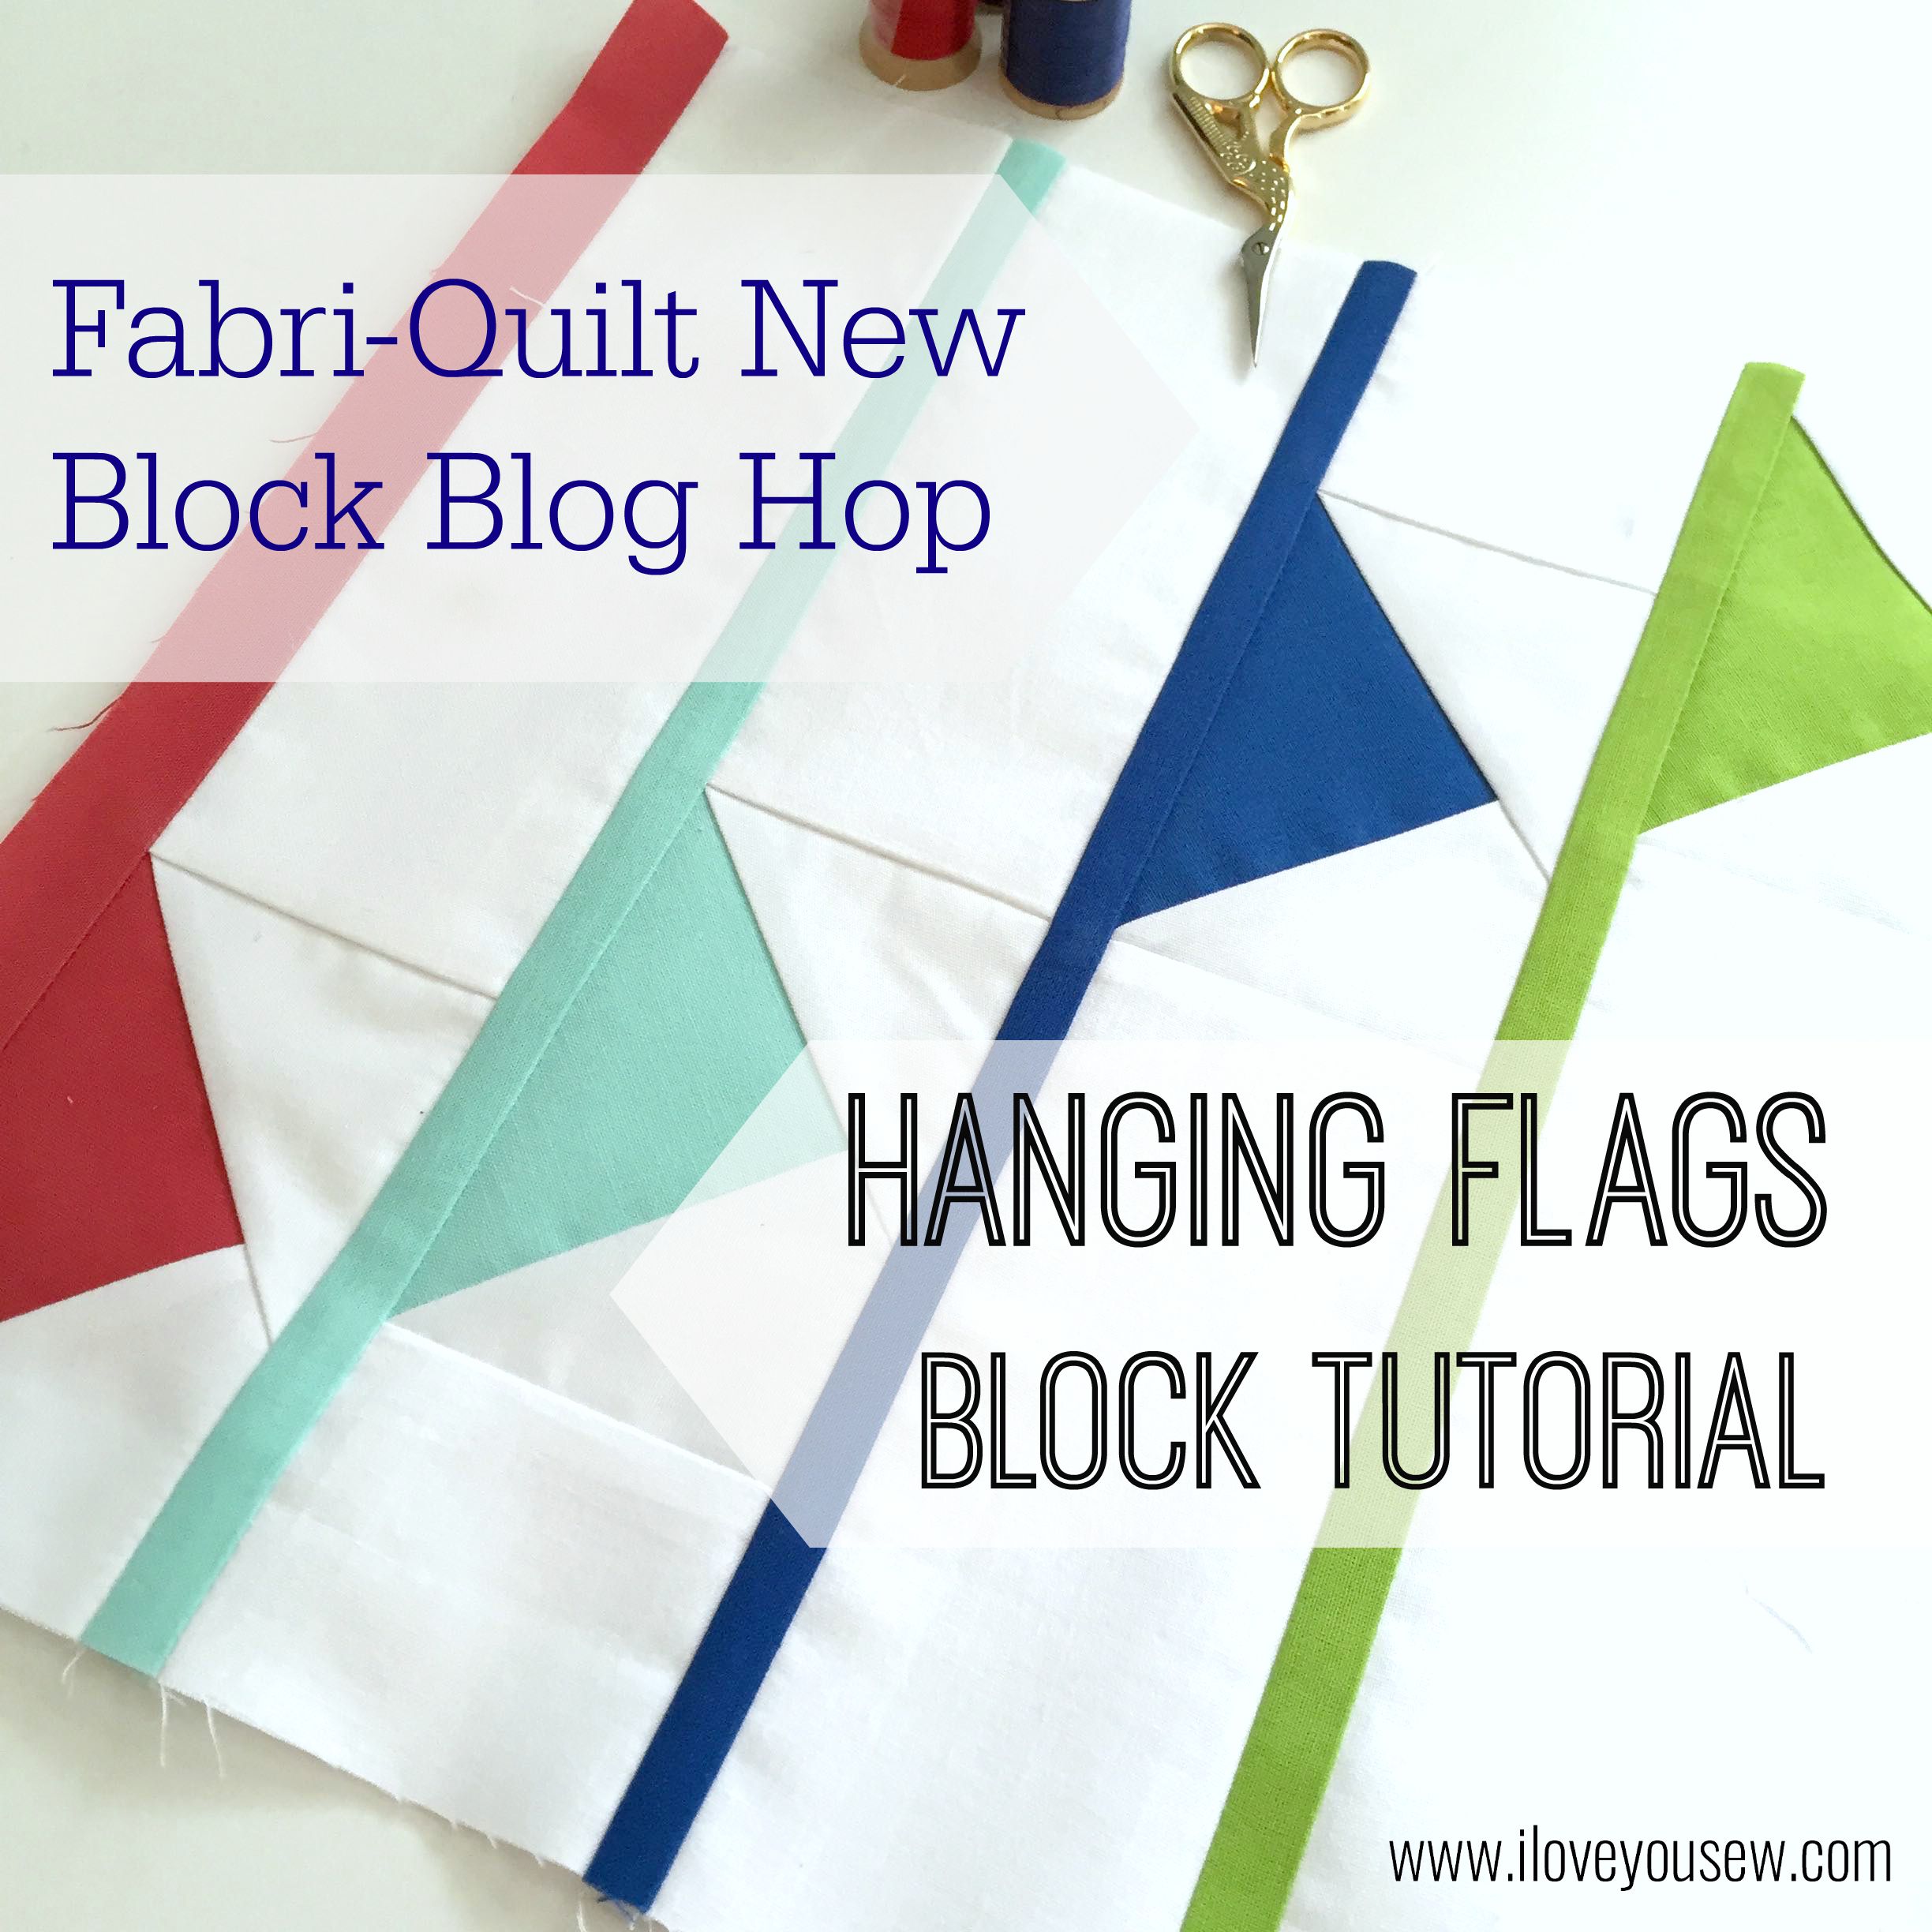
Fabri-Quilt New Block Blog Hop – Hanging Flags Tutorial

18Complete

What’s better than being part of the 2015 New Quilt Bloggers? It’s that, PLUS the chance to play with some beautiful Fabri-Quilt Prairie Cloth Solid Fabrics AND take part in a few charity quilts! There are GIVEAWAYS happening today through Thursday!!! (Scroll down for details.)

IMG_0780_2

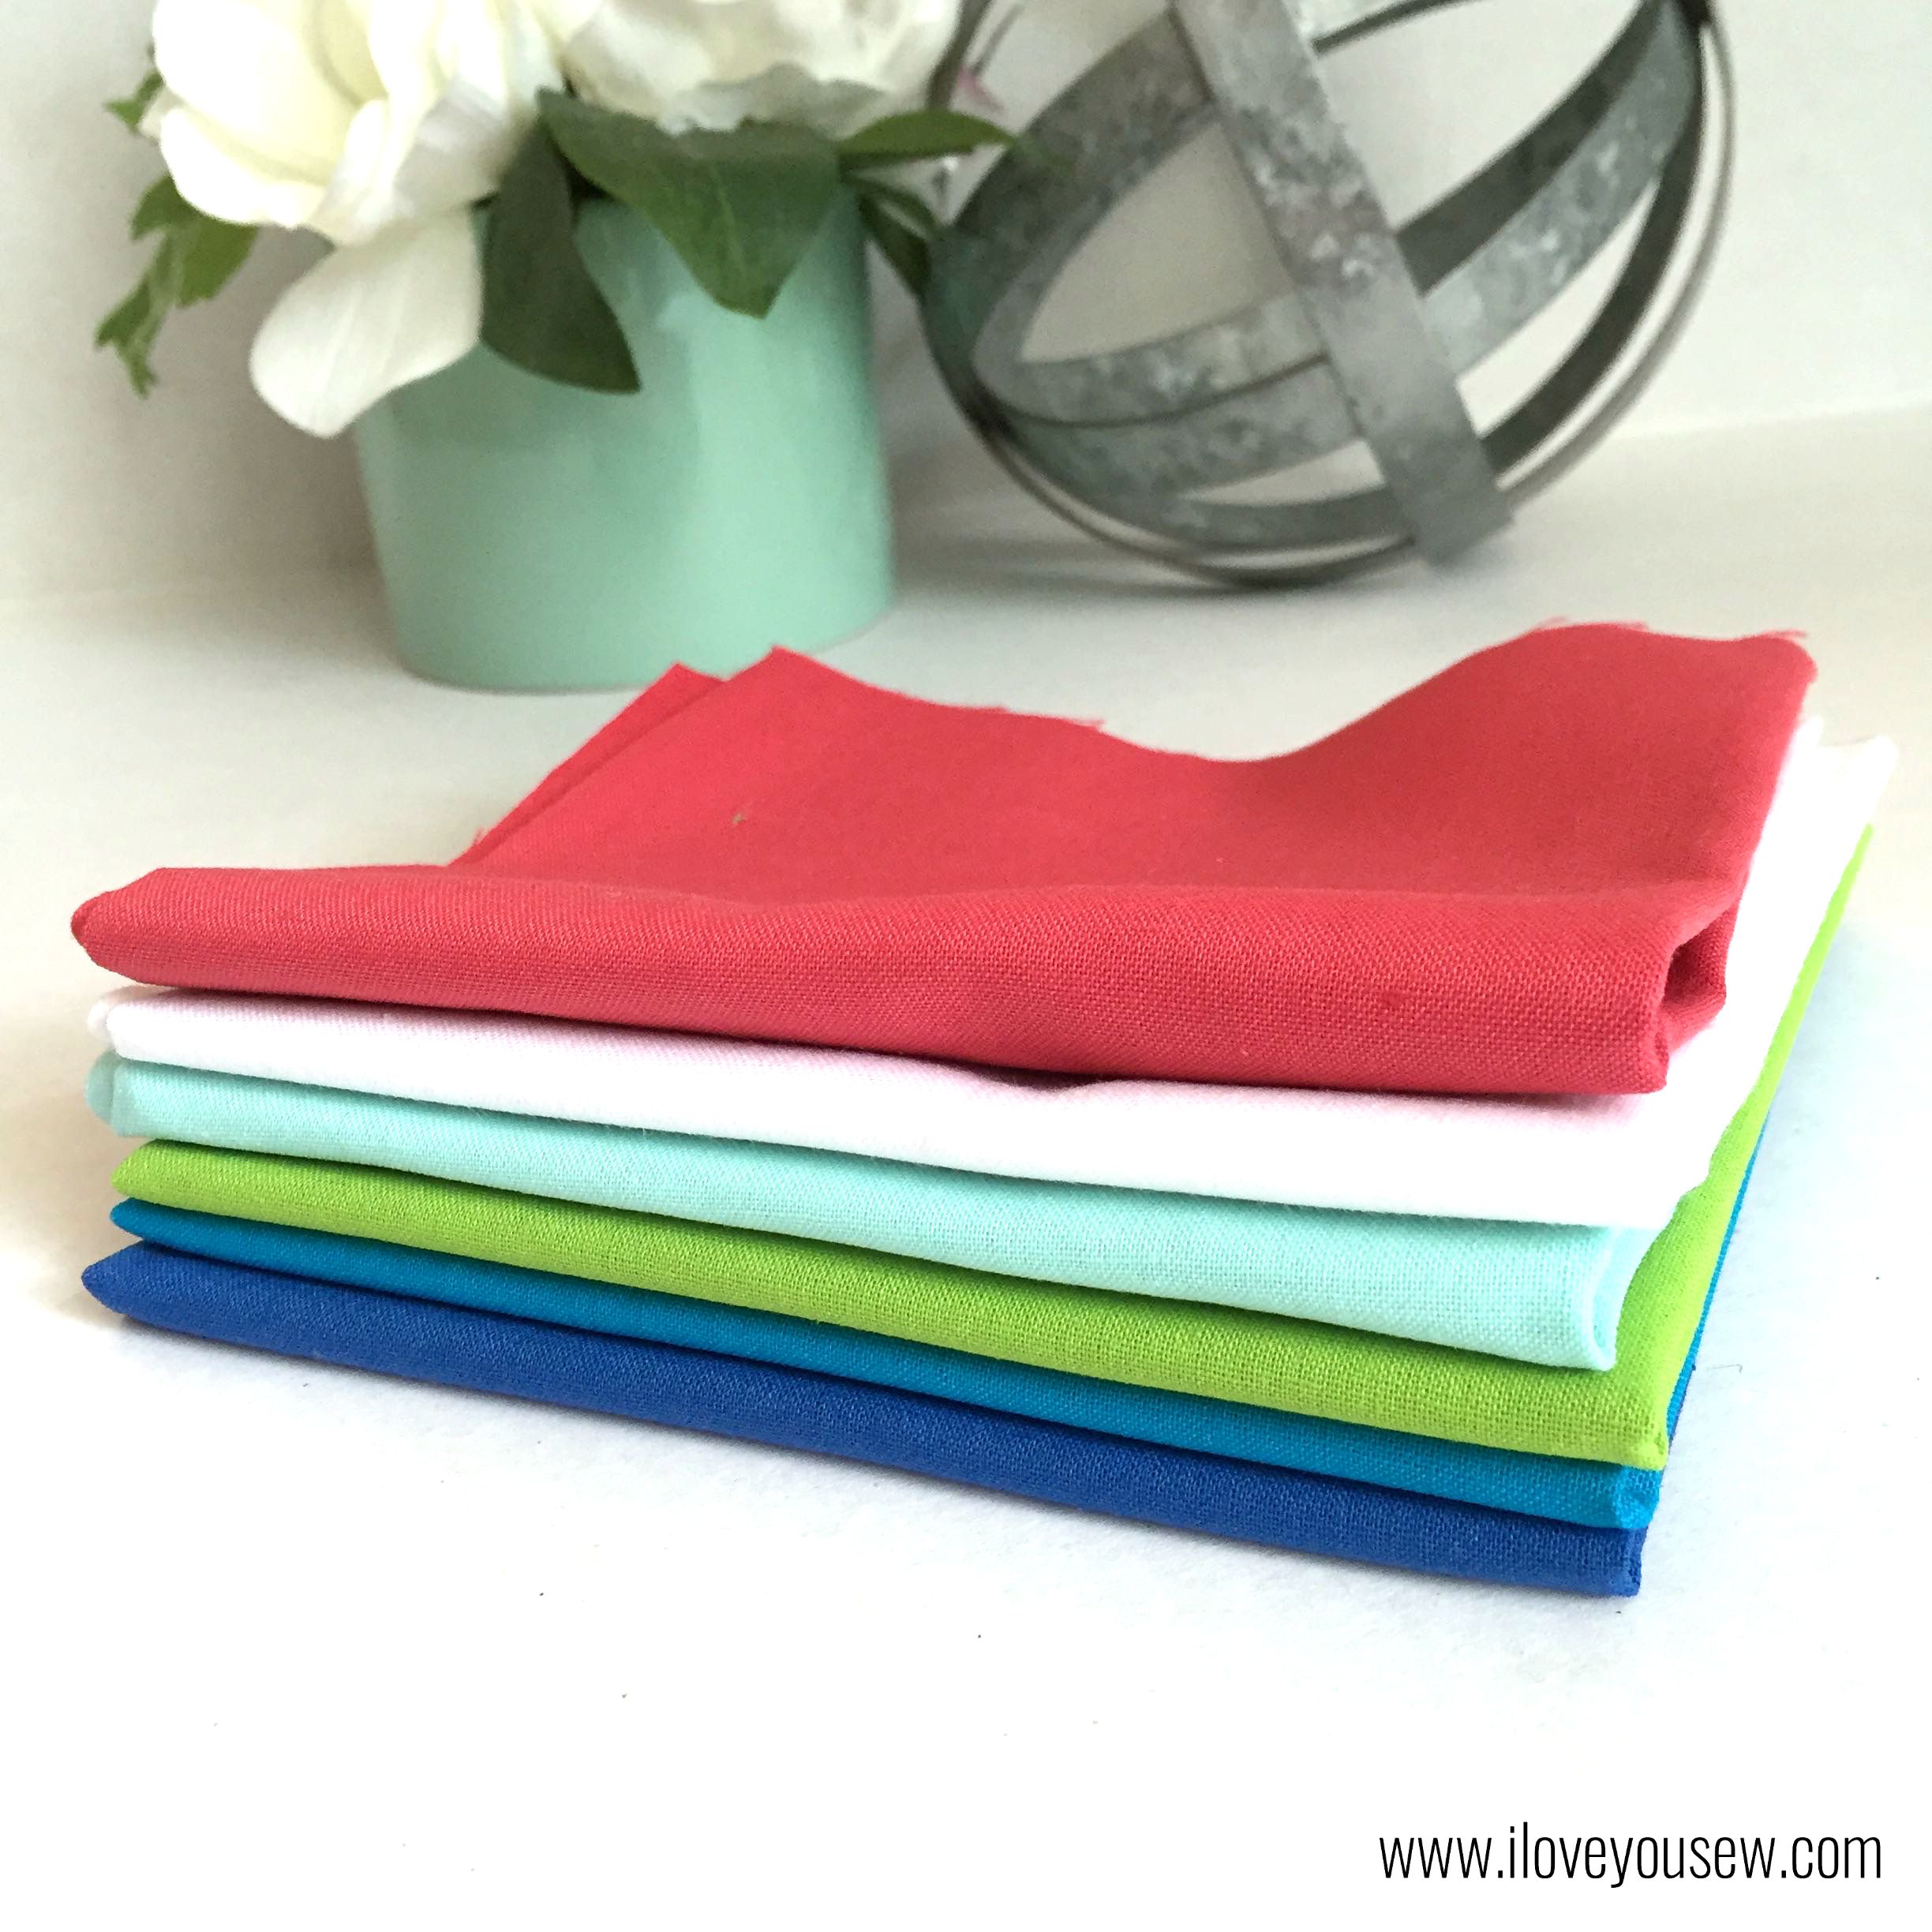
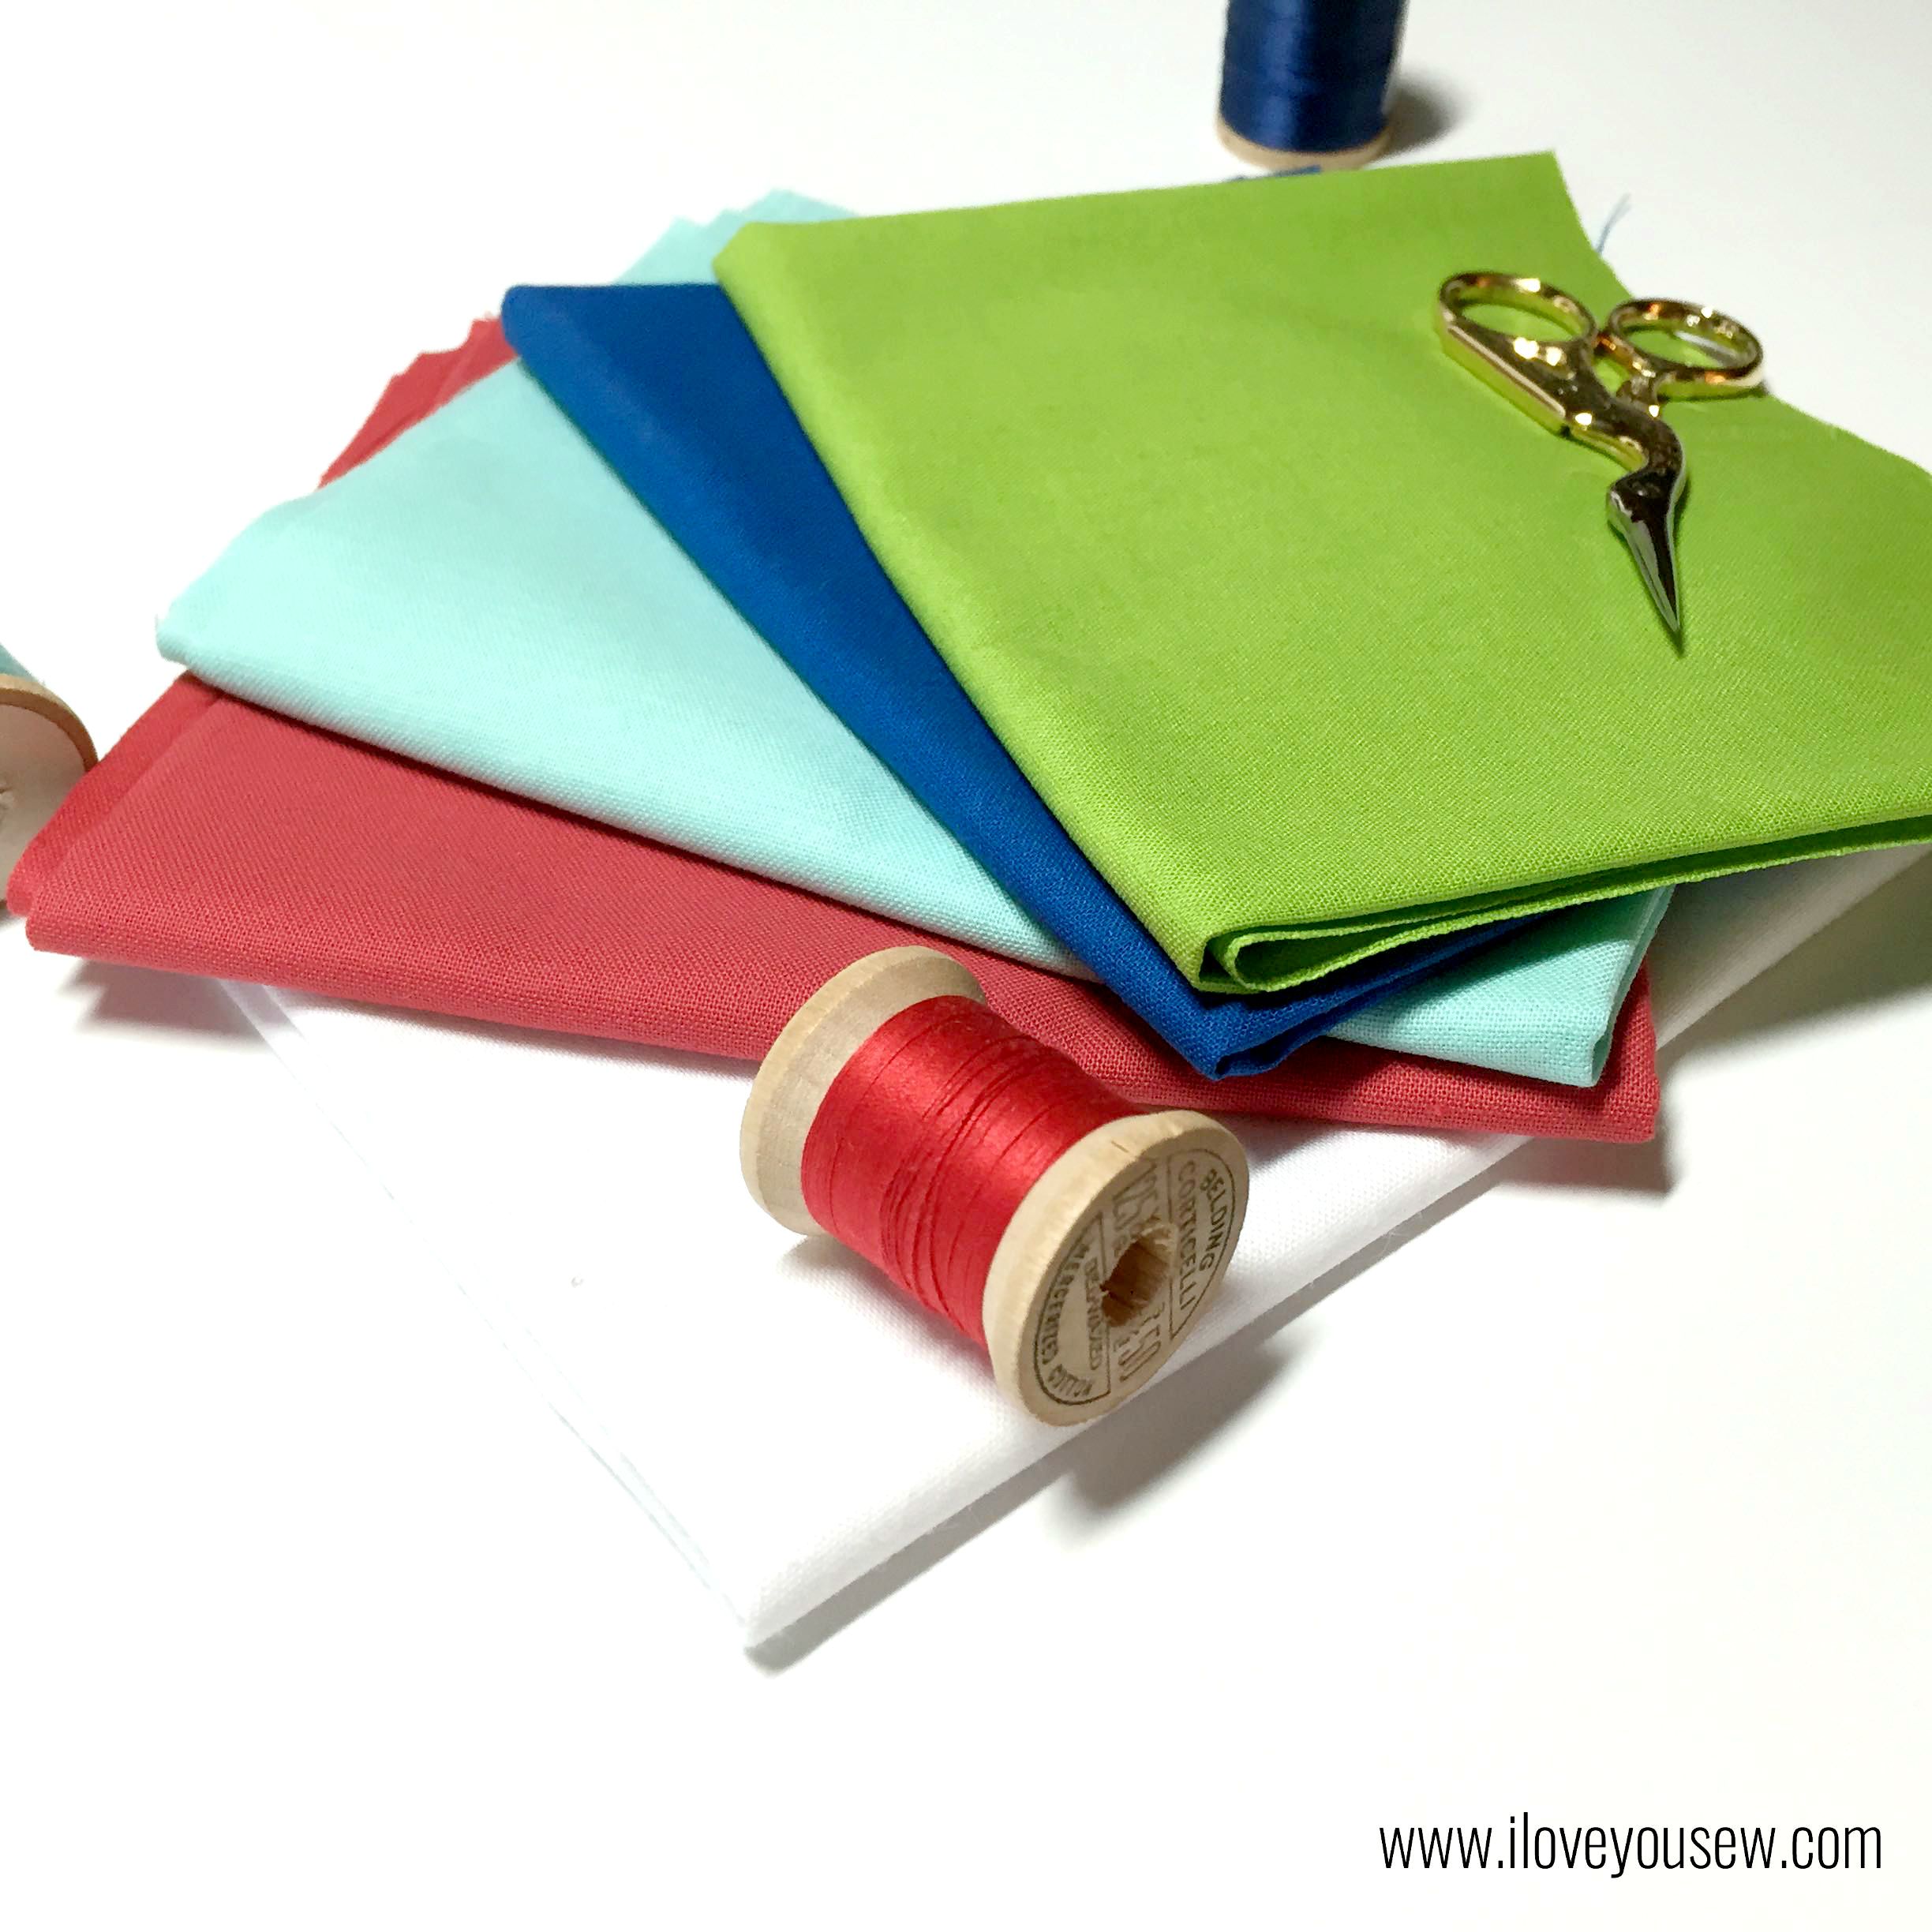
Our gracious hosts, Yvonne @Quilting Jetgirl, Cheryl @Meadow Mist Designs, Stephanie @Late Night Quilter and Terri Ann @Childlike Fascination, along with Fabri-Quilt have provided the opportunity for over 60 of us to develop a custom block with this gorgeous Summer Watermelon bundle of Coral, White, Aqua, Chartreuse, Turquoise, and Lapis Blue.

Fabric Pull

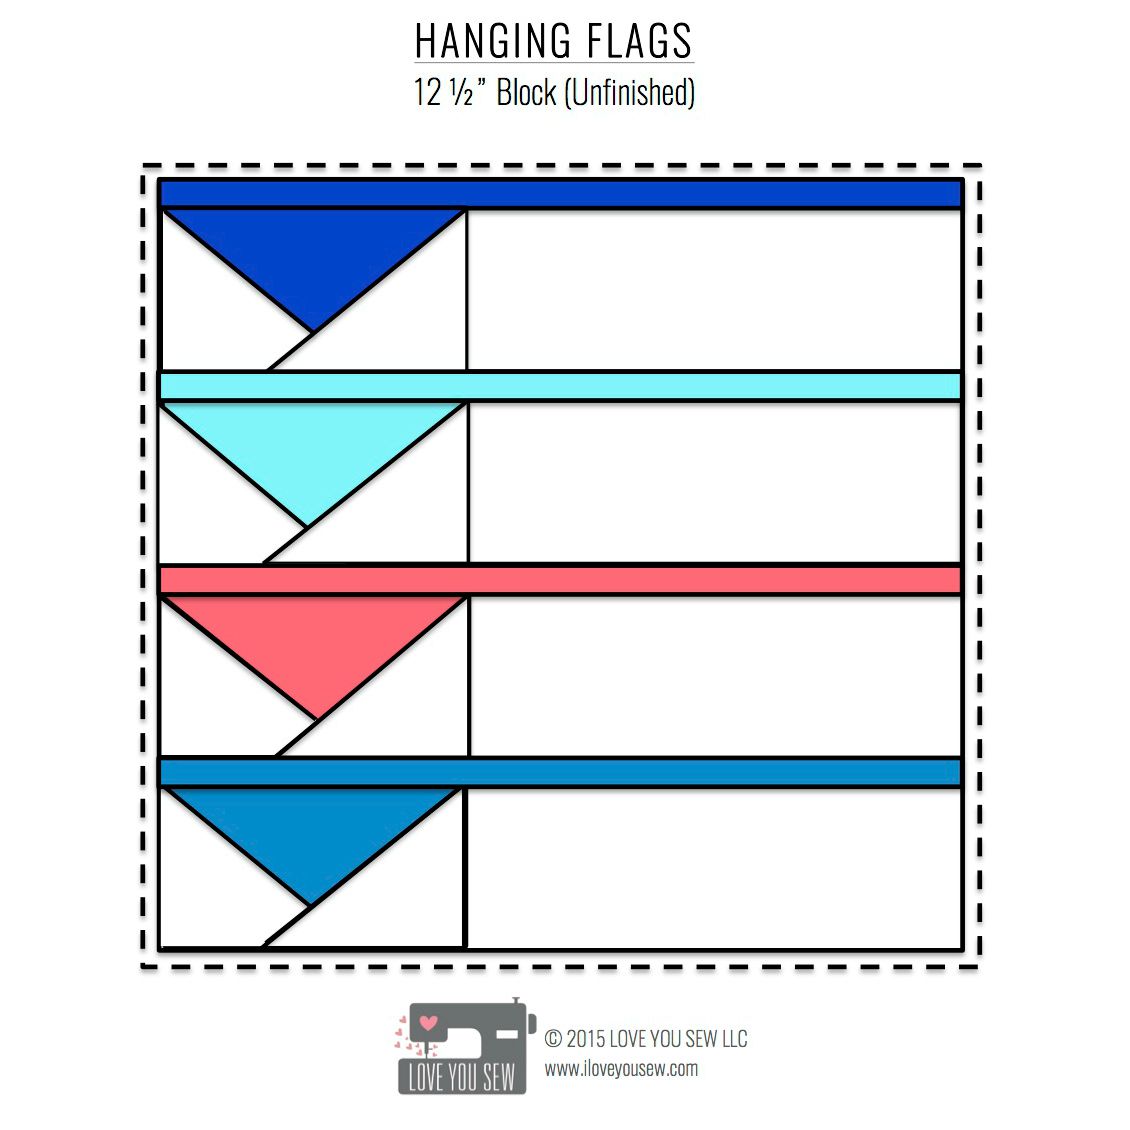
We were all challenged to create a 12″ (12.5″ unfinished) quilt block with only these 6 fat-eighths and use at least 3 colors.  We needed to provide a full tutorial for all of our cyber quilty friends and make them in time for this hop 😉

The task seemed easy enough…until I had to settle down on my plan. Do I go simple or complex? Paper-piece or traditional piecing? Use all of the colors? Maybe not…but which ones then? I had so many ideas but only so much fabric…

Inspiration

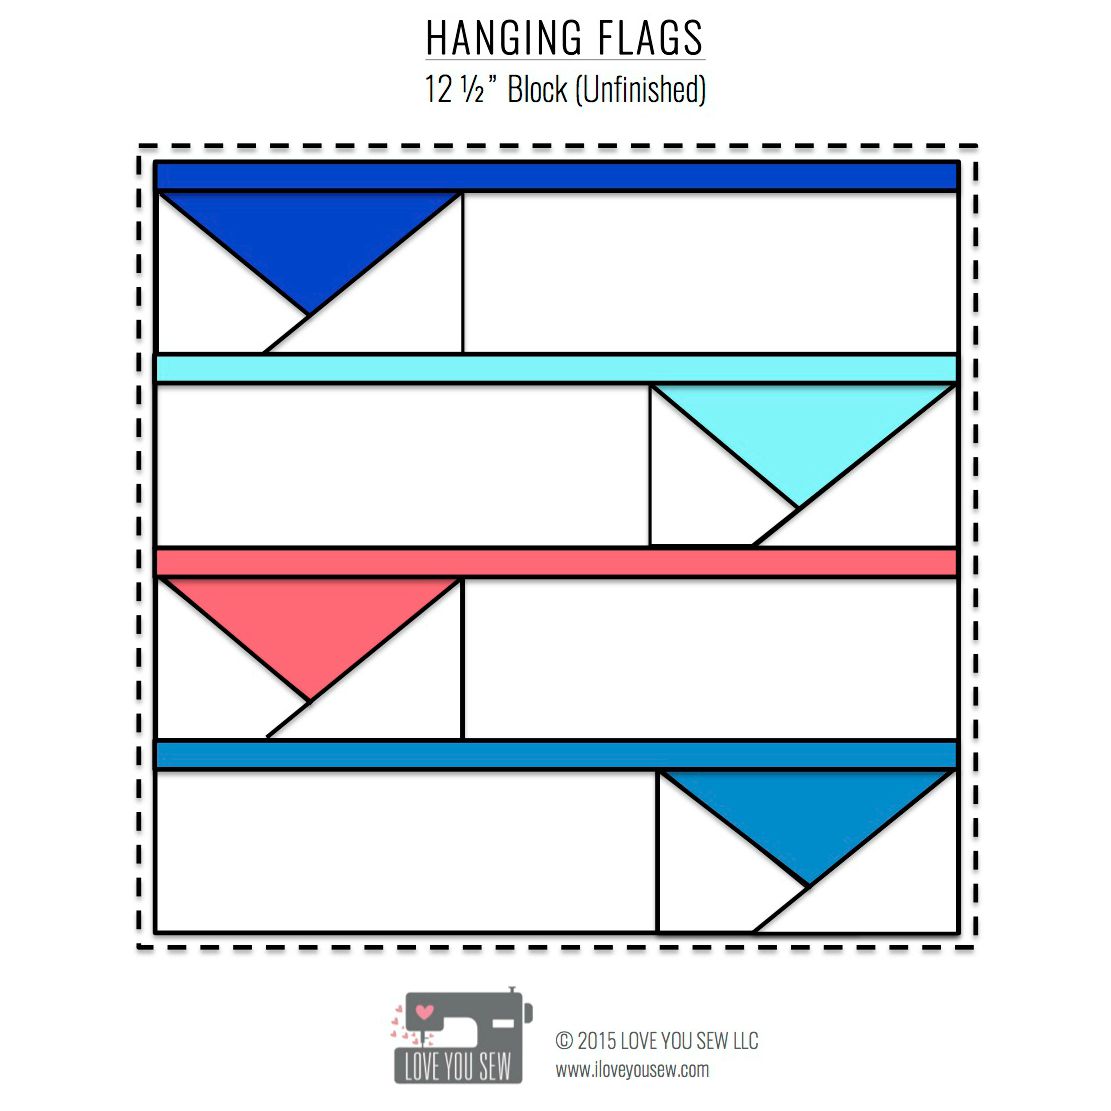
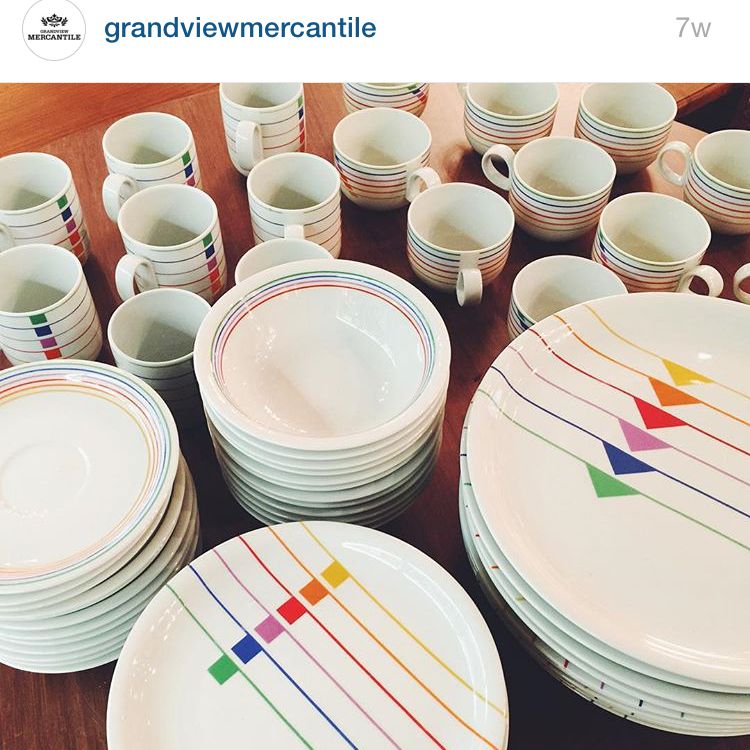
But then I came upon this image of vintage dinnerware from a local upscale thrift shop downtown called Grandview Mercantile.  It was screaming, “Make me into a quilt!” and…I said, “Yes.” 😉  I love the idea of stacking the geese (triangles) right on top of one another with the sashing.  It is a simple design for a beginner (both for quilter and for author!)

For this exercise, I decided on a diagonal layout  of the geese since this block was going to be one of many in the charity quilts.  The spaced out color would be more versatile than my initial assymetrical idea.  I still plan to make a full quilt like the dinnerware eventually…


Block instructions:

  • Gather the following fat-eighths: Fabri-Quilt White, Coral, Chartreuse, Lapis Blue, & Aqua  ***It is recommended that you launder these fabrics BEFORE cutting to ensure accurate sizing on your block***
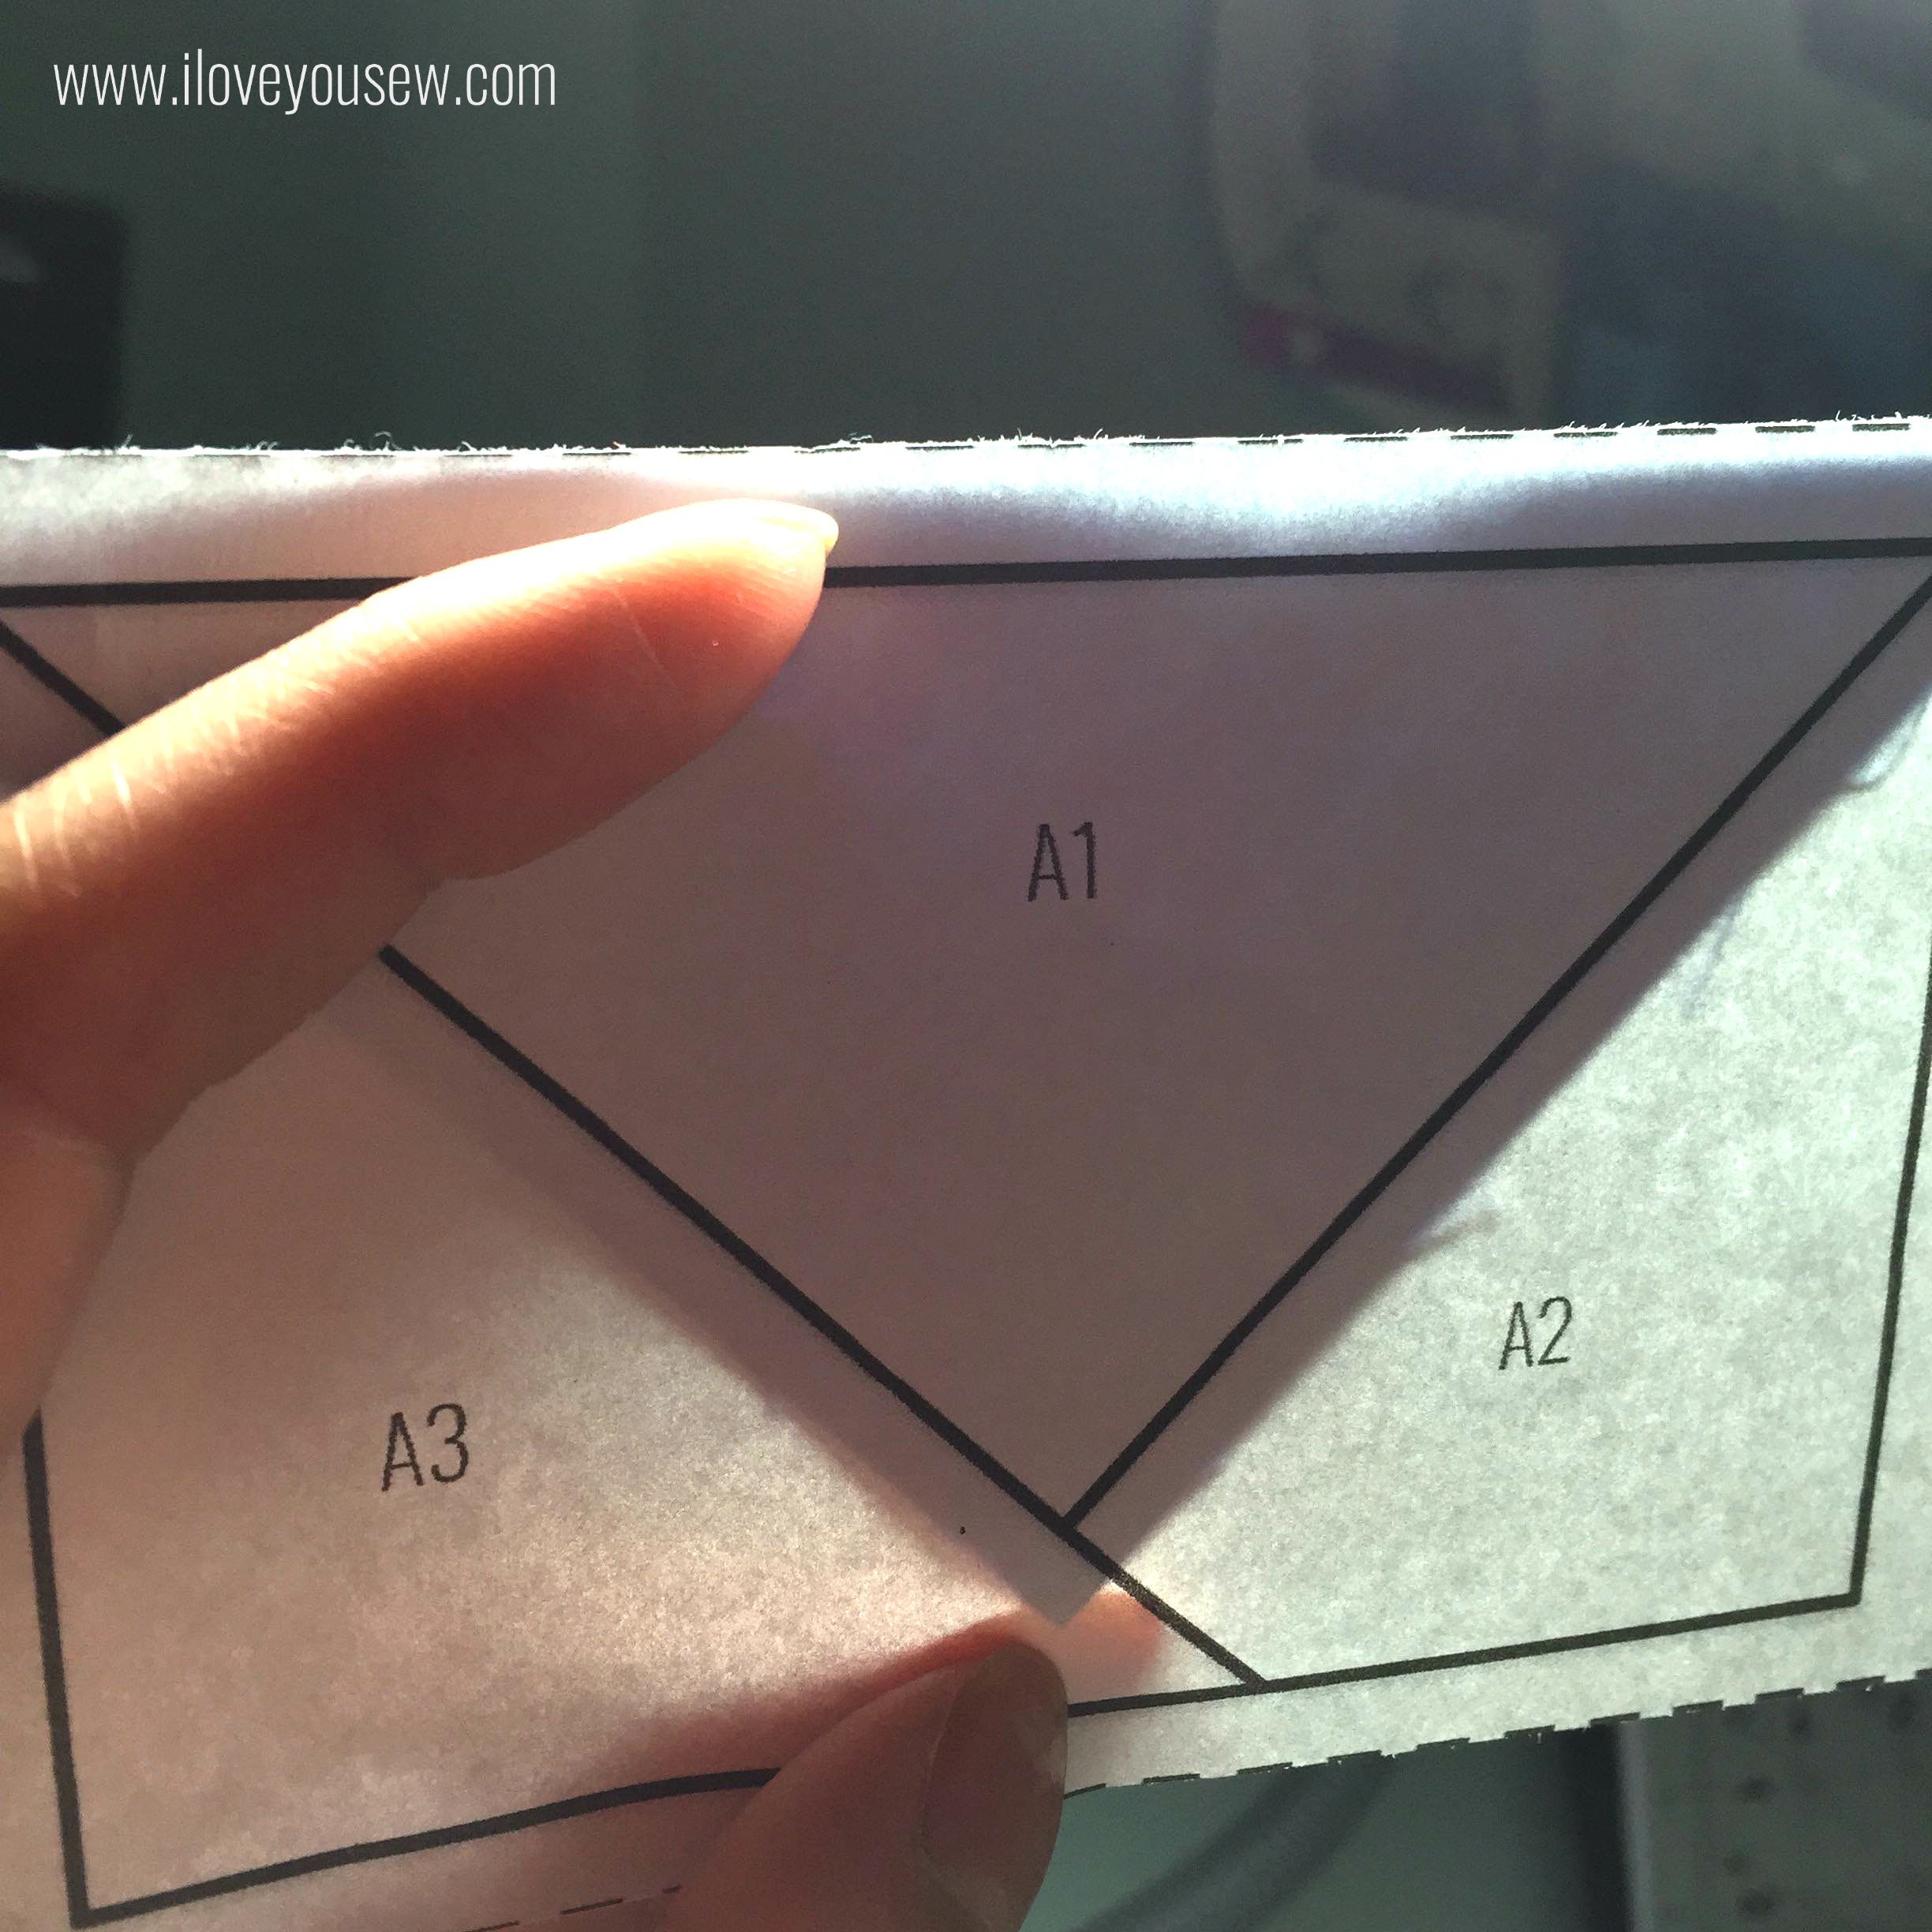
  • Print 2 Paper-piecing pattern sheets (4 Flying geese templates total) –> Hanging Flags Bock_Geese Template
  • Use 1/4″ seam allowance

Cut the following:

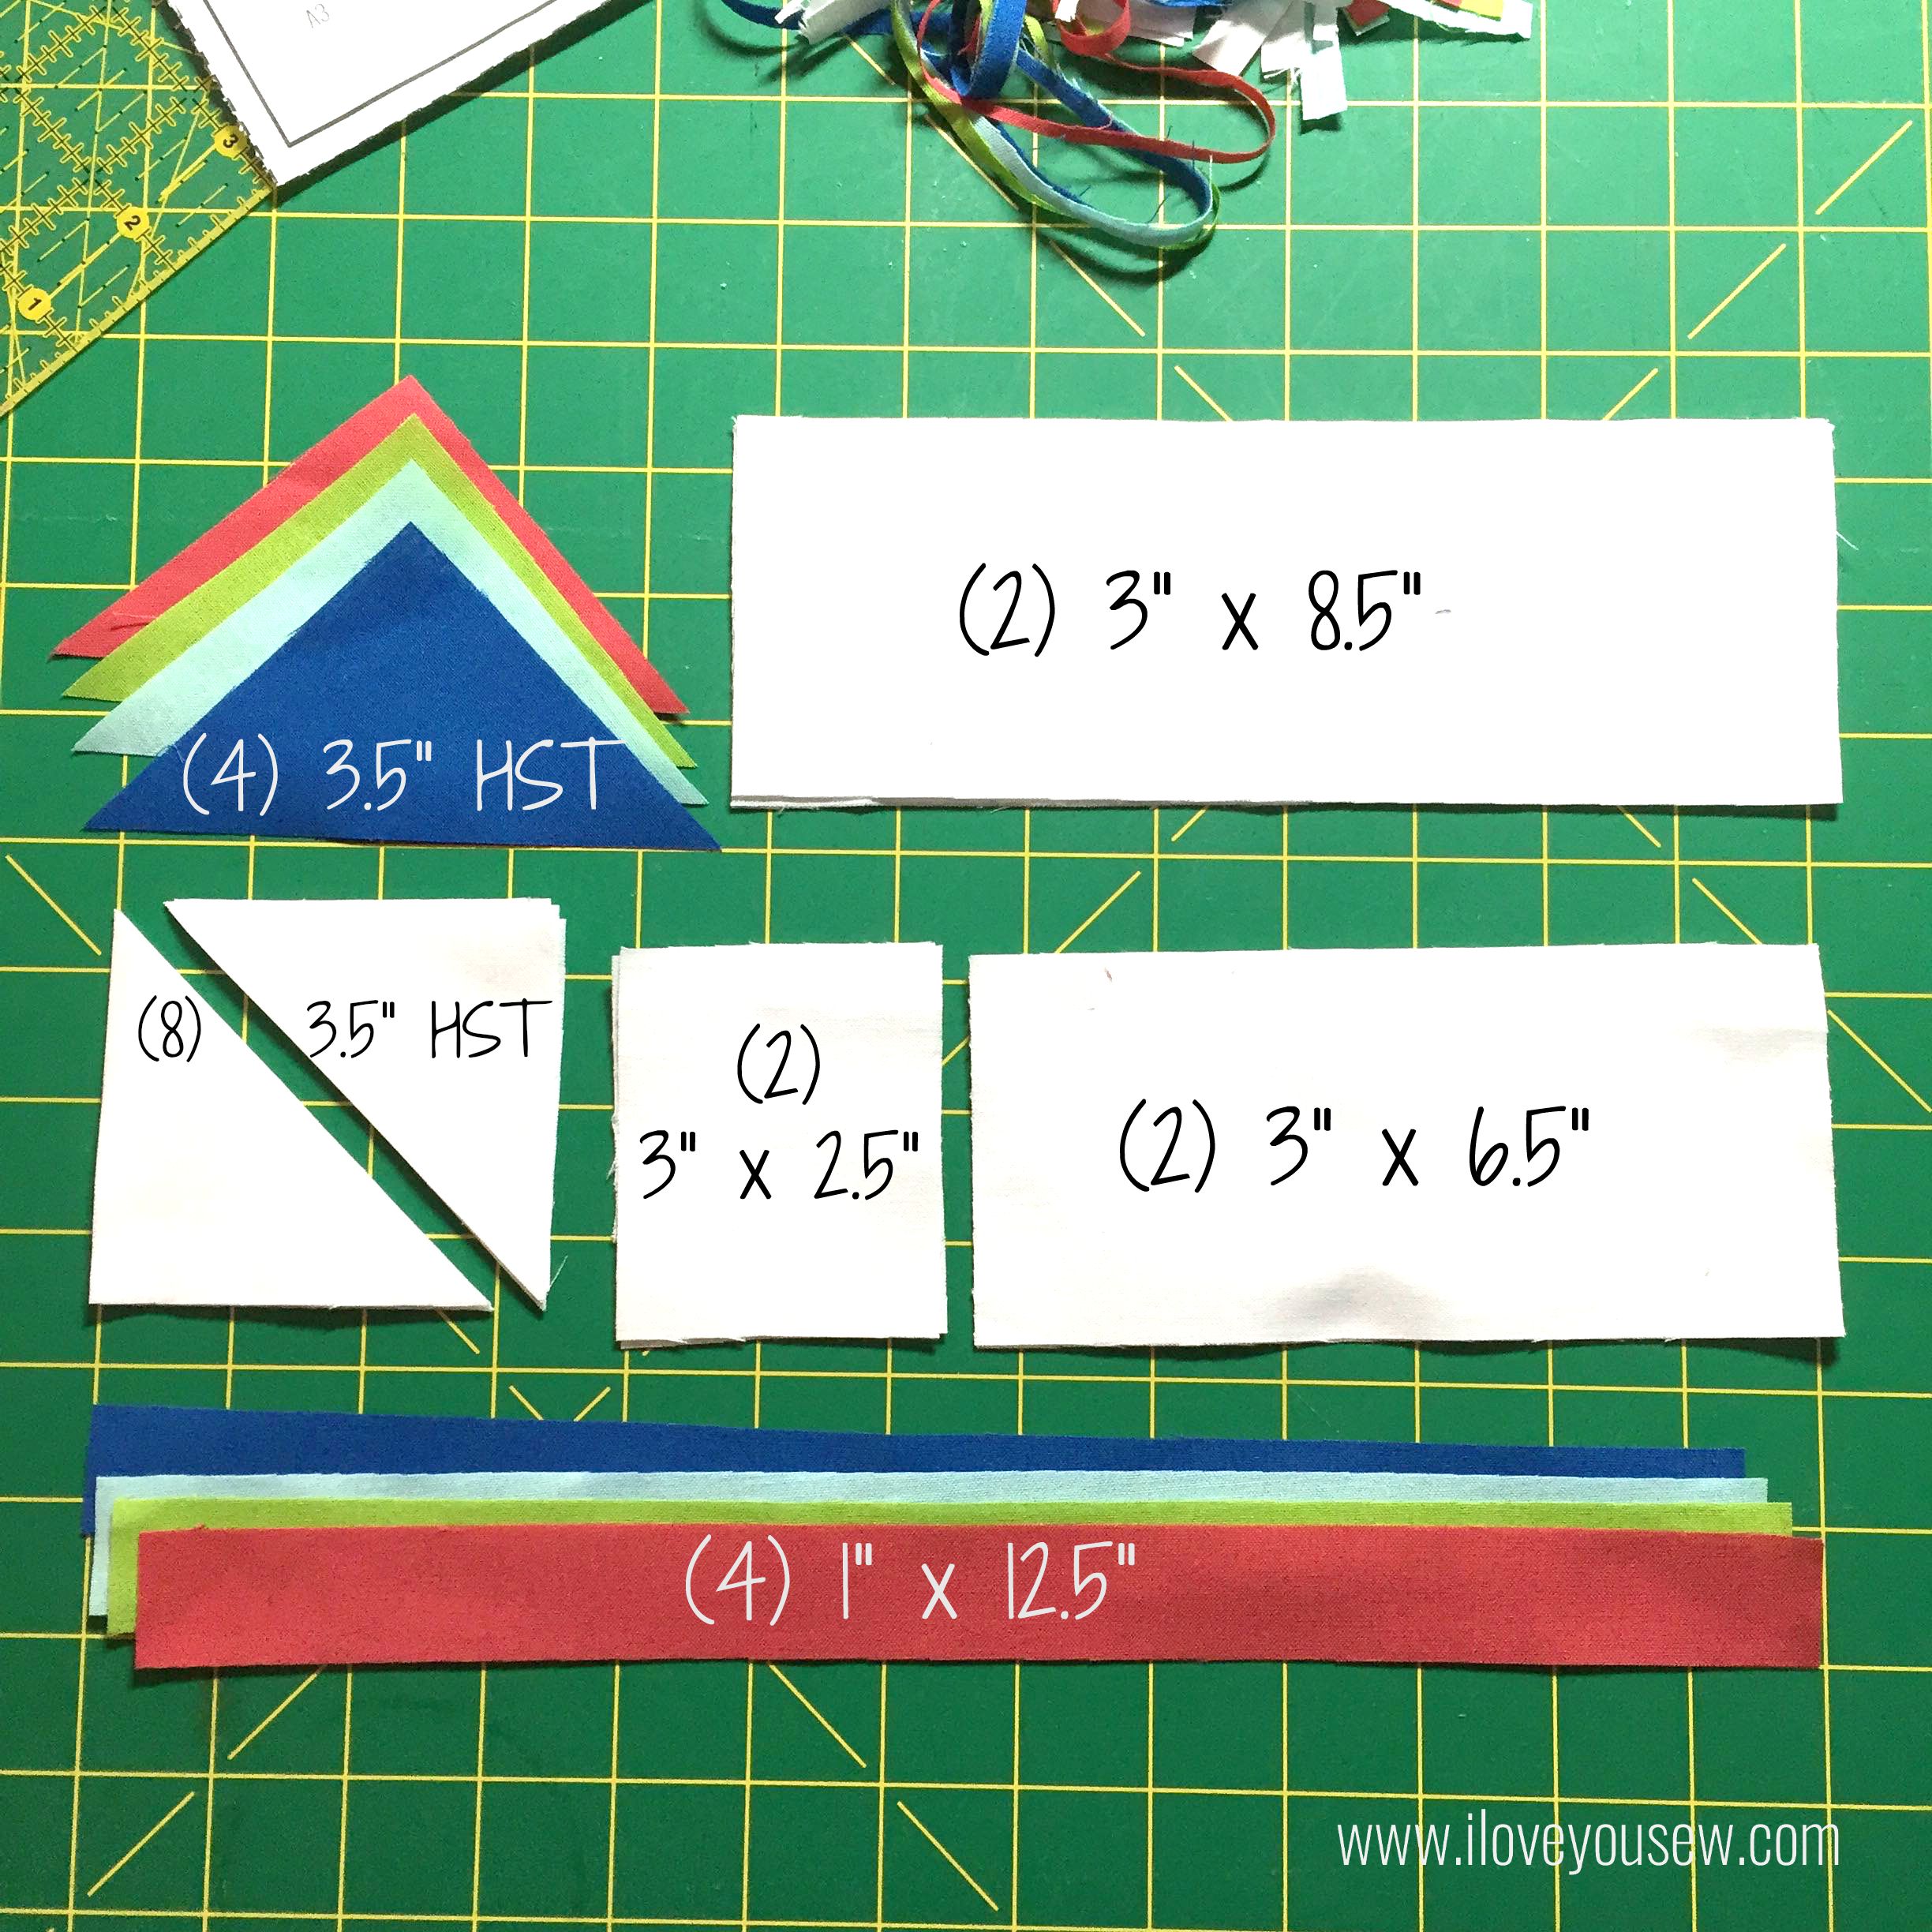
04AllCuts


  • (1) 3.75″ HSTs of each color (4 total)
  • (2) 3″ x 8.5″ of white
  • (8) 3.5″ Half-Square Triangles (HSTs) of white
  • (2) 3 x 2.5″ of white
  • (2) 3″ x 6.5″  of white
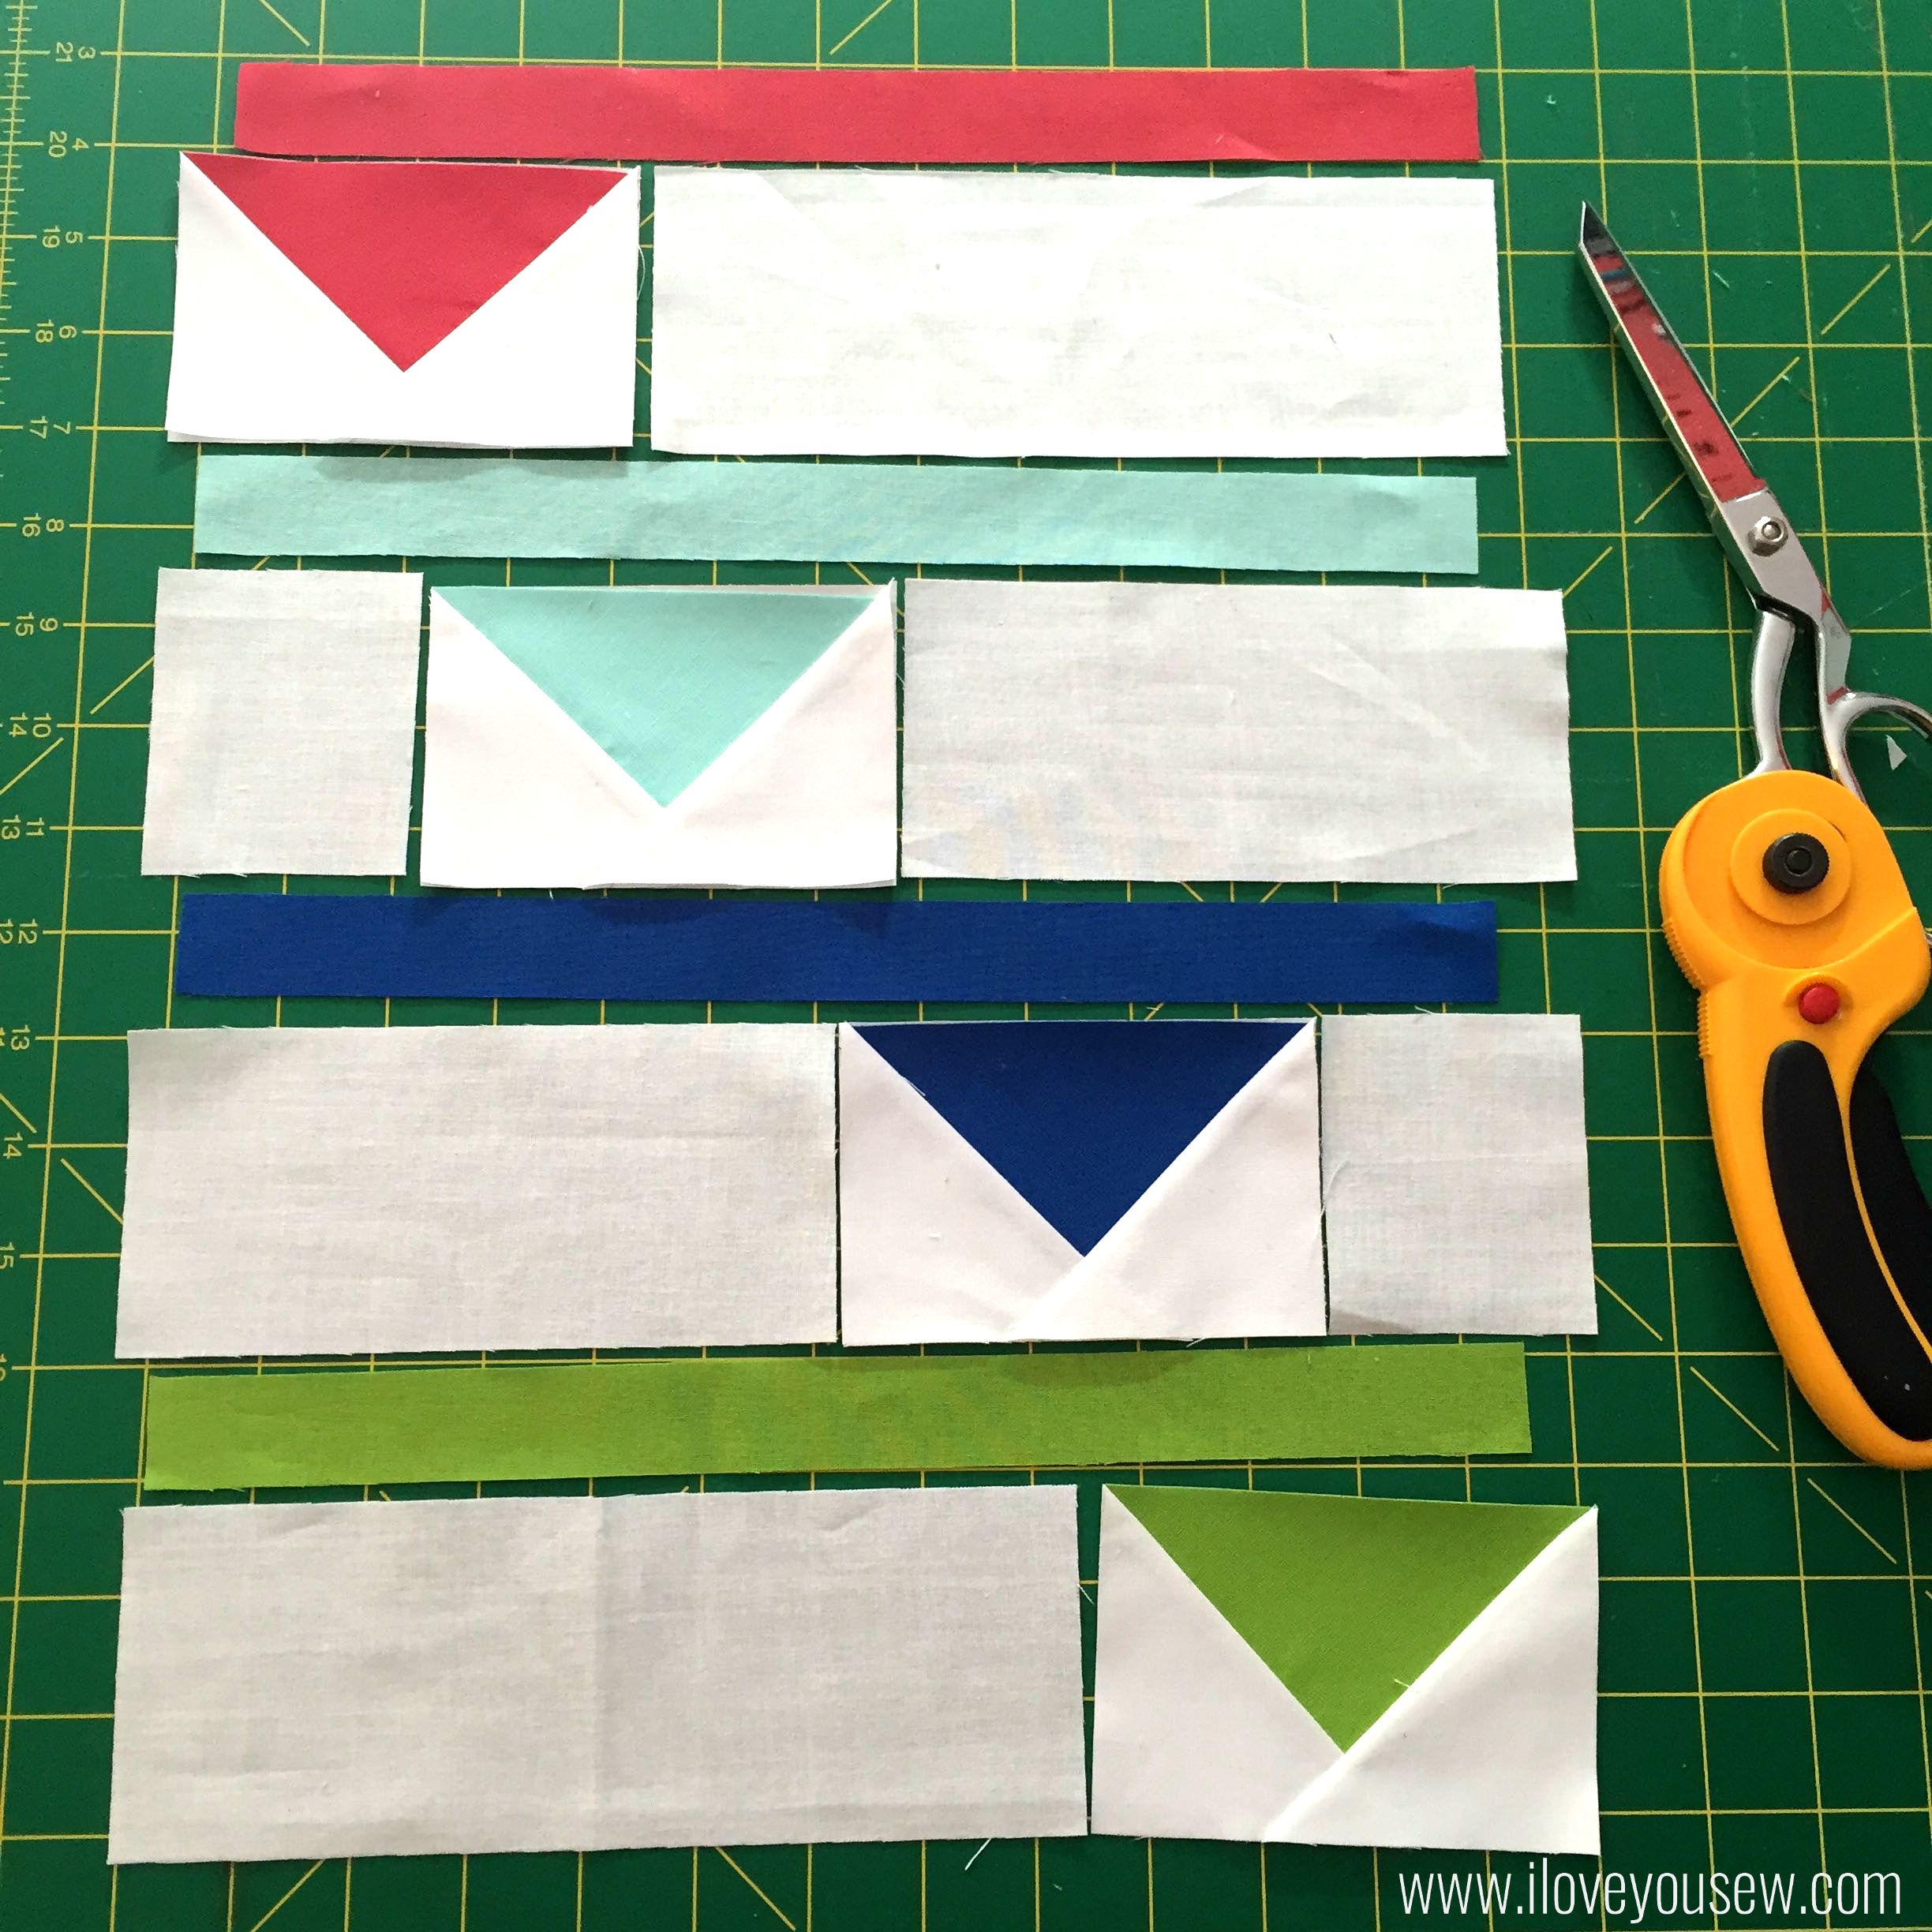
  • (1) 1″ x 12.5″ strip of ea color


Paper-piece with flying geese template

05PP

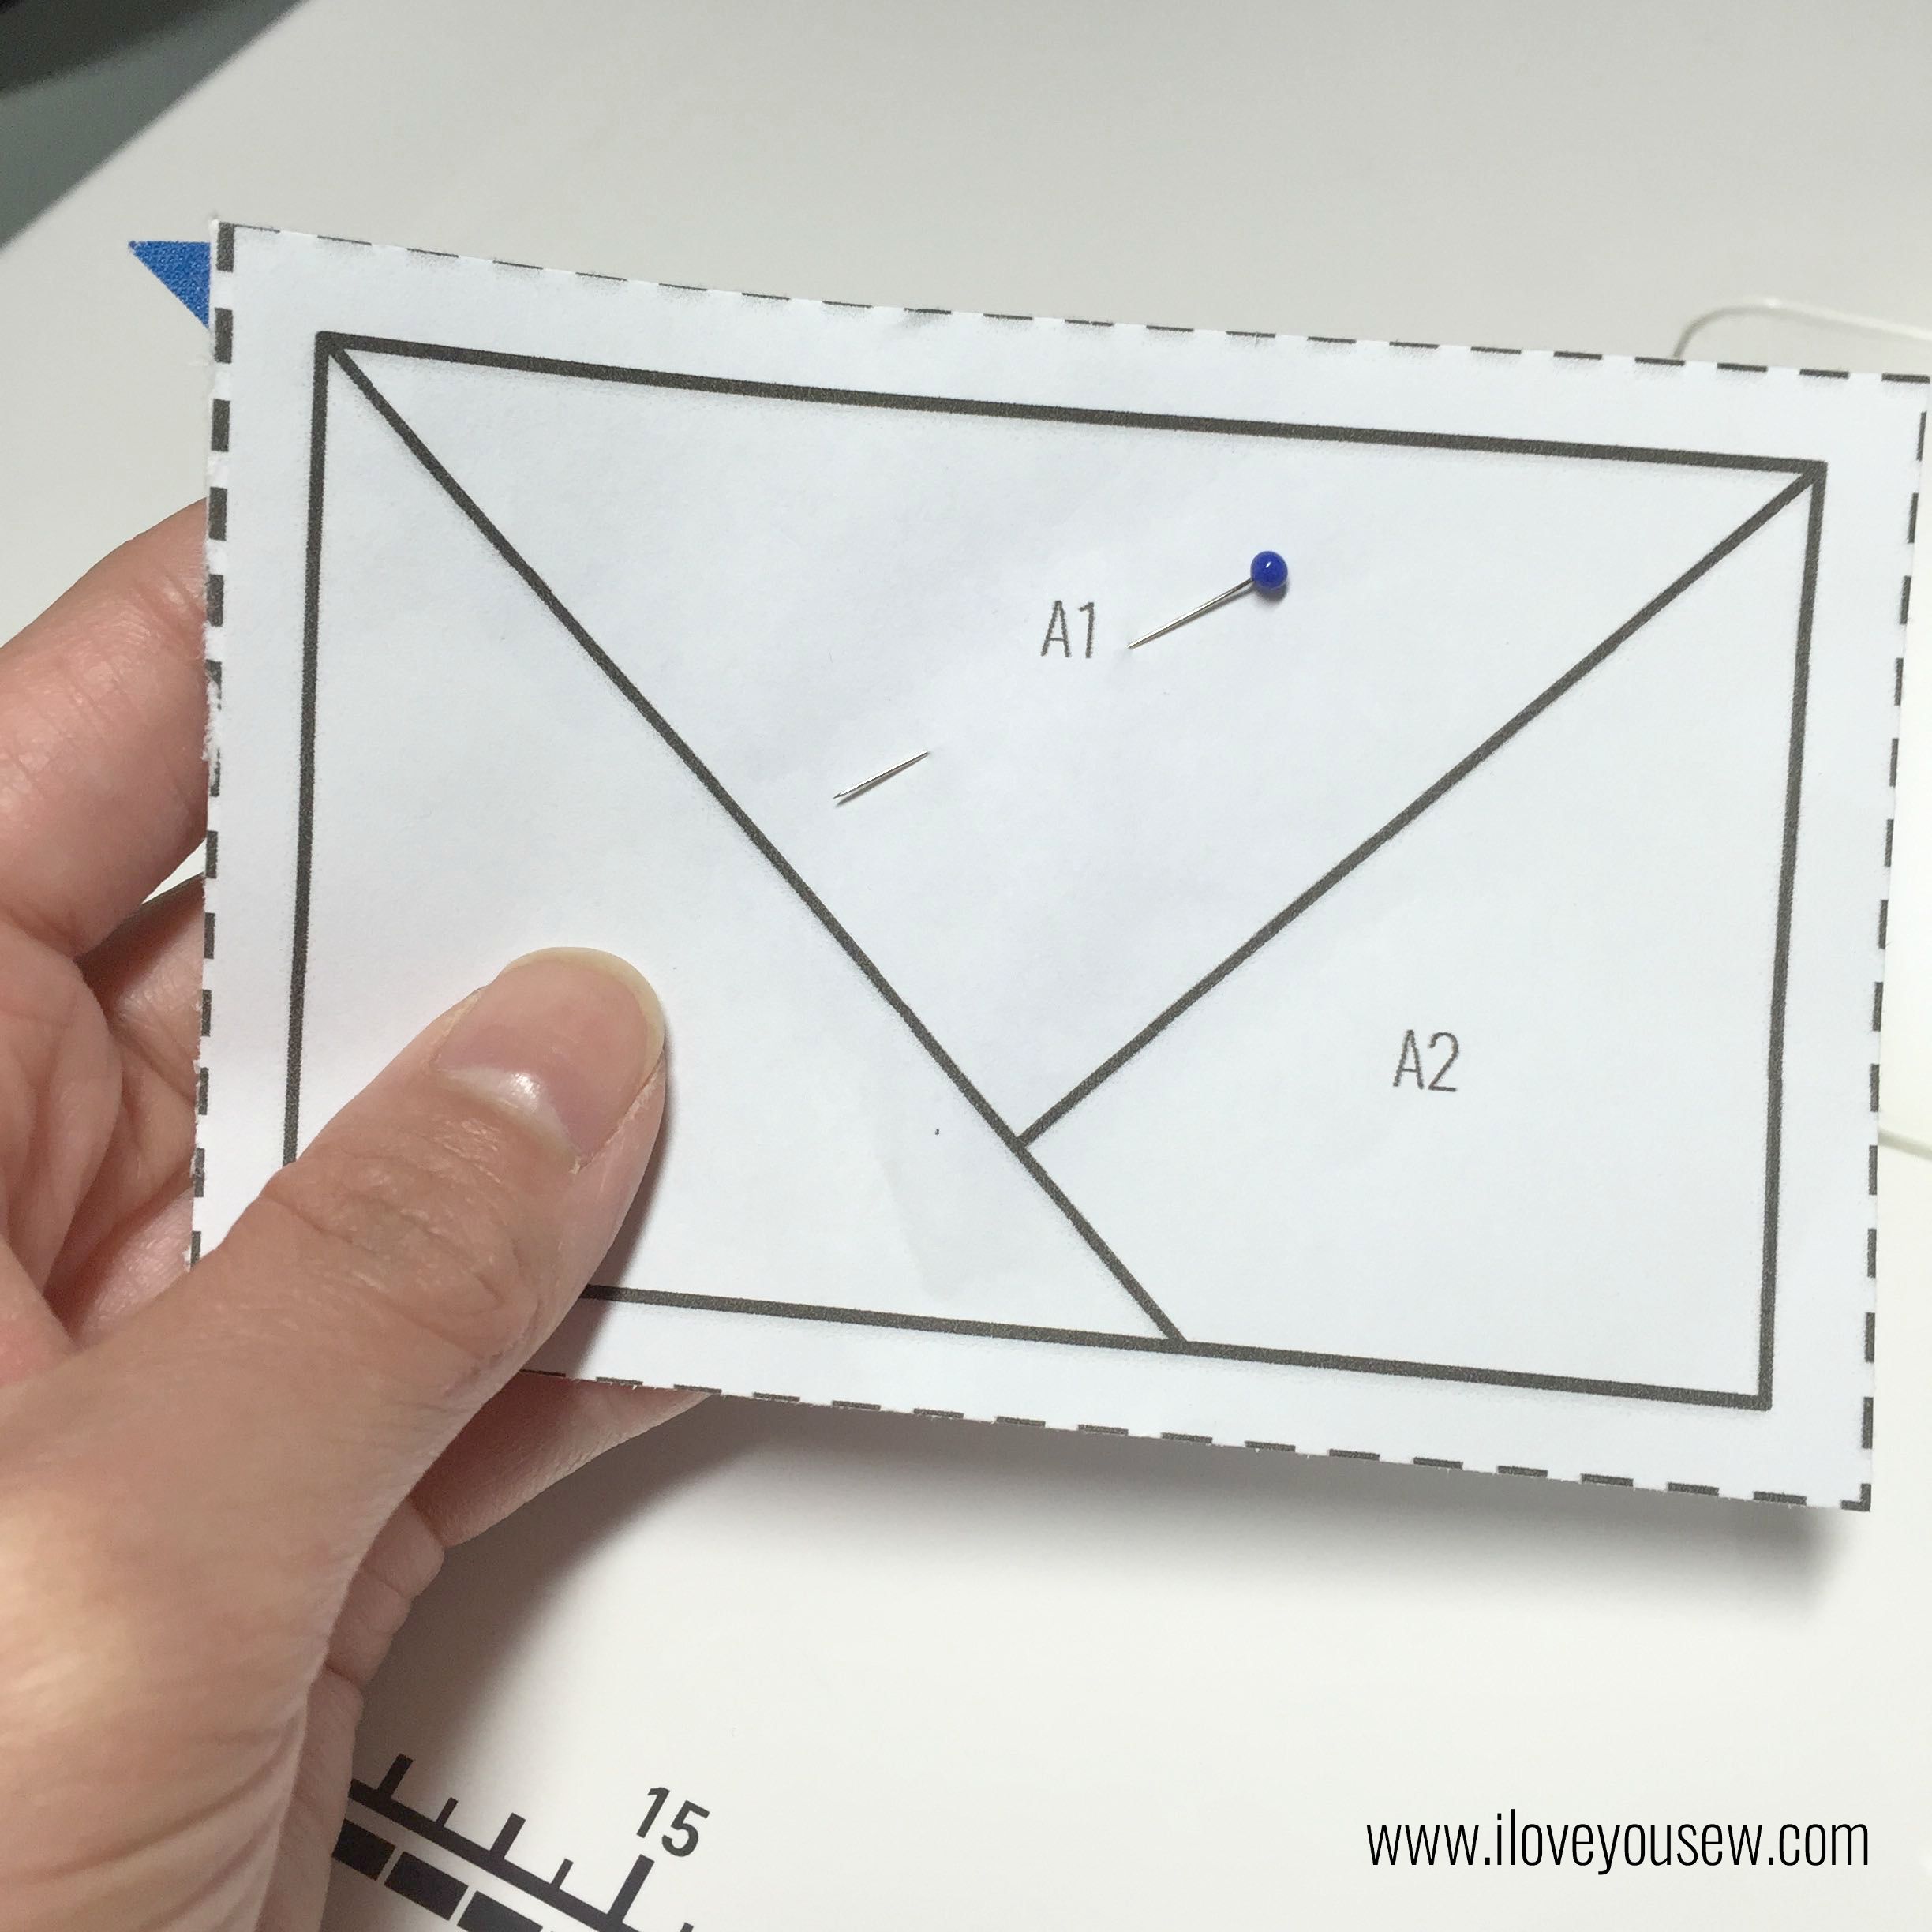
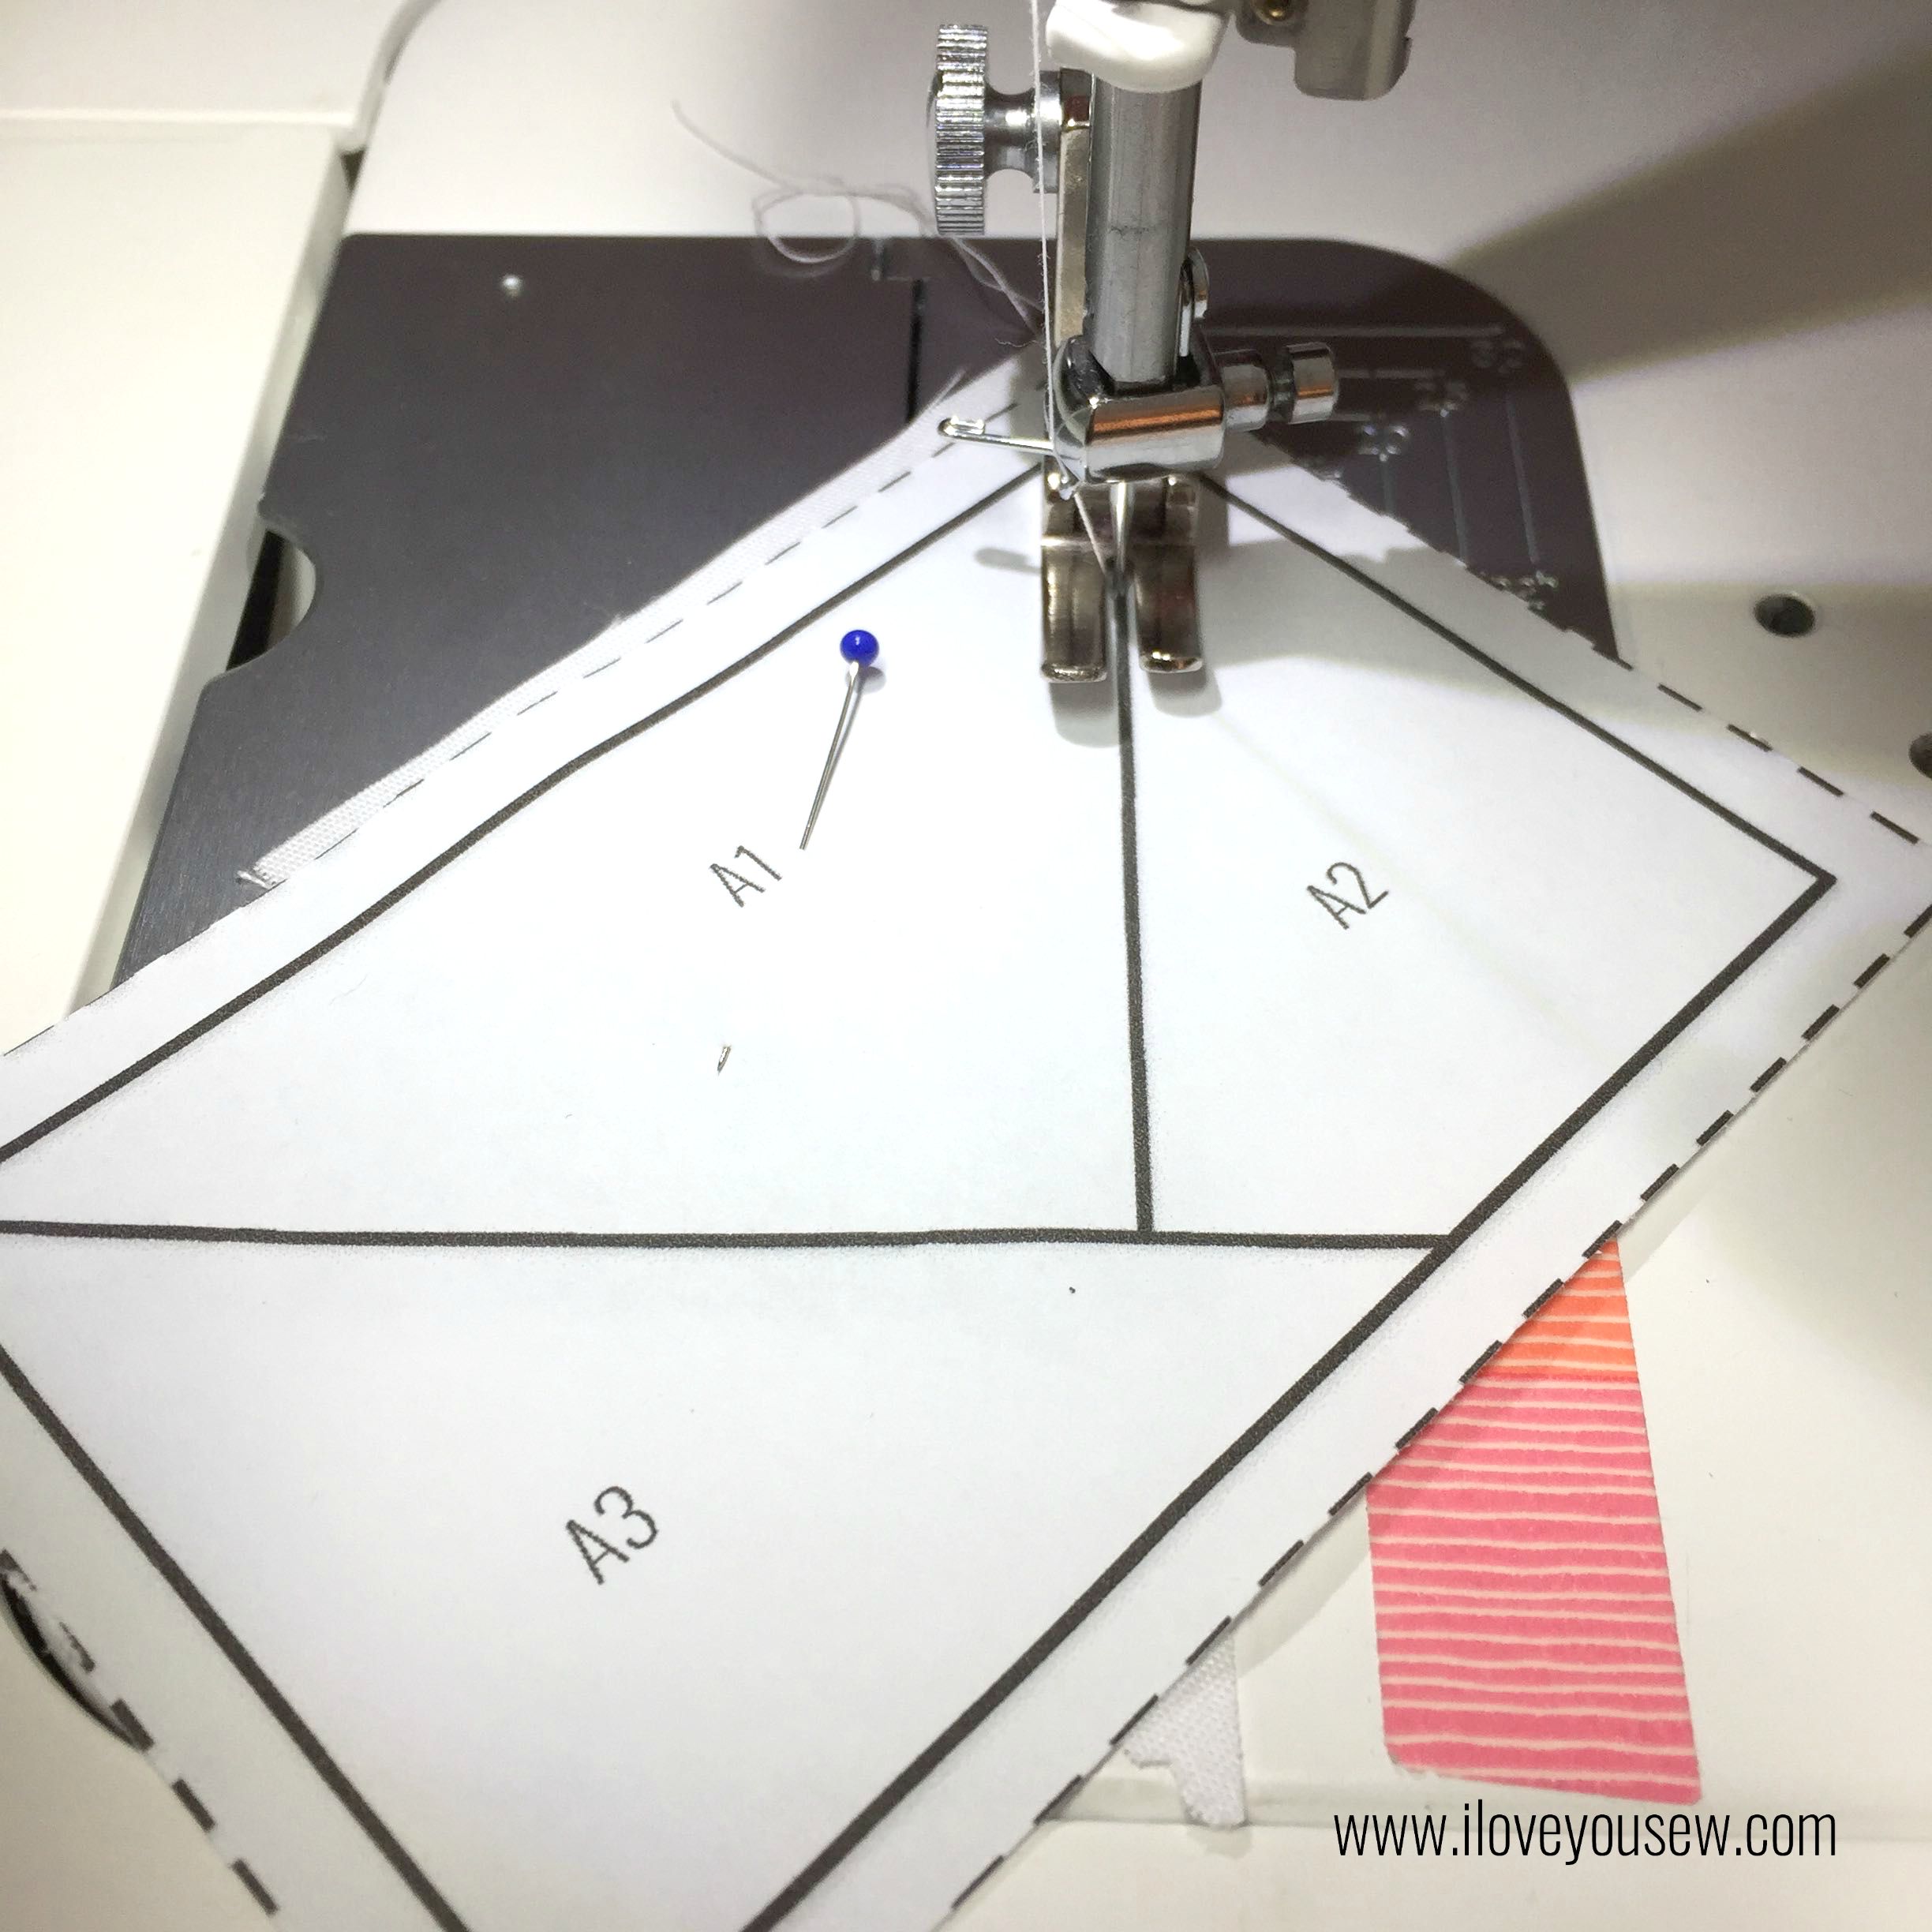
  • Take one color triangle and place it behind the printed “1” so that there is 1/4″ seam allowance all around the triangle. *It’s ok if there extra which hangs beyond the template. It will be trimmed later.

06PP

  • Pin in place (This helps the HST from shifting)

08PPLineUpWhite

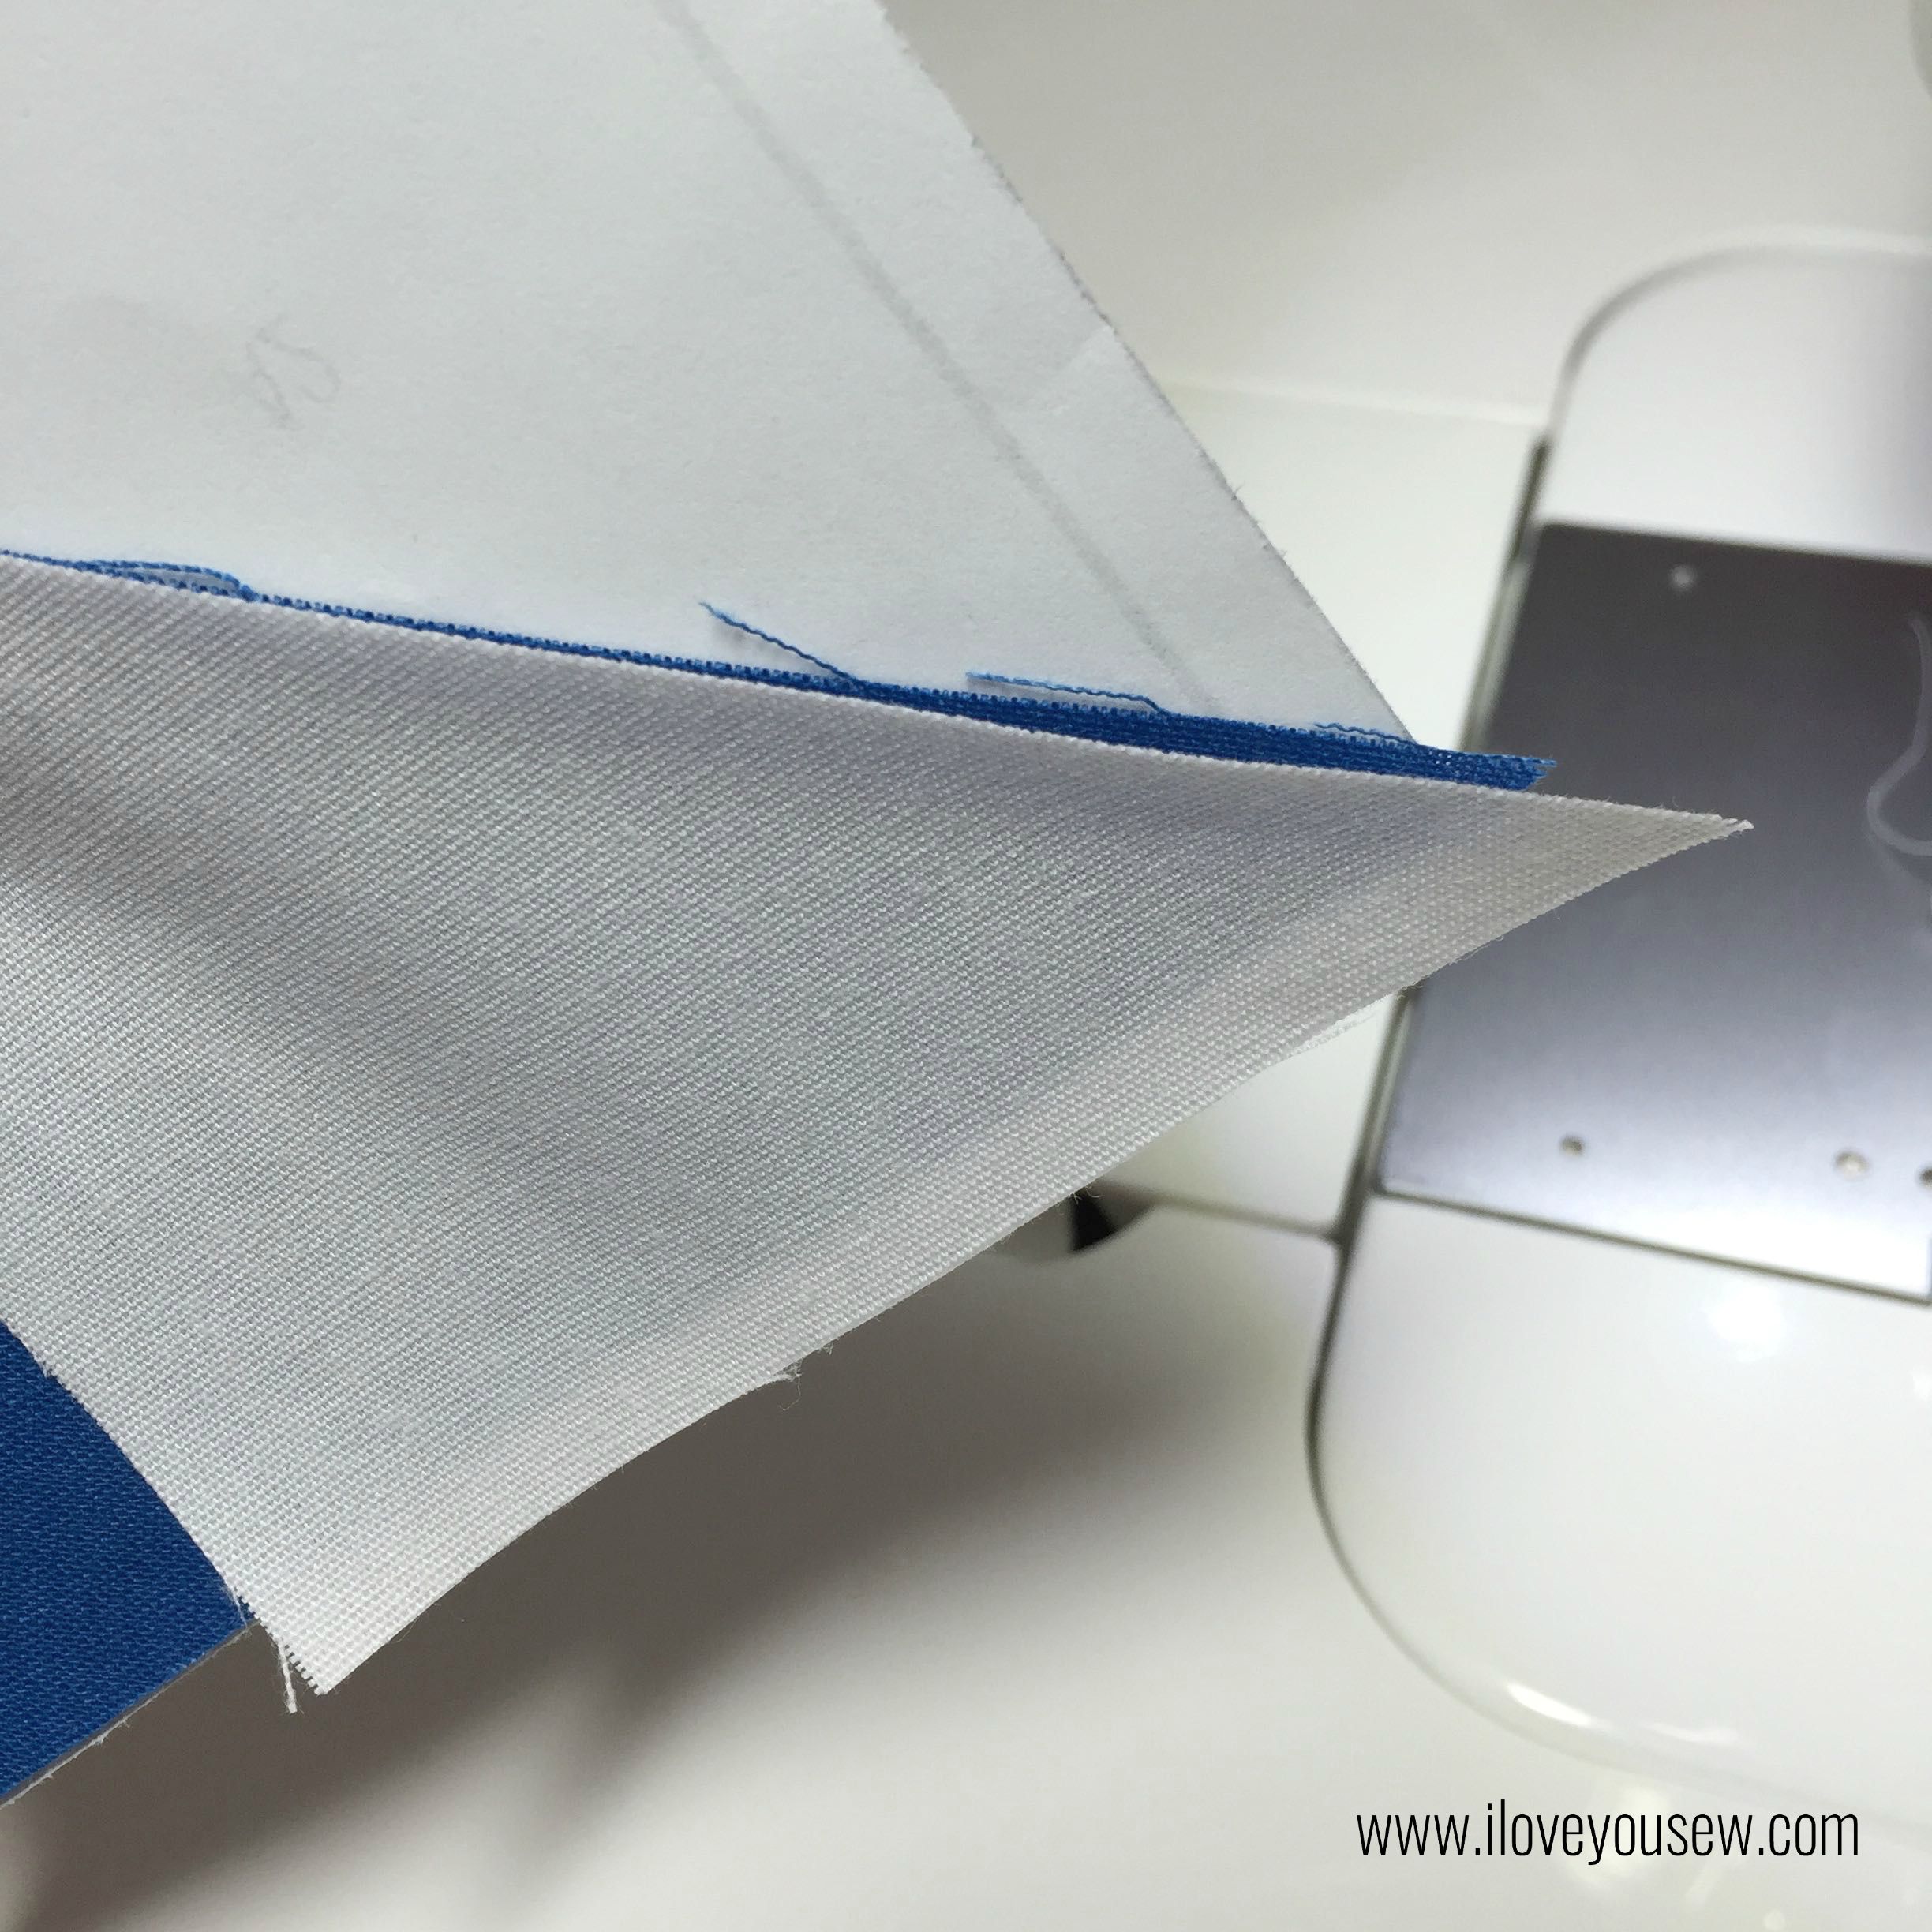
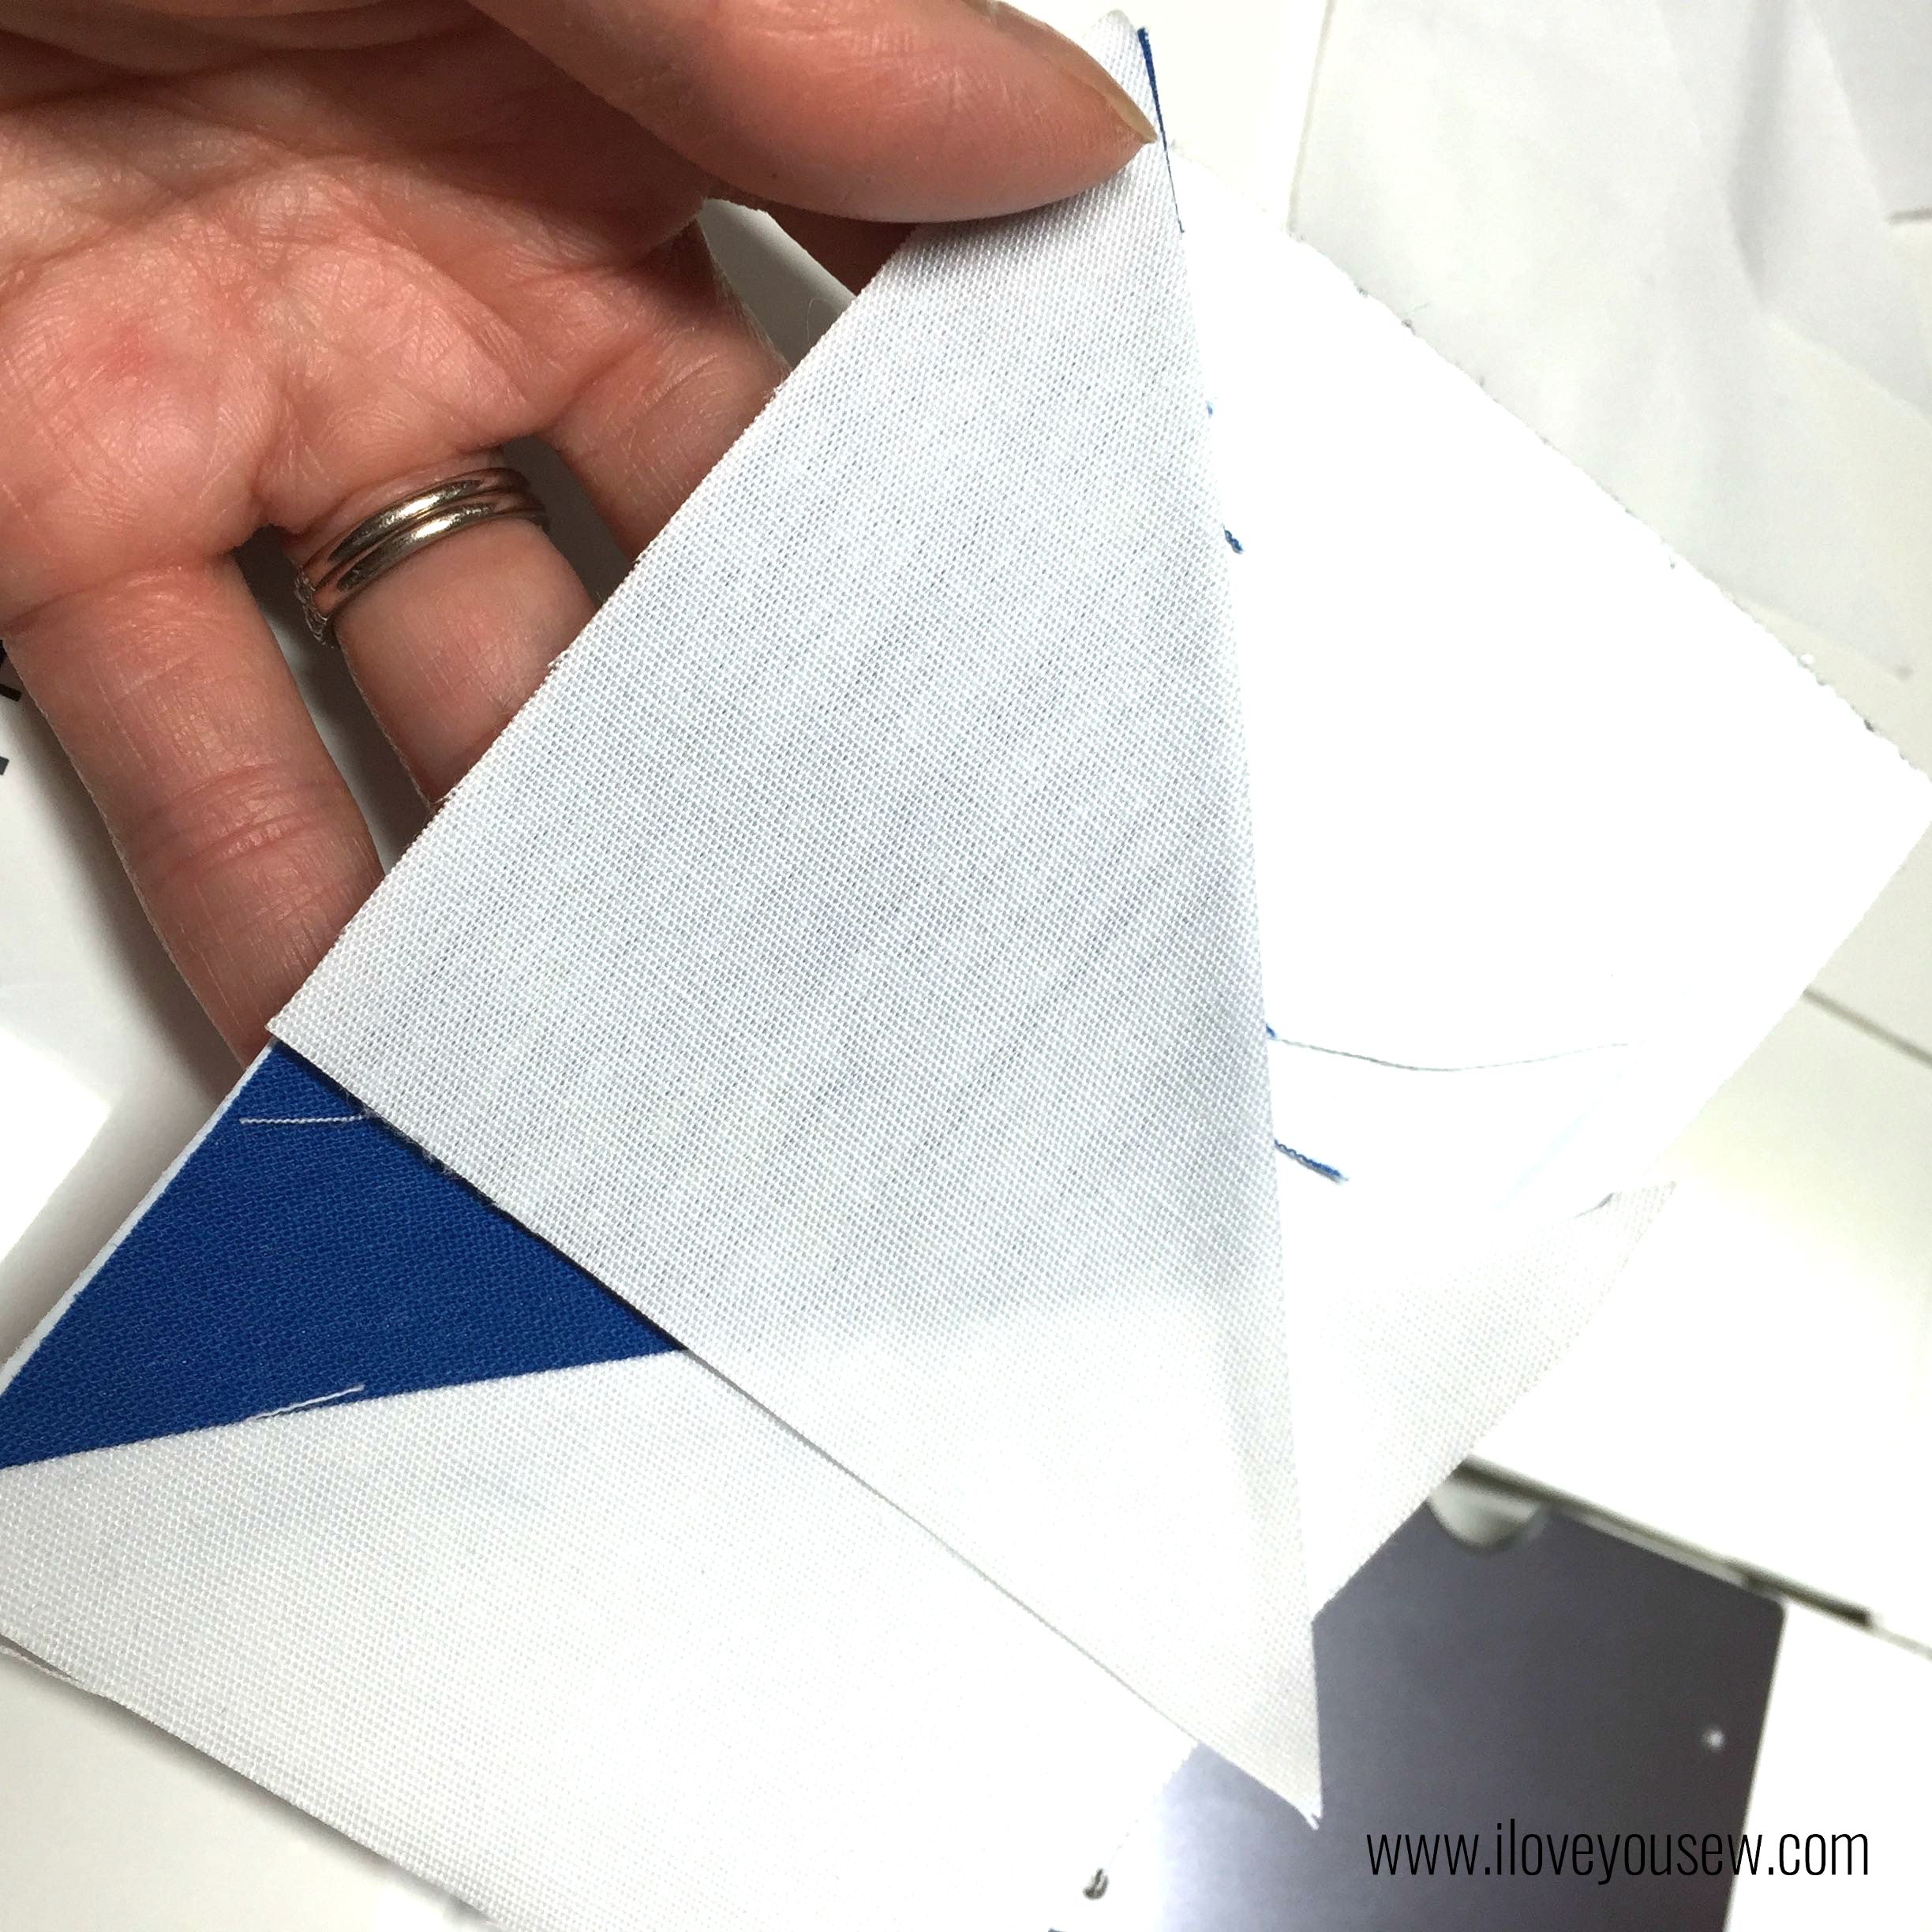
  • Take a white triangle and match up to edge of color fabric. Sew into place on line underneath where fabric overlaps. Flip it out and press.

09PPSew

  • Do the same on the other side of the color triangle

10PP2ndWhite

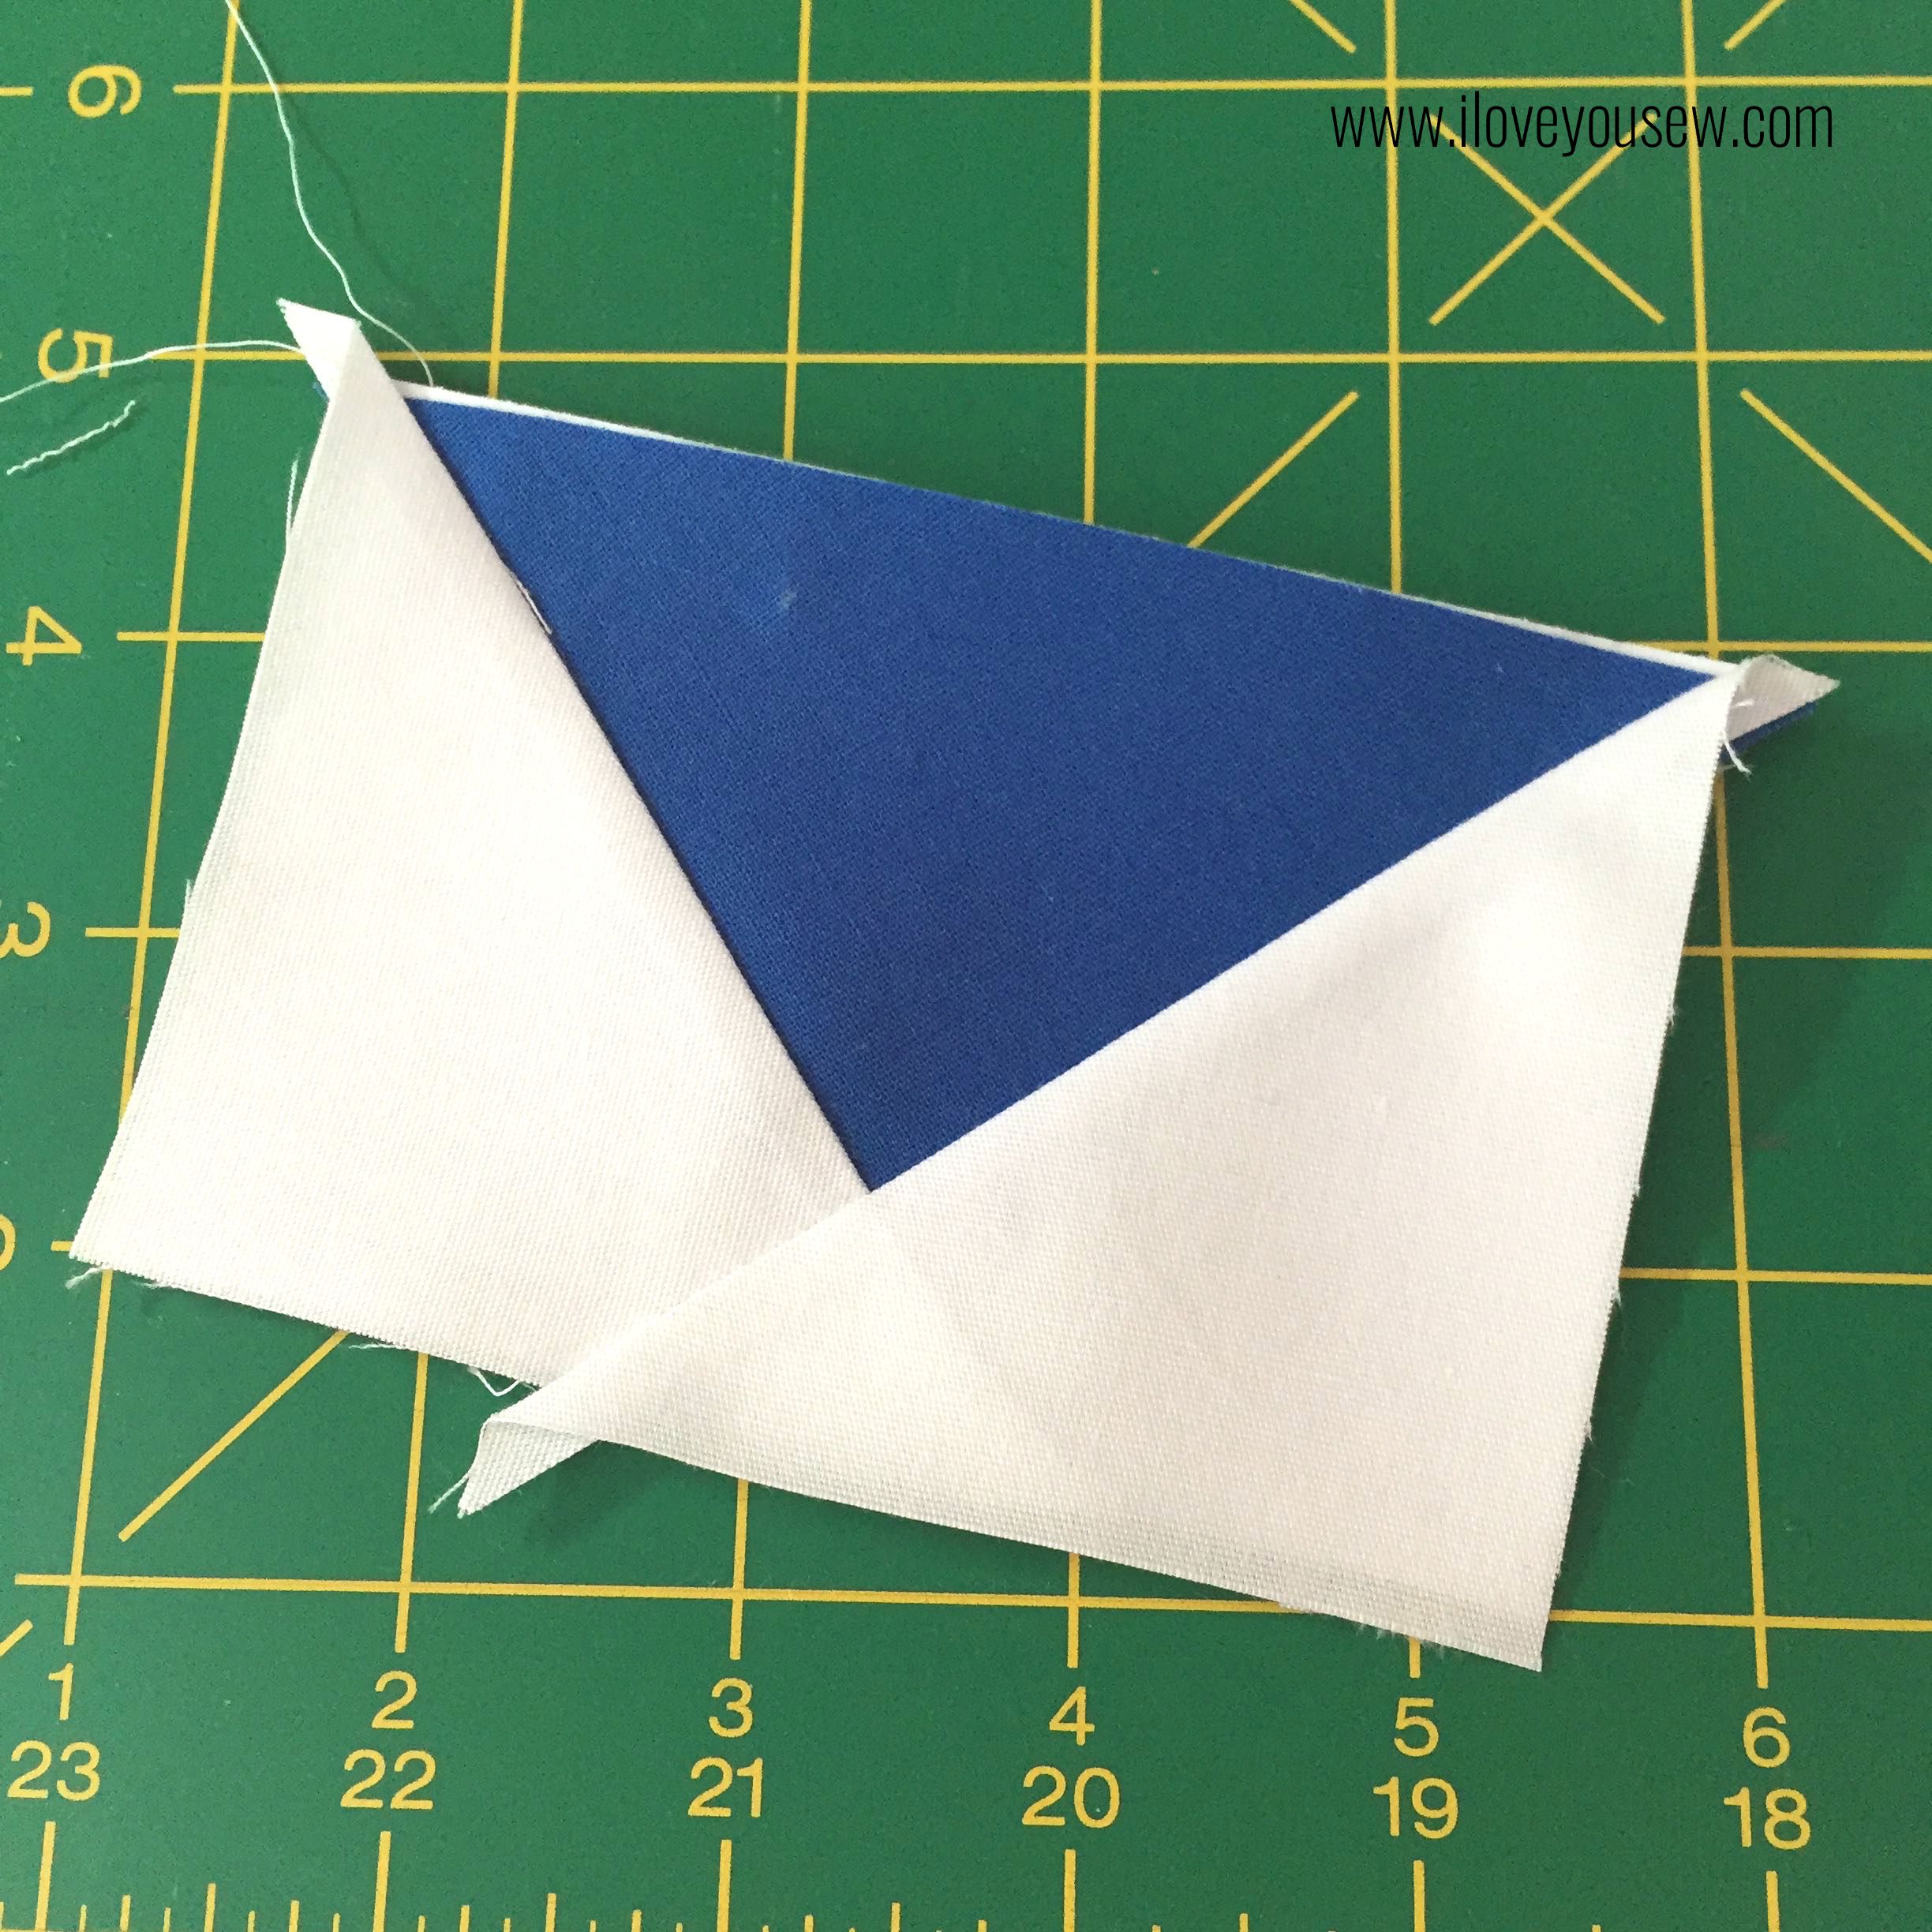
  • Trim excess fabric. Flying Geese should measure 3″ x 4.5″ (including seam allowance)

12PPComplete

Assemble the block as shown:

14LayOutBlock

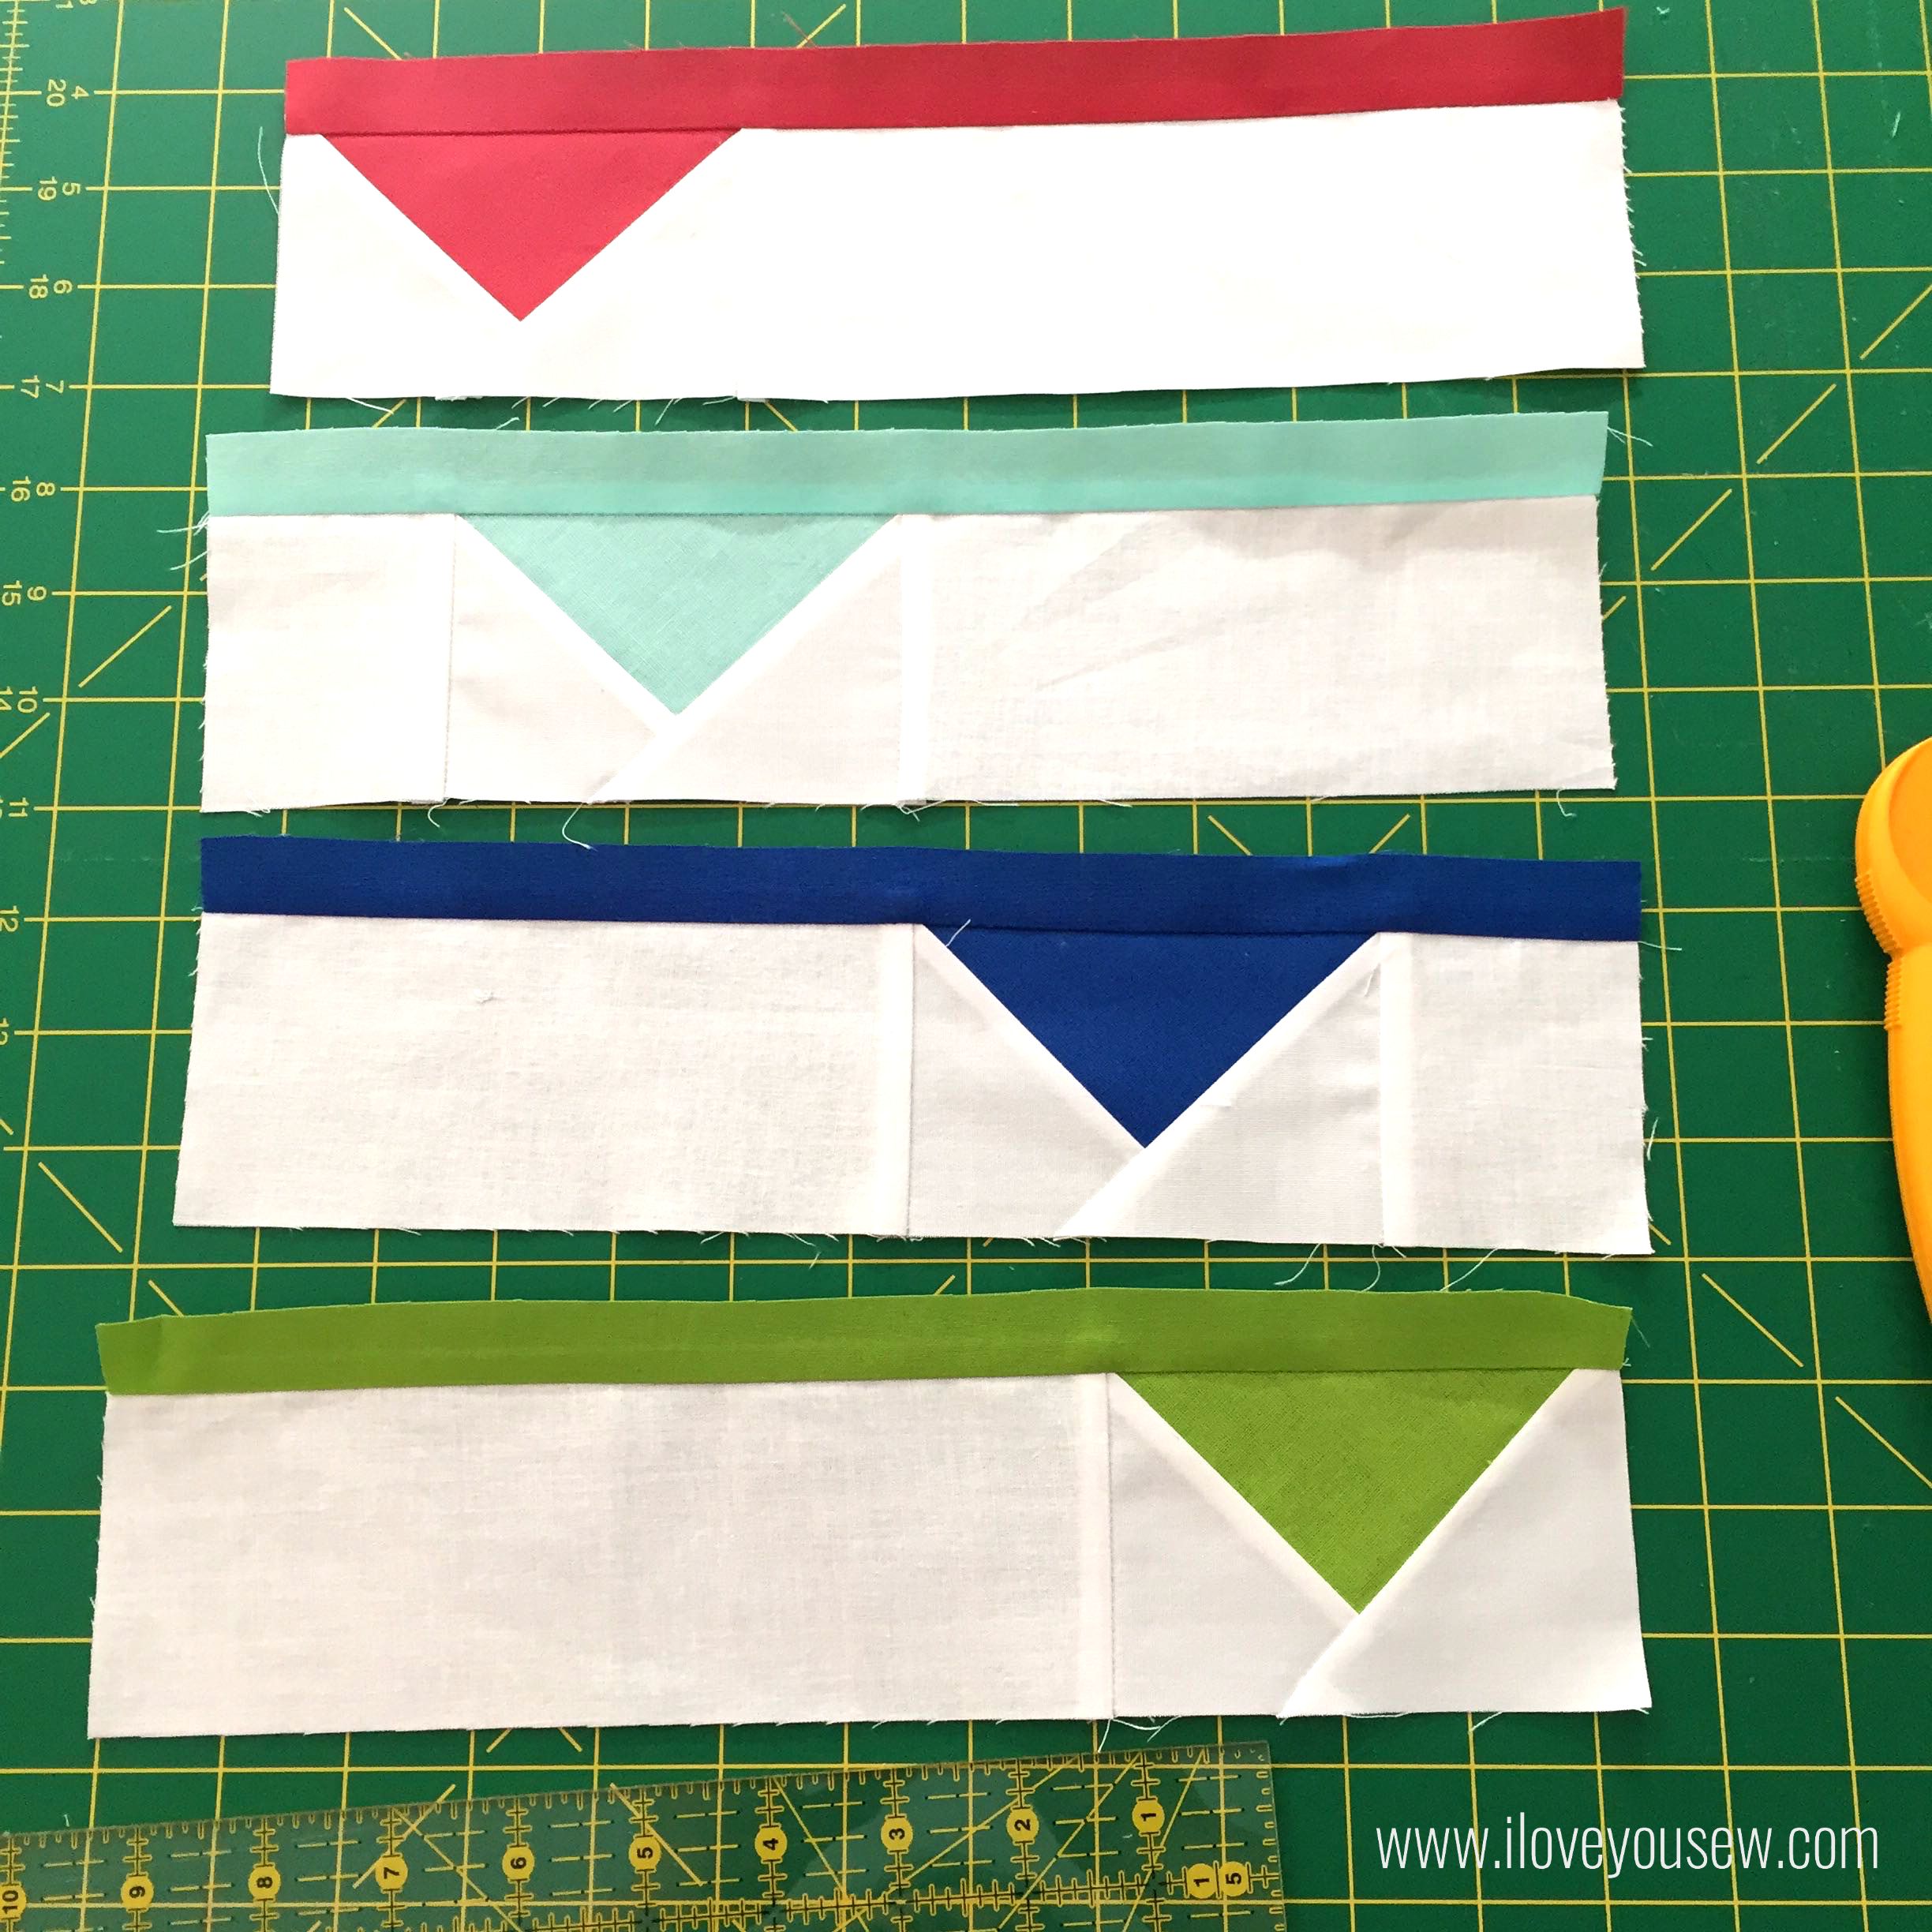
  • Attach the sides to the geese to make (4) 3″ x 12.5″ strips.  I still have the paper intact at this point.  You can remove at anytime, but I kept them on to sew the sides to keep the geese more stable.

15SewSashing

  • Add the matching sashing to geese strips. *Go slow and stead to ensure nice straight lines

17SewStripsTogether

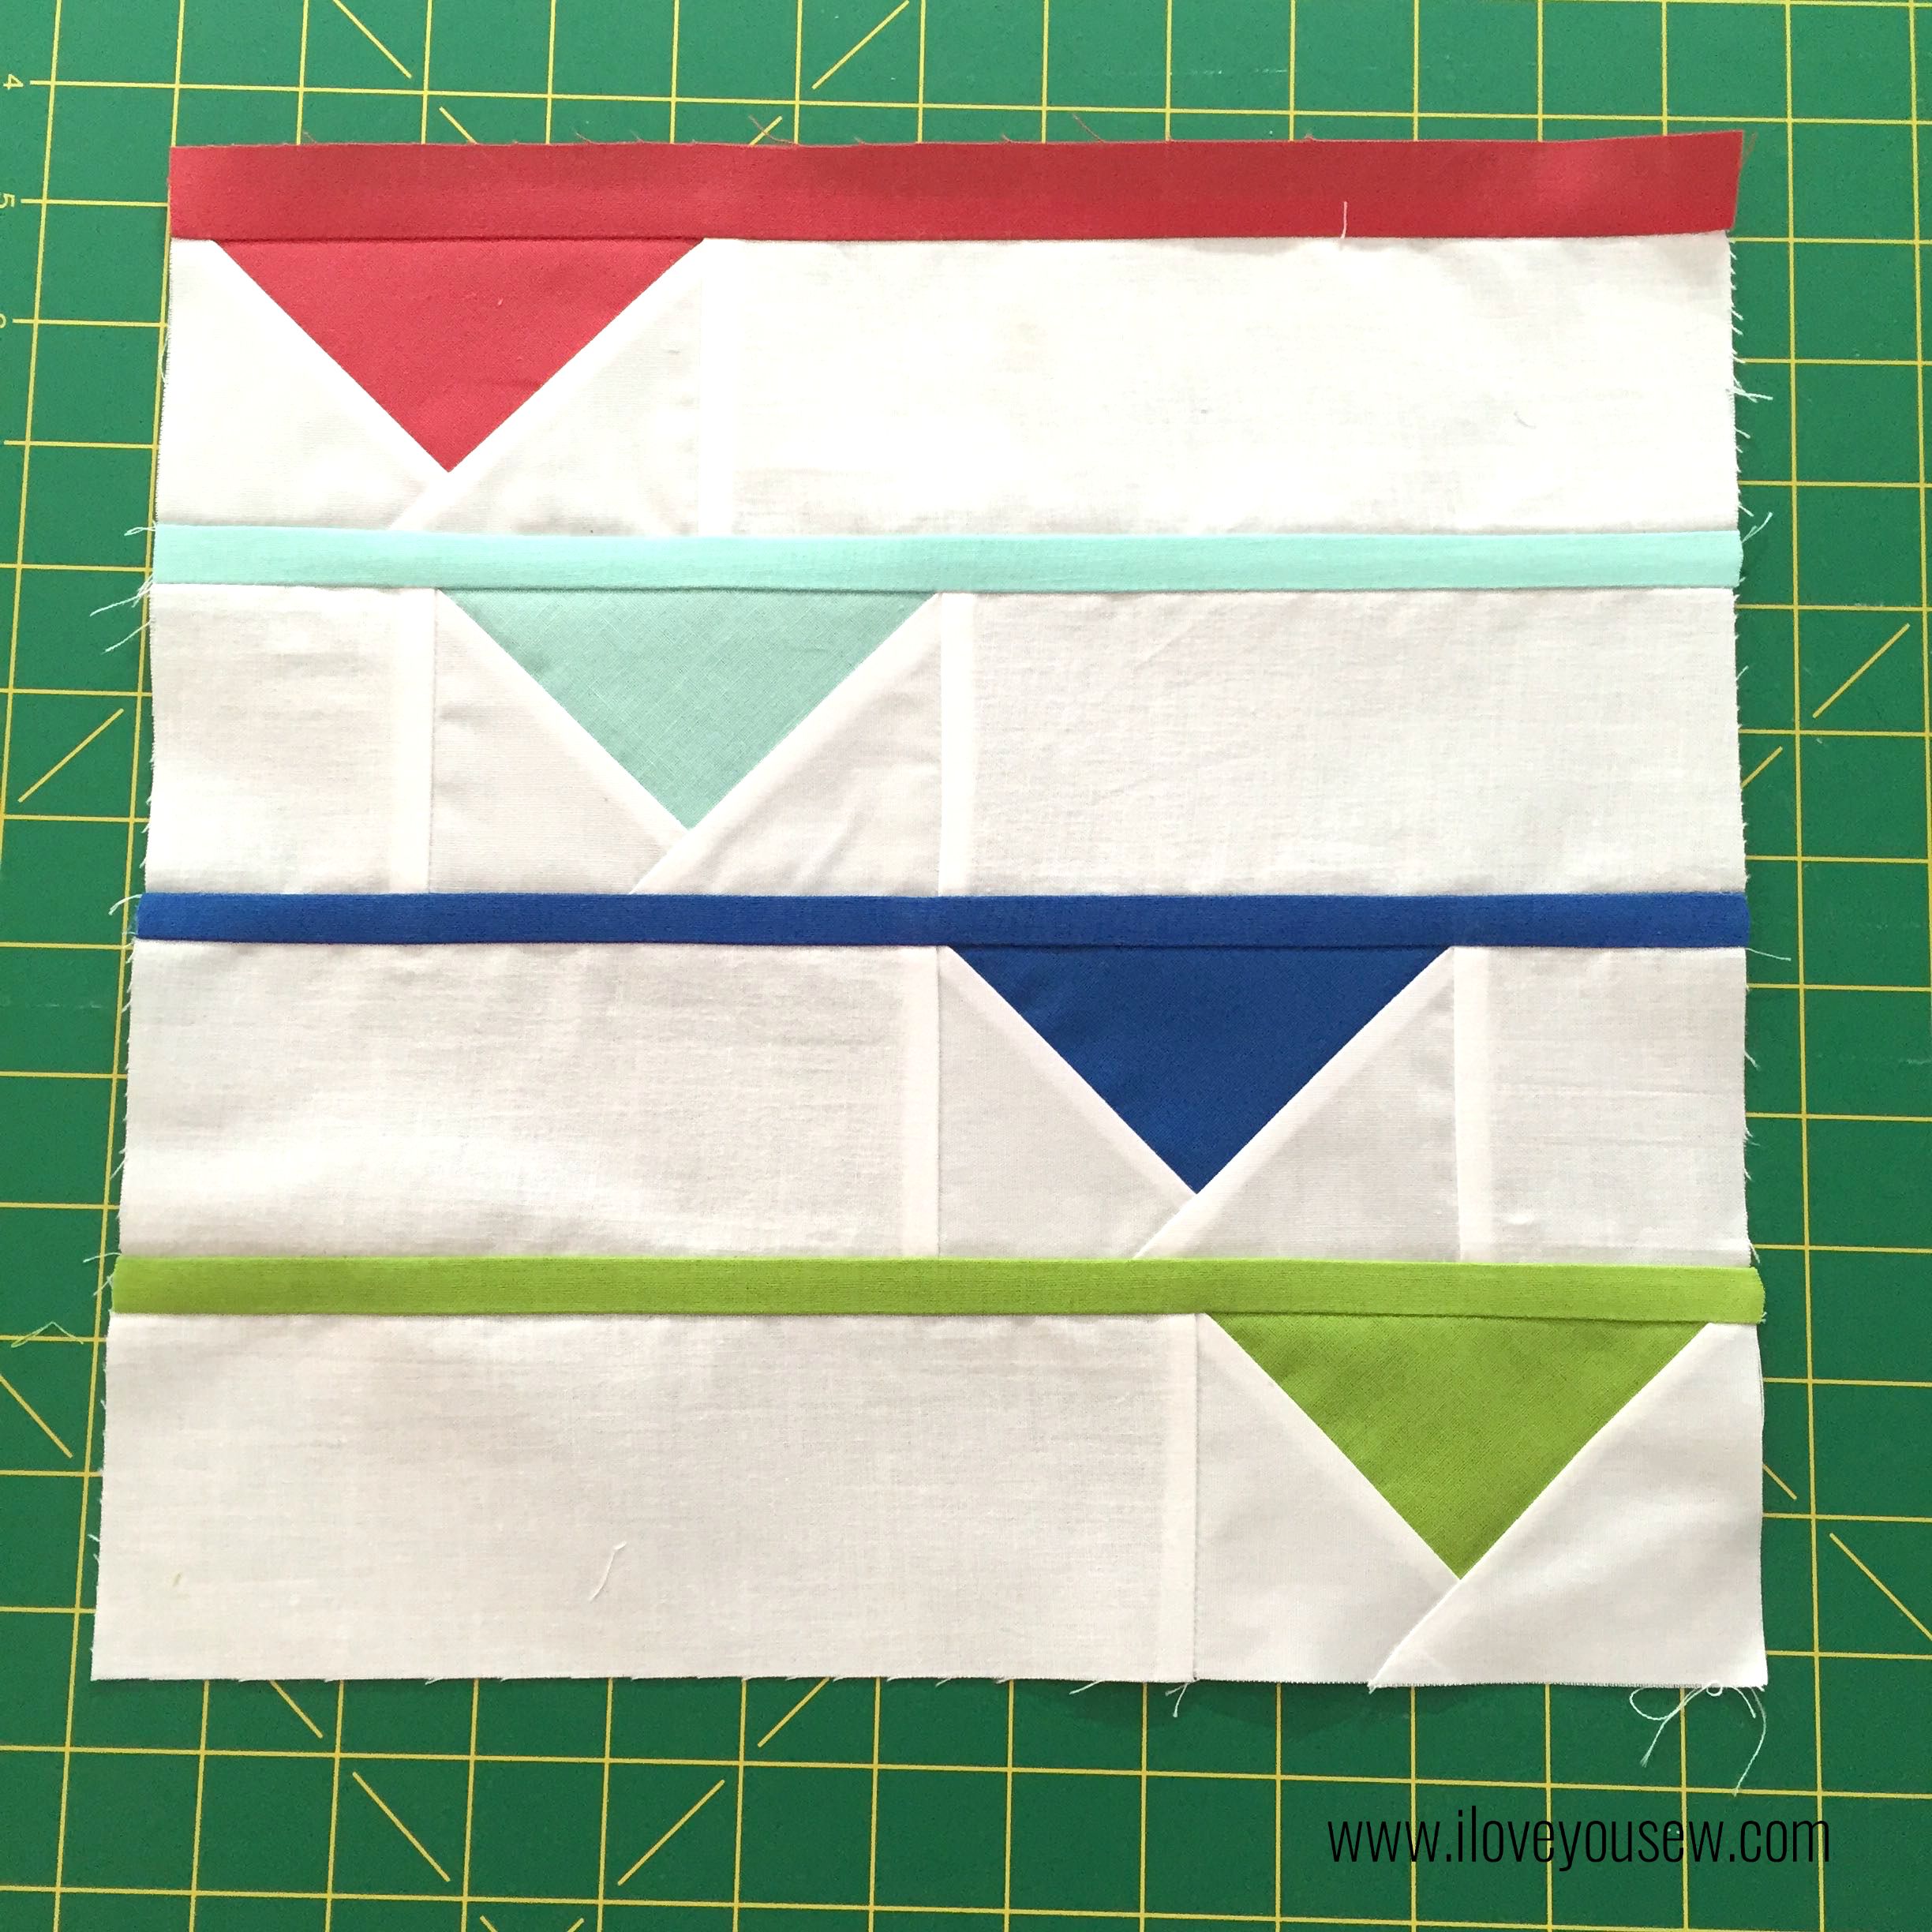
  • Sew all strips together. Iron seams in toward sashing. Give the block a final press.

Voila! You have made the Hanging Flags Block 🙂

vAriations:

HangingFlagsBlockAlt2

HangingFlagsBlockAlt1


For more information on the Fabri-Quilt New Block Hop:

*There is an additional Giveaway on Fabri-Quilt’s block today. Check them out by clicking the image below.

2015 Fabri-Quilt New Block Blog Hop


To see more blocks using this same bundle, head over to the following blogs:

(These are all amazing designs…Enjoy the block hop and the chance to win some of this fabric on Cheryl’s page!)

Host – Cheryl @Meadow Mist Designs

Josi @Avocado Quilts
Stephanie @Quilt’n Party
Cristy @Love You Sew
Sarah @Sarah Goer Quilts
Shelly @The Carpenter’s Daughter Who Quilts
Jayne @Twiggy & Opal
Sharla @Thistle Thicket Studio
Adrian @Making It – Family Food Quilts Crafts
Julie @Pink Doxies
Sarah @123 Quilt
Jane @Jolly and Delilah Quilts
Carrie @The Zen Quilter


***The blog hop was sponsored and fabric was provided by Fabri-Quilts.  All opinions and block design are my own and have not been influenced by outside parties. 

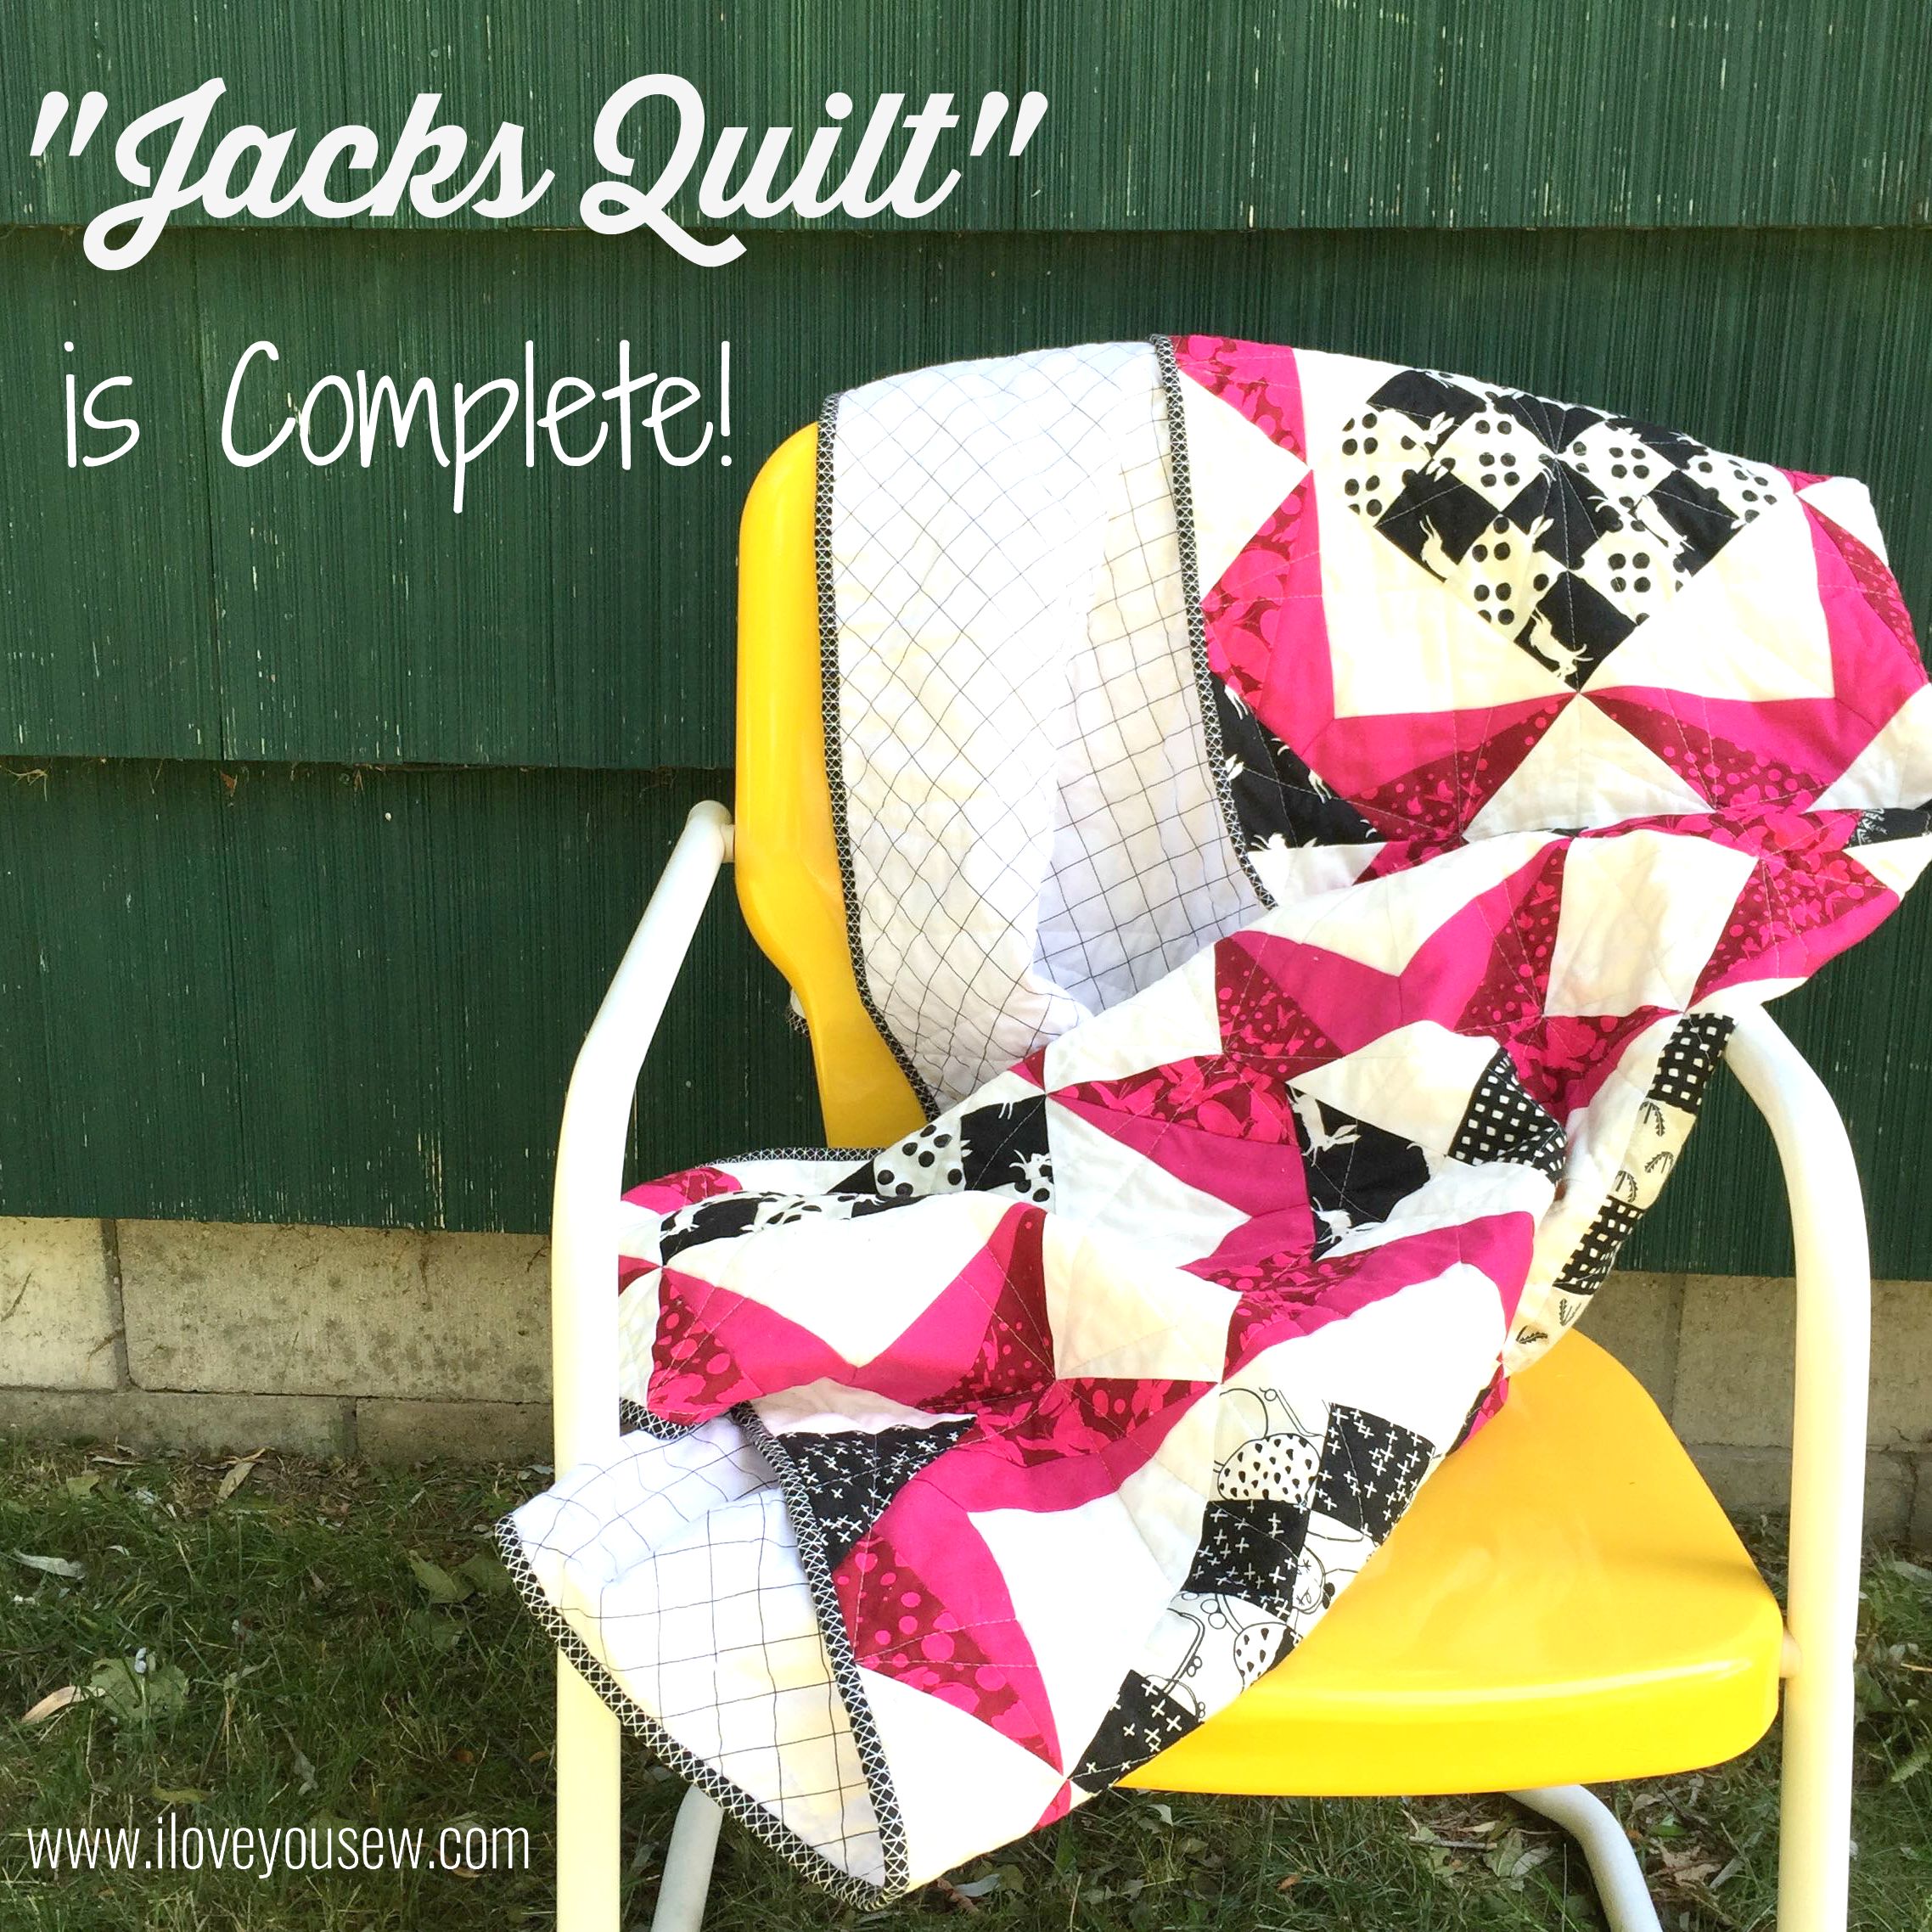
“Jacks” Quilt is Complete

DrapedOnChair

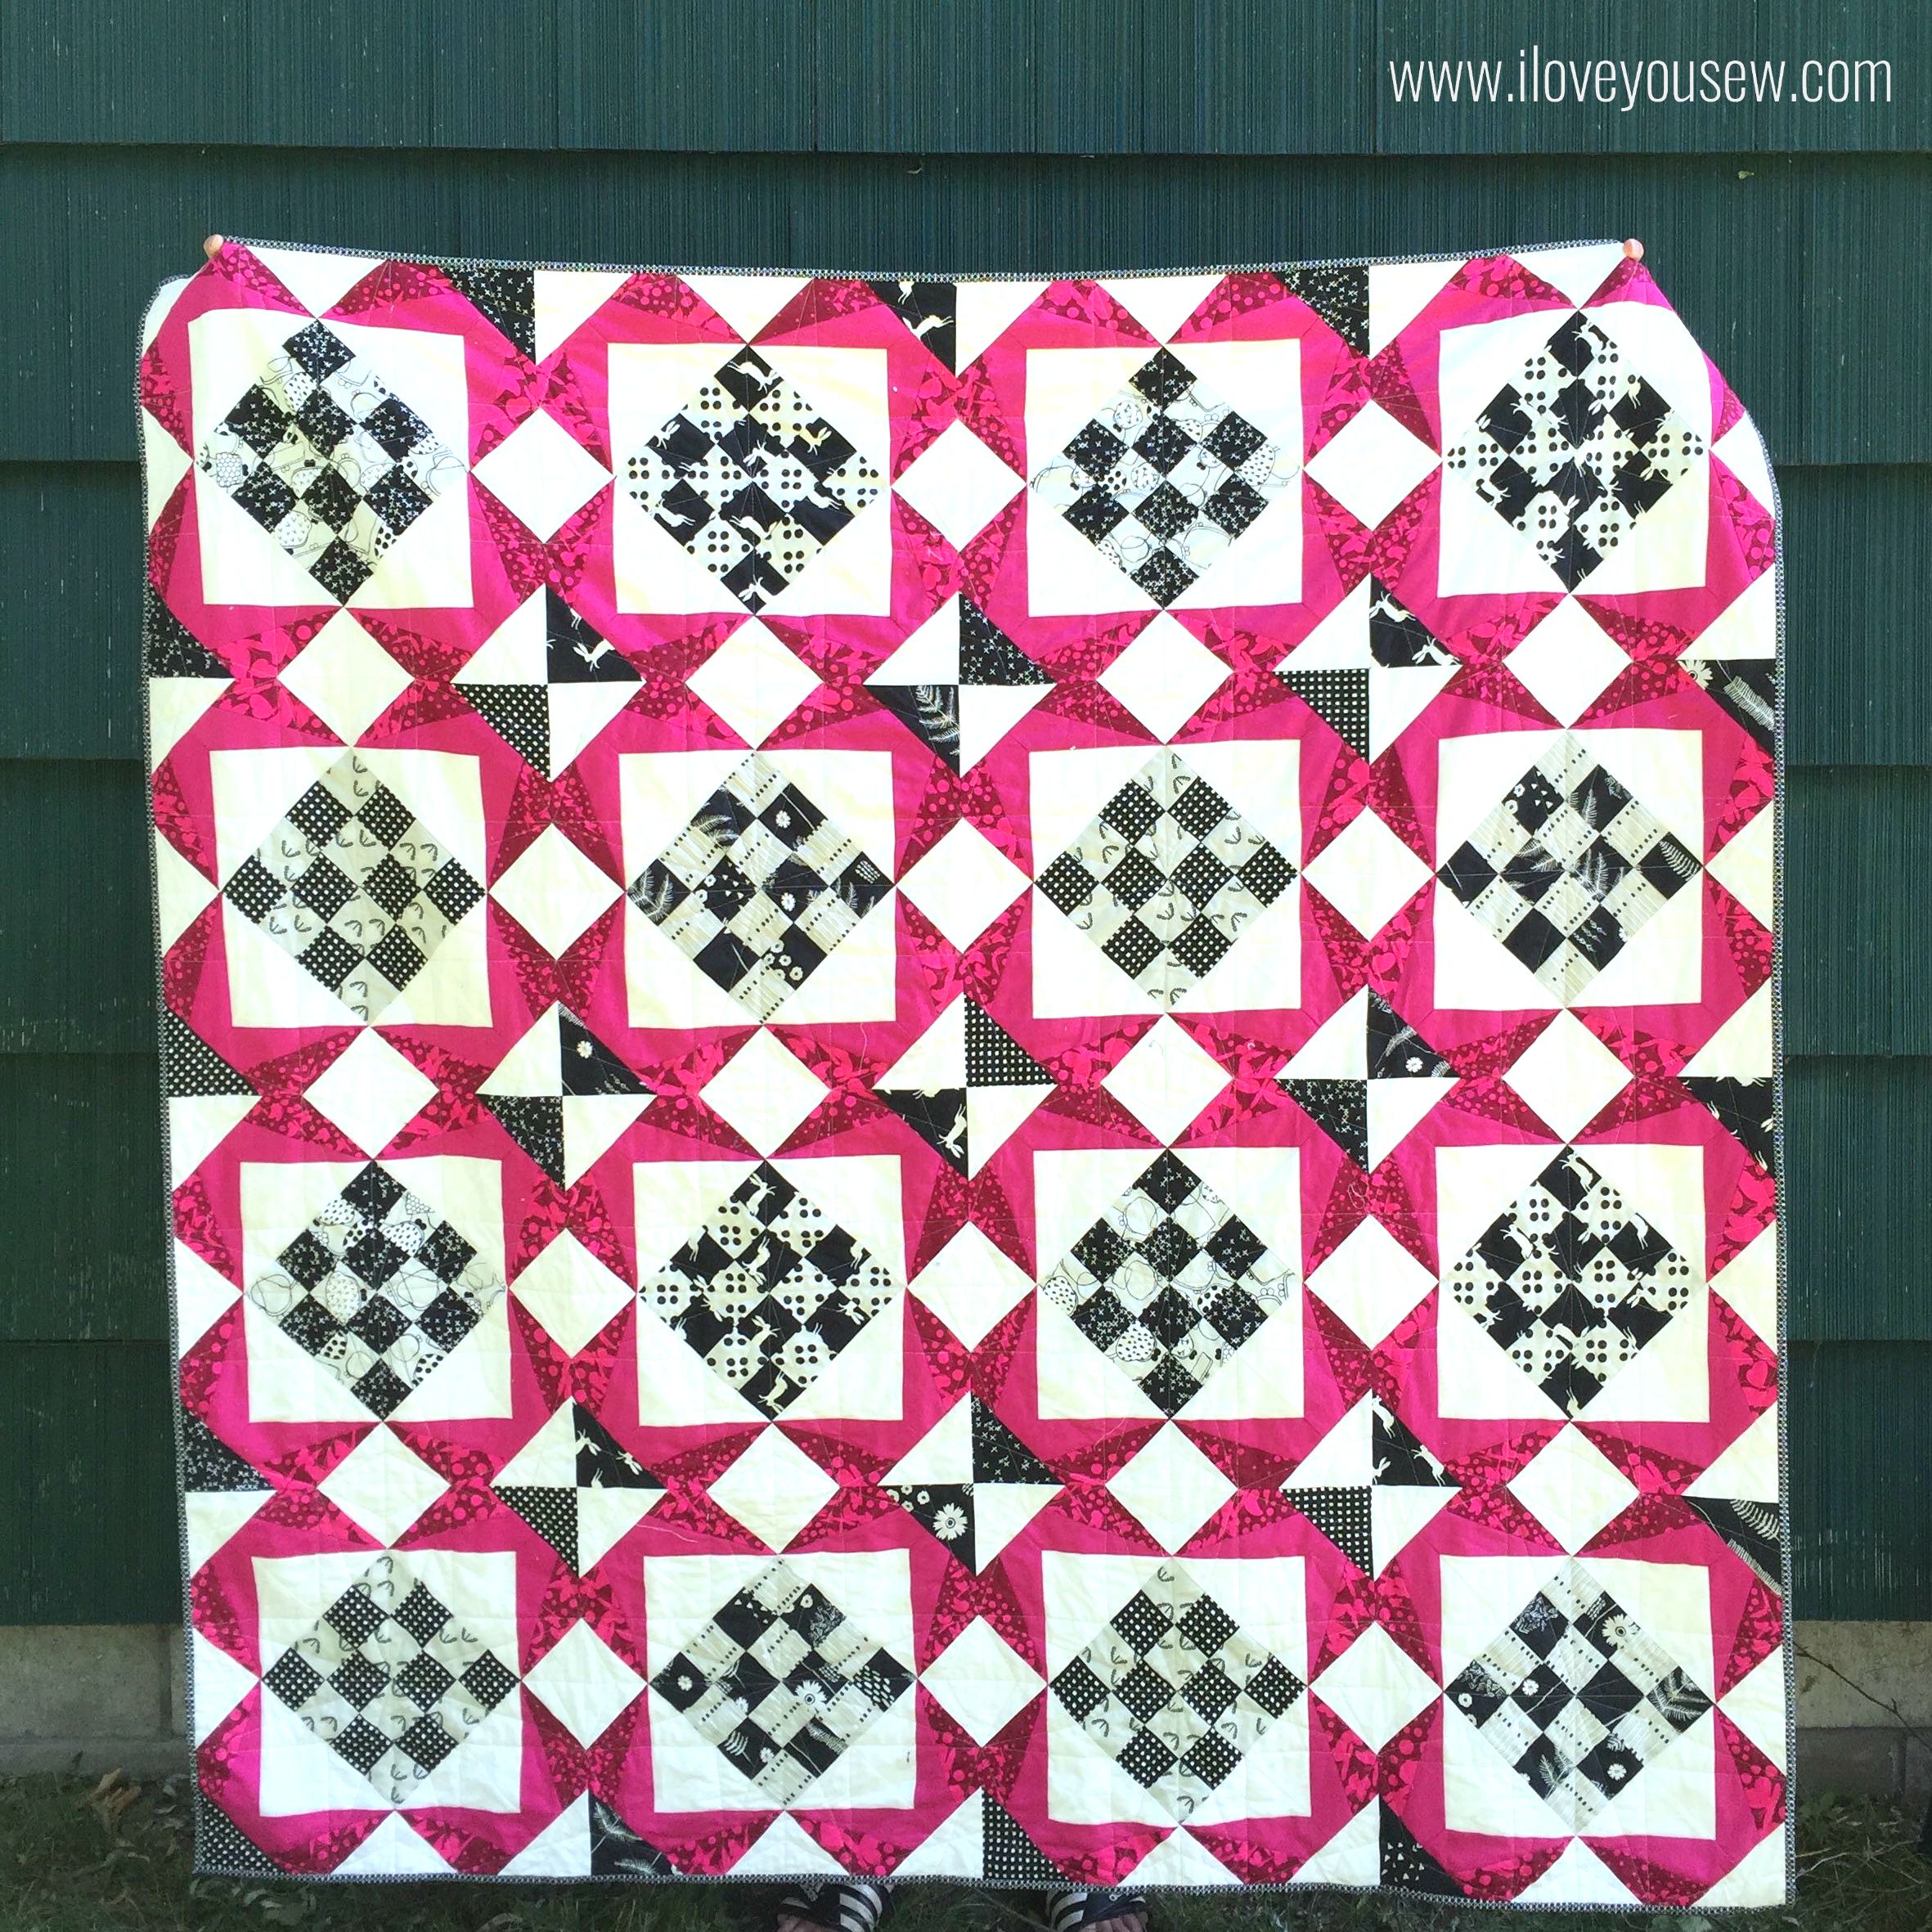
Remember the “Jack’s Quilt” Pattern I posted a few weeks back by Bryan House Quilts?  I’ve finally quilted and bound it…plus, I have a bonus project using scraps from the paper-piecing!

Widescreen

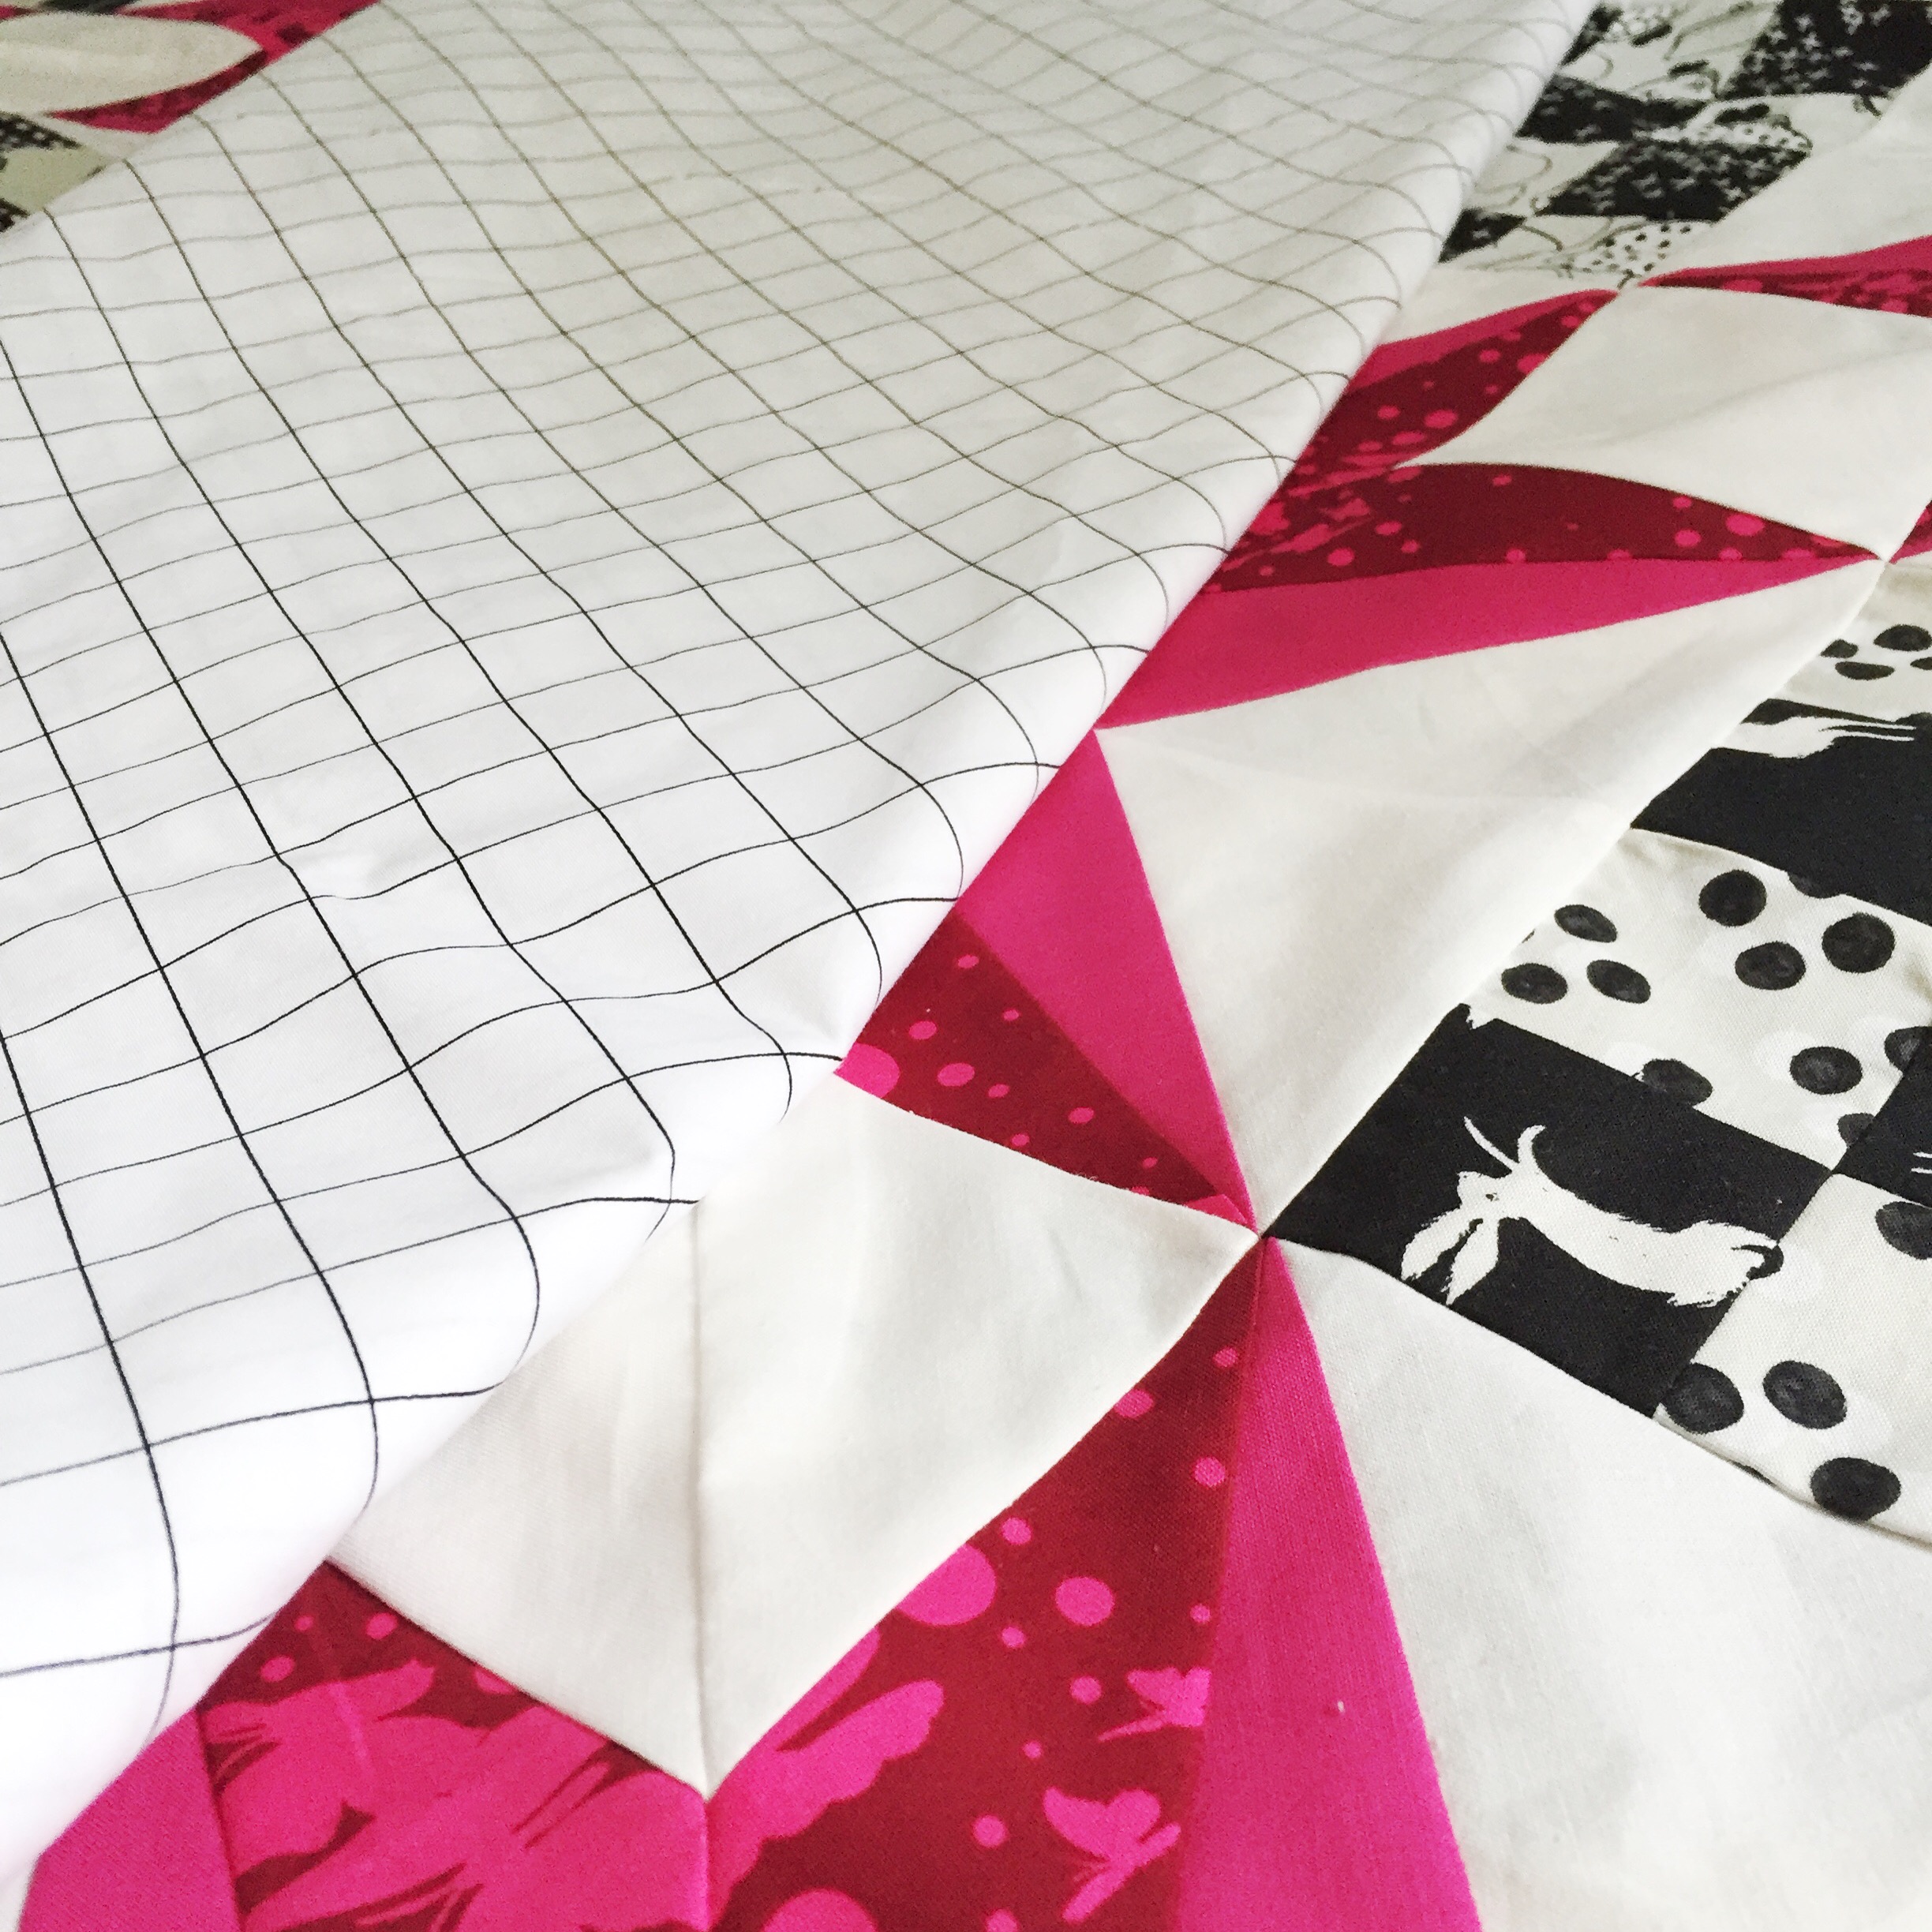
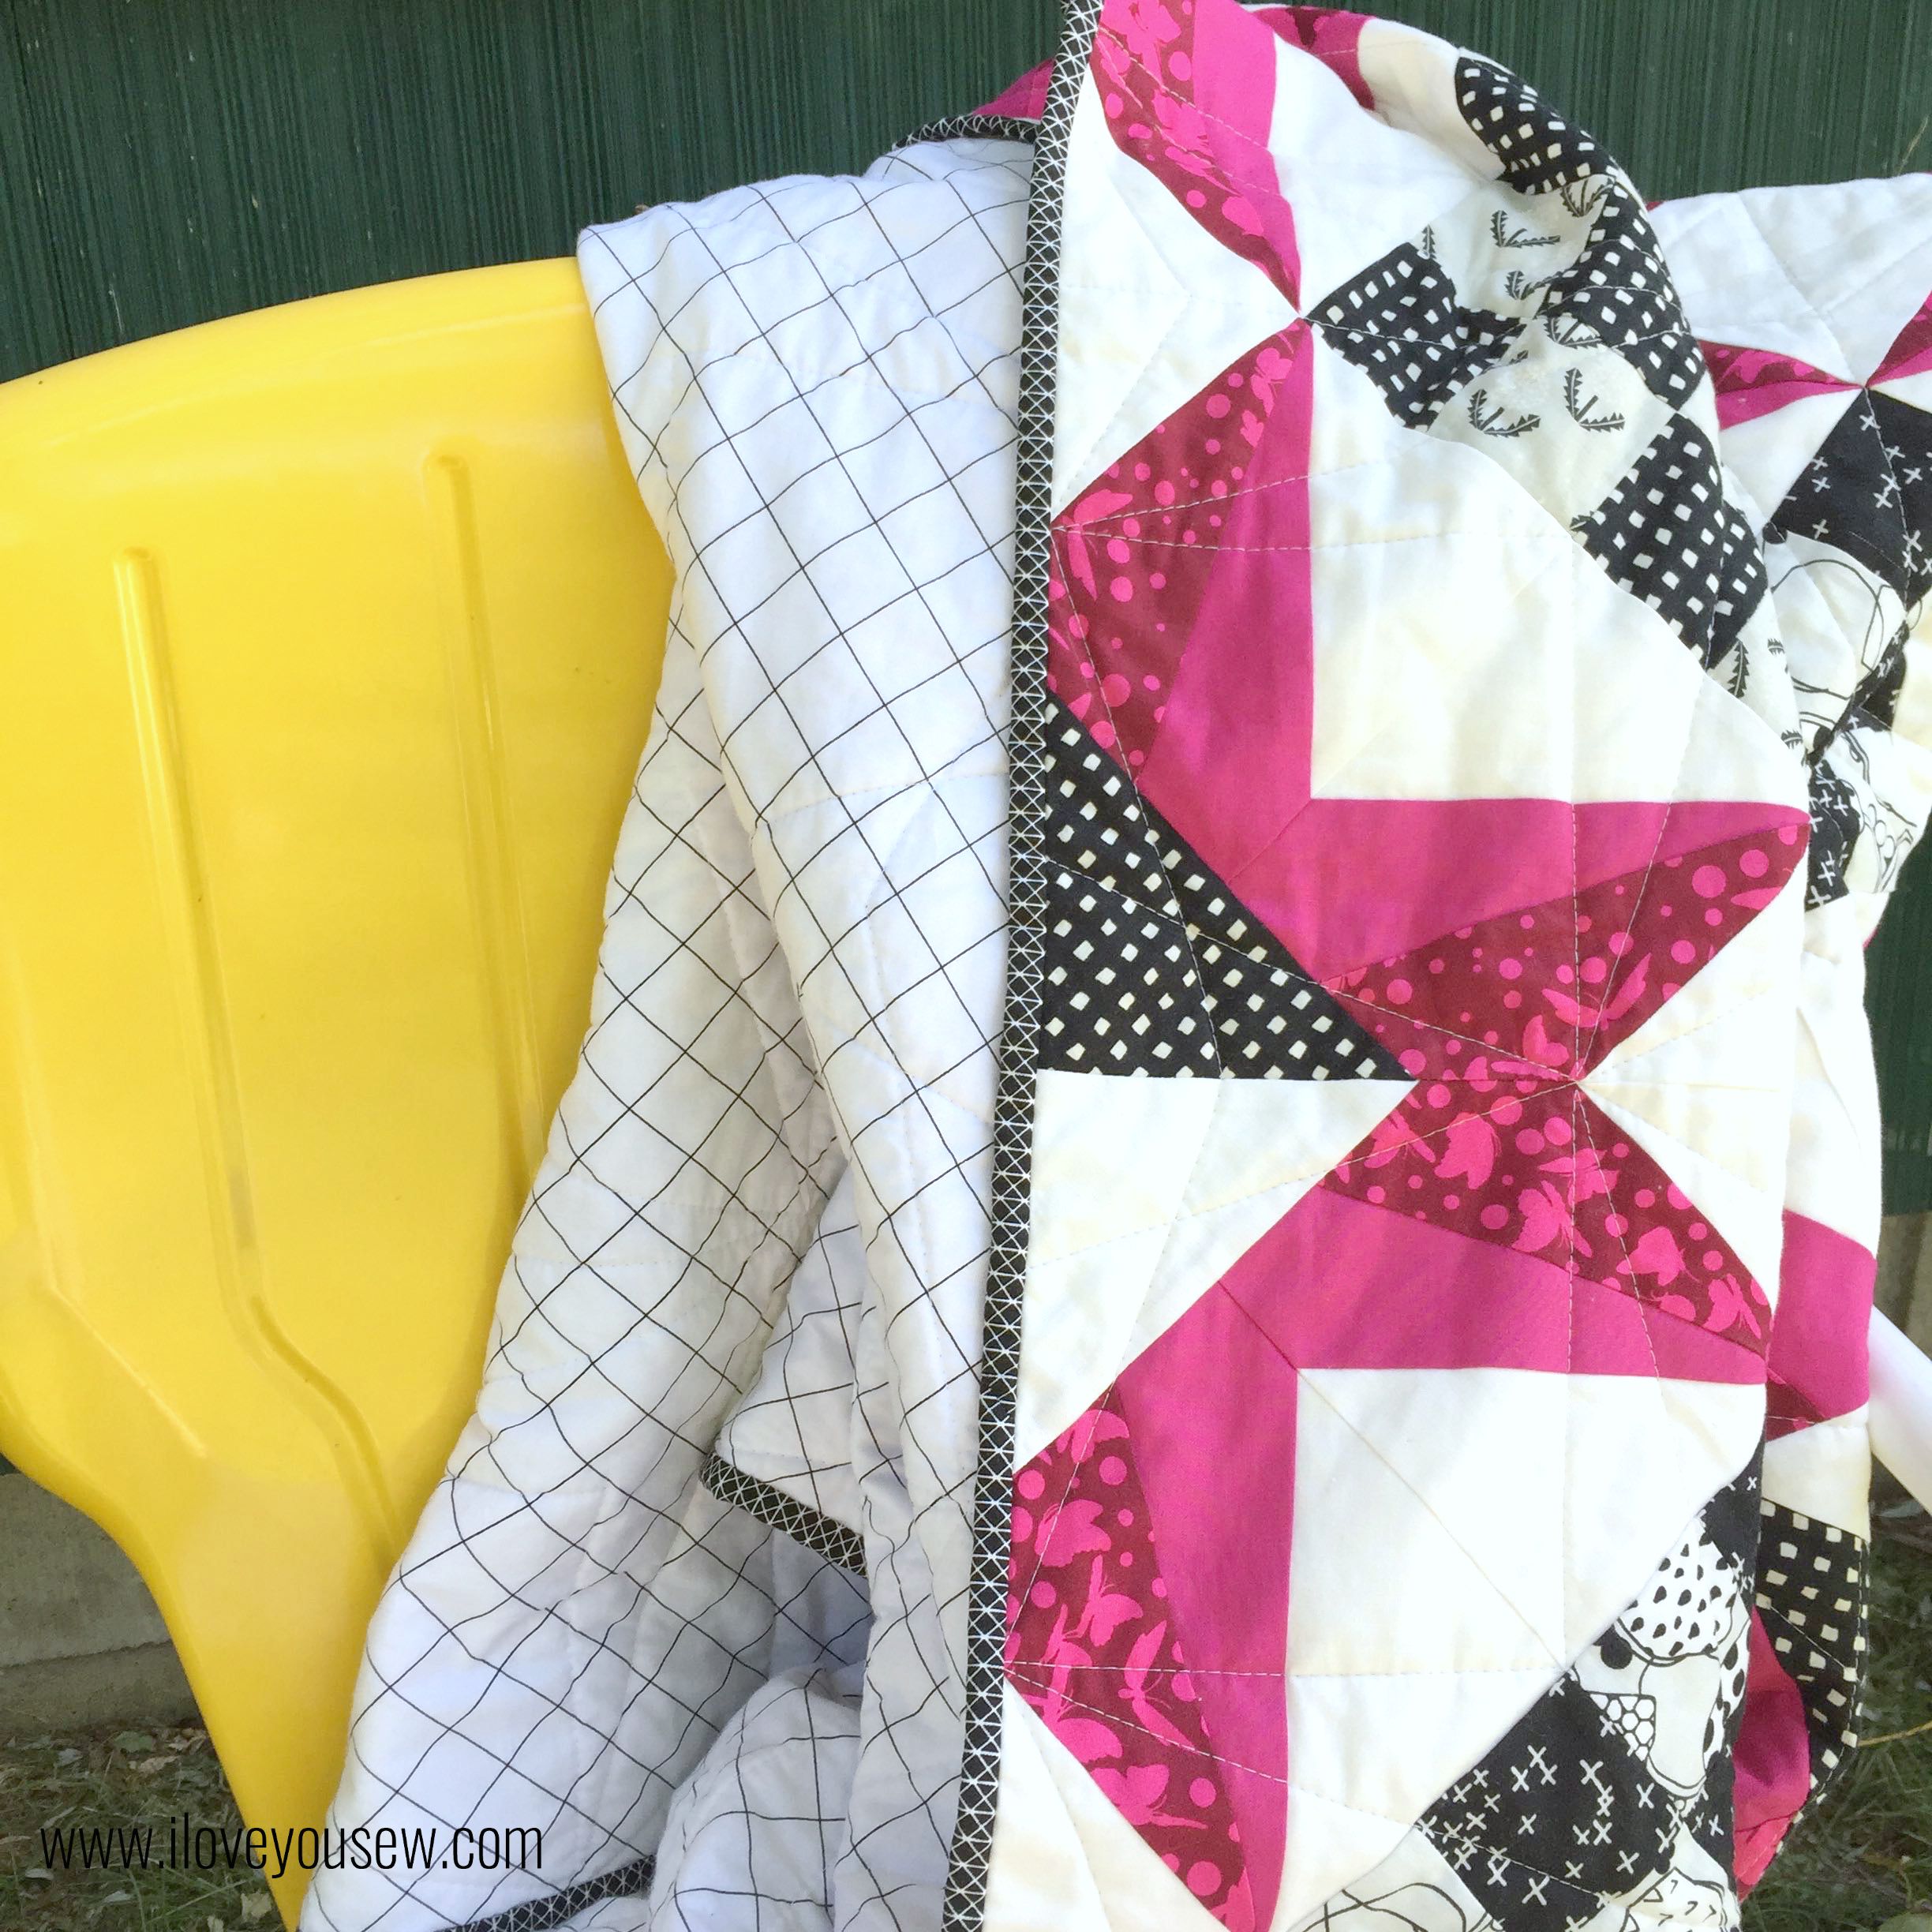
With the strong fuchsia colors in my quilt, I wanted to balance it out with more black and white.  Carolyn Friedlander’s Widescreen in white fit the bill perfectly. The gridlines play well with the graphic piecing and who doesn’t love a wideback?!?  I MUCH prefer a single wideback fabric panel than piecing a few together.

ColoringSheet

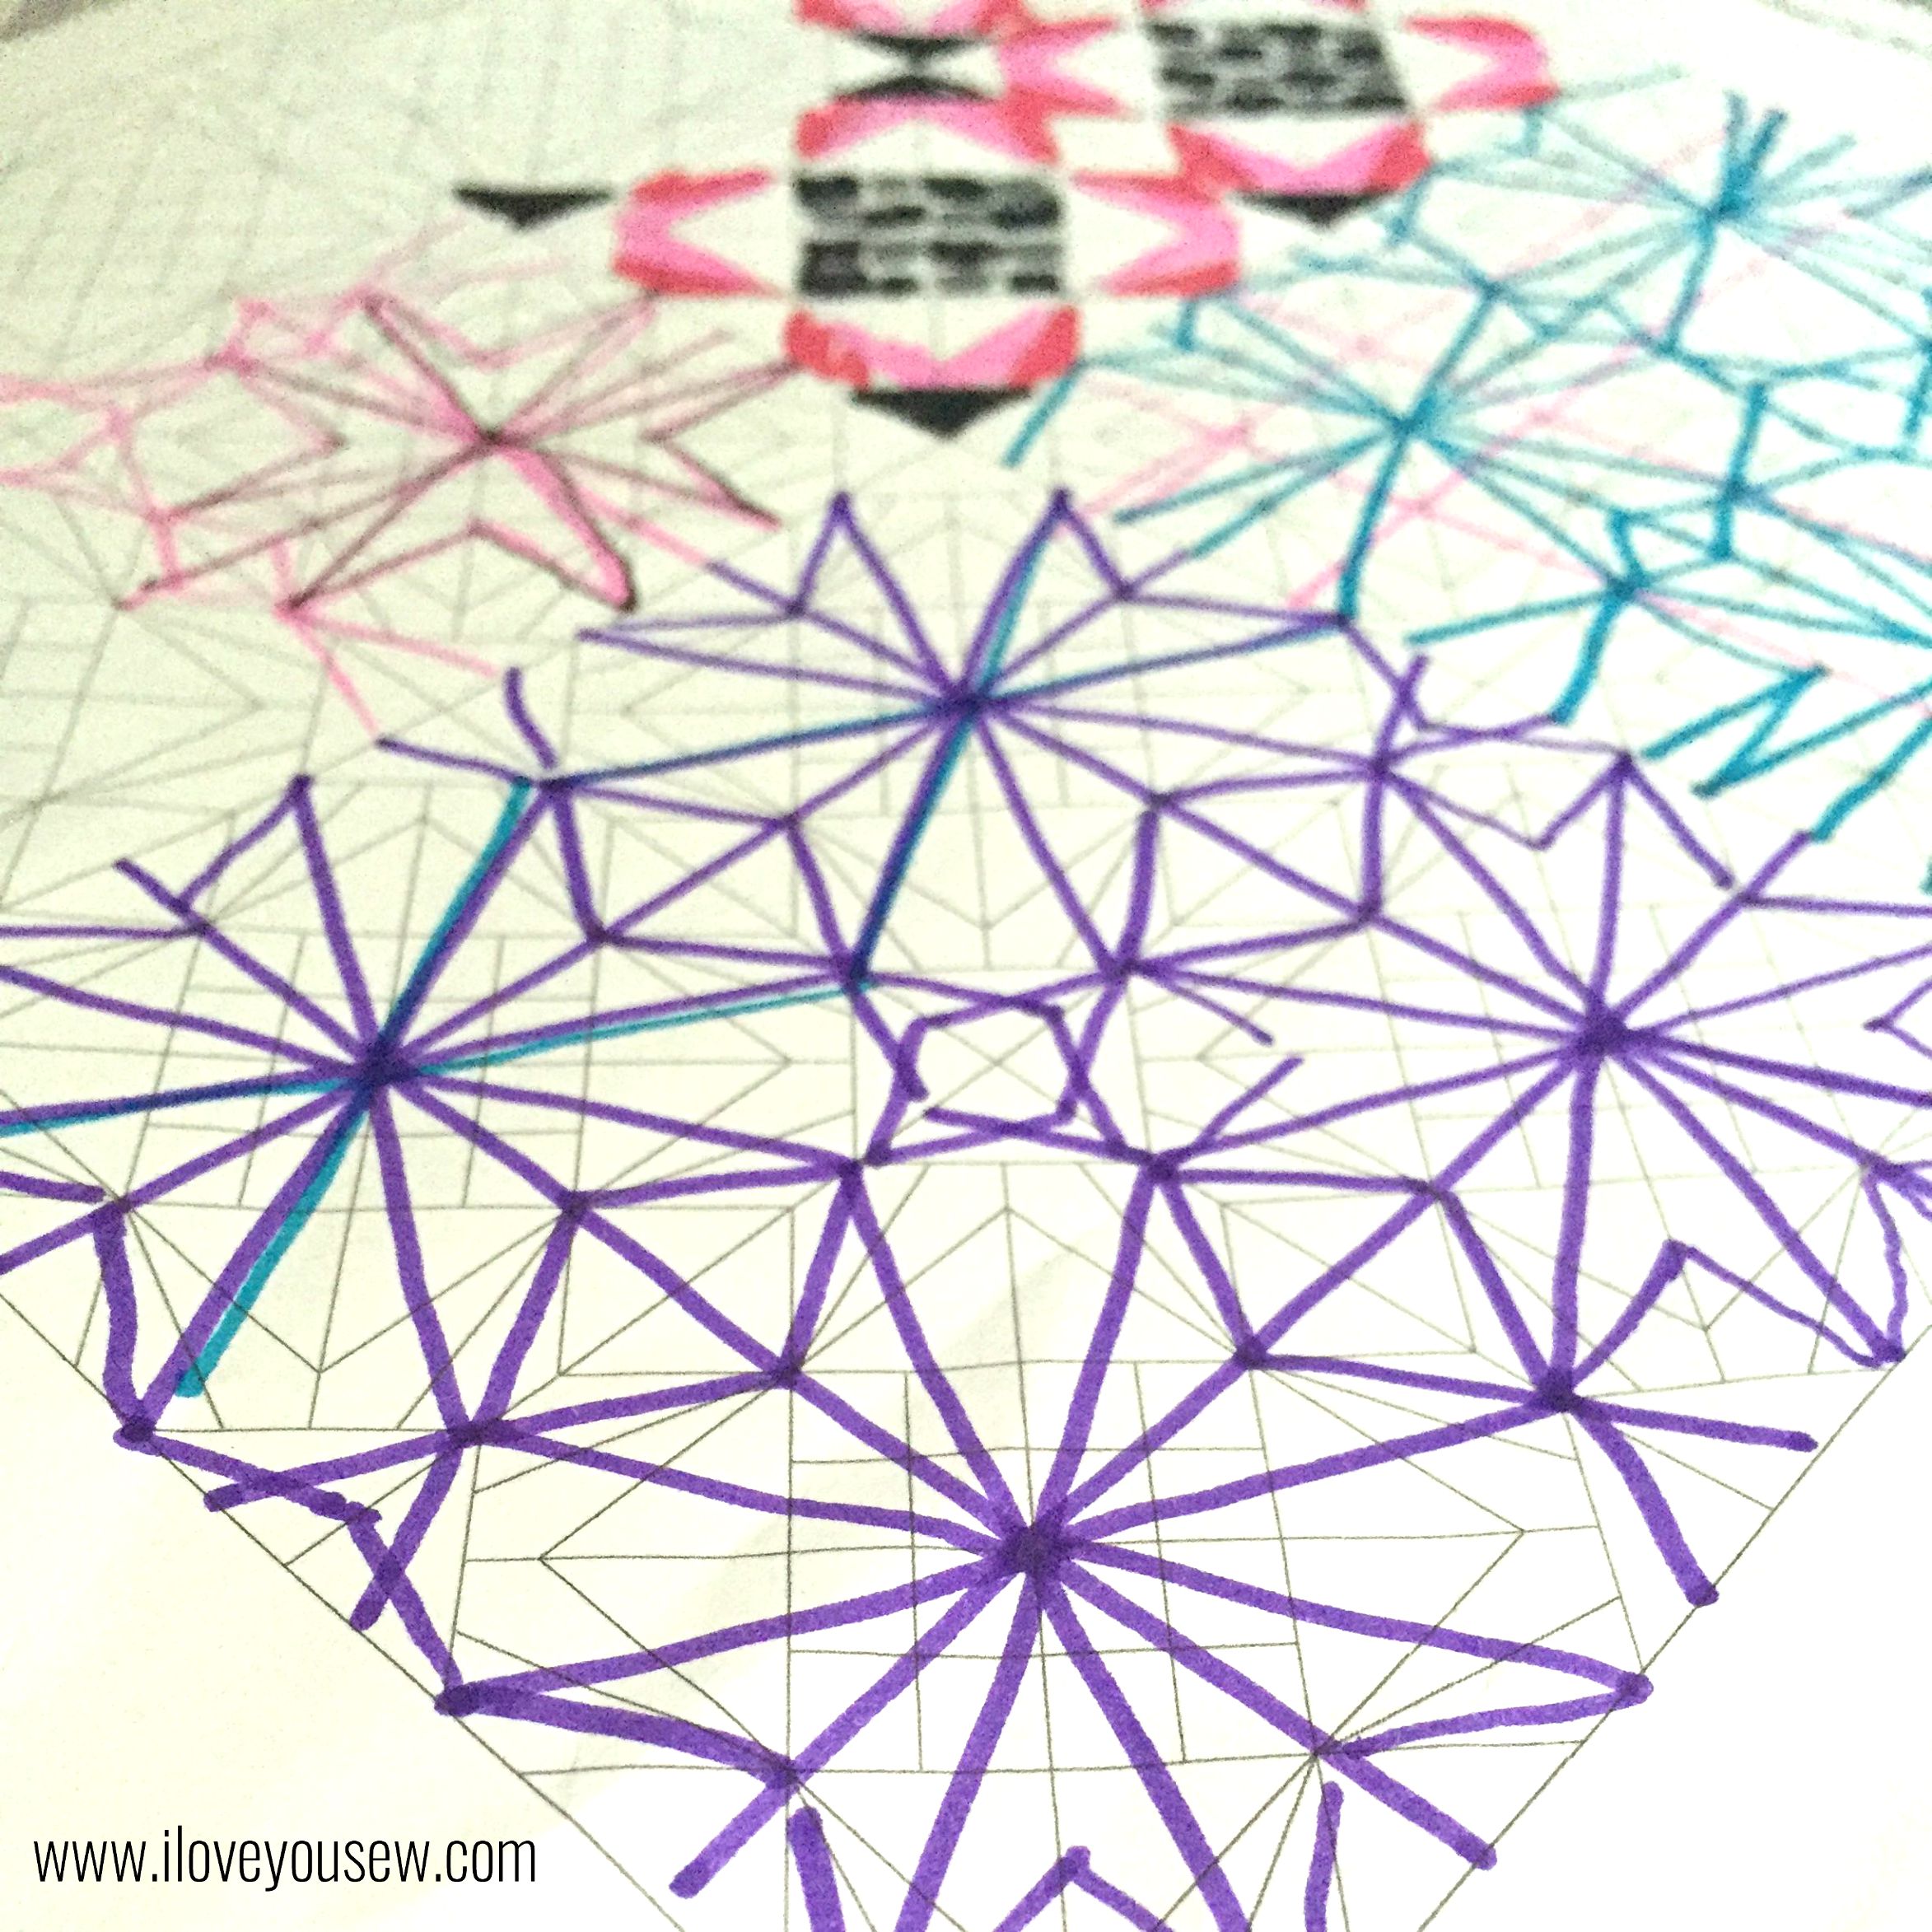
Did you know when you purchase this quilt pattern, it comes with a coloring sheet?  I LOVE having coloring sheets to help me pick out colors and fabrics.  Best of all….it helps with figuring how I am going to quilt everything together!  I’m all about straight-lines and I wanted to follow the star spokes.  I tested a few designs and settled on this purple one.  I wish coloring sheets came standard with ALL quilt patterns 🙂

QuiltingCloseUp

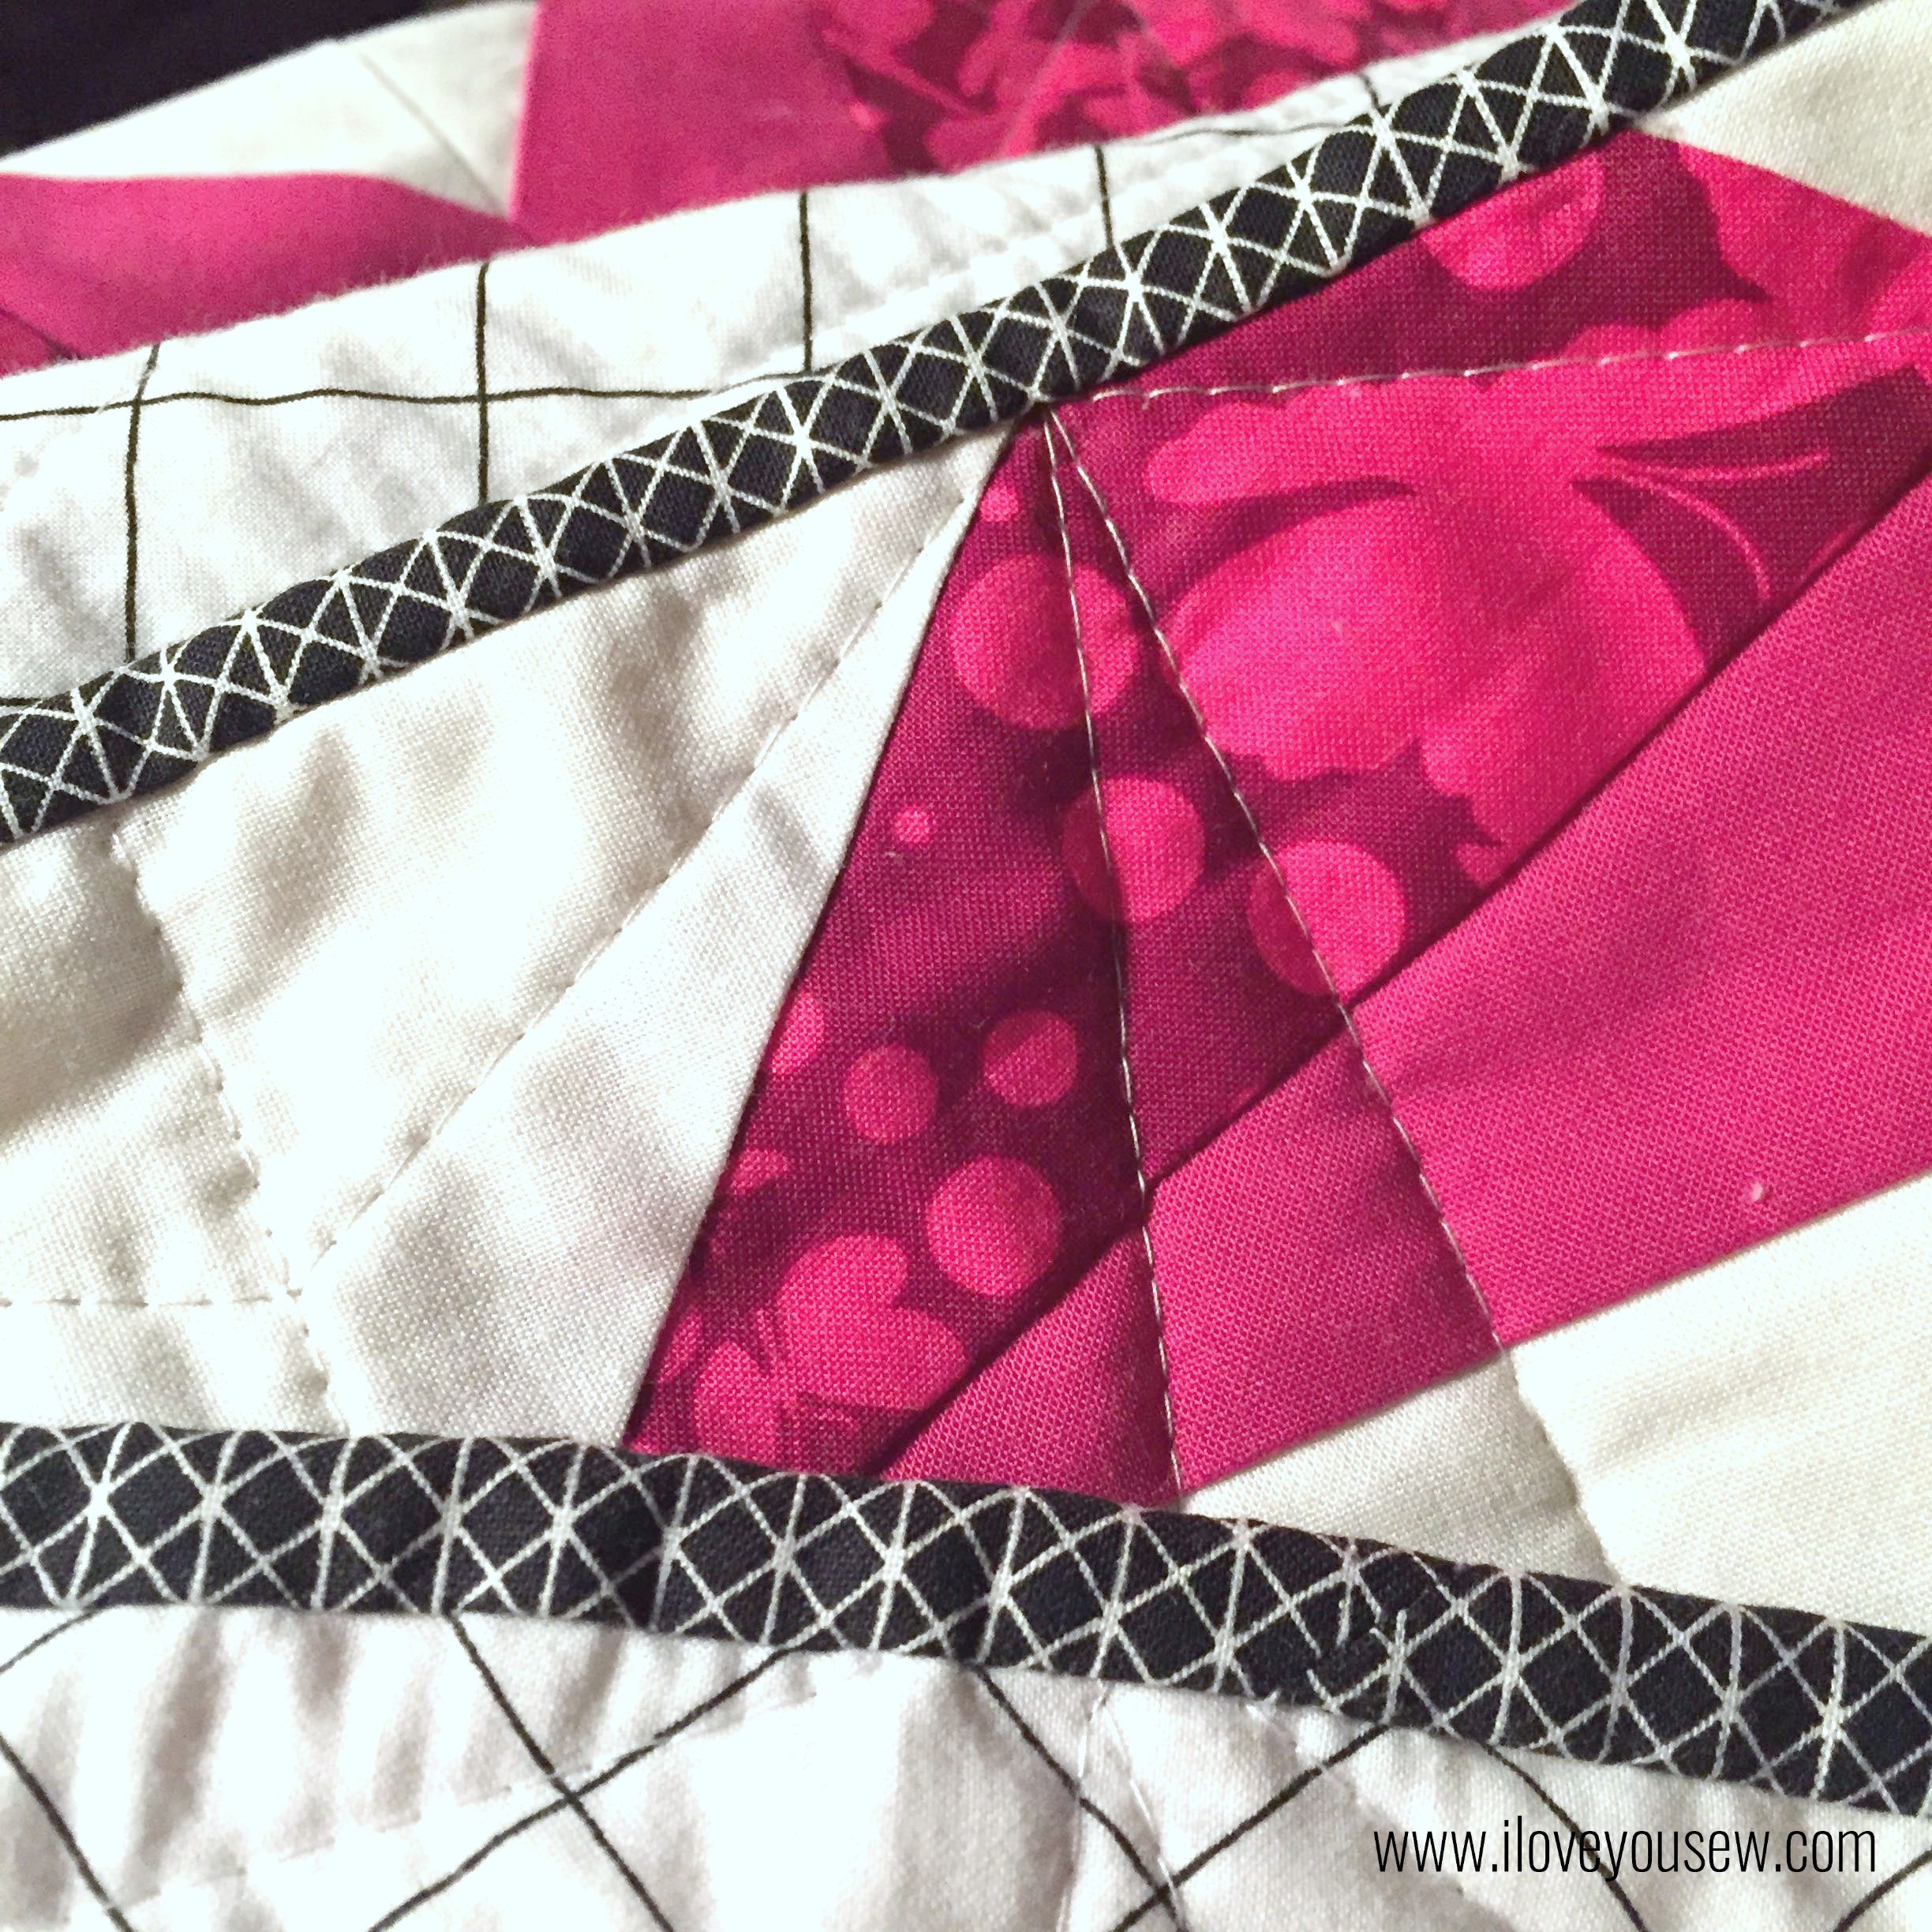
This simple quilting was exactly what I wanted…something to extenuate the pattern design without being too busy AND with lines that could continue from end to end of the quilt.  I am definitely not a fan of burying threads, so I try to avoid it whenever possible!

Sunset

We had a family trip coming up while I was working on this quilt, so I knew I needed to quilt it quickly and attach the binding so I could hand finish it while we were vacationing.  I don’t know about you, but I always like to have some hand-sewing around whenever I’m away from home. You never know when you have some free time…and I was able to sew on the binding right on this hammock watching the sunset! {Heaven}

CSBinding

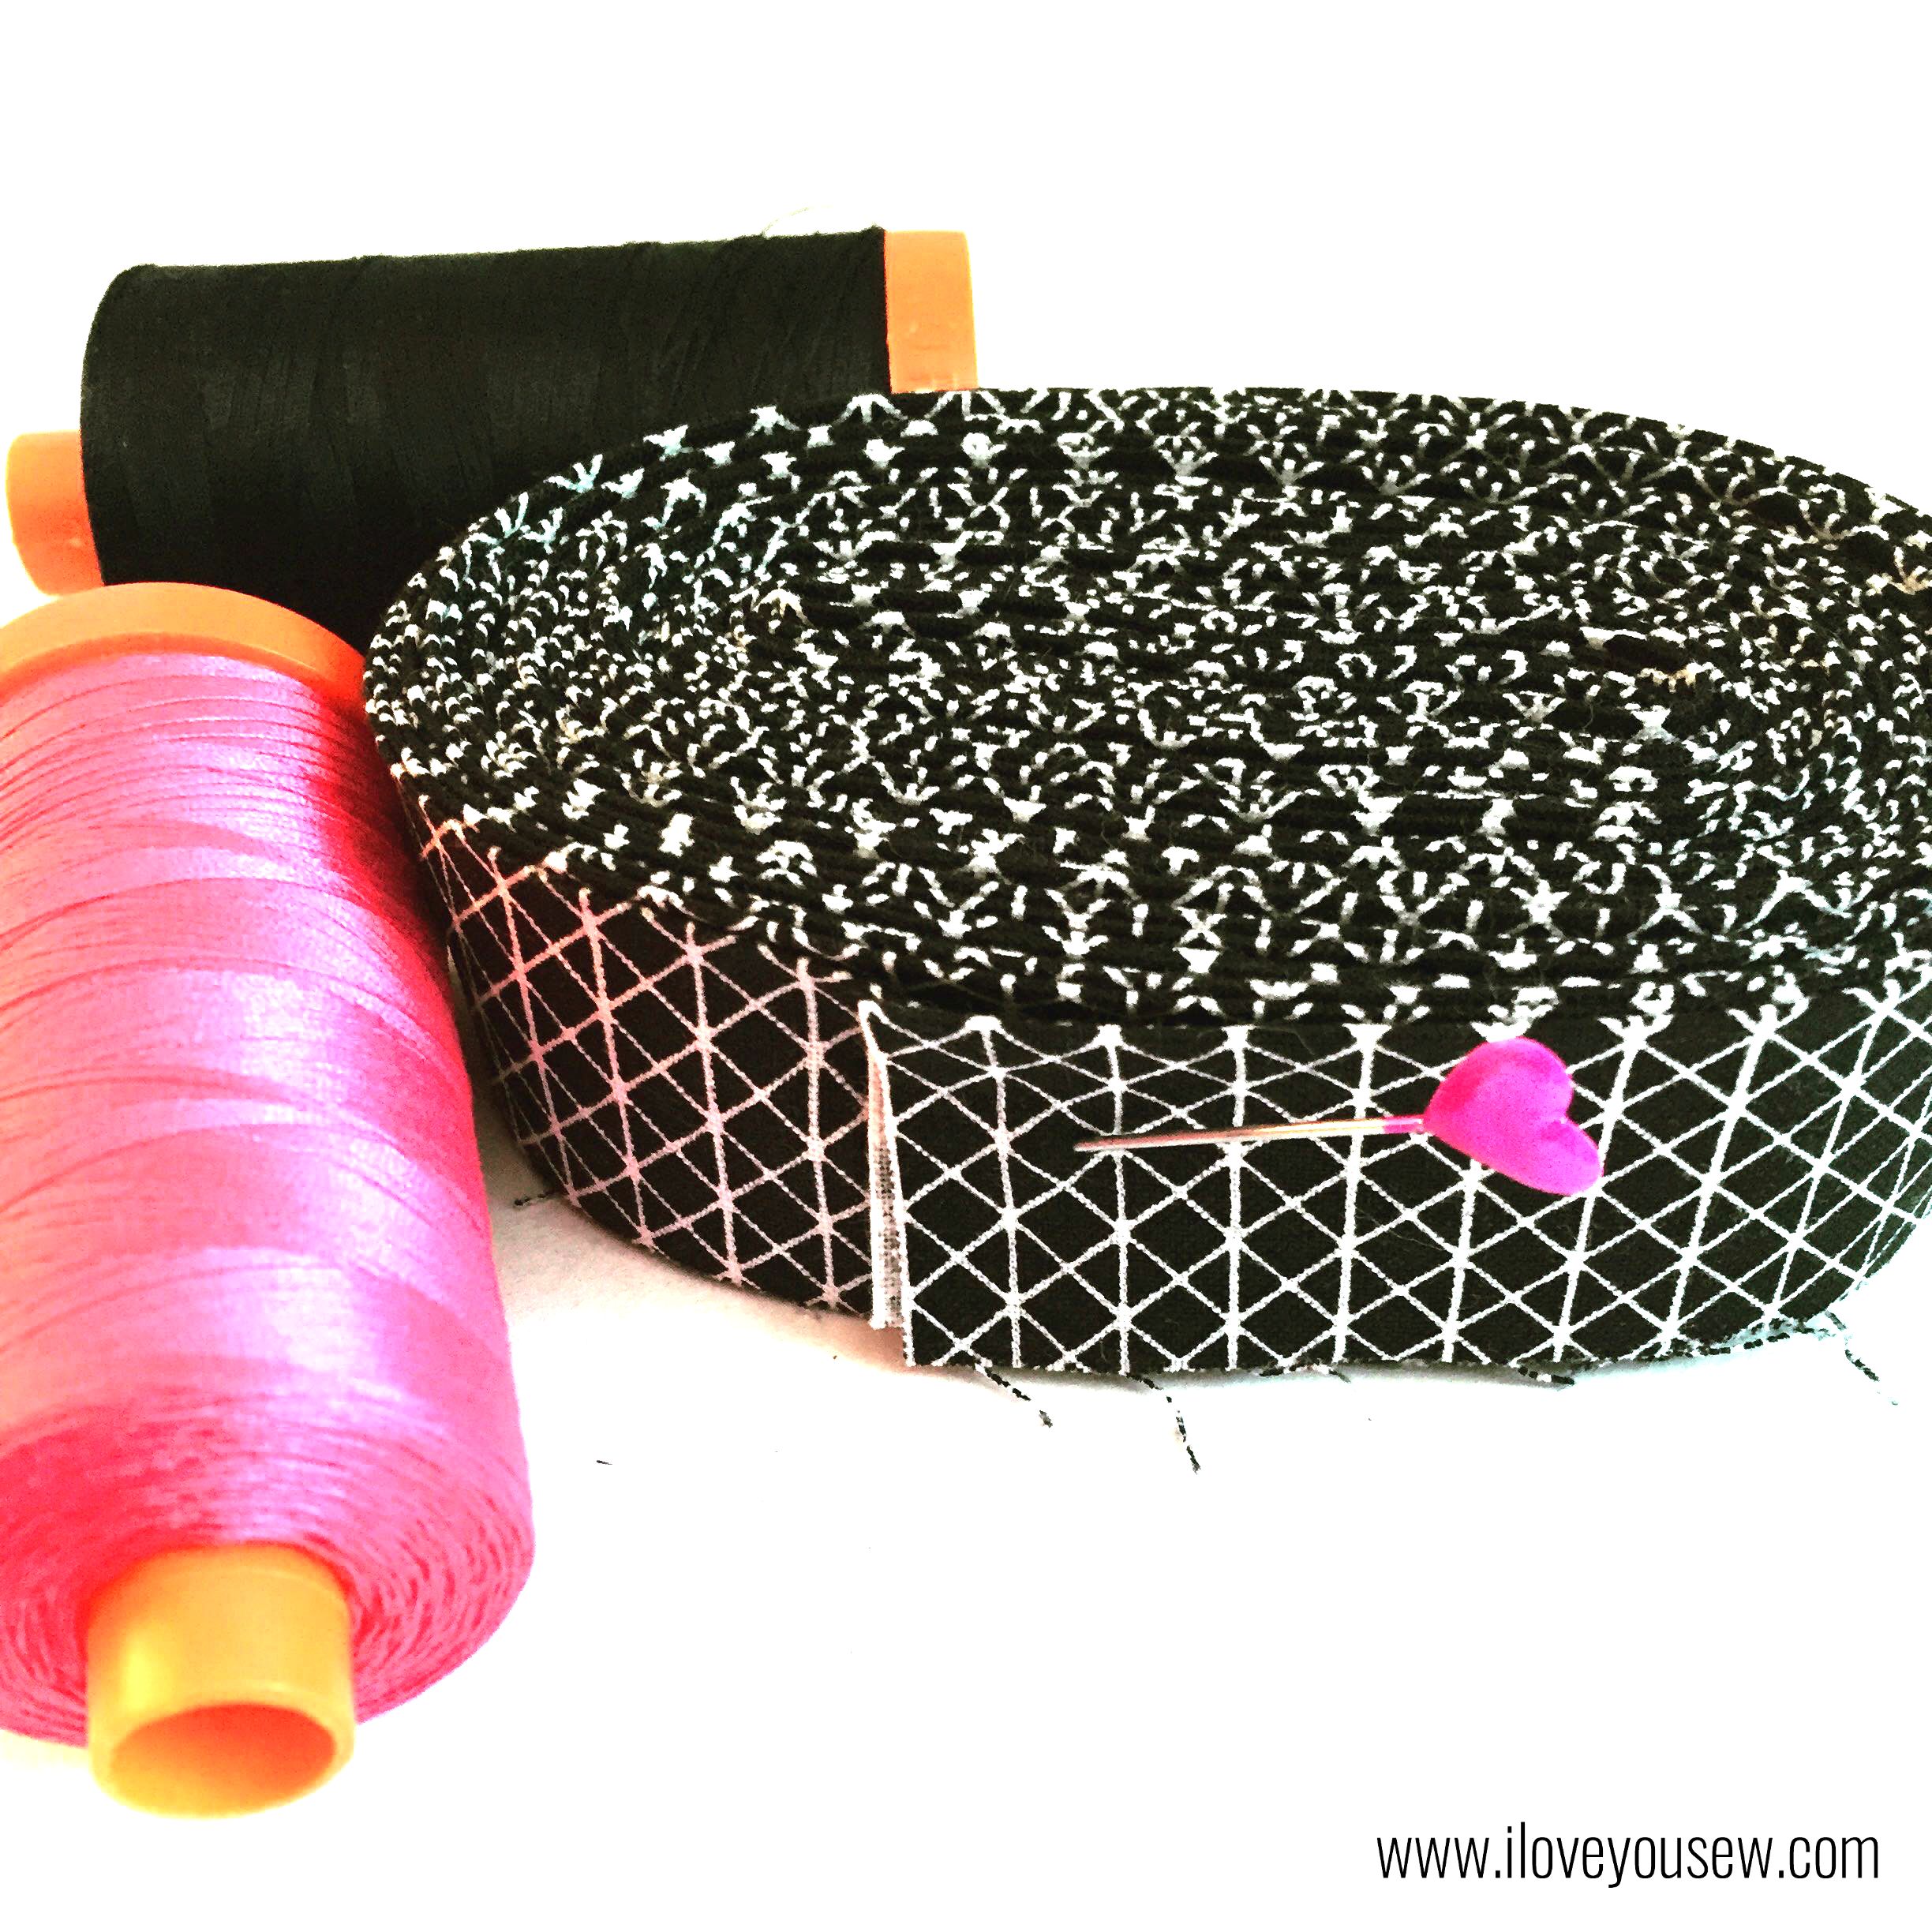
For the binding, I initially thought I would use Carolyn Friedlander’s Architextures Grid in Black.  But since the lines are more “free-hand,” the irregular lines didn’t go together with all the strong shapes of the quilt and backing.  I played with stripes and dots, but ended up with Cotton and Steel’s Netorious basic in Black Cat.  The lines in this pattern are graphic and matched the overall feel of my quilt.  The black binding really made the fuschia pop as well!  I really love how it all came out.

Corner

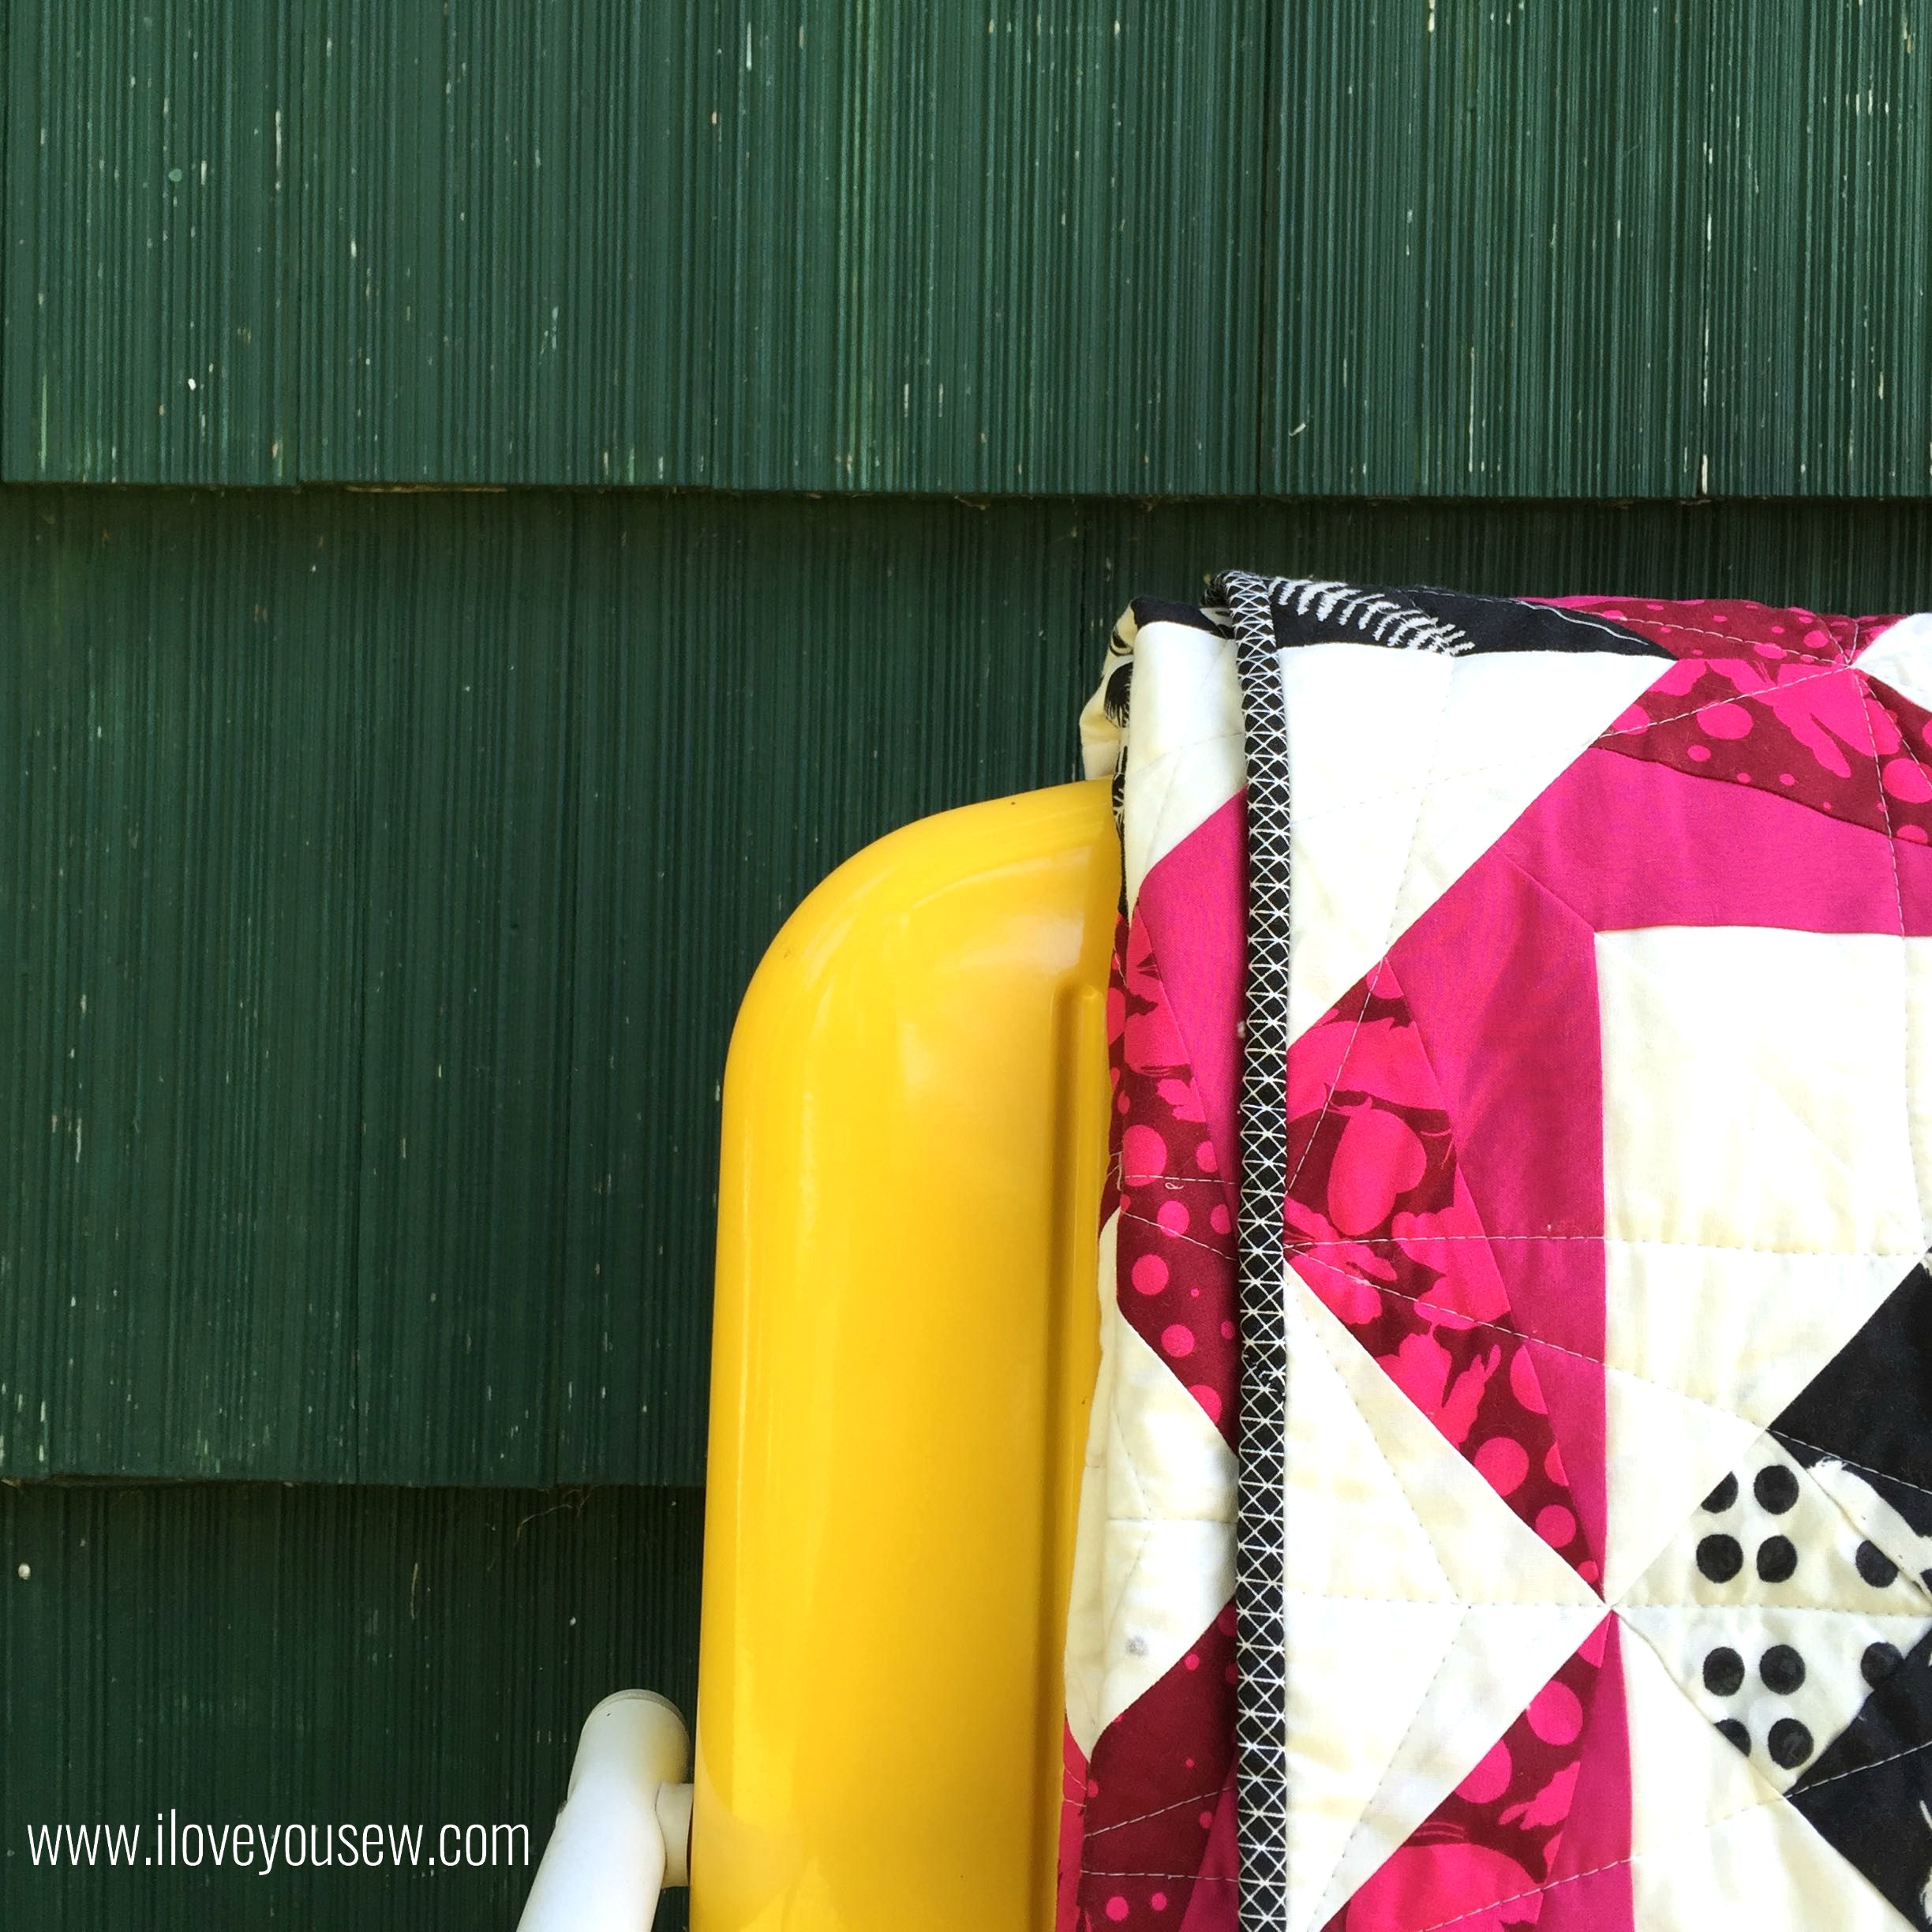
If I’m working on a quilt, I like to take that along in case any perfect photo opportunities present itself as well…you just never know.  It’s turns out I didn’t have to go far to find some great backgrounds and props.  This is the exterior of my in-laws cottage and they had these great bright yellow “vintage” inspired chairs.  The sharp color contrasts with my quilt were just stunning!  

CloseUpOnChair


FullQuilt


As mentioned above, I have a BONUS project from the quilt pattern!

PinCushion

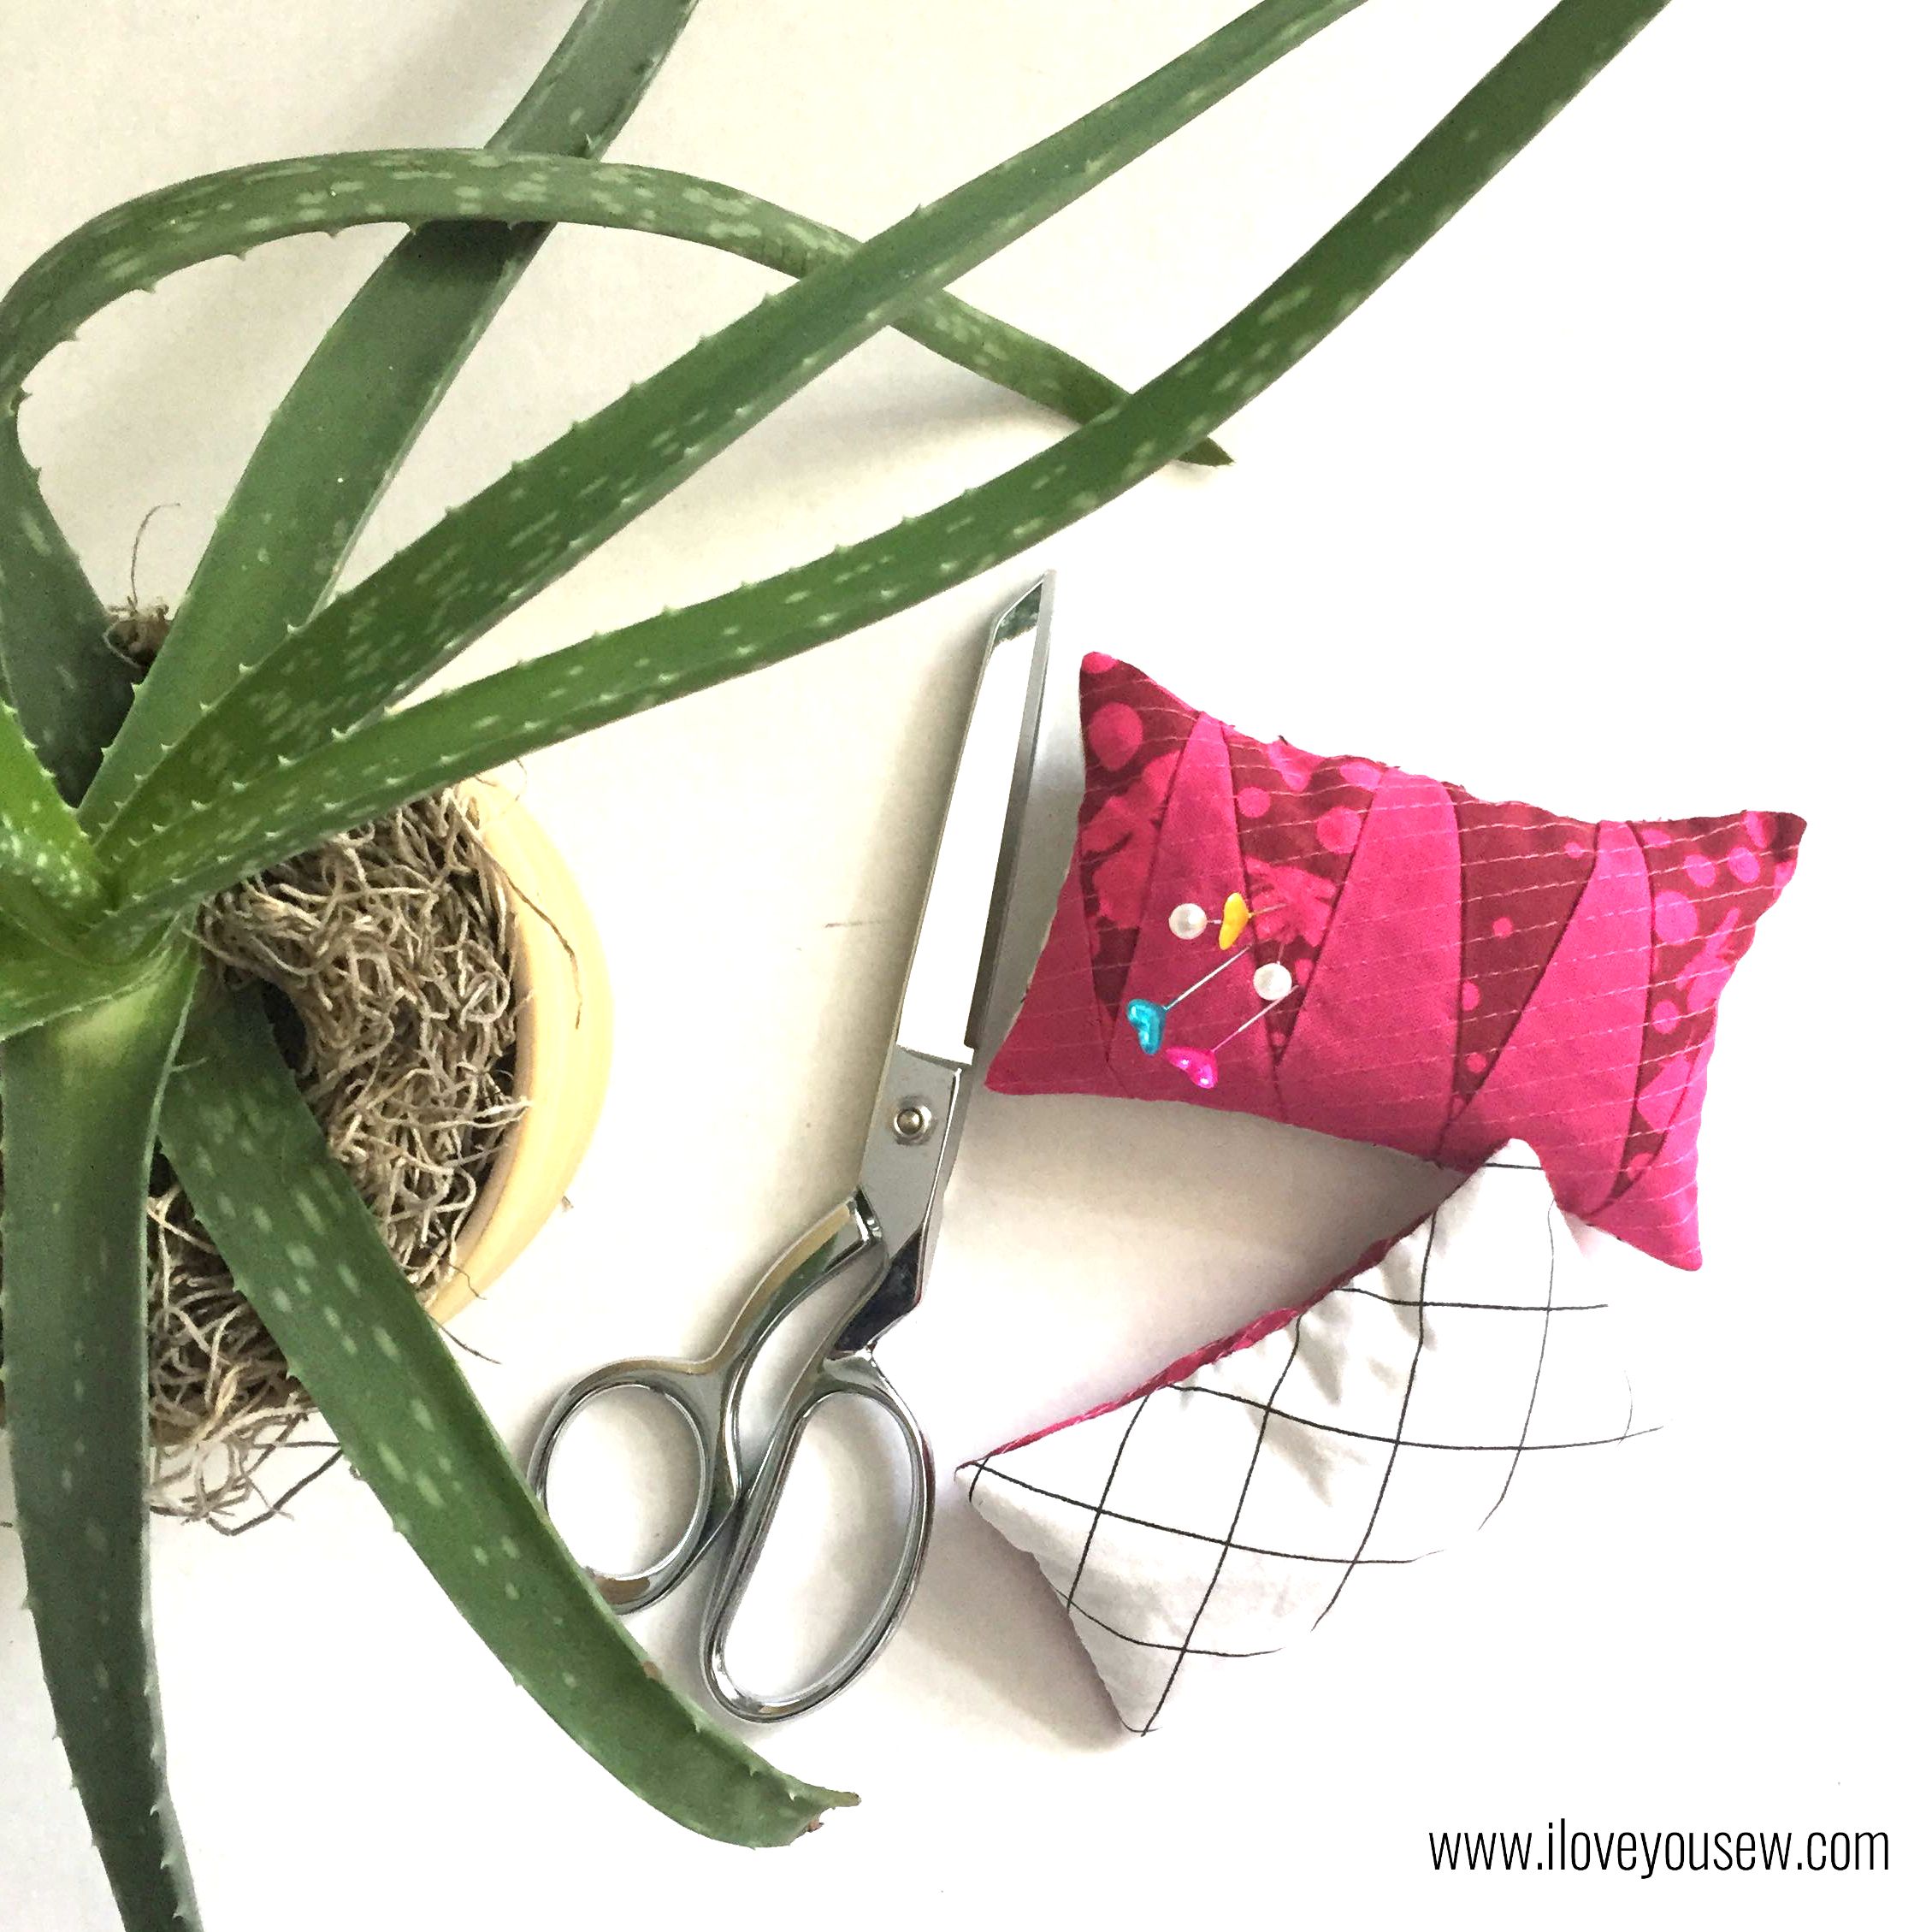
The paper-piecing of the spokes produces a good bit of triangular scraps.   I used them to improv a pincushion.  I just alternated the direction of each triangle of similar sizing and then trimmed the piece to a rectangle.  There was plenty of scraps from the backing as well, so I used the Widescreen to back these and filled them up.  You could make the improv piecing larger and also make mug rugs and even pot holders!

What fun secondary projects have come out of your quilt scraps?


Happy Quilting,

Cristy
 

The pattern was provided by Bryan House Quilts as part of testing. All material was purchased and selected by myself. All opinions and comments are my own and have not been influenced by 3rd parties.