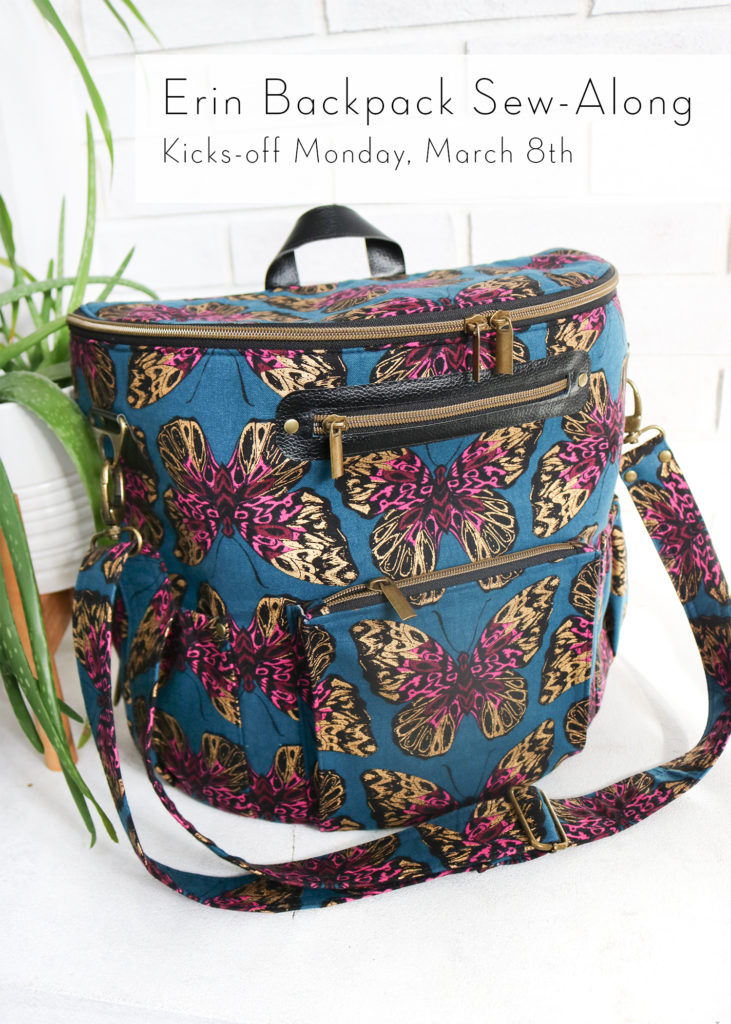
Welcome to the Erin Backpack Sew Along!
Since all of my bag and accessory patterns are all digital, I have the luxury of unlimited pages and love the fact I can add more details into my instructions…but I know one photograph is not nearly enough for some of the more complicated steps. I was asked by YOU to provide a sew along and HAD to oblige! So if you already have some questions or comments, please post them below so I can address them during the month!
DETAILS
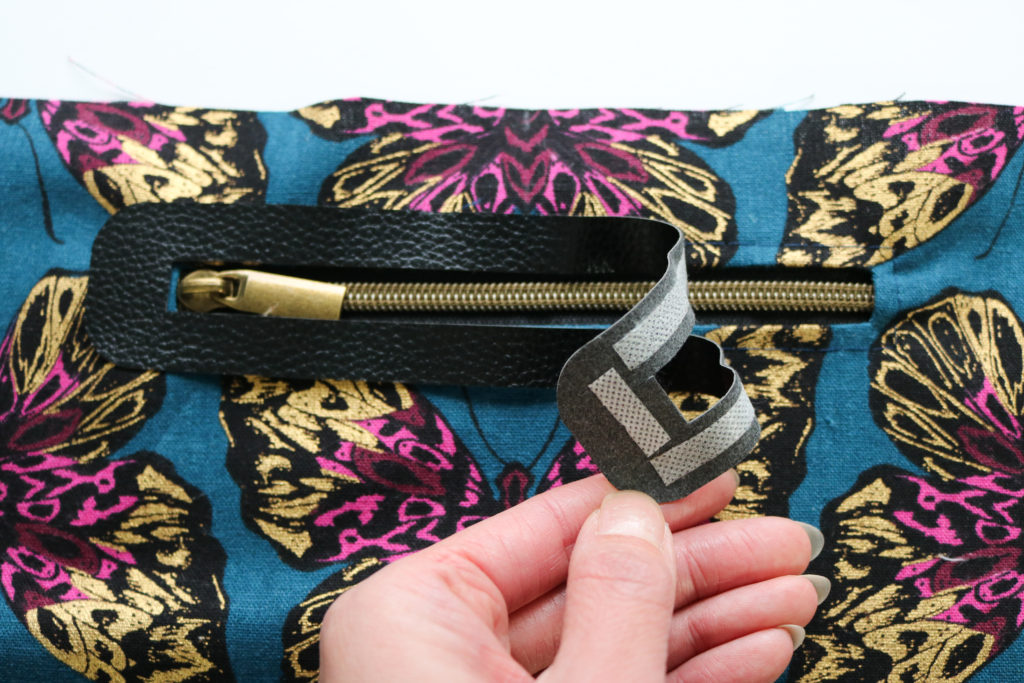
This sew along will be broken down into 6 parts as listed below and will be posted every Monday and Thursday throughout March, starting March 8th.
- Prepare the Fabric + Hardware tabs (including cutting, interfacing and basting)
- Make the Convertible Strap and Key Fob + a hack for Permanent Backpack Straps
- Create the Back Panel
- Create the Front Panel
- Make the Lining
- Final Bag Assembly
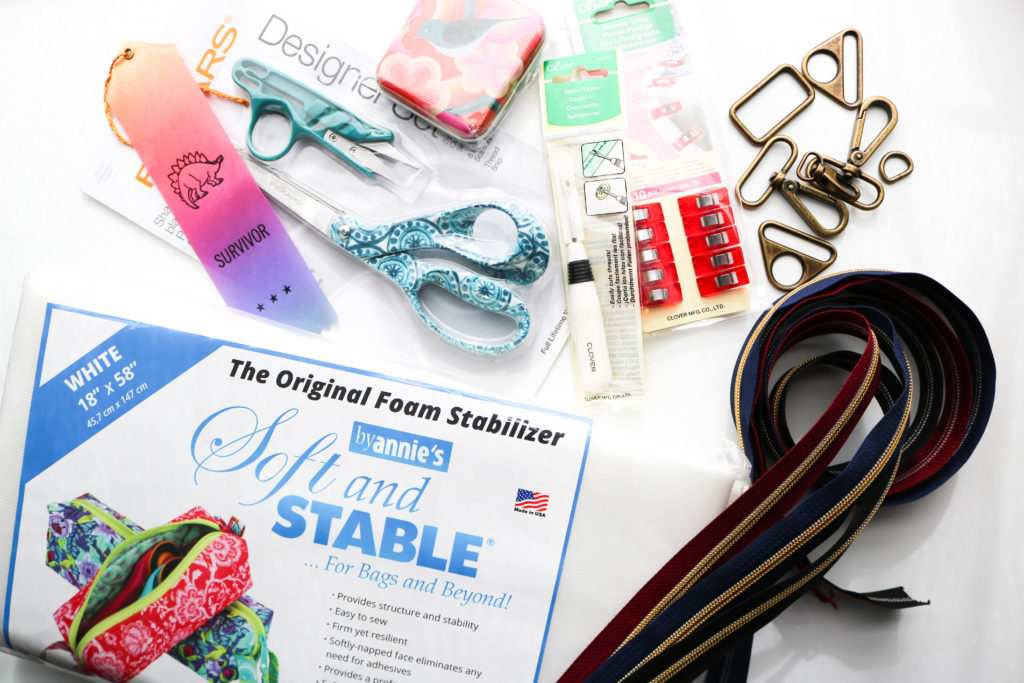
For some added fun, I have prizes for participating in this sew along on Instagram. Post any picture of your progress whether it be a fabric pull or the finished product and use the hashtags #loveyousewpatterns, #erinbackpack and #erinbackpacksewalong to be added into the pool of entries. I’ll randomly select a winner for $25 shop credit, a copy of all of my digital bag patterns, and a package of my favorite bag notions at the end of the month. It’s that simple! Don’t forget to tag me @loveyousew_ so I can see your makes along the way!
>> To get you going, you can grab the Erin Backpack pattern for 20% off and Hardware Kits for 15% off in my shop, here, all month long.
If you are ready for a little pre-work, you can checkout the introductory post of the Erin Backpack here and find lots of inspiration in the tester versions here.
Now let’s talk a little more in depth about fabric and supplies you need before we officially start next week!
FABRIC
As you know, the selection of fabric is KEY with any bag. You have to look a little into the future to see how you really want to use your Erin Backpack. Will it be used outdoors, for home, or maybe for the family? The answers will help you decide what fabrics you want to use. Below are the fabric notes (as written in the instructions of the pattern – in blue italics) along with some extra guidance.
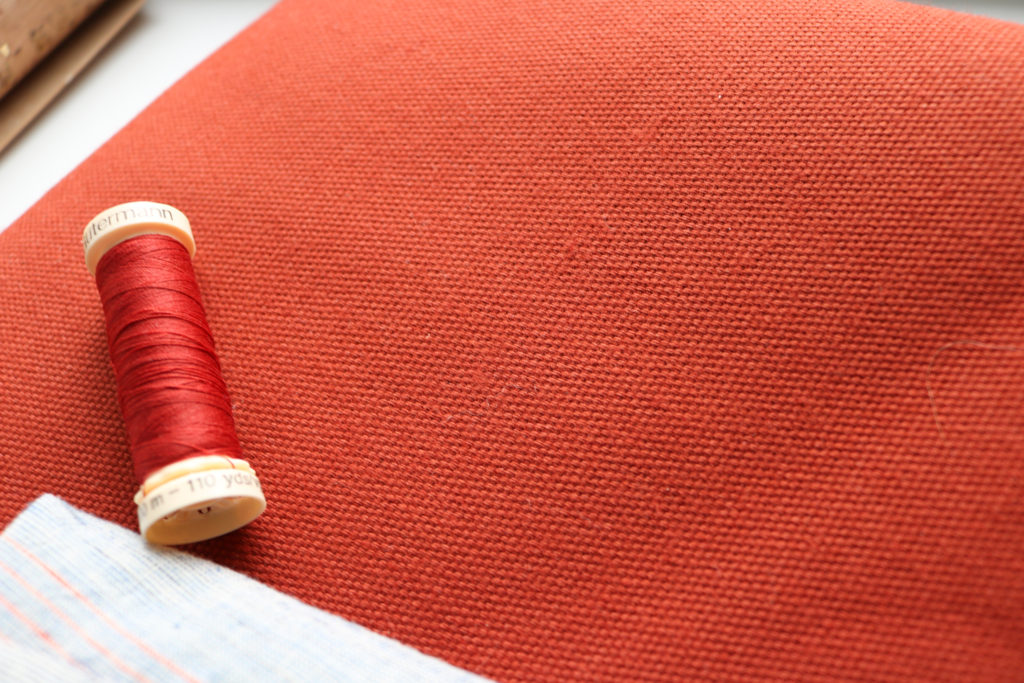
This pattern is written for bottom-weight fabrics such as canvas, duck cloth, and denim with weights of ~ 6 oz per square yard or more. — For large bags like the Erin Backpack, you want a heavier and more durable main fabric that can withstand some beating. The last thing you want to do is make a bag with fabric that ends up wearing away before you want to stop using it. For the sew along, I will be using a heavy and durable 9 oz Expedition dry oilskin canvas by Merchant and Mills. I chose this fabric for the weight and color, but also for its water resistant properties which is PERFECT for an everyday backpack. On the flip side of heavy duty fabrics, you also want to be cautious with selecting a fabric that maybe TOO thick for your personal home machine. (I sew with a semi-industrial Juki and am confident it can handle this fabric.) There are points in the construction where you will be dealing with several layers of fabric, interfacing and accent fabric all combined. Always test the layers BEFORE sewing the actual bag.
*As a side note, since I’m using a treated fabric, the manufacturer states I cannot use heat or iron this fabric and will be adjusting interfacing in the first part of the sew-along (which is fine given the weight of the fabric.) So if you are using something like a waxed canvas or a vinyl, you will have to make sure the weight balances out the fact that you will have to omit some interfacing.
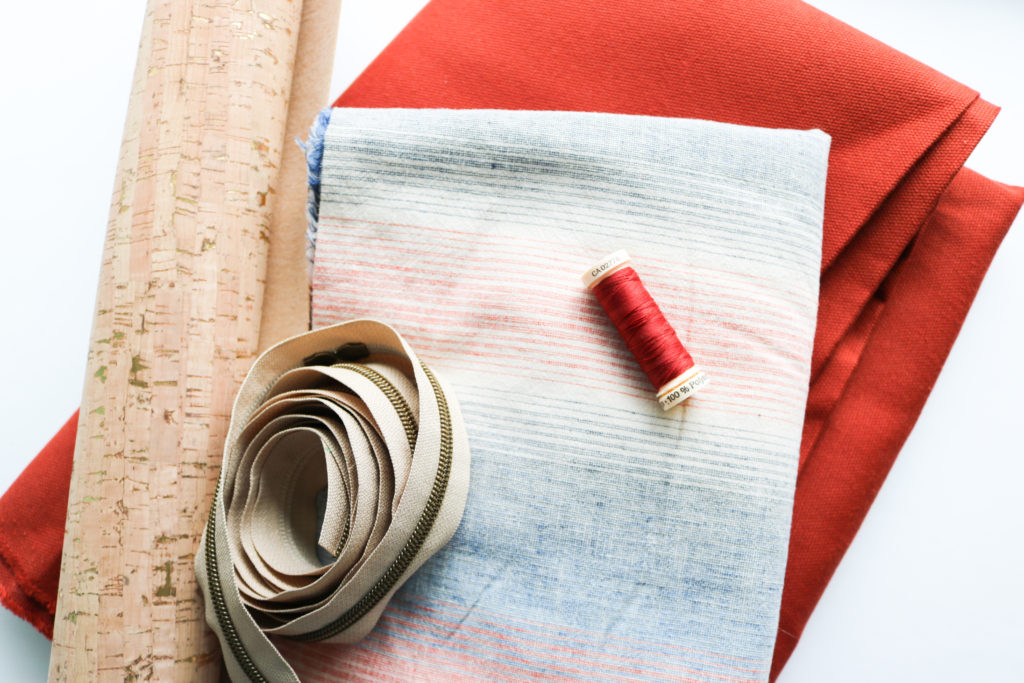
The lining is based on quilt cotton and any other fabric with the same weight (~4 oz) can be used such as linen, chambray and twill. — Since the lining does not get nearly as much wear as the main fabric, you can have more fun with a tight woven quilt cotton. This would also be a great place to use a light laminate like these from Cloud 9. If you want the inside to be wipeable, this is a nice laminate that is easy to sew through. I have such a deep stash of fabrics from old projects that I will be using leftovers from a linen blend fabric I used on a dress years ago….But doesn’t it look great with the canvas?!?
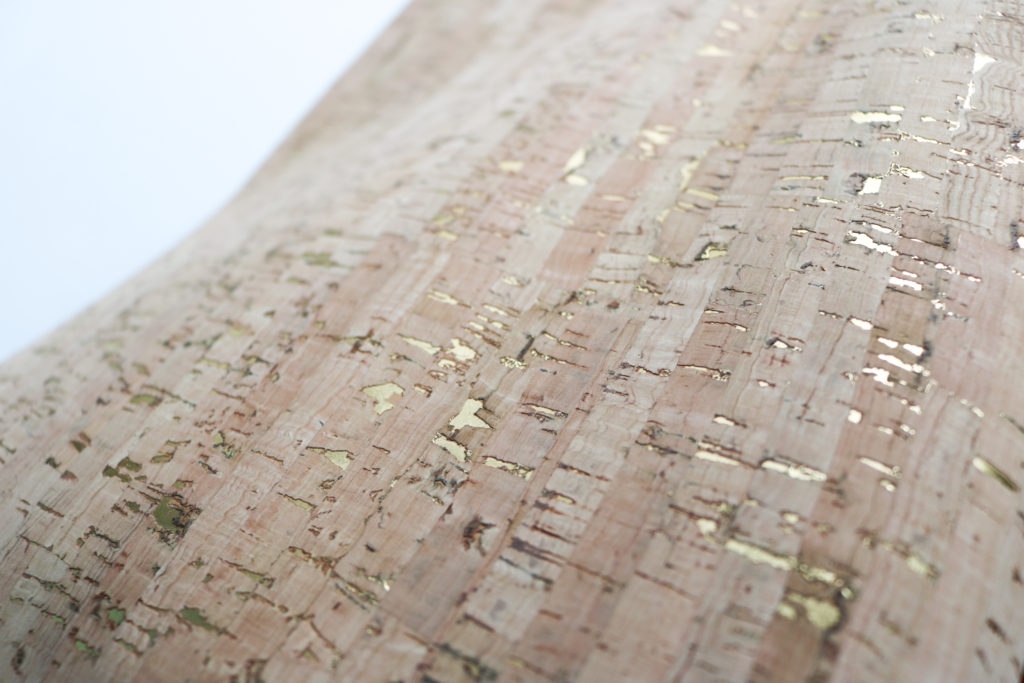
The accent fabric is intended to be left with a raw edge, allowing you to use leather, suede, vinyl, cork or another non-fraying substrate. This allows you to add some high-end details to elevate your bag. The Erin Backpack assumes the use of thicker 2-3 mm accent fabric. *If you use a thinner accent substrate like some corks or a lambskin leather, you may want to cut two handles for a sturdier finish. For this bag, I’ll be using some gold flecked cork fabric from Sew Sweetness and will show you how to finish this substrate, as well as how to reinforce some areas.
If you are looking for other sources of faux leather/vinyl Big Z Fabric’s has a nice selection and I’ve used the Terracotta DuroLast vinyl in a Megan Bucket Bag, here. This brand is great for a beginners with a more basic home machine because it’s thinner and MUCH easier to sew through. The pebbled finish makes it look like real leather too! Sew Sweetness also carries thinner faux leather as well…including the black I used for the pattern photography.
INTERFACING
The interfacing mix is based on these suggested fabrics and the foam is crucial to holding the structure, while still being pliable.
- Please make sure you are using a non-fusible foam to avoid wrinkles on the main fabric as the bag wears. By Annie’s Soft and Stable is my preferred foam which is denser and thus, provides more structure than Pellon foam. You can grab it in my shop here. But if you can only get Pellon, it works well too.
- For woven interfacing, I generally use 60” wide Pellon Shapeflex SF101, but I just tried out Barb’s Bags Interfacing (which is great too…just have to see how it wears before a full endorsement) to block fuse (when you fuse the interfacing to the fabric first and then cut out the pattern pieces…but we’ll get into more of this next week!) It’s allows me to use the entire width of fabric, but you generally can only find 20″ WOF in stores….which IMO is more wasteful.
- For the firm stabilizer, Pellon Peltex sew-in interfacing is a great choice. It provides a stronger base for both the lid and bottom of the backpack.
If you would like to use other types of fabrics, please test interfacing with fabric swatches to see what you like before cutting.
HARDWARE
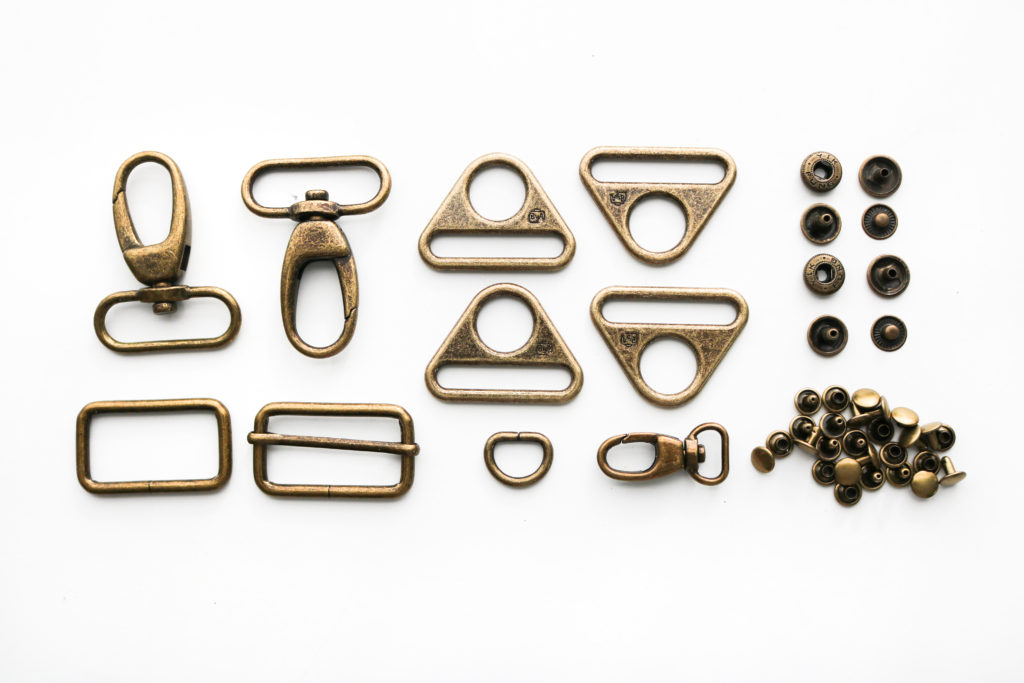
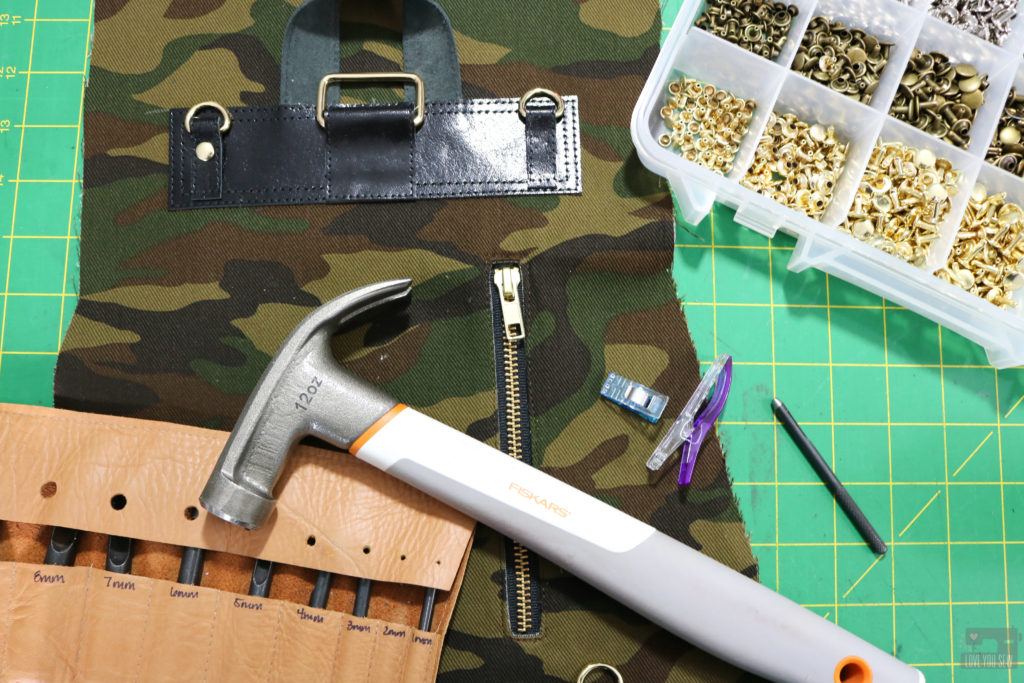
With a full-size backpack of this nature, there is a good bit of hardware involved. This helps the bag look more polished and gives the ability to be be a convertible bag. I’ve sourced some amazing hardware from Emmaline Bags and By Annie’s as part of a full kit you can find here in my shop.
The kit includes:
(4) 1 1/2″ Triangle Rings
(2) 1 1/2″ Swivel Clasps
(1) 1 1/2″ Rectangle Ring
(1) 1 1/2″ Strap Slider
(1) 1/2″ Swivel Clasp
(1) 1/2″ D-Ring
(3) Sets of 12.5 mm Double-Cap Spring Snaps
(5) Sets of Medium Double-Cap Rivets (9mm cap x 8mm post)
(20) Sets of Small Double-Cap Rivets (8mm cap x 6mm post)
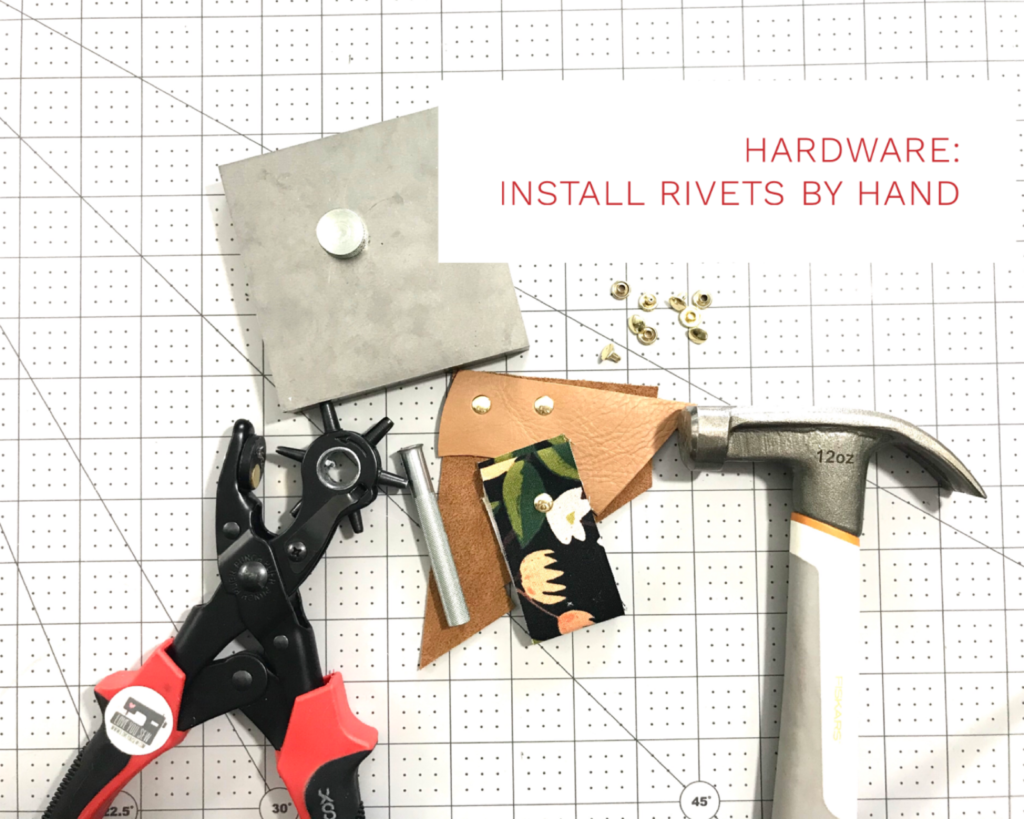
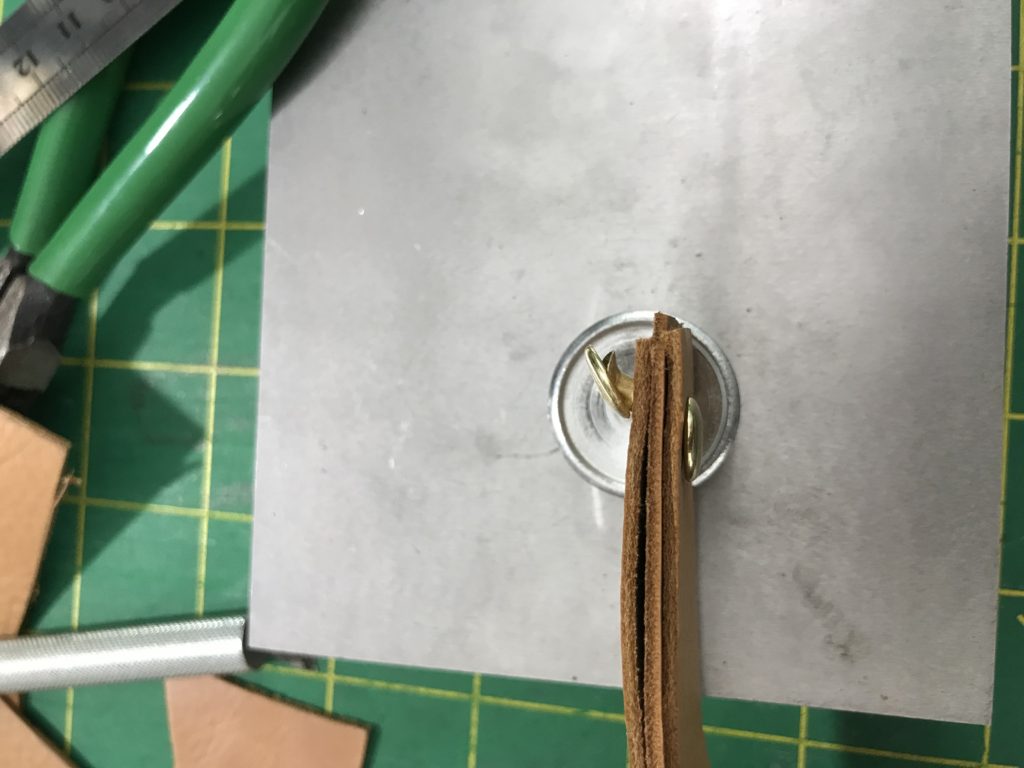
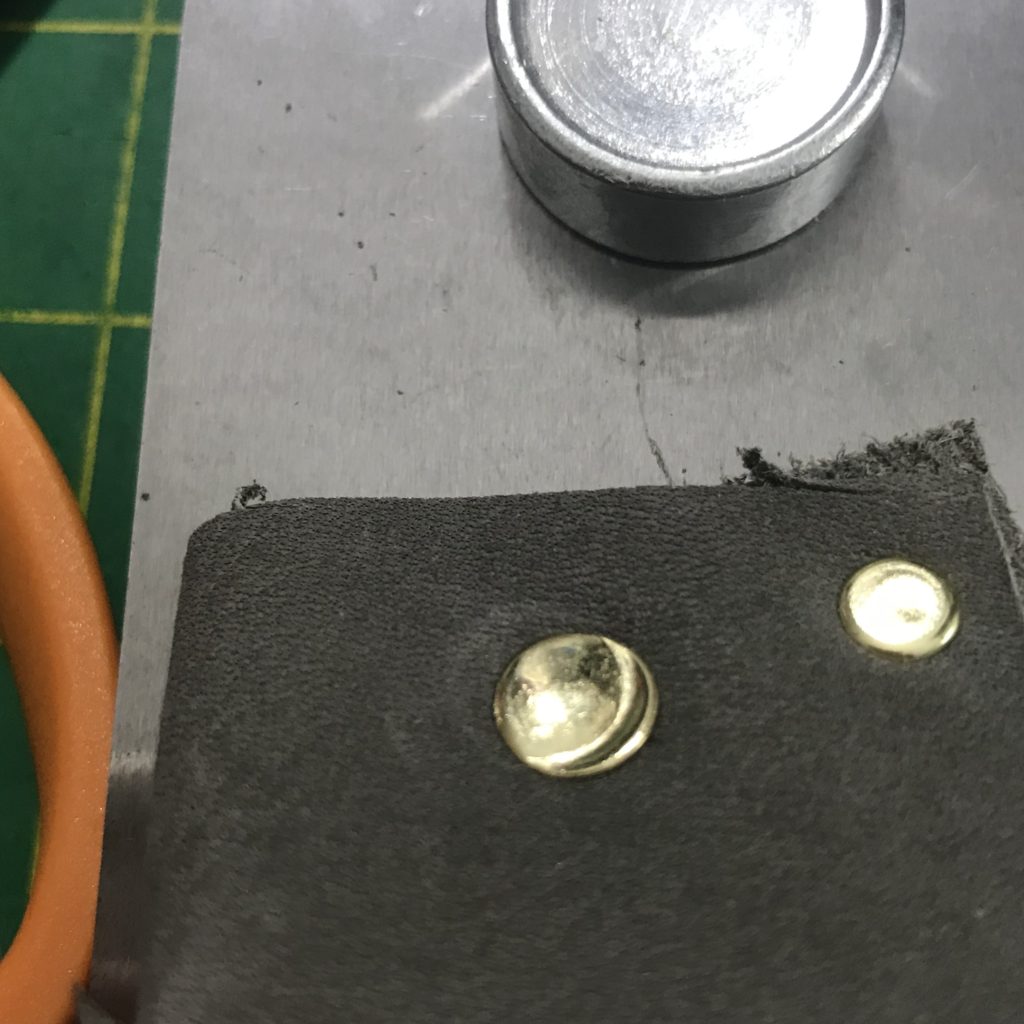
Will we be going through some hardware installation? Yes! I know this is a tricky part for many folks and you can refer back to the Intro post for some links to videos I already have.
ZIPPERS
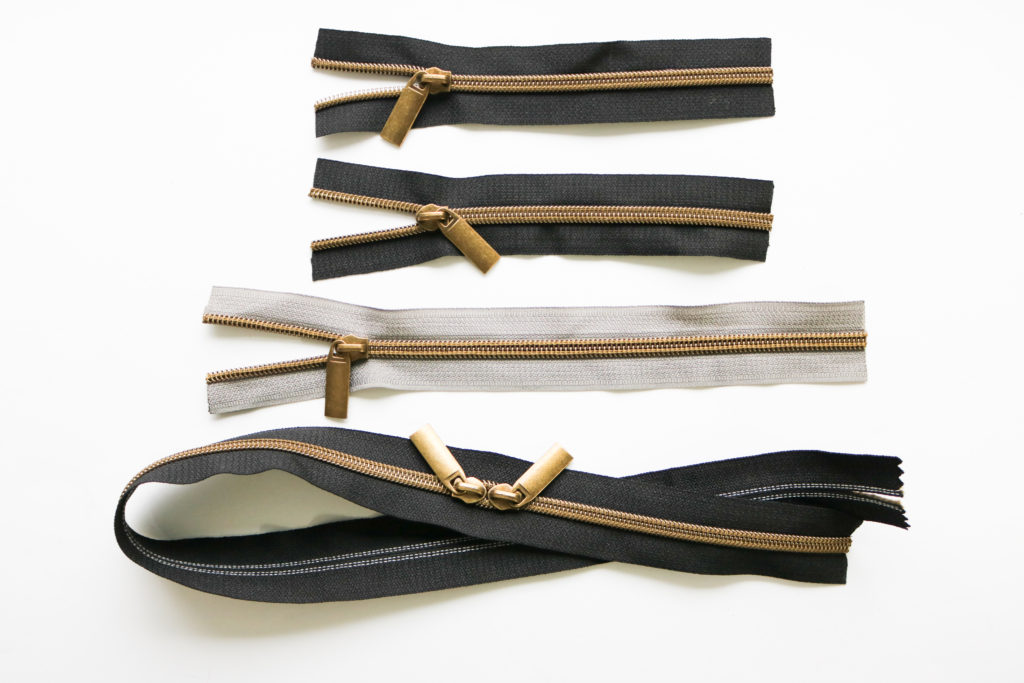
With four zippers in the Erin Backpack pattern using three different sizes, it’s a great idea to use zipper tape to cut exactly what you will need. I used metal zippers for a long time for their polished style, but have fallen in love with these nylon ones that look like metal! You can cut through them with craft scissors (don’t use your special fabric ones!) and sew right through them as well. There is no laborious effects to cut away teeth with these zippers! I love the ones from Emmaline Bags (if you are looking for basic colored tapes) and My Handmade Space for more variety in both tape color and teeth finishes.
Other Supplies
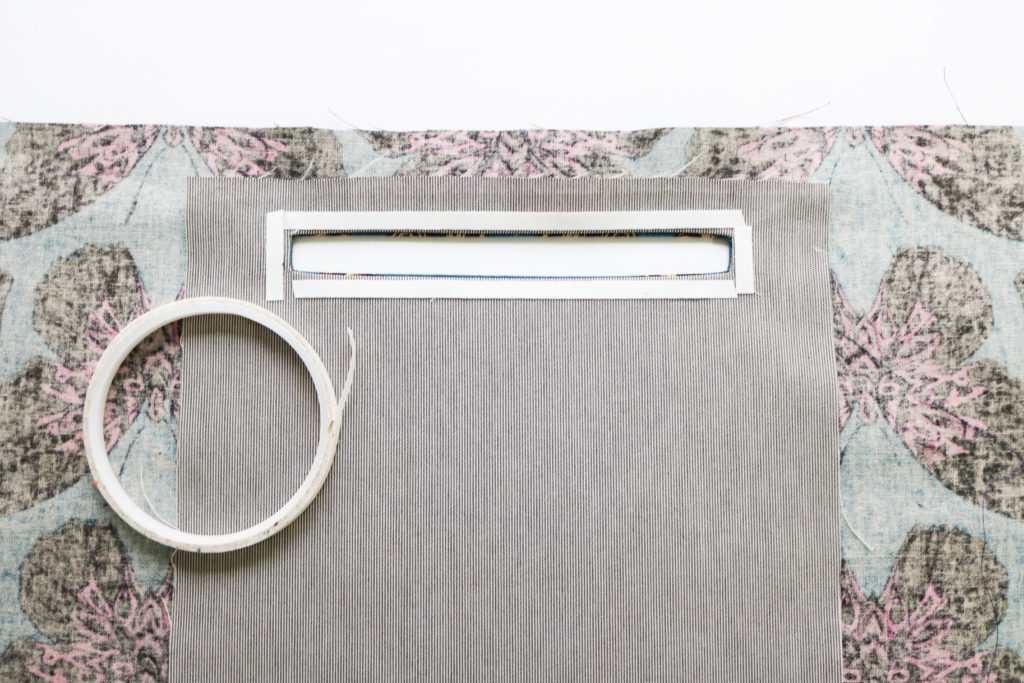
There are plenty of other supplies and notions I reference in the Erin Backpack pattern. For your ease, I’ve added them all onto an “Idea List” below through Amazon. It’s included my favorite glue, fabric punch, hardware setting tools, and also the interfacings mentioned above. I continue to add to all of my list as part of my Storefront all the time as I test out new products in my projects….so don’t forget to “like” it!
>> Making the Erin Backpack list on Amazon
I hope this is enough information to get you started on the Erin Backpack. Again, please post any questions and/or comments below. I’ll be sewing along with you so that I can address any concerns along the way!
Happy Sewing!
Cristy
Please note, this post contains affiliate links. Please refer to my Disclosures for additional information.
