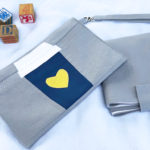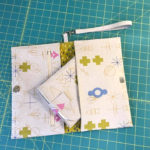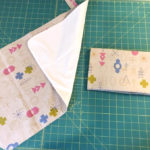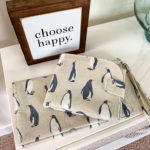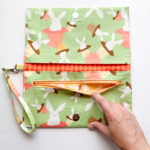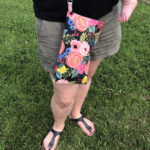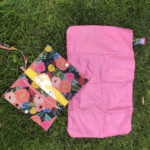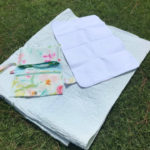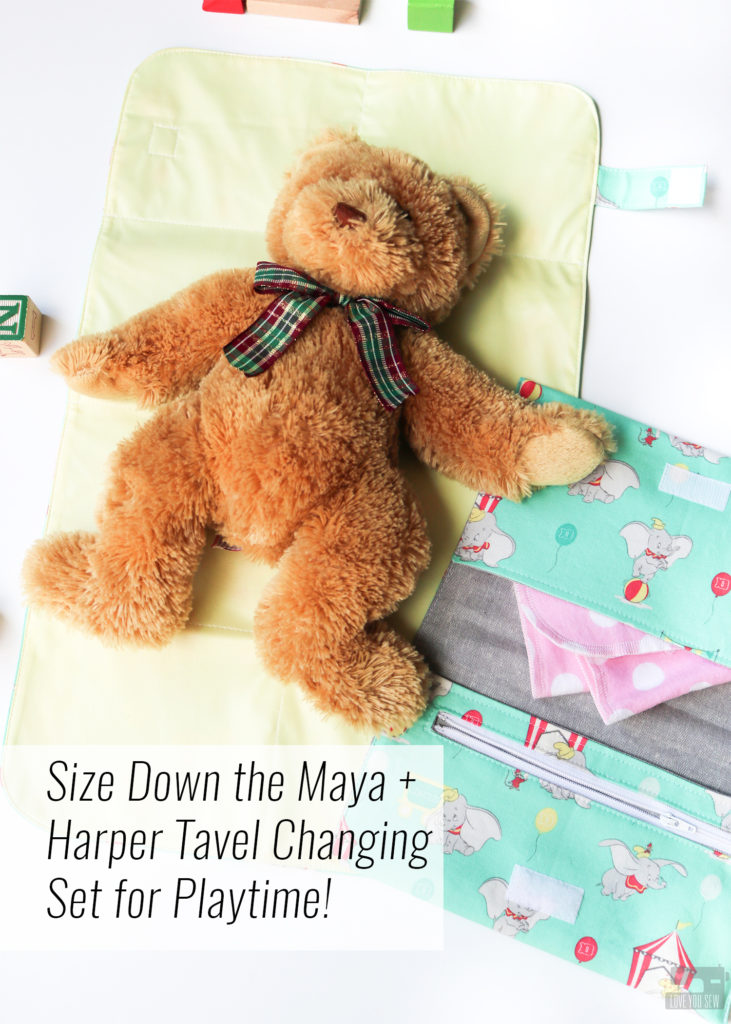
Size Down the Maya + Harper Travel Changing Set for Playtime!

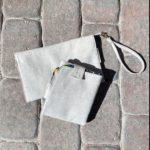
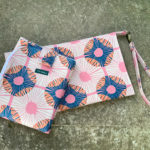
All of my sewing patterns are named after my nieces. Once a pattern releases, the namesake always gets a complimentary bag of her very own. But then, I was in a bit of a predicament when I named the Maya + Harper Travel Changing Set after my 4 and 2 year old nieces. What were were they going to do with full-size diaper changing sets???
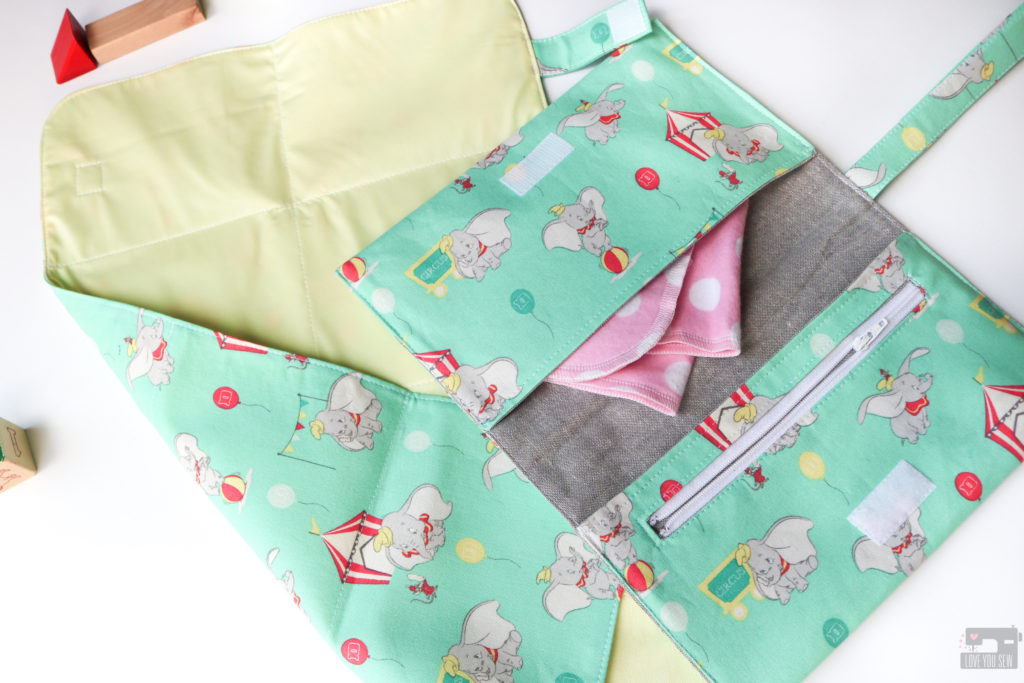
I checked with my sister and she assured me there would not be a need for additional sets for her personal use. (Haha – Wishful thinking on my behalf!) But shortly after the pattern’s release, my nieces got their first Bitty Babies and the light bulb went off. I would make Maya and Harper “play” versions for their little babies!
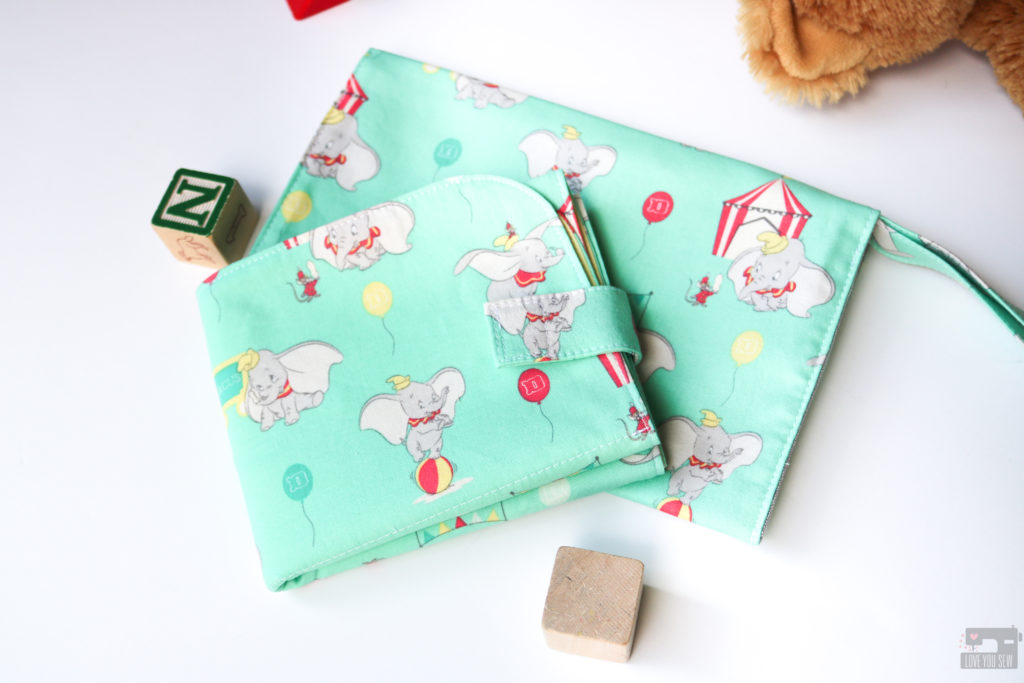
First, you will need the Maya + Harper Travel Changing Set found in my pattern shop here. You will need the instructions for reference and the pattern templates. I highly suggest you make a full Changing Set first to understand the construction and assembly of the Pad and Clutch. Once you get comfortable, you can make the following changes to make this pattern kid-friendly.

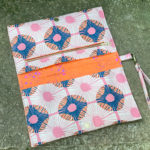
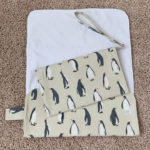
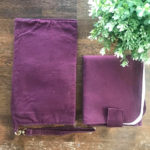
Make the “Play” Changing Pad
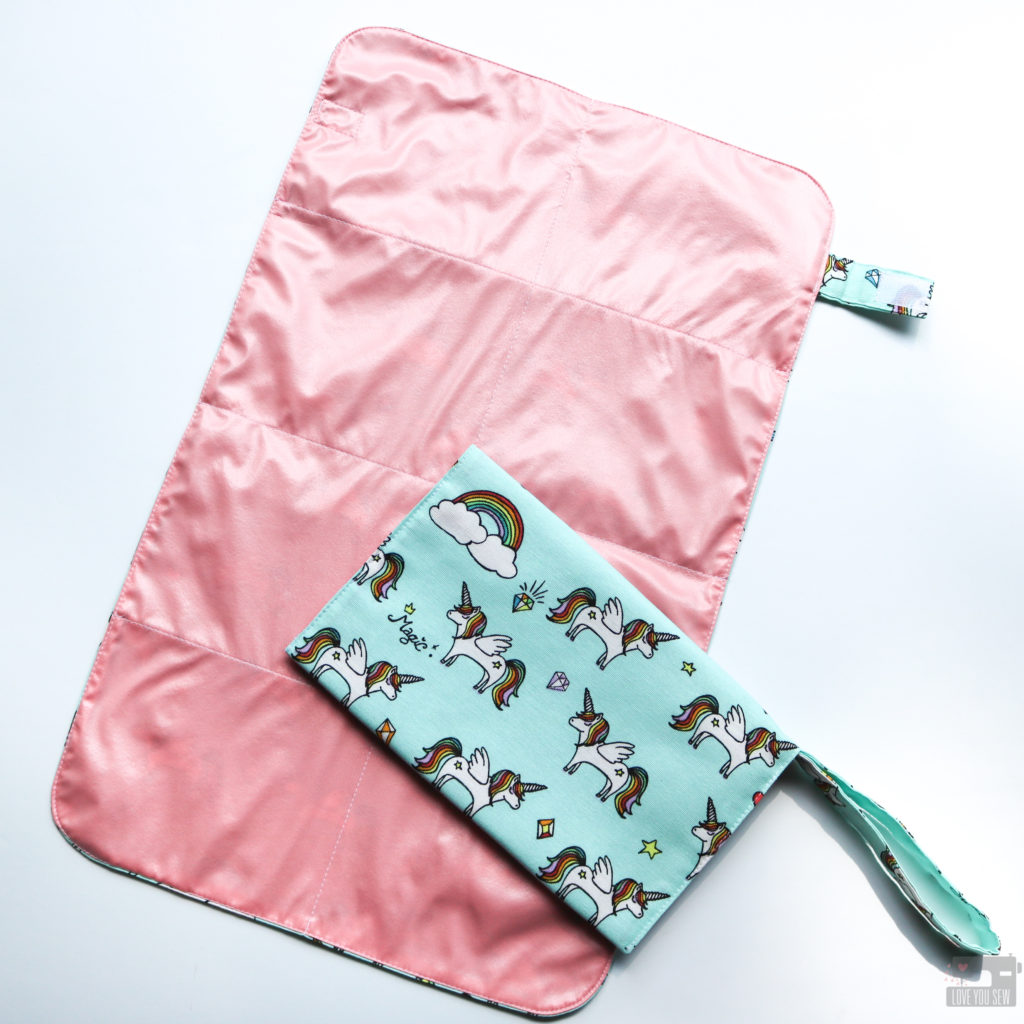
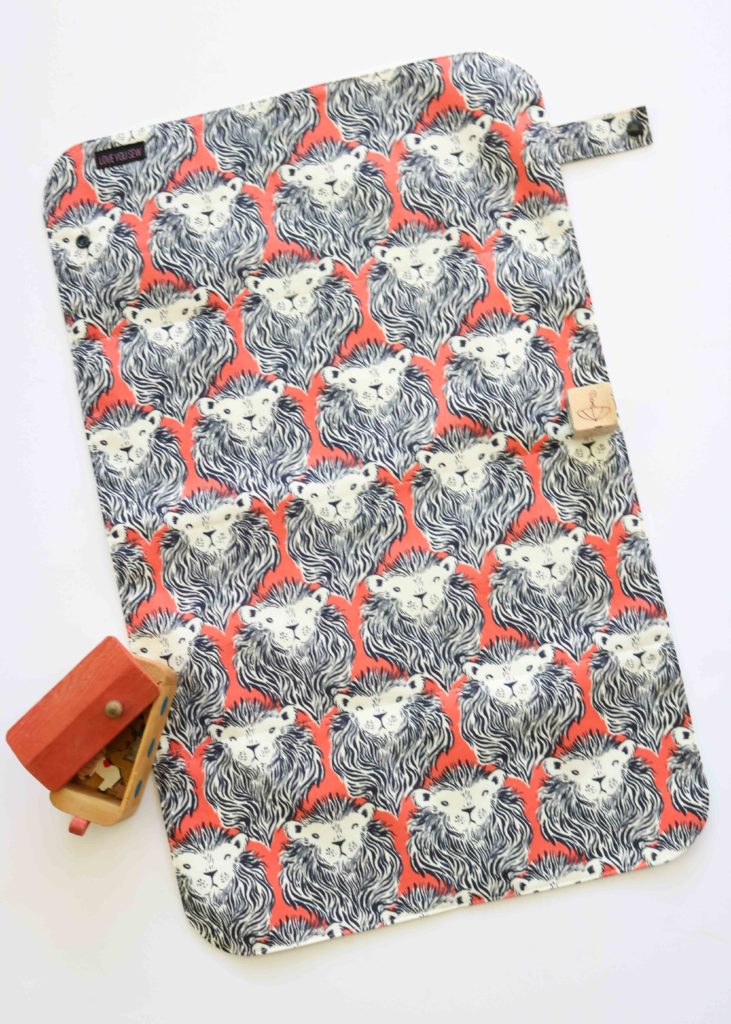
First thing’s first. You will need to print out the pattern templates at 85%. This will shrink down the pattern enough for most typical baby dolls. Unfortunately, my kids were more into stuffies than dolls, so this 12″ bear will need all the diaper changing 😉
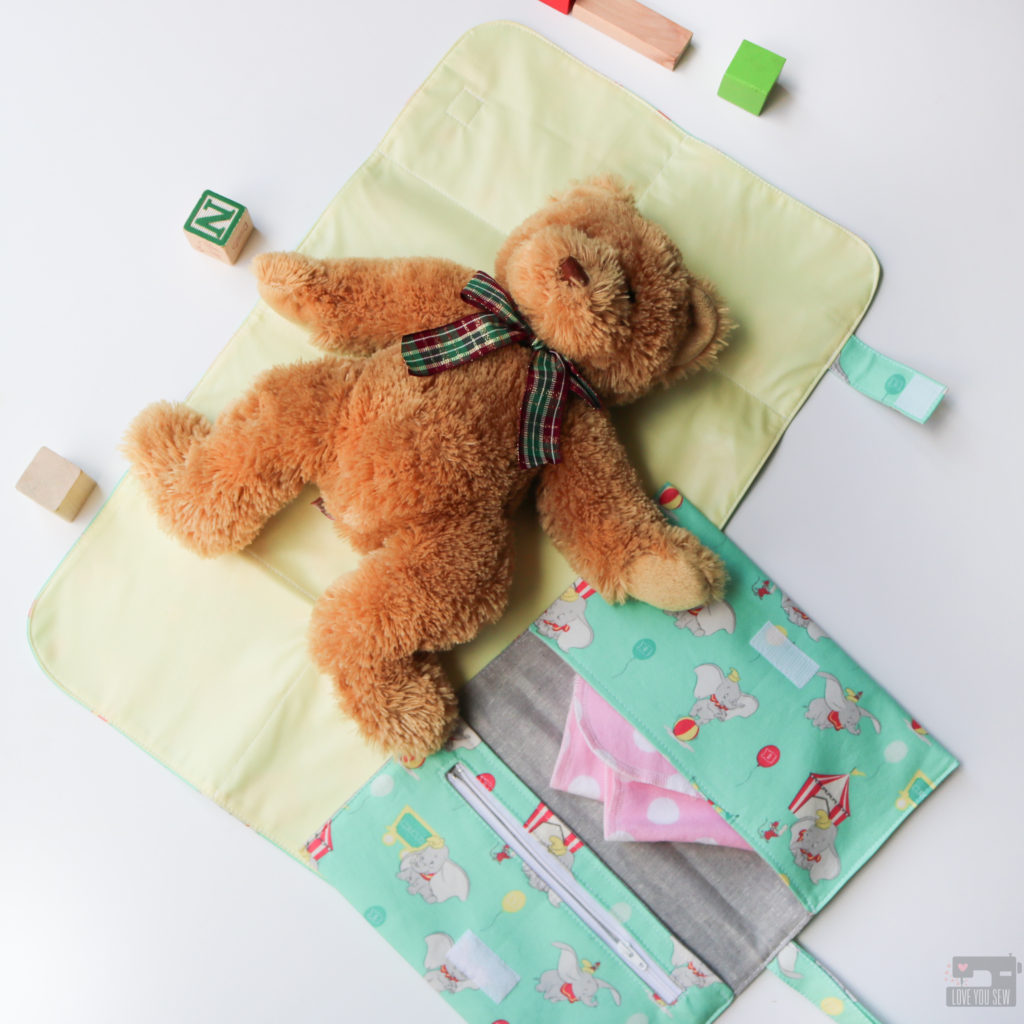
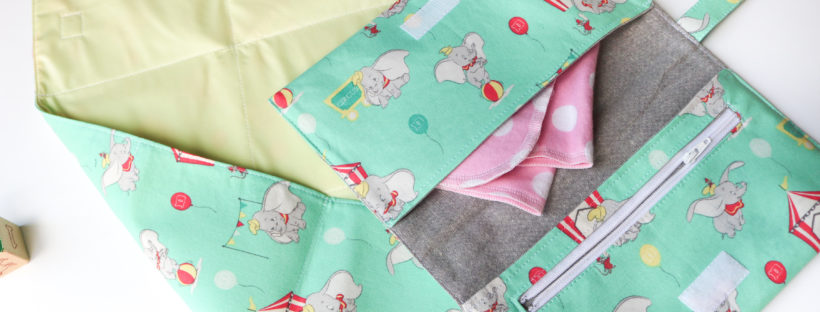
All construction steps remain the same. You will align the closure to the bottom line of the “Tab Placement” and cut your hook and loop fastener to match the Tab width. The finished measurements of the Pad should be approximately 20″ x 12″.
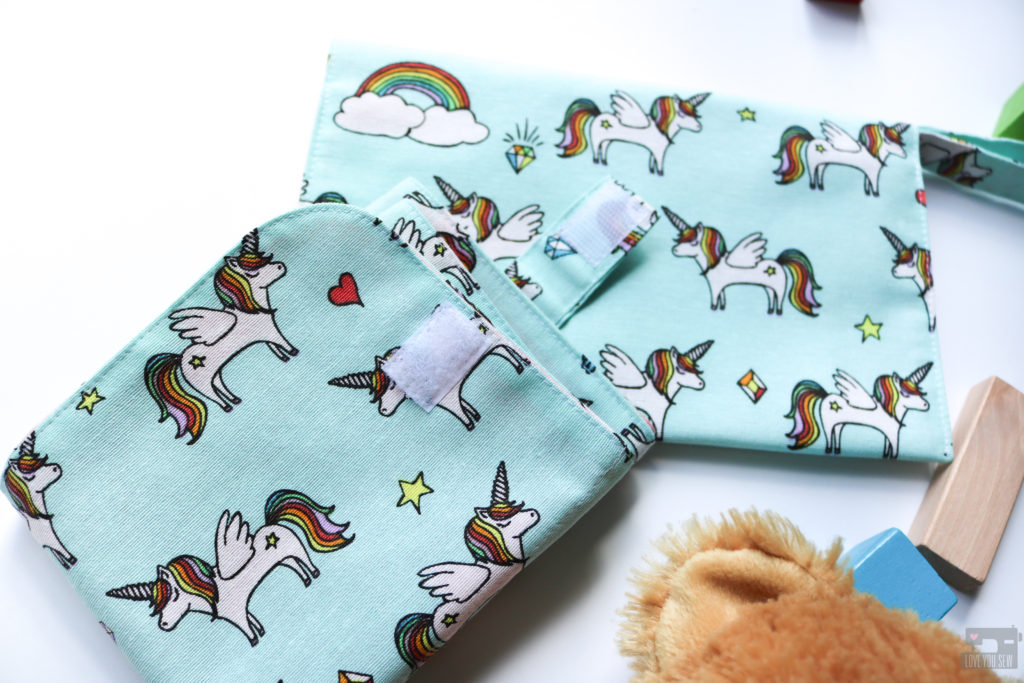
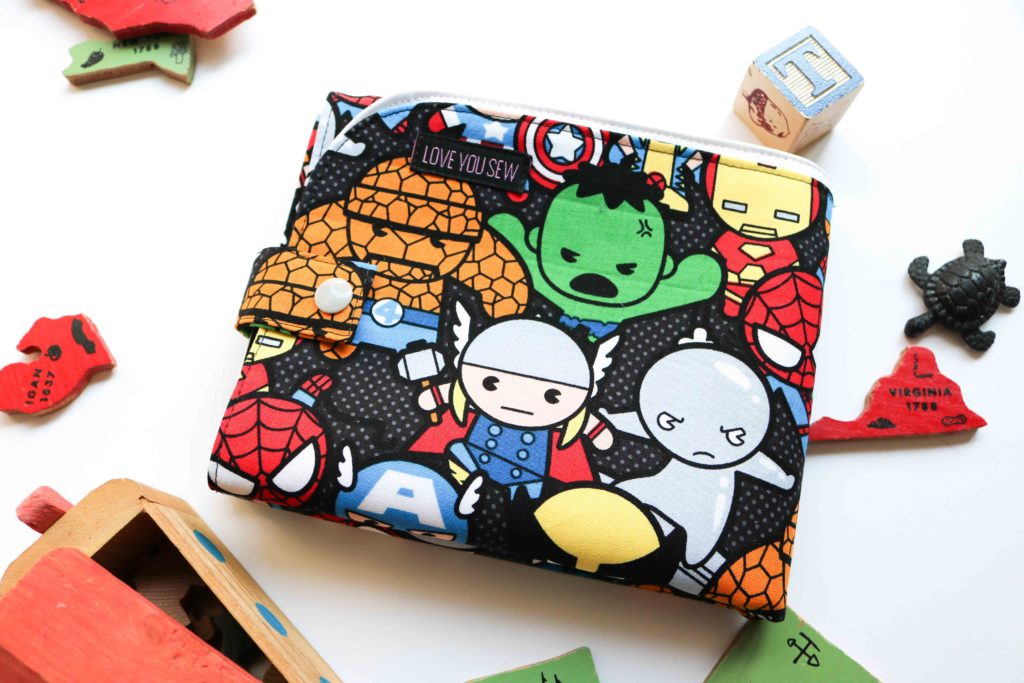
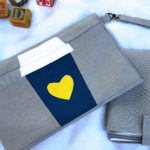
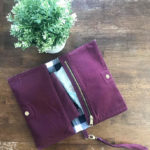
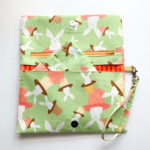
Make the “Play” Diaper Clutch

As with the Changing Pad, you will print out the pattern templates at 85% and cut out all the pieces except for the Strap (you will cut an entirely new piece.)

For Supplies:

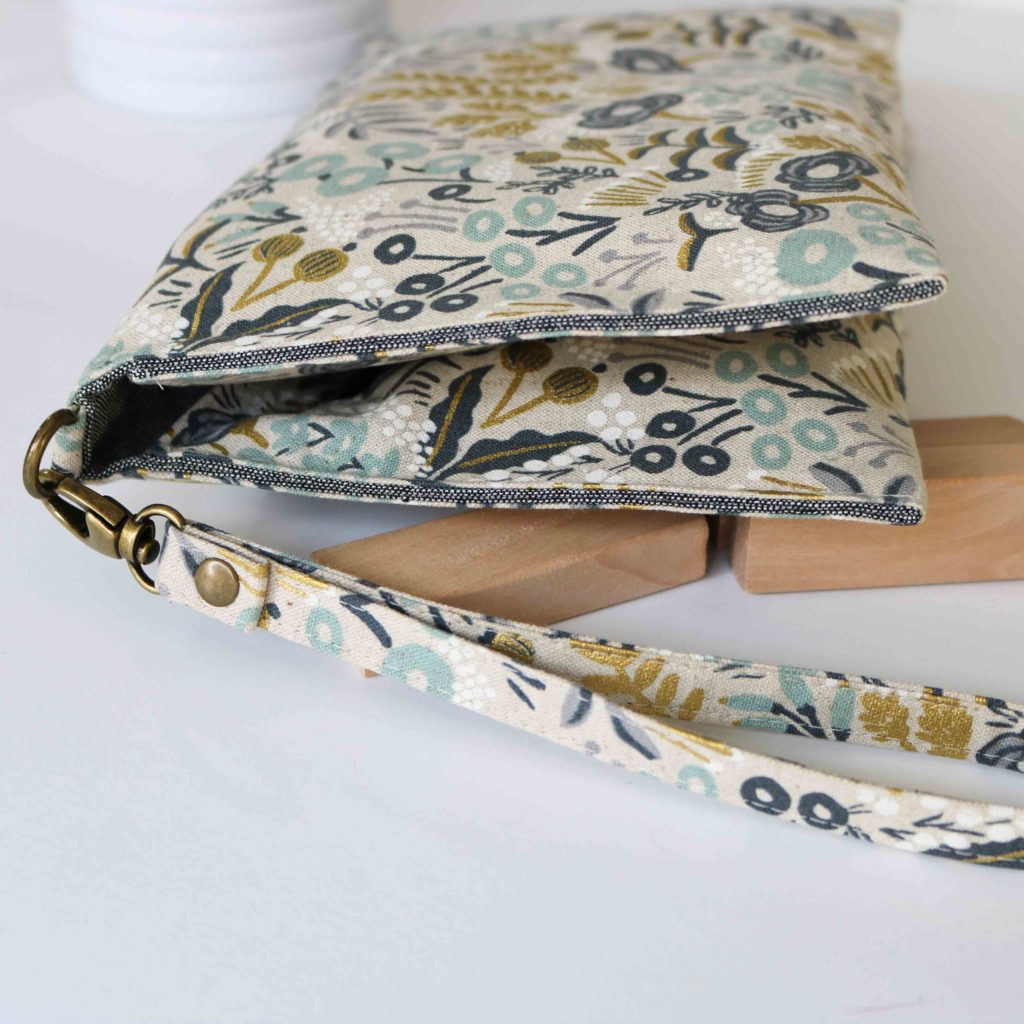
  • Use a 7″ Zipper (at least 8″ overall) and omit the 9″ Zipper
  • Omit the D-Ring, Swivel Clasp, and Magnetic Snap (for a less fussy look, but feel free to add them back in for a fancier set!)
  • Add 2″ piece of hook and loop fastener
  • Cut 13″ x 3″ fabric and interfacing for a sew-in Strap

To make the Strap, follow steps #1-5 to double-fold and top-stitch it. Fold it in half with raw edges aligned. Baste ends together at 1/8″ and set aside.
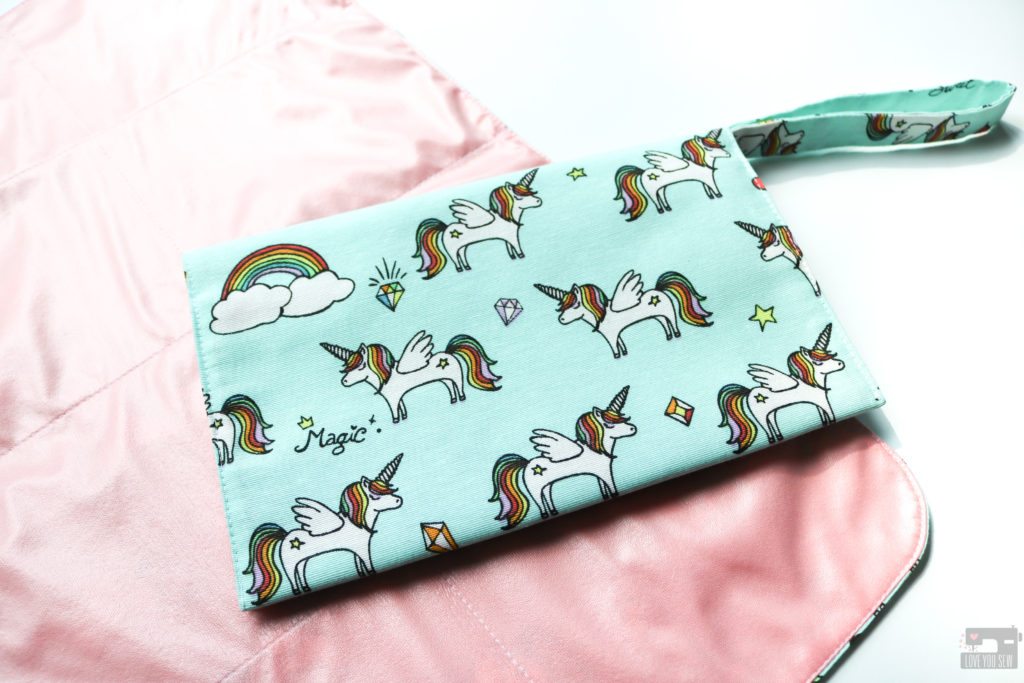
Starting at step #12, make the Welt Pocket as instructed with a 7″ x 1/2″ Zipper opening and use the 7″ Zipper.
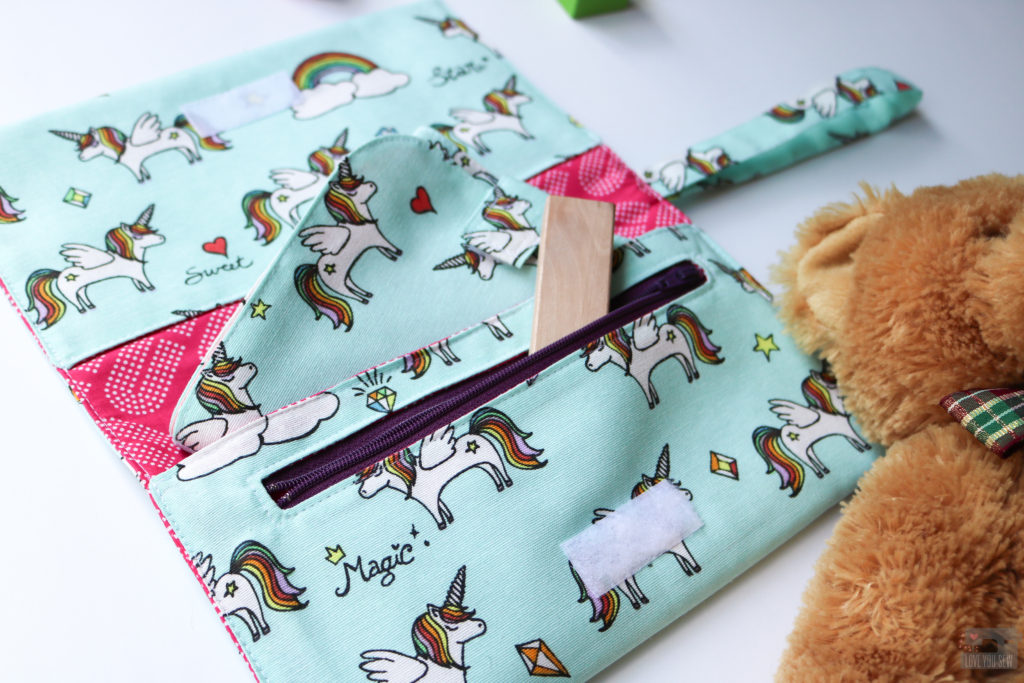
Since the Magnetic Snaps have been omitted, start at step #22 to center the hook and loop fasteners at the snap placement points with the length running parallel to the Zipper. Sew 1/16″ all-around the fasteners.
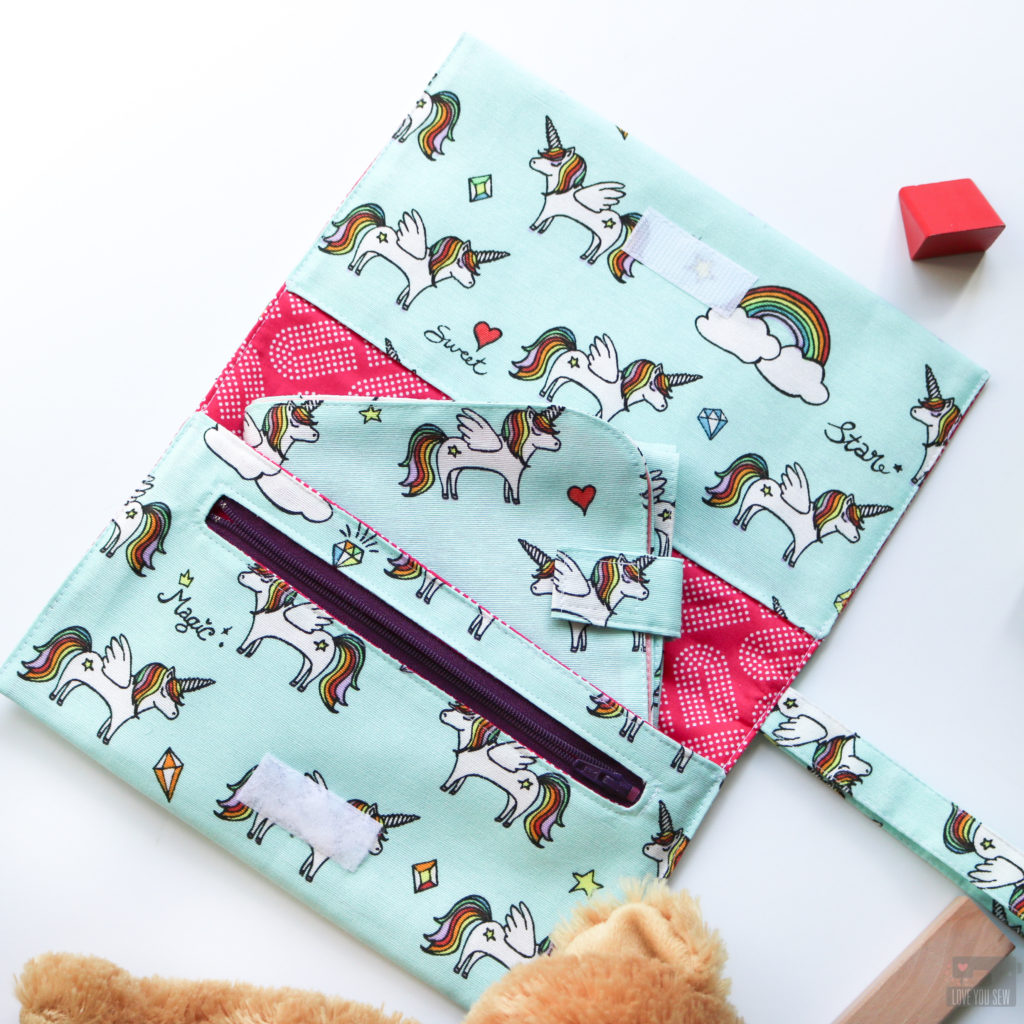
At step #26, replace the Strap with the D-Ring Tab. Keep the raw edges aligned so the Strap will be completely sewn-in later.
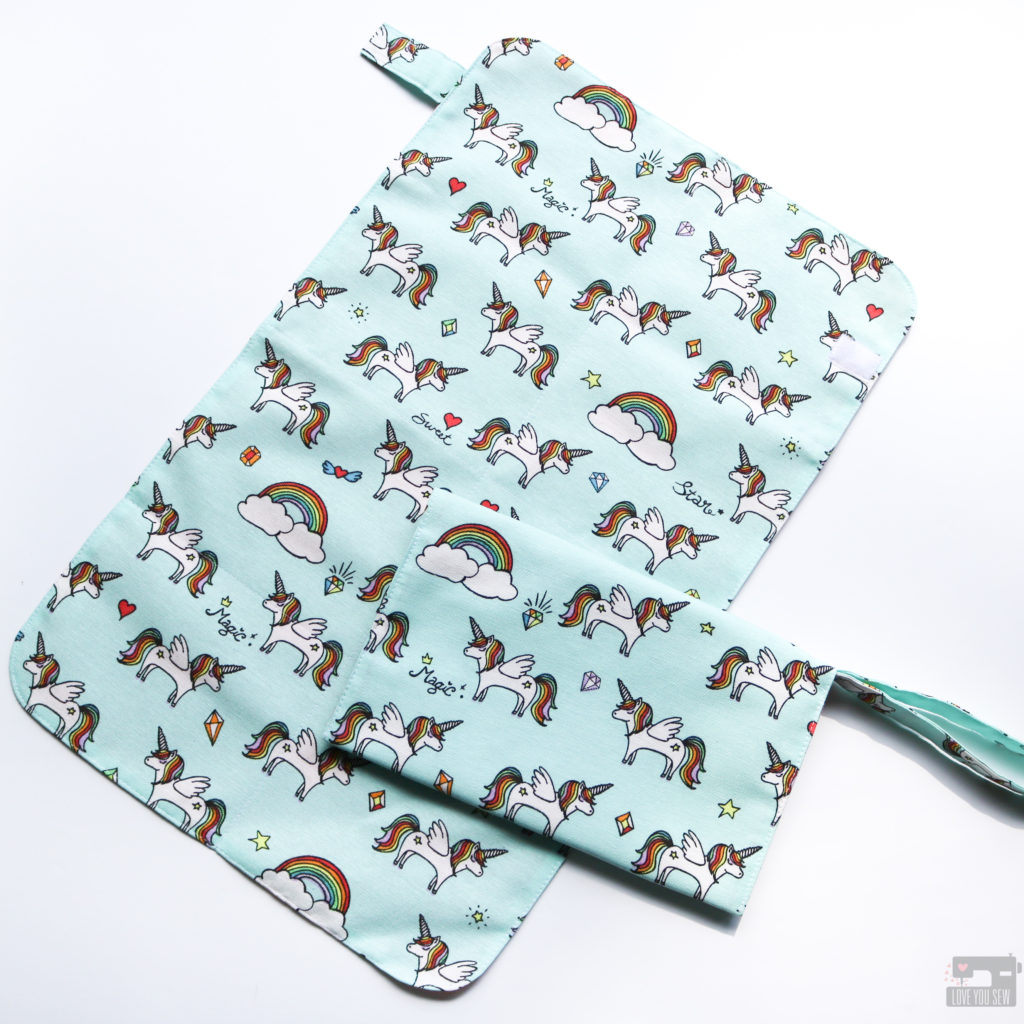
Finish the rest of the clutch by folding up each pocket by 4 1/2″ instead of 5 3/4”. Top-stitch, press and you’re little one is ready to practice parental duties!
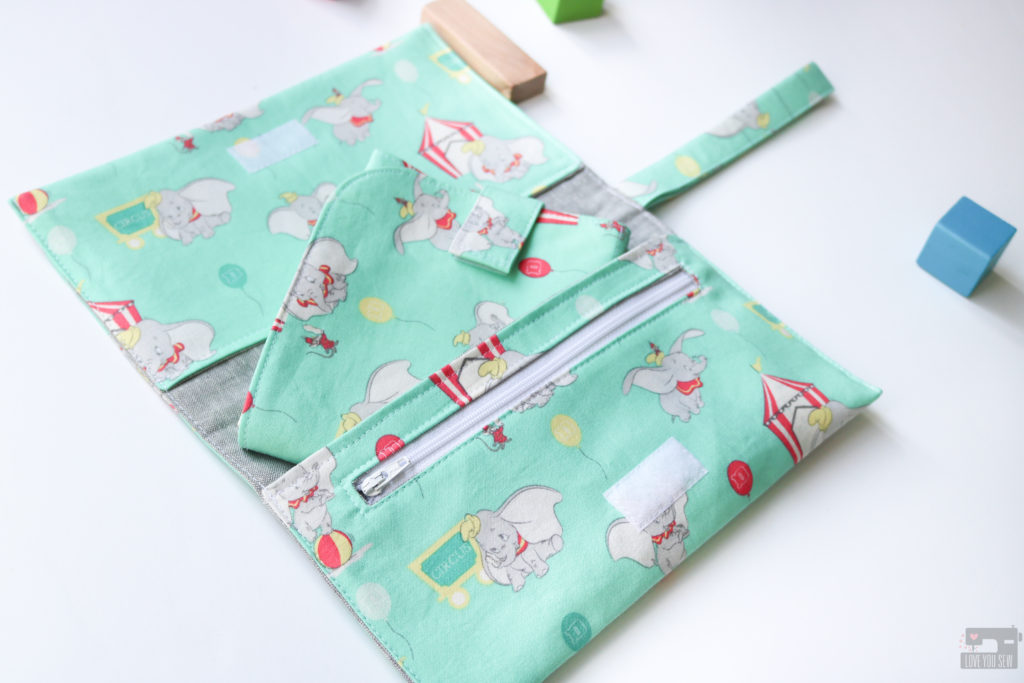
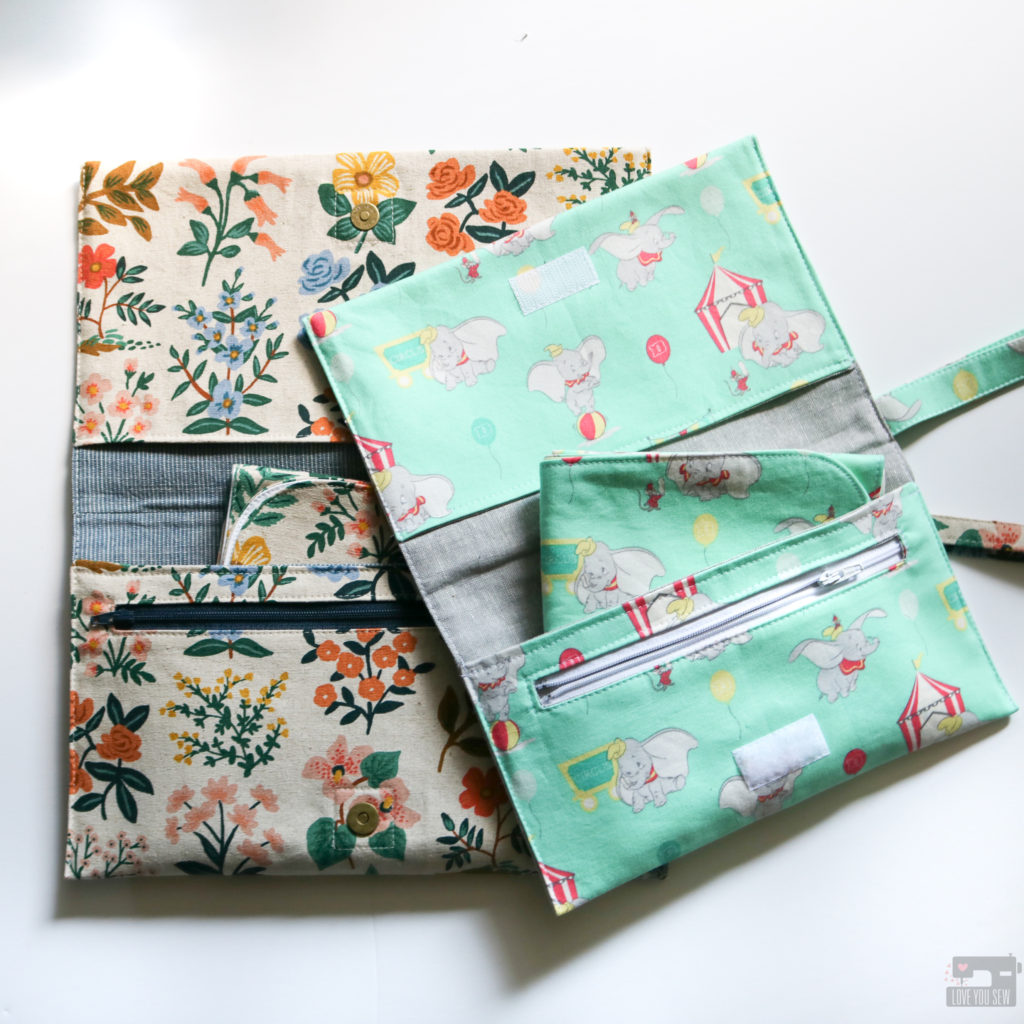
Although my sister didn’t need another Travel Changing Set, I think this would be a great Mommy and Me set for yourself or for a friend who is expecting her 2nd+ child! I hope you enjoy making Maya and Harper Changing sets for all the kids (and parents) in your life!
Hugs and Stitches,

Cristy

Maya and Harper Travel Changing Set DIY Sewing Pattern

Out of all the sewing patterns I’ve written so far, this Maya and Harper Travel Changing Set is definitely the most sentimental for me.  Long before I had this blog, a sewing business, an even an Instagram account, I made these items just for myself and my babies (who are now 8 and 6 years old!)  It’s been a long time coming, but these patterns are now available to purchase in my shop, here!

Background

As a new mom I was packing SO much stuff in my diaper bag for any type of situation and it was bursting at the seams.  I was digging around for changing supplies and knew I needed some kind of organizer.  But of course, there was nothing modern and slim back in-the-day.  All the retailers had the same cutesy animal prints in the same four pastel colors. (Cue eye-roll.)  With my new found sewing skills, I developed these patterns and they both have gone through MANY revisions over the years.

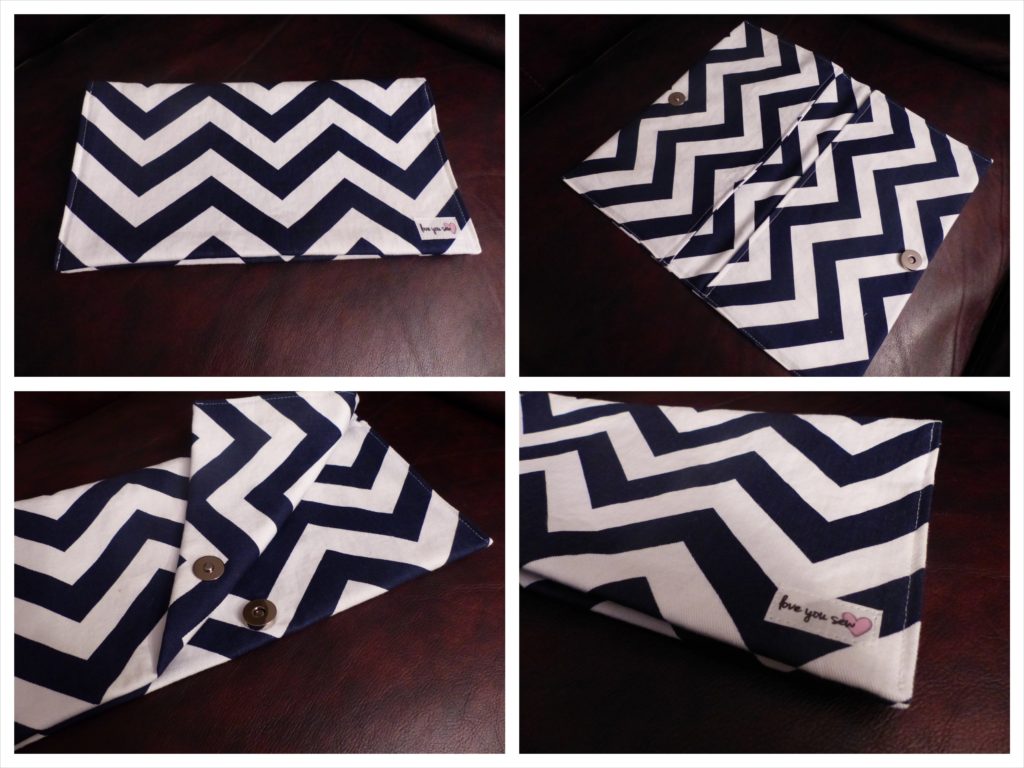
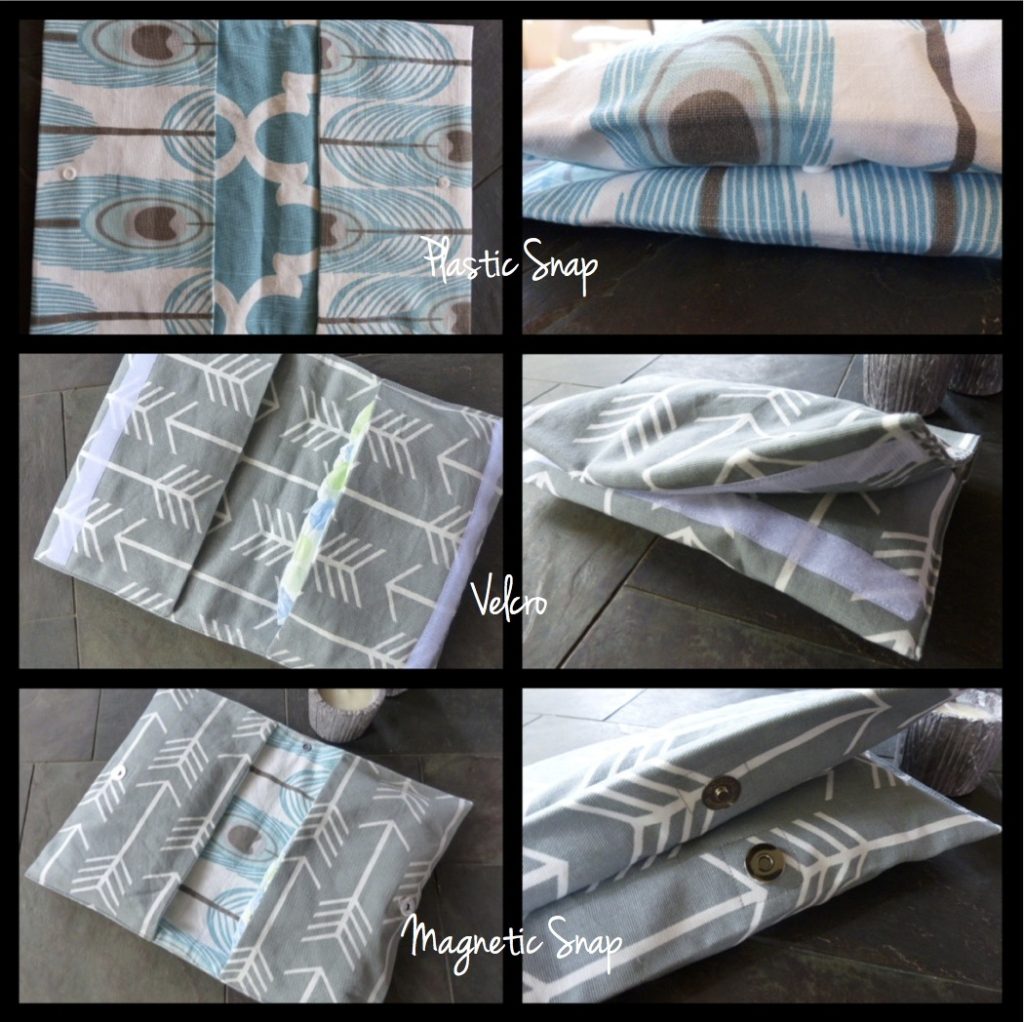
One of my early designs. The one I first carried had a button and elastic loop closure.

After I made the ones for myself, friends started commenting on them which led me to make them as gifts for awhile. Then after a lot of encouragement, I started to make these baby accessories to sell and opened my Etsy shop  in 2013!  With over 1,000 sales in my shop and countless ones vending at indie craft shows, I knew I had some special accessories.  Now that I’ve retired from selling retail product, it was time for me to share these patterns with you!

More early designs with different closure options I offered in my shop

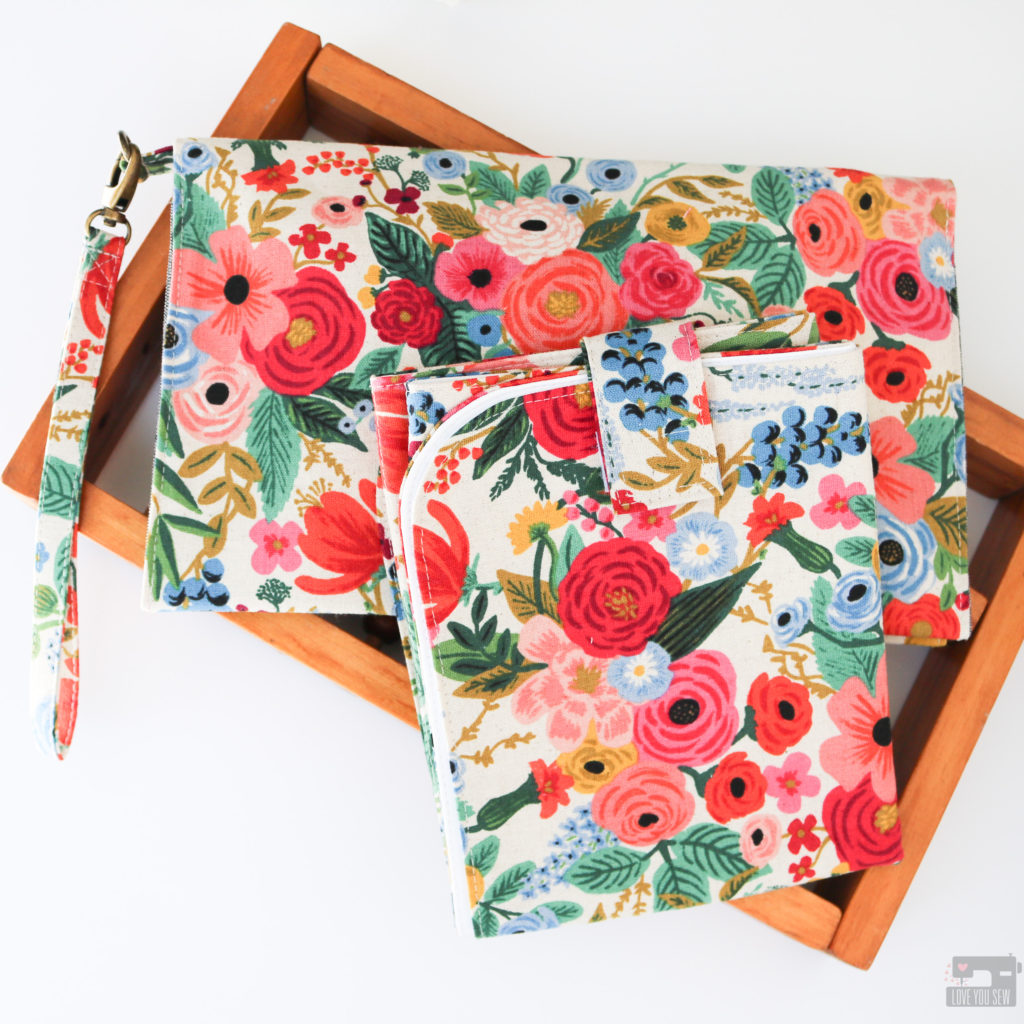
With most of my patterns, I name them after my nieces.  Maya and Harper are my sister’s sweet and ridiculously adorable girls.  Since they are quite the pair and are usually decked out in matching outfits, I knew they had to be the namesake for these patterns.  They are two little people that go together just like how the Travel Changing Pad and Diaper Clutch go together!

Maya Diaper Clutch

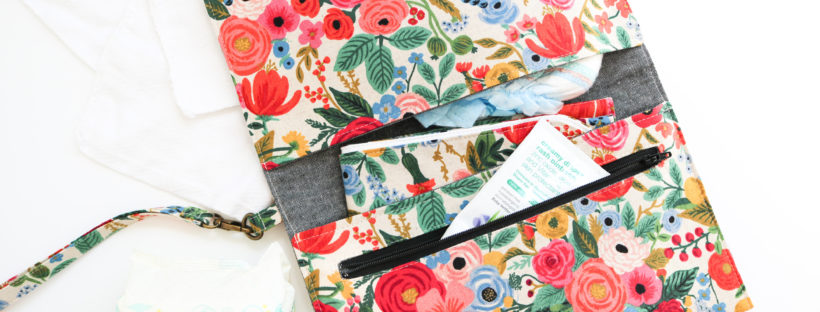
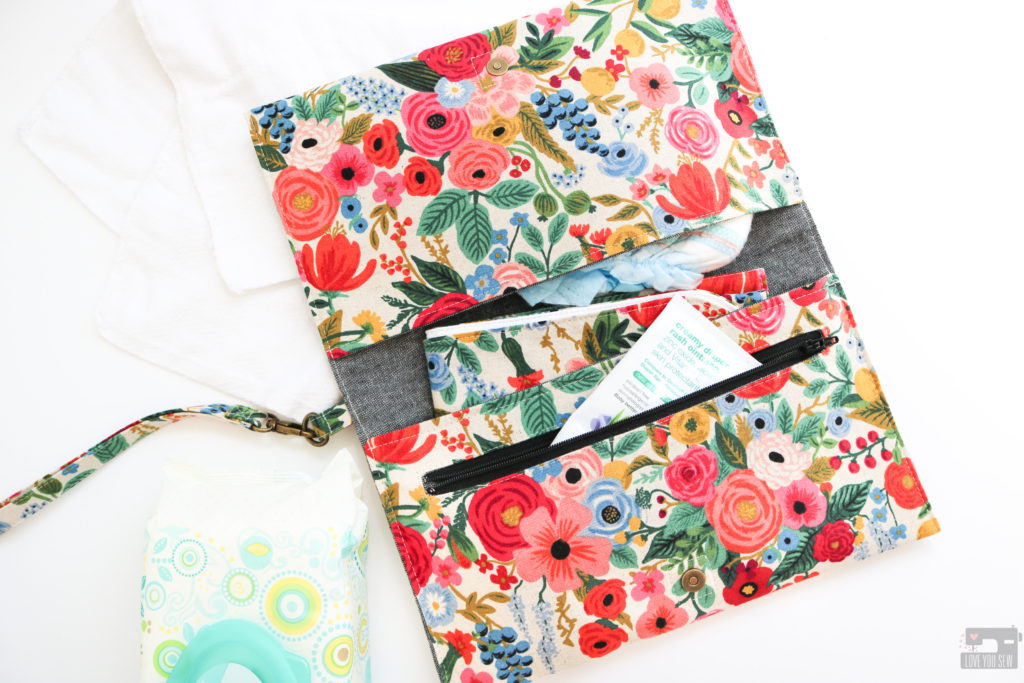
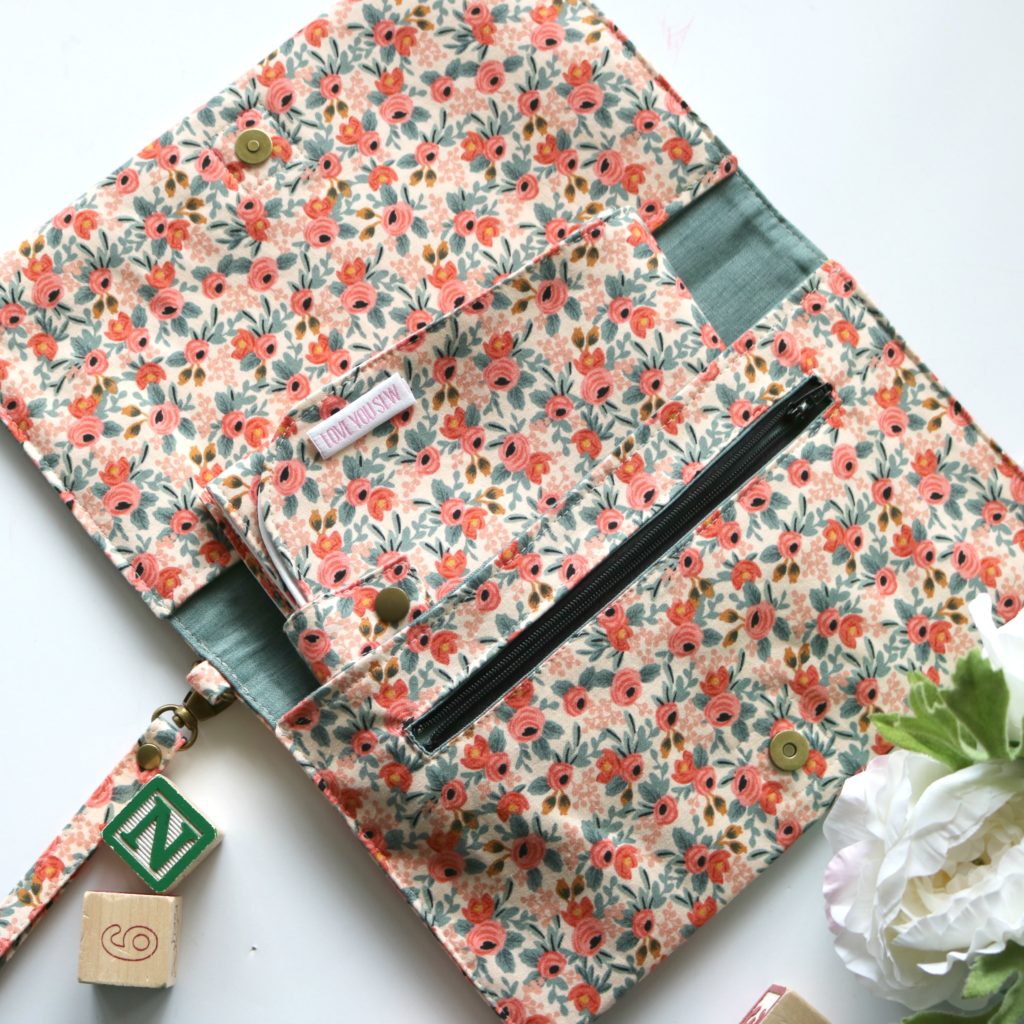
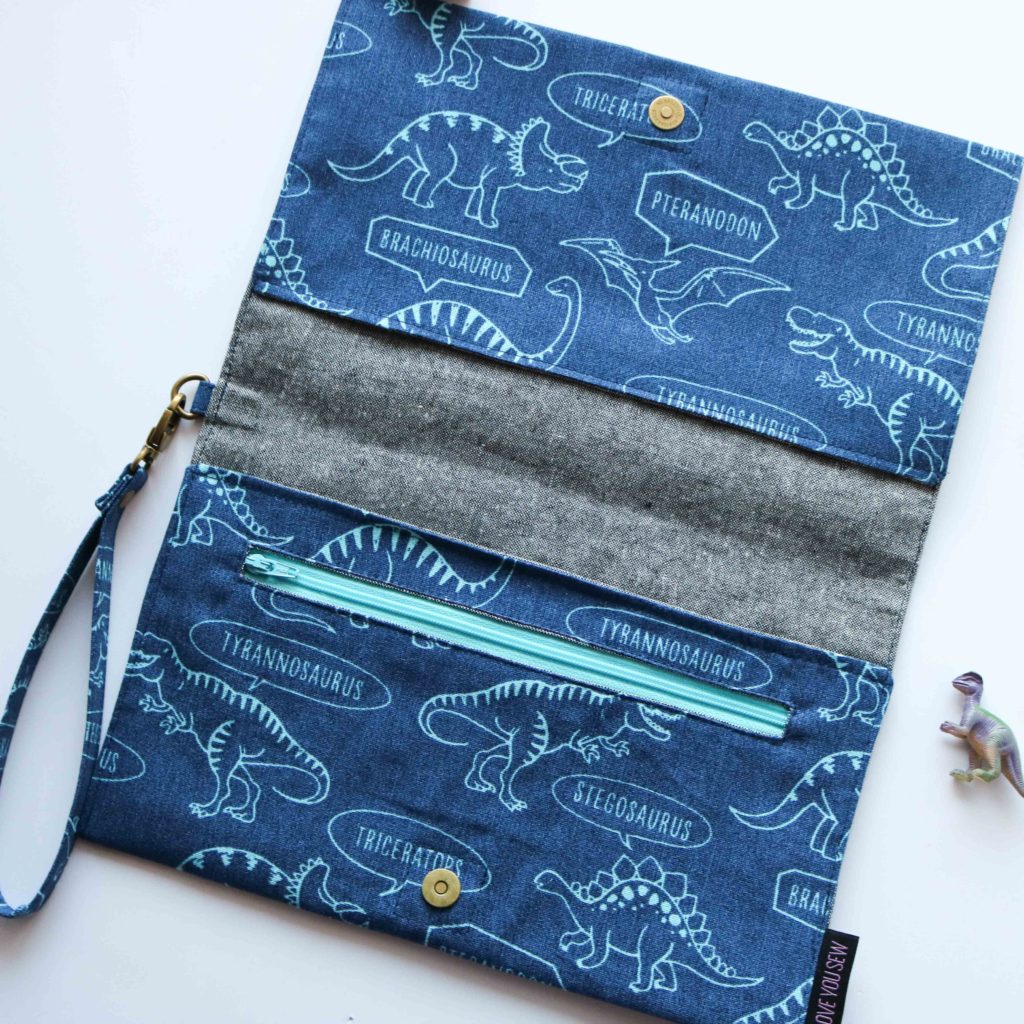
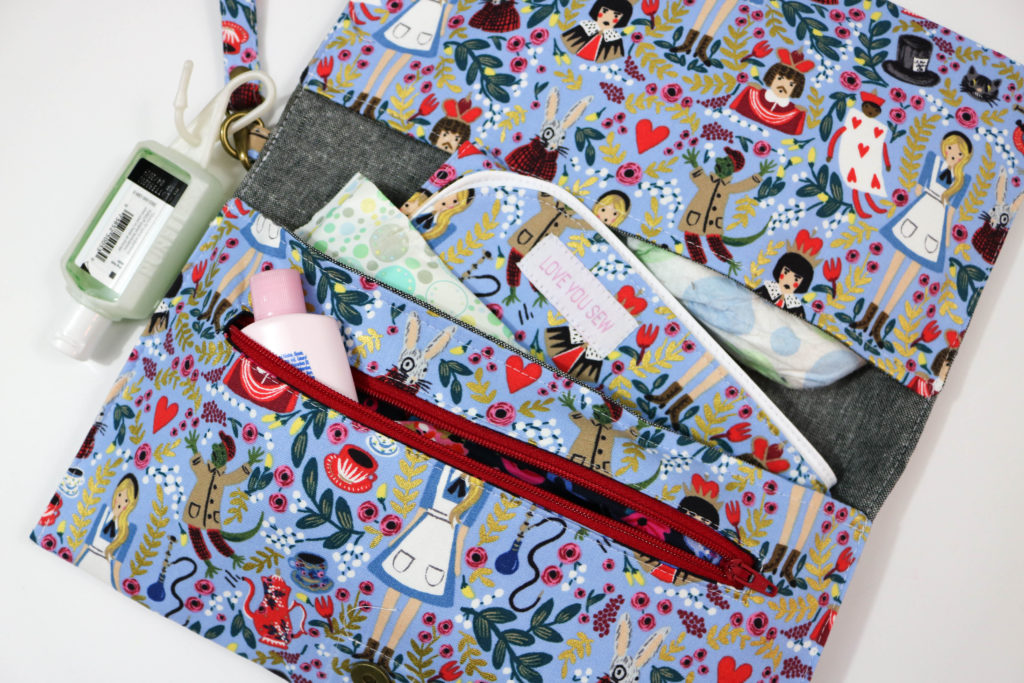
The Diaper Clutch was designed to hold diapers, wipes, bibs and large enough to also hold the Harper Changing Pad.  It has a slim design which will expand with your needs.  It has the following features:

  • Two Large Slip Pockets for diapers, wipes, bibs, etc
  • One Zipper pocket for ointments and creams
  • Detachable Wristlet strap for easy carrying
  • D-Ring which can be hooked onto diaper bags or backpacks
  • Metal Snap for one-handed opening and closing

This is a great project as a beginner sewist. You will learn how to use heavier fabrics, create a welt  zipper pocket and install a magnetic snap.  You also will learn how to make a wristlet strap.  This same technique can be used across other pouches and accessories whenever you want that extra feature!

Harper Travel Diaper Changing Pad

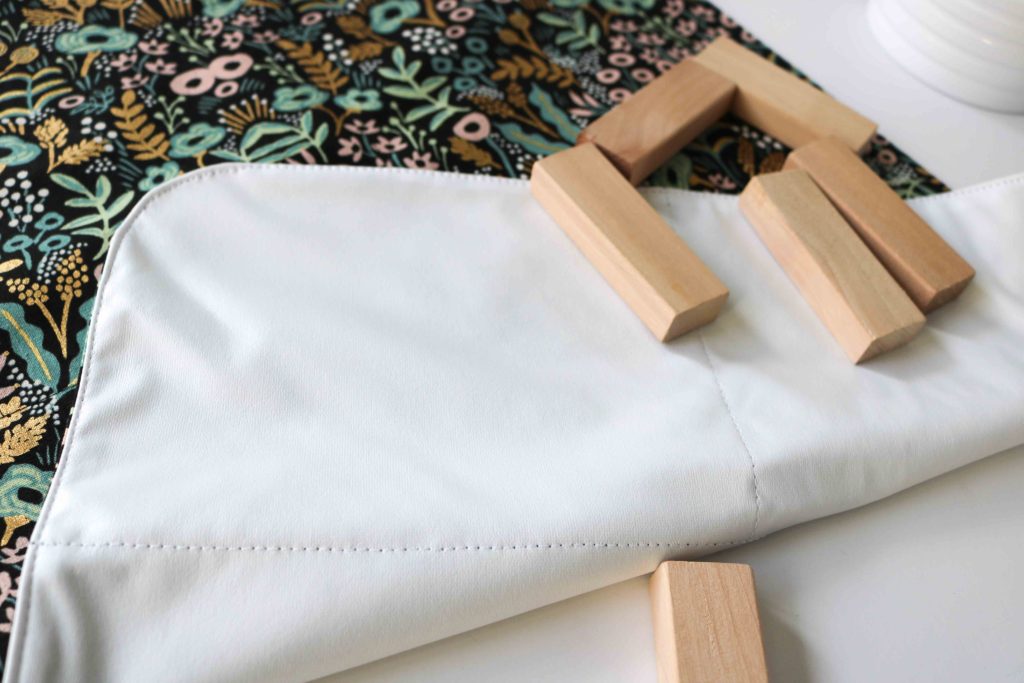
The Changing Pad was designed to have a waterproof surface for changing, while being able to use beautiful fabrics to match your personality.  Let’s face it, changing diapers is not glamorous at all, but you might as well look good doing in!  Making the pad in a pretty fabric helps to lessen the pain…LOL.  The pad features:

  • A Slim profile to help you better utilize that diaper bag real estate.  I was not into the incredibly thick mats that came with many diaper bags…There was no reason to carry around a sleeping mat IMO!
  • Waterproof side for changing
  • Fabric side to show off your favorite fabric
  • Hook and Loop Closure for one-handed accessibility
  • Quilted design to make folding easy

The Harper is another pattern perfect for a beginner sewist.  It is a very quick and satisfying project while you learn how to use laminate and/or other waterproof fabrics.

Material Sourcing

  • D-Ring, Swivel Clasps and Magnetic Snaps – I’m a loyal fan of Emmaline Bags (I carry their products in my other bag kits,) but also love the quality of Ning Bags on Etsy (aff link)
  • Zippers – Like most of you, I grab mine from ZipIt Zippers on Etsy (aff link) or I grab them from Wawak when they’re on sale.
  • CanvasFabric.com (aff link) always has a steady selection of different canvases…from organic to solid, to other great modern prints. It’s a great spot for the most selection, especially when making a gift 😉
  • PUL (Polyurethane Laminate) – You can find a lot of great prints in PUL, but my pattern uses the smooth laminate side as the “right” side.  The designs are usually printed on the soft knit side of the fabric which would be hidden.  So make sure you read the fine print when ordering!  Joann’s carries the Babyville line of PUL which is thicker than other brands.  I like how the white is fully opaque and is available 60″ wide.  Diaper Sewing Supplies is a great spot for Eco-PUL which is more environmentally friendly, but is slightly transparent and thinner.  I like DSS for the solid color selection, but would stay away from the light colors or because you’ll see the seam allowances through the Harper Changing Pad. You can also find great waterproof oxford at DSS which is heavier and you can find fun prints to use.

Project Inspiration

Enjoy all of these incredible versions of the Maya and Harper Travel Changing Set by my tester group.  Click through each image to the maker’s IG feed if you would like to follow them on their sewing journey!

Please note, the position of the magnetic snaps were adjusted after testing on the final pattern templates.


I hope you enjoy making sewing baby gifts as much as me!  Please don’t forget to tag your projects with #MayaAndHarperTravelChangingSet and #LoveYouSewPatterns so I can see your fantastic makes on social media!


Hugs and Stitches!

Cristy


There are affiliate links in this post and you can read up about my disclosures here.