Introducing the Audrey Envelope Wallet

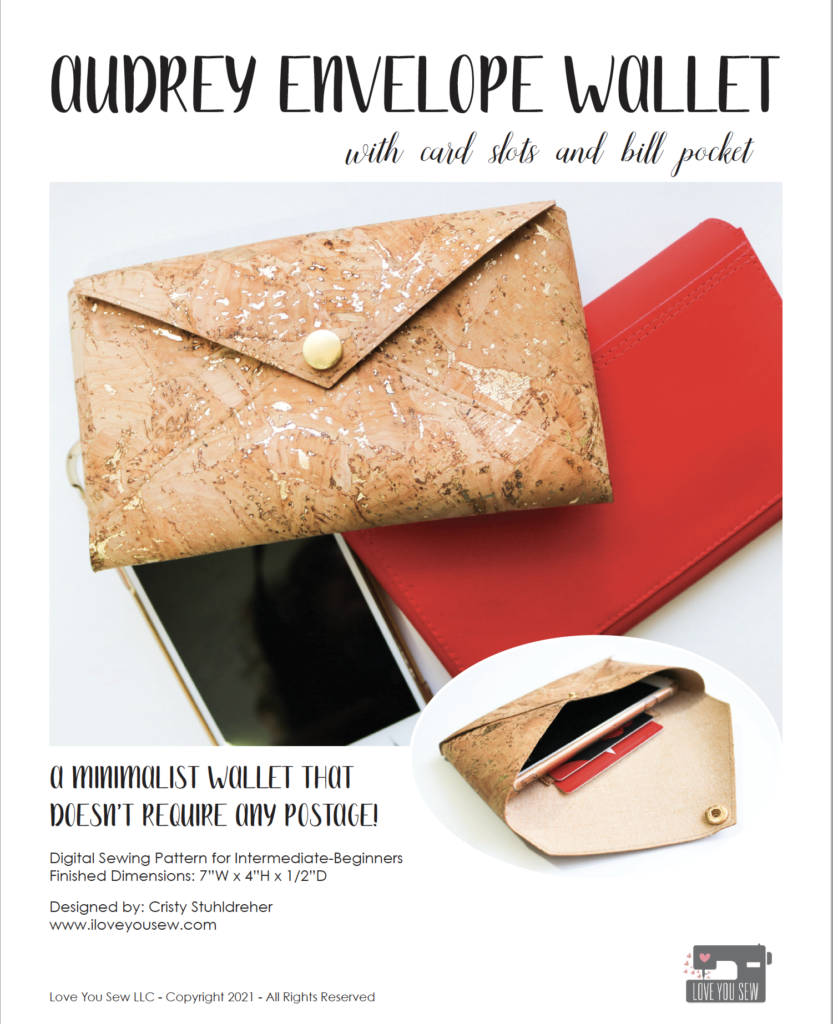
The Audrey Envelope Wallet is a quick and easy project with minimal sewing and tons of style! It has the your classic envelope shape, but also features three card slots and a large slip pocket for bills (which also doubles to hide your stitching.) 
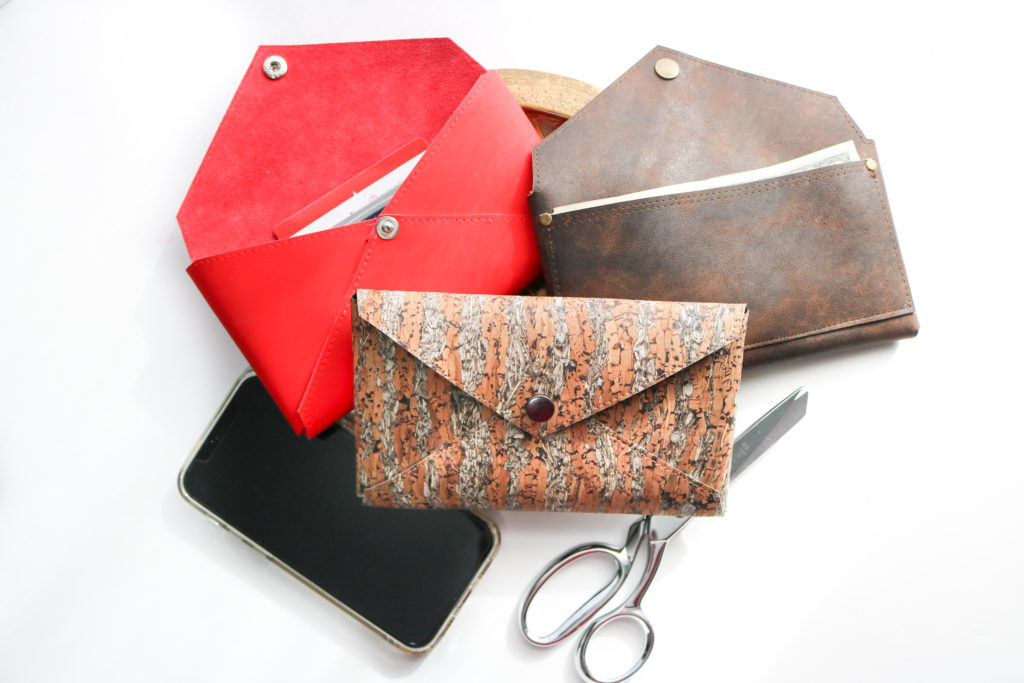
After designing the Christine Sling, I found myself using that bag almost all the time (which also happens after every bag launch…I can’t help it!)  While my “regular” full wallet could fit, it didn’t leave much room for anything else.  I was able to get away with the Shuffle Cardholder for a long time.  But in some recent situations at sporting events, I felt like I could lose the small cardholder since I was constantly in and out of the bag.  So I needed something in between.
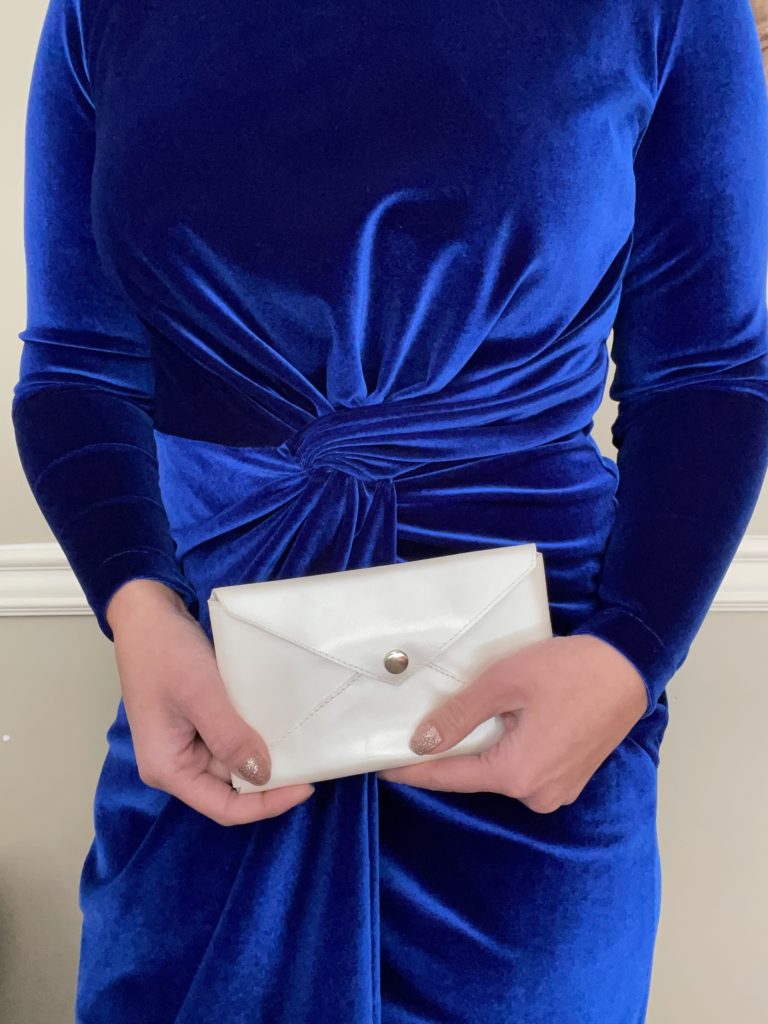
Inspiration

I taught a leather stamping class years ago at a local art studio as a social night out…but with hammers!  I used a smaller envelope design and had the students stamp words onto the wallet and onto the wristlet strap we created together.  The wristlet was pretty cute, but too small for my needs.  I knew back then, the envelope design needed to be bigger for more functionality and adding basic wallet card slots and a pocket for bank notes was needed.

As you know, I really like clean lines and classic styling to most of my bags.  I was really drawn into the simplicity of the envelope shape and how something so functional could be made with limited materials — HELLO stash buster!  With the holidays approaching, I love having a gift that can have an impact (especially in some gorgeous leather) but not take a whole week to make.  Time is precious right now!

It only seems proper that this chic compact wallet be named after my niece, Audrey.  She is a vibrant young woman is likes to be out on the town and is definitely game to join any adventure.  Audrey is lots of fun to be with and to always have around.  She lives all the way out on the west coast, so I definitely miss her a lot!  She also happens to be engaged with a wedding planned for next summer.  I already know I will HAVE to make a clutch with this design just for the occasion!.

Fabric
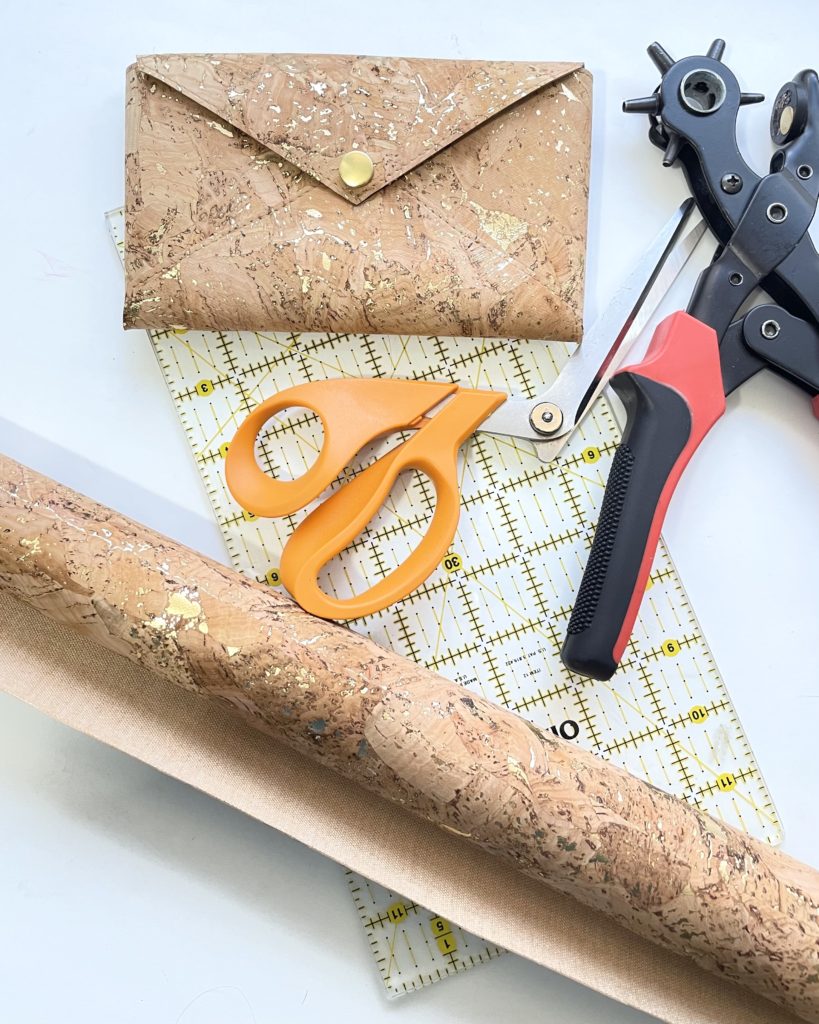
This pattern is written for fabrics which can be left with a raw edge without any additional finishing required. This includes leather, vinyl and cork.  While these substrates can be on the pricey side, the Audrey Envelope Wallet requires very little in material.  If there is no direction to your print or grain, you just need over 1 sq ft of fabric.  This makes it SO great for using up old scraps or upcycling from an old jacket.
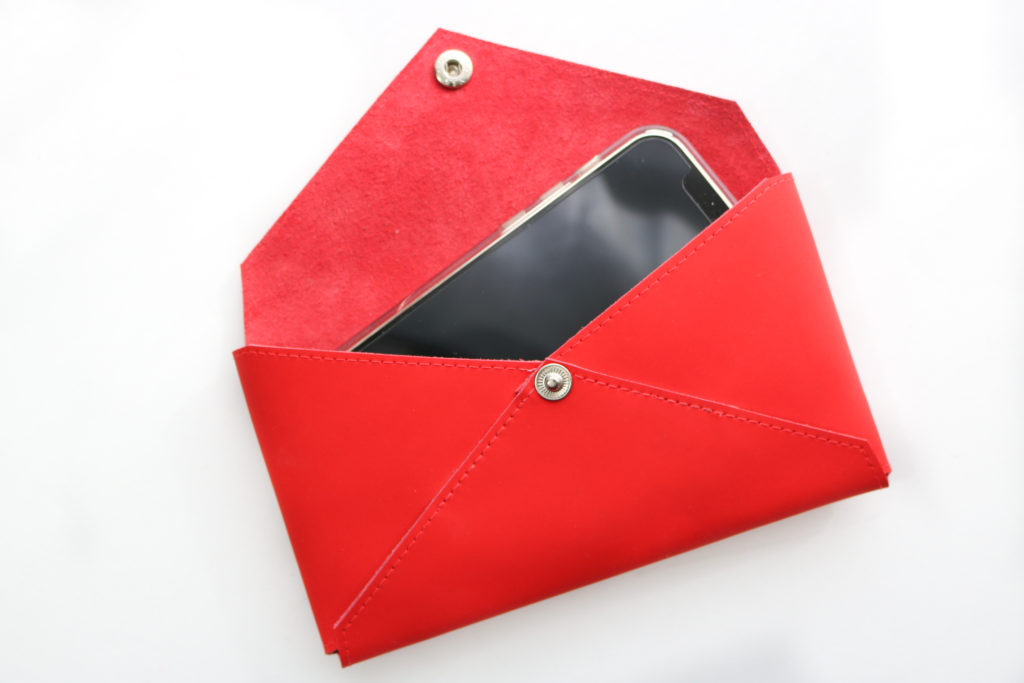
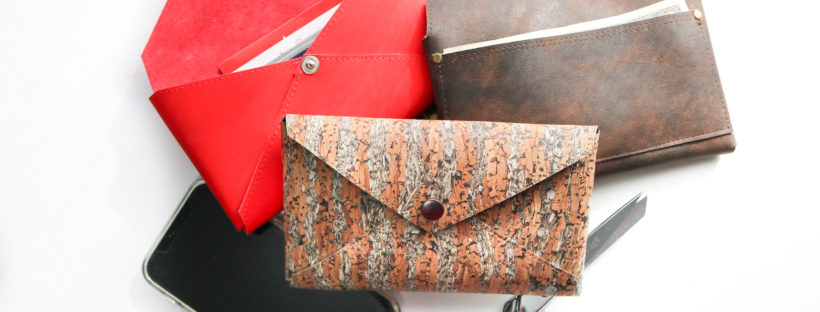
On the cover page, I used a fun Gold-Fleck Cork from Cork and Cloth.  It’s a great high-quality Portuguese cork…I would recommend staying away from any of the cheaper imitations you find at the big box stores.  They tend to flake more than the ones from Portugal.  The other wallet on the cover page (and the one featured in the instructional video) features a Red Matte Firm Temper Leather from Measure Fabrics.  As of the publication of this post, the red version is sold out, but there is a gorgeous cobalt blue hide that’s ready for a maker.  I really loved working with this leather given it’s super smooth finish and firm hand.  It gives the wallet such a nice shape, even when completely empty!

HARDWARE
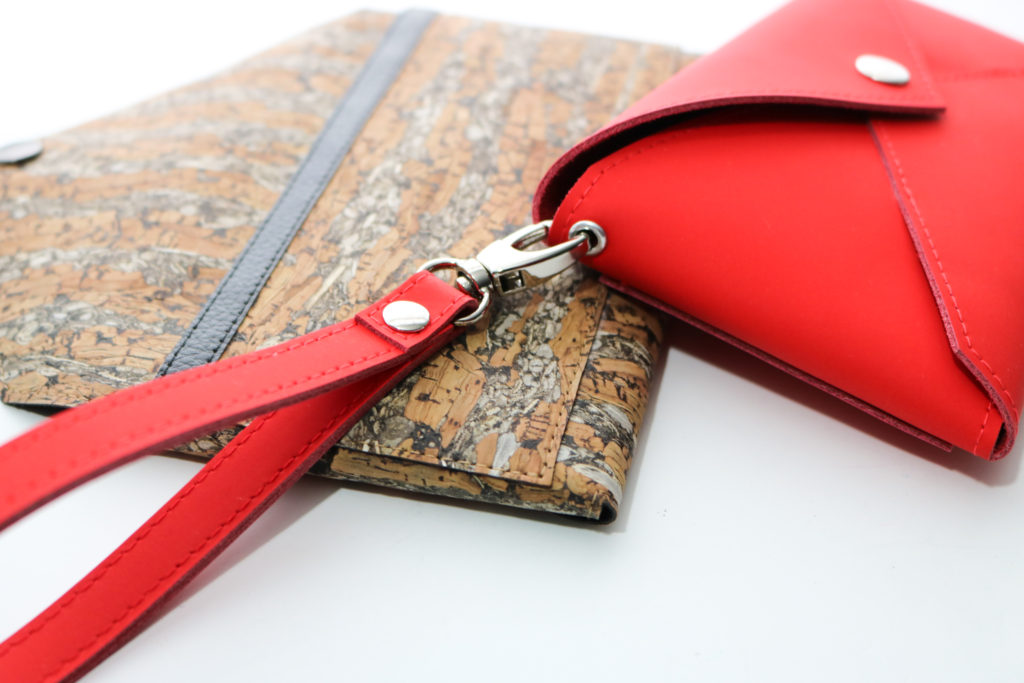
Hacking Ideas: Add a wristlet strap or a contrasting strip to the back pocket

Besides using little material, you only need one fastener for the whole wallet.  In the video and the pattern instructions, I used a set of snaps, but you can easily substitute them for something you have on-hand.  A small turn lock or even button studs would look great with this bag.

As I was playing with the wallet, you can also add an eyelet for a wristlet strap as well.  These are not part of the pattern, but can be easily added for more versatility as a wristlet.  You can even change the card slots with a contrasting fabric or add rivets to help secure the pockets.  There are so many ways hardware can change up the look of Audrey.

Supplemental Video

Since this is a pretty simple pattern of just 6 pages, I already filmed a video to help with construction.  Since the video is for public viewing, you will still need the pattern template for cutting and the instructions for specific measurements.  I hope you enjoy the extra resource to help you through sewing!


I hope all of you enjoy this quick and easy pattern as much I had in developing it!  Who would you gift an Audrey Envelope Wallet to this holiday season?


Happy Sewing!

Cristy


This post may contain affiliate links.  You can read my disclosure here.
Christine Sling Tester Inspiration

The Christine Sling pattern pulls together a classic camera bag silhouette with a modern wide statement strap. The possibilities of fabric combinations are truly endless.  For a full rundown of pattern specifics, including features and where to source materials, check out the Christine Sling Intro here.

TESTER BAGS

As I develop a pattern, there are so many considerations that have to take place.  My first priority is to always make a bag approachable for beginning sewists who have basic domestic machines.  That’s why I like to always like to have full fabric versions of a pattern, but I also like to show more complex versions with other substrates for more advanced bag-makers.  My testing group runs the gambit of experience and I am so appreciative of their knowledge and different skillsets.

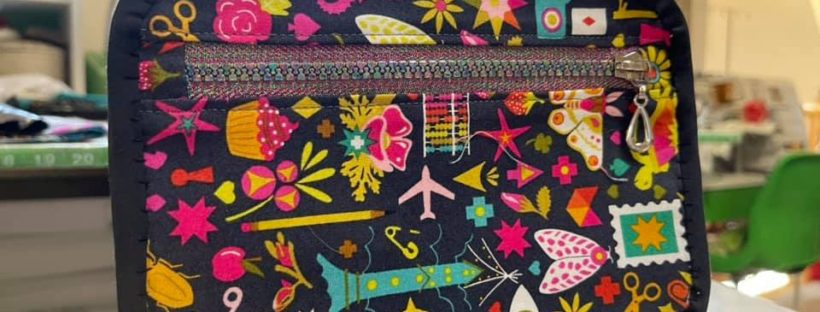
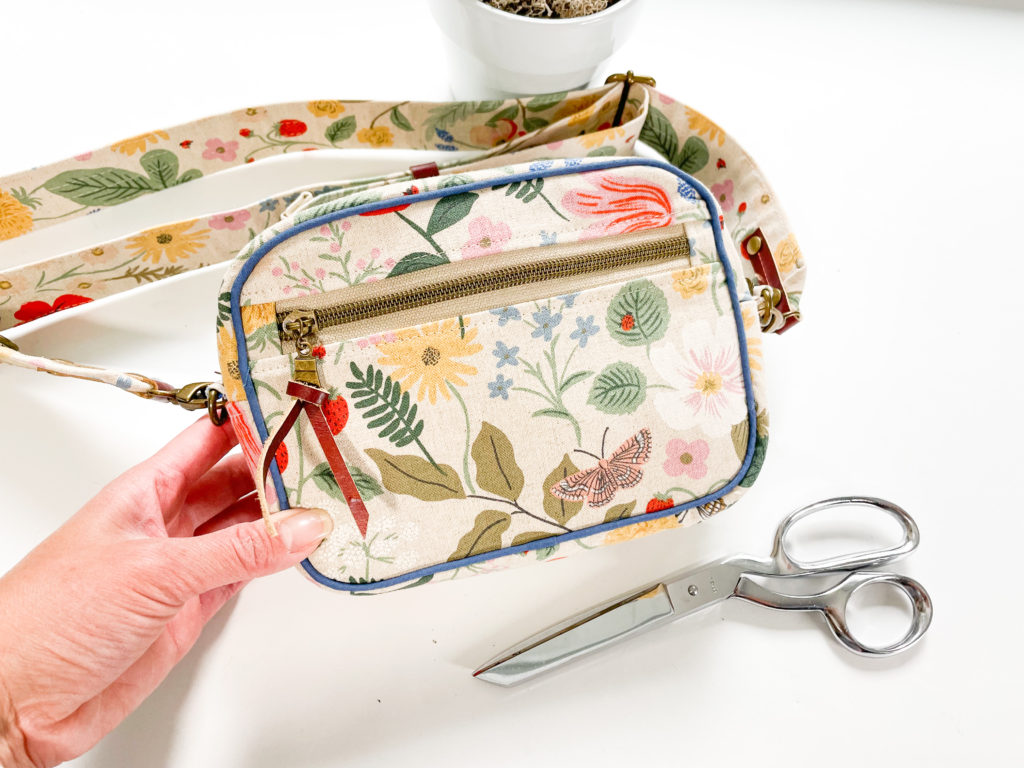
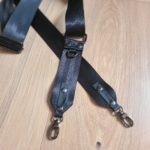
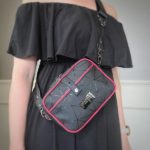
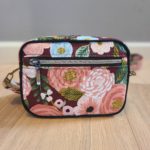
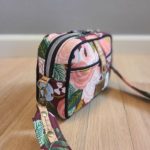
Carrie (@carriedwithyou) made not one, but TWO tester versions of the Christine Sling.  Her first make was this sweet floral version with natural cork accents and metal-look nylon zippers.  Then…Carrie went to the other side of the spectrum for a dark and sleek version of the bag using some webbed matte vinyl and incredible red accents. She used seatbelt webbing for the strap giving the whole look some chic vibes!  You can find out her patterns and finished bags for sale at www.carriedwithyou.com.

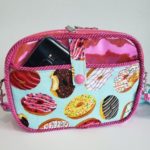
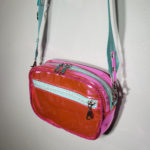
Maggie (@ms.maggiemakes) is an incredible bag-maker and I love her use of different fabric patterns and color.  Her version of the Christine Sling did not disappoint my expectations at all!  She used this great pink mirror-effect vinyl along with a mix of donut quilt cotton for her bag.  I love the way she using upholstery trim for the piping instead of the “plain” stuff I used.  It makes her bag SO much fun!  Follow her instagram to see her makes…many are for sale too 😉

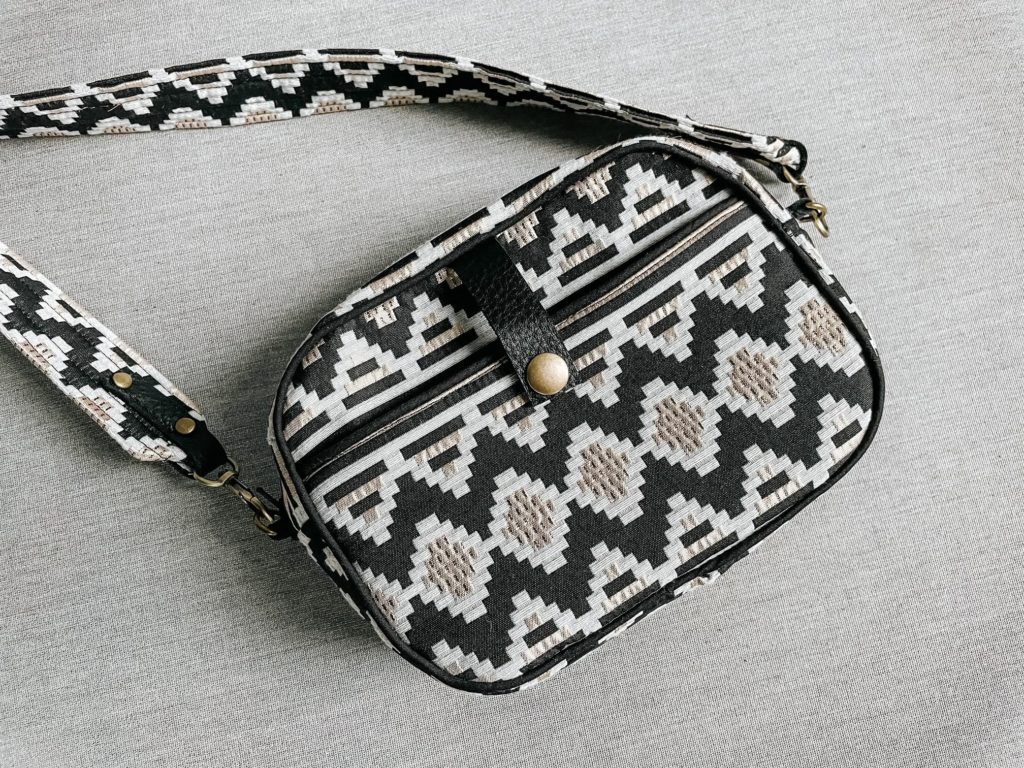
Mallory (@malloryhillmakes) is a local friend and also my copy-editor.  She makes incredible bags and clothes, which makes her invaluable with technical knowledge.  Her boho version of the Christine is just perfect for everyday!  The leather accents and piping, help to give more depth and framing to the bag.  It will make a statement with any outfit!  You can follow her blog at www.malloryhill.com.

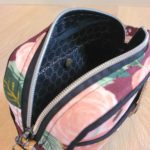
Robbin (@sewfarmquilter) is the newest team member of the testing group.  I have been following her since my quilting days and was so happy to know she wanted to test the Christine! Her version of the bag is very classy and demure on the outside, but pure party on the inside.  I’m a sucker for a wild bag lining (since RTW ones are always boring!) and this one is perfect.  If you can see, Robbin scalloped the edges of her leather accents to add more texture and appeal.  It is such a great look!  Check out all of Robbin’s makes on her instagram.


I’ve said it before and I’ll say it again, but NOTHING is more heart-warming than it is to see my patterns sewn up by all of YOU!  For a full-range of different takes on the Christine Sling, check out the hashtag, #christinesling, on Instagram.  You know I follow it 😉 and LOVE being tagged in all of your makes.

These pictures are so inspirational and I hope you are able to get some ideas when you make your Christine Sling.  Pattern available here.
 

Happy Sewing,

Cristy

Tutorial: Seal Edges of Cork, Leather or Vinyl

If you are looking for a simple way to finish the edges of your non-fraying substrates, this is it!  The following tutorial will help you seal the edges of cork, leather, suede and vinyl.  Many of the man-made substrates have a fabric backing which can still fray over time.  Sealing the edges with  paint ensures that you have a clean finish and won’t see any of that fraying.  This tutorial is great for:

TUTORIAL

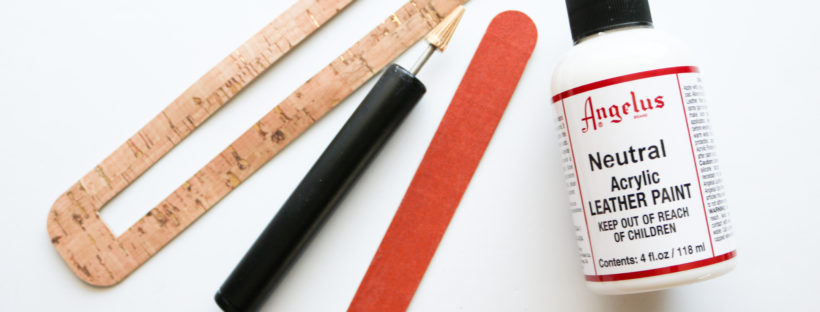
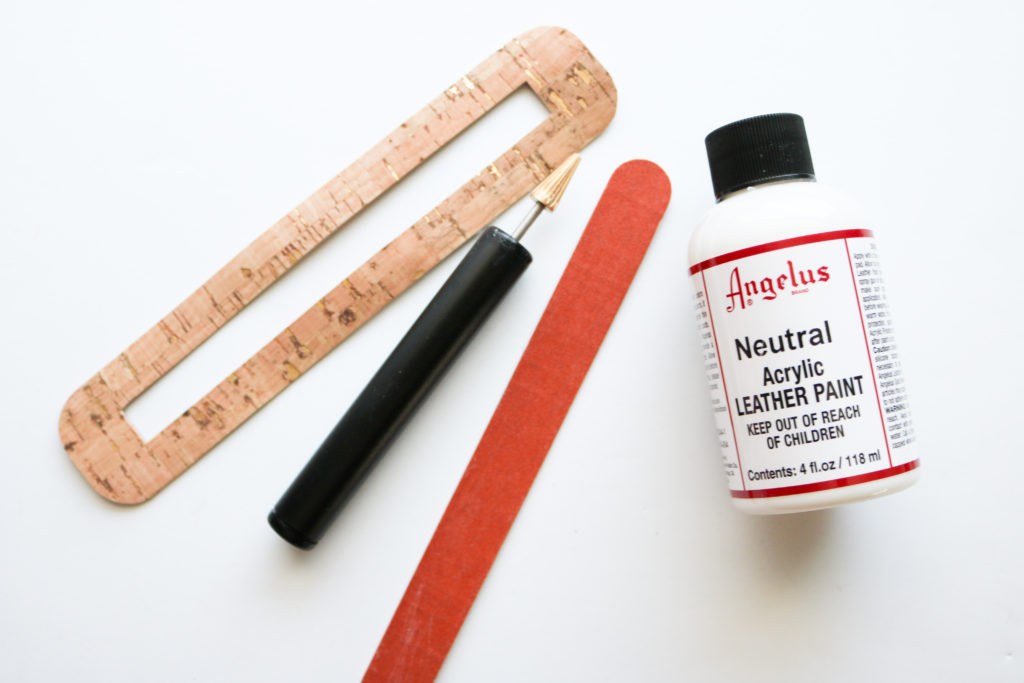
To get started, these are the Materials Needed (with affiliate links):

  • Project – cork, leather, suede or vinyl
  • Leather Paint- I used “Neutral” as an all-purpose clearcoat
  • Paint Applicator – There are many out in the market and this works well for my needs as long as the post is clean and oiled well
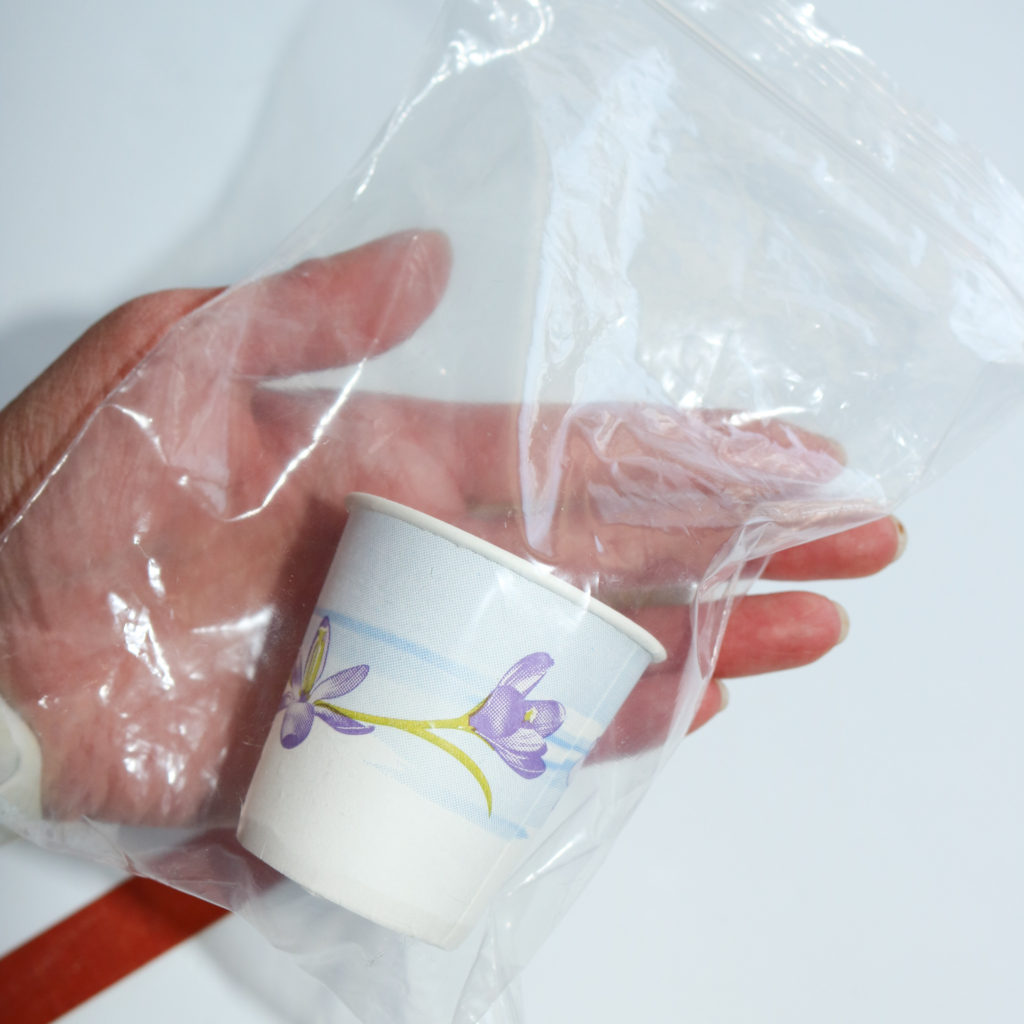
  • Cup/Dish – I use a simple bathroom cup which I can throw away later
  • Emery board or Fine grit sandpaper


Click into the video ABOVE to view the full process.

TIP:  In-between coats drying, I like to seal up the extra paint in a bag so that it doesn’t dry out.  This allows me to maximize the paint and the paint has stayed wet for over a day for me.

I hope you enjoy this tutorial to make your projects look even MORE professional!


Happy Sewing,

Cristy


This post may contain affiliate links.  Please read my Disclosures, here.
Introducing the Erin Backpack Sewing Pattern

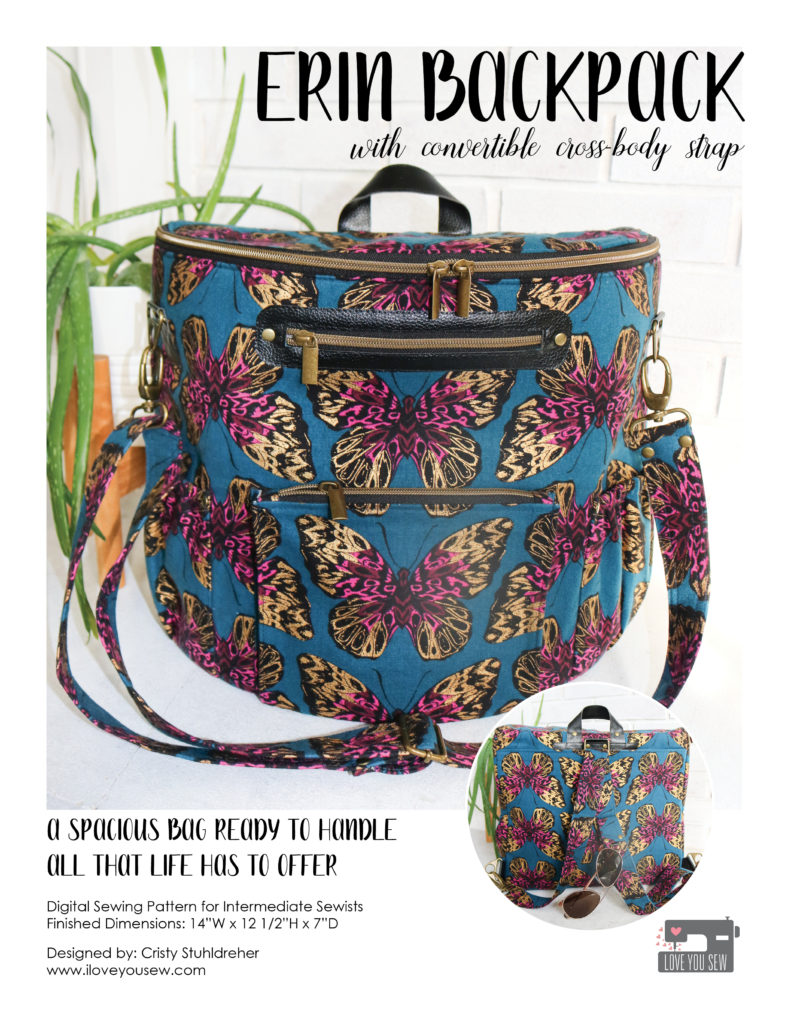
The Erin Backpack sewing pattern is here!!!  This new  S P A C I O U S  bag is ready to be made out of your favorite sturdy fabrics. With a design full of pockets, Erin will be your perfect travel companion — whether for you or for the whole family!  Wherever life takes you, the Erin Backpack will be ready!  You can grab the digital pattern right here.
It’s been awhile since I’ve released a sewing pattern.  ‘Just about a full year has passed by, but my excuse is — of course, 2020.  With the pandemic, and social unrest of this country, I was left with very little motivation to design while so many people were suffering.  Like many of you, my home life has been flipped upside down and it seems like we have a new normalcy rather than a return to 2019 type of “normal.”

It’s taken me some time, but I got some motivation in the fall to make a prototype of the Erin thanks to the Sew Pink Blog Hop you can read here.  Once I made that bag, I was feeling the flow and really wanted to ride the wave of bag-making and designing again!
Inspiration

Original “Erin” Backpack

I made my first Erin (before it even had a name!) for my cousin over a year ago.  She was looking for a large backpack for her growing family and wanted something unique and custom…with all the pockets, of course!  This was right when 90s fanny packs were reemerging and that half-moon shape was really influencing bag trends.  I wanted to test myself and see if I could design a backpack with that half-circle lid while stretching the body into a full-size backpack (since that style was missing out of my line-up.)  And that’s how the Erin Backpack was born!

Swapped out the Strap for Heavy Duty Webbing

Namesake

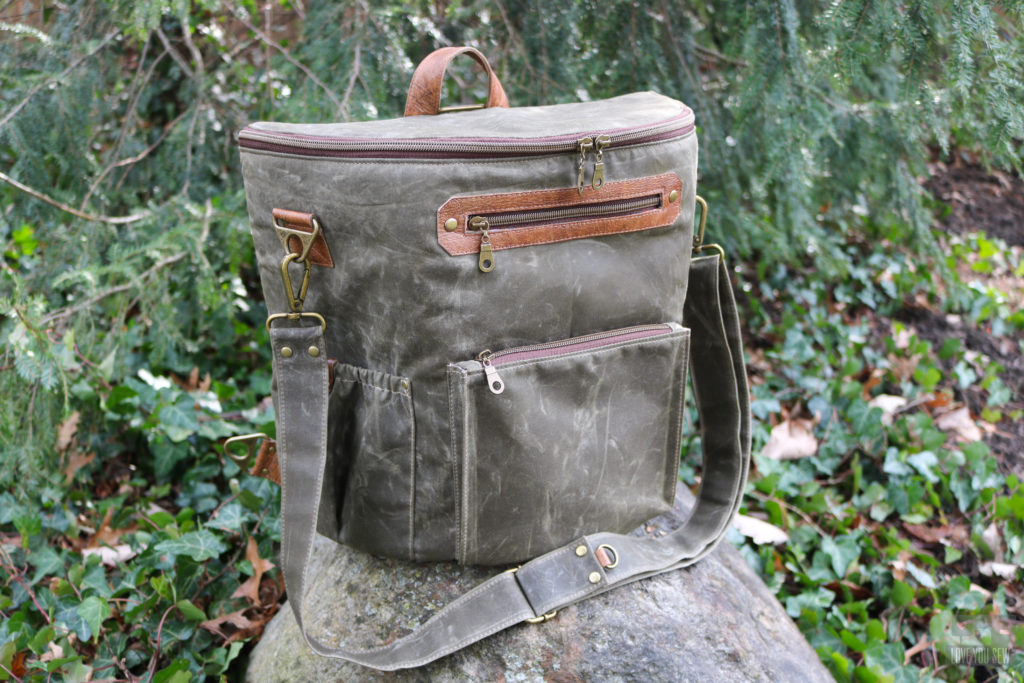
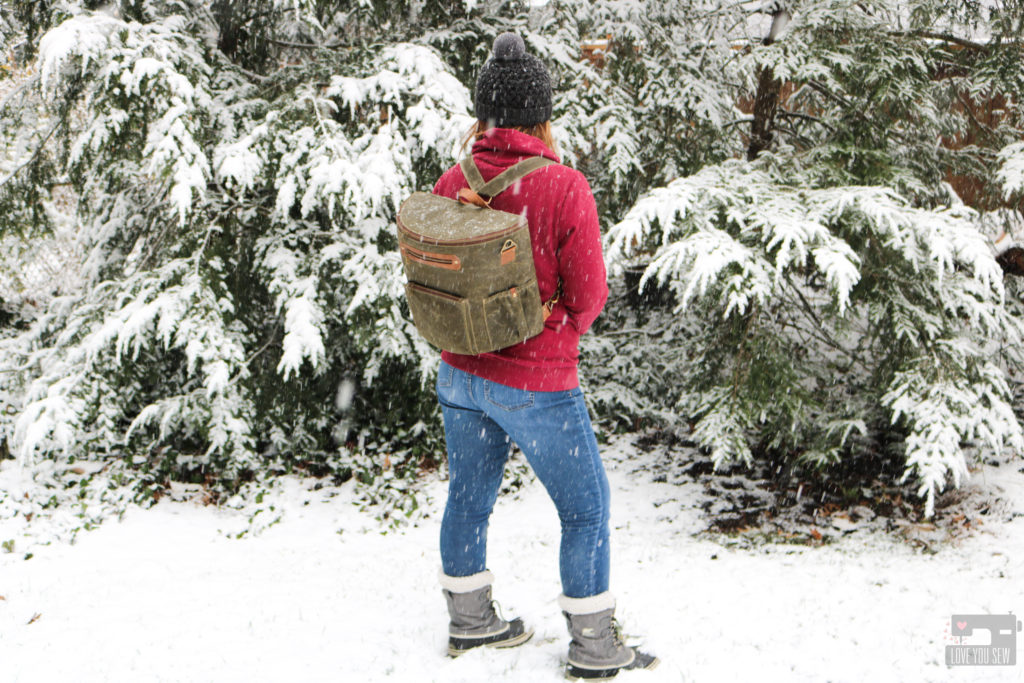
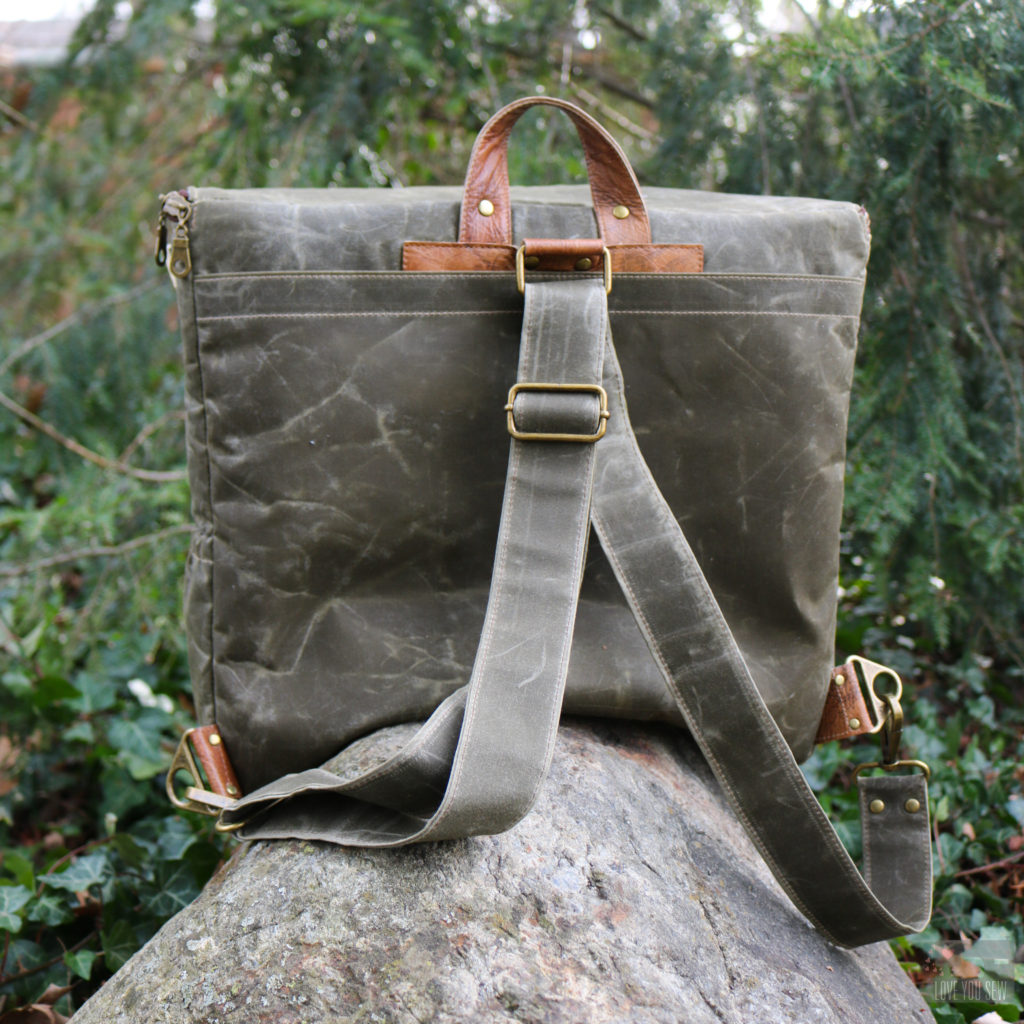
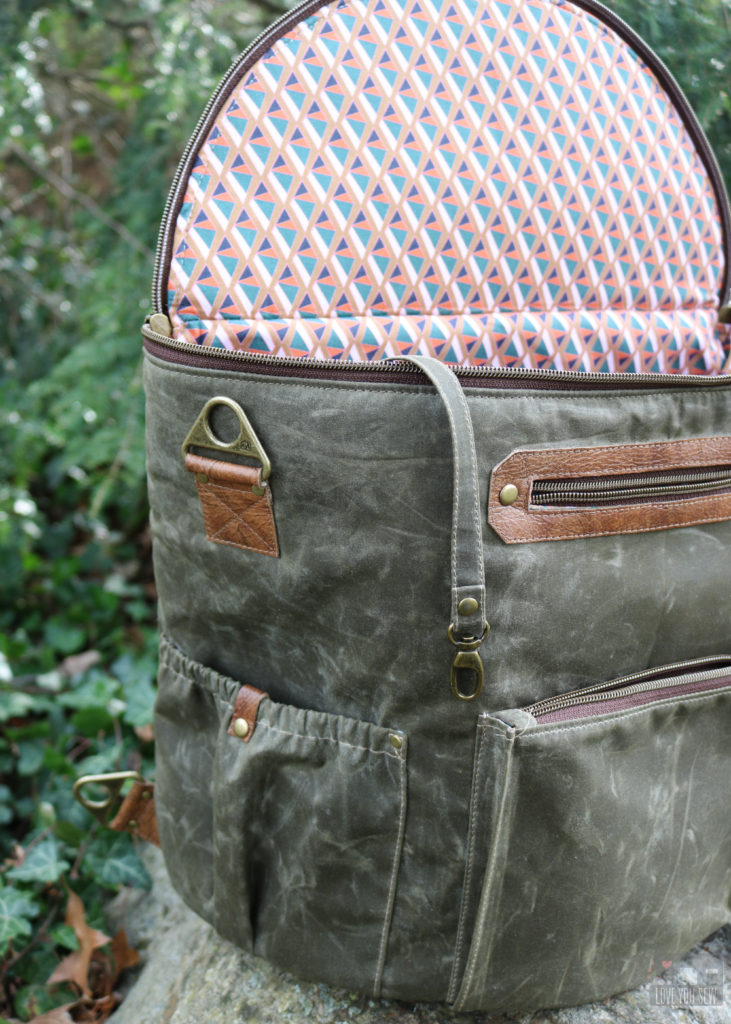
As many of you know I name all of my bags after my nieces. This bag is no exception. It is named after my incredibly sweet niece out in Oregon.  One of my first memories was a camping trip to Cape Lookout on the coast.  My husband and I were only married a few months and I really didn’t know this side of the family since they lived far away. Well, we had SUCH a great time out west and was welcomed with such open arms. This bag reminds me of our time on the coast — especially the waxed canvas version that definitely wants to be out on an adventurous hike with those HUGE northwest trees!

Sewing Level

While the Erin Backpack is made for the everyday, the complexity of its construction leaves it for more intermediate sewists. With the half moon shape of the lid and base, the walls are attached with Y-seams. There is nothing to be scared of….Y-seams are just when 3 seams come together and do NOT form a right angle. However, when you throw in thicker bag layers, it can be tricky to wrangle the seams into place.

Also, the pattern calls for the use of leather, vinyl, or cork.  These can be tricky substrates to use if you are not familiar.  You can check out my Tips on Sewing Vinyl here, which have many of the same suggestions I would offer to leather and cork. But my main tips would be to:

  • Use a Teflon or Walking foot to stop the presser foot from sticking to the fabric.
  • Make sure you have some heavy duty needles, sizes 14-18, handy to handle the layers
  • Increase your stitch-length as you work through thicker layers – Hand crank if needed
  • Use washi or scotch tape under your Zipper foot to prevent sticking
  • If sticking continues, you can also place tissue paper in between the leather and your presser foot

Bag Features

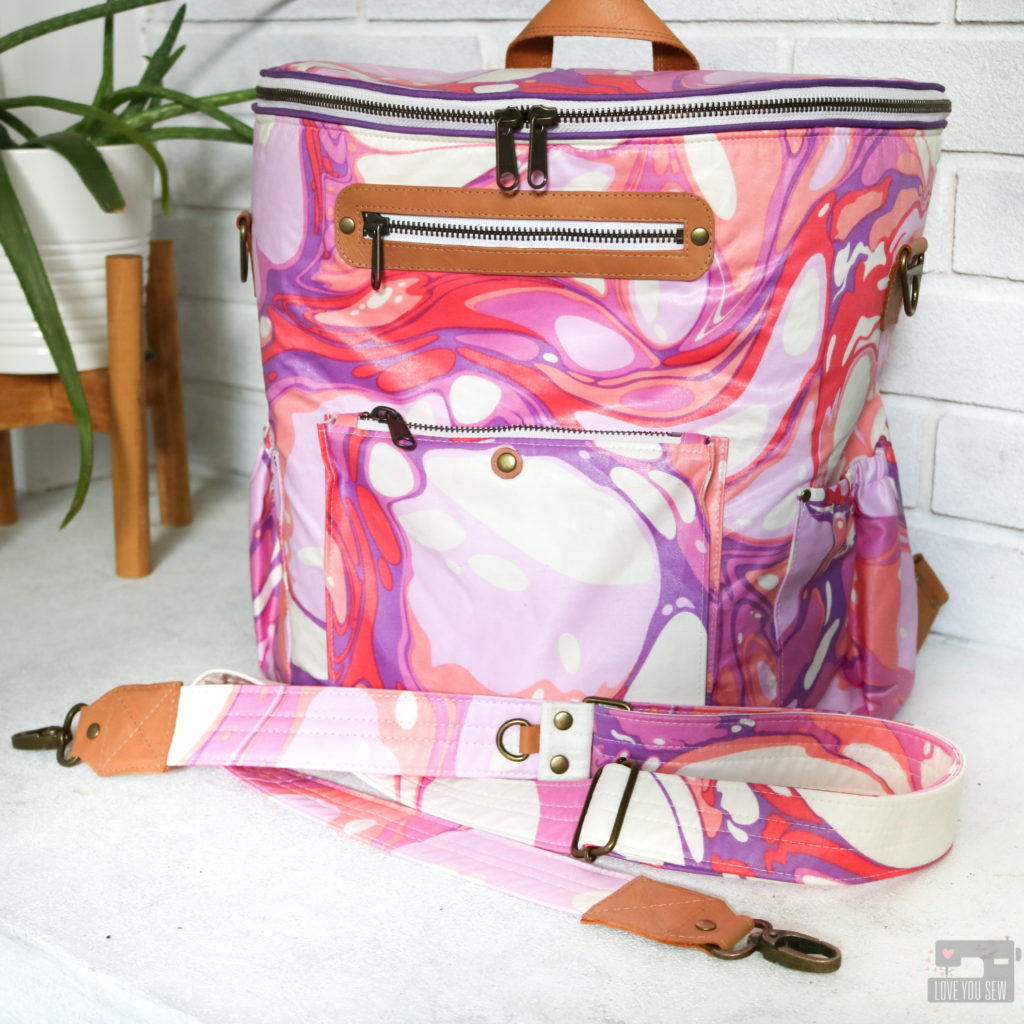
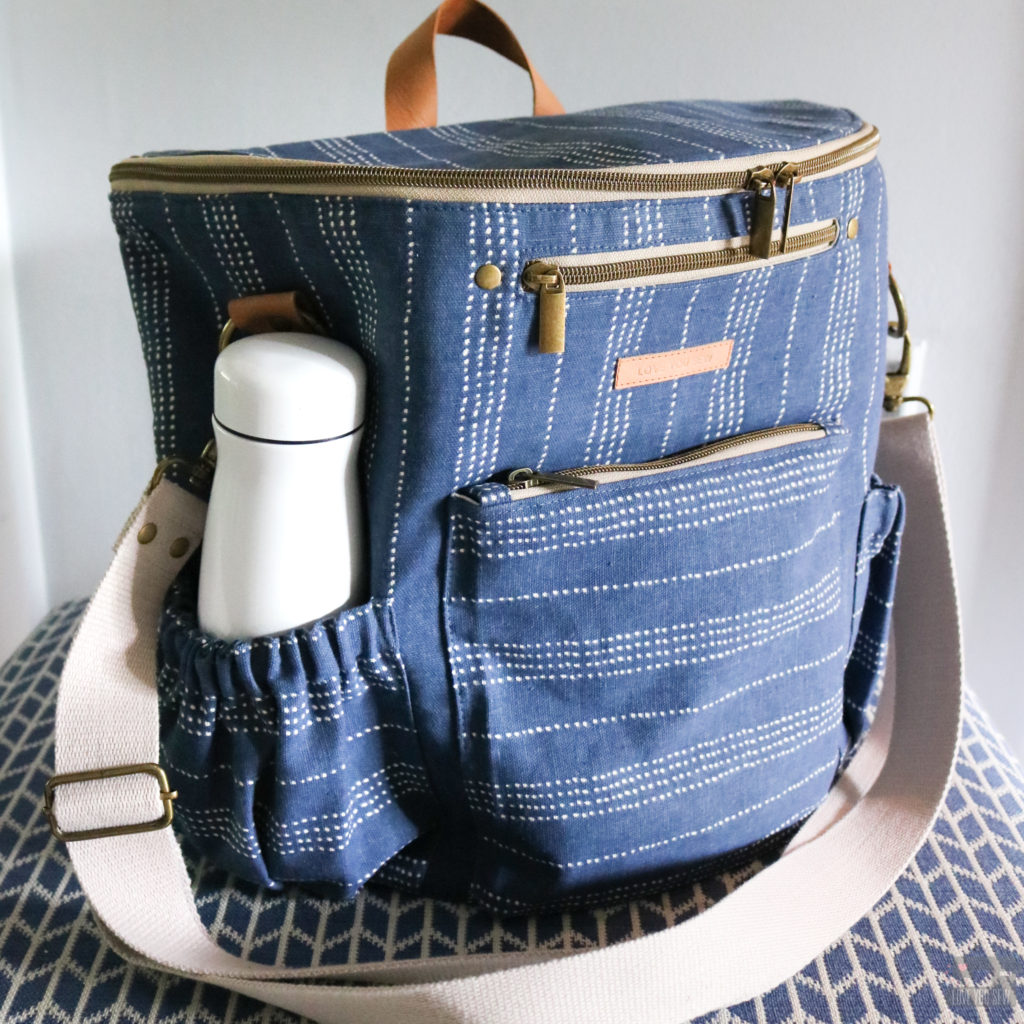
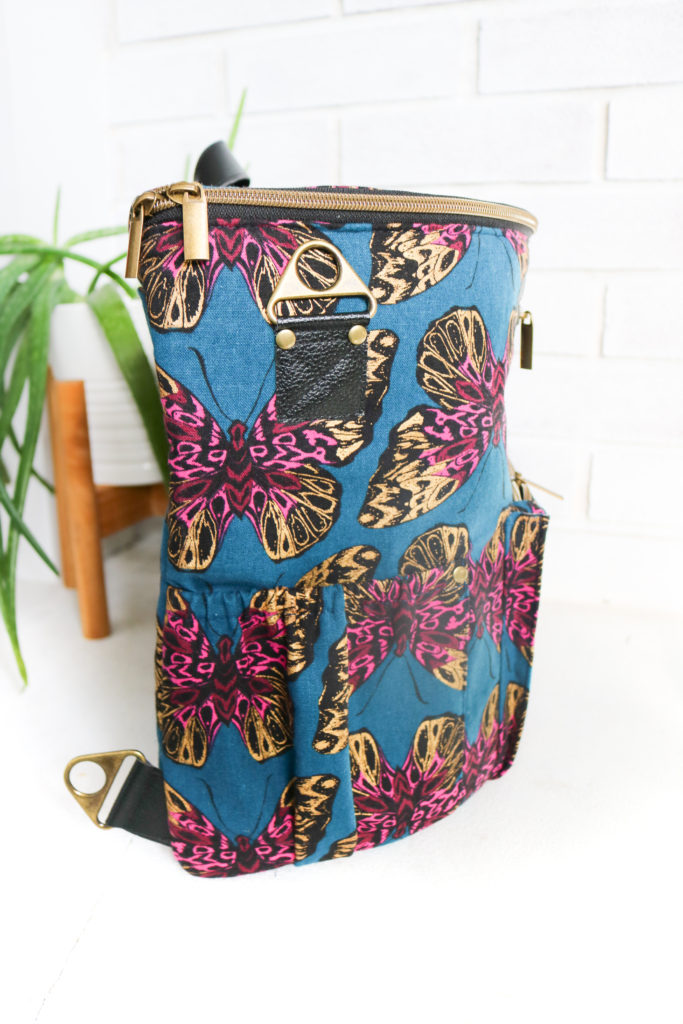
  • Body – A distinctive half cylinder shape that melts into the body and is spacious enough to use as overnight travel backpack or even a diaper bag!

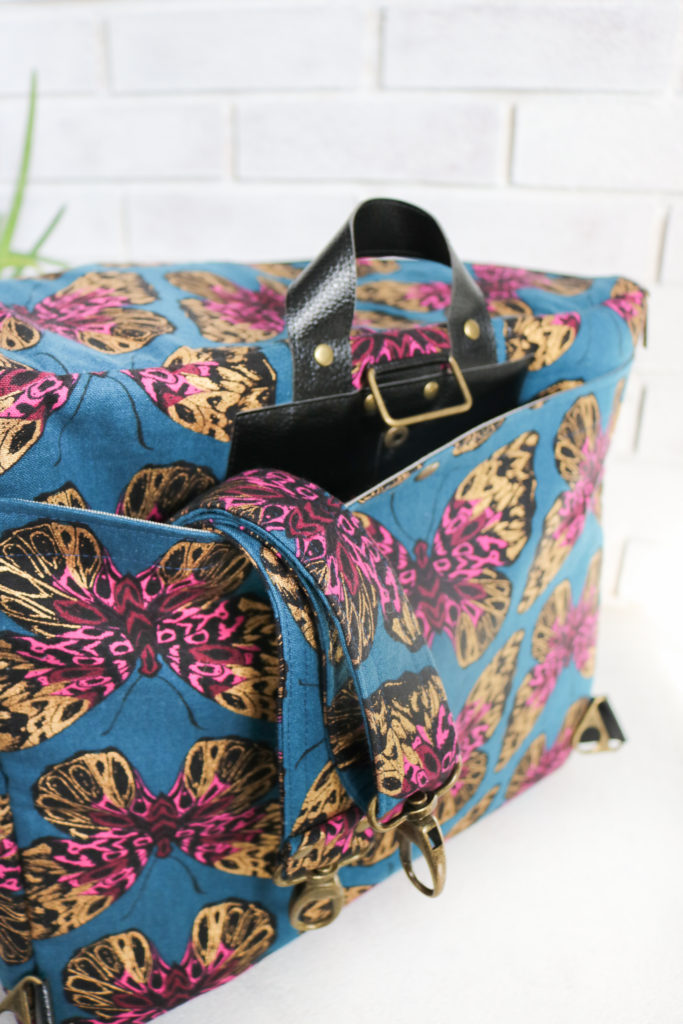
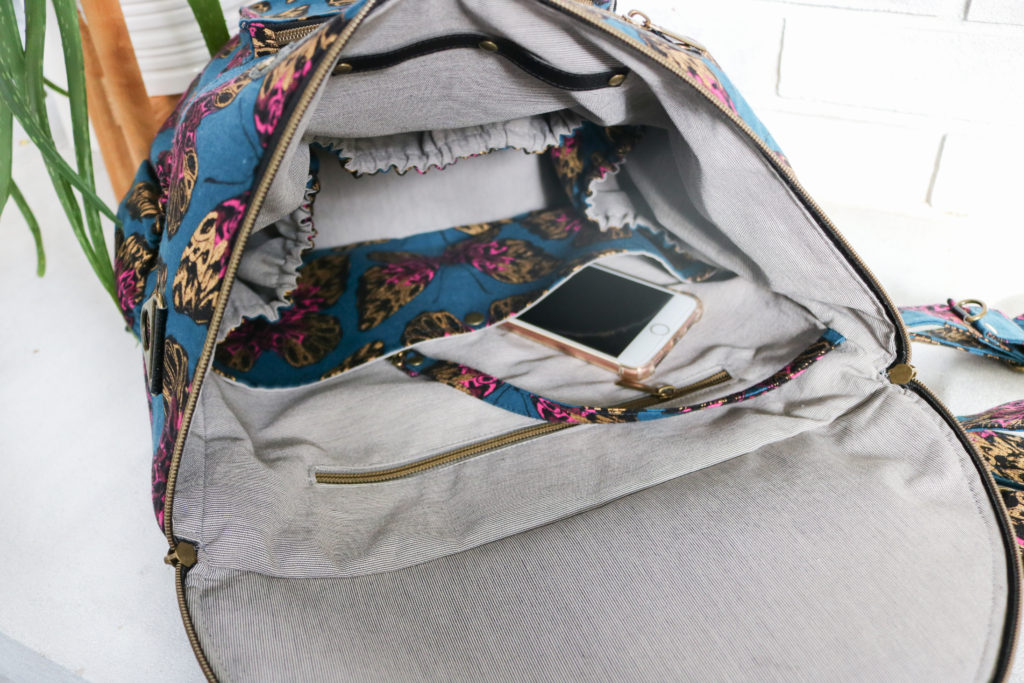
  • Zippered Main Compartment – Everything remains safe while accessible with a large opening. The lid can fold back allowing you to see almost everything inside. It’s perfect for staying organized!

  • 10…yes, 10 pockets! – With Zippers, elastic, snap and slip pockets, your bases are covered!

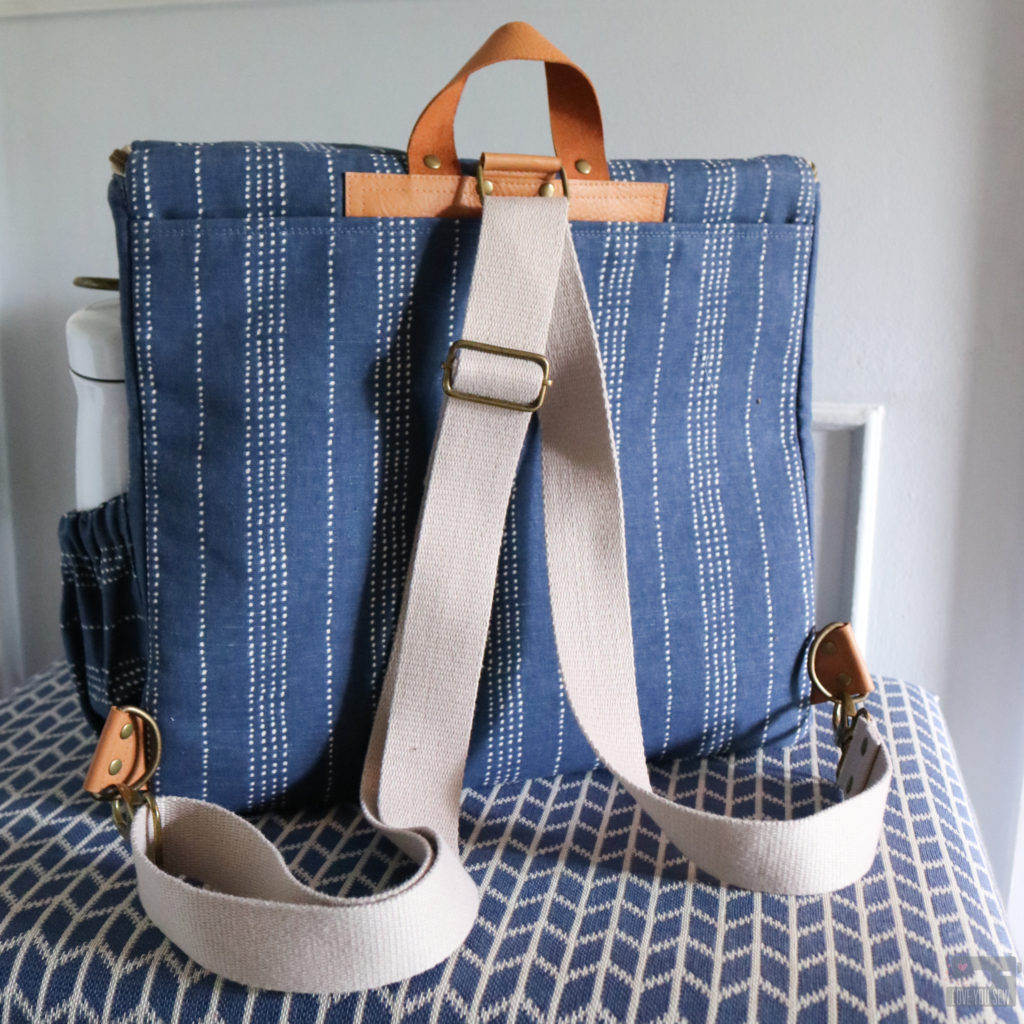
  • Converts from a Backpack to a Shoulder Bag – By switching the swivel clasps from the rear to the front and releasing it from the back rectangle ring, you have a new bag!

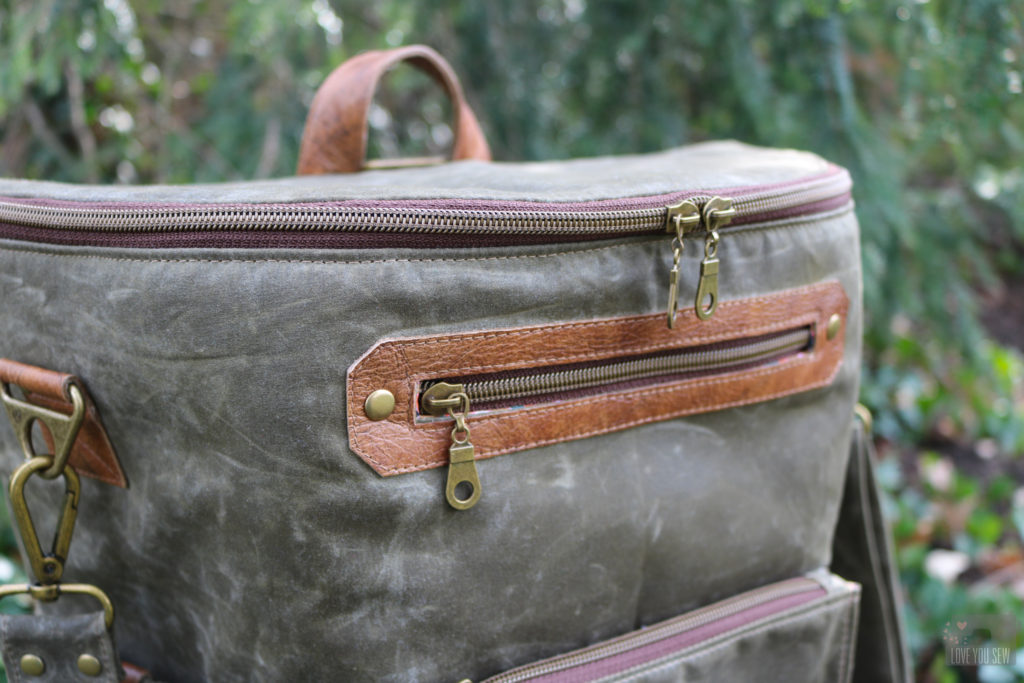
While not a part of the pattern, I added these leather accents to the elastic pockets with the scrap from the zipper plate.

  • Key Fob – I always love this feature to find your keys – especially in a very roomy bag!

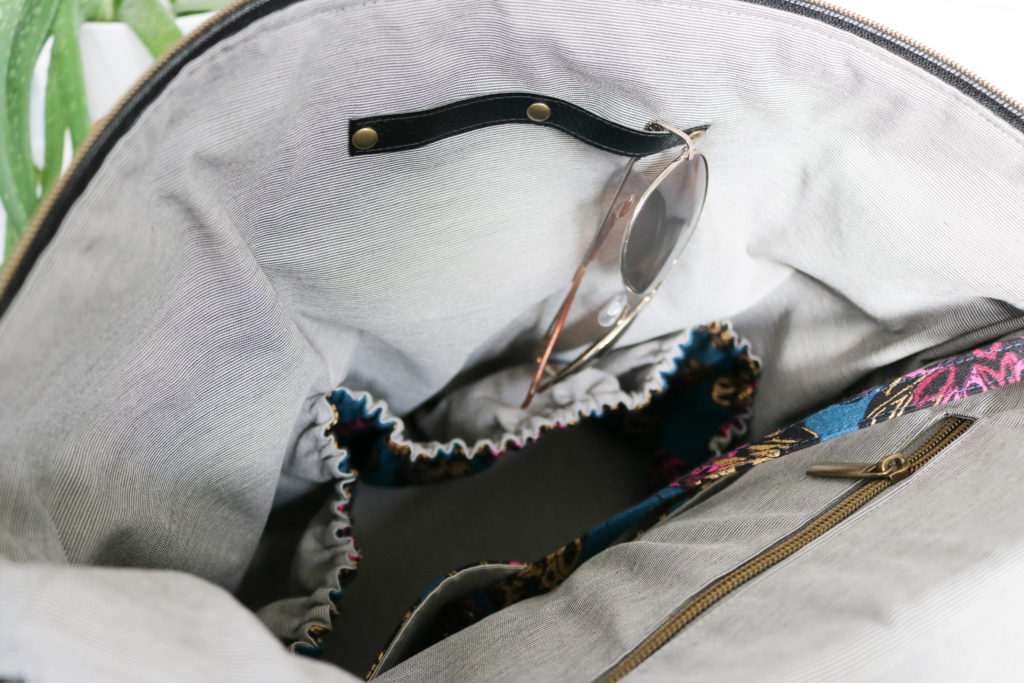
  • Accessory Strap – This is another simple feature that can be used to hold sunglasses, a pen or a place to wrap your sanitizer onto. I love the way it visually breaks up the space along the lining as well!

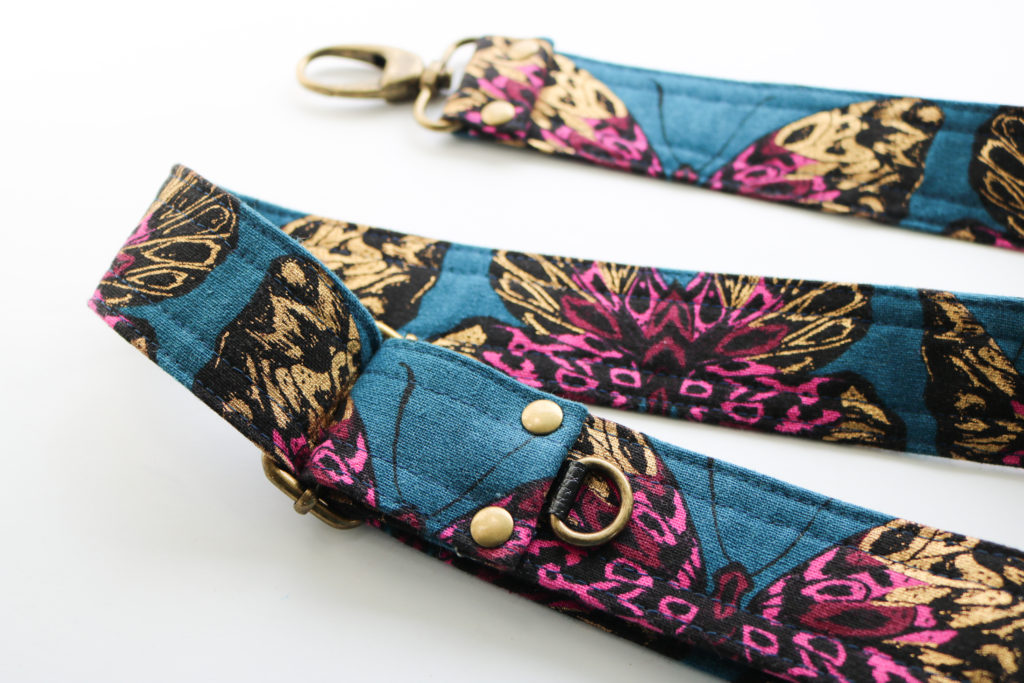
  • Adjustable Strap with D-Ring – To be a convertible bag, you need a long adjustable strap.  The pattern calls for a 60″ long strap, but does have instructions for piecing a longer one together (if needed.) With the popularity of wireless ear pods, I’ve been seeing this D-Ring feature on all the high-end designer bags. It’s another simple feature to include, but can be so helpful as you are traveling. Check out how to make The Tiny Sophia Bag to hold your ear pod case.

Hardware

With all of the options in the Erin Backpack, comes quite a bit of Hardware.  I’m a big fan of rivets for their professional finish and have added snaps into the mix as well.  If you don’t want to source your own, I’ve found high quality options which you can grab a in my shop!
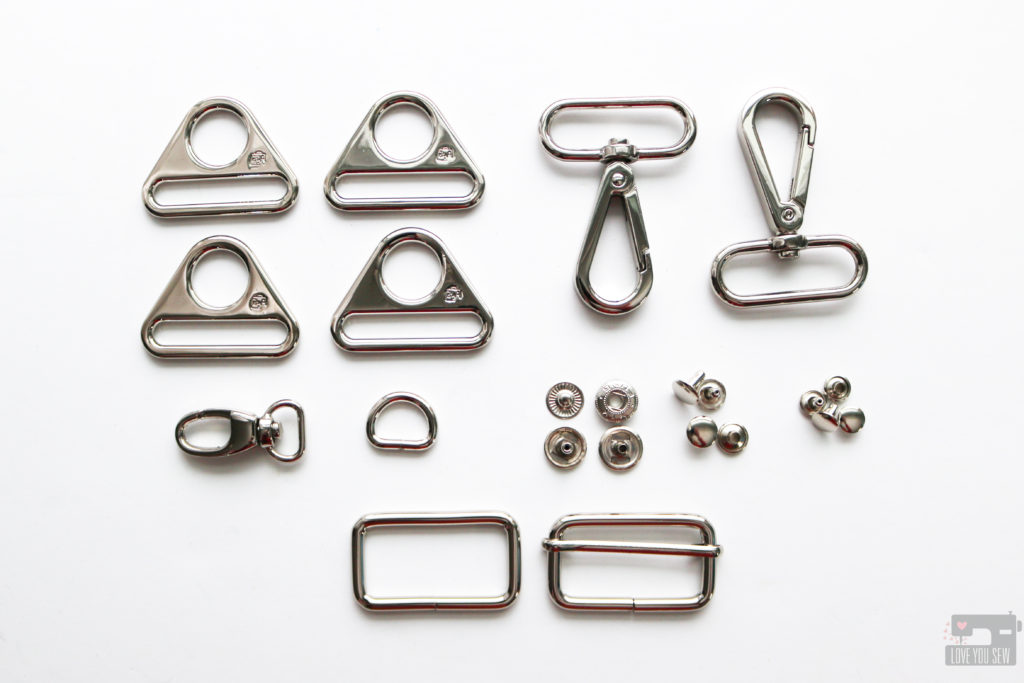
The kit includes:
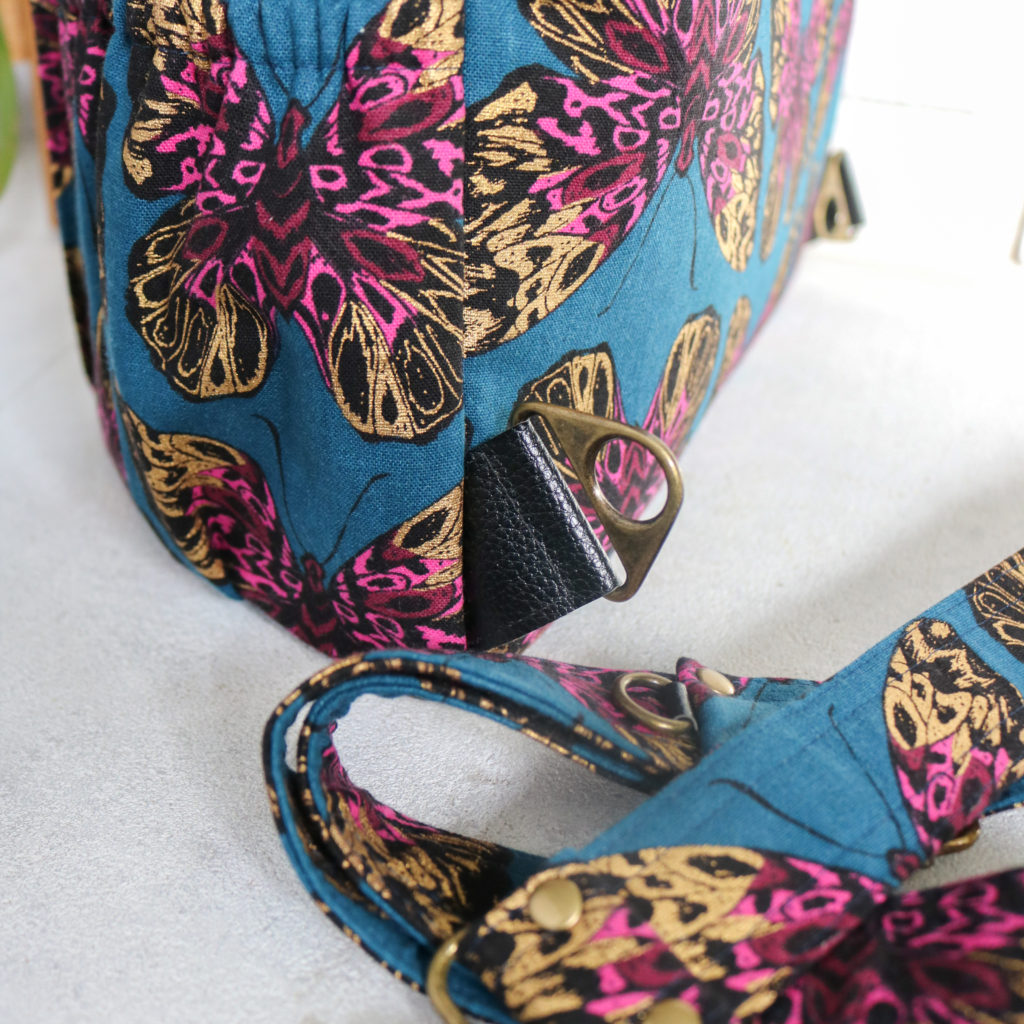
(4) 1 1/2″ Triangle Rings
(2) 1 1/2″ Swivel Clasps
(1) 1 1/2″ Rectangle Ring
(1) 1 1/2″ Strap Slider
(1) 1/2″ Swivel Clasp
(1) 1/2″ D-Ring
(3) Sets of 12.5 mm Double-Cap Spring Snaps
(5) Sets of Medium Double-Cap Rivets (9mm cap x 8mm post)
(20) Sets of Small Double-Cap Rivets (8mm cap x 6mm post)

The sewing pattern does NOT include instructions for hardware installation or the setting tools.

  • Rivets – But you can check out my Rivet Installation by Hand video here and I recommend this rivet setting tool by Tandy (if you want to hand set them.)
  • Spring Snaps – You can check Snap installation at the 30 second mark in this Instagram video for help.   For the snaps, I recommend this tool which is used in the video.  It comes with a few sizes, but 633 would handle the snaps in my hardware kit.

Featured Bags

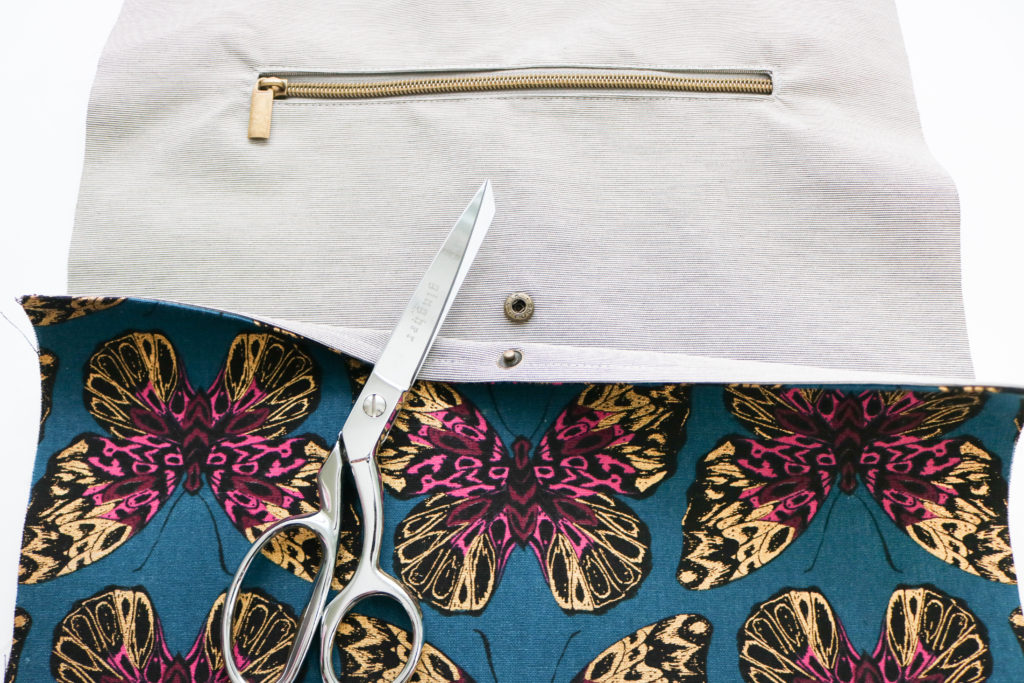
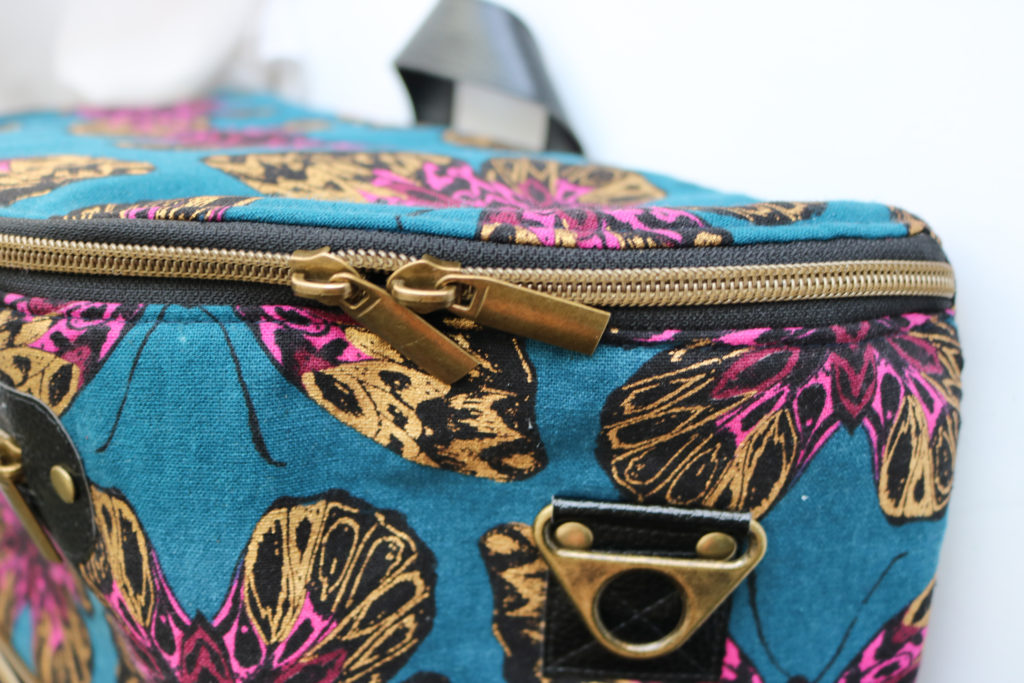
BUTTERFLIES –

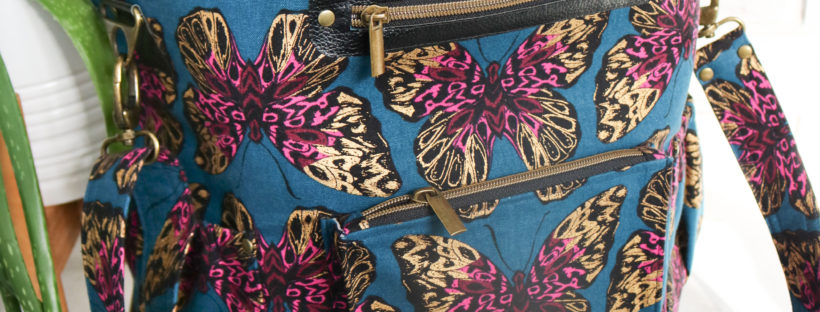
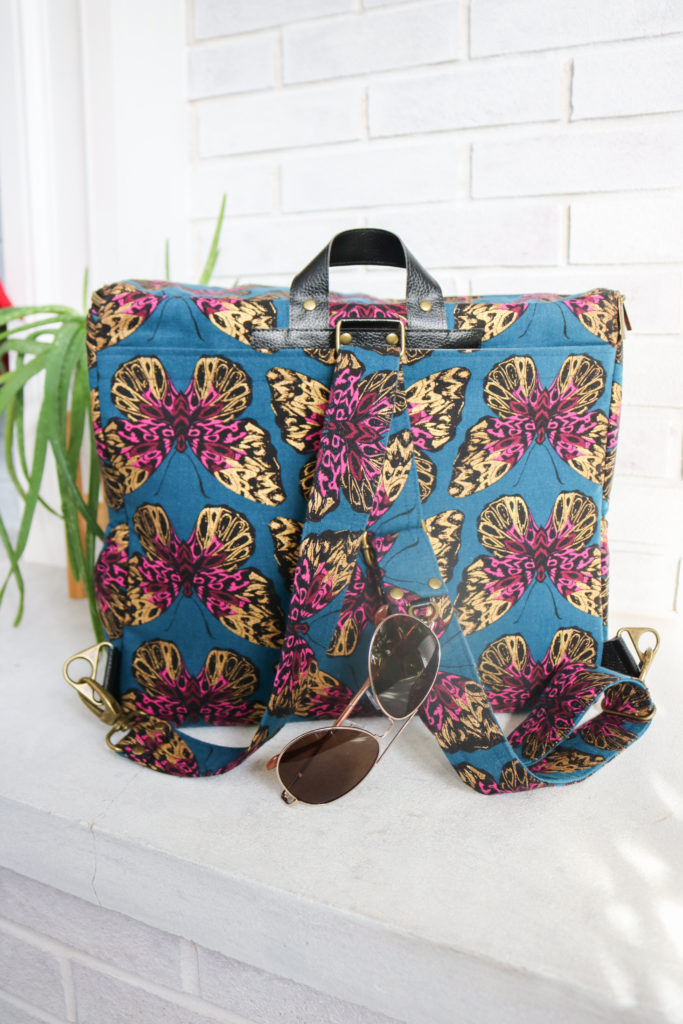
  • Main Fabric :  Ruby Star Society Tiger Fly Canvas
  • Lining: Mystery Polyester Railroad fabric leftover from a skirt
  • Accent Fabric: Faux Leather from Sew Sweetness
  • Zippers: Antique Brass Coil on Black Tape from Emmaline Bags
  • Hardware: Triangle Rings from By Annie’s and the rest from Emmaline Bags (same as the kit for sale)

OLIVE –

  • Main Fabric :  Robert Kaufman Waxed Canvas from Sew to Speak.  You can also find it here.
  • Lining: Mystery Polyester Railroad fabric leftover from a skirt
  • Accent Fabric:  Thrifted leather (same as from my beloved quilted duffle bag.)
  • Zippers: Metal look nylon Bronze with Chocolate tape from My Handmade Space (get on the mailing list for lots of great coupons!)
  • Hardware: Triangle Rings from By Annie’s and the rest from Emmaline Bags (same as the kit for sale)

MANY THANKS

As always, I thank all of you for encouraging me to publish my patterns!  This, by far, is my longest and most complicated bag pattern to date.  I like to challenge myself to more intermediate and advanced sewing and I know many of you are the same.  But my group of testers from all different bag-making levels were able to nail this bag.  (I’ll be showing off their makes in another blog post!)  Their help was absolutely instrumental in clarifying steps and adding in more information to help you along.  I hope you enjoy the #ErinBackpack!
Watch out for a sew-along in the next few months! 😉


Hugs and Stitches,

Cristy


This post may contain affiliate links.  Please read my full disclosures, here.

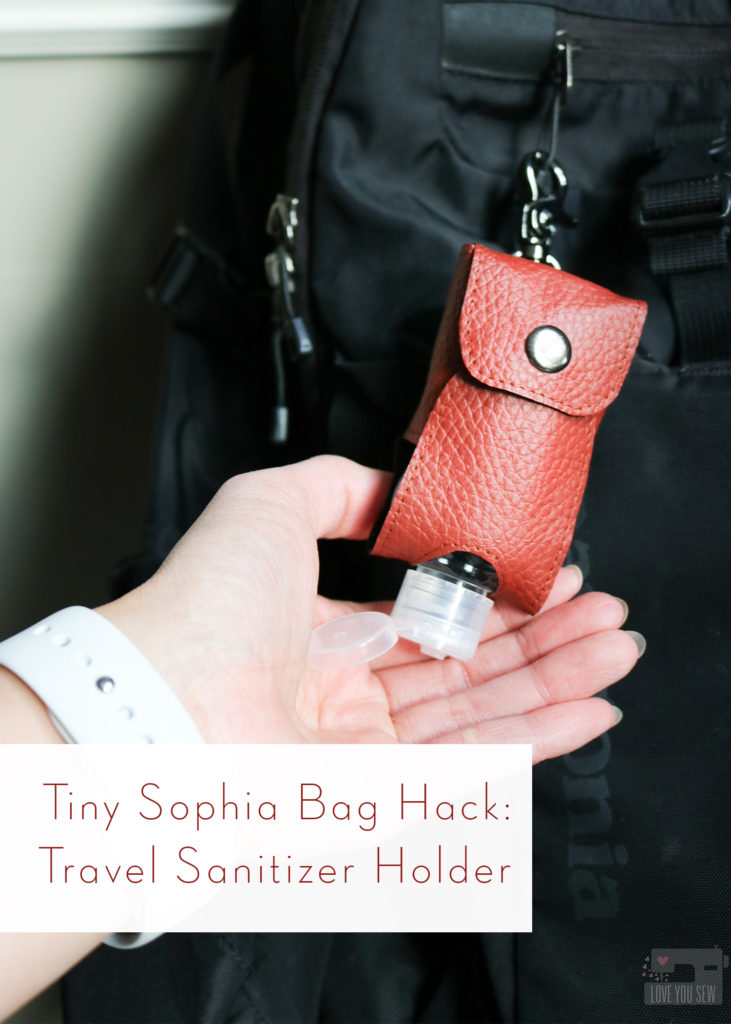
Tiny Sophia Bag HACK: Travel Sanitizer Holder

As the world goes on, we know washing hands and using sanitizer is LIFE right now. It is SO important to stay healthy and protect ourselves against all germs – pandemic or not!  Washing hands with soap is the preferred way to keep them clean, but when there isn’t a sink around hand sanitizer is a decent alternative. You can read more about the benefits of hand-washing here with the CDC.

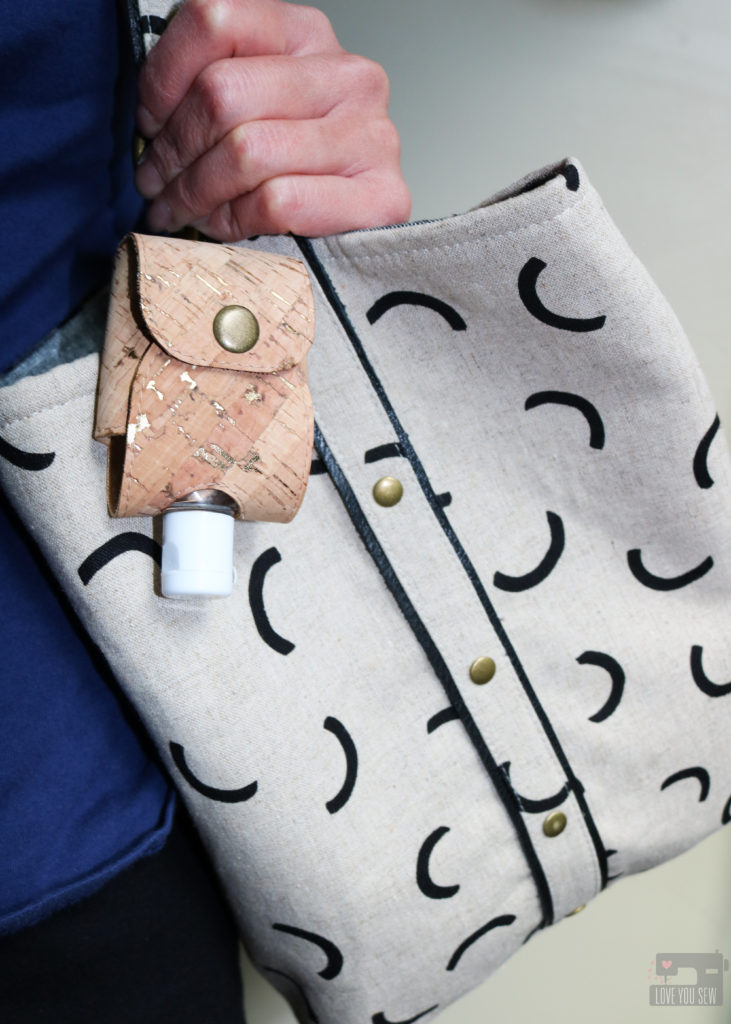
Like all of you, I want to keep my family safe and have sanitizer on them at all times – especially as school opened up for my kids. But of course, supplies have been (and still are) very bare.  Trying to find those manufactured jelly style travel sanitizer holders was just impossible. That’s when I took it upon myself to make cases for my kids and husband.

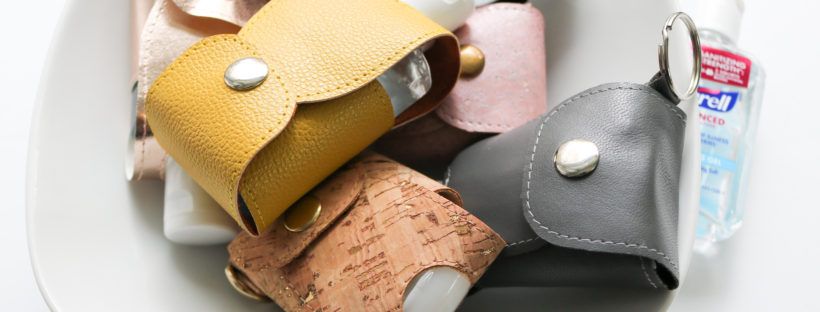
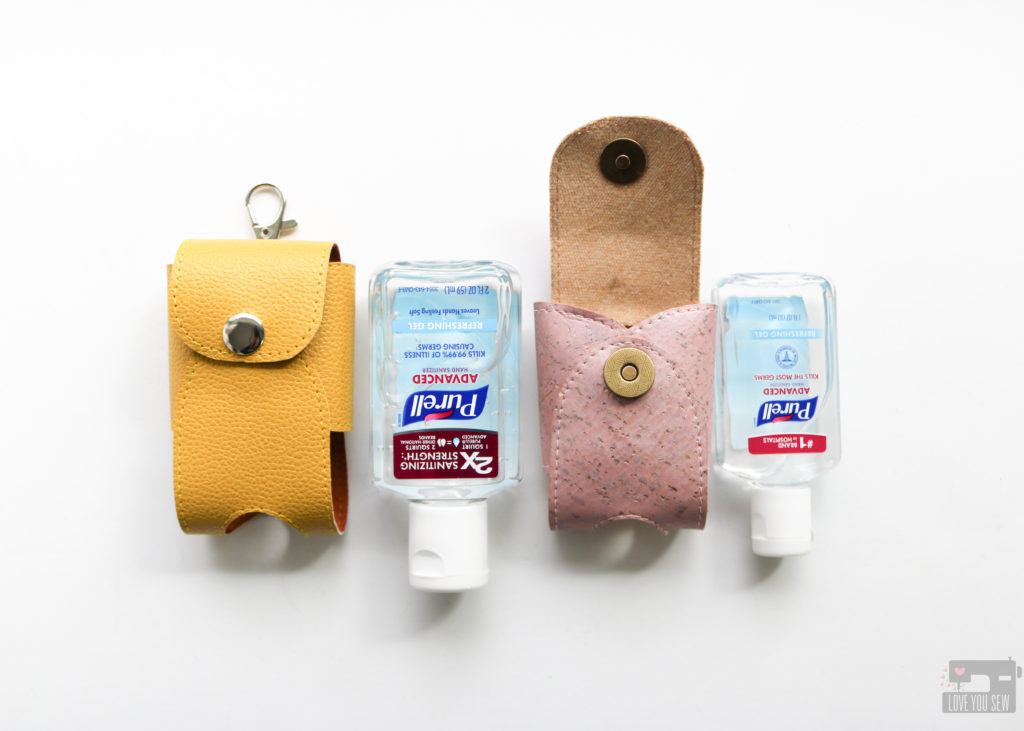
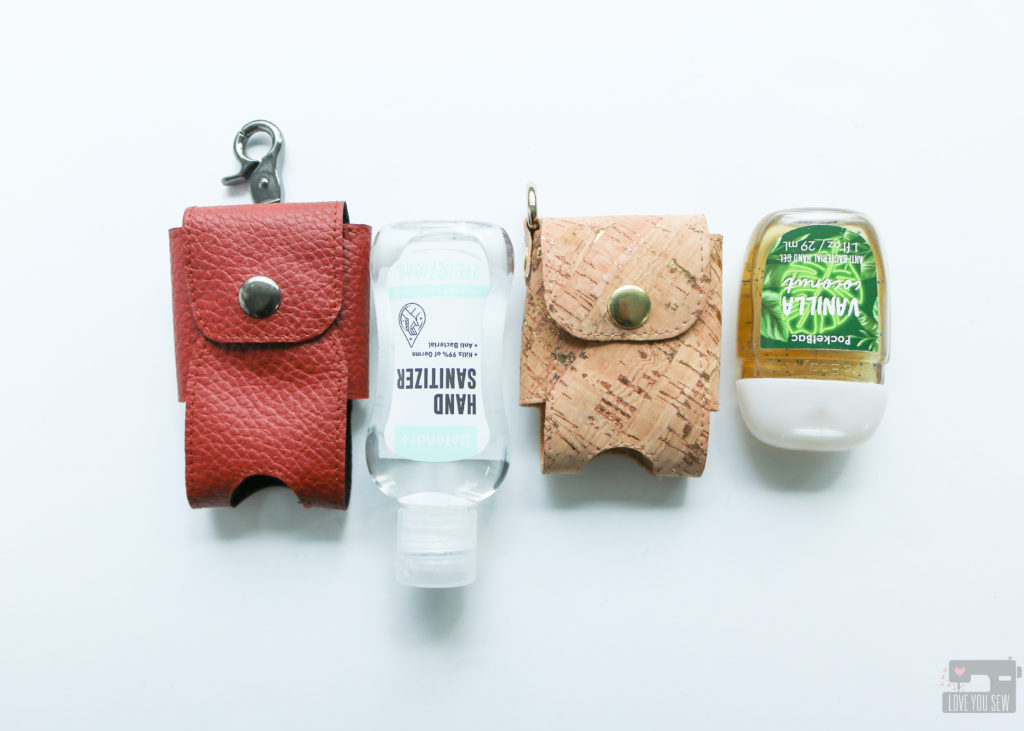
Different size travel bottles

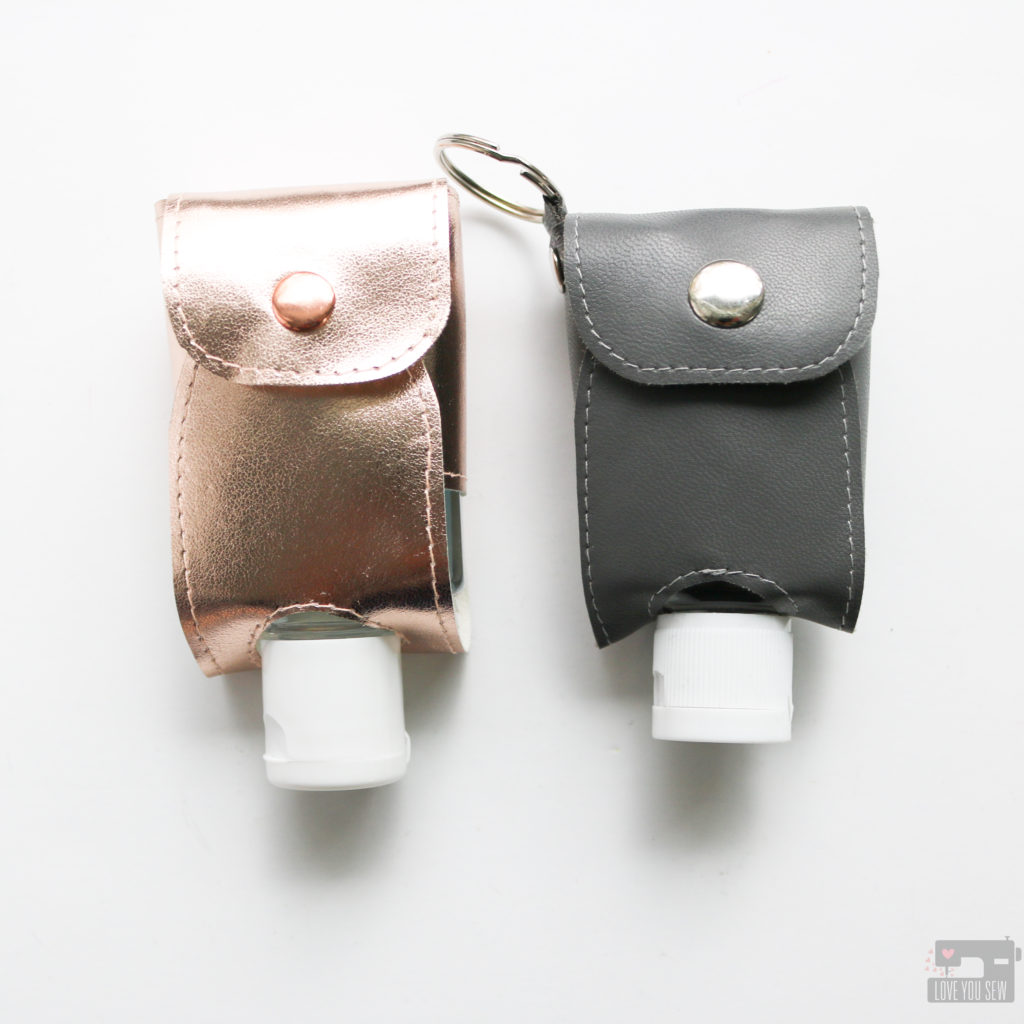
It turns out that the Tiny Sophia Bag (read about it here) is the right width to hold most travel sanitizers! The height just needs to be adjusted and that’s where this hack was born. This hack will take you through the steps to transform your #tinypurse to a sanitizer holder for most 1-2 oz travel bottles.  I tried to find a variety of bottles to test so you can see how they fit and decided to create one version for bottles from 1-1.6 oz and then another version that can fit 2 oz bottles.  If you are using bottles different from any of those pictured, be sure to check the template against your sanitizer BEFORE cutting any material.

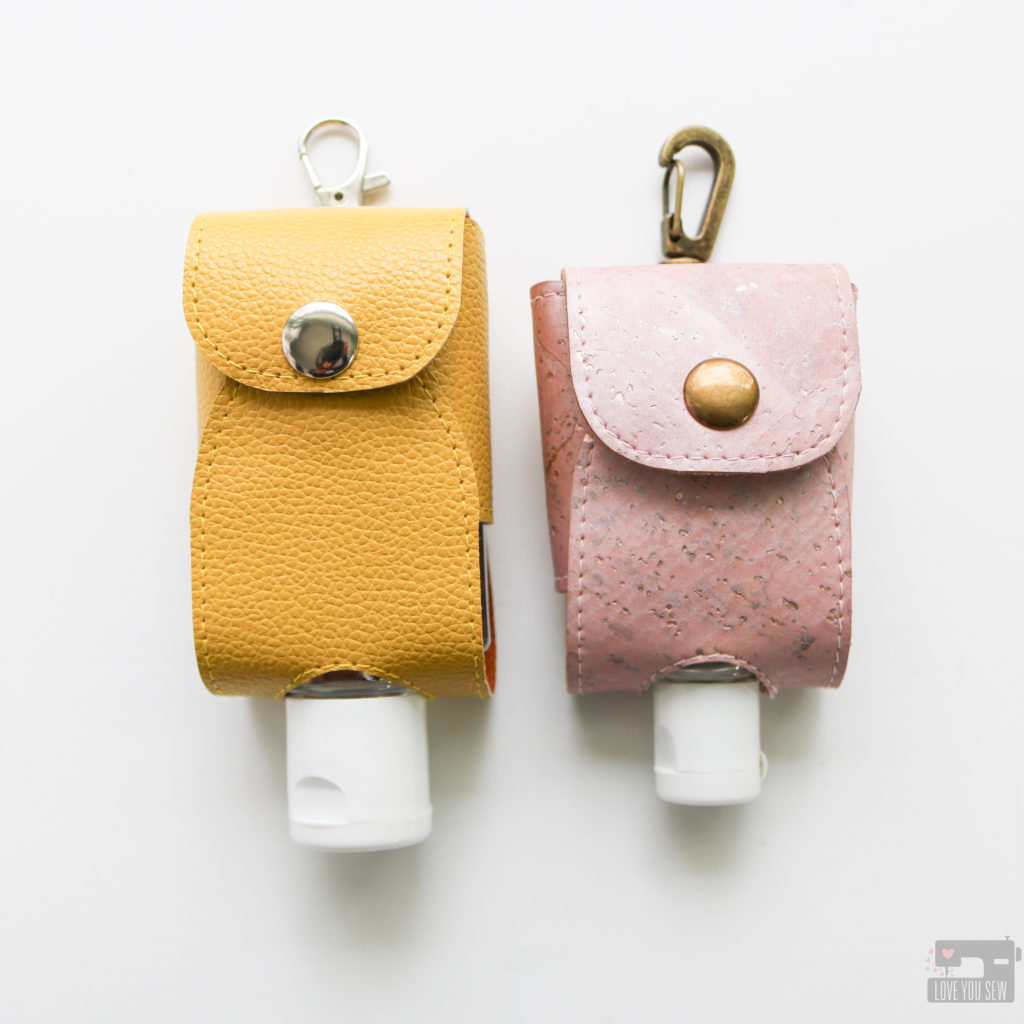
2 oz Holder vs 1 oz Holder


Materials Needed:

  • The Tiny Sophia Bag pattern – found here
  • Ruler
  • Extra paper
  • Marking Instrument
  • Clear Tape

Tutorial

***Please note there are adjustments depending on whether you are making a holder for a 1.0-1.6 oz. bottle versus a 2 oz. bottle.   Please read instructions carefully.

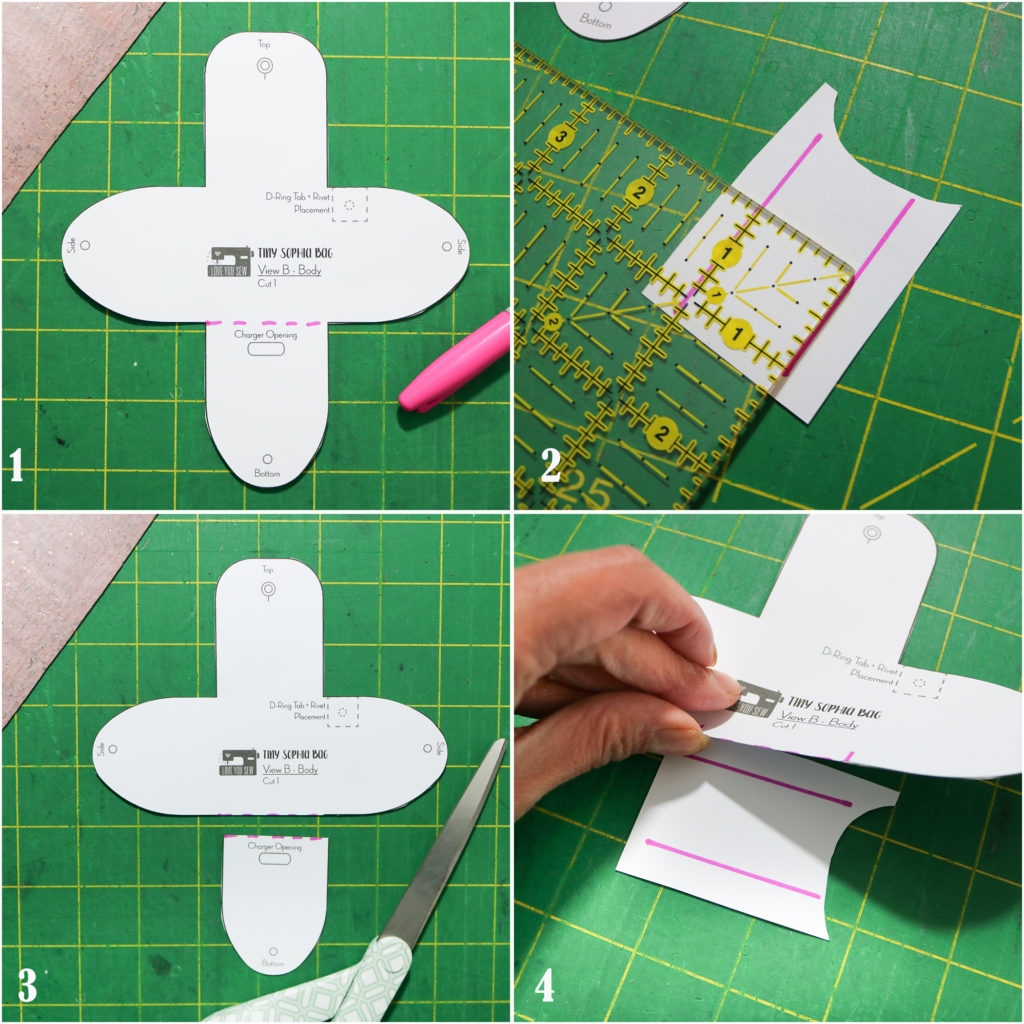
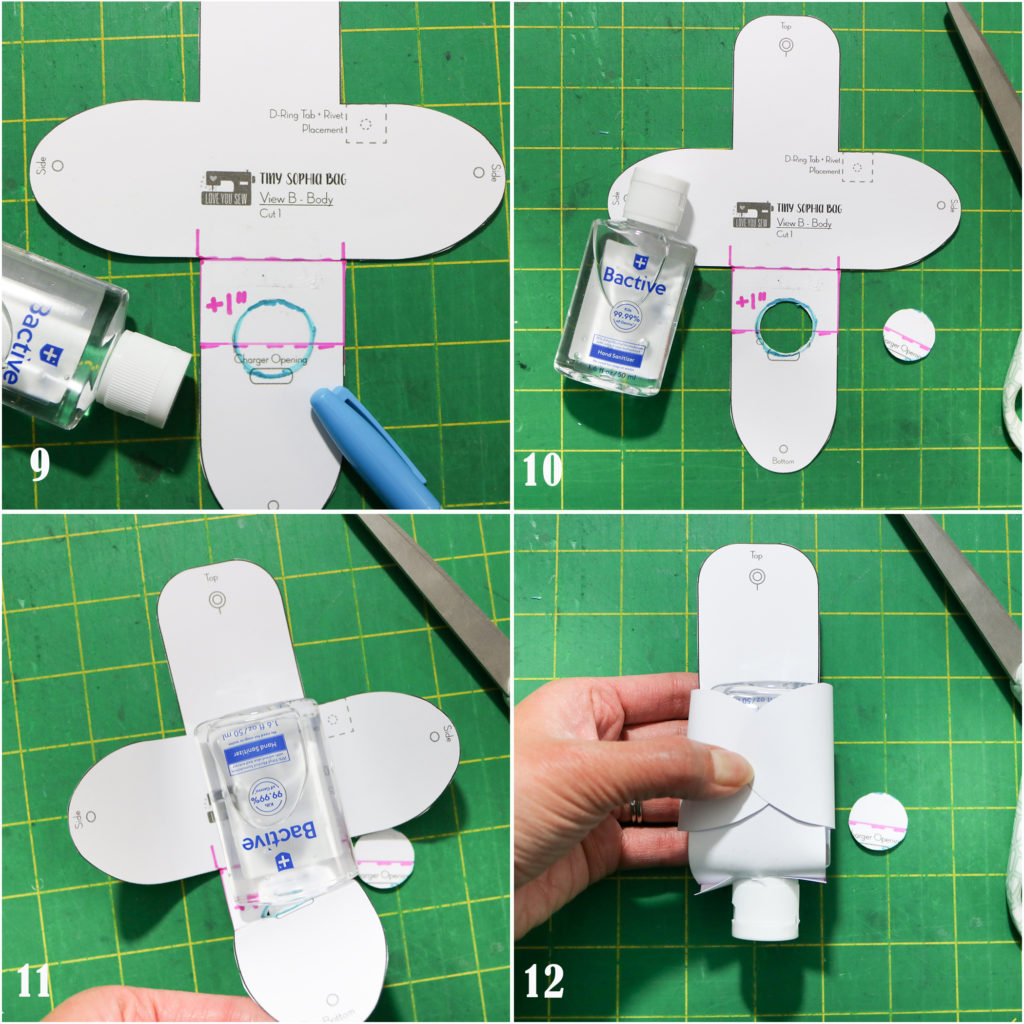
1. Cut the pattern template out per instructions. Mark the cut line along where the bottom flap meets the sides.

2. Take a scrap piece of paper (wider than the bottom flap) and mark a 1″ high extension for 1-1.6 oz. sanitizer bottles. *If you have a 2 oz. bottle, you will want to mark a 2″ high extension.

3. Cut the bottom flap off the bag template following your markings

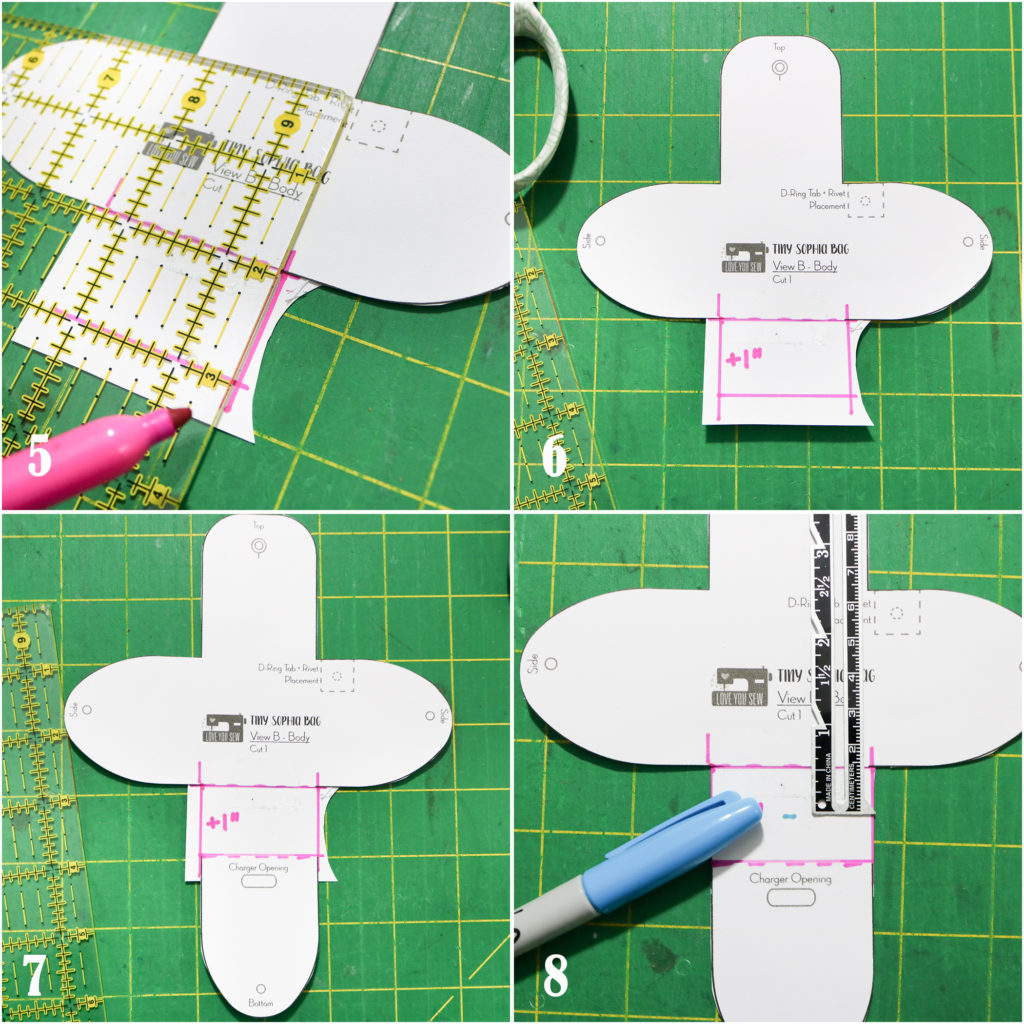
4. Line up the top of the pattern along the extension and tape into place.

5. Take a ruler and mark the right side of the extension aligning it to the Top flap’s side edge.

6. Repeat on the left side of the extension.

7. Line up the bottom flap to the lower side of the extension making sure it matches the side markings.

8. Trim away the excess paper.  Mark a line 1/2″ from the top of the extension. *If you are making a 2 oz. bottle holder, mark a line 1″ from the top of the extension.

9. Use a sanitizer bottle cap as your opening.  (This replaces the Charger Opening.)  Center it vertically on the template and place it just under mark made in the previous step.  Trace.

10. Carefully cut out the circle with paper scissors.

11. Check that the sanitizer bottle you want to use fits through the opening on the template. Adjust as needed.

12.  Check that the template fits around the bottle by aligning the hardware holes.  Adjust as needed.  Once you are satisfied with the fit, follow the steps in The Tiny Sophia Bag to finish your  travel sanitizer holder!

Notes:

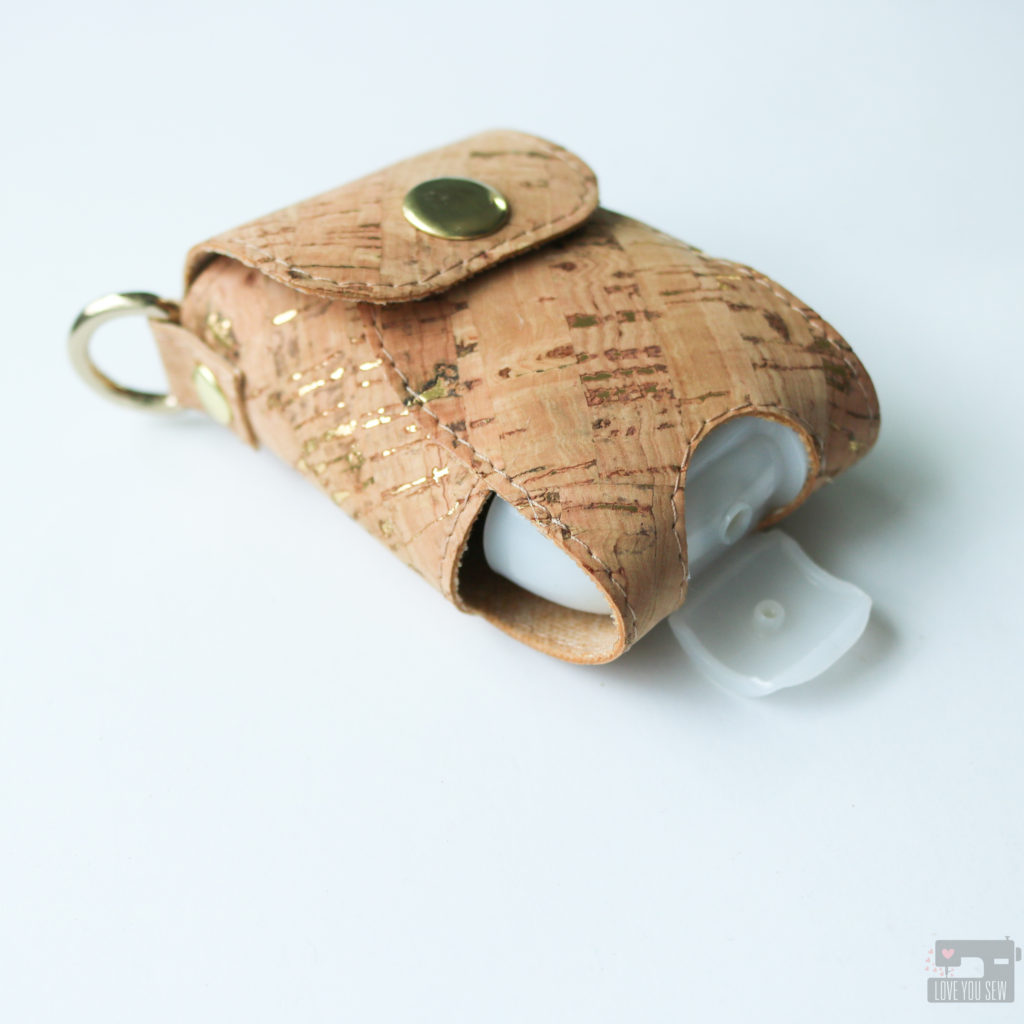
This cork version uses the 1 oz adjustment, but if I were to make it again just for this style of sanitizer bottle from Bath & Body Works, I would make a slightly wider opening to accommodate  that wider flip-cap.

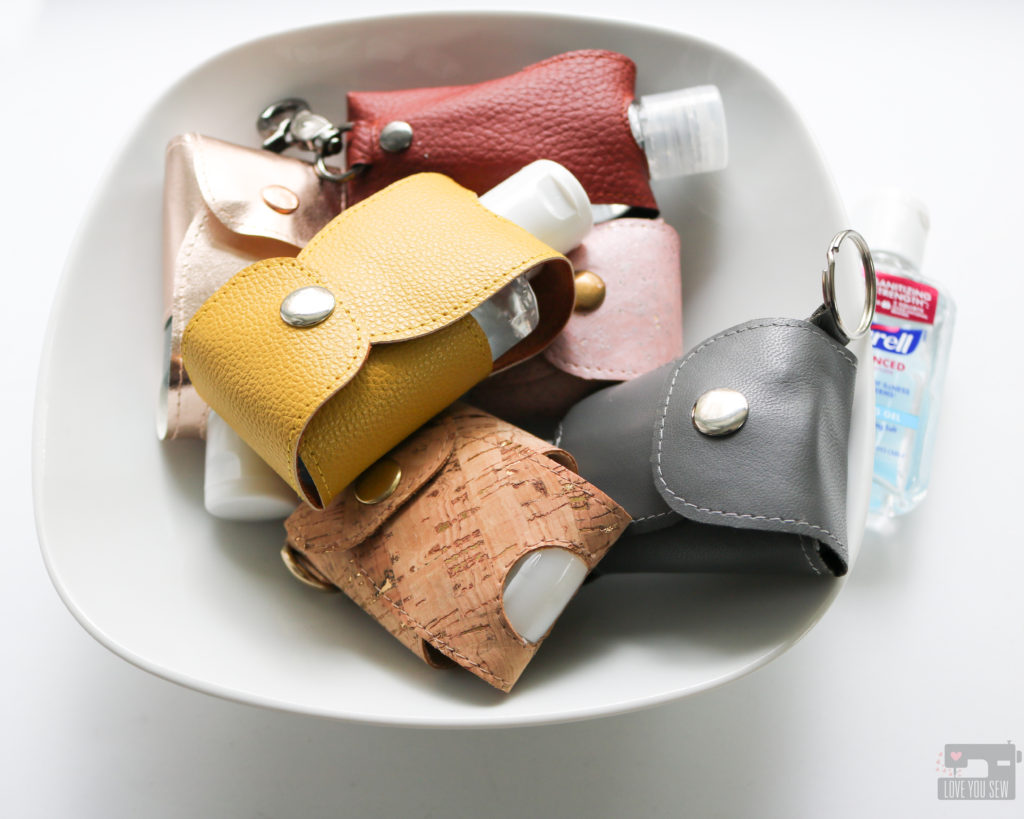
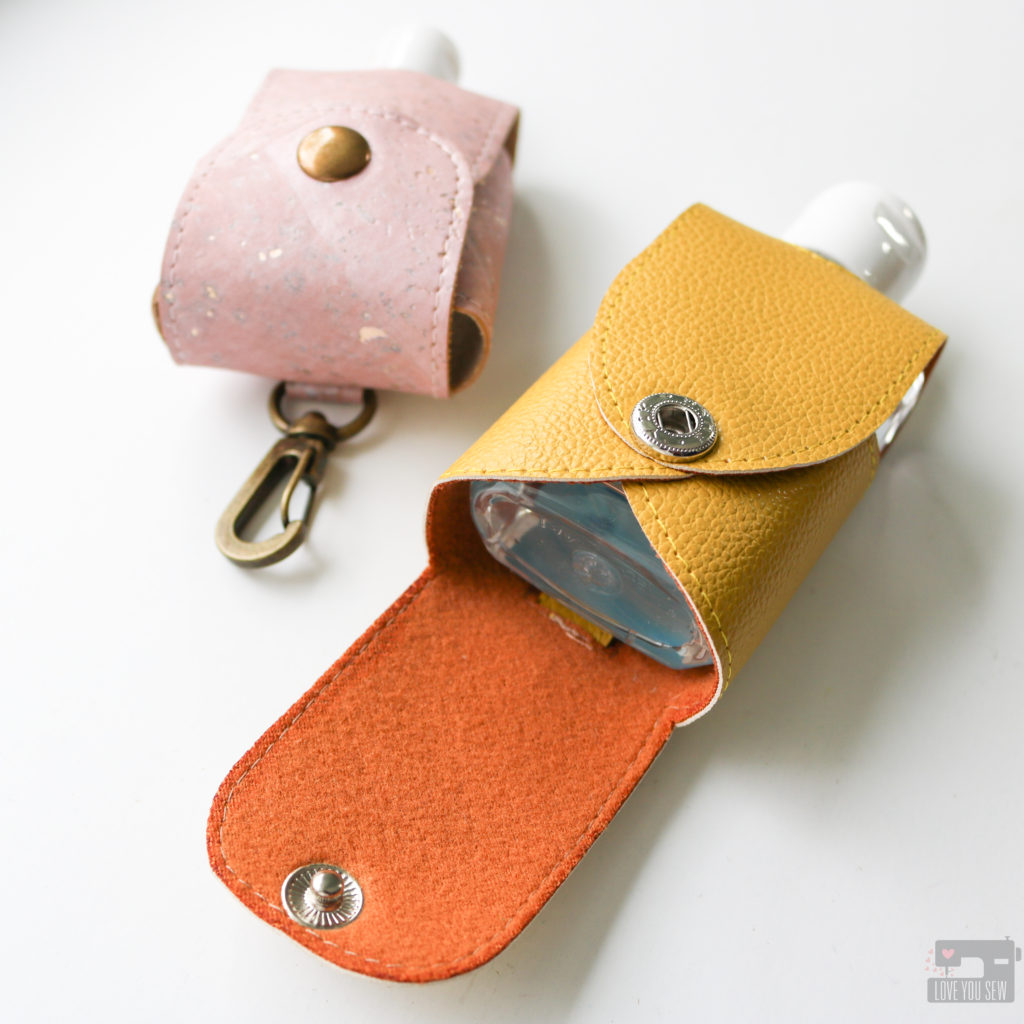
I added stitching to all of my samples in this post, but you don’t have to.  Using faux leather with felt backings like these pictured above leave no fraying and make this a fast and simple project.

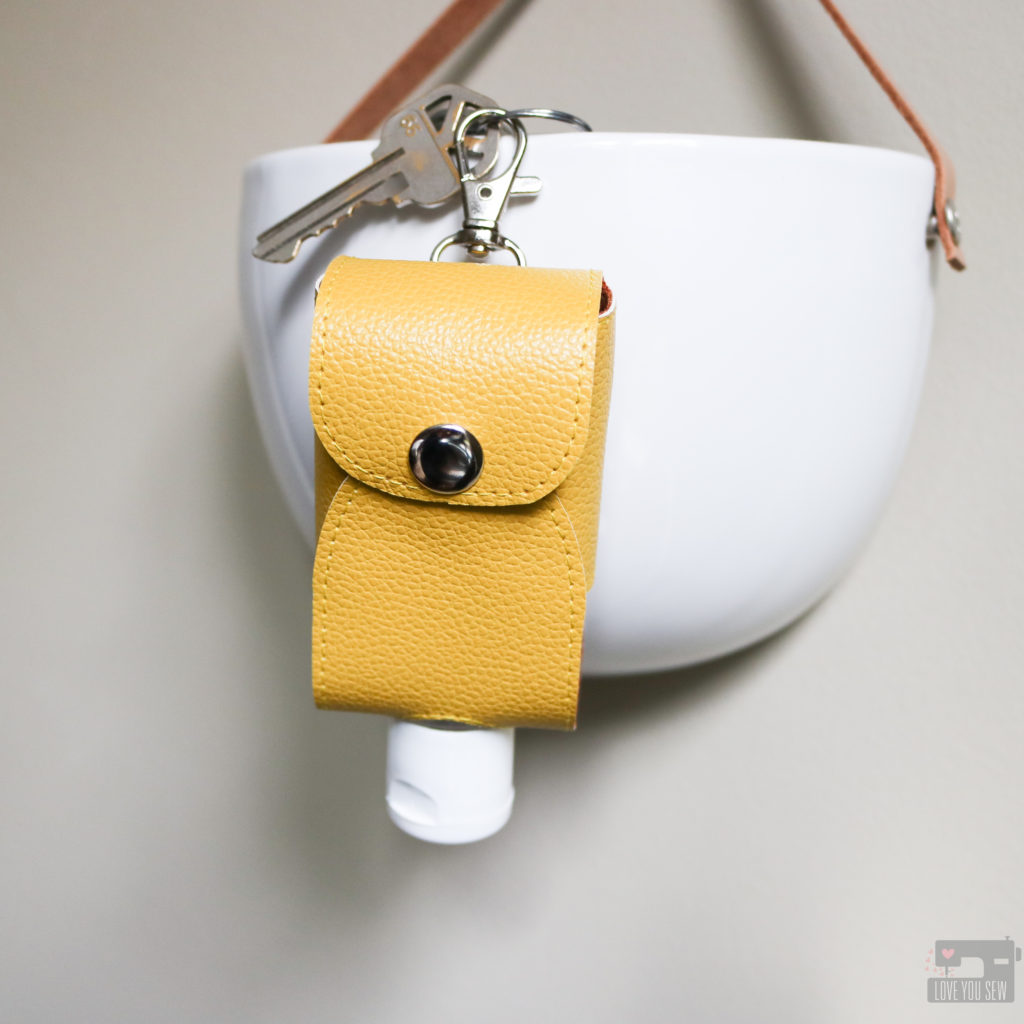
With the holidays ahead, these will make such great gifts!  So I will switch up the hardware to swivel clasps on the back so they can hang easily from key chains, purses and backpacks.

Where to find supplies:

  • For Cork or Faux Leather, I’m a big fan of Sew Sweetness.  Shipping is flat-rate, fast and I think a great deal!
  • For real leather and a variety of finishes, TanneryNYC has remnant bags.  I received small – medium sized cuts and was able to make several Tiny Sophia Bags out of the surprise shipment. These are high quality pieces of soft leather.
  • I love Emmaline Bags and By Annie’s hardware, but if you are looking for a value set for kids, I recently bought these (pictured on yellow case) and these from Amazon.
  • For Snaps, I used spring style ones from Gold Star tool, but recently fell in love with these Rivet Magnets from Kam Snaps (as seen with the pink cork version above.)


I hope you enjoy this hack and find it useful in our current environment.  Please drop a comment and let me know what you think!


Hugs and Stitches,

Cristy


This post may contain affiliate links.  Any earnings go right back into powering this website.  Please read my Disclosures here.