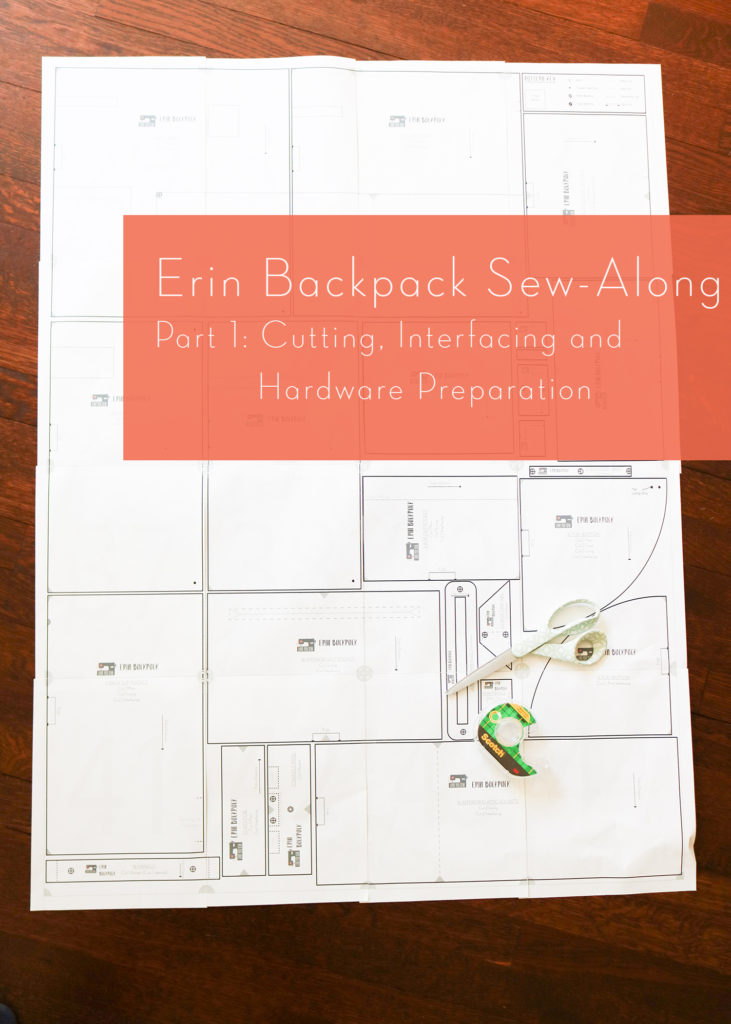
Welcome to Part 1 of the Erin Sew Along: Cutting, Interfacing and Hardware Prep. If you have missed out on the previous posts, please read them first before proceeding:
If you have done your pre-work, let’s get started! Please remember that this Sew Along is SUPPLEMENTAL to the actual pattern instructions. You will receive extra tips and tricks on the blog, but make sure you read through all pattern steps FIRST!
CUTTING FABRIC
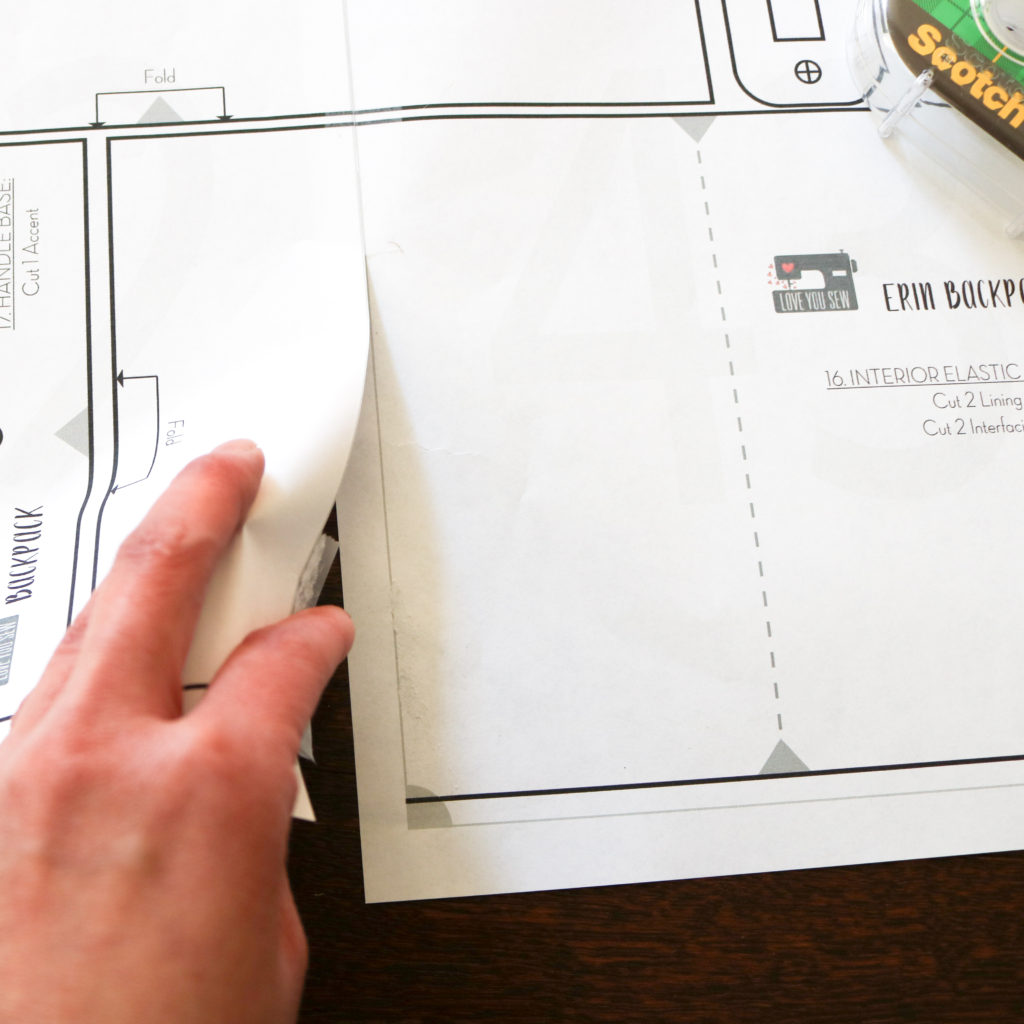
[Step 1] I don’t know about you, but this is probably the most tedious part of the process to me. With more complicated bags comes a lot more parts and pattern pieces.
- The Erin Backpack comes with 24 different pattern templates for you to cut out and help keep track of your bag parts with a pin or clip. Make sure to assemble the PDF pattern by lining up the GRAY lines, but cut your templates on the BLACK. The patten templates are laid out to minimize the amount of paper used.
- For all of you who love a rotary cutter and ruler (myself included!) there is also Measure and Mark table as part of the instructions.
- There is also a flat lay of all the pattern pieces to help you visualize everything that needs to be cut. I like to use the flat-lay to double-check that I have everything needed to get started.
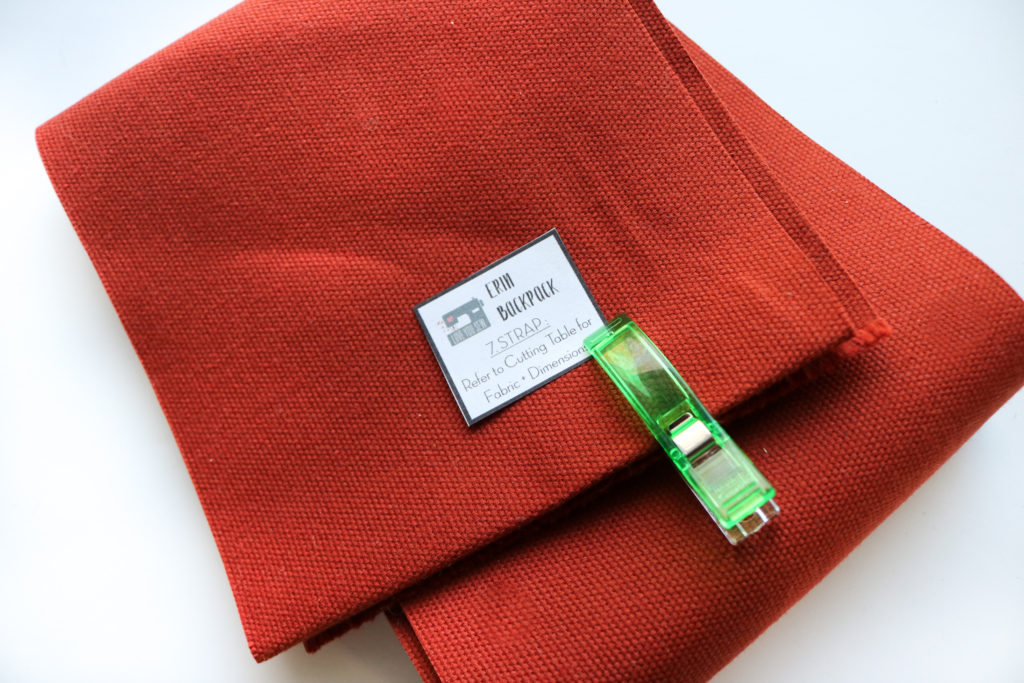 ***Please note the only paper template missing is the Strap. (For a large rectangle, it takes up a lot of paper and after taking a survey of bag-makers, they would rather have the measurements than to waste the paper and so I tend to take this course.) However, there IS a square placeholder with the templates you can use to help keep track of the fabric!
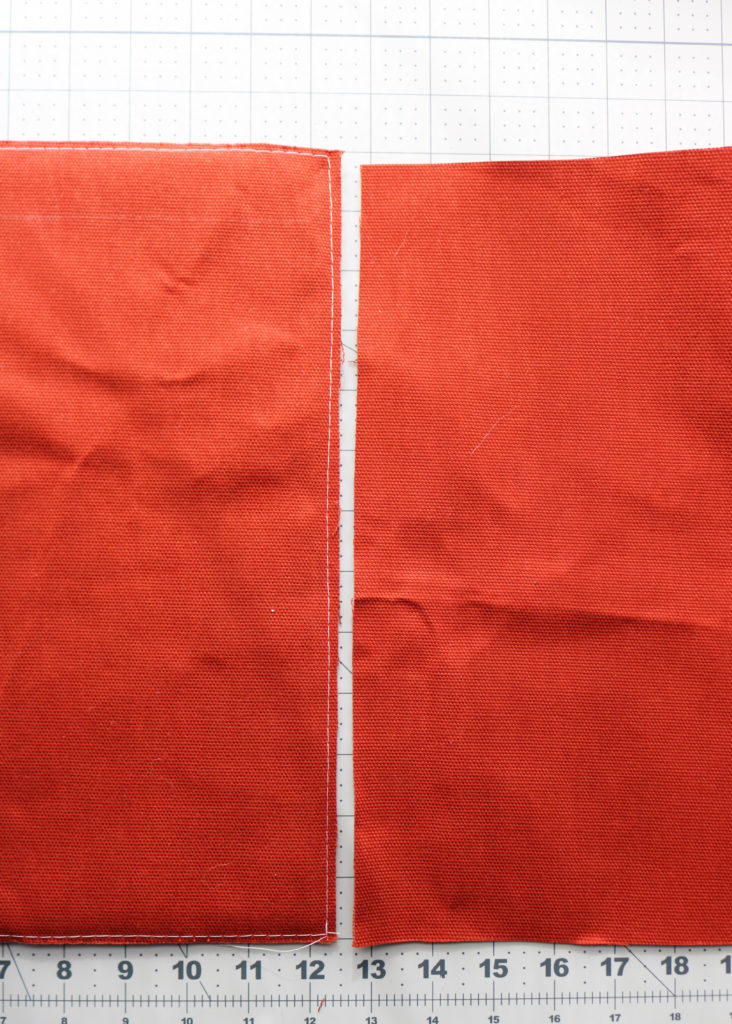
If you are looking to match fabric designs, it’s best to line everything at the base of the Main and Lining pieces. The Fronts are slightly shorter than the back pieces to accommodate the zipper width.
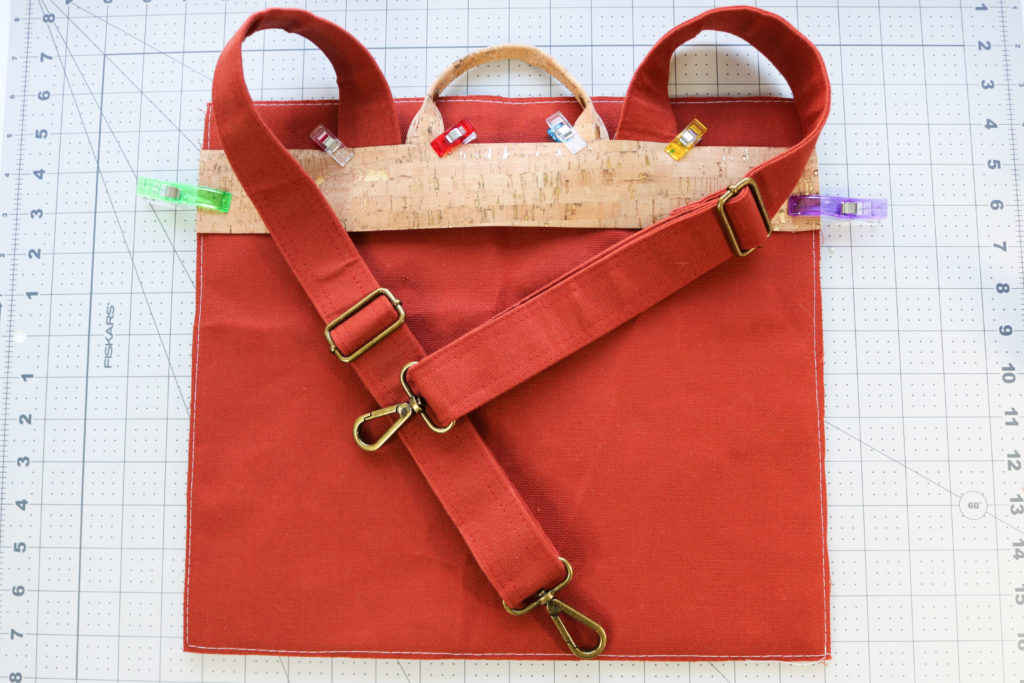
For those looking for the hack to add permanent back straps to the Erin, head here for the additional materials. I will be adding them to my bag, but will still reference the original parts of the bag if you still want the convertible back strap options.
INTERFACING
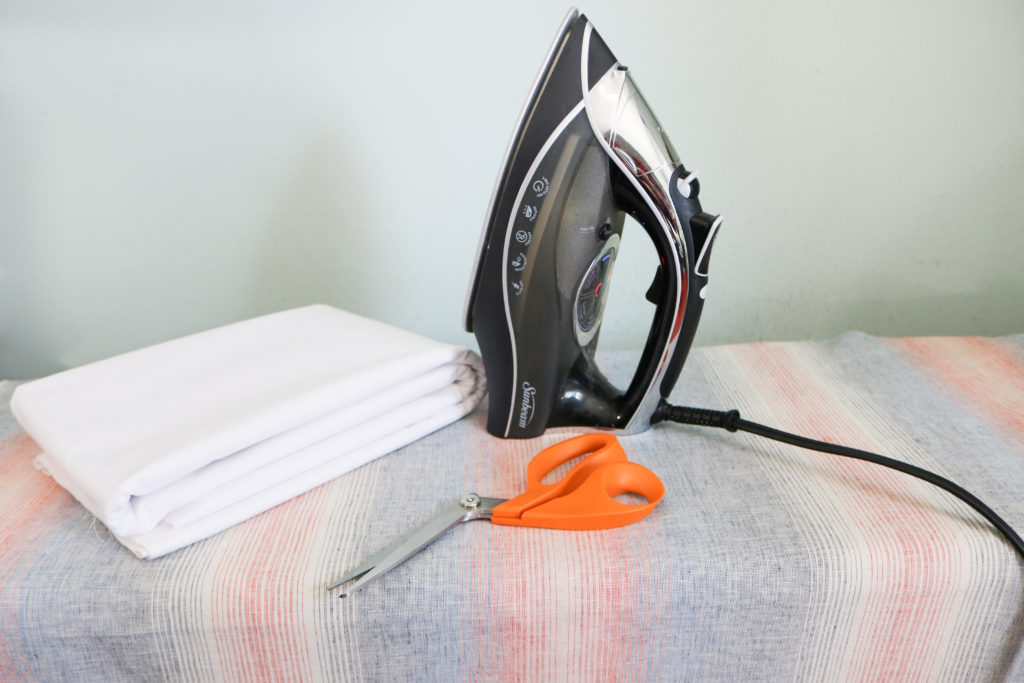
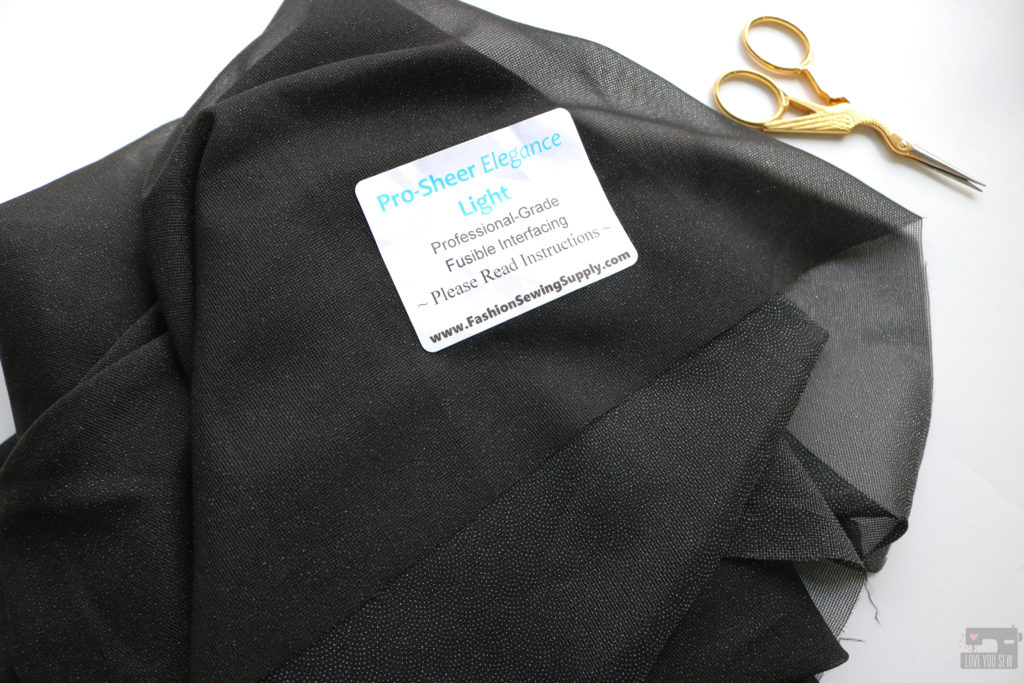
[Step 2] The majority of the fusing will be to the Lining pieces. Because of that, I like to do this first and block fuse as much as I can — This is when you interface the fabric first and then go back to cut out the pieces, reducing time spent cutting. The downside is that you may end up with more fused fabric than what’s needed, but I keep everything to make pouches later on. You will fuse the following with woven interfacing:
- Front and Back Lining
- Top and Bottom Lining
- Front Welt Pocket
- Front Elastic Pockets (but only on the half which faces the inside after being folded)*
- Pop-put Pocket Main* + Lining
- Back Slip Pocket Main* + Lining
- Interior Welt Pocket
- Interior Slip Pocket
- Interior Elastic Pockets
- Key Fob
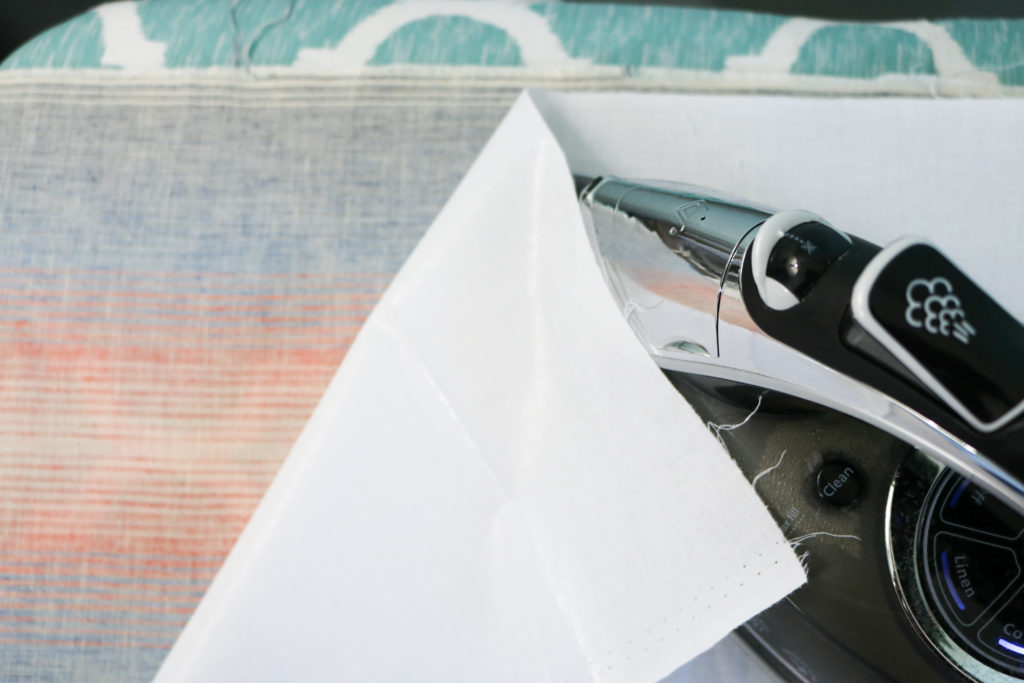
I am using a treated canvas and per manufacturer’s instructions, I cannot iron it and can only finger-press seams into place. With the fabric being so heavy at 9 oz, I’m skipping the woven interfacing on the parts marked with an (*). So if you are using vinyl or a waxed canvas, consider the same changes. If you are looking more a more structured bag and can’t iron the fabric, then consider a sew-in interfacing instead of the the fusible. Additionally, If you want to use the Back Slip Pocket to hold a tablet or small laptop, consider adding foam to the main fabric.
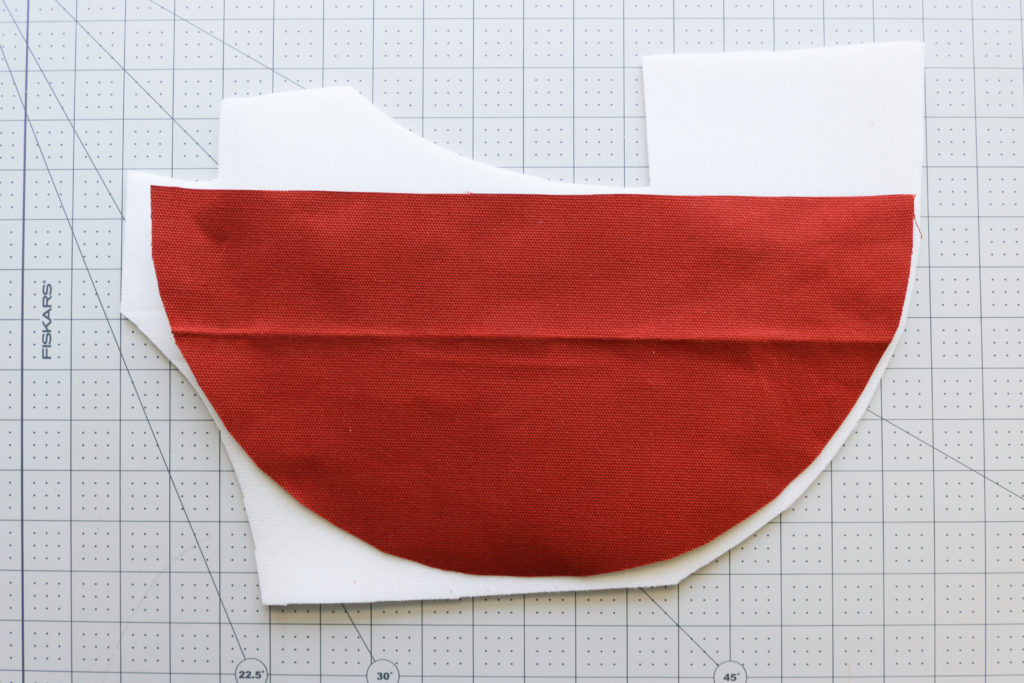
[Step 3] When it comes to basting the Main fabric onto the (non-fusible) foam, I like to use a larger piece of foam, baste, and THEN come back to trim it. If you have never basted before, it is a technique of securing fabric together with thread (either by hand or machine.) I crank my machine up to the longest stitch length (6mm) and will baste the pieces together. You will baste:
- Top + Bottom
- Back Panel
- SKIP the Front Panel for now – The Front Welt Pocket needs to be sewn in BEFORE the foam is basted in.
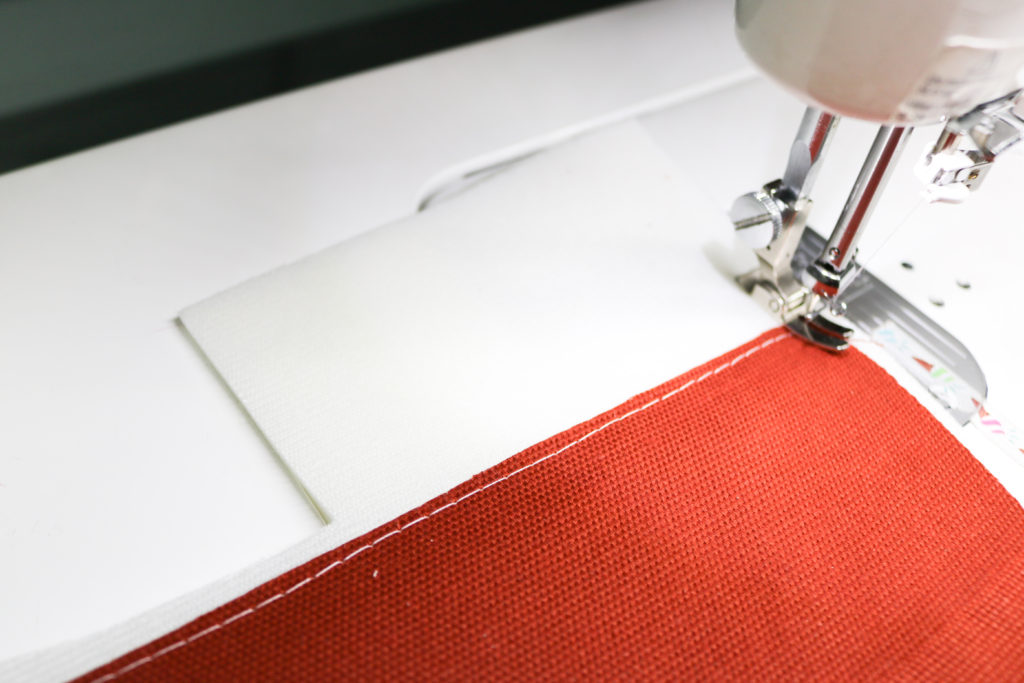
As you baste every several stitches, smooth the fabric outward so it is nice and taut against the foam.
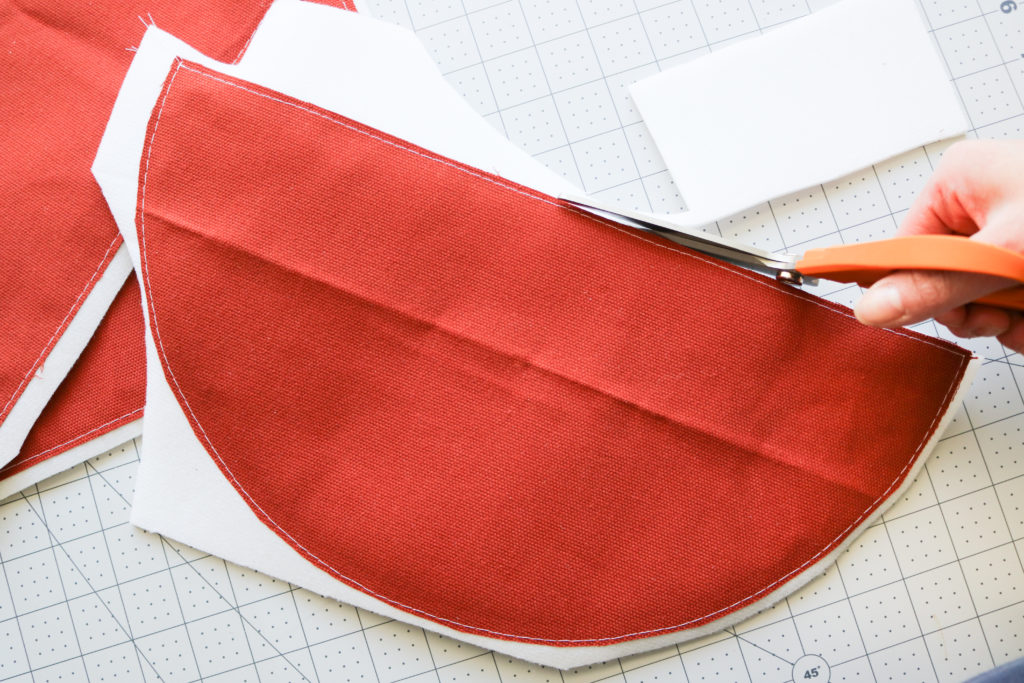
Once finished basting, you can trim the excess foam away from each piece of the bag and set aside.
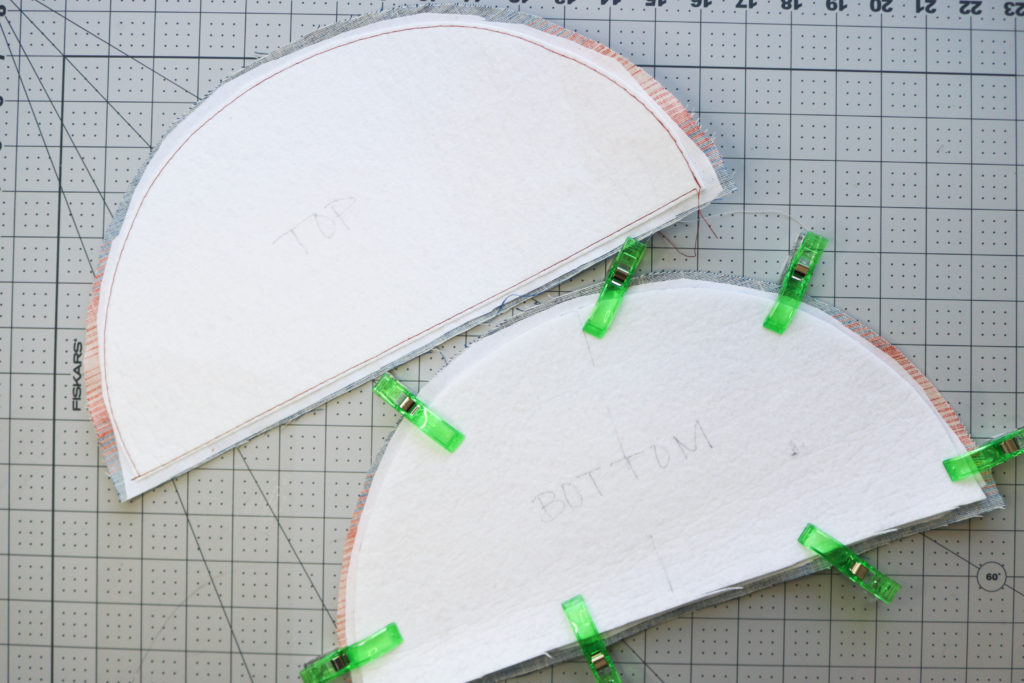
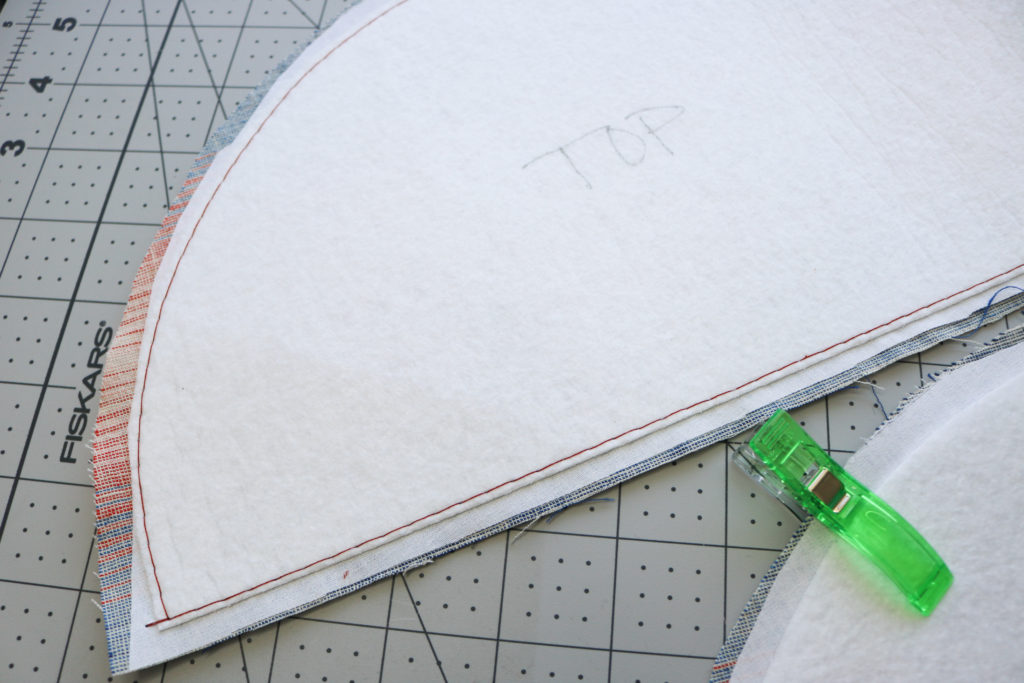
[Step 4] Now it’s time to grab the Top + Bottom LINING Pieces. I like to label the firm interfacing to make sure I don’t mix up the pieces since each one will be sewn in differently. The Bottom firm interfacing is attached with regular stitching whereas the Top is basted in — since the stitching will be removed later for a clean finish. *If you are using a laminate for the lining, I would skip the basting (You don’t want to create permanent holes in the top lining when we remove stitching later) and either lightly glue the firm interfacing into place or consider permanently sewing it into place like the bottom.
CUTTING ACCENT FABRIC
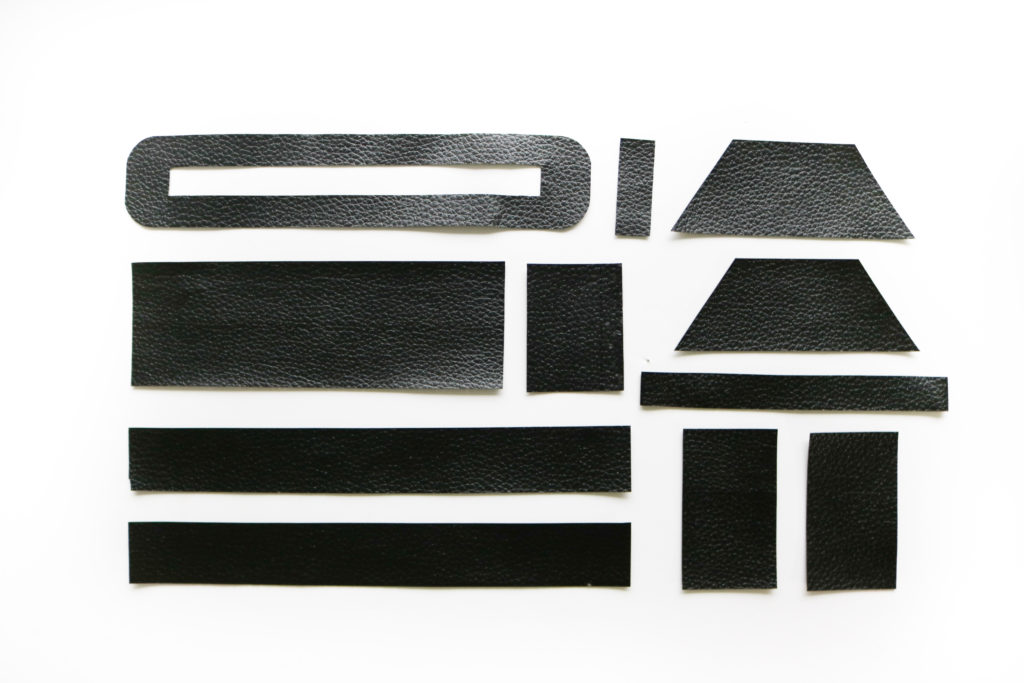
You should have the following pattern pieces with the accent fabric:
- Zipper Plate
- D-Ring Tab
- Handle Base
- Rectangle Ring Tab
- Back Strap Tabs
- Accessory Strap
- Handle + optional*
- Front Strap Tabs
*In the pattern, I cut (2) Handles for more strength. But you are welcome to make a double-fold or even a Rolled Handle like this one, depending on the thickness of your accent fabric.
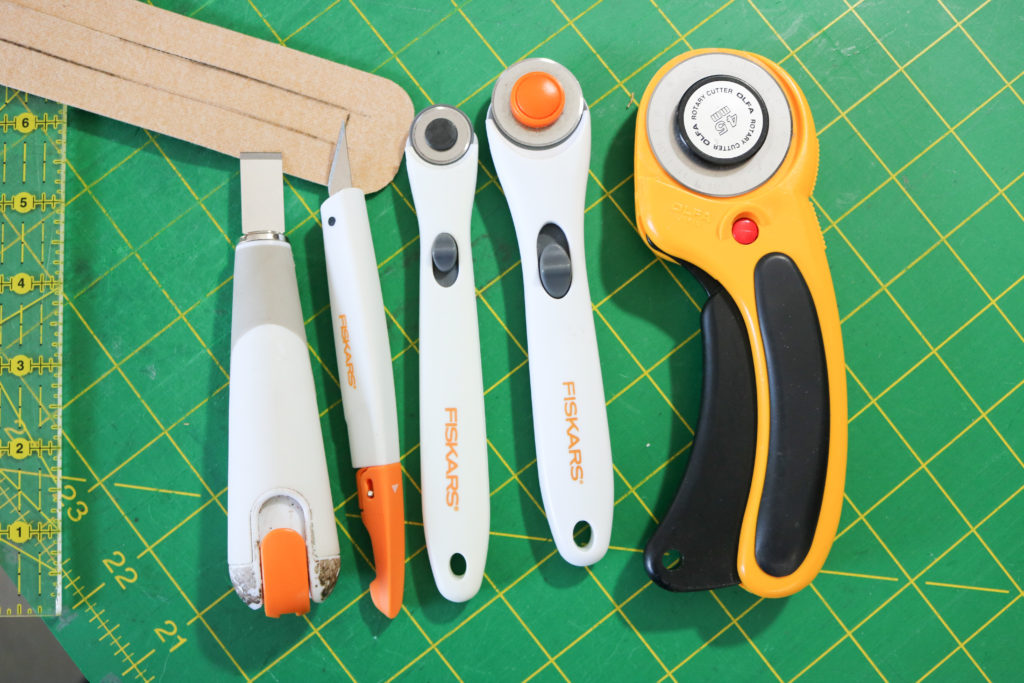
With all of the Accent Fabric, I like to use a rotary cutter (or craft knife in tighter spots) and ruler as much as possible to create nice straight lines. But it’s hard to get the same precision for curved lines.
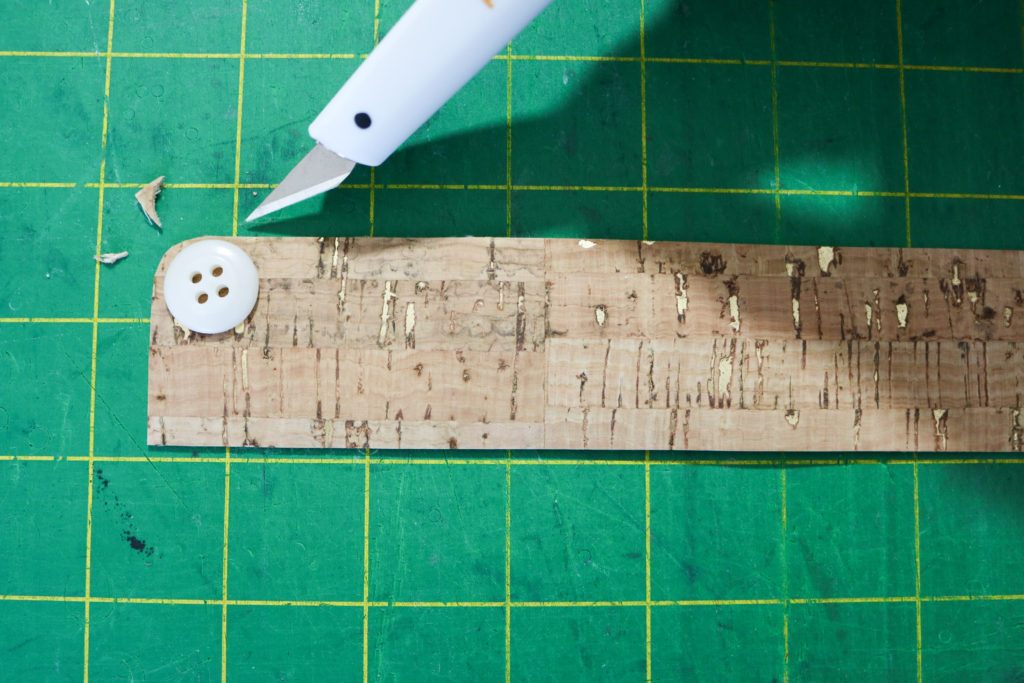
With the Zipper Plate, I’ll use any random round object like a metal washer (my preferred device, but of course, I couldn’t find it for this post..) or a thread spool around my house to use as a guide for my craft knife. This allows for a more uniform look at the corners. For the smoothest line, try to cut every curve in one motion and don’t forget to practice first!
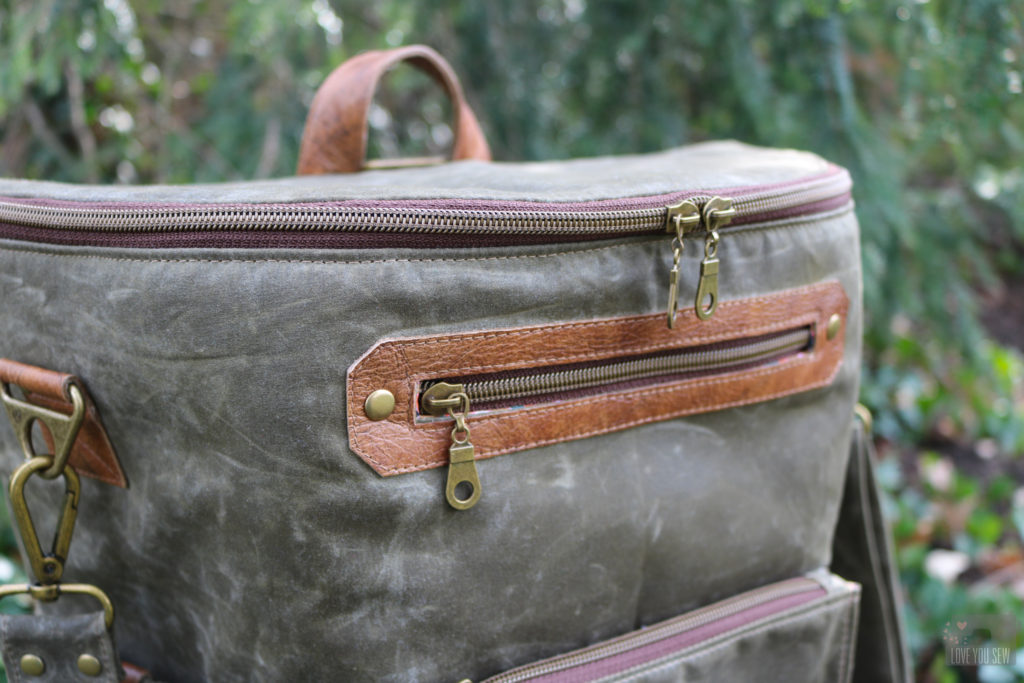
Alternatively, if you don’t want to bother with curves and want to make things more simple, you can just cut the zipper plate as a full rectangle and then snip a uniform 45* right triangle off every corner like this Zipper Plate above.
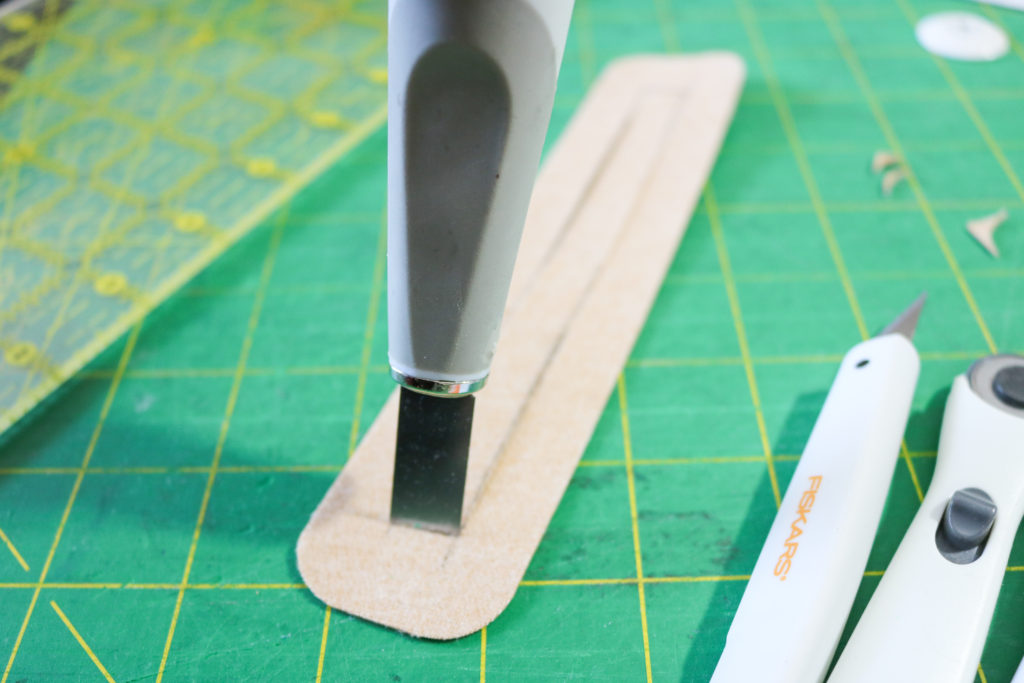
Additionally, for all my zipper plate use, I love the 1/2″ flat blade in this knife kit. It’s the perfect size to cut into the plate and I love the variety of blade for all my crafting needs.
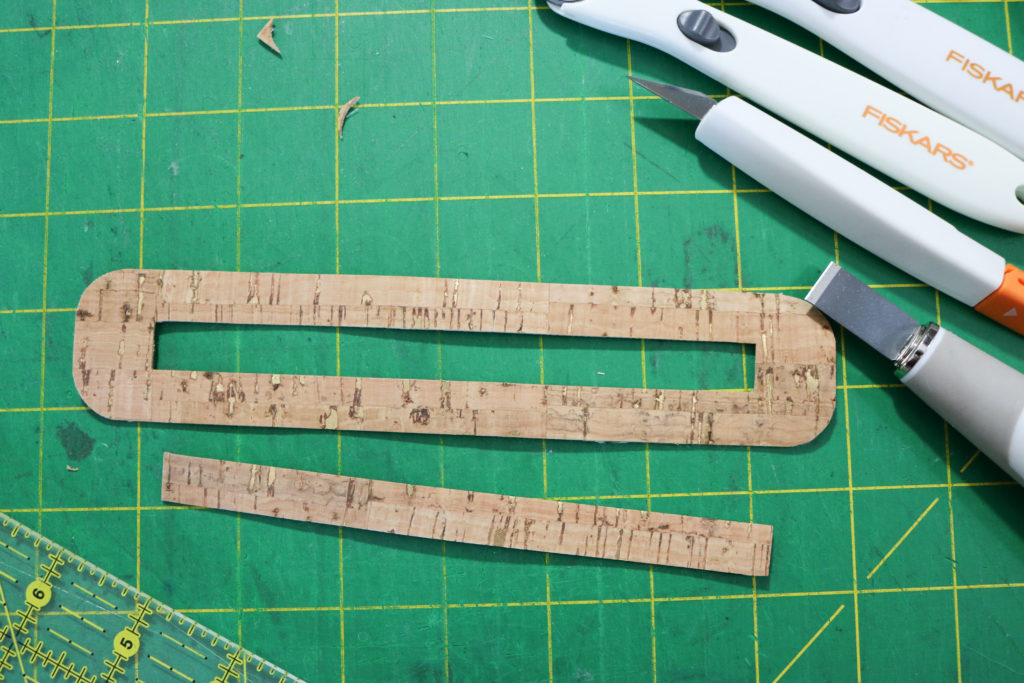
Once you are finished cutting through all the accent fabric, you can optionally seal the edges with your preferred method. The faux leather I used as part of the instructions has a felt backing, so it didn’t require any sealing. However, this cork I’m using for the sew along has a woven fabric backing and I do like to seal. You can do so by using a seam sealant like Fray Check or using Leather Paint like in this post (with video!)
Prep hardware
[Step 5-8] Click into the video above for the hardware prep, including how to sew the rings into place. Use a light uniform amount of glue to encase all the rings per instructions. You want enough to keep the tabs attached, but not so much that it will effect your sewing (needles can stick to the glue and throw off timing.)
Although in Step 7, it mentions to add rivets to the Back Strap Rings, I suggest you wait until the backpack is complete. This will make it easier to sew the tabs in place and you don’t have to worry about avoiding the rivets with your sewing machine.
Phew! That was a good bit of work just to prep the Erin Backpack. If you have any questions, please comment below. Next up, I’ll be post Part 2: Making the Strap and Key Fob, so stay tuned!
Hugs and Stitches,
Cristy
This post may contain affiliate links. Please read my Disclosures for all affiliate info.
