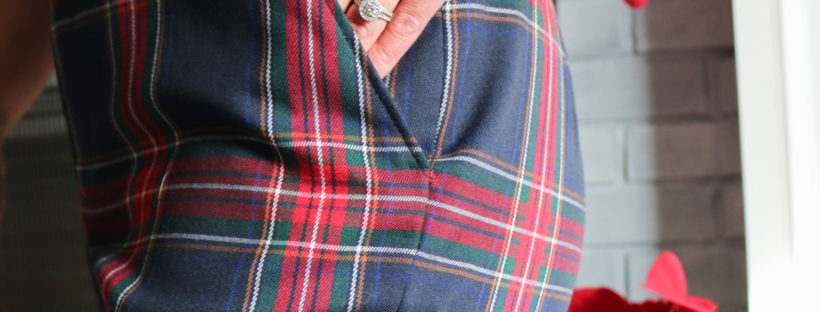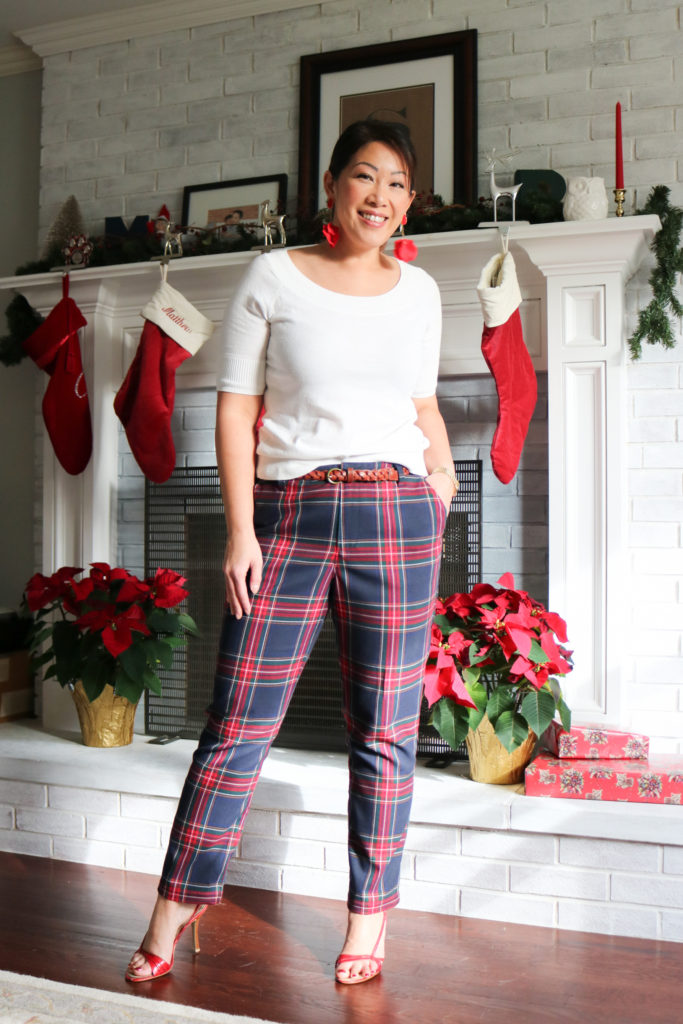
I have always loved the chic preppy look of tartan pants. They are a bit out there, but still SO fun and a great way to liven up an outfit — especially around the holidays. But unfortunately, I just was never confident enough to believe that I could rock the look. Plaid placement is key and the right amount of ease is needed to not turn these overlapping stripes into curvy roadways that make my body look wider than it really is. Don’t get me wrong, I LOVE having curves, but don’t need the plaid to push my silhouette down. By making my own pants that are custom to my frame, I’m happy (actually, surprised!) with how this print actually lengthens my 5’3″ body.
FABRIC
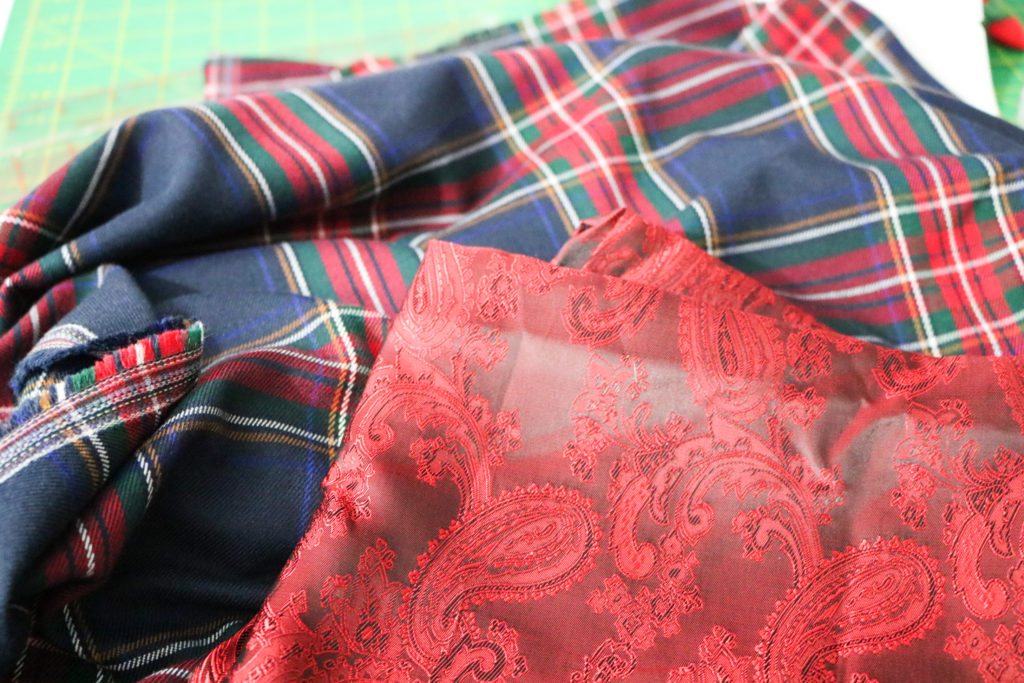
Ever since the end of summer, I’ve been on the hunt for some good plaid suiting…whether it be wool or another cool weather fiber. Initially, it was just so I could have some gray trousers for dressed up occasions. But I found myself falling in love with holiday colored plaids too. I have always loved how J. Crew would always have their tartans out for the holidays and wanted a sophisticated blend of colors like their style. Most of the fabrics I found were always a little “off,” until I found this Blue/Red Nirvana Plaid from Melanated Fabrics. It was exactly the style, scale and fabric blend I was searching for! And the best part is I found it on sale during Black Friday — we were meant to be!
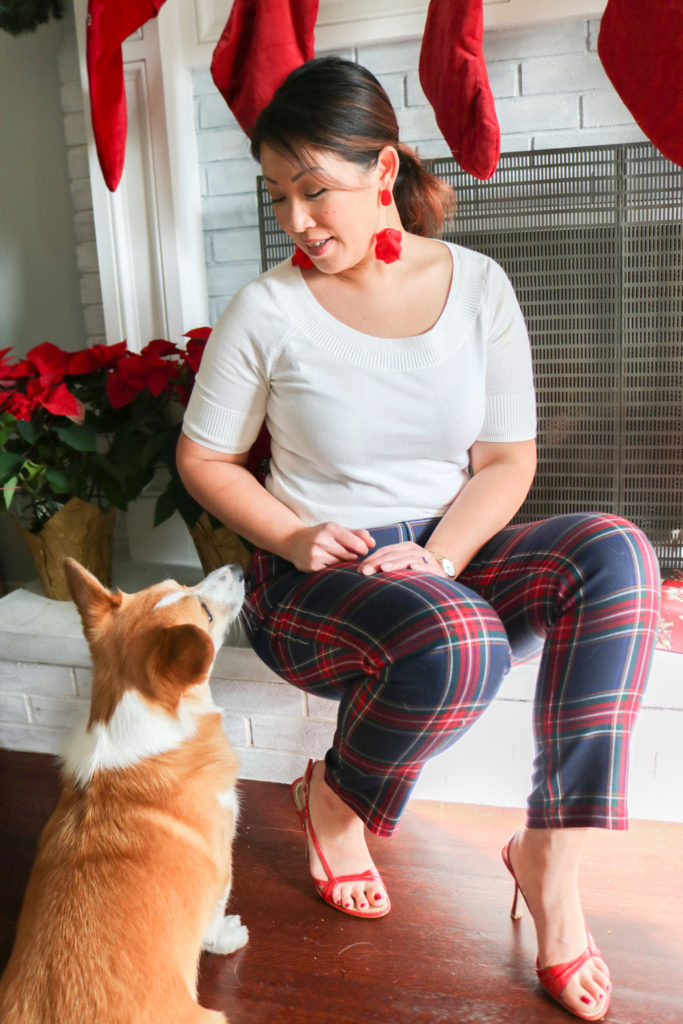
What I love about this fabric is that it has a medium hand and twill finish, but also includes spandex for a 2-way stretch. When you’re curvy, some extra stretch is always welcome! The fabric is also a generous 56/57″ width, actually giving me a lot of extra to make a top or even a possible jacket later on. (That’s something I can deal with in 2022!)
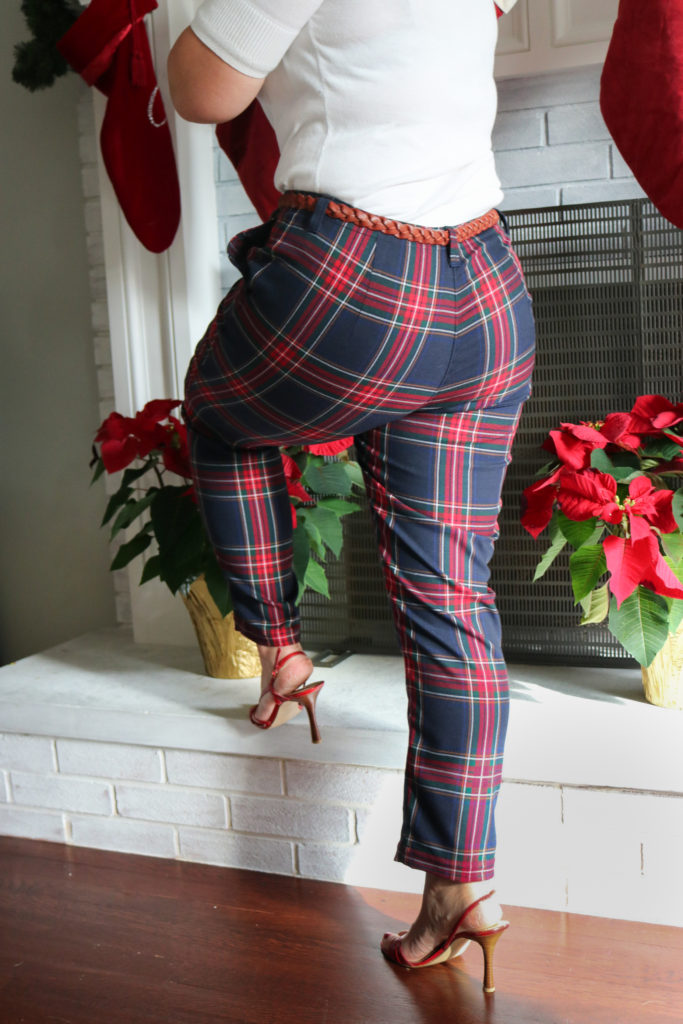
This fabric is great for pants since the polyester content makes it pretty wrinkle-free…and I’ve had these tossed all over the place in-between wear and I haven’t had to re-iron them yet. The Nirvana plaid is also completely opaque and not scratchy…so no extra lining is required. There is actually rayon in the fabric that makes it VERY comfortable to wear.
The only downside to this fabric is that it does fray pretty easily. I would recommend finishing all the edges to keep the fabric from unraveling. My pocket lining is leftover from a Minerva kit and that was unraveling quite a bit too….so I ended up always trimming down my pants every few steps. If I end up using the rest of this plaid, I will definitely finish the edges to save myself the sewing room mess!
PATTERN
When I bought this fabric, I had a completely different pants pattern in mind. During Black Friday, I also picked up the By Hand London Jackie Trousers. But after making the toile, I thought all the pleats wouldn’t look right and be too busy with such a stand-out tartan pattern. It’s also a VERY relaxed fit with lots of ease since it’s also a unisex pattern. So instead, I’m going to save the Jackie Trousers for a gray wool suiting I have that isn’t as busy and won’t make me feel like a balloon!
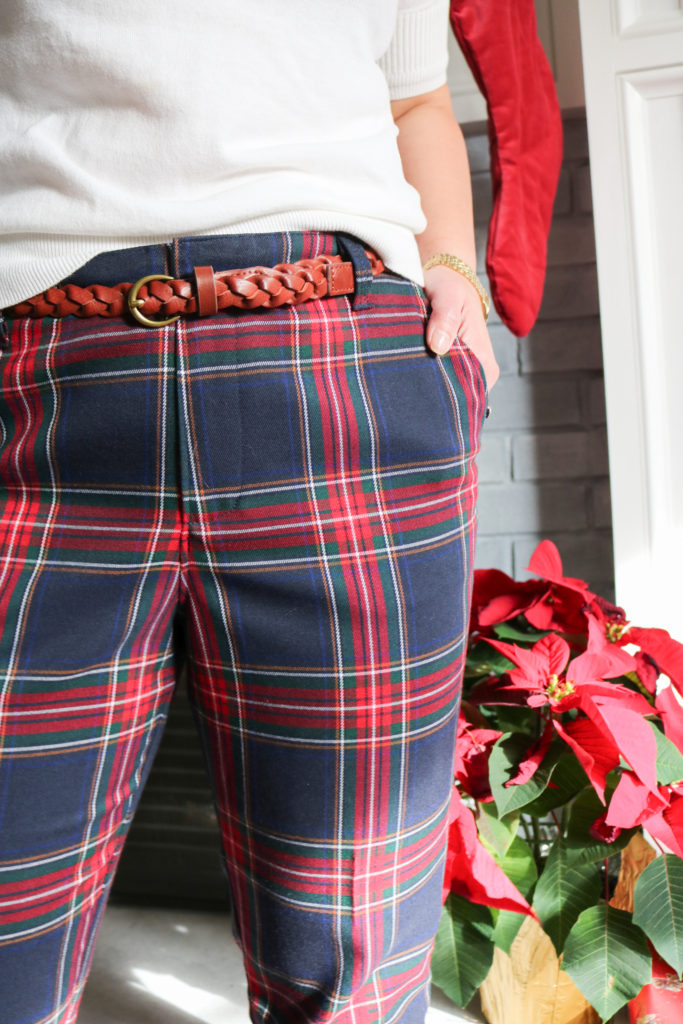
I’m glad I went with my gut and turned to my TNT (tried and true) Chi-Town Chinos (with expansion pack 2) by Alina Design Co, instead. You can check out the very first pair I made here. Since I’ve made these pants, as well as, the shorts before, I knew the changes I would have to make to fit my body. My waist measured an 8 and my hips measured at a 12. I generally have a two size difference between waist and hip and have tested between so many different adjustments over the years. After 4 pairs of Chi-Town Chinos, I think I have it.
Here were my mods:
- Cut a 10 (knowing I would take in extra later) and blended the hips out to a 12
- Added 1 1/4″ to the rise in order to be mid-level and right at my belly button. (The original drafting is for a low-rise chino.) I added the length to the top of both the from and back pants template in order to keep the dart in place and not accidentally raise it too high.
- Took out an additional 1/2″ out of each dart (1/4″ on both sides)
- Took out an additional 1/2″ out of the center back
- Added 1/2″ to the back crotch length for my back-side
- Removed 2″ of length at the leg’s shorten/lengthen line
- After making the pants, cut off an additional 1 1/2″ off off the hem
- Interfaced the size 8 waistband so it wouldn’t stretch out with wear
- Omitted back pockets
PLAID MATCHING
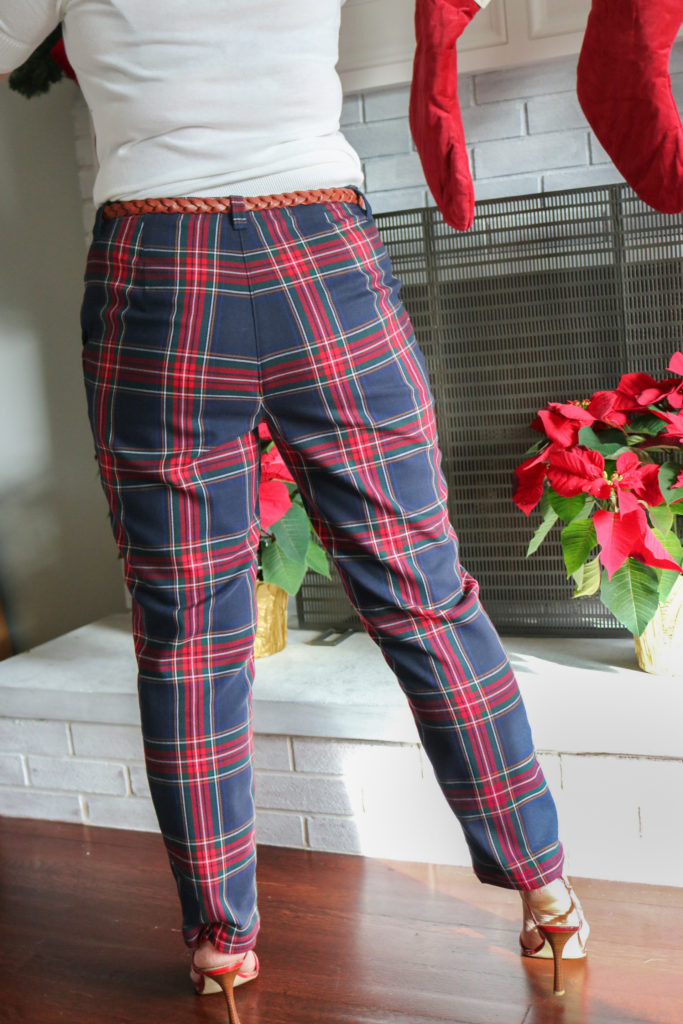
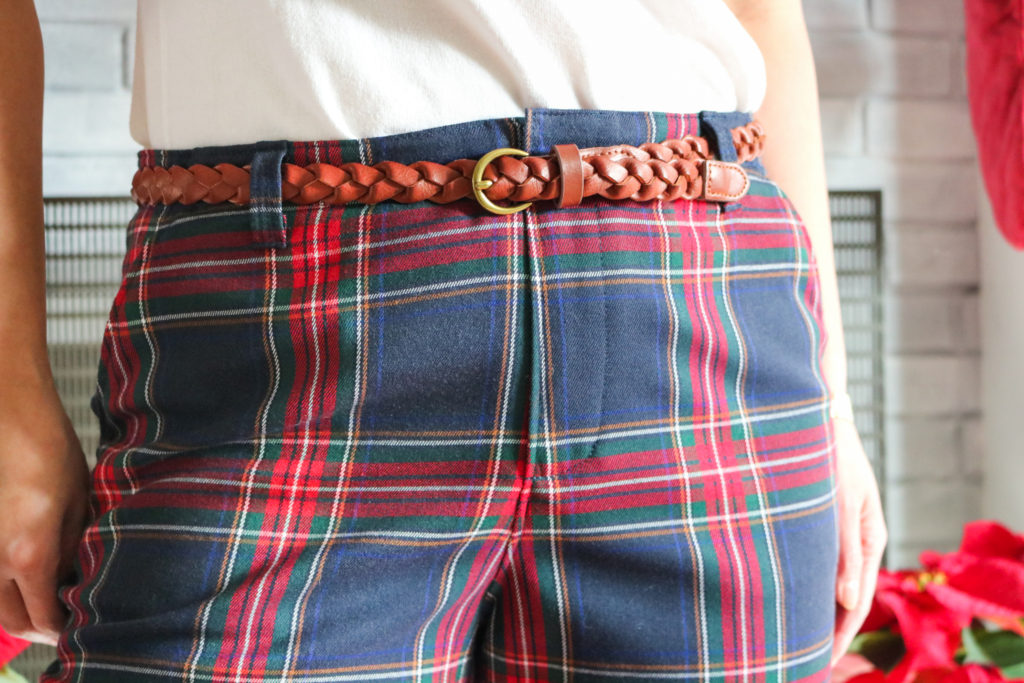
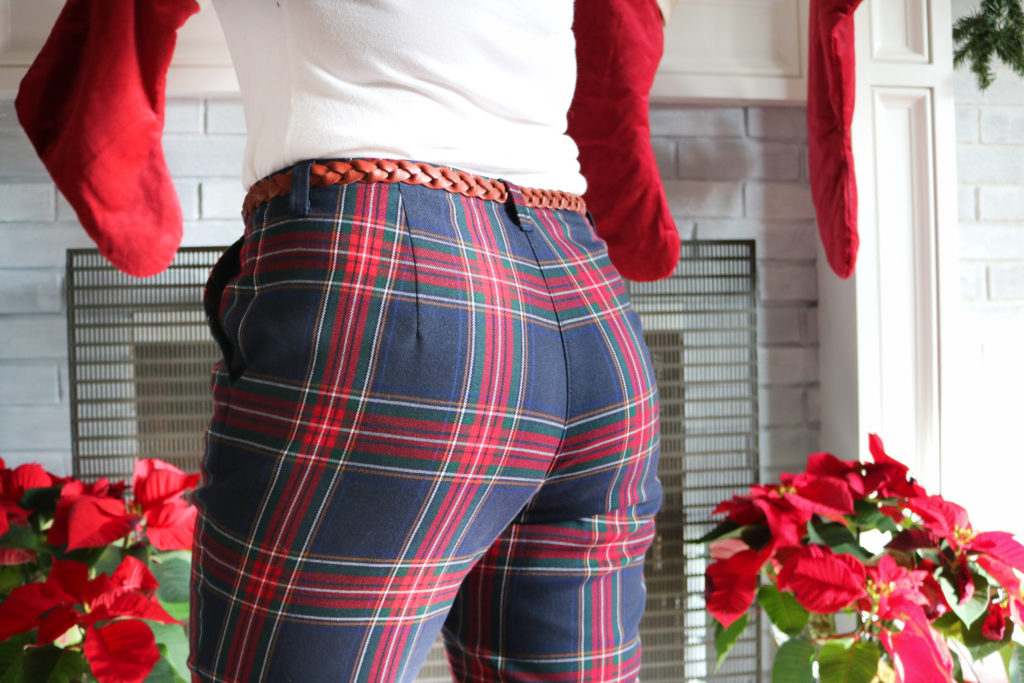
During my research of plaid pants, I unfortunately came across a bunch of poorly matched patterns….like, not even close to matching. And I also saw some bad cutting, where one leg was cut on the bias and the other was on the grain…what?!?! I couldn’t believe these pants were actually sold at one point! But, there were a few pair that I definitely liked. The ones I liked made sure to have the prominent stripe run vertically centered on the front and back legs. This makes your eyes run up and down, with helps for a lengthening illusion. You really have pay attention to the template’s grainline to get this right. I also tried to make sure the big red stripes wouldn’t run horizontally across the apex of my back side and thus, widen me. I wasn’t completely successful, but having the two red stripes on my backside, helps to even out the gaze…which is still winning!
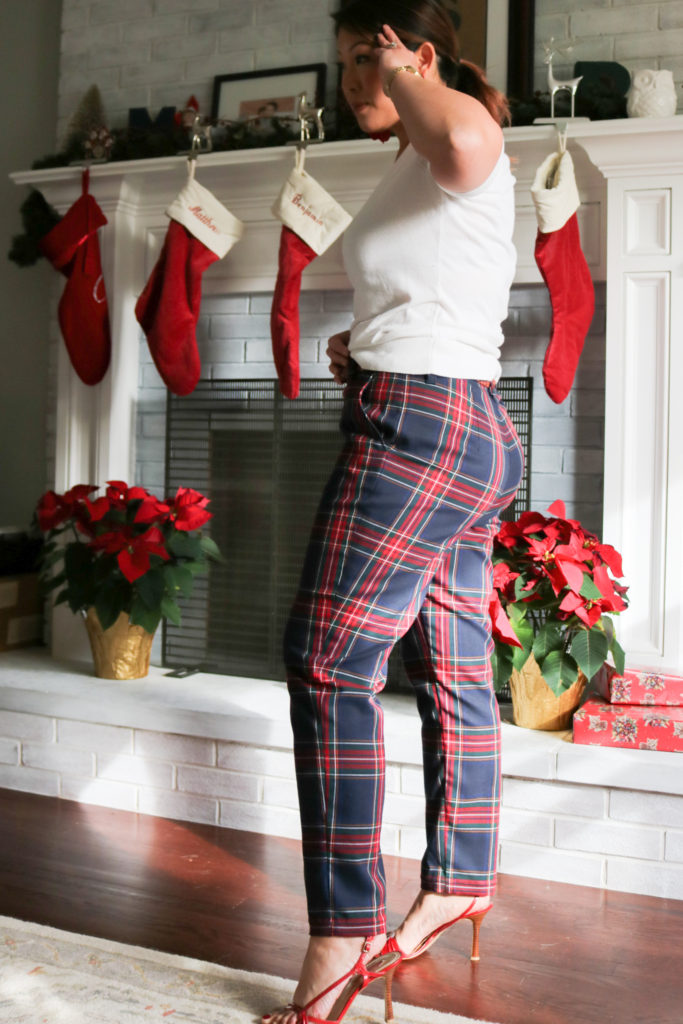
When cutting the pant legs, I chose the widest part of the hip to be where I focused on matching. My main goal was to not have the horizontal stripe run directly into my crotch. As you can see, it still runs across the pelvis and back, but not angled down into the crotch. I cut every piece of the chinos out separately to make sure all points were matched up.
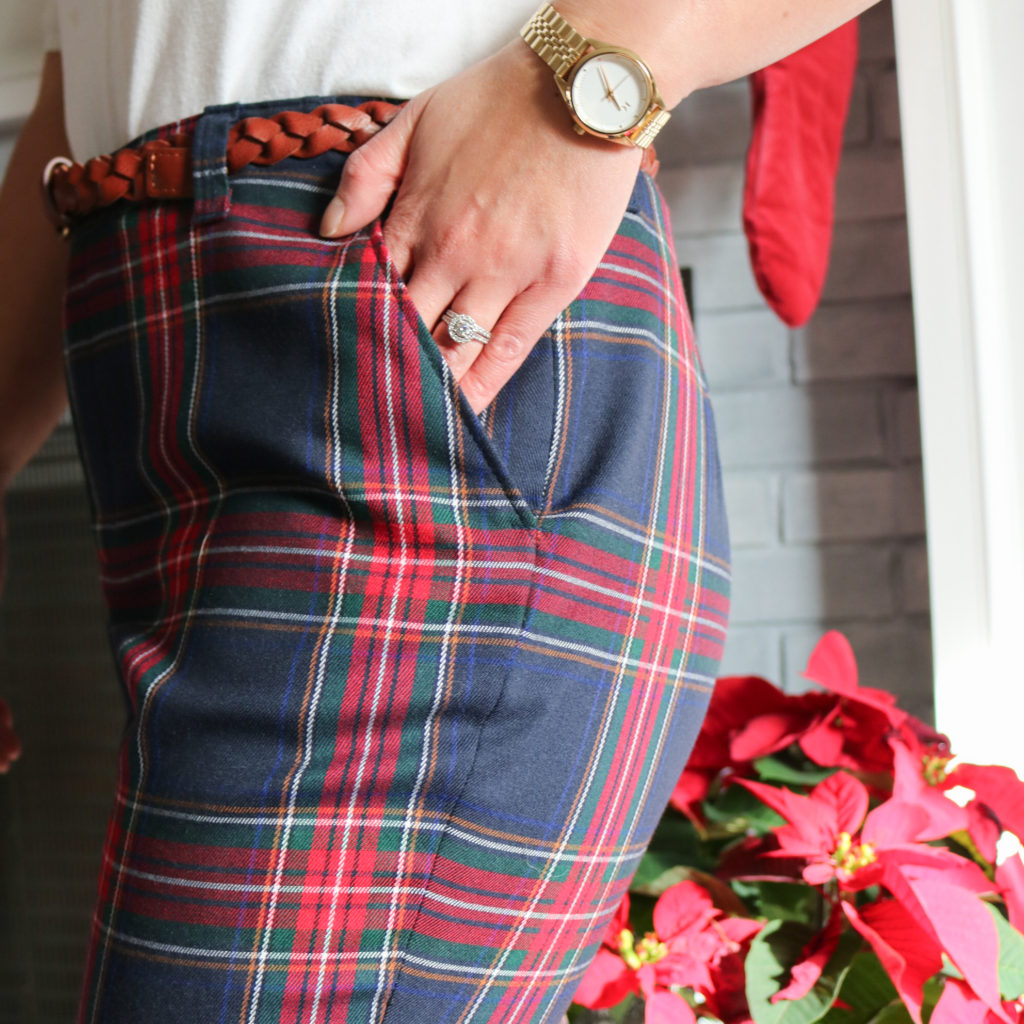
To have nice side and inseams, I used A LOT of pins to hold the pants in place. The Chi-Town Chinos have a generous 5/8″ seam allowance and it’s important to pin at the seam line and not just at the edge of the fabric. If you pin just at the edge of the fabric, the pattern can shift very easily. I know it’s a major “don’t,” but I will sew over my pins when I need to pattern match this much. During the fit and basting process, I made sure to pattern match then. If I was off a little bit, I could always go back and easily pick the stitching and re-pin for the final stitching. Although this is takes patience and time, the pattern matching is well worth the effort!
One last tip I have is to use a walking foot when top-stitching…especially at the waistline. Initially, I didn’t use one and with the twill weave along with the spandex fiber content, the plaid really shifted on me. I picked all the stitching (ugh!) and then used a walking foot with extra pins to evenly guide the fabric while sewing so the plaid wouldn’t be lopsided.
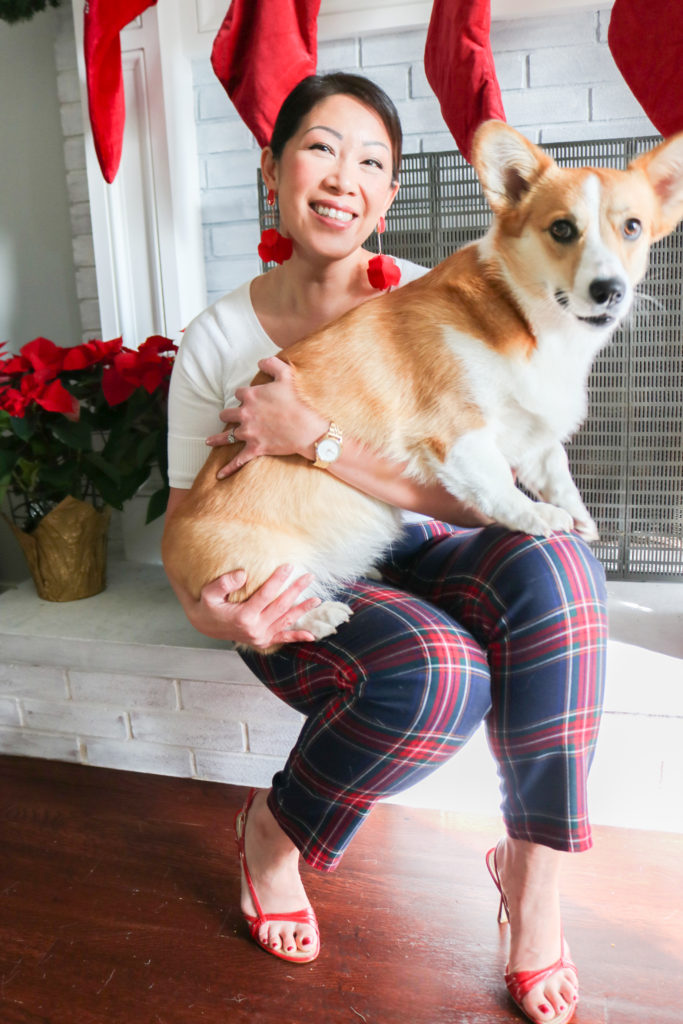
I never thought I could wear patterned pants….mainly from RTW trauma years ago. But I know NOW, with the right ease and fabric placement, I can do it. This is really opening up my world and you better believe my pants will be much more fun going forward! Isn’t sewing for yourself amazing? Do you have any fun holiday makes in the works?
Merry Stitchmas Friends!
Cristy
