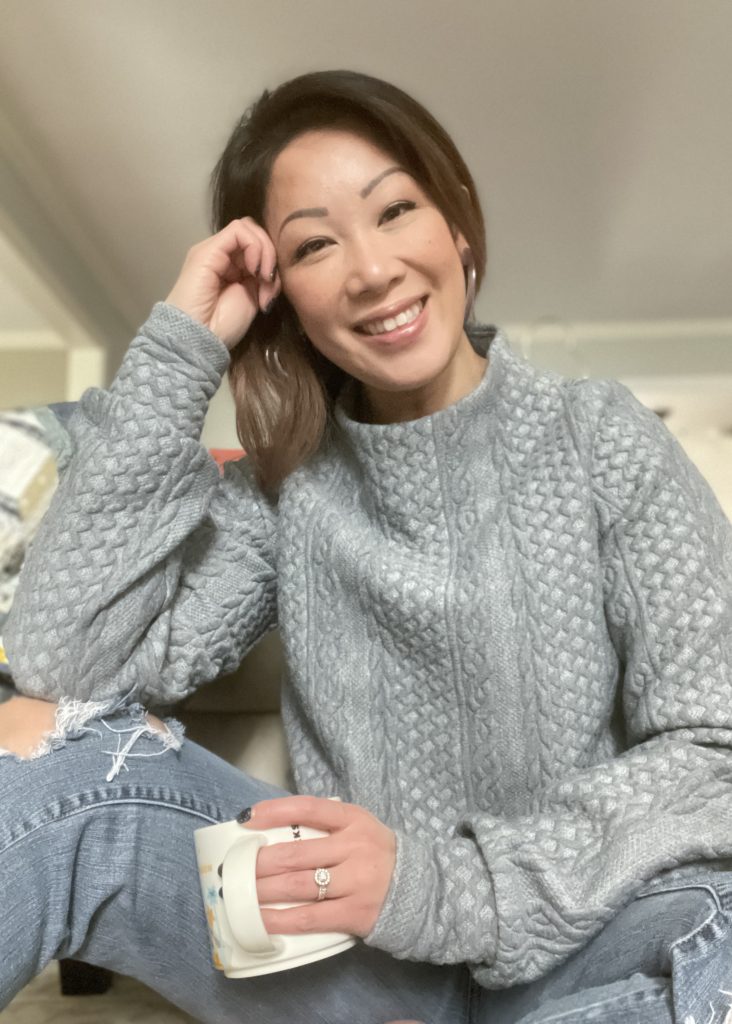
Winter finally hit here in the midwest. And by winter, I mean the below-freezing temps with wind that just bites at your face! Since I walk my dog everyday, I’m out in this cold whether I like it or not. In the mornings, I usually just throw on a sweatshirt over a few layers, but for 2022, I feel like I need “nicer” cozy clothes. Don’t get me wrong, the dog walks will probably always include a sweatshirt, but I would stay in them all-day long and that’s the cycle I want to break. It’s been two years of sweatsuits and I’m ready to get out! So, with this sweater knit I bought last year and my TNT, Sheridan Sweater, I’m working to get out of this rut.
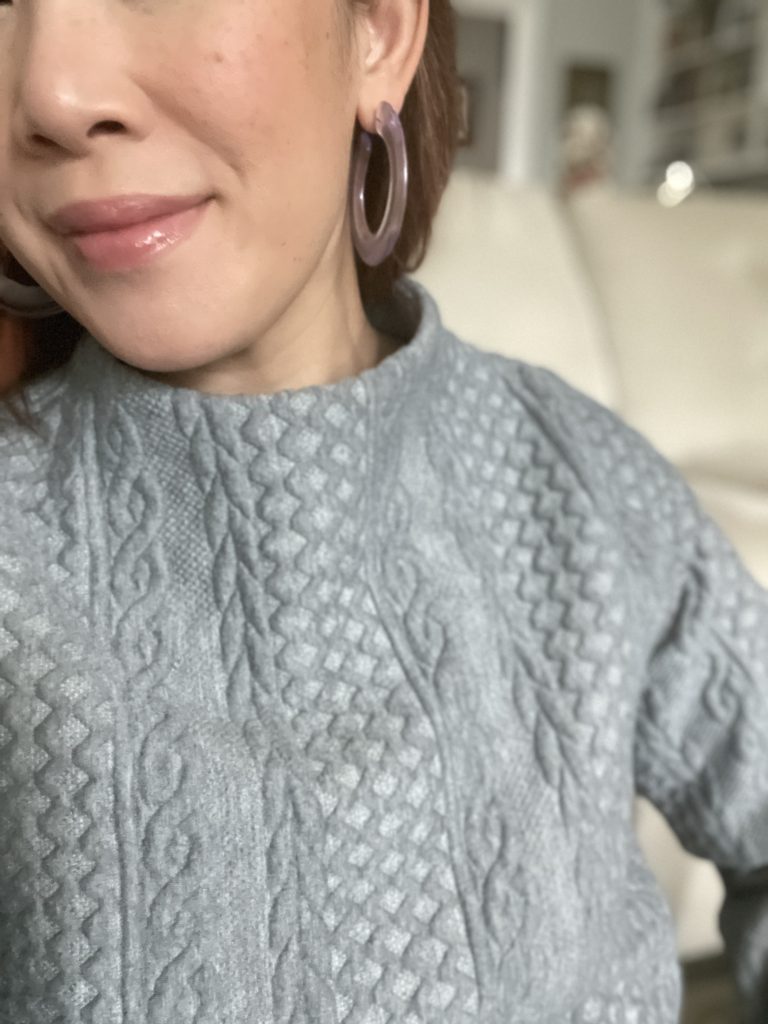
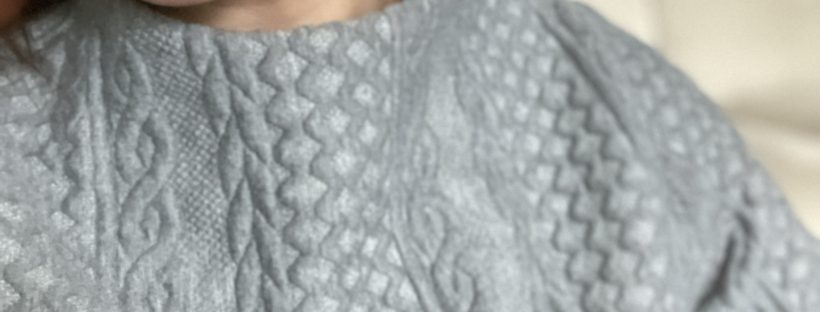
I know I need more texture in my tops (not just the knit sweatshirt/jersey look) and sweaters would bring it in. But since I don’t knit or crochet, I have to bring it in through other ways. For sure, I have to do some thrifting, but I also had this incredible cable knit-look fabric in my stash. I bought this from Fabric.com after seeing so many other makers use it and it certainly delivers. The fabric is a really nice thick knit that isn’t too heavy but has the feel of a real sweater. While the inside “stuffing” frayed a bit depending where you cut the fabric, I was able to use my regular sewing machine, serger, and even cover-stitch to make this top.
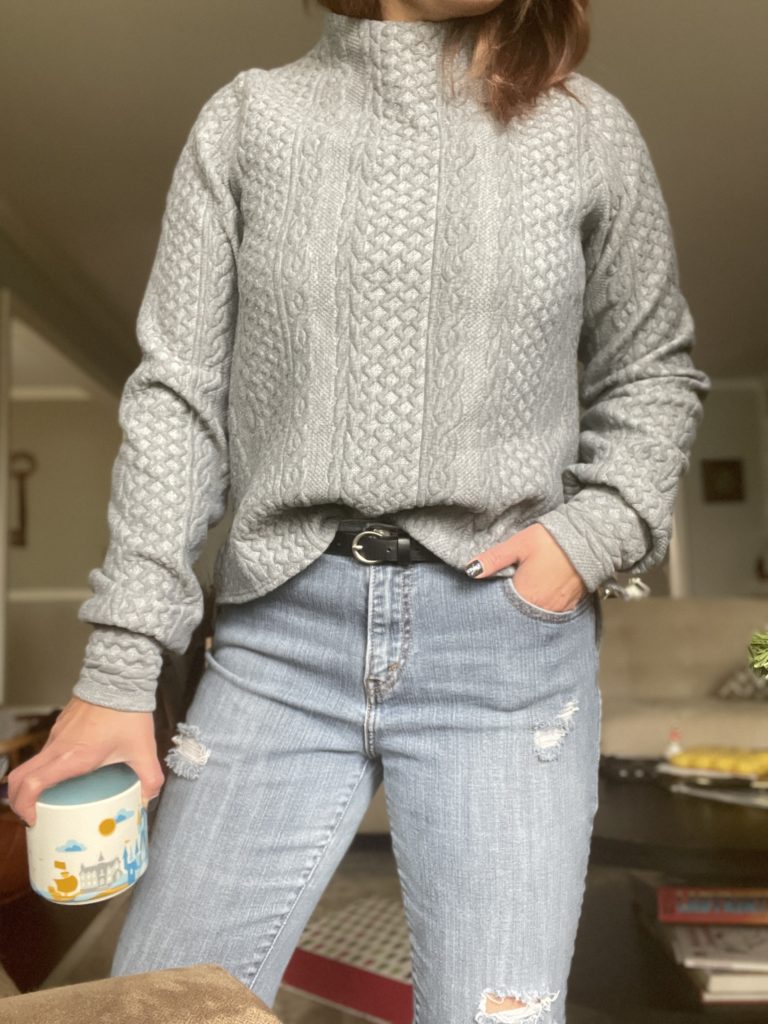
This is the fourth time I’ve made the Sheridan Sweater, a pattern by Hey June Handmade. You can check out two I made on this post. I’m a big fan of this pattern and really love the funnel neck view. I’m always the “cold” one in the family and I like to have my neck covered, but I’m not a fan of turtlenecks. My skin is pretty sensitive with fabric textures, so I always like some kind of loose covering like a cowl seen here in my Halifax Hoodie or this funnel neck. Since I already have two Sheridans that are identical with the exception of color, I knew this one had to be different. In addition to the fabric, I also hacked the pattern to make an uneven split hem, which is perfect for to half-tuck into my jeans.
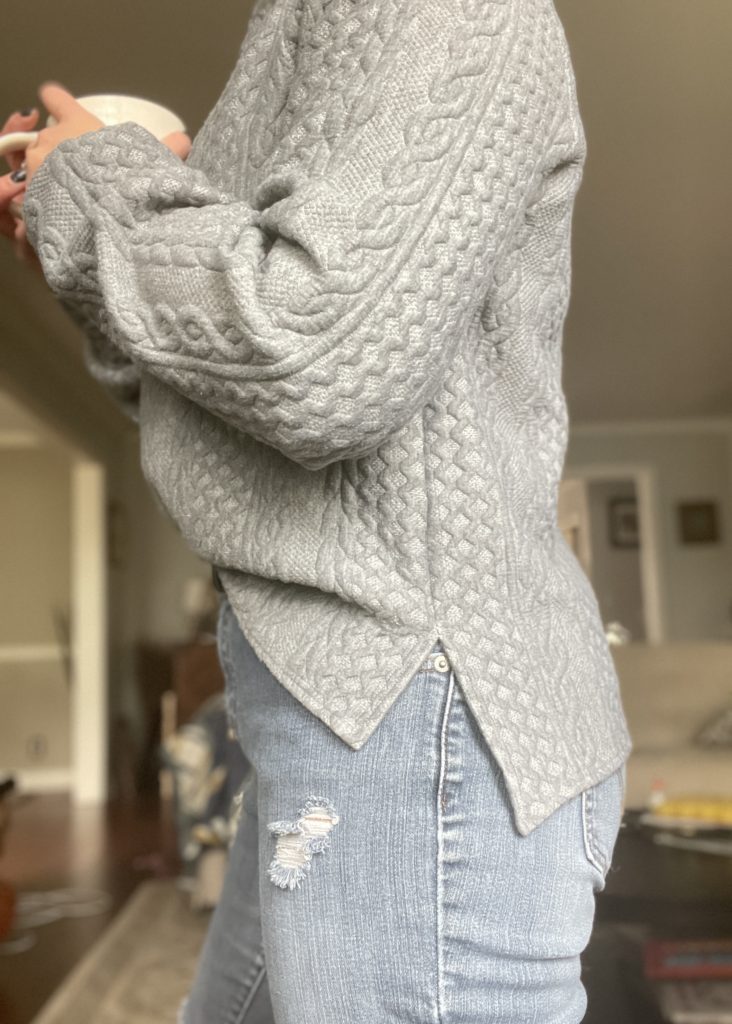
These are all of the modifications on my size 10, view B Sheridan:
- Increased the funnel neck by 1/2″
- Omitted interfacing on the neck facing (fabric is thick enough)
- Lengthened full front by 1″ and the back by 2 1/2″
- Marked 3 1/2″ from the bottom front for the split hem
- Used 3/8″ single fold with cover-stitching for hem
- Made a 1/2″ narrow shoulder adjustment (typical for me with HJ patterns)
- Narrowed out the sleeve 2″ on each side (4″ total) for a less formal balloon sleeve
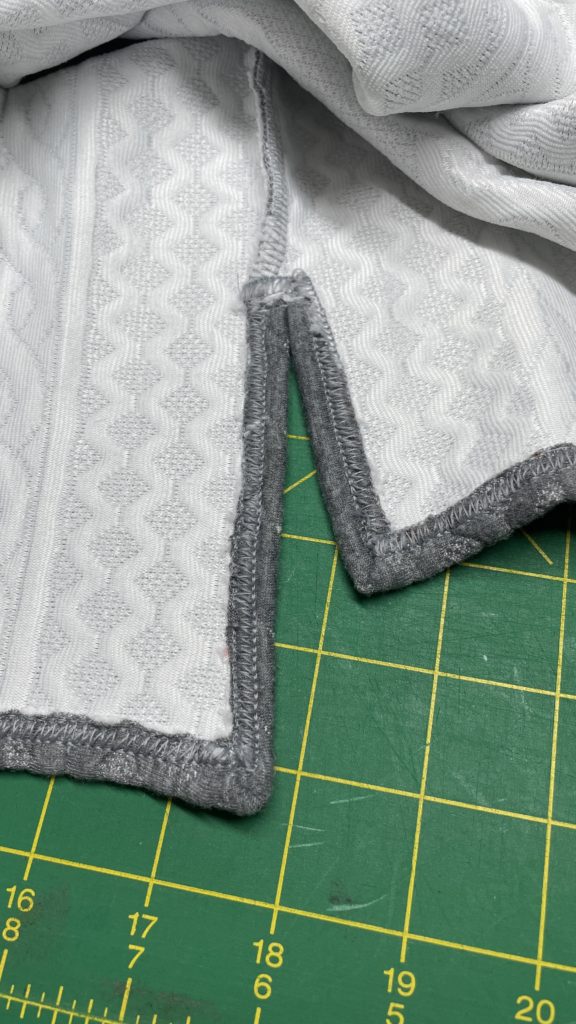
I was “winging” the split hem (which I kinda regret now) and wished I added more length to the hem and especially at the side seams for the split. While this isn’t the prettiest cover-stitching, you can’t really tell from the outside (thank goodness!) it worked out in the end. I used some Mettler Seraflex to help tack down the hem right at the split (on the side seams) and after using my cover-stitch, realized I should’ve just used it on the hem this whole time — Lesson Learned! It’s a great thread that has stretch which you use with a straight stitch. Since the hem is loose and not getting much strain, the Seraflex would’ve been a good alternative to cover-stitching. I also used it in the cuffs (for less bulk than my serger) and also for tacking down the funnel neck to the facing.
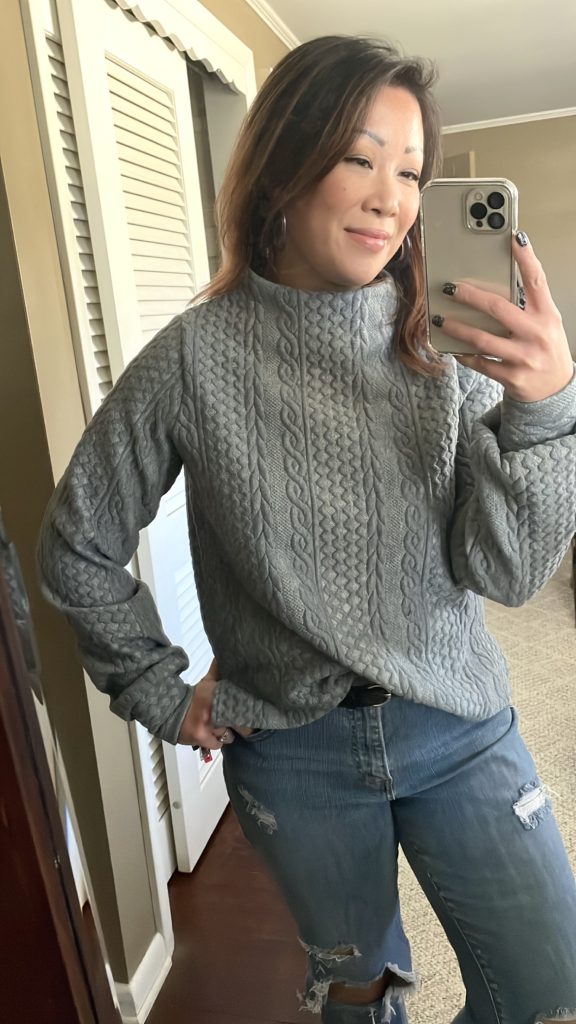
Despite the small regret with the hem, I’m really pleased with this Sheridan Sweater. It has the comfy-cozy, cable knit look I needed and it’s VERY warm too! This was a great wardrobe addition while I brace this bitter cold! Do you like this knit-look without being a real sweater? I think I may have to invest in some more of this fabric!
Happy Sewing,
Cristy
This post may contain affiliate links. You can read my disclosures, here.
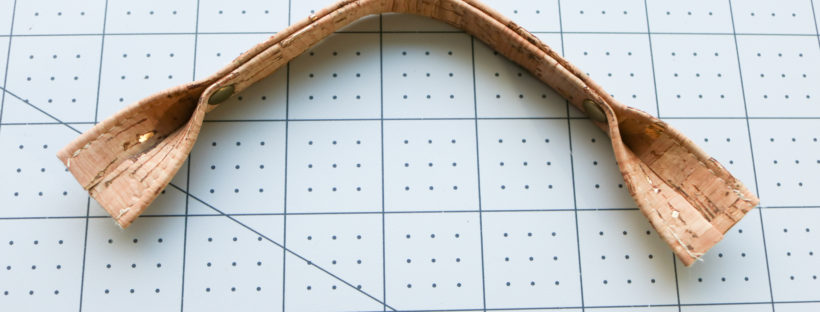
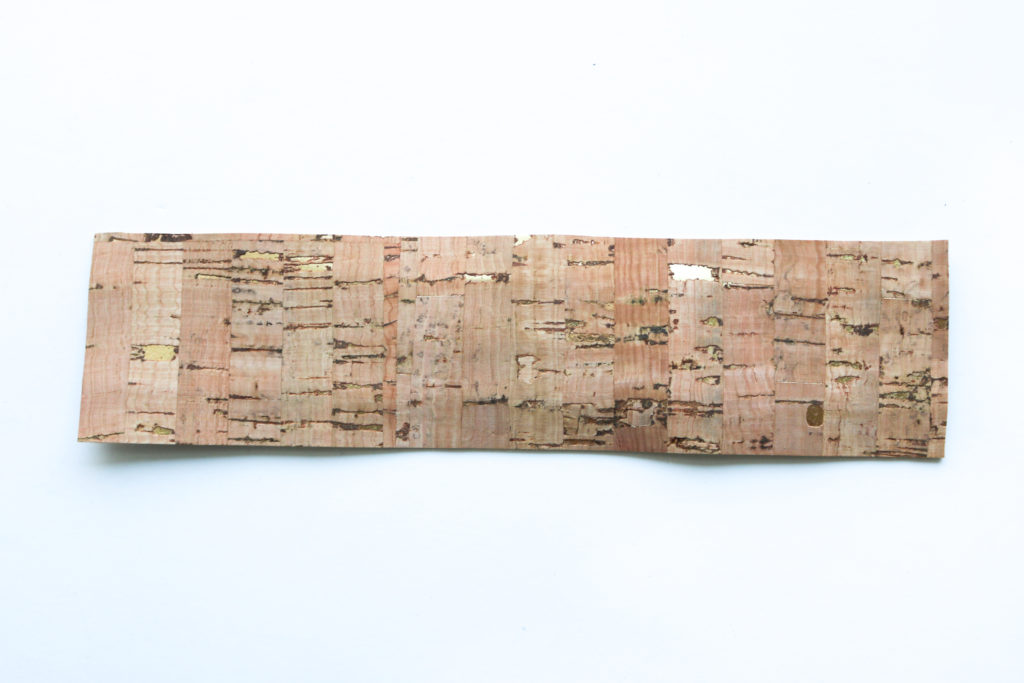 1. Cut the width of your handle 2x what you want the finished ends to be. In this case, the ends need to be 1″ wide and the cork is cut 2″ wide. (If you are making the Colleen Tote, you would want your handle to be 3″ wide and not 6″.)
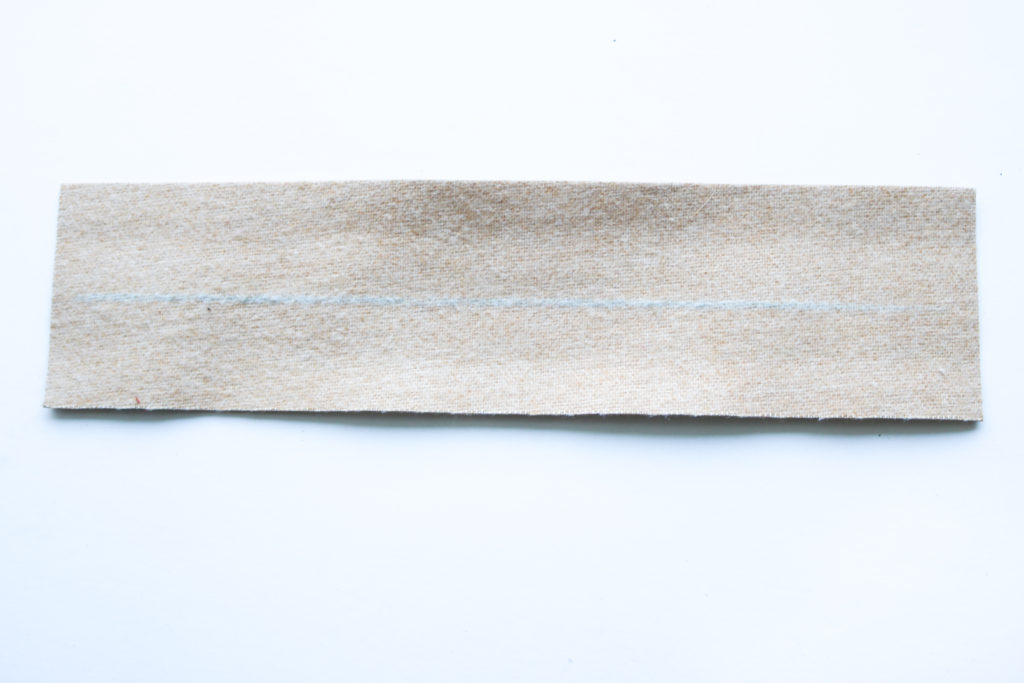 2. Mark the center of the strap lengthwise
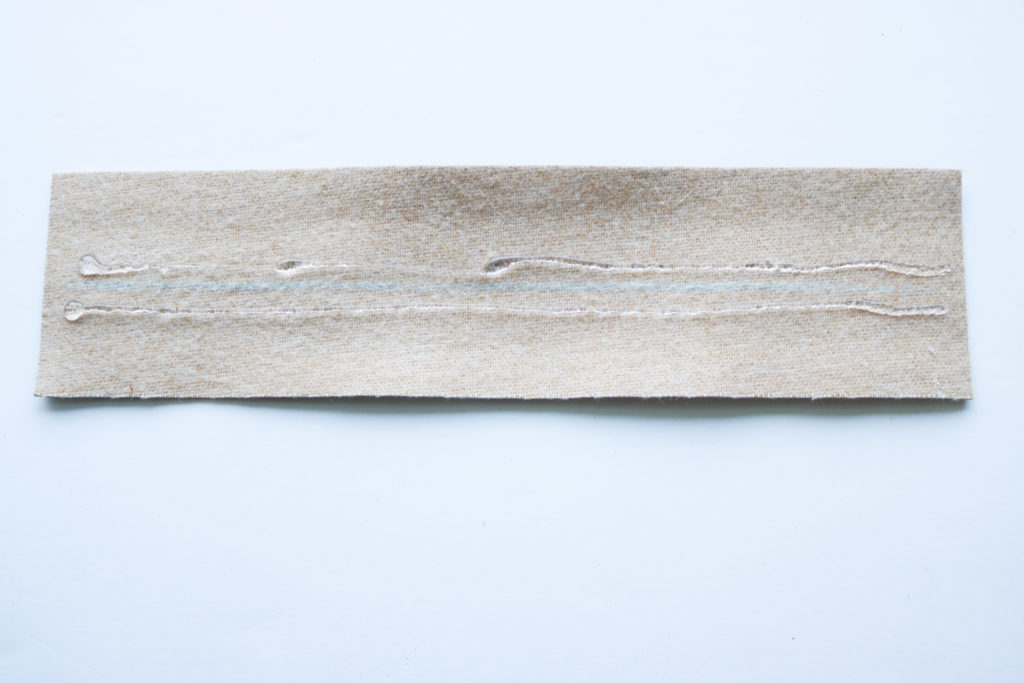 3. Add a very thin layer of glue on each side of the line you marked.
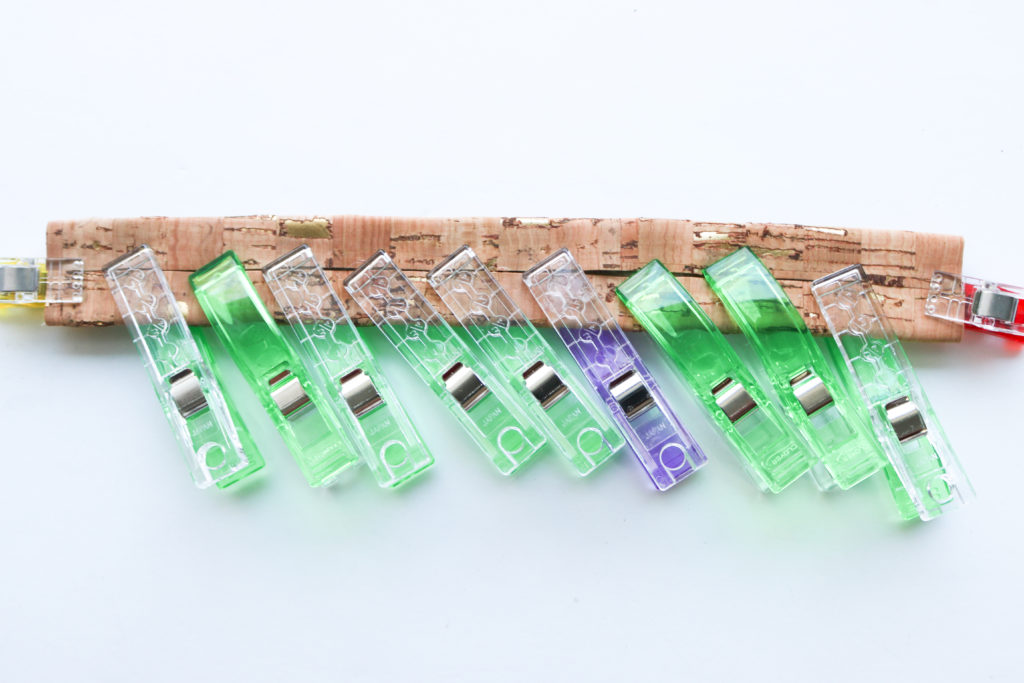 4. Fold each long side into the line you drew and clip to secure. Make sure the sides meet each other in the center. Wait until all glue has dried.
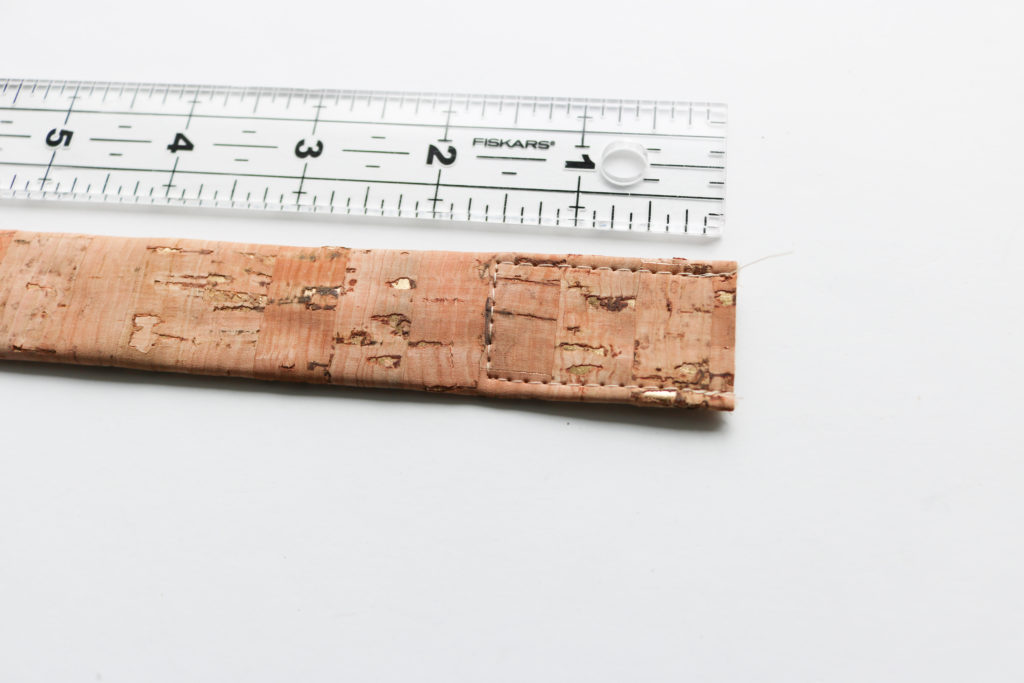 5. Mark how far up you would like the roll to start/stop. For the Erin Backpack, I marked 1 1/2″ from each short end. For the Colleen, it would be 2 1/2″. Sew the Strap together 1/8″ along the folded sides and then crossing over at your mark.
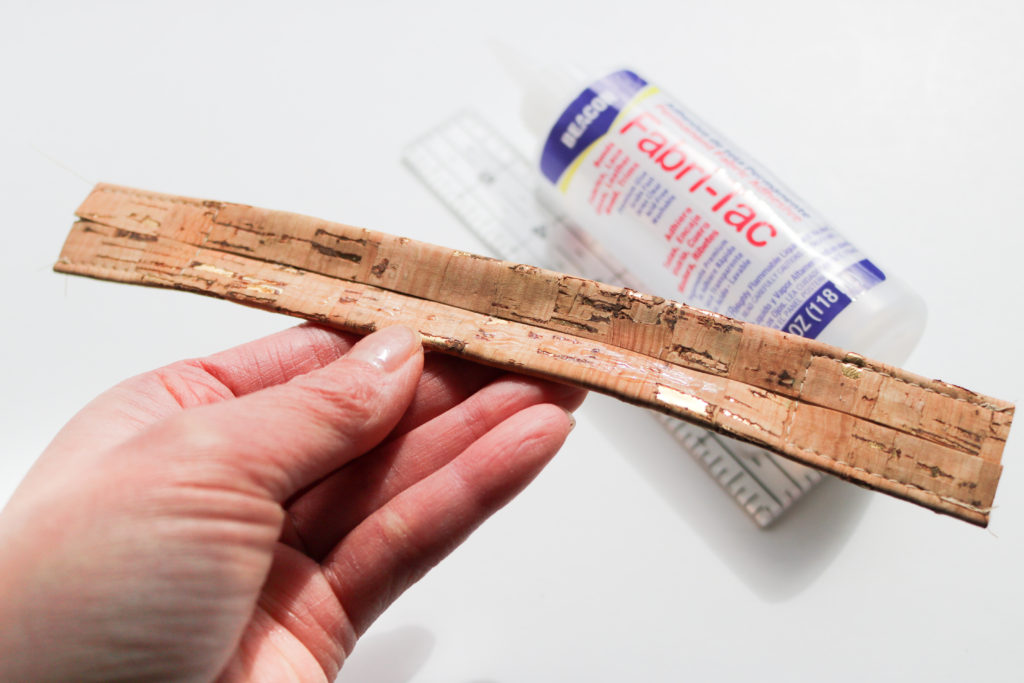 6. Place a thin layer of glue along the center fabric seam, in-between the top-stitching. If you are making the Colleen Tote, this is when you would add your cording. Since this handle is more narrow for the Erin, I’ve omitted any cording.
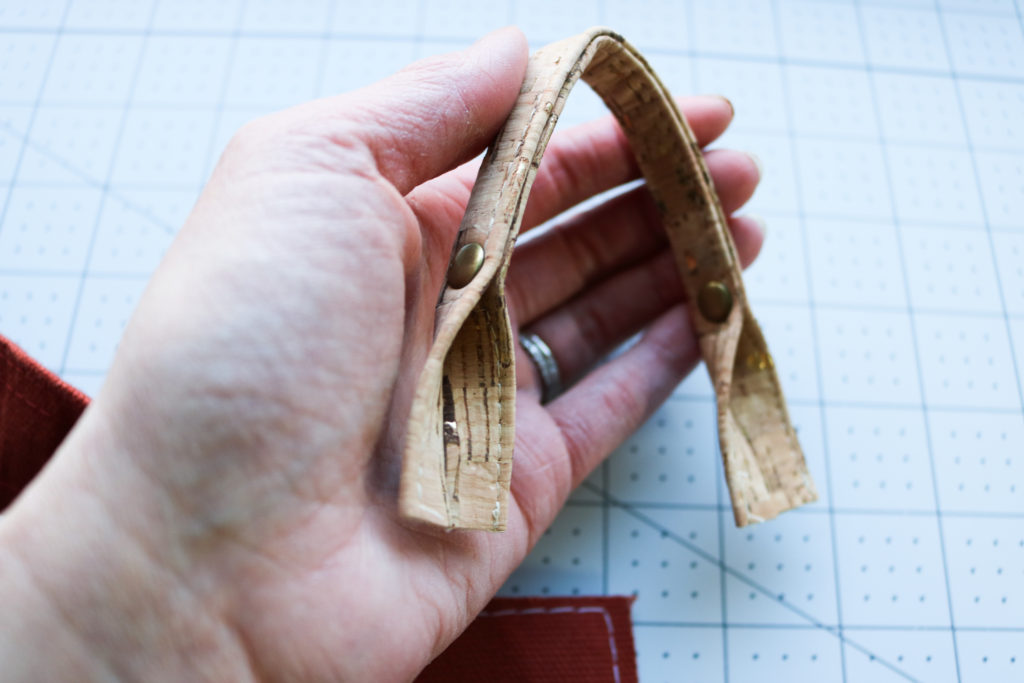
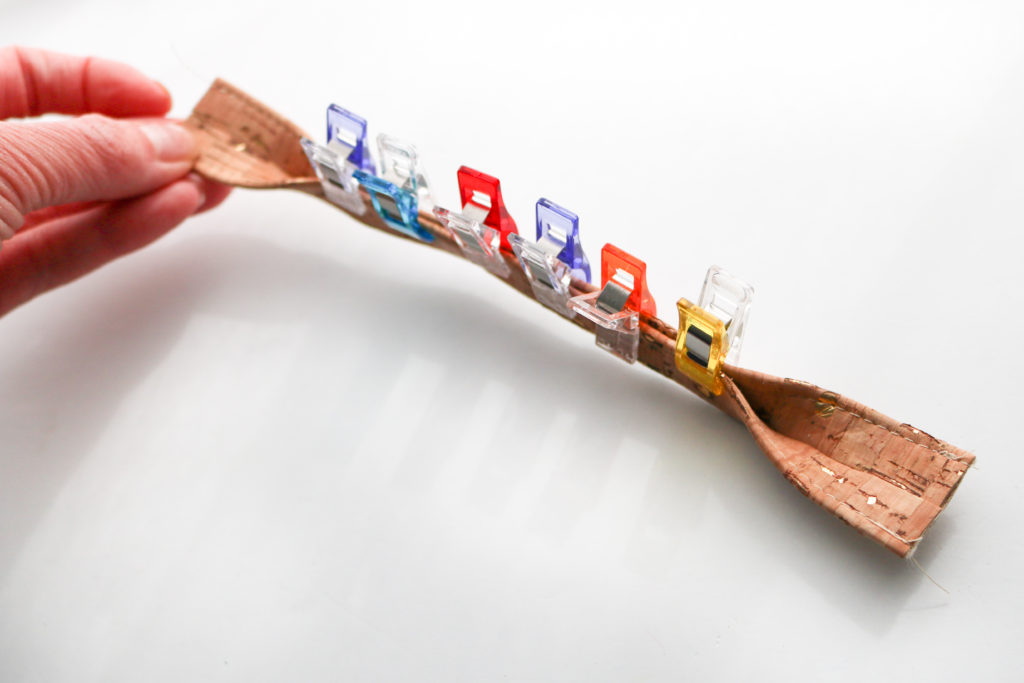 7. Fold long sides together , encasing the fabric seam but only in-between markings. This created the “roll” of the handle. Clip in place and allow to dry completely.
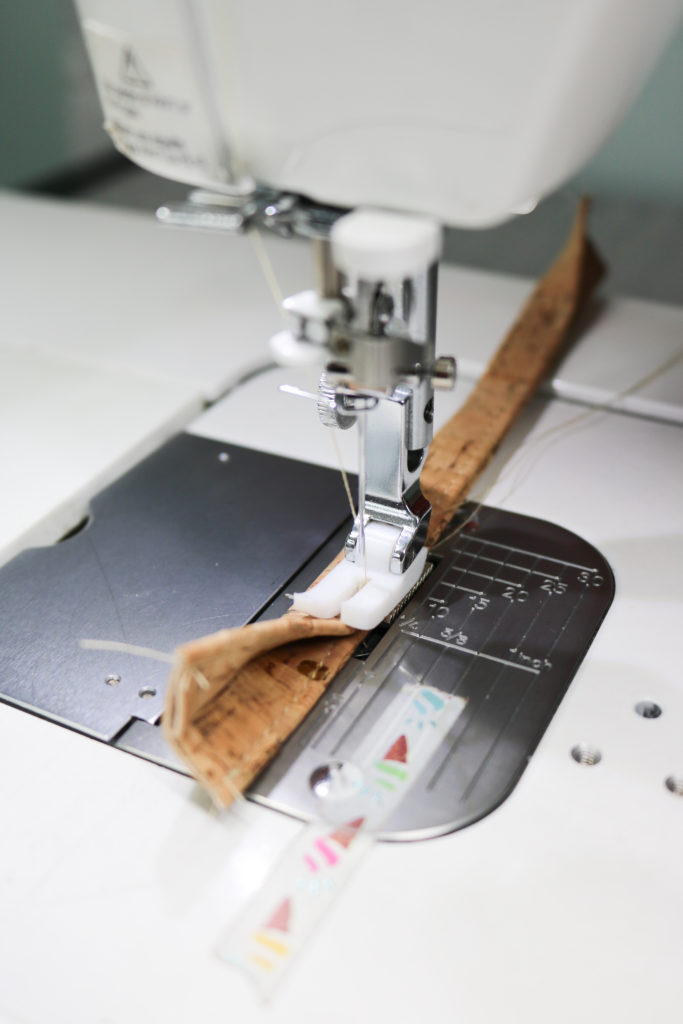 8. Top-stitch along the double-fold side in between markings. (You may need to increase stitch-length to handle the extra layers.) Backstitch well at the start and end of your stitching.
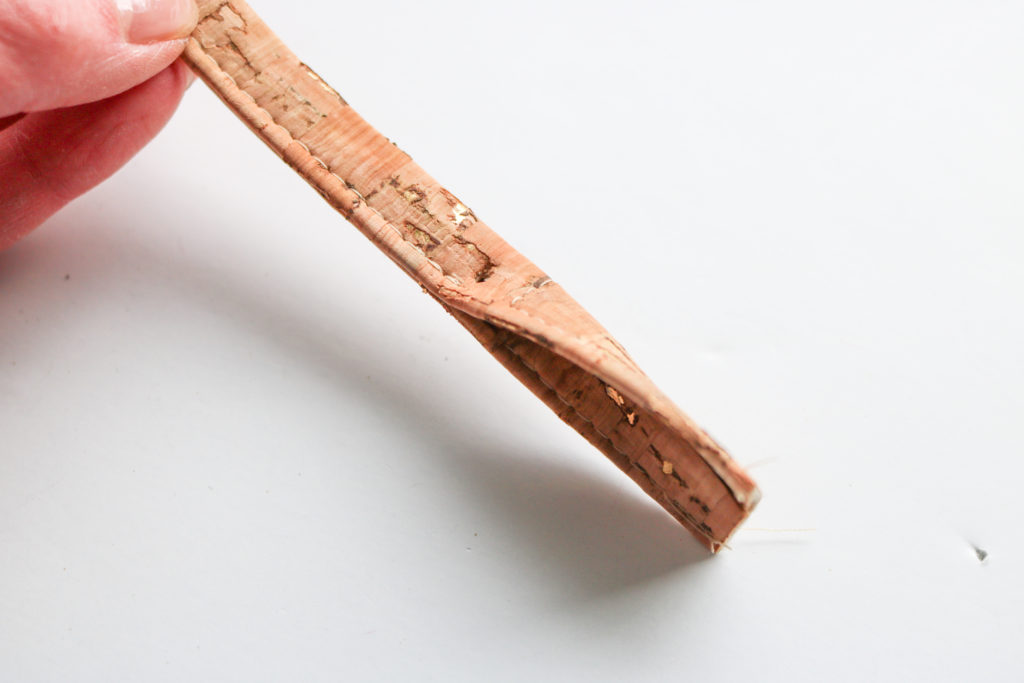 9. Double check that all stitching is secure.
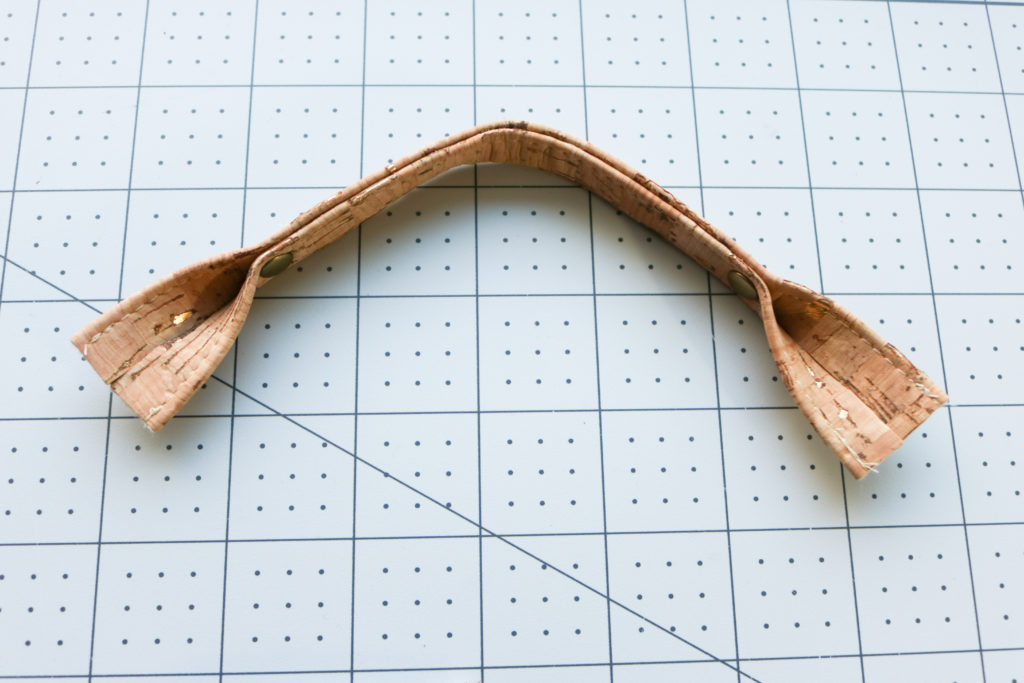
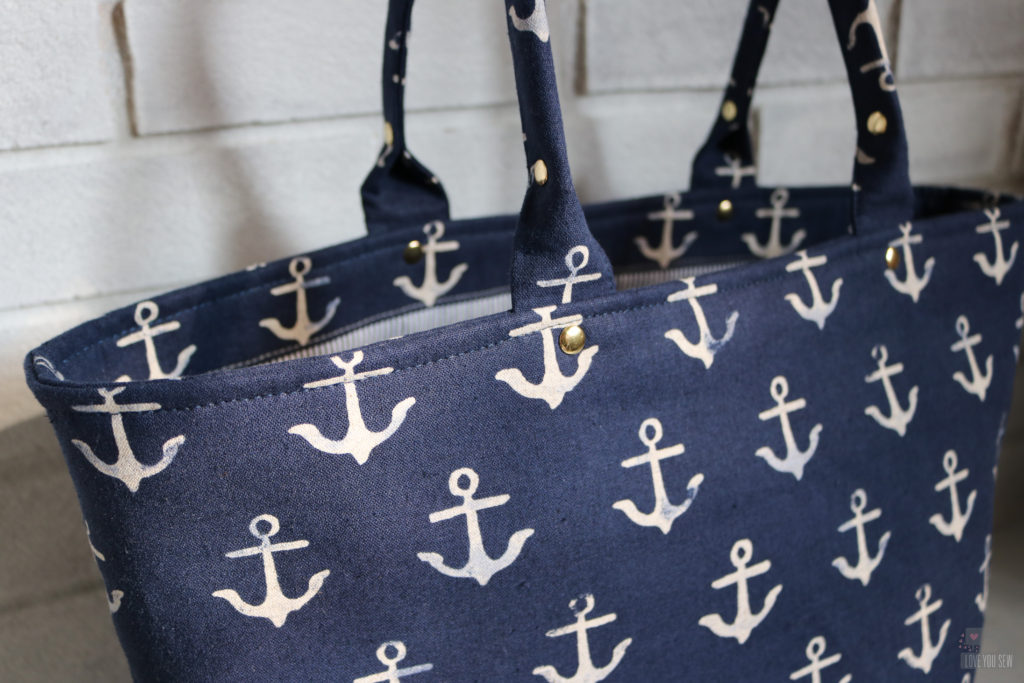
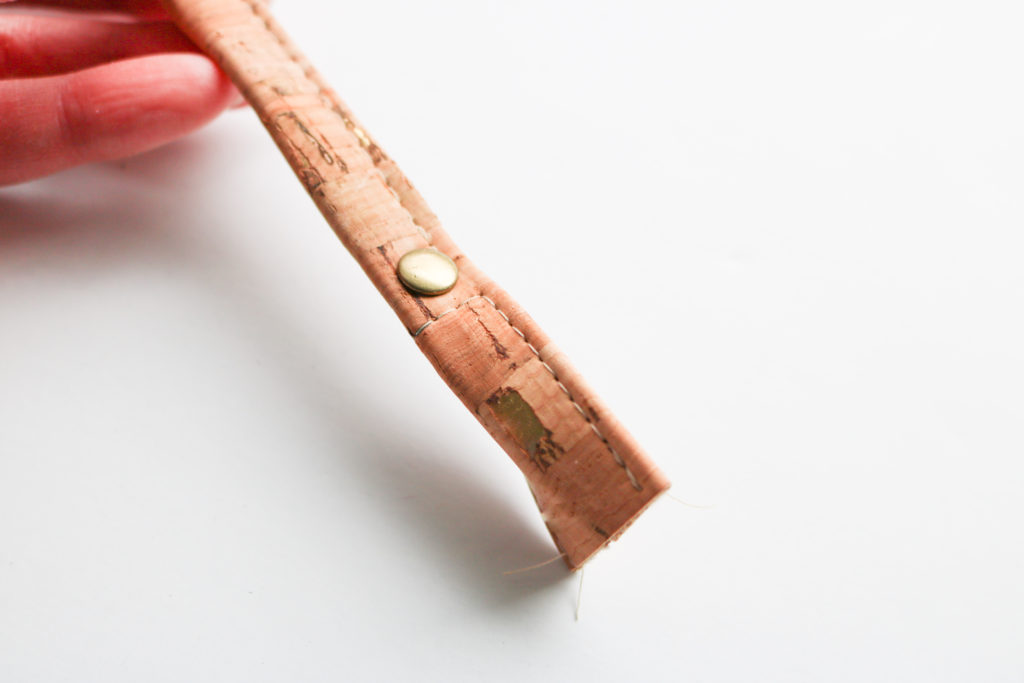 10. Optional – Add a rivet right above the end markings to keep the Rolled Handle extra secure.