Fundraiser Sewing

Fundraiser Sewing Projects

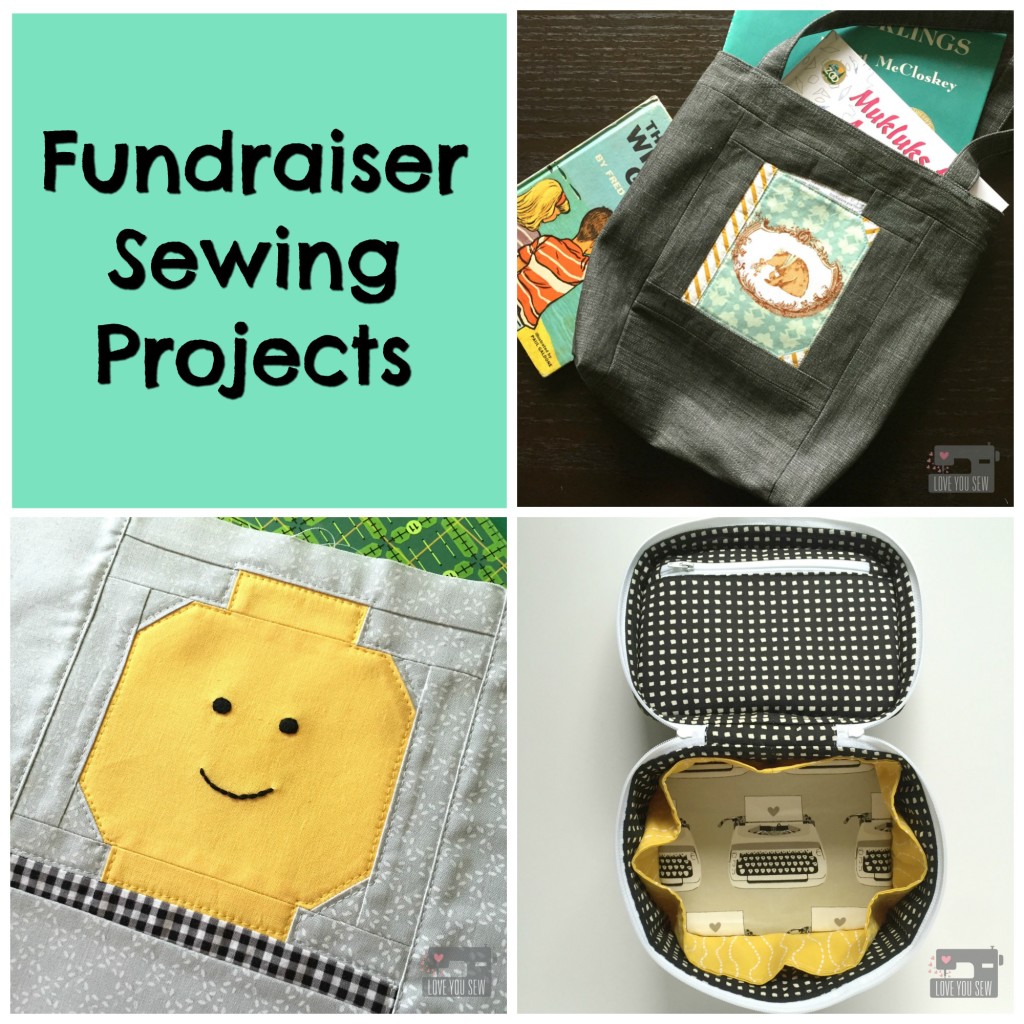
Whether you sew for hobby, for business, or for necessity, it’s always nice to sew for a cause.  I’m a stay-at-home-mom who has to continually stretch a buck, so I like to help how I can…and that means through sewing.  These past few weeks have provided me a few opportunities to use these skills to help some great local organizations.

My boys go to the same preschool and the Parent-Teacher Organization (PTO) asked me to contribute a few items for a big auction event.  Of course, I said yes. I love this school and am so happy my boys do too.  Although I know I won’t generate a ton of money, I know every little bit helps. I get to help the PTO and get a little local publicity so it’s win-win for me.

Last year I donated gift certificates to my Etsy shop and this year I decided to make a few items to possibly generate more money once the bidders can touch and feel what they are receiving.  With a GC, there is a finite value, but with custom made, hand-sewn products, there is more more perceived worth…at least I hope!

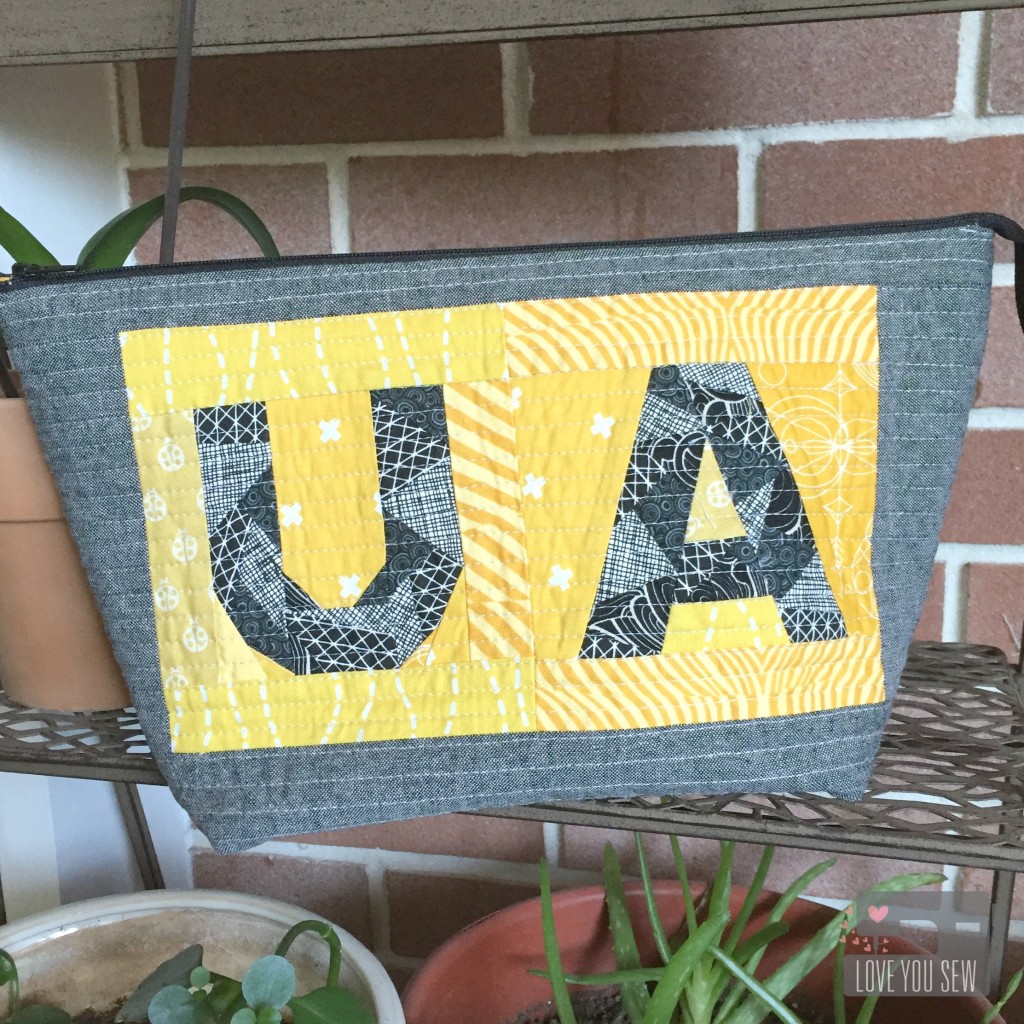
UA Open Wide Pouch

It’s always so hard to choose fabrics for someone, never mind someone you don’t know.  But since this is a school fundraiser, you can’t go wrong with simple patterns in the school colors…so yellow and black it is.  I used Quiet Play’s Geometric letter pattern and Noodlehead’s Wide Open pouch pattern to show some hometown love.

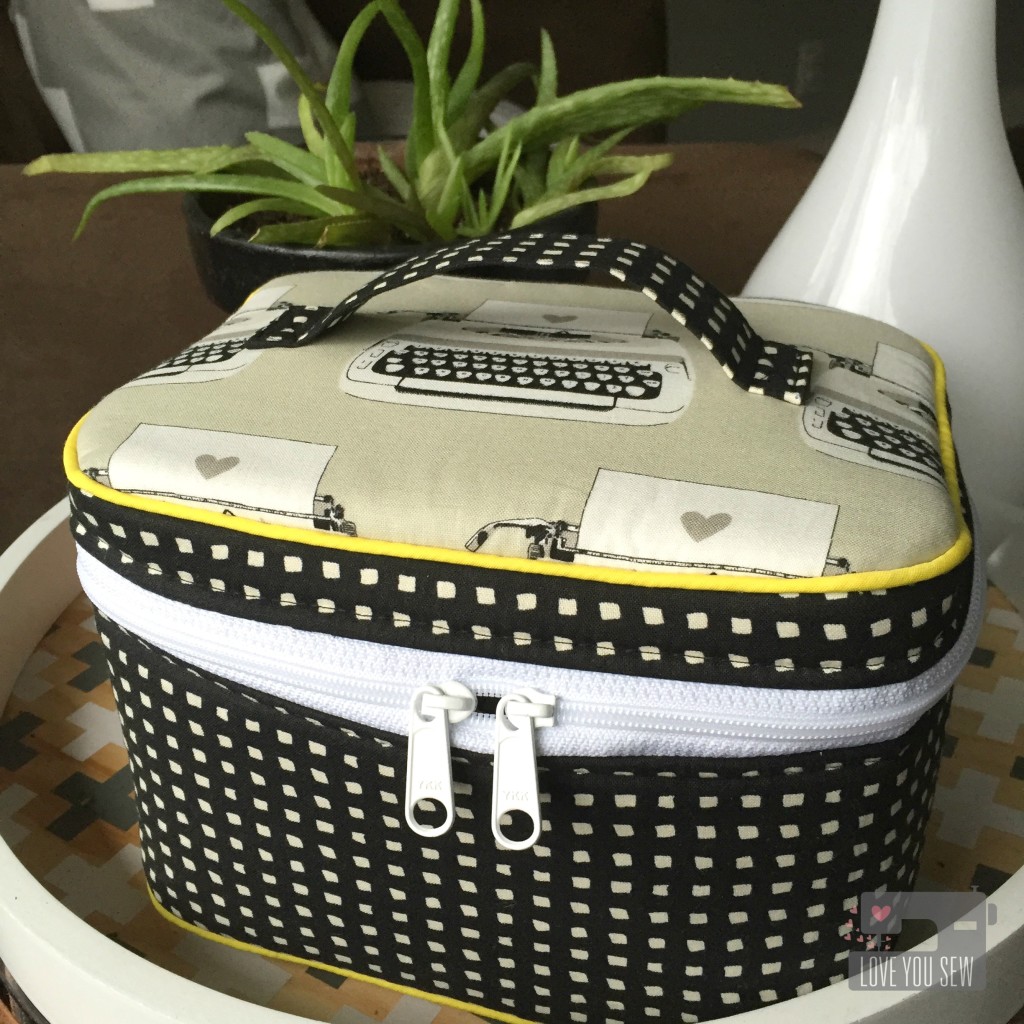
Traincase Outside

The Crimson and Clover Train Case by Sew Sweetness is one of my favorite patterns. Its so versatile in it’s usage….whether to hold makeup, toys, or other treasures.  I used Cotton and Steel Black and White fabrics with the typewriters being  a play on the school and added little yellow accents.  The shot of yellow piping is definitely my favorite.

Each of my son’s classes is also responsible for putting a large basket together. There is a theme and the point is to have all the families contribute a little something in order to make a sizable basket worth buying. One class has a “Lego” theme and the other has “Books.”

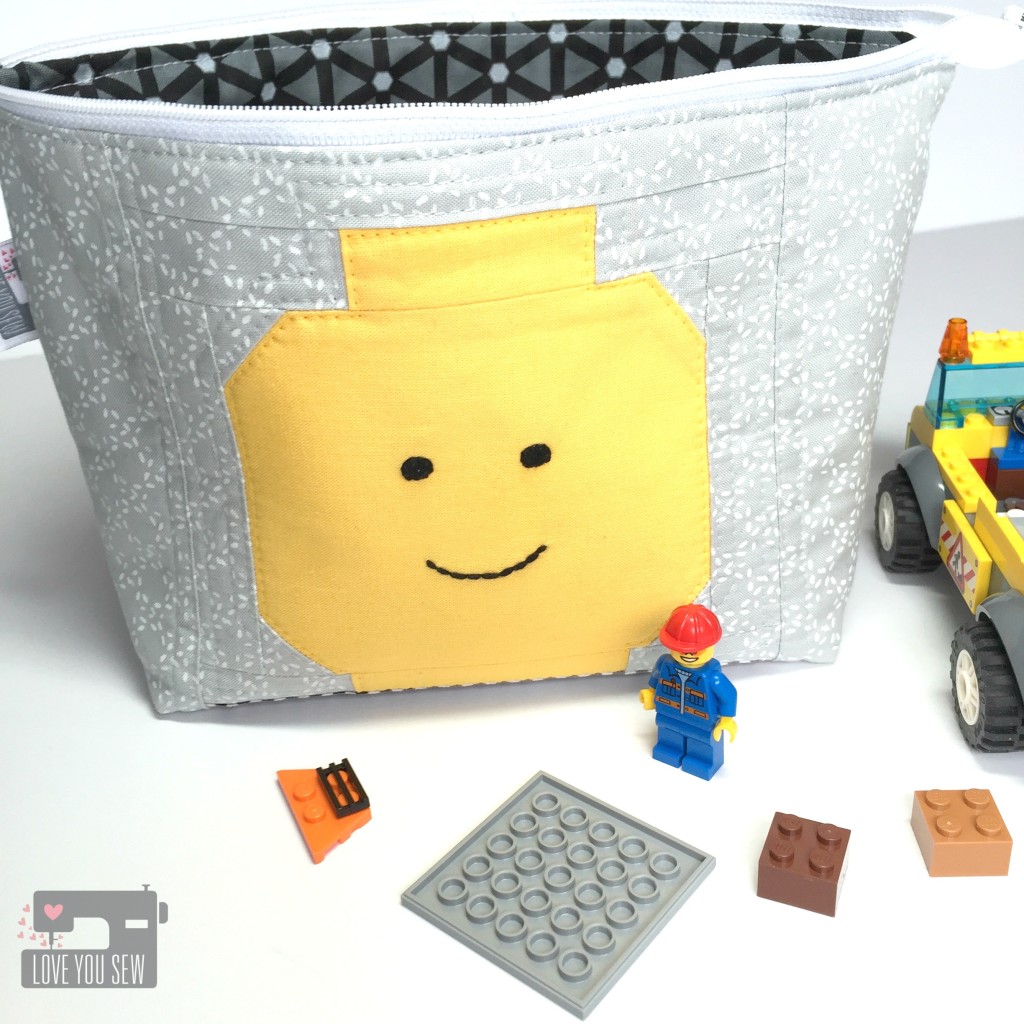
Lego Open Wide Pouch Outside

Instead of just buying a box of Legos, I knew I wanted to sew something to hold all the toys. I’m constantly stepping over Legos in my own house and I made some see-through vinyl drawstring bags to combat the mess.  I thought I would make one for the basket but then after browsing Quiet Play’s Craftsy shop, I saw the Lego man. Hello!

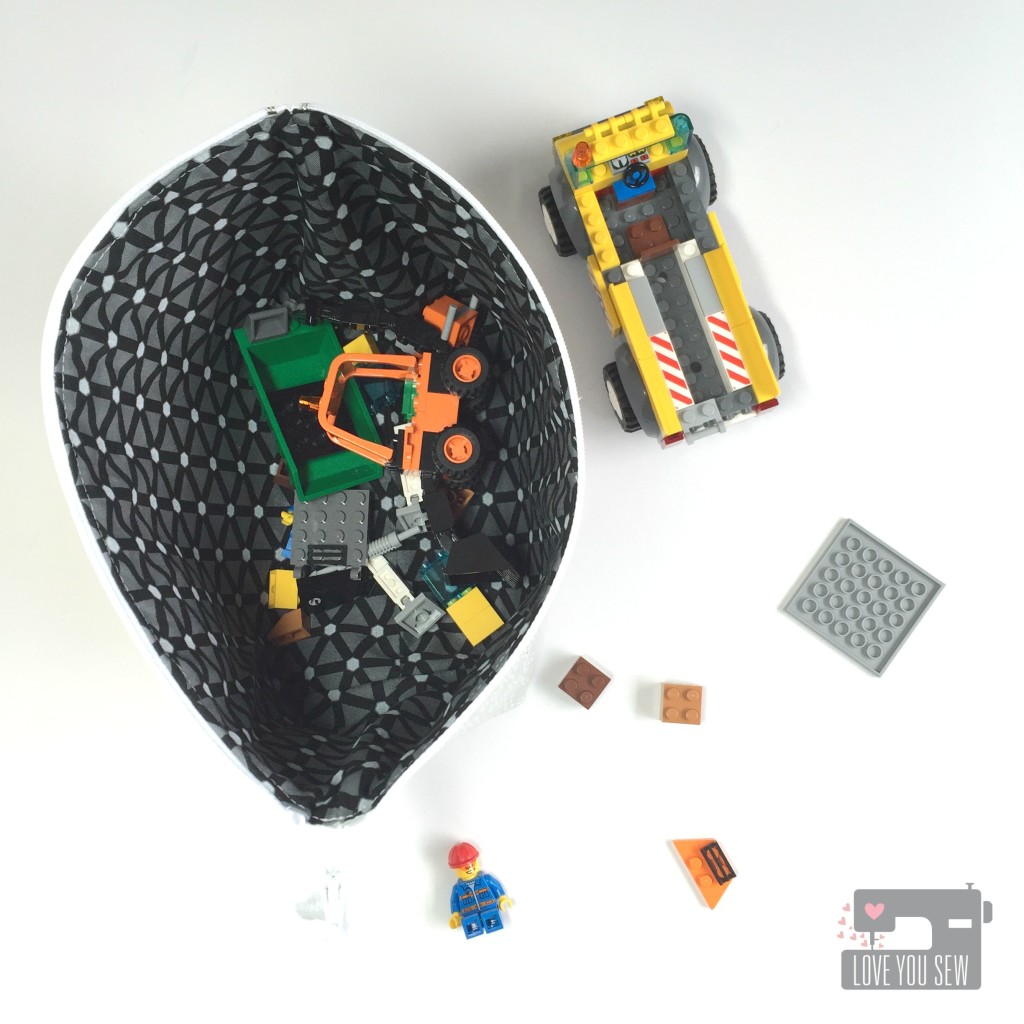
Lego Open Wide Pouch Inside

The Lego head pattern is free (yay!) and I used Noodlehead’s Open Wide Pouch again.  It’s design is so perfect for little hands to reach in and out easily.   I added a little embroidery to make the Lego Man’s face and (hopefully) this bag will help keep all of these little pieces off the floor.

Library Bag Closeup

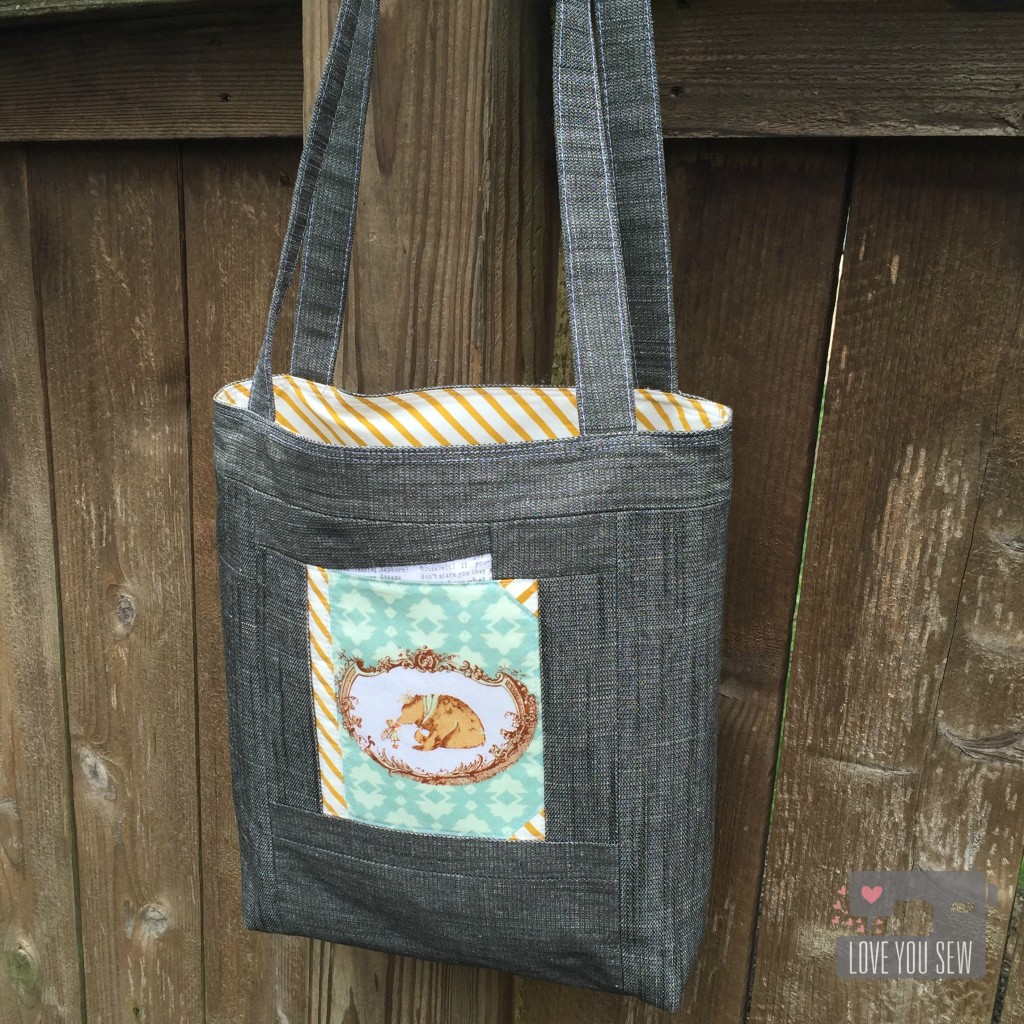
For the “Books” theme basket, I knew right away I would make a library bag. My boys have cute canvas ones they love to fill up and I figured one of their schoolmates would too.

Library Bag

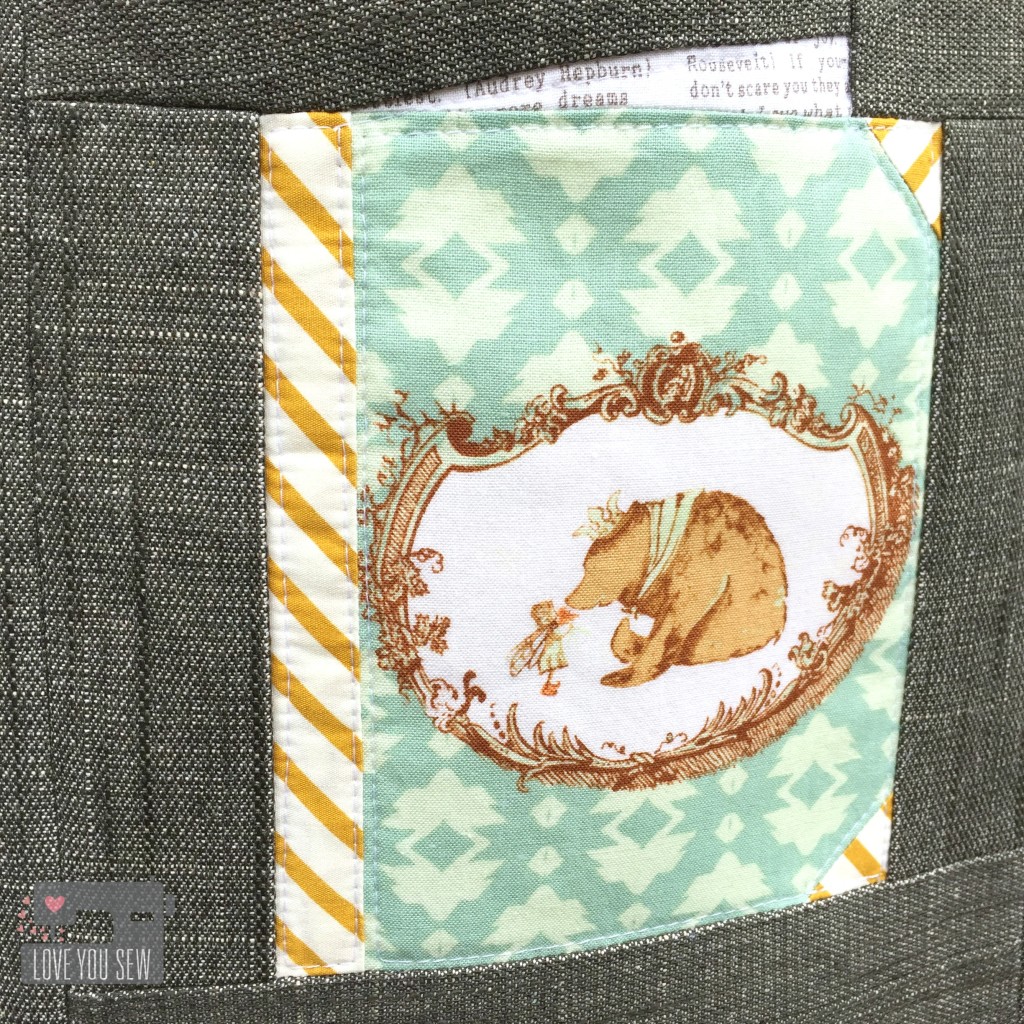
The bag is made with Art Gallery Fabrics Denim Studio so I didn’t need any interfacing to give it structure. I used a very simple tutorial from Skip to my Lou and altered it so I could incorporate this super cute book paper-piece pattern from Patchwork Please! by Ayumi Takahashi.

Besides all these PTO donations, I was asked to contribute some items from my Etsy shop for a Pelatonia fundraiser. This is one of the largest bike races in Columbus and generates millions of dollars…all which toward cancer research.  Some large companies have donated money to cover administrative expenses so that 100% of rider fundraising will go to charity.  How awesome is that?

Baby Travel Set

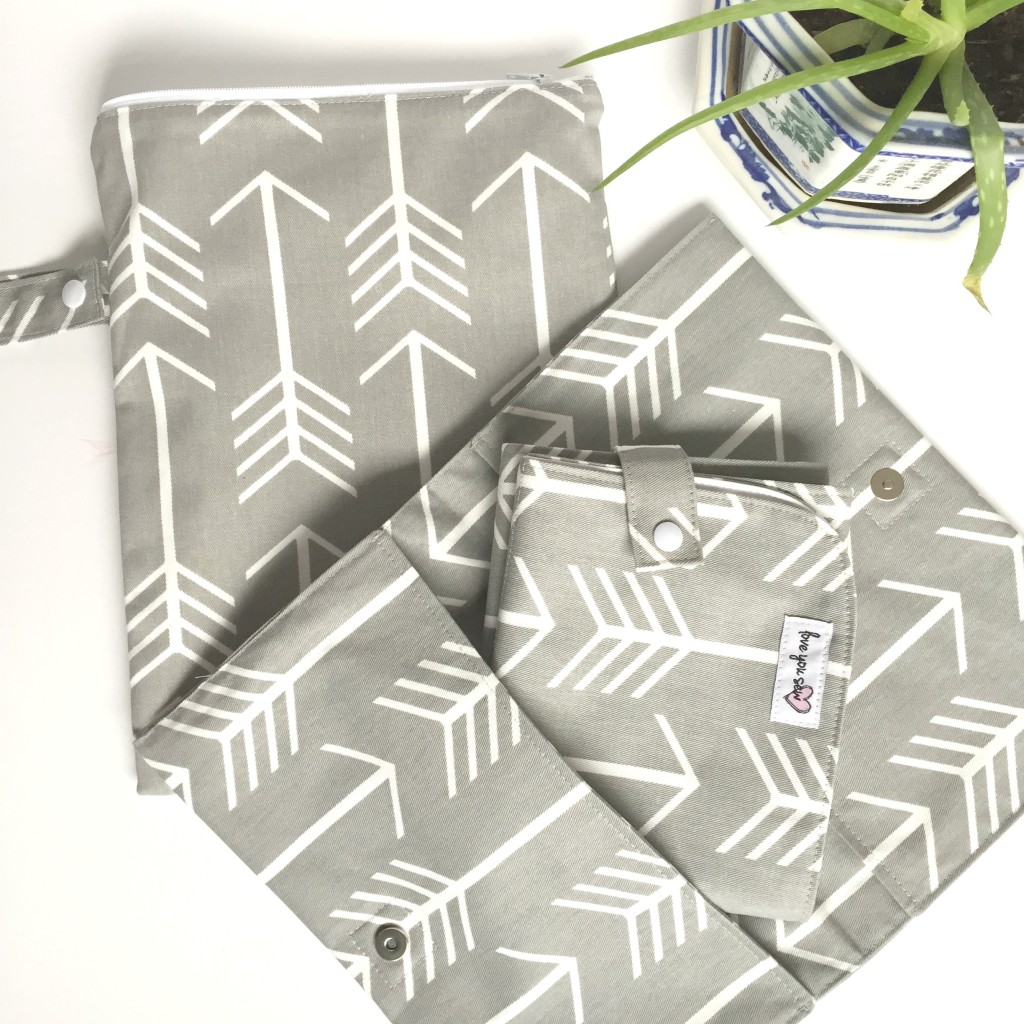
I donated a full set of baby travel items with arrow fabric since the Pelatonia logo is also an arrow. The group I’m assisting is bringing in a whole cross-section of items and I’m crossing my fingers that these pull in lots of money!

Have you donated some sewn items for fundraising?  How did they do?


Happy Stitching,

Cristy


***This post may contain affiliate links which help me on the back end to fund this site.  Compensation is only through your own purchase. 
Make a Mugrug from the Dwelling Quilt Pattern

P1050776

When Holly Gets Quilty asked for pattern testers for her newest Dwelling Quilt pattern, I couldn’t help but get involved.  I first became familiar with Holly’s patterns through her Squash Blossom pattern I used in the Squash Blossom Bouquet mini.  She makes the most gorgeous quilts and I love how her patterns are so nice and clean…as well as beginner friendly. And this paper-piecing pattern does not disappoint!

IMG_1141

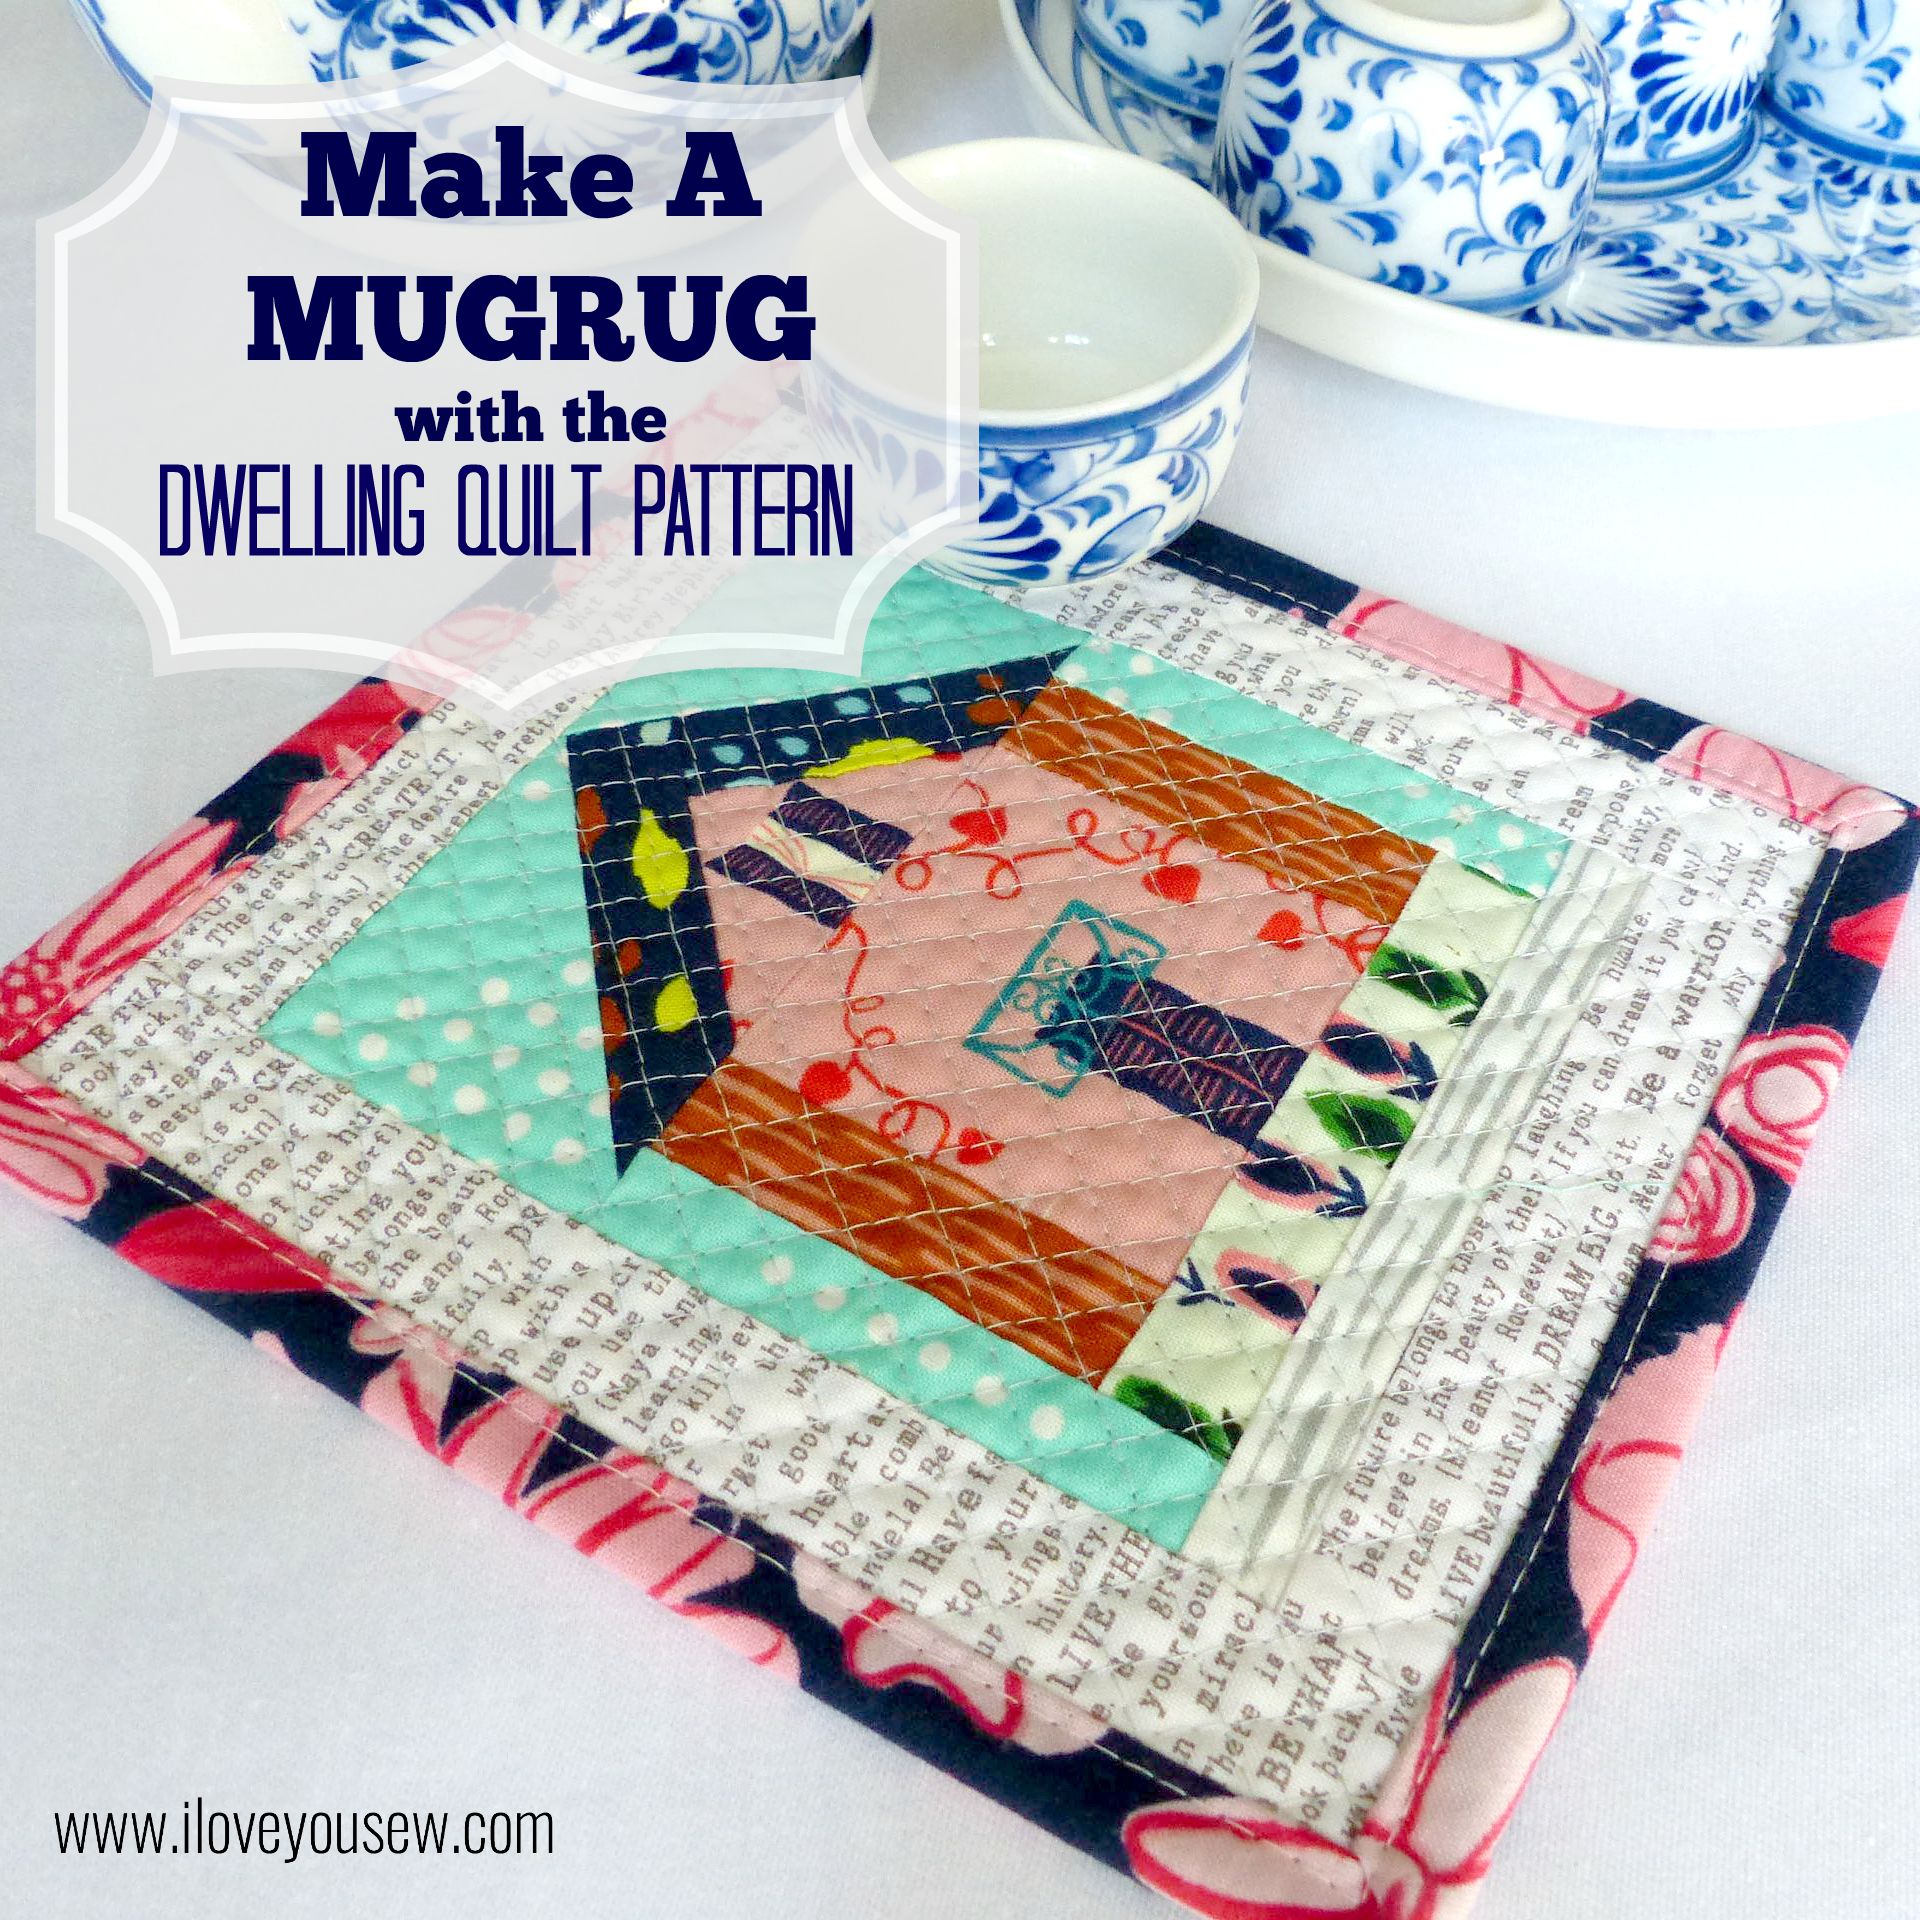
When I received the pattern, I decided to first make the smaller of the two blocks offered.  It measures 4 3/4″ x 5 3/4″ unfinished and I thought it would make for the cutest little mugrug.

IMG_1153

As a single block on its own, I wanted to fussy cut all of the pieces and bring out the literal design to resemble a home.  I dug back into the Cotton + Steel archives and pulled out some Homebody and Hatbox.  These fabrics created the most ideal walls, roof, street and even a little garden!

IMG_1155

1 1/4″ strips were added all around  the block to give a little more area to the block.  I wanted enough room for my larger mugs and even for a little snack 😉  Riley Blake’s newsprint is my favorite text print (out of print, of course…but if someone wants to share any, let me know!) and it goes with the whole house theme, right?

IMG_1156

I used a scrap of cotton batting and more Cotton + Steel for the back to complete the quilt sandwich.  Since you know I’m a straight line quilter, I just cross-hatched the mugrug a 1/4″ apart in a diamond pattern with Auriful 2030 and ….

P1050818

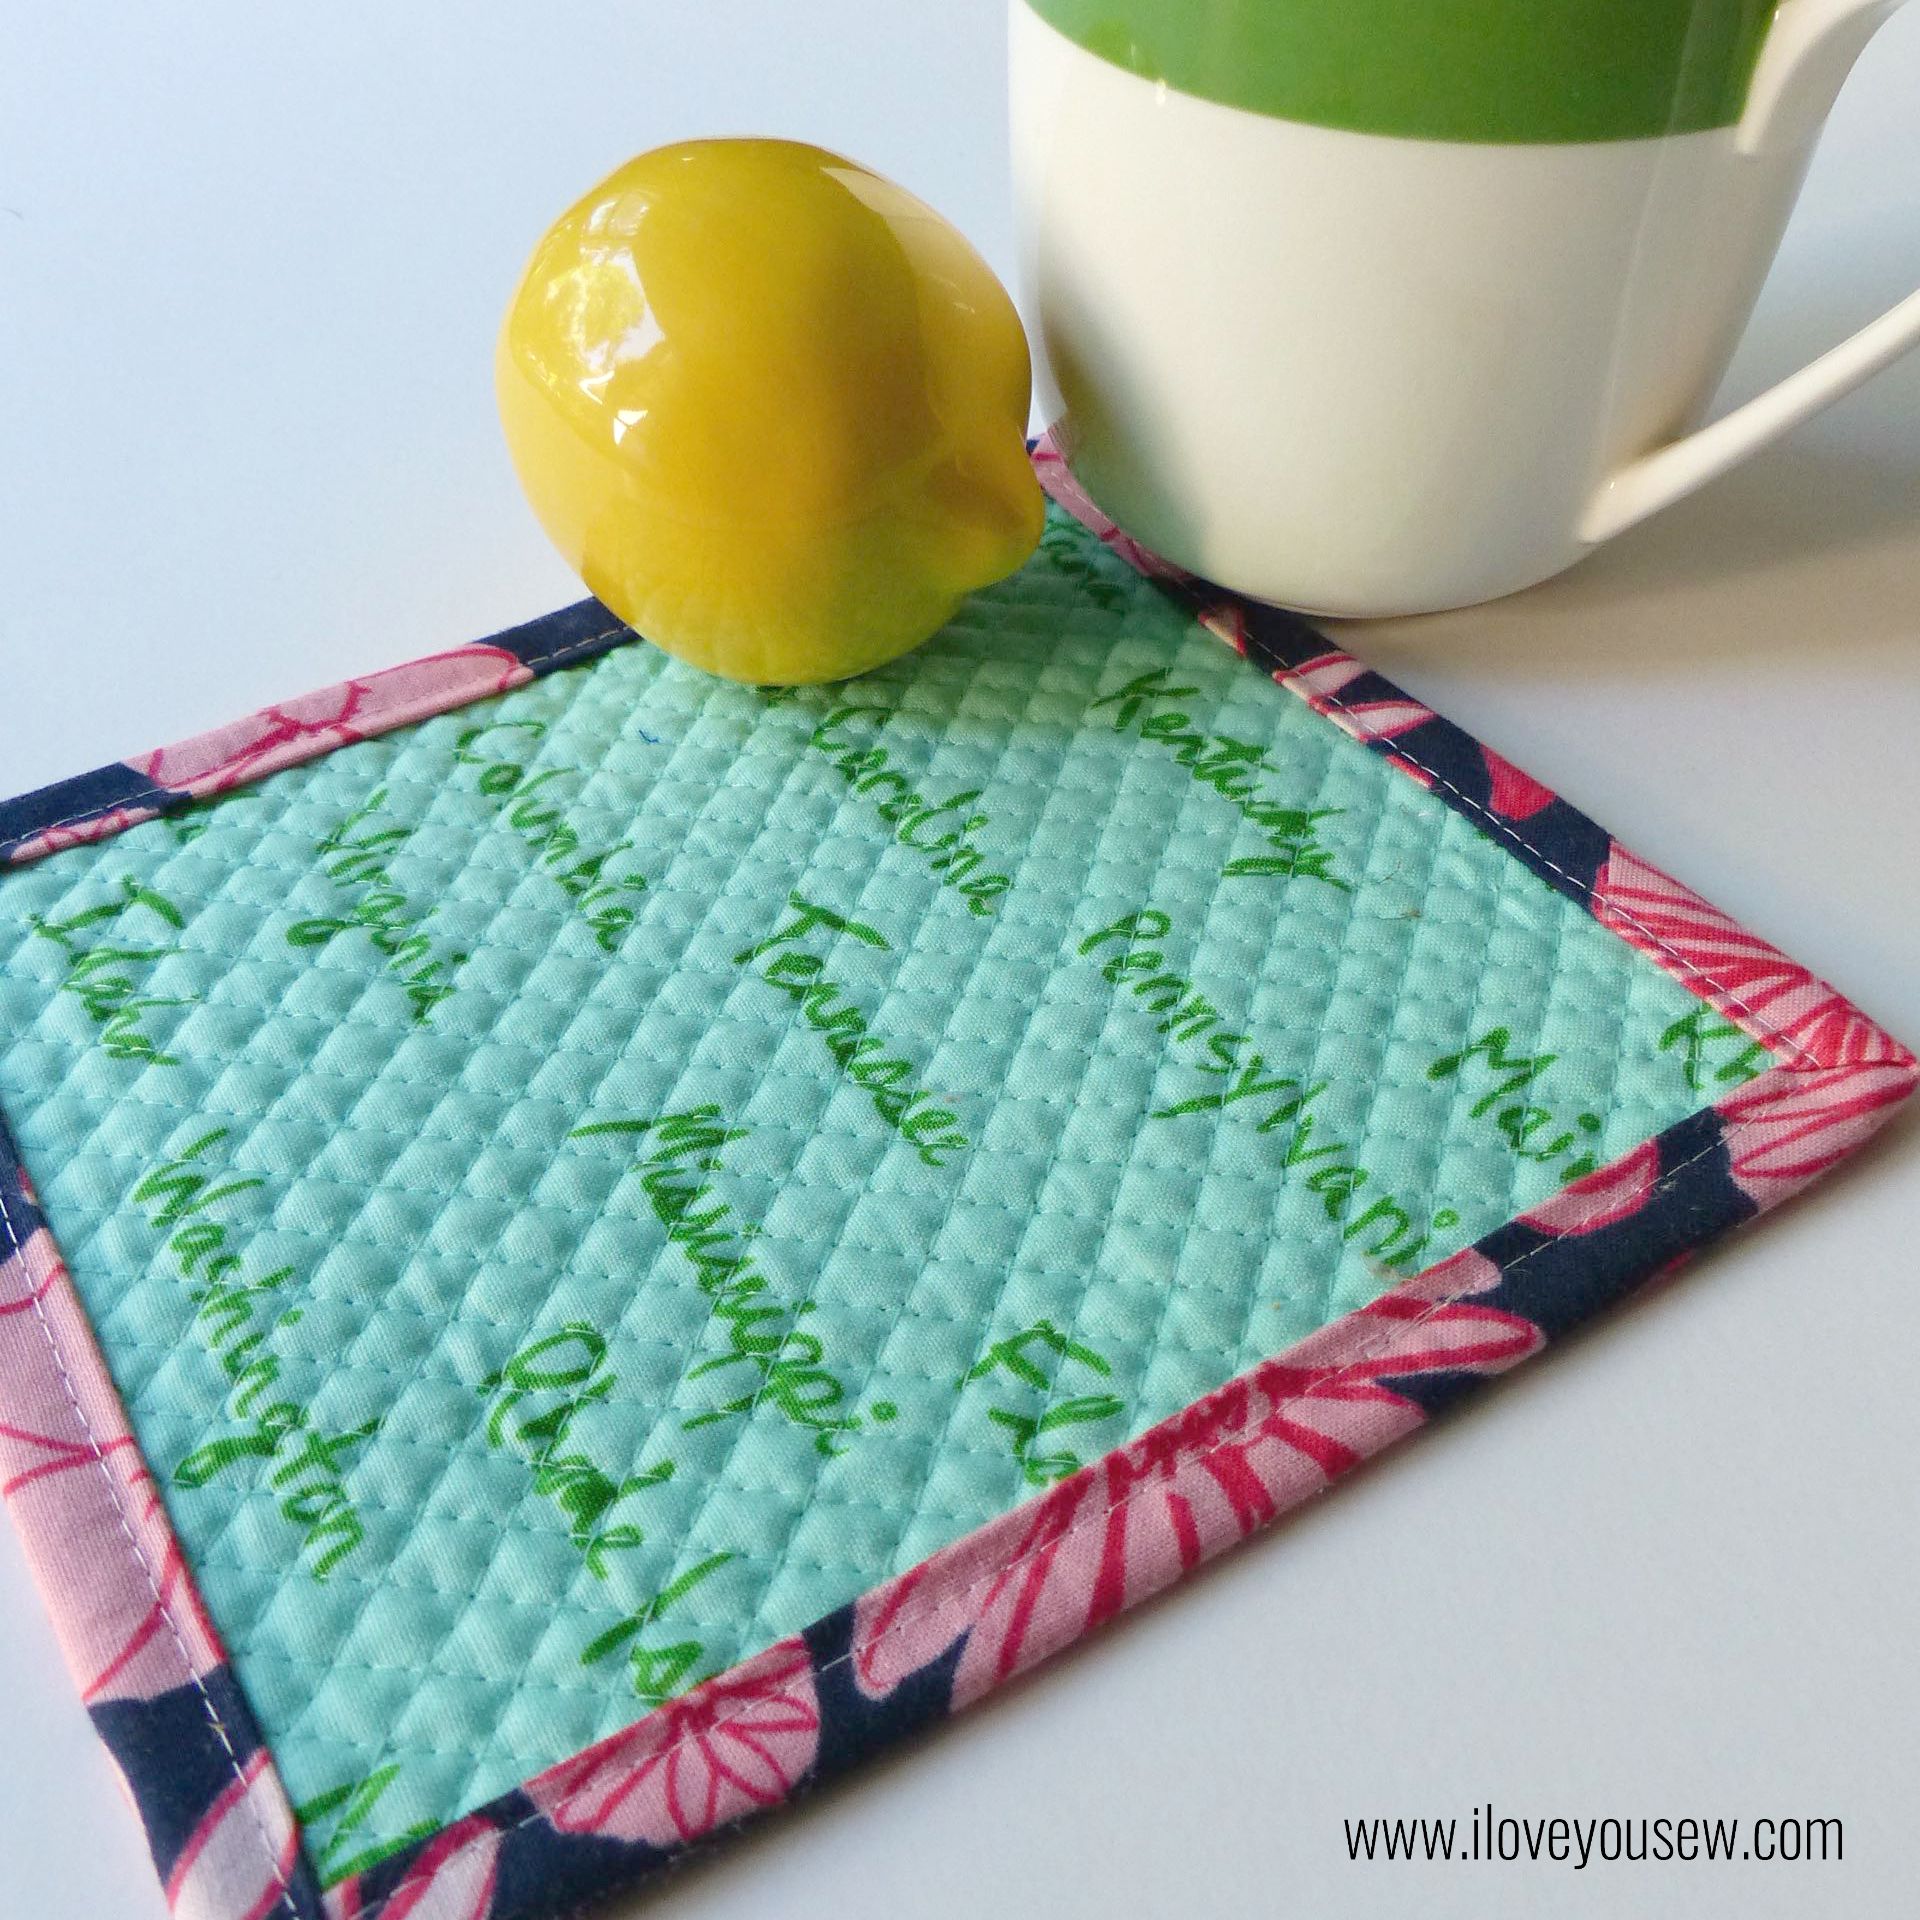
To finish, you know C + S had to be using in the binding too.  Since this was such a small project, I used Cut to Pieces glue binding method to secure the binding into place without the use of Wonder Clips.  It was fast and I top-stitched the binding all around.  I can never get even amounts of the back binding with “stitch-in-the ditch” method, so I sewed about 1/8″ inward to help me with my OCD…

This was a nice quick project you could have completed in an afternoon.  Holly’s Dwelling Quilt pattern is simple and pre-cutting the pieces (measurements provided!) will help cut down on quilt time.  Are you ready to make your mug rug?!?

Check out these Instagram hashtags for more inspiration: #DwellingQuilt #HollyGetsQuiltyPatterns


Hugs and Stitches,

Cristy

“Jacks” Quilt is Complete

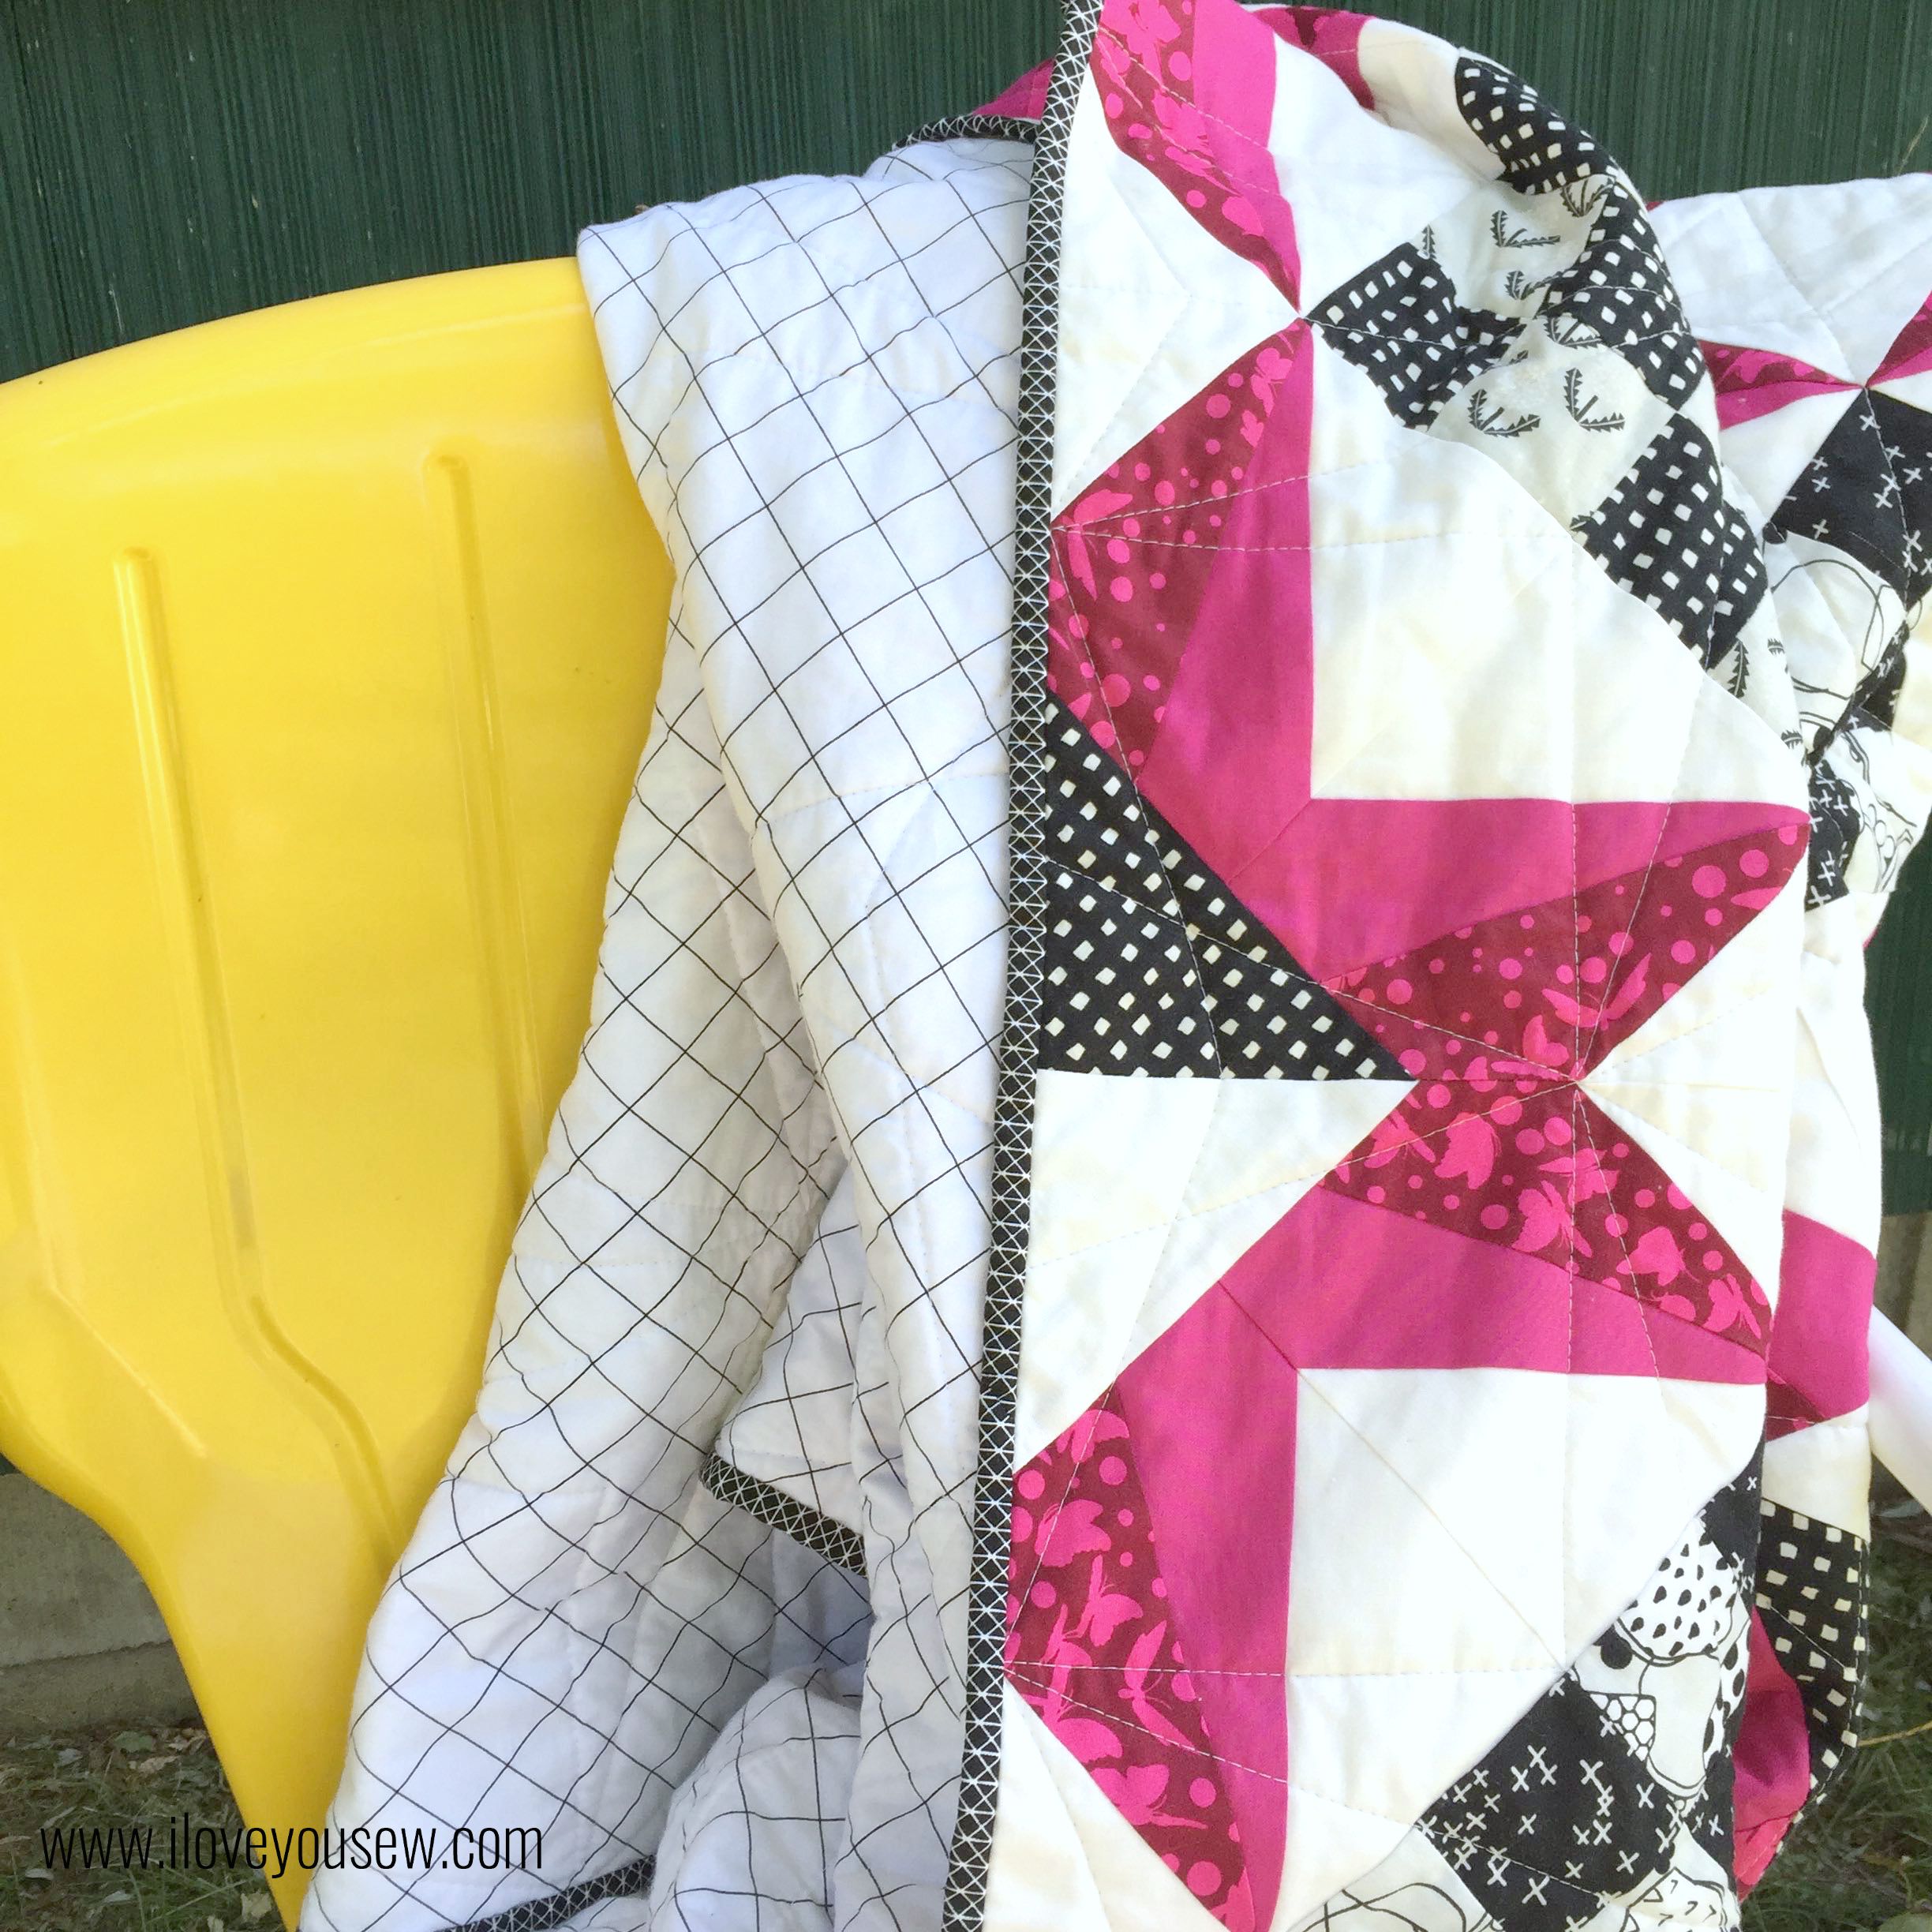
DrapedOnChair

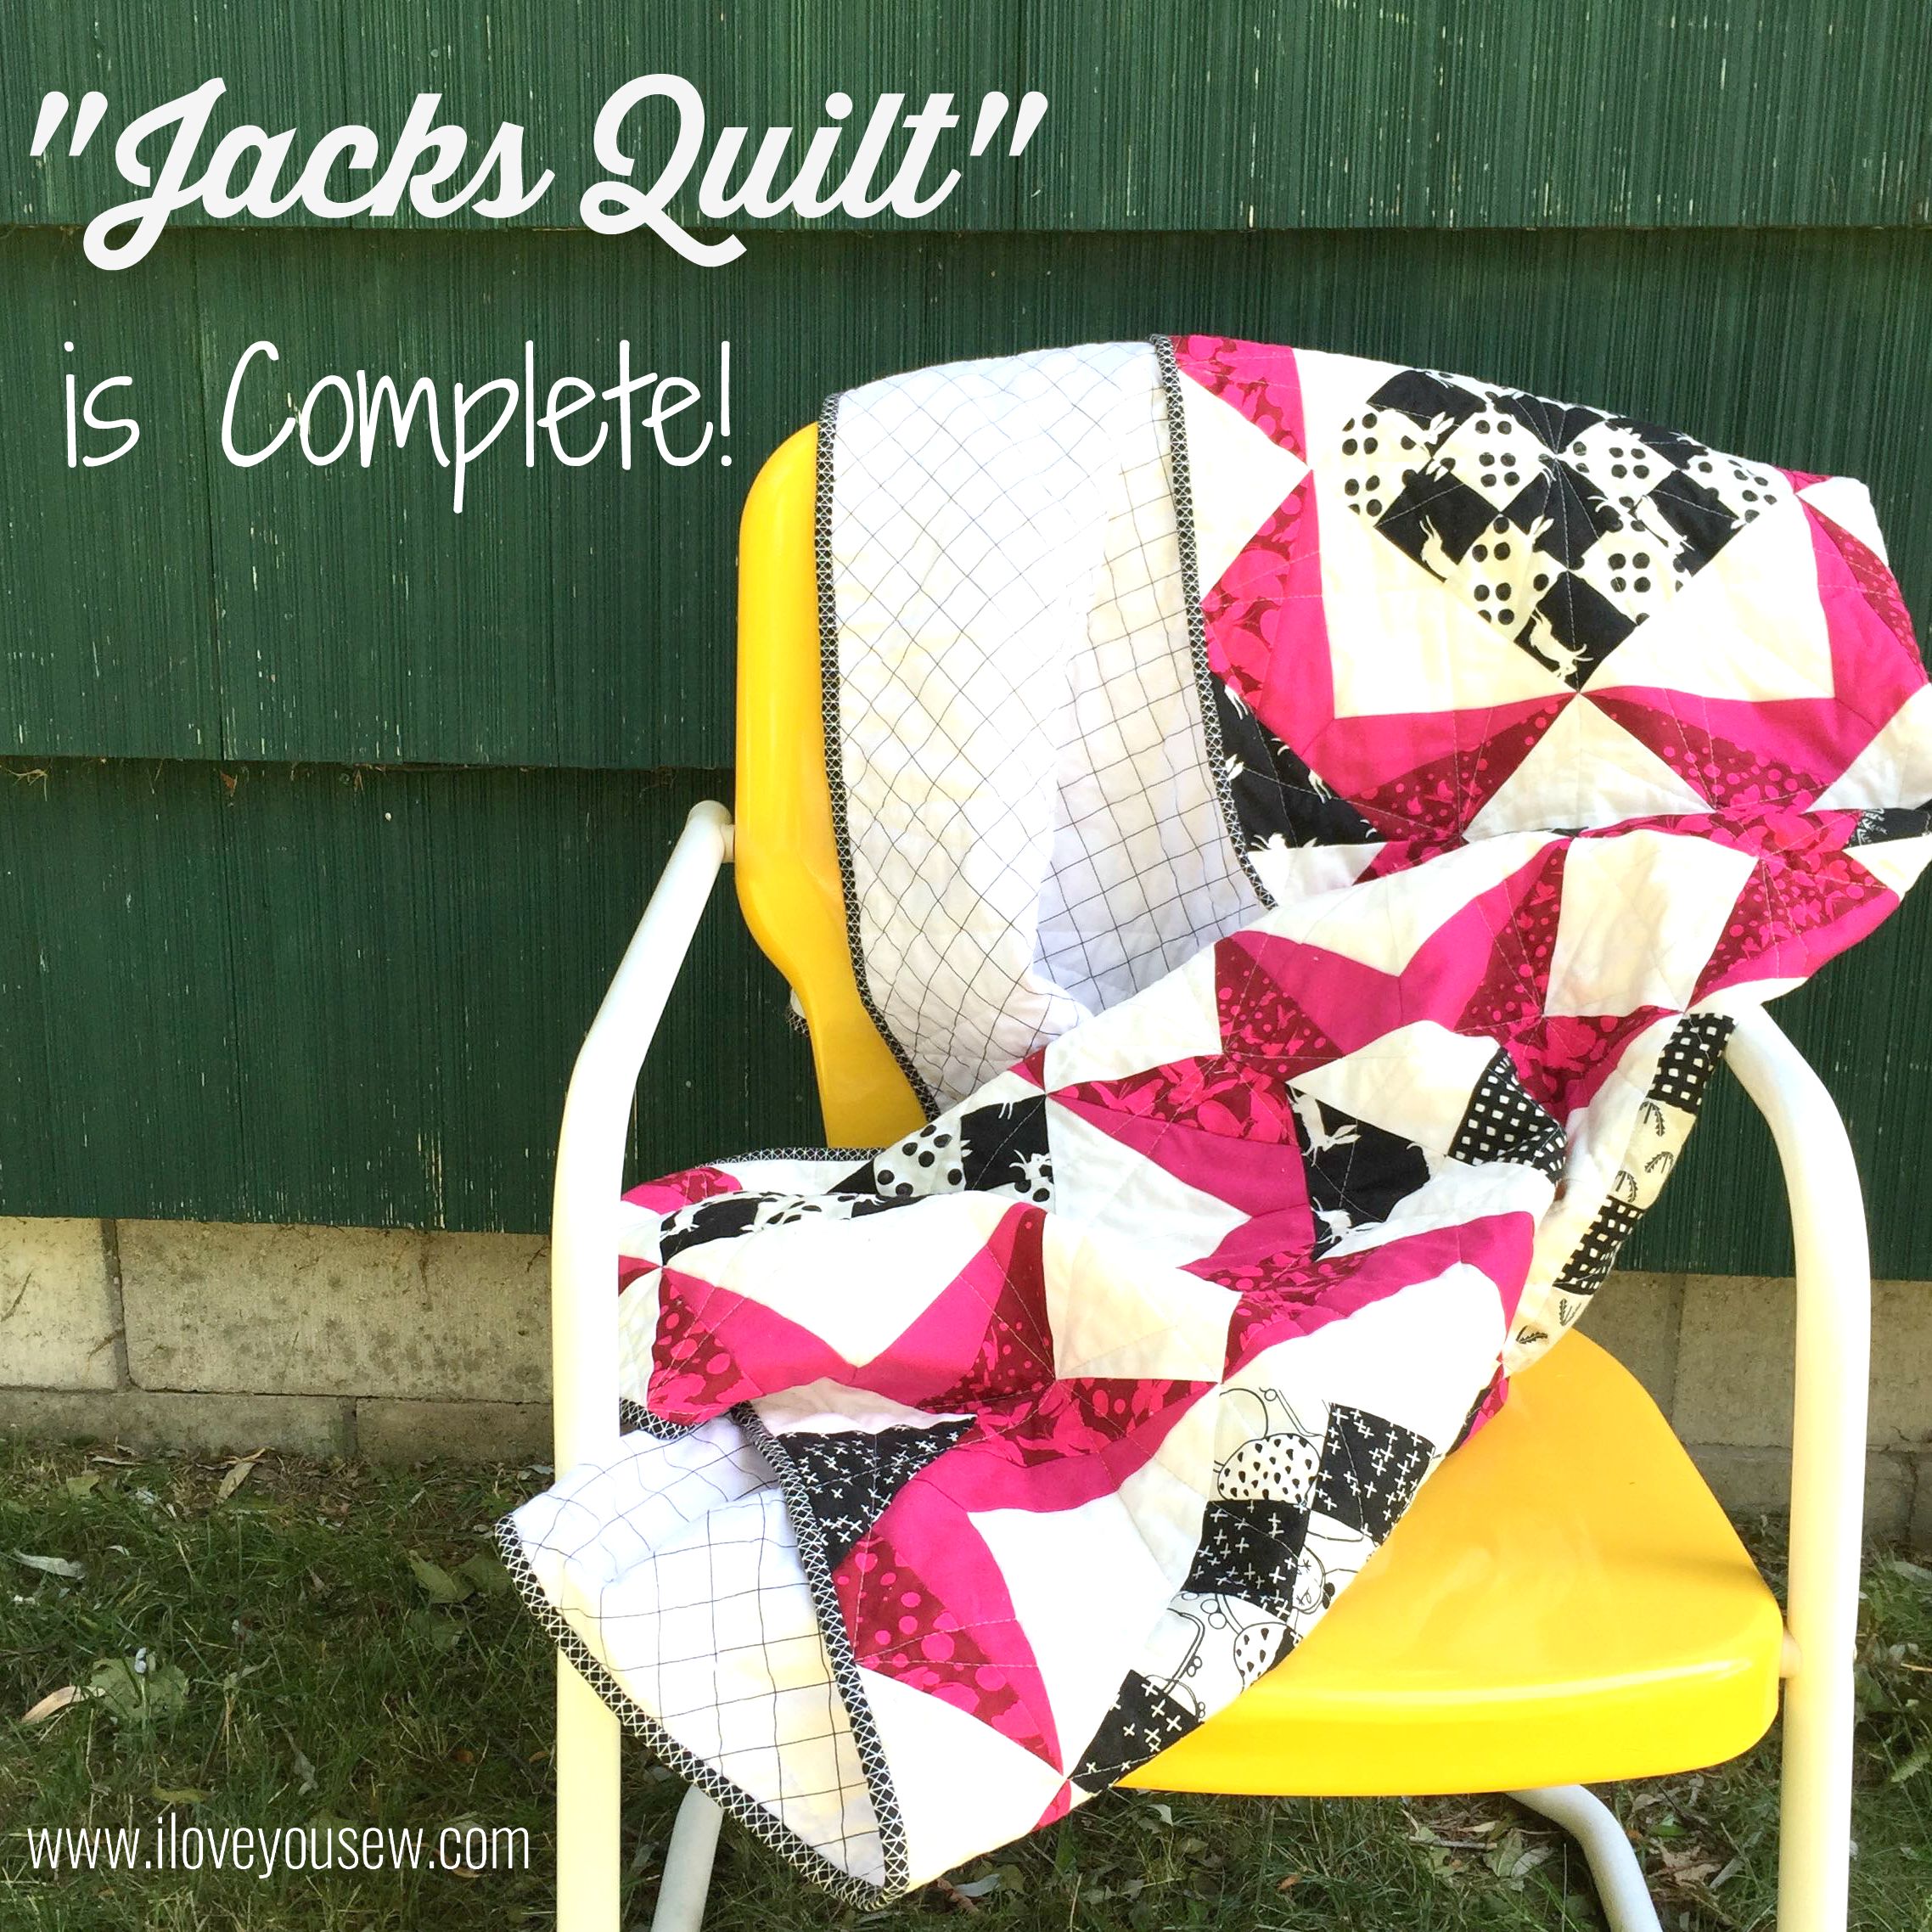
Remember the “Jack’s Quilt” Pattern I posted a few weeks back by Bryan House Quilts?  I’ve finally quilted and bound it…plus, I have a bonus project using scraps from the paper-piecing!

Widescreen

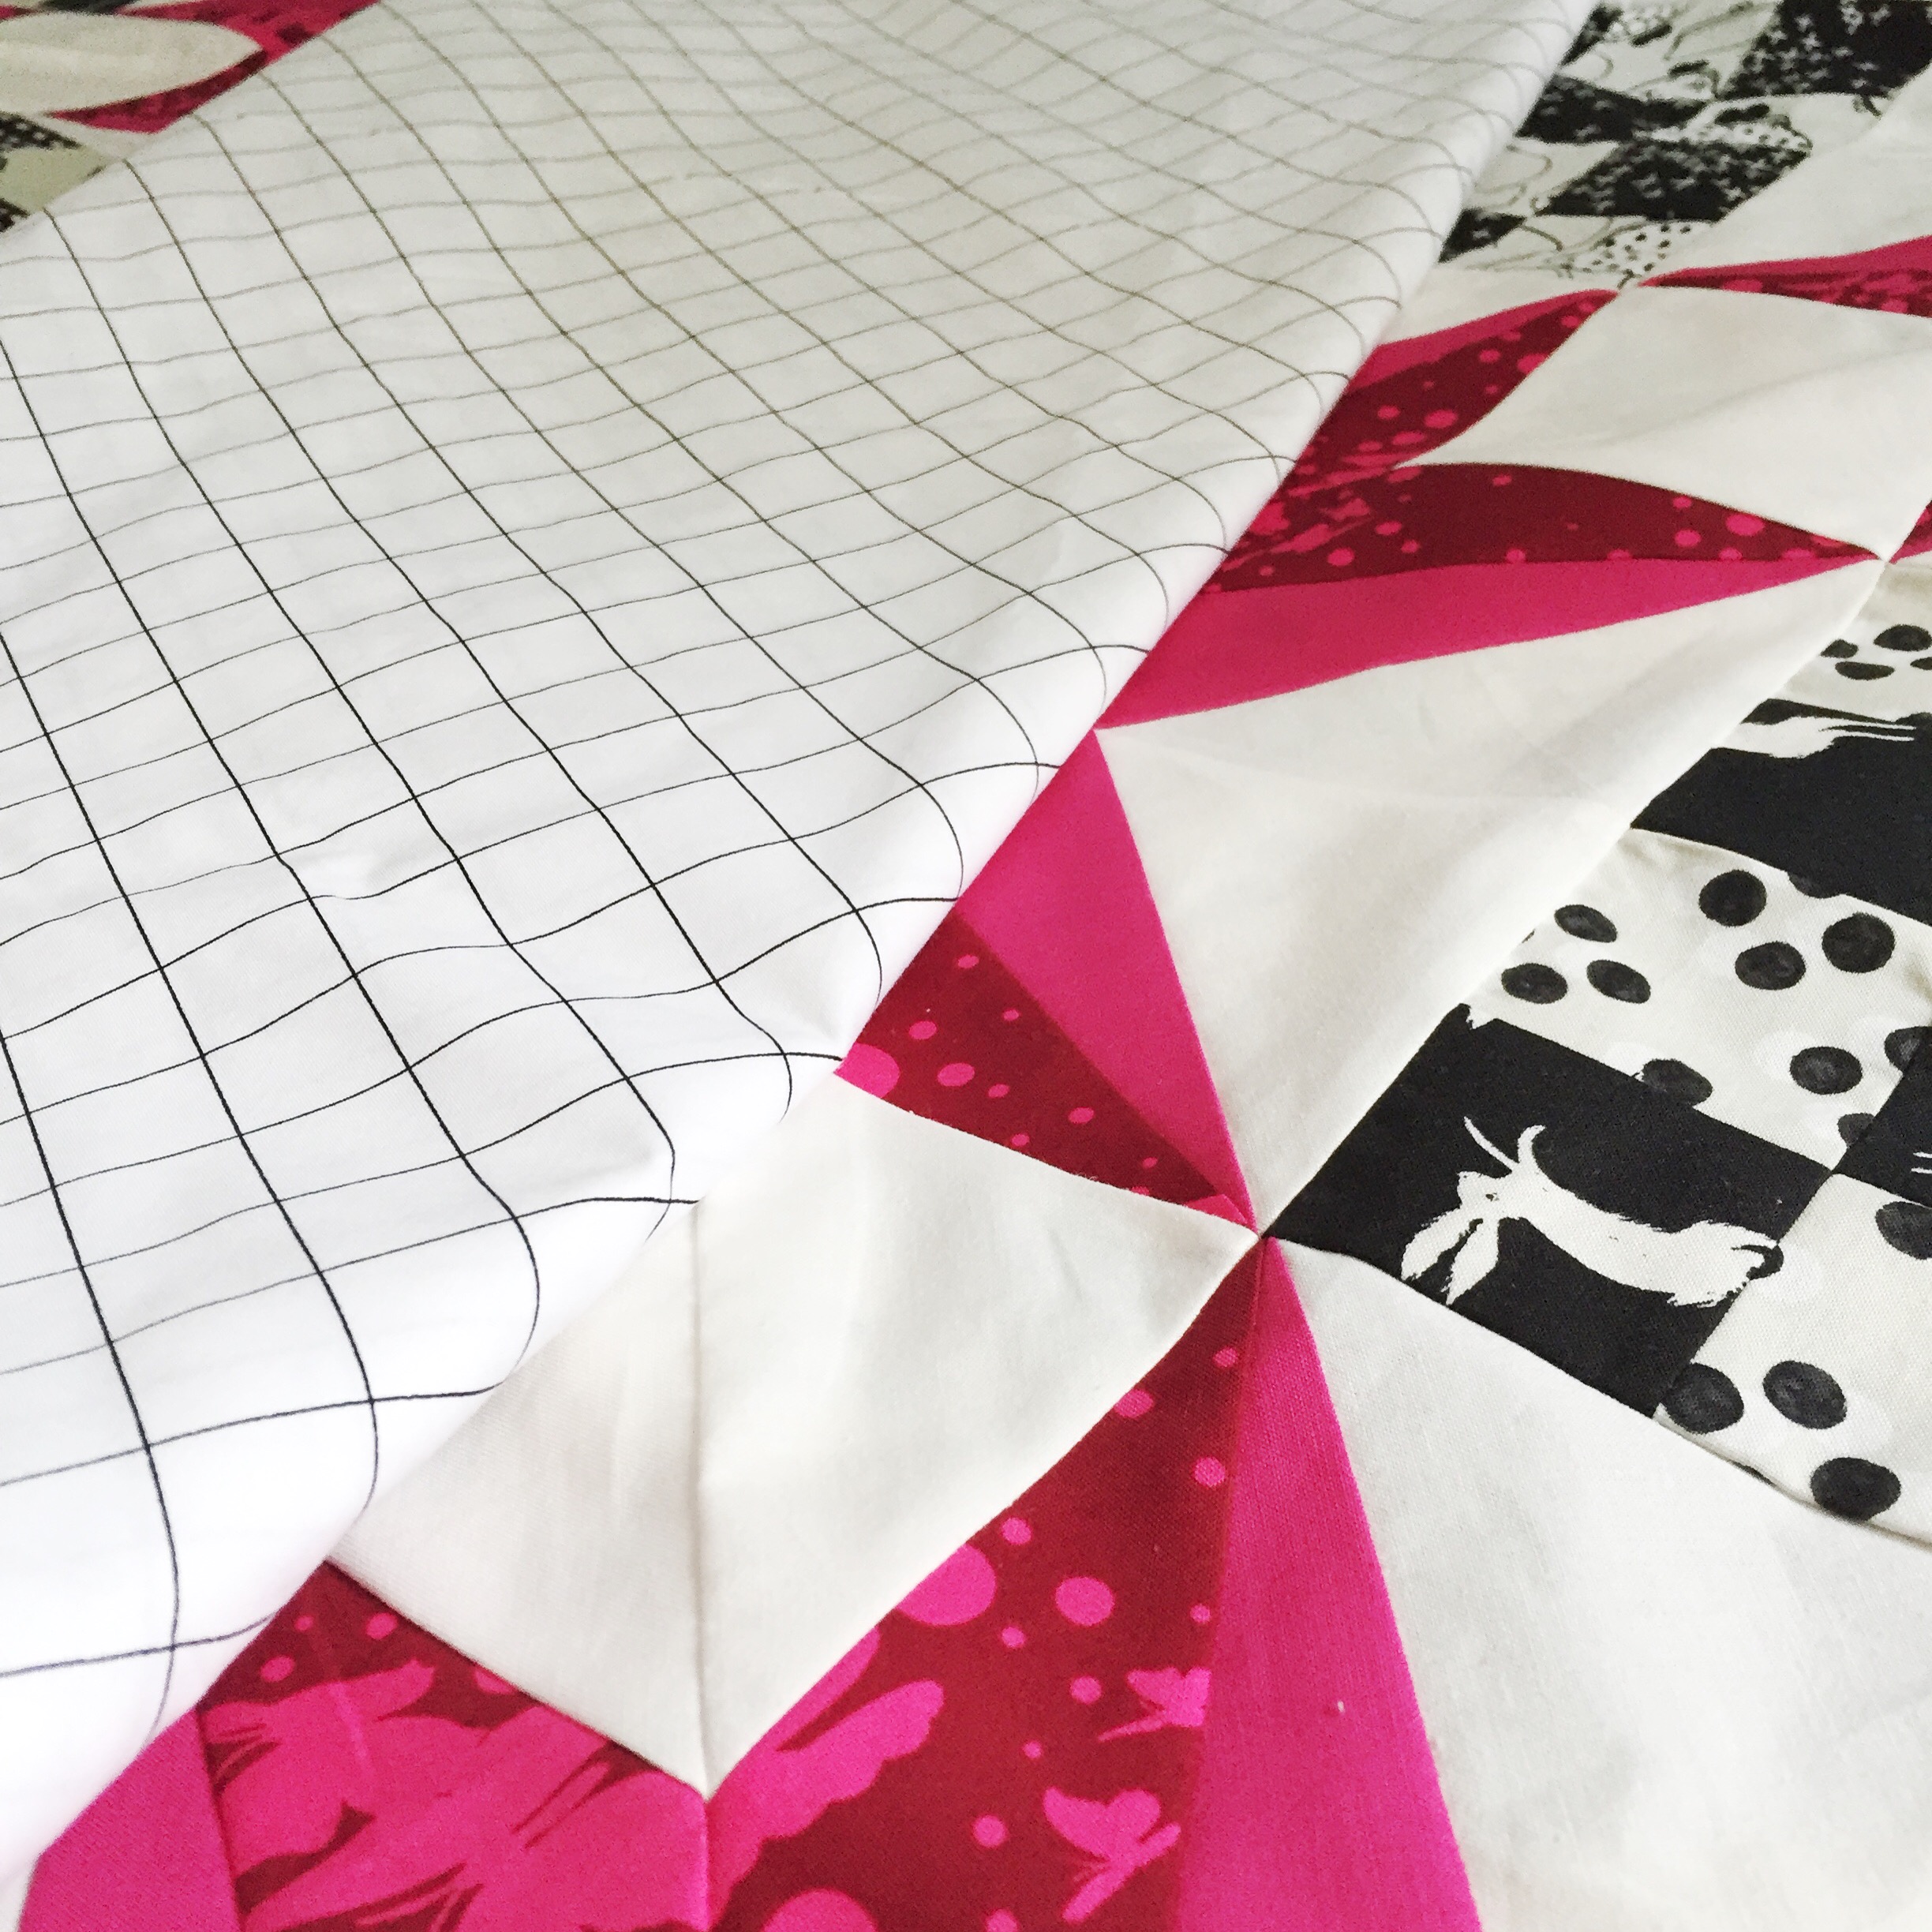
With the strong fuchsia colors in my quilt, I wanted to balance it out with more black and white.  Carolyn Friedlander’s Widescreen in white fit the bill perfectly. The gridlines play well with the graphic piecing and who doesn’t love a wideback?!?  I MUCH prefer a single wideback fabric panel than piecing a few together.

ColoringSheet

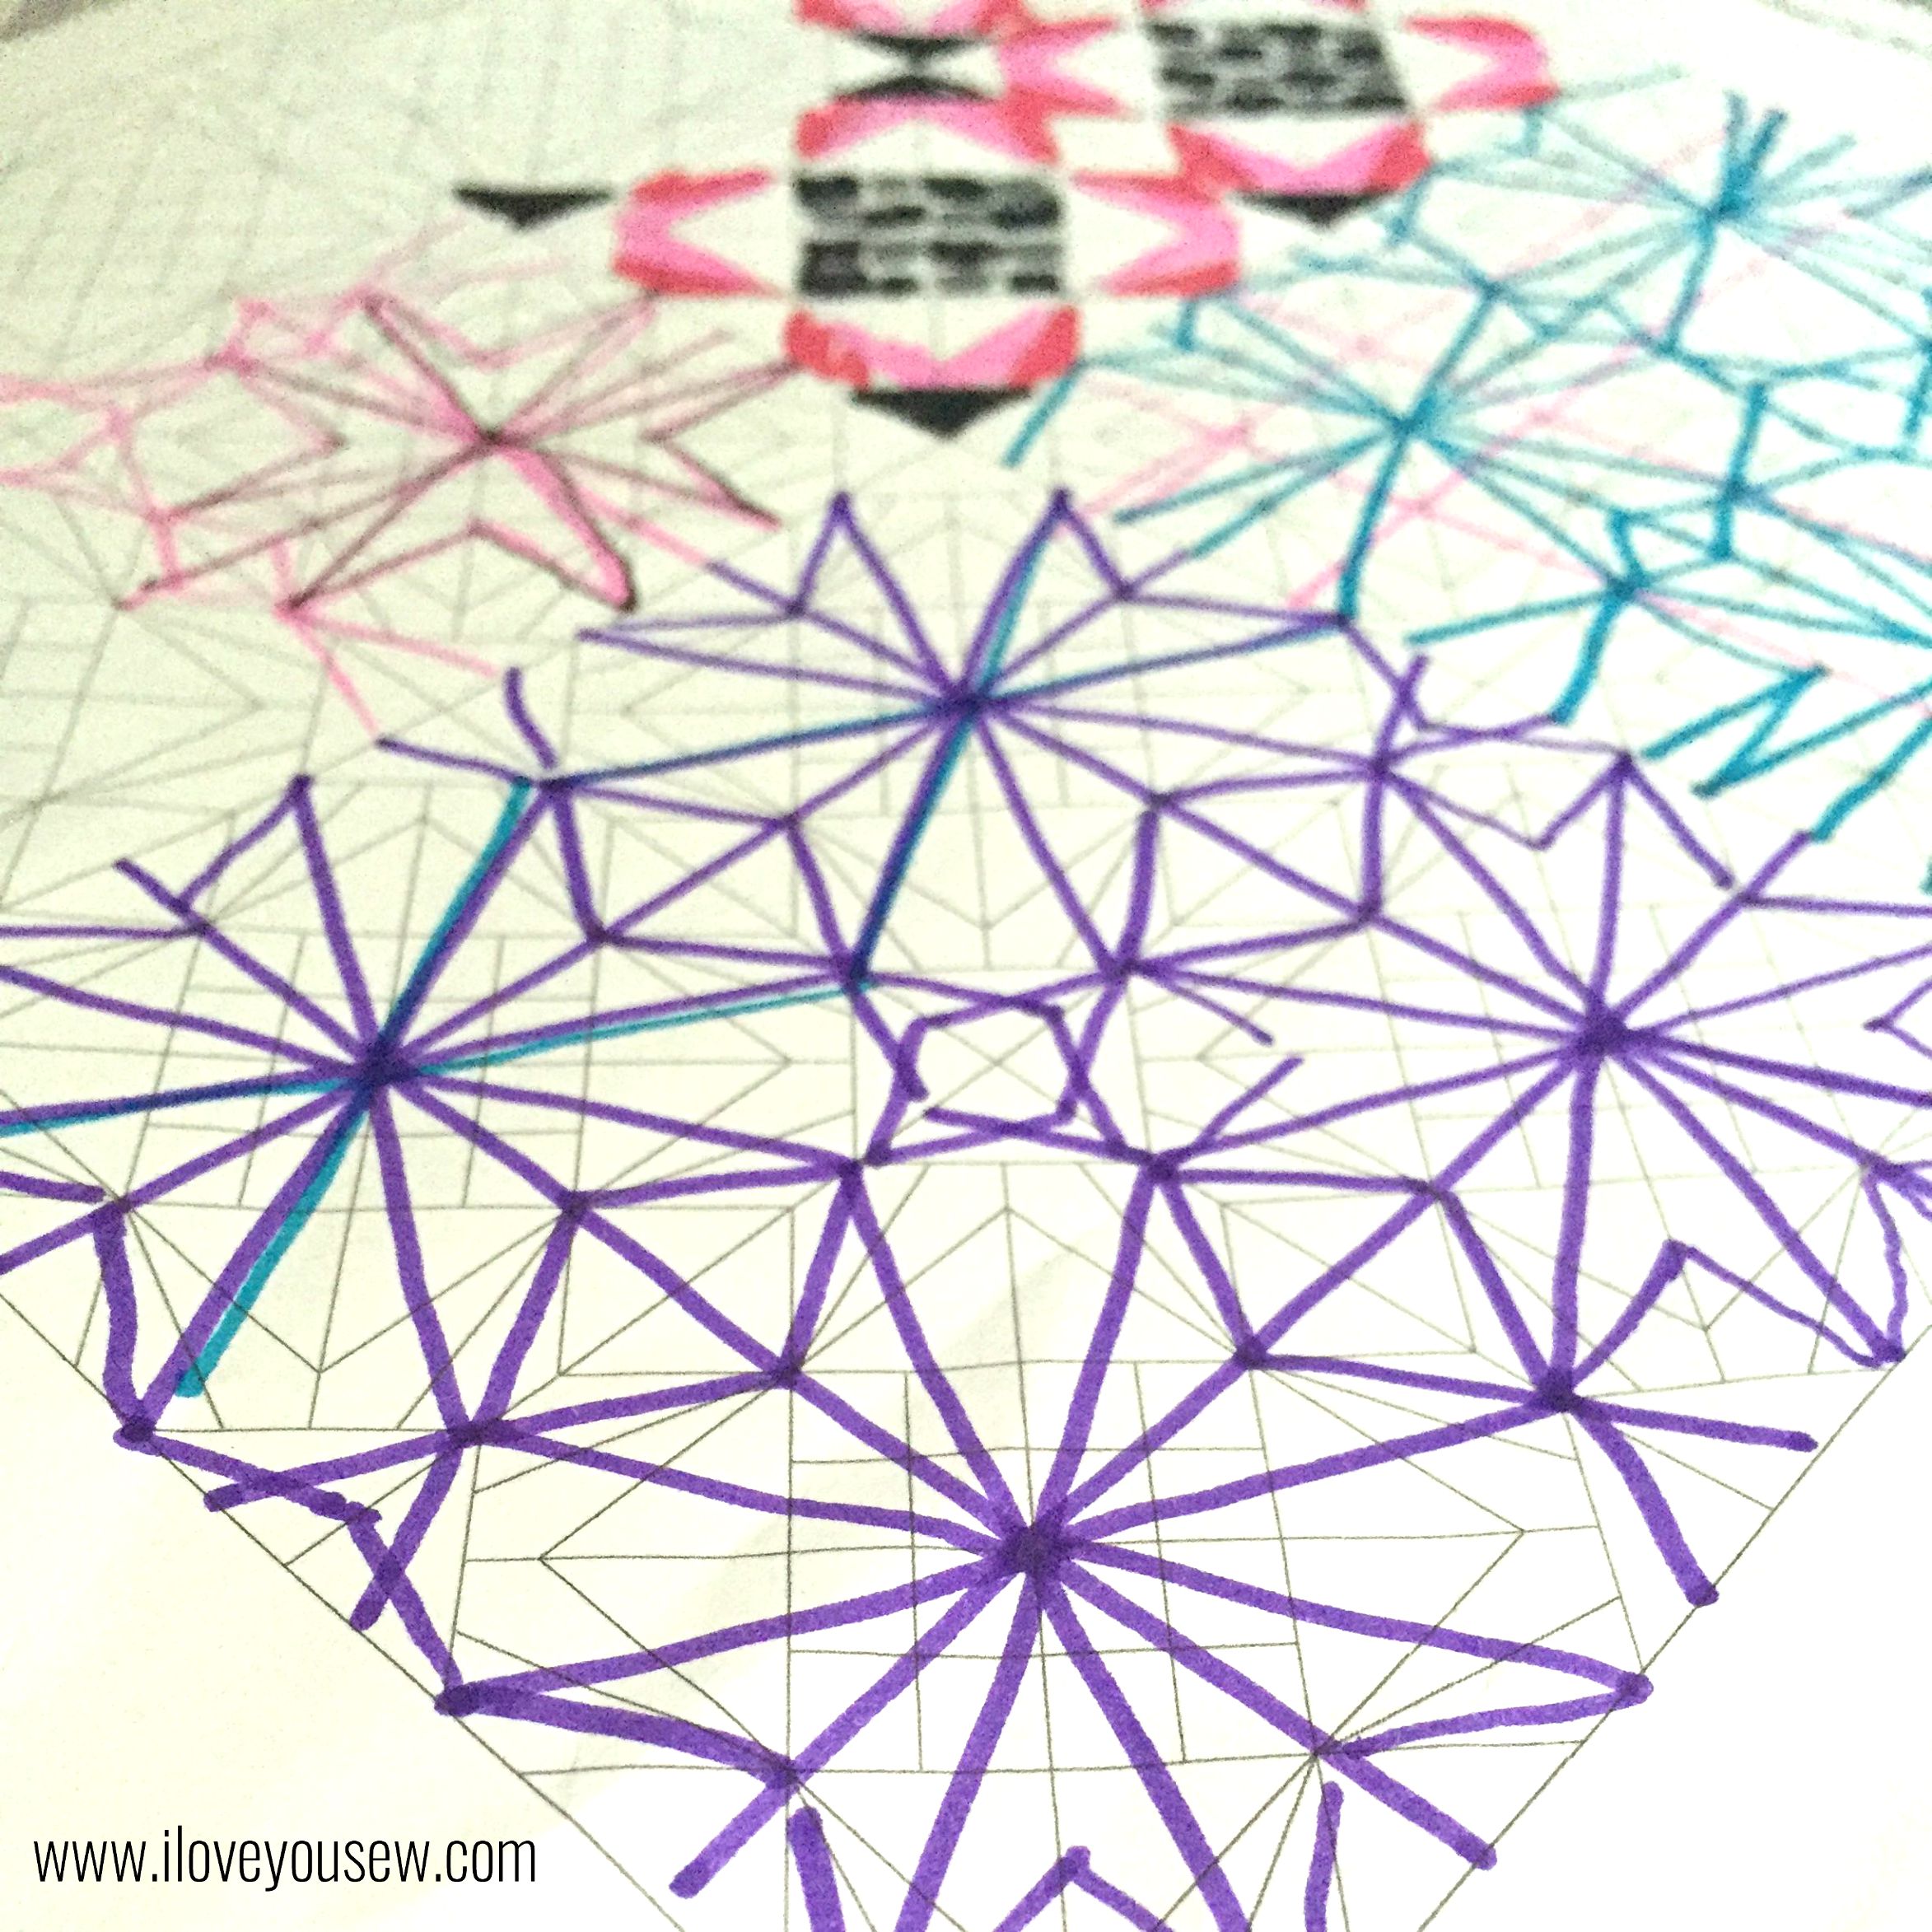
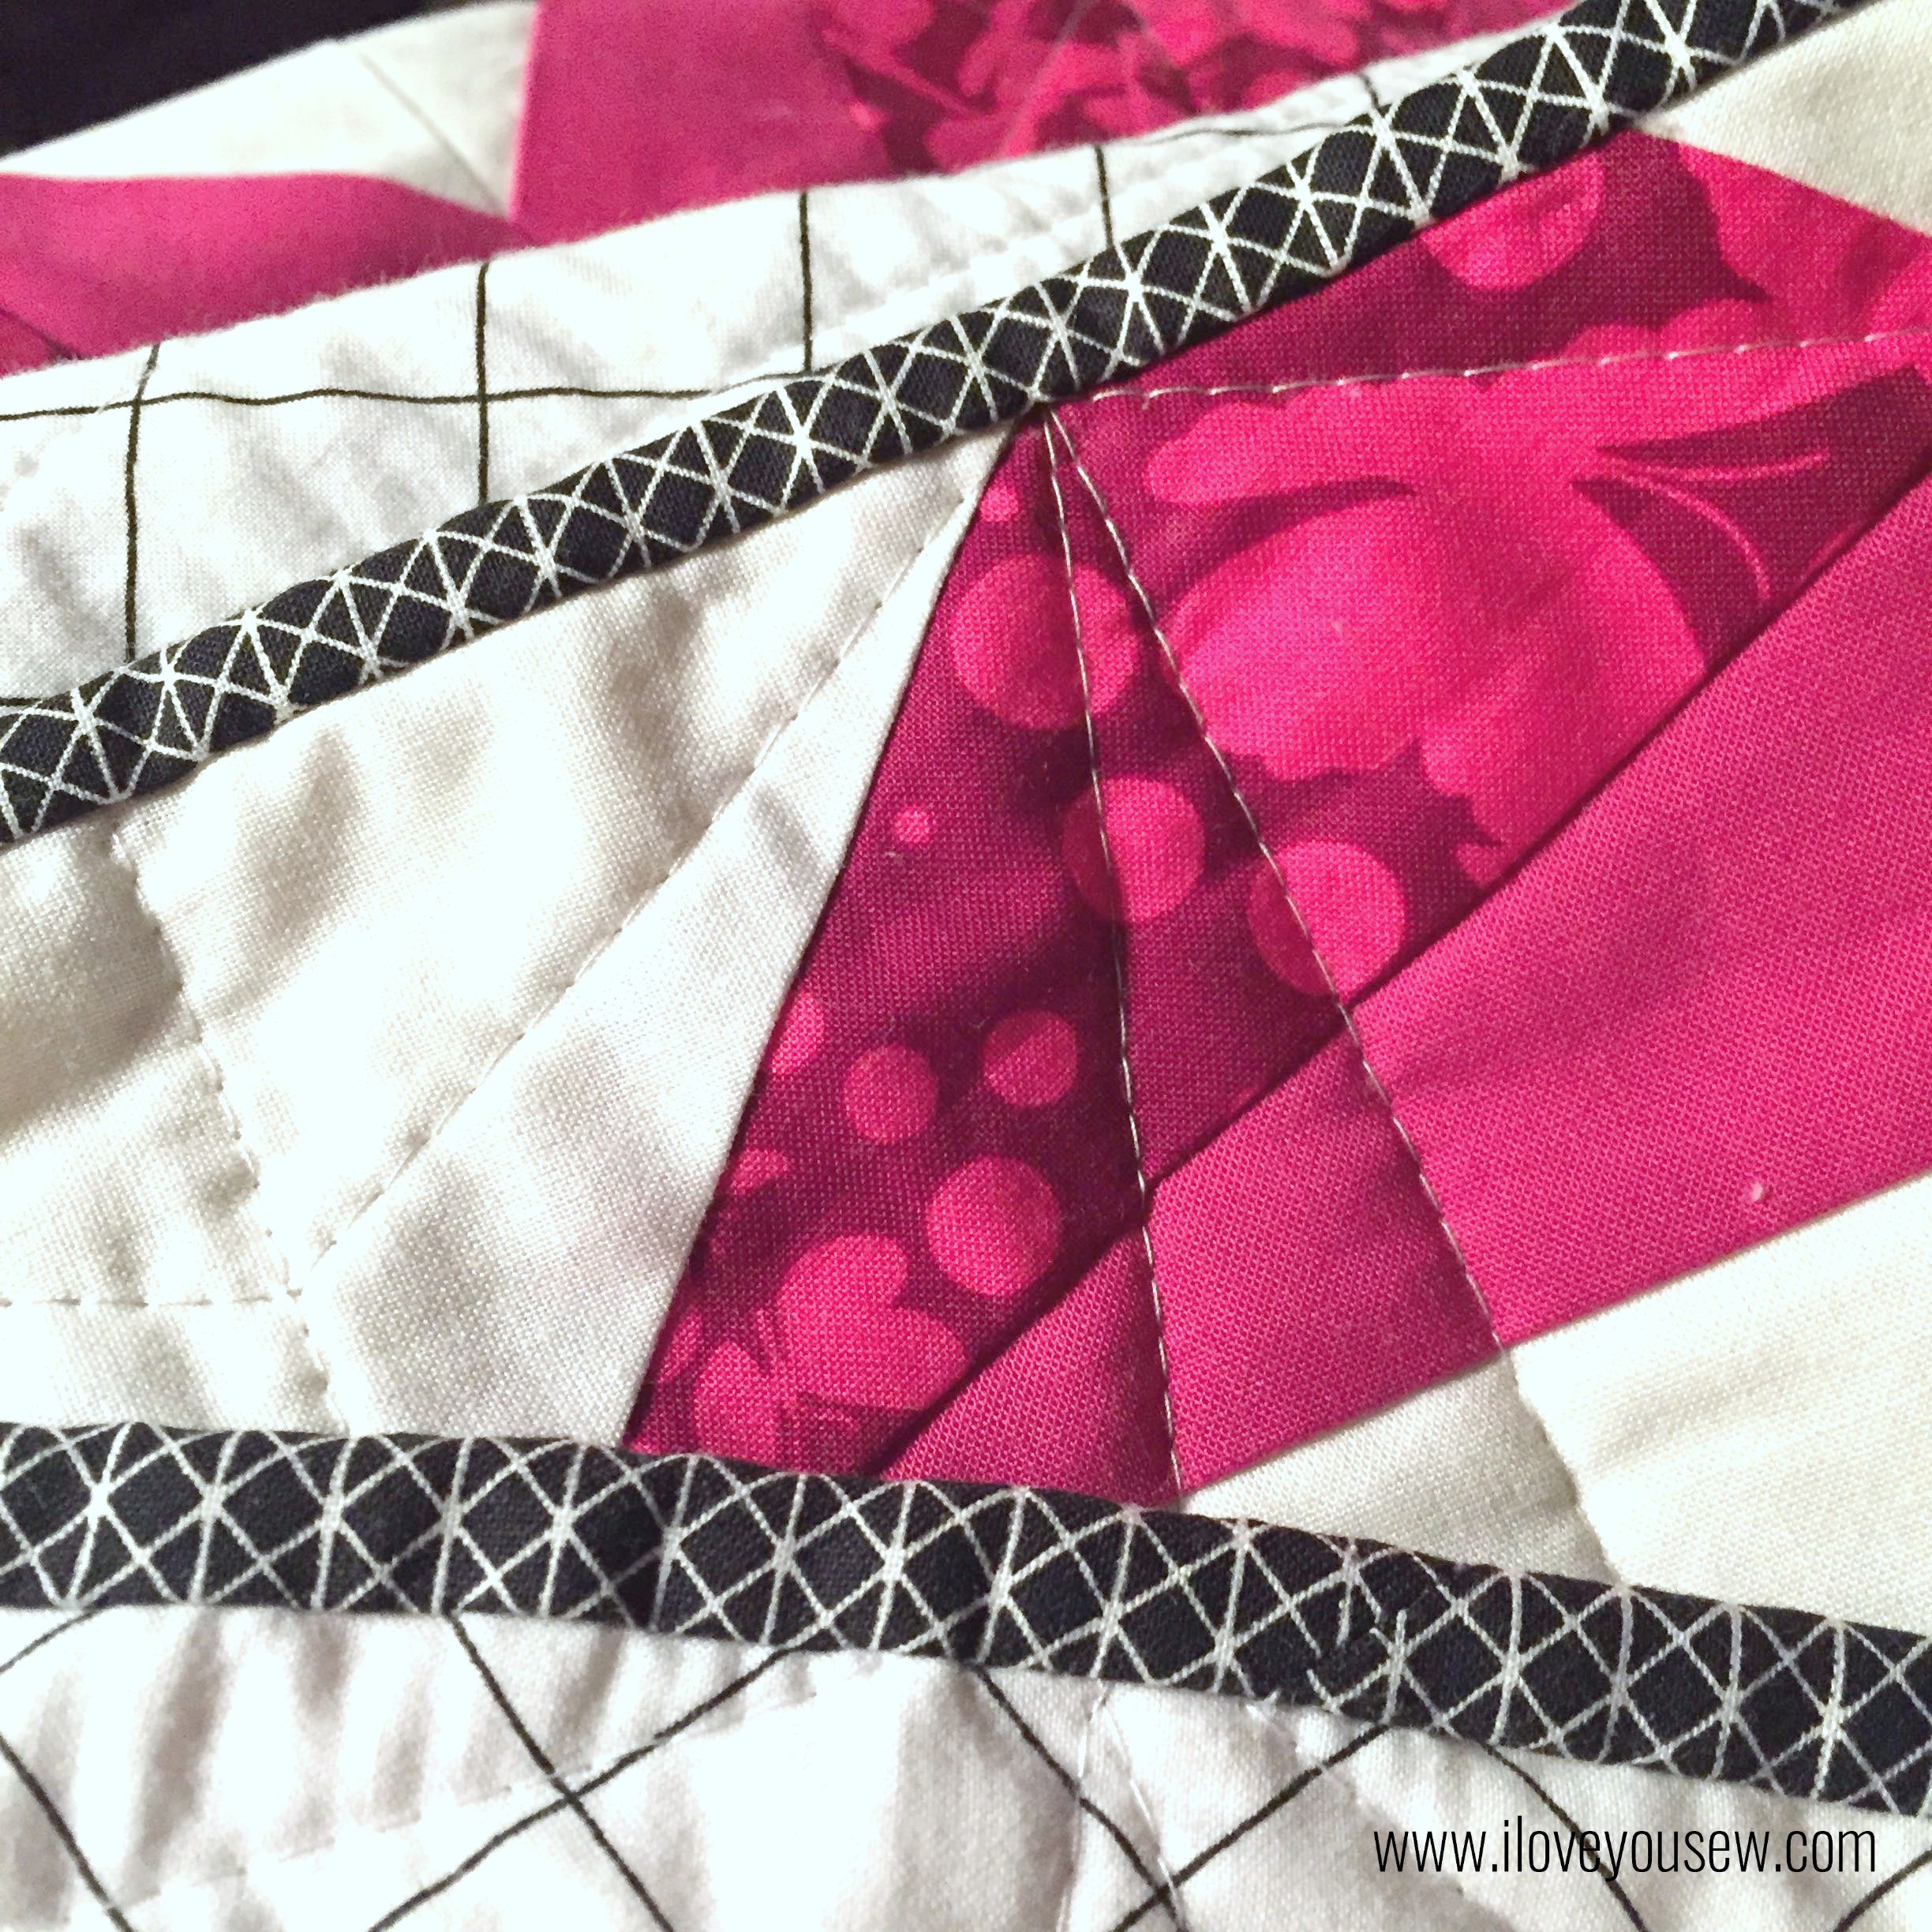
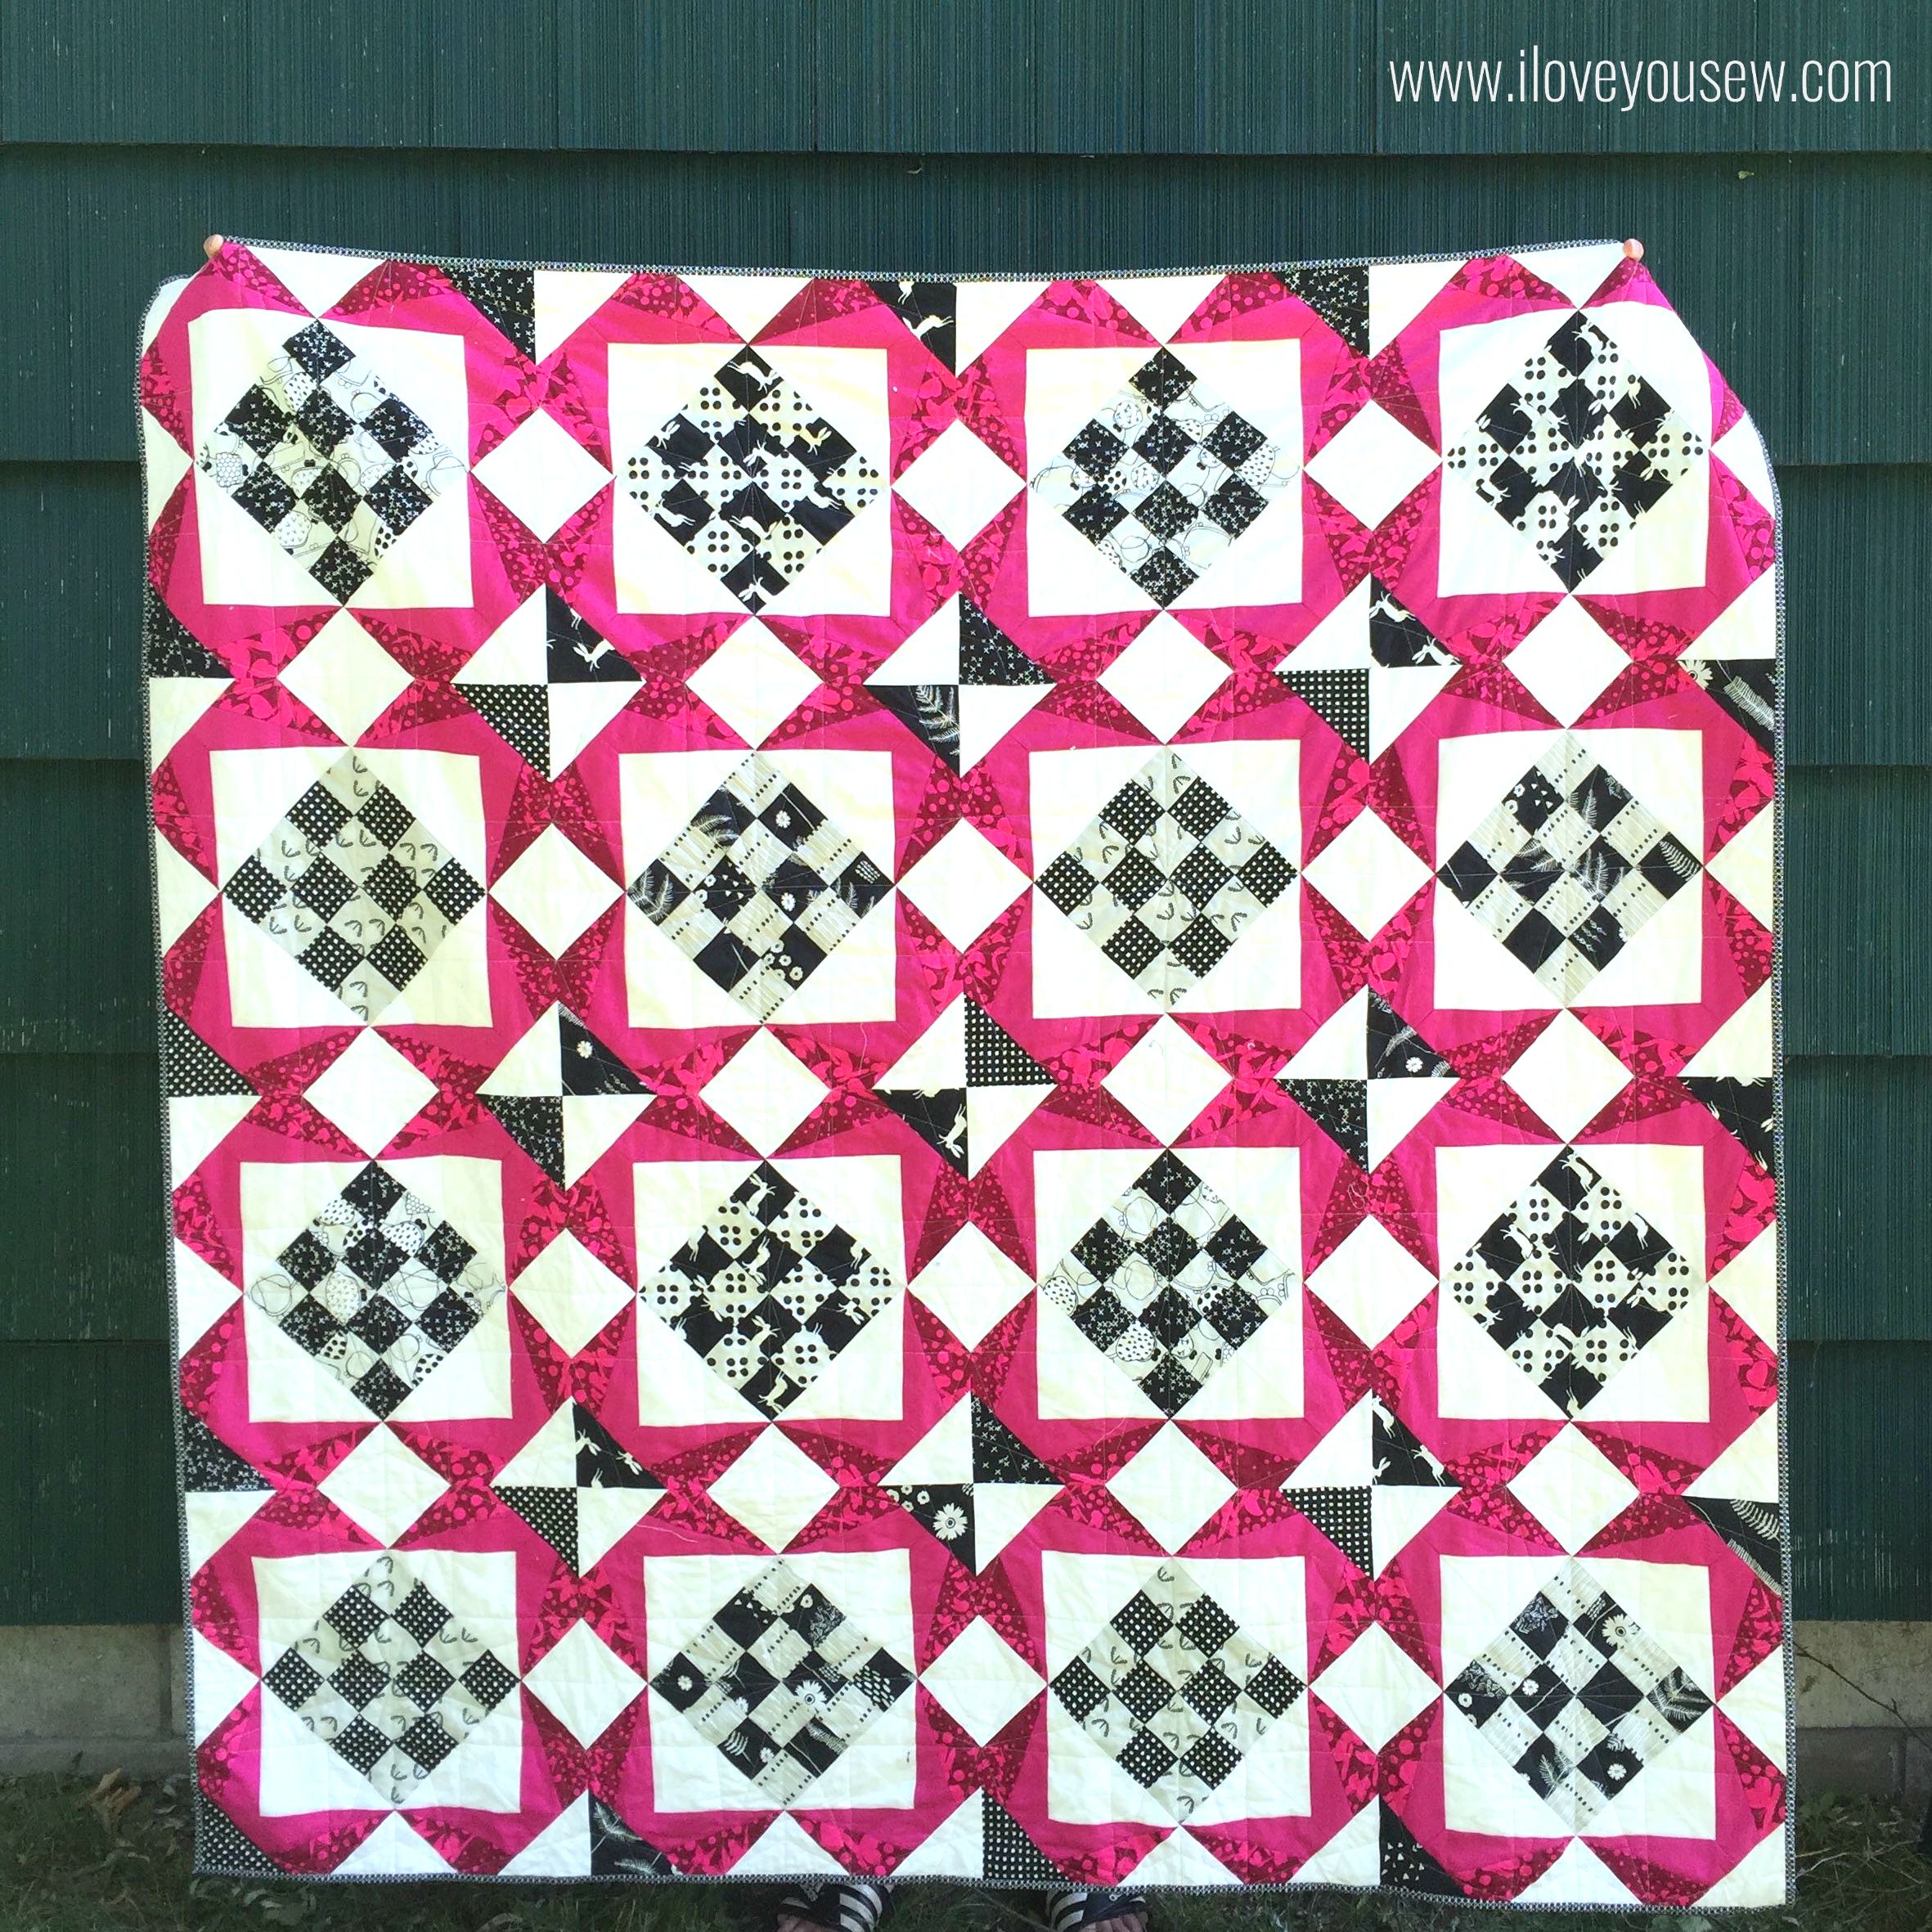
Did you know when you purchase this quilt pattern, it comes with a coloring sheet?  I LOVE having coloring sheets to help me pick out colors and fabrics.  Best of all….it helps with figuring how I am going to quilt everything together!  I’m all about straight-lines and I wanted to follow the star spokes.  I tested a few designs and settled on this purple one.  I wish coloring sheets came standard with ALL quilt patterns 🙂

QuiltingCloseUp

This simple quilting was exactly what I wanted…something to extenuate the pattern design without being too busy AND with lines that could continue from end to end of the quilt.  I am definitely not a fan of burying threads, so I try to avoid it whenever possible!

Sunset

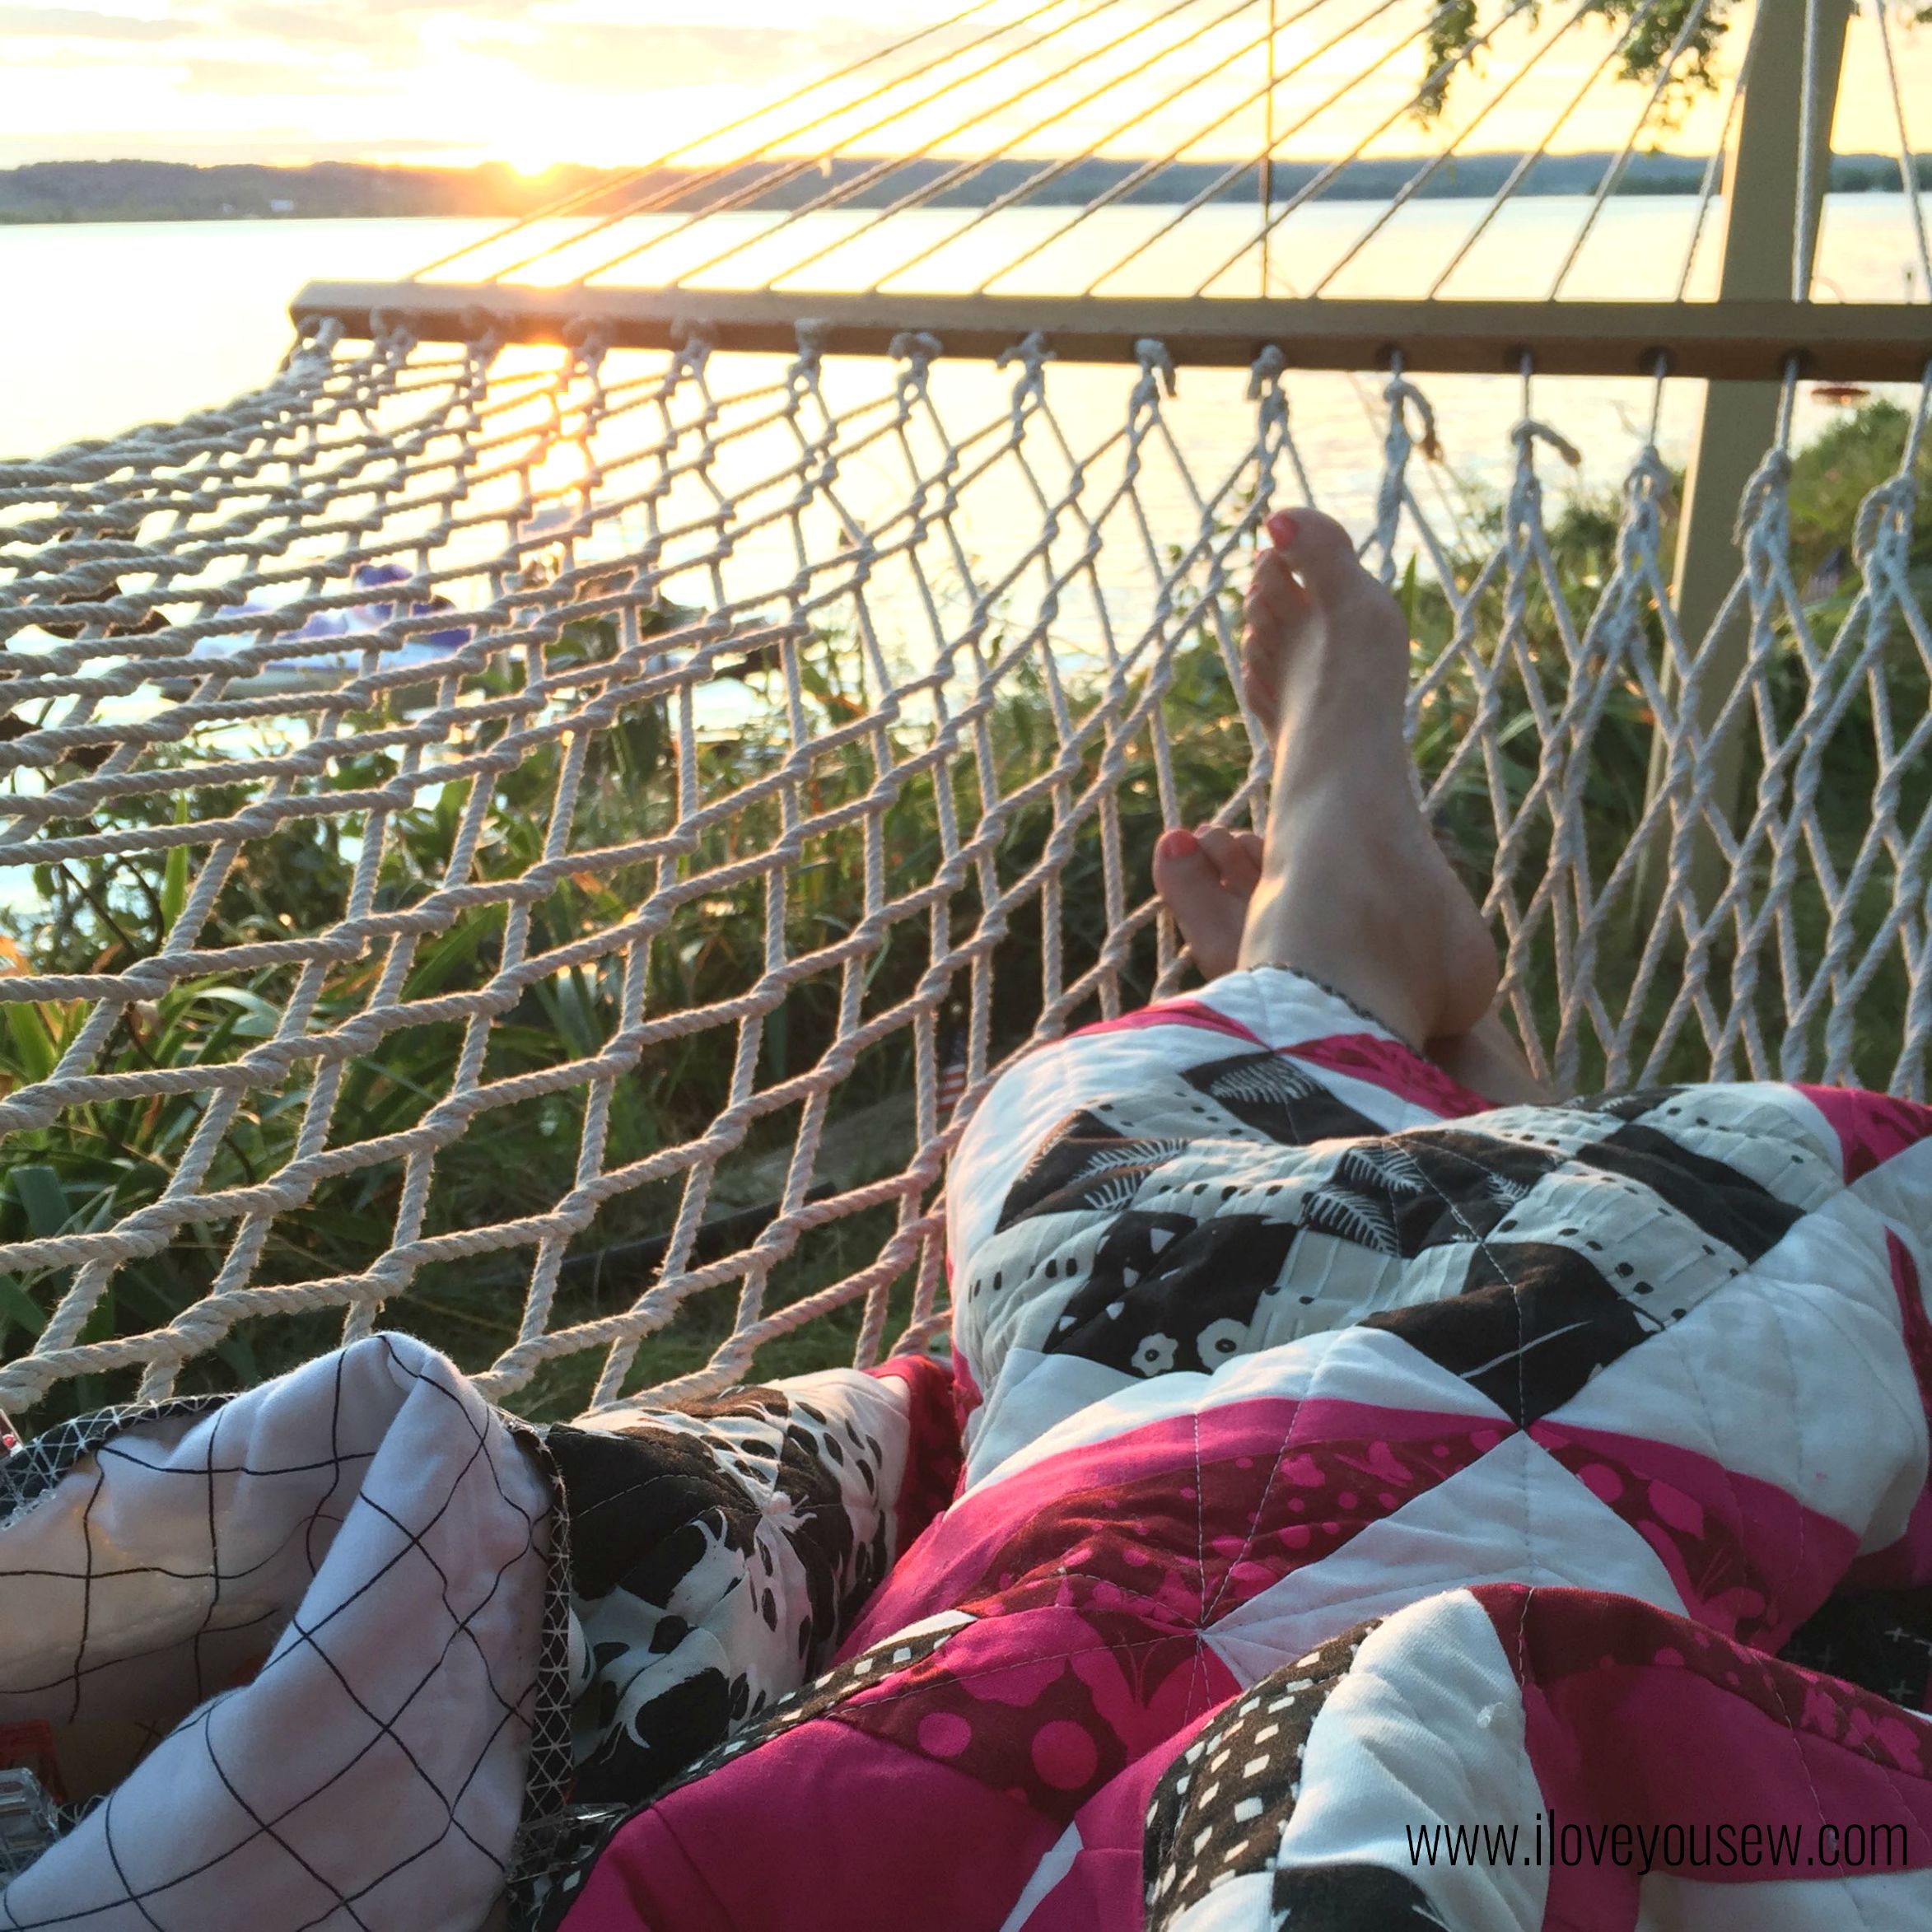
We had a family trip coming up while I was working on this quilt, so I knew I needed to quilt it quickly and attach the binding so I could hand finish it while we were vacationing.  I don’t know about you, but I always like to have some hand-sewing around whenever I’m away from home. You never know when you have some free time…and I was able to sew on the binding right on this hammock watching the sunset! {Heaven}

CSBinding

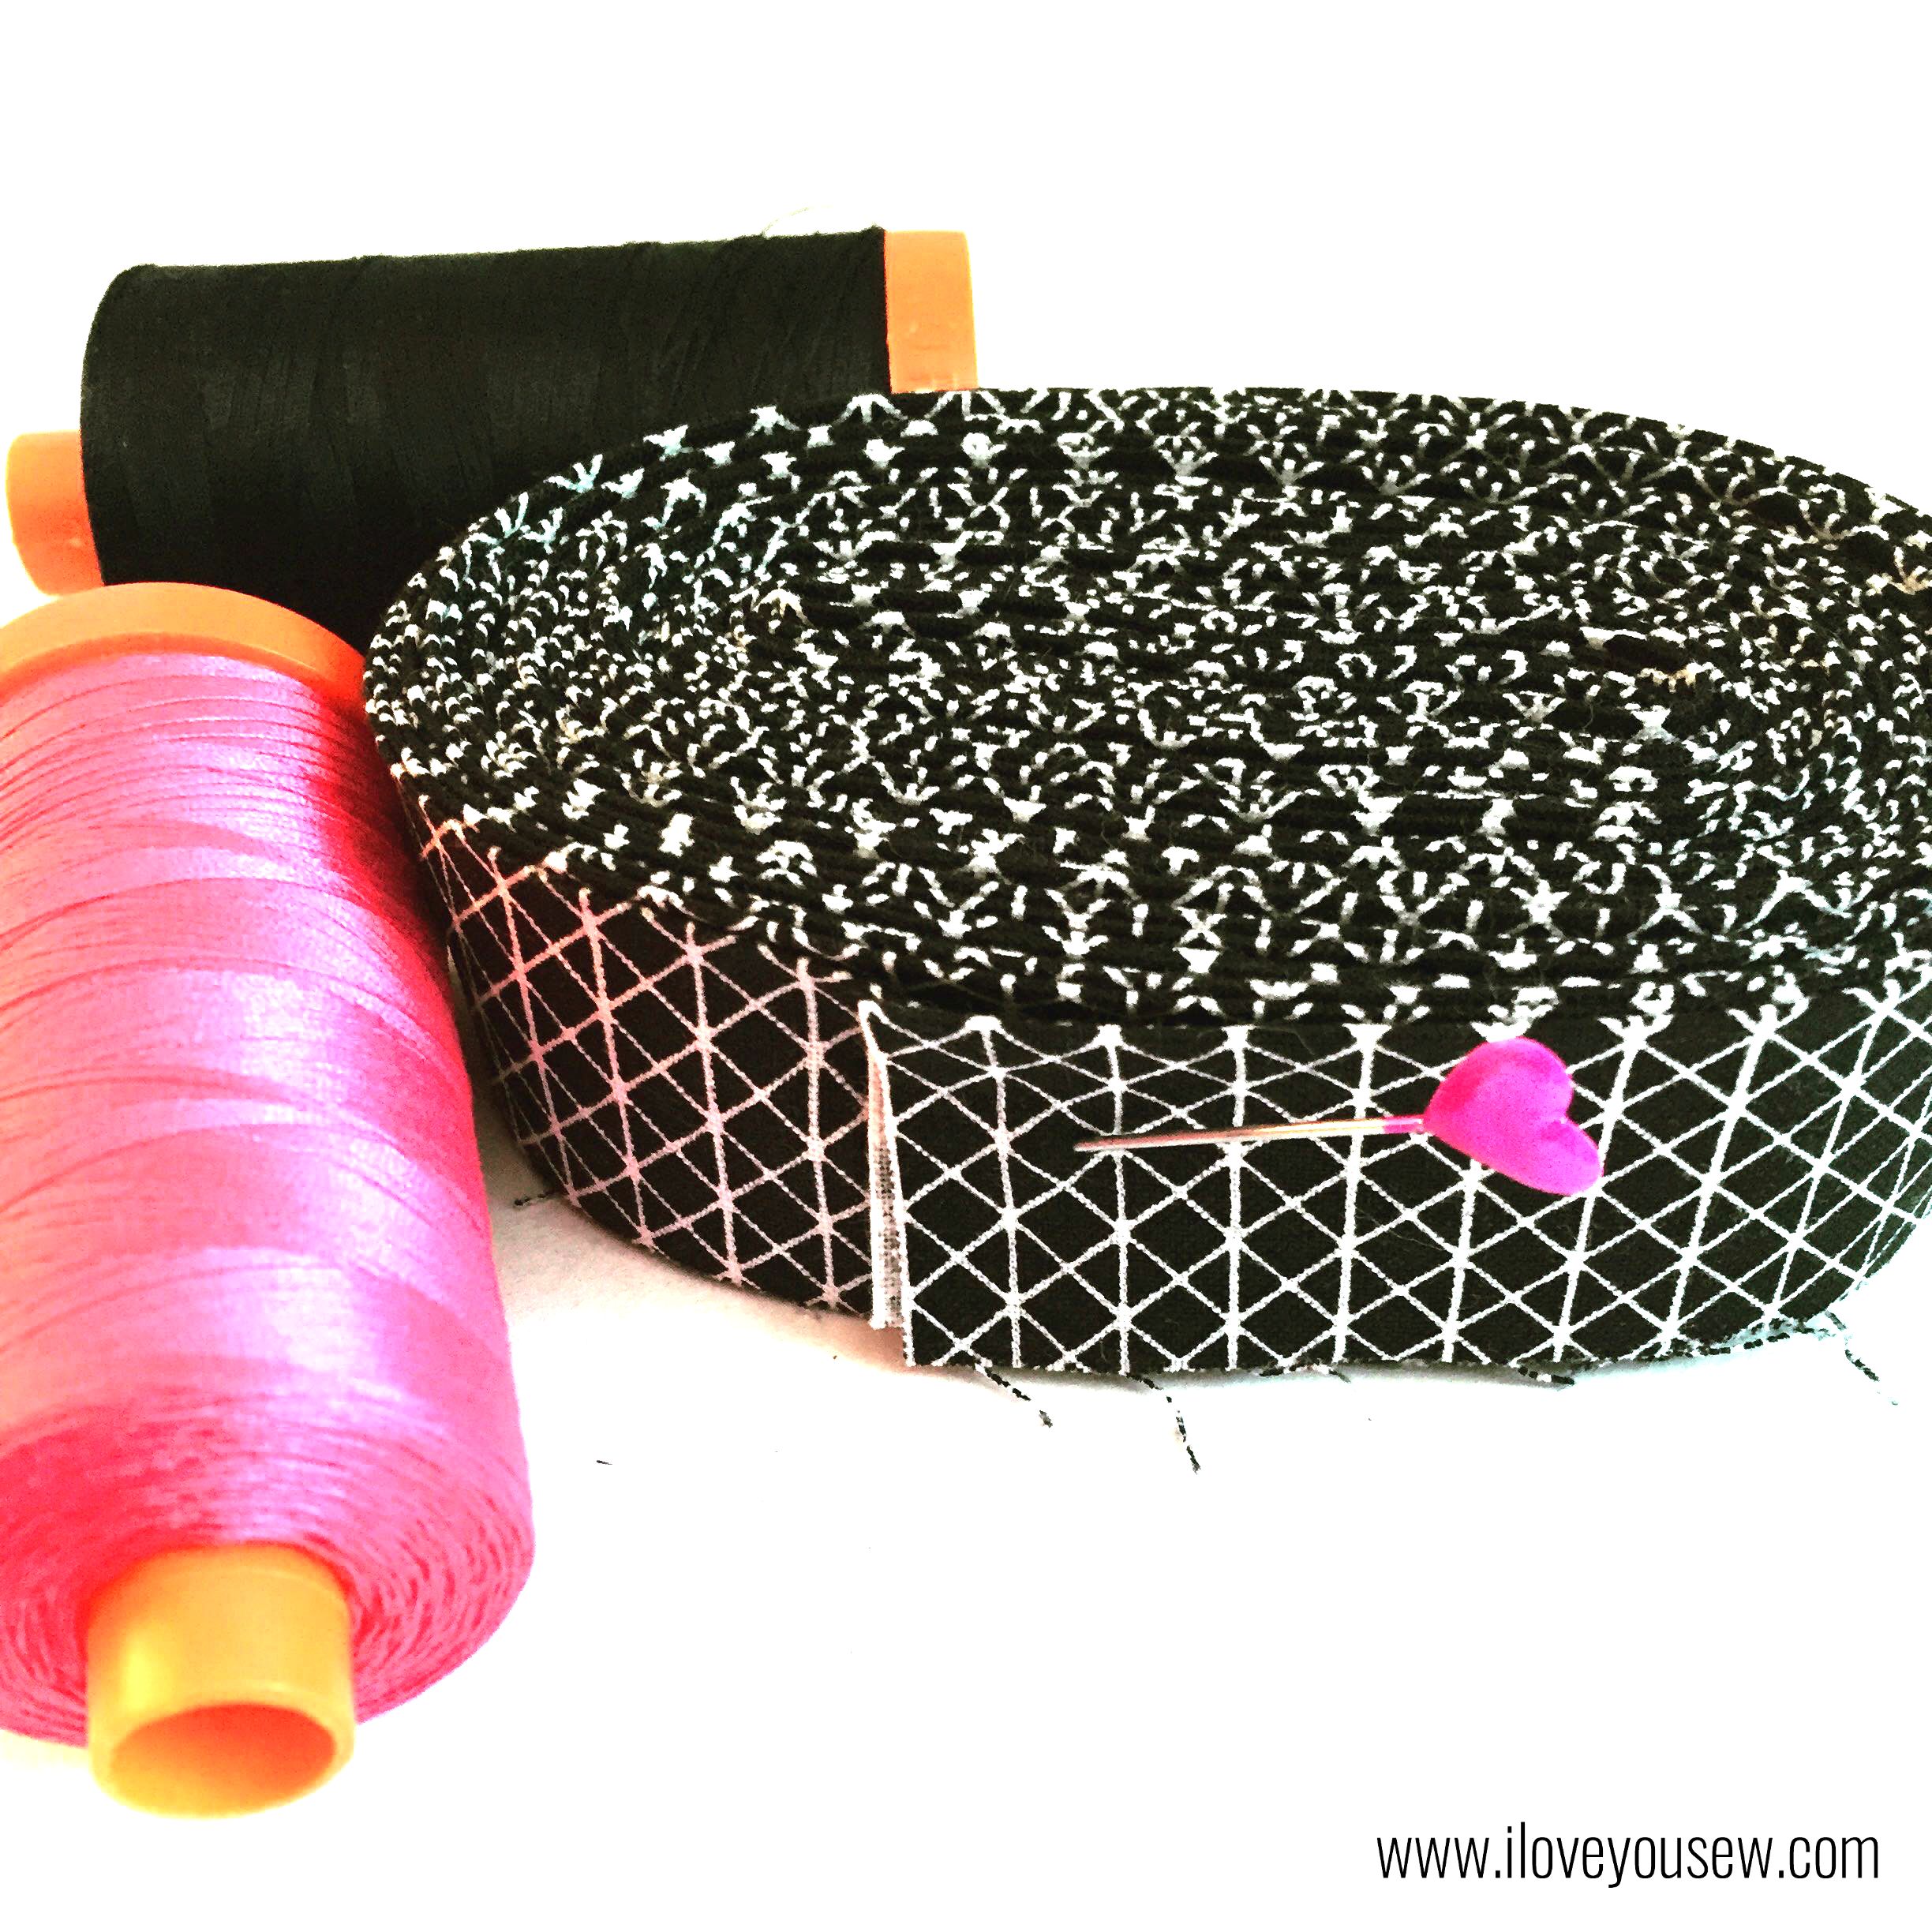
For the binding, I initially thought I would use Carolyn Friedlander’s Architextures Grid in Black.  But since the lines are more “free-hand,” the irregular lines didn’t go together with all the strong shapes of the quilt and backing.  I played with stripes and dots, but ended up with Cotton and Steel’s Netorious basic in Black Cat.  The lines in this pattern are graphic and matched the overall feel of my quilt.  The black binding really made the fuschia pop as well!  I really love how it all came out.

Corner

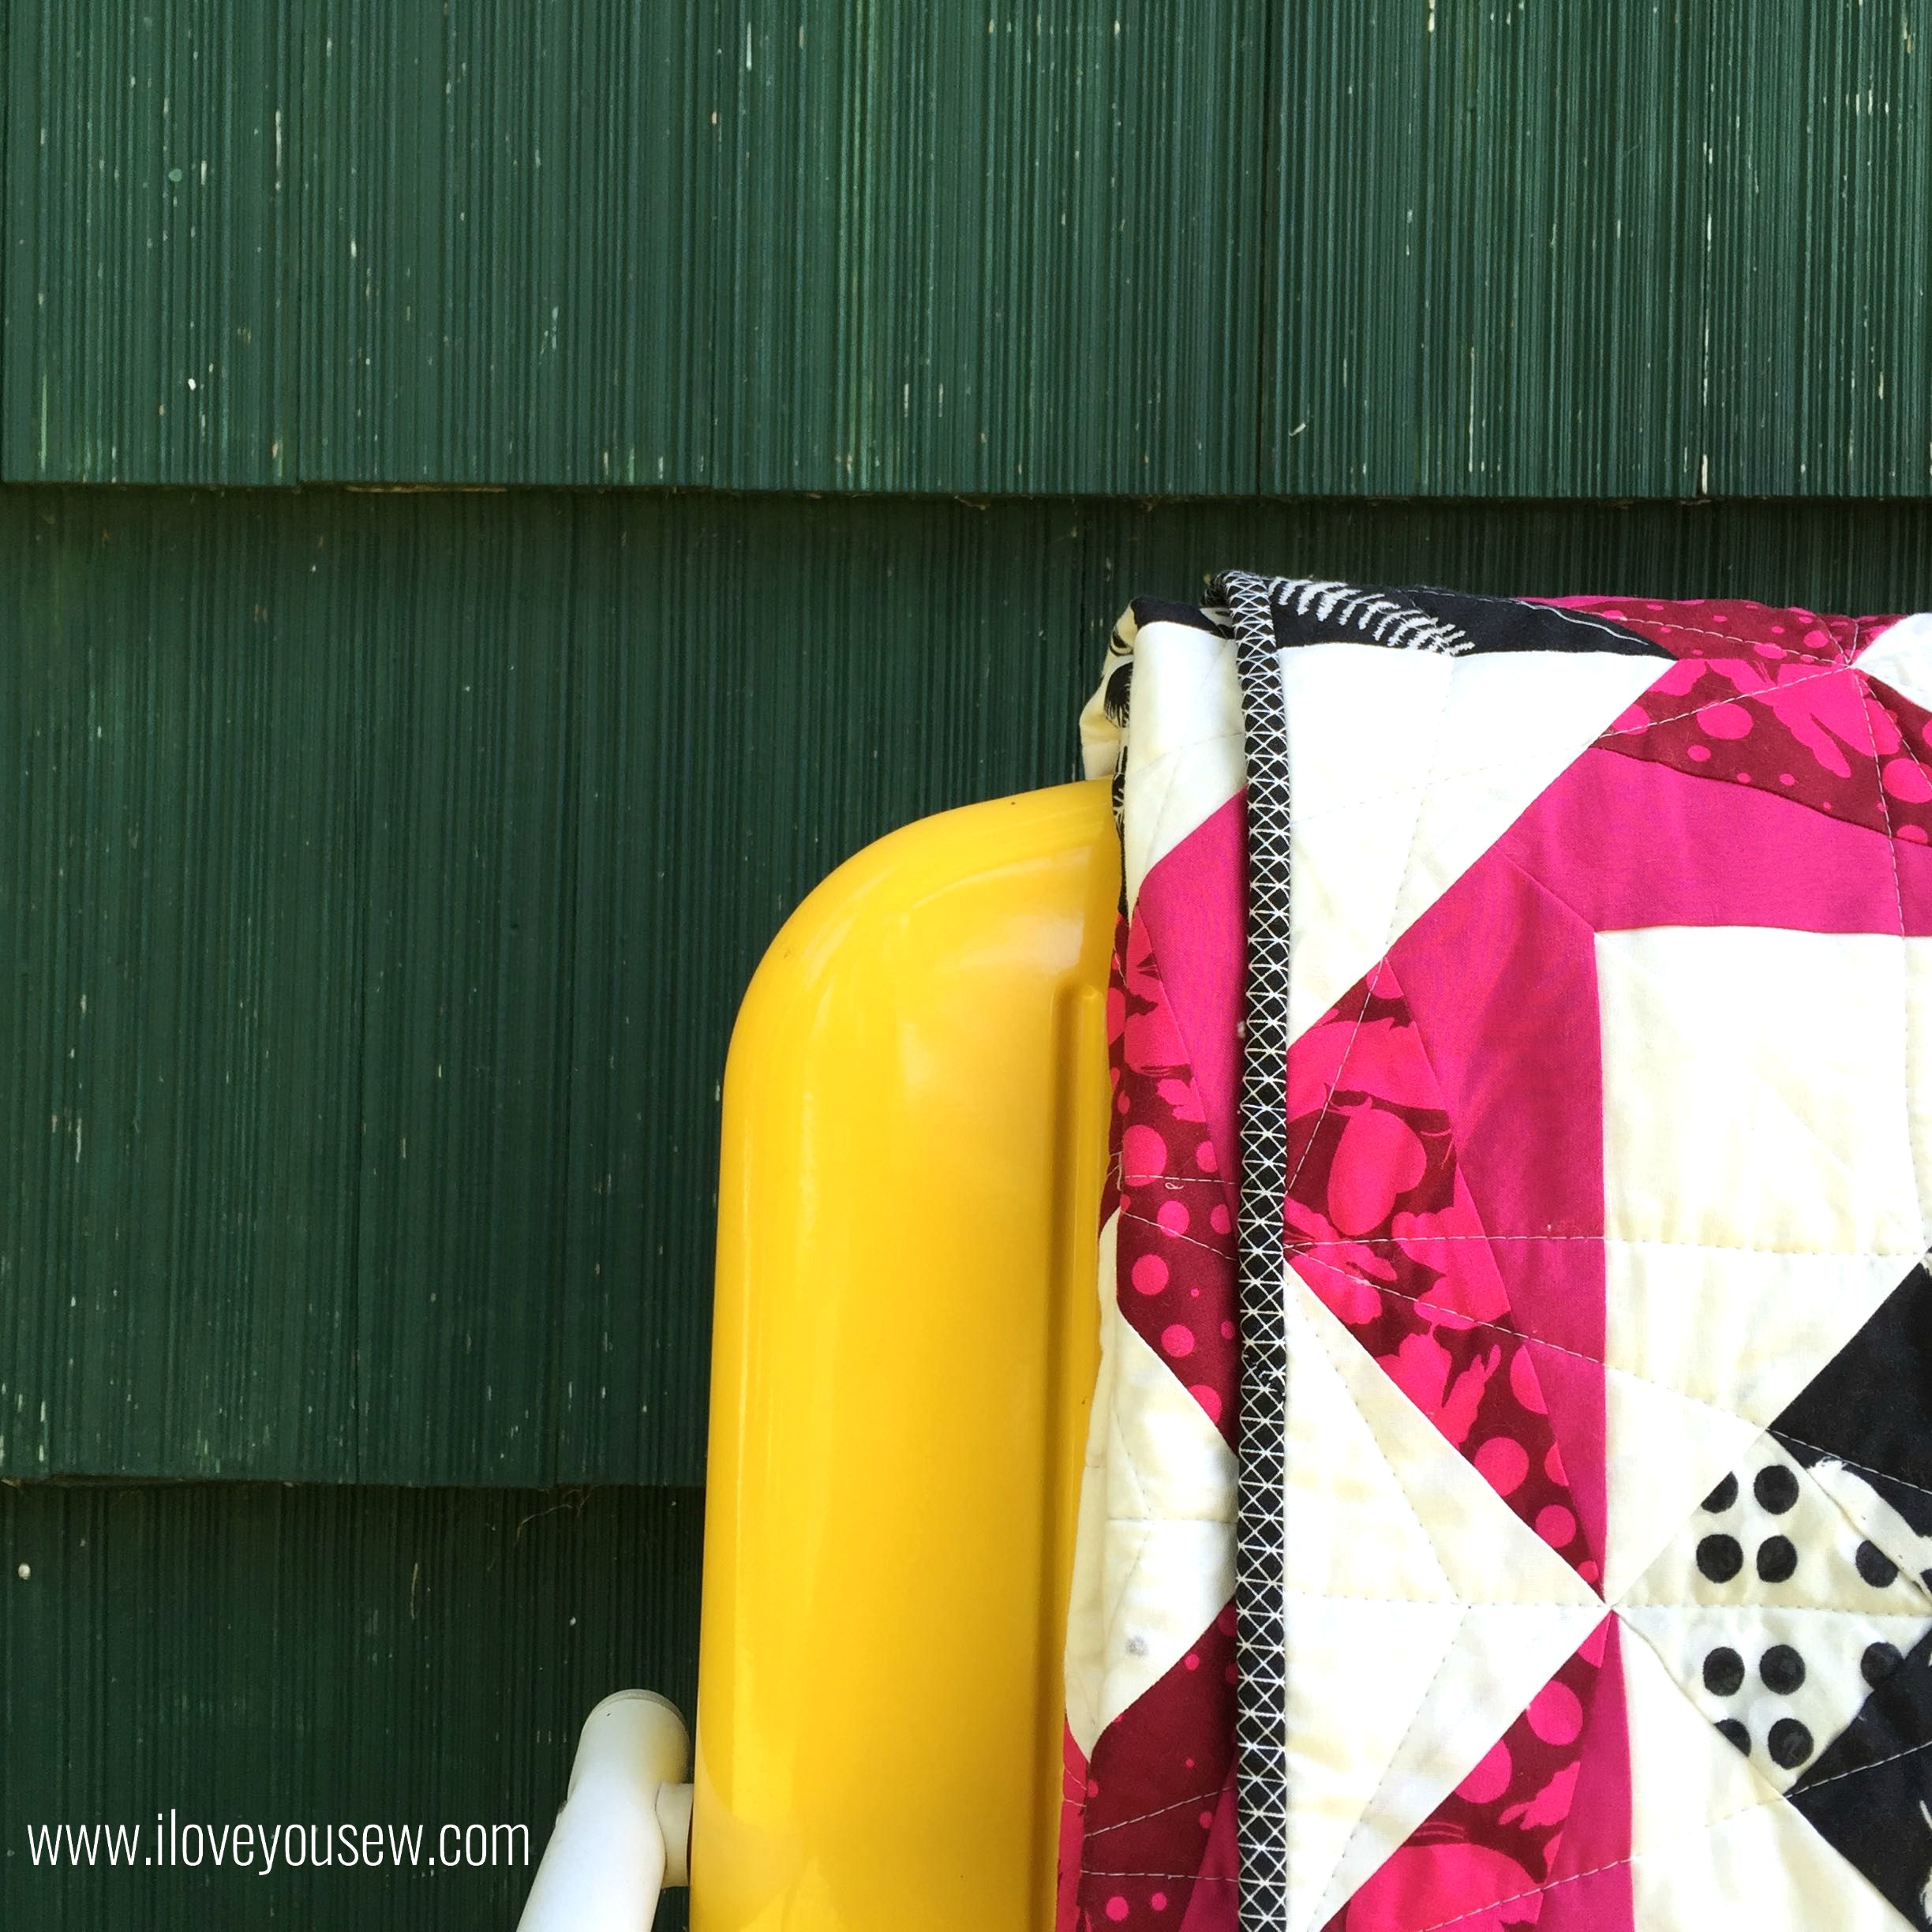
If I’m working on a quilt, I like to take that along in case any perfect photo opportunities present itself as well…you just never know.  It’s turns out I didn’t have to go far to find some great backgrounds and props.  This is the exterior of my in-laws cottage and they had these great bright yellow “vintage” inspired chairs.  The sharp color contrasts with my quilt were just stunning!  

CloseUpOnChair


FullQuilt


As mentioned above, I have a BONUS project from the quilt pattern!

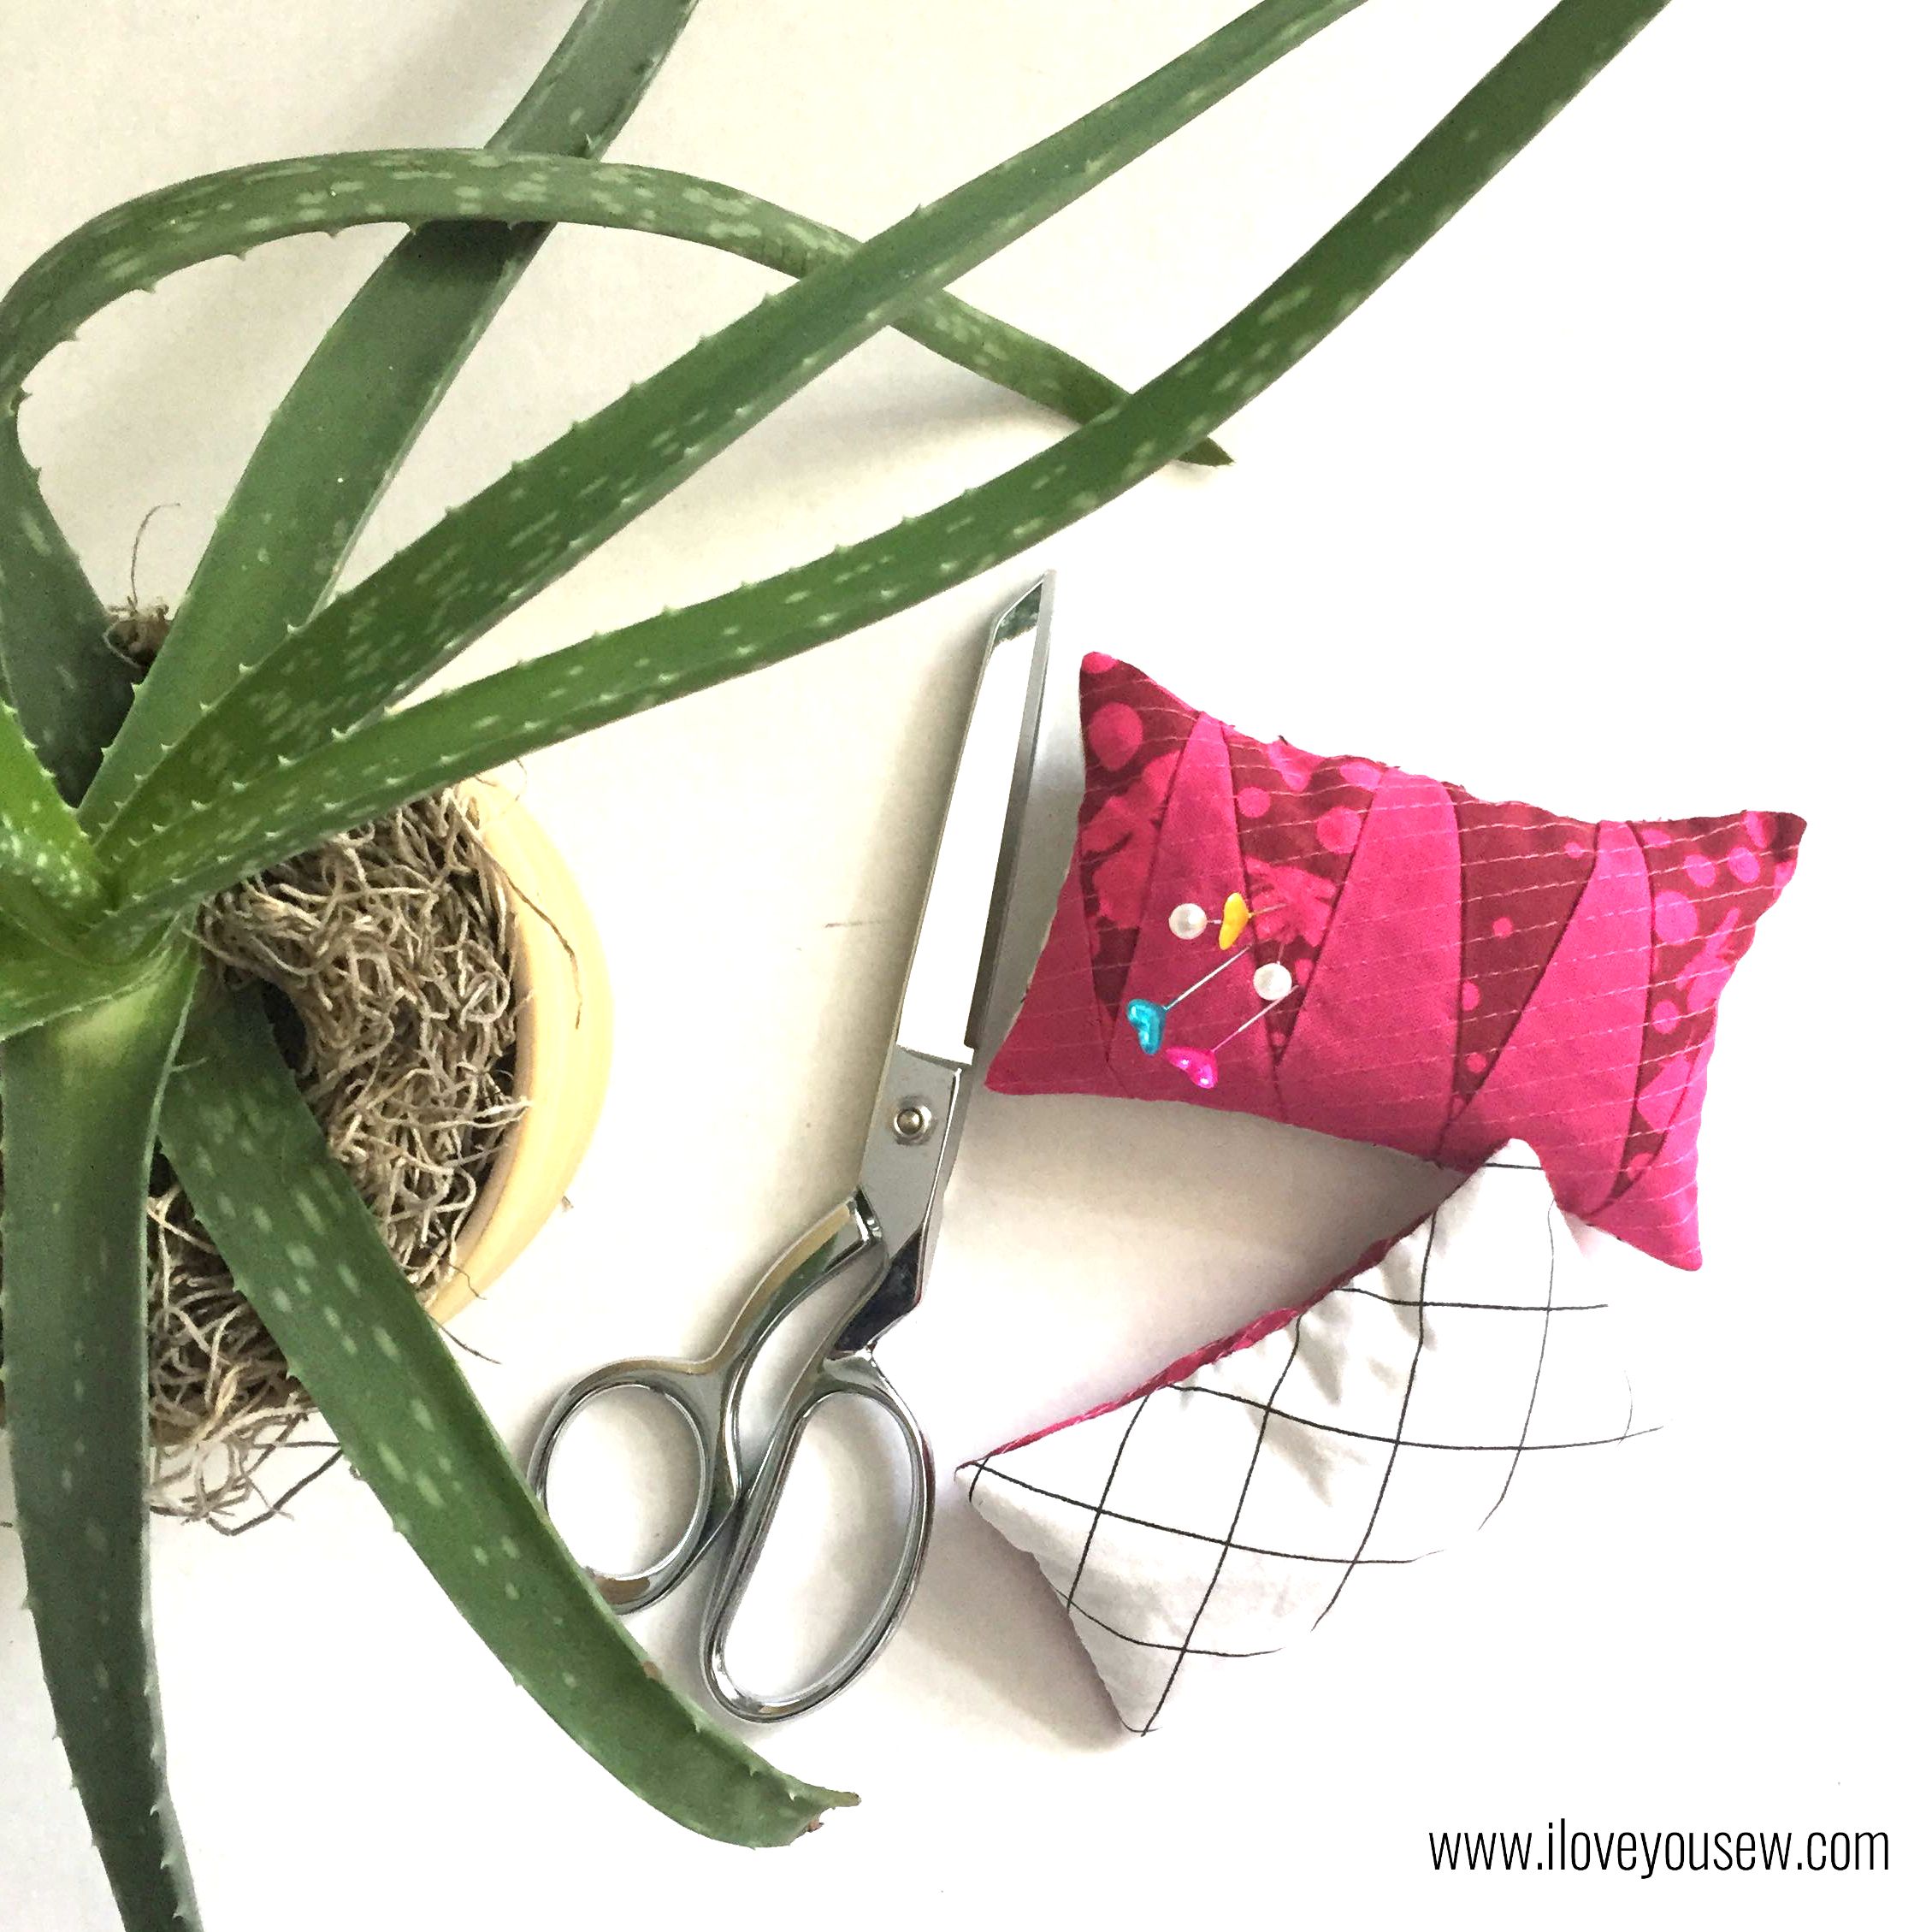
PinCushion

The paper-piecing of the spokes produces a good bit of triangular scraps.   I used them to improv a pincushion.  I just alternated the direction of each triangle of similar sizing and then trimmed the piece to a rectangle.  There was plenty of scraps from the backing as well, so I used the Widescreen to back these and filled them up.  You could make the improv piecing larger and also make mug rugs and even pot holders!

What fun secondary projects have come out of your quilt scraps?


Happy Quilting,

Cristy


The pattern was provided by Bryan House Quilts as part of testing. All material was purchased and selected by myself. All opinions and comments are my own and have not been influenced by 3rd parties.

Testing the “Jacks Quilt” Pattern

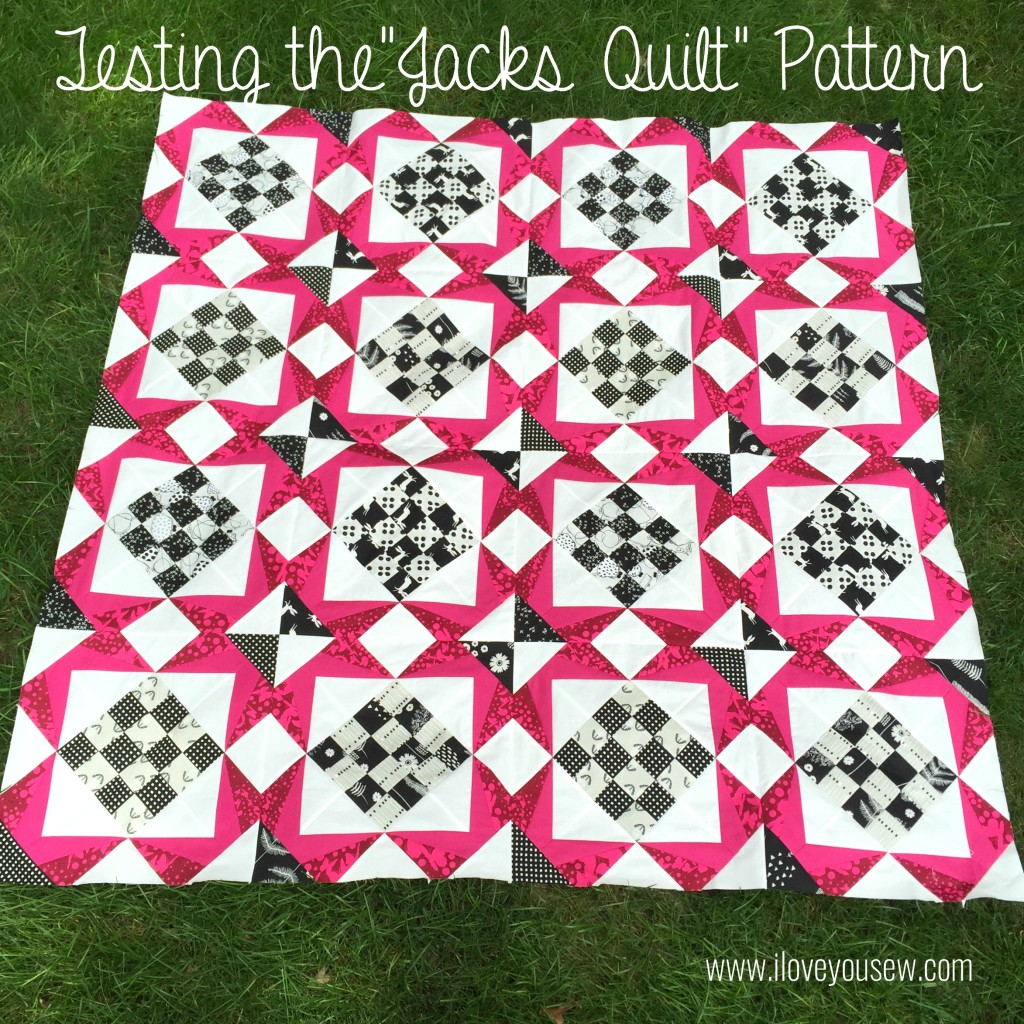
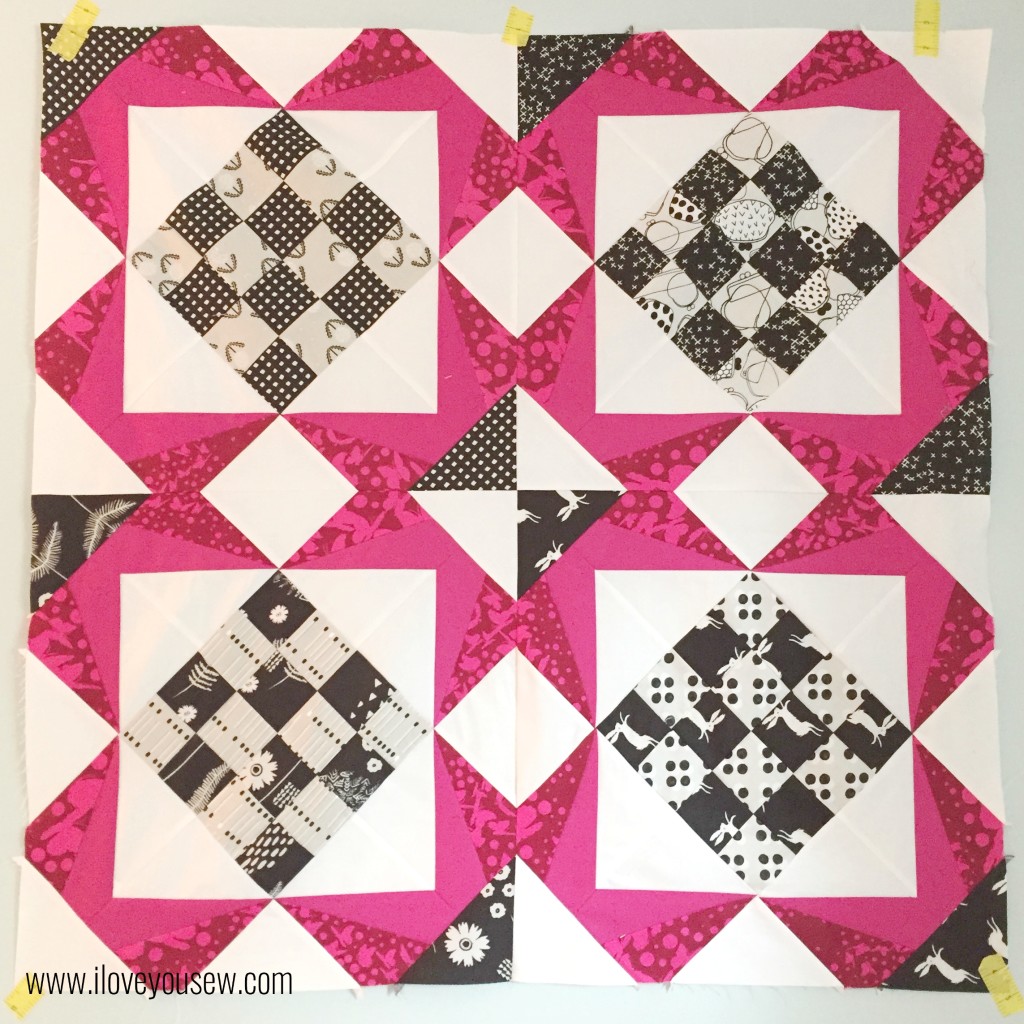
Jacks Quilt Top

The “Jacks Quilt” pattern has just been released by Bryan House Quilts and I was fortunate enough to be one of the testers.  I’m SO excited to finally reveal my #SecretSewing project!  It’s tough not being able to show what I’ve been working on lately…especially since it’s just so darn pretty 🙂

This quilt pattern is gorgeous!  You can find the pattern in Becca’s shop currently for 30% off as part of it’s new release (discount code on her blog.)  This design is based off of a 16-patch and paper-pieced stars and has so much versatility.  You can omit the patches and play with the number of blocks to have completely different looks.

2x2 Mini

There are five different sizes you can make.  I opted for the throw, which is a 4 x 4 block.  It’s a generous size and I could (always) use another couch quilt 🙂  Not mentioned is the possibility to make a mini with a 2 x 2 block (approx 34″ x 34″.)  This would be a perfect baby quilt or stroller blanket.

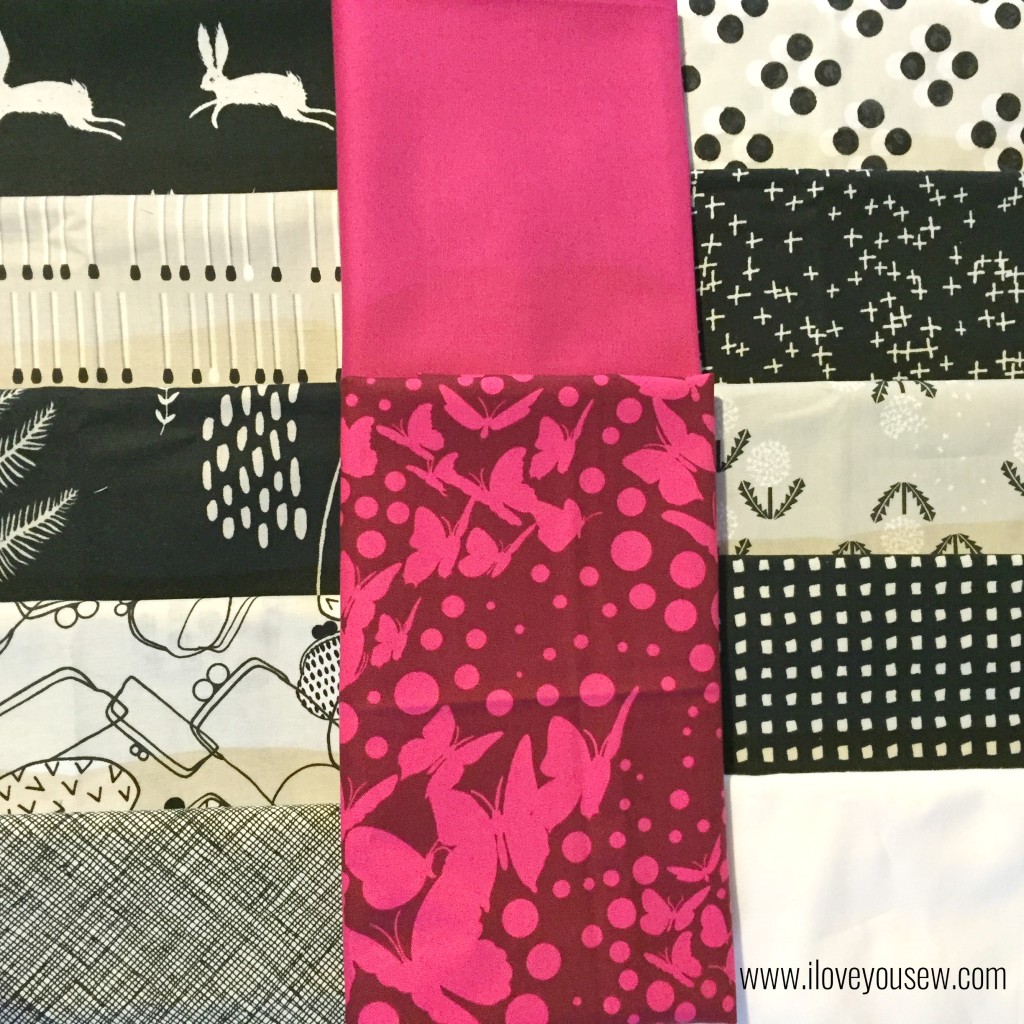
Fabric Pull

When I received this pattern, I knew I was going to use my Black and White Cotton + Steel bundle.  The 16-patch made for some good mixing and matching of the fabrics for a checkerboard look.  To bring out the stars and add some fun, I chose Tula Pink’s Butterfly Swarm in Jam from her Moonshine collection.  This saturated fuchsia was perfect against the Black and White.  I paired the Butterfly Swarm with Kona Cotton in Valentine to complement, but not compete against the busy fabric.  All of these fabrics were balanced out with Kona Cotton in Snow to make the design of the quilt pop out.  I added Architextures Grid in Black as possible binding, but I’m not entirely sold on it just yet…

PaperPiecingPrep

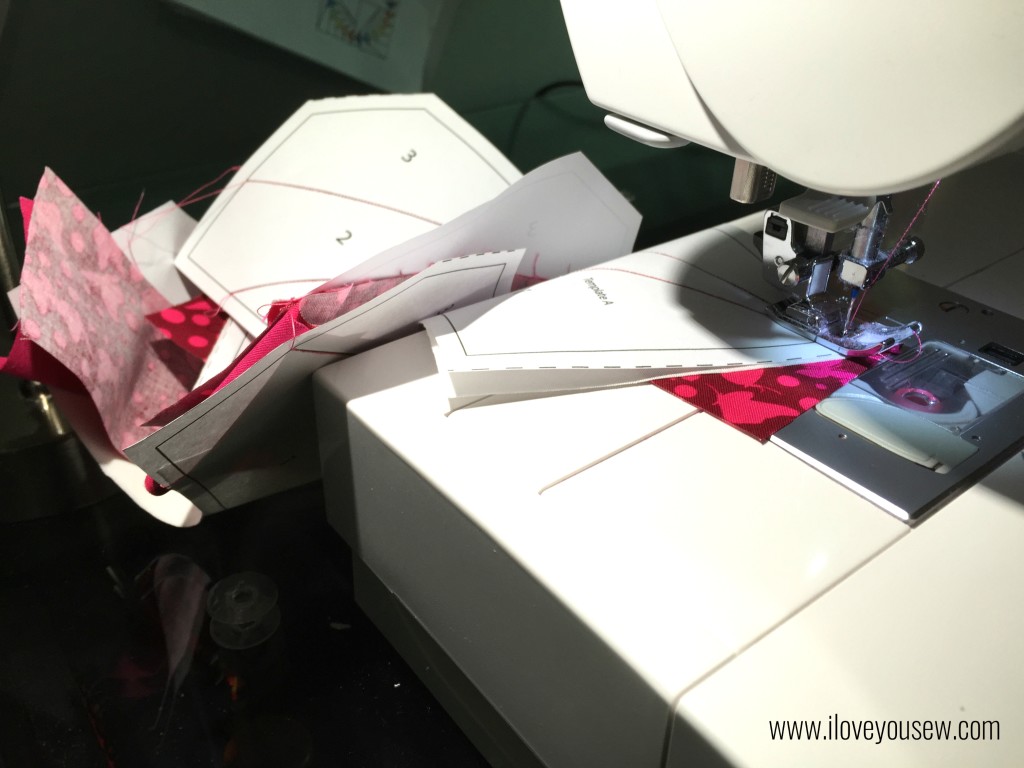
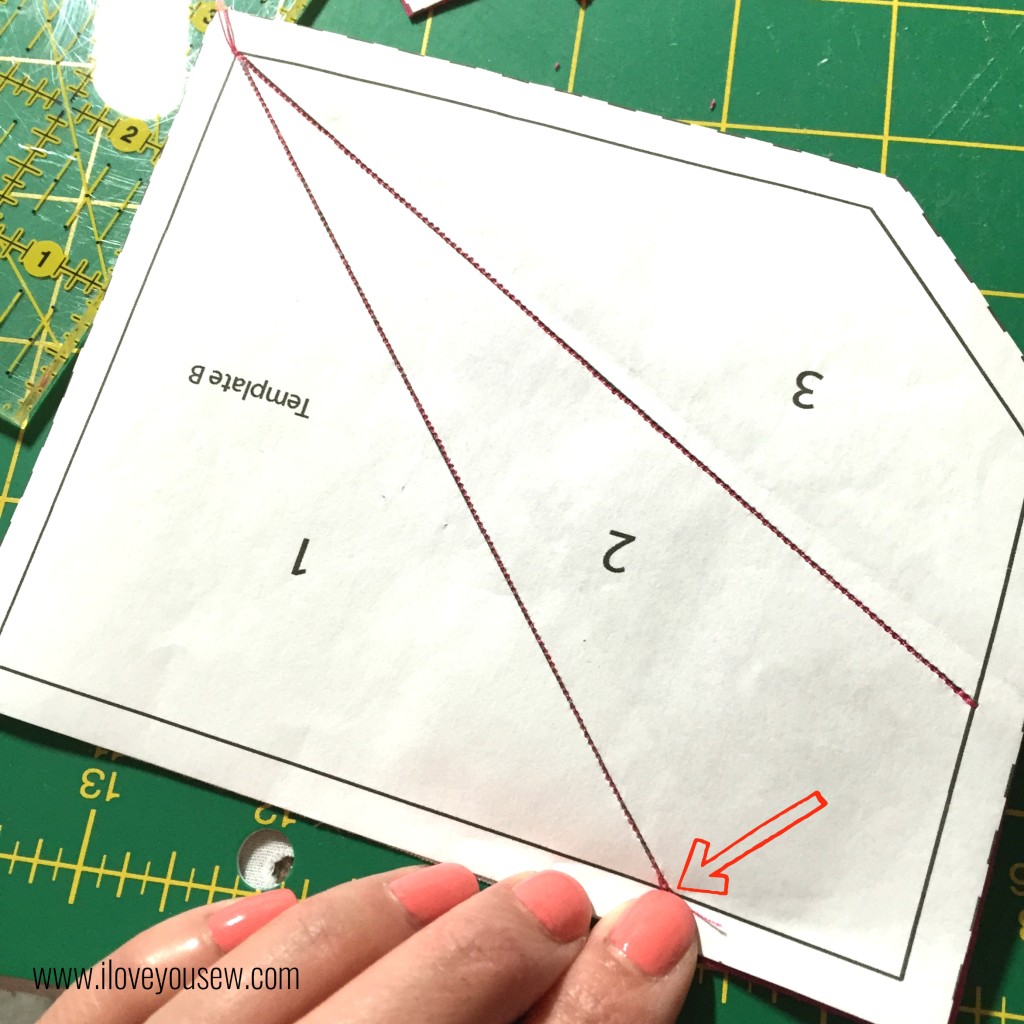
There is a good amount of paper-piecing involved for the stars, but luckily it involves only three fabrics per Star Spoke and they are a generous size.  Becca provides great instruction on the process to help you along.  If you are new to this and need some more help, this is a great video tutorial on paper-piecing as well.

Chain Piecing

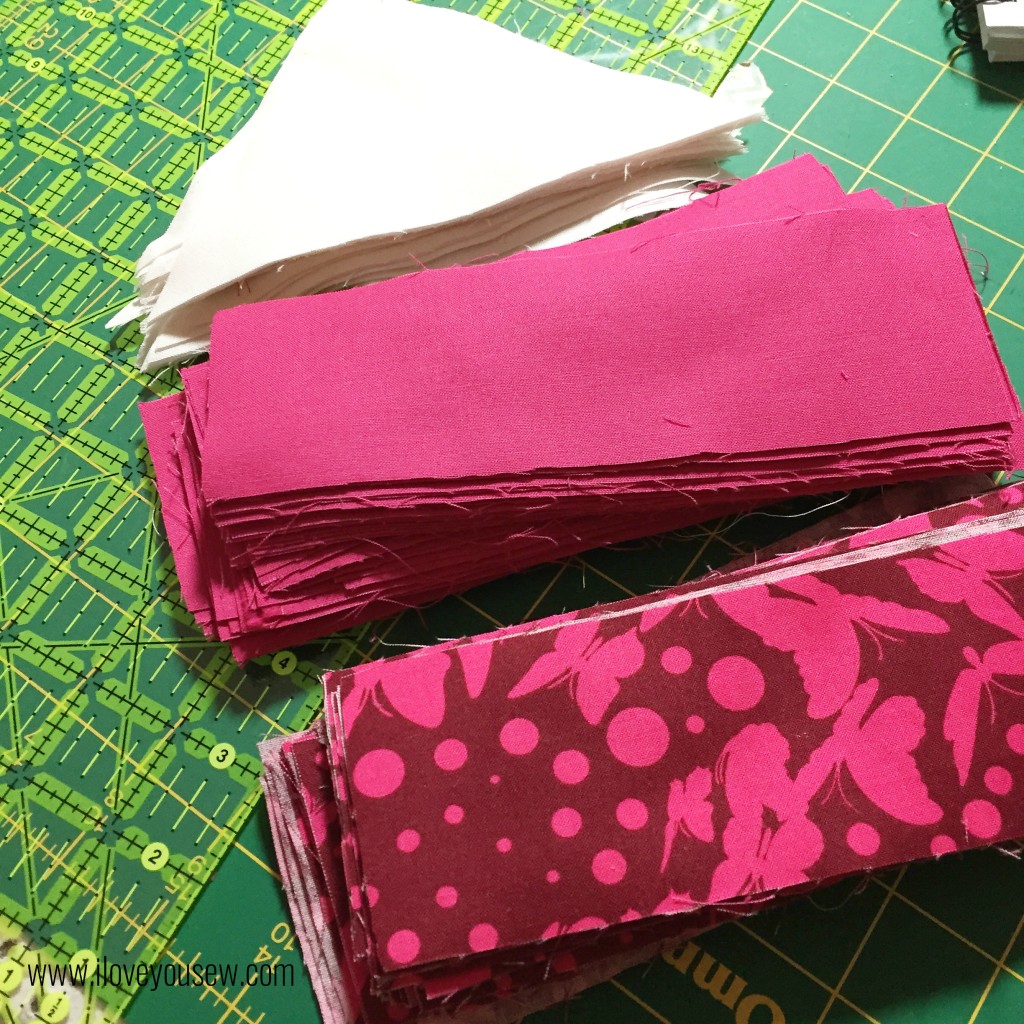
I found that prepping all the fabric at once and setting up an assembly line worked the best for me.  Then I could have a “modified” chain-piecing line.  This is “modified” because you generally do not sew through the seam allowance on paper-piecing templates, so I had to lift the presser foot to pull the templates through vs continually feeding fabric.

Matching Points

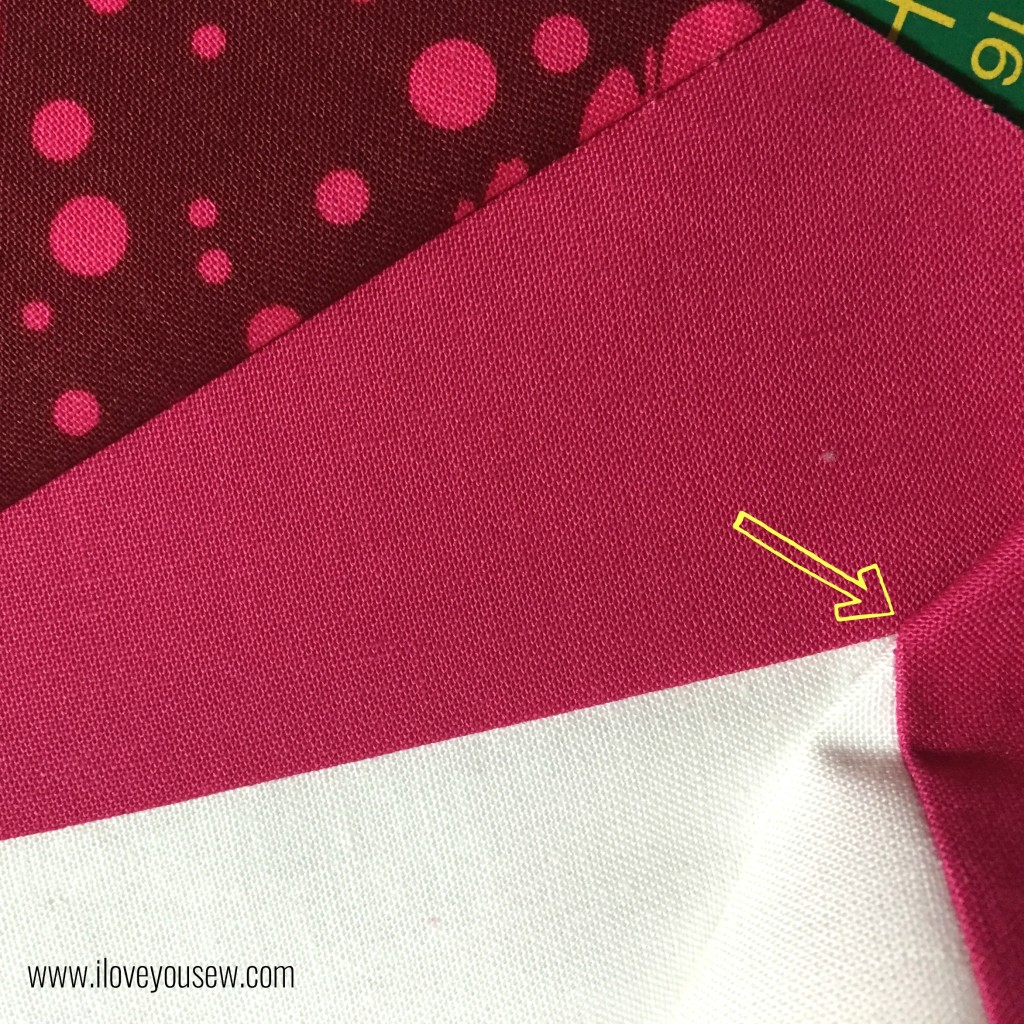
When attaching the spokes together, I decided not to nest the seams to keep the look of the triangles clean (since they were white and you could see through to the seam allowance.)  So to match up the points, I pinched the ends where they met.

Matching Points Preview

Then I flipped over the pieces to check that the points indeed matched.  I pinned the pieces and sewed away 🙂

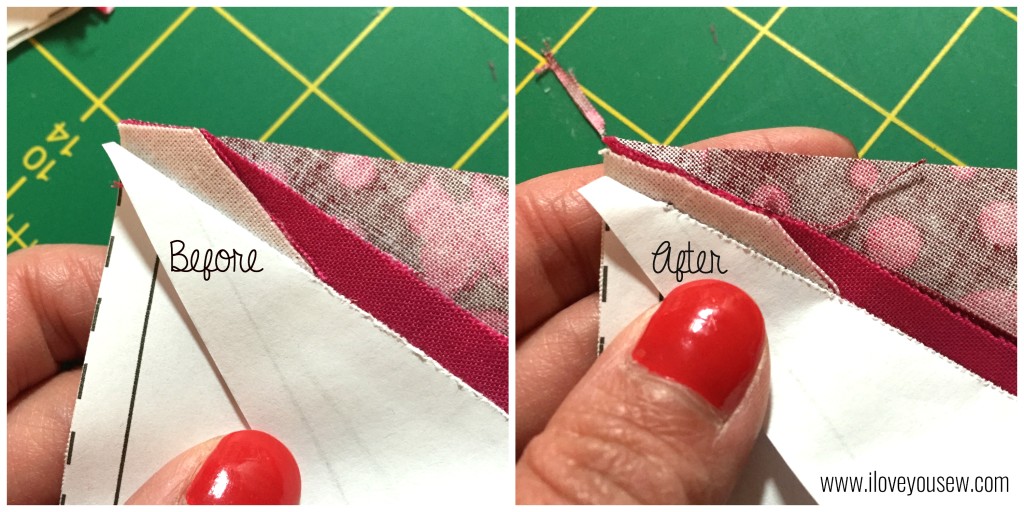
Grading Seams

A great tip from Becca was to grade the seam allowances of the stars as you assemble the blocks.  This takes out some of the bulk and allows the blocks to lay better for pressing.  The points of the stars get pretty bulky otherwise.
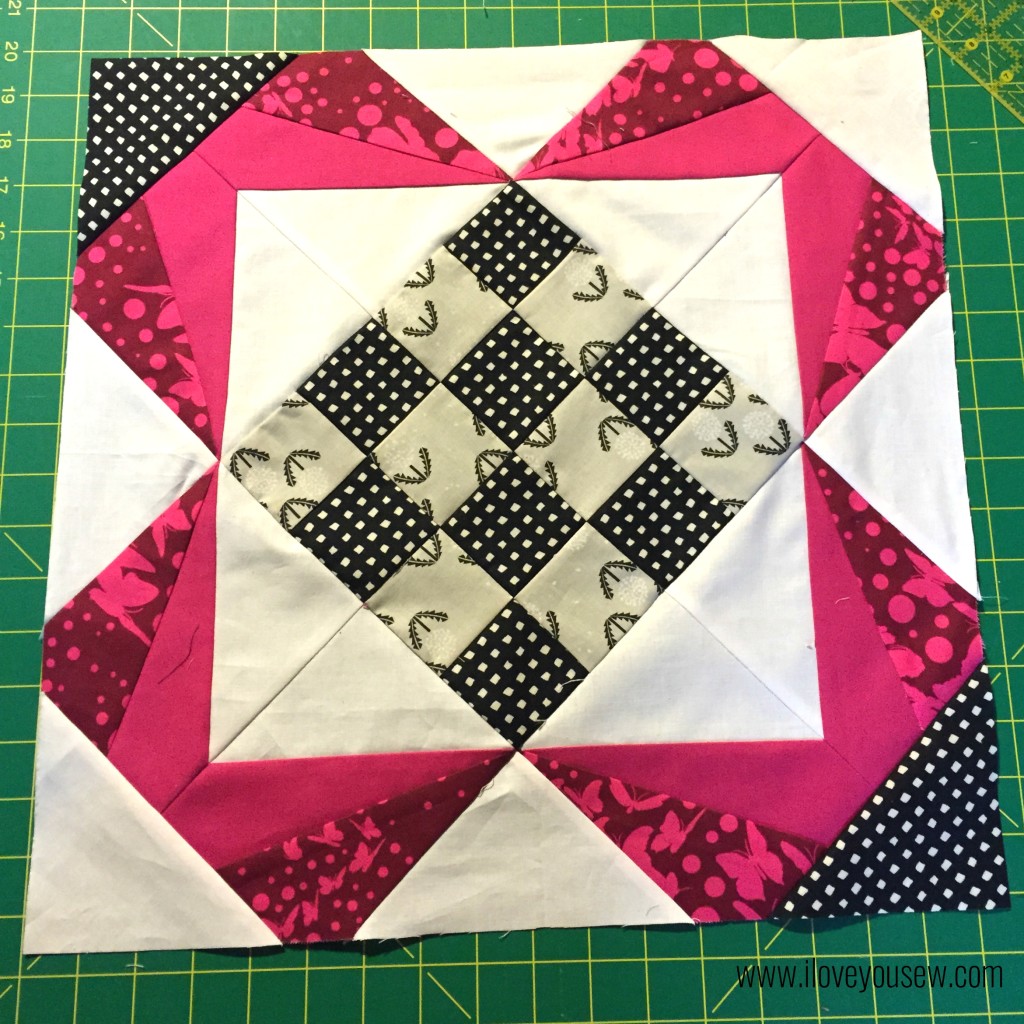
Finished Single Block

So far, I’ve completed the quilt top and am waiting on the backing fabric to arrive so I can quilt this puppy.  I can’t wait to show you more….plus, this will be my first quilt completed on my new sewing machine….eek!!!

***For pictures and the post of the completed “Jacks Quilt,” go here.***


Happy Stitching,

Cristy


The pattern was provided by Bryan House Quilts as part of testing. All material was purchased and selected by myself. All opinions and comments are my own and have not been influenced by 3rd parties.


FREE Walking Geese Needlebook Tutorial

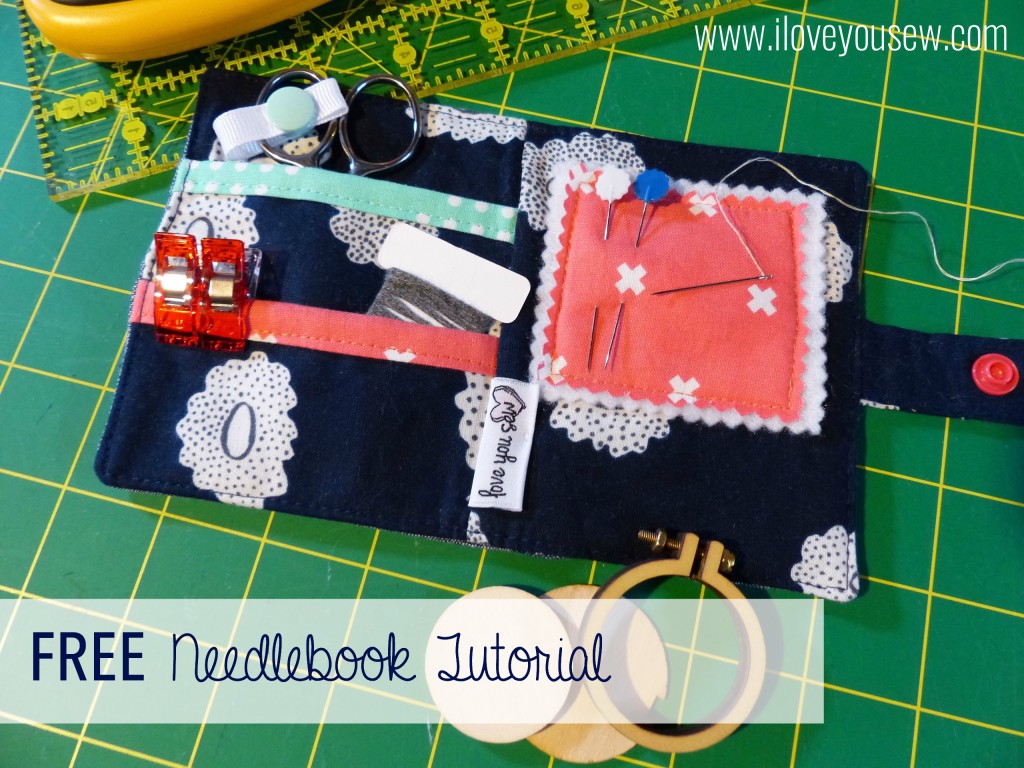
Love You Sew Needlebook Tutorial

I’m new to the world of Swaps.  I’ve seen and followed quite a few through Instagram and finally signed up for a few.  The #IGneedlebookSwap was my second sign-up, but my first which has been sent and received.  After looking at a few online, I wanted to design my own and share it for FREE with you!!!  If you are unfamiliar, these swaps have a theme (in this case, a needle book) and you have to post progress shots on your IG account.  They are usually secret and you have great fun finding out…aka “stalking” your partner’s tastes and preferences.    I like it because you get work on something new and it’s challenging to have some parameters set….including a deadline!

My partner asked for a Needlebook with a pocket to hold a small set of scissors, so I went about designing one myself!  How can I screw up the math on something that finishes at 4.5″ x 7″ (open) and 4.5″ x 3.5″ (closed), right???  My partner also specified using navy, coral and aqua…so I incorporated a design to showcase all of those colors.

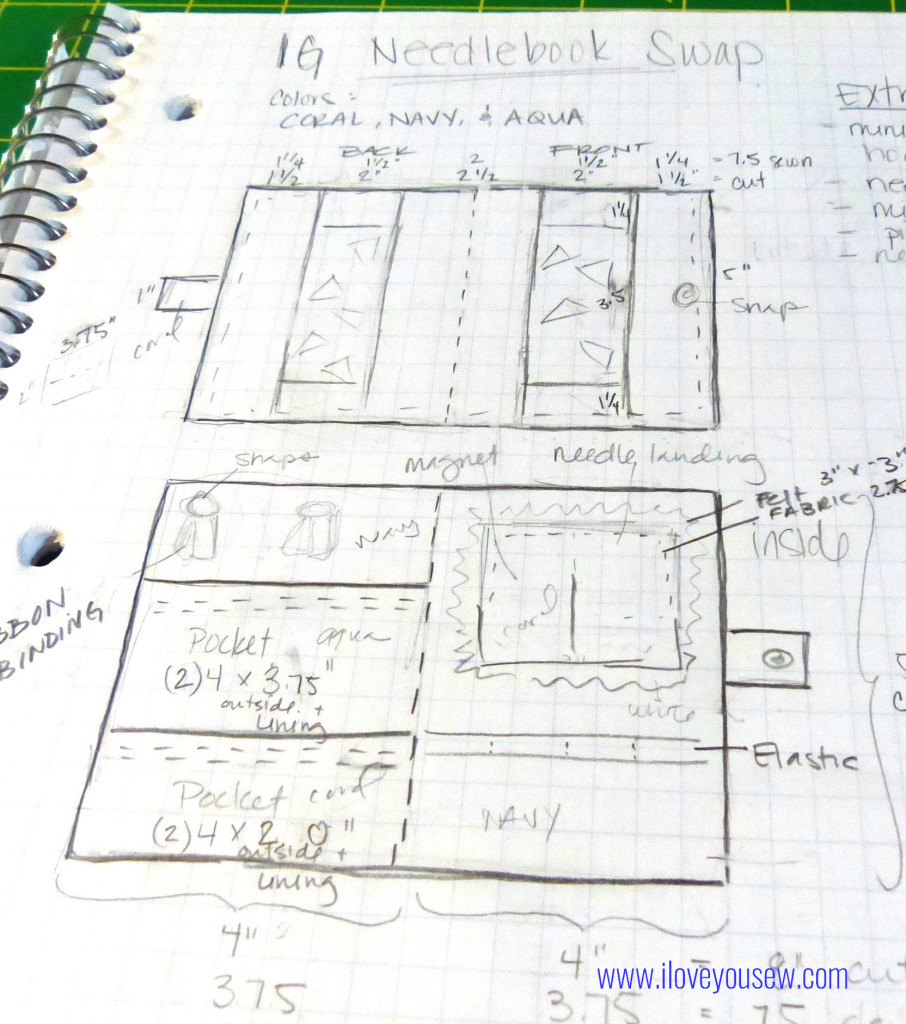
Needlebook Sketch

Needlebook Sketch

==========

Material Requirements:

  • Exterior Fabric (shown in Robert Kaufman IndigoChambray)
    • 1.5″ x 5″ rectangles [cut 2]
    • 2″ x 5″ rectangle [cut 1]
    • 1.25 x 2″ rectangle [cut 4]
    • Goosing Borders [sew 2]
  • Interior Fabric (shown in Cotton + SteelHatbox – Navy Desert Flower)
    • 4″ x 5″ [cut 2]
    • 4″ x 7″ [cut 1 for pocket A]
    • 4″ x 4″ [cut 1 for pocket B]
    • 2″ x 3.75″ [cut 1 for snap closure tab]
  • Accent Fabric 1 (shown in Cotton + Steel Dottie in Bluebird)
    • 2.5″ x 4″ [cut 1 for pocket A]
  • Accent Fabric 2 (shown in Cotton + SteelXOXO in Coral)
    • 2.5″ x 4″ [cut 1 for pocket B]
    • 2.75″ x 2.75″ [cut 1 for needle-landing]
  • Felt for needle-landing
    • 3″ x 3″ [cut 1]
  • Batting
    • 5″ x 8″ [cut 1]
  • KAM Snaps [2 sets]
  • 2″ Grosgrain Ribbon
  • 3/4″ Magnet

Use 1/4″ seam allowance unless noted.

==========

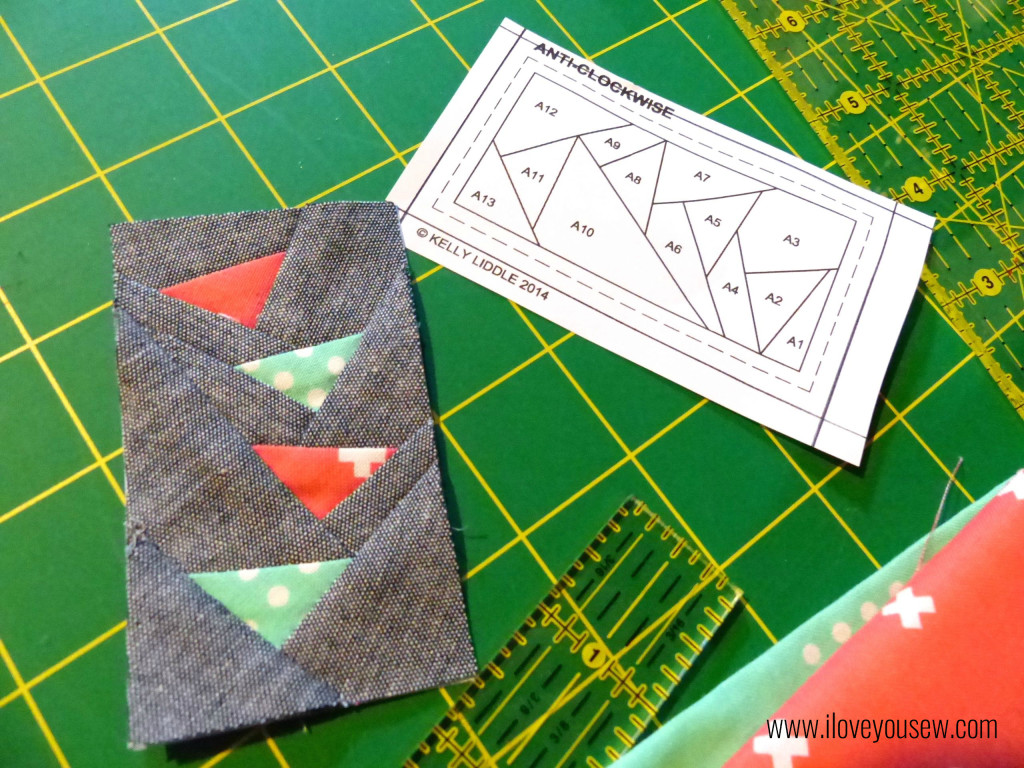
FPP Geese Close-up

FPP Geese Close-up

For the outside of the book, I used Jeli Quilts’s (surprise!) Goosing Borders and shrank the design down to 50%.  The geese are Cotton + Steel basics in Bluebird and Coral.  For the background and borders of the exterior, I used Robert Kaufman’s Chambray in Indigo. I love chambray for a clean sophisticated look and the added texture.  It’s definitely one of my go-to fabrics and always keep some in my stash.
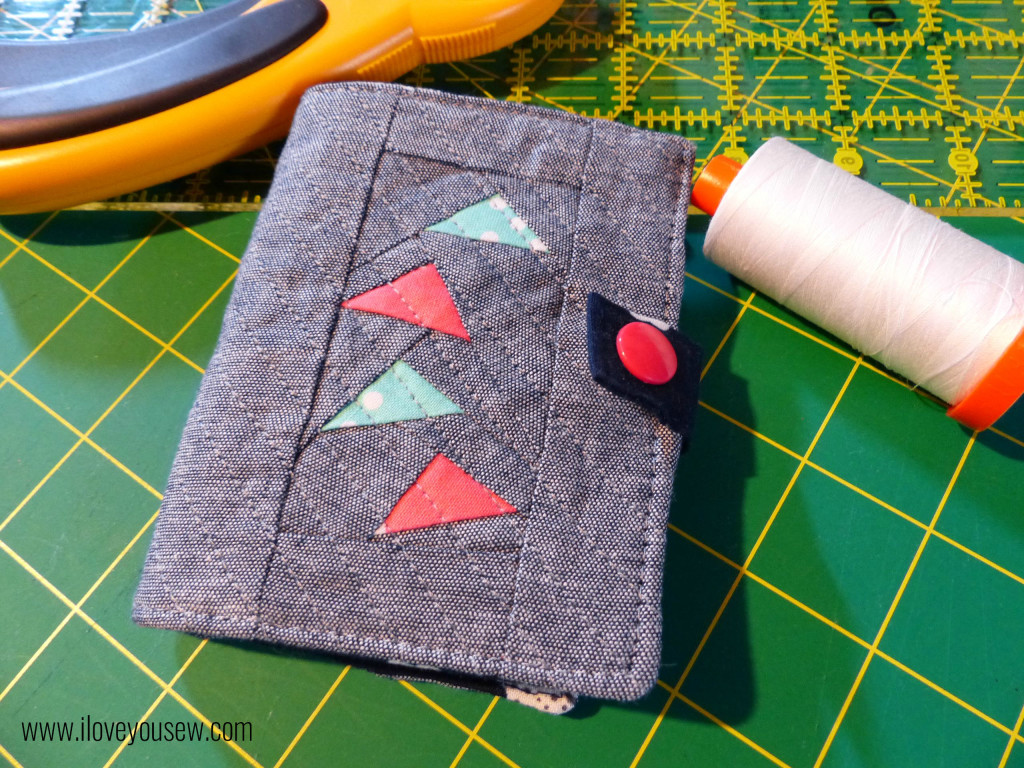
For a nice video on Foundation Paper Piecing (FPP) click here.  I watched this to help me wrap my head around the fabric being sewn as a mirror image.  This technique takes some practice but you will quickly become addicted, like me 🙂 The finished Geese blocks should measure 2″ x 3.5″.  Attach the 1.25″ x 2″ rectangles to the short-sides of each Geese Block.  Then attach the 1.5″ x 5″ blocks to one side of each block.  Use the 2.5″ x 5′ rectangle to attach the Geese blocks together.  Quilt the exterior to the batting and trim 5″ x 7.5″.

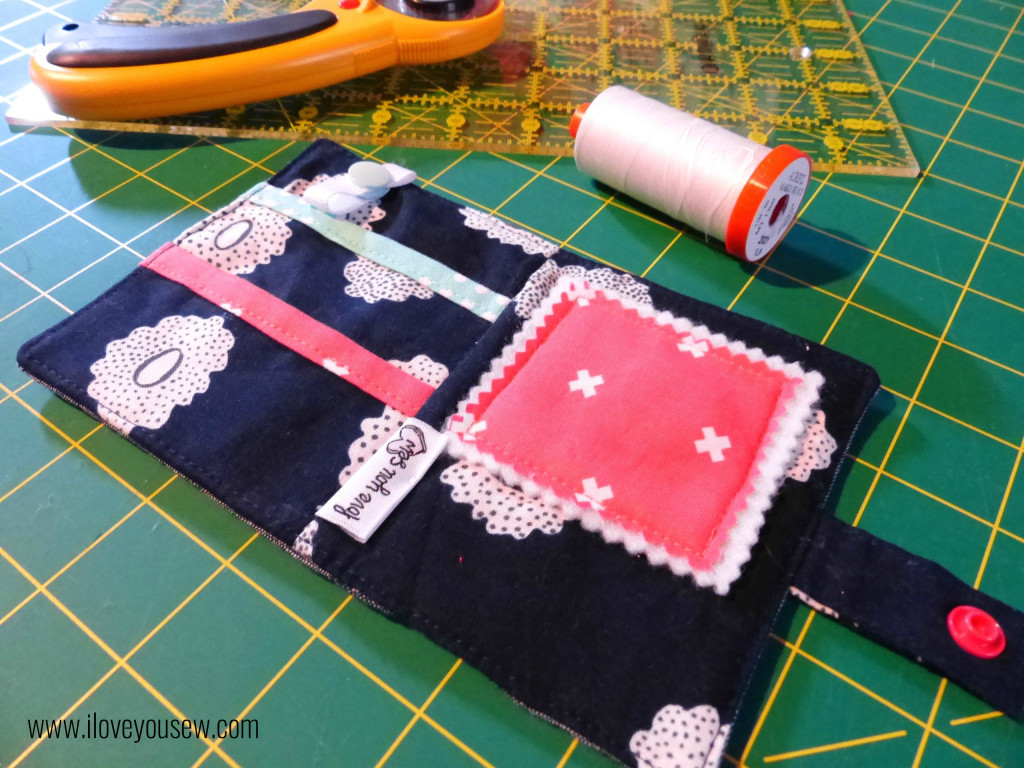
Interior left with Pockets

Interior left with Pockets

On the inside, I chose another Cotton + Steel fabric.  This time, a navy from Hatbox by Alexia Abegg.  I decided to make two pockets – a larger one for scissors and/or a spool of thread or pen.  The smaller pocket could be used to hold floss, clips, or a spare packet of needles.  The binding helps to grip the pockets and adds some visual appeal.

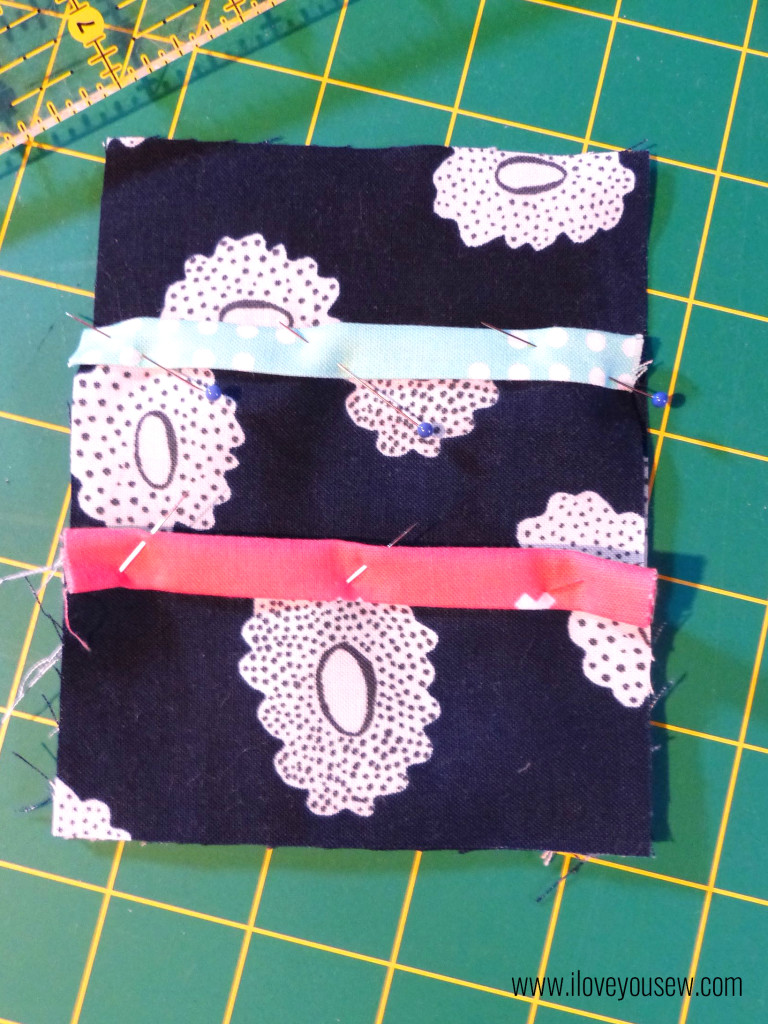
Iron both pockets in half length-wise so [A] is 3.5″ x 4″ and [B} is 2″ x 2″.  Take each piece of binding and machine-bind down just like you would a quilt.  Lay Pocket [B] on top of Pocket [A] on top of 4″ x 5″ interior fabric, matching up corners at the bottom. Pin all in place.

Right above the Pocket [A], I cut a 2″ piece of grosgrain ribbon, sealed the ends, and made a loop to hold the scissor handles in place.  I am a big fan of KAM Snaps and used them with the ribbon as well as with the closure of the entire Needle-book.

Preparing Needle-landing with built-in Needle-minder

Preparing Needle-landing with built-in Needle-minder

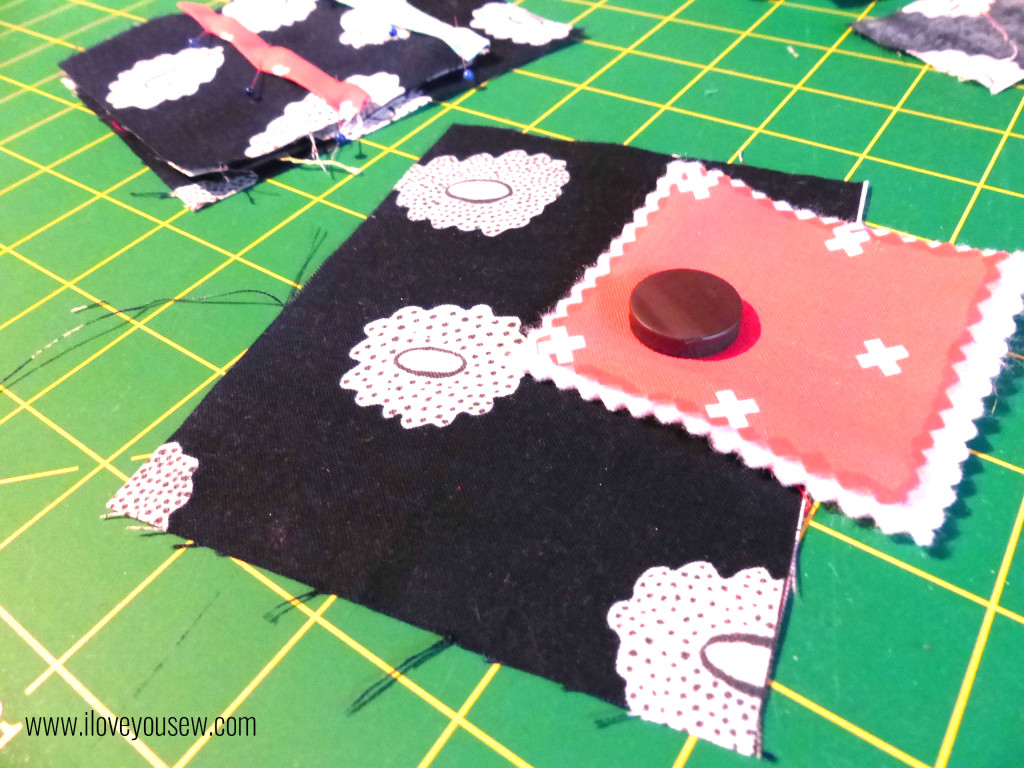
On the right side, there needed to be a needle landing (because it wouldn’t be a needle book, otherwise, right?!?) I just used craft felt and my Gingher serrated scissors to cut out the rectangle.  But I wanted some more color, so I added the same Coral fabric on top as a nice accent.  I sewed 3-sides up with a 1/8″ seam along the Coral and slipped in a small 3/4″ magnet for a built-in needle-minder!  Then I sewed up the last side making sure the magnet was fully enclosed. With right-sides together, sew the two interior panels together to create a center seam.

Needlebook Exterior

Needlebook Exterior

To create a tab, press the fabric lengthwise in half then open.  Press each long-side to match the center fold then fold in half, matching up the short-ends.  Top stitch all around to secure.  Attach KAM Snap at this point. Pin the tab half-way on the right interior panel facing in.

On the exterior panel, mark where the tab will meet and attach your other KAM Snap.  With right sides together, sew the Interior and Exterior  panels to each other leaving a 3” opening to turn. Snip corners, turn the Needlebook right-side out and press.  Top-stitch 1/8″ all around the book to close up the opening.  “Stitch in the ditch” along the center inside seam to allow the book to easily fold.

Completed Interior

Completed Interior

And….that’s it 🙂  This was a nice easy sew that you could use as a “Swap Extra”  or a stocking stuffer for a good sewing friend.  If you are not a snap person or do not have any on-hand, you can alternatively use a button and elastic cord closure or long pieces of ribbon to tie it all together.  If you looked closely at my sketch, I was initially going to add some elastic loops under the landing, but decided to omit them to keep this simple…but it’s a great idea if you want to add an additional feature.

Since I’m not a seasoned tutorial author (yet!), please let me know if you have any questions. Don’t forget to share pictures of any completed projects as well!

I’m linked up to Late Night Quilters Tips and Tutorials Tuesday.  Please visit the page to see some more great sewing and blog related pointers!

#WalkingGeeseNeedlebook #IGNeedlebookSwap #LoveYouSew


Hug and Stitches,

Cristy

Love You Sew