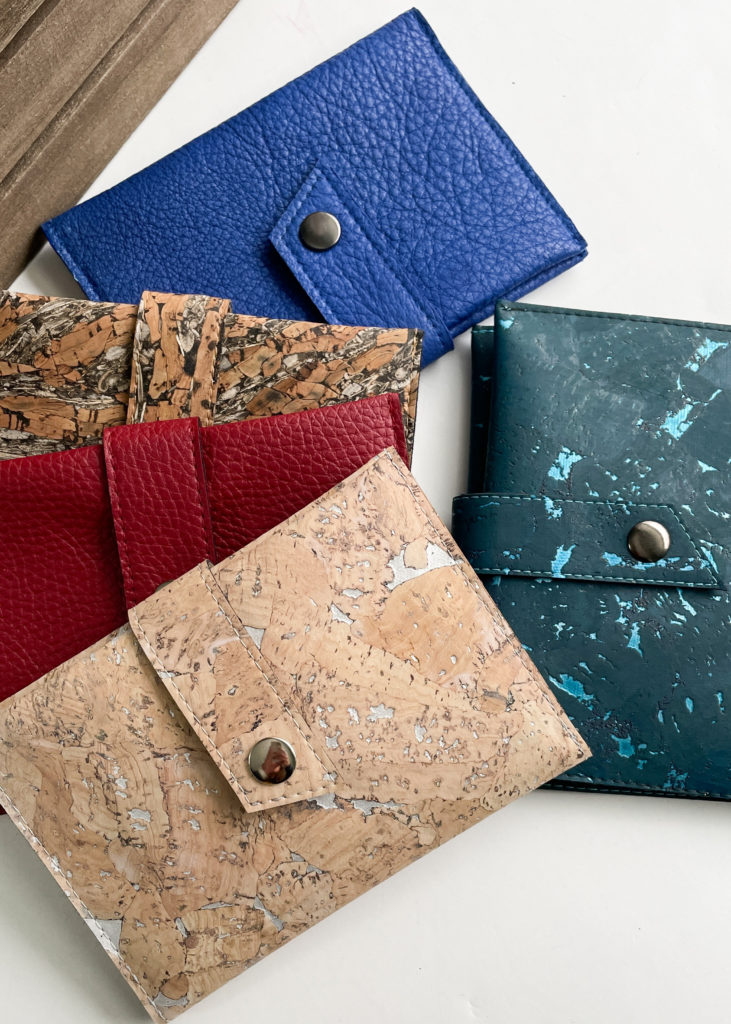
Like so many of you, I’ve received my Covid vaccinations and am sitting on cards for me and my family. Knowing myself, I will NEVER remember where I last placed a card….unless I have a proper holder for everything. That was the lightbulb moment I had when I knew I needed to draft some kind of vaxx card holder. Here in the states, we are asked for vaccination cards to attend events, but are able to do so electronically with just pictures, which we carry in our phones. But I know when traveling abroad, other places may ask for the physical card. So, I combined a basic card holder along with some extra pockets for an American sized passport and credit cards. You can then keep all of your important documentation together in the Navigator Wallet!
*This post is not a debate of the efficacy of the Covid vaccine. All are entitled to their own views and this pattern was drafted for those who have a vaccination card. Please respect my choice and those of others, as I respect your choices. All comments will be monitored.
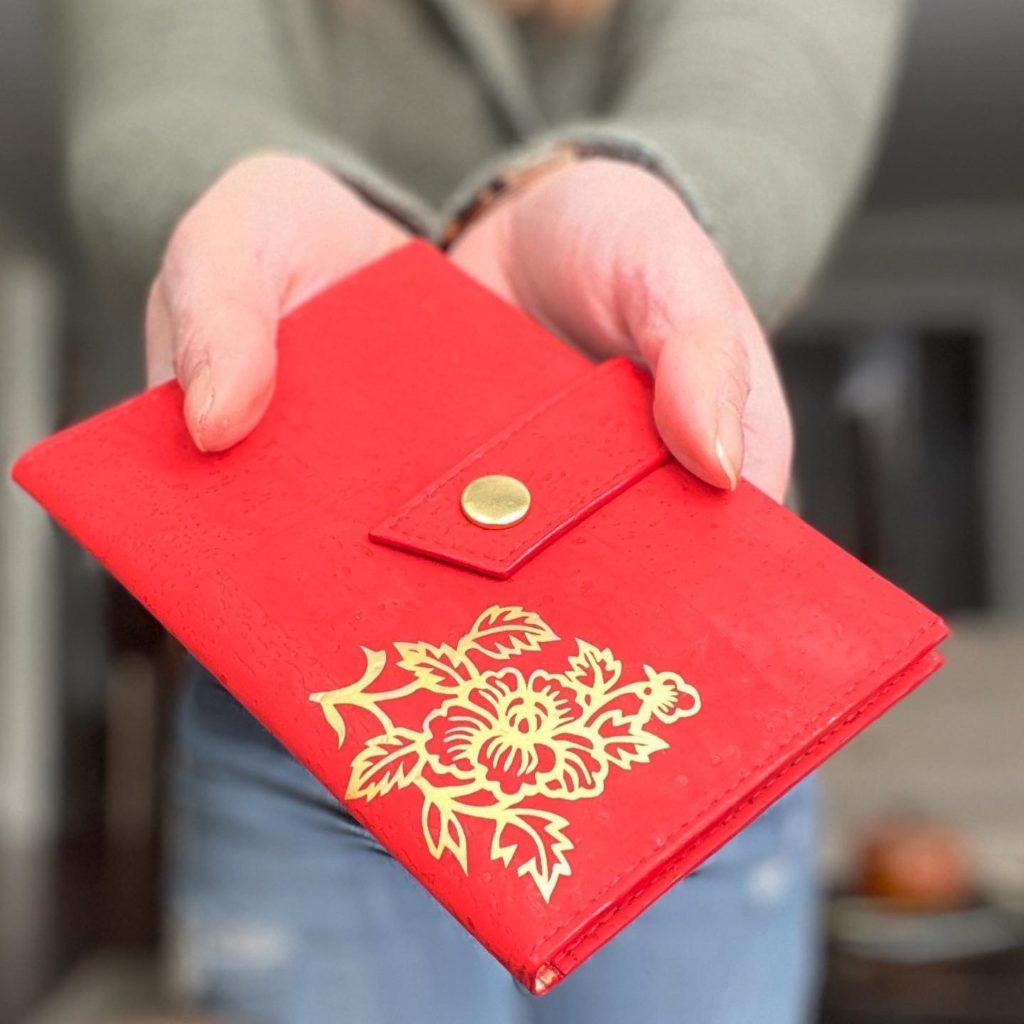
For Lunar New Year, I wanted to do something special for all of my readers and social media followers. The wish of good health is always part of the new year blessings and it only makes sense to offer the Navigator Wallet as a FREE pattern to all of you! Our health has been the focal point of the past few years and I’m very hopeful that the year of the Tiger can get us past the pandemic and traveling much more.
Features
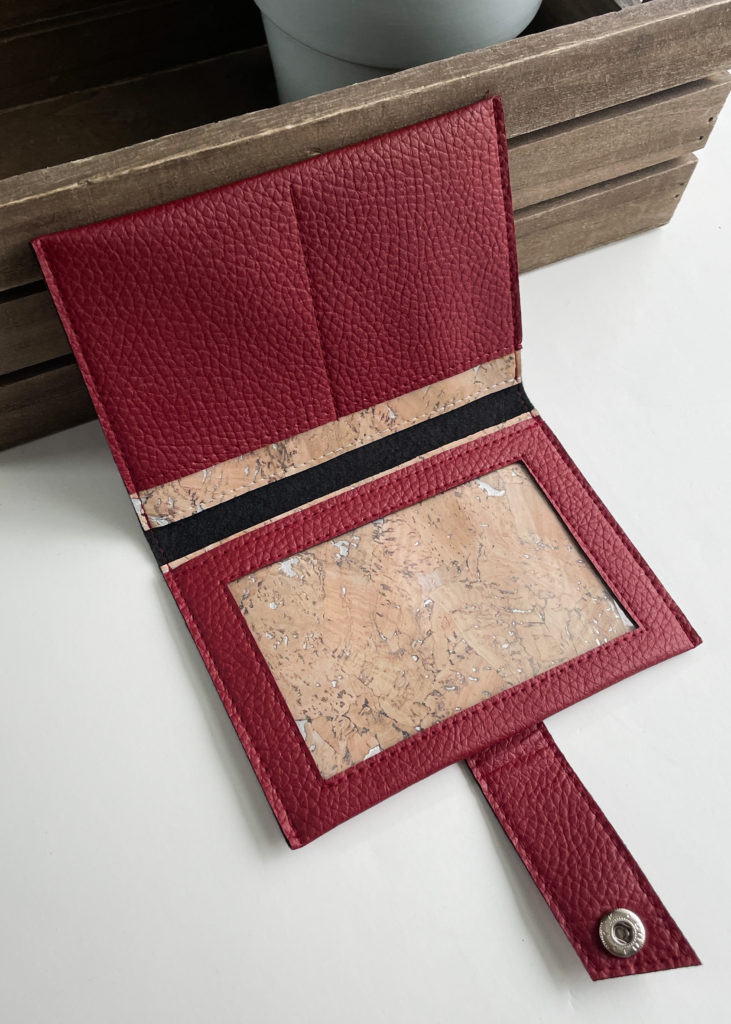
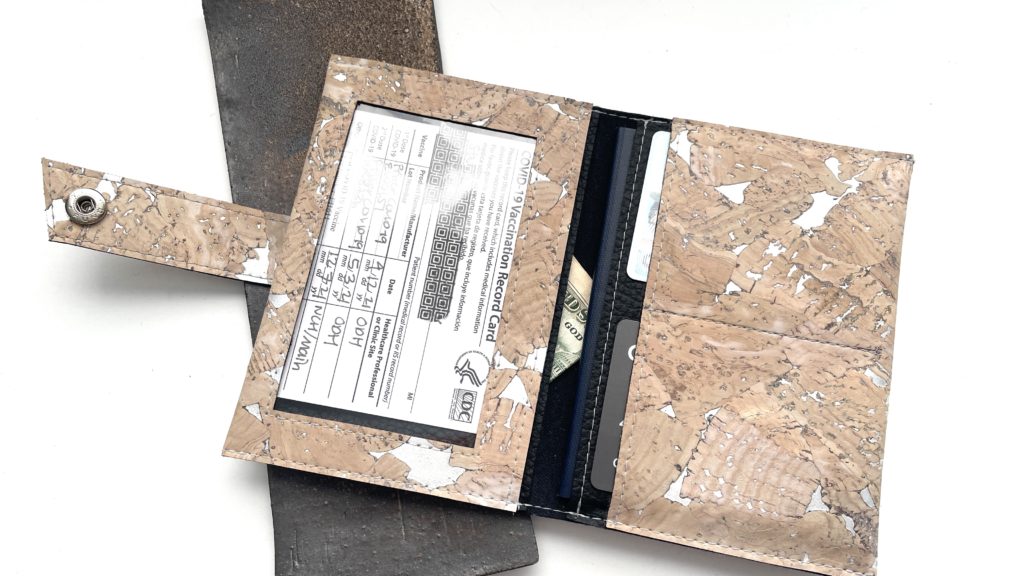
This is a simple wallet with features that are similar to others already out in the market, but the big difference is the enlarged window opening which is sufficient enough for your vaccination card. Between all the members of the family, we have two different sized cards, but the printing is pretty consistent. So whichever size you may have, this clear vinyl window should be able to accommodate your card. This window can also be used for saving parking slips, tickets to events, and maybe even work IDs that need to be scanned.
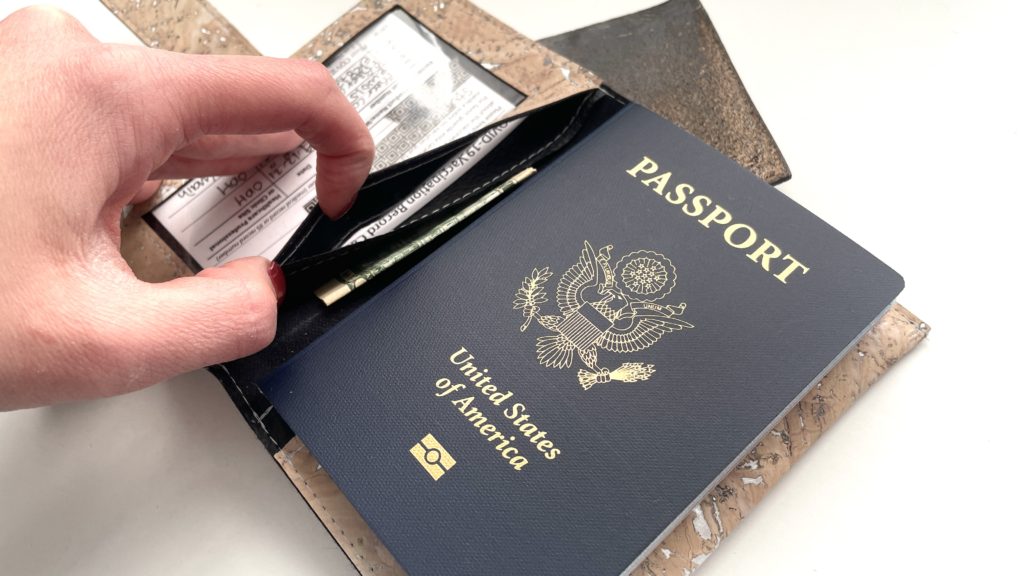
Other features include:
- Bi-fold design
- (2) Credit/Business card slots
- (2) Slip Pockets for cash and/or Passport
- Tab Closure with snap for security
Construction
On top of making something so functional like this wallet, I love using up scraps of my bag making materials. This is a great pattern that does just that! The main body of the wallet can be cut from just a leftover strip of fabric while the slip pockets can be made from even smaller scraps. The closure tab is made from the window cut-out, allowing it to create very little waste as well. This is both scrap busting and scrap minimizing!
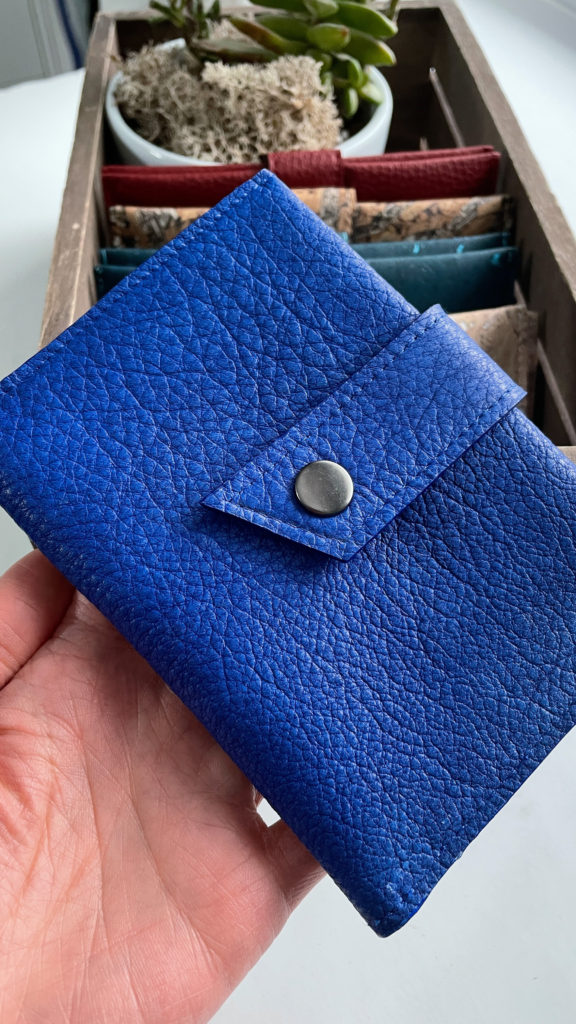
To make the wallet, you will need a non-fraying substrate like cork, leather, vinyl, or a stiff suede. Anything thinner with a drape, like a lambskin or garment-grade material could be shifty and stretch with sewing, like this cobalt sample I made. I purchased it second-hand from a person who made kid moccasins and once I cut out the window, the frame didn’t hold its shape. I eventually worked on squaring it out, but I think that step took longer than making the entire wallet!
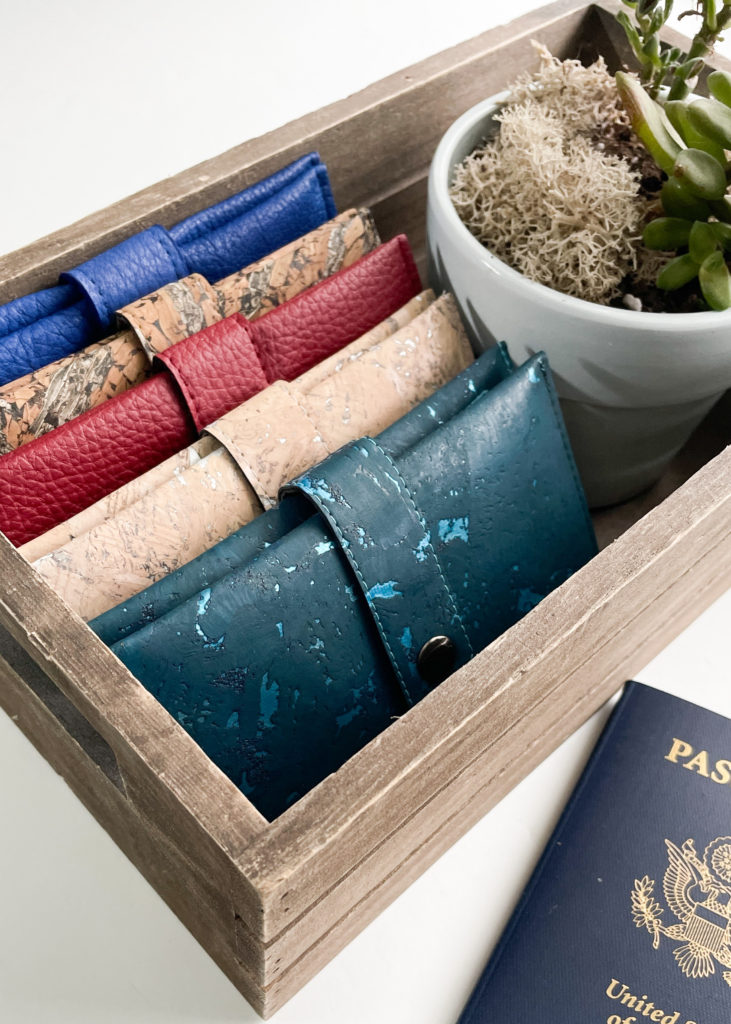
Download the PDF template below. Tape 1a and 1b together aligning sides and the gray circle to make the full wallet body. Cut out all pieces on the solid black lines.
Materials Required along with measure and mark dimensions :
- (1) 15″ x 5 1/2″ Main Fabric for the Body
- (2) 3 1/2″ x 5 1/2″ Accent Fabric for the Slip Pockets
- (1) 3 5/8” x 5 1/4″ Clear Vinyl for the Vaxx Card Window
- (1) set of 12.5mm Snaps + setting tools
- Fabric glue like Fabric-Tac
For full video instructions, click into the window below:
Optional Personalization
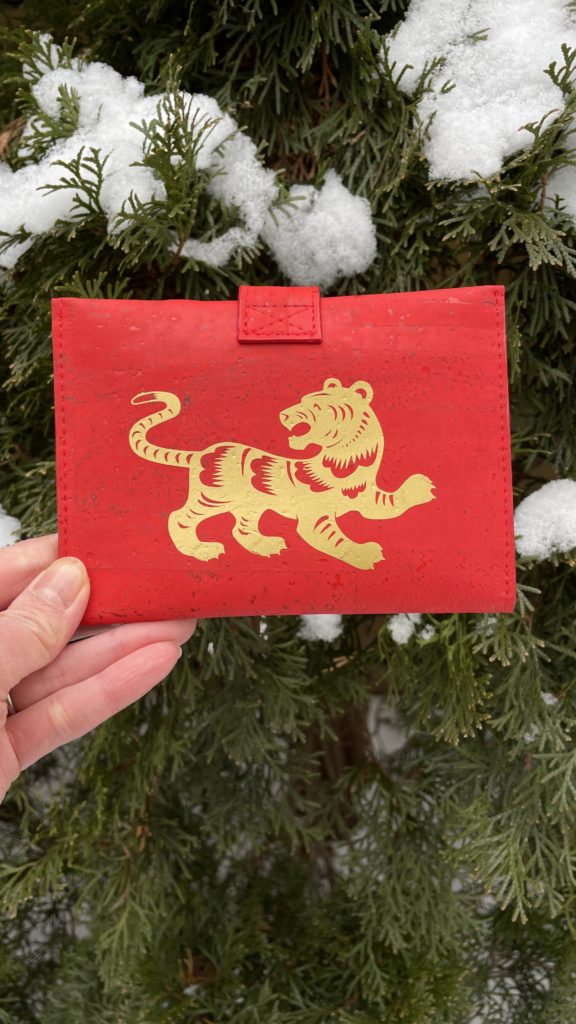
As I was working on samples of the Navigator Wallet, I pulled this gorgeous red cork from my stash and was inspired by the lucky red envelopes given out for Lunar New Year. These envelopes are stuffed with money from family to give you a good year and they are traditionally adorned with gold images and calligraphy. I used my Silhouette Cameo and some SVG files I purchased on Etsy to cut out gold heat transfer vinyl for my wallet. The images I bought are traditional motifs based on the ancient art of paper cutting and I found it a bit amusing that I could use my electronic cutting machine to replicate the look.
I’ve used heat transfer on other cork projects (think Monograms!) and I would recommend the following:
- Cutting the protective plastic down around the image as much as possible – This keeps odd shapes from being pressed into your substrate. (I know because I’ve done it with faux leather before!)
- Use the smallest iron you have. I have a travel iron and just try to use the tip on the vinyl
- Use a pressing cloth so the iron doesn’t burn/melt the substrate
- Lay project on a sleeve board or tailor’s clapper to push up the area you want to heat, but keep the rest of the project low and away from your iron
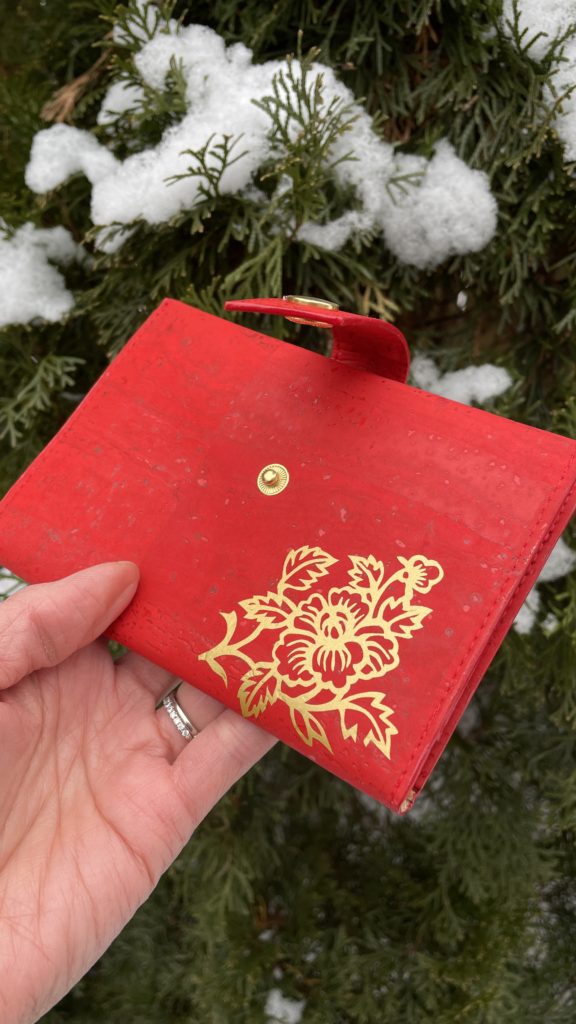
If you have a cutting machine, test out this new use for your heat transfer vinyl. It really allows you endless ways to make any project your own! I can’t believe how much my wallet looks like a Lunar New Year envelope!
I hope you enjoy this FREE gift to celebrate the year of the Tiger. Please feel free to share this on your social accounts and blogs as well. All I ask is for proper credit and to take a few minutes to learn about this deeply special holiday with a quick internet search. It is absolutely fascinating!
Happy New Year!
Cristy
This post may contain affiliate links. You can read about my full disclosures here.
What kind of glue are you using?
I use Beacon Fabri-Tac