Namesake
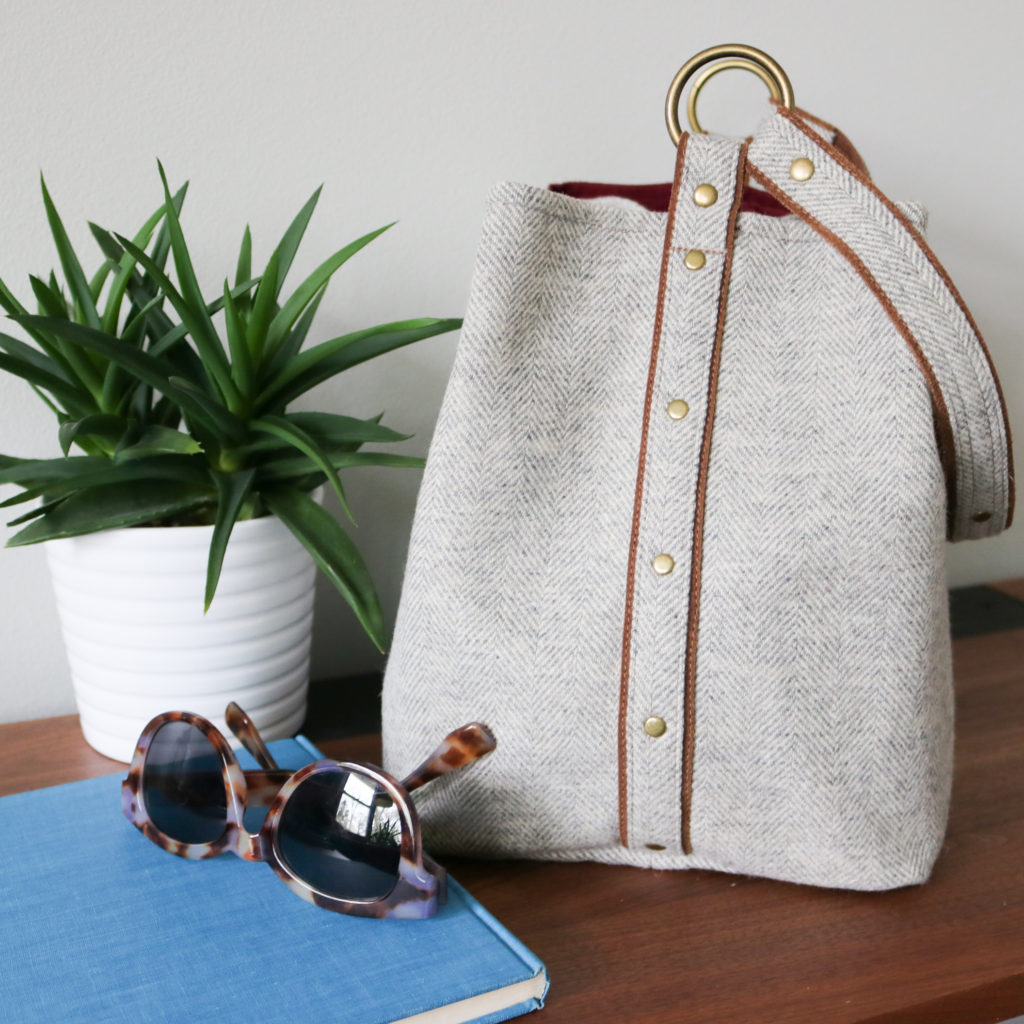 This bag is named after another one of my sweet nieces, Megan. Every time I would see her, she always carried around a large purse and I knew a generously sized bucket bag would HAVE to be her’s! She was always an avid reader and so this bag can carry around a small library if needed. Megan loves theater and has SUCH a beautiful voice. It only made sense to have plenty of mix and match bag options for whatever “role” would come next. Like my dear Megan, this bag is practical yet has just enough edge to stand out from the crowd.
Background
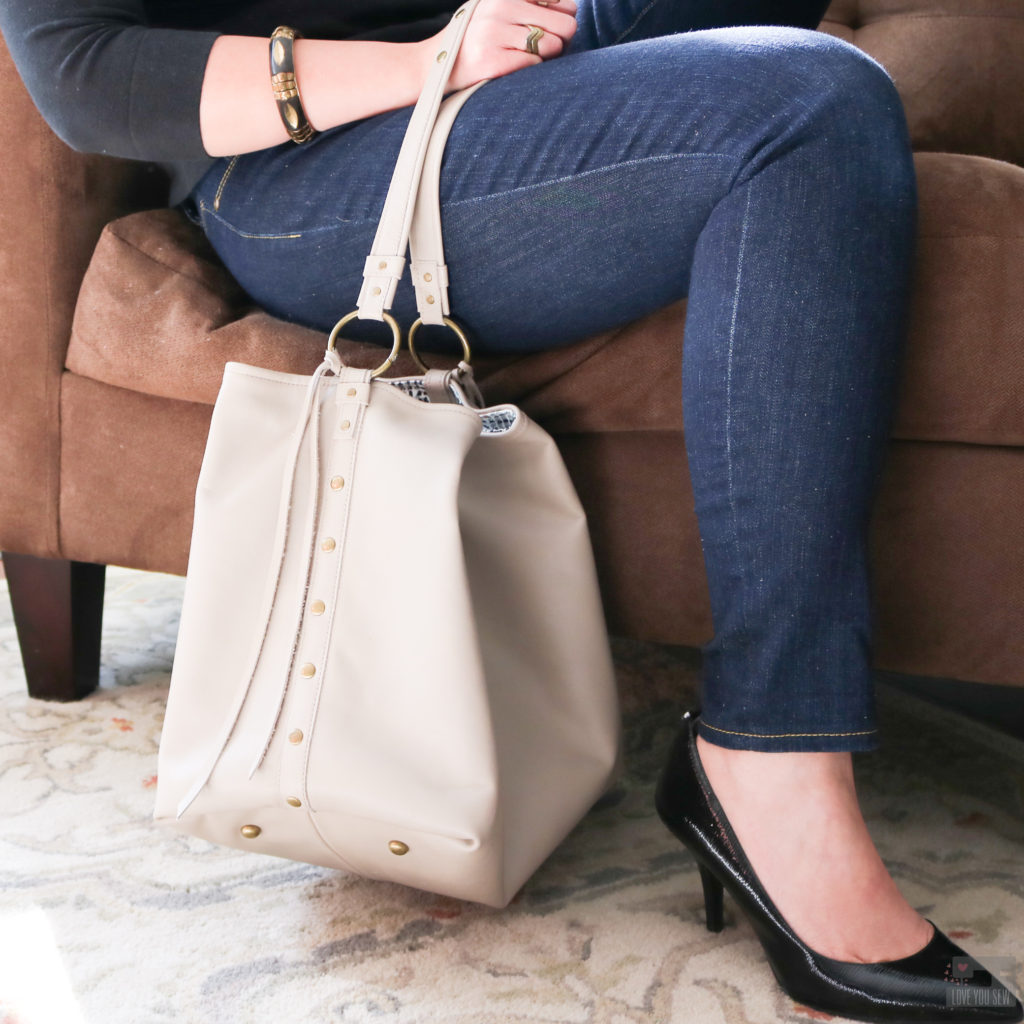 I’ve made nine different versions of the Megan Bucket Bag, starting with the OG, made with buttery taupe cowhide, which you can read about here. This is STILL my everyday bag with the neutral color and has really held up well – as you would expect from genuine leather! However, in order to turn this design into a bag pattern, I knew I had to edit it down. For me, this is the hard part of creating patterns. I had to adapt all of the features so that you could also make it in fabric, in leather, or a mix of both!
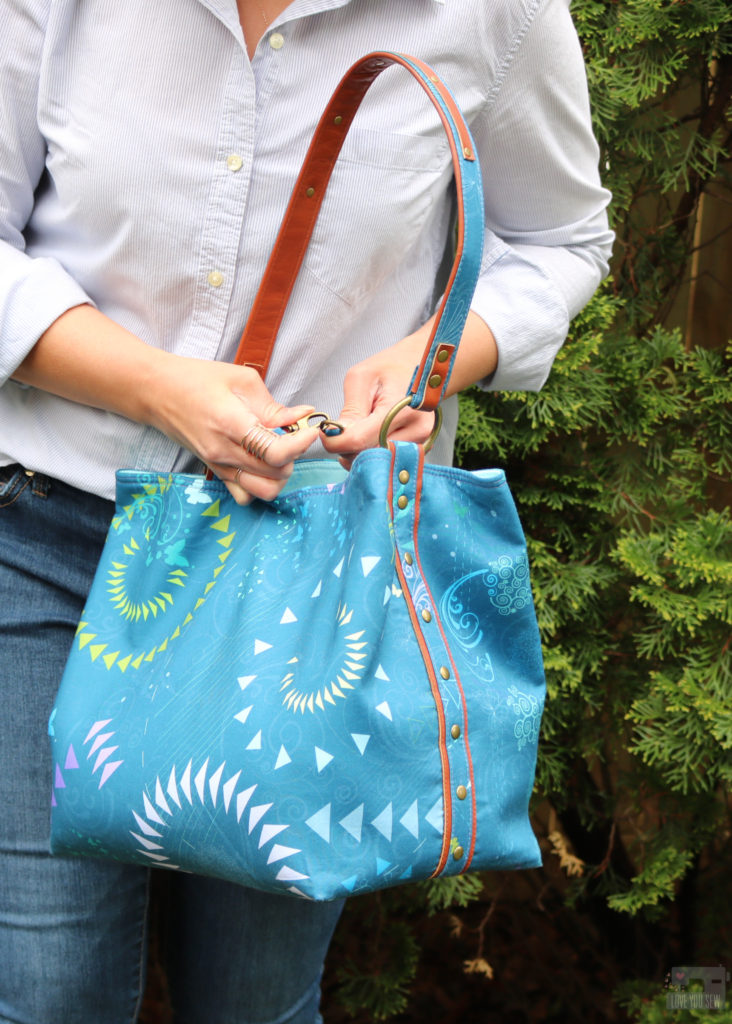 This was another prototype version you can check out here. This was my first fabric version I made while, of course, holding onto the leather details. I still love that extra thin piece of leather on top of the strap….I’ll have to remember that for my next Megan bag!
Features
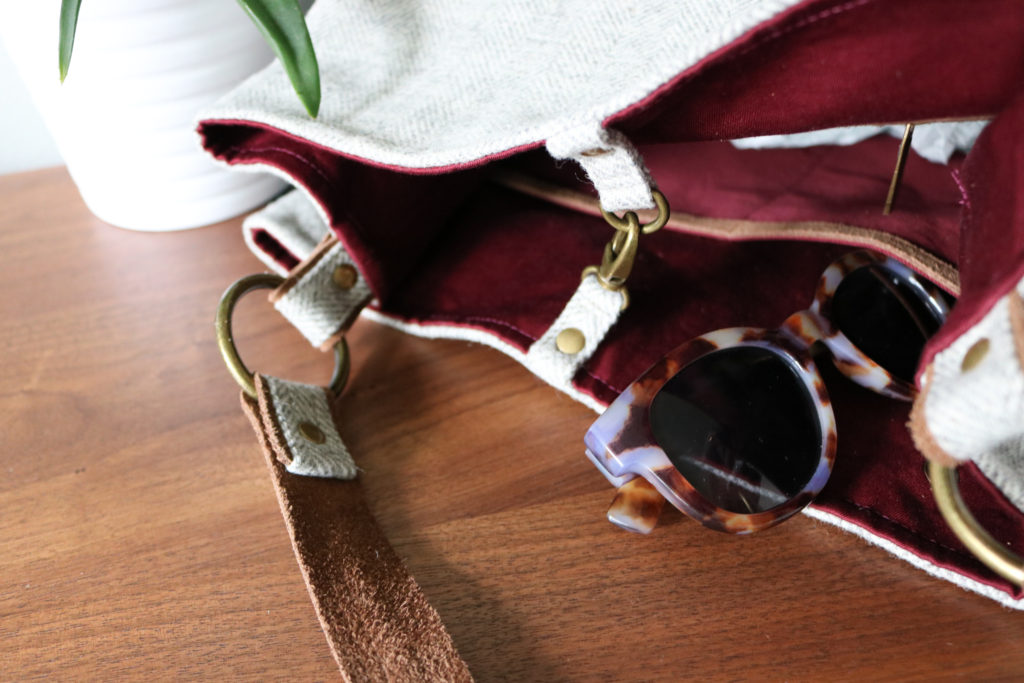 After teaching many bag classes and workshops, I know that many students want to make professional looking bags, but don’t necessarily have all the right equipment – including a heavy duty sewing machine. So my goal with the construction, was to use some alternative techniques to take the bulk out of bag-making. This helps to think outside the box so you can make bags with a wider array of equipment…not just industrial grade machines.
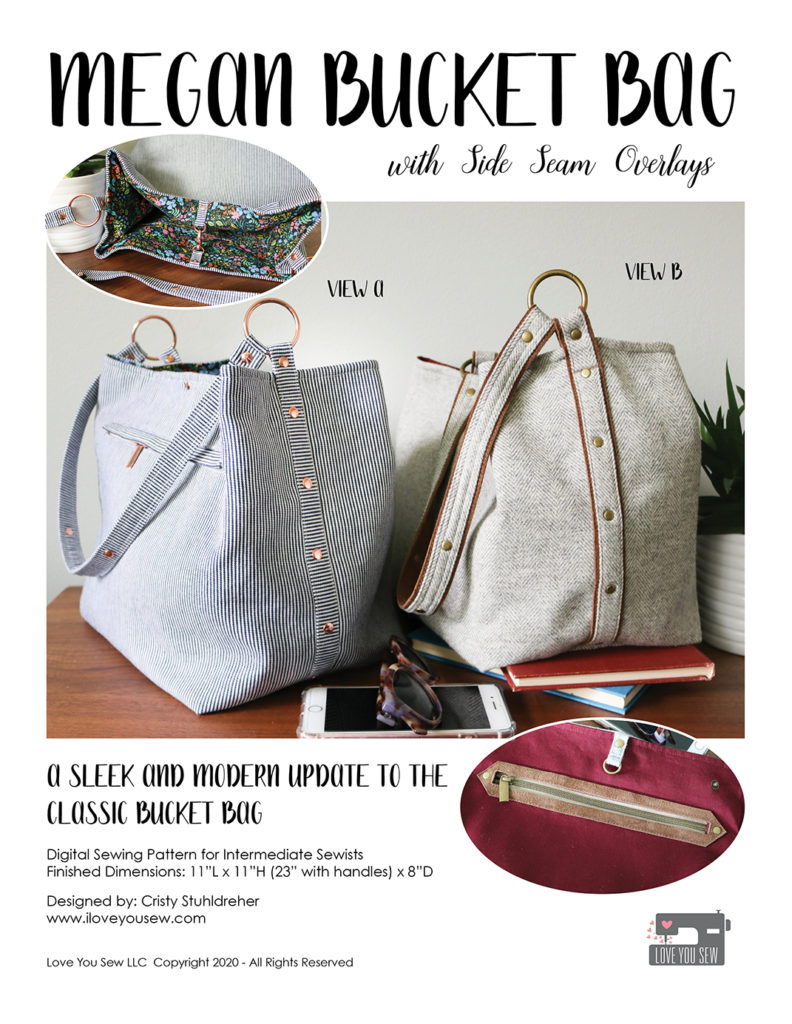
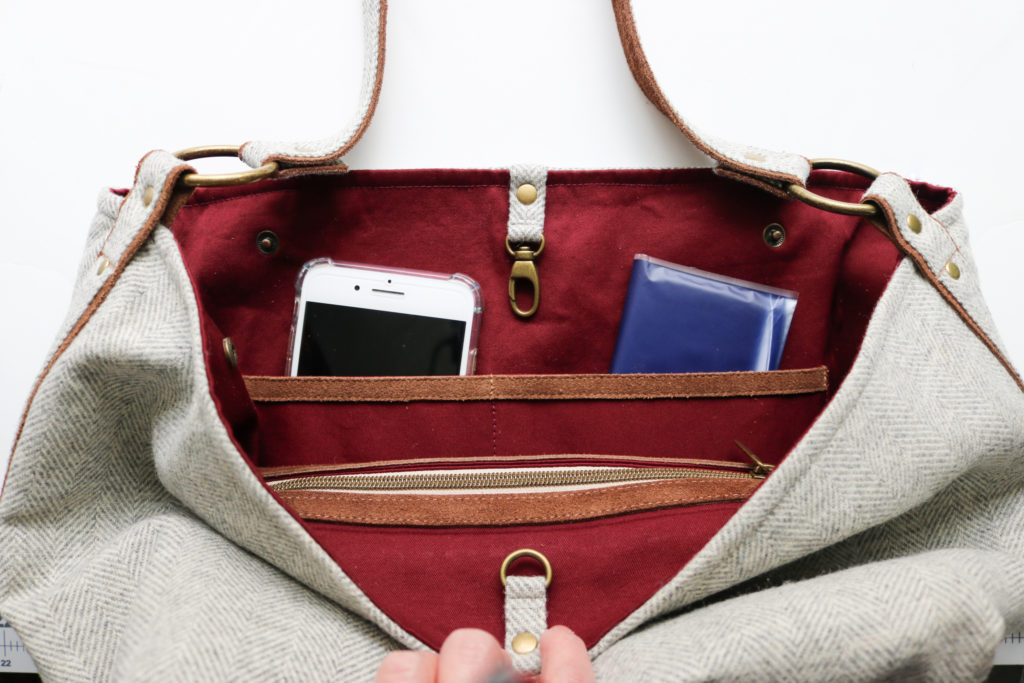 “The Megan Bucket Bag is a fresh take on the classic slouchy bag silhouette, but with a more pronounced cube shape. The lines are clean with side seams hidden by overlays and rivets. There are two different views whether you want to make the Megan out of one fabric, or if you would like to use a raw-edge accent fabric to add a little more depth to the look. With this pattern, you will learn different strap making techniques to take the bulk out of your fabric and gain ways to present a welt zipper pocket with plates or a cover. You will also learn an off-set bag technique for the overlays that won’t compromise your side seam stitching. There are plenty of options with snaps and the use of accent fabric for you to mix and match for your perfect bag.”
This is a pattern for you to learn:
- 2 -layer straps
- Off-set overlay sewing to keep the integrity of the side seams
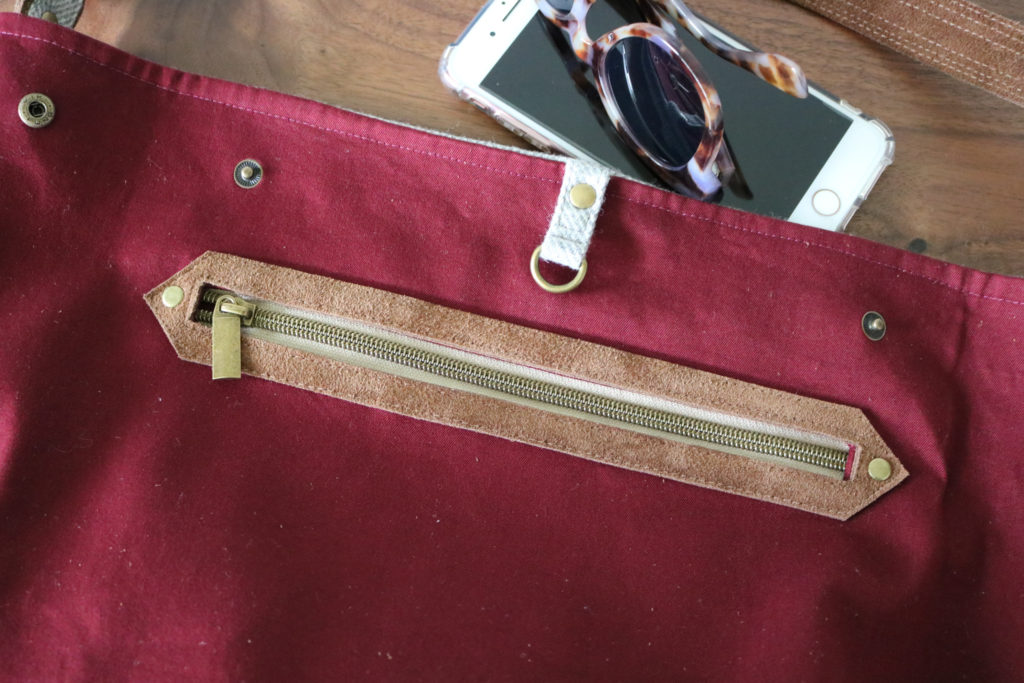
- 4 different ways to present a welt zipper pocket with 2 plate options, a cover, or left bare.
- Slip Pocket with an overlay
- Connectors to help hold sides together
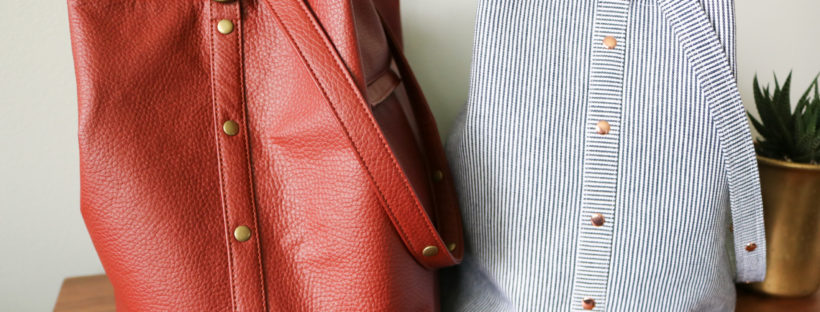
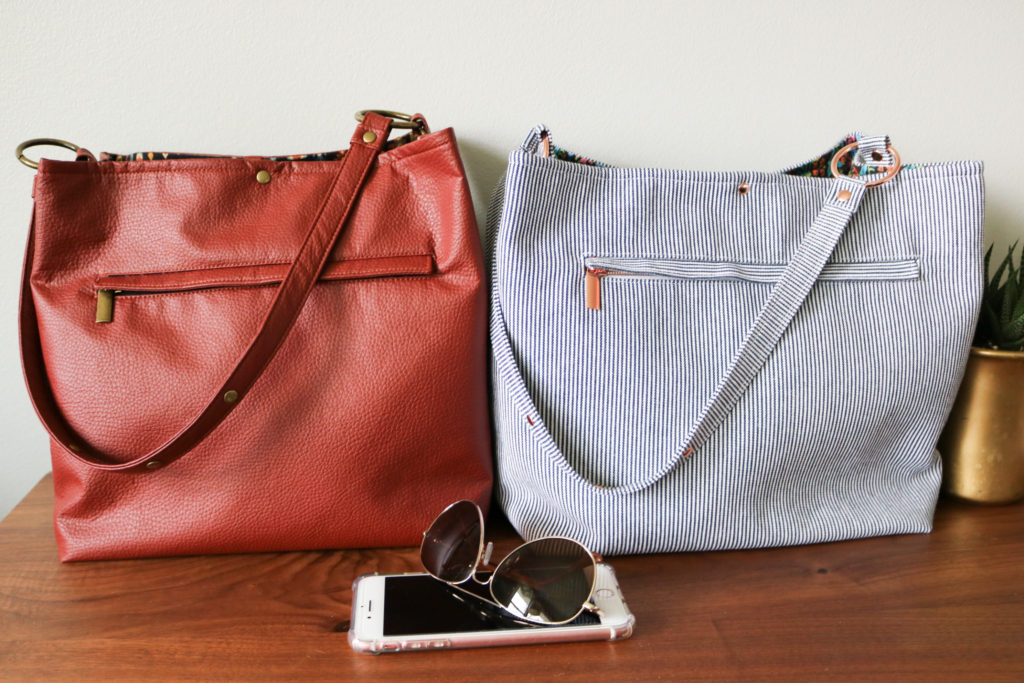 View A was designed for a single fabric and perfect for a newer bag-maker who wants to just use canvas. This is a great way to start and learn new purse techniques without having to deal with other substrates. However, this same version can be used with a single faux leather and still have a striking look. This view has a handy outside pocket with a cover to keep the look smooth and sleek but still has other details like the strap loops to add more interest.
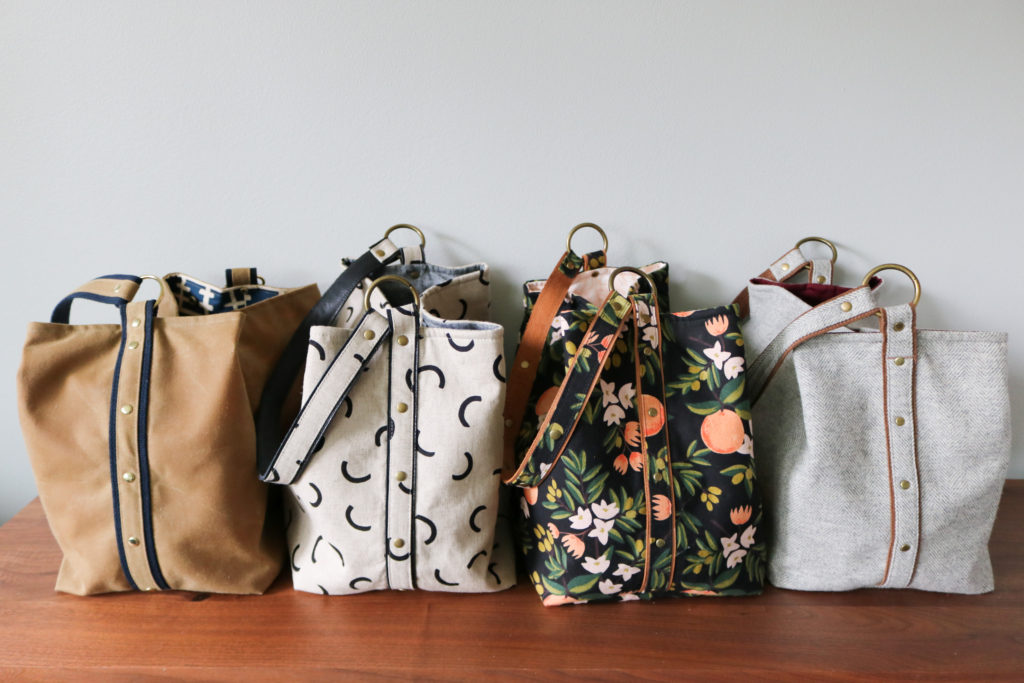 View B uses an accent fabric such as leather, suede, cork or vinyl that can be left raw edged without fraying. These substrates are great looks to add more depth and texture to a bag. The accent fabric is incorporated on to the side overlays, strap, and is used as decorative plating against the zipper pocket and slip pocket. However, you can also swap out the accent fabric with some webbing to speed up your project.
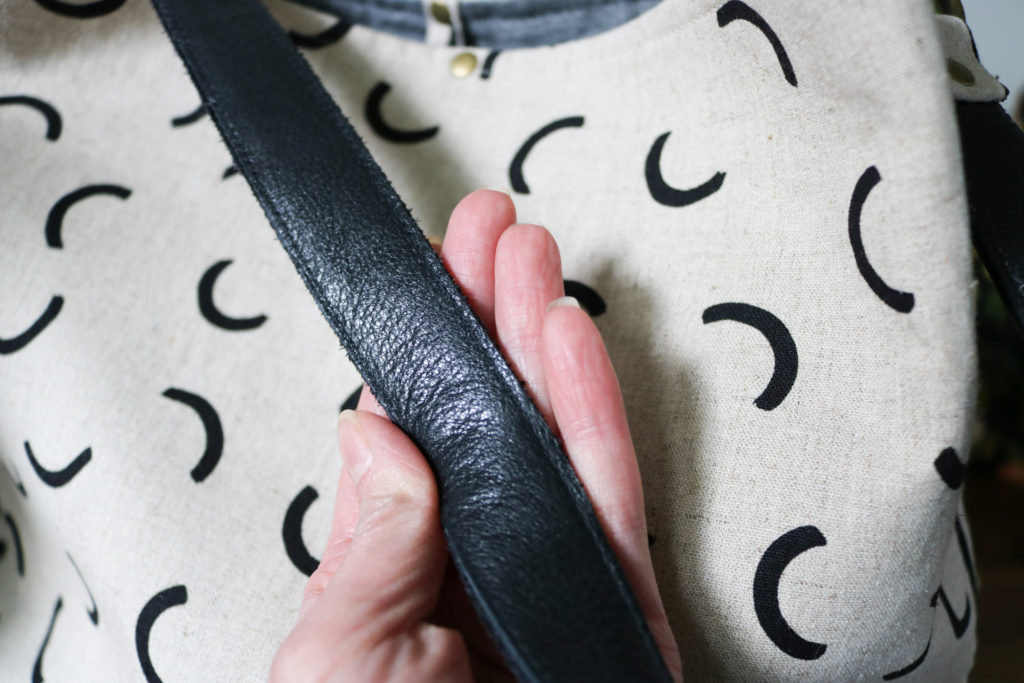
 This pattern was written with mid-weight accent fabrics in mind with 2-3mm thickness to have enough structure in the strap. However, I know there are a number of other fabrics you may want to use that are lighter and thinner – especially many types of cork. Consider adding a second layer of accent fabric to the back of the strap as shown below. Play around and see what you like!
Hardware
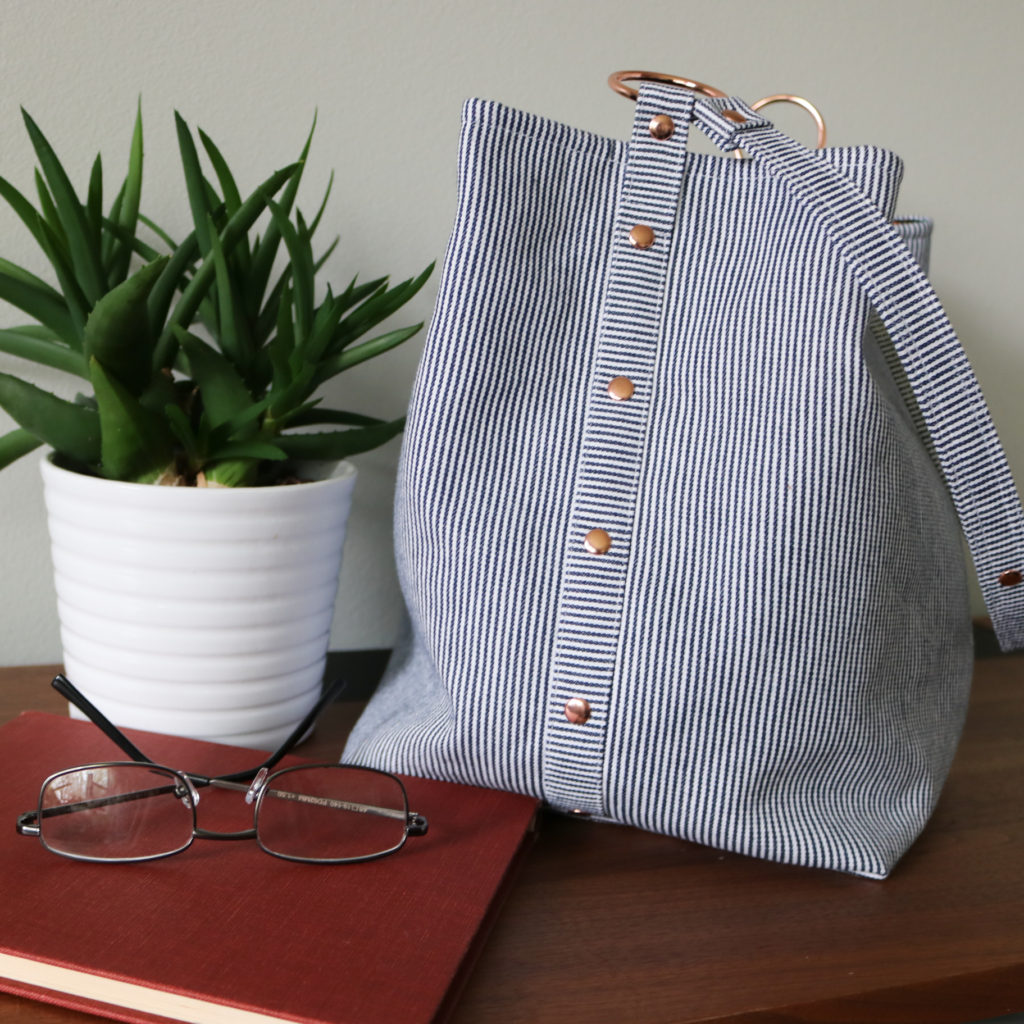 The main aesthetic element to the Megan Bucket Bag is the side overlay with a row of bright beautiful rivets. Although I’ve used rivets for a long time with my bags, they were only in the patterns as alternation options for securing straps and such. This time, the rivets are the featured stars and are not just for looks, but also for structural purposes. They help secure the strap in place around the gorgeous O-rings. This give such a strong, yet delicate look.
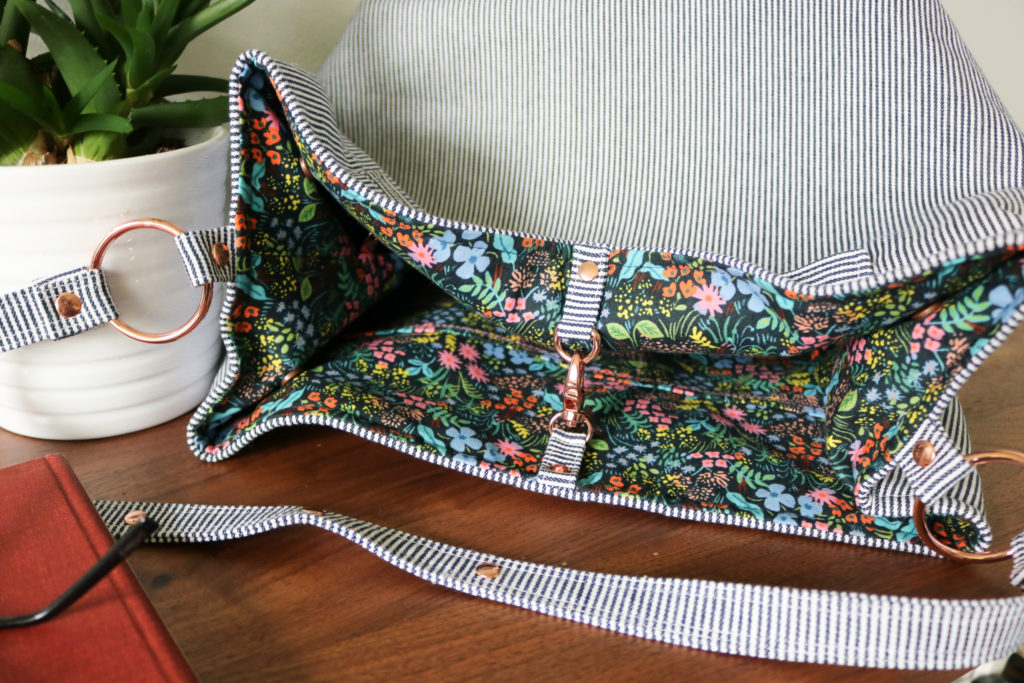 To help hold the shape of the bag and keep contents safe, four sets of snaps are added to the lining. They help keep the cube shape of the Megan while still staying slouchy like a good bucket bag does. The purse can then be easily expanded by just releasing the snaps.
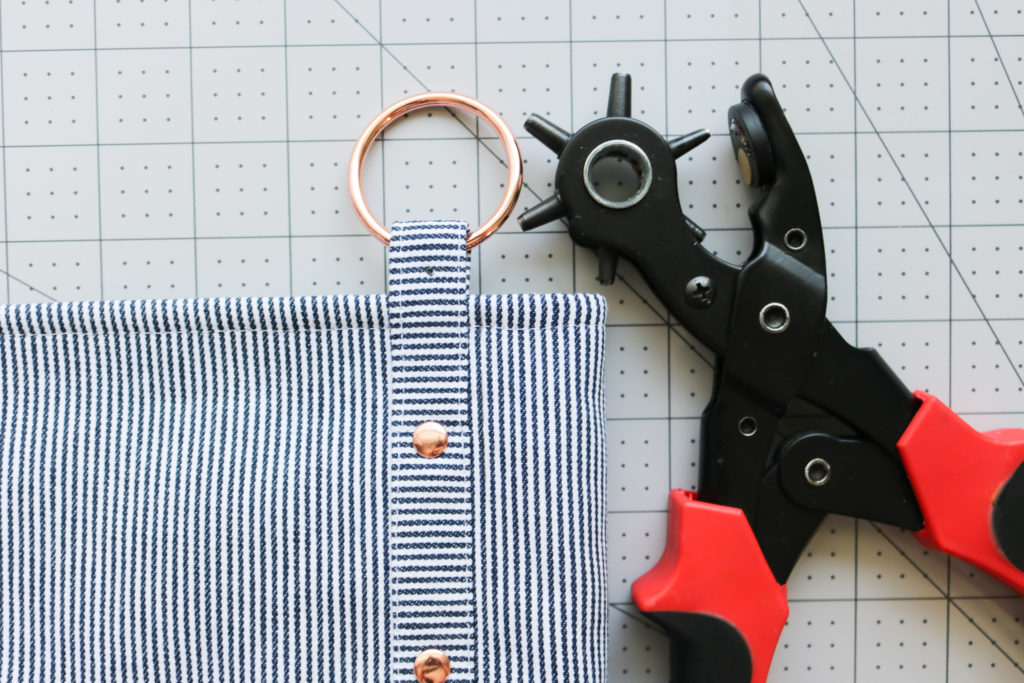 Although the pattern includes the use of rivets and snaps, there are no actual instructions to install them. Since there are SO many different types of hardware out there with multiplied by different tastes of the sewist, there was no way to include instructions for everything. Rivets can be single sided and double-sided. They can be shaped like pyramids, domes, or flat like burrs. Snaps also have a number of different sizes and features as well. I prefer “spring” double cap snaps, but you can use magnetic or even sew-in snaps too! This pattern allows you to use YOUR preference of material. But just like with interfacing, you must remember to follow manufacturer’s instructions. I’ll be showing my preferred methods of rivet and snap installations all next week, so keep an eye out!!!
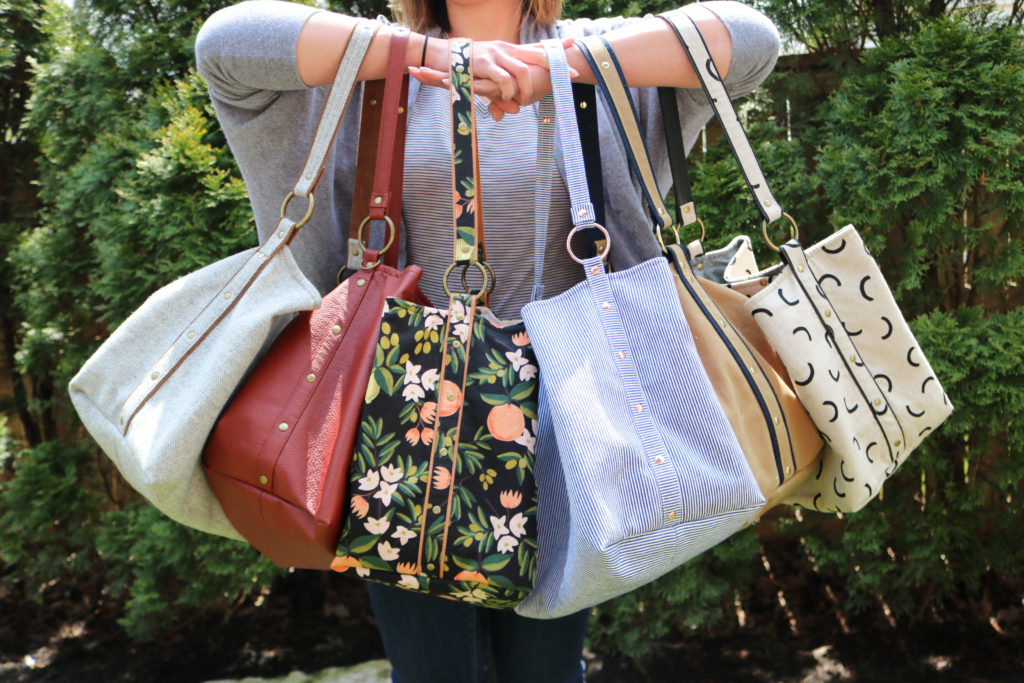 There are truly SO many different ways to make the Megan Bucket Bag. If you are ready to make your own, click below for the pattern AND the hardware kits….it doesn’t get any easier, right?
|| Click HERE to shop the Megan Bucket Bag Pattern ||
|| Click HERE to shop The Hardware Kits ||
Project Details:
- View A – RK Narrow Stripe Railroad Denim with Rifle Paper Company Meadow lining
- View B – RK Herringbone Flannel with brown Suede and Cranberry Twill lining left over from this project.
- Prototype – Taupe Cowhide – Details here
- Prototype – Paradign Fabric – Details here
- View A – BigZ Terracotta Faux Leather (very thin for easy sewing!)
- View B – BigZ 17oz British Millerain Waxed Canvas with Cotton Webbing in Navy
- View B – Figo Crescent Black Canvas Blend with RK Essex Yarn Dyed Linen in charcoal – Leather from Tannery NYC scrap pack
- Similar Metal Look Nylon Zippers can be found at Emmaline Bags and Ning Bags
- Fabric Hole Punch
- Spring Snap Setting Tools – Use 633 for 12.5 mm
- Rivet Setter and Anvil
Tester Inspiration
There is nothing better than seeing all of your makes with my patterns. Here are even more great versions from my testers to inspire your Megan Bucket Bag:-
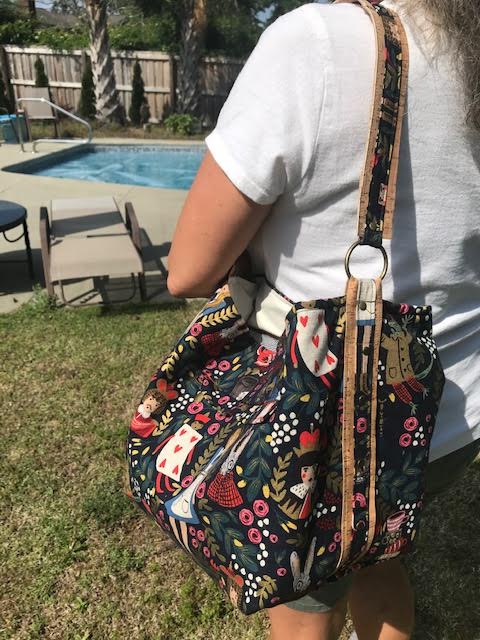
Jean widened out the cork on her bag to show it off. -
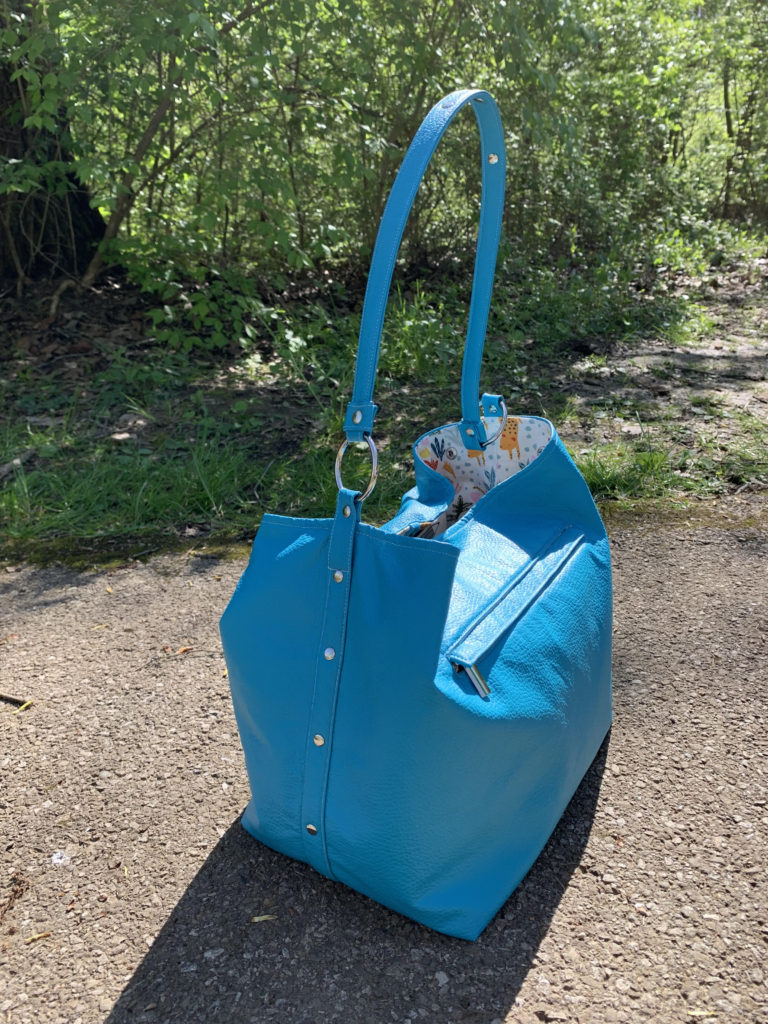
Jen’s faux leather version is so professional and chic. -
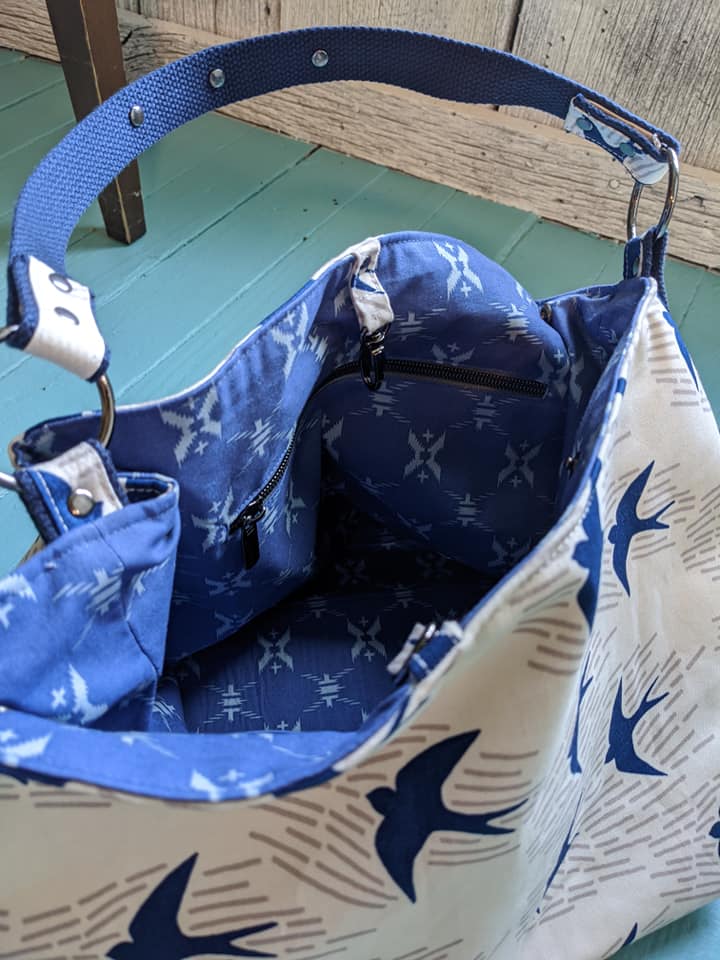
Loni used webbing for the accent on View B. -
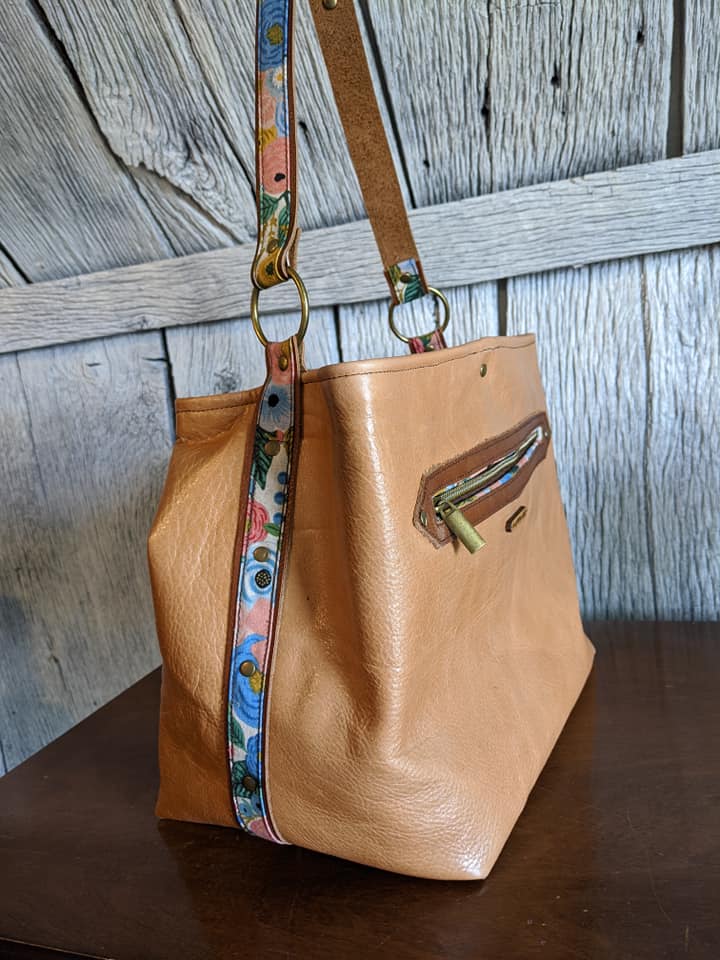
Loni stepped up her game with this all leather version. -
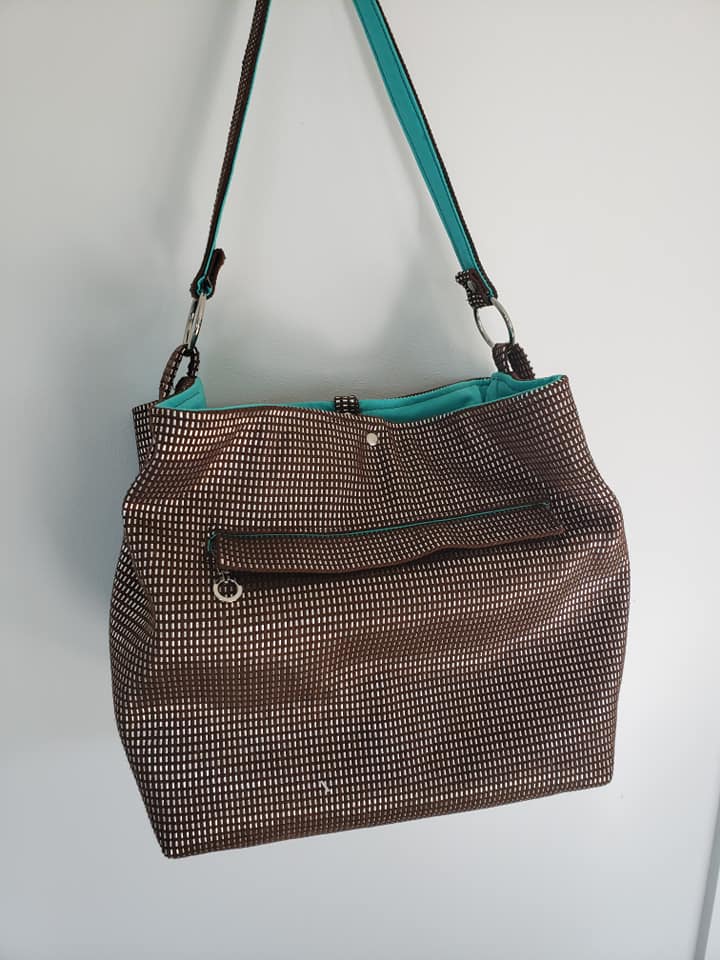
Maggie used this unique fabric with metal woven in. I bet the reflection on it is so cool. -
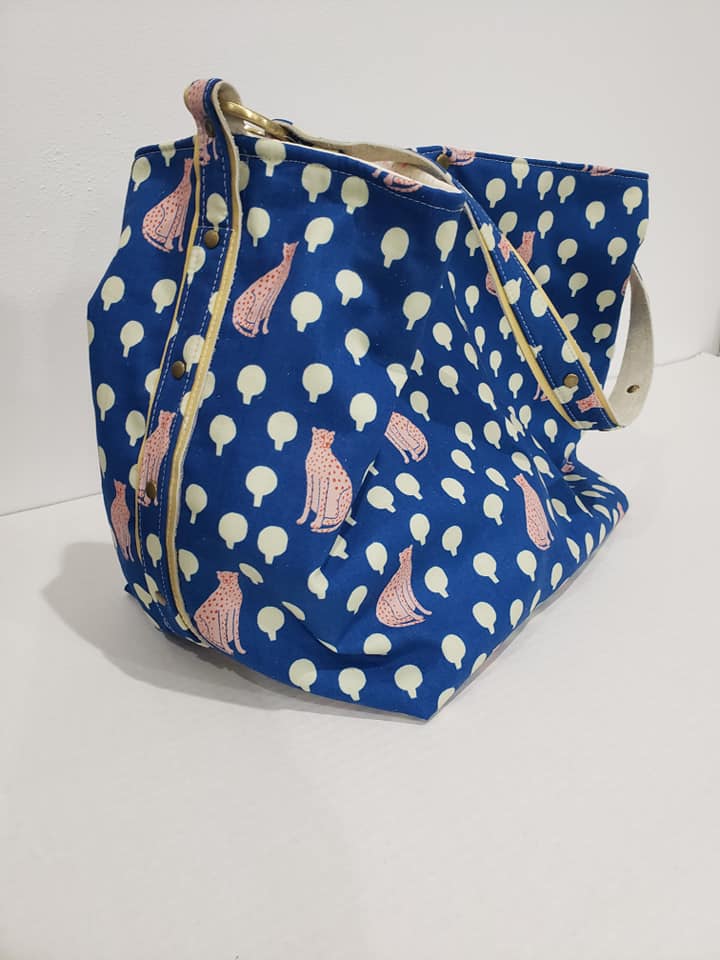
Maggie also made this fun version of View B with yellow leather. -
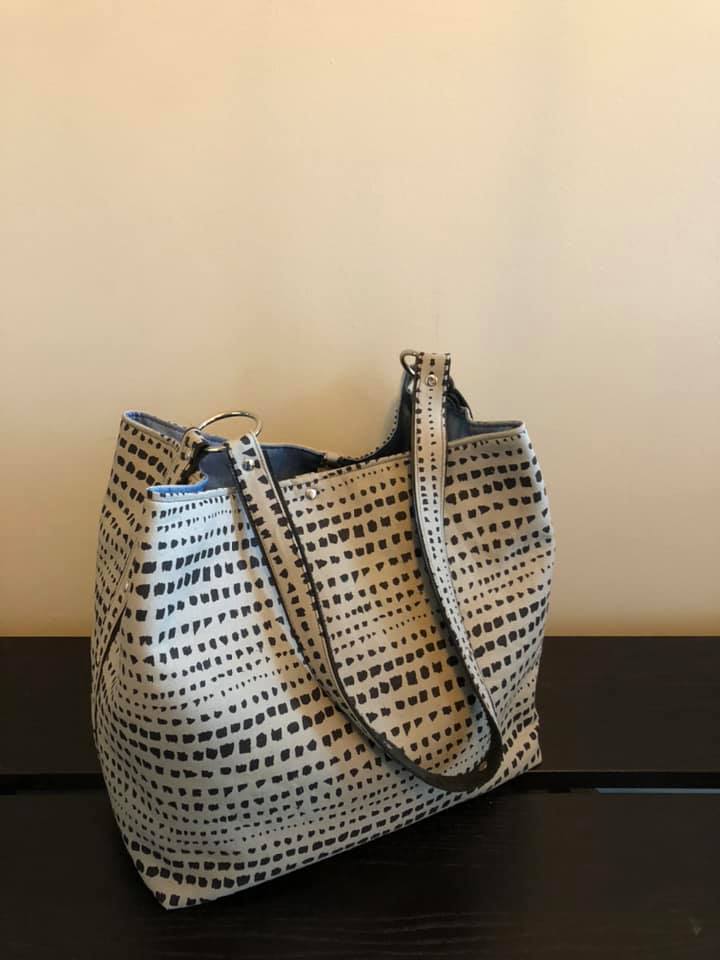
Mallory’s bag looks like it’s sitting in a store – so beautiful. -
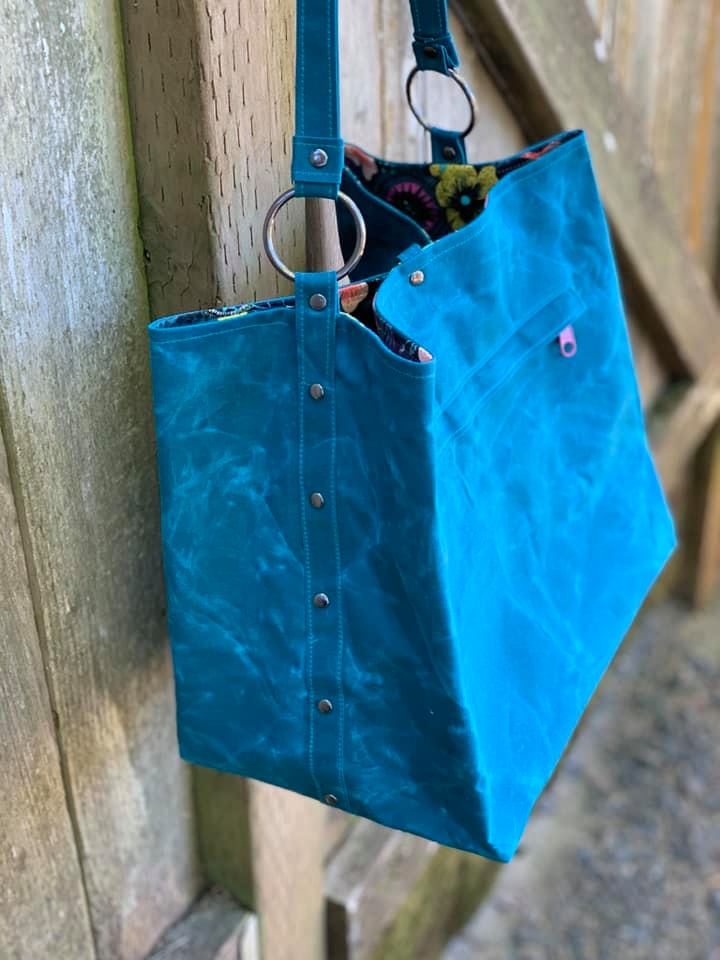
You gotta love waxed canvas in such a fun color. Great job, Nela! -
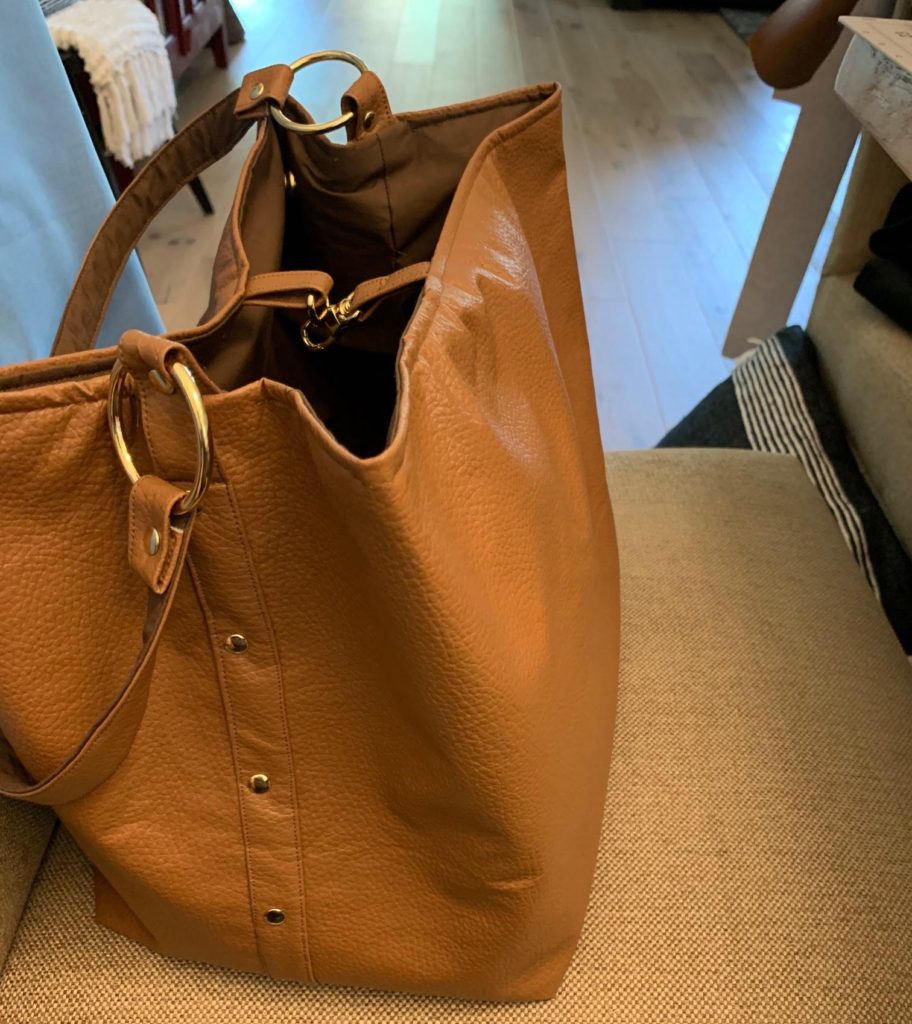
How perfect is this neutral bag by Sherrene?
This post may contain affiliate links. Please read my full disclosure here.
google.com, pub-9629169139779247, DIRECT, f08c47fec0942fa0
