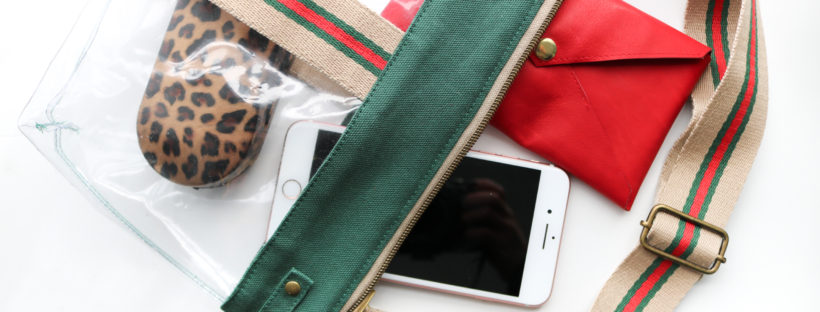
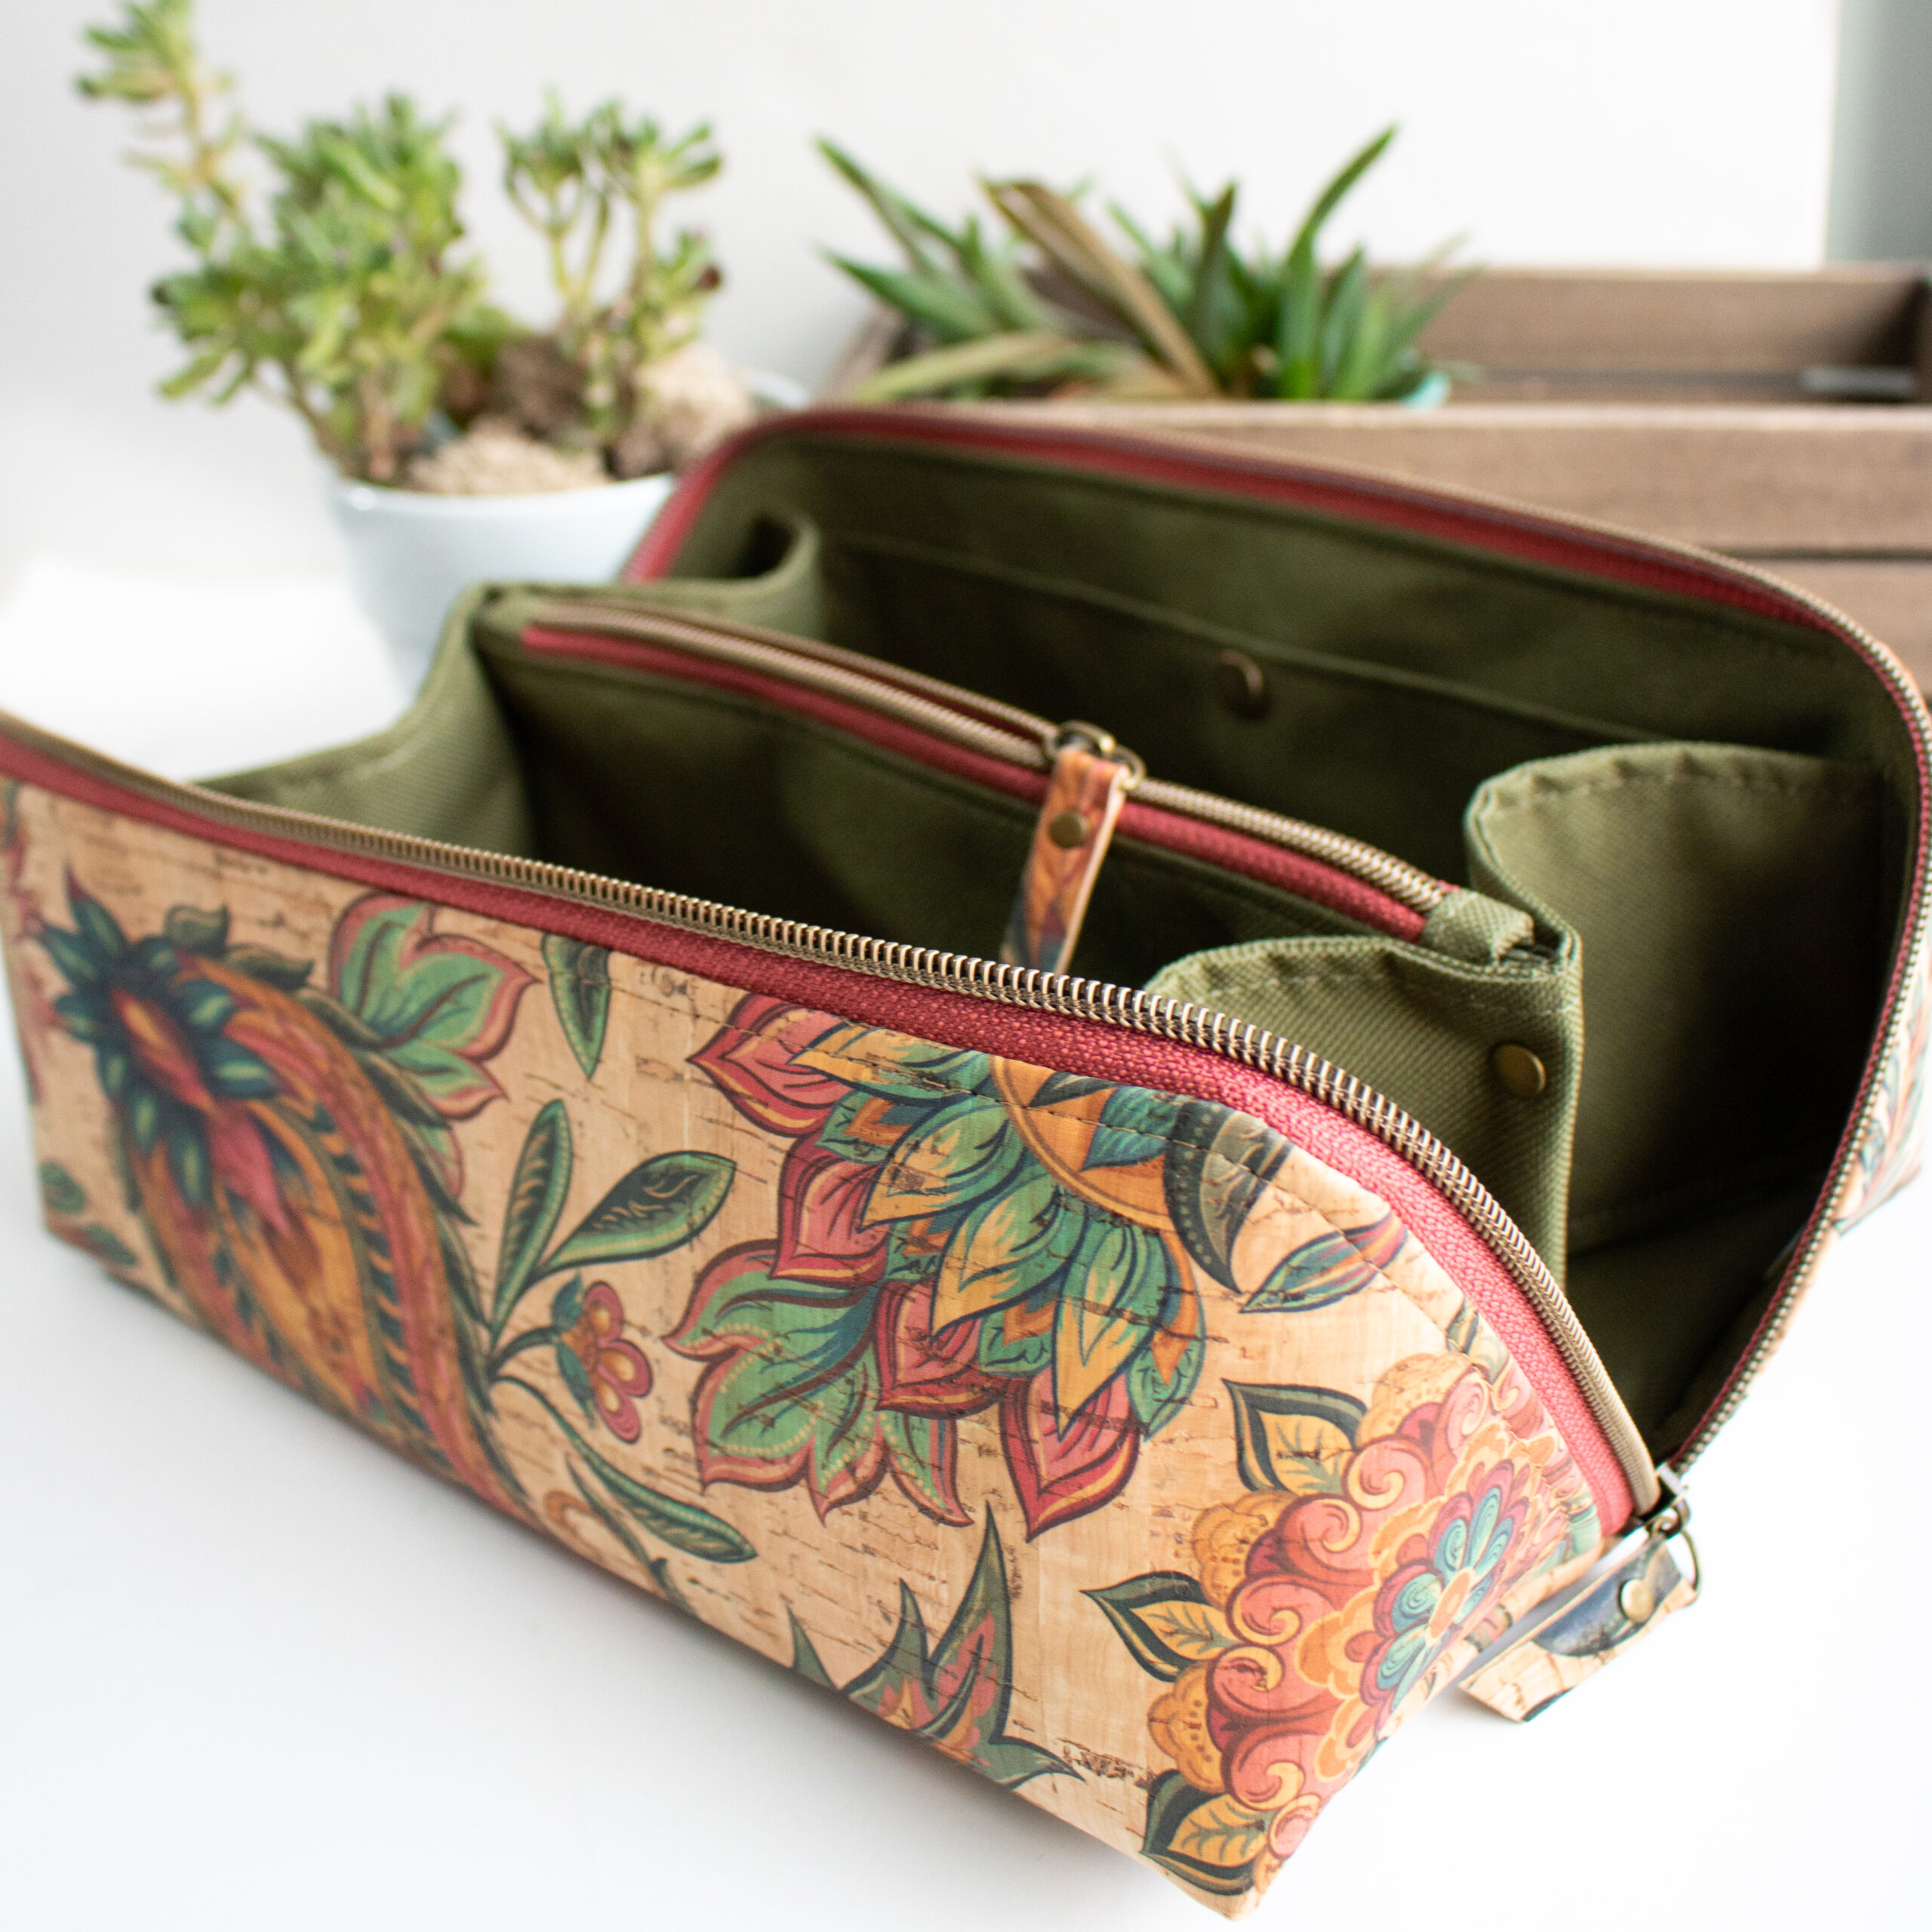
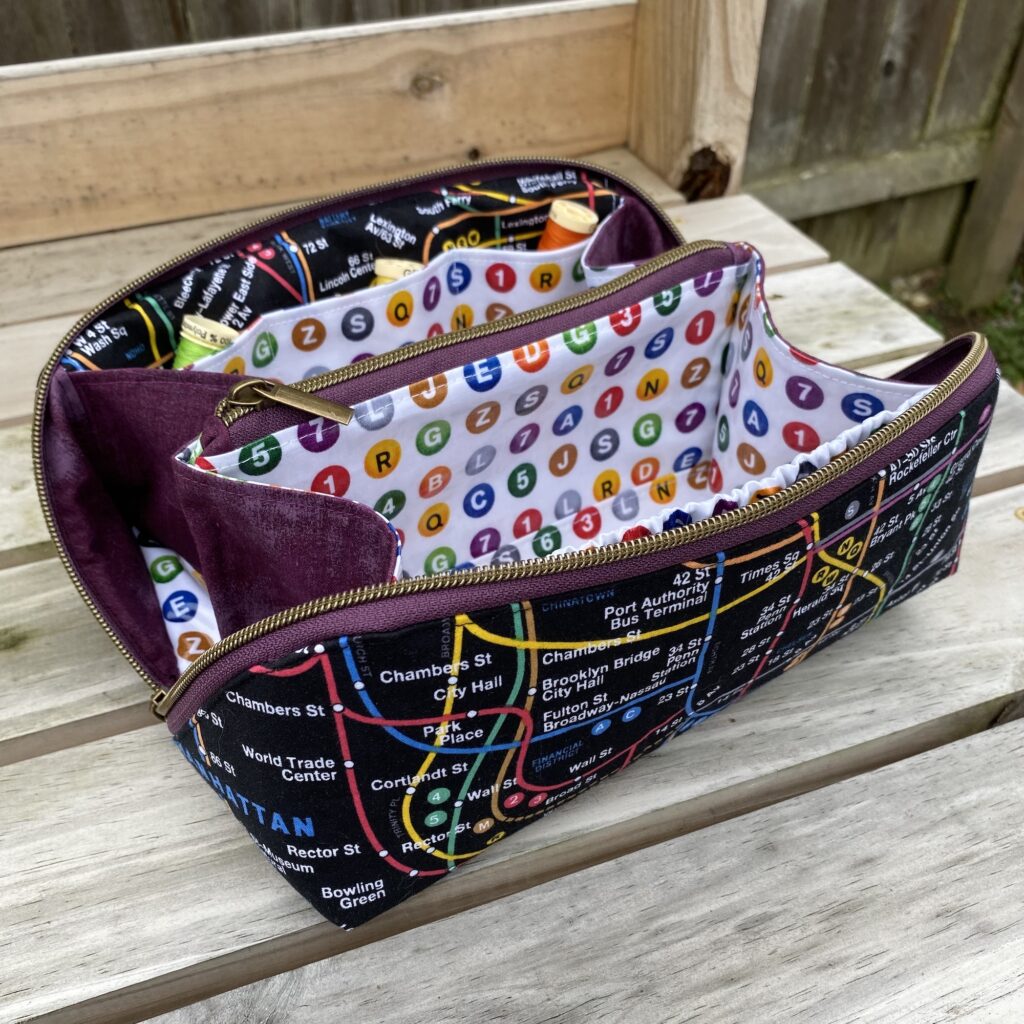
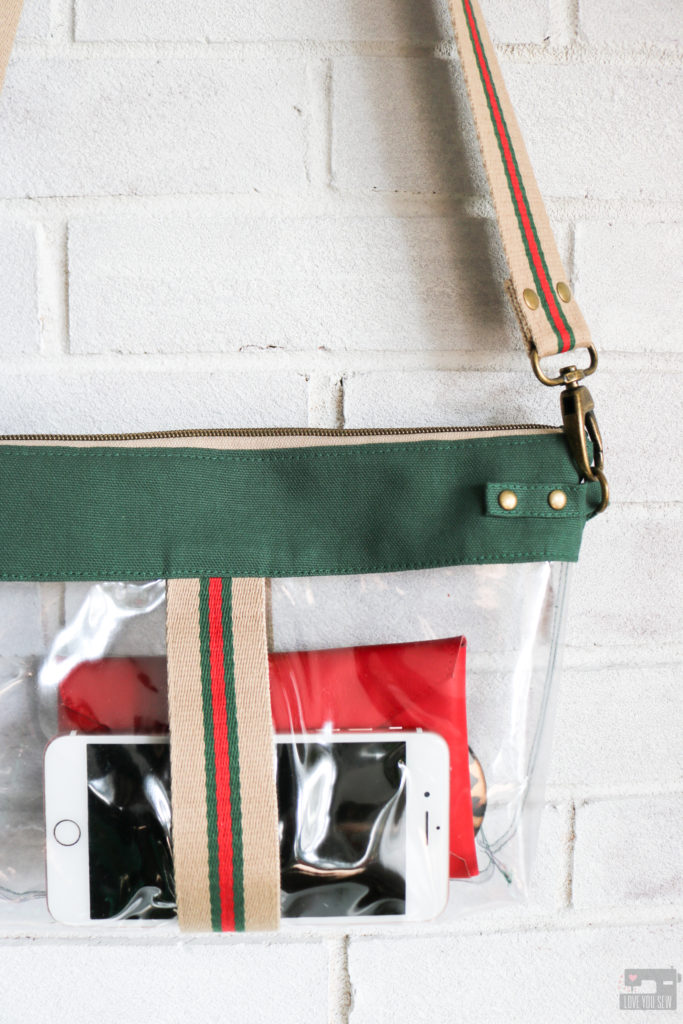
 The best part about writing patterns is coming back and hacking them! I’m constantly inspired by the runways and the latest fashion trends. When I wrote this Emma Stadium Bag hack for Sewn Magazine (April 2020,) I noticed how straps were becoming the main focus on bags. They were produced in different fabric from the main bodies and were made in all sorts of distinctive colors and contrasting patterns…making the straps REALLY stand out. Many brands were offering customization with mix and match options which help to make a bag feel like it was made for you.
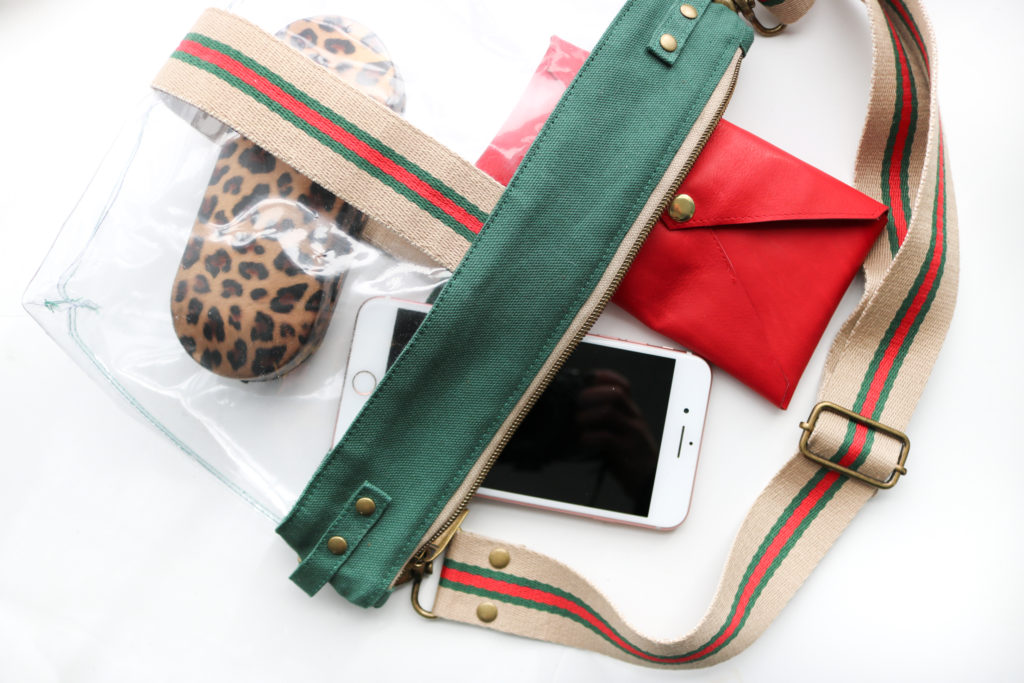 I love a good statement strap as seen with my Guitar Strap Tutorial here and my play on a fringed Festival Bag here. Needless to say, I couldn’t resist making my own designer inspired version. Can you guess the high-fashion label that was my muse? Now, you can really make a full personalized bag with the Twill Tape hack below!
Materials Required
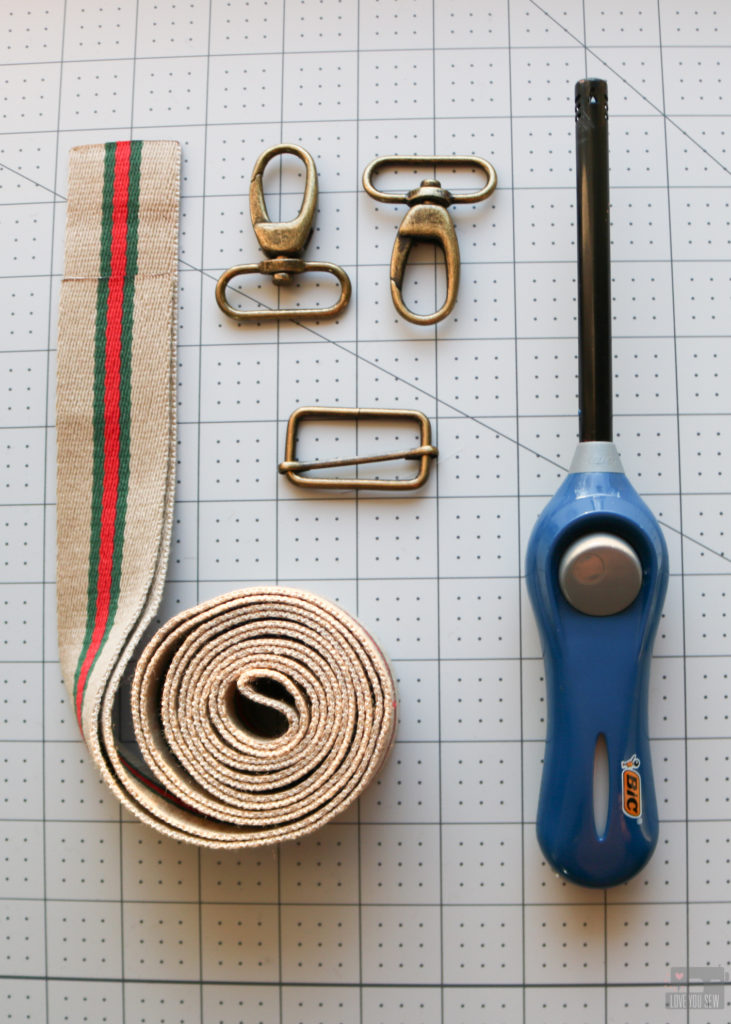
- Emma Stadium Bag PDF Sewing Pattern – You can read about it here!
- (2 yds) of 1 1/2” Twill Tape (I bought mine here on Etsy.)
- (2) 1 1/2” D-Rings
- (1) 1 1/2” Slider
- (12) Rivets + setting tools
- (1) 13” x 1” Main Fabric
- Permanent Fabric Glue like Beacon Fabric-Tac (my fave!)
- Fabric Hole Punch (This one is my tool of choice.)
- Lighter
- Marking Tool – I like to use a Washable Crayola Marker on the vinyl.
Cutting
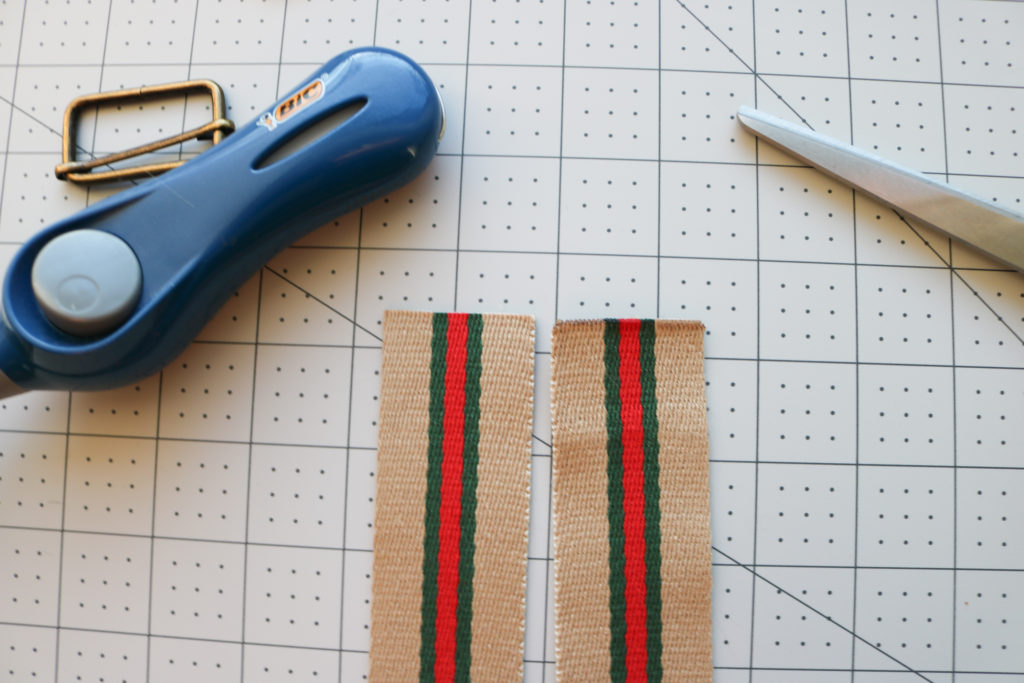
- Cut fabric and vinyl per instructions minus the strap pieces.
- Cut (2) 7 1/2” lengths of the Twill Tape. Heat seal each end of the tape with the lighter. Set Aside.
Strap
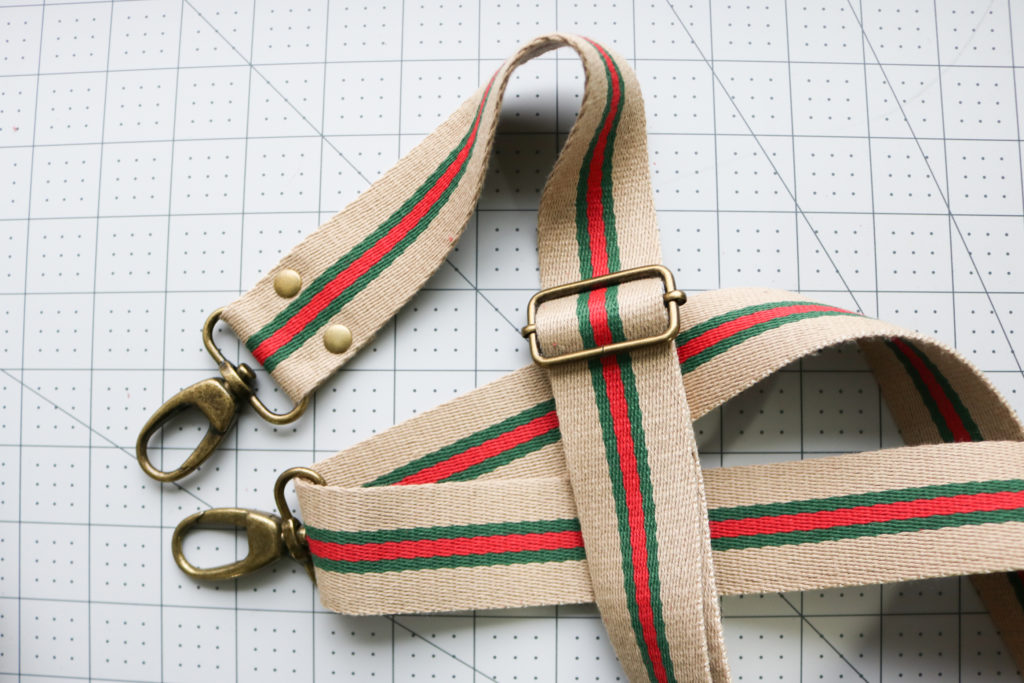
- With the remaining Twill Tape, heat seal each end of the tape with the lighter. *If you are using a 100% cotton tape, you won’t be able to heat seal. Sew 1/8″ at each raw edge to keep it from unraveling. Back-stitch well.
- Follow the instructions in the pattern to thread the strap through the 1 1/2” slider and (2) 1 1/2” Swivel Clasps.
- Use (2) Rivets to secure each end of the strap (4 rivets total) or sew into place. This video can help you through adding rivets.
- This was omitted to let the twill tape stand on its own and not detract from the overall look.
Zipper Top
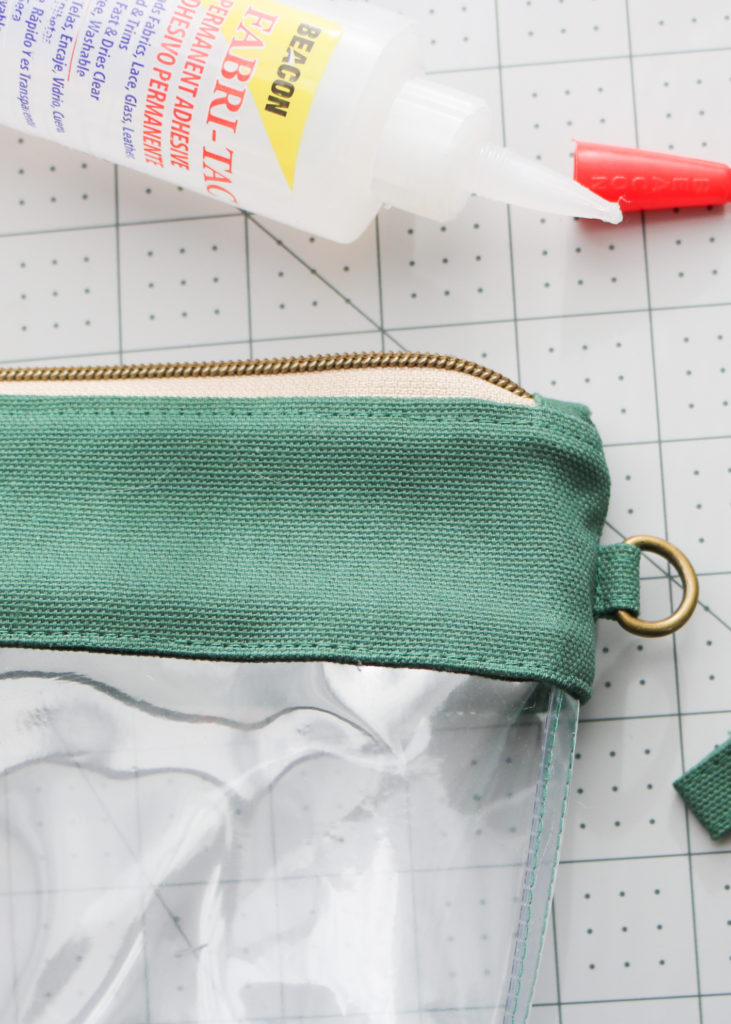
- Make with the SHORT D-Ring tab option. Although the photo shows the vinyl already attached, you will only have the Zipper Top completed at this point.
Vinyl Bottom
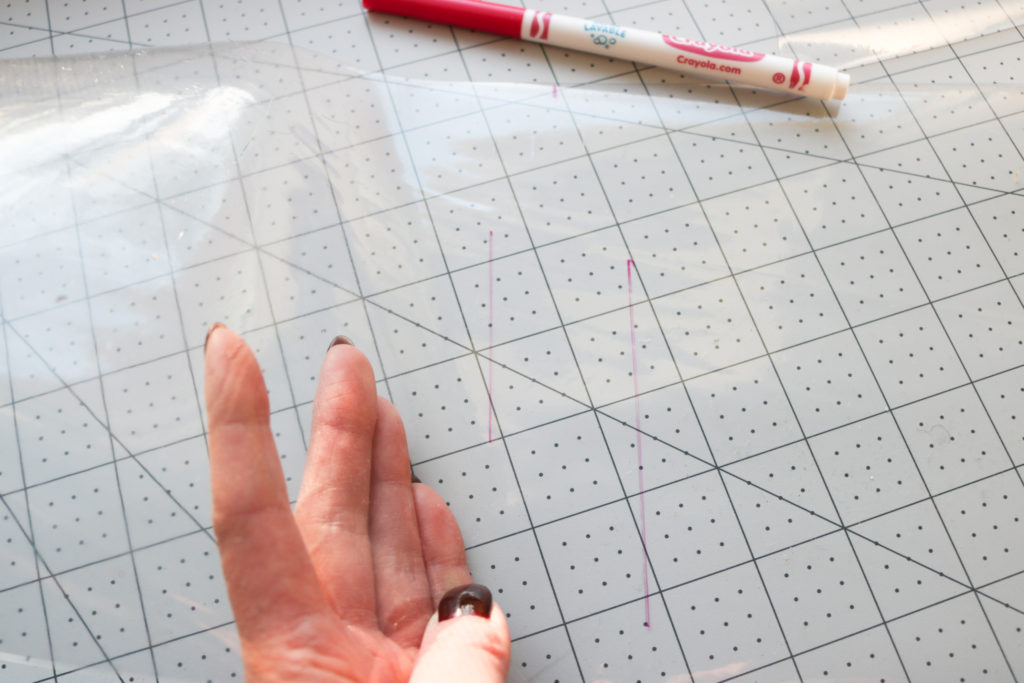
- After marking the center of the vinyl bottom on the wrong side of the vinyl, mark 3/4” out on either side of the center. These lines will be used as sides for the Twill Tape.
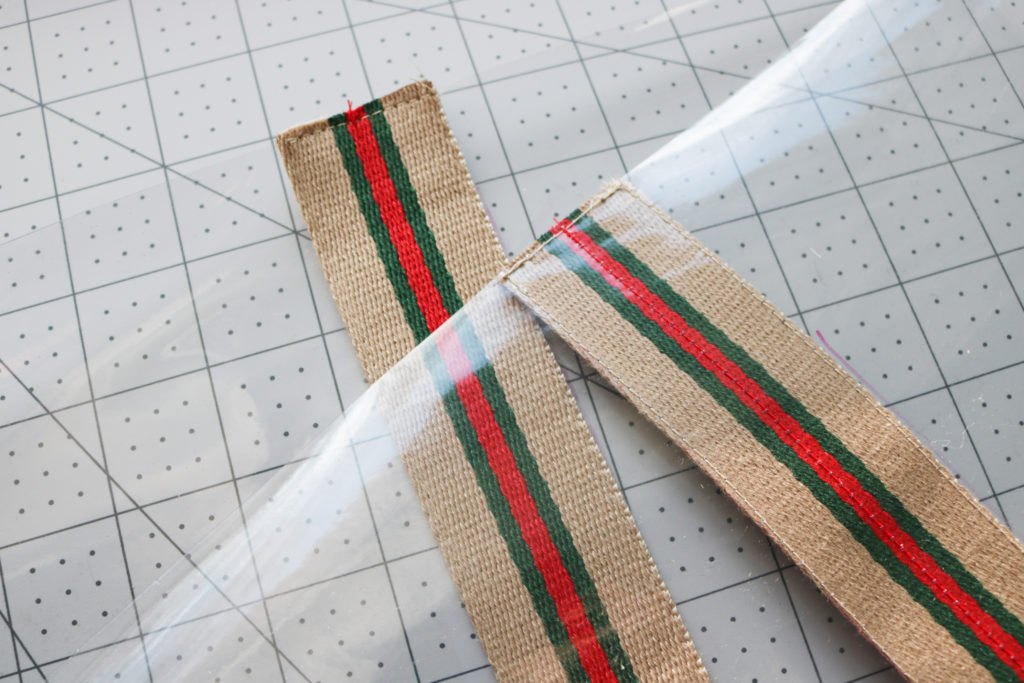
- Flip the vinyl over and line up Twill Tape within the markings. Top-stitch along the Twill Tape 1/16” into place. Optional – Add another row of stitching down the center of the Twill Tape. Repeat on other side of the body.
- TIP: Sew down the sides of the Twill Tape in the same direction to avoid possible shifting.
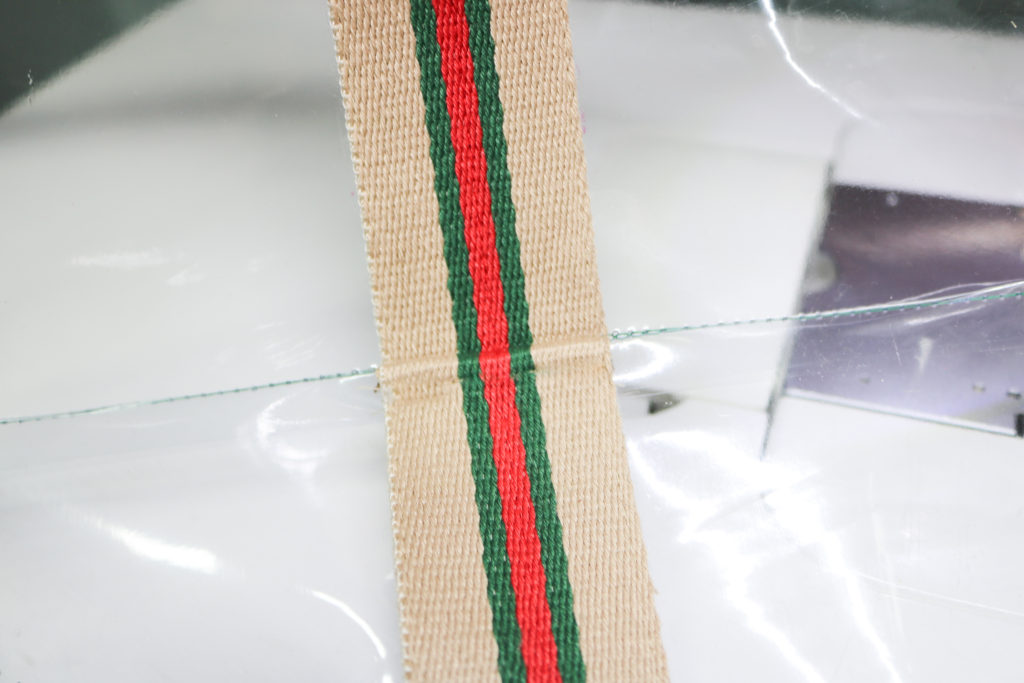
- Finish sewing the rest of the vinyl bottom, making sure to align the Twill tape when sewing the bottom seam.
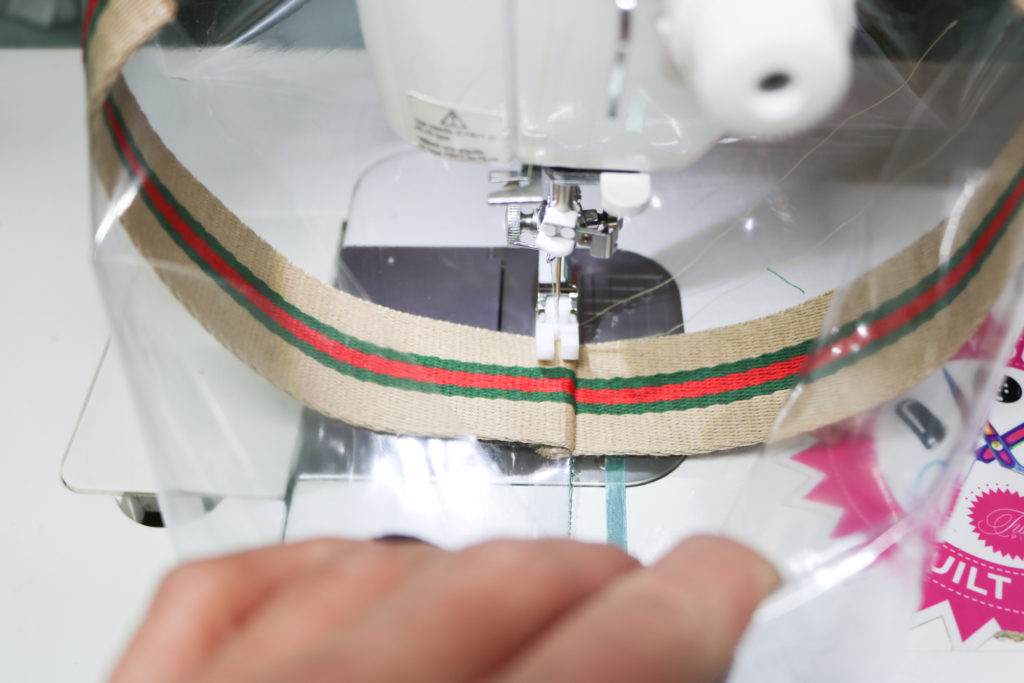
- With the Twill Tape facing up, sew the seam allowance to the body between 1/8″ – 1/4″ from the seam.
- Finish the bag and wipe away any markings on the vinyl.
D-Ring Accent Tabs
I love the look of extra texture on the Zipper Top and these tabs provide such nice details…especially with the addition of rivets. However, if you tried to make only these long tabs with fabric, they would pull and go vertical when worn. The D-ring would also be sliding all across the tab and the weight distribution on the strap would definitely be off. So when I was trying to decide how I could I could have the look, it dawned on me, that I could literally combine the techniques of the short tab and these riveted accent one. I developed this “double D-ring” method to have the visual appeal AND have the security of a shorter tab.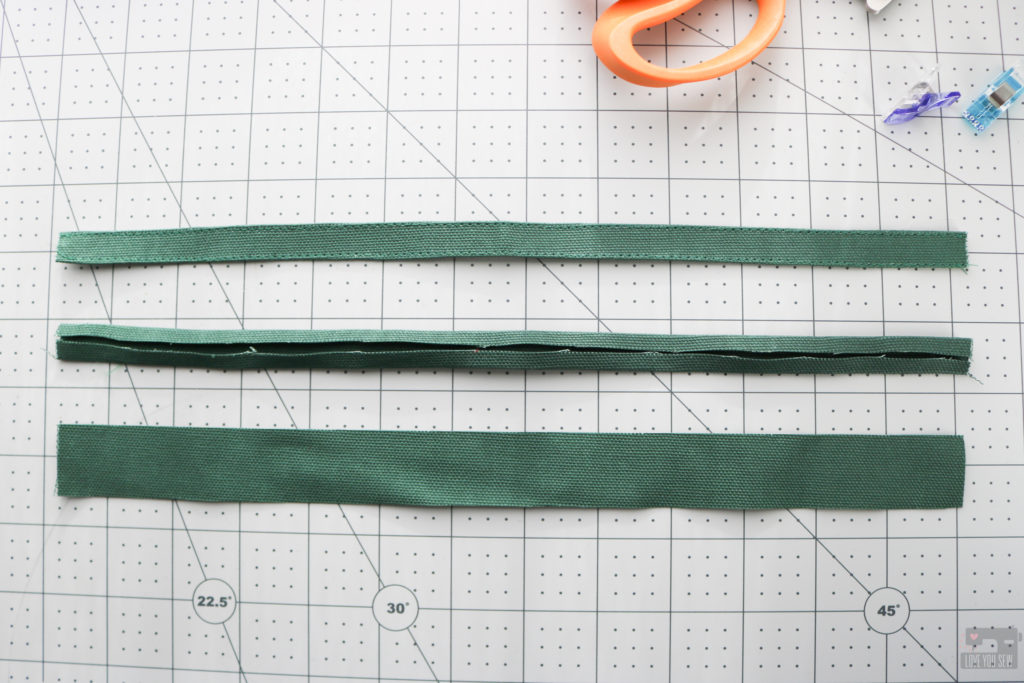
- To make, take the 13”x1” strip of fabric –
- (Bottom and middle strips) Fold each long side toward the center, wrong-sides together making 1/2” single-fold tape. Press well
- (Top strip) Top-stitch 1/16” along each long edge
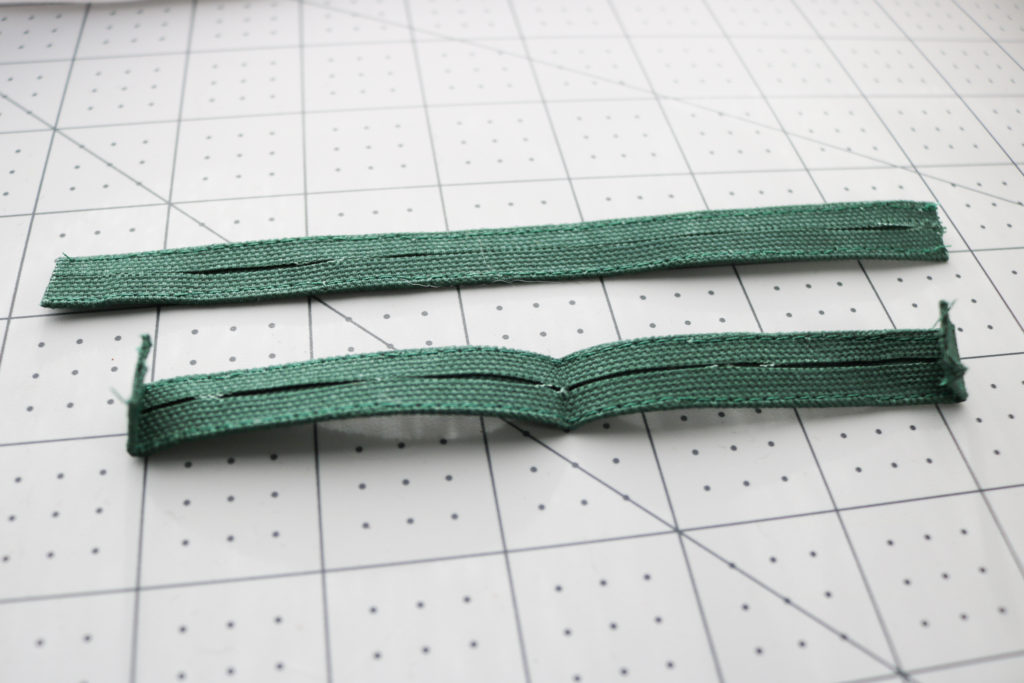
- Cut in half length-wise so there are (2) 6 1/2” tabs. With each tab, fold each short end inward with wrong sides together by 1/2”. Press.
- Fold the entire tab in half, wrong sides together. Press.
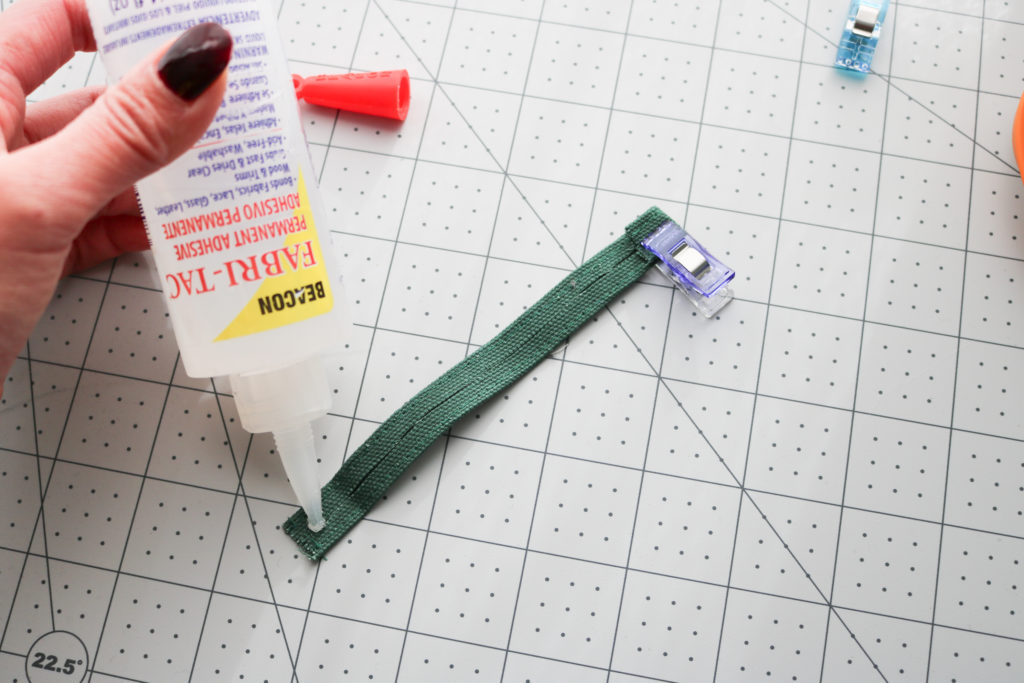
- Glue down each 1/2” folded end.
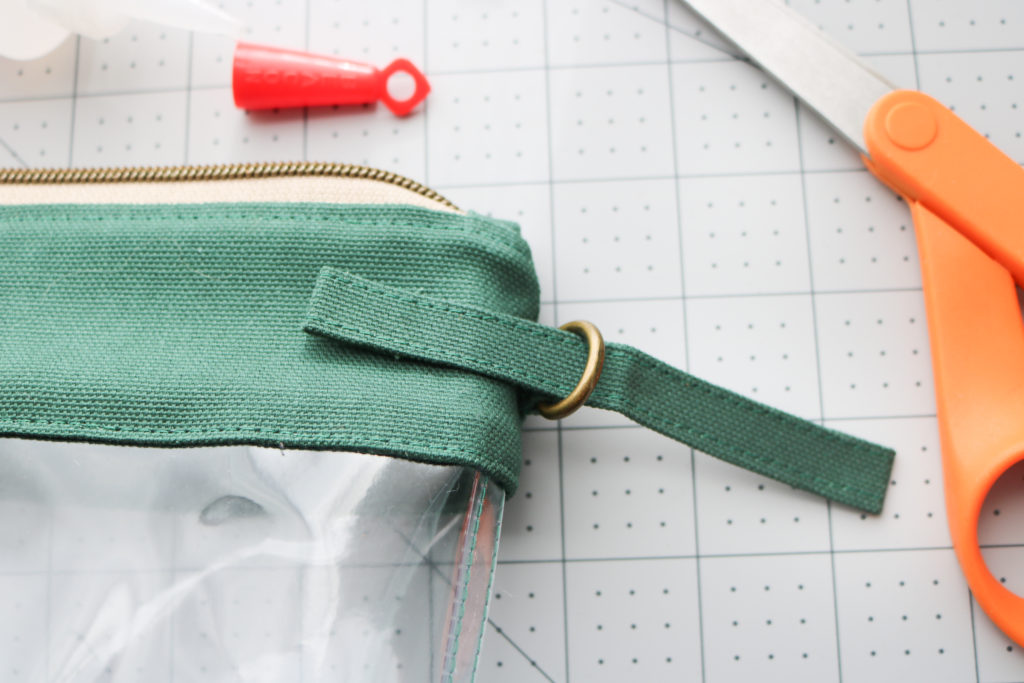
- Slide the Accent Tab equally through the 1/2” D-Ring with right side facing out.
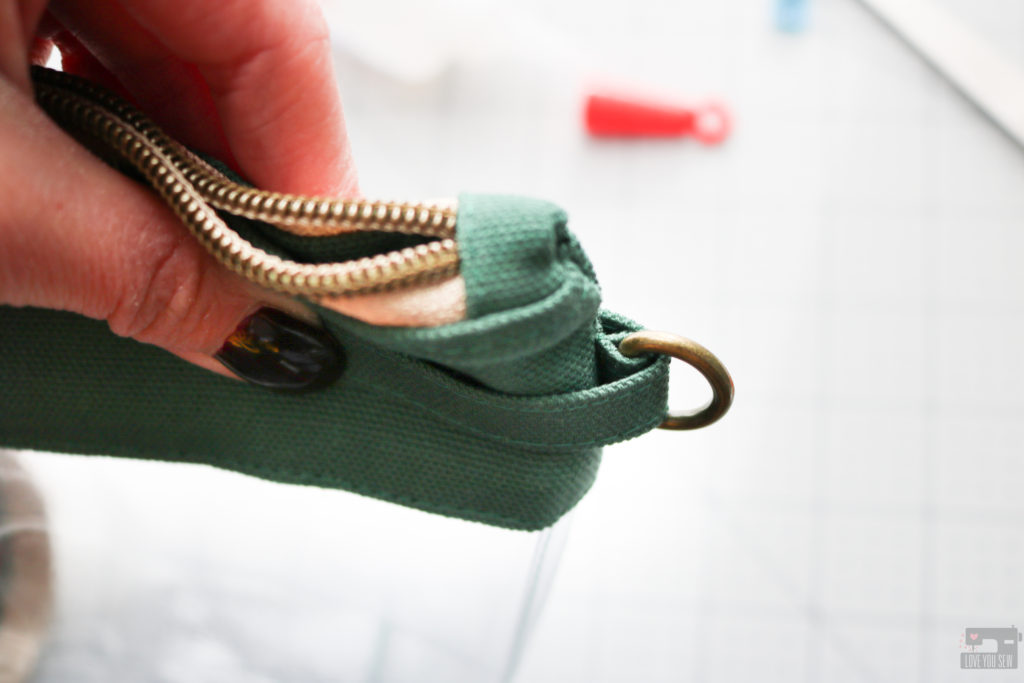
- With the D-Ring tab fully extended, mark the Accent Tab placement so it is parallel to the zipper and next to, but not pushing into the D-Ring. Glue the Accent Tab into place.
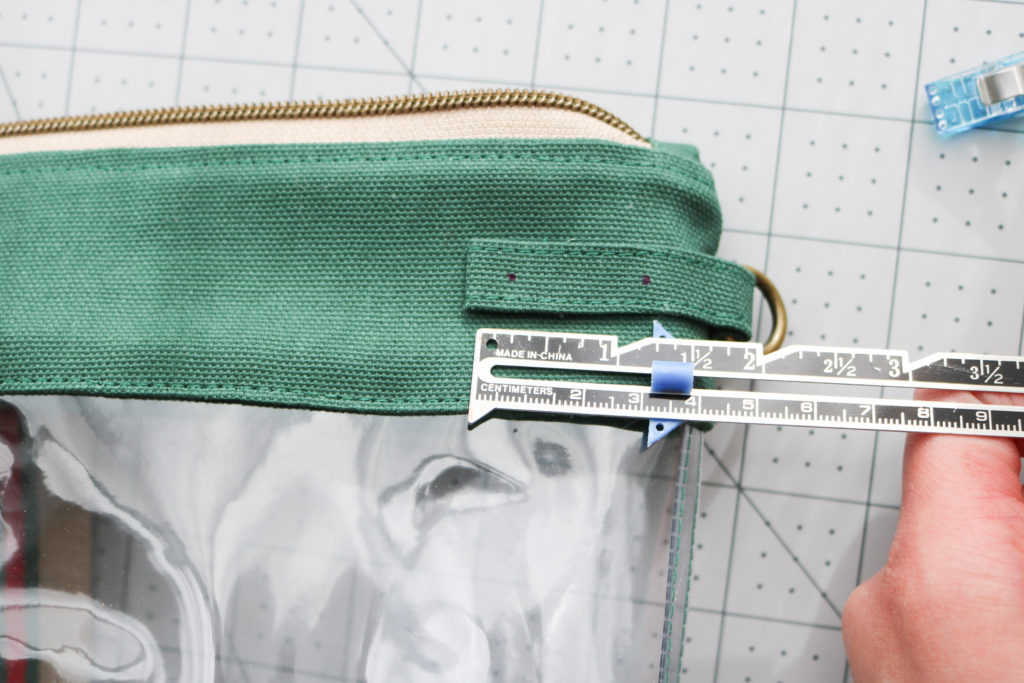
- From the edge of the tab, mark at 3/8” and 1 1/4” for rivet placement.
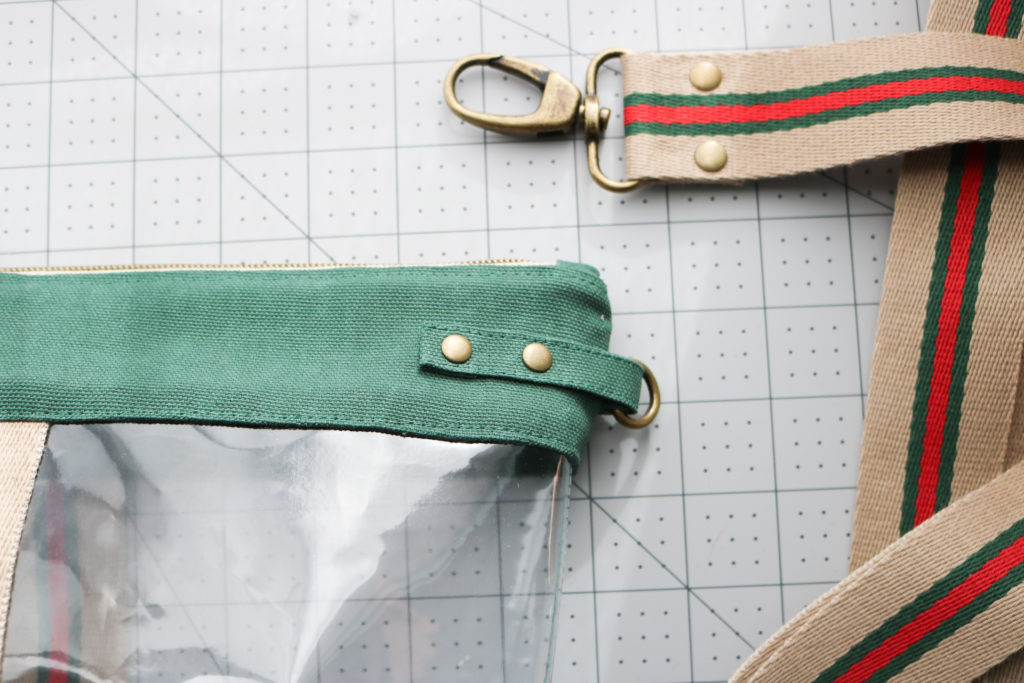
- Use the fabric hole punch to cut through the Accent Tab, Main Fabric, and Lining. Attach rivets using your preferred method. You can check out this hand application video here.
- Repeat on the other side of the same Accent Tab. Then repeat for the second Accent Tab. You will attach 8 rivets altogether on the Accent Tabs.
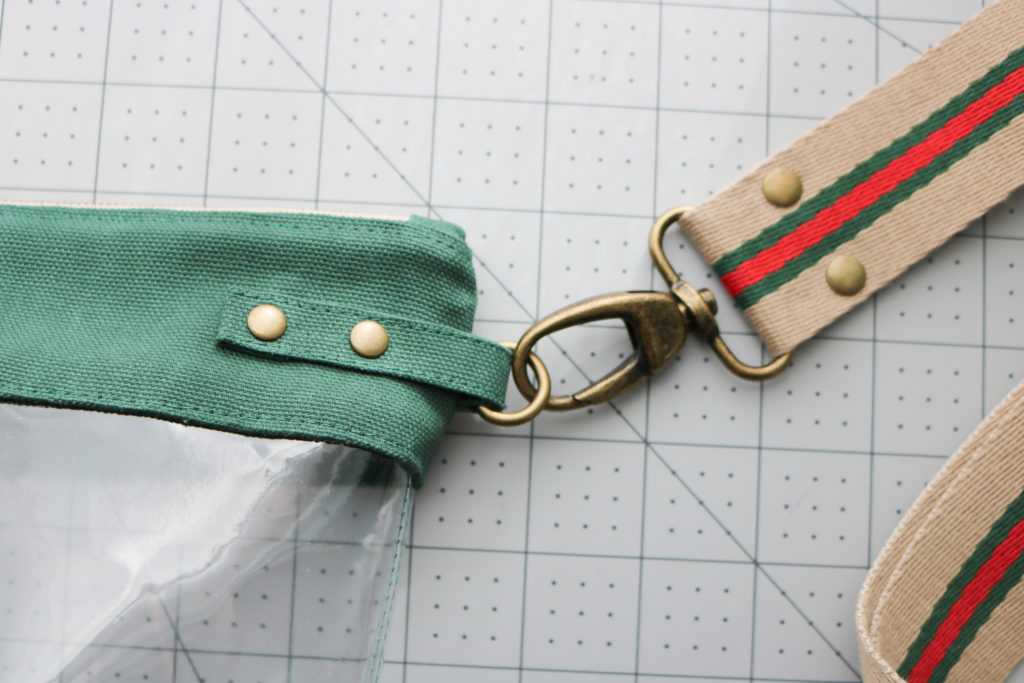
- Attach the Strap to the D-Rings and you are ready to rock out in style! How do you like the D-ring illusion?
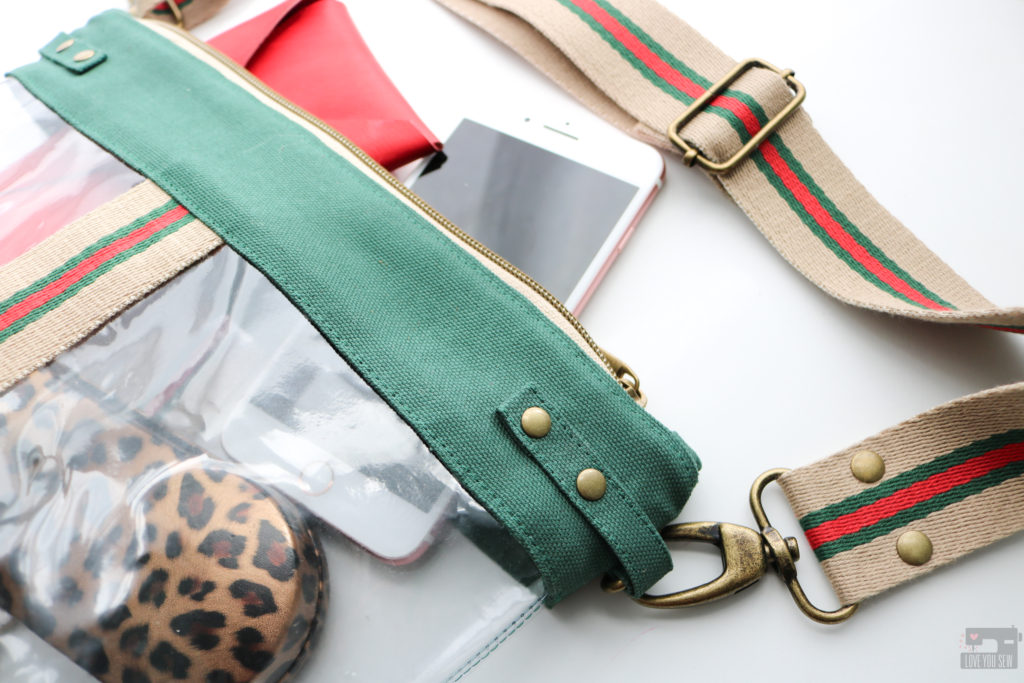 If you are looking for other ideas to get the most out of your Emma Stadium Bag pattern, check out this post on how to add a leather hook and the Intro post here with tester versions.
Happy Sewing!
Cristy
This post may contain affiliate links which help keep this website and content rolling. You can read about all of my Disclosures here.
google.com, pub-9629169139779247, DIRECT, f08c47fec0942fa0
