Ten Feet of Color…Theory

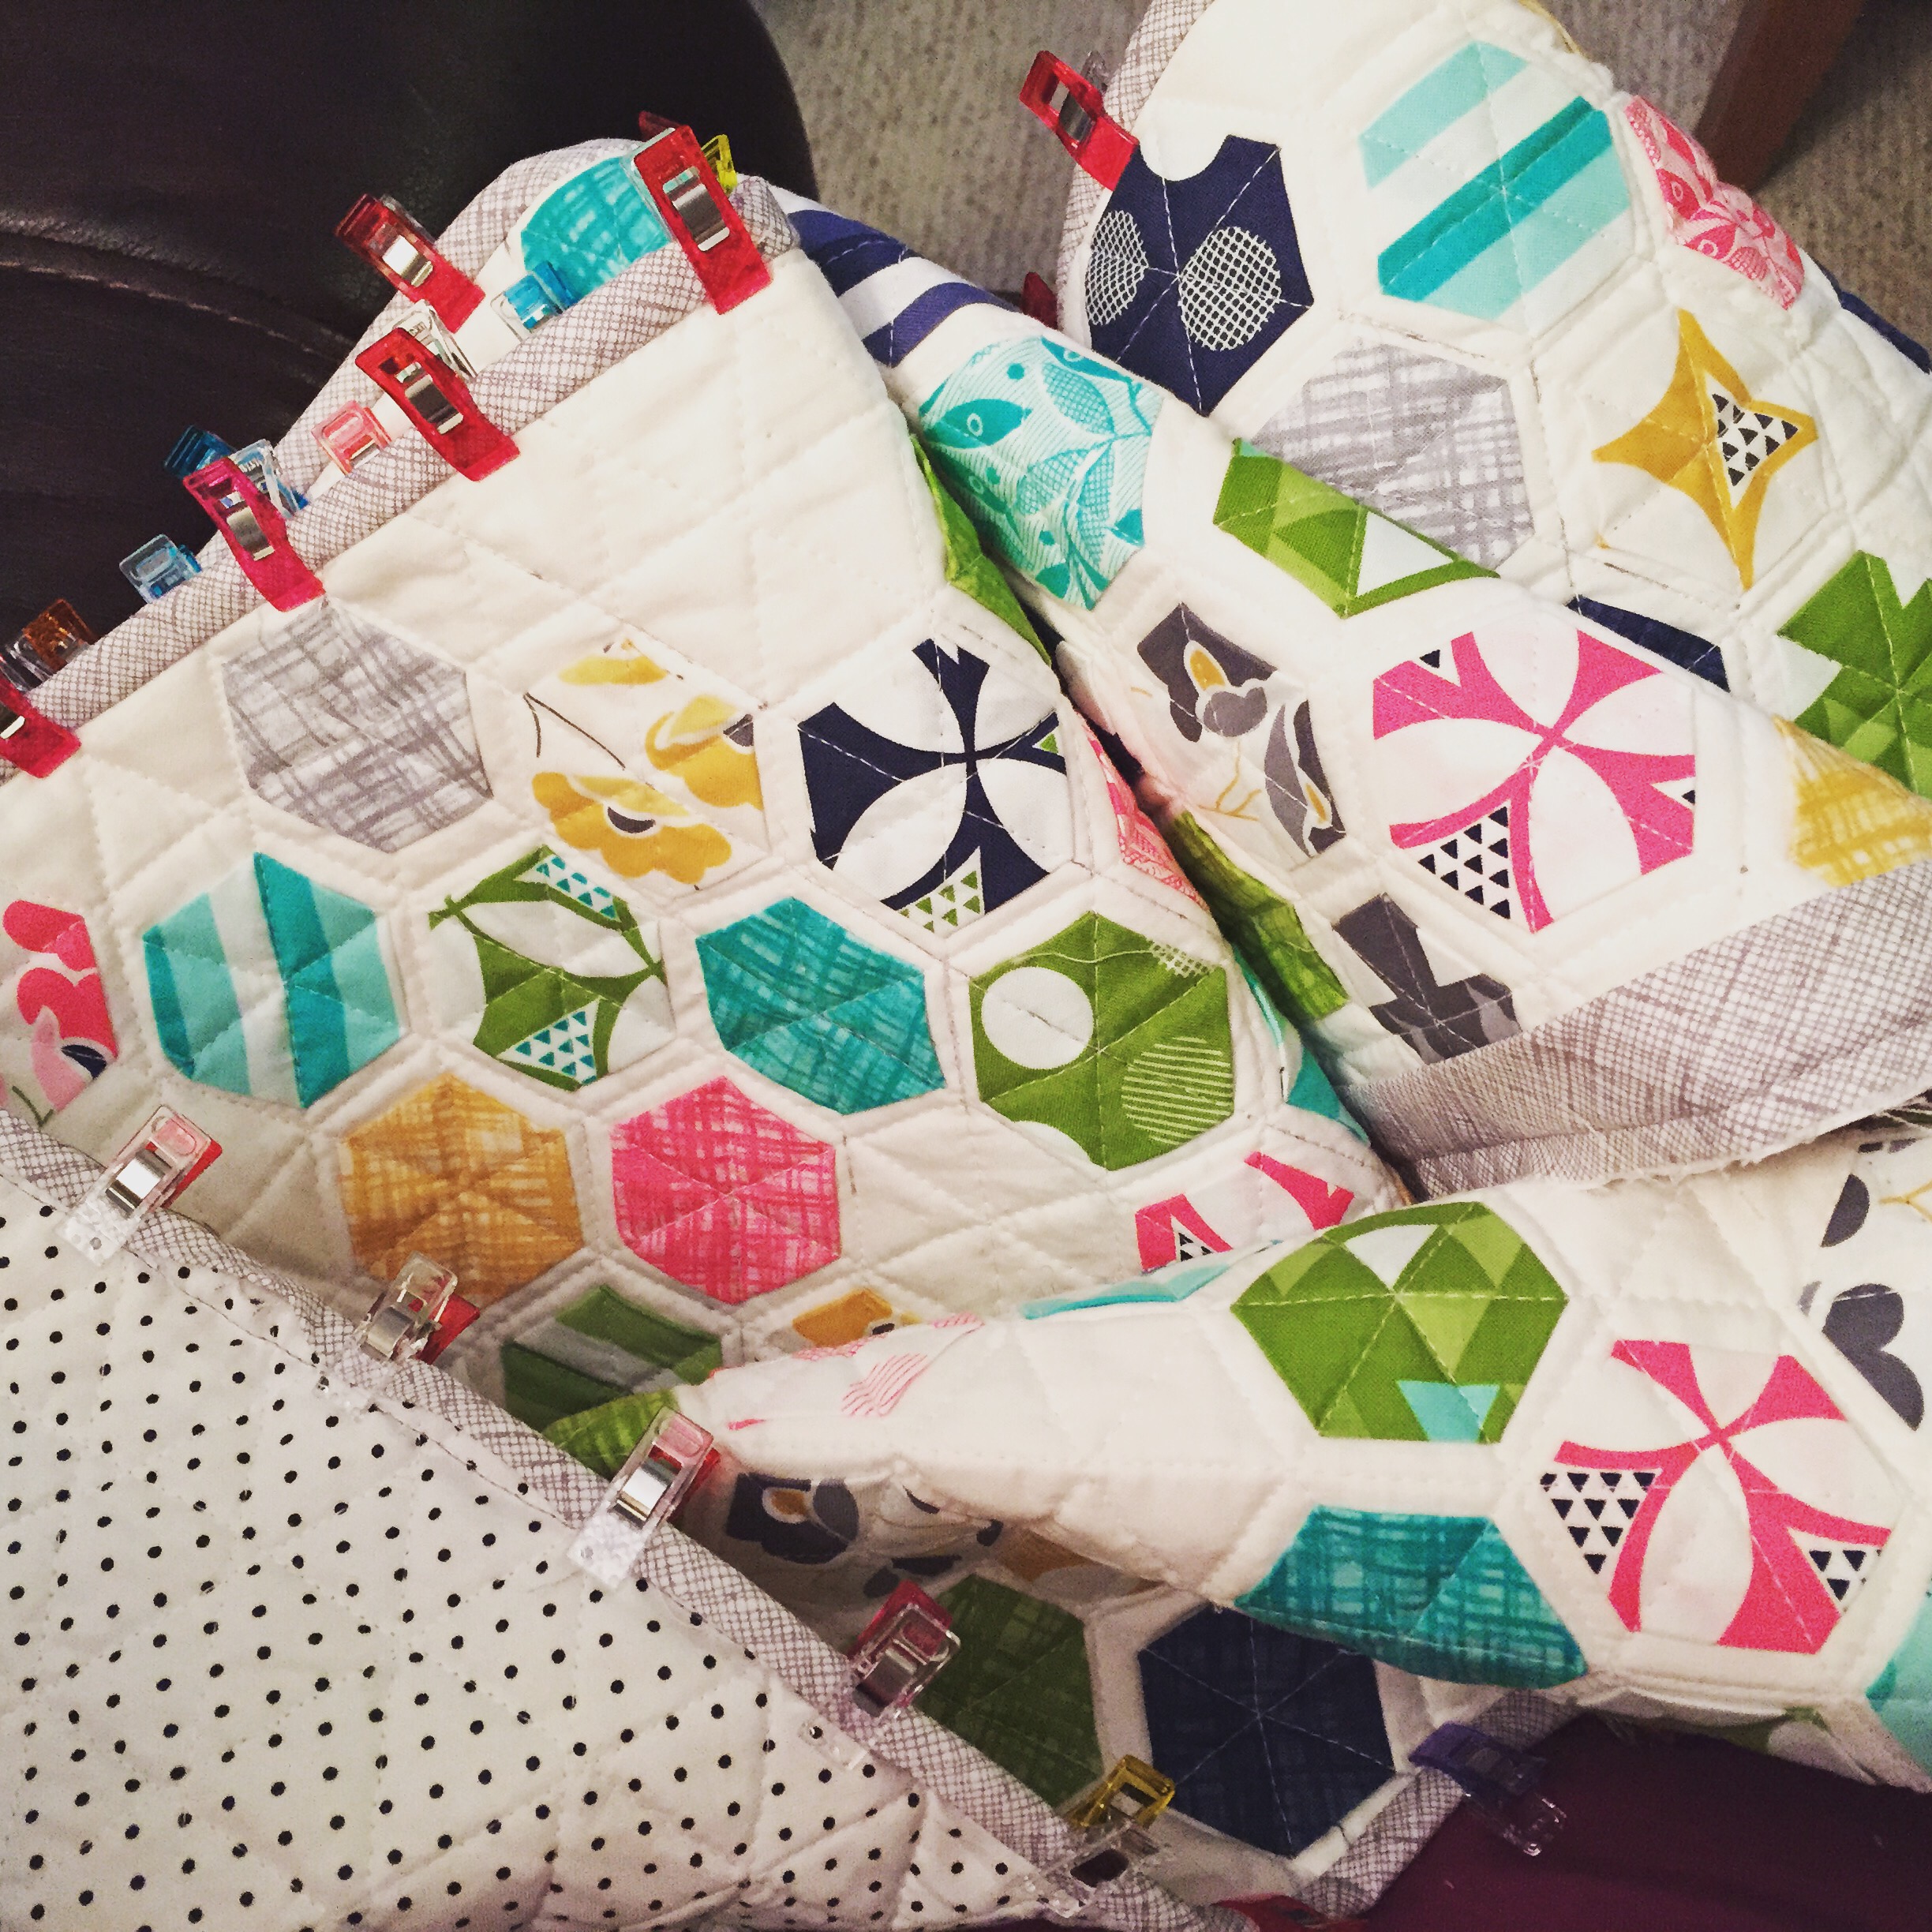
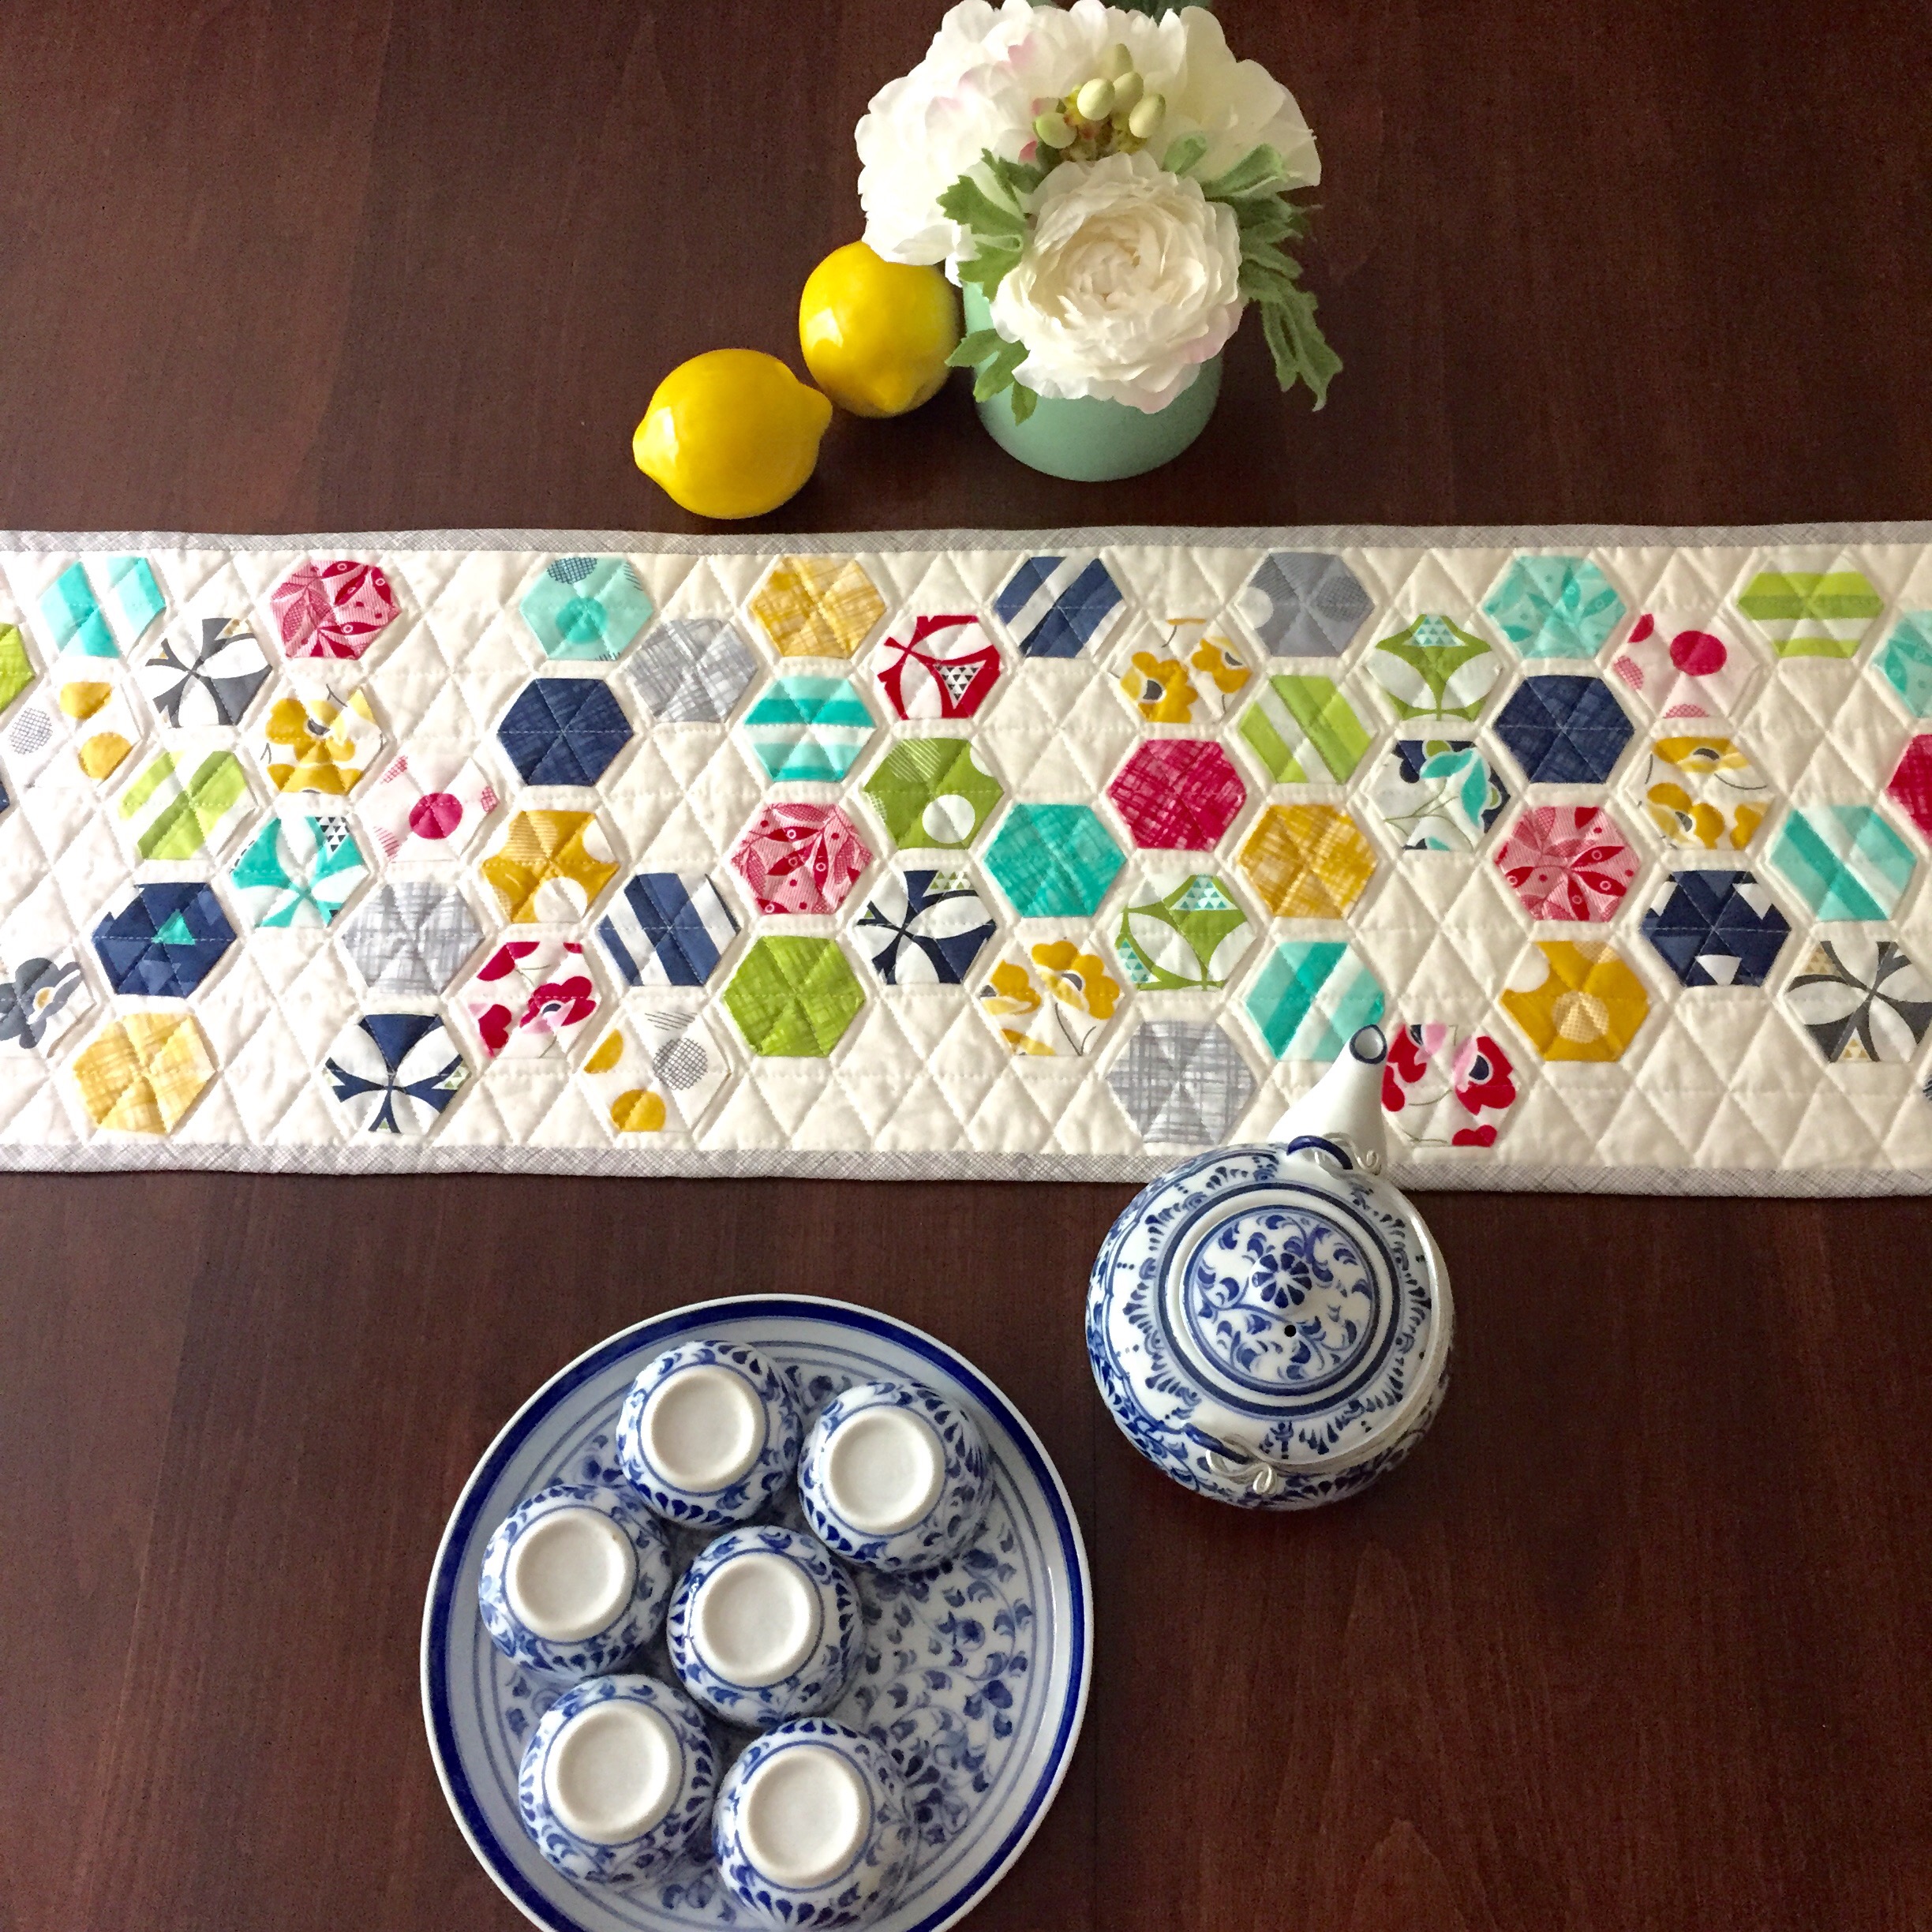
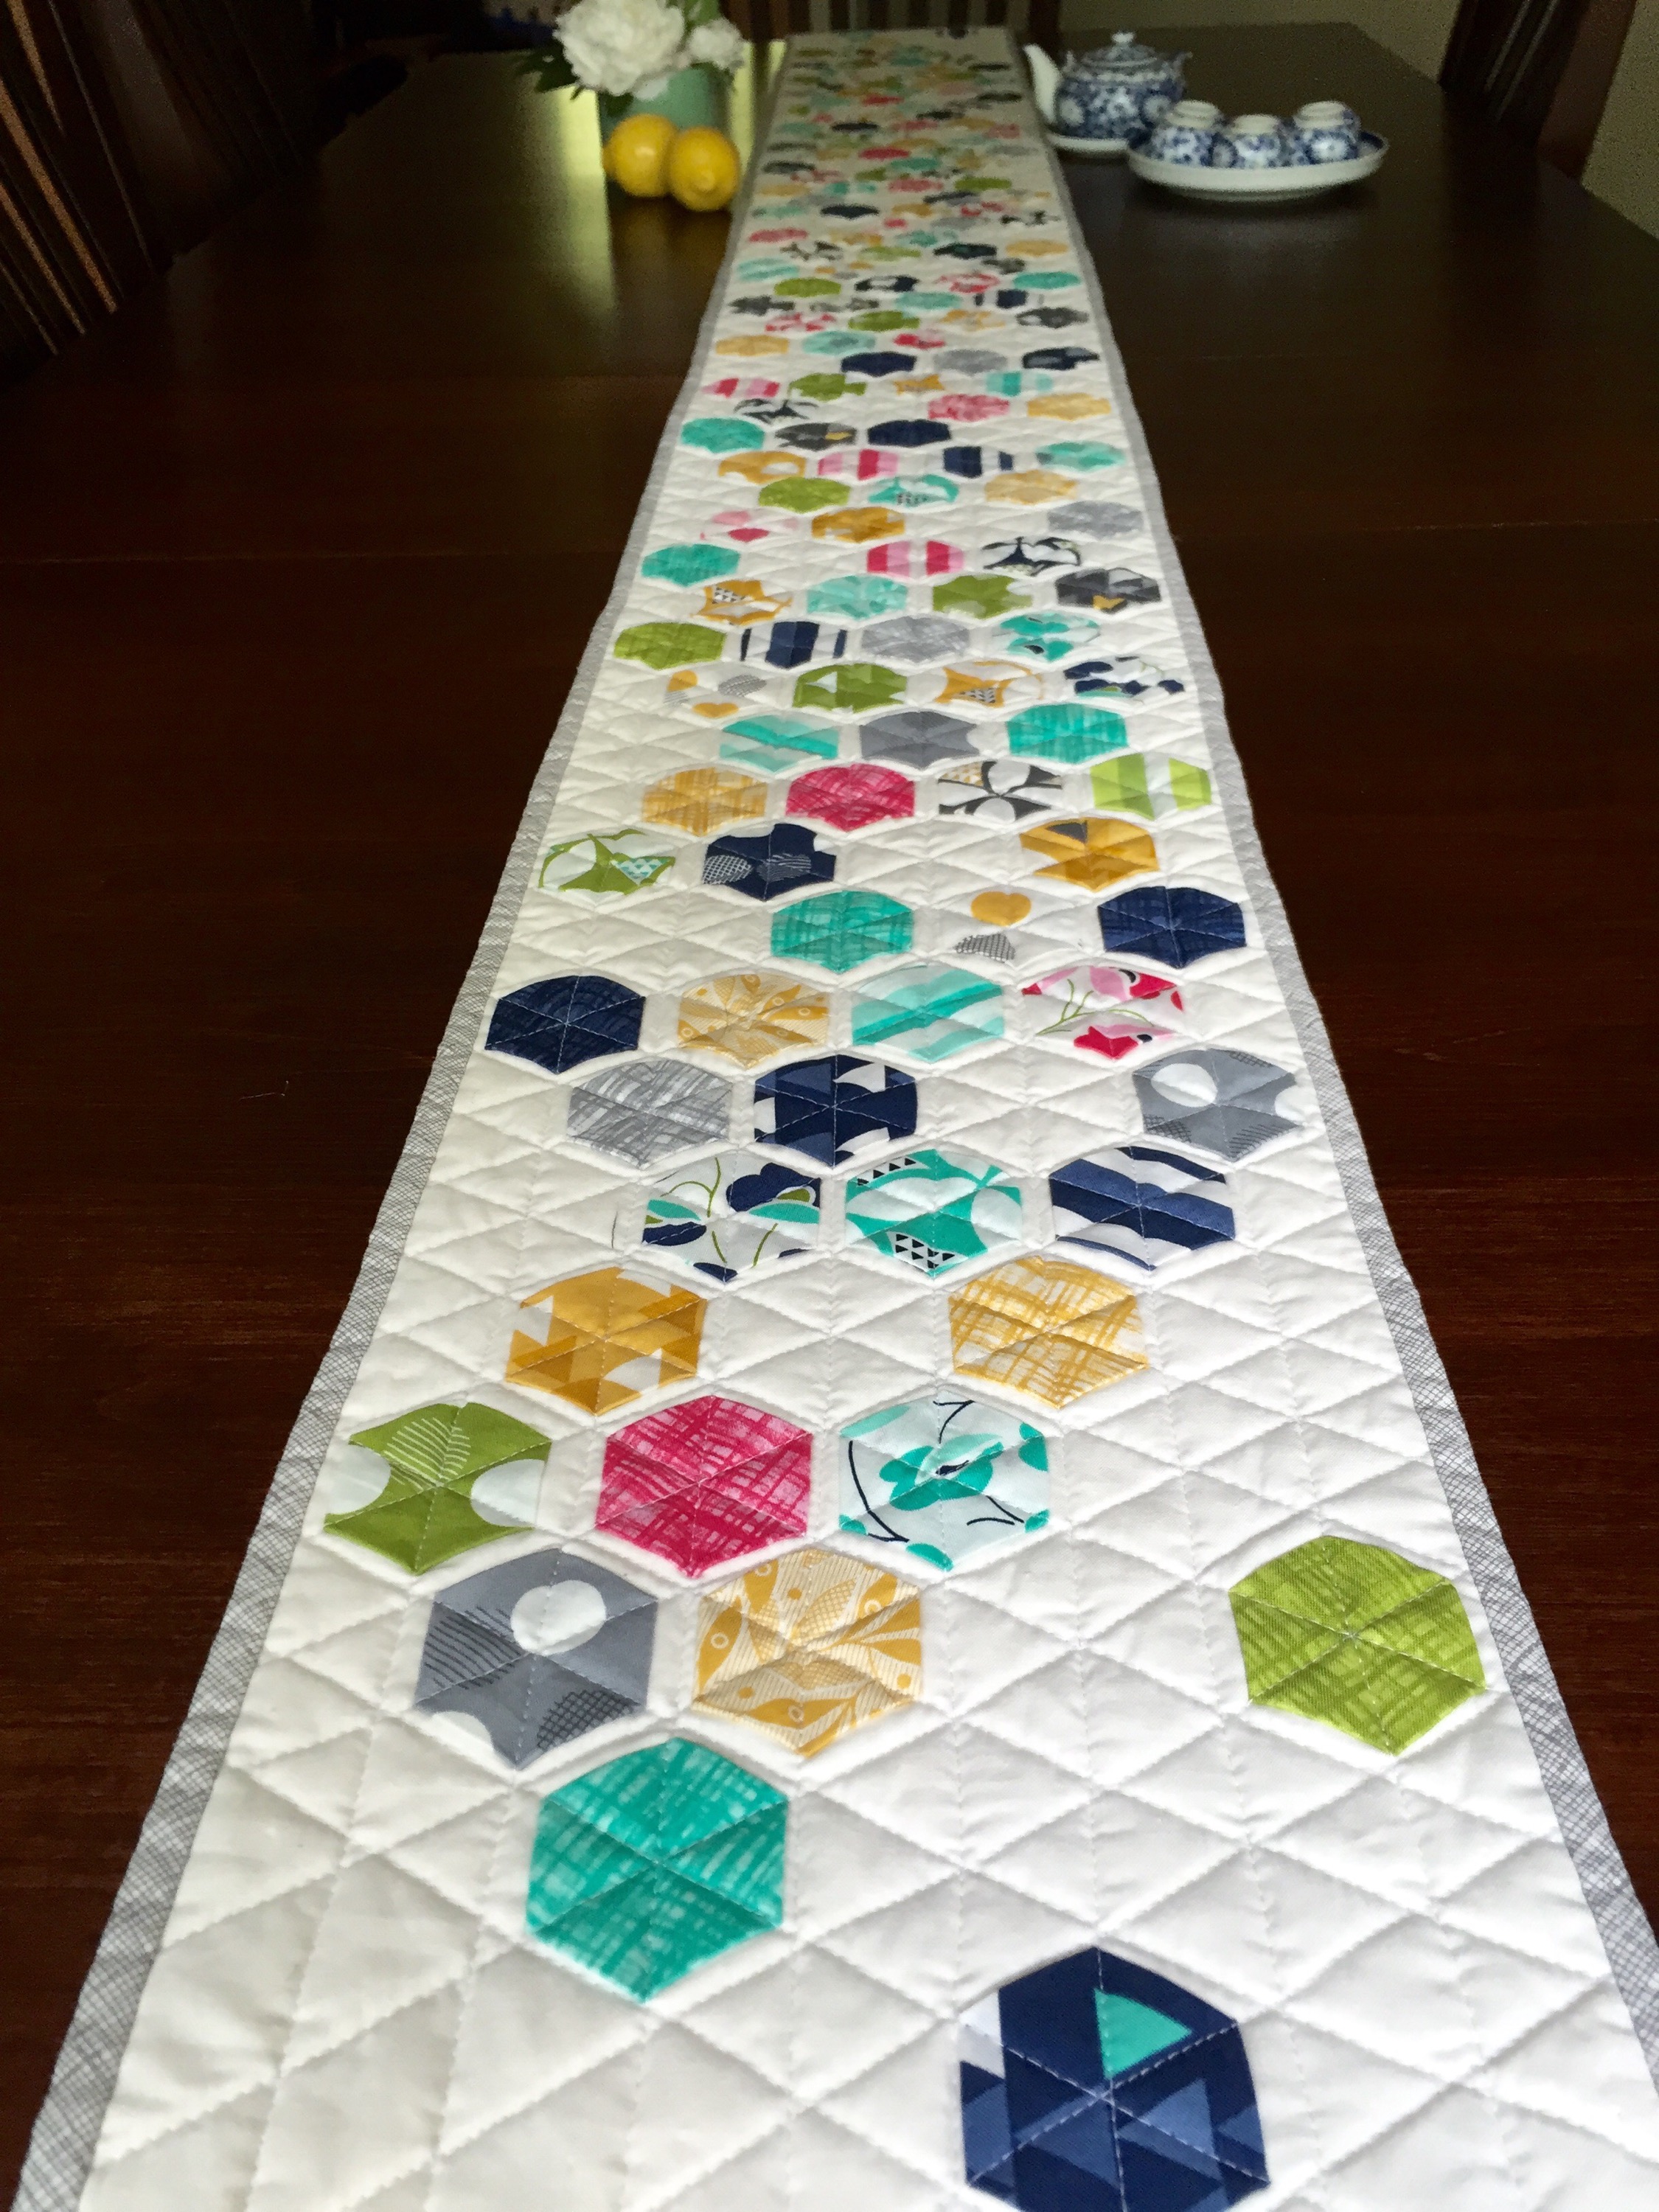
I know a 10-foot Quilt isn’t all that special for a king-size bed, but for a modern hexie table runner, it seems pretty long to me!

When my husband and I first moved into our house, we knew we needed a proper dining set.  We searched all over Columbus and online for the perfect table, but my husband (coming from a large family with 10 brothers and sisters!) wanted something big.  Our searches would turn up with a table that was long enough, but too narrow…or vice versa…wide enough but not long enough.  After exhausting almost every option, we decided to go to the Amish.  A family friend suggested we go to Miller’s, where you can have 100% solid wood furniture custom built and stained.  I was skeptical…thinking the designs were outdated…kinda like the horse and buggy, but we were pleasantly surprised!  They had tons of modern pieces in the showroom.  We could get this work for less than the high-end furniture stores AND you know buying local is THE best! Sold!!!

Our table is 96″ long, but can be extended out to 108″ if we’re entertaining a crowd.  Since we were going custom, we figured we might as well throw in that option if we are ever fortunate enough to have the room…or just turn it around to straddle our dining and living rooms!!!  It is also a generous 36″ wide for ample tabletop space.

So…. we have our perfect table, but getting coverings for it has been even more limited.  We are running into the same issues and I end up using tablecloths that barely hang down either sides.  Luckily, our chairs help hide the “short-comings.” I knew I needed to make something myself to be both stylish and fit the dimensions of our XXL table.

First thing’s first. What dimensions did I want? Did I want the runner to hang off or be a little shorter that the table length?  I decided on 120″ so 12″ can hang off both ends.  I love seeing the bare wood of our table, so I figured 10″ wide was enough to leave some eating space and show off our furniture.

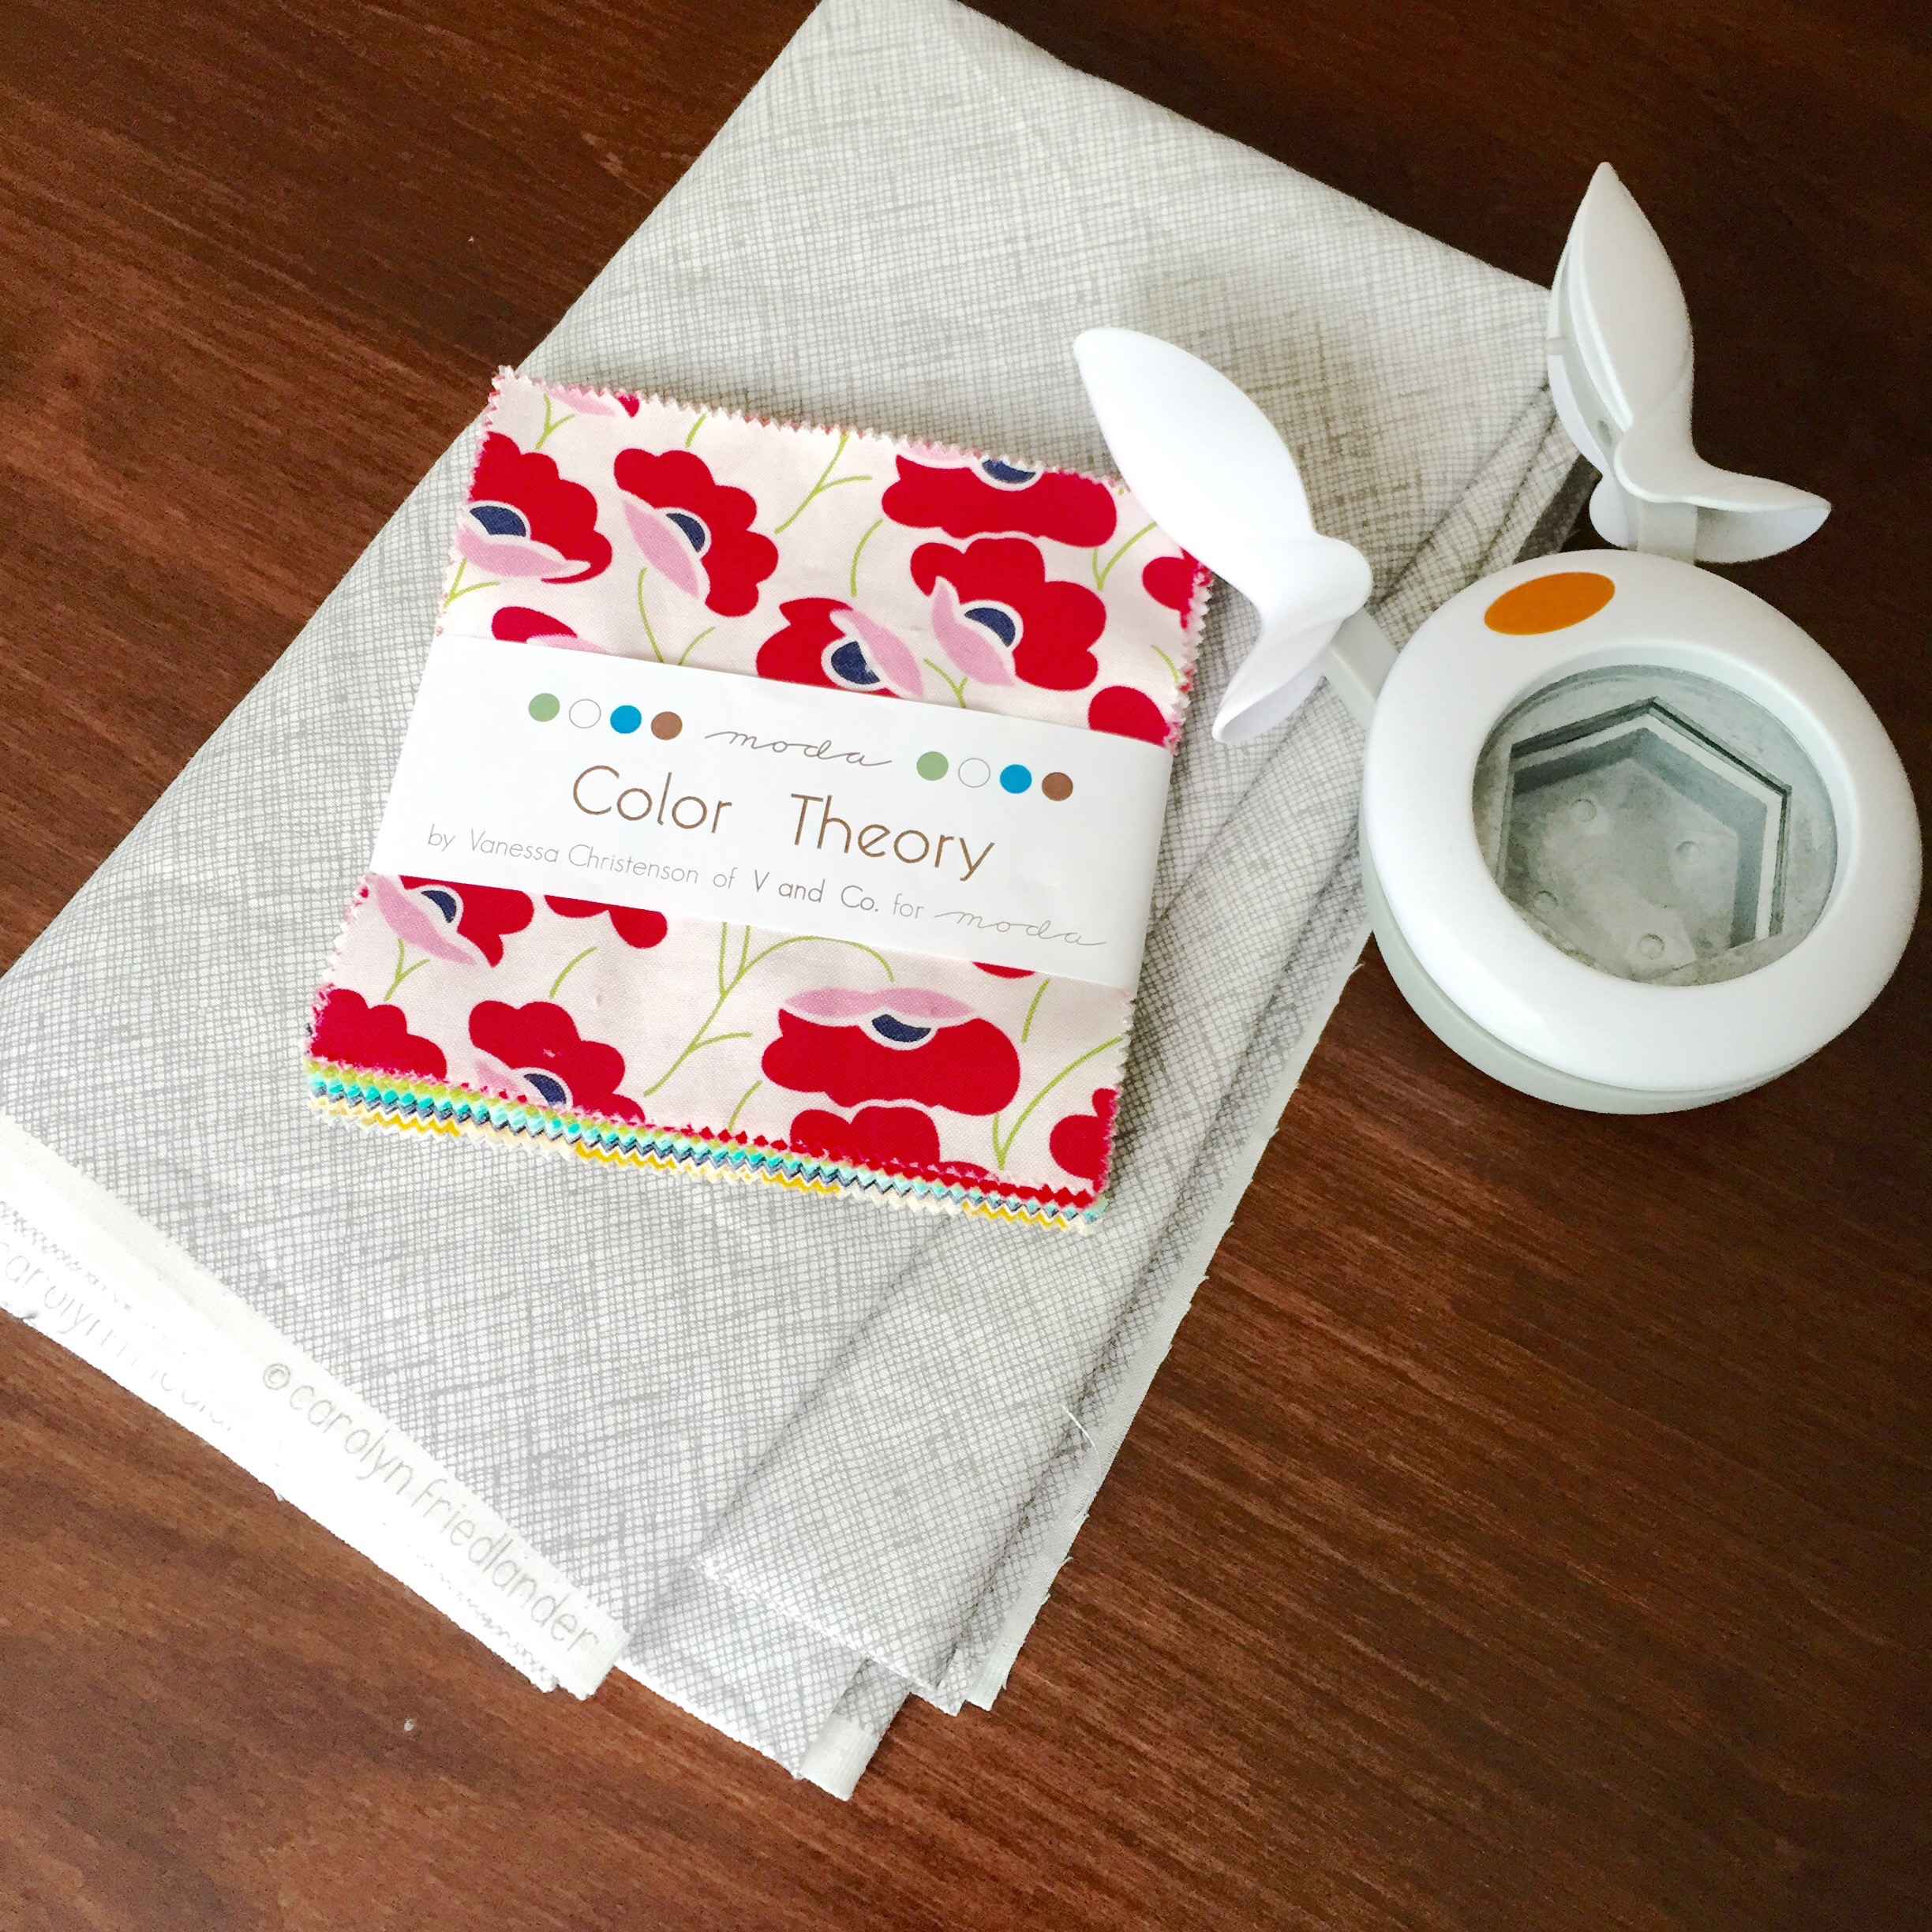
The hexie fabric for this runner is Color Theory by Vanessa Christenson.  The collection is full of gorgeous cheery colors in a spring palette.  I love all of her fabric…swoon…  It is just the perfect fabric to offset the table’s dark finish and bring some color to my house!

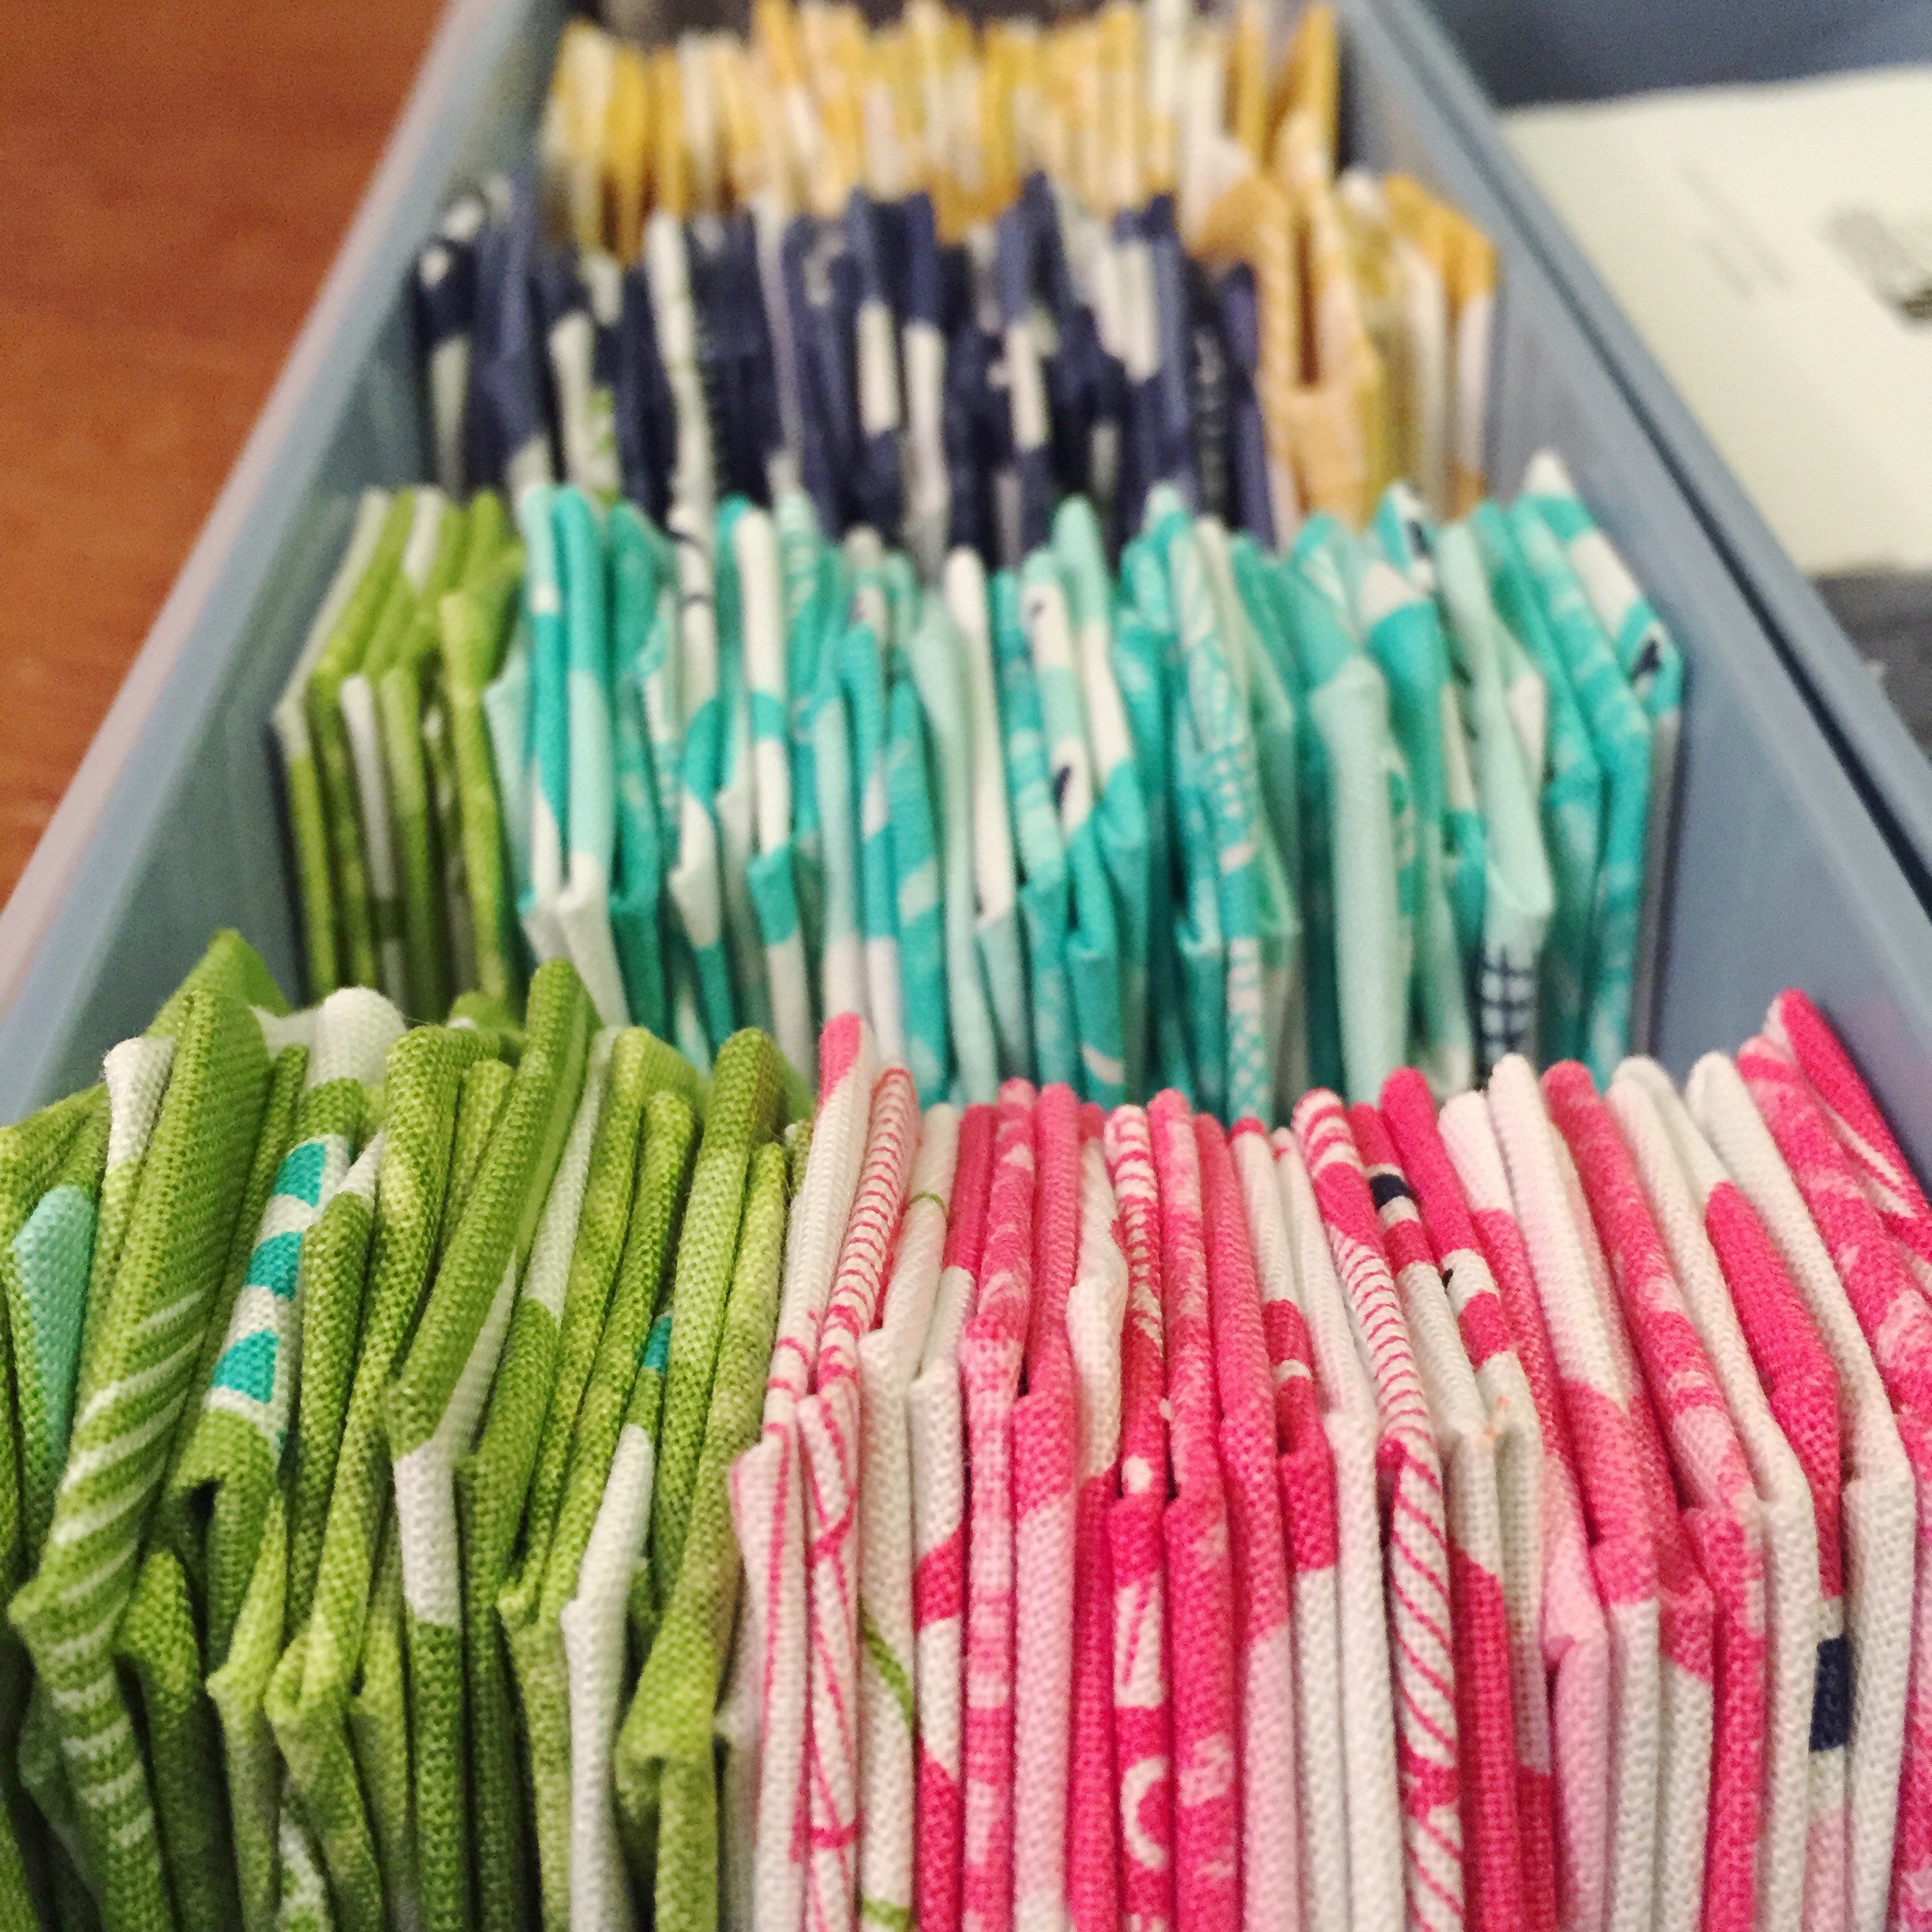
Can you believe that I only used only ONE charm pack to yield all of the hexagons on the runner?  I sure can’t! I had two charm packs ready to go for this project, but only needed the one…so I’m thinking maybe placemats maybe in my future?!? Hopefully, I can get those done before the summer is over….

The hexagons were placed against Kona cotton in Snow.  This was a continuous 3 1/3 yard cut. I didn’t want any seams on the front and you know I can ALWAYS find more uses for leftover Kona white!

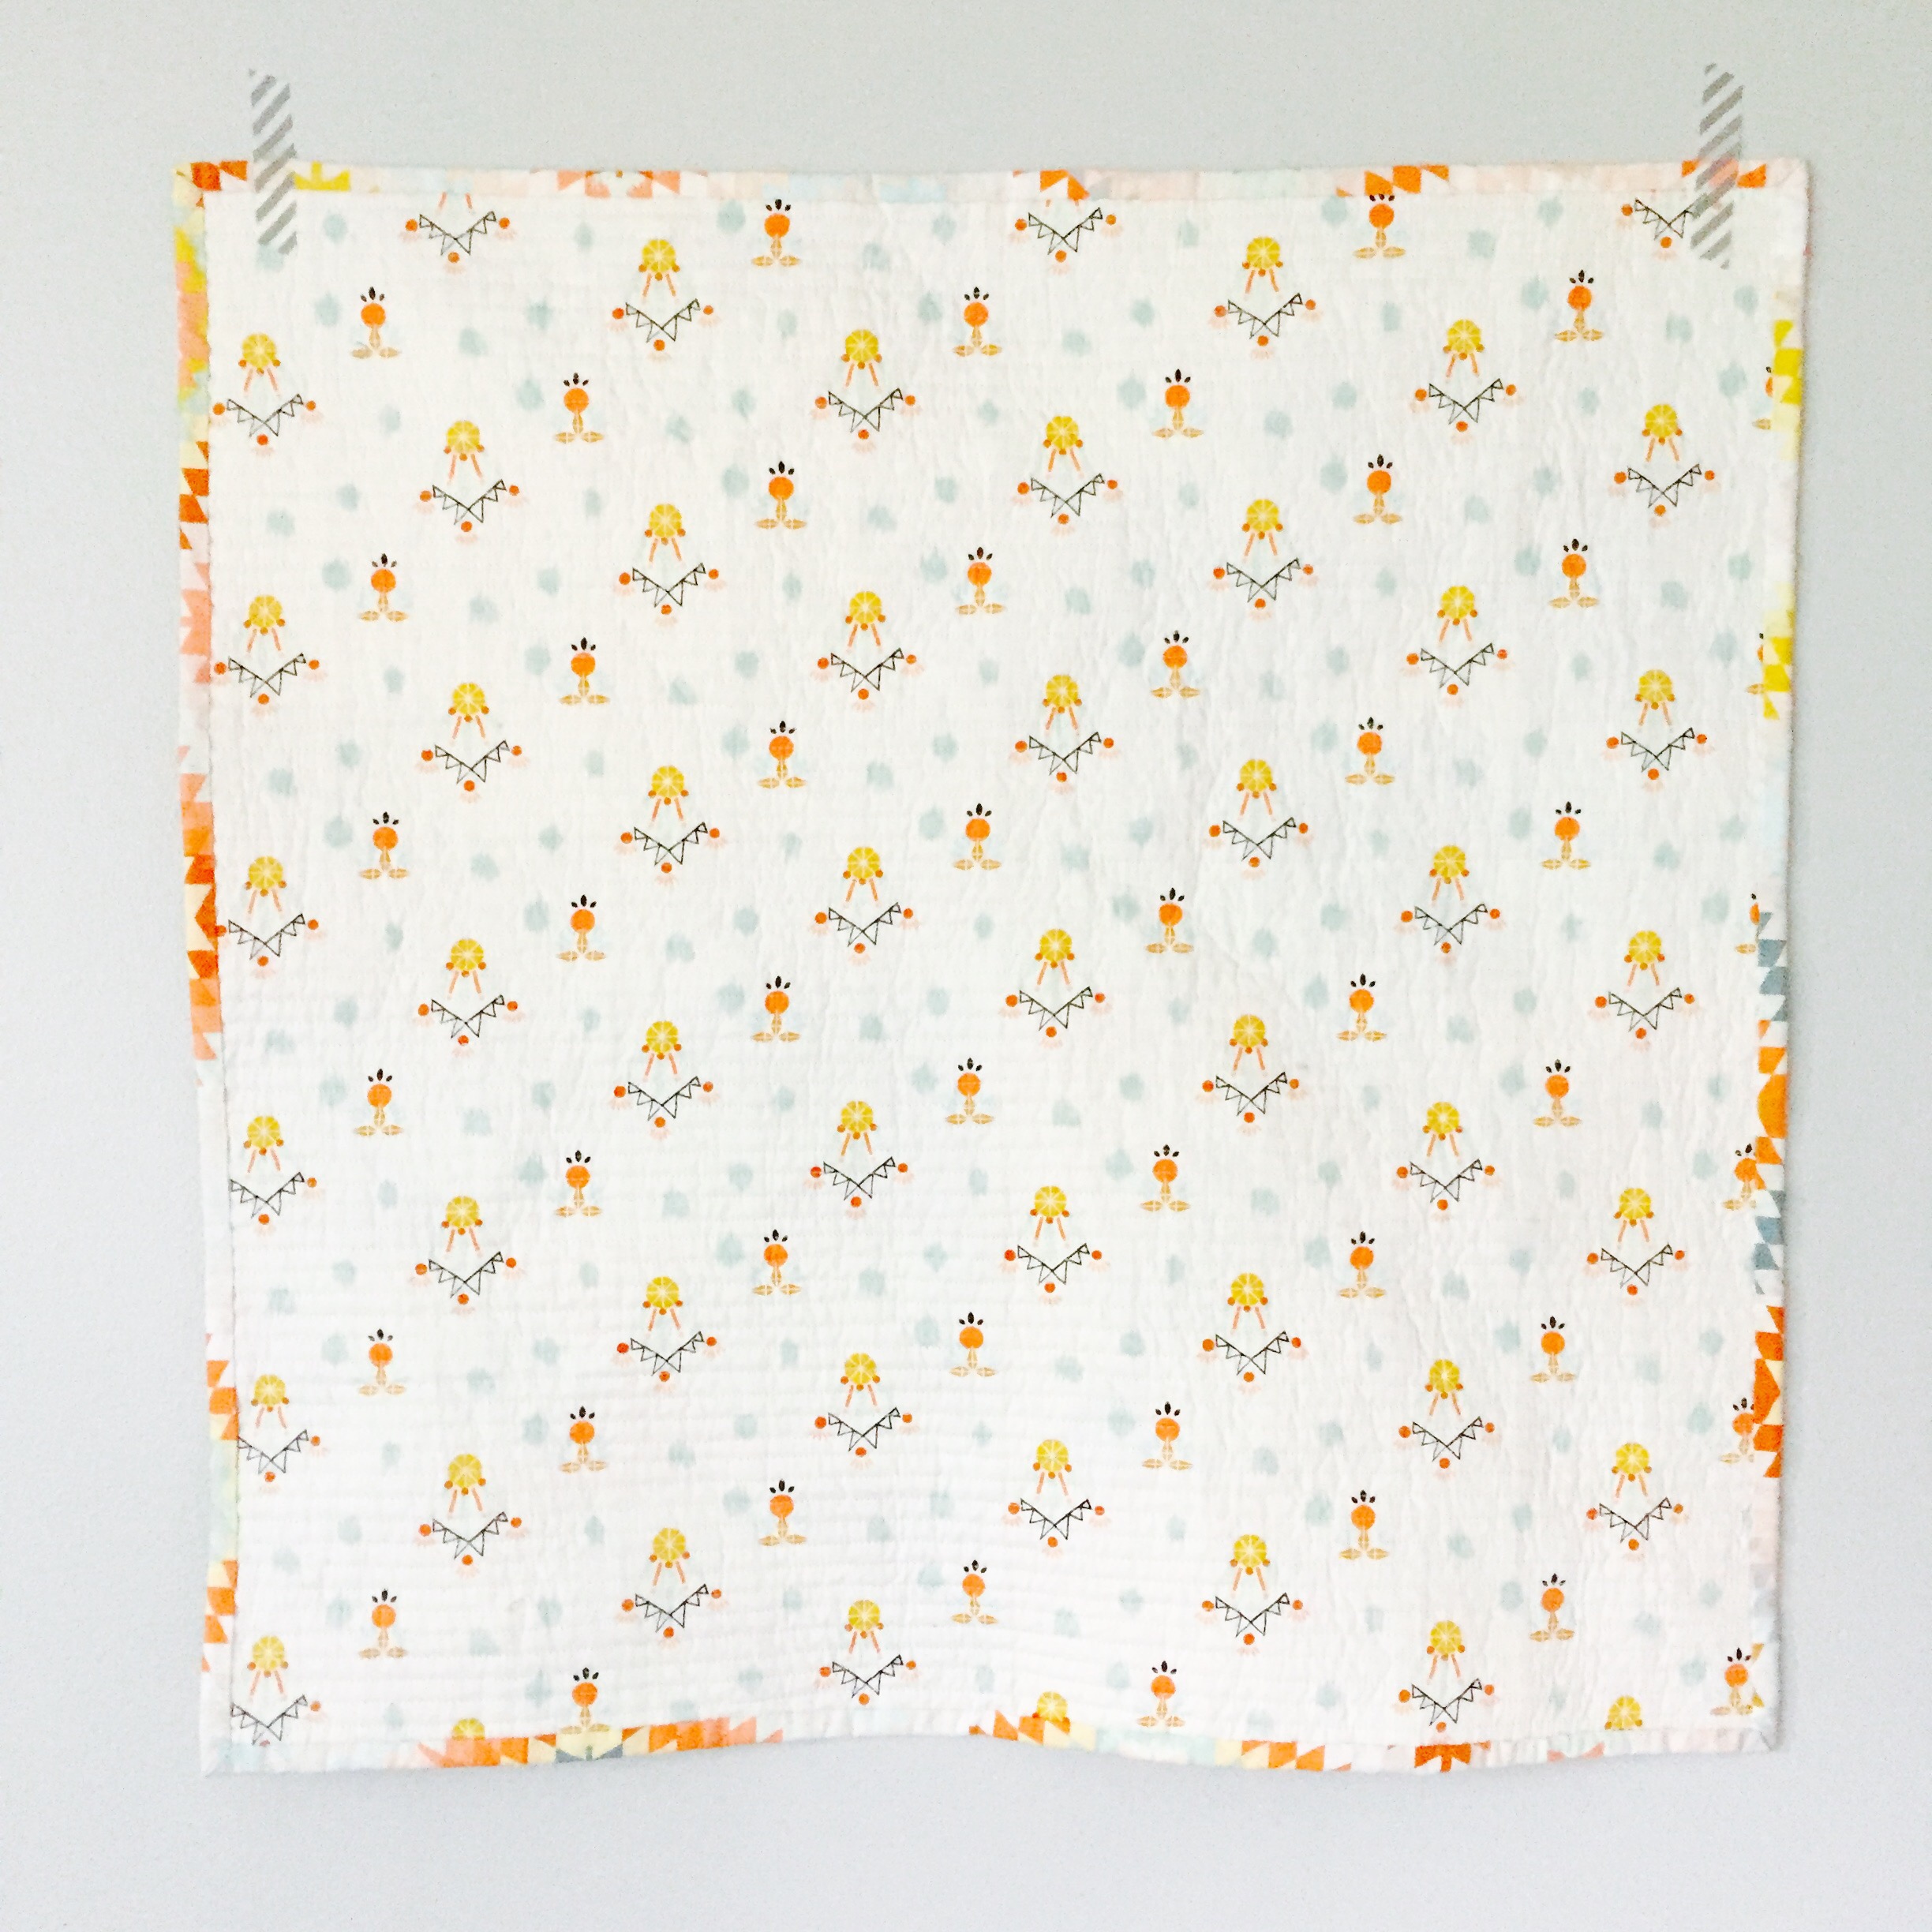
For the backing, I used Riley Blake Design‘s Swiss Dots in Navy on White. However, I did piece three cuts together since no one would see much of the back. I used my go-to binding fabric…Architextures Grid in Shadow. It just goes well with so many different fabrics and the design isn’t too distracting but is interesting enough.  I used about 7.5 yards of binding around this puppy.  I always machine sew the binding to the front and hand-stitch it to the back so you do not see any thread.  It’s a longer process, but I like the clean look…well worth the time in my opinion 😉

The inspiration for the table runner is all the Modern Hexie art by Modern Handcraft. You can go to her blog for a full tutorial of the process. You can buy precut hexagon templates, cut your own by hand or using a die cutter, but I use Fiskars extra-large hexagon punch. My hexagons are made of junk mail flyers that I punch out…so if I have to throw any away, I don’t ever feel bad about it.

Tips:

  1. For such a large project, mark a grid (1″) to place the hexagons…you will be be happy you did once you have to quilt.  After some experience and especially on smaller projects like pillow and placemats, you’ll be able to eyeball it 😉
  2. On white and light backgrounds, I like to use a water-soluble pen vs. Frixion since the latter leaves a “ghost” mark behind after ironing. Just make sure you DO NOT iron on top of the water-soluble pen, else it will set.
  3. Since this is a narrow runner, it’s important to quilt in the same direction if you decide on straight lines.  You risk pulling, which can turn your straight sides into a wonky mess.


Please share any of your hexie table runner projects with me!  You know I love to see them 🙂


Happy Stitching!

Cristy
Love You Sew

A Spectrum of Gingham Quilt

Spectrum Quilt

Spectrum Quilt using RBD Small Gingham

I know it’s summer already, but I gotta catch up on all of my quilt posts 😉

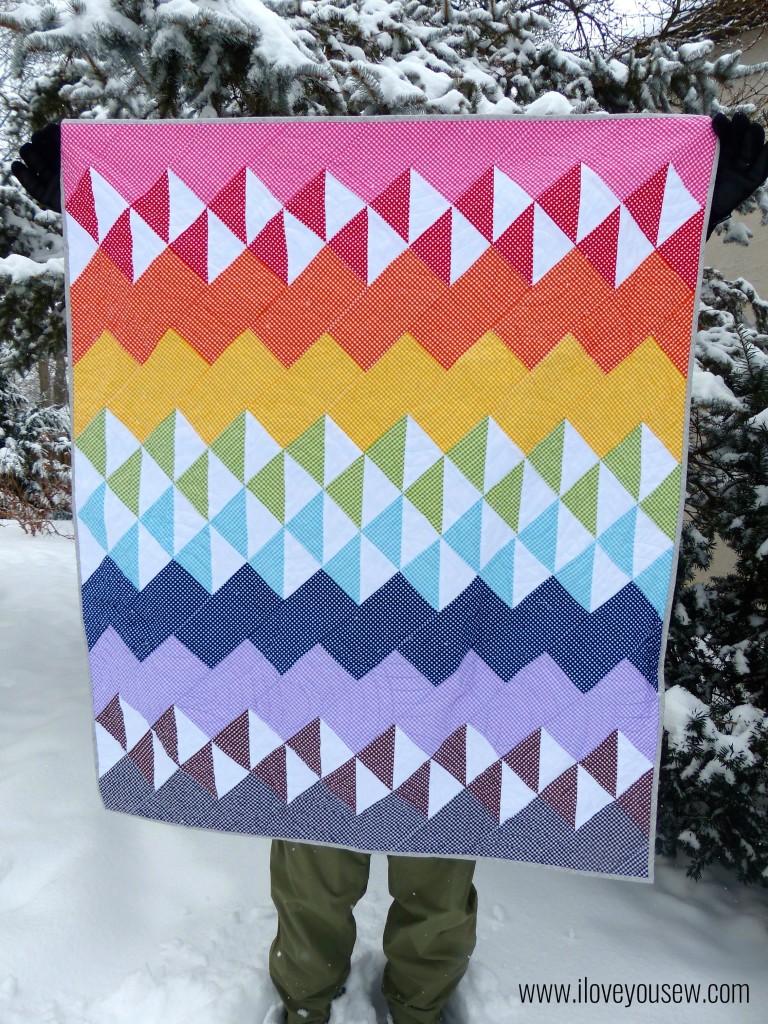
It was the dead of winter here in Columbus and I was in desperate need of a pick-me-up. The Spectrum Quilt pattern popped up on Riley Blake Designs (RBD) blog and I knew it was going to be my next project….especially since I had a FQ stack of Rainbow RDB Gingham sitting on my shelf!  (*Make sure you scroll down through the comments on the blog post. There is an edit to the instructions there!)

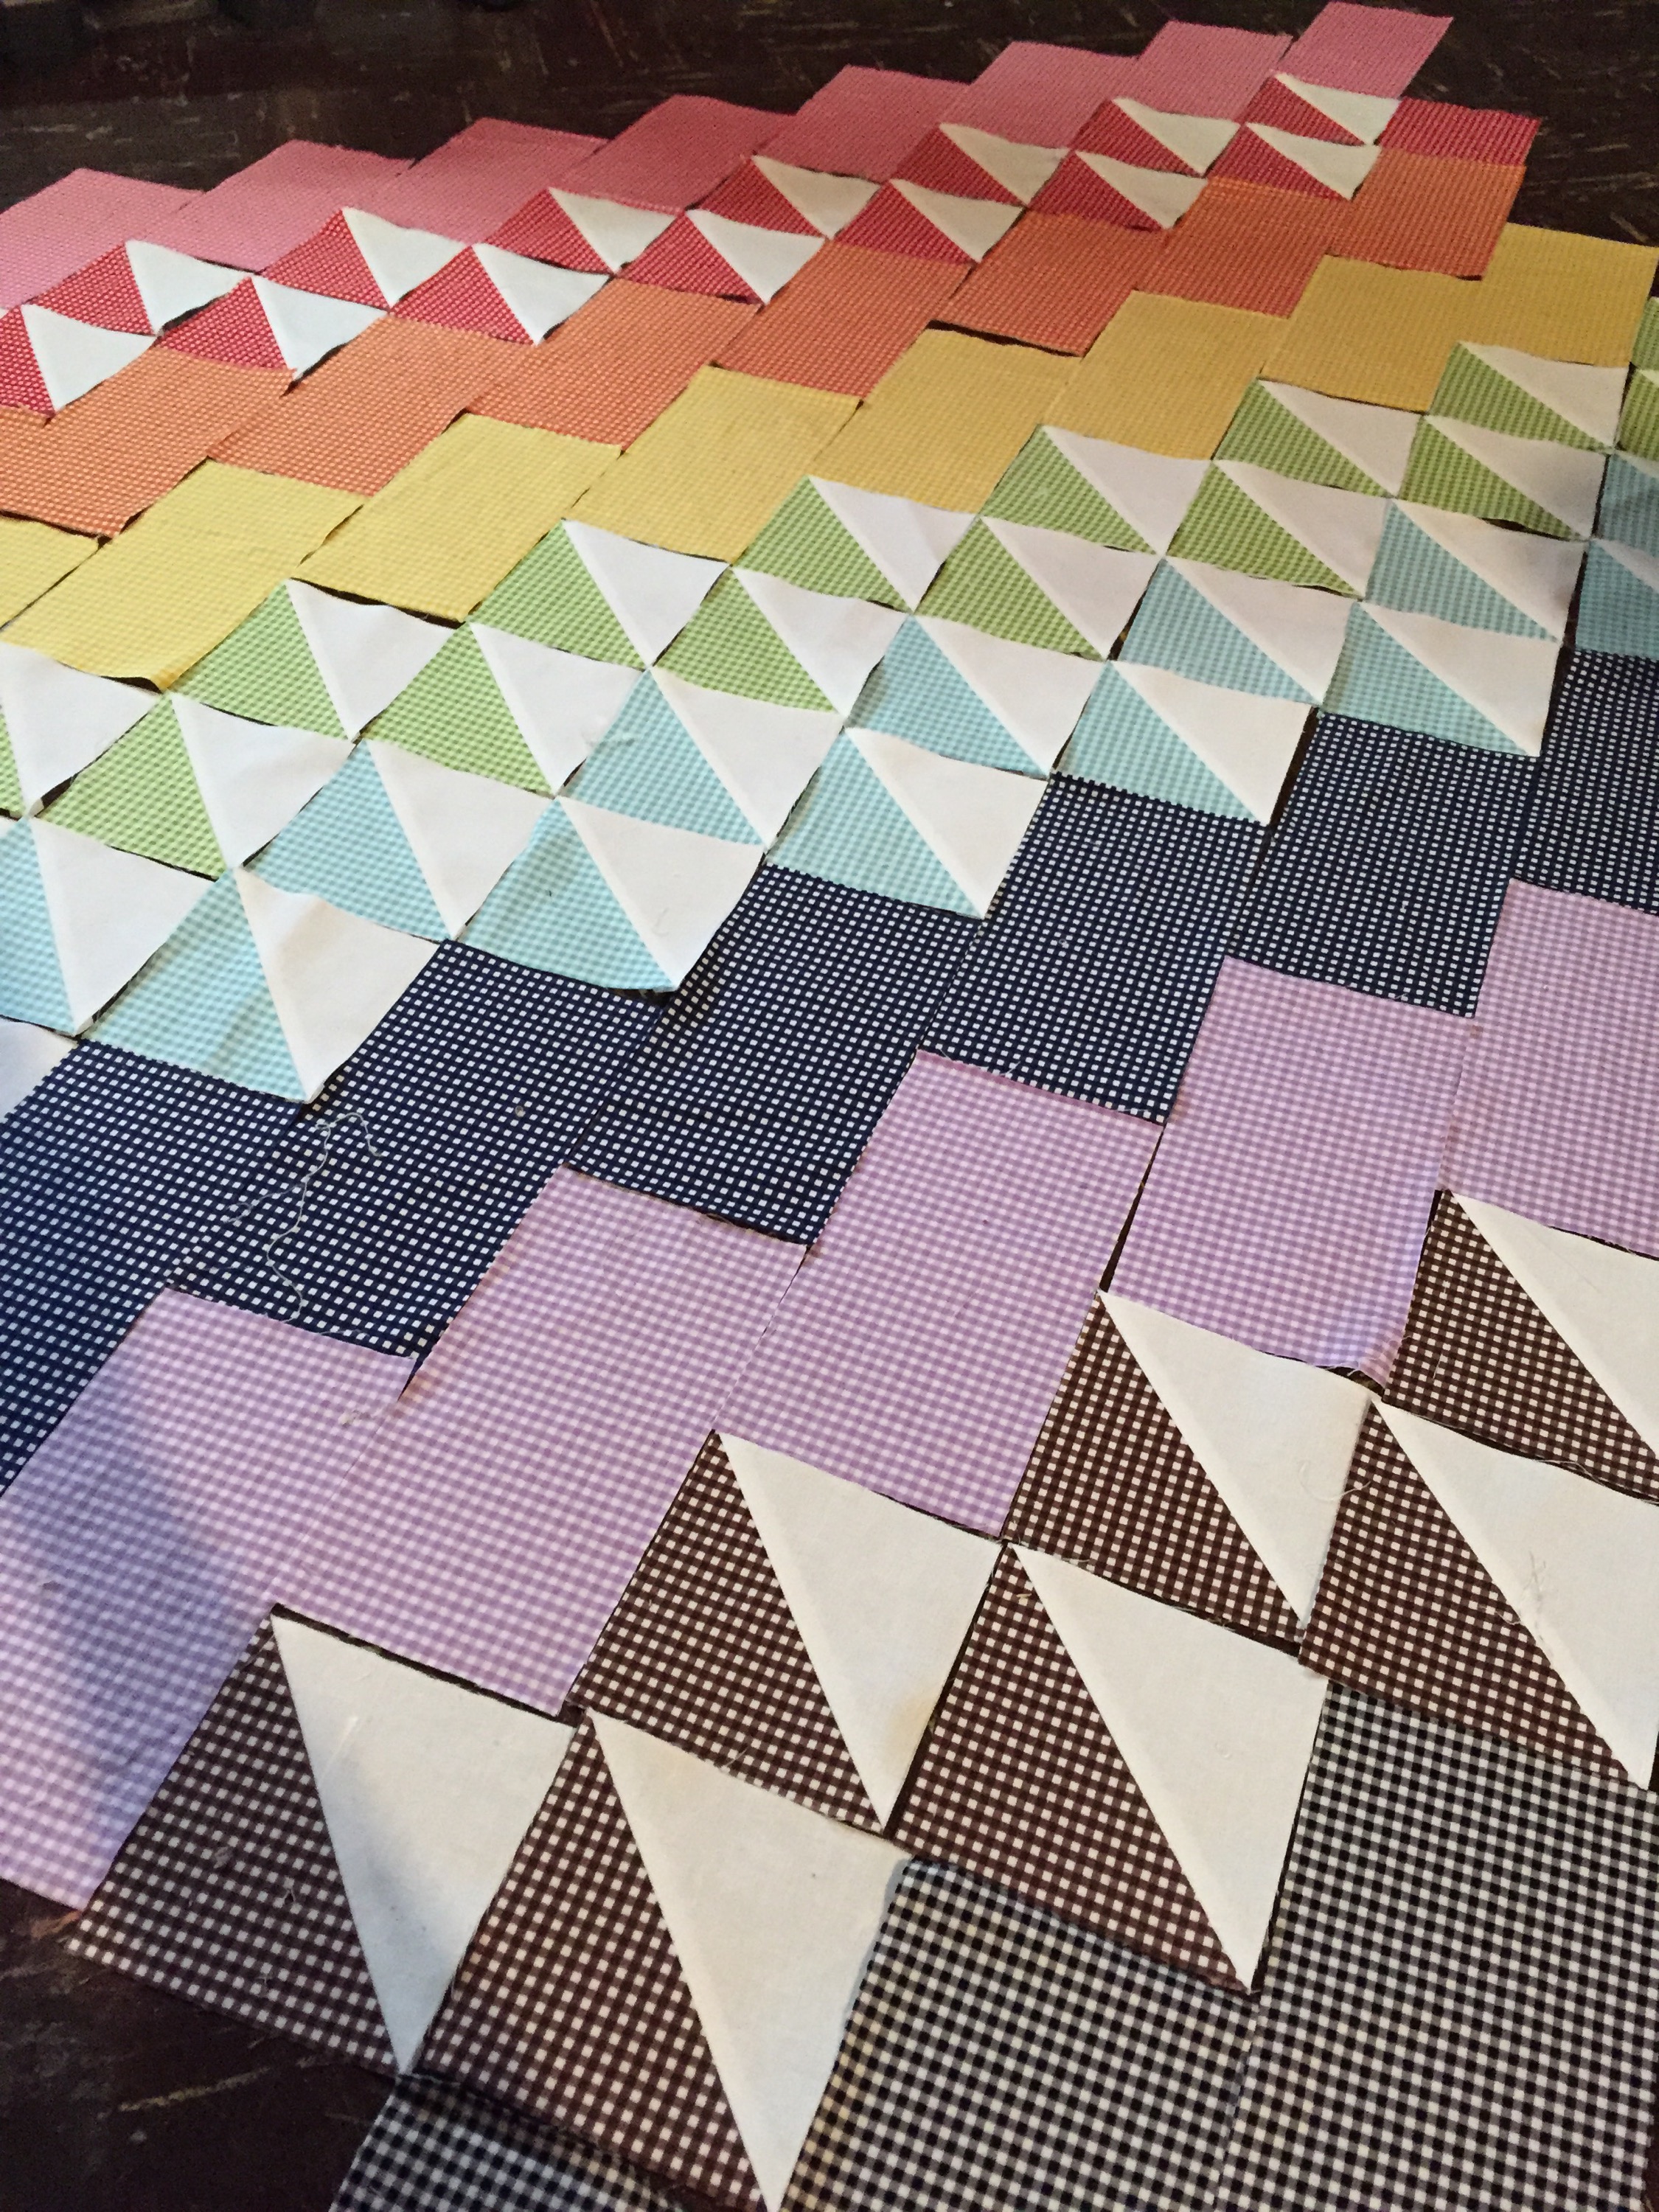
This is a perfect project for a beginning quilter…Lots of plain squares and enough Half-Square Triangles (HSTs) to challenge you. But the quarter turn of the squares make it so visually interesting and sets it apart from “another” block quilt. You eventually have to cut off a bunch of triangles to square the quilt off, but I’m sure the more ambitious can bind around all the angles…not me yet!

Laid out and Ready to Piece

Laid out and Ready to Piece

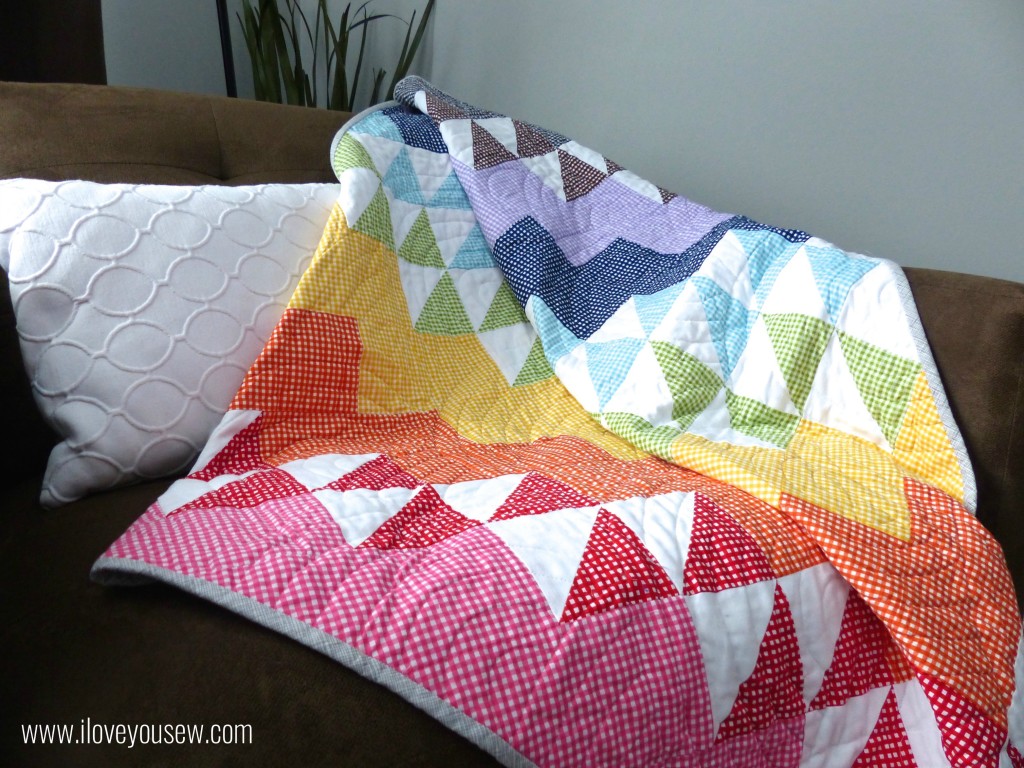
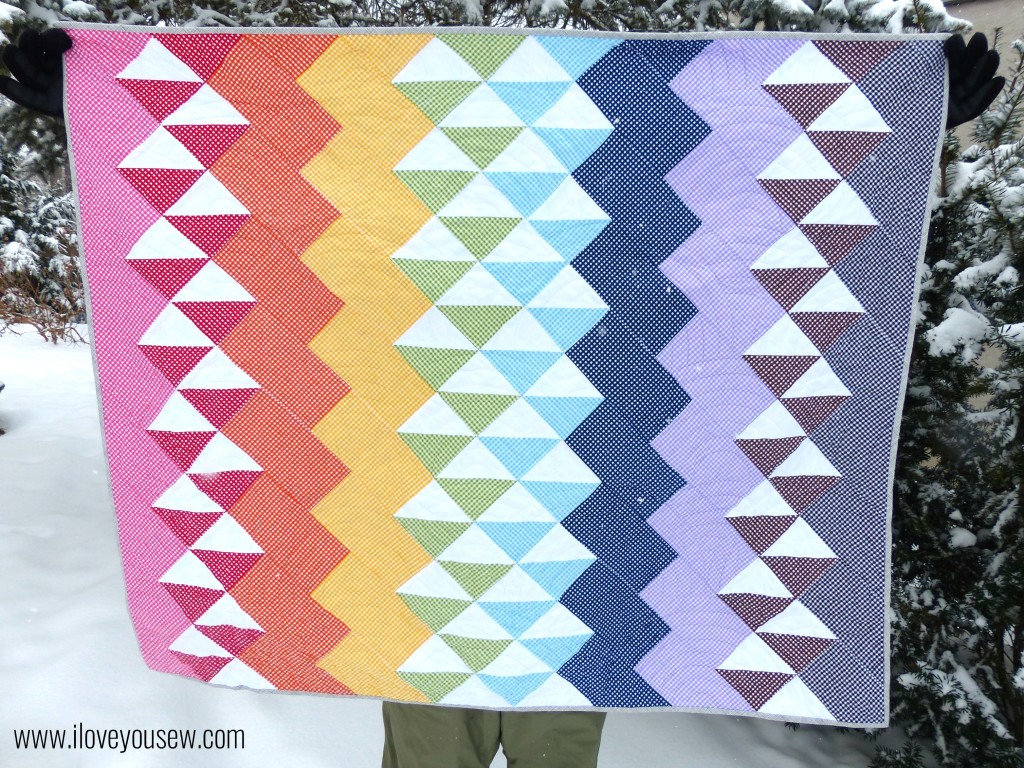
An Aqua Medium Chevron Wideback (not pictured) from RBD was used as the backing. It was so perfect because the Aqua gave the Rainbow a “Sky.” The binding was made of Architextures Grid in Shadow by Carolyn Friedlander for Robert Kaufman. The binding reminded me of the clouds and was a great neutral for all the colors in the quilt.

Spectrum Quilt Close-Up

Spectrum Quilt Close-Up

The hardest part of this project was the quilting for me….it’s always the quilting! I’m not very good at Free Motion Quilting (but I’m working on it!) and thus why you see lots of straight-lines in most of my other projects. In this case, I used a template to draw out all of my “Rainbow” curves. It was long and tedious. Using my waking foot to quilt this all was even longer…I’m talking the entire winter season. No joke.

In the end, I love this quilt. It’s a bright and cheery rainbow….and who doesn’t love a rainbow?!? However, my most important lesson learned: I need to find a long-arm quilting friend ASAP…or work on my FMQ skills 😉

P1050165

Spectrum Quilt Side-view

This quilt has been donated to my dear childhood friend, Capri, who is raising money for the Leukemia and Lymphoma Society‘ Eastern Pennsylvania Chapter and is a finalist for their Man/Woman of the Year Campaign. It will be on silent AND online auction at the Grand Finale Gala on June 13, 2015. If you are interested in donating to the cause, please visit Capri’s donation page here….

This is truly the best part of sewing.  I love being able to use my craft to give back.  How have you used your sewing to give back???


Hugs and Stitches,

Cristy

Love You Sew

Bound Fabrics – Quilt Market Fall 2015 Booth Projects

I have never been to Quilt Market…but like almost every quilter I know, I want to….so much!  For those who don’t know, it’s a semi-annual  trade show for companies to exhibit their newest fabrics lines and related sewing products.  It’s a way to see the newest stuff AND be able to get your hands on it months before they hit the general public.

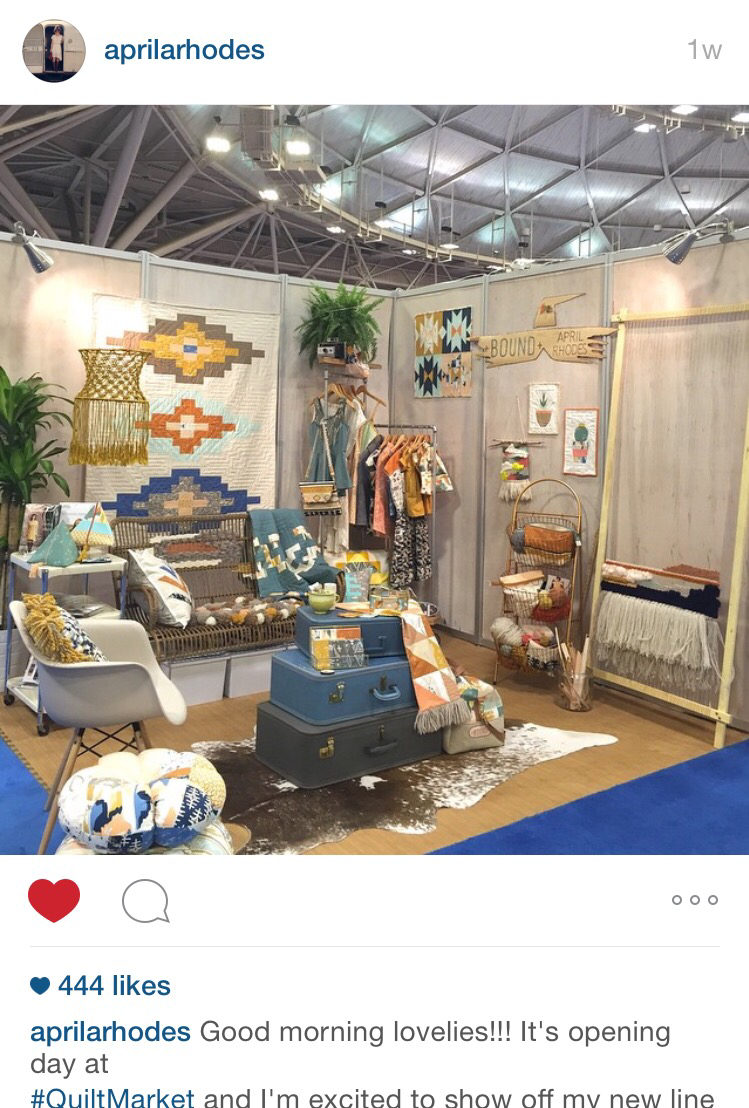
Although, I haven’t been to Market, a part of me has.  I had the great honor of working on a few items for April Rhodes‘ new fabric line, Bound for Art Gallery Fabrics.  In true April design, it has a southwest feel with her bohemian flair….so you know I LOVE it!  It is her most personal collection with her own organic drawings and influences from her love of macrame and fiber arts.  Needless to say, when I was asked to make a few pieces, I jumped at the chance.

Photo from IG @aprilrhodes


Below are the three items that made it into April’s amazingly gorgeous Quilt Market booth:

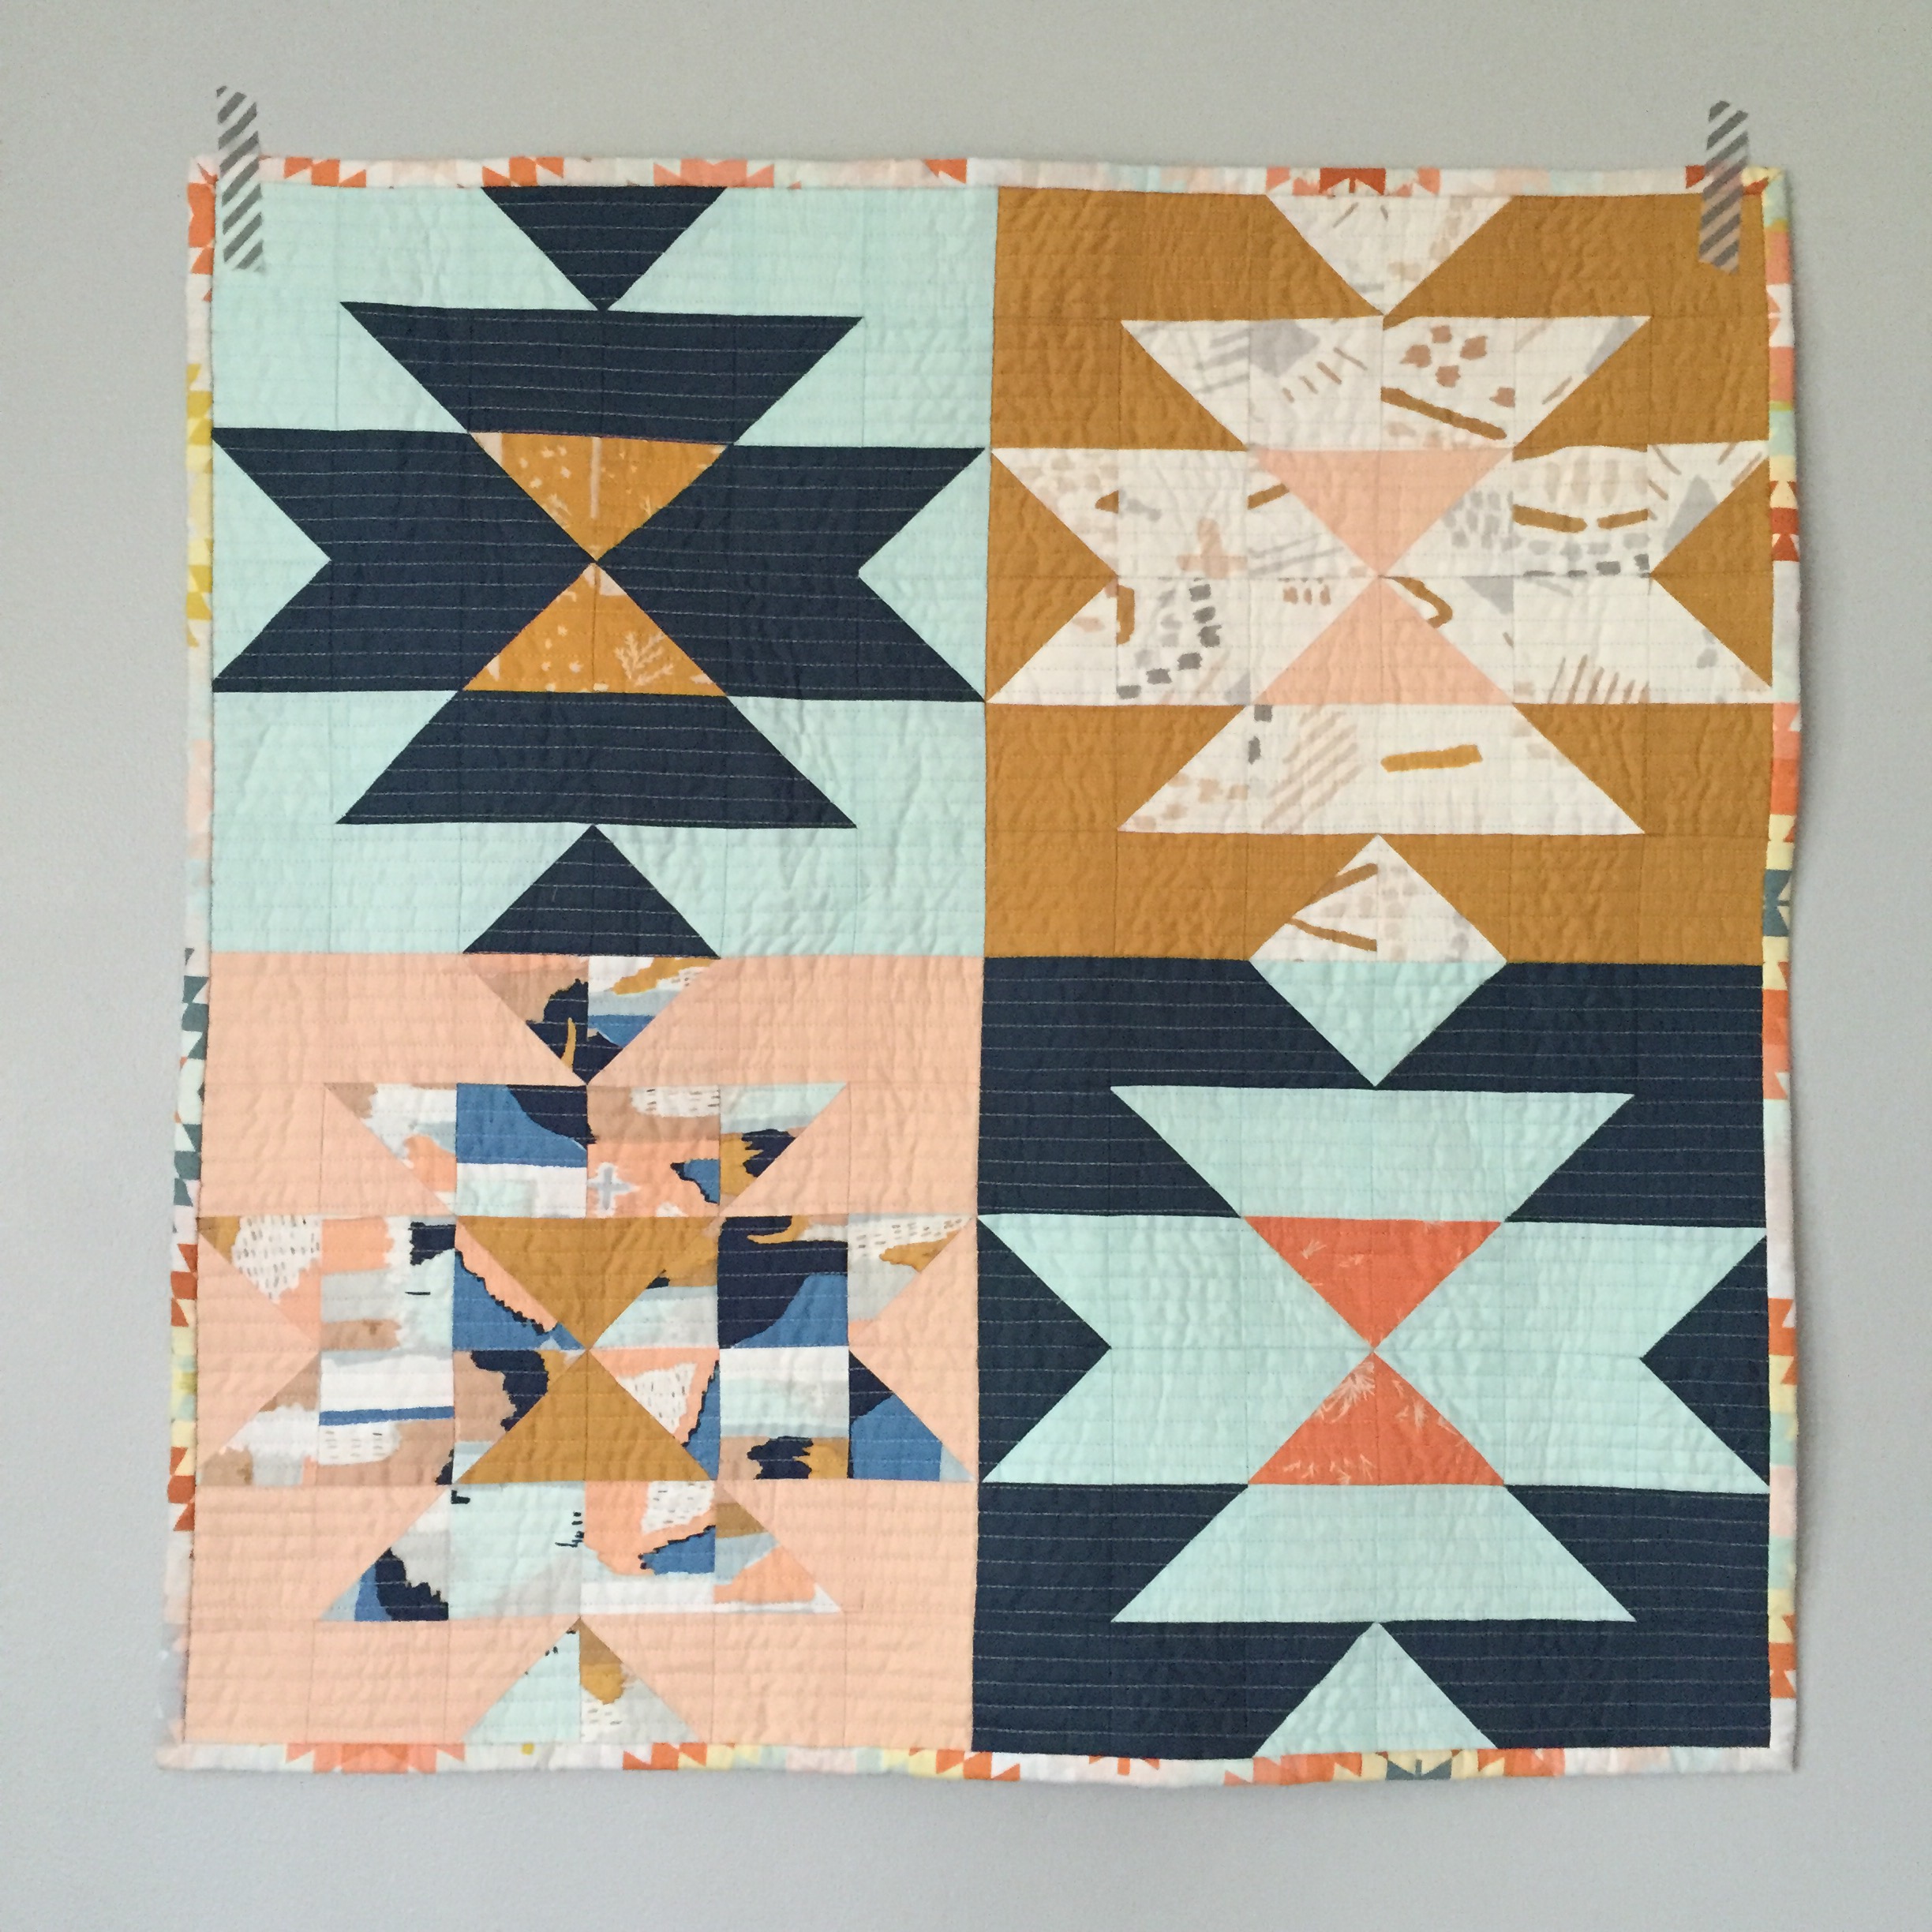
1.) “Squash Blossom Bouquet” Mini Quilt

Squash Bouquet

Squash Blossom Bouquet

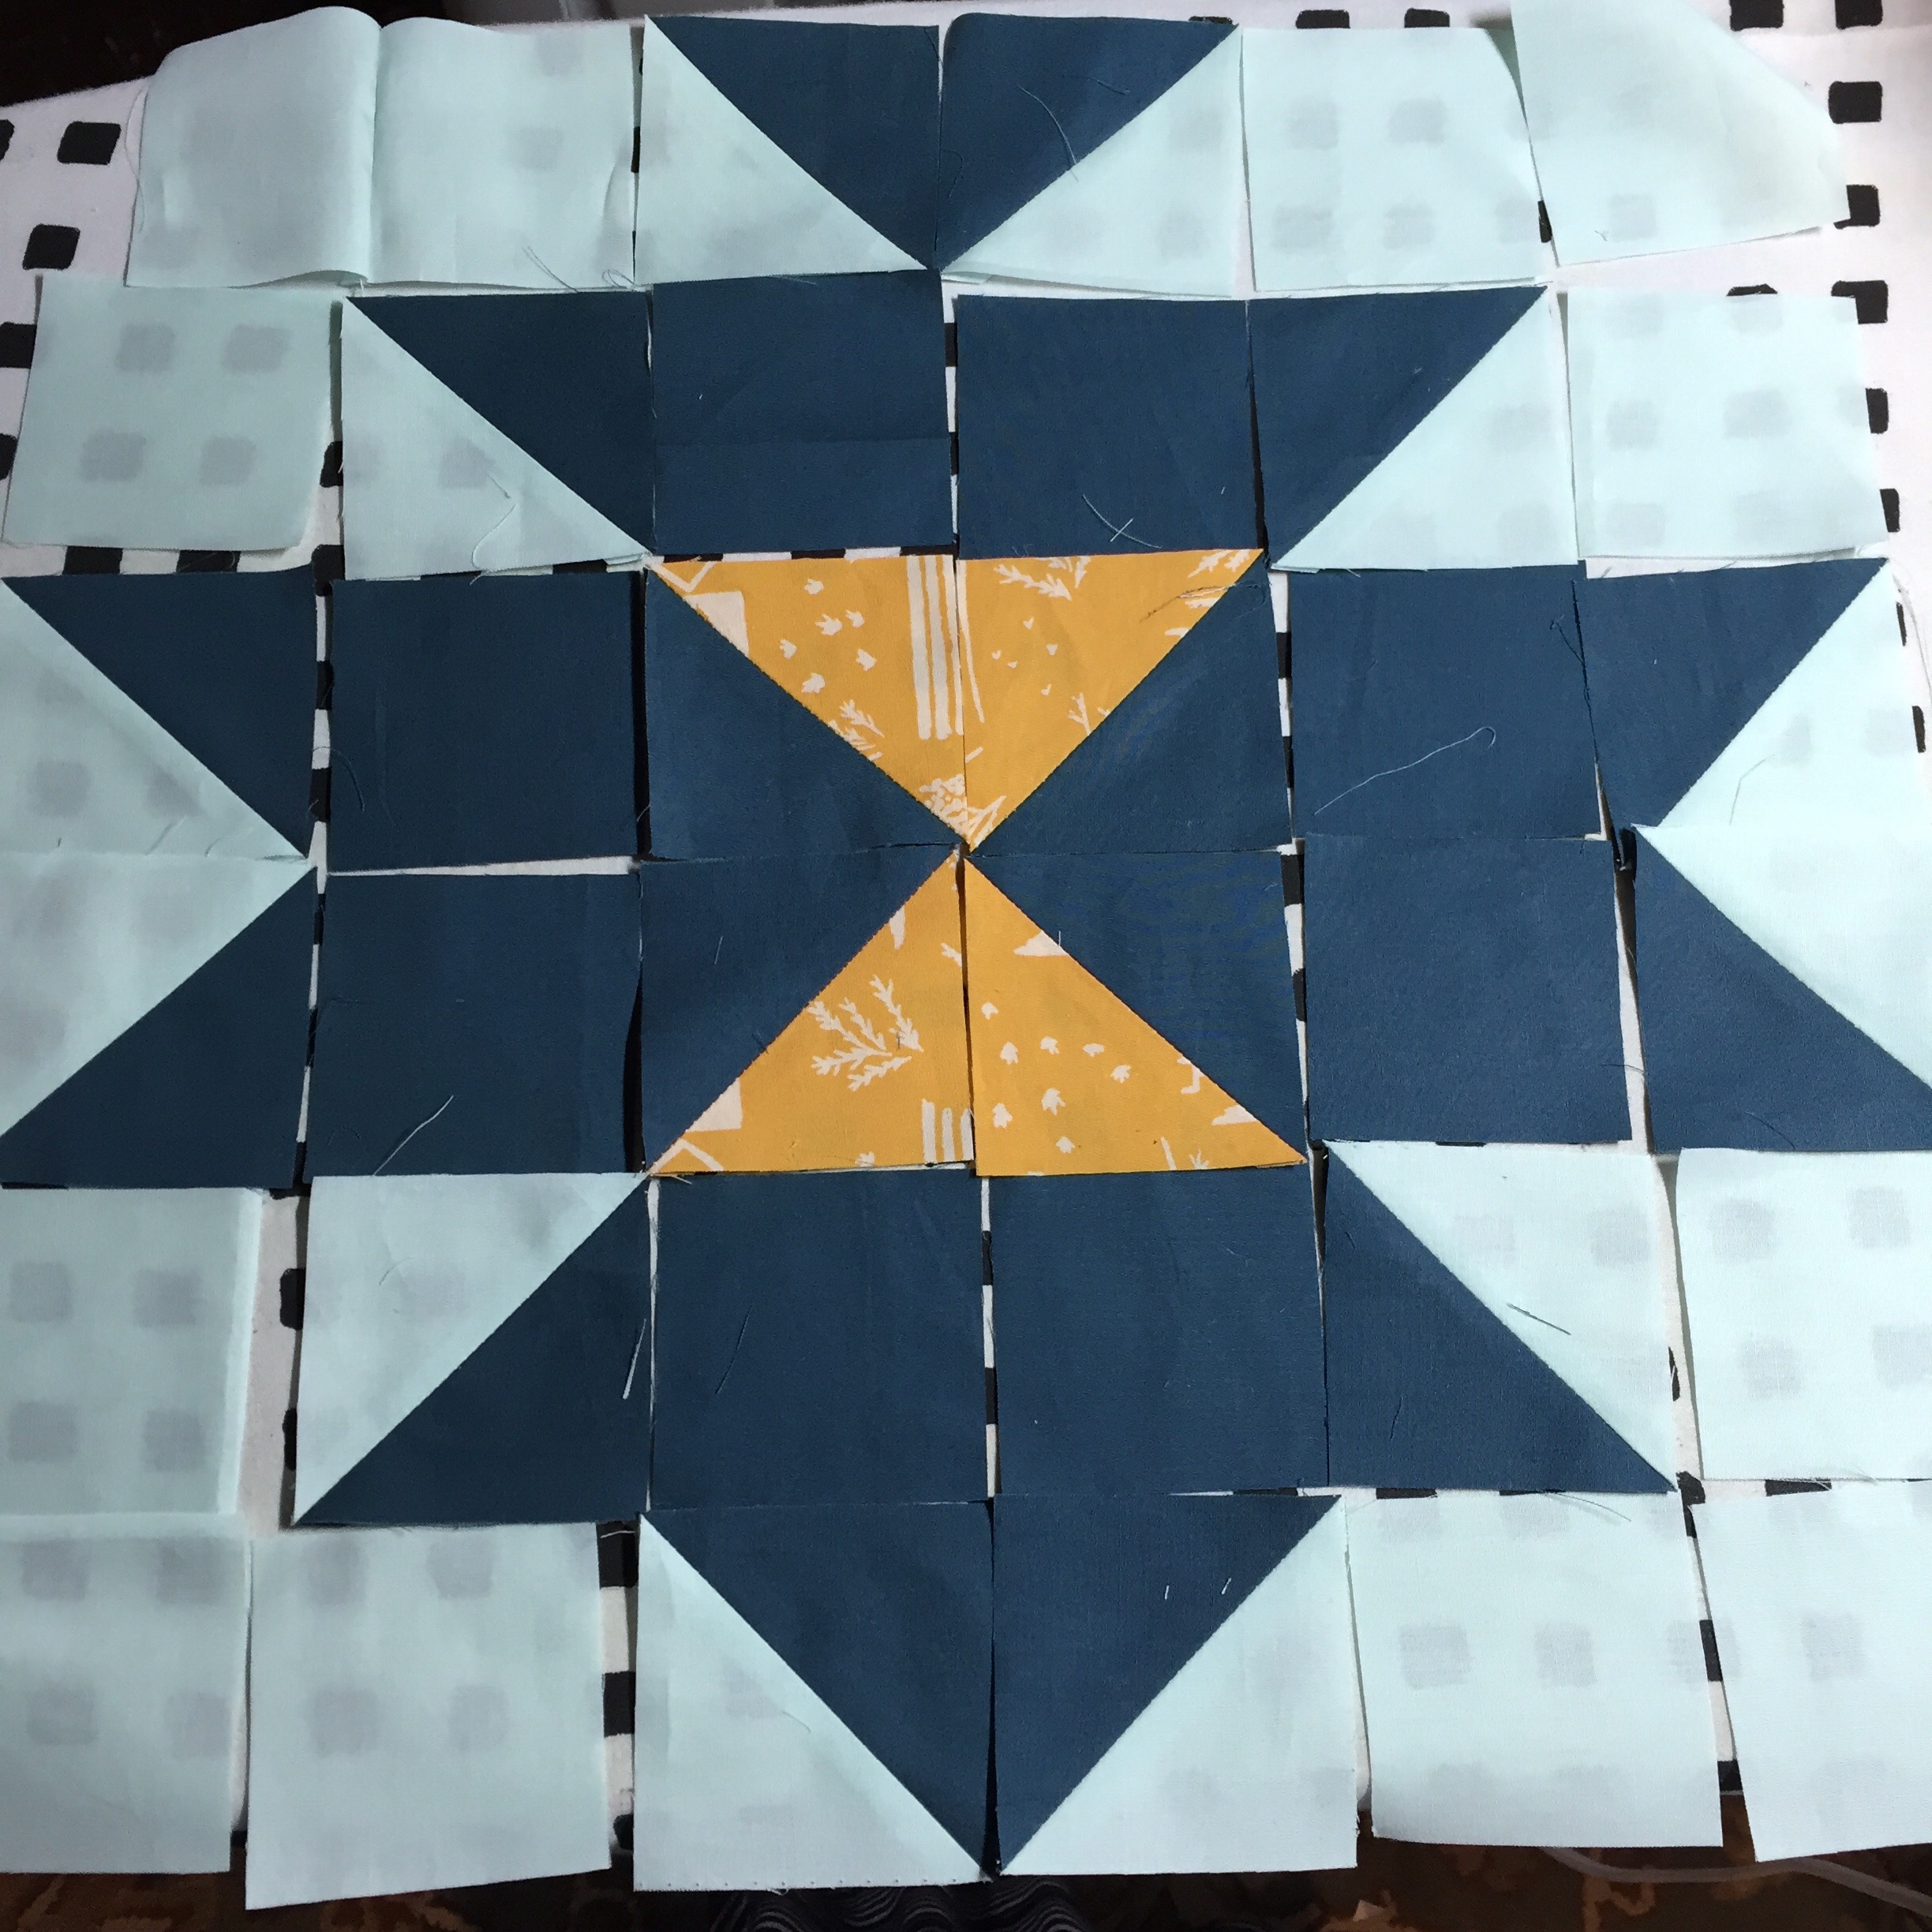
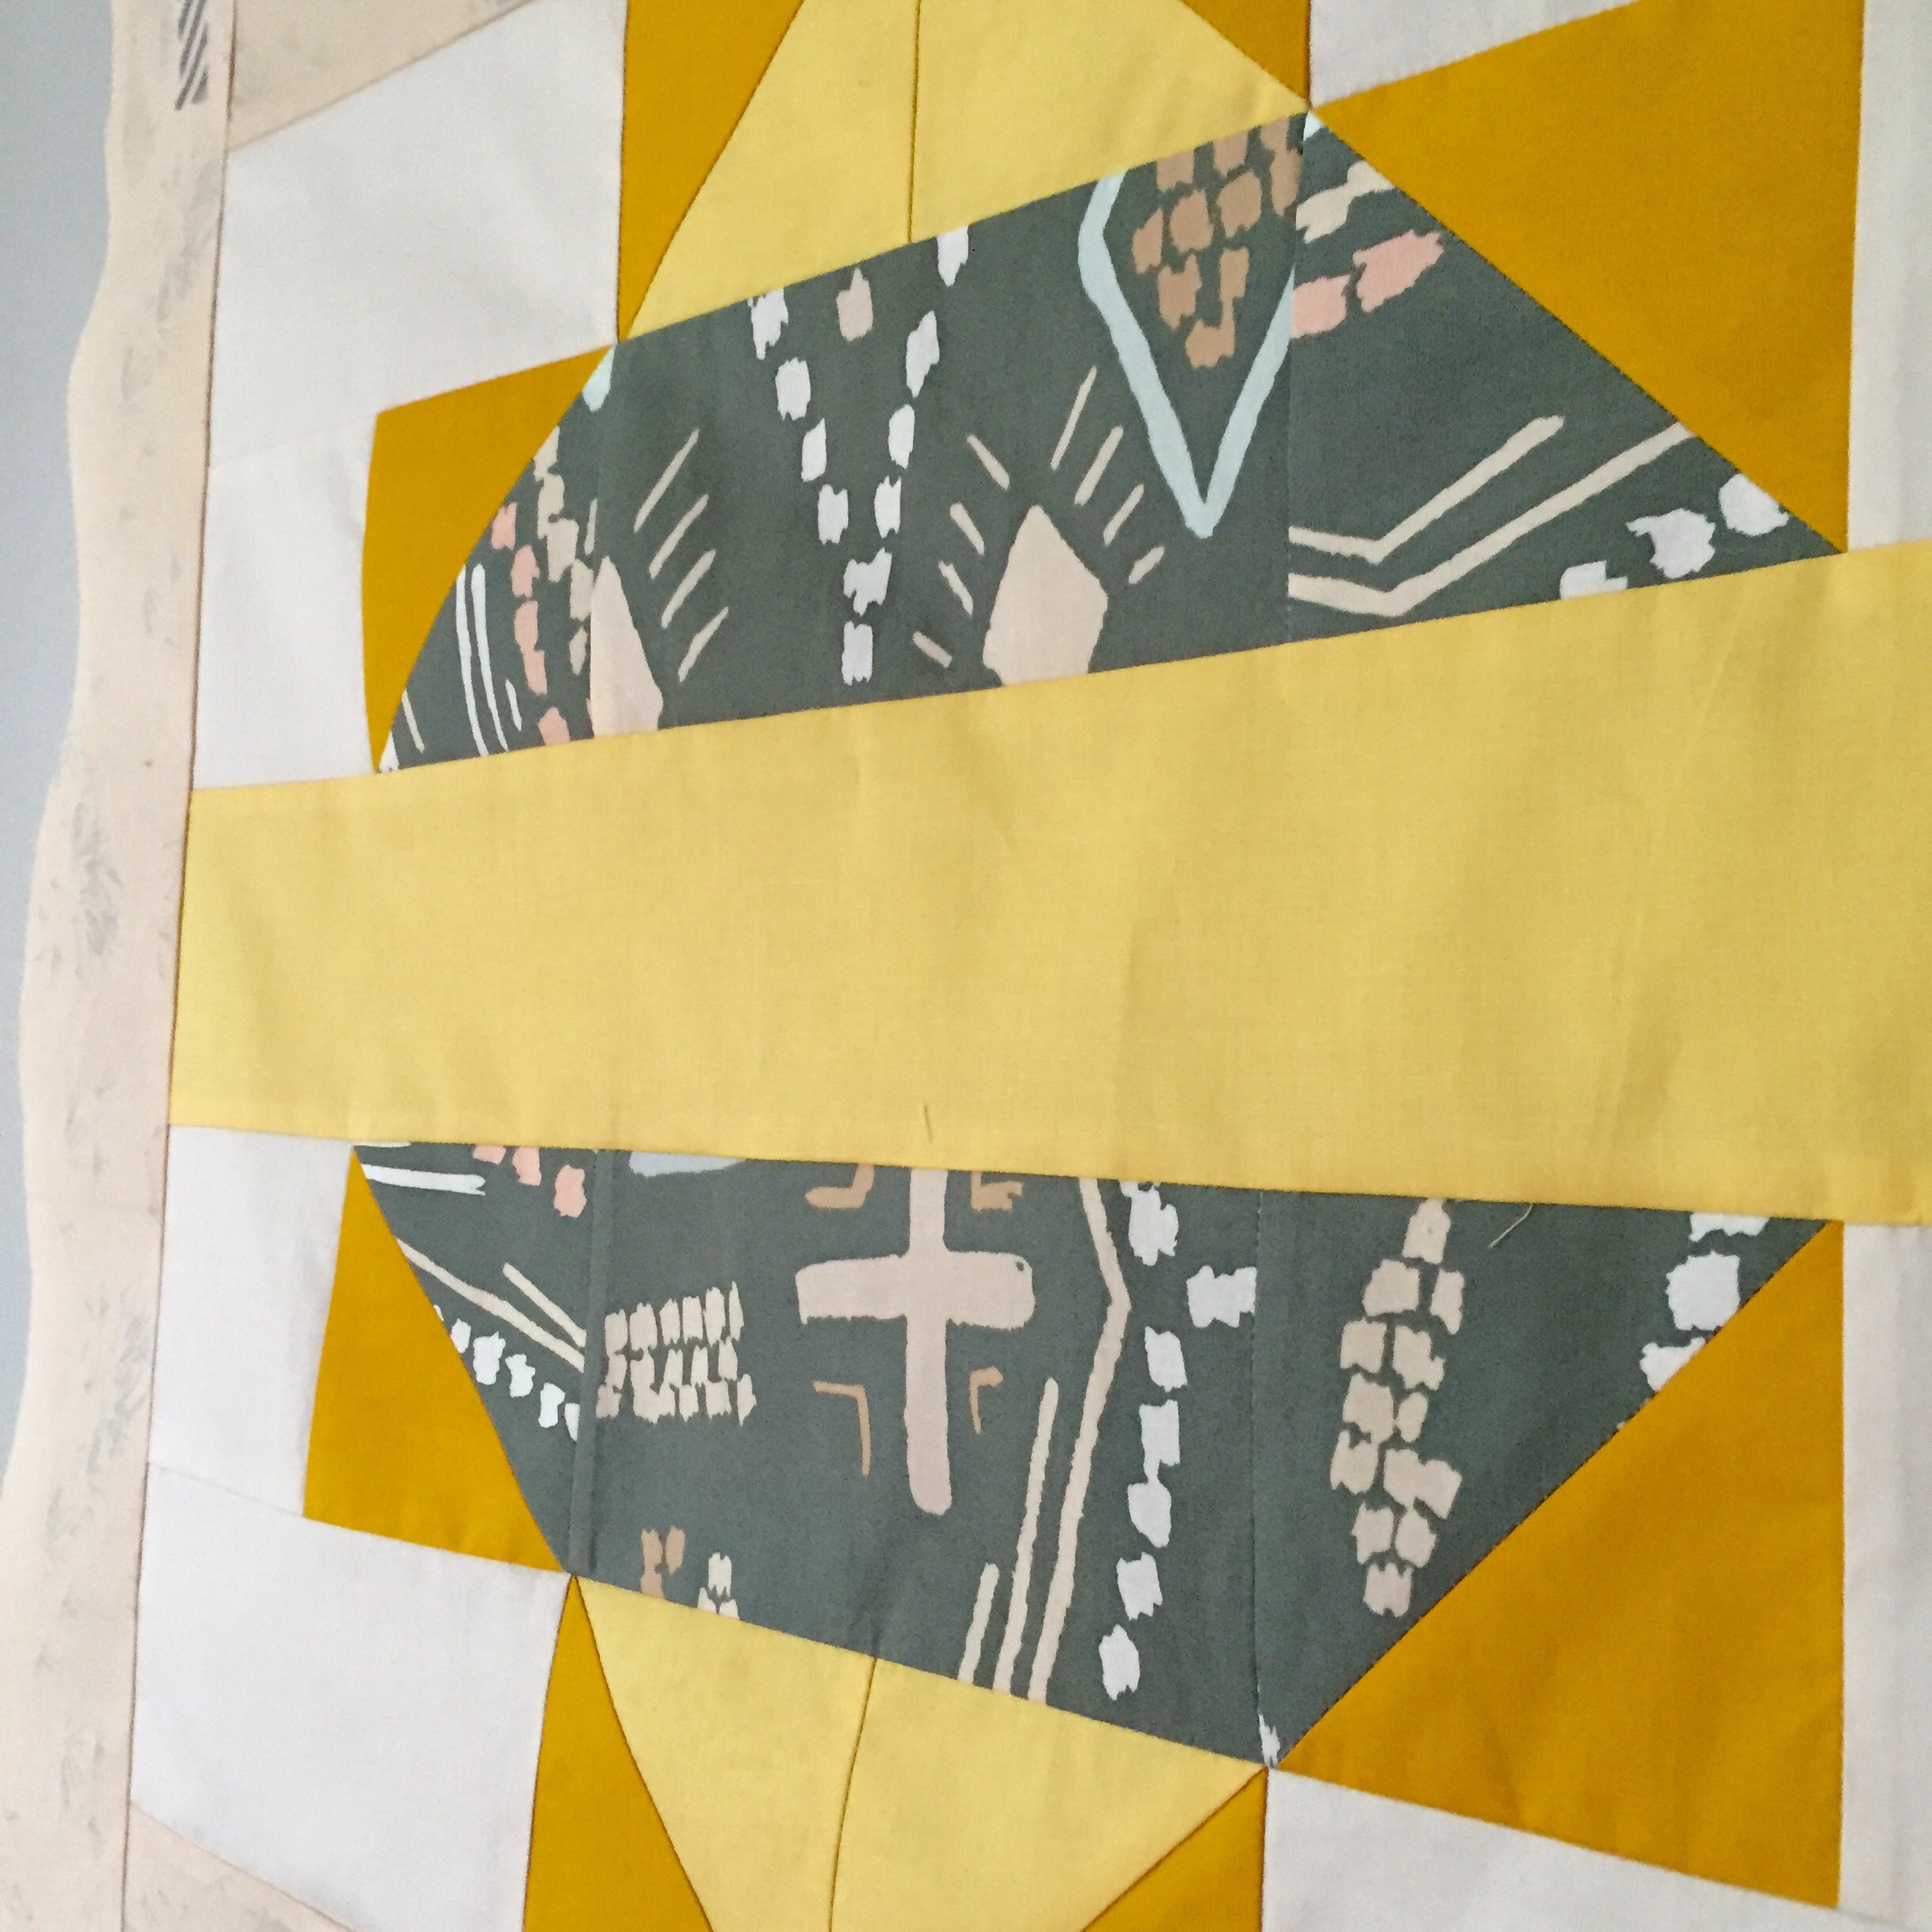
For this quilt, I used Holly Gets Quilty’s Squash Blossom pattern.  It was incredibly easy to follow, especially if you are used to HSTs (half-square triangles.)  I used the 12″ block measurements and made 4 blocks.  The blocks needed to each have their own feel by playing with the feature and accent fabrics and mixing them with Art Gallery’s amazing Pure Elements solids in Nocturnal, Icy Mint, Peach Sherbet, and Honey. I love how these Squash Blossoms are able to showcase April’s larger prints, Painting Morale and Macrame Cave as the feature fabric.  But at the same time, you can use the smaller prints, Survey Orche and Growth Joy as the accent with as much impact.

HSTs made are ready to be chain-pieced to the squares

HSTs made and are ready to be chain-pieced to the squares

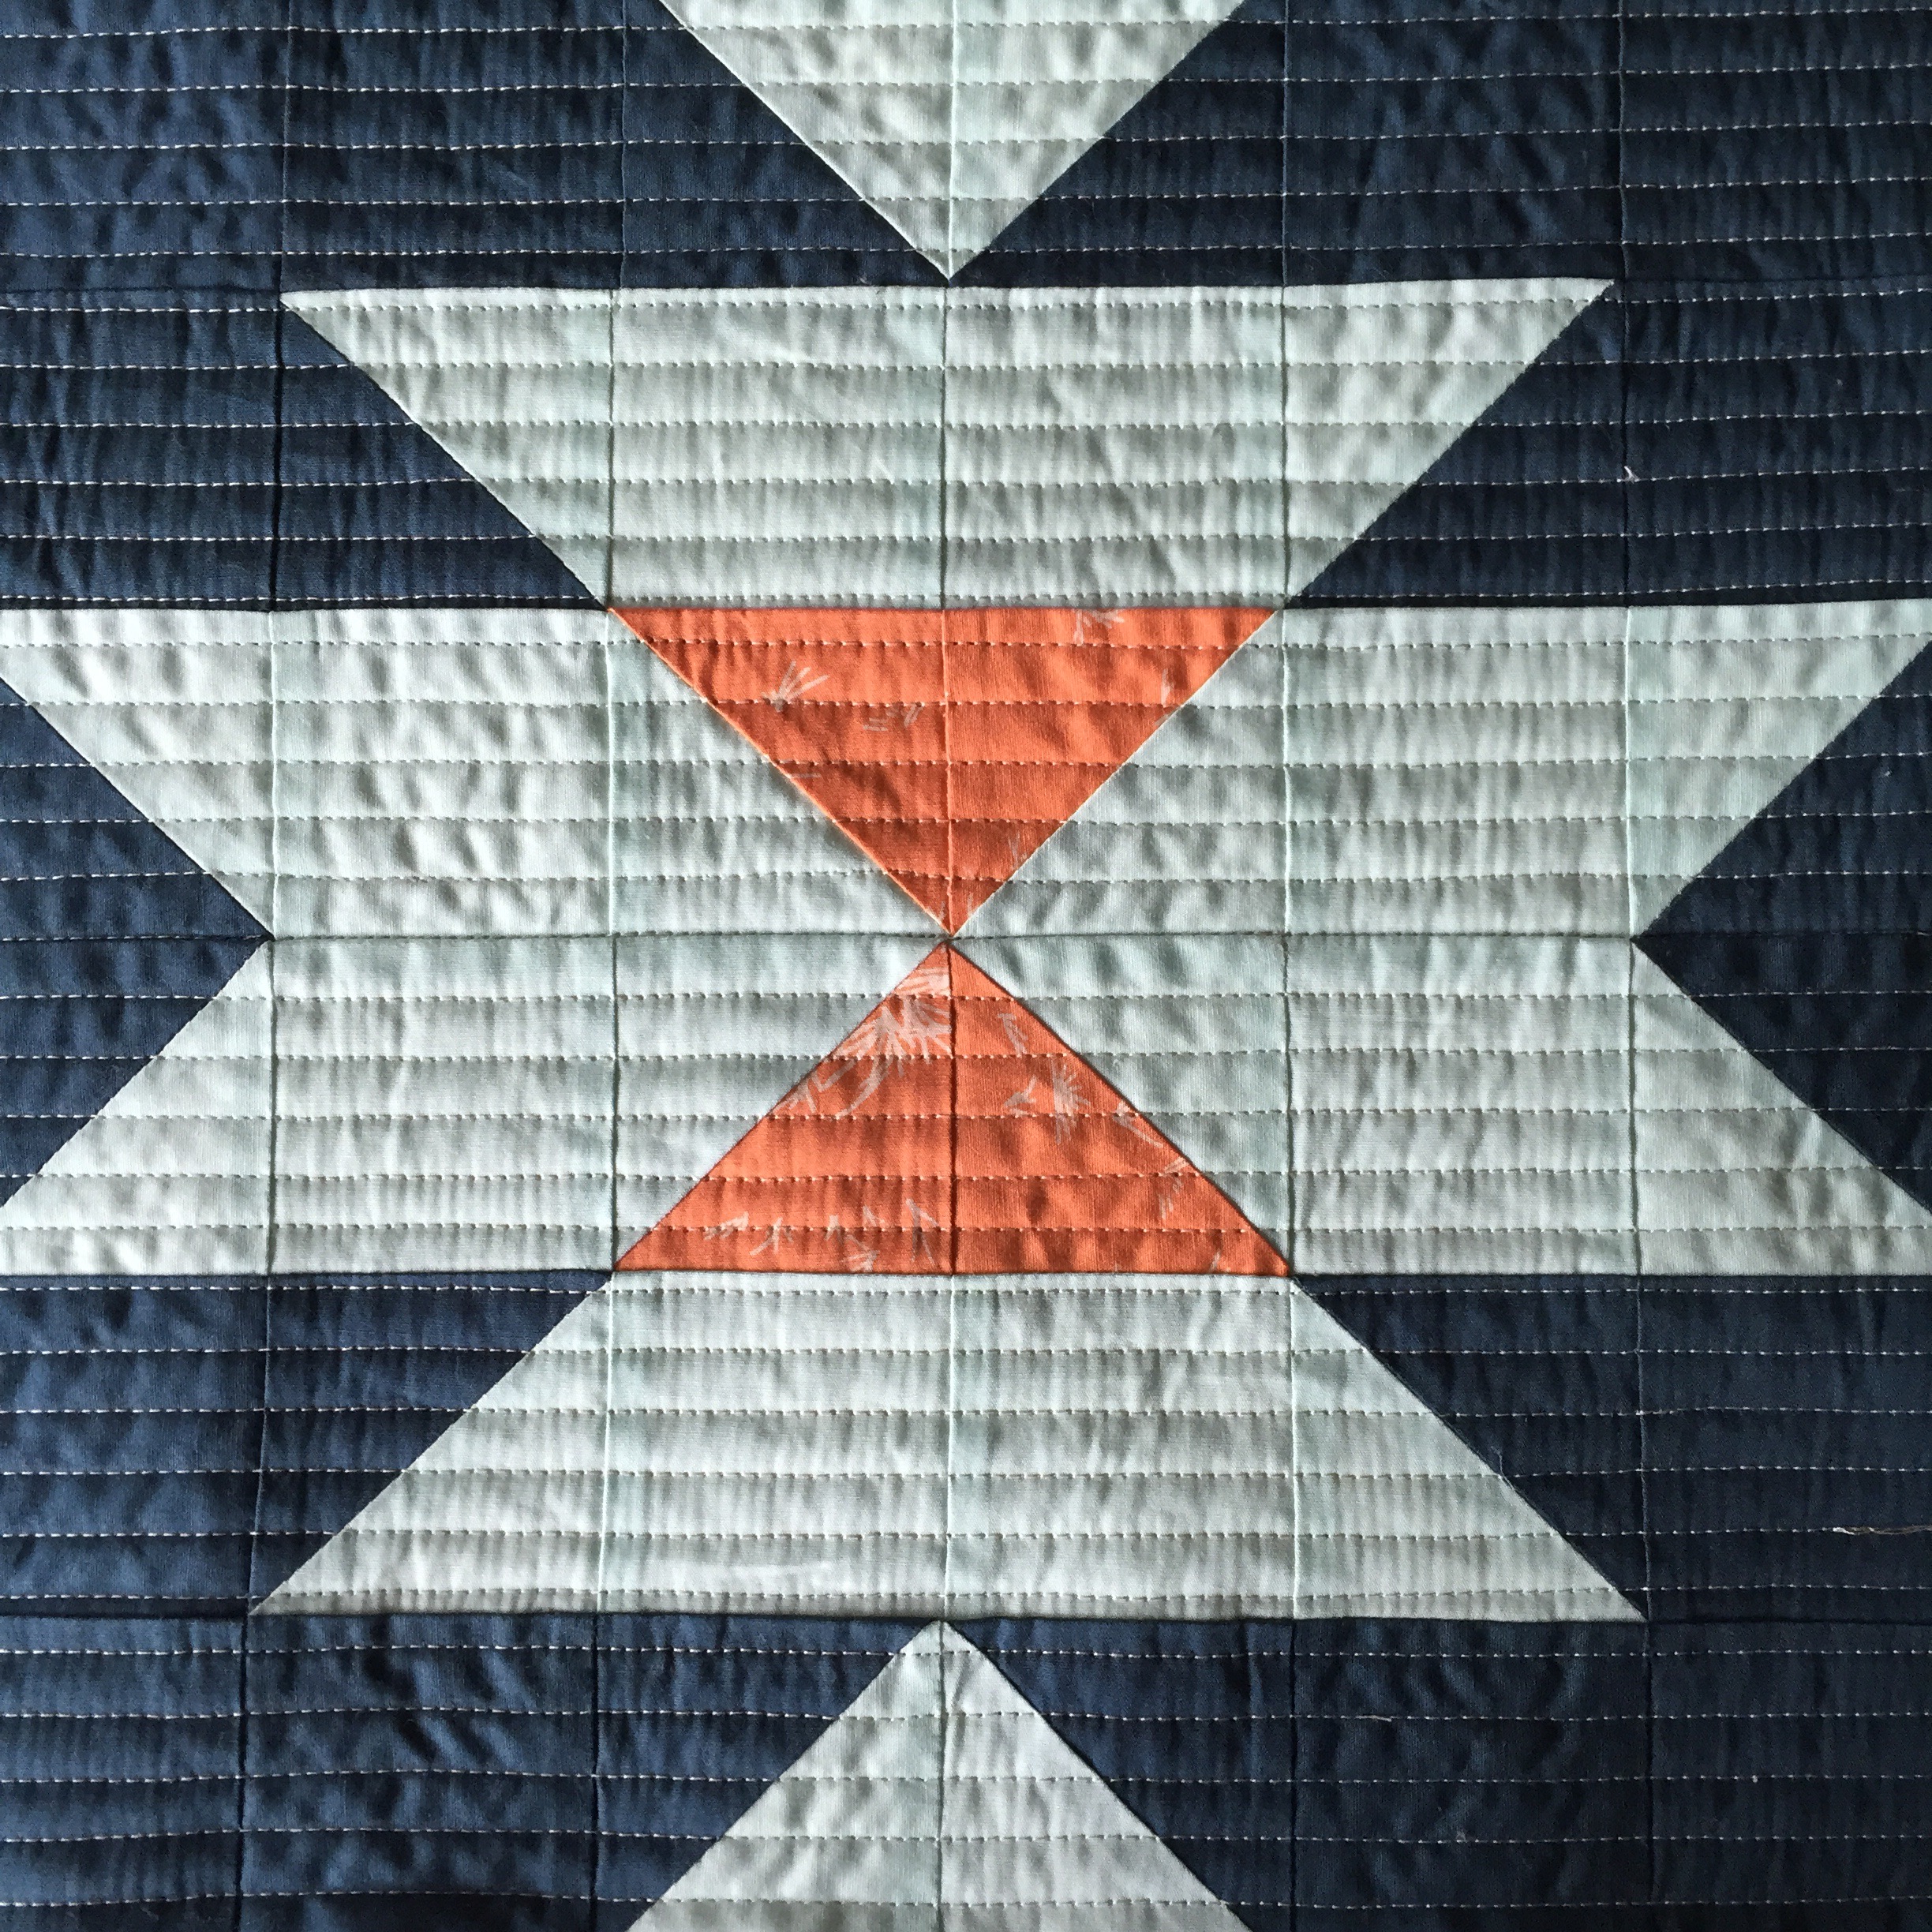
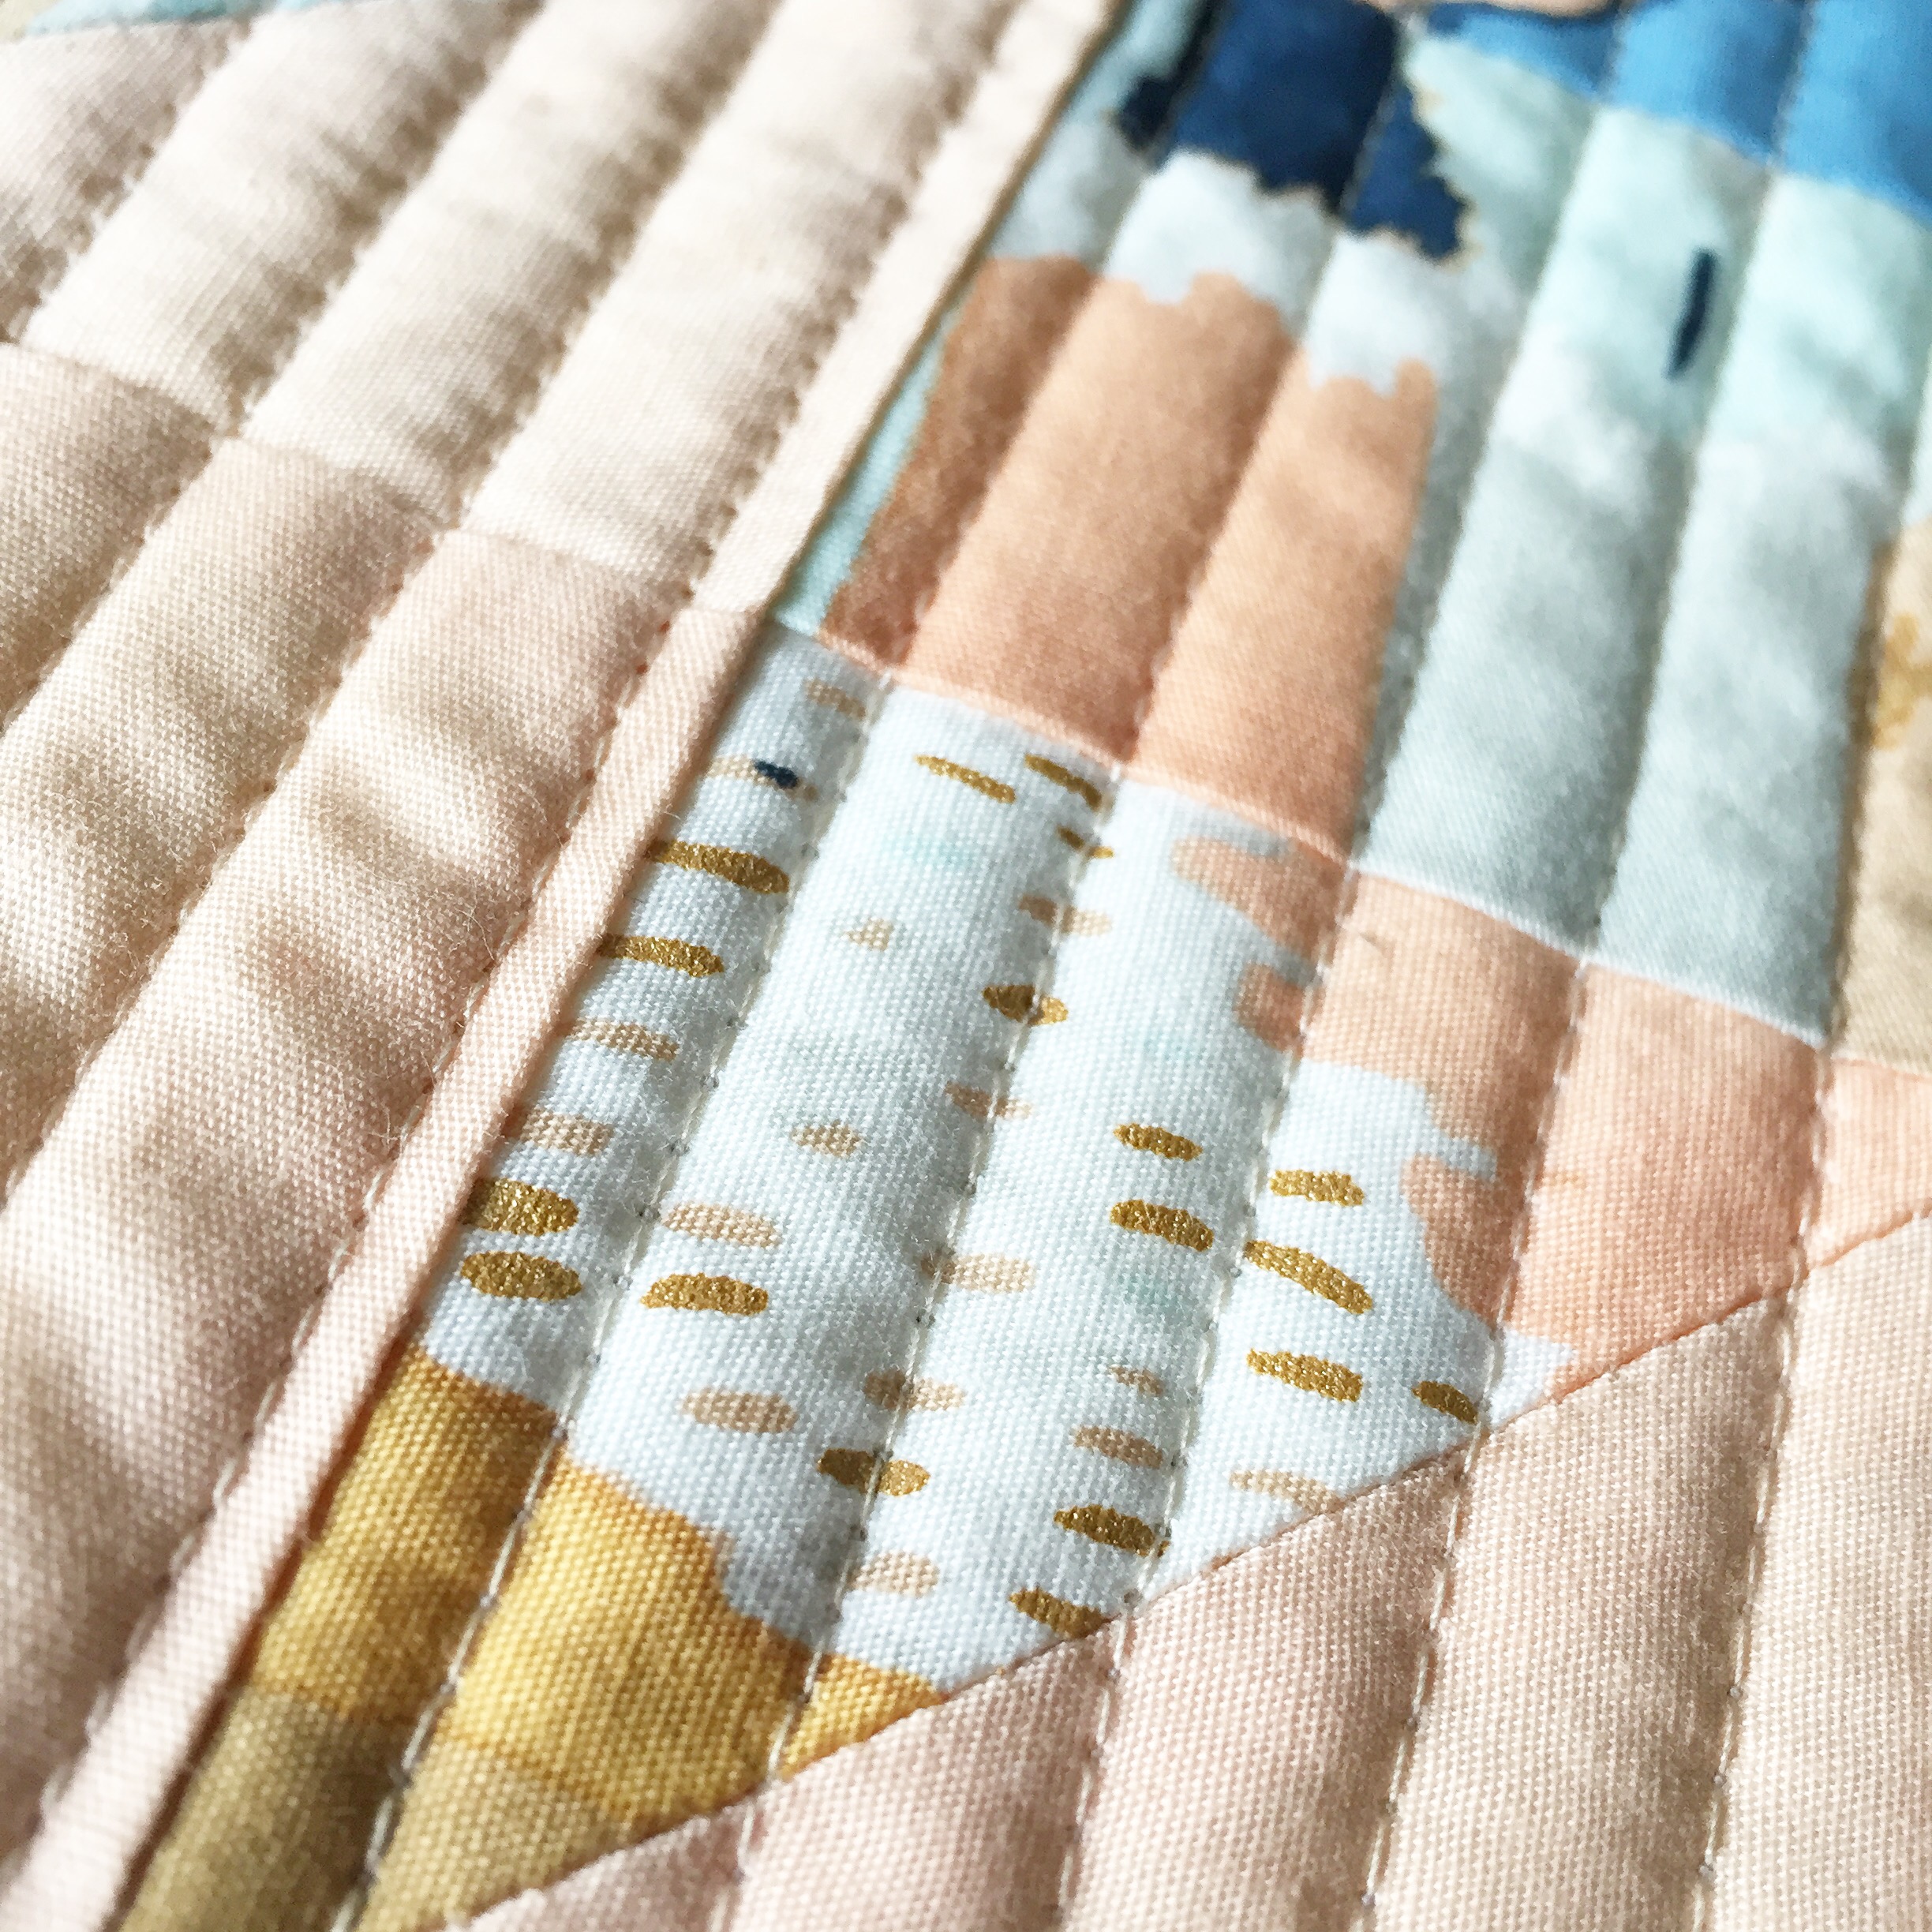
For the quilting, these Squash Blossoms screamed for some straight lines following the horizontal seams.  I just used my presser foot as my guide and checked it against the seams to make sure I wasn’t accidentally veering to the wrong side (eek!) As usual, Aurifil was used for both the piecing and quilting in 2312 50 wt.  This was the perfect beige color with this fabric selection.  I like 50 wt to blend into the fabric for this particular project.

Close-up of block one using Nocturnal, Icy Mint and Growth Joy

Close-up of block one

For the backing fabric, Dream-catching Celeste from the Wanderer collection was the best choice.  It is just a beautiful light pattern that really complements the colors in the whole quilt. For the binding,  Serape Dream was selected.  I love all the different colors and how you get a different feel at every inch and angle all around the quilt.

Finished, this mini is 24″ x 24″, so it makes for a quick project (which I like!)  If you are new to HSTs, this would also be a good starter since there are not to many of them.

Close-Up of Metallic Detail


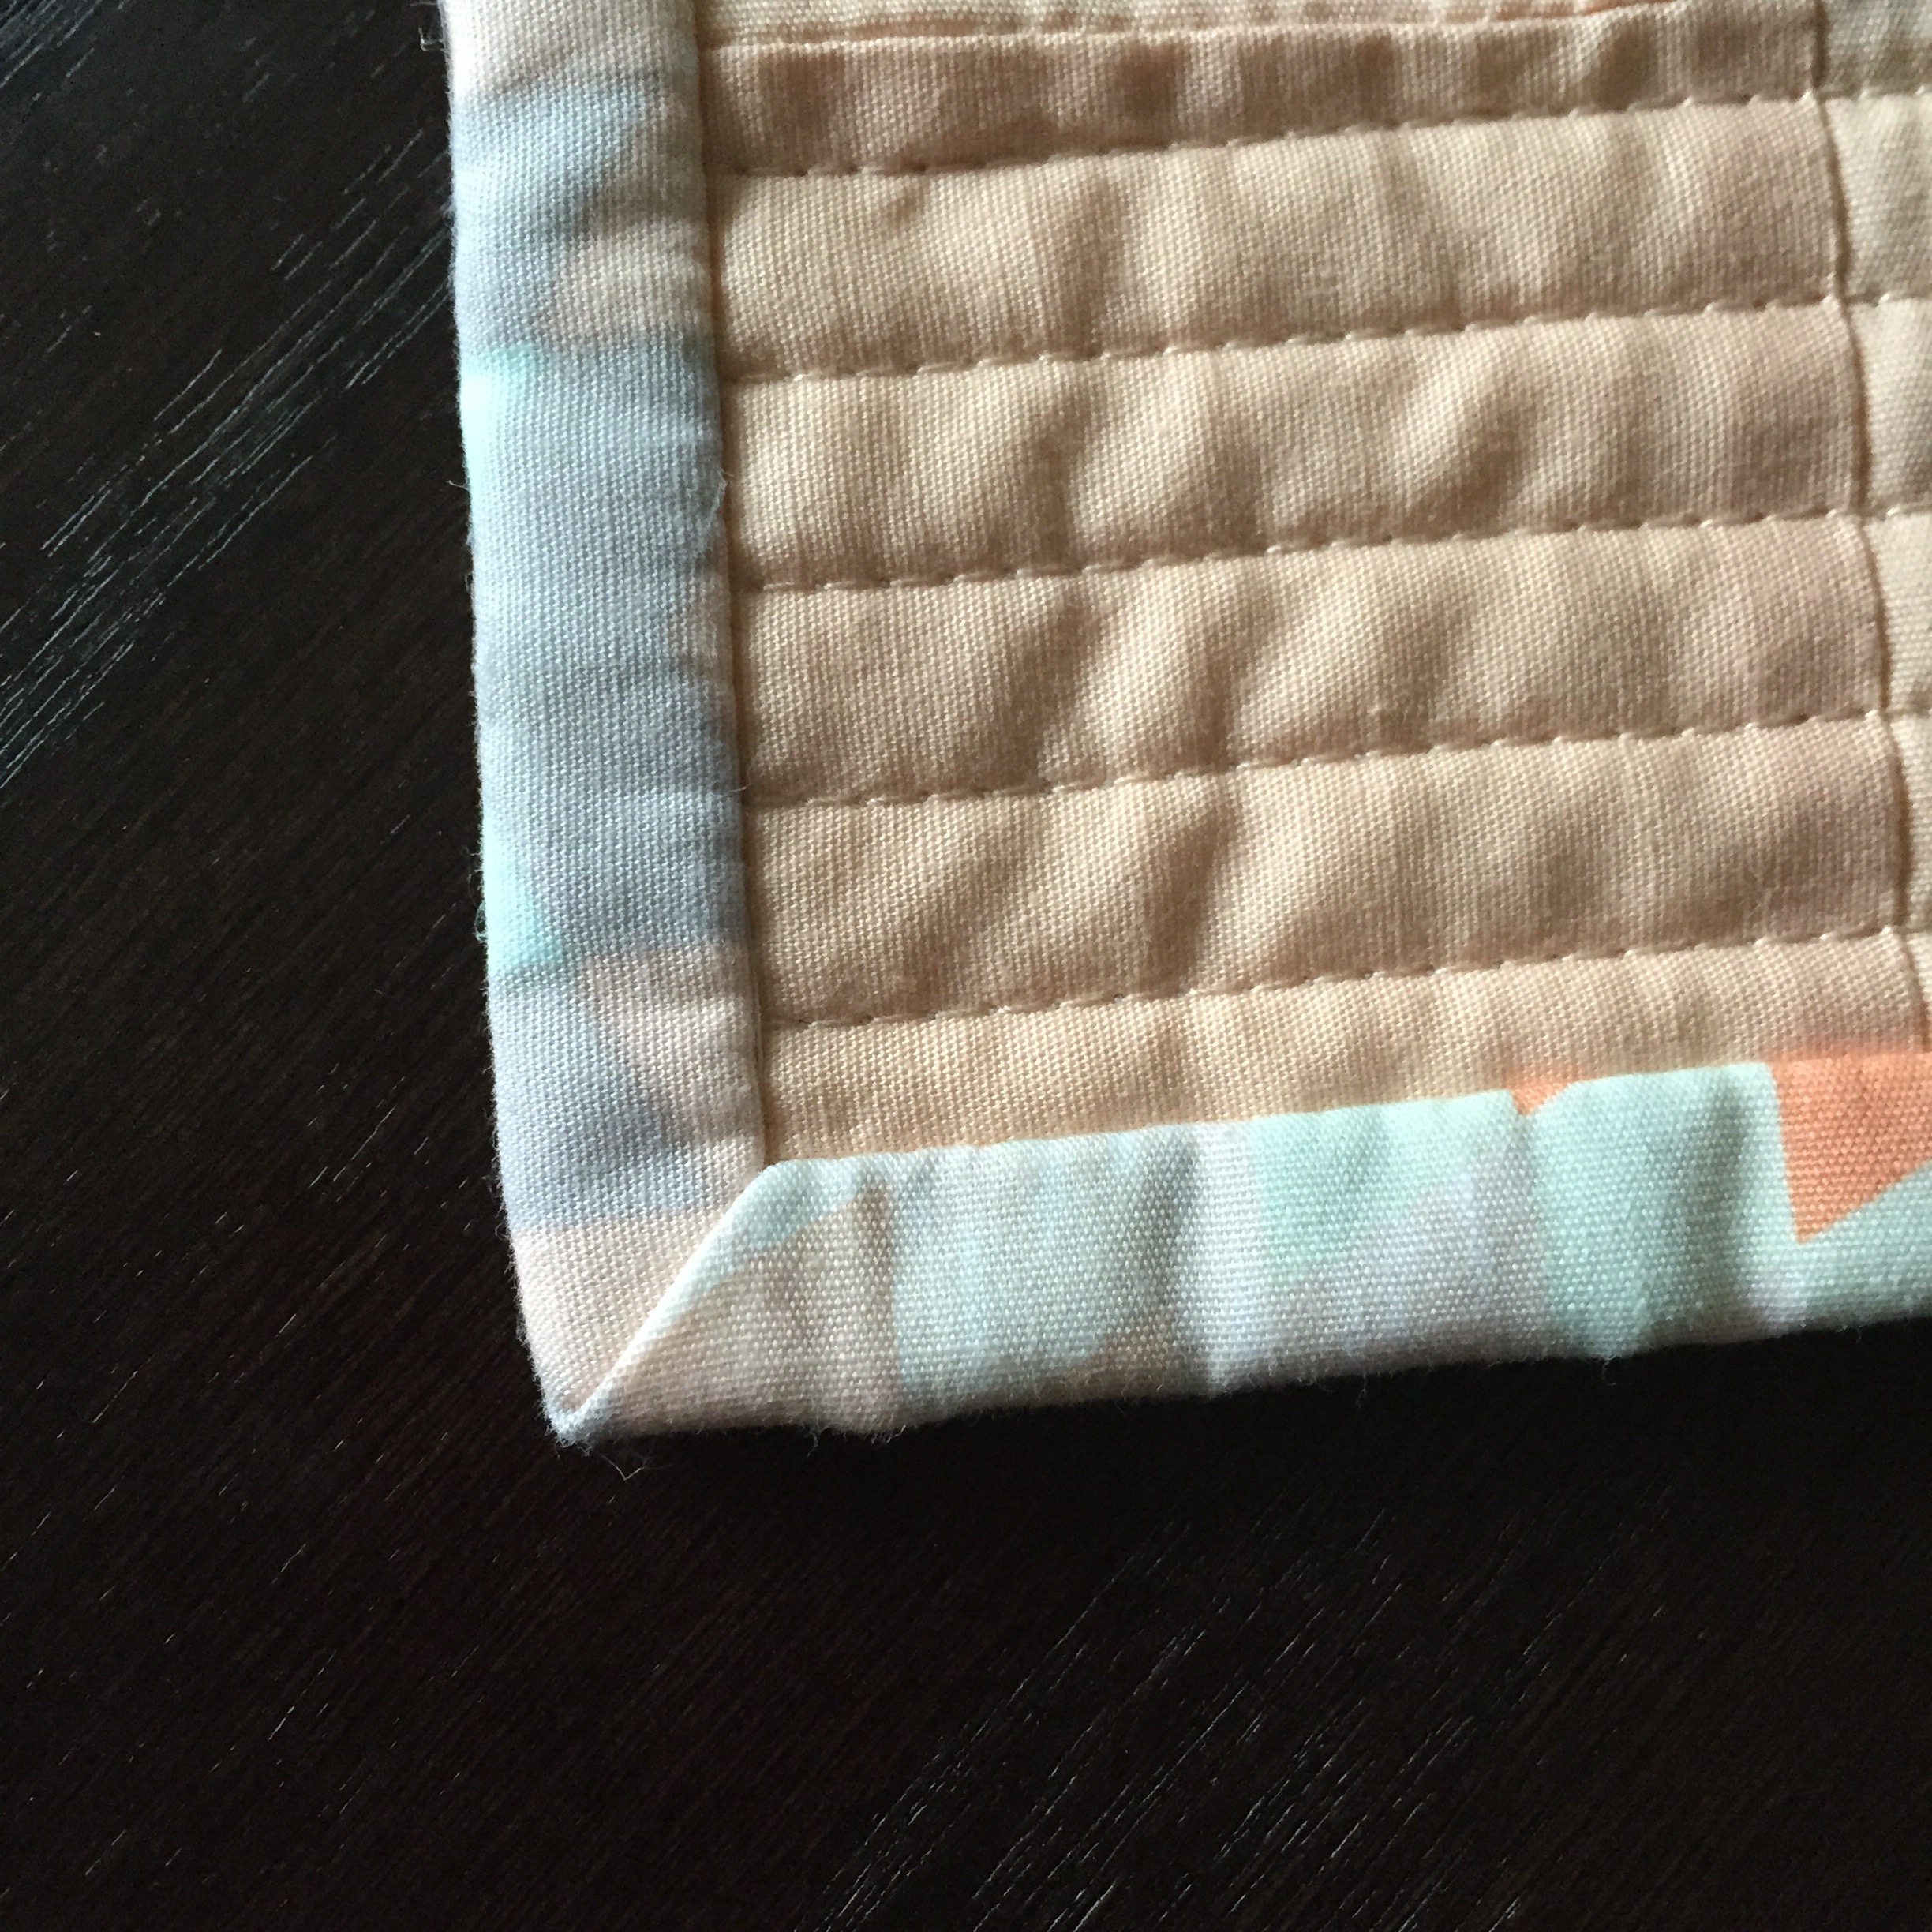
Love a Beautiful Mitered Corner

Love a Beautiful Mitered Corner


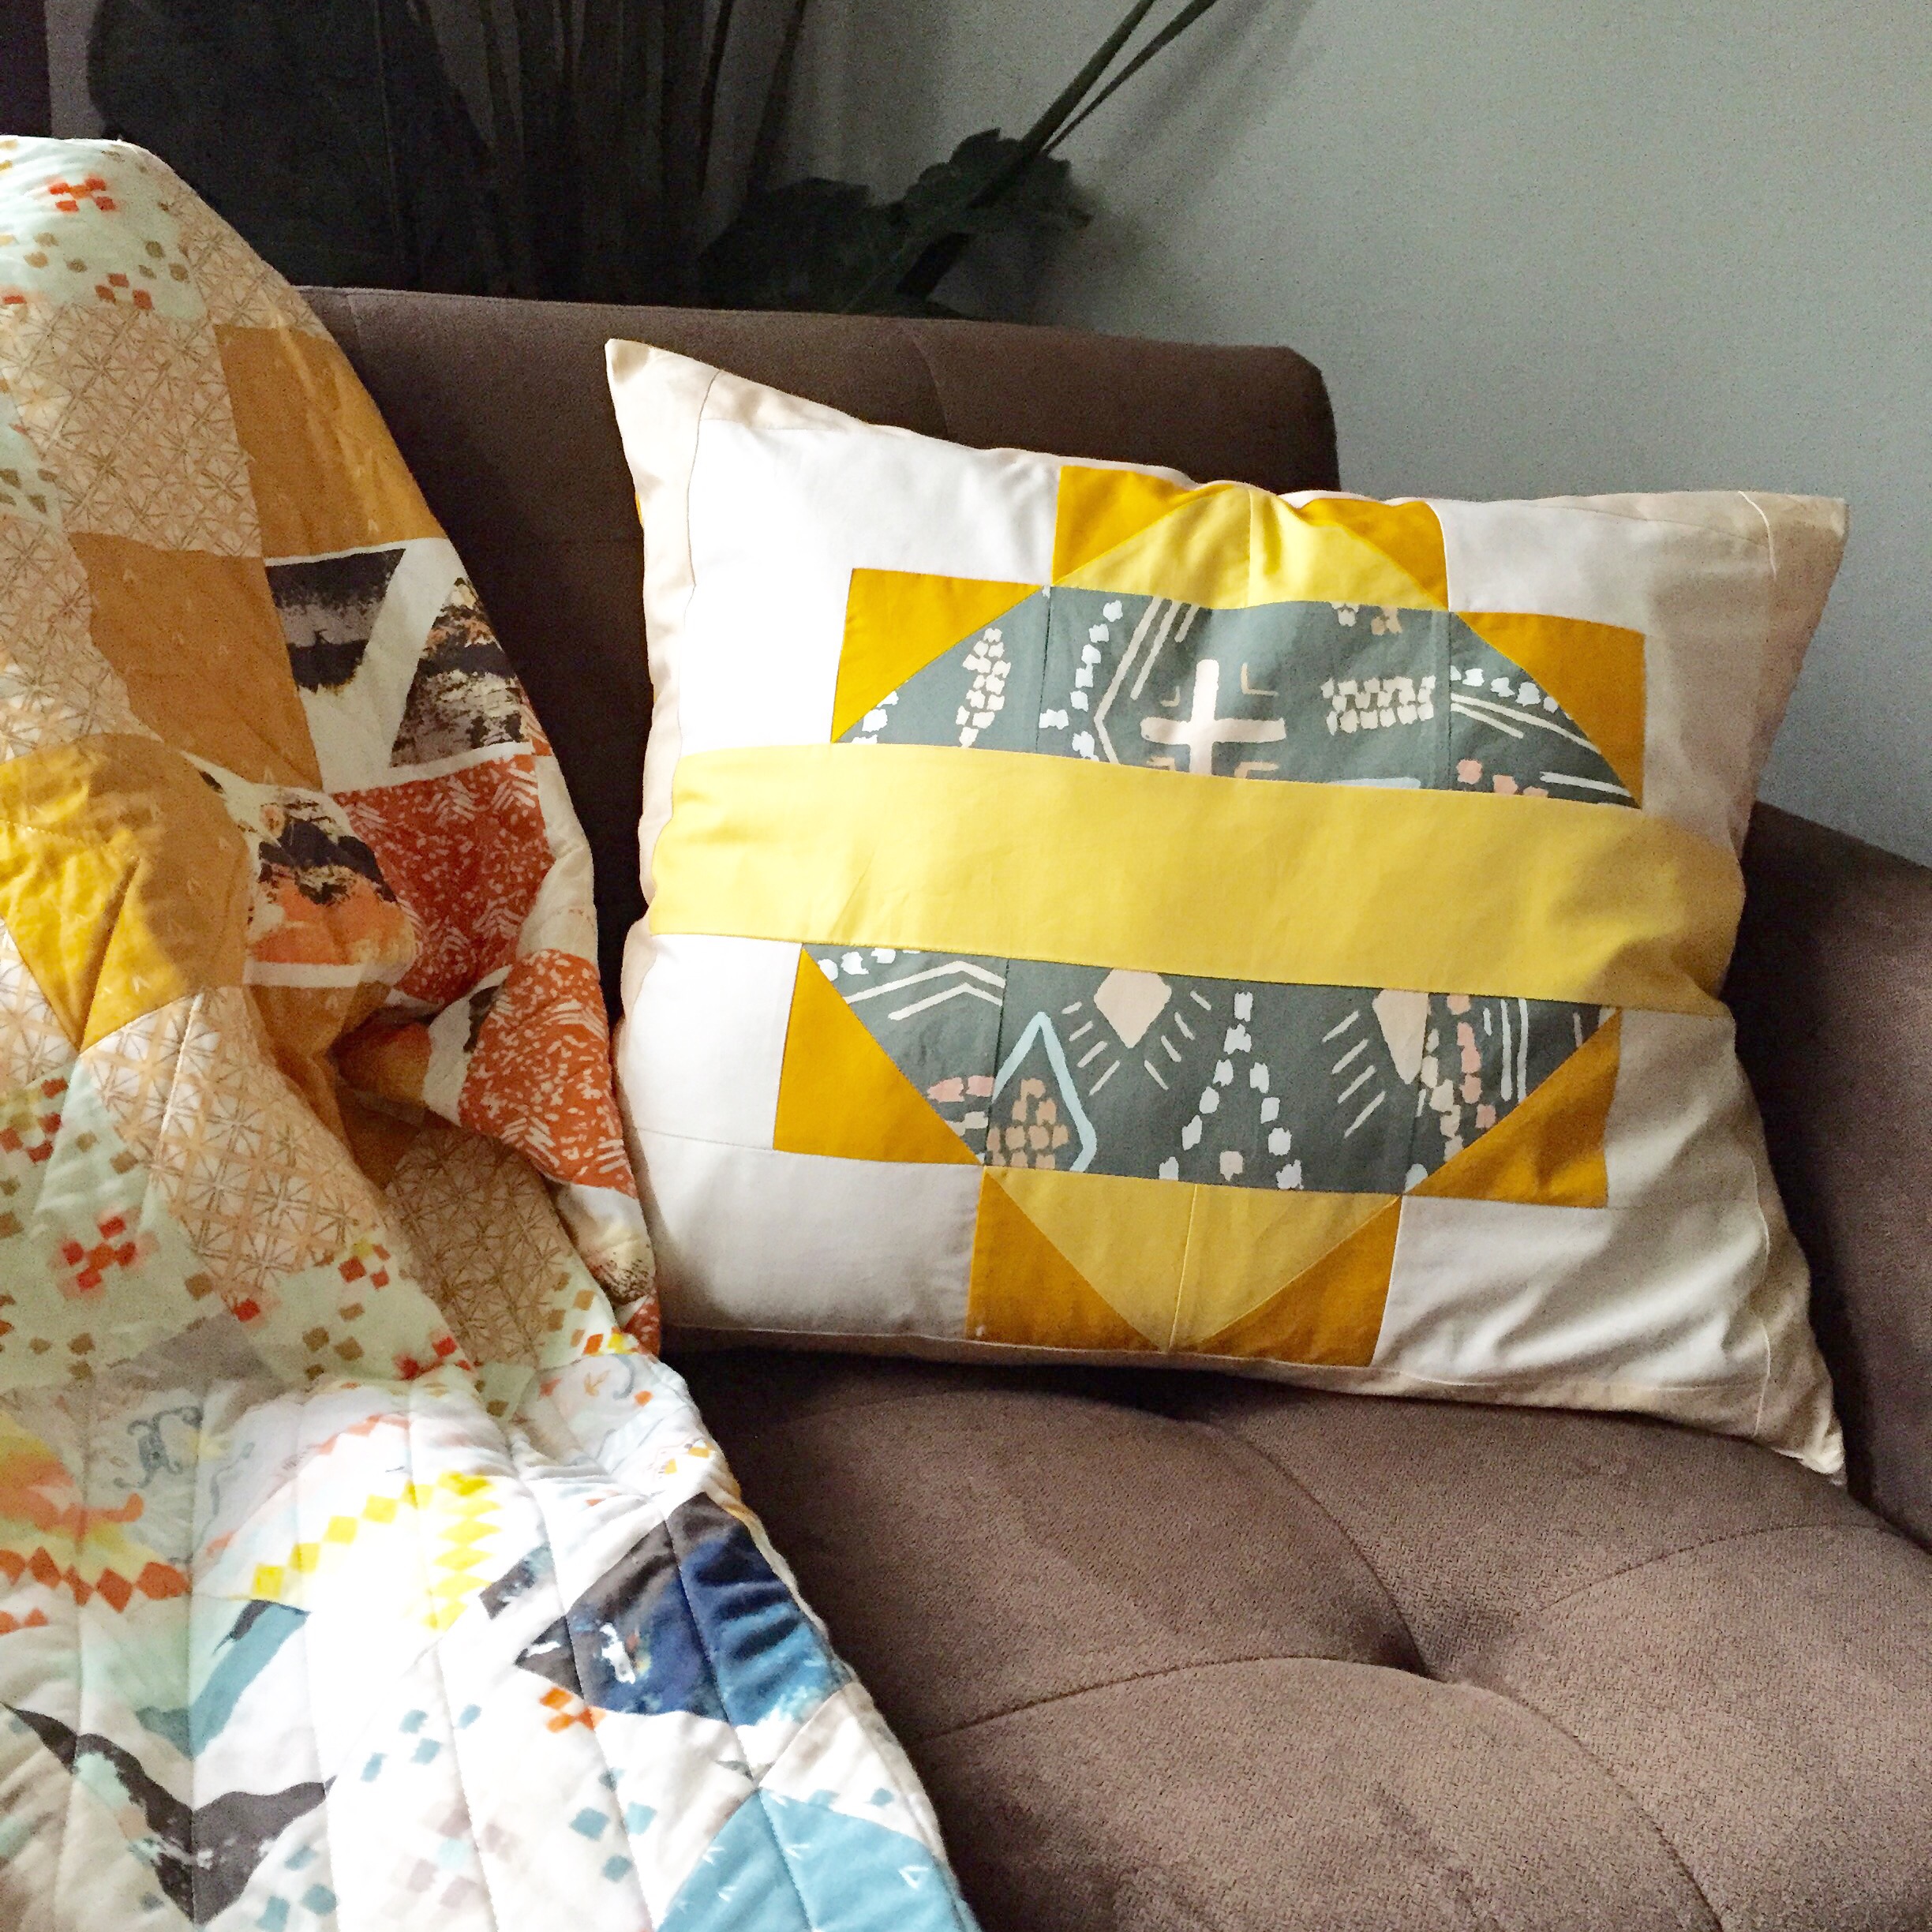
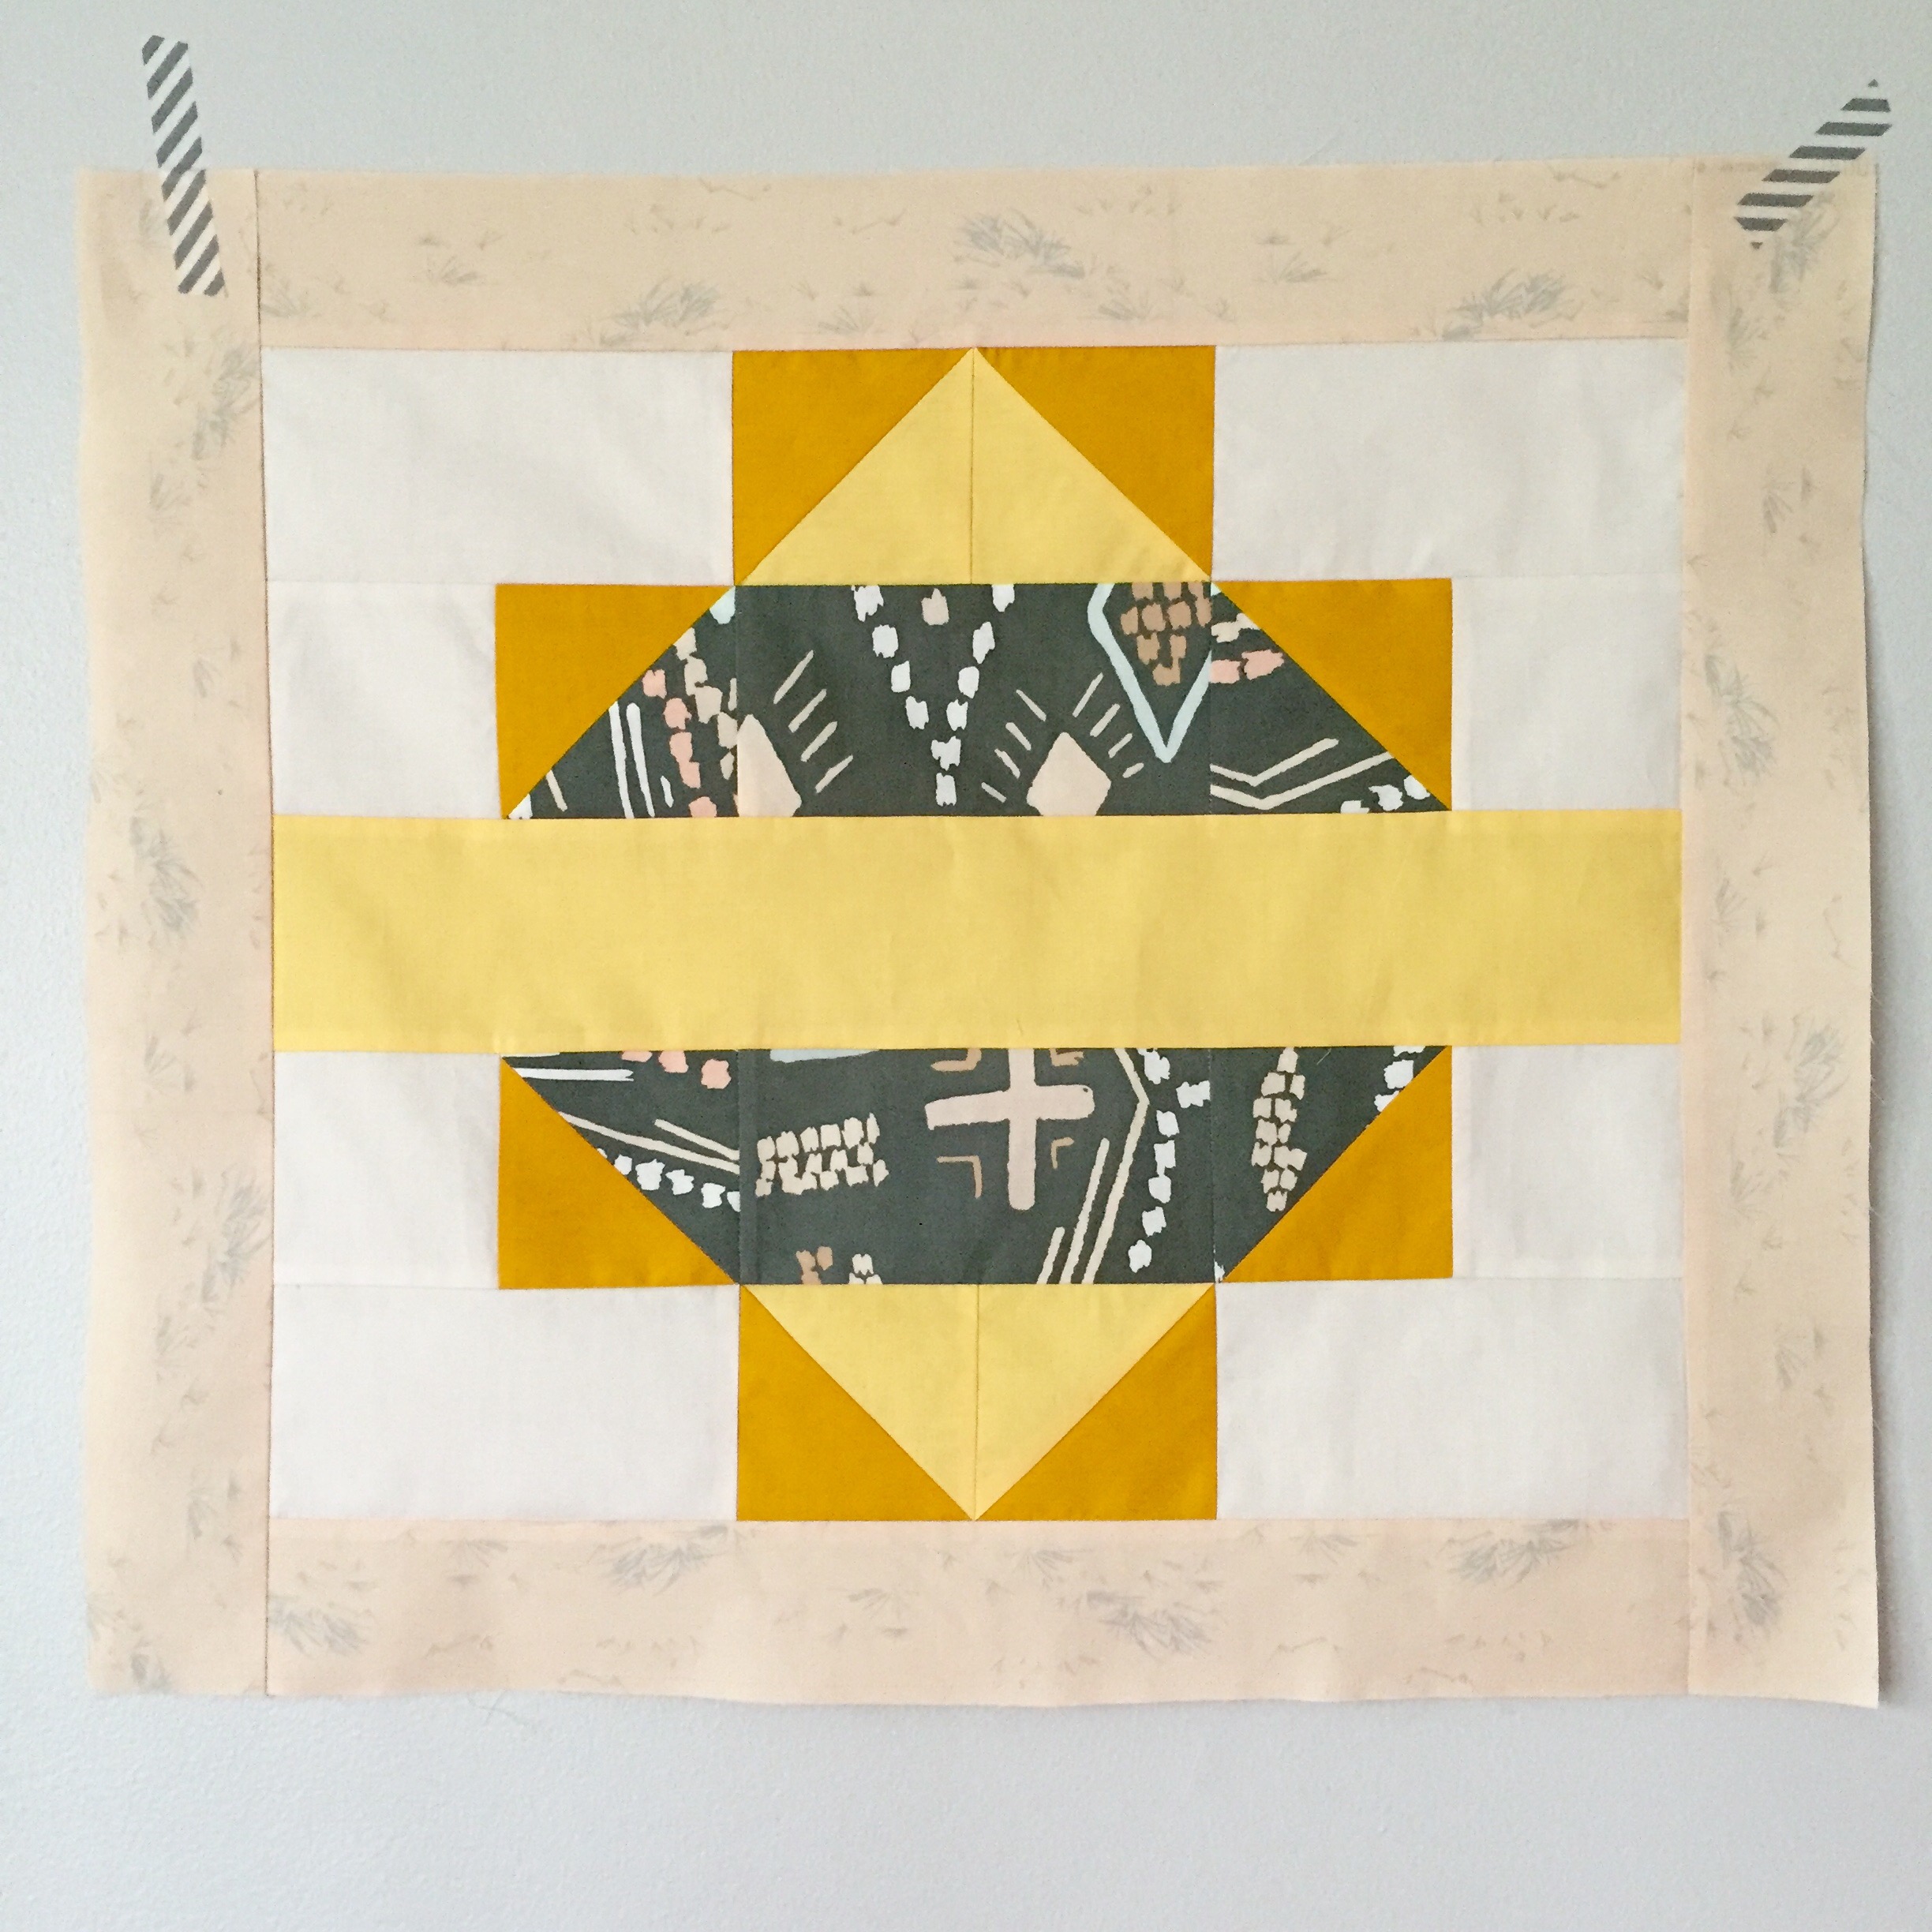
2.) Ancient Lands Pillow

April made the fabric pull on this pillow and it turned out beautifully…No surprise, right?  She is able to use unexpected color combos and make them all work!  I am not usually a yellow/mustard kind of girl (maybe because it blends into my own skin???) so I tend to stay away from these fabrics.  But I think I may start broadening my horizons….

   This pattern is free on Art Gallery’s Blog site and utilizes some HSTs as well.  It’s another great quick beginner project. The fabrics used are Macrame Clay, Growth Stone and Pure Elements Tumeric, Banana Cream, and Linen White.

3.) The Geese Go Painting

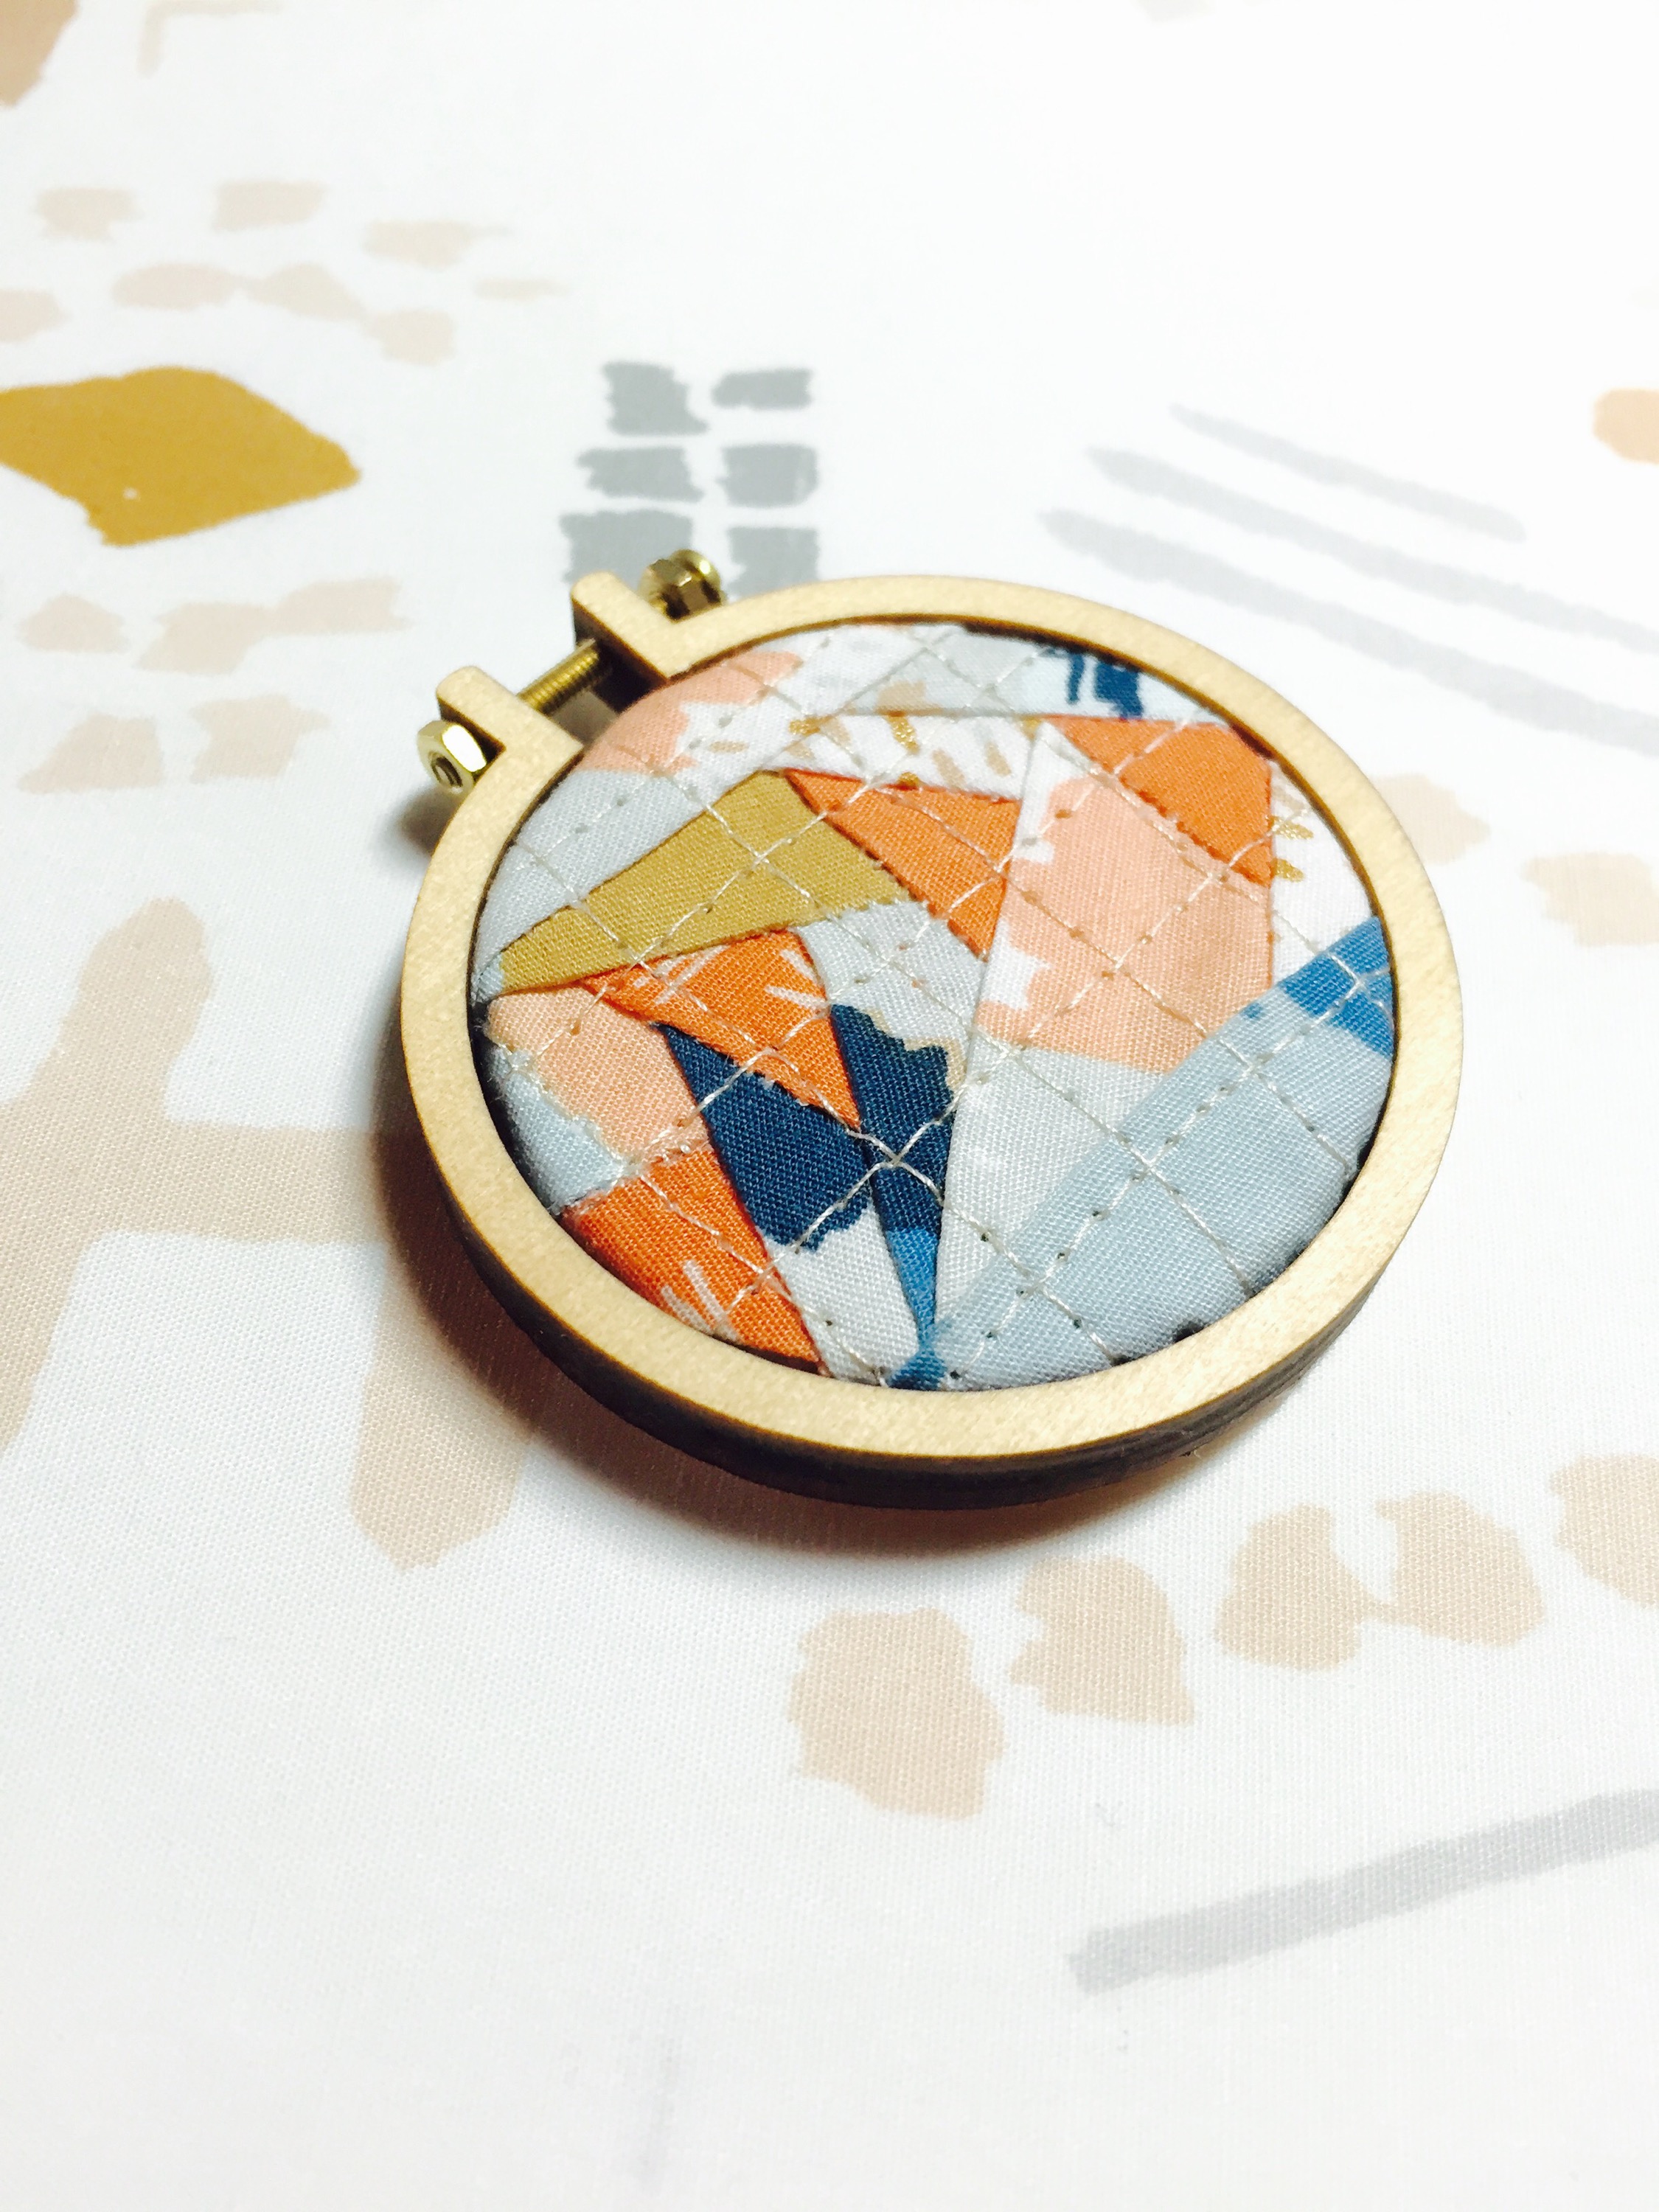
If you don’t know already, I love Flying Geese, Foundation Paper-Piecing (FPP), and Mini-Embroidery Hoops…all together.  It’s fun to make these little quilt hoops…they are a quick project…trust me!

The quilt pattern is called “Goosing Borders” by Jeli Quilts (of course!) and is a FREEBIE!  This is a great pattern to practice to see if you would like the other patterns by Jeli Quilts (I have a feeling you will…)

I used Growth Joy for the geese and Painting Morale as the background.  After downloading the pattern, the printing was set to 25% of the original image to shrink it down enough to fit into this cute Dandelyne 2.2″/ 5.5cm hoop. An extra 1″ was added at the top and bottom as well.

When making these geese, I usually like them to stand out against a neutral background.  But Bound fabrics has such fantastic imagery and detail that you have to look a bit closer and study the design.  I wanted these geese to do the same…so they were “camouflaged” a bit against the different colors in Painting Morale.  The quilting added to the “camouflage” while helping to keep all the piecing intact.  The thread is the same Aurifil 2312 50 wt used in all of these projects.

#quiltedhoop #miniminihoops

========

If you make any of these projects, please send me project pictures via IG or email. I would love to see them!!!

Happy Stitching!

Cristy
Love You Sew

Mother’s Day Giveaway

Mother's Day Giveaway

Moms are my business. I started Love You Sew with all the products I personally wanted but couldn’t find most of these items readily available…or they were non-existent like my breathable car seat cover. So I started sewing and selling. It’s all of you who have made my business grow. I’ve met so many of you incredible moms out there…from one emailing me questions from the NICU to one  ordering for quadruplets!  I’m so grateful for you and want to say thanks!!!

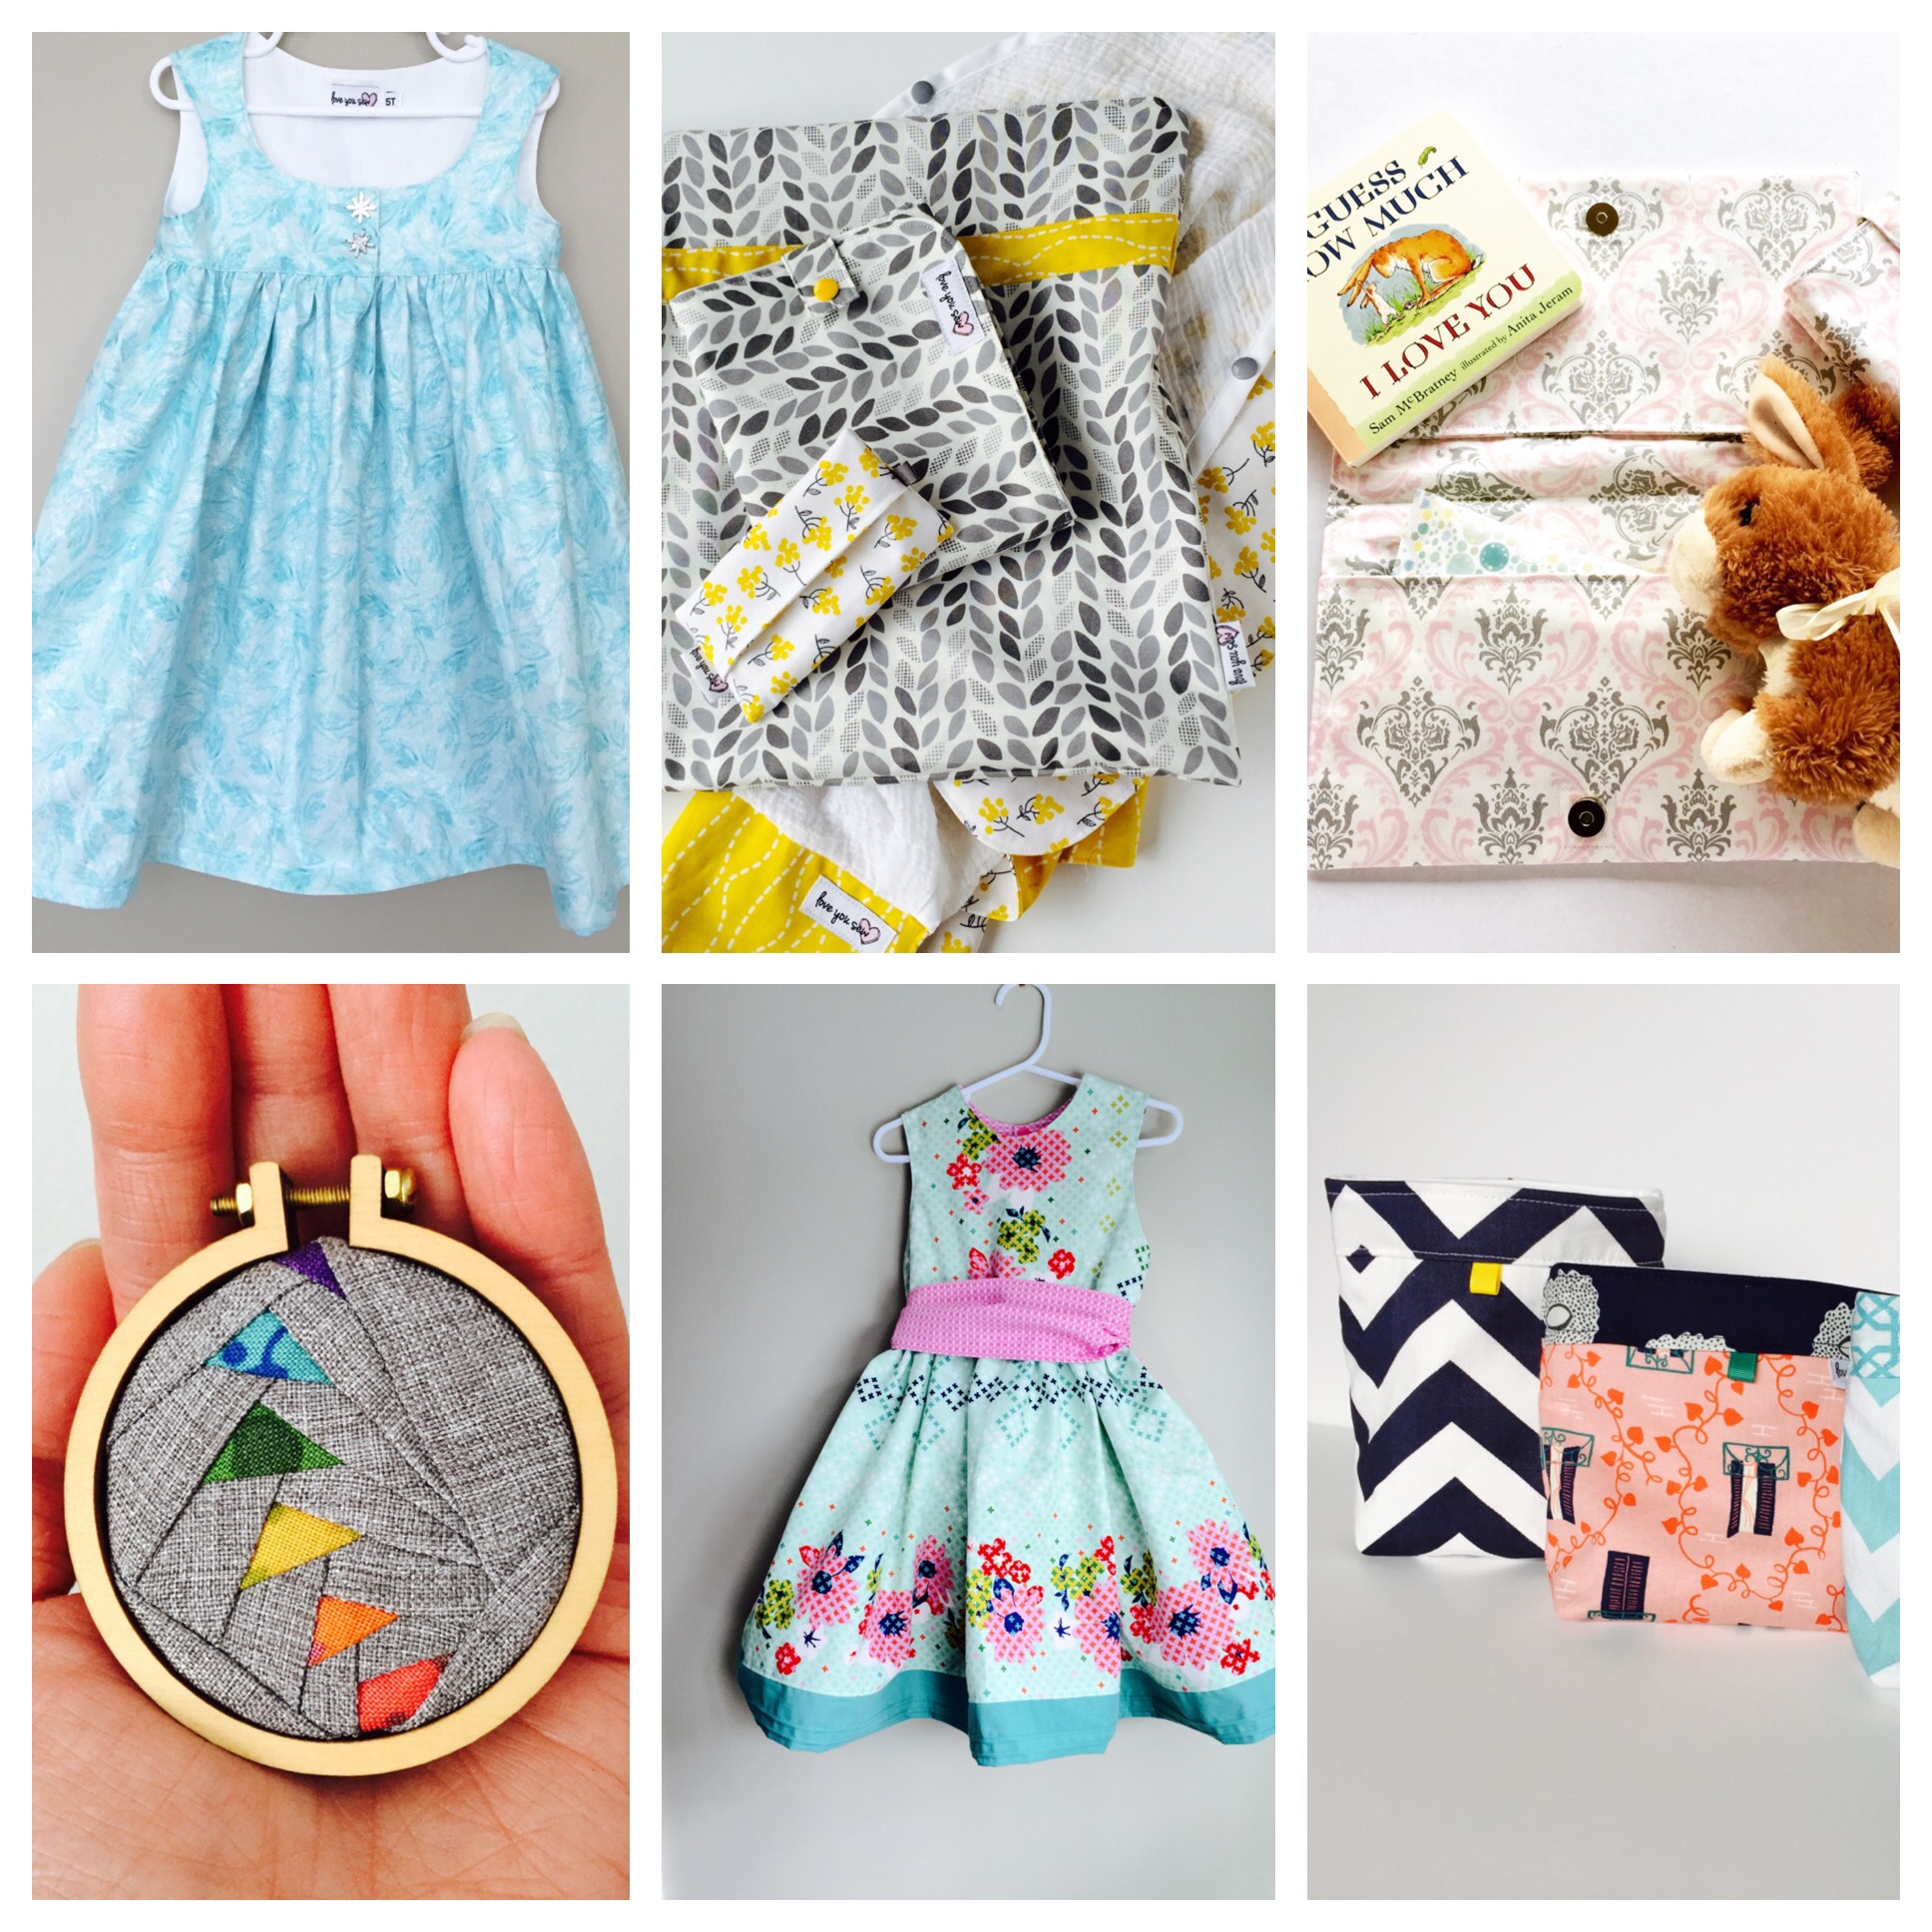
To celebrate all the moms out there, I’m offering $50 shop credit to TWO entrants. Each person will get $50 to spend either in my Etsy shop or for any other custom sewing. This includes dresses, pouches, tablet covers, quilts and more!

LYS Shop Collage

Clockwise from top-left: Elsa-inspired Dress (Caila Made ), Gift Set , Diaper clutch, Reusable Snack Bags, Party Dress (Cottage Mama), Quilted Necklace


The credit is fully transferable…so you can enter in behalf of your favorite mom too! Wouldn’t that be an awesome surprise?!?

{Edit} I’ve added this post to Sew Mama Sew‘s Giveaway Day/Week! Head over to her blog to see all of the other goodies you can win.  What a great way to enter a bunch of awesome giveaways in one spot, right??? I saw fabric, bags, and even long-arm quilting! 😍😍😍

To enter, you can do the following:

  • For two entries – Sign up for my newsletter
  • For one entry – Leave a comment below on THIS  post answering “What makes Mother’s Day special to you?”

This giveaway will be open until Sunday, May 10th, 8pm EST. I will announce a winner then!

***This giveaway has concluded and winners have been notified.  Congratulations Michelle Timms and Jeneta!!! Special thanks to Sew Mama Sew for hosting and to all of you who entered 🙂 ***

Good luck everyone!!!

Xo,

Cristy