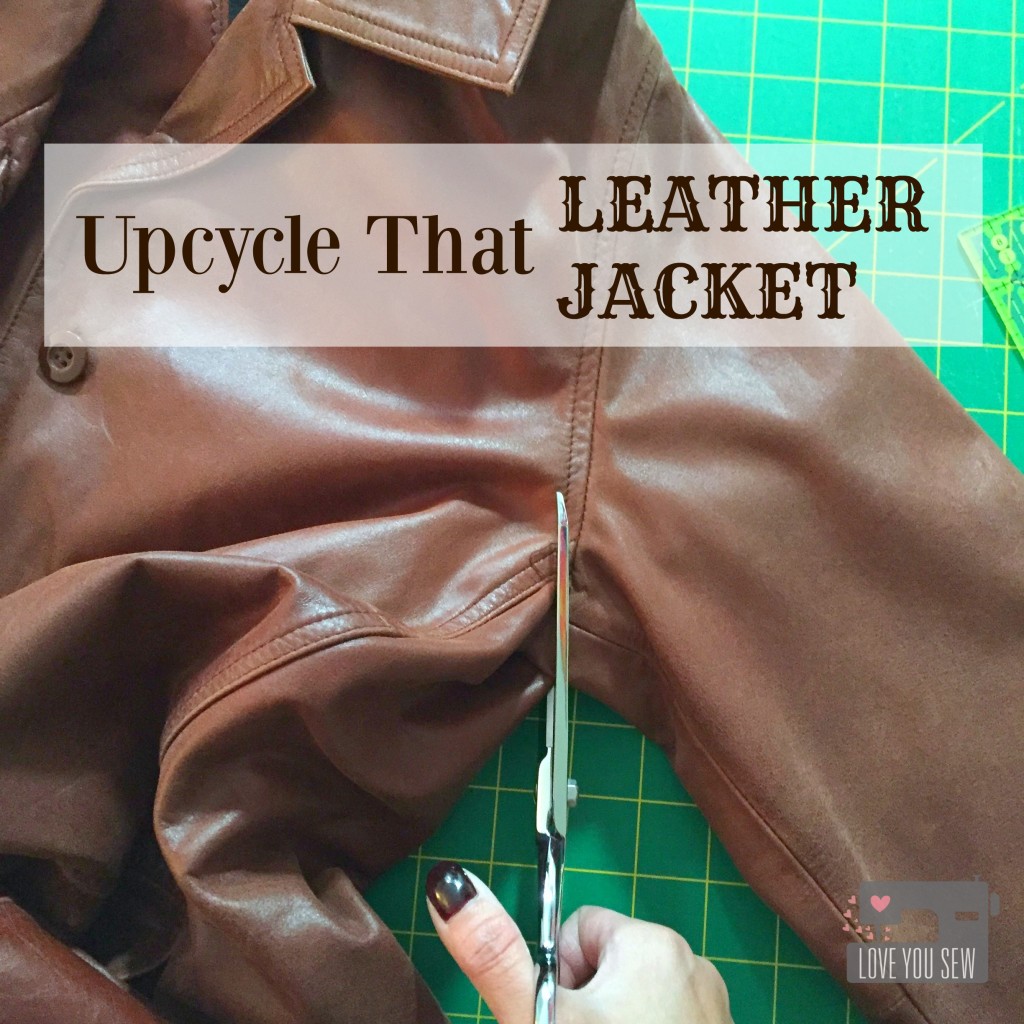
Upcycle That Leather Jacket

LeatherTitle

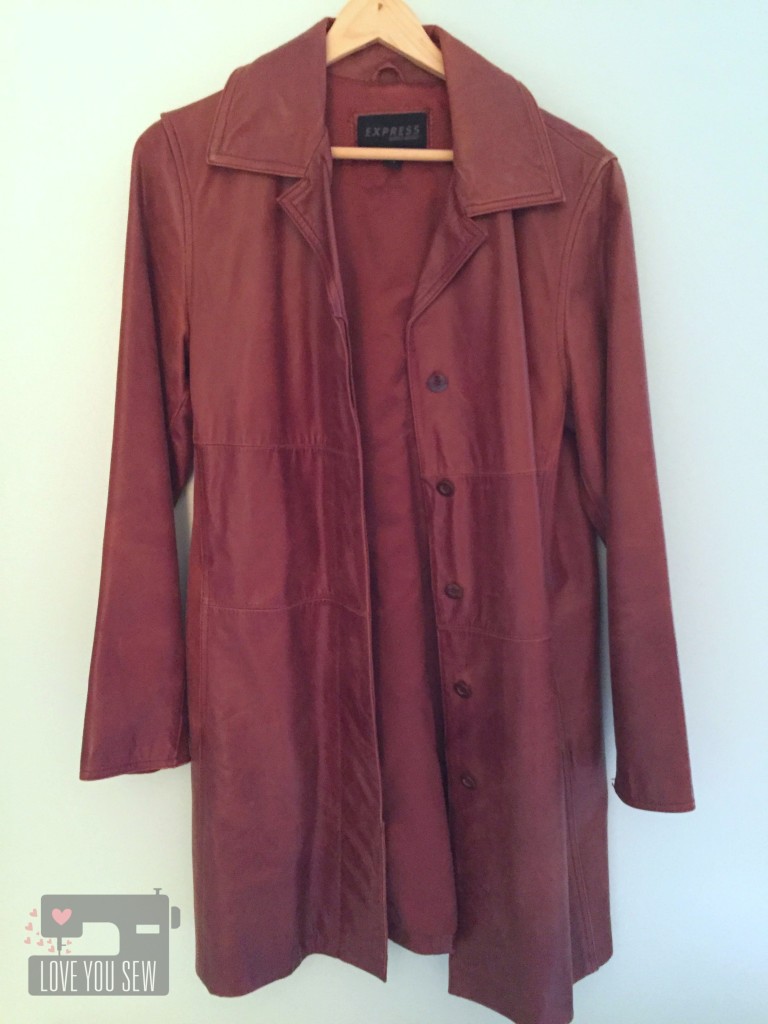
Are you like me…stowing away your 15 year old leather jackets?  ‘Not because they’ll ever come back into style or because they hold some kind of sentimental memories…but because you spent your hard-earned waitressing money on a coat that was way over priced…and you HAD to have it?  Yup, this was one of them.

WholeJacket

I bought this cinnamon colored jacket around 1999/2000 and just swooned over the buttery leather.  This shapeless car coat style was “all the rage” and I wore it all.the.time.  It was my go-to jacket when heading out to “the clubs.”  Oh the memories….

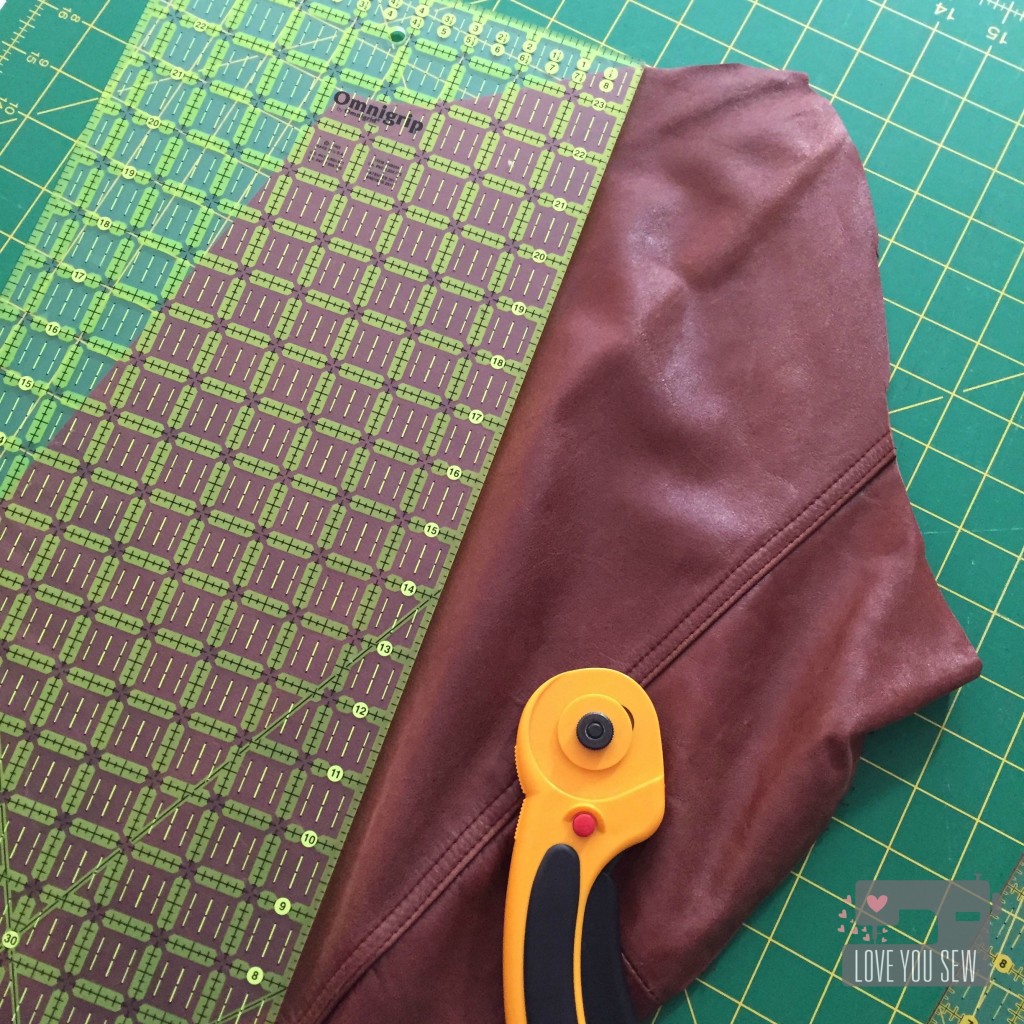
CutUpSleeve

I made it through college, 5 apartments, my first condo, two homes, and this jacket has come with me.  It has survived countless closet cleanings.  Why?  Because it still had value to me…not to some random person at goodwill or craigslist could ever appreciate.

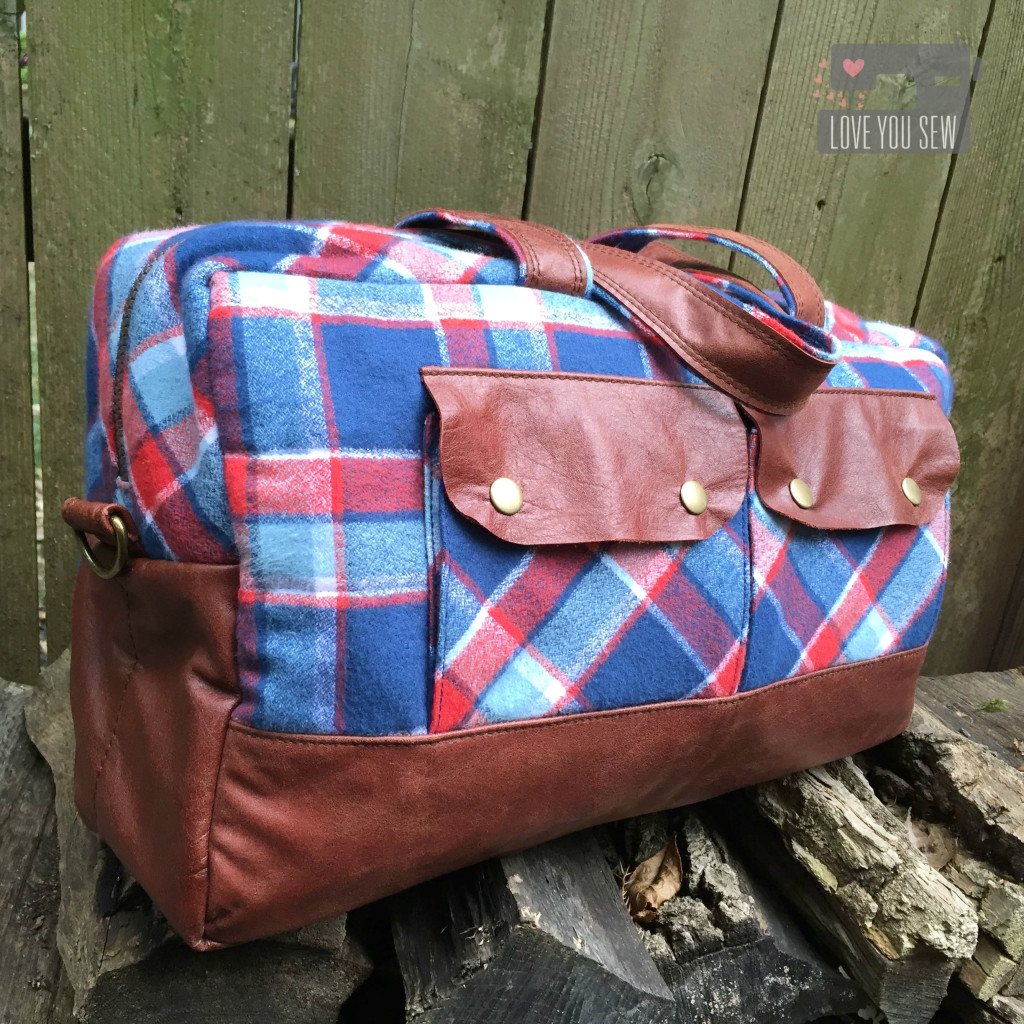
CDFullFrontProfile

But now I’m in my mid 30’s…a wife…a mom…but I sew!  And I sew bags……  I finally found the perfect use for my beloved car coat.  It would be re-incarnated into a beautiful Cargo Duffle.  You can see it live and in living color over on Sew Sweetness‘ blog for Pursepalooza.

CutUpSleeve

To get the leather ready for transformation, there are a few tips I recommend (Please keep in mind, I am by NO means an expert..just love me some good leather.)

  • Clean and condition the leather while the coat is whole – You want to do this periodically over the life of the jacket…But if you are like me, it didn’t happen for over 10 years.
  • Start to cut through and remove the lining – This will reveal any glue or interfacing.  You know what to cut around and what to remove this way, rather than having to hacksaw your way through.
  • Remove any buttons, zippers, and pockets
  • Cut away any dry areas or where the leather has been stretched to a point where it does not lay flat (just like the top of the sleeve shown above.)
  • If you have a pattern earmarked for the leather…cut it out in muslin or paper.  Use the templates to lay against the jacket – Unlike fabric, it’s gonna be hard to find a duplicate piece of leather that matches what you have.
  • Now you’re ready to cut up the jacket
  • Before sewing, condition the leather again if it was neglected for years like mine.
  • Save the scraps!!!  You’ll need them for tension testing (which I had to do quite a bit…) and for making fun tassels later 😉

Do you have any additional tips?  I’d love to hear them all!


Scissor Happy,

Cristy
 

Craft Shows {Why to Partner Up}

Craft Shows - Why to Partner Up

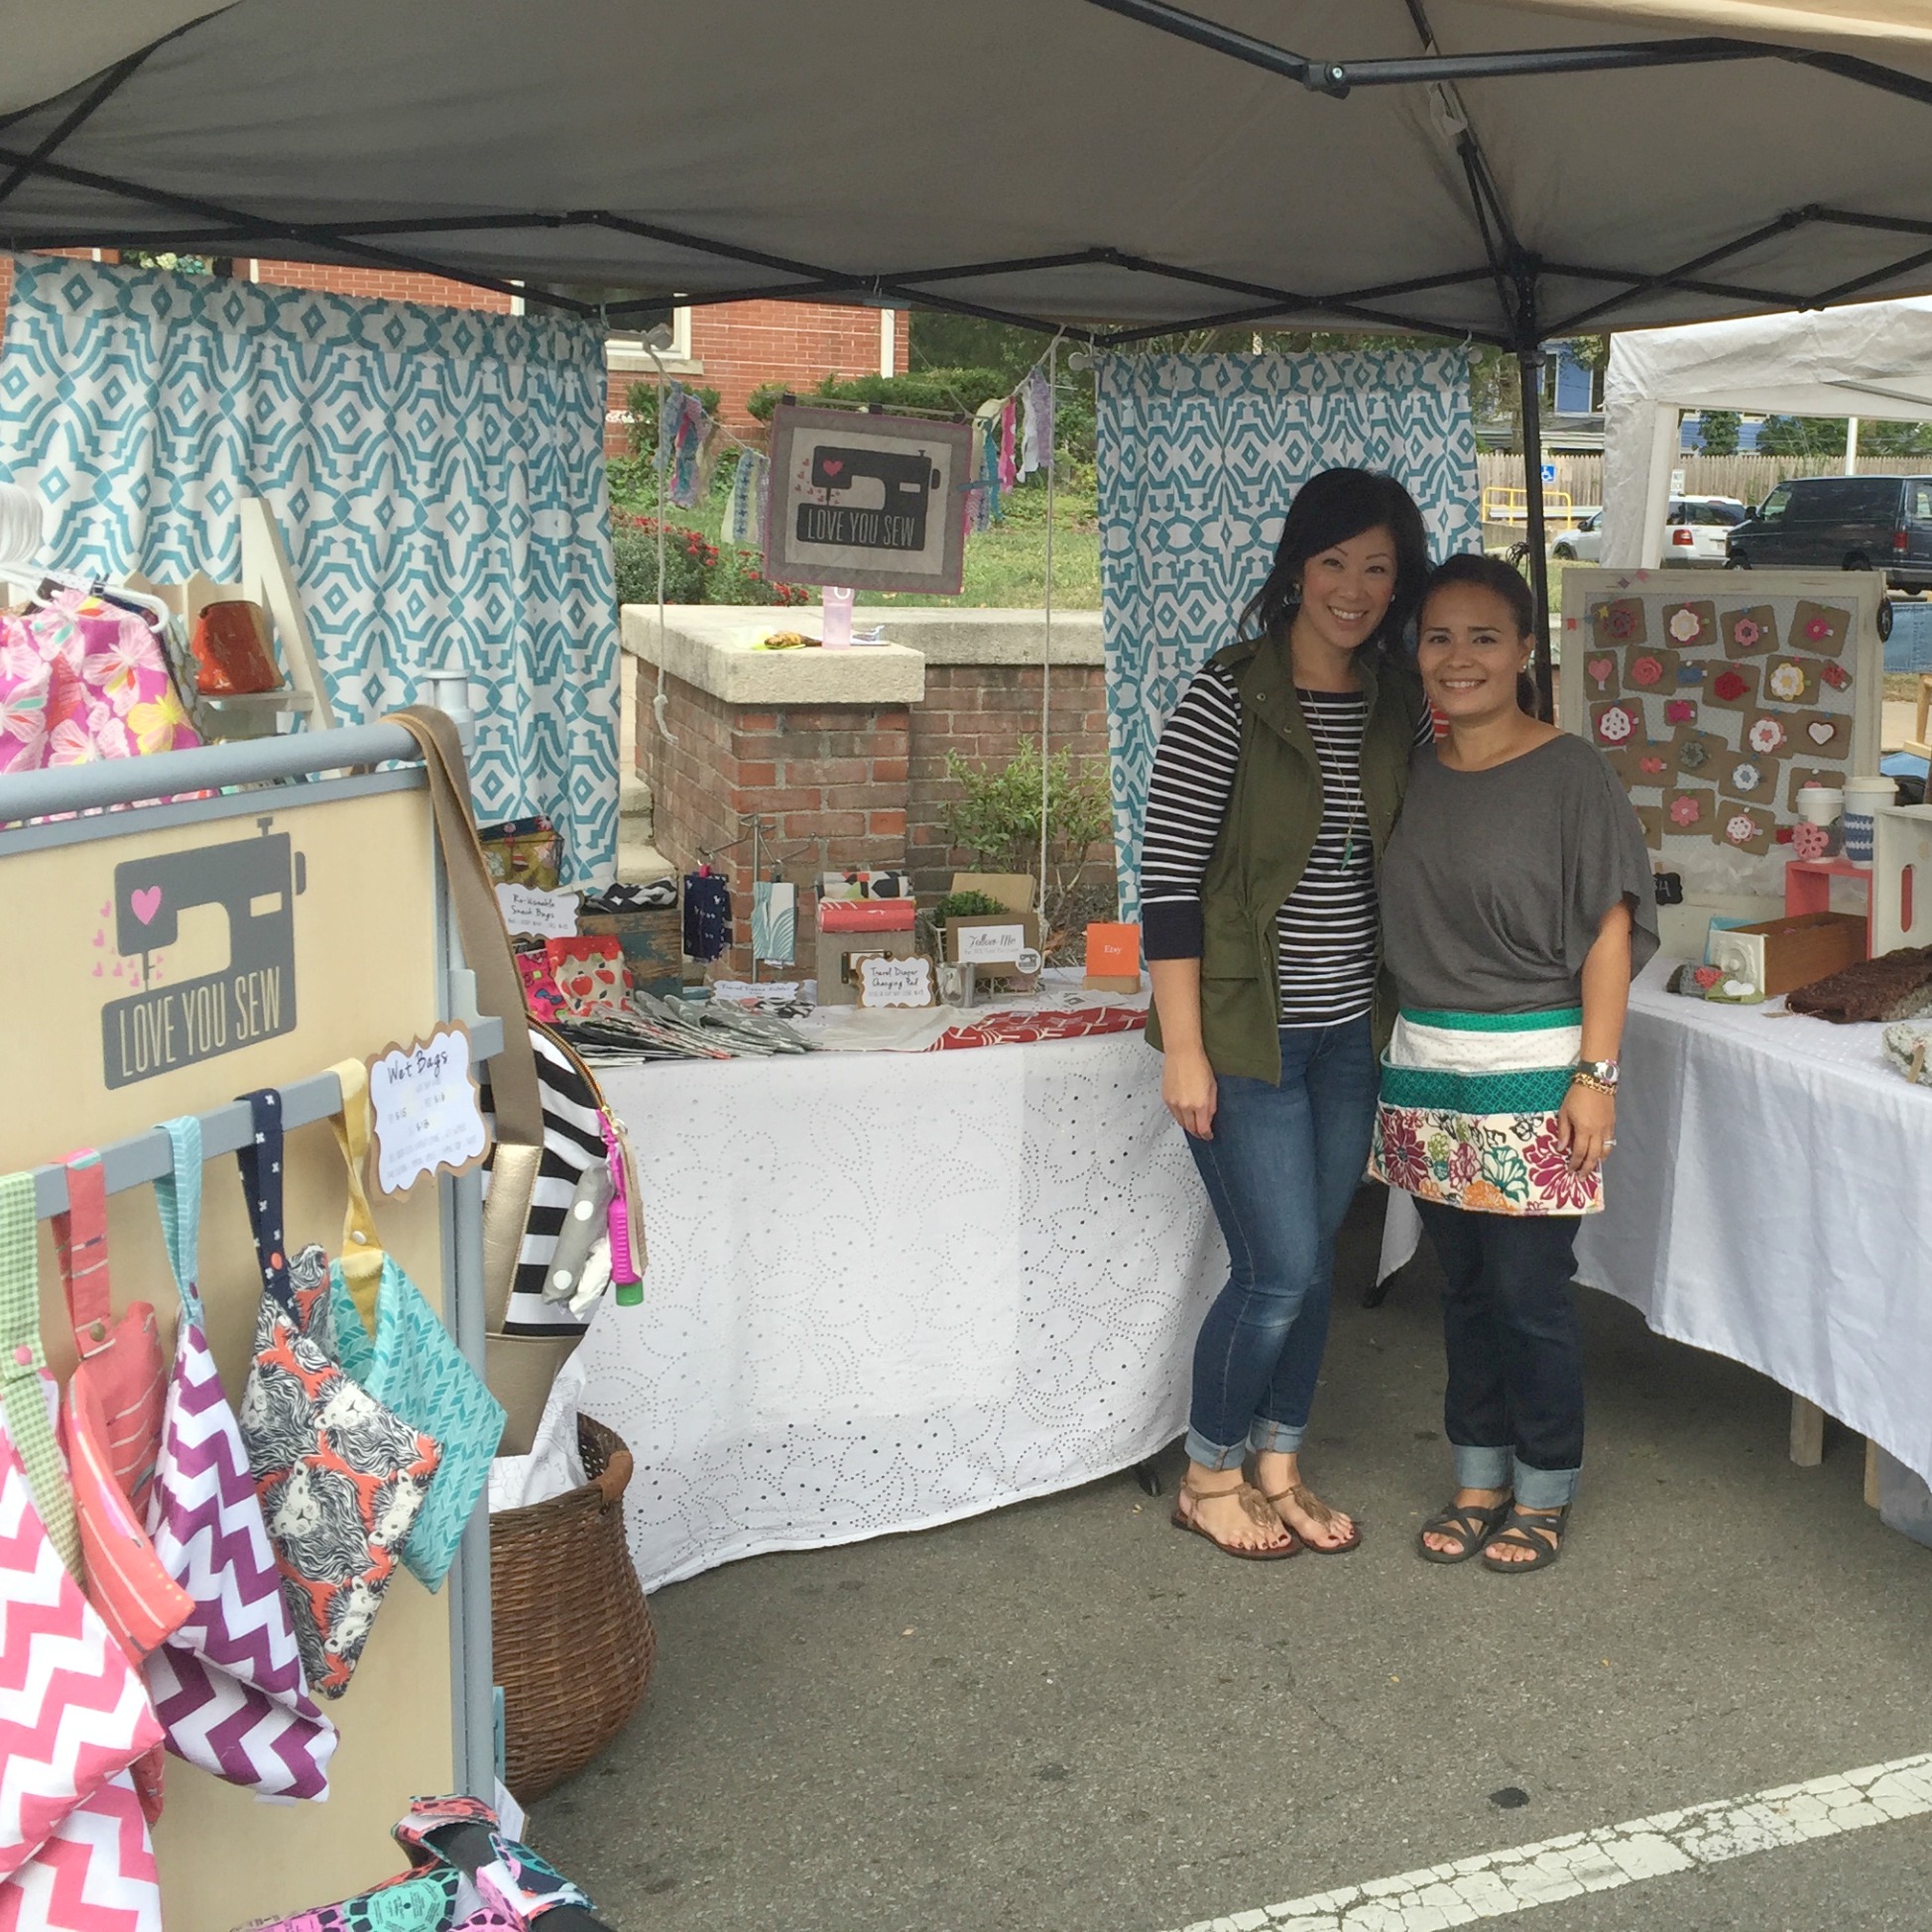
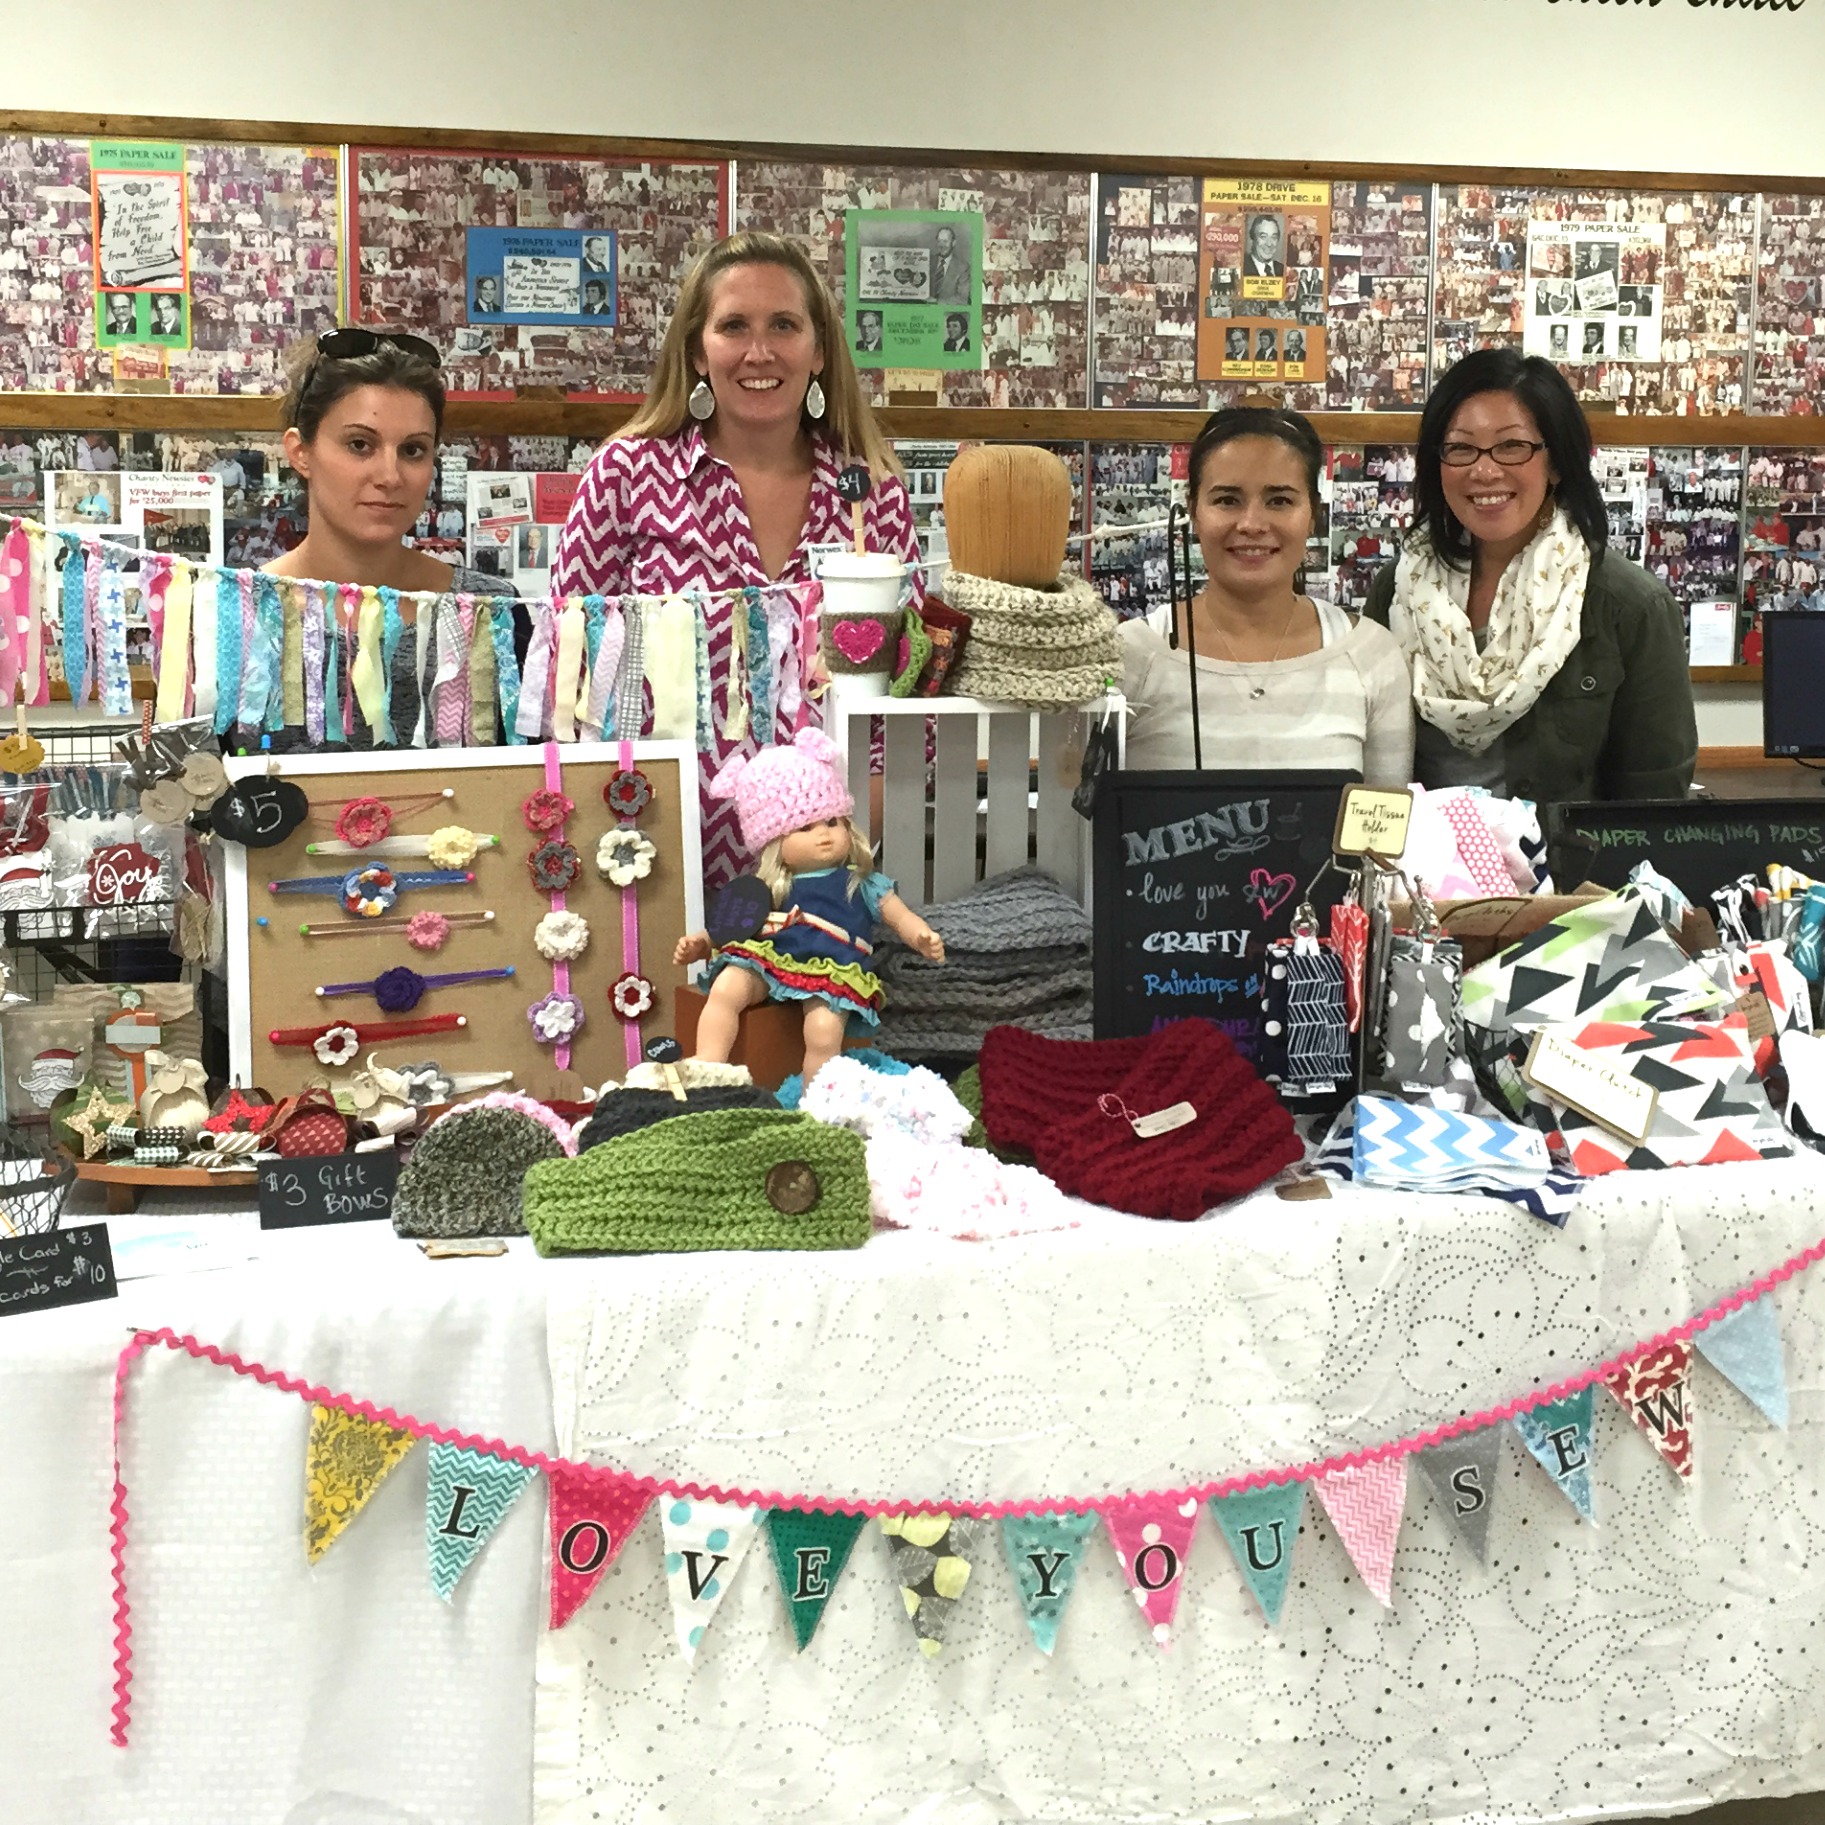
Last week, I had my first craft show/market/fair/event of the season.  I’ve been doing them for a few years now and I wanted to share my experiences.  Before even getting to the show, there is quite a bit to consider and one of them is why I always have a partner…or three!

When I first started out selling my sewn goods, there were four of us that partnered in all of our shows.  We all offered a different kind of craft…crochet, paper-crafting, and sewing.  Collectively, we were all stay-at-home-moms who wanted to earn a little extra money to fund our hobbies. Our crafts were complementary and we figured we’d draw in a similar buyer…..so we thought, why not start doing shows together?

Worthington2015

The Pros:

  • Shared Costs – There is always the thought, “What if I don’t sell anything?”  By having a partner, you are still able to get involved in the community without have to spend as much money for it.  We could always get the largest booth offered (typically a 10x10ft).  By splitting the costs, the risk of loss was greatly decreased.
  • Able to do More Events – With the split in costs, there is also the opportunity to try out a few  shows and see what crowds are drawn. Each event is different and it’s nice to test out what works with your products.
  • Split Responsibilities – Life gets crazy…especially with stay-at-home-moms of young children!  We would divide who fills out the application and letting the rest of the group know the logistics (set-up time, actual time of the event, etc.)  This made the shows more manageable for everyone
  • Built in relief –  Some shows will have people who will help watch your booth if you need to step away, but that’s time that you cannot make a sale.  By having partners, I have been able to use the restroom, eat, check out the show itself and even take care of things at home, if needed.  This can happen all while still having someone around to sell for me.
  • Pulled Resources – As we started out, we were playing with show displays quite a bit.  It was nice to borrow and share what we already had without having to make significant investments.  We shared signs, decor, tablecloths and tables.
  • Help with Set-Up and Tear-Down – Having additional hands is always nice!  It makes lighter work and you are able to get this all done more quickly.  With the shows last 5-7hrs, saving any amount of time is precious.
  • It’s Fun – Selling at shows takes a lot of work, but it’s a nice day to spend with someone who shares the event with you.

Sprout2014

THE Cons:

  • Life Happens –  There is the risk of partners pulling out of events for illness (especially during the winter season) or other family obligations.  But if you have a great group like me, they will still want to help sell your goods!  Between the group of four, each of us had missed at least one show, but we still sold everyone’s products.
  • It Gets Crowded – The booth would be full with all of us just vending.  So, we really had to coordinate schedules to not all be there at once and be mindful of the customers coming in.  The booth itself fills up quickly with so much product, so it’s important to also share the space fairly.
  • Set-up and Tear-down – These are always the most labor intensive parts of selling.  Most of our shows start set-up at around 7am and with my partners having babies, not everyone could make it to assist.  There needed to be extra coordination to drop off or pick up product the night before…but it all evened out.  If one person couldn’t make it for set-up, then she had to make it for tear-down and vice-versa.

Luckily, we never had any major issues and everyone was considerate of each other.  It makes a big difference to choose the RIGHT partners!  Have you sold at any craft shows or are thinking about it??? Do you work alone or with a partner?

<< You can find out where I will be selling for the rest of year, here. >>


Happy Fall,

Cristy

Dwelling Quilt {Pattern Testing}

DwellingTitle

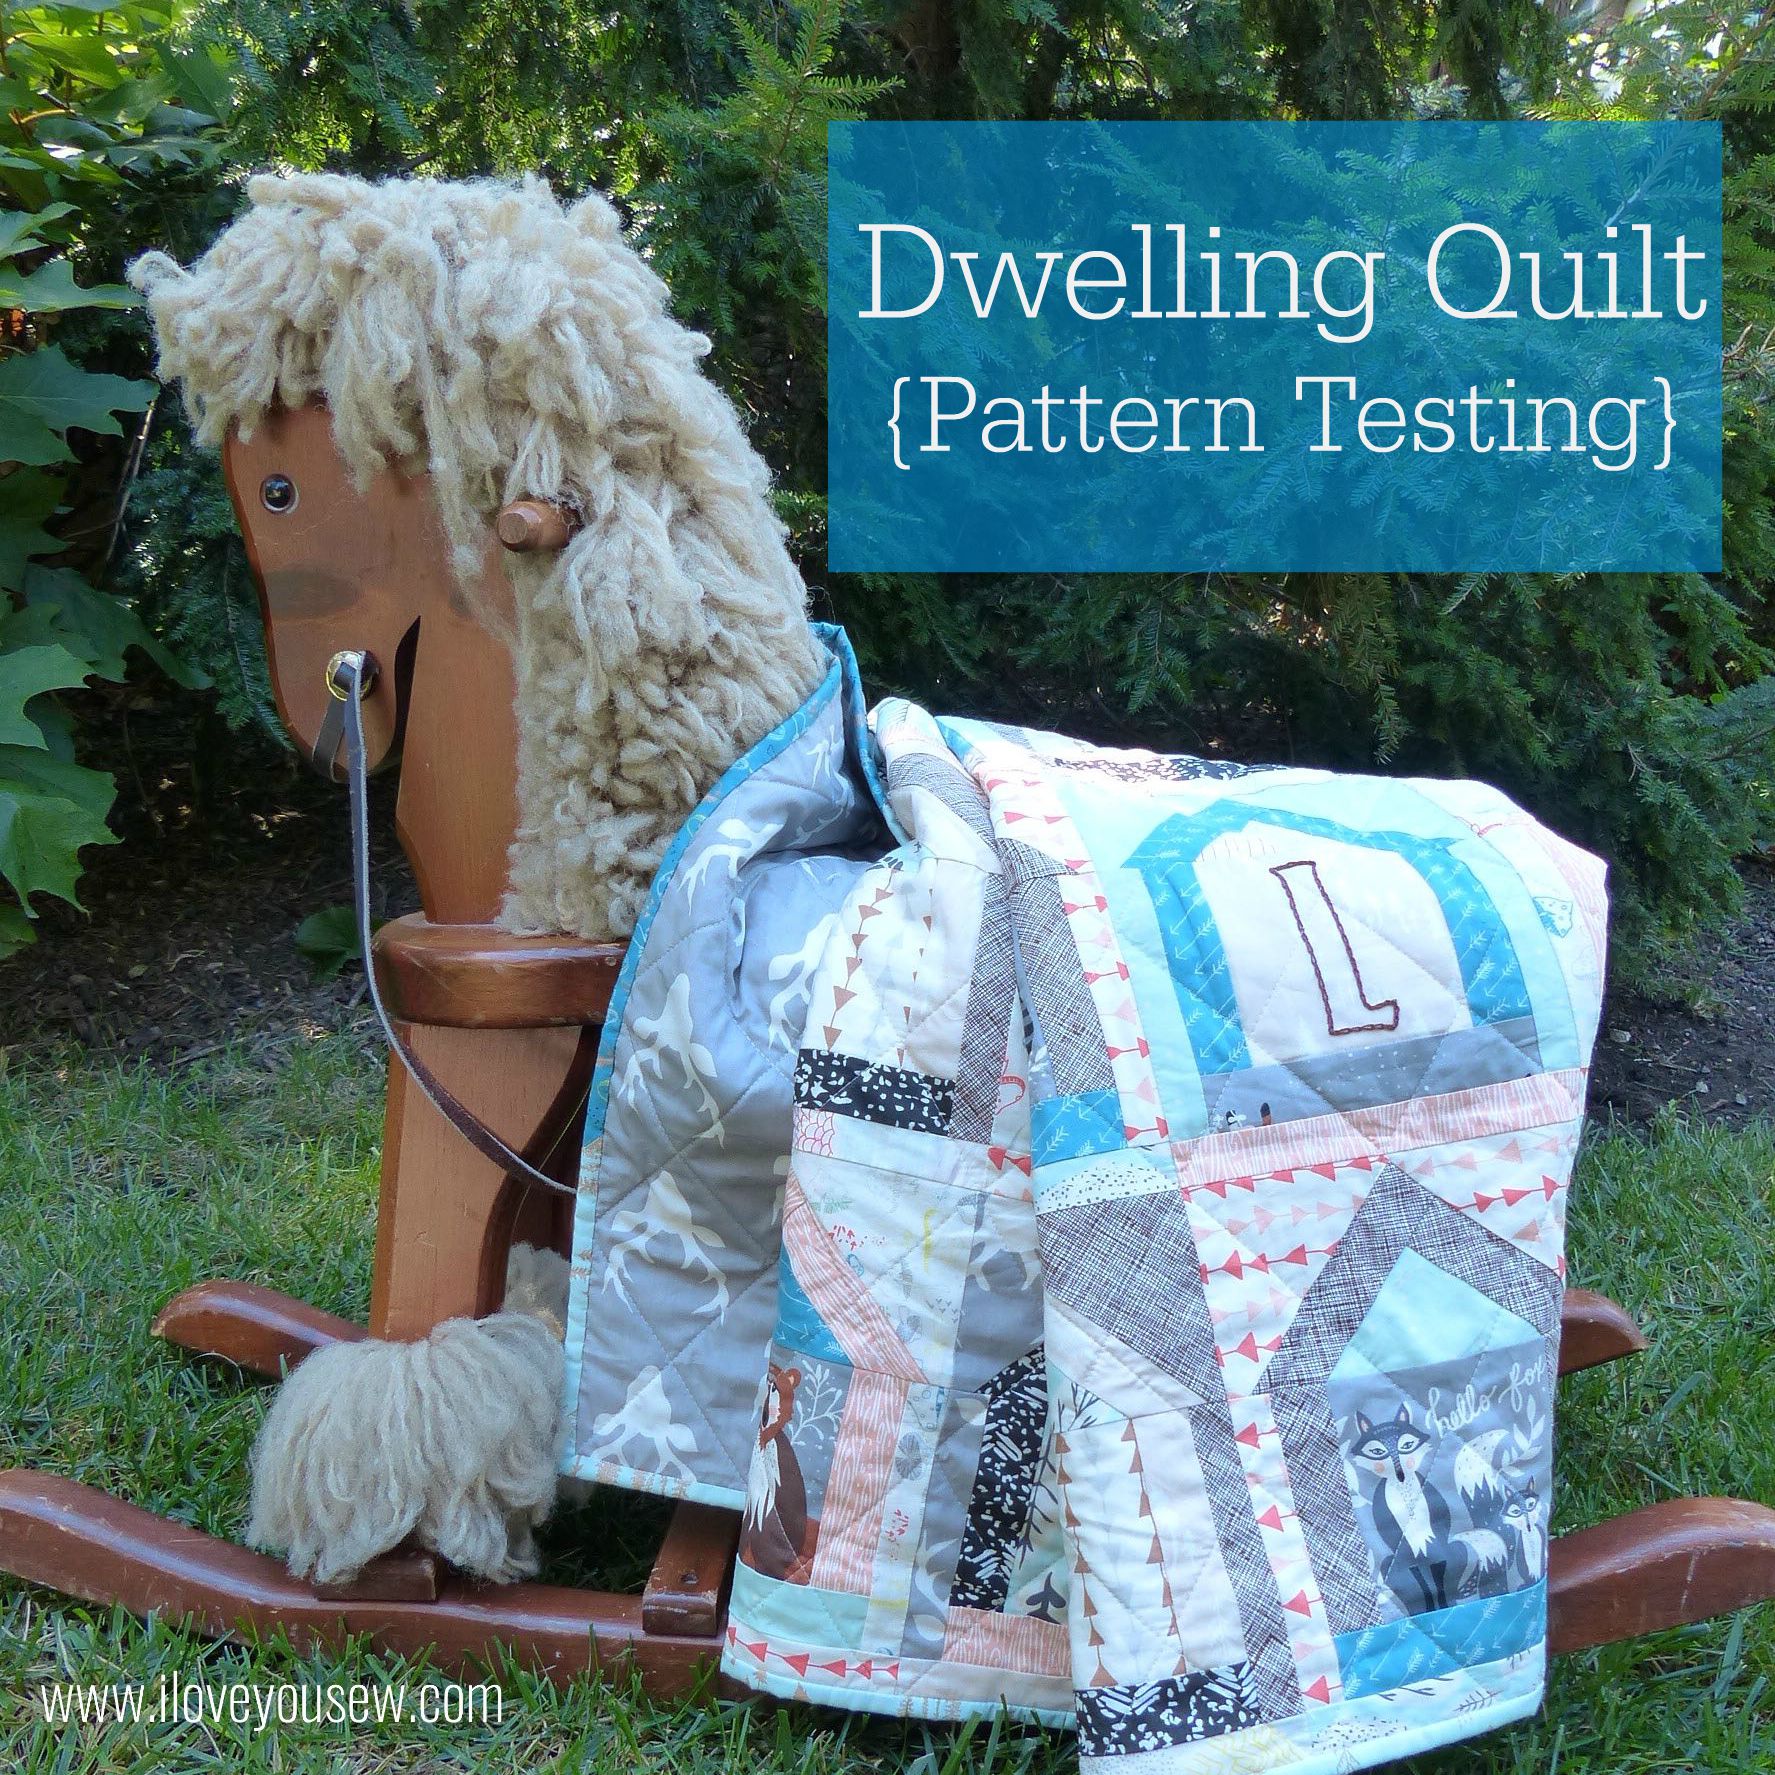
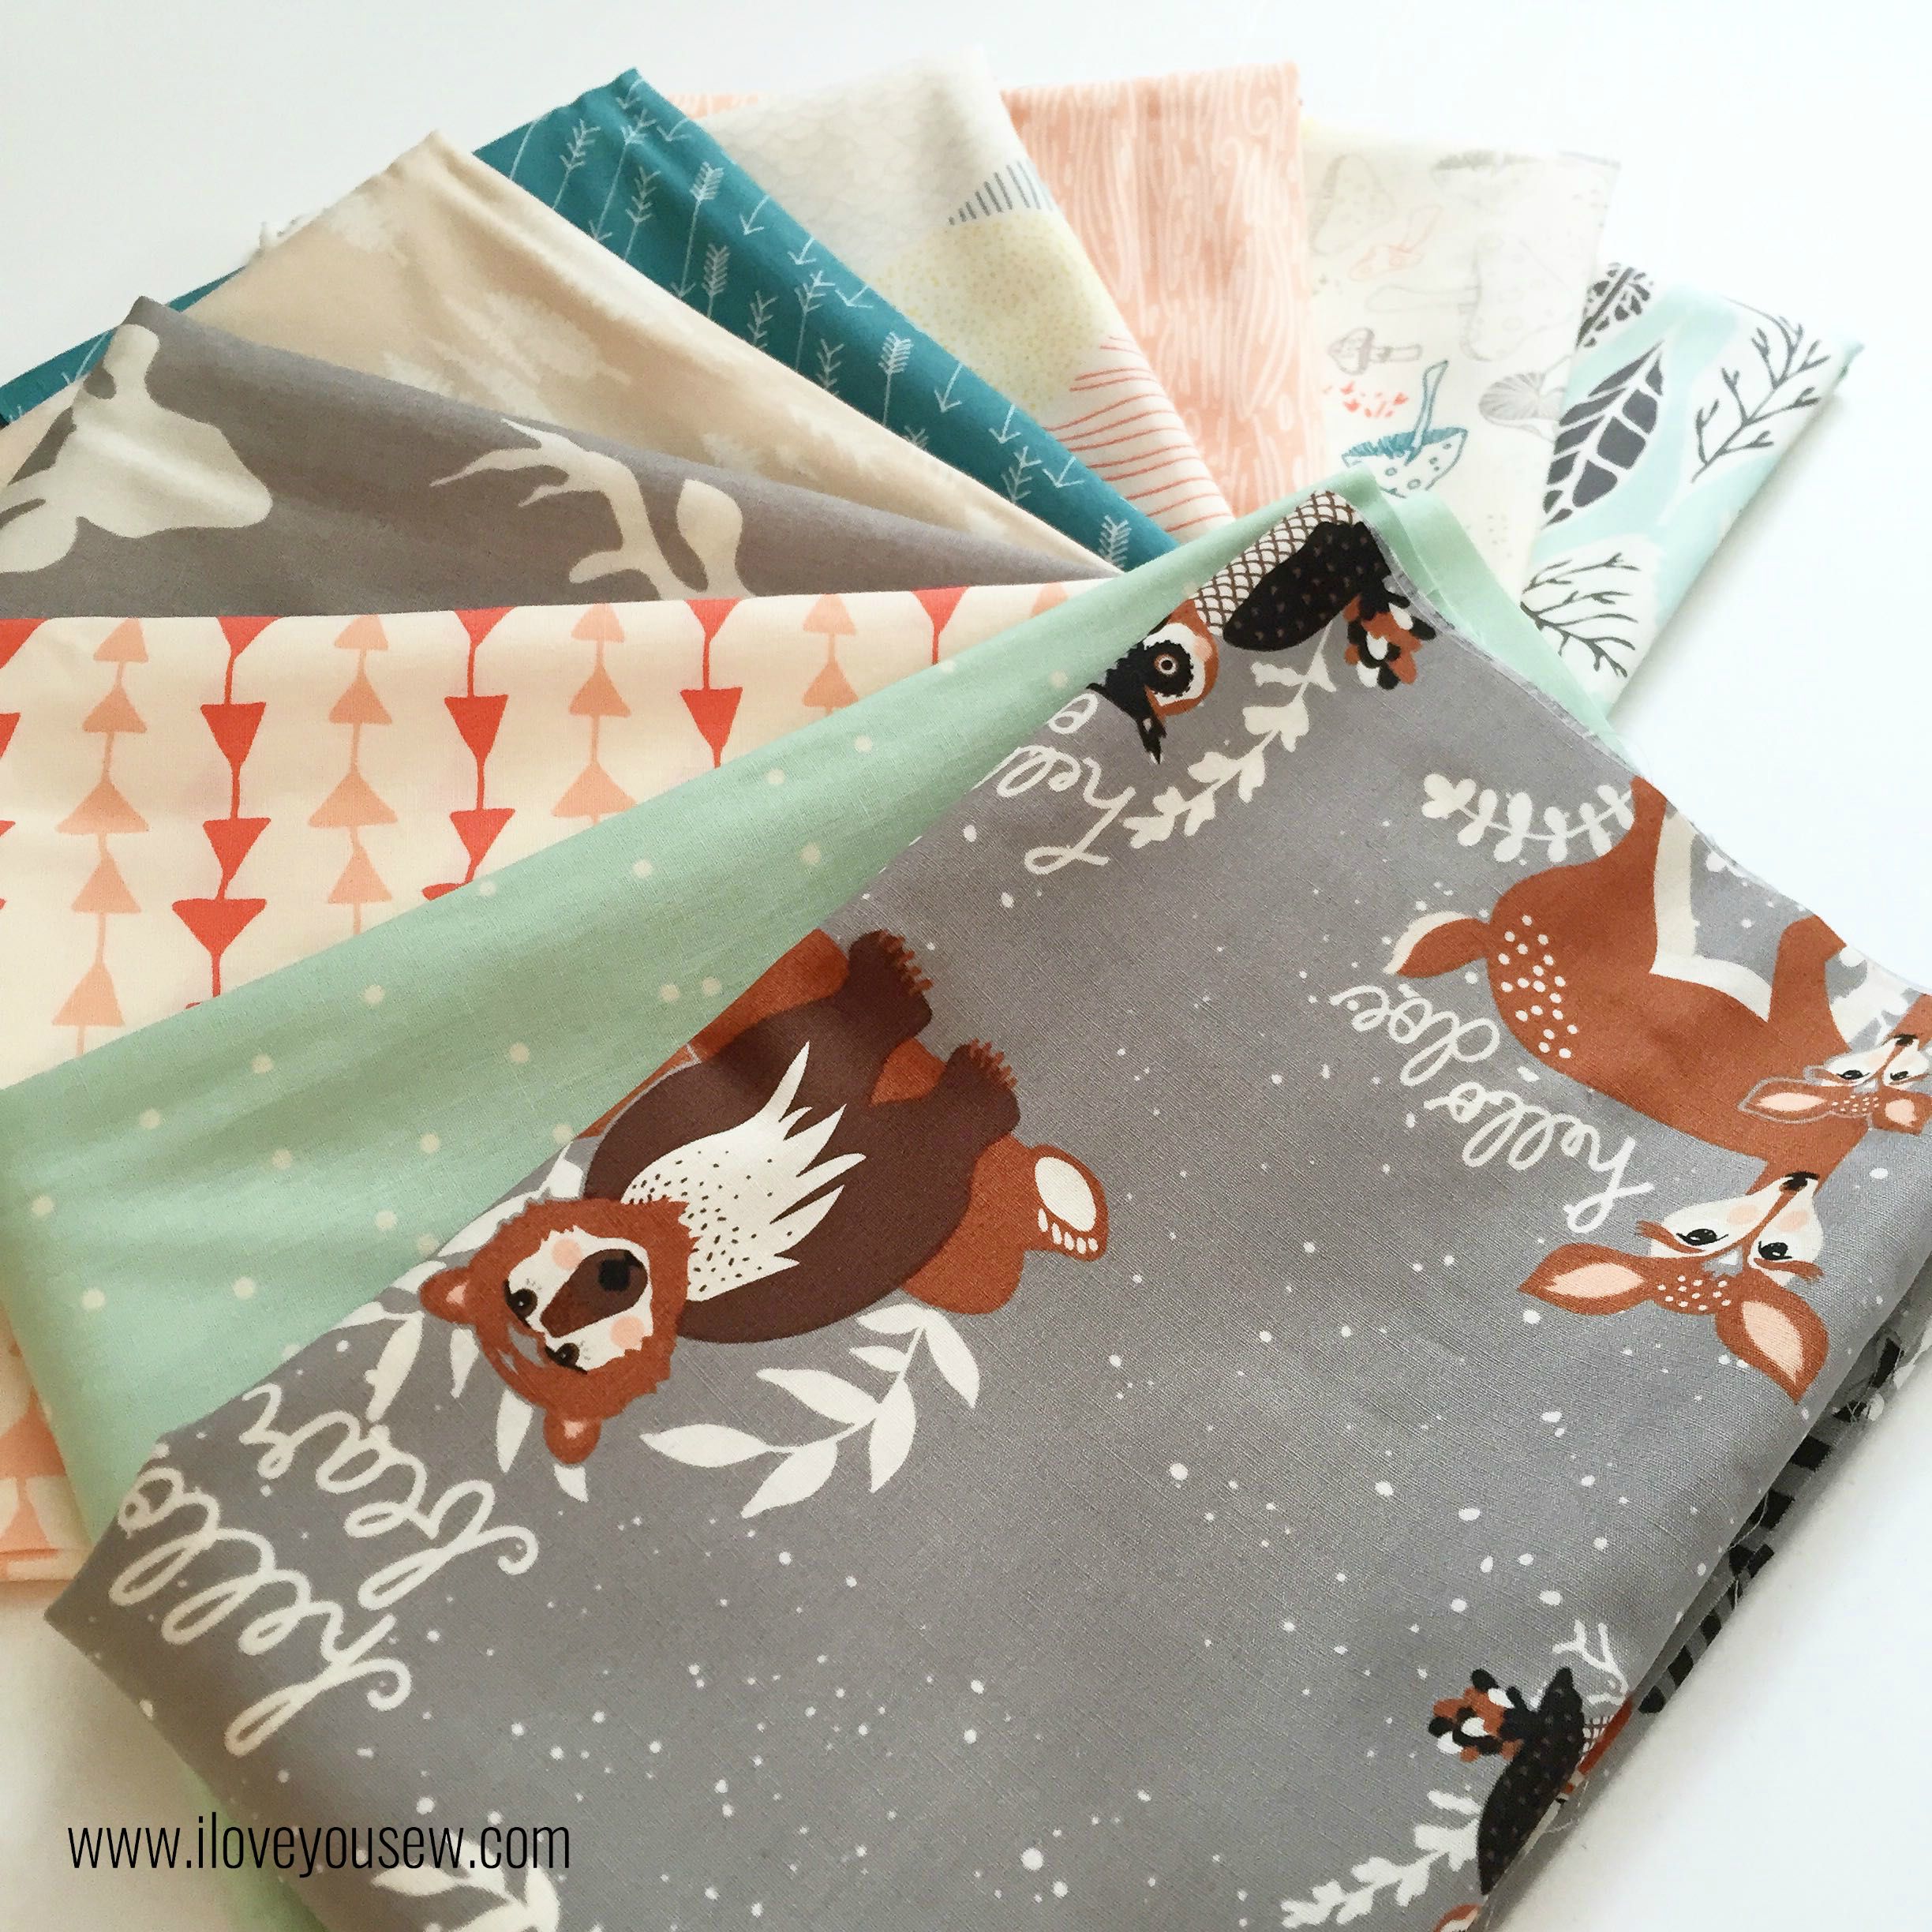
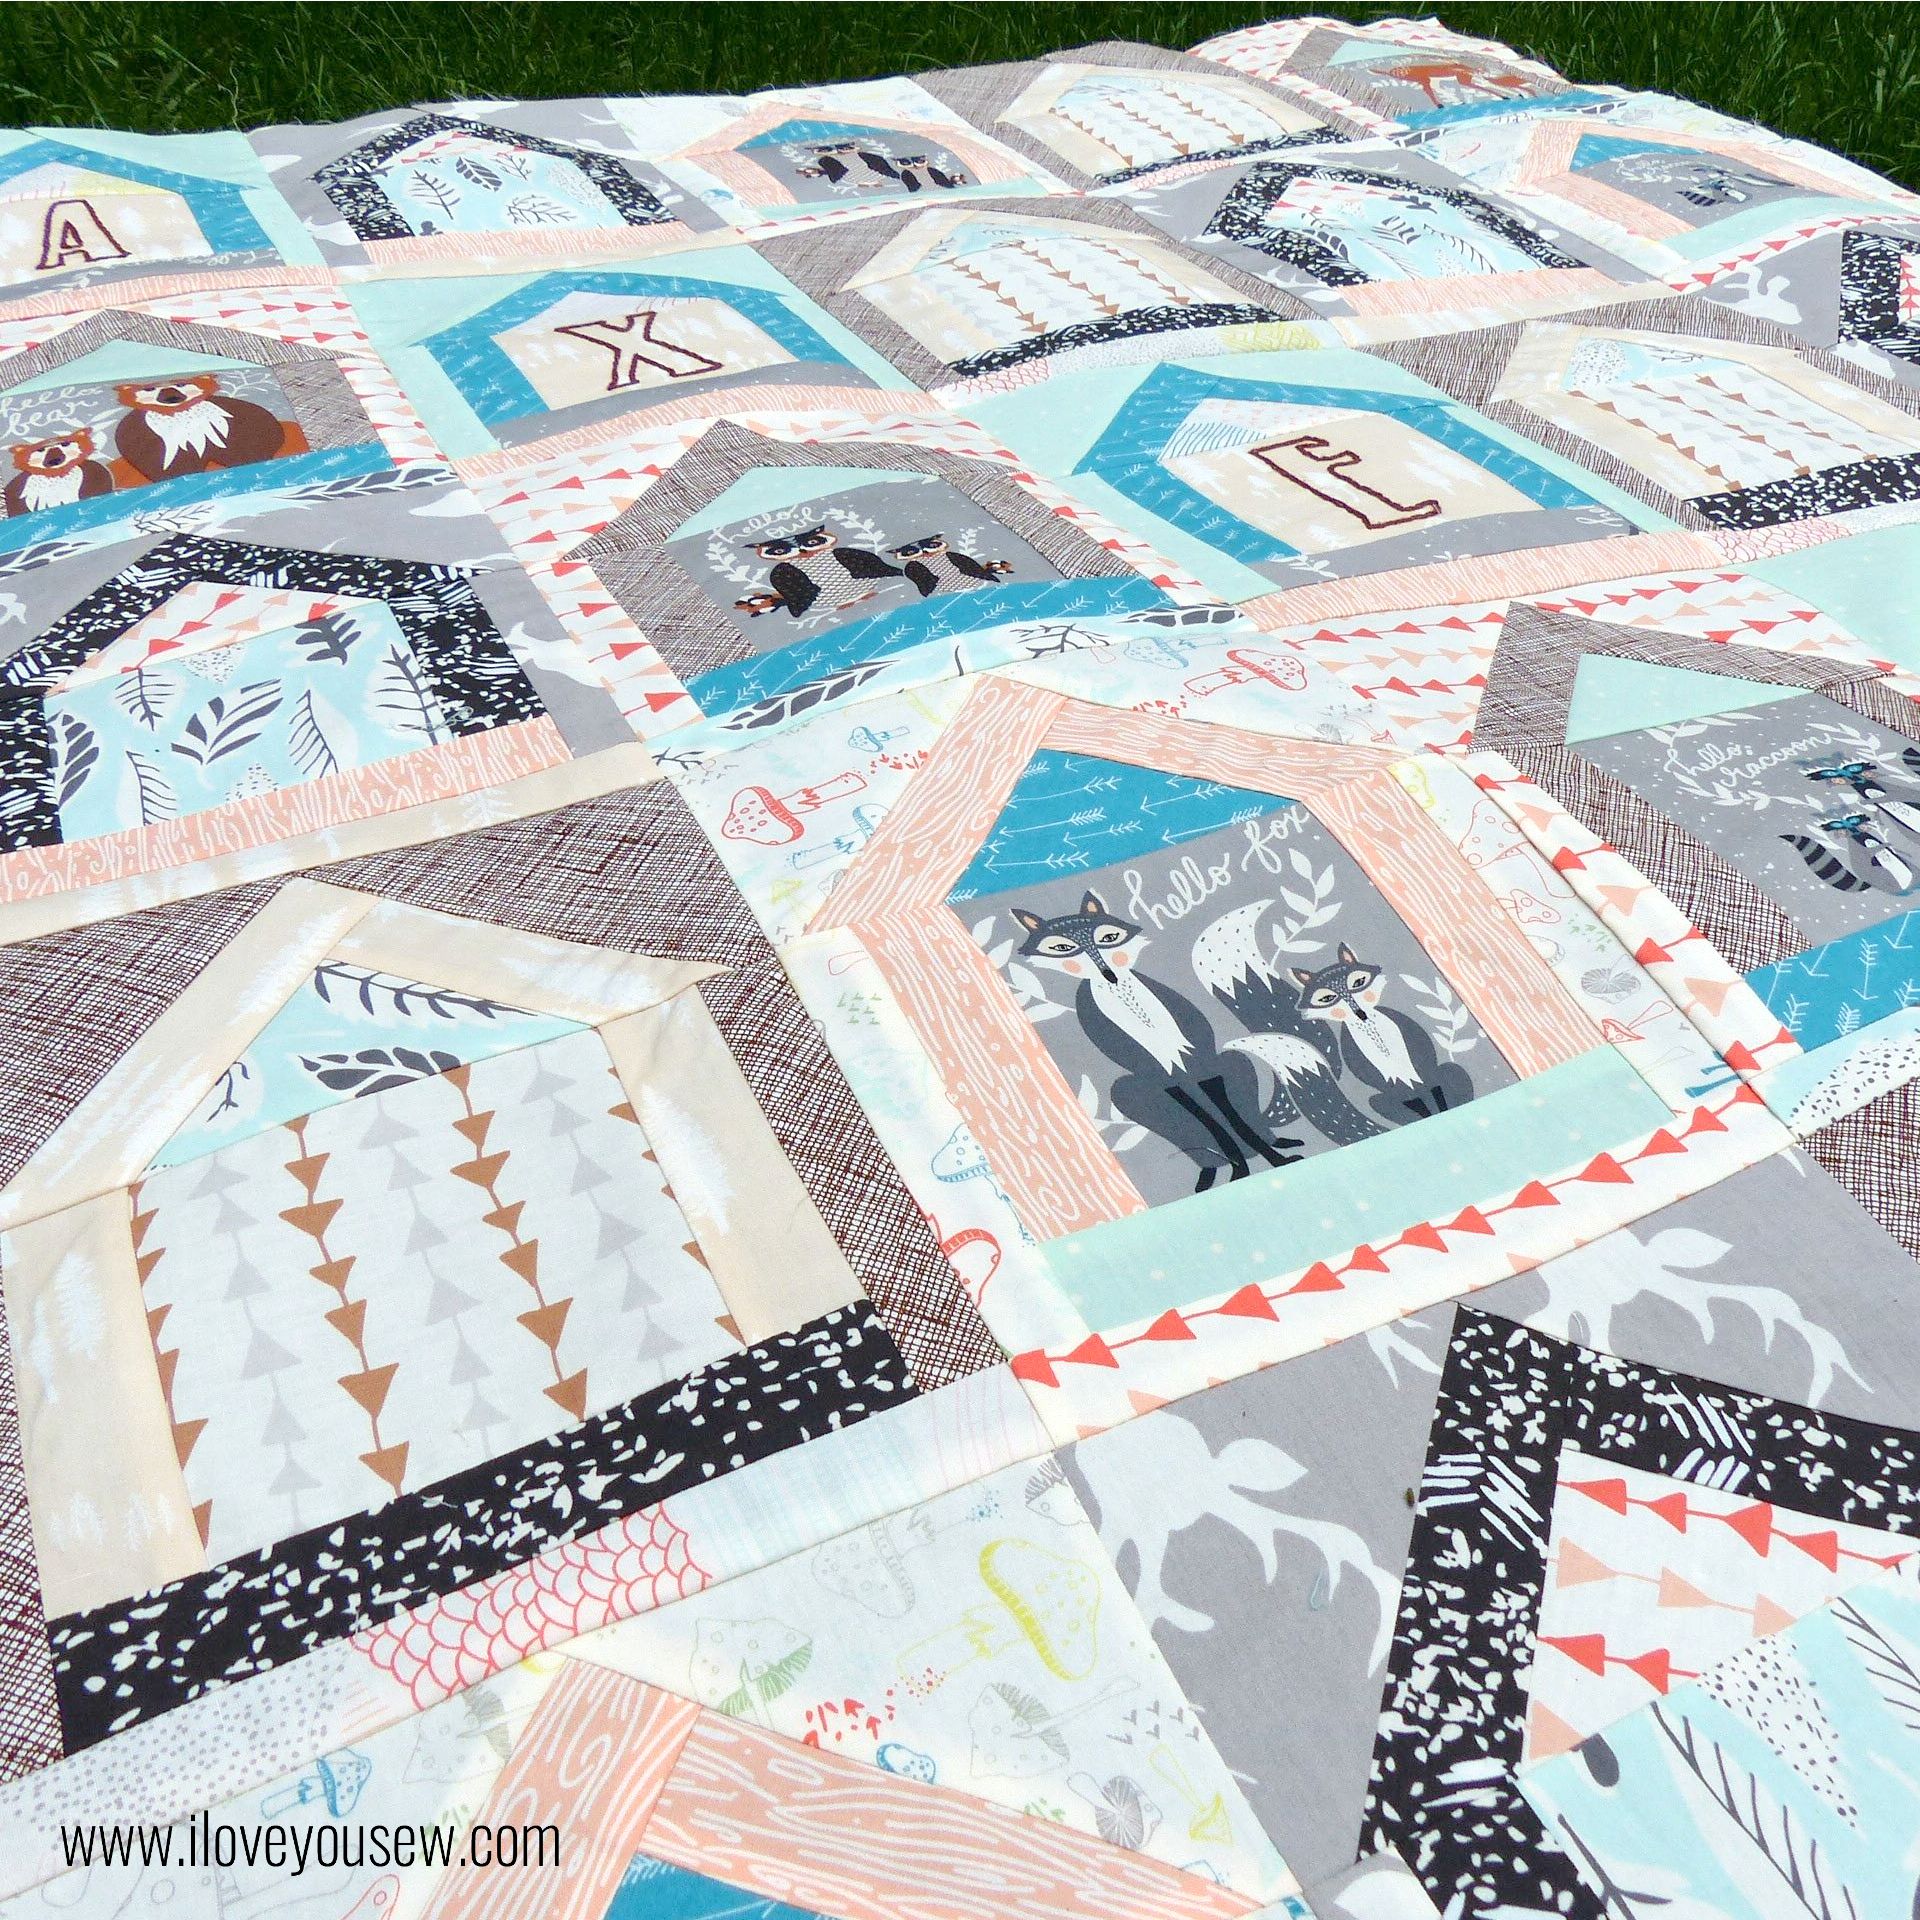
I was holding onto my Hello Bear fabric for awhile, waiting for the right quilt pattern (and baby) to come along.  Well, both happened to coincide recently!  A dear childhood friend recently had a baby boy and Holly Gets Quilty was getting ready to release this Dwelling Quilt Pattern. You can find this Mug Rug I made using the smaller block from the same pattern.


HelloBear

I just love the modern whimsical palette of this collection.  The teal and mint play so wells with the grays and browns.  This is just a beautiful collection for babies and children.  I mean, who can resist these woodland creatures???


Embroidery

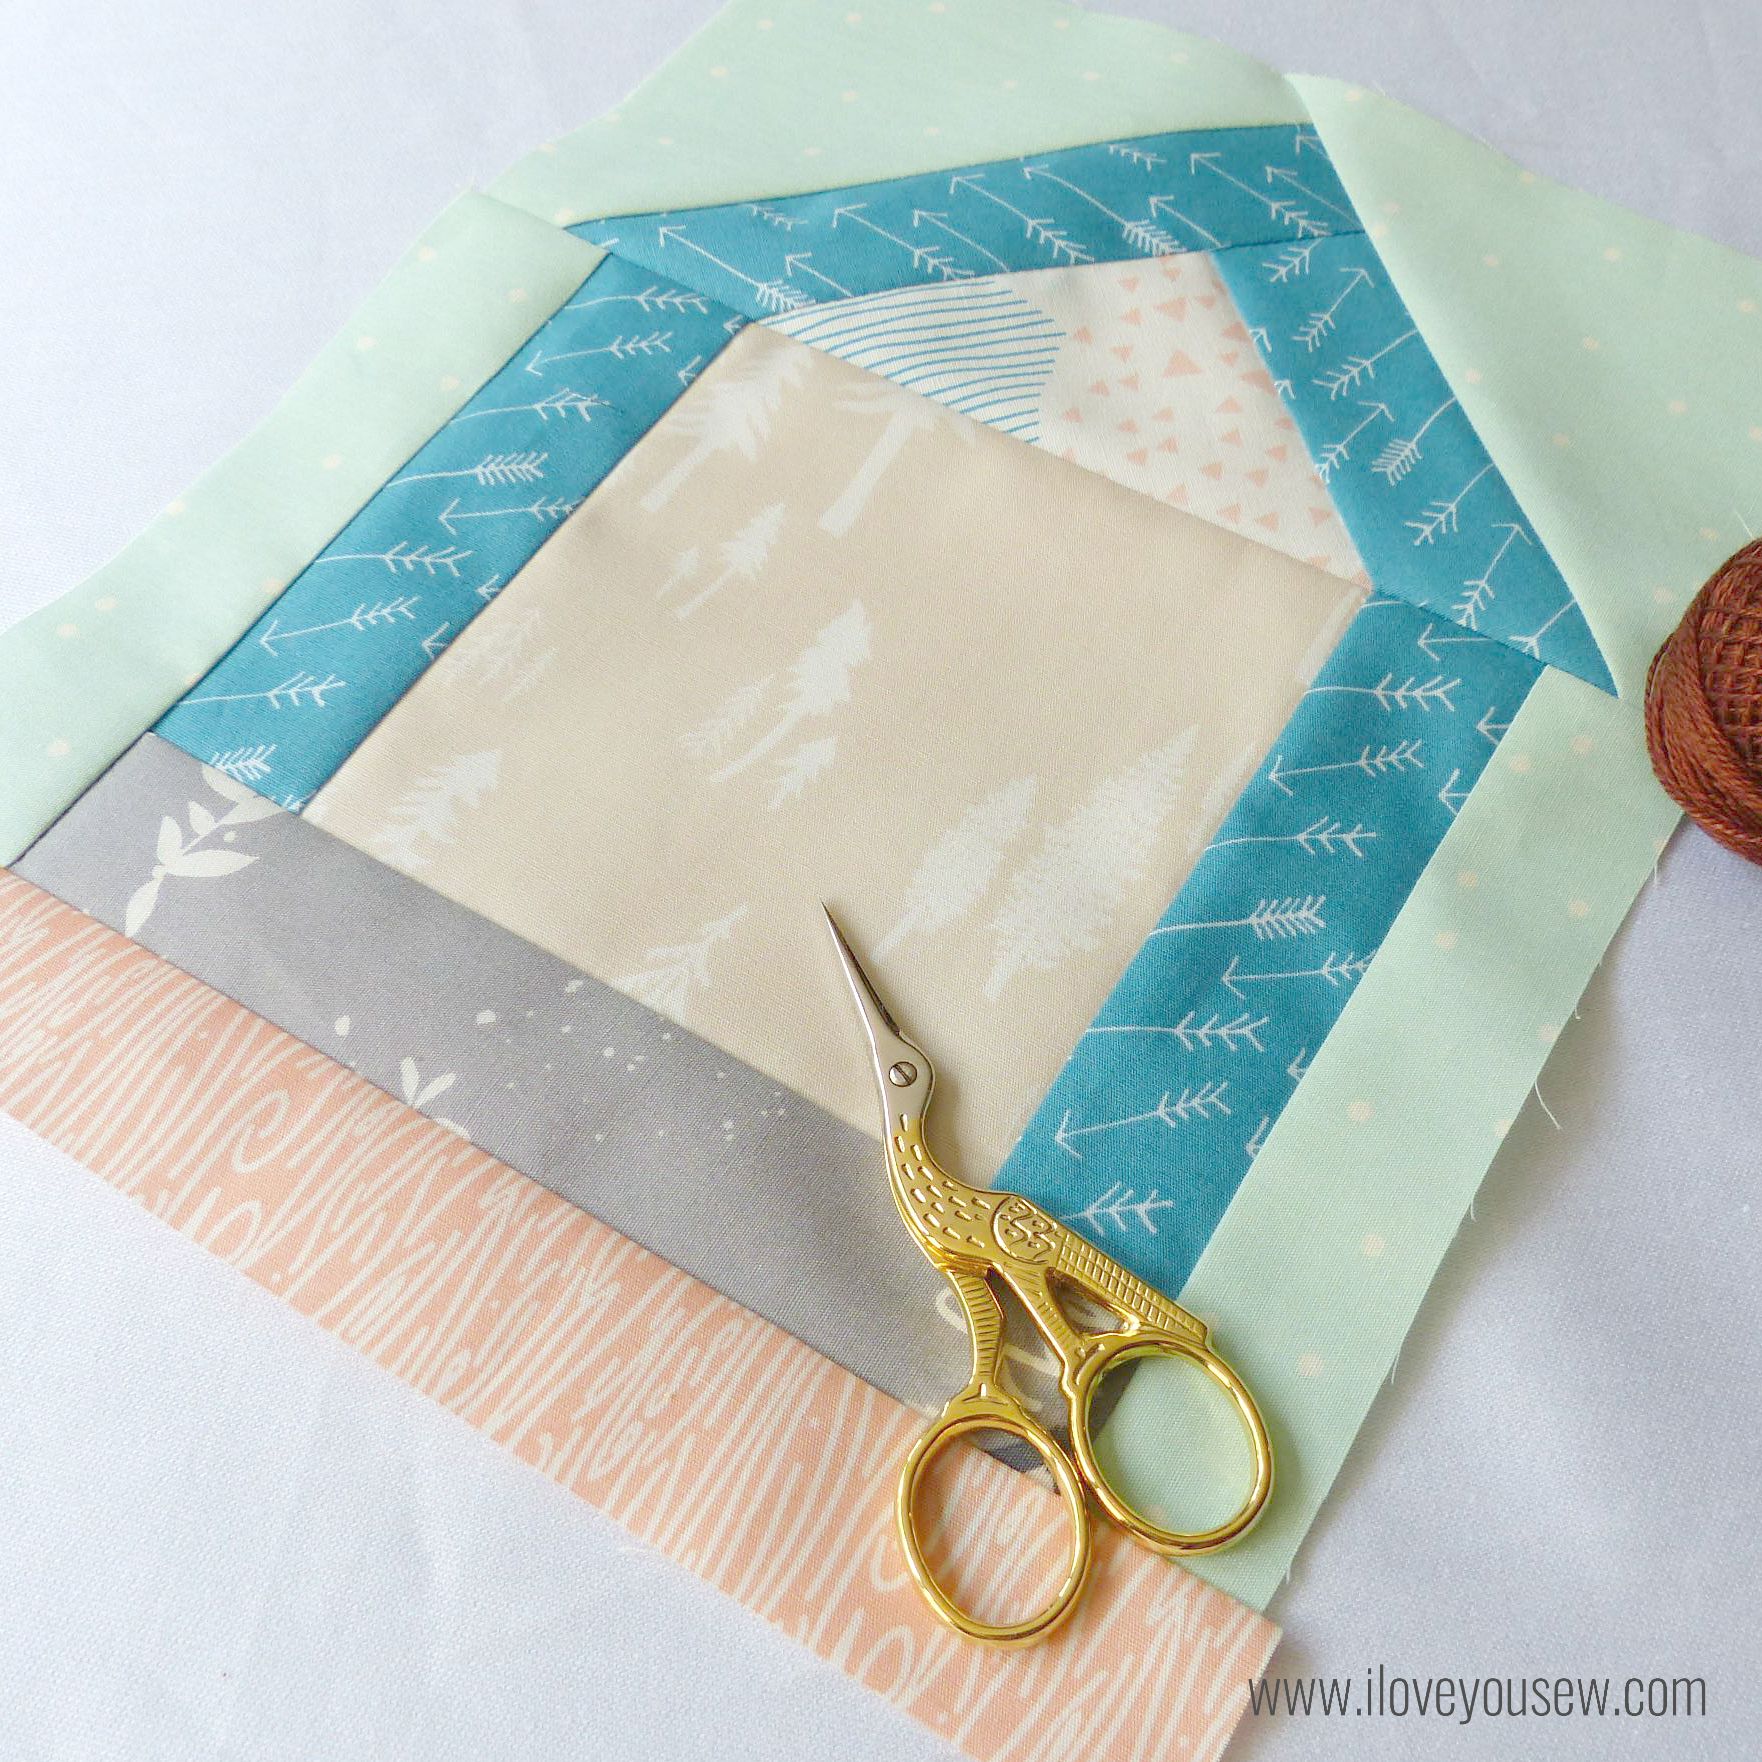
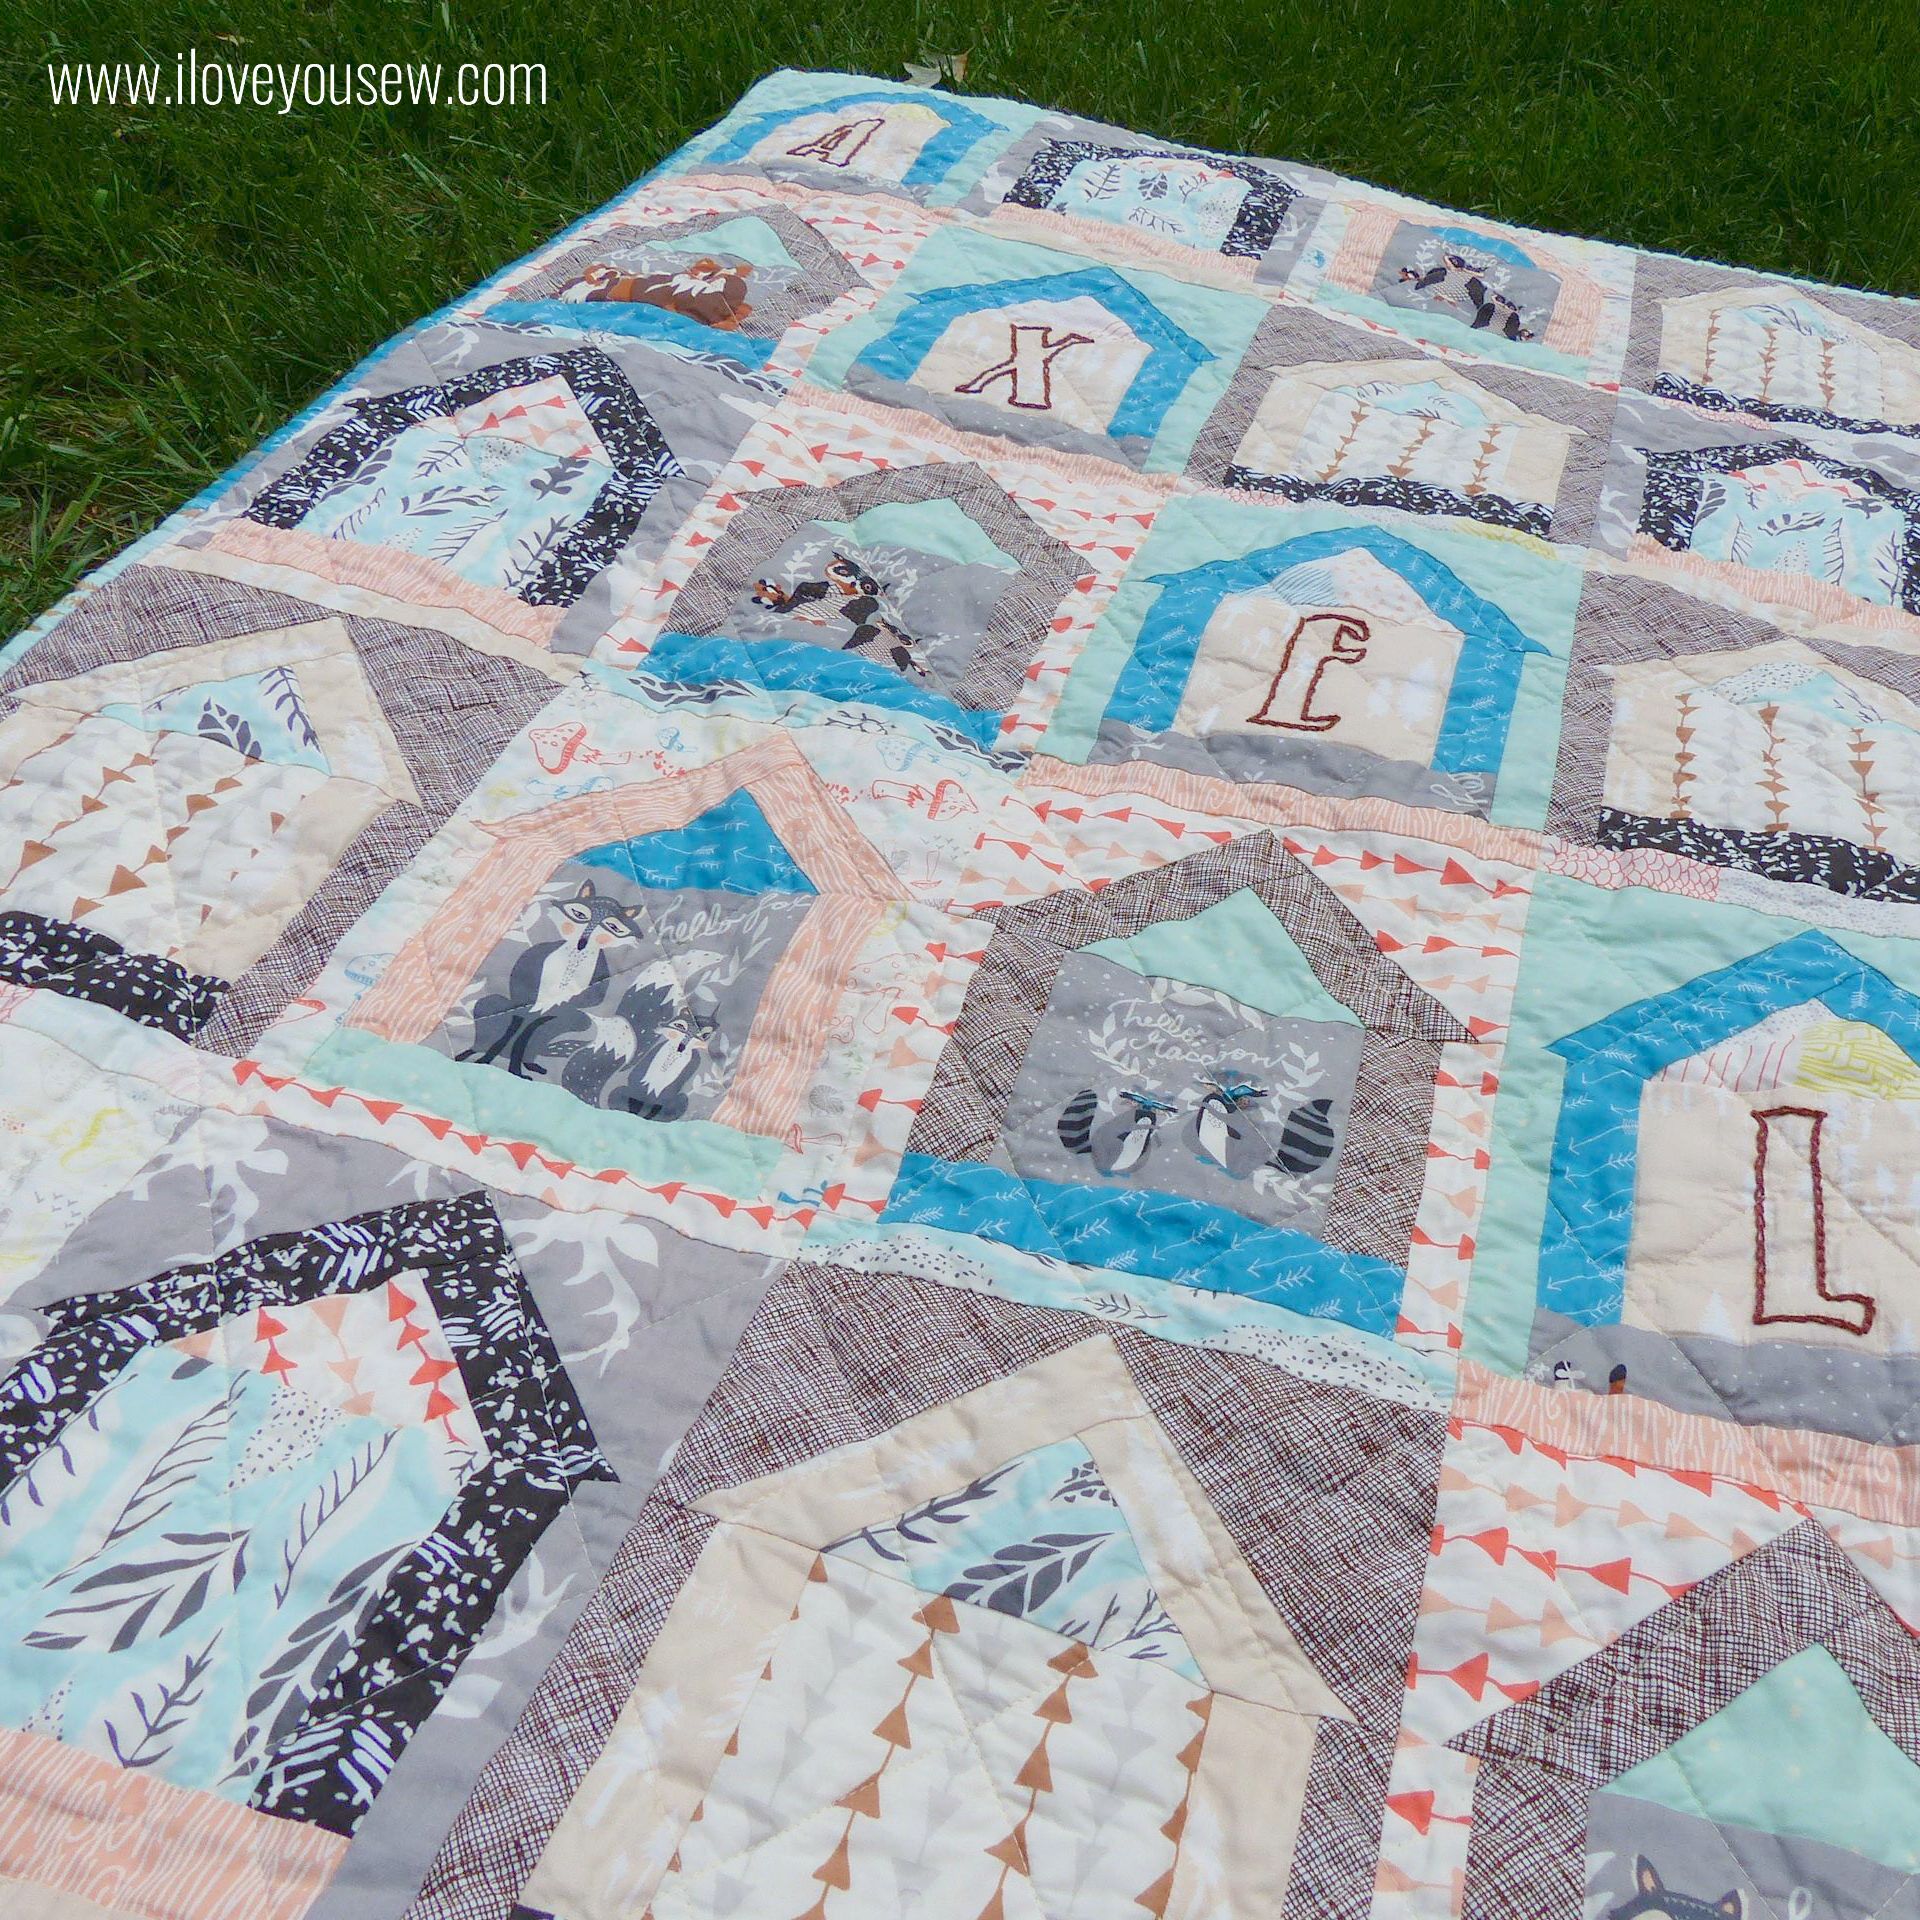
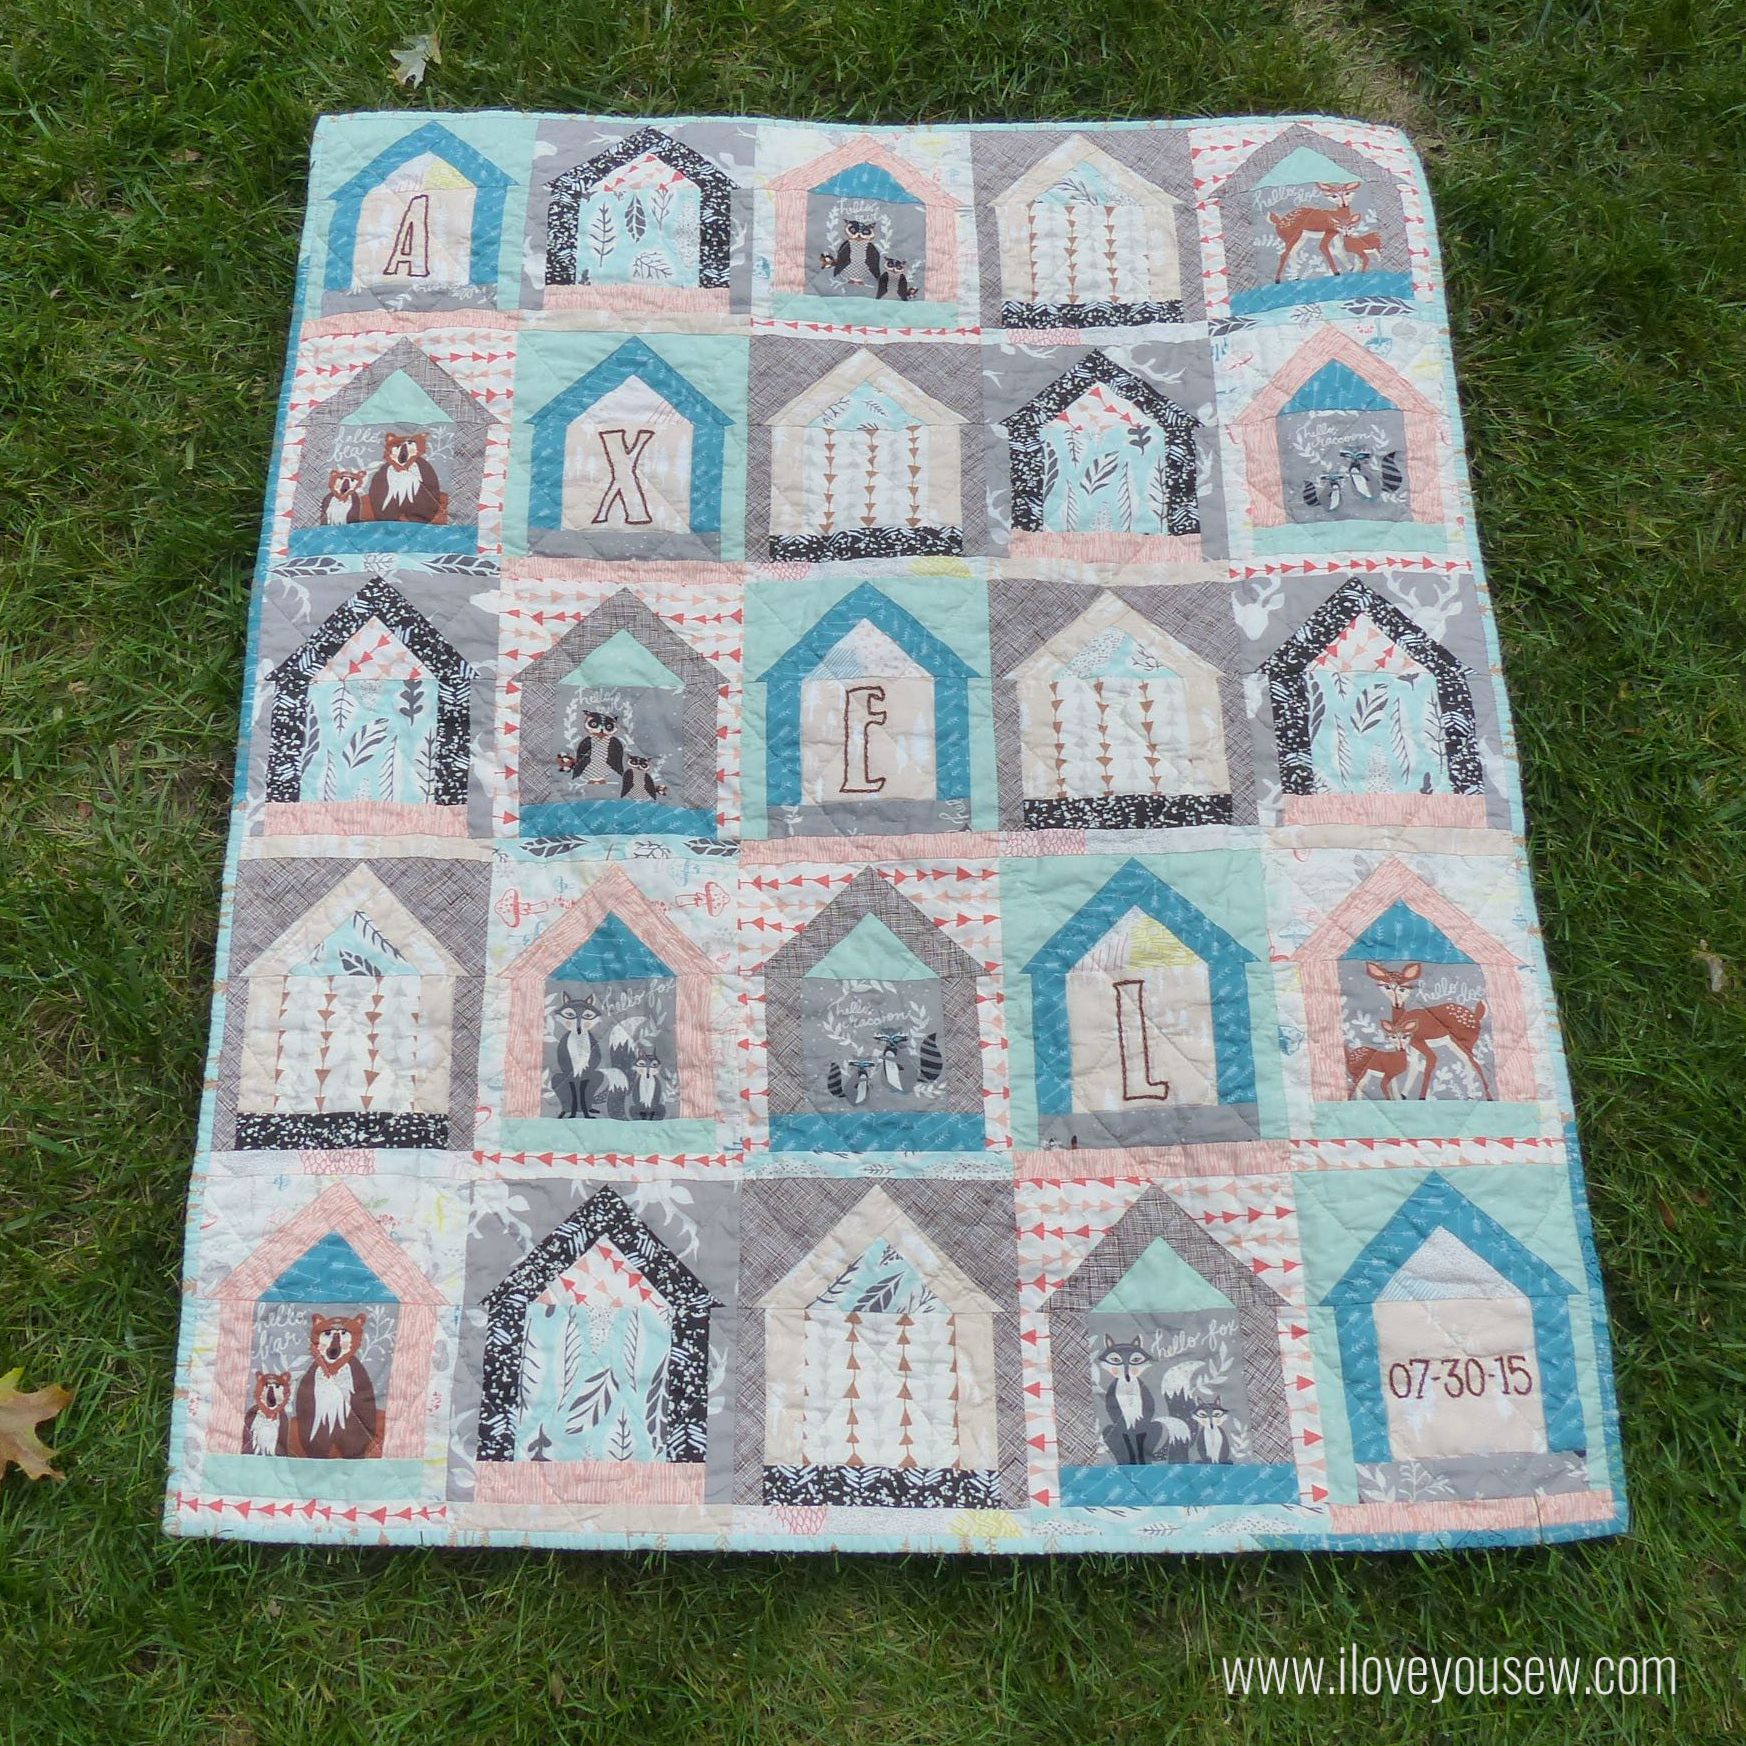
For this quilt, I used the larger of the Dwelling Quilt paper-piecing templates.  It creates a 8″ x 9 3/4″ unfinished block.  I went for a scrappy house look with some fussy cutting for this baby quilt.  Who knows what kind of mess this will be exposed to…so the various colors and patterns works to camouflage any potential incidents  😉

Pieced

This was a 5 x 5 block design which created a 35″ x 43 3/4″ finished baby quilt.

DwellingCloseUp

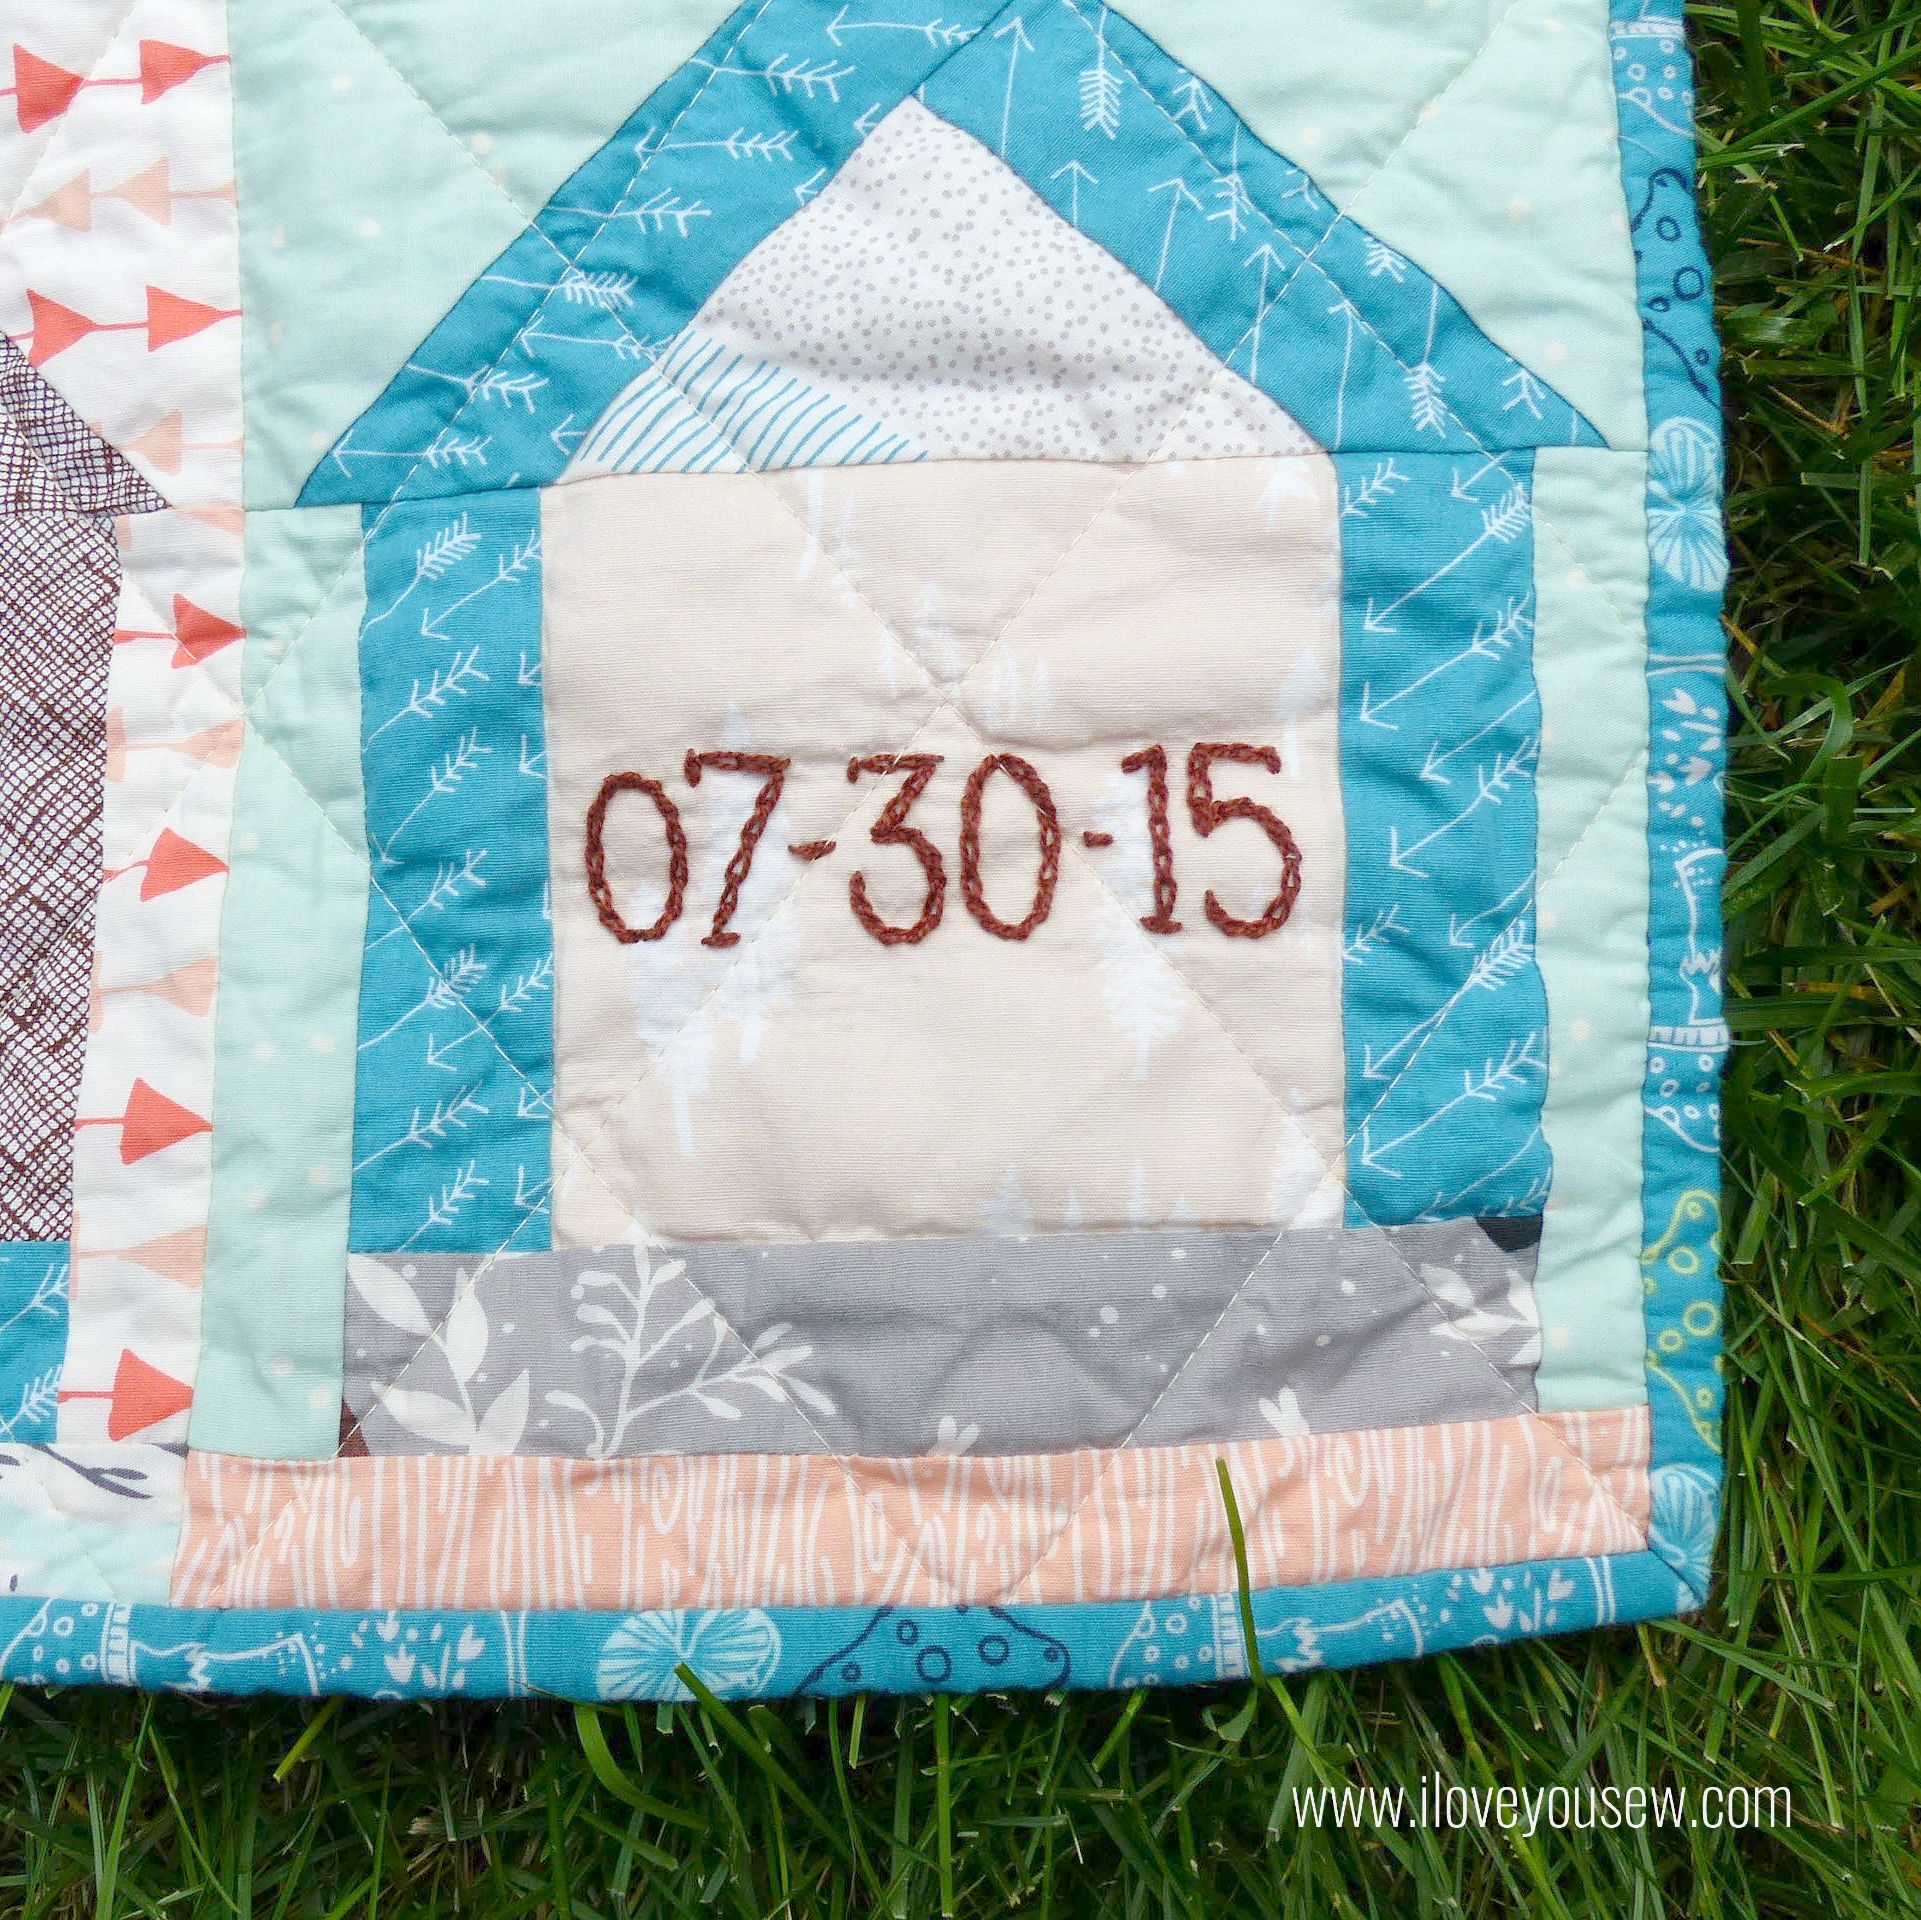
As you can see, I added embroidery to the blocks with Valdani Perle Cotton Size #8 Thread in 171  Rich Brown .  It was fun to add some extra texture and of course, that personal touch.  Hopefully, Baby Axel will love this quilt and appreciate the extra love put into it 😉

EmbroideryCloseUp

To get the embroidery lines, I printed the letters on paper in the Return to Sender font.  I like this font because it was masculine and wide enough to work with this quilt.  The letters were traced onto the fabric using a water-soluble fabric pen along with a bright light source so I could see the letters from underneath the fabric.

DwellingQuilted

The quilting was straight-line in a diamond configuration with Aurifil 2310 Light Beige for the top and 2615 Aluminum in the bobbin.  Timberland Green was used for the binding with some fun Adventure Springs accented in to keep with the scrappy feel.

BackingCloseUp

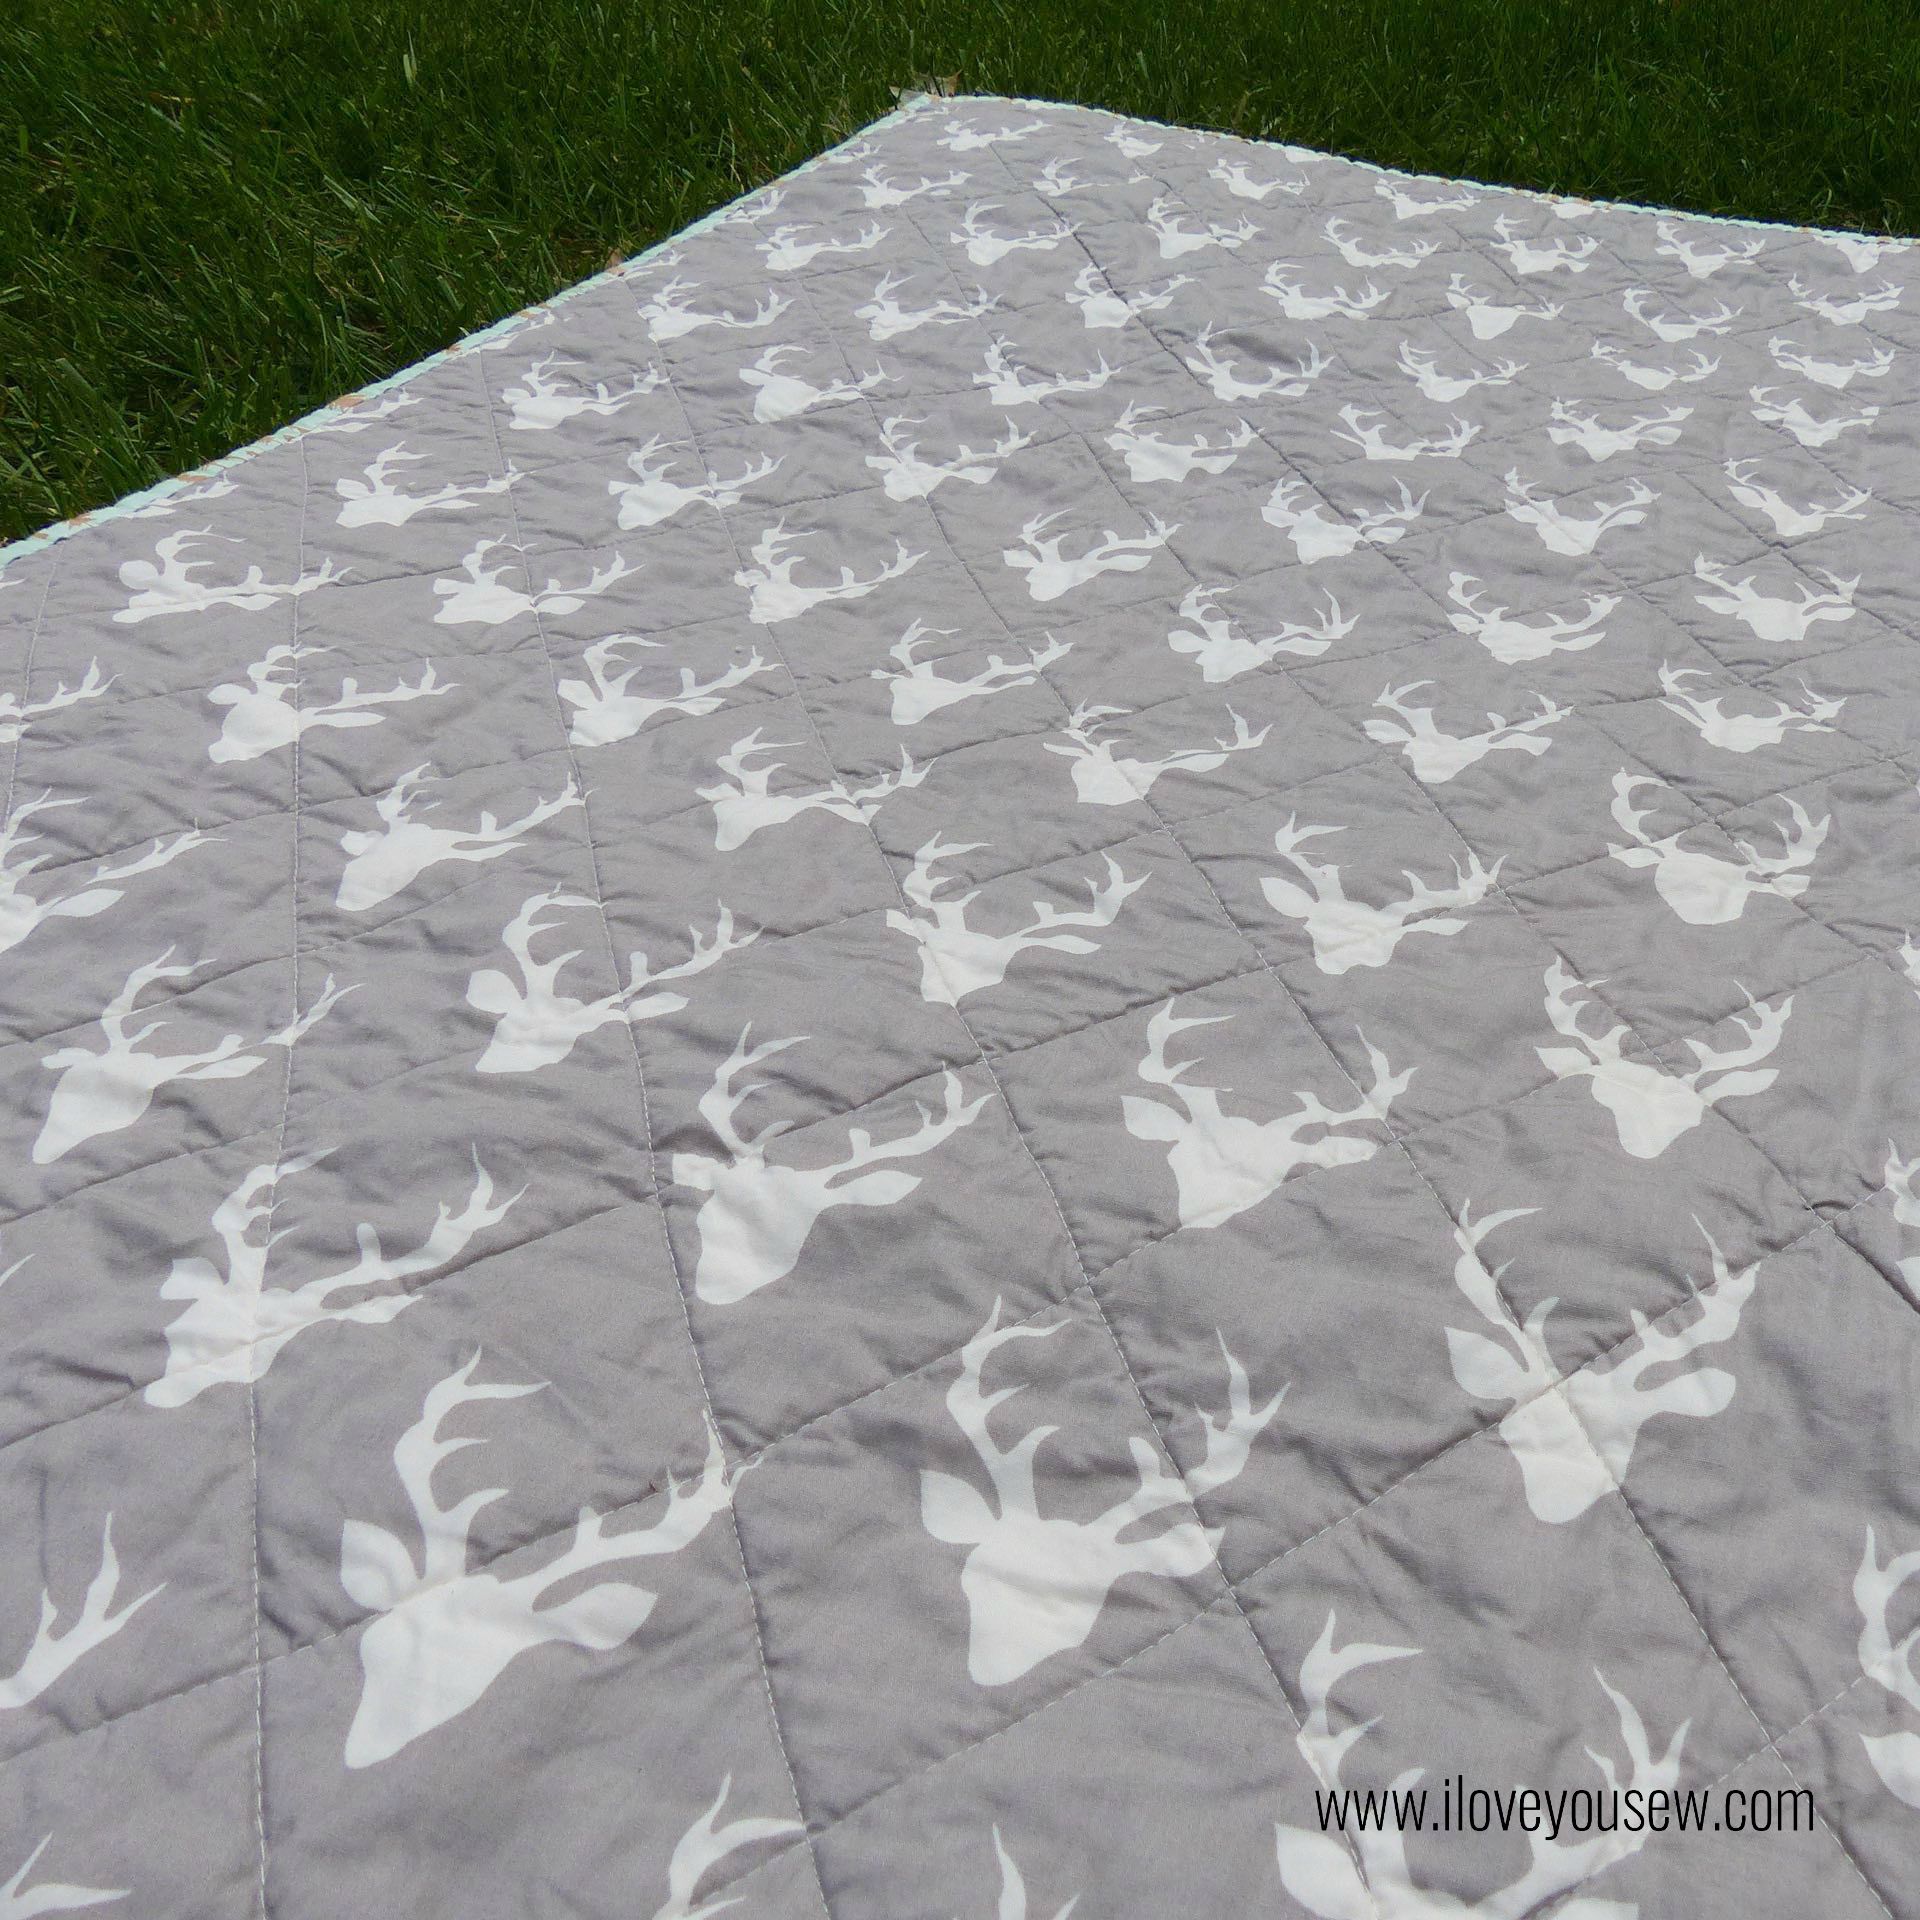
Buck Forest Mist was the perfect backing.  It’s a very masculine print and the gray lends to easy baby management…er….laundry 😉

I can’t wait to see Baby Axel wrapped up and enjoying this quilt 🙂


Happy Stitching,

Cristy


***This post may contain affiliate links for which I do receive a very small commission.  They help keep this site up and running 🙂

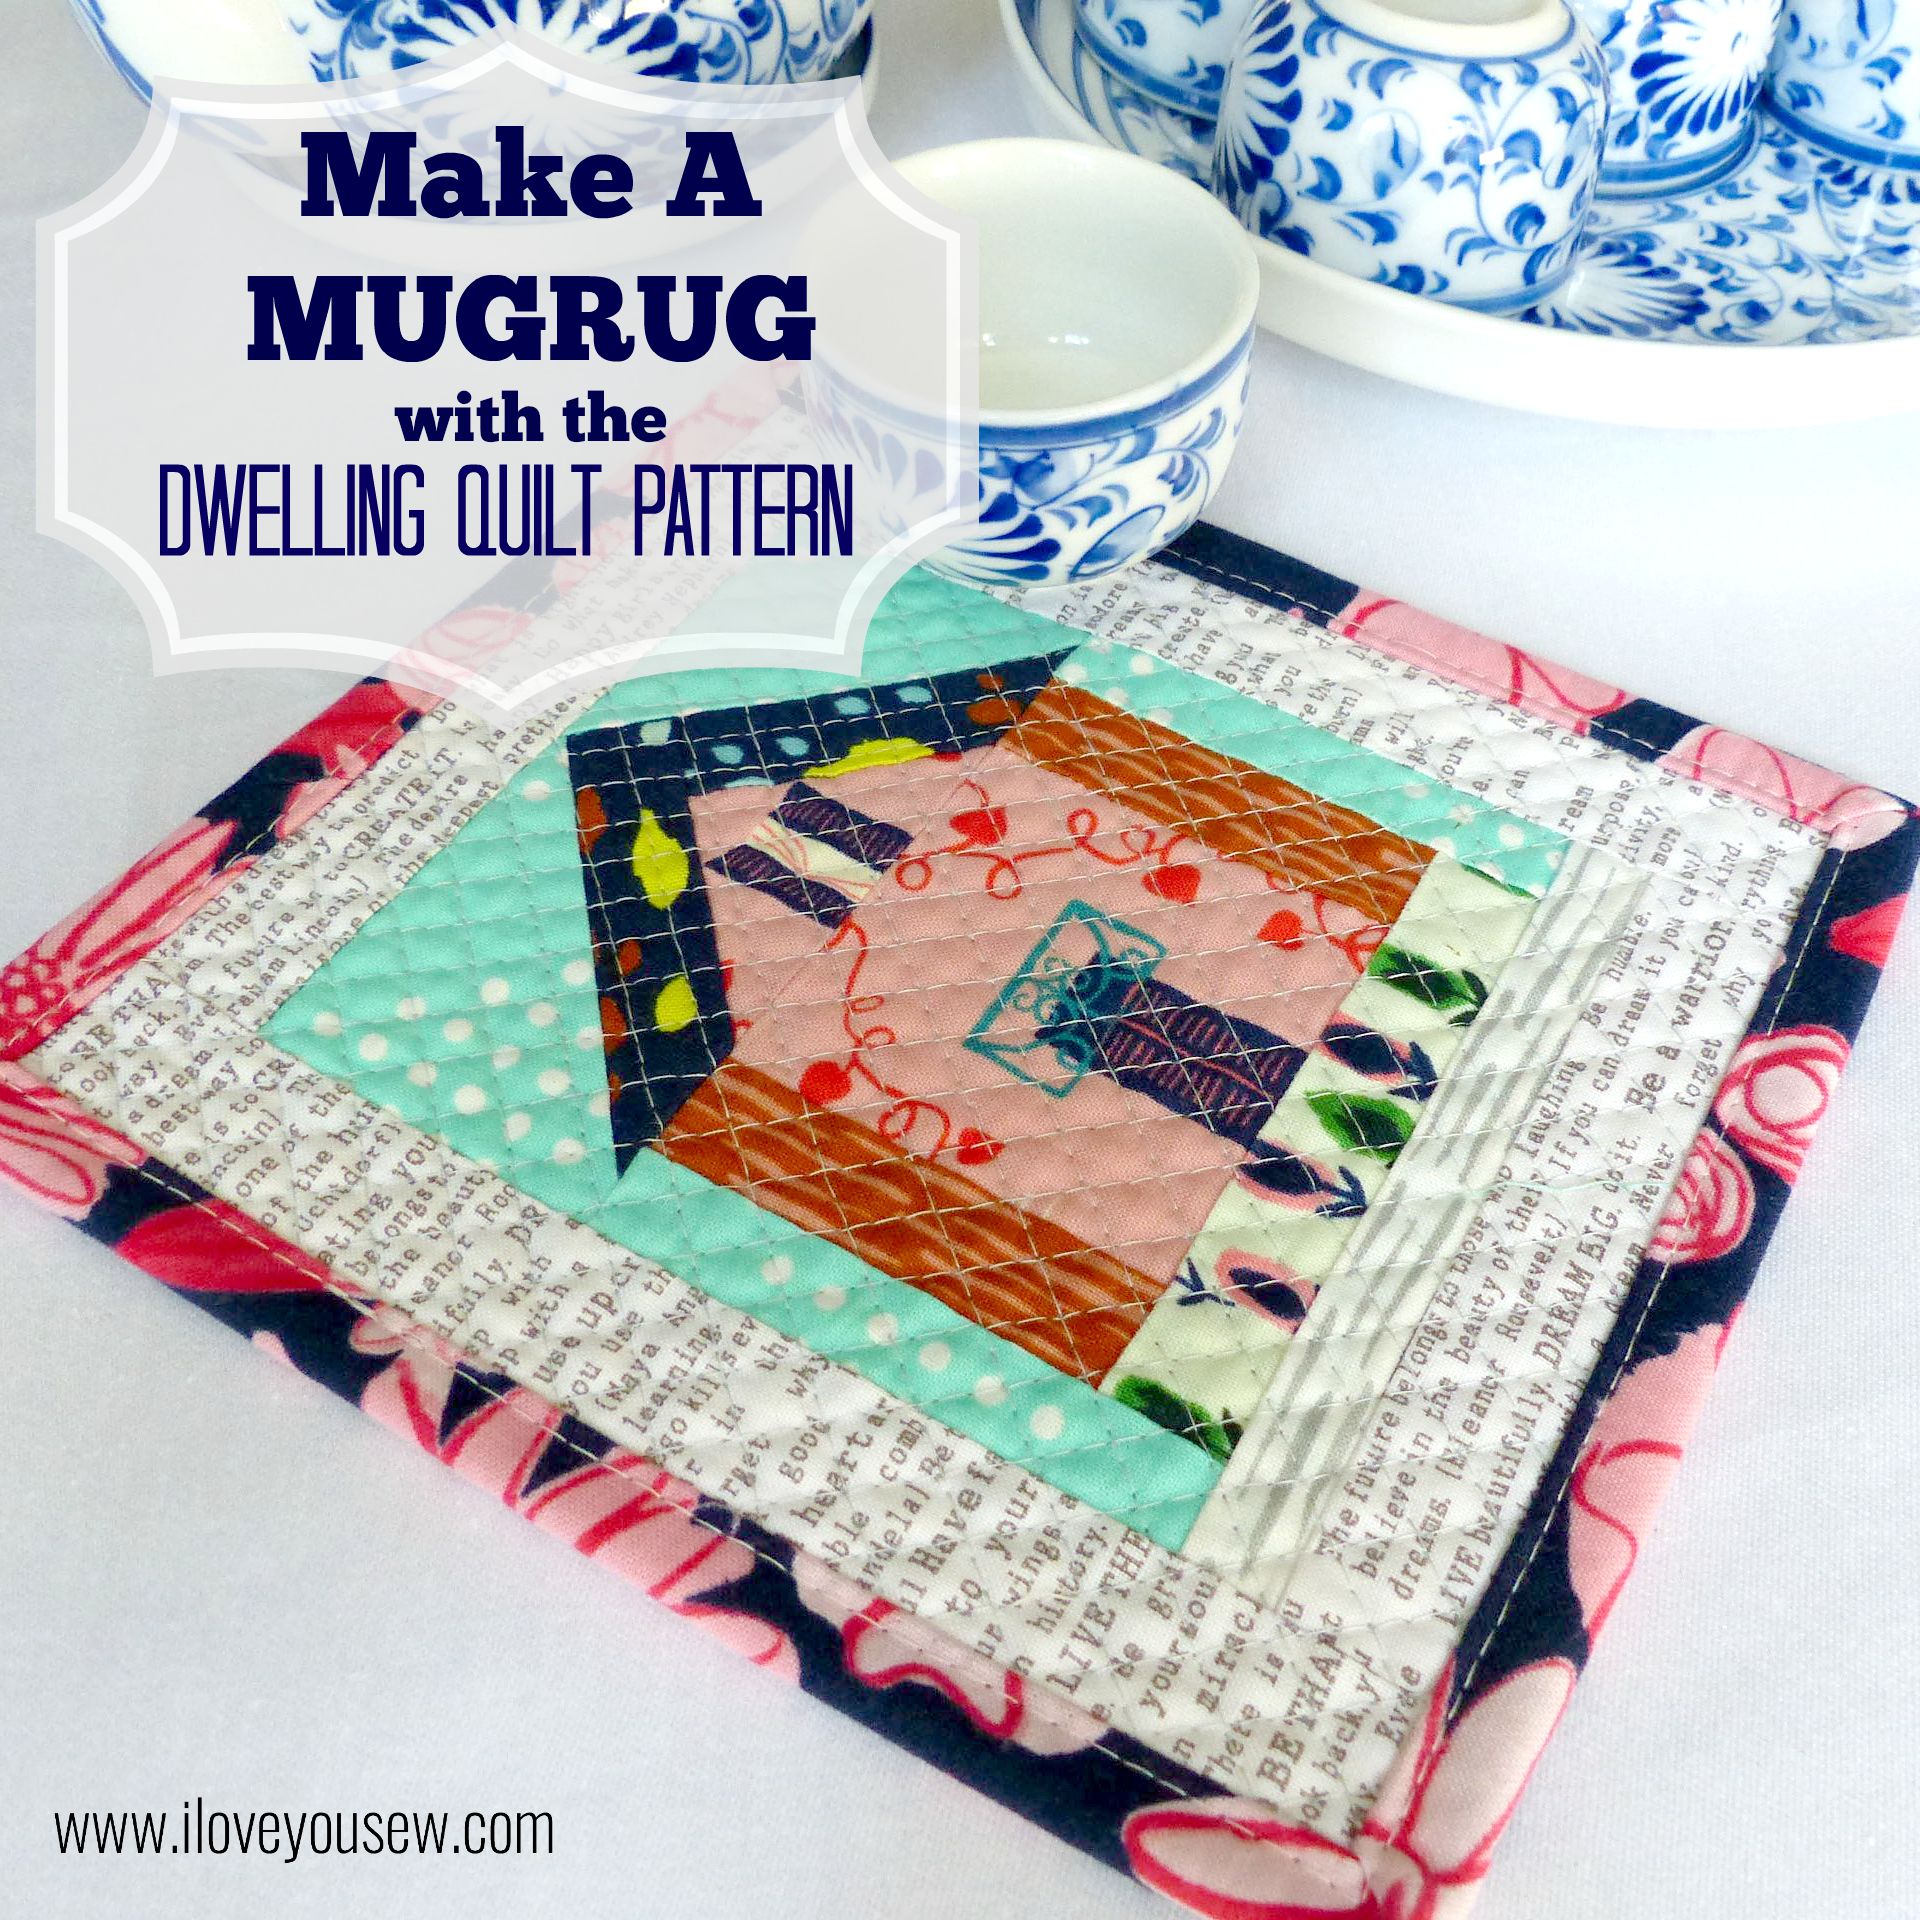
Make a Mugrug from the Dwelling Quilt Pattern

P1050776

When Holly Gets Quilty asked for pattern testers for her newest Dwelling Quilt pattern, I couldn’t help but get involved.  I first became familiar with Holly’s patterns through her Squash Blossom pattern I used in the Squash Blossom Bouquet mini.  She makes the most gorgeous quilts and I love how her patterns are so nice and clean…as well as beginner friendly. And this paper-piecing pattern does not disappoint!

IMG_1141

When I received the pattern, I decided to first make the smaller of the two blocks offered.  It measures 4 3/4″ x 5 3/4″ unfinished and I thought it would make for the cutest little mugrug.

IMG_1153

As a single block on its own, I wanted to fussy cut all of the pieces and bring out the literal design to resemble a home.  I dug back into the Cotton + Steel archives and pulled out some Homebody and Hatbox.  These fabrics created the most ideal walls, roof, street and even a little garden!

IMG_1155

1 1/4″ strips were added all around  the block to give a little more area to the block.  I wanted enough room for my larger mugs and even for a little snack 😉  Riley Blake’s newsprint is my favorite text print (out of print, of course…but if someone wants to share any, let me know!) and it goes with the whole house theme, right?

IMG_1156

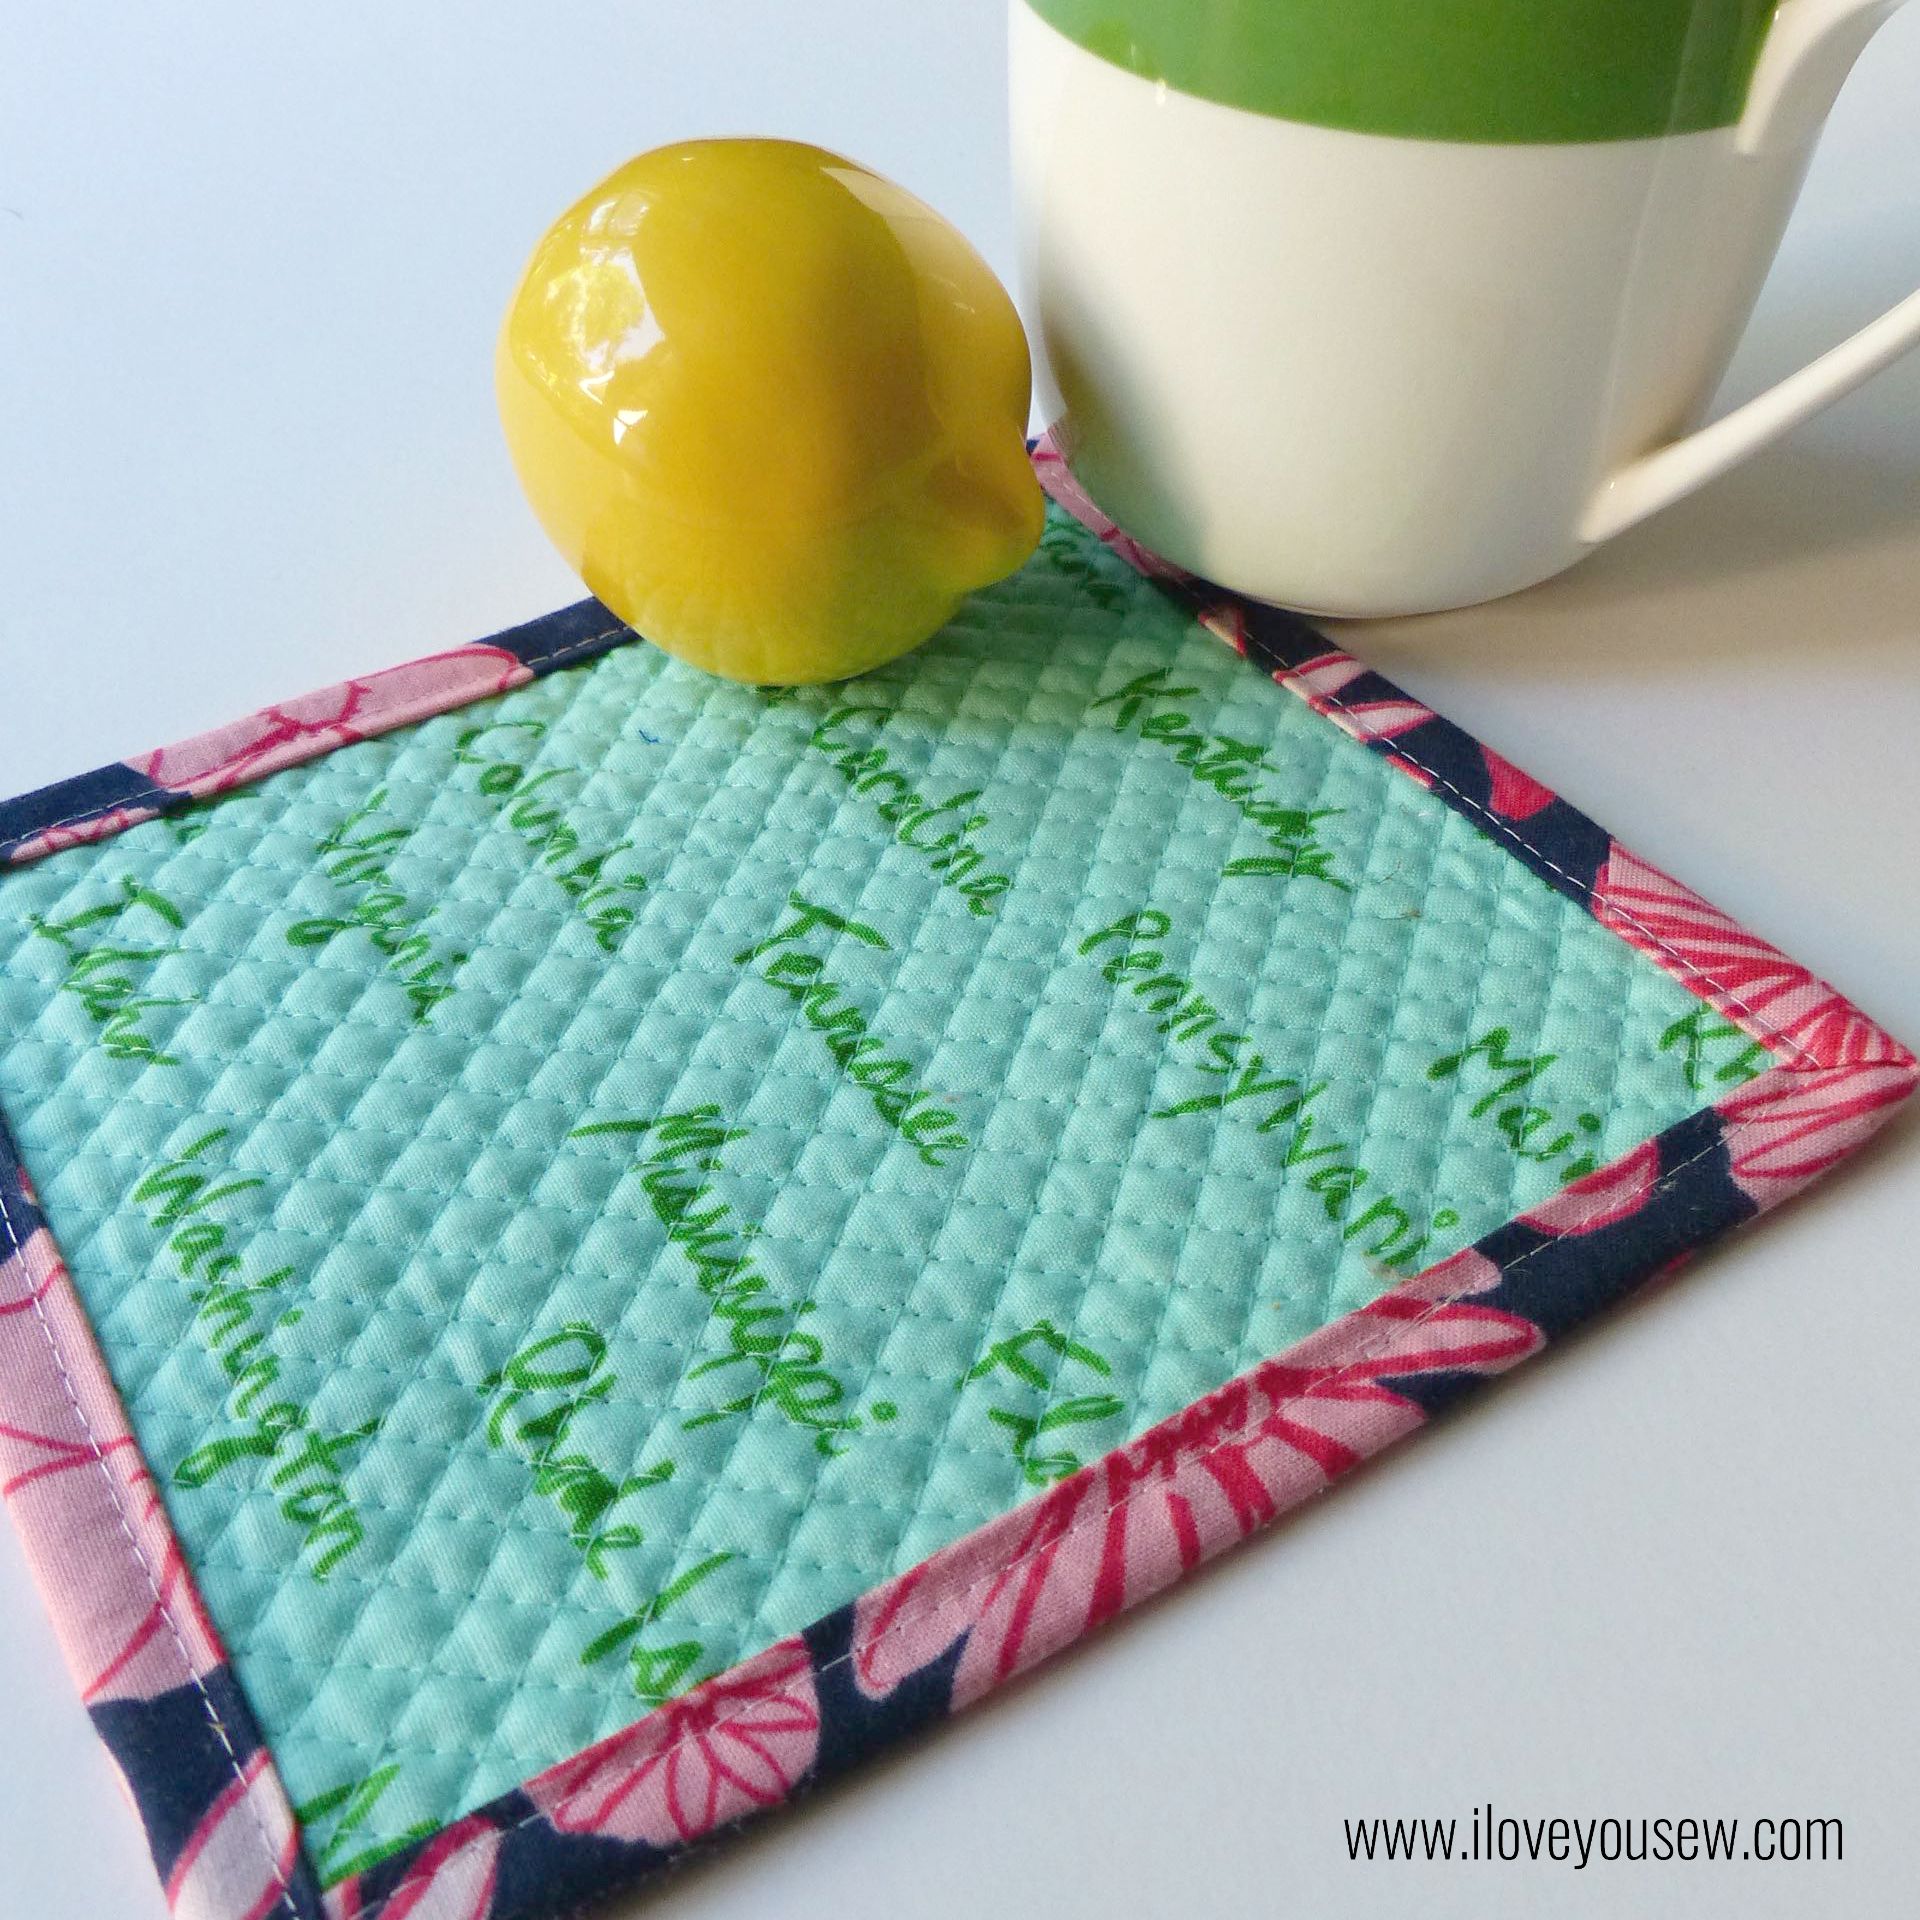
I used a scrap of cotton batting and more Cotton + Steel for the back to complete the quilt sandwich.  Since you know I’m a straight line quilter, I just cross-hatched the mugrug a 1/4″ apart in a diamond pattern with Auriful 2030 and ….

P1050818

To finish, you know C + S had to be using in the binding too.  Since this was such a small project, I used Cut to Pieces glue binding method to secure the binding into place without the use of Wonder Clips.  It was fast and I top-stitched the binding all around.  I can never get even amounts of the back binding with “stitch-in-the ditch” method, so I sewed about 1/8″ inward to help me with my OCD…

This was a nice quick project you could have completed in an afternoon.  Holly’s Dwelling Quilt pattern is simple and pre-cutting the pieces (measurements provided!) will help cut down on quilt time.  Are you ready to make your mug rug?!?

Check out these Instagram hashtags for more inspiration: #DwellingQuilt #HollyGetsQuiltyPatterns


Hugs and Stitches,

Cristy

What to Do When You Forget to Pre-Wash High Contrast Colored Fabrics (in a Quilt)

What to Do When You Forget to Pre-Wash High Contrast Colored Fabrics

After picking the high contrast fabrics for one of my latest quilts AND after cutting into it AND after piecing it…I realized I should have pre-washed it!  How was I going to prevent bleeding on my project???

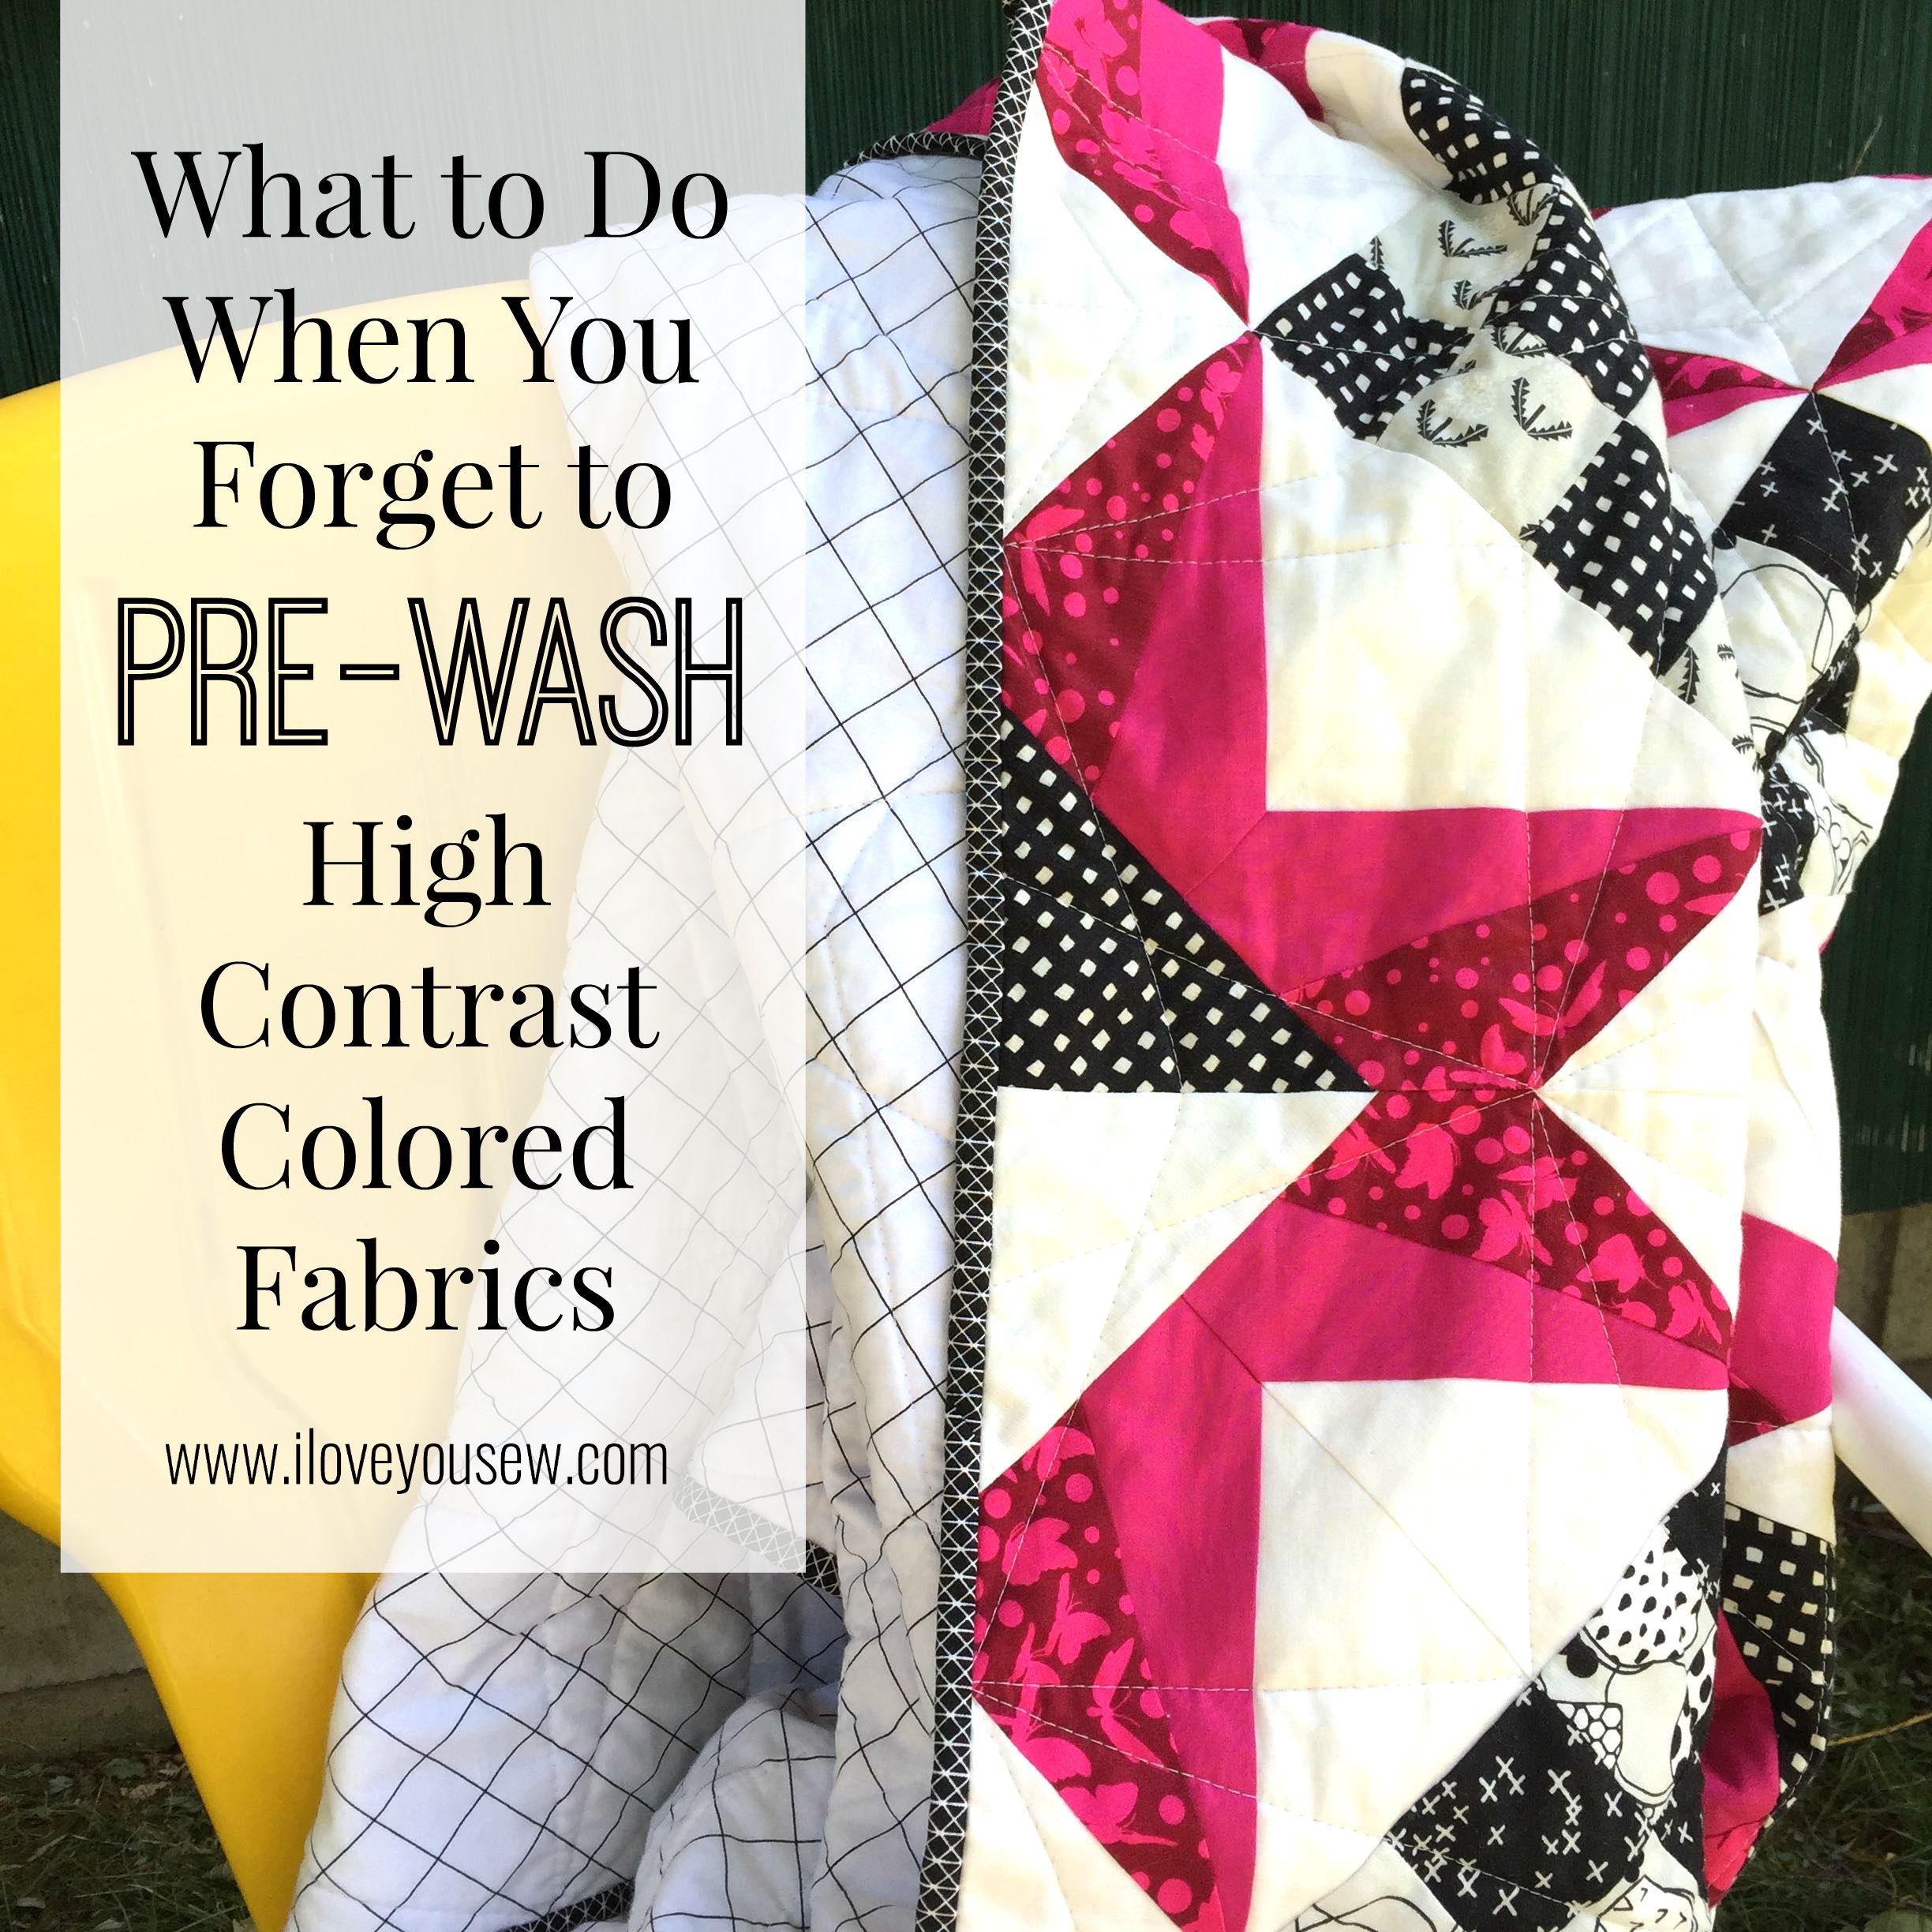
When I thought to pair magenta, black and white fabrics together in my recent Jacks Quilt, the thought of pre-washing never crossed my mind.  For quilts, I am not a pre-washer and so I went about my normal way cutting and piecing until it hit me…that all the saturated colors could bleed onto all of that white! I wanted to cry in that moment because there was NO way I was going to buy new fabric and start over. My pockets and my sanity wouldn’t allow it since I had cut hundreds of pieces already.  I couldn’t wash all the  small pieces I had because the threads would fray and there would be considerable size distortion…

I know there is a divided camp among those who always pre-wash fabrics no matter what and those who don’t.  Personally, I don’t wash because I DO love that crinkly texture after a quilt is finished and then laundered.  Also, many times I make quilts that will be photographed and need that crisp color that is fresh off the bolt. Which side of camp do you belong to?

WashingQuiltTools

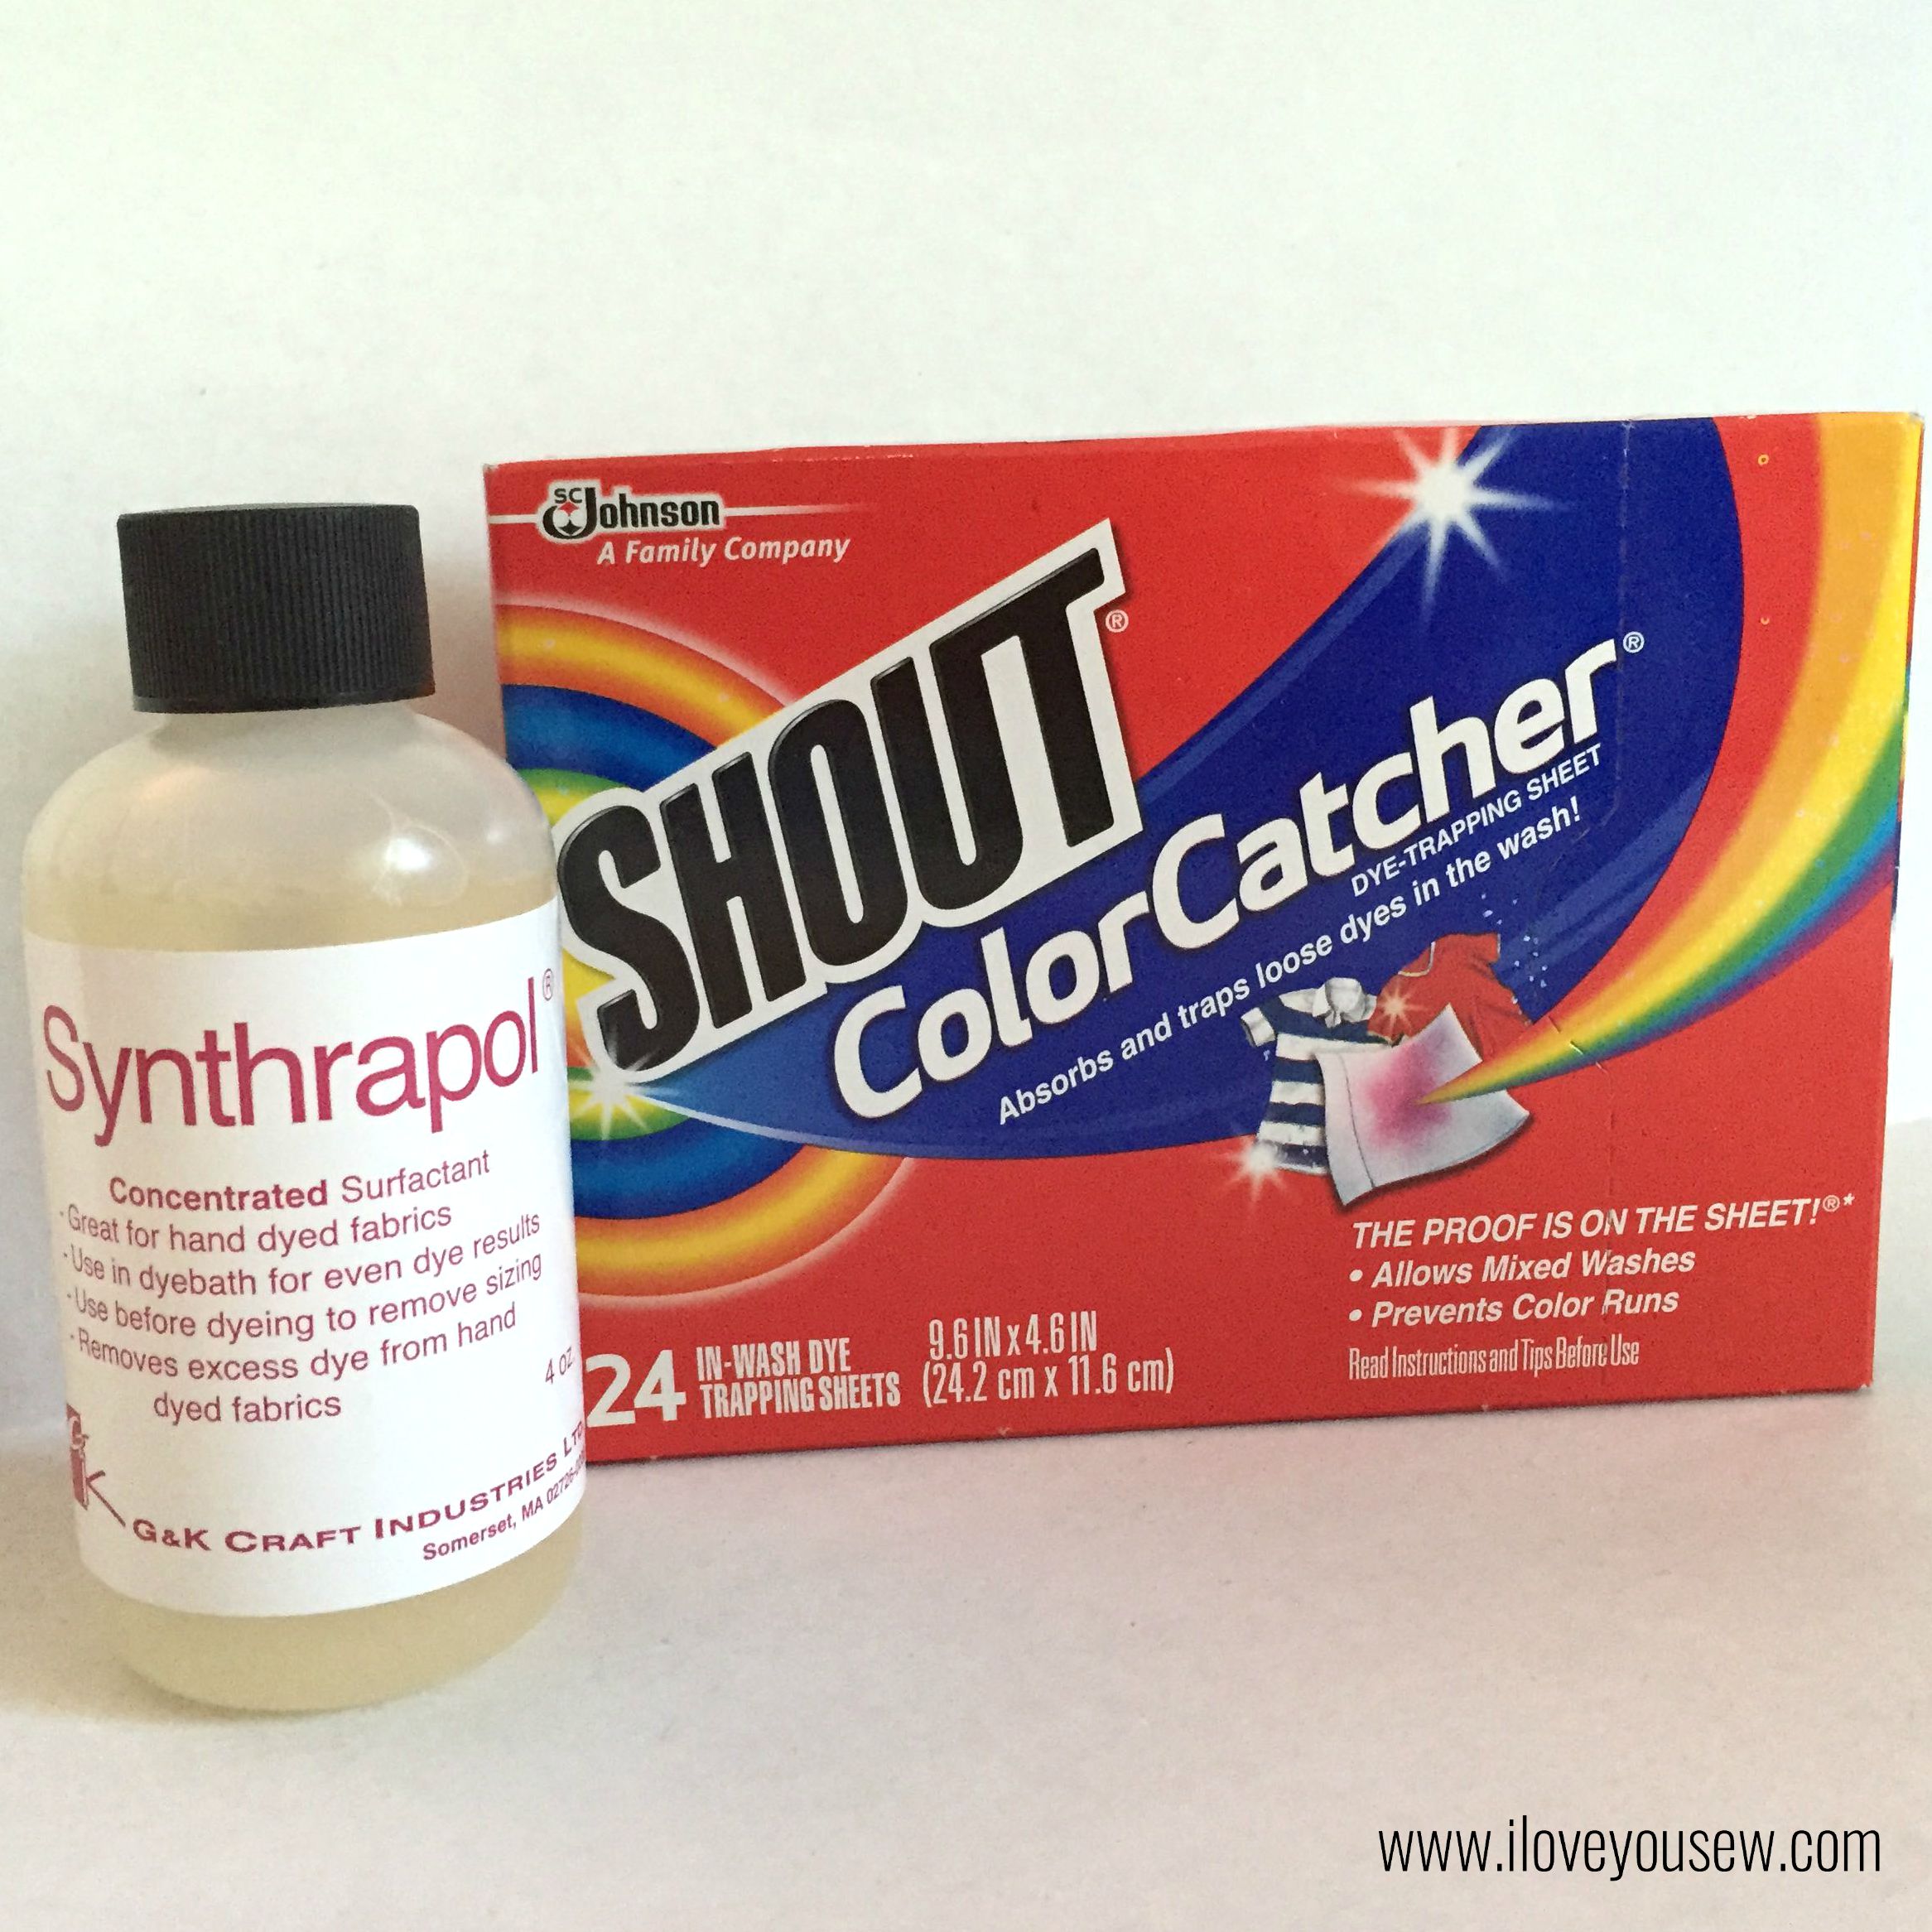
So off I went to find out how I could prevent any bleeding from occurring.  I consulted with a few quilty friends and good ol’ Google to see what was out there.  Synthrapol kept coming up as the go-to detergent to help dyes from re-depositing back onto the quilt. I also received many recommendations to Shout Color Catchers for this dilemma and to use in pre-washing going forward.  I decided why not try both products since I didn’t want to chance ruining my new quilt?

ColorCatchers

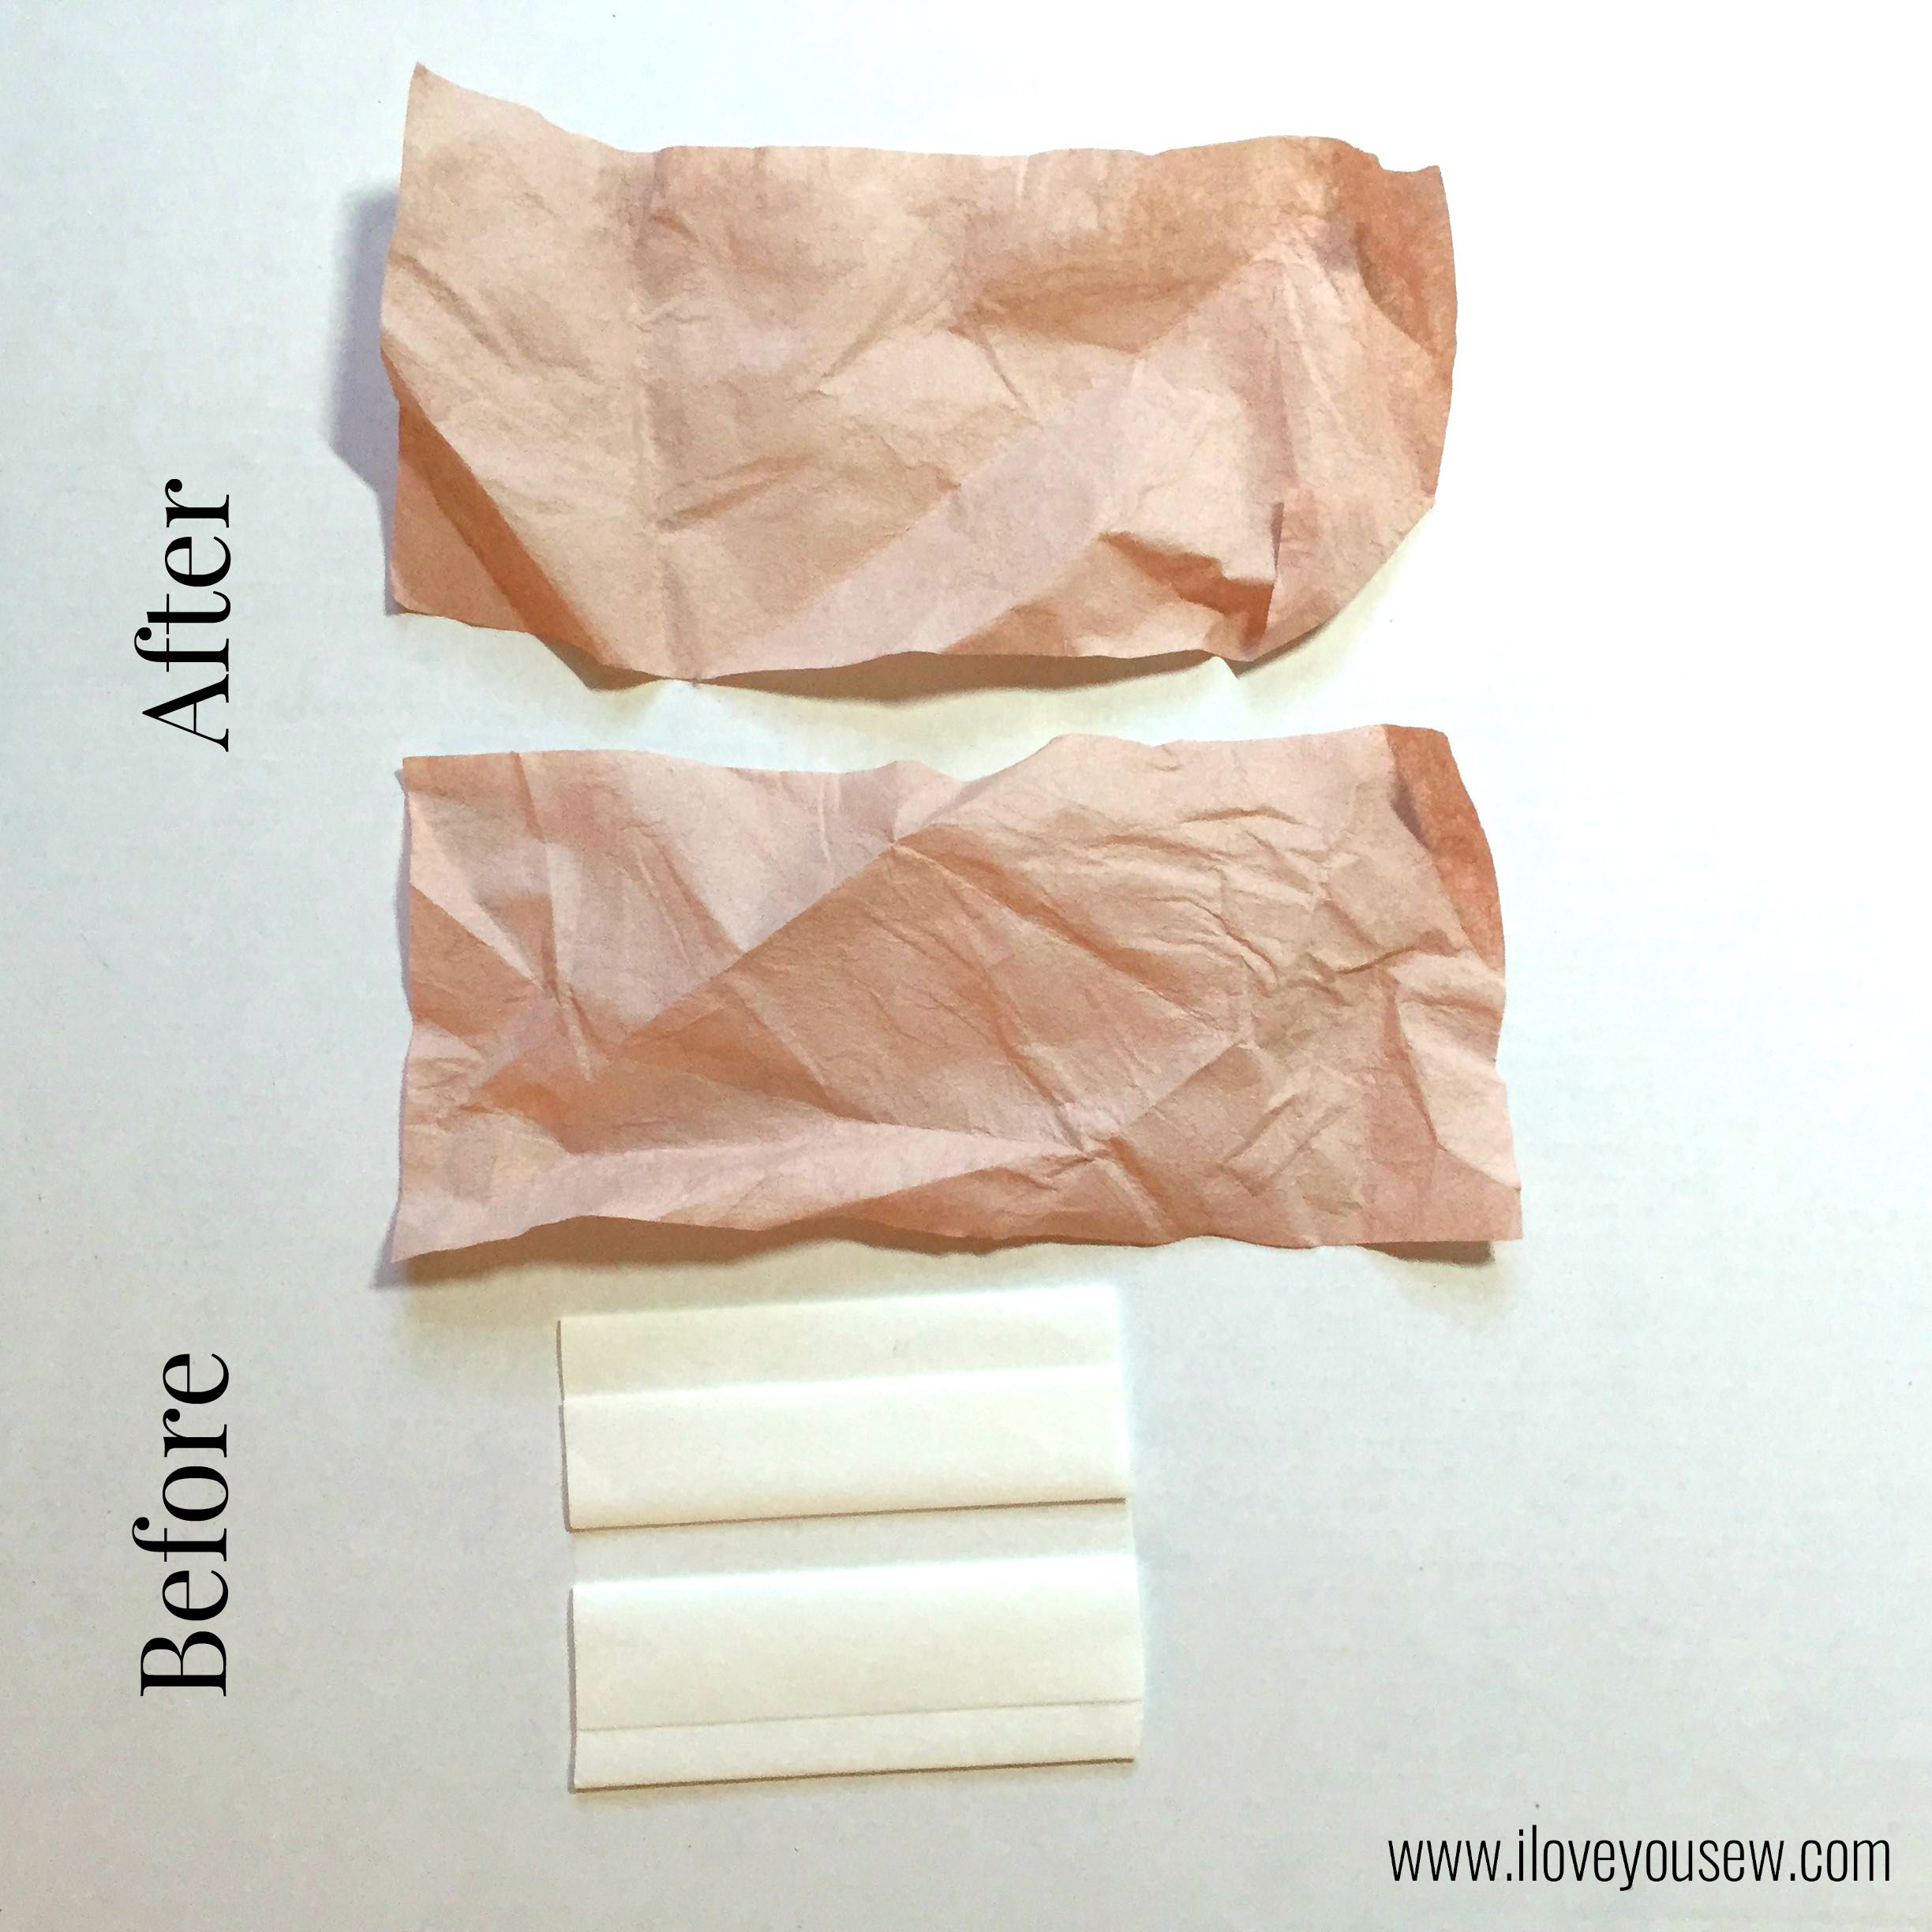
I followed the instructions on the bottle of Synthrapol to use only 1 tablespoon for my quilt without any additional detergents.  I did add two Color Catchers into the load as well.  Why two? I figured the magenta and black fabrics held such strong pigments that two catchers might be needed. As you can see, both Color Catchers did their jobs and caught a good bit of dye (Sigh of relief!)

IMG_0983

The quilt came out without any bleeding…which I was still astonished to see despite my efforts.  The image about is after washing.  You can see there were no runs with the magenta or the black dyes onto the white.  Hallelujah!!!

IMG_0984

I flipped over to the back of the quilt to see if there might be any bleeding there as well.  It was completely clear!  The Synthrapol and Shout Color Catchers worked!

Although I’m glad this all worked out, my lesson has been learned to pre-wash high-contrast fabrics next time.  I plan to still use these products for washing all quilts afterwards…just in case 😉  What do you use to wash your quilts???


Hugs and Stitches,

Cristy


***I was not sponsored for the content of this post. All opinions and experiences are my own and have not been influenced by third parties.

***This post may contain affiliate links.  The nominal compensation helps keep this site safe and running.