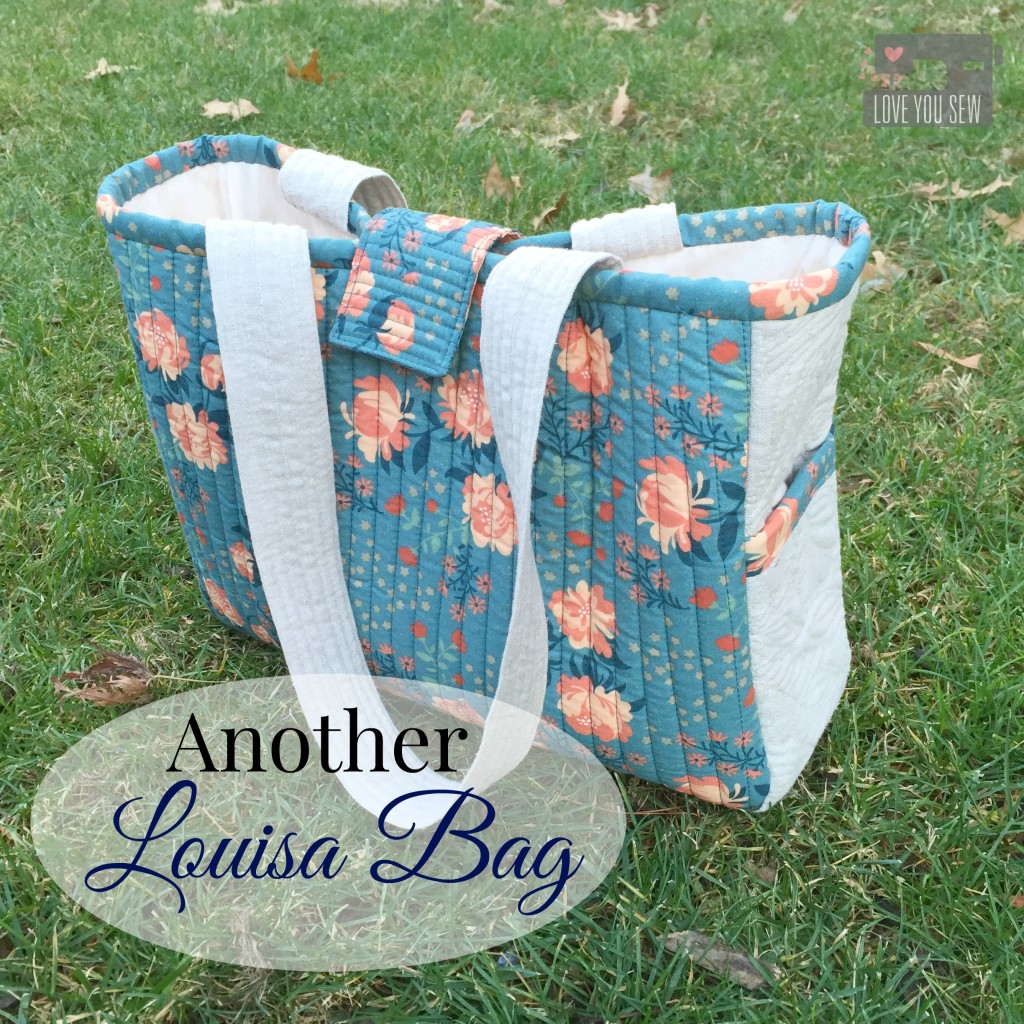
Another Louisa Bag

BirchLouisaBagTitle

As the holidays approached, I knew I wanted to make something special for my sister-in-law.  She lives only 30 minutes away, but we don’t get to see much of each other.  My niece is a rocking athlete and travels all over the state on the weekends.  We usually have to meet on a soccer field to catch up!  But when time allows, she always wants to spend some time with our boys.  It is win-win…she gets some QT and my husband and I get some time to go out.  So that’s why I thought a bag would make a great gift!

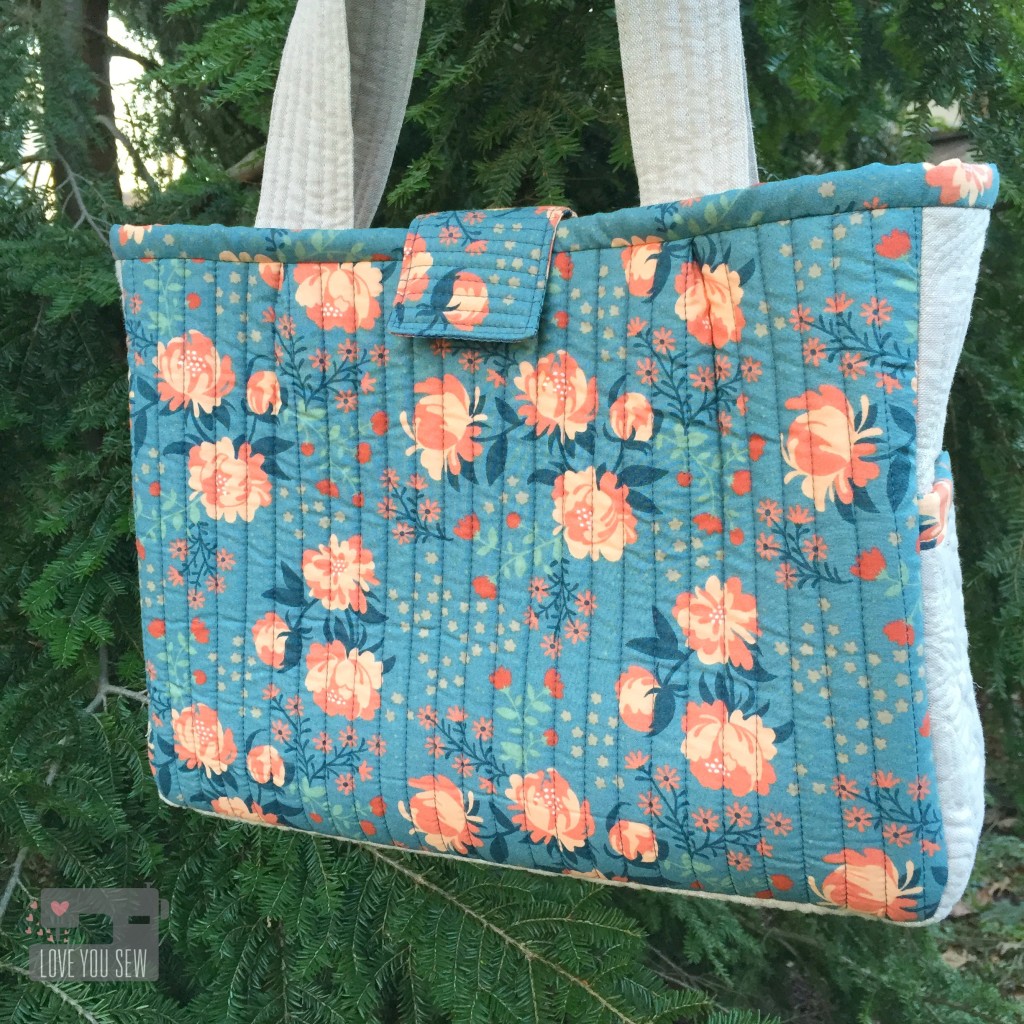
LouisaBagFullProfile

The Louisa Bag by Clover & Violet was the perfect choice.  (You can see the Flying Geese one I made here.)  This pattern is makes for a great mid-size bag to carry all of the essentials without being too overwhelming.  I had this great Acorn Trails Peonies Blue from Birch Organics which I wanted to leave whole.  It’s a beautiful larger print to show-off rather than turn into patchwork.  This exterior fabric was straight-lined quilted with Pellon Flex-Foam for lightweight structure.

TIP: Cut pattern pieces 1″ larger than instructed if you are quilting to the Flex-Foam. Once finished quilting, cut to the proper dimensions.

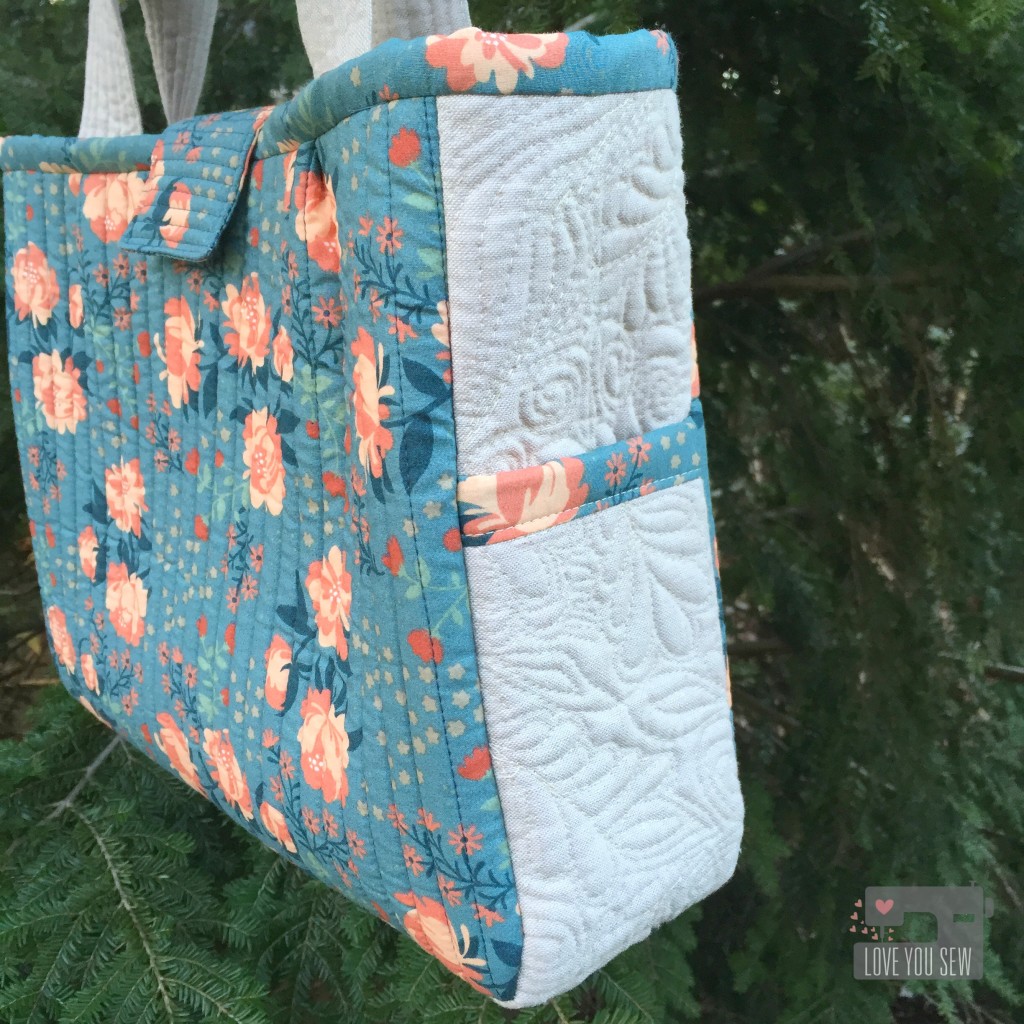
SideQuilting

For the sides, I wanted to add more interest since we left the main exterior panels whole cloth.  Essex Linen in Natural was the choice to add quilting upon.  I’m very new to the free-motion-quilting game.  I’ve been practicing for some time, but have been hesitant to actually use it on a real project.  These panels are wide enough to allow some fun design work, but small enough for me to handle as a first project.

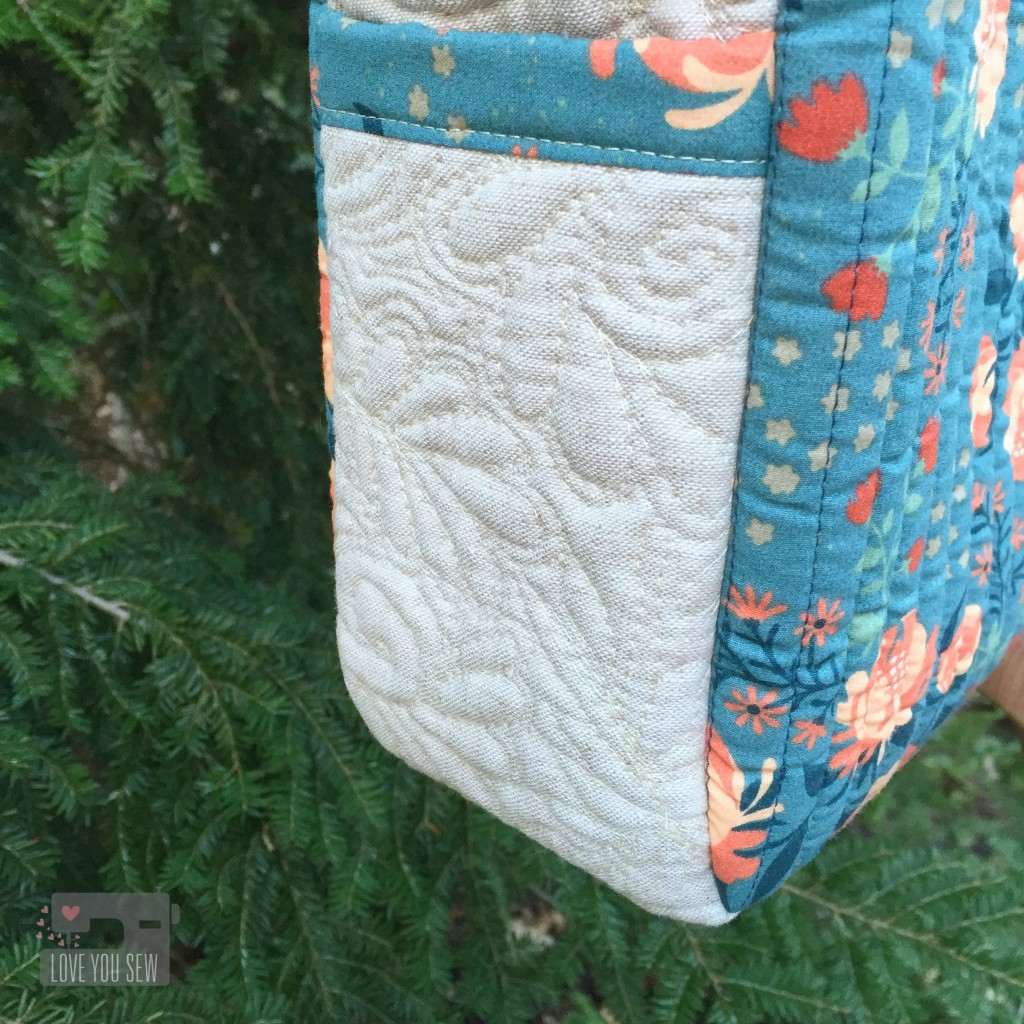
SideQuiltingCloseUp

I channeled my inner Angela Walters and went for it…graffiti style without a pattern.  There are some flourishes, swirls, leaves and echoes to fill in all of the space.  I’m please with how it complements with the Peonies on the main panel.  I omitted the side ties to keep the pockets simple and allow the quilting to stand out.

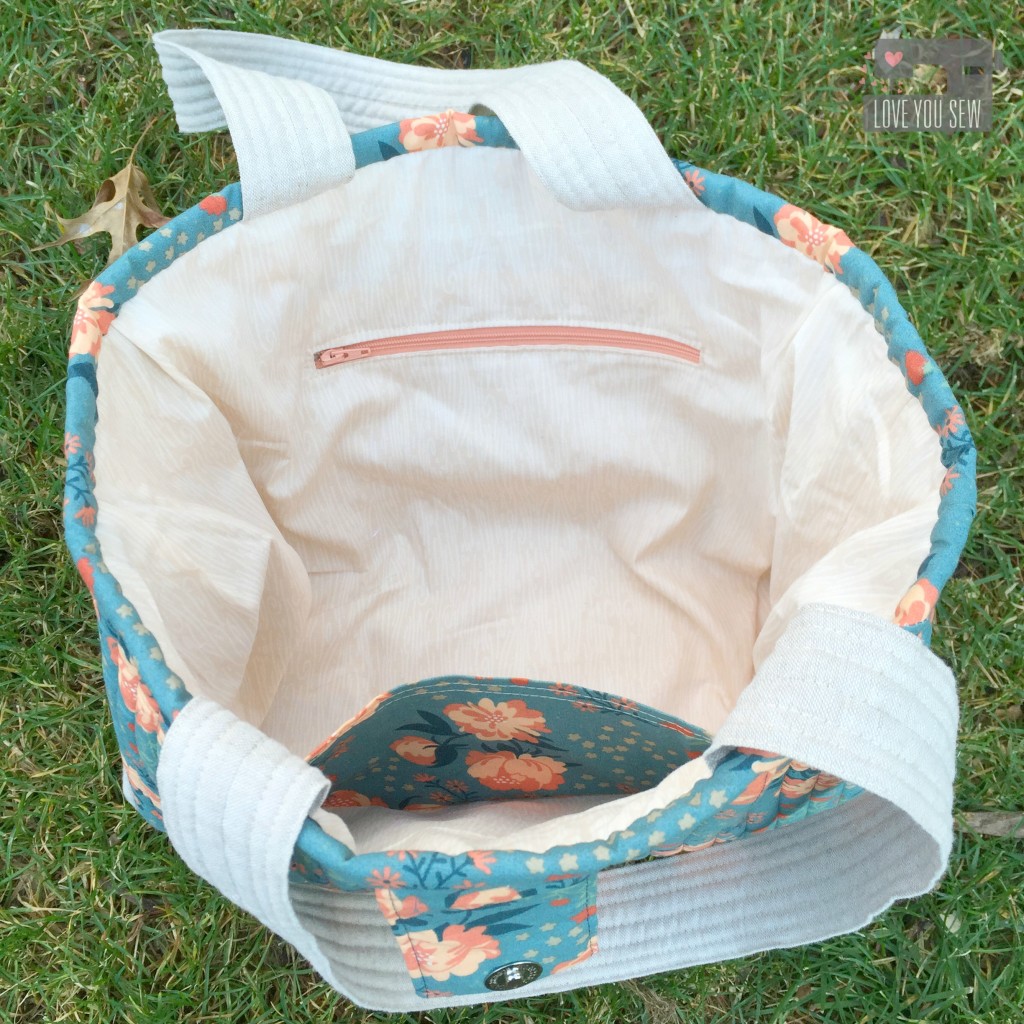
InteriorZipSidePocket

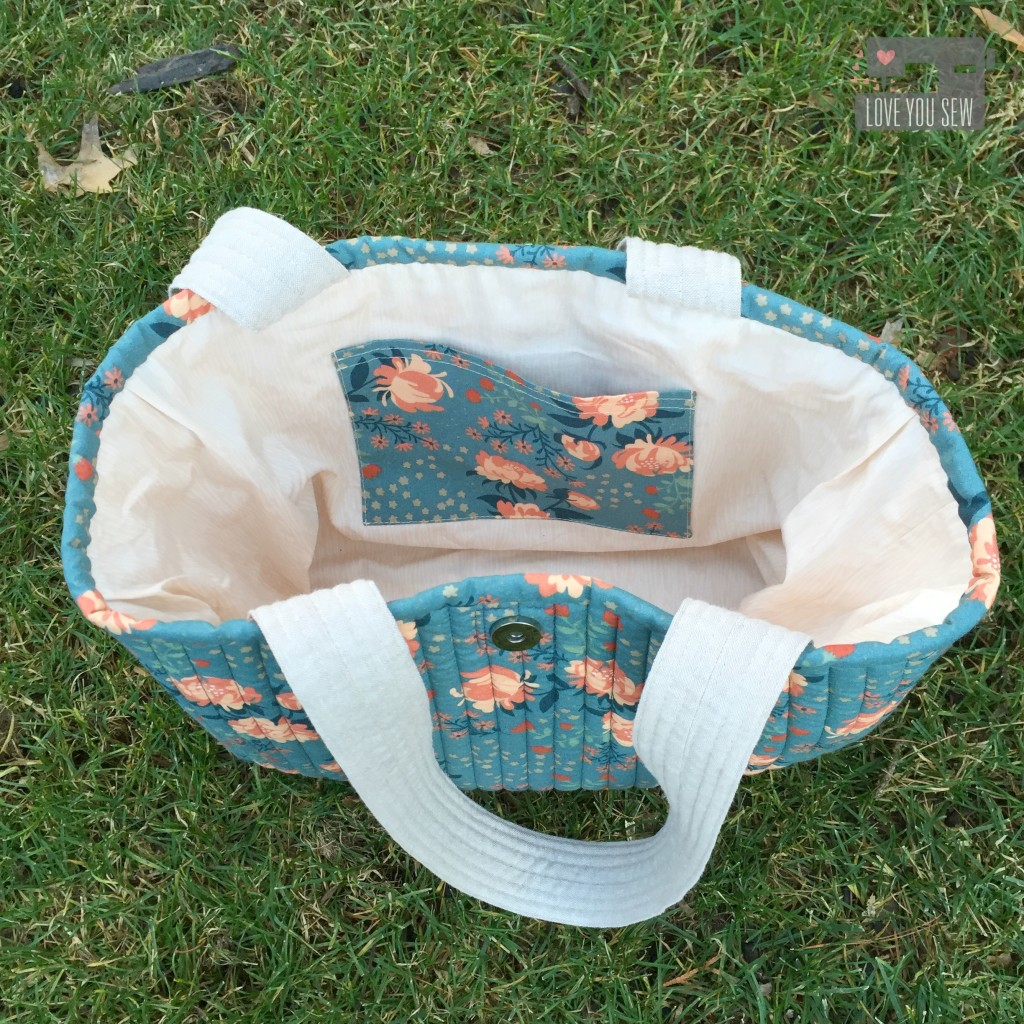
For the interior, I used the soft tones in Wildwood Birch from the Hello Bear line by Bonnie Christine for Art Gallery fabrics.  I was so happy to have a nice peach zipper to match with the exterior fabric….It pays to buy zipper assortments 😉

InteriorSidePocket

For the flat pocket on the other side of the interior, I use the main fabric to add interest and so my SIL can easily find in when in a pinch.  The straps were quilted with Flex Foam and you can see that they remain very pliable.  I love how this bag turned out.  It’s sophisticated enough to use everyday with that quilty touch 🙂

What handmade gifts did you make this year?


Happy Holidays,

Cristy
Helicopters and Airplanes Quilt

HelicoptersandAirplanesQuiltTitle

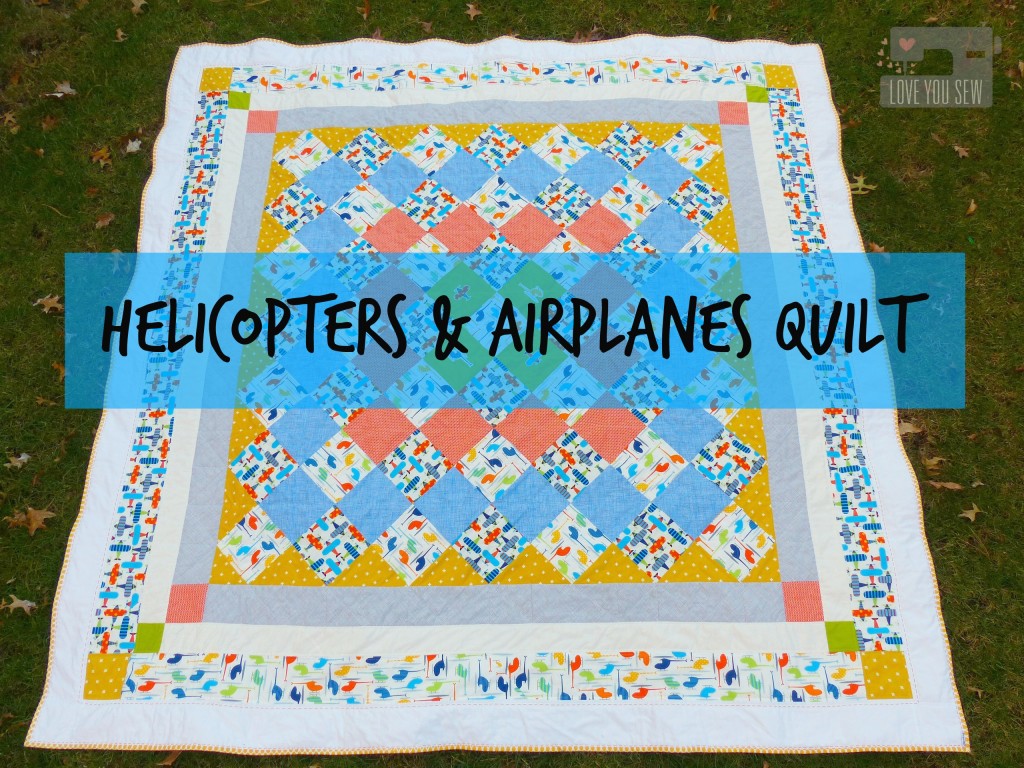
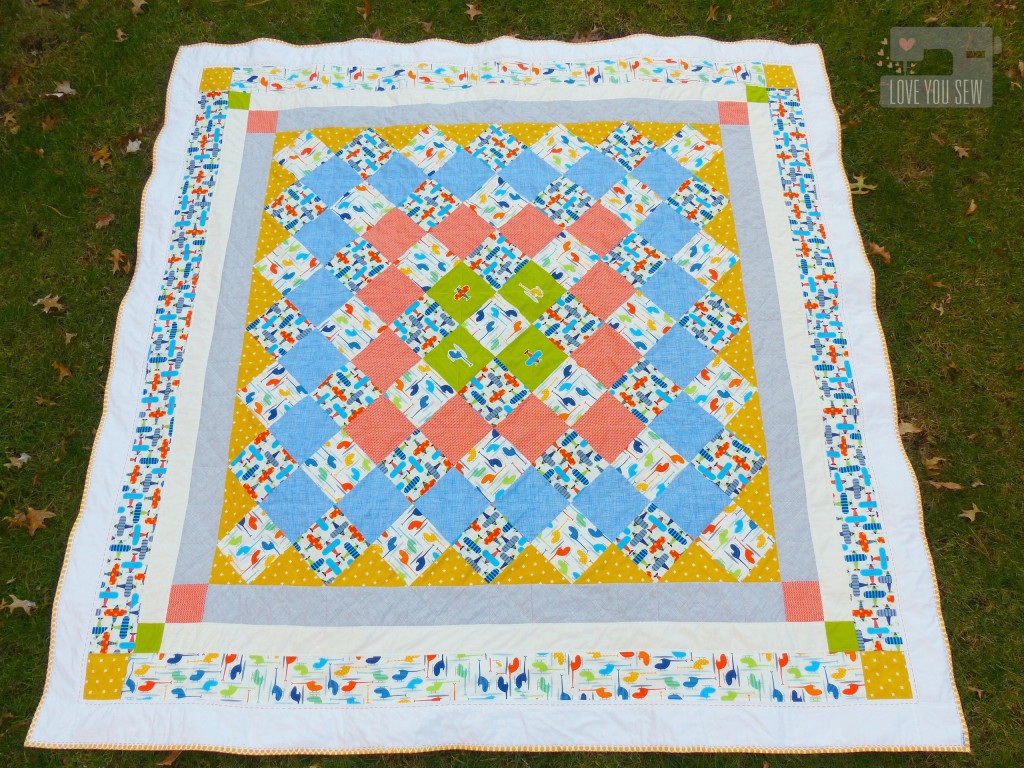
When one of my dear friends asked me to make her two year-old son a quilt, I could not say no.  I was so flattered she asked!  She requested a queen-size bright and cheery quilt full of helicopters and airplanes.  Anne Kelle‘s Ready Set Go in organic cotton for Robert Kaufman Fabrics was the perfect fit!

Heli and Plane Quilt Closeup

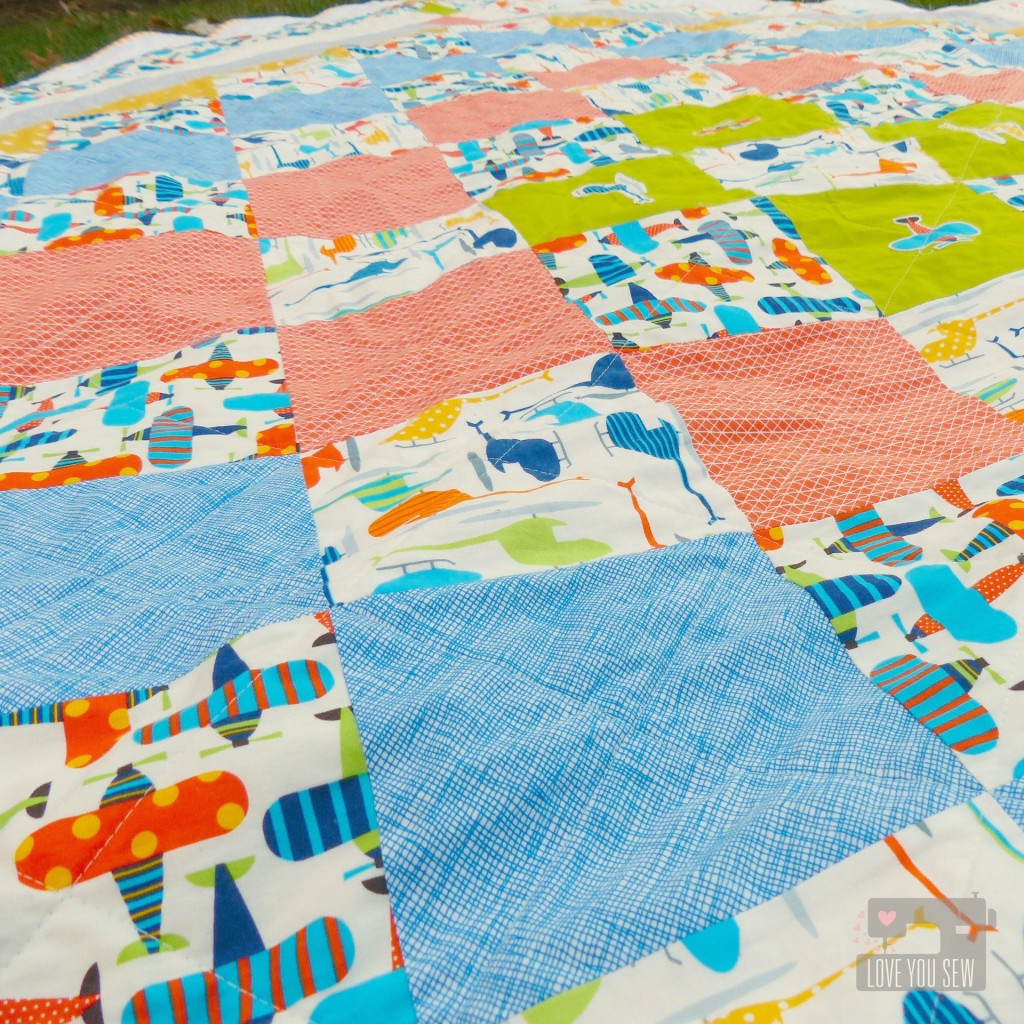
I combined Cotton + Steel Basics,  Architextures, and some Kona Cotton to coordinate and add lots of color to the quilt.  The design uses simple squares, but when rotated by 45*, provides a little more interest and fun!

Heli and Plane Quilt Closeup w Handquilting

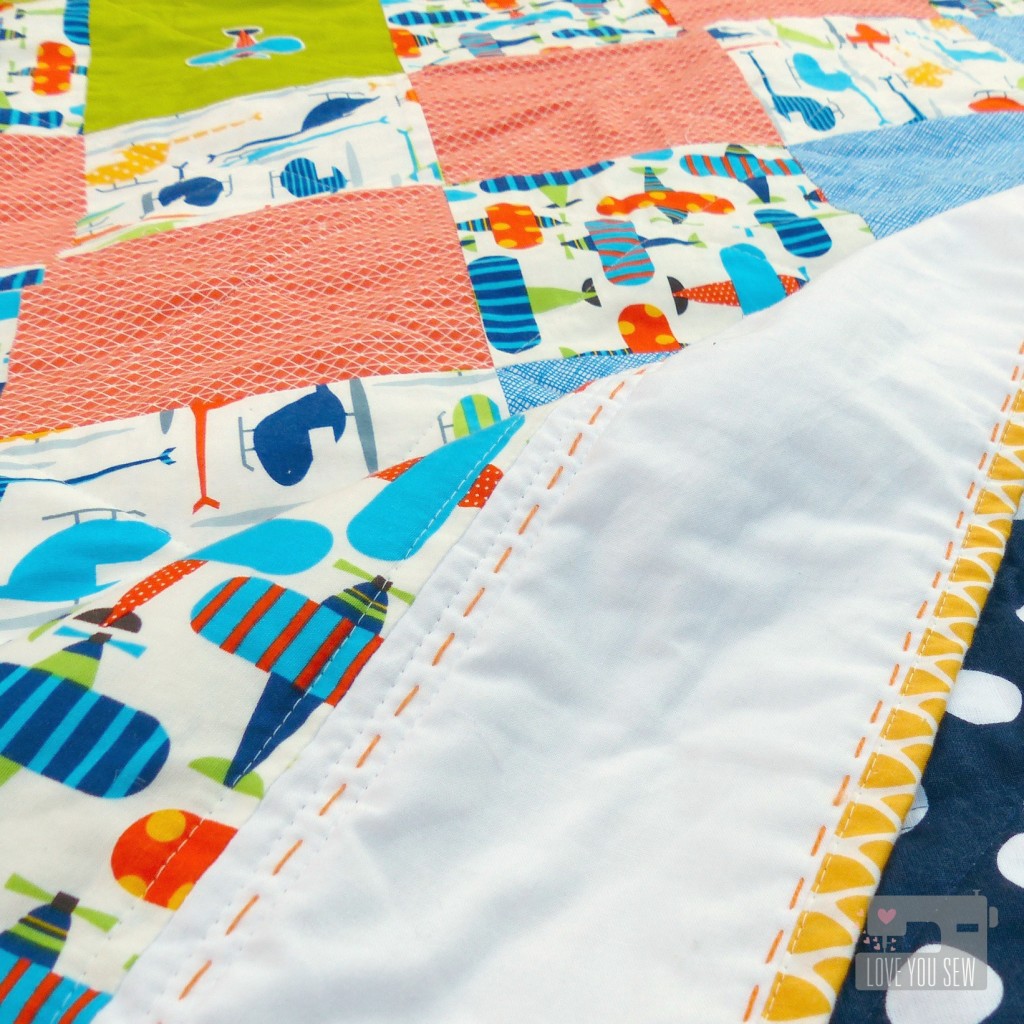
This was quilted with a simple diagonal crosses over the squares and then some echo lines around the border.  Admittedly, I made some miscalculations and had to add a few layers of borders to reach the appropriate size.  However, it allowed me to hand-quilt for the first time to add some extra color.  I used some Valdani Perle and found appreciation in those of you who regularly quilt by hand!

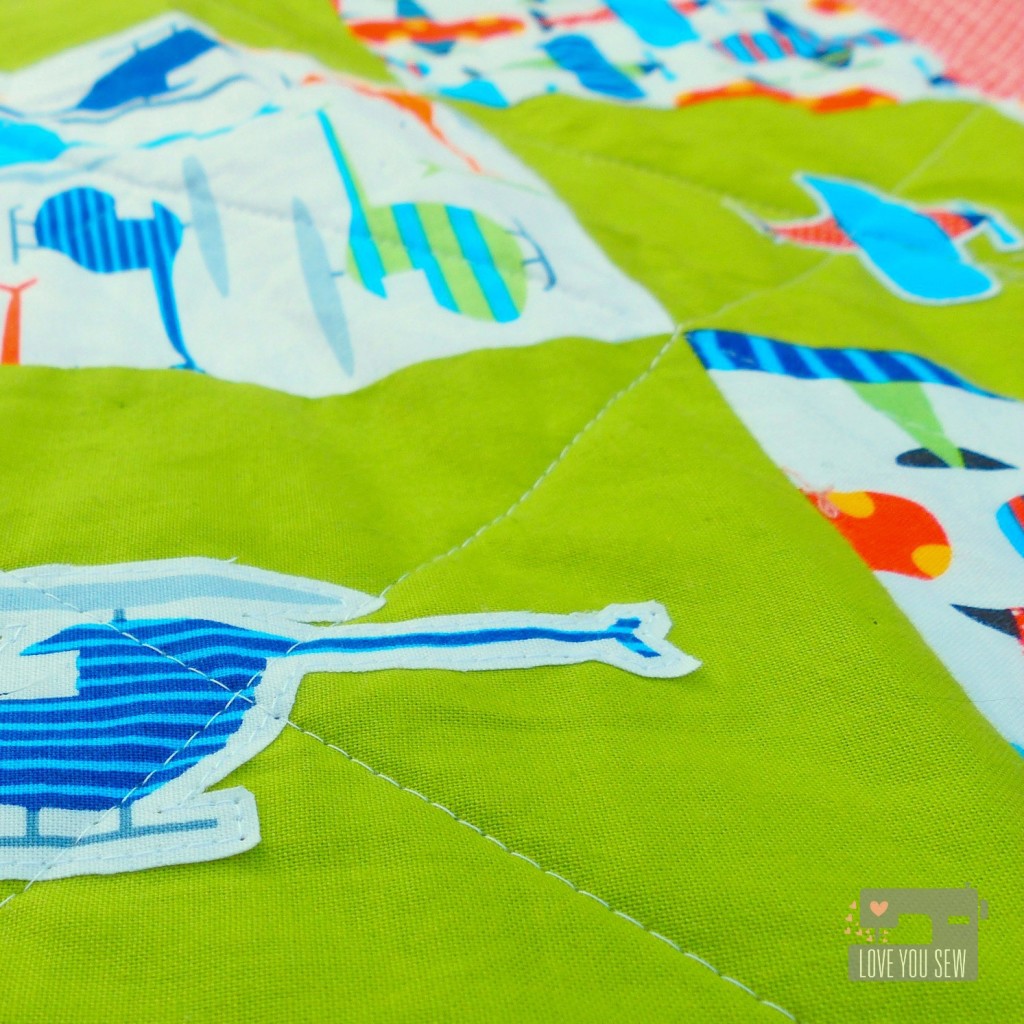
Applique CloseupOn these chartreuse blocks, I appliqued a few individual helicopters and airplanes.  It made this quilt more playful and I knew the future owner of this quilt would not mind extra.
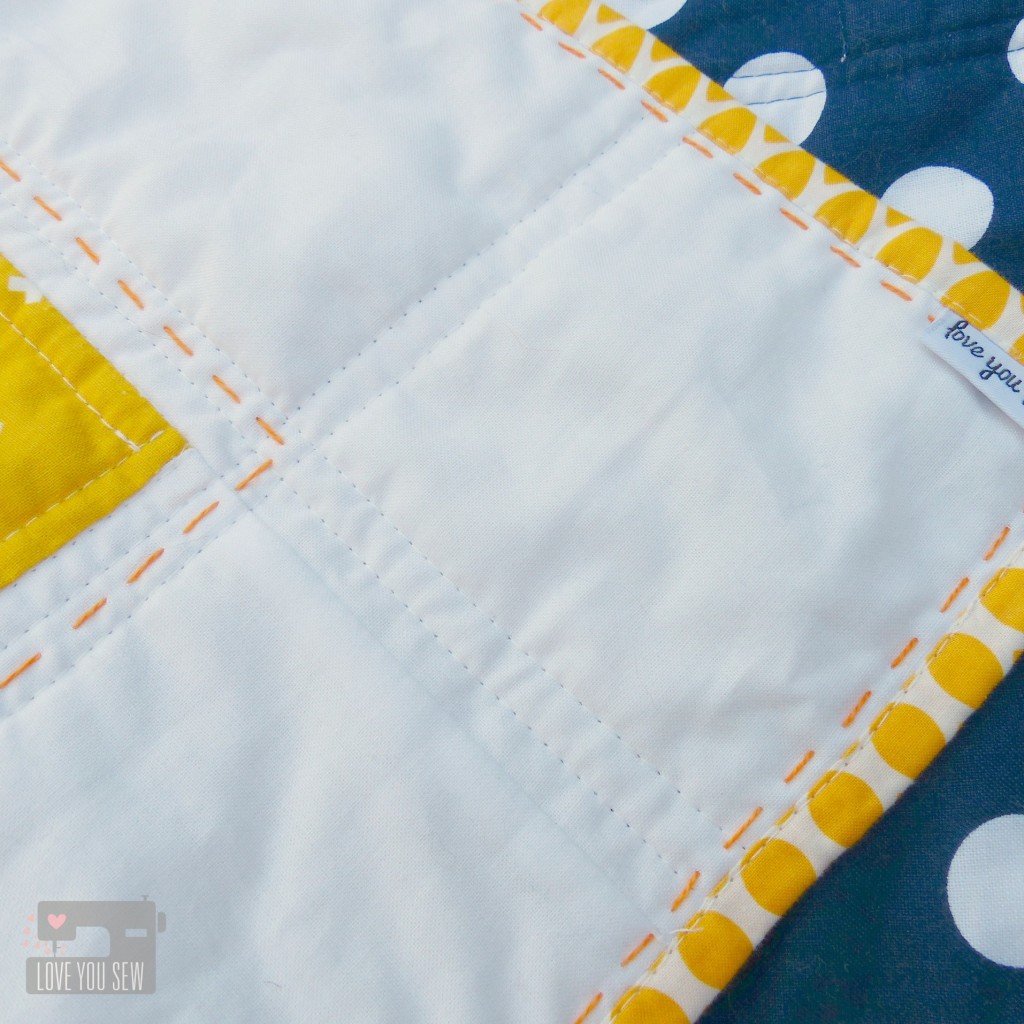
Hand Quilting Detail

The binding is some older Cloud 9 and I machine bound it since this quilt is intended for a young boy.  With the wear and tear, I know the hand binding would not hold up.

Heli and Plane Quilt

Although I had to make some impromptu adjustments, I am pleased with the results.  There are plenty of aircrafts to keep young eyes occupied.  I know this will be loved and cherish as intended…and exactly how a quilt should always be!


Cheers!

Cristy

Hawthorne Threads Roam Fabric Blog Hop

blog hopWhen Hawthorne Threads asked me to participate in this blog hop for Roam, I just about jumped out of my seat!  I had the pleasure of working with some of their digitally printed fabric for my niece’s nursery bedding so I already knew just how lovely this fabric would be.

Roam is a soft, dreamy rustic collection in both a Dawn and Dusk palette.  I tend to lean toward blues when I select fabric, but for some reason I couldn’t resist playing with the Dusk fabrics.  There is something about the earthly yellows, purples and pinks that is just so incredibly soothing…

I Love You Sew-4

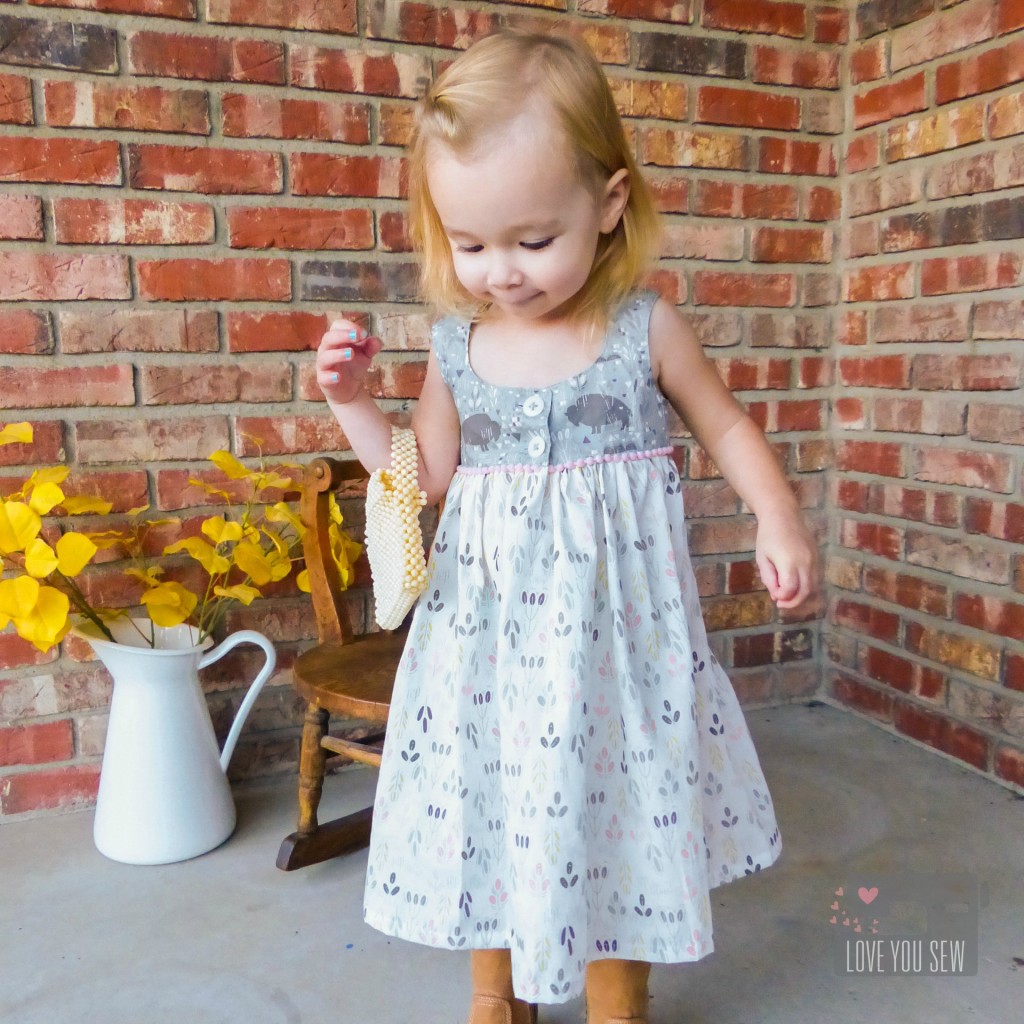
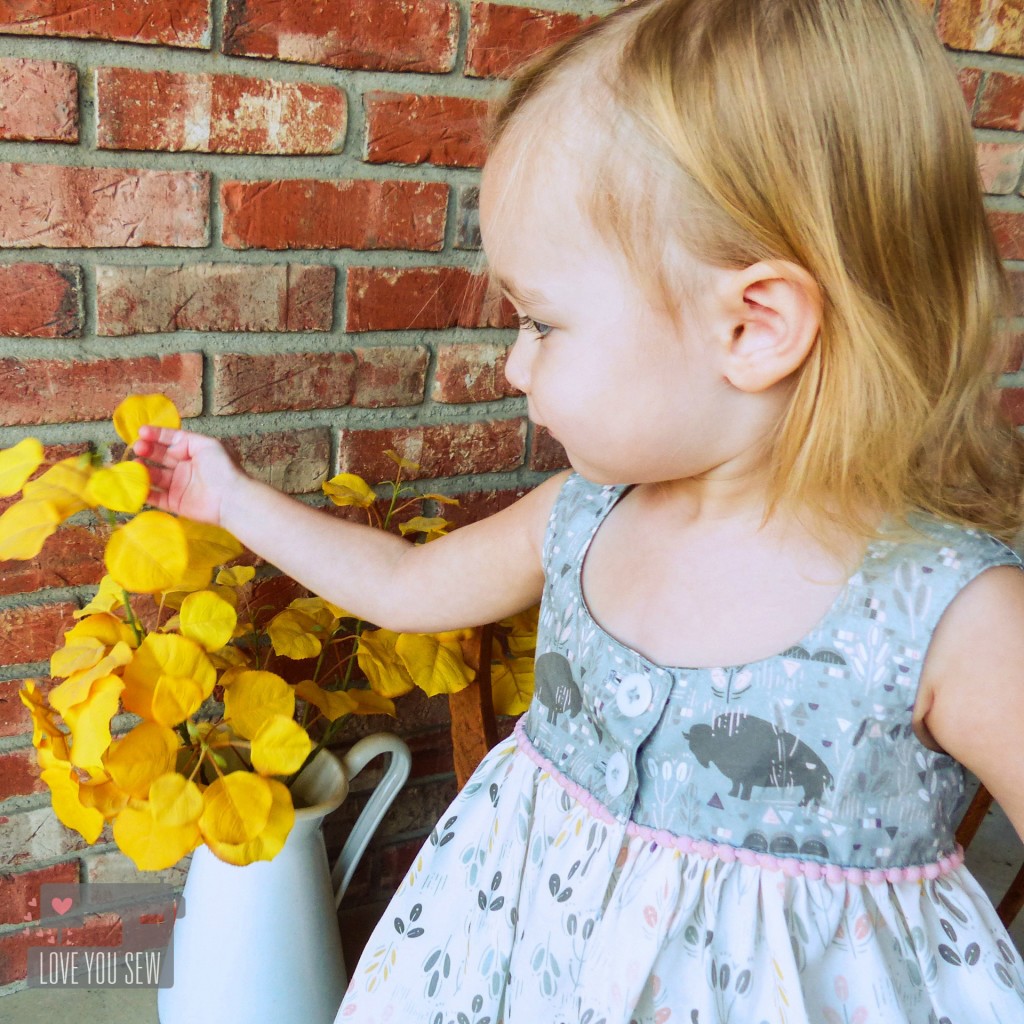
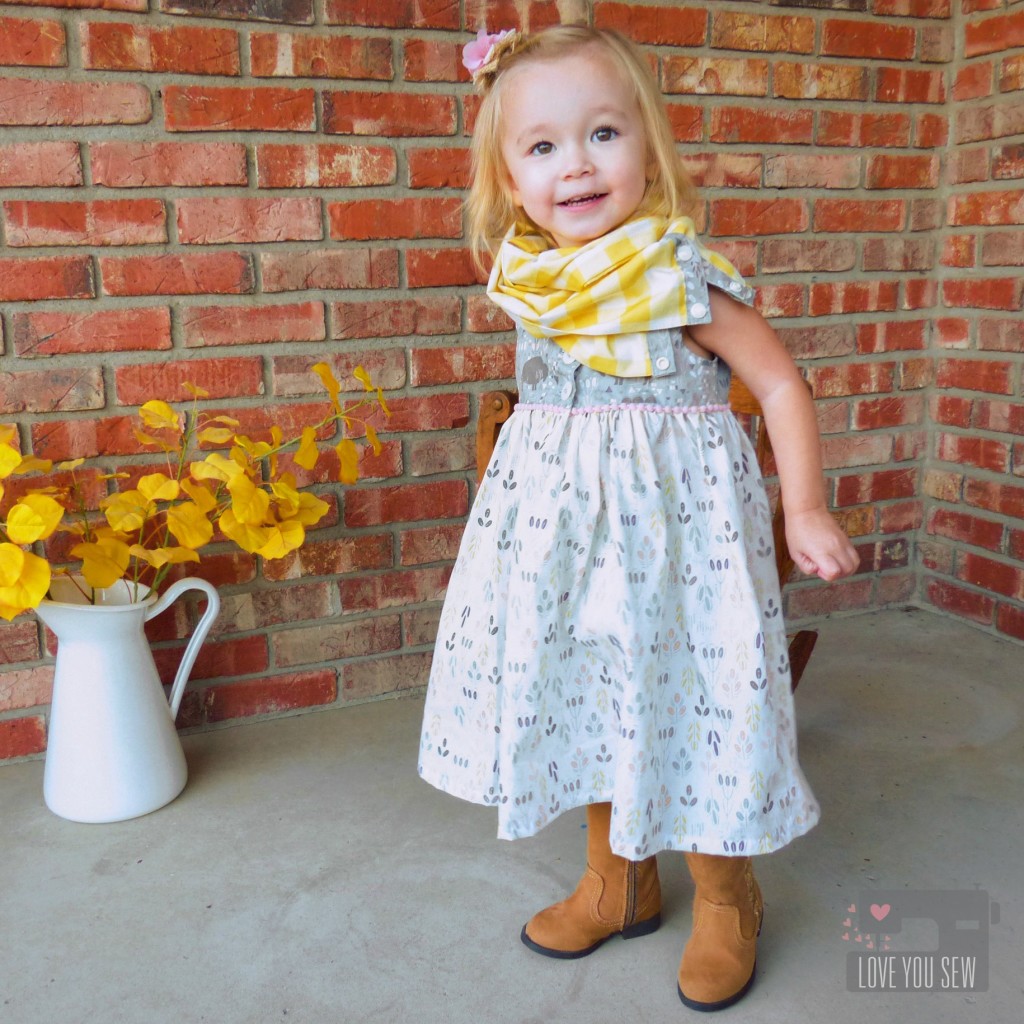
I selected The Plains in Sage and Prairie Flowers in Dusk to make the Desert Rose Dress by Caila Made.  This is such a cute dress pattern for toddlers and the Roam fabric was just a perfect playful fit for the design.

I Love You Sew-1

With the contrasting top and skirt, I couldn’t help but add a little extra pink pom-pom action….because…who can resist, right?!?  If you have not worked with pom-pom trim before, I suggest basting it in before you attached the top to the skirt.  It makes it MUCH easier to attach and stay even as you sew!

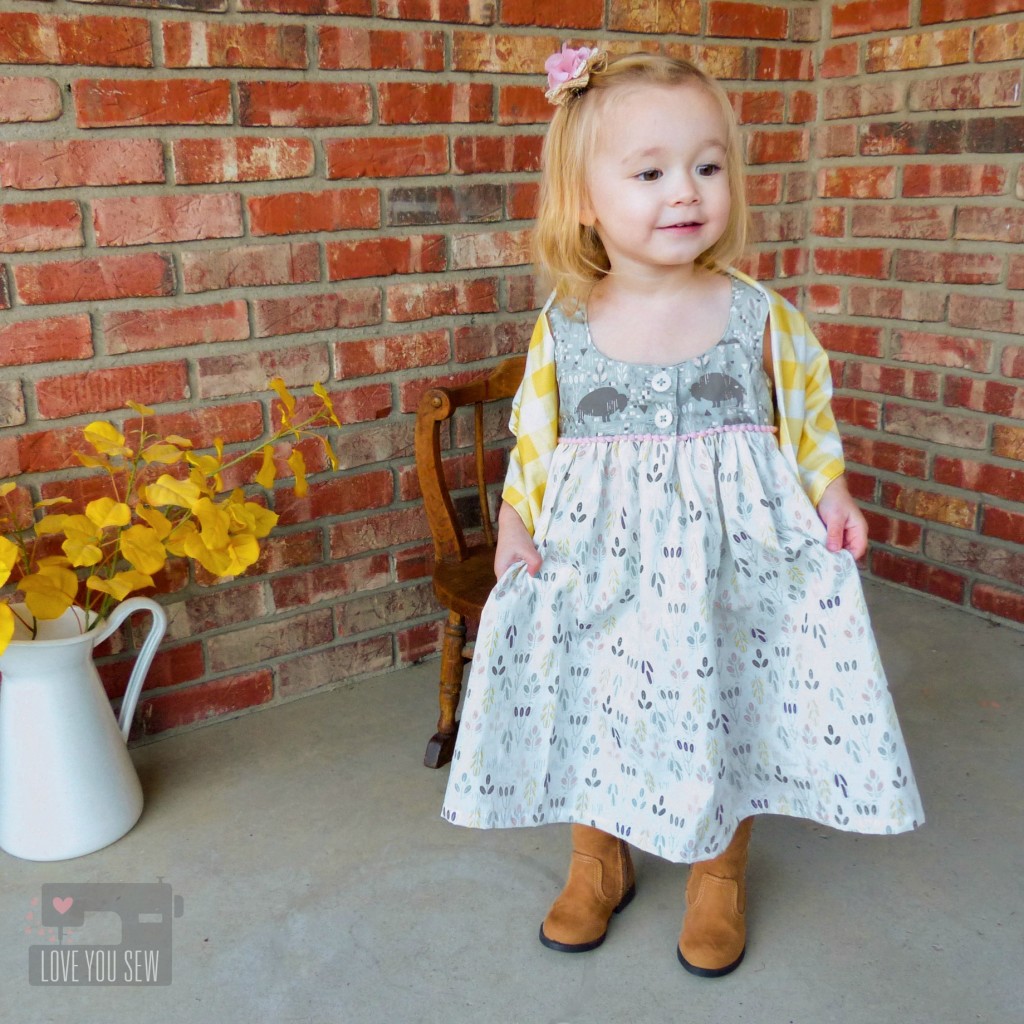
I Love You Sew-2Along with the dress, I made a Side-Snap Infinity Scarf.  The Buffalo Plaid in Honey is such a gorgeous coordinate.  I love how it picks up the yellow from the skirt and adds a hip stylish look for a little one.  The best part is the side snap placket which allows you to wrap the scarf without having to slip it over those big heads 😉

I Love You Sew-3You can also play with how you attach the scarf to change the look.  Snap it right in the middle and fold it over allows the scarf to work as a caplet.  If you use all the snaps, the scarf can stand up better to ensure full neck coverage on chilly days.  If you leave the snaps undone, you get a cute little shawl as shown.  Now who doesn’t love a multi-tasking accessory?!?

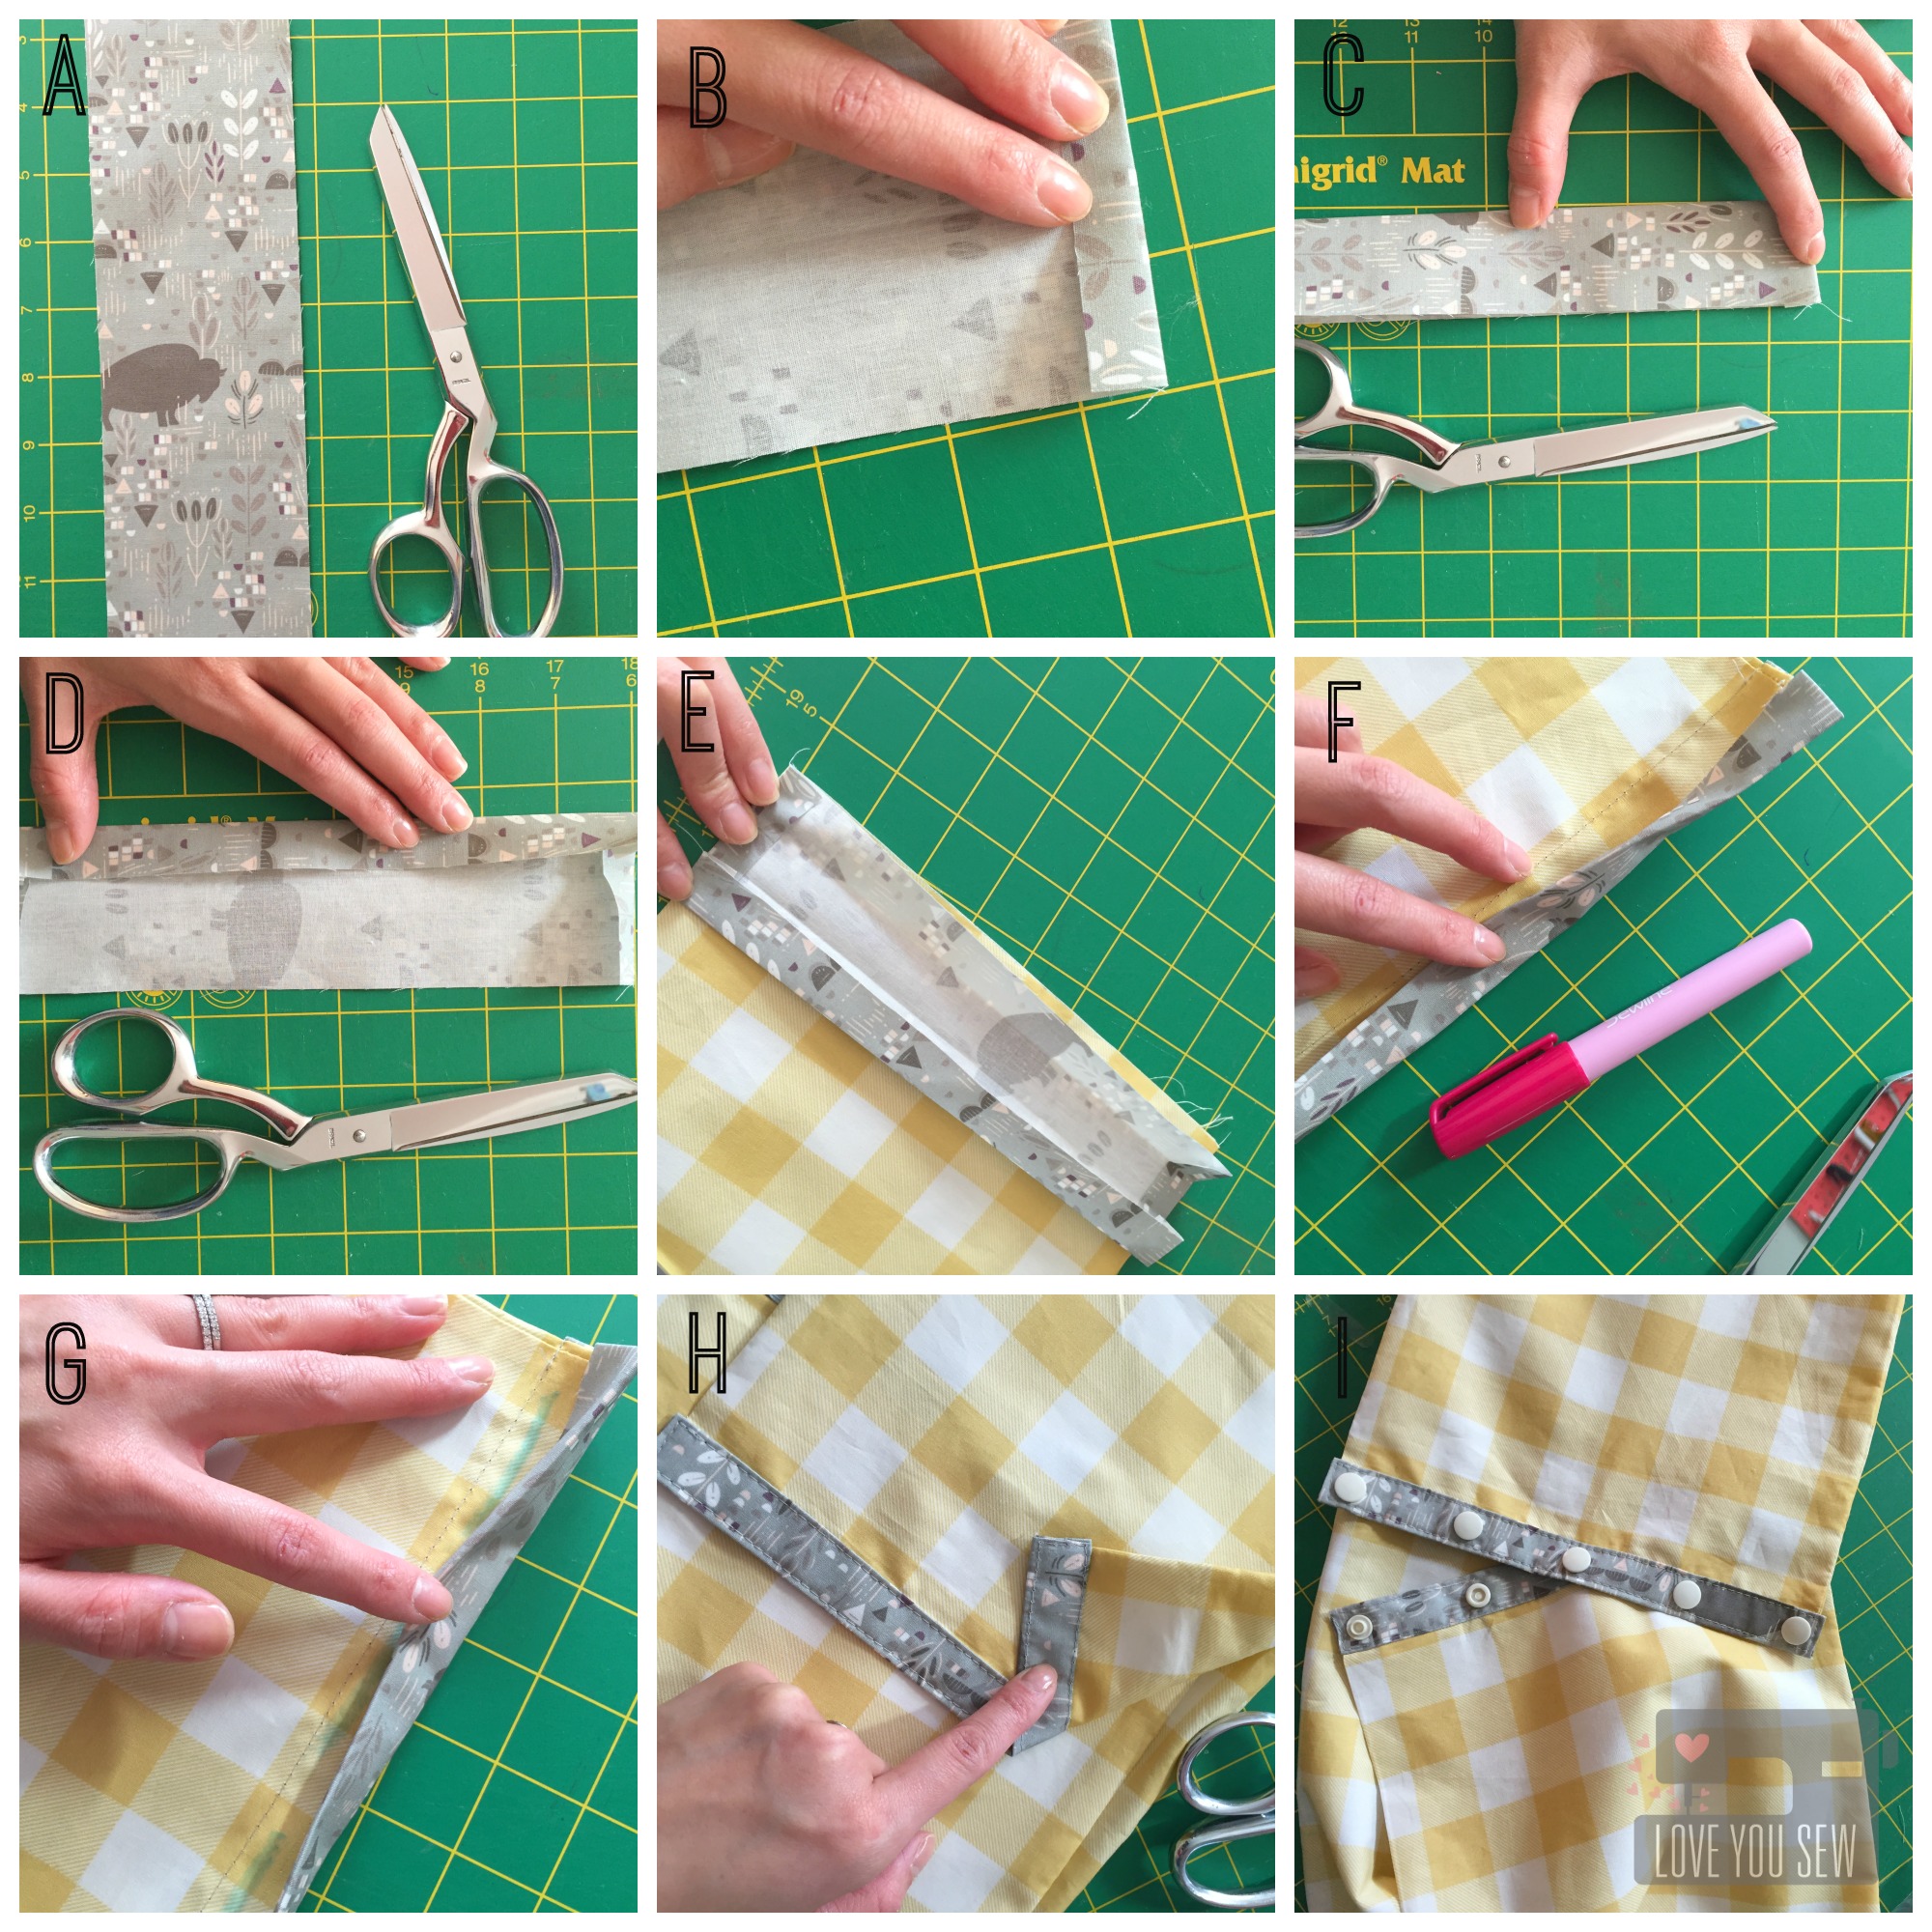
SideSnapScarfTutorial

To make the Side-Snap Infinity Scarf:

  • Use 1/3 – 1/2 yards of 42-44″ wide main fabric (depending on how much volume you would like.)
  • Fold the fabric with right sides together and sew down the length creating a long tube.
  • Pull the fabric so right sides are facing out and press
  • For the placket – {A} Take the accent fabric, cut (2) 3″ x 10″ strips (if using 1/2 yd for main fabric) OR cut (2) 3″ x 7″ strips (if using 1/3 yd for main fabric)
  • {B} On the short sides of the accent strips, fold a 1/2″ hem and press on both sides
  • {C} Fold in half length-wise and press.  {D} Open and fold lengthwise again but match the sides to the center line.  Press and make sure you keep a nice rectangle shape with sharp corners.
  • {E} Attach the placket by sewing in the the first crease of the placket closest to the end of the scarf tube.
  • {F} Flip the scarf over and sandwich the open end of the main fabric tube in-between the opening of the placket.  Top-stitch all around with a 1/8″ seam allowance {H.}  Repeat for the other side of the scarf. TIP: Use some washable fabric glue to keep the placket in place as you top-stitch
  • {I} Add plastic snaps such as these KAM ones by marking 5 sets approximately 2 1/4″ apart (for 1/2 yd scarf.) *Yes, I know that one left snap was incorrectly attached, but I didn’t realize it until all the pictures were already taken. It’s been fixed since 😉

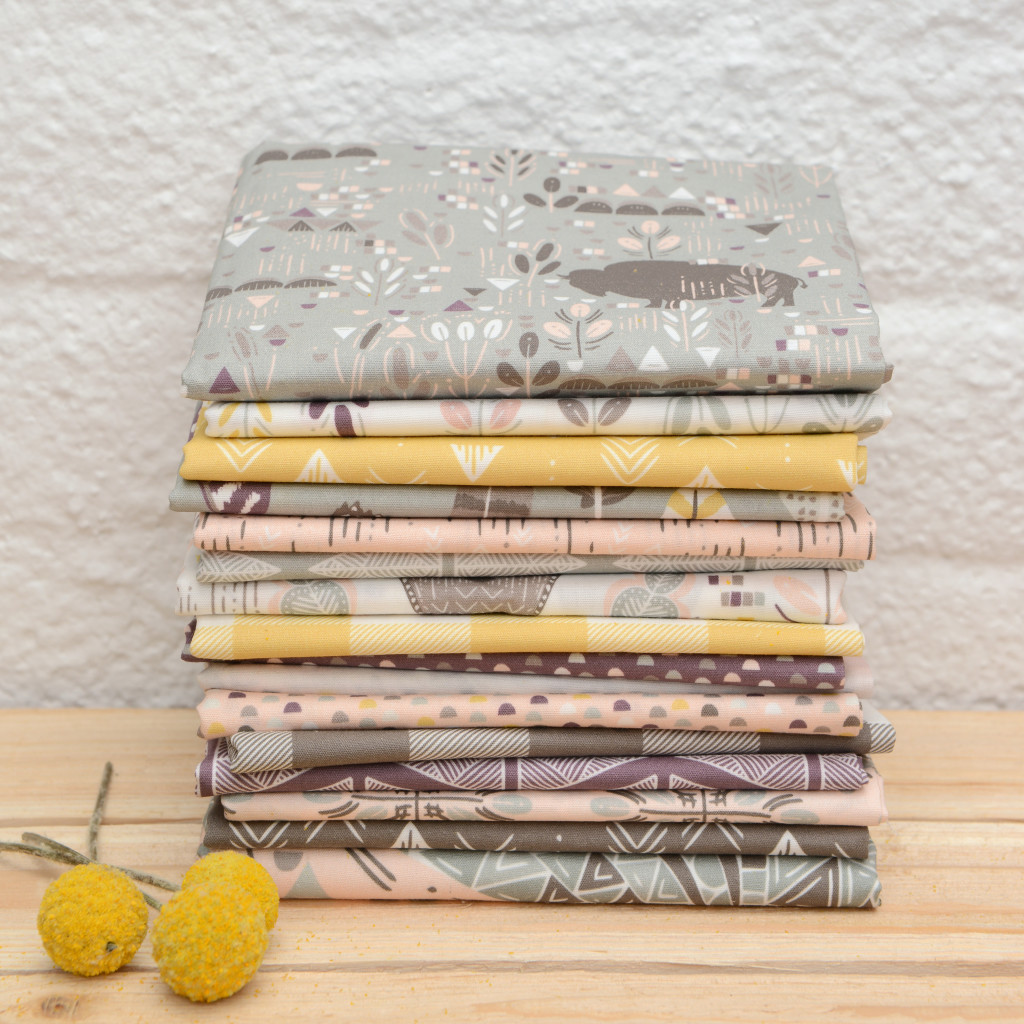
Dusk Giveaway Bundle Image

***Giveaway is closed***  Now who’s ready for the giveaway??? Comment with how you would like to use this Dusk color-way for a chance to win the entire fat quarter bundle!  This is open internationally and a winner will be announced once the blog hop is complete.  Make sure to visit everyone on the hop for beautiful ideas and additional chances to win this gorgeous fabric!!!

The complete Hawthorne Threads Roam Blog Hop Schedule:
Tuesday, December 1st – Fabric Mutt
Wednesday, December 2nd – Coffee + Thread
Thursday, December 3rd – Love You Sew
Friday, December 4th – Olivia Jane Handcrafted
Saturday, December 5th – Hawthorne Threads


12/15/2015 Update – Randomly Selected Winner is  Veronique Oudard!  Congratulations!!!


Hugs & Stitches,

Cristy


***The blog hop was sponsored and fabric was provided by Hawthorne Threads.  All opinions  are my own and have not been influenced by outside parties.

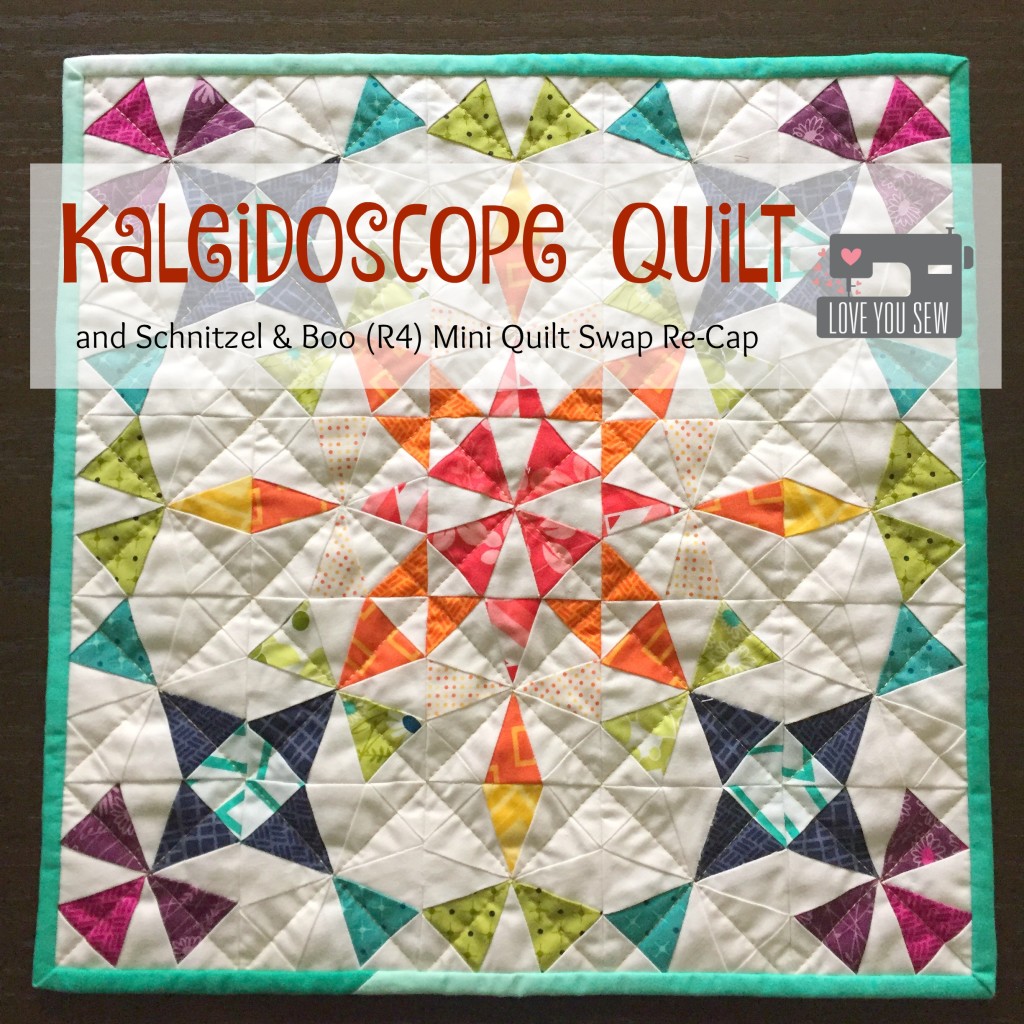
Kaleidoscope Quilt and Schnitzel & Boo (R4) Mini Quilt Swap Re-Cap

KaleidoscopeTitle

The Schnitzel and Boo Mini Quilt Swap was the first swap I followed on Instagram.  I was pouring over the hashtag #schnitzelandboominiquiltswap and trying to figure out what the heck was going on!  This swap has the claim of being the original swap where you are blind partnered (the recipient doesn’t know who is the maker) to make sweet mini quilts and thus, it had over 1000 participants…wow!

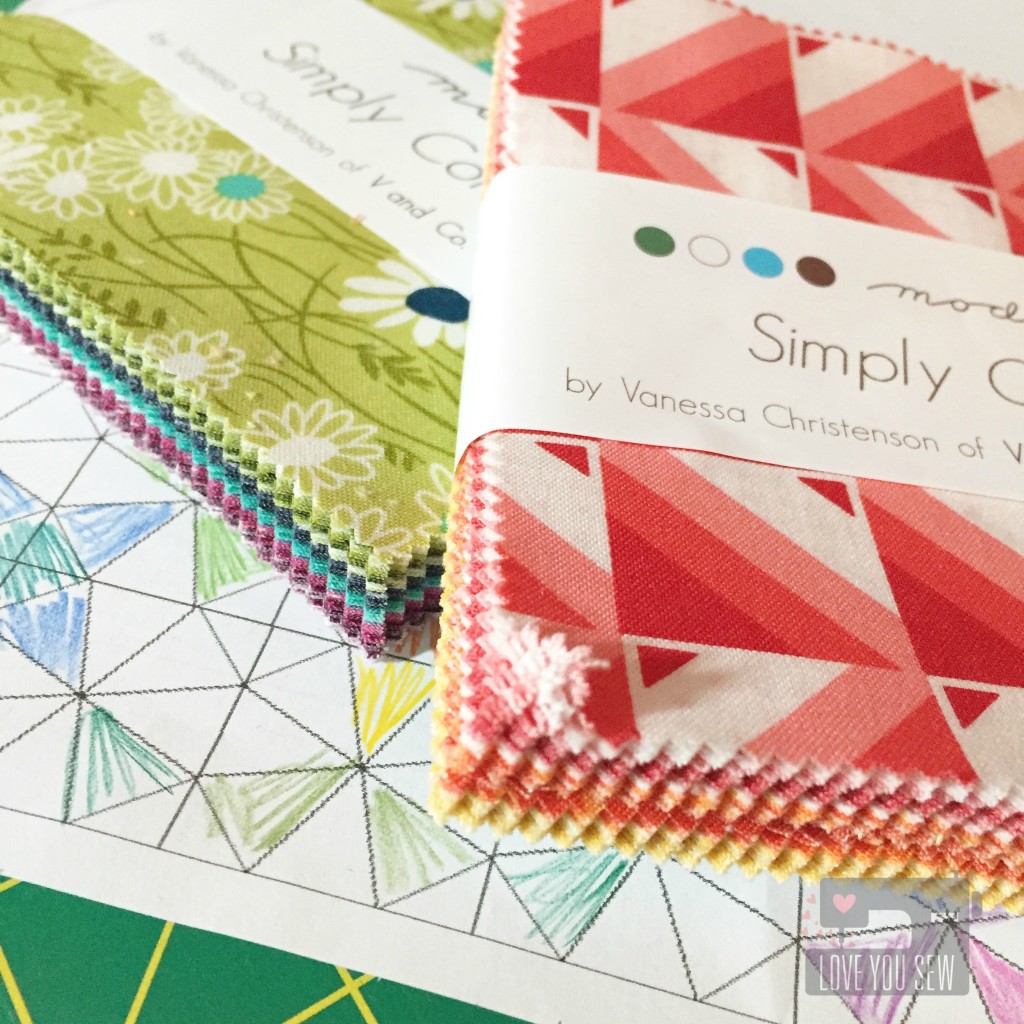
FabricandColoringSheet

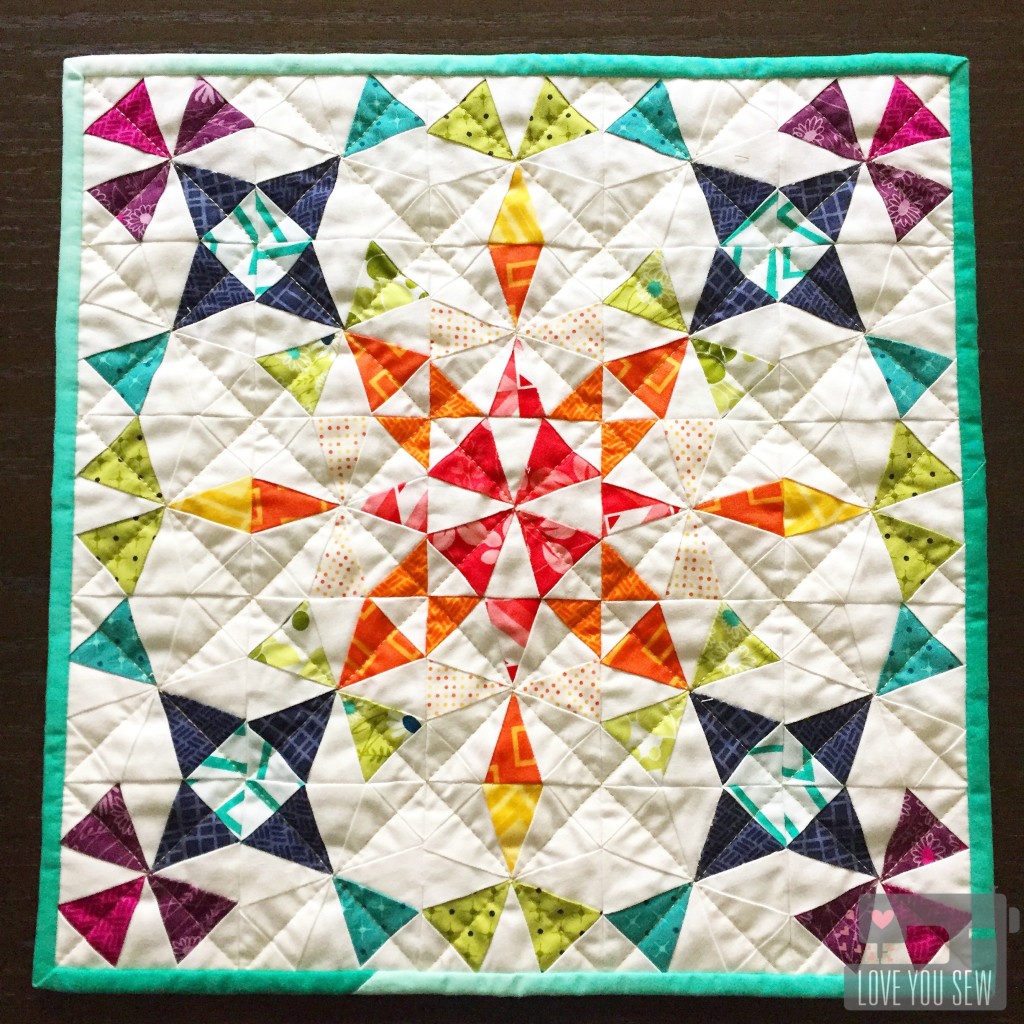
I had the pleasure of making a quilt for someone that liked V & Co fabrics and happened to have charm packs of the newest Simply Colorful and Simply Colorful II lines.  With the popularity of this swap, I felt some pressure to make something pretty nice….so I thought a Kaleidoscope design would be perfect.  It’s very striking and is perfect for some rainbow action 😉

The Kaleidoscope is a traditional paper-pieced pattern I got from Quilter’s Cache.  This is an amazing website with tons of FREE patterns!  The original pattern finishes at a 6″ block.  In order to fit the parameters of a mini, I shrank the pattern to 47% of the original to create a 3″ block. (I don’t know why 50% reduction didn’t work, but a little playing around helped me get to the size I wanted.) To plan out the colors and layout, I used this coloring sheet I found by Debbie Kratovil.  I think every quilt designer should have coloring sheets with their patterns.  They make life SO much easier!

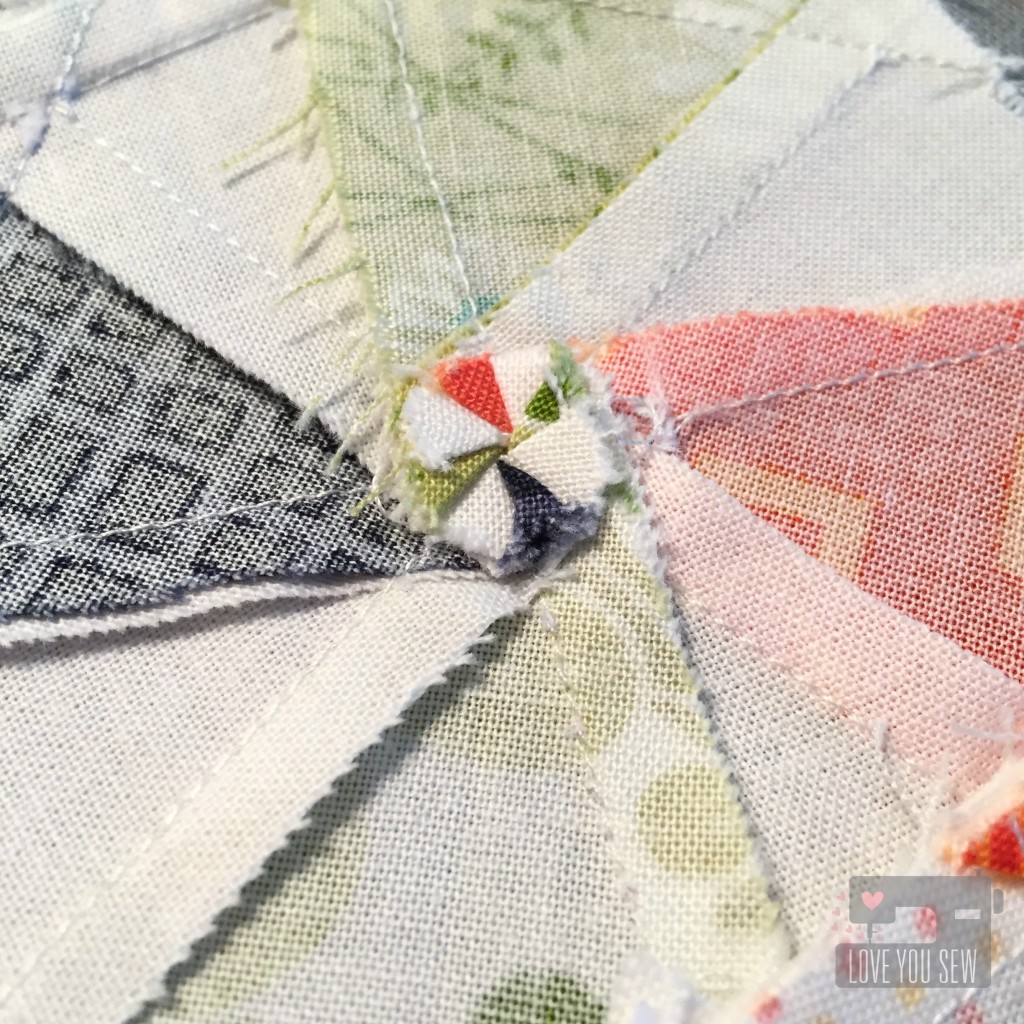
SpiralNestingSeams


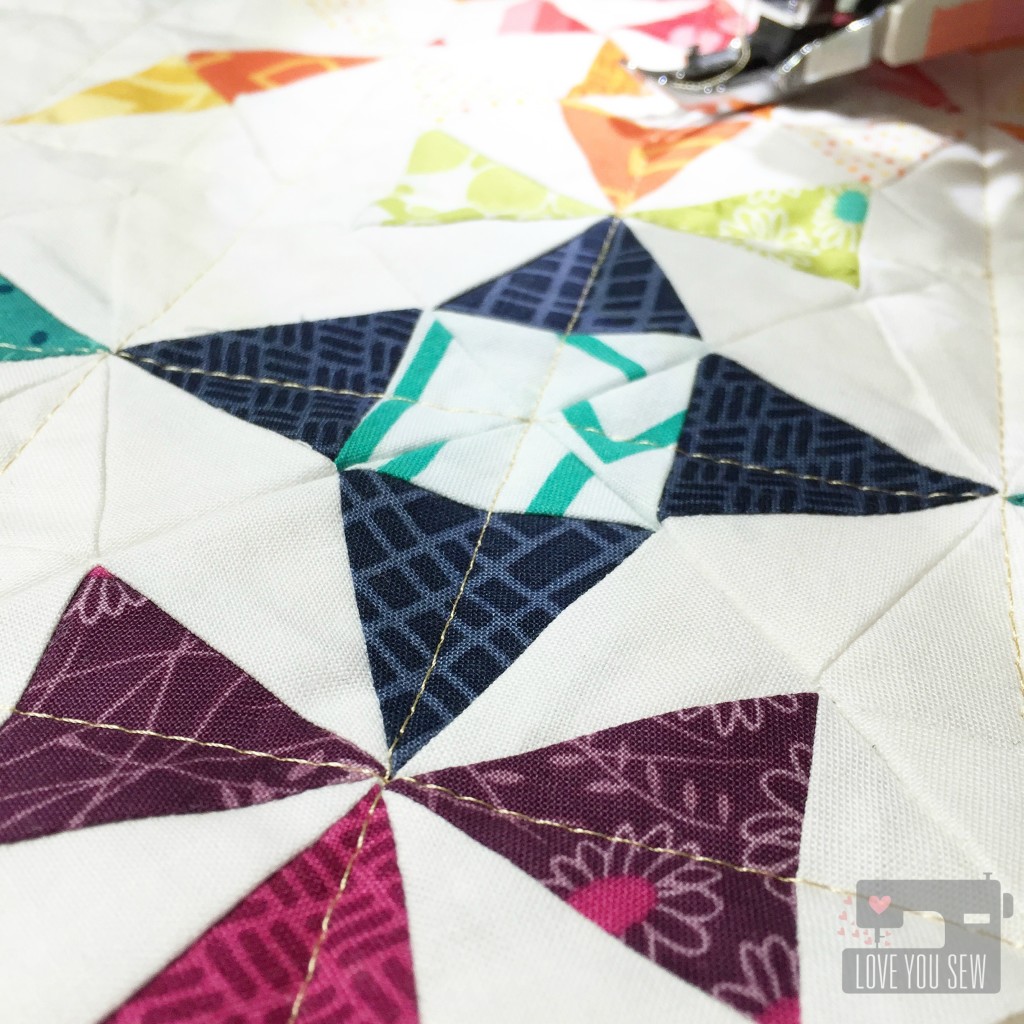
TIP: When piecing together the blocks, there is quite a bit of fabric that ends up at the center.  It is quite thick and can be a nuisance to quilt over later.  Initially, I tried to grade the seams and by luck, saw that I could make a little rosette by opening my seams  back a 1/4″ and tuck the seams under as shown above.

GoldThreadDetail

To finish, I used gold thread to quilt (insert heart eyes emoji!!!)  I just love using metallic thread whenever I can.  It just adds that extra “something” special and matched with the gold dot backing.  For the binding, what else would be better than MORE V & Co…and in Teal Ombre?!?  The ombre was fun to use and made this design really pop.

Complete

Kaleidoscope Quilt – Completed


MiniReceived

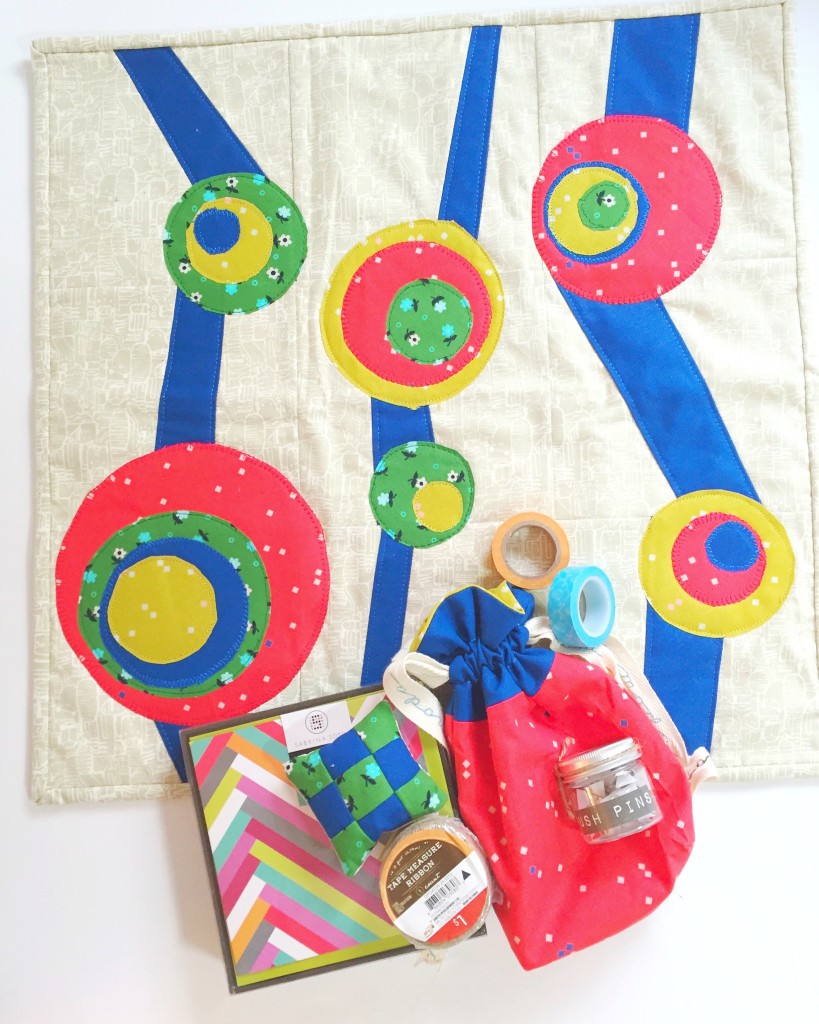
In return for sending off the Kaleidoscope,  I received this beautiful mini with extras from  @amandafech. Isn’t it so fun with the primary palette and appliqué work?  I am 3 for 3 with great swap experiences….all delivered on time with amazing work!  Hopefully, all of you have had positive swap experiences or will decide to join your first one 🙂  They are lots of fun!!!

I’m going to be a swap mama soon so I hope these good vibes carry over 😉


#MakeAQuiltMakeAFriend

Cristy


A Traveling Quilt {The Start}

geesetitle

I was late to the Instagram game, but have completely fallen in love with the community spirit on this media platform.  Who knew there were so many other sewists out there….like me?!?  You follow people, start to “heart” posts, then make comments.  All of a sudden you are asked by one of your IG friends to be part of a “Traveling Quilt” group.  And this is where I am today.

To be perfectly honest, I had never heard of a “Traveling Quilt” until I was asked (or maybe I was tagged) by the hostess.  Of course, I “Googled” it before committing and am so glad I did.  Have any of you been a part of a group like this or something similar?

It is a group of quilters who start off making one block per person.  It then gets shipped off to another member and you in return, receive one that you add upon.  This happens every month on a rotation until you have a completed quilt top.  The size of each block depends on the number in your group (11 in mine) and what size quilt you ultimately want in the end (a throw.)

After seeing inspiration posts (#EpicTravelingQuilt2016) and what my group started to work on, I knew I needed something good.  I quickly realized that my first block needed to be REALLY good and well thought out because it was going to set the tone for everyone else to follow.  So…I pushed it off…

geese

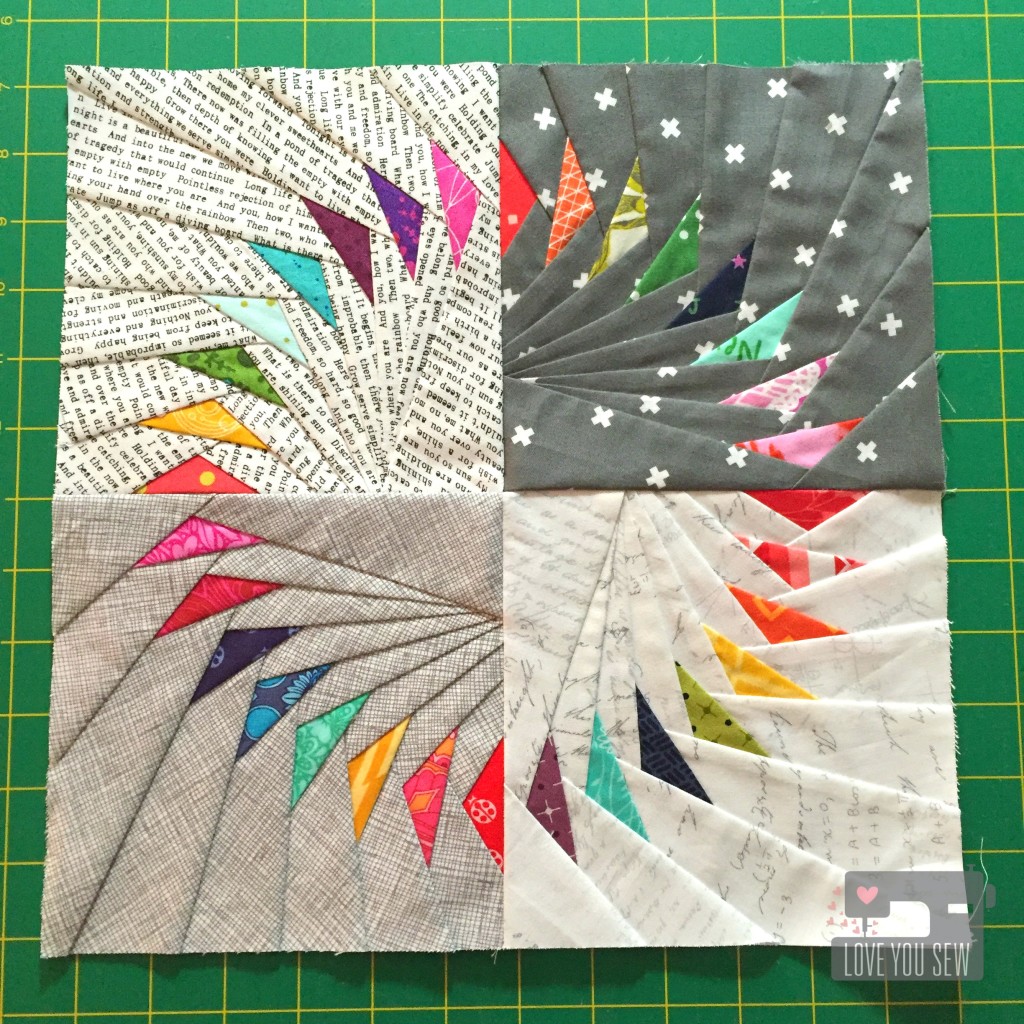
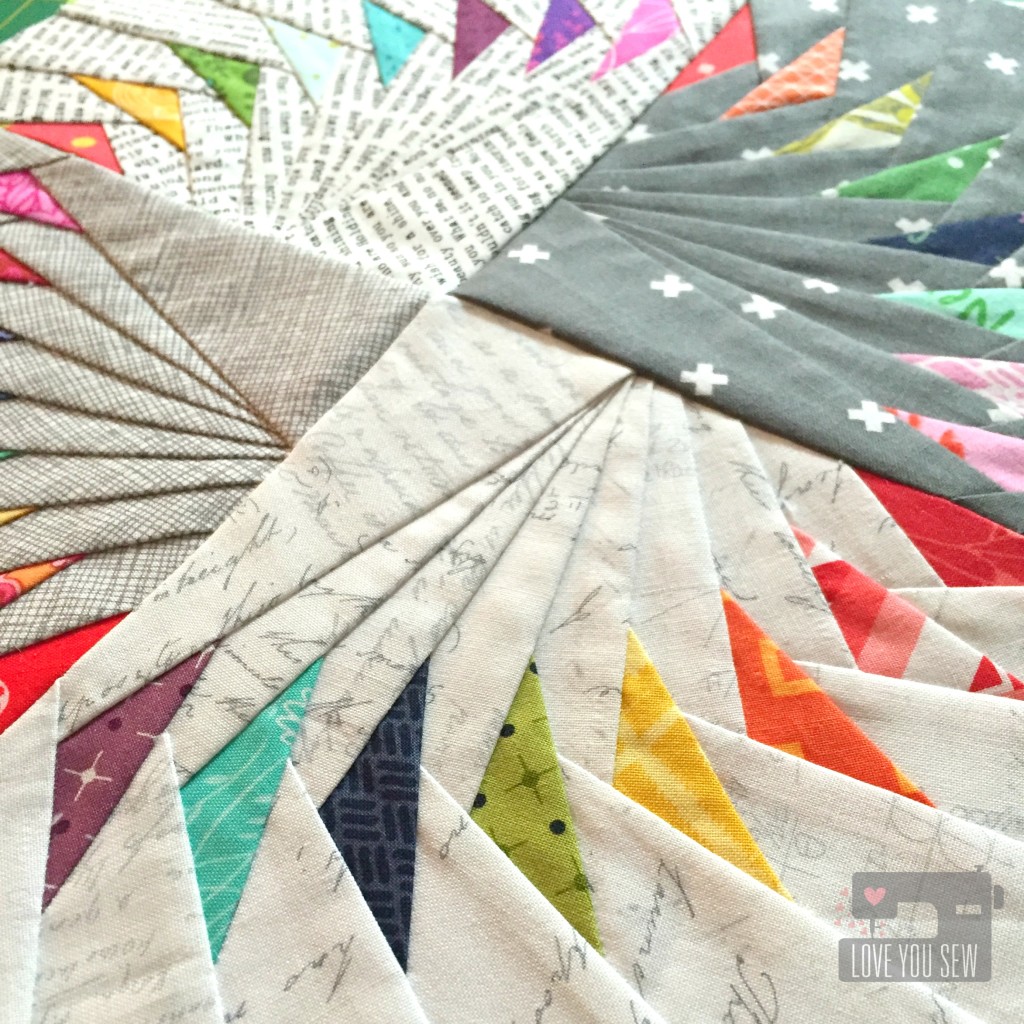
Many time inspiration just strikes at me and I will know what to do in that lightning flash.  That’s pretty much what happened…and the pressure of being a week off from ship time 😉  I decided to use one of JeliQuilts patterns (again!) but this time it was Juicy Goosey.  At first, I wanted to use something different, but then there was a reason I’m always so drawn to these circles of flying geese….they’re my style and that needs to be represented in this first block!

geesecloseup

I used many of my favorite designers with bright saturated colors.  This was not only because the fabrics are SO pretty, but I wanted to give all my group members something for which to work.  I’d rather the focus be on the effort and design rather than having to go out and order new fabric just for my quilt.  We only have a month turnaround for each block, so I thought it was pretty important to have my inspiration block be easily companioned….or so I hope!

This is just the start of a year-long process and I’m happy to know that I will be touching and adding to 10 people’s quilts along the way.  This will be lots of fun and I hope to update you periodically on the progress.  Wish me luck!


Stitchin’ It Real,

Cristy