Coastline Blog Tour {Swim Cover-Up}

WornSideProfile3

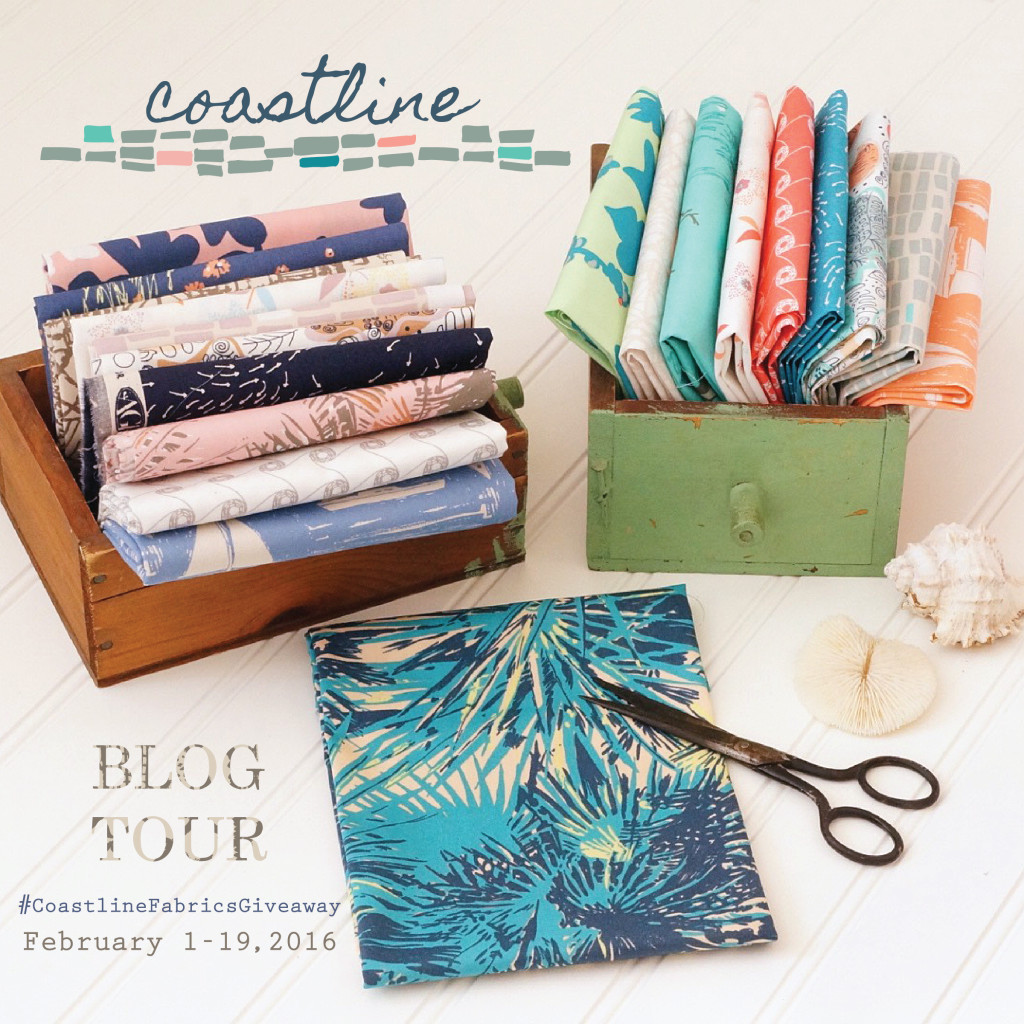
The Coastline Blog Tour has been well underway and I’m so happy to be a part of it!  Coastline by Sharon Holland for Art Gallery Fabrics is just stunning.  The cooler color way, Northshore, reminds me of my times down in Jersey.  I spent a lot of time as a child and even more in my 20’s.  When I was just out of college, I rented beach houses with friends and live there on the weekends…Oh the memories!  The warmer color way, Southshore, sends me to the other side of the country.  It reminds me of SoCal…along Huntington and Newport Beaches.  The fabrics are warm and very soothing…They are laid-back and relaxed.  Whichever fabrics you select, Coastline is certainly going to transport you somewhere special.

Coastline Blog Tour Banner with date-01

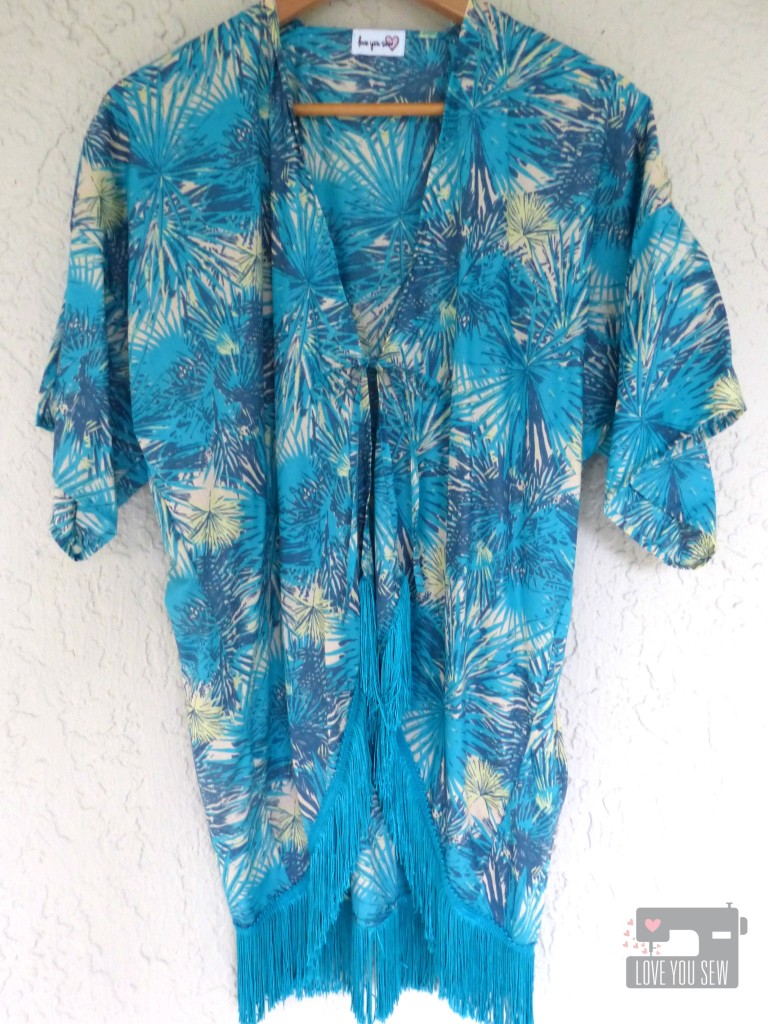
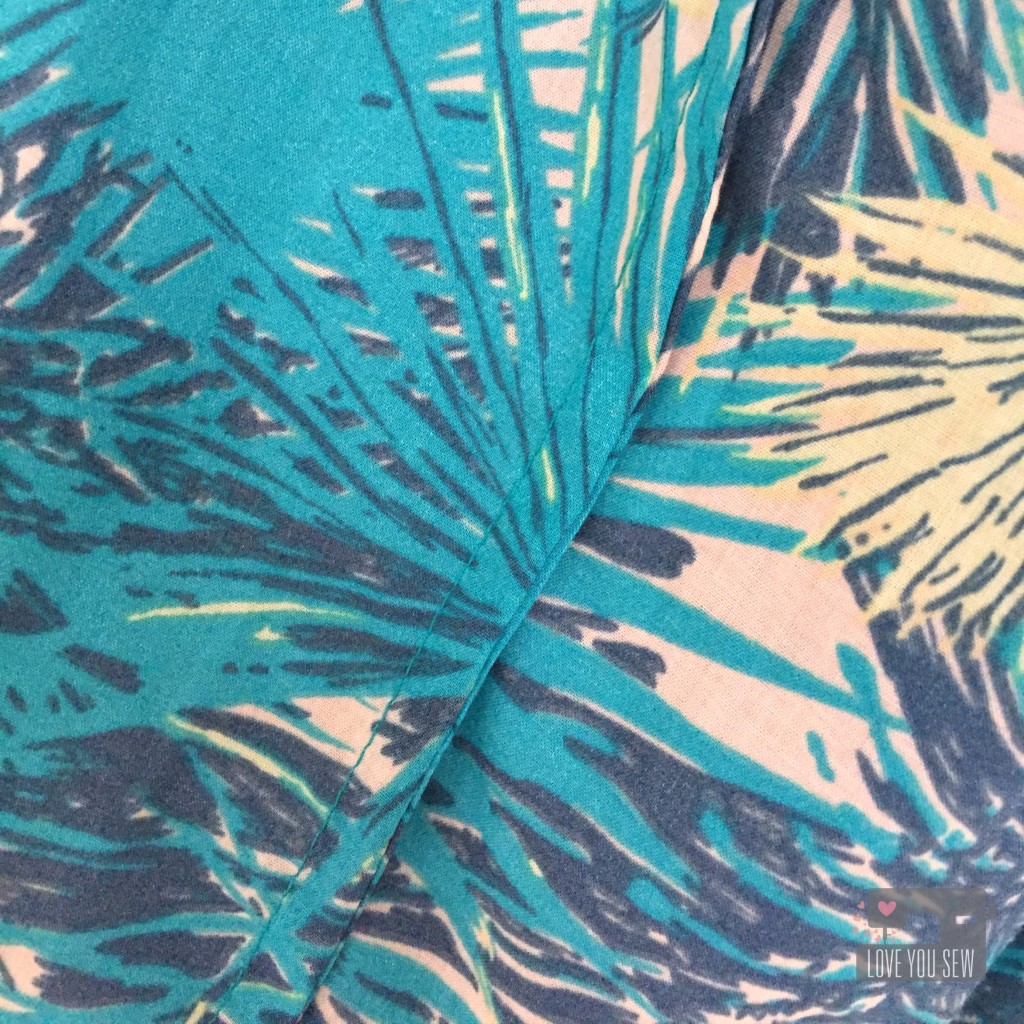
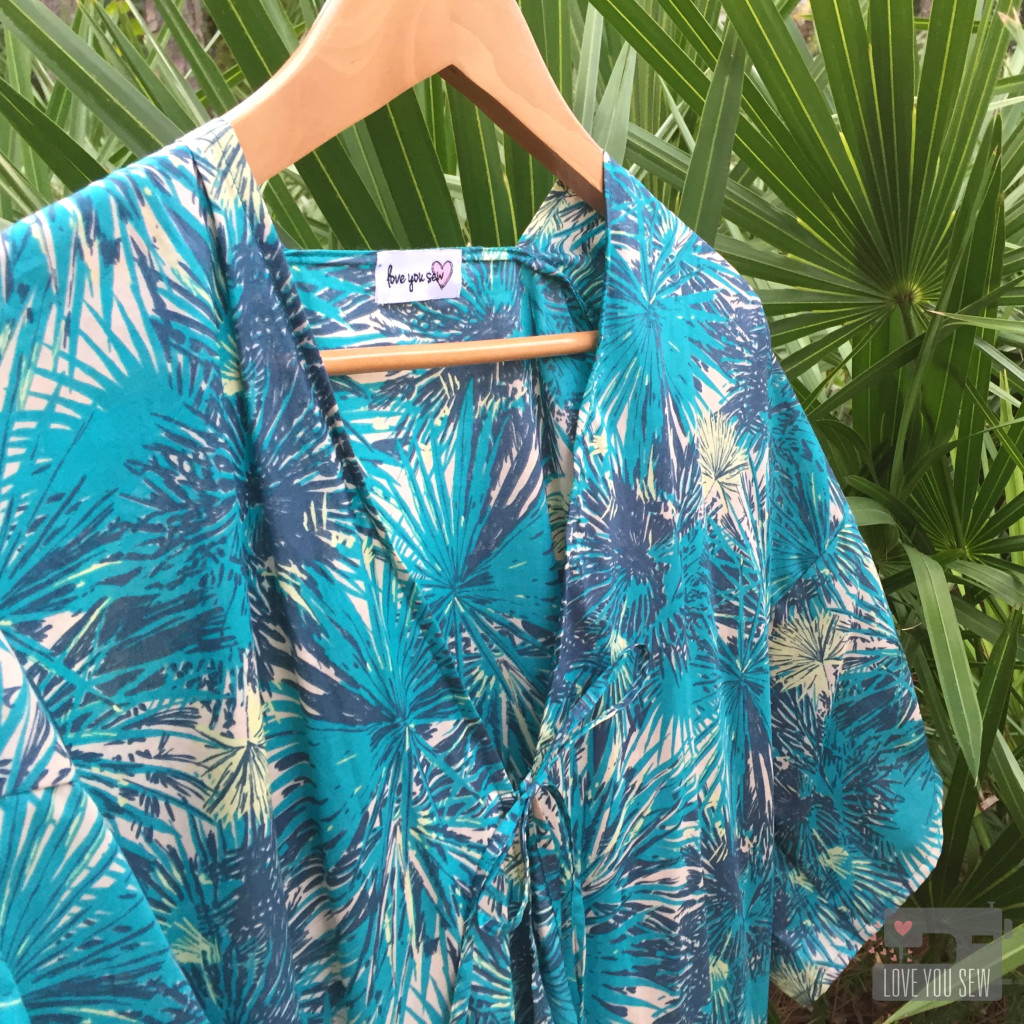
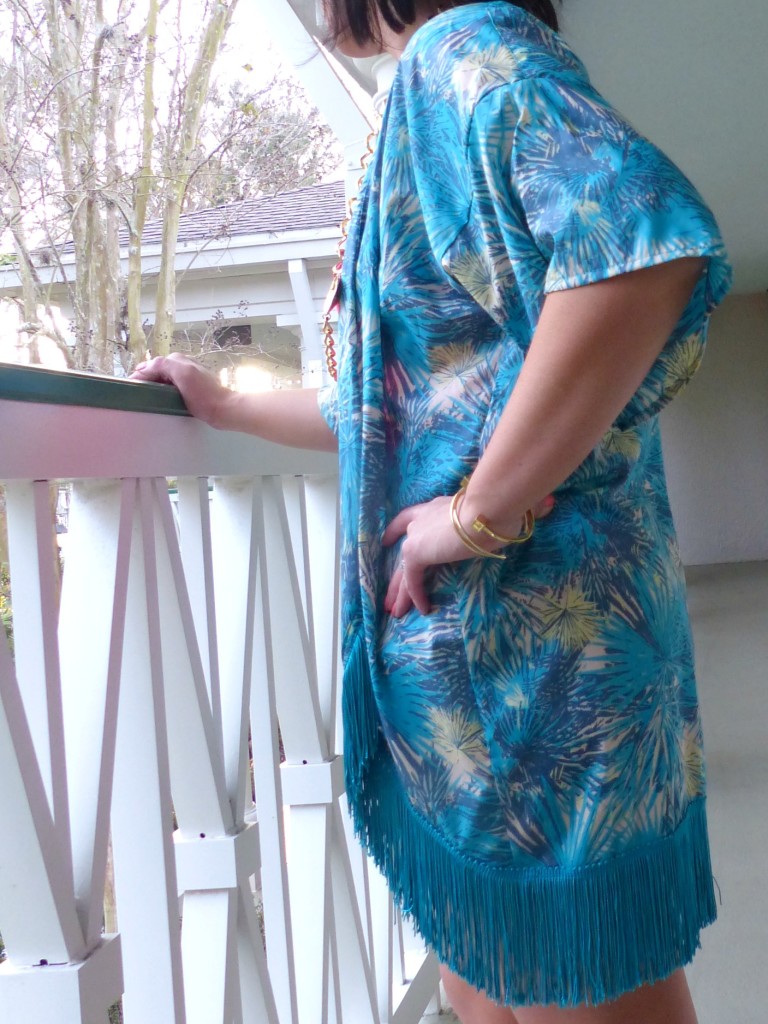
When I found out I was going to sew for this tour, I was immediately drawn to the Tropical Breeze voile.  The palms with the layers of teal and navy are so chic and beautiful.  I have used Art Gallery’s voiles before and I just love the feel and drape of the fabric.  It’s light, airy and dries quickly…making it the perfect choice for a Swim Cover-up.

FullProfile

To make the Cover-up, I used fellow Art Gallery designer, Sew Caroline‘s FREE Kimono pattern found here.  It’s a very simple garment to make given that its a one-size fits most pattern.  To make it appropriate to for the beachside and to add some sass, I made a few alterations 🙂

FringeCloseup

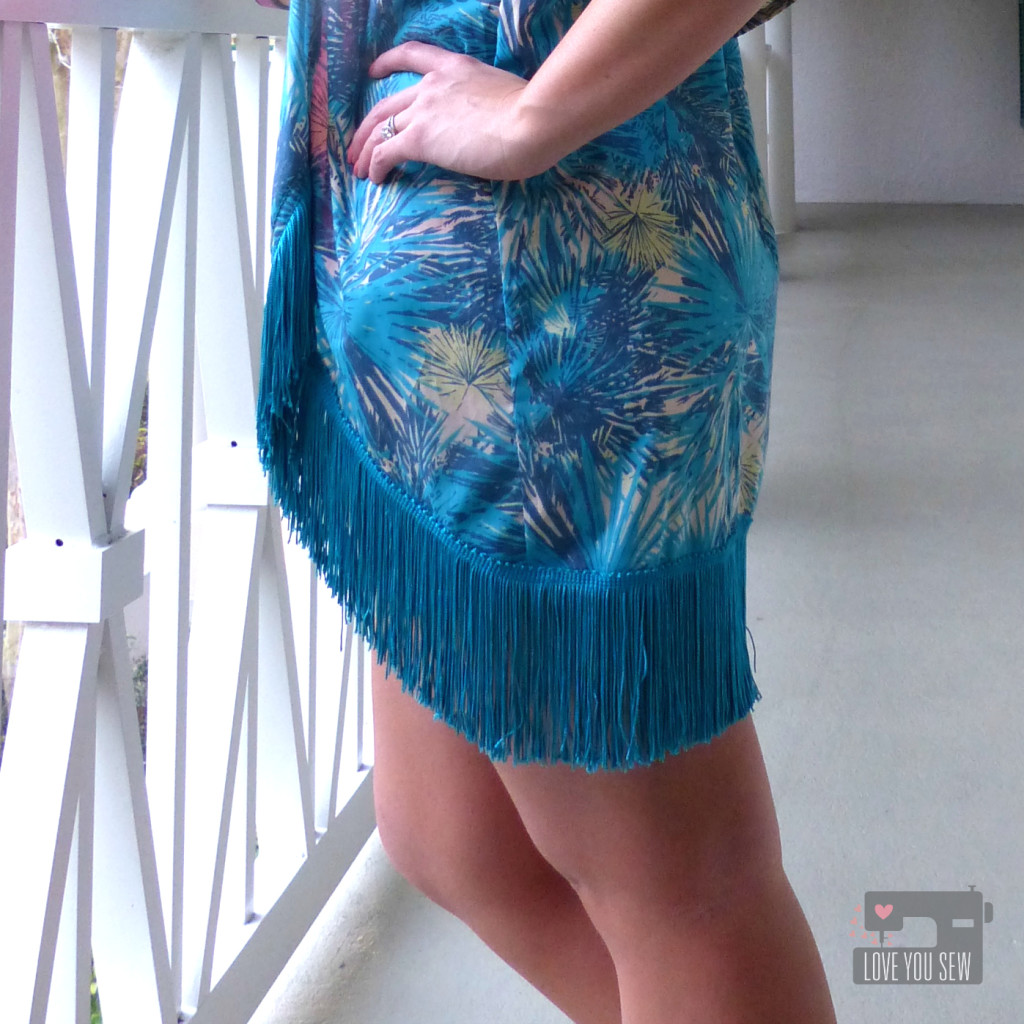
The most noticeable is the dropped hem-line and fringe.  Five inches was added to the front and back pattern pieces to hide my bum and upper thighs.  (Age and babies have caught up to me so I wanted to keep those areas under wraps!)  I’m only 5’3″, so if you are taller or shorter, you may want to adjust length accordingly.  The hem was then gradually cut up to the front opening to provide a smooth slope upward.

HangingFringeCloseup

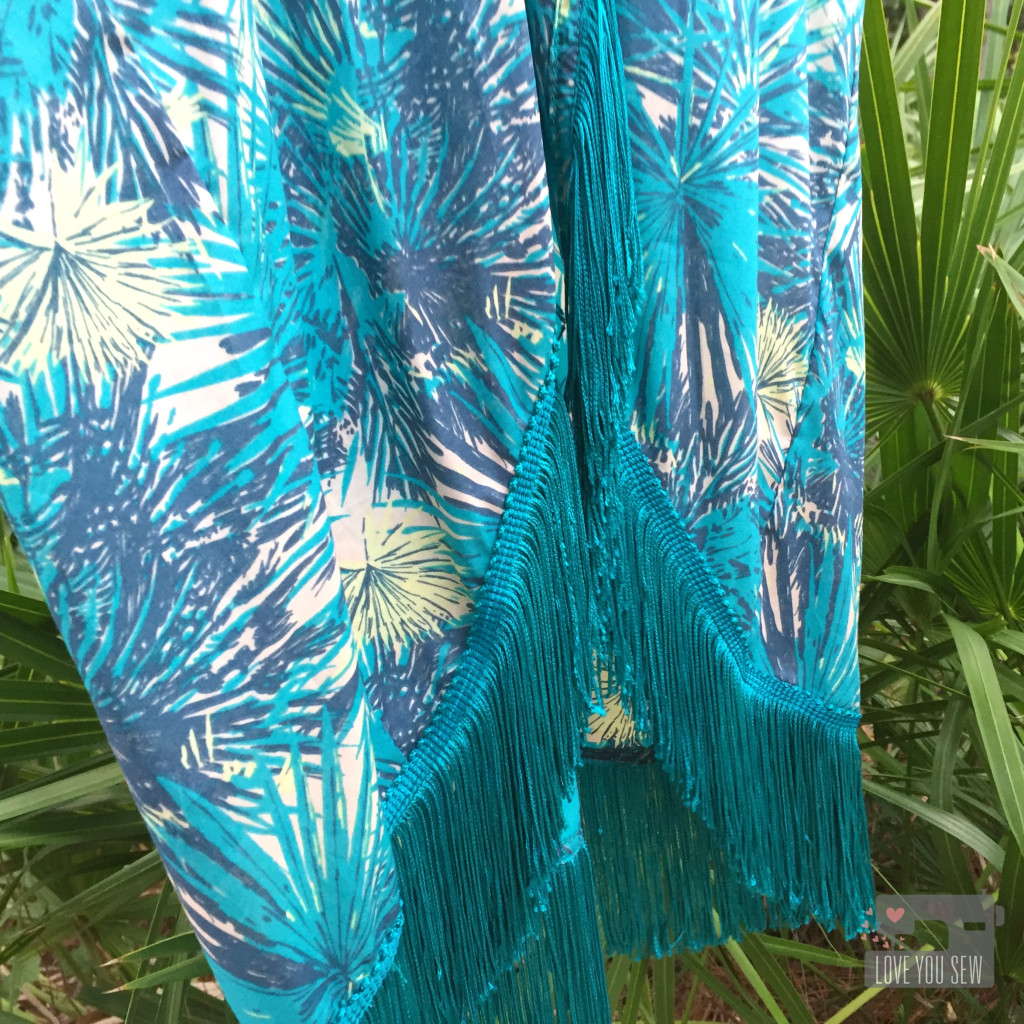
Along the hem, I added fringe…because who doesn’t love fringe?!?  It adds fun and playful movement to the Cover-up and the weight helps it stay in place when those ocean breezes come along.  I found this 4.5″ fringe at my local JoAnn’s and still can’t believe there was a perfect color match there!  I battled between encasing the fringe in the hem or showing off the top.  As you can see, I decided to sew the fringe right on top of the finished hem.  It adds some nice texture and dimension.

FrontCloseUp

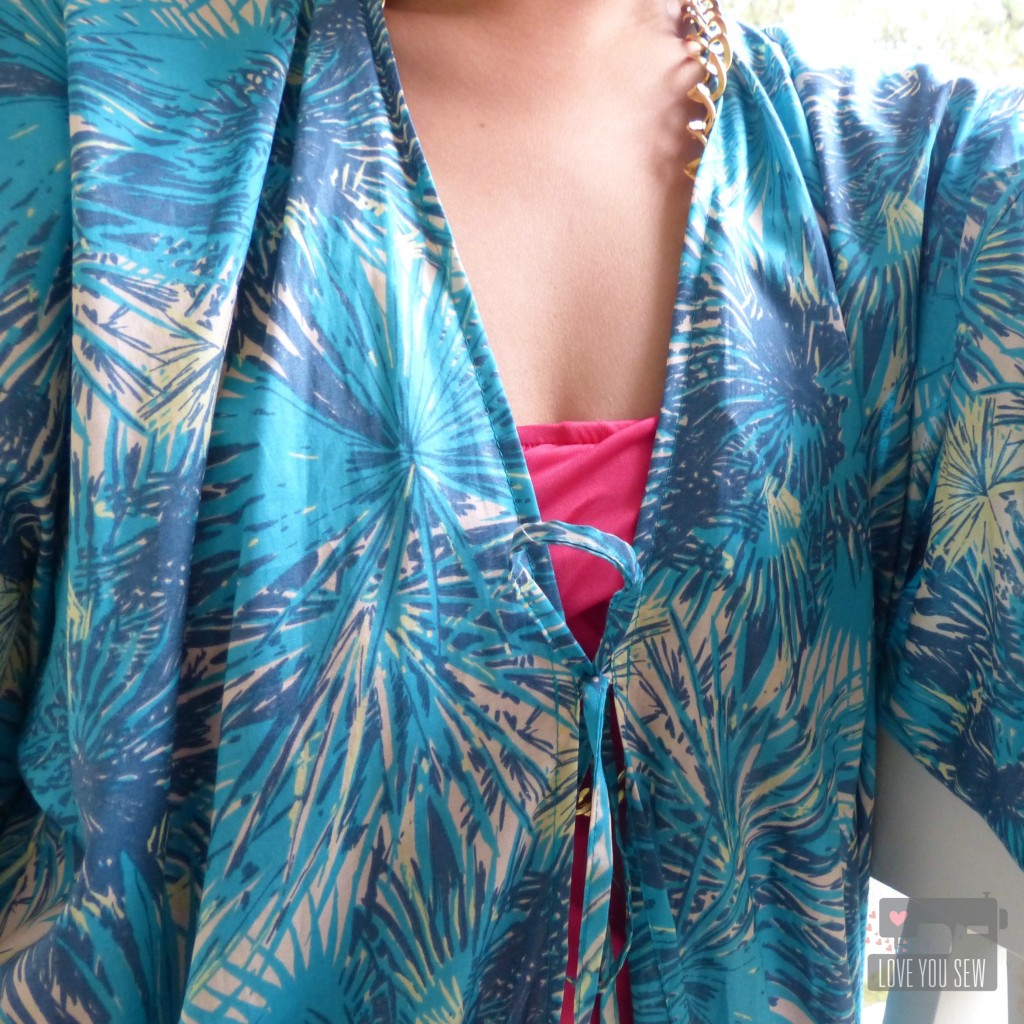
To keep some modesty, I also added a tie right at the bust line.  I used my 1/4″ Bias tape maker to create two 16″ long ties.  Now “things” can stay put 😉

FinishedFrench Seam

Since this Cover-up would be thrown over beach chairs and worn open often, I wanted the seams to have a nice clean look and did not care to see serger stitches.  I opted for french seams  and added an additional 1/8″ all around each pattern piece to accommodate the change.  If you are unfamiliar with french seams, Grainline Studios has a great tutorial found here.

FrontCloseupPalms

The sleeves were kept simple to balance out the fringe.  No trim was used and I just folded the hem under by 1/4″.  If you have issues folding the voile, you can sew a 1/4″ seam to help the fabric fold itself over.

This stylish Swim Cover-up is exactly what I need for the warmer months ahead.  I can already here the beach calling for me!

Coastline Blog Tour Giveaway-01

Now onto some more fun stuff….

:: Want to WIN the Full Fat-Quarter Bundle of Coastline?  Find out all the details on Sharon’s Blog here

:: Looking for more Coastline projects?  Head over to the Look Book here and/or the full line-up of the Blog Tour here.

:: Don’t forget to visit to visit Color Girl Quilts on Monday for another gorgeous Coastline project and if you missed yesterday’s post by the Simple Life Pattern Company, you can find it here.

I hope you are having fun on the Coastline Blog Tour and have found some inspiration!


Hugs and Stitches,

Cristy


Love Story {Pattern Testing}

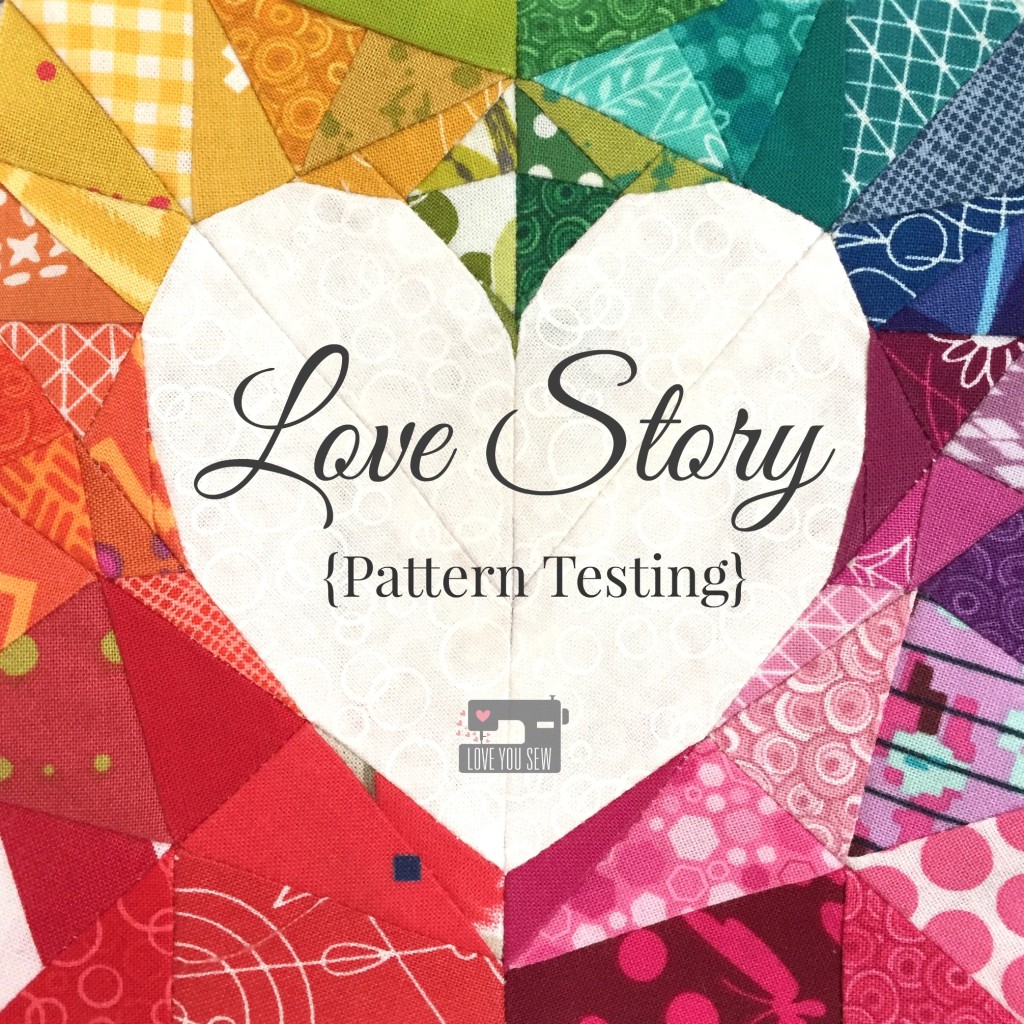
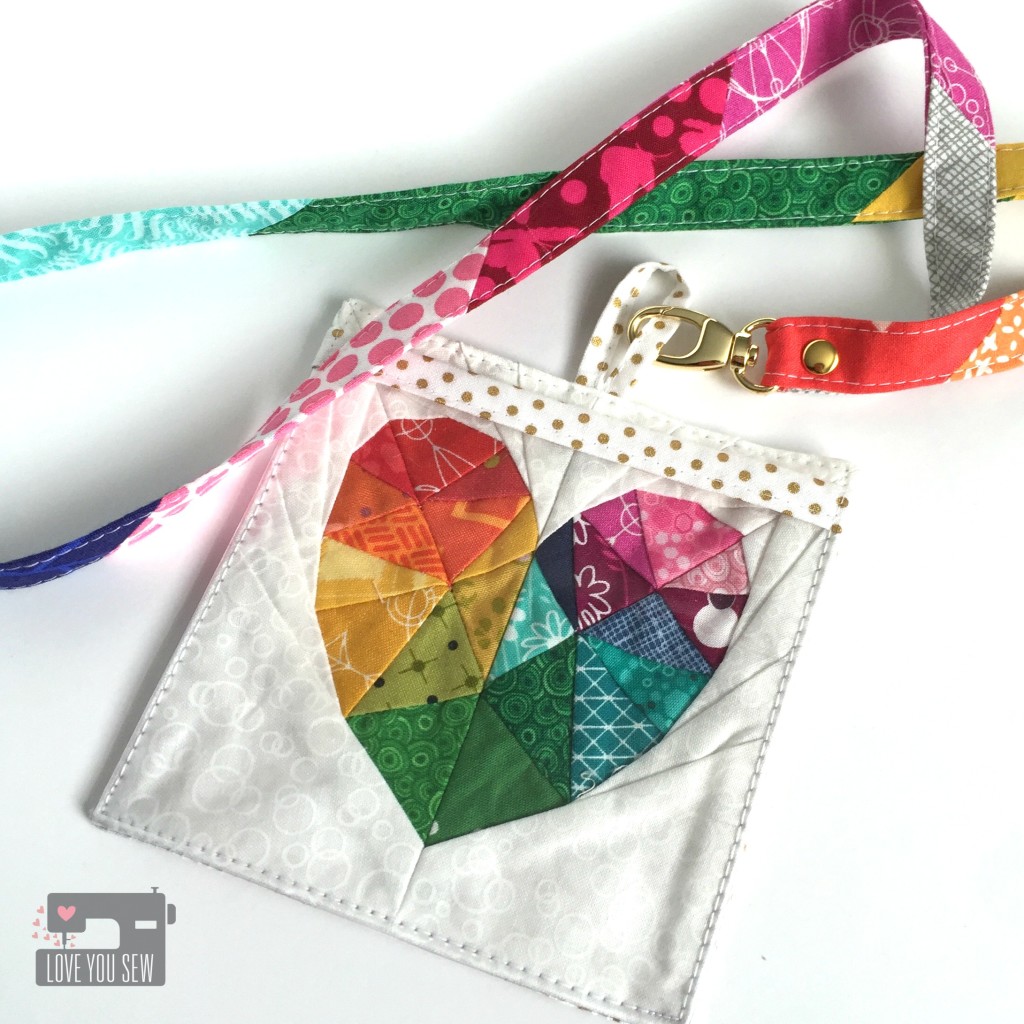
LoveStoryTitleI love Lilly Ella Stitchery‘s paper-pieced patterns ever since I tried her Butterfly Charm Blocks.  When Nicole sent out the request for testers of her new patterns, I seriously could not say no.  I didn’t even know what I was going to sew….all that I knew was that it was gonna be good!

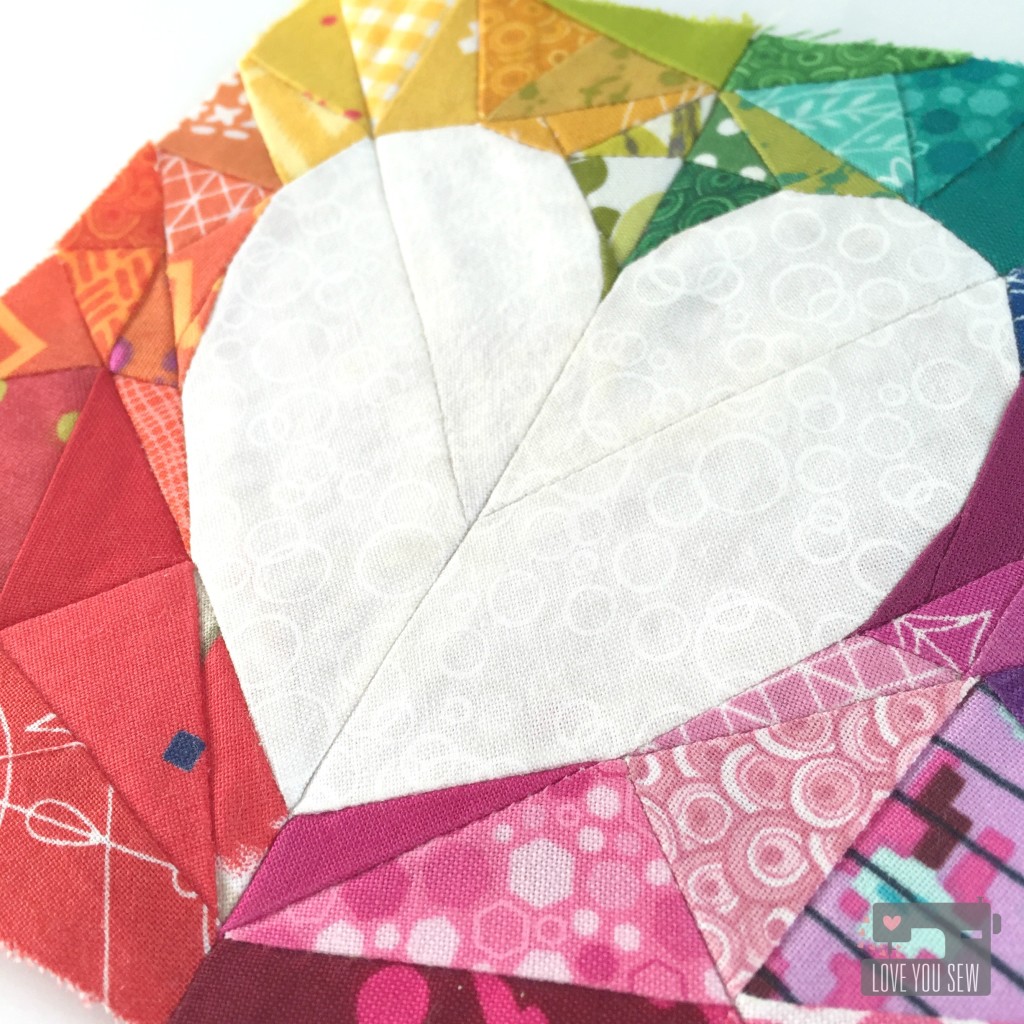
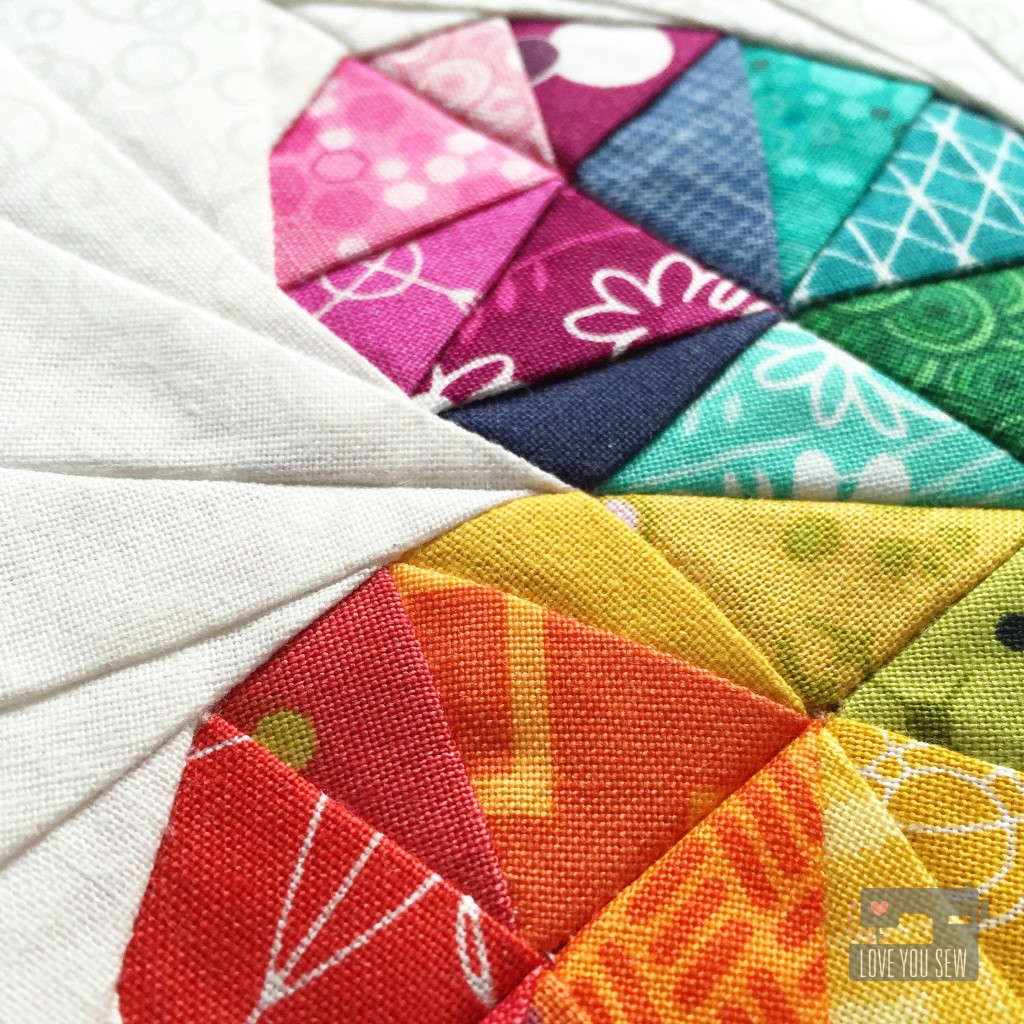
PoetryCloseUpThen these beautiful hearts from Love Story appeared in my email….Oh my mercy!  How gorgeous, right?  The pack includes two patterns – Poetry (as shown above and below) and Prose (as shown in the title pic.)  Both square patterns come in 5″, 10″ and 16″ (finished) sizes.  You can find them over here.

NameTagLanyardMy first attempt was to make this 5″ version of the Poetry pattern.  The piecing in the heart was just screaming for a rainbow color palette.  The pattern and size were perfect for the Name Tag Lanyard Swap for my Central Ohio Modern Quilt Guild.  I used the Swapaholics tutorial and just raised the vinyl window up so the heart would not be obstructed.

ProseCloseUpNext, I tried out the 5″ Prose version.  Now this was a bit more difficult given the number and size of the paper-piecing.  There are more corners to match up and some bulk to contend with, but it’s all worth it!

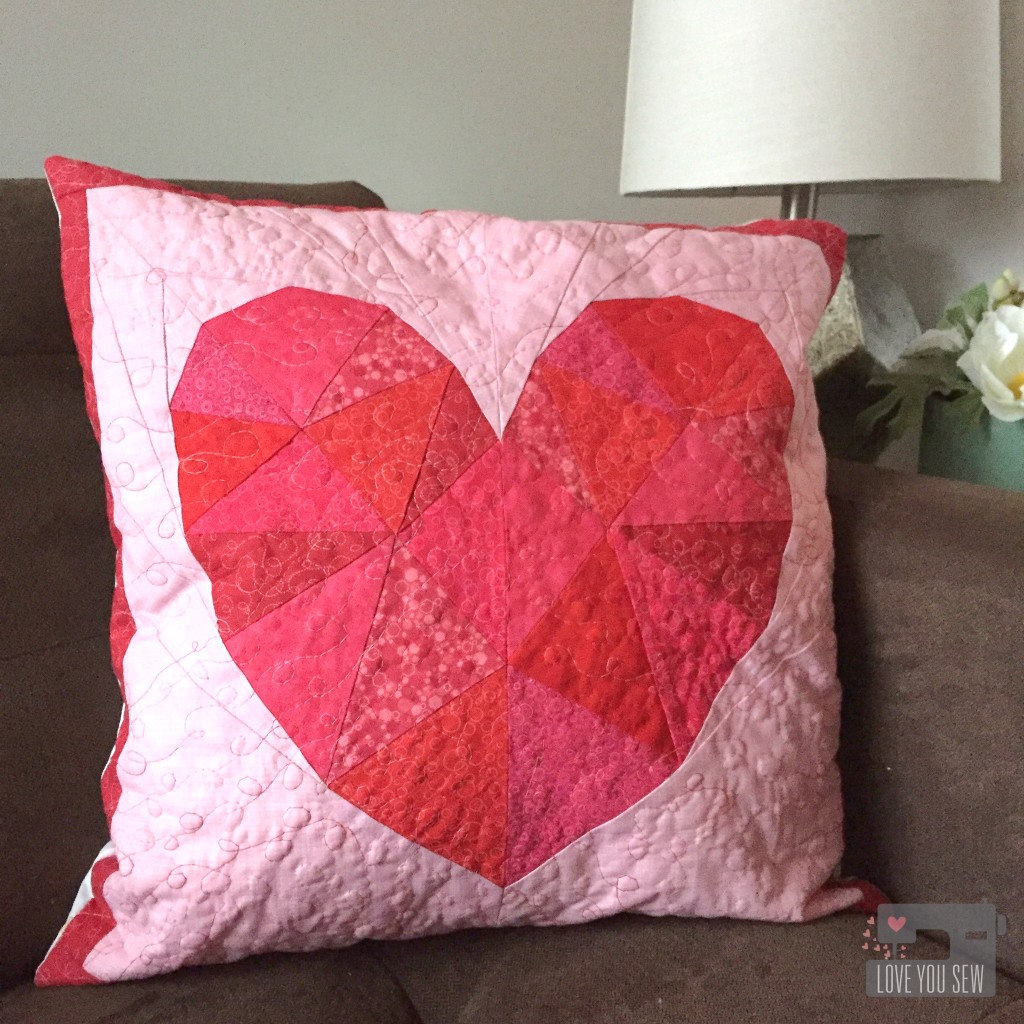
LoveStoryPillowLastly, I used the 16″ Poetry pattern to make a special pillow for Valentine’s Day.  My house is lacking in the home decor department so I’ve been trying to add more handcrafted items in between all the ones I sell or giveaway.  I practiced my free-motion quilting by using some variegated red Aurifil 4668 in a simple loopy pattern.

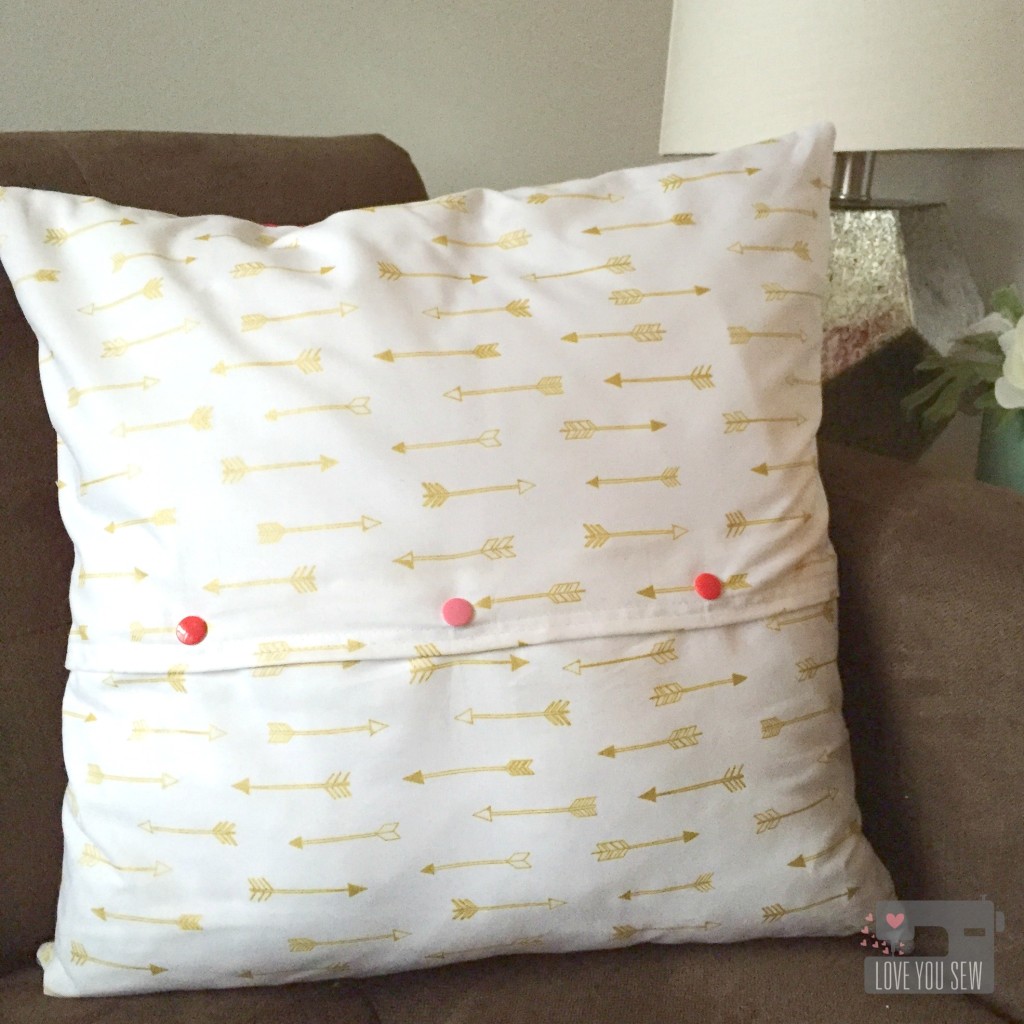
LoveStoryPillowBackA border all around the pattern was added to fit the 18″ pillow form I had on-hand. For the back, I used Arrow Flight from Michael Miller to complement the V-day heart.  Having this in my stash paid off 😉  Since this is intended as seasonal decor, I made the pillow back in two pieces with a 2″ overlap and added KAM snaps to keep the pillow in place.  I’m set for Valentine’s Day now!

What would you make with these patterns?


Hugs and Stitches,

Cristy


Pattern was provided by Lillyella Stitchery for testing but you know projects, thoughts and opinions are my very own.


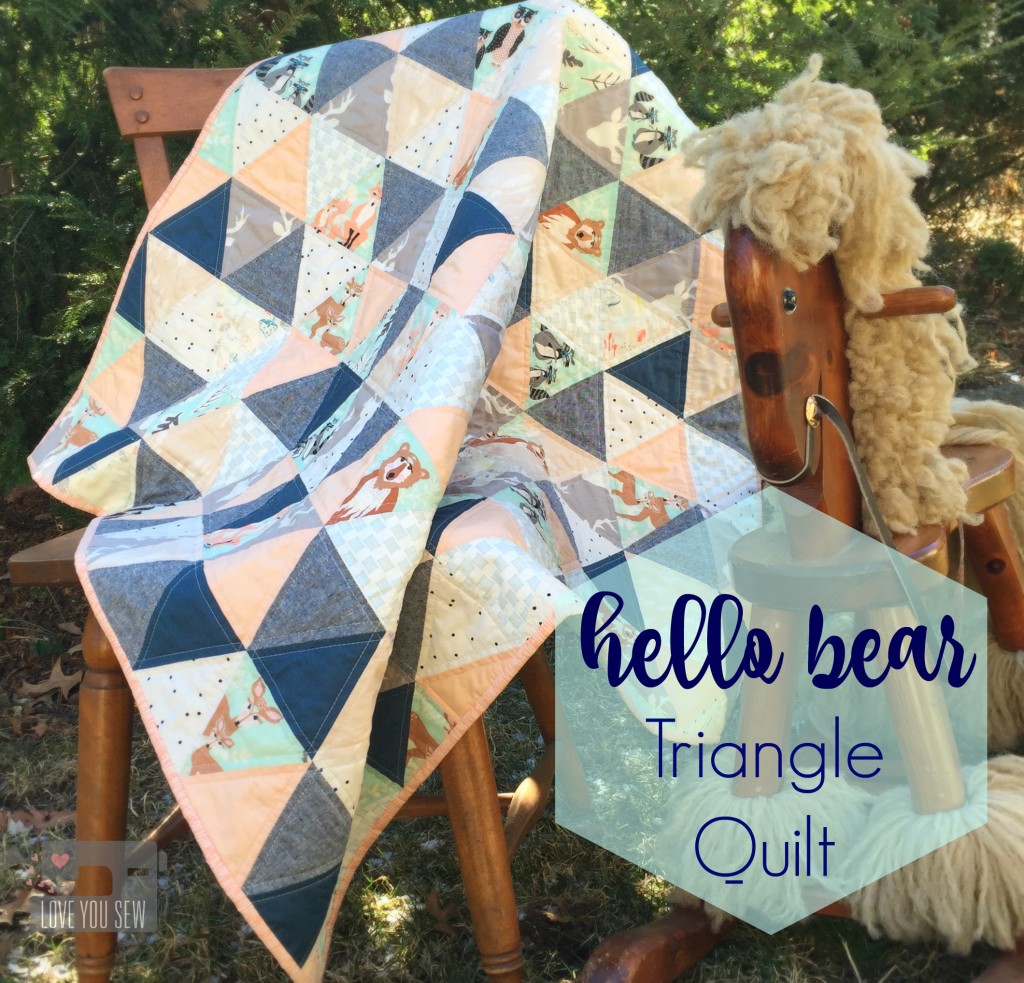
Hello Bear Triangle Quilt

HBTriangleQuiltTitle

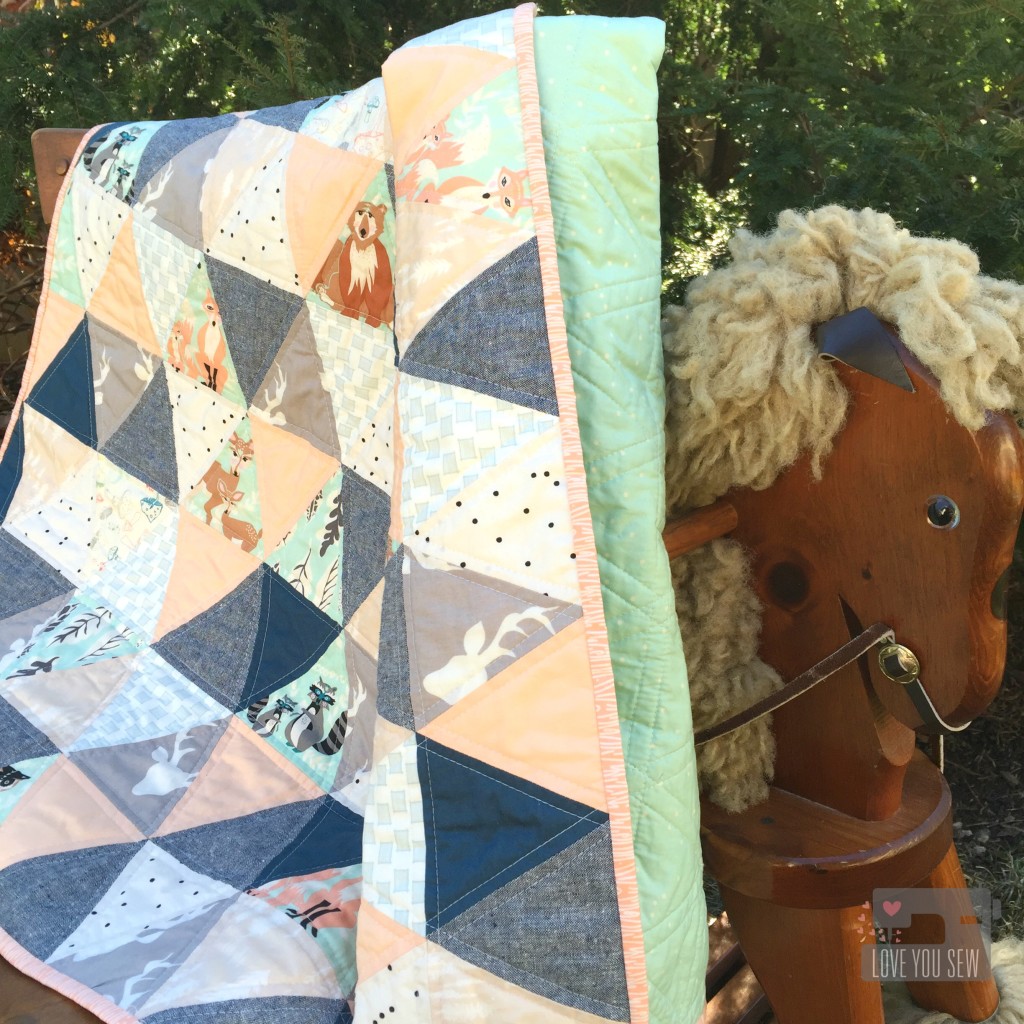
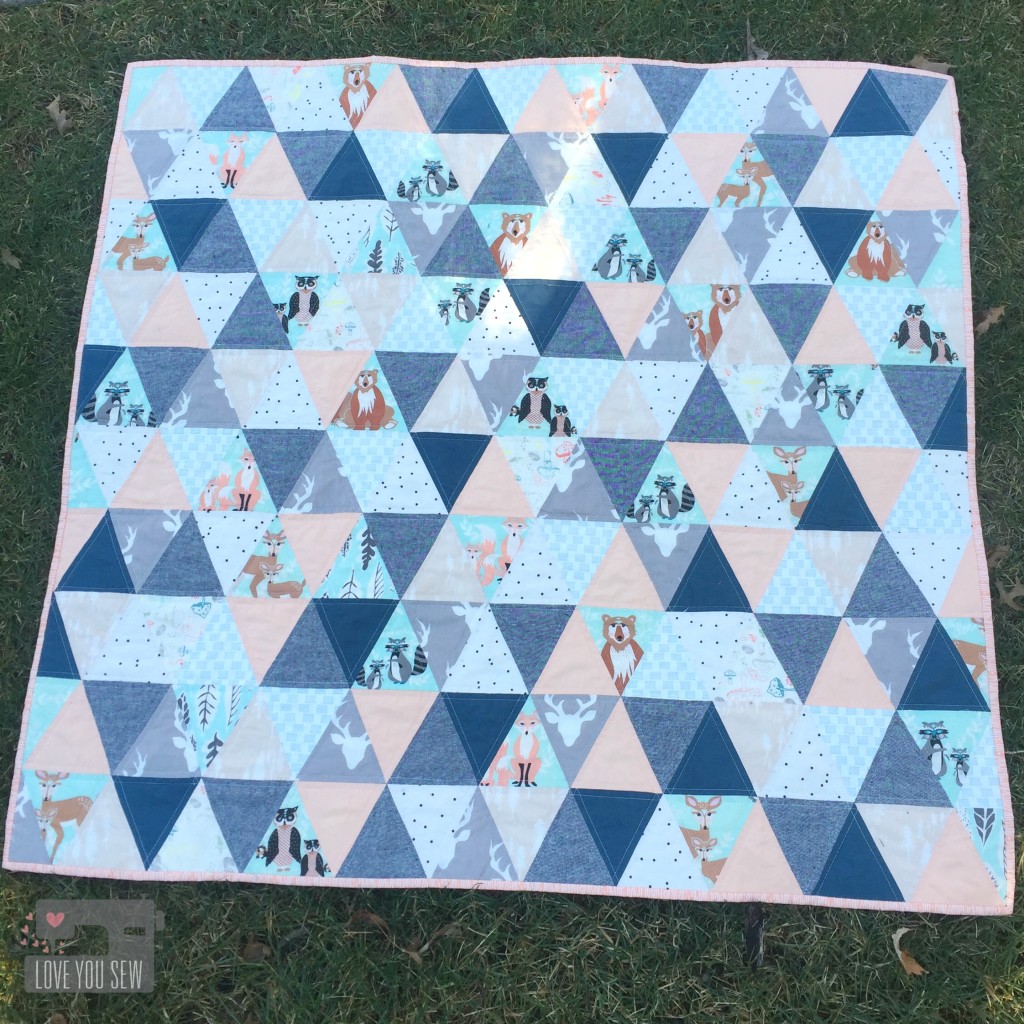
One of my dearest friends is expecting and I knew I wanted to make something very special for her.  The Hello Bear collection by Bonnie Christine for Art Gallery Fabrics came to mind immediately…especially, since I just made the Dwelling Quilt with it.  It’s whimsical and playful with such a soothing palette…and best of all, it’s gender neutral!  My girlfriend wants to be surprised with the baby’s sex, so I chose colors that could go either way.

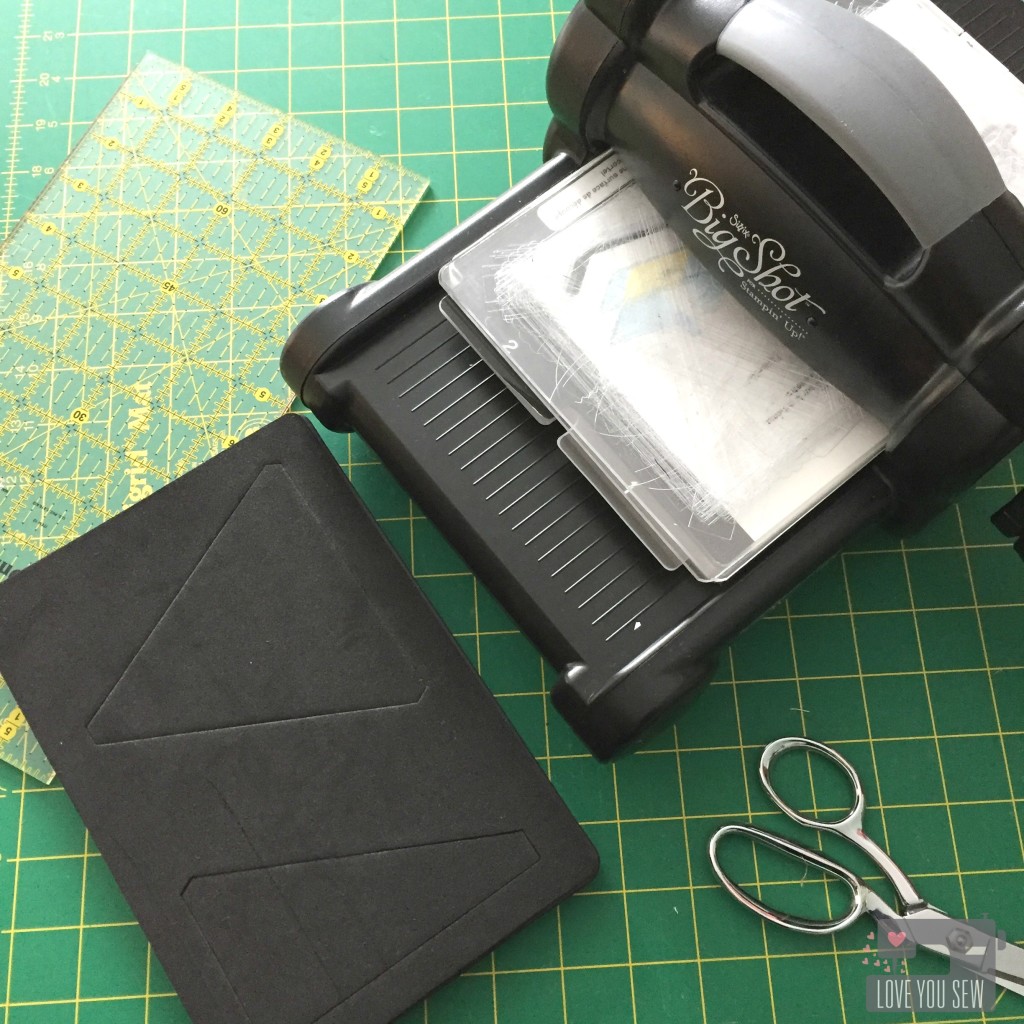
SizzixTriangleDie

On Black Friday, I picked up several Sizzix Quilting dies, including this 4.5″ Isosceles triangle one.  I made one other triangle quilt awhile back and definitely cut off all the tips as I pieced the top together. There is such a striking look with all the triangles and I knew getting a die to help me cut my fabric would help me keep the point intact!

I have a paper-crafter friend who bought a new Big Shot for herself awhile back.  She then sold me this one for less than half the price….score!  I initially just wanted to use it for paper but quickly found out about the fabric dies.  These are a bit pricey, but I’m hoping to add to the collection as I scout out good sales.  Let me know if you ever see one 😉

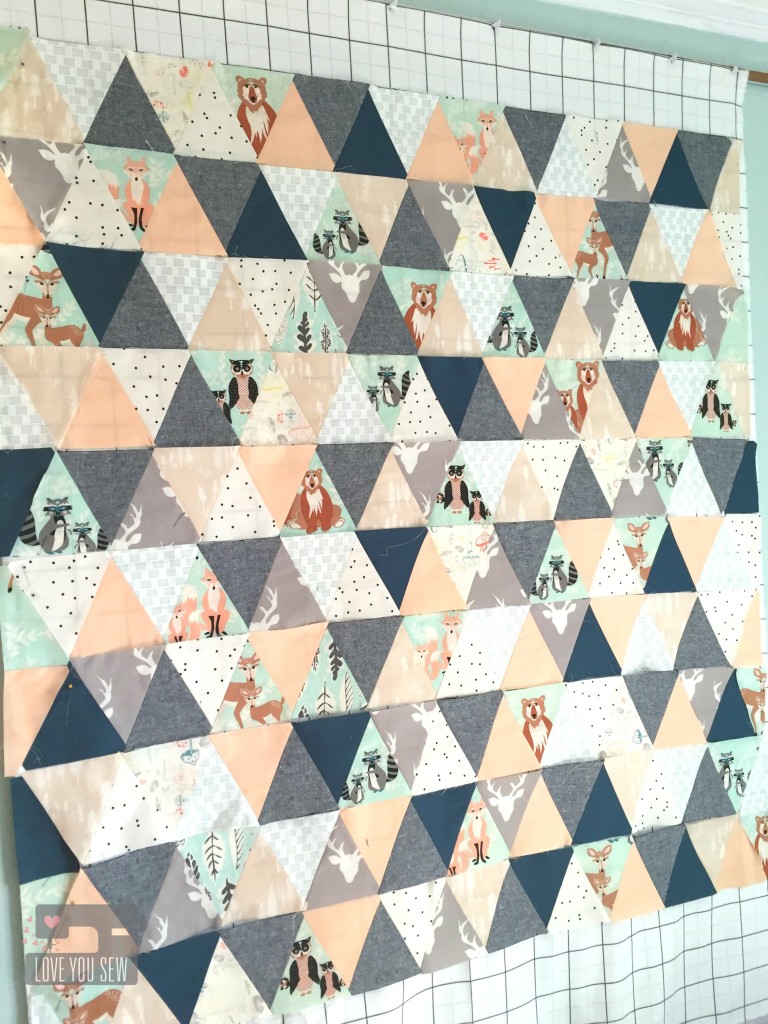
HBTriangleQuiltDesignWall

Since there is a finite width to the Big Shot, some pre-cutting is needed to fit the fabric on the dies.  But since I could cut up to 4 layers of fabric in one turn, this was still the faster way to go.

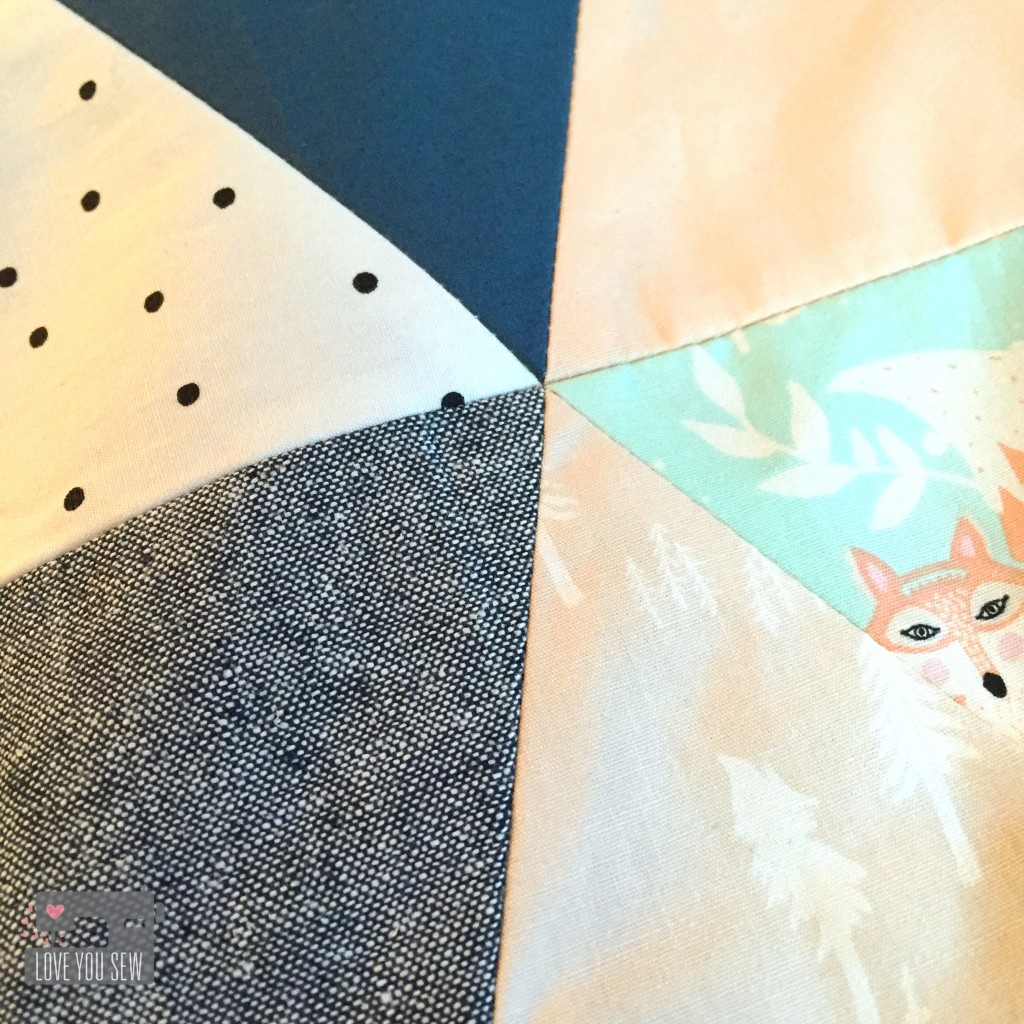
HBTriangleQuiltPointsMatch

The die gives you the perfect notches to make piecing SO much easier and more accurate.  I’m pretty proud of these beautiful points (above!)  And did you know, you don’t have to trim after piecing?  That’s the winning feature for me because I despise trimming.  That is probably my least favorite thing to do…

HBTriangleQuiltCloseUp

To add more texture and variety to the Hello Bear fabrics, I used Robert Kaufman Essex Linen in Indigo.  You can also see some solids from Art Gallery’s Pure Elements and I added a splash of Bound from April Rhodes.

HBTriangleQuiltFullProfile

The finished baby quilt is 40″ x 40″.  I quilted along the triangle edges to not distract from all the fun forest creatures you can see here.  This was such a fun quilt to make as I tried out my new Sizzix “toy”….but it was more special because this is going to such a dear friend.  <3  I can’t wait to see her baby wrapped up in this quilt!!!


Happy Stitching,

Cristy


Vera Quilt Pillow

VeraQuiltTitle

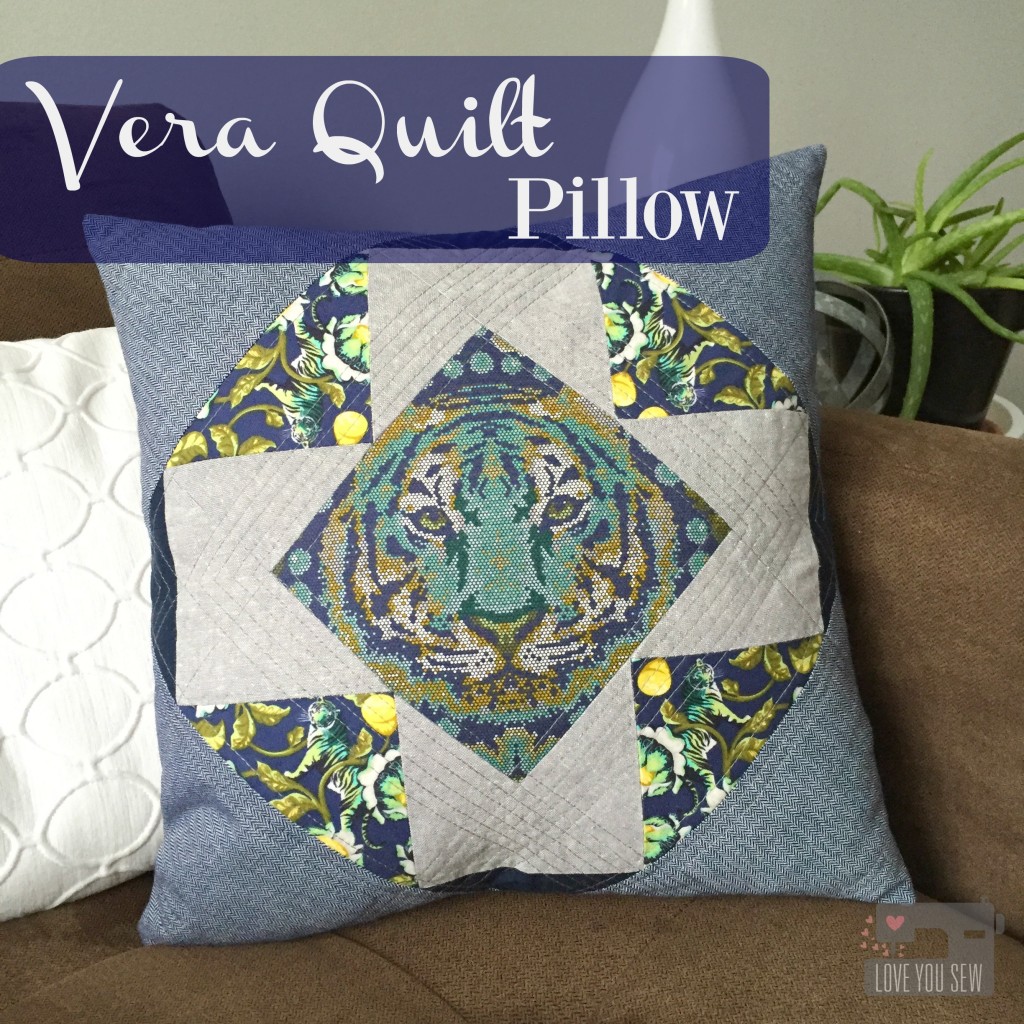
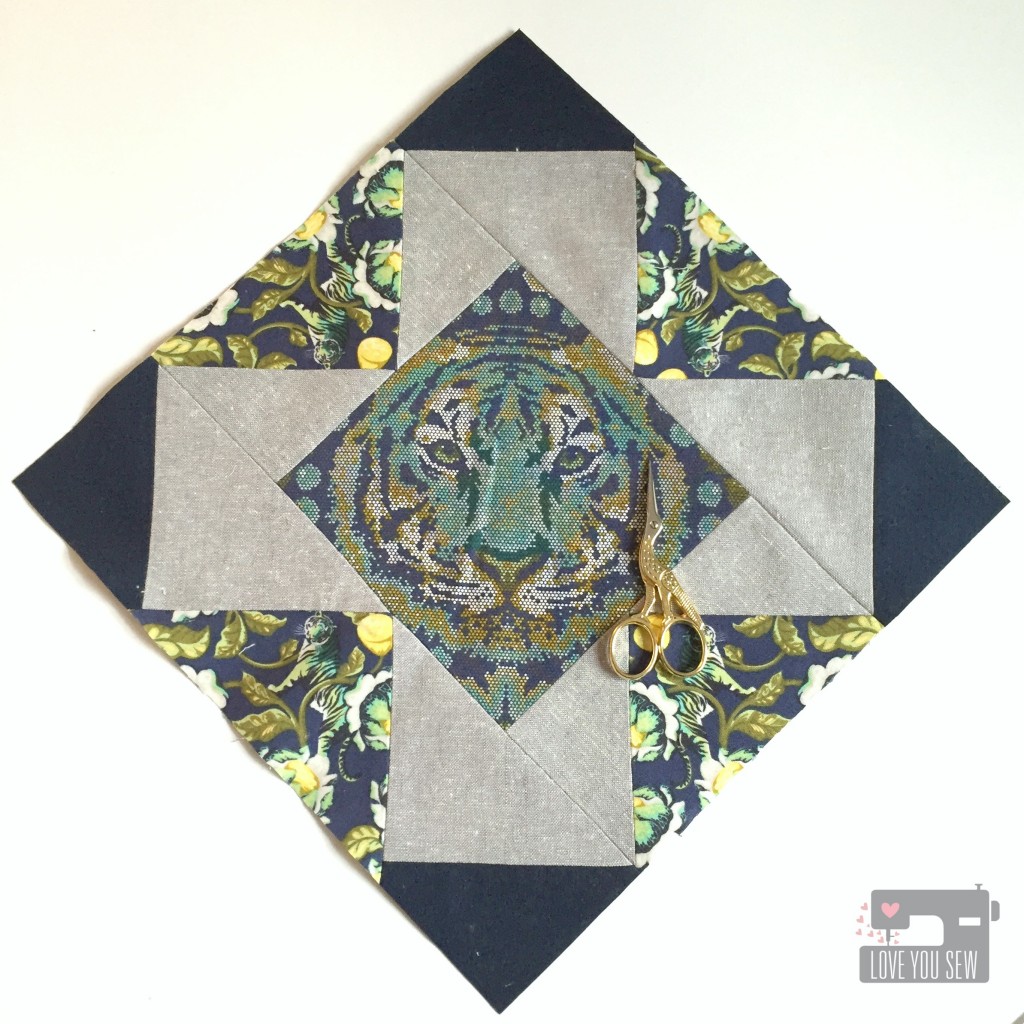
I had the pleasure of doing some pattern testing again for the lovely Becca Bryan of Bryan House  Quilts.  This time it was for her new Vera Quilt which you can find here.  This is a fabulous pattern that allows you to showcase larger prints and gives you the ability to blend fabrics of one block into the next.  This gives the quilt a really unique overlapping look….AND it’s fat-quarter friendly!

BlockwoCorners

The Vera comes with instructions to make four various size quilts, including a mini.  I decided to make the mini and turn it into a pillow for the house.

BlockComplete

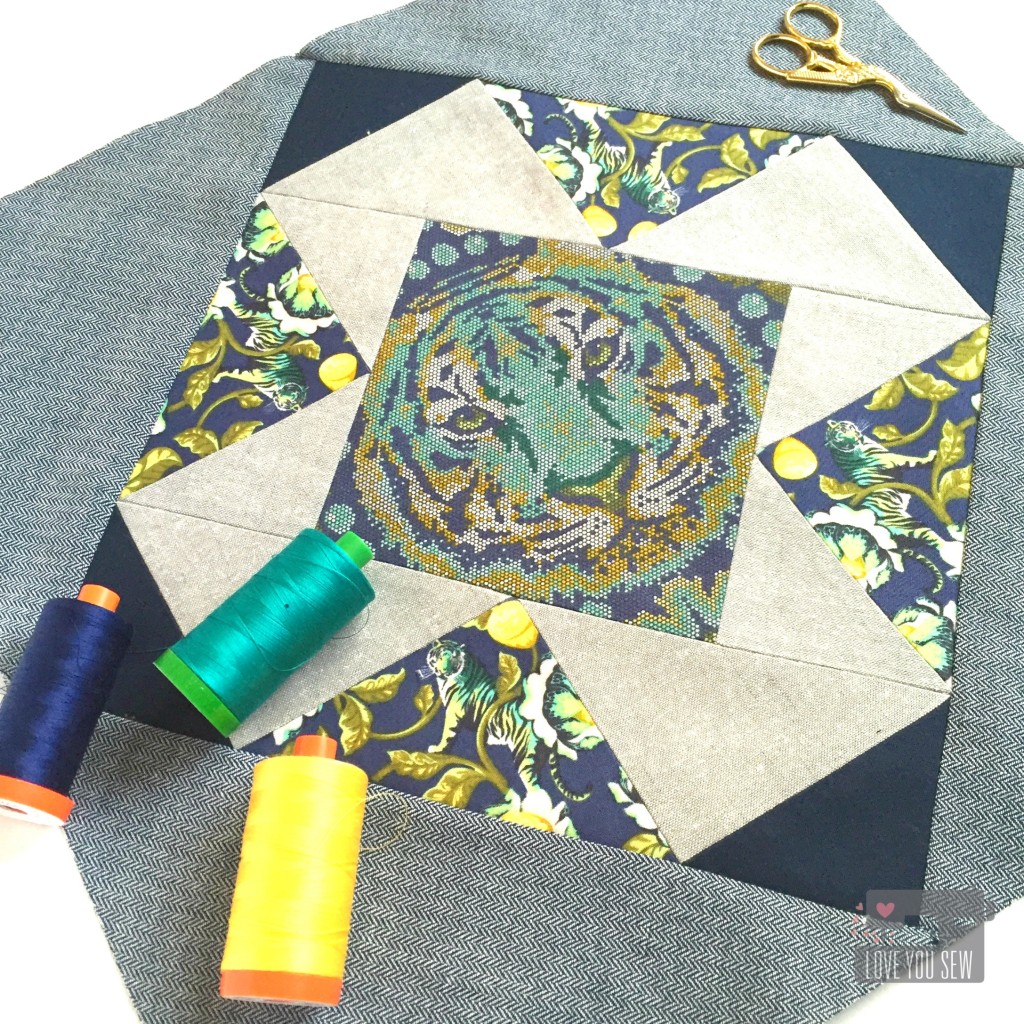
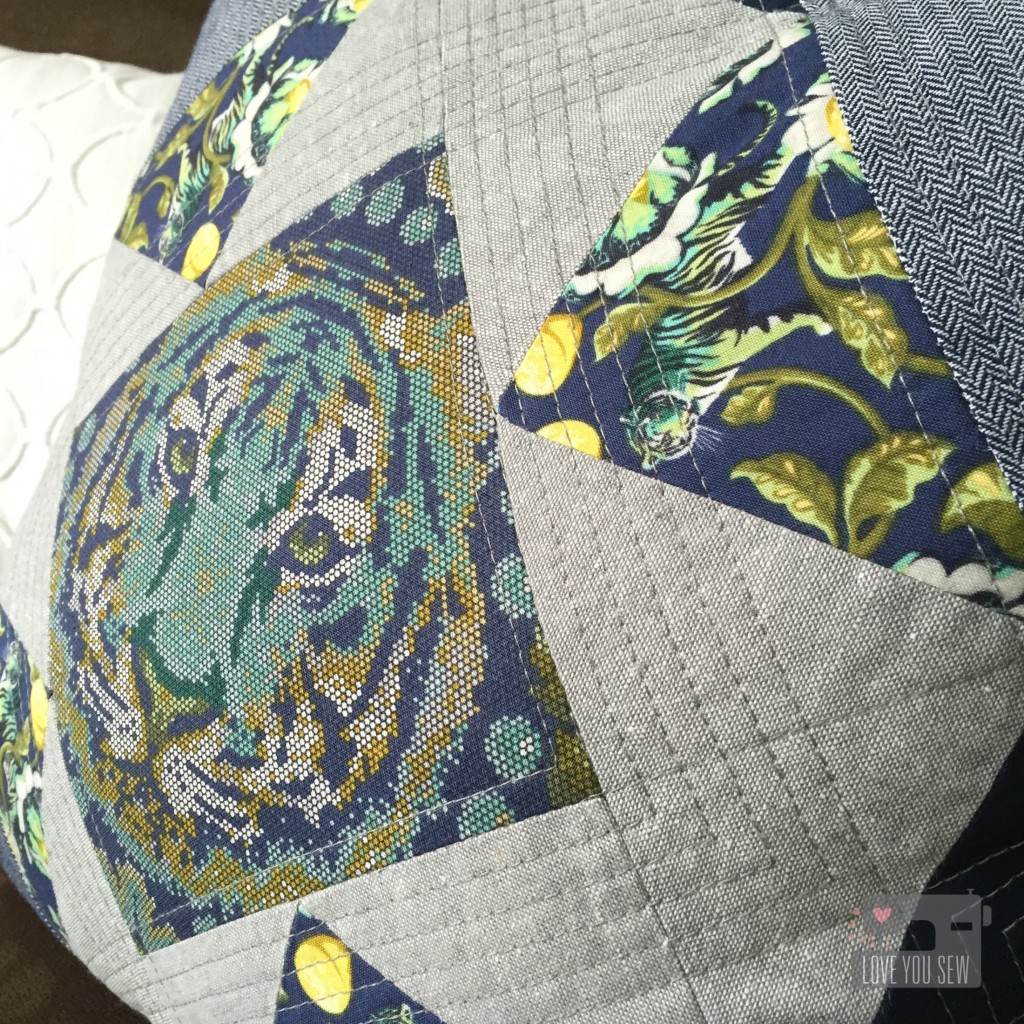
The center square of the Vera Quilt was the perfect size to capture Tula Pink’s Crouching Tiger .  I used some more Tigers, Kona Cotton and Essex Yarn Dyed Linen on the border geese.  For the setting corners, Robert Kaufman Herringbone chambray was used to keep this pillow masculine.  I’ve been using this chambray on everything lately…what’s one of your stash staples?

QuiltingCloseUp

I use Aurifil 2615 for all of the piecing and quilting.  To highlight the center tiger, I echoed quilted all around and left some random spacing for extra interest…straight-line quilting doesn’t have to be boring 😉

This pillow was a quick sew and I can’t wait to make a full quilt soon!


Hugs and Stitches,

Cristy
 

The Vera Quilt pattern was provided by Bryan House Quilts for testing.  All materials were purchased by myself and all opinions are my own.


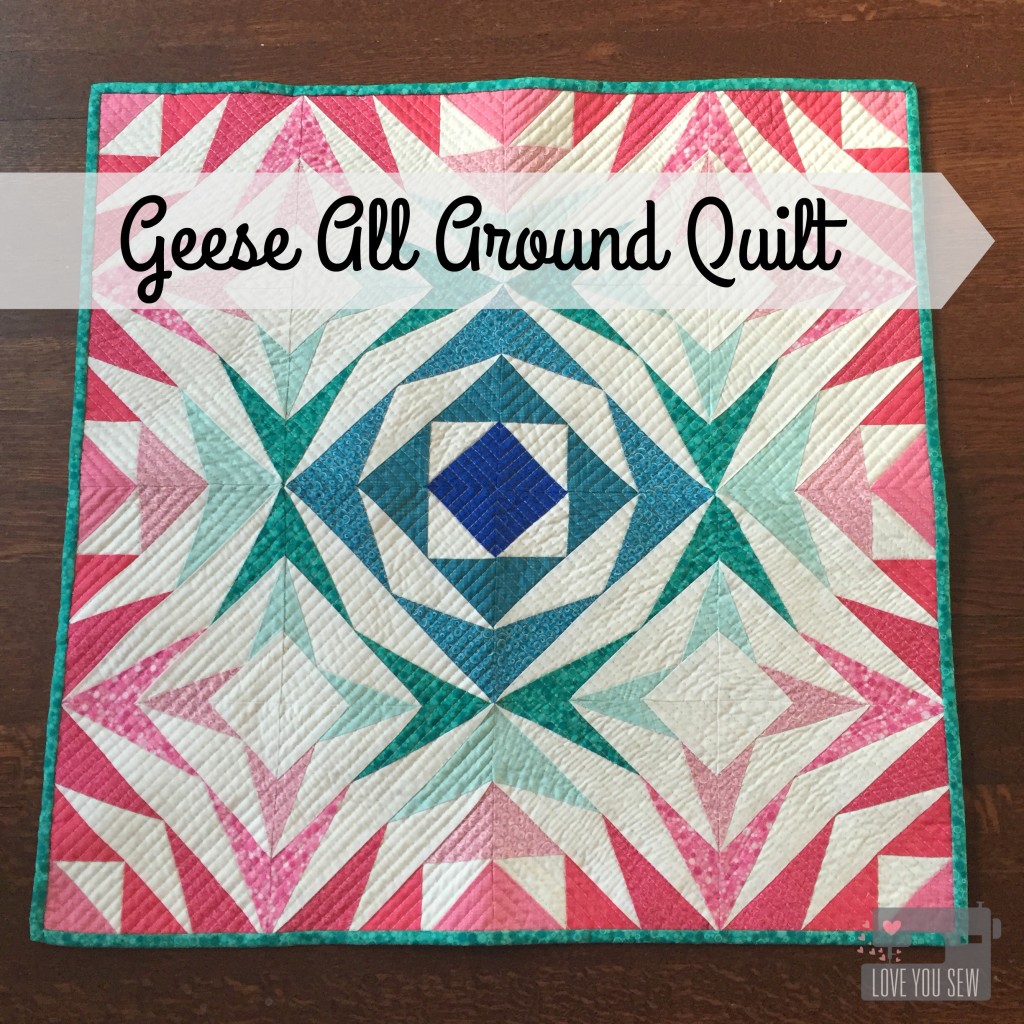
Geese All Around Quilt

Geese All Around Quilt

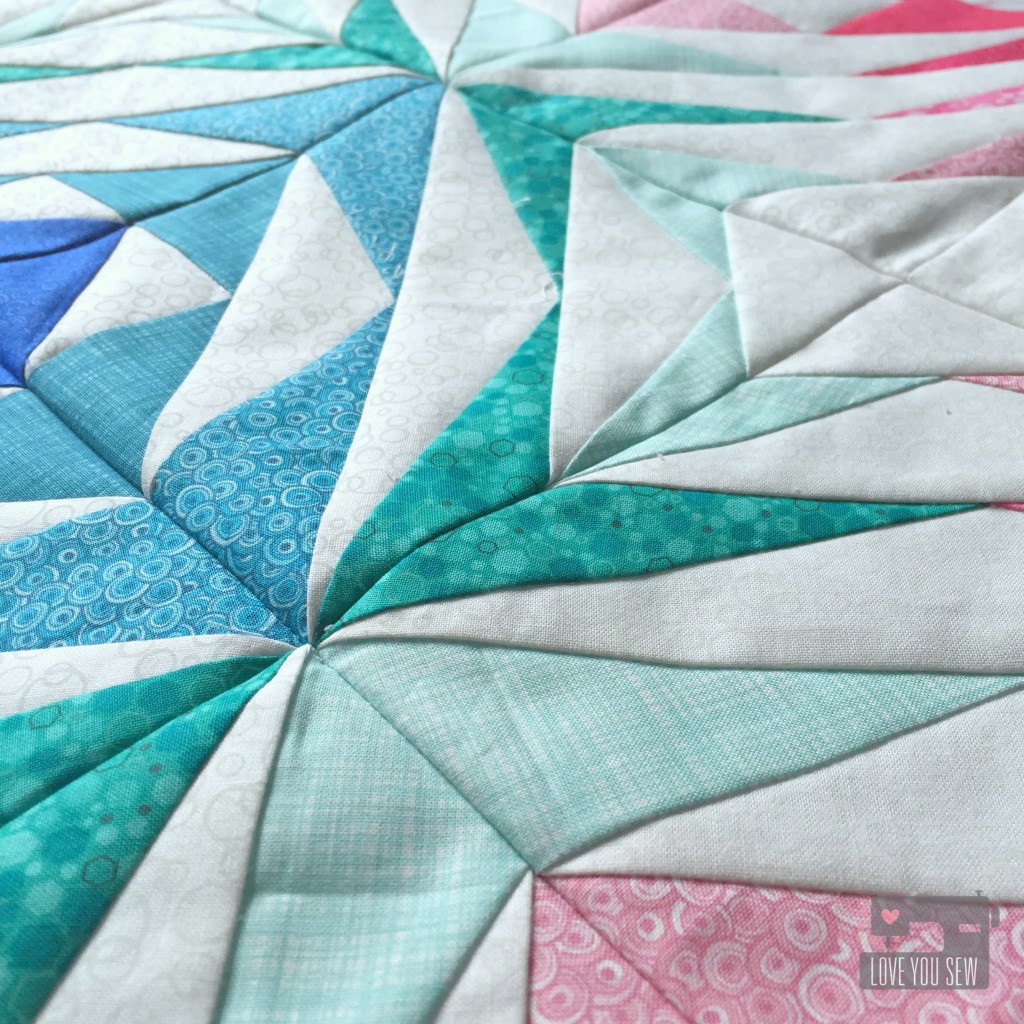
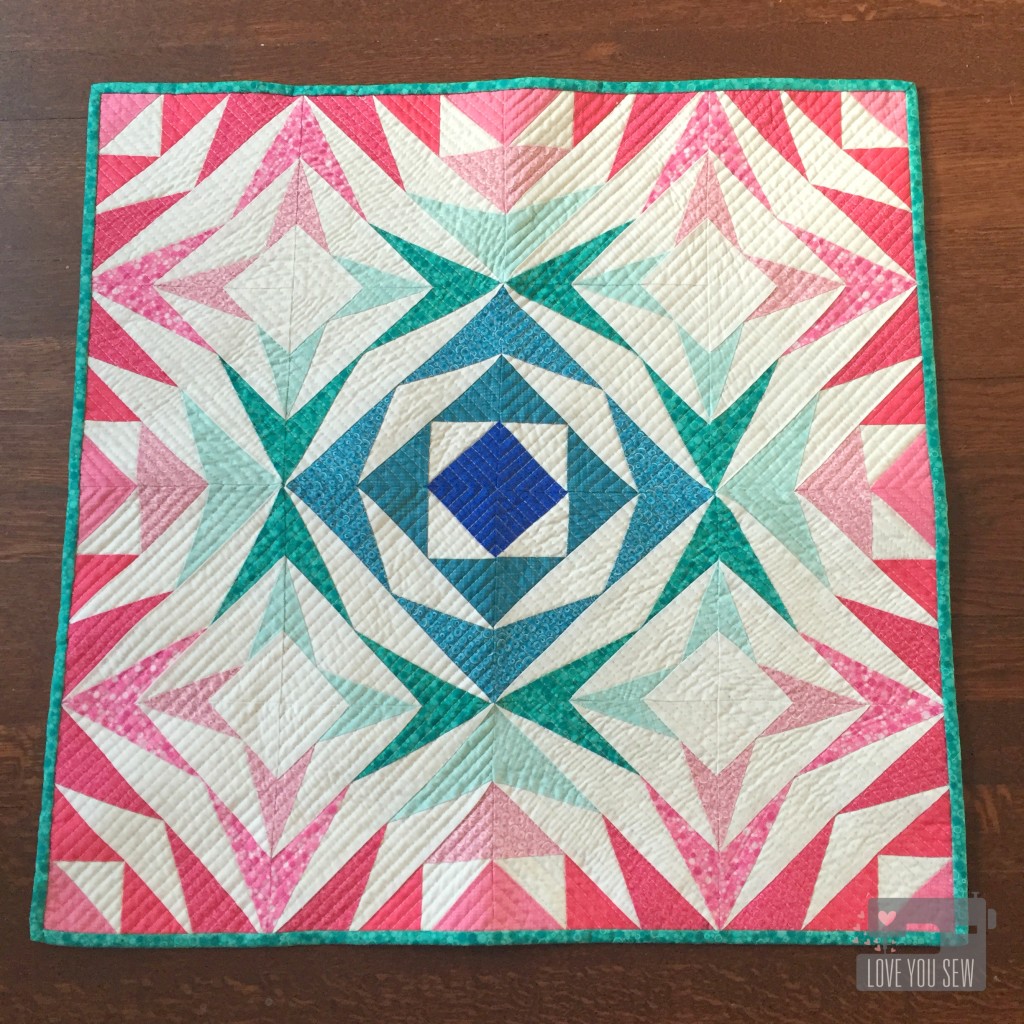
I’ve been on a kaleidoscope kick lately (check out my last one here)…so when I saw this Geese All Around quilt pattern on Quilter’s Cache, I knew it was going to be my next project!

Many of my recent finishes have had rainbow color palettes, so I decided to soften things up and use some blues and pinks this time around.  These Basically Patrick designs from Patrick Lose Studios for RJR Fabrics were just the perfect fit.  There is a mix of Linen, Millefiori, Hexies, and Meandering Loop prints.

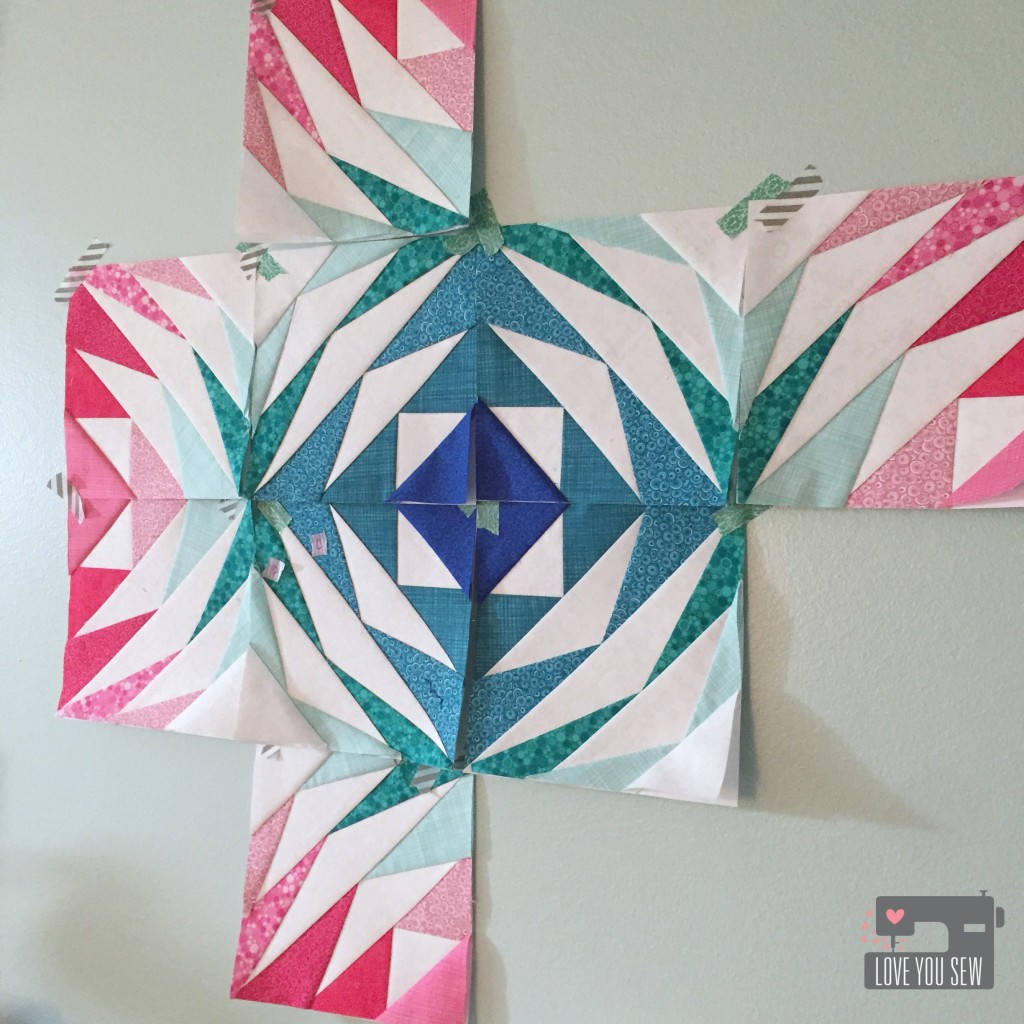
Design Wall

{No design wall = Lots of Washi Tape}

This pattern is paper-pieced and calls for a finished 12″ block.  Don’t make my mistake and think each square was a block.  It’s just 1/4….so instead of initially designing a 48″ x 48″ baby quilt, I ended up with a 24″ x 24″ mini (I sketched and colored my quilt before printing out the template.)  I know I could’ve just added extra blocks to get the right size, but this quilt was all in the design and color for me.  Fortunately, there was no intended recipient!

All Pieced

{All Pieced}

As the blocks are sewn together, there is quite a bit of bulk.  Be sure to grade the seams as you go so you don’t end up with huge lumps as you quilt.

QuiltingCloseUp

{Quilting}

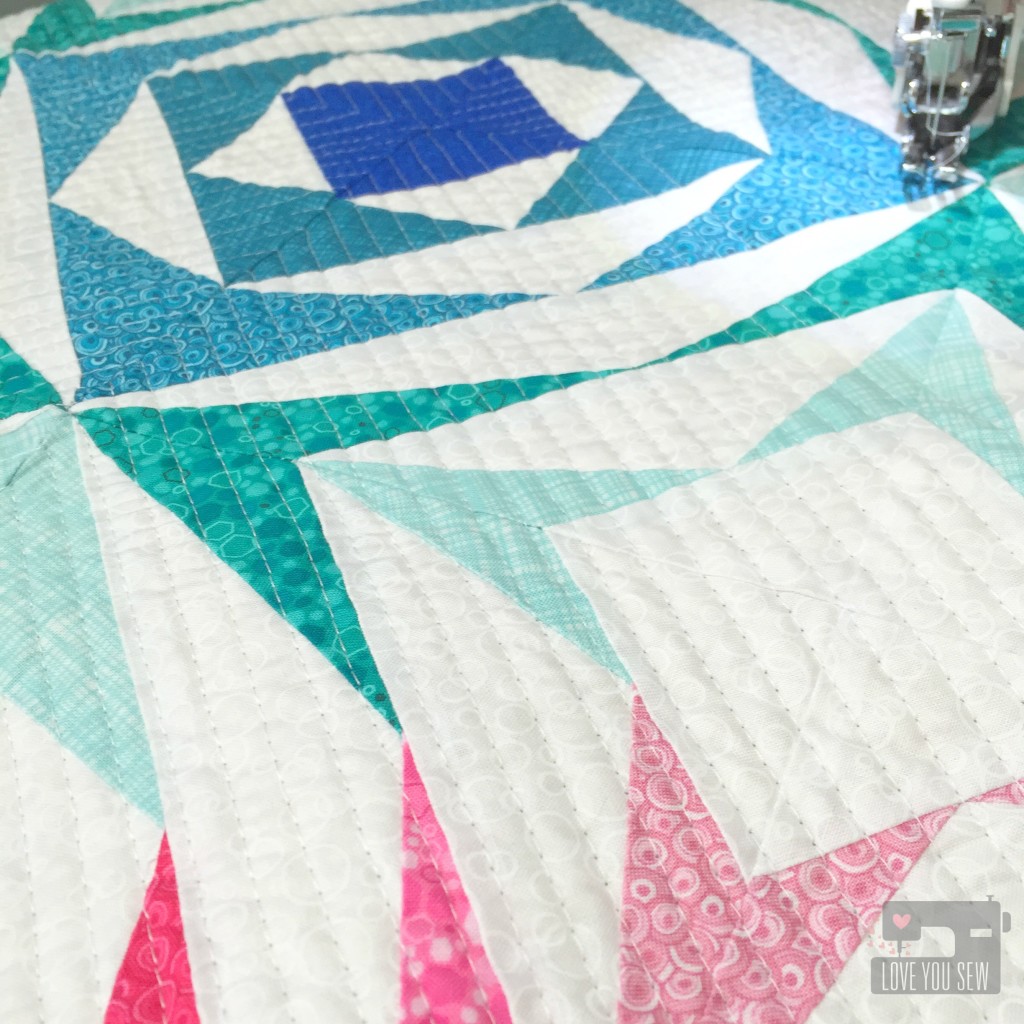
I echoed quilted this piece with 90 degree angles on the bias with my good friend, Aurifil 2021.  The stitch setting is 3.0 to get these nice straight lines.

BackQuilting

{Backside}

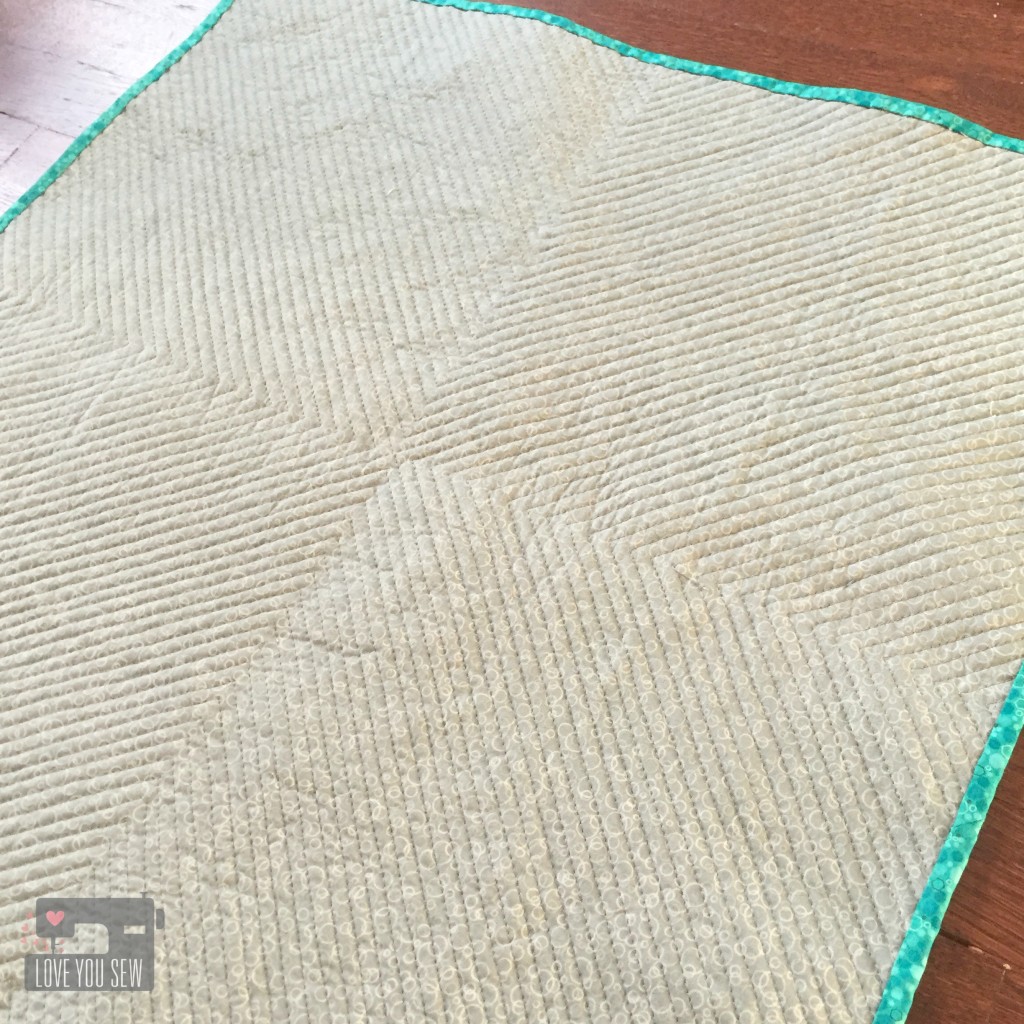
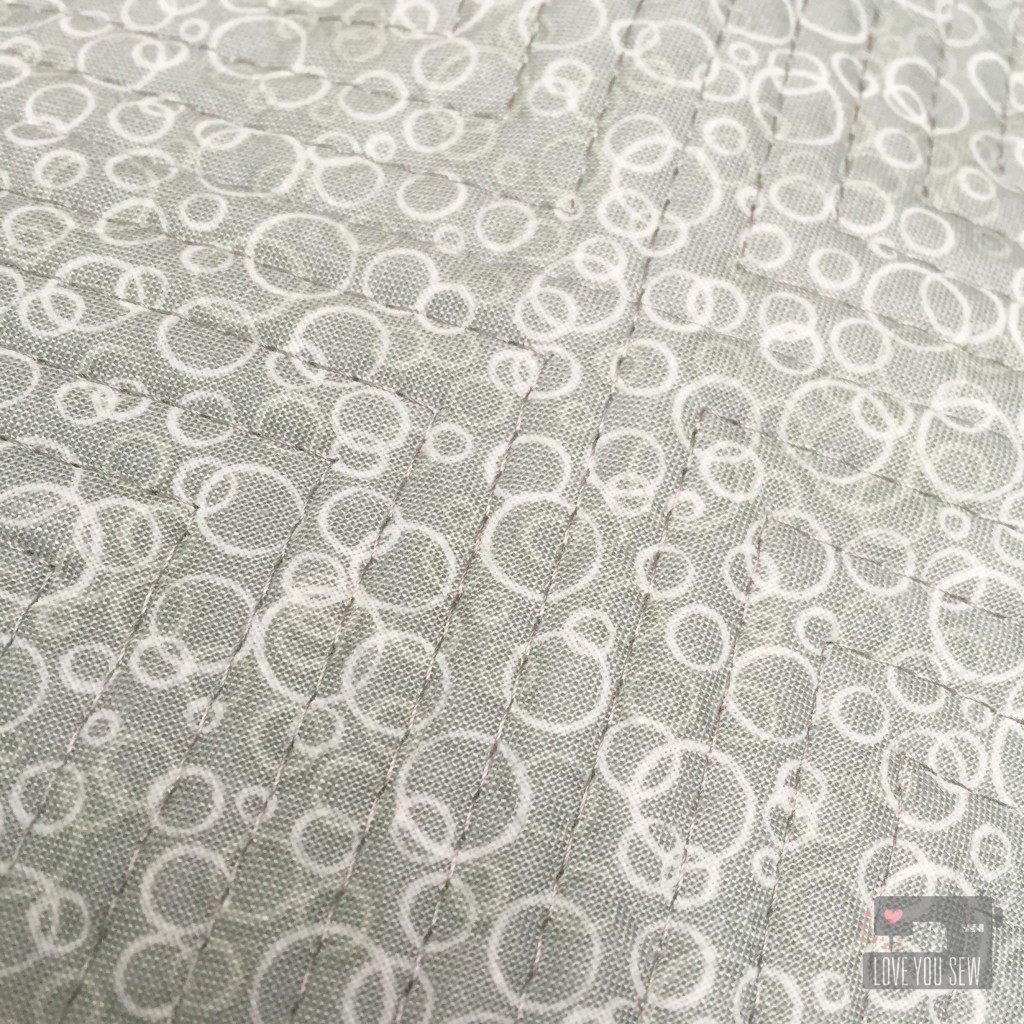
On the back, I used Suds in Seltzer with Aurifil 2600.  Isn’t the texture amazing?  I just love running my fingers over the quilting. The binding is Hexies in Blue Green with it machine attached to the front and hand-stitched to the back.

Back Quilting Close Up

{Backing Close Up}

Geese All Around Full Profile

{Finished!}

This was a happy selfish sew and I’m glad I made the time for it. What was the last thing you sewed for just yourself?
Cheers to Selfish Sews!

Cristy