Appaloosa Bag – Pattern Review

A few months ago, I had the amazing opportunity of taking one of Sara Lawson’s bag-making classes…at my local quilt shop!  I’ve been trying to attend one of her retreats for awhile and was so glad she came to Columbus. Sara designs some pretty fantastic bags and accessories through her business, Sew Sweetness.  The Aeroplane bag was one of my first names and you can read about it here.

We have worked together in the past and I have a few guest posts on her blog.  There is one from Purse-Palooza which you can read about here.  I also wrote a review on a Craftsy Tailoring class which you can read about here. Sara is such a sweet and humble person but she’s such a rockstar to us bagineers!

I have to admit, the Appaloosa bag (aff link) would not have been my choice for a class with Sara.  But I completely understand the bag we make has to be done in the time allotted, which was about 6 hrs.  However, I found it as my own personal challenge to try to make this pattern, more “me.”

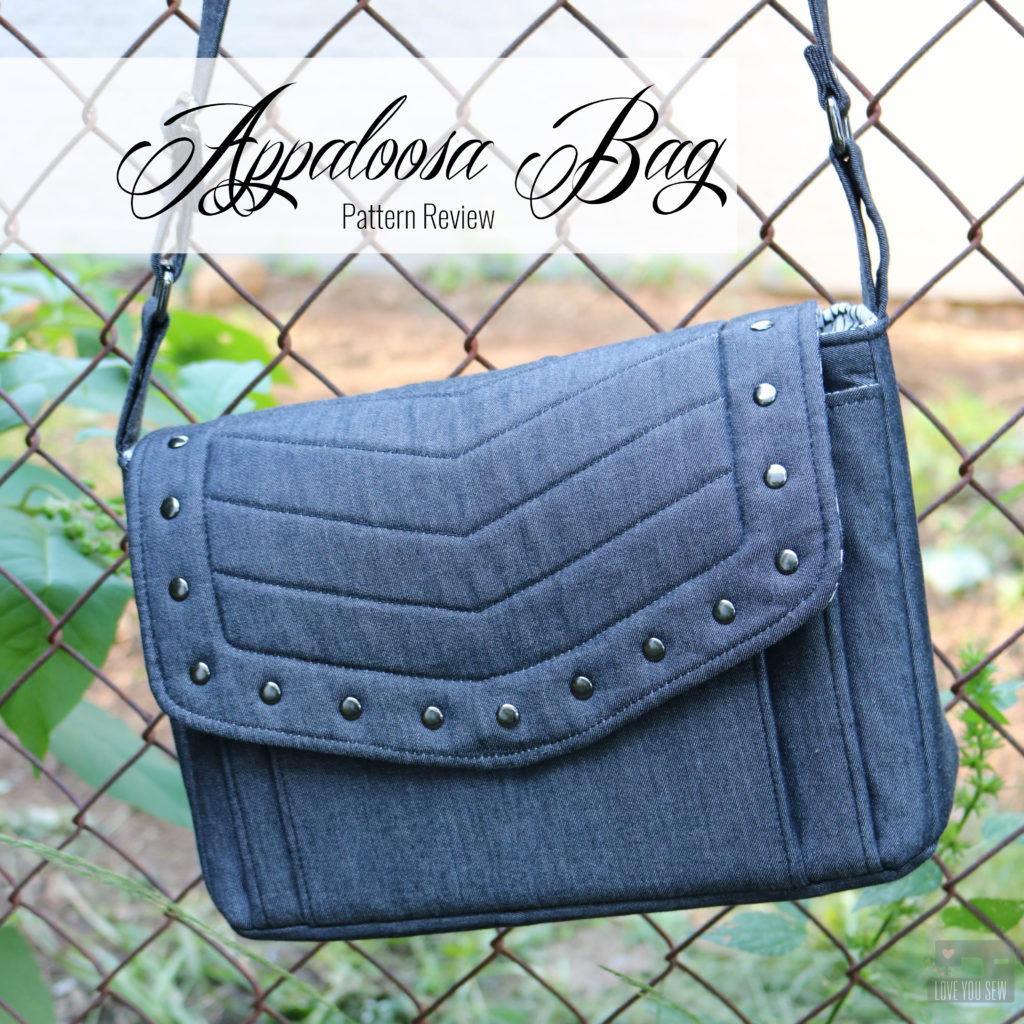
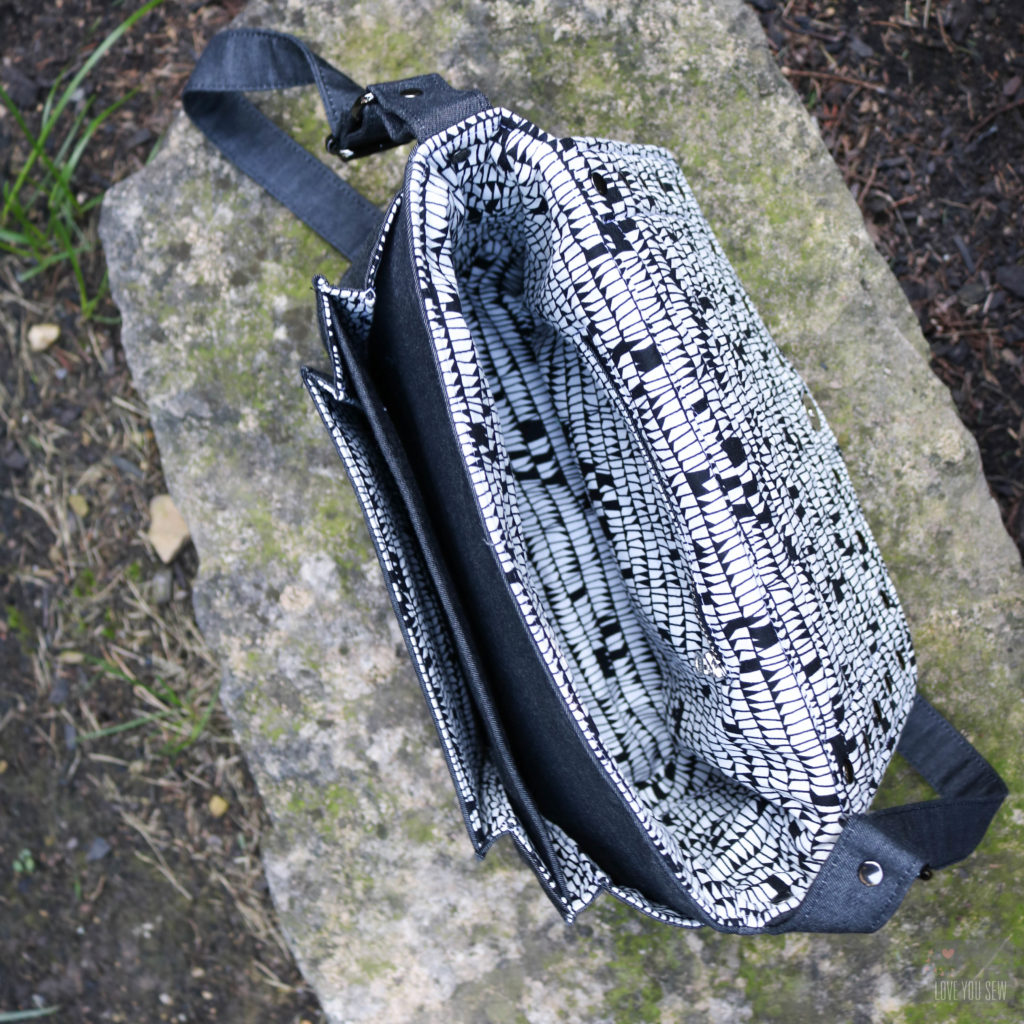
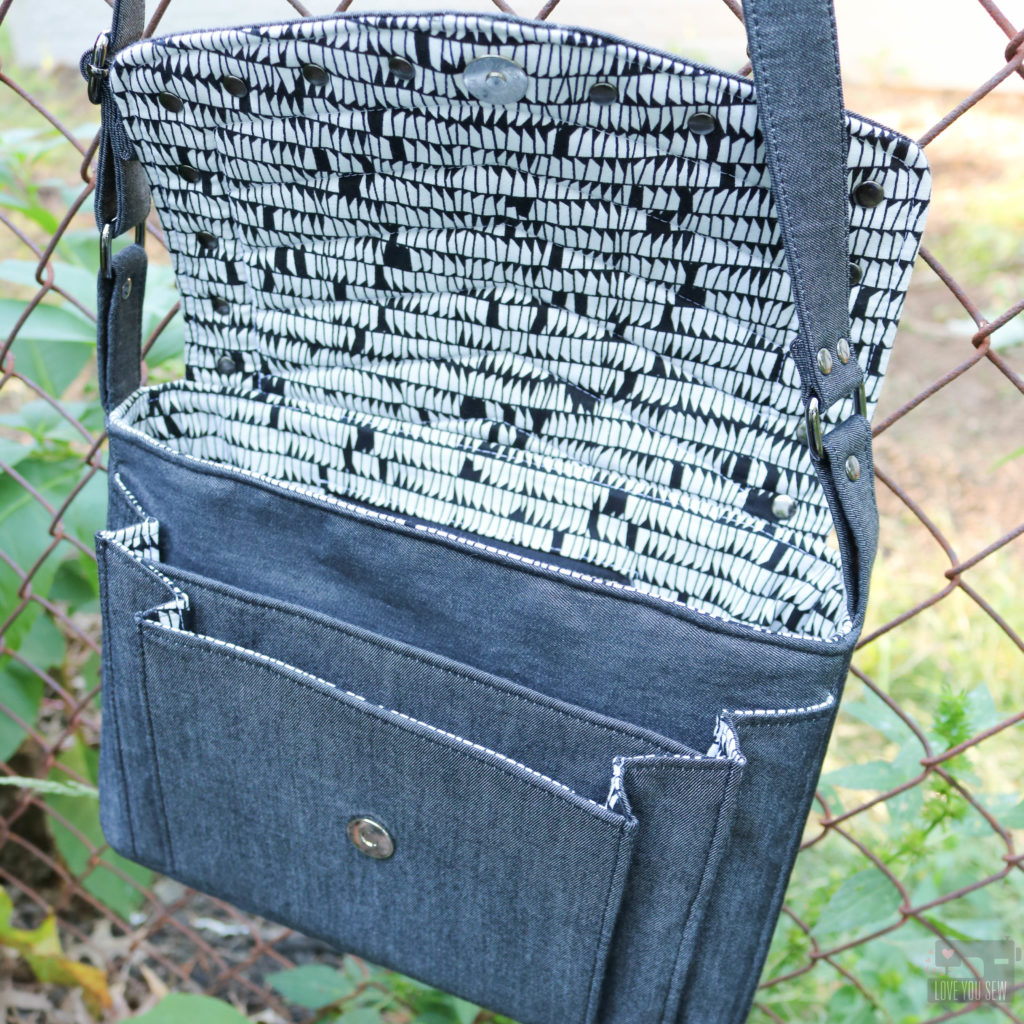
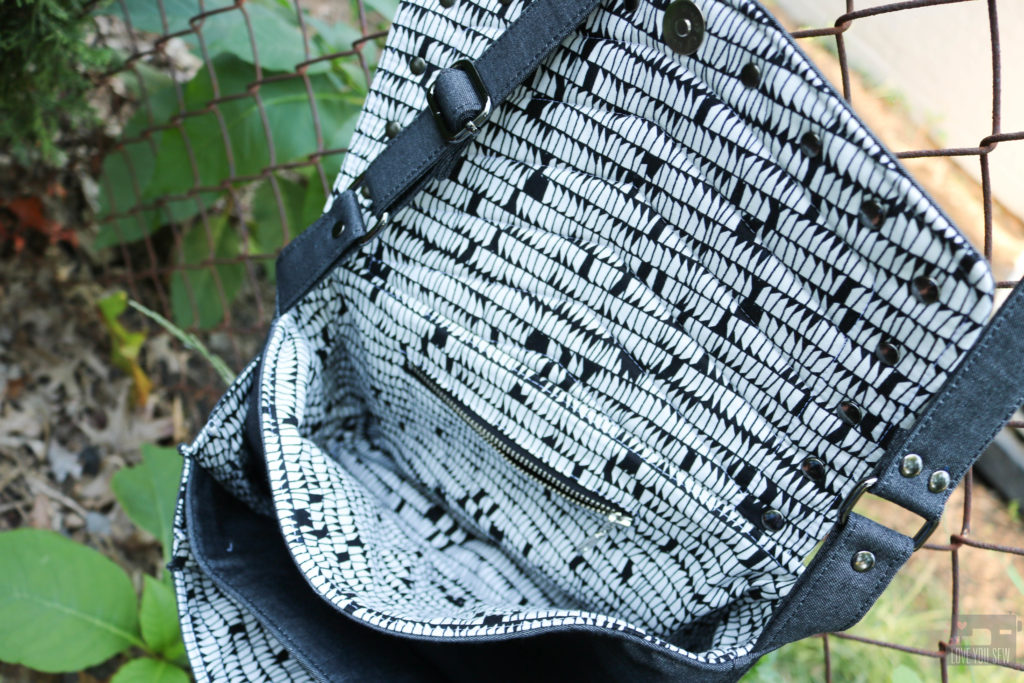
I used a light weight black denim by Robert Kaufman as my main fabric with Carolyn Friedlander’s Euclid as the lining.  This would keep the bag modern and pretty versatile with any wardrobe.  And since I was using the black denim, I made sure to use black Soft and Stable in the construction of the bag.  Otherwise, you run the risk of the natural colored foam peeking though the needle holes.
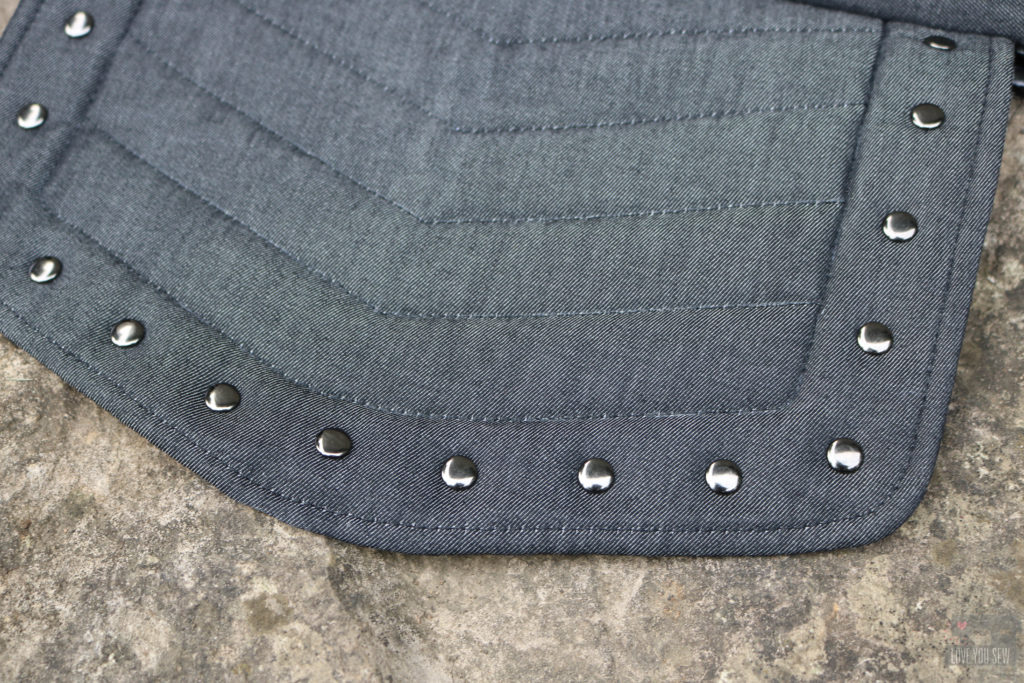
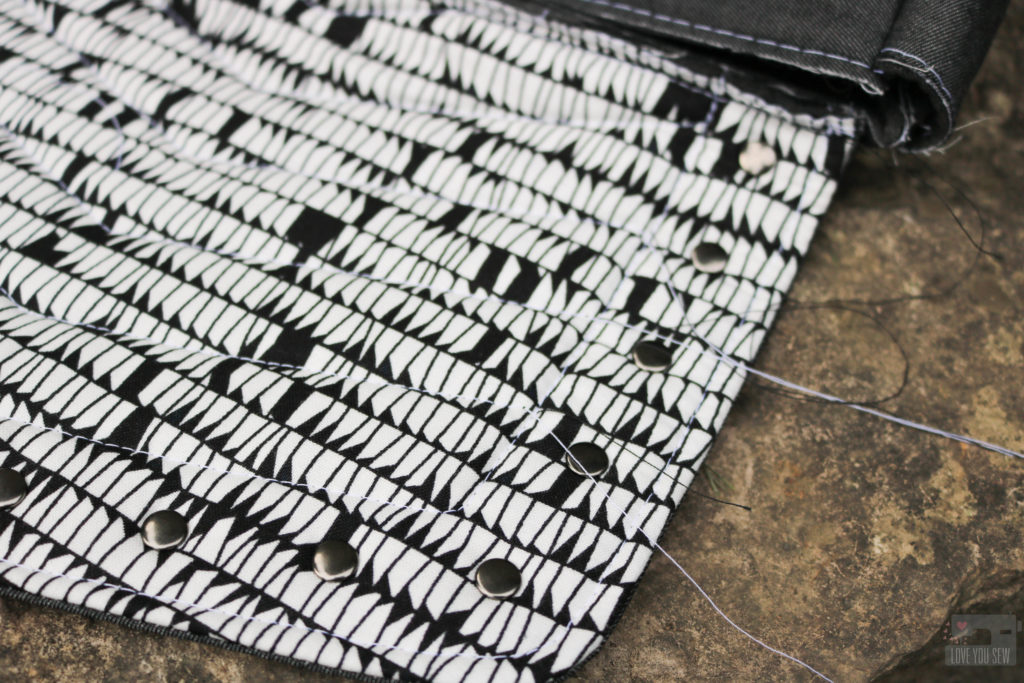
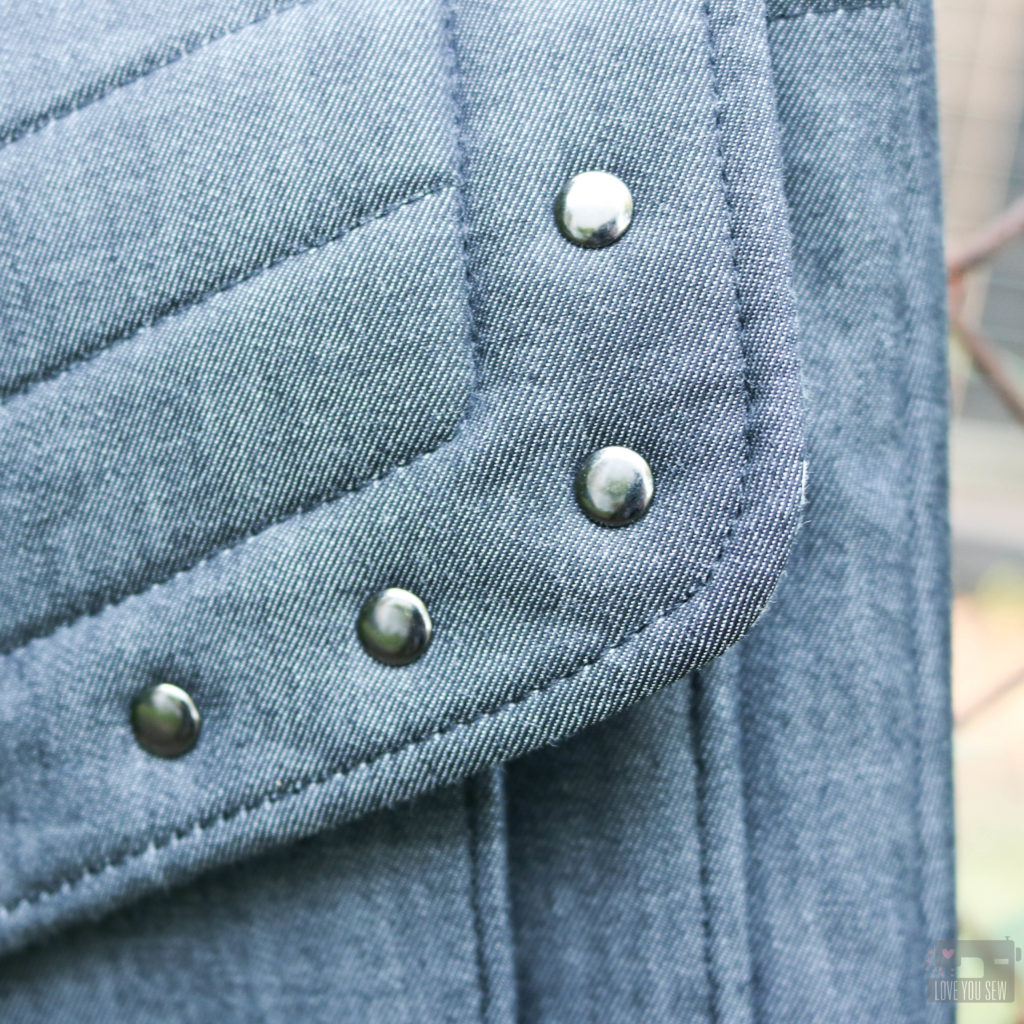
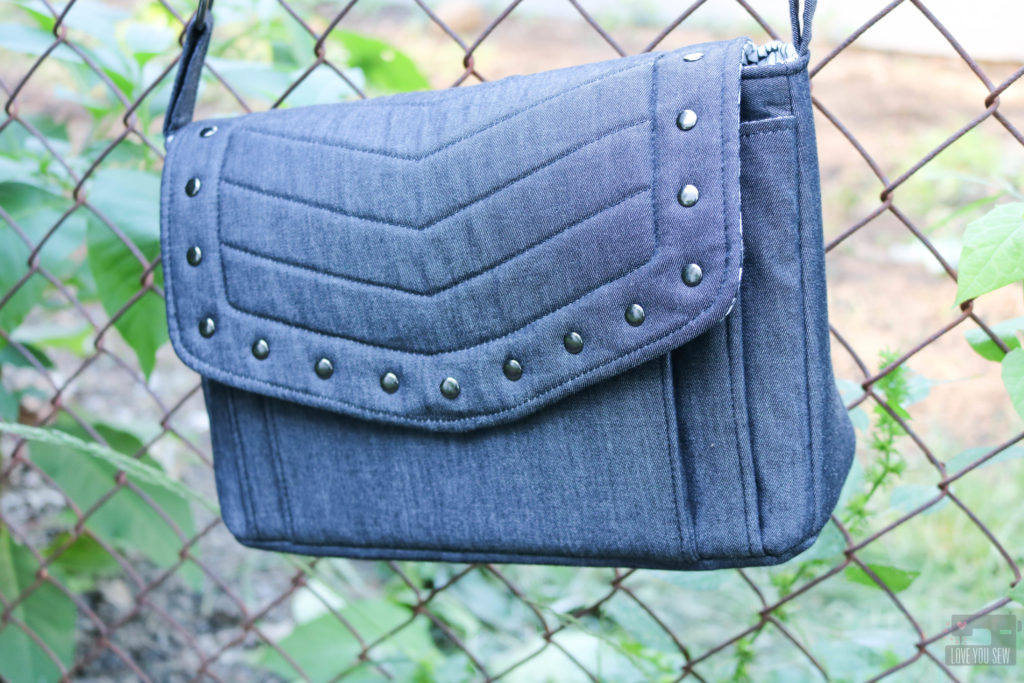
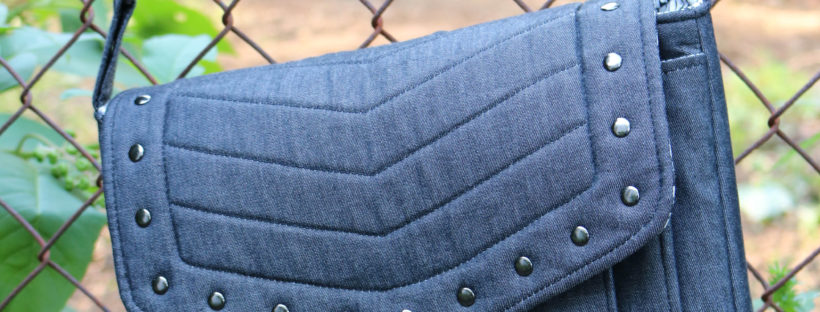
With the black denim being pretty plain, I just had to do a little bag quilting. (You know me!) I took some inspiration from current Rebecca Minkoff bags to try to pull off something very modern and on-trend.  With the pattern calling for all of the Soft and Stable, I knew the texture would be perfect on this bag.  I made a simple herringbone design using my favorite Chalk-pencil.  You can still see the marks on the picture above.  The lines just erase right off when you are finished.

Like most other quilting, I made sure to use my walking foot and created long thread tails to hide later on.  I used all Gutermann polyester thread.

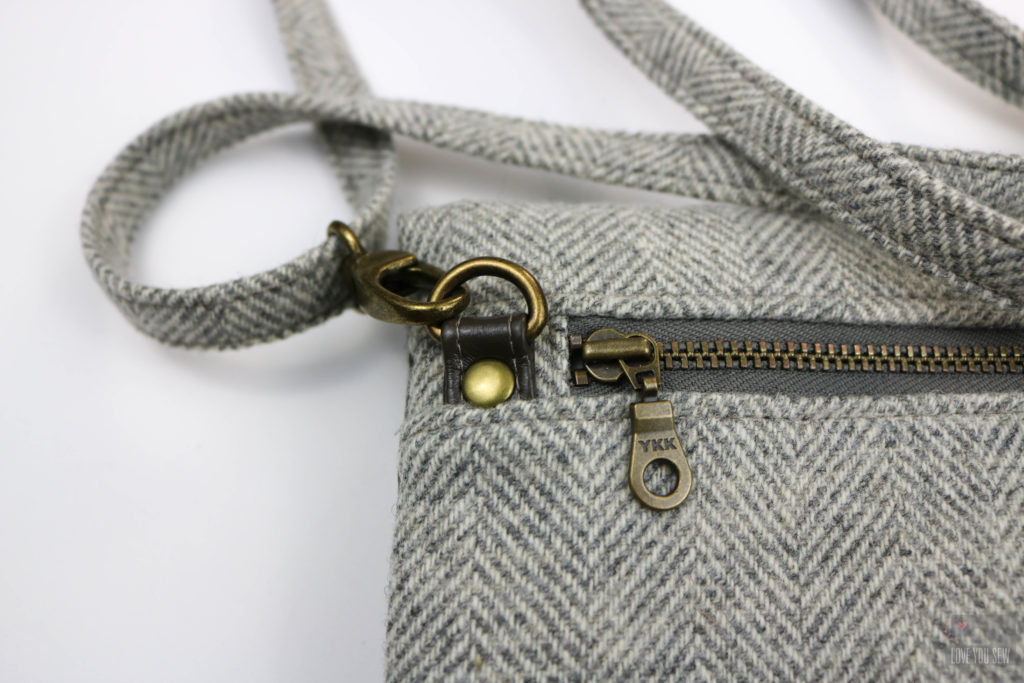
I used rivets all around the border of the flap to add the extra “edge” on this bag.  Initially, I was going to use nickel hardware (because that’s what I had on-hand,) but Sara helped me decide on the gunmetal and just wait to finish my bag later.  Yeah…that was a pretty good decision.

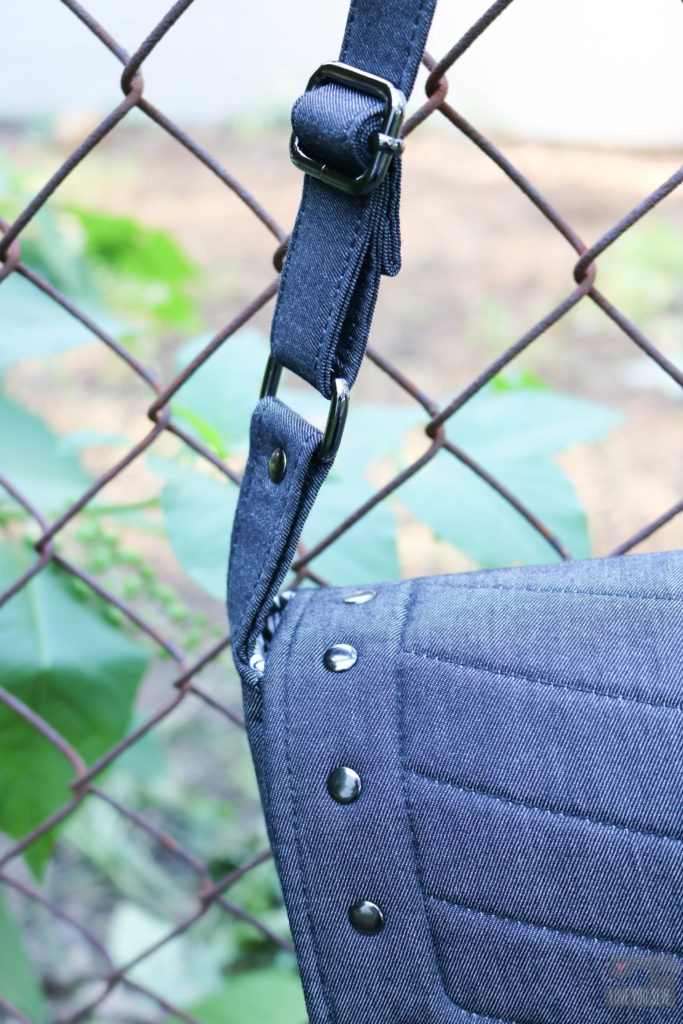
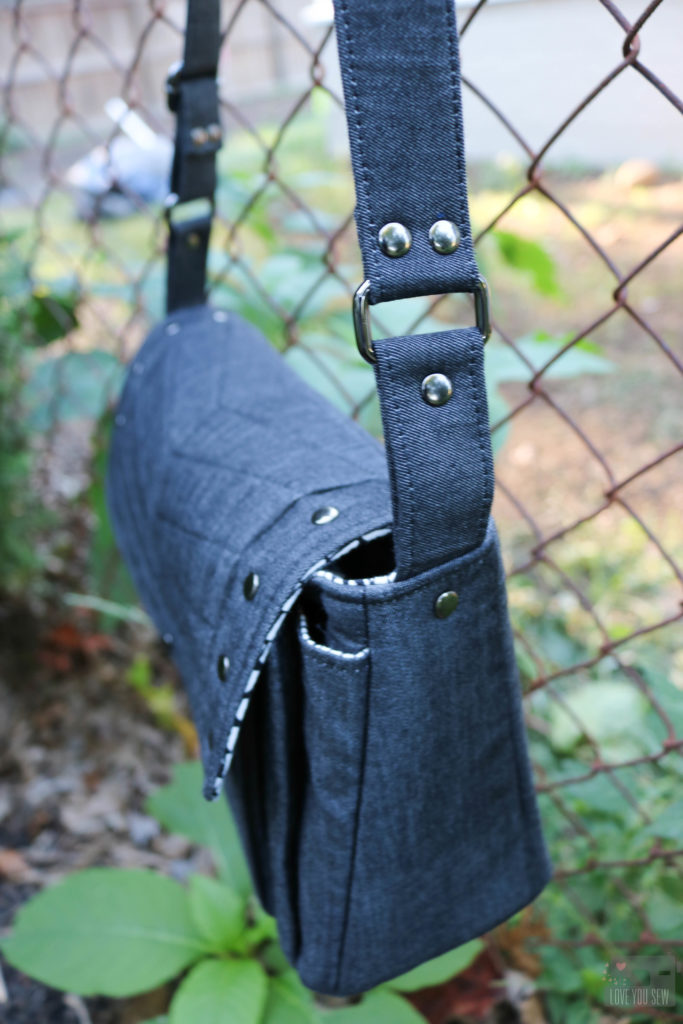
The slider and rectangle rings were quickly ordered and boy…do they make the bag.  🙂  The gunmetal really works with the feel I was going for with this bag.

So….of course, I added a few extra rivets around to balance out the front flap.  Also, I made two strap extenders instead of just one.  After having the bag sit around waiting for the hardware, I thought I would use this more as a cross-body than an under-the-arm bag.  It just works more with my lifestyle with active young kids.

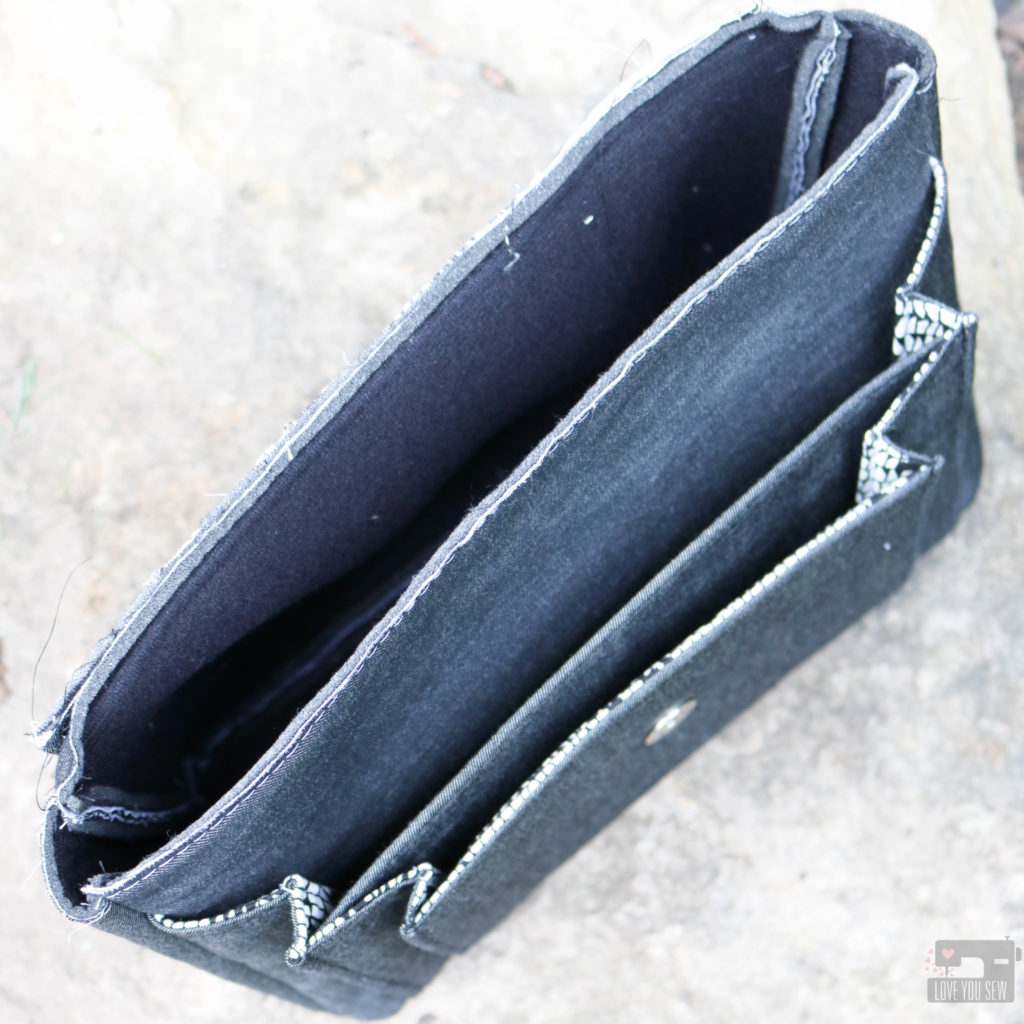
Having Sara around to instruct and so many nice bagineers to assist, the Appaloosa came together so quickly.  We definitely didn’t need the full 6 hours at all.  The most challenging part was just sewing through all the layers of the front accordion pockets to the sides of the bag.  I would definitely recommend some large needles and to hand-crank it if needed.

I love the multiple pockets in the front of the bag…and there is still another zip pocket in the main compartment.  Since I used a metal zipper, I did run into the issue of having to shorten and adjust the one had even though it was a 9″ as called for in the pattern.

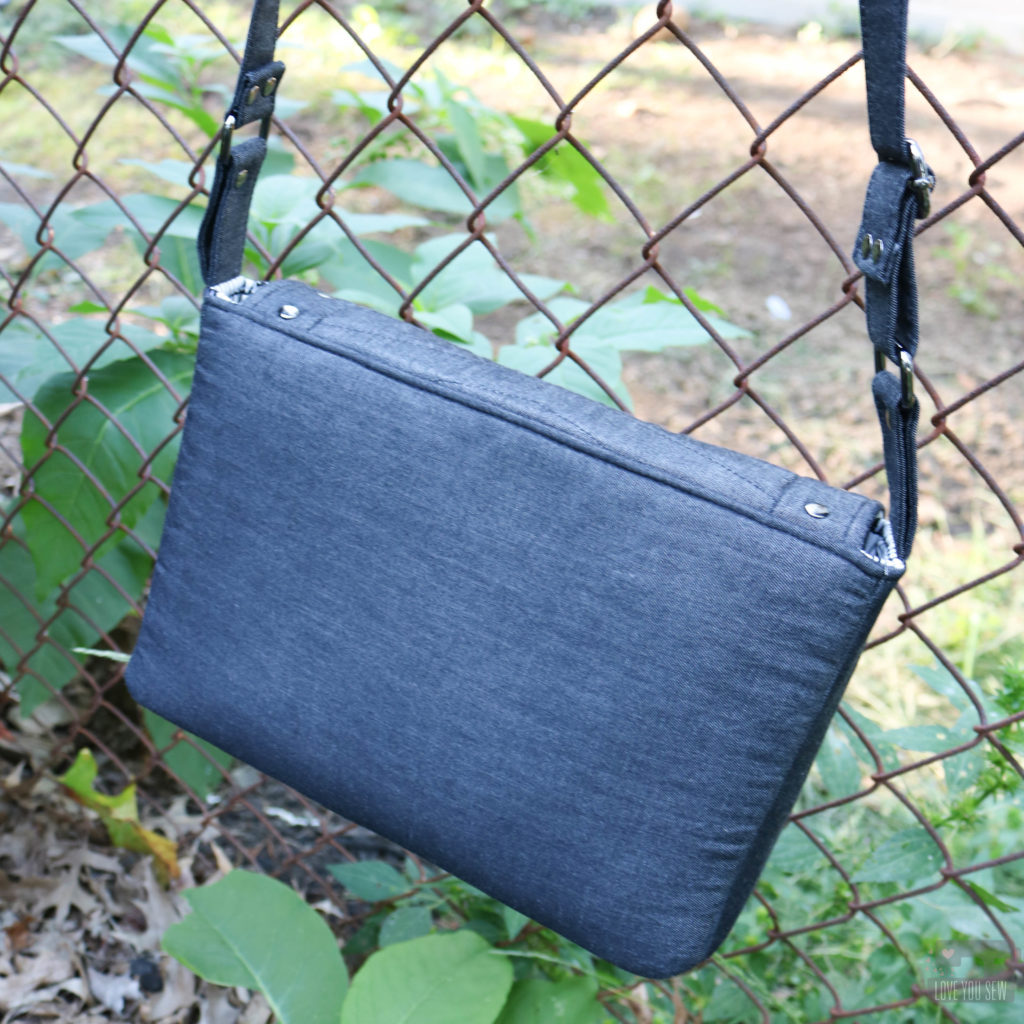
The back of the Appaloosa is nice and smooth.  With all the pockets on the front, you really don’t need anything on the back.  Although….once I get my new black leather labels, this bag will definitely get one toward the top-center of the back.

Verdict – I love this design!  Initially, it wasn’t for me, but I made it my own.  It made me think out of the box a little bit and now I want to go through all the patterns I own and take a look at each one differently and how I can own each one.  It’s amazing what the fabric and some hardware can do to completely change up a bag.

For the Appaloosa bag, you can purchase the pattern and/or the instructional video here.


Please note there are affiliate links in this post.  I will only ever link to products I have used myself  and as always give you the real deal in my opinions and experiences.
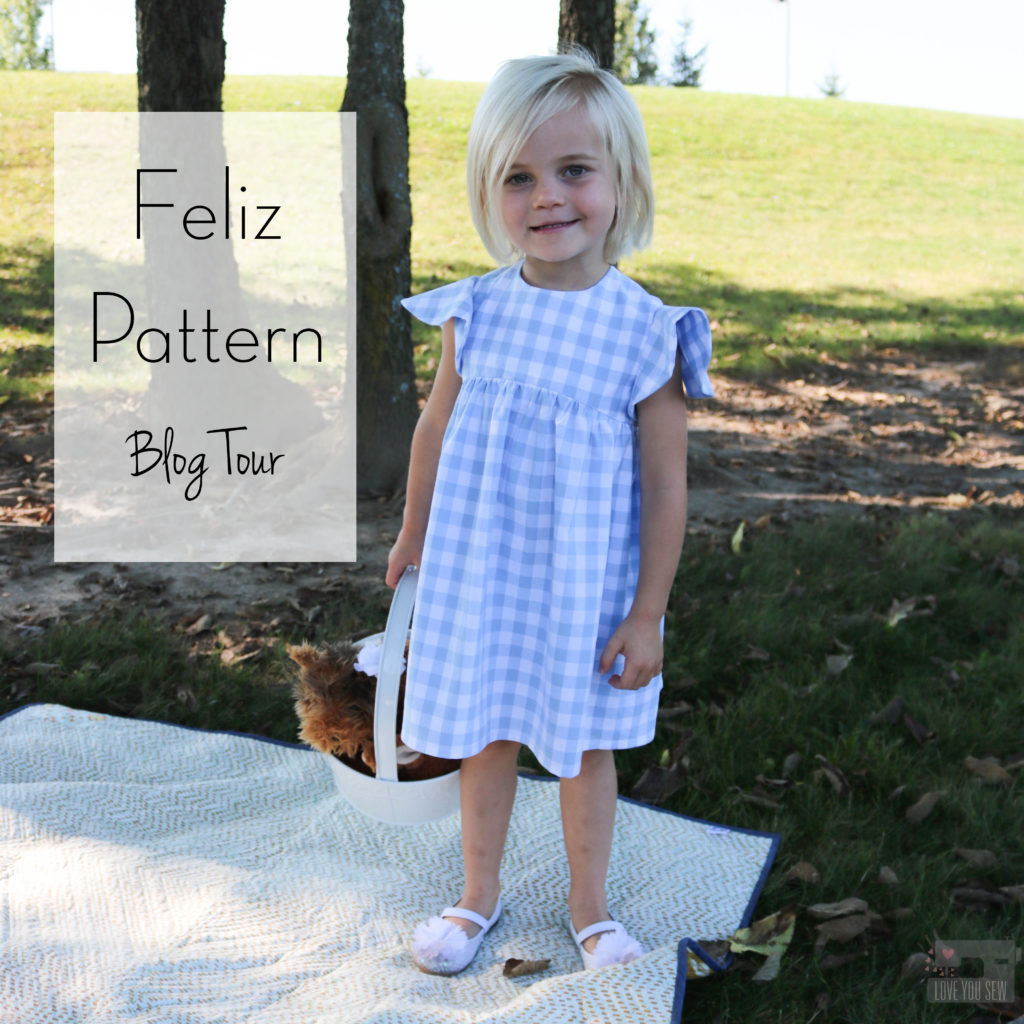
Feliz Pattern Blog Tour

I love Straightgrain patterns.  That’s it…’just gonna put it out there.  You know I can’t stop making girls’ dresses and An’s designs are always at the top of my list.  She creates children’s garment patterns with beautiful clean lines and they are just so chic!  You can read about my previous Nova dress here

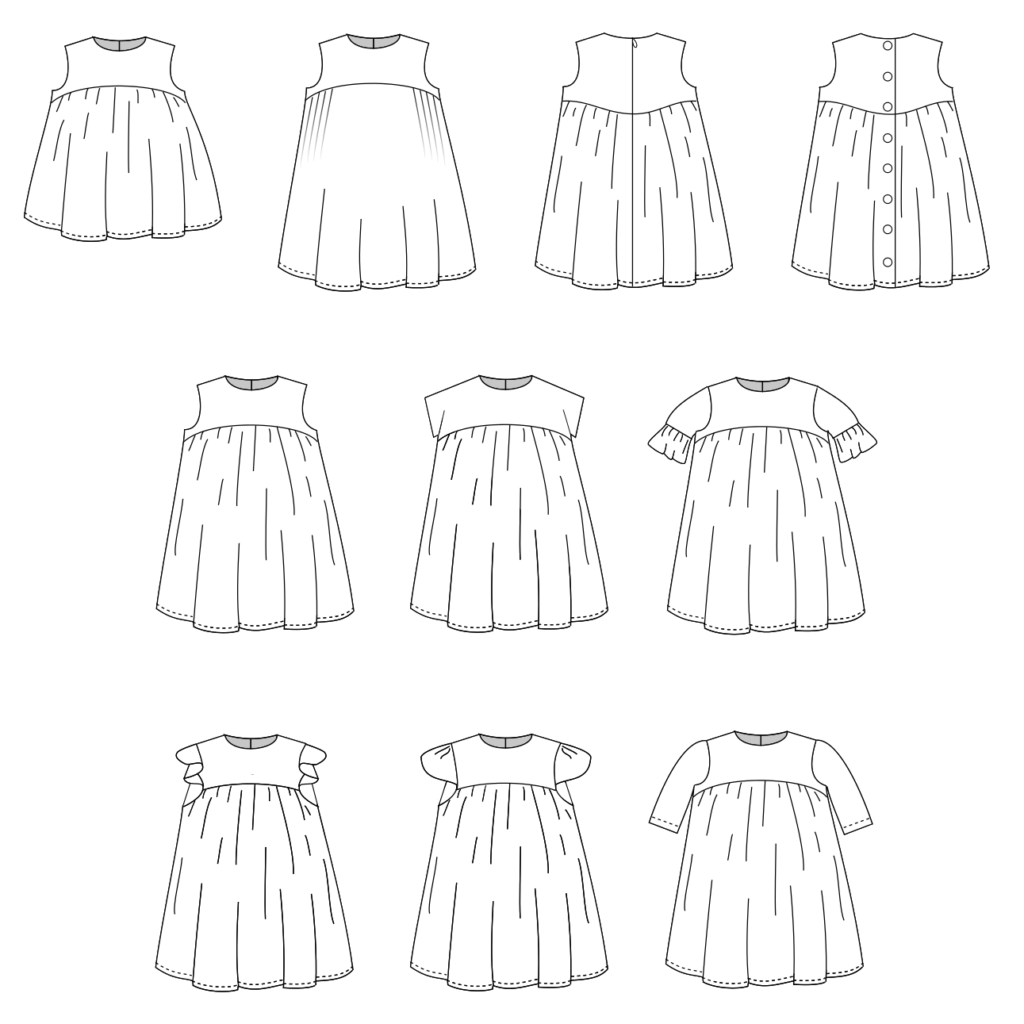
Straightgrain patterns always includes several variations to give you a number of different styles and the Feliz is not different. You can choose from a PDF or paper pattern from her online store here.  With the pattern, you can make a tunic or dress with 6 different sleeve options, two different back closures, and two different skirts.  It’s great to get so much versatility out of one pattern and I think An’s are a great value for all which she provides.
Of course, I picked the dress version. I make all my dresses as gifts (since I’m a boy mom) and dresses count as a full outfit 🙂 It makes me happy to work on a tiny garments (purely because of the cute factor) and my nieces are happy to get some custom clothes.
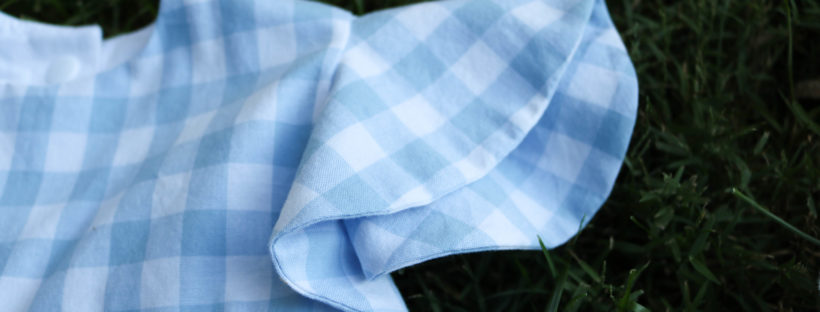
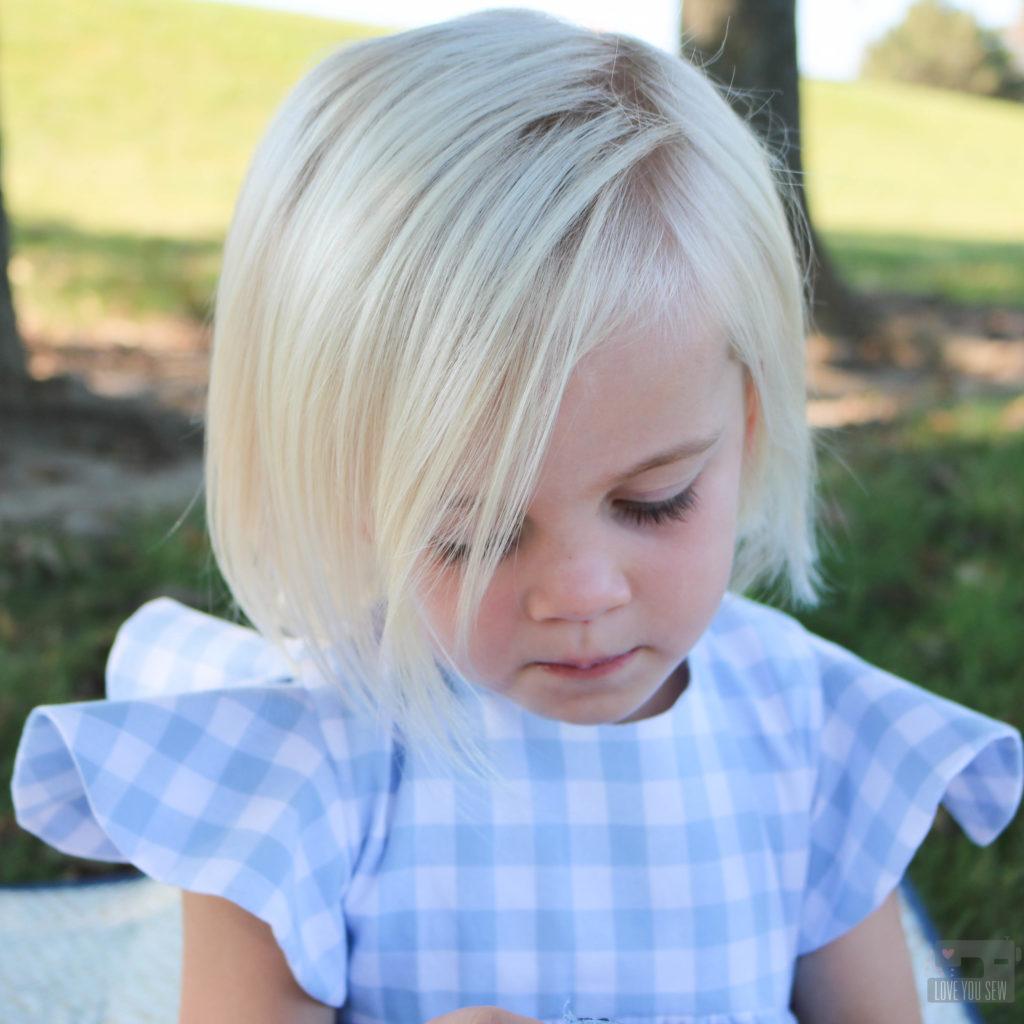
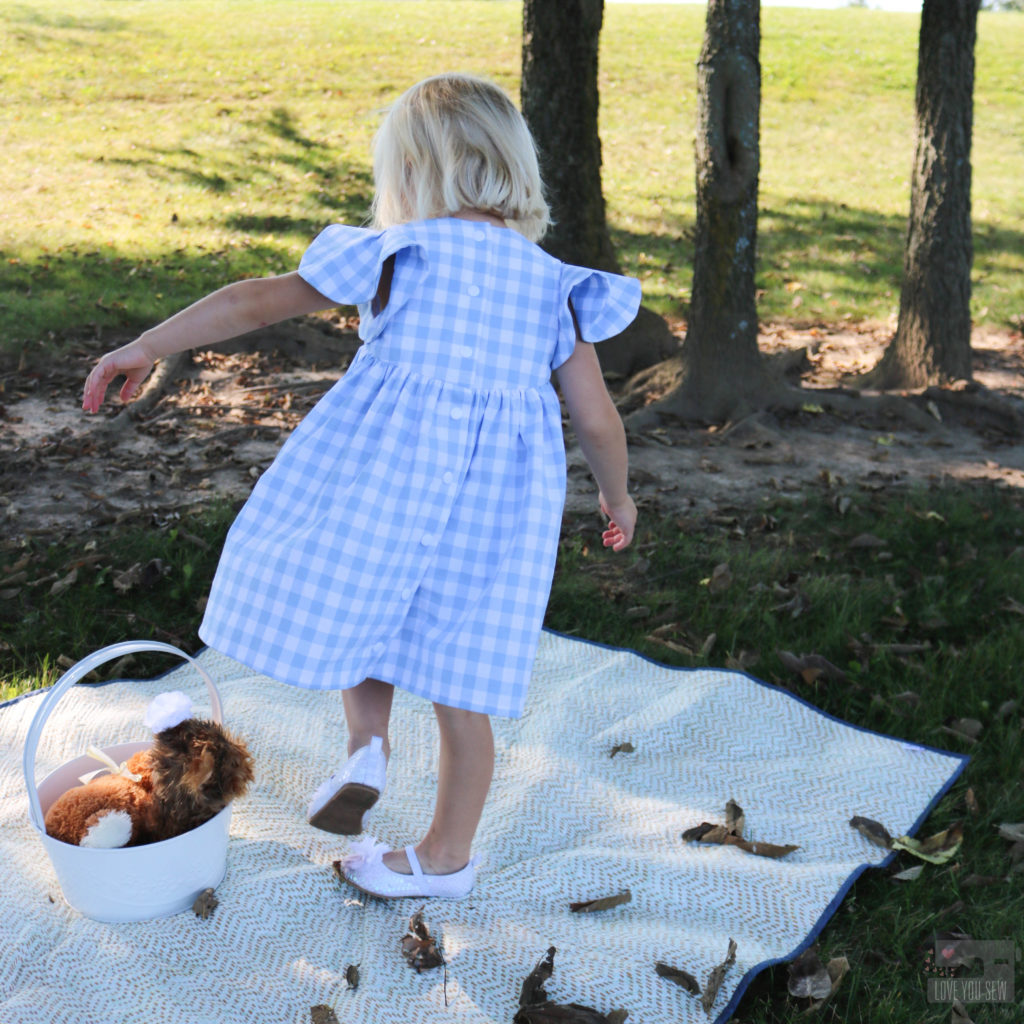
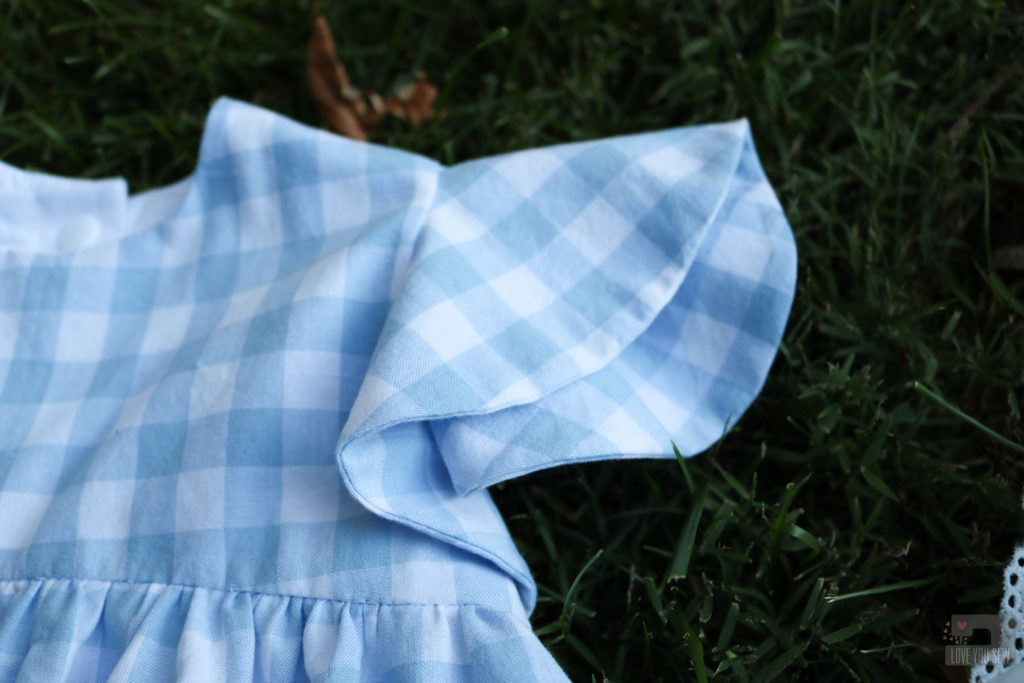
Did you see the flutter sleeve options?  SO cute!!! The soft waves are so feminine and really soften out this silhouette. It was hard for me to choose between the narrow and wide options. But I settled on the wider for just a little more arm coverage.
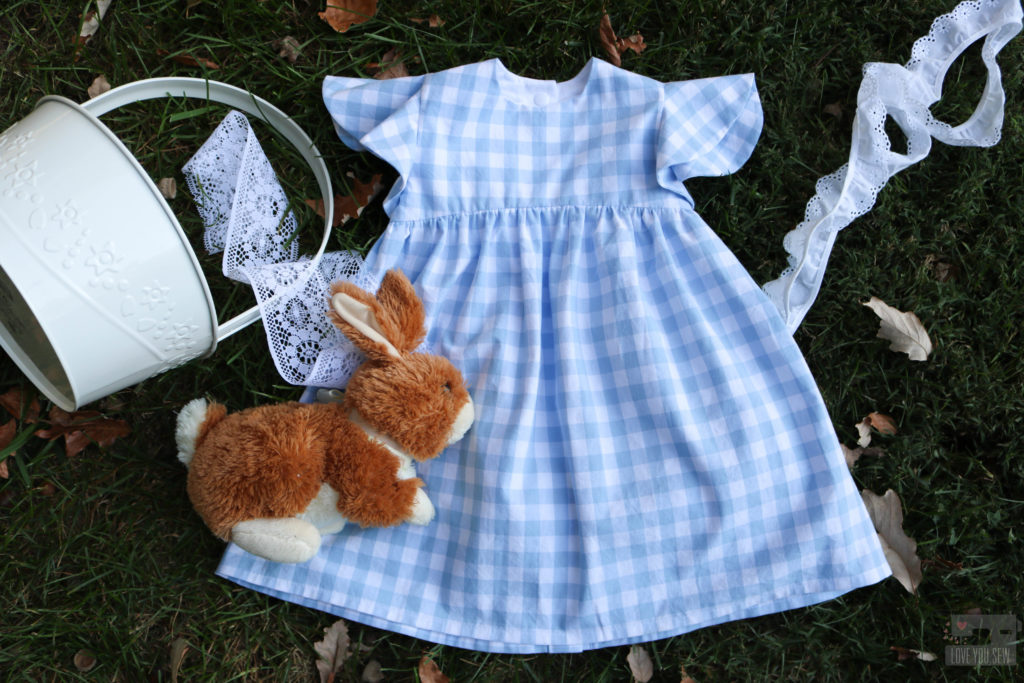
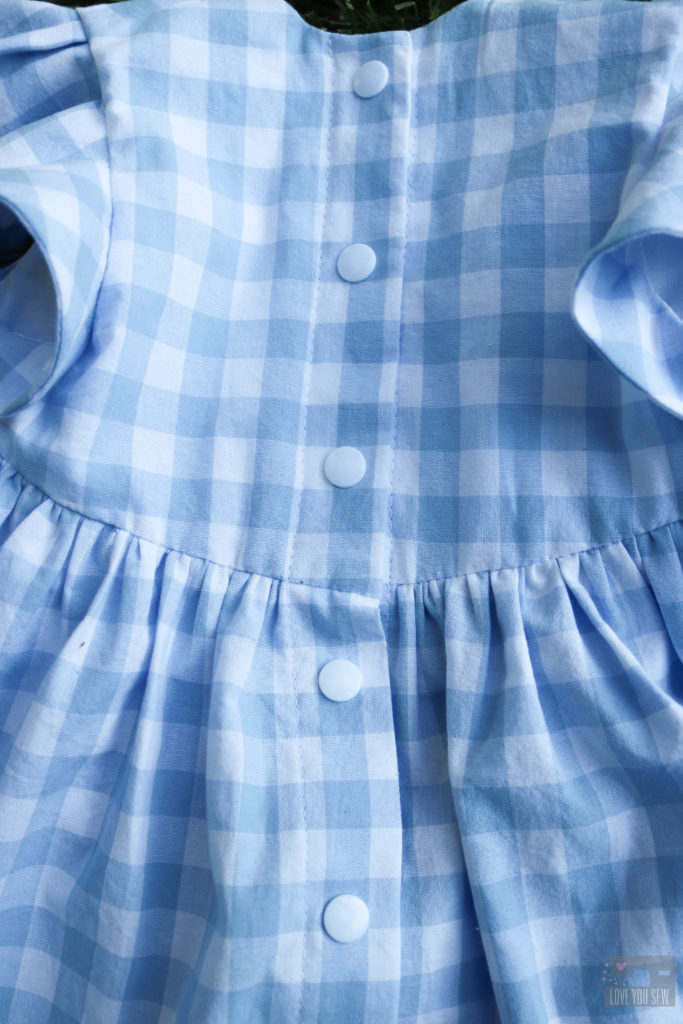
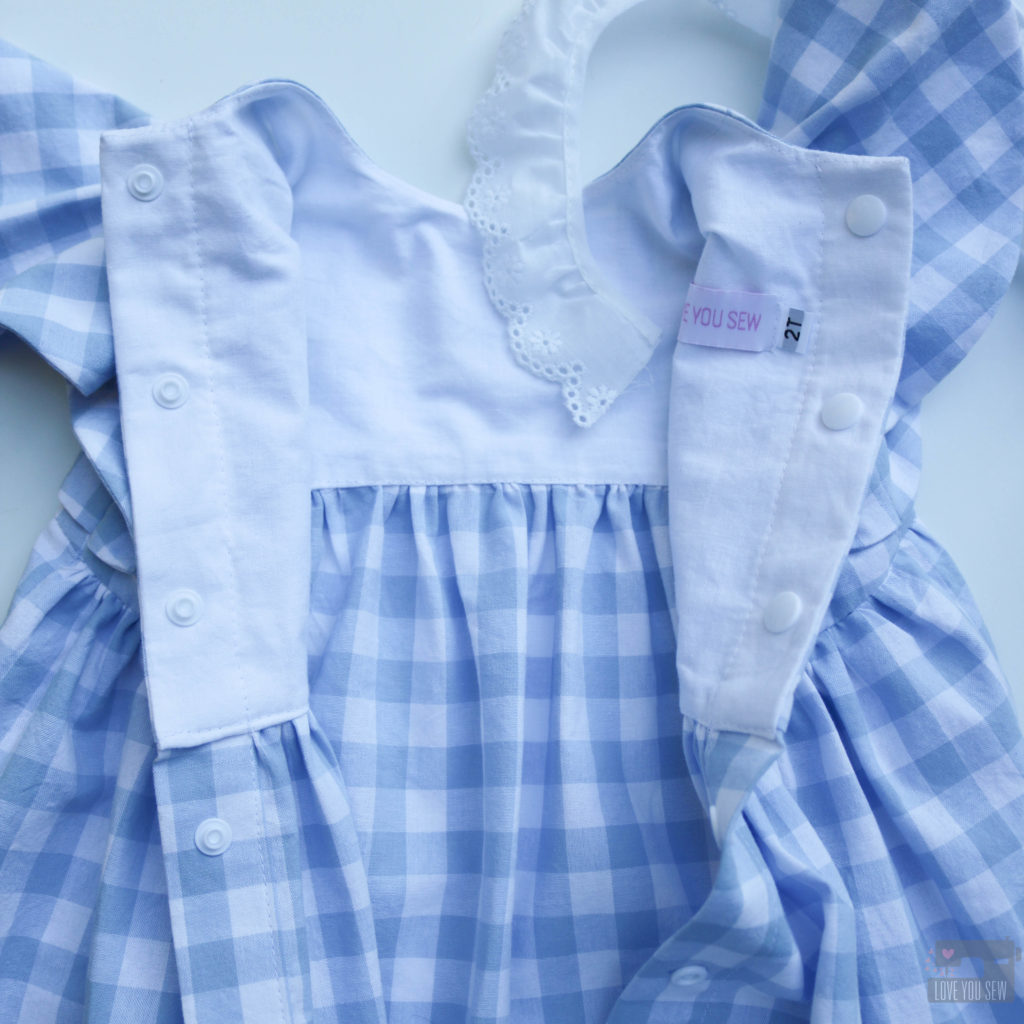
With the back of the Feliz dress, I knew I wanted to make a button closure. But instead of buttons, I used KAM snaps. I have quite a collection in my stash and they make for very quick dressing and undressing.


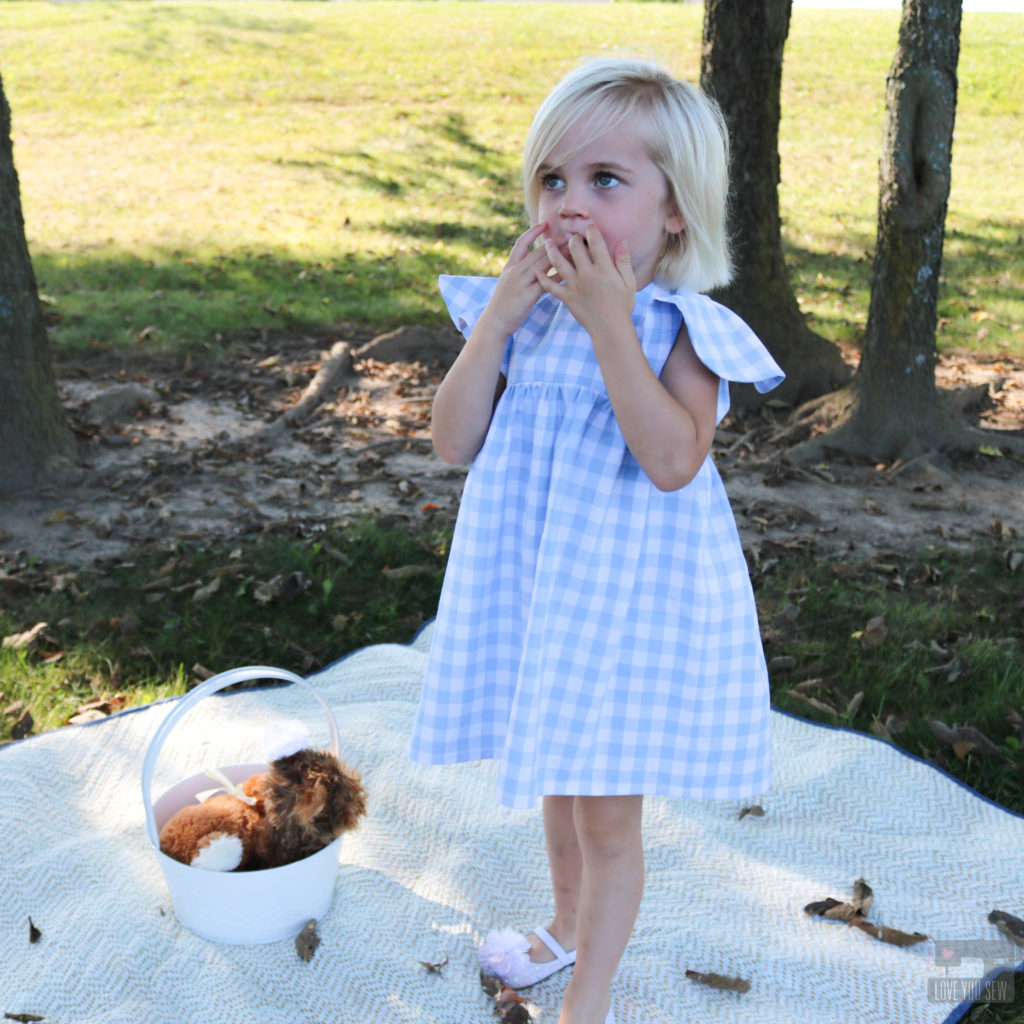
I happened to have Cotton and Steel’s yarn dyed gingham in Sky and was able to make this dress with just one yard of it!  There wasn’t enough left for lining, but Kona Snow worked in perfectly.  I’m so glad I saved the fabric from becoming a scarf (like I initially planned) because the Feliz is just the such a darling pattern and pairs well with this sweet fabric.

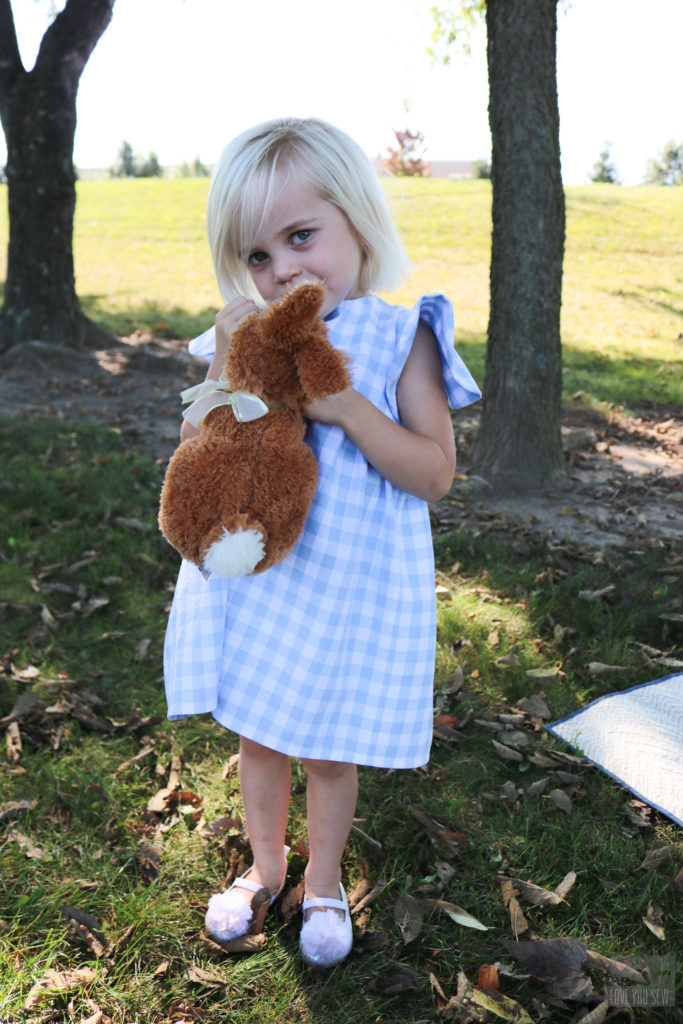
I think my model agrees! She would not take off this dress after our photo shoot.  Can you blame her at all?  I’m thinking I need some gingham love in my wardrobe soon…

The sizing is spot on with this pattern.  My model is a 3T for length, but is still pretty slim, so the 2T fit her well…and of course, I pre-washed all the fabric so there is no surprise shrinkage.  The dress hits her at just the right spot on the knees and is the perfect for some playtime!


I like the lift on the sleeves with a woven fabric.  It adds a little more drama 🙂  But if you used something lighter, like a double-gauze, it would be more draped.

I really love the versatility of this pattern and can’t wait to make a few more!  What combo would you make?

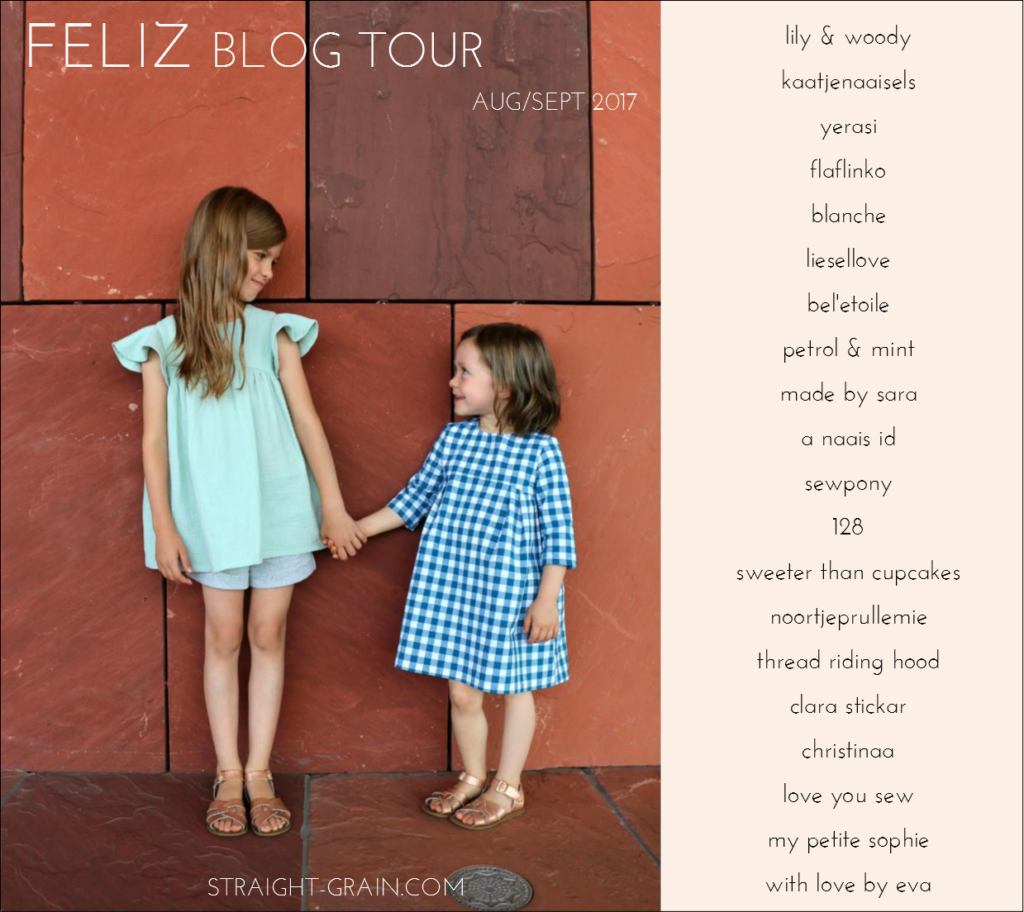
If you need even more Feliz eye-candy, please check out #felizpattern on social media and visit all the bloggers part of the blog tour:

Happy Sewing Friends!
Cristy

Claire Fold-over Clutch :: Pattern Release

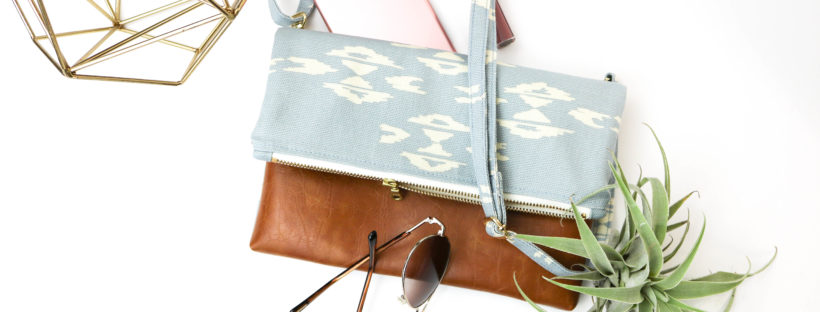
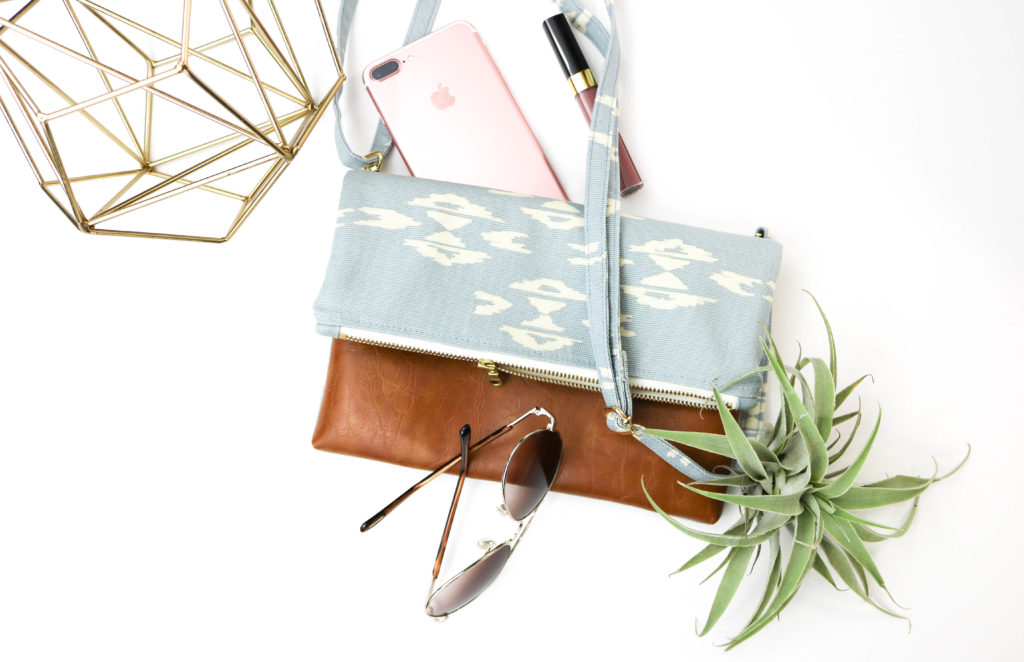
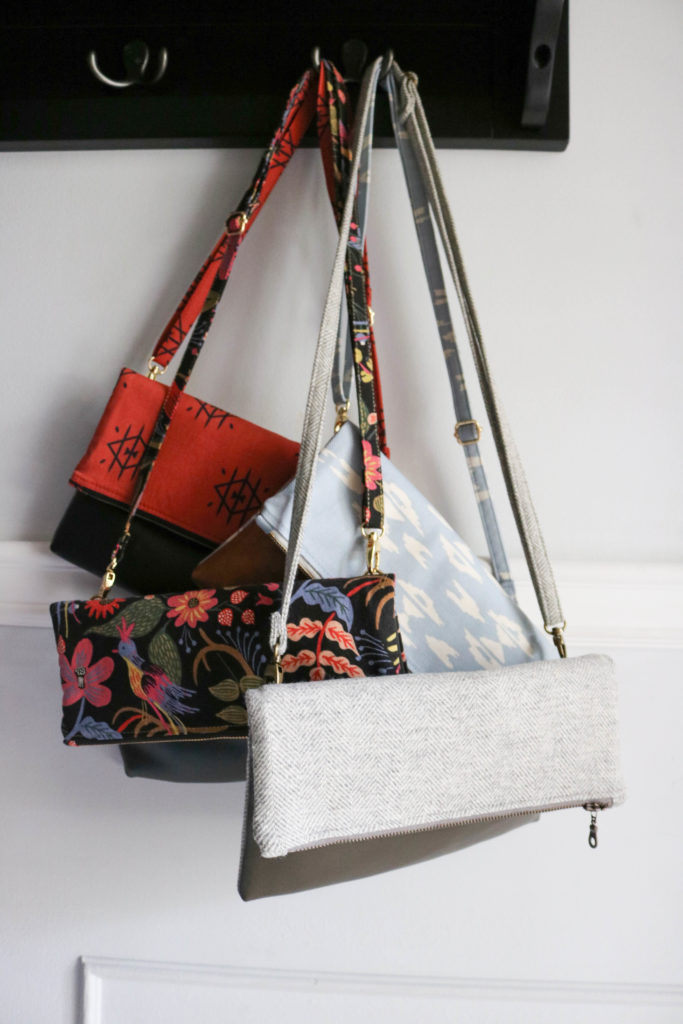
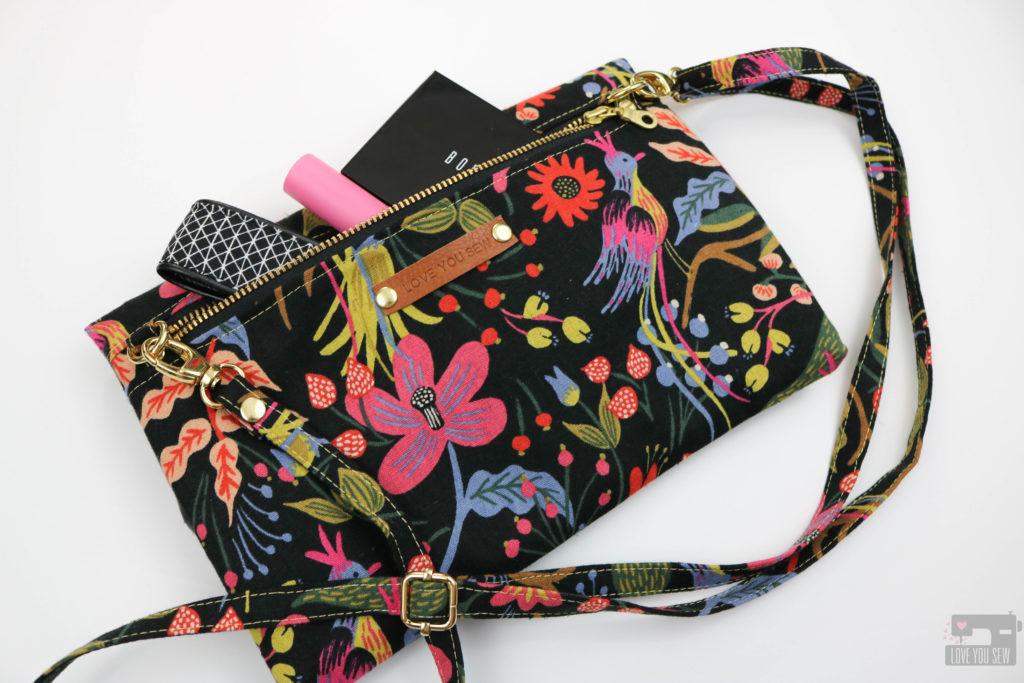
The Claire Fold-over Clutch with cross-body strap is my very first bag pattern release.  ‘Talk about  all the feelings right now!  There is so much to say about this bag, both in it’s functionality and how it just came to be.  If you can bear with me, I’ll dive into both 🙂

Many of you know that I’ve been selling on Etsy for awhile and broke out into local Indie Craft shows just a few years ago.  With the shows, I started to sell more bags to complement my baby accessories and noticed how my wristlets and fold-over clutches were selling over my larger bags.  To differentiate myself from other bag-makers, I had to add some features and finishes to elevate my product…which in turn, became the Claire.

The following are those key features:

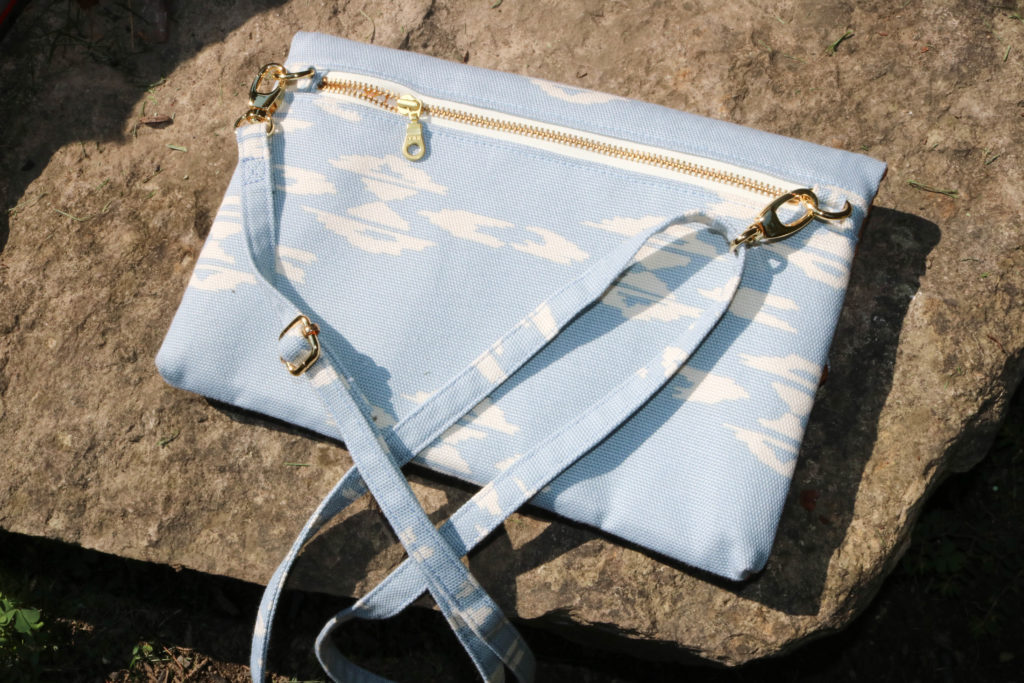
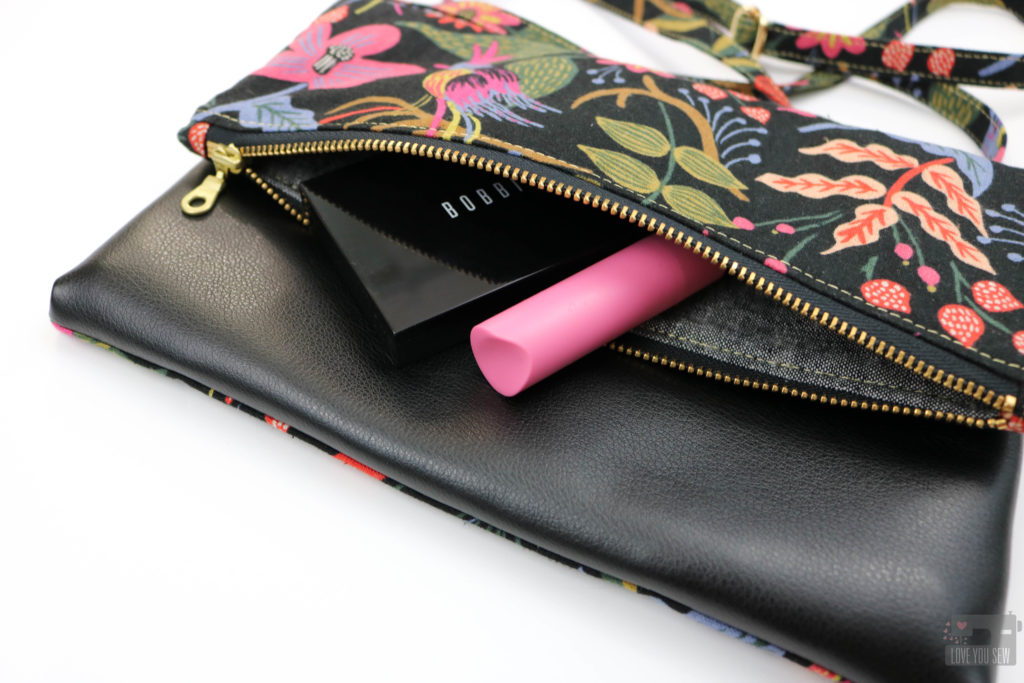
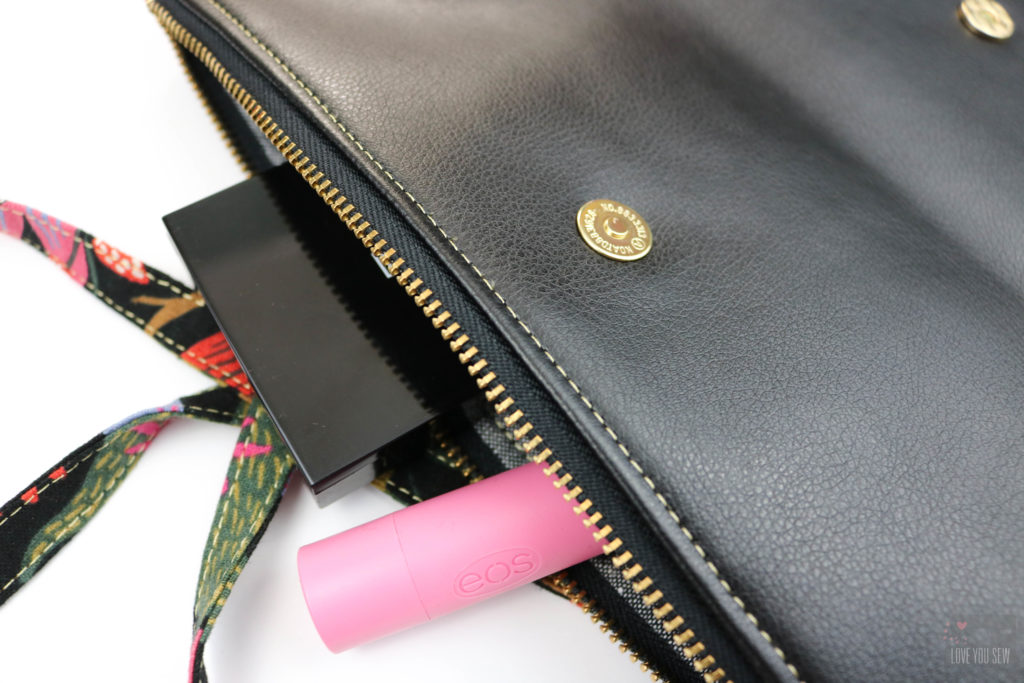
  • Back Pocket – I knew I had to make more of these bags and then a friend came to visit during my holiday sale season.  She had a similar fold-over style bag, but with a front pocket for her phone.  When she reached down and had that immediate accessibility to her phone, the light bulbs were going off.  It seems like we’re all glued to our phones and they just keep getting bigger and bigger…so our back pant pockets are no longer enough.  Since my friend’s bag was by a national manufacturer, there was no easy way I could replicate the front pocket style, but that didn’t mean I couldn’t make a back pocket!

  • Cross-body Strap – I look to my nieces and popular brands for inspiration and I continually see the long straps for the on-the-go millennial and of course, us  busy moms too!  I wanted to make sure it was adjustable and the 60″ strap works for many different body types and all the different occasions in our lives.

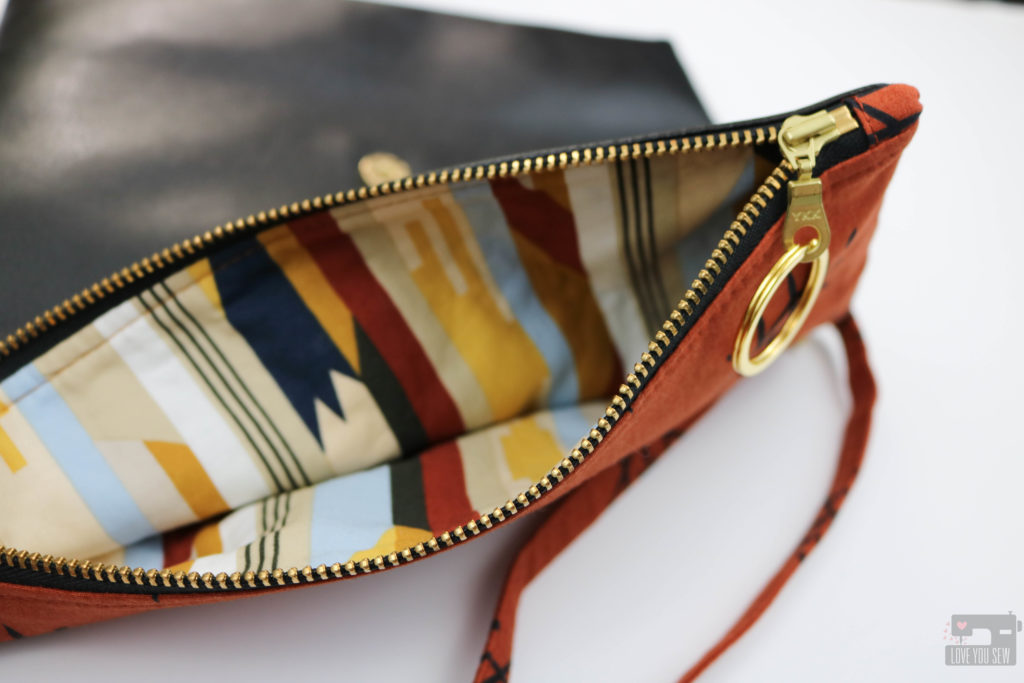
  • Bag to Clutch Versatility – As a clutch, the fold-over style is so cute and I didn’t want hanging side “ears” to get in the way of that classic silhouette.  So the D-rings are set in the back of the bag.

  • Modern and Sleek look – The faux leather panel adds the extra bit of class and style to this bag.  It immediately heightens the looks and your friends will never think you made this bag.

  • Easy to Sew – By keeping the front panel for your accent substrates with either faux leather, cork, or vinyl, you are sewing through the fabric and one layer of the accent.  In other patterns, you can be sewing through 4 layers in addition to the fabric and interfacings.  Not all domestic machines can handle that and I want as many sewists with all different types of machines to be able to make this bag.

  • Interfacing  – I’ve made probably 30 of these bags already…so I’ve played with numerous interfacing combinations.  You want enough structure in the bag, but not too much that it will not fold-over properly.  And most people are like me, we like to use different fabrics and I’ve tried to take the guessing game out when you do decide to switch up.  The interfacing cuts are calculated so you have the strength and structure without having to sew through all of the extra bulk. I’m still looking out for all of my novice sewists 🙂

If you would like to make your own Claire Fold-over Clutch, you can find the pattern in my Etsy and/or my Craftsy shops.

Don’t forget to share your makes on Instagram with #clairefoldoverclutch and #loveyousewpatterns. (Hashtags are the only way I can see your makes if you have a private account!)  I love seeing all of the different versions!


Happy Sewing!

Cristy


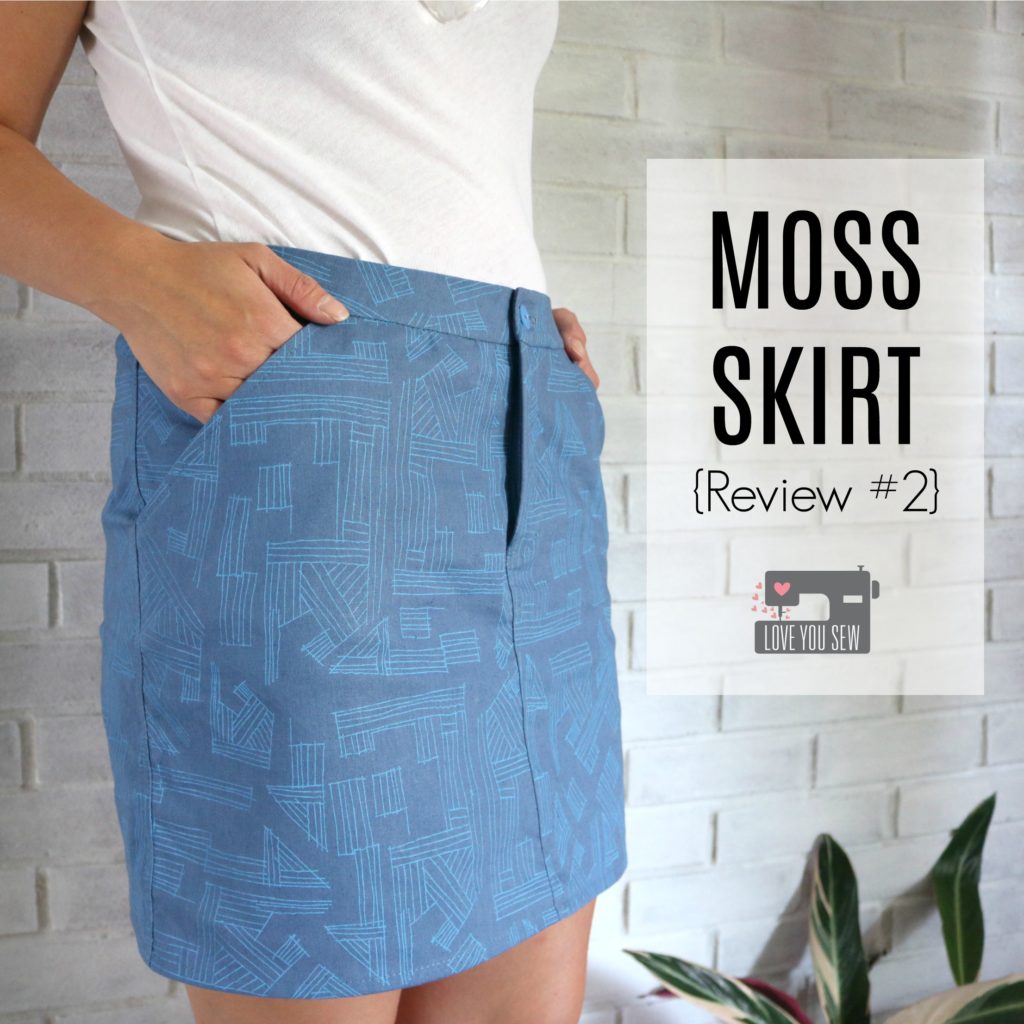
Moss Skirt {Review #2}

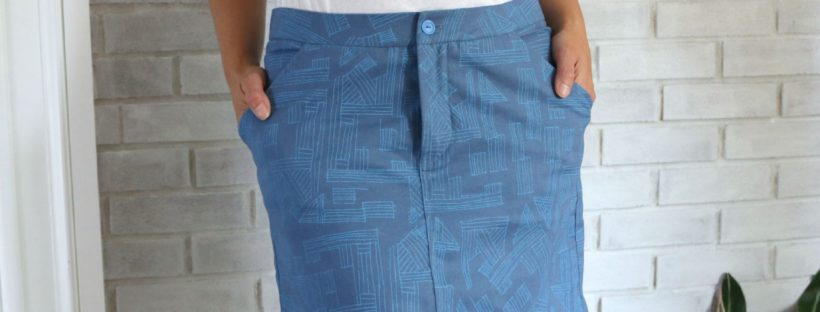
I had my fabric selected for my Moss Skirt by Grainline Studios months ago…hoping to be able to wear it all summer long.  But as you know, life just happens and selfish sewing gets put on the back burner.  This is the second one I’ve made and love it even more than before.  For the first one I made over a year ago, you can read about it here.

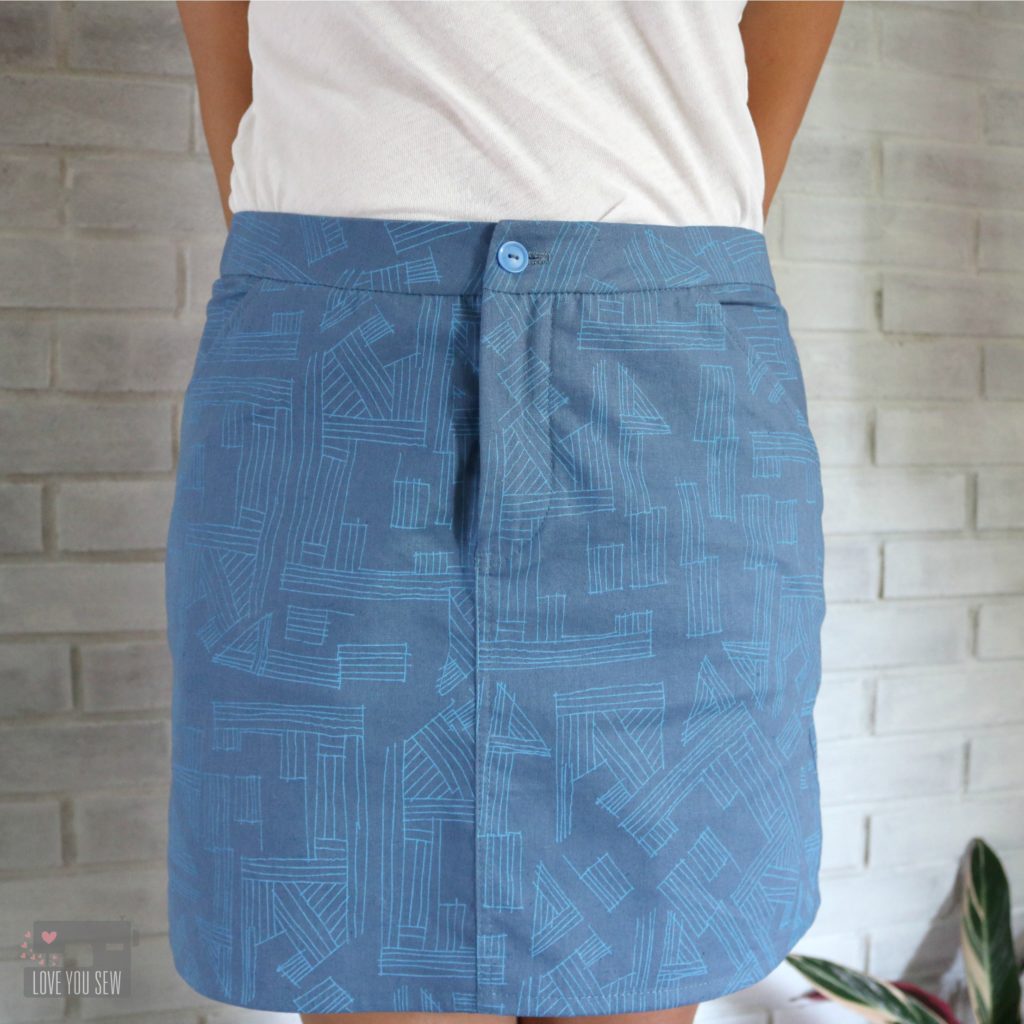
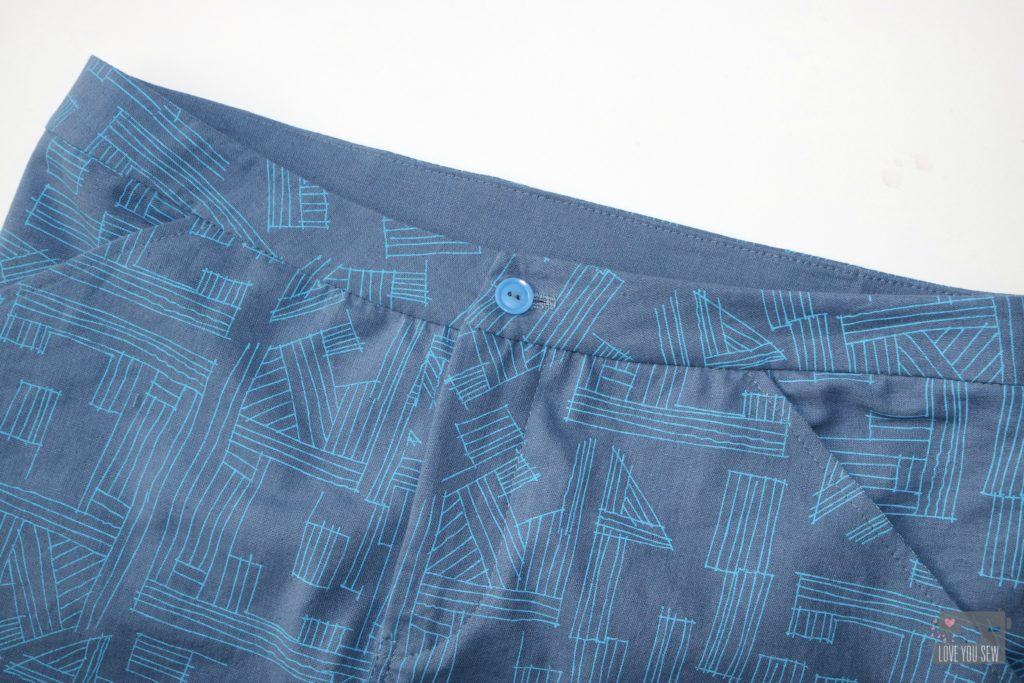
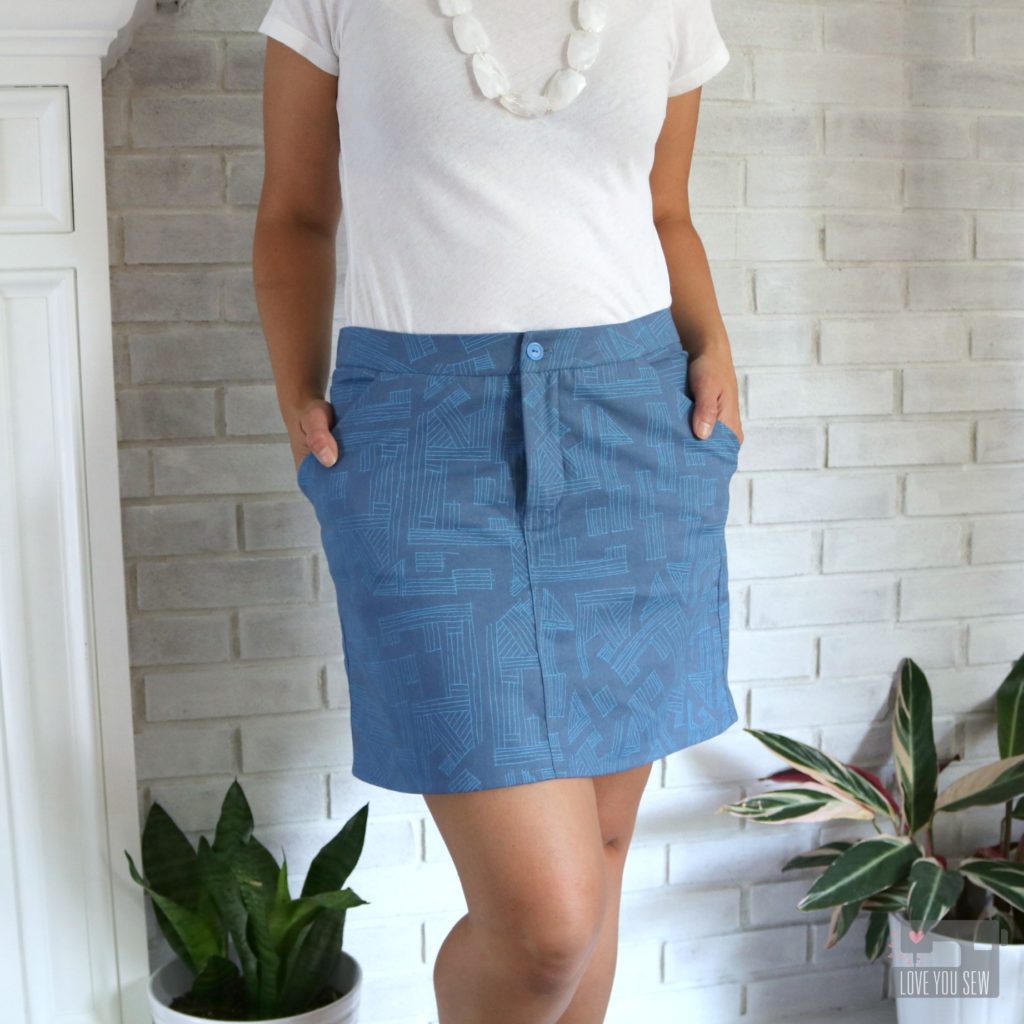
For this version, I used Euclid fabric in Cadet which is a printed linen/cotton blend.  This is slightly heavier than quilting cotton, and makes for the perfect summer weight skirt. With the blend, you get the texture of the linen, but not all the wrinkles. I’m all about less ironing!  By making View A this time, I was able to make this skirt out of one yard of fabric (minus the pockets.)


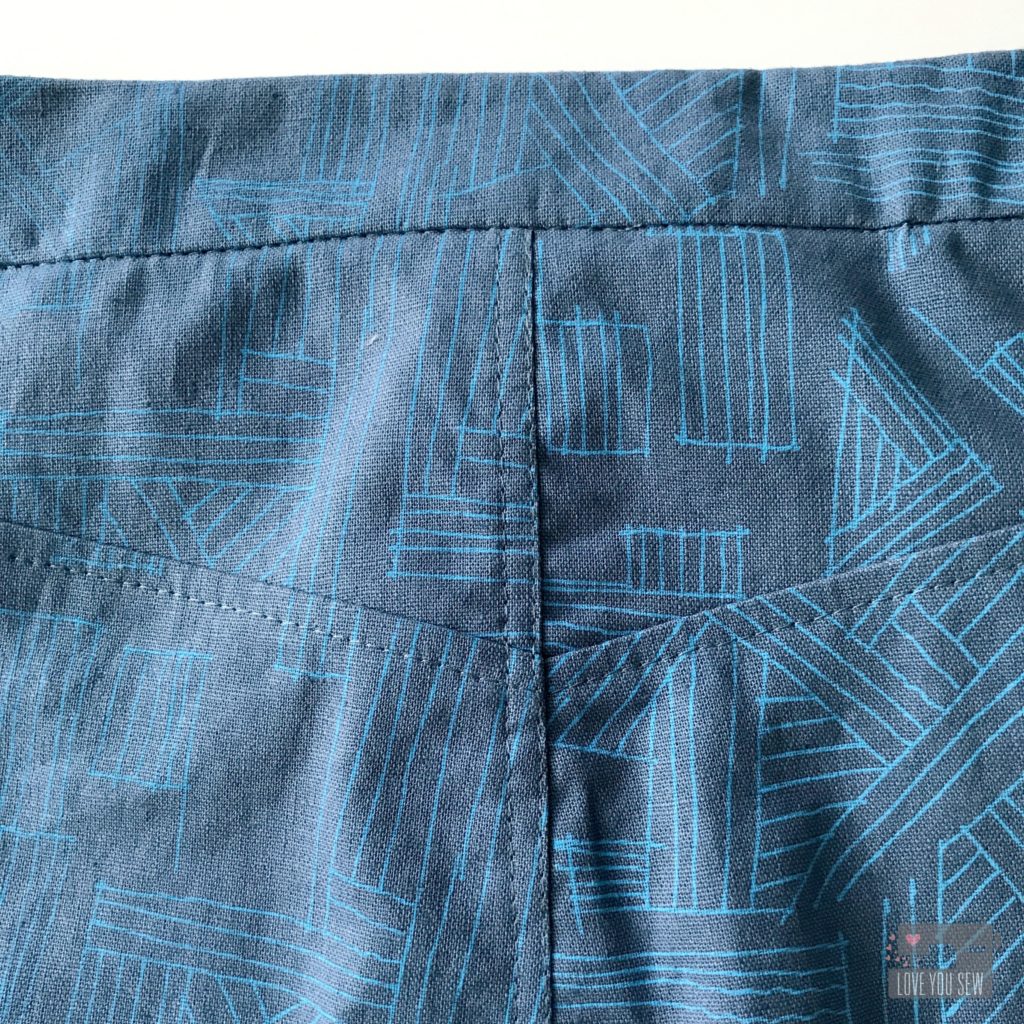
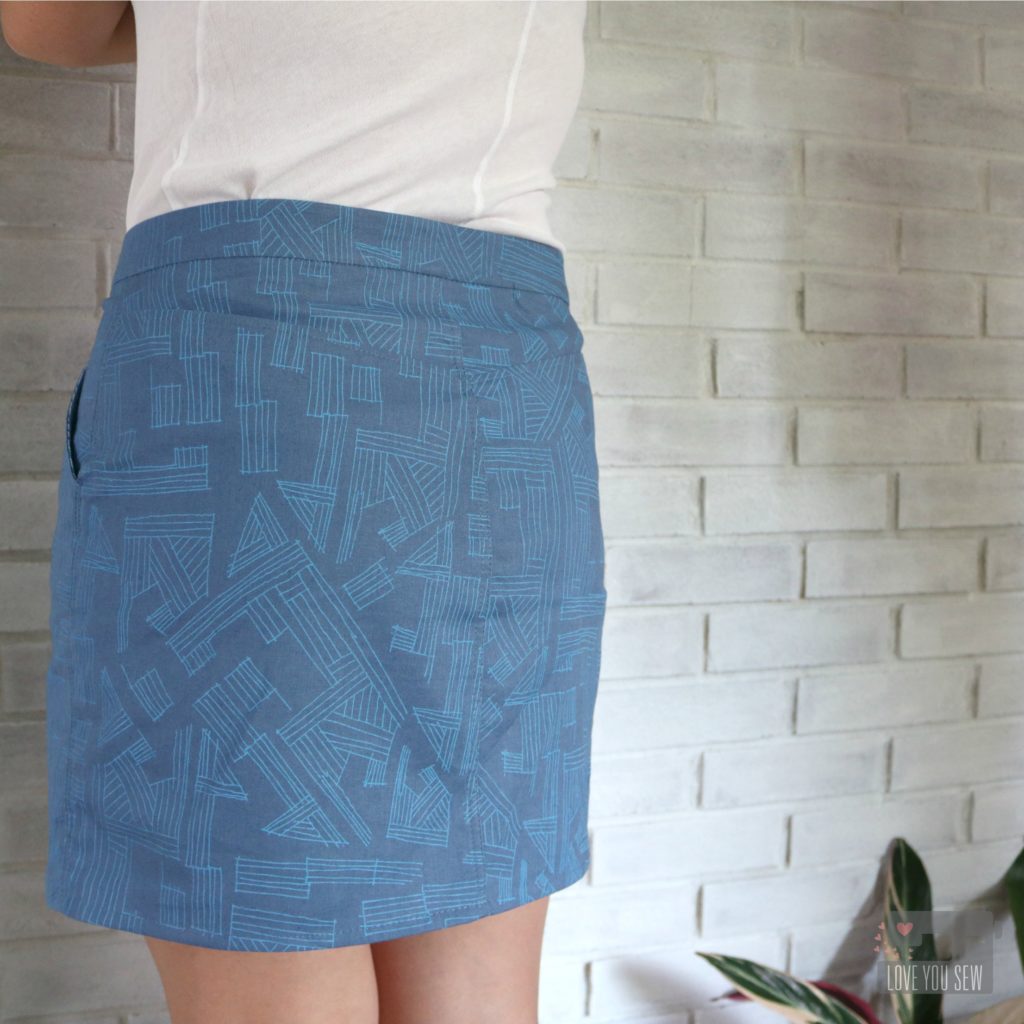
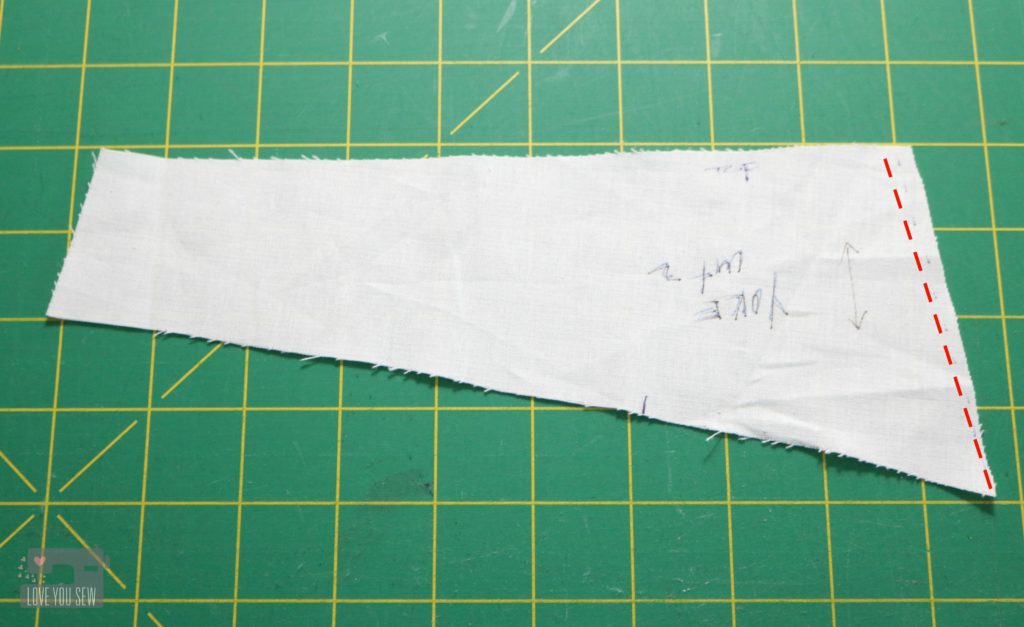
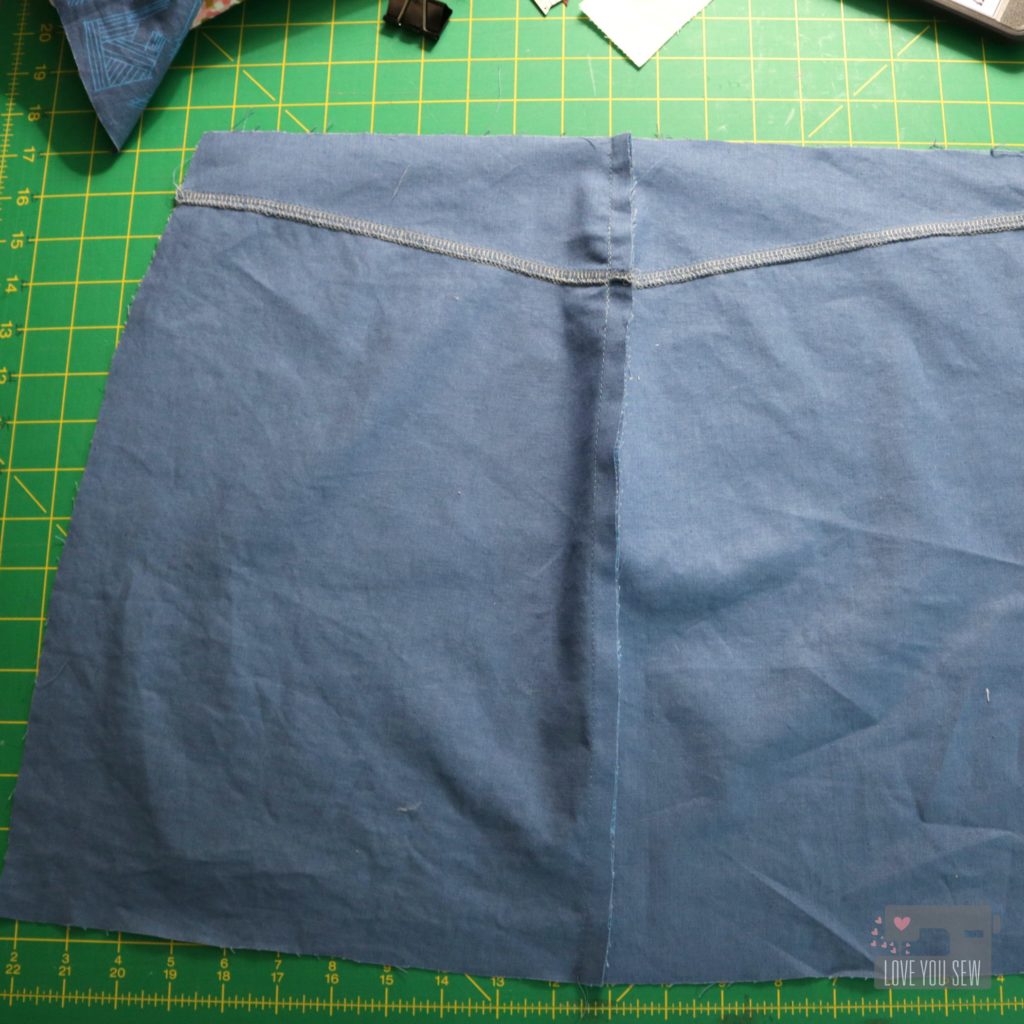
After learning from my first Moss, I knew I had to adjust the back yoke to get rid of the gap. You can see (on the dotted line above) how I cut into the yoke pattern piece on an angle to leave the room for my rear but move the waistline closer to my back.

The other other learning was to keep my vertical seams unfinished until I was ready to add the waistband and hem. This allowed me to make just slight tweaks to curve my seams, if needed. Once I was satisfied with fit, I serged my seams.


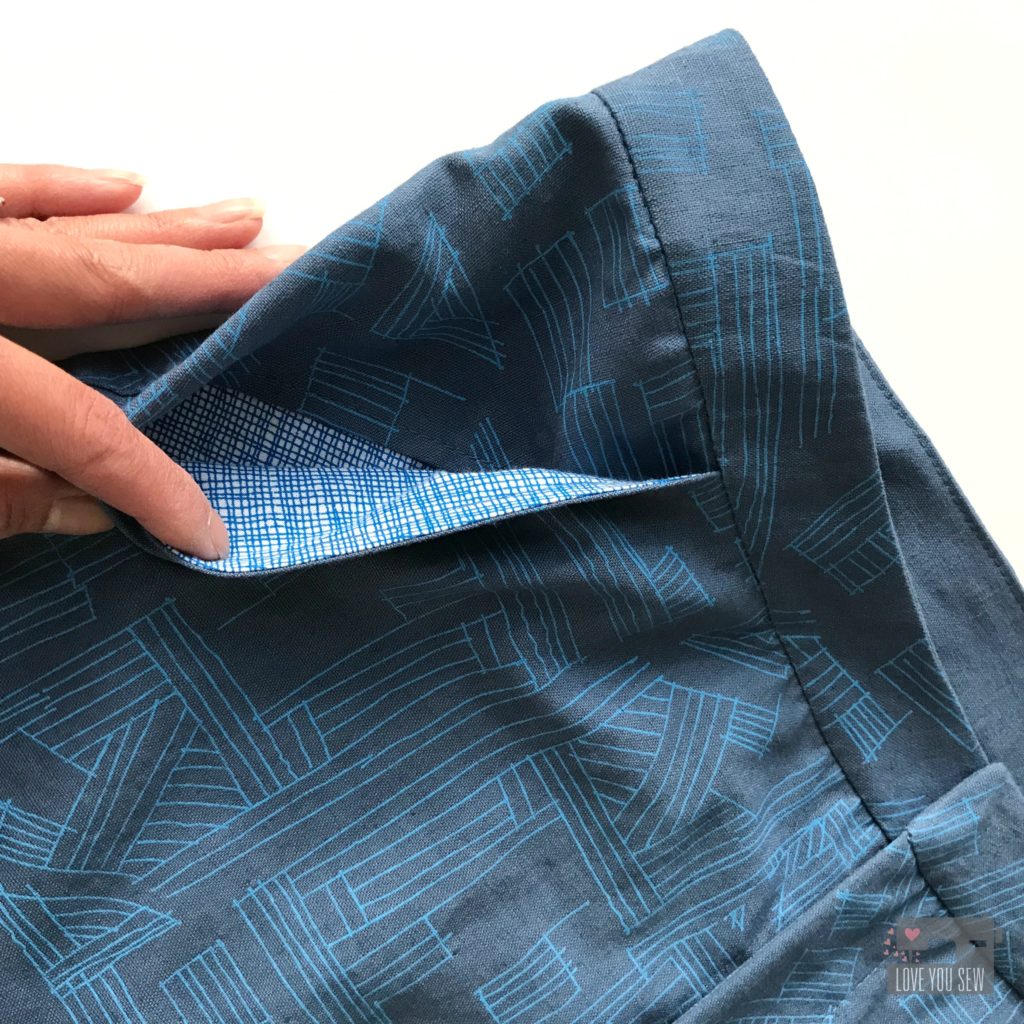
For some fun and to keep the silhouette smooth, I used Architextures Gridlines for my pockets. This allowed me to use some scrap fabric and reduce the bulk if I would’ve kept to the same cotton/linen blend.

As I moved through the pattern pieces, I mimicked the same top-stitching as seen on a pair of ready-to-wear jeans. I love how it turned out! Be sure to increase the stitch length and go slowly to ensure nice straight line.

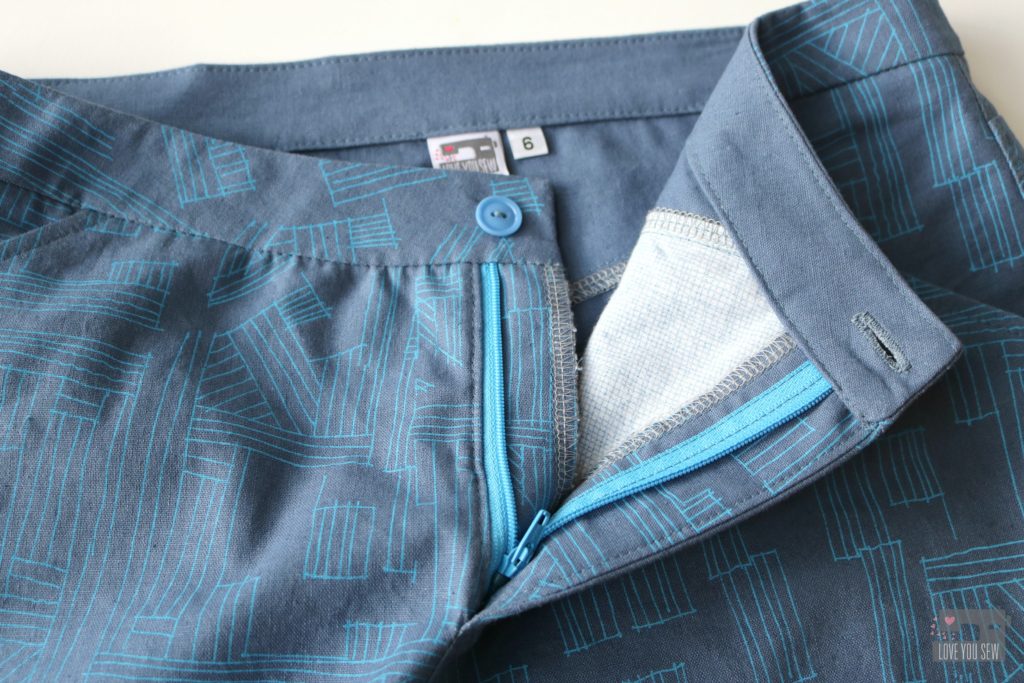
The great thing about making your clothes, not only for the custom fit, is being able to add so many special touches.  Like the pockets, I added a contrasting zipper and button for fun.  The button came from my MIL’s long hoarded collection and it reminds me of her as I wear this new garment.

For the waistband, I decided to machine stitch the inside down verses slip-stitching it as the pattern calls.  I’m a busy mom and I try to machine wash and dry as much as I can.  For me,  a machine stitch would just hold up better with my lifestyle.  This lady does not have time for all that hand-washing!  I pressed the interior band down just wide enough to just cover the seam and stitches.  (If you have any branding or sizing tags, this is the perfect time to pin them in.)  I used a Sewline glue pen to keep the interior waistband in place while I stitched-in-the-ditch along the exterior.  This allows me to just catch the interior band.


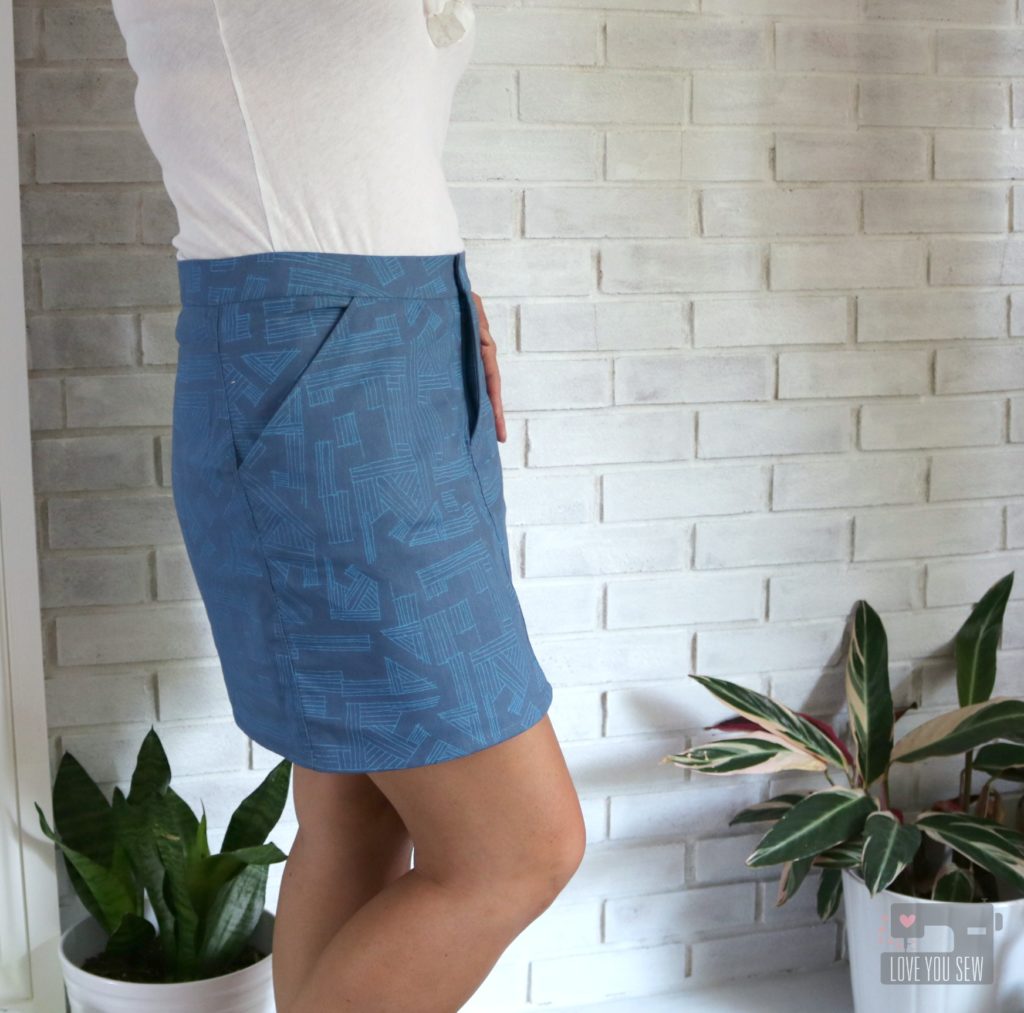
With View A, I hemmed as directed.  This length was perfect on my 5’3″ frame.  It hits a few inches  above the knee, but is perfect for the summer.  If I was any taller, this might be a tad too short for my “mom” lifestyle which requires a lot of bending up and down…and sometimes a bit of unexpected climbing.  🙂

As I’ve been building my handmade wardrobe, I’ve been selective in choosing some slimmer silhouettes for my petite frame.  I am heavier in the arms and legs, thus like to emphasize my waistline.  This is the perfect skirt pattern for just that.  The clean lines and waistband keep everything smooth to draw the eye up and down.  The printing on the fabric is just the right scale to keep everything in place and not over emphasize one part or the other. 😉

I love how I can pair this skirt with just a white tee and the outfit still looks polished.  I’m hoping to extend this skirt’s life with some heavy tights and cute clogs with a slim long-sleeve tee in the fall. Check out my IG feed to see how it pairs with a yellow and white striped tank and the other outfit pairings!


Project Details:

  • Pattern: Moss Skirt by Grainline Patterns
  • Exterior Fabric: Euclid in Cadet by Carolyn Friedlander for Robert Kaufman Fabrics from Fabric.com
  • Pocket Fabric: Architextures Gridlines in  by Carolyn Friedlander for Robert Kaufman Fabrics
  • Piecing and Top-Stitching Thread: Gutermann 236 polyester
  • Zipper: YKK from ZipIt Zippers
  • Button: Vintage (manufacturer unknown)


Happy Sewing!

Cristy


Please note there are affiliate links.

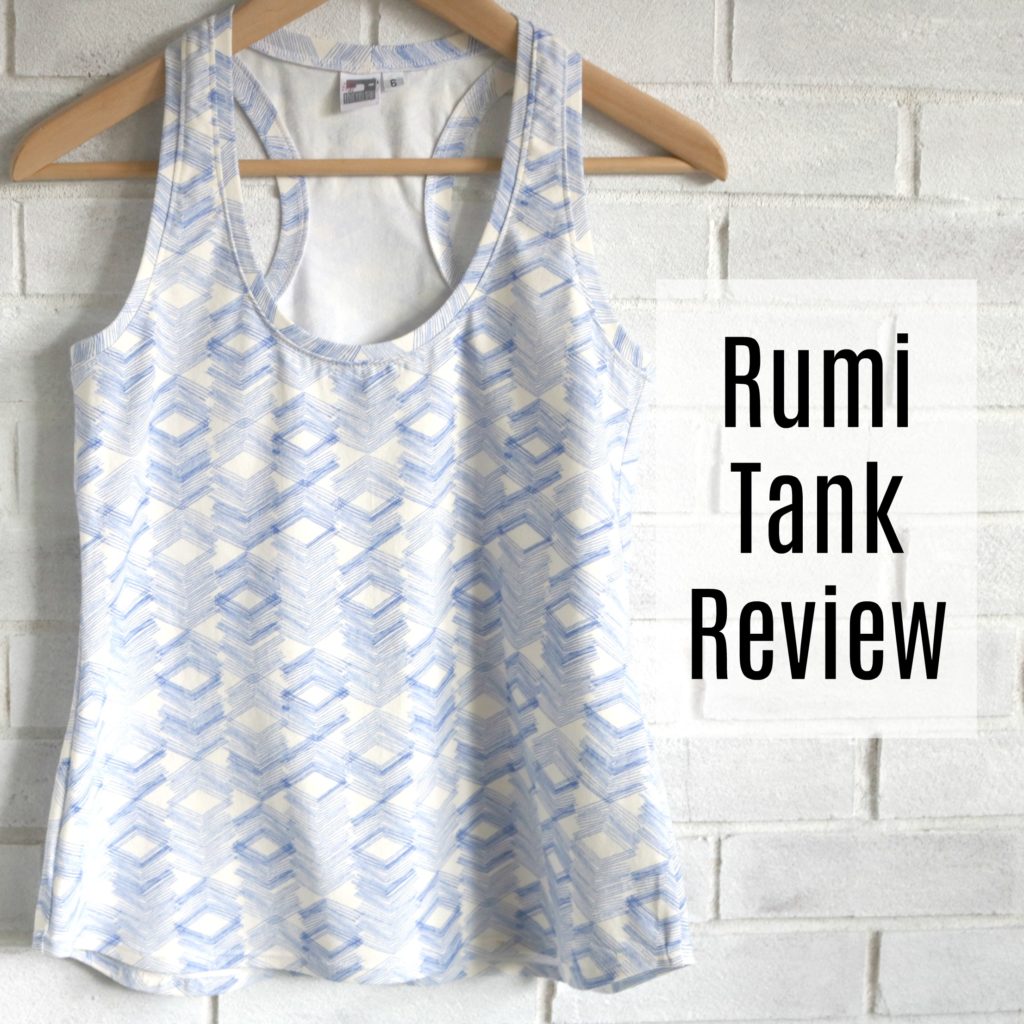
Rumi Tank Review

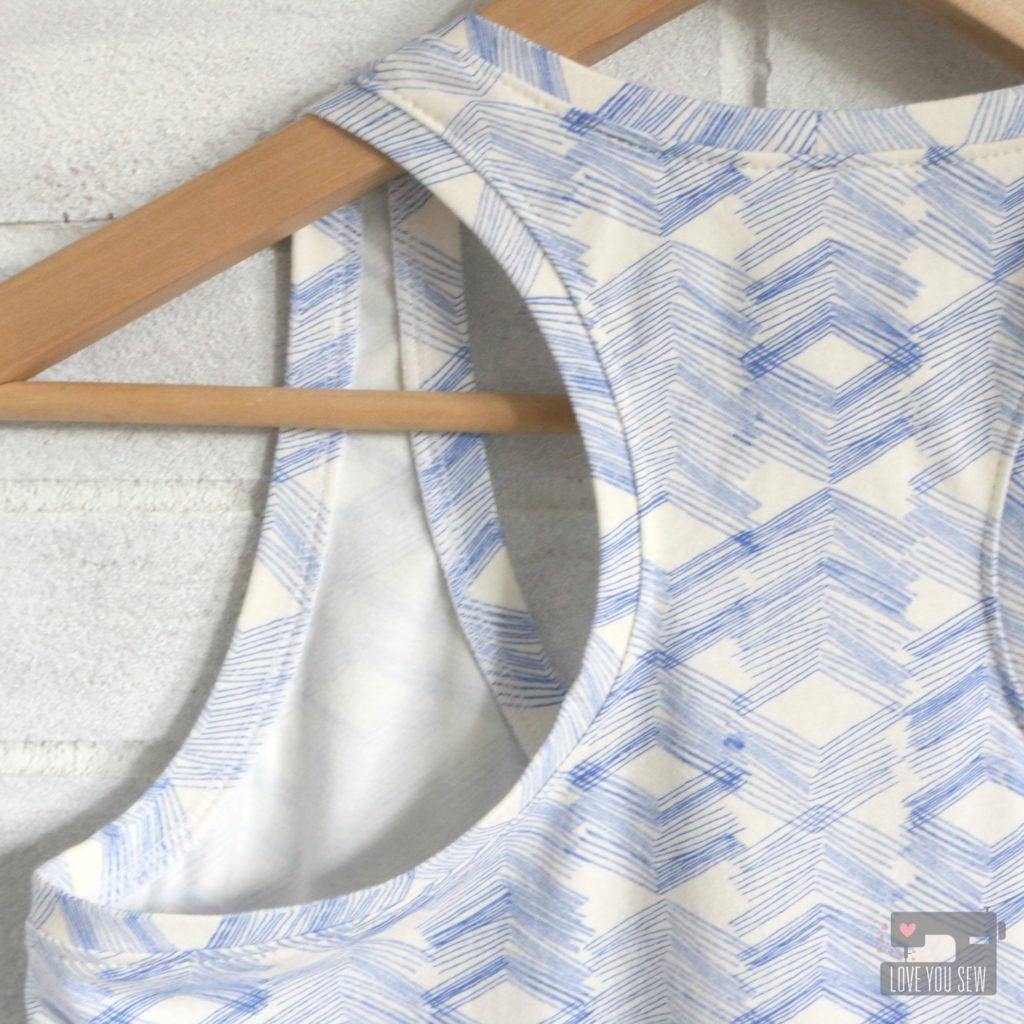
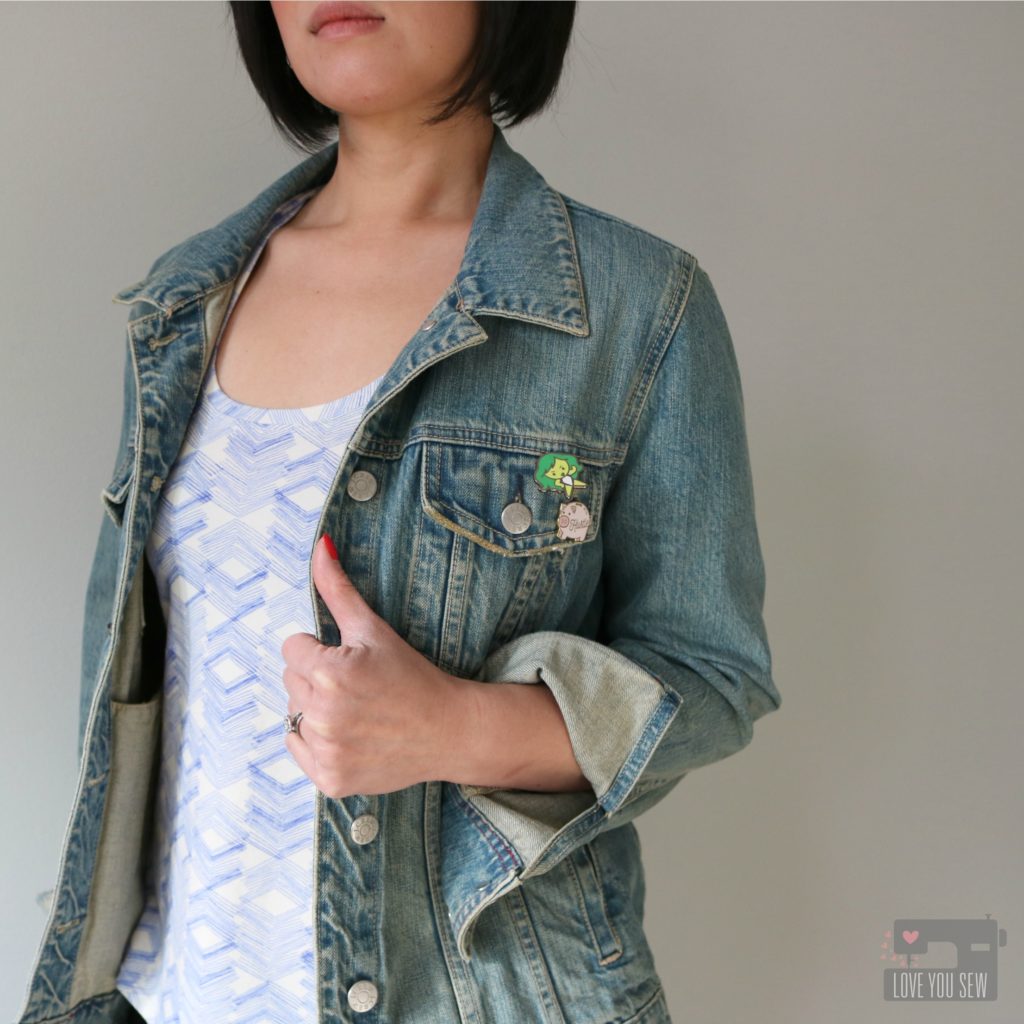
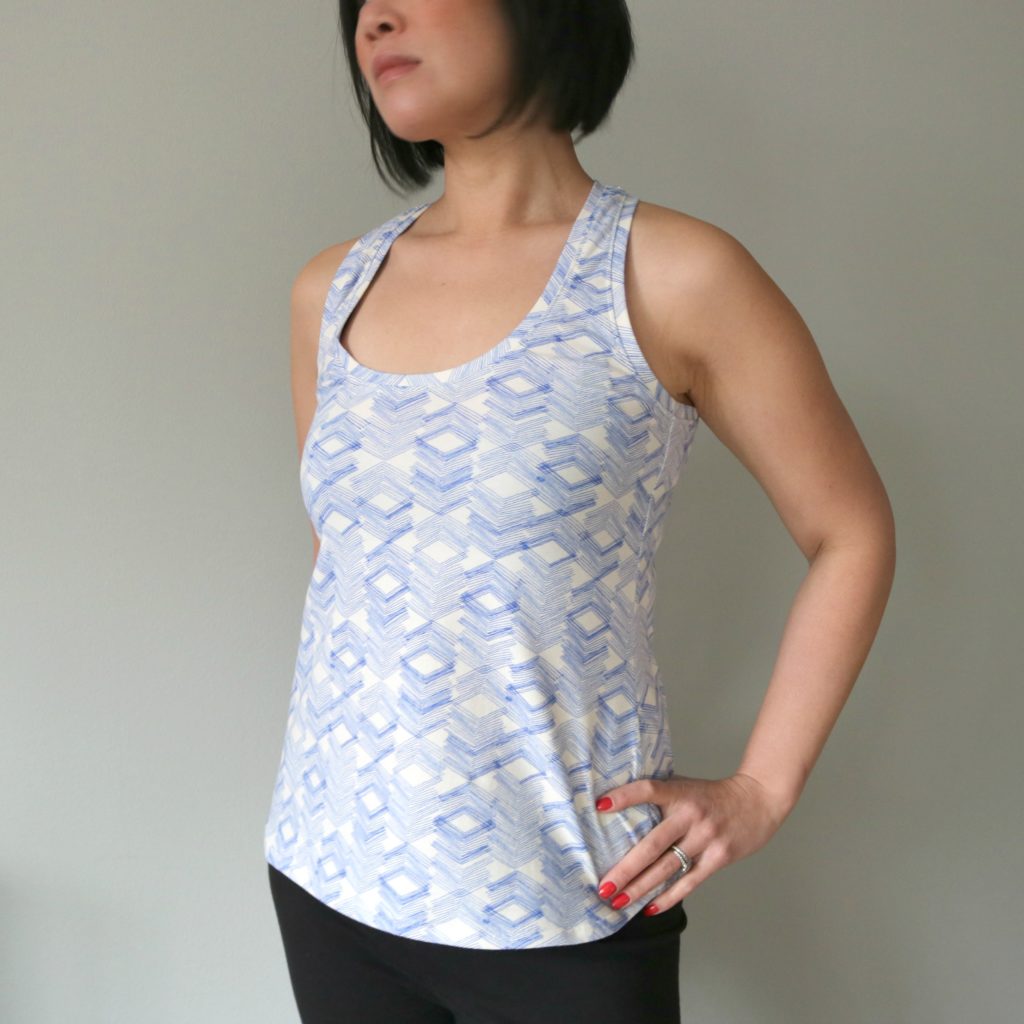
I’m a huge fan of racerback tops. I don’t know if I just have weird sloping shoulders or maybe the wrong bras, but any kind of spaghetti strap I wear, always falls down.  Over the years, its become pretty annoying having to constantly pull the straps back up.  I started to wear mainly racerback bras to combat my issue and then had to find new tank tops that would cover the new strap configuration.

So when Christine Haynes came out with the Rumi Tank pattern, I knew instantly, it was for me.  It’s designed for knits, has a classic versatile shape and is stash friendly. I can get a tank out of less than a yard and have made two tanks that out of pure scraps.  This pattern is a PDF with printing options for a personal printer and copy shop.  I decided to send this pattern to my local big box office supply store (because I had a coupon) for the first time.  Let me say, if given the option, I will always choose copy shop printing.  Taping PDF patterns is just not what I want to spend my time doing.

My first project was just the tank version and I used the Limestone Feel knit by Leah Duncan . I’m between a 6 and an 8 and also a B cup. From the waist up, I cut a 6 and then graded out to the 8 around the hip (to account for my larger rear) and used a 10 in length.

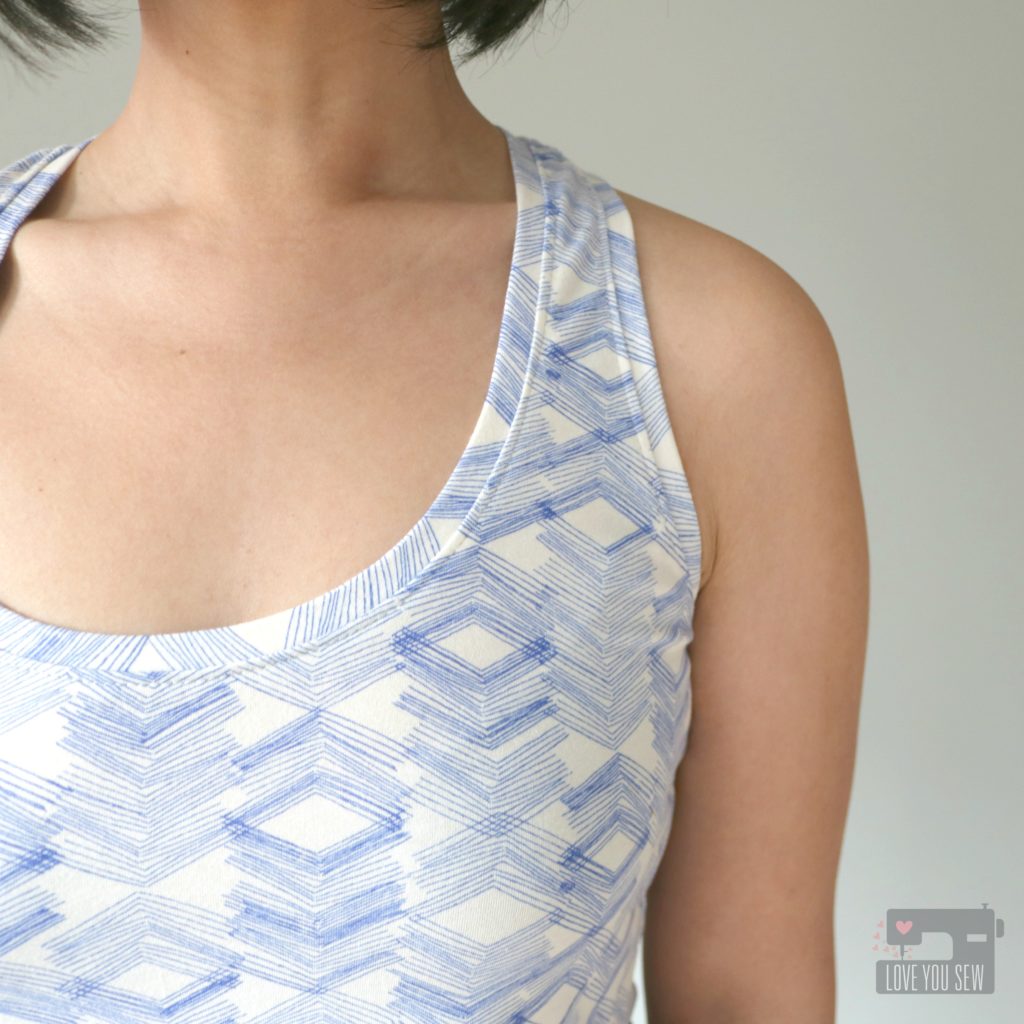
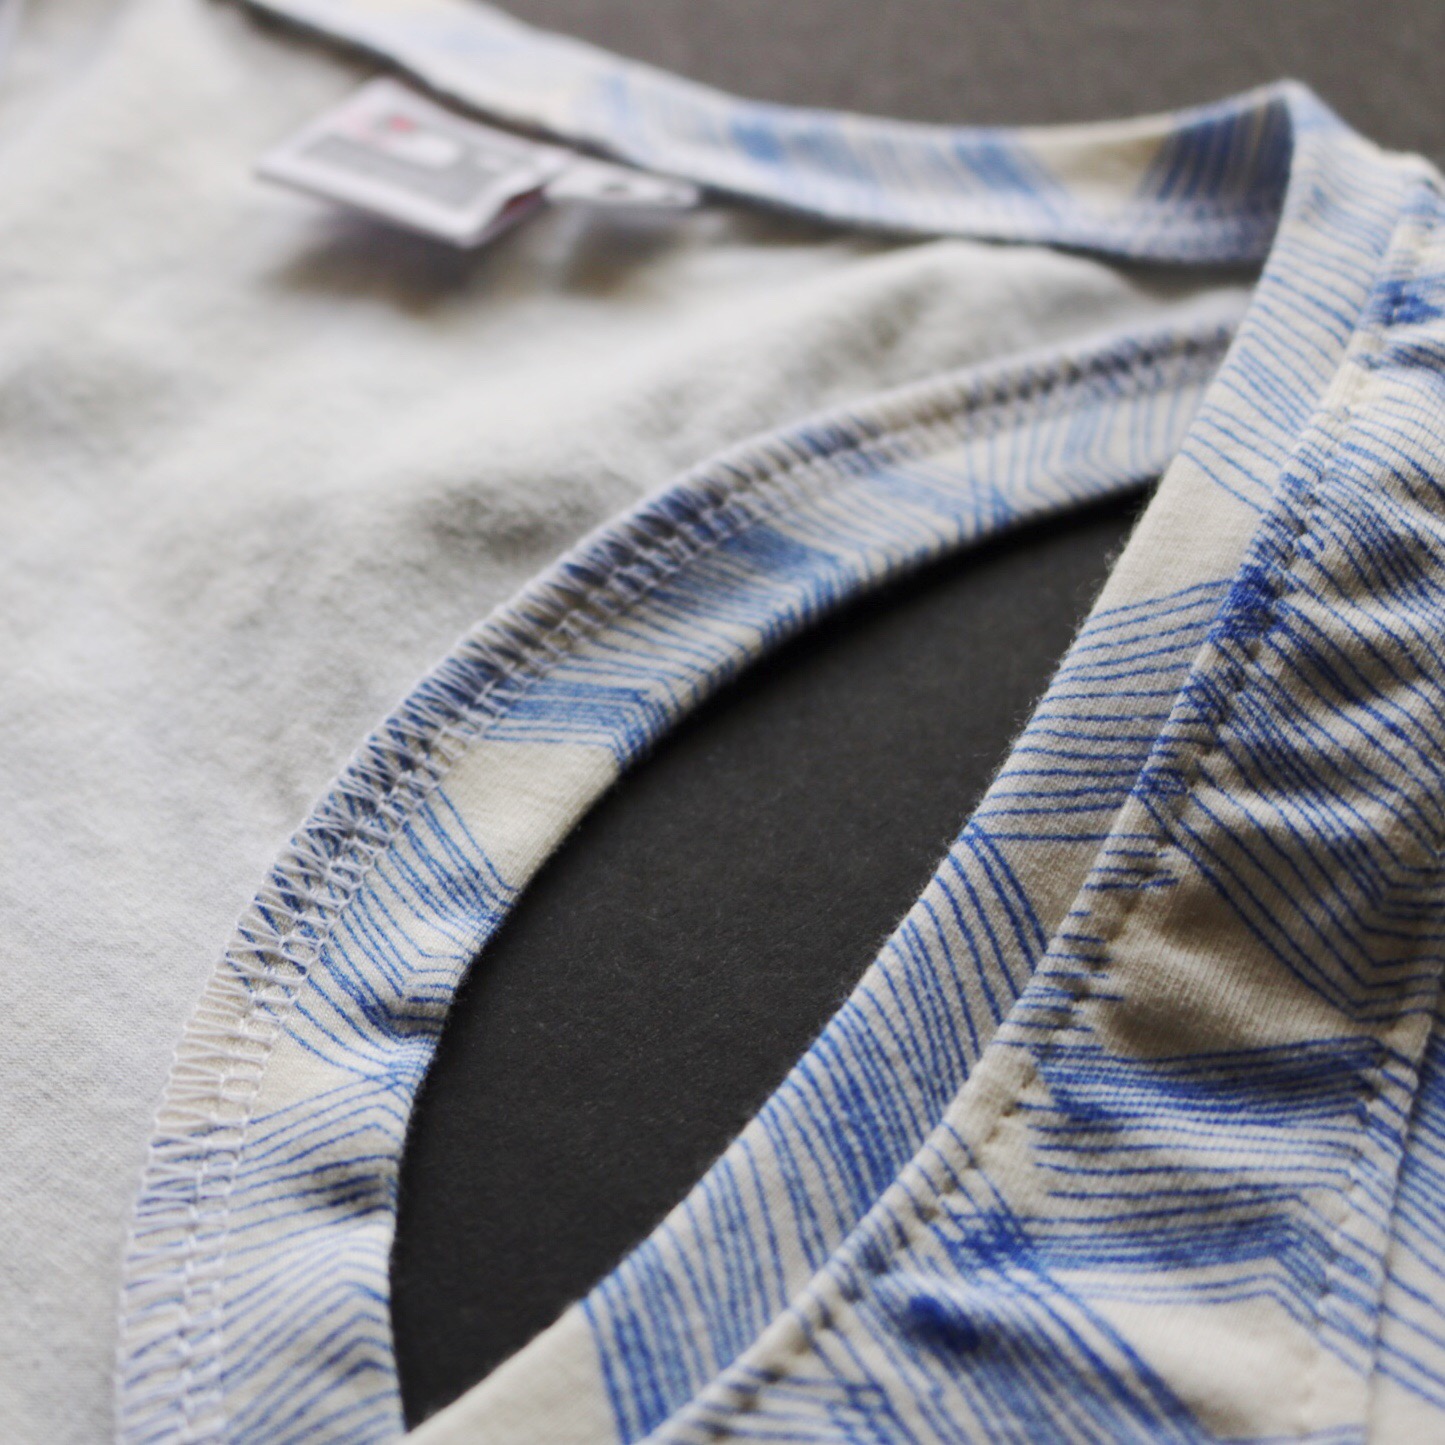
With a serger, the construction of the Rumi Tank was very quick.  However, I made sure to take the time to evenly distribute and pin the neck and armbands for a nice smooth finish. Although not necessary, I do top-stitch (with a ball-point needle!) around the neck and armholes for a professional look and to keep the seam allowance in place.

TIP: I like my garments to even be pretty on a hanger. So, I start and stop all my serging at inconspicuous spots…usually off to one side.

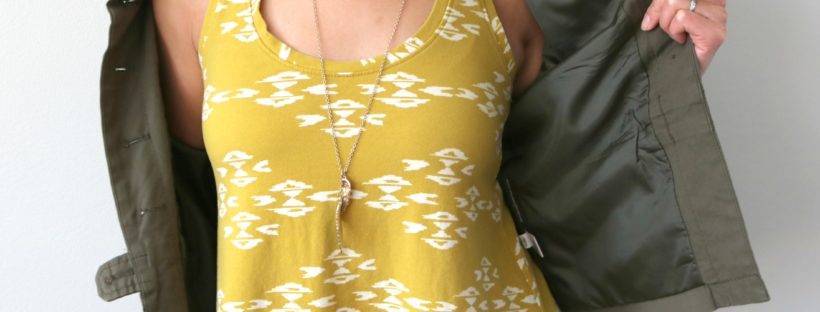
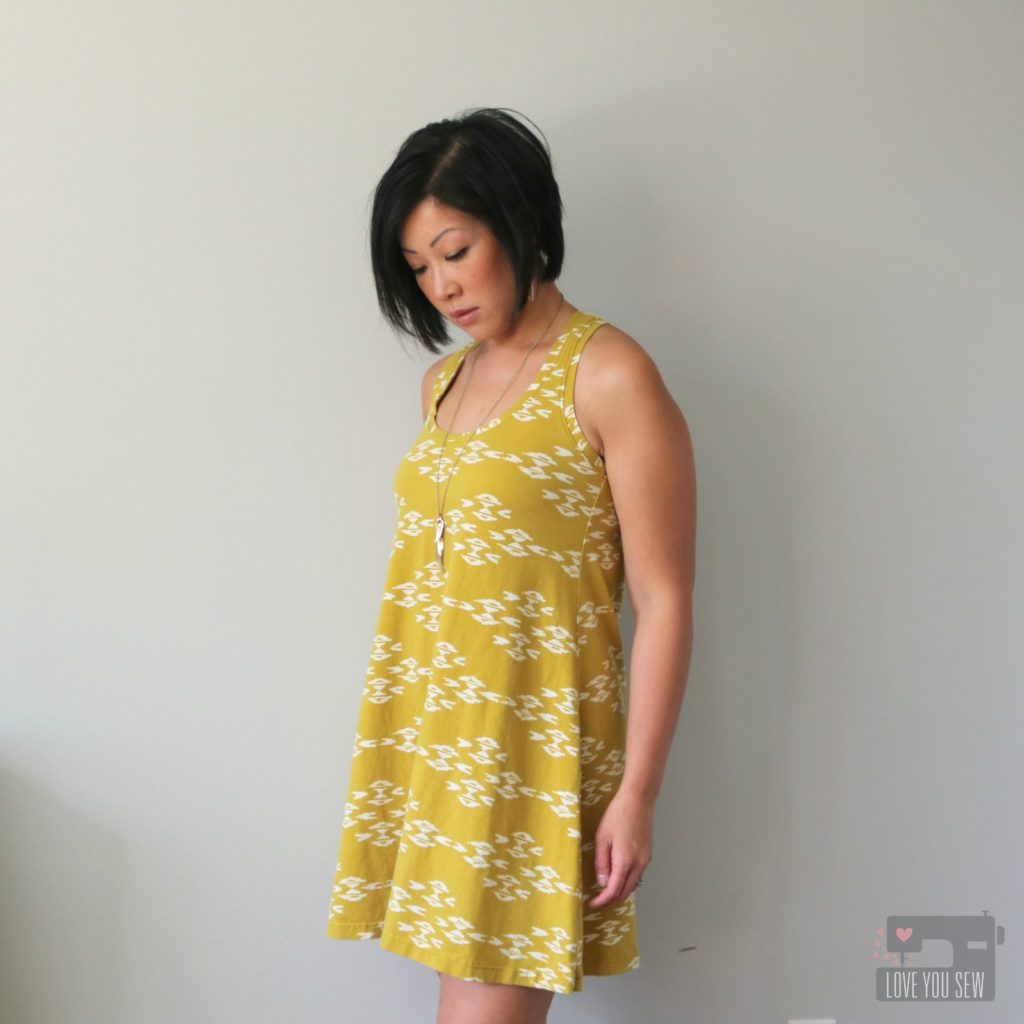
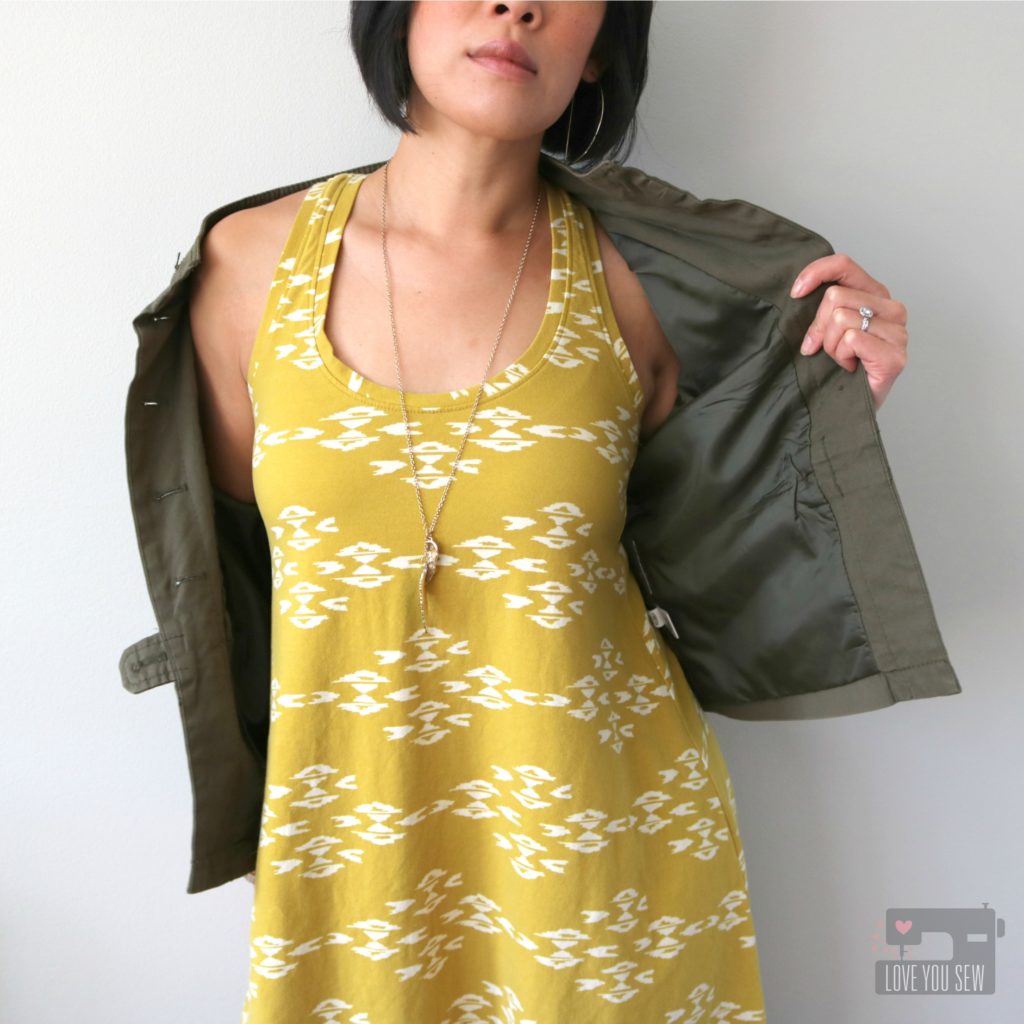
For my second Rumi project, I made the dress version. My family had spring break plans down on Florida and I could use a casual dress to throw over a bathing suit, if needed. April Rhodes’ Observer knit was perfect! I wore it to the beach and back.

Bonus – This dress can be worn with a jacket and layered over leggings.

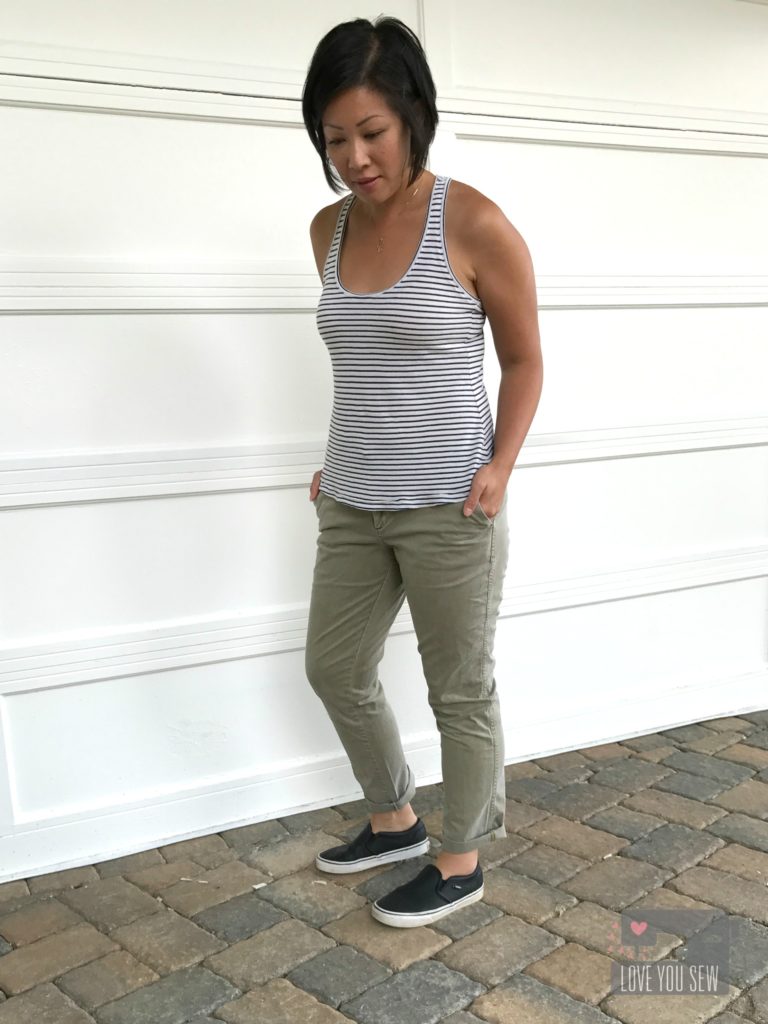
I’ve made two more Rumi tanks to fill in my summer wardrobe. One with a navy and cream skinny stripe I got from a destash and then another in the same Observer knit because I love the print and color so much 🙂 The ease and comfortability with these makes are awesome. I’ve been wearing them with jeans and skirts all summer long.

As we near the autumn and winter months, I plan on sewing a few more tanks and dresses. These will make nice layering pieces under my cocoon cardigans and with some fun tights.  All in all, I think this is a great beginner knit pattern. It’s also perfect if you are working on a handmade capsule. The silhouette is classic and you don’t have to deal with pesky falling straps!


Happy Sewing!

Cristy


This post may contain affiliate links.