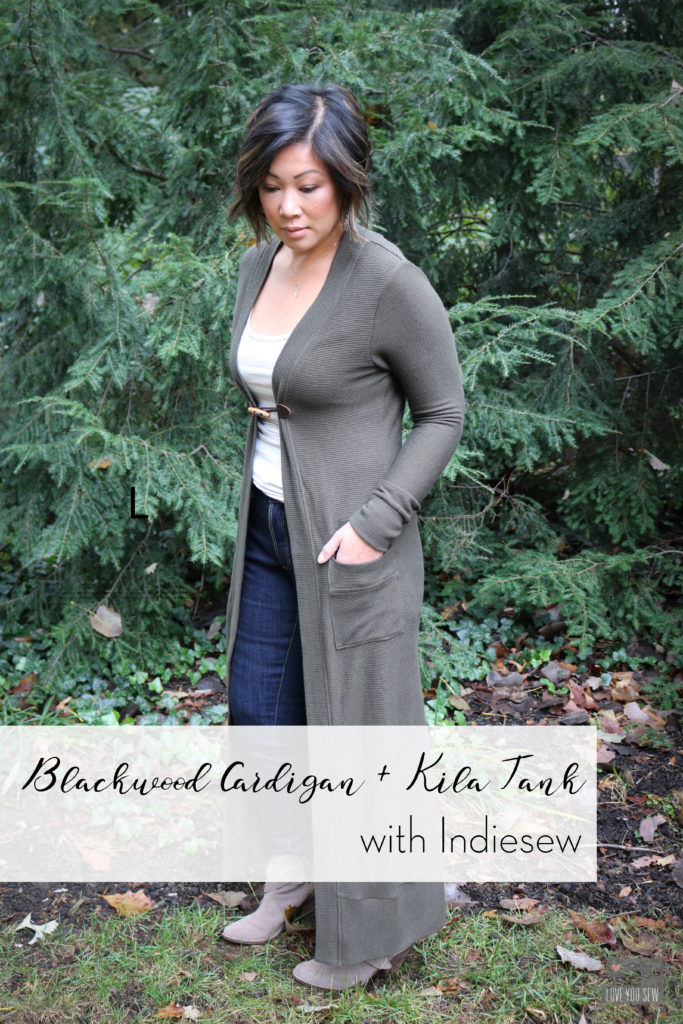
Blackwood Cardigan + Kila Tank with Indiesew

It’s so easy to drop into the habit of just yoga pants and a hooded sweatshirt this time of year.  After camping and a very wet weekend, that’s all I really want to wear.  But I know I always feel better when I pull myself together and make some sort of effort on an outfit.  That’s why I wanted to make this duster style Blackwood Cardigan to add a bit of (good) drama to my everyday.  It can go on top of any {tank + jeans} or {t-shirt + leggings} combo and look SO put together.
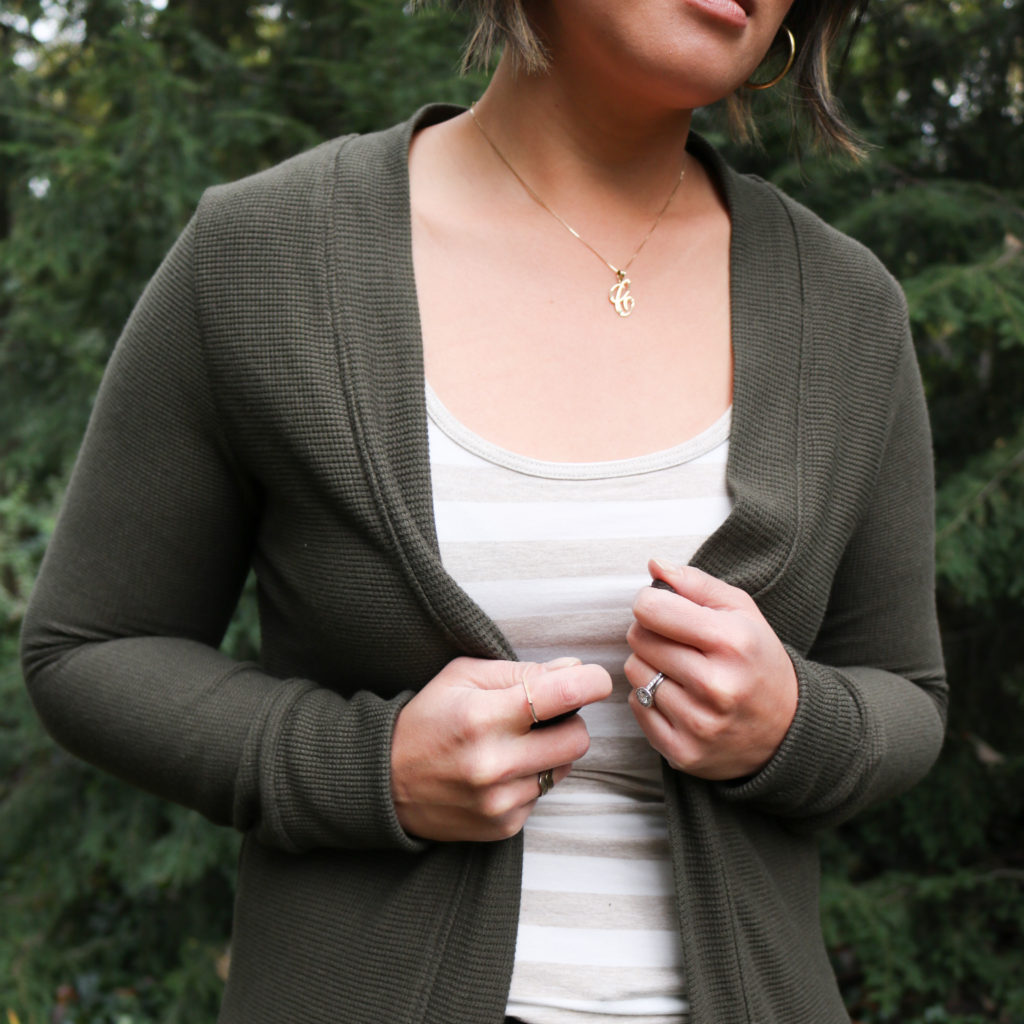
Most of the time, I find a pattern I would like to sew and then pair it with the right fabric.  But when I saw this Modal Waffle Knit at Indiesew, I knew I wanted to hack the Blackwood Cardigan and take advantage of the fabric’s incredible 72″ width of fabric!  What makes this the perfect cardigan fabric is the modal content, which is a semi-synthetic rayon that is SO silky to the touch and yet breathable.  It makes for the perfect layering piece.
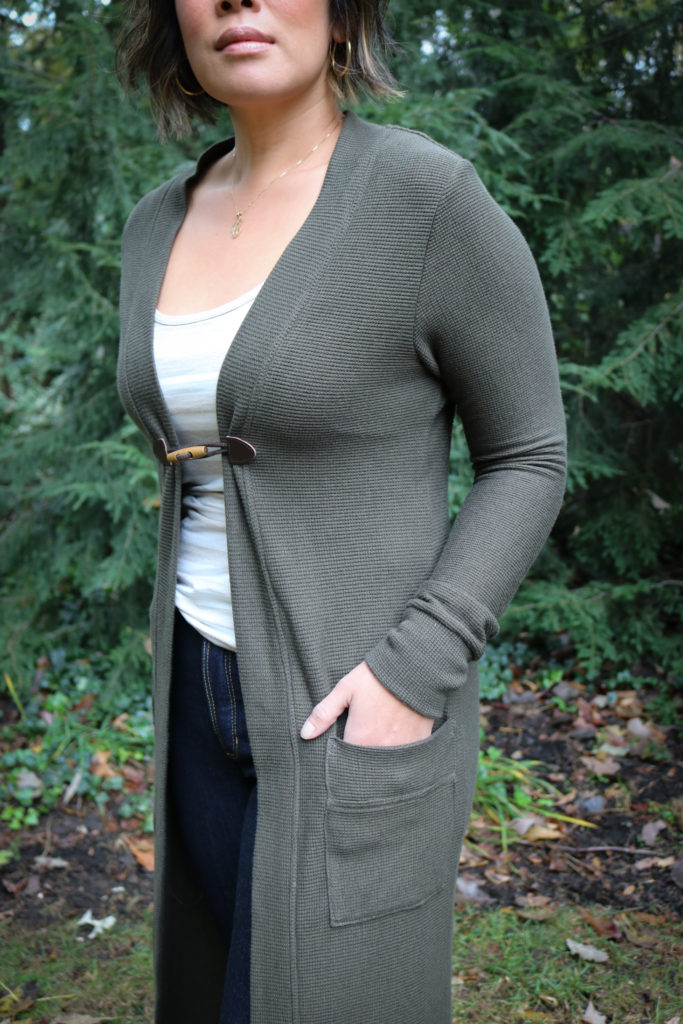
If you follow my Instagram, you know I’ve been leaning toward more of this army green color for the season.  I want to always make sure that new pieces in my wardrobe work with what I already own.   This green is a great neutral to pair with denim and lots of the creams and blacks in my closet…so I know I’ll get lots of use out of it!
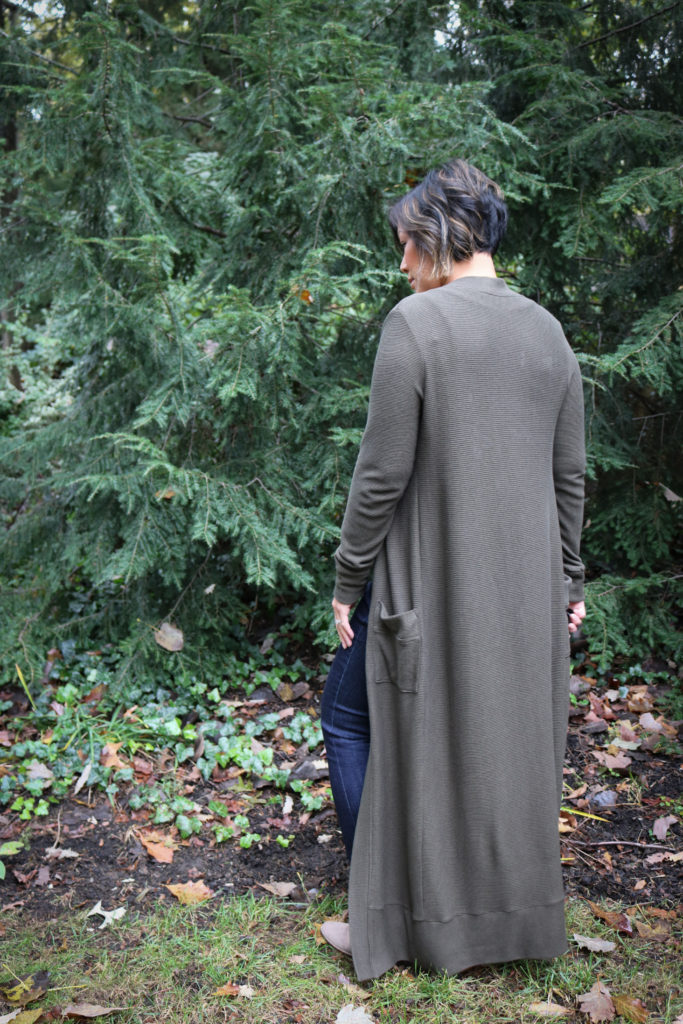
The Blackwood Cardigan is the first pattern I’ve sewn by Helen’s Closet.  The instructions were very straightforward and easy to follow.  This is quite a popular pattern so it was nice to see all of the different versions on the web before I made my first cut.  But like I said earlier, I wanted to utilize the great width of fabric on this waffle knit and extended the length by a straight 12″ from the bottom of the front, back and neck pieces.  With my serger, this made for a fairly quick sew, which is always so nice!
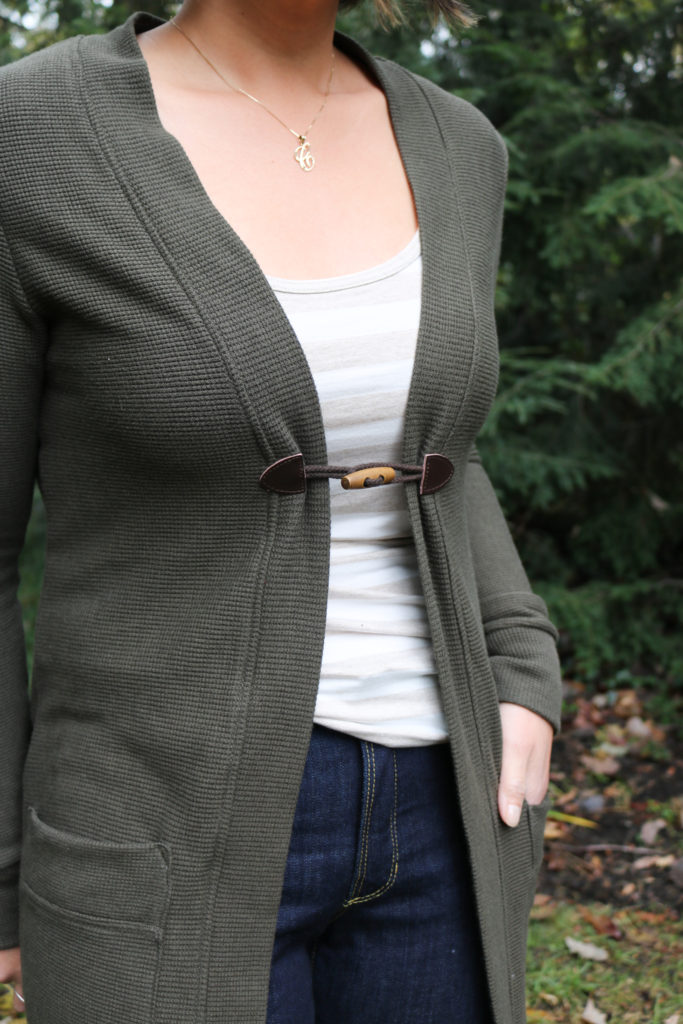
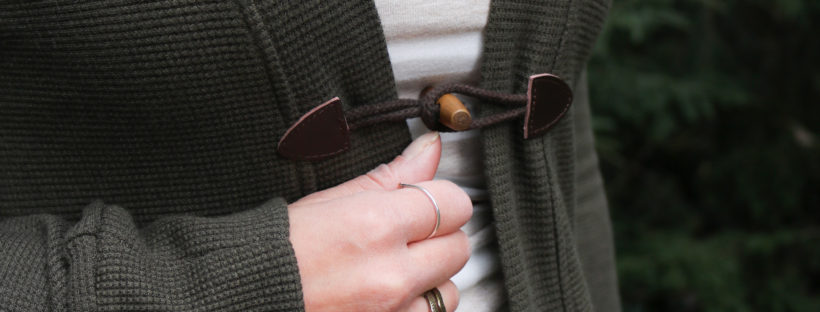
For the top-stitching around the neckline, the instructions say to use a zig-zag stitch, but I opted to use a straight stitch with wooly nylon in the bobbin.   I use this method around most of my knit necklines and it still allows the stitching to stretch a bit.  Another change is the addition of a toggle right at the bust line.  With the weight of the duster, the sides were pulling away from center and sitting more into my armpits.  I wanted to anchor them with some kind of closure but had to take into account the weight and stretch of the knit.  Luckily, I had the toggle in my stash and could sew them over the serged neckband seams to help distribute the tension.
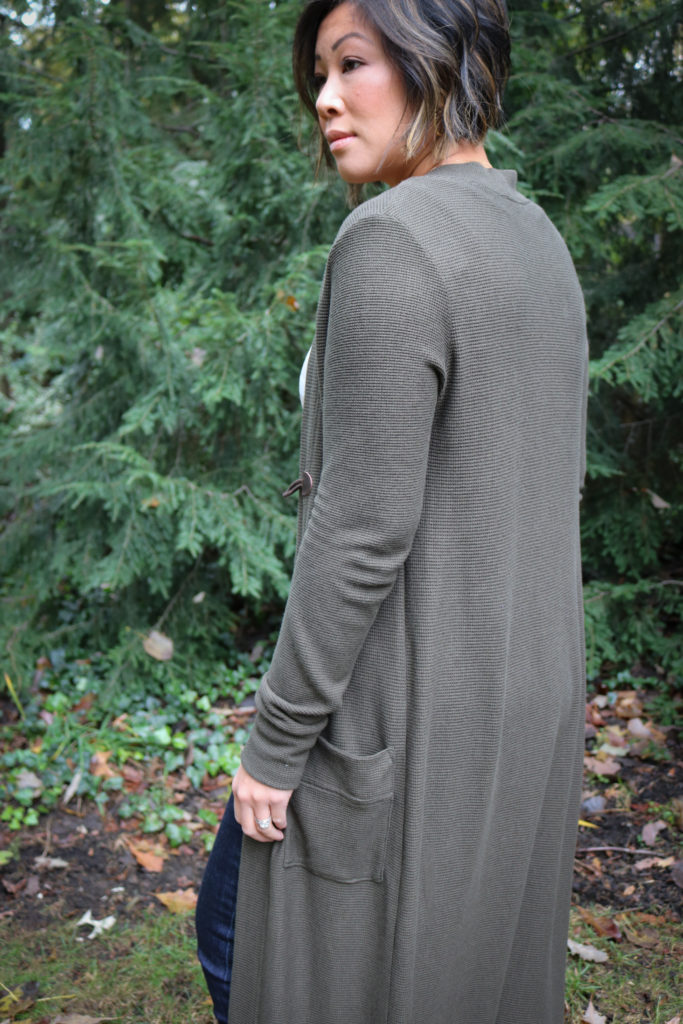
As with most patterns and my 5’3″ frame, I had to shorten the sleeves by 2″.  I could have probably taken off 3″, but with a cozy cardigan I like to pull the sleeves over my hands on those brisk days.  With the knit cuffs, I also like to always angle in the seams at the fold.  So I took out 1/2″ on both sides of the pattern piece at the fold for a more fitted feel.
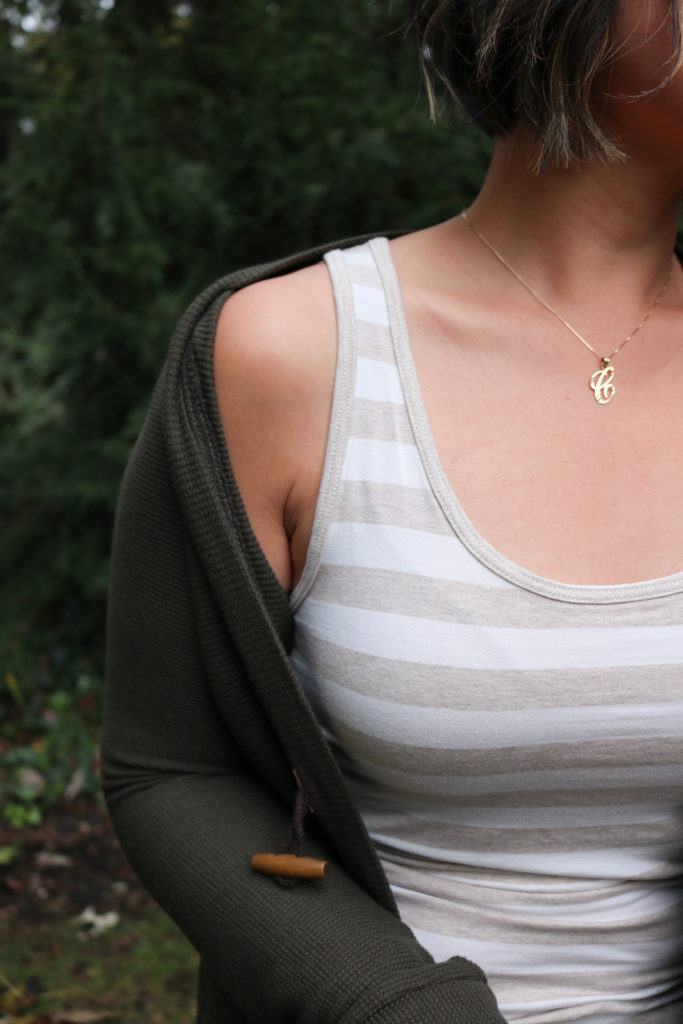
A great layer to have under the Blackwood is the Kila Tank.  This is a slim fit tank that uses around a yard of knit, so it’s stash friendly and another quick sew.  The neck and arm bands are attached in a very clever way and great for those who do not have a serger or coverstitch.  Even though I have a serger, I stayed true to the instructions and used my twin needle for the bands.  I love how it looks like ready-to-wear!   But since I DO have a serger, I may go back to the old method just to save some time 😉

The fabric is this soft Rayon Spandex Oatmeal and White Striped Knit from Indiesew which I was saving for a dress, but realized I need more of these staple tops.  There is always more fabric, right?!?  Be on the watch for a long sleeve tee in this same fabric soon….
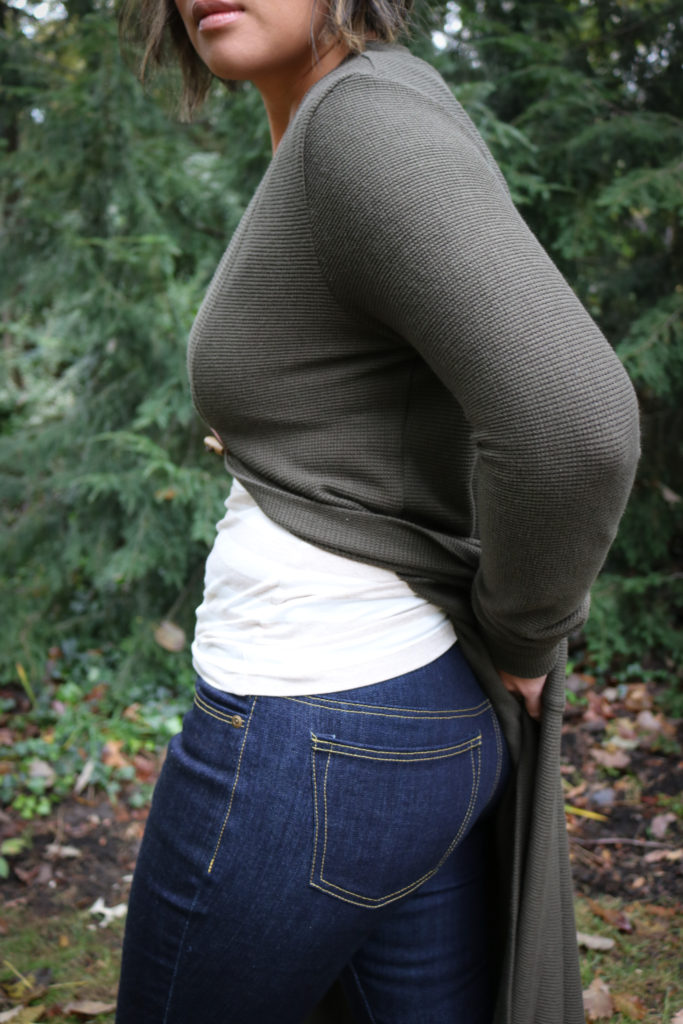
To finish off my entire #memade outfit, are my Ginger Jeans.  These are my very first pair and also my first Closet Case pattern.  It’s taken me about a month to complete these jeans (because I needed a break after all the modifications,) but I’ll make sure to get into more detail with my fitting adjustments on a future post.
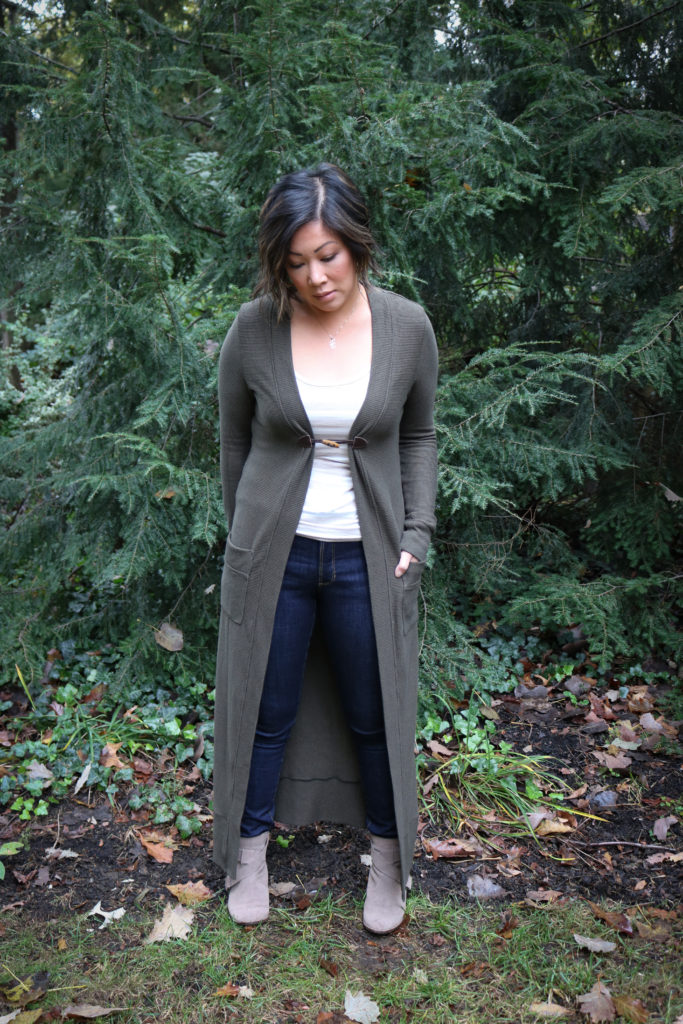
I’m so pleased with my simple outfit that’s churning out the bit of extra drama!  Do you like the duster look?

Project Summary:


This post was written as part of the Indiesew Blogger Team.  All opinions are my own.  There are also possible affiliate links for which I receive a small commission only if a purchase is made.
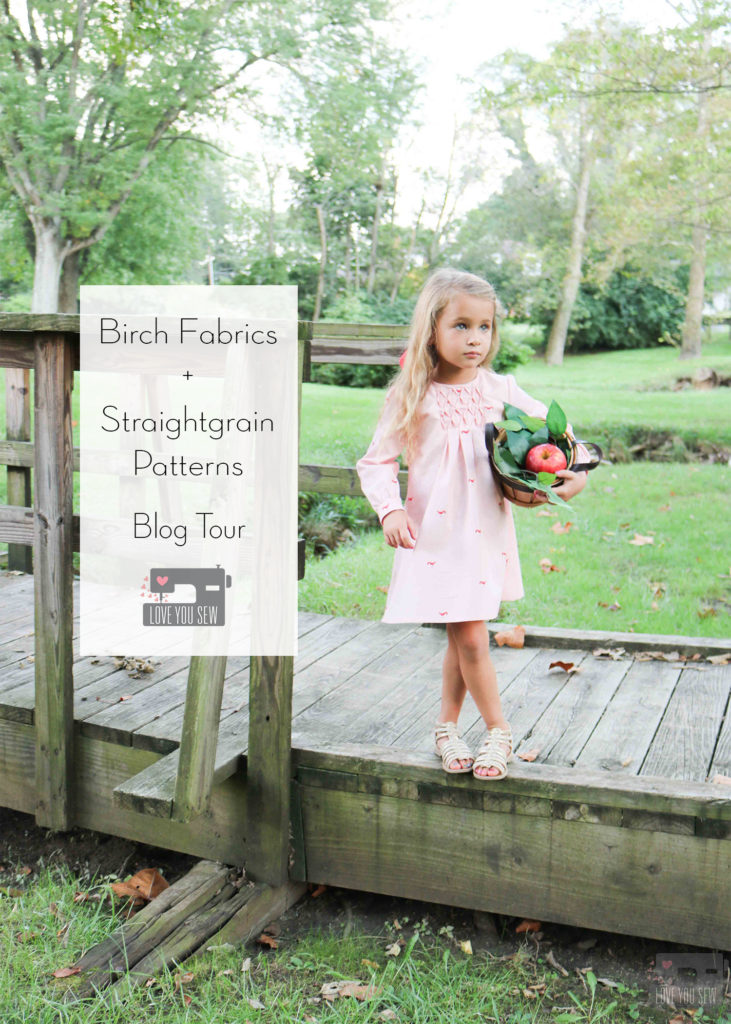
Birch Fabric + Straightgrain Patterns Blog Tour

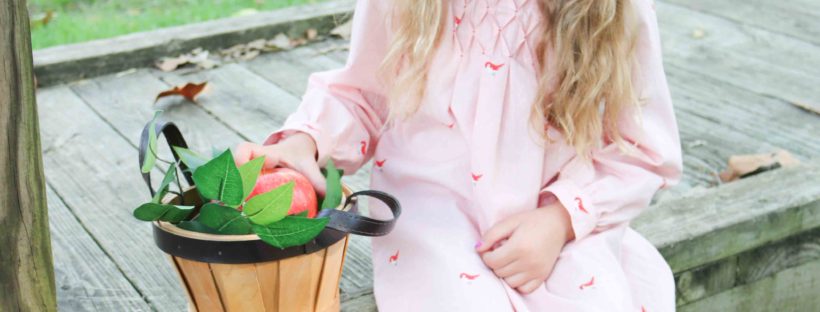
It is certainly a match-made in heaven when you combine beautiful organic cotton fabrics with fresh and modern clothing patterns for kids.  So when Birch Fabrics and Straightgrain Patterns teamed up for this blog tour, I was in!  The new Whistle collection by Jenny Ronen is such a sweet and whimsical collection that inspired me to make a Nova dress….probably my favorite of An’s dress patterns.

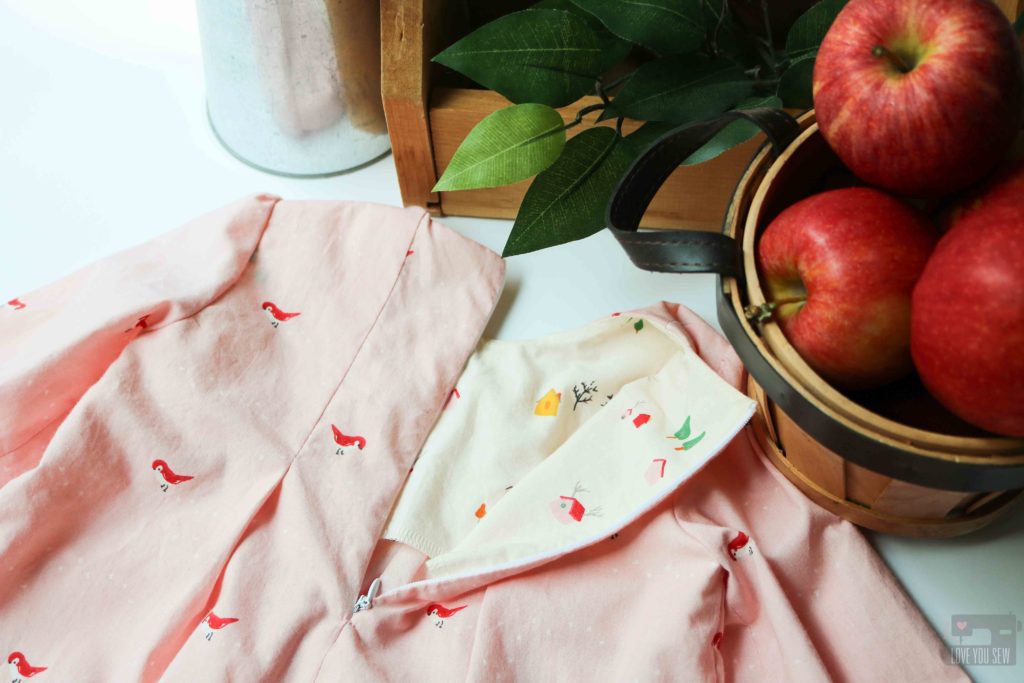
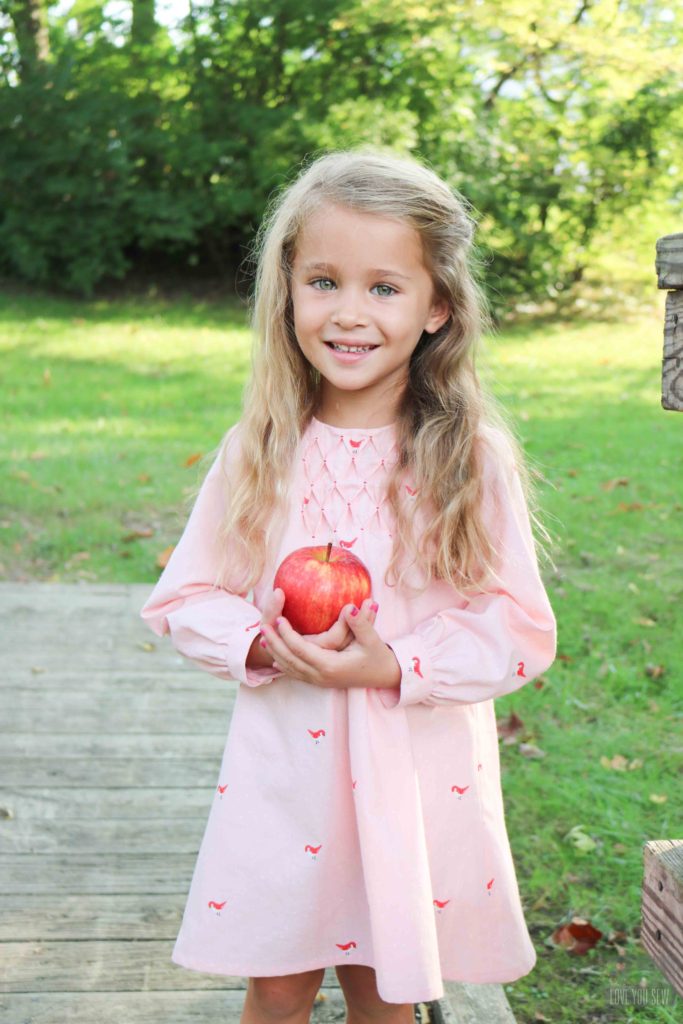
Out of the Whistle fabric collection, I chose to use Birch’s organic quilt poplin.   However, there are so many great jersey knits available too.  I had such a hard time deciding which patterns I wanted to use.  But then I remembered how much my SIL loved the Nova Dress I made for a niece and I wanted to make one for her daughter.  I chose a simpler small scale print like this Tiny Steps in Blush which would help show off the smocking and then chose Treehouse for a fun surprise lining.

What I love about Straightgrain Patterns are the number of options with each of her patterns.  This Nova Dress, alone has 140 different combinations!  They make for such an incredible value and I love how I can make a unique dress for all of my nieces.  Now that it is officially fall, I made this version of the Nova dress with long sleeves so it can be worn with bare legs right now, but can go into the winter with some thick cable knit stockings and boots later.

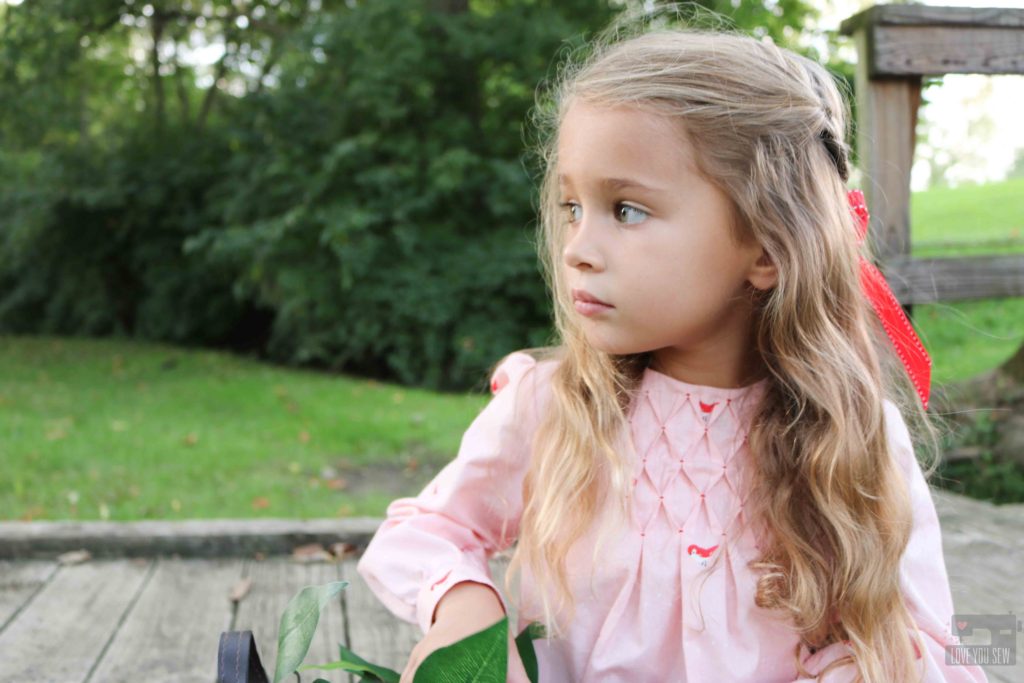
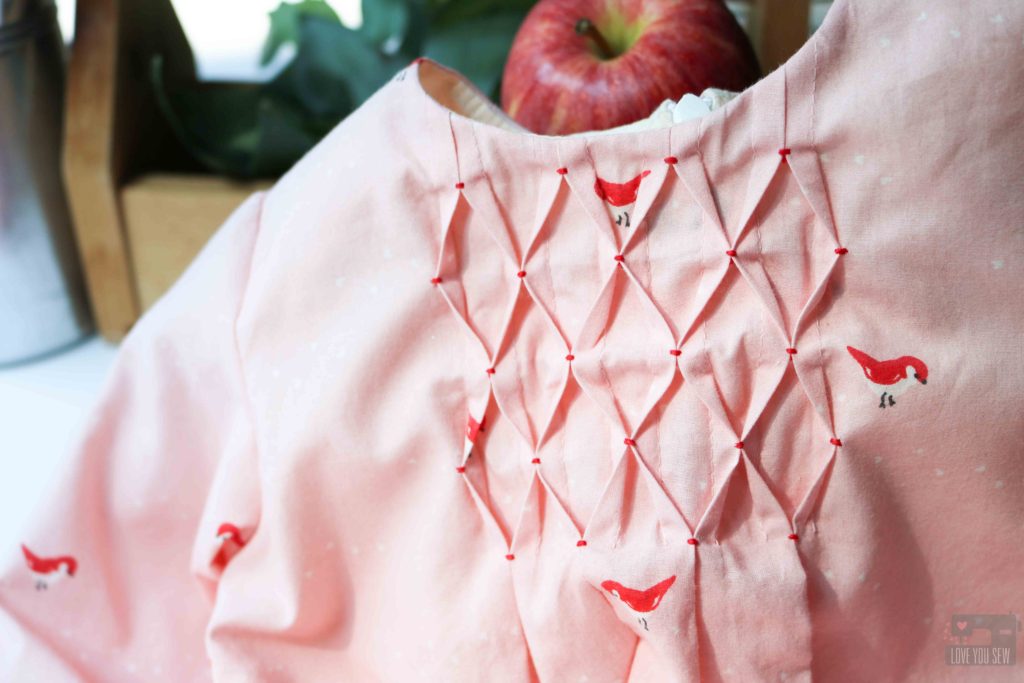
This pattern has 4 different types of pleating and the honeycomb smocking is my favorite.  I tell everyone to learn dress-making techniques on little girl versions and I completely learned to do this following An’s thorough instructions.  I just love all of the texture and visual impact.

The smocking does take extra time and there is hand sewing involved to tack the pleats together.  But it is all worth it!  I like using contrasting thread to highlight the design and to complement the fabric.

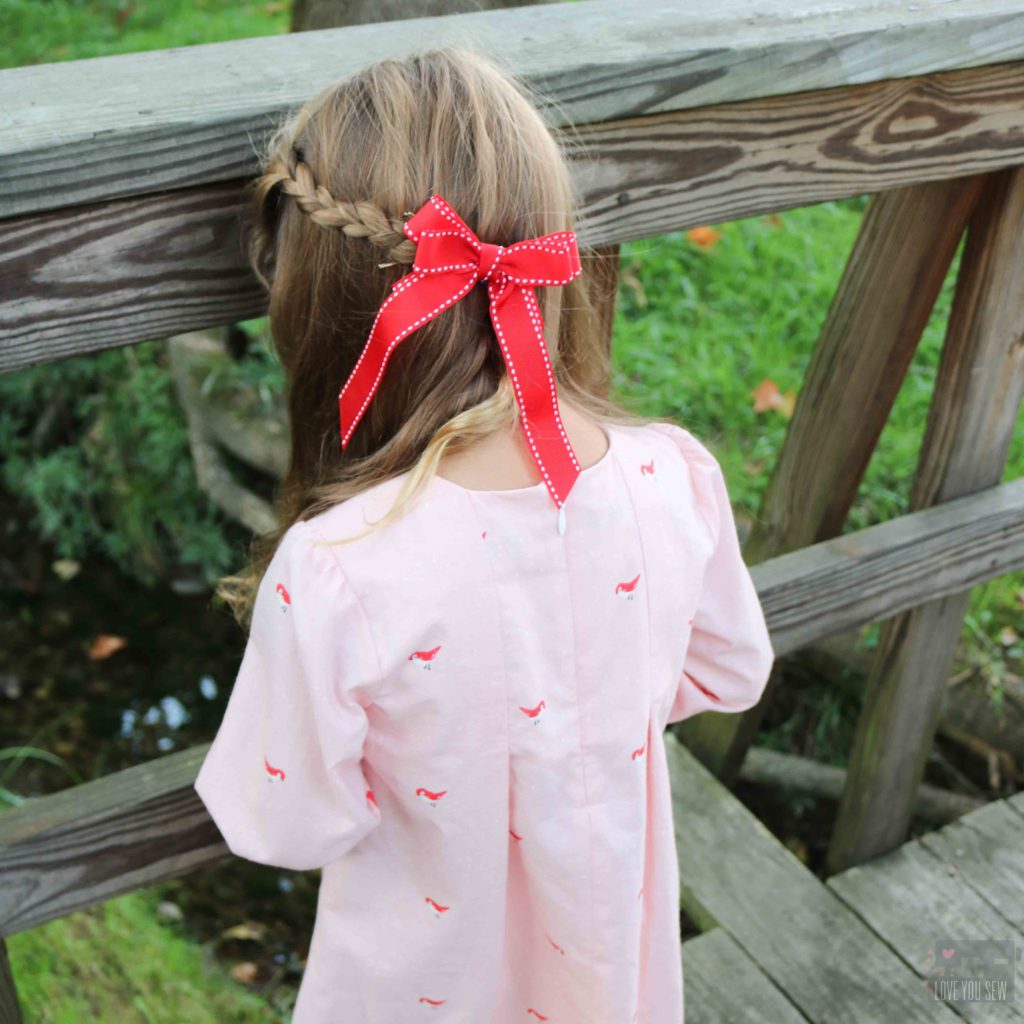
For the blog tour, I inserted an invisible zipper versus the ribbon tie I used on this version. Considering the seasons, a fully covered back was more appropriate and I love the ease of a zipper for dressing.  I happened to just buy an invisible zipper foot for my machine and of course, don’t know why I waited so long!  With the right foot, you can hardly tell there is a zipper at all!

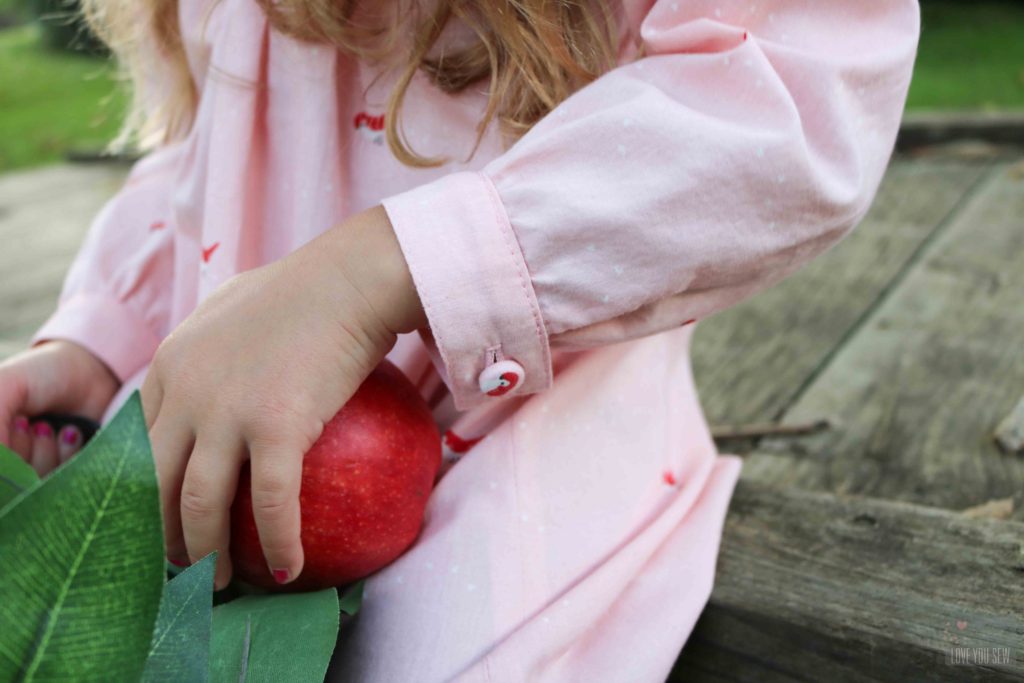
Another special feature I added to this dress are the buttons.  I had an old kit for making covered buttons stashed away and knew these little birdies would be perfect for them.  I used light interfacing to help stabilize the fabric and cut them to size.  It was so easy that I know there will be many more covered buttons in my future.

Birch Organic fabric handled and washed very well.  It has the same weight as other designer quilt fabrics, but that GOTS certification gives you so much peace of mind.  I’m so happy to send this dress off to my niece and know its all organic 🙂

To follow along on the rest of the Birch Fabric x Straightgrain Patterns Blog Tour, check out of the blog links below:

BirchKnee Socks and GoldilocksPetrol & MintThe Crafty KittyChristinaaJust Add Fabric
Love You Sew (you are here) – My Petite SophieWhile She Was SleepingStraightGrainMade By Sara


Project Details:


Happy Sewing Friends!


Cristy


Fabric and patterns were provided by Birch Organics and Straightgrain Patterns for this post.  As always, all opinions are my own.  I’ve bought products from both companies before this post and definitely will following it.

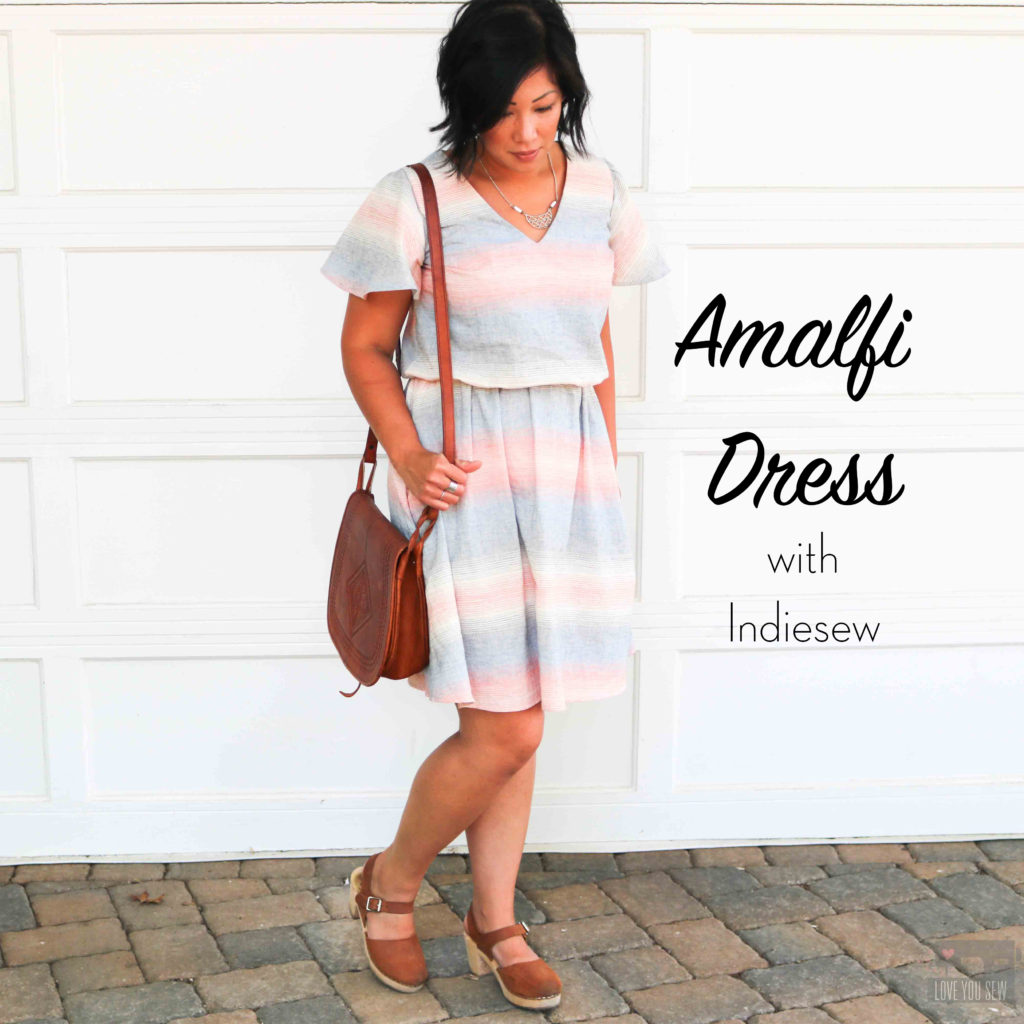
Amalfi Dress with Indiesew

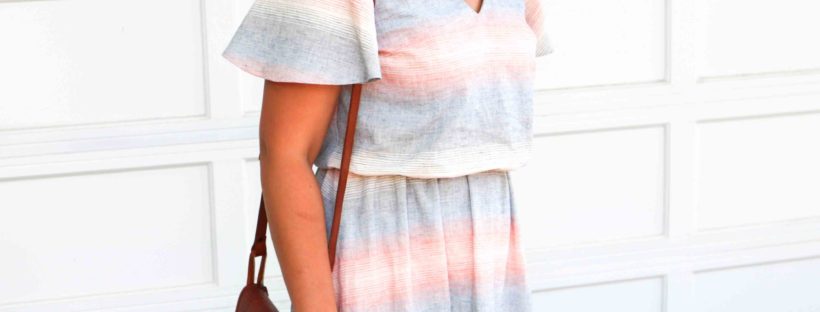
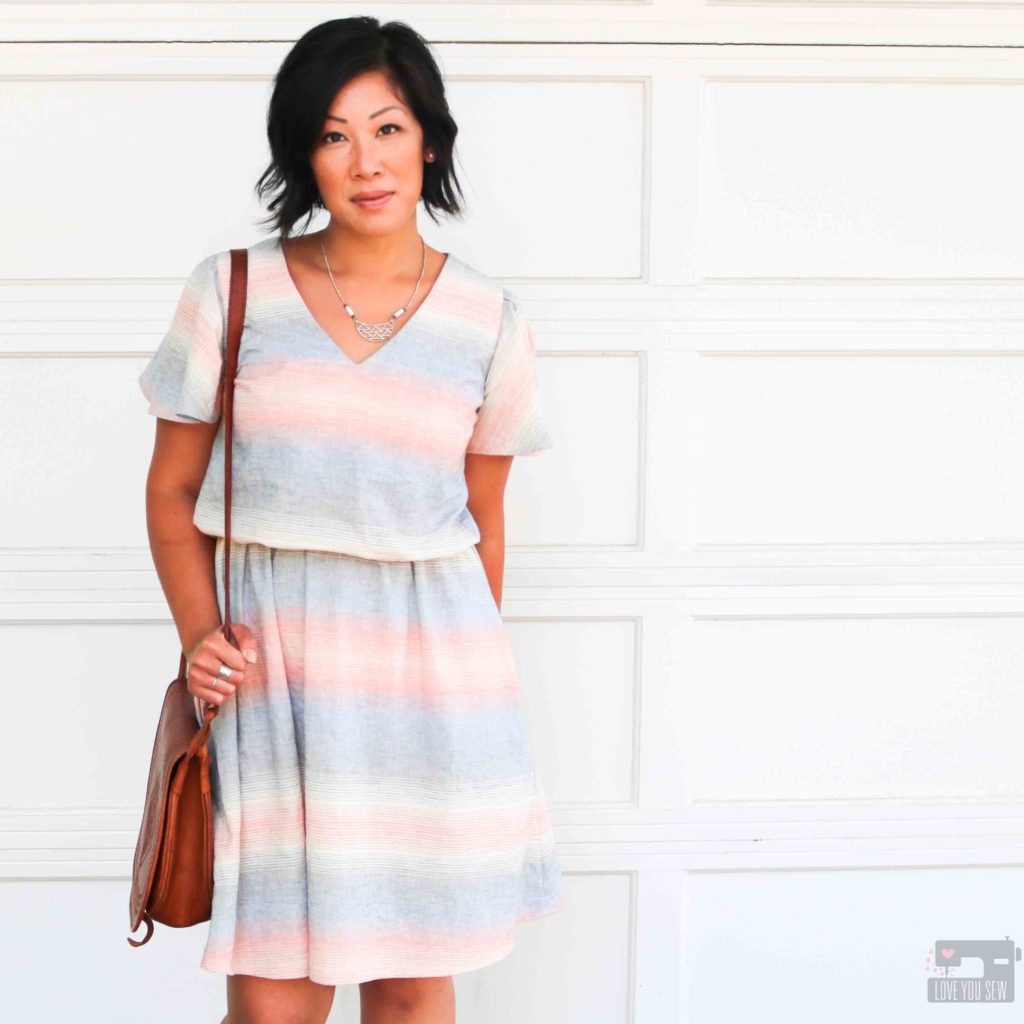
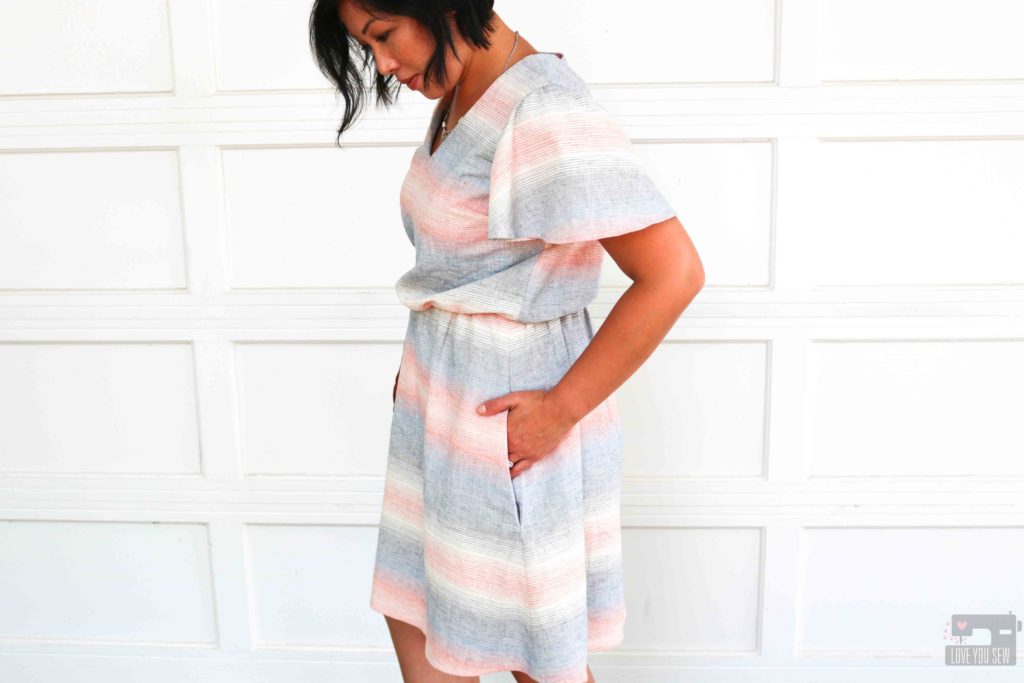
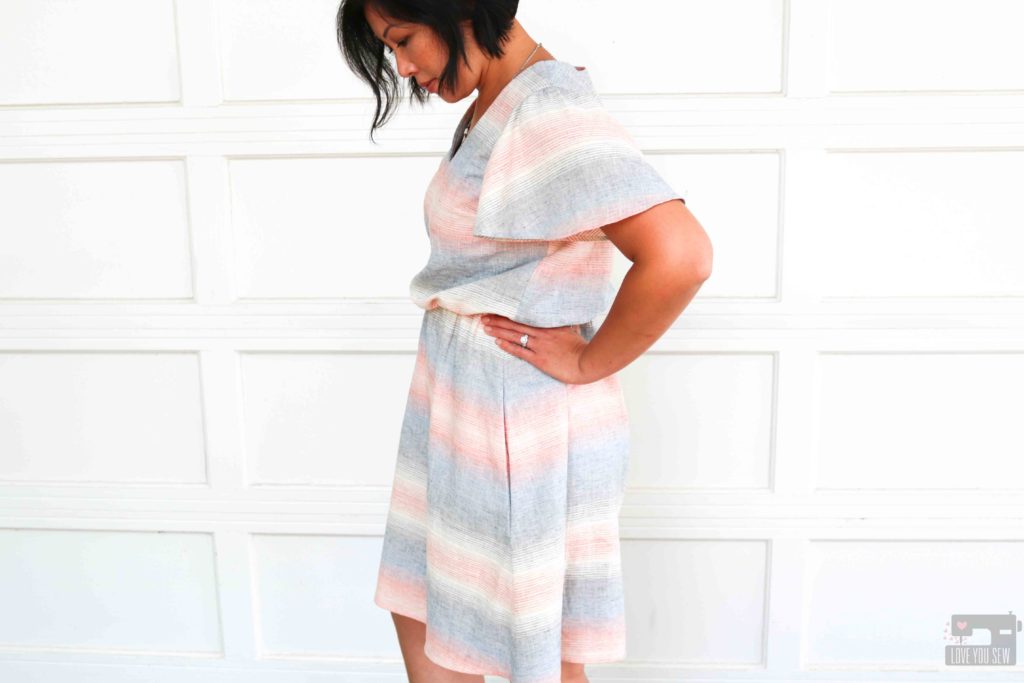
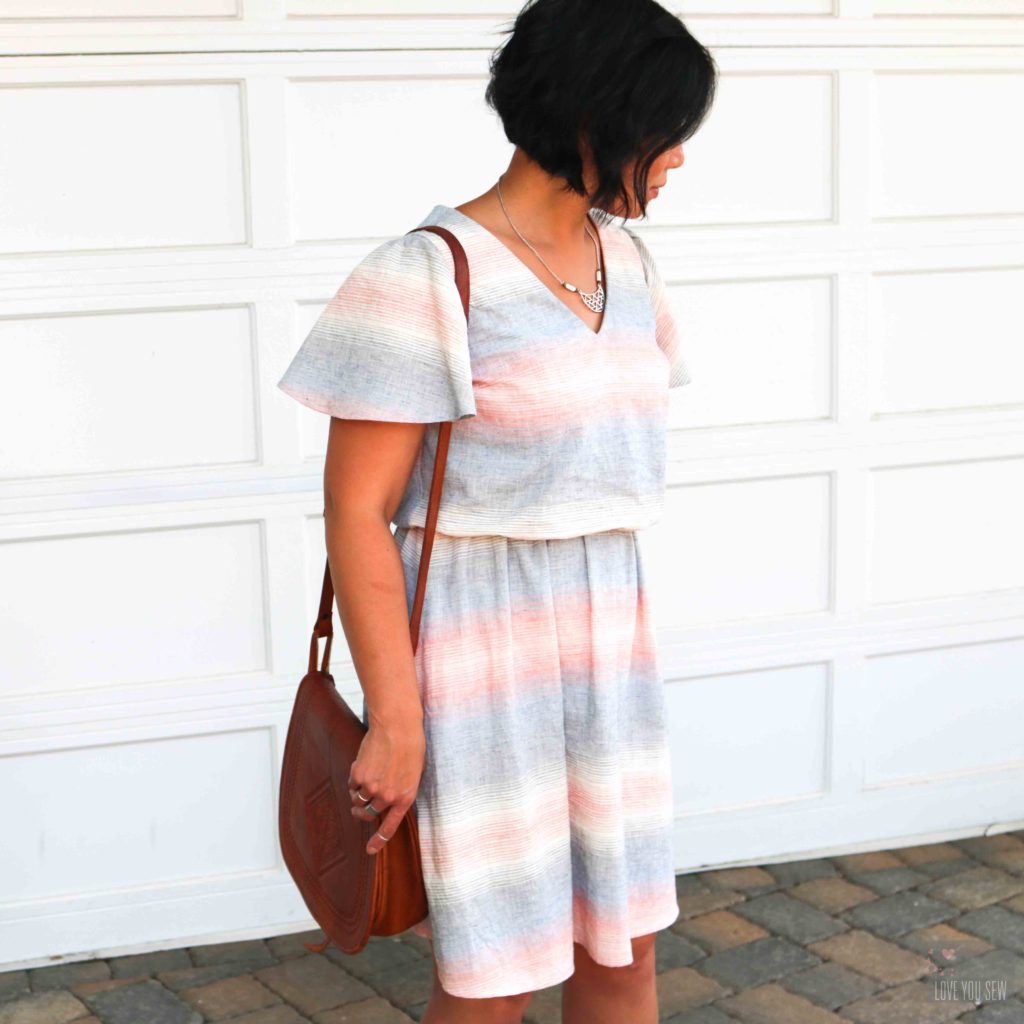
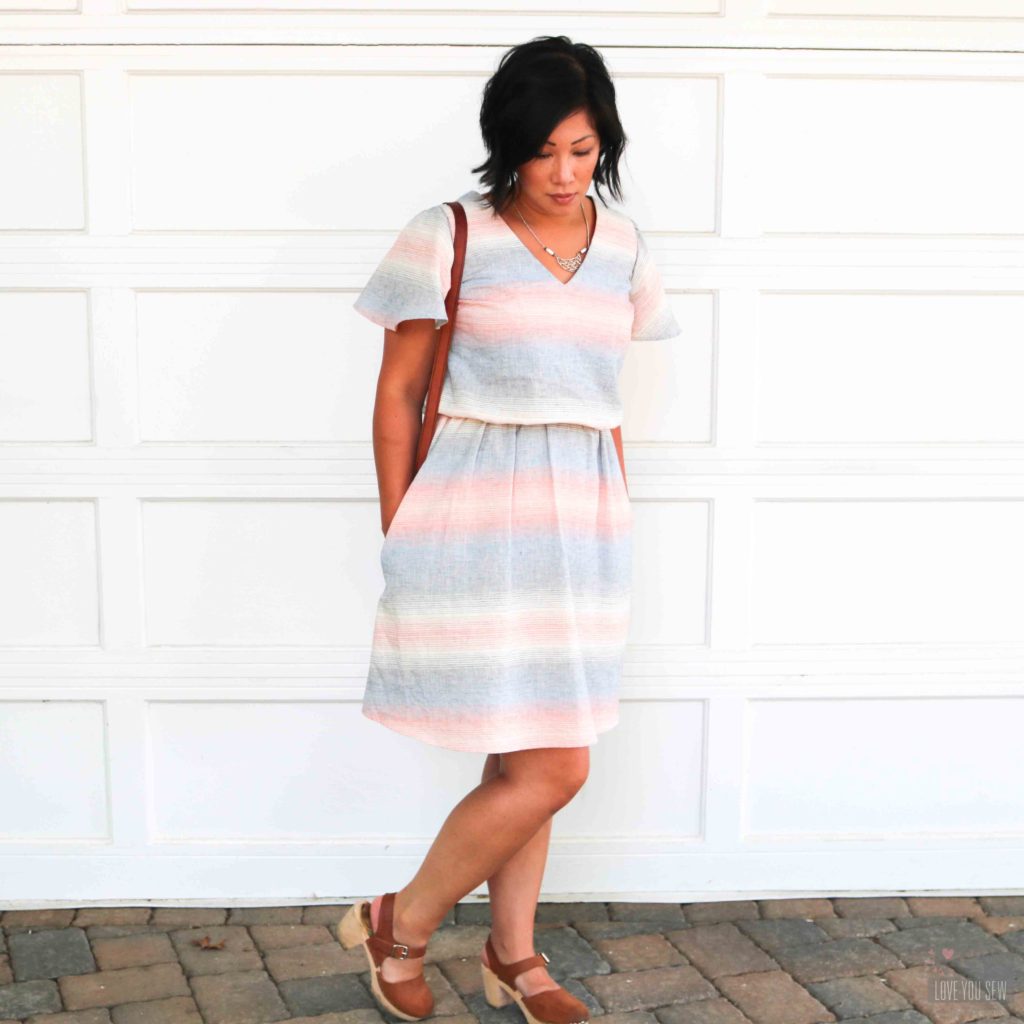
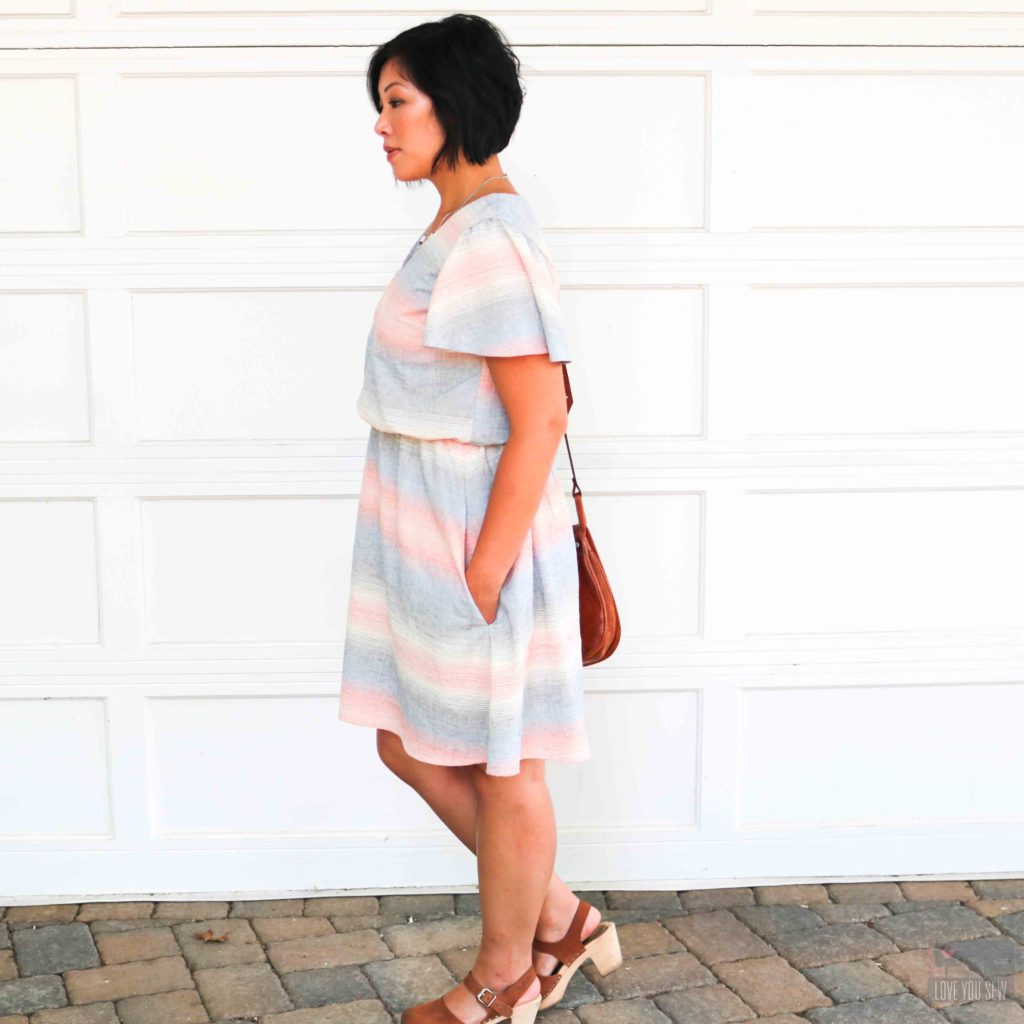
My family and I traveled quite a bit this summer.  With two boys and a pop-up camper, we have been driving all over the midwest (with another adventure planned later this fall!)  We just got back from camping along Lake Ontario (close to Niagara Falls) and every sunset reminded me of this Retro Striped Cotton Linen fabric from Indiesew.  It has such a gorgeous soft palette with a 70s vibe which made it a perfect pairing with the relaxed fit of the Amalfi Dress designed by Hey June Handmade.
Linen is perfect for these dog days of summer with its breathability and soft feel.  This blend with cotton gives it a bit more structure so it doesn’t wrinkle as easily as 100% linen does. The best part of linen is how it gets even softer with each wear and washing, not to mention it’s an easier woven to sew versus a rayon challis or crepe.

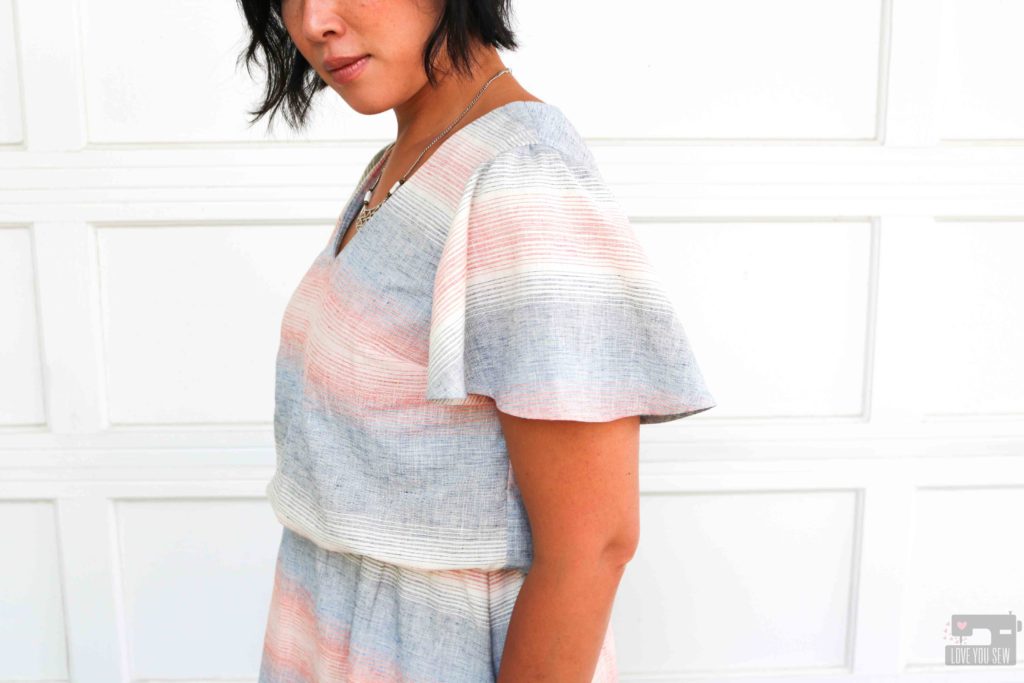
With the Amalfi dress, I decided on the flutter sleeves with the throwback feel of this stripe print.  I debated for awhile whether to make the midi or short skirt length and since I’m short with wide calves, midi lengths cut me at my widest point and make legs looks larger than they are.  So I opted for the short length and hemmed it a full 1″ to get it to the right spot above my knees.

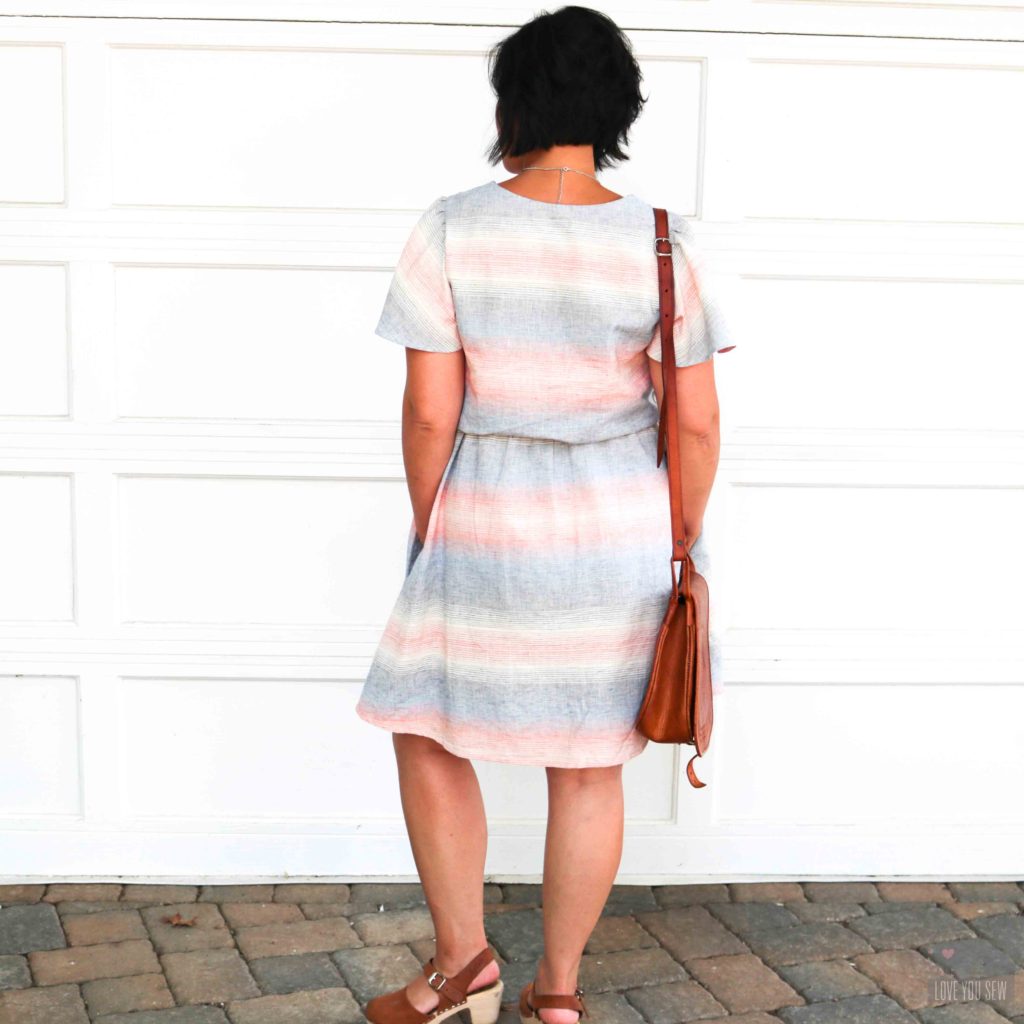
With the fabric being described as “semi-opaque,” I wasn’t sure how that would translate for  dress.  But sure enough, It’s fine!  After washing, the fibers contract closely together and only the cream parts have the slightest bit of transparency.  I made sure to have the darker parts of the striping across my rear, just in case.  With nude colored undergarments, you can’t see a thing!

Any dress pattern with pockets gets and extra star in my book.  I LOVE these deep in-seam pockets!  With the fullness of the skirt, you don’t have to worry about odd bulges when you are made to carry your kid’s actions figures and Pokemon cards.

You know I made sure to match my stripes 😉  It takes more time, so much more patience and lots of extra pins, but this is the beauty of home sewing.  I love how the skirt looks and you can hardly tell there are pockets at all.  When matching the bodice, I did match the stripes at the armscye.  But with the bust dart, it throws off the pattern just a little bit…but that’s what your arms cover!

Since I am petite, V-necks tend to lay low on me and I was very happy to see I didn’t have to make any adjustments to this neckline.  It’s the perfect depth to fit over your head while still being modest and keeping the “ladies” hidden.  I like the neck facing to keep these lines nice and crisp.

The elastic waist is such a great feature.  I love the shaping and this dress will move with weight fluctuations.  I happen to be a bit heavier right now (thanks to all of those campfire hotdogs and s’mores,) so I’ve been making garments with a bit more ease or have elastic.  Thank goodness for  stretch!

I received so many compliments with this Amalfi dress already.  My husband even said it was such a pretty print!  I hope you enjoy making this dress or just pick up some of your own Retro Striped fabric!

Project Summary:


Happy Sewing!

Cristy


Fabric was provided by Indiesew for this blog post.  All thoughts and opinions are always my own.

Highlands Wrap Dress

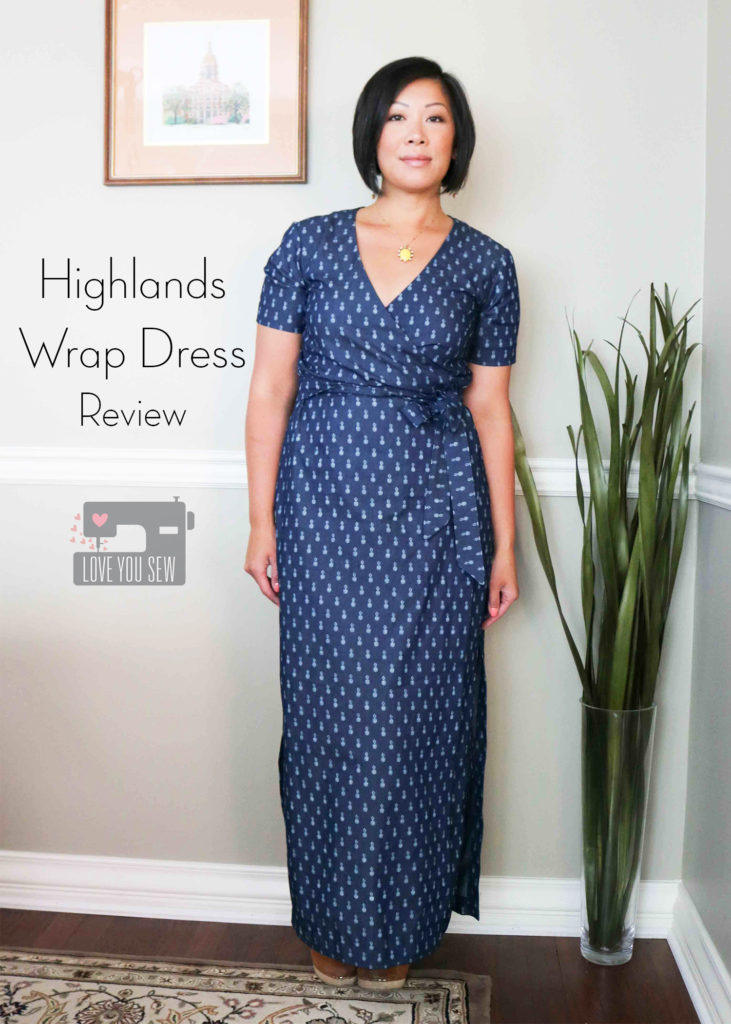
Yay!!!  I knocked off one of my 2018 “Make Nine” goals with this Highlands Wrap Dress by Allie Olson.  I haven’t blogged about all my completed projects, but I’ve sewn 6 out of the 9 patterns I selected the beginning of the year.  With just under five months left, I think I’ll be able to make everything on my list!  You can read all about my 2018 garment goals here.

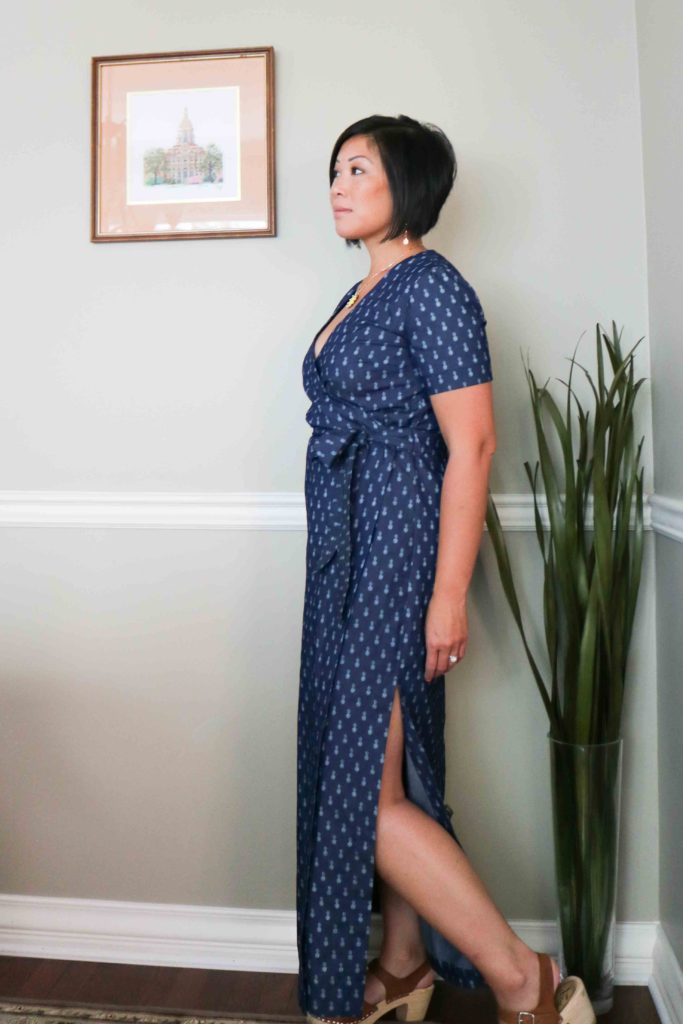
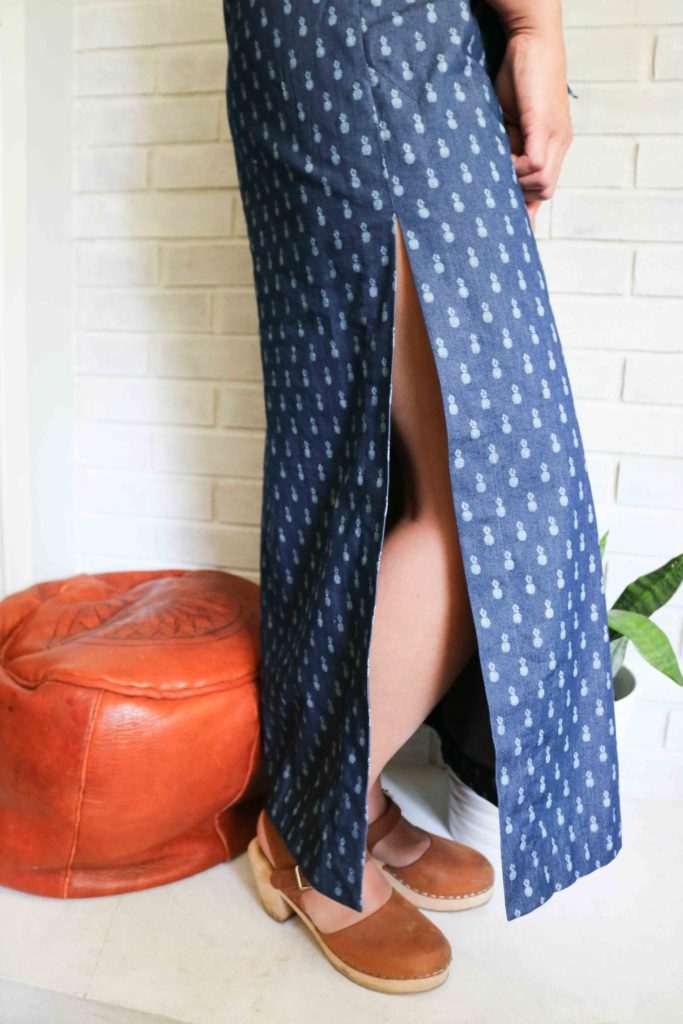
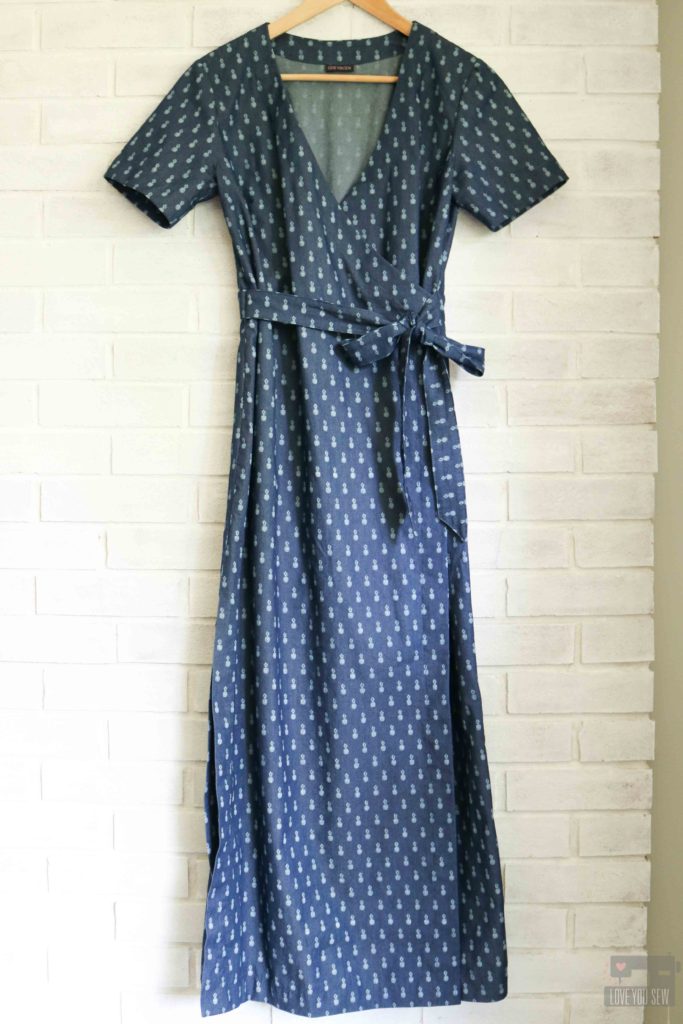
I made the Highlands dress earlier in the spring, but just haven’t had a chance to blog about it until now (blame it on my kids and other sewing commitments!)  This dress has been worn on so many occasions already and has lived up to my expectations for sure.  The slim column silhouette makes my 5’3″ frame look so tall and the length adds to the sophistication.  I love how the Highlands dress covers the body, but still has a bit of sass with the high slit skirt and deep v-neck.

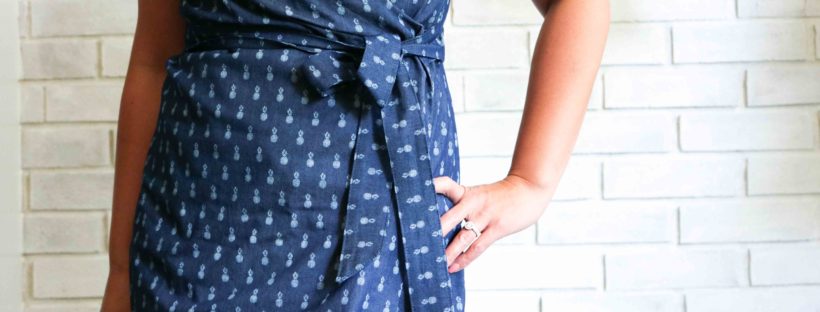
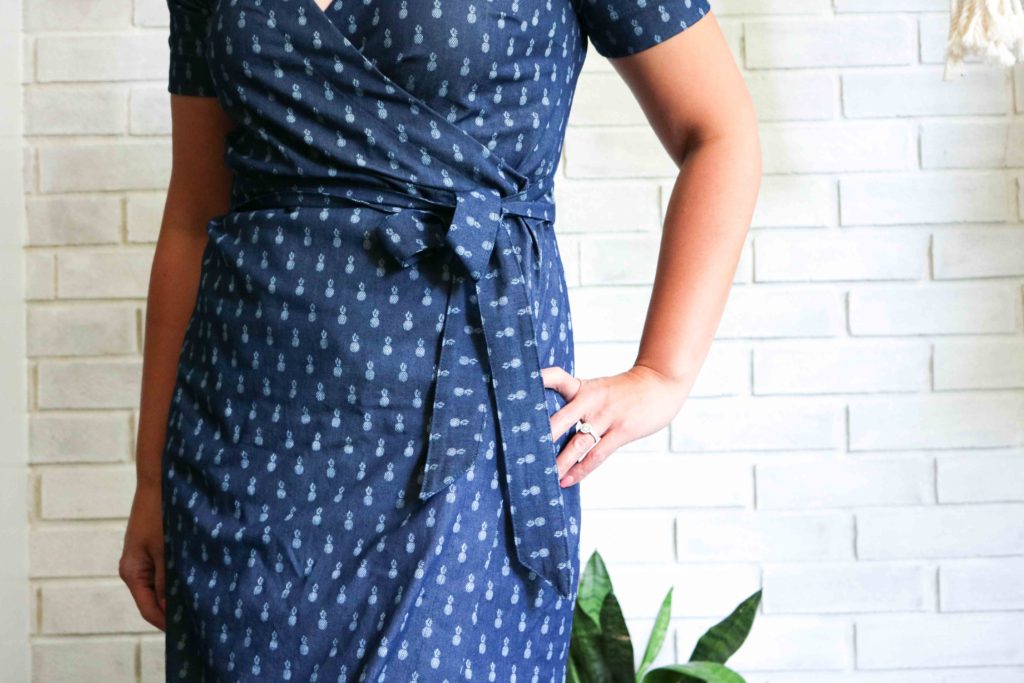
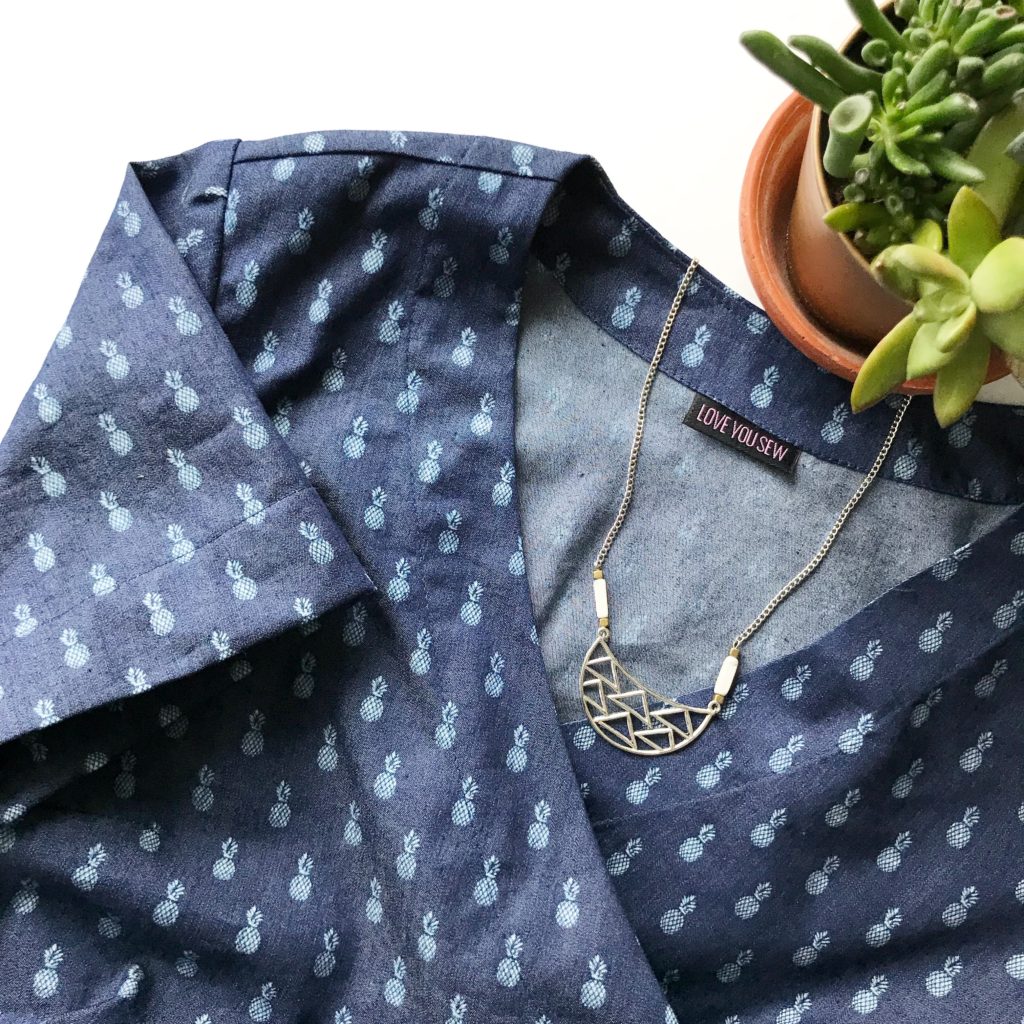
For the fabric, I chose this Telio stretch chambray with a crazy cute pineapple (!!!) print from Fabric.com.  You can see this dress, plus read up about this substrate on the original Fabric.com blog post I wrote for them here.  After a few months of wear, I can say the fabric still feels great and still has nice stretch and recovery.  However, I did have to wash it twice to get all of the extra dye out of it.

My wardrobe doesn’t have many short-sleeved dresses.  They are mainly long or sleeveless altogether.  So, I wanted to make the sleeved version so I don’t necessarily have to bring a cardigan with me everywhere!

I’m heavy in the calve area and I don’t like dress hems to hit me at one of the widest parts of my legs, so I’m not a “midi” length lady.  That’s why I also chose the maxi length.  After following a few people on IG who made this dress, it was safe to say I would need to shorten it by 5″.  But beware – There are two shorten/lengthen points on the skirt (one for the rise and one for the leg length.)  Make sure to shorten at the lower of the two lines or you end up raising the slit like I did. (Doh!)  That was one mistake I made which I didn’t realize until I had a slit high up my thigh!  Since I already sewed on the facings, I had to hand-stitch the slits together a few inches.  That was a hard lesson learned!

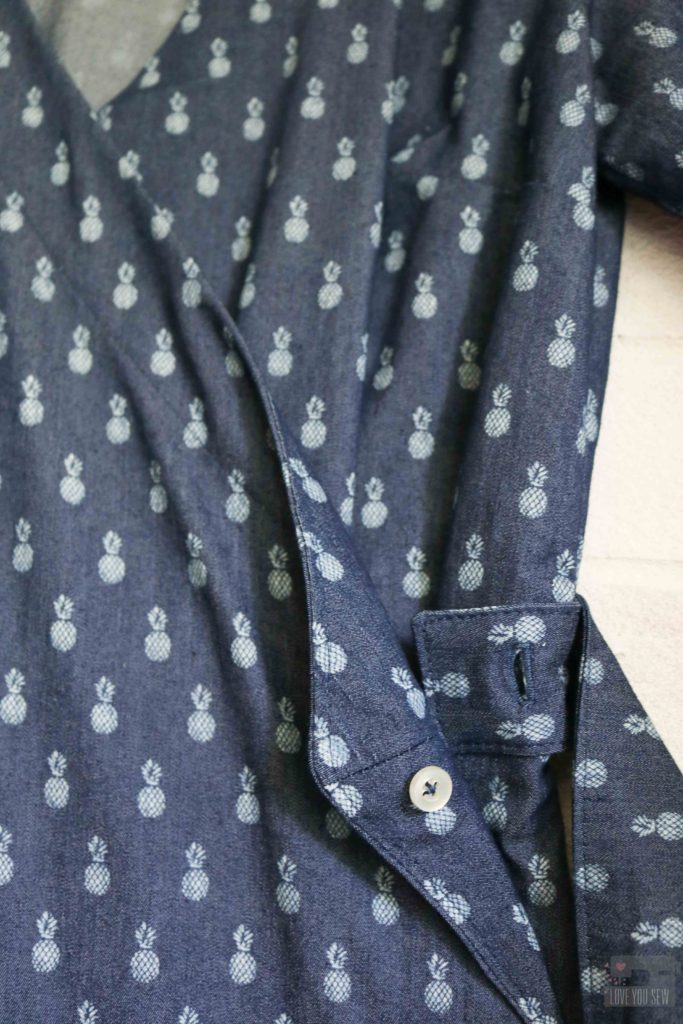
What I love about this wrap dress pattern are the two button tabs (one inside and one right under the ties) to keep the bodice secured.  If you have ever worn a RTW dress that just uses ties, you know that they will end up untying at the most inconvenient…er..most embarrassing times…even when you double-tie.  I know I’m not alone here, right?  With the two tabs AND the tie, this wrap dress feels VERY secure.

Project Details:

  • Pattern:  Highlands Wrap Dress by Allie Olson
  • Fabric:  Telio stretch chambray
  • Sizing: I measured 6 in the bust and 8 in the waist/hip, but made a straight 6 so there wouldn’t be as much bunching around the back elastic.  I also used a 10% stretch fabric.
  • Alterations:  Shortened skirt by 5″
  • Thread: Gutermann Polyester
  • Machine: Juki TL-2010Q


Happy Sewing!

Cristy


This post may contain affiliate links.  If you make a purchase, I could receive a small commission which helps to keep this website going.

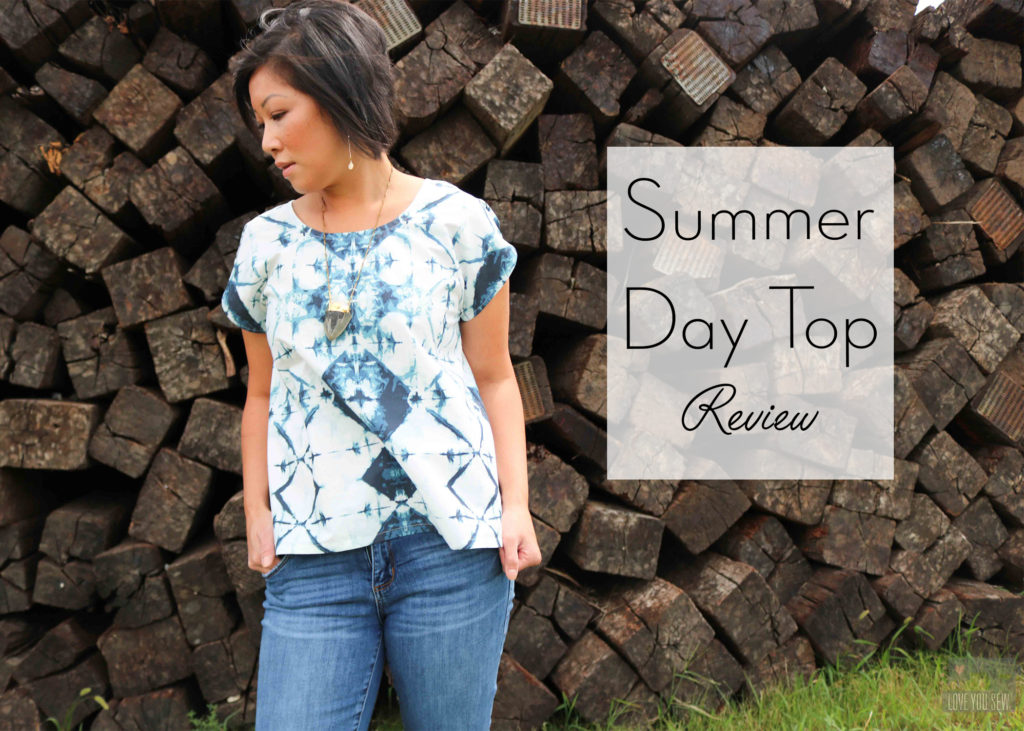
Summer Day Top Review

I can’t believe the “unofficial” end of summer is near!  My kids are starting school in less than a month and all of a sudden I’m thinking about all things fall.  But I’m trying to hold onto the warm temps, lazy mornings with my boys, and days at the pool for as long as possible.  The Summer Day Top by Dana Willard is helping me do that.  I can wear “Summer” all year now!

First off, I want to mention how well written and thorough the instructions are in this pattern.  If you are a beginning sewist and new to garments, Dana walks you through the whole sewing process – from printing the pattern to selecting the right fabric to explaining all the technical terms.  I was very impressed!  The graphics are clean and simple to understand, but there is also a good bit of further explanation into adjustments and why the construction is the way it is.

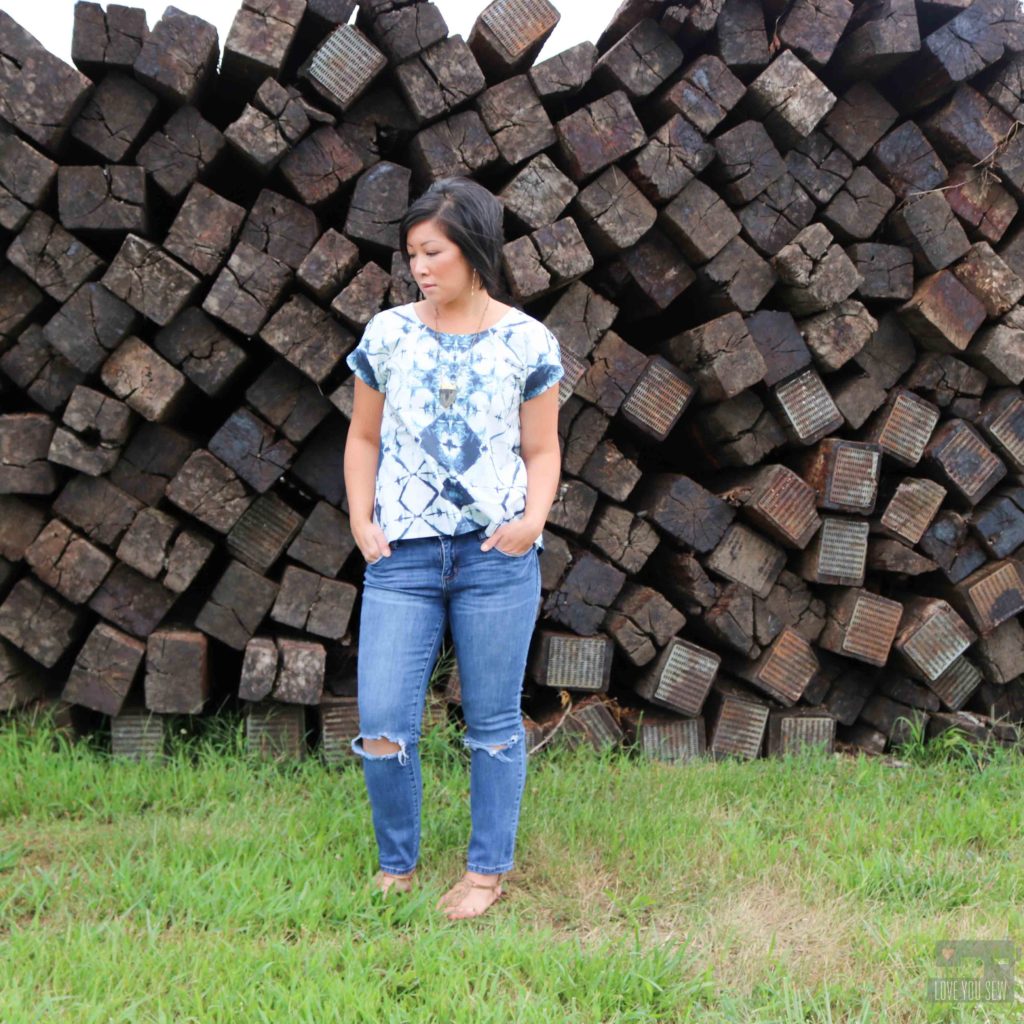
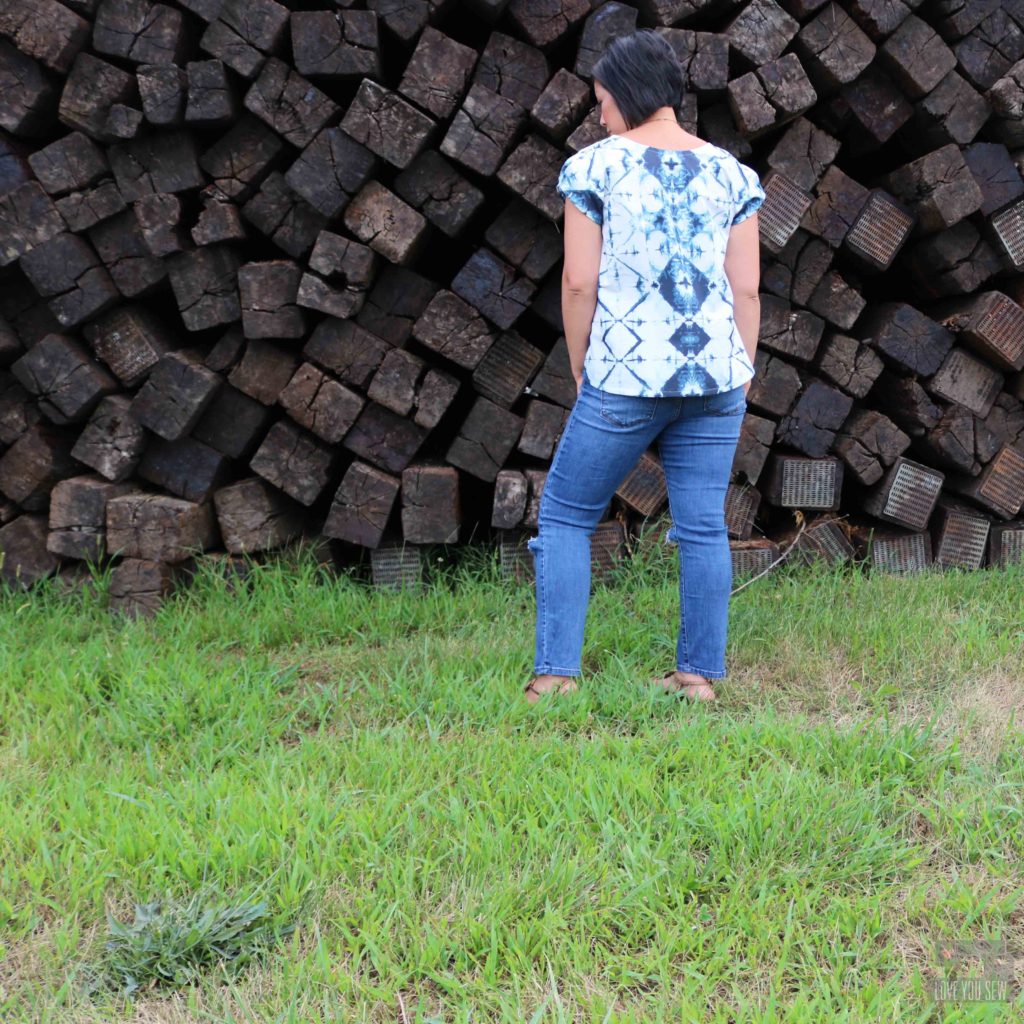
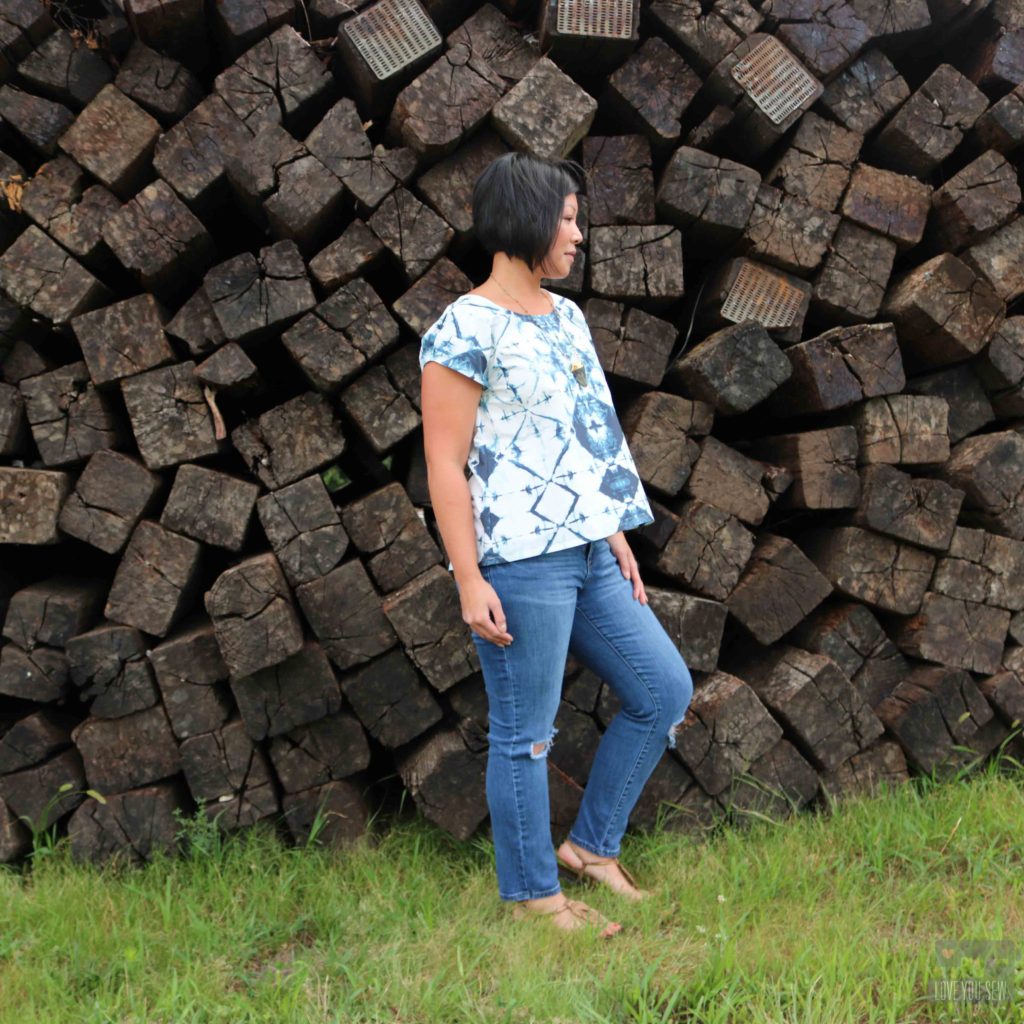
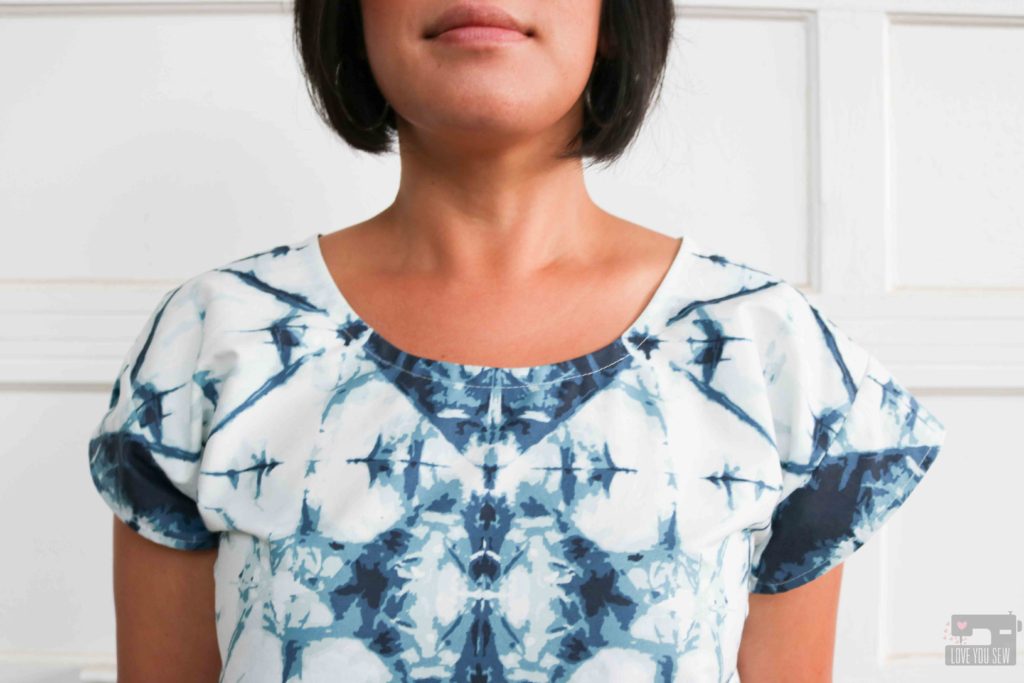
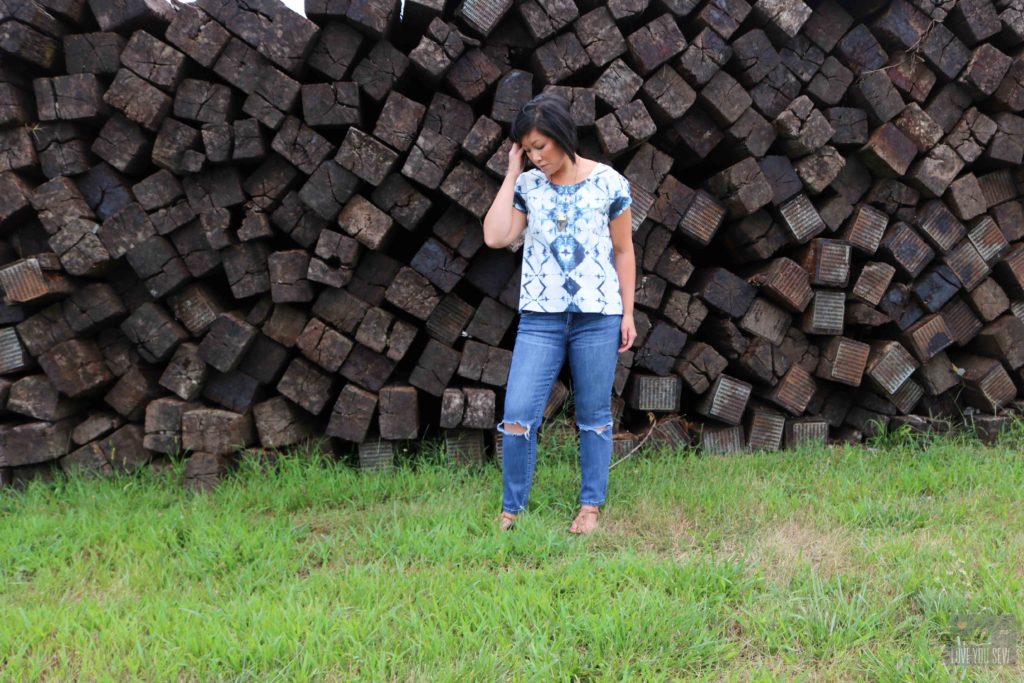
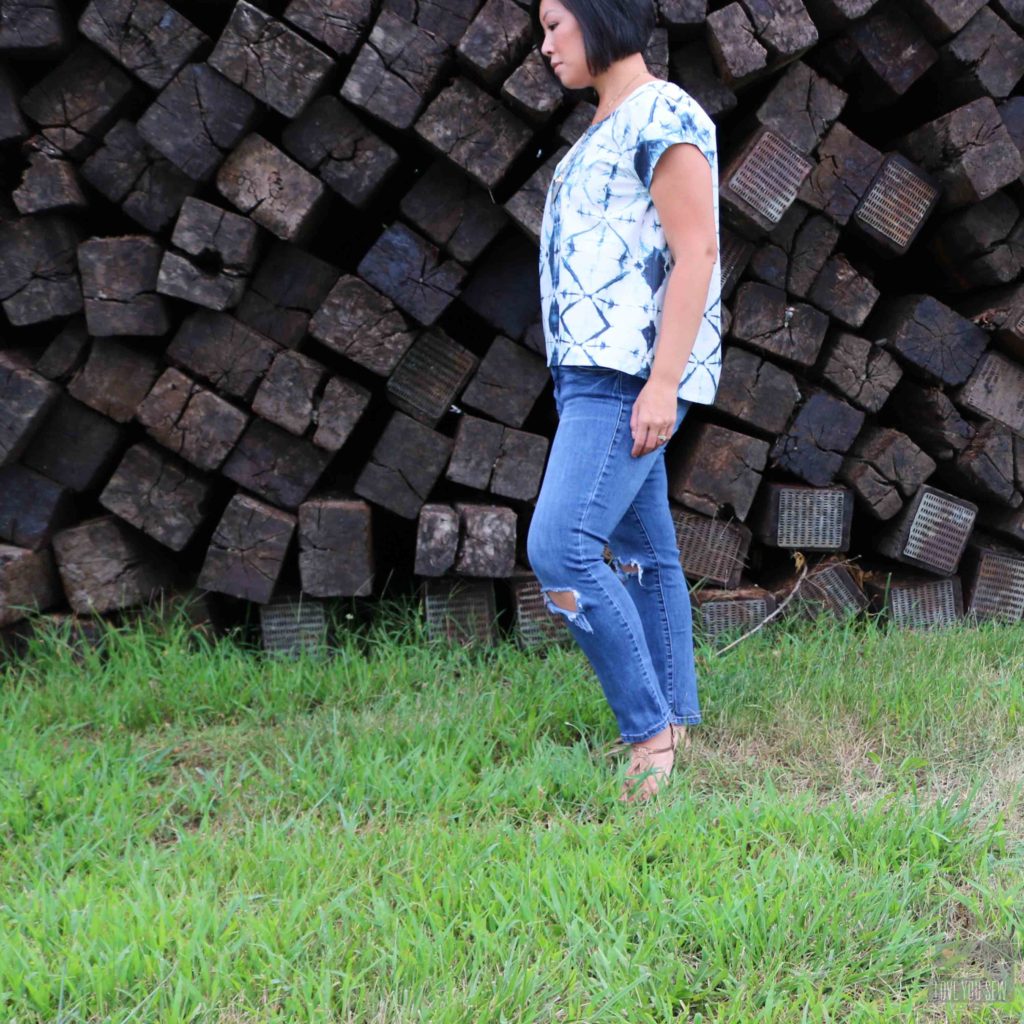
The Summer Day Top was drafted for both woven and knit fabrics (bonus!)  I decided to use this Observer quilt cotton by April Rhodes for Art Gallery Fabrics for my make.  I’ve been sitting on this fabric for such a long time and knew it could be a striking garment.  But, I had to find the right pattern with it being a stiffer substrate.  Plus, I didn’t want a pattern with gathers that would distort the shibori’s composition.  I really wanted the fabric’s design to really shine through.

Quilt cotton is a wonderful substrate for a beginner.  The non-stretch nature makes it easy to sew and iron.  However, it holds more body which I love around the torso, but didn’t want in the sleeves.  Granted, I could have selected a fabric with more drape like a rayon or gauze, but I was pretty keen on sewing what I had. (Cheers for sewing my stash!)

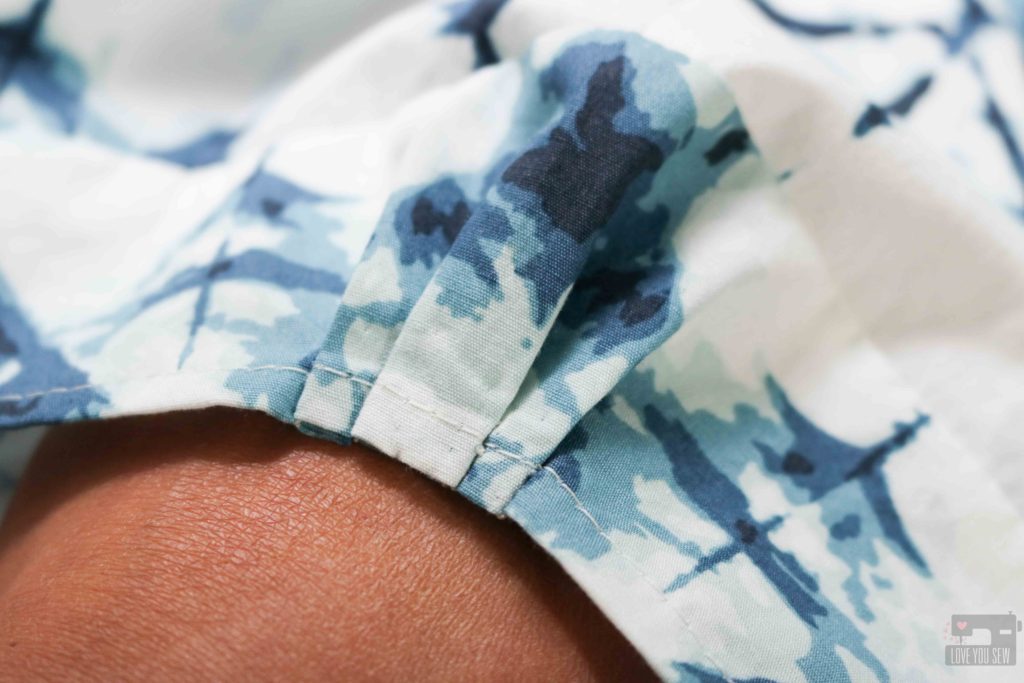
You can see (on the right) how the sleeve holds shape with the quilt cotton.  My arms make me a bit self-conscious so I don’t like them highlighted (unless it’s to cover them up!)  So I tried to change the shape of the sleeve as if it were a more drapey fabric, as seen on the left.

What did I do?  I just added a few 1/4″ pleats centered at the shoulder seam. I played around with the number and width of the pleats until I was pleased with the shape, but still allowed the same movement around my arm as before.  I’m so pleased with the look of drapey sleeves, the body around my torso (more forgiveness after dessert!) and the ease of sewing quilt cotton.  You can’t beat that!

The Summer Day Top is a quick sew as well.  The neckline is finished with bias tape, which I made out of the same fabric, but you could buy pre-made tape from your local quilt shop to save even more time.  I chose the short-sleeve version, so everything else was finished with a hem.

Are you ready to make your Summer Day Top?  I’m already getting lots of use out of this top and love how I look put together…even in my ripped up jeans!


Project Details:


Happy Sewing Friends!

Cristy


The pattern was gifted but blog post was not required. I thought this pattern deserved a review though 🙂 All opinions, modifications and fabric are my own.  Please also note, there maybe affiliate links in this post, which helps to keep this website going.