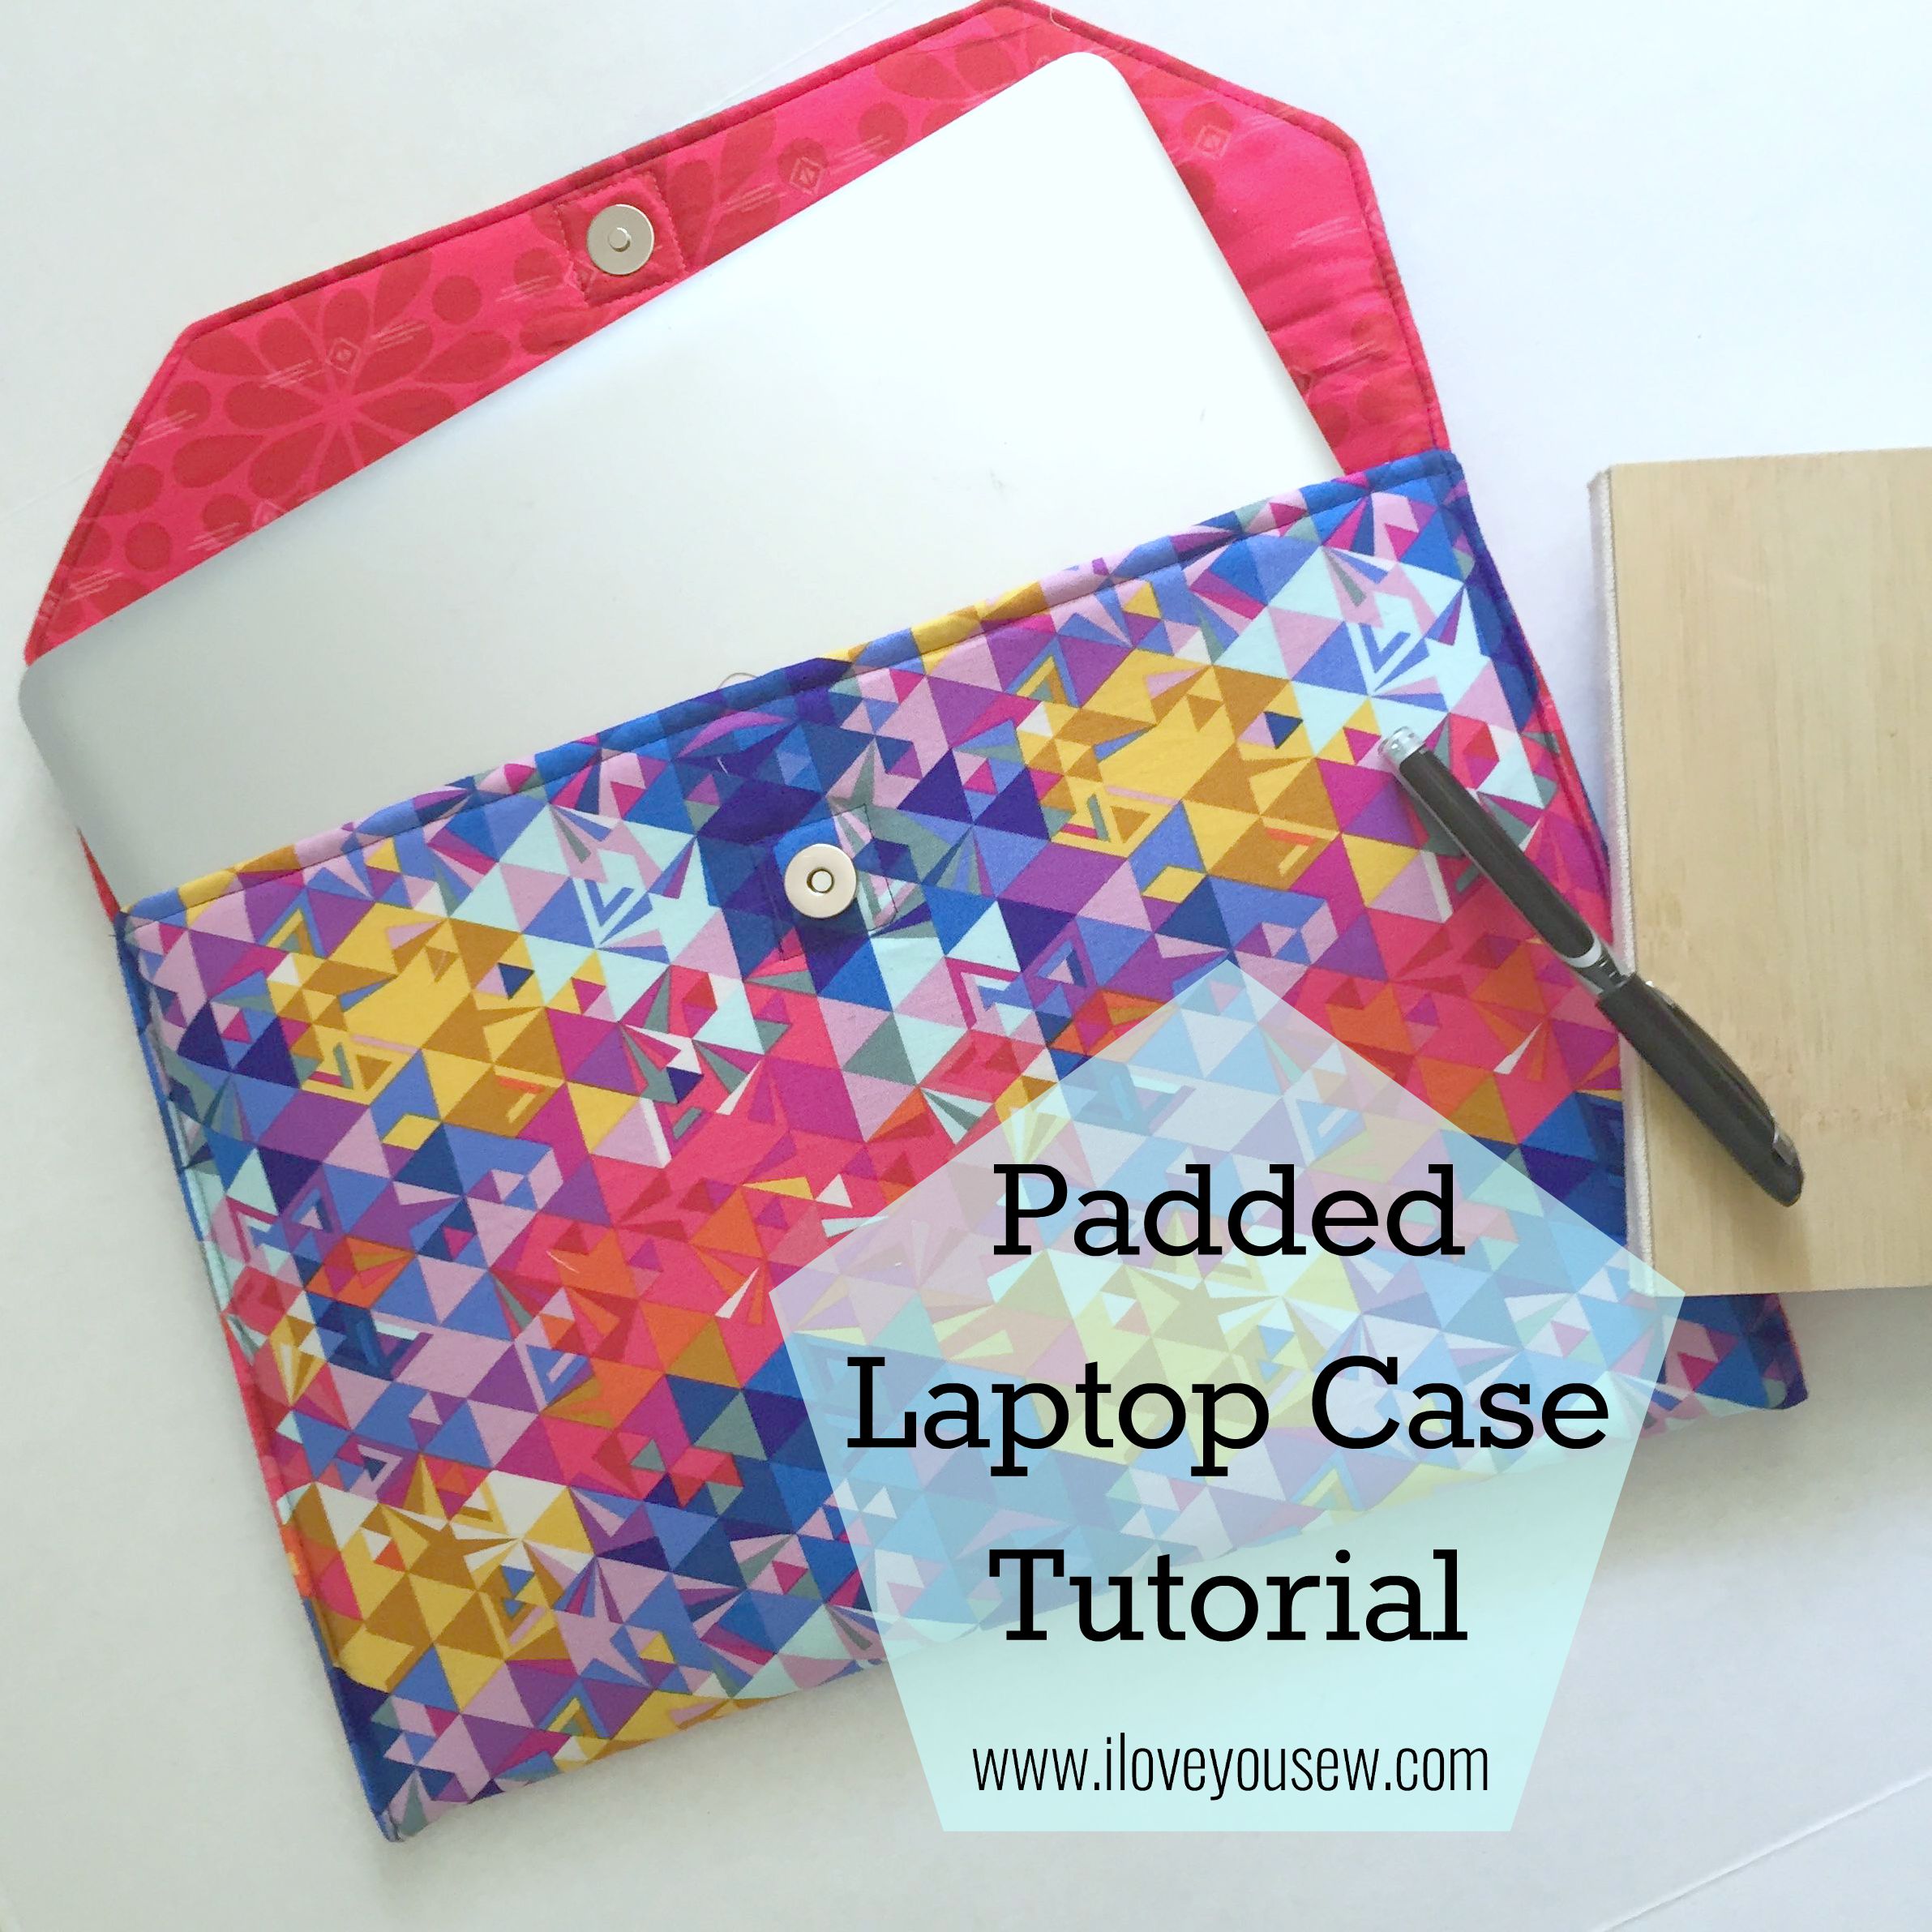
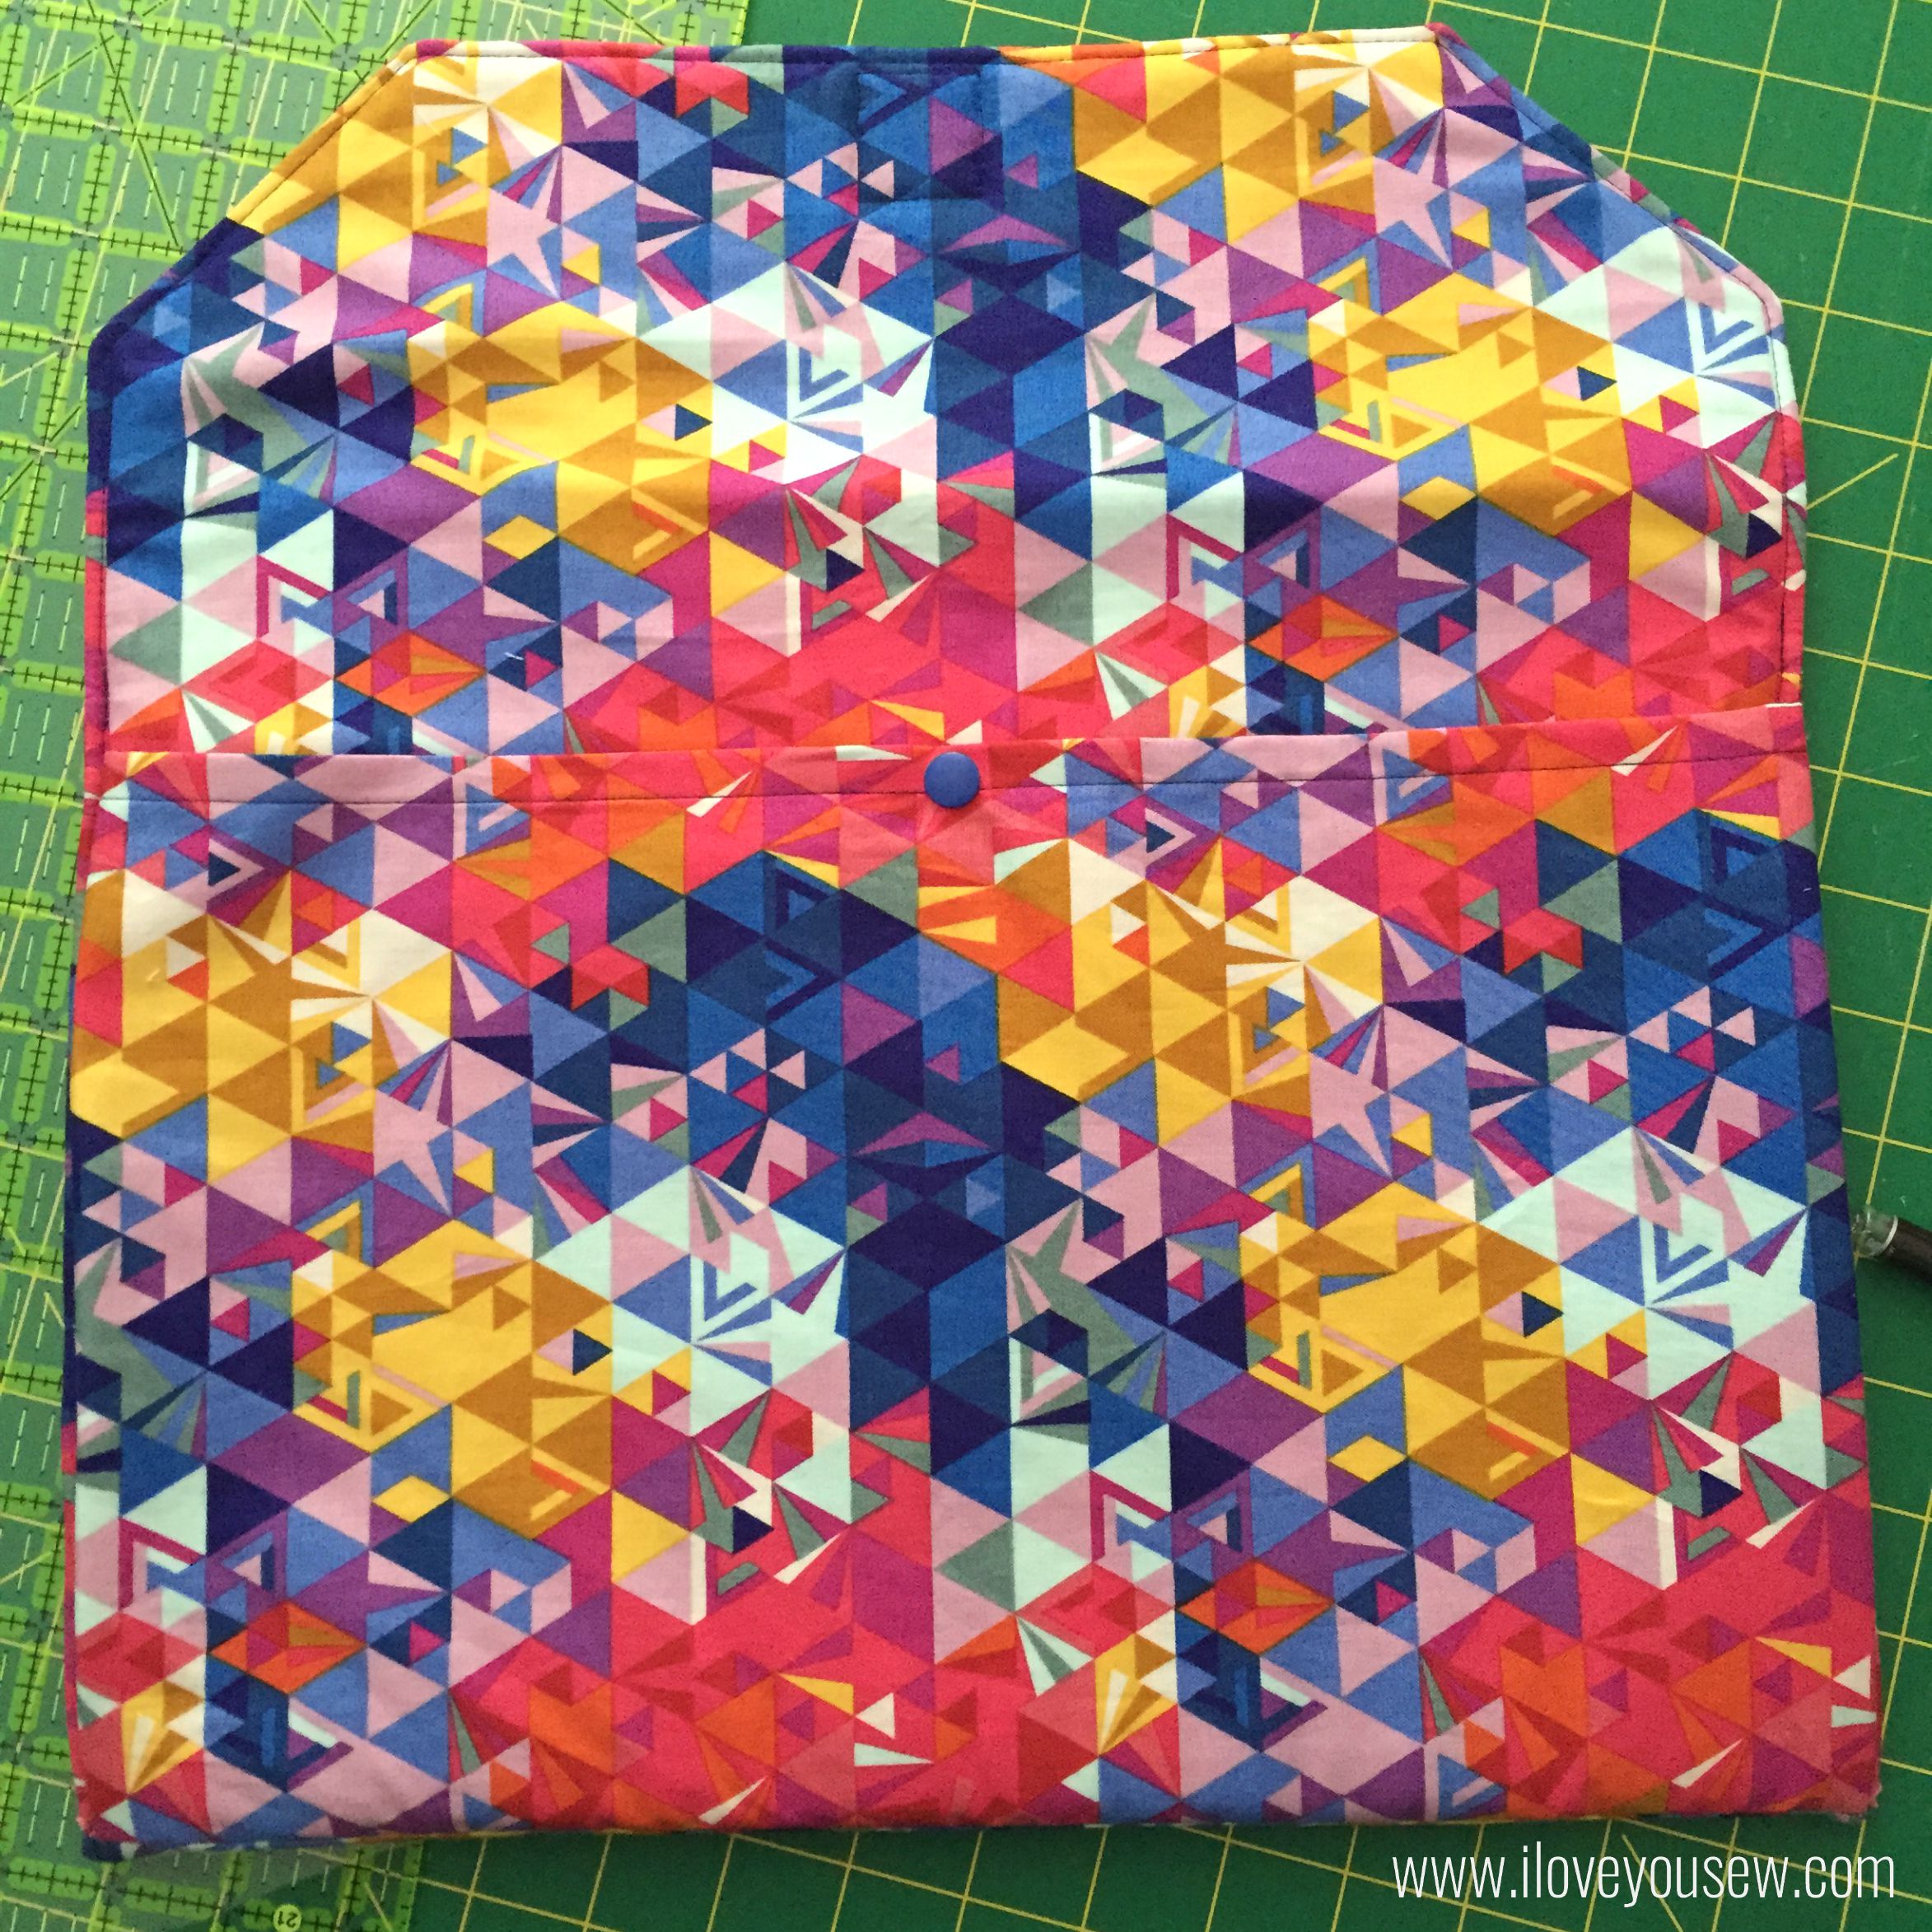
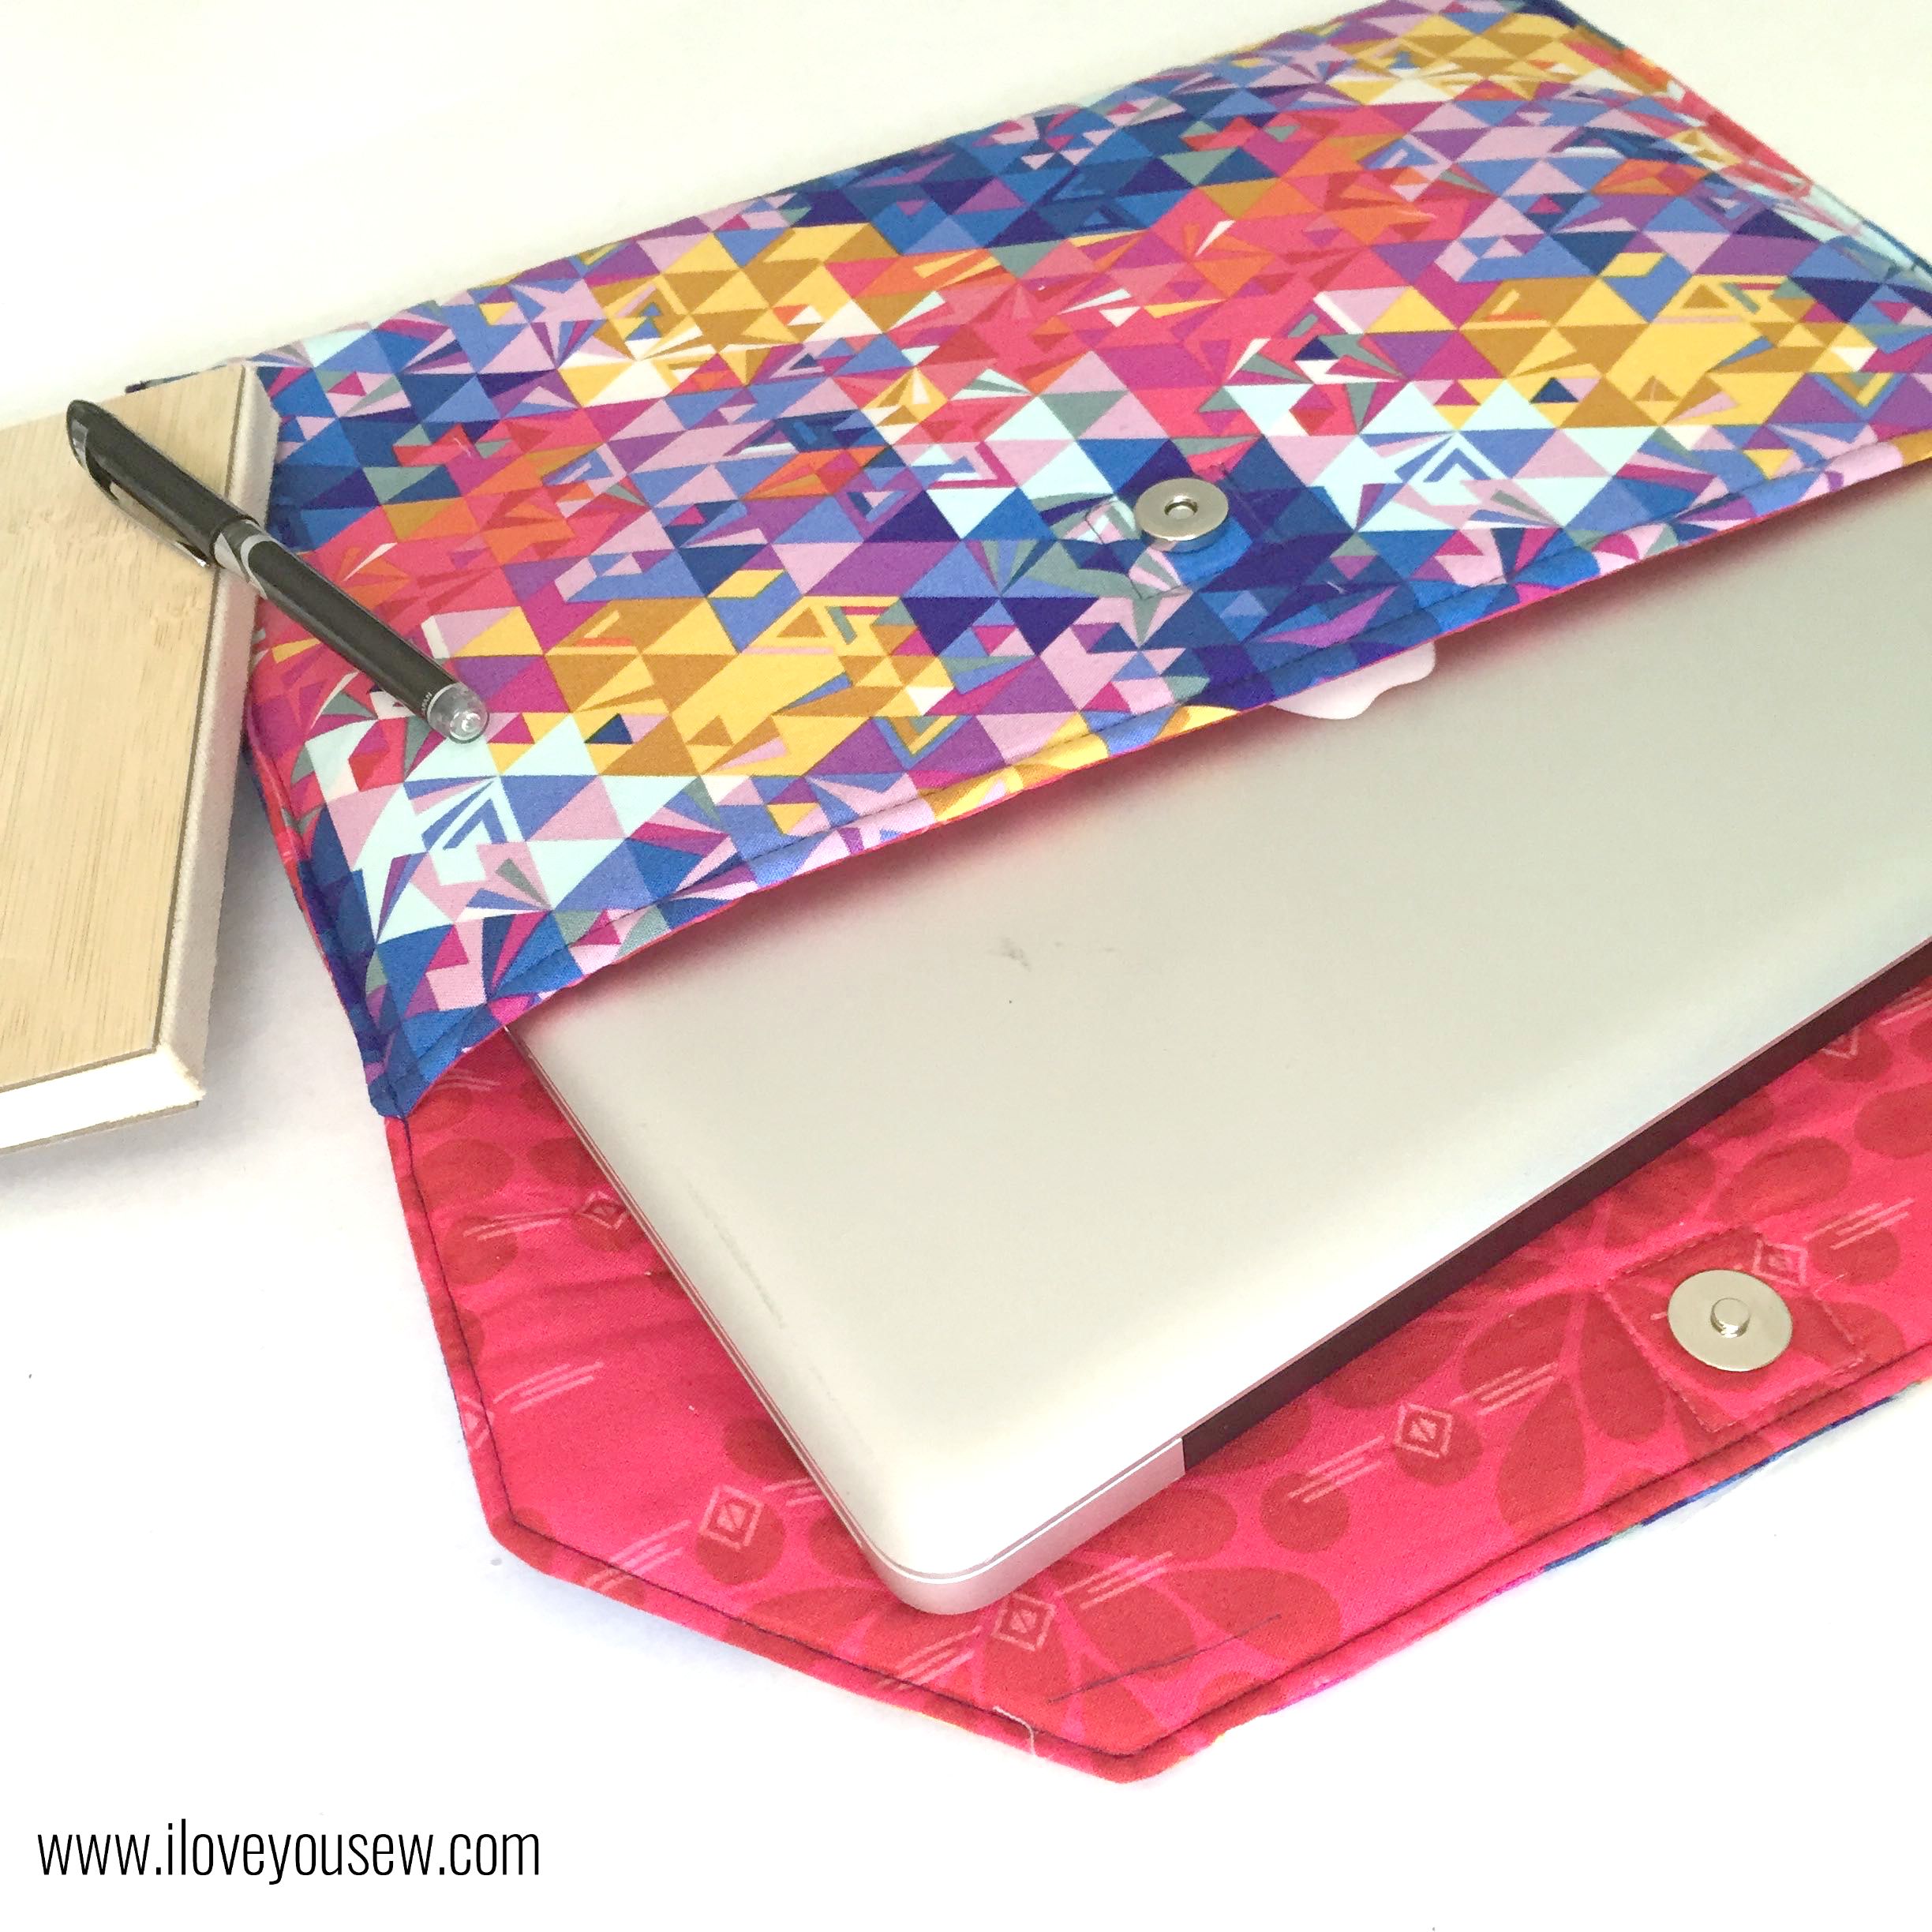
Today, I’m going to share my own pattern for a padded laptop case. Every time I’ve had to travel, I’ve thought of how much I needed a cover for my MacBook. But with our recent trip to the lake, I actually made one…the night before we left…in true procrastinator style. How many times have you done something like that???
*Please read through all steps before starting. Cutting dimensions are based on a 13″ Apple Macbook Pro (approx. 12.75″L x 9″W x 0.75″H)
Supplies:
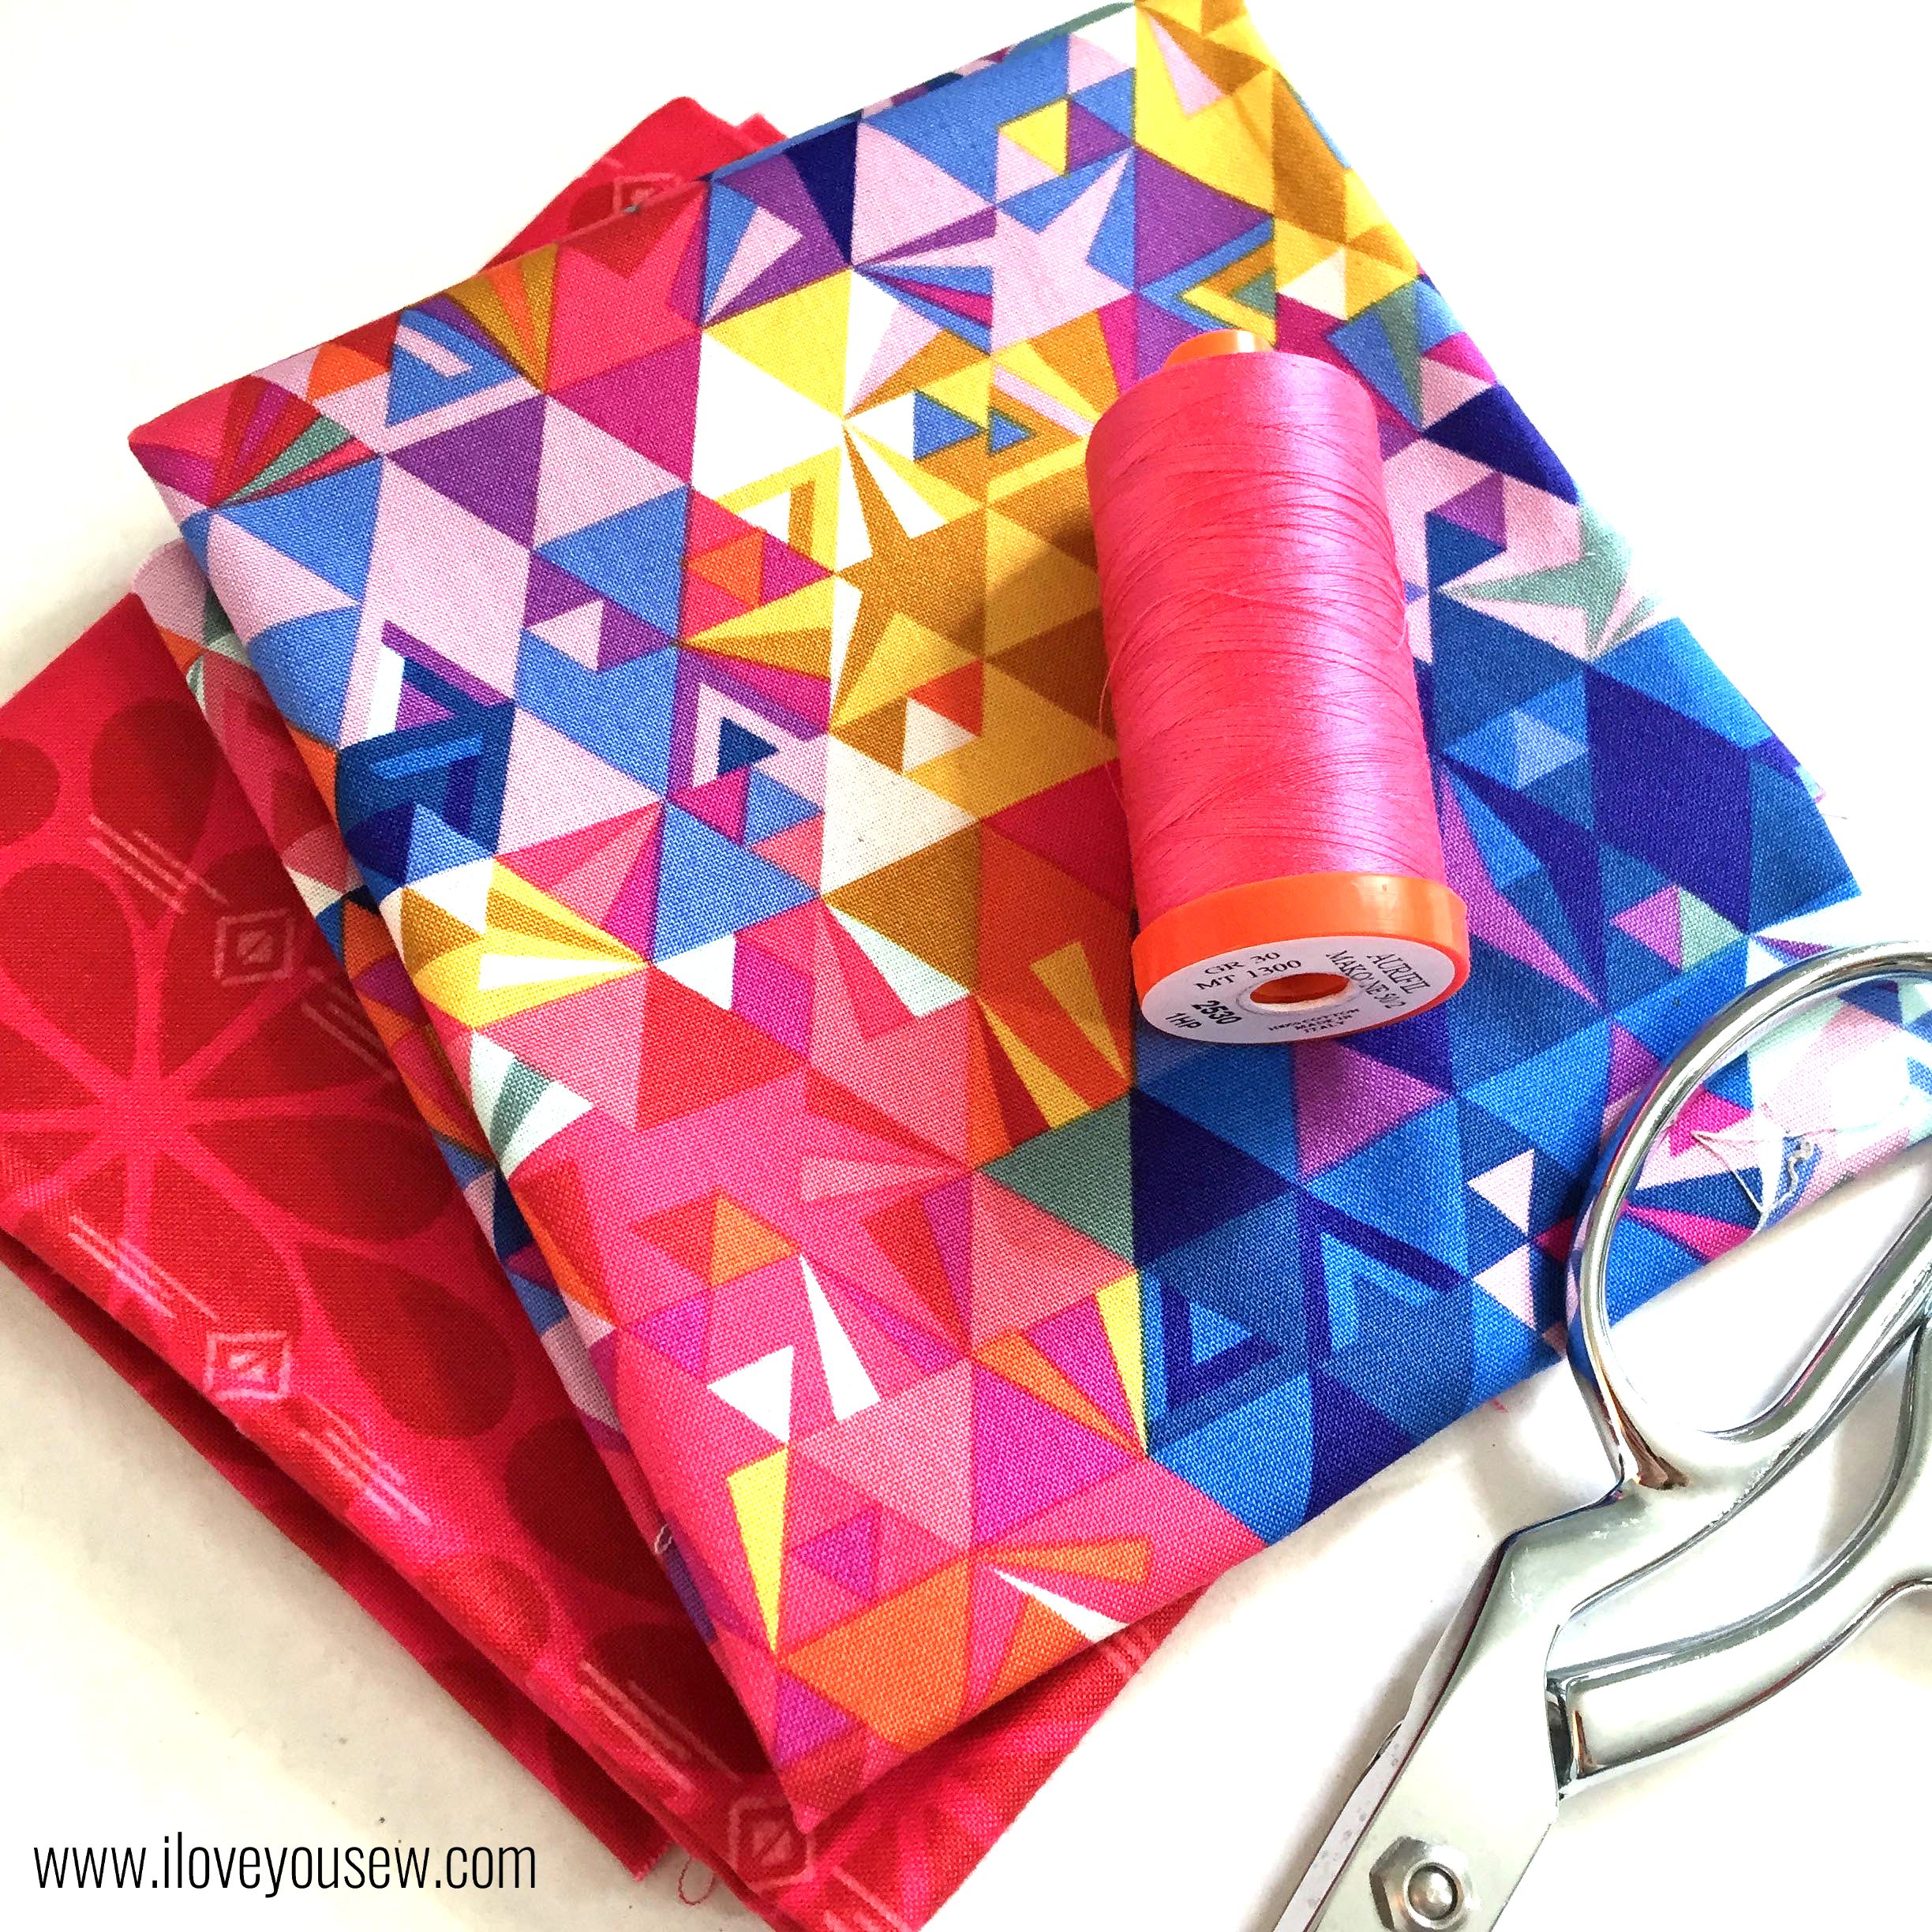
- 1/2 yd of Exterior Fabric
- 1/2 yd of Lining Fabric
- 1/2 yd of Pellon Flex-Foam or Annie’s Soft & Stable
- 1/4 yd of Mid to Heavyweight Interfacing
- 1 set of Magnetic Snaps
- 3 sets of KAM Snaps
- Coordinating Thread
- Rotary Cutter and Cutting Board
- Fabric Scissors
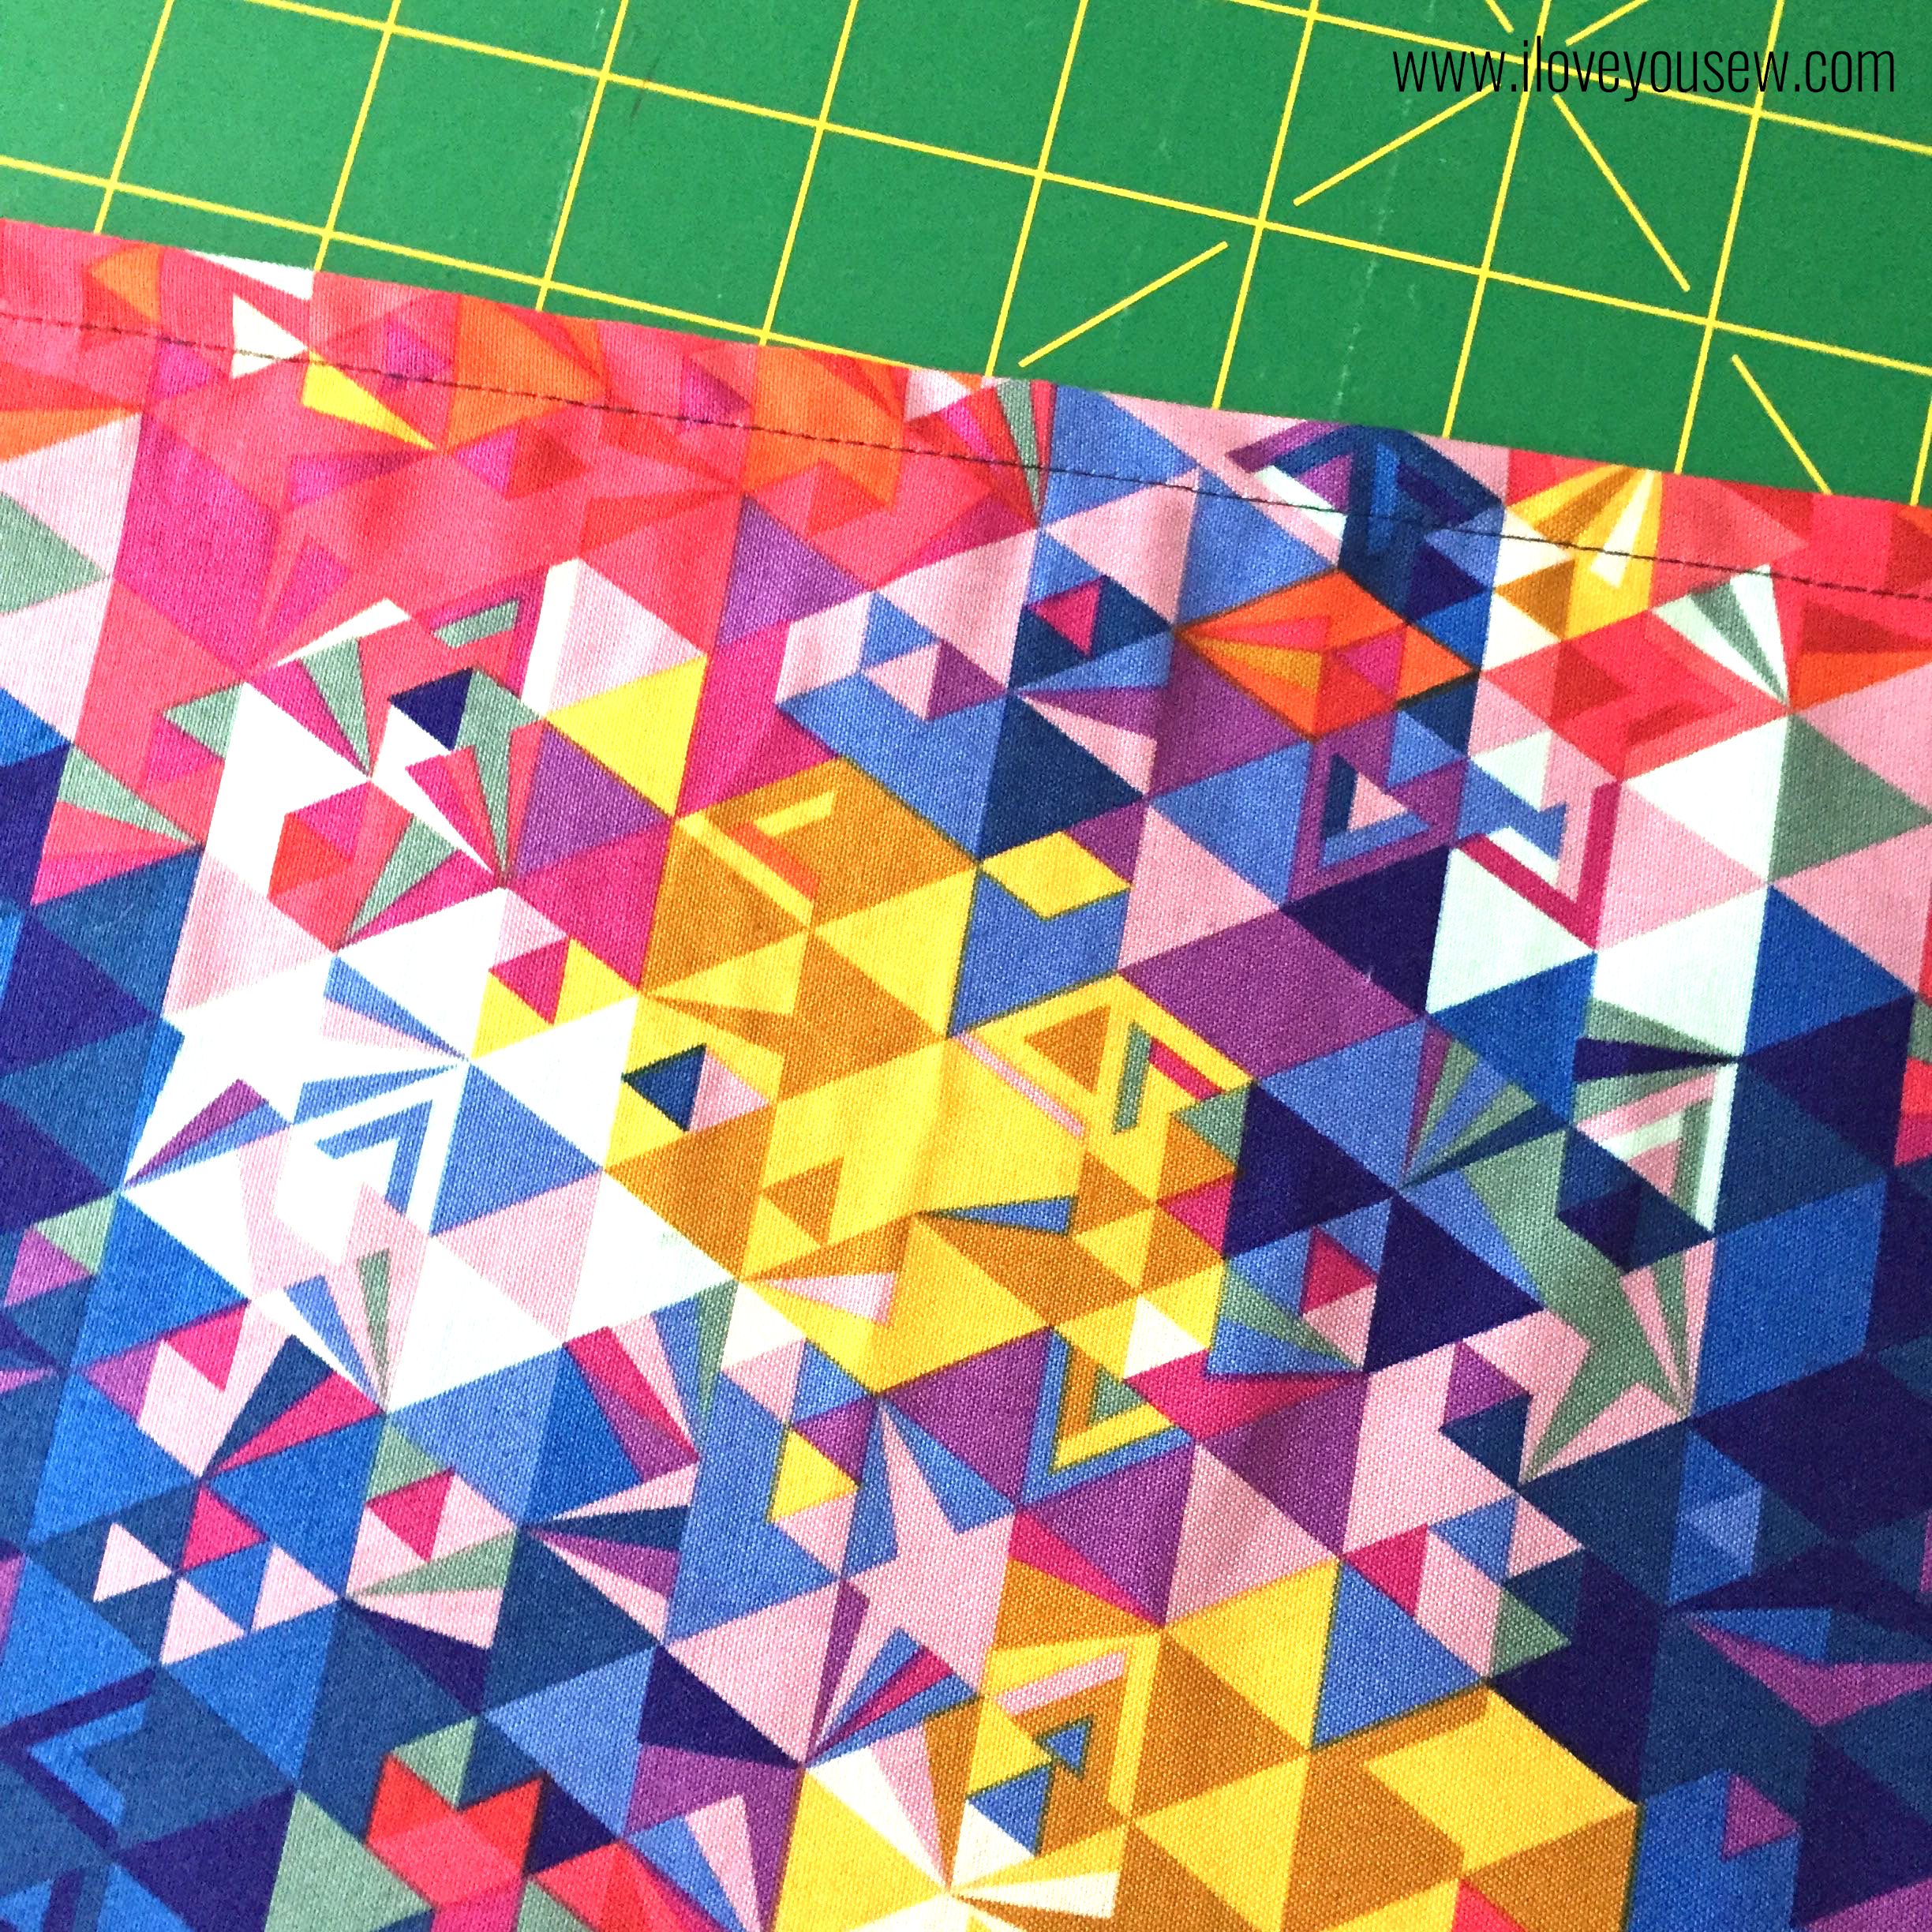
If you follow me on IG, I made my personal one with Alison Glass‘s Geometry in Sunset (as shown) but with Mercury in blue as the pocket and the Historical Fiction in Gold print for the lining. Luckily, my niece saw what I made and wanted one for her very own. How did she know I also wanted to write a tutorial? She selected Geometry and I had a bunch of Historical Fiction in Strawberry in my stash to match. I love this vibrant combination.
Cutting Requirements:
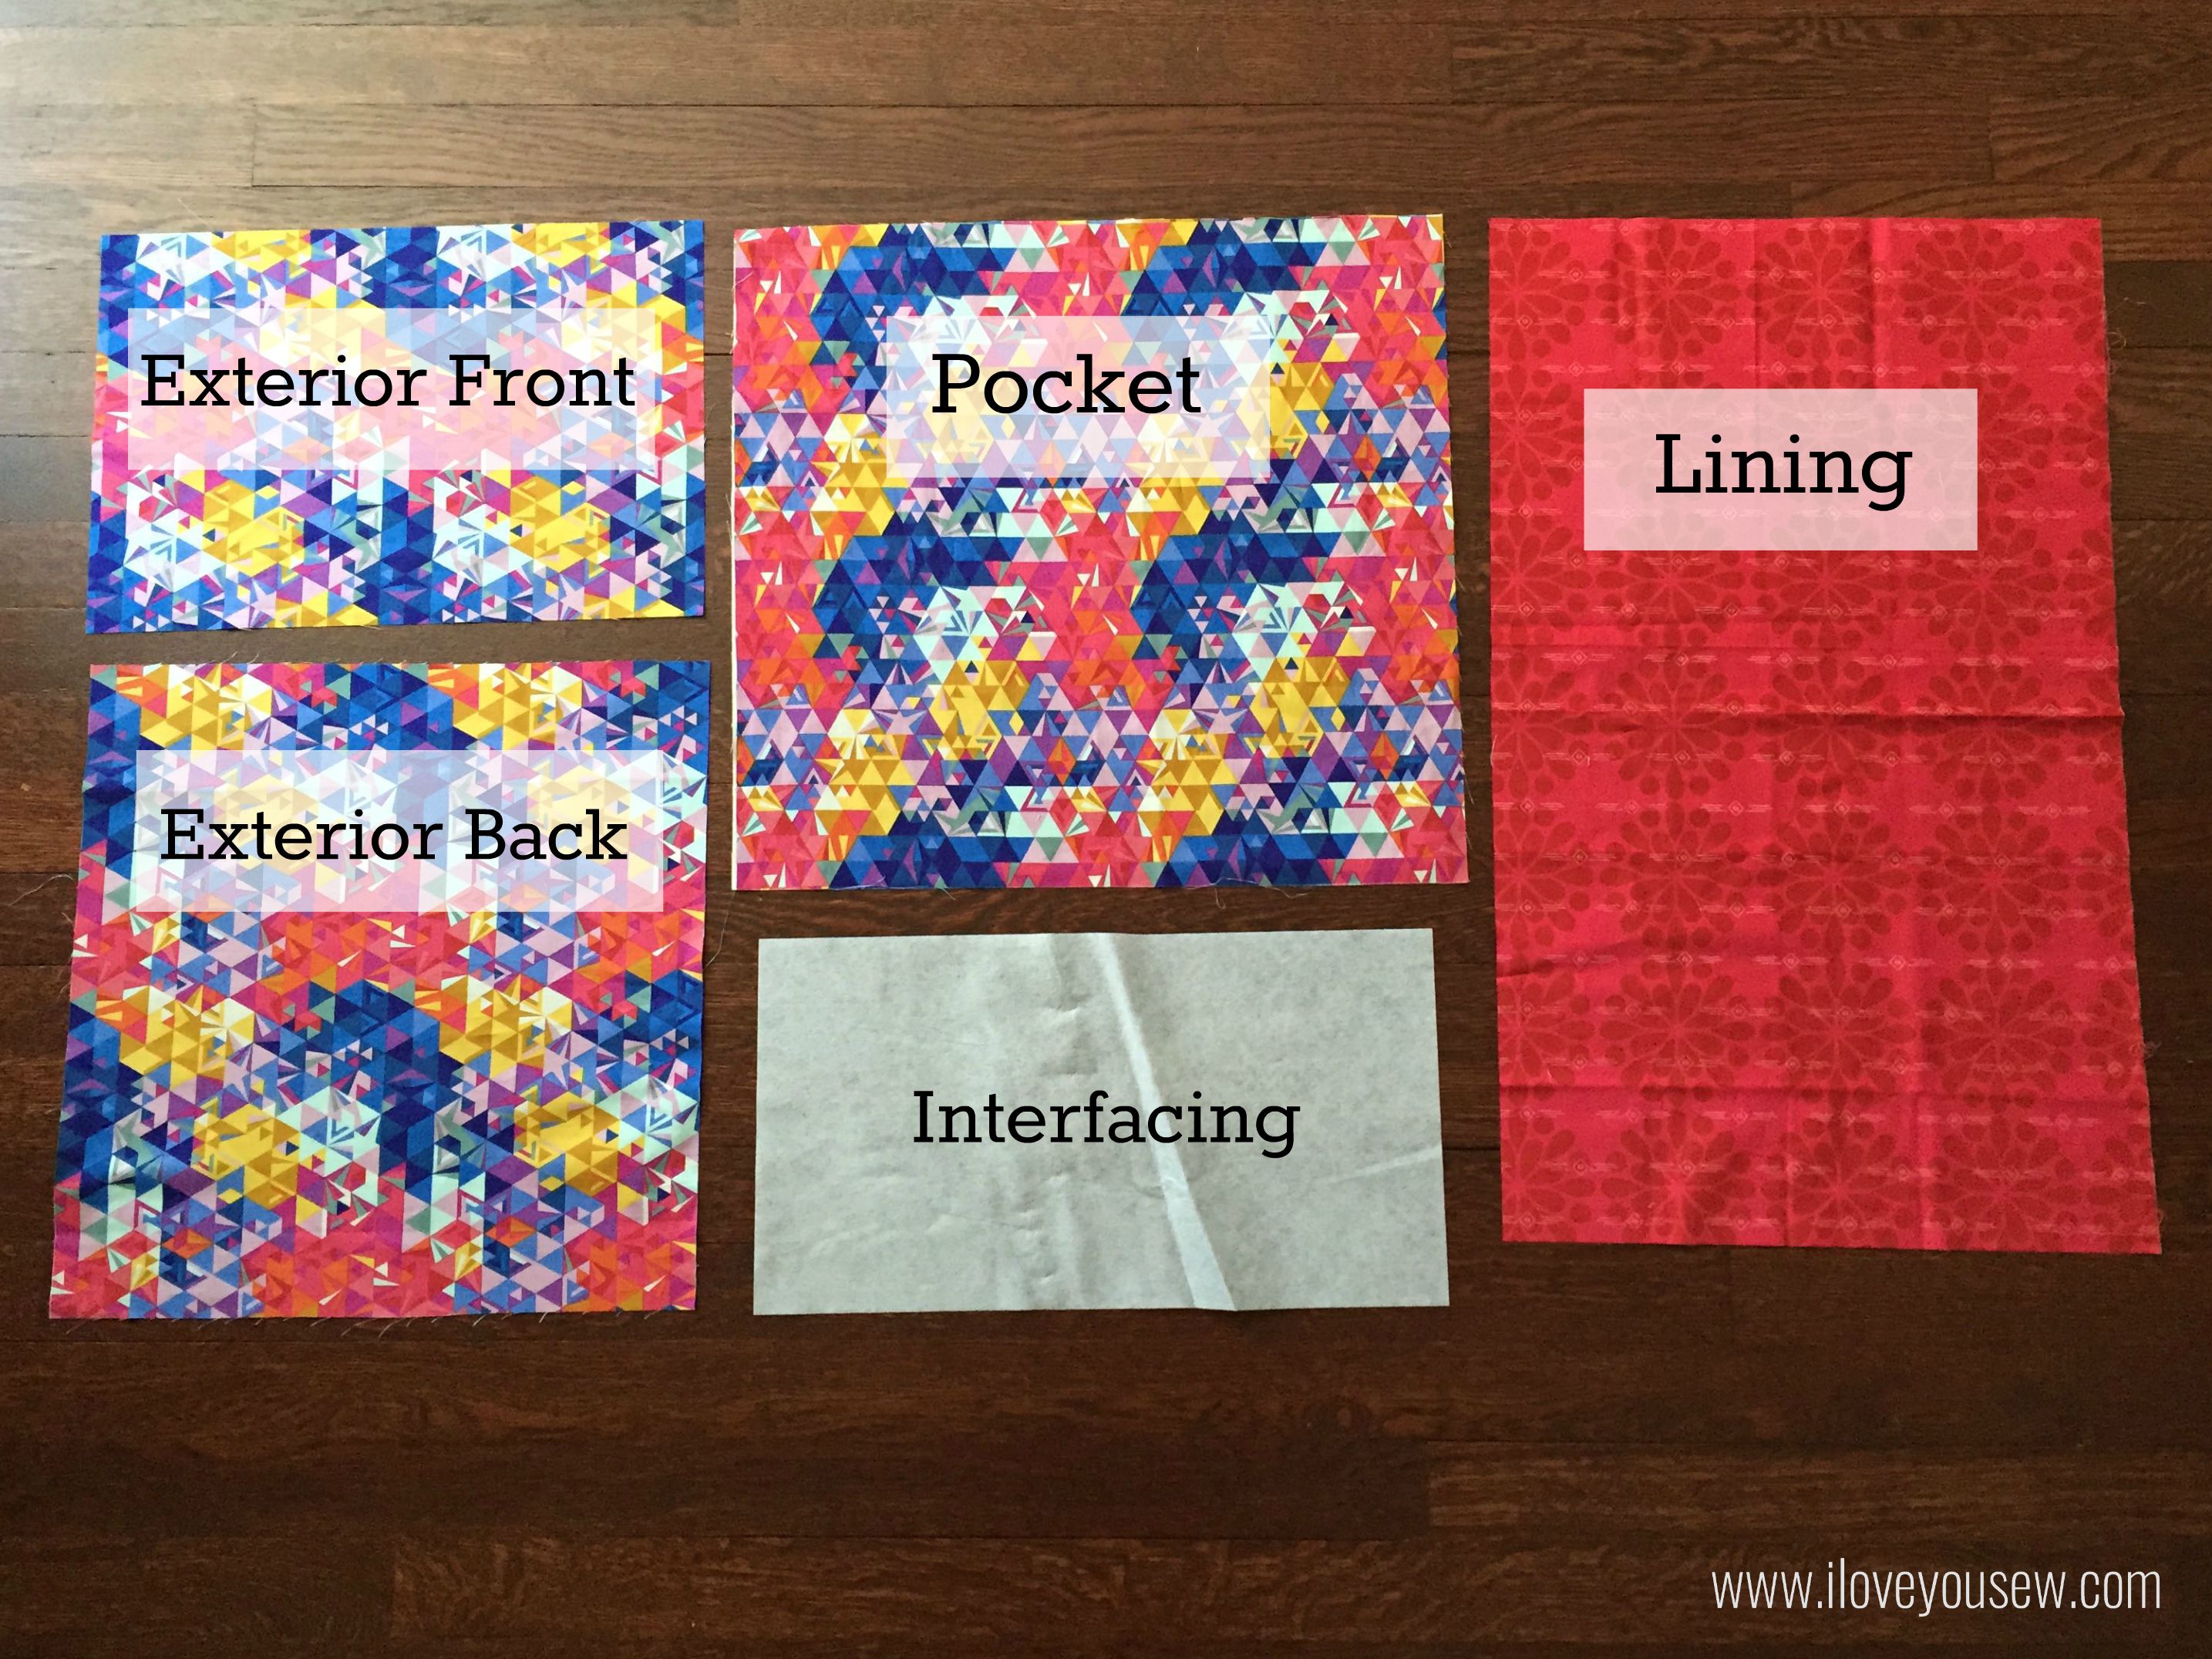 *Please note all measurements are for a 13″ Apple Macbook Pro.
- Cut from Exterior Fabric (L x W):
- Front – 15.75″ x 10.75″
- Back – 15.75″ x 16.25″
- Pocket – 17.75″ x 18.75″
- Lining – 15.75″ x 26.5″
- Interfacing – 17.25″ x 9″
- Flex-Foam 15.25″ x 26″ (not pictured)
Instructions:
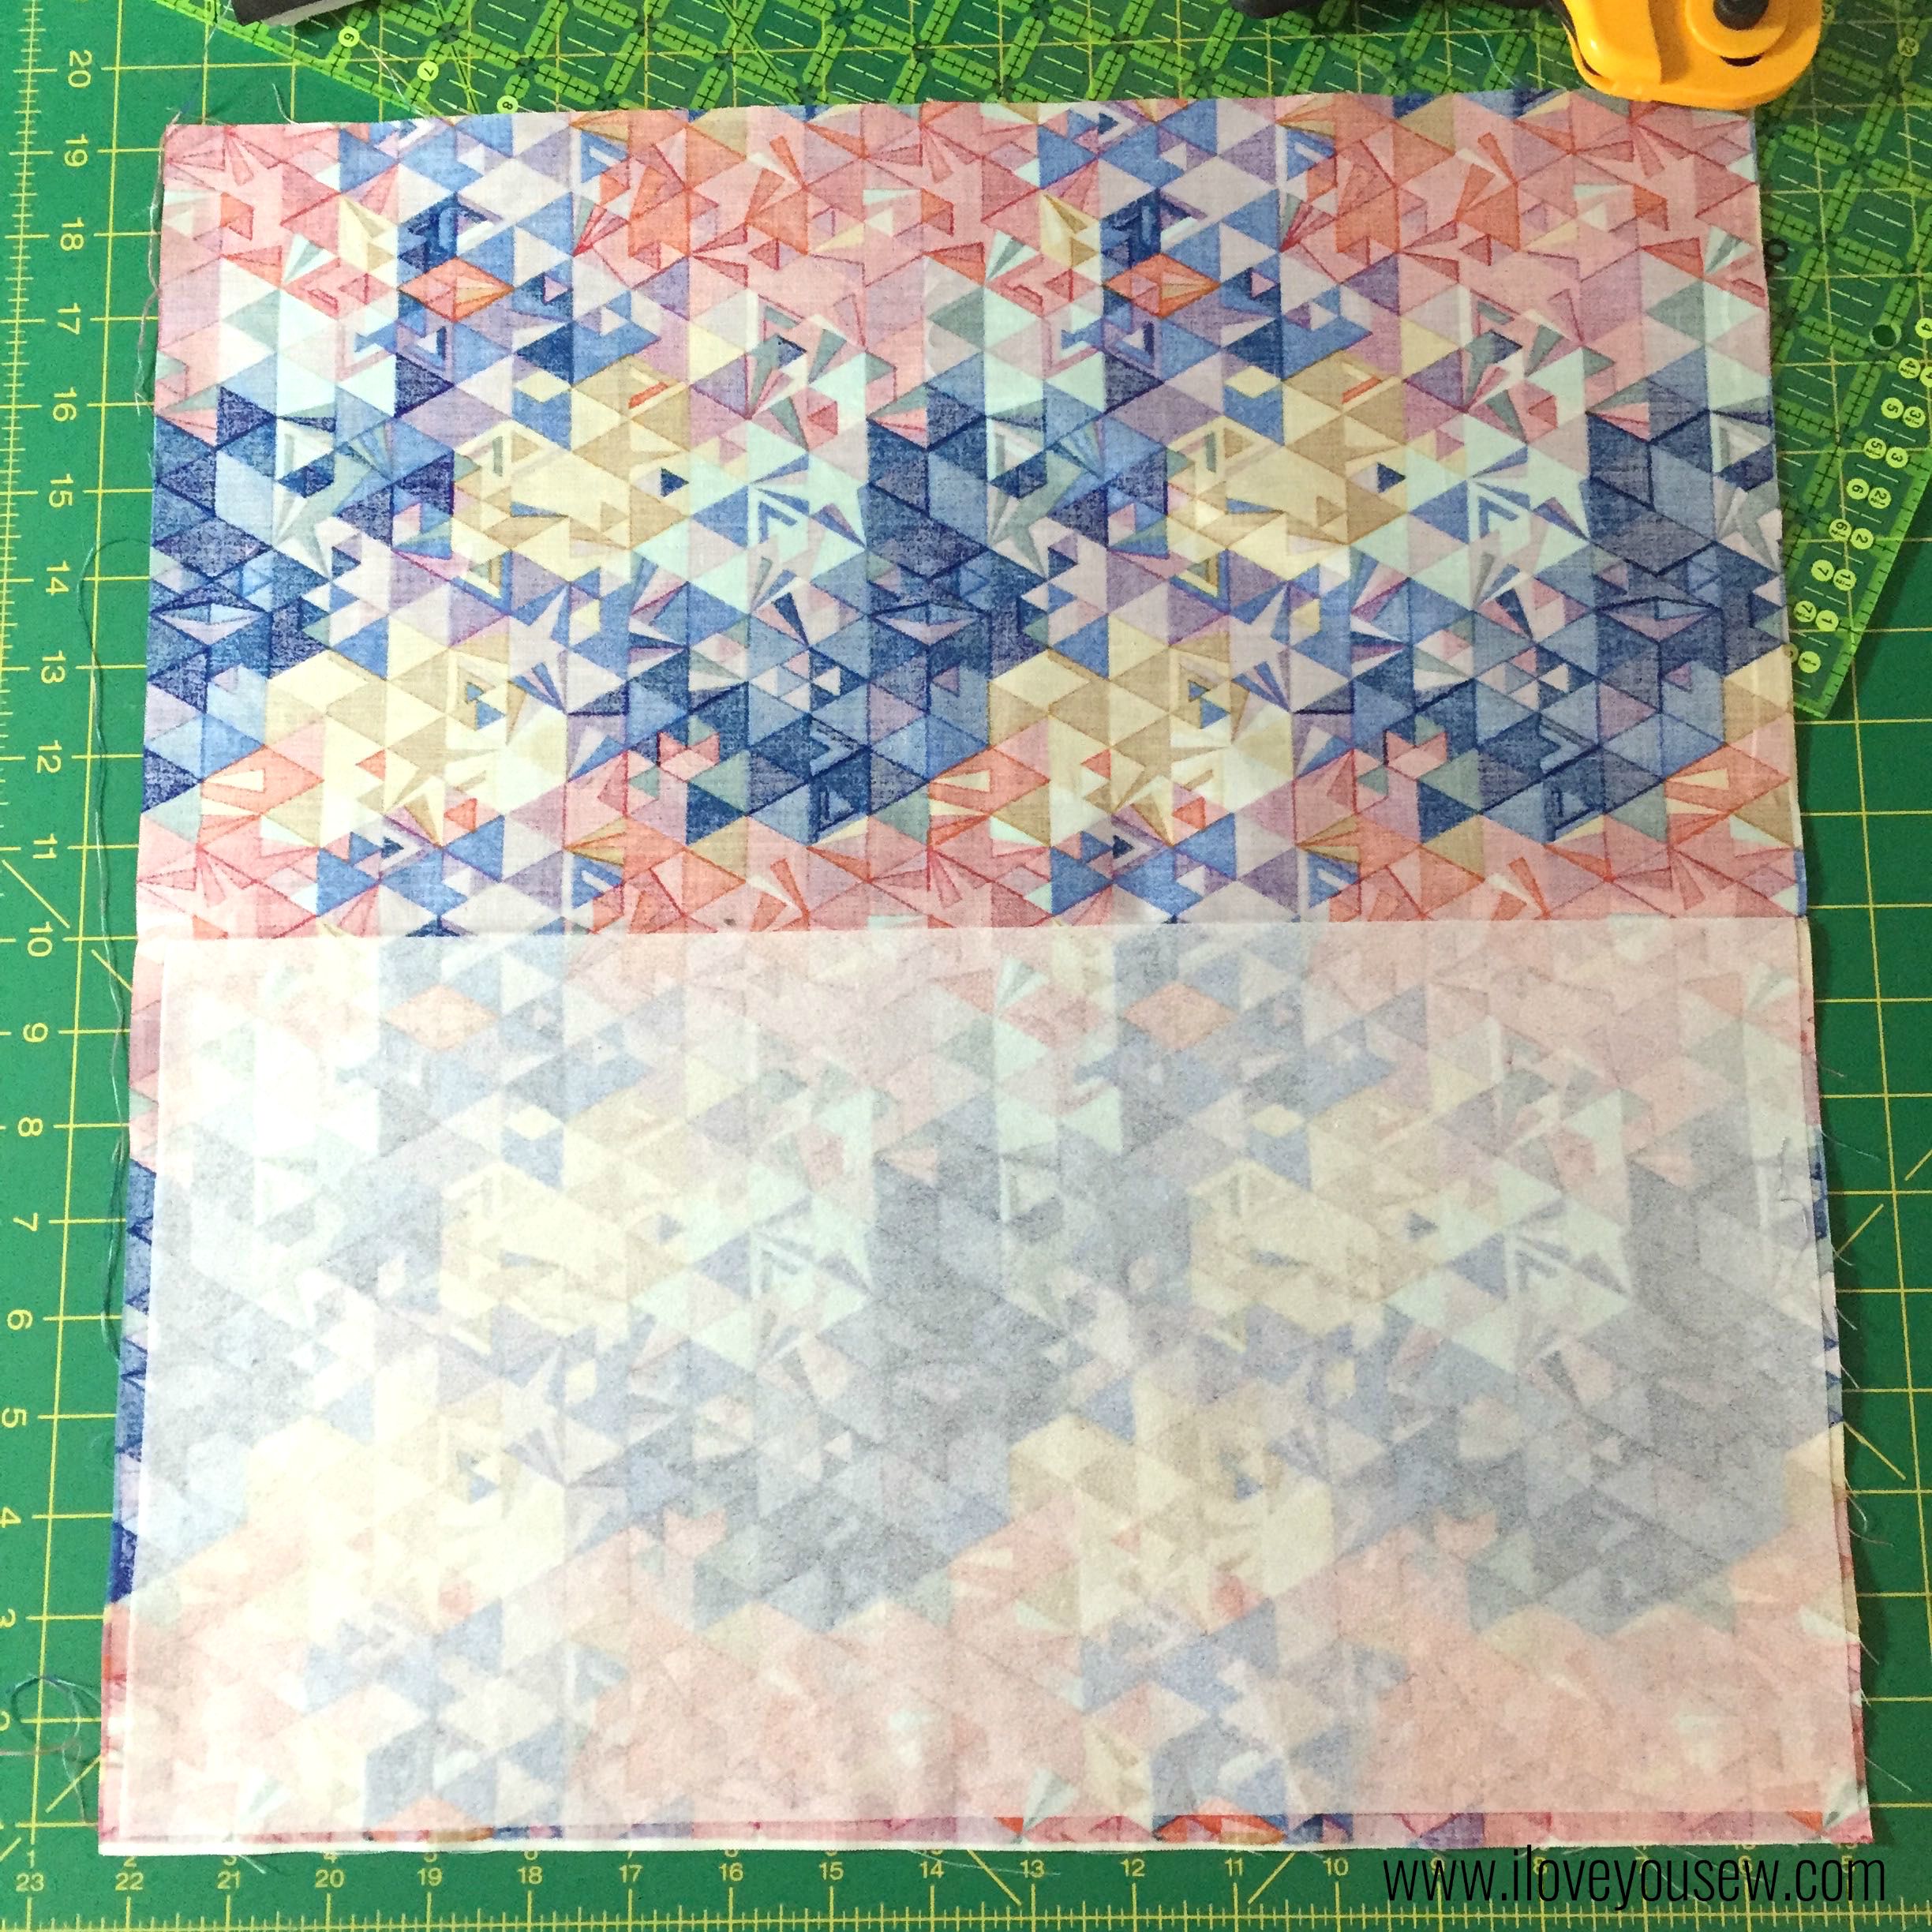
Lay Pocket right-side facing down (17.75″ at the top) and fuse the interfacing to the bottom half according to the manufacturer’s instructions. There should be a 1/4″ seam allowance all around the interfacing.
Fold the pocket in half, wrong sides together, so the interfacing is sandwiched in between the Pocket fabric. Press with iron and sew a 1/2″ seam along the fold to keep all pieces in place. Set aside.
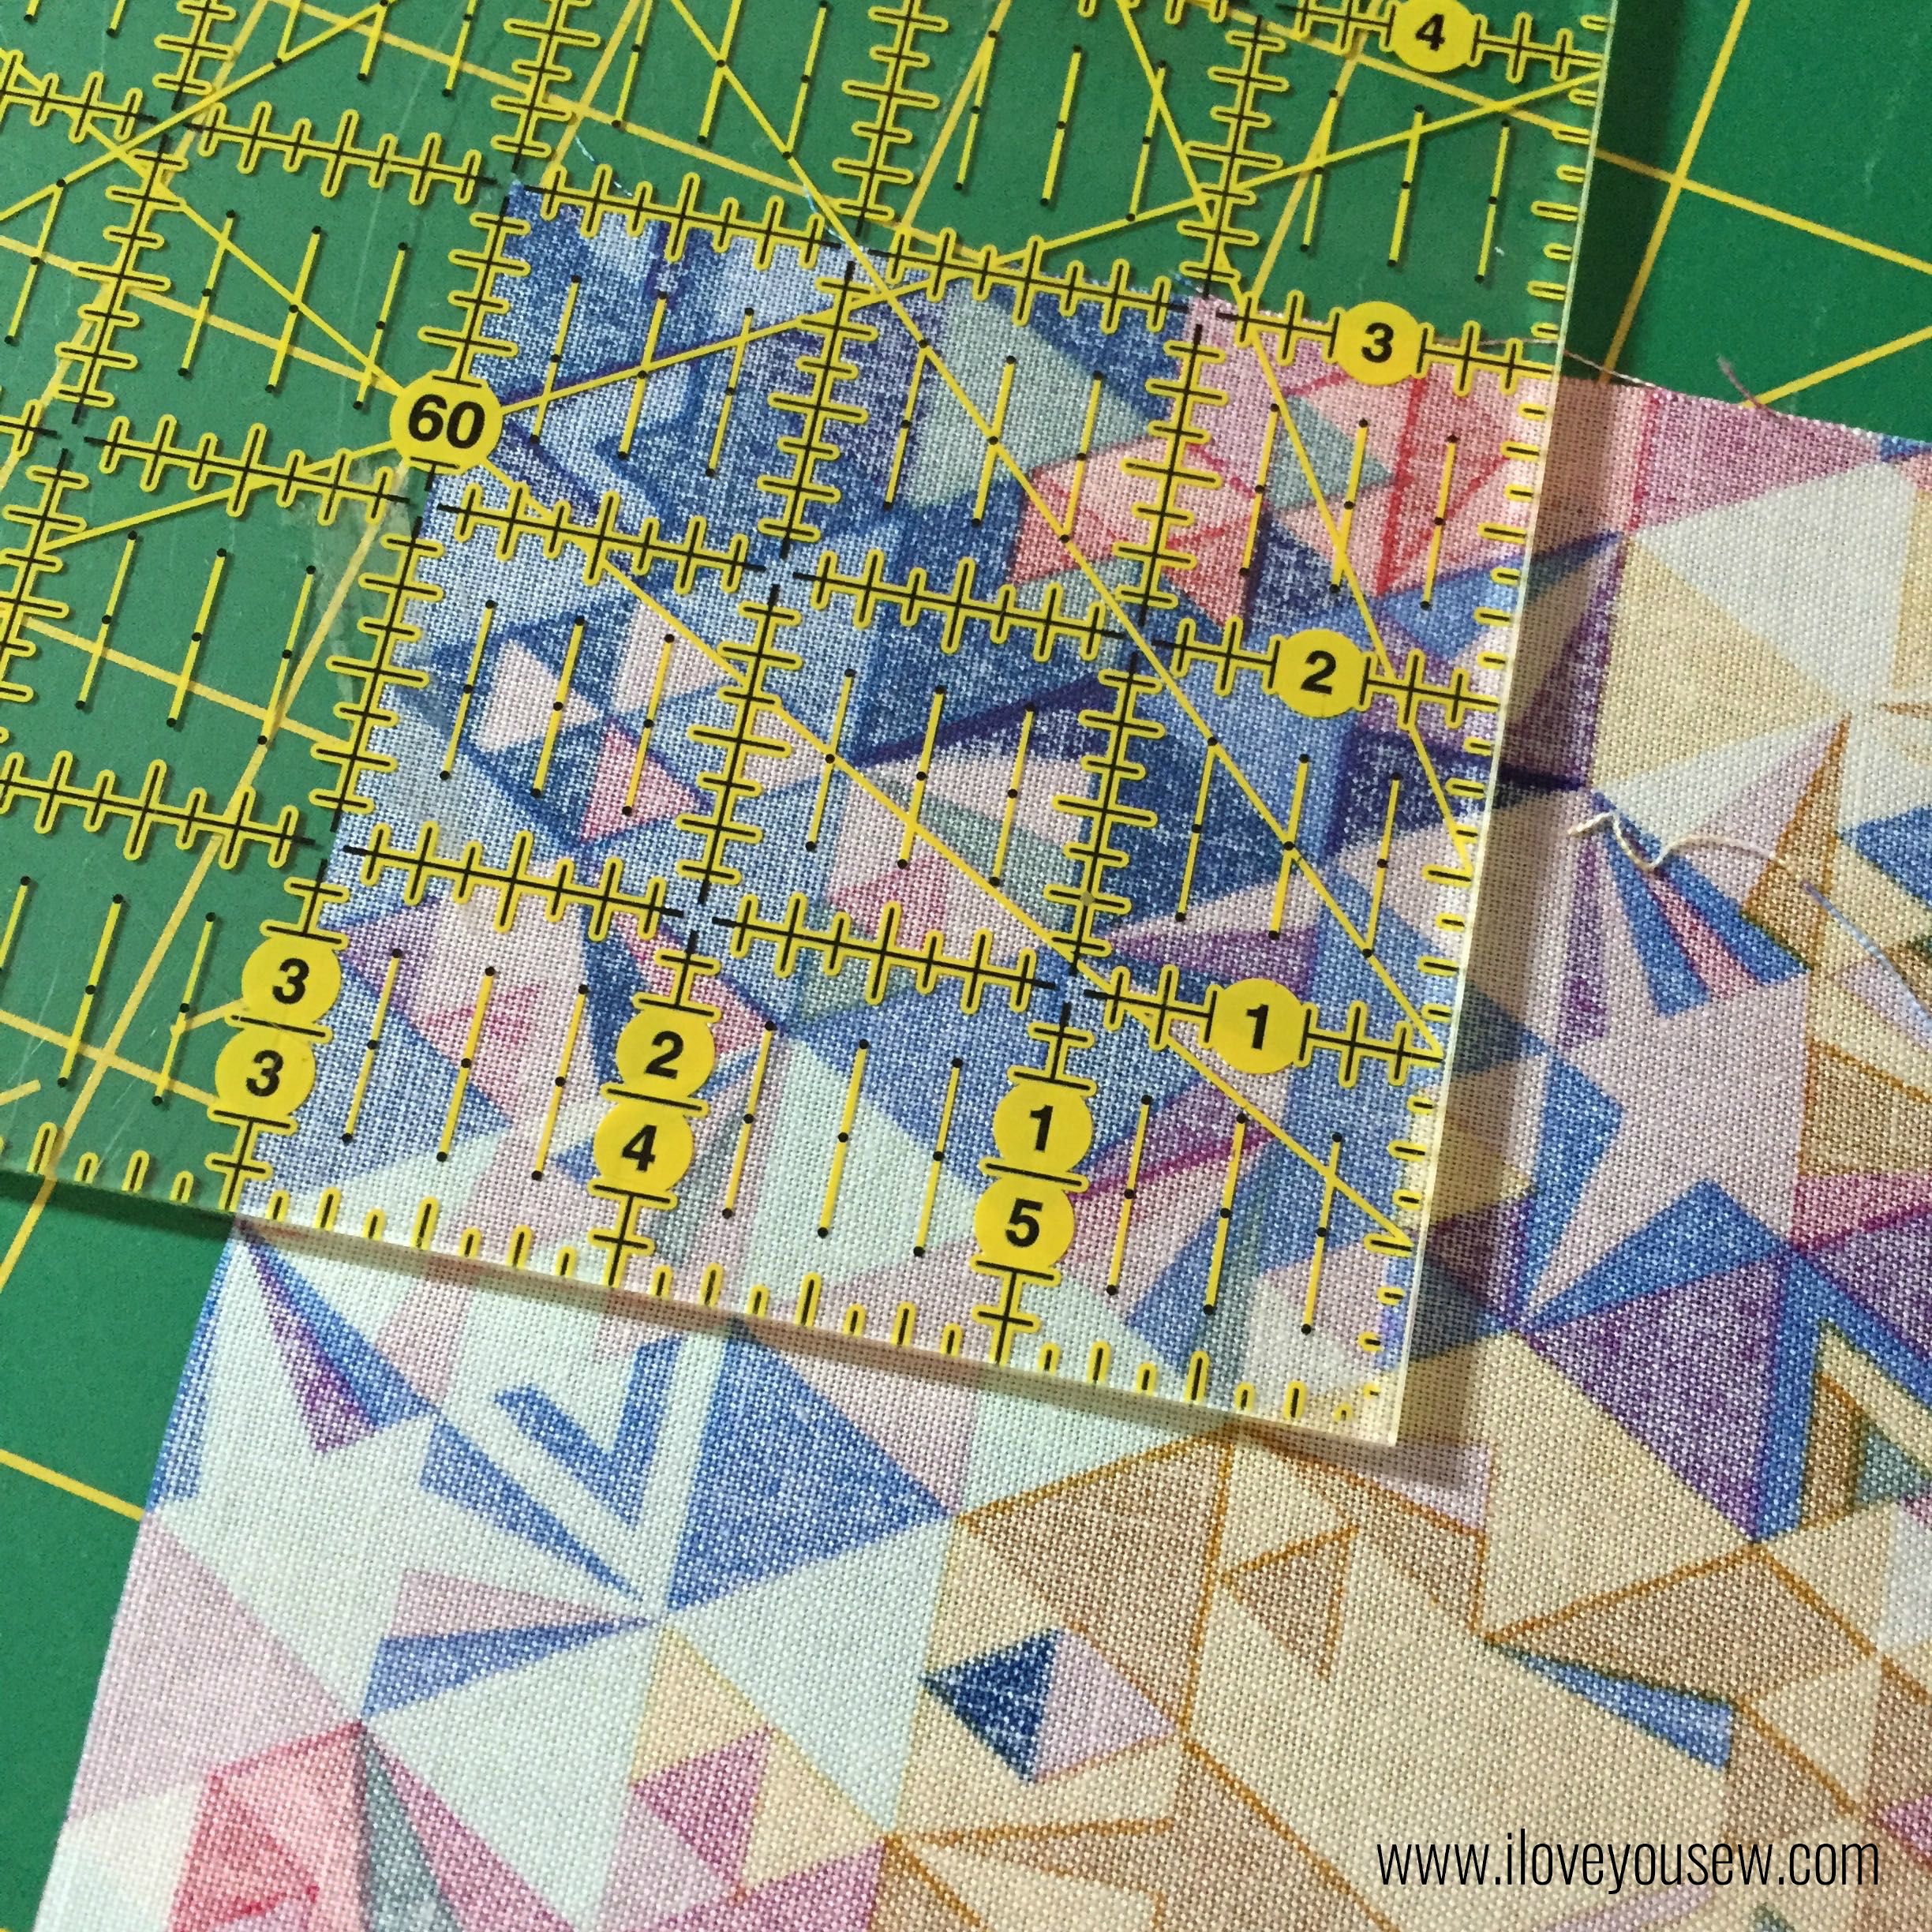
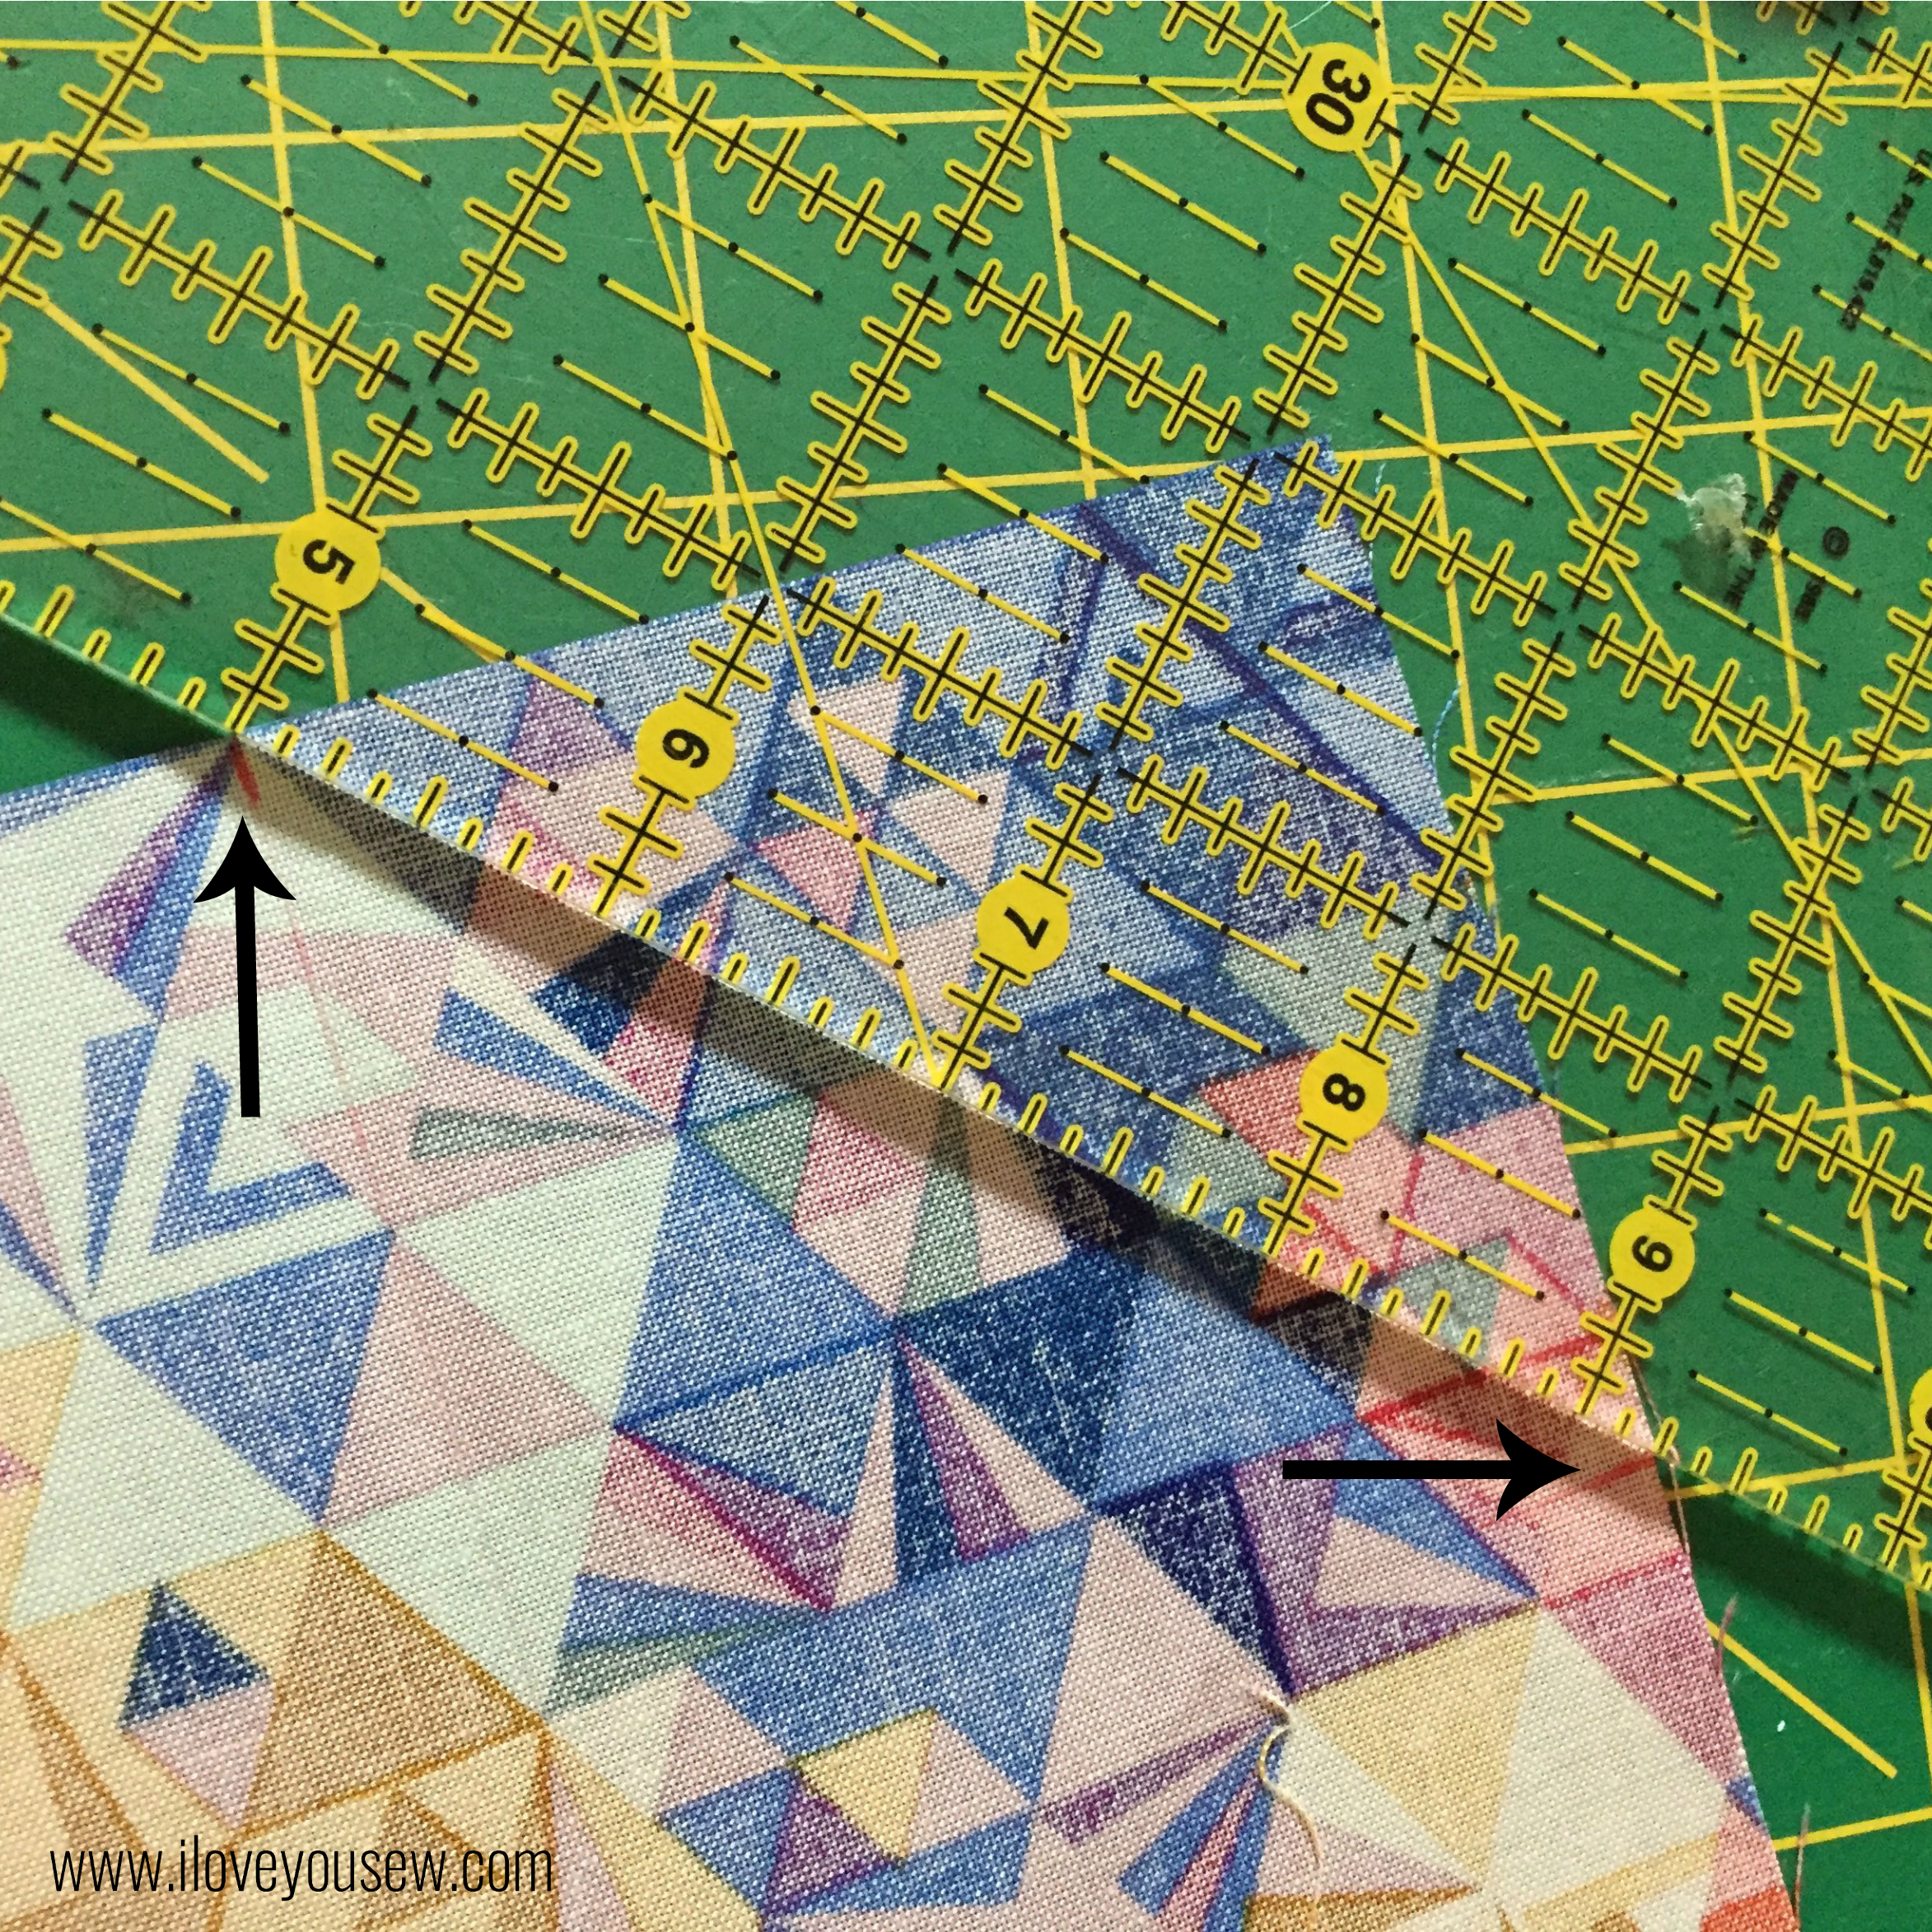
Take the Exterior Back fabric and hold it with the 15.75″ side along the top. Measure 3″ in from both of the top corners and mark.
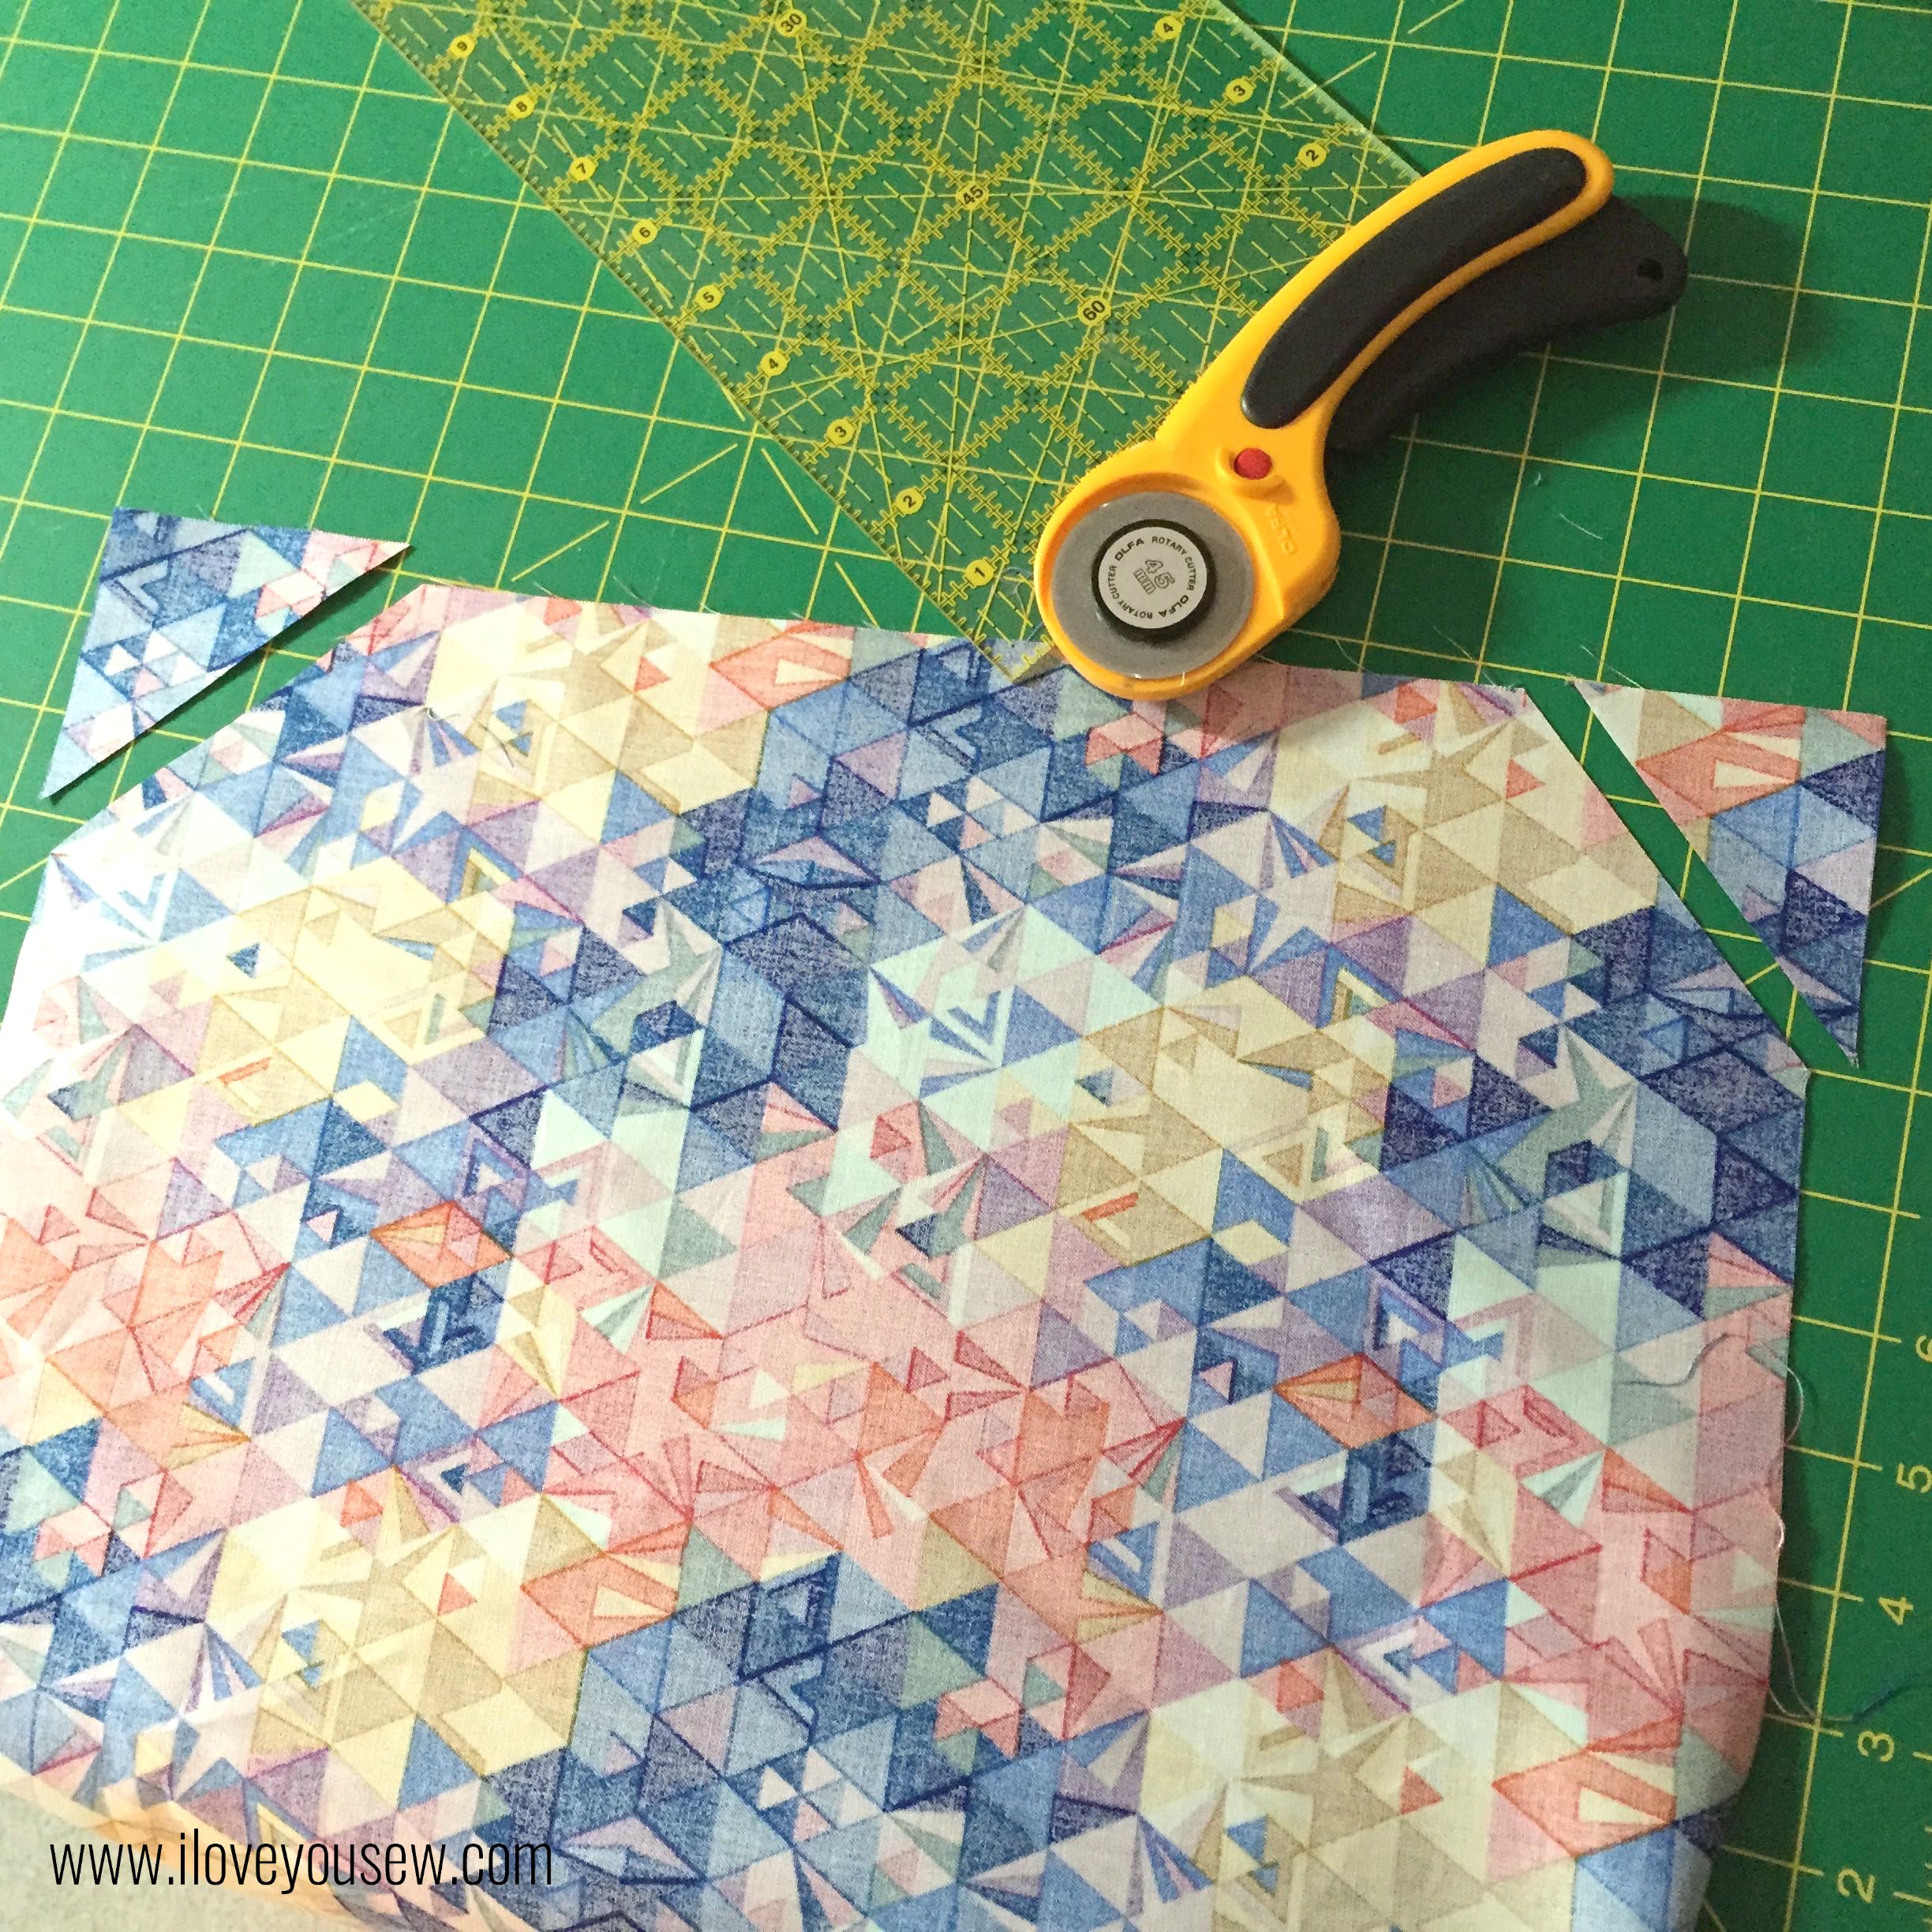
Connect the two marks and cut off each corner.
Repeat for the lining and Flex-Foam.
Center the Lining (wrong side) on top of Flex-Foam and baste the two layers together. Set aside. TIP: Baste from the center out toward the edges. This helps pull the lining taut.
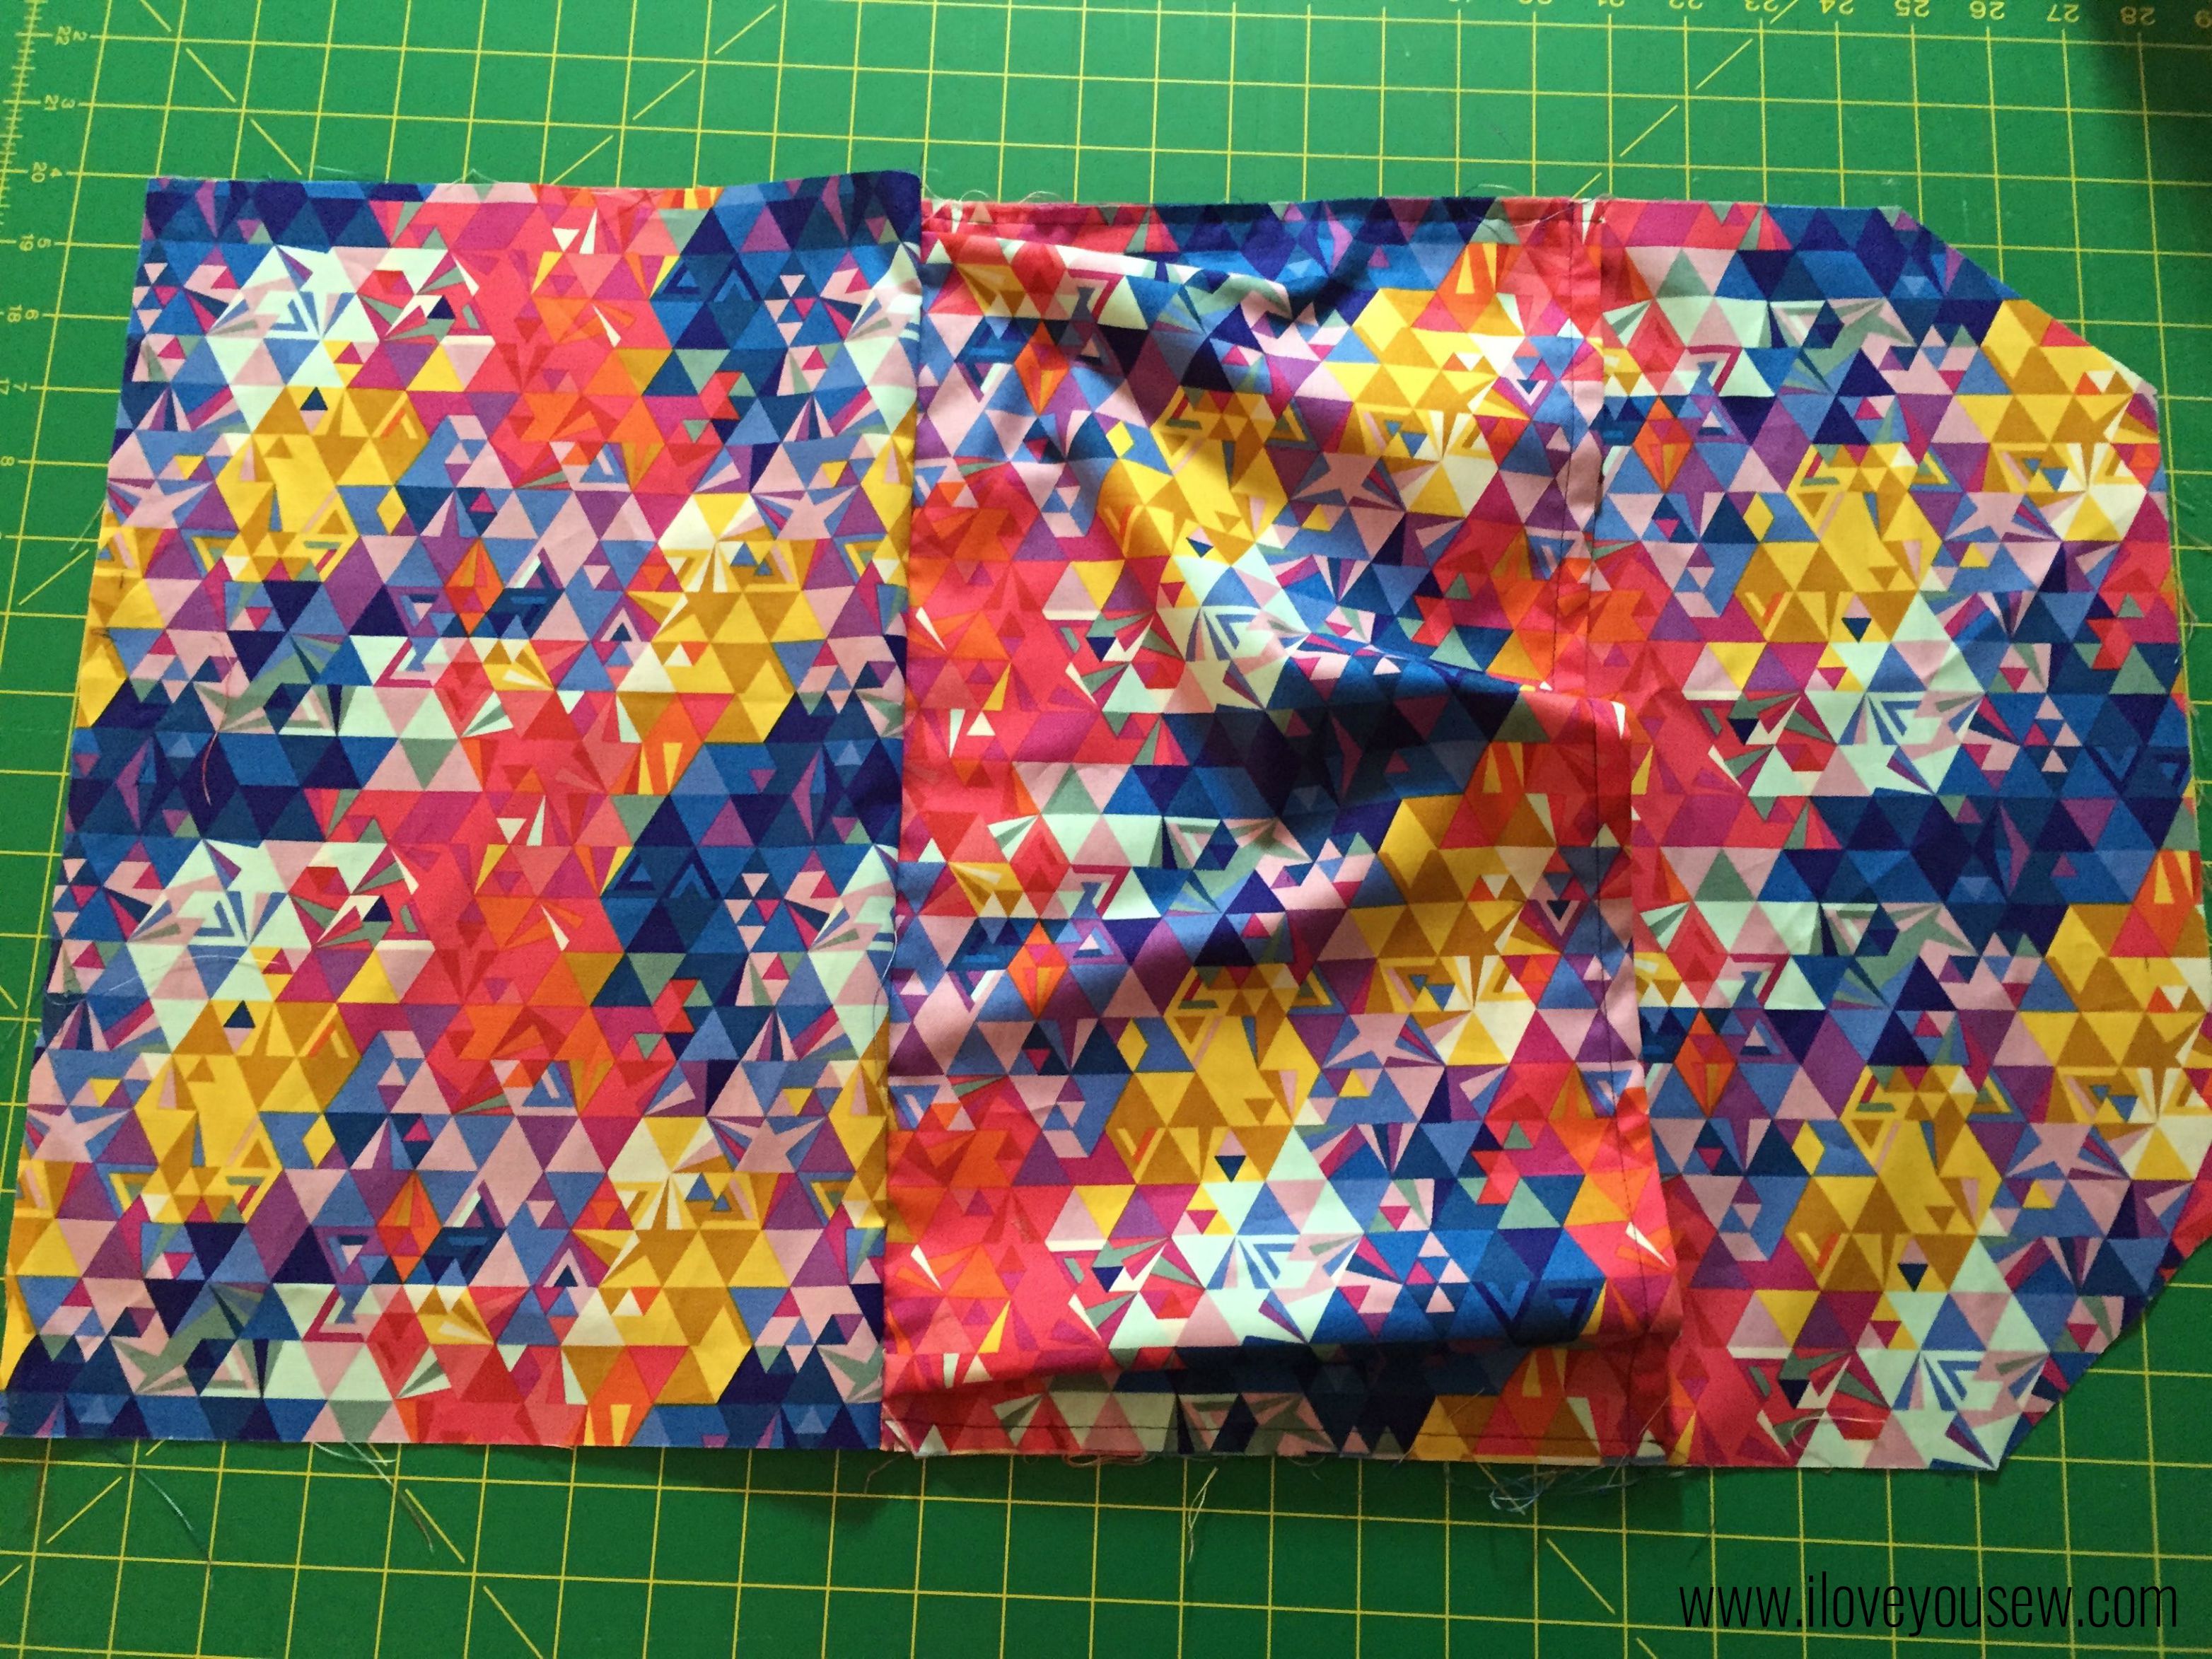
Center the pocket on the right-side of the Exterior Back. Take the over-hang fabric and make a pleat approximately 1″ in (so it doesn’t get sewn into the lining later on.) [Edited to add: Repeat on other side.] Baste the pocket onto the Exterior Back with a 1/4″ seam allowance.
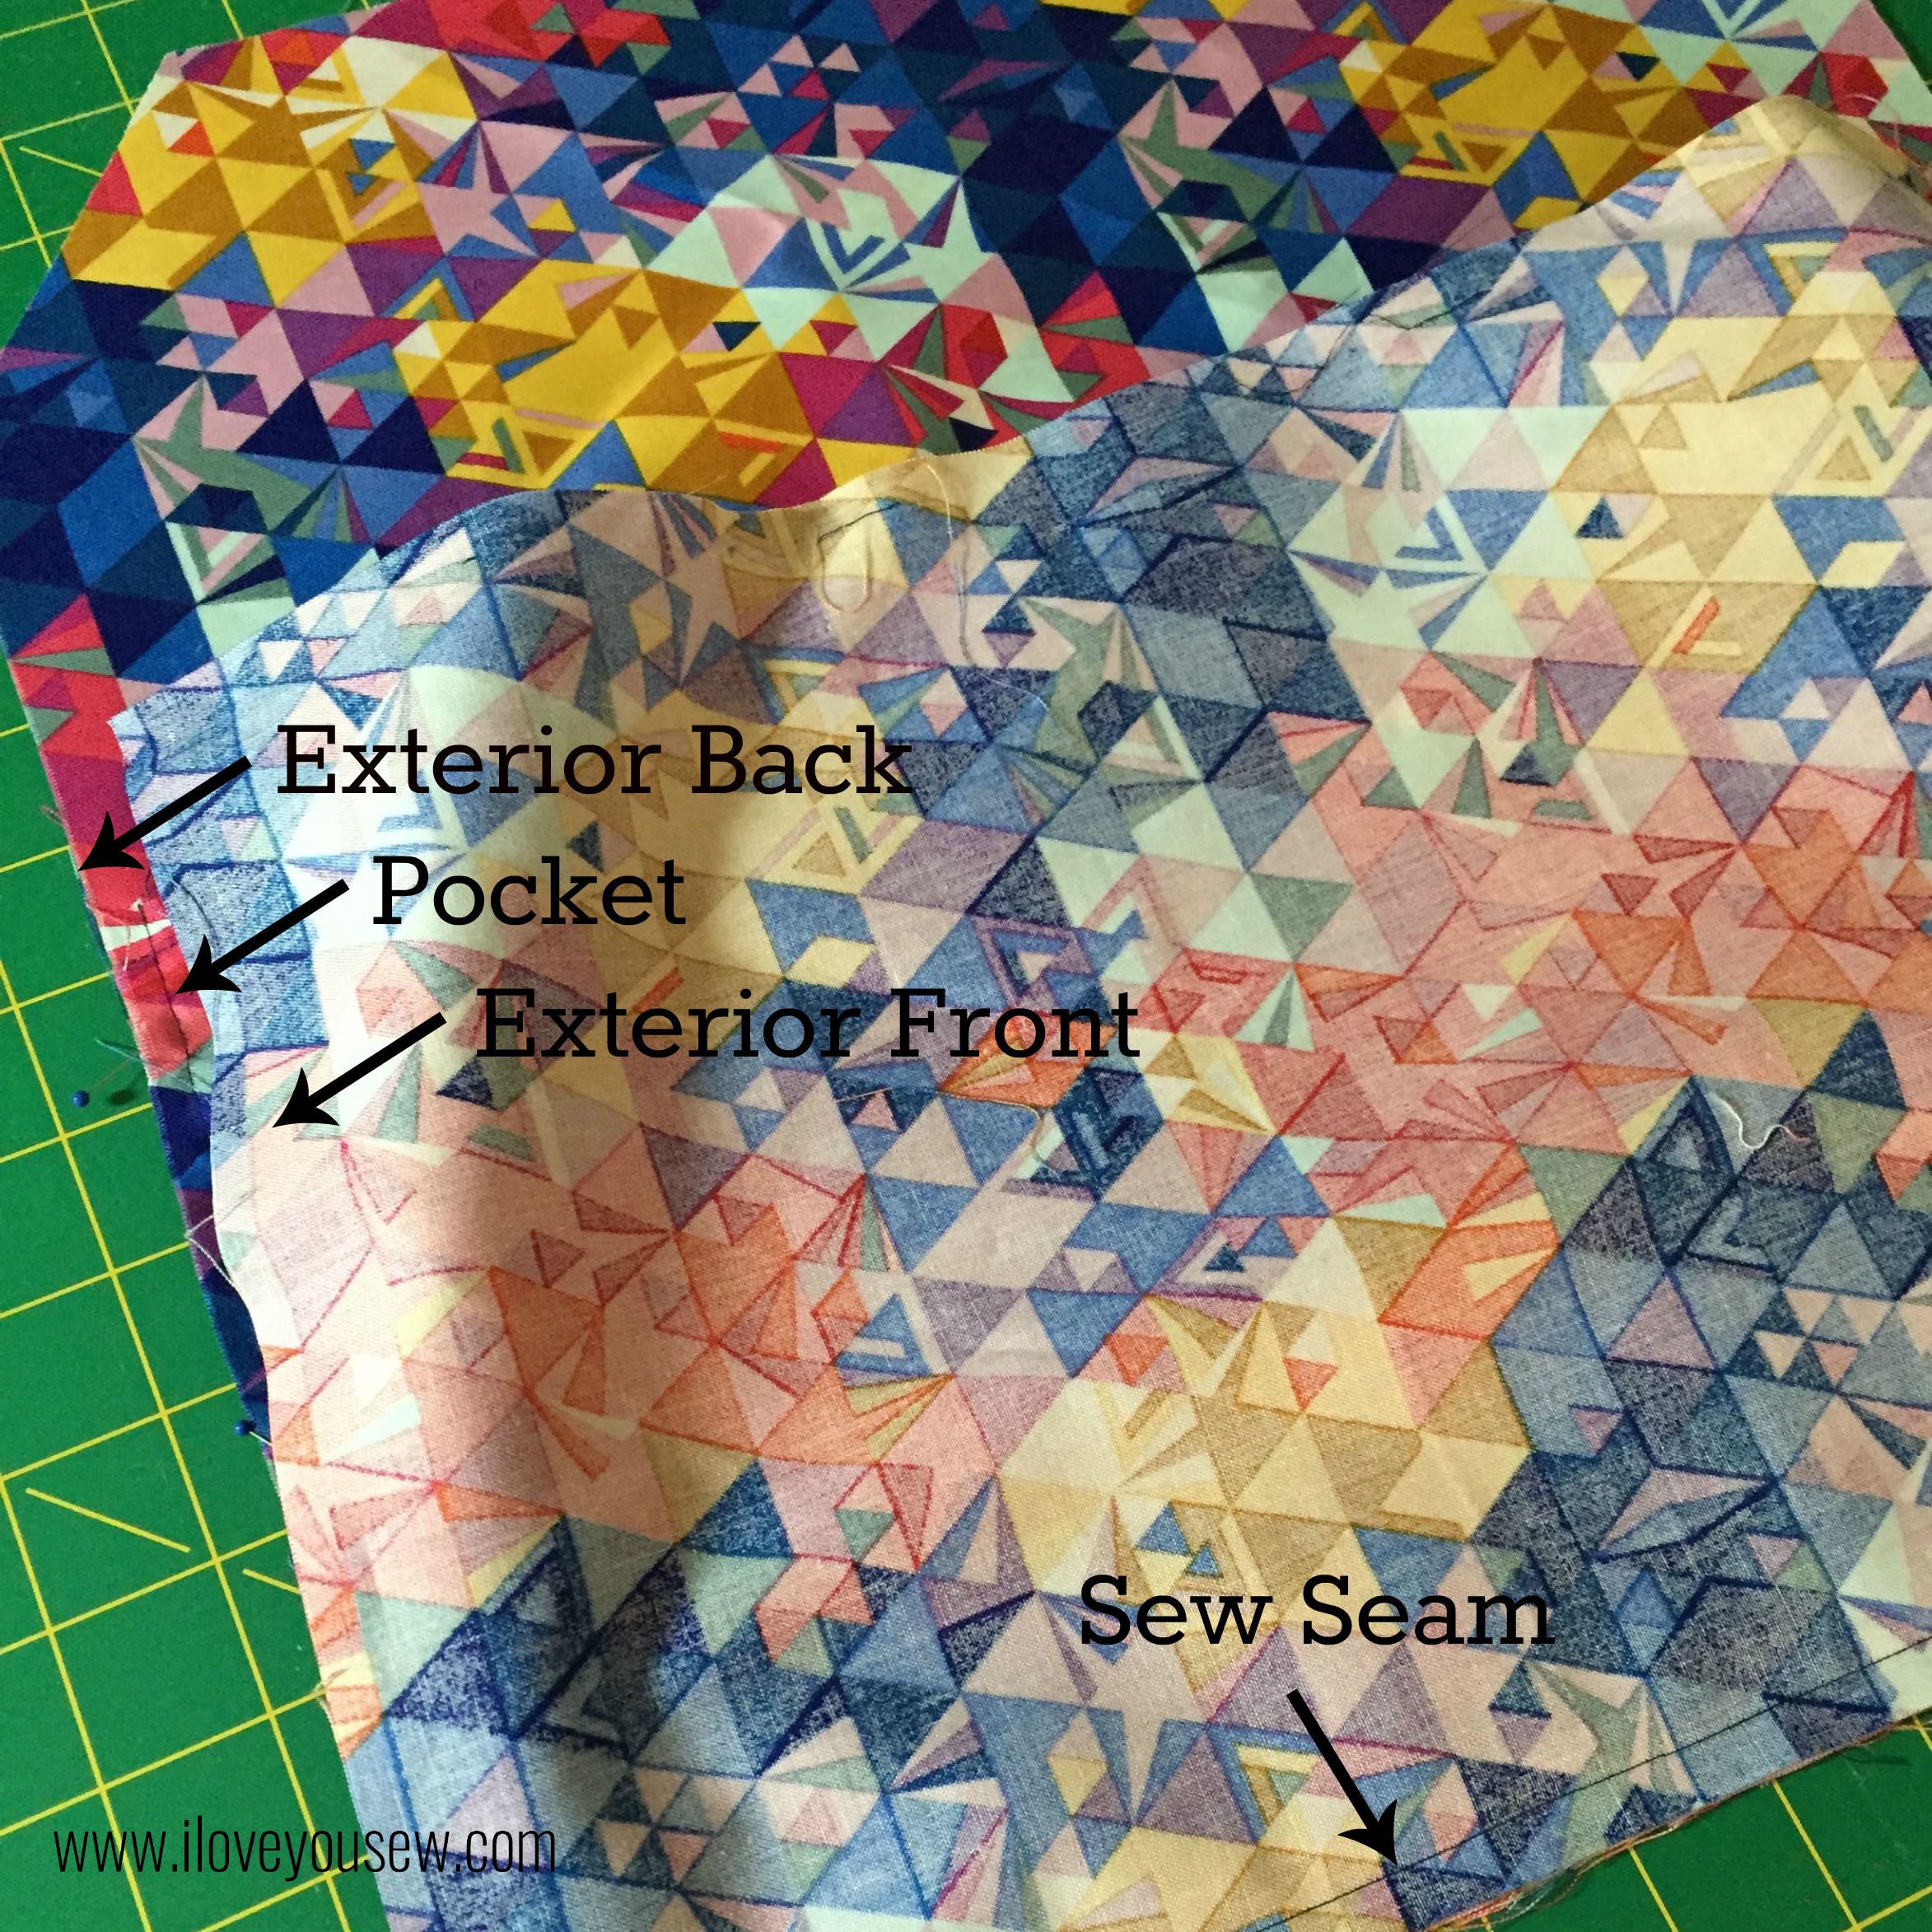
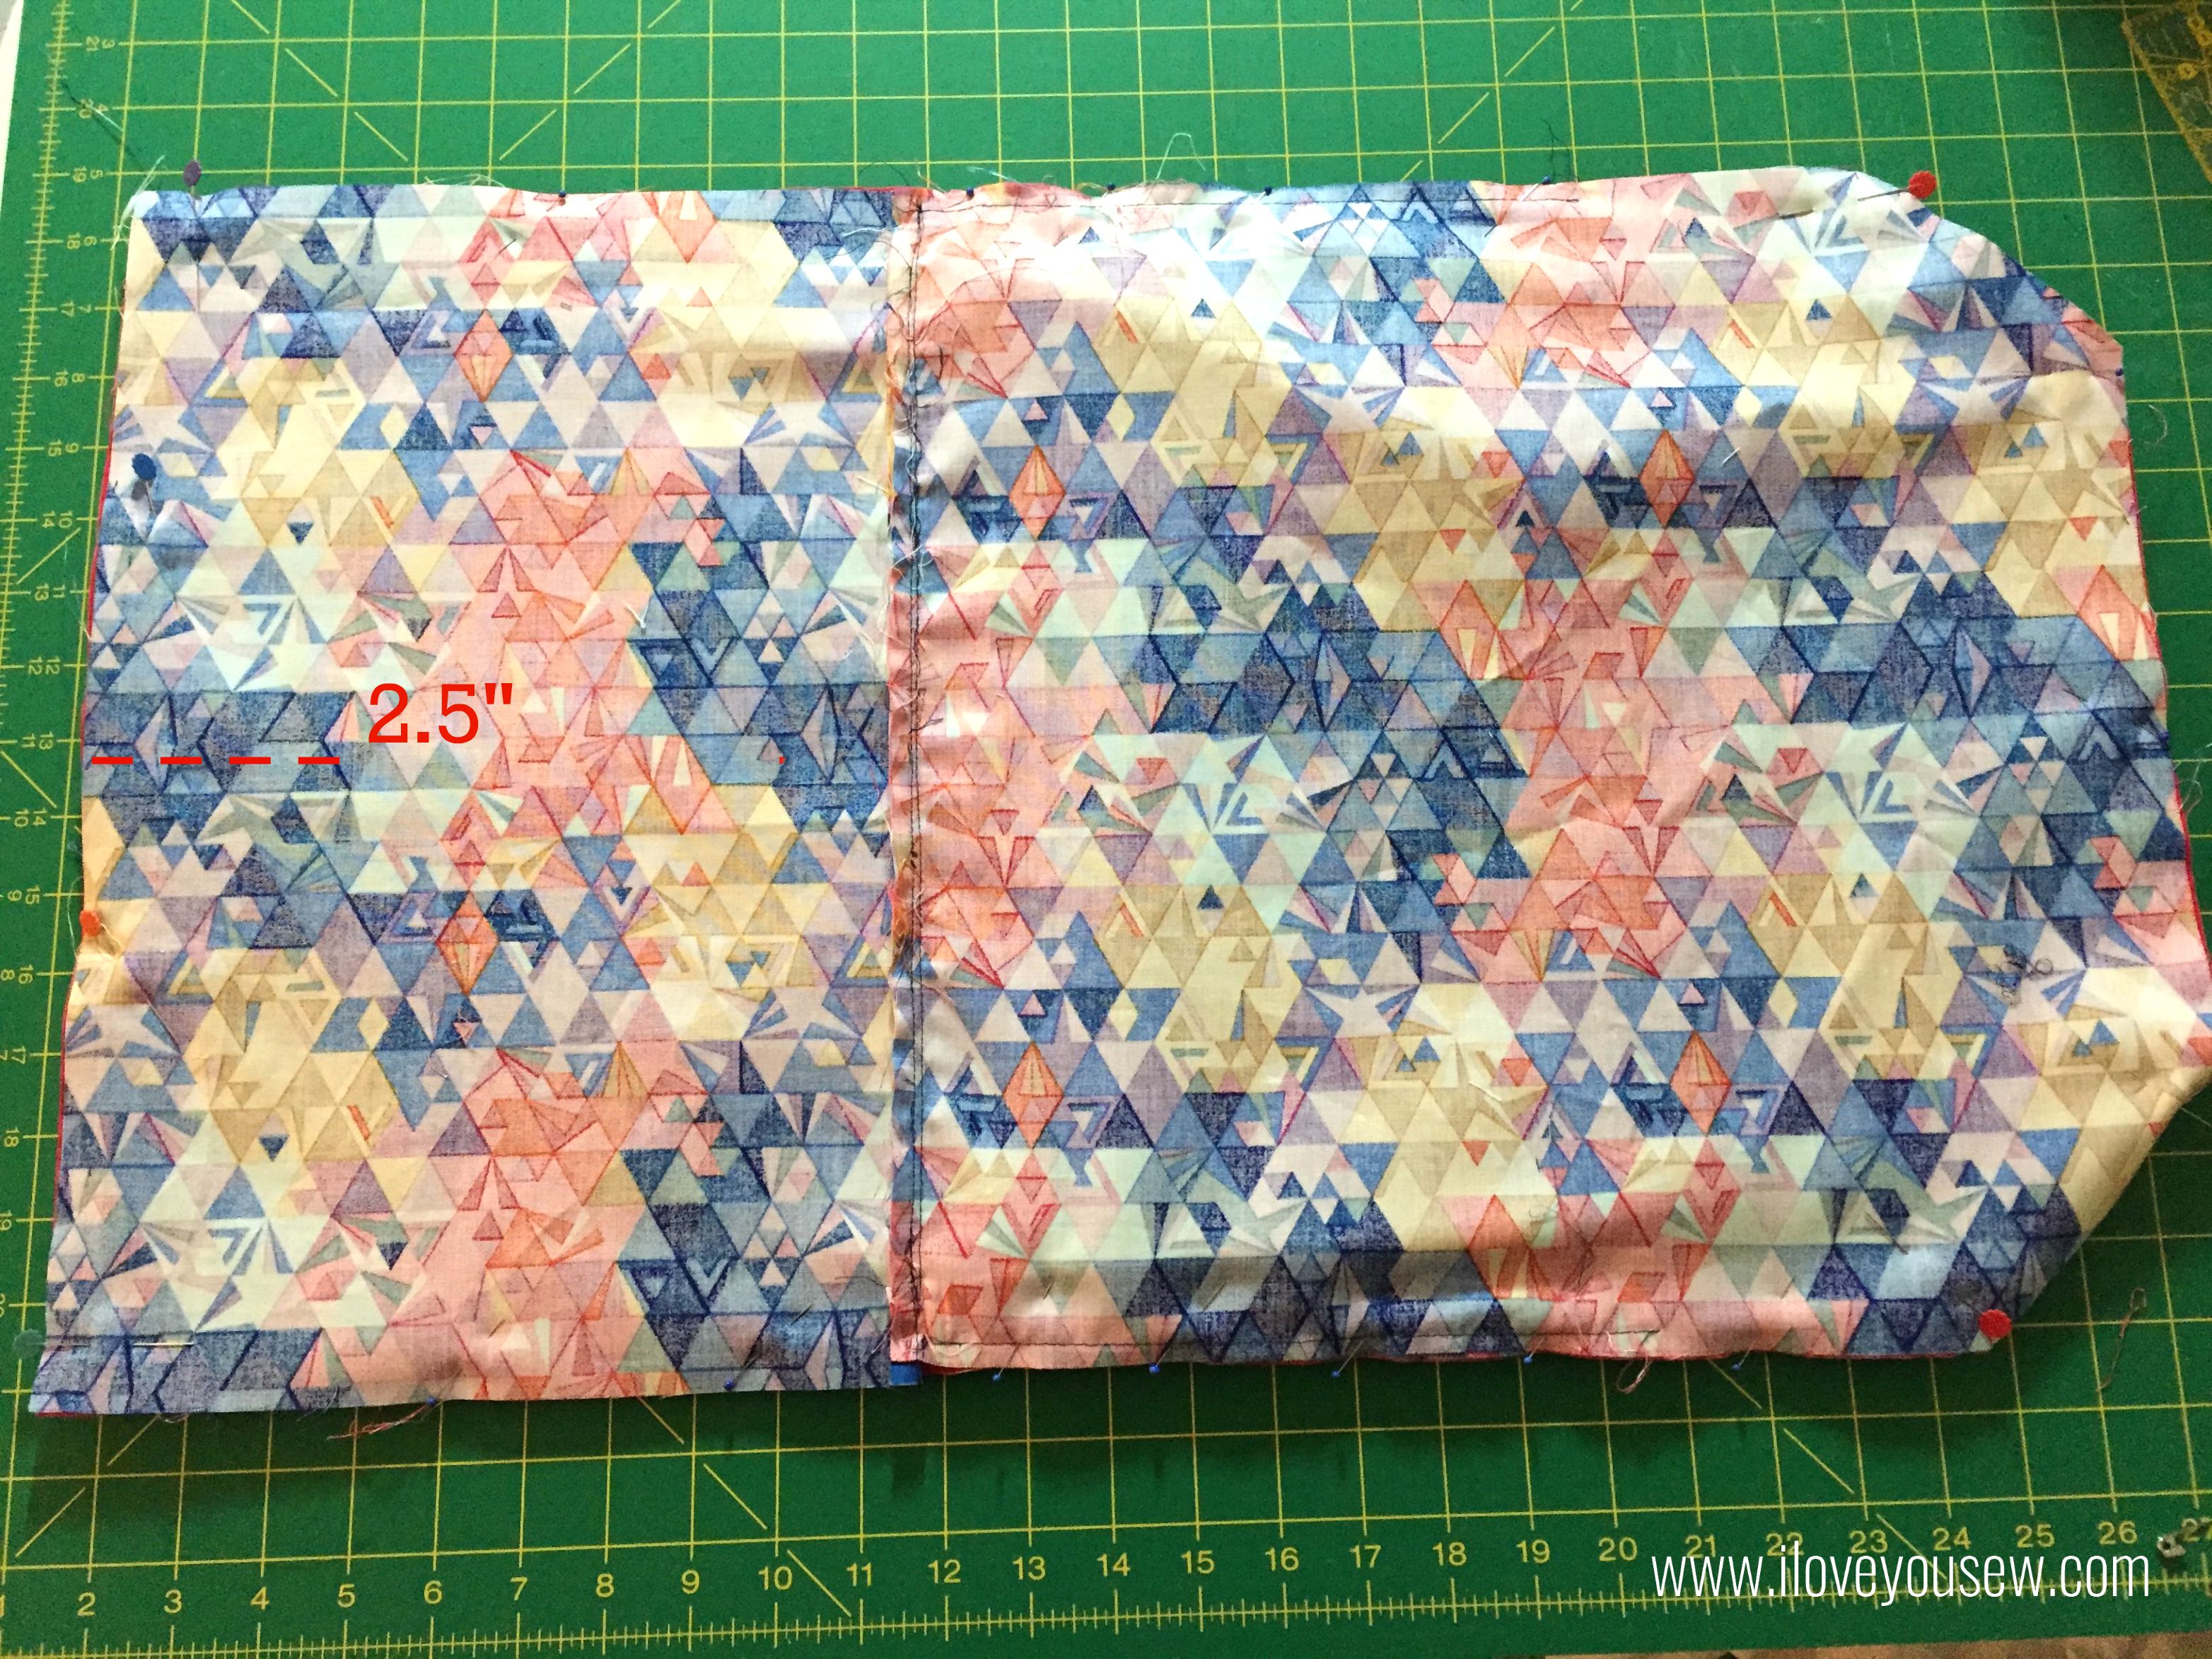
Sew the Exterior Front to the Exterior Back/Pocket right sides together on the short side creating the entire exterior cover.
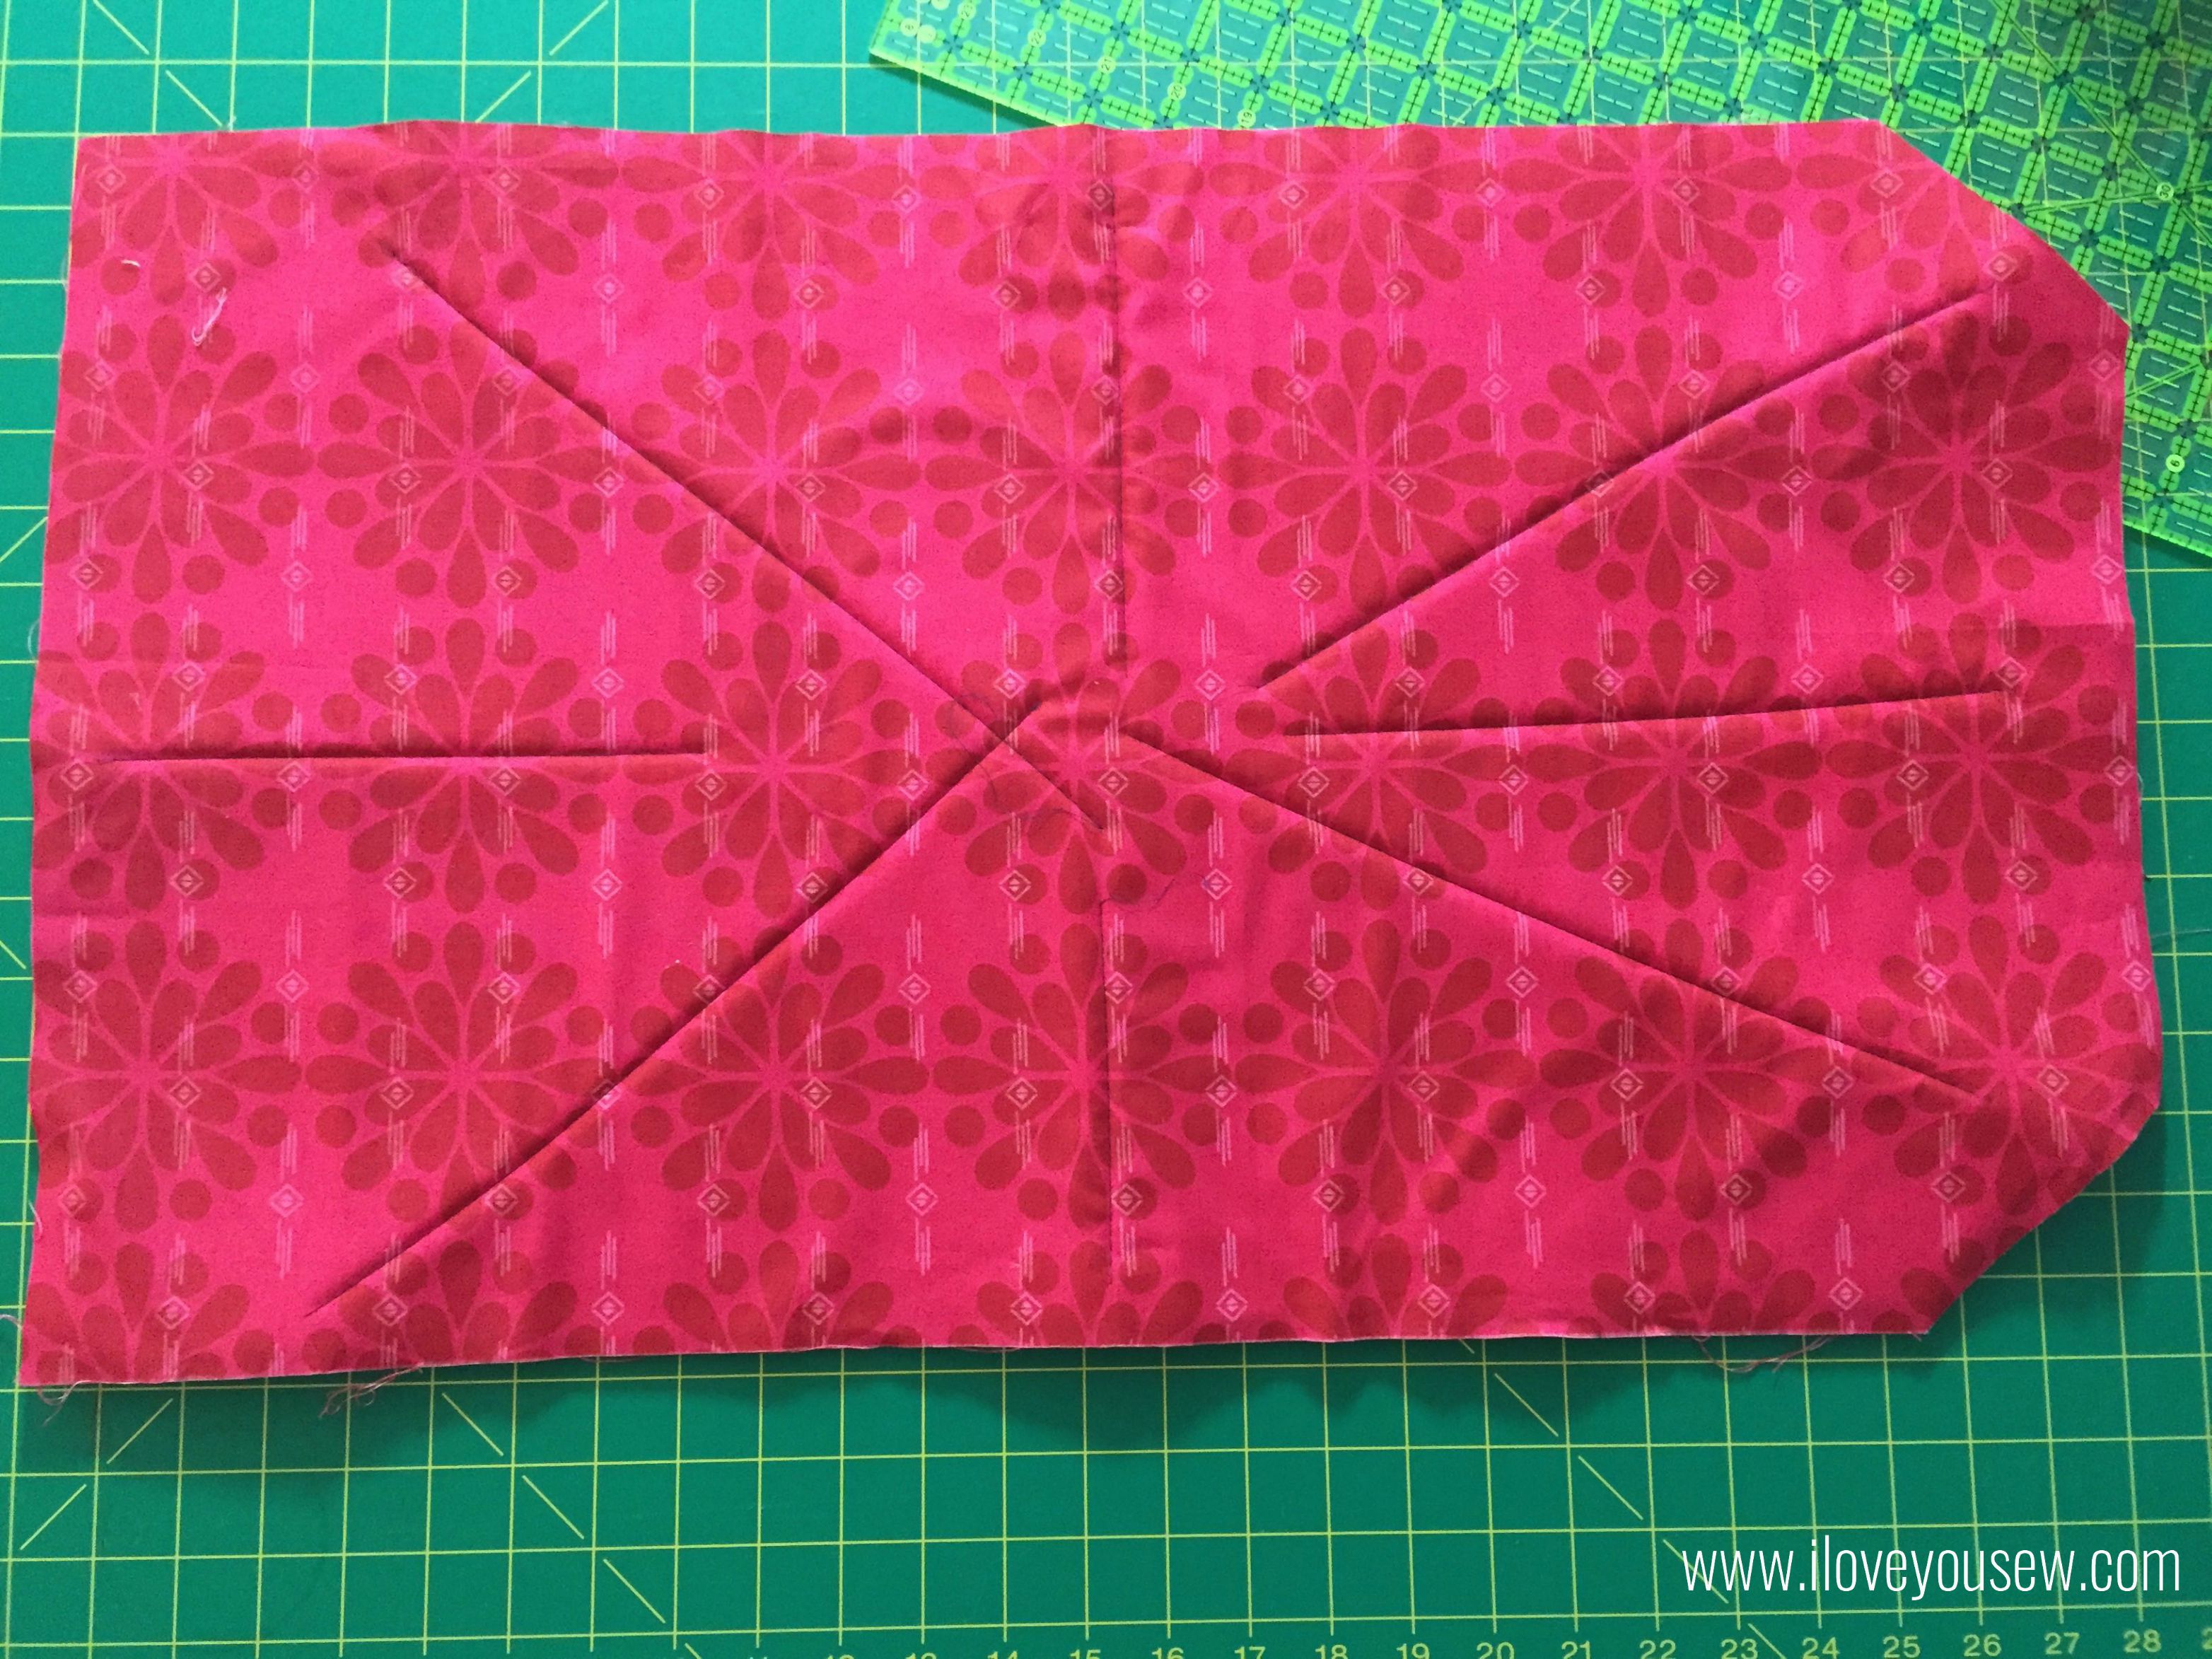
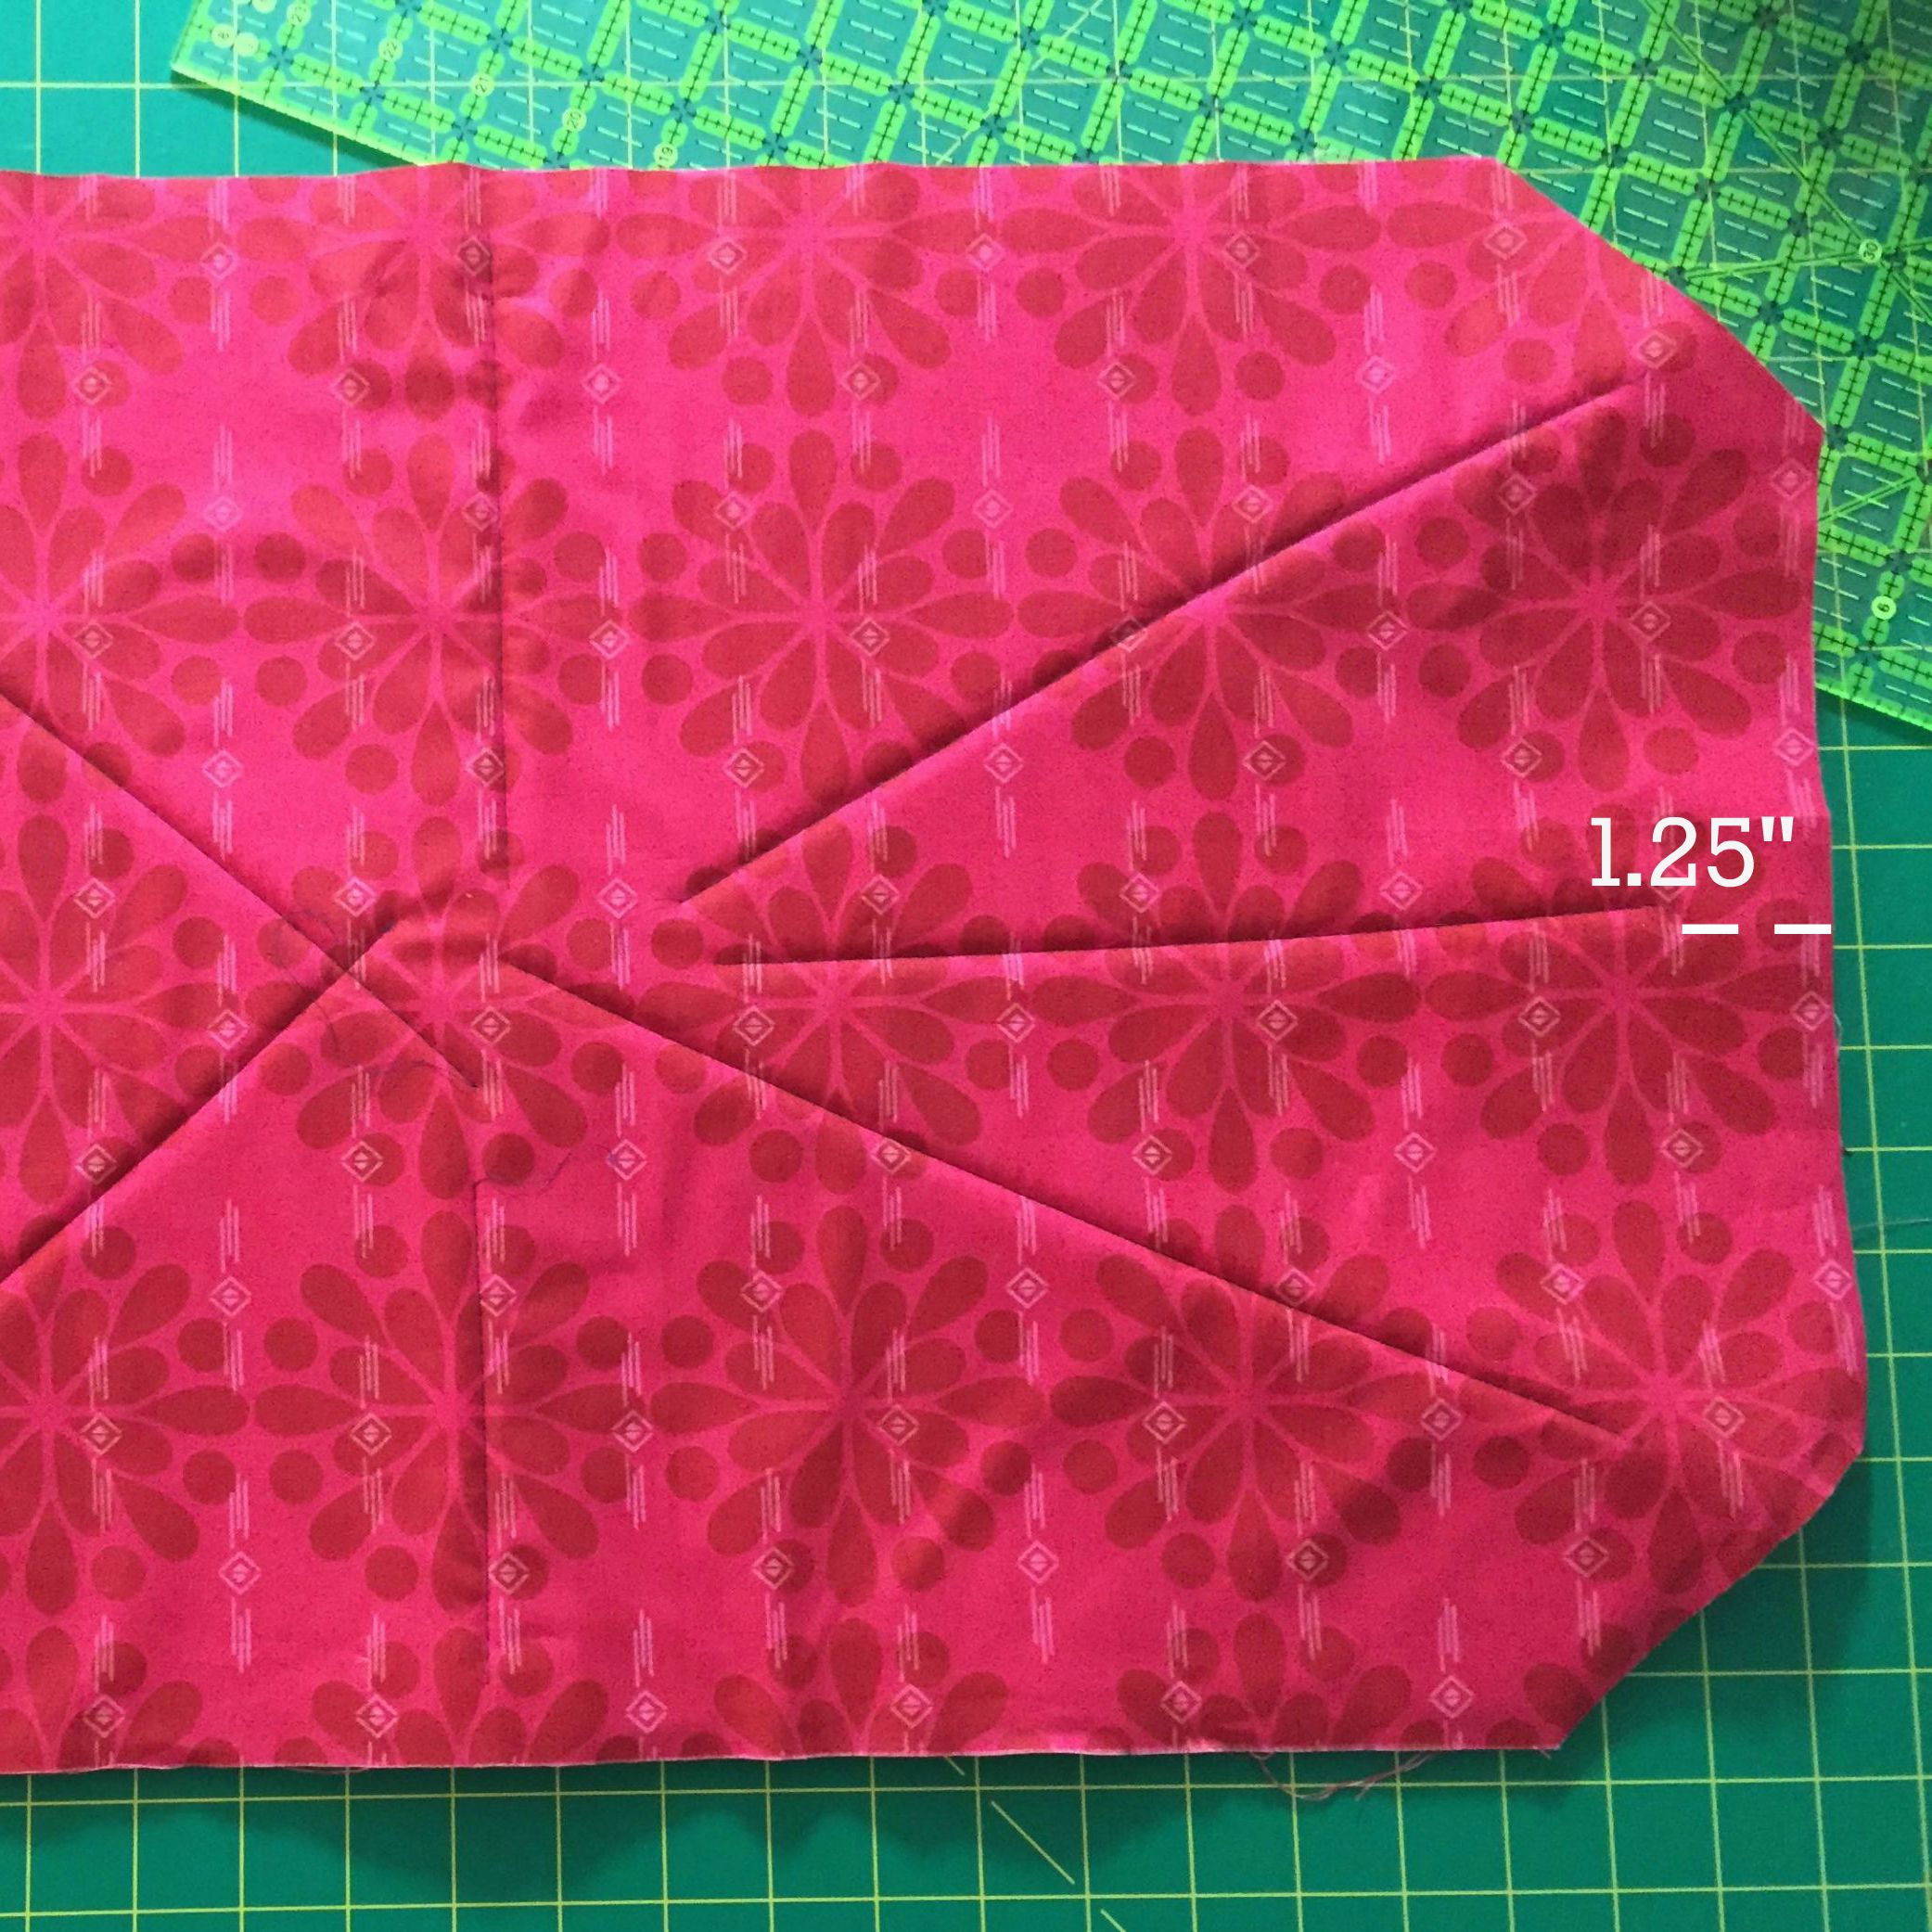
Open and press seam open. Exterior should look like picture above.
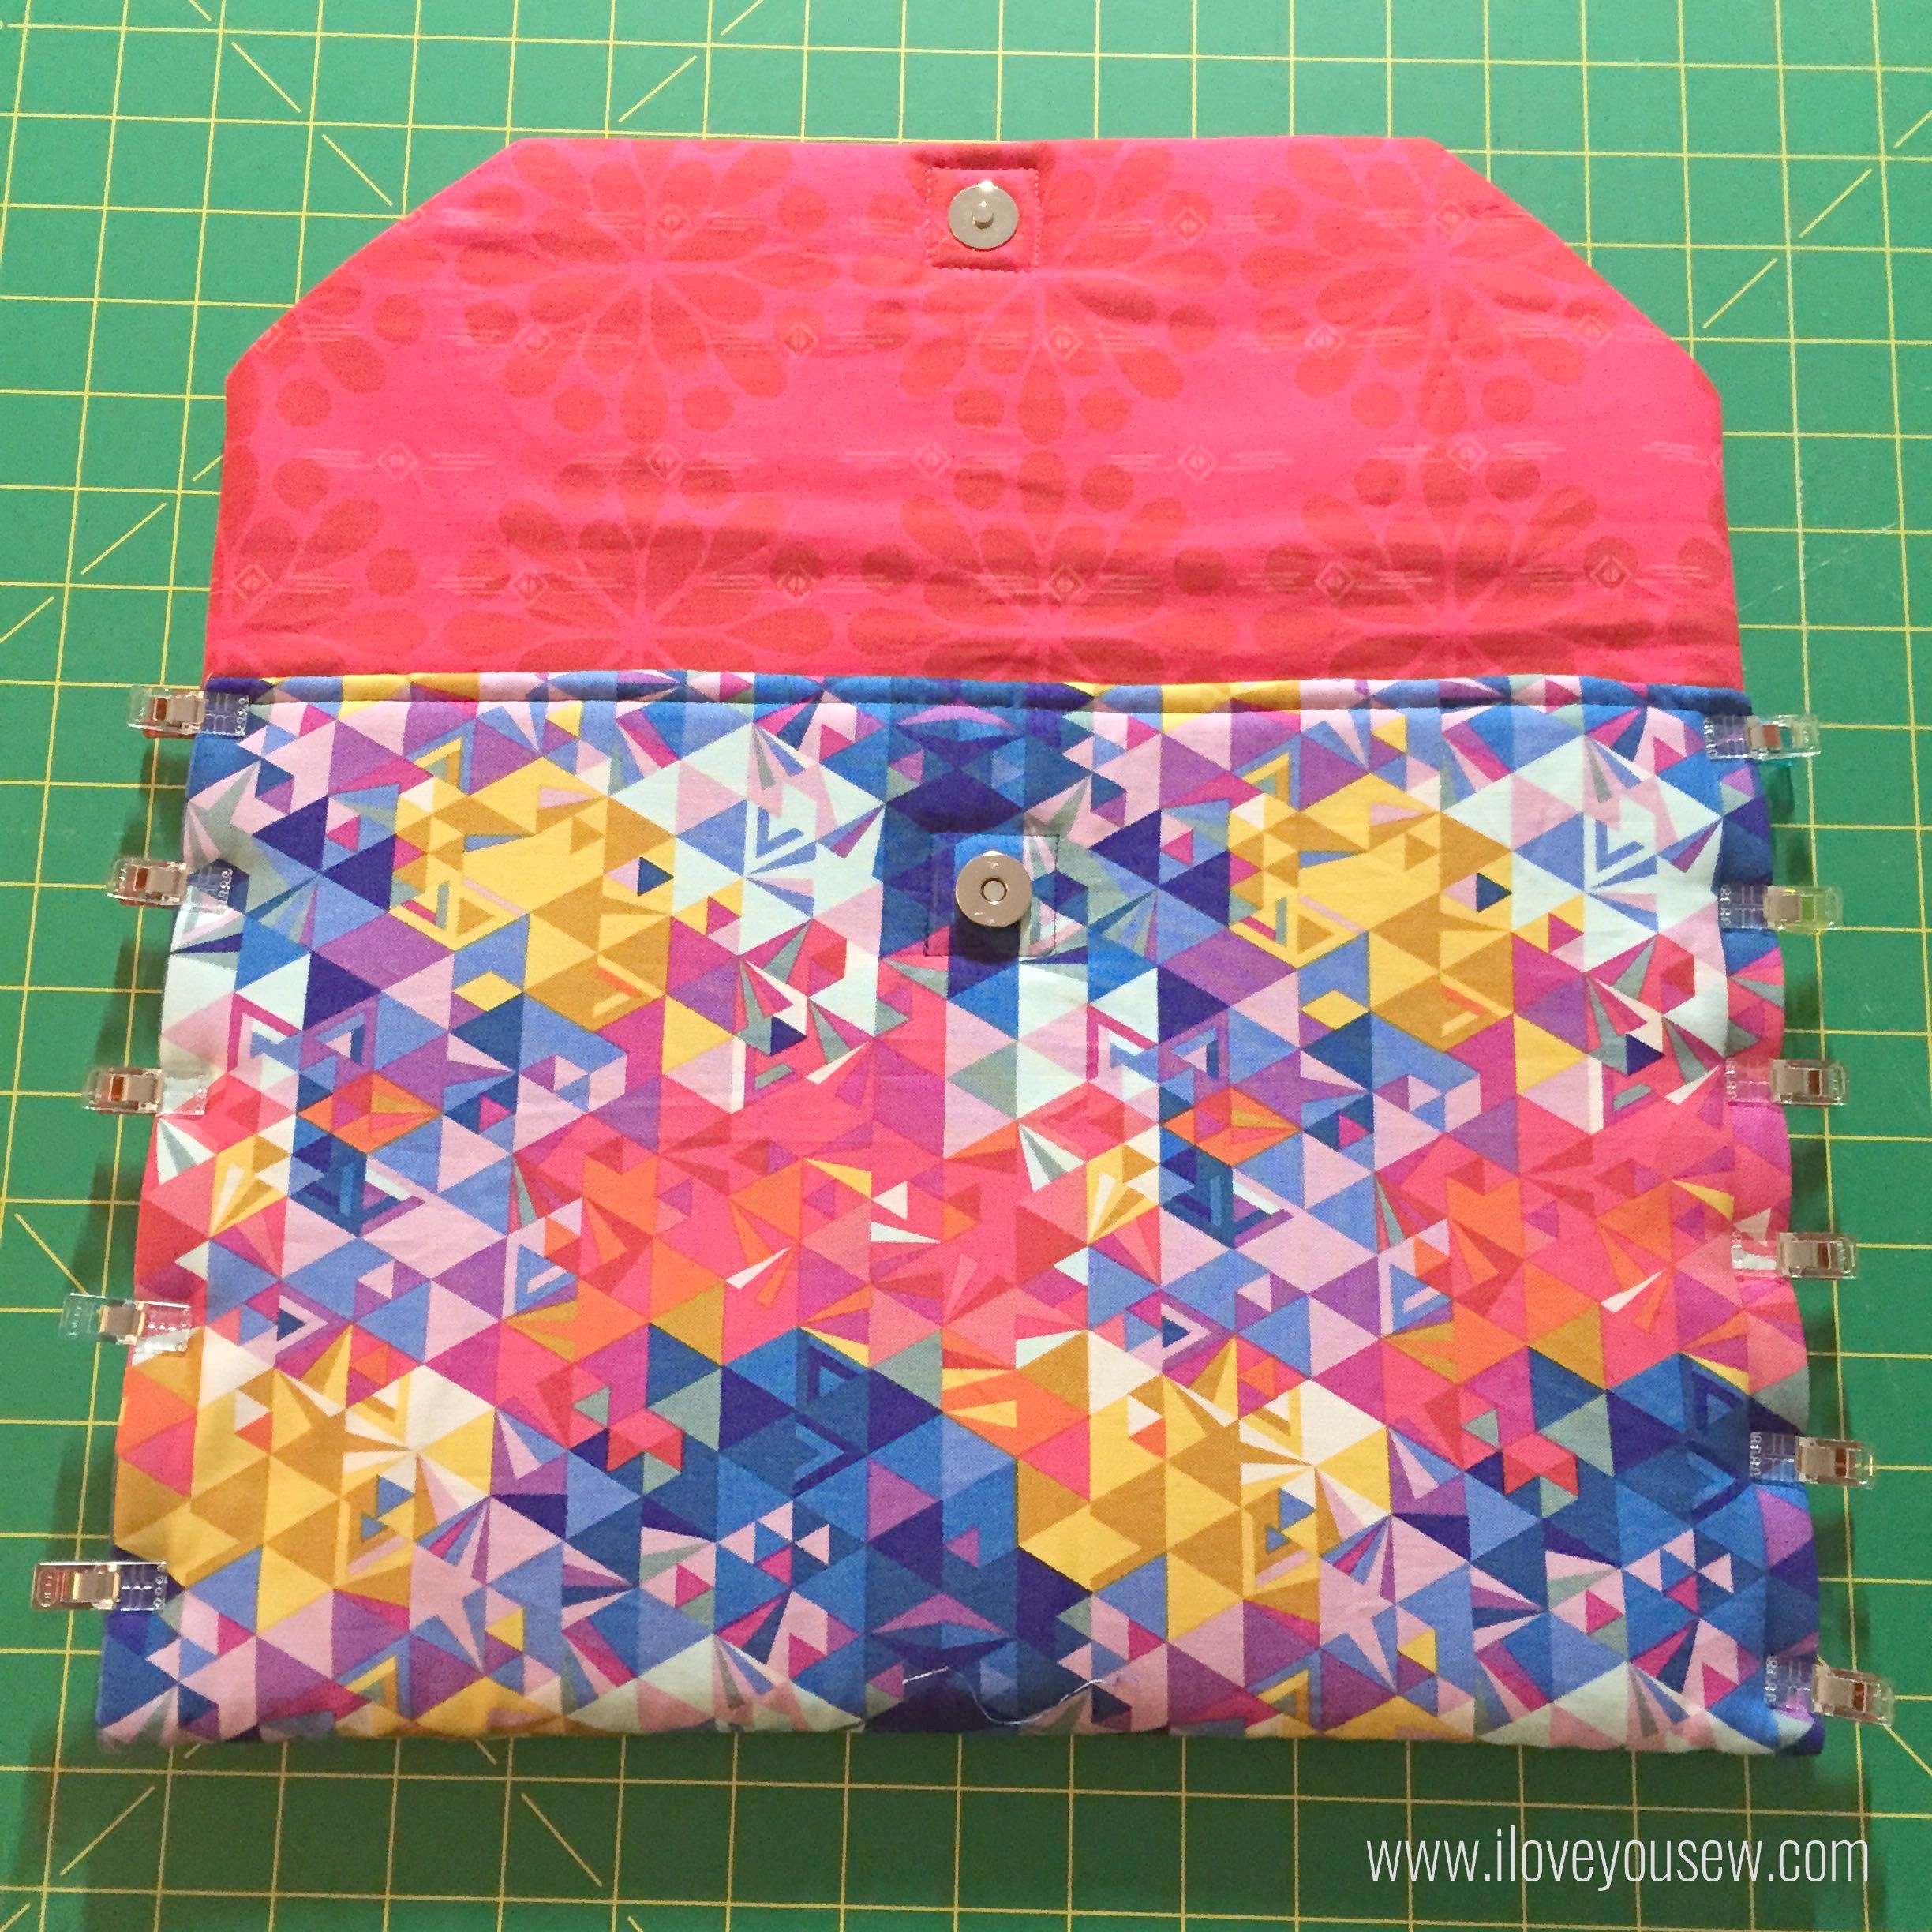
From the top of the Lining, fold the sides together to find the center. Mark down 1.25″ and attach the magnetic snap according to the manufacturer’s instructions.
On the bottom of the Completed Exterior, find the center. Mark down 2.5″ from that point to attach the other half of the snap set. TIP: Fuse a piece of scrap interfacing on the wrong side of the fabric where you will attach the snap. This helps provide a layer of durability.
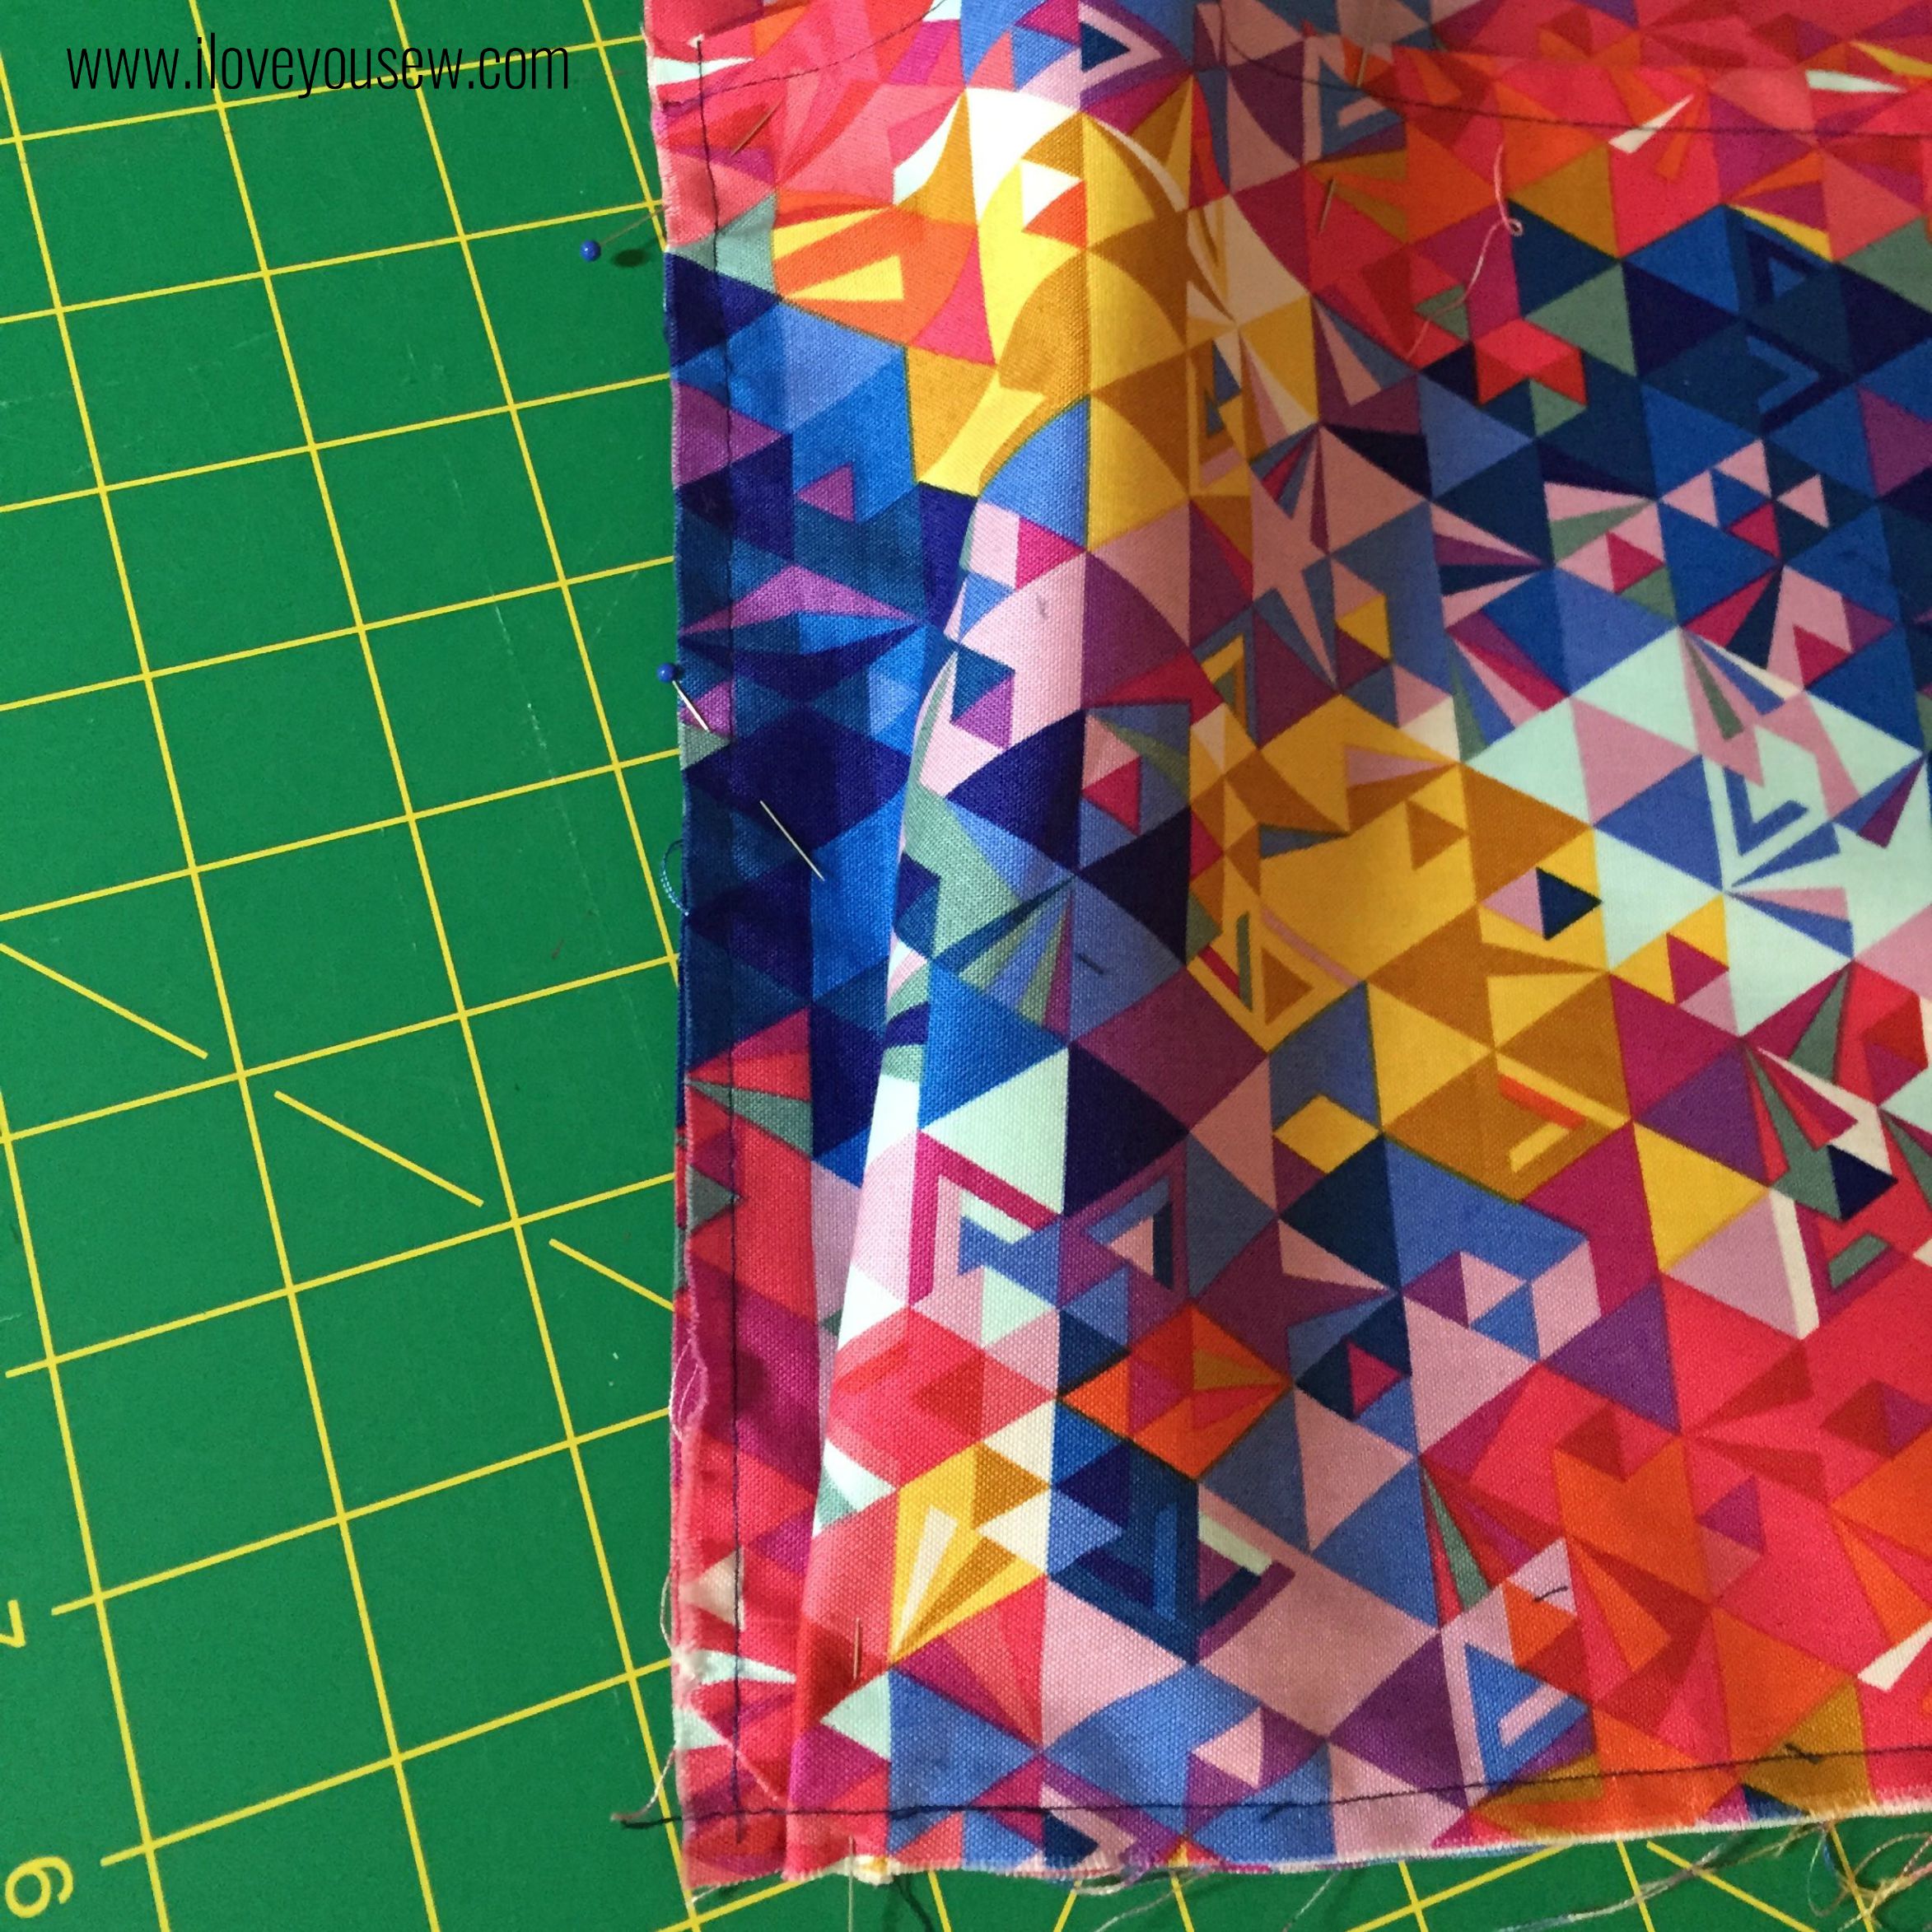
With right sides together, sew the Exterior to the Lining with 3/8″ seam allowance leaving approximately 5″ opening to turn. Notch the corners. Remove basting threads.
Turn the Laptop cover out and push out the corners. Press well.
Sew a square around the magnetic snaps with about 1/4″ clearance all around. This helps secure the snap into place.
Sew a 1/4″ seam along the bottom edge of the laptop case.
Fold the front of the cover up along the sewn seam and clip into place. Starting from one bottom corner, sew all around the case with 1/8″ seam allowance to create the main compartment for the laptop.
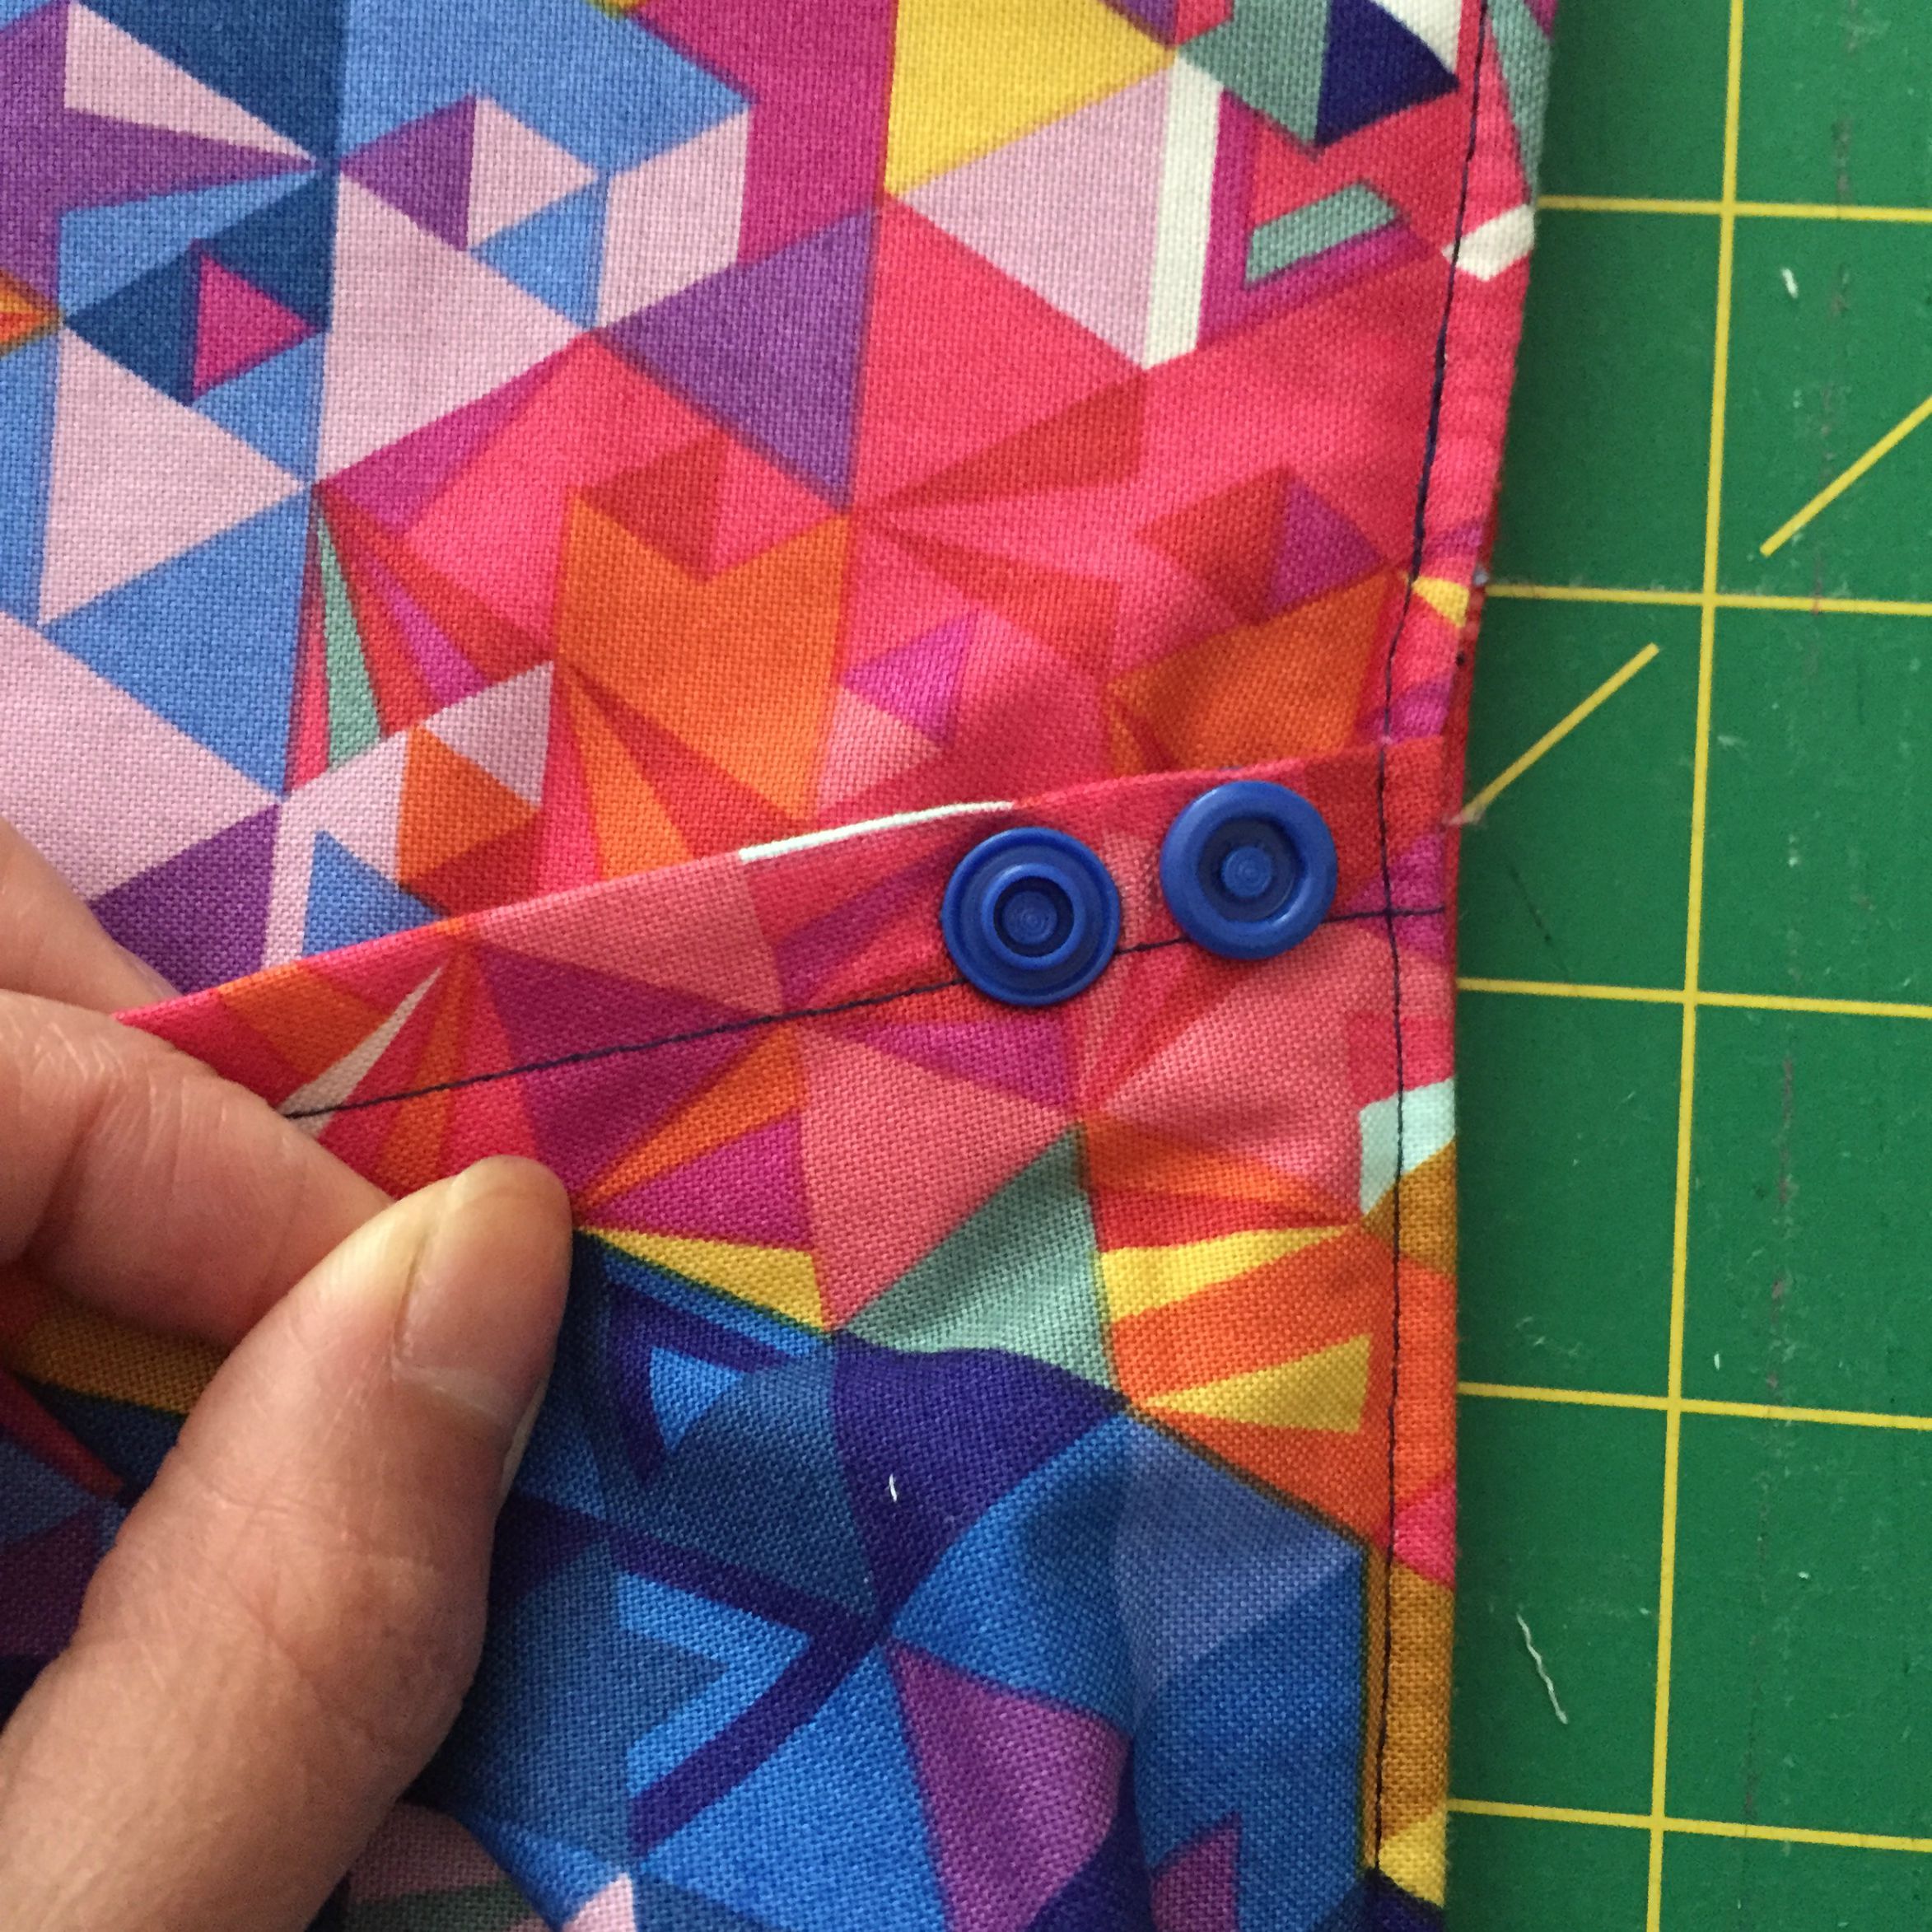
Follow the pleat on the pocket and finger press the fabric to mark where you will attach the KAM snaps. The female and male ends will be right next to each other.
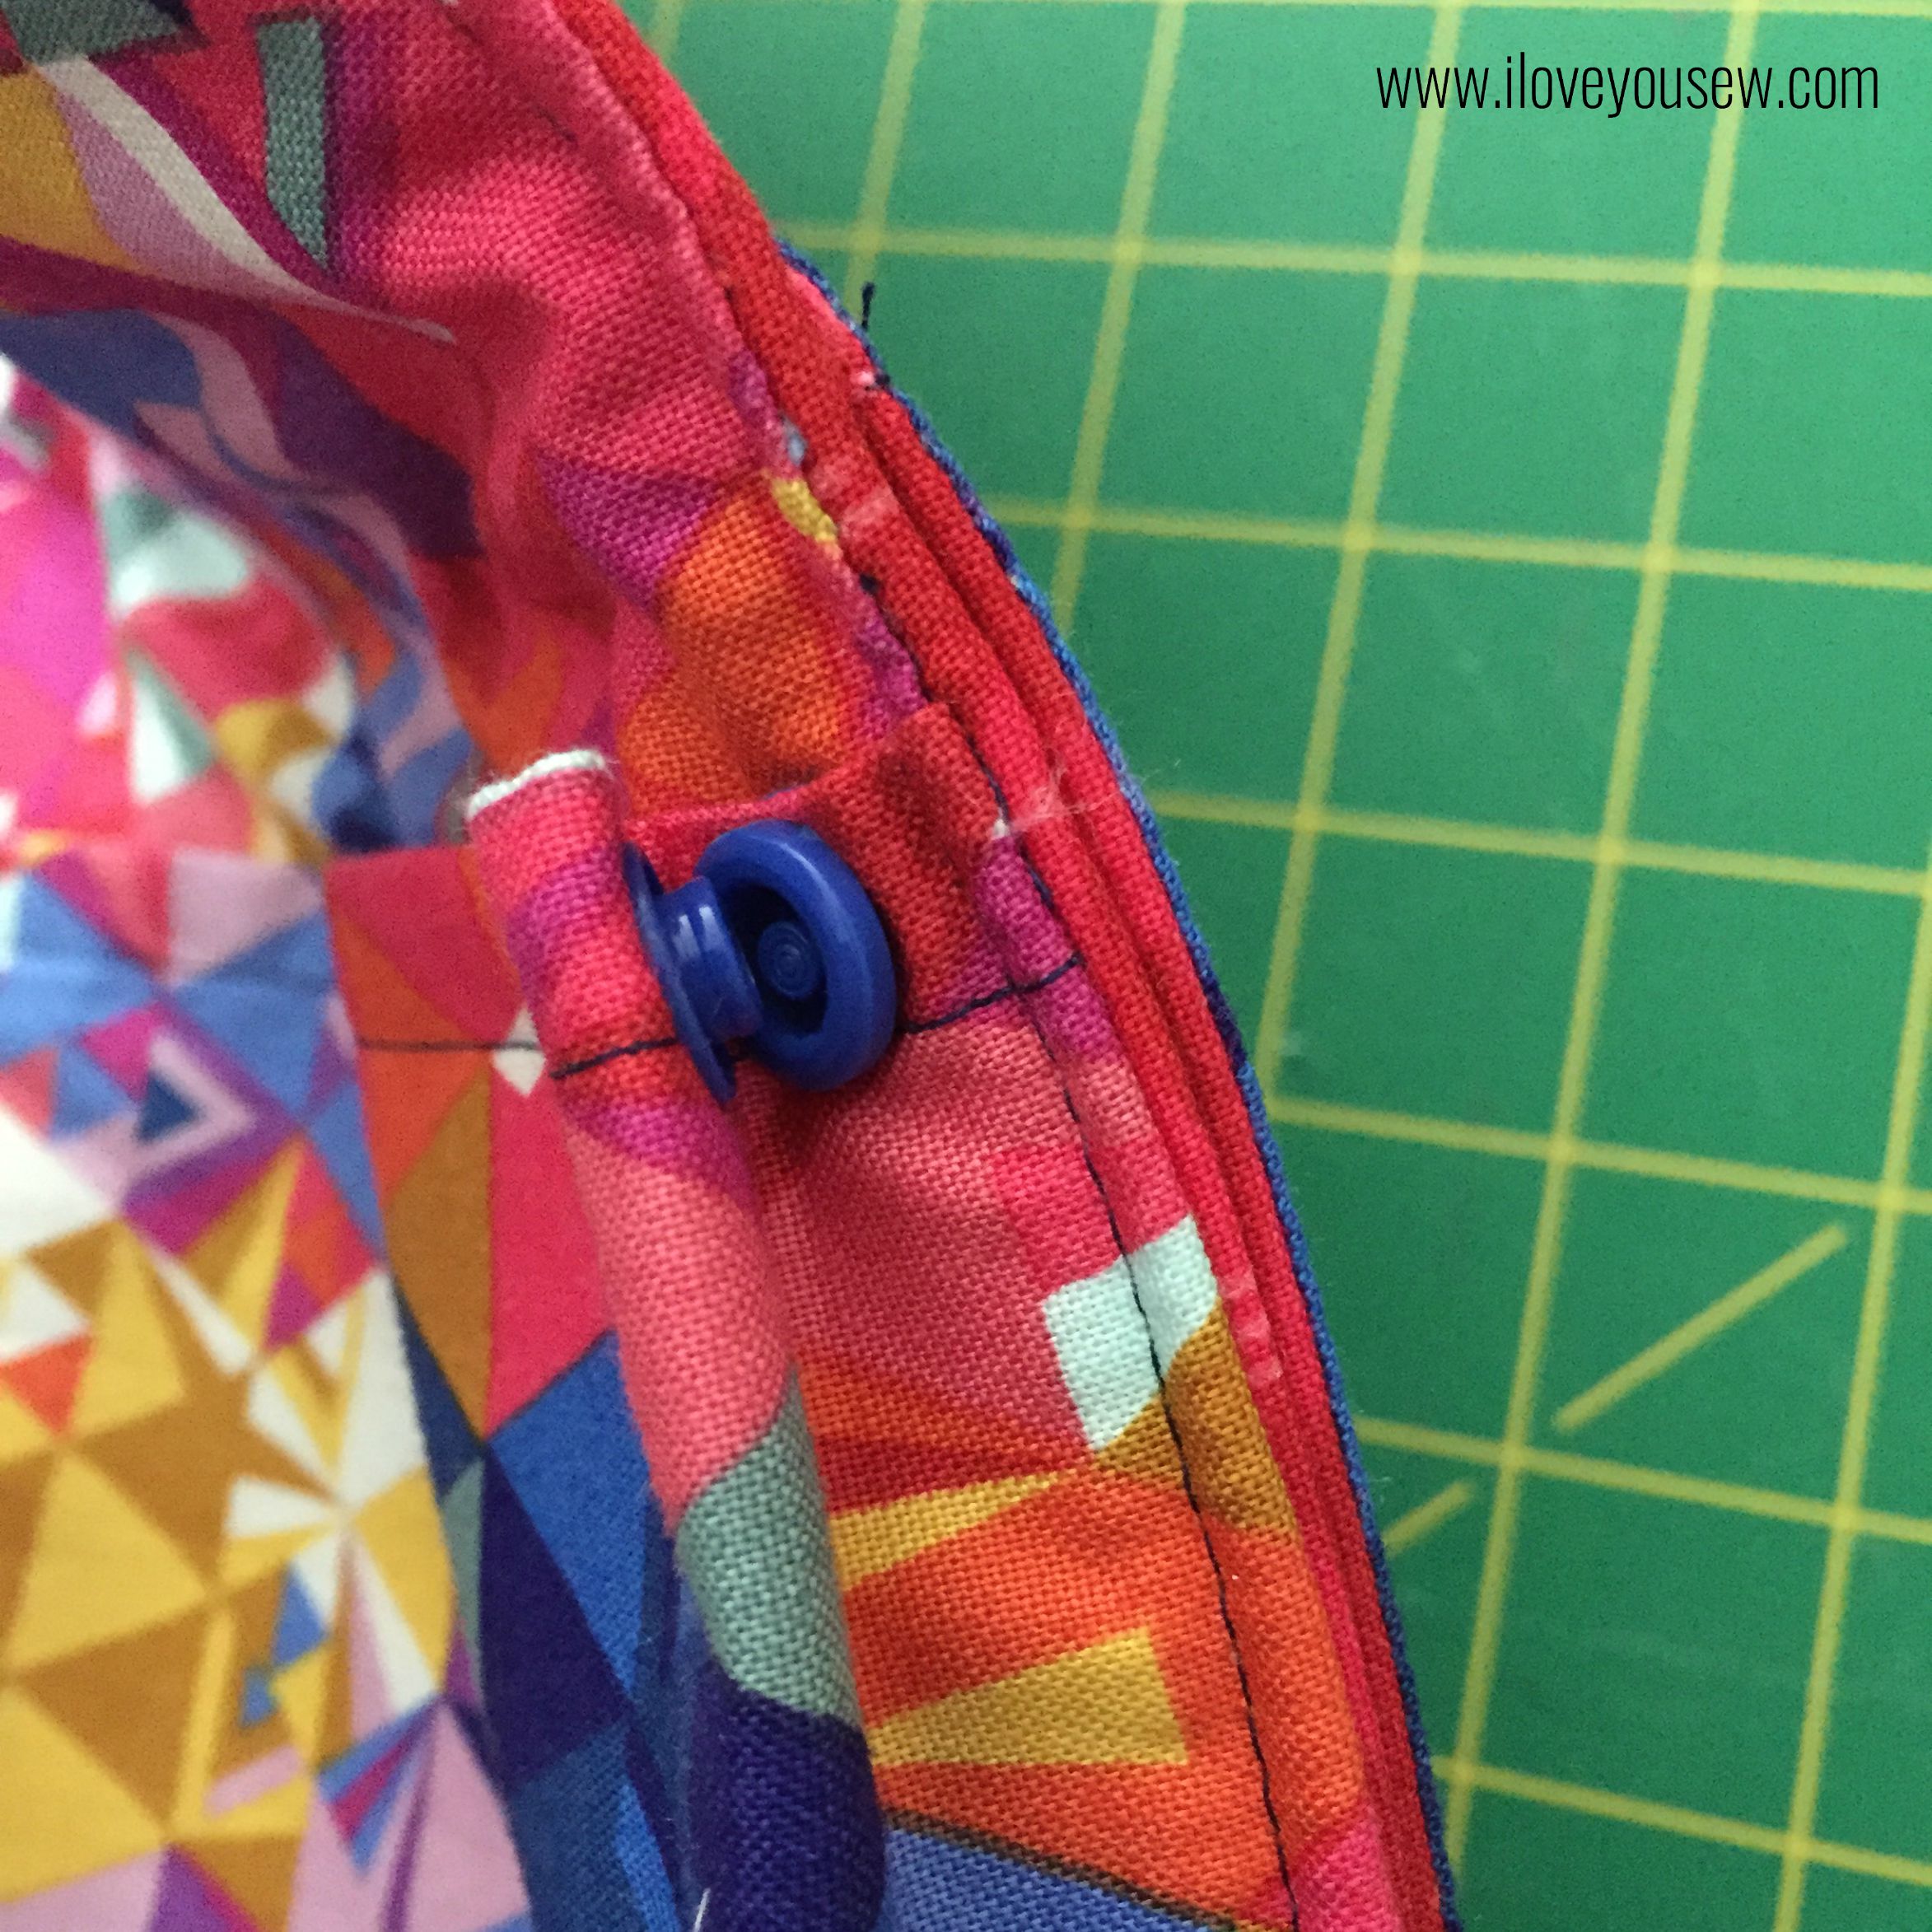
This will secure the pleat but gives the pocket more room to hold your cords and other goodies. Repeat on the other pleat.
Find the center of the pocket and add one more snap about 1/2″ down from the opening. Find where the snap meets the body of the case, mark and add the other snap. The pocket opening should lie completely flat when all snaps are fastened.
And there you have it – a beautiful cushioned case for your baby to travel!
Please let me know if you have any questions (I’m new to pattern writing) and please tag me on Instagram if you make one. #loveyousewlaptopcase #loveyousewpatterns
Happy Sewing!
Cristy
This post may contain affiliate links for which I do receive a small compensation…It helps me keep this site running 🙂
