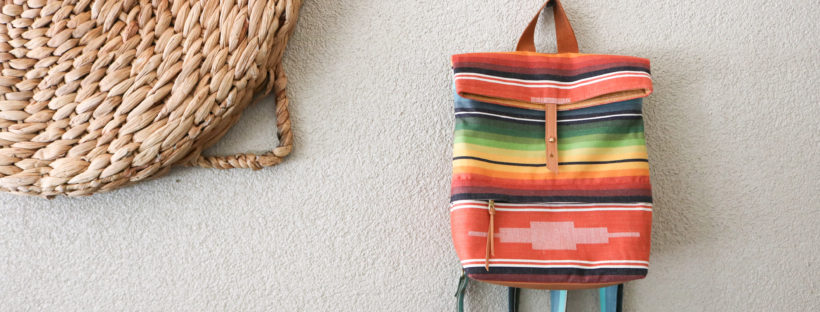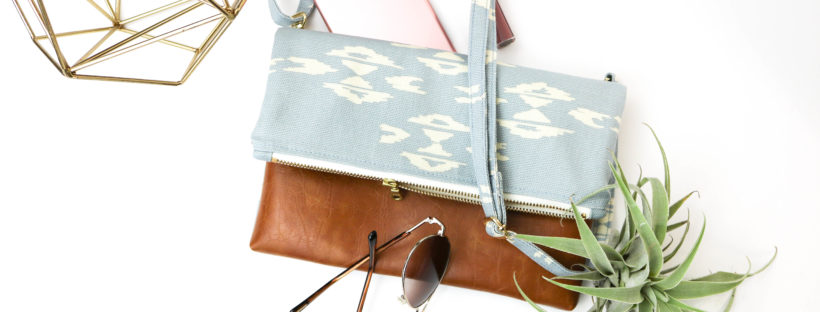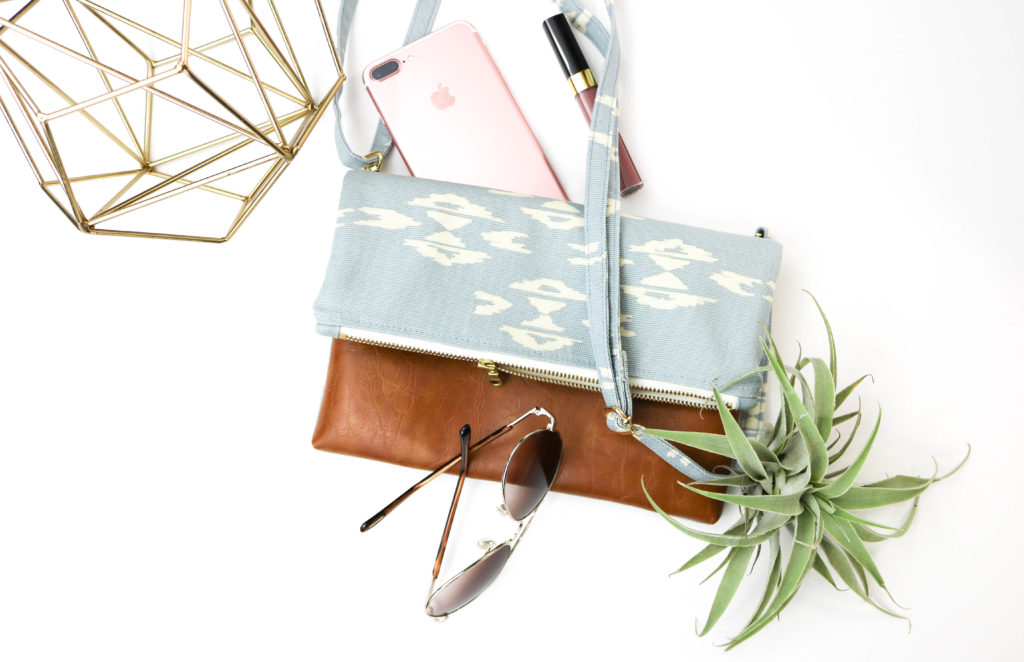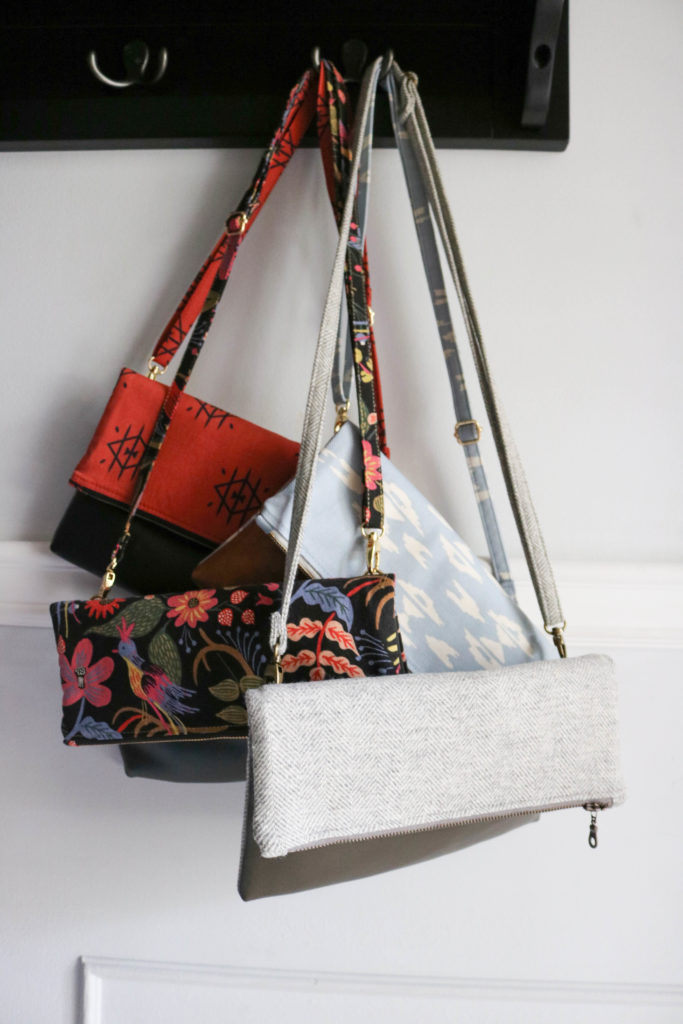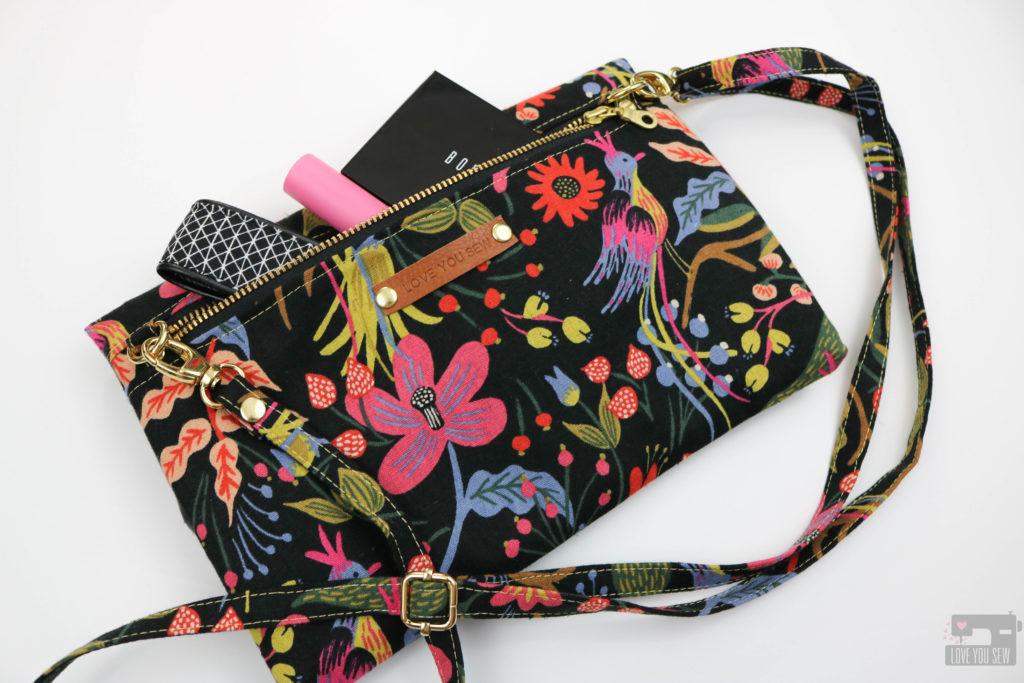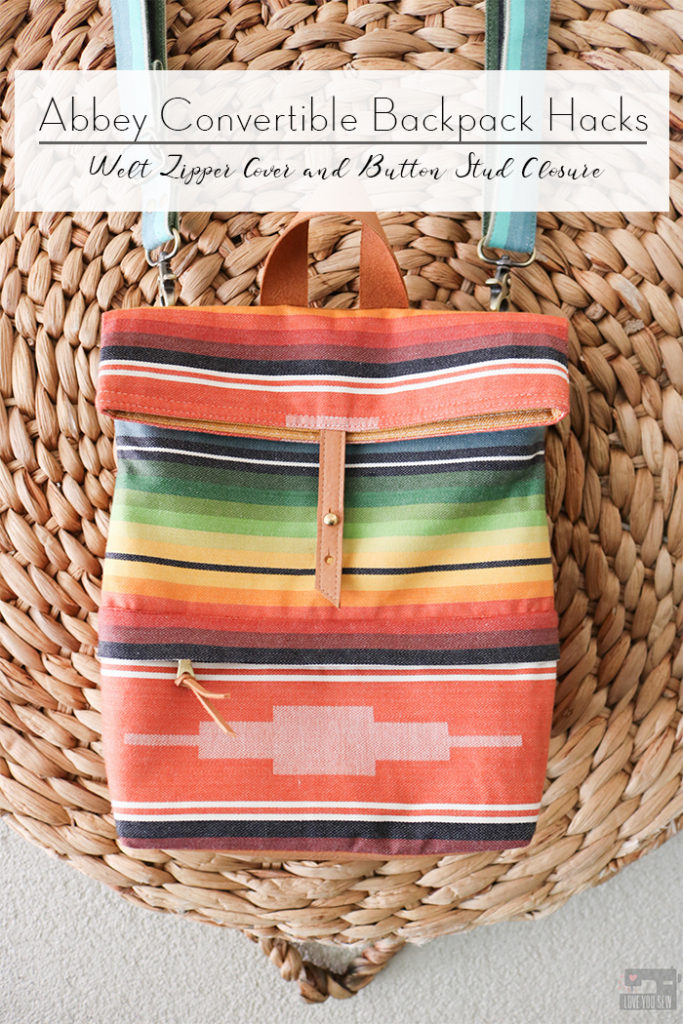
Hacking patterns is just so much fun when you can add more personal details to a project. Today, I’m sharing what I did for the backpack I made for real-life Abbey (the bag’s namesake.) This post includes a cover for the front zipper, button stud and leather accents, and where I’ve added rivets. The Abbey Convertible Backpack is the latest pattern I’ve published and you can read up more about here, as well as check out all of the incredible tester photos for inspiration.
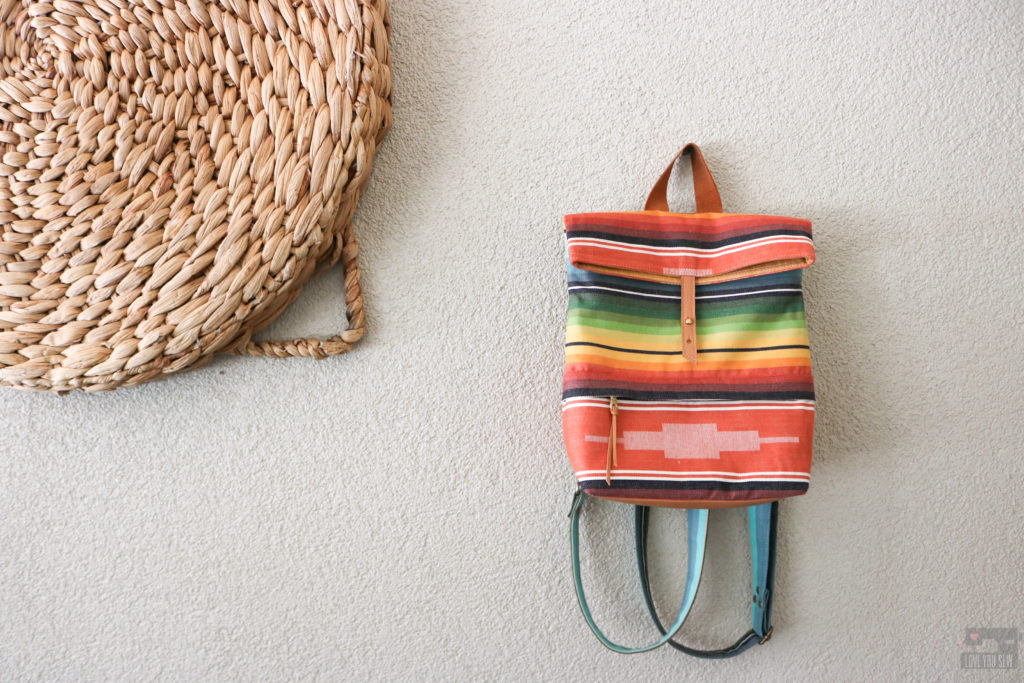
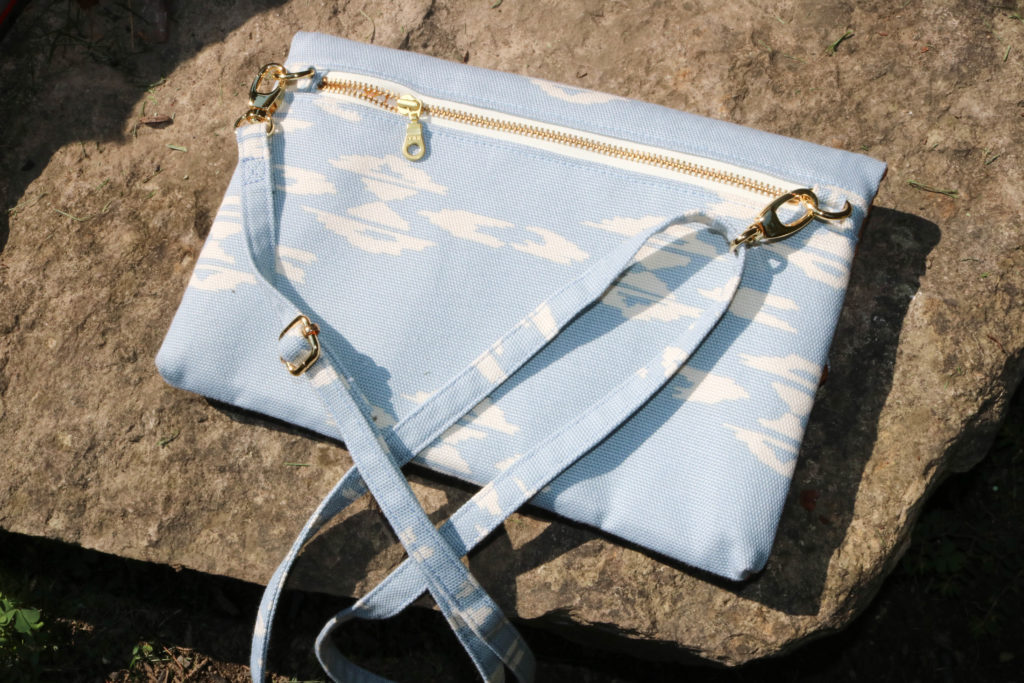
My Abbey is one of my nieces with a such a kind heart and adventurous spirit. She is incredibly intelligent and is now a physical therapist in Michigan. She has always been a straight shooter and that’s why I love her and hope to catch her sometime this summer. Abbey is quite the outdoors-person and goes backpacking on her own all the time. This southwestern-insprired woven fabric reminds me of her and all the probable sunsets (and sunrises) she’s seen on her many trips.
Front Zipper Cover
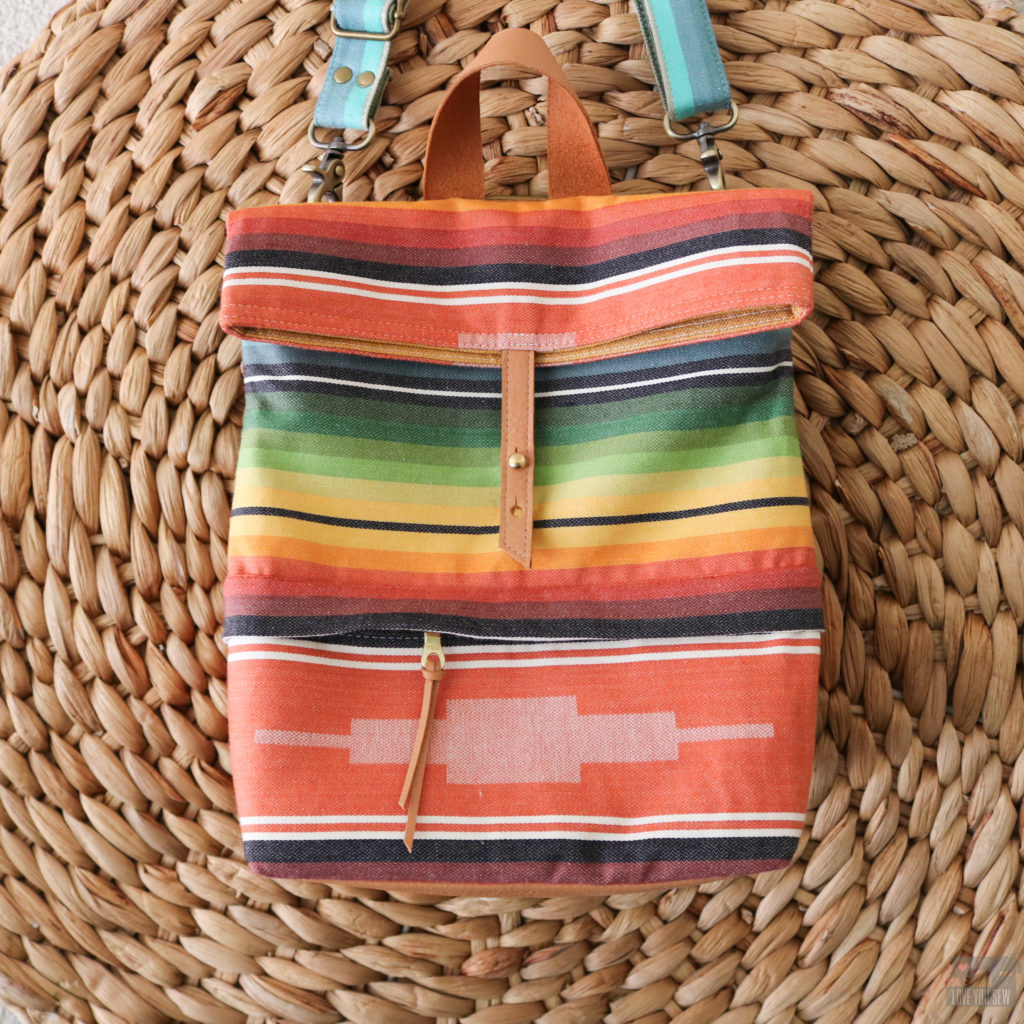
With the bold stripes on this woven fabric, I thought the exposed welt zipper on the original sewing pattern broke up the fabric design too much. I wanted the stripes to continue all around the bag to show off its beauty and not compete with it. So, I made a simple cover by creating a tube which runs the length of the bag and is secured right above the zipper opening.
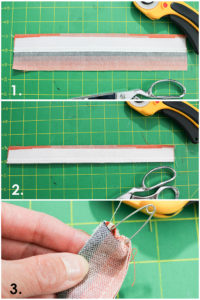
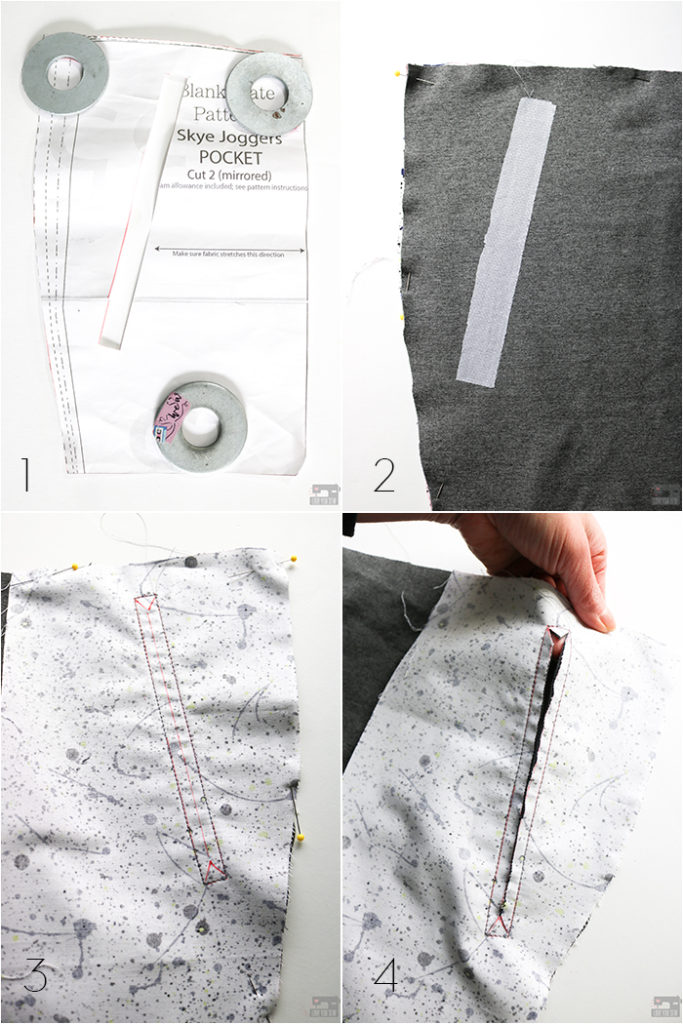
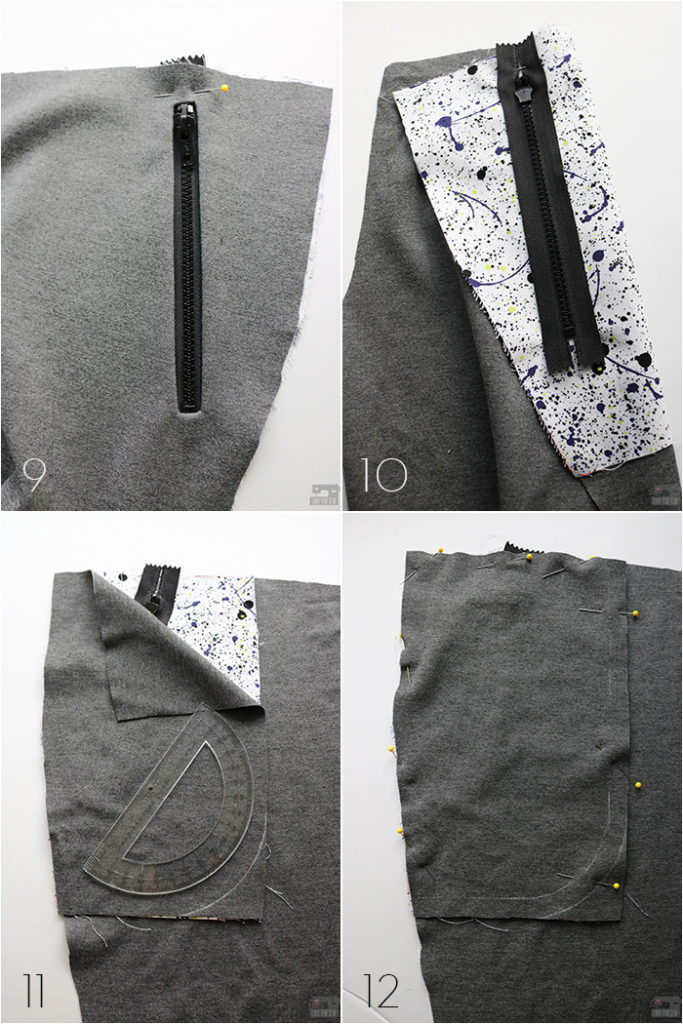
To make the cover, follow all of the steps to complete the welt zipper pocket on the original pattern found here and then:
- Cut (1) 12″ x 2 1/2″ of Main Fabric and (1) 12″ x 1″ of Woven Interfacing. Fold the Cover in half length-wise with right sides together. Place the long edge of the woven interfacing wrong side together against the fold. Fuse the interfacing per manufacturer’s instructions.
- Re-fold the Cover with RST and sew 1/4″ seam along the raw long edge creating a tube. Back-stitch well
- Use a safety pin and attach it within the seam allowance. With the safety pin closed, push it through the tube.
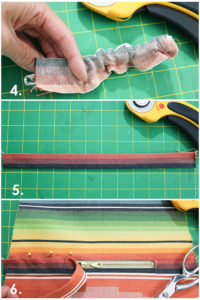
- Carefully direct the safety pin through to the other side of the tube pulling the tube right side out.
- Press the tube flat with seam at the top.
- Line up the Cover with the Welt Zipper opening covering the top-stitching and extend that line all the way out to the sides of the Front Exterior. Pin the Cover into place. Carefully top-stitch the cover to the Front Exterior with a 1/16″ seam allowance using a zipper foot and moving the zipper pull out of the way, as needed. Trim the sides of the cover to match the sides of the Front Exterior. Sew the rest of the Abbey as instructed.
Rivet Accents
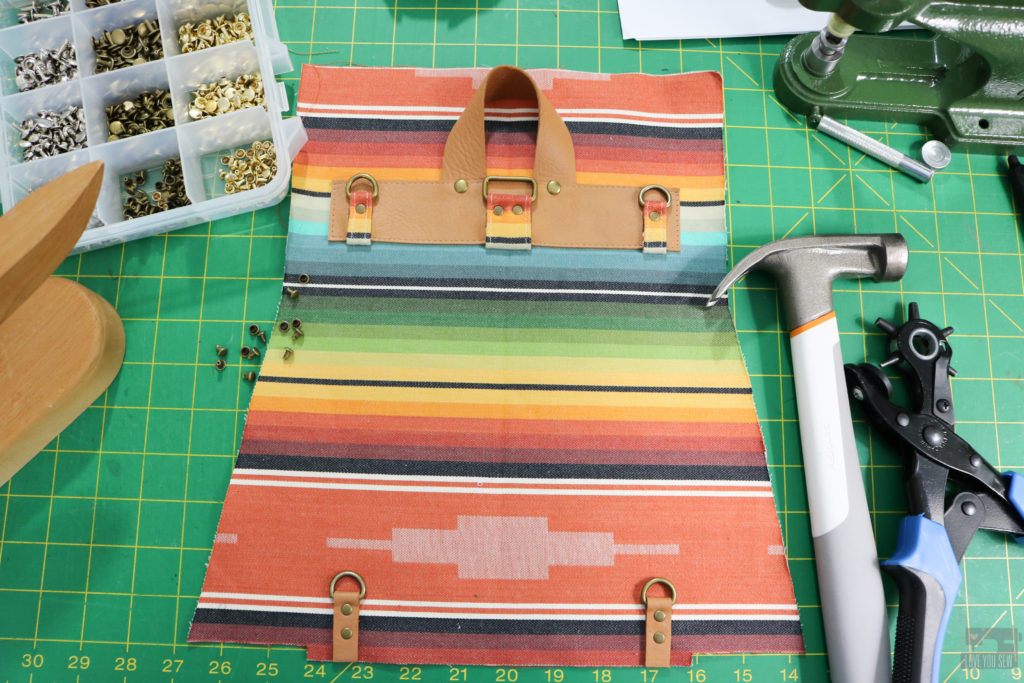
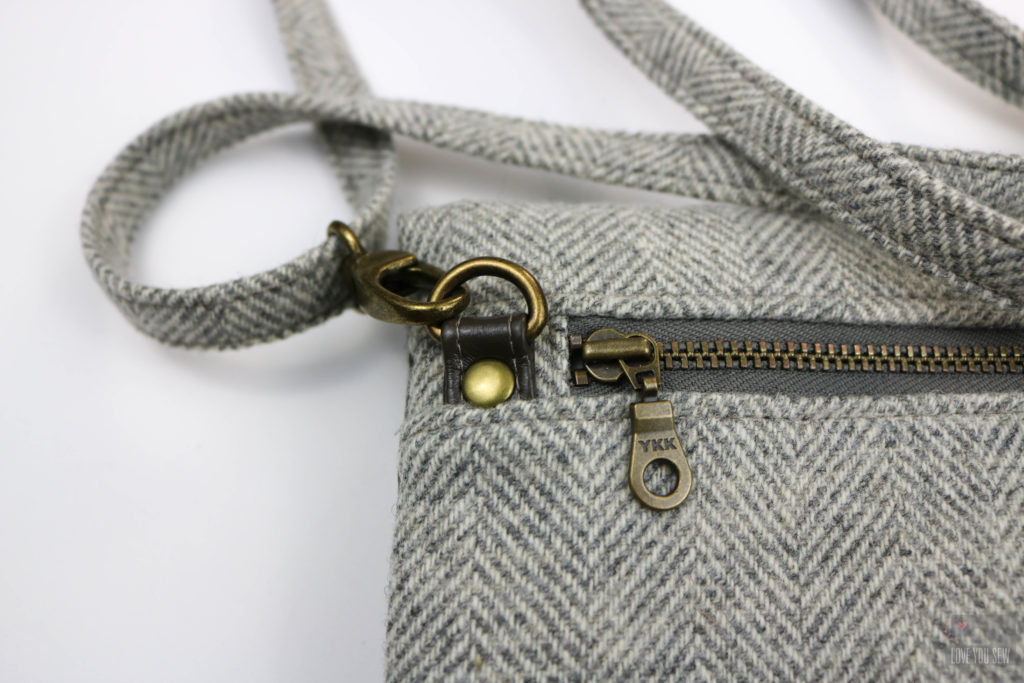
I LOVE adding rivets to my bags. They give such a professional and polished look which really elevates any handmade accessory. The best part is they are also functional — allowing me to secure parts (especially thick substrates) of the Abbey together which would otherwise have to be sewn.
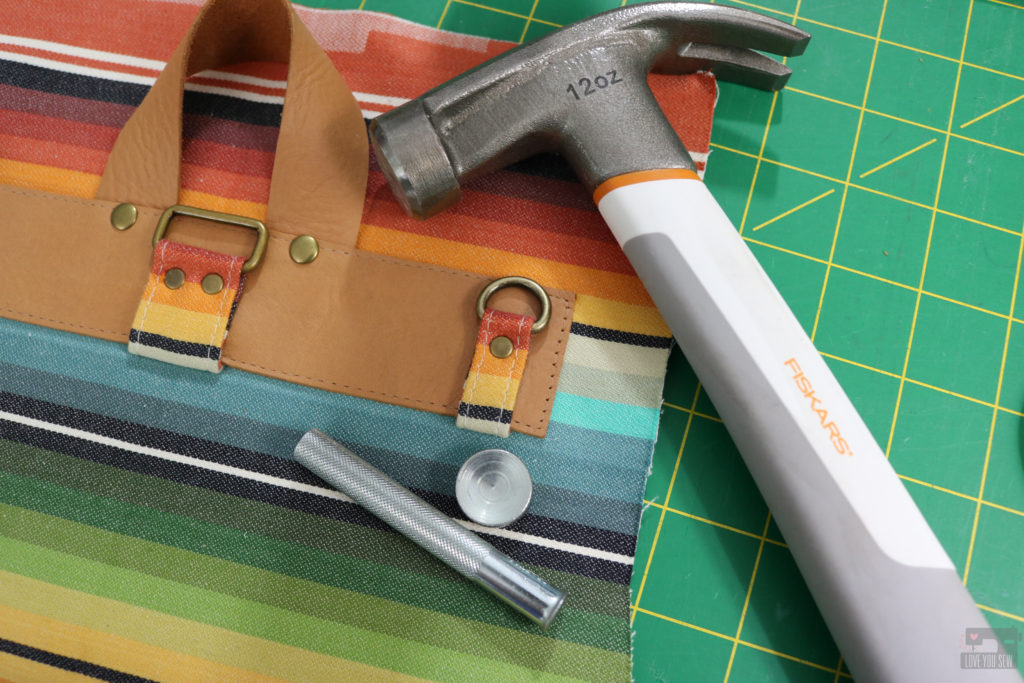
Rivets were used in making the strap and also at many of the connection points with all the hardware connectors. You can see how I used two different sized caps to vary the look. I use a hardware press to install most of my rivets, but when I need to get close up to the rings like here on the Handle Base, I’ll use manual setting tools like this set from Tandy Leather (aff link.)
Leather Closure Tab with Button Stud
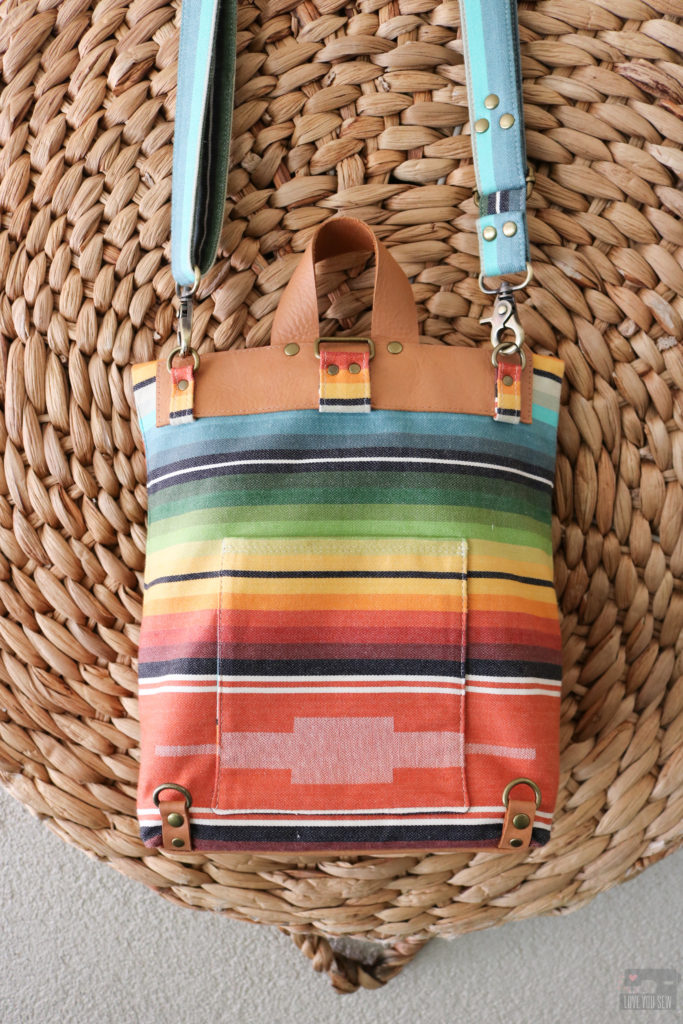
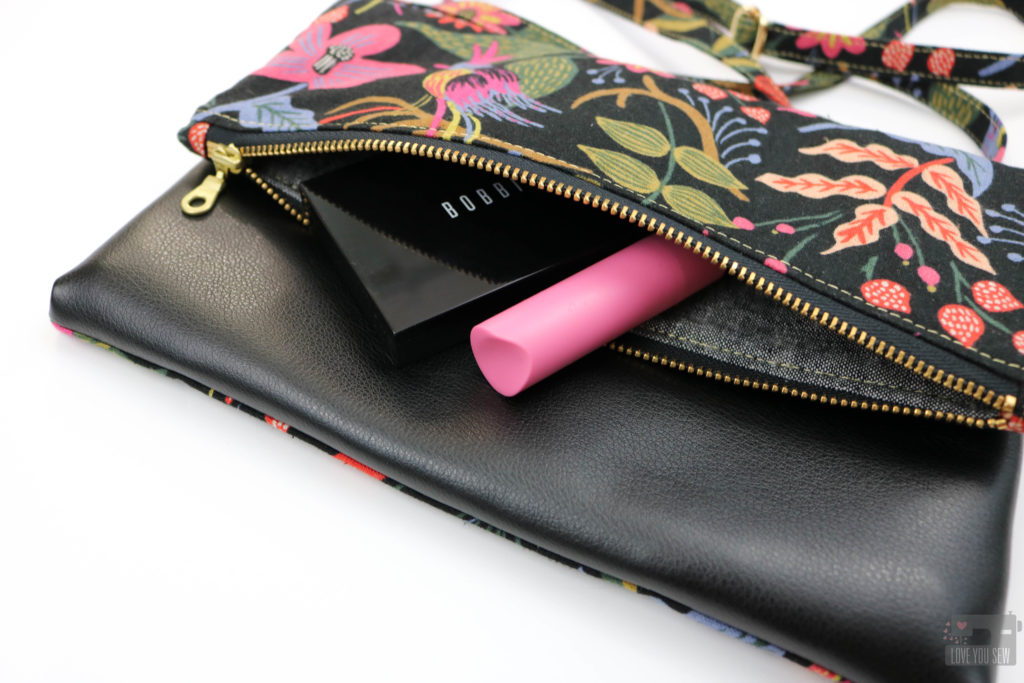
As part of the cutting instructions of the Abbey Convertible Backpack, I also added in finished dimensions if you would like to use leather, vinyl, cork or suede accents, like I did with this bag. I used leather with the Handle, Handle Base, lower D-Ring Connectors, Bottom and Closure Tab. However, I did change up the Closure Tab with the addition of a Button Stud.
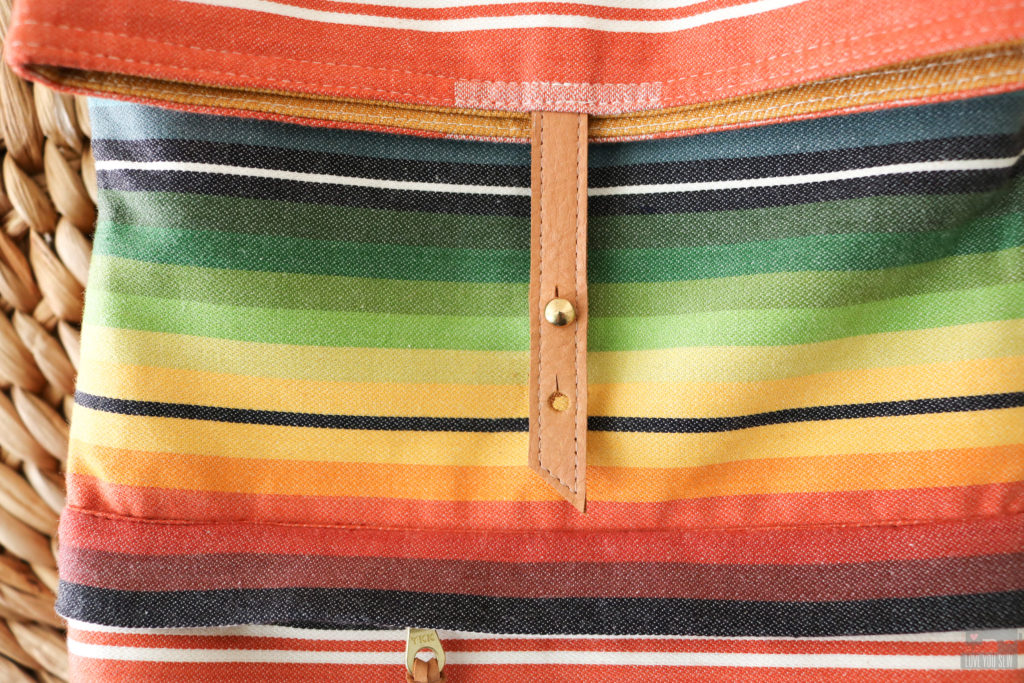
I used a 8mm brass screw-in Button Stud (aff link) in lieu of the magnetic snap to keep the bag closed. It was attached it to the Exterior front by punching a hole for the screw (using the same placement as the magnetic snap) and adding a touch of glue inside the stud to hold. It’s really that easy and a big reason why I love to use them, just like with my free Kelly Waist Bag Pattern.
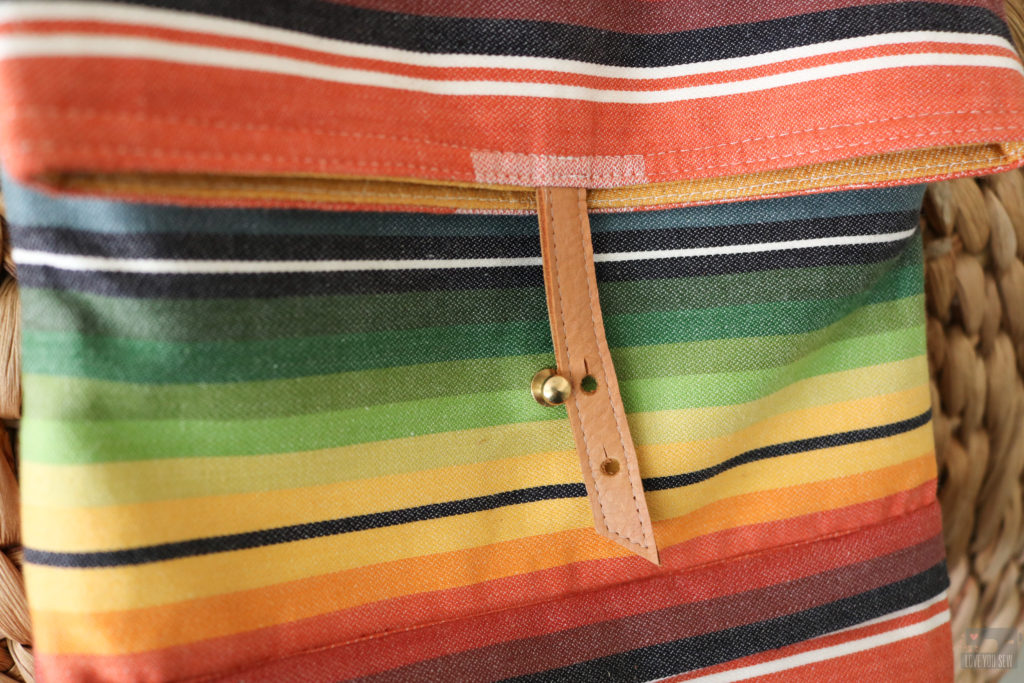
For the Closure Tab:
- Cut (2) 1/2″ x 4 1/4″ pieces of leather and glued them wrong sides together. Cut an angle on one end 3/8″ down for just some visual interest.
- Top-stitch 1/8″ all around the closure using a walking (or Teflon) foot and leather needle
- For the button holes, use a 4mm hole punch to cut (2) holes – 1″ and 1 3/4″ from the longest end of the Closure Tab. Add a 1/8″ vertical cut at the top of each opening. This allows the Button Stud to fit through the hole, but not to fall out on it’s own with movement and wear. TIP: I would recommend adding the holes after the bag is fully assembled so you can check placement.
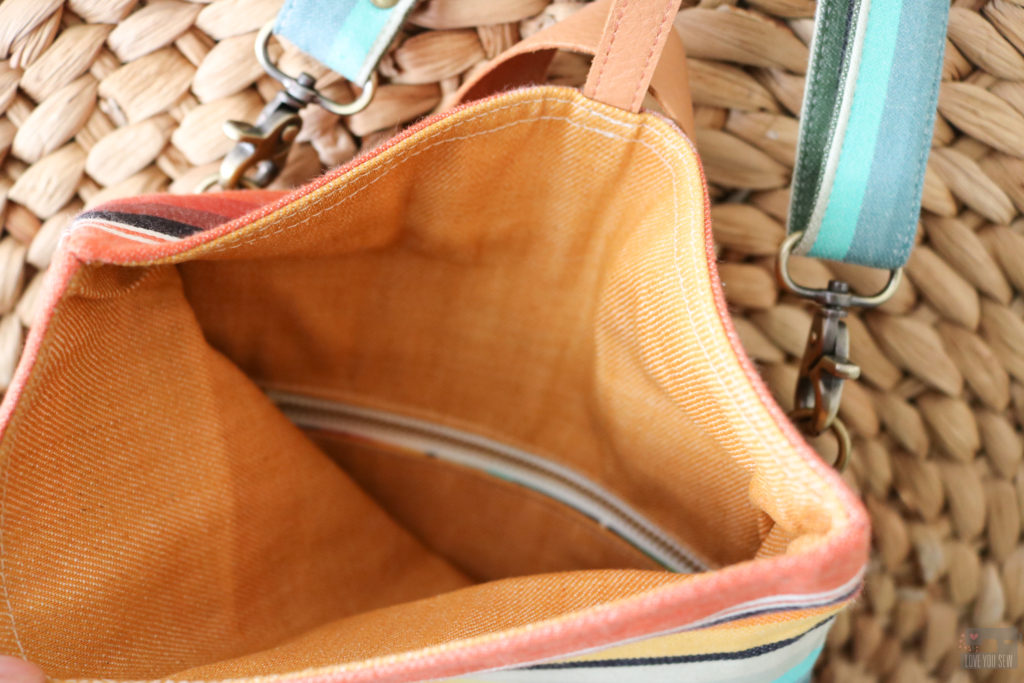
These are all simple hacks to really change up the look of the Abbey Convertible Backpack and to make it personal. The leather accents help to add more sophistication to the look as well. Who can tell this bag is even handmade?!? I hope Abbey loves her new bag and continues to enjoys her outdoor treks!
Project Summary:
- Pattern: Abbey Convertible Backpack by Love You Sew
- Fabric: Woven World Fabric by Diamond Textiles originally bought 4 years ago; Cone Mills denim from Imagine Gnats; Leather purchased second-hand
- Hardware: Lobster Clasps from Ning Bags (aff link), Rings and Small Rivets from Emmaline Bags, Extra-small Rivets from Sallie Tomato
- Zippers: Metal Brass Finish from ZipIt Zippers (aff link)
- Button Studs: 8mm Brass from Amazon (aff link)
Are you digging the hacks to my bag patterns? Let me know if there any you would like to see in the comments below. I will try to make them happen!
Happy Sewing Friends,
Cristy
This post may contain affiliate links for which I may receive a small commission if you would make a purchase. Any compensation goes directly to running this website and keeping it as ad-free as I can. Thanks for your support!
