Tutorial: Seal Edges of Cork, Leather or Vinyl

If you are looking for a simple way to finish the edges of your non-fraying substrates, this is it!  The following tutorial will help you seal the edges of cork, leather, suede and vinyl.  Many of the man-made substrates have a fabric backing which can still fray over time.  Sealing the edges with  paint ensures that you have a clean finish and won’t see any of that fraying.  This tutorial is great for:

TUTORIAL

To get started, these are the Materials Needed (with affiliate links):

  • Project – cork, leather, suede or vinyl
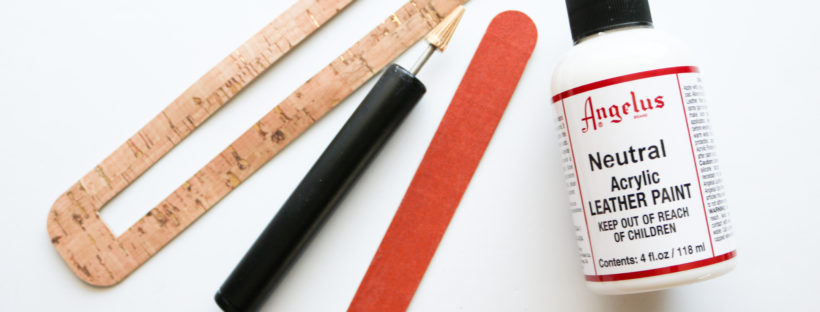
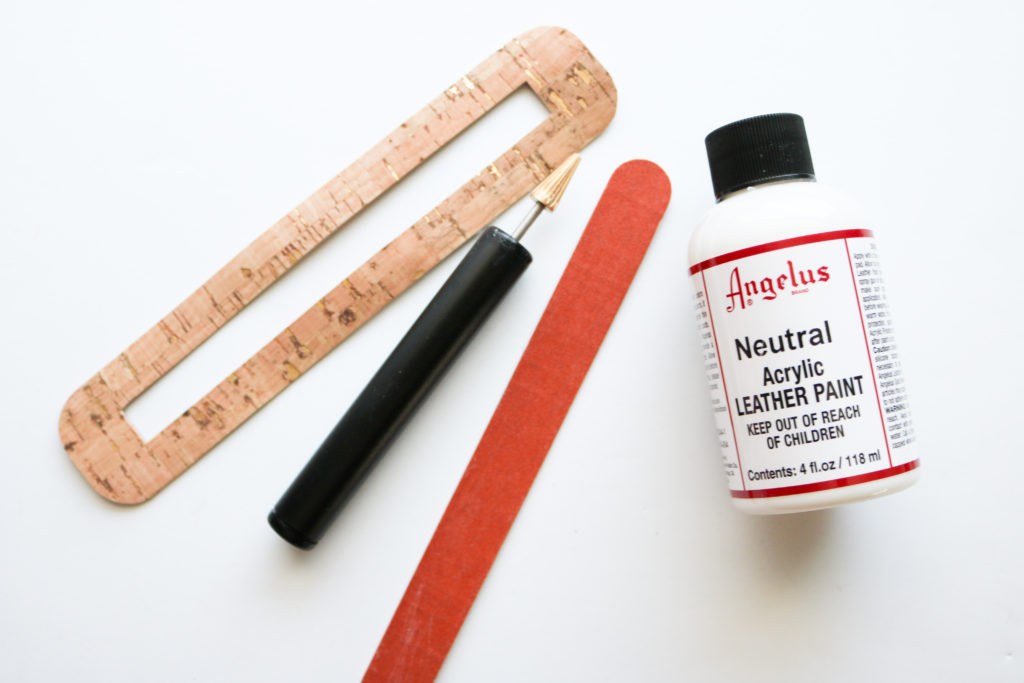
  • Leather Paint- I used “Neutral” as an all-purpose clearcoat
  • Paint Applicator – There are many out in the market and this works well for my needs as long as the post is clean and oiled well
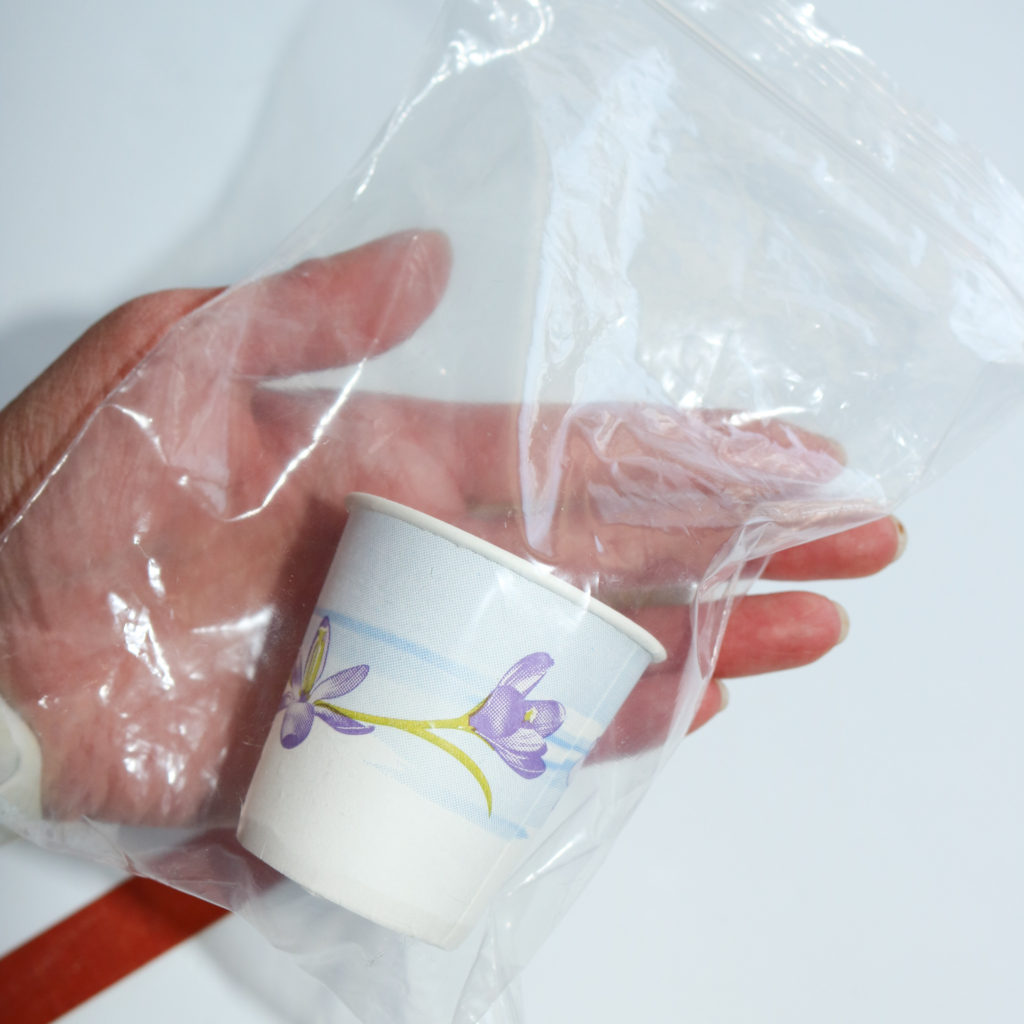
  • Cup/Dish – I use a simple bathroom cup which I can throw away later
  • Emery board or Fine grit sandpaper


Click into the video ABOVE to view the full process.

TIP:  In-between coats drying, I like to seal up the extra paint in a bag so that it doesn’t dry out.  This allows me to maximize the paint and the paint has stayed wet for over a day for me.

I hope you enjoy this tutorial to make your projects look even MORE professional!


Happy Sewing,

Cristy


This post may contain affiliate links.  Please read my Disclosures, here.

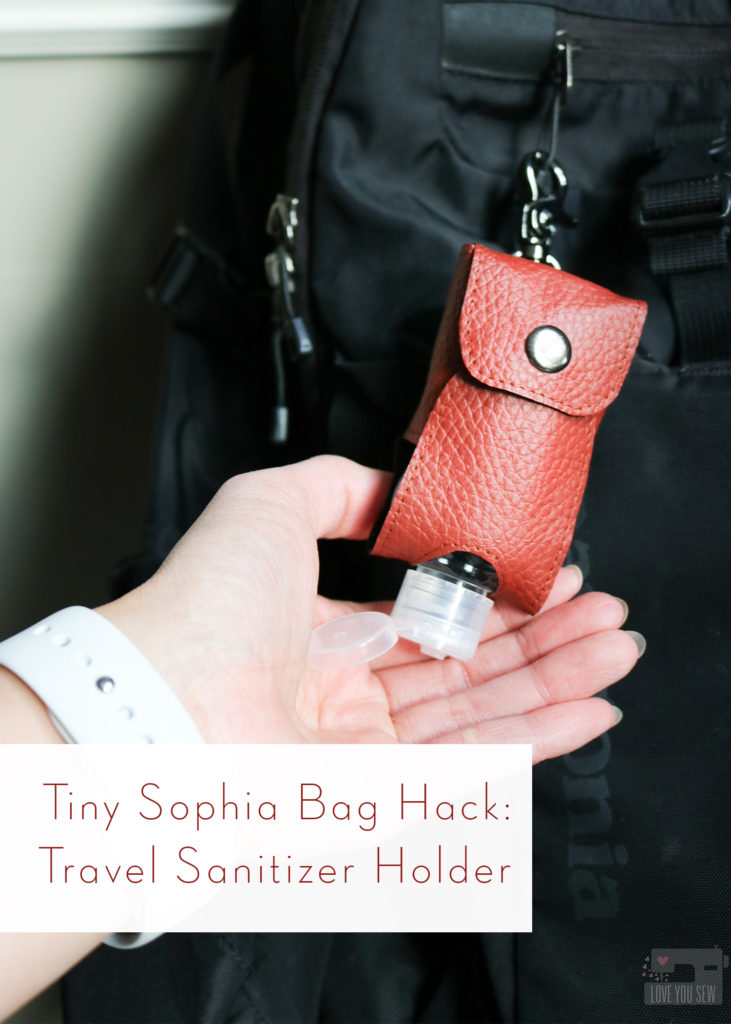
Tiny Sophia Bag HACK: Travel Sanitizer Holder

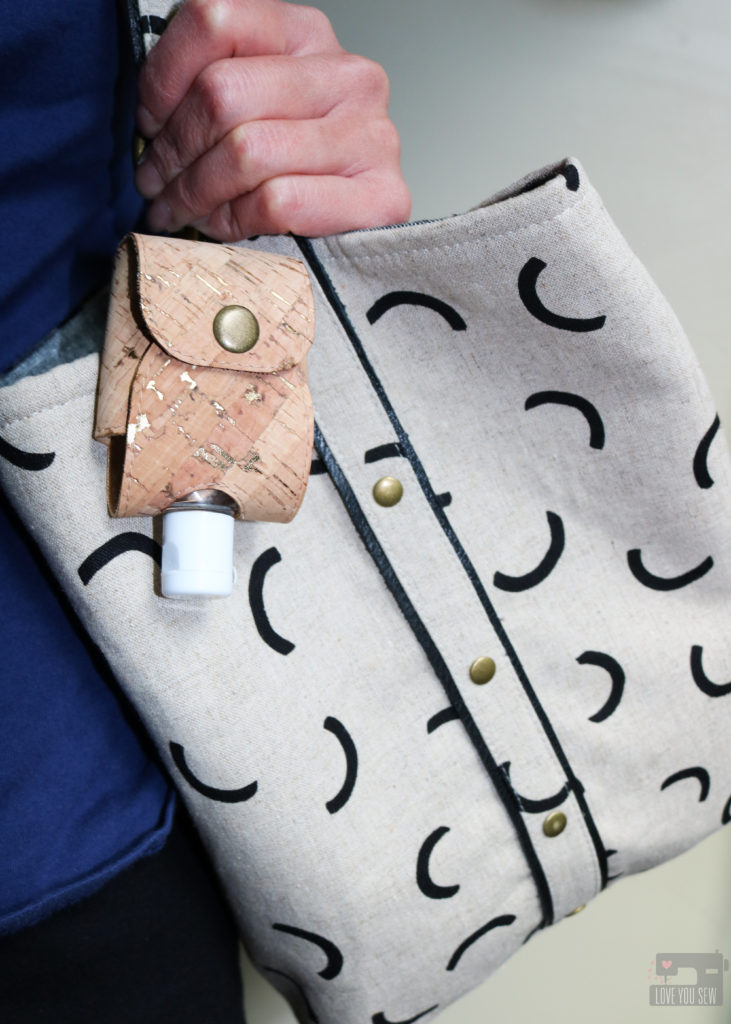
As the world goes on, we know washing hands and using sanitizer is LIFE right now. It is SO important to stay healthy and protect ourselves against all germs – pandemic or not!  Washing hands with soap is the preferred way to keep them clean, but when there isn’t a sink around hand sanitizer is a decent alternative. You can read more about the benefits of hand-washing here with the CDC.
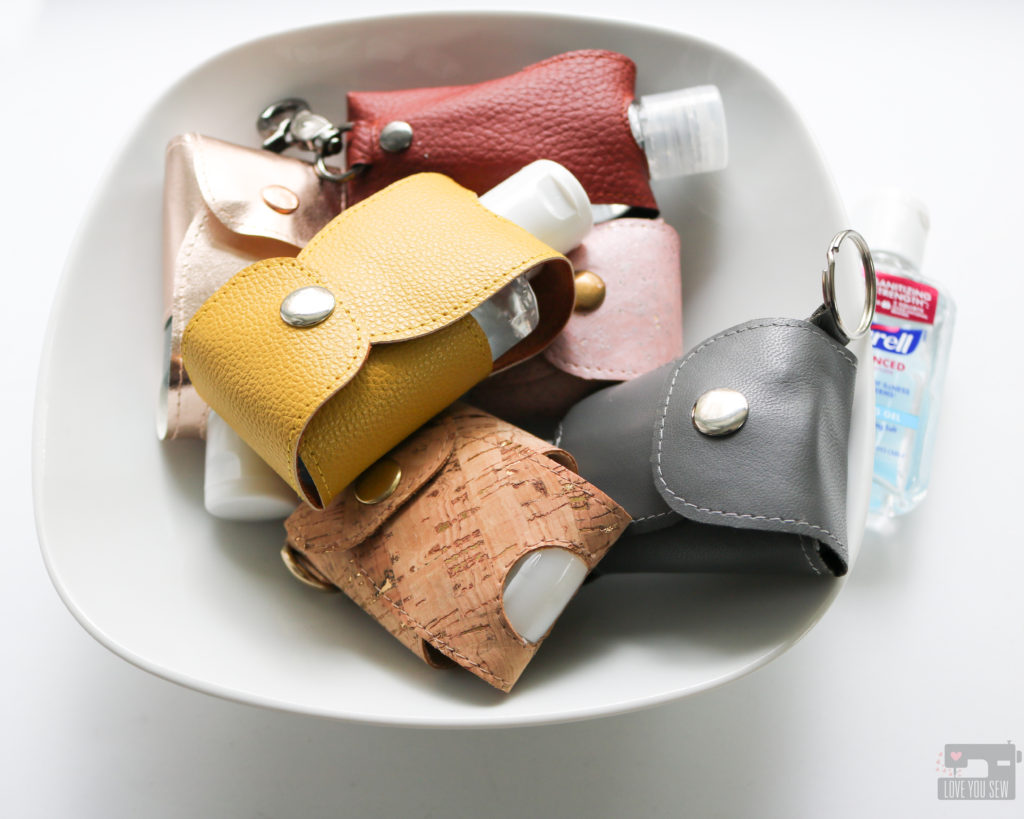
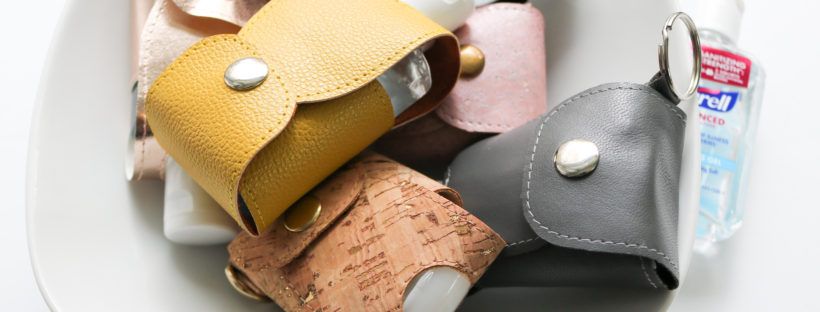
Like all of you, I want to keep my family safe and have sanitizer on them at all times – especially as school opened up for my kids. But of course, supplies have been (and still are) very bare.  Trying to find those manufactured jelly style travel sanitizer holders was just impossible. That’s when I took it upon myself to make cases for my kids and husband.
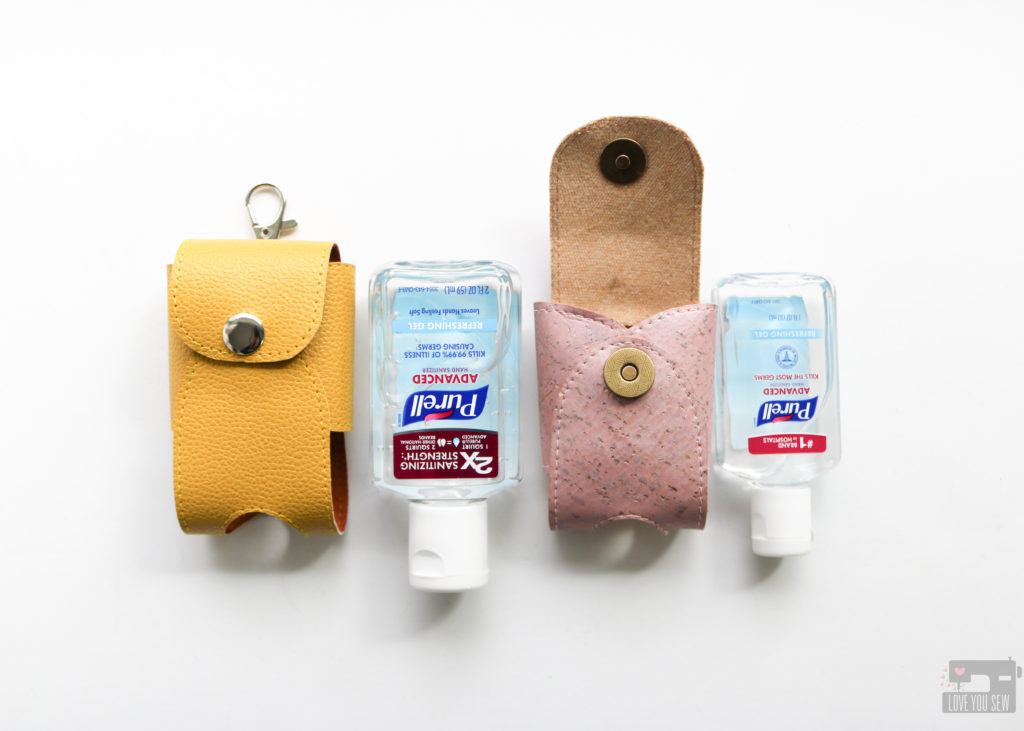
Different size travel bottles

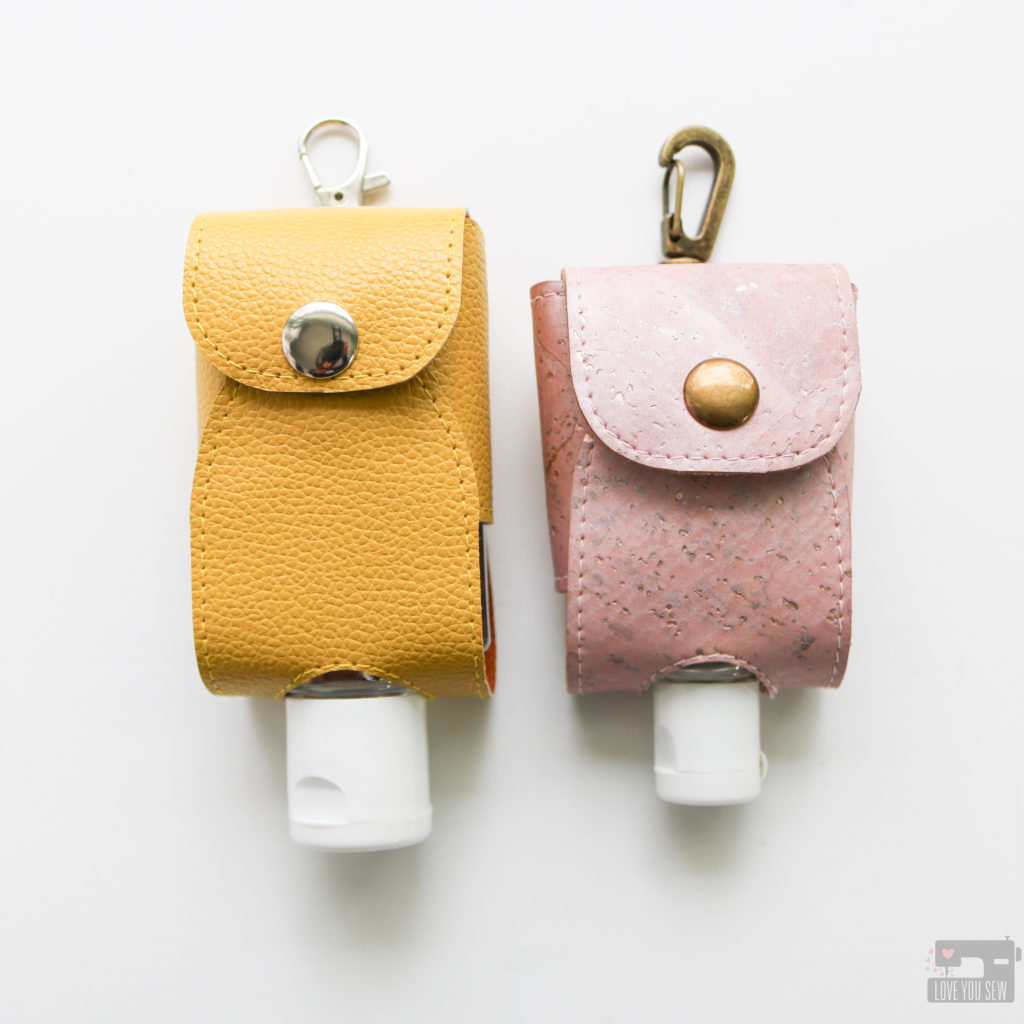
It turns out that the Tiny Sophia Bag (read about it here) is the right width to hold most travel sanitizers! The height just needs to be adjusted and that’s where this hack was born. This hack will take you through the steps to transform your #tinypurse to a sanitizer holder for most 1-2 oz travel bottles.  I tried to find a variety of bottles to test so you can see how they fit and decided to create one version for bottles from 1-1.6 oz and then another version that can fit 2 oz bottles.  If you are using bottles different from any of those pictured, be sure to check the template against your sanitizer BEFORE cutting any material.
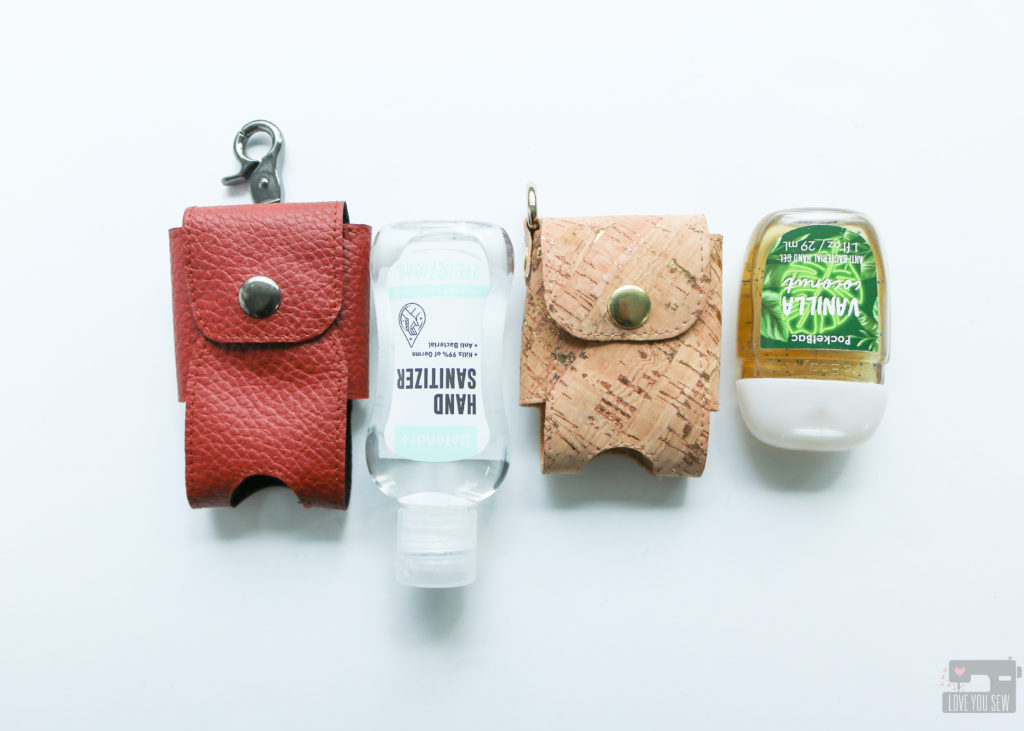
2 oz Holder vs 1 oz Holder


Materials Needed:

  • The Tiny Sophia Bag pattern – found here
  • Ruler
  • Extra paper
  • Marking Instrument
  • Clear Tape

Tutorial

***Please note there are adjustments depending on whether you are making a holder for a 1.0-1.6 oz. bottle versus a 2 oz. bottle.   Please read instructions carefully.
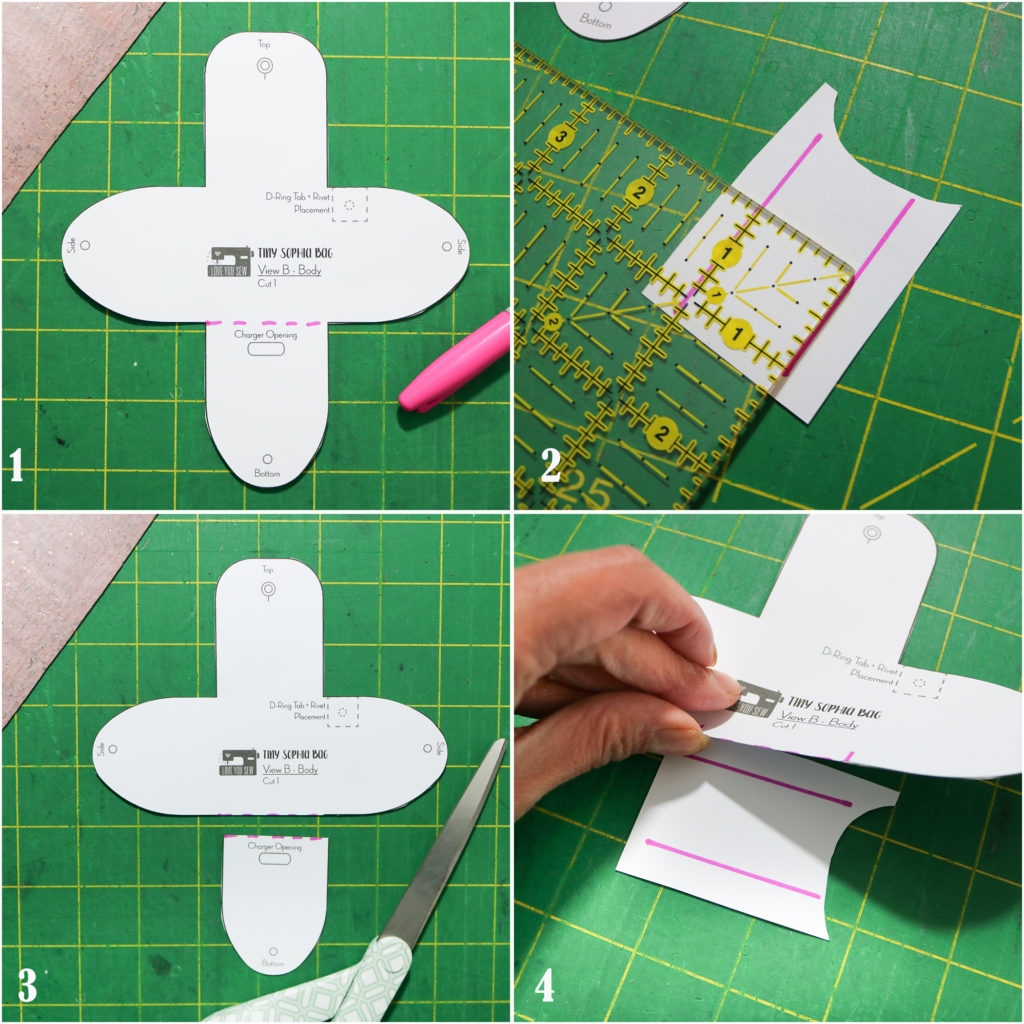
1. Cut the pattern template out per instructions. Mark the cut line along where the bottom flap meets the sides.

2. Take a scrap piece of paper (wider than the bottom flap) and mark a 1″ high extension for 1-1.6 oz. sanitizer bottles. *If you have a 2 oz. bottle, you will want to mark a 2″ high extension.

3. Cut the bottom flap off the bag template following your markings

4. Line up the top of the pattern along the extension and tape into place.
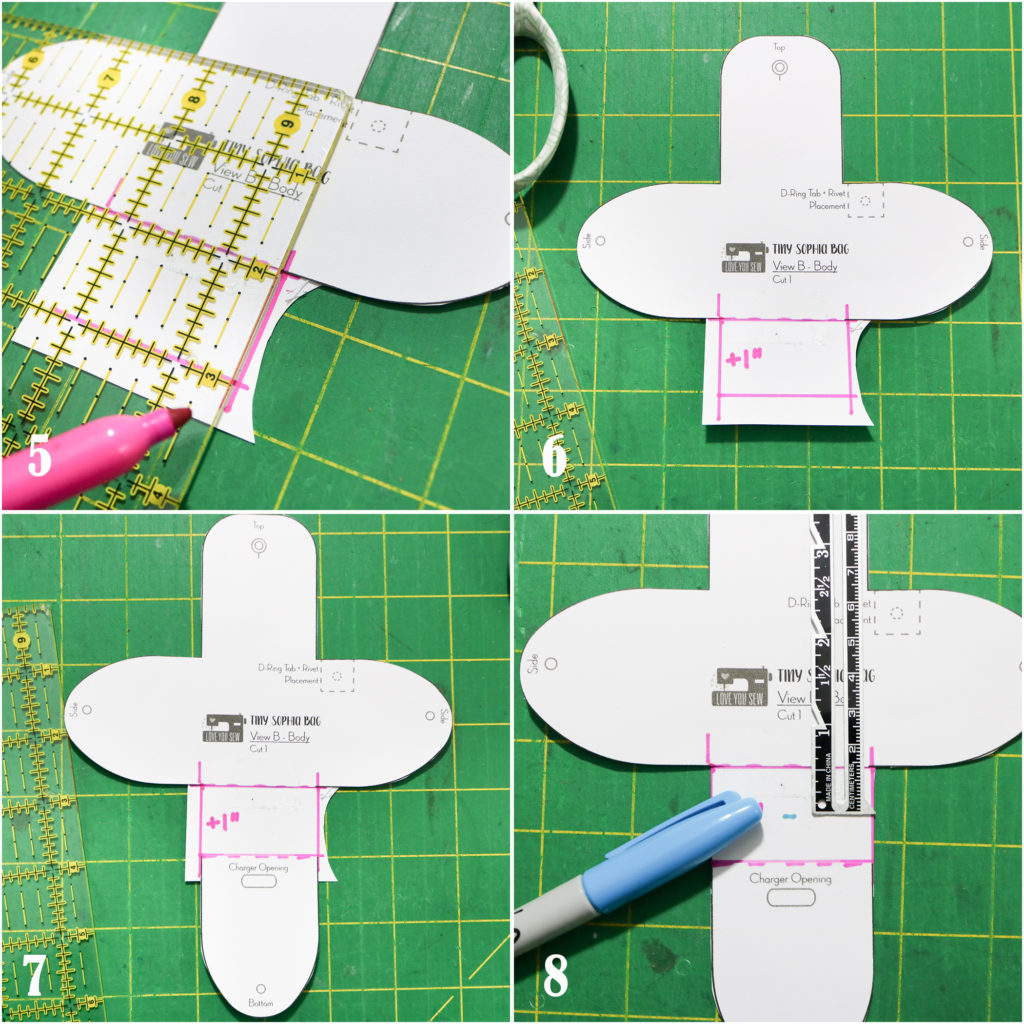
5. Take a ruler and mark the right side of the extension aligning it to the Top flap’s side edge.

6. Repeat on the left side of the extension.

7. Line up the bottom flap to the lower side of the extension making sure it matches the side markings.

8. Trim away the excess paper.  Mark a line 1/2″ from the top of the extension. *If you are making a 2 oz. bottle holder, mark a line 1″ from the top of the extension.
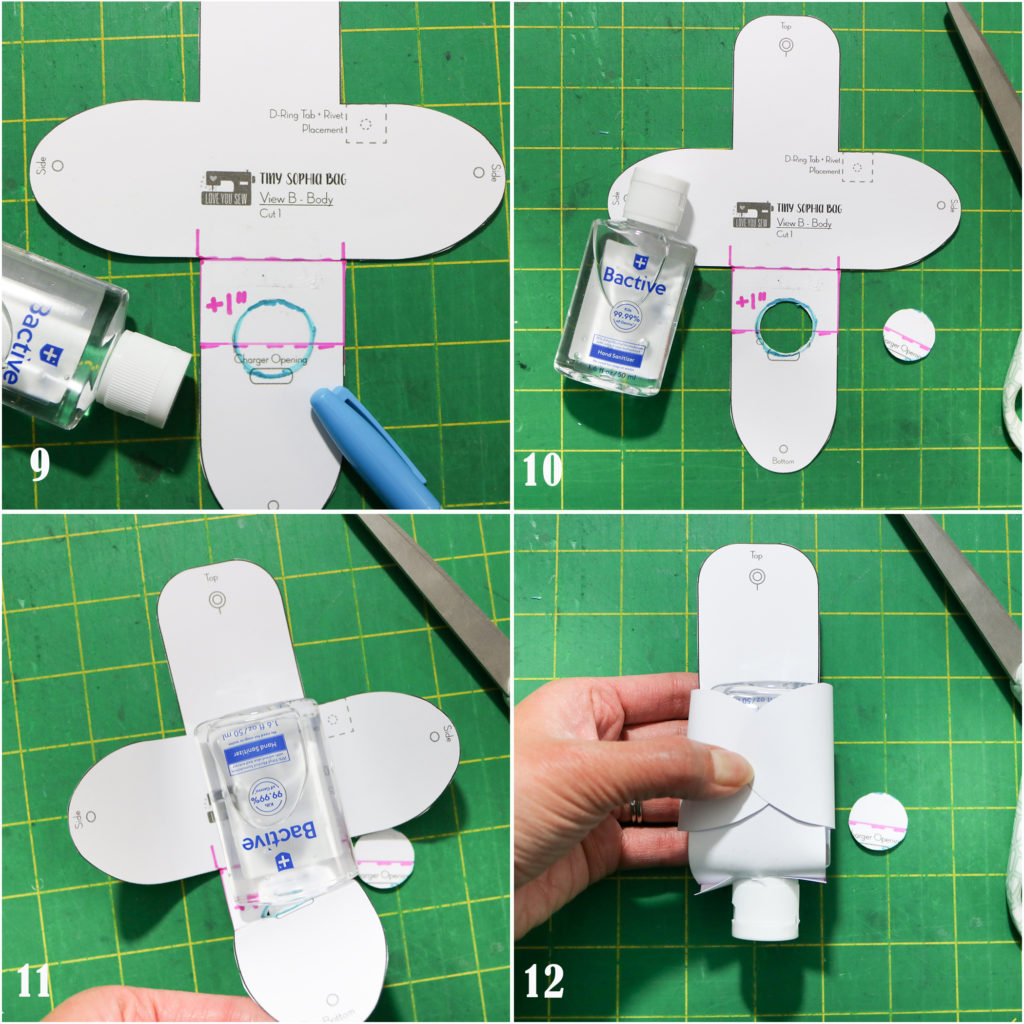
9. Use a sanitizer bottle cap as your opening.  (This replaces the Charger Opening.)  Center it vertically on the template and place it just under mark made in the previous step.  Trace.

10. Carefully cut out the circle with paper scissors.

11. Check that the sanitizer bottle you want to use fits through the opening on the template. Adjust as needed.

12.  Check that the template fits around the bottle by aligning the hardware holes.  Adjust as needed.  Once you are satisfied with the fit, follow the steps in The Tiny Sophia Bag to finish your  travel sanitizer holder!

Notes:
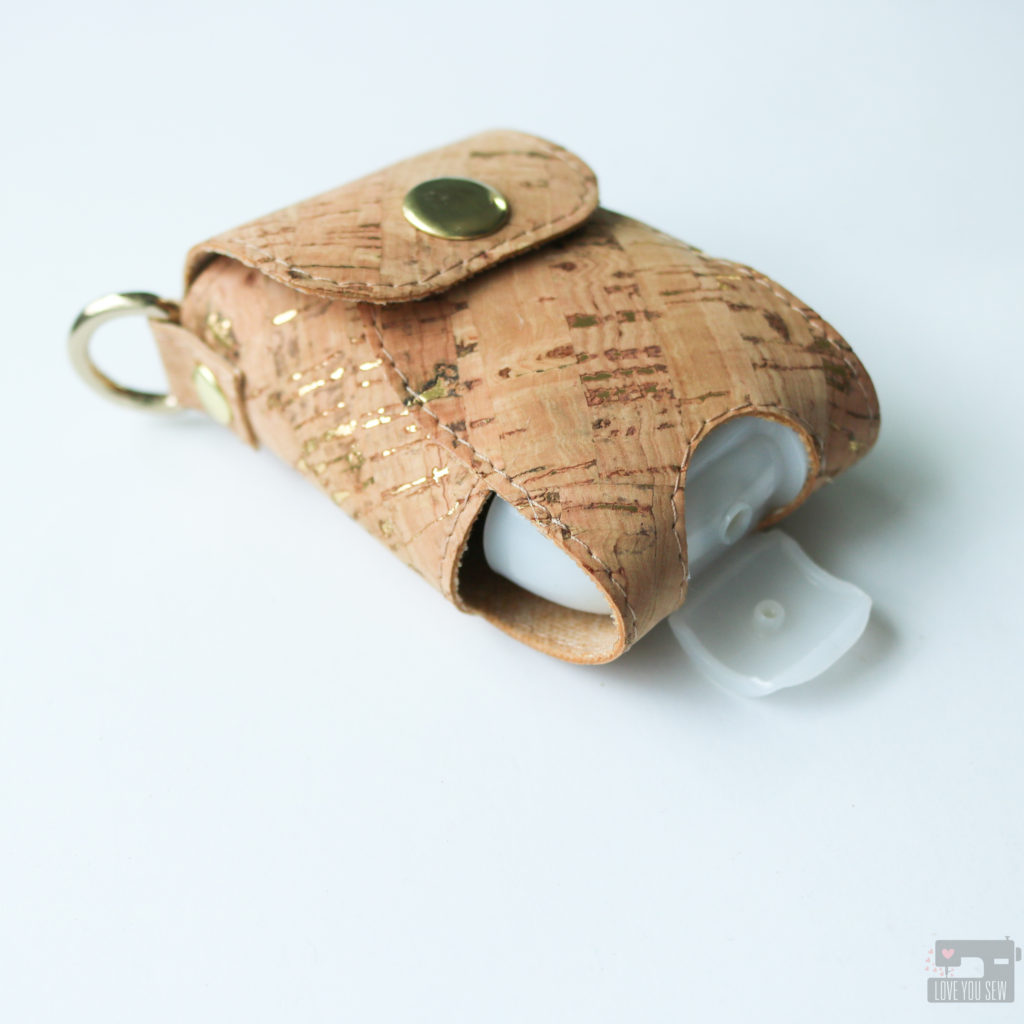
This cork version uses the 1 oz adjustment, but if I were to make it again just for this style of sanitizer bottle from Bath & Body Works, I would make a slightly wider opening to accommodate  that wider flip-cap.
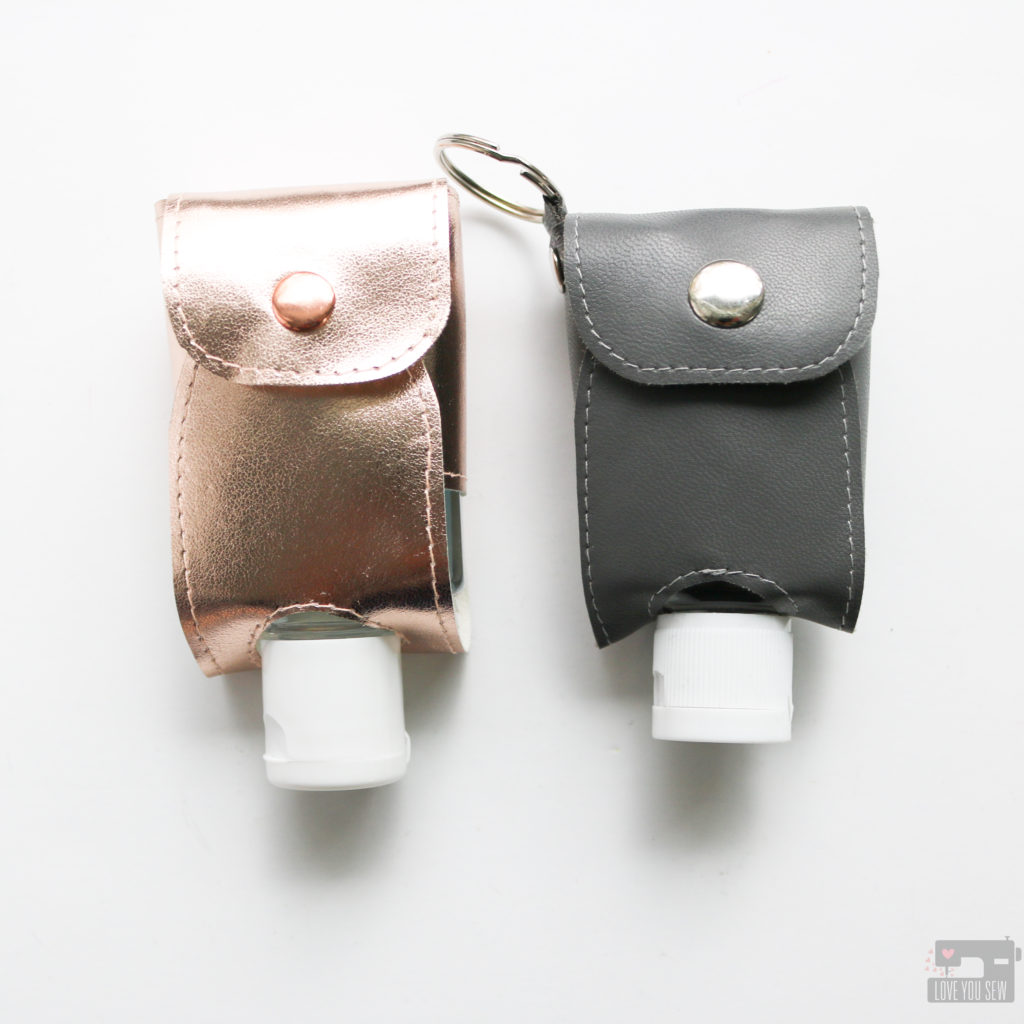
I added stitching to all of my samples in this post, but you don’t have to.  Using faux leather with felt backings like these pictured above leave no fraying and make this a fast and simple project.
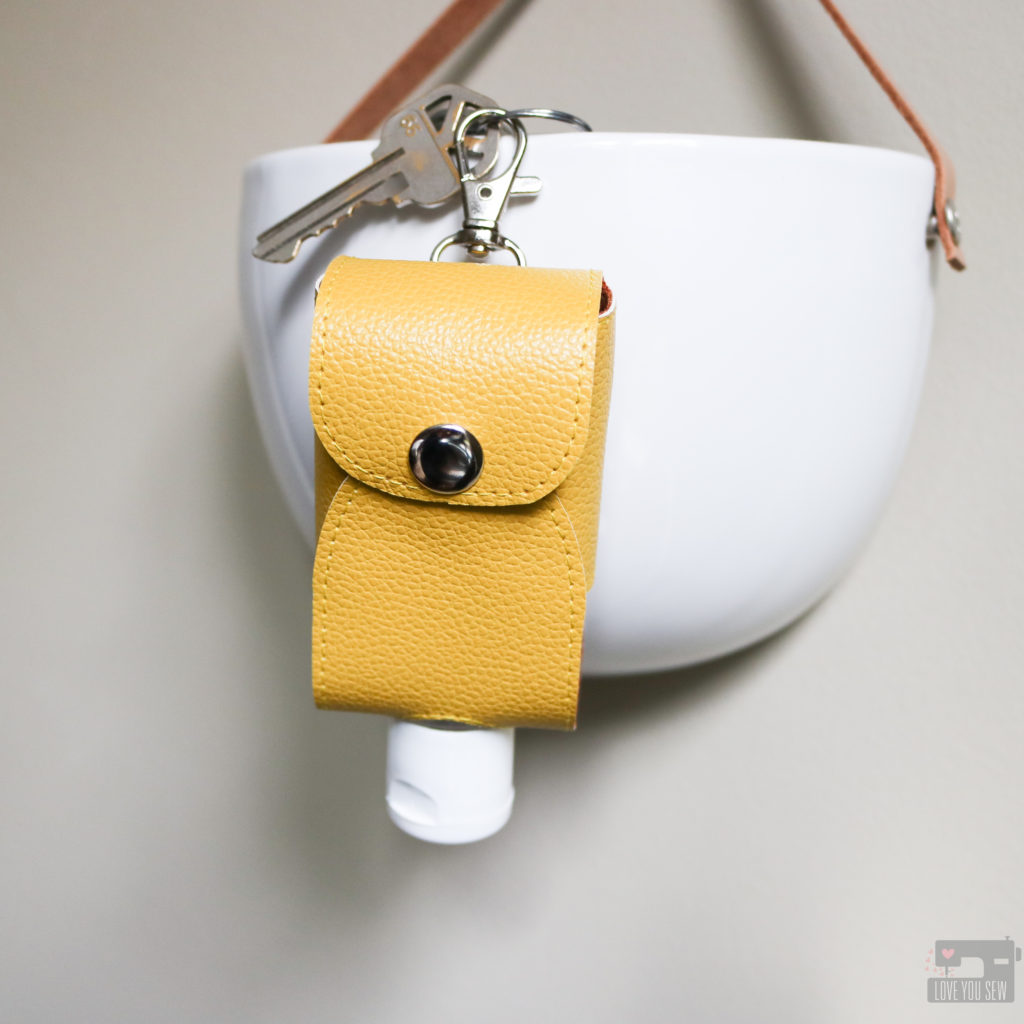
With the holidays ahead, these will make such great gifts!  So I will switch up the hardware to swivel clasps on the back so they can hang easily from key chains, purses and backpacks.

Where to find supplies:
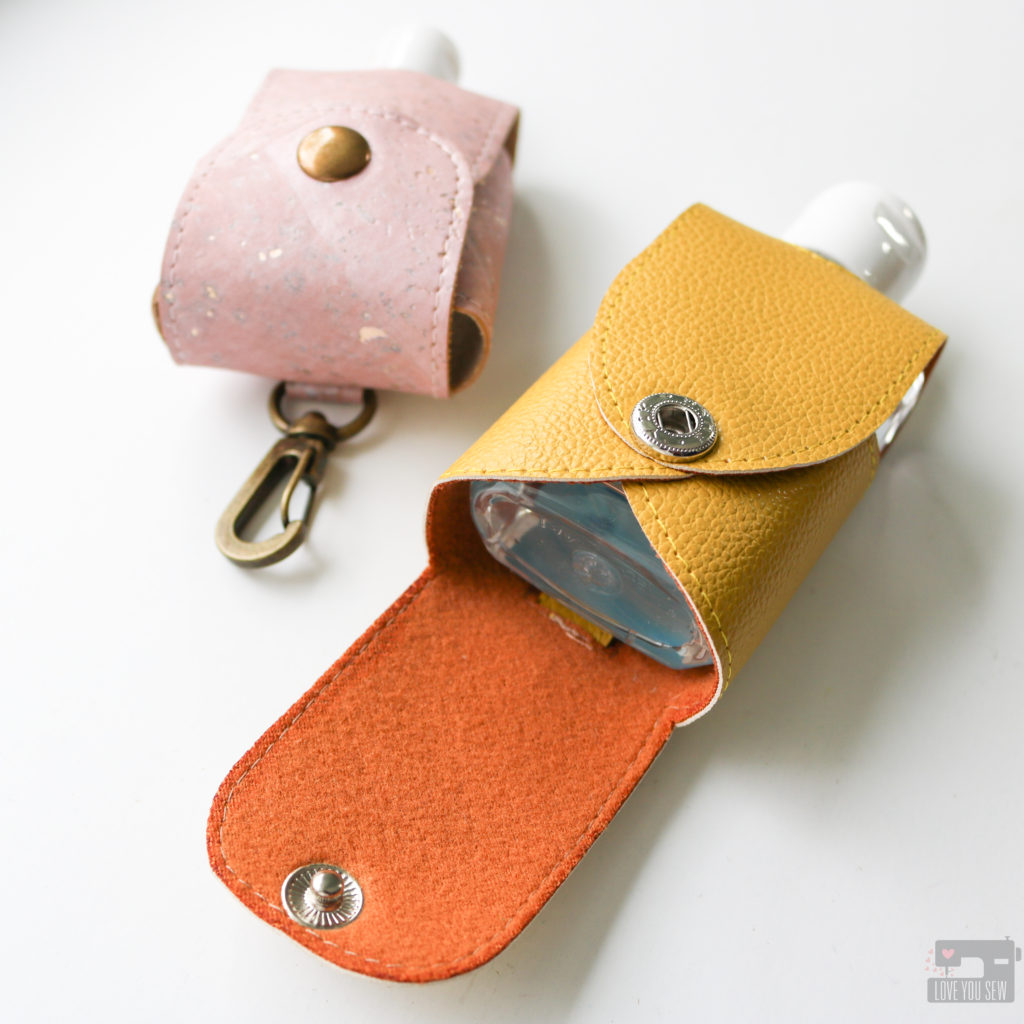
  • For Cork or Faux Leather, I’m a big fan of Sew Sweetness.  Shipping is flat-rate, fast and I think a great deal!
  • For real leather and a variety of finishes, TanneryNYC has remnant bags.  I received small – medium sized cuts and was able to make several Tiny Sophia Bags out of the surprise shipment. These are high quality pieces of soft leather.
  • I love Emmaline Bags and By Annie’s hardware, but if you are looking for a value set for kids, I recently bought these (pictured on yellow case) and these from Amazon.
  • For Snaps, I used spring style ones from Gold Star tool, but recently fell in love with these Rivet Magnets from Kam Snaps (as seen with the pink cork version above.)


I hope you enjoy this hack and find it useful in our current environment.  Please drop a comment and let me know what you think!


Hugs and Stitches,

Cristy


This post may contain affiliate links.  Any earnings go right back into powering this website.  Please read my Disclosures here.
Review: Sirocco Jumpsuit in Luxe Green Scuba

This post was originally written for the Minerva Crafts blog in November, 2019. Additional edits have been made after real-life wear of the garment.

Intro 

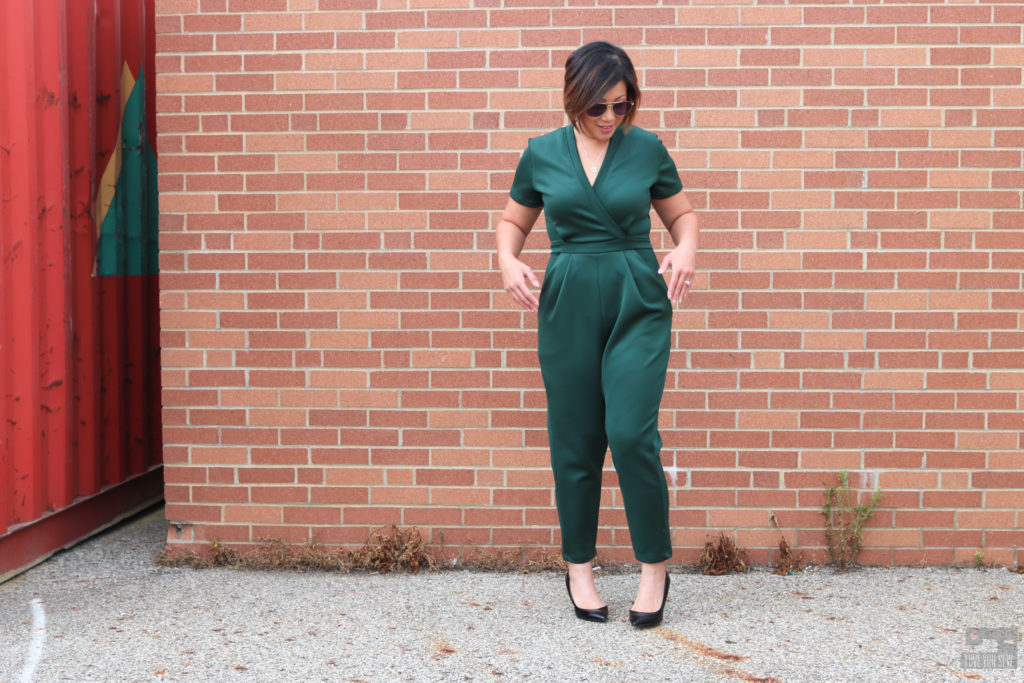
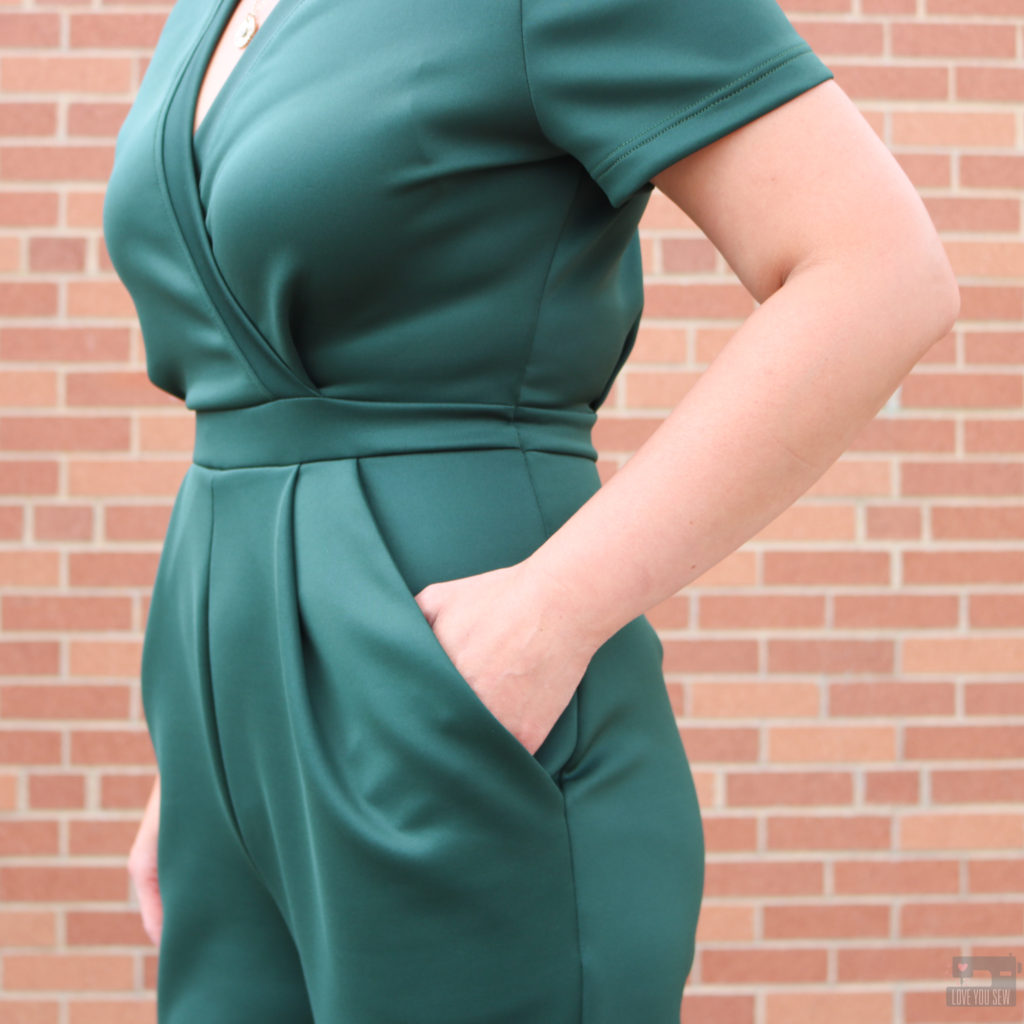
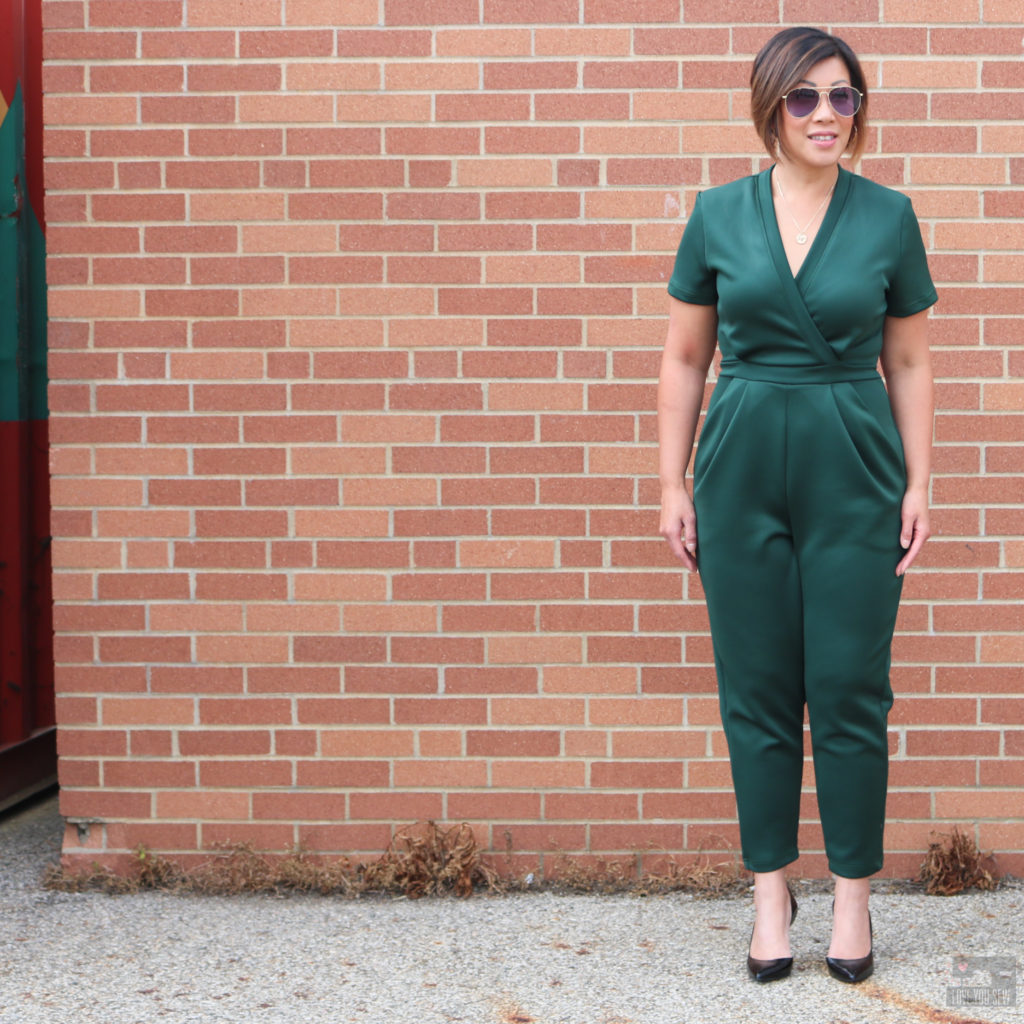
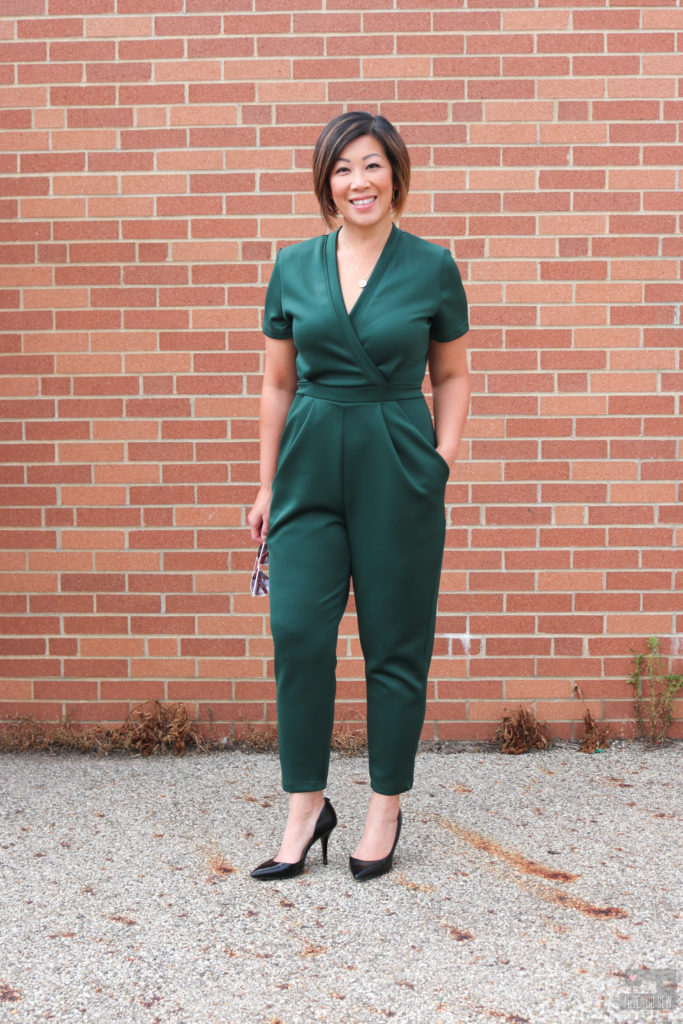
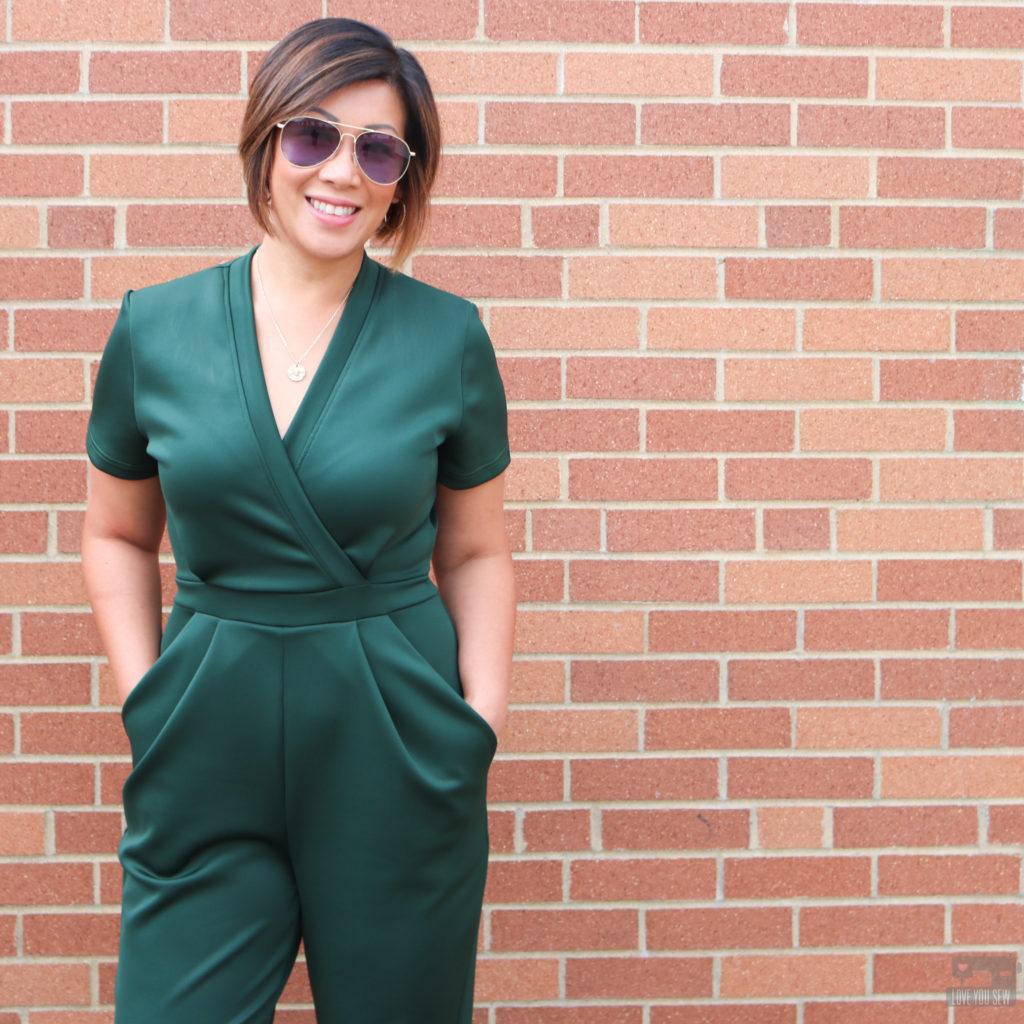
Hi, this is Cristy Stuhldreher from Love You Sew with my very first #MinervaMake as a blog contributor!!!  I was SO excited to be invited to be part of such an extensive team of bloggers here and equally excited to play with so much beautiful fabric.  My first find was this gorgeous Lady McElroy Luxury Plain Scuba Jersey Knit Fabric in Bottle Green.  With autumn (my favorite season!) quickly coming to the States, I knew I would need to get ahead and make some transitional garments with the switch of temperatures that are bound to come.  So, after I saw this scuba fabric I immediately thought of the Deer and Doe Sirocco Jumpsuit (like many other contributors already have!)

Fabric

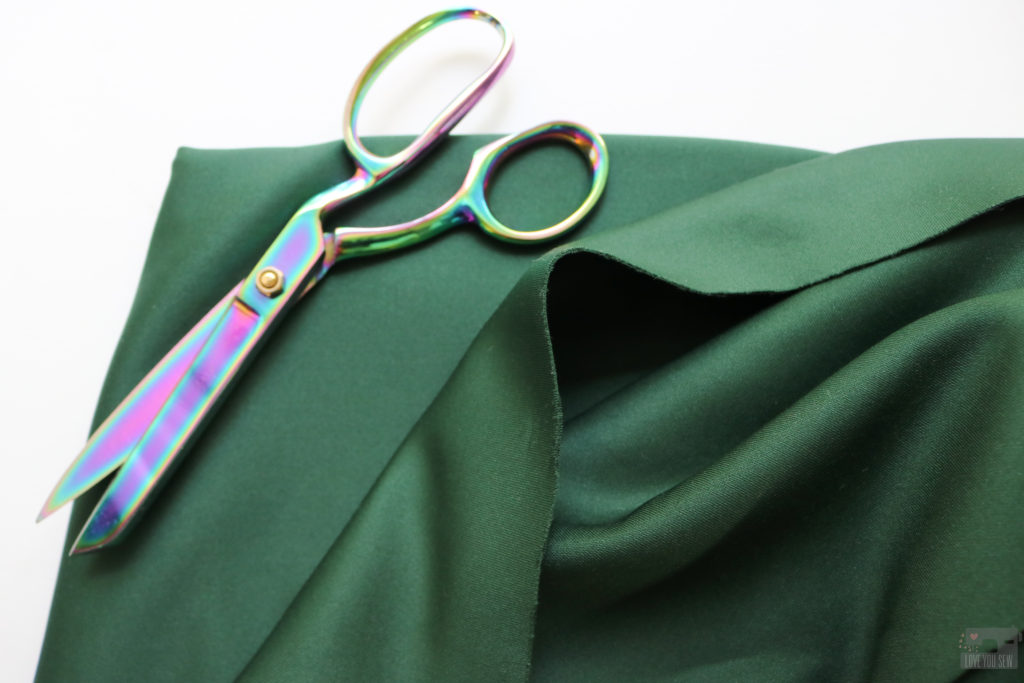
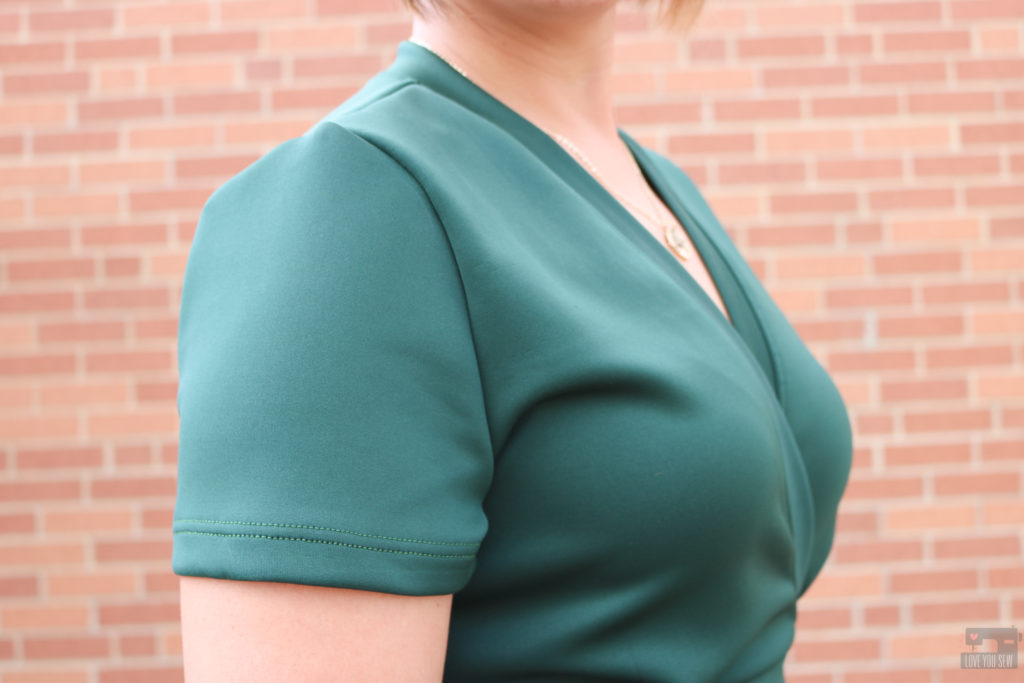
This Lady McElroy Luxury Plain Scuba Jersey Knit Fabric was such a great find!  I’m a big fan of Ponte de Roma fabrics and knew I would love Scuba just the same since they are both heavy double-knits.  They feel and act very similarly, but are made of different fibers.  Scuba is generally poly and elastane whereas Ponte is generally viscose and elastane.  This soft and smooth Scuba Jersey did not disappoint with its great stretch and nice body which is perfect for a jumpsuit when you don’t want every bodily imperfection to show through.  It is also works SO well for a knit jumpsuit with amazing stretch and recovery.  The last thing I would want after all of this hard work would be a saggy stretched out butt!
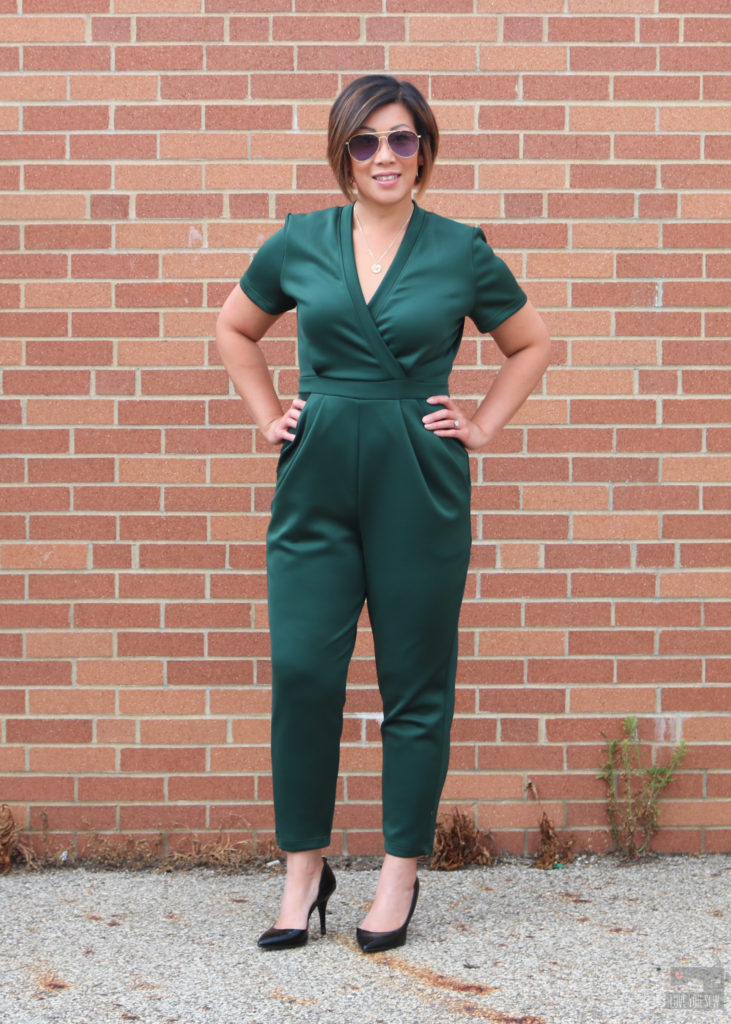
It’s always hard to tell how color will come out in person versus on a computer, so I was a bit nervous to see how the Bottle Green would be.  It looked slightly more muted, like a deeper sage green on my screen.  But I was actually delighted  to see that the fabric was more of a deep rich gem tone – a solid “Hunter” green, in my opinion.  With my olive skin and dark hair, I love a gem tone- especially for the colder months ahead!  After a few washes, the color has stayed true to the first day it arrived on my doorstep – love that!
With this fabric being a double-knit, I would recommend using a ball-point needle and your stretchiest stitch found on your machine (zig-zag, triple-zig-zag, lightning bolt, etc.)  I used a combination of my overlocker and coverstitch to allow my jumpsuit the greatest amount of stretch to fit larger hips.

Pattern

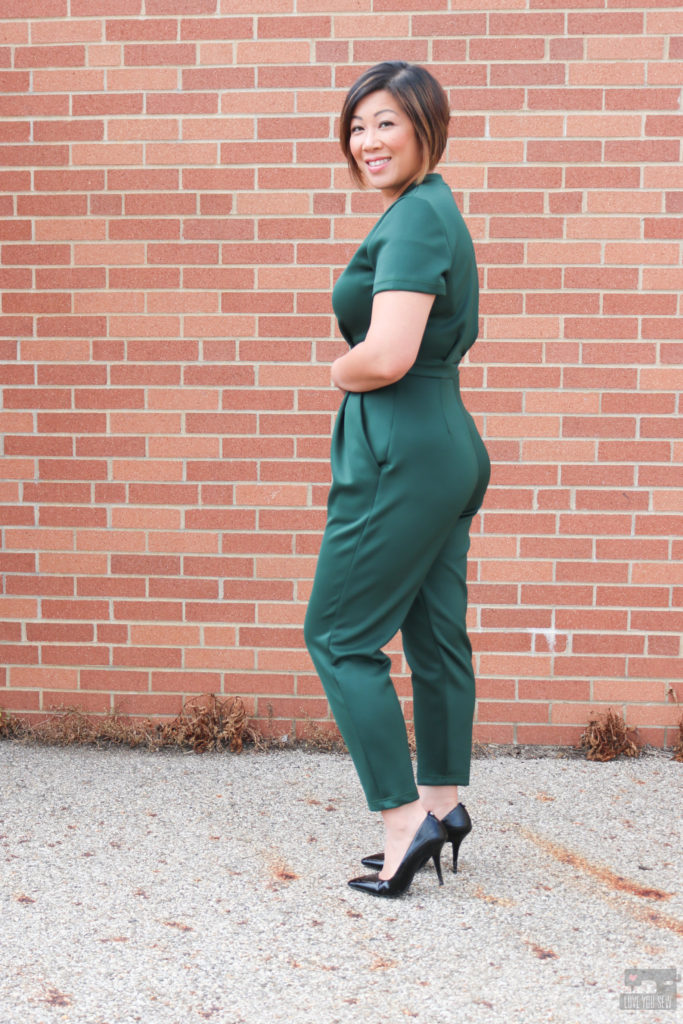
Jumpsuits still look to be on trend a little while longer, so I thought it was safe to make the Sirocco Jumpsuit for the fall.  With the short-sleeves and full pant legs (on View A) I figured this was a great garment to wear on the cooler nights downtown with or without needing a jacket.
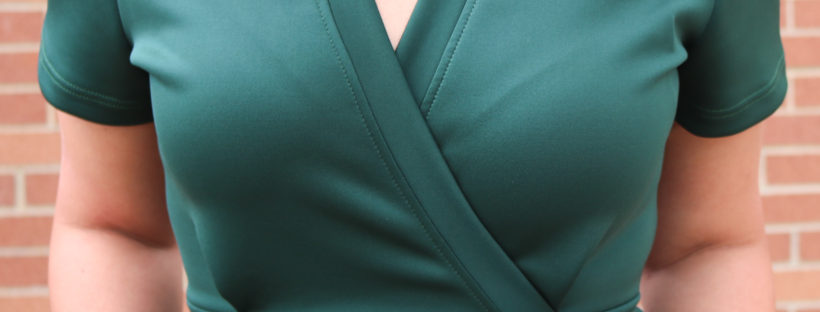
The Sirocco is a unique pattern in that there are no ties or other fasteners used to get in and out of the garment.  You slip in and out of it all through the faux wrap V-neckline.  This might not pose a huge deal for most, but I have hips which are two sizes larger than my waist –which means I REALLY will need to stretch out the waist to maneuver around.  This is the main reason I chose the heavy Scuba fabric to handle the severe stretching over my hips.  As I was fitting the garment, I honestly thought I would have to put in a side zipper for my hips, but the Lady McElroy Luxury Plain Scuba Jersey Knit Fabric proved to have such amazing stretch and recovery that I didn’t need it!  Honestly, I feel like I could wear this all day long…even after multiple bathroom breaks!
I made a few modifications for my SHORT 5’3″ frame with those aforementioned HIPS:
  • Made a 40 bodice and graded to a 42 in the hips and back to a 40 for the rest of the leg
  • Shortened bodice by 1/2″ and used a chainstitch (from my coverstitch) to secure the seam allowance down since the fabric is so lofty – This allows the lapped bodice to stay secure over your chest.
  • Shortened pant legs by 4″ initially (by just tissue fitting) and then took an additional 3 3/4″ when it was time to hem so that it would hit right above the ankle bone – Next time, I will shorten at the thigh and also from the ankle to get a better fit around the knee.
  • Extended the crotch length 3/4″ on both the front and back pant
  • Deepened the seat on the back pant by 3/8″
  • I wish I took out an 1″ out of the rise before cutting, but was able to take 1/2″ out of the overall inseam to narrow the legs and decrease the rise.
  • Took an additional 1″ out of the ankle and blended up to the knee for a slimmer leg

After these changes, I can’t tell you how incredibly pleased I am with my Sirocco JumpsuitThe Lady McElroy Luxury Plain Scuba Jersey Knit Fabricis so chic and the deep green really does make the Sirocco Jumpsuit so “EXTRA!”  Love it!!!
You can find my other makes on the Love You Sew Blog (here!) and more daily inspiration on Instagram @loveyousew_ .


Happy Sewing!

Cristy


Affiliate links are in this post. Check out my Disclosures here. Fabric was provided for review as part of the Minerva Maker Blog Team.  All thoughts and opinions are my own.  
 

Full Zip Hack with the Grace Rashie Pattern

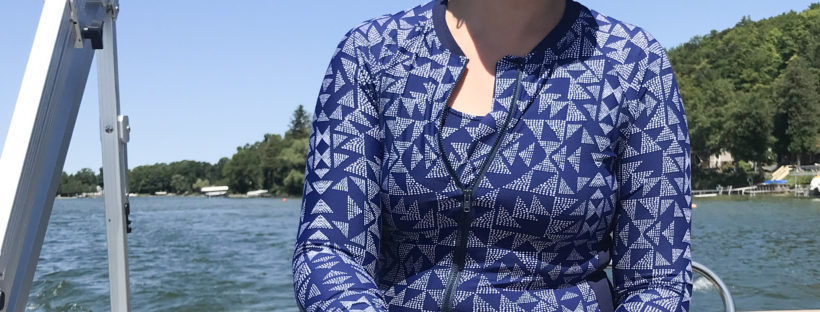
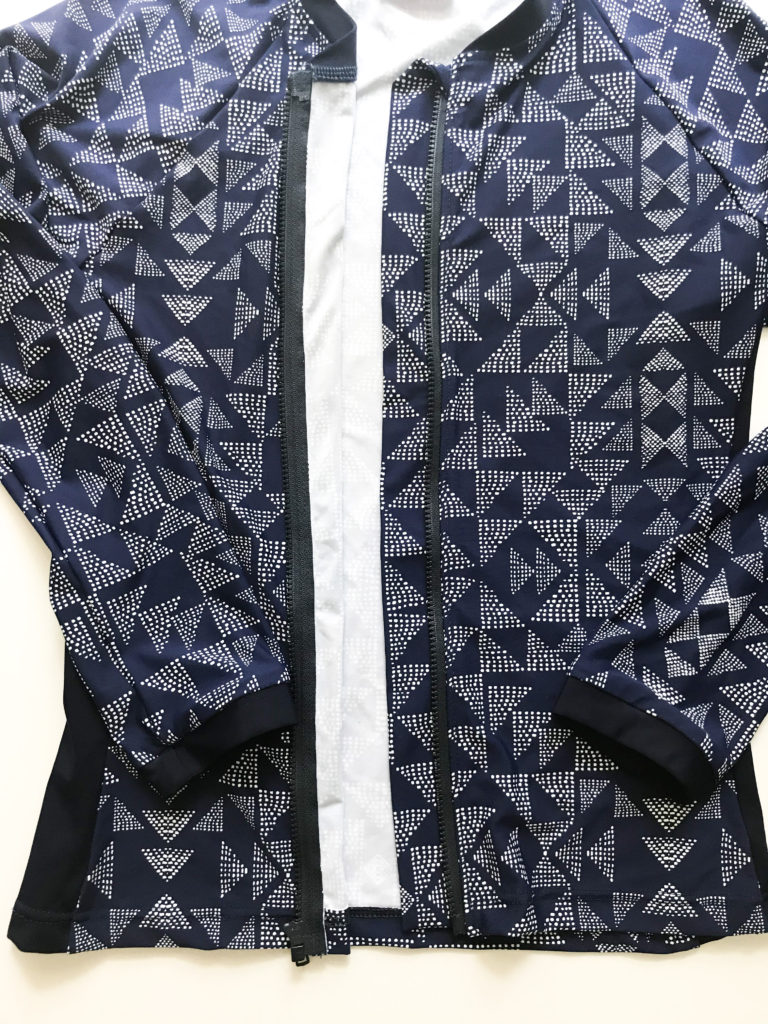
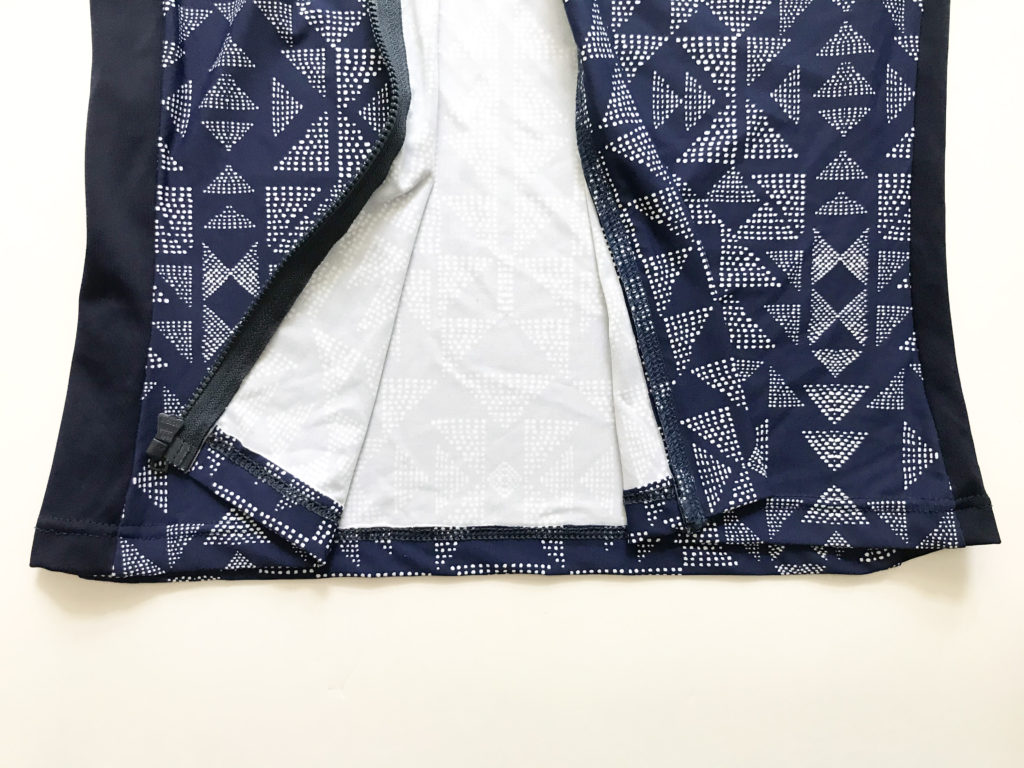
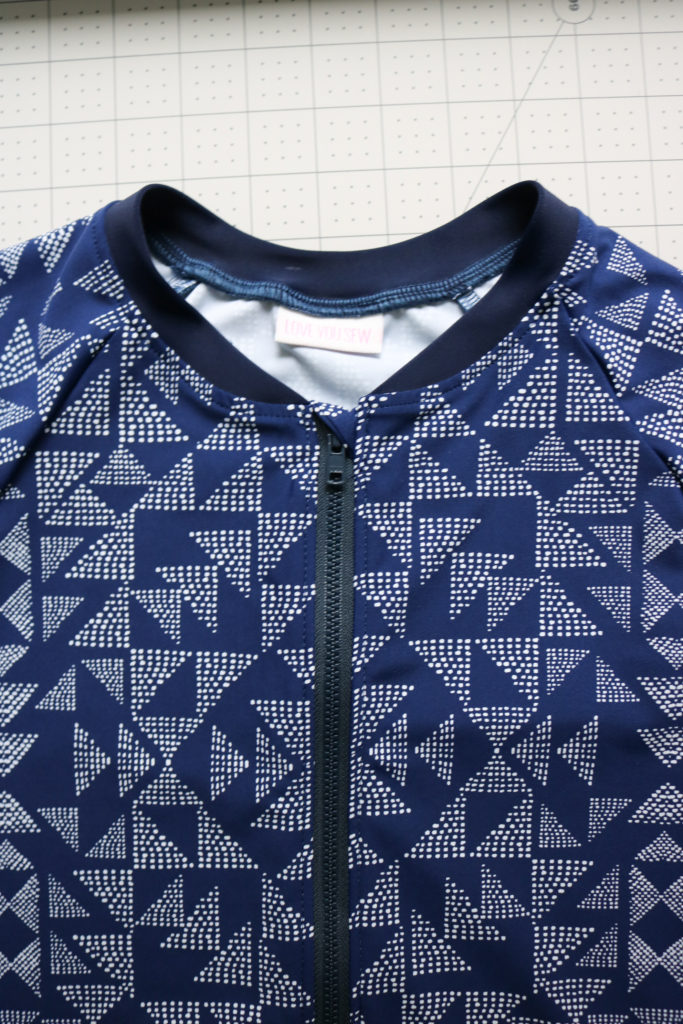
When I first hacked the Grace Rashie by Swim Style Patterns two years ago, I never documented the process…Big mistake, I know!  It was one of my late night experimentations which you can find here.  I honestly didn’t know if it would work or not and got so wrapped up in the process that I didn’t write down measurements or take photos of my complete step outs.  But luckily, I knew I needed at least a second rashguard for myself and made sure to document it this time!
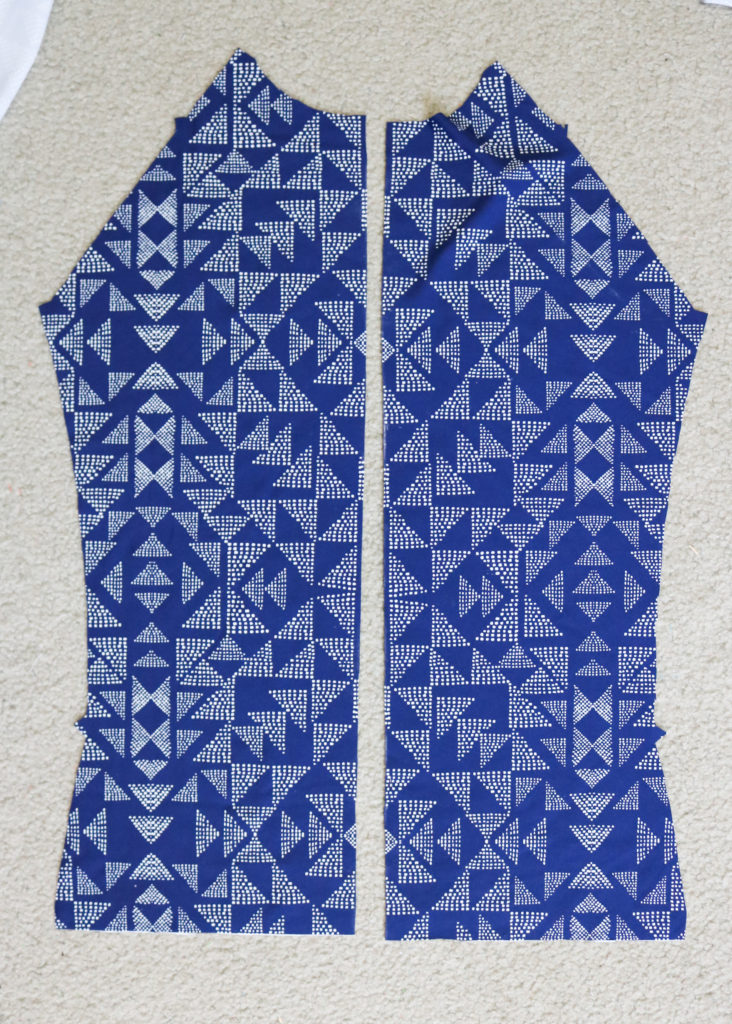
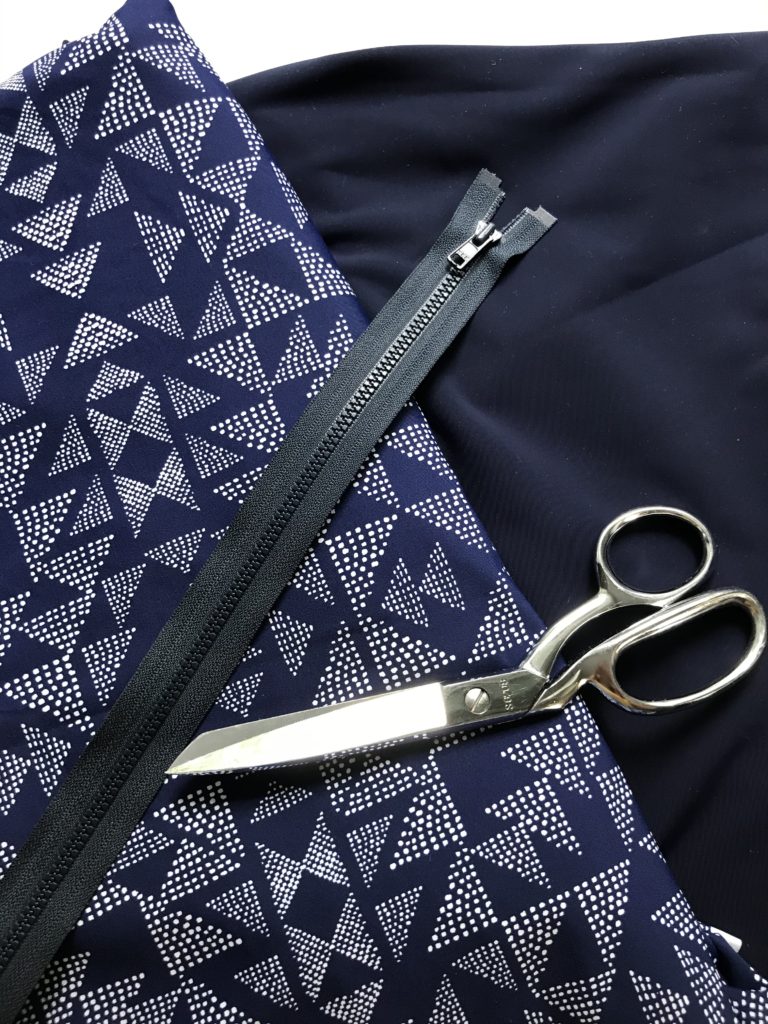
Supplies Needed

Tutorial

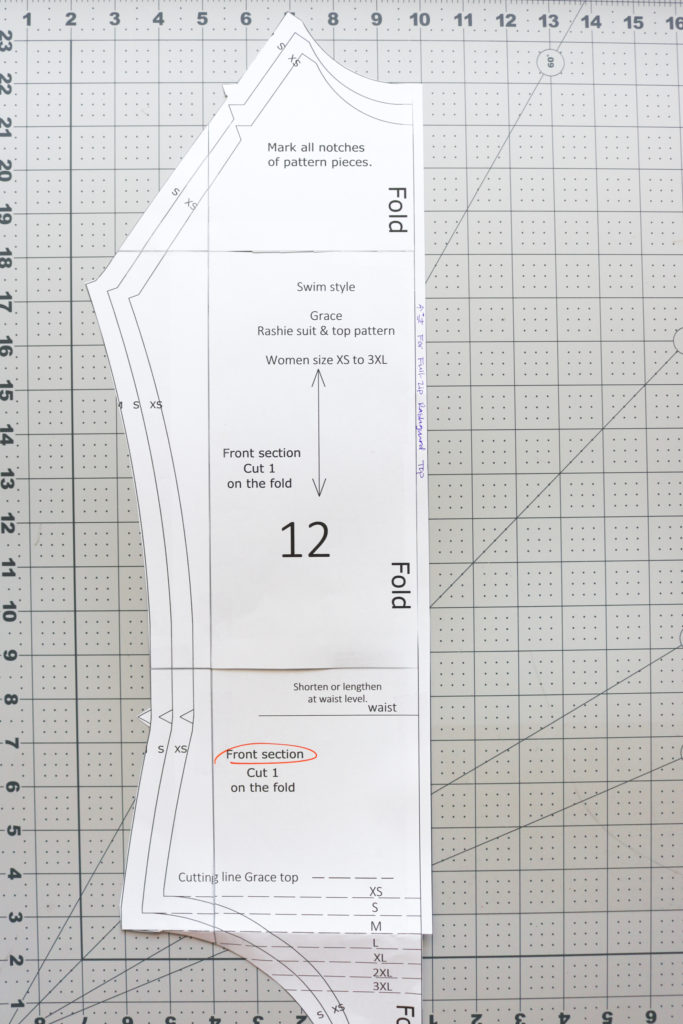
Step 1:  Cut all pattern templates according to instructions.  Pull out the “Front Section” and add 1/4″ to the center-front as shown.  You will cut at the dashed line for just the “Top.”

Note: I made a size M and all measurements for center front, zipper guard, and zipper are ALL for this size.  You will have to adjust as needed for your sizing.

Step 2:  Cut all fabric according to instructions EXCEPT for the “Front Section.”  Instead of cutting the “Front Section” on the fold, you will cut TWO separate mirrored pieces using that 1/4″ you added in.

Step 3: Cut (2) 19 1/4″(length of the center front)  x 1/2″ strips of interfacing and fuse to each wrong side of the  center “Front Sections.”  Set aside.

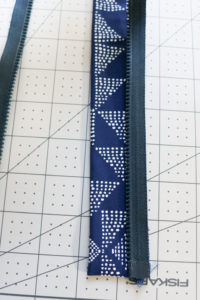
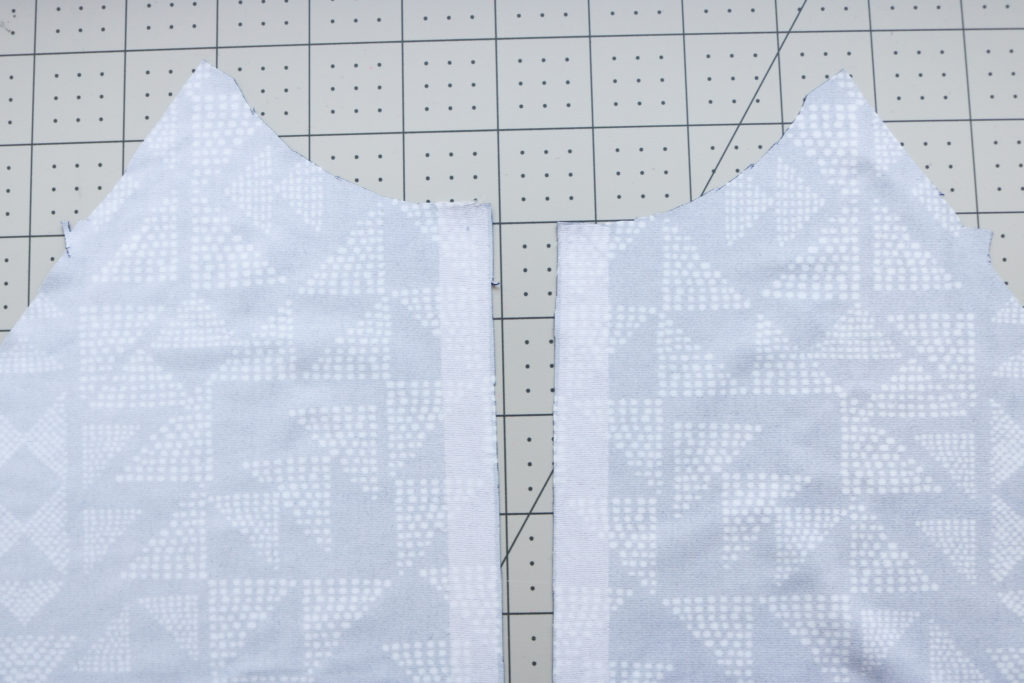
left side of image is the Bottom and the right side is the Top

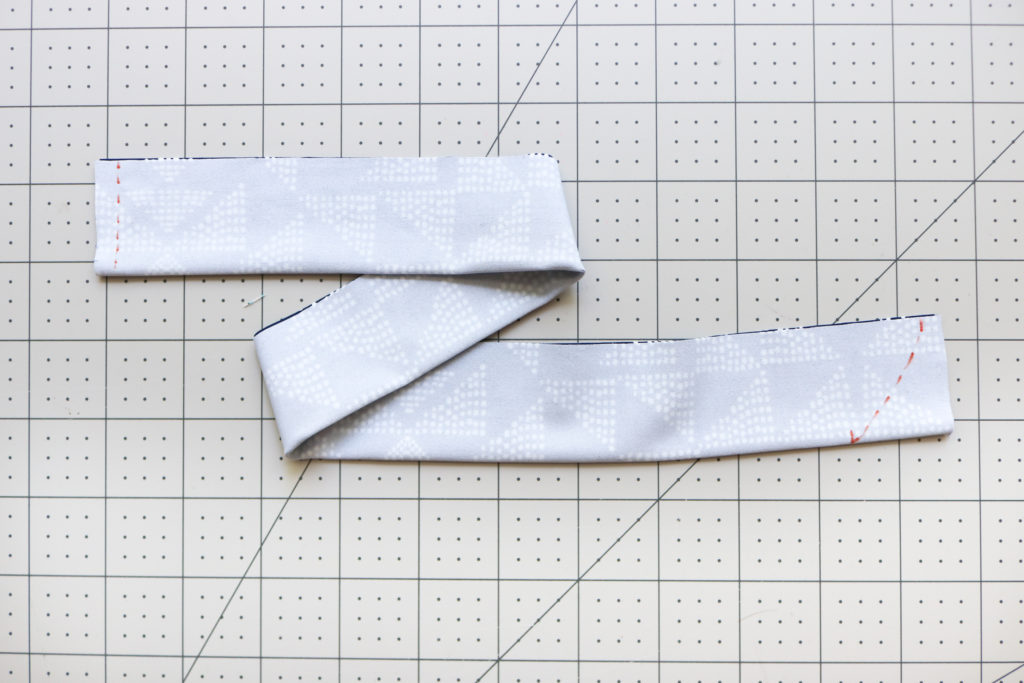
Step 4:  Cut (1) 19 1/4″ (same as length of center front) x 3″ strip of Main Fabric for the Zipper Guard.  Fold the fabric lengthwise with right sides together and press with low-heat iron, if needed. Mark seam with 1/4″ at the bottom.  For the top, measure 1/4″ down at the raw edge and then 1″ down on the folded side.  Connect the two points with a curved line as shown.  It doesn’t need to be precise!

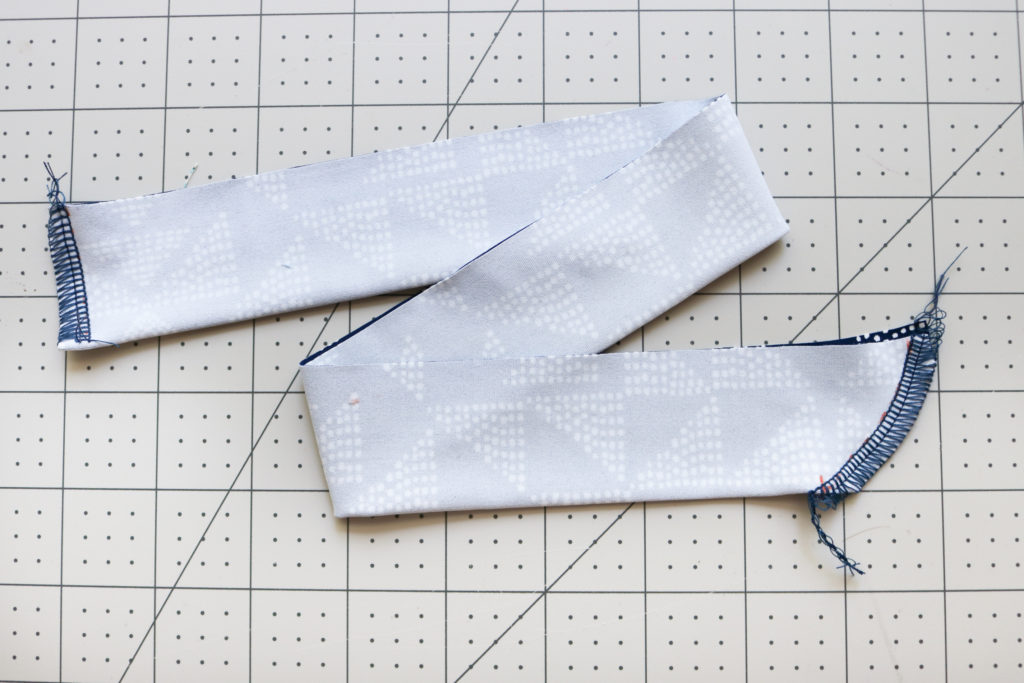
Step 5: Sew on the markings you made. (They don’t need to be serged, but I went ahead and serger the seams while my machine was set up.)

Step 6:  Flip the Zipper Guard right side out, pushing out the bottom corner and the top curve.  Press with a low-heat iron.  Match the raw edges and finish with serger or zig-zag stitch.  Set aside.

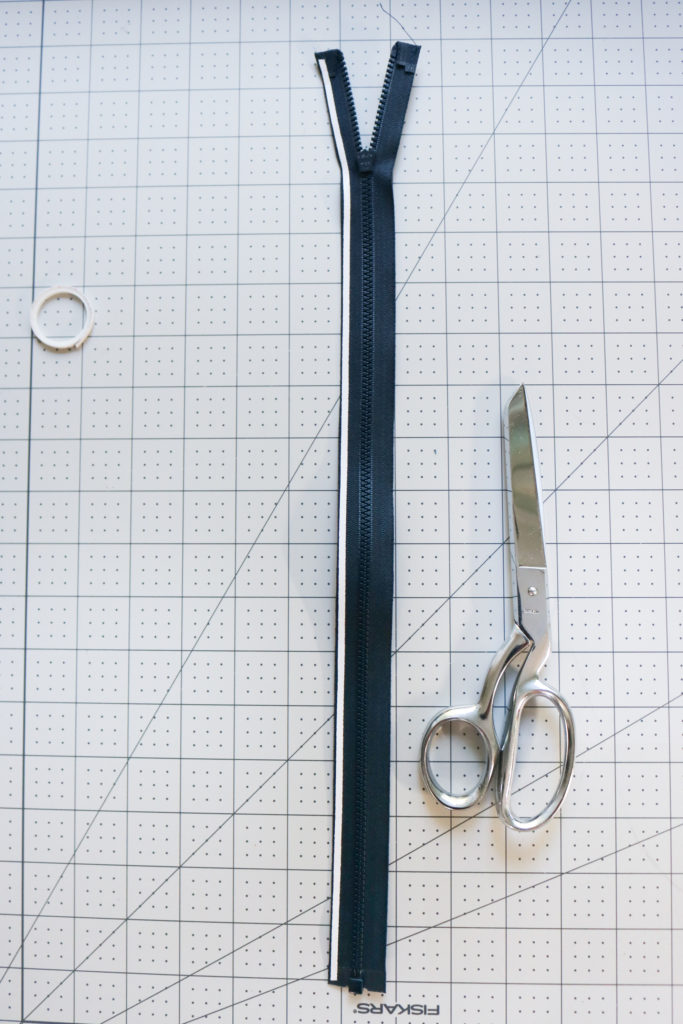
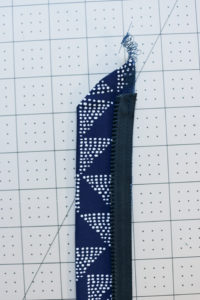
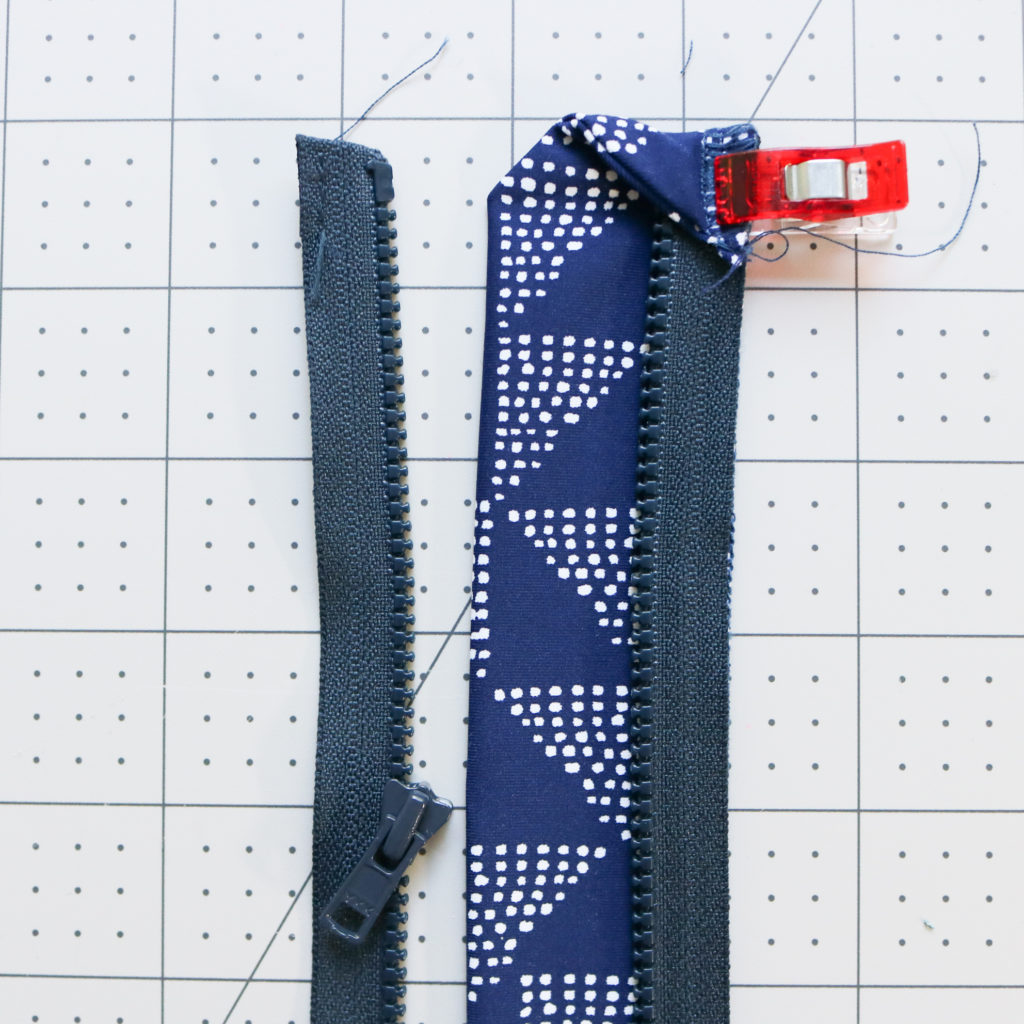
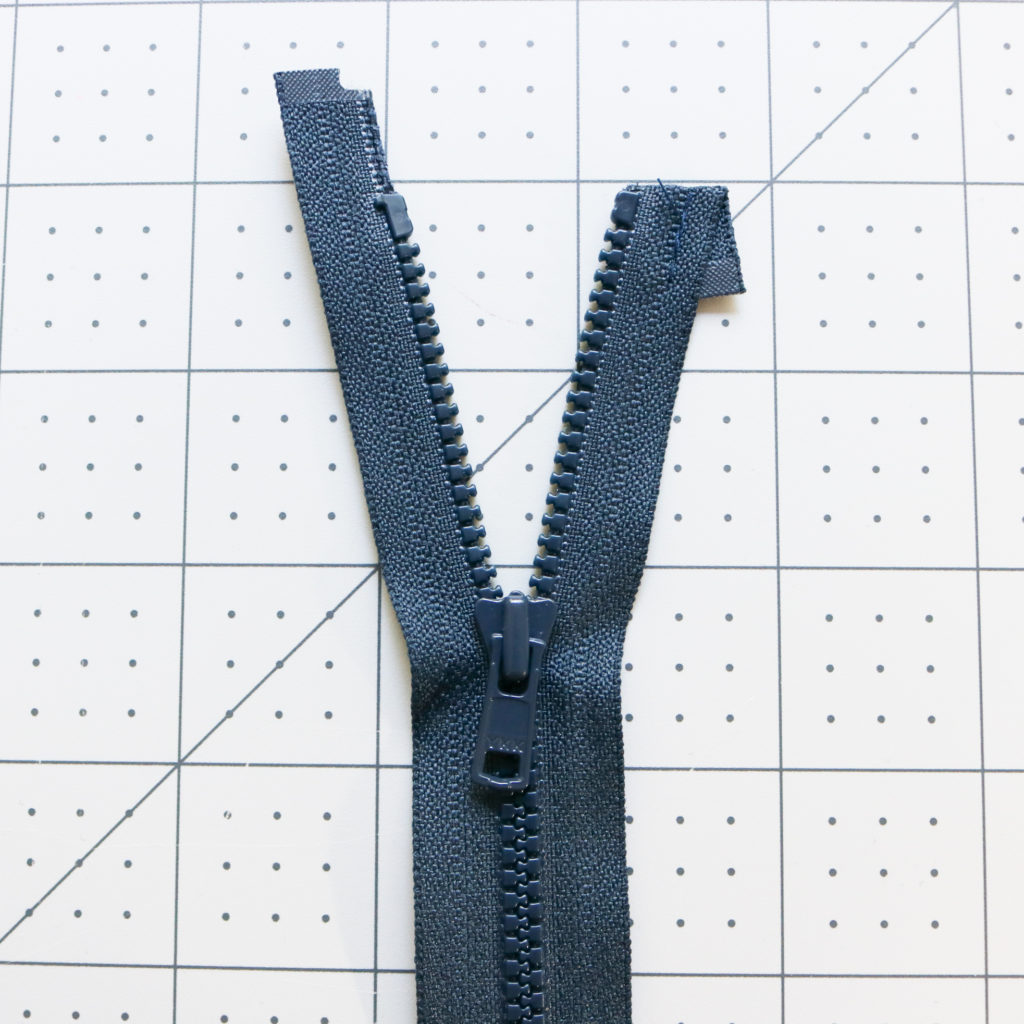
Step 7:  Prepare Zipper by folding down the excess tape above the top stoppers.  Tack the fold into place approx. 1/8″ away from the edge.  Trim the overhanging tape.  (If you are making size L, you might be able to skip this step and use the full length of the zipper.)

***Follow instructions to complete the Grace Rashie (skipping all zipper steps.)  When you get to the hem, double check that the length of the finished center front matches the length of the zipper.

Step 8: With the wrong side of the Zipper facing up, add Wonder Tape to each long side of the tape.

Bottom

Top

Step 9:  Separate the Zipper and lay one zipper side down on the stitched side of the Zipper Guard.  Pictured is the LEFT side of the zipper (without the head,) but my previous version had the head with the guard.  I honestly don’t know which side of the zipper should sit with the guard, is technically correct.  I was playing to see if there was any real difference in how it wore on the body and I didn’t feel anything different…

Step 10:  Fold the Top of the Zipper Guard over Zipper and tack into place with 1/8″ seam allowance.

Step 11:  Working on the LEFT side of the garment, match the center front of the Rashie with the Zipper Guard, right sides together.  Use a zipper foot and sew itogether with a 1/4″ seam allowance.  Open the Zipper Guard and press seam allowance to the back.  Top-stitch 1/8″ from the edge of the Zipper, going through the Main Fabric, Zipper, and seam allowance.  Repeat with the RIGHT zipper.

Congratulations!  You now have a custom swim rashguard to protect your skin against the sun and elements.  I love having these for the cool winds of the lake.  The best part is when the rashguard gets wet, I can easily zip it off!

Please let me know how this tutorial worked for you!


Happy Sewing,

Cristy


This post may contain affiliate links.  Please read about my Disclosures, here.
Fabric Face Mask Tutorial Using Ties

When schools shut down in mid-March for my kids’ school, I knew something big was happening.  In addition to US news, I follow a lot of news out of Asia and the outlook was pretty bleak for us in the states.  So when the government, along with a multitude of healthcare organizations said we short on Personal Protective Equipment (PPE,) I was shocked.  But then came the pleading of all sewists to start making fabric masks…and I was just like you…How can a FABRIC mask do anything against an airborne VIRUS???

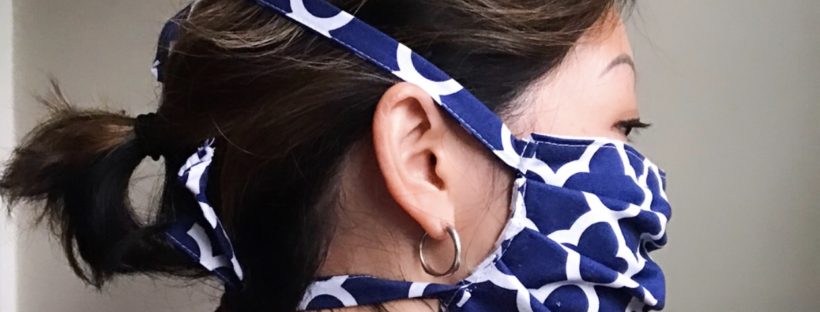
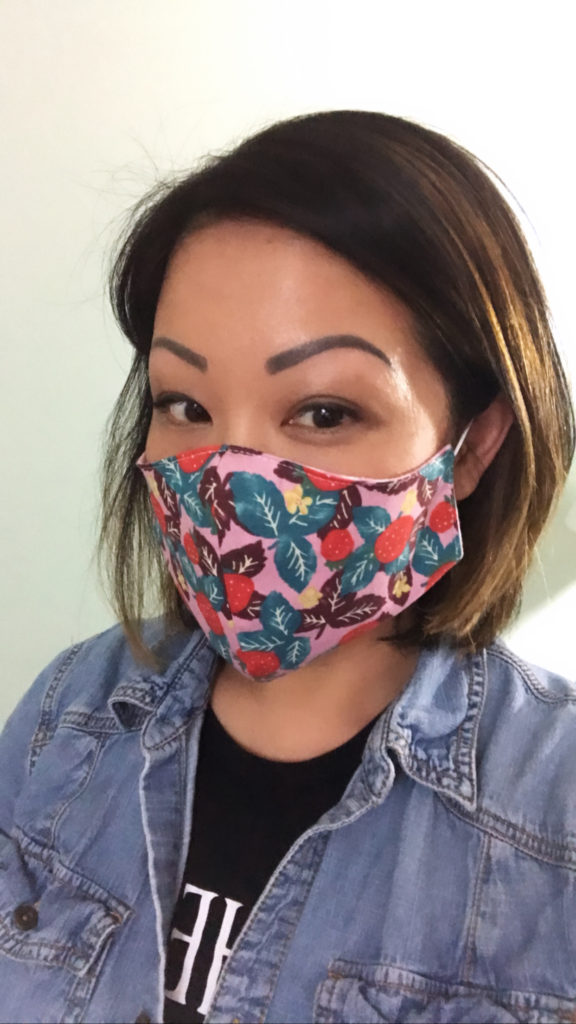
But I fell in line like a good soldier and just started making masks with the guidance given by the CDC and a host of other online resources.  Initially, I tried out this Fu Mask version that was more contoured to the face, but it left a lot of room around my cheeks and even my husband’s (which is more full with a  beard.)  The fit was not the greatest and I ended up folding a dart in to take out the excess room.  However,  I knew if I was going to make and donate masks, I needed to make a version that was going to fit the largest range of faces AND be conducive to production sewing…aka…sewing a TON of them at a time.
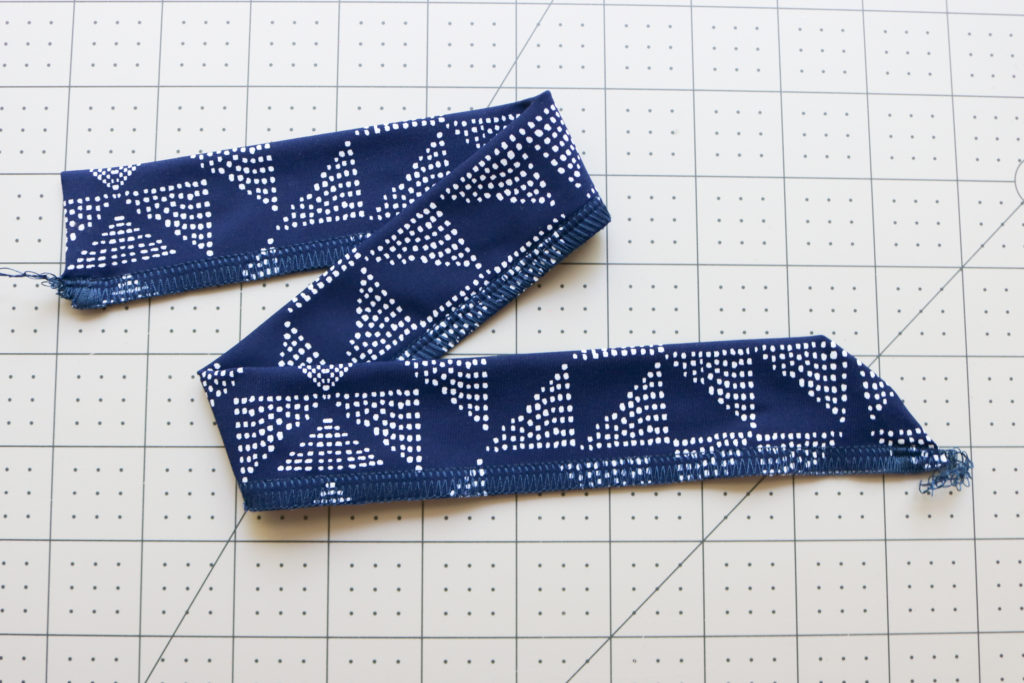
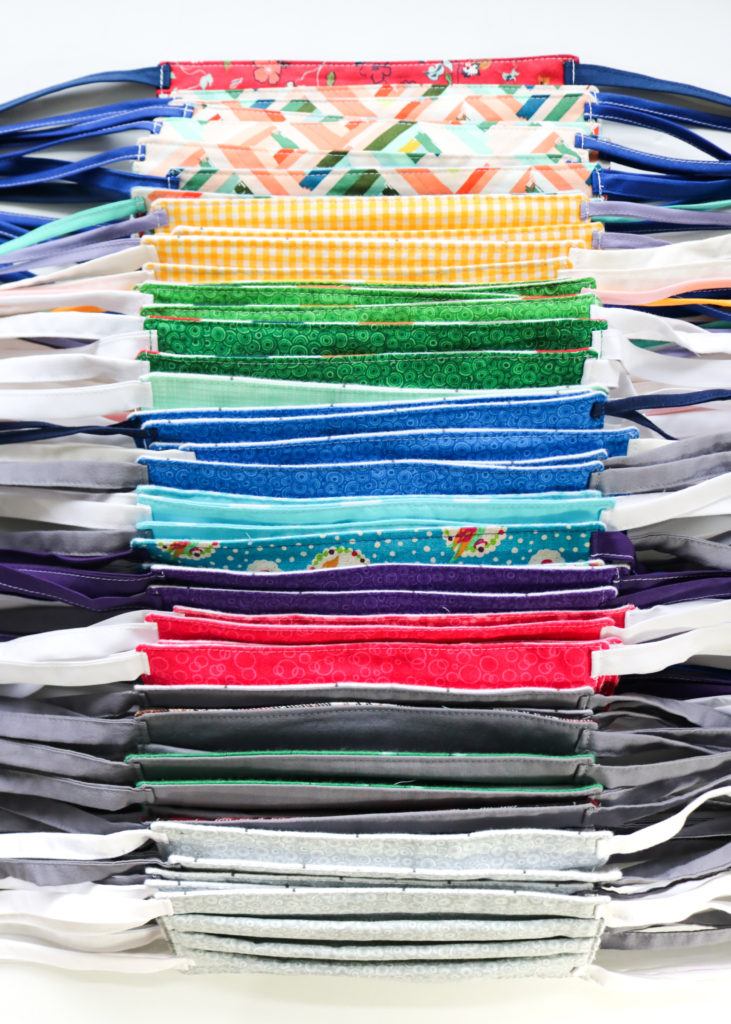
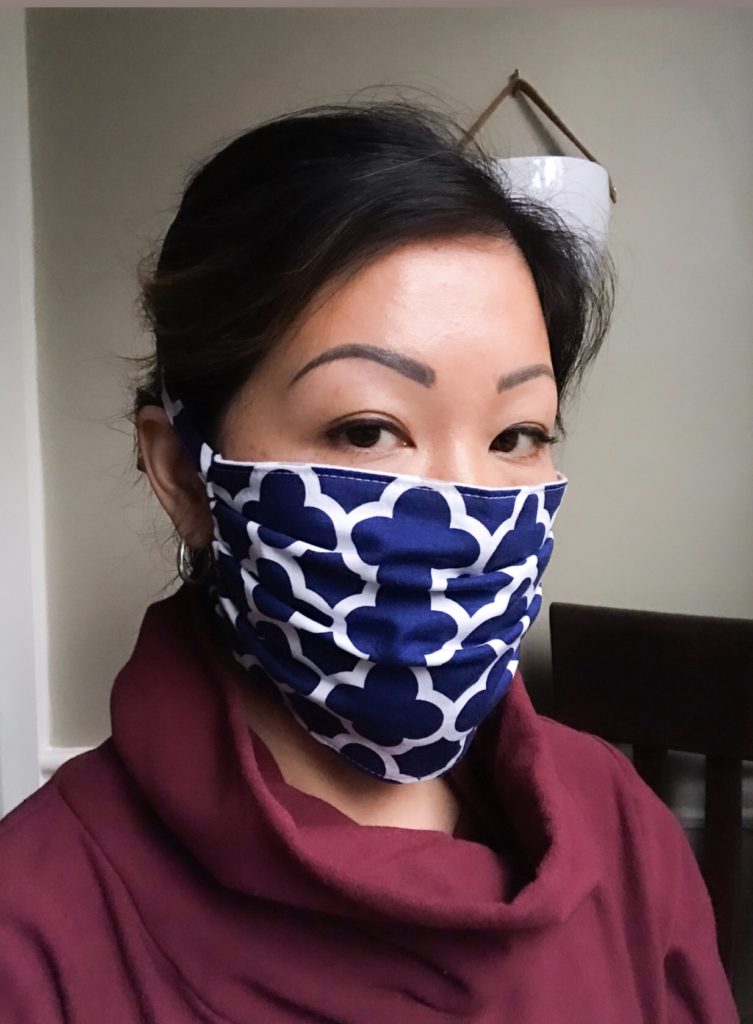
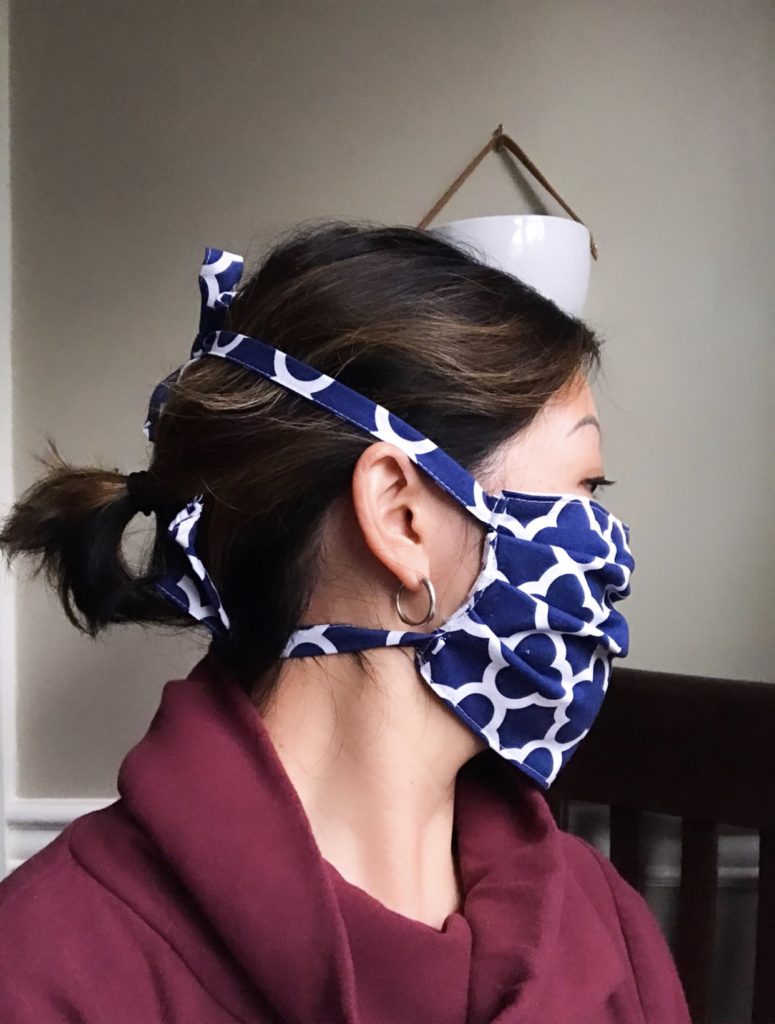
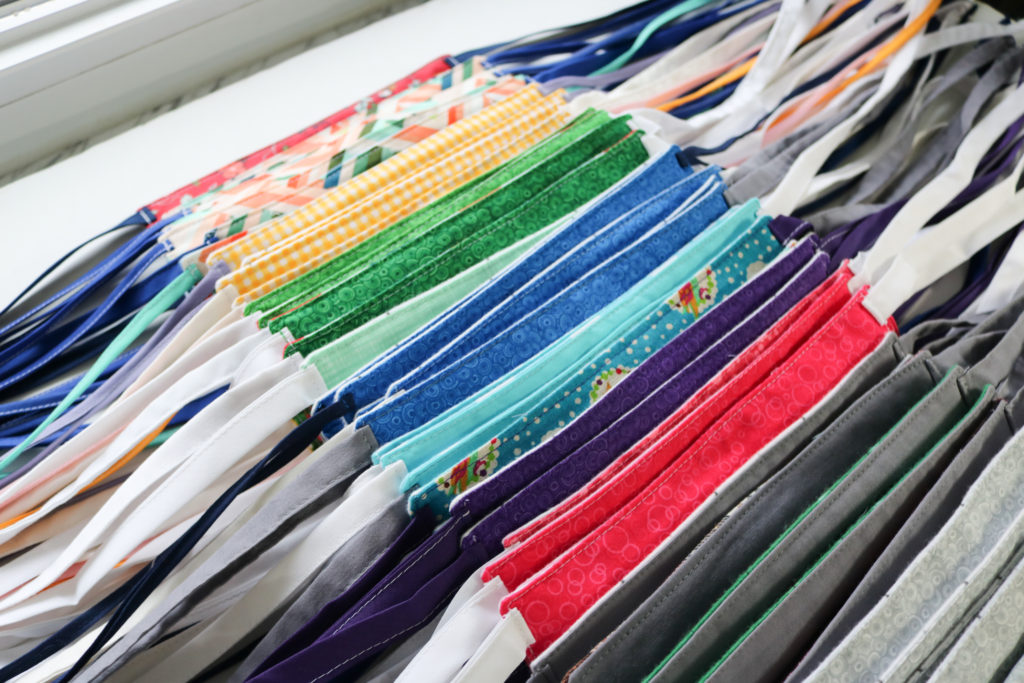
The standard pleated surgical style was it.  The rectangle shape makes it a quick sew and the pleats allow a roomy fit for all different face shapes.  But instead of over-the-ear elastic, I chose to use fabric ties help accommodate for different head sizes and for medical sterilization purposes.  Early on, we just didn’t know how elastic would hold under continuous high temperature washings at medical facilities.  Also, elastic was hard to come by with everyone making masks for the lack of national PPE supplies.  My first 200 donations went to private practice doctors, police officers and workers at a mental health facility.  So I wanted to make sure these could all be cleaned in industrial washing machines without compromising the integrity of the elastic.  With all of this, I also had to choose a style that I could personally make the quickest way.  So this is the technique I used.
Click into my video below to watch the entire mask-making progress.  You will need:

  • (2) 9″ x 7″ rectangles of fabric – one for lining and one for exterior.  I used fleece for the lining when it was still cooler outside, but then switched to quilt cotton for both layers once weather began to warm up.
  • (4) 18″ Ties – These can be make from bias strips as shown in the video but can be swapped out with  twill tape, ribbon, shoelaces, and even piping rope.

Although, the first few months of the pandemic were quite frantic with home-schooling and then  making masks, I’m still so thankful to have the gift of sewing in my life.  I felt my heart swell with every mask made and delivered to those working on the front lines. <3


Take care of your loved ones and WEAR THAT MASK!!!!

Cristy