Dwelling Quilt {Pattern Testing}

DwellingTitle

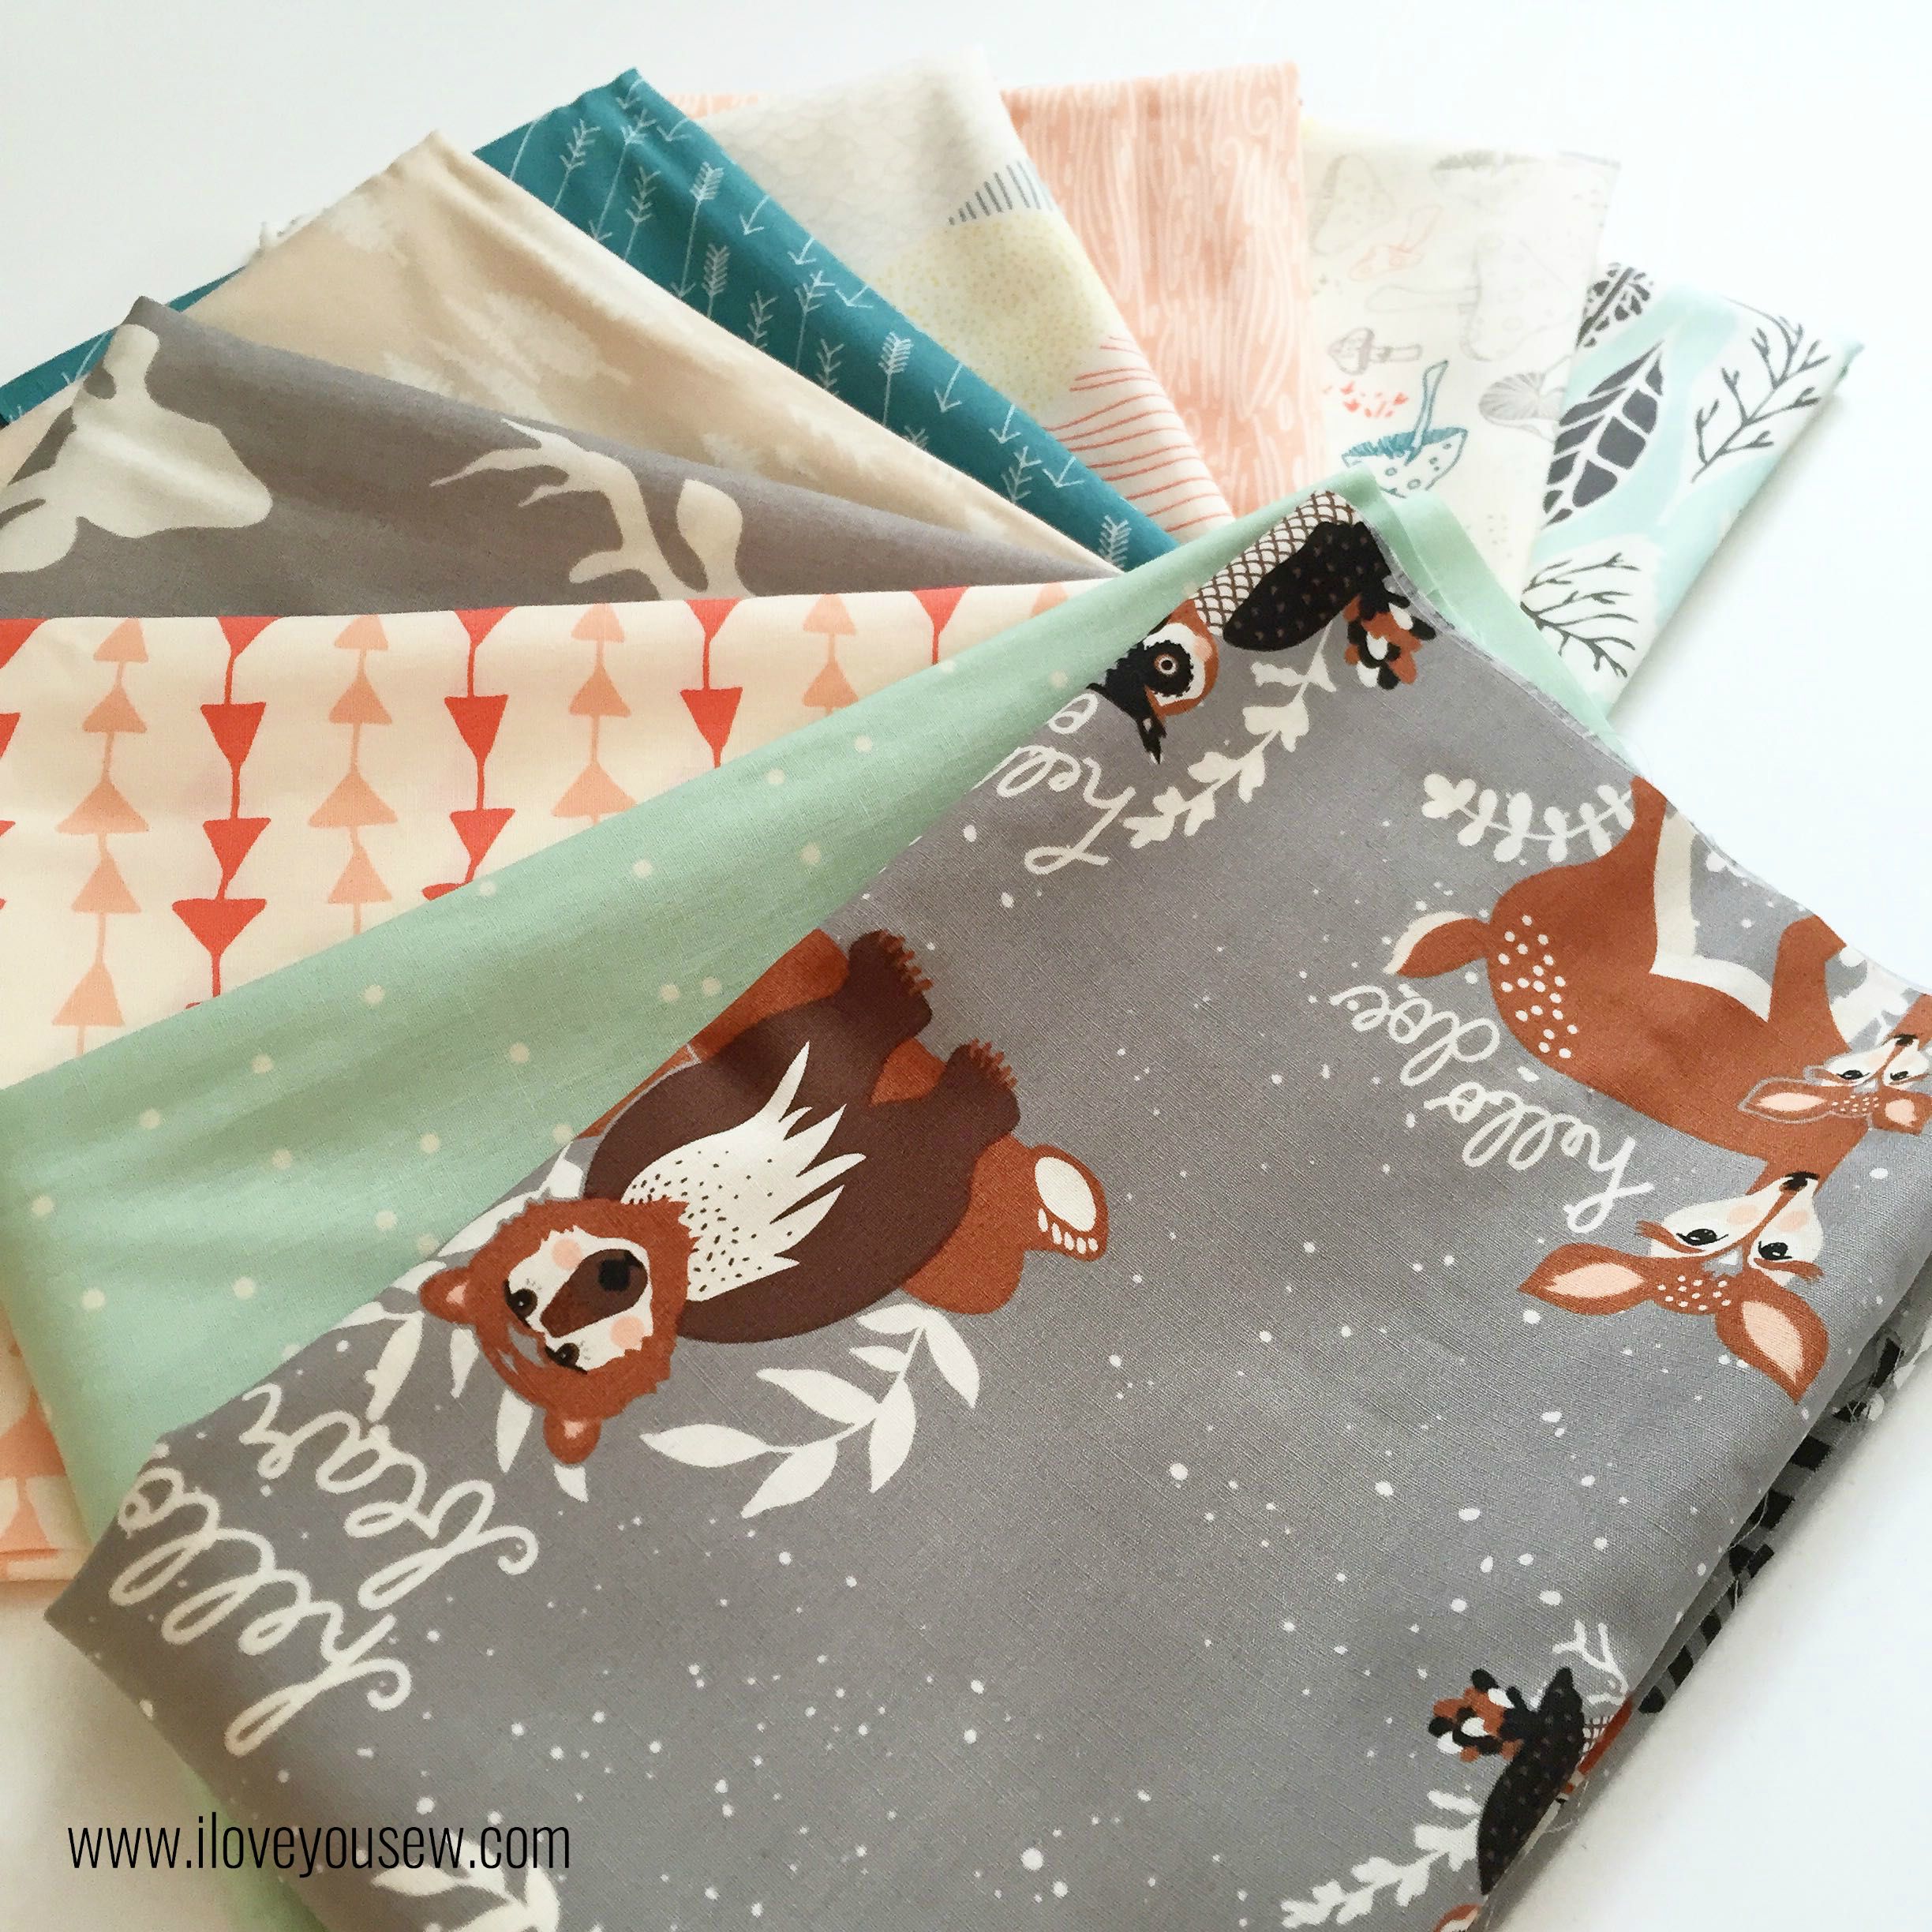
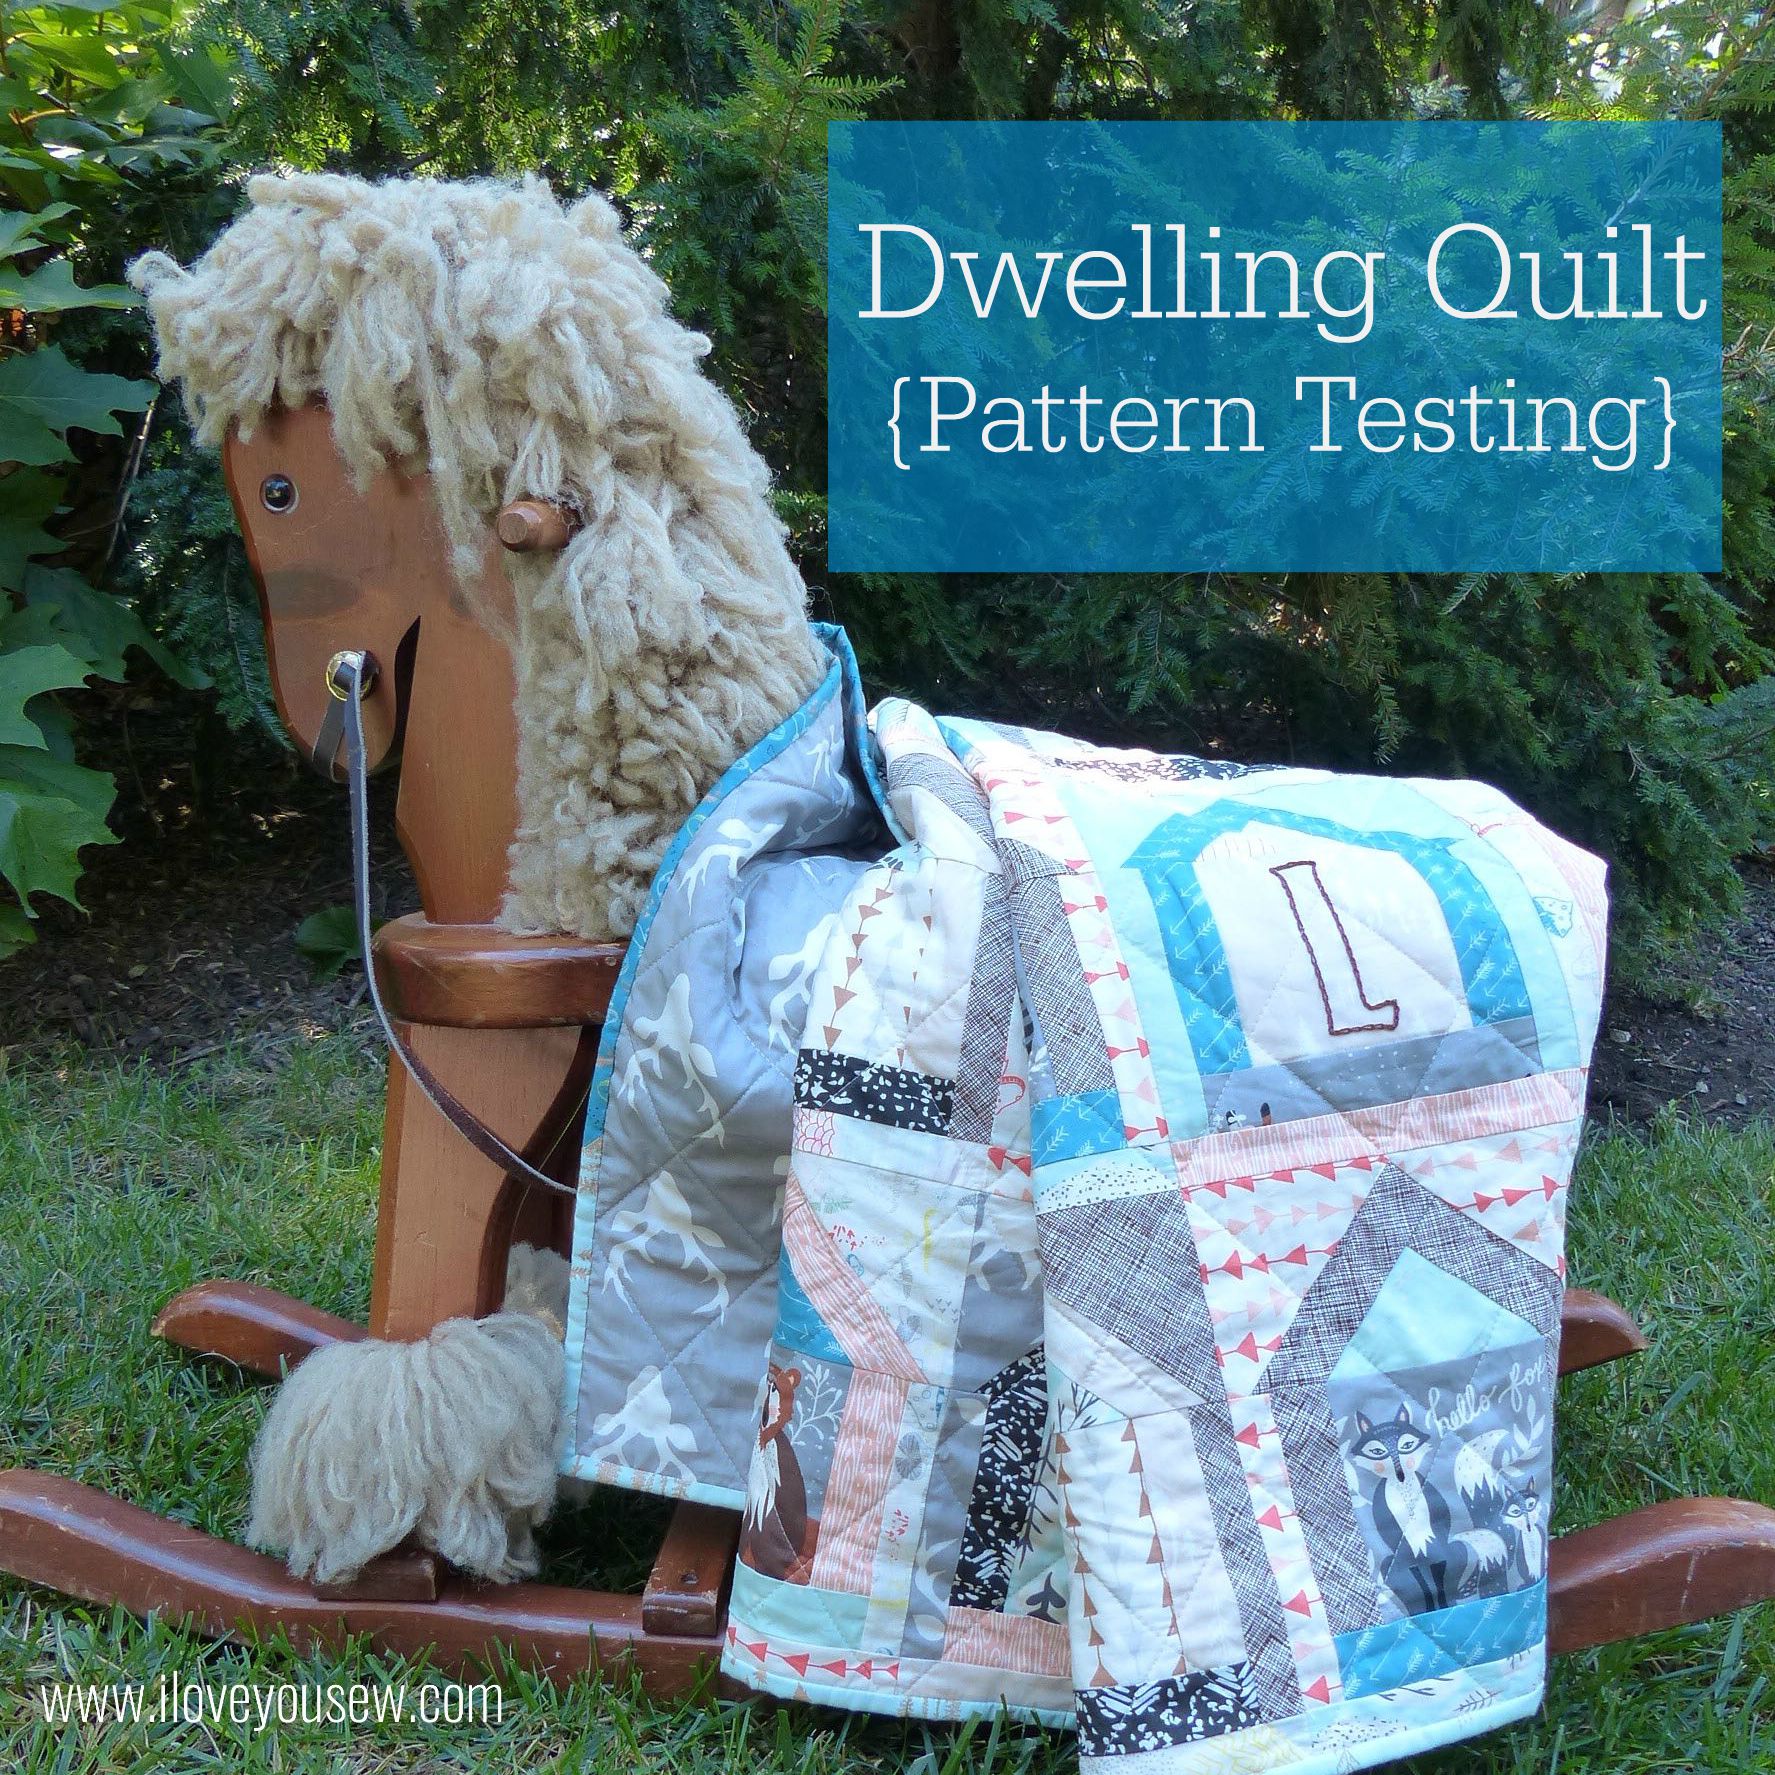
I was holding onto my Hello Bear fabric for awhile, waiting for the right quilt pattern (and baby) to come along.  Well, both happened to coincide recently!  A dear childhood friend recently had a baby boy and Holly Gets Quilty was getting ready to release this Dwelling Quilt Pattern. You can find this Mug Rug I made using the smaller block from the same pattern.


HelloBear

I just love the modern whimsical palette of this collection.  The teal and mint play so wells with the grays and browns.  This is just a beautiful collection for babies and children.  I mean, who can resist these woodland creatures???


Embroidery

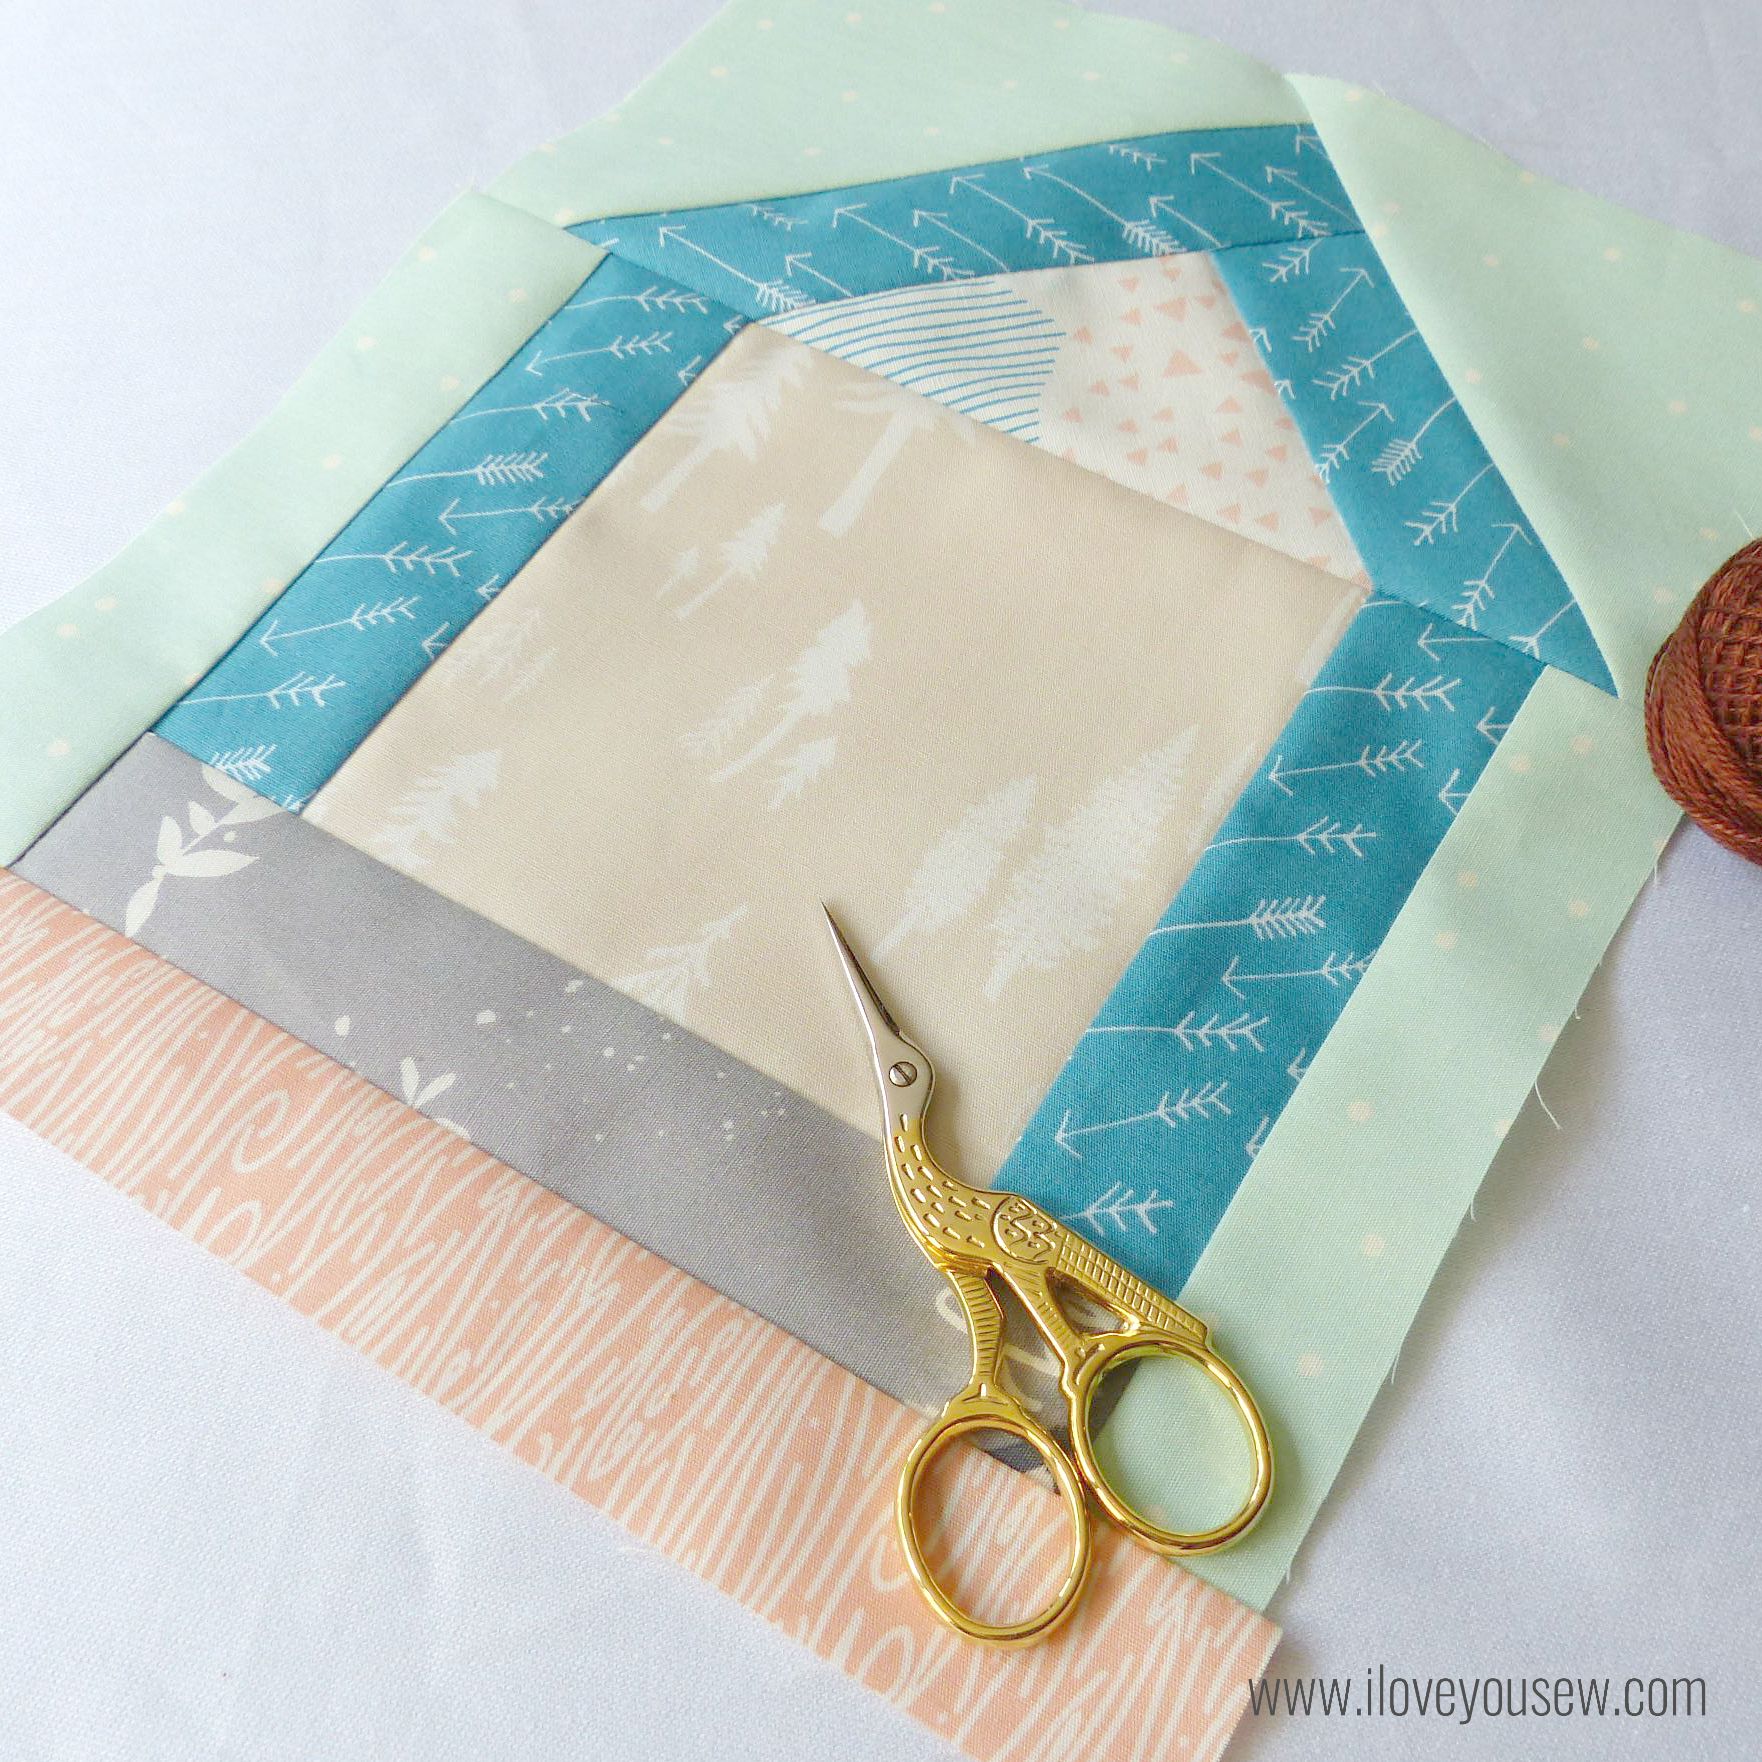
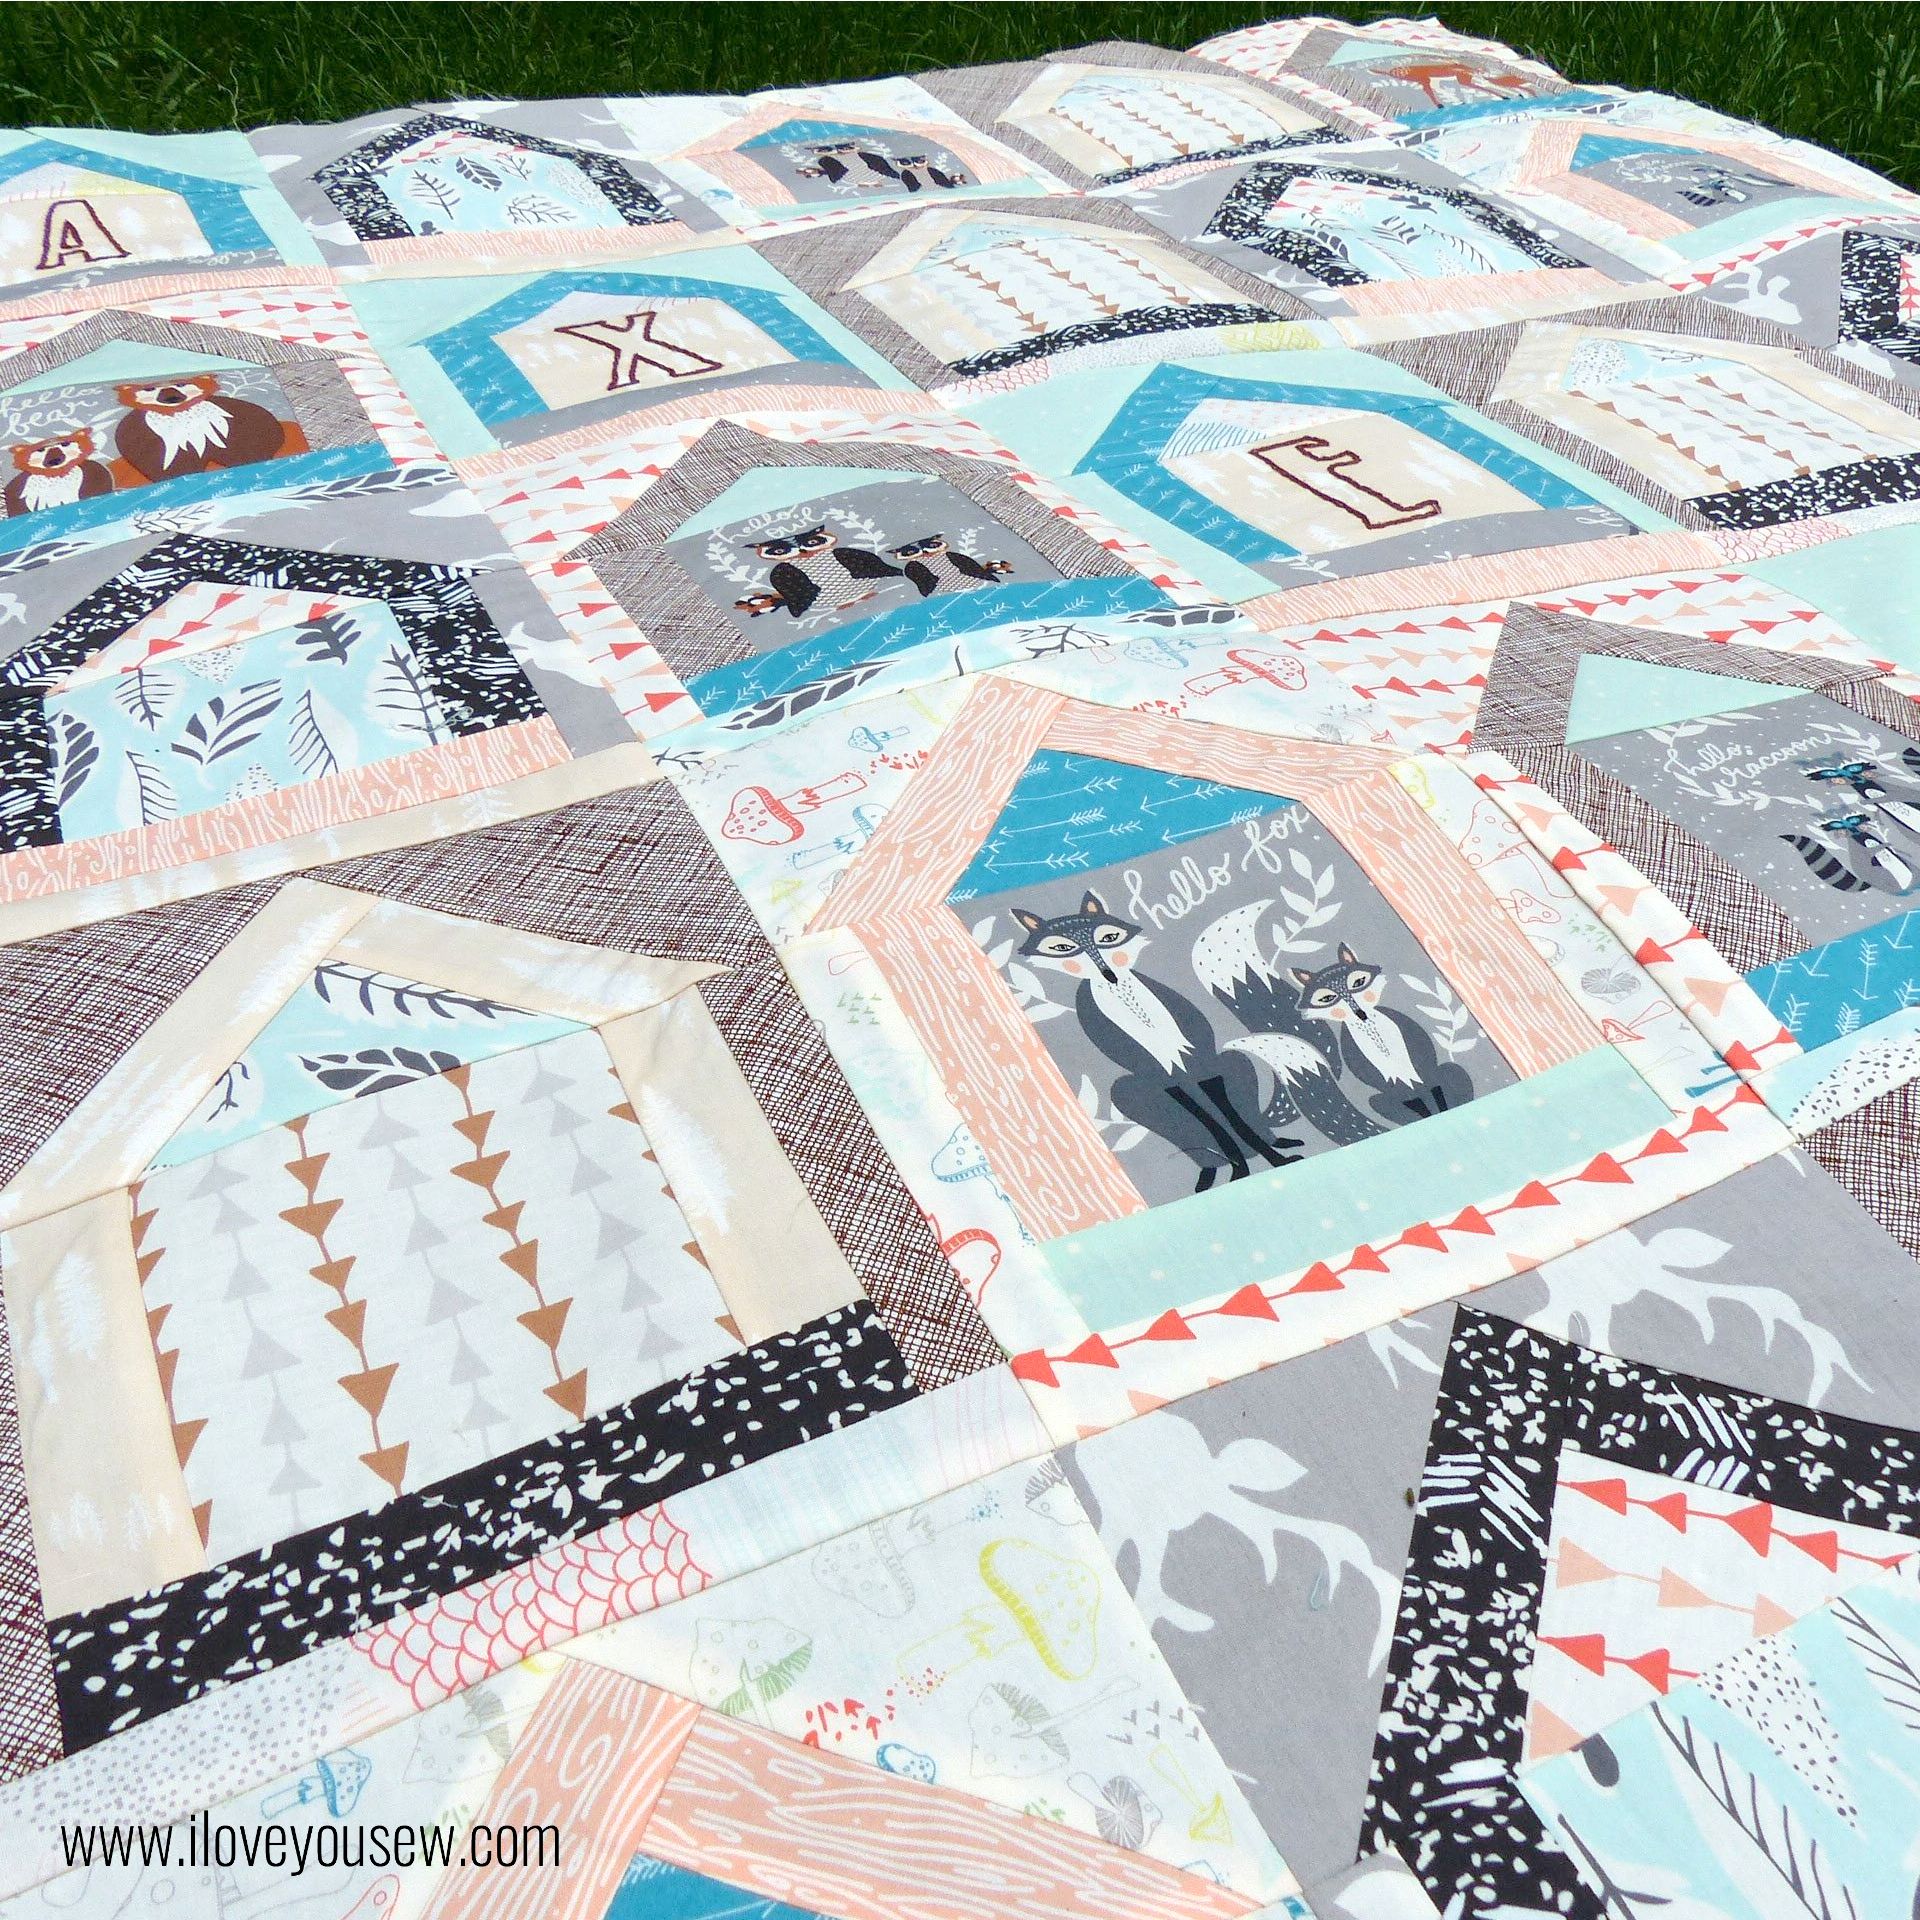
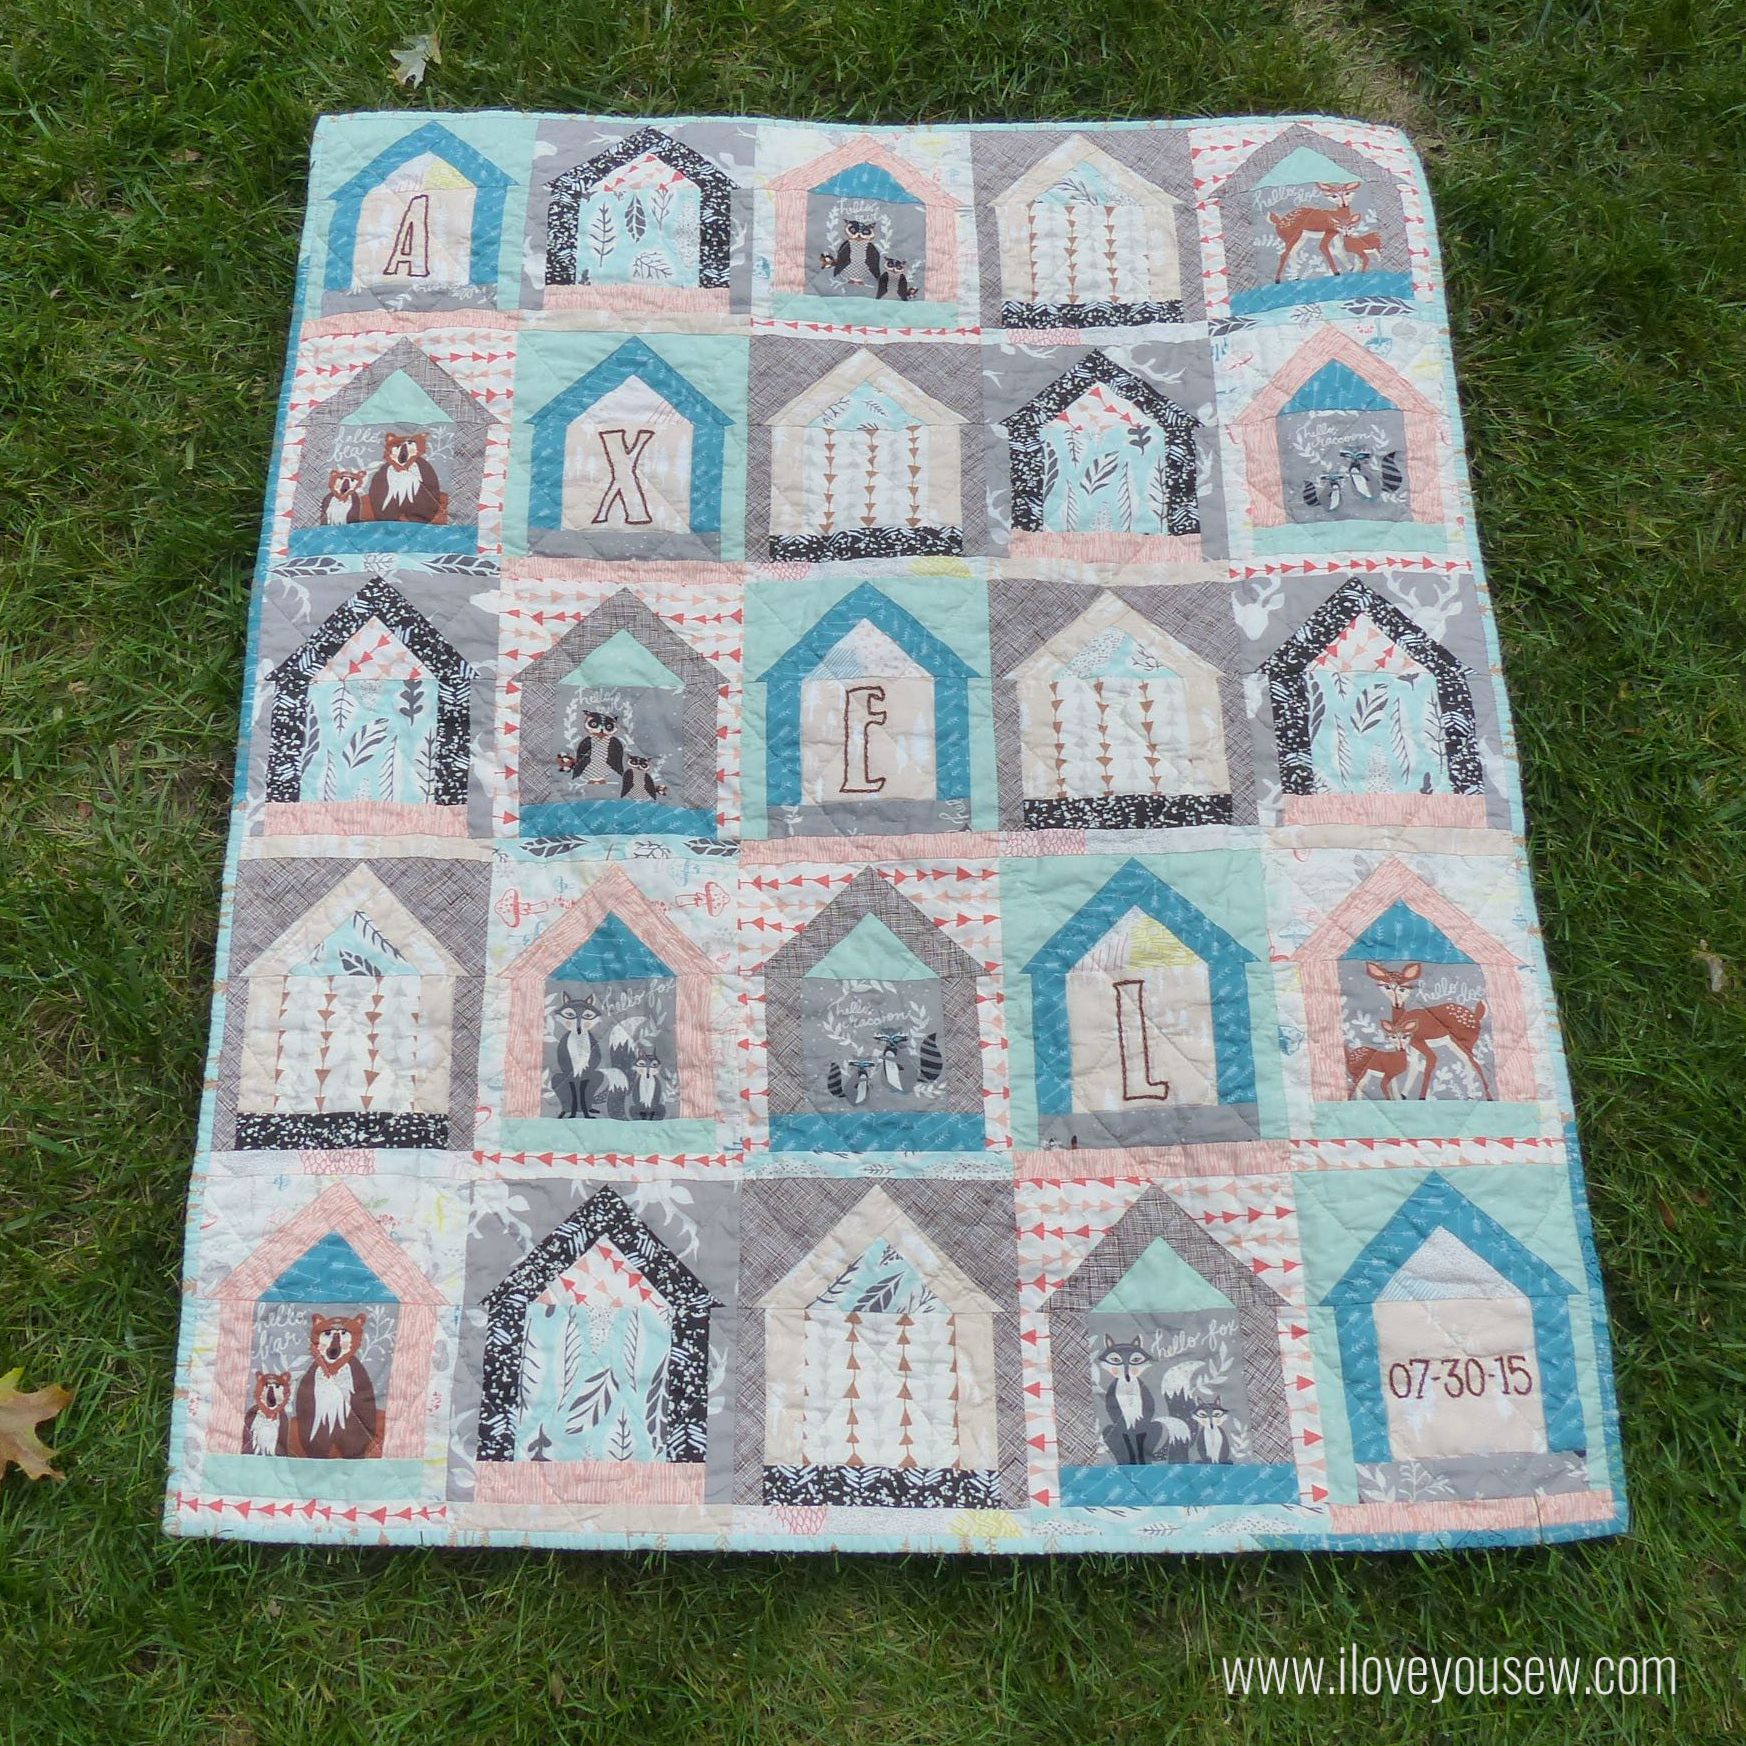
For this quilt, I used the larger of the Dwelling Quilt paper-piecing templates.  It creates a 8″ x 9 3/4″ unfinished block.  I went for a scrappy house look with some fussy cutting for this baby quilt.  Who knows what kind of mess this will be exposed to…so the various colors and patterns works to camouflage any potential incidents  😉

Pieced

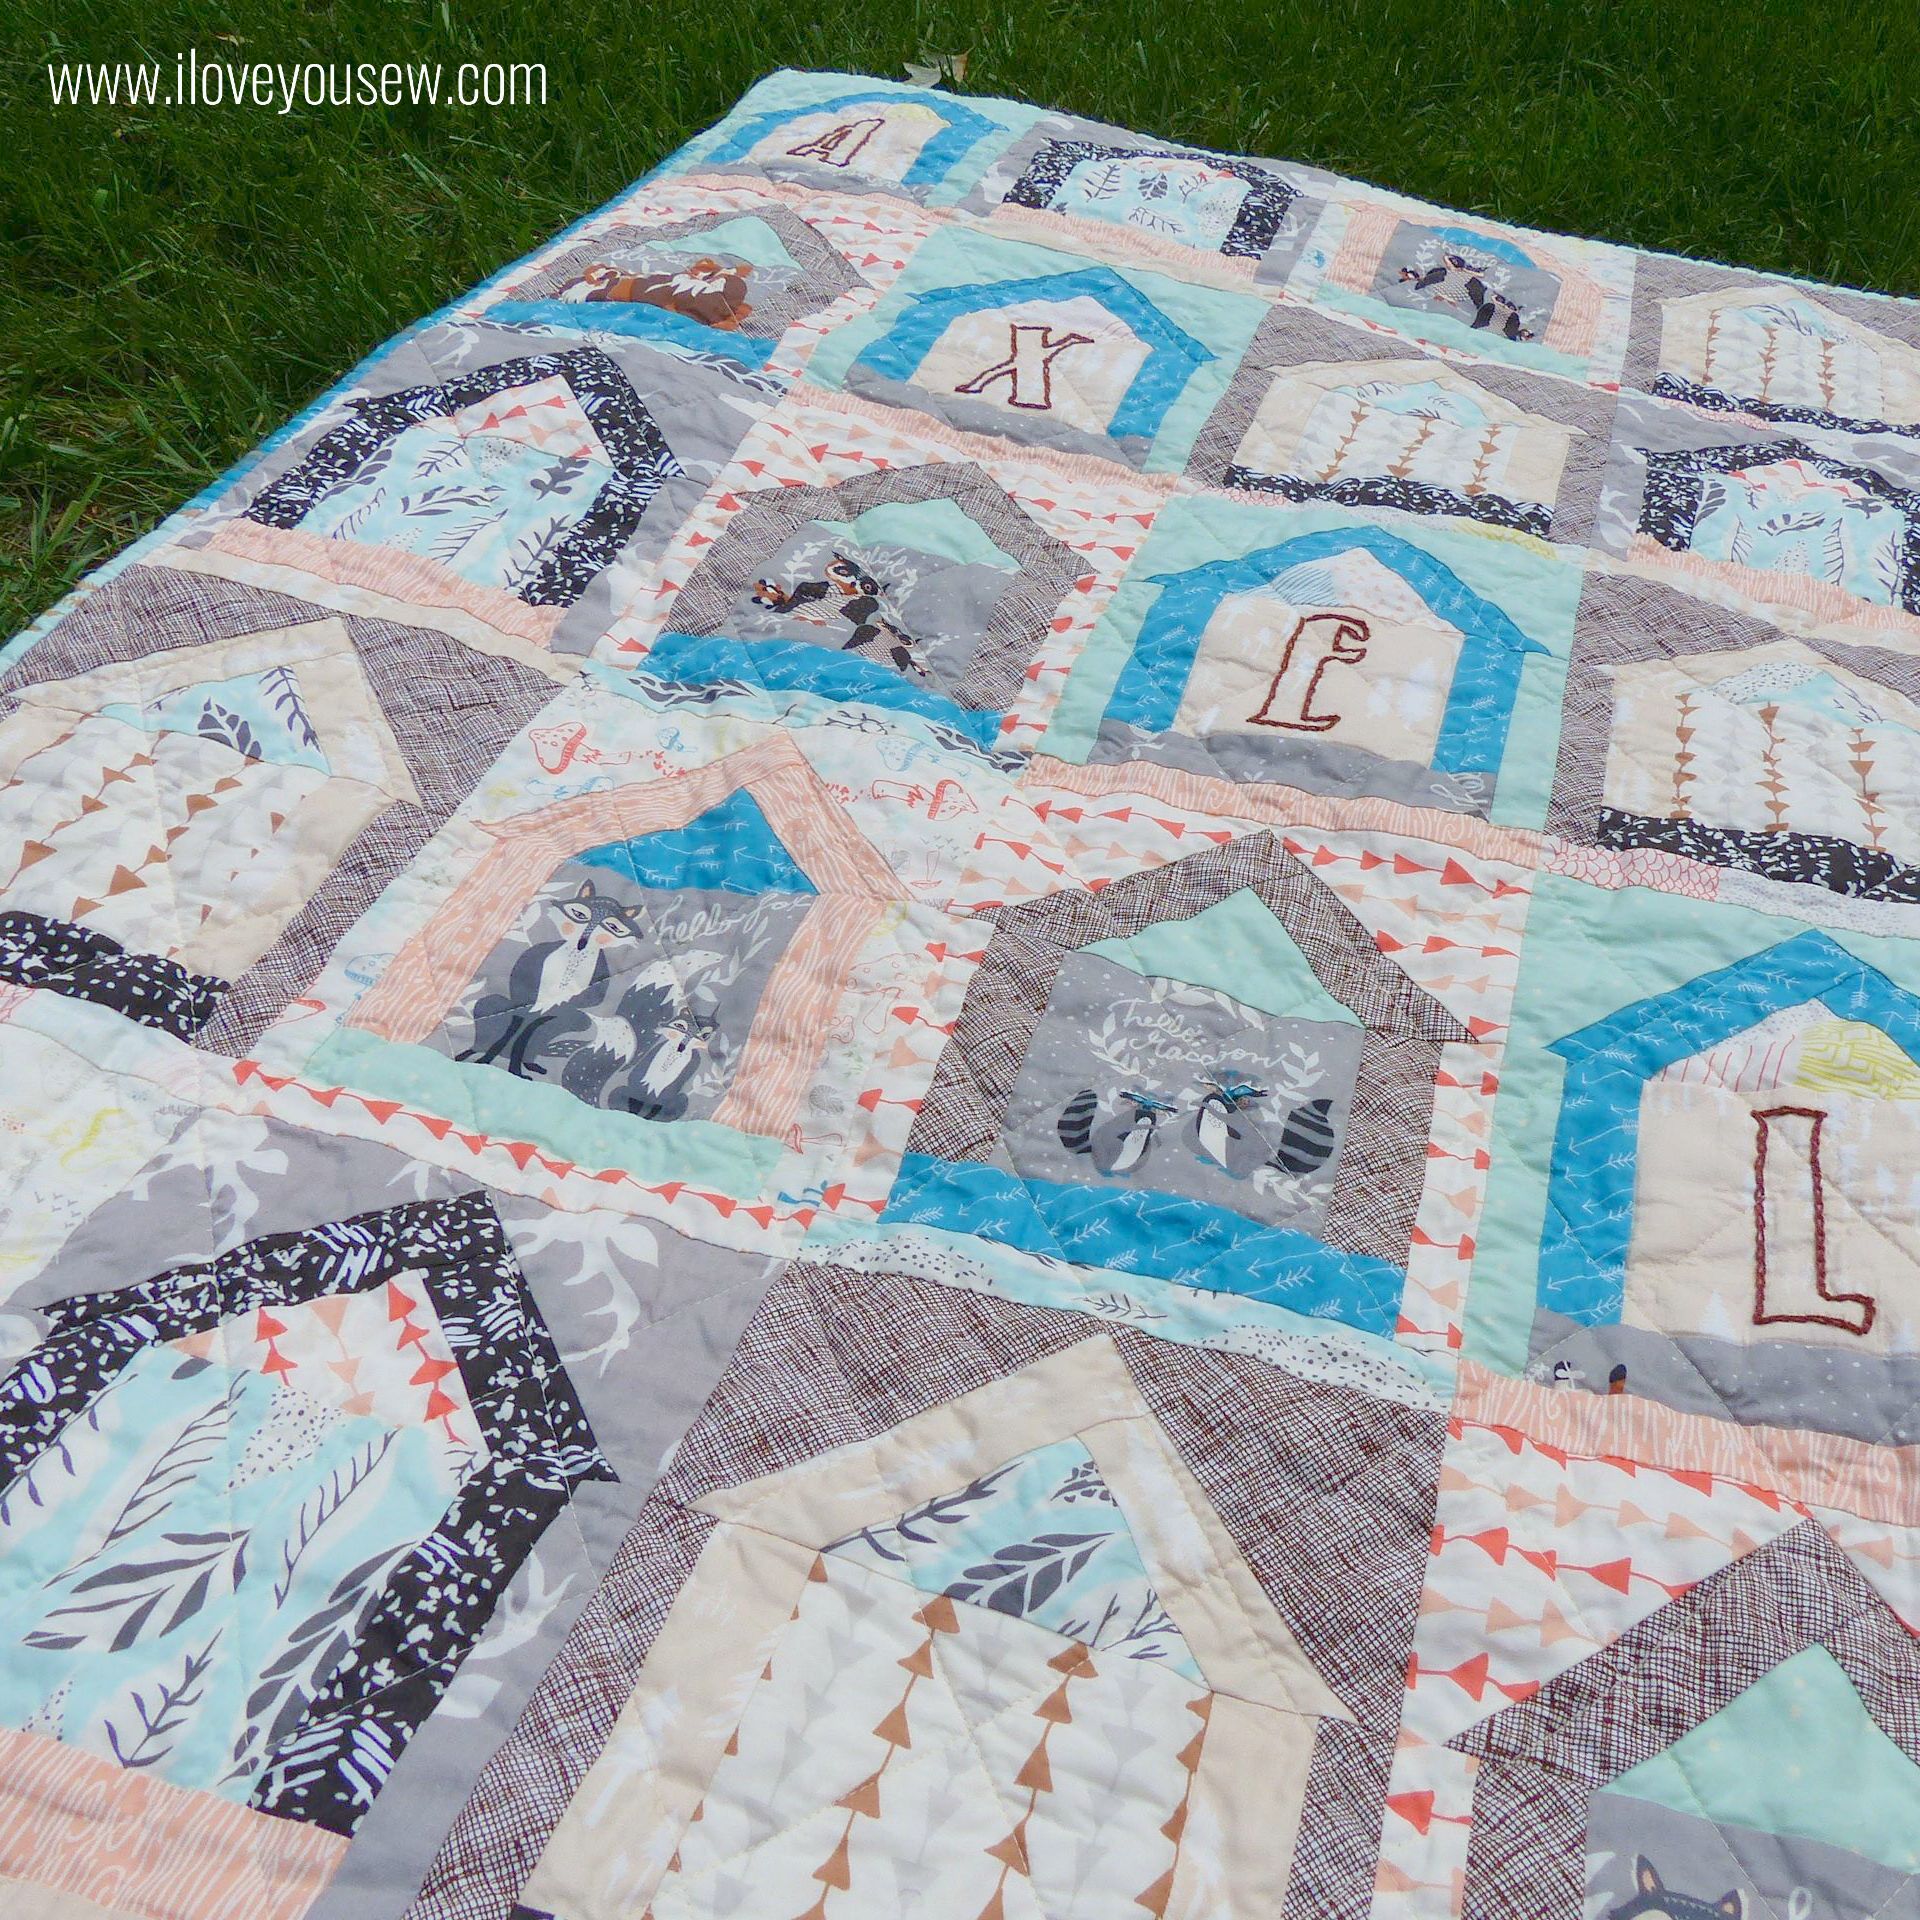
This was a 5 x 5 block design which created a 35″ x 43 3/4″ finished baby quilt.

DwellingCloseUp

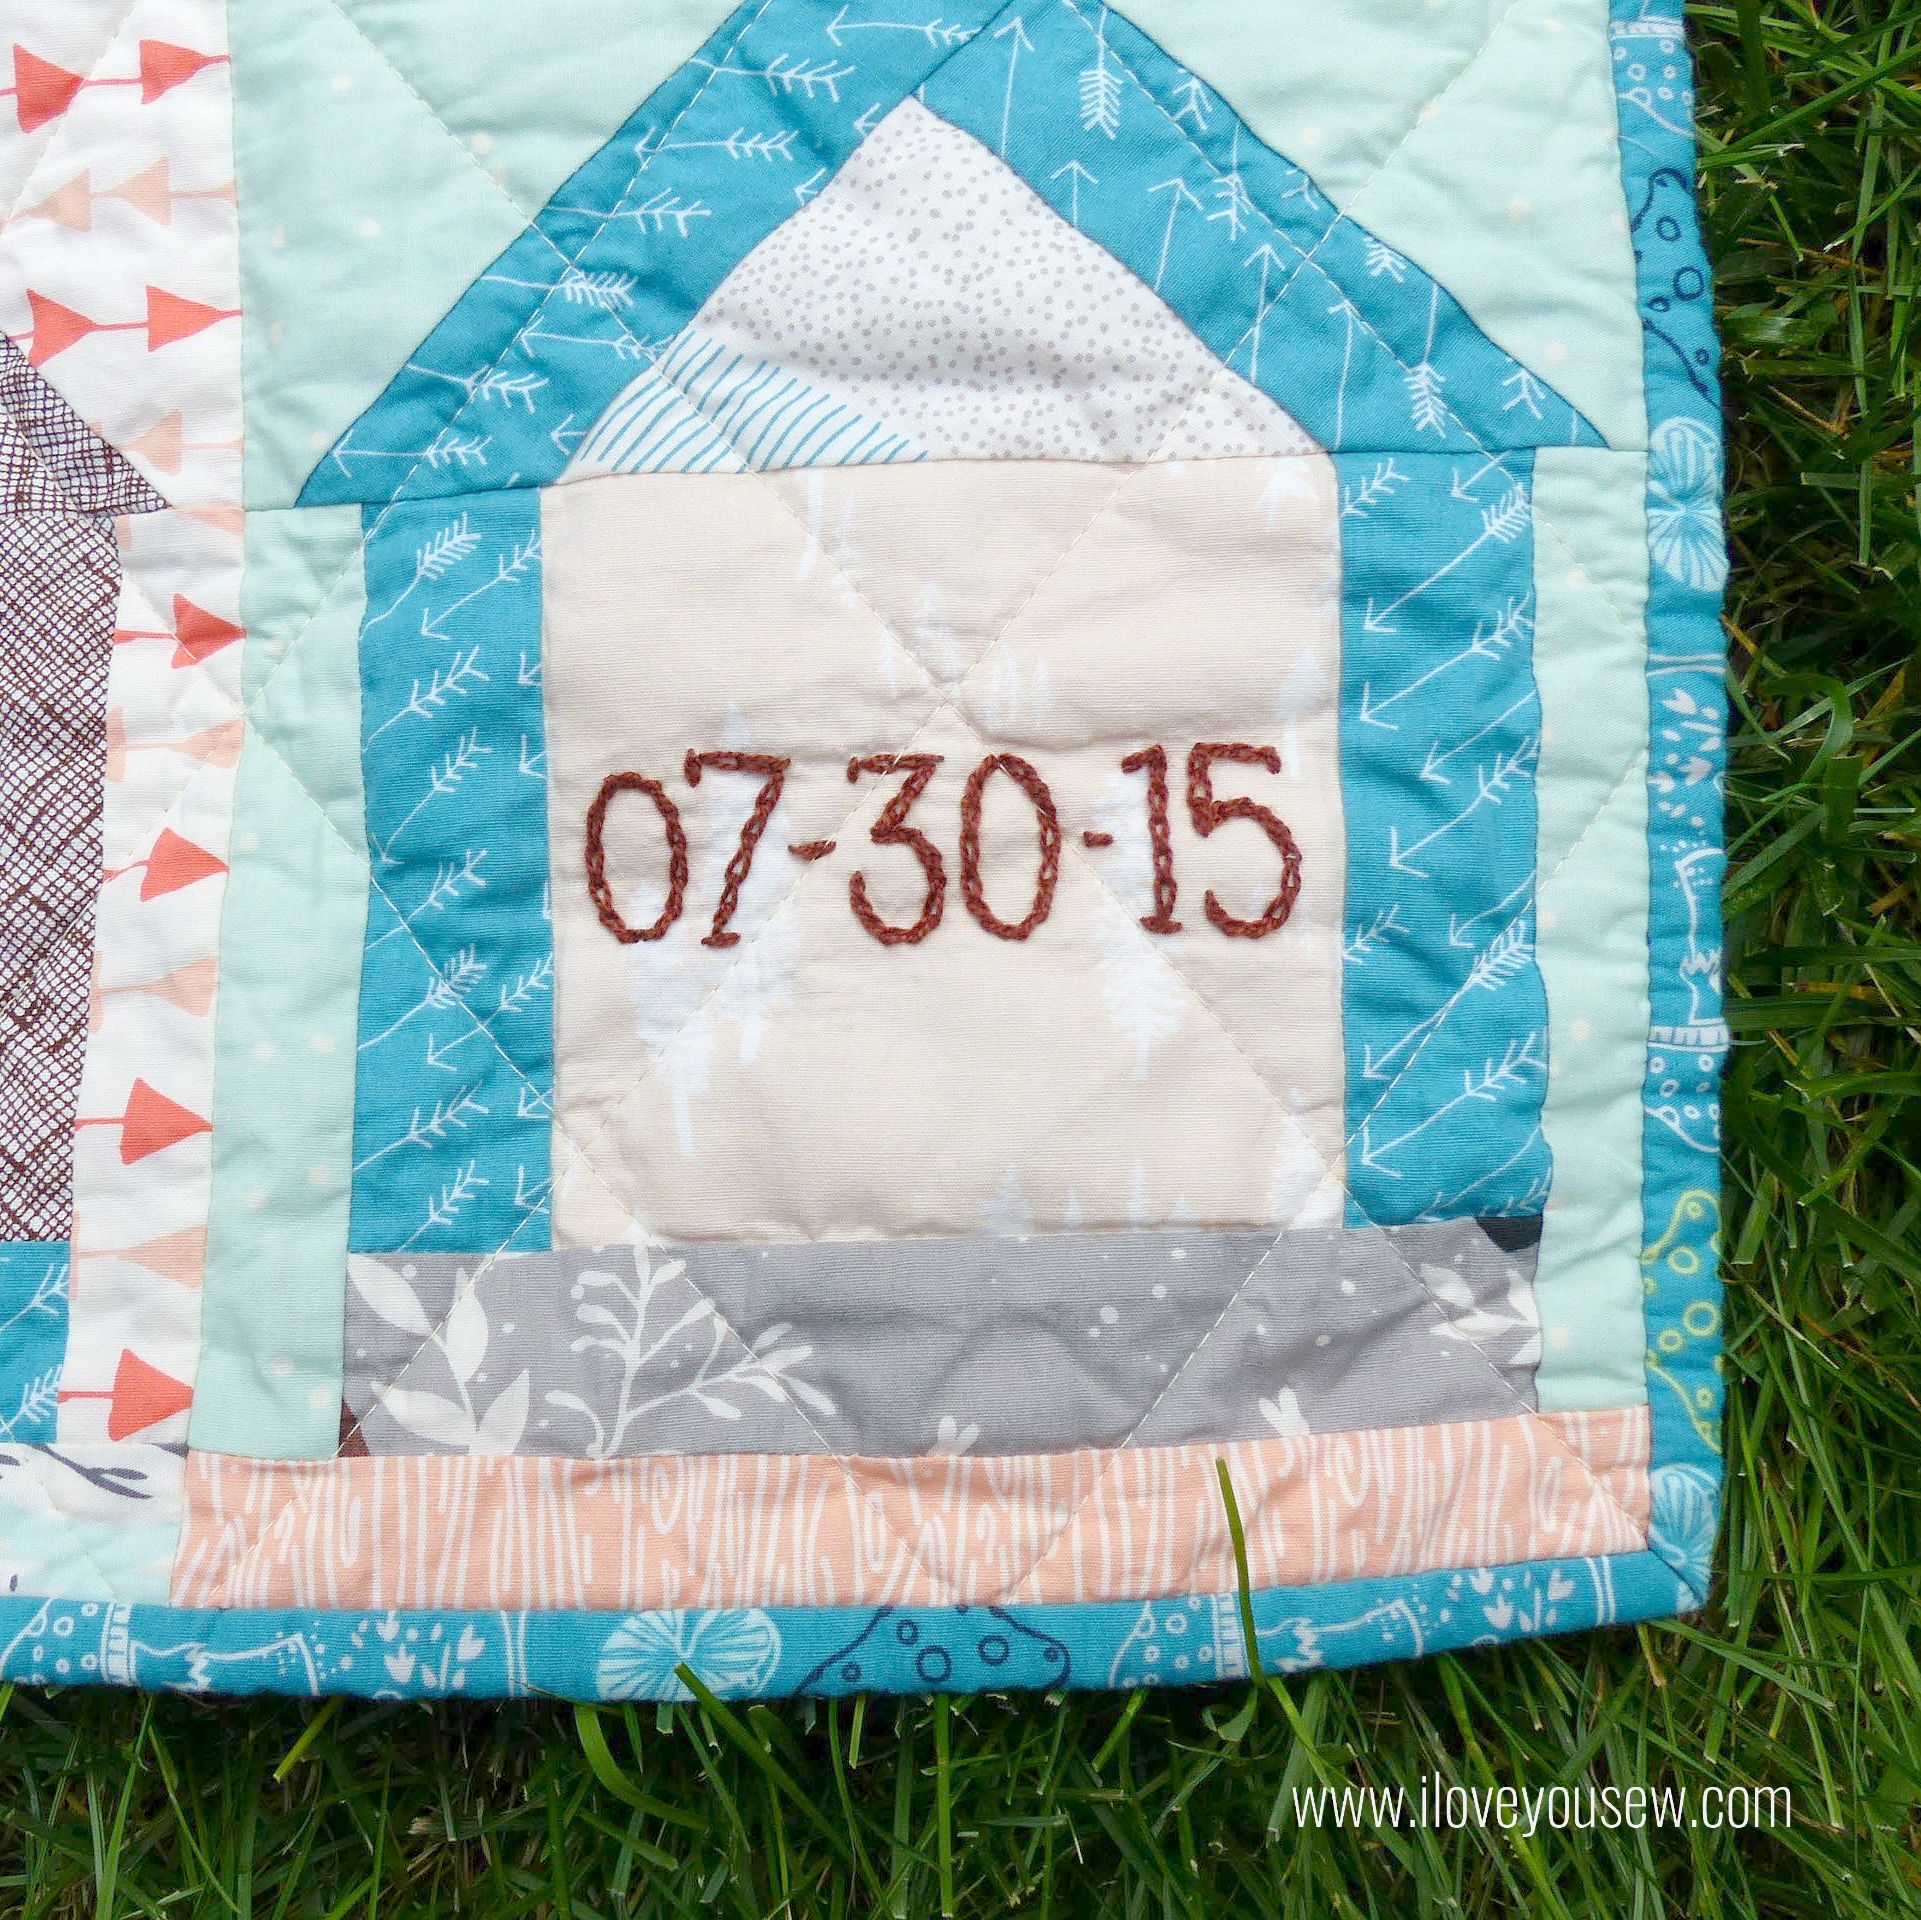
As you can see, I added embroidery to the blocks with Valdani Perle Cotton Size #8 Thread in 171  Rich Brown .  It was fun to add some extra texture and of course, that personal touch.  Hopefully, Baby Axel will love this quilt and appreciate the extra love put into it 😉

EmbroideryCloseUp

To get the embroidery lines, I printed the letters on paper in the Return to Sender font.  I like this font because it was masculine and wide enough to work with this quilt.  The letters were traced onto the fabric using a water-soluble fabric pen along with a bright light source so I could see the letters from underneath the fabric.

DwellingQuilted

The quilting was straight-line in a diamond configuration with Aurifil 2310 Light Beige for the top and 2615 Aluminum in the bobbin.  Timberland Green was used for the binding with some fun Adventure Springs accented in to keep with the scrappy feel.

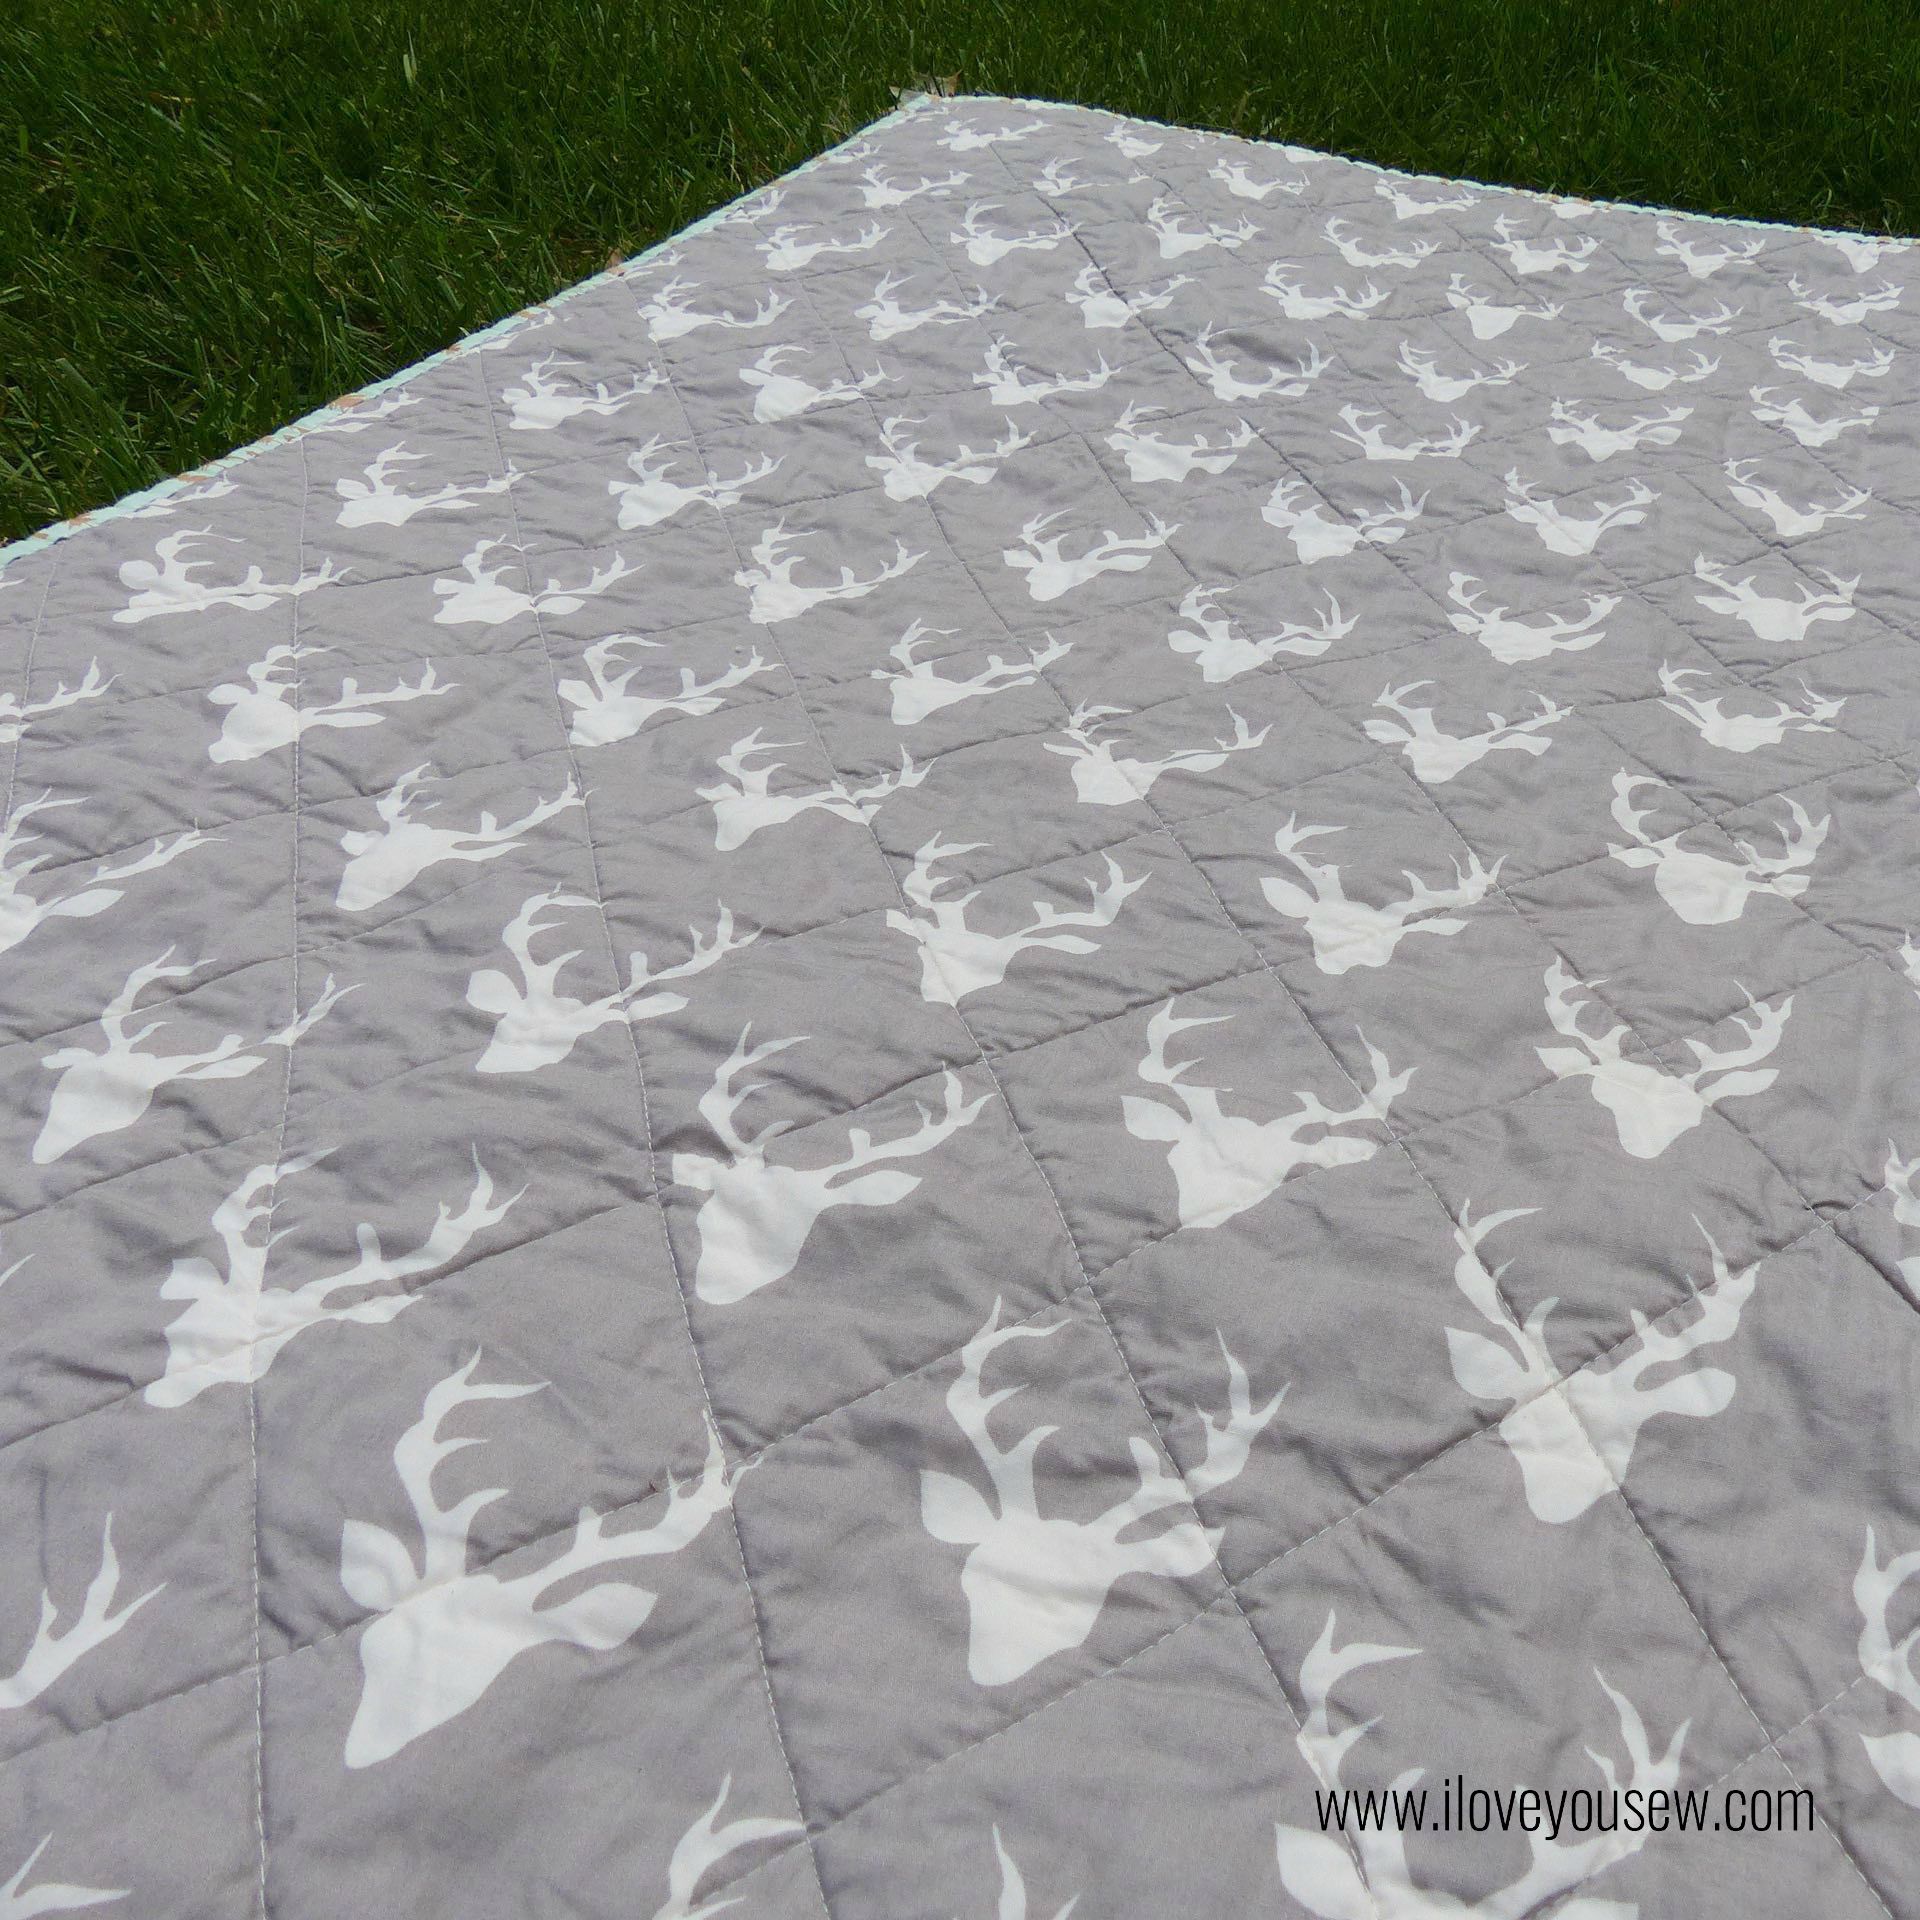
BackingCloseUp

Buck Forest Mist was the perfect backing.  It’s a very masculine print and the gray lends to easy baby management…er….laundry 😉

I can’t wait to see Baby Axel wrapped up and enjoying this quilt 🙂


Happy Stitching,

Cristy


***This post may contain affiliate links for which I do receive a very small commission.  They help keep this site up and running 🙂
What to Do When You Forget to Pre-Wash High Contrast Colored Fabrics (in a Quilt)

What to Do When You Forget to Pre-Wash High Contrast Colored Fabrics

After picking the high contrast fabrics for one of my latest quilts AND after cutting into it AND after piecing it…I realized I should have pre-washed it!  How was I going to prevent bleeding on my project???

When I thought to pair magenta, black and white fabrics together in my recent Jacks Quilt, the thought of pre-washing never crossed my mind.  For quilts, I am not a pre-washer and so I went about my normal way cutting and piecing until it hit me…that all the saturated colors could bleed onto all of that white! I wanted to cry in that moment because there was NO way I was going to buy new fabric and start over. My pockets and my sanity wouldn’t allow it since I had cut hundreds of pieces already.  I couldn’t wash all the  small pieces I had because the threads would fray and there would be considerable size distortion…

I know there is a divided camp among those who always pre-wash fabrics no matter what and those who don’t.  Personally, I don’t wash because I DO love that crinkly texture after a quilt is finished and then laundered.  Also, many times I make quilts that will be photographed and need that crisp color that is fresh off the bolt. Which side of camp do you belong to?

WashingQuiltTools

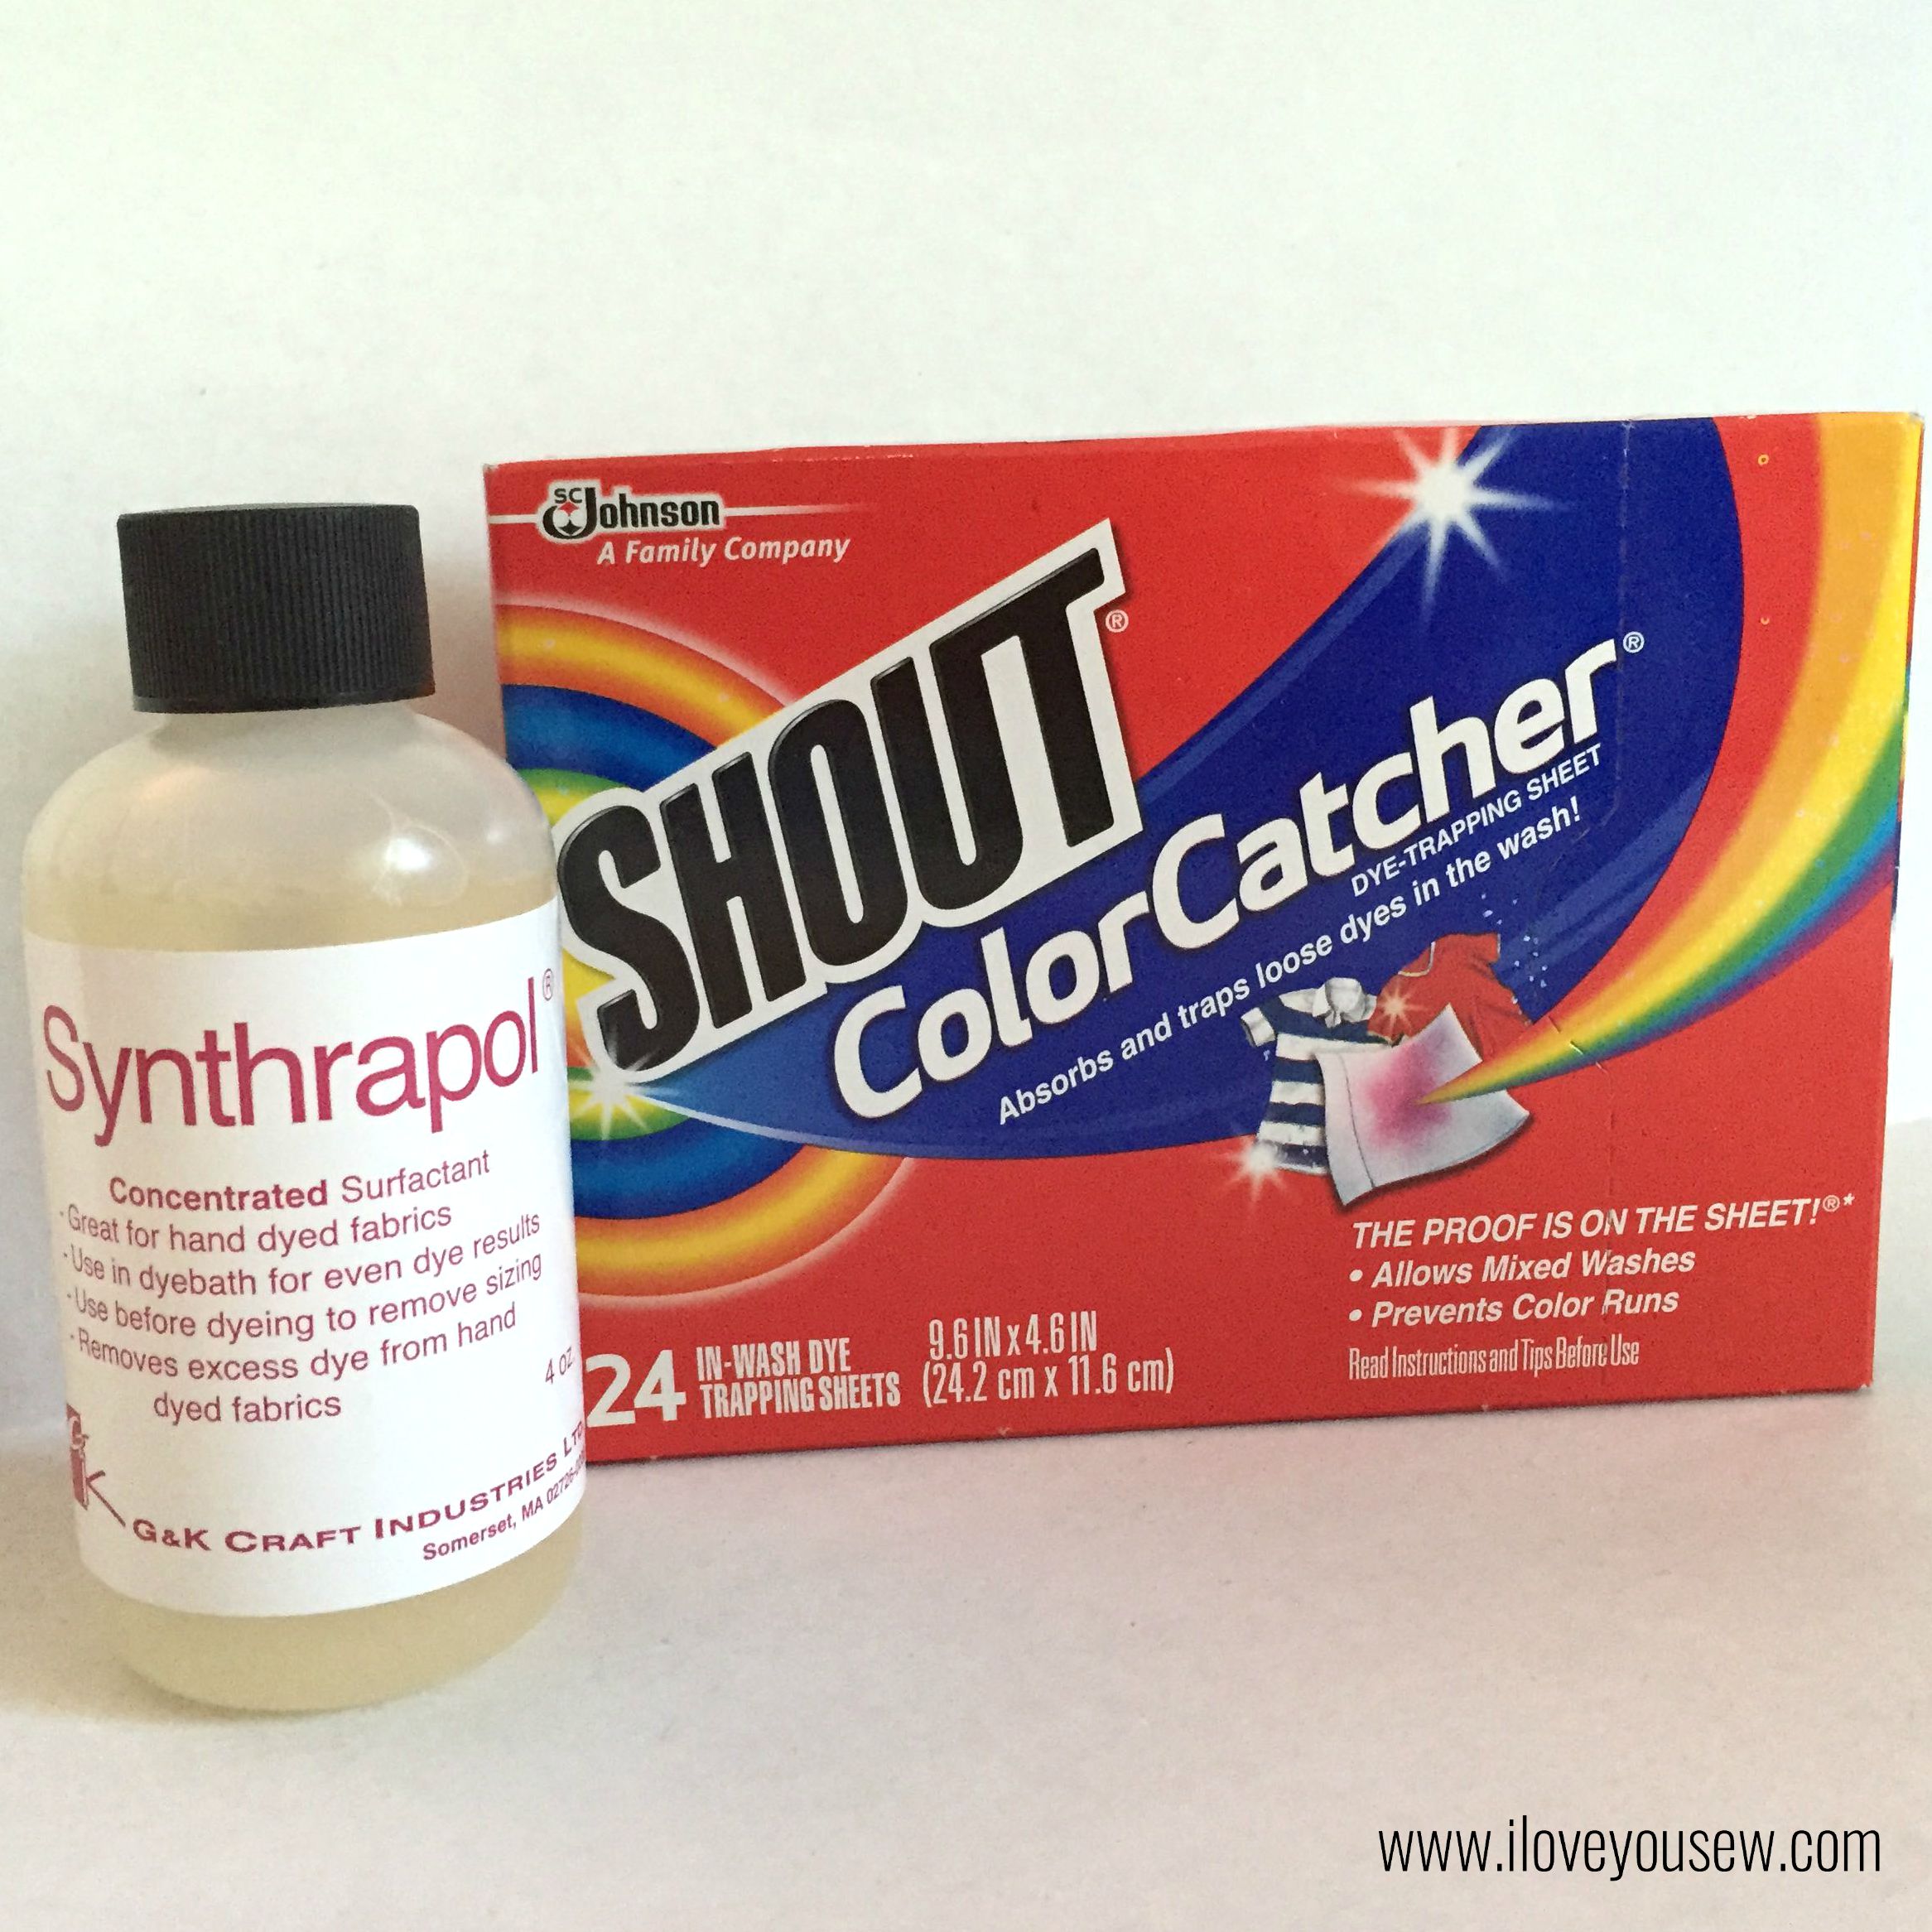
So off I went to find out how I could prevent any bleeding from occurring.  I consulted with a few quilty friends and good ol’ Google to see what was out there.  Synthrapol kept coming up as the go-to detergent to help dyes from re-depositing back onto the quilt. I also received many recommendations to Shout Color Catchers for this dilemma and to use in pre-washing going forward.  I decided why not try both products since I didn’t want to chance ruining my new quilt?

ColorCatchers

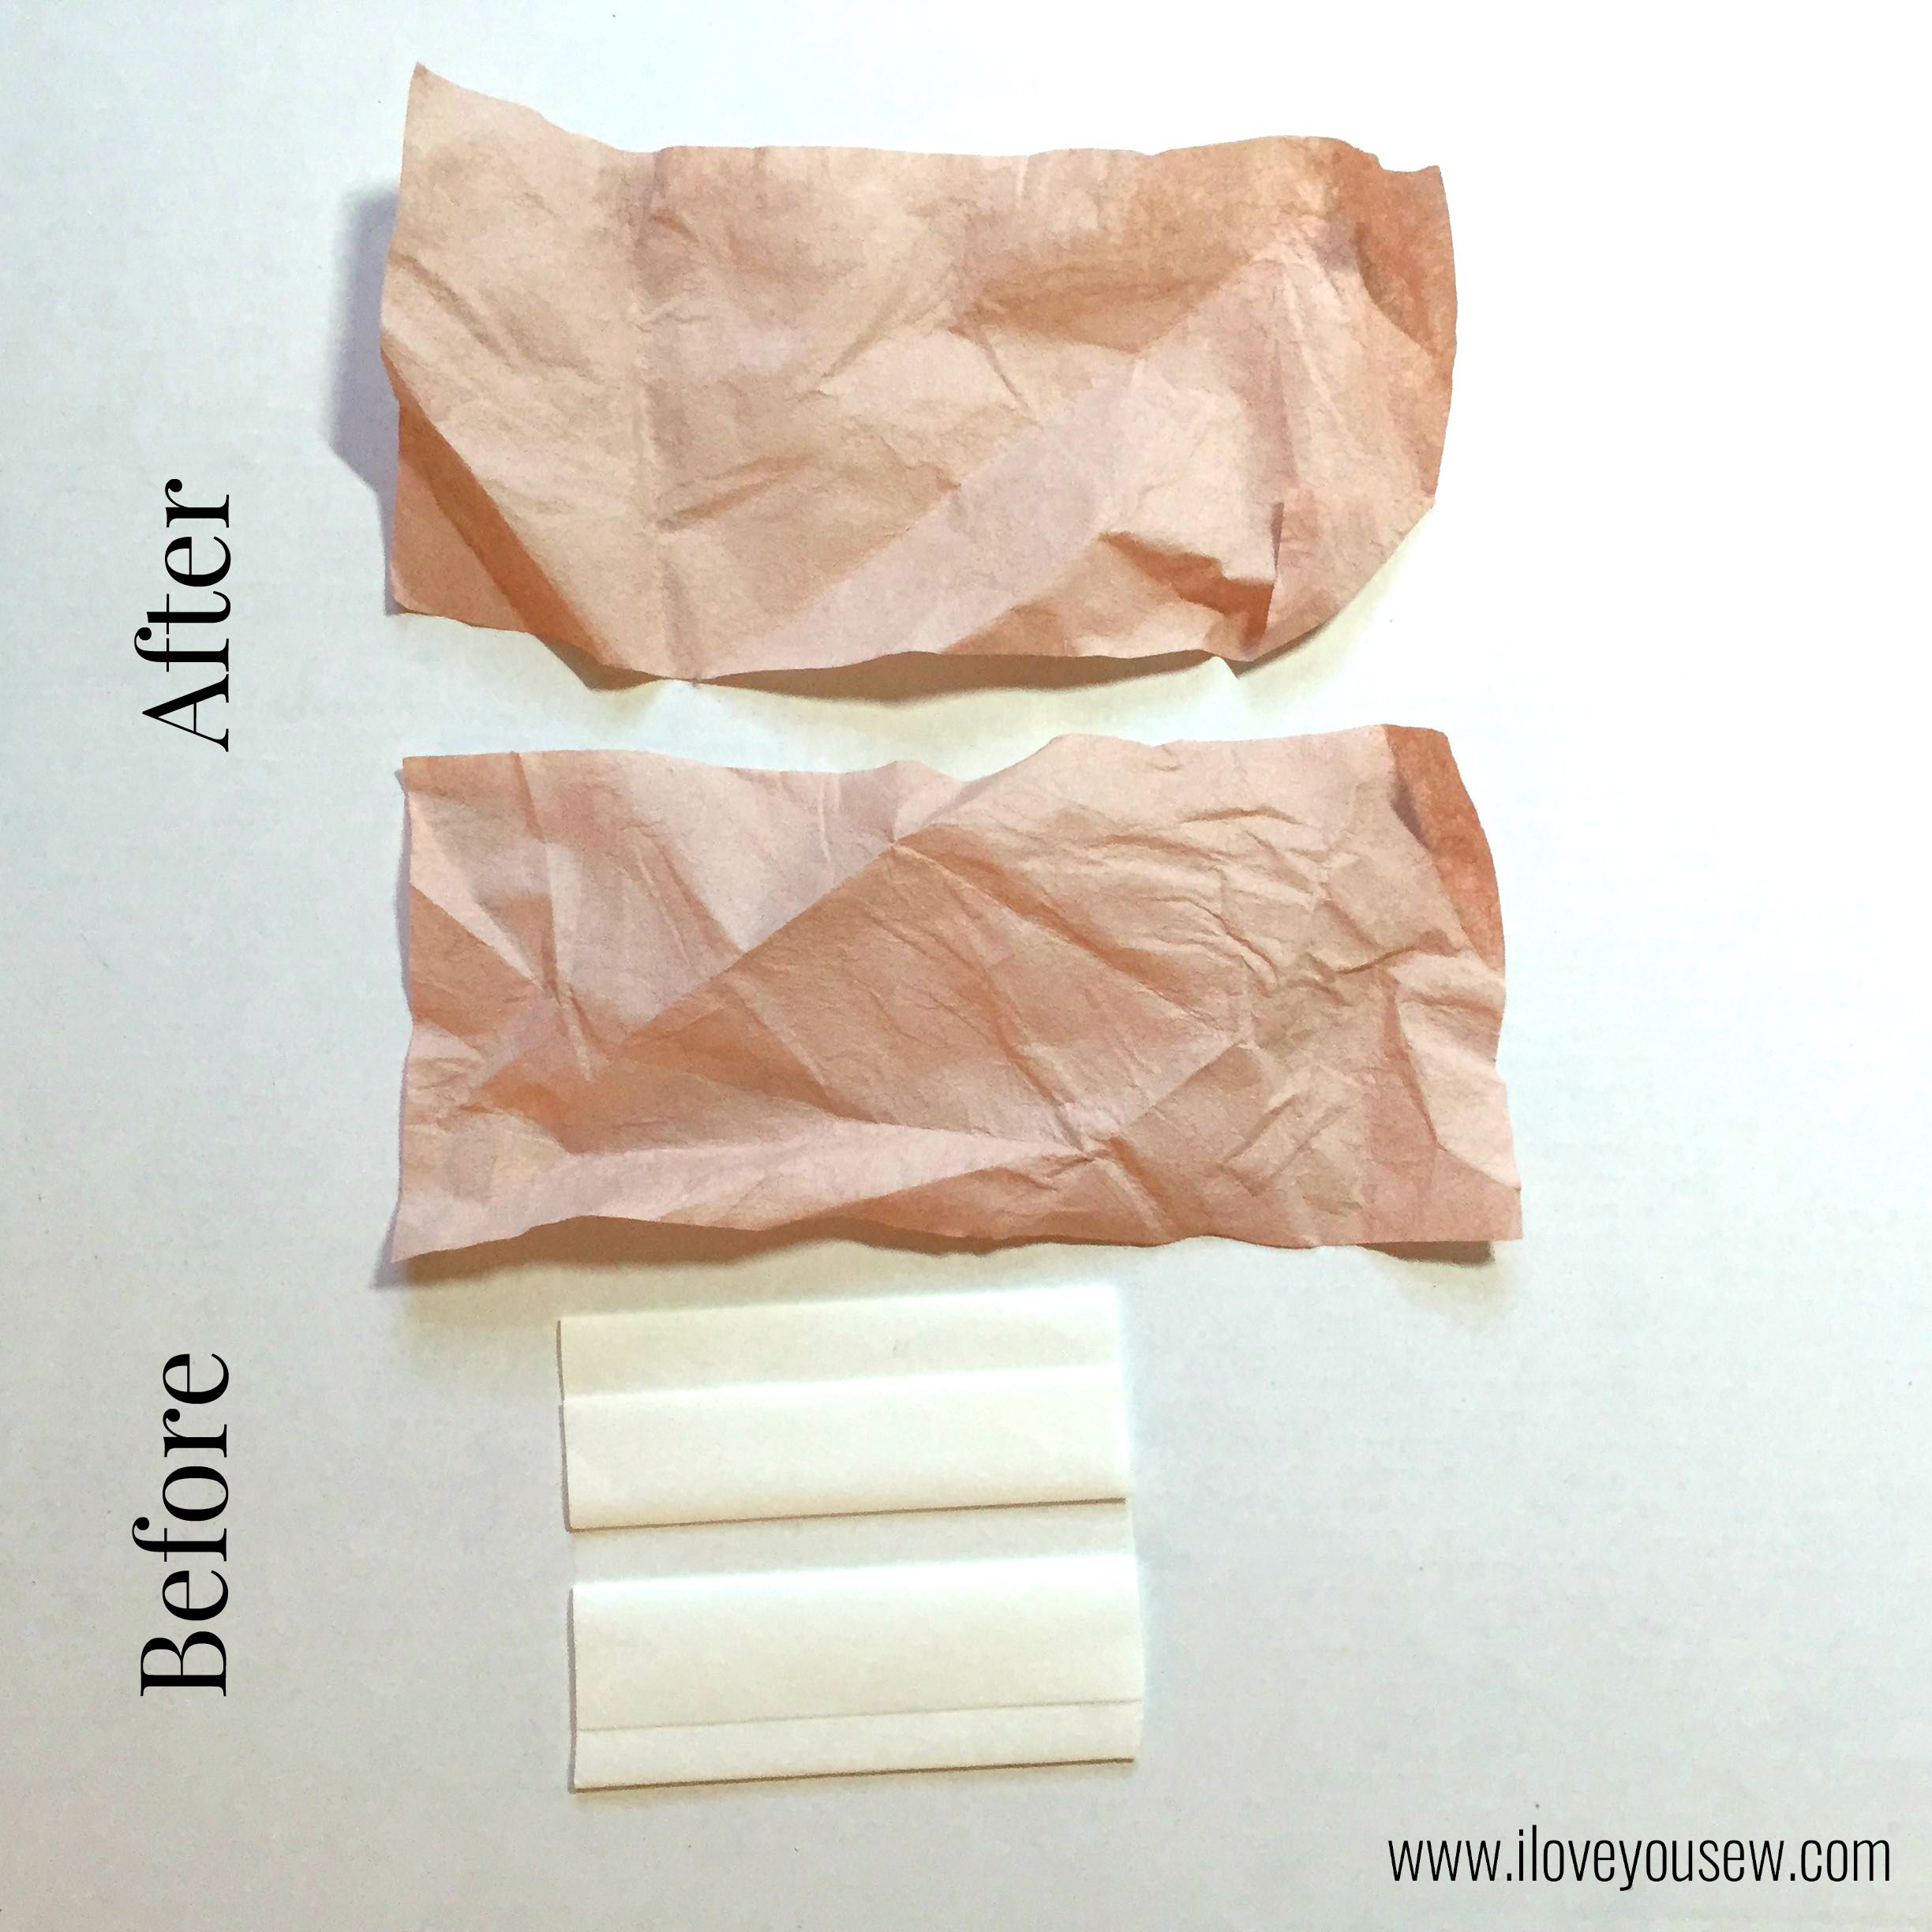
I followed the instructions on the bottle of Synthrapol to use only 1 tablespoon for my quilt without any additional detergents.  I did add two Color Catchers into the load as well.  Why two? I figured the magenta and black fabrics held such strong pigments that two catchers might be needed. As you can see, both Color Catchers did their jobs and caught a good bit of dye (Sigh of relief!)

IMG_0983

The quilt came out without any bleeding…which I was still astonished to see despite my efforts.  The image about is after washing.  You can see there were no runs with the magenta or the black dyes onto the white.  Hallelujah!!!

IMG_0984

I flipped over to the back of the quilt to see if there might be any bleeding there as well.  It was completely clear!  The Synthrapol and Shout Color Catchers worked!

Although I’m glad this all worked out, my lesson has been learned to pre-wash high-contrast fabrics next time.  I plan to still use these products for washing all quilts afterwards…just in case 😉  What do you use to wash your quilts???


Hugs and Stitches,

Cristy


***I was not sponsored for the content of this post. All opinions and experiences are my own and have not been influenced by third parties.

***This post may contain affiliate links.  The nominal compensation helps keep this site safe and running.

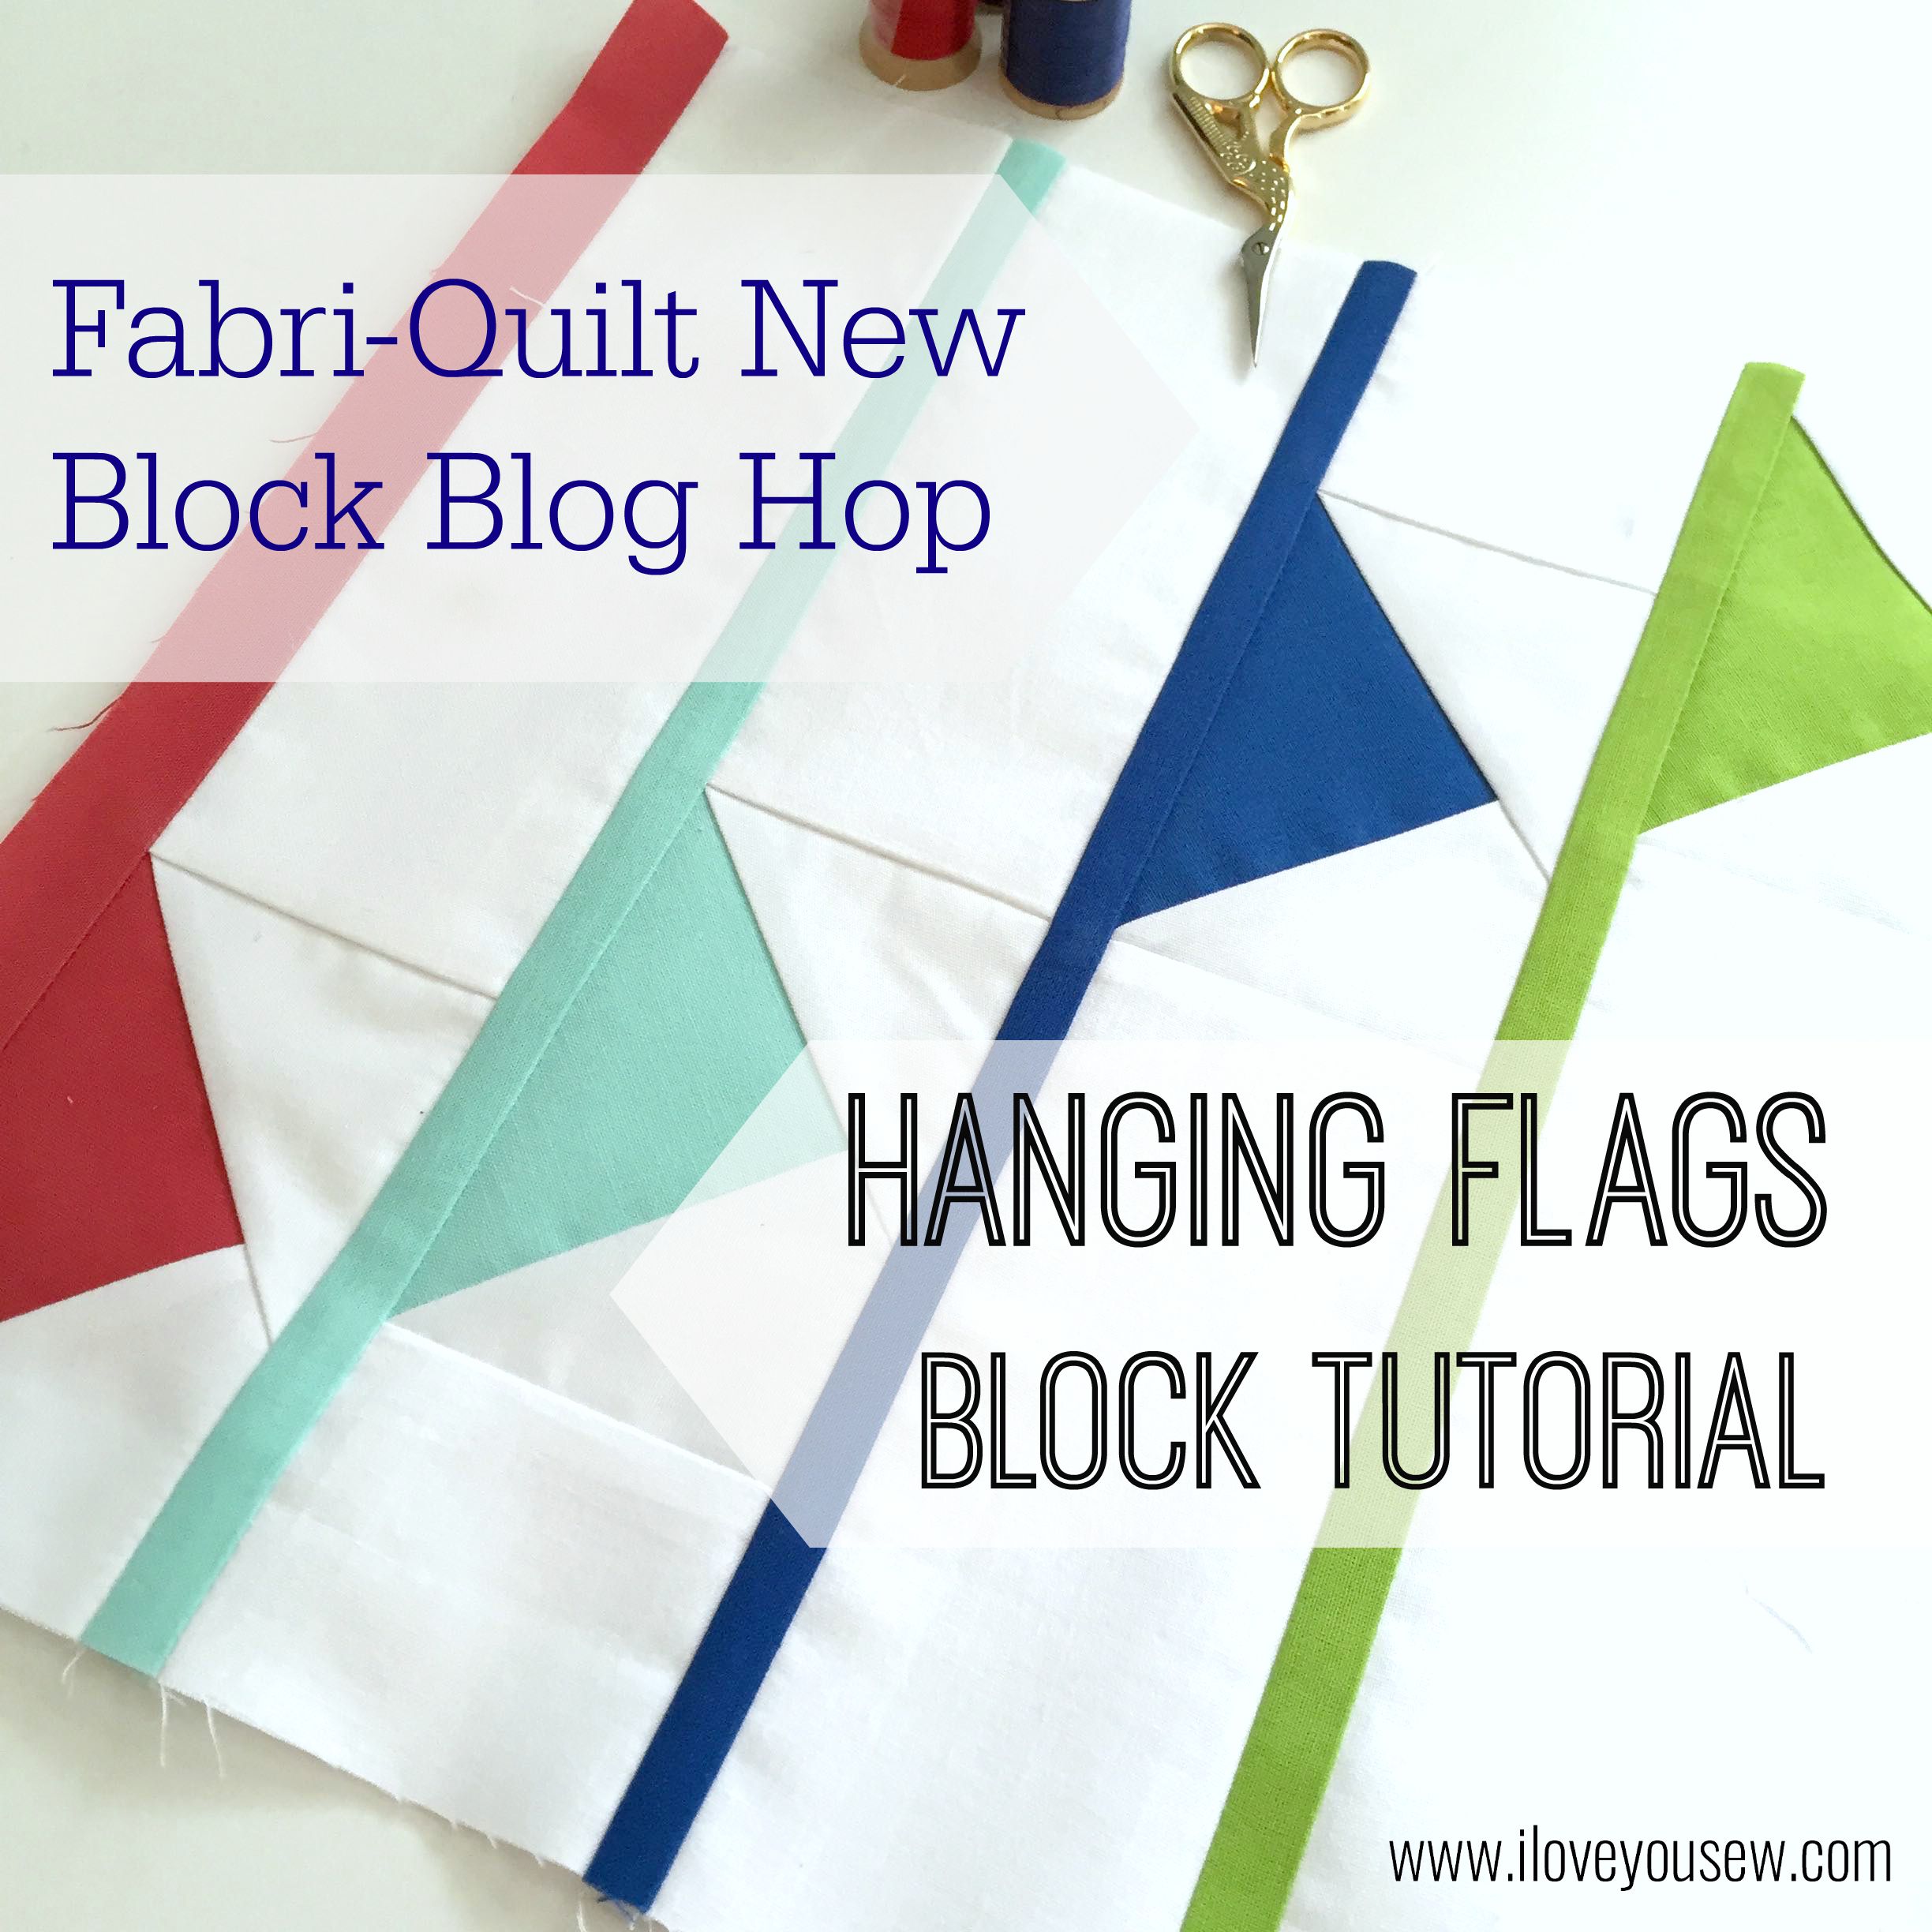
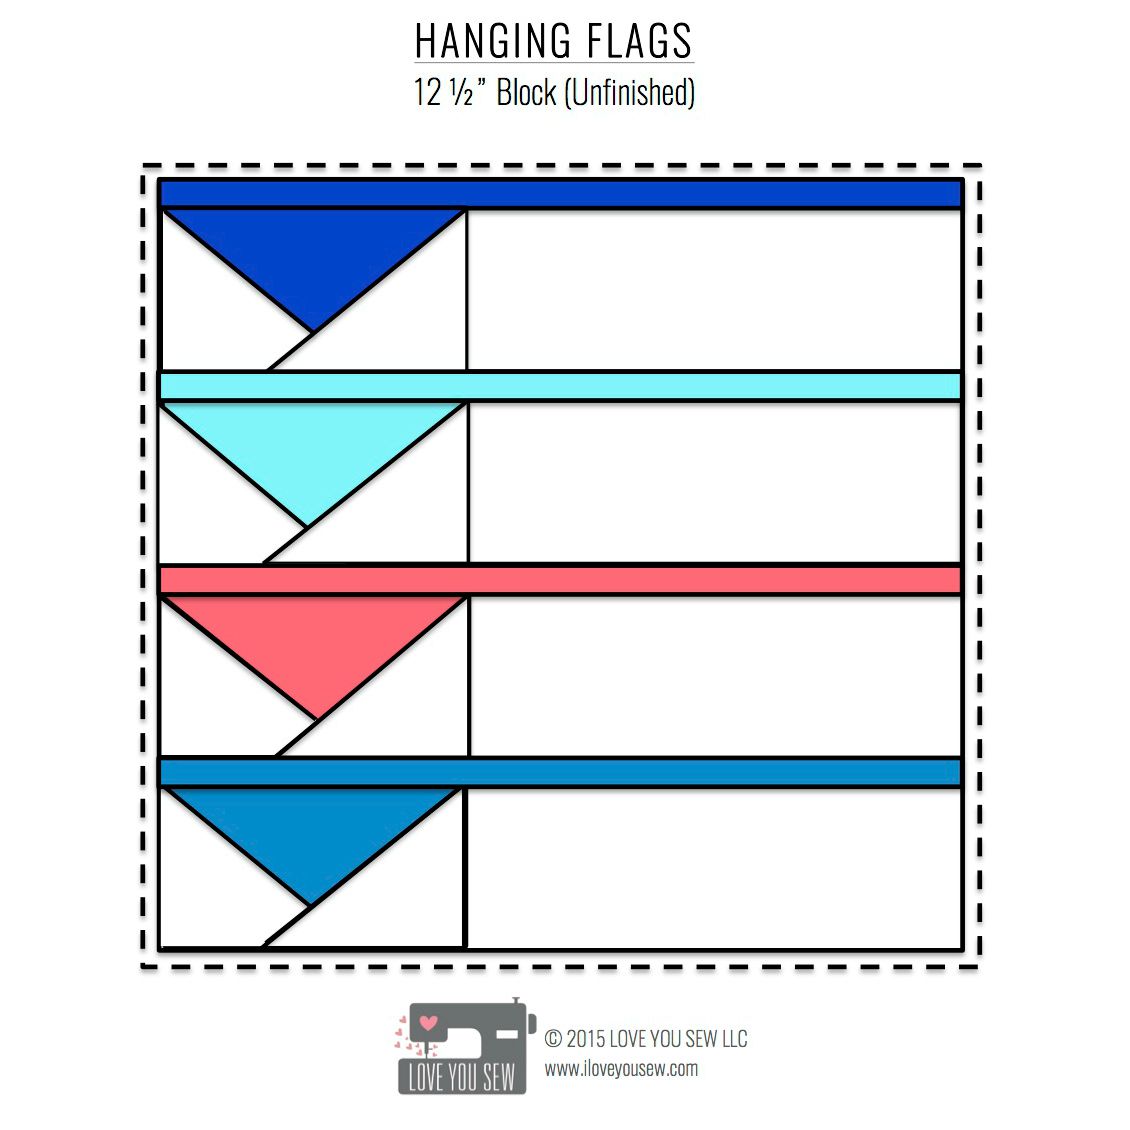
Fabri-Quilt New Block Blog Hop – Hanging Flags Tutorial

18Complete

What’s better than being part of the 2015 New Quilt Bloggers? It’s that, PLUS the chance to play with some beautiful Fabri-Quilt Prairie Cloth Solid Fabrics AND take part in a few charity quilts! There are GIVEAWAYS happening today through Thursday!!! (Scroll down for details.)

IMG_0780_2

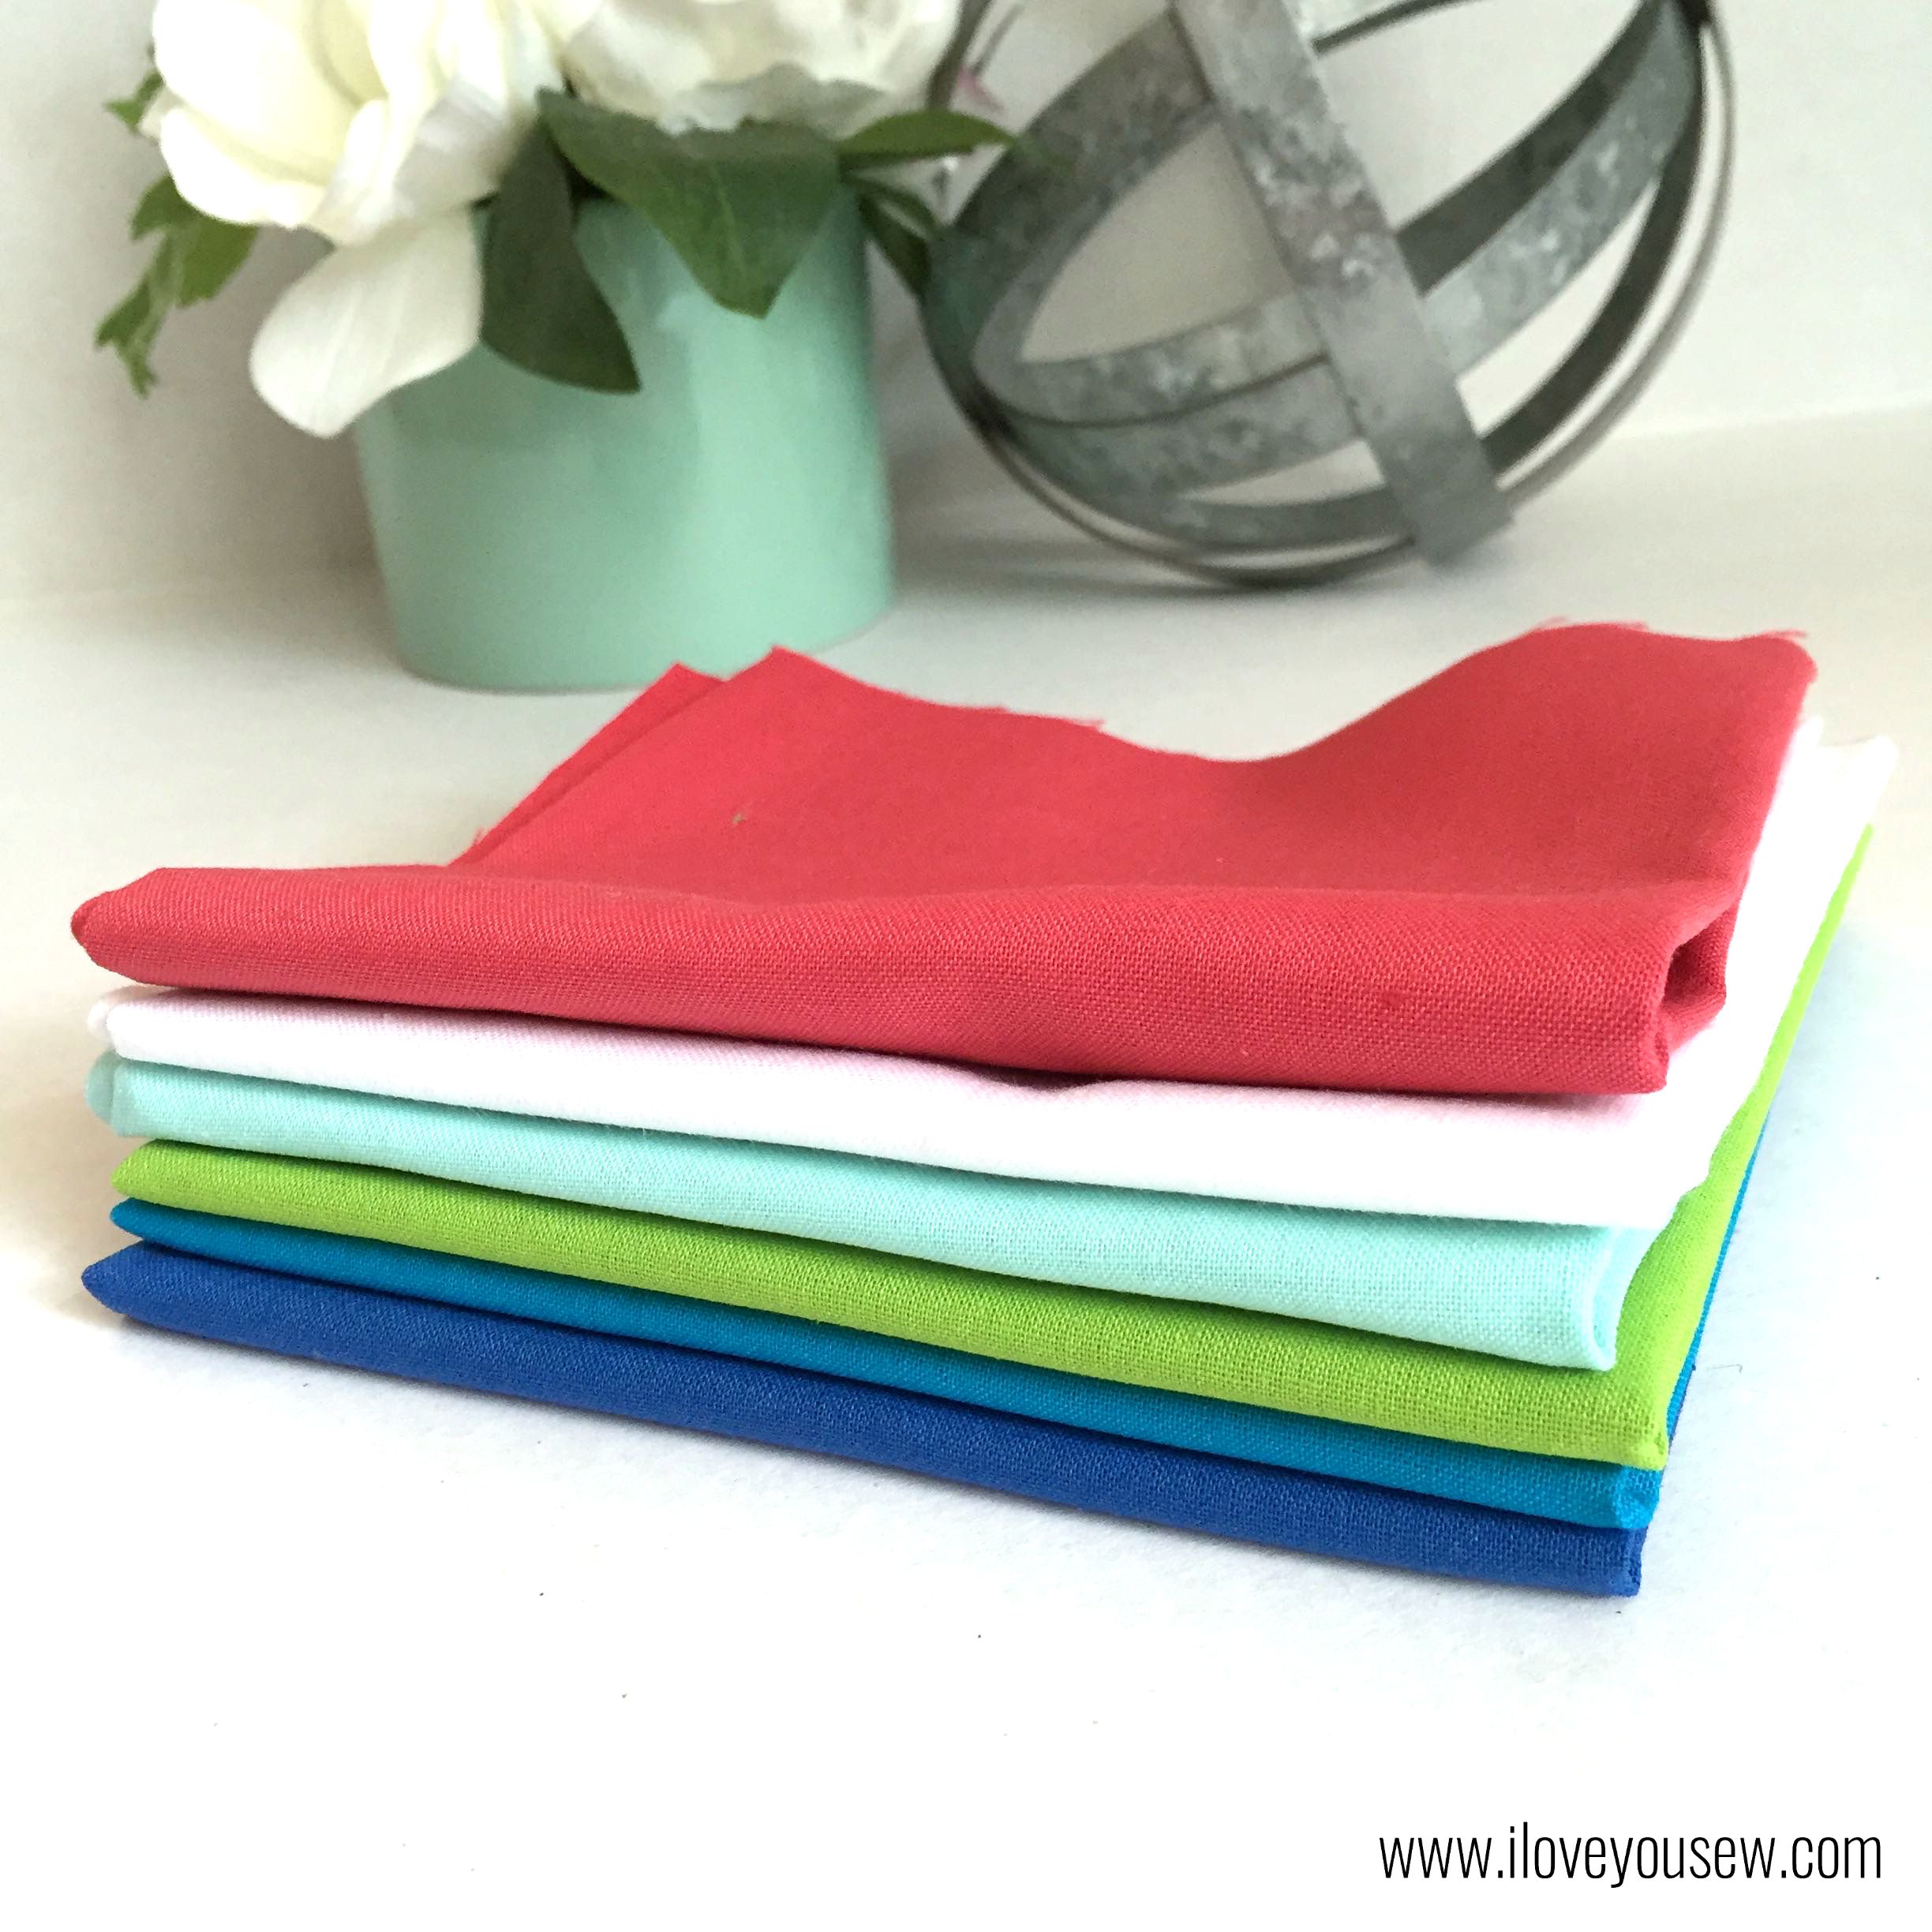
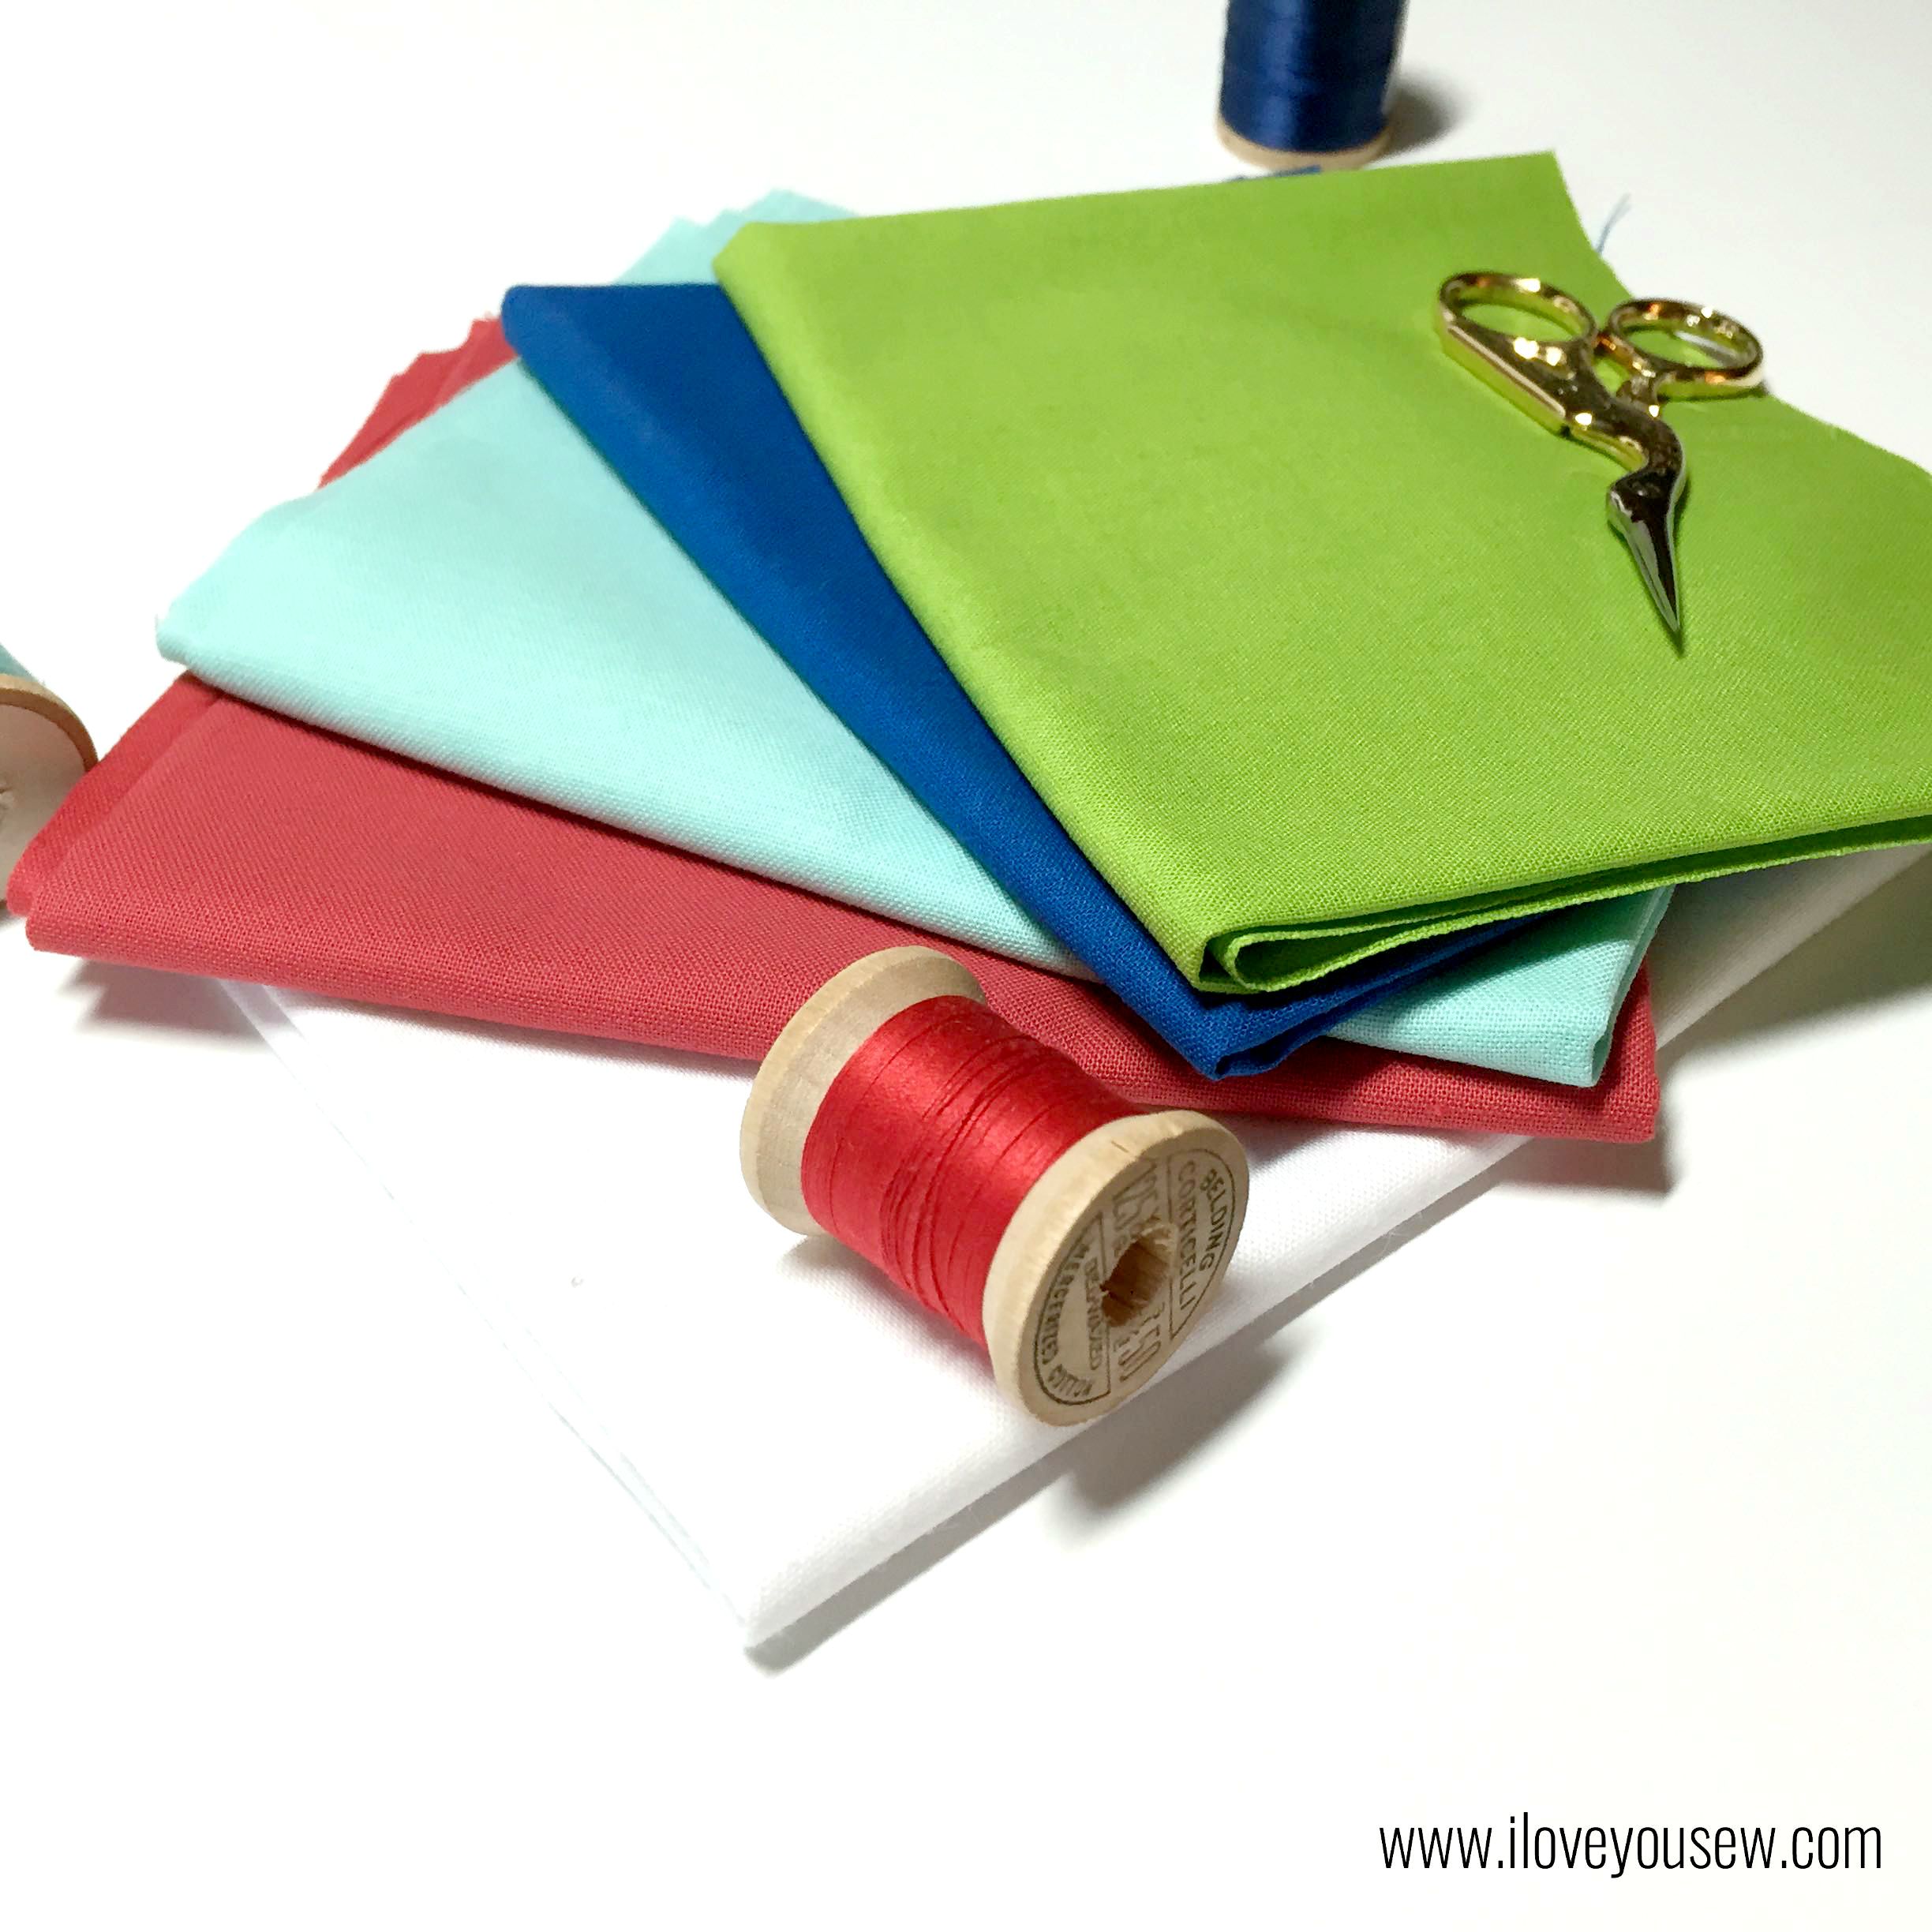
Our gracious hosts, Yvonne @Quilting Jetgirl, Cheryl @Meadow Mist Designs, Stephanie @Late Night Quilter and Terri Ann @Childlike Fascination, along with Fabri-Quilt have provided the opportunity for over 60 of us to develop a custom block with this gorgeous Summer Watermelon bundle of Coral, White, Aqua, Chartreuse, Turquoise, and Lapis Blue.

Fabric Pull

We were all challenged to create a 12″ (12.5″ unfinished) quilt block with only these 6 fat-eighths and use at least 3 colors.  We needed to provide a full tutorial for all of our cyber quilty friends and make them in time for this hop 😉

The task seemed easy enough…until I had to settle down on my plan. Do I go simple or complex? Paper-piece or traditional piecing? Use all of the colors? Maybe not…but which ones then? I had so many ideas but only so much fabric…

Inspiration

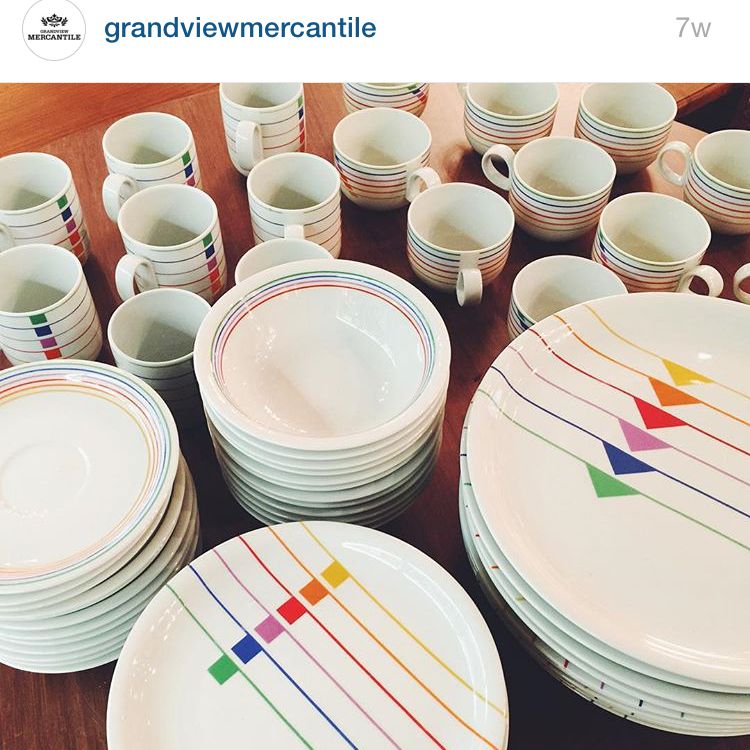
But then I came upon this image of vintage dinnerware from a local upscale thrift shop downtown called Grandview Mercantile.  It was screaming, “Make me into a quilt!” and…I said, “Yes.” 😉  I love the idea of stacking the geese (triangles) right on top of one another with the sashing.  It is a simple design for a beginner (both for quilter and for author!)

For this exercise, I decided on a diagonal layout  of the geese since this block was going to be one of many in the charity quilts.  The spaced out color would be more versatile than my initial assymetrical idea.  I still plan to make a full quilt like the dinnerware eventually…


Block instructions:

  • Gather the following fat-eighths: Fabri-Quilt White, Coral, Chartreuse, Lapis Blue, & Aqua  ***It is recommended that you launder these fabrics BEFORE cutting to ensure accurate sizing on your block***
  • Print 2 Paper-piecing pattern sheets (4 Flying geese templates total) –> Hanging Flags Bock_Geese Template
  • Use 1/4″ seam allowance

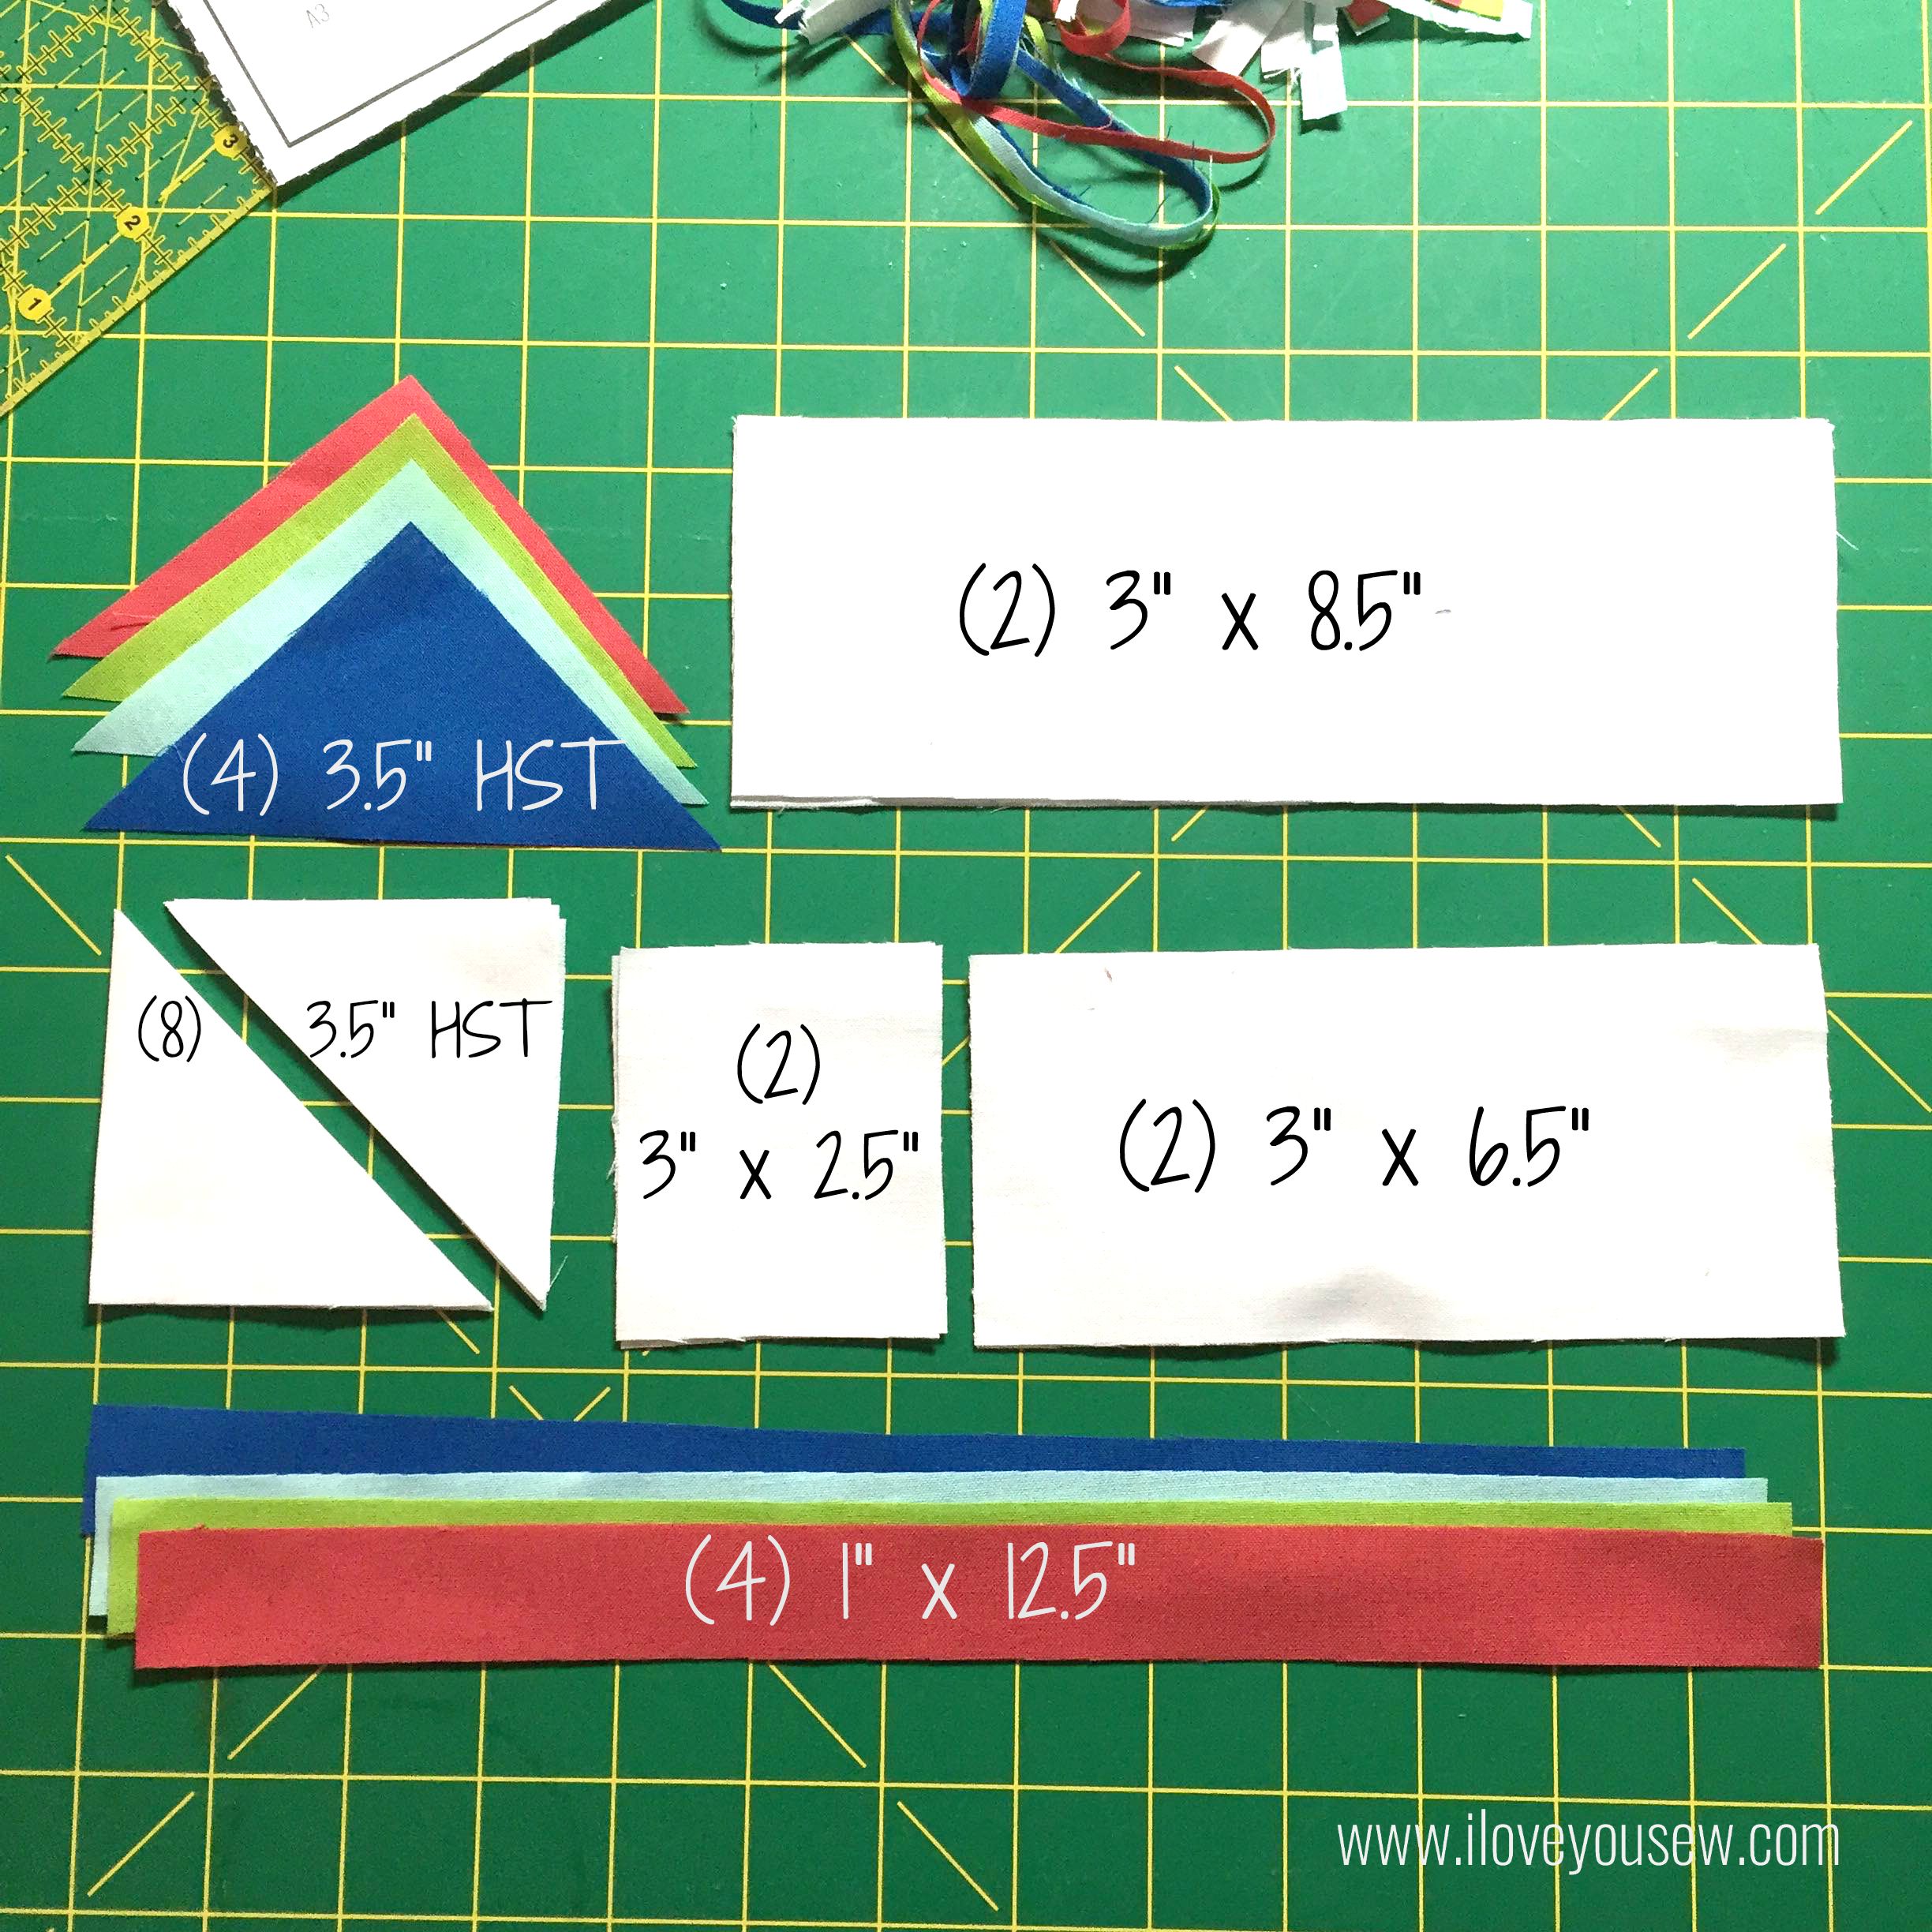
Cut the following:

04AllCuts


  • (1) 3.75″ HSTs of each color (4 total)
  • (2) 3″ x 8.5″ of white
  • (8) 3.5″ Half-Square Triangles (HSTs) of white
  • (2) 3 x 2.5″ of white
  • (2) 3″ x 6.5″  of white
  • (1) 1″ x 12.5″ strip of ea color


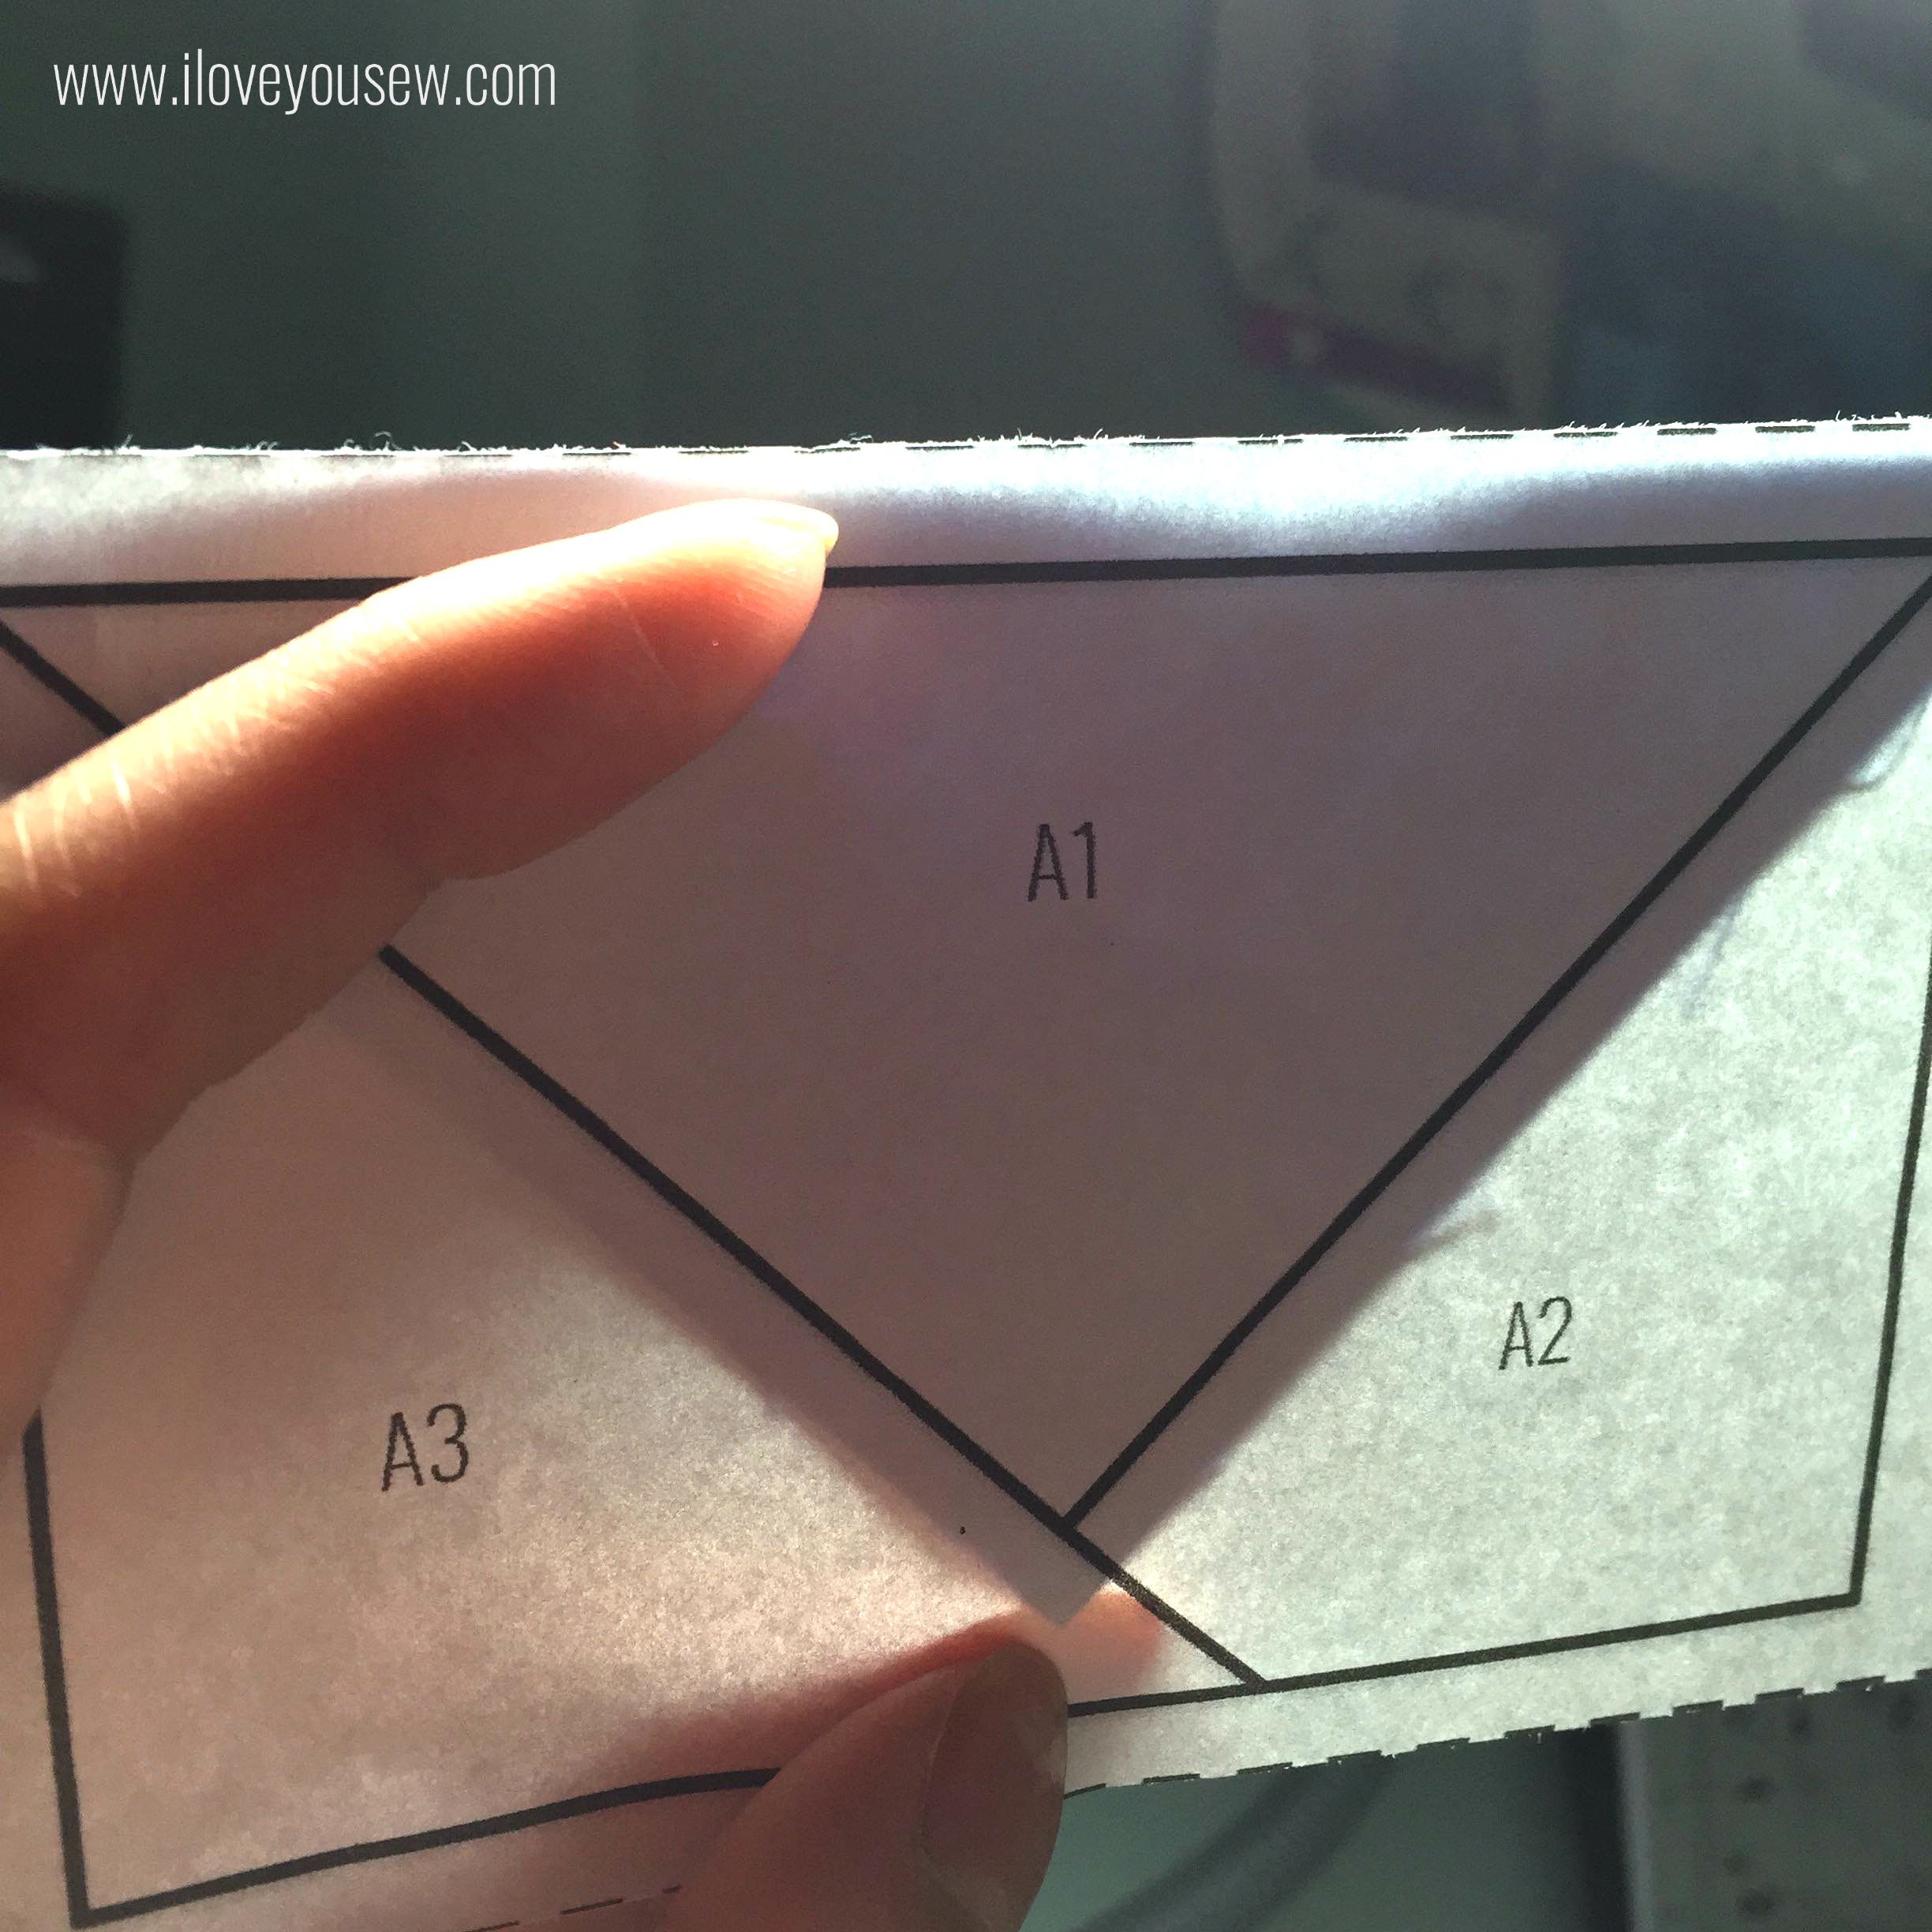
Paper-piece with flying geese template

05PP

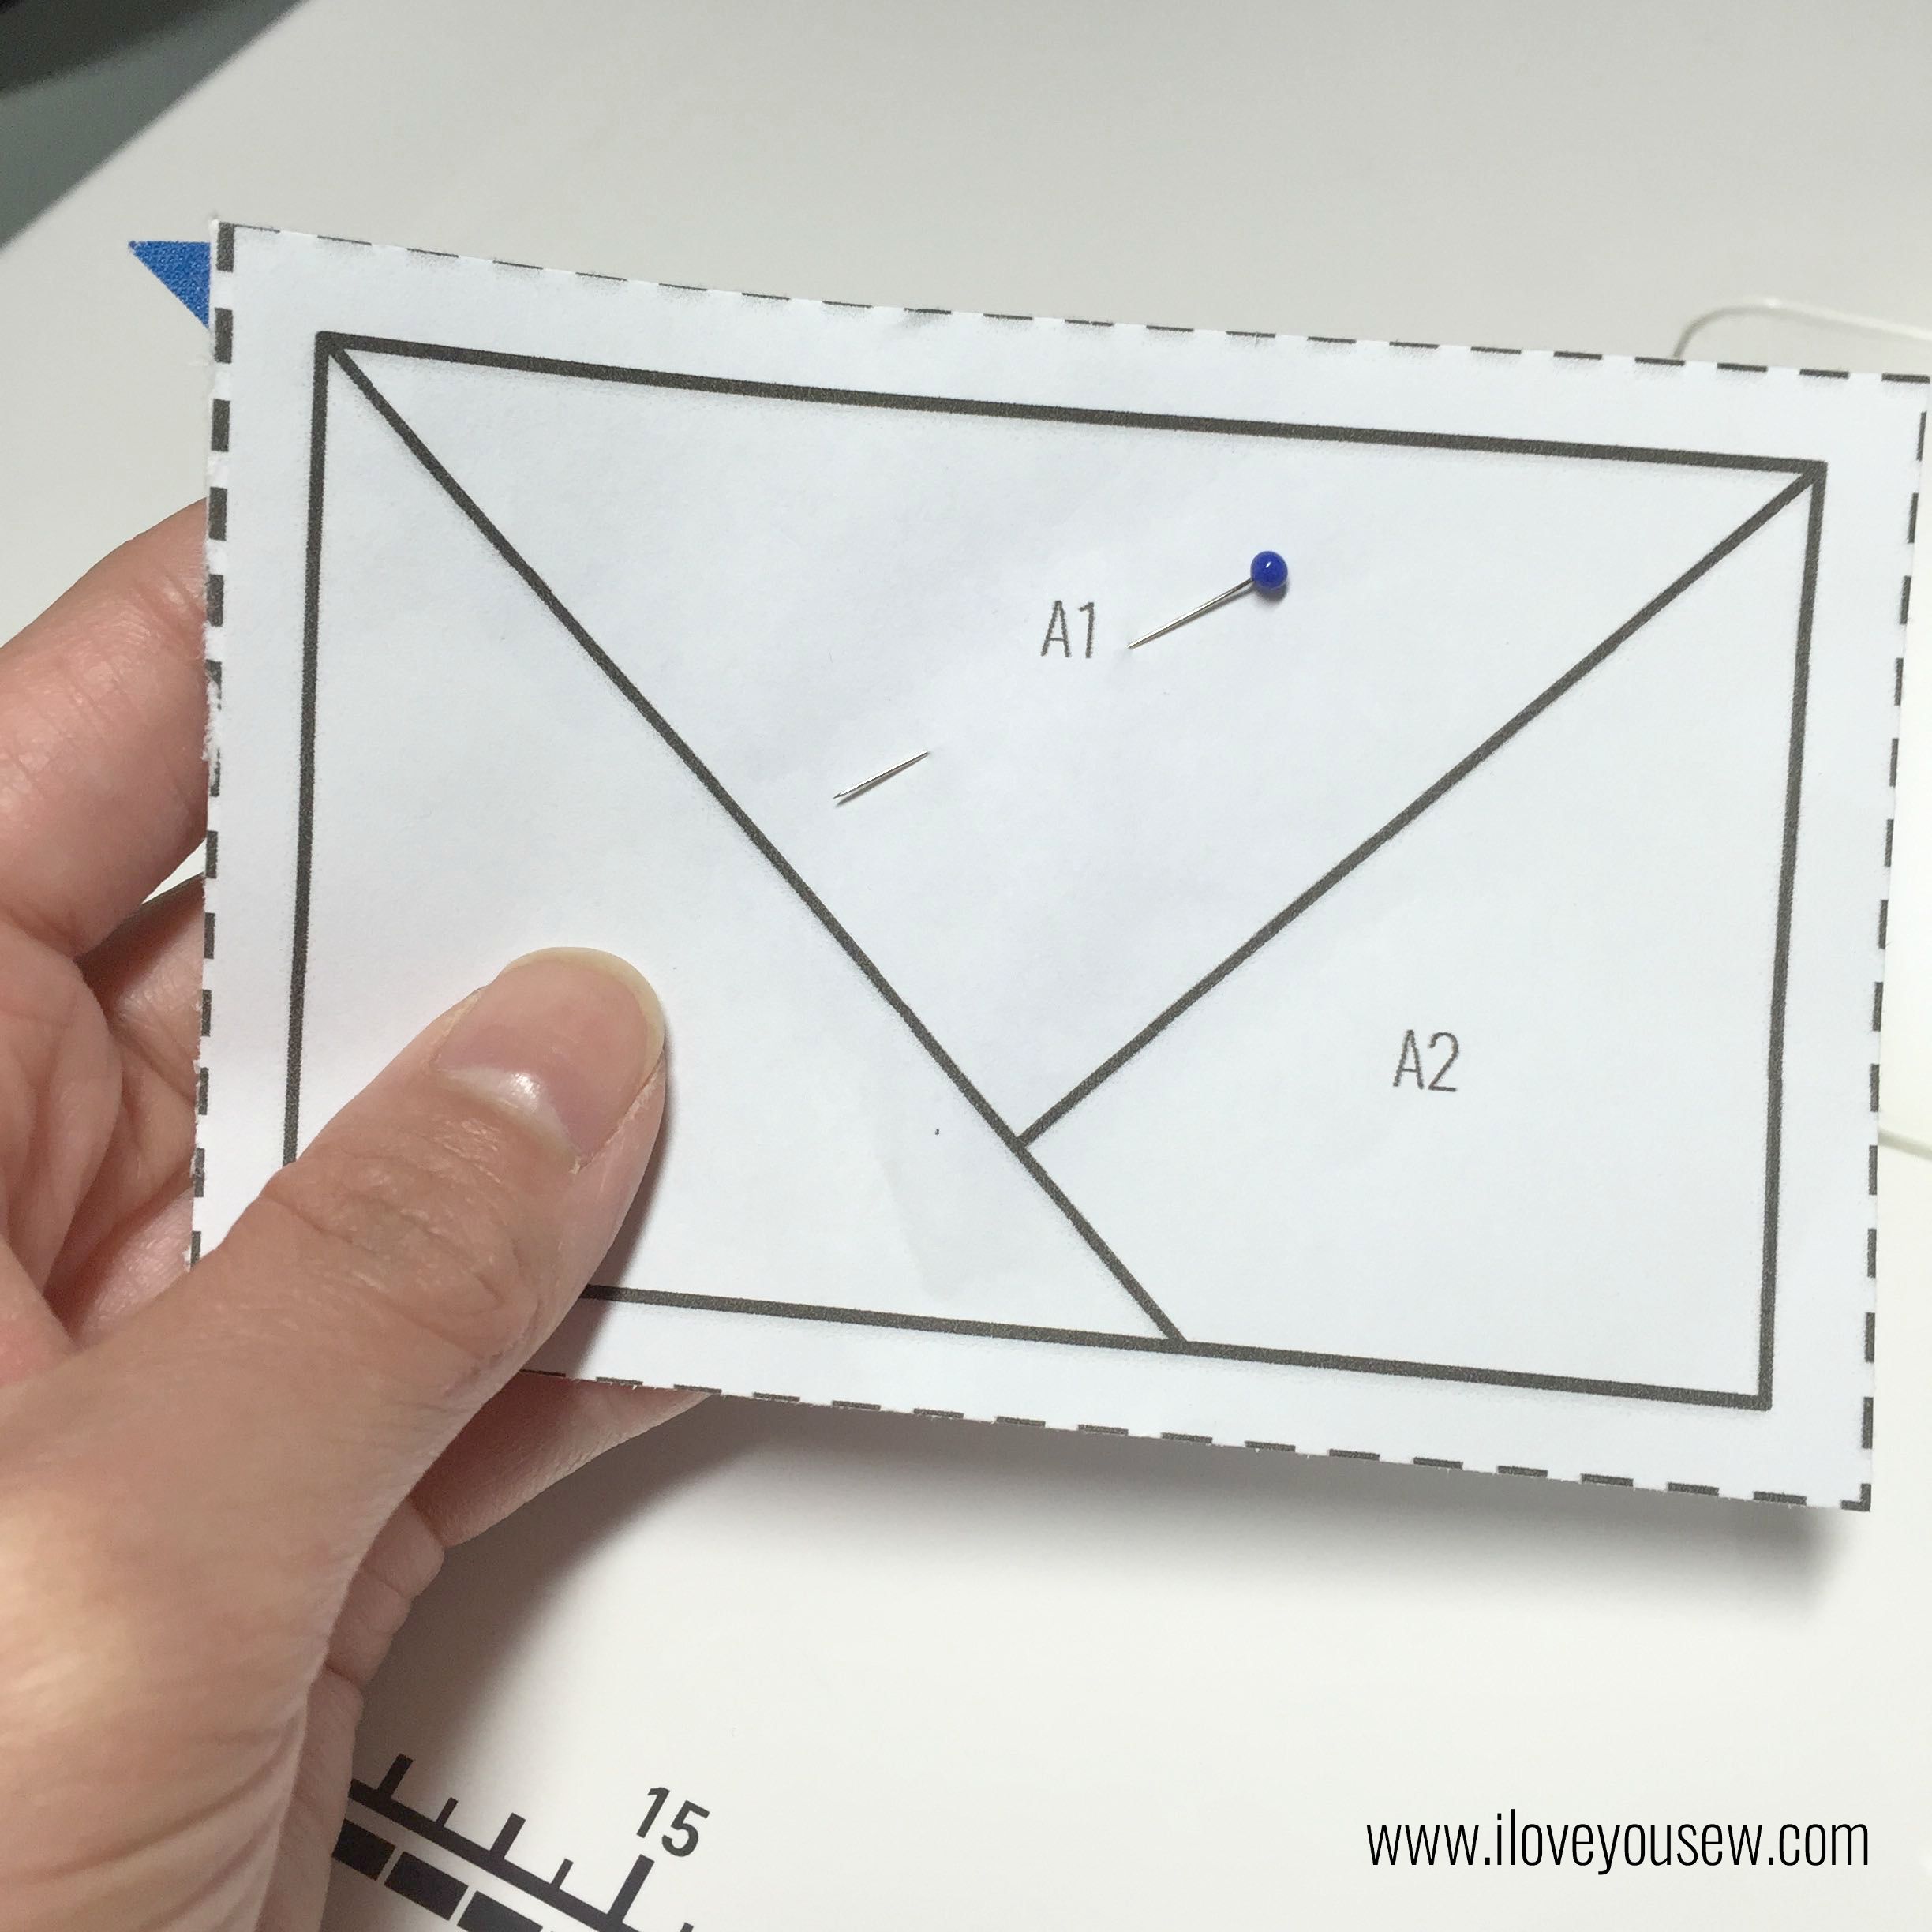
  • Take one color triangle and place it behind the printed “1” so that there is 1/4″ seam allowance all around the triangle. *It’s ok if there extra which hangs beyond the template. It will be trimmed later.

06PP

  • Pin in place (This helps the HST from shifting)

08PPLineUpWhite

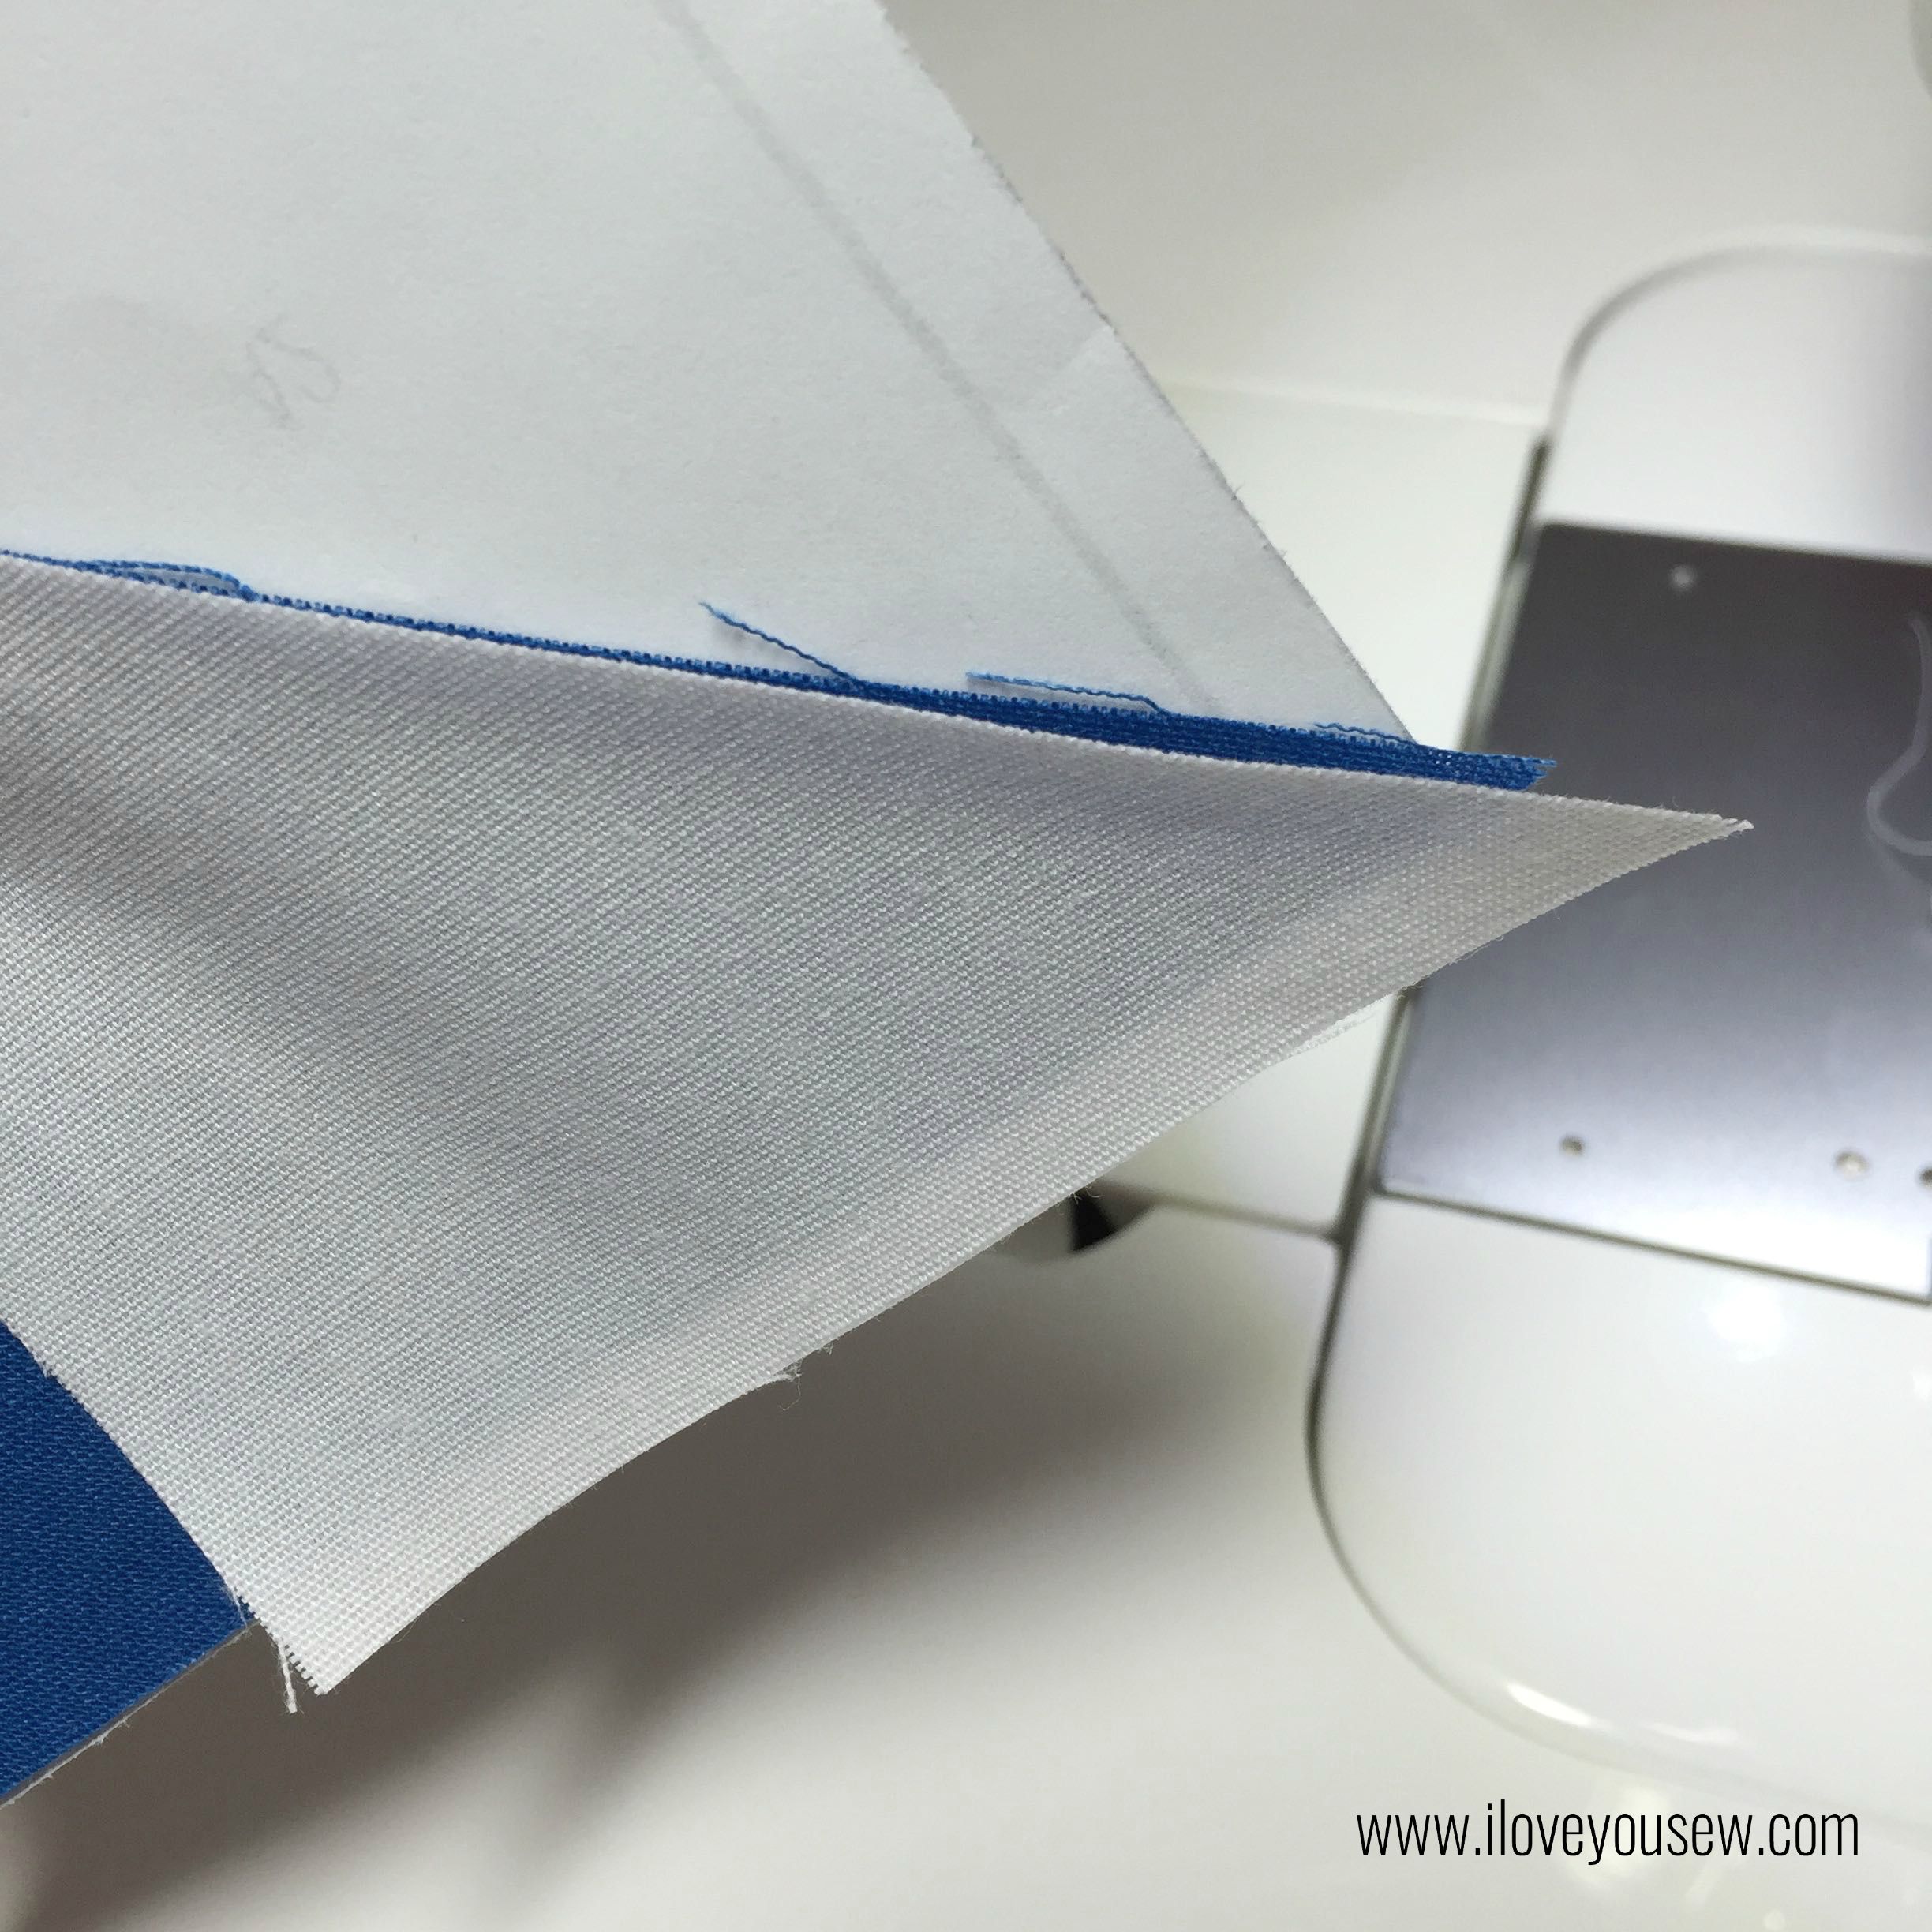
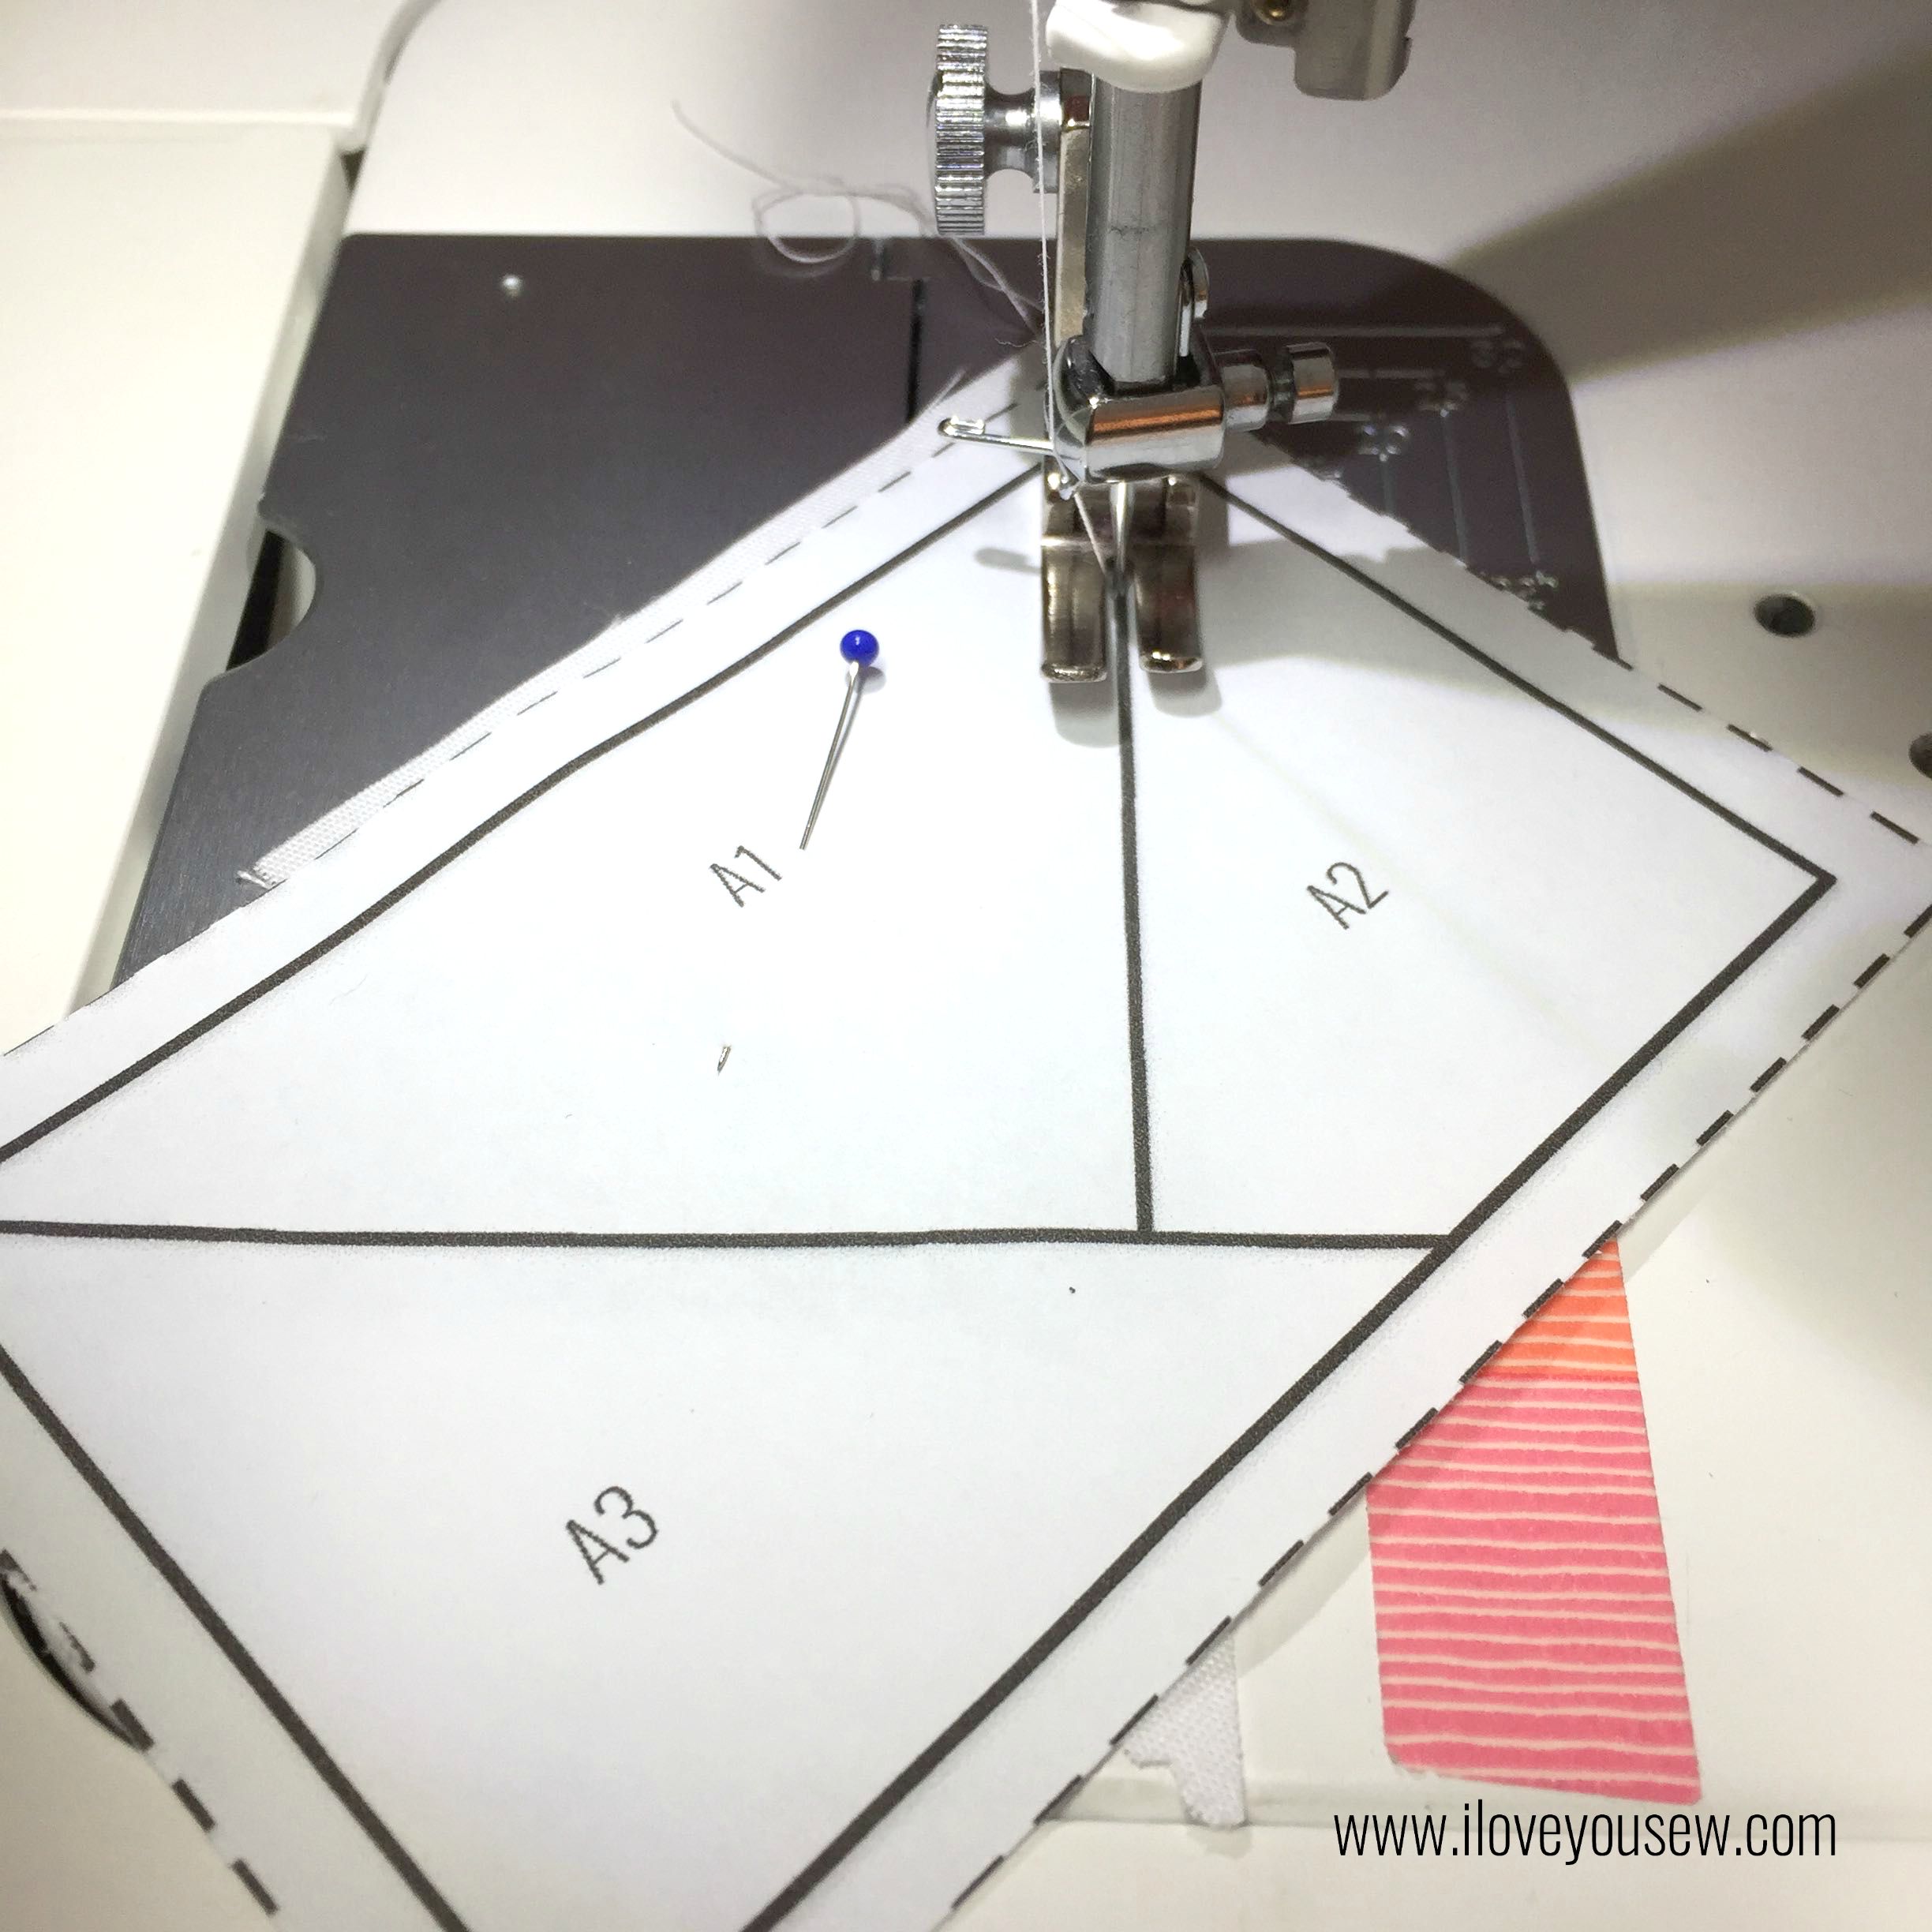
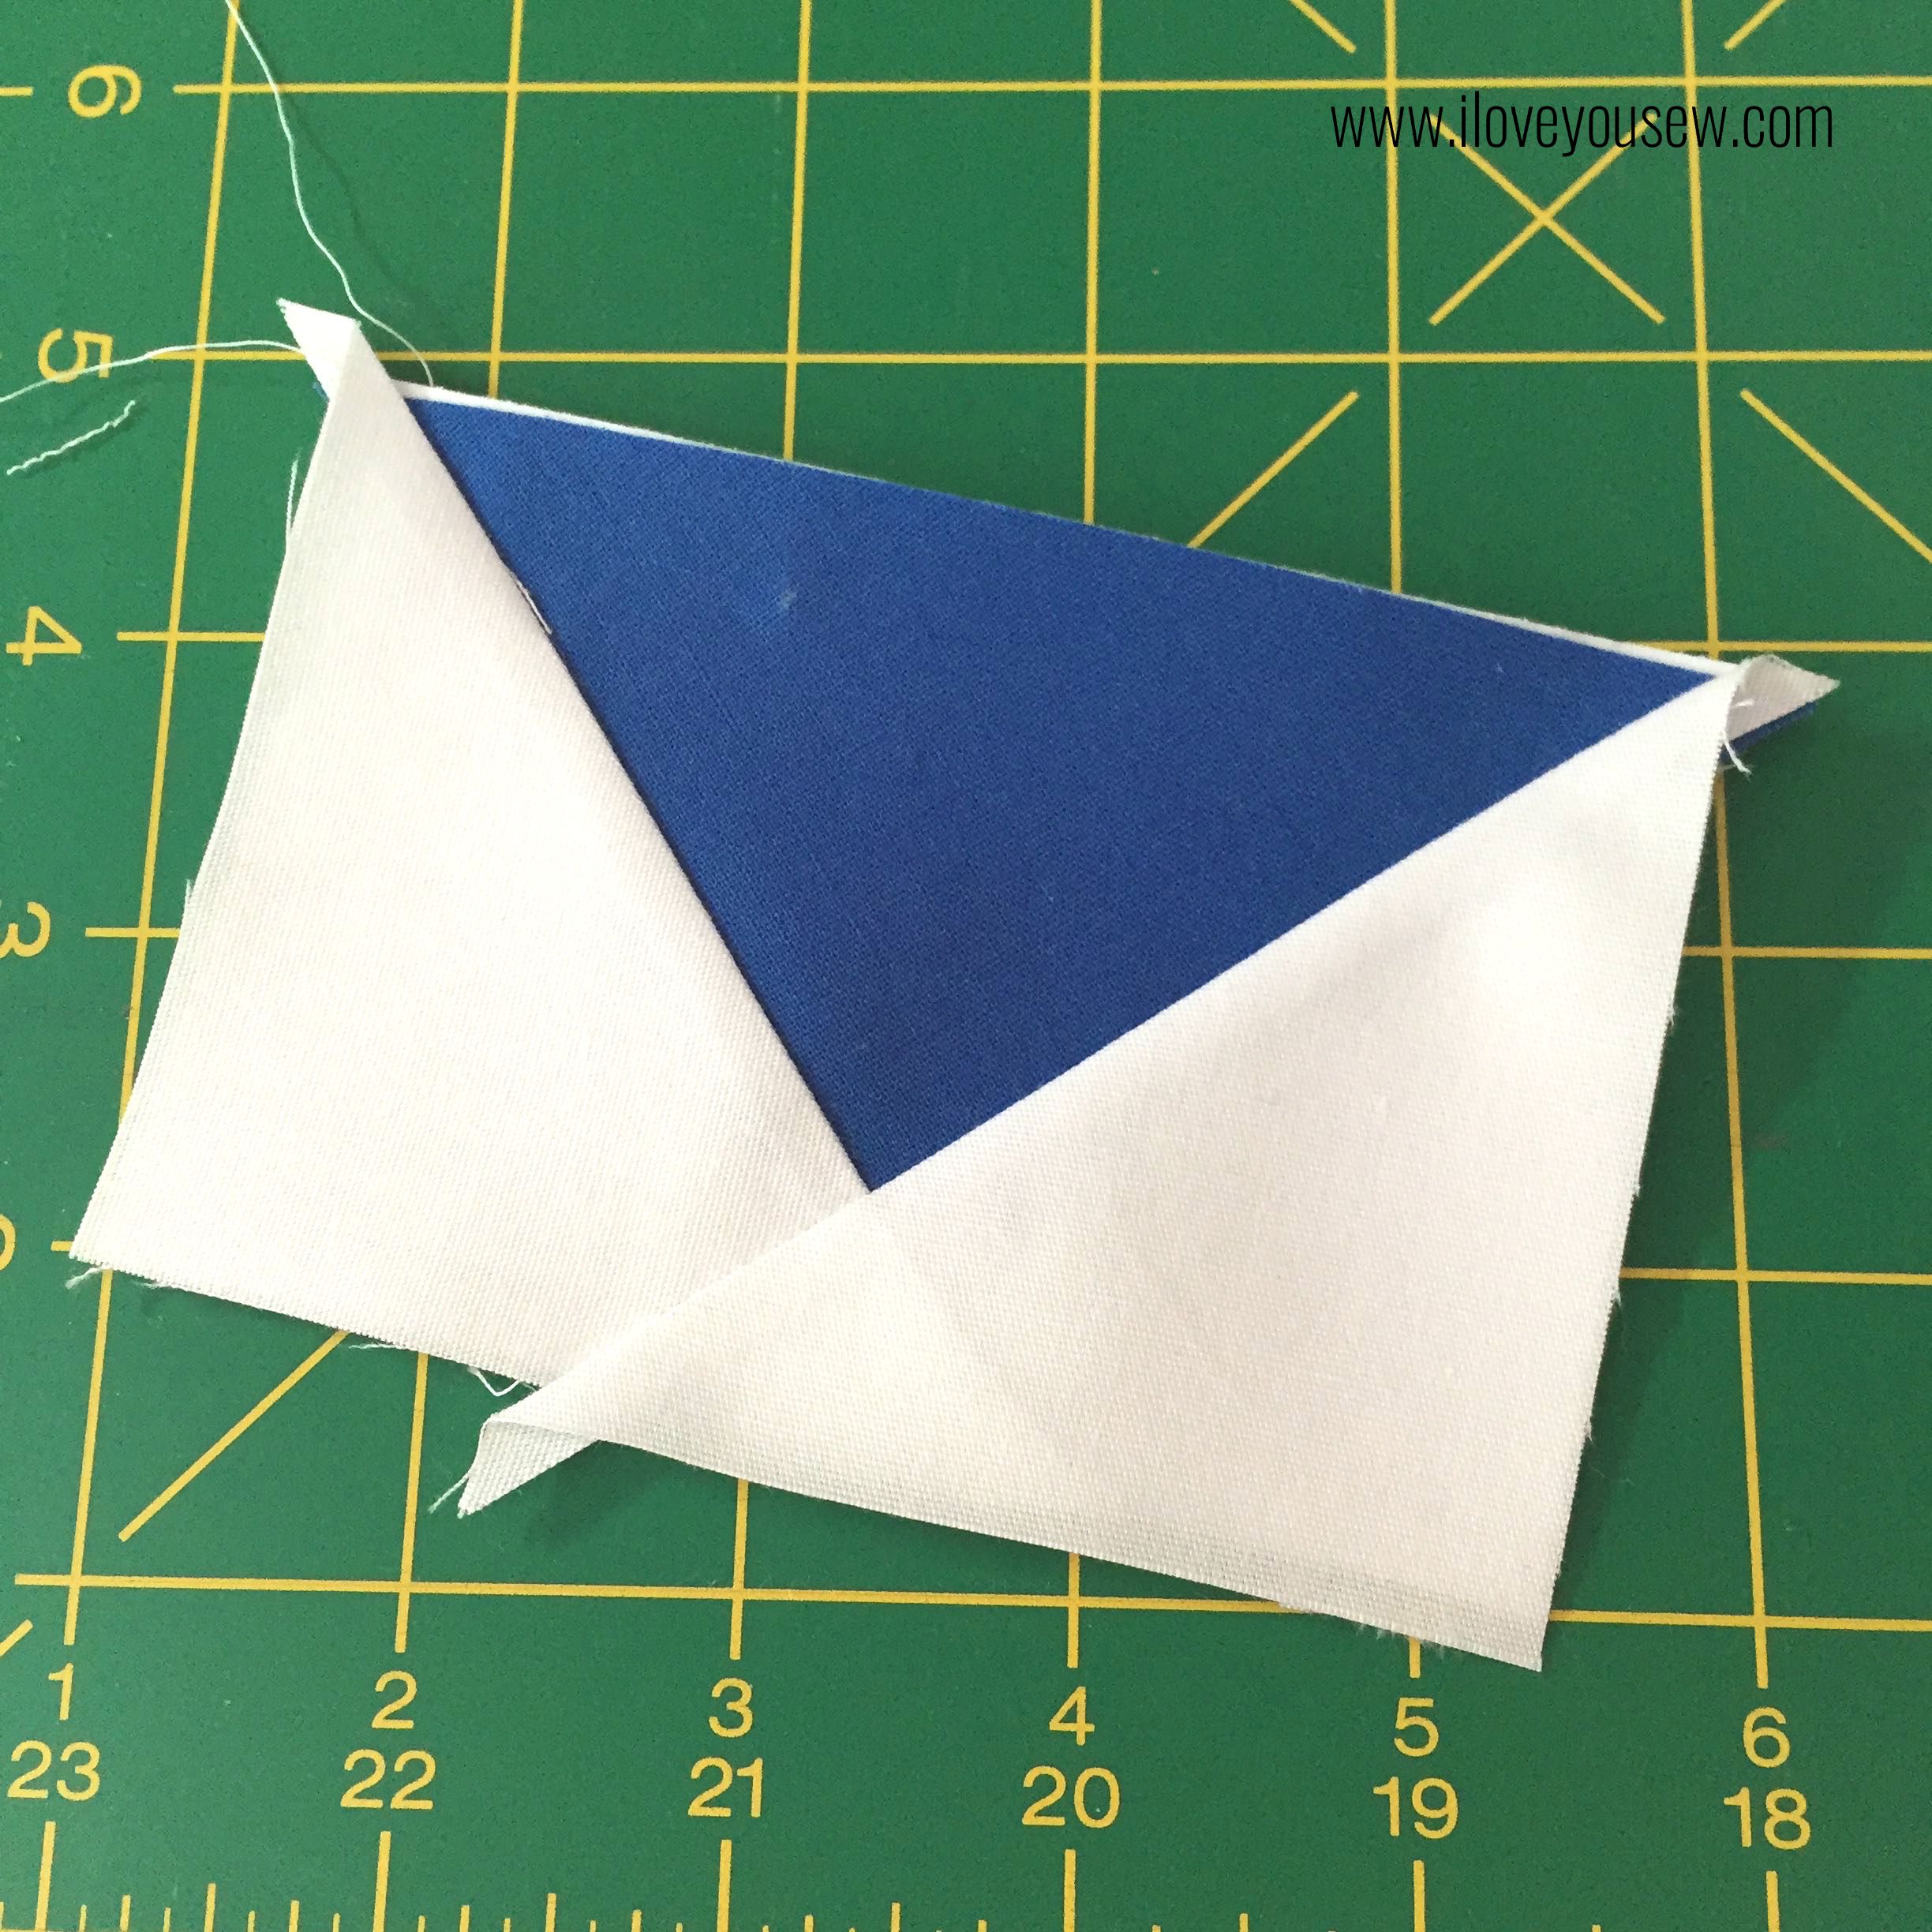
  • Take a white triangle and match up to edge of color fabric. Sew into place on line underneath where fabric overlaps. Flip it out and press.

09PPSew

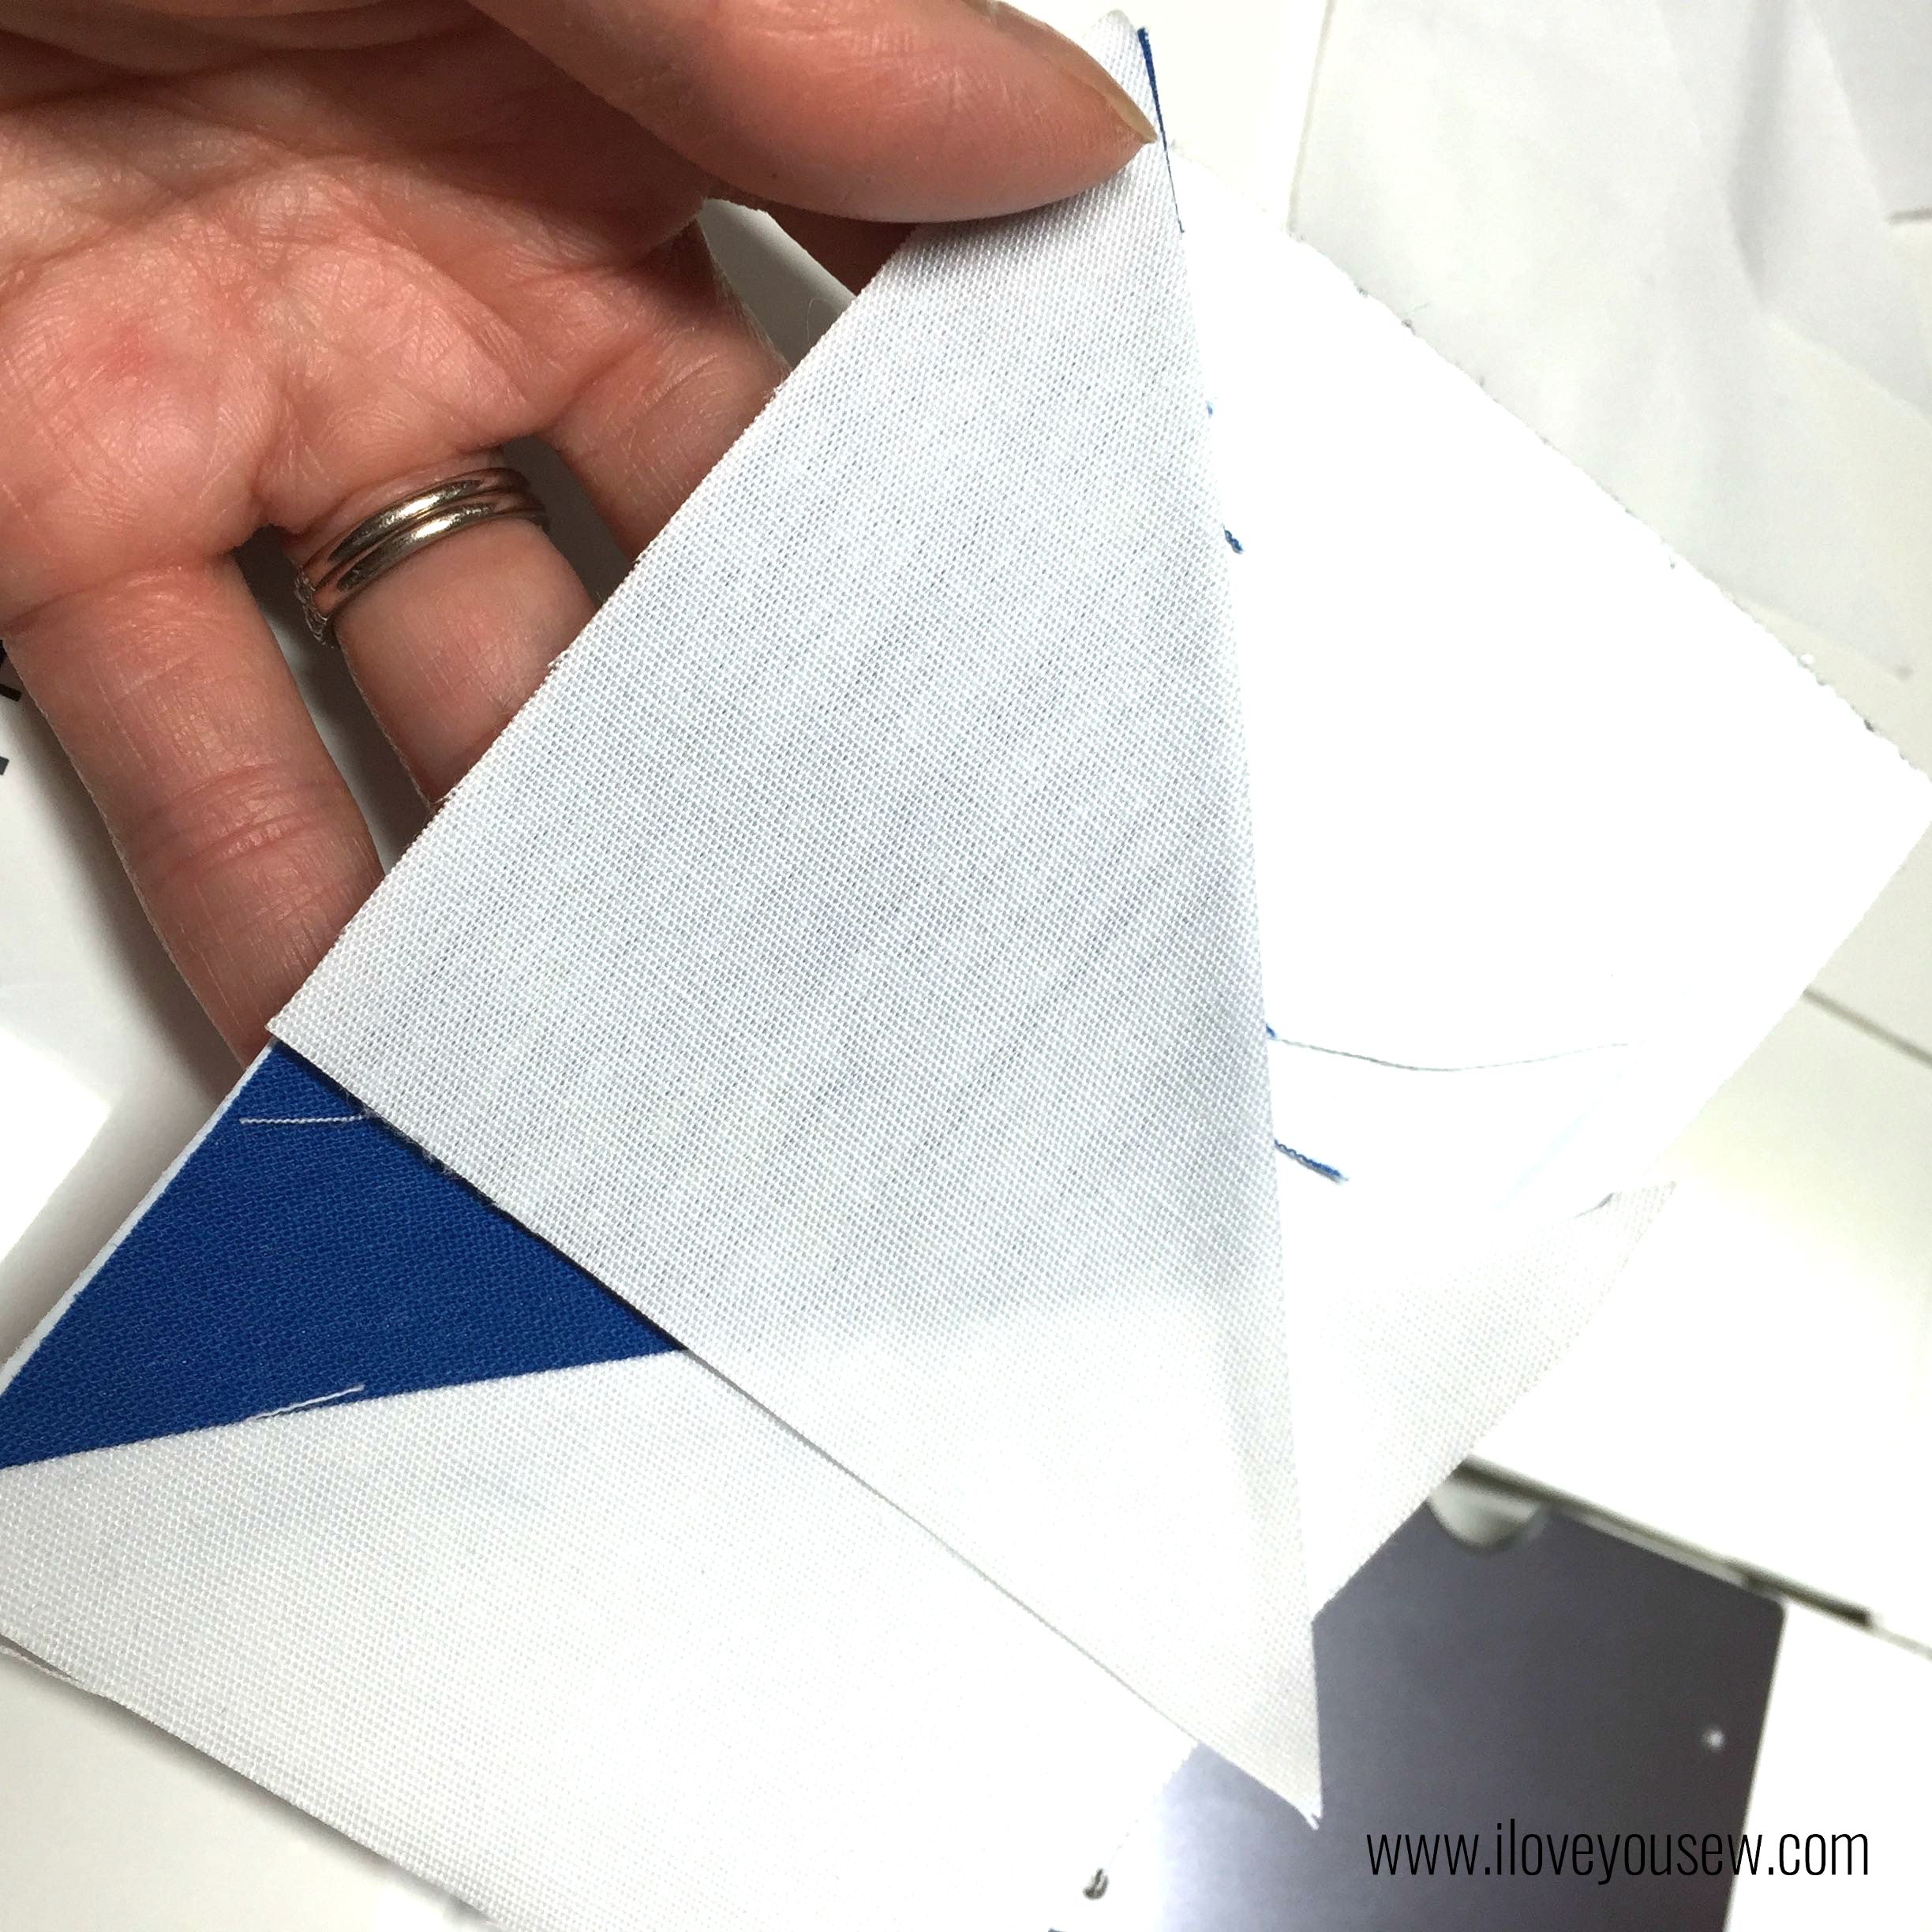
  • Do the same on the other side of the color triangle

10PP2ndWhite

  • Trim excess fabric. Flying Geese should measure 3″ x 4.5″ (including seam allowance)

12PPComplete

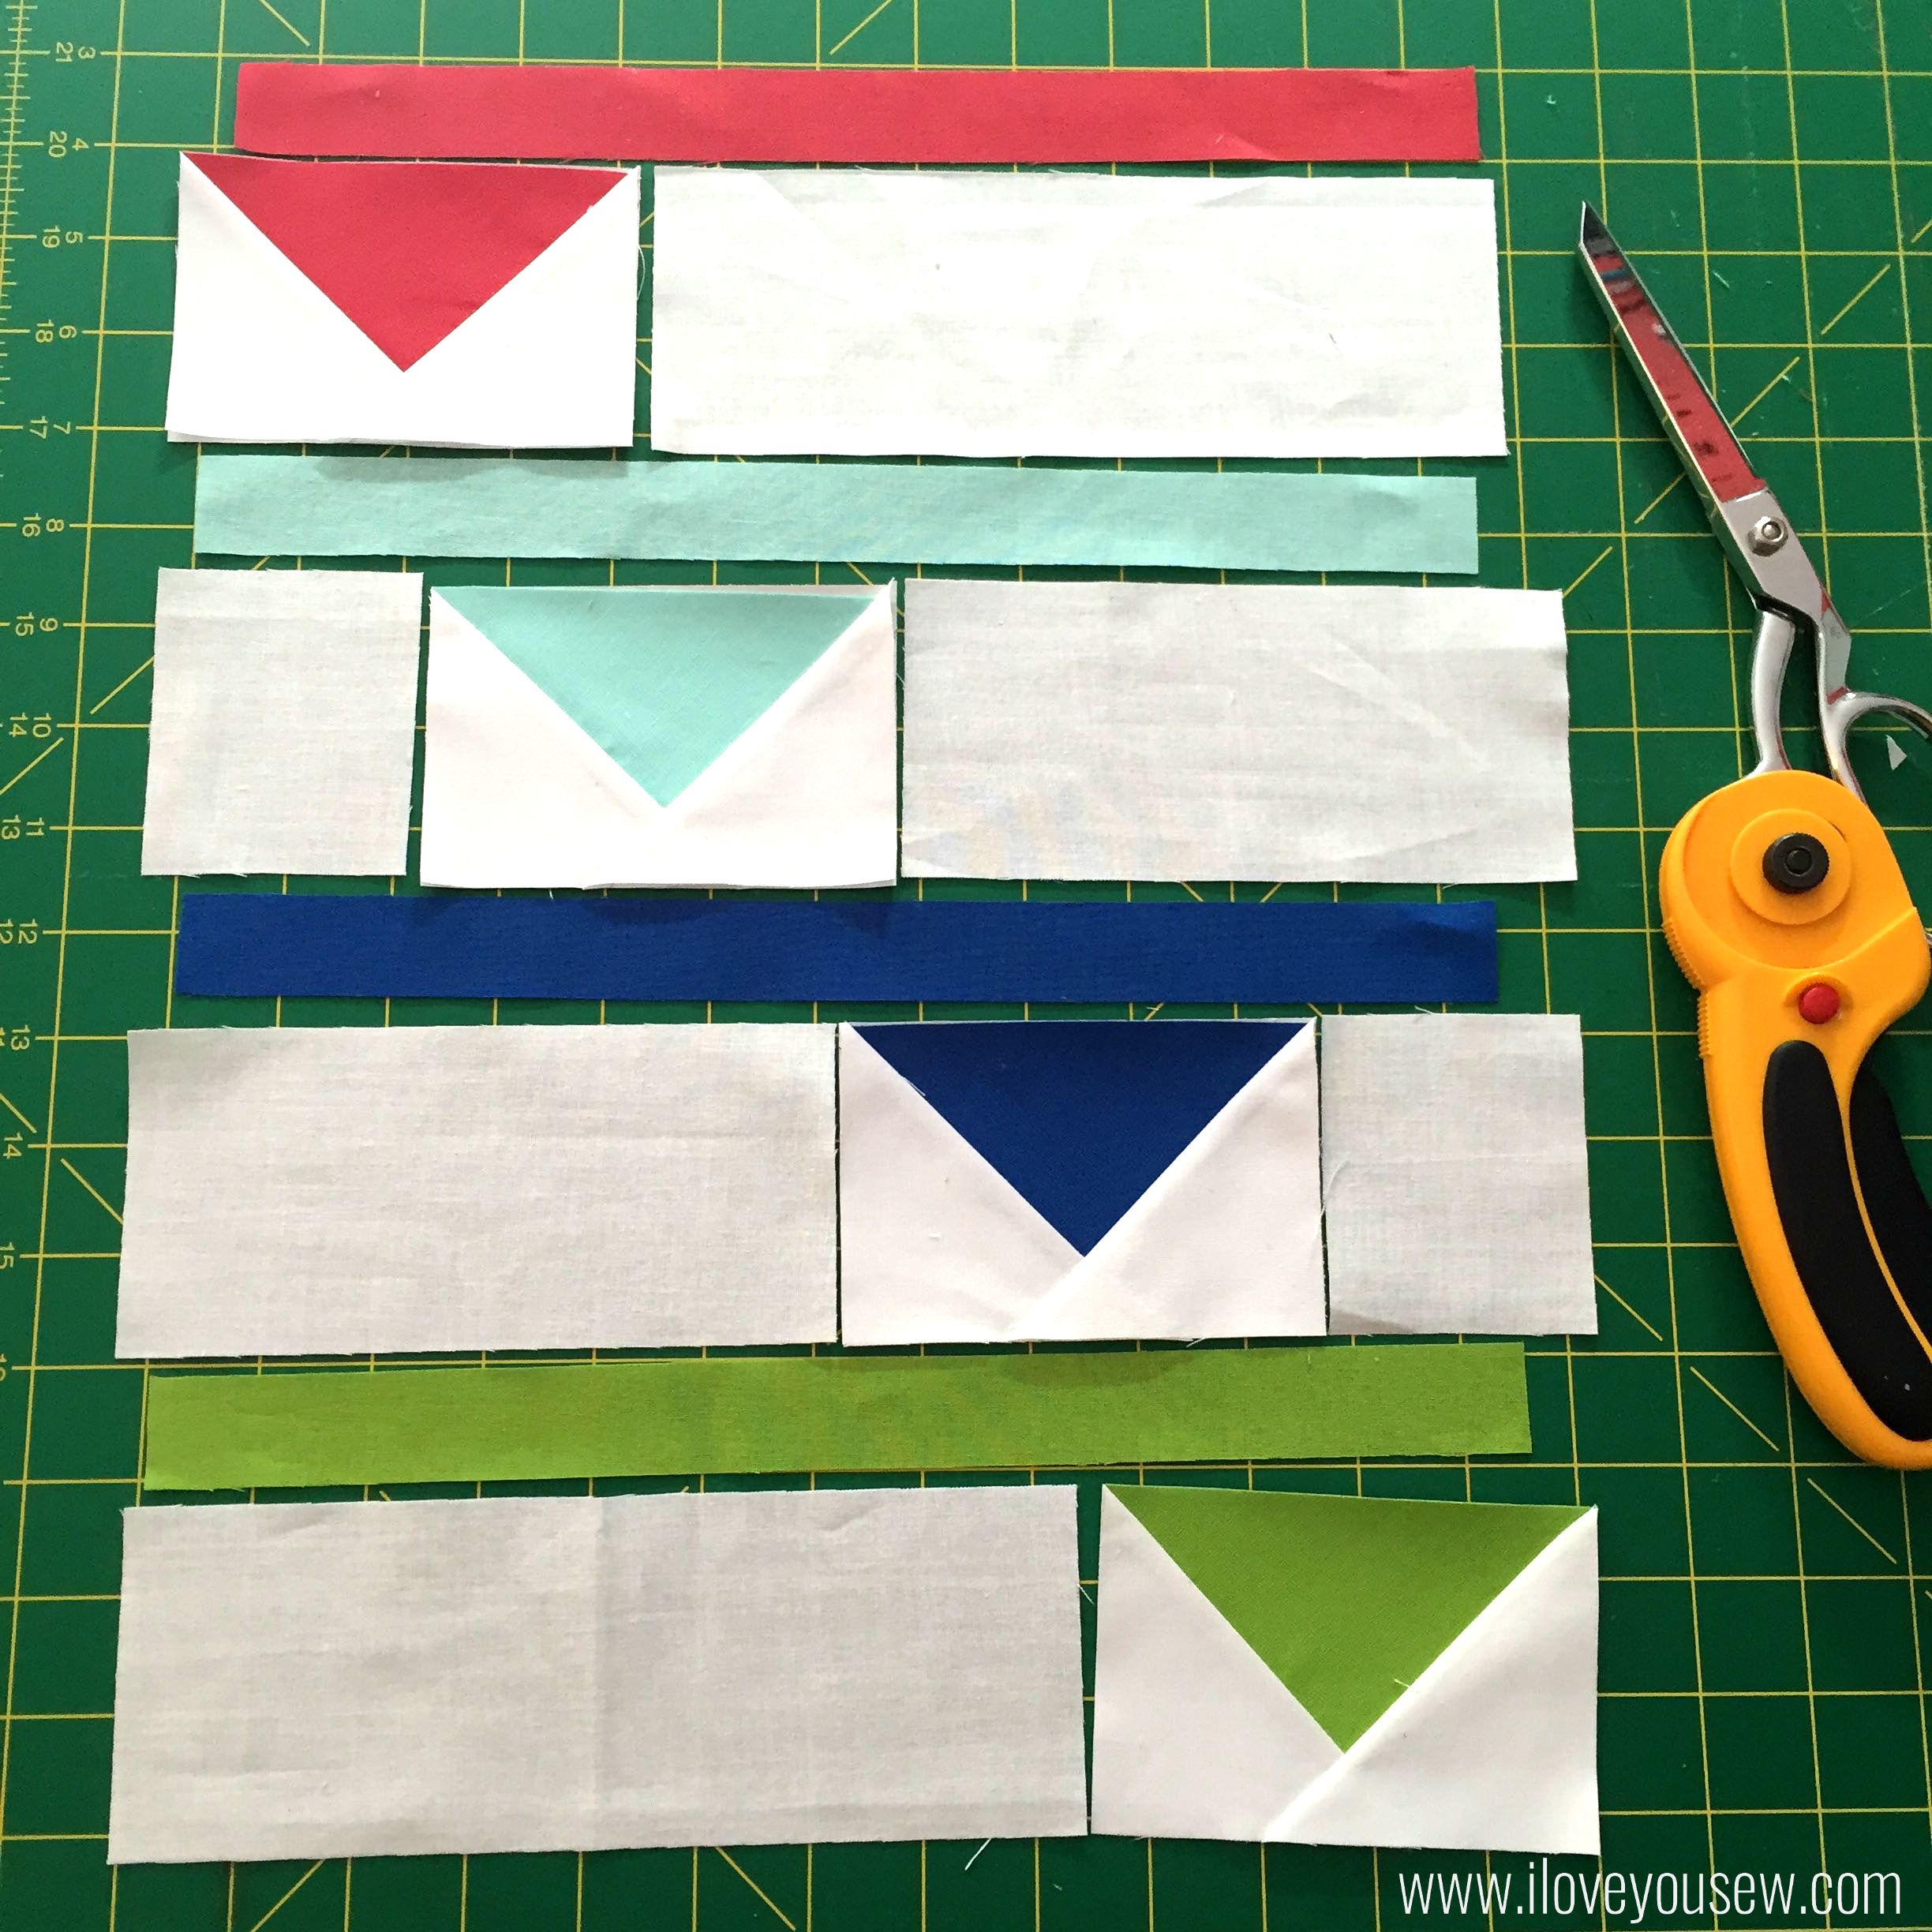
Assemble the block as shown:

14LayOutBlock

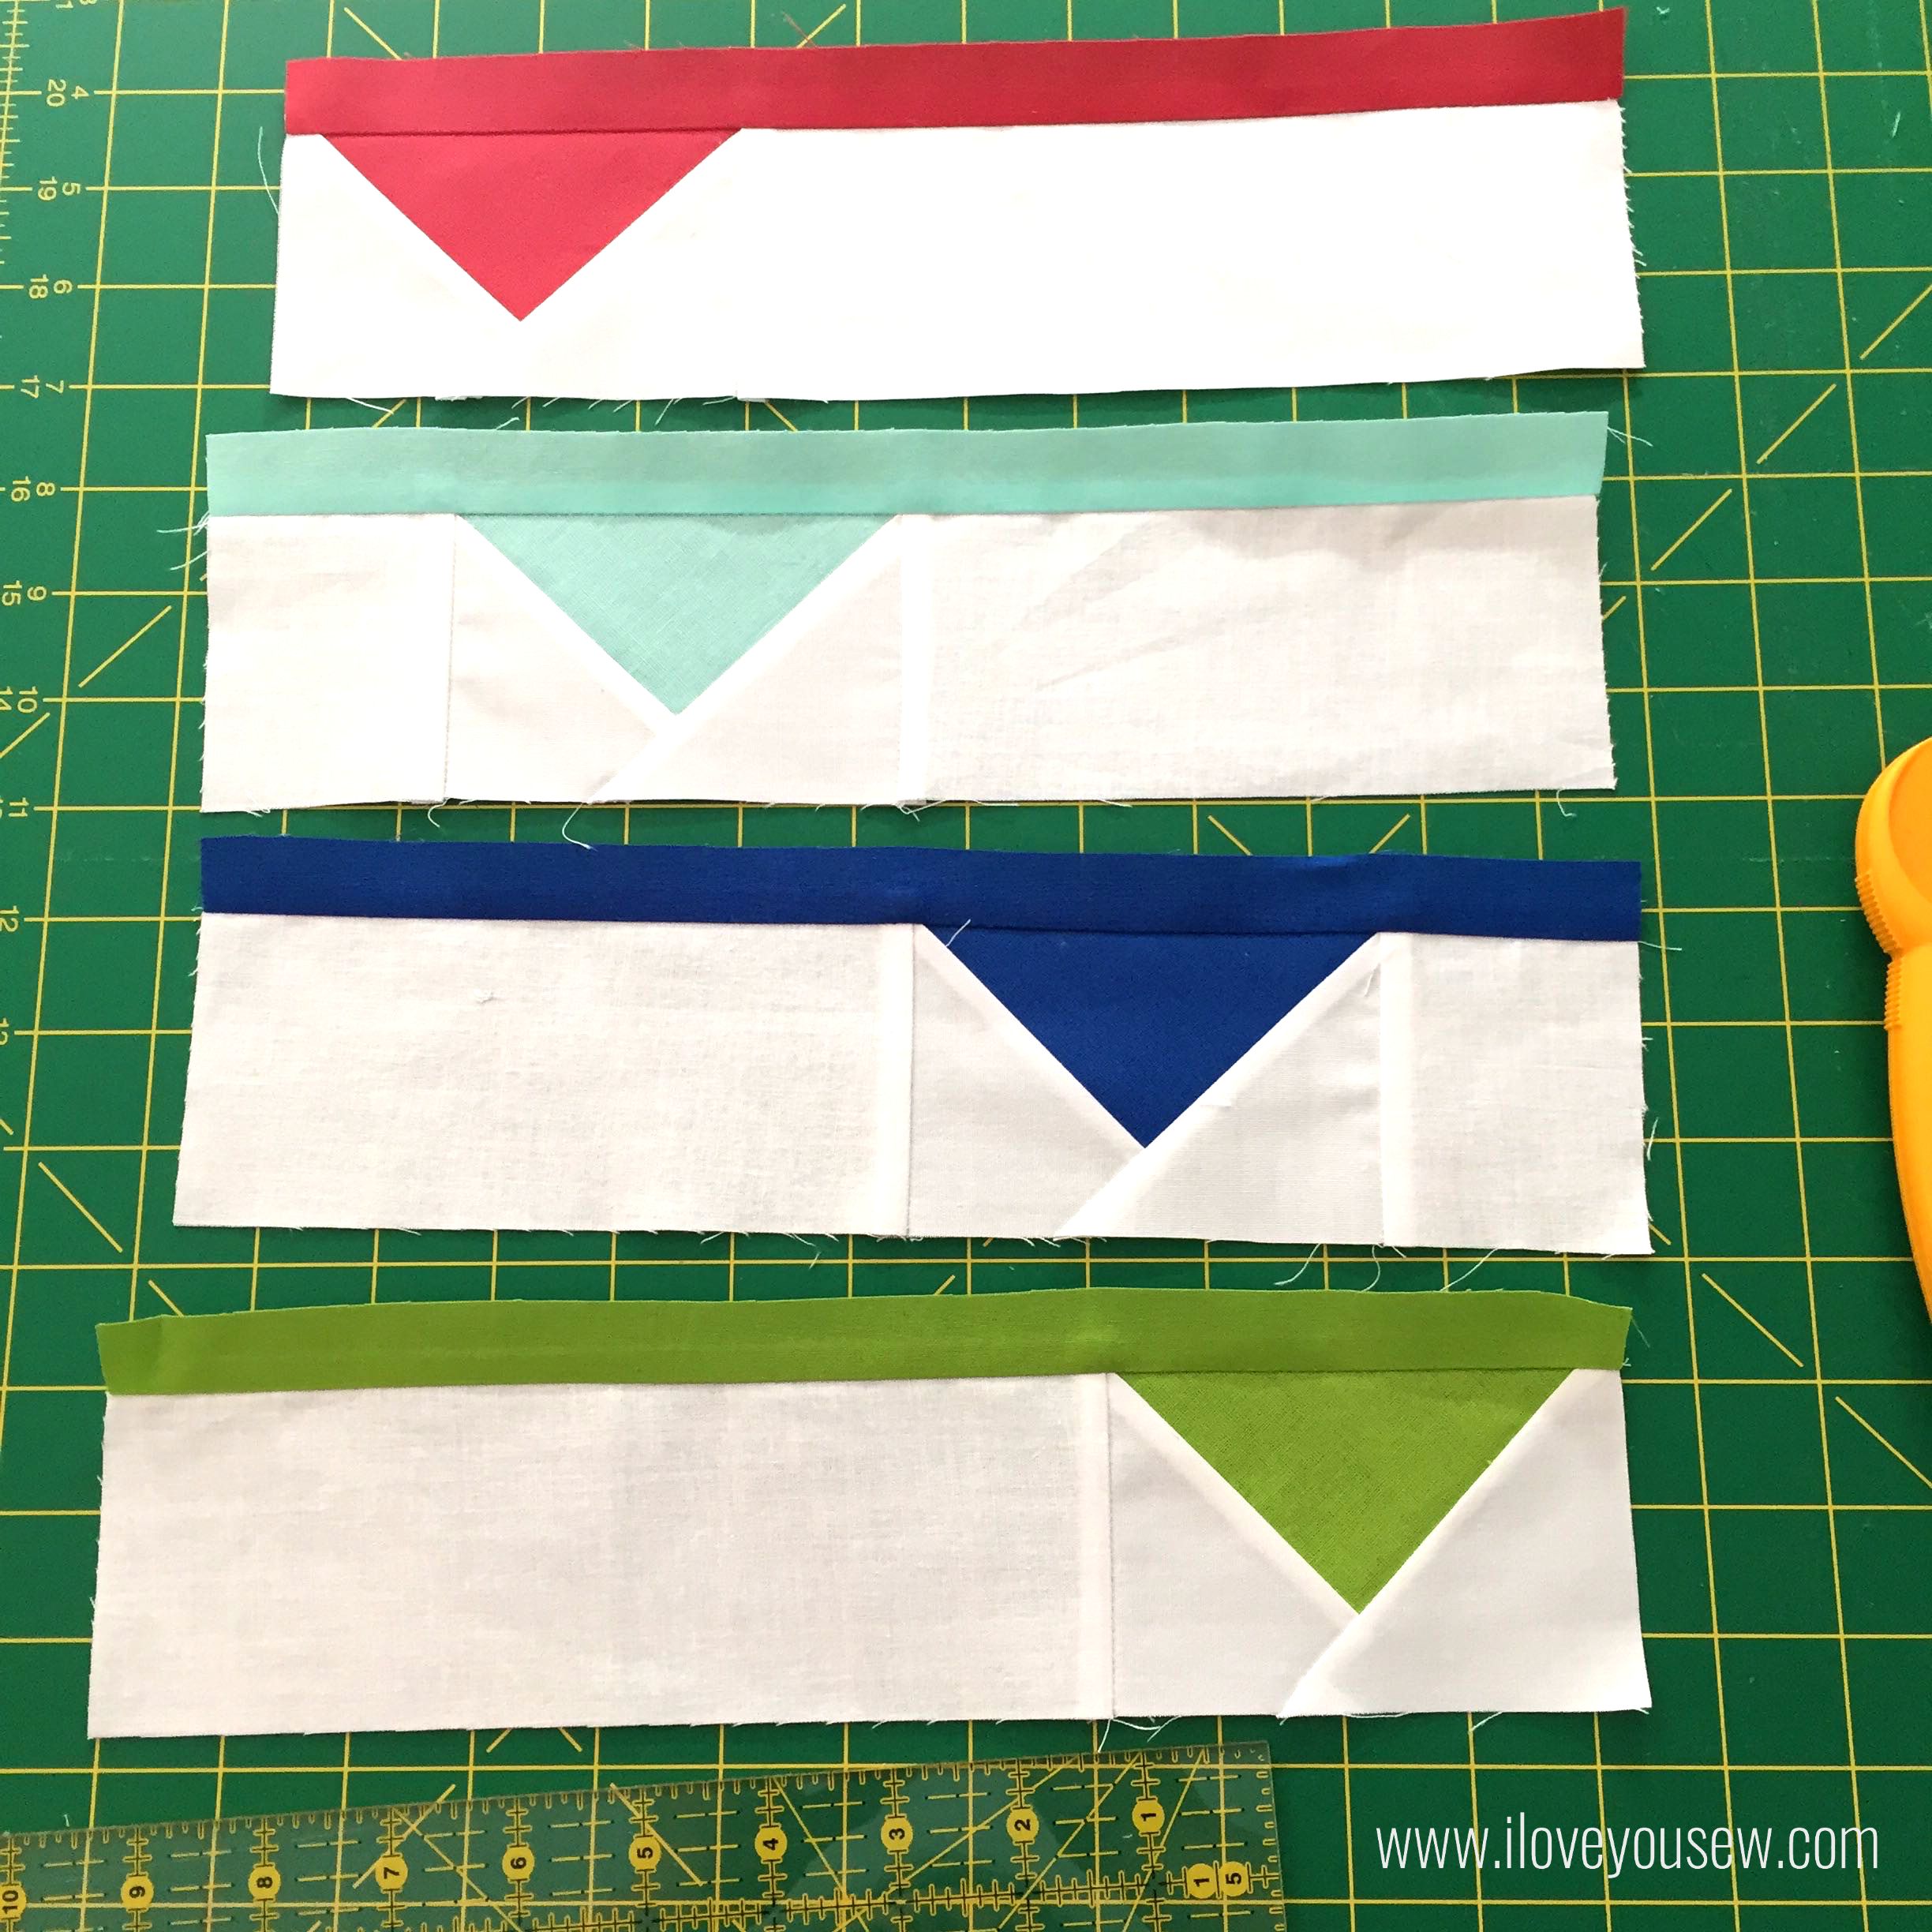
  • Attach the sides to the geese to make (4) 3″ x 12.5″ strips.  I still have the paper intact at this point.  You can remove at anytime, but I kept them on to sew the sides to keep the geese more stable.

15SewSashing

  • Add the matching sashing to geese strips. *Go slow and stead to ensure nice straight lines

17SewStripsTogether

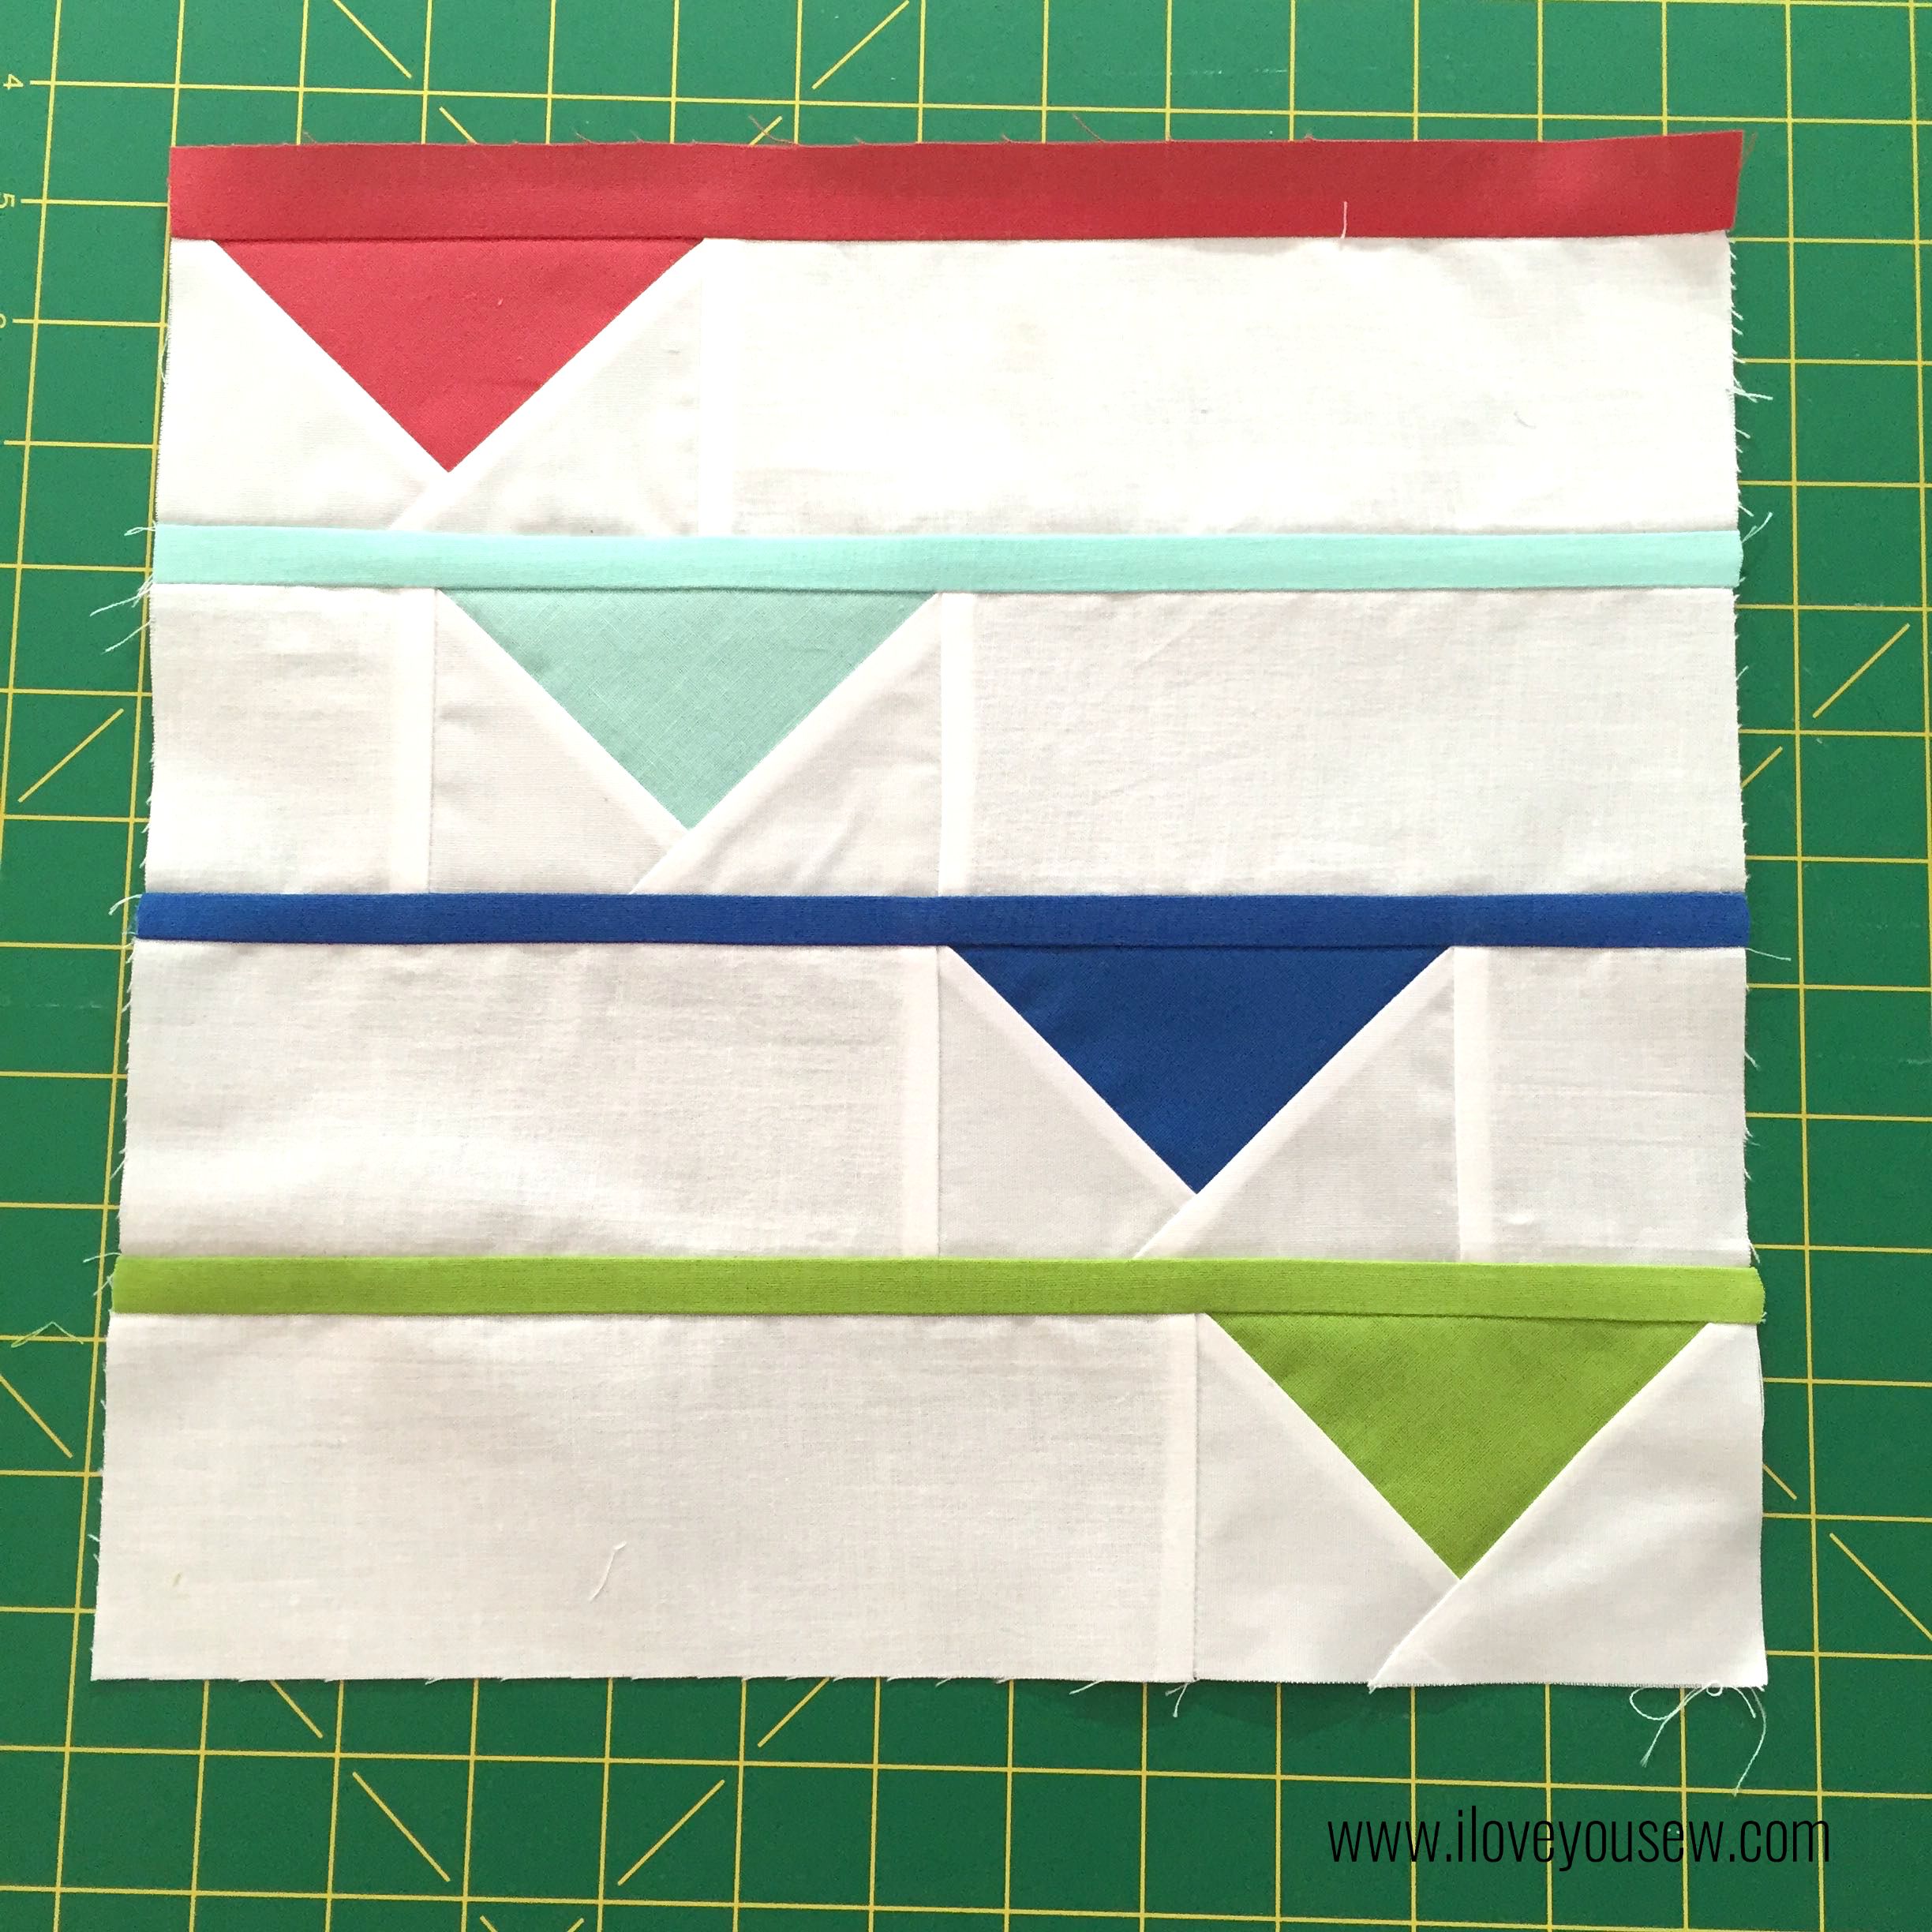
  • Sew all strips together. Iron seams in toward sashing. Give the block a final press.

Voila! You have made the Hanging Flags Block 🙂
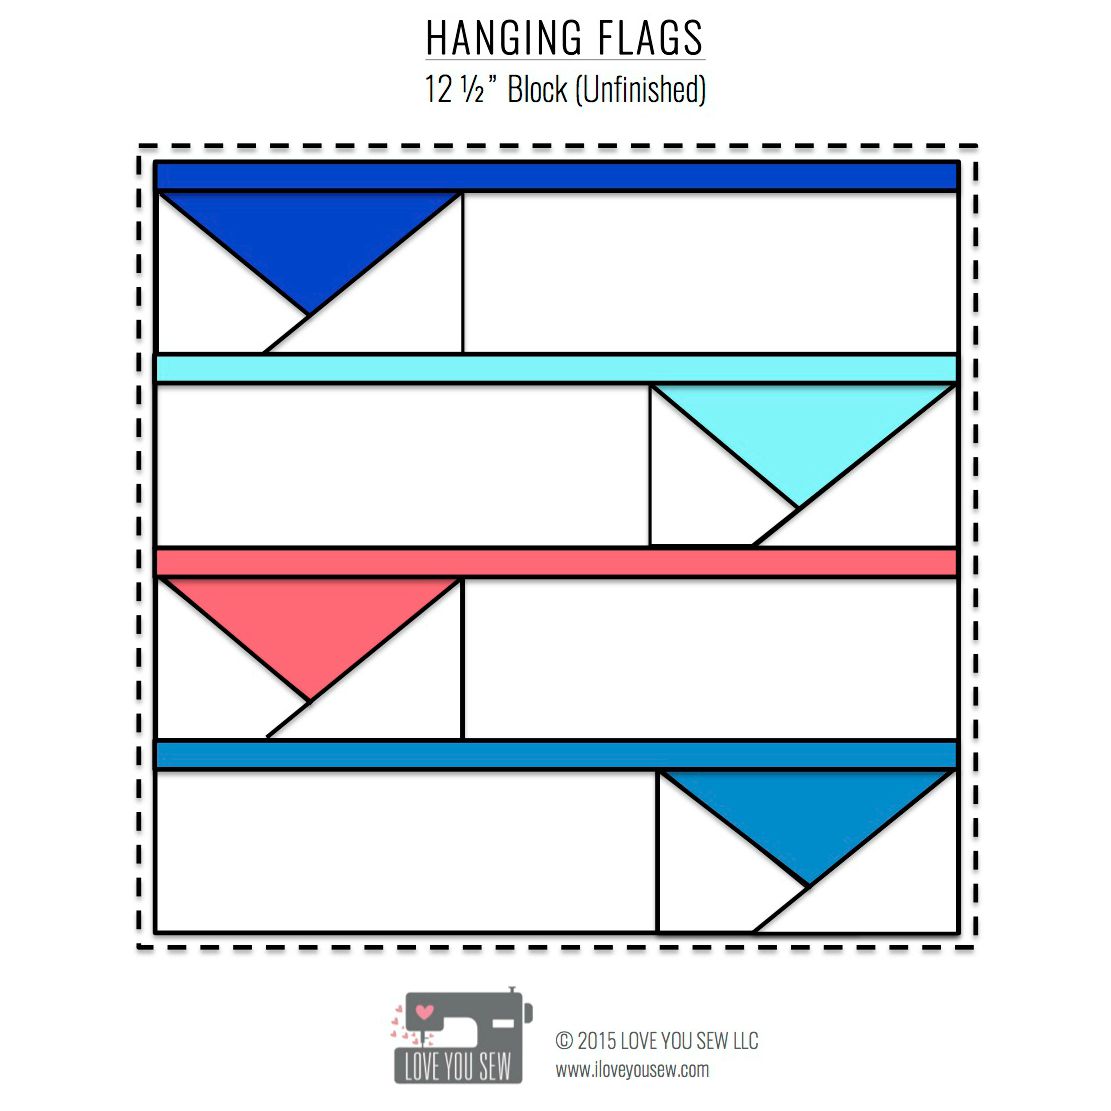
vAriations:

HangingFlagsBlockAlt2

HangingFlagsBlockAlt1


For more information on the Fabri-Quilt New Block Hop:

*There is an additional Giveaway on Fabri-Quilt’s block today. Check them out by clicking the image below.

2015 Fabri-Quilt New Block Blog Hop


To see more blocks using this same bundle, head over to the following blogs:

(These are all amazing designs…Enjoy the block hop and the chance to win some of this fabric on Cheryl’s page!)

Host – Cheryl @Meadow Mist Designs

Josi @Avocado Quilts
Stephanie @Quilt’n Party
Cristy @Love You Sew
Sarah @Sarah Goer Quilts
Shelly @The Carpenter’s Daughter Who Quilts
Jayne @Twiggy & Opal
Sharla @Thistle Thicket Studio
Adrian @Making It – Family Food Quilts Crafts
Julie @Pink Doxies
Sarah @123 Quilt
Jane @Jolly and Delilah Quilts
Carrie @The Zen Quilter


***The blog hop was sponsored and fabric was provided by Fabri-Quilts.  All opinions and block design are my own and have not been influenced by outside parties. 

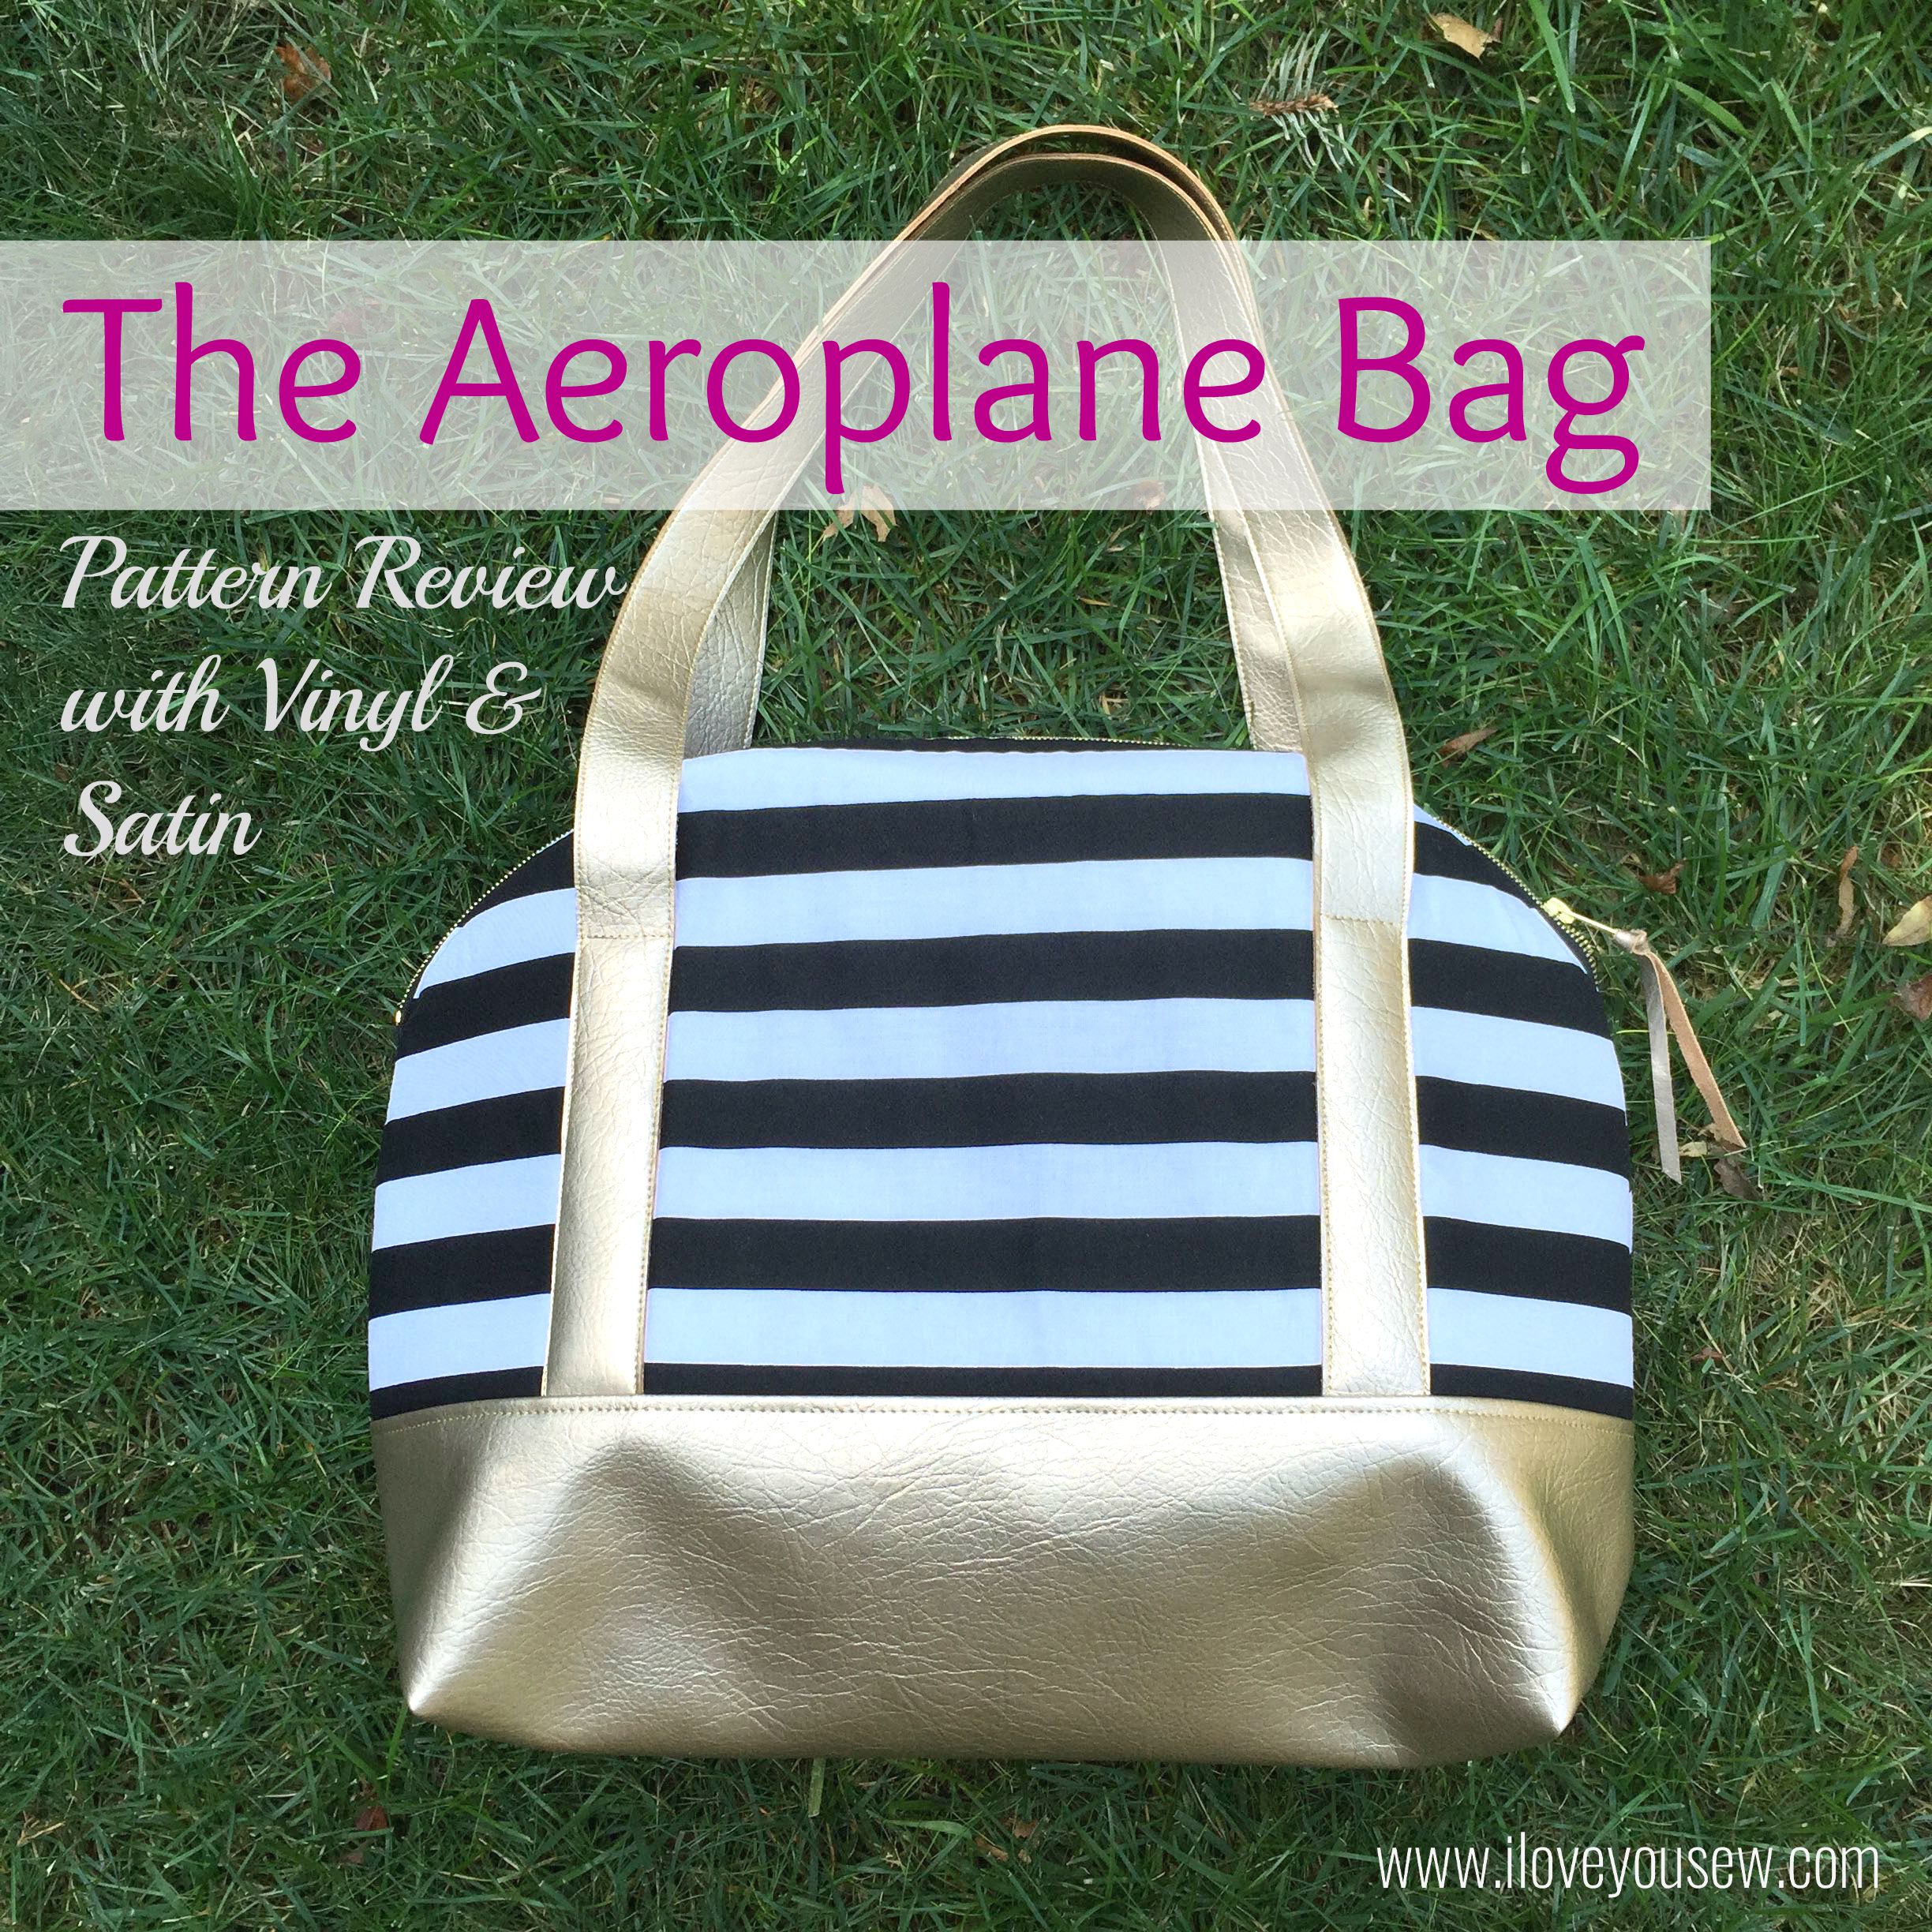
Aeroplane Bag: Pattern Review with Vinyl & Satin

AeroplaneTitle

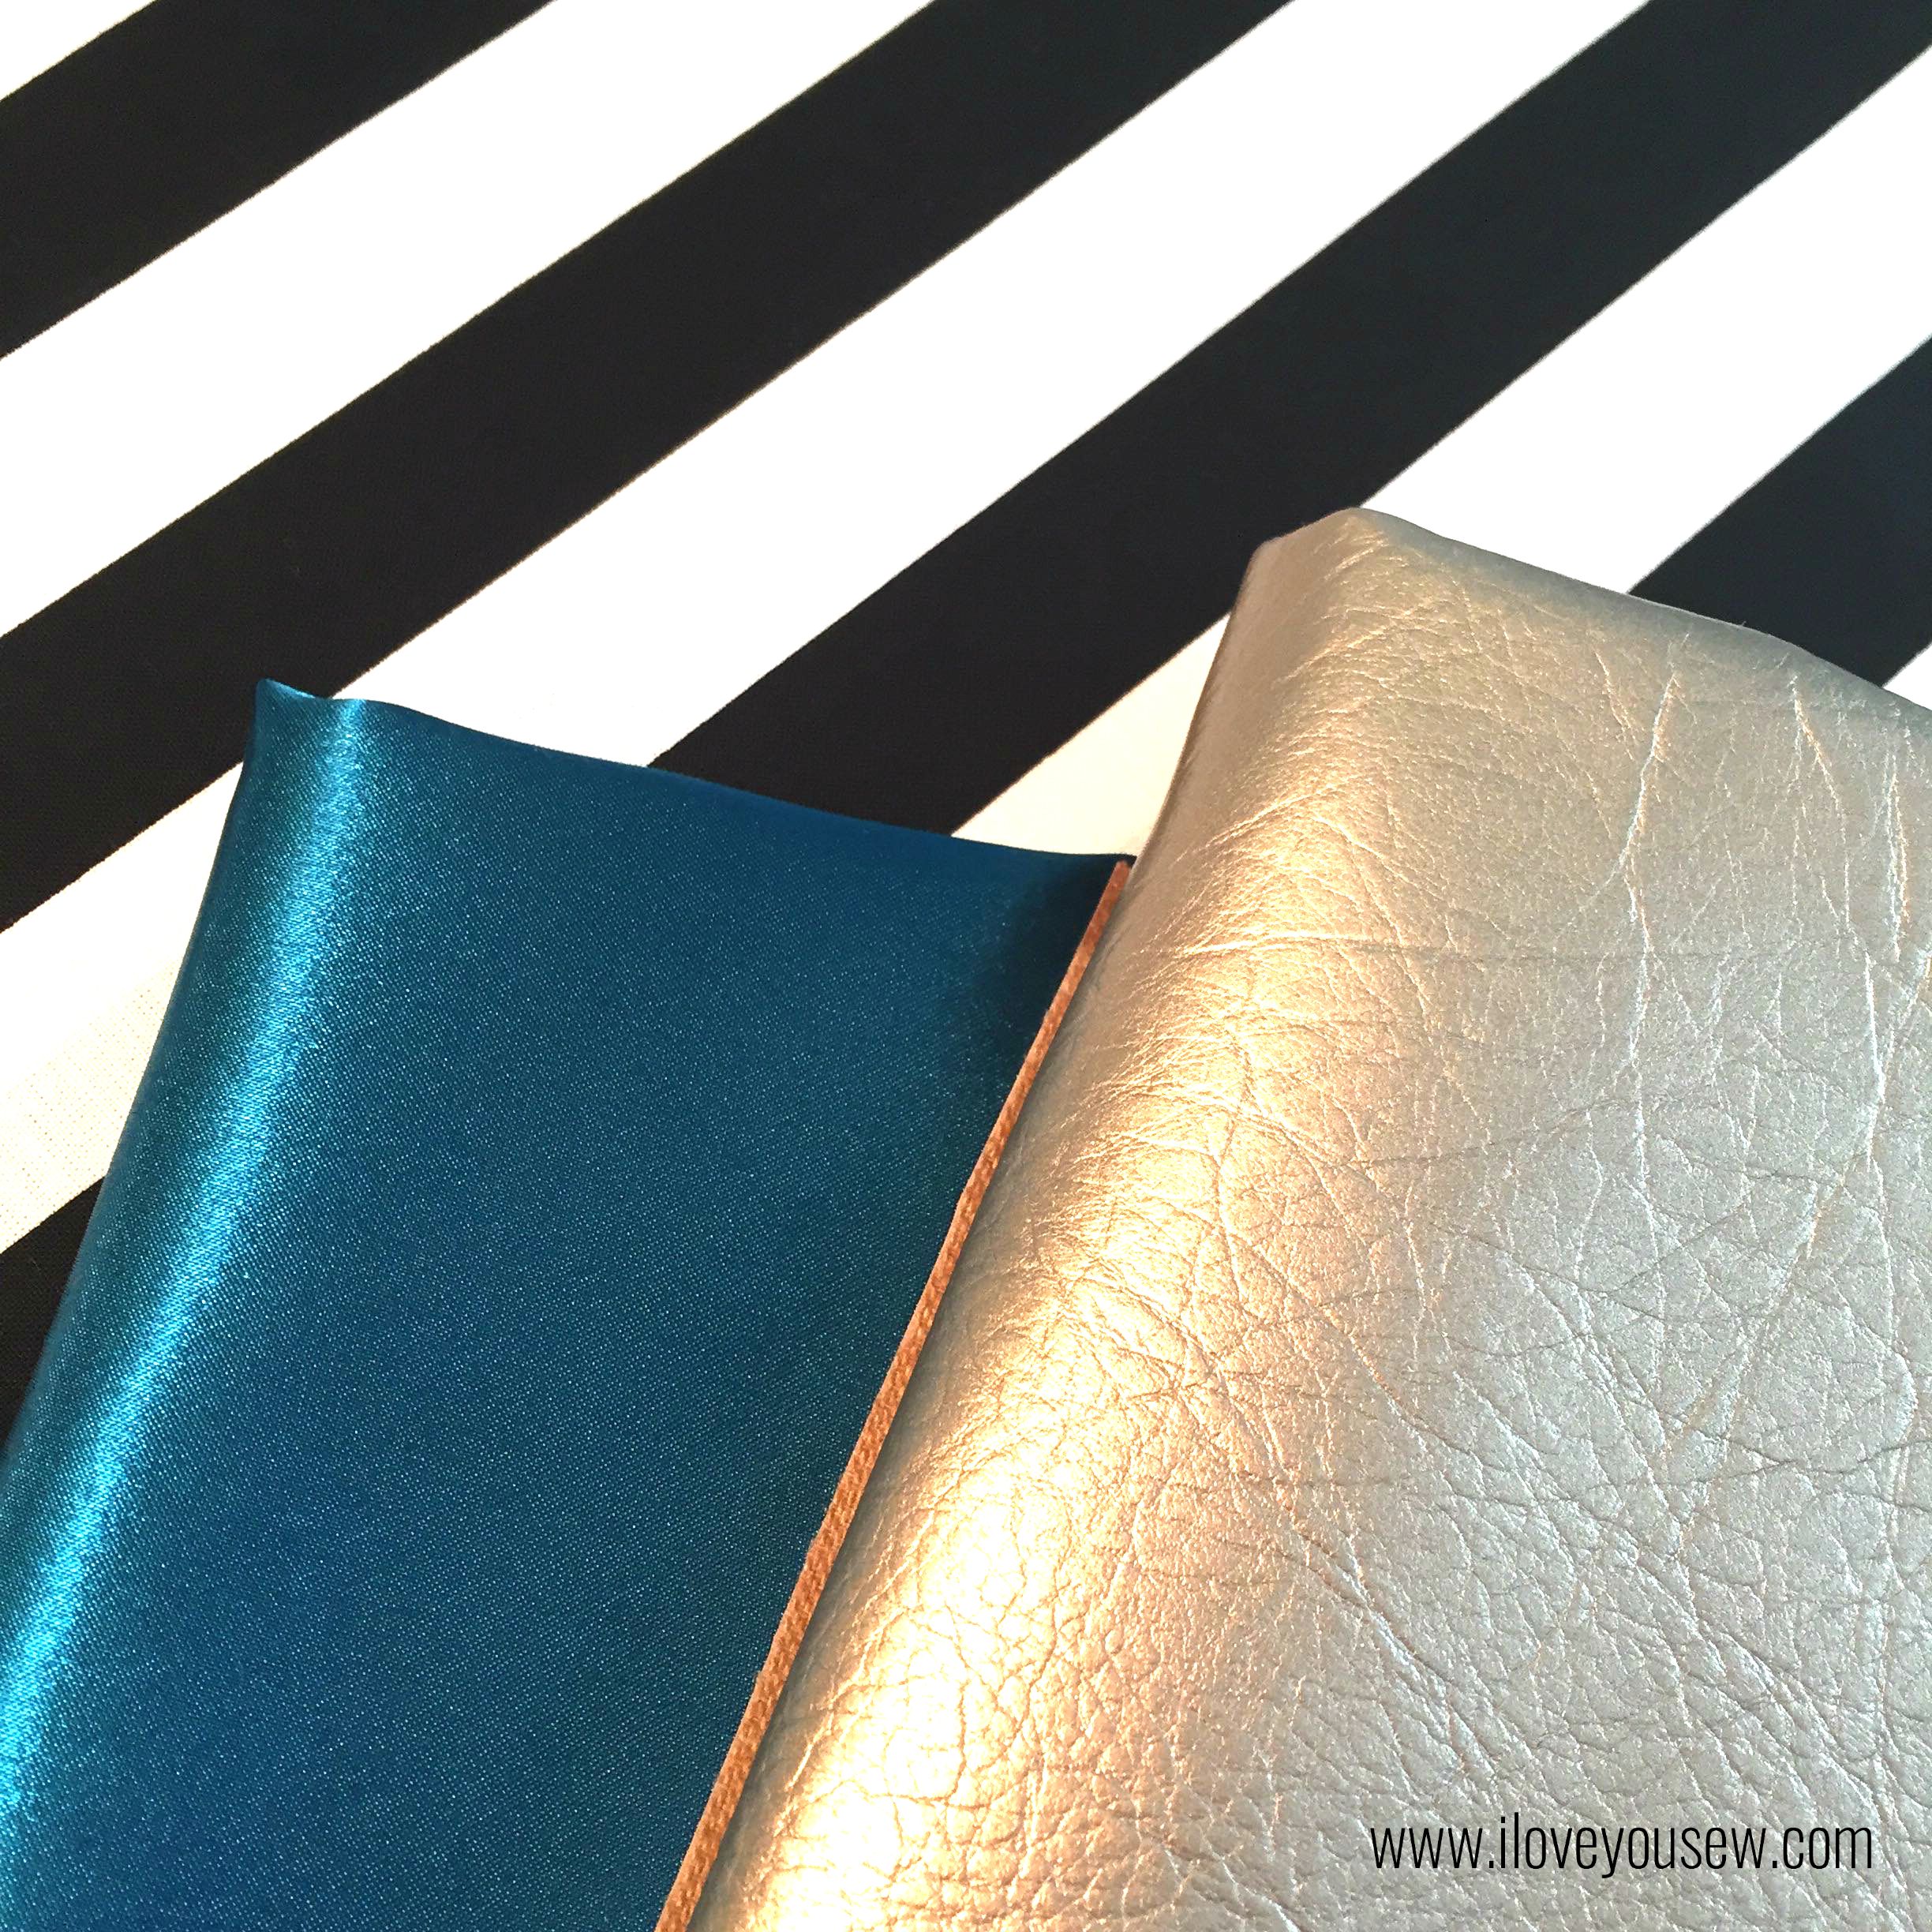
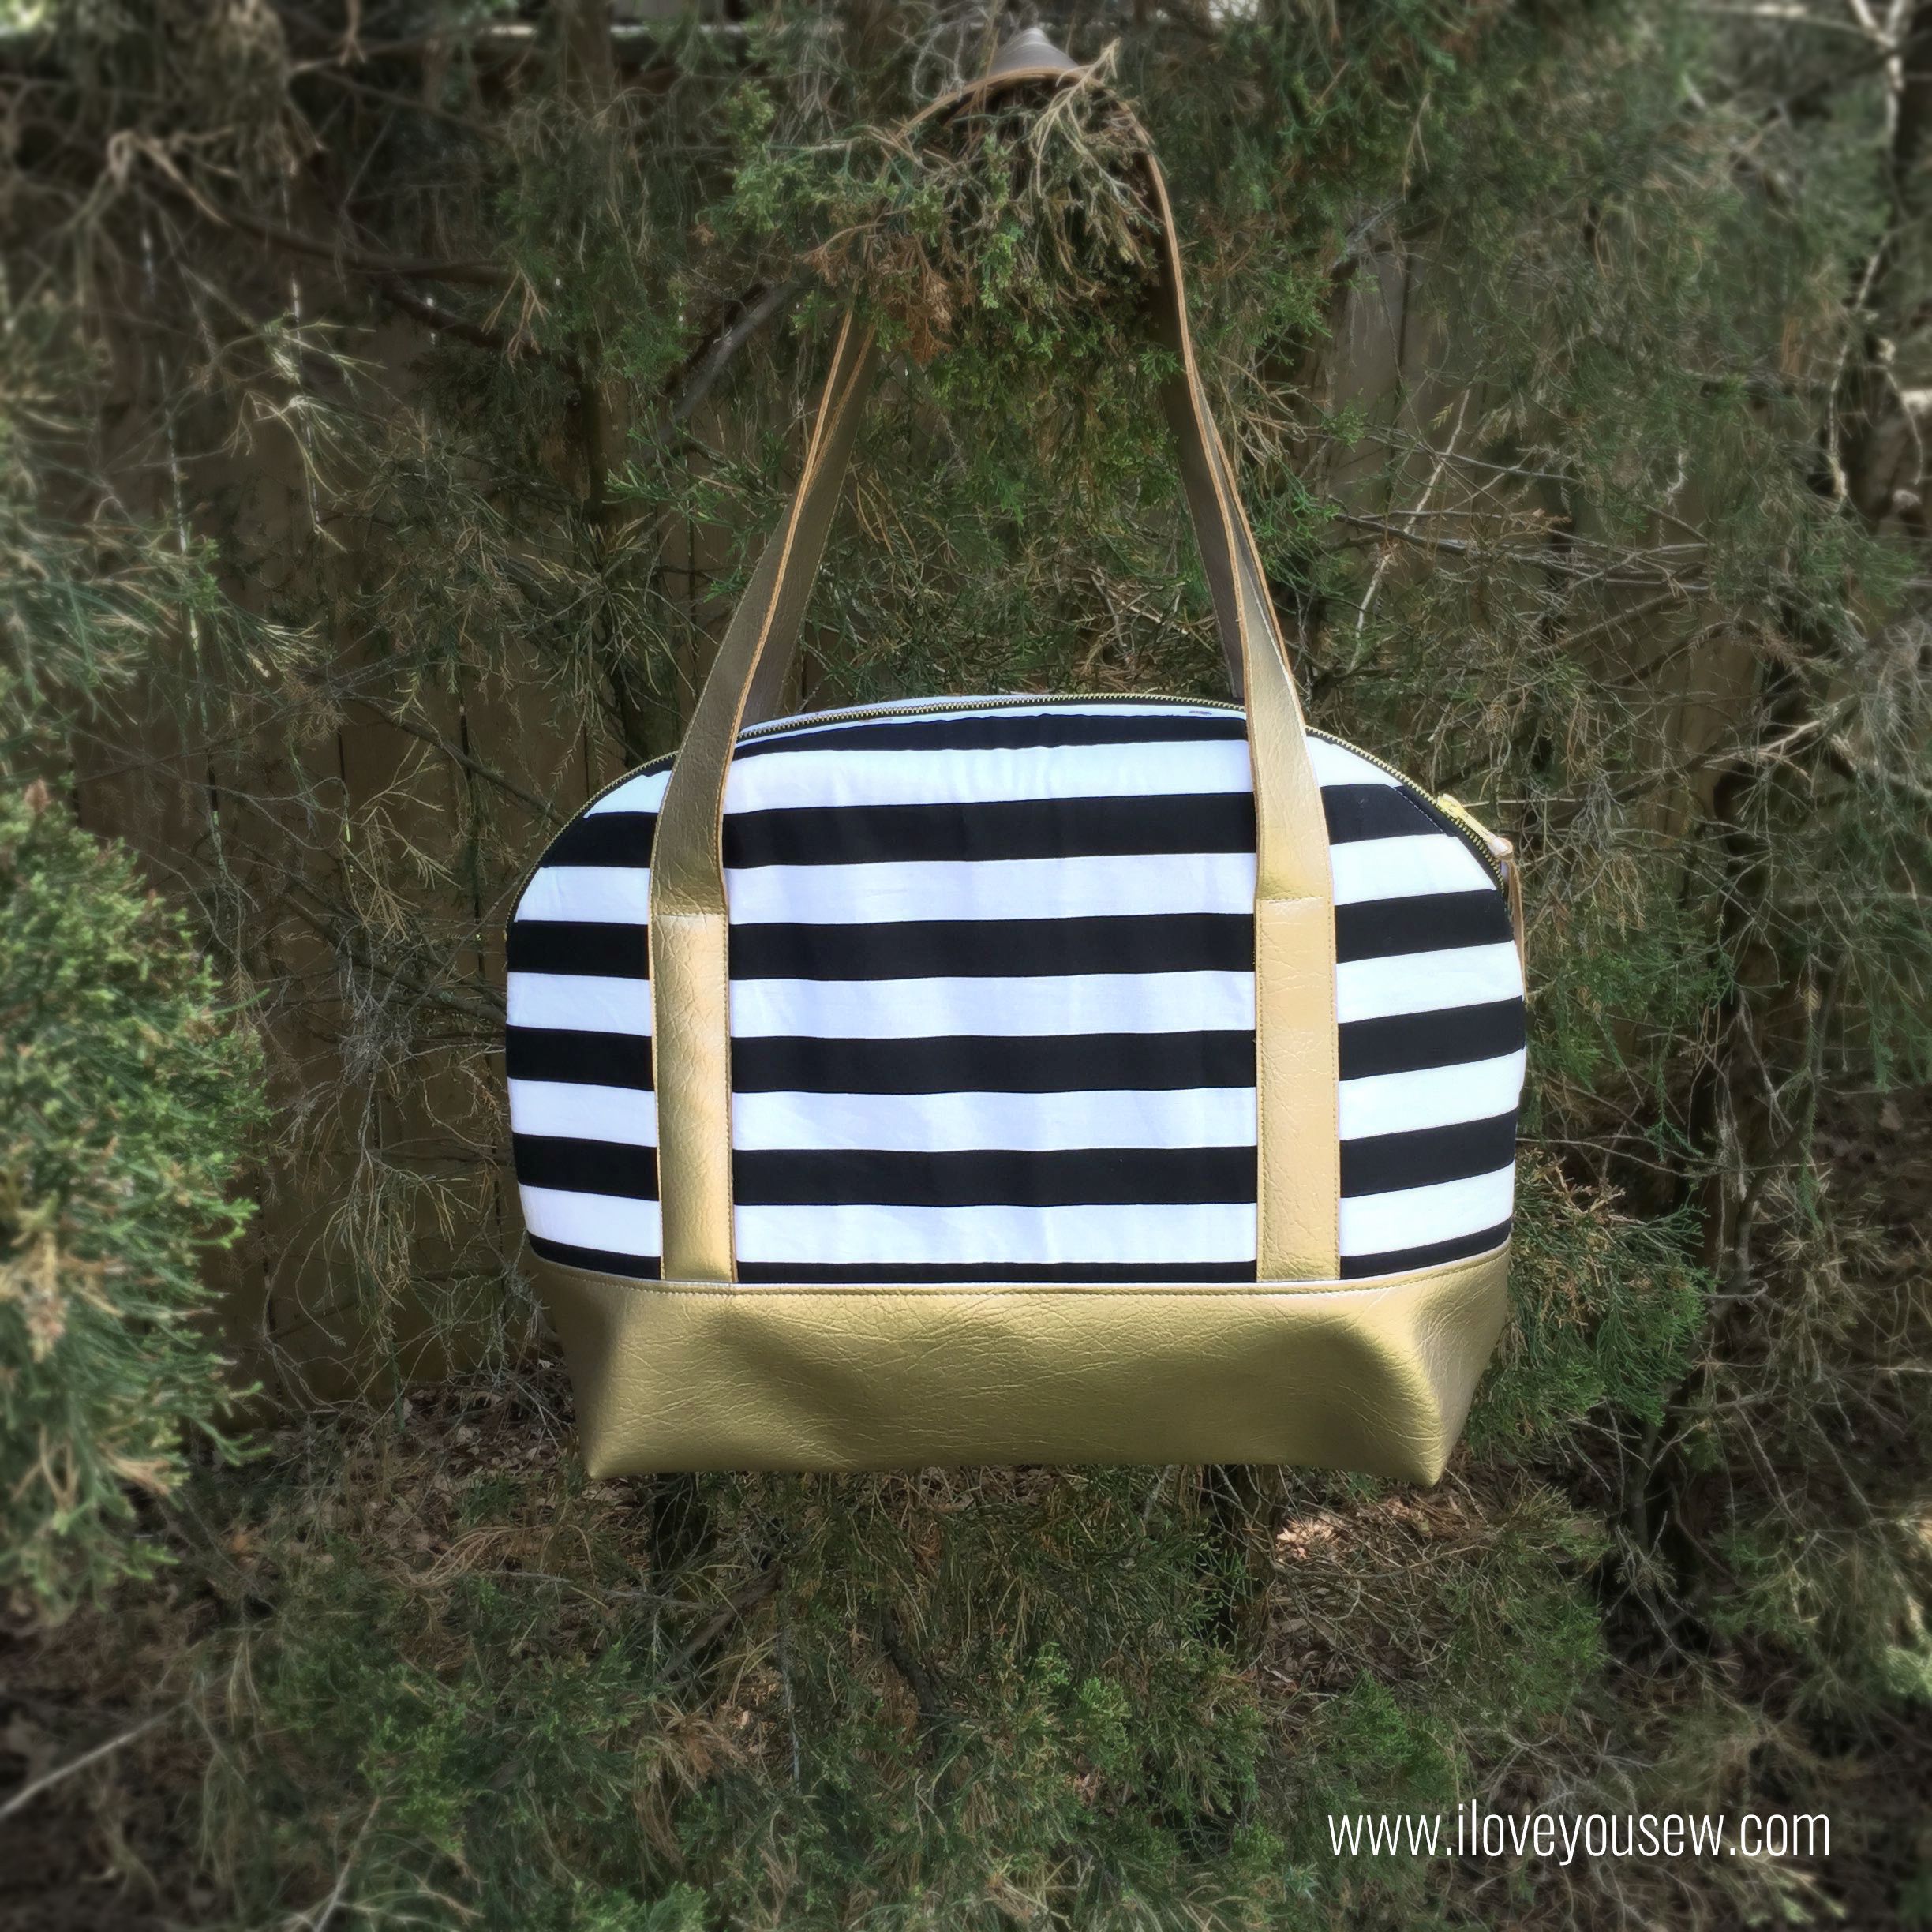
I know there are a ton of pattern reviews on Sew Sweetness‘ beloved Aeroplane Bag, but I REALLY love how the gold metallic vinyl (pleather), bold stripes and teal satin turned out!  I was debating if it deserved a post, but after so much love on IG, I decided to share what I made and what I learned on the way 🙂
 

AeroplaneFabricPull

This fabric pull was inspired by my good friend over at Platopoo.  We made a crafty trade – she made me some awesome vinyl cut t-shirts and I would make her a custom bag.  I love a good barter…don’t you???  Well, her business cards are black and white stripes with some gold accents and I wanted to kick up this bag a notch, so we came up with this great combination:


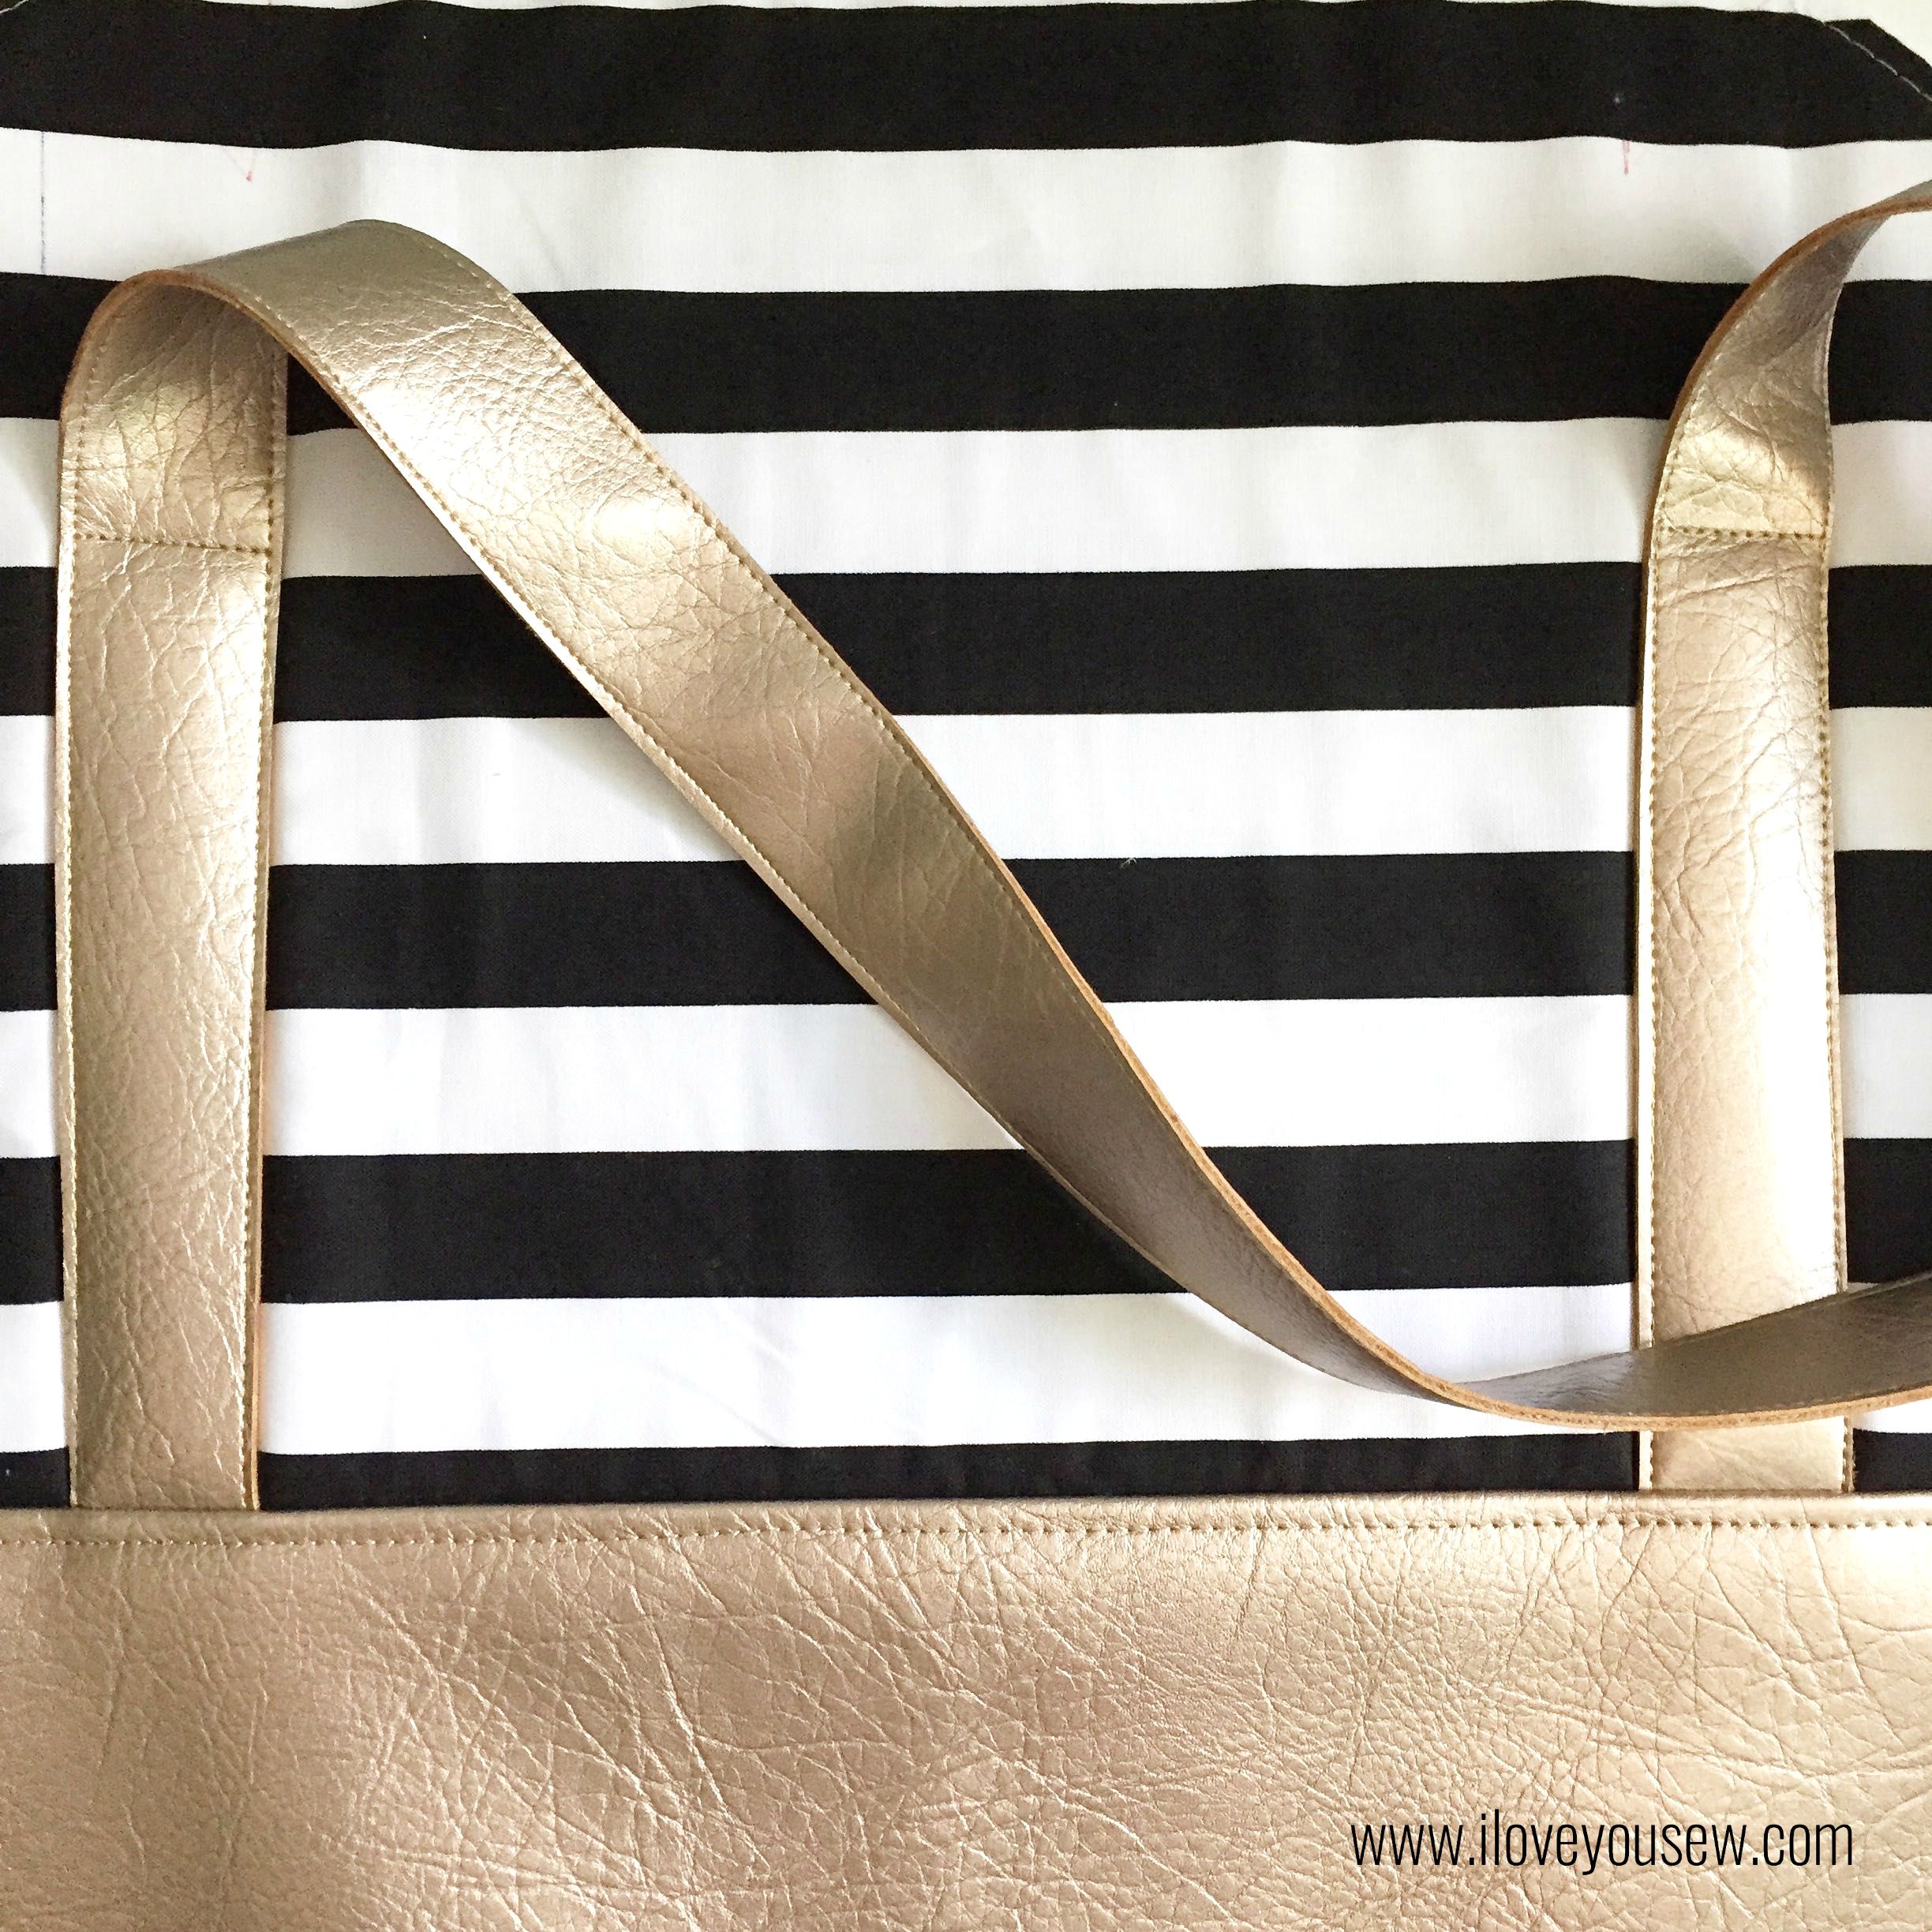
StrapsandBottomSewn

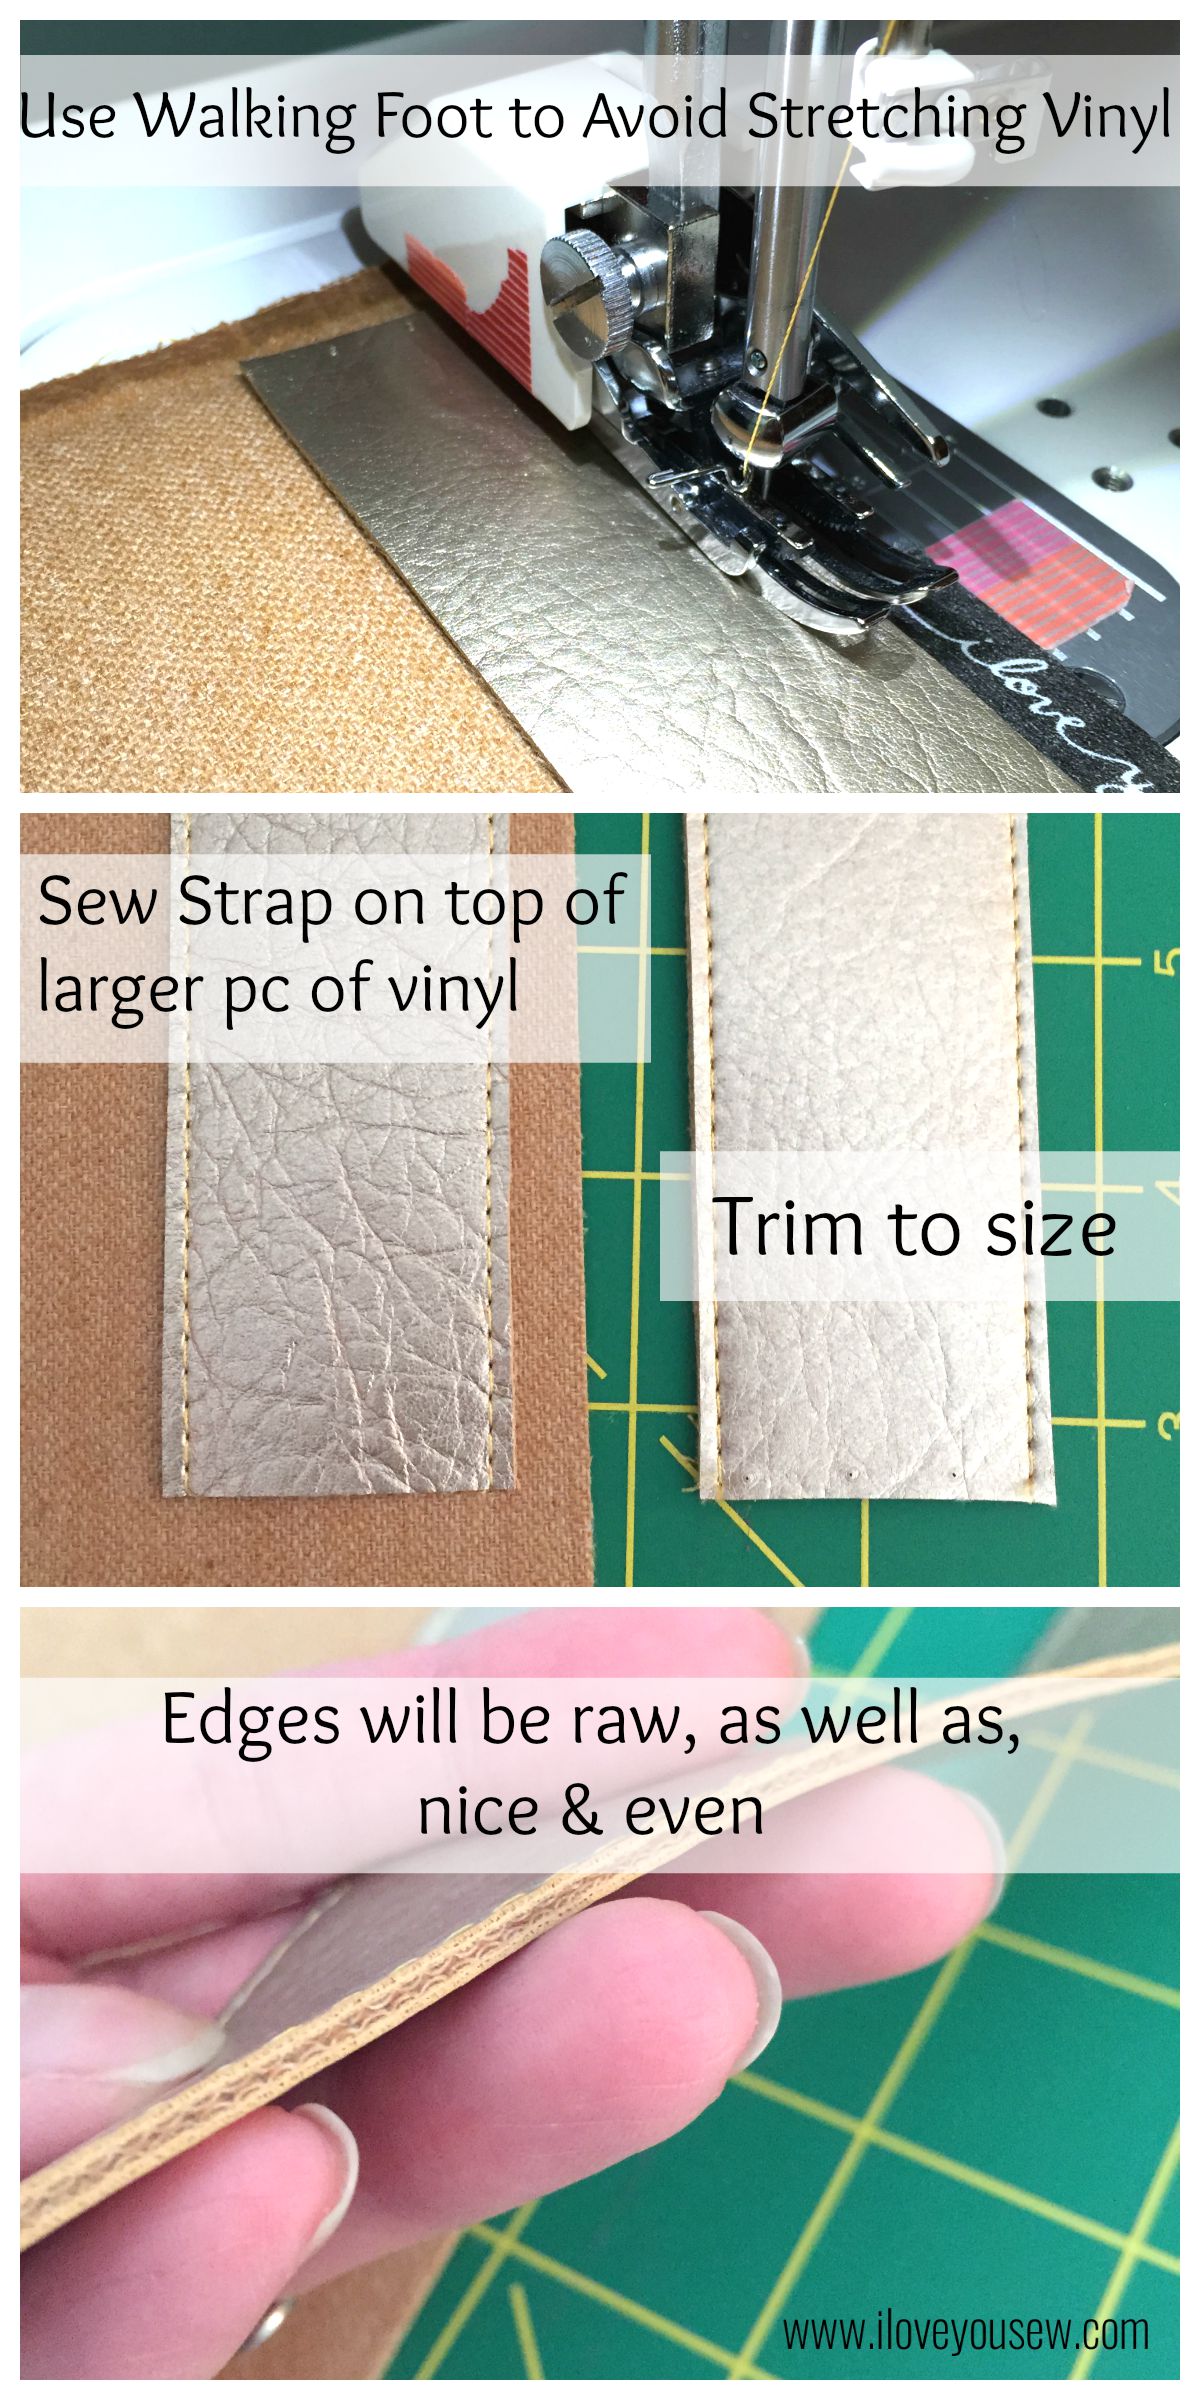
Vinyl Strap Collage


Since I was using the vinyl for the bottom and straps, there were a few adjustments that had to be made:

  • Omit the strap interfacing
  • Cut 2 straps to 1.5″ width. Since the WOF (width of fabric) on the vinyl is 54″, the straps were then cut to 42″ in length
  • TIP: Take one 1.5″ x 42″ strap and sew it onto a larger piece of vinyl. Sew with 1/8″ seam allowance.  Trim the excess of the larger piece to size. Repeat with 2nd strap. (This allows you to have even top and bottom strap pieces.)
  • Be sure to use your walking foot to not stretch out the vinyl
  • Edges of the straps will be raw. You can use some permanent fabric glue or Fray-Check to “seal” the sides if you wish.  Some vinyls do fray the slightest bit over time…


ZipperGrill

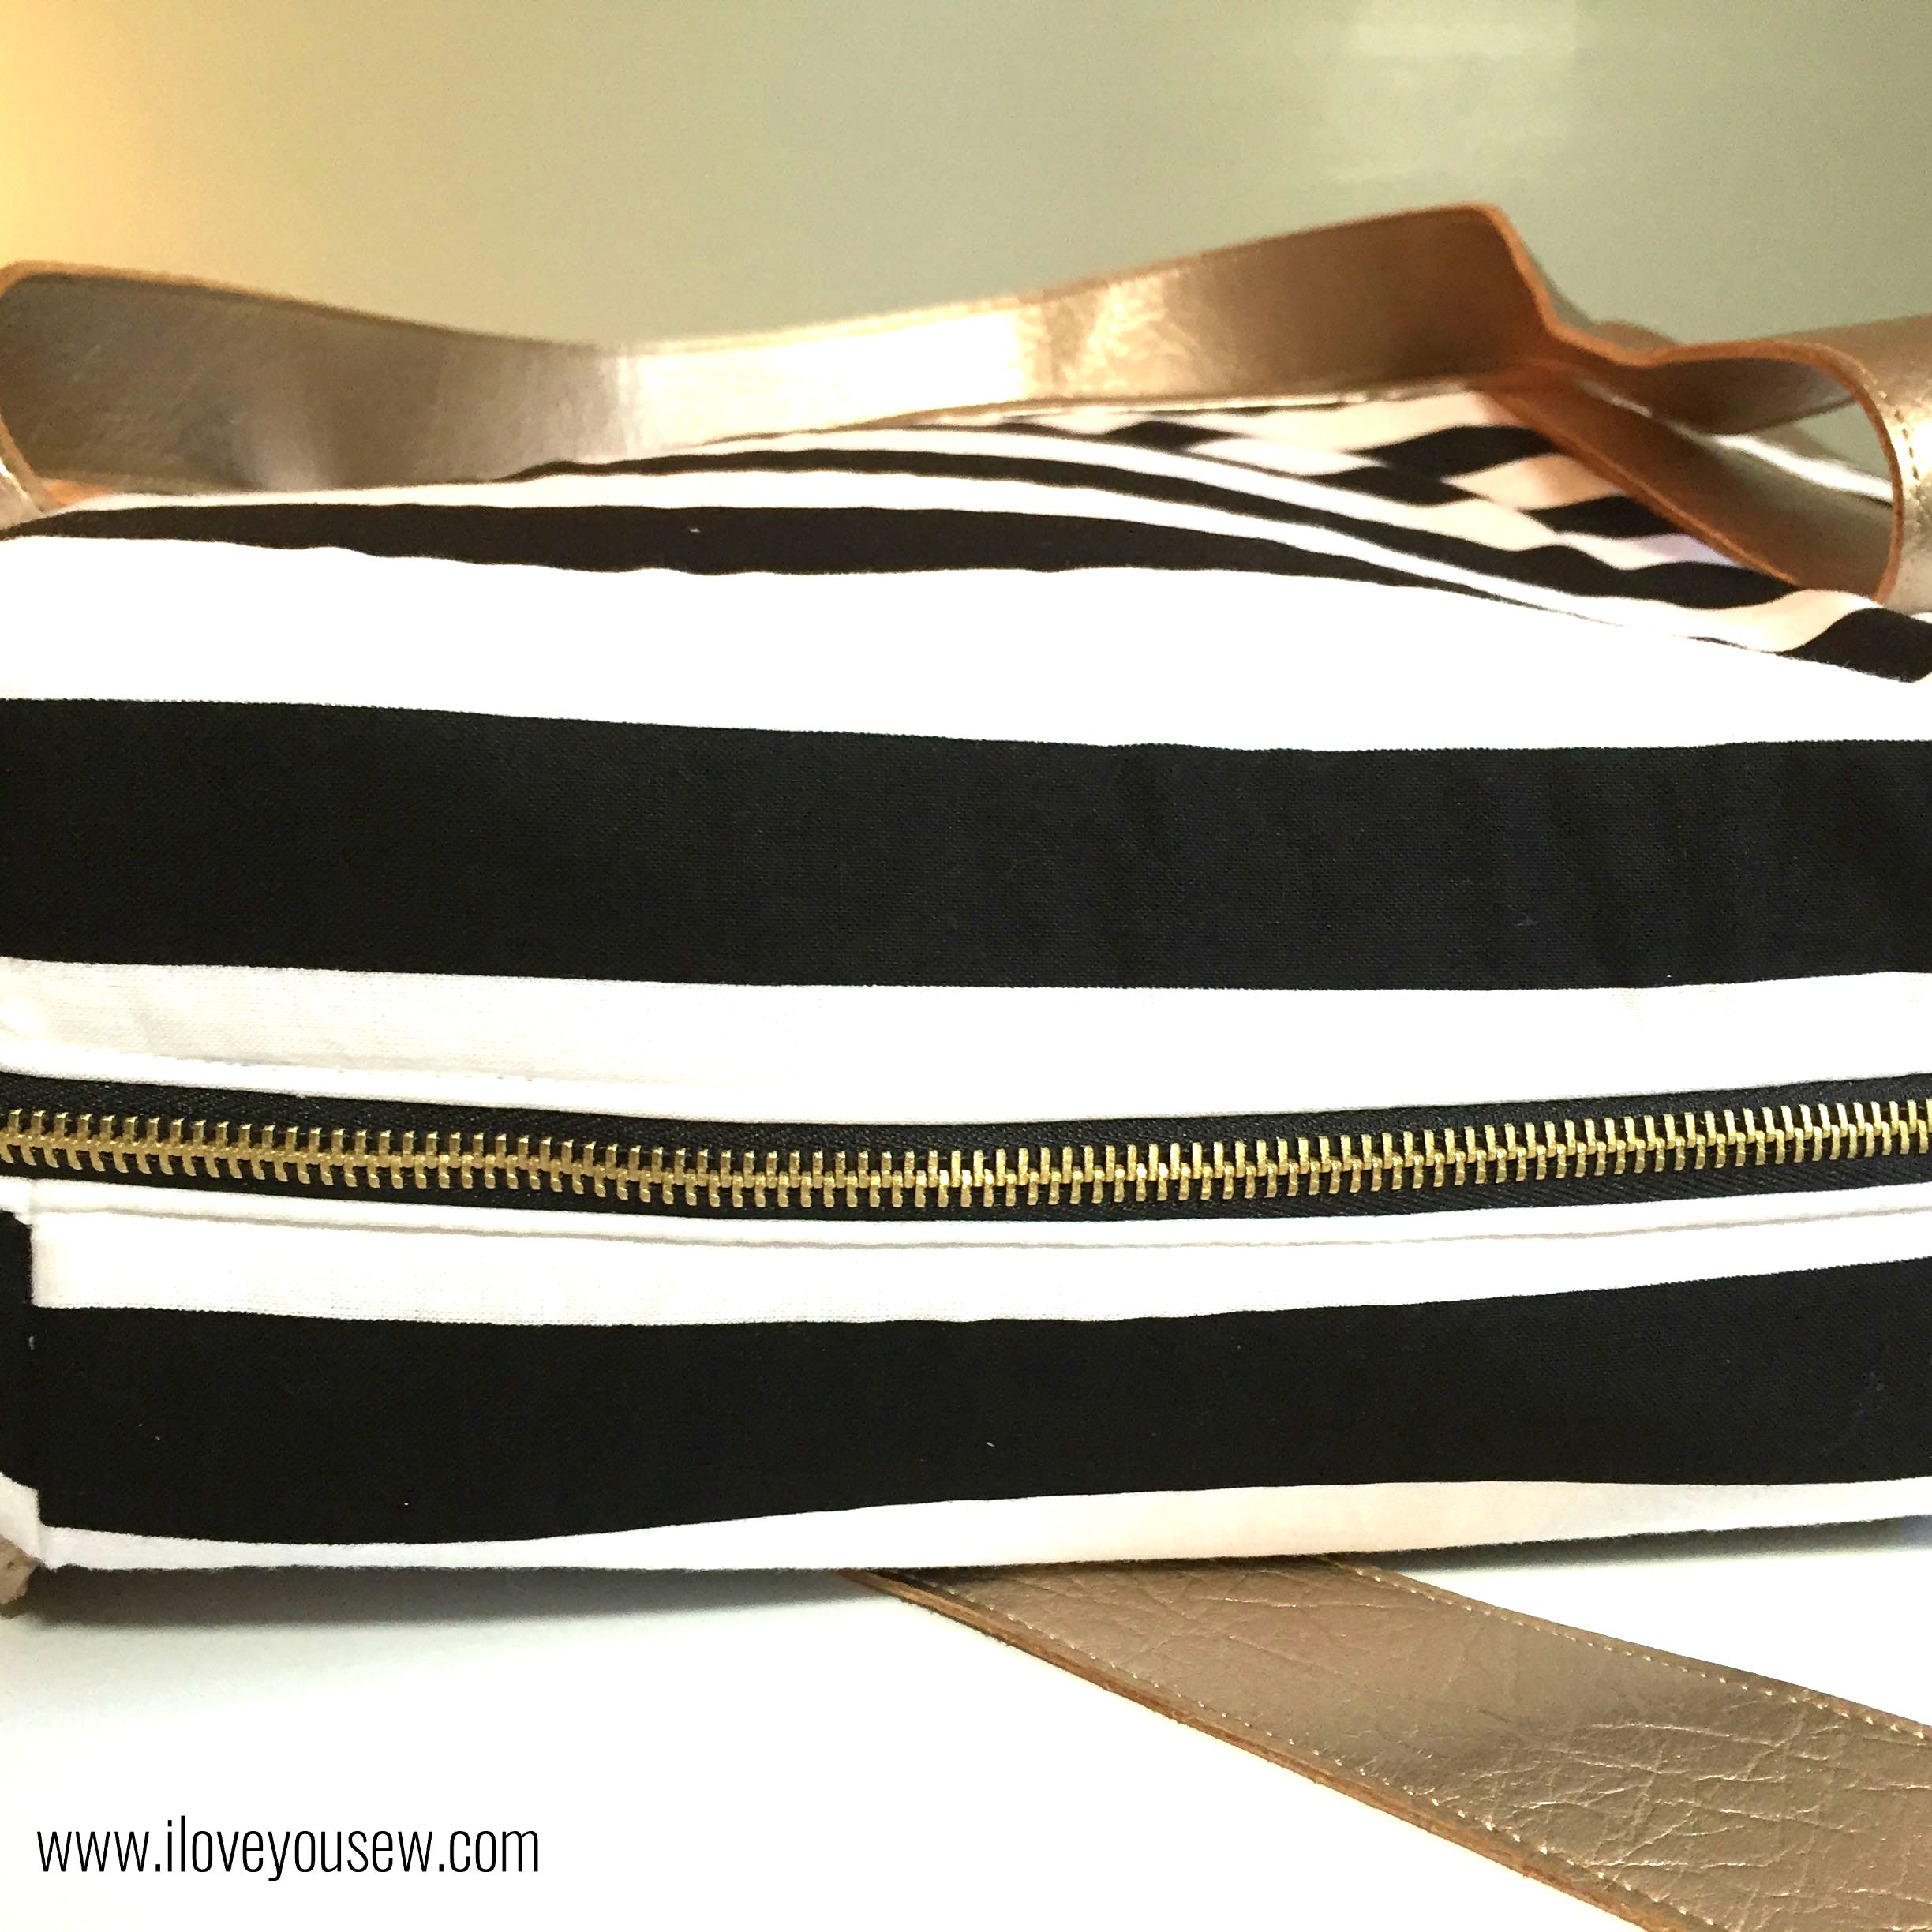
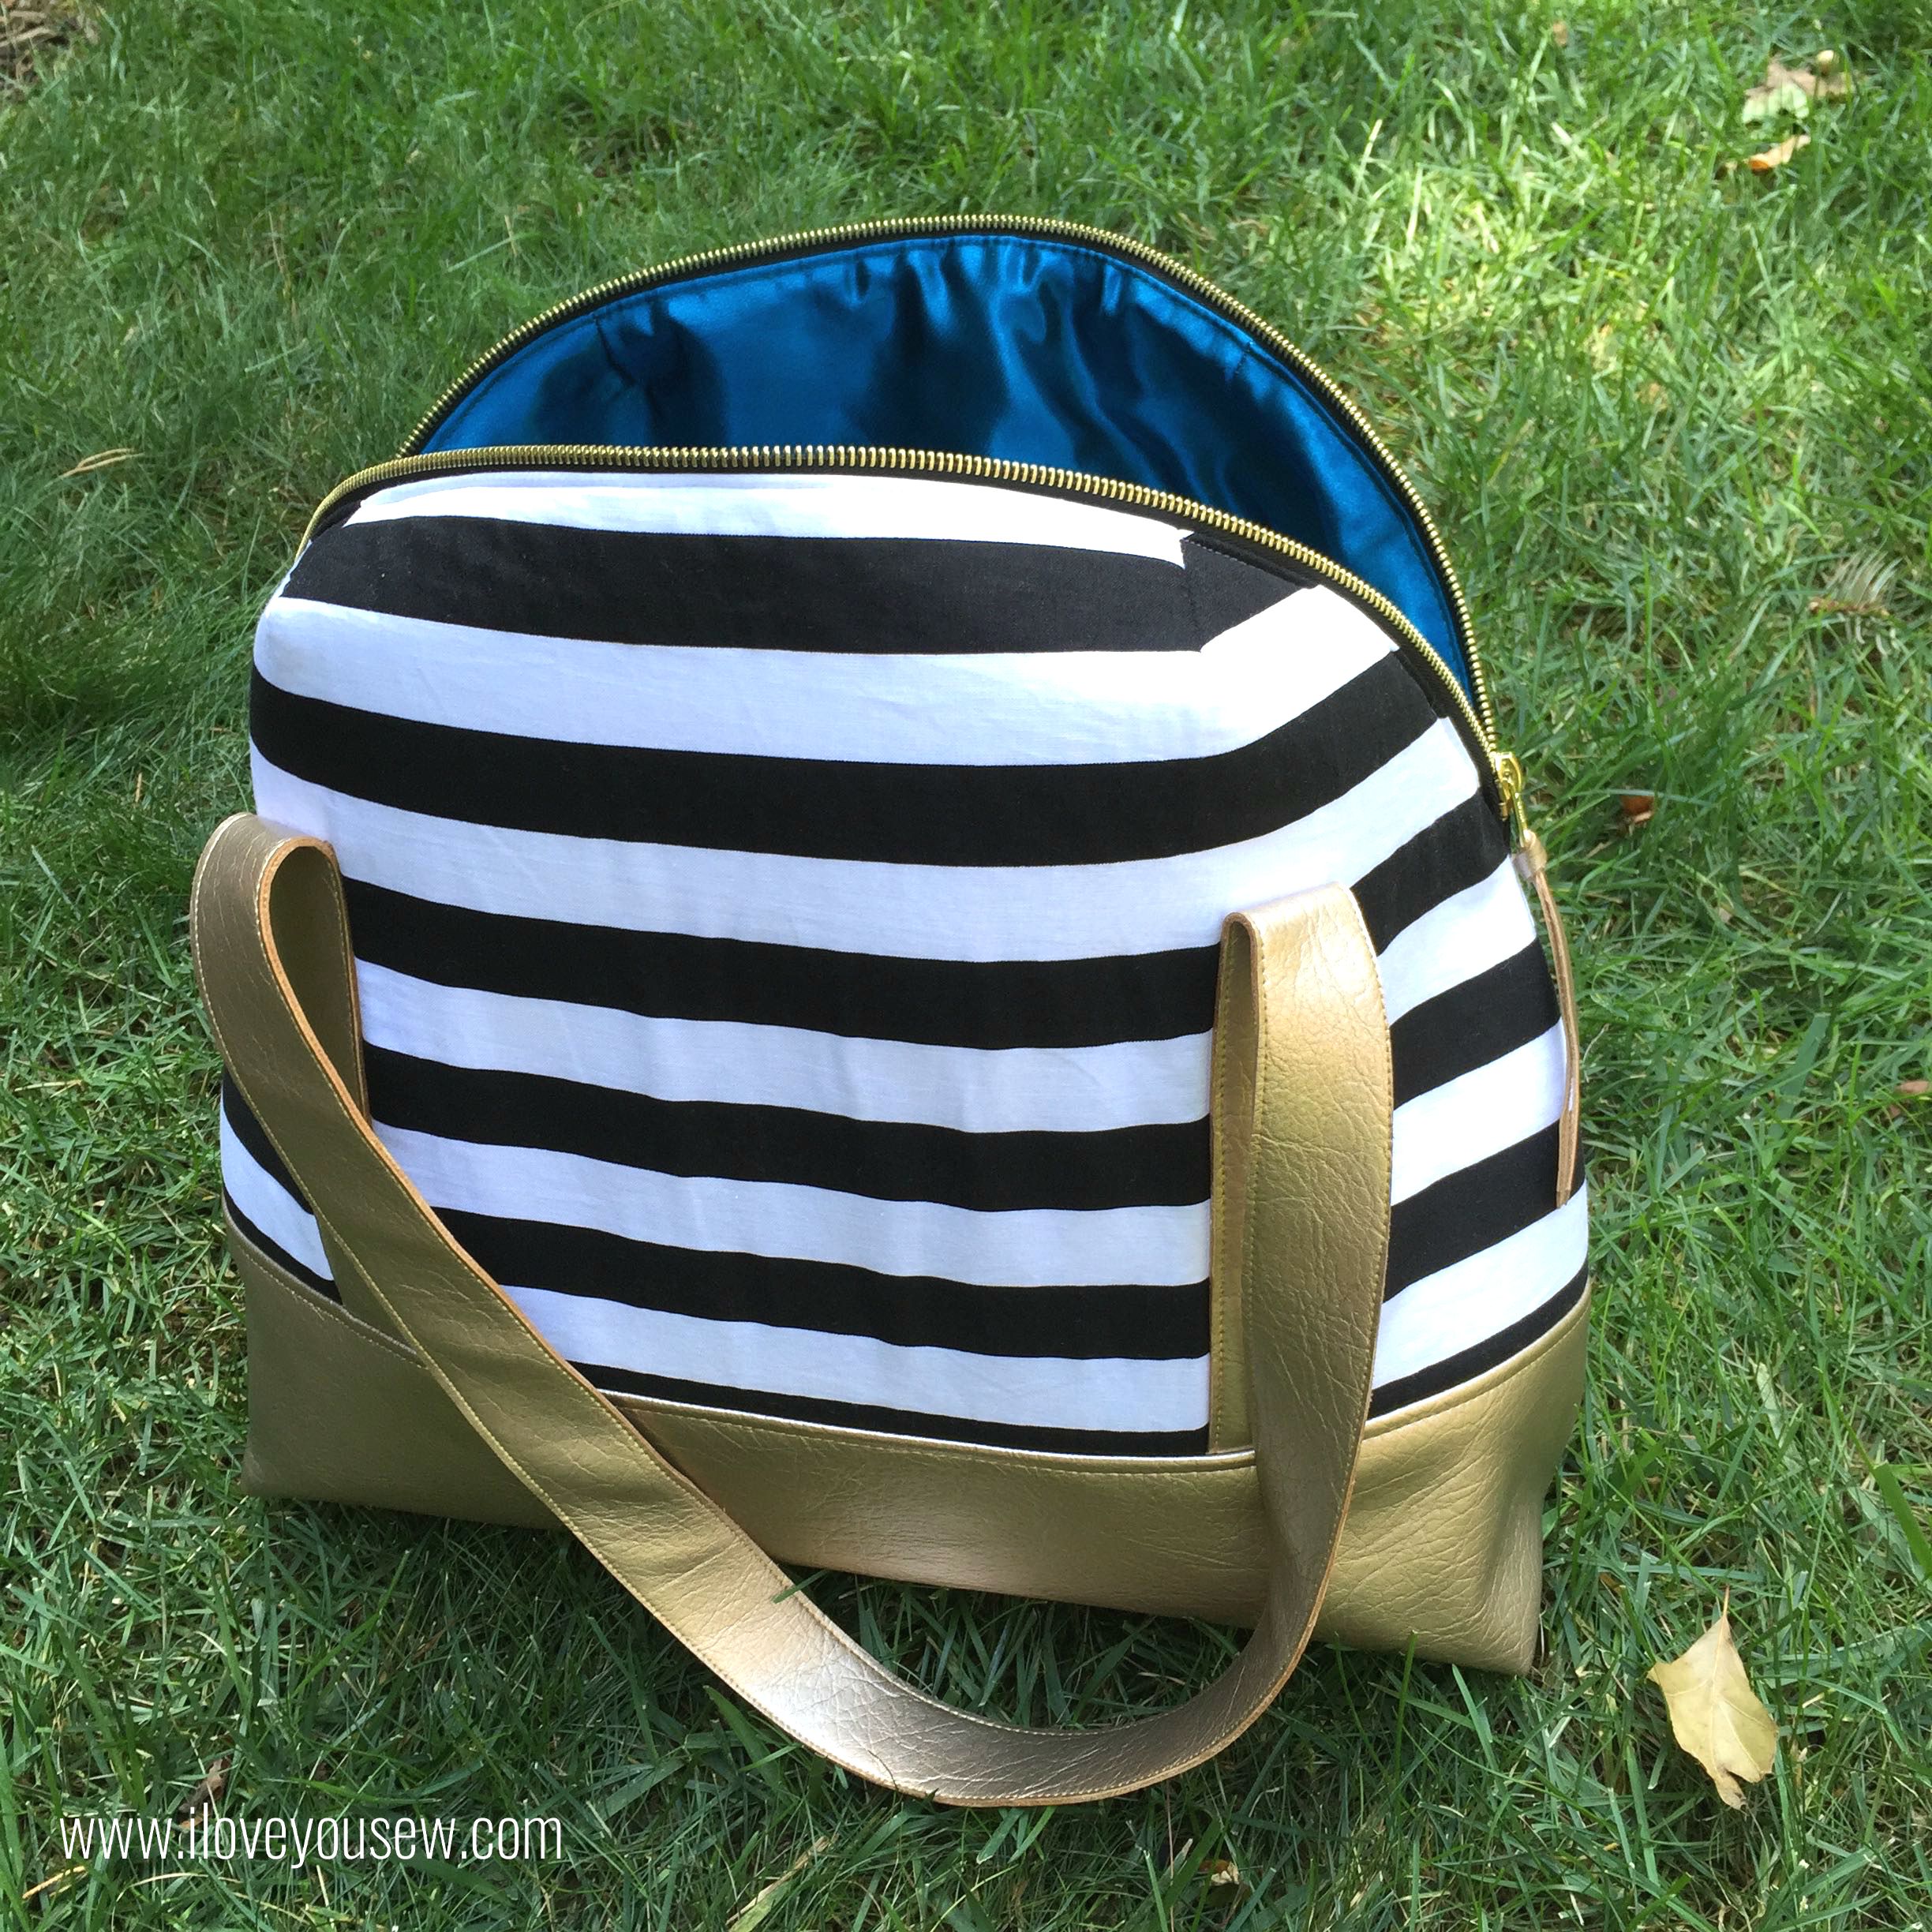
Another detail to amp up this bag was the zipper.  I found this great black one with brass teeth at JoAnn’s as well.  It matches perfectly with the pleather and adds that extra professional look.

TIP – I used my walking foot to topstitch over the zipper.  There is quite a lot of volume between the exterior, lining and Flex-Foam (used in place of Soft & Stable.) This allowed me to get more even stitches without having to tug on the fabric as much.


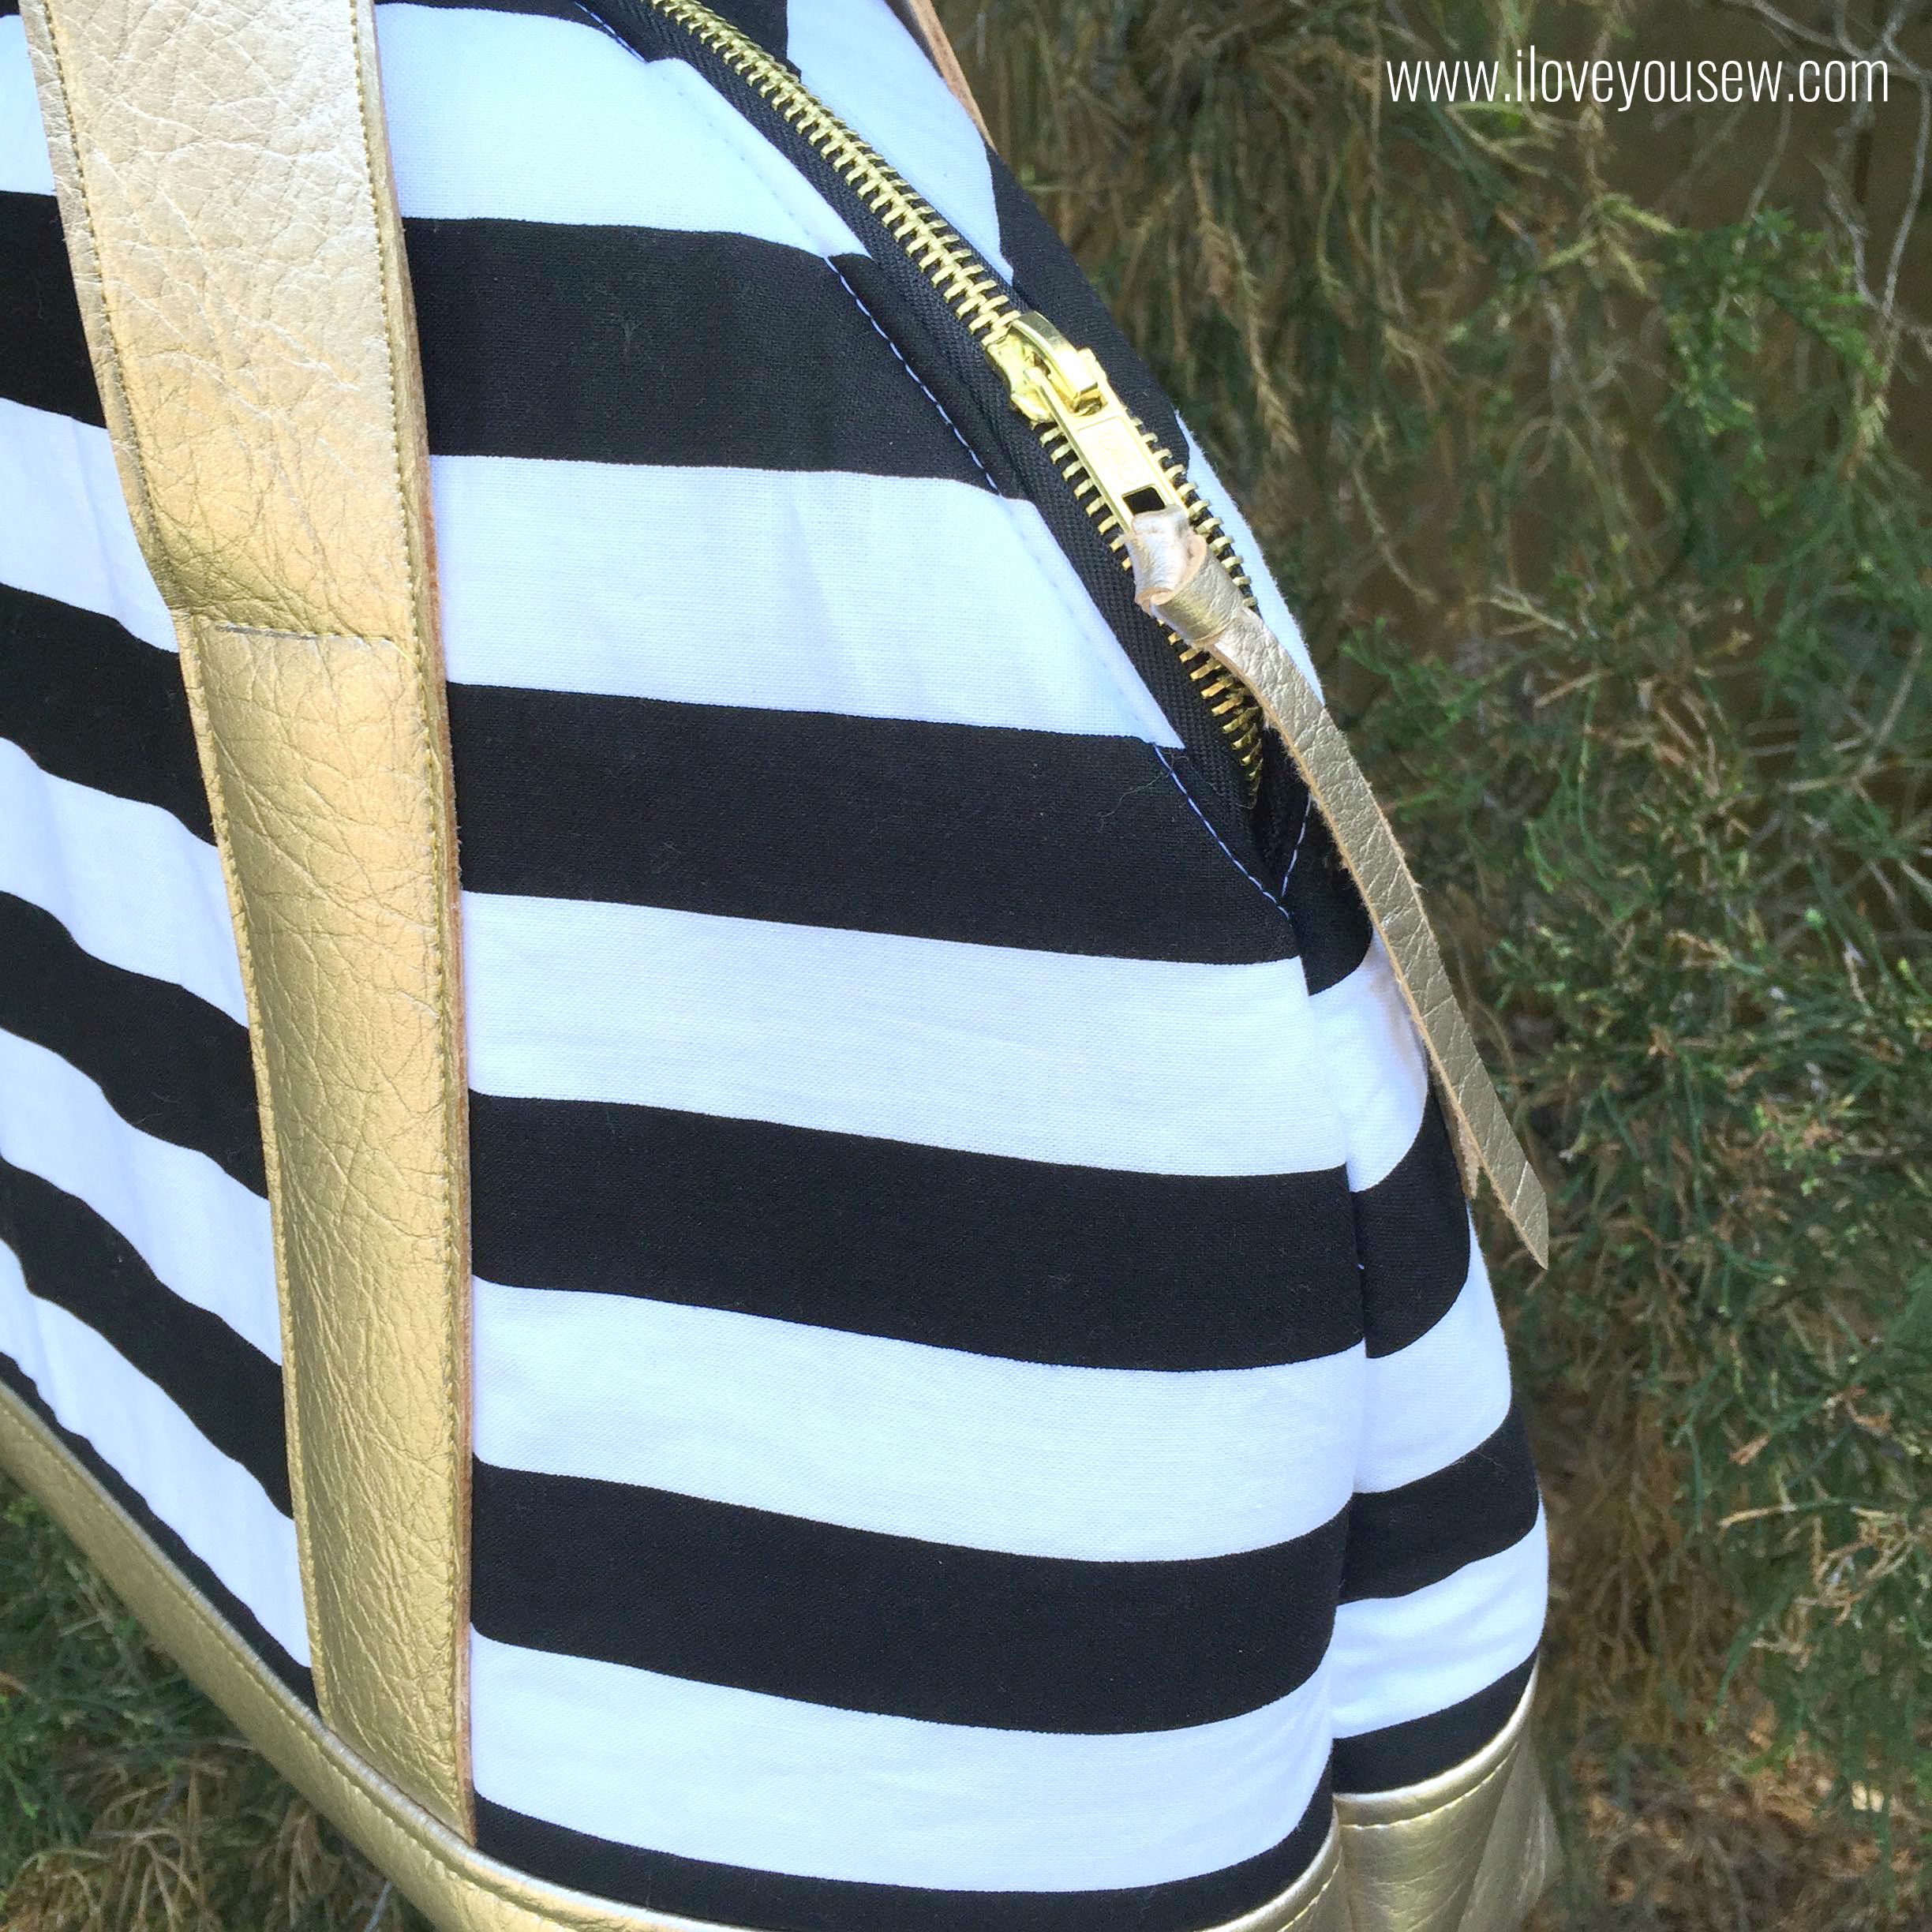
CloseUpZipper

Additionally, I cut off 1/4″ by about 8″ of scrap vinyl to add a pull on the zipper.  Again, this little detail helps make the bag look more polished and pulls in more of the metallic look.  Plus, those little pulls are never long enough!


Interior

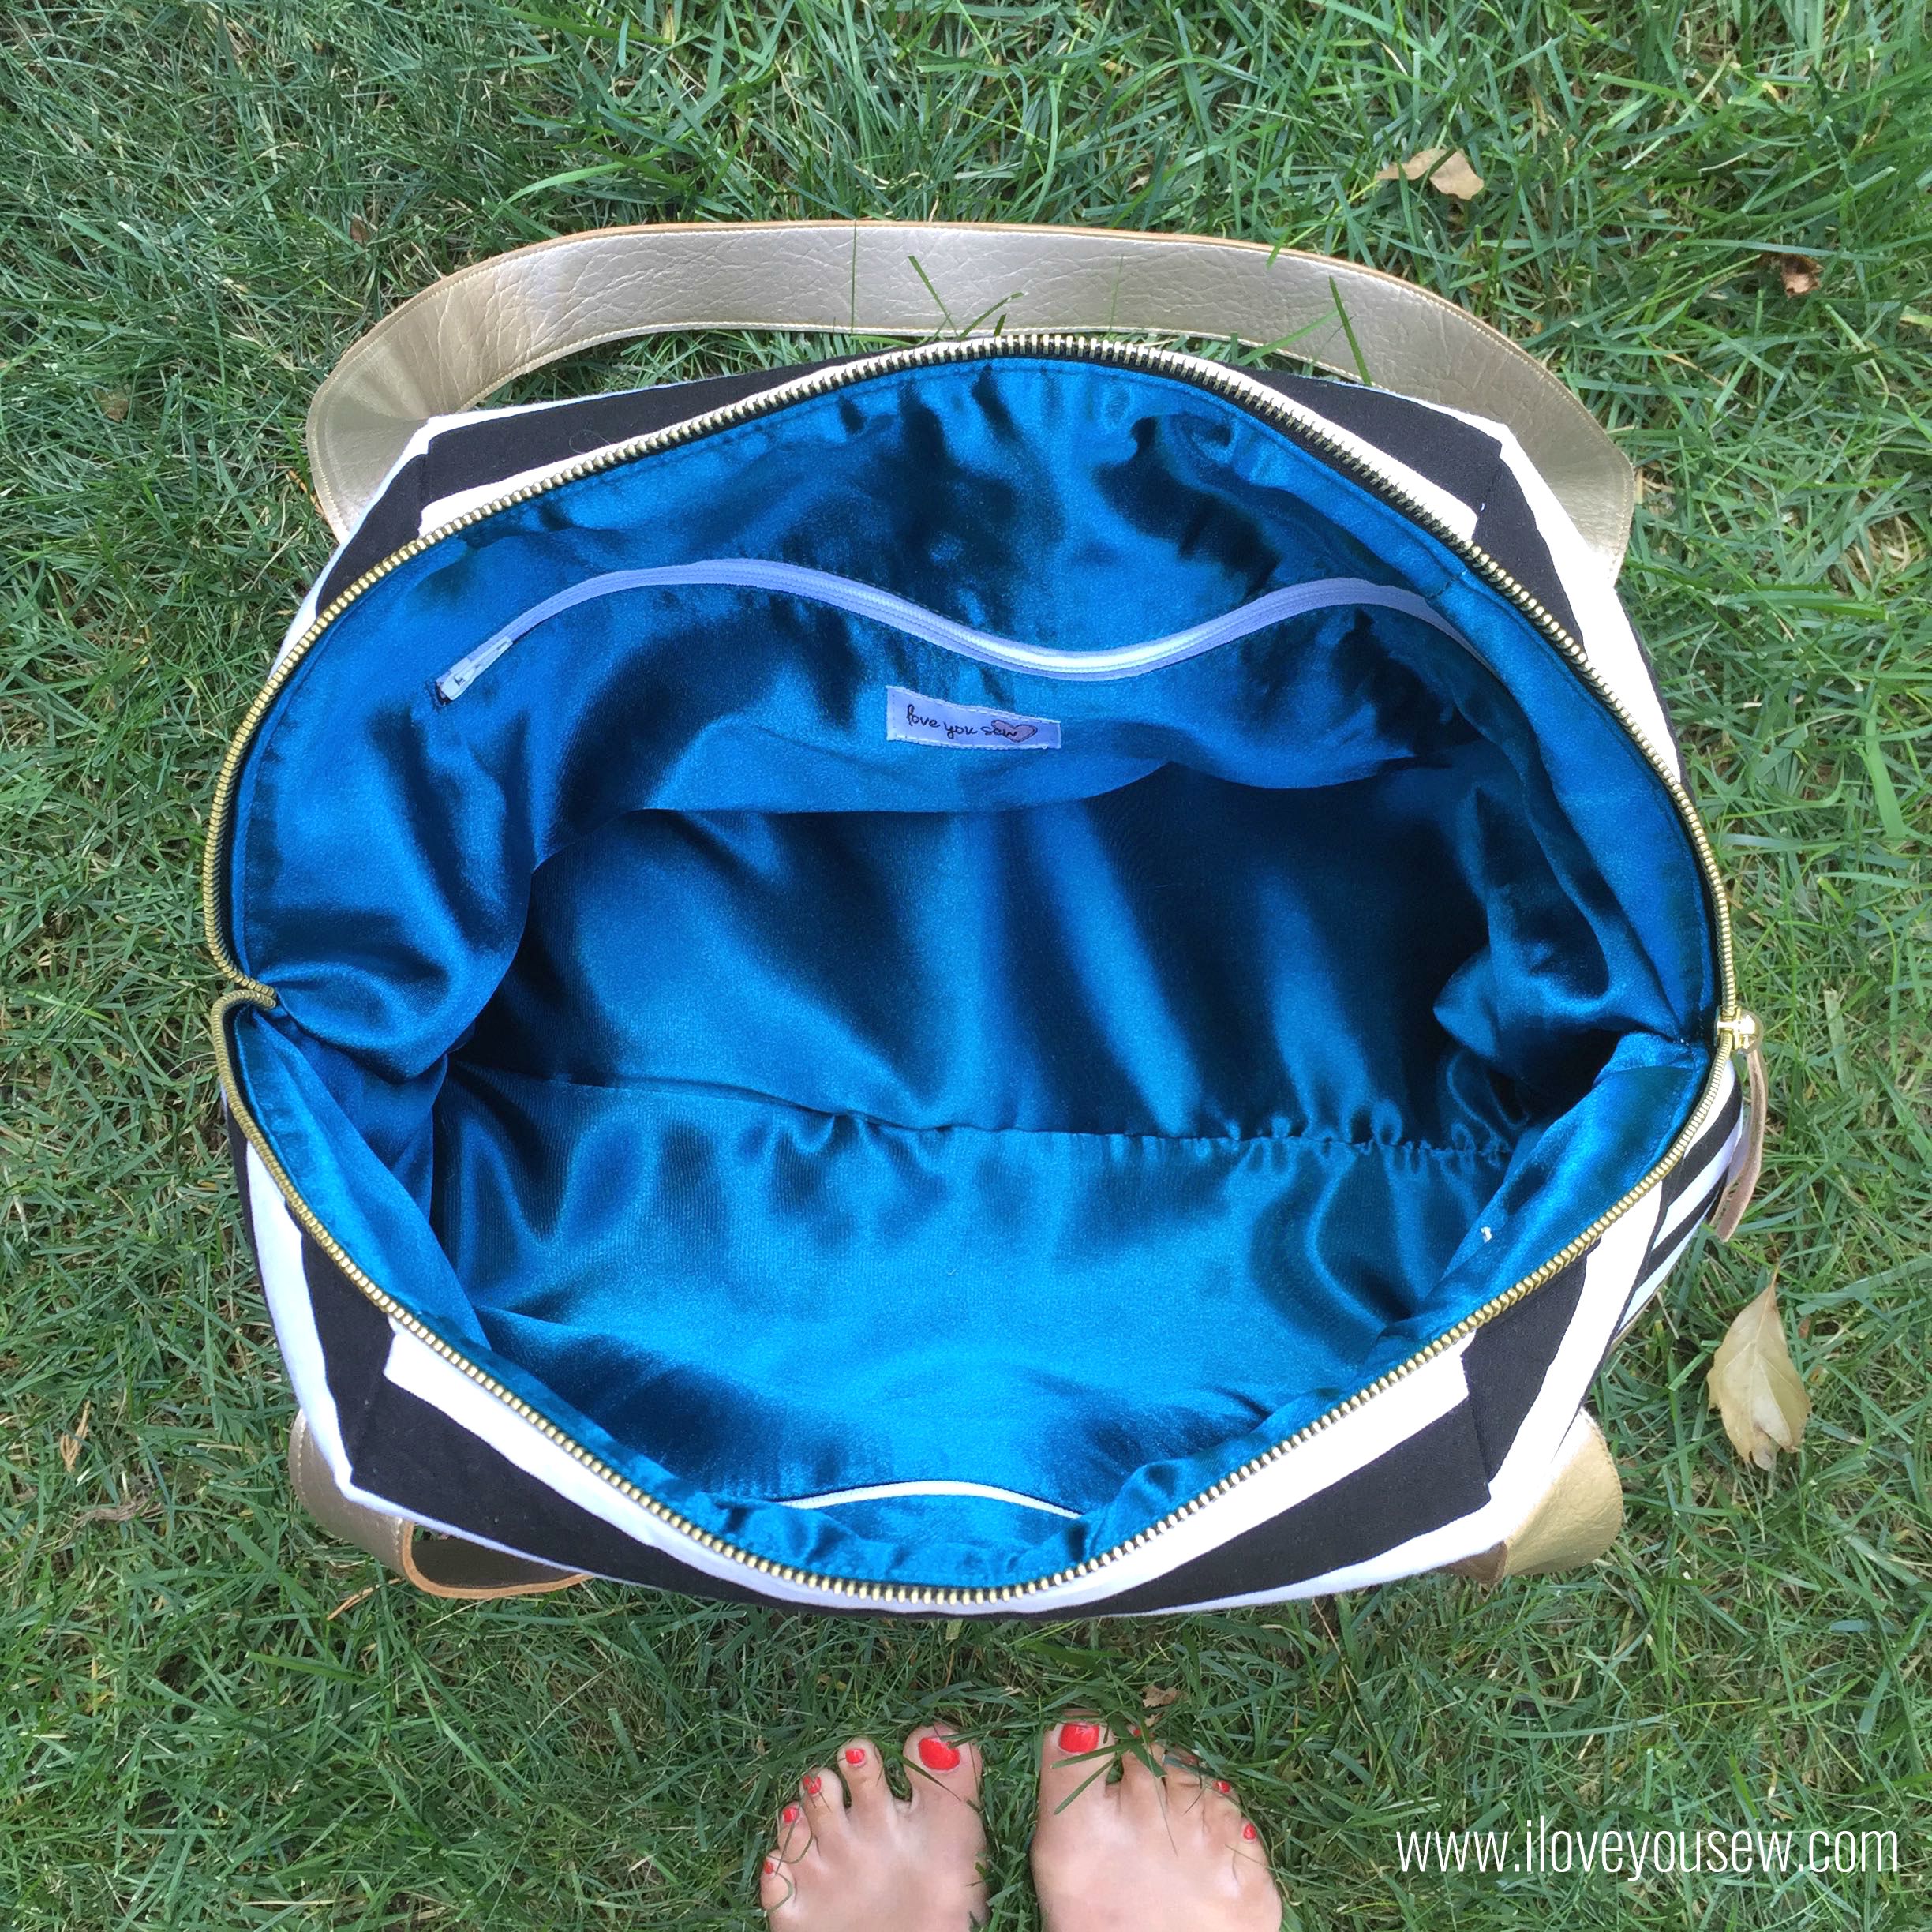
Do you like the satin interior? I am digging this pop of color and the change in texture for the interior.  I also love the 14″ zippered pockets.  They are generous in size to hide lots of goodies.  The only thing I wished I had were brass zippers for these pockets. (I got the wrong size from the store and was not going back anytime soon…I was already there twice in one week!)  They would have completed the look, for sure…

TIP – Cut the Shape-Flex larger than the interior pattern and fuse it onto the satin before cutting. The satin is delicate and can unravel pretty easily.  It is easier to handle if you iron the interfacing on first.

OpenTop

I love the wide opening of this design.  There is ample space to get your weekend gear into this bag….and this is just the “regular” size.  I can’t wait to try out the “long” pattern!

BagonTree

This was a fun project but definitely at the confident beginner to intermediate level.  Be sure to check if your machine can handle up to 6 layers of vinyl and Peltex at a time. I have a Juki TL-2010Q that can sew through with a Heavy Duty Organ Needle, but I still broke one needle in the process!

It’s going to be sad when I have to part with this baby, but at least I can make more 😉


The Newest Aeroplane Bag Fan,

Cristy


This post may contain affiliate links for which I do receive a small compensation…It helps me keep this site running 🙂