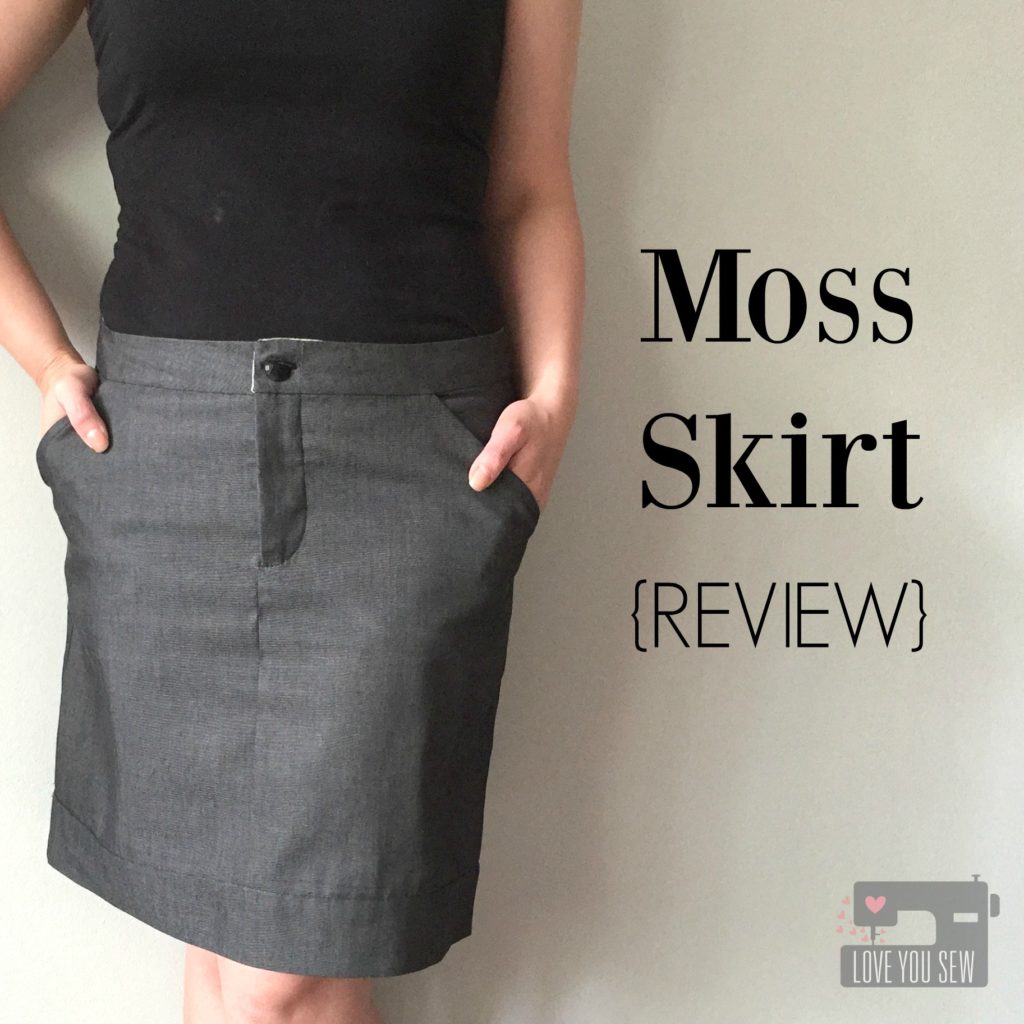
Moss Skirt {Review}

MossSkirtTitle

With all of this great warm weather, I’ve been thinking about adding some new pieces to my wardrobe and skirts are definitely included.  Coincidentally, it is also #MeMadeMay where you show off your handmade clothing on social media all throughout the month.  So…I obviously needed to make one rather than buy one 😉

PatternCover

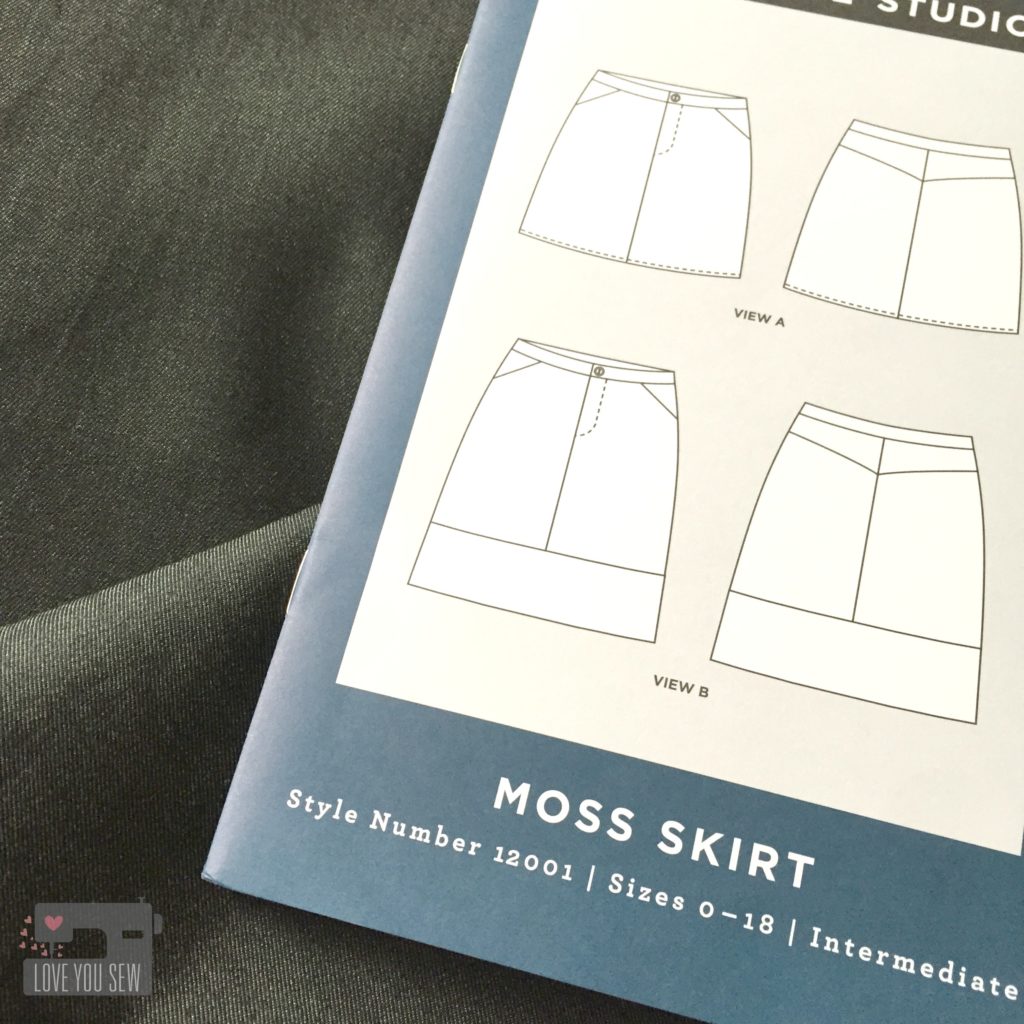
I’ve been casually looking over designs for a few months and wanted a clean silhouette without an elastic waistband.  Although the thought of a zipper scared the bejesus out of me, I still selected Grainline Studio‘s Moss Skirt.  The instructions and pictures are well done and I love how there are great resources on Grainline’s blog in case you get stuck (which of course, I did.)  I also love the two variations with a short mini and knee-length options.

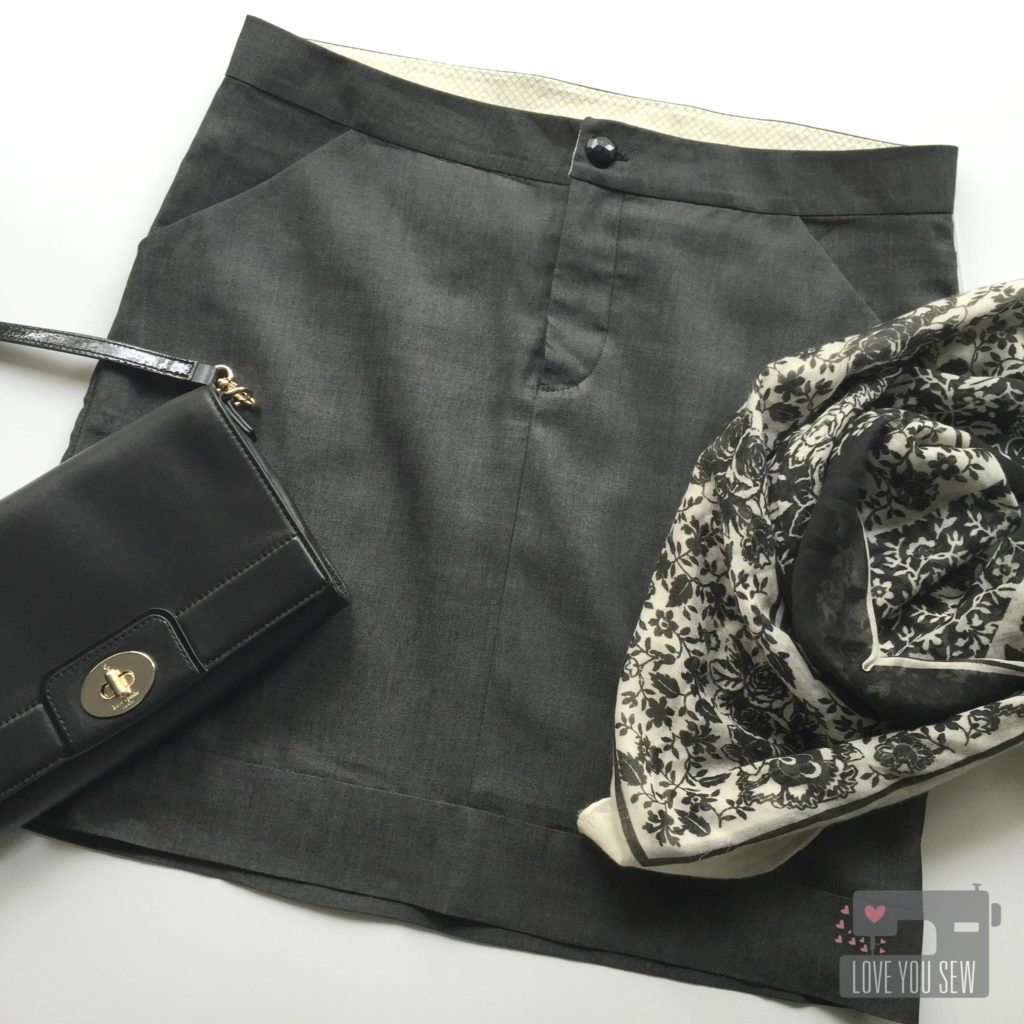
I chose this beautiful Robert Kaufman black denim for my skirt.  It has a lightweight structure and has pretty classy look and feel.  Who can knock the bonus slimming effects of black as well?

ZipperInsertOpen

The body of the skirt came together pretty quickly.  I used a combination of my Juki TL-2010Q to sew the straight seams and then finished with my Singer 150 Anniversary 14T948DS Serger.  If you make a lot of garments, I highly recommend a serger to really make your seams look professional.

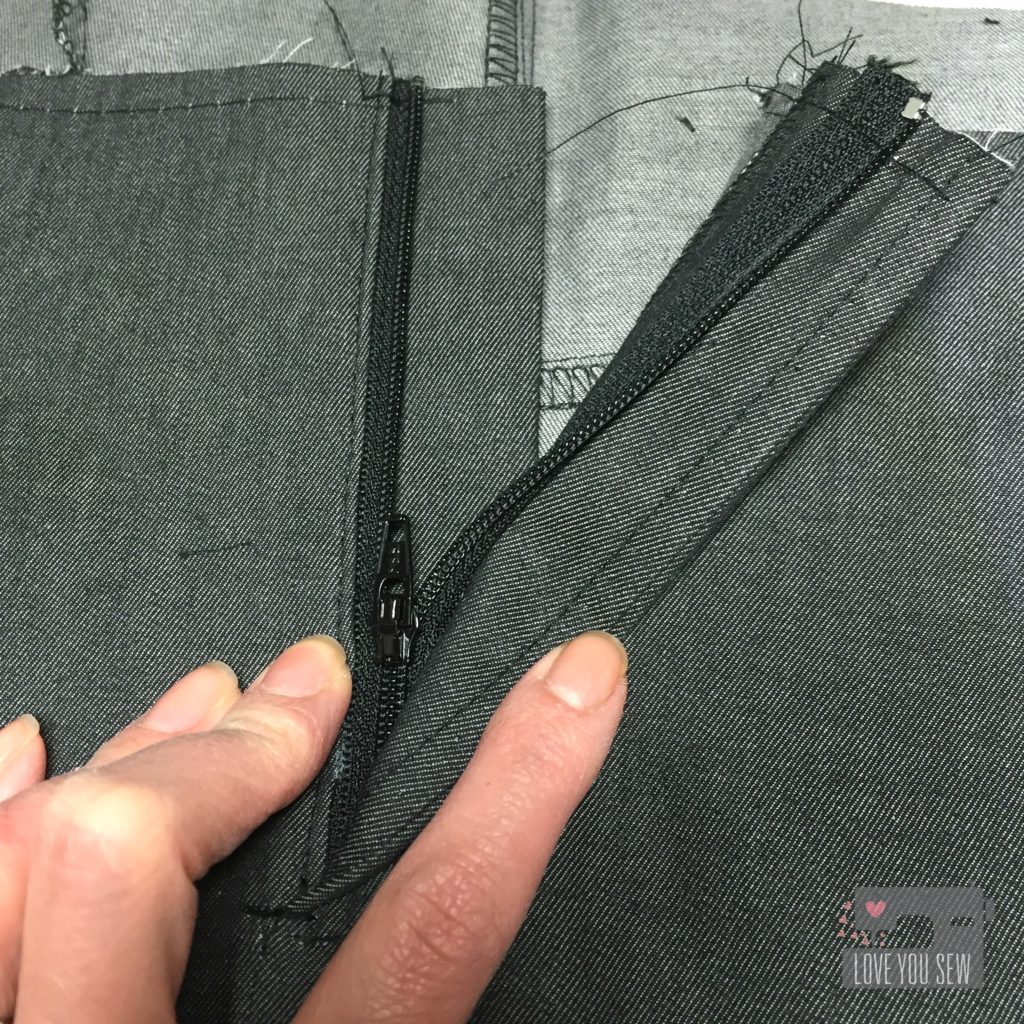
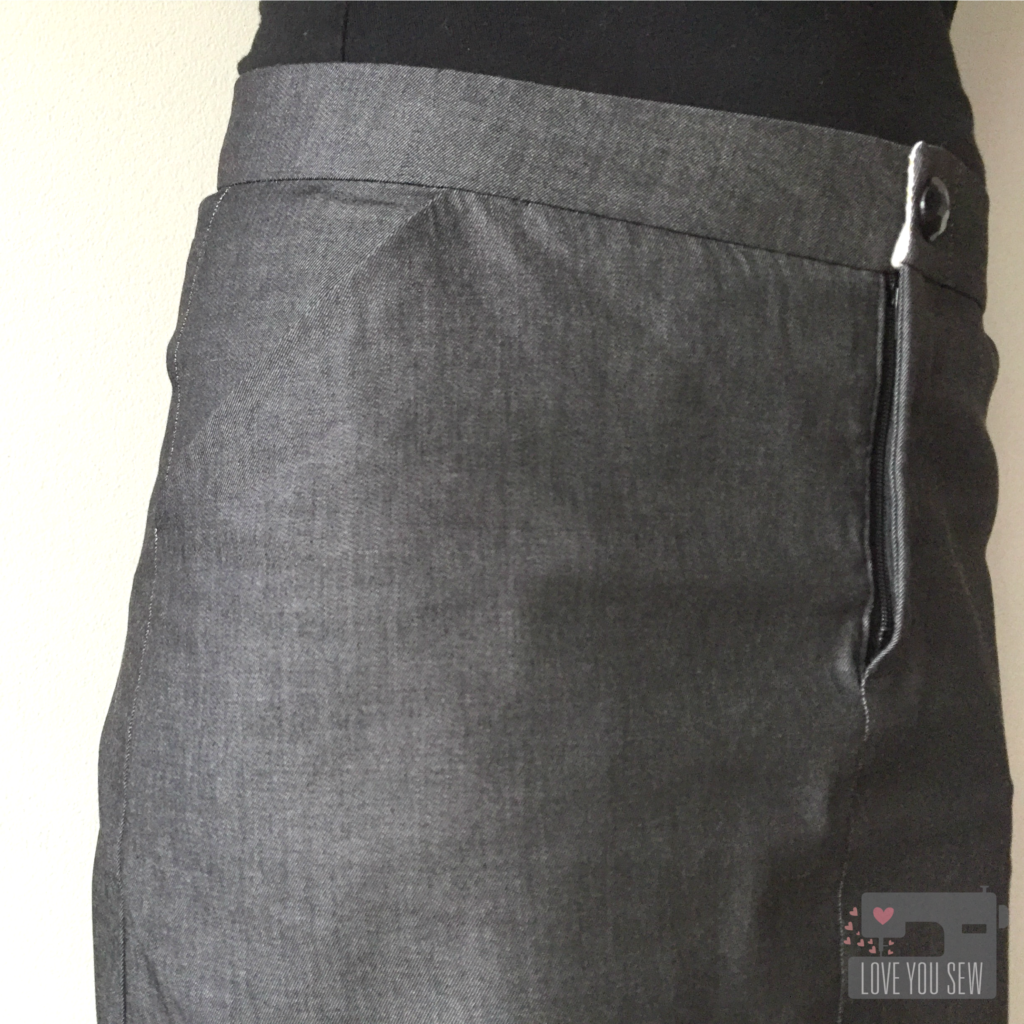
After I got the body and pockets complete, it was onto the zipper insert.  Since this was my first one (ever!) I couldn’t wrap my head around the pattern’s instructions.  Luckily, Grainline has a ton of supplemental resources under “Tutorials”  to help.

ZipperInsertClosed

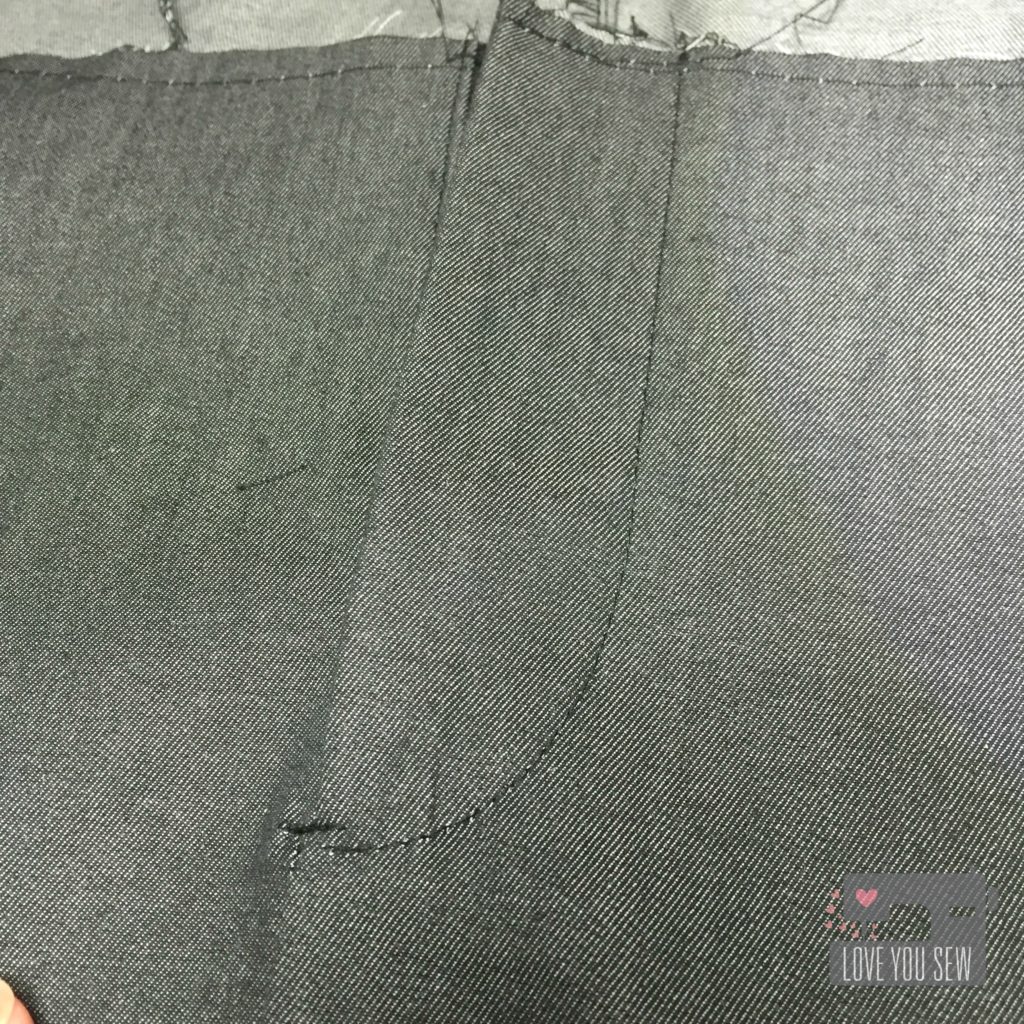
After looking at the blog’s additional pictures and instructions (about 10 times,) I finally dove in and added the insert.  Instead of basting, I used my favorite Sewline Glue Pen to keep the zipper and fly pieces all in place.  I’m so proud of how this came out…who knew it actually pays off to take your time?  😛

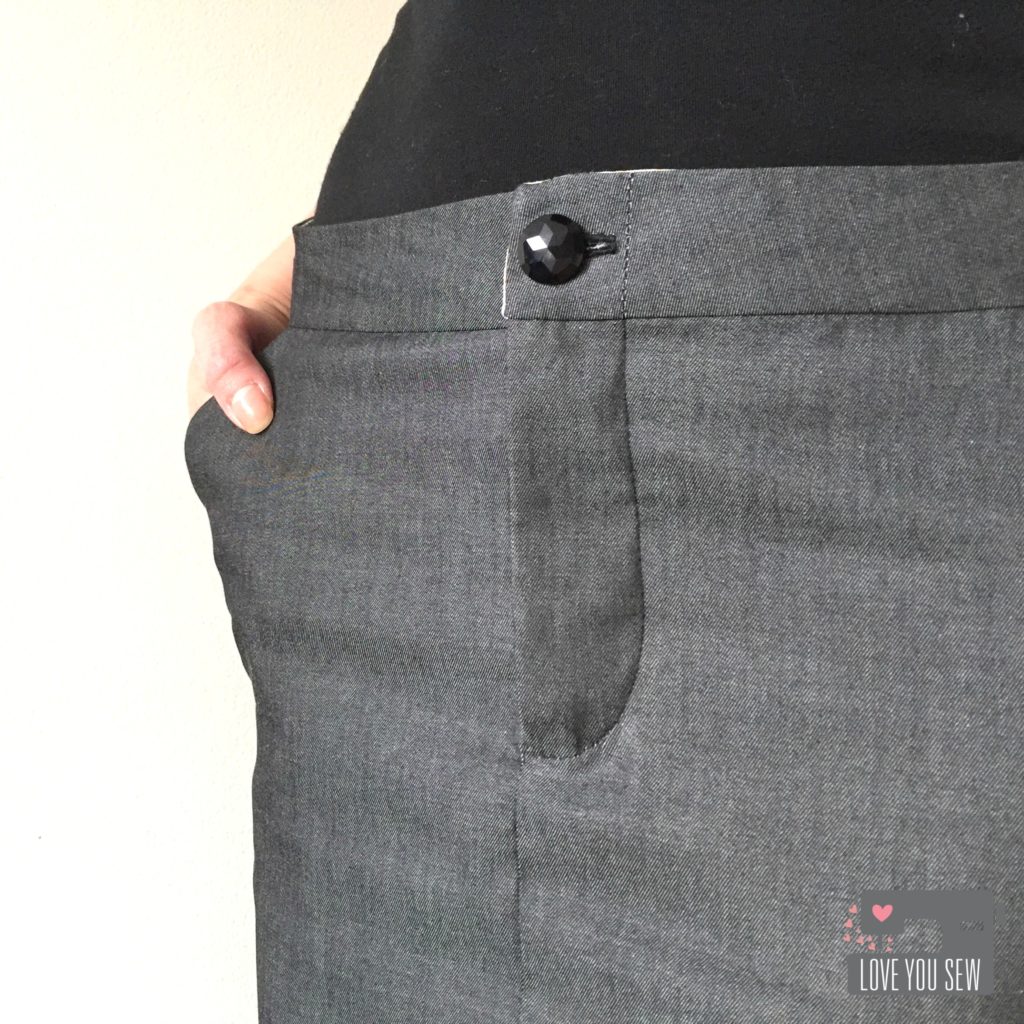
WaistbandButton

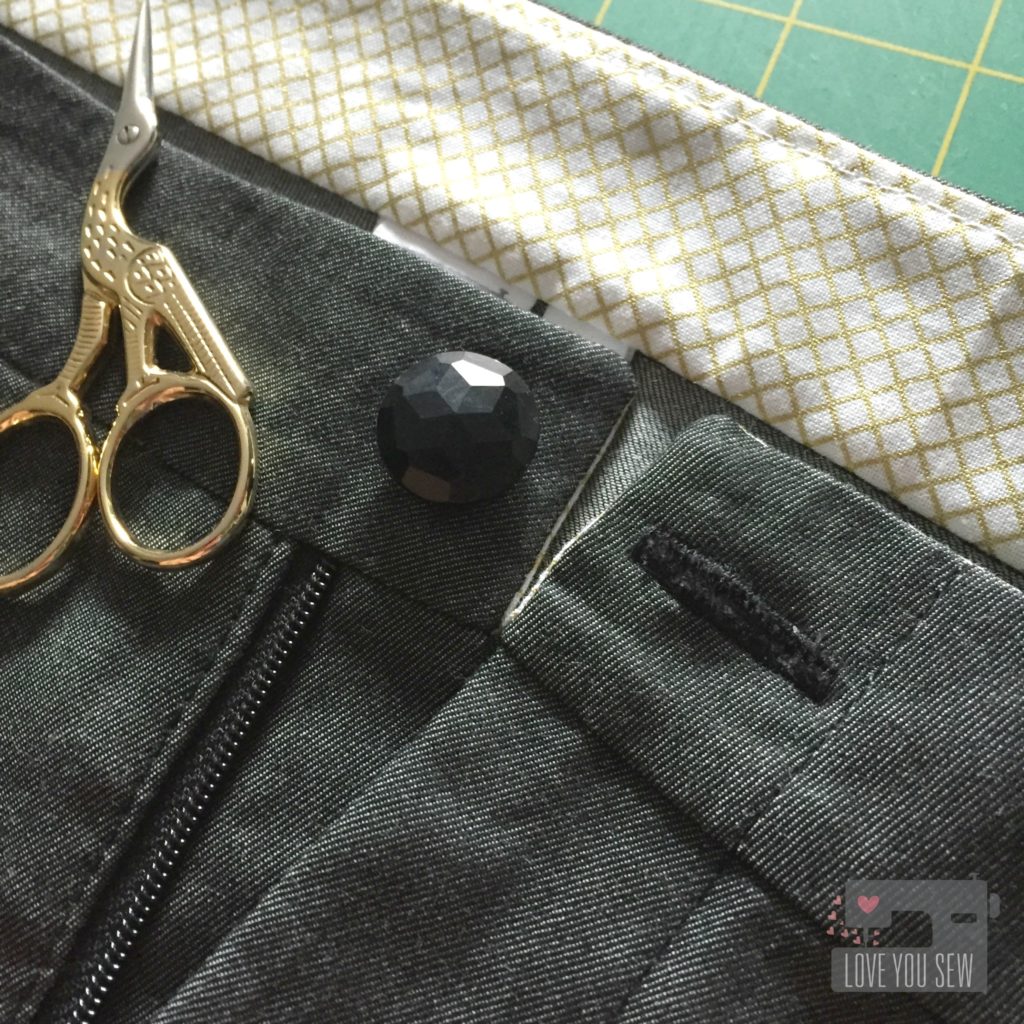
I like fun little details like adding this metallic fabric inside the waistband.  It is Remix by Ann Kelle for Robert Kaufman and really adds some flare.  This button is extra special – It is from my mother-in-law’s stash which was passed to me when she moved to a retirement home.  I wanted to make this skirt for Mother’s Day and it was really nice to have something from my MIL because we couldn’t spend the day together.  I think it maybe from a coat because I have about 5 of these pretty gem-like buttons.

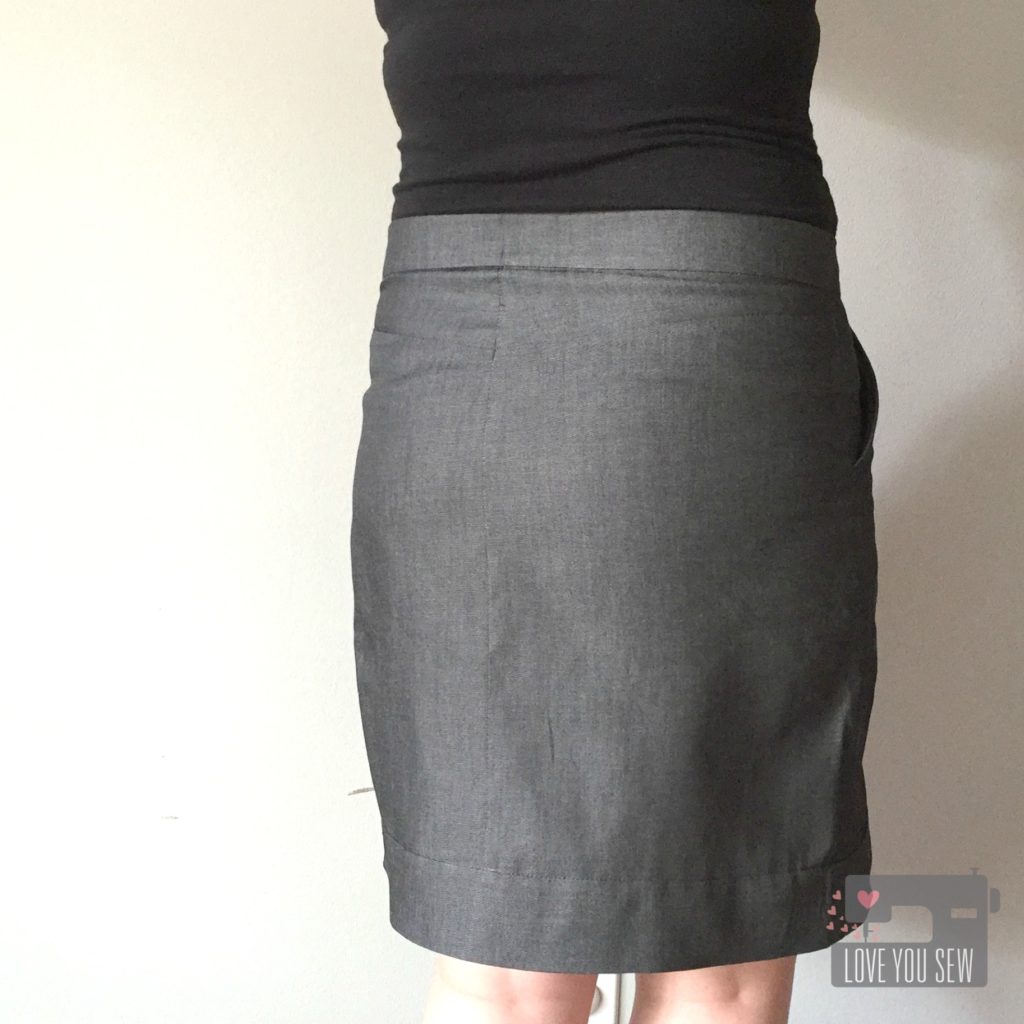
MossSkirtBackview

Before adding the waistband, I adjusted the waist measurement at the back yoke.  (My backside is one size and my waist is another.)  Next time, I’ll wait to serge the center-back seam until after I  tailor it in…just for clean seam.   What I completely forgot to do, was to slightly curve the yoke back down after the adjustment.  You can see the slight fold in the yoke right below the waistband….that should be smooth.

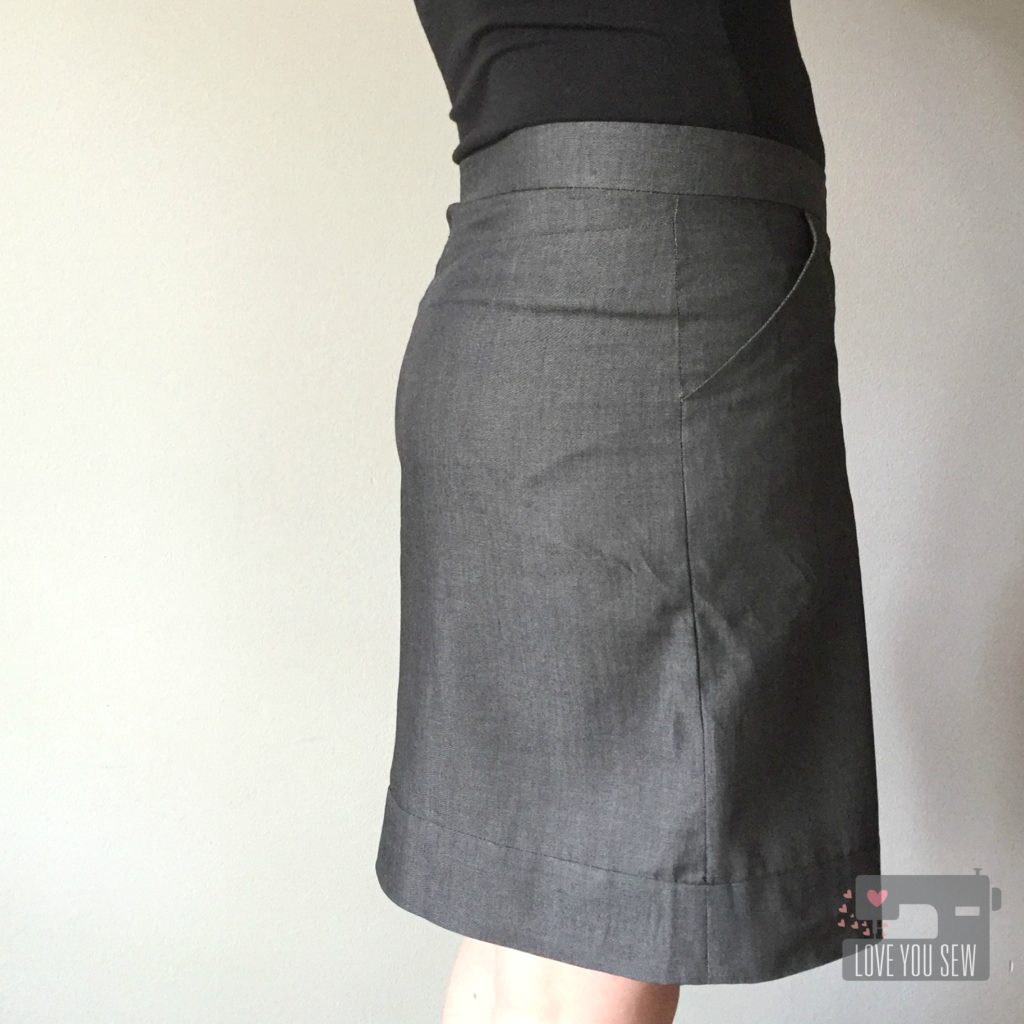
MossSkirtSideview

The other change I made was to decrease my seam allowance to 3/8″ for the waistband to make it slightly wider.  After kids, I enjoy a mid-rise and wider waistbands to keep “everything” in it’s place…hehe.

MossSkirtFrontCloseUp

If you read other reviews, there is a mix of people who are able to use the waistband as written, and others who come up a little short.  I’m still a newbie to garment construction and I fell into the latter group.  Since I adjusted the back yoke, my waistband was only about 1″ too short.  I added the extra length to line up with the fly shield and you would never know there was an issue.  Fortunately, I did not cut my interior waistband facing yet and could adjust to match.

MossSkirtSideCloseUp

The pockets on this skirt are great.  Since I’m a bit more curvy, ready-to-wear pockets tend to poke out and it looks like little wings are flapping out of my hips.  I would have to sew them shut to look somewhat normal, but then have to sacrifice functionality.  These pockets hug to the body and I’m so glad I can actually use them!

MossSkirtStyled

I opted for View B of the Moss Skirt to wear this out to slightly more conservative places, but changed the band to hang only 2 1/4″ down since I’m a shortie (5’3″.)  There are definite plans for some more casual versions with View A for the summer.  Let’s hope I have the time to get them complete before autumn hits!

I really love the clean look of this skirt.  Since I used denim, I debated top-stitching all of the pieces like a pair of jeans, but I’m glad I held back.  This skirt looks really polished as-is and I highly recommend this pattern if that’s the look you want.

Has anyone made this pattern yet?  What is your favorite skirt pattern?


Happy Stitching,

Cristy
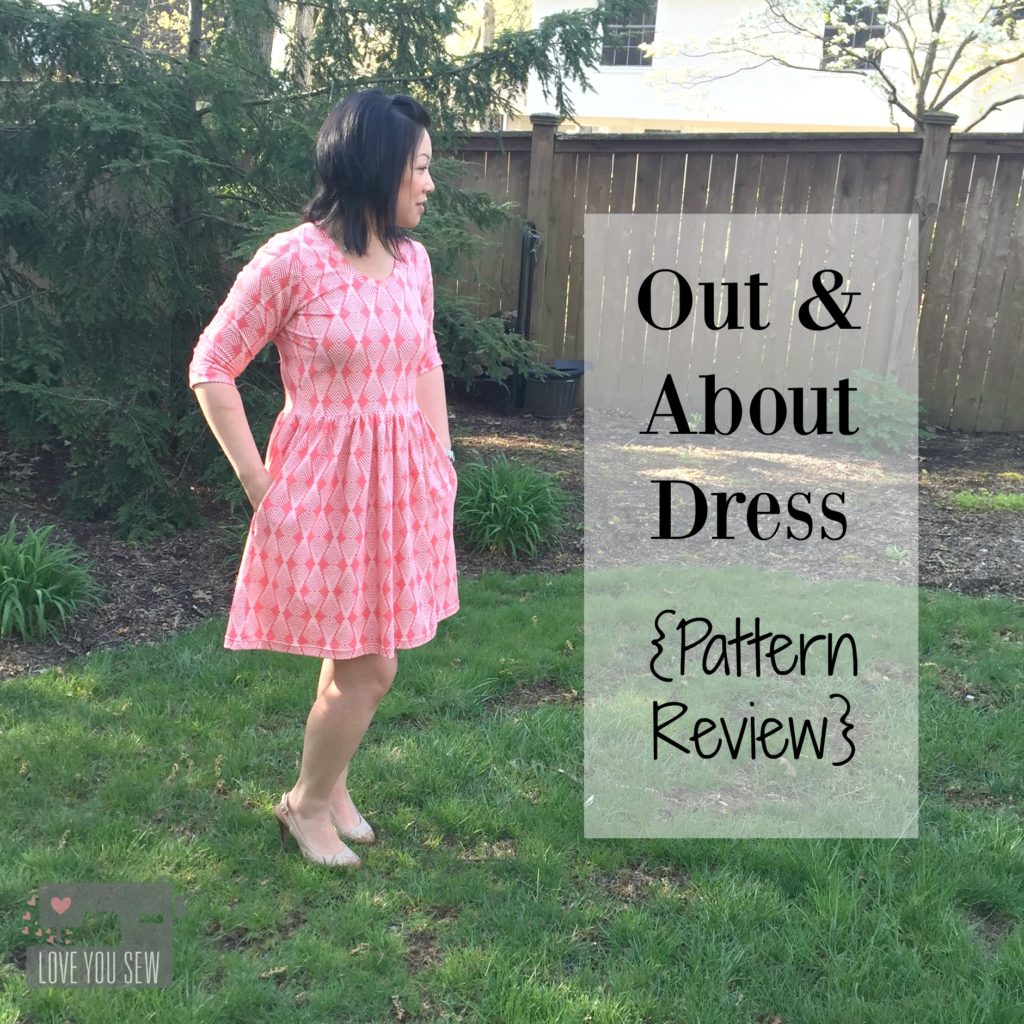
Out & About Dress {Pattern Review}

OutandAboutTitle

‘Nothing like having some crazy beautiful weather to push me to finally make my Out and About Dress.  (Anyone else getting snow in April, then full sun and 70* the next day?)  I’ve had this pattern since Black Friday when Sew Caroline had a great sale, but like most selfish sewing plans, this was pushed to the side.  Once the weather warmed, I knew I needed to add some more pieces to my me-made wardrobe.

I chose Plumage Poppy knit by Art Gallery Fabrics which is just amazing.  It’s bright, springy and just feels so soft and good too.  Best part is I picked up this from my little quilt shop (LQS) Sew to Speak…on sale!  Doesn’t that always make a project feel even better? 🙂

Garment sewing can be intimidating…especially with knits, so I want to show you how I finished my dress with a bunch of close-up shots.

Cuff

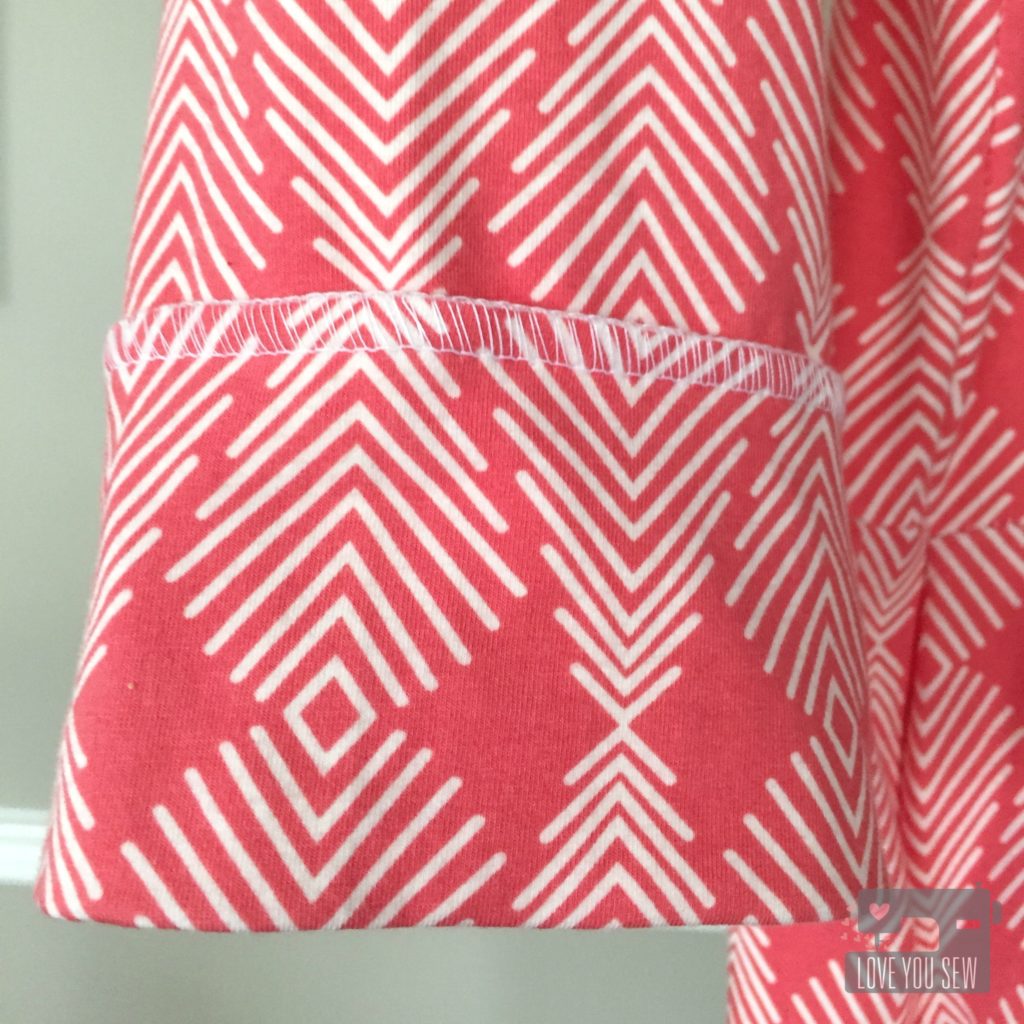
I have a serger and it’s a god-send when it comes to knits.  The knife cuts a nice even edge and the overlock stitch helps tie up everything so beautifully.  There is a nice stretch which I chose to use here in the sleeves.  This pic was taken before I tacked the cuffs into place to hide the seams.

Hem

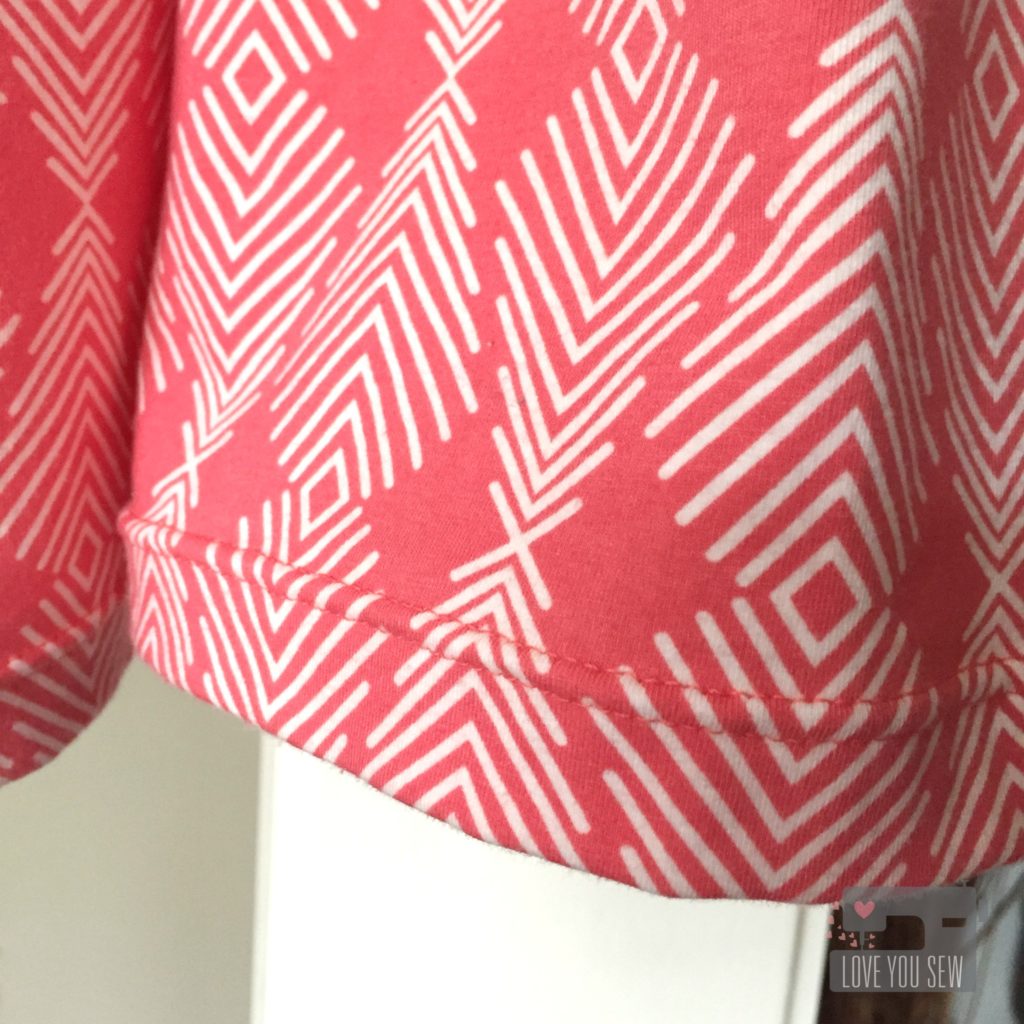
For the bottom hem, I used a ballpoint double-needle for this professional look. This allows for a decent stretch but not as much as the serging. With this being a loose dress, I am not worried about the stretch in the skirt….I’d rather it just look good! Ha.


Neckline1

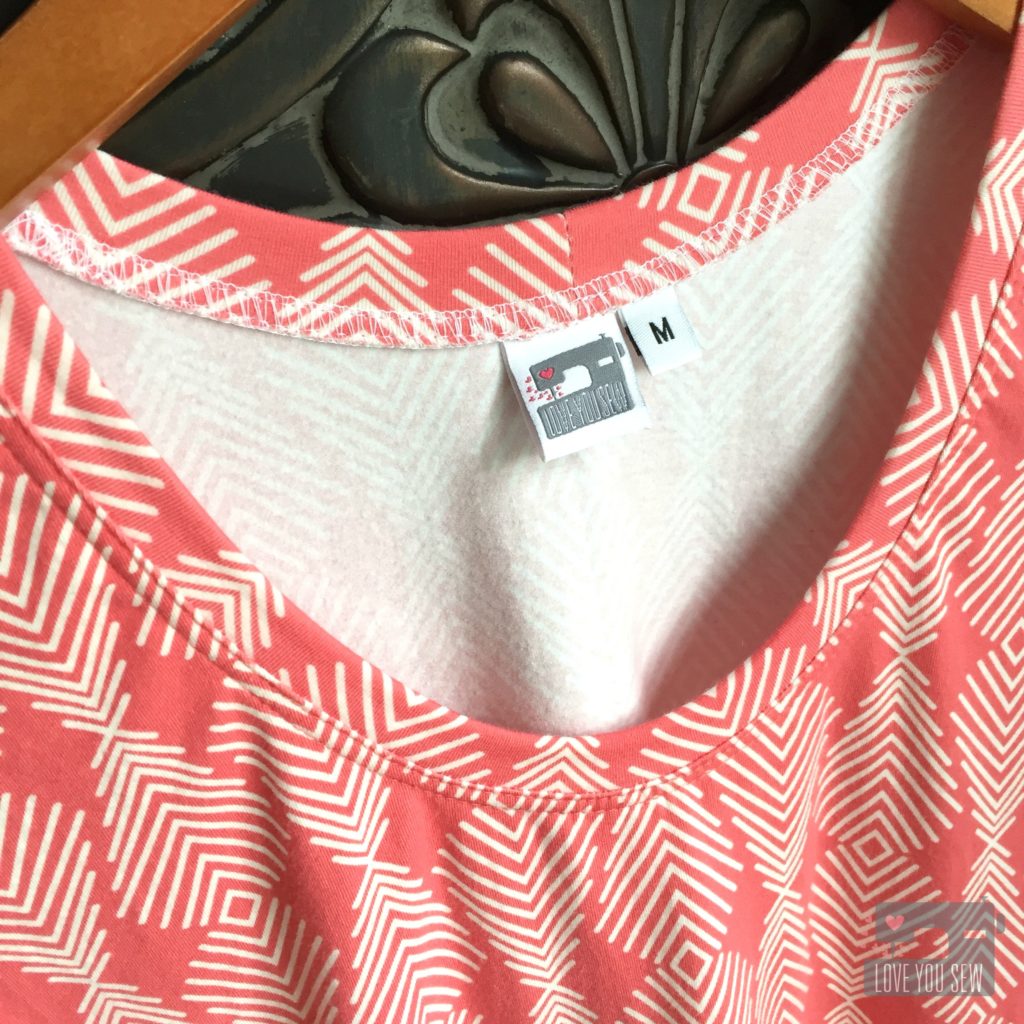
Around the neck, I serged the neckline onto the dress for a clean look on the hanger.  But for that professional look, I added two top-stitch seams while tugging at the knit a little bit.  A coverstitch machine would probably do the same but I don’t have one (It IS on my ultimate wishlist though.)  The size of the head opening is large enough that I’m not concerned with having to really stretch it out, so the top-stitching works.  It’s always good to test your stitches on a scrap piece to see how much stretch you need.

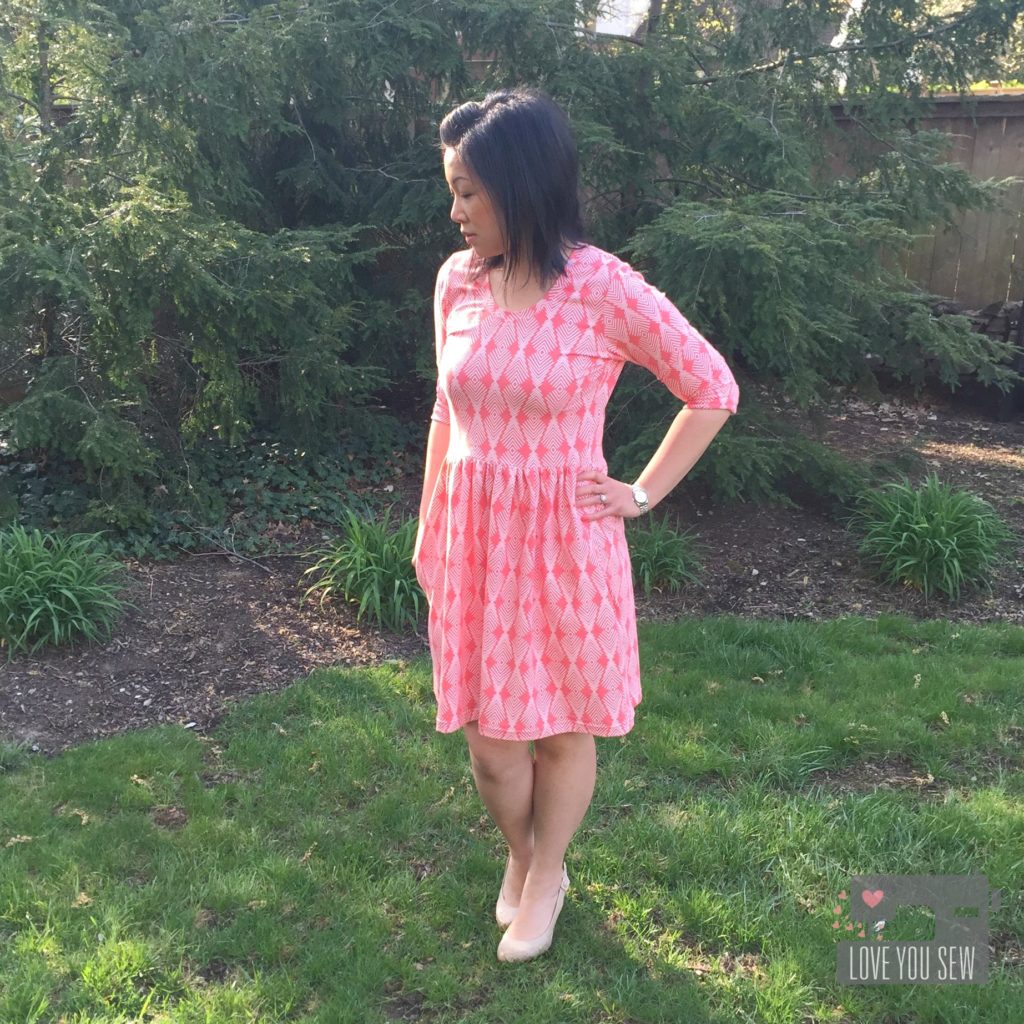
fullprofile

This was more simple sew than anticipated…even with the pockets!  So, I know this won’t be my last Out and About Dress.  It was true to size, but since I’m 5’3″ I took about 4″ off the hem to hit just above the knee.  I may have to attempt a hack for a tank version.  Let’s see how long it will take me to make one!

Have you made anything new for yourself lately?


Happy Stitching,

Cristy
Chalk and Paint Fabrics Blog Tour {Crimson and Clover Traincase}


Traincase Full Profile A

Welcome to the kick-off for the Chalk and Paint Fabrics Blog Tour!  I am so happy to share my project with these new Art Gallery fabrics with you.  Sew Caroline has quite an amazing line-up ahead for the next few weeks and I know each blogger will have something amazing with Chalk and Paint.

Logo-PNG2

I have been a long-time admirer of Sew Caroline‘s garment patterns (umm..hello, Kimono Jacket..here and here…)   It is no exception when it comes to her fabrics.  All of her collections are youthful and so fun.  But this newest line has a more muted pastel palette, which I just adore!

Traincase Top

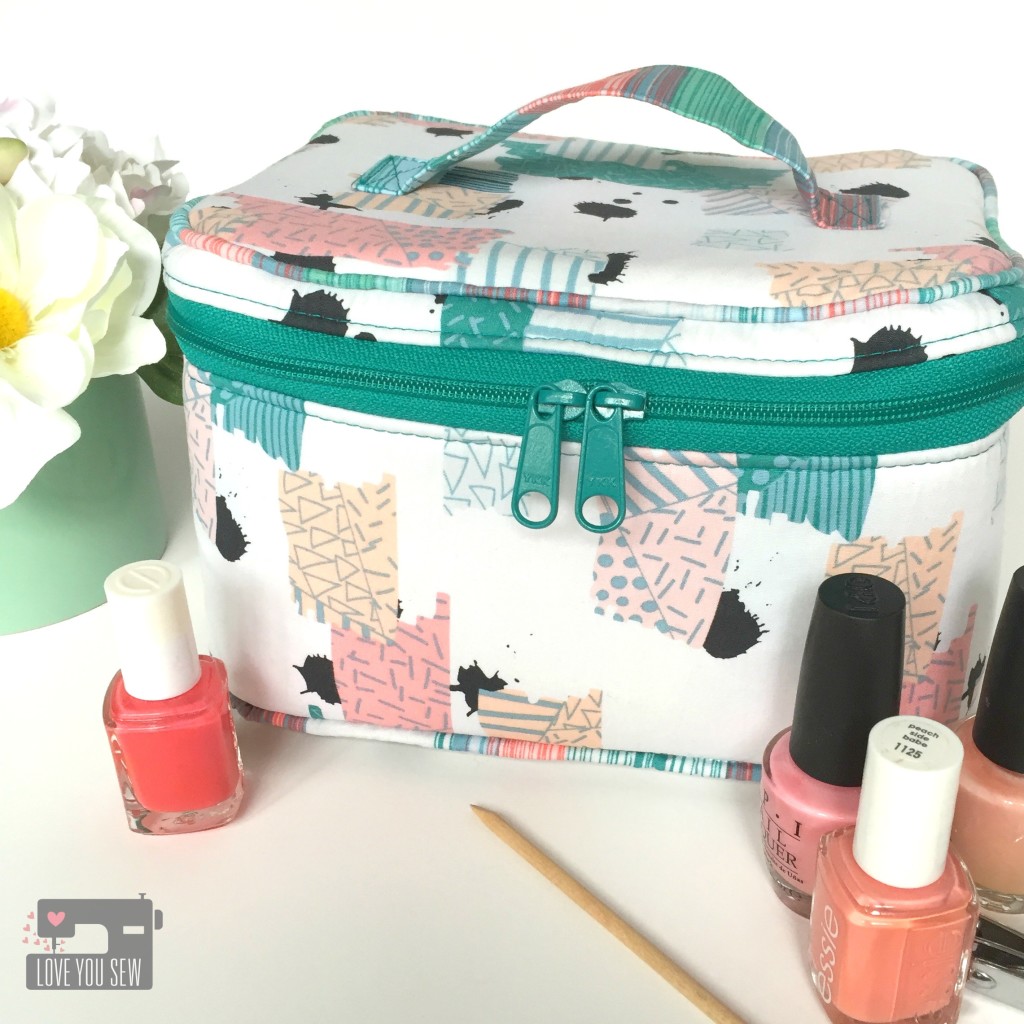
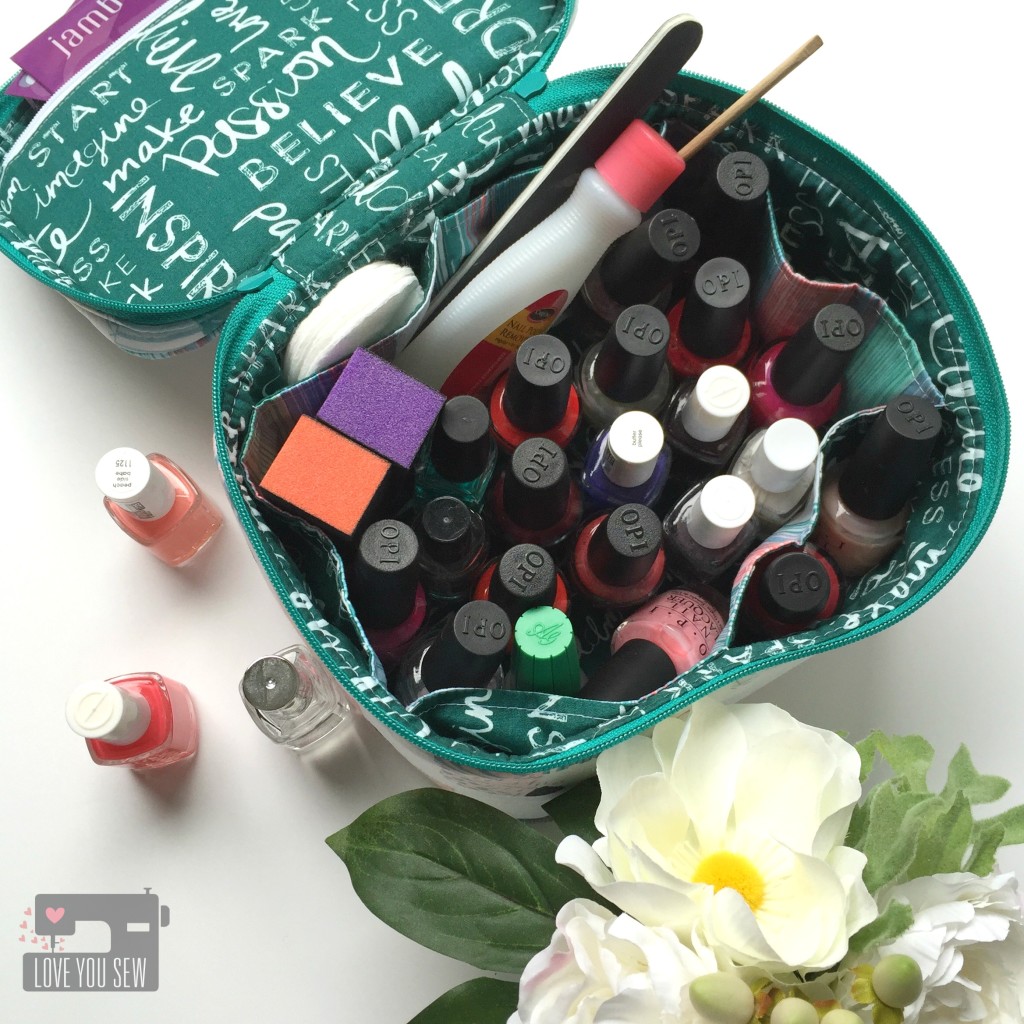
When I saw Untaped Splatter Frost, I knew it was going to be my next Crimson and Clover Travelcase (pattern by Sew Sweetness.)  I love this case because it holds everything…and it’s not even the larger size.  The interior side pockets are so nice for organization and lord knows I need all the help I can get!

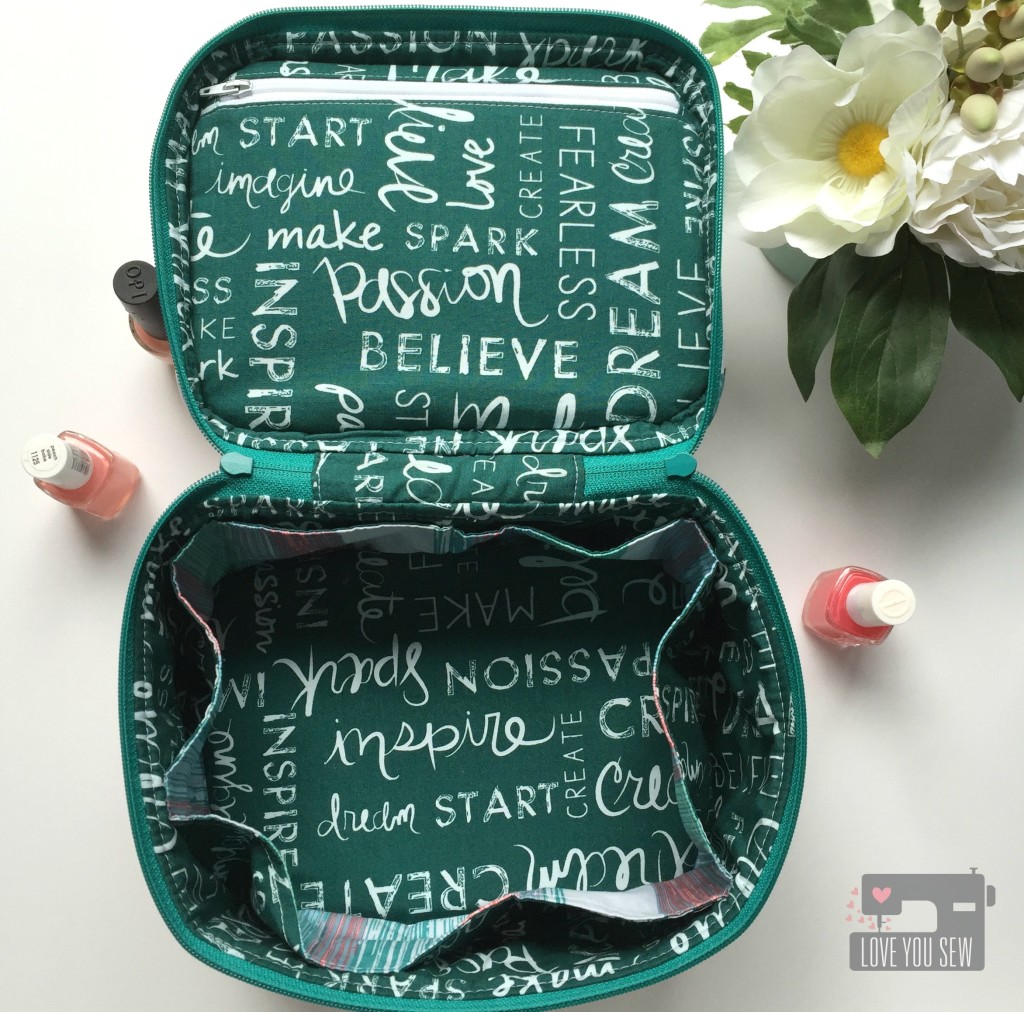
Traincase Open Full Polishes

As I was sewing this bag, I realized why I put the two together….it was my sewn version of a Caboodle!  This exterior fabric has an 80’s vibe and being the child of immigrant parents, I never had one.  “What..a shoebox wasn’t good enough to hold your junk?”  They never understood the need for adolescent acceptance…haha.

Traincase Open Empty

For the interior, I used Writings on Boards as a darker complement to hide any spills or smudges which may occur (yes, I know myself well.)  How cute is this text fabric, right?  I love the inspirational words to welcome me every time I open this bag.

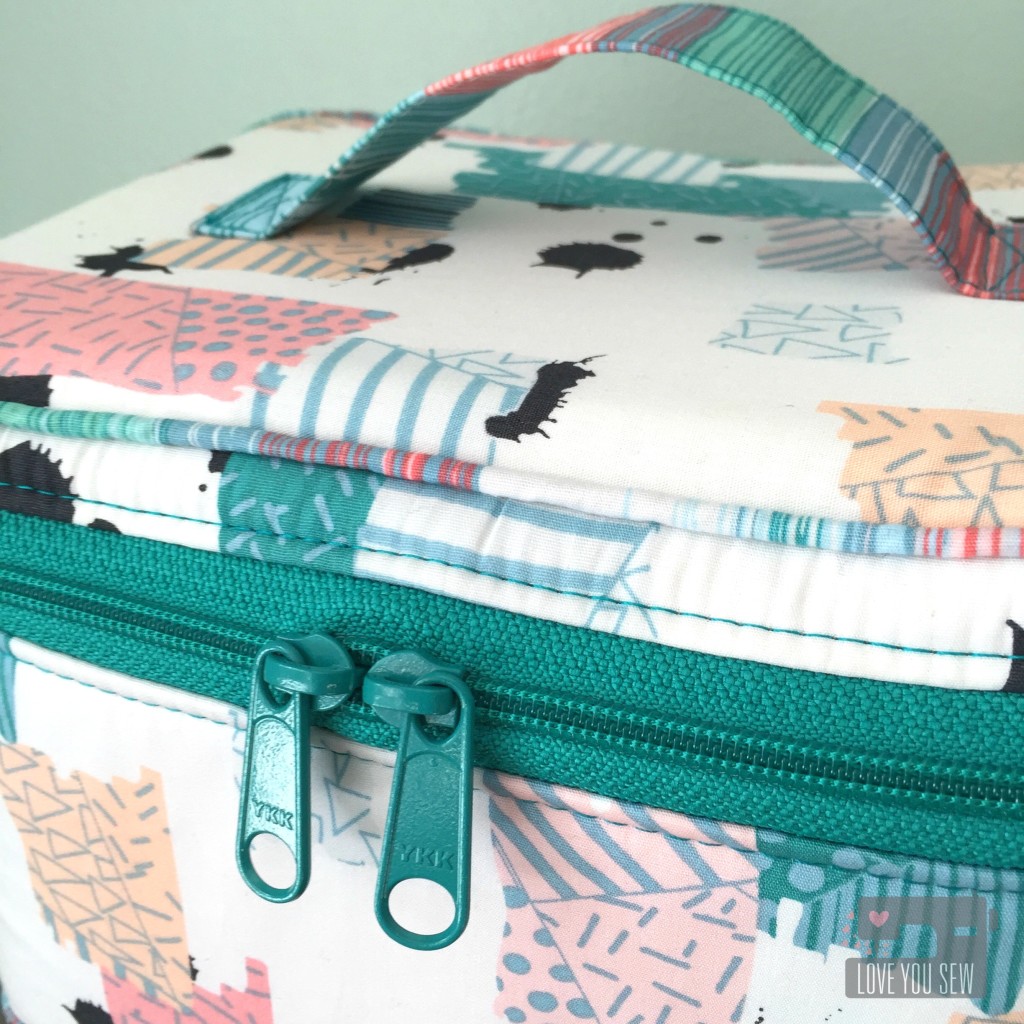
Traincase Front Zipper CloseUp

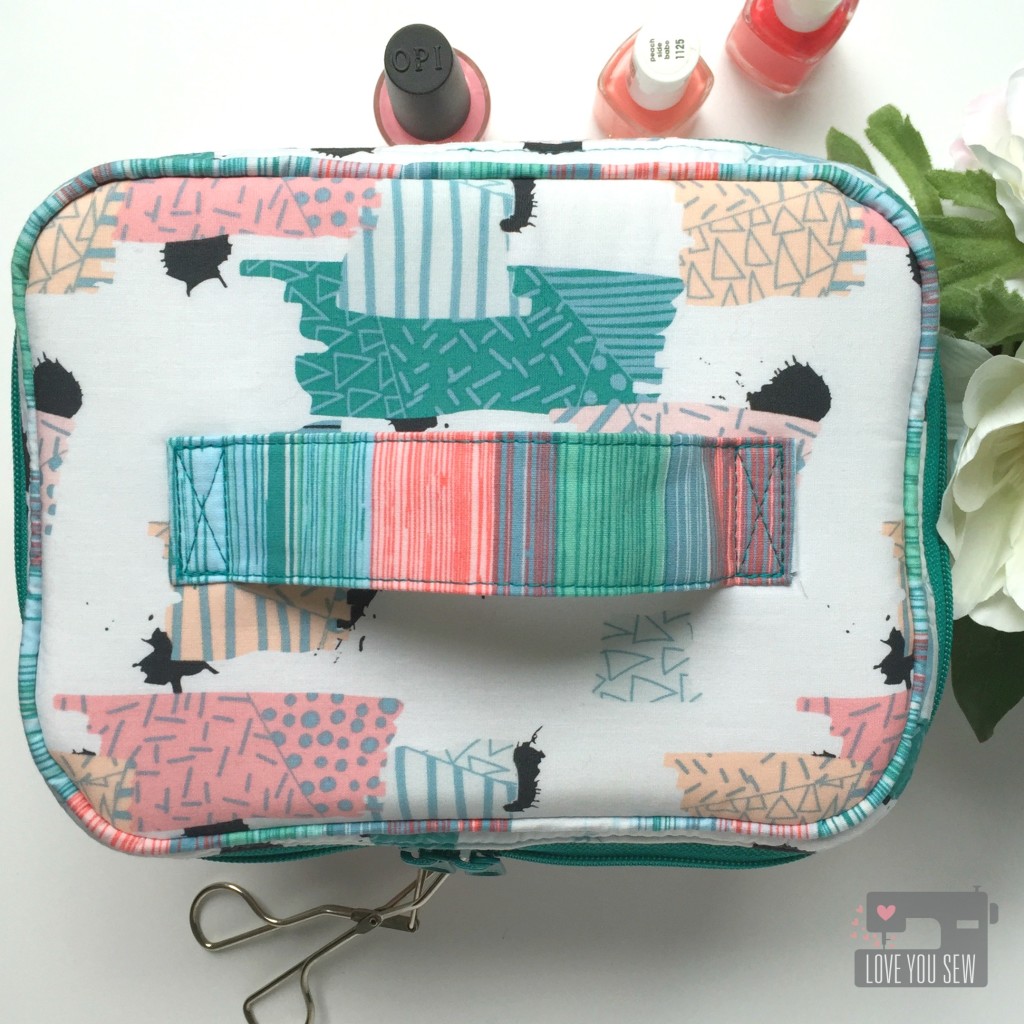
For the piping, handle and interior pocket accents, I used Dripping Paint Cooling.  You get so much color and texture in such a small amount of yardage, that it was just perfect for that extra “pop.”  Now…I think my “Caboodle” is pretty rad, isn’t it? 😉

Don’t forget to visit all of these amazing blogs for more Chalk and Paint projects!

Cristy // Love You Sew –> Right here!

Katie // The Simple Life

Jenn // Quilts and Conversations

Robin // Pattern Revolution

Alicia // Love Knot Photo

Holly // Holly Gets Quilty

Chris // The Tattooed Quilter

Alexis // My Sweet Sunshine

Adrianna // Hey June Handmade

Taylor // Taylor Made Creates

Casey // Casey Taylor Threads

Hayley // Welcome to the Mouse House

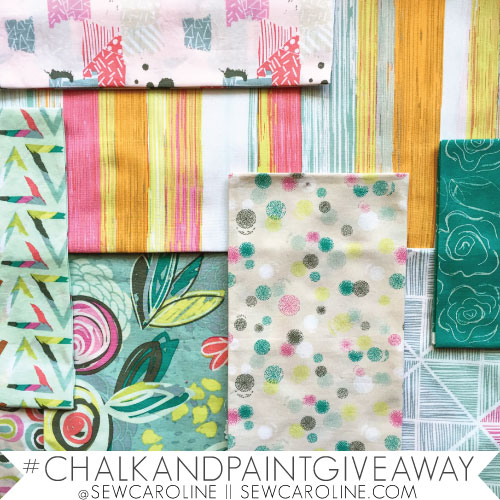
Giveaway-Graphic

What would you make with the Chalk and Paint collection?  You have a chance to WIN a Full FQ Bundle on Instagram by (re)posting your favorite image from the blog tour using #chalkandpaintgiveaway and tagging @sewcaroline. (Full Details are on Caroline’s blog.)


Good luck!


***This post may contain affiliate links which help me on the back end to fund this site.  Compensation is only through your own purchase. 

Love Story {Pattern Testing}

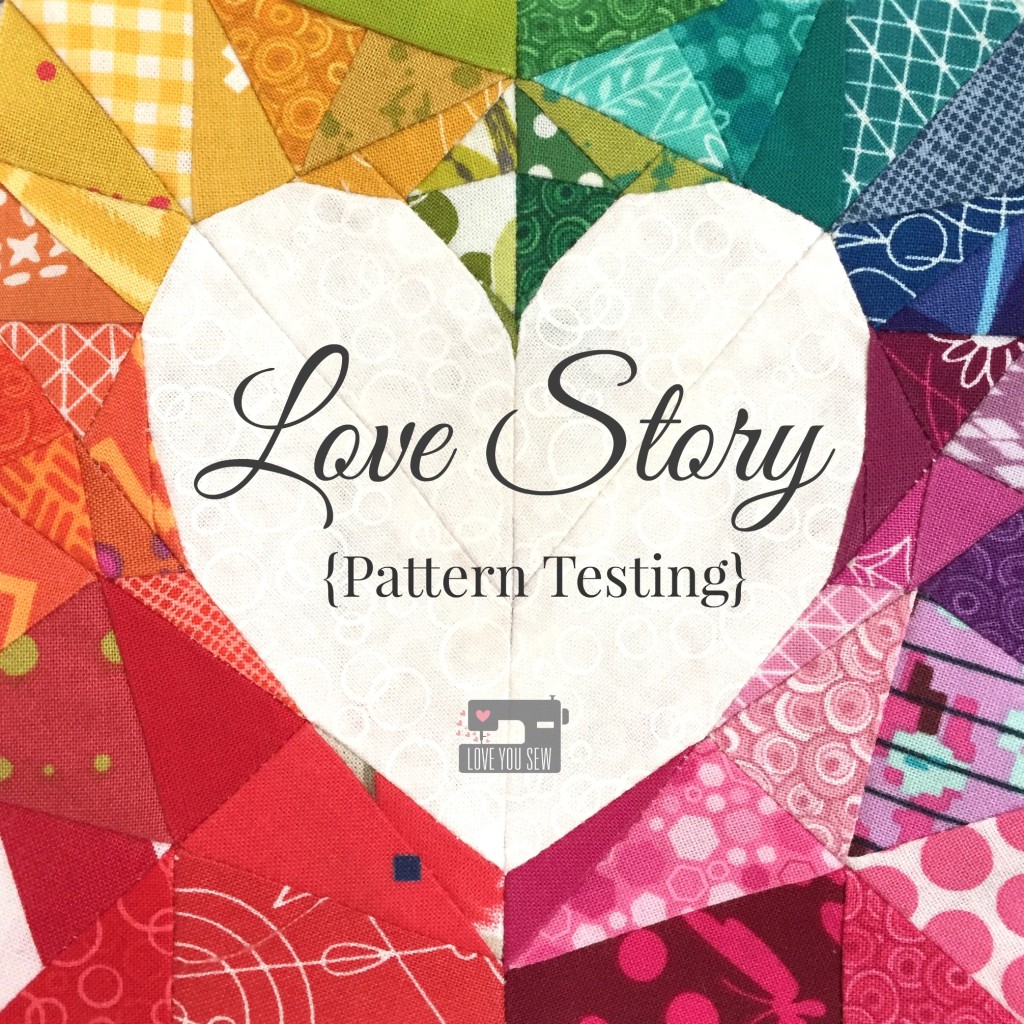
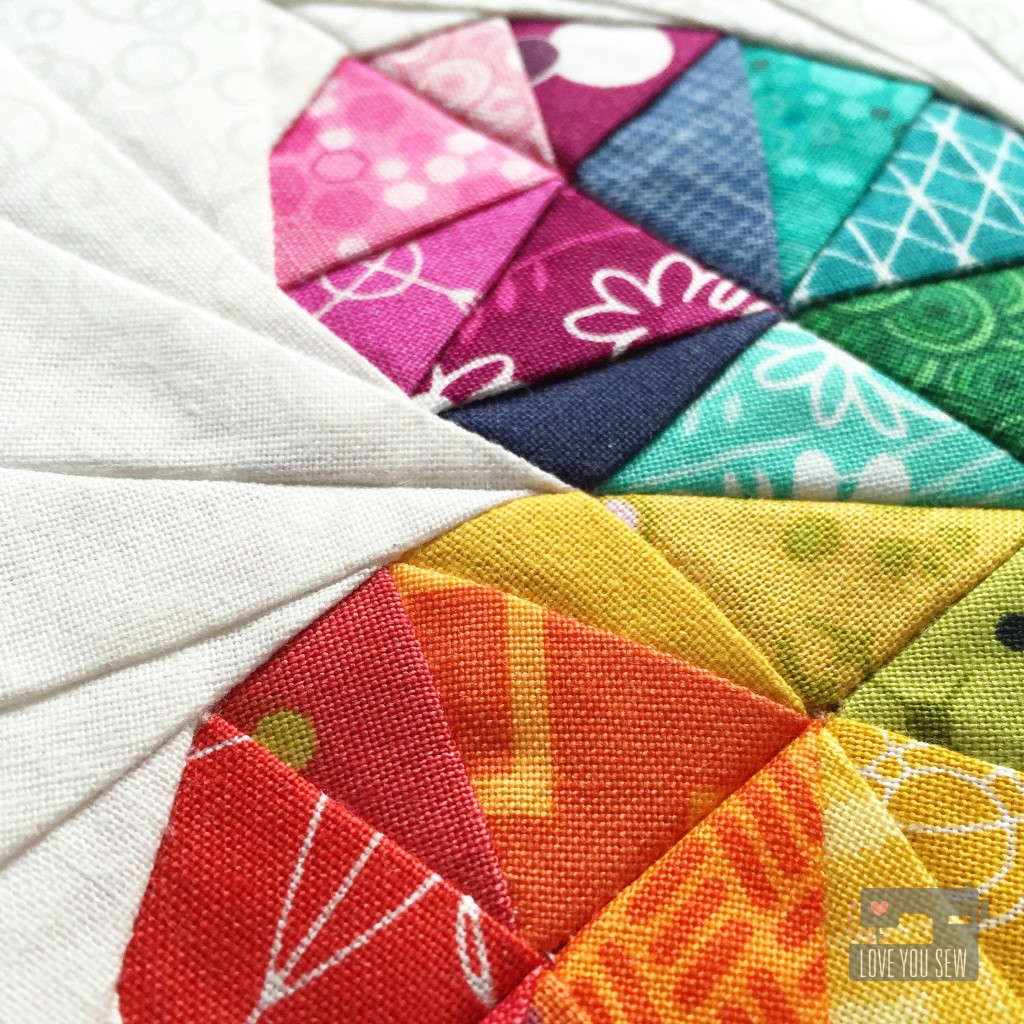
LoveStoryTitleI love Lilly Ella Stitchery‘s paper-pieced patterns ever since I tried her Butterfly Charm Blocks.  When Nicole sent out the request for testers of her new patterns, I seriously could not say no.  I didn’t even know what I was going to sew….all that I knew was that it was gonna be good!

PoetryCloseUpThen these beautiful hearts from Love Story appeared in my email….Oh my mercy!  How gorgeous, right?  The pack includes two patterns – Poetry (as shown above and below) and Prose (as shown in the title pic.)  Both square patterns come in 5″, 10″ and 16″ (finished) sizes.  You can find them over here.

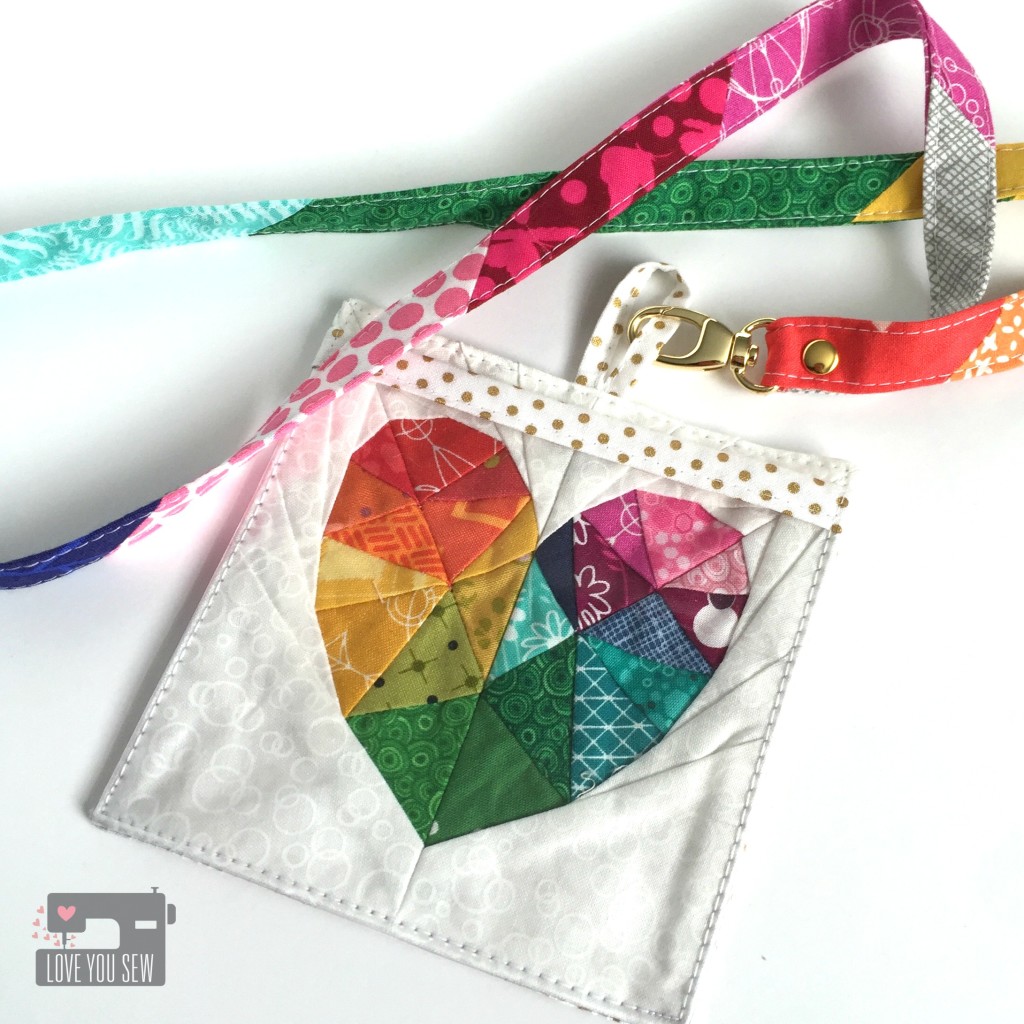
NameTagLanyardMy first attempt was to make this 5″ version of the Poetry pattern.  The piecing in the heart was just screaming for a rainbow color palette.  The pattern and size were perfect for the Name Tag Lanyard Swap for my Central Ohio Modern Quilt Guild.  I used the Swapaholics tutorial and just raised the vinyl window up so the heart would not be obstructed.

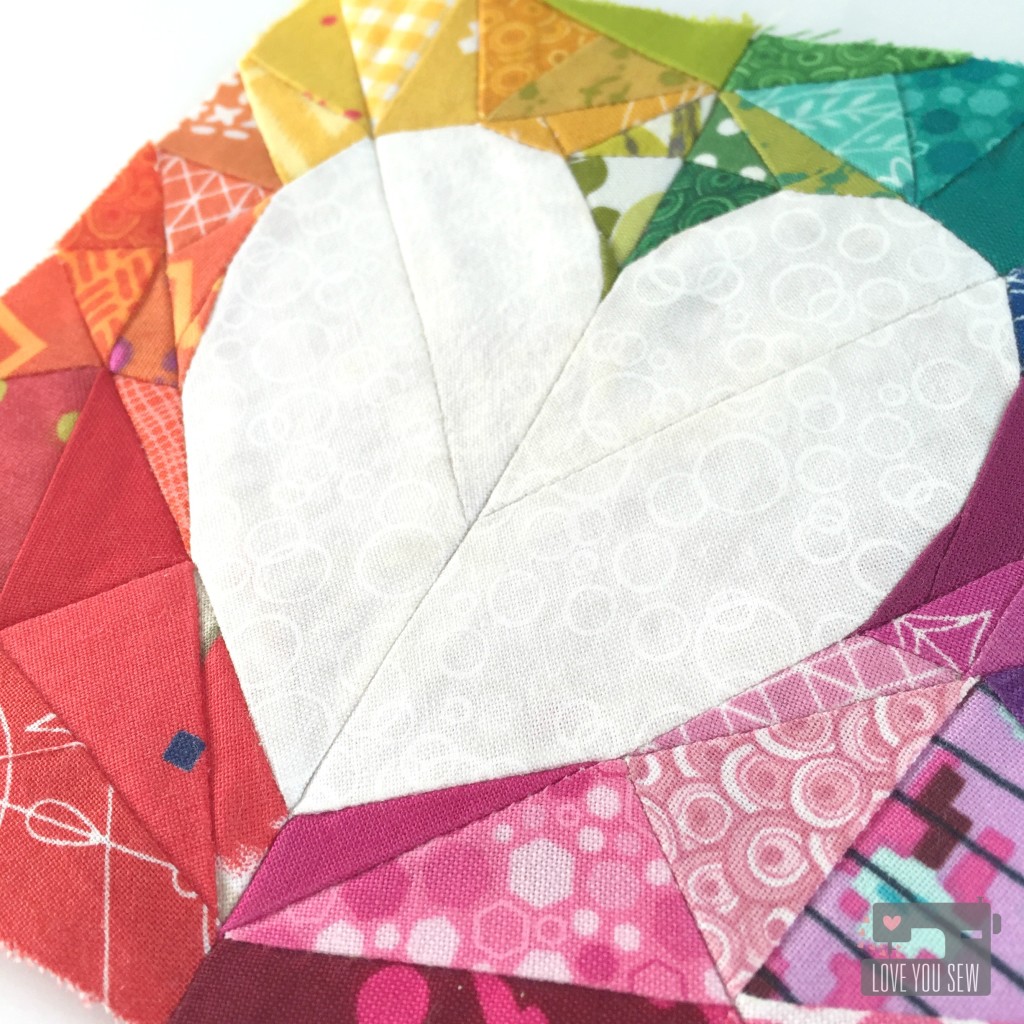
ProseCloseUpNext, I tried out the 5″ Prose version.  Now this was a bit more difficult given the number and size of the paper-piecing.  There are more corners to match up and some bulk to contend with, but it’s all worth it!

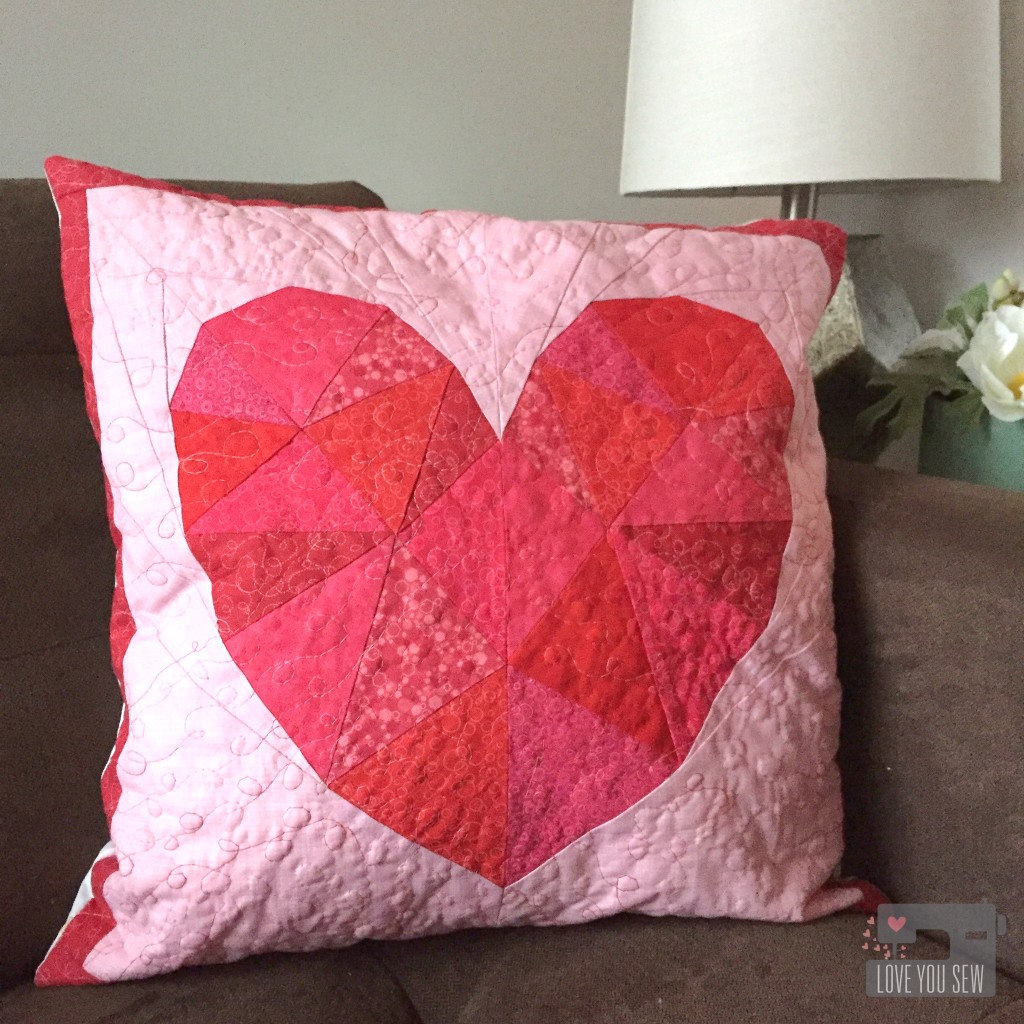
LoveStoryPillowLastly, I used the 16″ Poetry pattern to make a special pillow for Valentine’s Day.  My house is lacking in the home decor department so I’ve been trying to add more handcrafted items in between all the ones I sell or giveaway.  I practiced my free-motion quilting by using some variegated red Aurifil 4668 in a simple loopy pattern.

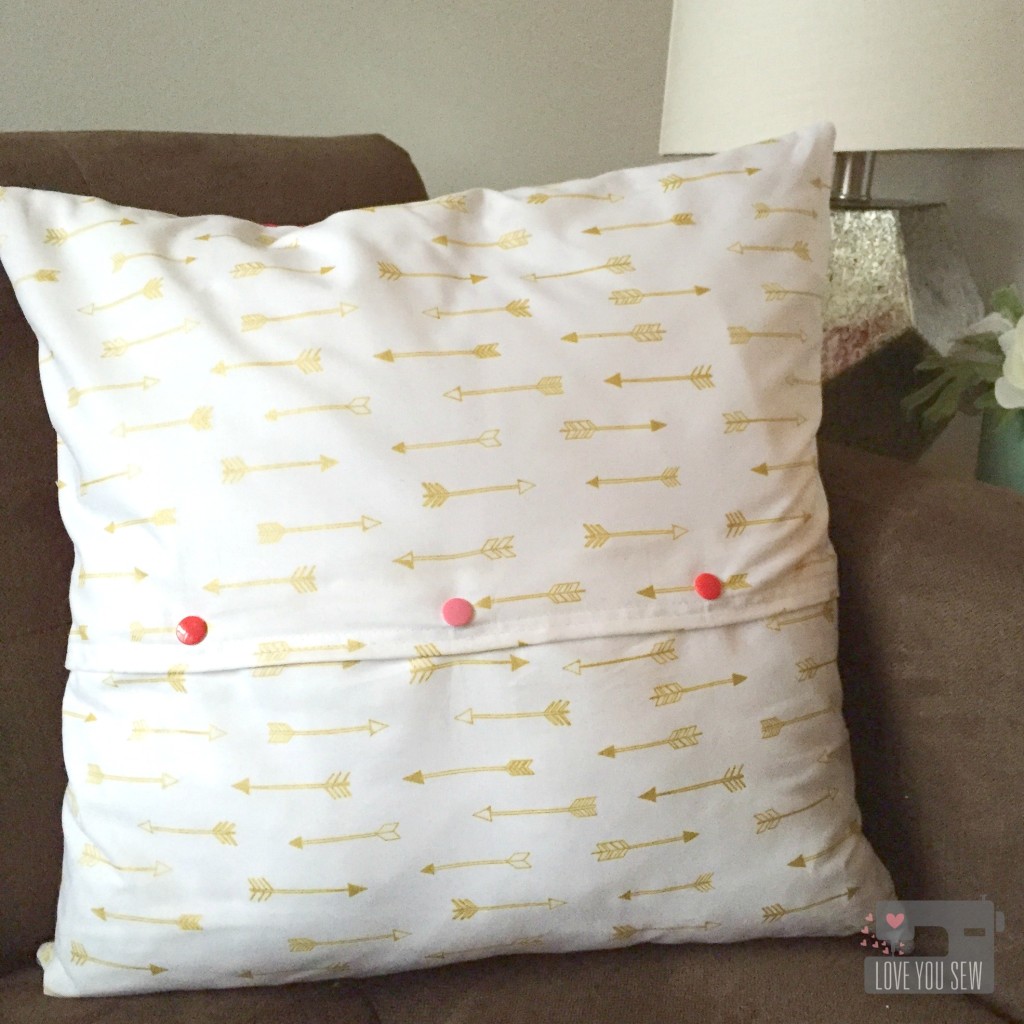
LoveStoryPillowBackA border all around the pattern was added to fit the 18″ pillow form I had on-hand. For the back, I used Arrow Flight from Michael Miller to complement the V-day heart.  Having this in my stash paid off 😉  Since this is intended as seasonal decor, I made the pillow back in two pieces with a 2″ overlap and added KAM snaps to keep the pillow in place.  I’m set for Valentine’s Day now!

What would you make with these patterns?


Hugs and Stitches,

Cristy
 

Pattern was provided by Lillyella Stitchery for testing but you know projects, thoughts and opinions are my very own.


Plaid Flannel Cargo Duffle

CargoDuffleTitle

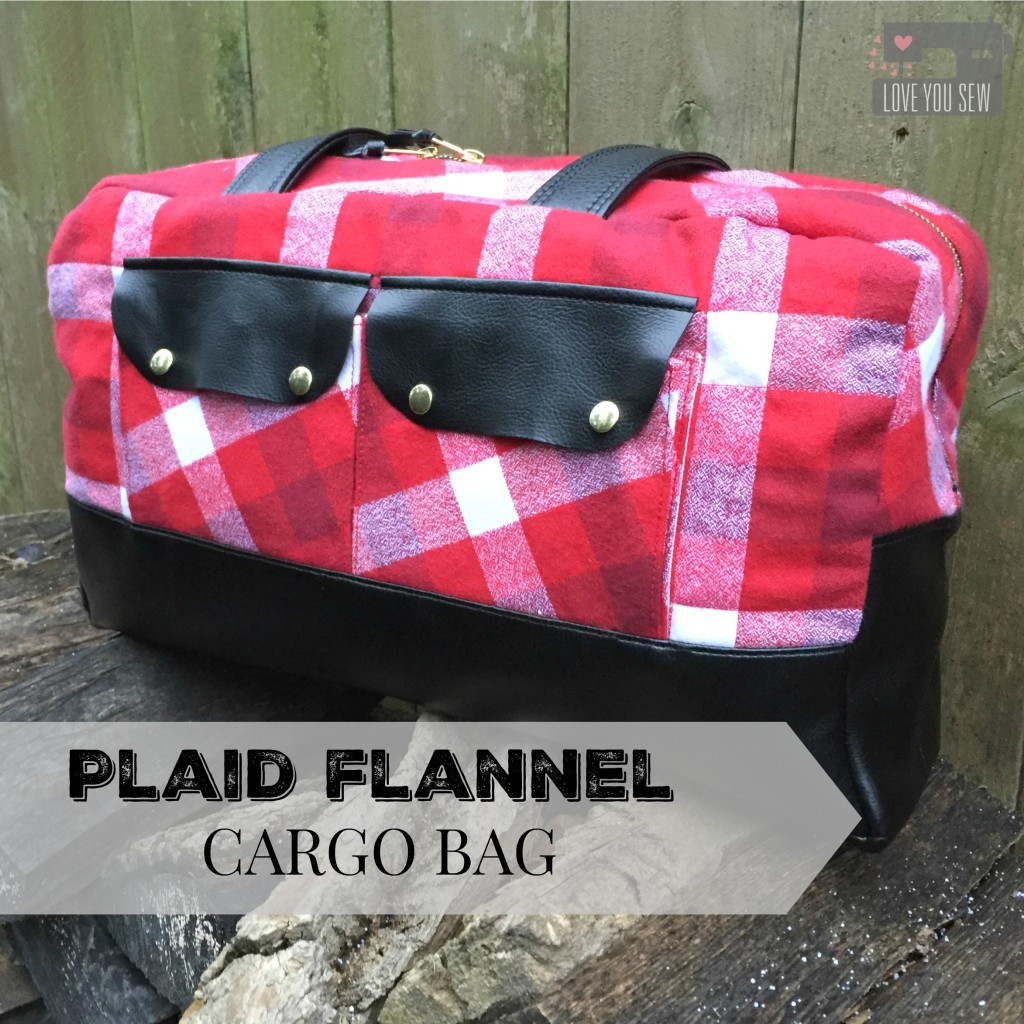
After I made my first Noodlehead Cargo Duffle for Sew Sweetness‘ Pursepalooza shown here, I quickly received a request to have one commissioned.  How many times has that happened to you?  However, the request came from my sister…so you know it turned into a gift instead 😉 Now that Christmas has passed, I can finally show you this version!

FullProfileWStraps

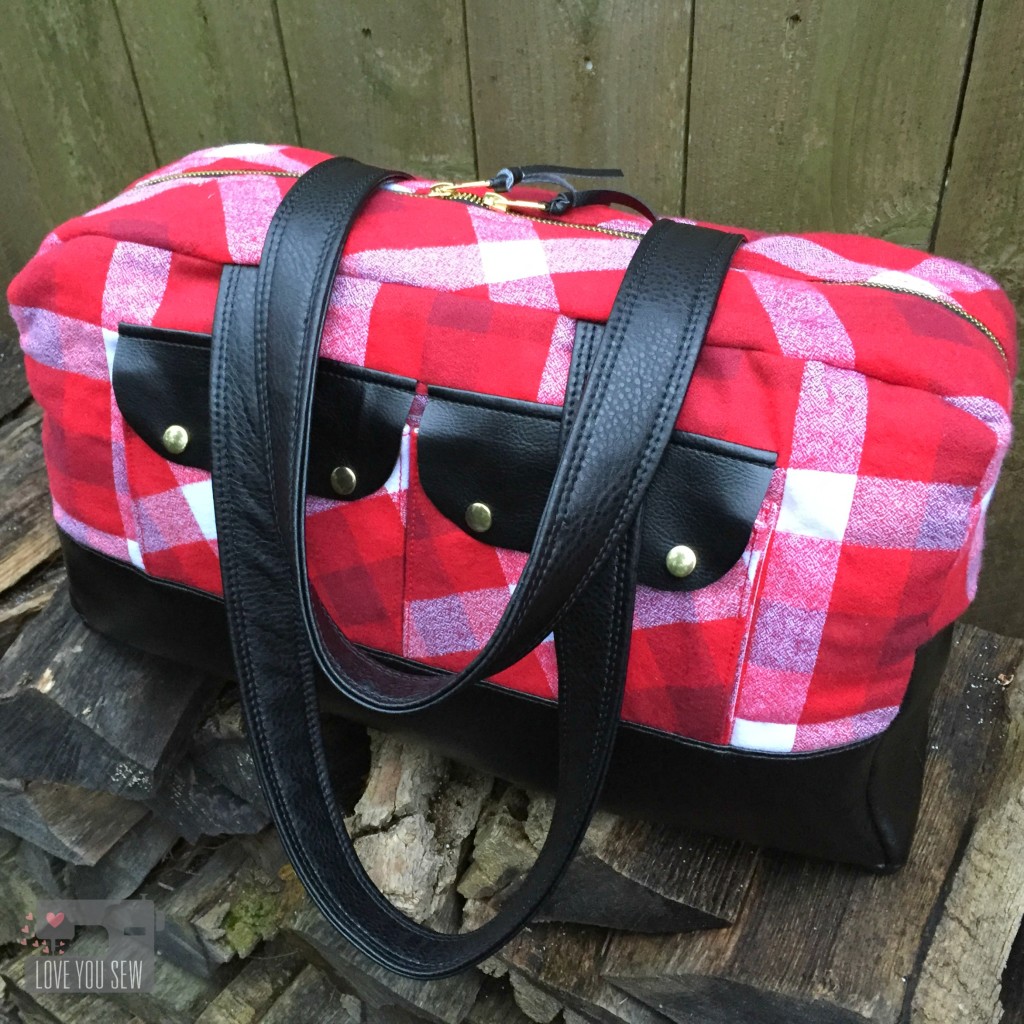
My sister wanted a plaid flannel just like my original…so of course, I went back to Robert Kaufman’s Mammoth Plaids.  They are just SO soft.  The black vinyl is “suede cloth” purchased from my local JoAnn’s.

BottomFeet

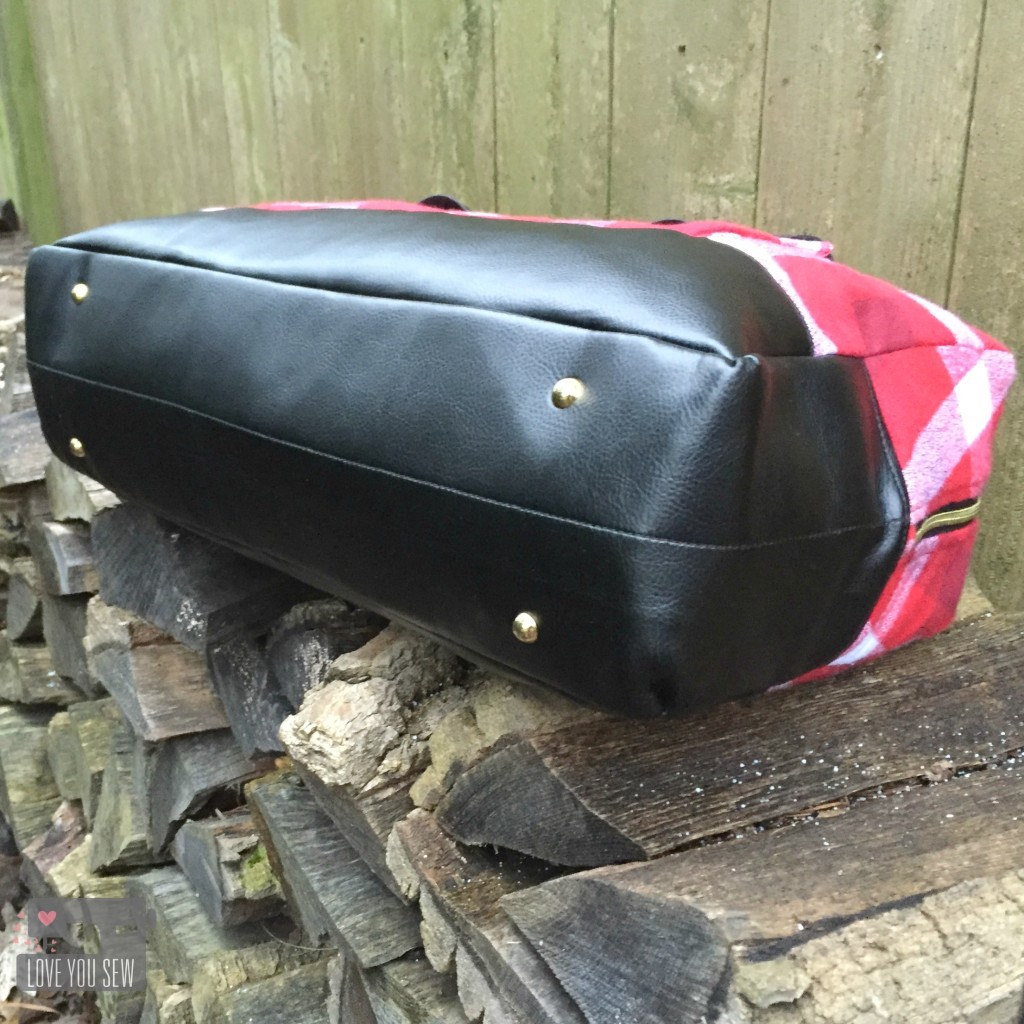
Purse feet are a great added touch to make a bag look more professional.  These are from Emmaline Bags.  I adjusted the spacing to them vs my original to be a little closer together. They are approximately 14″ apart lengthwise and 1.5″ in from the outer seams.  The pocket snaps are from Tandy Leather.

DuffleTop

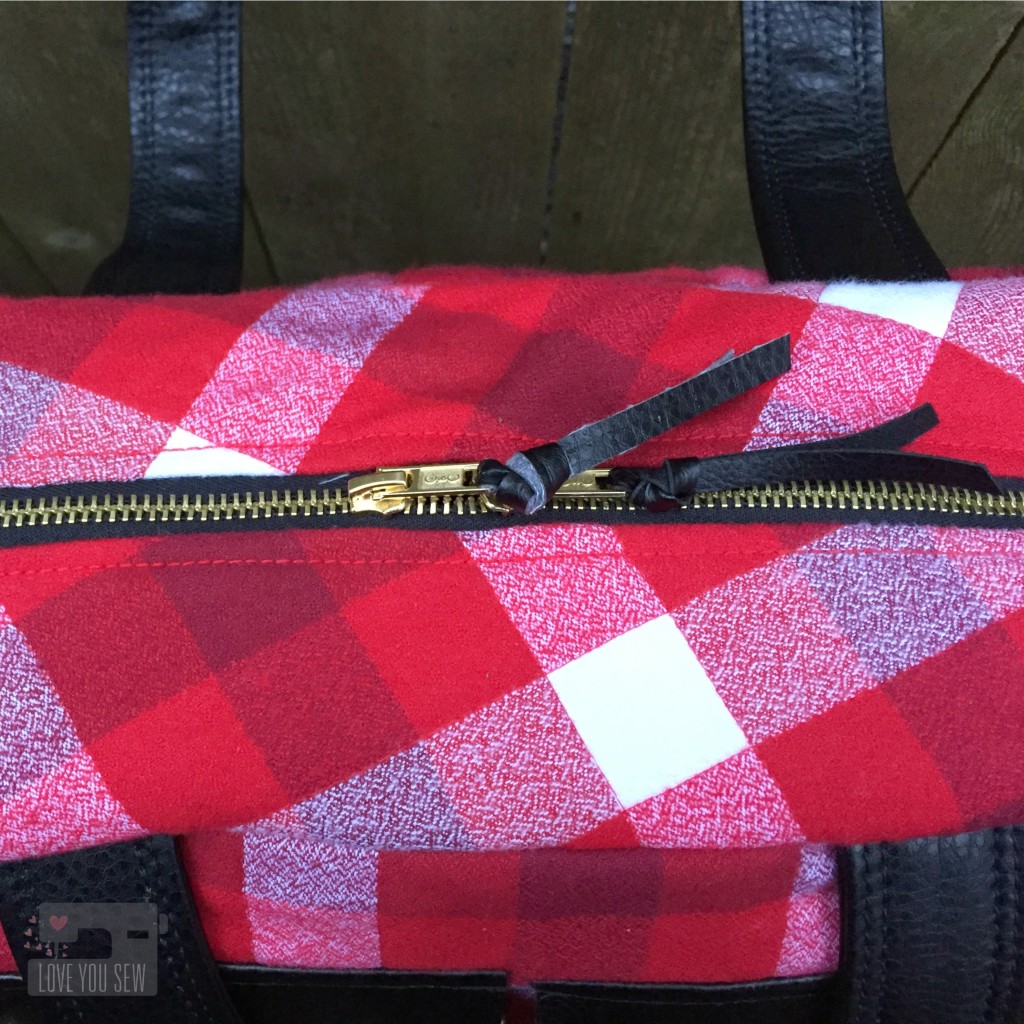
If I can use a metal zipper on a bag, I always will….they are just so pretty!  The outer zipper is a coverall style by Coats and Clark.  The interior zipper is YKK.

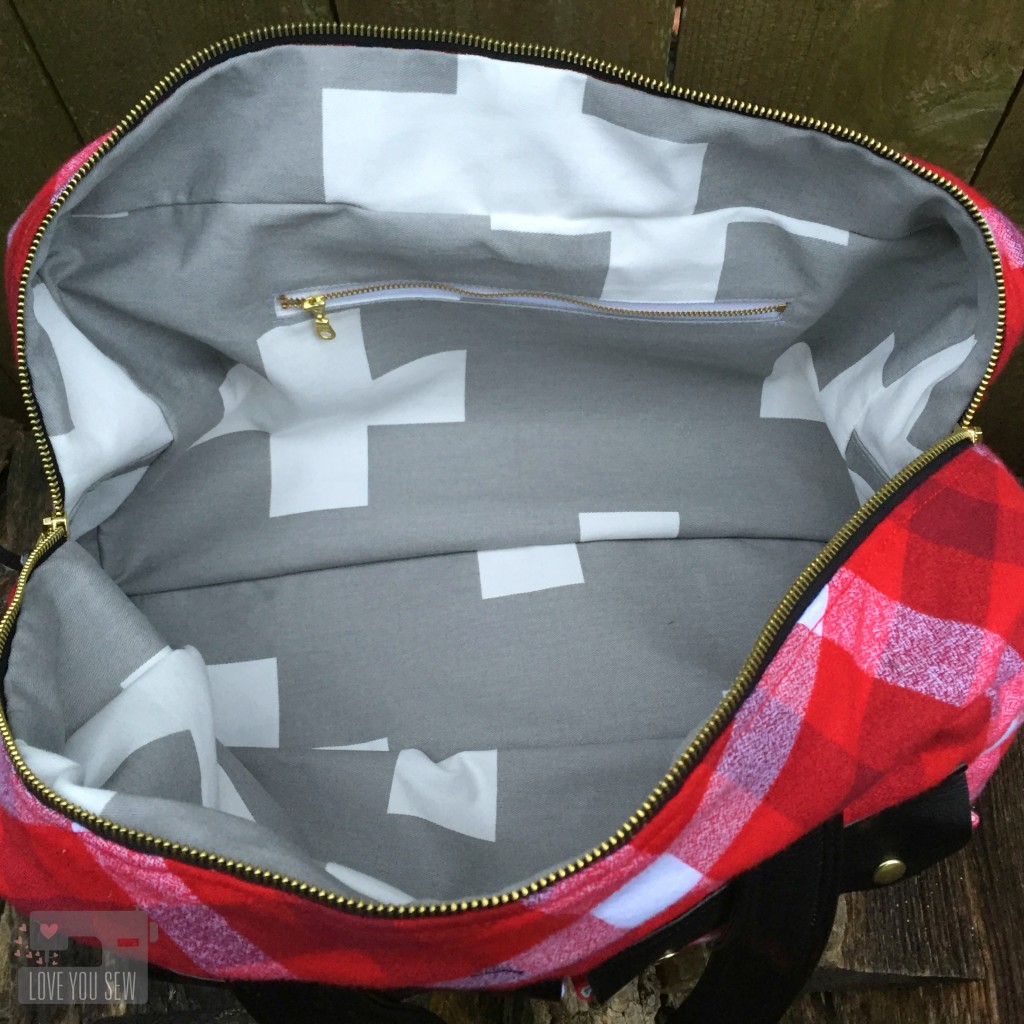
InsideView

The biggest difference with this bag is the interior.  I used this tutorial by Small Town Thread to create a drop-in lining.  I tacked the liner to the bag’s top corners then hand-sewed it to the zipper.  This was just to keep the look clean and keep any extra fabric away from being snagged into the zipper.

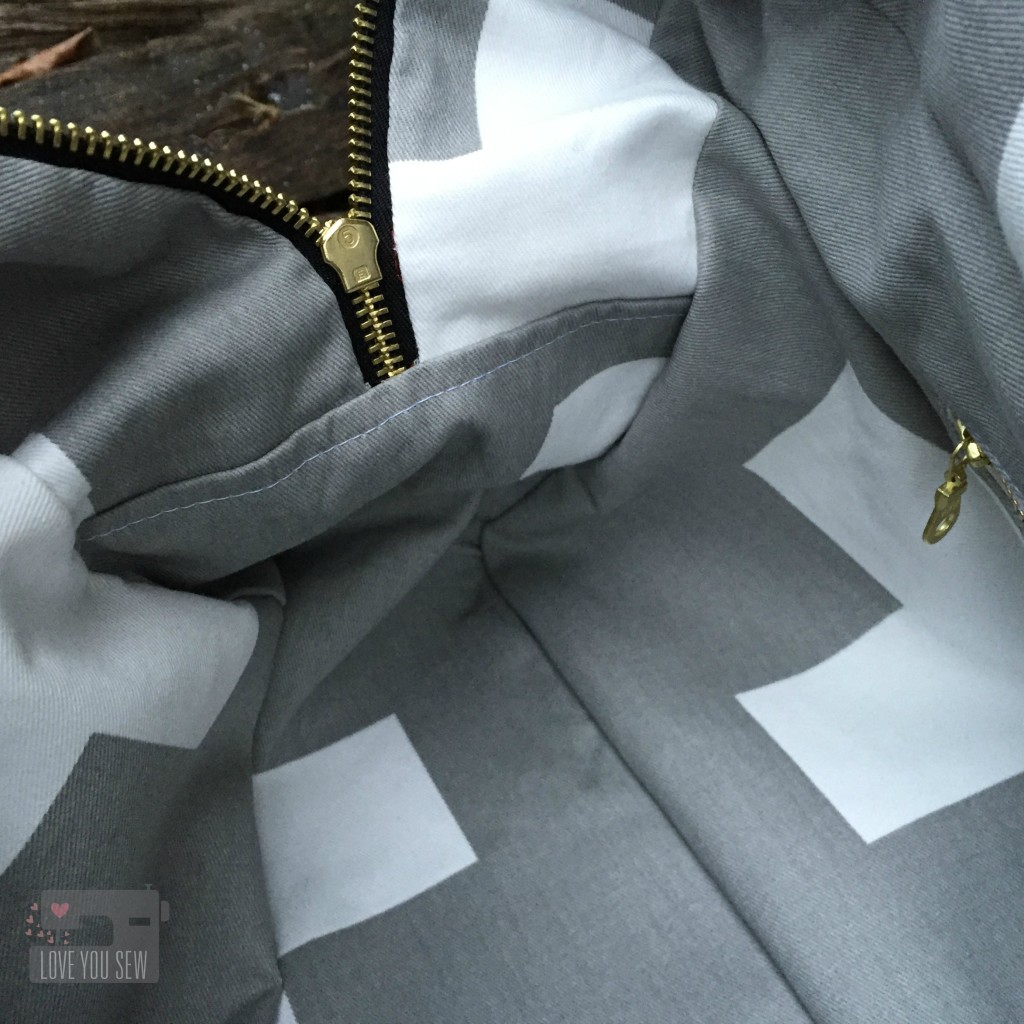
InteriorCloseUp

I use a lot of Premier Prints home dec fabric and this interior fabric is no different.  It is the larger Swiss Cross pattern.  This fabric complements the red and black exterior while echoing the plaid design as well….I really love it 🙂

I’m happy to report my sister loves this bag as well!  She is one of my strongest supporters and also one of my best salespeople.  It is quite flattering that she wanted one of my bags to go alongside all of her designer ones.  Now I’m off to make her another bag….haha!  It never ends, right?!? 😉


xoxo – Cristy