Simple Zipper Bag Sew-Along

Zipper Pouch Sew Along

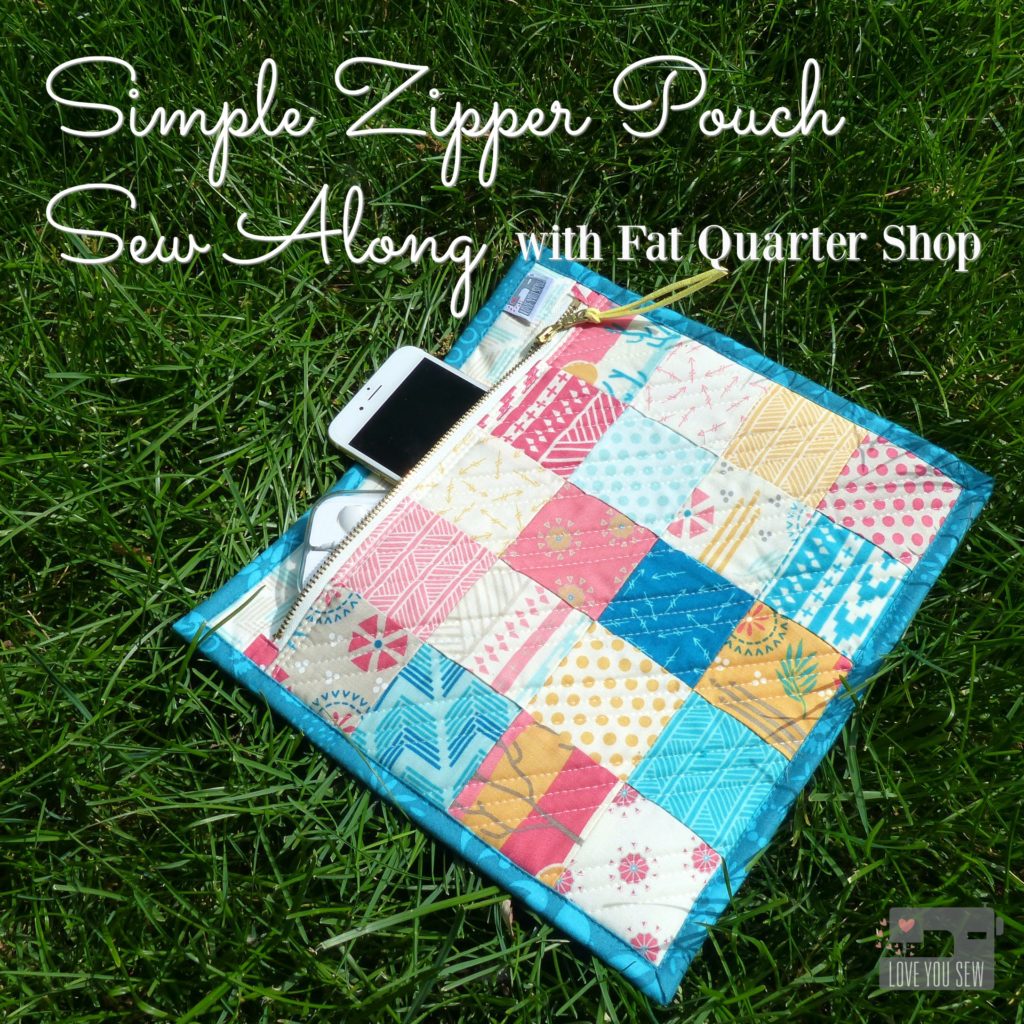
Who loves a great stash-busting project?  Well, Kimberly Jolly of Fat Quarter Shop, along with Sherri McConnell of A Quilting Life, have a great new tutorial of a super simple patchwork zipper pouch.  This project is also mini-charm friendly which makes it even easier.  Check out their easy to follow video below.

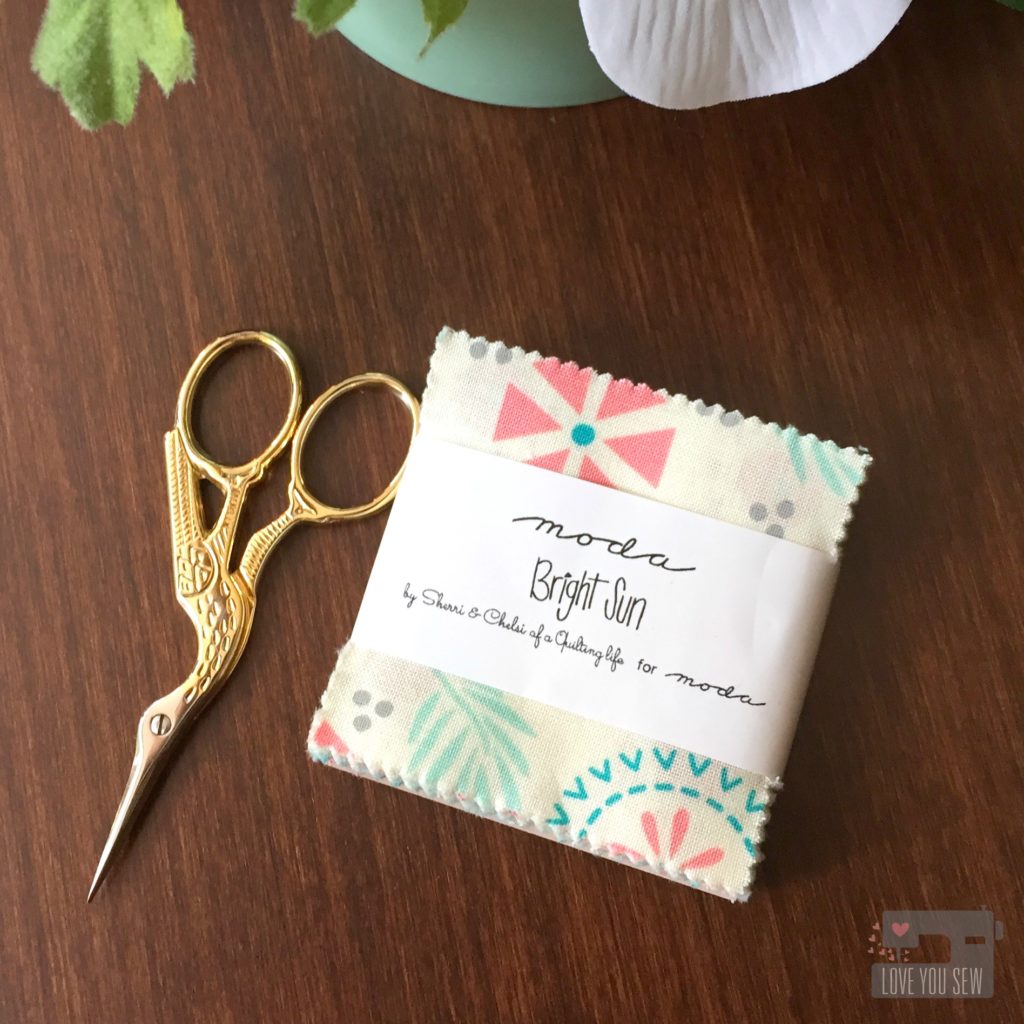
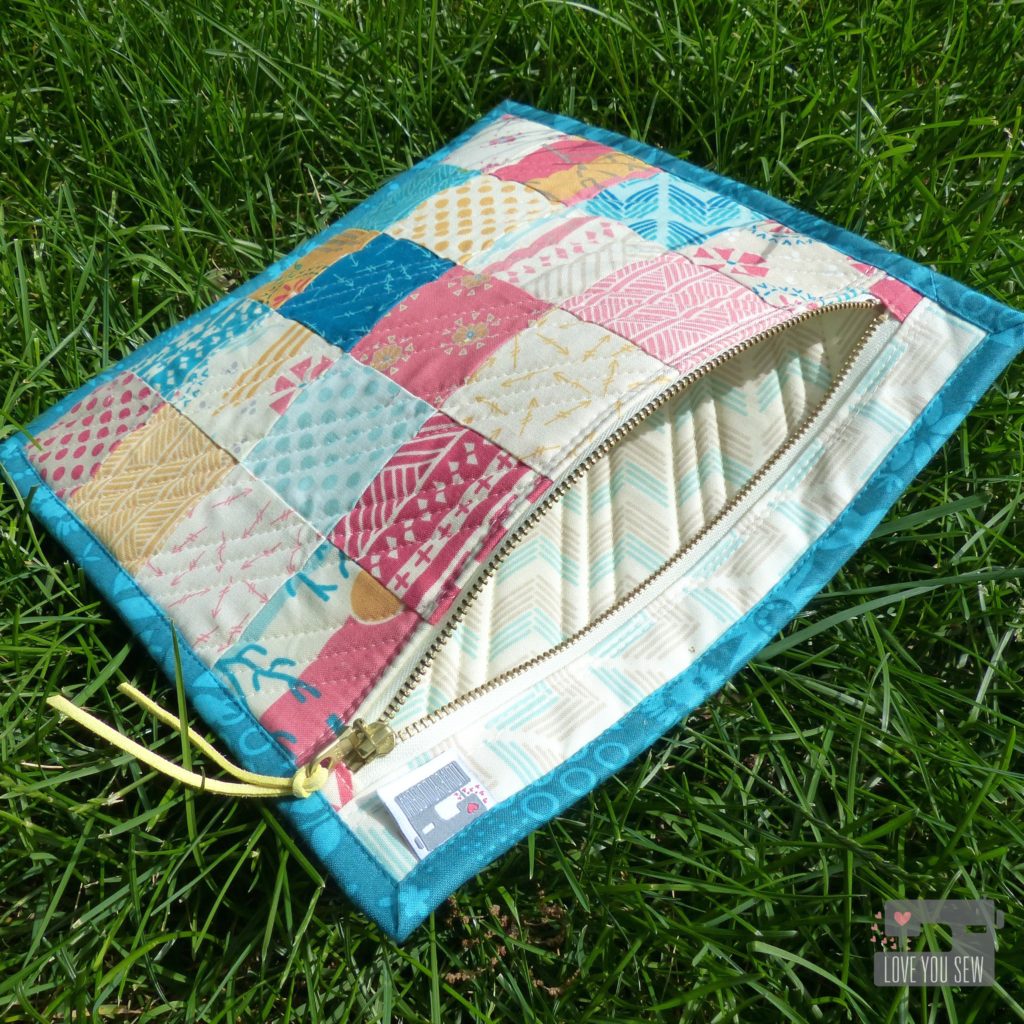
I went the mini-charm route and used Bright Sun, also by Sherri, for Moda Fabrics.  With the unofficial start of summer this week, I thought these fun and cheery fabrics were perfect for the pouch.

Charmpack

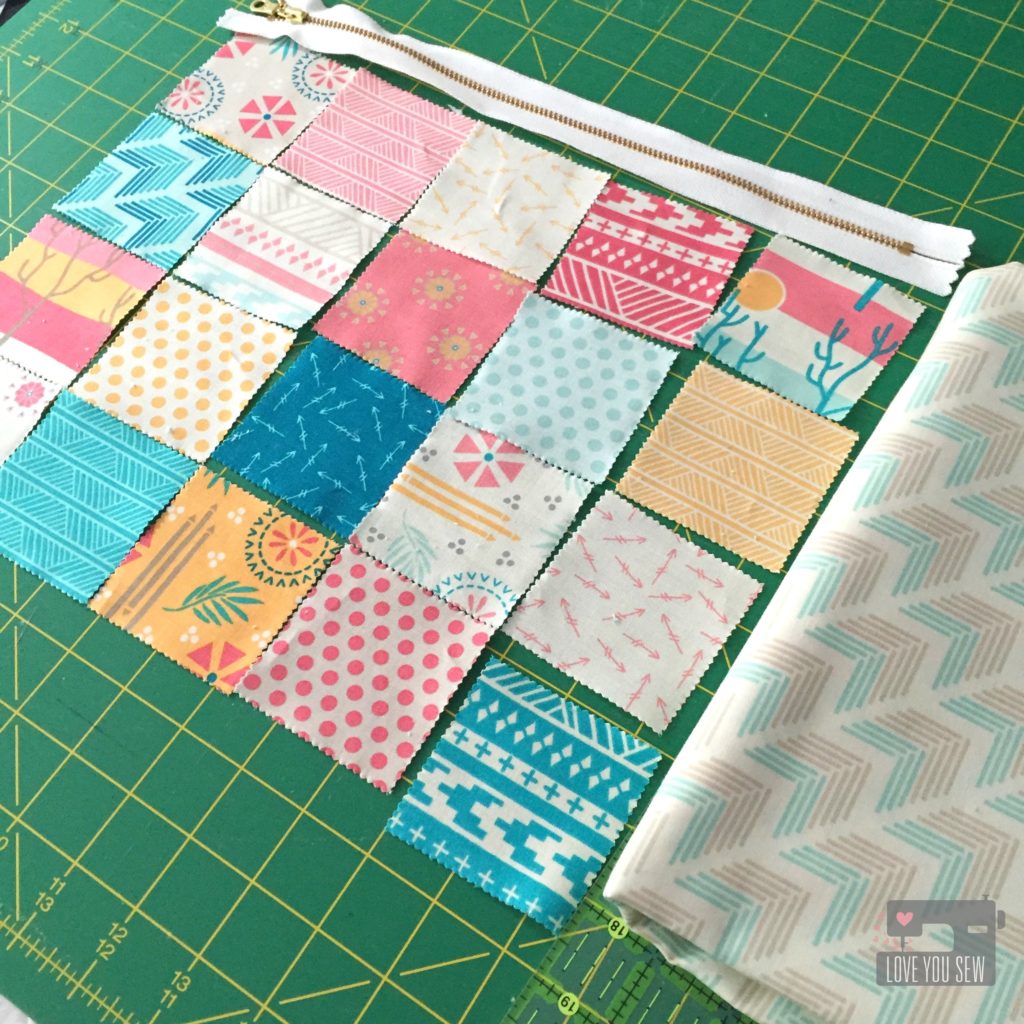
This charm pack had 42 prints which is more than enough for two large pouches.  (I have plans to make a second one as a future gift!)  After a little playtime, I settled on this arrangement and had the Dusk on Bisque print already in my stash.  So I used that for my backing, linings, and zipper top.

Layout

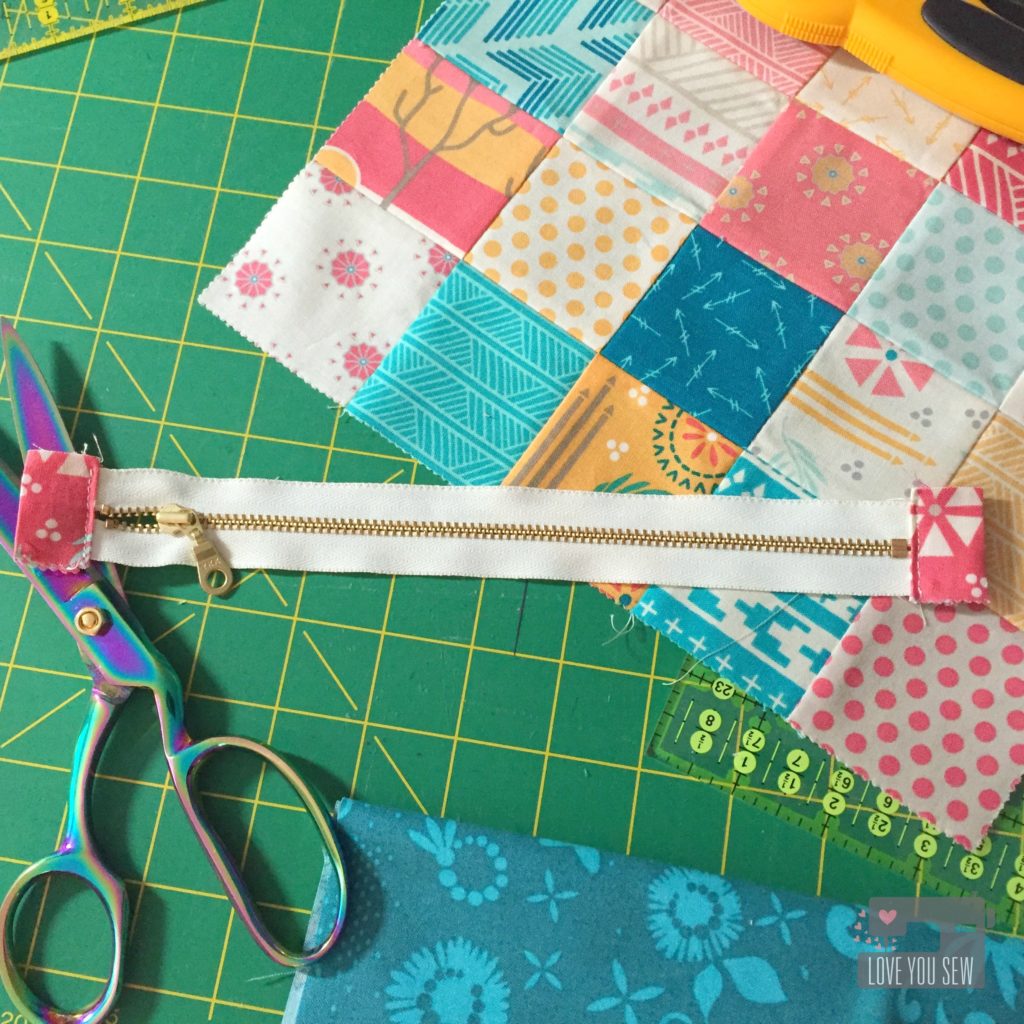
For this pouch, I thought I would have a little fun and add a metal brass zipper for some flare.  I used a 10″ metal one.  This length is a little short for the pouch, so I needed to add tabs on both ends to account for it.   I cut a mini-charm square in half to make each tab.

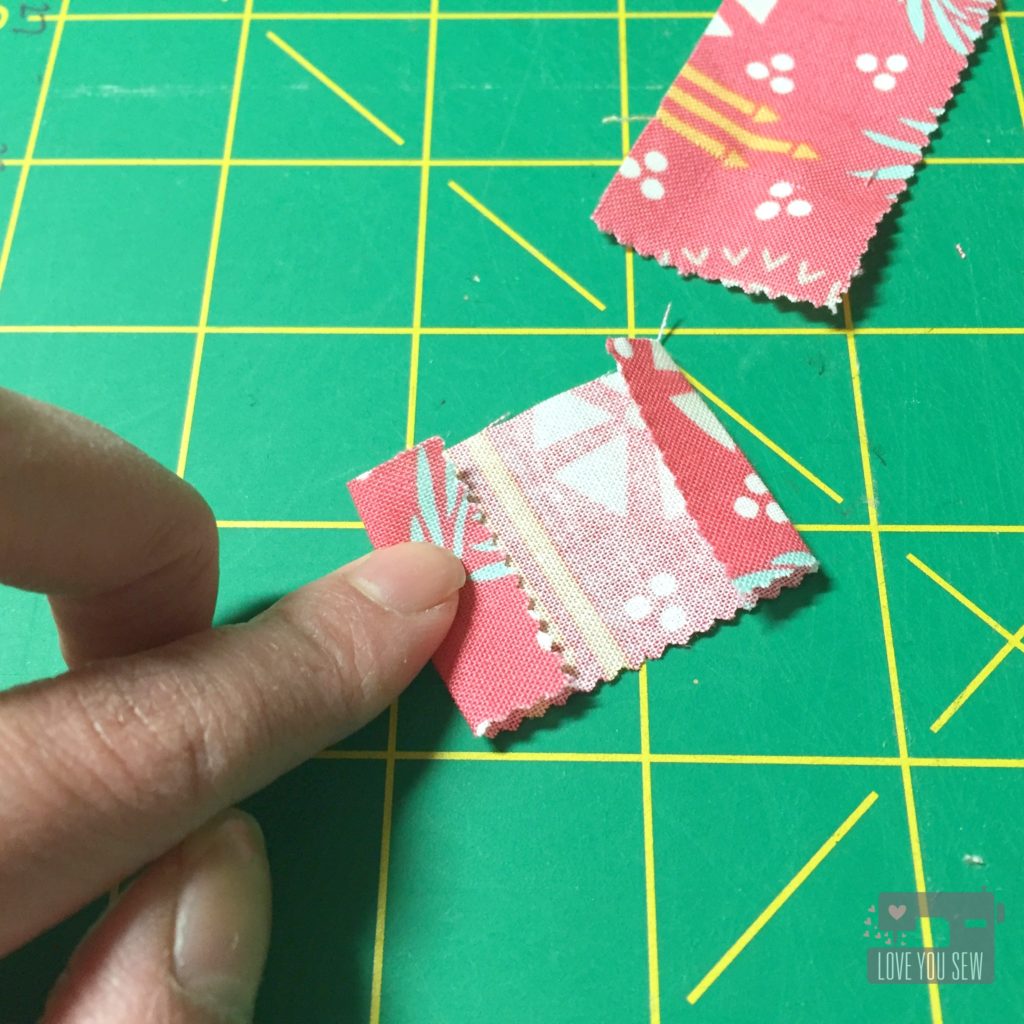
Zipper Tabs

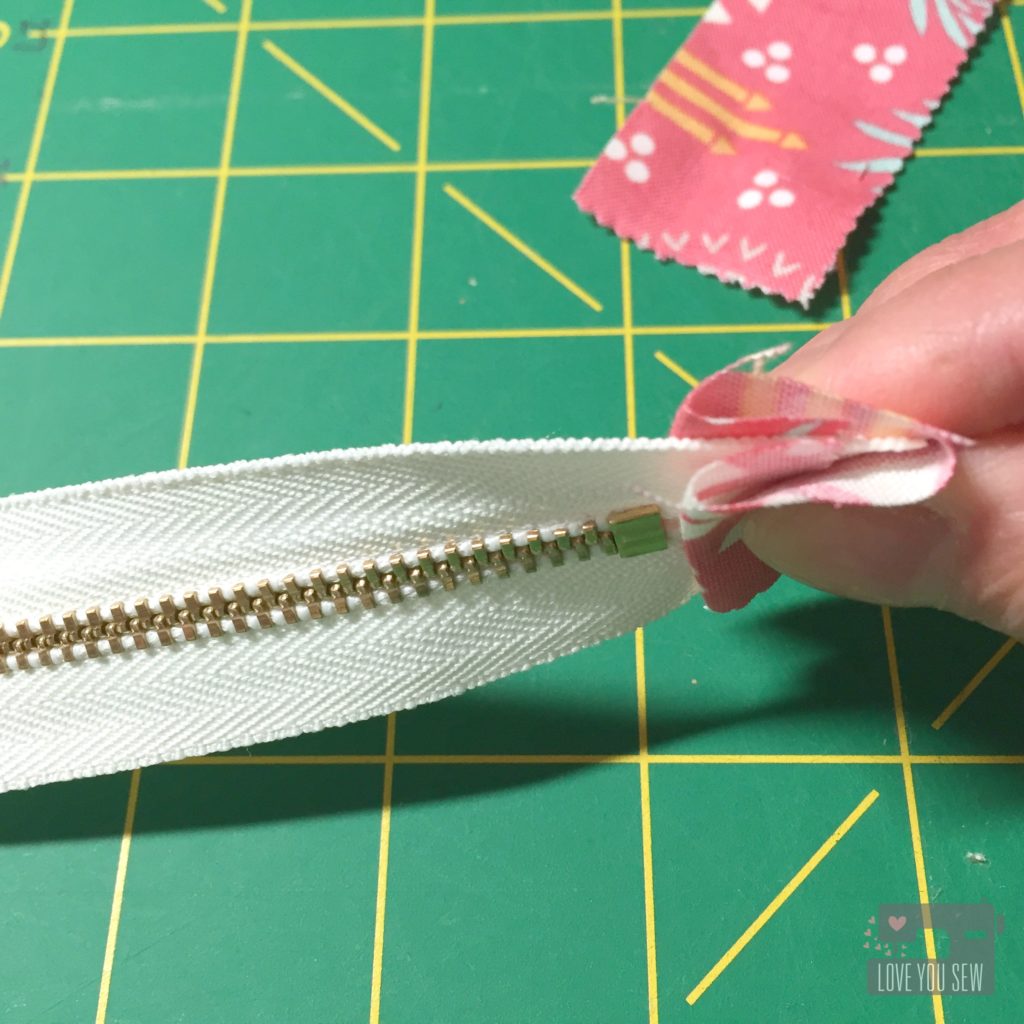
With each half charm, I folded down both short-ends of the tabs by 3/8″ and then in half to sandwich around the zipper.

Zipper End

I sewed on the tabs with a zipper foot, making sure to get both the top and bottom of the tab sandwich.

Zipper Tabs Complete

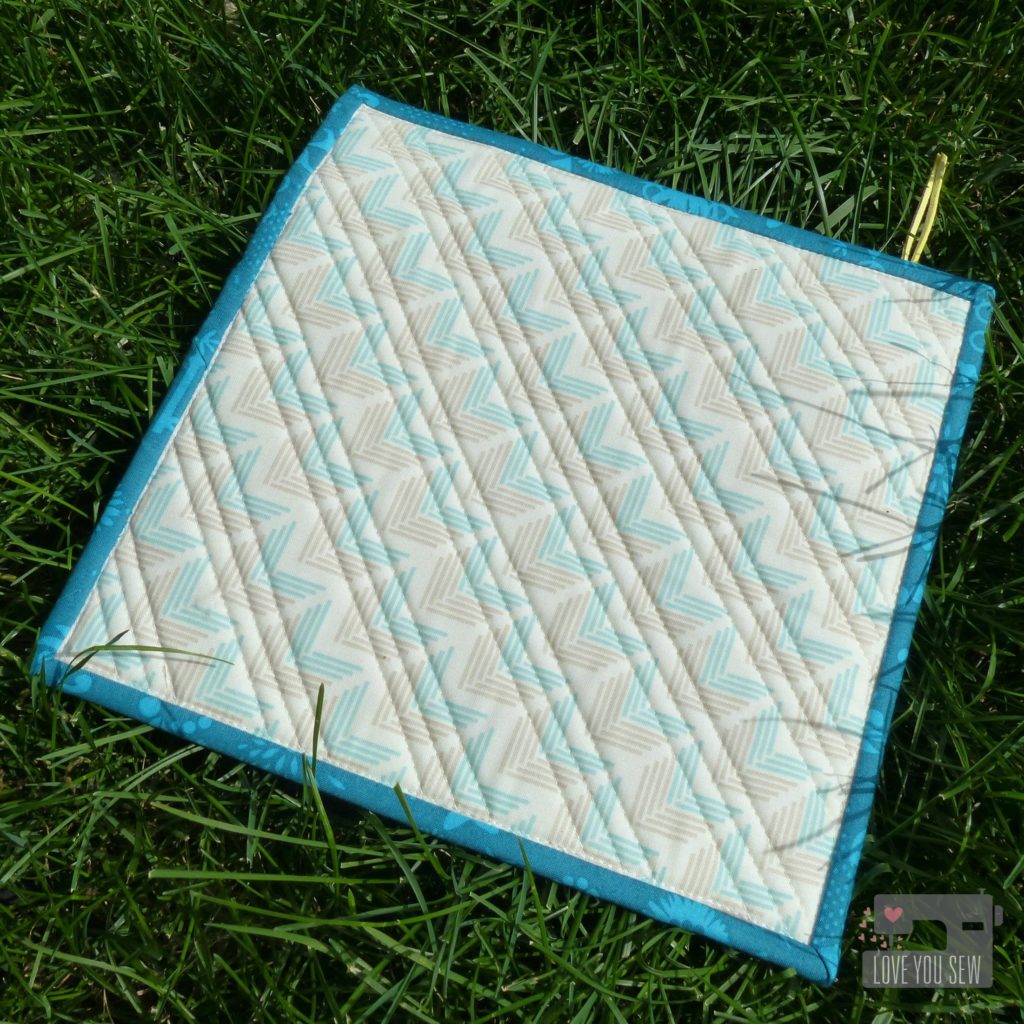
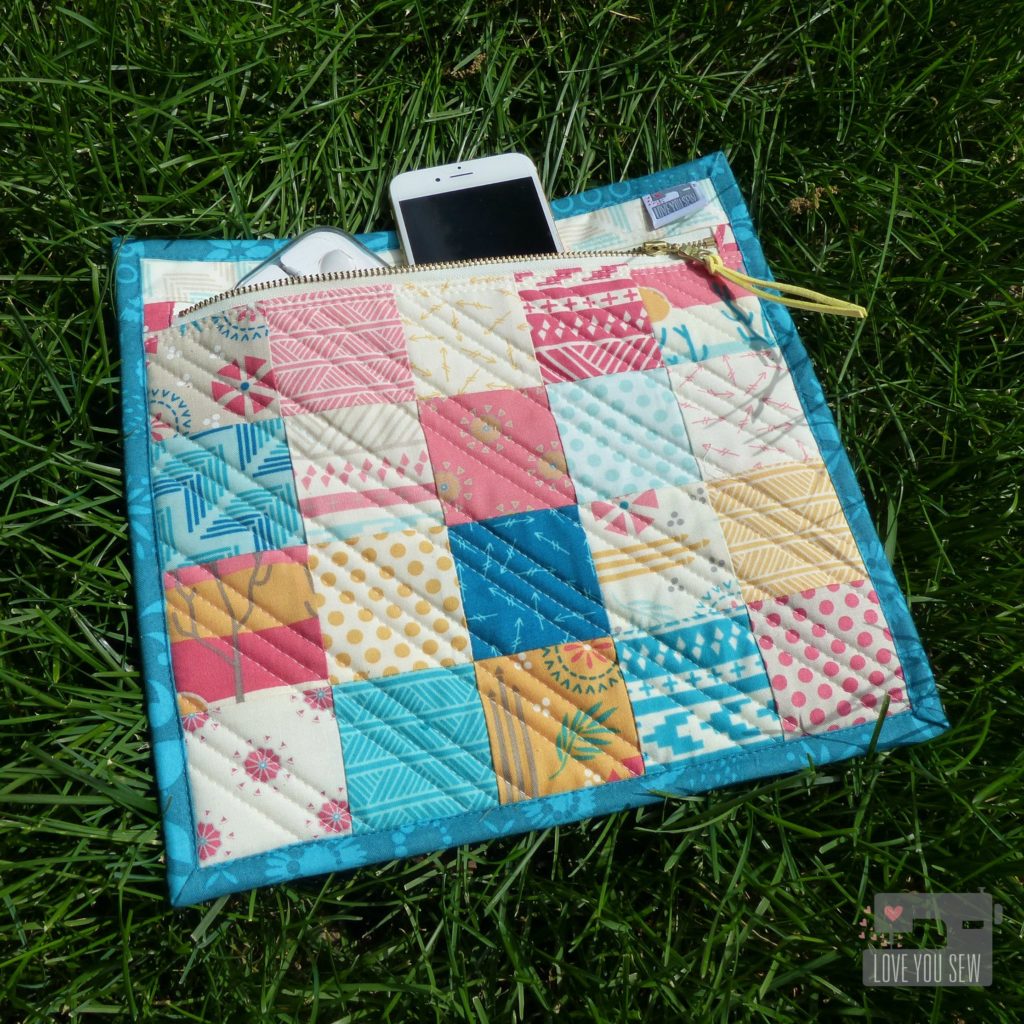
For the quilting, I used trusty Aurifil 2021 to sew straight diagonal lines on the front patchwork and on the backing.  The simple straight lines keep with the fun modern fabrics.  With such a small piece of quilting, I used some basting spray to keep all the layers from shifting.  It makes for faster work than pinning 😉

Back Profile

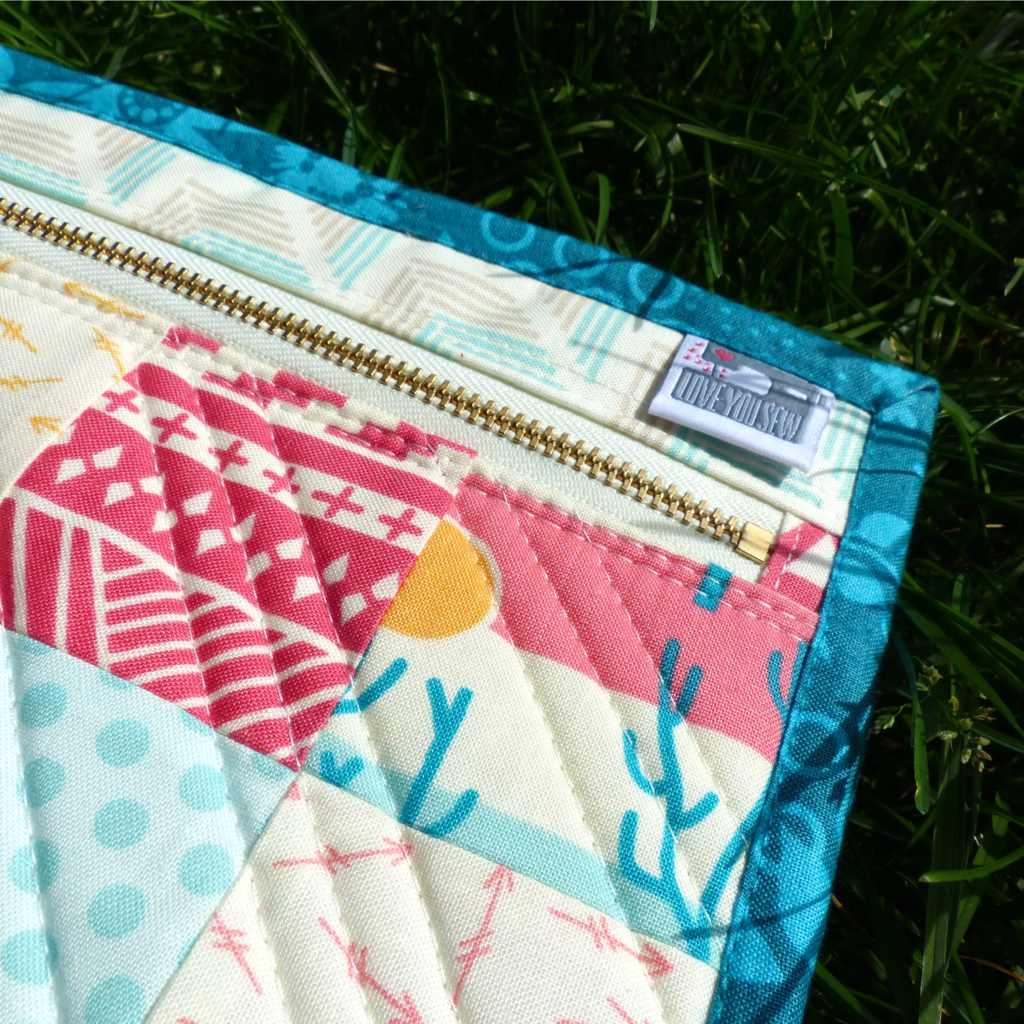
As I machine bound the pouch with Alison Glass‘s Corsage fabric, I added one of my labels in the front which can double as a key ring fob for more versatility.

Label Close Up

On the zipper, I omitted the fabric pull and instead, used some faux suede cording I had on-hand.  I thought the additional punch of yellow worked with the pouch better than more of the same background and interior fabric.

Interior

I love the structure and feel of the quilted Soft and Stable which make for a nice durable pouch.  It is perfect for personal electronics and/or for books you want to carefully protect.

Front Profile

The simplicity of this project and use of scraps makes it a MUST sew for any traveler this summer!  Do you have any fun vacation destination(s) coming up?

Don’t forget to visit all of the Simple Zipper Pouch Sew-Along bloggers below for more ideas:

Tina from Emily Ann’s Kloset
Jessee from An Art School Dropout’s Life
Erin from Why Not Sew?
Kitty from Night Quilter
Leanne from She Can Quilt
Vanessa from Lella Boutique
Amanda from Jedi Craft Girl
Sherri from A Quilting Life
Cristy from Love You Sew (you are here)
Leslie from Seasoned Homemaker
Tiffany from Tiny Seamstress


Happy Sew Along,

Cristy


This post was sponsored by Fat Quarter Shop and I was compensated for time and materials.
Fundraiser Sewing

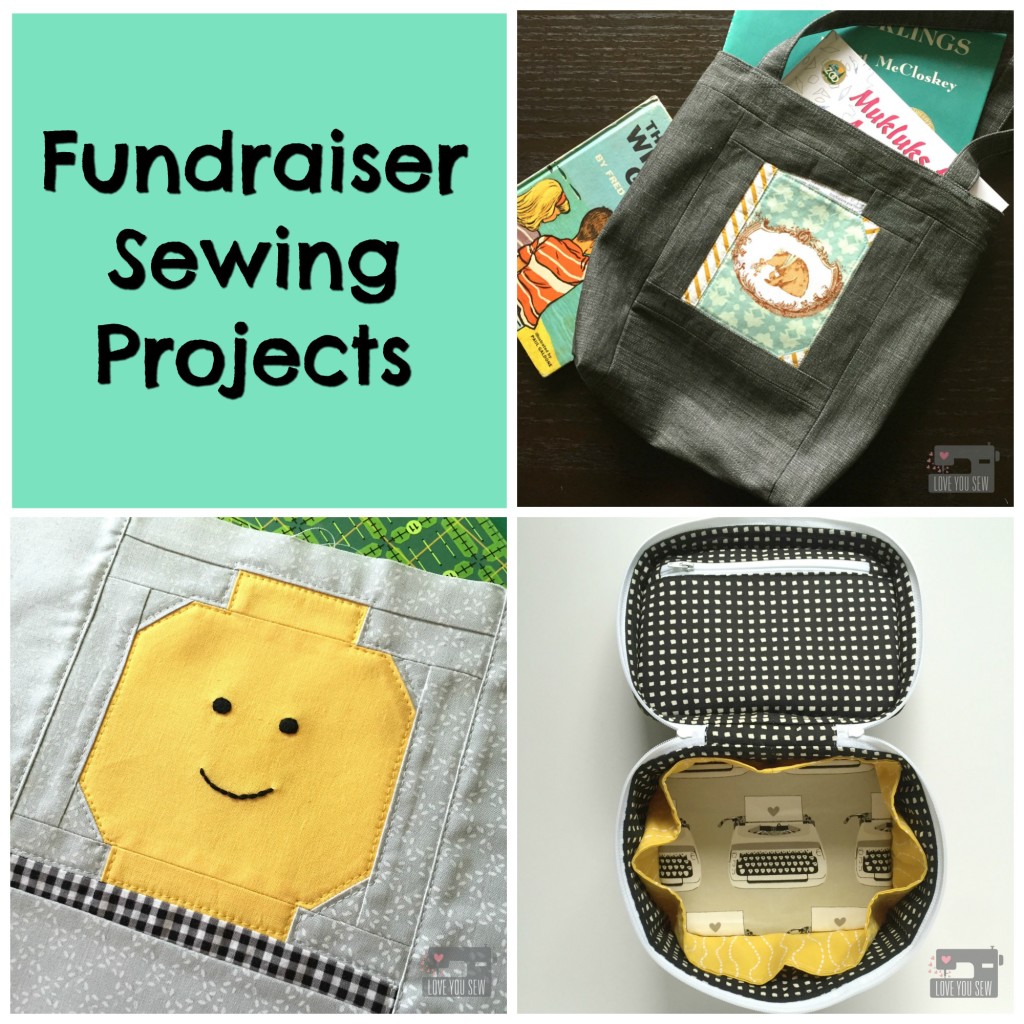
Fundraiser Sewing Projects

Whether you sew for hobby, for business, or for necessity, it’s always nice to sew for a cause.  I’m a stay-at-home-mom who has to continually stretch a buck, so I like to help how I can…and that means through sewing.  These past few weeks have provided me a few opportunities to use these skills to help some great local organizations.
My boys go to the same preschool and the Parent-Teacher Organization (PTO) asked me to contribute a few items for a big auction event.  Of course, I said yes. I love this school and am so happy my boys do too.  Although I know I won’t generate a ton of money, I know every little bit helps. I get to help the PTO and get a little local publicity so it’s win-win for me.
Last year I donated gift certificates to my Etsy shop and this year I decided to make a few items to possibly generate more money once the bidders can touch and feel what they are receiving.  With a GC, there is a finite value, but with custom made, hand-sewn products, there is more more perceived worth…at least I hope!

UA Open Wide Pouch

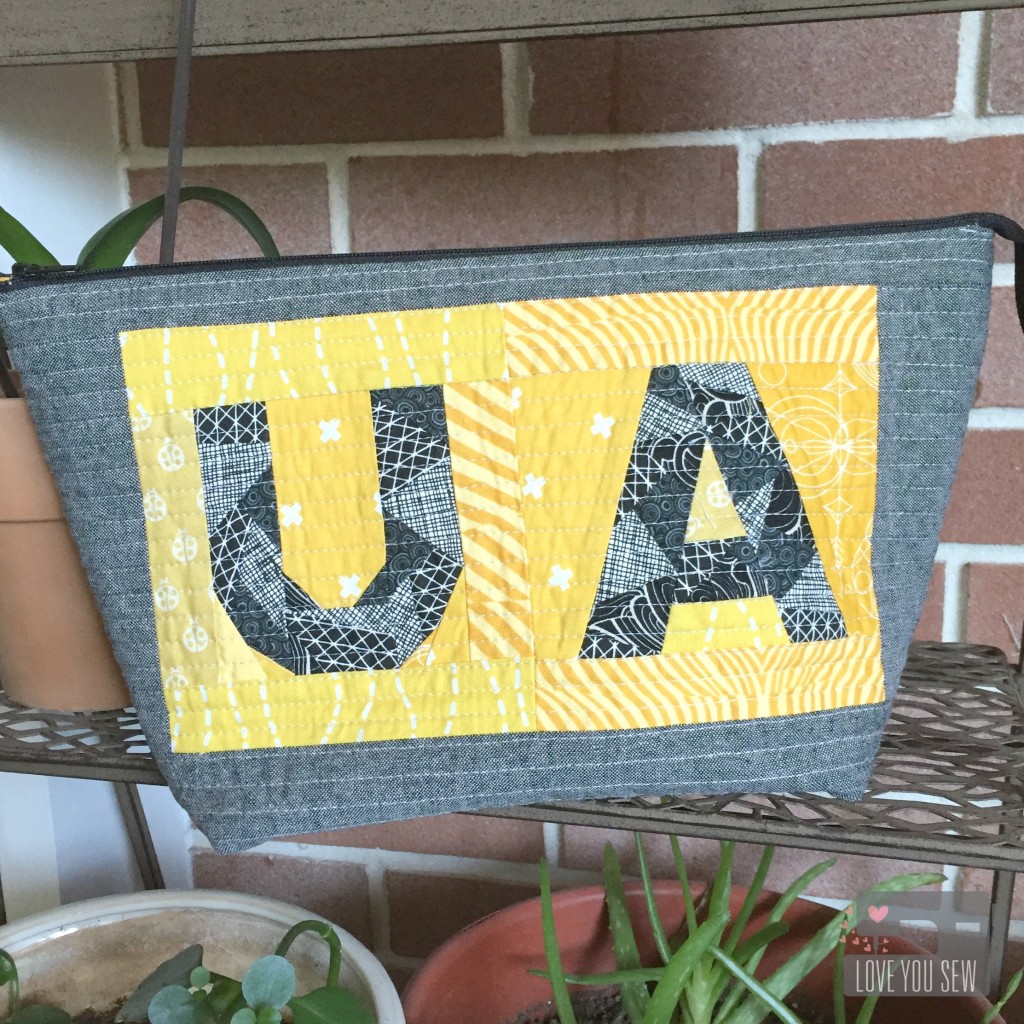
It’s always so hard to choose fabrics for someone, never mind someone you don’t know.  But since this is a school fundraiser, you can’t go wrong with simple patterns in the school colors…so yellow and black it is.  I used Quiet Play’s Geometric letter pattern and Noodlehead’s Wide Open pouch pattern to show some hometown love.

Traincase Outside

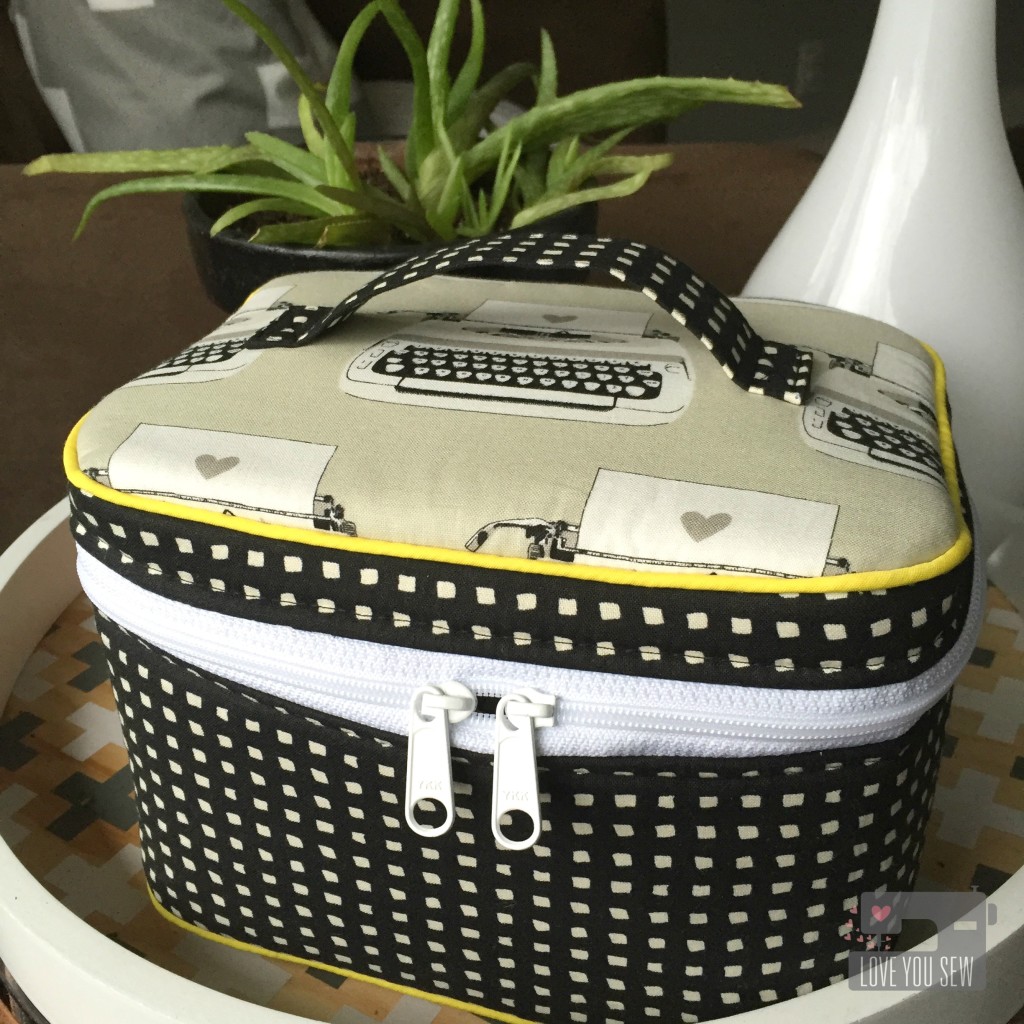
The Crimson and Clover Train Case by Sew Sweetness is one of my favorite patterns. Its so versatile in it’s usage….whether to hold makeup, toys, or other treasures.  I used Cotton and Steel Black and White fabrics with the typewriters being  a play on the school and added little yellow accents.  The shot of yellow piping is definitely my favorite.

Each of my son’s classes is also responsible for putting a large basket together. There is a theme and the point is to have all the families contribute a little something in order to make a sizable basket worth buying. One class has a “Lego” theme and the other has “Books.”

Lego Open Wide Pouch Outside

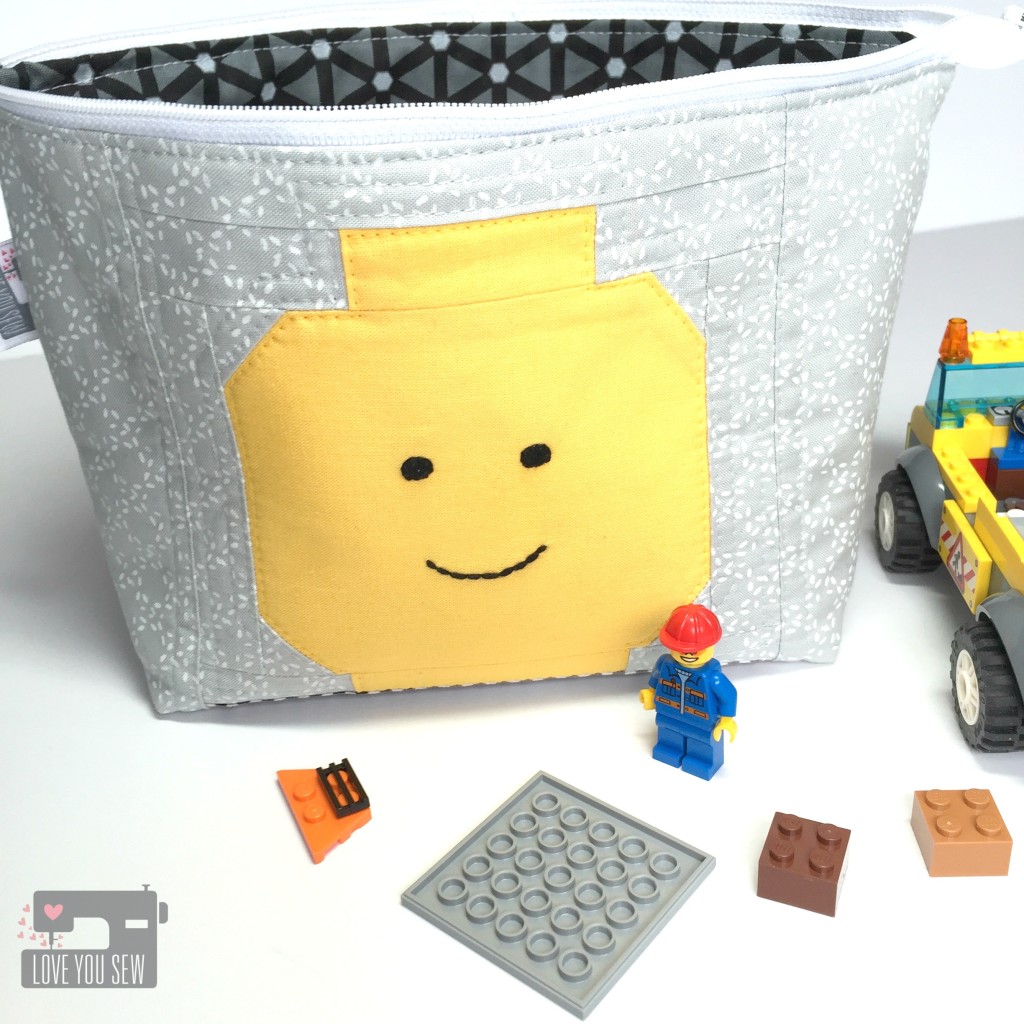
Instead of just buying a box of Legos, I knew I wanted to sew something to hold all the toys. I’m constantly stepping over Legos in my own house and I made some see-through vinyl drawstring bags to combat the mess.  I thought I would make one for the basket but then after browsing Quiet Play’s Craftsy shop, I saw the Lego man. Hello!

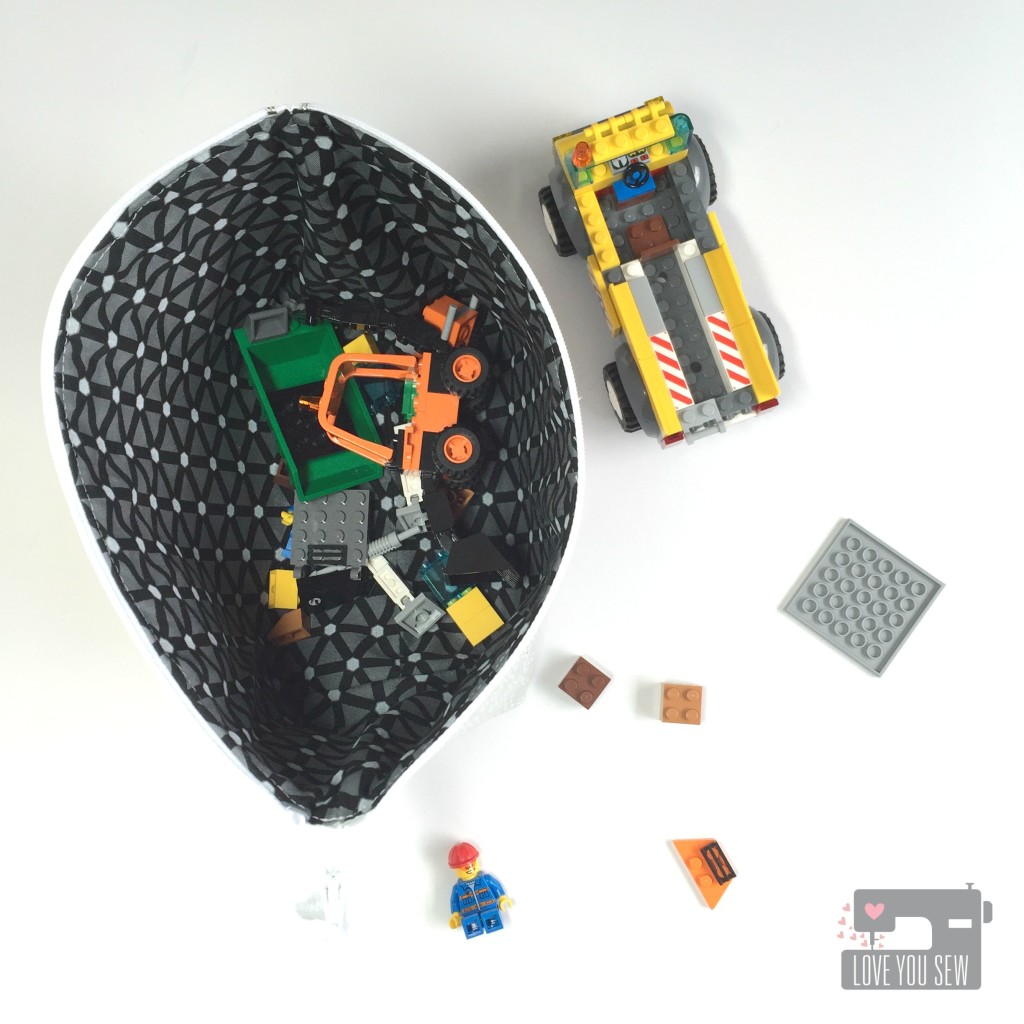
Lego Open Wide Pouch Inside

The Lego head pattern is free (yay!) and I used Noodlehead’s Open Wide Pouch again.  It’s design is so perfect for little hands to reach in and out easily.   I added a little embroidery to make the Lego Man’s face and (hopefully) this bag will help keep all of these little pieces off the floor.

Library Bag Closeup

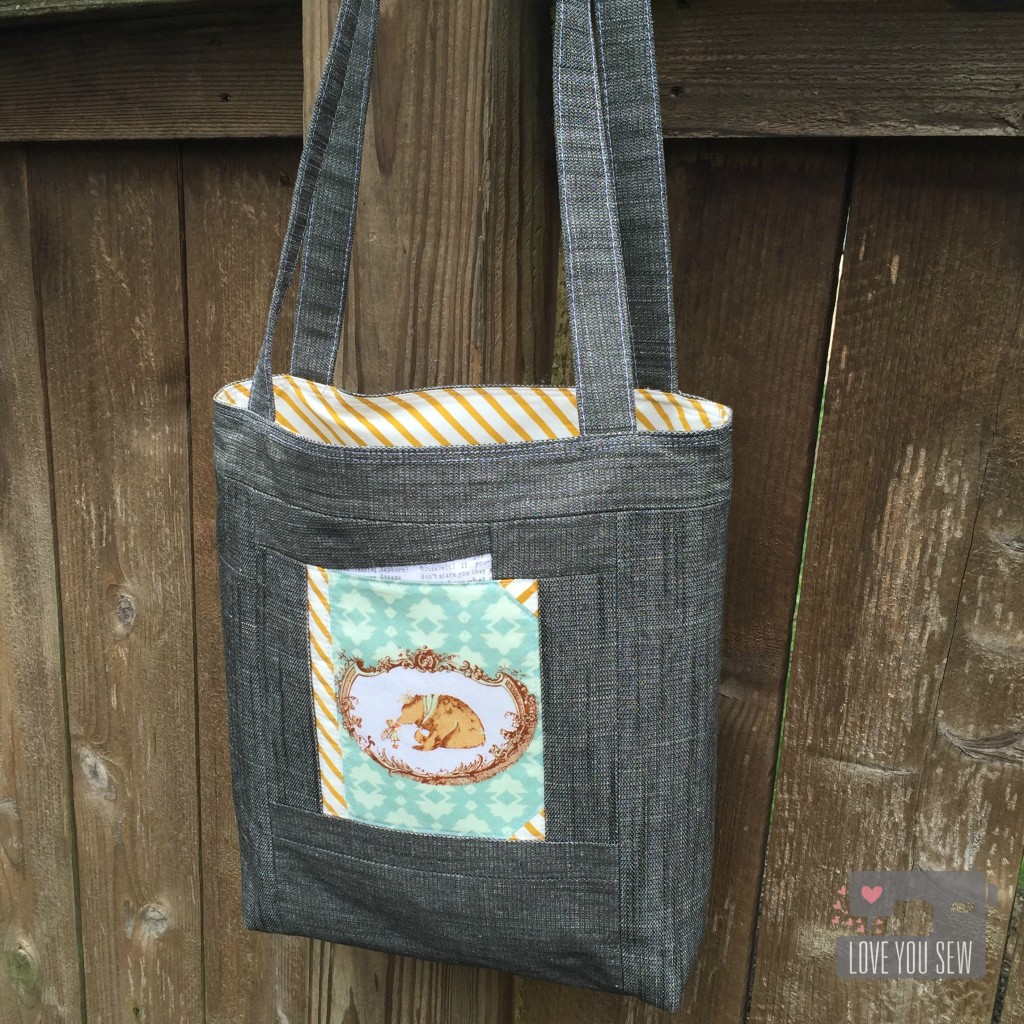
For the “Books” theme basket, I knew right away I would make a library bag. My boys have cute canvas ones they love to fill up and I figured one of their schoolmates would too.

Library Bag

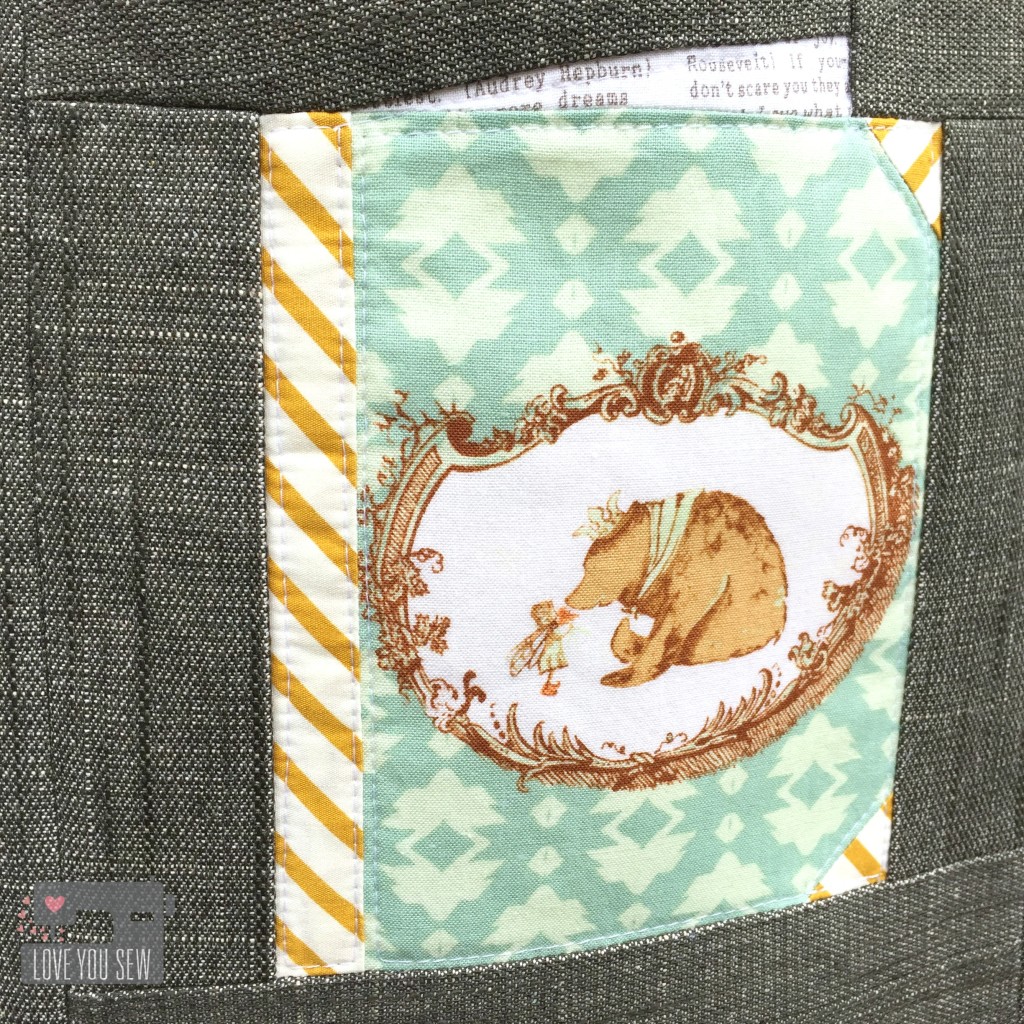
The bag is made with Art Gallery Fabrics Denim Studio so I didn’t need any interfacing to give it structure. I used a very simple tutorial from Skip to my Lou and altered it so I could incorporate this super cute book paper-piece pattern from Patchwork Please! by Ayumi Takahashi.

Besides all these PTO donations, I was asked to contribute some items from my Etsy shop for a Pelatonia fundraiser. This is one of the largest bike races in Columbus and generates millions of dollars…all which toward cancer research.  Some large companies have donated money to cover administrative expenses so that 100% of rider fundraising will go to charity.  How awesome is that?

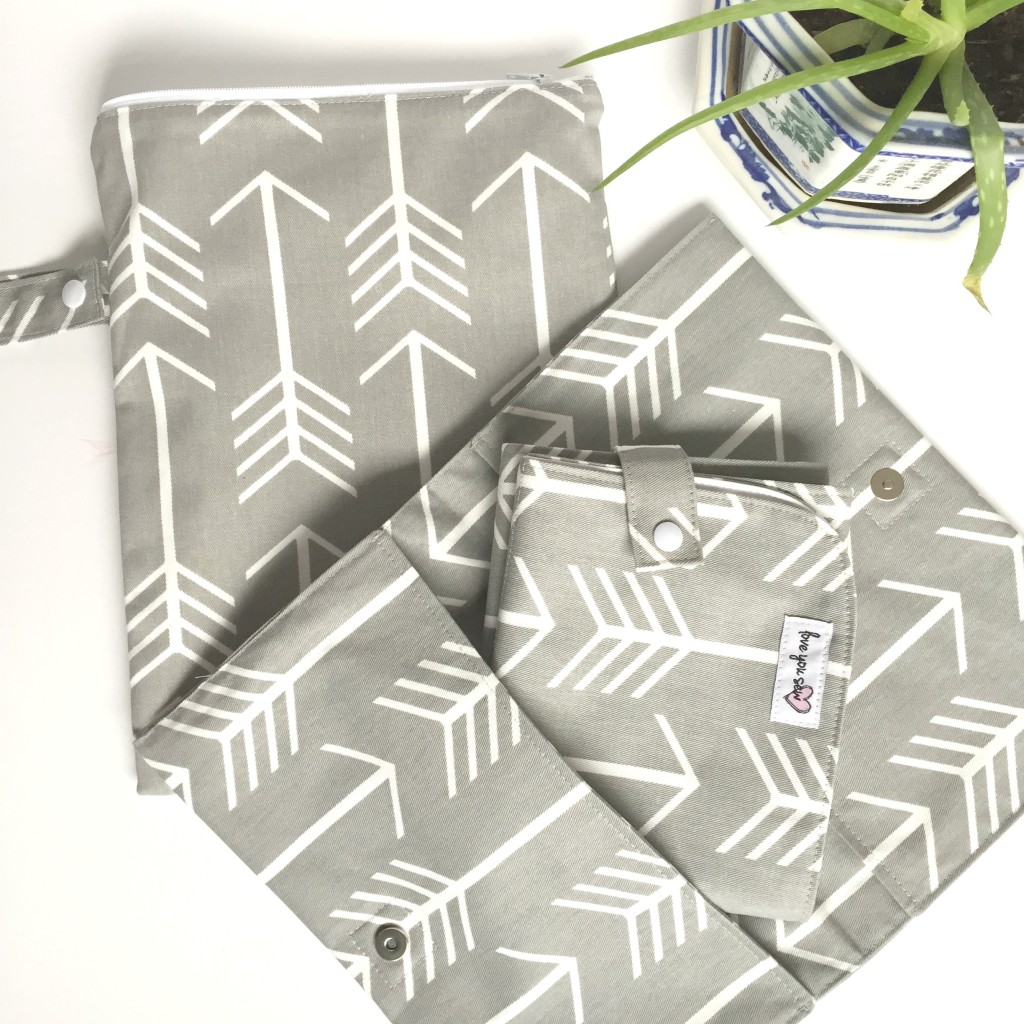
Baby Travel Set

I donated a full set of baby travel items with arrow fabric since the Pelatonia logo is also an arrow. The group I’m assisting is bringing in a whole cross-section of items and I’m crossing my fingers that these pull in lots of money!

Have you donated some sewn items for fundraising?  How did they do?


Happy Stitching,

Cristy


***This post may contain affiliate links which help me on the back end to fund this site.  Compensation is only through your own purchase. 

Chalk and Paint Fabrics Blog Tour {Crimson and Clover Traincase}


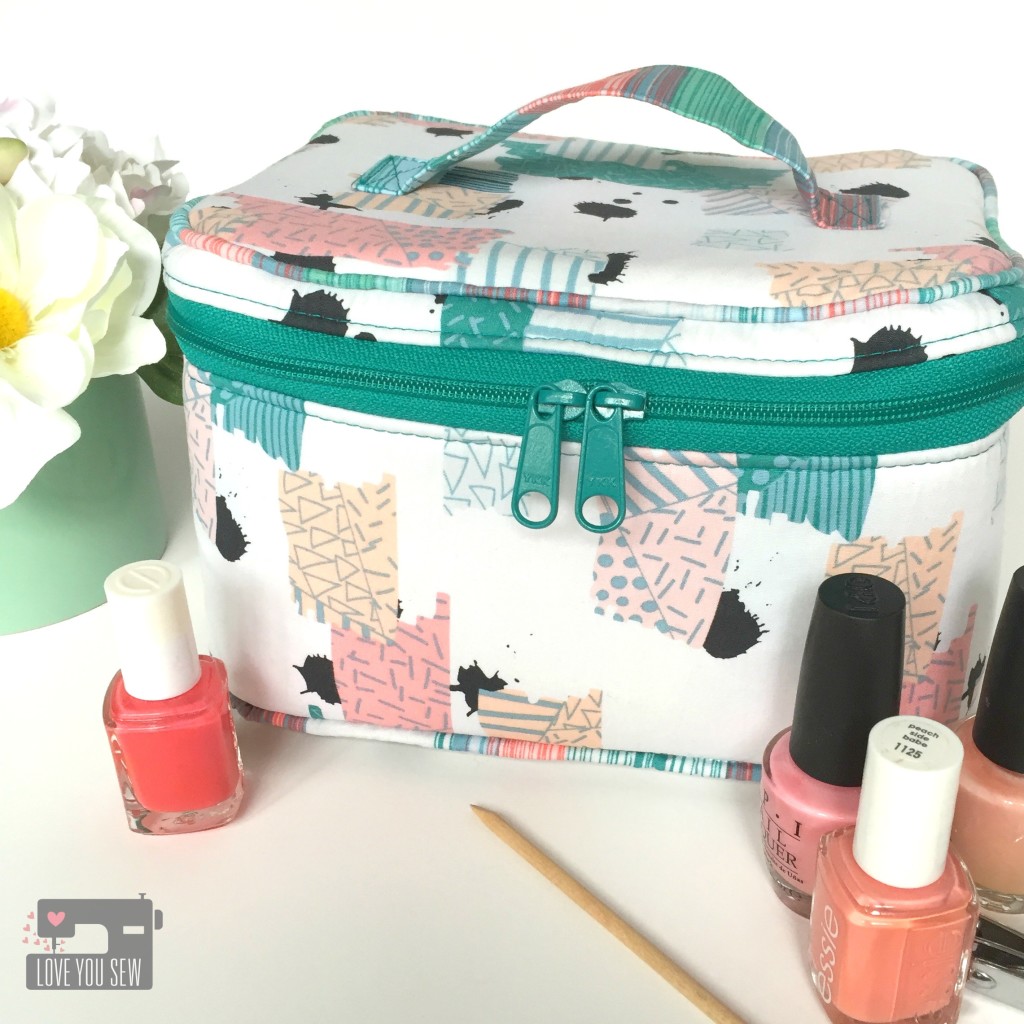
Traincase Full Profile A

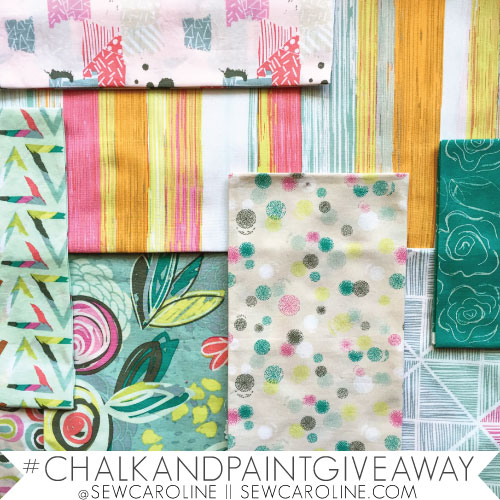
Welcome to the kick-off for the Chalk and Paint Fabrics Blog Tour!  I am so happy to share my project with these new Art Gallery fabrics with you.  Sew Caroline has quite an amazing line-up ahead for the next few weeks and I know each blogger will have something amazing with Chalk and Paint.

Logo-PNG2

I have been a long-time admirer of Sew Caroline‘s garment patterns (umm..hello, Kimono Jacket..here and here…)   It is no exception when it comes to her fabrics.  All of her collections are youthful and so fun.  But this newest line has a more muted pastel palette, which I just adore!

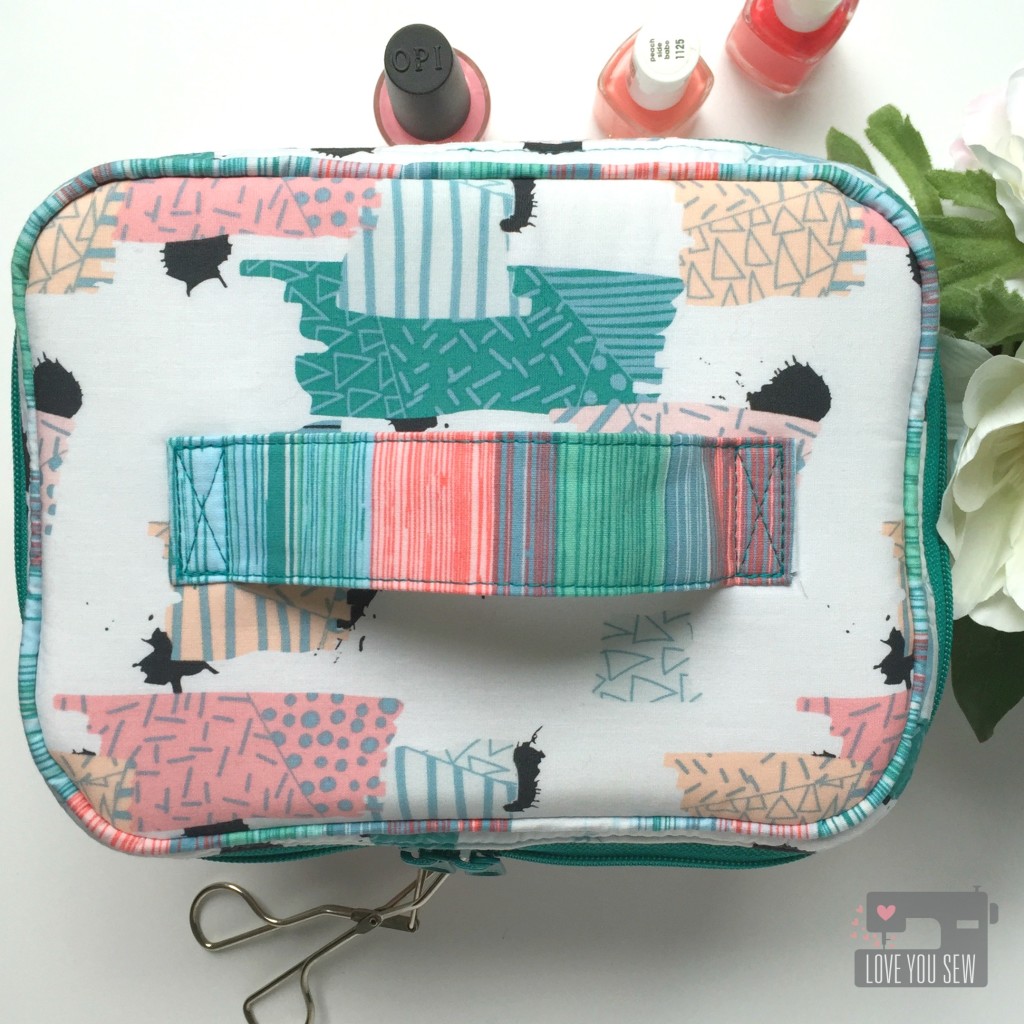
Traincase Top

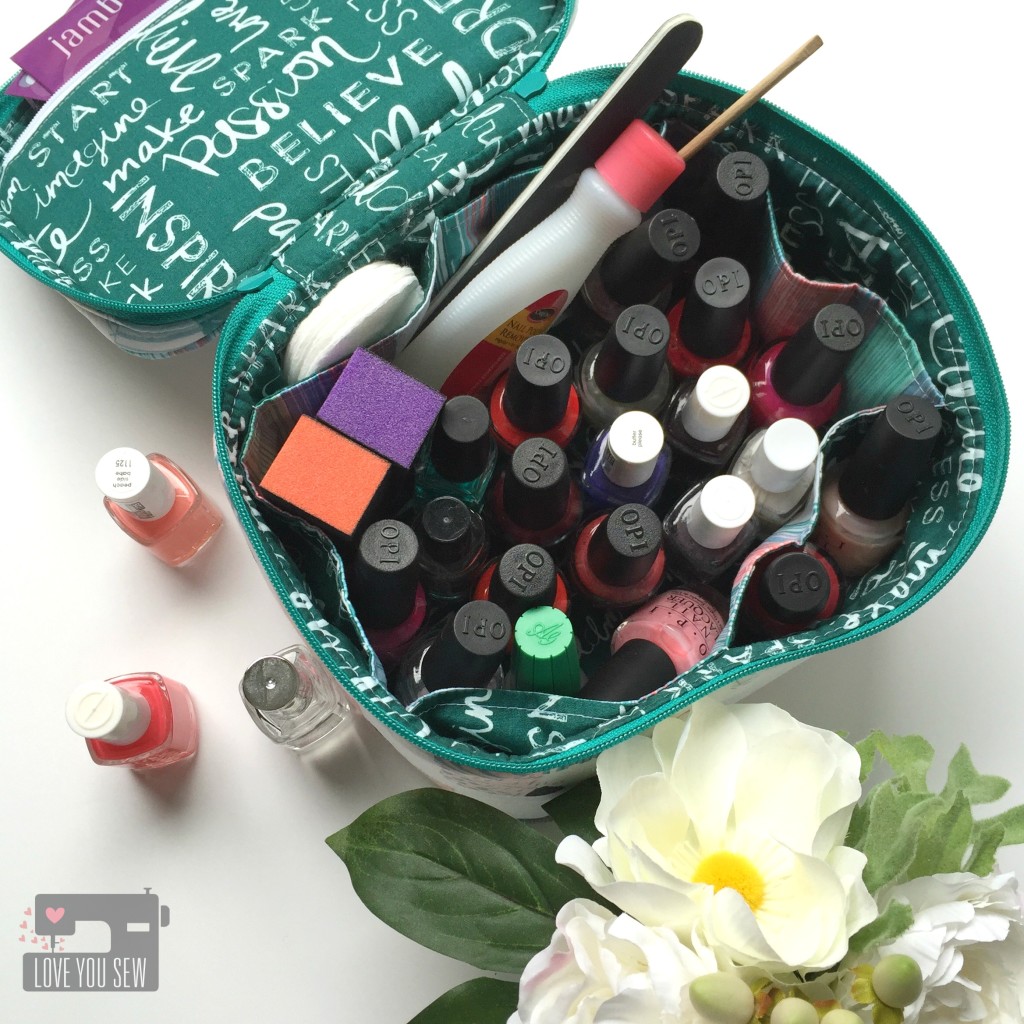
When I saw Untaped Splatter Frost, I knew it was going to be my next Crimson and Clover Travelcase (pattern by Sew Sweetness.)  I love this case because it holds everything…and it’s not even the larger size.  The interior side pockets are so nice for organization and lord knows I need all the help I can get!

Traincase Open Full Polishes

As I was sewing this bag, I realized why I put the two together….it was my sewn version of a Caboodle!  This exterior fabric has an 80’s vibe and being the child of immigrant parents, I never had one.  “What..a shoebox wasn’t good enough to hold your junk?”  They never understood the need for adolescent acceptance…haha.

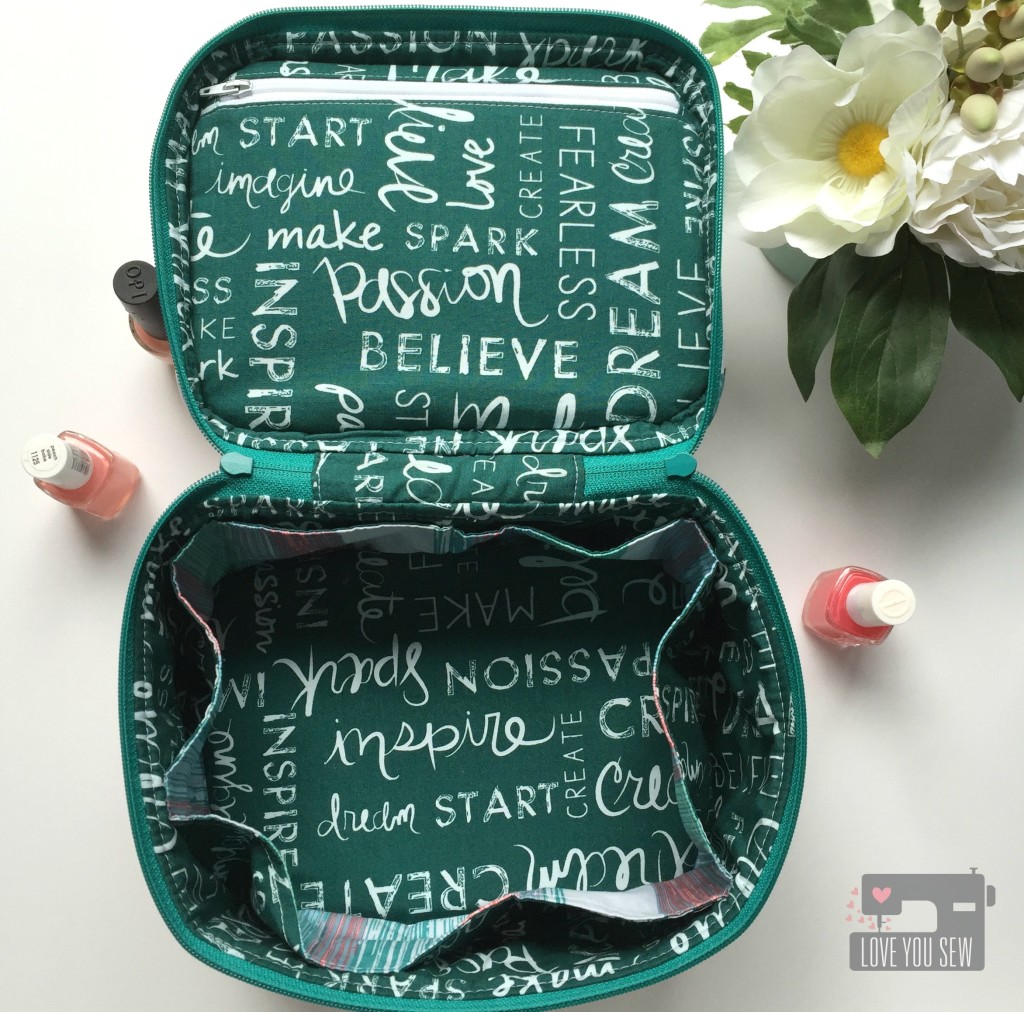
Traincase Open Empty

For the interior, I used Writings on Boards as a darker complement to hide any spills or smudges which may occur (yes, I know myself well.)  How cute is this text fabric, right?  I love the inspirational words to welcome me every time I open this bag.

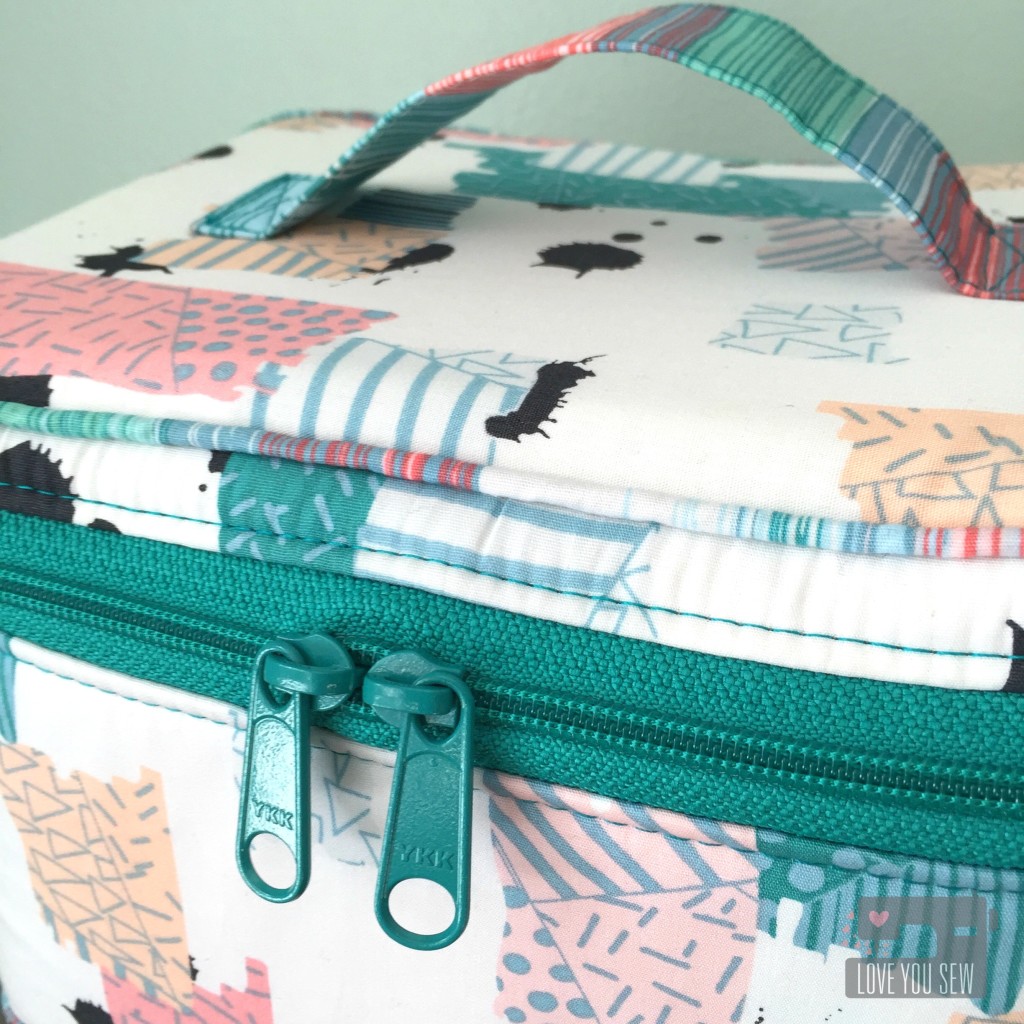
Traincase Front Zipper CloseUp

For the piping, handle and interior pocket accents, I used Dripping Paint Cooling.  You get so much color and texture in such a small amount of yardage, that it was just perfect for that extra “pop.”  Now…I think my “Caboodle” is pretty rad, isn’t it? 😉

Don’t forget to visit all of these amazing blogs for more Chalk and Paint projects!

Cristy // Love You Sew –> Right here!

Katie // The Simple Life

Jenn // Quilts and Conversations

Robin // Pattern Revolution

Alicia // Love Knot Photo

Holly // Holly Gets Quilty

Chris // The Tattooed Quilter

Alexis // My Sweet Sunshine

Adrianna // Hey June Handmade

Taylor // Taylor Made Creates

Casey // Casey Taylor Threads

Hayley // Welcome to the Mouse House

Giveaway-Graphic

What would you make with the Chalk and Paint collection?  You have a chance to WIN a Full FQ Bundle on Instagram by (re)posting your favorite image from the blog tour using #chalkandpaintgiveaway and tagging @sewcaroline. (Full Details are on Caroline’s blog.)


Good luck!


***This post may contain affiliate links which help me on the back end to fund this site.  Compensation is only through your own purchase. 

Padded Laptop Tutorial by Love You Sew

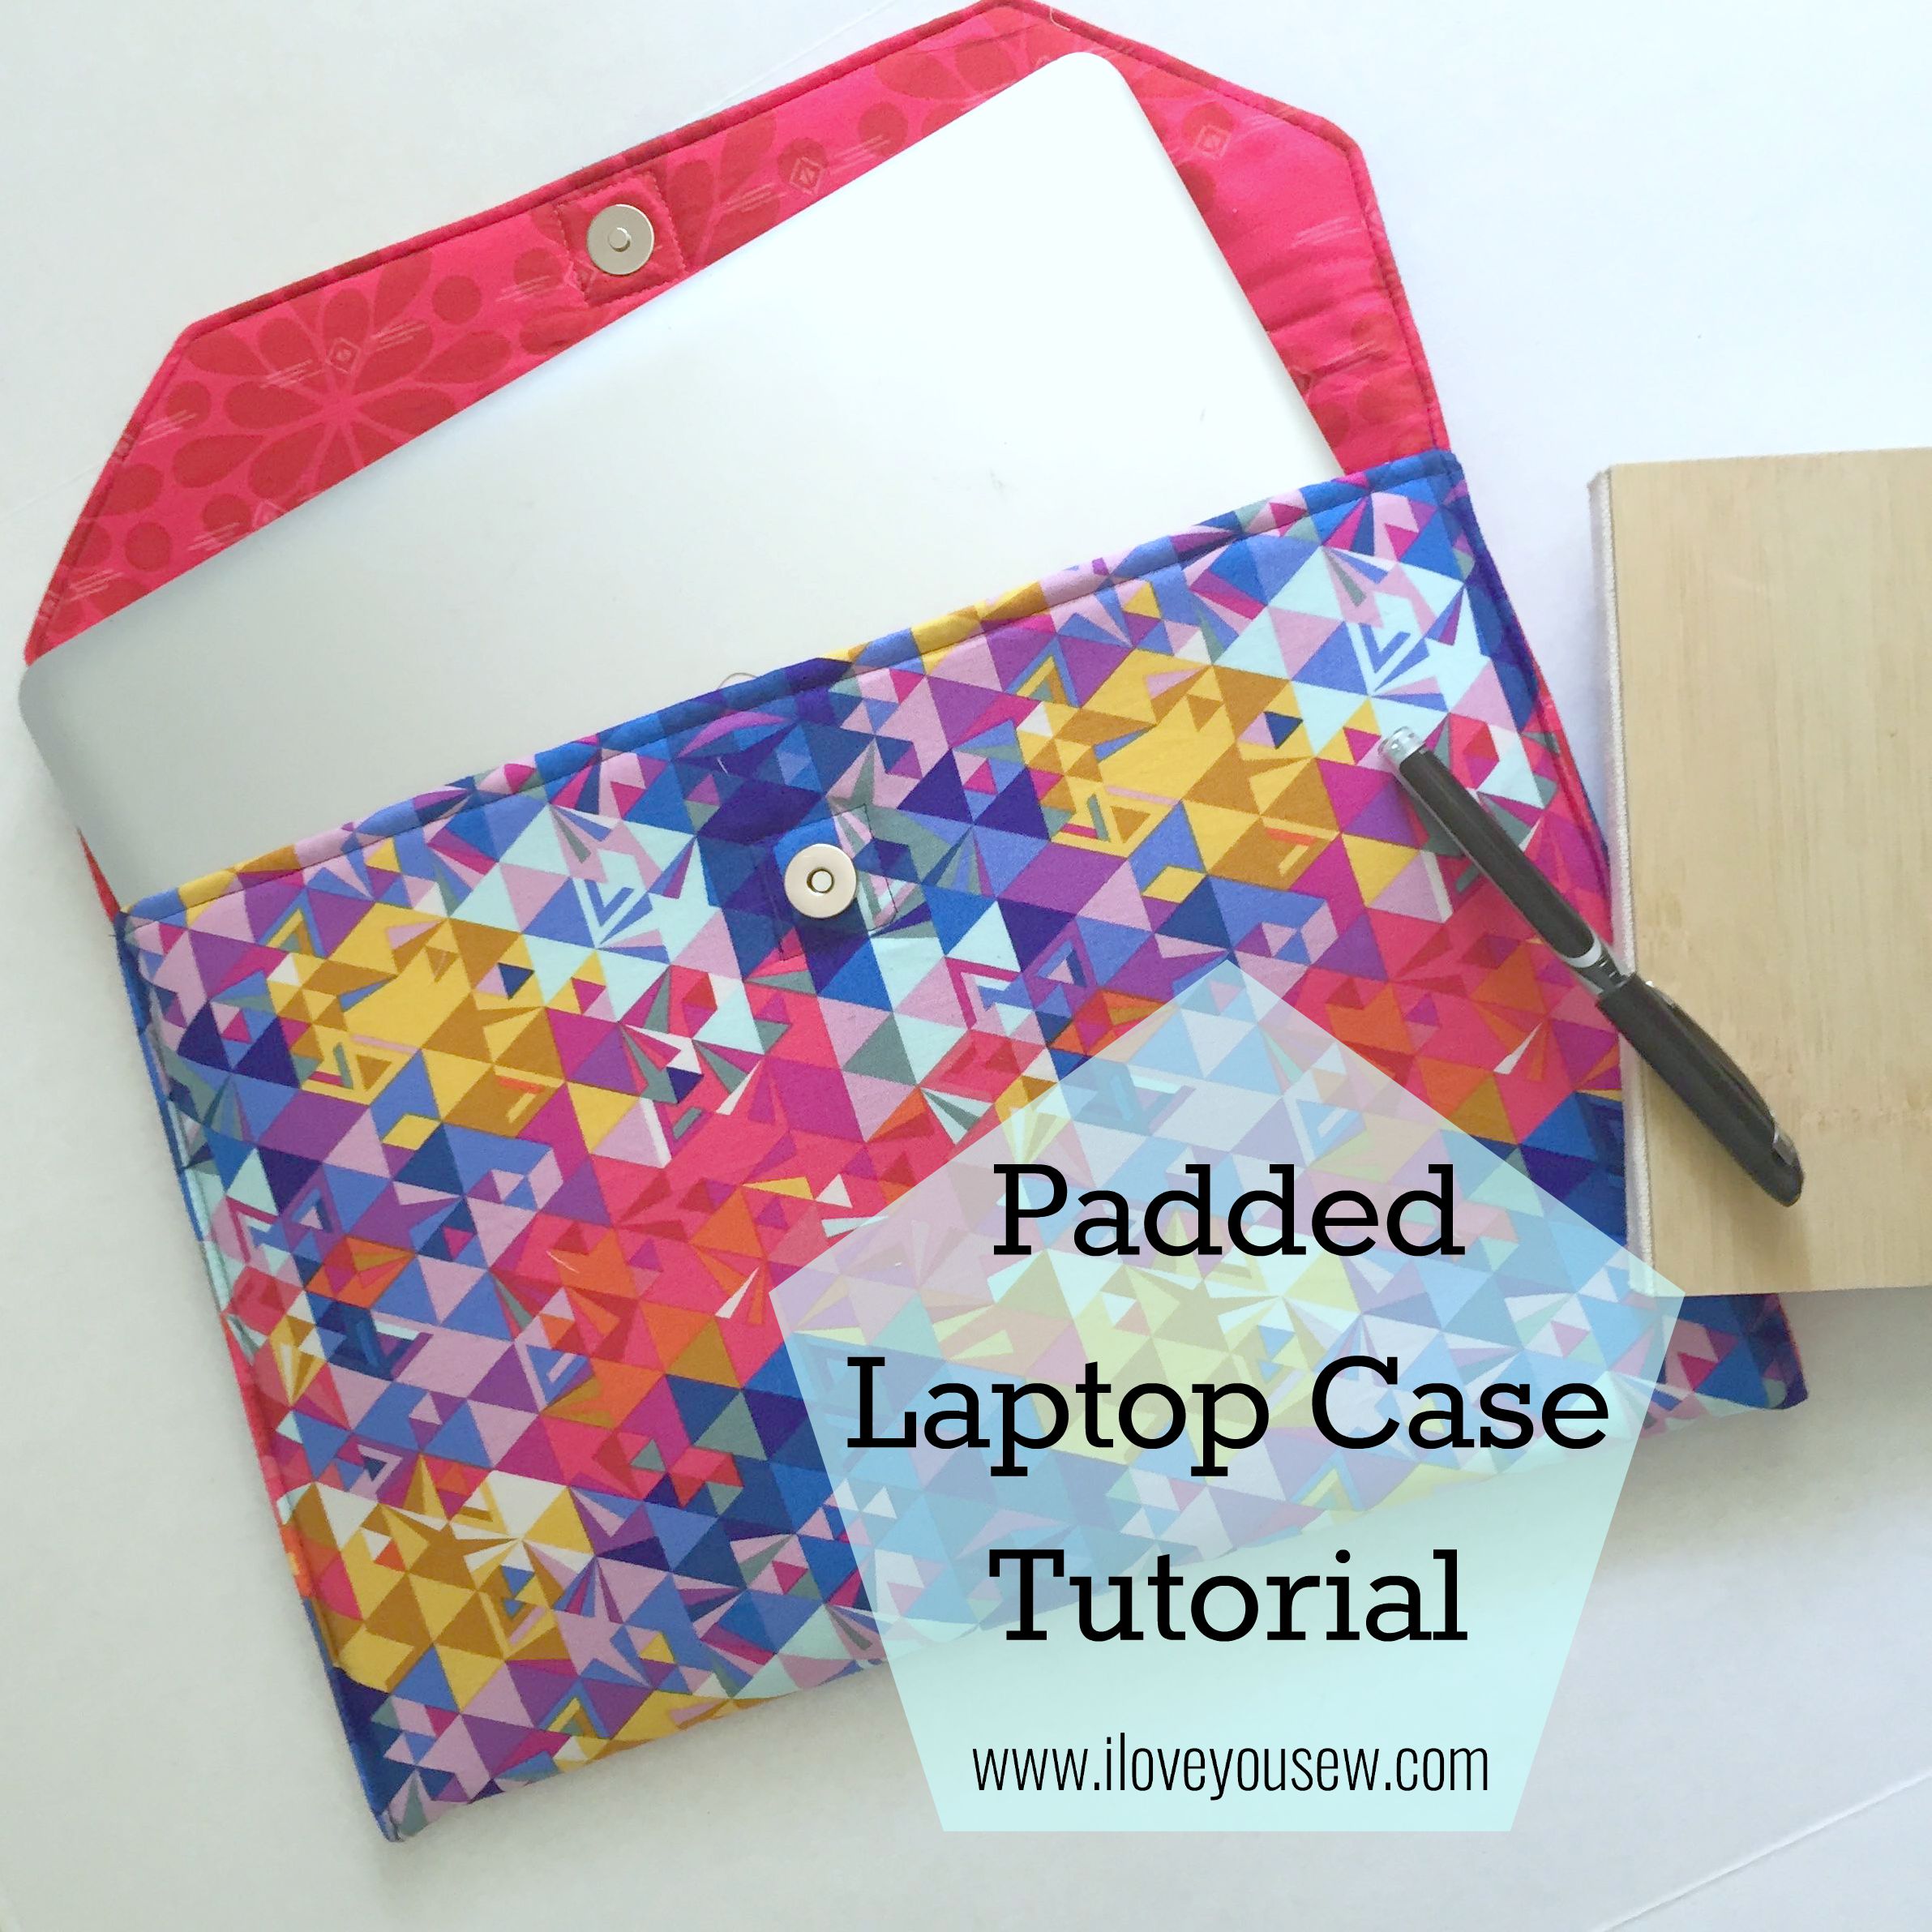
Padded Laptop Case Tutorial

LaptopCaseTitle

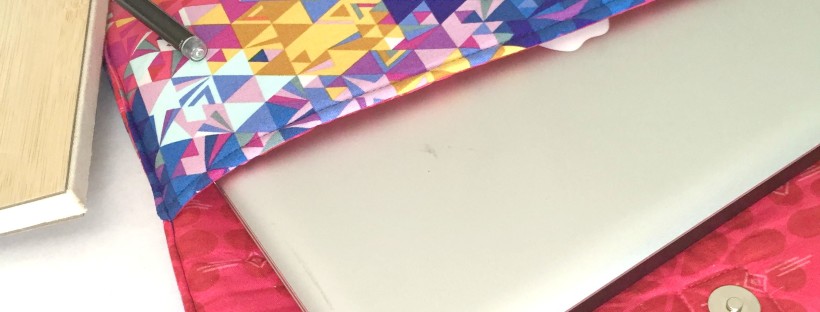
Today, I’m going to share my own pattern for a padded laptop case.  Every time I’ve had to travel, I’ve thought of how much I needed a cover for my MacBook.  But with our recent trip to the lake, I actually made one…the night before we left…in true procrastinator style.  How many times have you done something like that???

*Please read through all steps before starting.  Cutting dimensions are based on a 13″ Apple Macbook Pro (approx. 12.75″L x 9″W x  0.75″H)

Supplies:

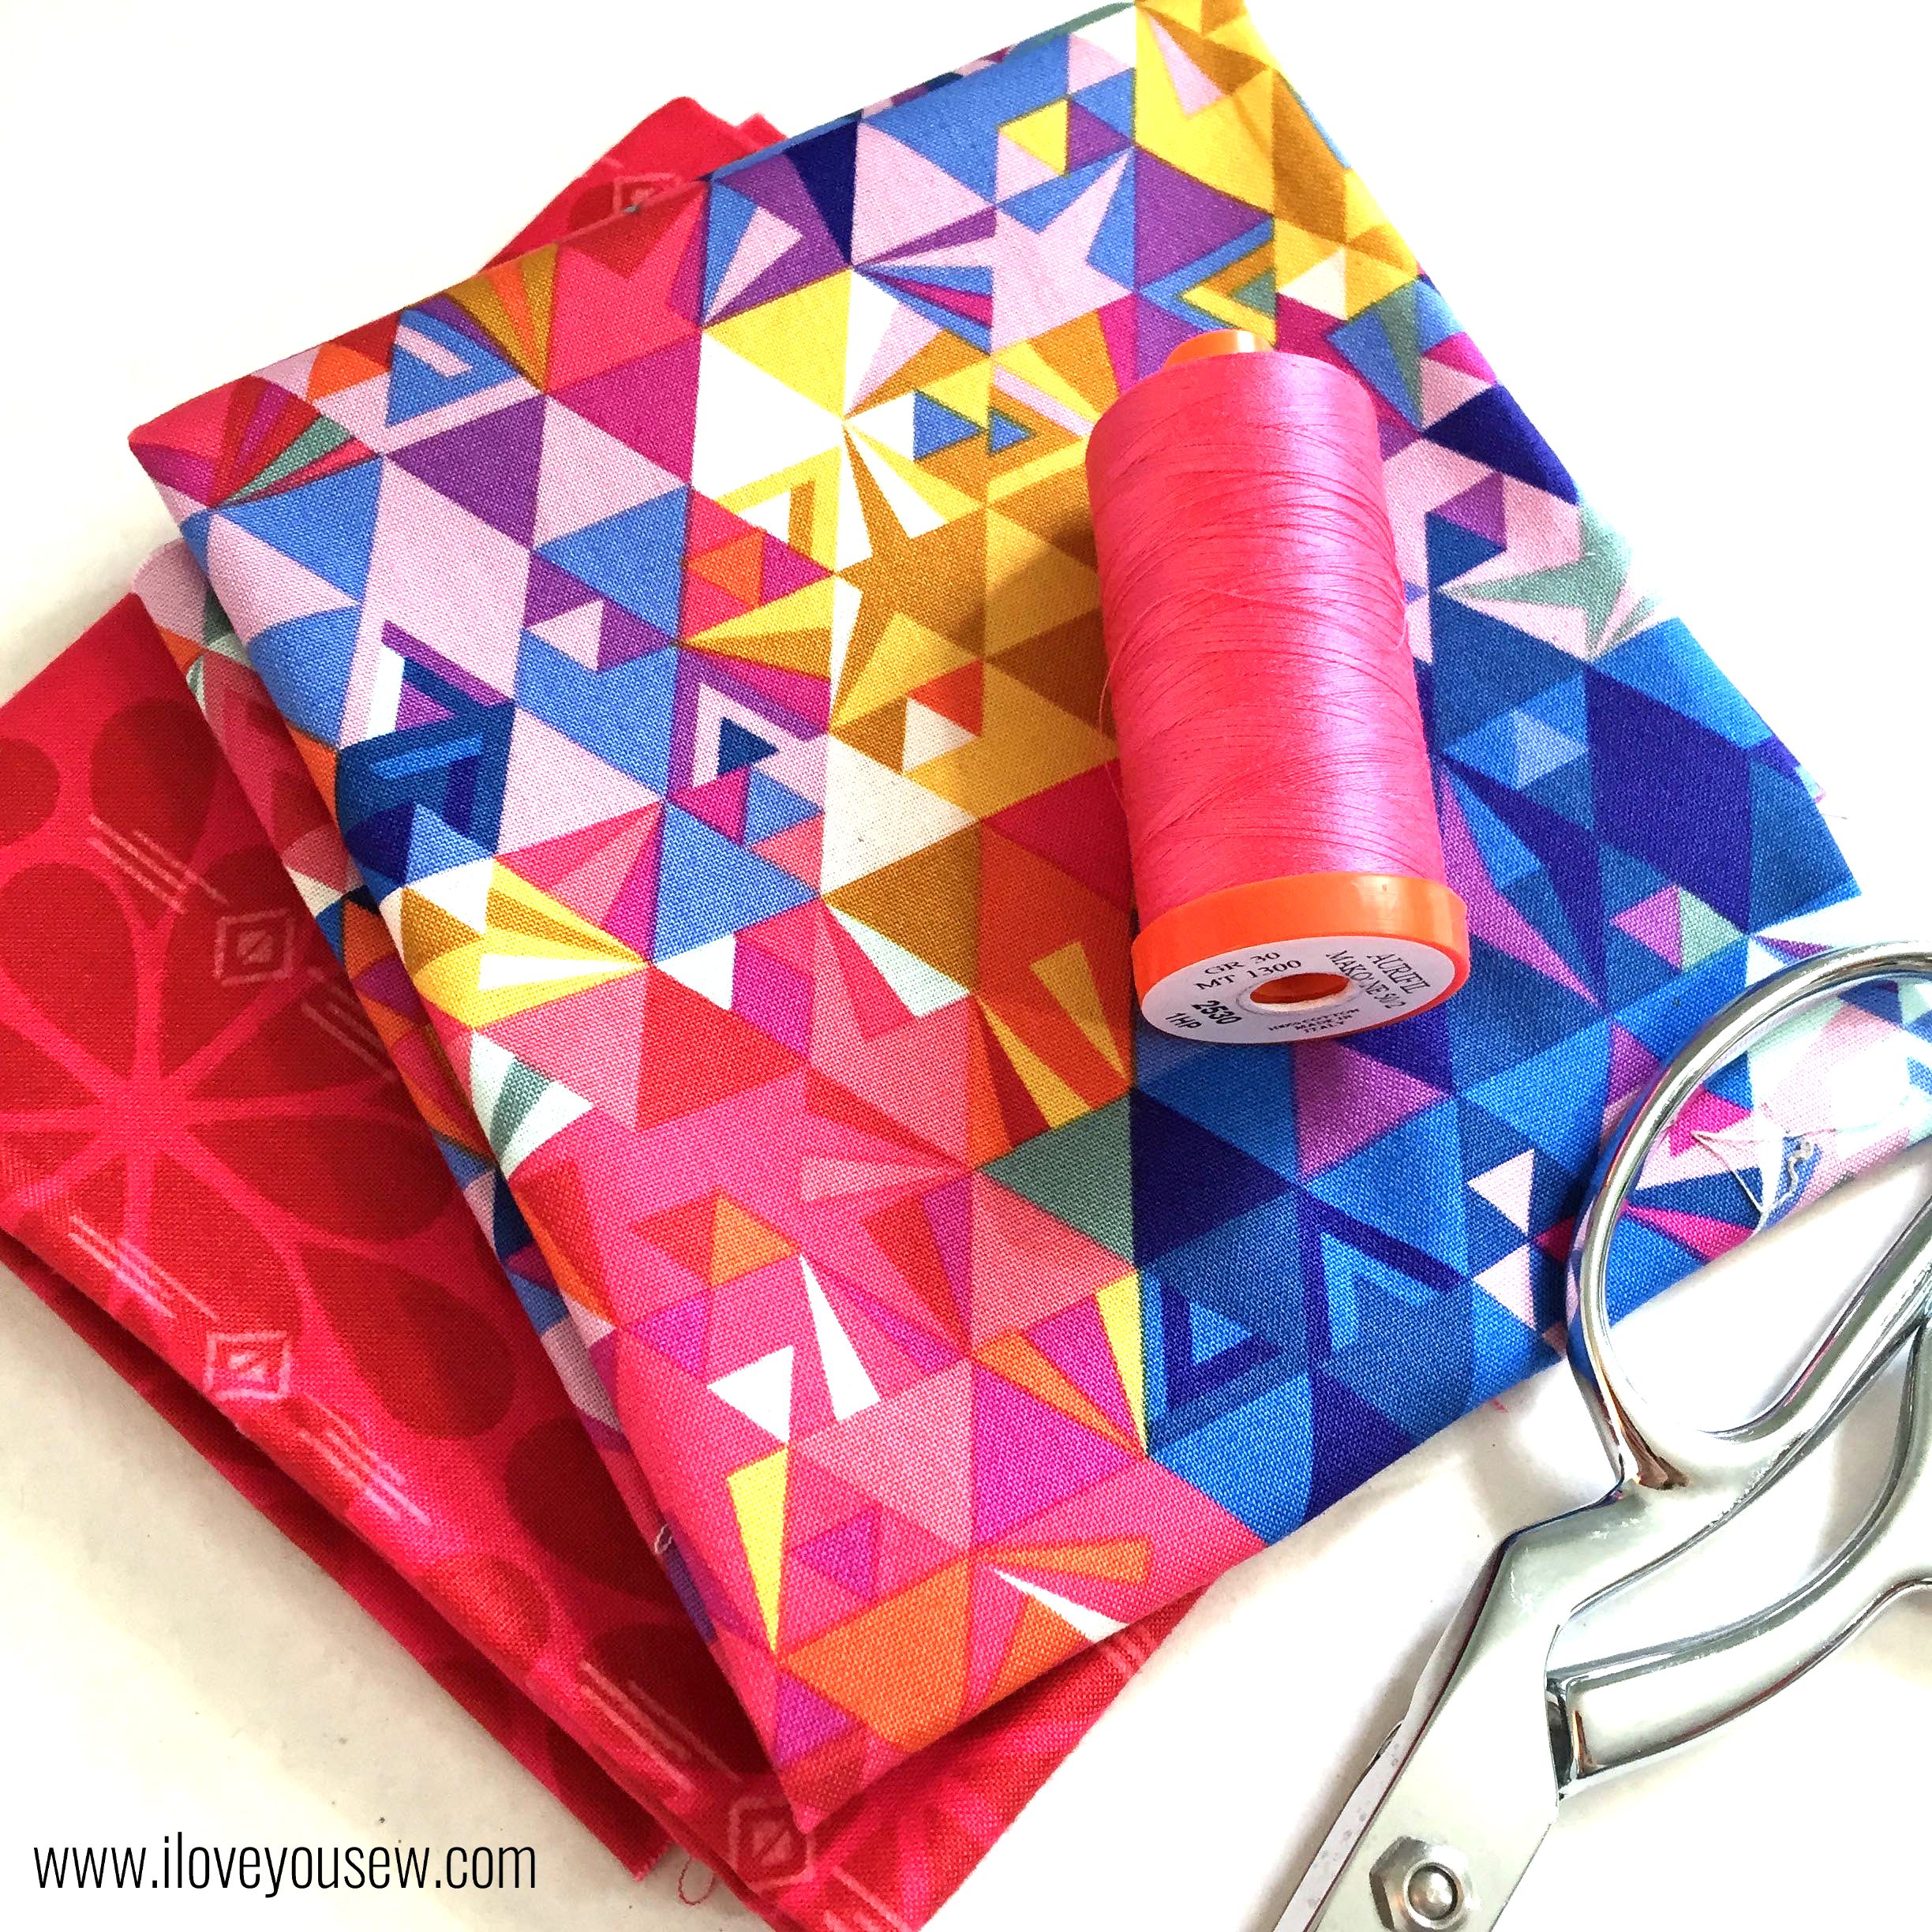
  • 1/2 yd of Exterior Fabric
  • 1/2 yd of Lining Fabric
  • 1/2 yd of Pellon Flex-Foam or Annie’s Soft & Stable
  • 1/4 yd of Mid to Heavyweight Interfacing
  • 1 set of Magnetic Snaps
  • 3 sets of KAM Snaps
  • Coordinating Thread
  • Rotary Cutter and Cutting Board
  • Fabric Scissors

01LaptopFabricPull

If you follow me on IG, I made my personal one with Alison Glass‘s Geometry in Sunset (as shown) but with Mercury in blue as the pocket and the Historical Fiction in Gold print for the lining.  Luckily, my niece saw what I made and wanted one for her very own.  How did she know I also wanted to write a tutorial? She selected Geometry and I had a bunch of Historical Fiction in Strawberry in my stash to match. I love this vibrant combination.


Cutting Requirements:

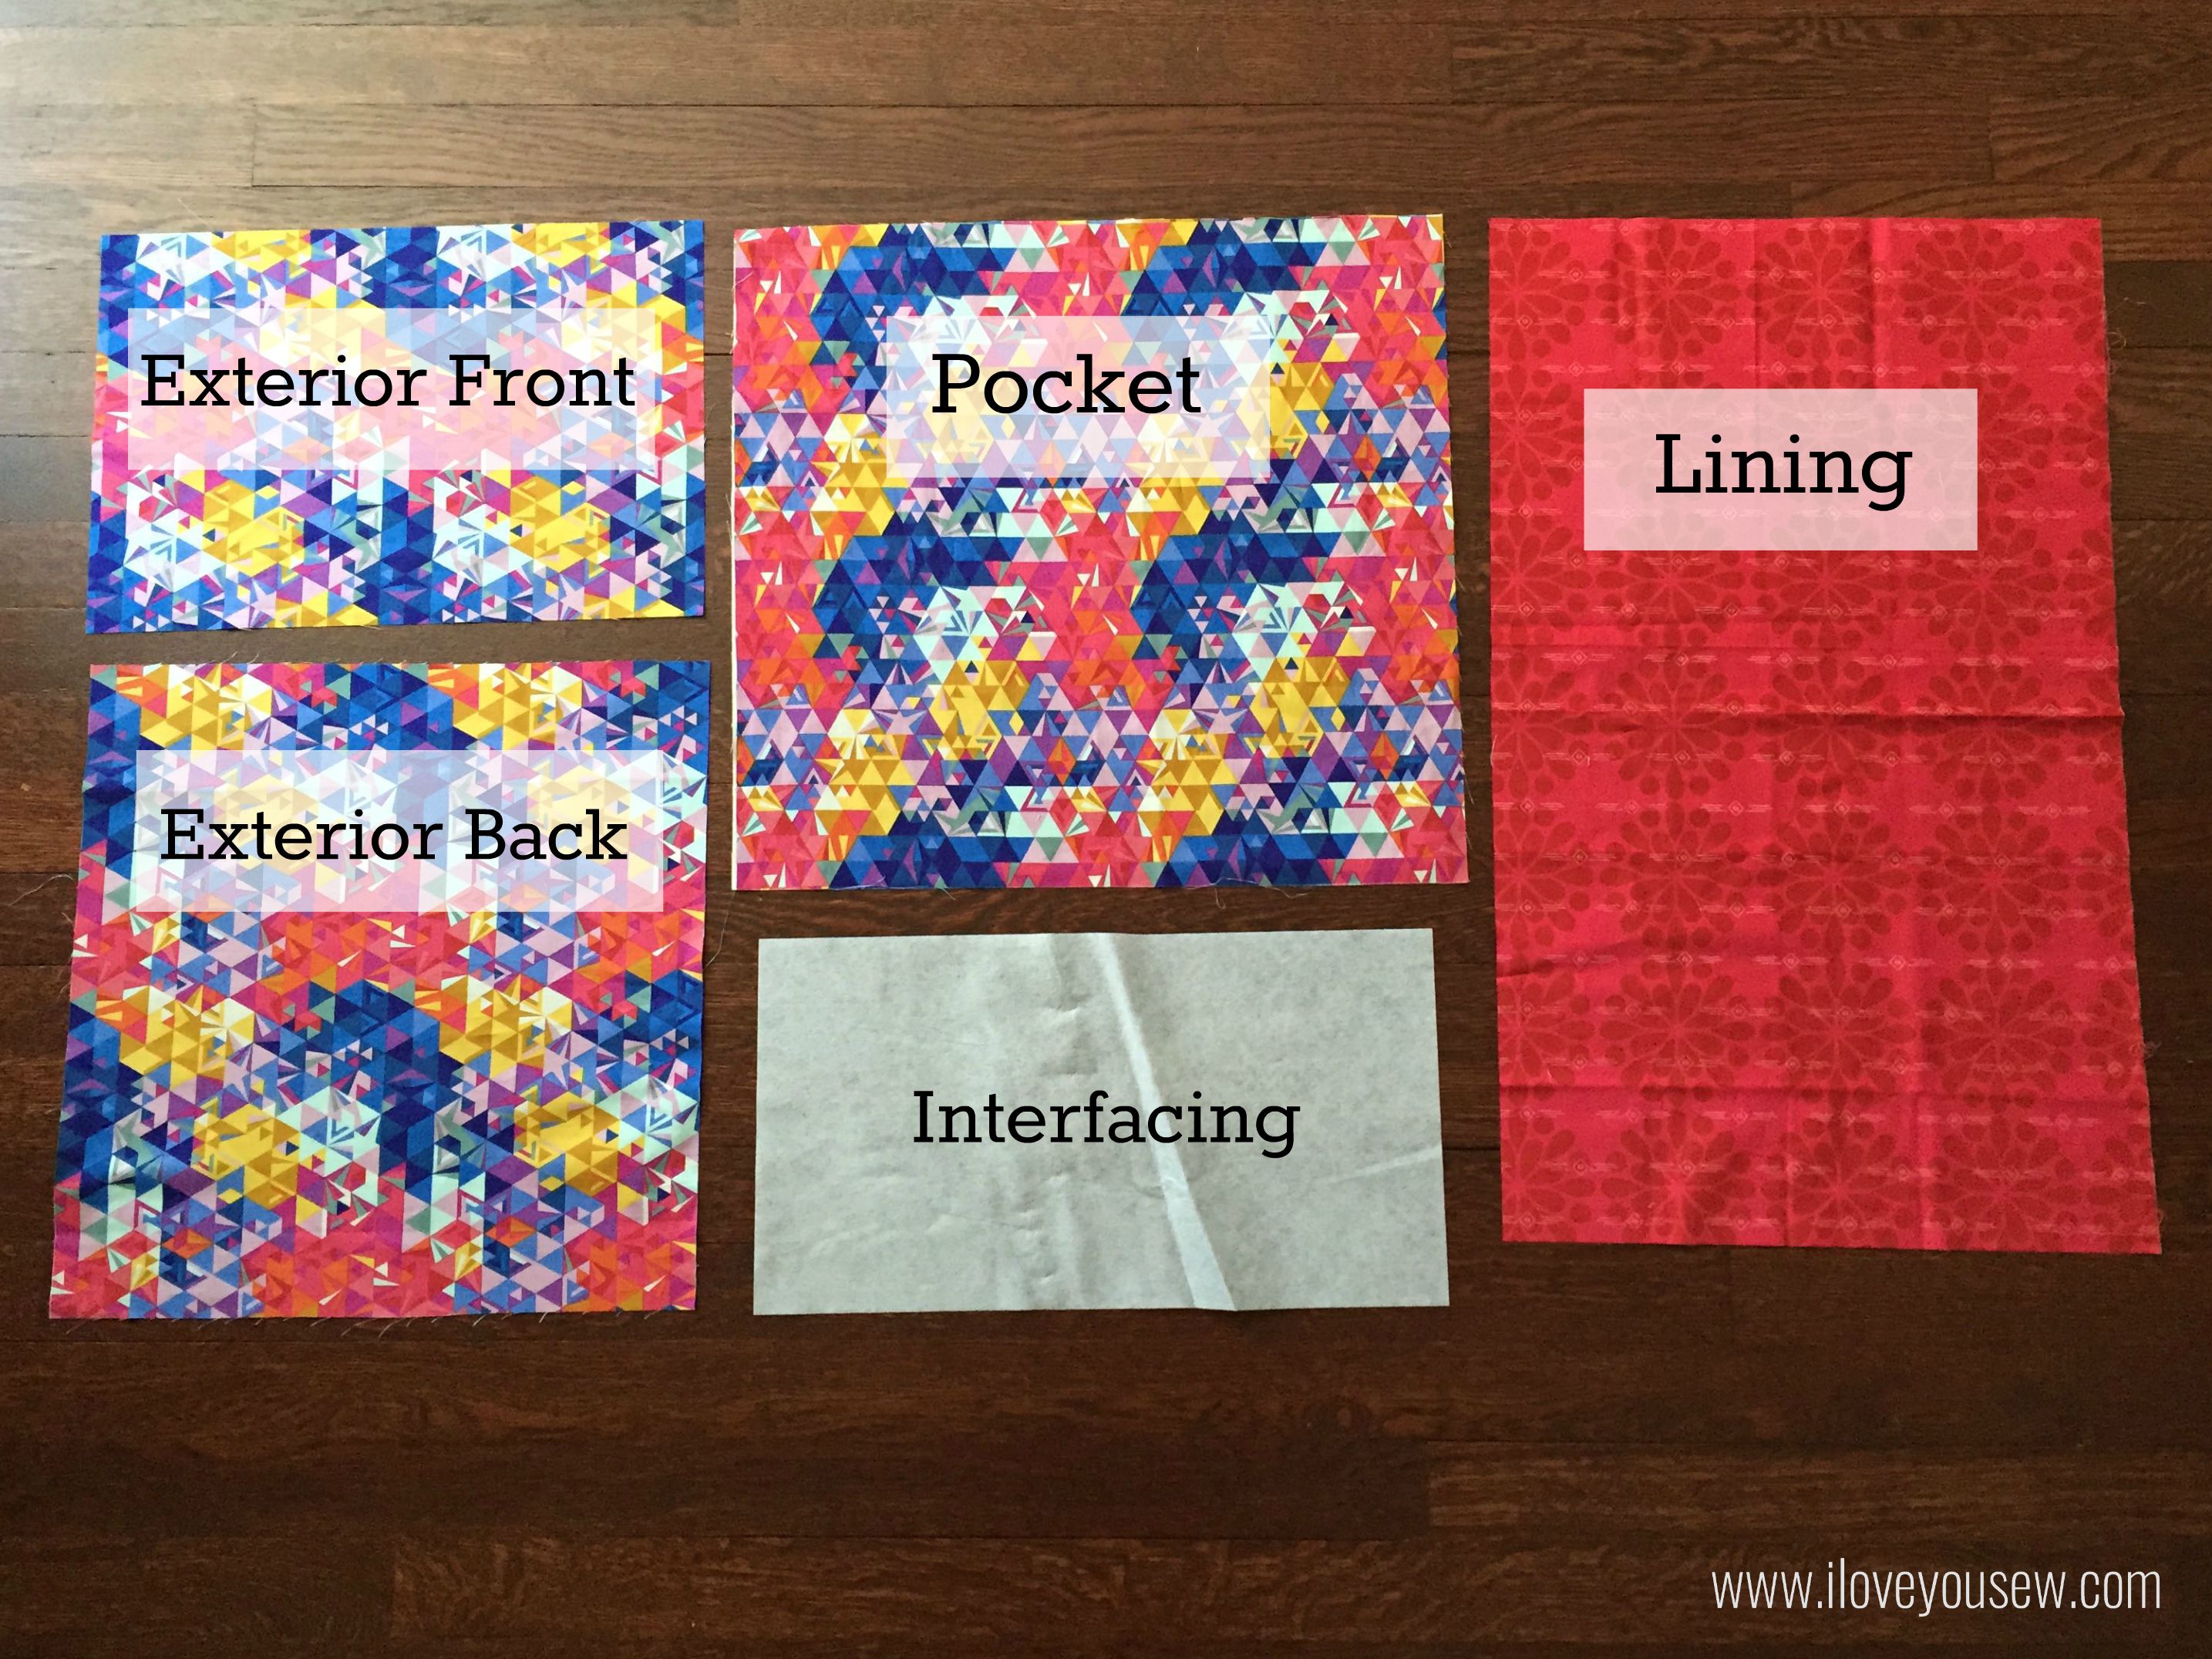
02LaptopPatternCut*Please note all measurements are for a 13″ Apple Macbook Pro.

  • Cut from Exterior Fabric (L x W):
    • Front – 15.75″ x 10.75″
    • Back – 15.75″ x 16.25″
    • Pocket – 17.75″ x 18.75″
  • Lining – 15.75″ x 26.5″
  • Interfacing  – 17.25″ x 9″
  • Flex-Foam 15.25″ x 26″ (not pictured)

Instructions:

03InterfacingonPocket

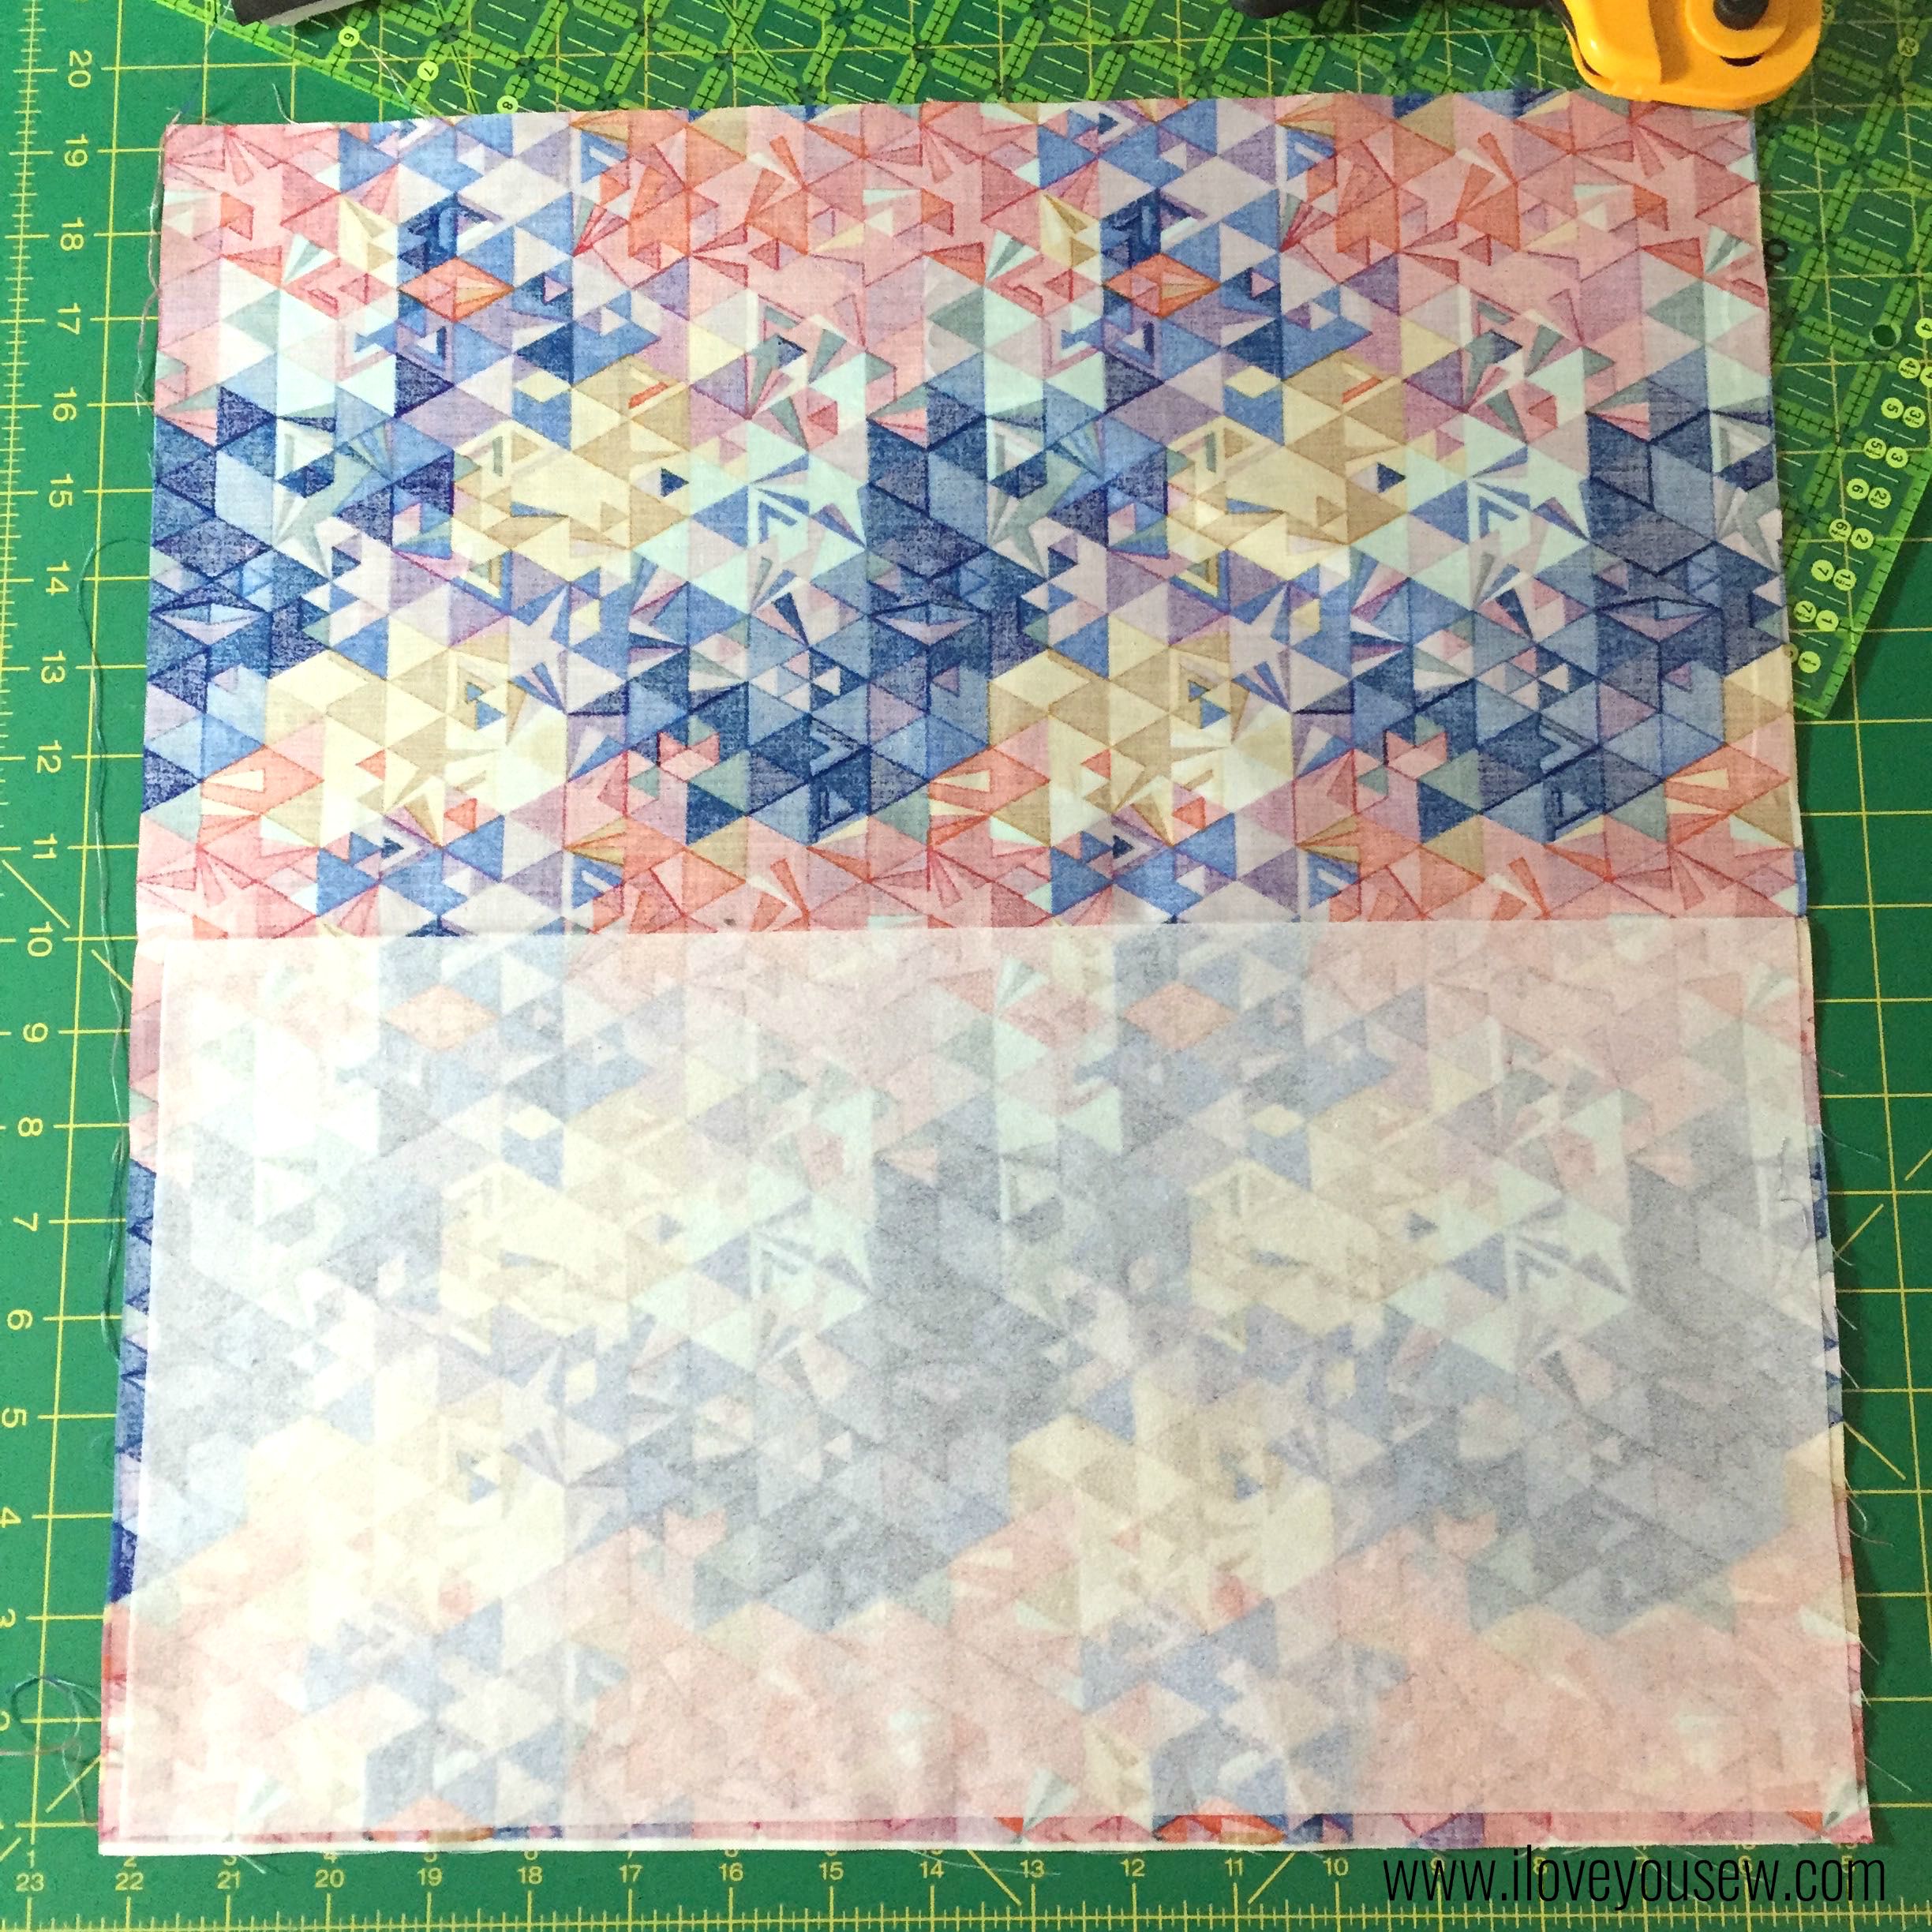
Lay Pocket right-side facing down (17.75″ at the top) and fuse the interfacing to the bottom half according to the manufacturer’s instructions.  There should be a 1/4″ seam allowance all around the interfacing.


04PocketCloseup

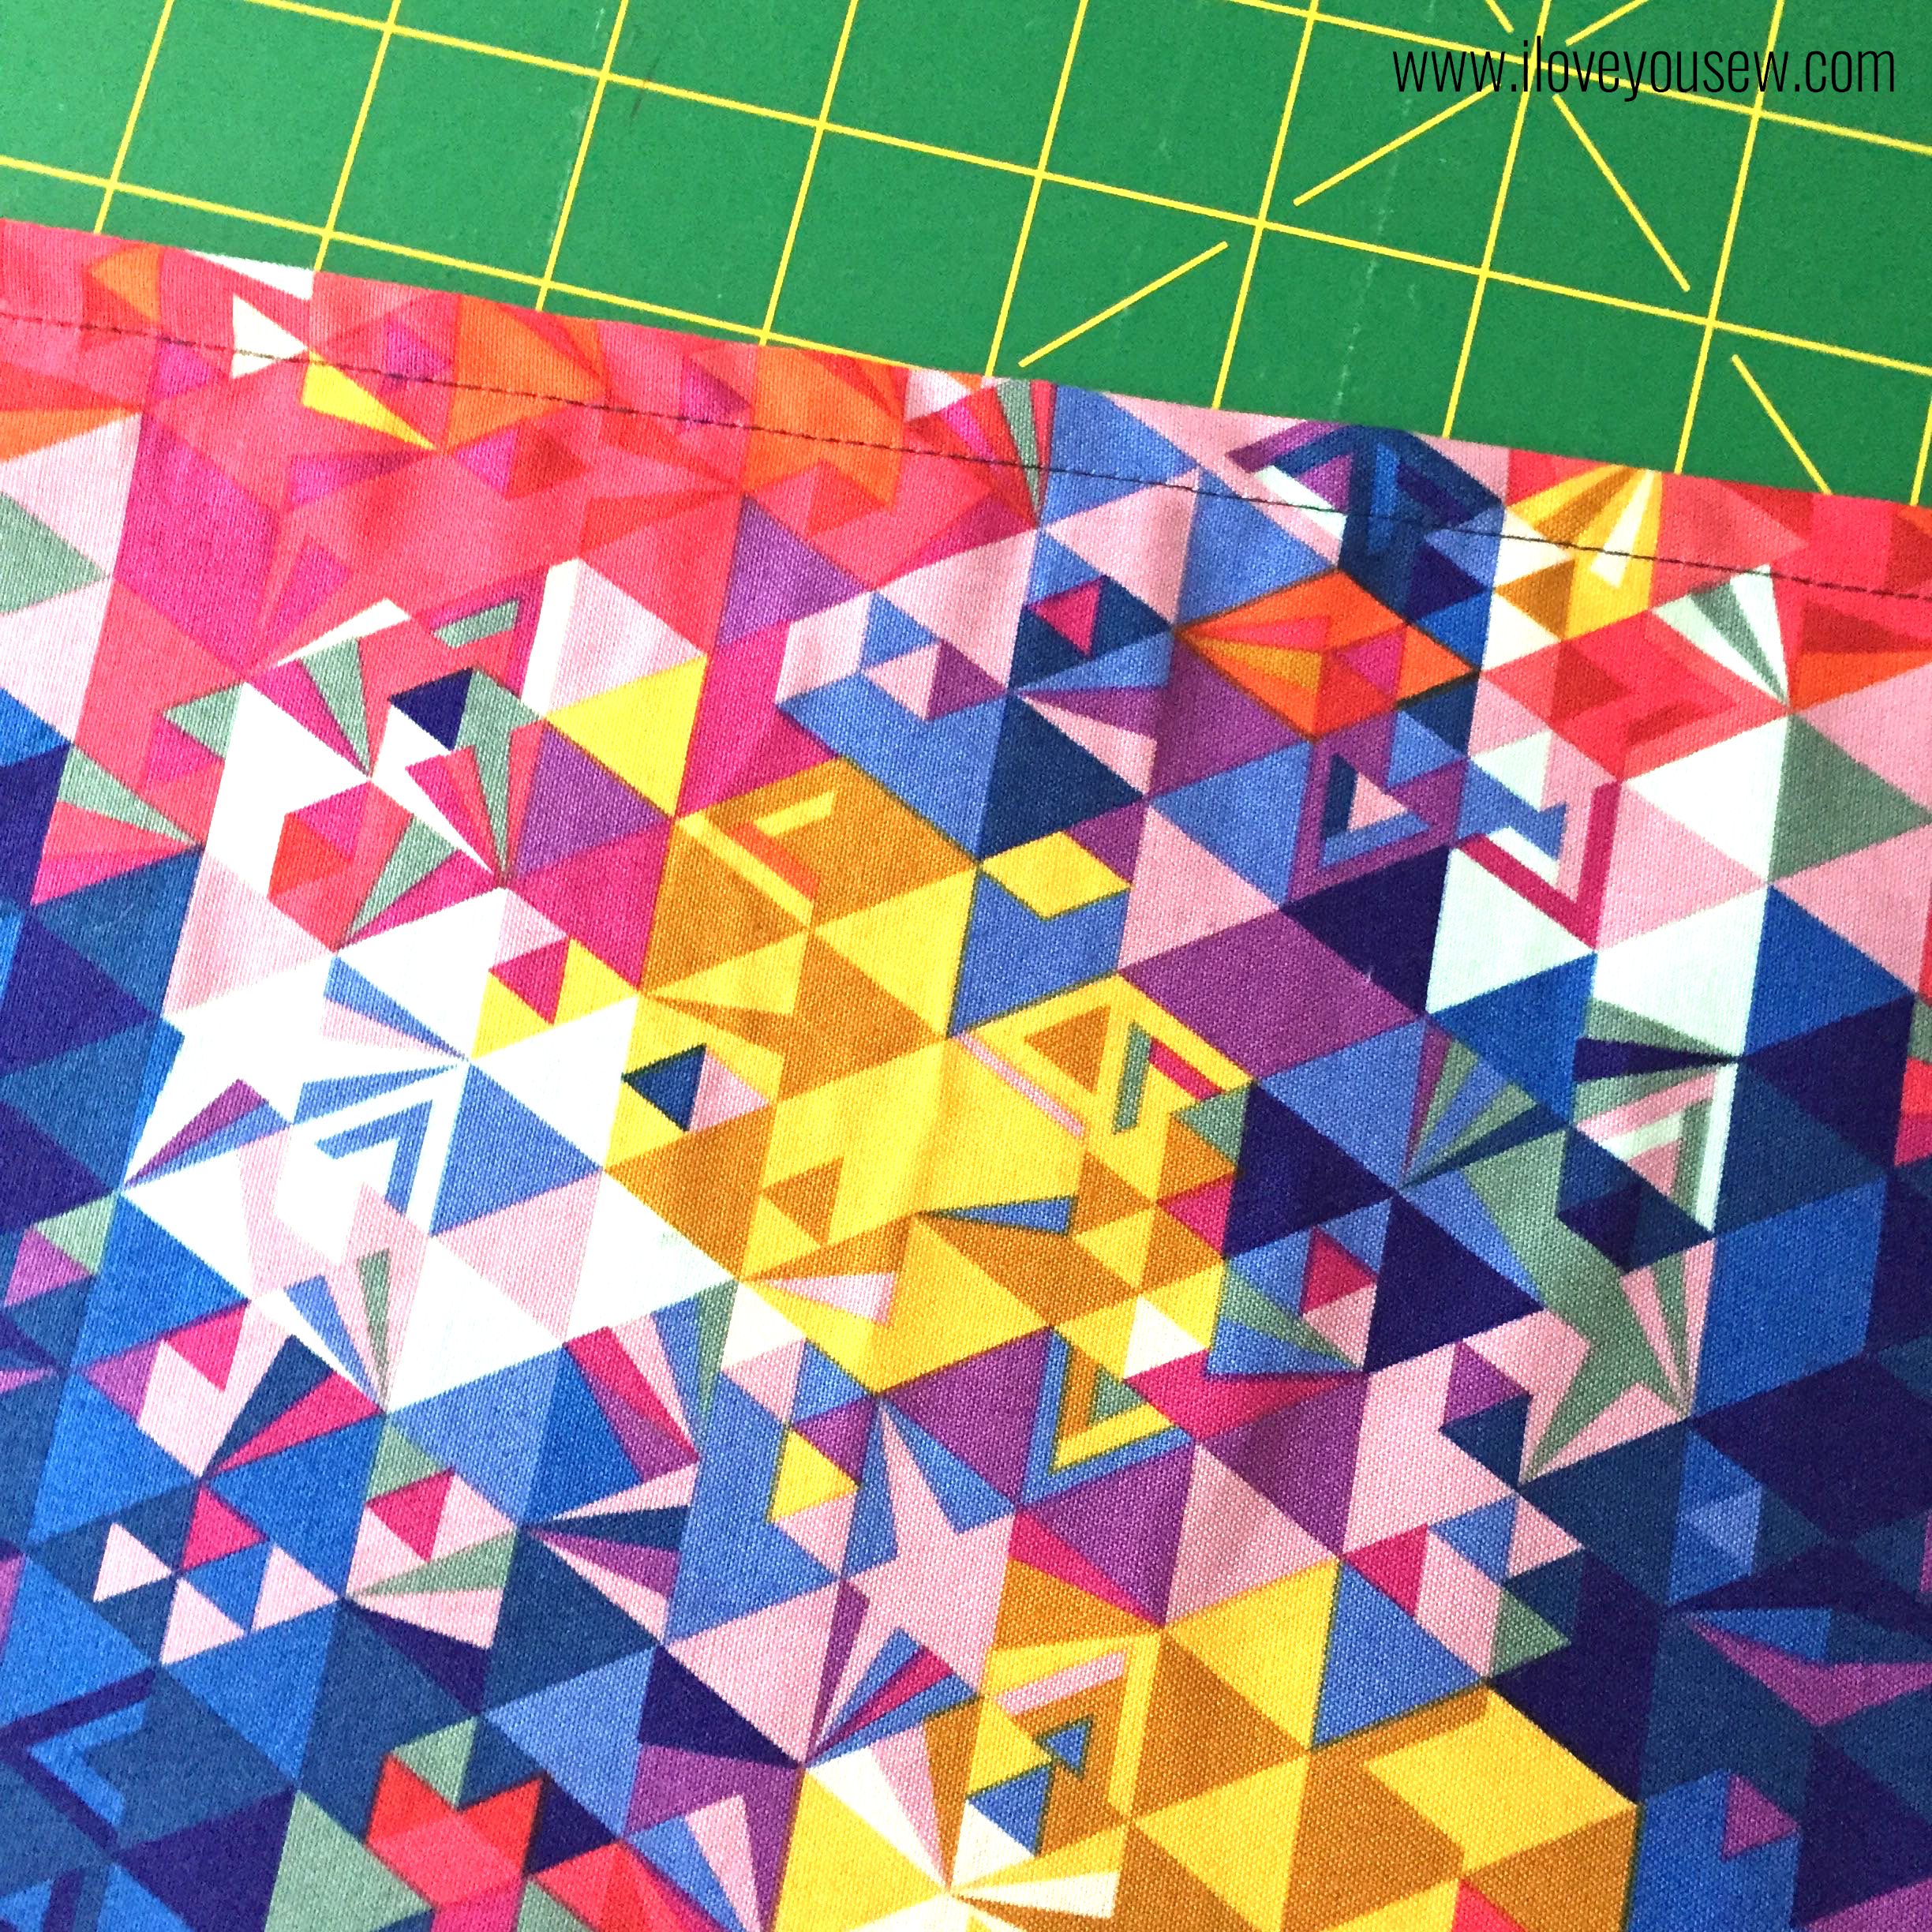
Fold the pocket in half, wrong sides together, so the interfacing is sandwiched in between the Pocket fabric.  Press with iron and sew a 1/2″ seam along the fold to keep all pieces in place. Set aside.


05NotchFlap1

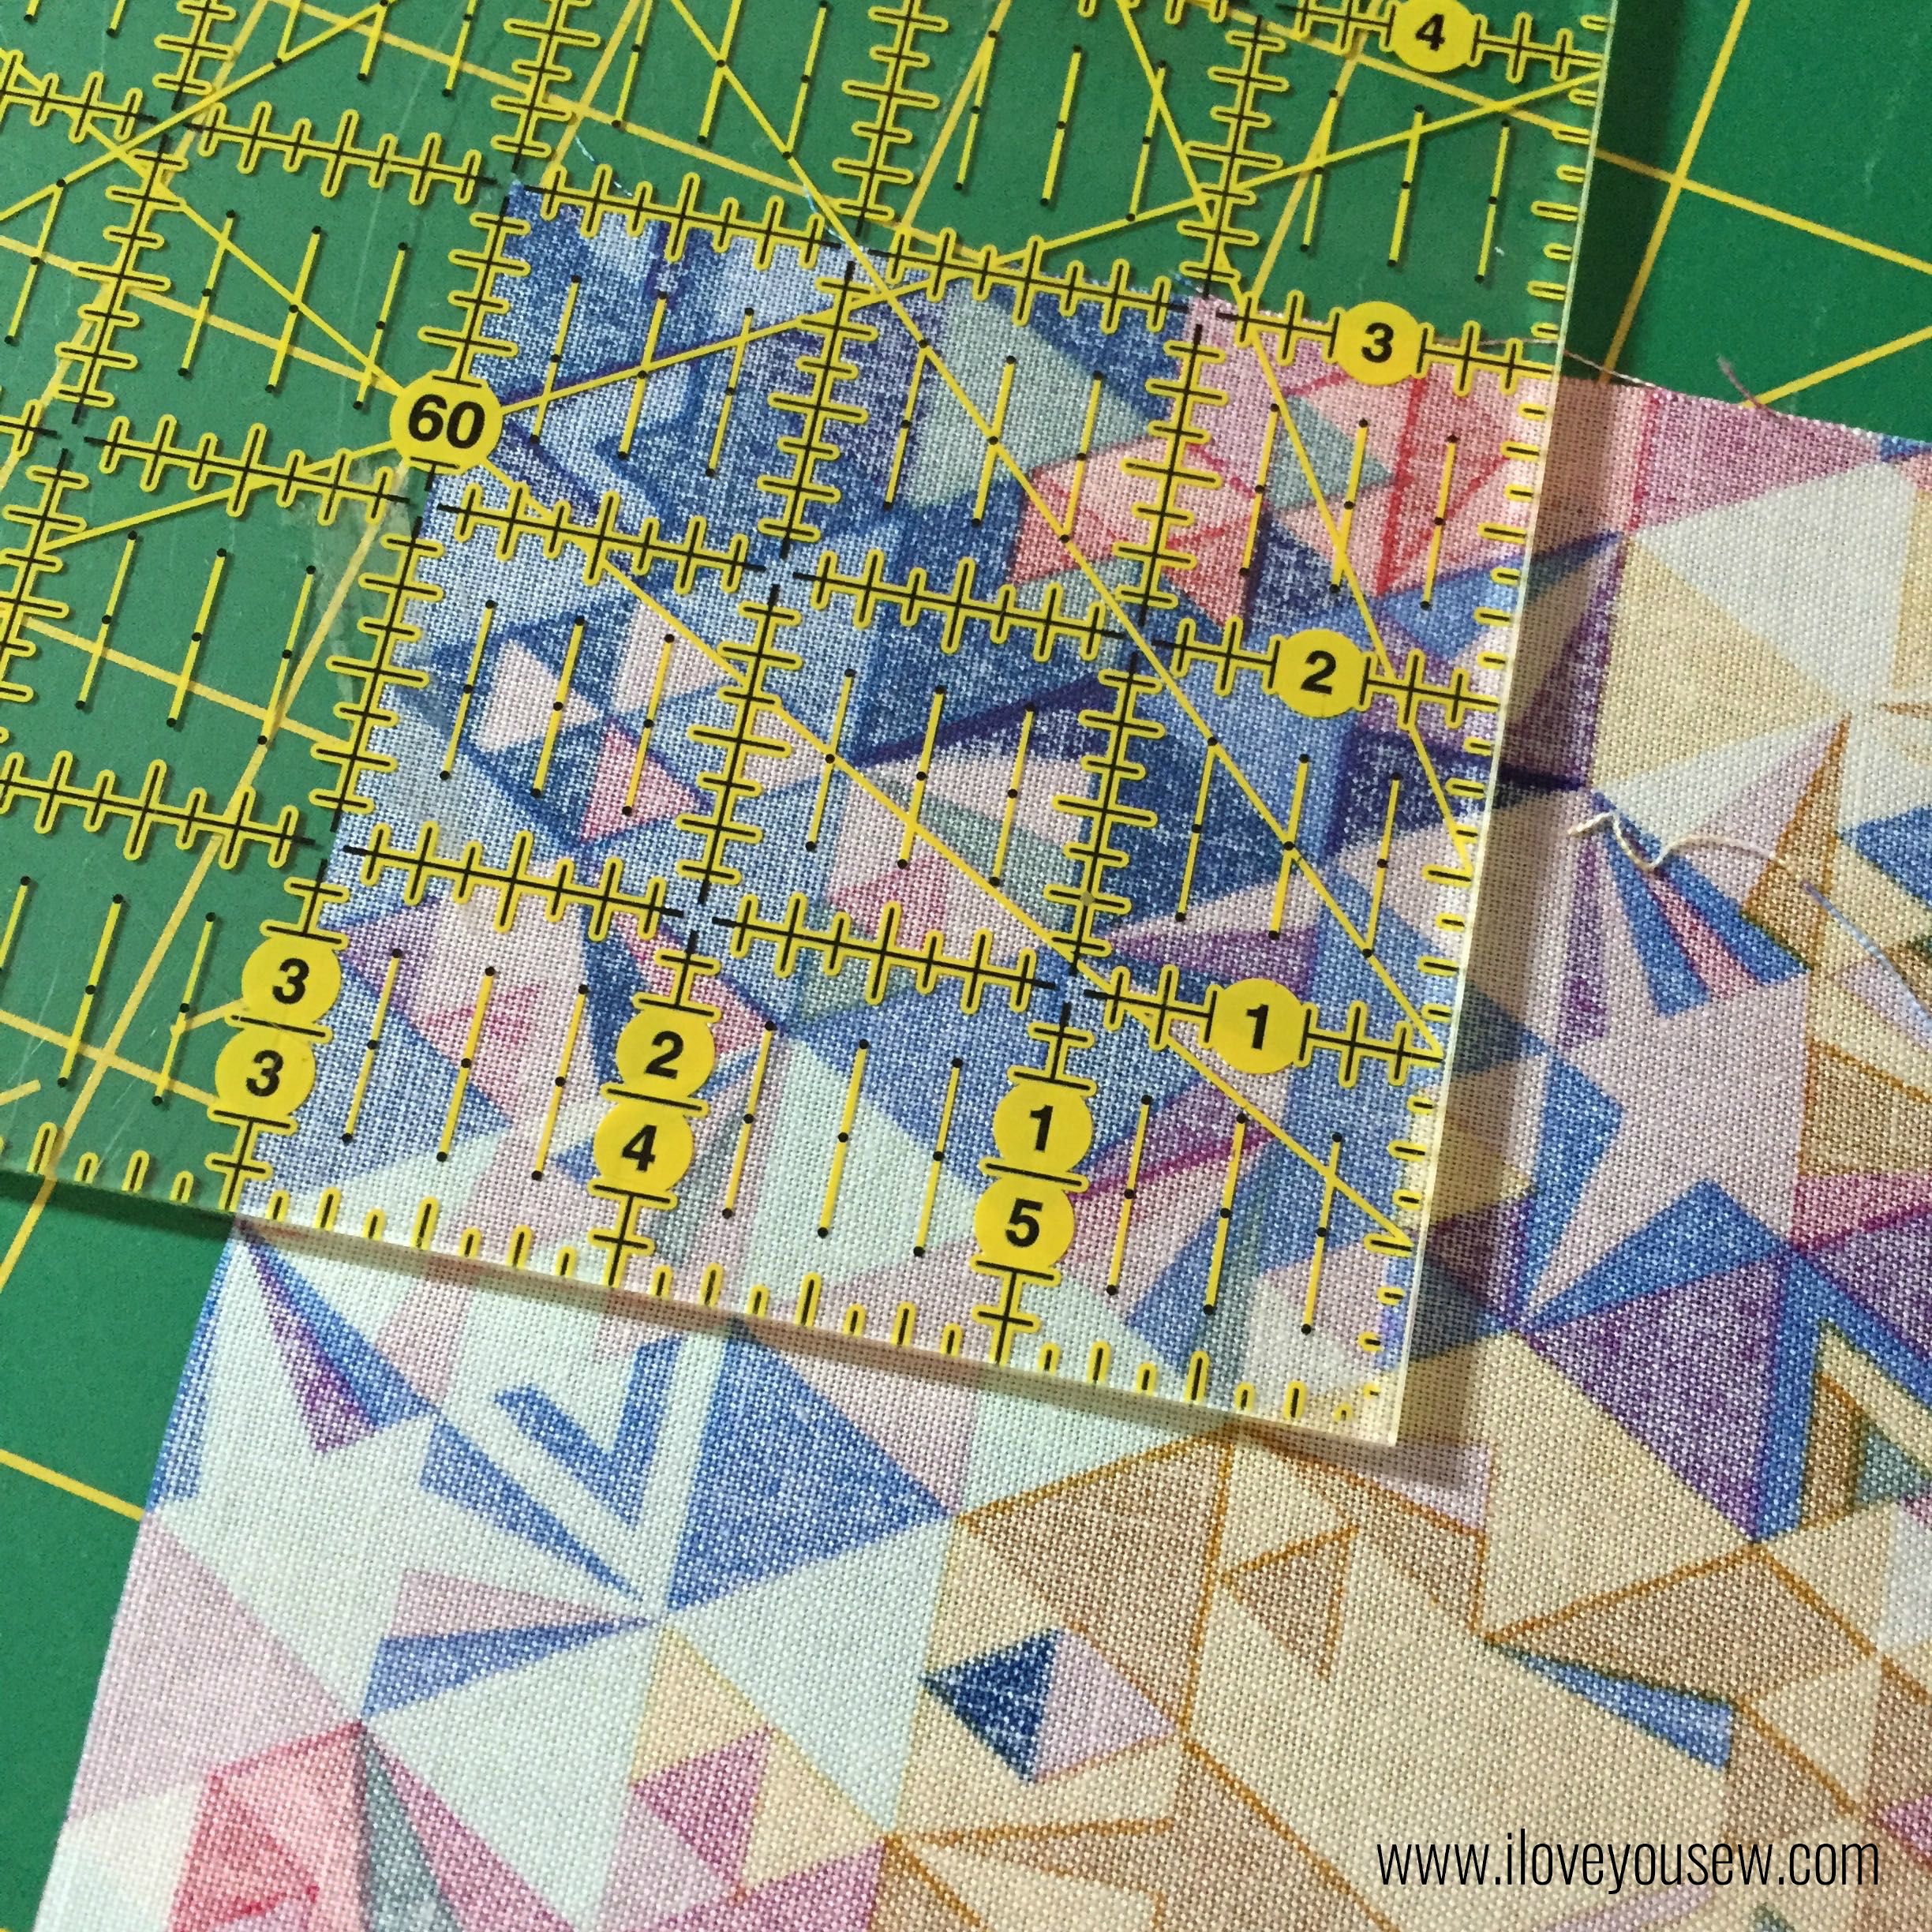
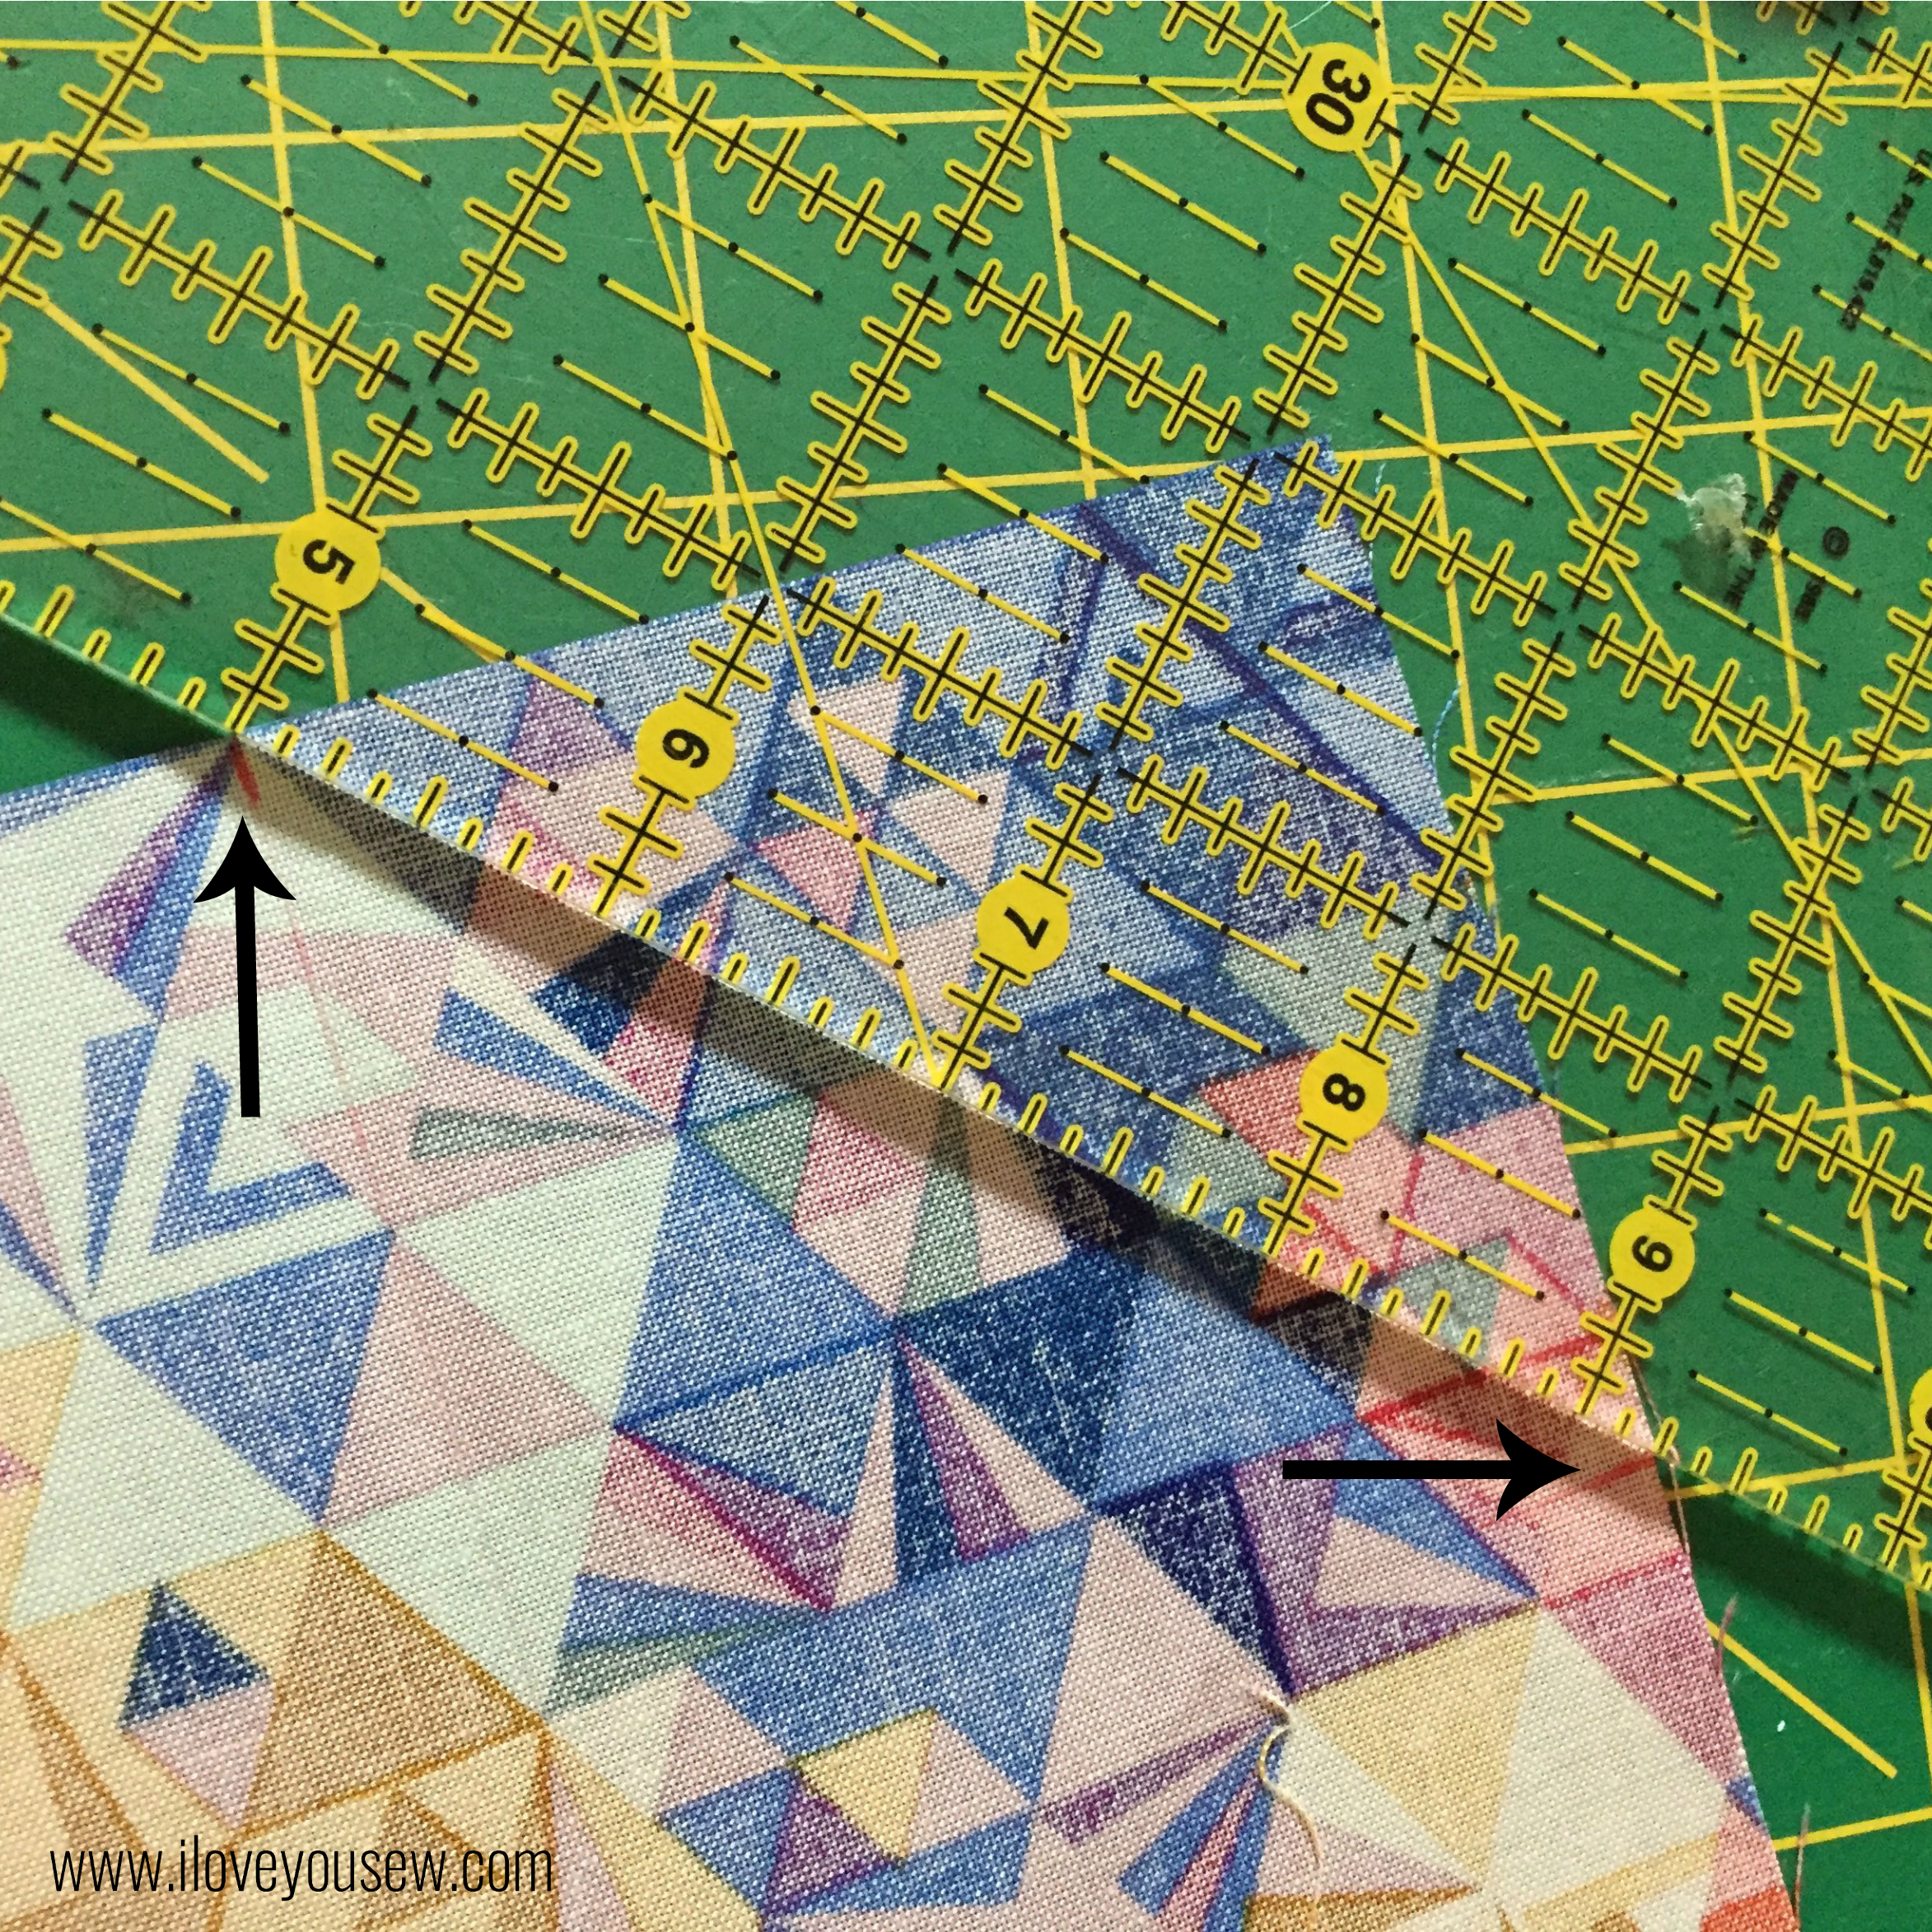
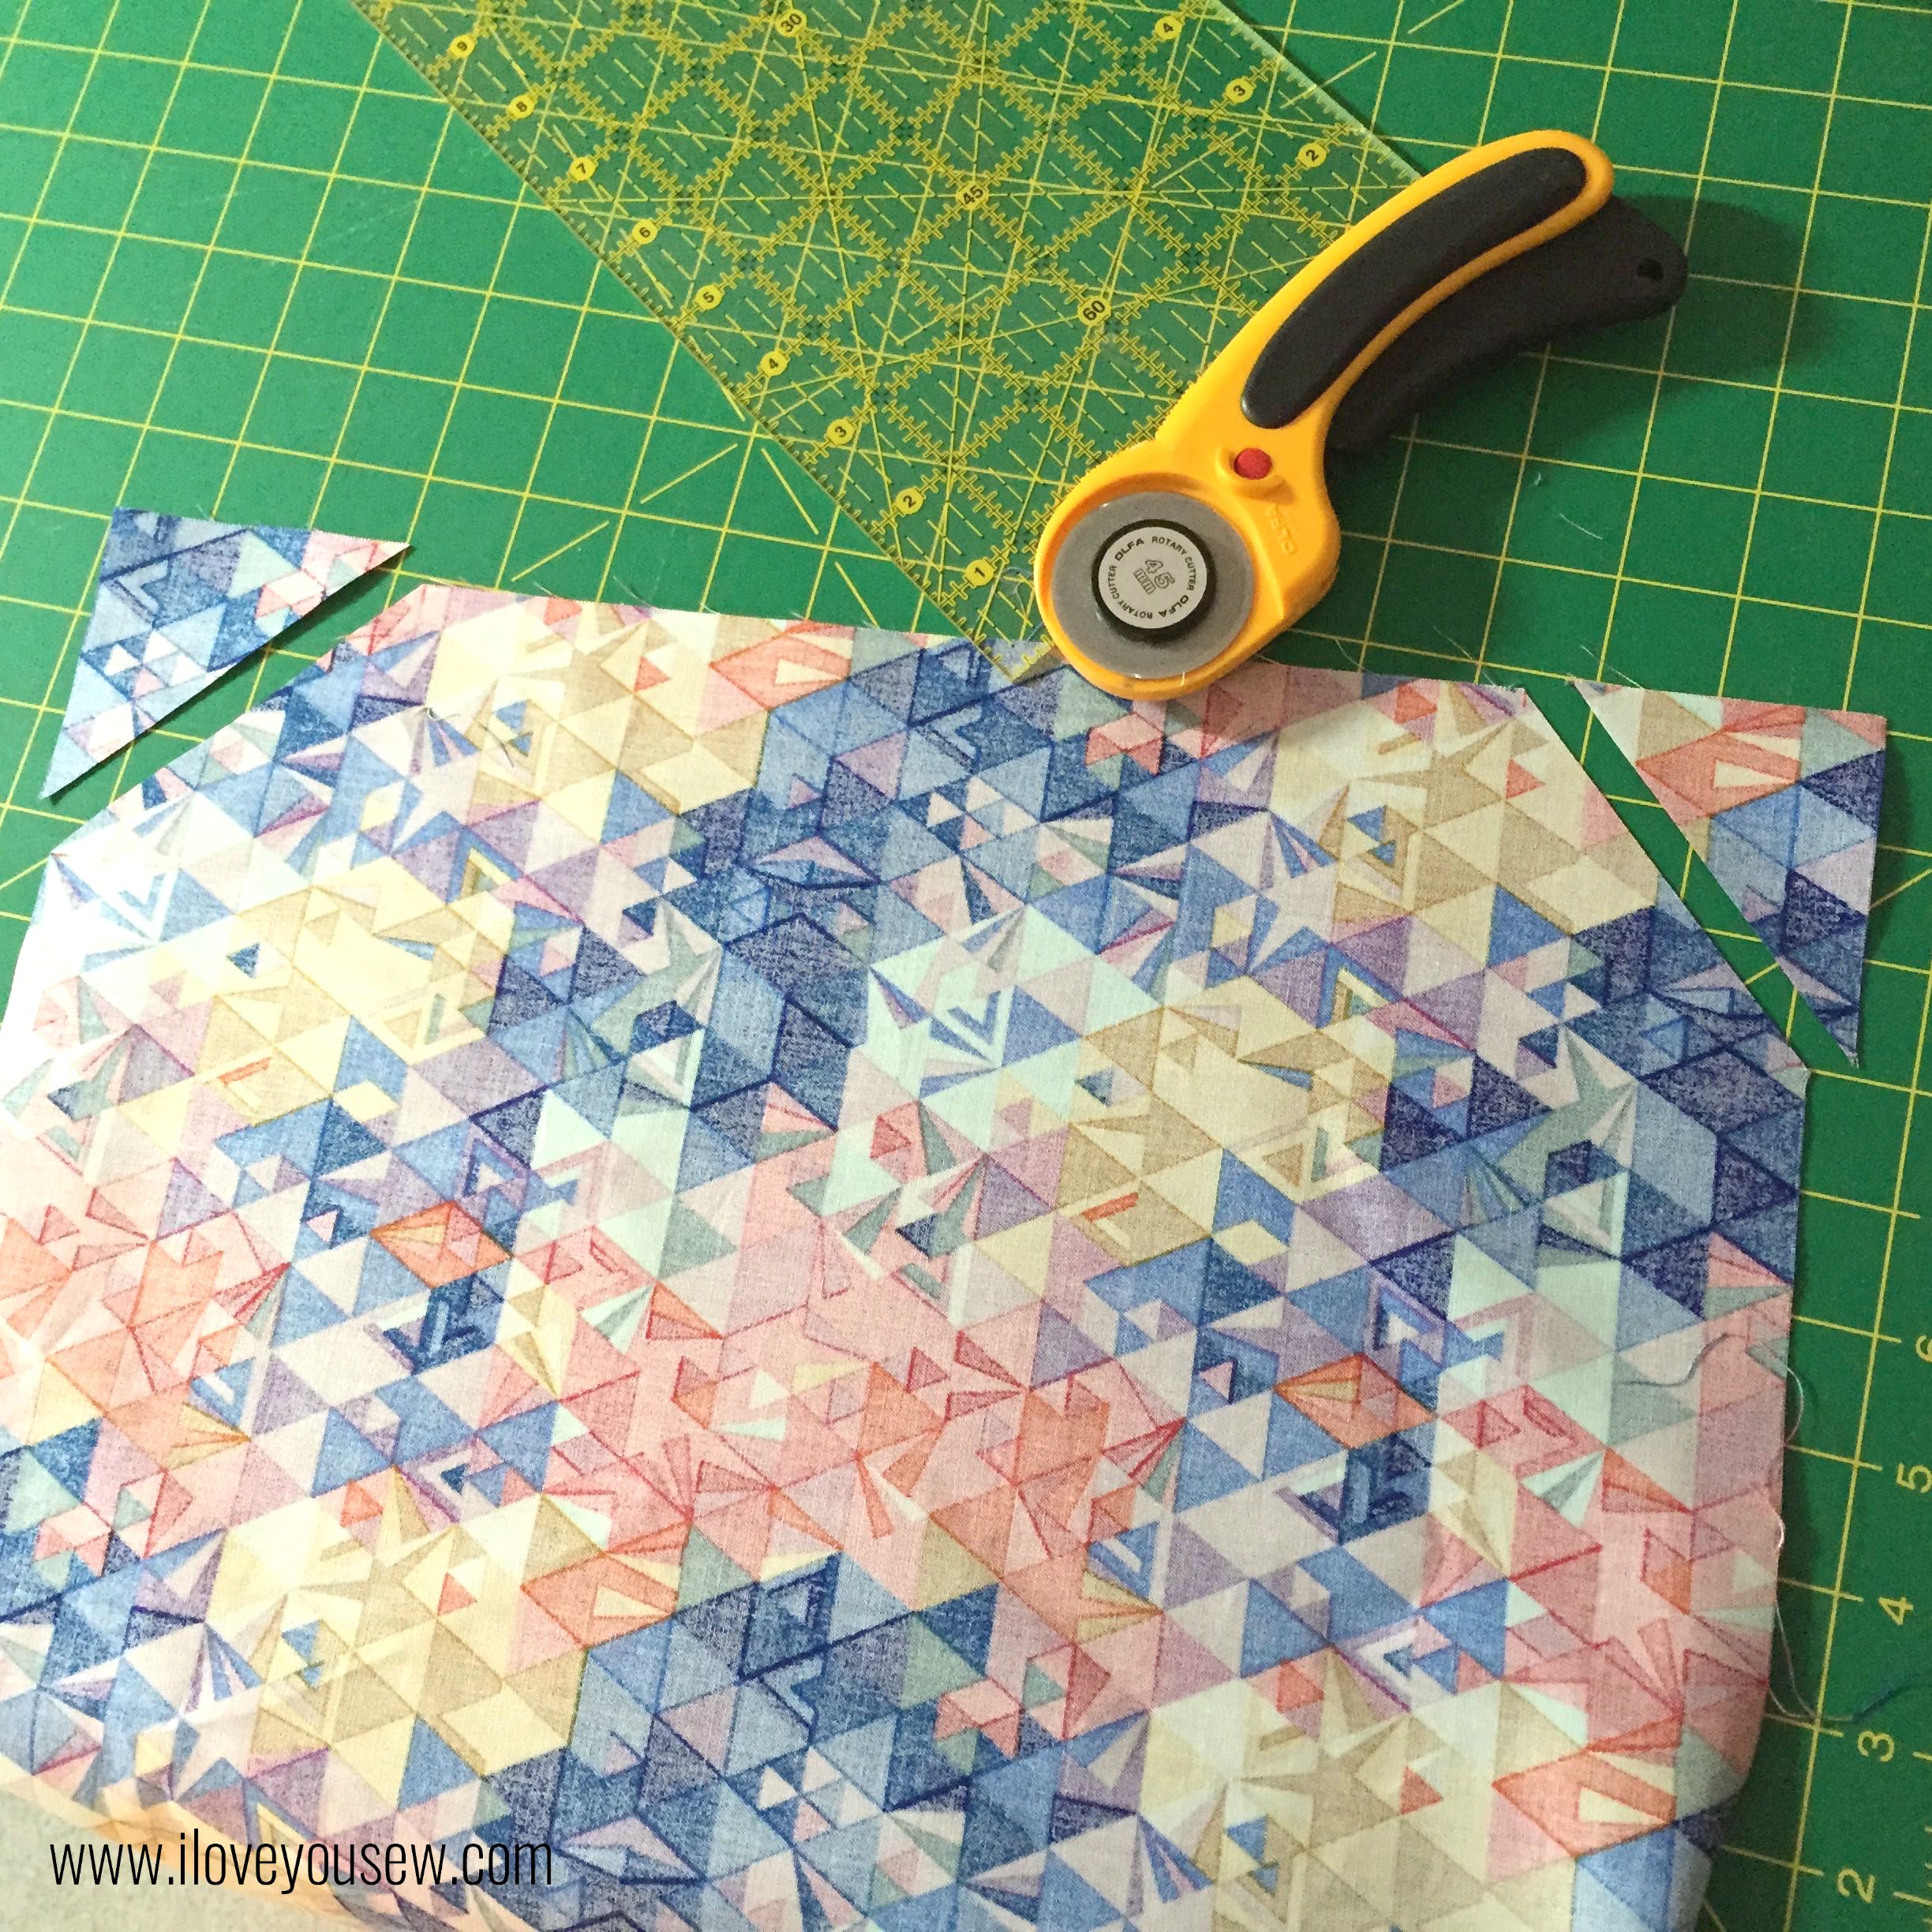
Take the Exterior Back fabric and hold it with the 15.75″ side along the top.  Measure 3″ in from both of the top corners and mark.


07NotchFlap3

Connect the two marks and cut off each corner.


09NotchFlap5

Repeat for the lining and Flex-Foam.


13Basting

Center the Lining (wrong side) on top of Flex-Foam and baste the two layers together.  Set aside.  TIP: Baste from the center out toward the edges. This helps pull the lining taut.


16PocketBasting

Center the pocket on the right-side of the Exterior Back.  Take the over-hang fabric and make a pleat approximately 1″ in (so it doesn’t get sewn into the lining later on.) [Edited to add: Repeat on other side.] Baste the pocket onto the Exterior Back with a 1/4″ seam allowance.


17AddFront
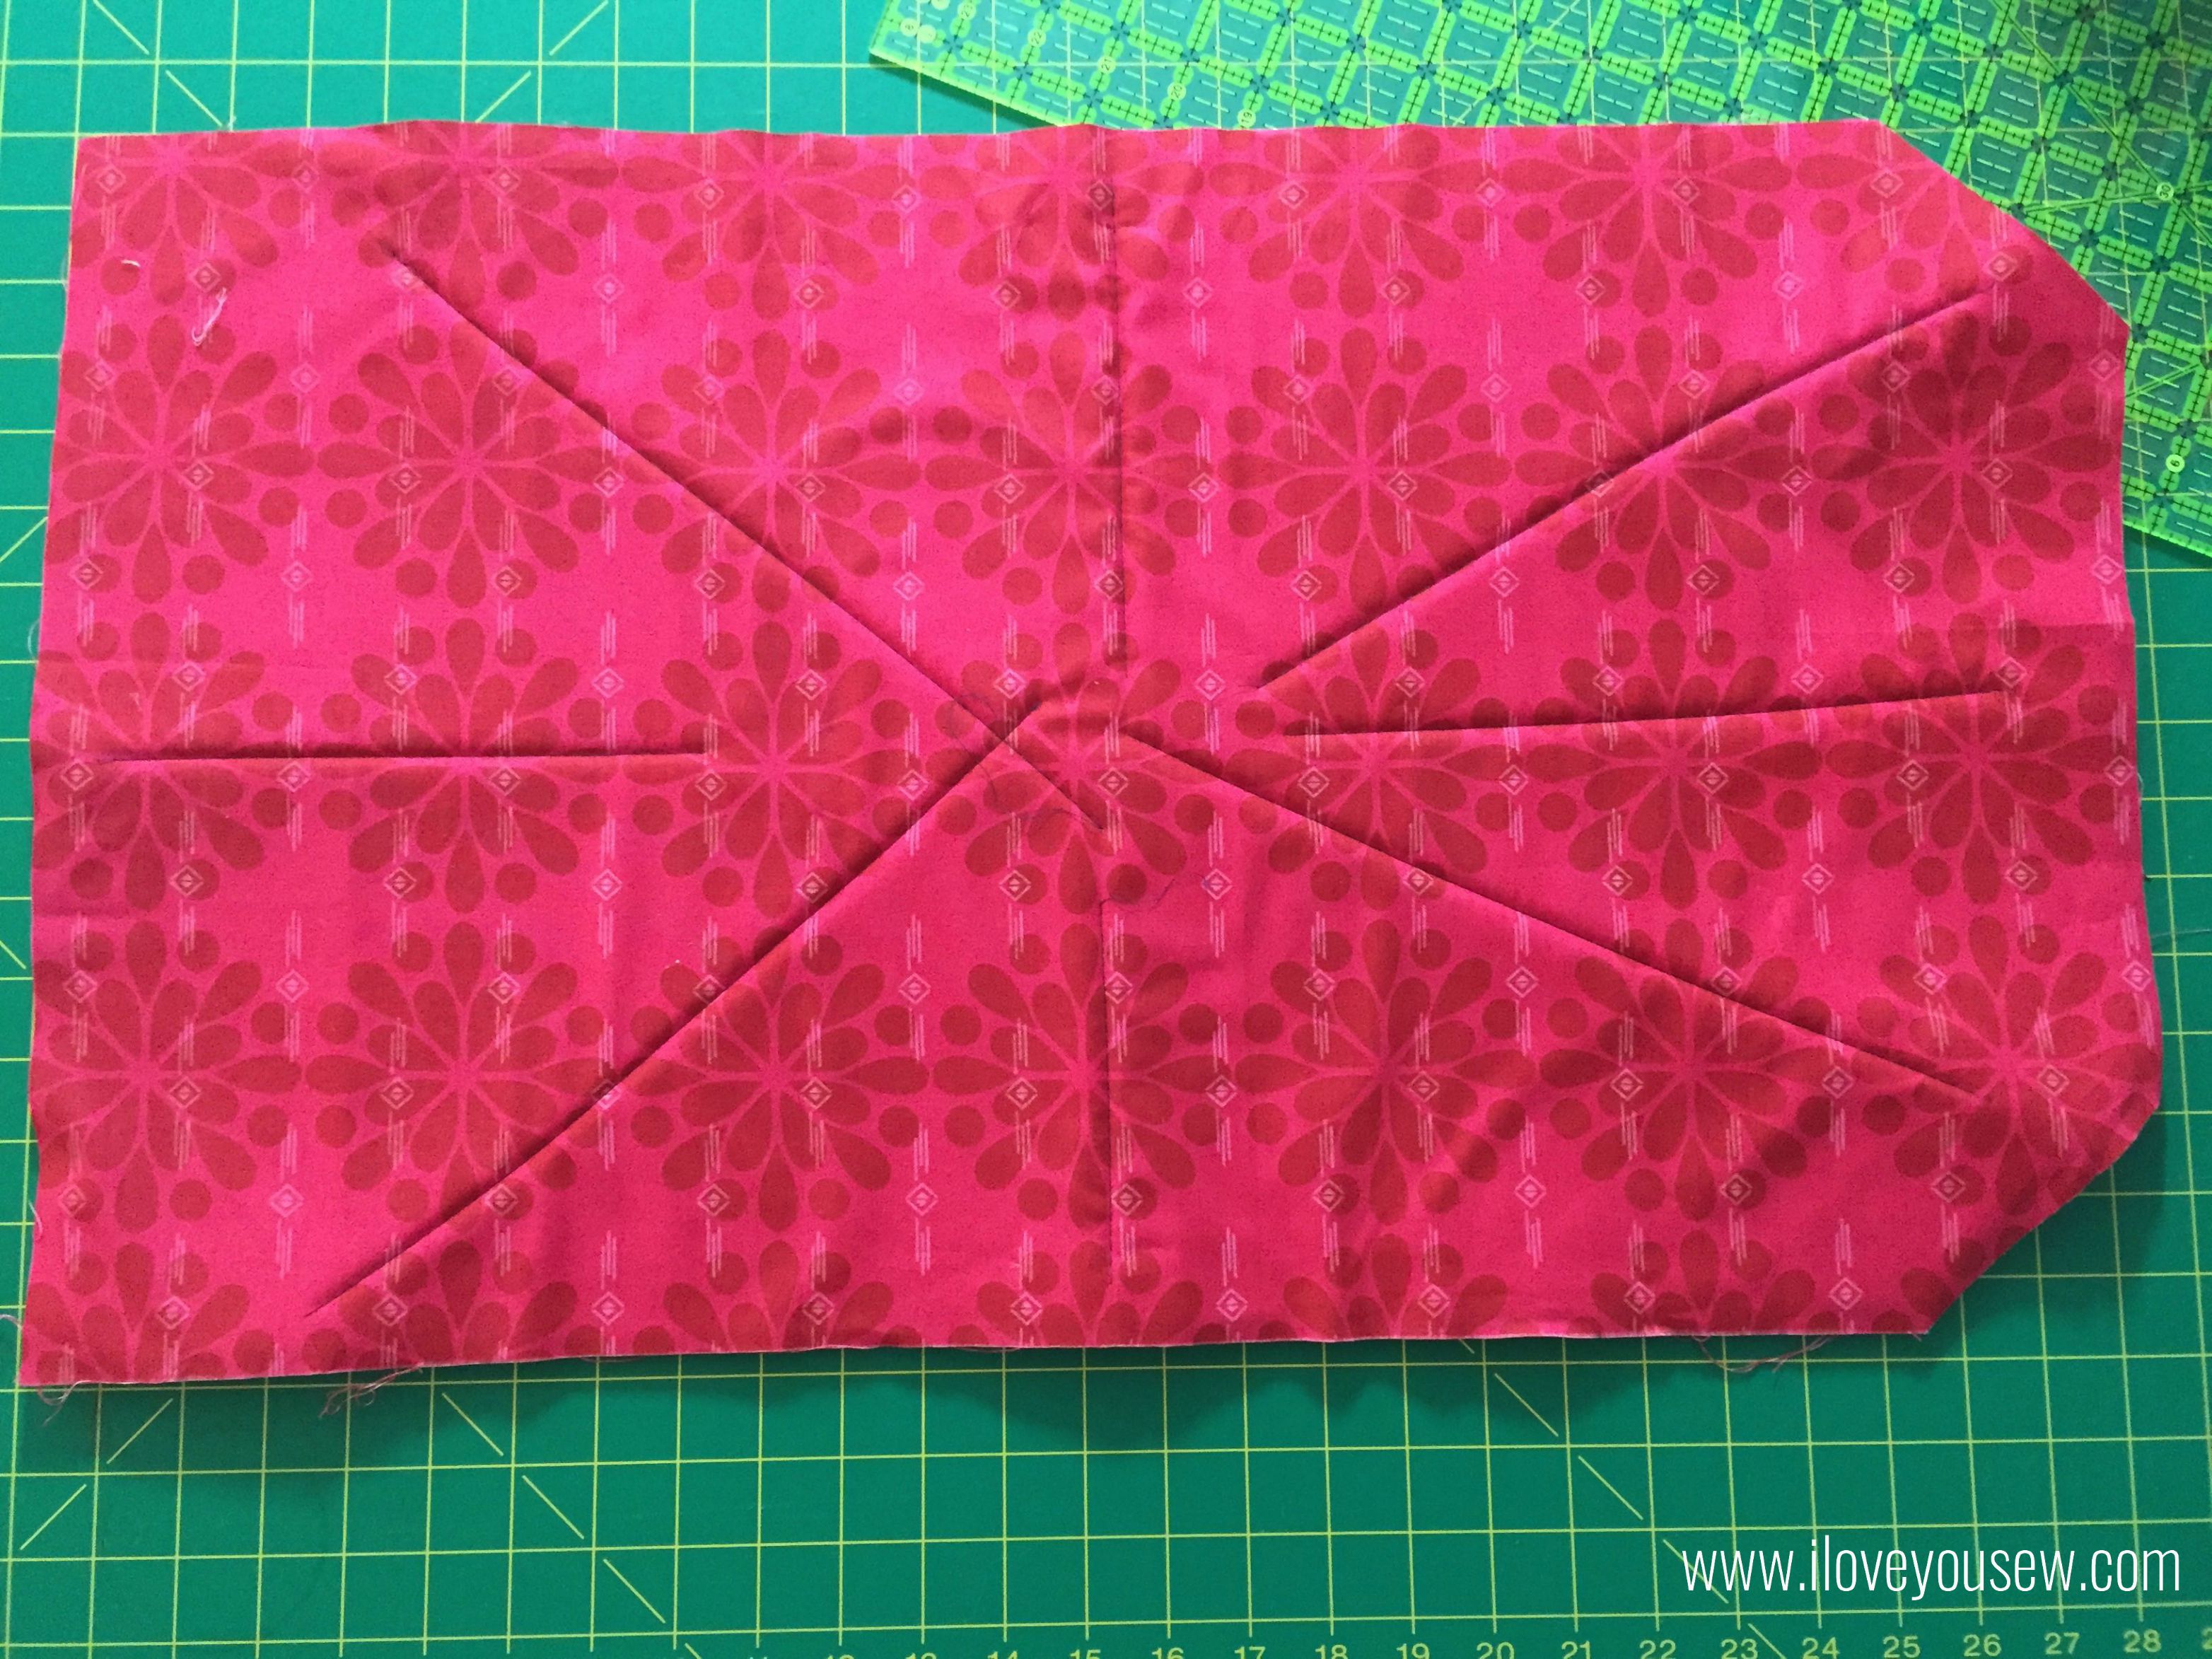
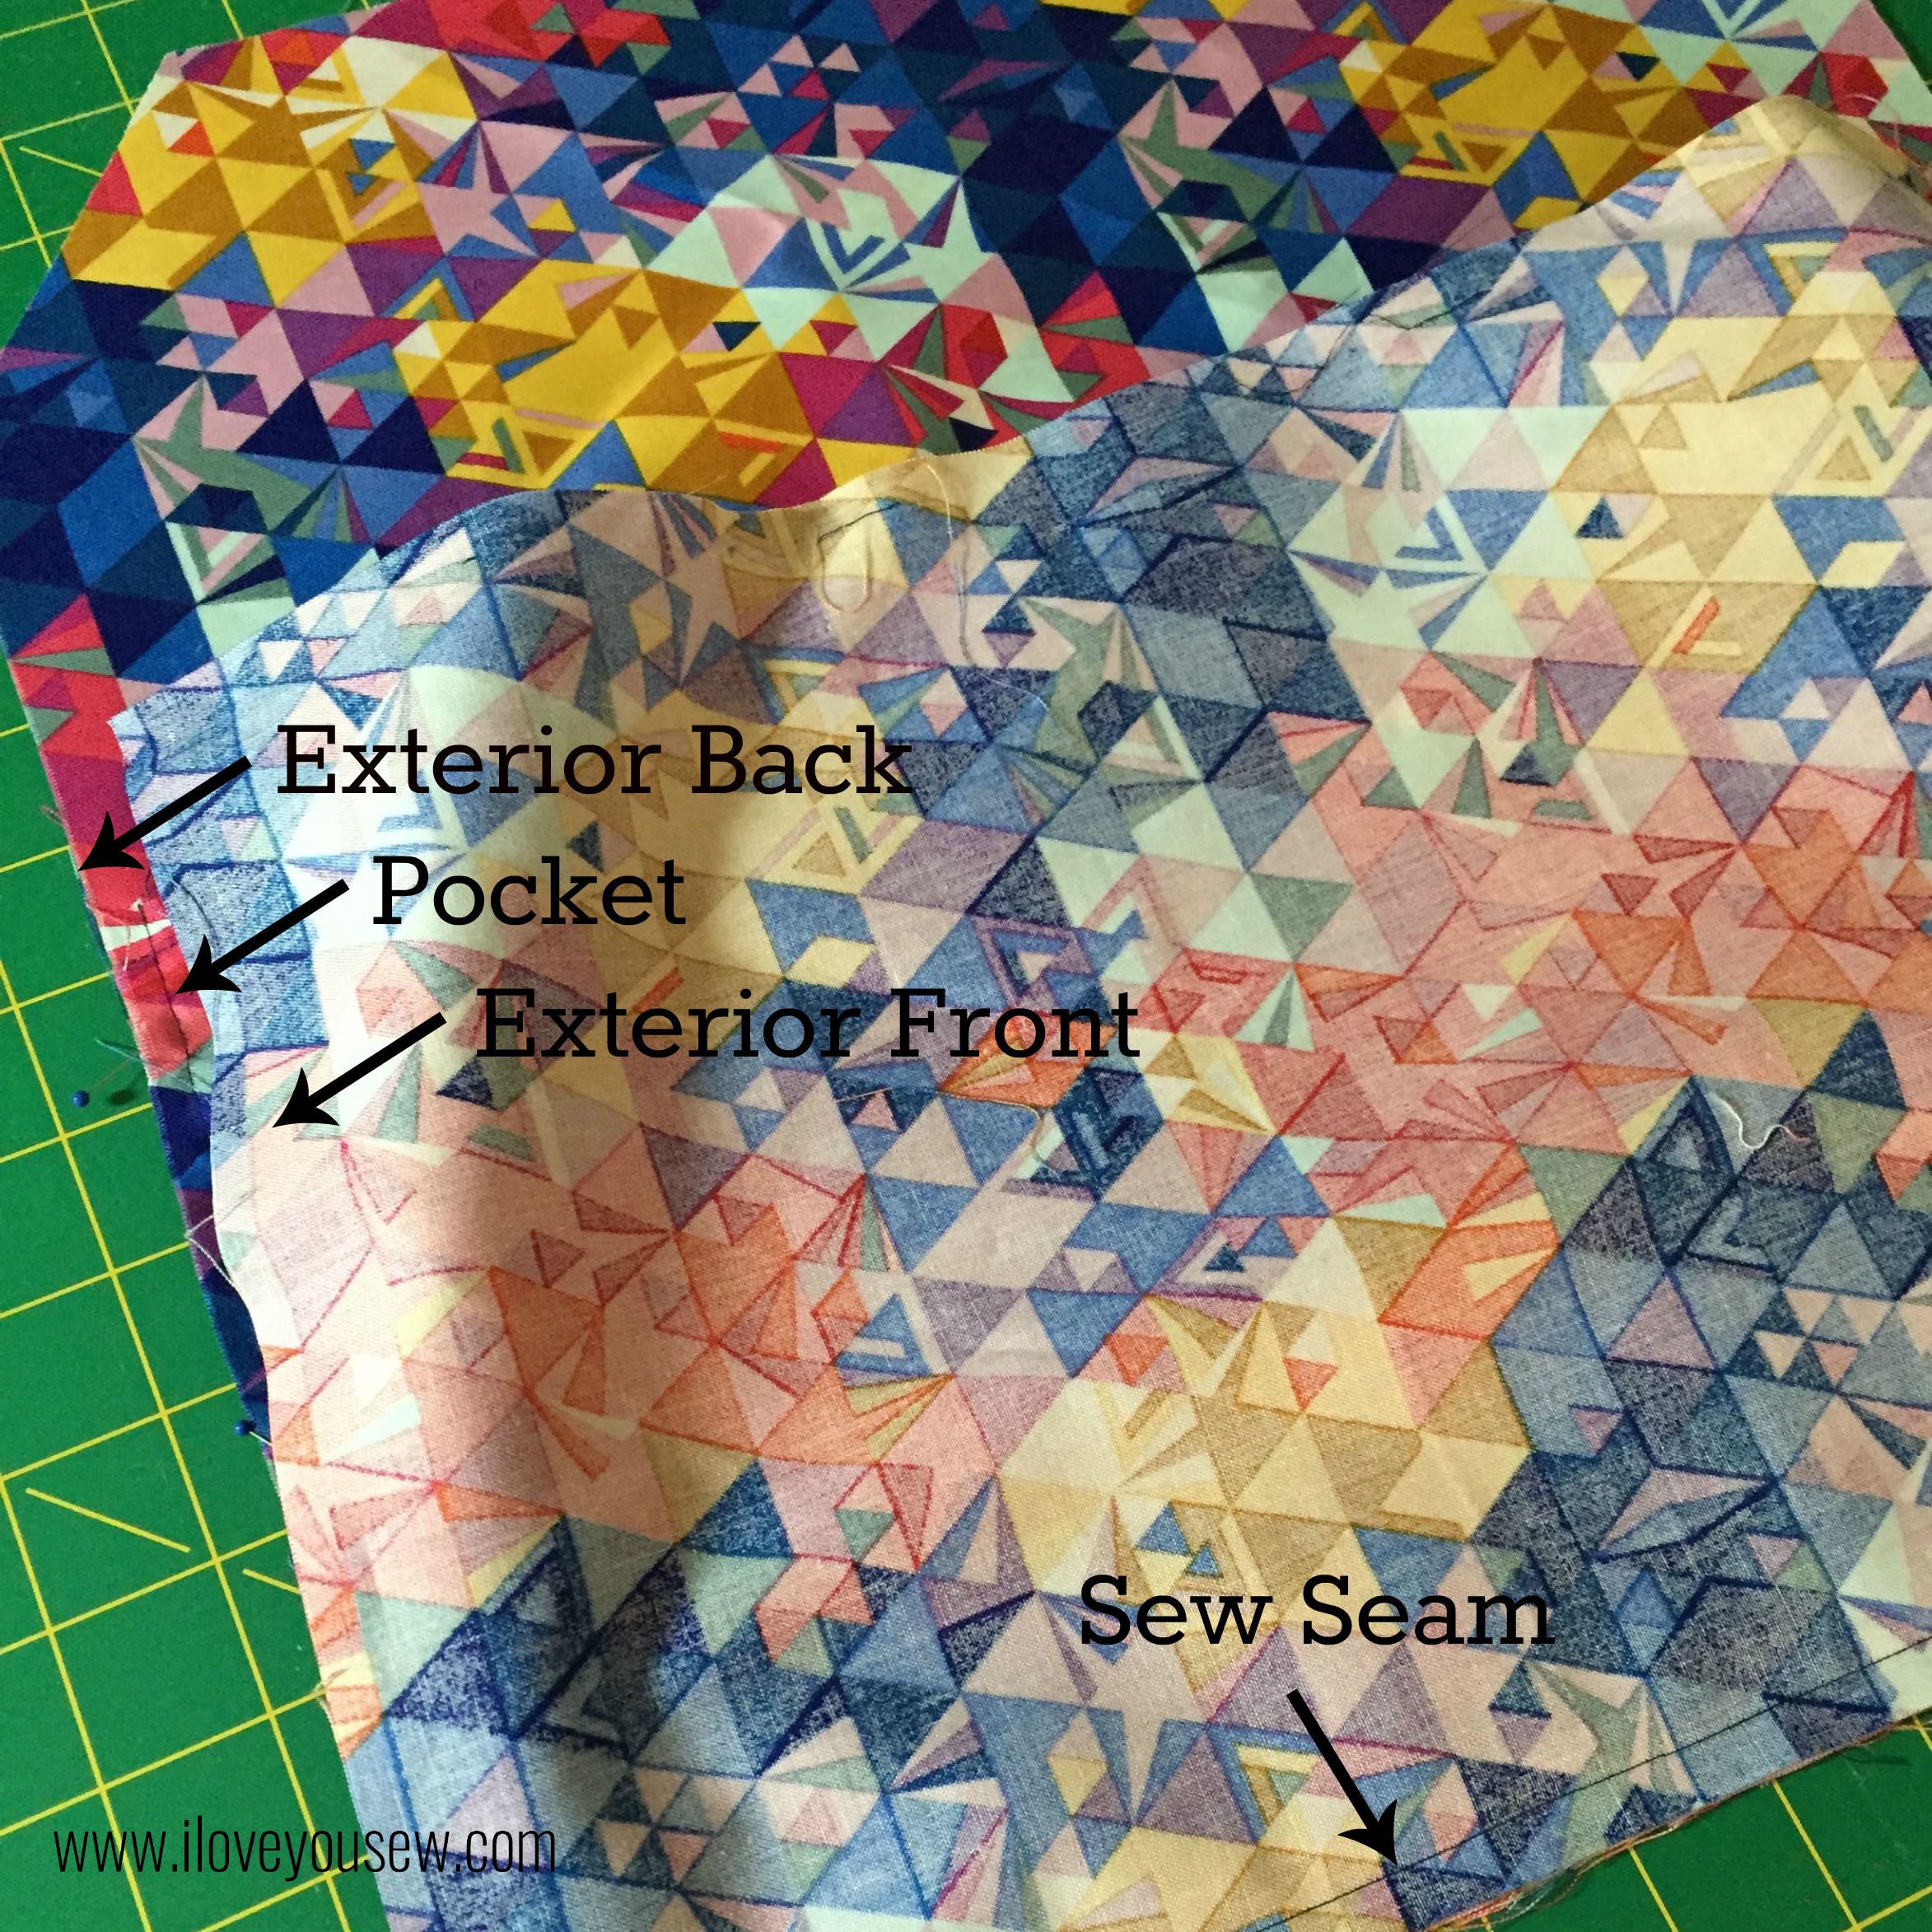
Sew the Exterior Front to the Exterior Back/Pocket right sides together on the short side creating the entire exterior cover.


18ExteriorComplete

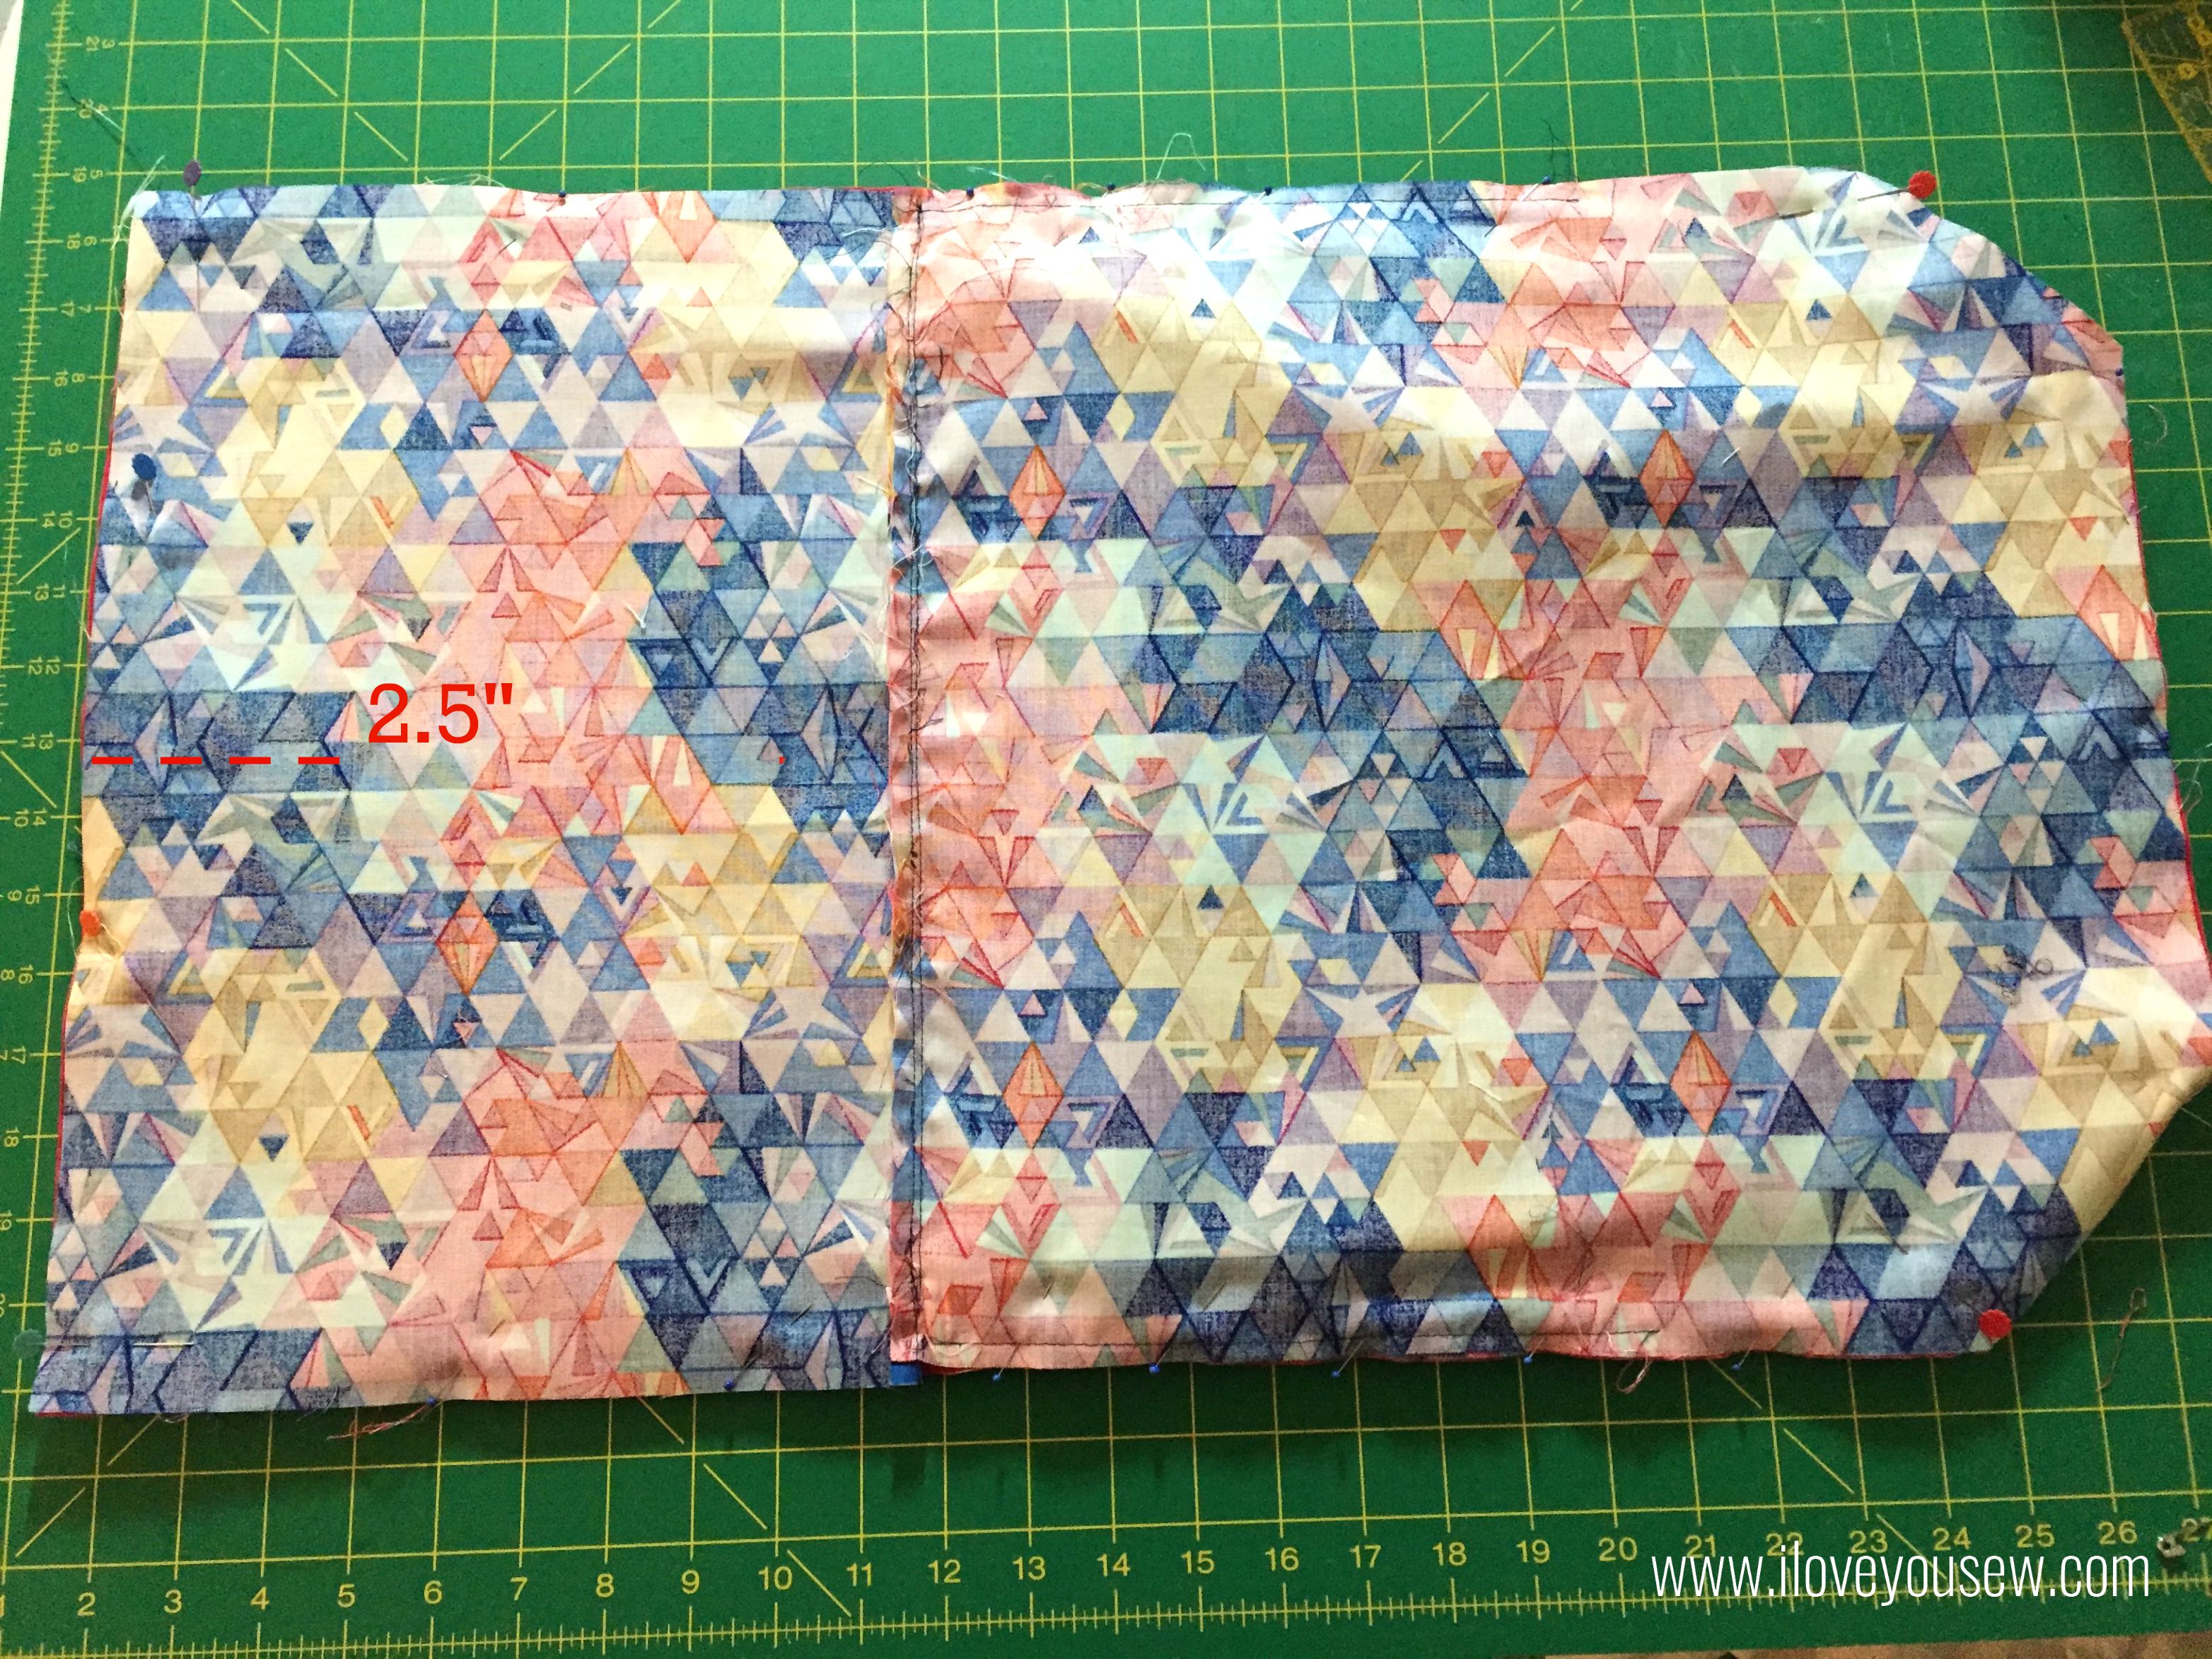
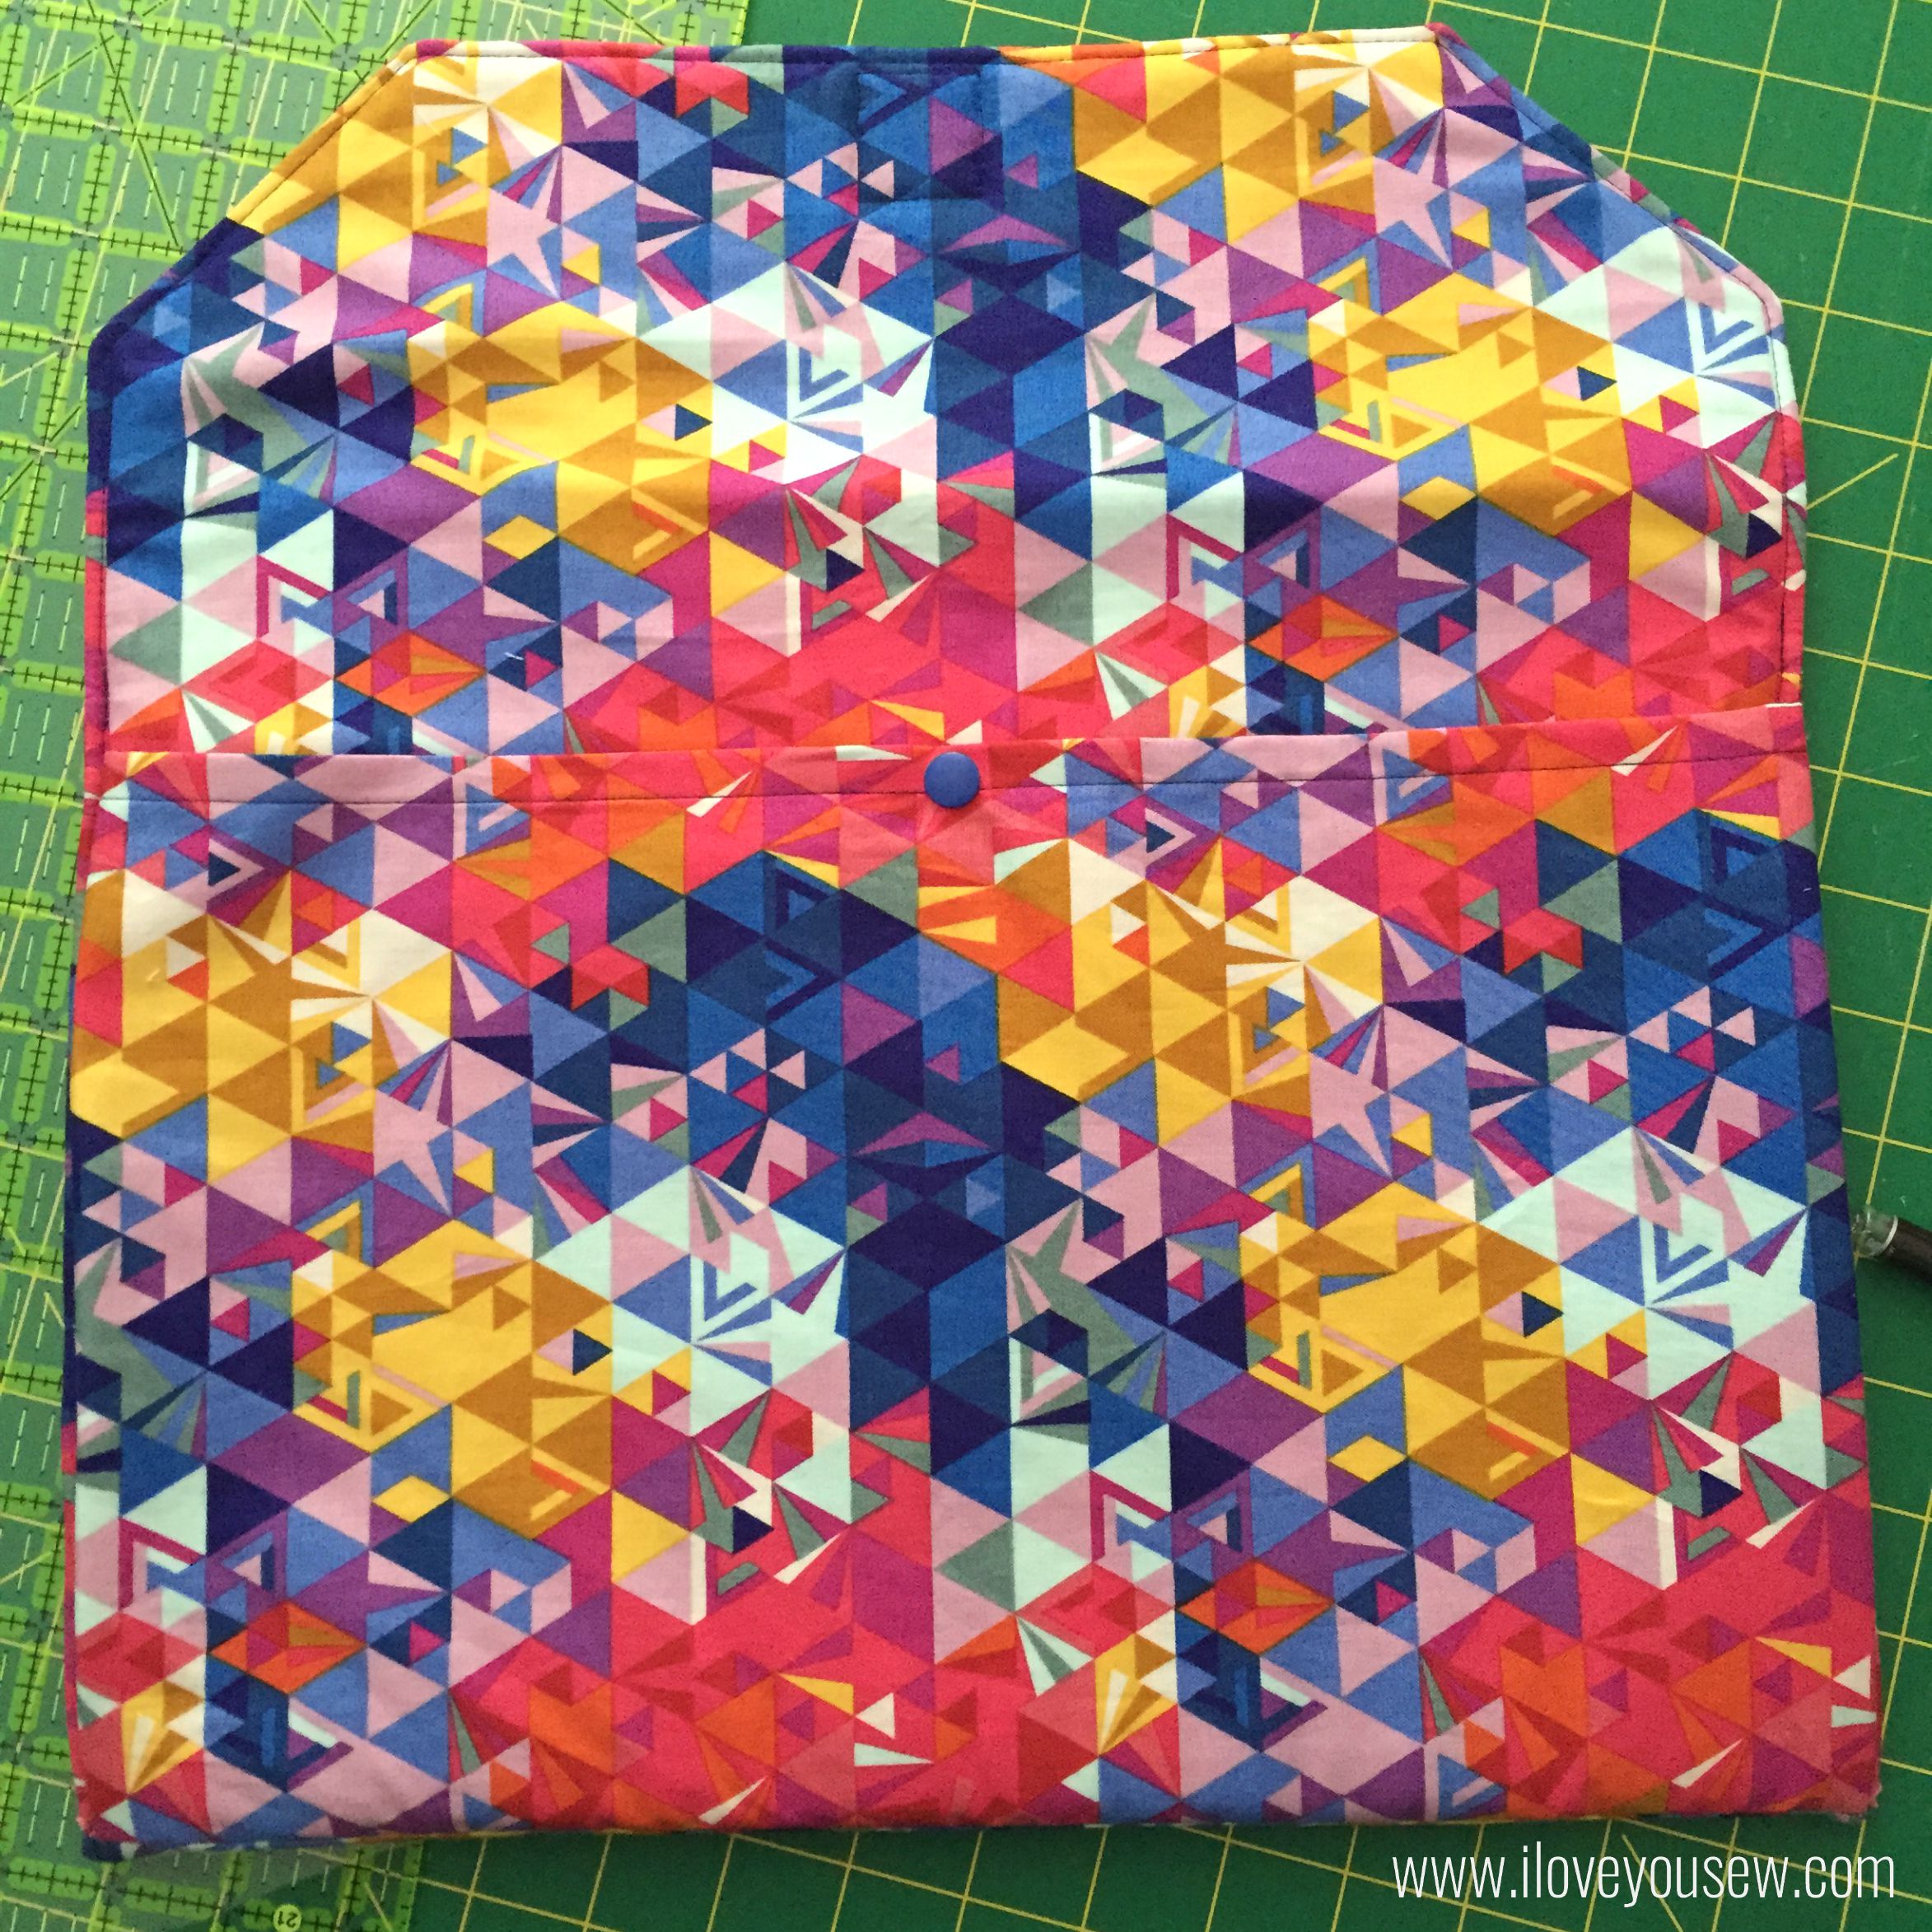
Open and press seam open.  Exterior should look like picture above.


Mark Snap

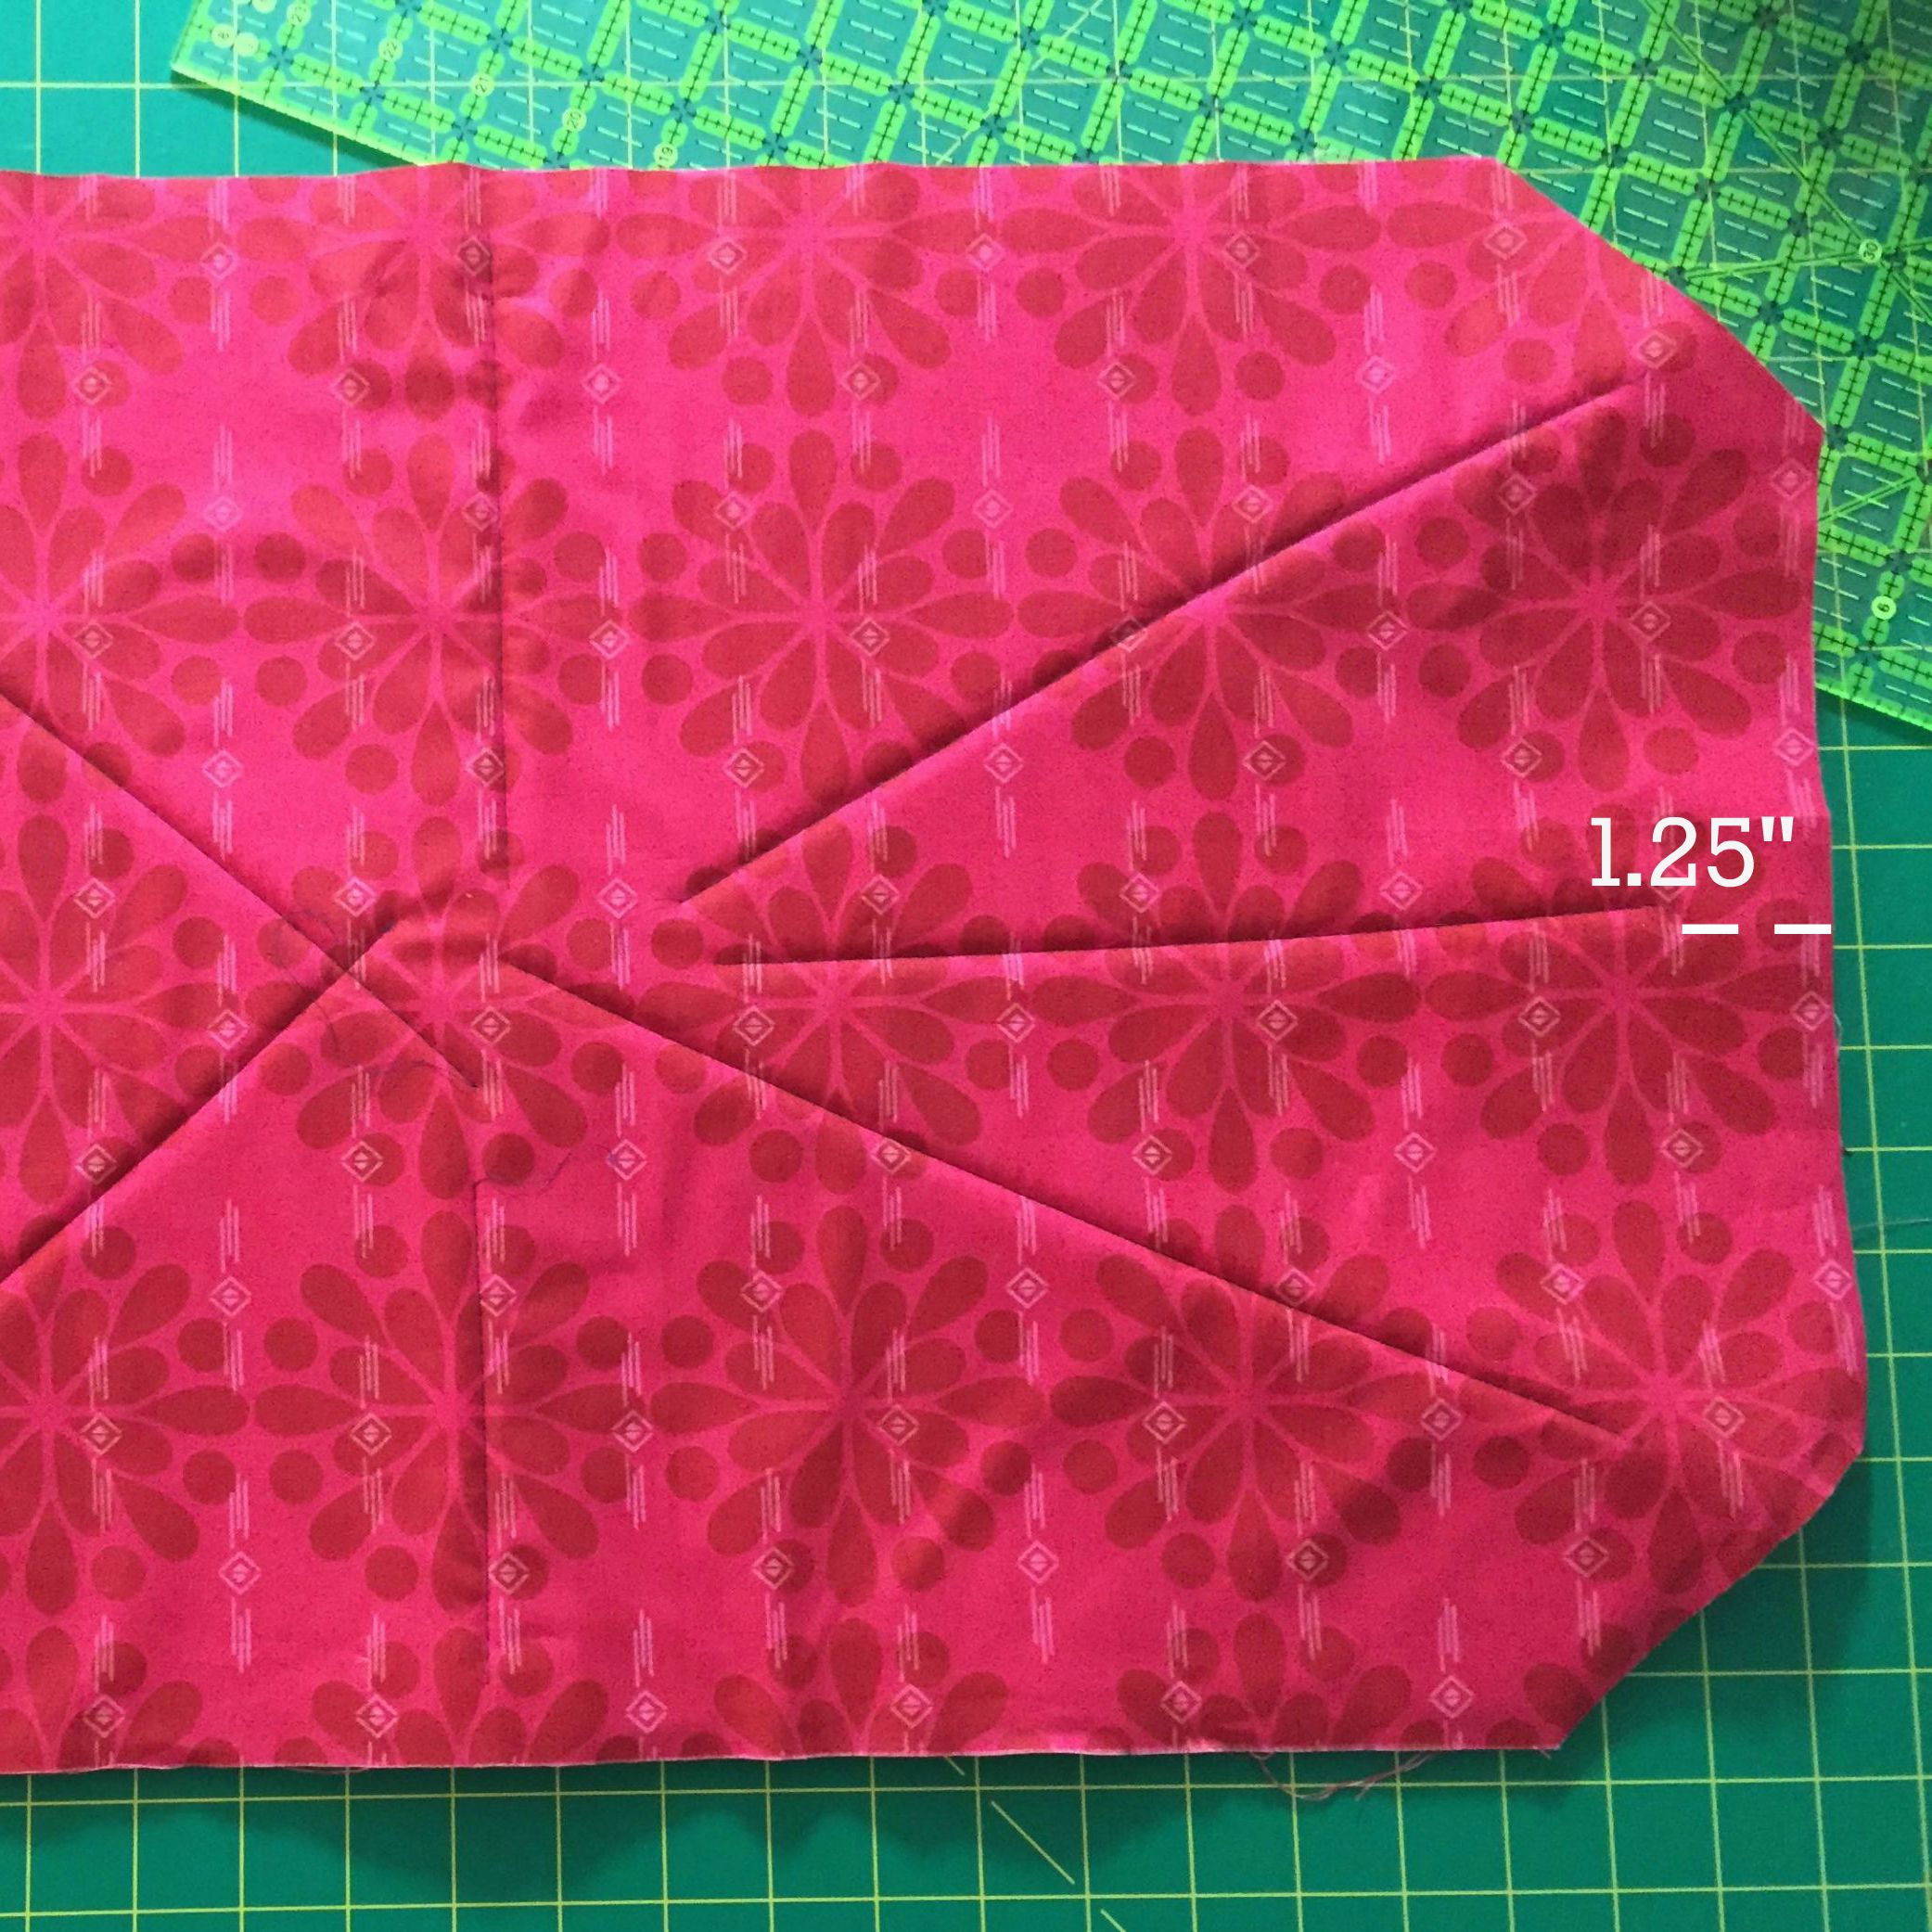
From the top of the Lining, fold the sides together to find the center.  Mark down 1.25″ and attach the magnetic snap according to the manufacturer’s instructions.


19AttachLining


On the bottom of the Completed Exterior, find the center.  Mark down 2.5″ from that point to attach the other half of the snap set.  TIP: Fuse a piece of scrap interfacing on the wrong side of the fabric where you will attach the snap.  This helps provide a layer of durability.

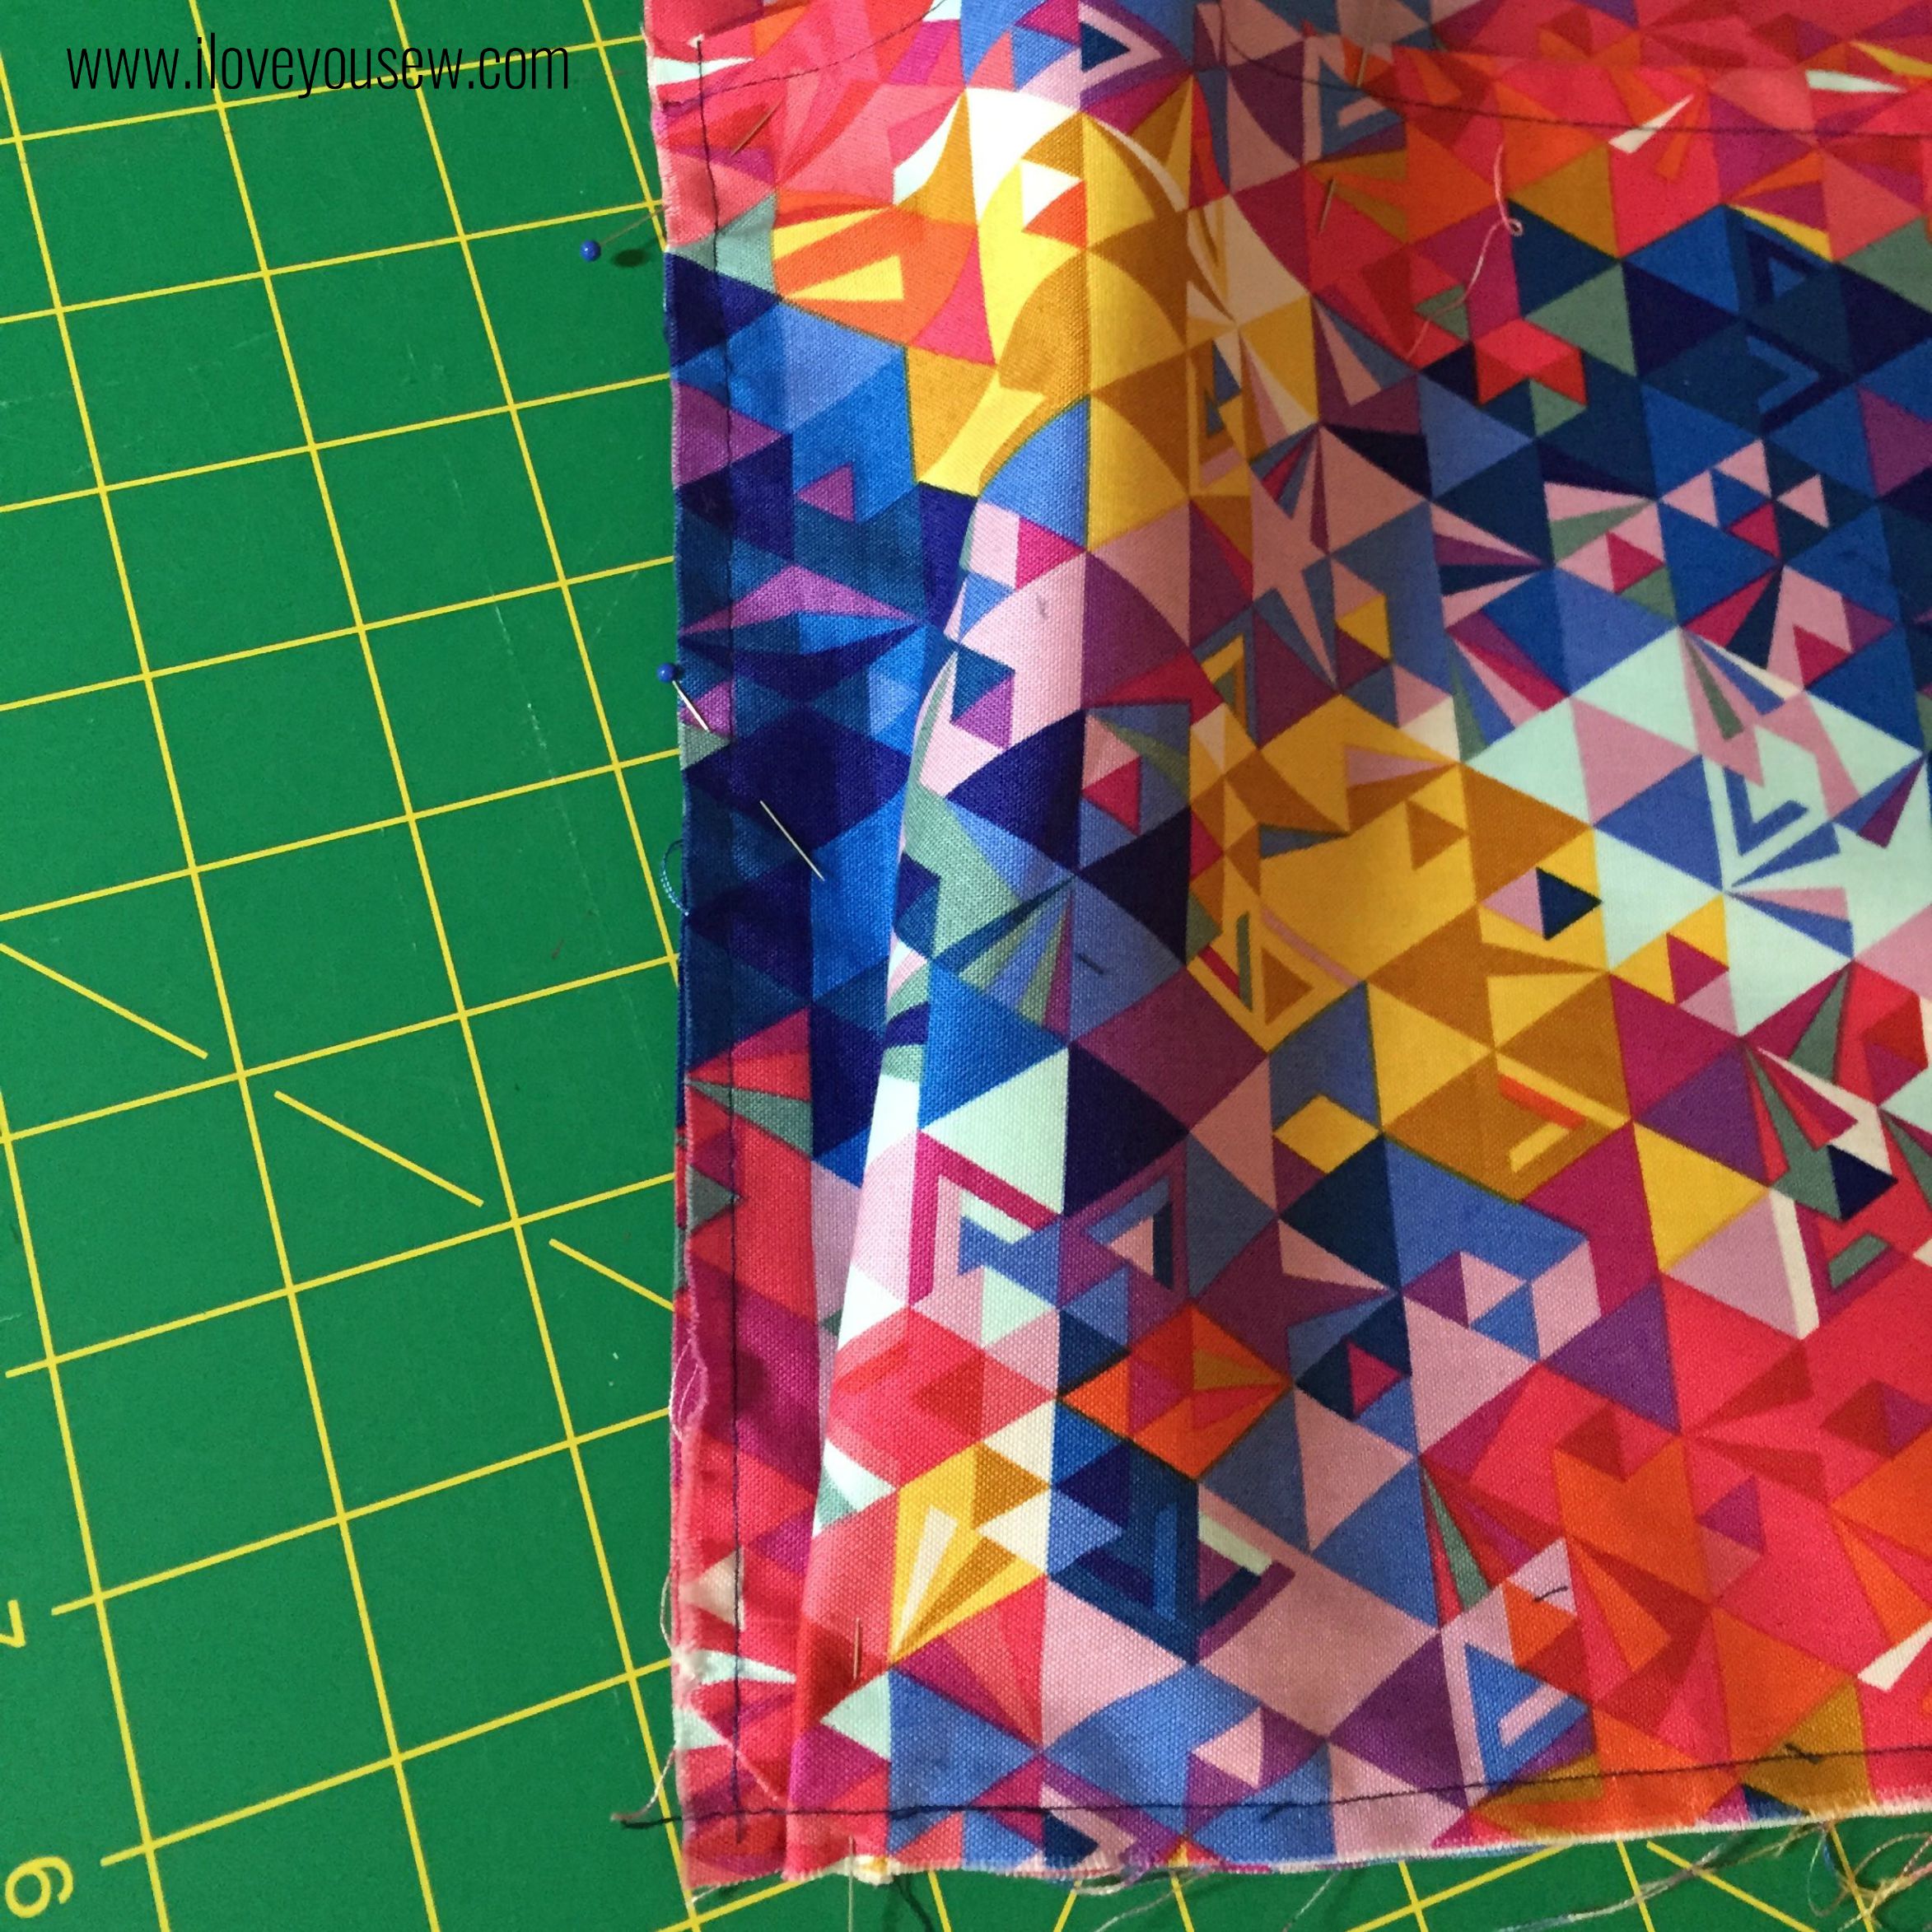
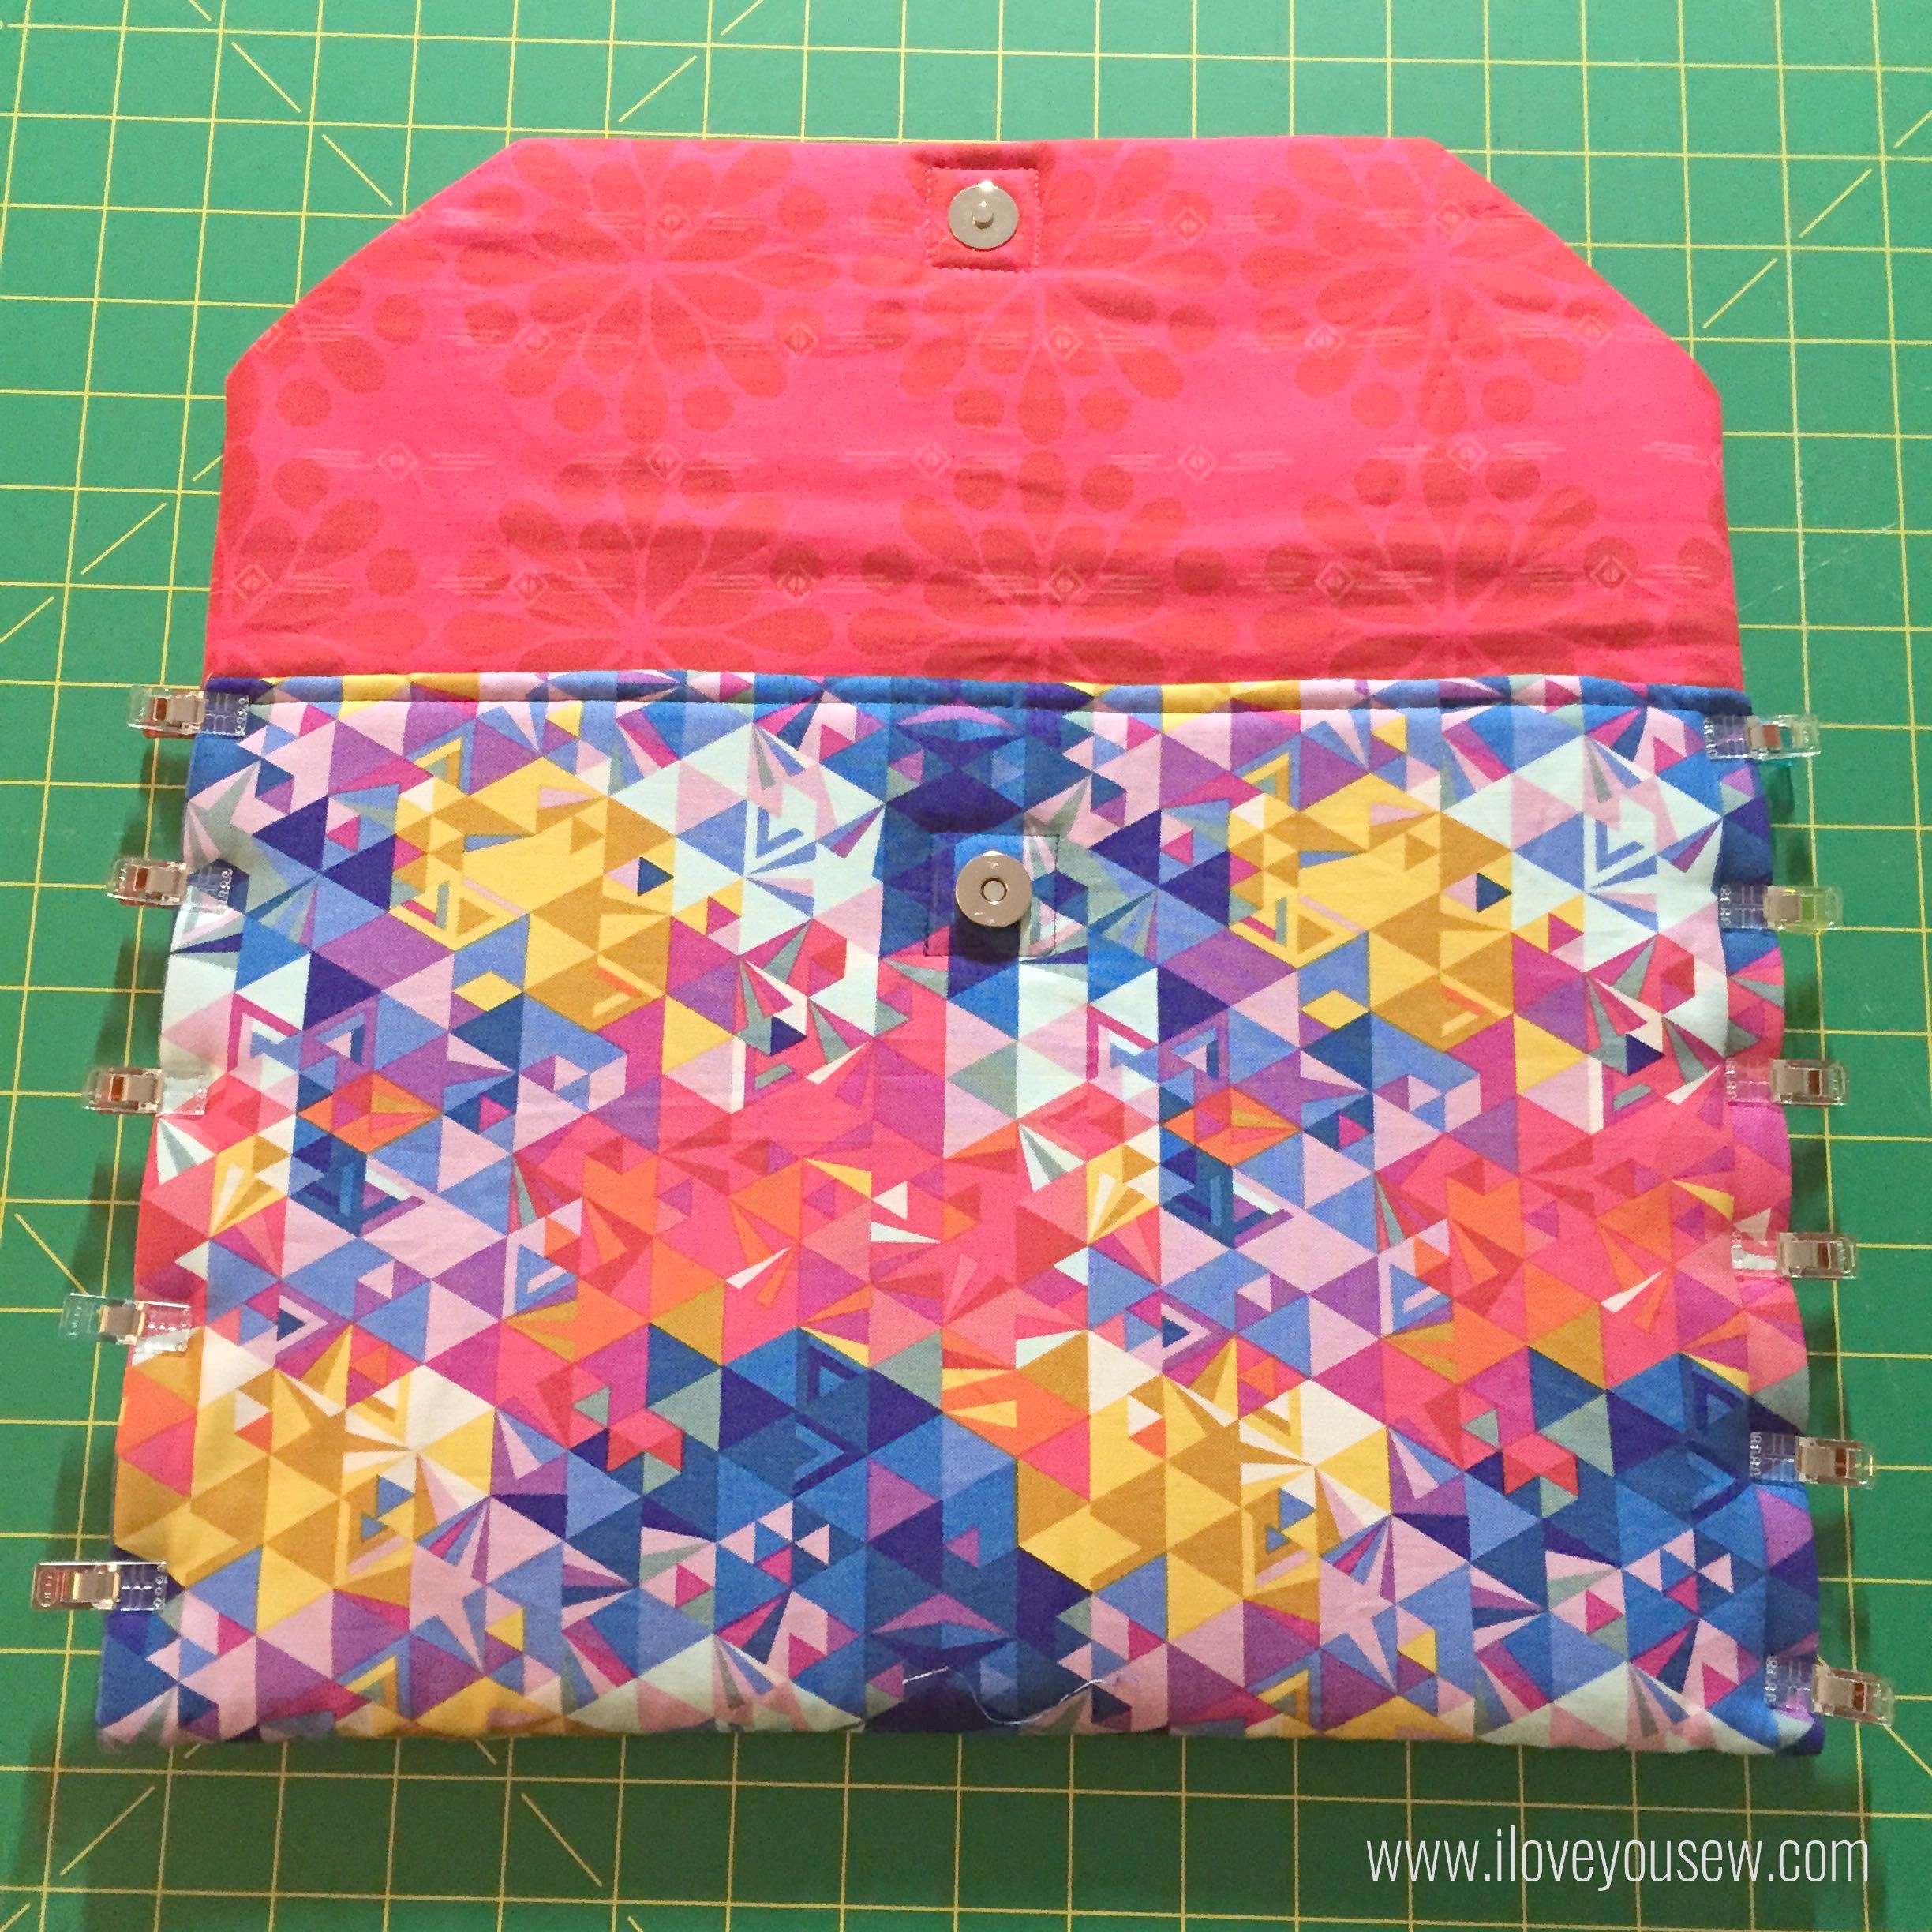
With right sides together, sew the Exterior to the Lining with 3/8″ seam allowance leaving approximately 5″ opening to turn.  Notch the corners. Remove basting threads.

Turn the Laptop cover out and push out the corners.  Press well.


24Complete

Sew a square around the magnetic snaps with about 1/4″ clearance all around.  This helps secure the snap into place.

Sew a 1/4″ seam along the bottom edge of the laptop case.

Fold the front of the cover up along the sewn seam and clip into place.  Starting from one bottom corner, sew all around the case with 1/8″ seam allowance to create the main compartment for the laptop.

20 SideSnap

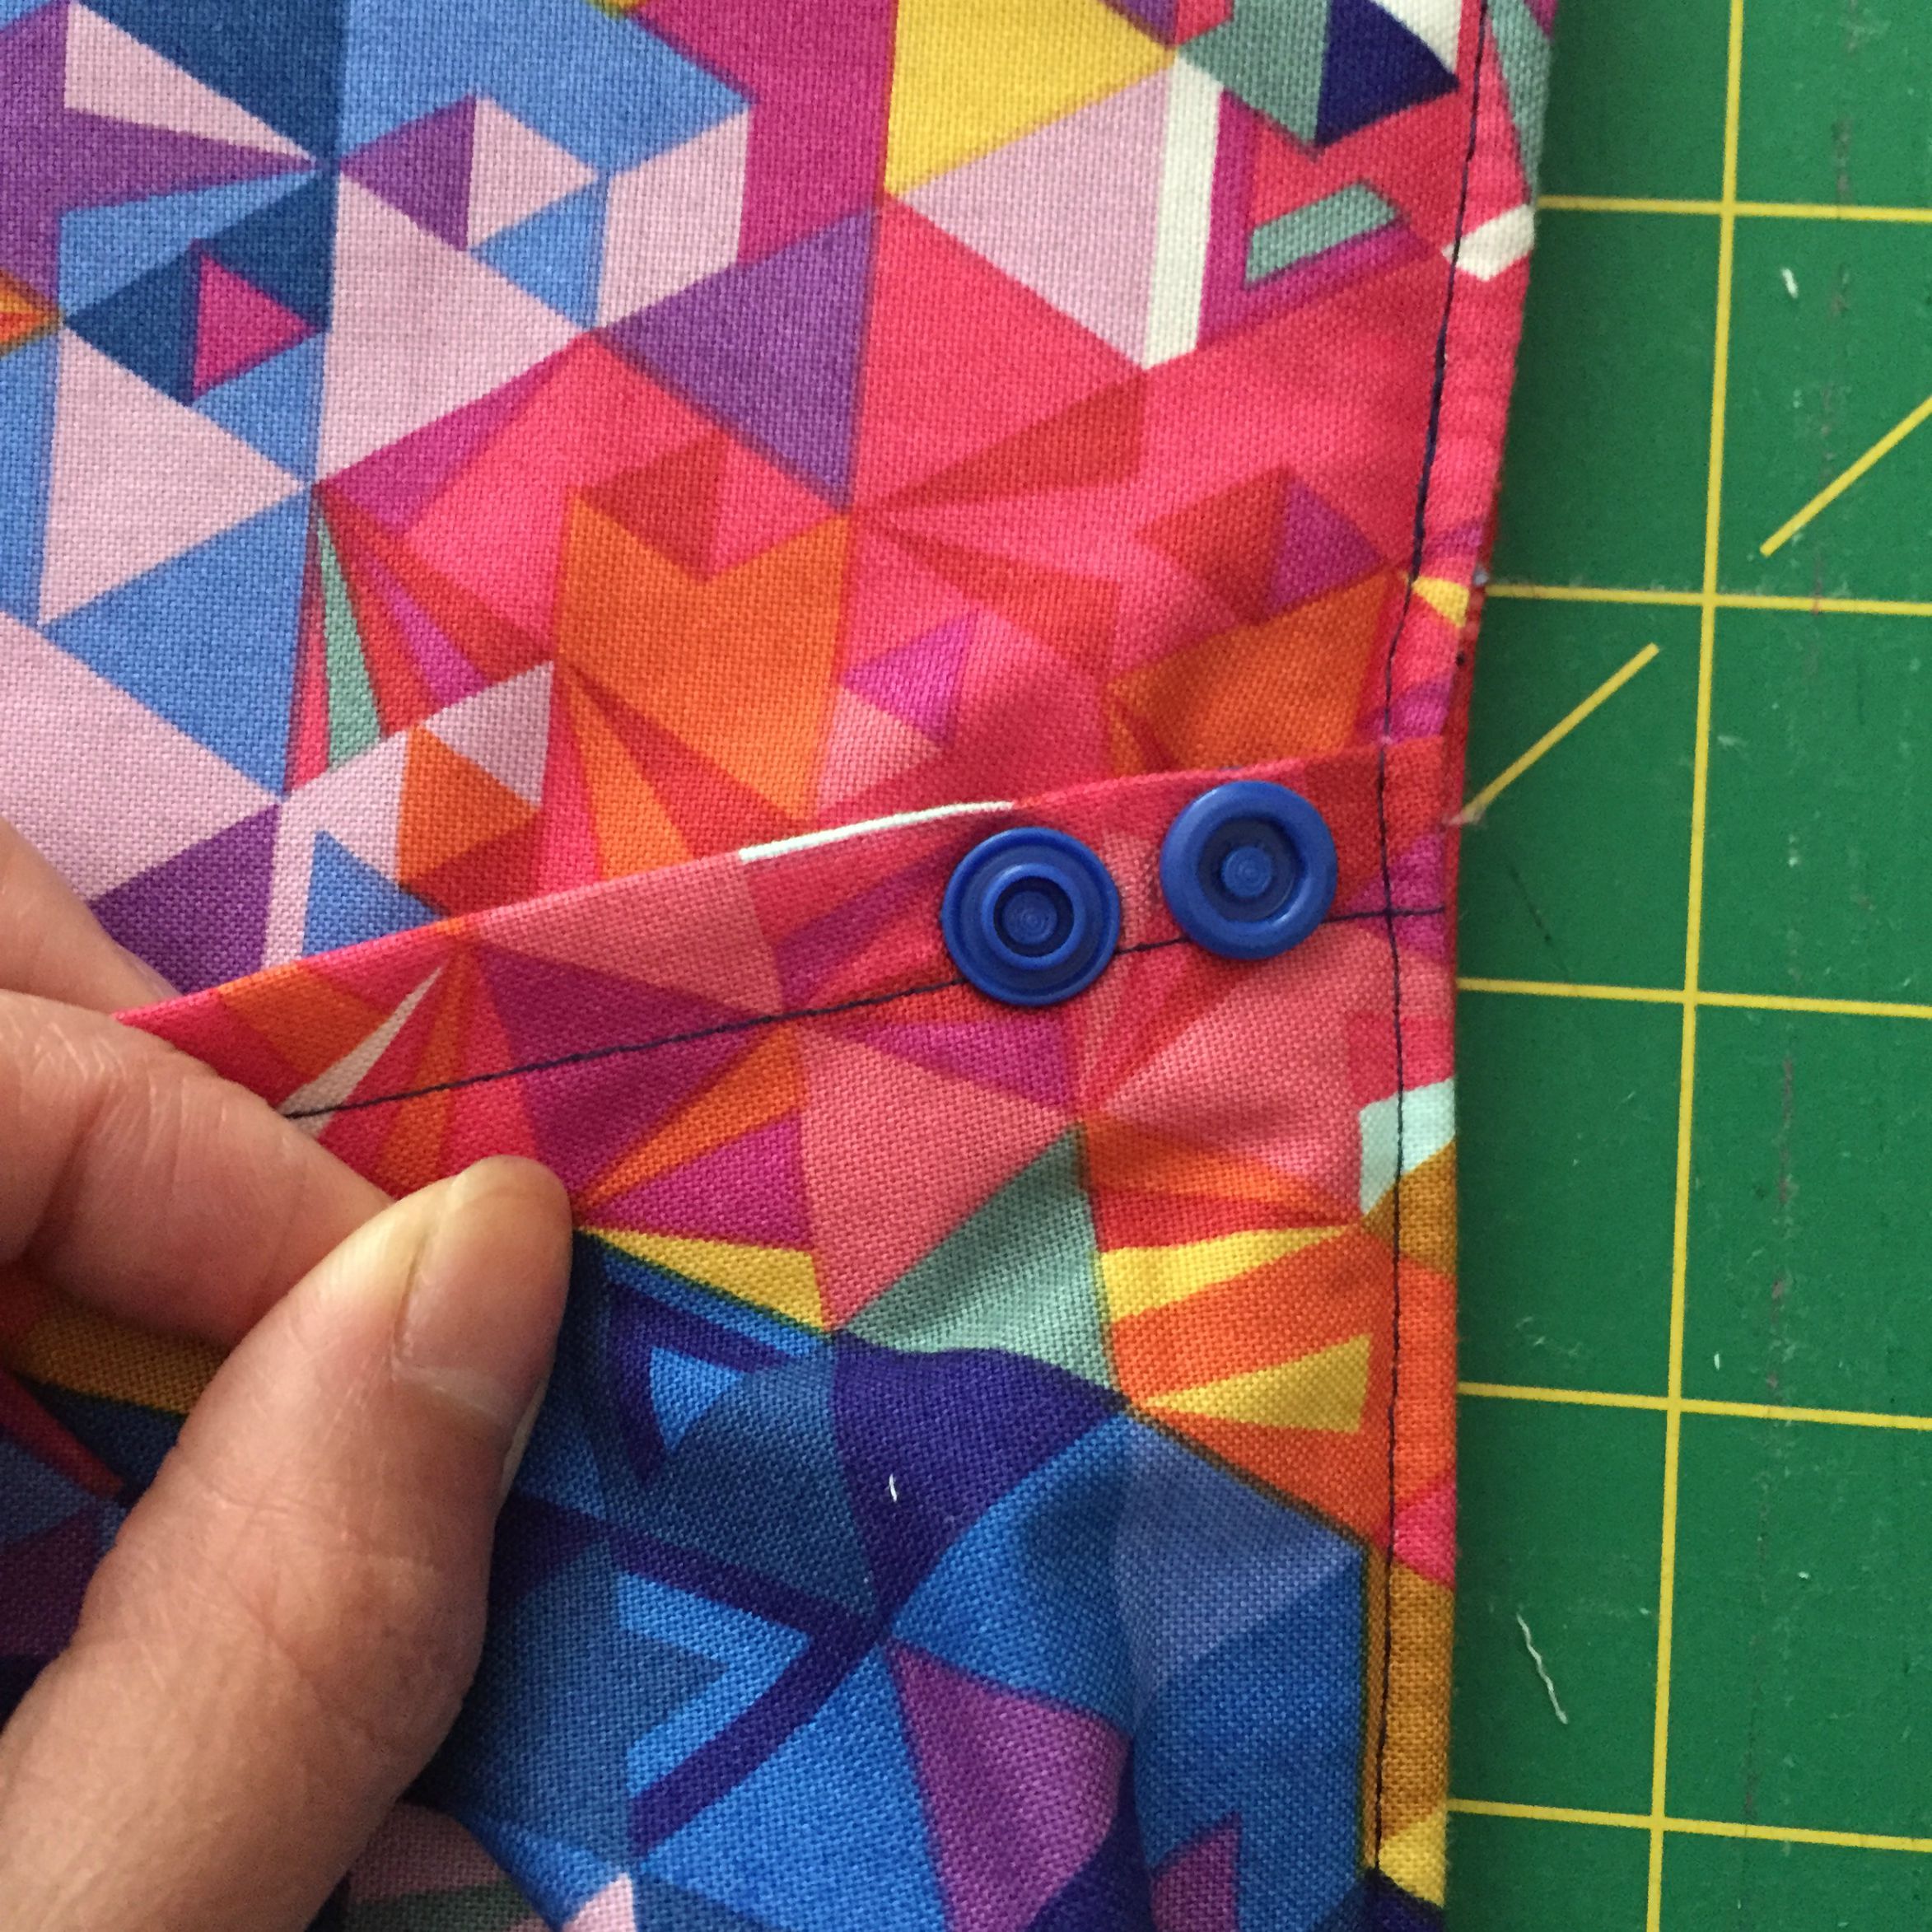
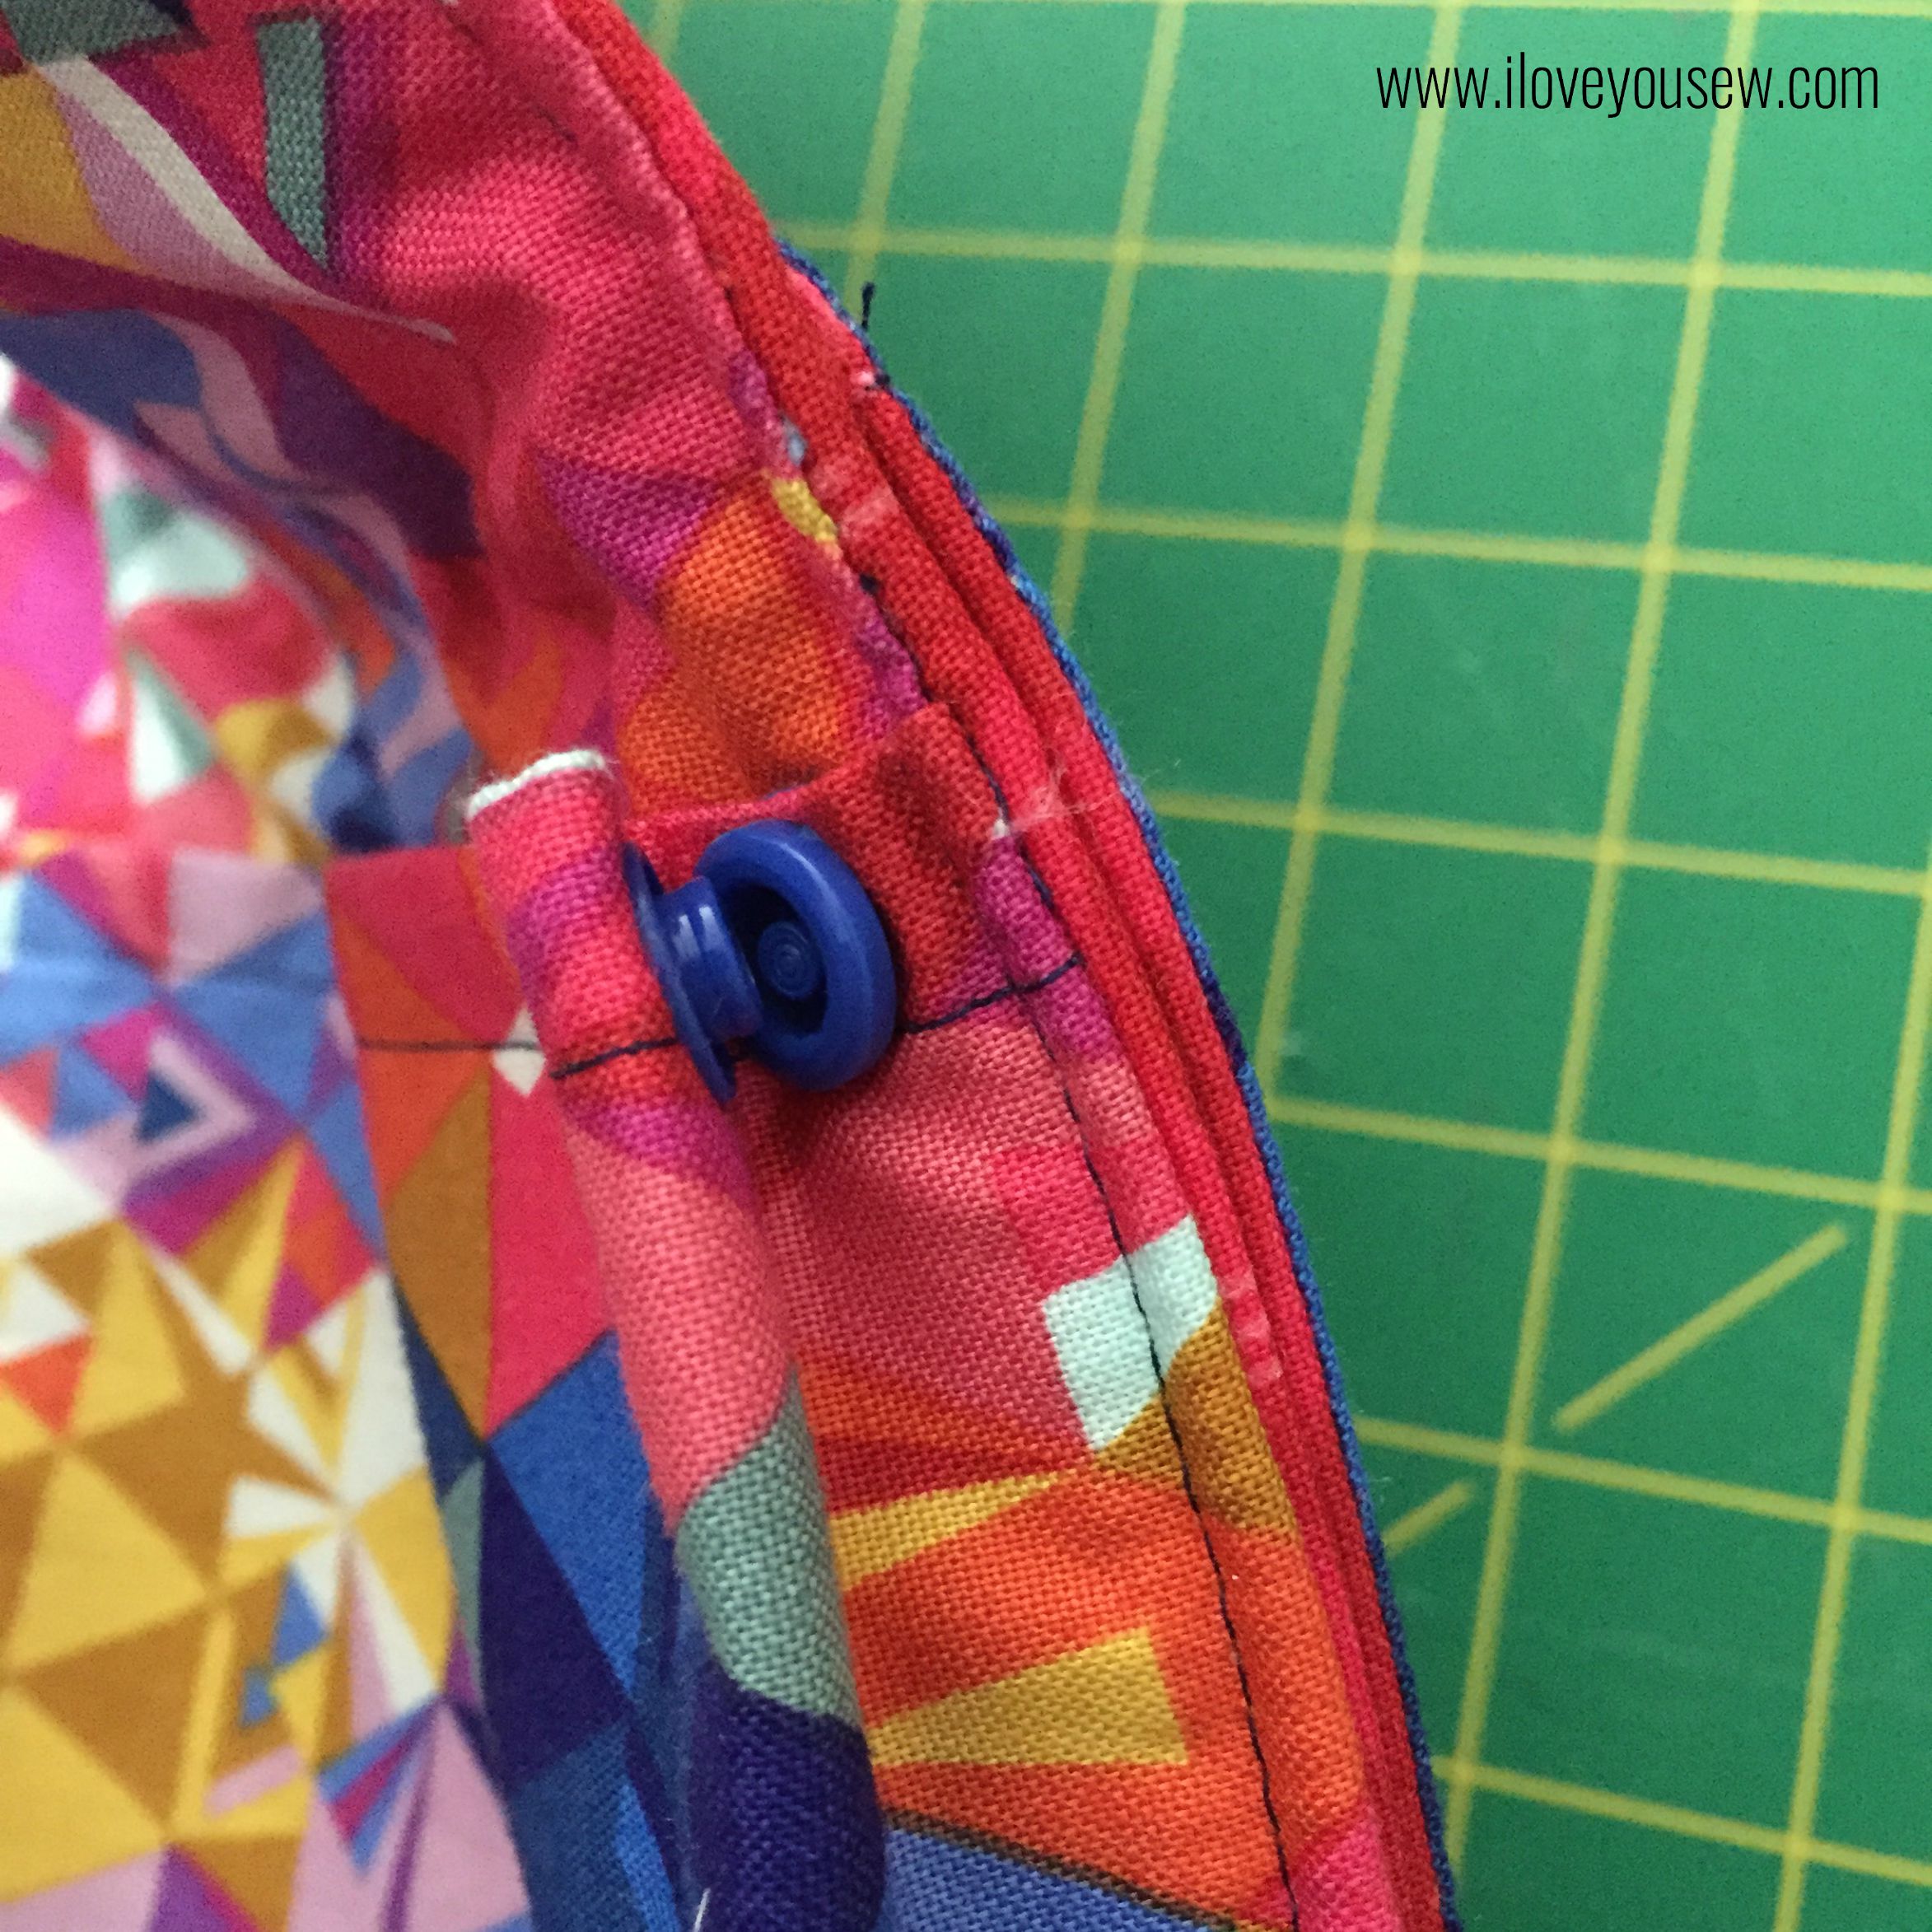
Follow the pleat on the pocket and finger press the fabric to mark where you will attach the KAM snaps.  The female and male ends will be right next to each other.


21SideSnapTogether

This will secure the pleat but gives the pocket more room to hold your cords and other goodies.  Repeat on the other pleat.

23BackwSnaps


Find the center of the pocket and add one more snap about 1/2″ down from the opening.  Find where the snap meets the body of the case, mark and add the other snap.  The pocket opening should lie completely flat when all snaps are fastened.

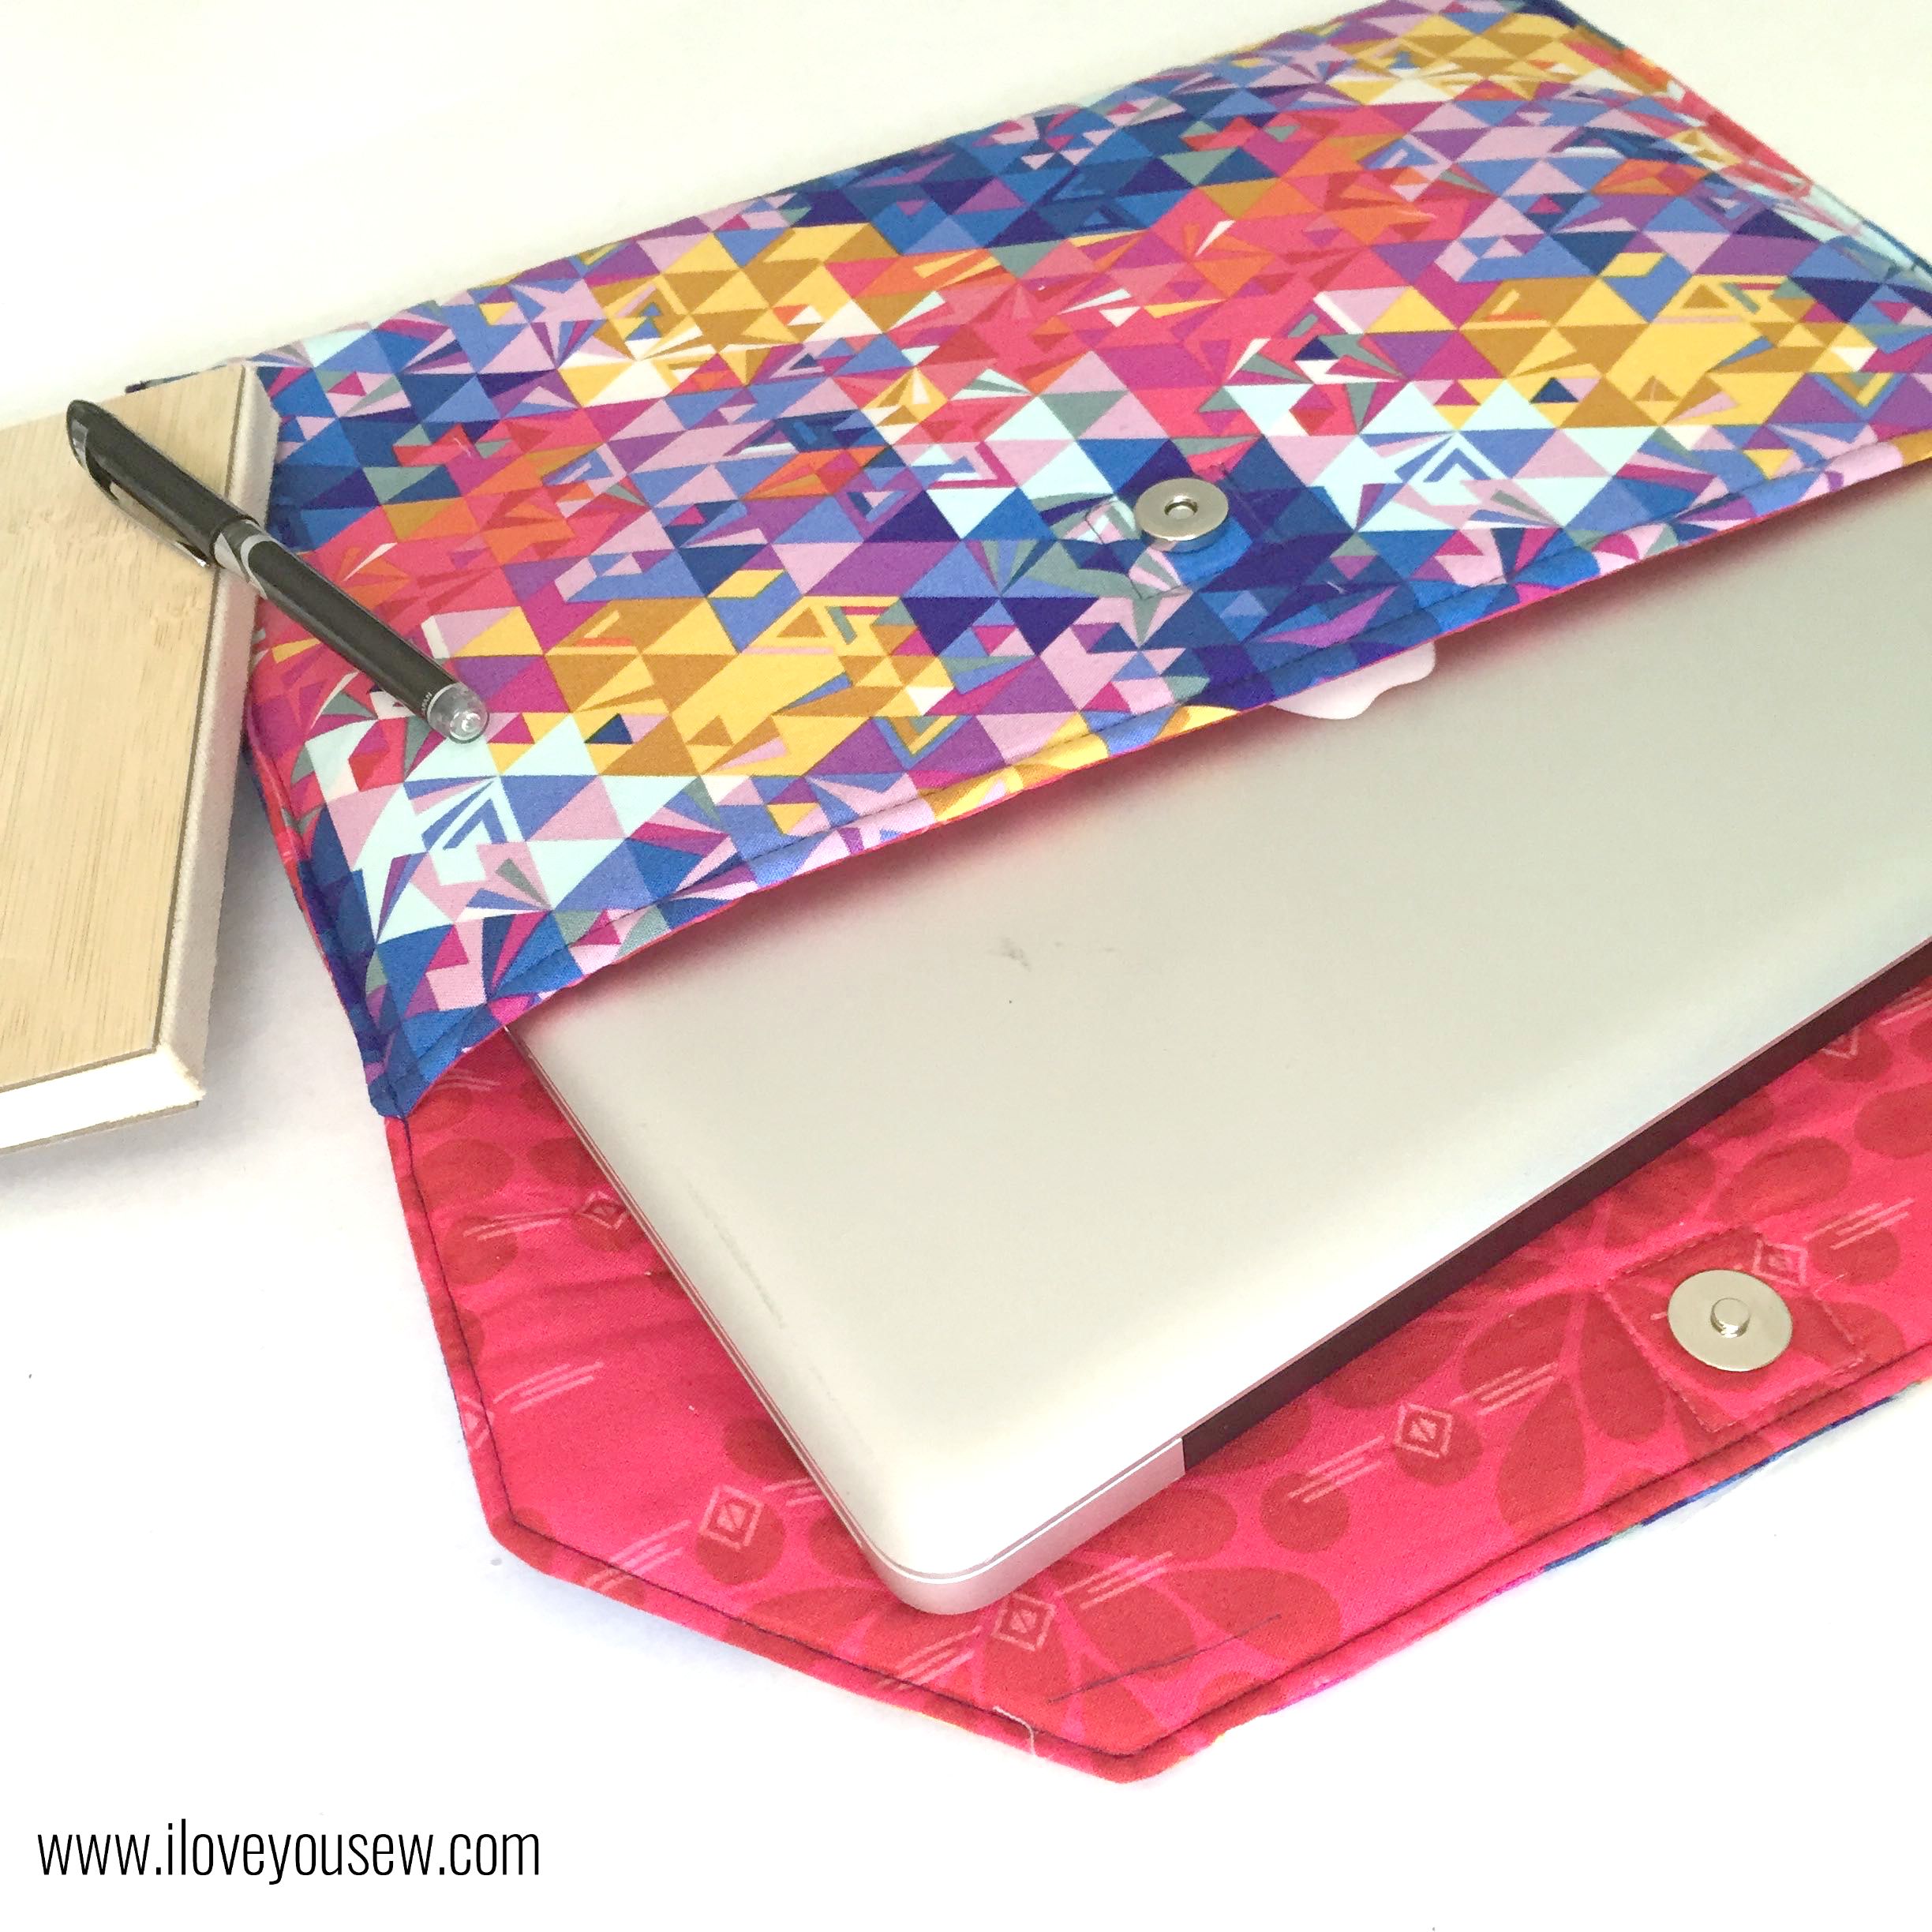
22CompletewLaptop

And there you have it – a beautiful cushioned case for your baby to travel!

Please let me know if you have any questions (I’m new to pattern writing) and please tag me on Instagram if you make one. #loveyousewlaptopcase  #loveyousewpatterns


Happy Sewing!

Cristy


This post may contain affiliate links for which I do receive a small compensation…It helps me keep this site running 🙂