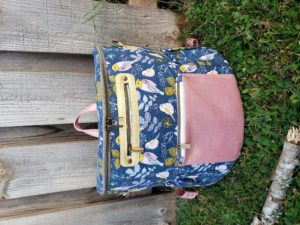
Erin Backpack Sew Along || Part 4: Create the Front Panel

Welcome Back to the Erin Backpack Sew Along!  We are now on Part 4: Create the Front Panel.  If you missed any of the prior blog posts, you can find them below:


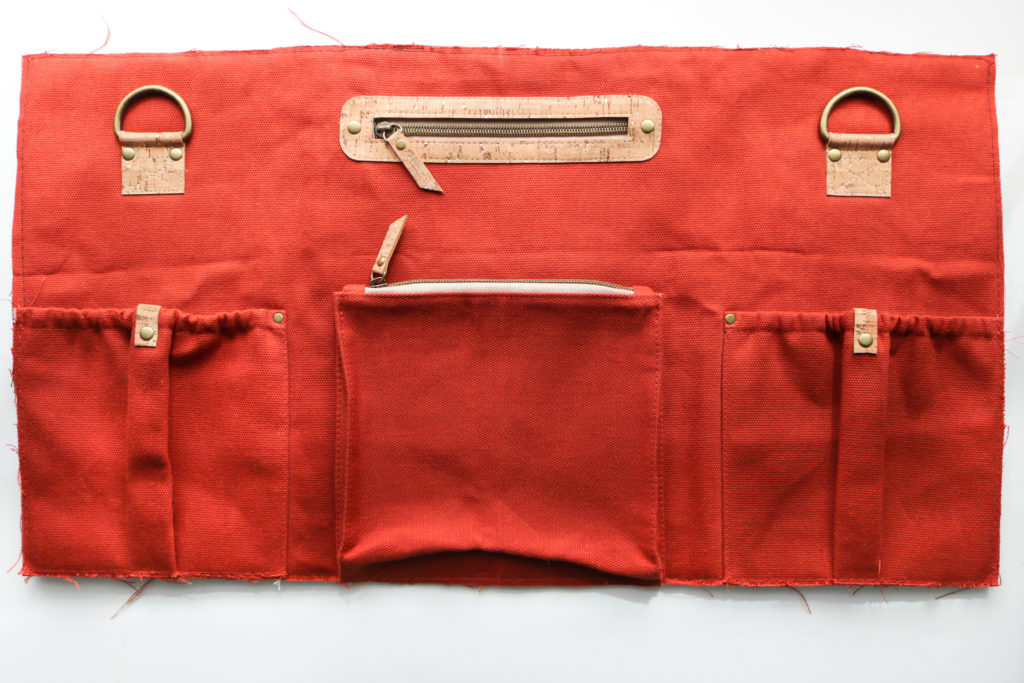
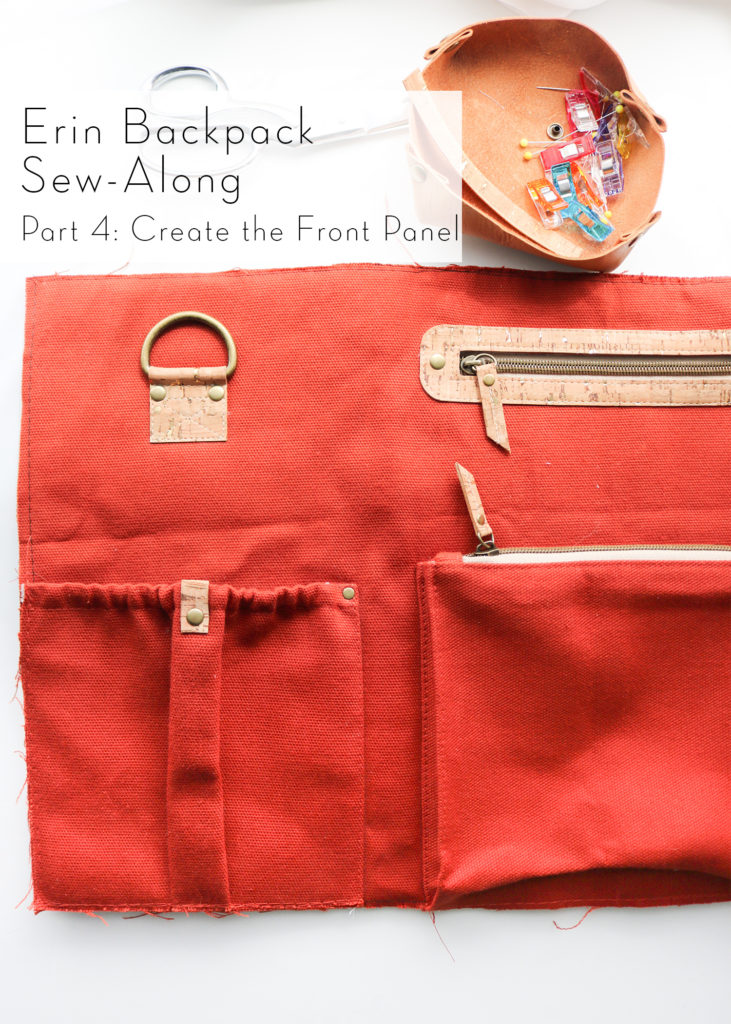
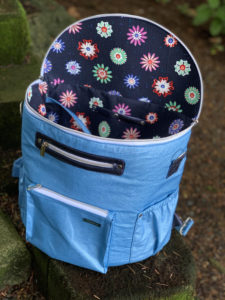
With this part,  we are tackling the entire Front Panel with four different pockets. It seems overwhelming, but I’ve broken down all the pockets into 4 different short videos so you can work at your own pace.


WELT Zipper POCKET
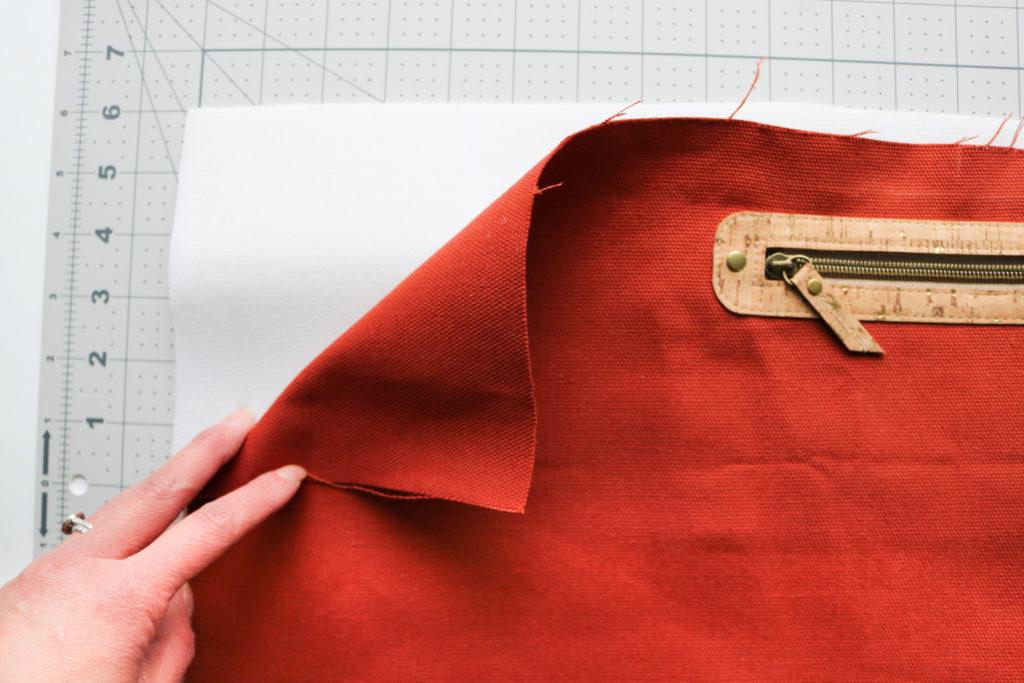
At this point, the Front Panel is the only pattern piece left that hasn’t been basted to foam. This is added later because creating the Front Welt Pocket through foam would produce so much bulk and be very difficult to work with.  I love all of you too much to put you through the extra wrestling and time spent trimming back foam! Ha!
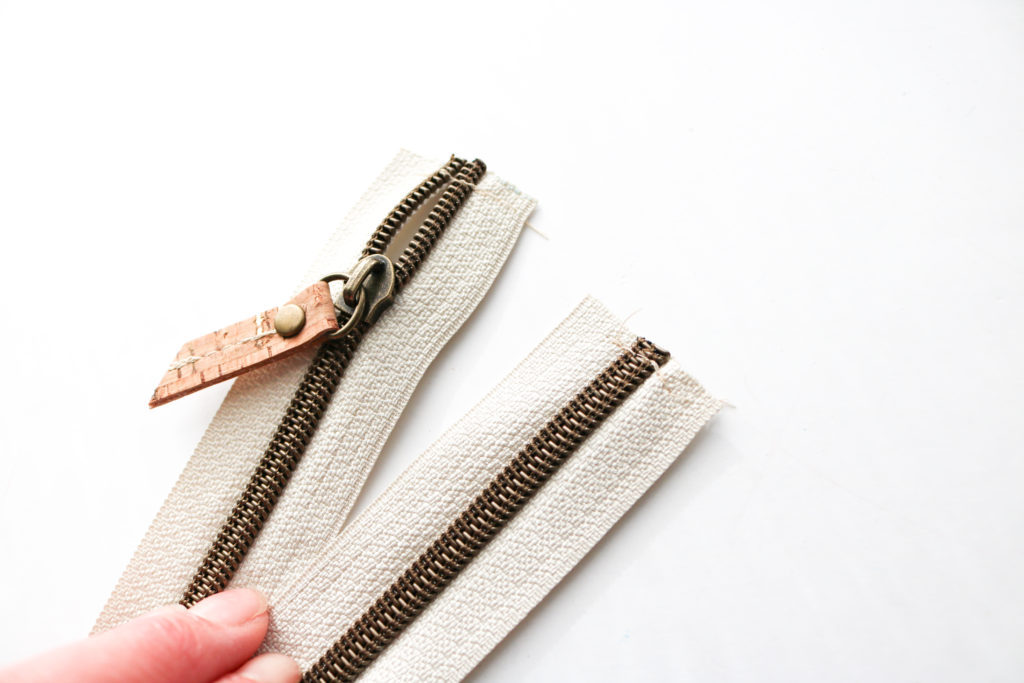
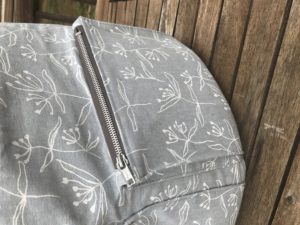
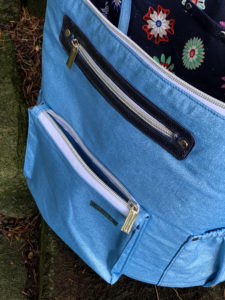
I know you will ask me about the zipper pulls used on my bag 😉 These zippers are from MyHandmadeSpace and yes, I made the tabs myself!  They are approximately 3/8″ x 4″ folded in half and secured with a seam straight up the center.  I added a rivet to balance out the look with the rest of my bag.  These are SUCH a great option to really personalize your bag.  I’m so glad I bought them as a stash option!

Now let’s get to work.  Click into the video about to watch how the Welt Zipper Pocket is created.  Please note the following from the video:

  • I am using “Craft” Tape as an alternative to Wonder Tape. This is only 1/8″ wide, but is permanent.  With the coating on the canvas, I wanted to use a tape that was a little stronger than Wonder Tape. So, to avoid human error, I like to add this directly to the zipper tape first, and not to the lining.
  • While adding on the Zipper Plate, I used glue instead of Wonder Tape.  Again, I was looking for something stronger I could sew through and unfortunately, Craft Tape cannot be sewn through. (Your needle would gum up.)
  • I’m adding the rivets earlier than the instructions.  I don’t know why….but I started going by memory without checking instructions and went out of order. (This is what I get for not checking!) There is not a huge difference if you add them before closing the pocket lining or waiting until after the foam is basted on.  Per the instruction, my intent to add them post foam, was to have extra anchor points against the foam to keep it from separating with the Front Panel.  But there are many other points anchoring the foam to the main fabric with the rest of the pockets and Front Strap Tabs.
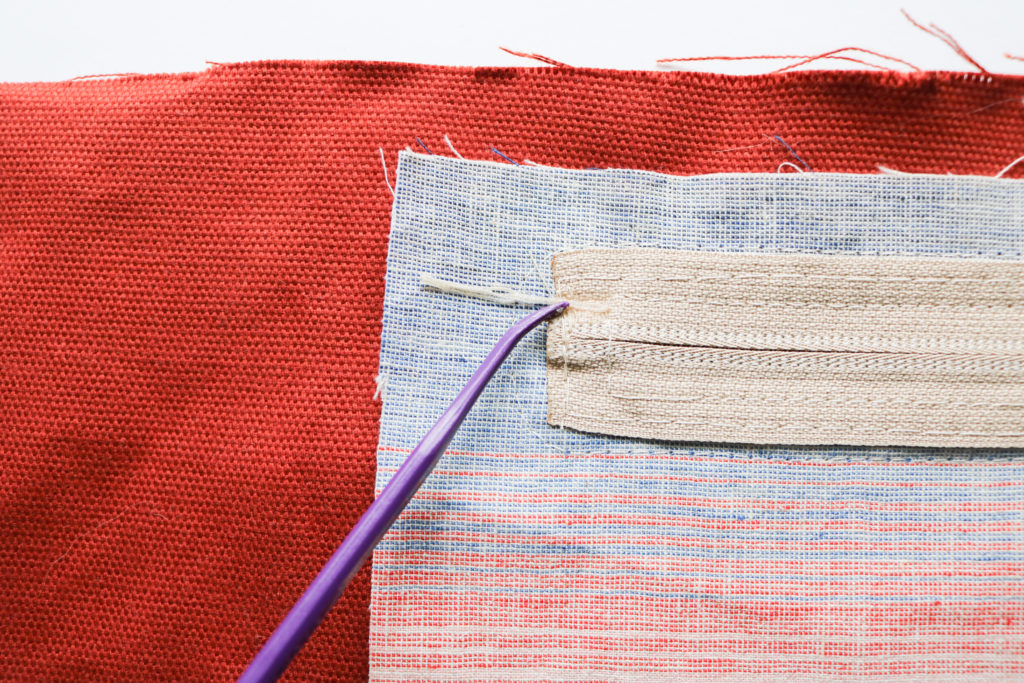
TIP: When I sew through an accent fabric and want to minimize punctures, I like to pull the threads through for a clean continuous line of stitches.  However, from the back, I don’t want the threads just hanging inside.  So, I knot the threads and use a light dab of glue to seal them against the fabric.  I like to leave the tails long so that they will be sewn into the pocket later on.


SIDE ELASTIC POCKETS
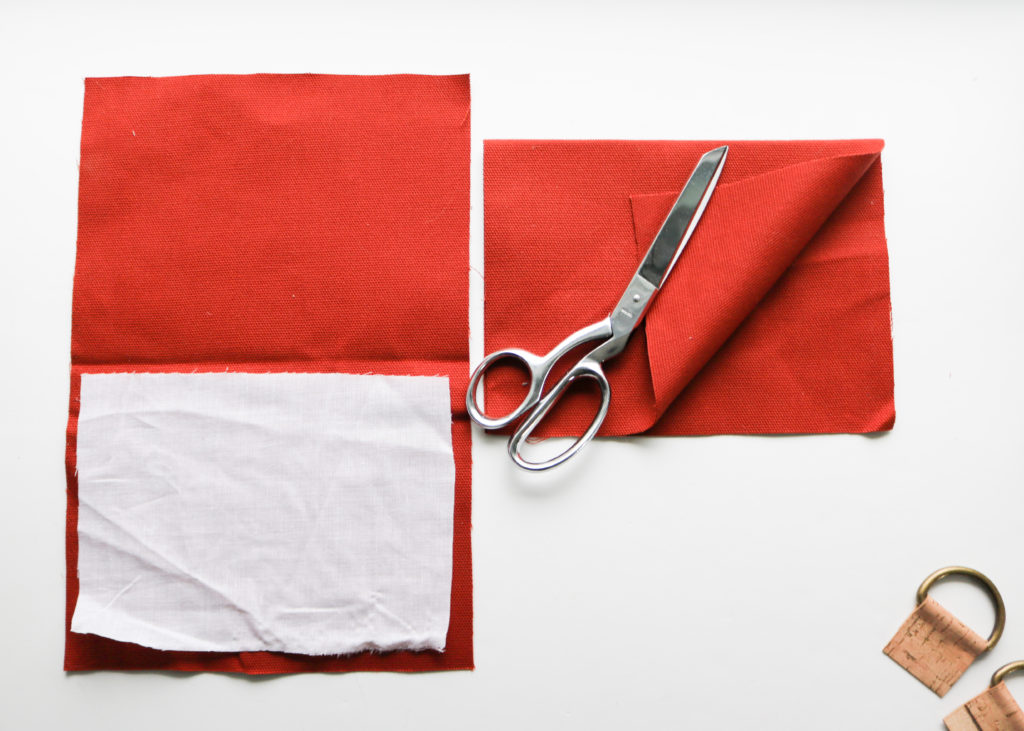
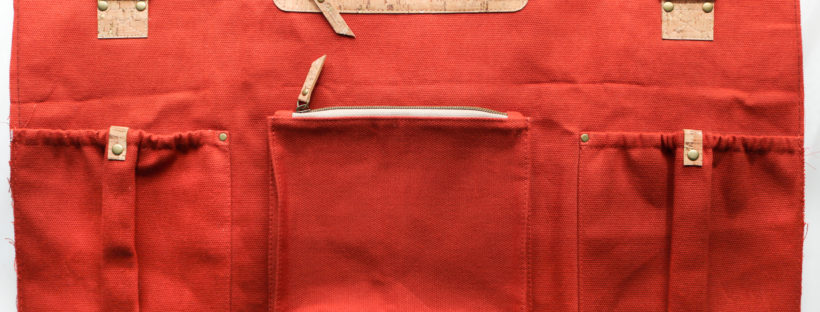
With untreated fabric, interfacing would’ve been fused to the part of the Elastic Side Pocket facing the bag, as seen above on the left.  But, since I’m using a heavy treated fabric, I cannot add heat and fuse to it.  So you will see there is no interfacing to indicate the wrong side of the fabric in the video below.

Click the video to watch how to make and attach the Elastic Side Pockets.  Please note the following:

  • For extra durability, I demonstrate how to sew the pocket with an extra triangle at the top of the seam. This helps reinforce that area since it will be pulled on heavily.
  • The size of the rivet used in the triangle has a 6mm cap and is not included in my hardware kit. I thought I would just make it a little different as to not compete with the added embellishment.  This is the same size I use on the zipper pulls as well
  • As an option, you can add in accent fabric with rivets as extra way to highlight pockets. It was an afterthought when making my waxed canvas sample seen here, but I wanted to show you the steps just in case you wanted to add them as well!
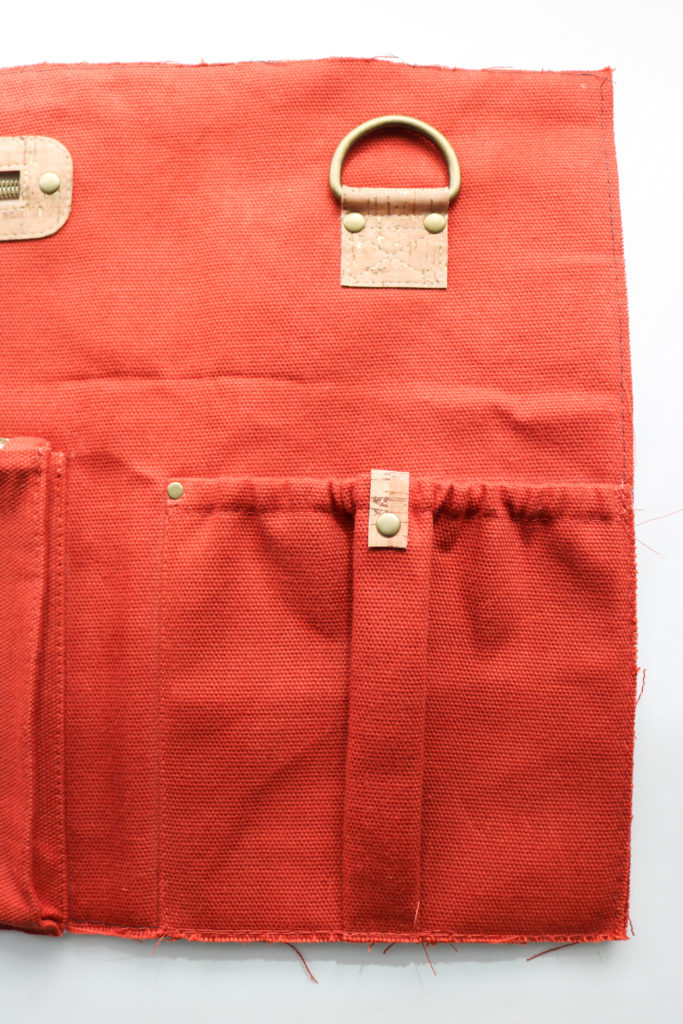
 

POP-OUT POCKET
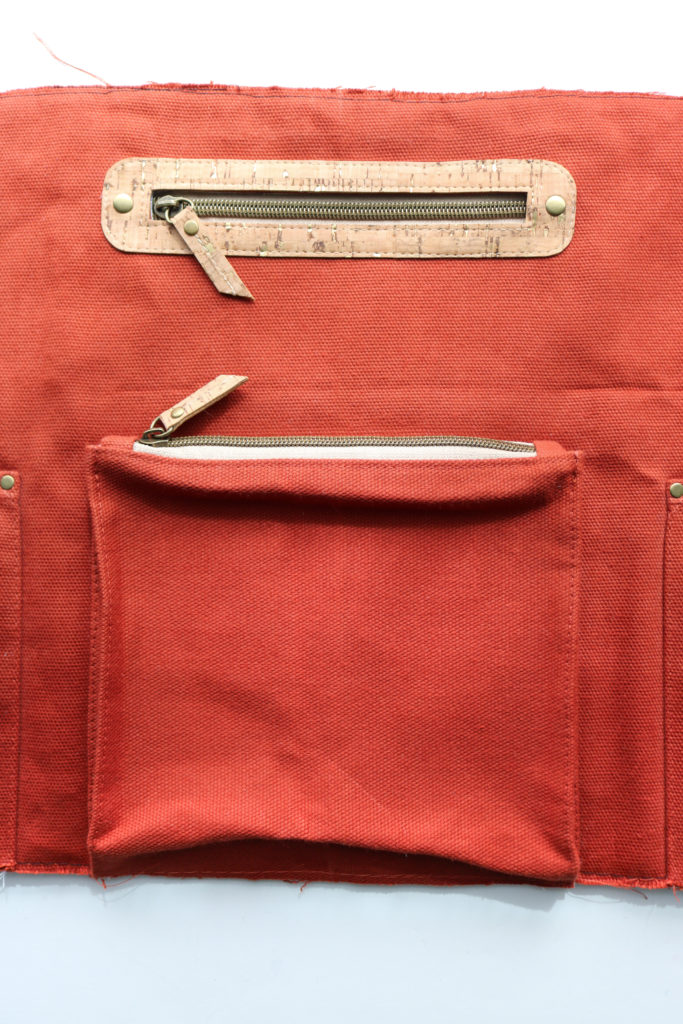
If I am in a clothing store, I will always take a look at it’s bag section.  I like to see what’s popular and if there are any outstanding features.  Well, I saw a 3-D pocket similar to this one that I was determined to figure out on my own because I thought it was a unique way to create one.  With a home machine, my design had to be changed, but the essence is there.   Now, I get to share with all of you how figured out this pocket construction for my bag-makers!

Please click into the video above to view and note the following:

  • When finishing the edge of the Zipper (that’s sewn directly to the Front Panel,) can just zig-zag along the zipper tabs.  But since I primarily work on a straight stitch machine, it would require me to set up a machine.  With the content being so heavy this week, I went with the serger that sits right next to my regular machine.
  • When attaching the Zipper to the Front Panel, I switched feet on the second seam to get a little  closer to the teeth and clear the overlock stitching
  • During the filming, I lost a few segments when attaching the sides down to the Front Panel.  I had to re-film those parts, but the Front Panel was already completed. So you will see that there are no hanging bits of fabric as part if the instructions.  You might  even see some of the Front Strap Tabs.


FRONT STRAP TABS
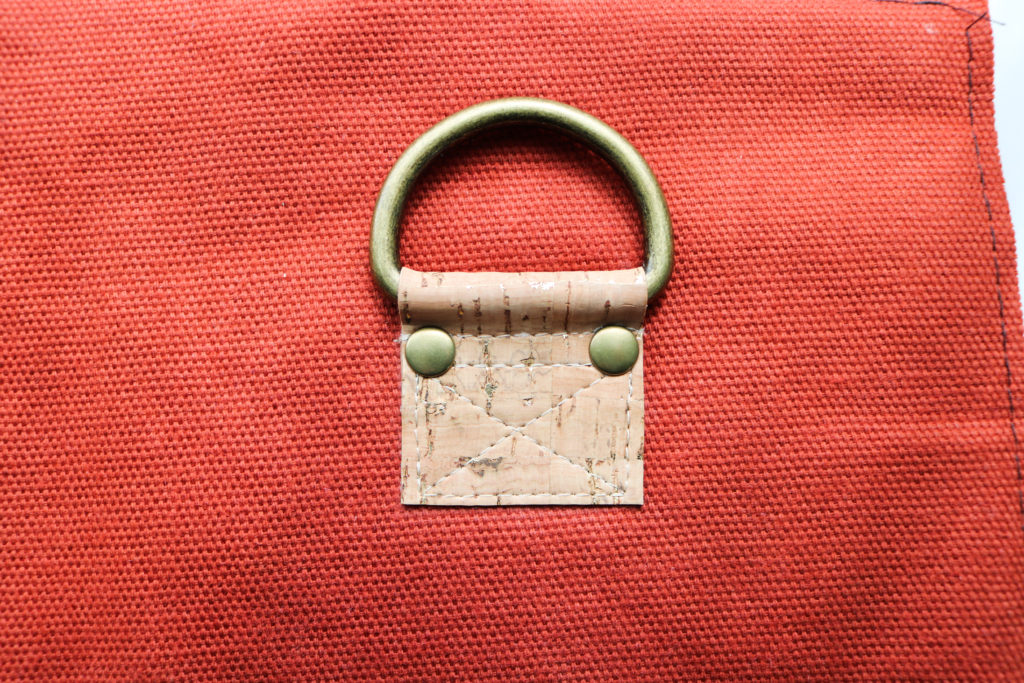
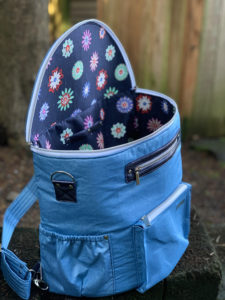
These Front Strap Tabs are for the cross-body and shoulder carrying options.  So all the weight of the bag will be on these spots.  That is why there is so much reinforcement stitching, as well as the added rivets.  You don’t want these ripping out later, so take your time on every stitch!

Click into the video above to watch hoe to attach the Front Strap Tabs and note the following:

  • I work with both my Teflon and Zipper Feet.  I don’t call out the changes, but you can see them in the video
  • For a clean finish, I always like to leave long thread tails and pull them to the back.  With several knots and a dab of glue, those seams will hold just as well as several back-stitches.
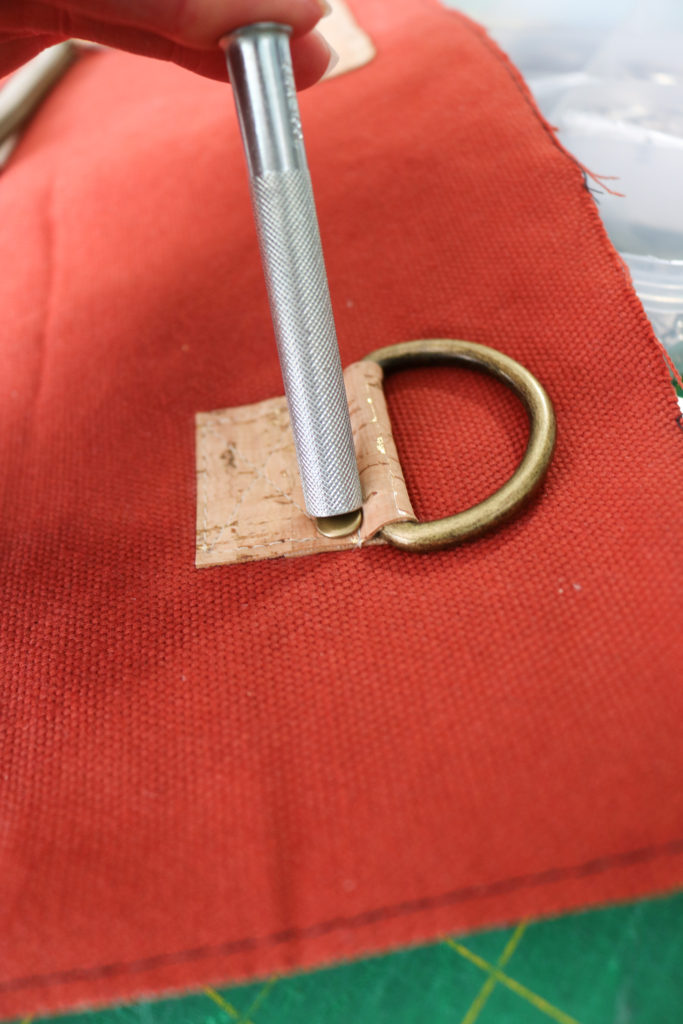
Although a hardware press is a great tool, this is one case when a manual setting tool is better than a press.  The dies require at least an 1/8″ clearance around the rivet caps whereas you hardly need any clearance with the tool seen above.  There are some projects where there isn’t enough throat space with a press to install as well.  So don’t ever get rid of those setting tools!

CONGRATULATIONS on finishing this Part 4 beast!  You are more than half-way done now and doing great!  Check back next week for Part 5: Making the Lining.


Happy Sewing!

Cristy


Please note, this post contains affiliate links.  Please refer to my Disclosures for additional information.
Erin Backpack Hack || Make Sew-in Backpack Straps

I get it!  Not everyone wants to continually switch out the Erin Backpack straps for the over-the-shoulder/cross-body style.  I also understand that the convertible nature of the backpack strap leads to uneven shifting on the strap as well.  So, if you find yourself wanting the Erin Backpack to have permanent double back straps since that’s how you wear it the most, then this hack is for you!!

TUTORIAL

This tutorial assumes you will still make the strap as drafted in the pattern for over your shoulder and/or cross-body needs.  All materials needed will be IN ADDITION to the original supply list.

Materials Needed:

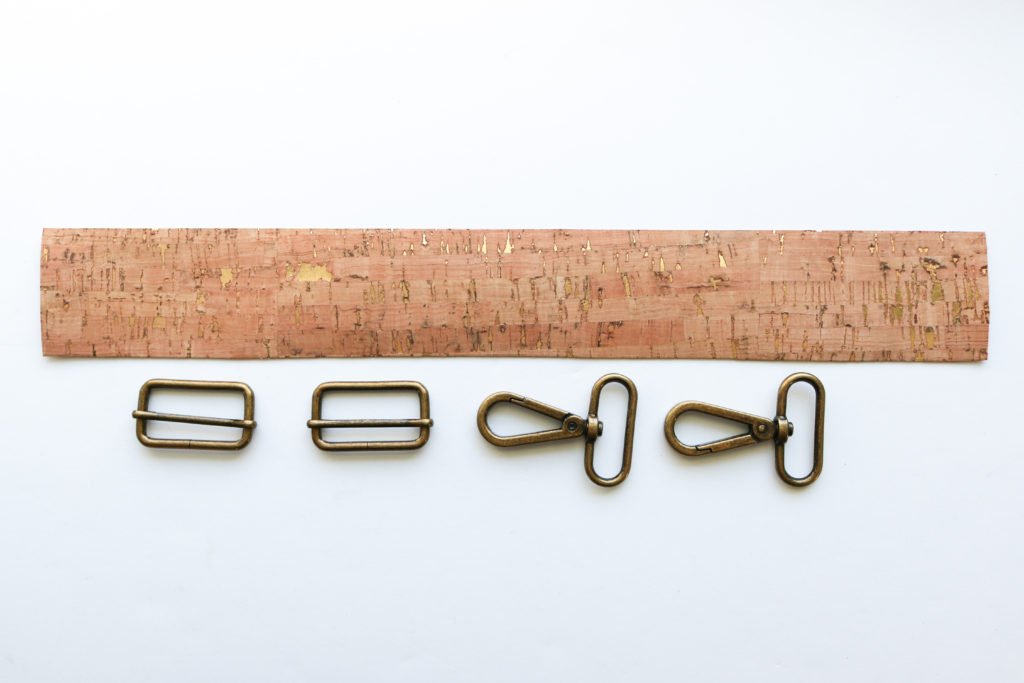
  • (2) 36″ x 6″ cuts of Main Fabric + Woven Interfacing
  • (2) 1 1/2″ Strap Sliders
  • (2) 1 1/2″ Swivel Clasps
  • Lengthen #17 Handle Base to 14 1/2″ x 2″

Material you can omit from original pattern:

  • #19 Rectangle Ring Accent Fabric
  • (1) Rectangle Ring

INSTRUCTIONS:

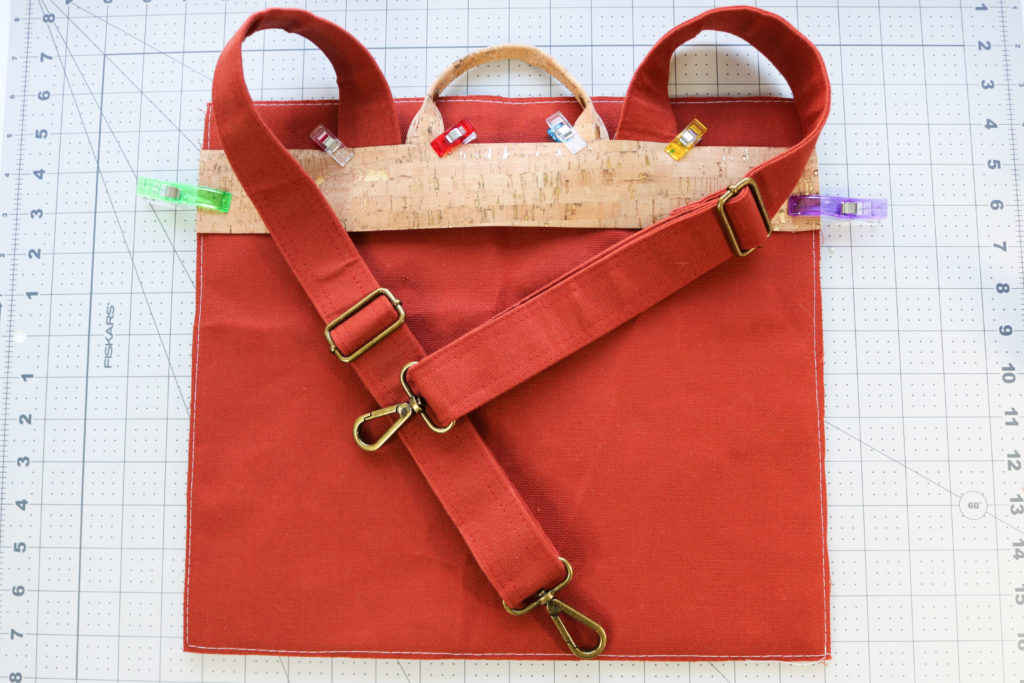
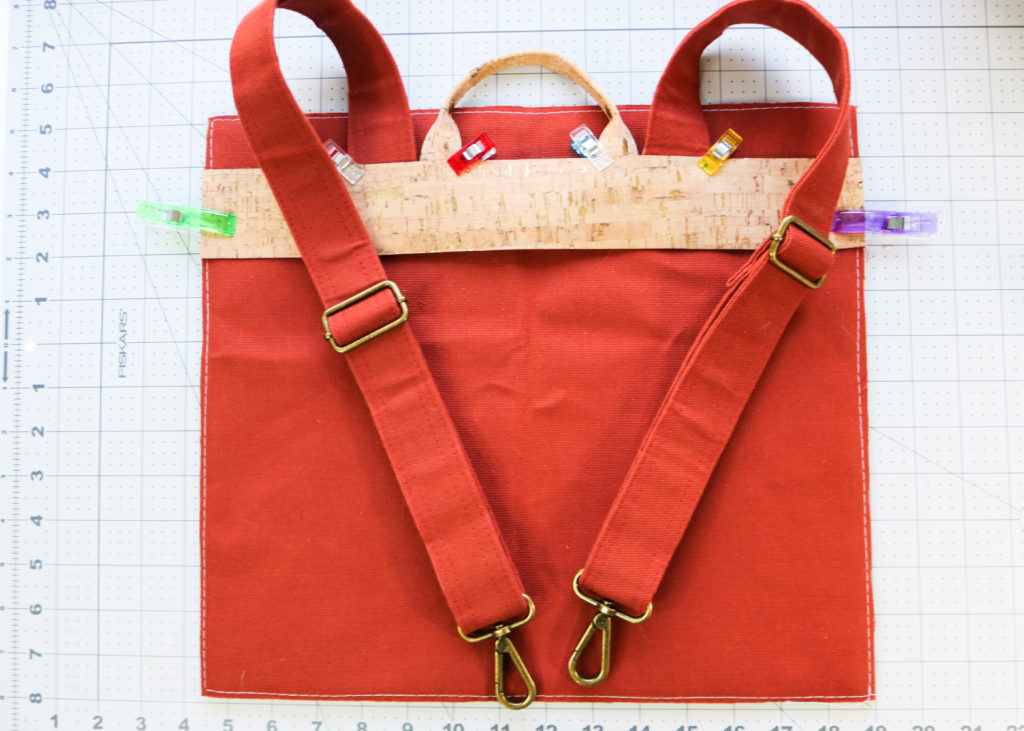
  • Make straps according to the pattern following Steps #11-12. You will have (2) separate 36″ x 1 1/2″ straps.

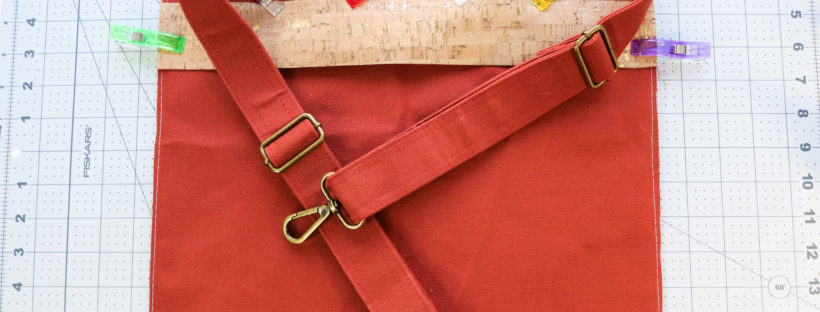
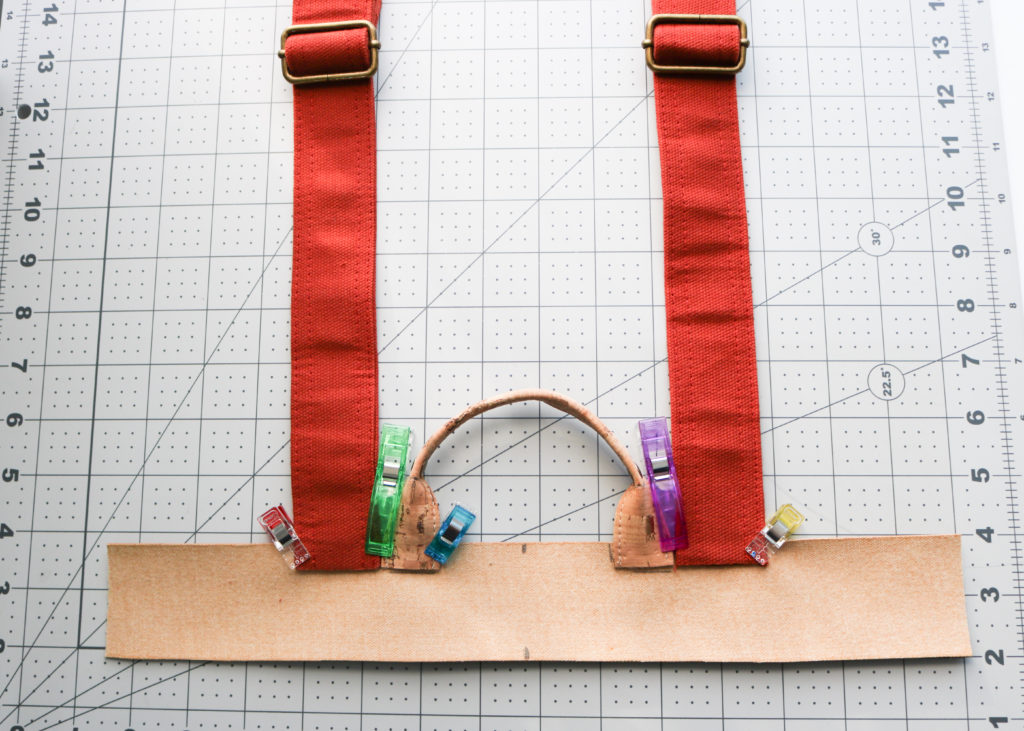
  • Click into video above  to add the Slider and a Swivel Clasp to each Strap.  Each Strap will have one raw end which will later be sewn into the handle base.


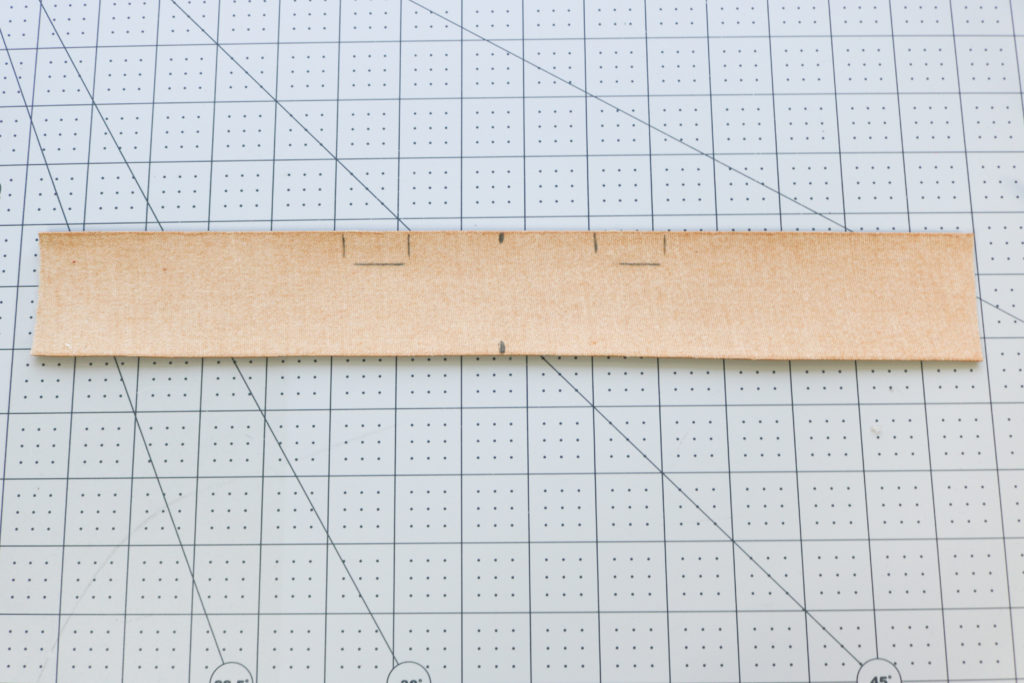
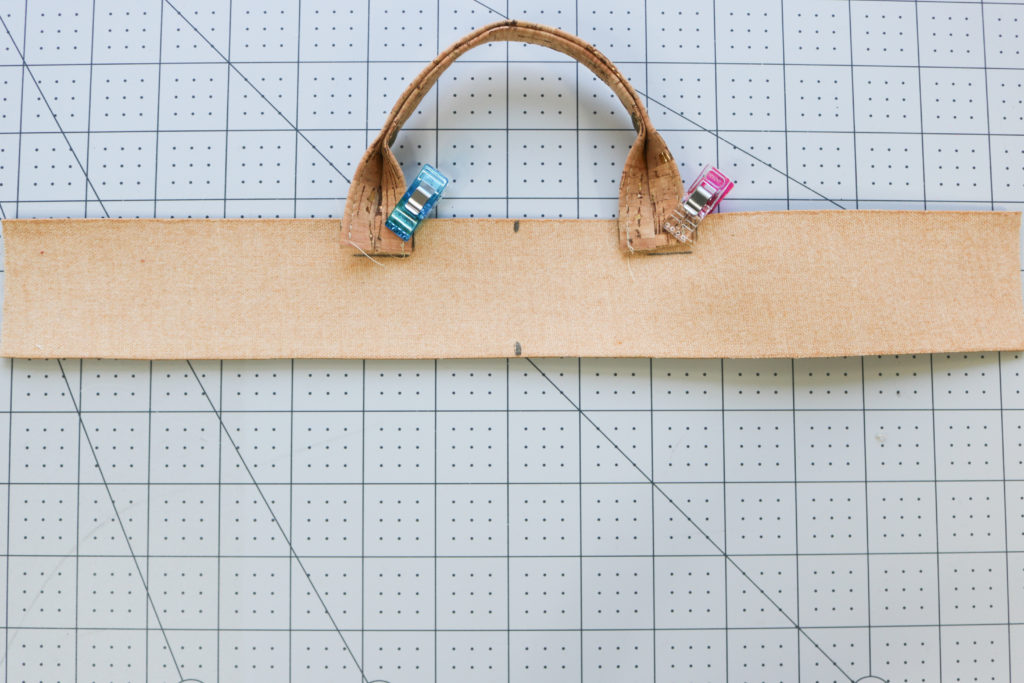
  • Mark the Handle Base using the original template centered on the back, but omitting the Rectangle Ring markings


  • With the wrong side of the Handle Base facing up, glue the Handle into place.  If you like the look of the Rolled Handle instead of the flat style in the pattern, you can find the tutorial to make it here.


  • With the wrong side of the straps facing up, glue the raw short edges to the outside of each handle, aligning the raw edges. (Please note, I was playing around with which direction the handle should face, so that’s why it’s different in this pic.)


  • Now you can flip the base right side facing up and continue at Step #24 of the Erin Backpack pattern.  Remember to keep the straps out of the way as you continue construction for the rest of the Erin Backpack.


I hope you enjoy this hack!  If you decide to just use the shoulder strap, these double backpack straps can easily be tucked into the back slip pocket!


Happy Sewing,

Cristy


Erin Backpack Tester Round-Up

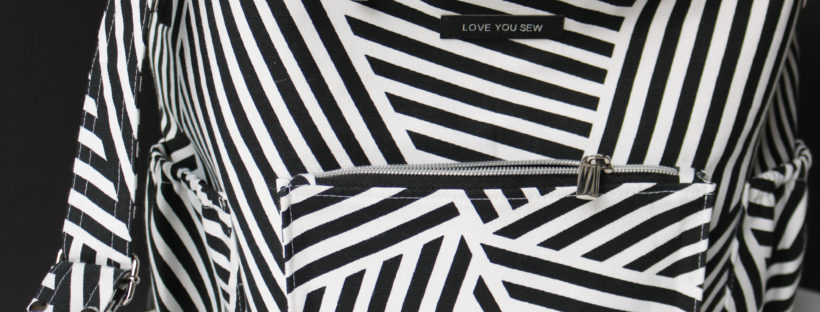
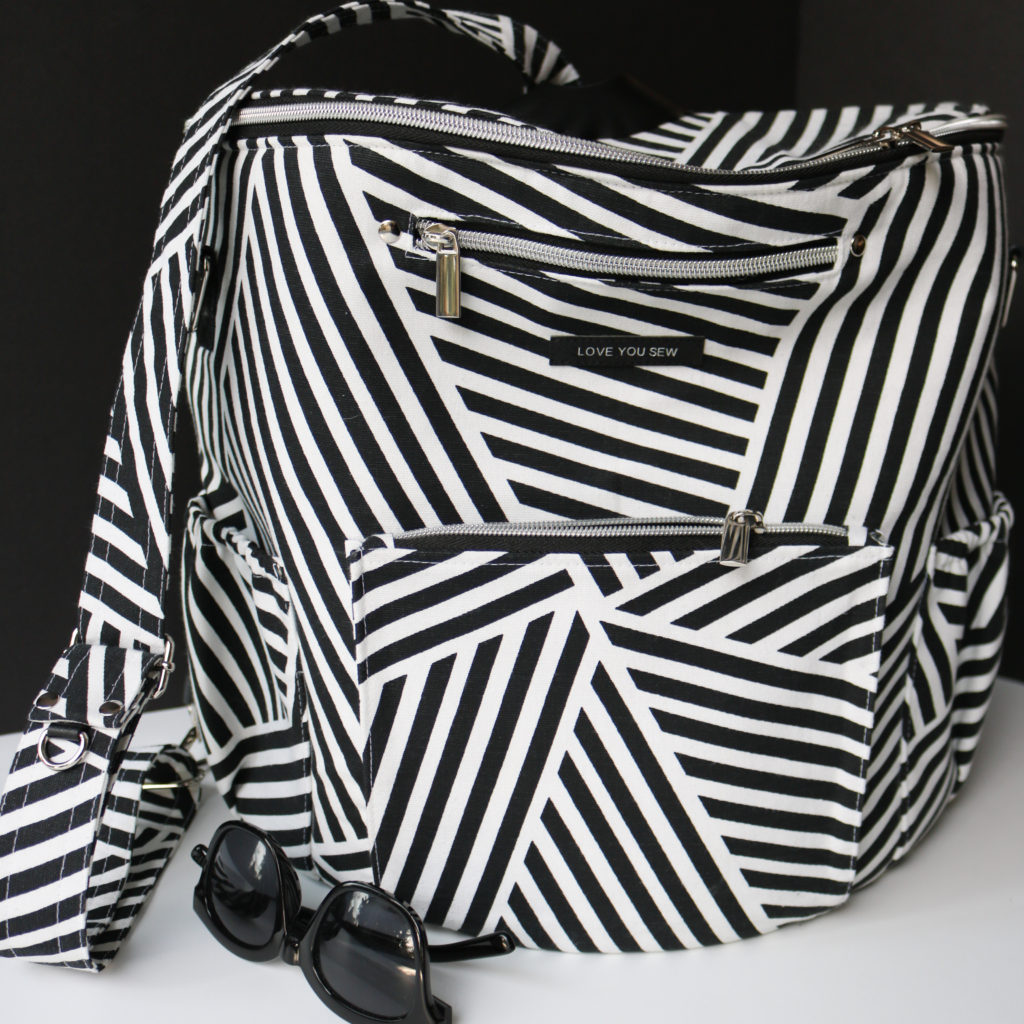
Striped Erin Backpack by Love You Sew

One of my samples

Love You Sew patterns could not happen without the support of my AMAZING testing team. You can count the number of my published patterns on two hands now, but I still feel SO new to the game. With every pattern, I’ve been learning more about design and the testing process.  I have them to thank all of them for supporting me and even bearing through some of the growth pains…
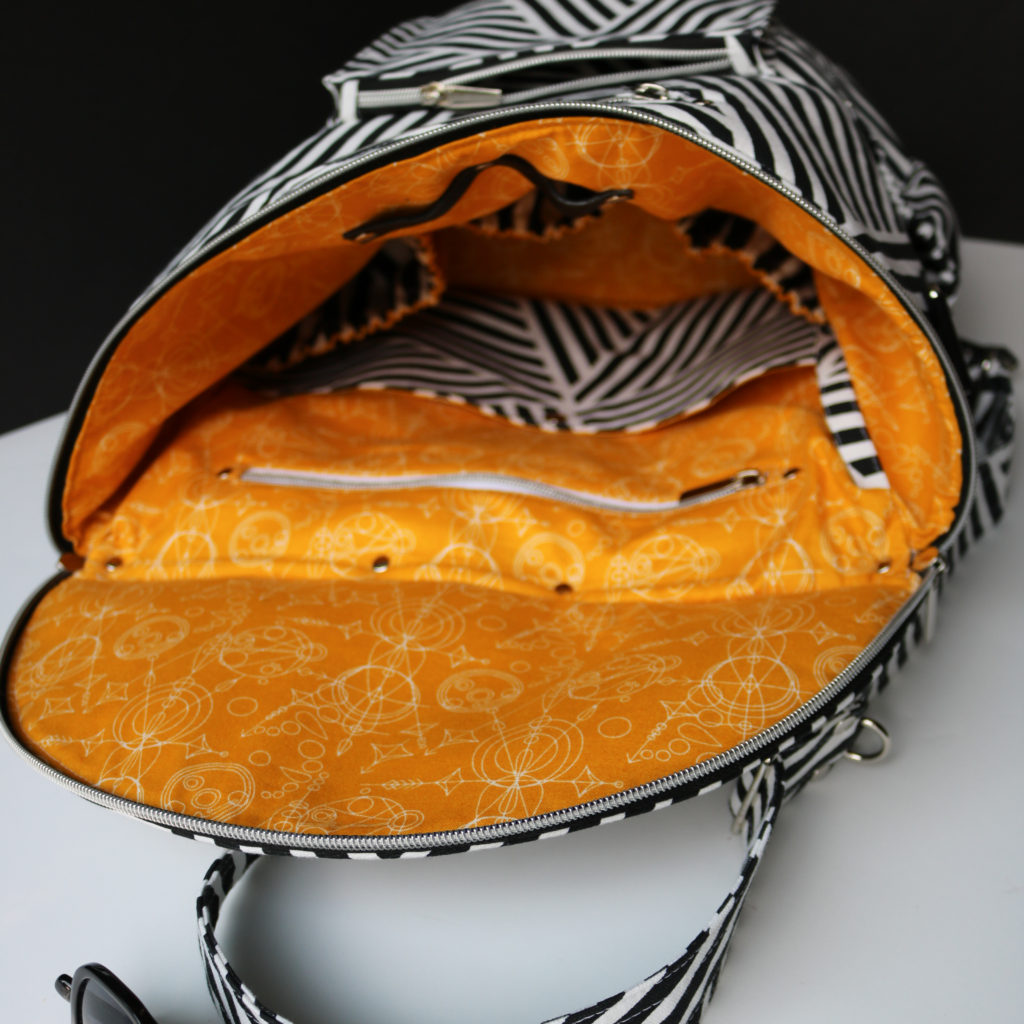
Erin Backpack by Love You Sew - Interior View

Early Sample with different play of rivet placements

This last call out to test the Erin Backpack  came right smack in the middle of the holiday season and while COVID numbers were climbing around the nation. It left my group MUCH busier personally and unavailable to test.  I still wanted to release this pattern before Christmas for those stuck at with new stay-at-home orders in place so they could have a good winter project.  With these conditions, only a few testers could complete the bag, but there is still a TON of inspiration below.  You can also see other versions of the Erin Backpack here and here.
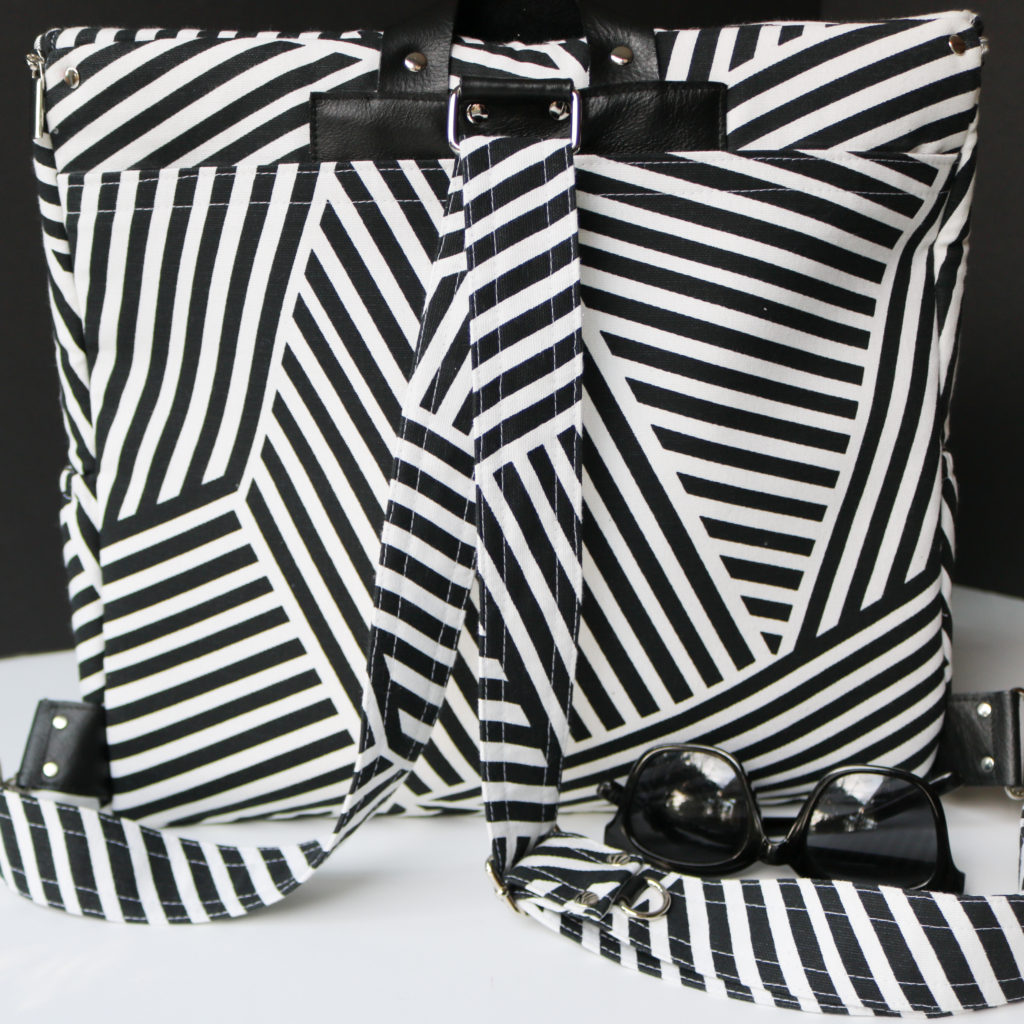
Erin Backpack by Love You Sew - Back View

Early Sample – Back View

This is one of my early samples while I was still playing around with construction ideas.  Detailed information on it as follows (with affiliate links):

TESTER VERSIONS

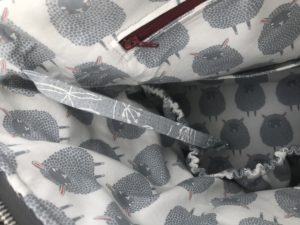
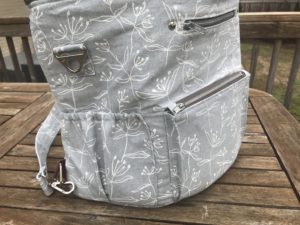
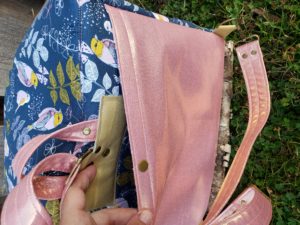
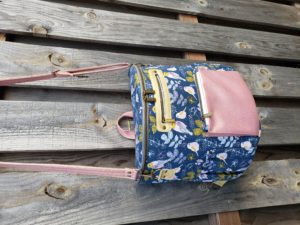
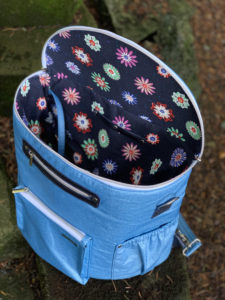
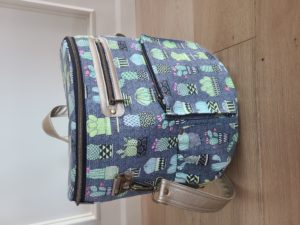
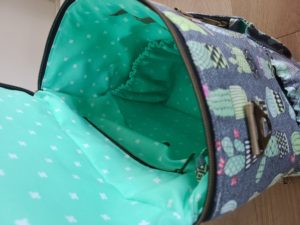
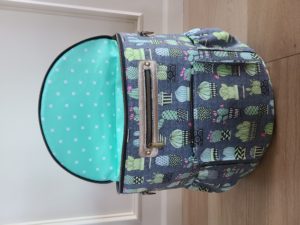
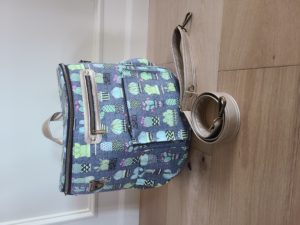
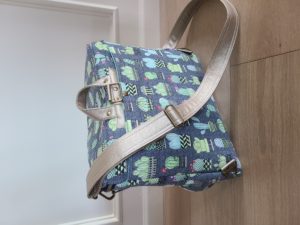
Without further ado, this first bag was made by Jean W.  She used hardware which you can find here along with metal zippers on the outside and nylon on the inside. I absolutely love the fun sheep lining she used  — It is SO incredibly cute! This next bag is made by Maggie M.  She is a prolific bag maker and you can snag many of her makes for your very own (just DM her!)  At first, I thought Maggie used a pink glitter vinyl for her backpack and it’s just regular cotton.  Way to get the look of vinyl on a bag!   I always enjoy seeing how Maggie plays with color and prints in her makes and this is no exception. Nela B. is both a quilter and bag-maker! You gotta check out her makes…including her incredible piecing skills here on Instagram. The best part of bag-making is the at interior can be just as good as the outside.  Nela used a beautiful floral print for the lining  swapped around some of the interior features to make it uniquely her  own! Carrie F. is the newest tester to join the team and also makes her bags to sell.  You NEED to check out her Etsy shop for some beauties.  She  came through with this gorgeous succulent version of the backpack. She is expecting (congrats!!!) and already has plans to use her new creation as a diaper bag. As you can see, there are all different ways to personalize your Erin Backpack. With a change of fabric and zipper, you can truly give each bag a completely new look. I can’t wait to see what you do with this pattern. Don’t forget to use #ErinBackpack and #LoveYouSewPatterns so I can see your beautiful makes on social media! For Erin Backpack Introductory post, head here. For Erin Backpack Sew-Along, come back soon — It’s tentatively planned for March 2021.   Hugs and Stitches! Cristy      
This post may contain affiliate links.  For my full disclosure, read here.

Review: Sirocco Jumpsuit in Luxe Green Scuba

This post was originally written for the Minerva Crafts blog in November, 2019. Additional edits have been made after real-life wear of the garment.

Intro 

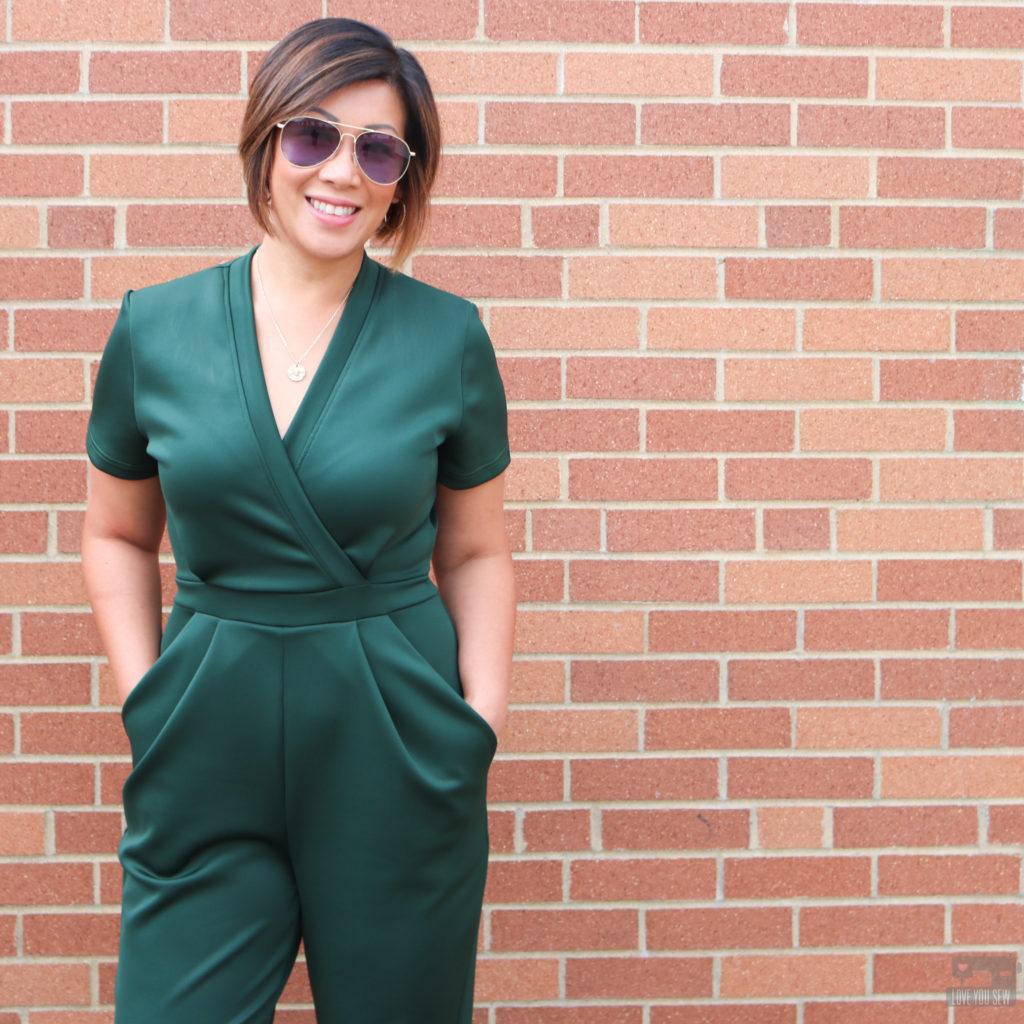
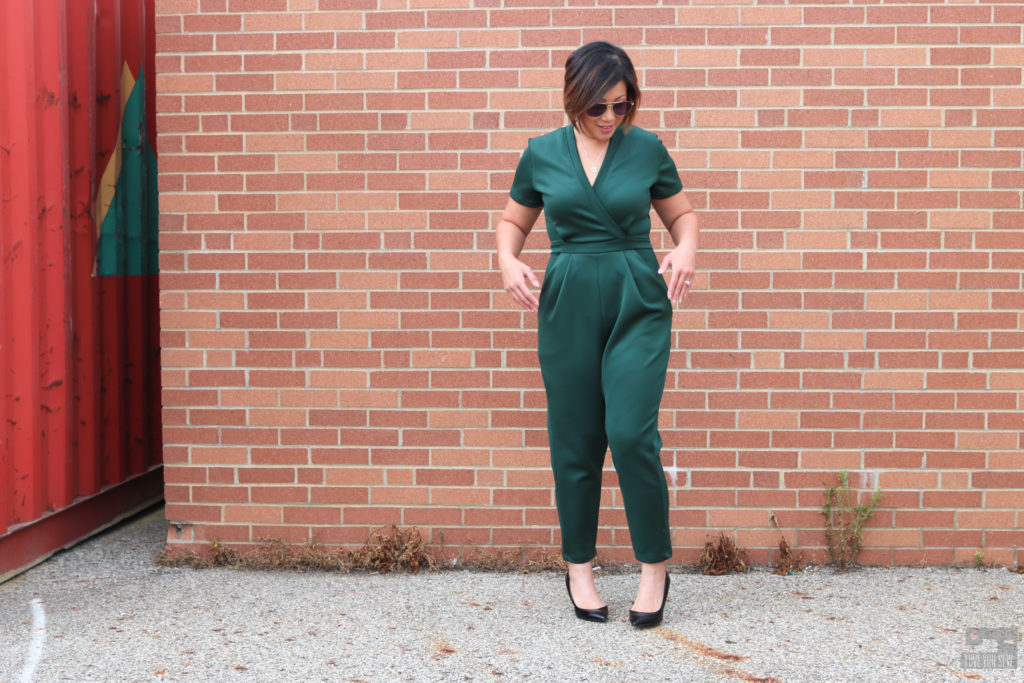
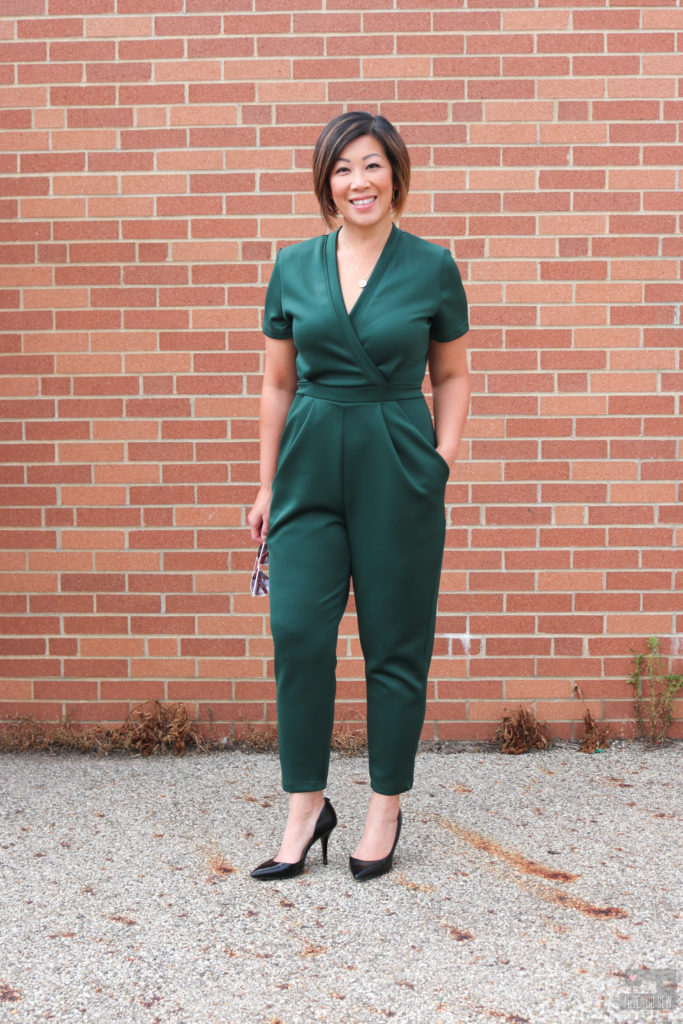
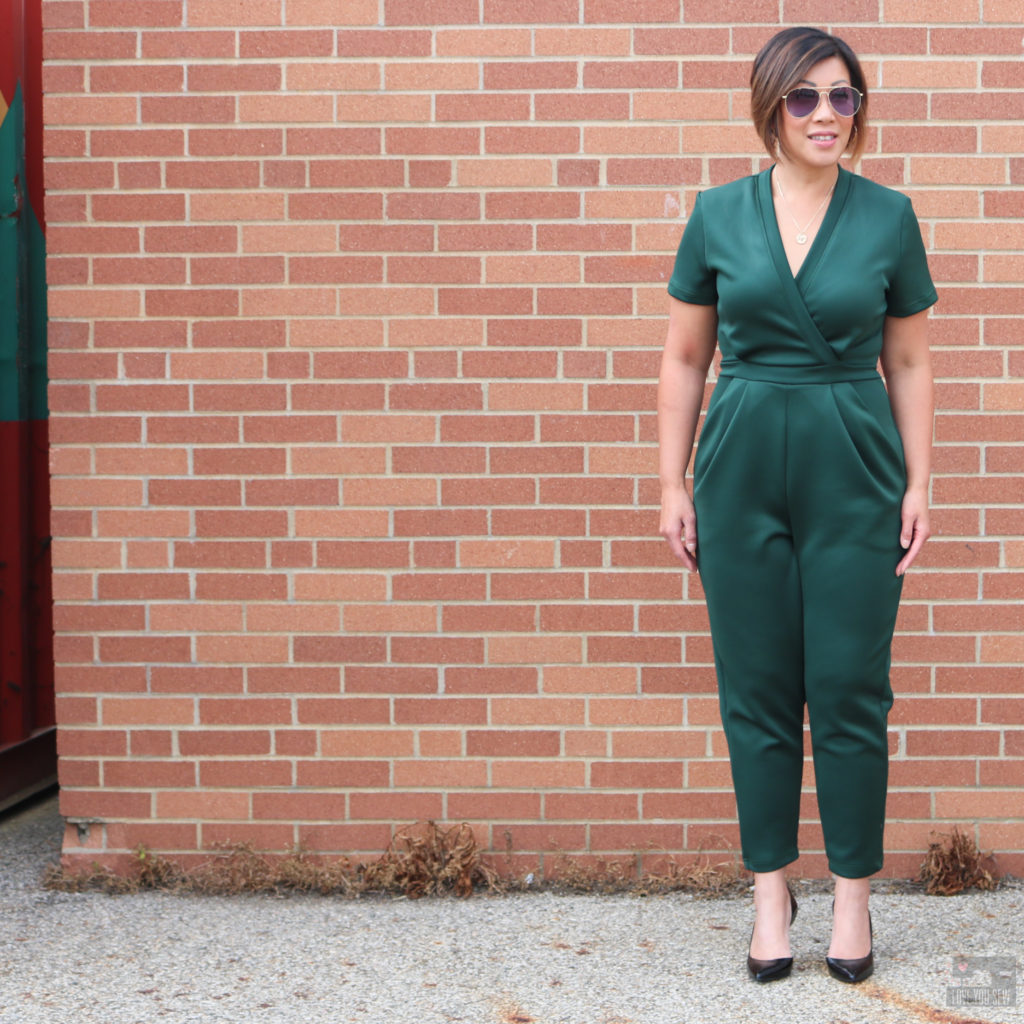
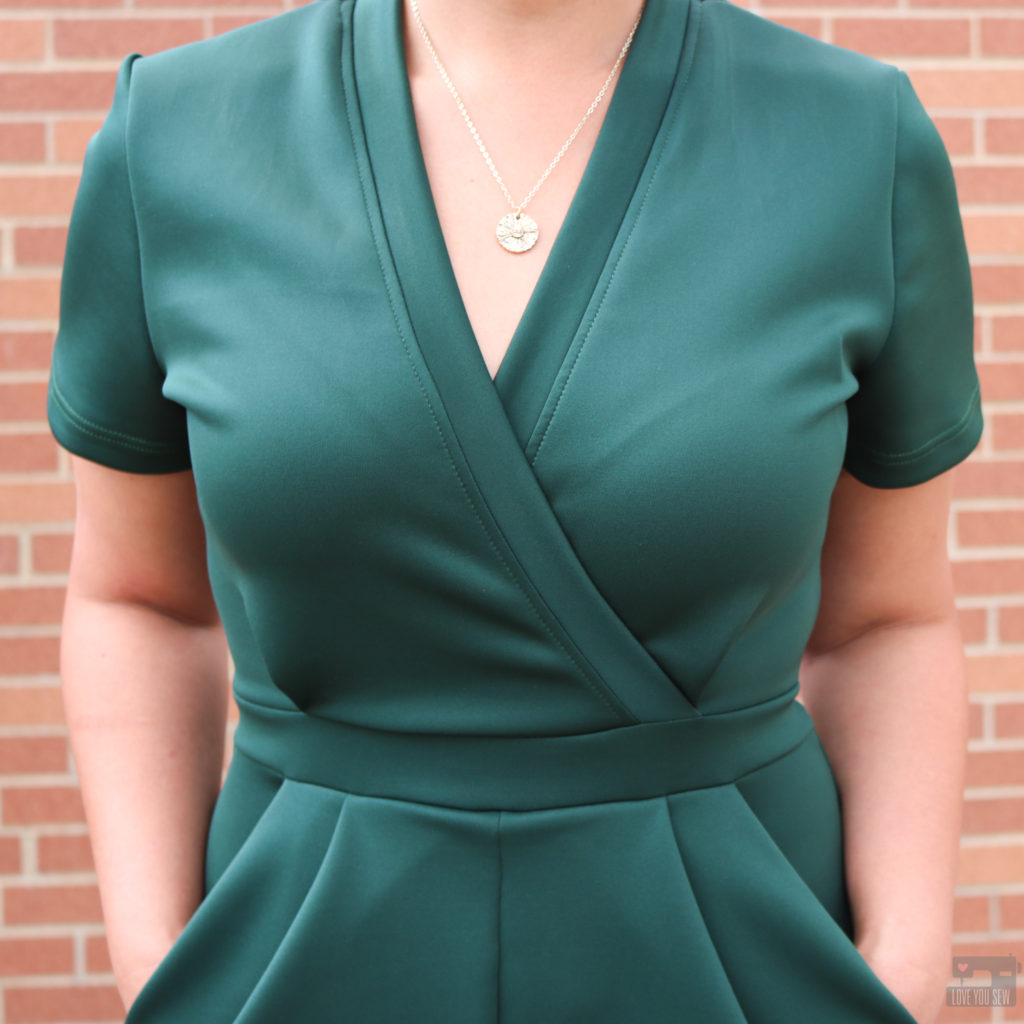
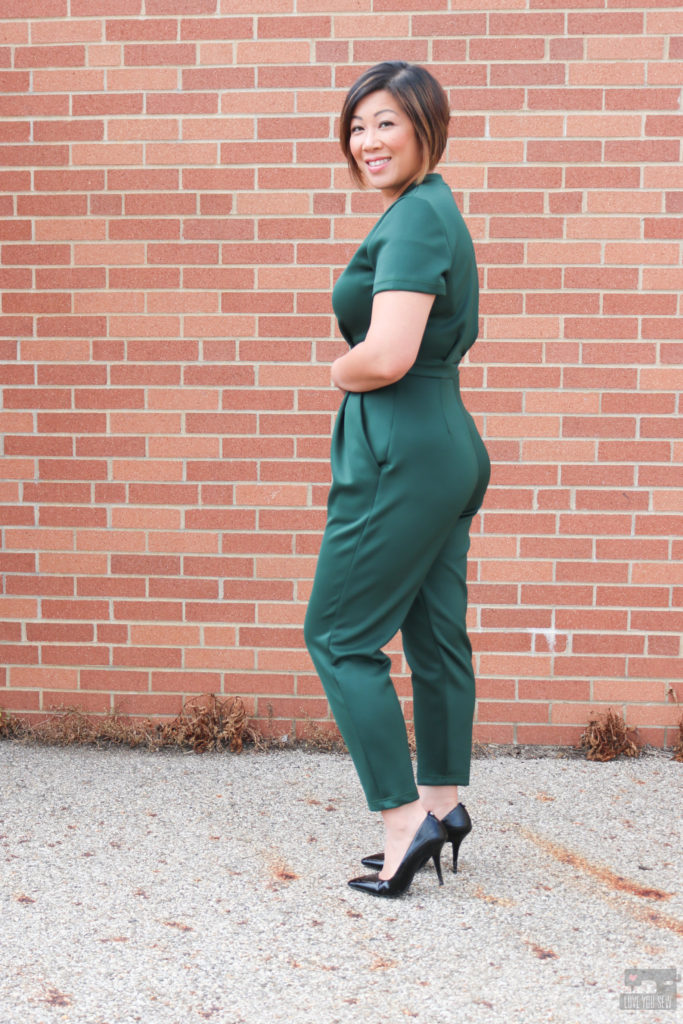
Hi, this is Cristy Stuhldreher from Love You Sew with my very first #MinervaMake as a blog contributor!!!  I was SO excited to be invited to be part of such an extensive team of bloggers here and equally excited to play with so much beautiful fabric.  My first find was this gorgeous Lady McElroy Luxury Plain Scuba Jersey Knit Fabric in Bottle Green.  With autumn (my favorite season!) quickly coming to the States, I knew I would need to get ahead and make some transitional garments with the switch of temperatures that are bound to come.  So, after I saw this scuba fabric I immediately thought of the Deer and Doe Sirocco Jumpsuit (like many other contributors already have!)

Fabric

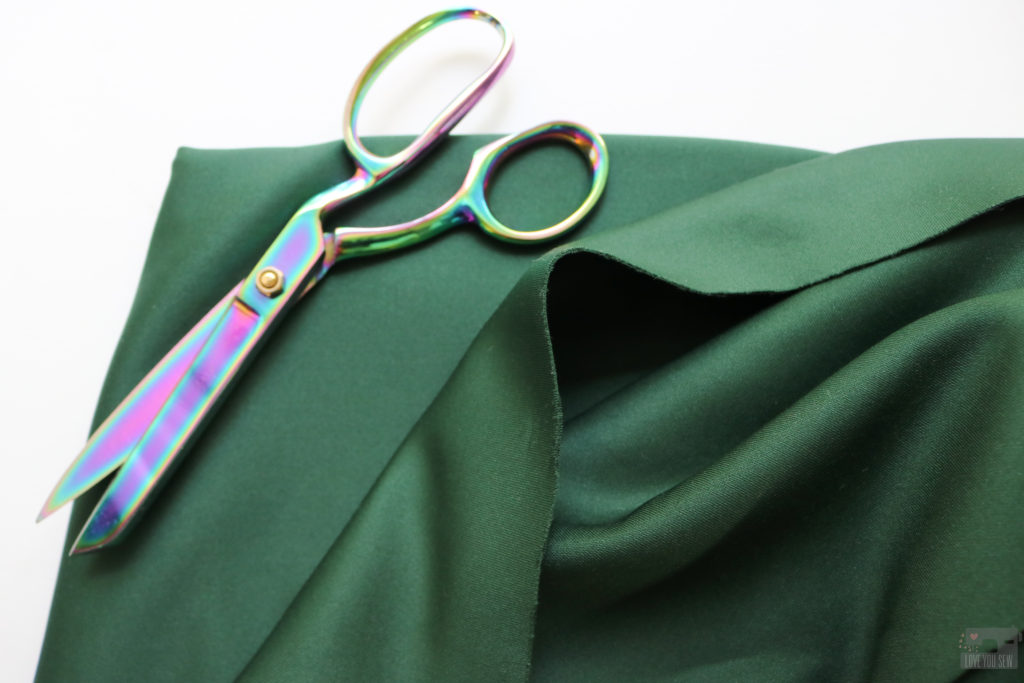
This Lady McElroy Luxury Plain Scuba Jersey Knit Fabric was such a great find!  I’m a big fan of Ponte de Roma fabrics and knew I would love Scuba just the same since they are both heavy double-knits.  They feel and act very similarly, but are made of different fibers.  Scuba is generally poly and elastane whereas Ponte is generally viscose and elastane.  This soft and smooth Scuba Jersey did not disappoint with its great stretch and nice body which is perfect for a jumpsuit when you don’t want every bodily imperfection to show through.  It is also works SO well for a knit jumpsuit with amazing stretch and recovery.  The last thing I would want after all of this hard work would be a saggy stretched out butt!
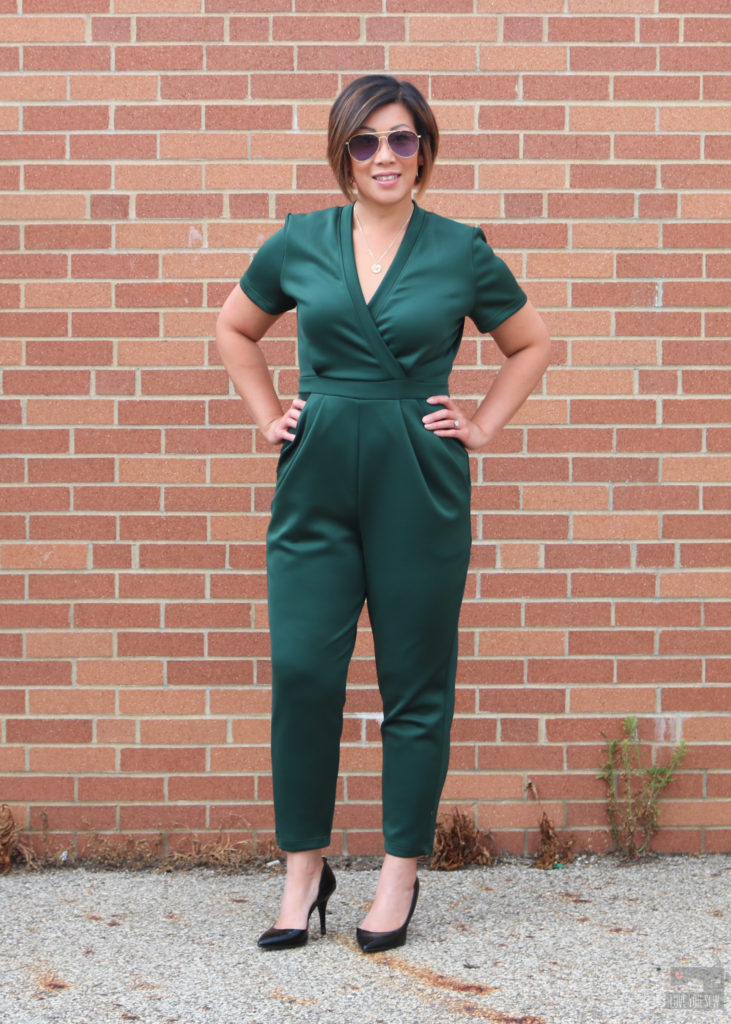
It’s always hard to tell how color will come out in person versus on a computer, so I was a bit nervous to see how the Bottle Green would be.  It looked slightly more muted, like a deeper sage green on my screen.  But I was actually delighted  to see that the fabric was more of a deep rich gem tone – a solid “Hunter” green, in my opinion.  With my olive skin and dark hair, I love a gem tone- especially for the colder months ahead!  After a few washes, the color has stayed true to the first day it arrived on my doorstep – love that!
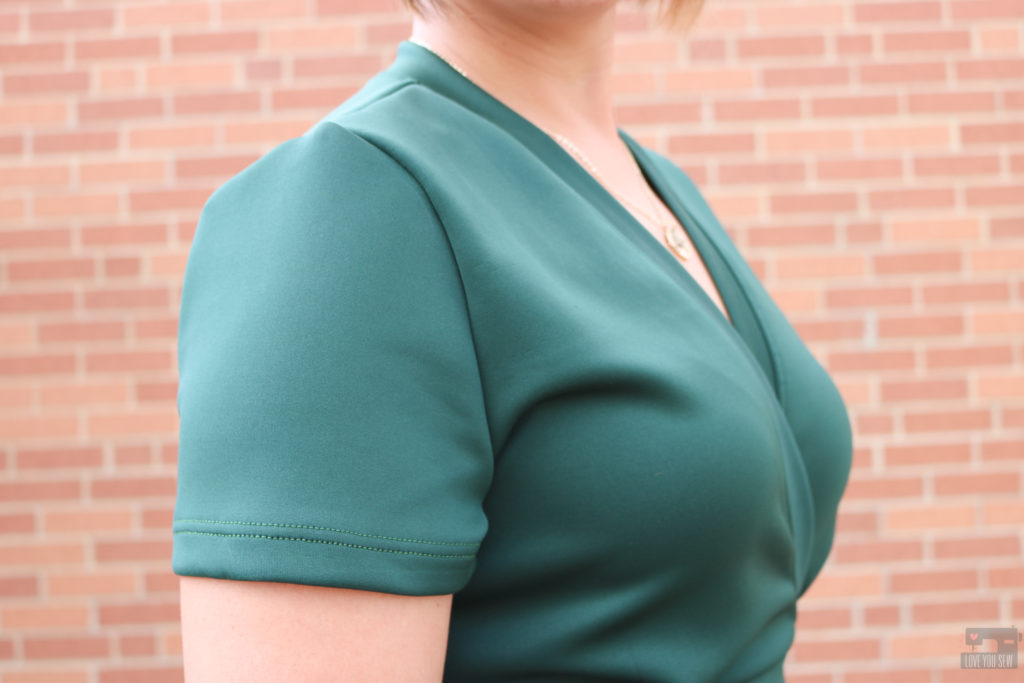
With this fabric being a double-knit, I would recommend using a ball-point needle and your stretchiest stitch found on your machine (zig-zag, triple-zig-zag, lightning bolt, etc.)  I used a combination of my overlocker and coverstitch to allow my jumpsuit the greatest amount of stretch to fit larger hips.

Pattern

Jumpsuits still look to be on trend a little while longer, so I thought it was safe to make the Sirocco Jumpsuit for the fall.  With the short-sleeves and full pant legs (on View A) I figured this was a great garment to wear on the cooler nights downtown with or without needing a jacket.
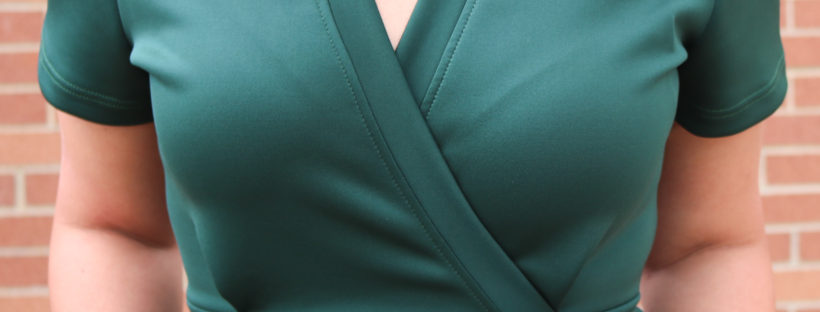
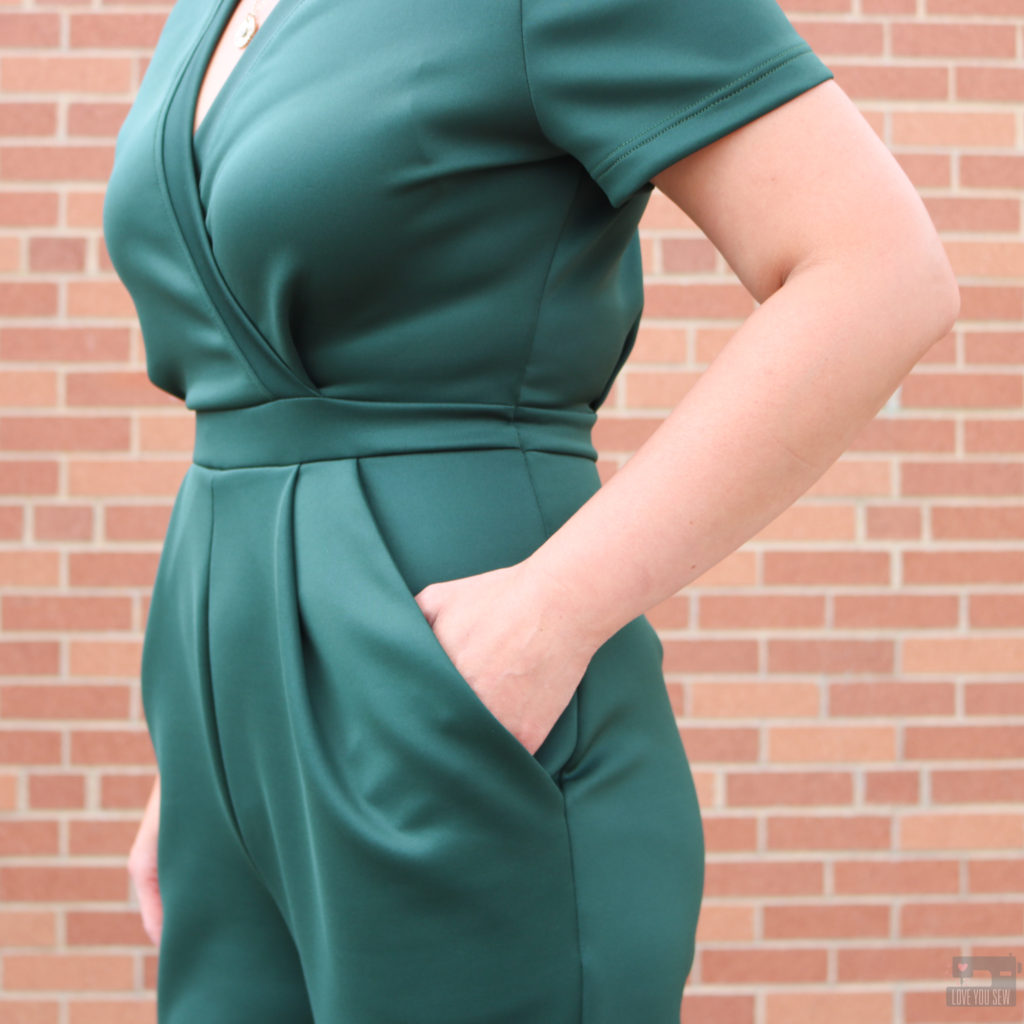
The Sirocco is a unique pattern in that there are no ties or other fasteners used to get in and out of the garment.  You slip in and out of it all through the faux wrap V-neckline.  This might not pose a huge deal for most, but I have hips which are two sizes larger than my waist –which means I REALLY will need to stretch out the waist to maneuver around.  This is the main reason I chose the heavy Scuba fabric to handle the severe stretching over my hips.  As I was fitting the garment, I honestly thought I would have to put in a side zipper for my hips, but the Lady McElroy Luxury Plain Scuba Jersey Knit Fabric proved to have such amazing stretch and recovery that I didn’t need it!  Honestly, I feel like I could wear this all day long…even after multiple bathroom breaks!
I made a few modifications for my SHORT 5’3″ frame with those aforementioned HIPS:
  • Made a 40 bodice and graded to a 42 in the hips and back to a 40 for the rest of the leg
  • Shortened bodice by 1/2″ and used a chainstitch (from my coverstitch) to secure the seam allowance down since the fabric is so lofty – This allows the lapped bodice to stay secure over your chest.
  • Shortened pant legs by 4″ initially (by just tissue fitting) and then took an additional 3 3/4″ when it was time to hem so that it would hit right above the ankle bone – Next time, I will shorten at the thigh and also from the ankle to get a better fit around the knee.
  • Extended the crotch length 3/4″ on both the front and back pant
  • Deepened the seat on the back pant by 3/8″
  • I wish I took out an 1″ out of the rise before cutting, but was able to take 1/2″ out of the overall inseam to narrow the legs and decrease the rise.
  • Took an additional 1″ out of the ankle and blended up to the knee for a slimmer leg

After these changes, I can’t tell you how incredibly pleased I am with my Sirocco JumpsuitThe Lady McElroy Luxury Plain Scuba Jersey Knit Fabricis so chic and the deep green really does make the Sirocco Jumpsuit so “EXTRA!”  Love it!!!
You can find my other makes on the Love You Sew Blog (here!) and more daily inspiration on Instagram @loveyousew_ .


Happy Sewing!

Cristy


Affiliate links are in this post. Check out my Disclosures here. Fabric was provided for review as part of the Minerva Maker Blog Team.  All thoughts and opinions are my own.  


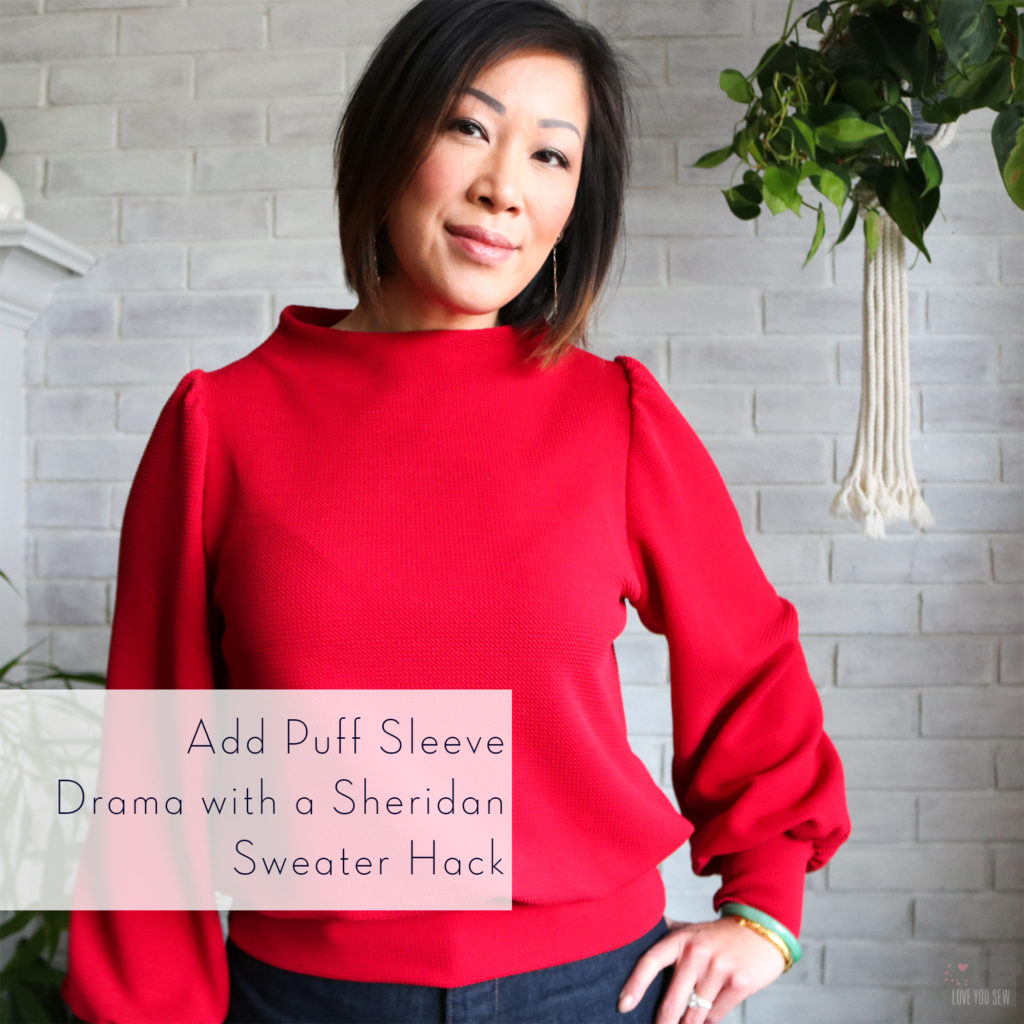
Add Puff Sleeve Drama with a Sheridan Sweater Hack

This post was originally published on the Hey June Handmade Blog in January, 2020.  Edits are in italics and additional pictures have been added (since I love this pattern SO much!)

When I first hacked this Sheridan Sweater for the Hey June Handmade Blog, I had no idea it was going to become one of my MOST worn tops. Prior to March, life was pretty normal while we were just starting to hear about the pandemic. My social world was still moving along and was able to wear my Sheridan to Lunar New Year celebrations (as planned!), Galentine’s Day fun with my girls, and was my go-to for a night out.  I knew even back then that I wanted another Sheridan.

After a #sewingfail with the wrong fabric (it was a red and cream colored stripe that clashed and looked HORRIBLE with my skin tone and hair highlights,) I was ready to make another.  This time I wasn’t going to mess around.  I knew I would ADORE my new Sheridan because I used…the same hack…and the same fabric as my OG…just a different color!


Back in early December, I knew I needed a new red top.  My one cardigan just wasn’t enough for all of the holiday school parties, concerts, church events and even family get-togethers.  I wore that one piece of red clothing OUT and knew I needed something else to add to my festive wardrobe.  But did I really need a new top???  Did I really want to make one??? Then the Sheridan Sweater was launched and my questions were answered.

All of my internal fighting against wanting “another” knit top disappeared.  After seeing the Sheridan launch, my mind switched and I bought the pattern right away.  Of course, I need  a new red top!  It WILL work through the holiday season, AND into the Lunar New Year AND be useful for Valentine’s Day school parties!  Why wouldn’t I need the Sheridan Sweater in my life?!?

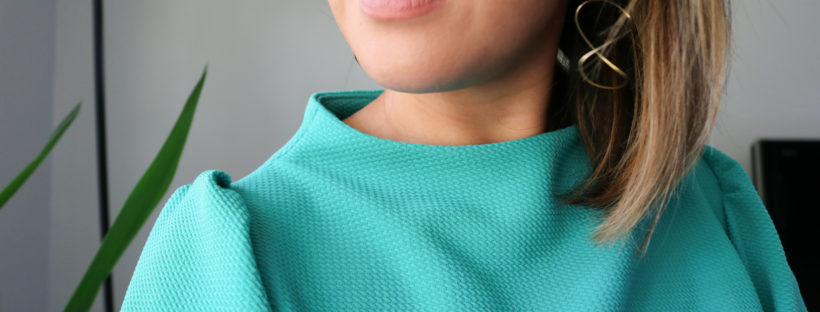
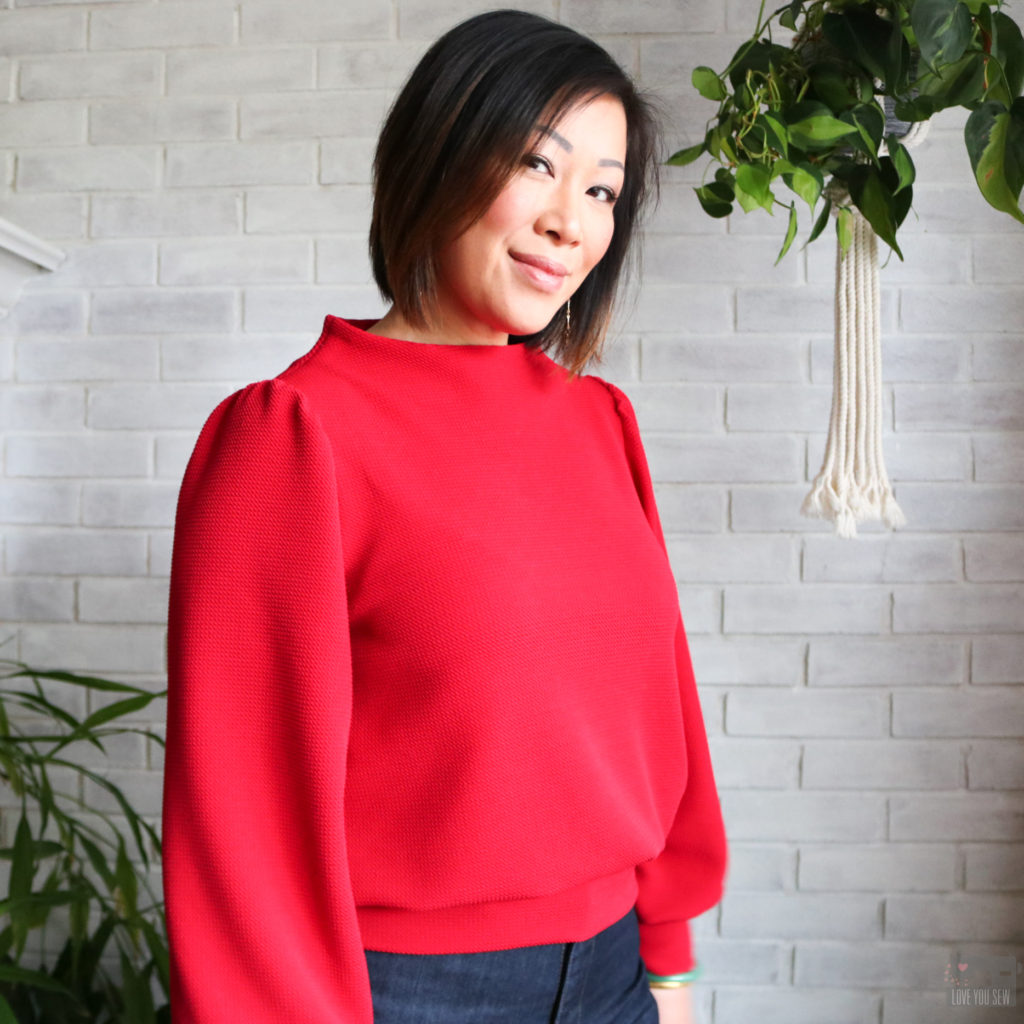
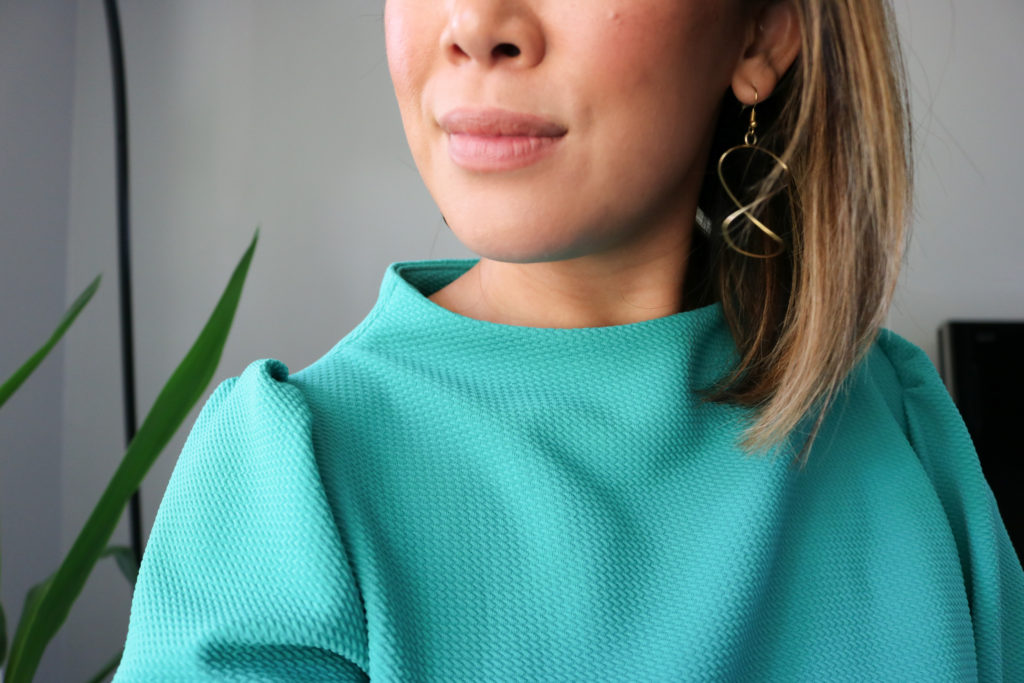
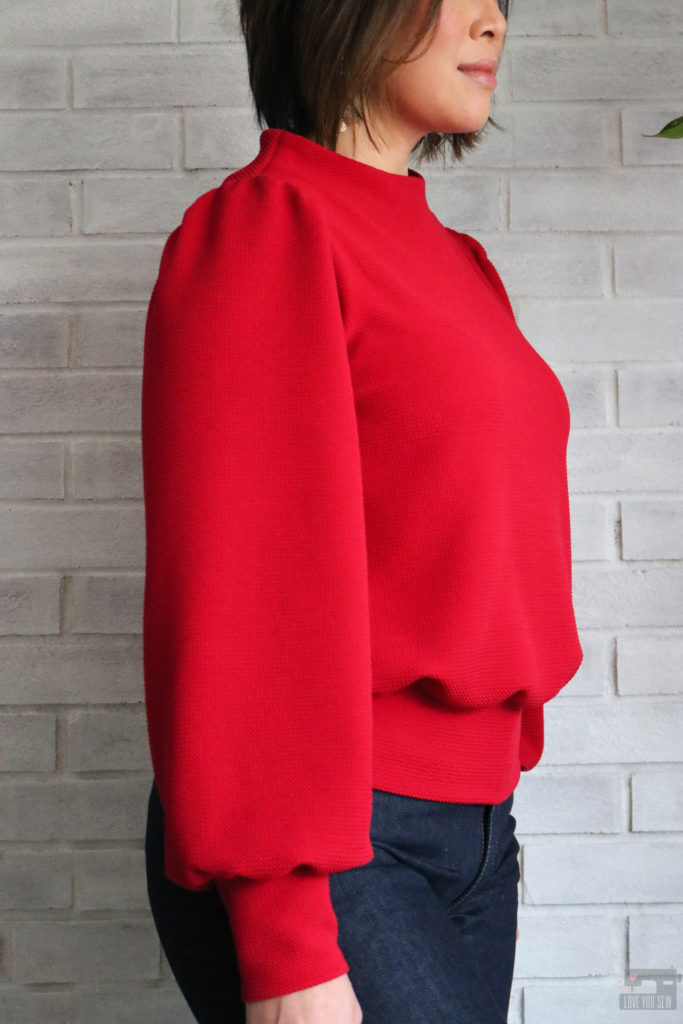
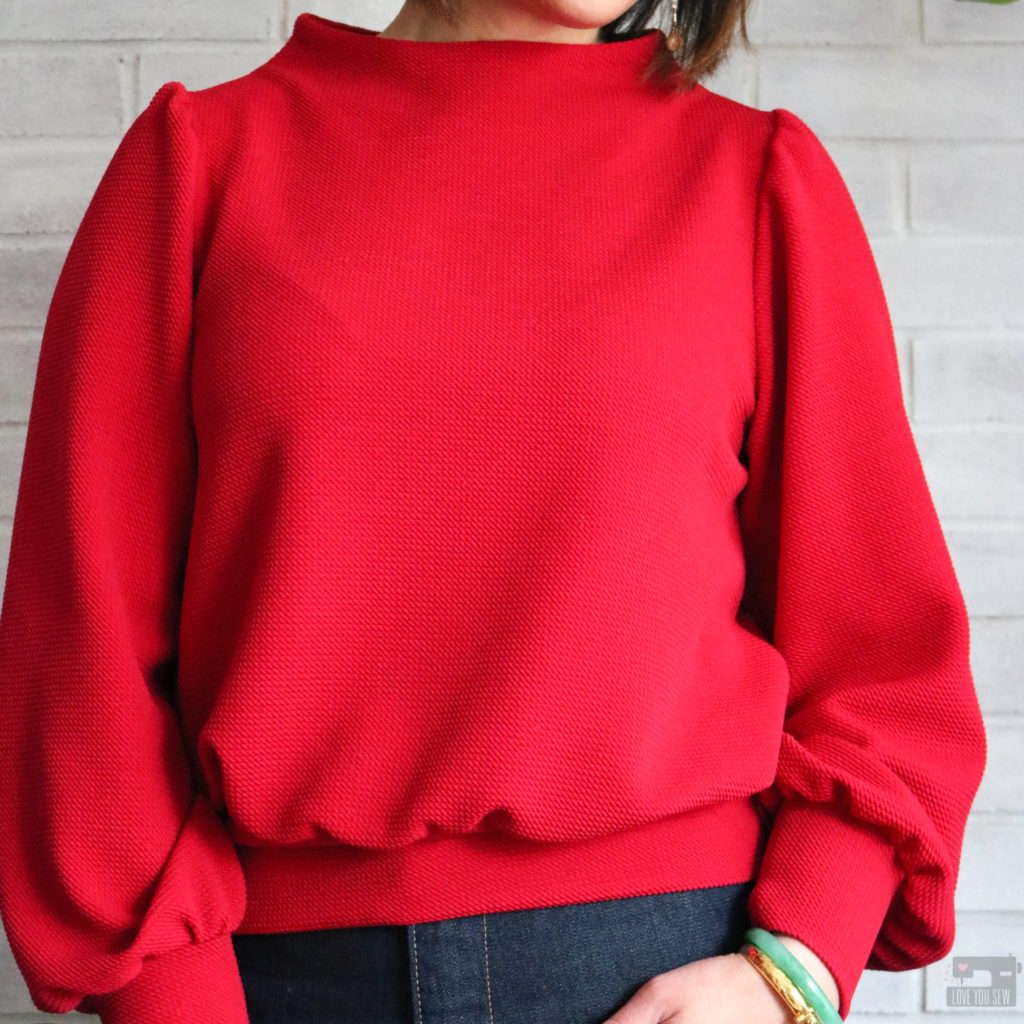
Adrianna did a fantastic job designing the different views and I’m obsessed with the seamless funnel neck, which I haven’t seen in any other DIY pattern.  The Sheridan Sweater also has the big statement sleeves which is on still on trend and I knew both of these features would really stand out in red.  But since this was going to be my all-winter holiday top, I wanted to bring it up juuuuust an extra notch.

FABRIC

I found this beautiful textured waffle knit from Telio fabrics.  One of the reasons this sweater has been on constant wardrobe repeat is the fabric.  As a poly/spandex blend, the color saturation is on point.  After all of the washing and drying I’ve done, the color still looks as intense as day one.  I was concerned that the texture might be lost over time with dryer heat, but it’s all still there!

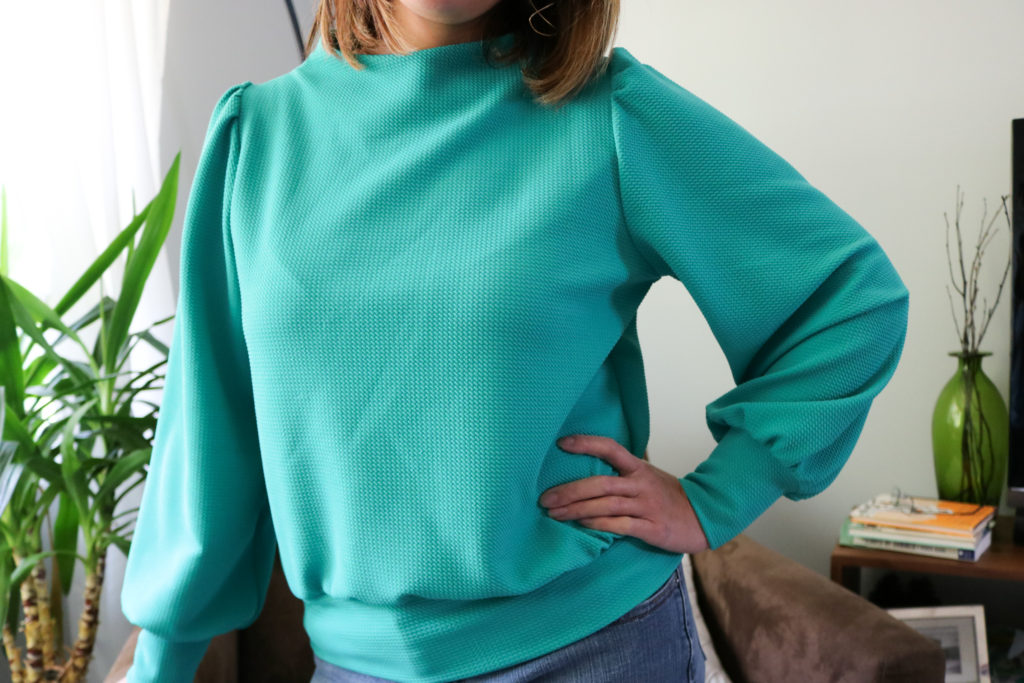
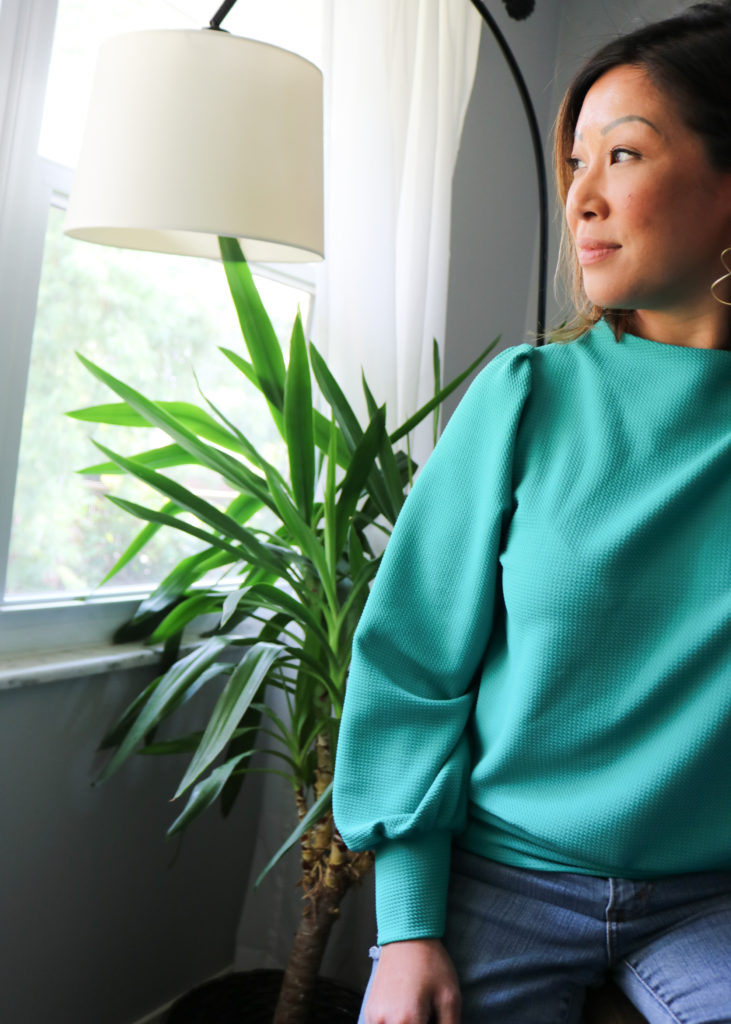
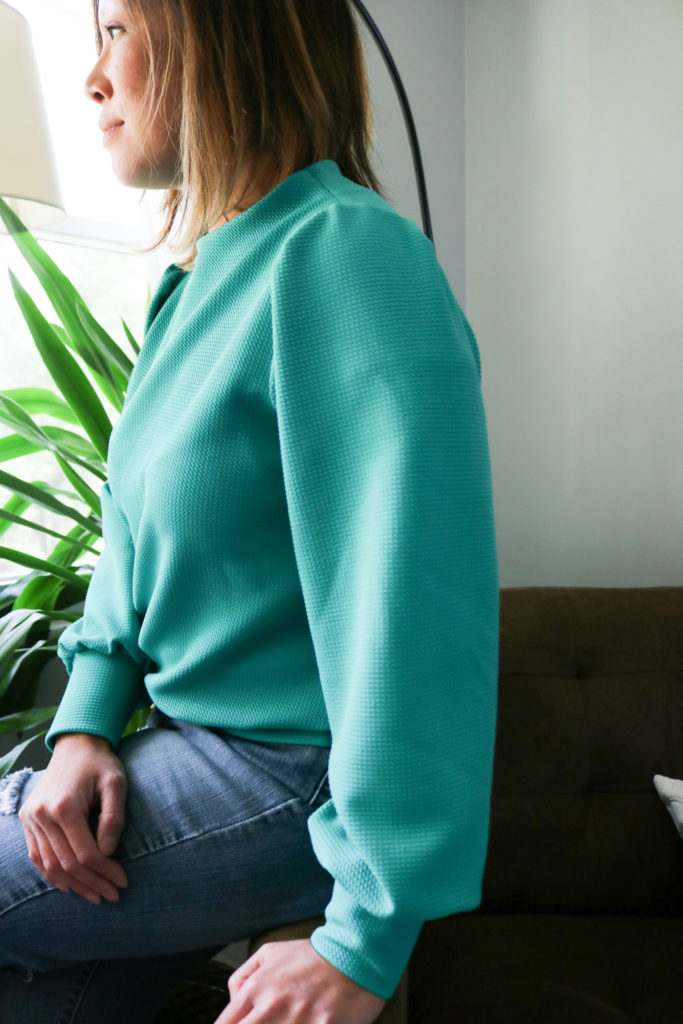
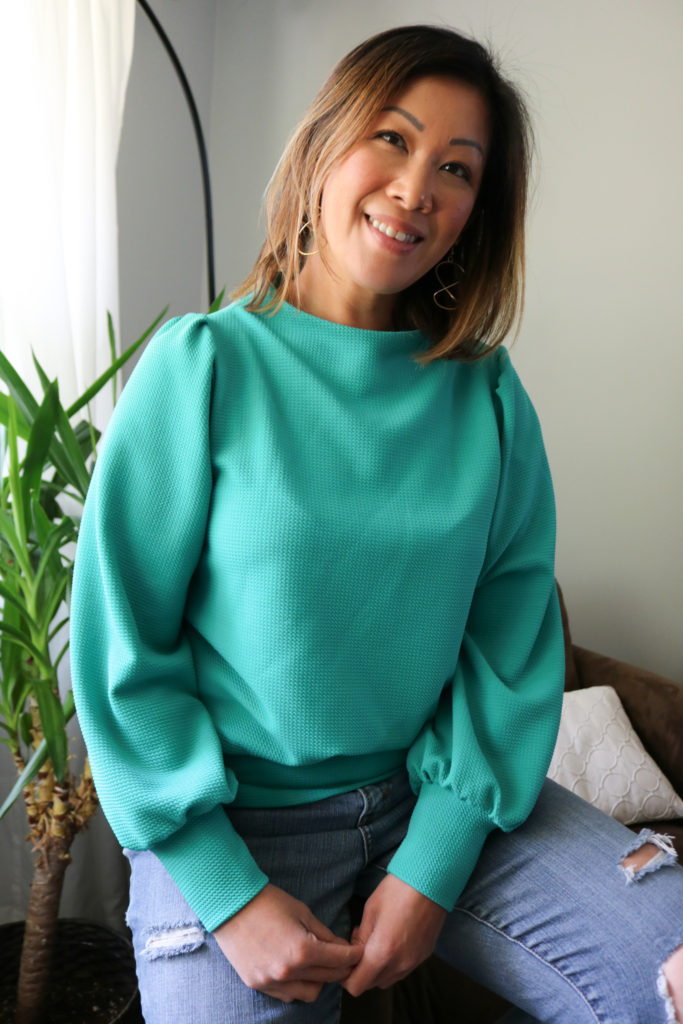
The Paola Pique Liverpool’s medium weight was a perfect complement to this pattern.  It has great body and really shows off the full sleeves.  The stretch and recovery is also very nice.  When I pull up on the sleeves and adjust the waistband, it  holds it’s size well and doesn’t stretch out over the course of the day.  This fabric comes in so many rich jewel tones that I had to have the Emerald.  The pictures come up more teal, but this color swings more to the green side in-person.
TUTORIAL

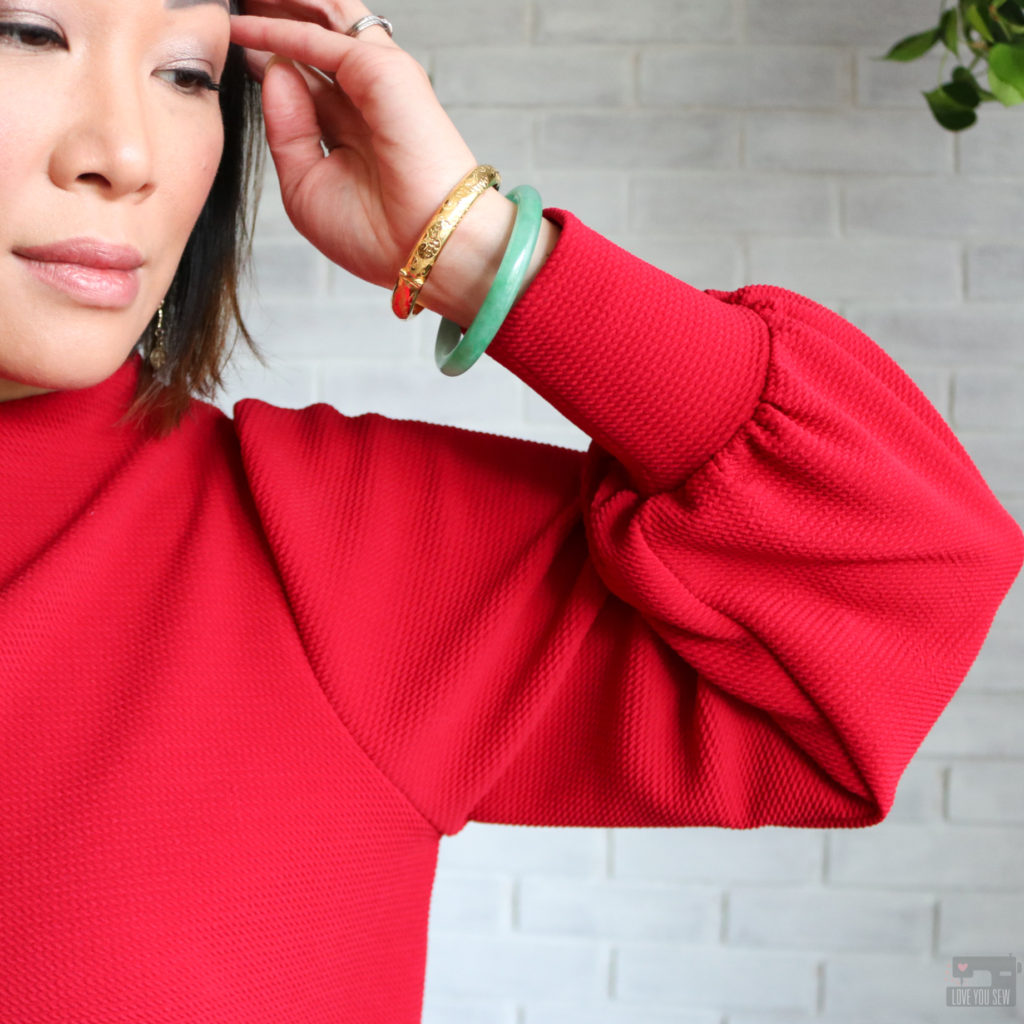
I figured if I was going red, I wanted to make the sleeves stand out even more. So….I hacked the sleeves to be more voluminous in the sleeve head for All. Of. The. Drama.  Below is my quick and definitely non-technical way to achieve that extra shoulder poof.

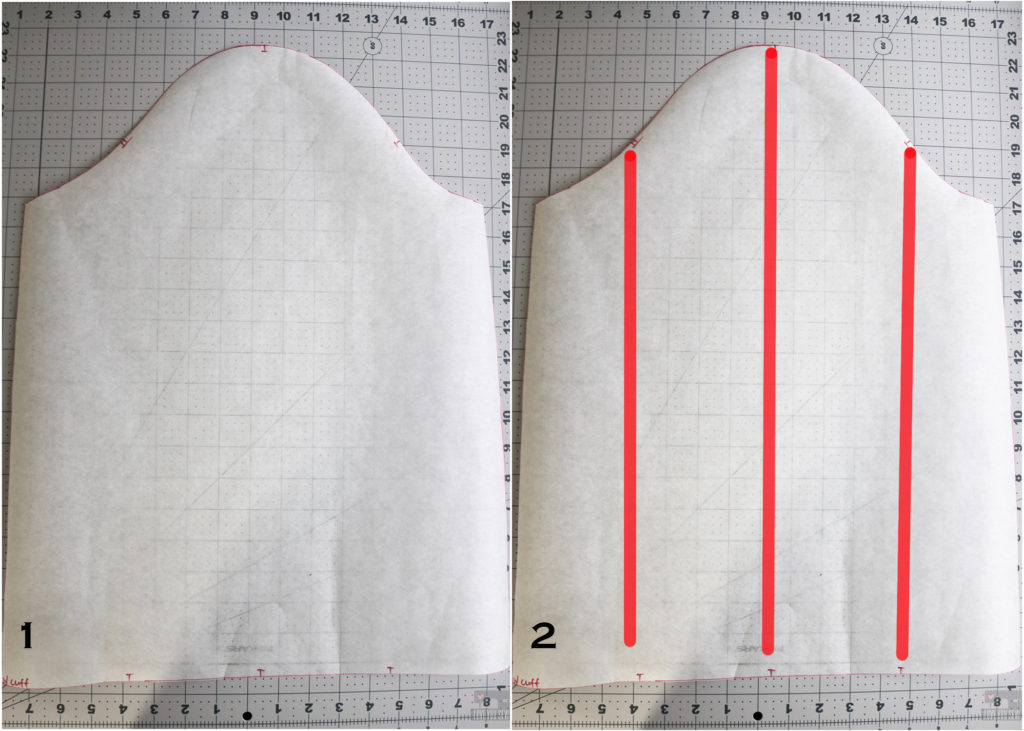
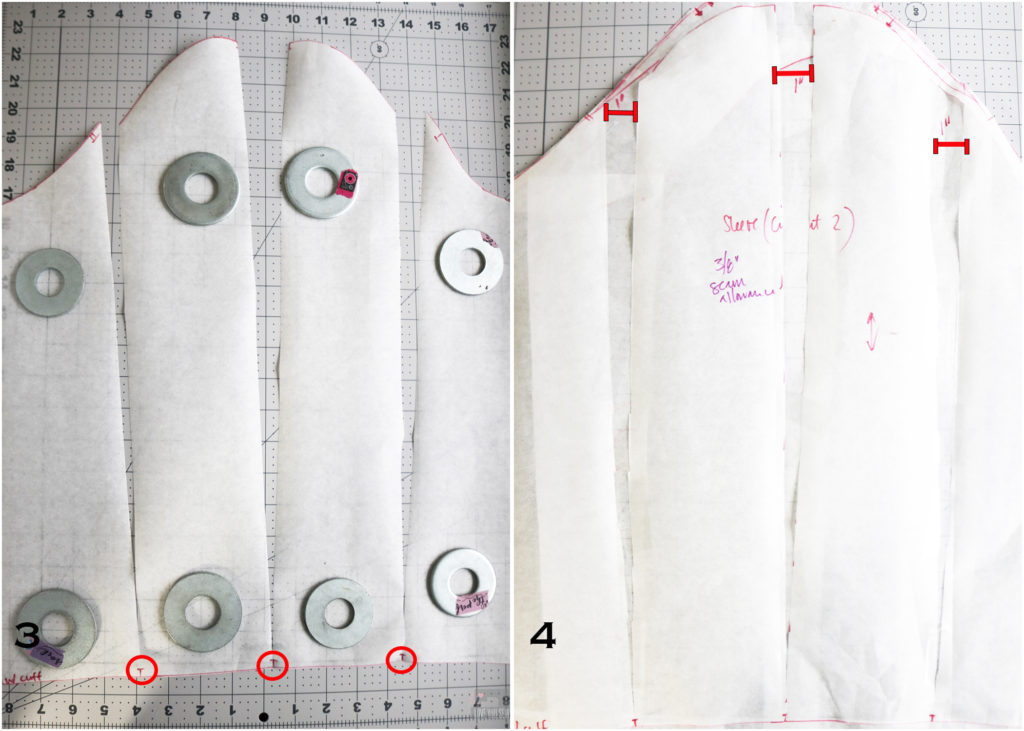
1. Take the sleeve pattern and make a copy.  (I traced the pattern onto some Swedish tracing paper I had on-hand.  I like using this since it’s more pliable than regular paper and can be pinned/sewn without being destroyed.)

2. Divide the sleeve into approximately 4 equal sections by width.  With the nice notch markings already drafted as part of the pattern, I used these as guide when splitting the sleeve.

3. Cut the pattern to separate these sections from the sleeve head all the way down to the cuff, but NOT cutting through.  All of the sections should be hinges and able to move.

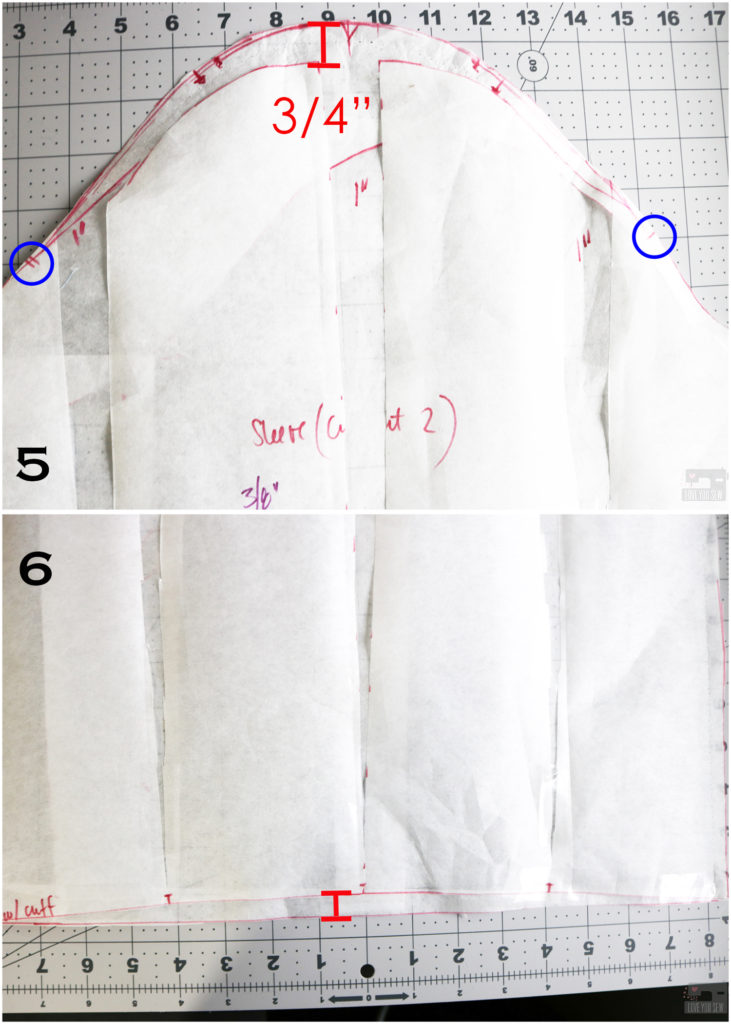
4. To start, I added 1” in between each section.  I placed scrap paper underneath the pattern, and hinged each section out by 1” at the sleeve cap.  Then I taped the pattern onto the scrap.  Repeat 2 more times between the sections.  If you would like more volume, you can increase the hinge widths.
5. To get the extra volume at the top of the cap, I added 3/4” to the top and blended the line back to the notched parts of the cap, all while following its shaping.  Again, if you want a little more puff in the sleeve cap, feel free to add a little more to length to the top.

6. At the cuff line, true up the pattern so it is straight again.

At this point, I cut out the pattern and did make a muslin, but only had quilt cotton on hand.  It gave me an idea of the extra volume and shape added to the sleeve.  I did have to consider the extra weight and stretch with the knit fabric.  But it was still good enough for me and I went ahead to cut into the main fabric.

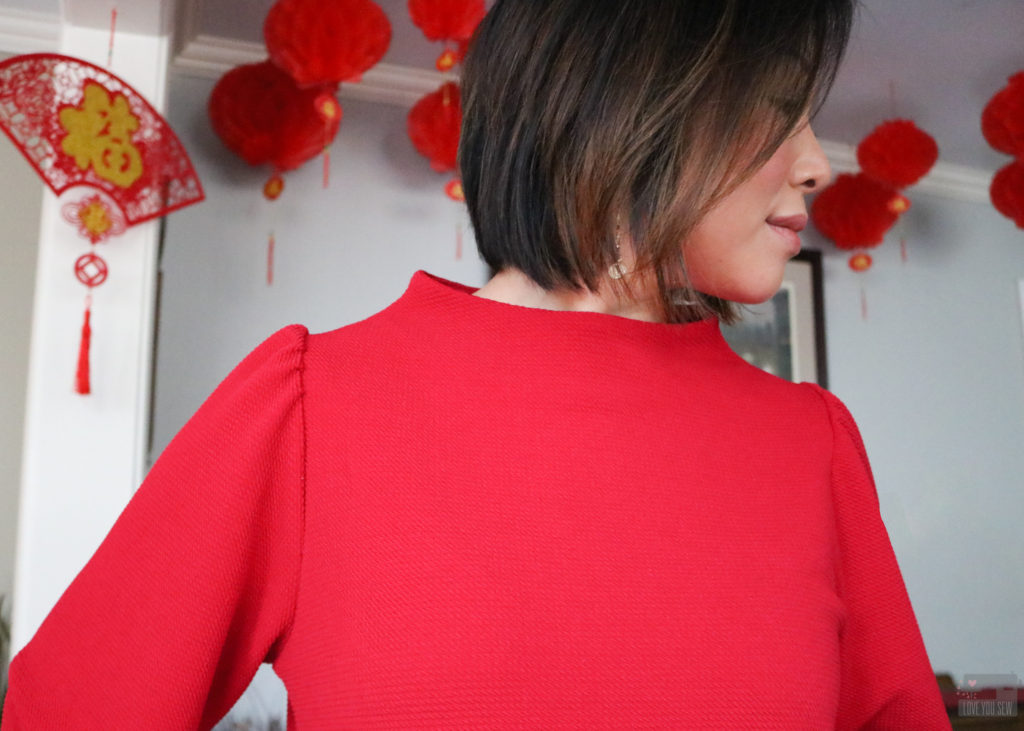
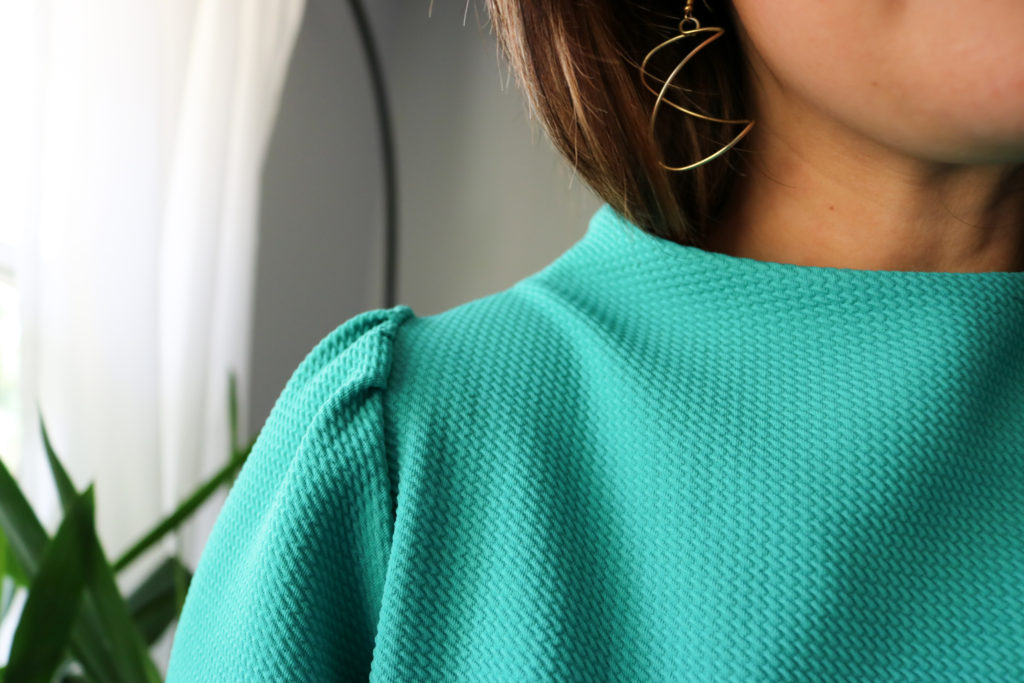
To insert the sleeve, I made gathers between the sleeve notches not exactly knowing how it would all look.  But I ended up marking 3” on either side of the shoulder seam and pushed all the gathers in between those markings.  I basted the sleeve into place and was very happy with the result!  With that, I finished sewing the sweater and have never been more pleased!

This hack turned out exactly like what I wanted and just love how “extra” the sleeves are.  The additional gathers and volume in the sleeve cap really balance out the overall ease in the sleeve and I love the extra long cuff to show it all off.  This top is pretty fancy and ready for every occasion now.  It’s still comfy in a stretch knit, but also so incredibly unique and special!

Project Summary

  • Pattern: Sheridan Sweater by Hey June Handmade; View: B; Size 10
  • Mods: Narrowed shoulders by 1/2″ each, increased the cropped length by 1″, used Puff shoulder hack above
  • Fabric: Telio Pique Liverpool Knit from Fabric.com in Hermes Red and Emerald

This hack can be used on just about any pattern with a set-in sleeve.  I may have to try it on a woven pattern this fall/winter.  Please let me know in the comments if you use this hack!  I would love to hear what you think!


Hugs and Stitches,

Cristy


This post may contain affiliate links.  You can read my full Disclosure here.