Quilted Sunset

Quilted Sunset on Appalachian Trail

Quilted Sunset on Appalachian Trail

I love this quilt and so happy I was able to make it with local designer, April Rhodes‘ collection, Wanderer, for Art Gallery Fabrics.  It is a beautiful follow-up to her Arizona collection.  If you don’t have any in your stash already, you NEED to get some!
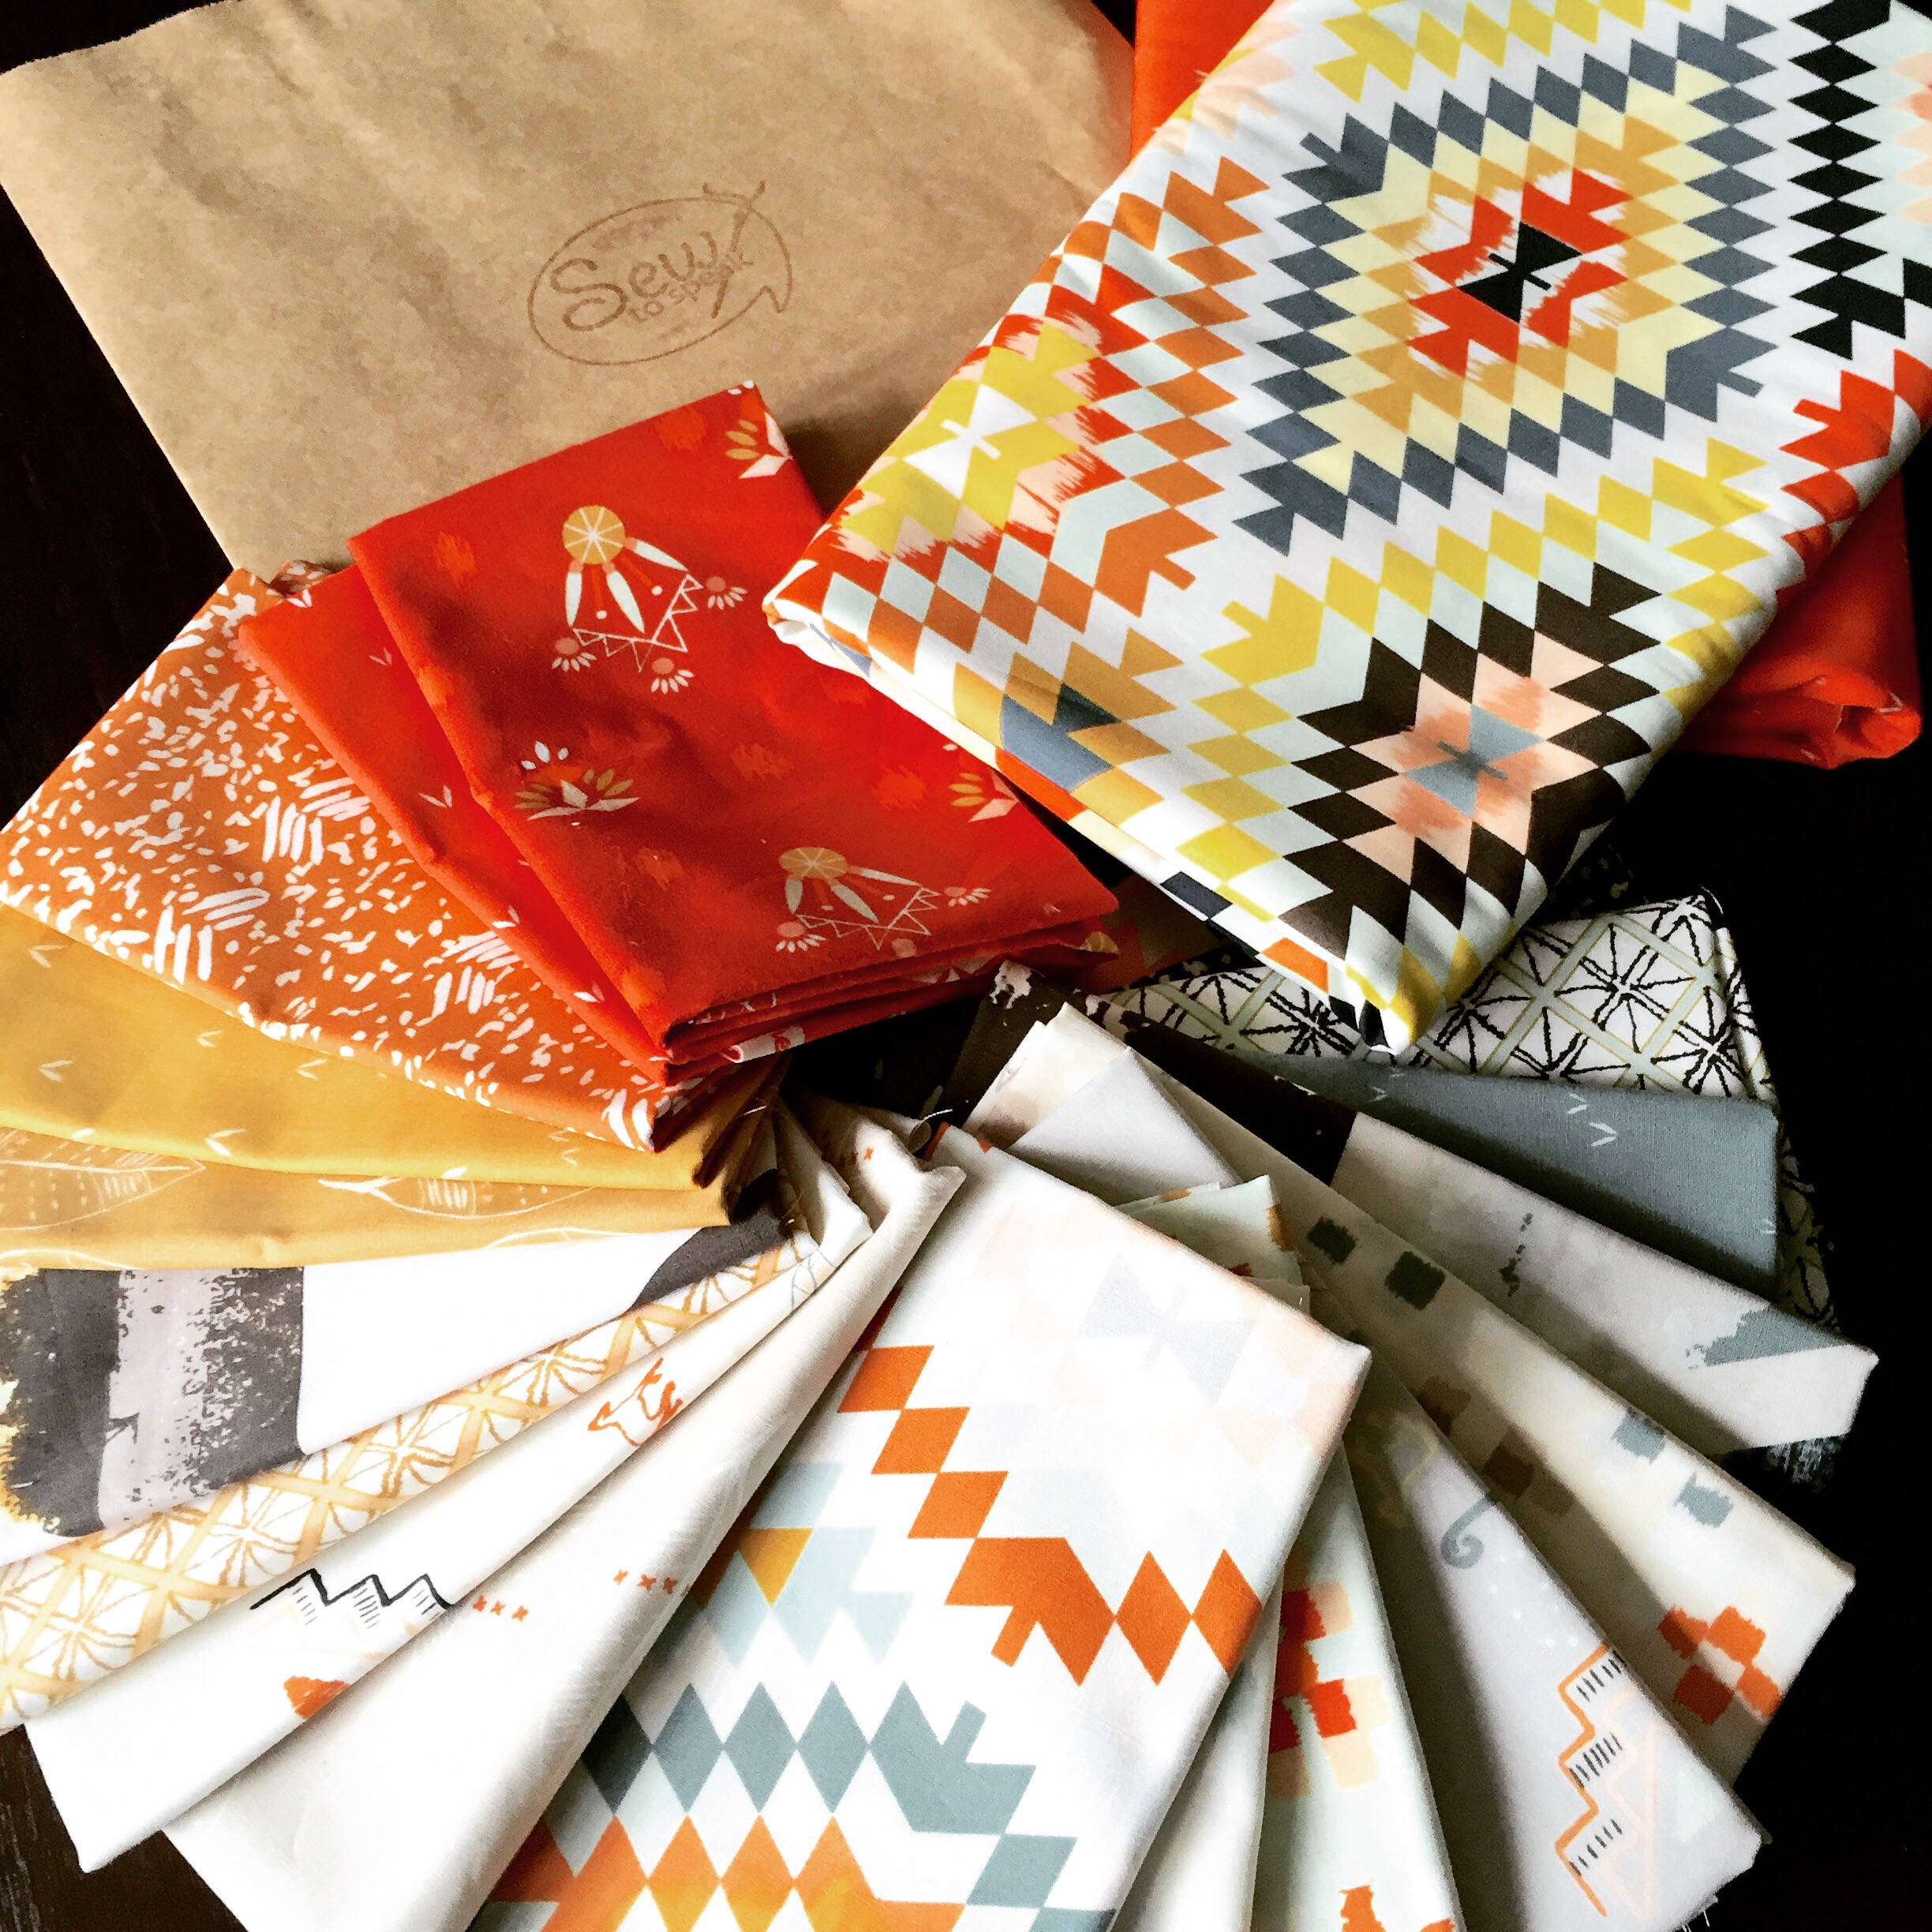
I am fortunate to live in Columbus, OH where April resides.  When she was having her launch for Wanderer, I knew I HAD to go….and I was not disappointed.  This collection is just absolutely gorgeous!  I love the deep oranges and mustards with the complementary blues and  black.  The photographic patterns are so unique too.  It’s a beautiful personal view into her world.

When I was there, I picked up a full fat quarter bundle of the entire collection…20 pieces altogether plus some extra yardage because it was all just so pretty!

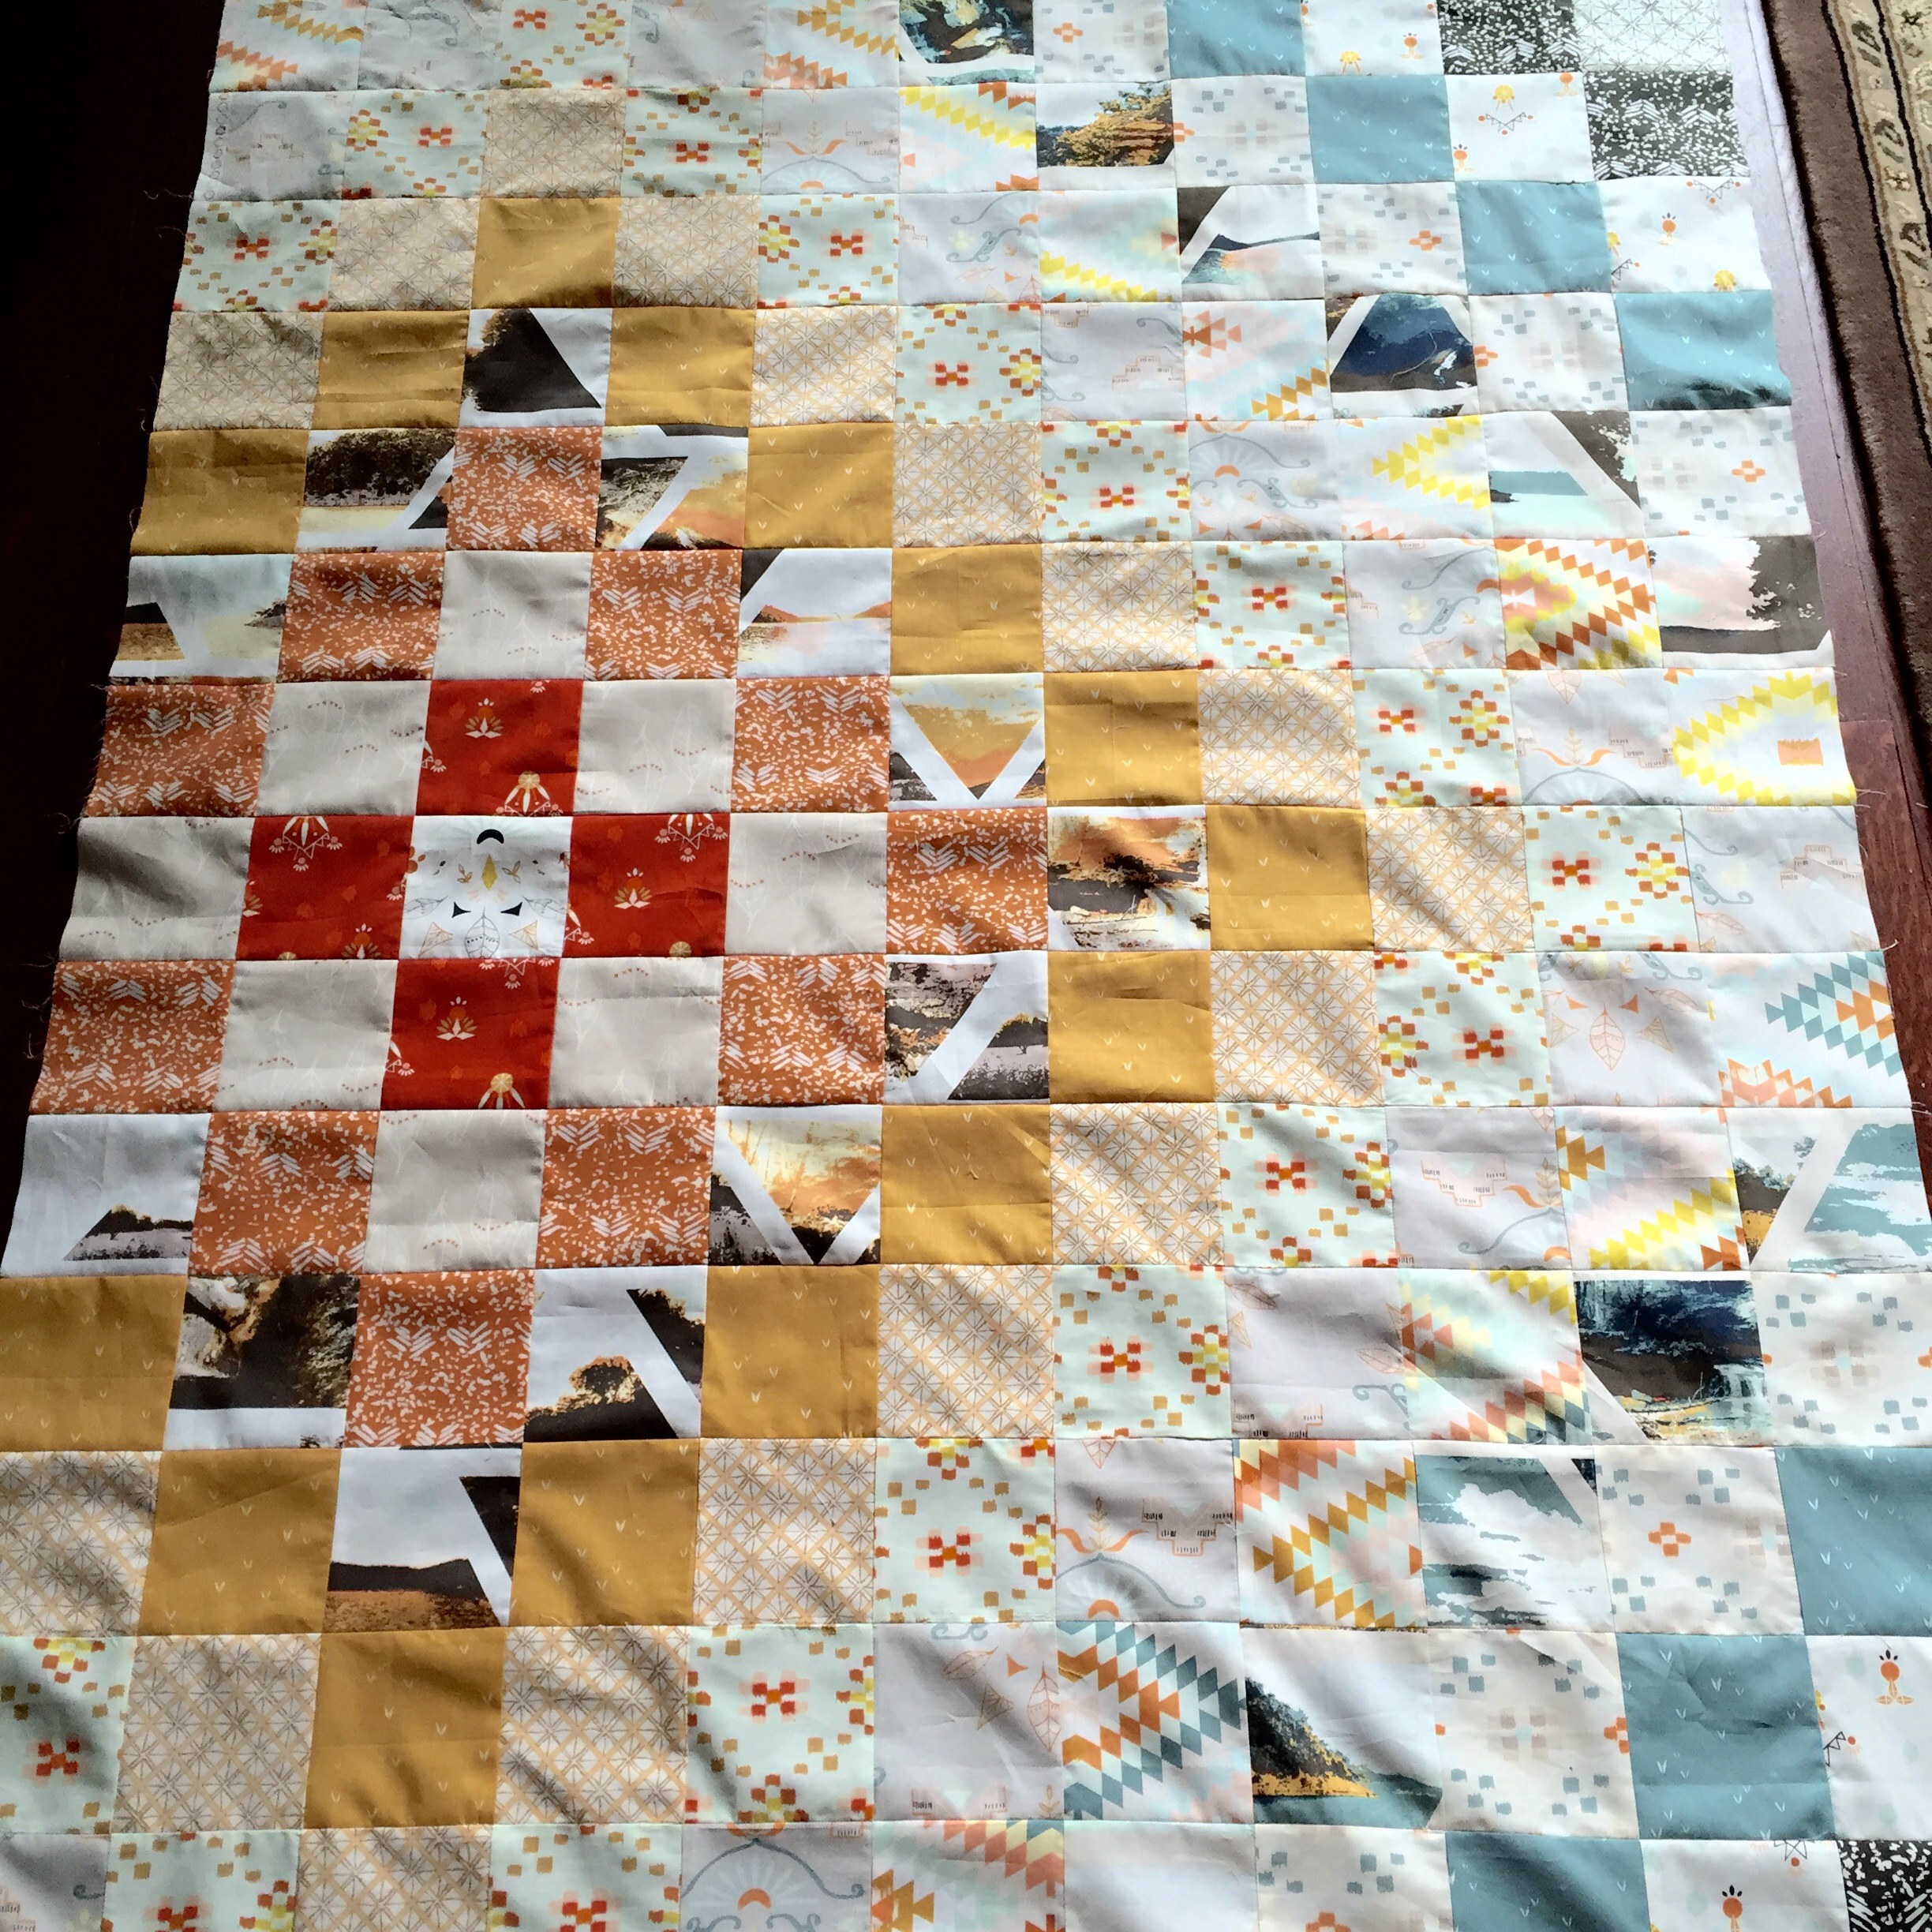
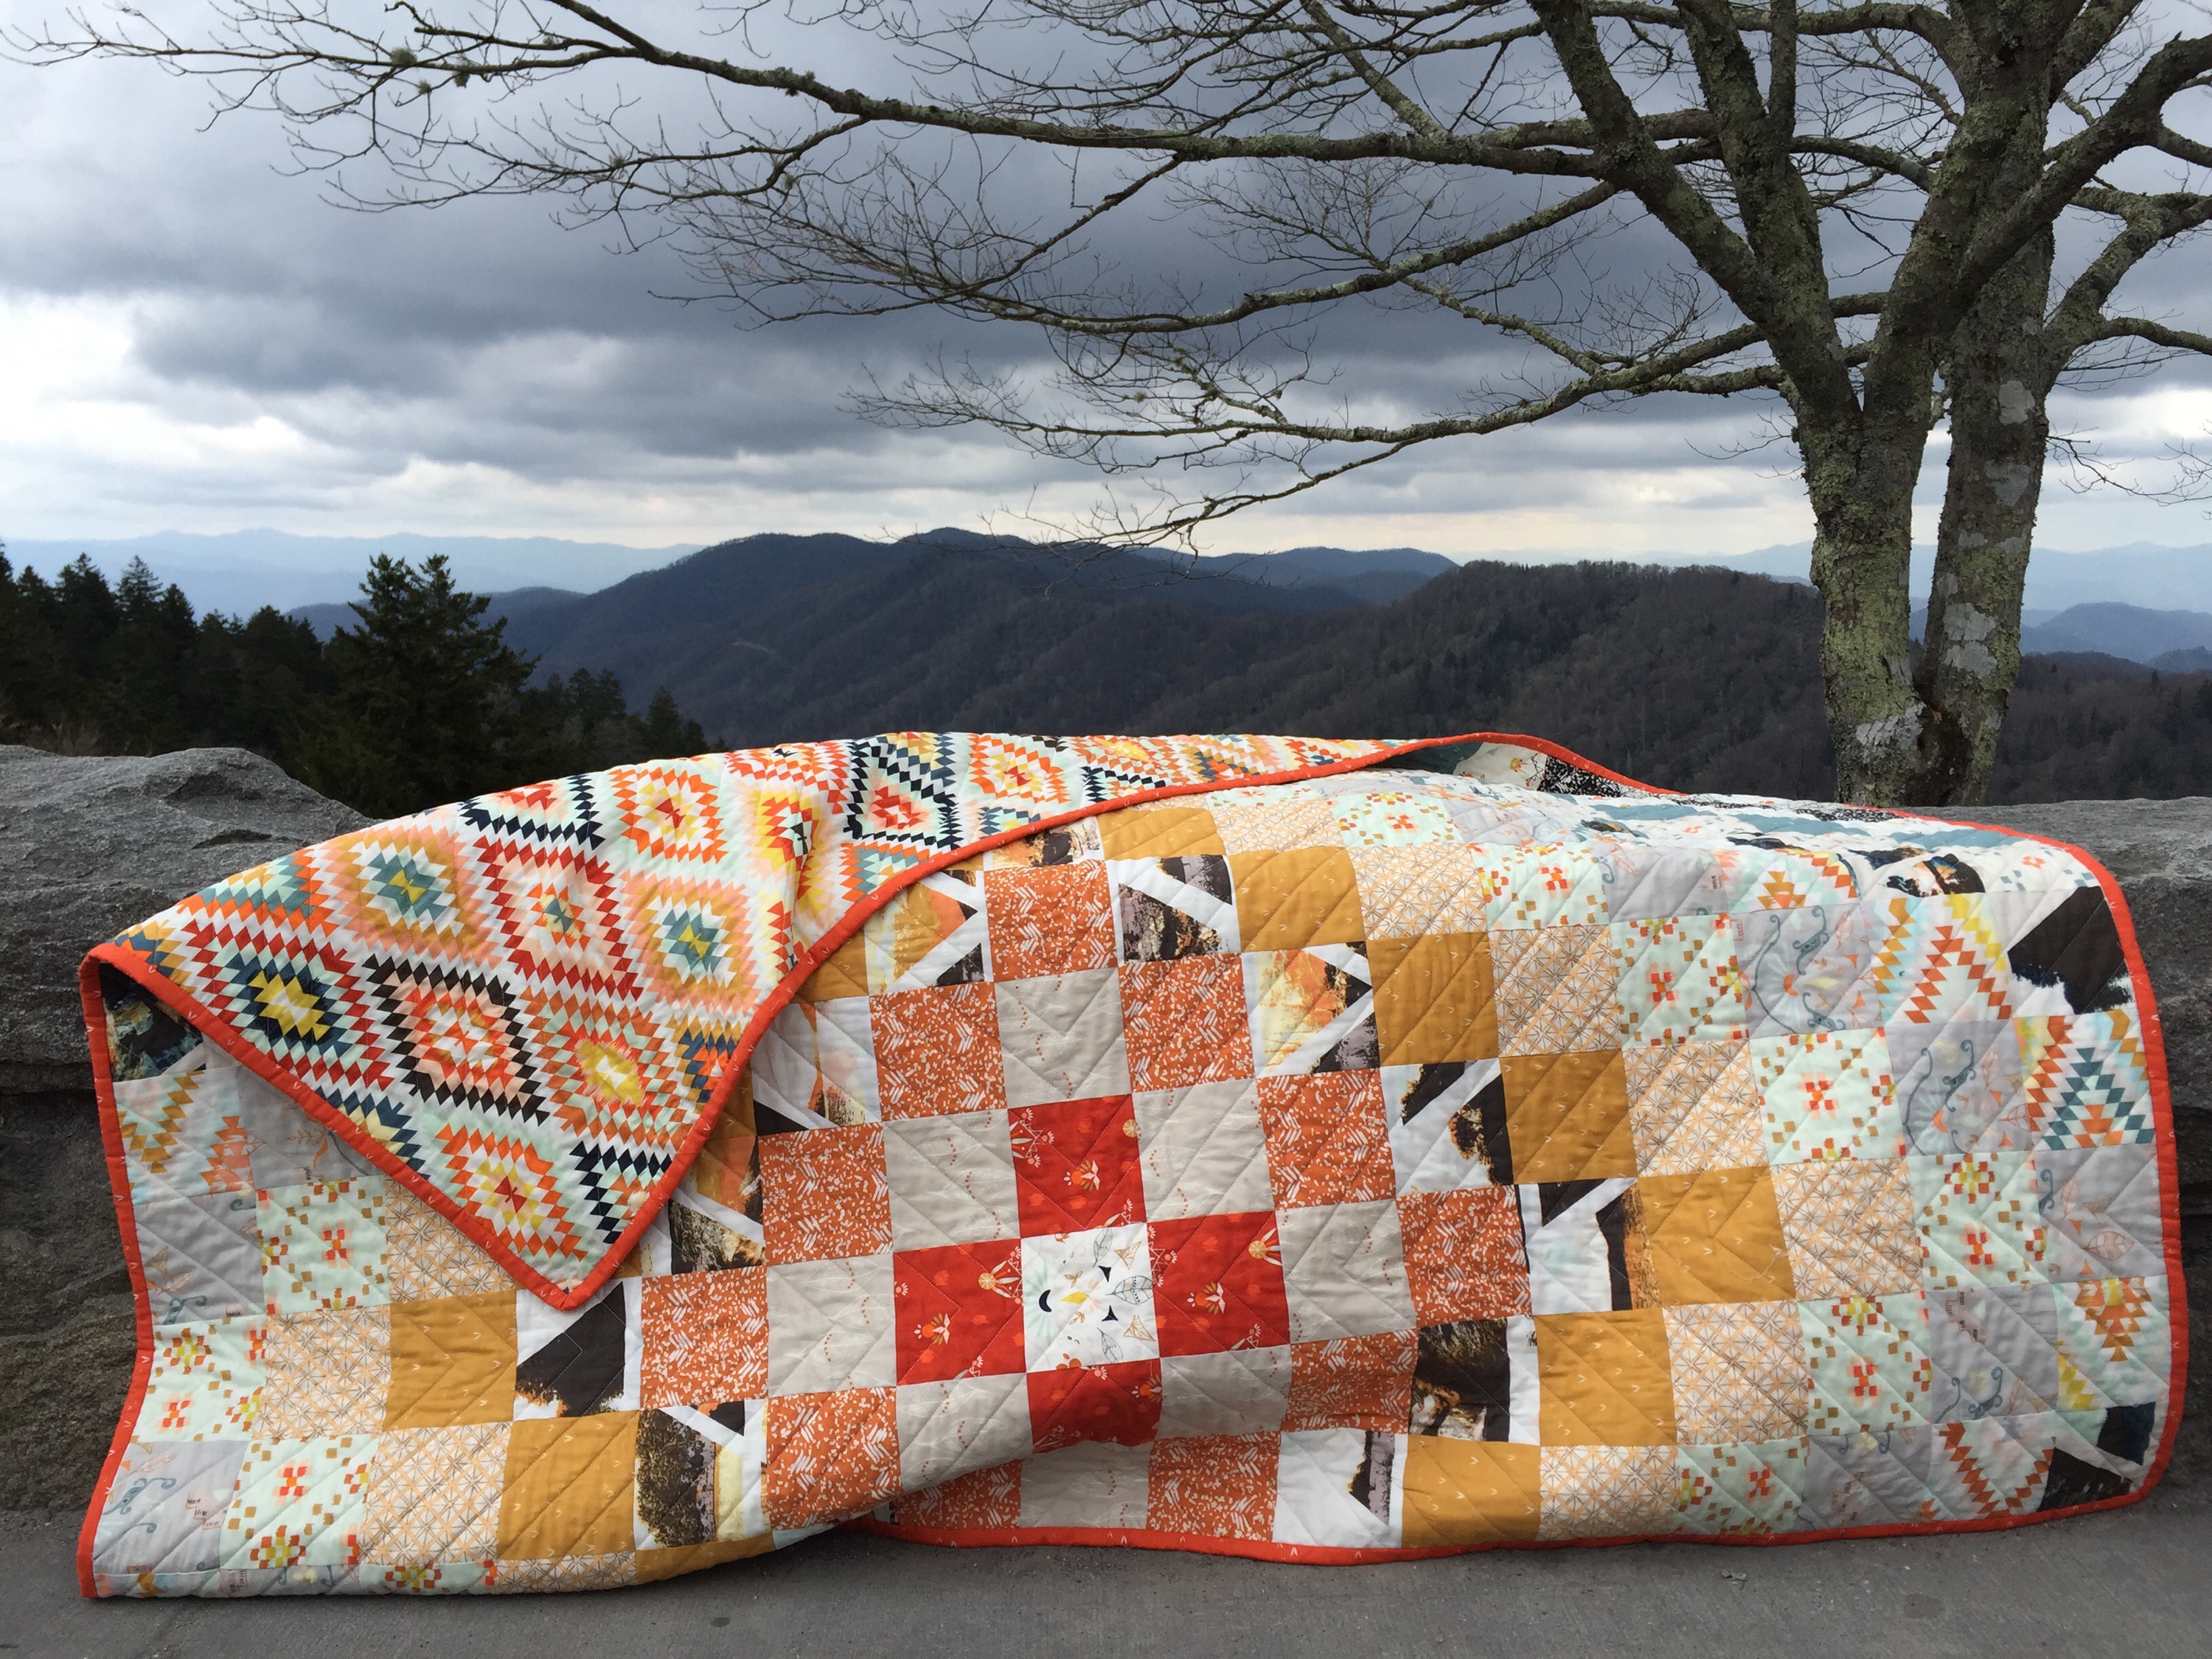
As I stared at the FQ bundle in my sewing dungeon, I knew I wanted to make a quilt with every single fabric. A basic square quilt came to mind…but with a twist.  I like square quilts to show off larger fabric patterns but I didn’t want it to be boring since every quilter makes one.  With the warm and cool color ways for Wanderer, they reminded me of a sunset.  So I came up with this pattern with an offset “sun” moving into darkness.

Fully pieced and completed quilt top

Each square measure 4.5″ (unfinished) and the quilt is 11 x 16 blocks.  Finished, the quilt is approximately 44″ x 64″.  I used two yards for backing and a little over 1/3 yard for binding.

The quilting is straight-line diagonal starting in the “sun” and echoes out to the edges. It is supposed to mimic the rays coming off and I’m very happy with how it turned out!  You can see the quilting best in the top picture.  I used Aurifil 2021 for all the piecing and quilting.  It was perfect to blend through all the colors in this collection and is one I happen to use a lot.

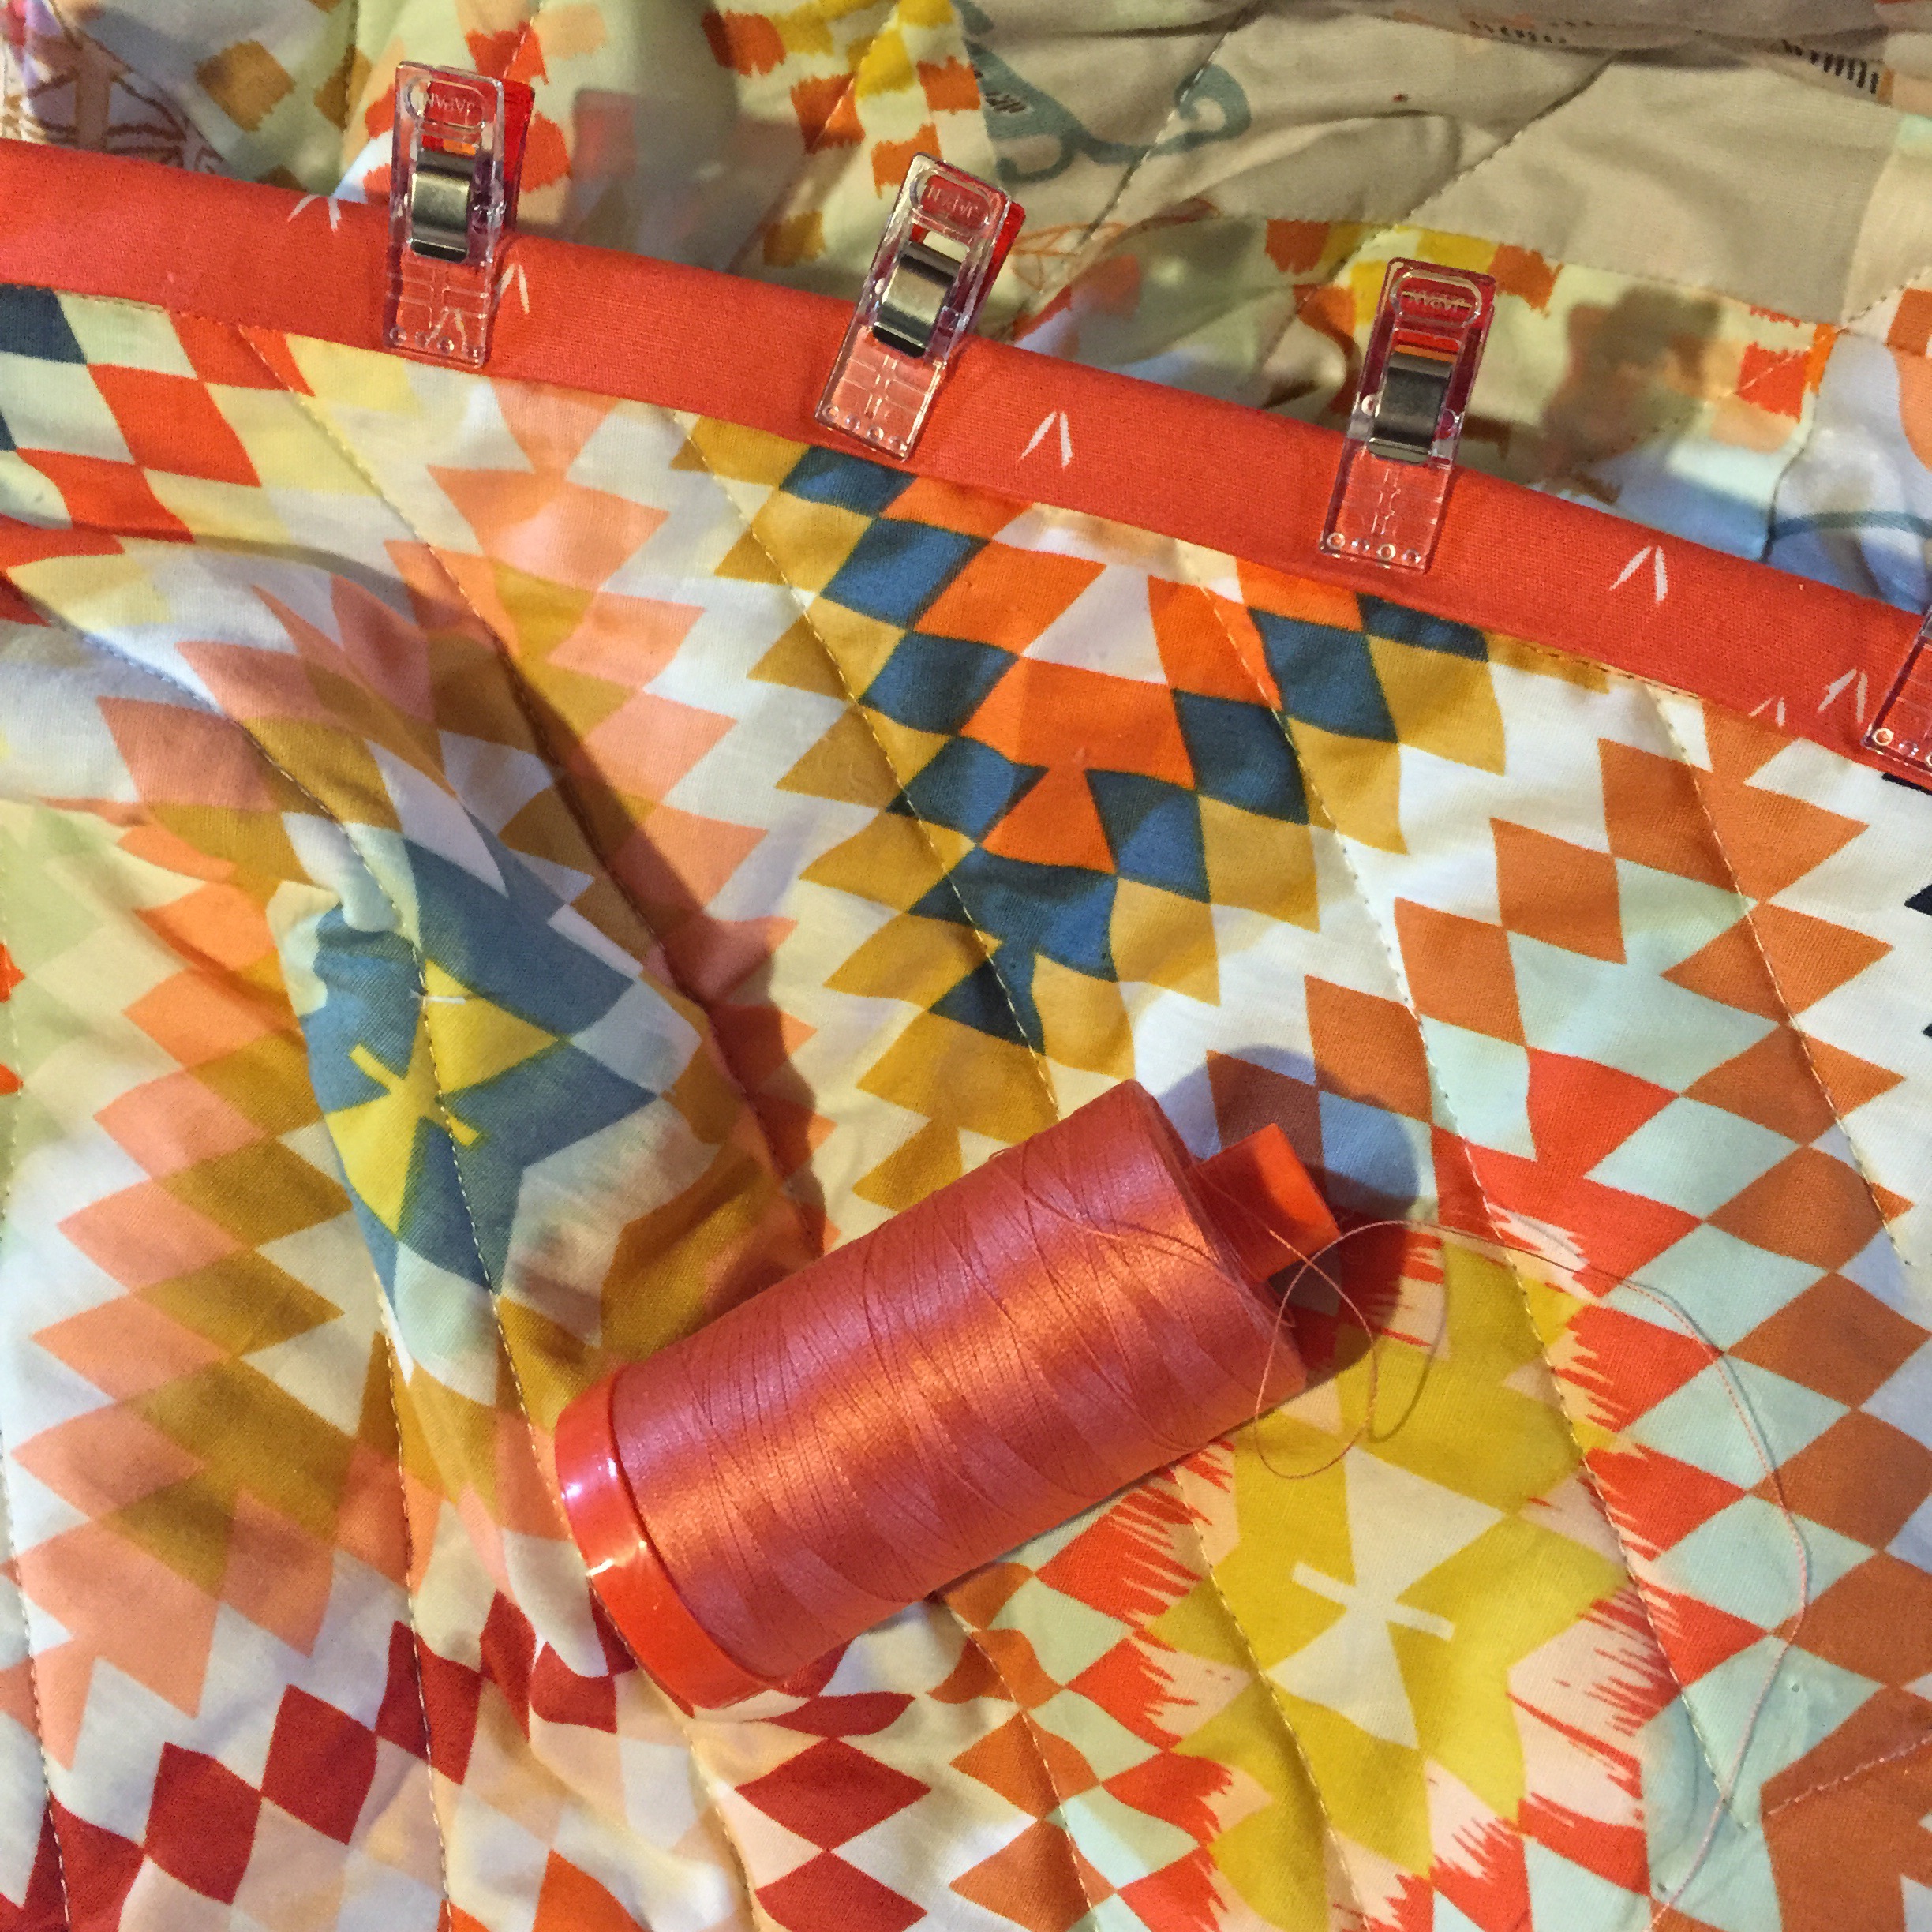
Close-up of backing and binding with Aurifil

For the binding, I machine attached it to the front and hand-stitched it to the back.  This method takes much longer, but I love the clean look of no visible stitches.  Plus, I’m too OCD and cannot get the machine binding to look as good on the back as it does on the front if sewn through…one day I’ll perfect it.  Aurifil 2225 was the perfect match to my binding and accompanied me on my trip 😉


The finished quilt photos were all taken on our family vacation in Tennessee’s Great Smoky Mountains.  I brought the quilt along to hand sew in the car, but didn’t anticipate the gorgeous photo opps in store for me.  But I am SO happy I finished it in time for our drive deep into the national park.  If you ever get a chance to go, please do…and bring your quilts!  It was just breathtaking!


Please share any quilts you make with this pattern!  I’d love to see them 🙂


Happy Stitching,

Cristy
Cotton + Steel is a Star: Paper-Pieced Quilt

…A Starburst, that is!

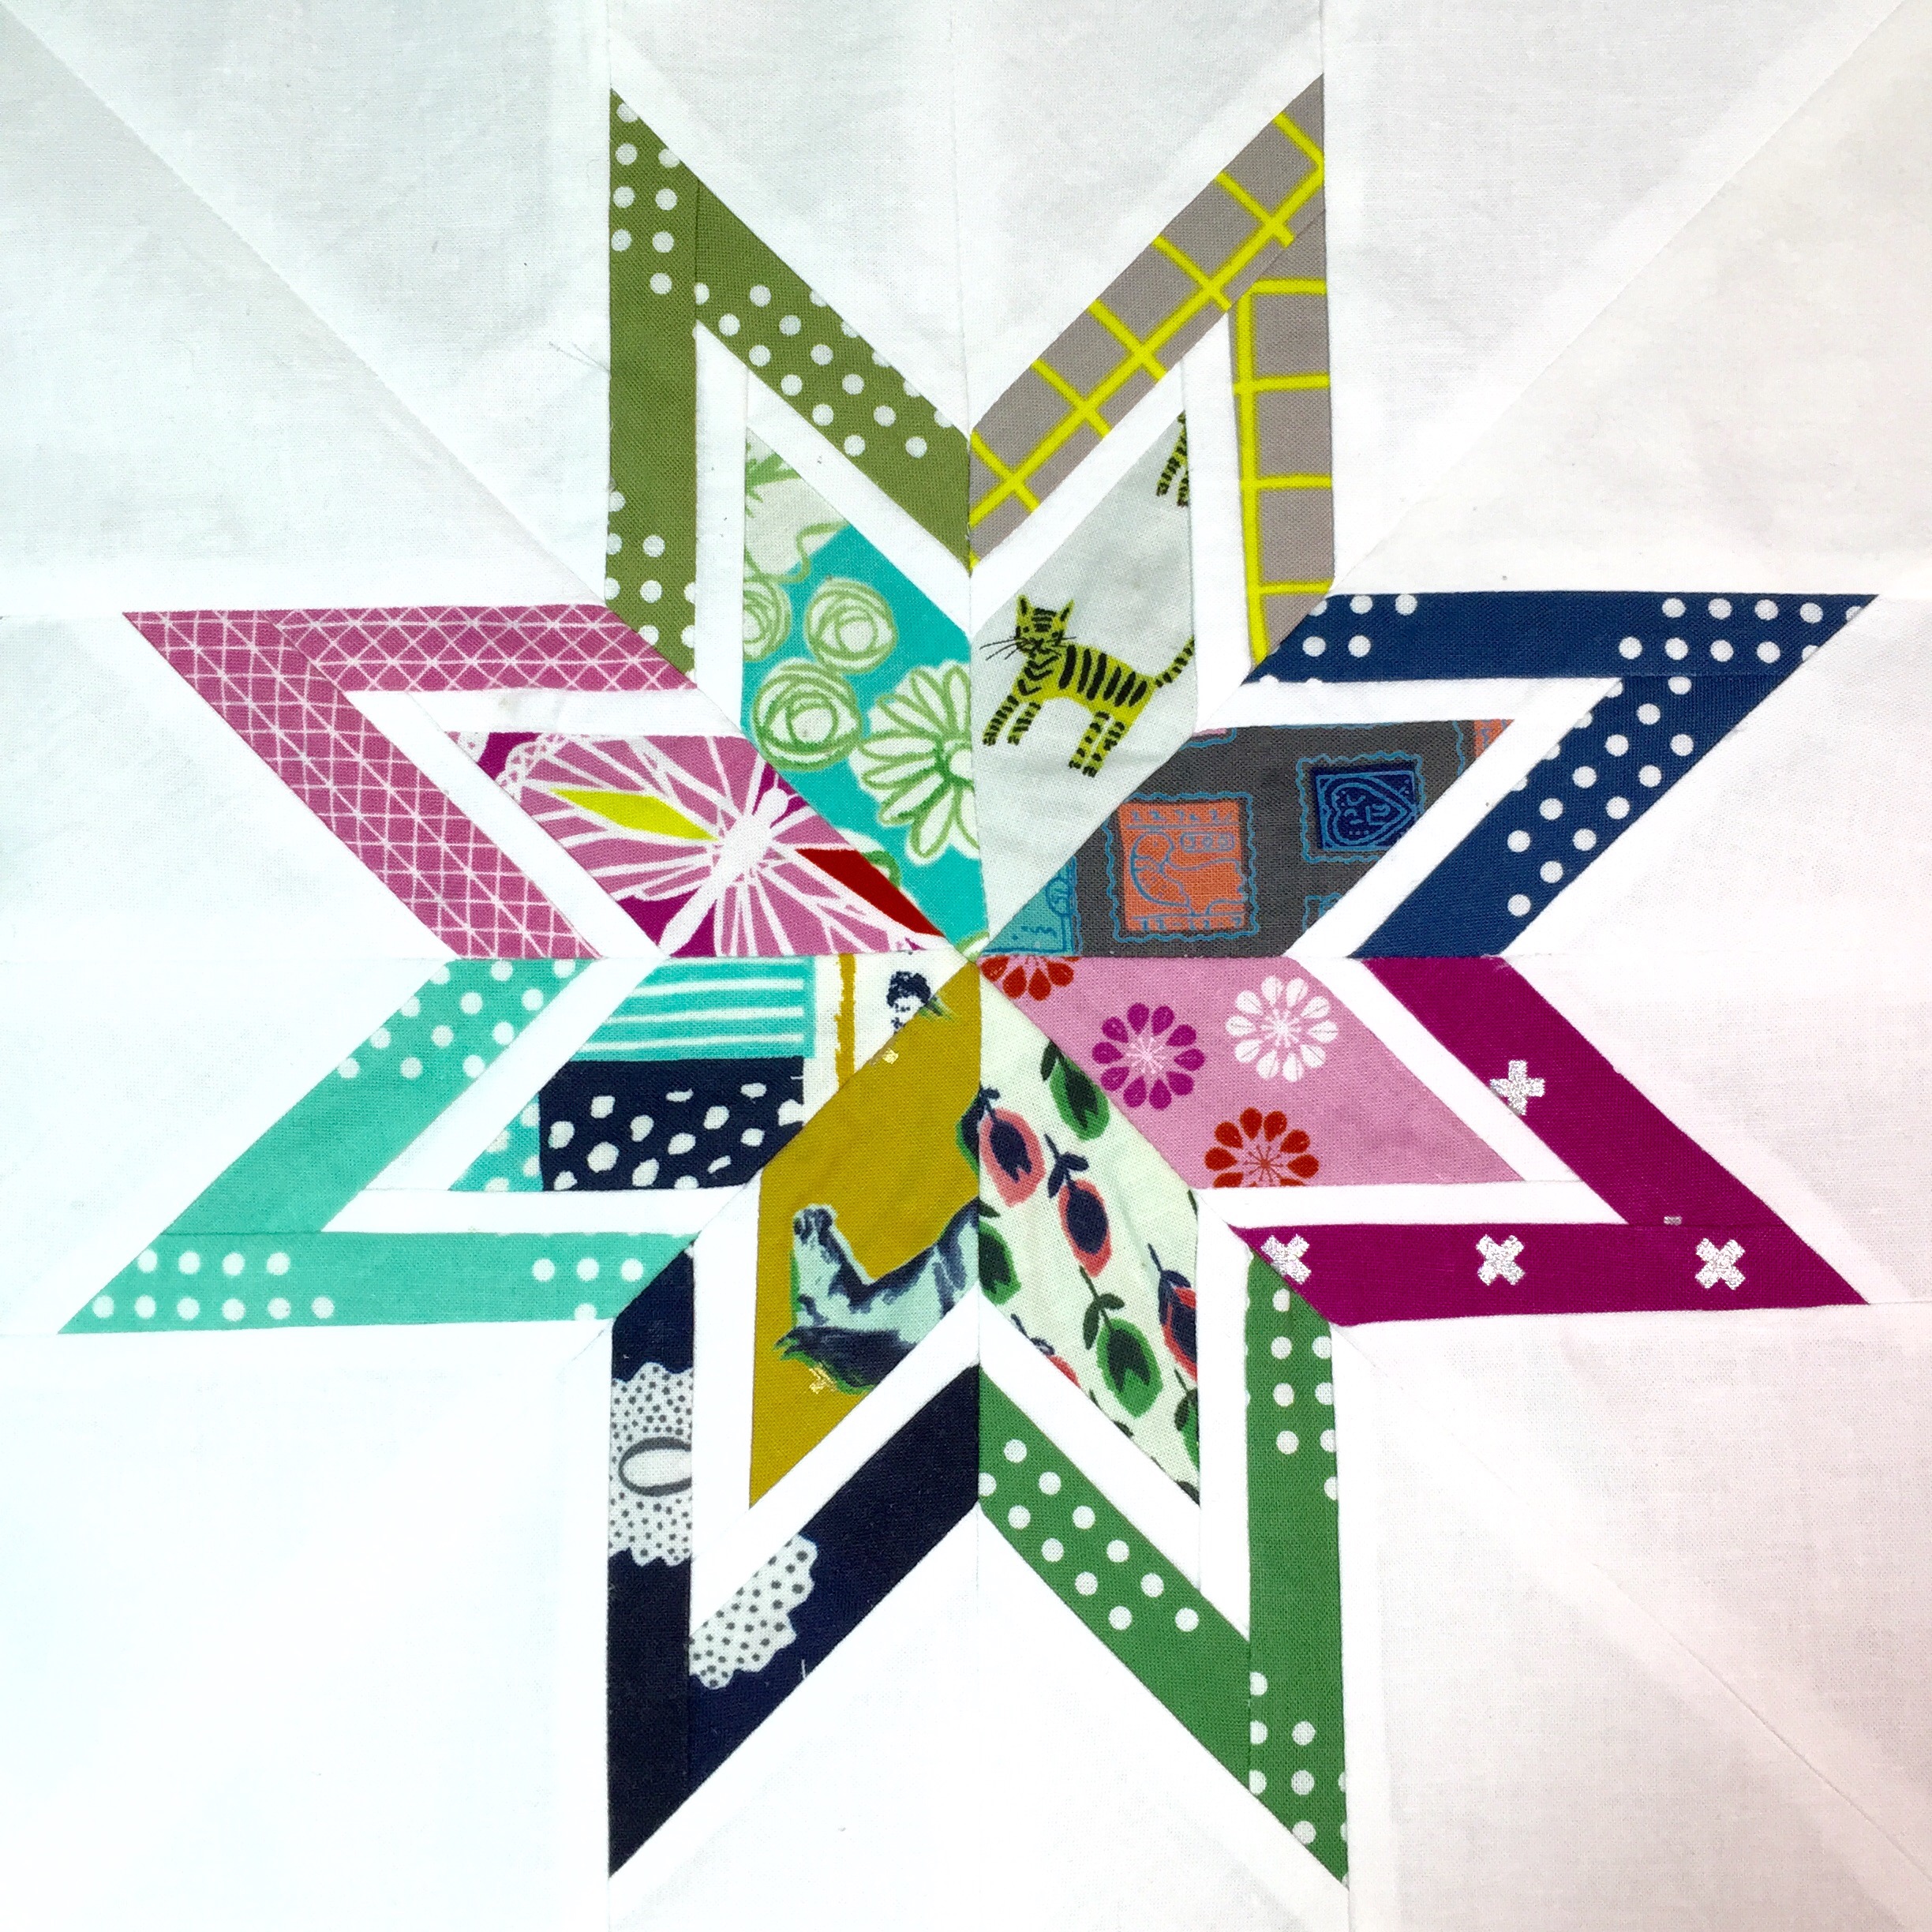
Lonestar - Fully pieced

Lone Starburst – Fully pieced

When I first started toying around with Foundation Paper-Piecing (FPP,) you know I went to Pinterest.  Through all of the images, I found this perfect pattern…It (seems) simple enough for a newbie like me, has great visual appeal, I could play with a number of different fabrics, and…it was FREE!  The pattern is by Six White Horses and called Lone Starburst.

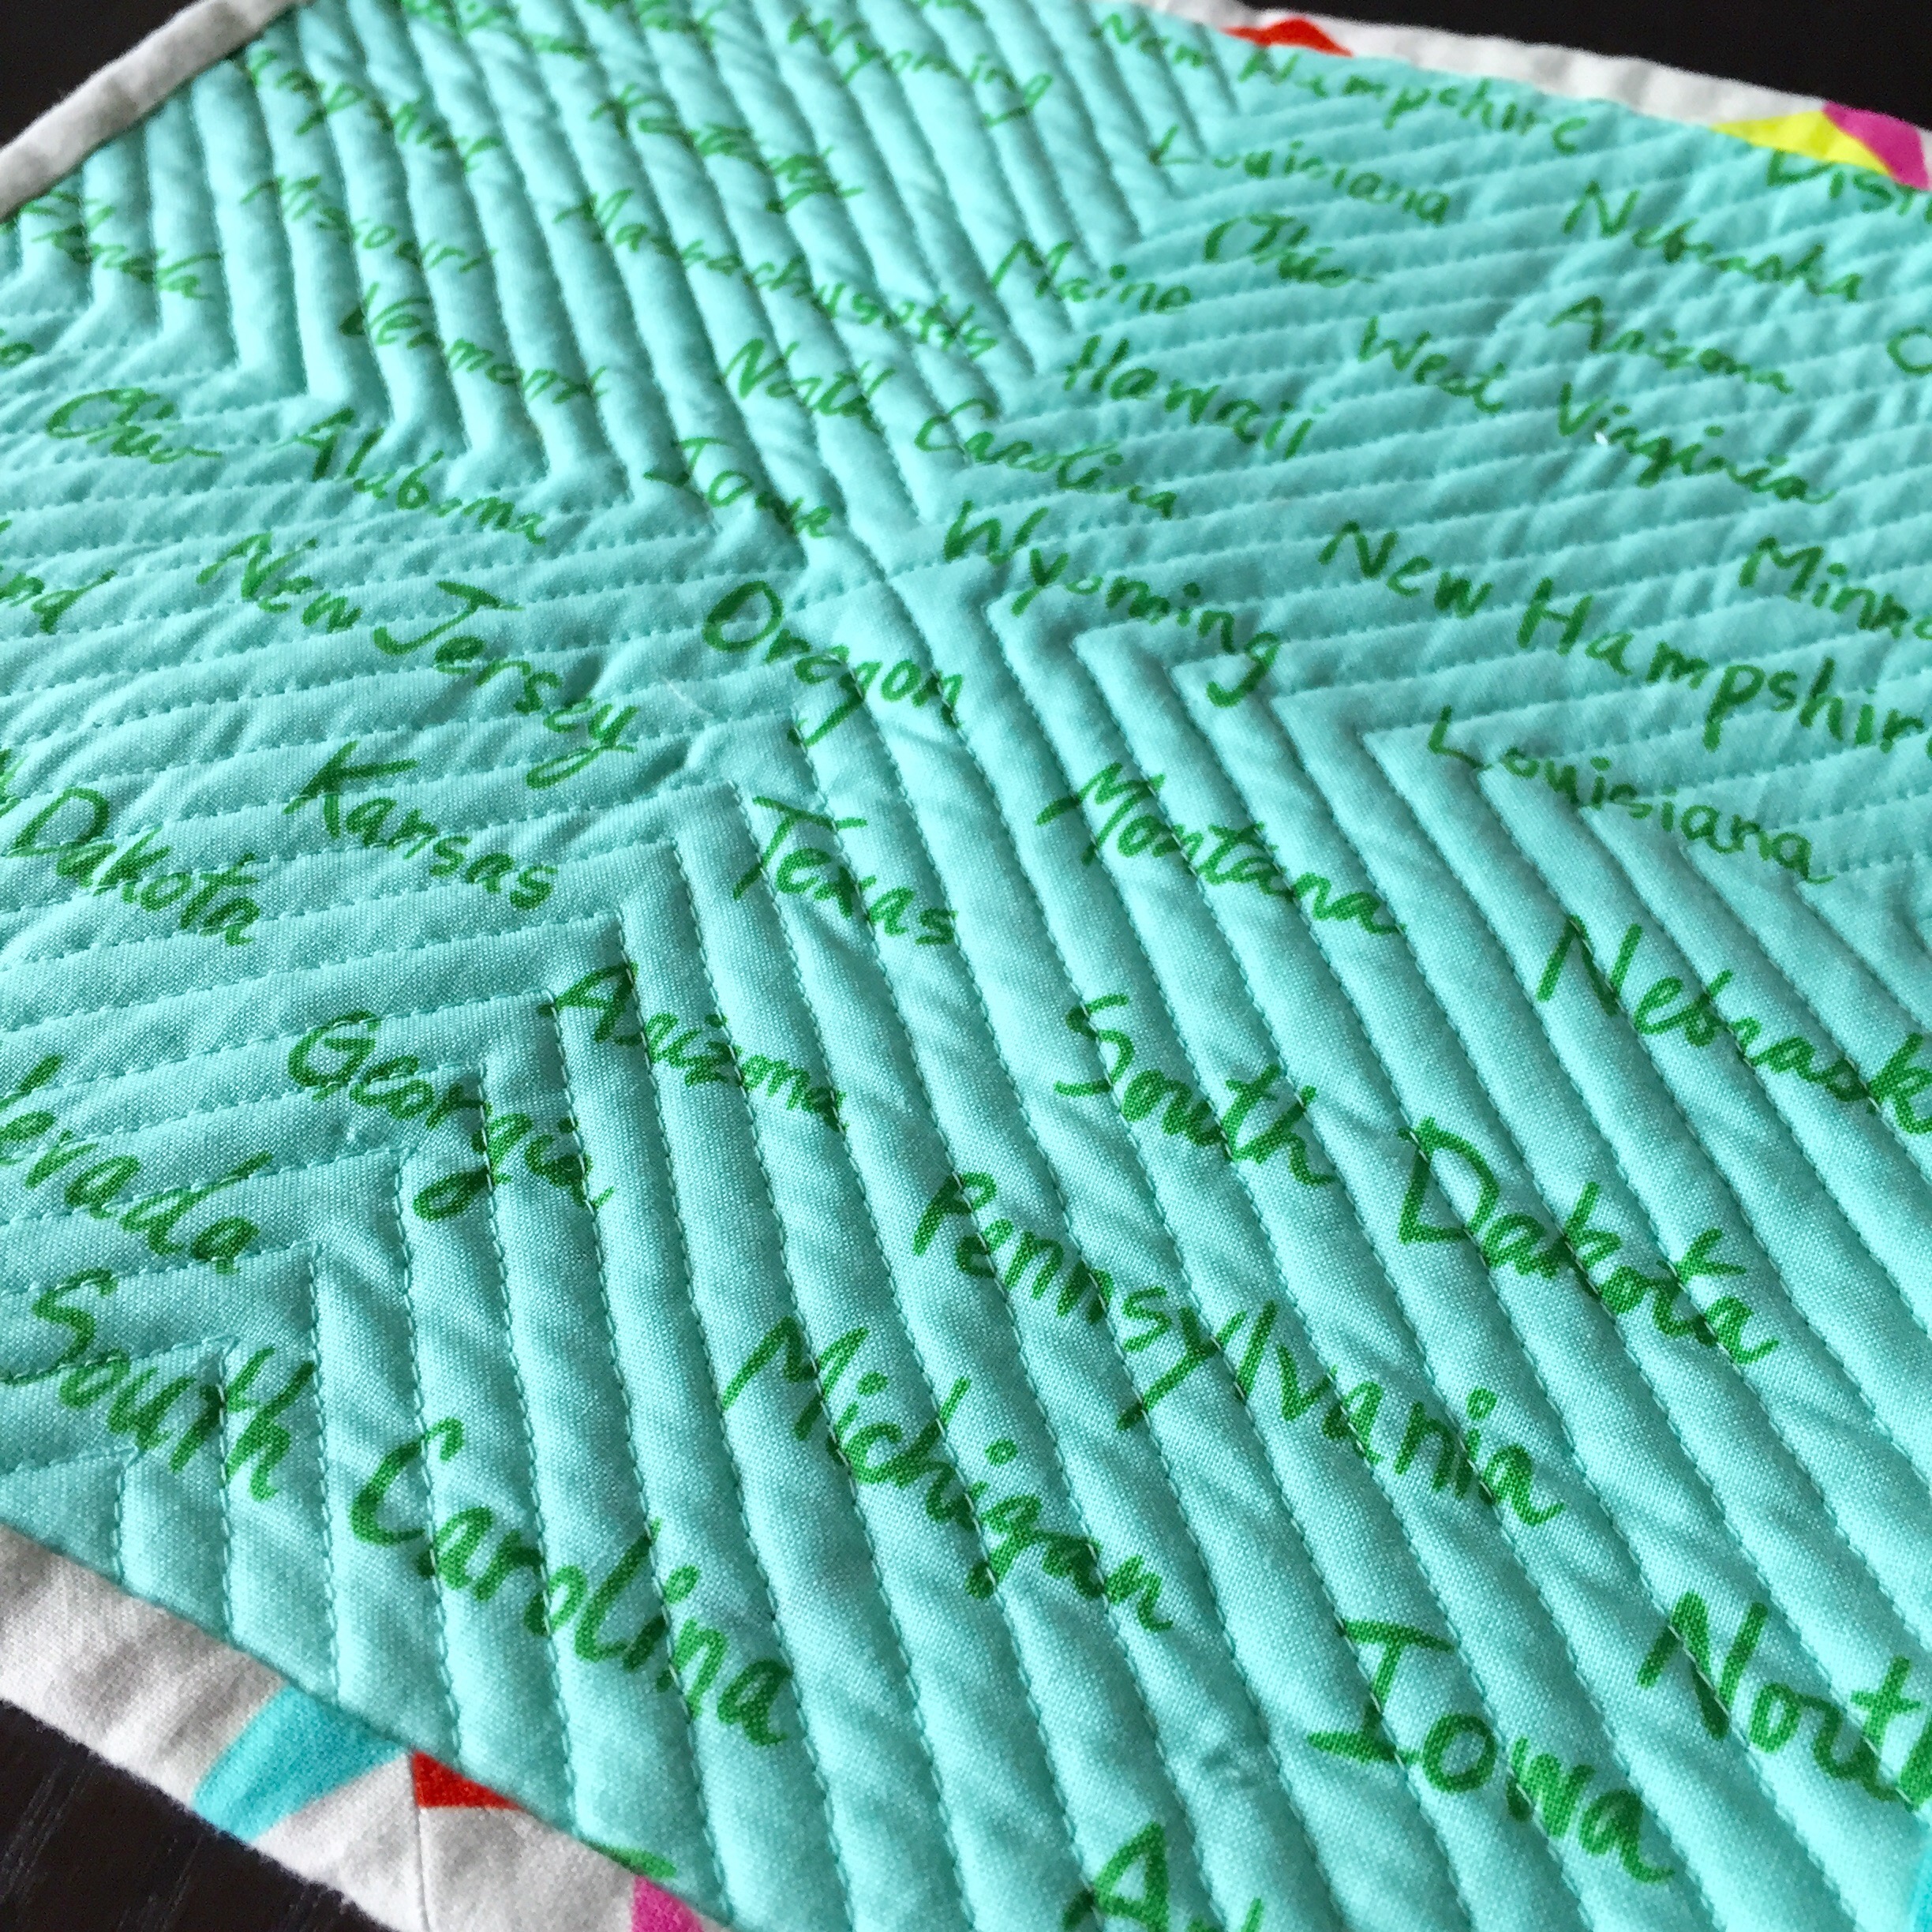
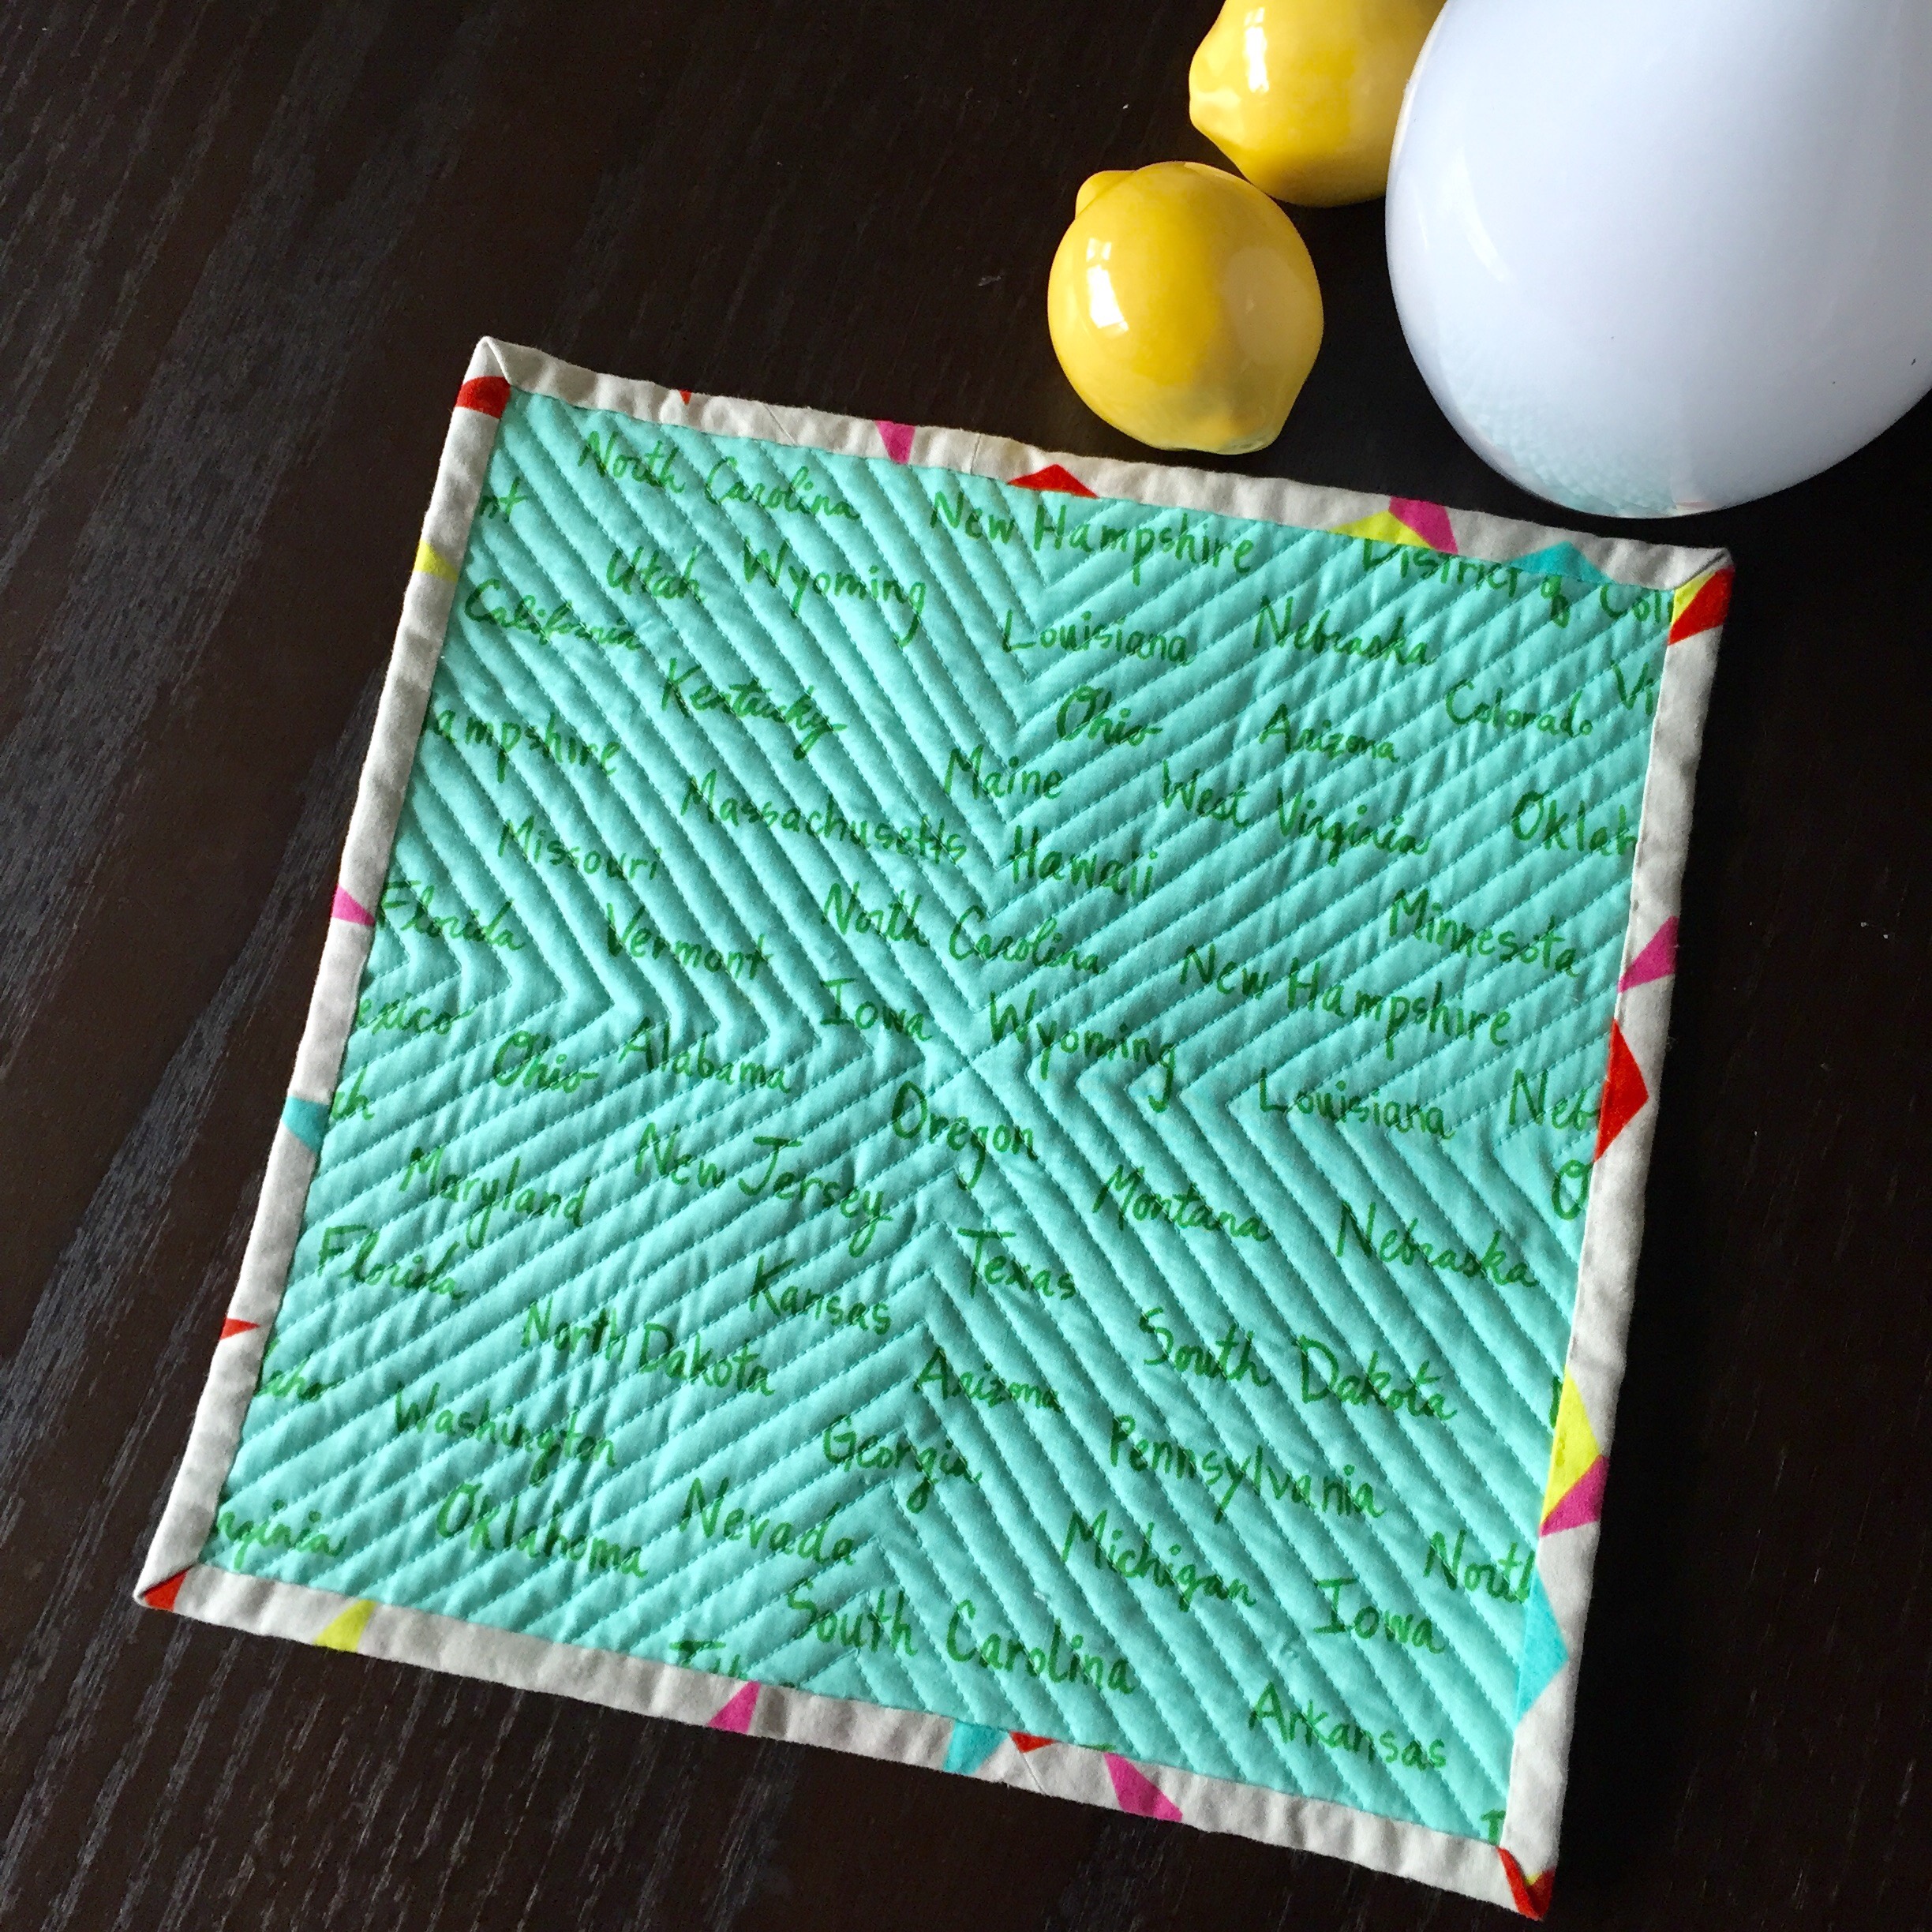
My bundle of Cotton + Steel‘s first collections gave me a variety of fun prints and color to use. I tried to mix in the awesome prints, as well as the basics for variety and color.  I selected a simple background of Kona White to make the star stand out and pop.  “Tangrams” from Cotton + Steel made for a nice neutral binding and I love “All the States” as a fun backing.

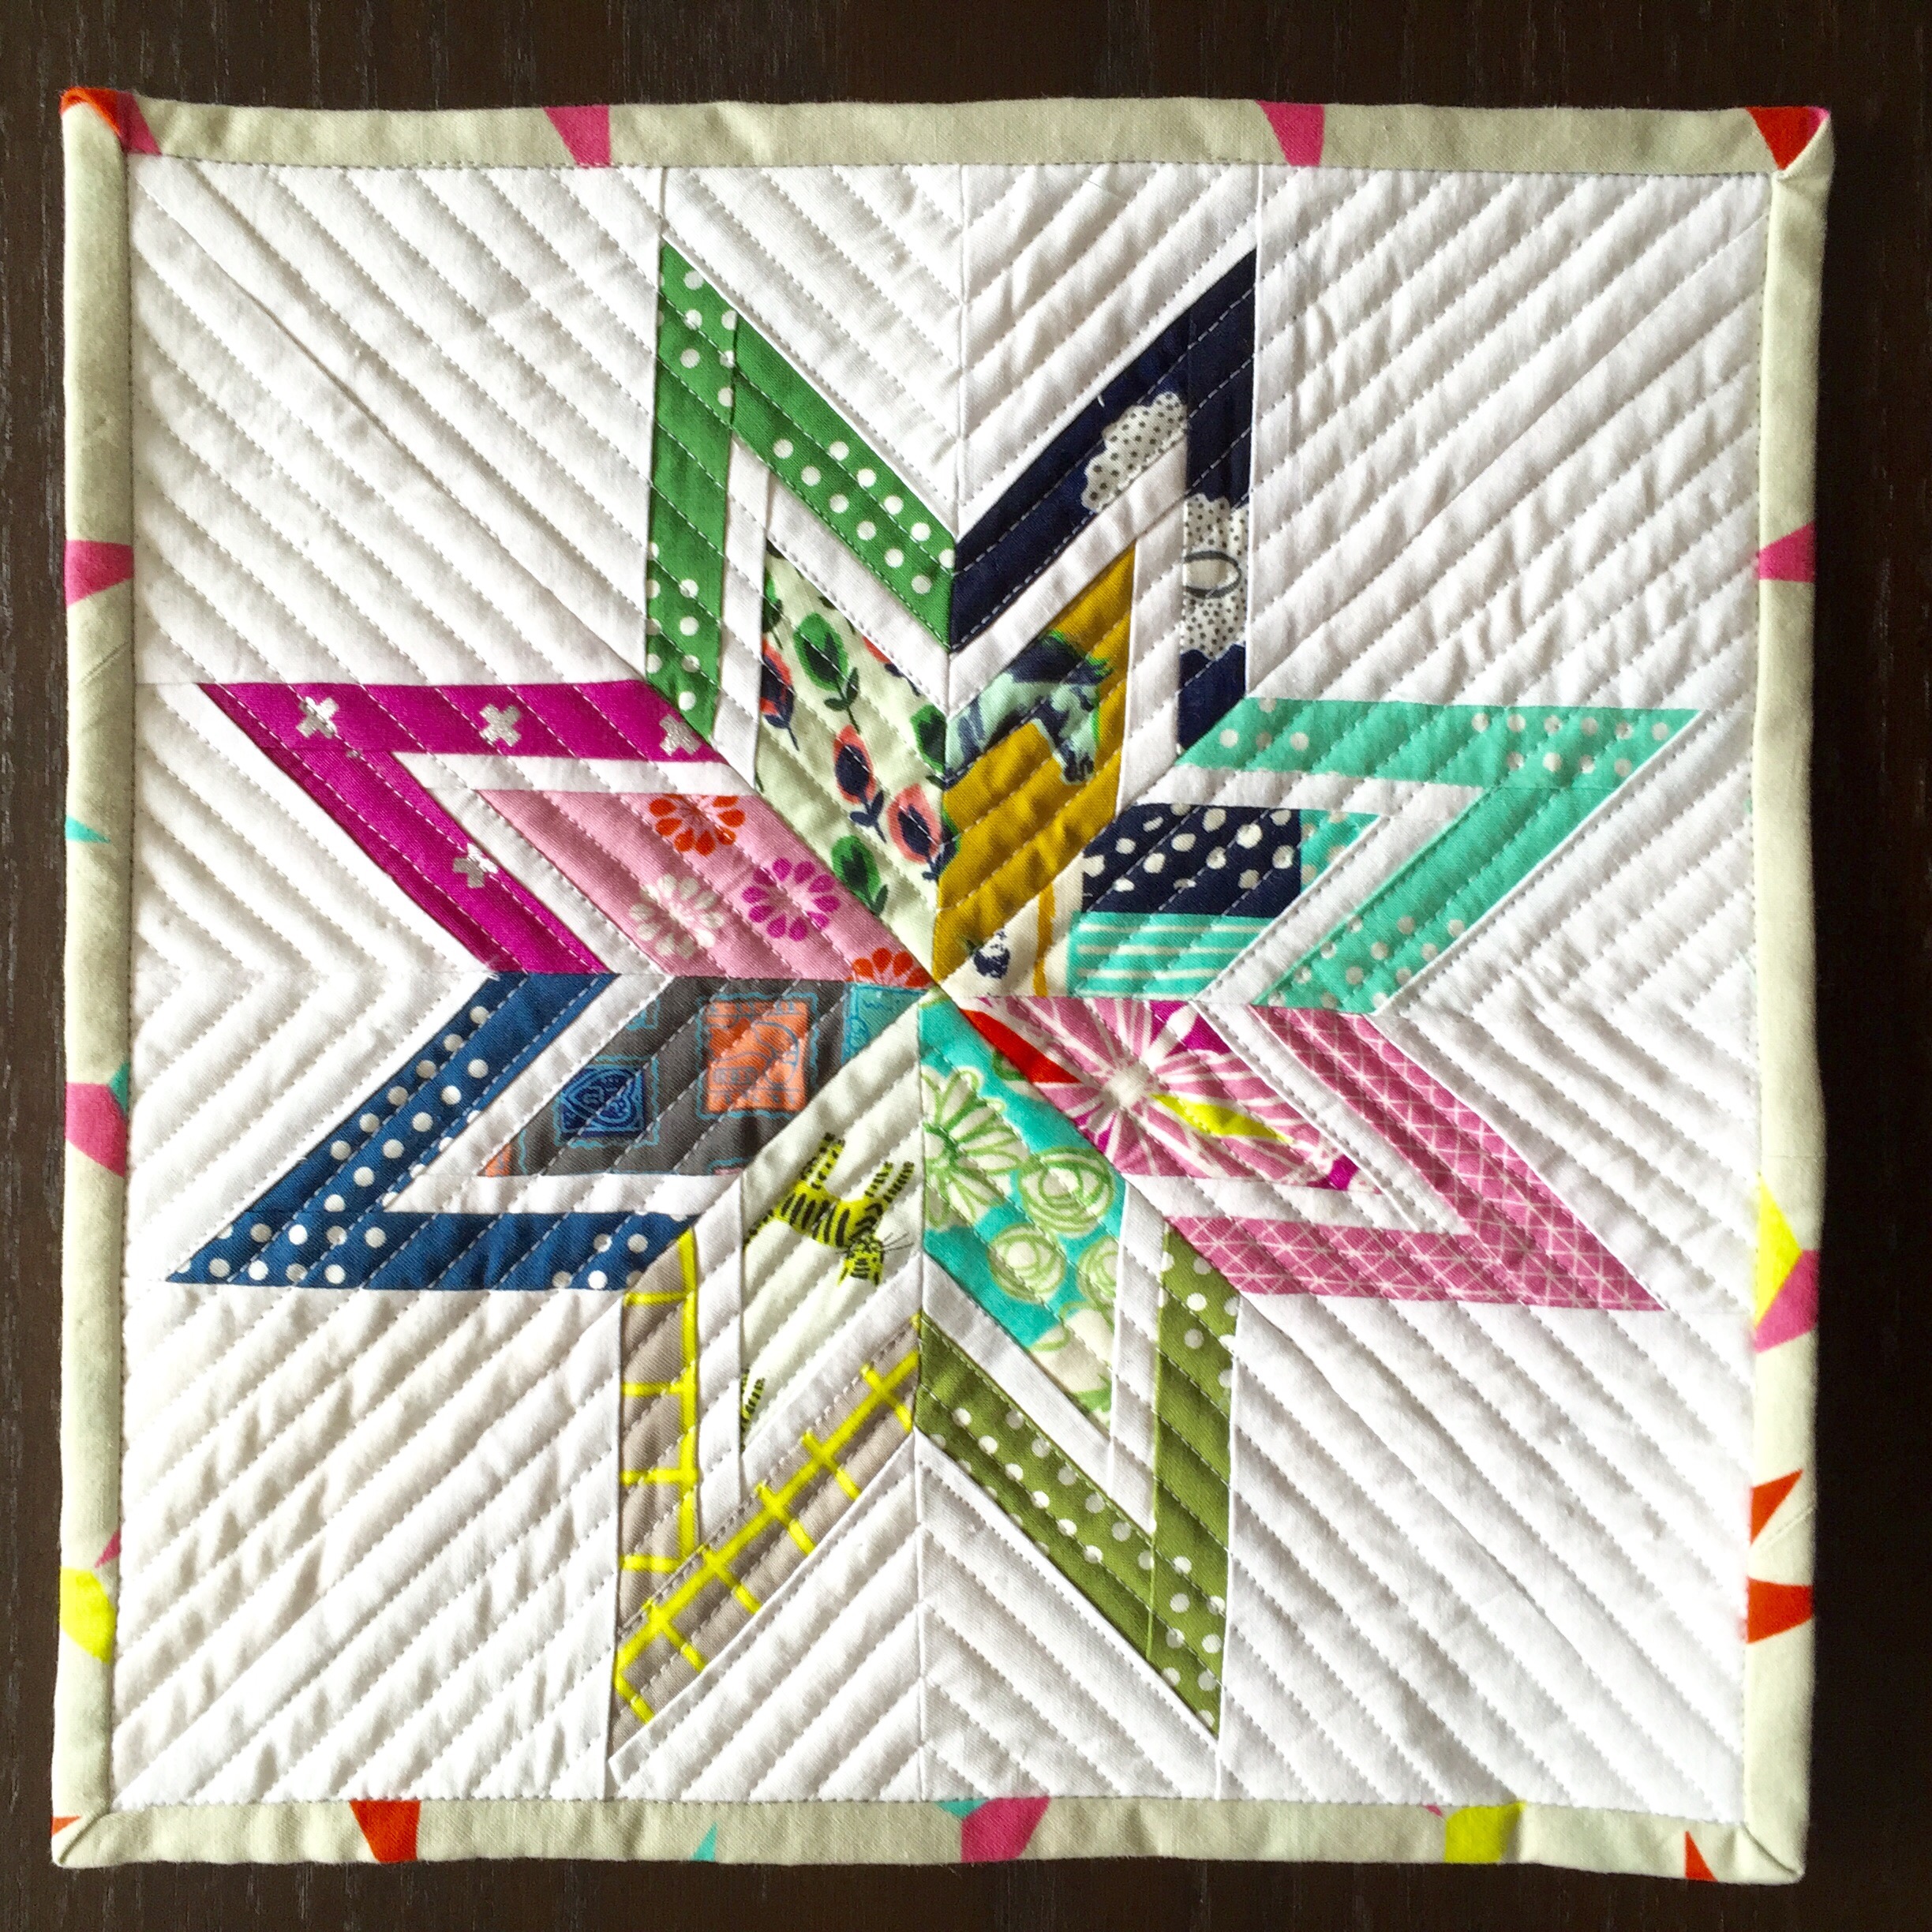
Quilted and Bound

Close-up of Starburst Backing

Close-up of Starburst Backing

Full view of Starburst Backing

Full view of Starburst Backing


Quilting is not my strong suit, so I straight-lined with my walking foot and followed the angles of the star. I just used my presser foot as a guide in order to keep the spacing between lines as equal as I could.  The repeating of the lines, made for such a great texture….just make sure to go slow and steady to get nice even stitches.

This Mini hangs proudly in my sewing dungeon…where I can be reminded of my first full FPP project 🙂


Hugs and Stitches

Cristy

Love You Sew


Louisa Bag Tour

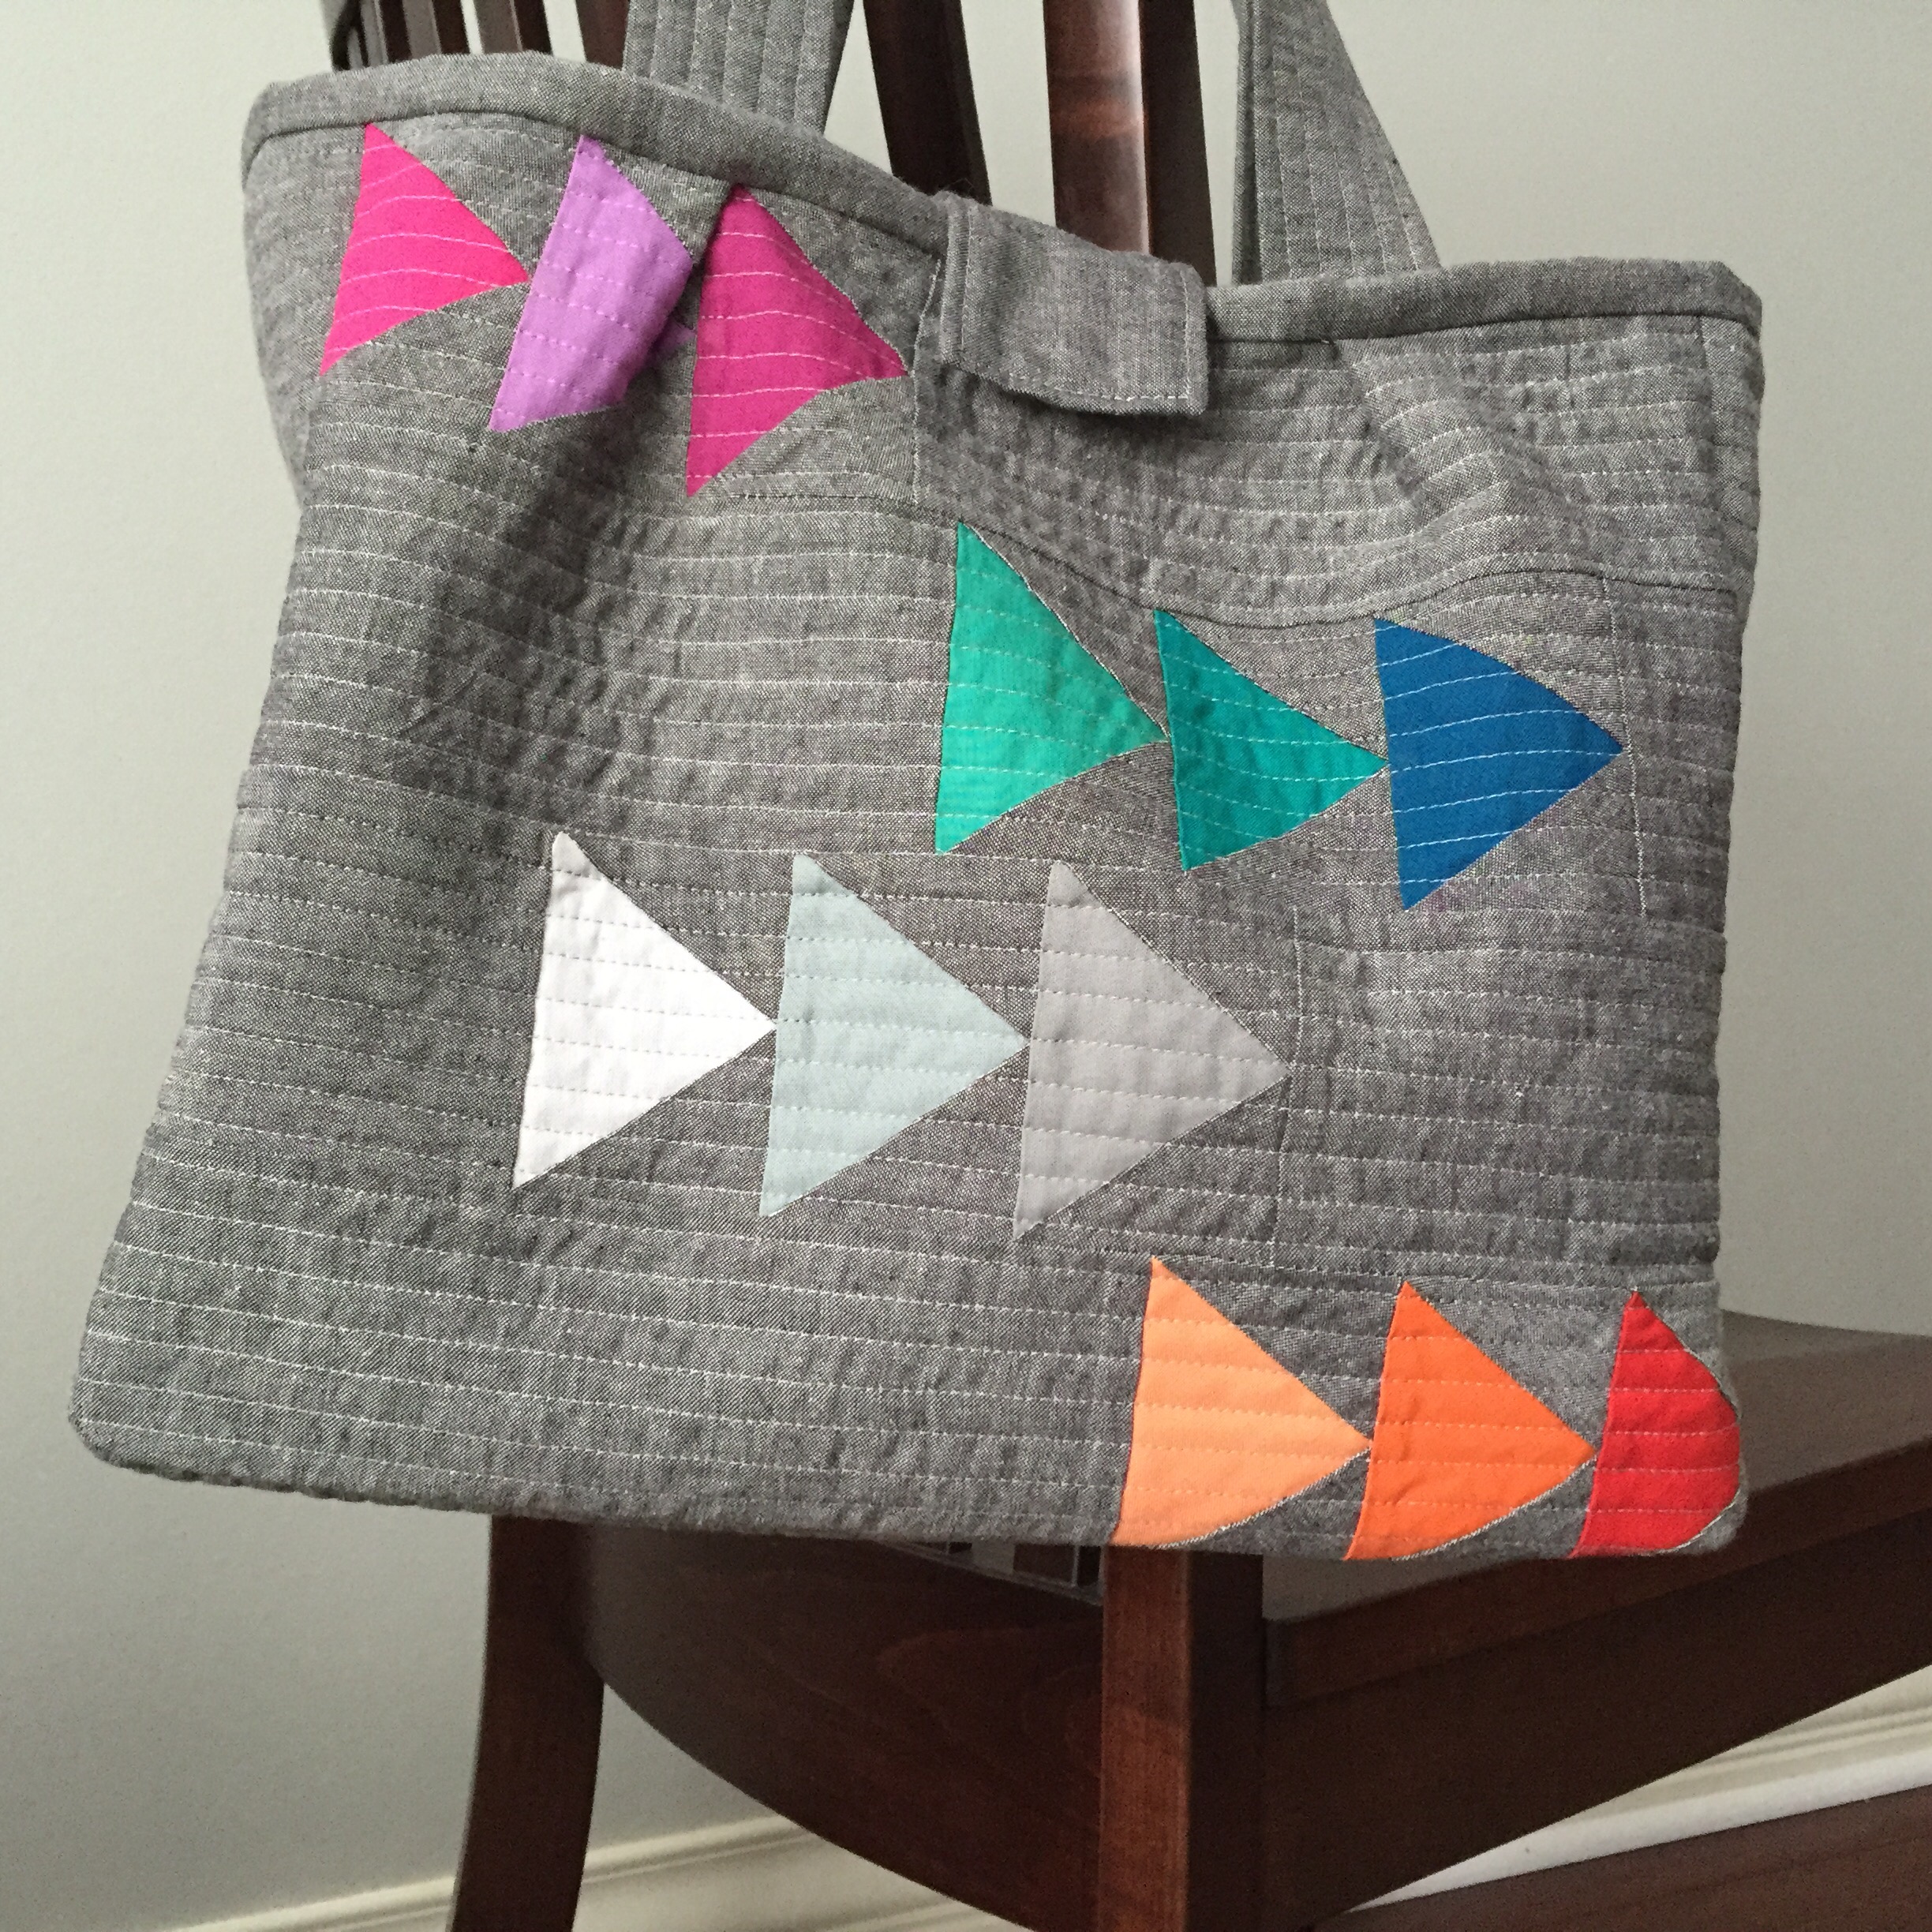
Front View Louisa Bag

I had the distinct pleasure of being a part of Clover & Violet’s Louisa Bag IG Tour.

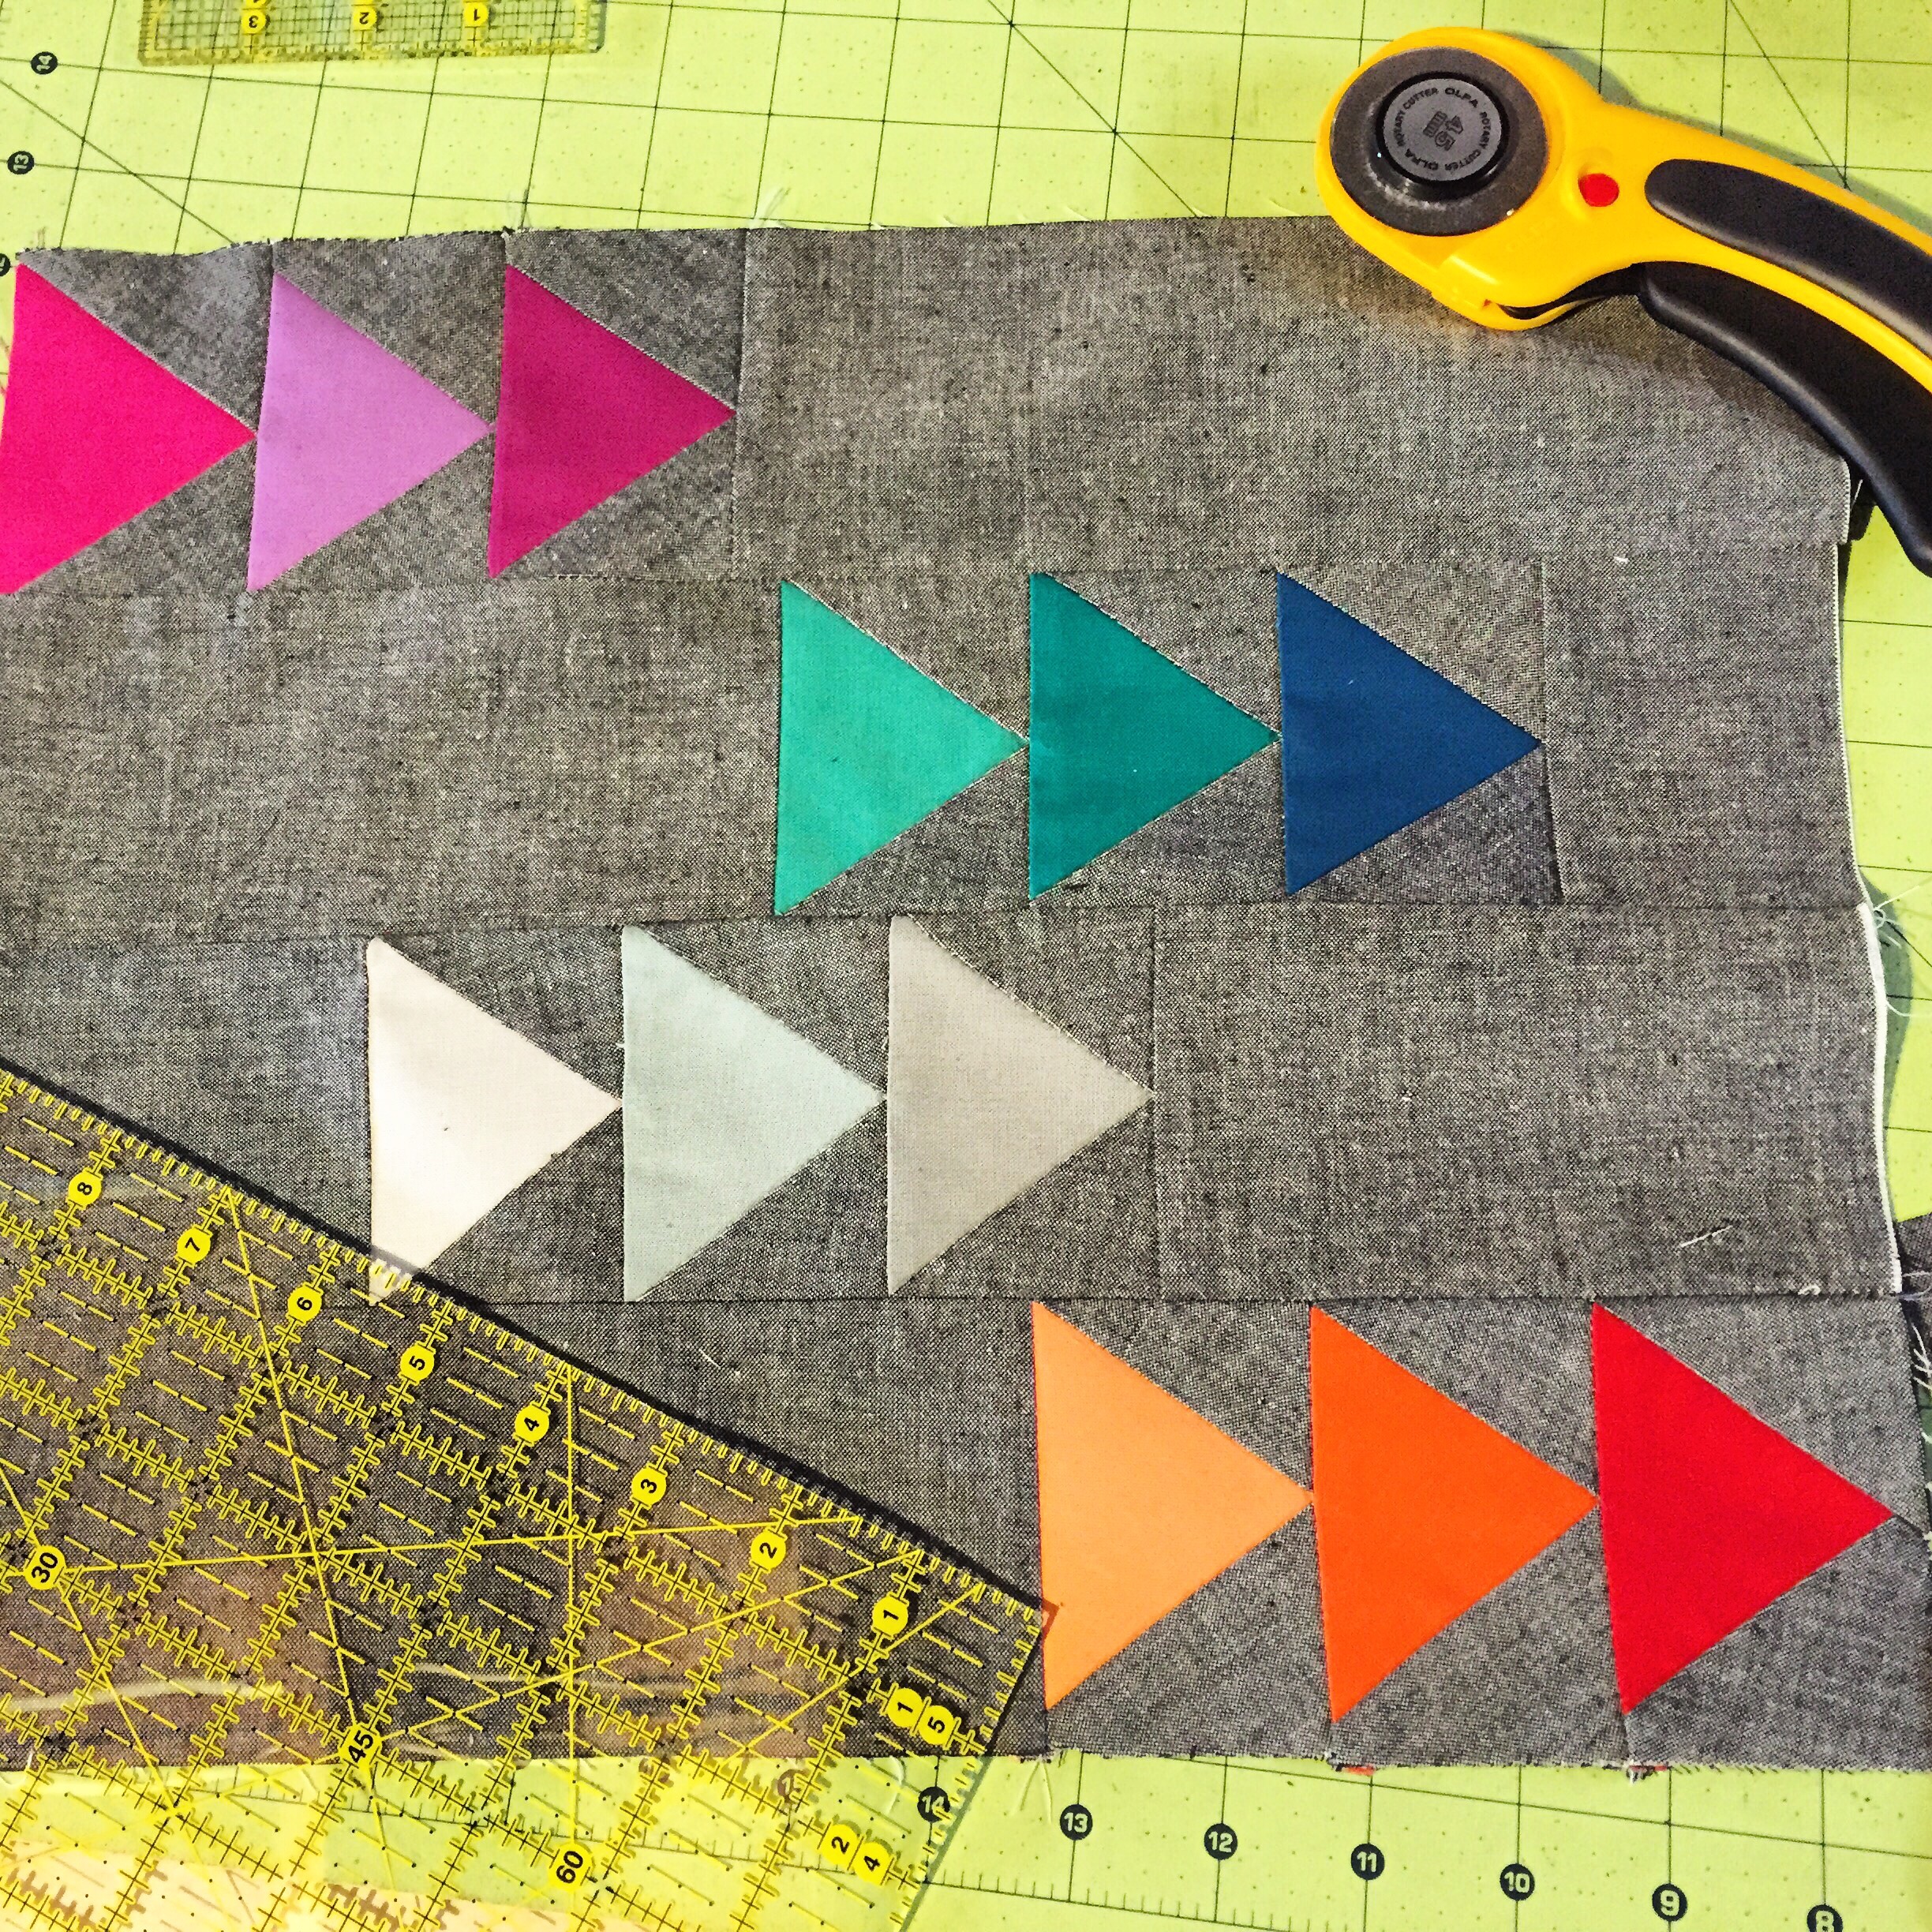
As with the majority of C & V’s patterns, they are all “quilty” in style. I wanted to stay true to their design but add my own modern touch 😉 I thought flying geese would be perfect…especially in bright Kona cotton solids! To make sure the colors would pop, I paired the solids with my trusty friend, Andover Black Chambray for a clean, chic look.

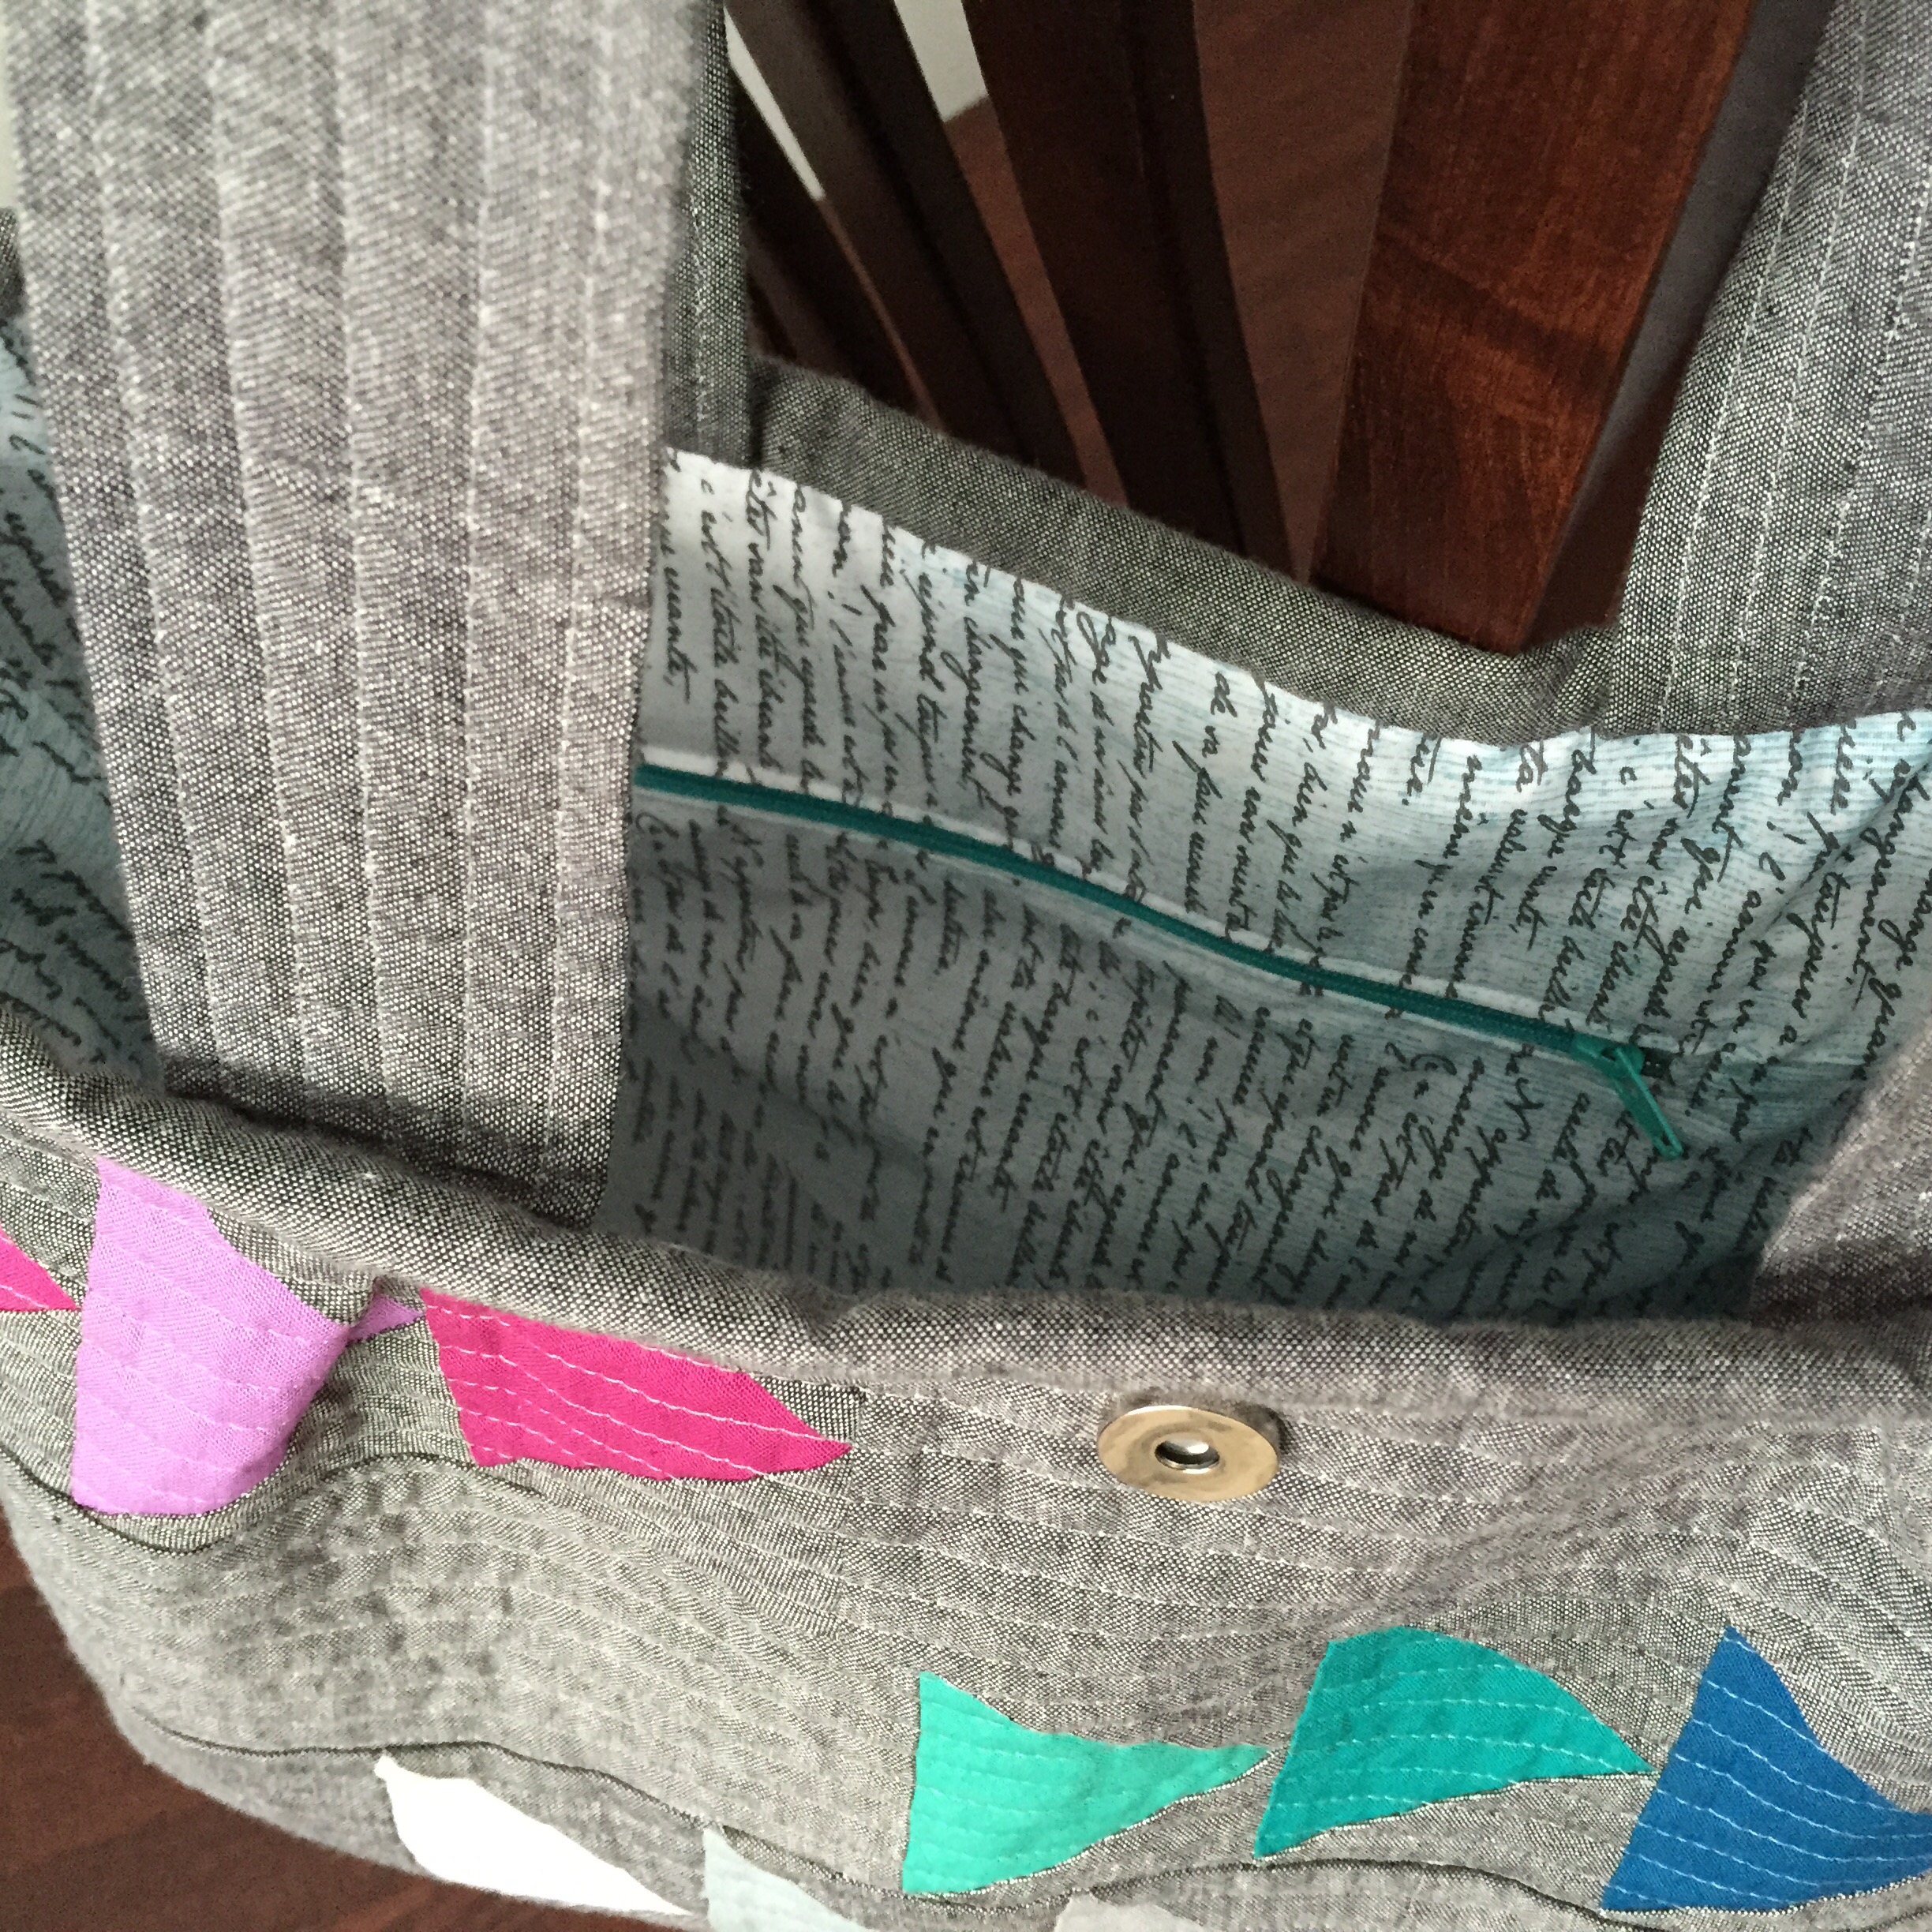
 The inside fabric was simple low-volume Telegrammes Ciel from the collection, Cherie, designed by Frances Newcombe for Art Gallery Fabrics.

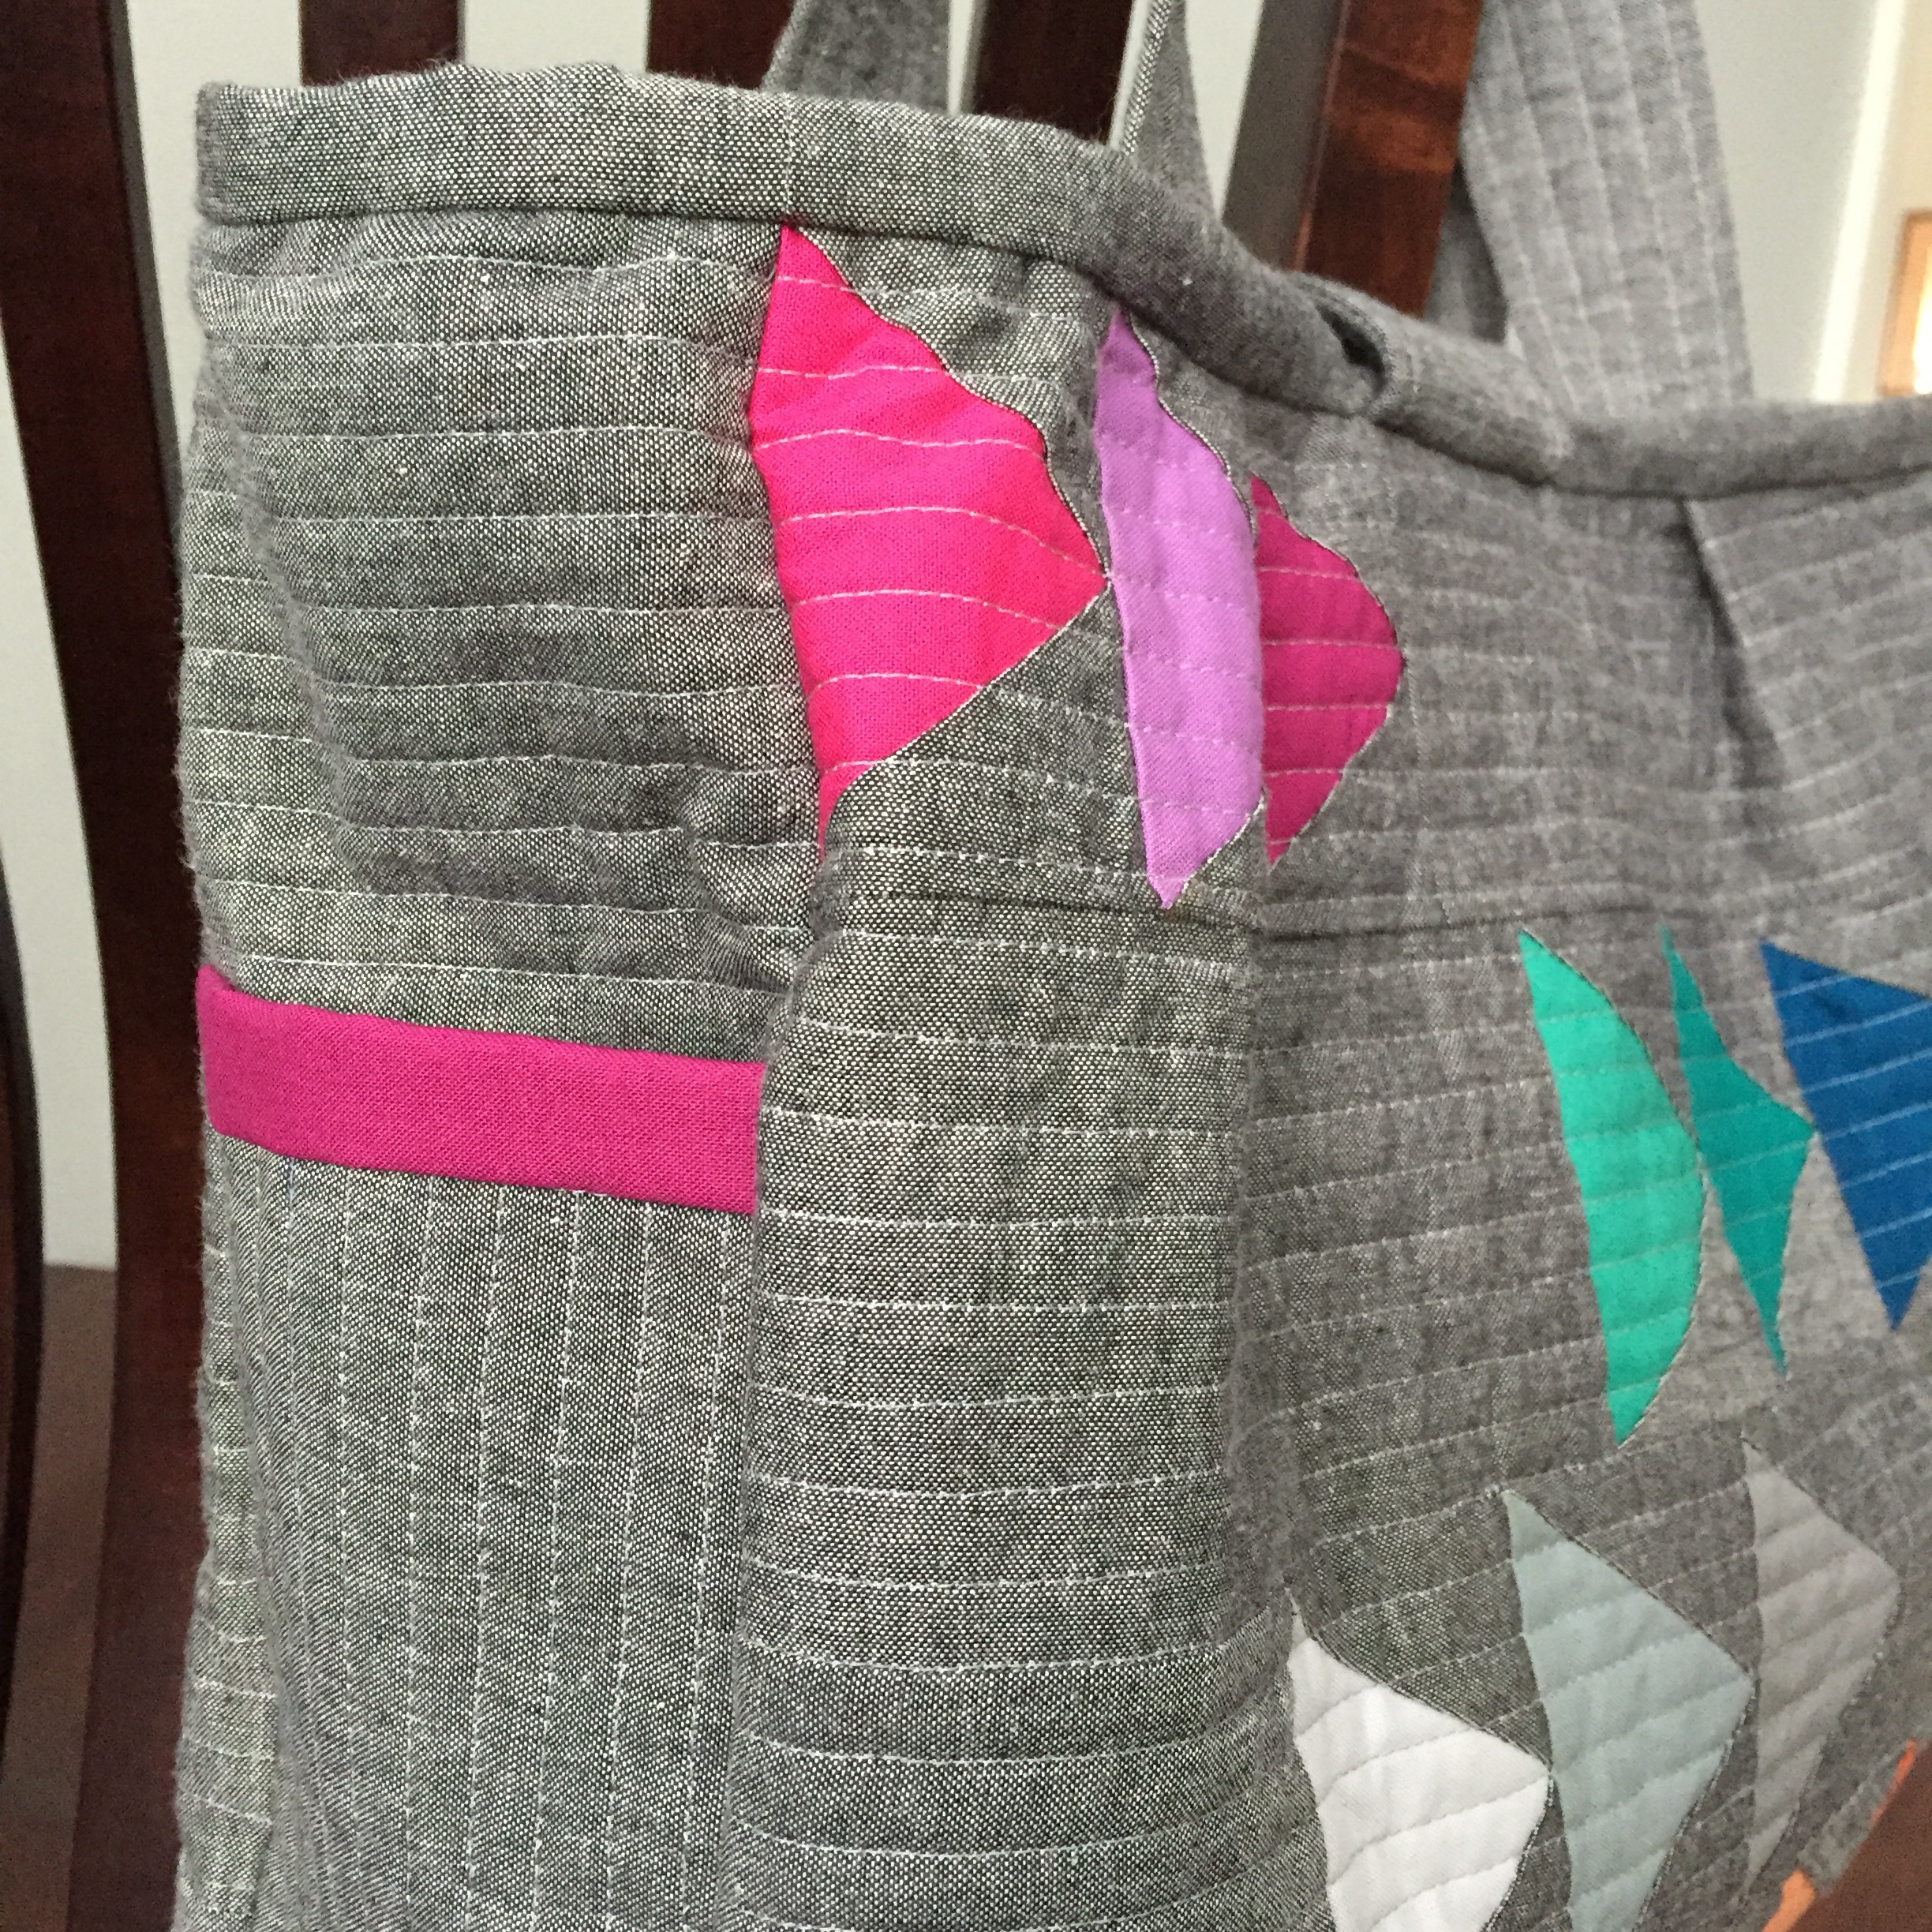
Side view

I stayed pretty true to the pattern. The only adjustments made were the placement of the Geese blocks so they would be a bit more scattered and even. The side ties were omitted and extra was used Kona on the side pockets for some more color. The panels were straight-line quilted with Aurifil 2605 gray to blend through the chambray and solids.

You can see other versions of this bag here and on Instagram with #louisabag and @cloverandviolet.

Hugs and Stitches,

Cristy

Love You Sew
The pattern was provided by C&V for the IG bag tour. All material was purchased and selected by myself. All opinions and comments are my own and have not been influenced by 3rd parties.


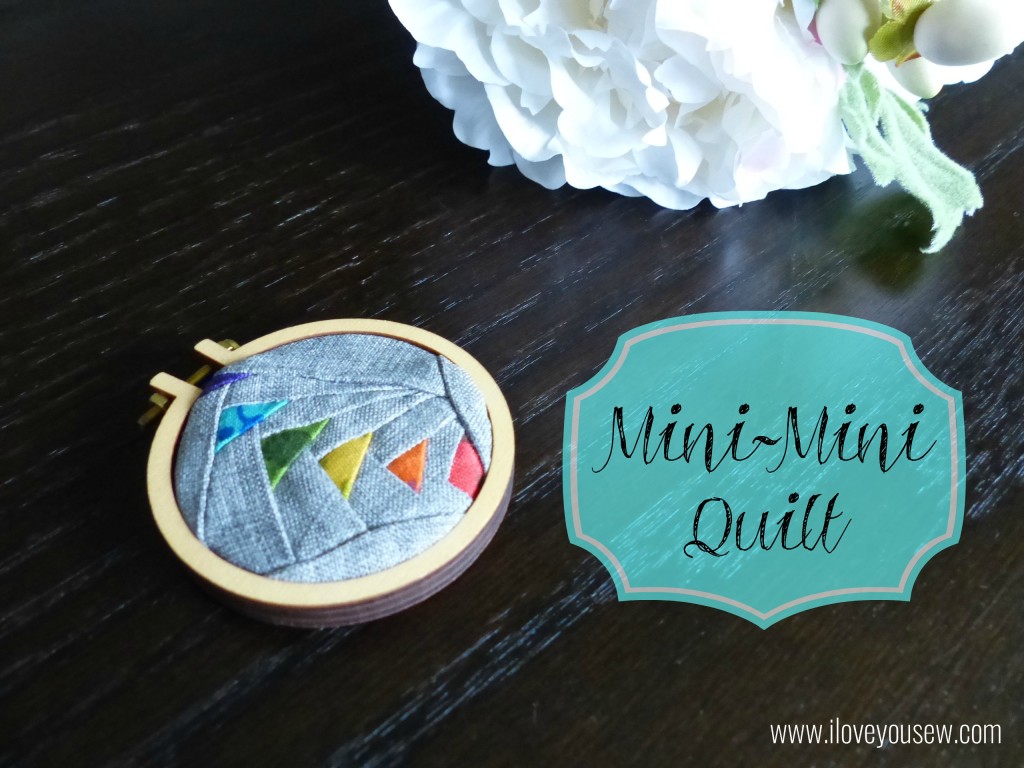
Mini-Mini Quilt

Mini Quilt Hoop - Title

Mini Quilt Hoop – Title

So…I want to be honest with everyone from the get-go. I’m a maker and definitely NOT a writer. My brother happen to get those genes in the family (English major.)  You may find some grammatical errors and punctuation issues in my posts.  Please just know, I’m MUCH better at sewing 😉

Now onto the fun stuff…

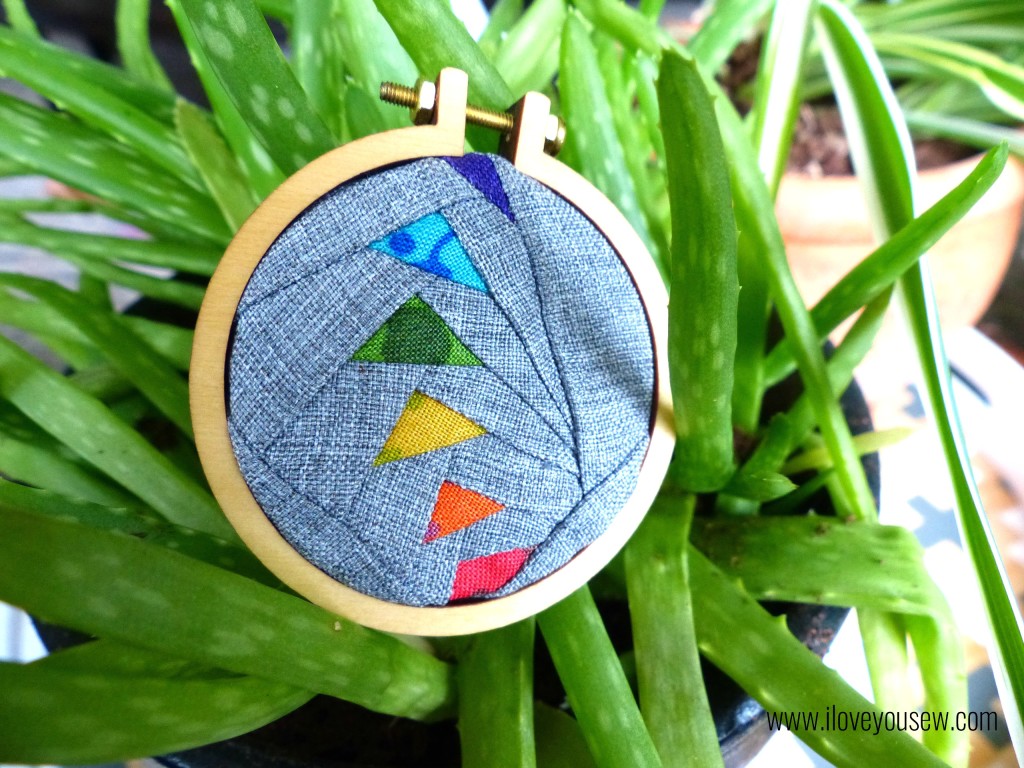
Mini-Quilt Hoop in Aloe

Mini-Quilt Hoop in Aloe

I made this Mini-Mini “Quilt” several weeks ago.  It was inspired these cute little miniature embroidery hoops by Dandelyne.  I found these by blind luck just viewing pictures on Instagram.  Instantly, I knew I could do something with these hoops.  Who doesn’t like tiny versions of stuff, right???

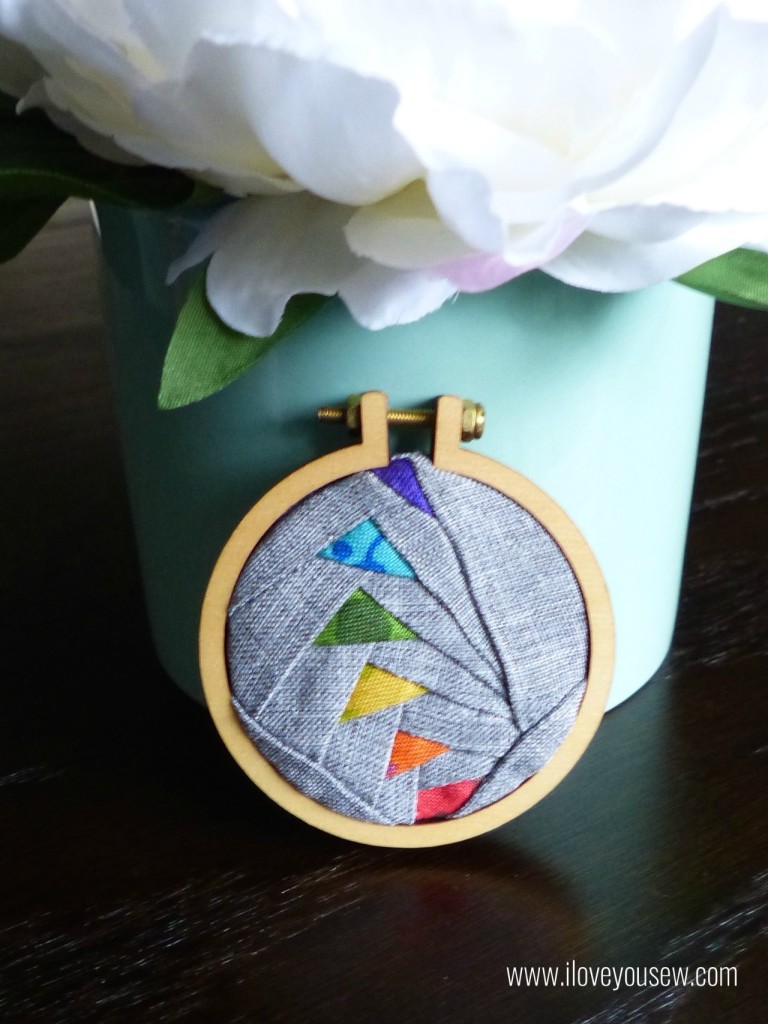
The quilt pattern I used is “Goosed Up” by JeliQuilts. It is a foundation paper-piecing template and much simpler than it looks.  Since the hoop is only 2.2″ in diameter, I only needed one of the four blocks in her 4″ pattern.  I added an extra 1/4″ all around the block to make sure the backing circle of the hoop wouldn’t fall through and it would be secured.

These flying geese are itty-bitty, so the fabric needed to pop.  Sunprint by Alison Glass was the perfect option of saturated pigment (and having a selection of rainbow colors REALLY helped!) The background fabric is one of my stash staples – Andover Chambray in black. It is so versatile and add a great texture.

Once completed, I popped the quilt into the hoop, trimmed the excess fabric and hot-glued the backing plate.  You can see how the hoops work in this video.  I only wish I ordered the coordinating necklace chains..  But I’m sure I can find a spare in my jewelry box 😉

Mini Quilt Hoop - upright

Mini Quilt Hoop – upright

Please share any mini-mini quilts you make with these embroidery hoops!  Hashtag on IG with #miniquilthoop or #miniquilthoops so I can all see your creations!!!

.

>>

Happy Stitching!

Cristy

Love You Sew

I purchased all these supplies  and have not been compensated for this post.  All opinions and/or reviews are my own and have not been influenced by any outside parties.