Sew It Yourself Kimono

Kimono Title

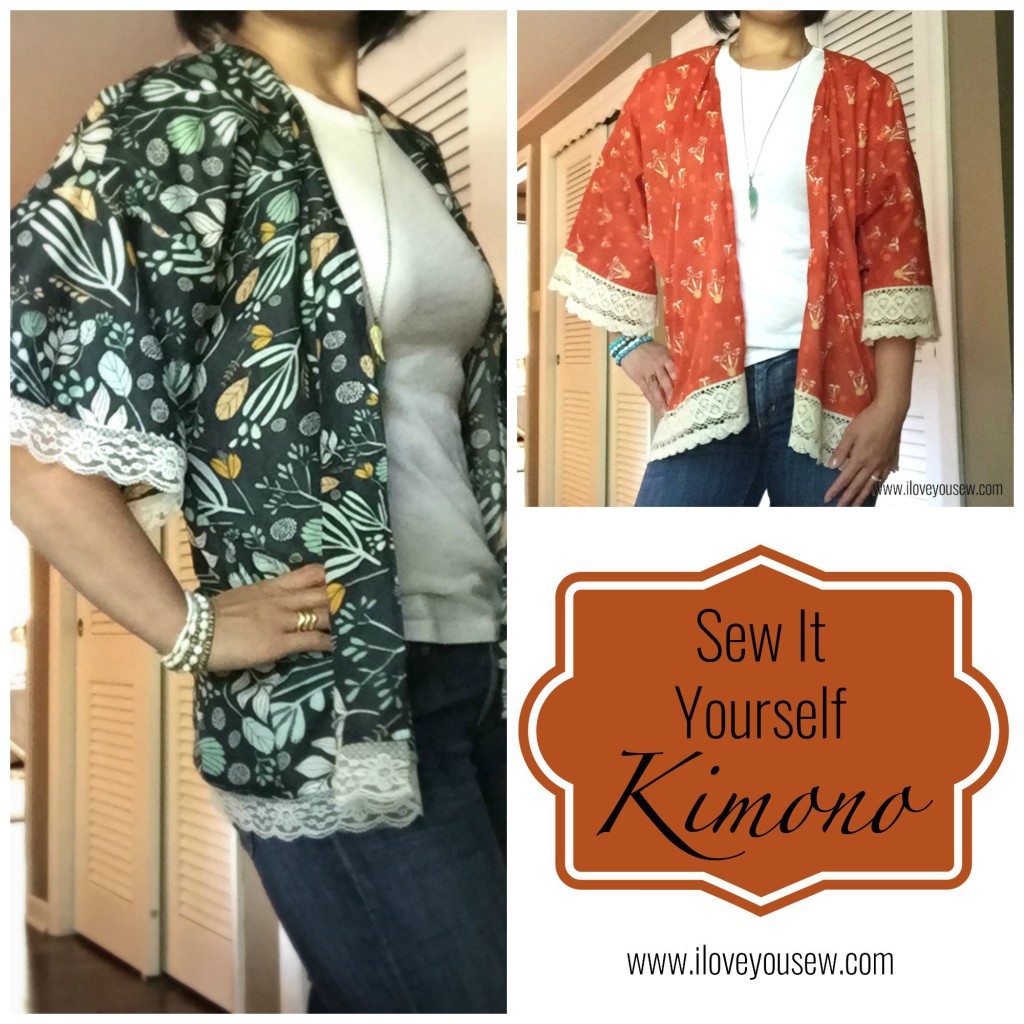
Boho style is all over the place right now and I thought I’d try to catch up with this Sew It Yourself Kimono.  The wrap is part of the Bohemian Chic trend which is all about being unconventional, artsy and spirited. To me, it’s a very relaxed and airy style but the “chic” part keeps it classy.

I’ve been in a fashion rut ever since having my little guys. I’m much happier (and more comfortable) in my yoga pants and a t-shirt any day. But whenever I have a “girls trip” with my hip city friends, I feel like the frumpy charity case…so I decided to do something about it!

I’ve been eying up Kimonos for awhile, but when Sew Caroline had a post referencing her FREE pattern on IG one day, I knew I had to suck it up and make my own. The pattern is one size fits most and being a whopping 5’3″, it was good for me 😉

KimonoFabric

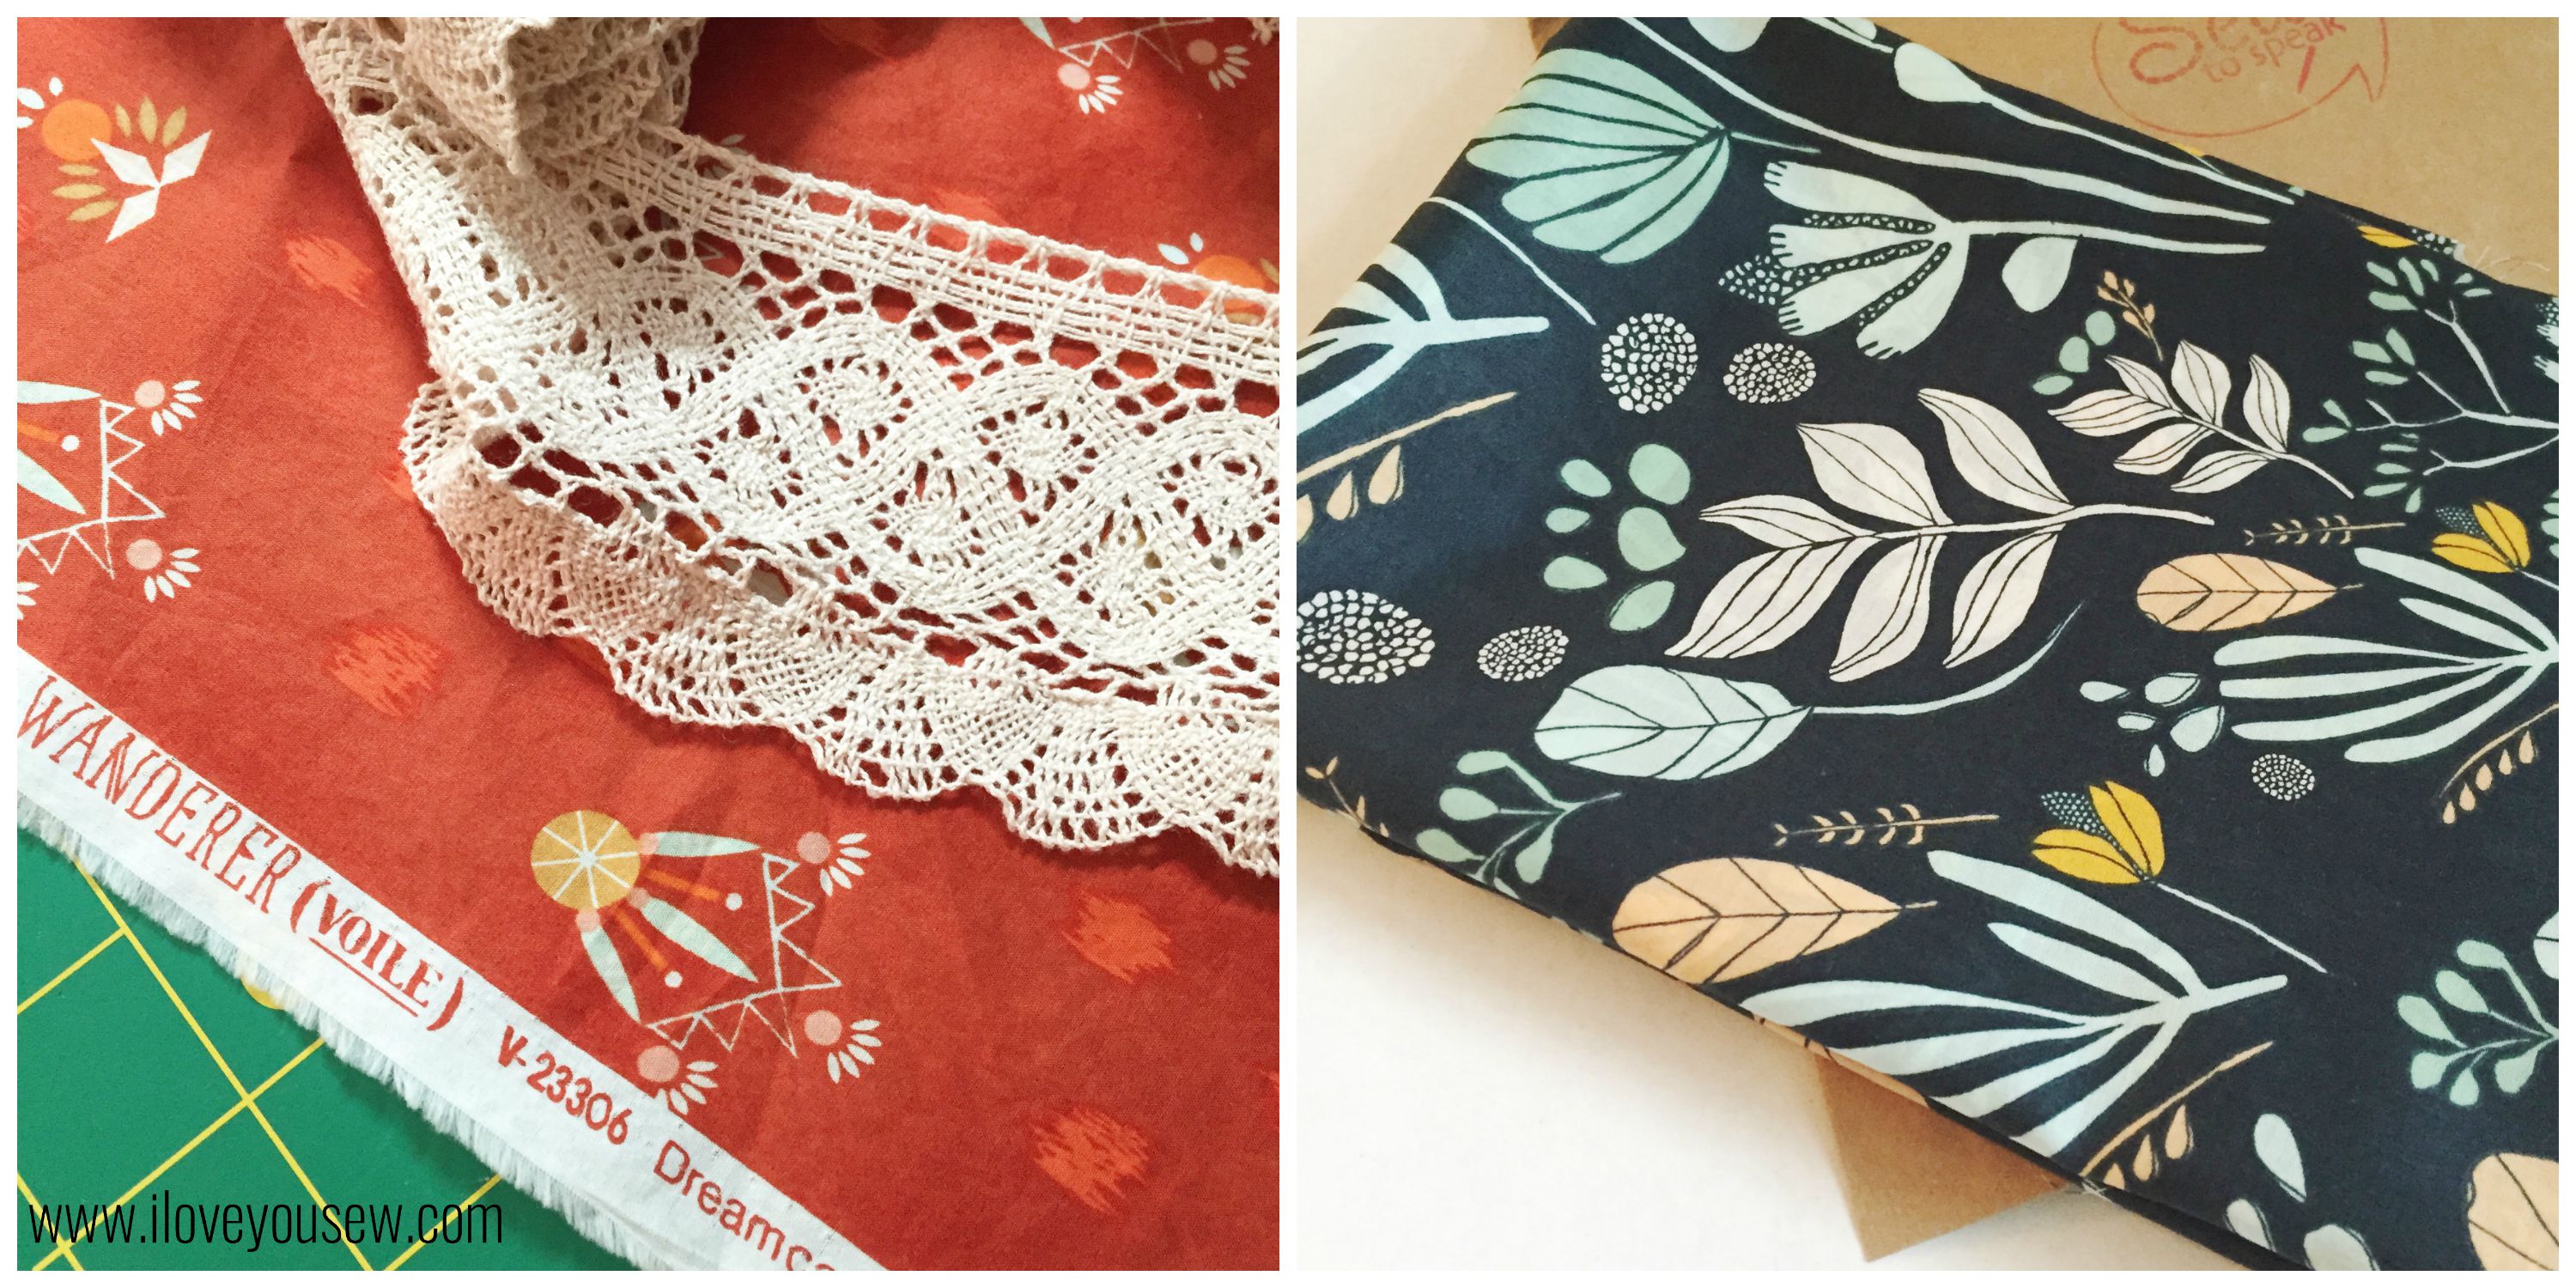
When selecting fabric for a Kimono, you need some good drape.  I knew anything from April Rhodes, was gonna be perfect.  Luckily, one of my favorite prints came in voile, so I snagged up Dreamcatching Flare from the Wanderer collection right away.  For trim, I wanted some earthly lace.  I tried to get a friend to crochet some for me (hehehe,) but ended up at my local JoAnn’s!  Who knew they had such a selection?!?  As I was gathering supplies, I thought I should make two styles….so I picked up Leah Duncan’s Bare Nopal Gloom from Morning Walk in voile at my Local Quilt Shop (LQS).  For the trim on this one, I used some delicate vanilla lace from my stash to complement the steely blue.

Version A- Morning Walk:

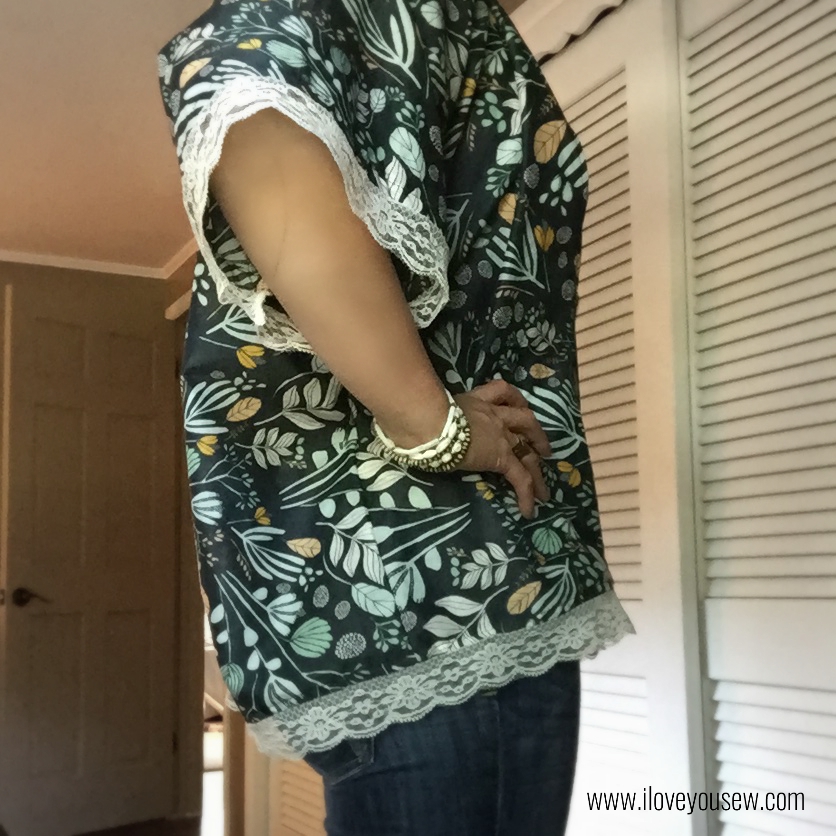
Morning Walk Finished Side

Sew Caroline‘s pattern and instructions are pretty straight-forward and simple.  However, I did get hung up on how she attached the trim to the sleeves.  I tried to find some pattern reviews online to show me how, but couldn’t find any (at least without having to pay subscription fee.) The following are the steps as I interpreted them so there would be some pictures out in cyber world 😉

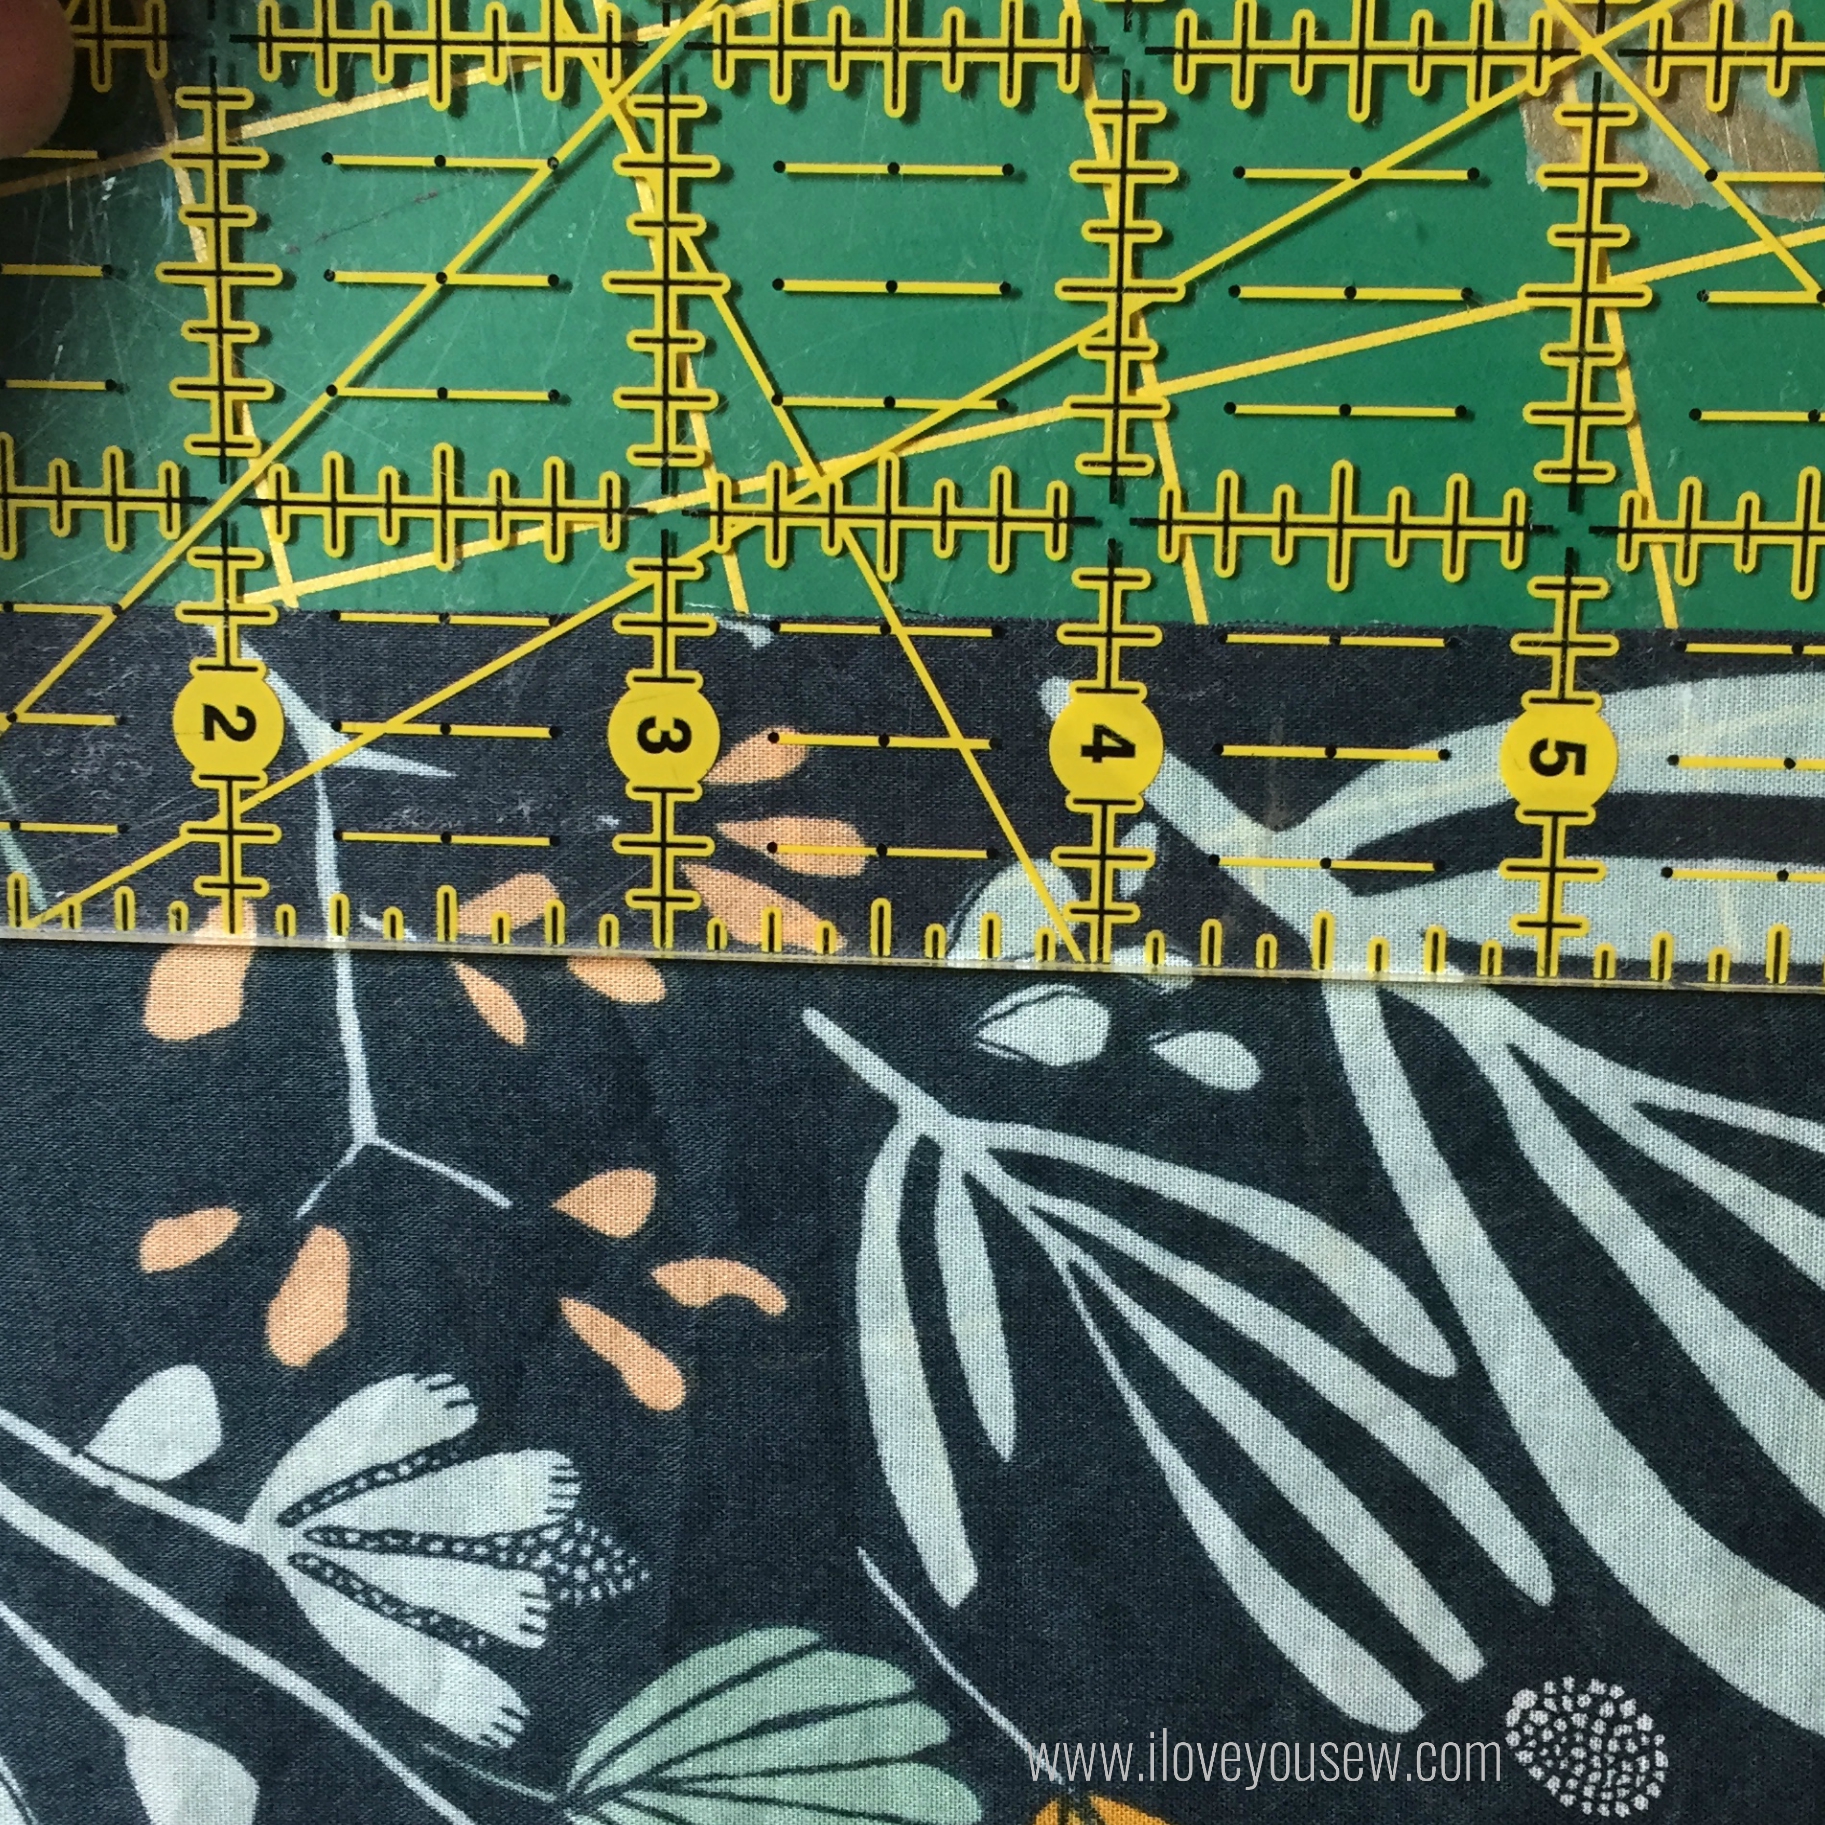
Encased Trim 1

With the right-side facing up, measure 3/4″ down from the end of the sleeve and mark.

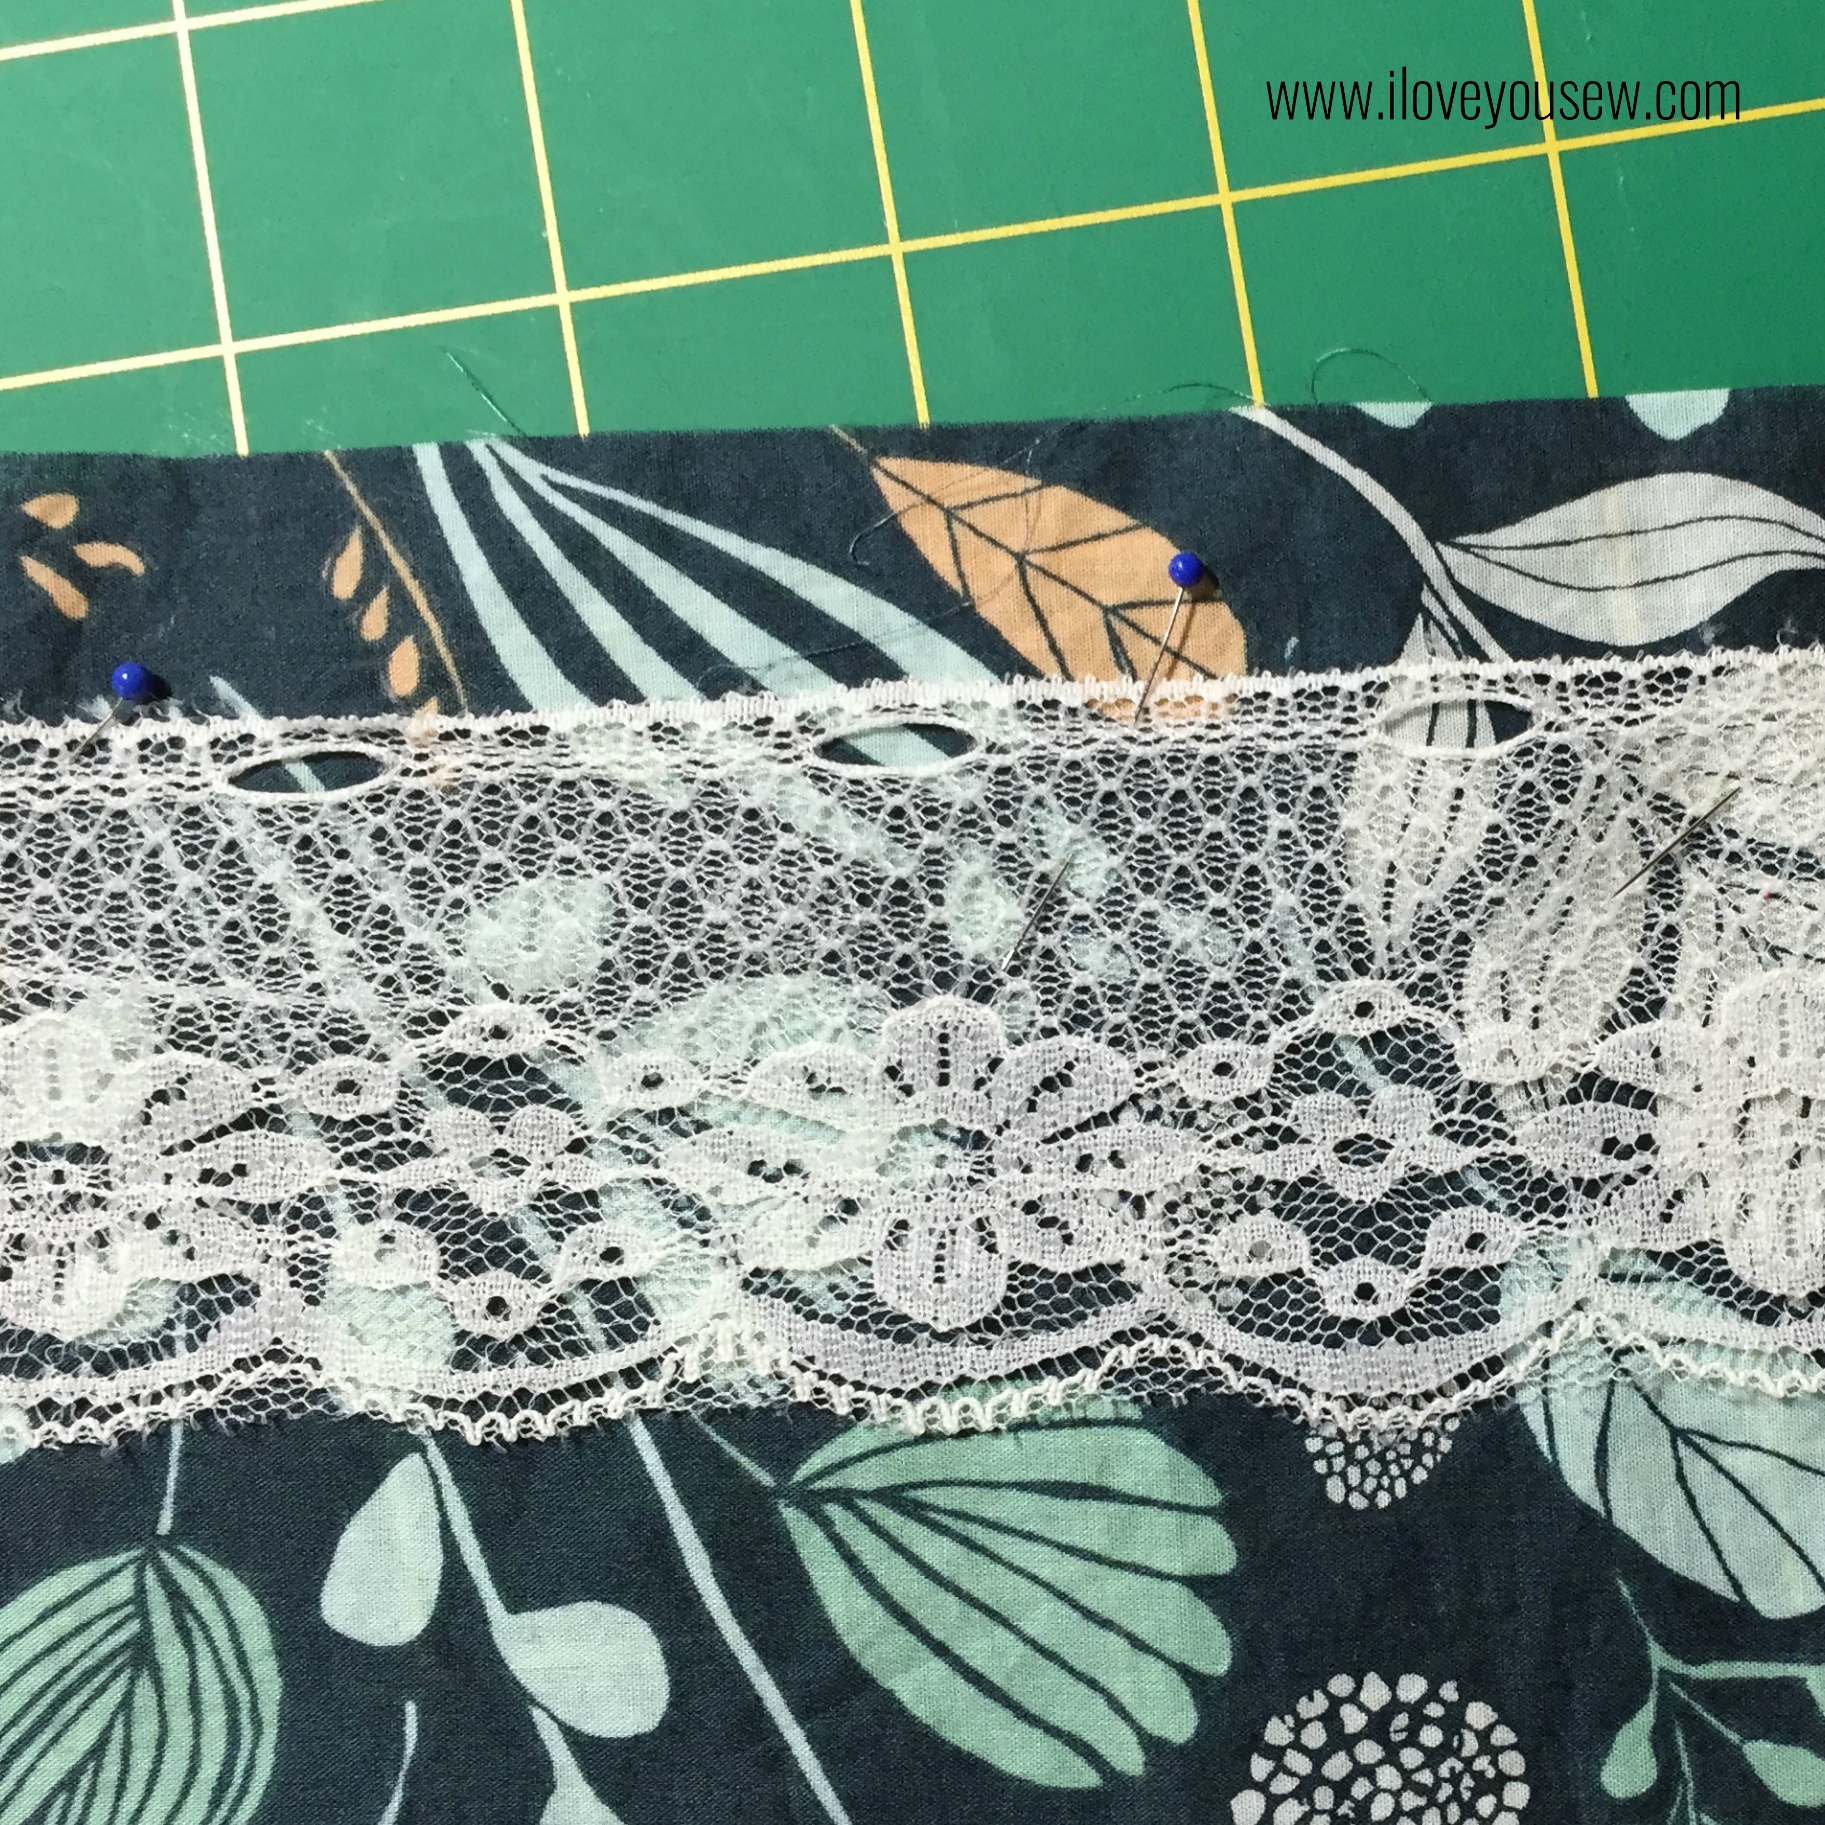
Encased Trim 2

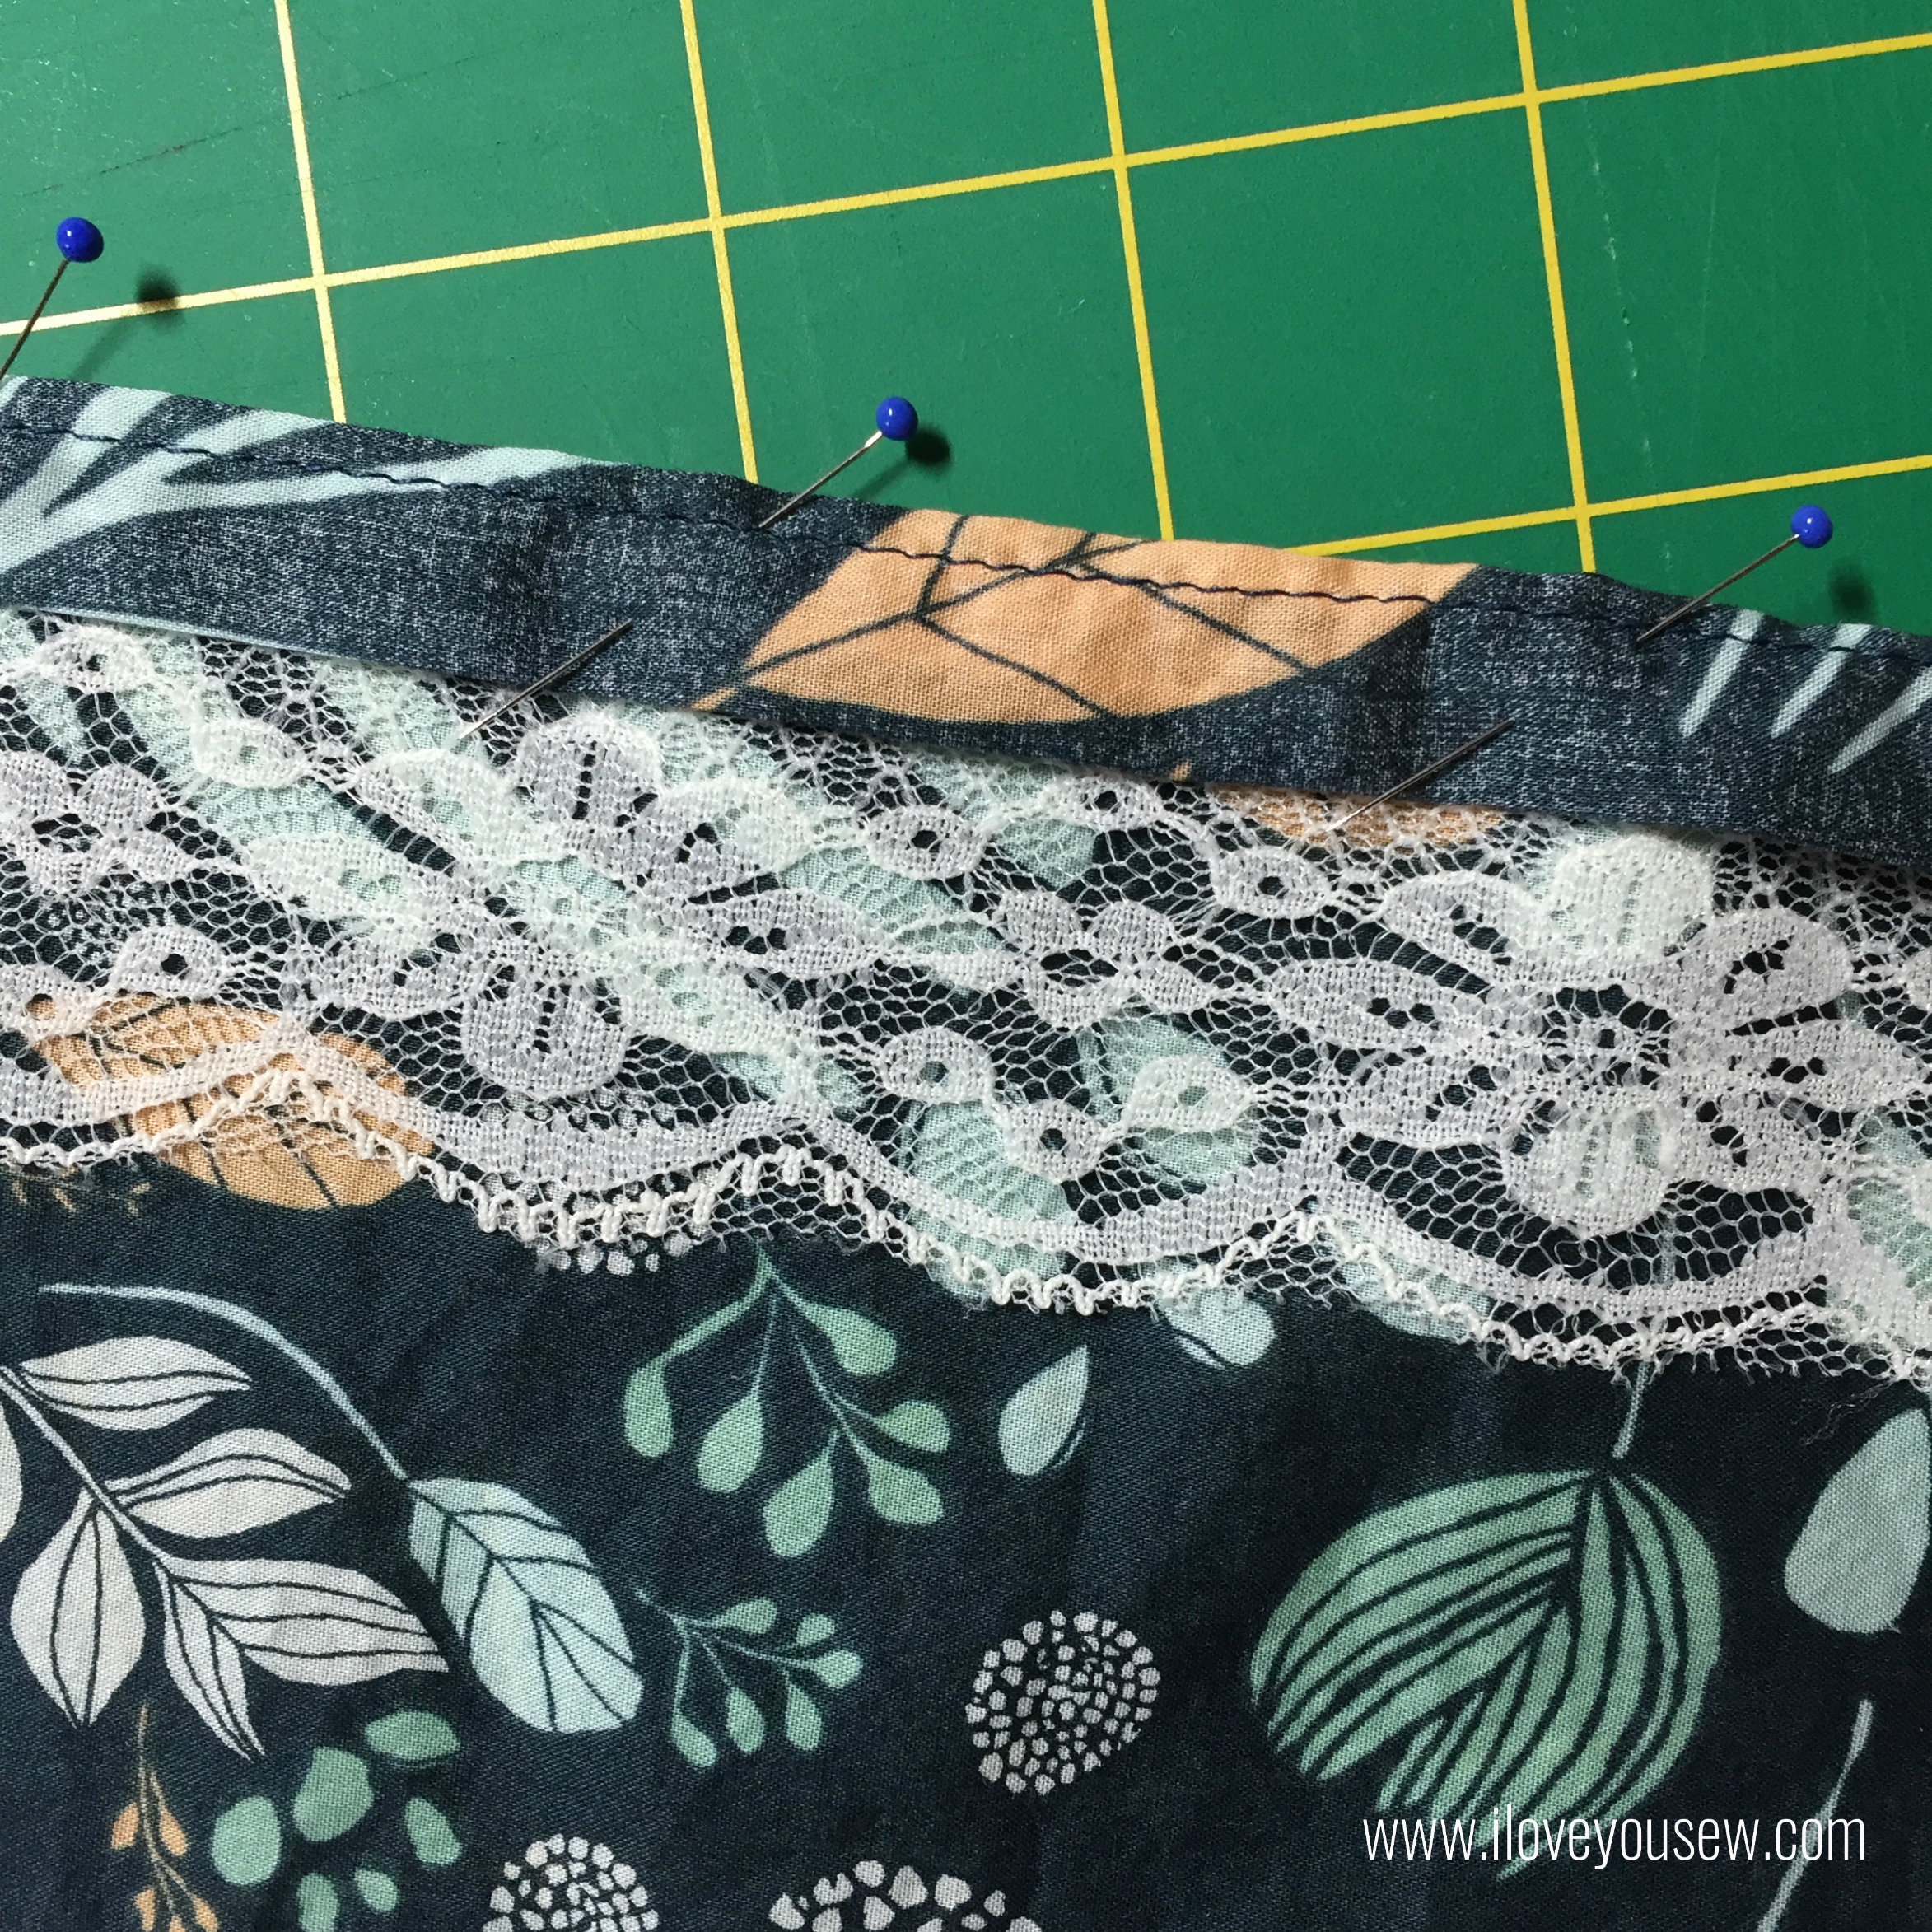
Pin the trim right-side facing the sleeve fabric on the line marked.

Encased Trim 3

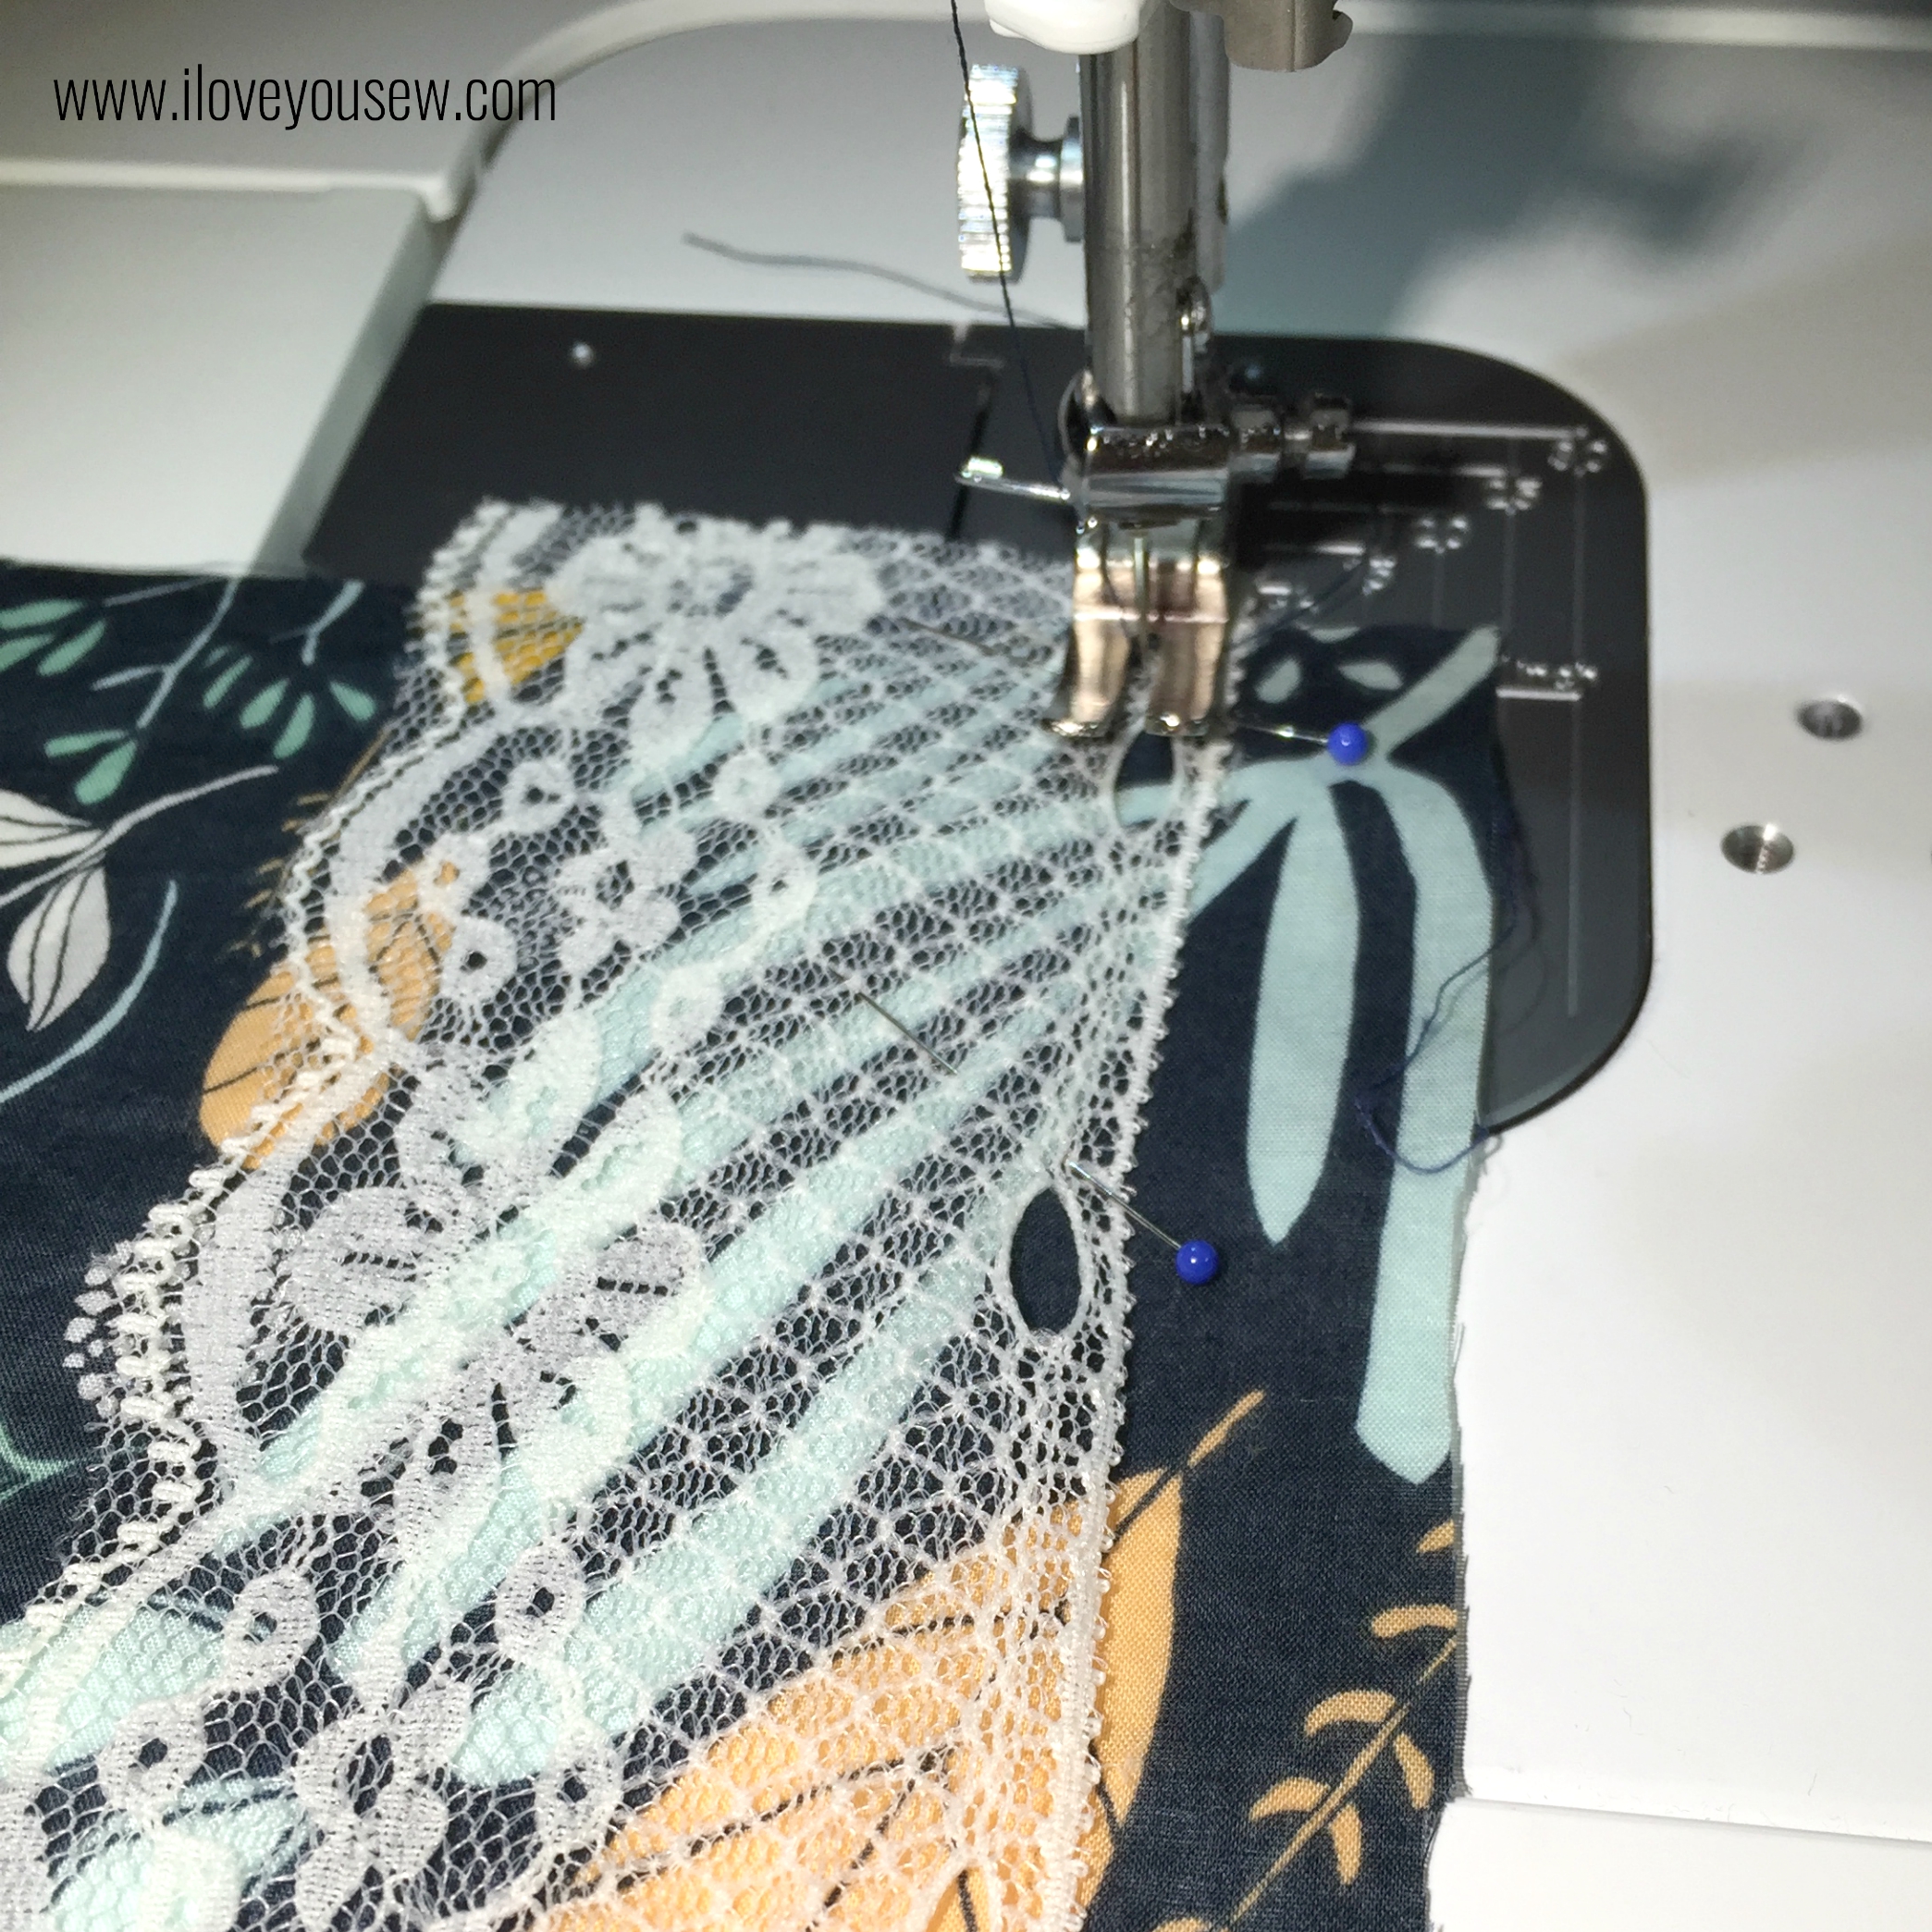
Sew the trim onto the sleeve with a 1/4″ seam allowance.

Encased Trim 4

Fold the end of sleeve up 1/2″ and press (not pictured.)  Fold up another 1/2″ press and pin in place. Sew 1/8″ from edge fold next to lace.

Encased Trim 5

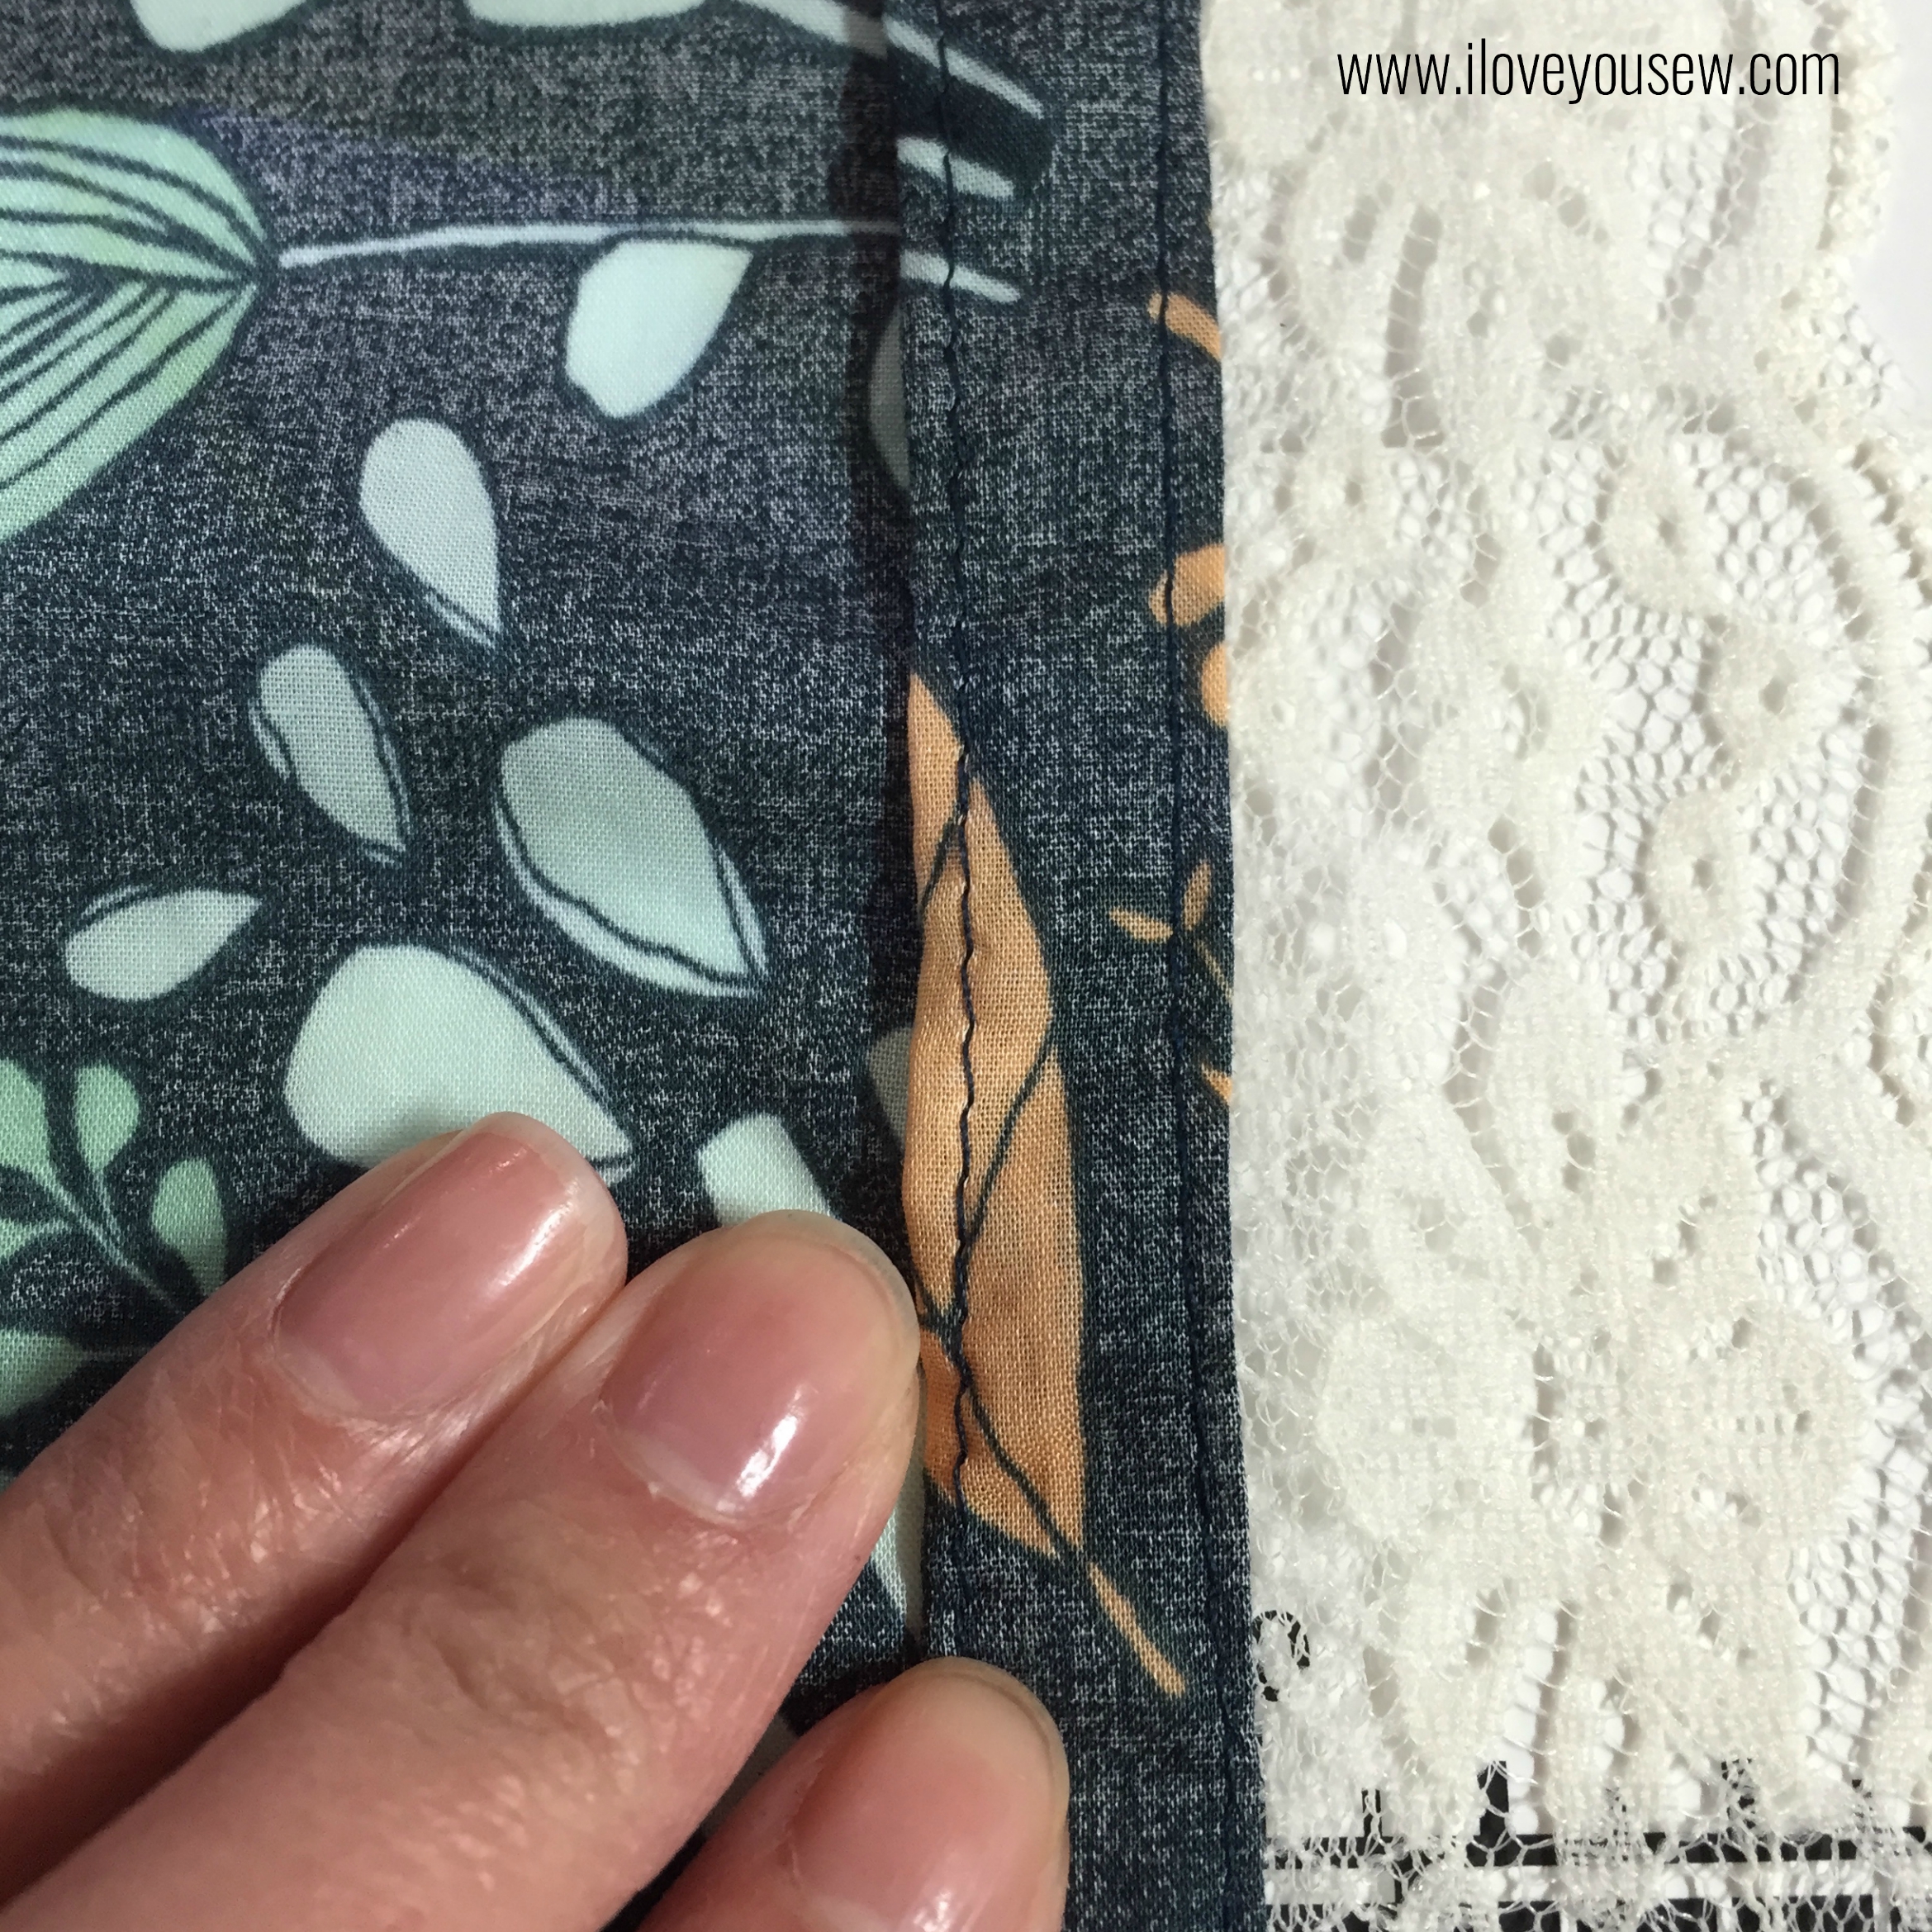
Fold the entire casing to the inside of the sleeve and press.  Sew on top of the inside seam (under my index finger) to secure .

After I added the lace on each sleeve, I tried on the Kimono and wasn’t 100% happy with this technique.  The sleeves “belled” out on their own and didn’t lay down as nicely.  The extra folding and all the seams made the sleeves stiffen out a bit.  However, I left the sleeves be and hoped that some washing will soften them out.

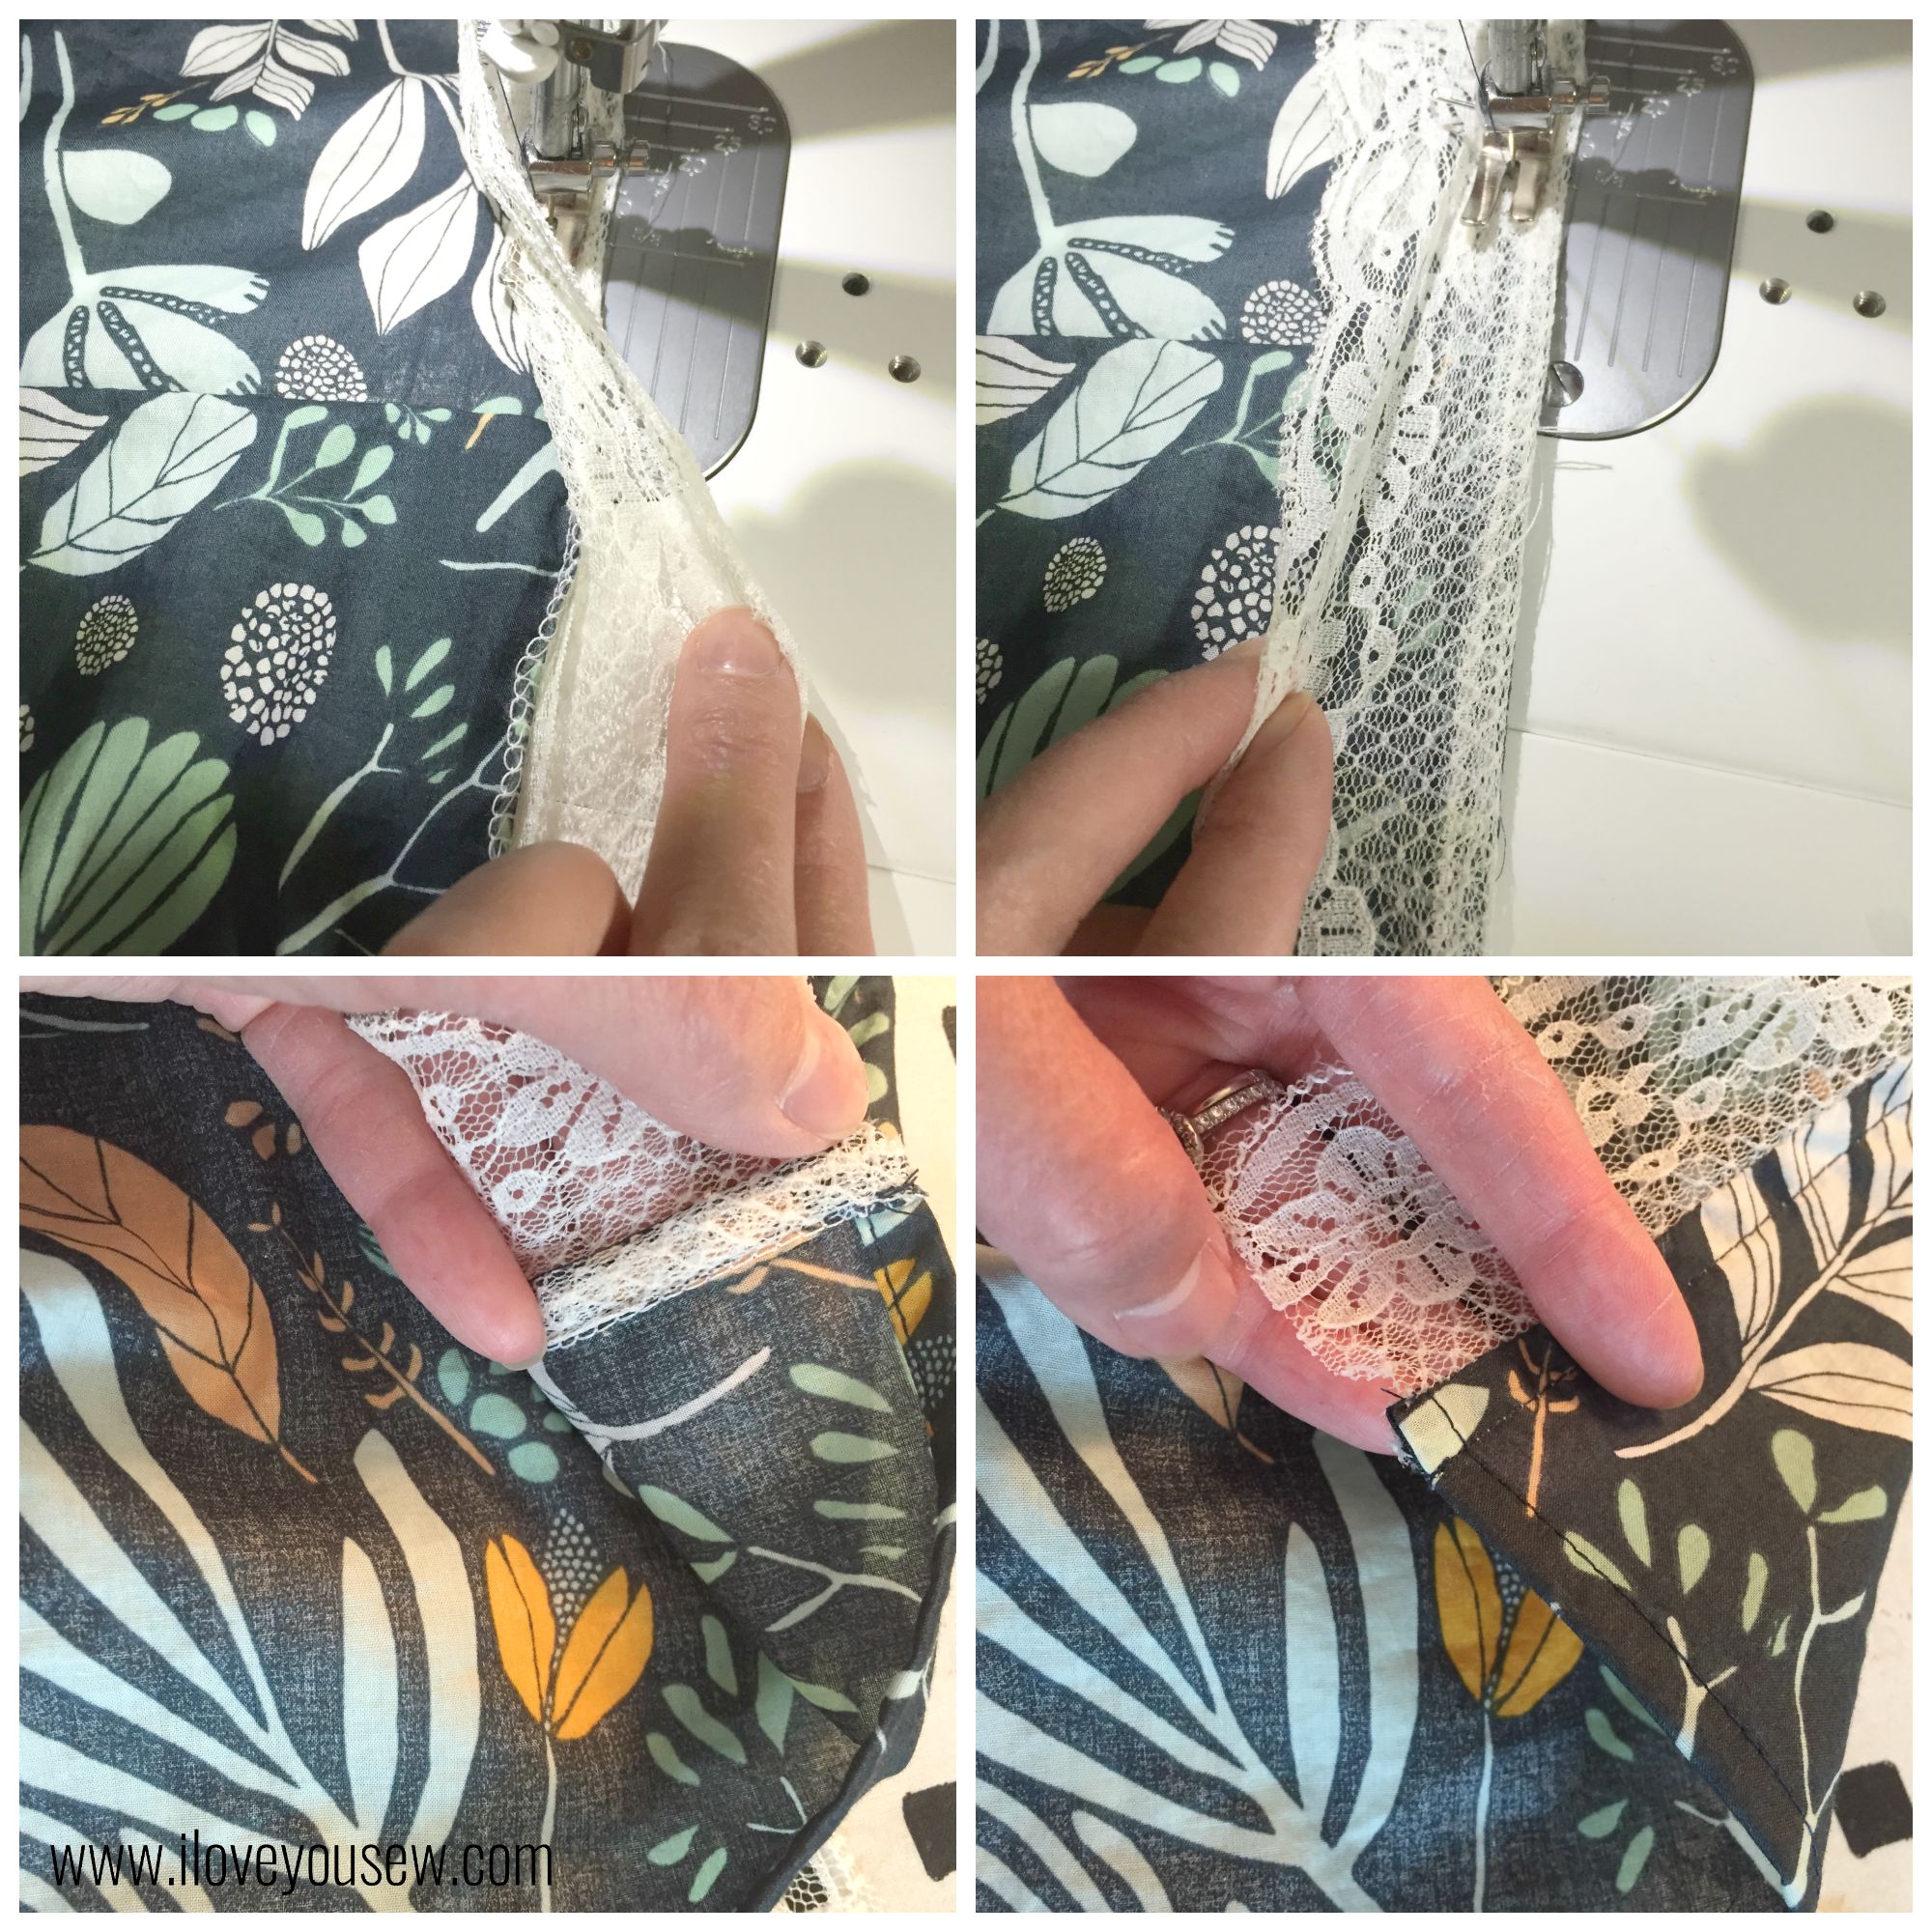
With the lace on the bottom of the Kimono, I decided to test out a French Seam technique that would drape more and allow for more of the lace to show.

FrenchSeamCollage

Clockwise from top-left:

  1. Serge or straight-stitch with wrong side of fabric and lace together.
  2. Fold the seam over with fabric and lace are right-facing.  Press and sew 1/4″ seam
  3. Fold lace out and press. Sew seam in place.
  4. Outside of Kimono finished.


Version B- wanderer:

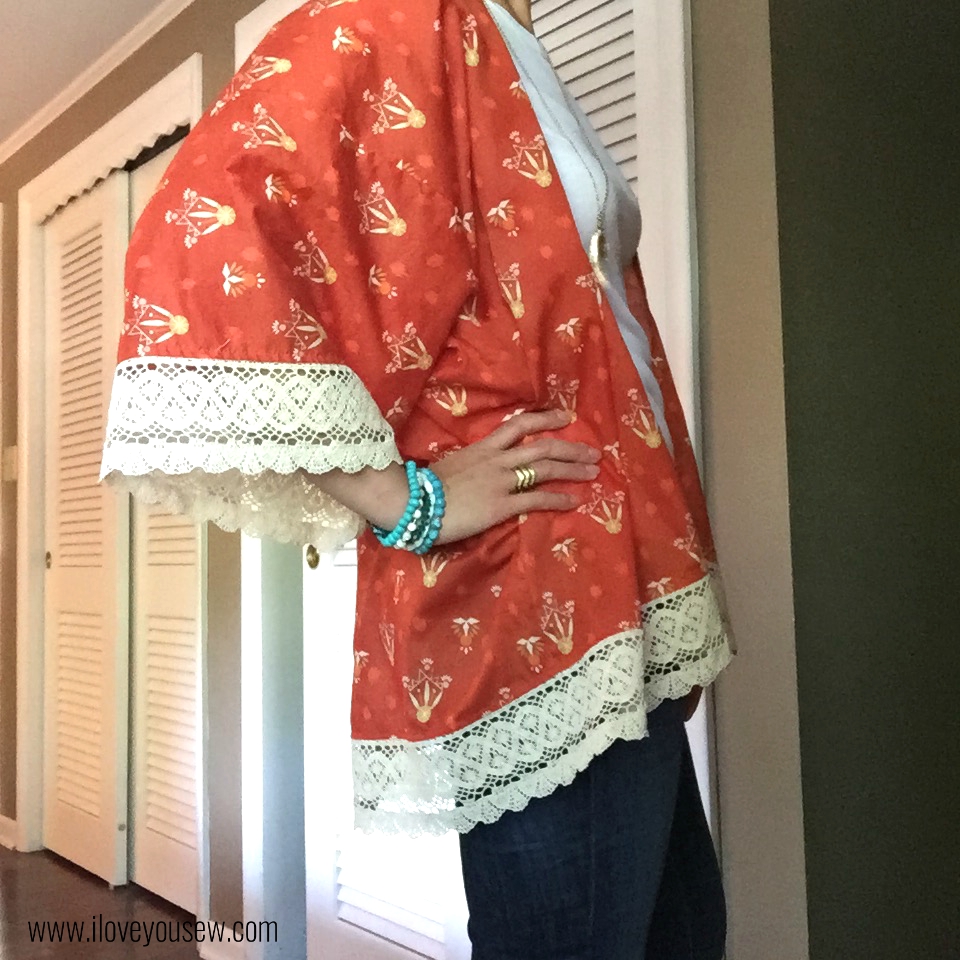
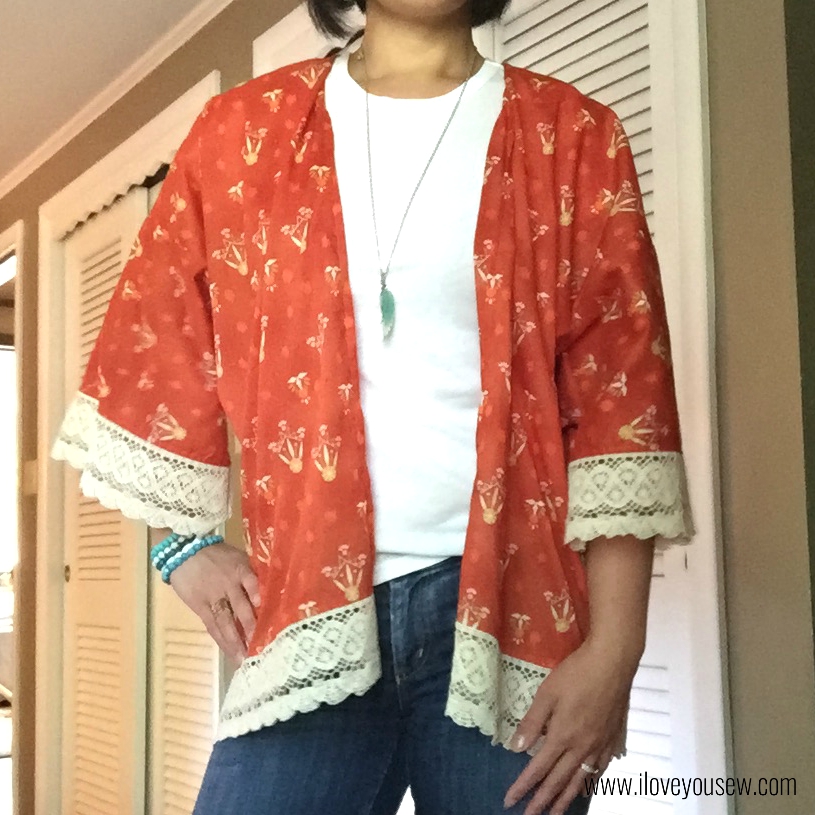
After making the Morning Walk Kimono, I made a few adjustments with this Wanderer one.  The first adjustment was to make the back a little longer with the colder autumn season quickly approaching.  I’ll wear this with denim jeans and leggings to go along with the amazing burnt orange color.
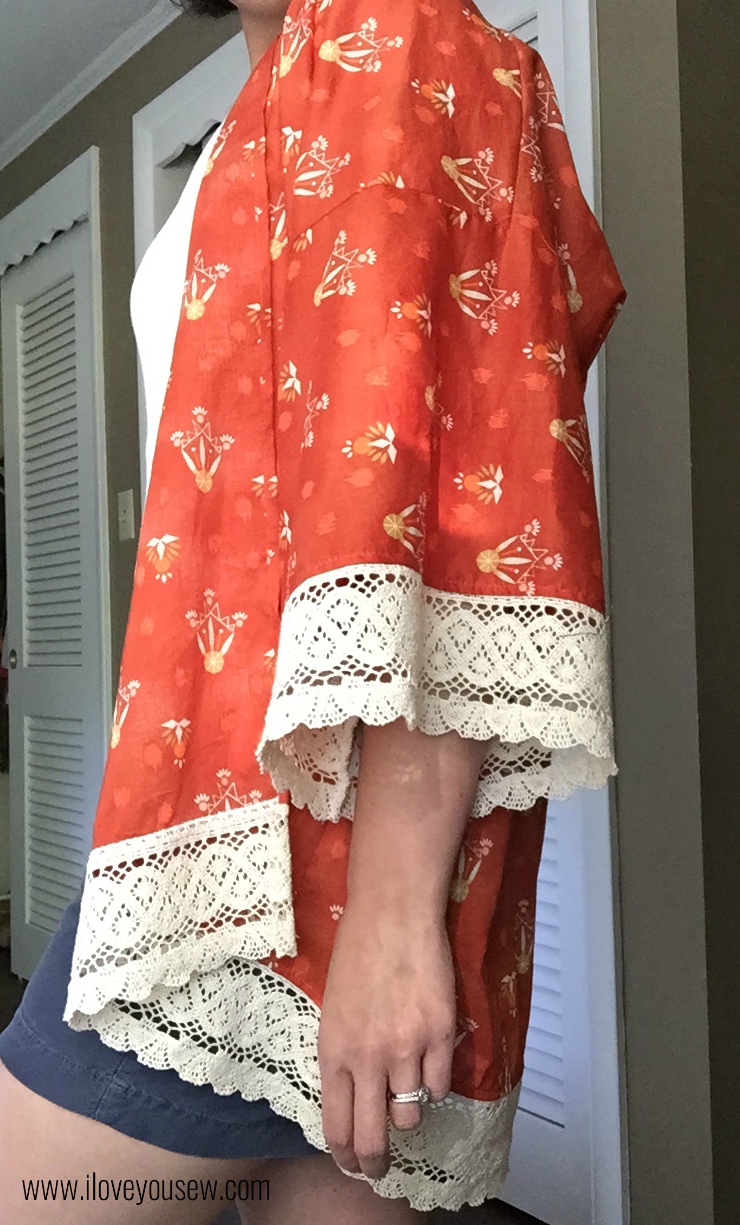
Dreamcatcher Finished Side Arm Down


I cut the back piece 2″ longer than the pattern piece.  After attaching the front pieces to the back, I folded the entire Kimono in half and made a cut connecting the original length of the front pieces to the longer back.  This made for the nice drop to hide my bum 😉

Dreamcatcher Finished Side

The second change I made was how I attached the lace.  I wanted to have as much of the lace showing because it’s just gorgeous and I didn’t want to stiffen up the sleeves like with Morning Walk. The lace was attached with my serger (blade disengaged) and then I top-stitched it into place.

Dreamcatcher Finished Front

The interior isn’t as pretty as the original pattern instructions, but I don’t mind one bit.  I got all the extra length and flow I expect from a Kimono.  The width and the weight of the lace will most likely keep the inside seams hidden away…

I absolutely love both versions of Sew Caroline’s Kimono pattern and definitely recommend this as a beginner garment.  I can’t wait to strut around with some more Boho Chic style this season 😉  What are you making this fall?  I need some suggestions for some future wardrobe fillers!


Happy stitching,

Cristy
Testing the “Jacks Quilt” Pattern

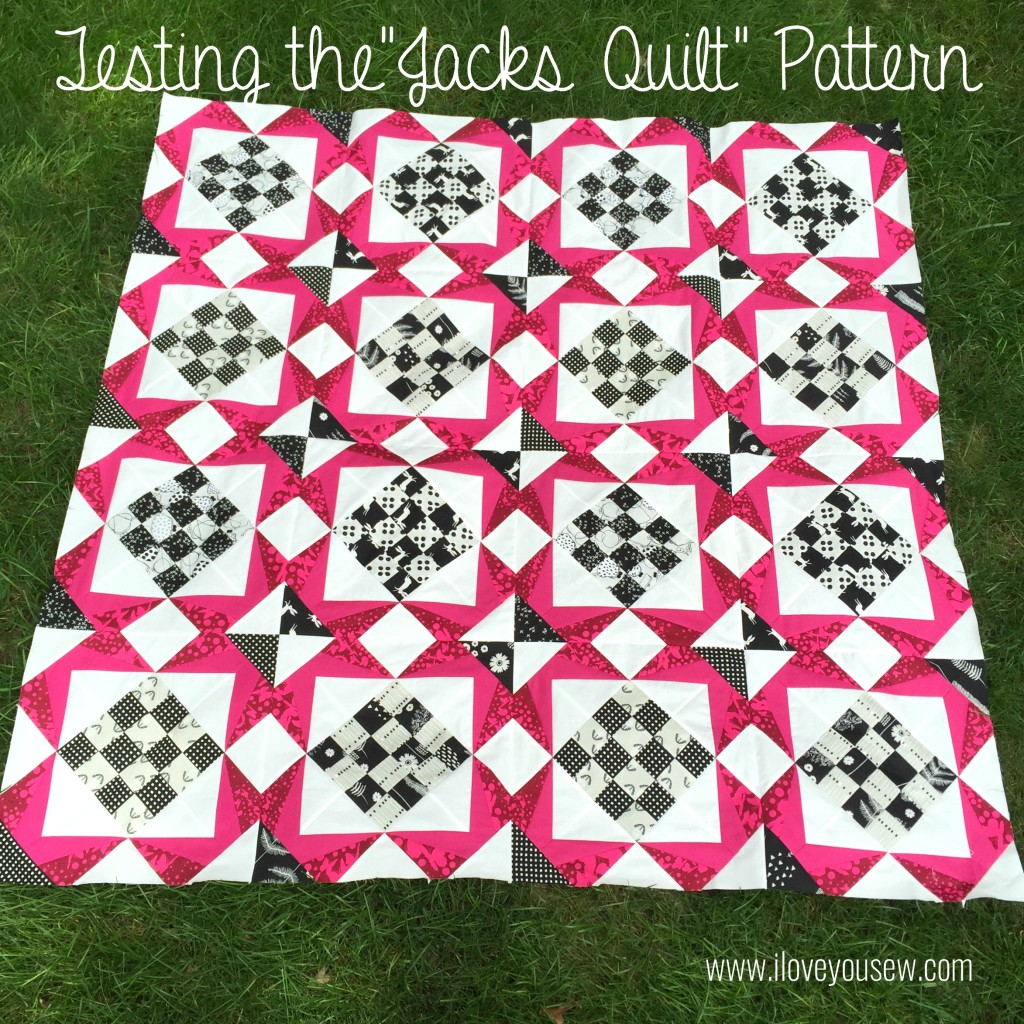
Jacks Quilt Top

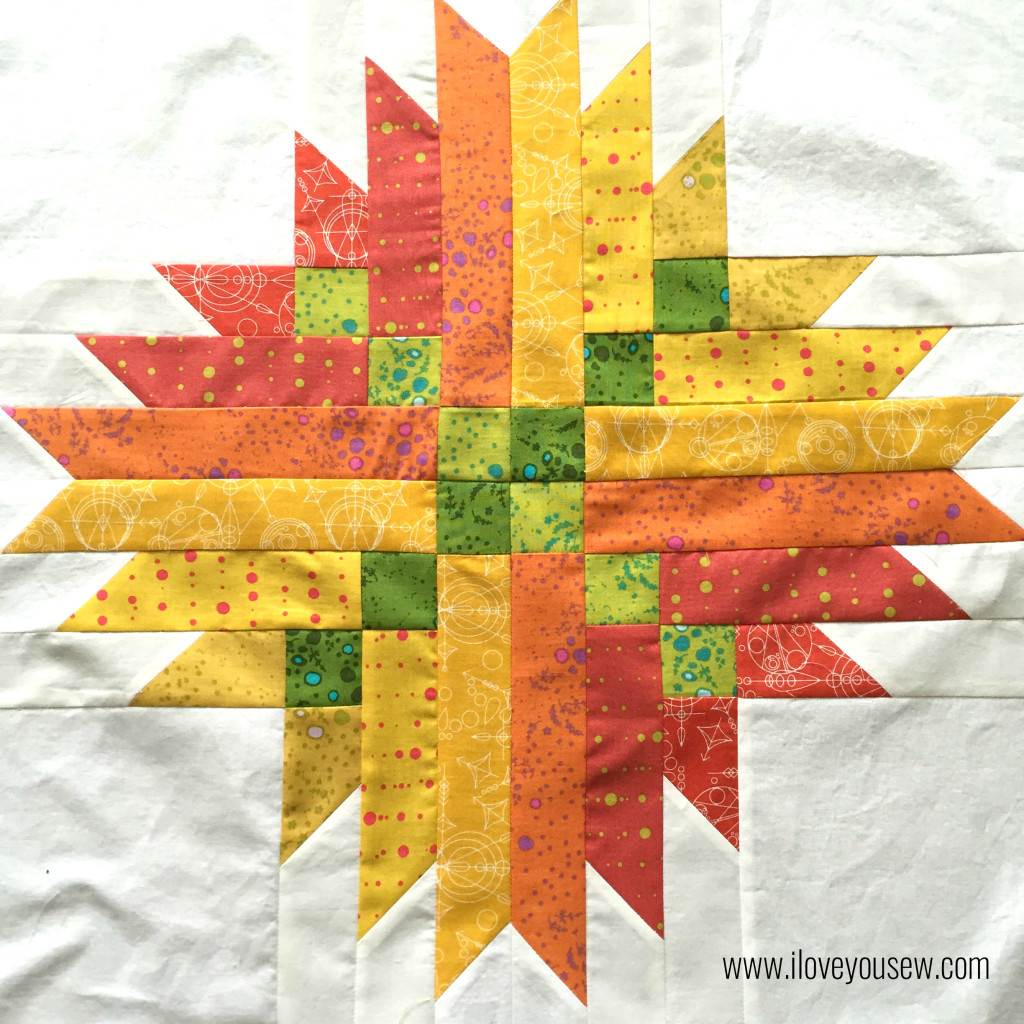
The “Jacks Quilt” pattern has just been released by Bryan House Quilts and I was fortunate enough to be one of the testers.  I’m SO excited to finally reveal my #SecretSewing project!  It’s tough not being able to show what I’ve been working on lately…especially since it’s just so darn pretty 🙂

This quilt pattern is gorgeous!  You can find the pattern in Becca’s shop currently for 30% off as part of it’s new release (discount code on her blog.)  This design is based off of a 16-patch and paper-pieced stars and has so much versatility.  You can omit the patches and play with the number of blocks to have completely different looks.

2x2 Mini

There are five different sizes you can make.  I opted for the throw, which is a 4 x 4 block.  It’s a generous size and I could (always) use another couch quilt 🙂  Not mentioned is the possibility to make a mini with a 2 x 2 block (approx 34″ x 34″.)  This would be a perfect baby quilt or stroller blanket.

Fabric Pull

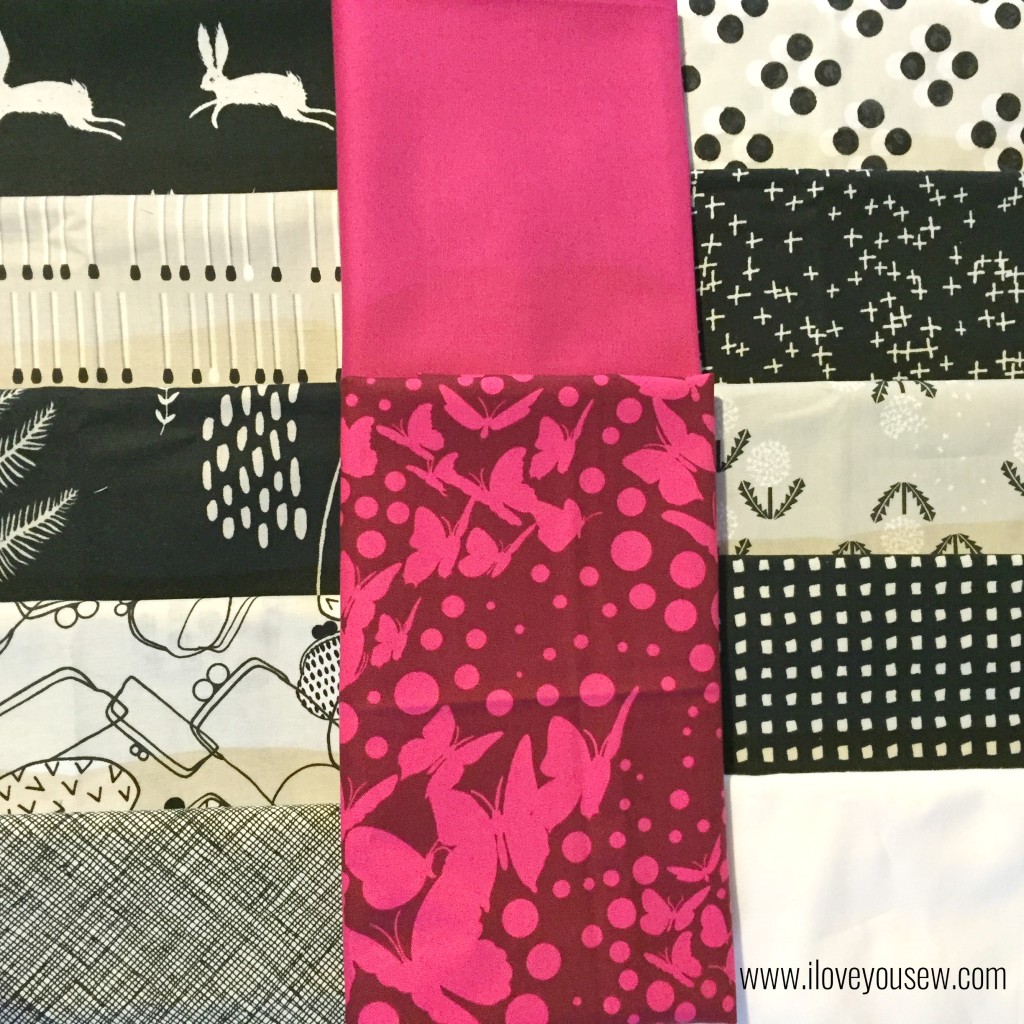
When I received this pattern, I knew I was going to use my Black and White Cotton + Steel bundle.  The 16-patch made for some good mixing and matching of the fabrics for a checkerboard look.  To bring out the stars and add some fun, I chose Tula Pink’s Butterfly Swarm in Jam from her Moonshine collection.  This saturated fuchsia was perfect against the Black and White.  I paired the Butterfly Swarm with Kona Cotton in Valentine to complement, but not compete against the busy fabric.  All of these fabrics were balanced out with Kona Cotton in Snow to make the design of the quilt pop out.  I added Architextures Grid in Black as possible binding, but I’m not entirely sold on it just yet…

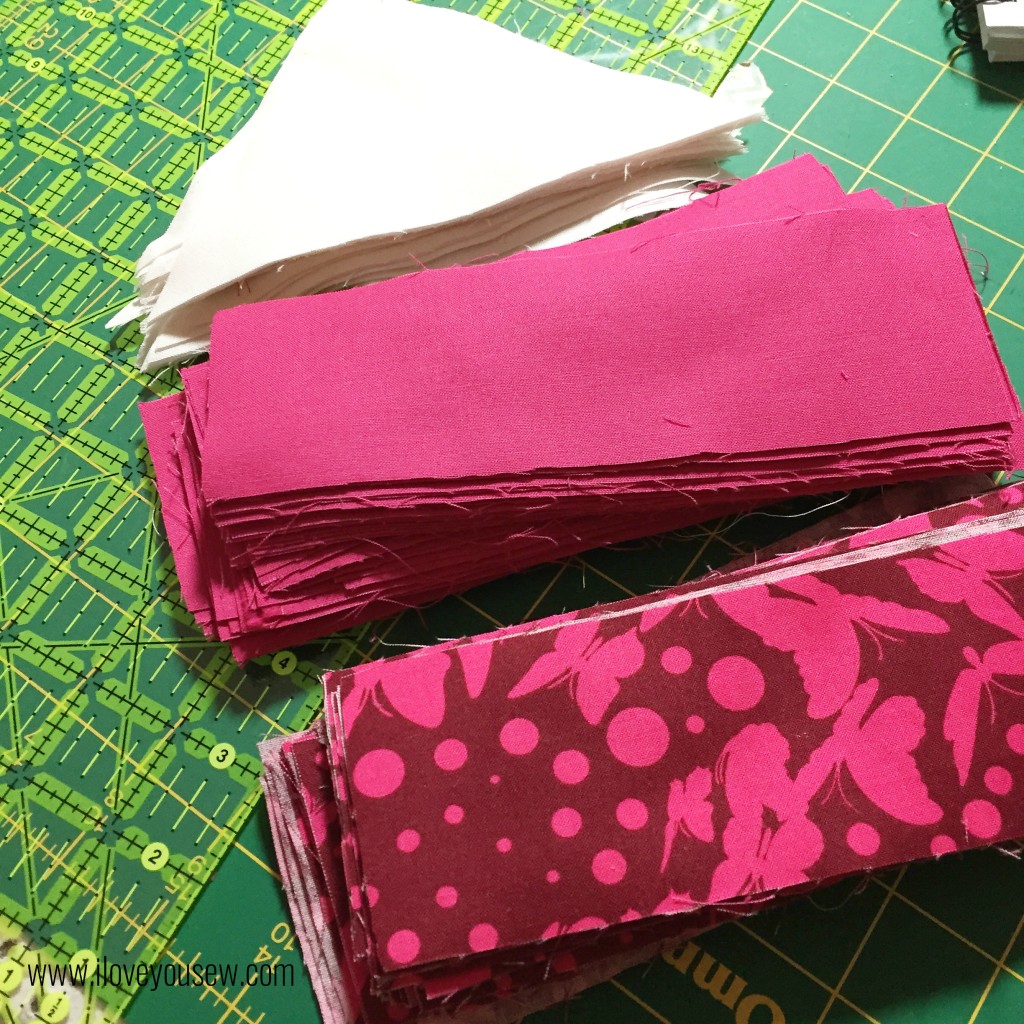
PaperPiecingPrep

There is a good amount of paper-piecing involved for the stars, but luckily it involves only three fabrics per Star Spoke and they are a generous size.  Becca provides great instruction on the process to help you along.  If you are new to this and need some more help, this is a great video tutorial on paper-piecing as well.

Chain Piecing

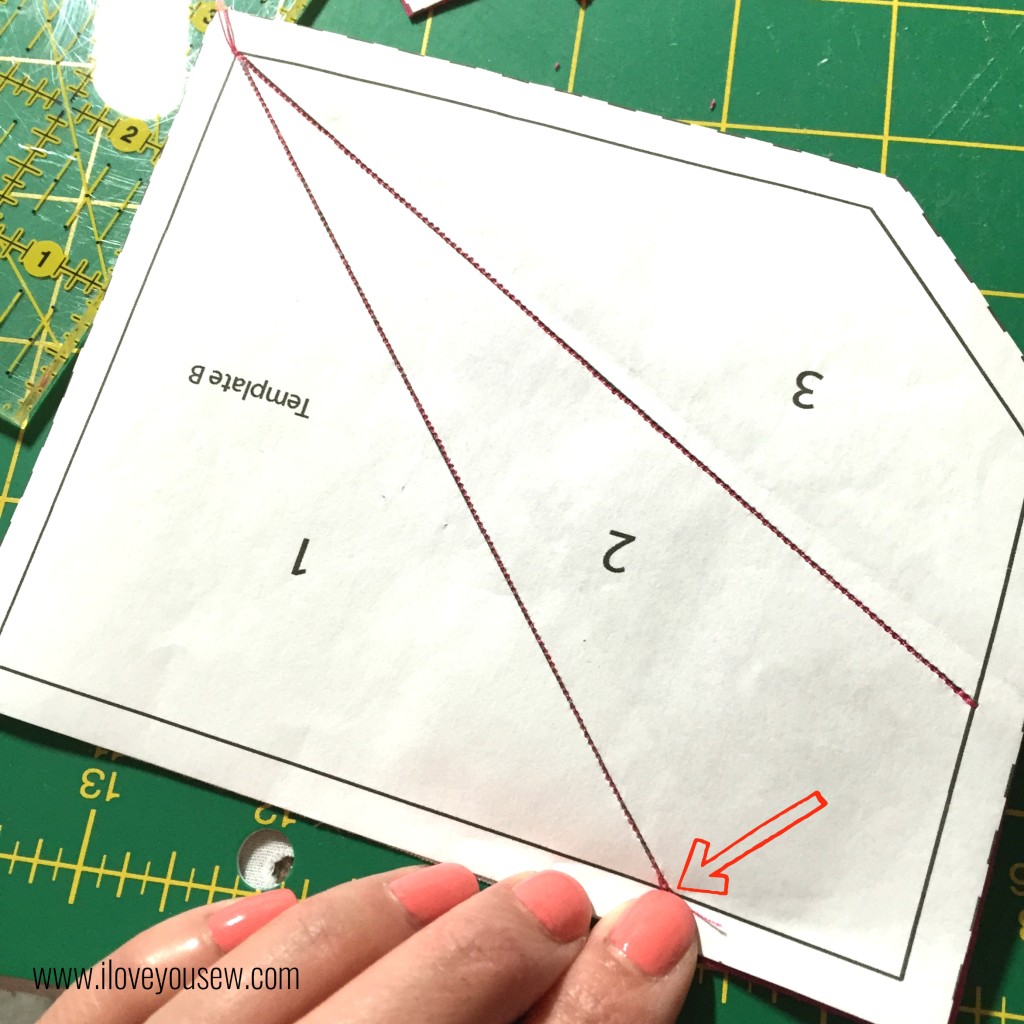
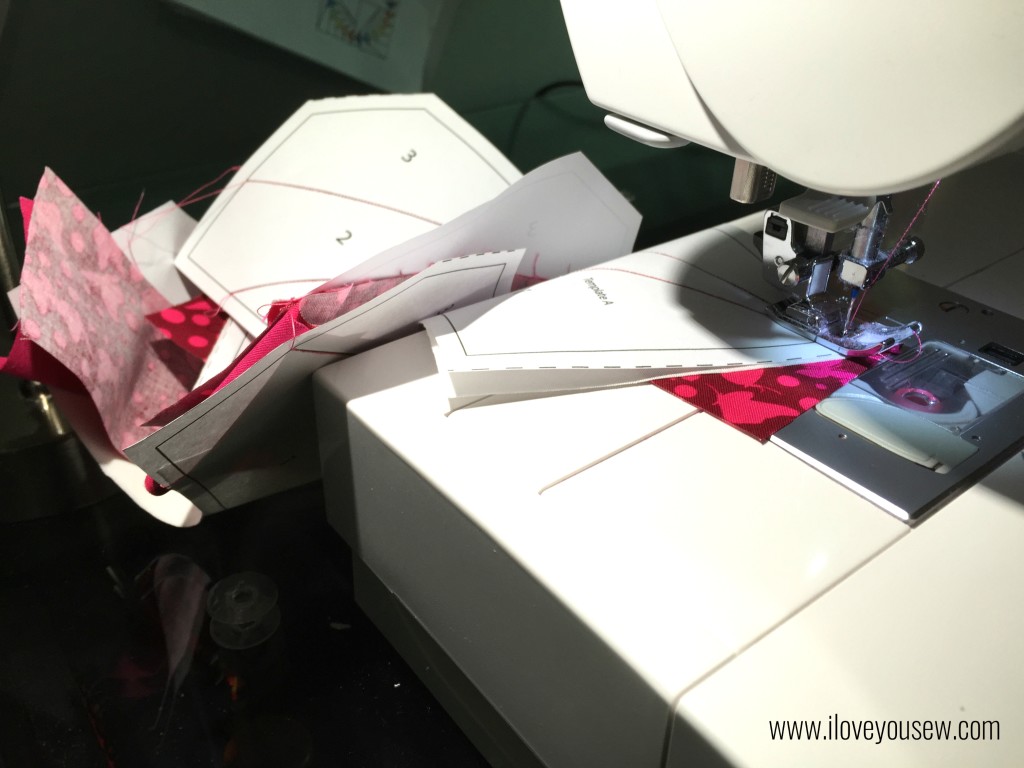
I found that prepping all the fabric at once and setting up an assembly line worked the best for me.  Then I could have a “modified” chain-piecing line.  This is “modified” because you generally do not sew through the seam allowance on paper-piecing templates, so I had to lift the presser foot to pull the templates through vs continually feeding fabric.

Matching Points

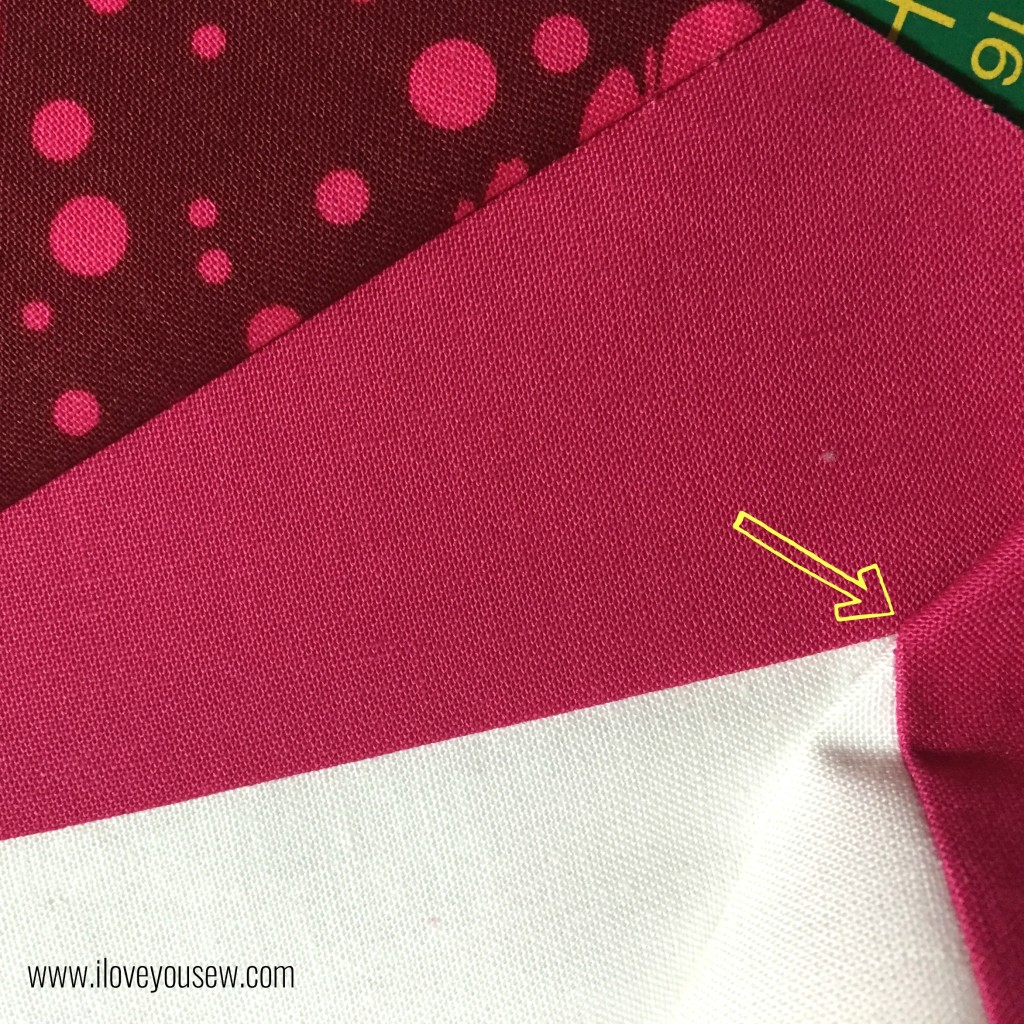
When attaching the spokes together, I decided not to nest the seams to keep the look of the triangles clean (since they were white and you could see through to the seam allowance.)  So to match up the points, I pinched the ends where they met.

Matching Points Preview

Then I flipped over the pieces to check that the points indeed matched.  I pinned the pieces and sewed away 🙂

Grading Seams

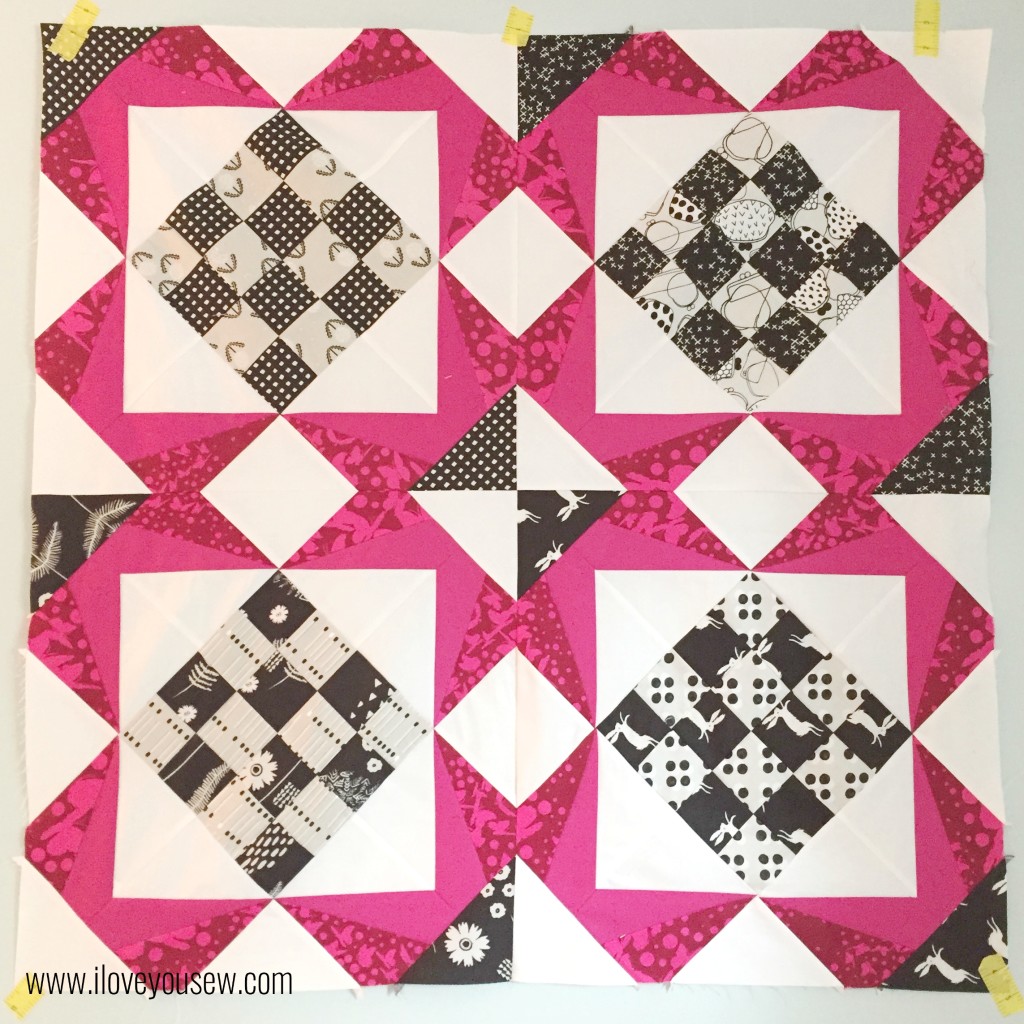
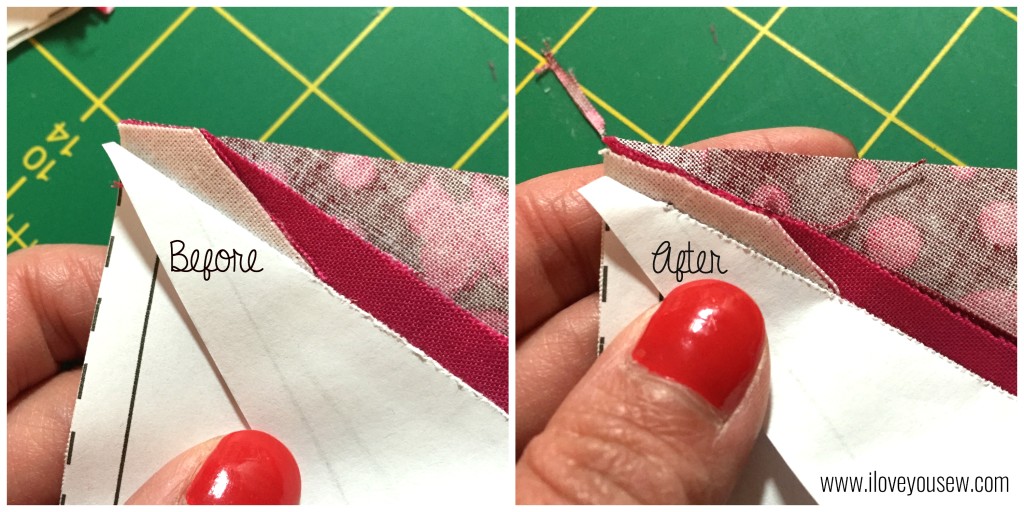
A great tip from Becca was to grade the seam allowances of the stars as you assemble the blocks.  This takes out some of the bulk and allows the blocks to lay better for pressing.  The points of the stars get pretty bulky otherwise.

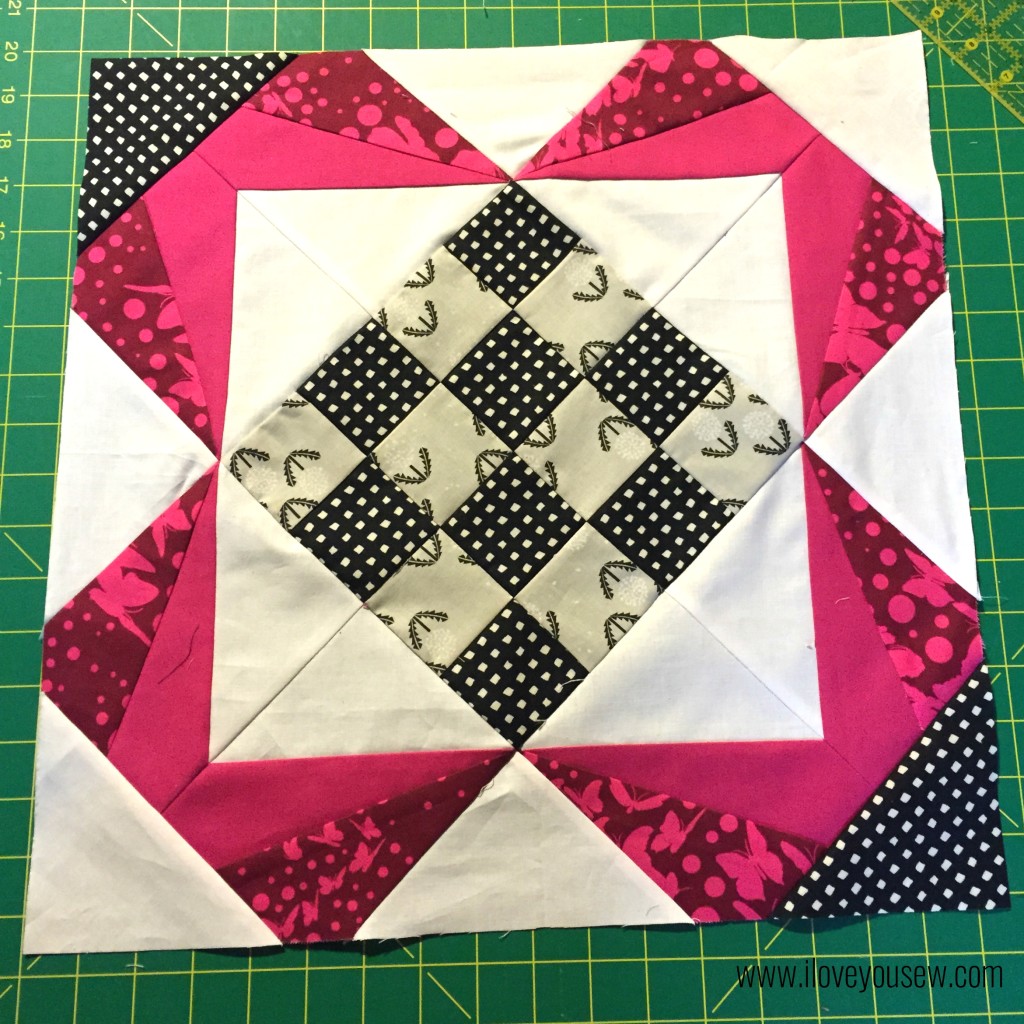
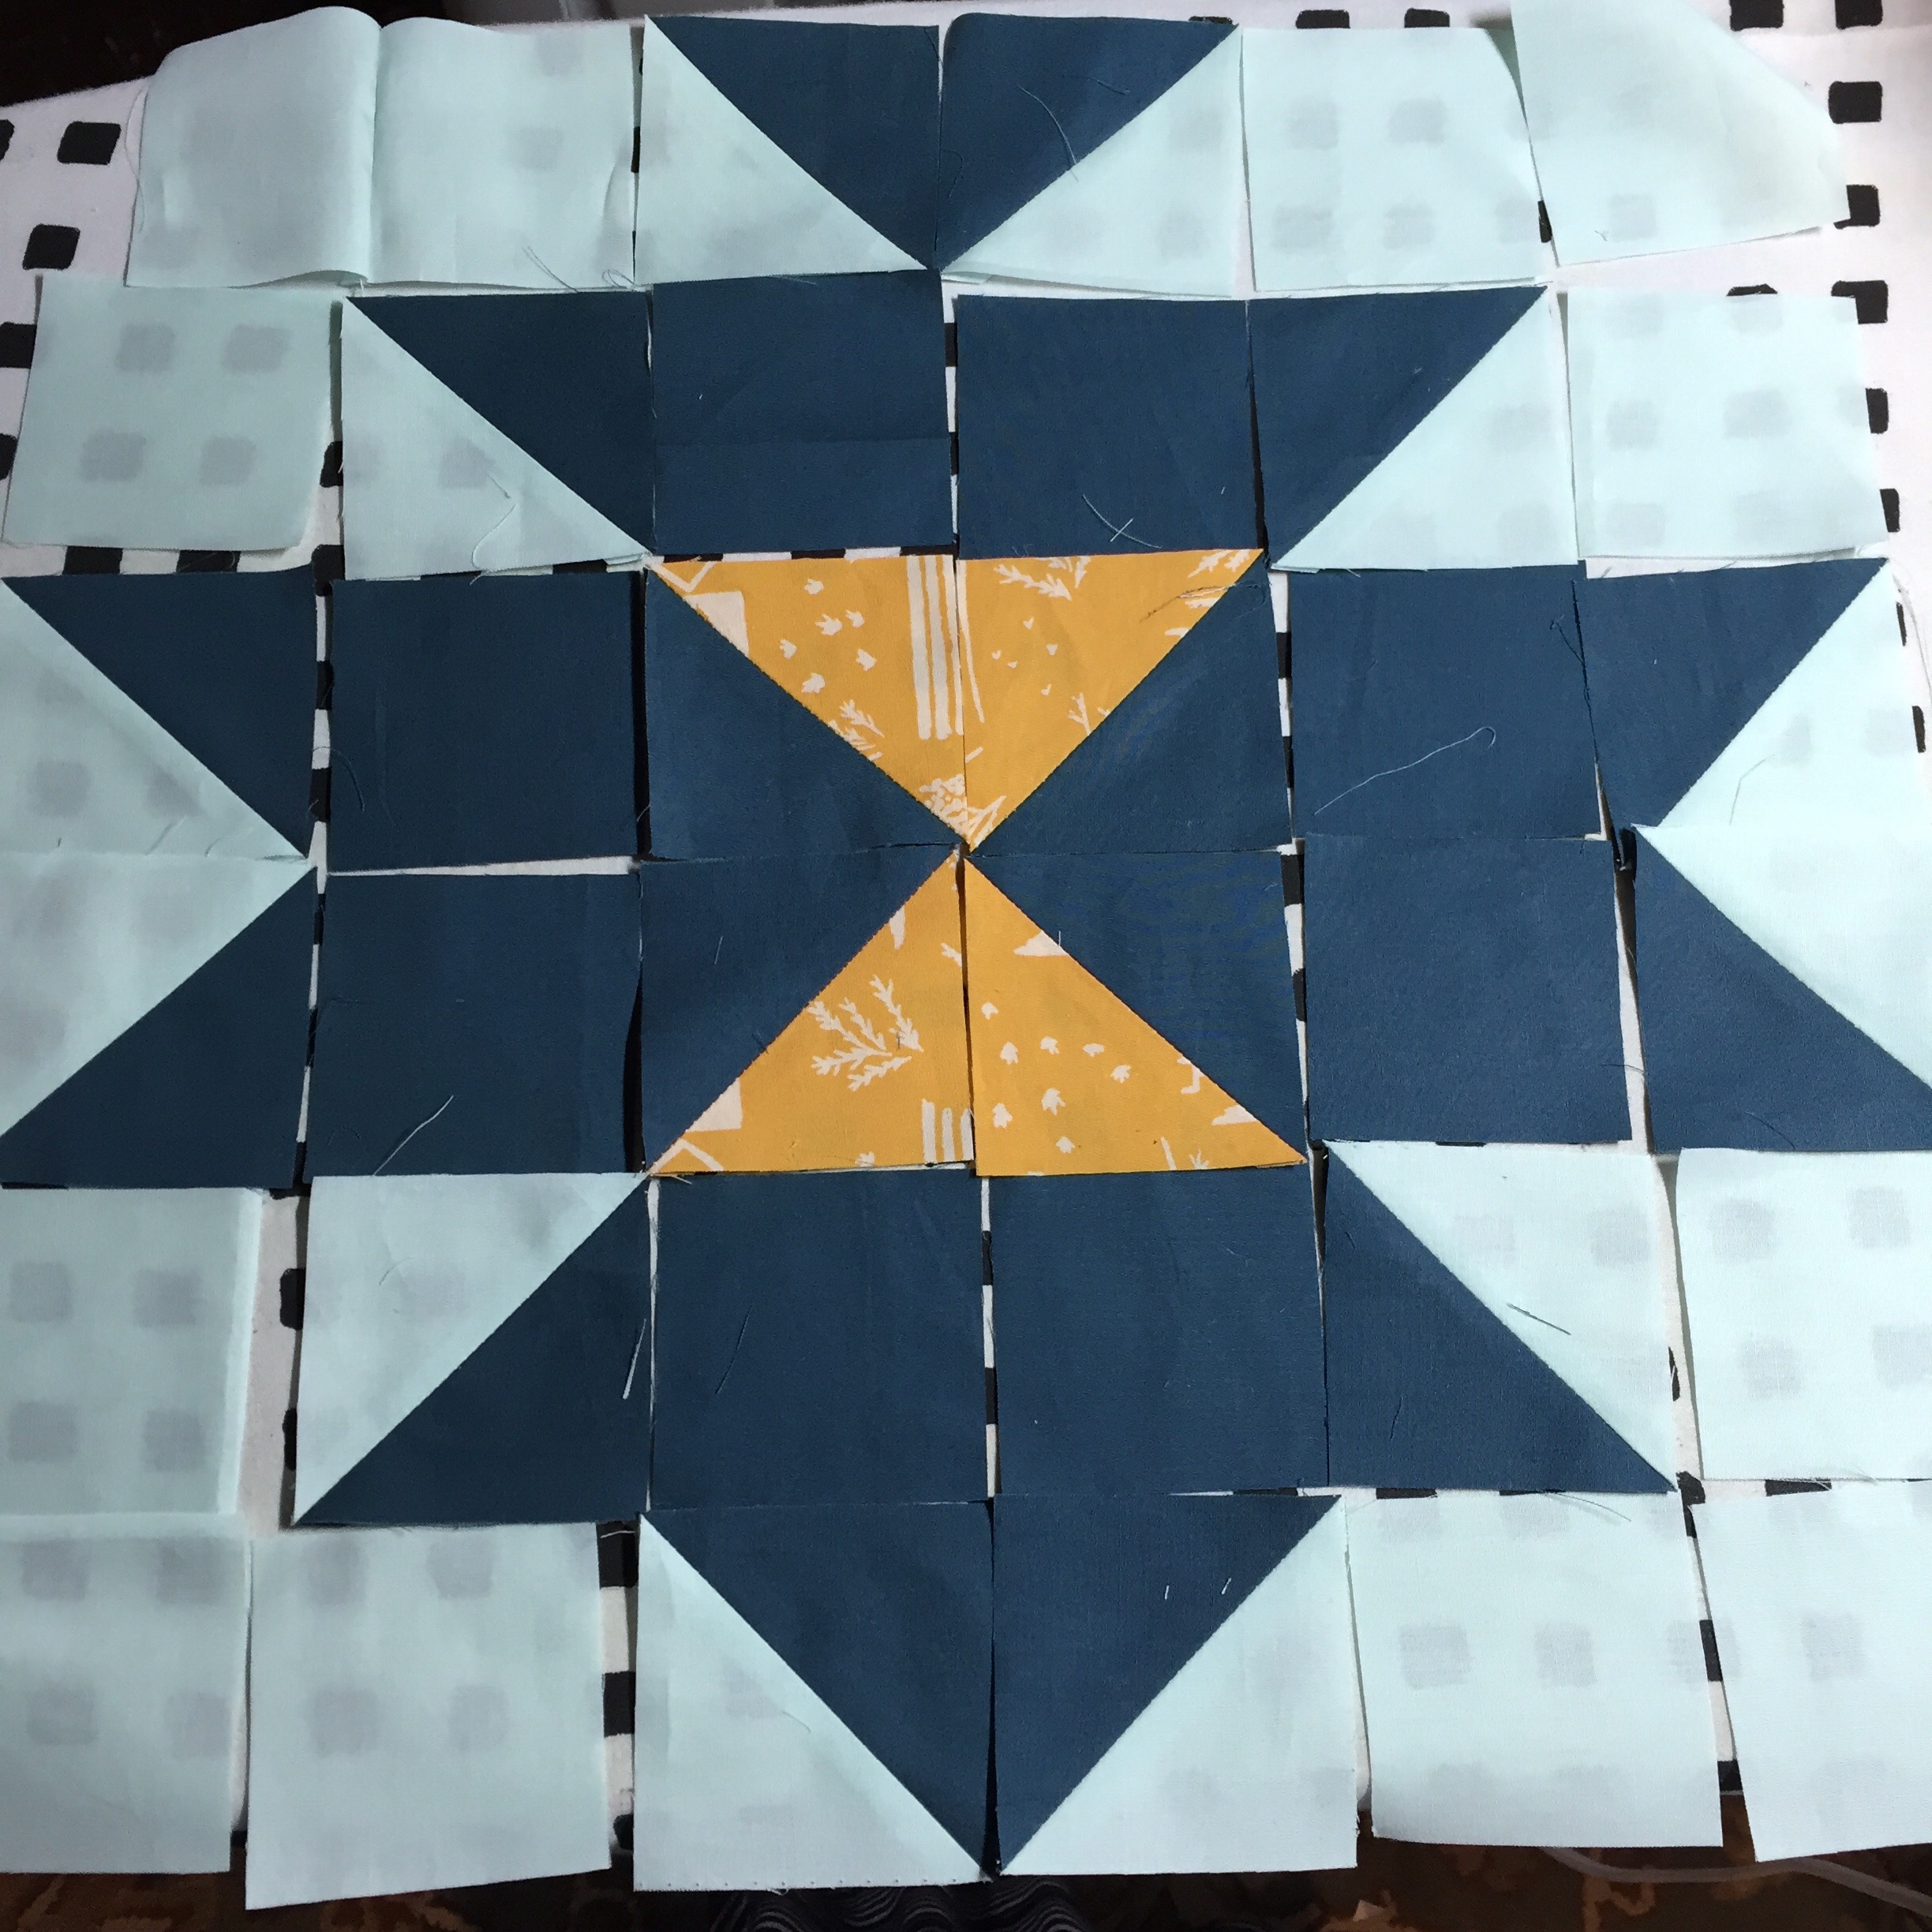
Finished Single Block

So far, I’ve completed the quilt top and am waiting on the backing fabric to arrive so I can quilt this puppy.  I can’t wait to show you more….plus, this will be my first quilt completed on my new sewing machine….eek!!!

***For pictures and the post of the completed “Jacks Quilt,” go here.***


Happy Stitching,

Cristy


The pattern was provided by Bryan House Quilts as part of testing. All material was purchased and selected by myself. All opinions and comments are my own and have not been influenced by 3rd parties.


Astrodelic Quilt Hack: Resize to a Mini

AG Mini Complete Title

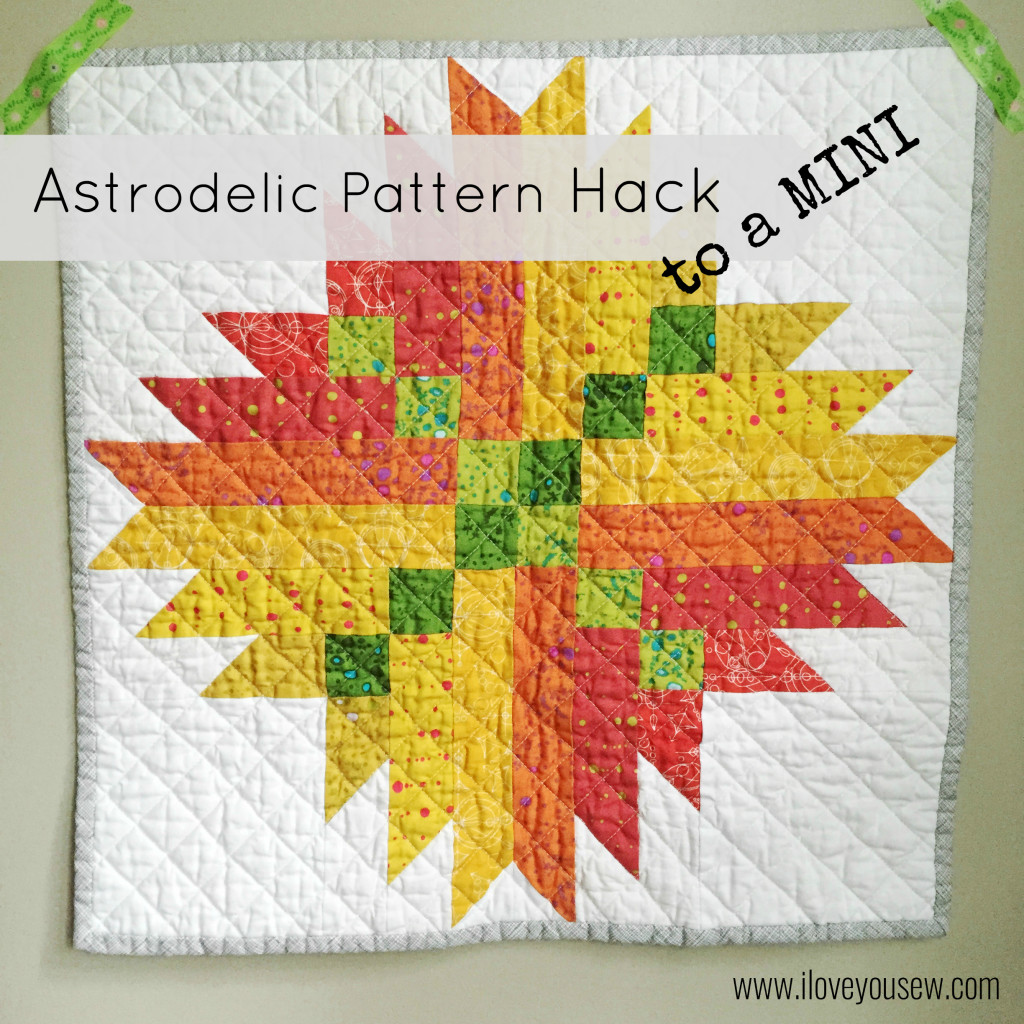
If you have been following my posts, I shared the re-cap of my Instagram based Alison Glass Mini-Quilt Swap experience last week. This week, I’ll share how I hacked and re-sized the Astrodelic Quilt pattern from a 42″ x 42 ” throw to a 21″ x 21″ mini using the amazing 2015 Sunprints line.  Based on the colors selected, I decided to call my mini, “Fireball.”

How did I decide on this size?  Honestly, it seemed like the easiest way to resize to a fourth of original by halving many of the fabric cuts.   The measurements fit within the parameters of the swap and I could follow all of the instructions without having to deviate too far…Simple enough, right???

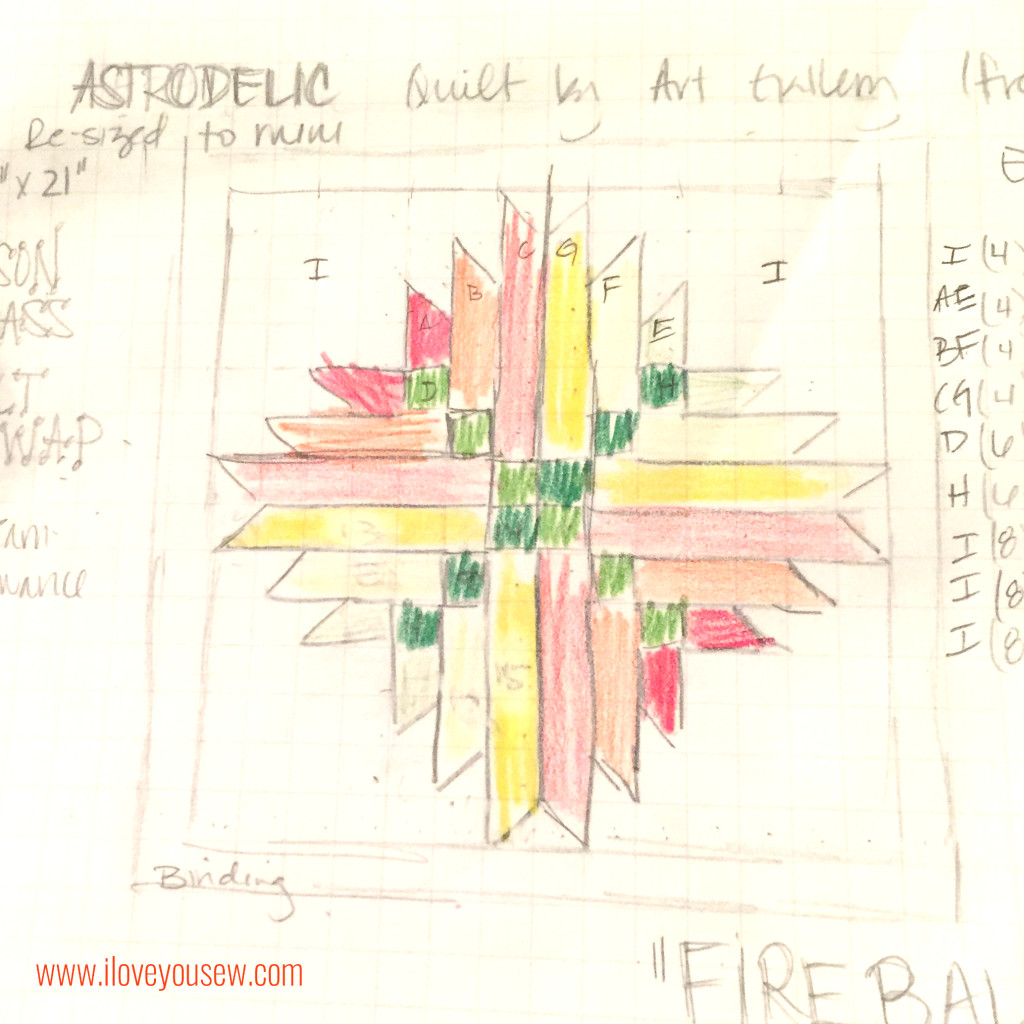
I re-drew the design on good old graph paper and I scaled each block to 1.5″.  This made it easier for me to visualize the changes to the pattern and where I need to adjust for seam allowances.   Plus, counting the blocks is a nice double-check before having to actually cut the fabric 😉  As you can see, my sketch is nothing fancy and not worthy of the refrigerator, but it does give a good picture of my color selection and placement.

FireballSketch

To get started on construction, you will need to download the FREE Astrodelic Quilt Pattern designed by Frances Newcombe for Art Gallery Fabrics. This will provide all of the instructions and I will reference her fabrics as A, B, C, etc.

Cutting Directions:

  • Fabrics A & E:  3.5″ x 2″ [cut 4]
  • Fabrics B & F:  6.5″ x 2″ [cut 4]
  • Fabrics C & G:  9.5″ x 2″ [cut 4]
  • Fabric D:  2″ x 2″ [cut 6]
  • Fabric H:  2″ x 2″ [cut 6]
  • Fabric I:
    • 6.5″ x 6.5″ [cut 4]
    • 5″ x 2″ [cut 8] matches with Fabrics A & E
    • 3.5″ x 2″ [cut 8] matches with Fabrics B & F
    • 2″ x 2″ [cut 8] matches with Fabrics C & G
  • Backing fabric – 24″ x 24″
  • Batting – 22″ x 22 “
  • Binding – 2 1/3 yd

Follow the instructions exactly as directed, making sure you use a 1/4″ seam allowance.  If you don’t quilt much, double-check your seam allowances on scraps.  A mini is not as forgiving on measurement inaccuracies as a larger quilt since your eye is focused on ALL of it at once.  If it’s not perfect, quilting will always help and some good washing for the awesome crinkle will help diffuse the attention as you can see in the title photo.

FireballPieced


I hope you enjoy this hack and use it in your next mini quilt swap!

#AlisonGlassMiniQuiltSwap, #AGTeamSpectrum, #AlisonGlass, #AstrodelicQuilt #LoveYouSew


Happy stitching,

Cristy
A Spectrum of Gingham Quilt

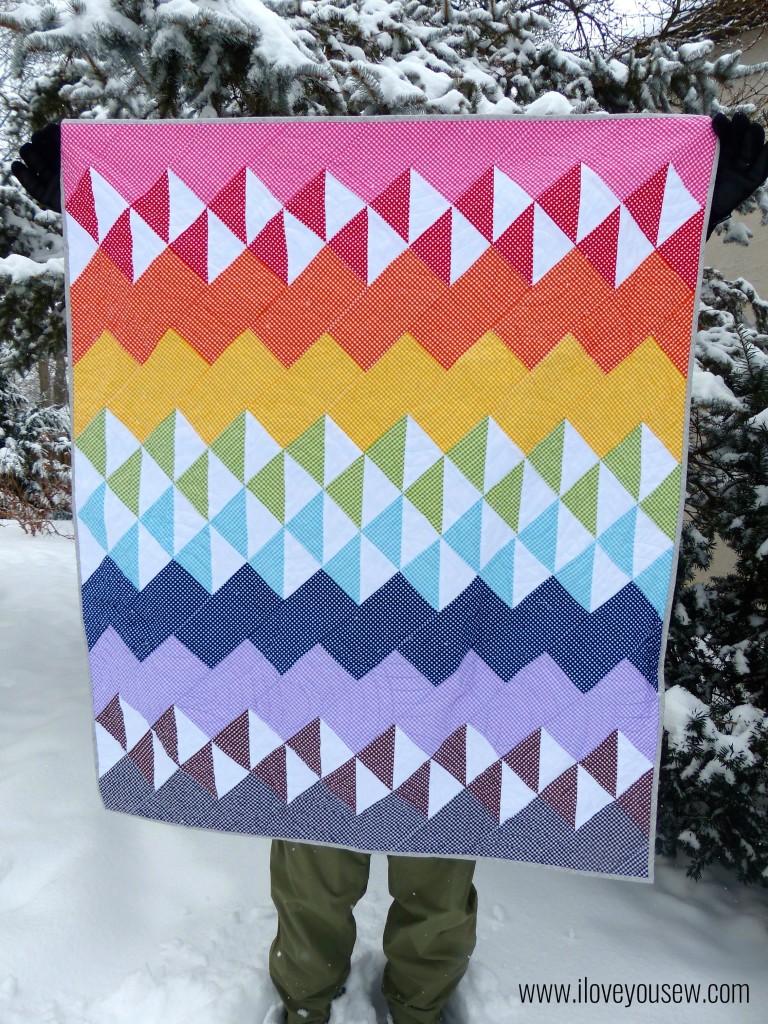
Spectrum Quilt

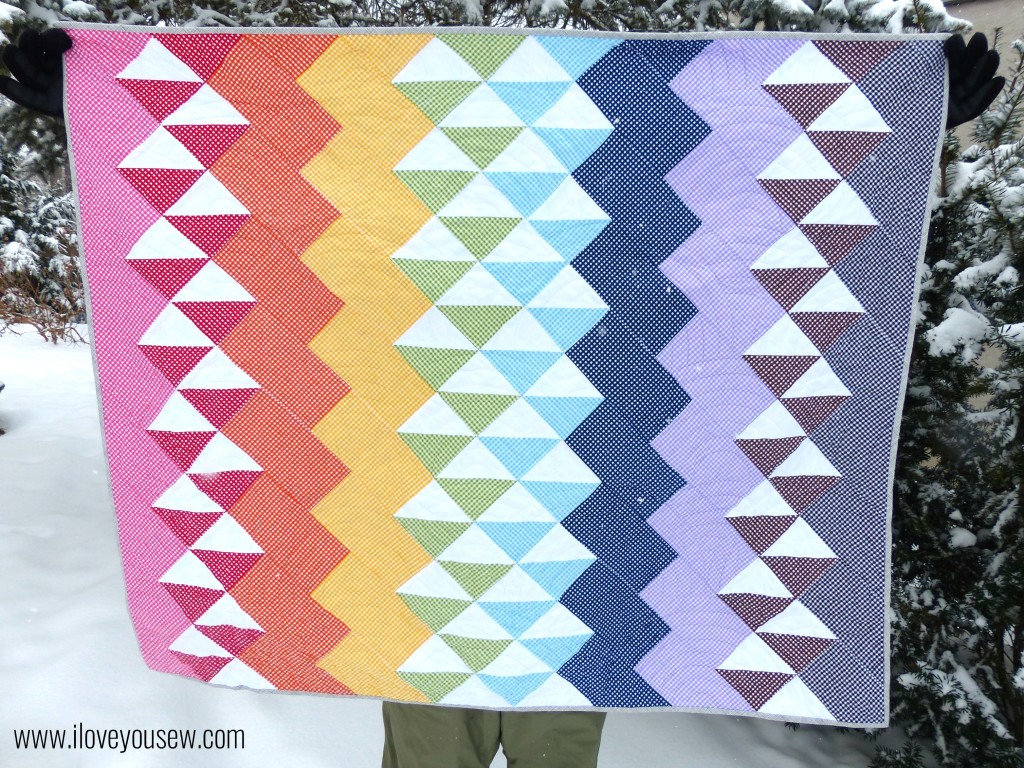
Spectrum Quilt using RBD Small Gingham

I know it’s summer already, but I gotta catch up on all of my quilt posts 😉

It was the dead of winter here in Columbus and I was in desperate need of a pick-me-up. The Spectrum Quilt pattern popped up on Riley Blake Designs (RBD) blog and I knew it was going to be my next project….especially since I had a FQ stack of Rainbow RDB Gingham sitting on my shelf!  (*Make sure you scroll down through the comments on the blog post. There is an edit to the instructions there!)

This is a perfect project for a beginning quilter…Lots of plain squares and enough Half-Square Triangles (HSTs) to challenge you. But the quarter turn of the squares make it so visually interesting and sets it apart from “another” block quilt. You eventually have to cut off a bunch of triangles to square the quilt off, but I’m sure the more ambitious can bind around all the angles…not me yet!

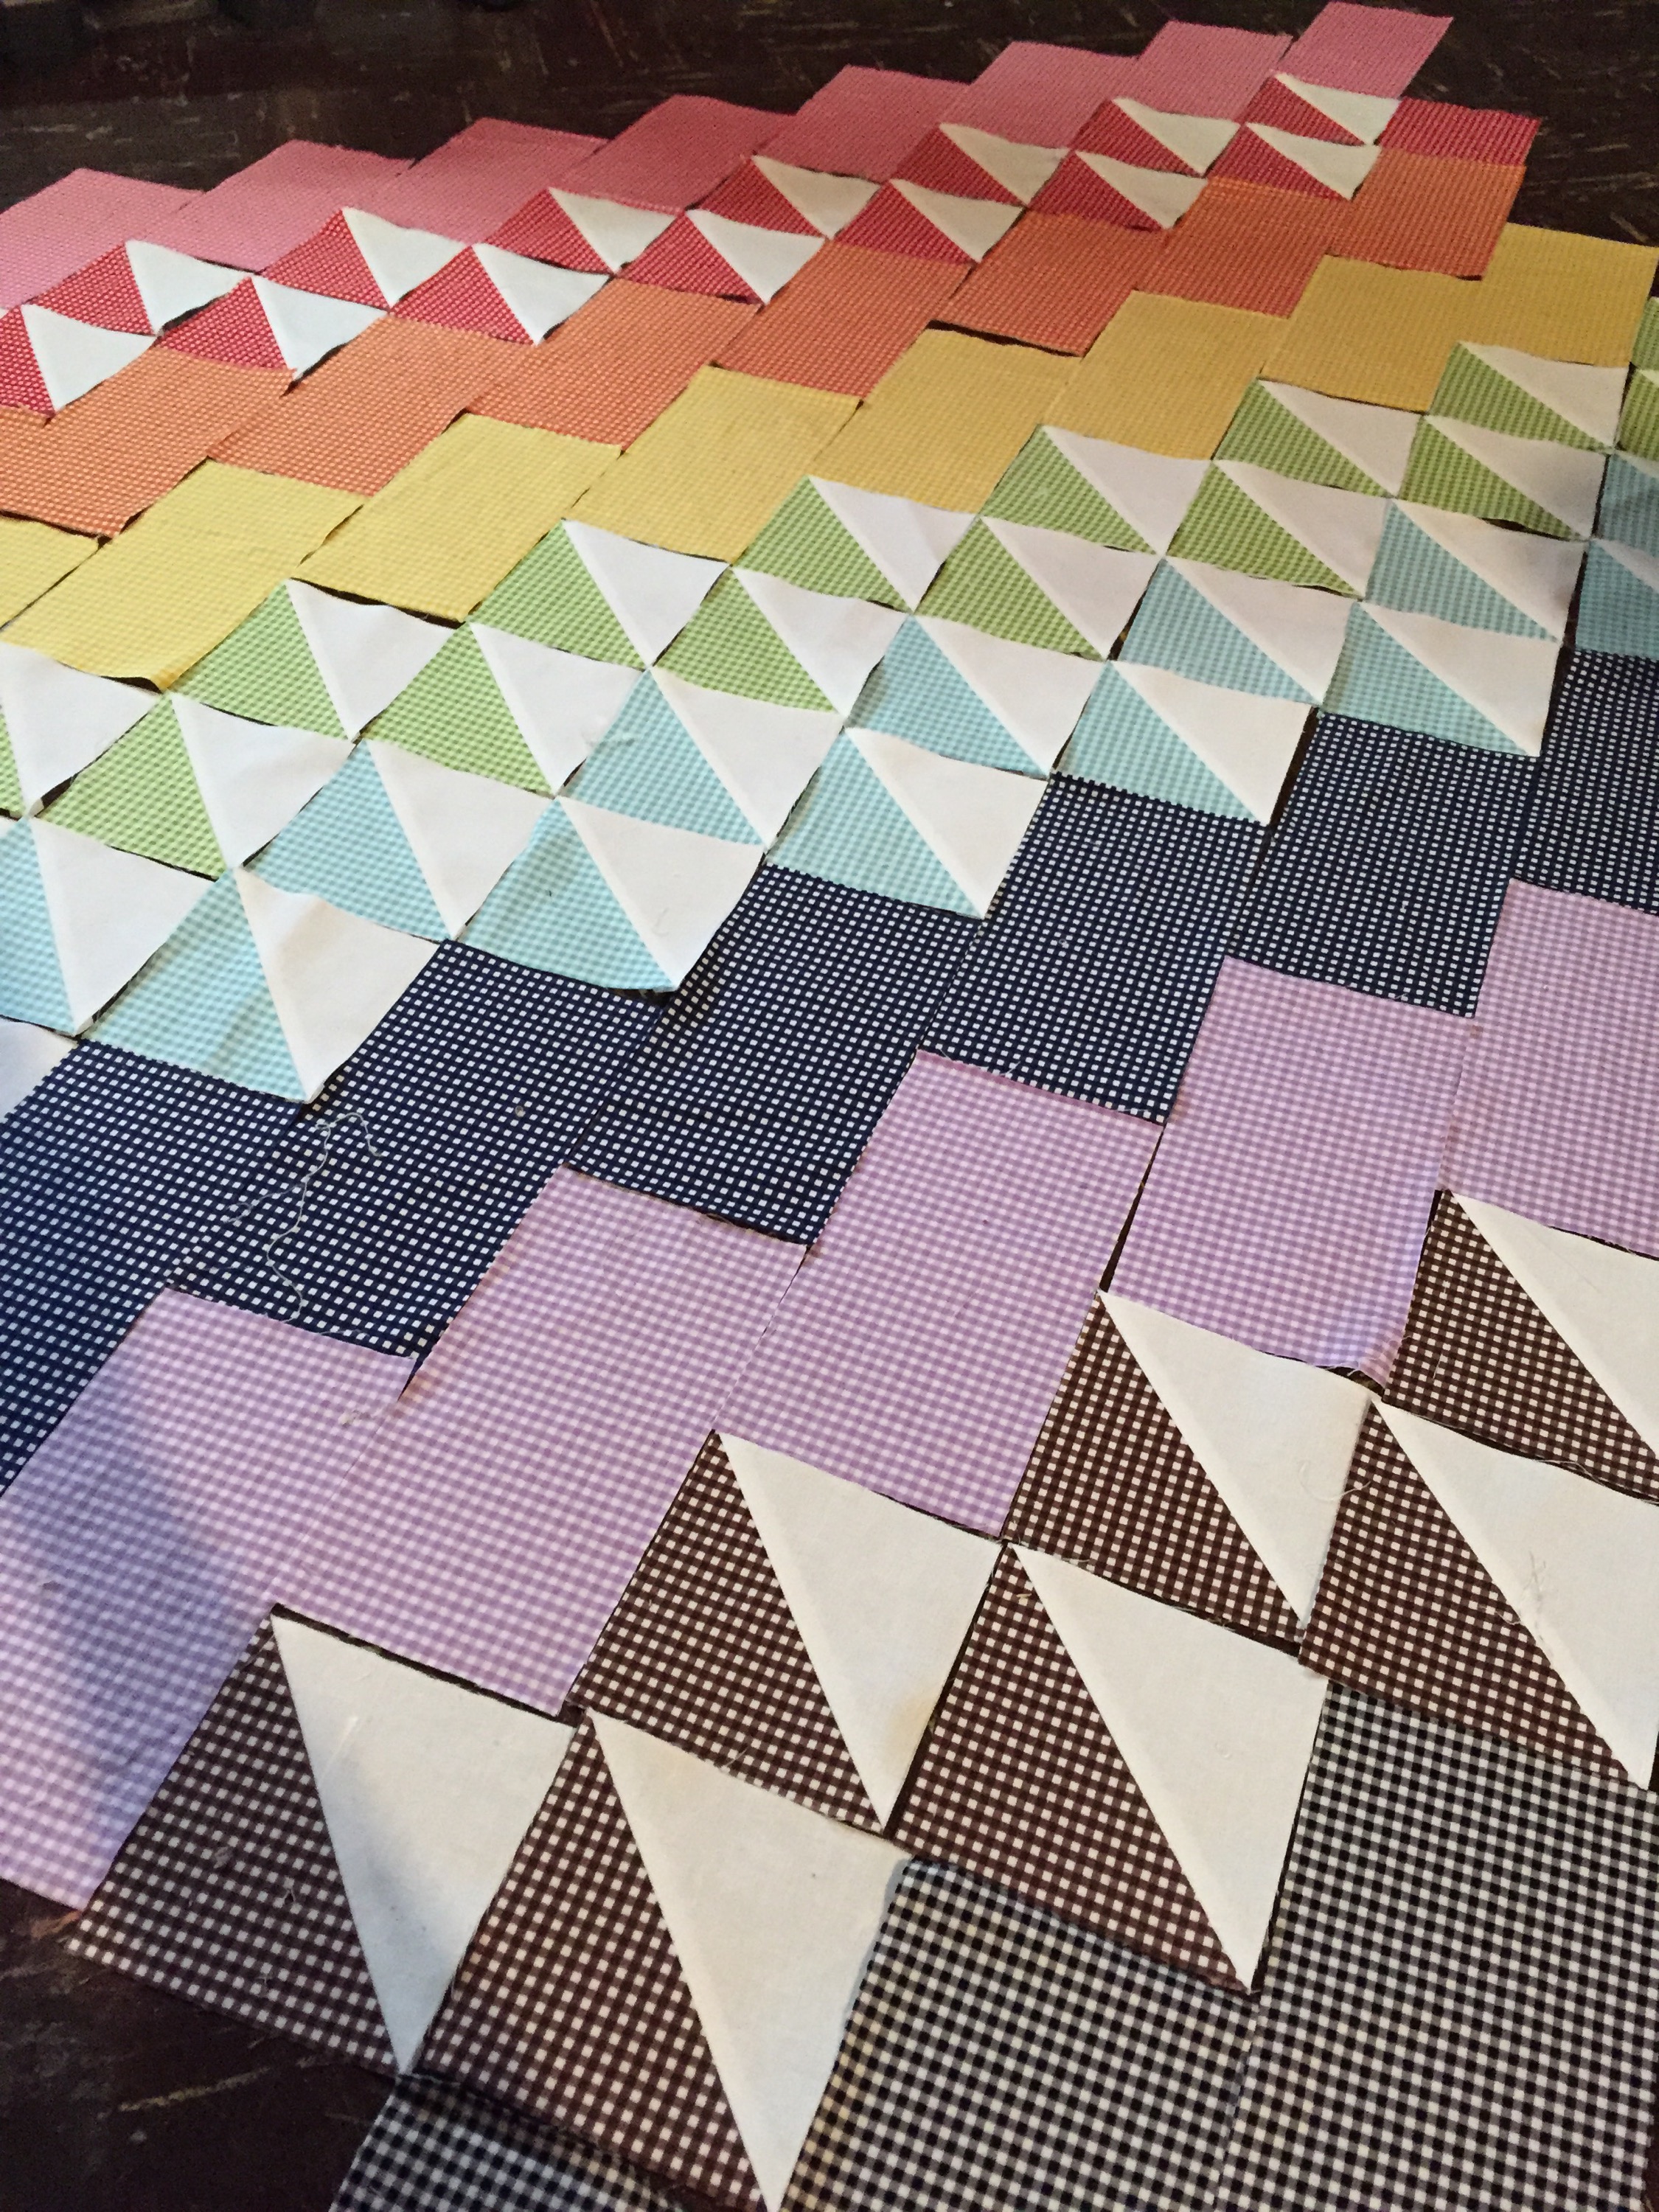
Laid out and Ready to Piece

Laid out and Ready to Piece

An Aqua Medium Chevron Wideback (not pictured) from RBD was used as the backing. It was so perfect because the Aqua gave the Rainbow a “Sky.” The binding was made of Architextures Grid in Shadow by Carolyn Friedlander for Robert Kaufman. The binding reminded me of the clouds and was a great neutral for all the colors in the quilt.

Spectrum Quilt Close-Up

Spectrum Quilt Close-Up

The hardest part of this project was the quilting for me….it’s always the quilting! I’m not very good at Free Motion Quilting (but I’m working on it!) and thus why you see lots of straight-lines in most of my other projects. In this case, I used a template to draw out all of my “Rainbow” curves. It was long and tedious. Using my waking foot to quilt this all was even longer…I’m talking the entire winter season. No joke.

In the end, I love this quilt. It’s a bright and cheery rainbow….and who doesn’t love a rainbow?!? However, my most important lesson learned: I need to find a long-arm quilting friend ASAP…or work on my FMQ skills 😉

P1050165

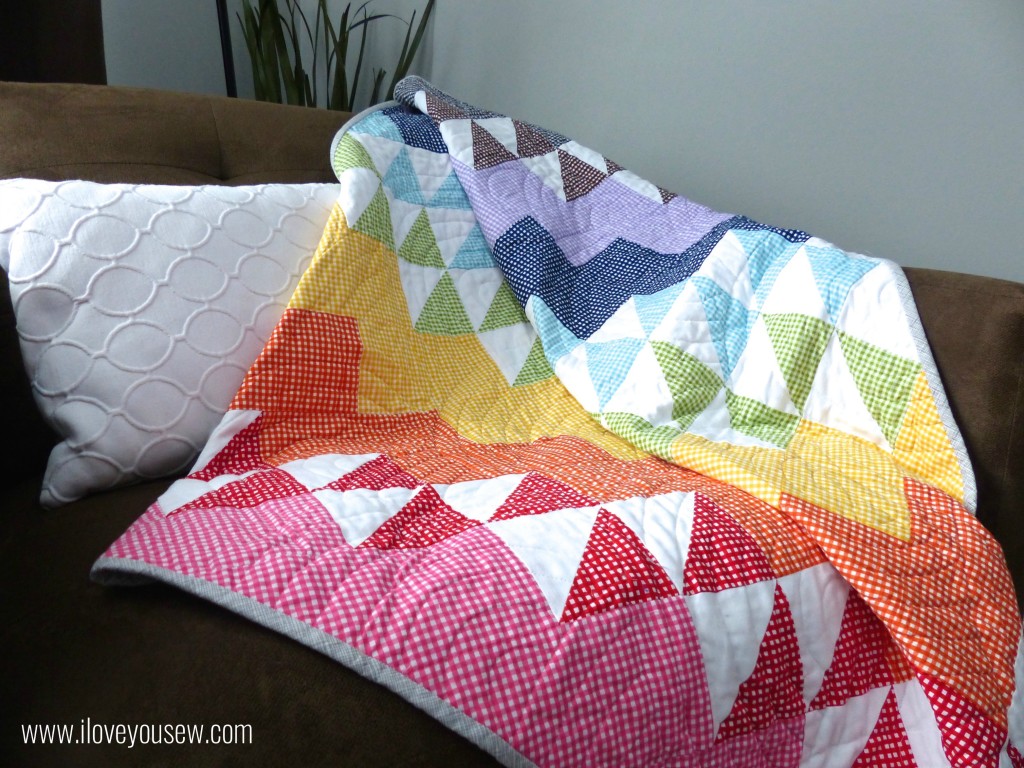
Spectrum Quilt Side-view

This quilt has been donated to my dear childhood friend, Capri, who is raising money for the Leukemia and Lymphoma Society‘ Eastern Pennsylvania Chapter and is a finalist for their Man/Woman of the Year Campaign. It will be on silent AND online auction at the Grand Finale Gala on June 13, 2015. If you are interested in donating to the cause, please visit Capri’s donation page here….

This is truly the best part of sewing.  I love being able to use my craft to give back.  How have you used your sewing to give back???


Hugs and Stitches,

Cristy
Love You Sew

Bound Fabrics – Quilt Market Fall 2015 Booth Projects

I have never been to Quilt Market…but like almost every quilter I know, I want to….so much!  For those who don’t know, it’s a semi-annual  trade show for companies to exhibit their newest fabrics lines and related sewing products.  It’s a way to see the newest stuff AND be able to get your hands on it months before they hit the general public.

Although, I haven’t been to Market, a part of me has.  I had the great honor of working on a few items for April Rhodes‘ new fabric line, Bound for Art Gallery Fabrics.  In true April design, it has a southwest feel with her bohemian flair….so you know I LOVE it!  It is her most personal collection with her own organic drawings and influences from her love of macrame and fiber arts.  Needless to say, when I was asked to make a few pieces, I jumped at the chance.

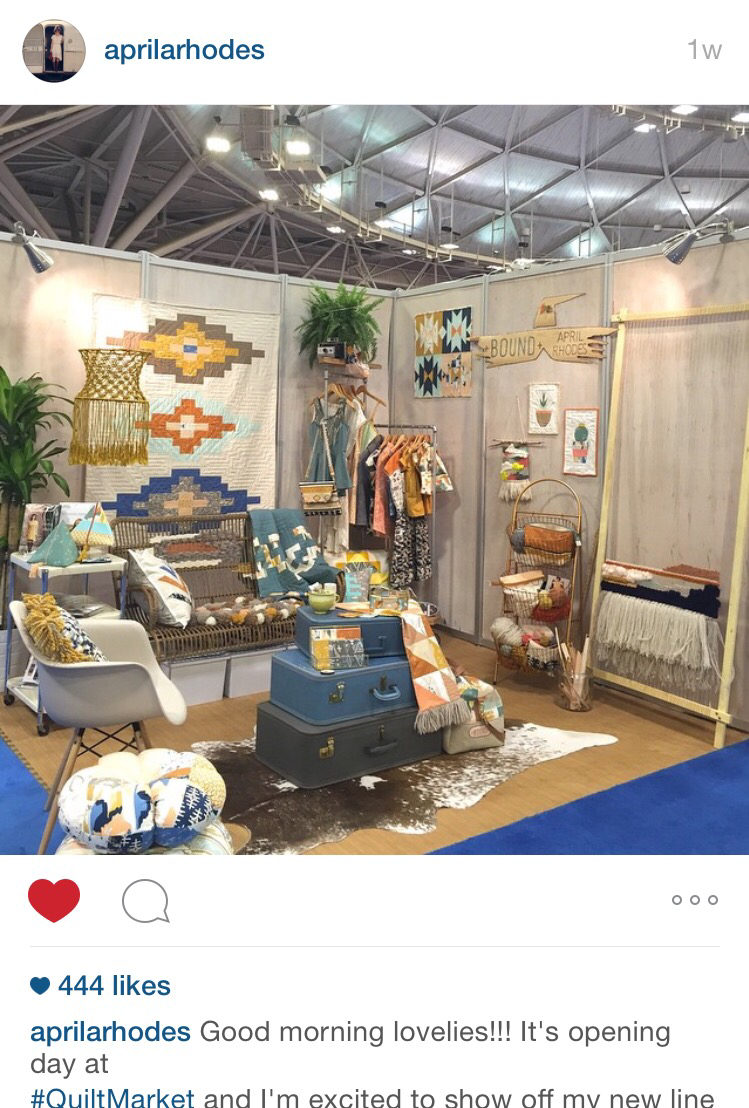
Photo from IG @aprilrhodes


Below are the three items that made it into April’s amazingly gorgeous Quilt Market booth:

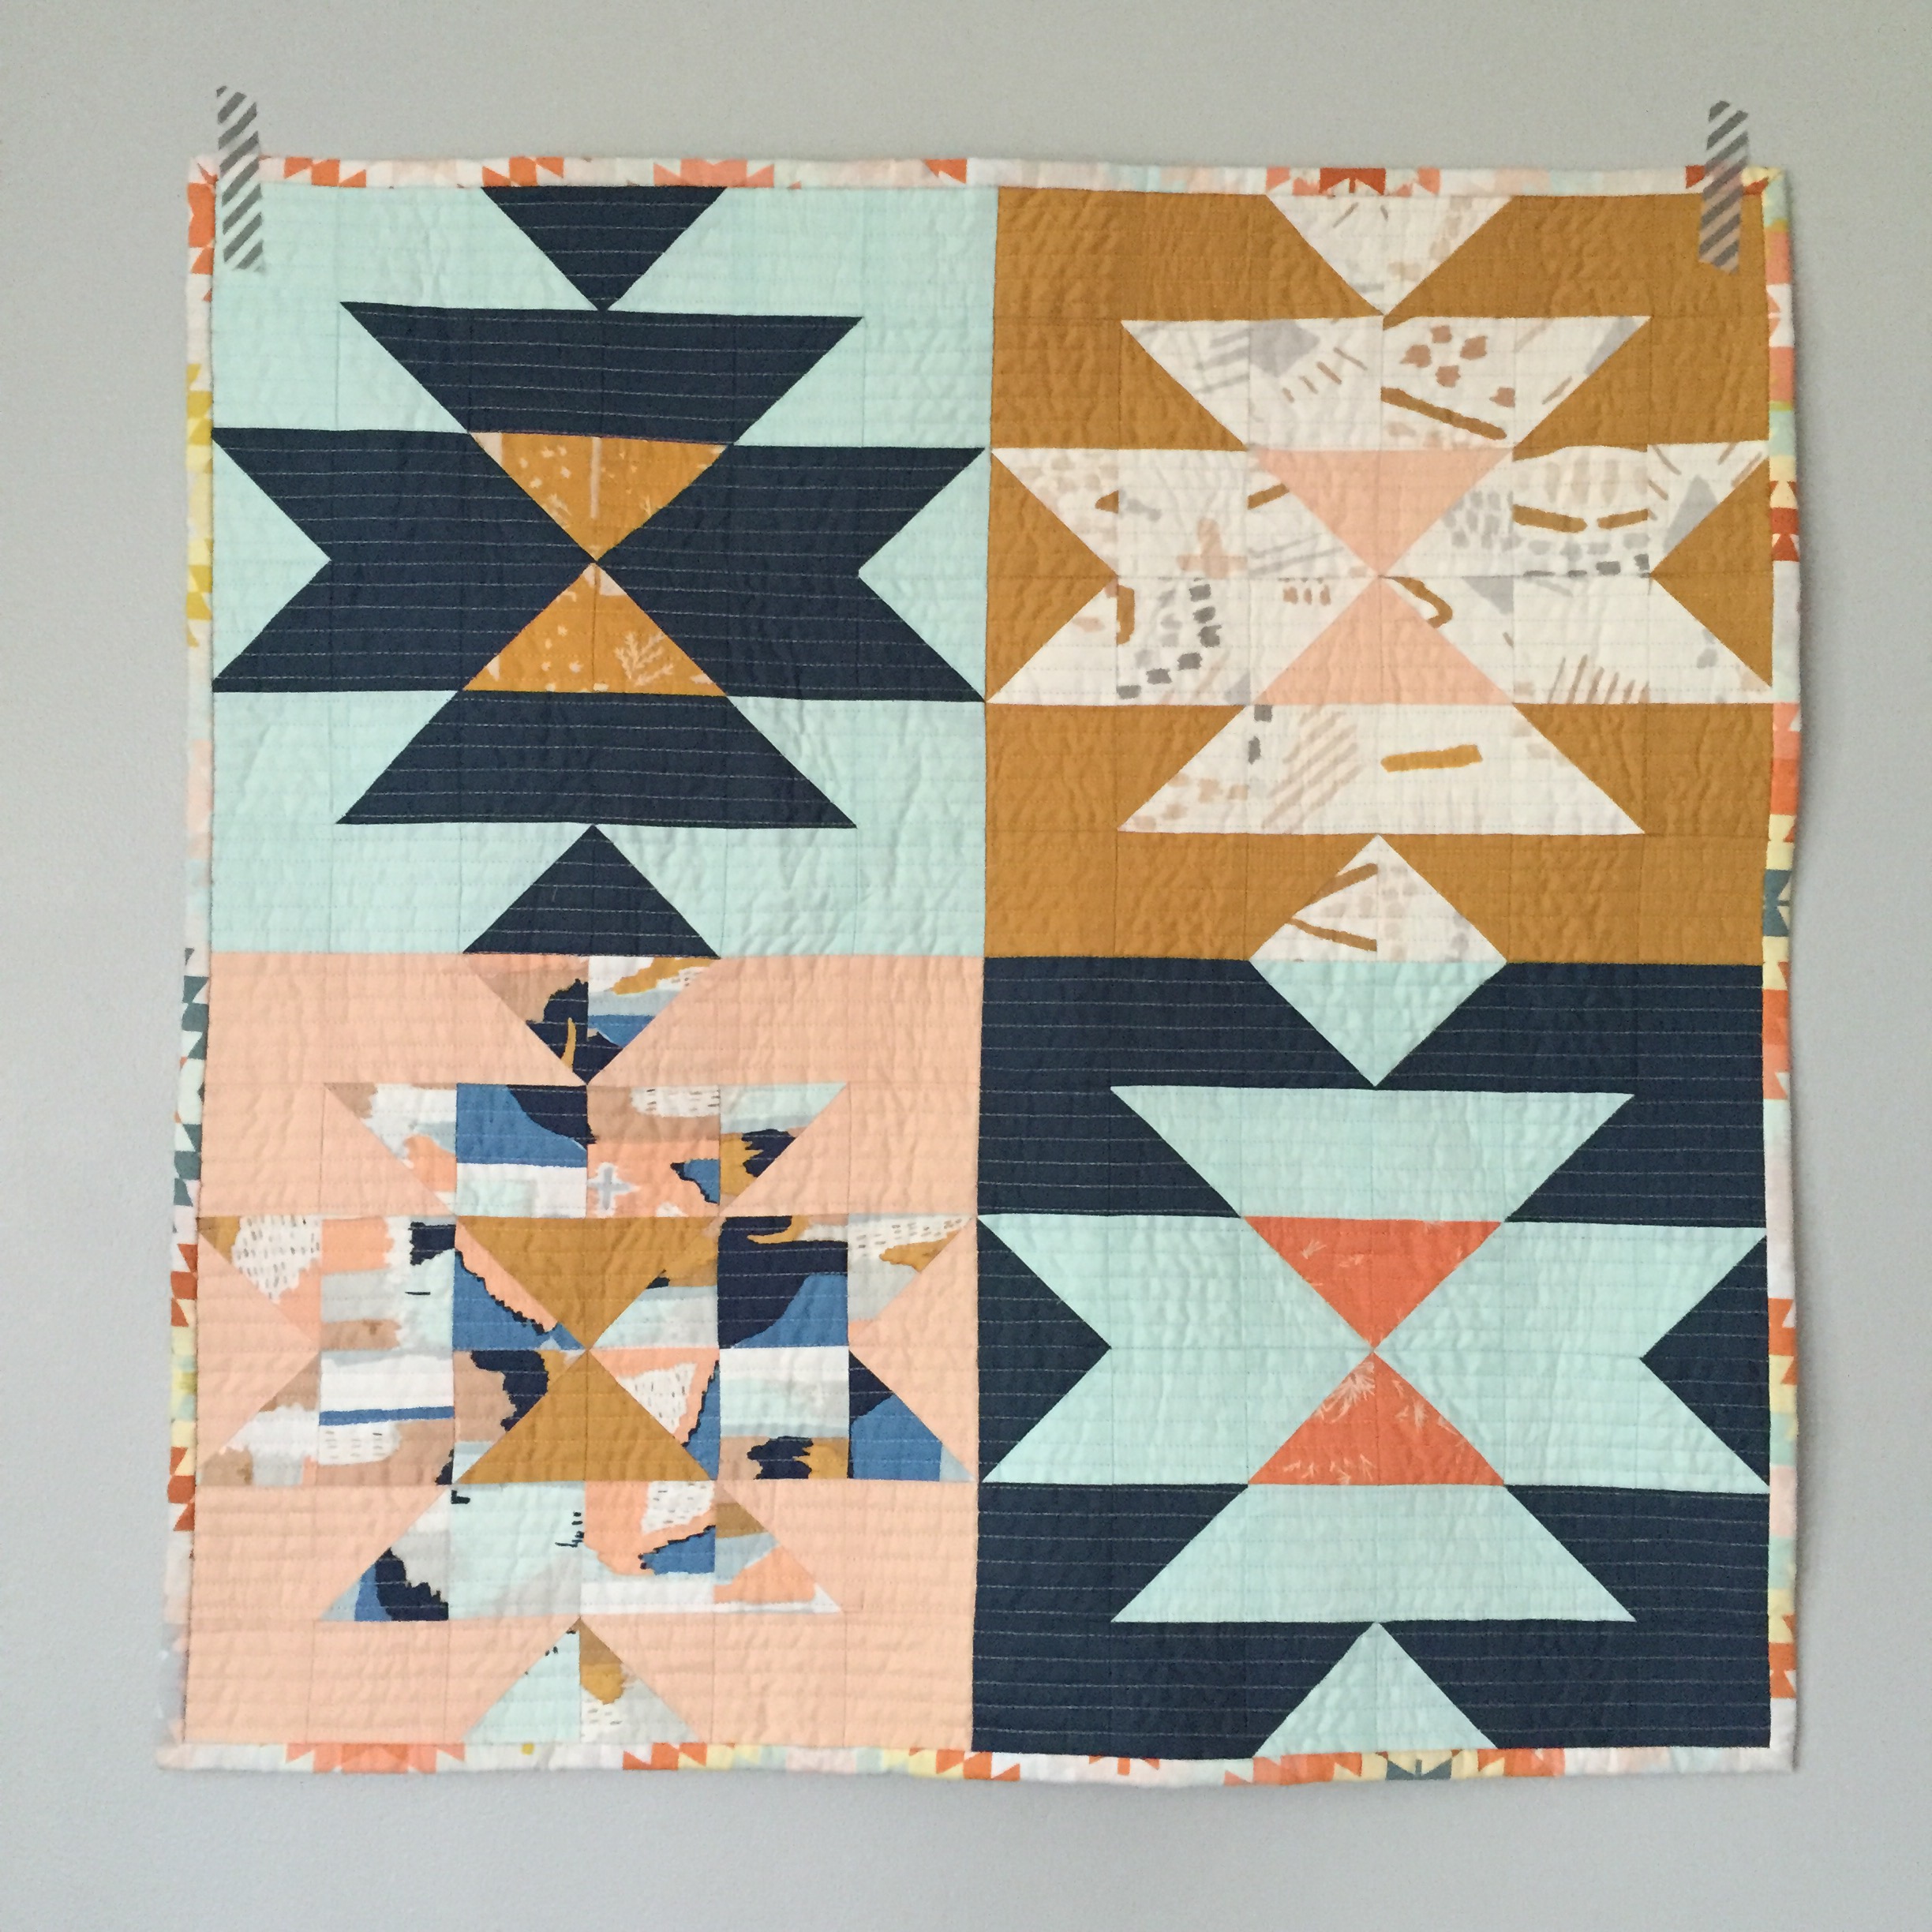
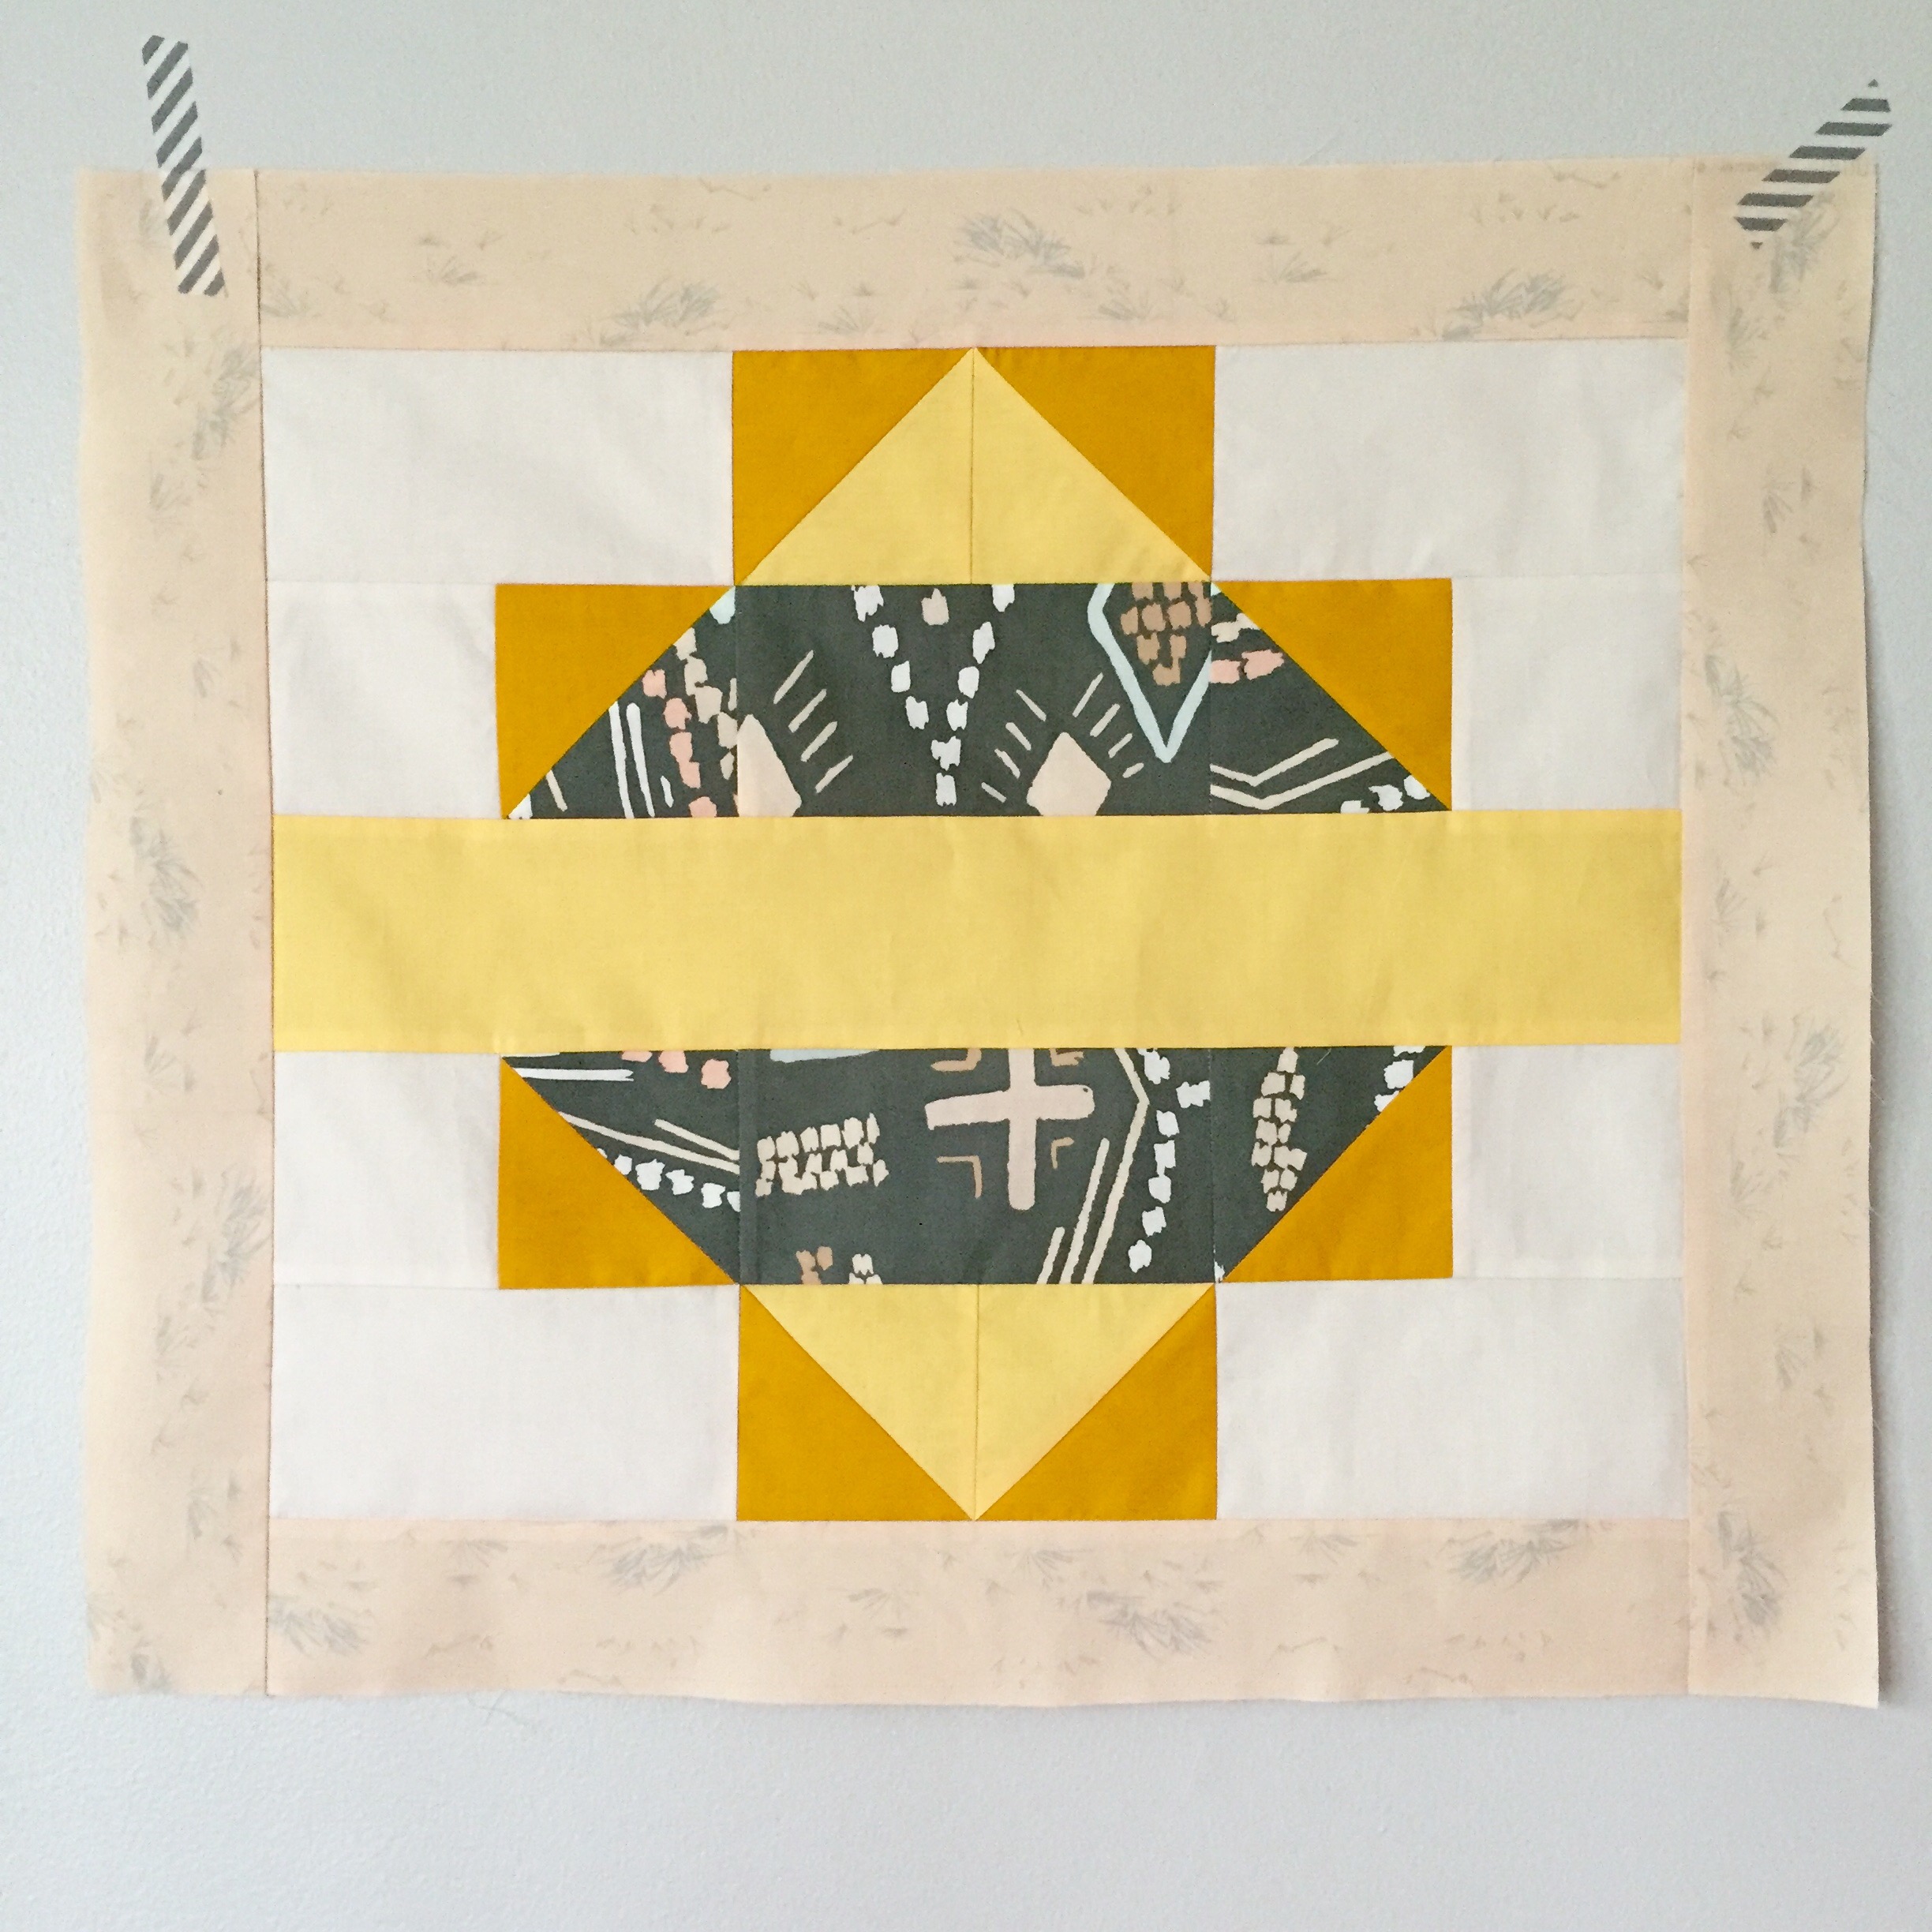
1.) “Squash Blossom Bouquet” Mini Quilt

Squash Bouquet

Squash Blossom Bouquet

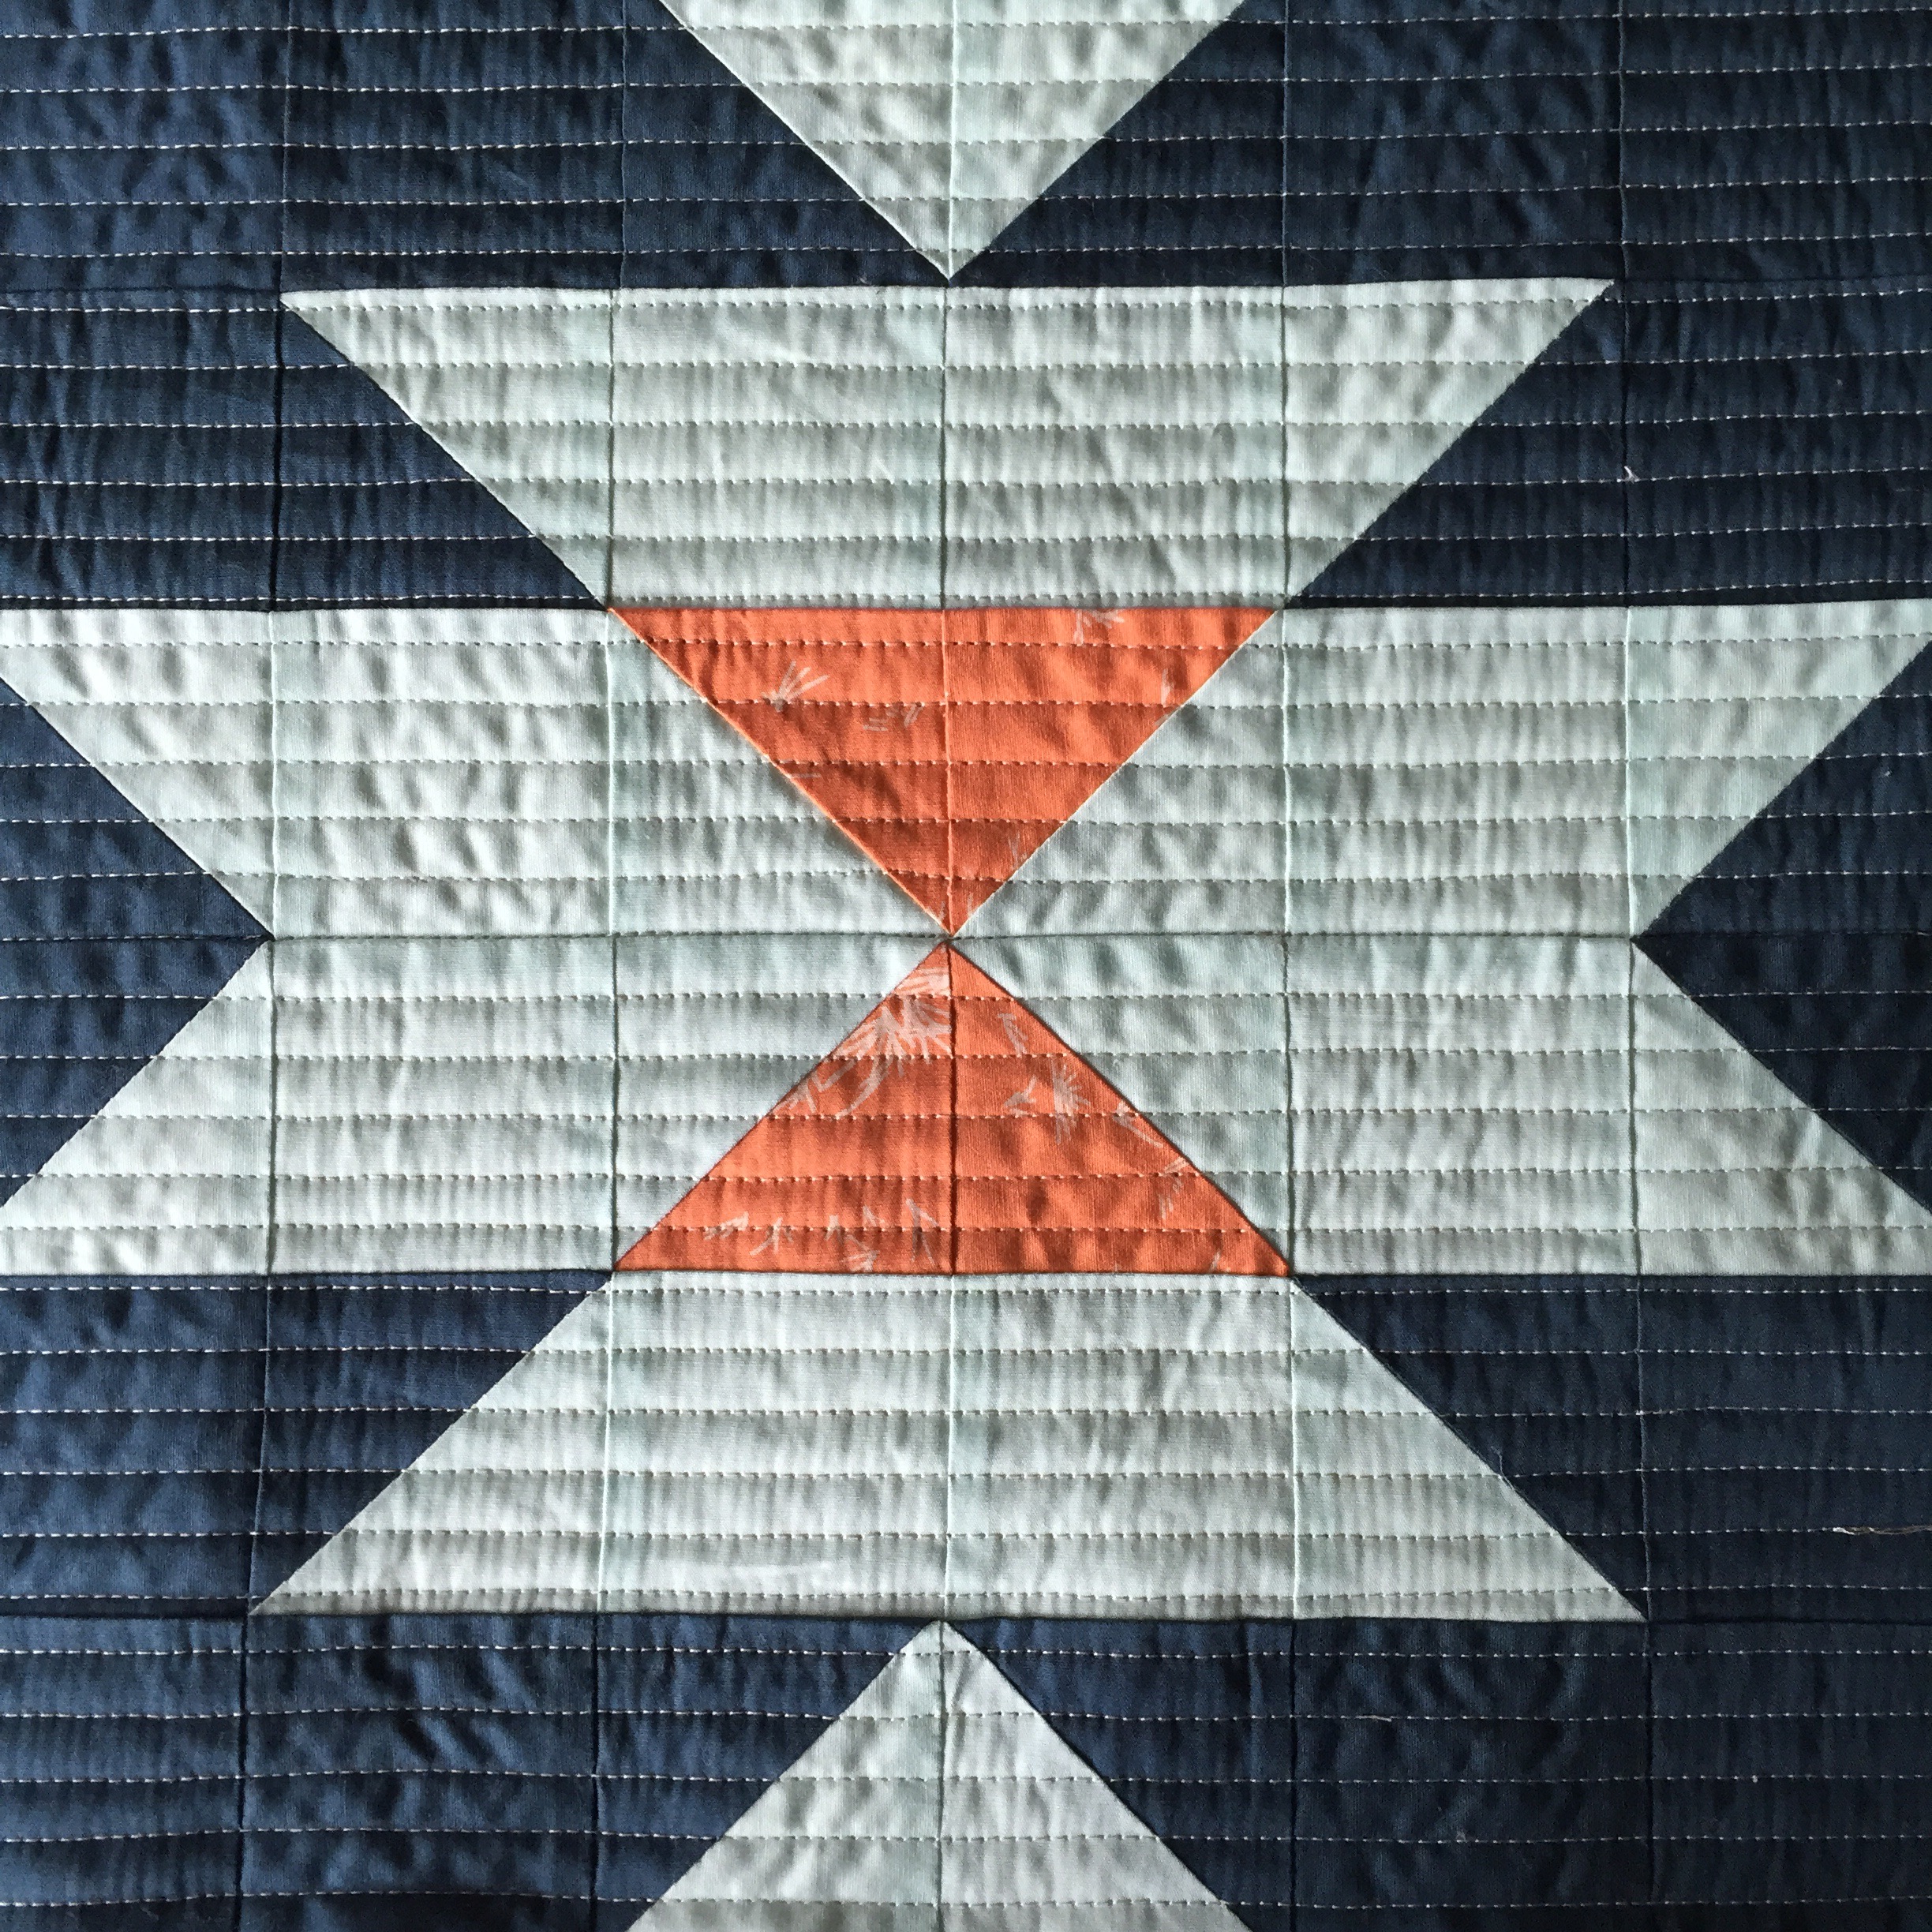
For this quilt, I used Holly Gets Quilty’s Squash Blossom pattern.  It was incredibly easy to follow, especially if you are used to HSTs (half-square triangles.)  I used the 12″ block measurements and made 4 blocks.  The blocks needed to each have their own feel by playing with the feature and accent fabrics and mixing them with Art Gallery’s amazing Pure Elements solids in Nocturnal, Icy Mint, Peach Sherbet, and Honey. I love how these Squash Blossoms are able to showcase April’s larger prints, Painting Morale and Macrame Cave as the feature fabric.  But at the same time, you can use the smaller prints, Survey Orche and Growth Joy as the accent with as much impact.

HSTs made are ready to be chain-pieced to the squares

HSTs made and are ready to be chain-pieced to the squares

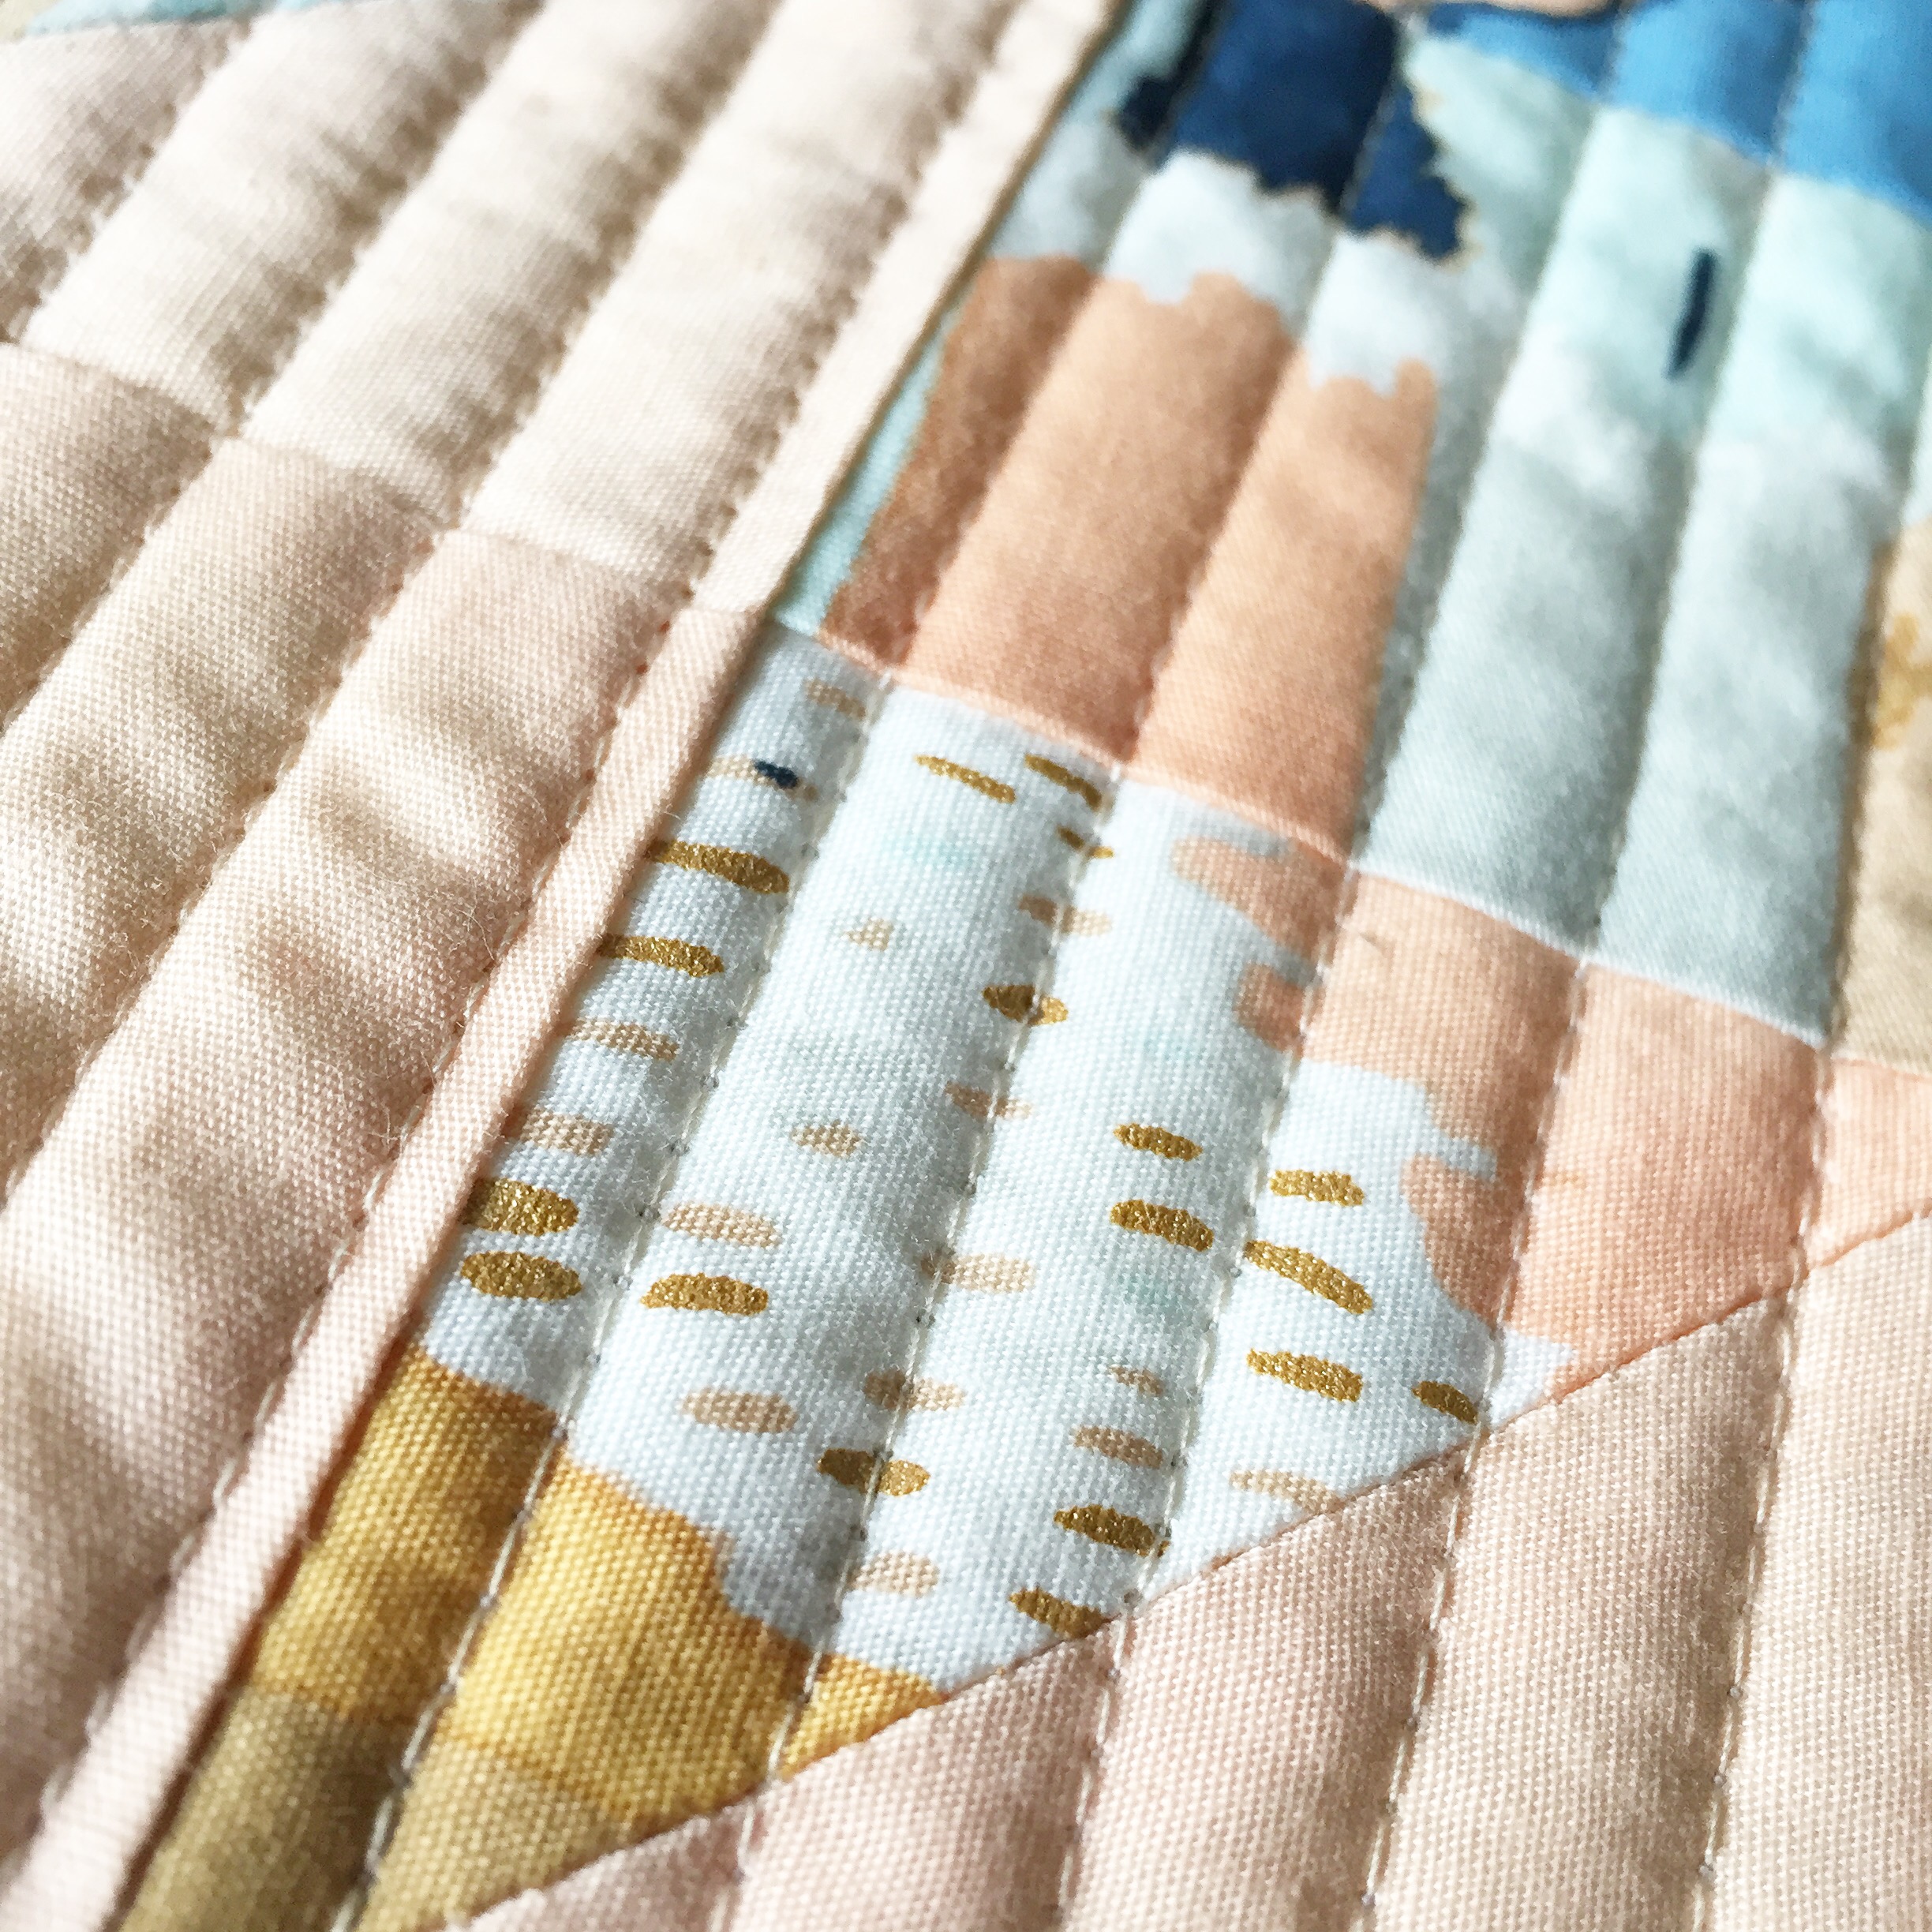
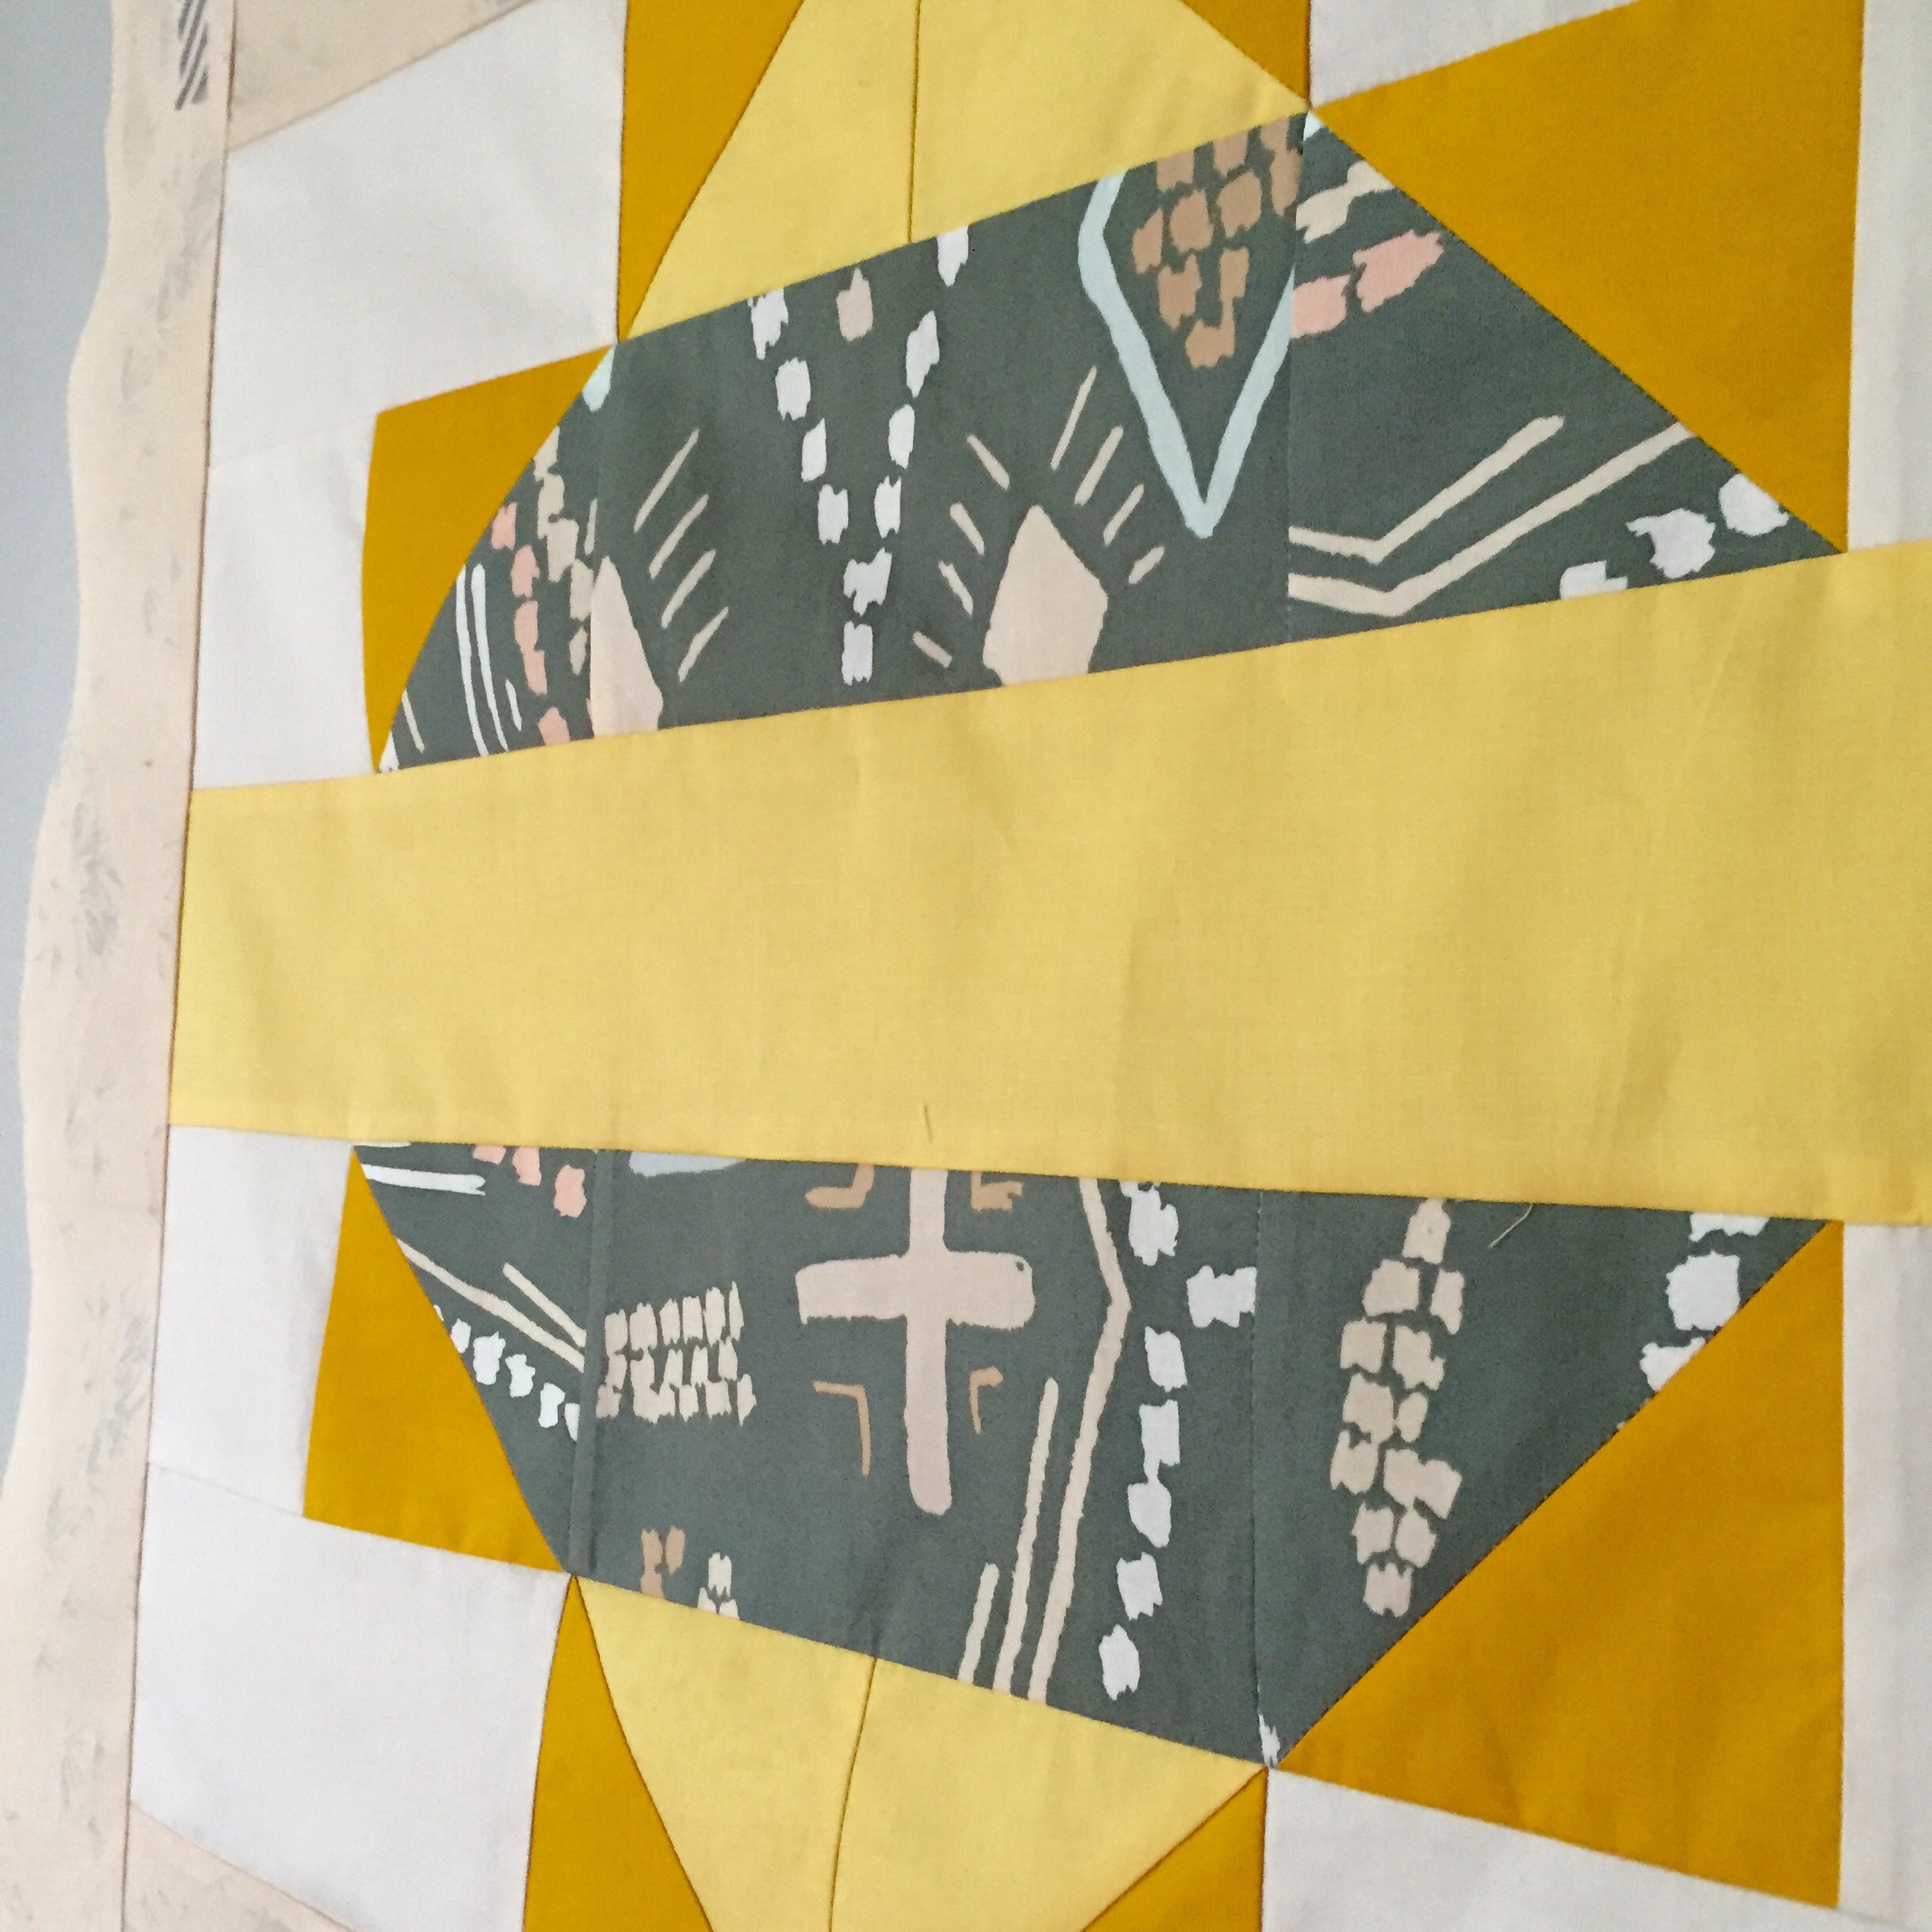
For the quilting, these Squash Blossoms screamed for some straight lines following the horizontal seams.  I just used my presser foot as my guide and checked it against the seams to make sure I wasn’t accidentally veering to the wrong side (eek!) As usual, Aurifil was used for both the piecing and quilting in 2312 50 wt.  This was the perfect beige color with this fabric selection.  I like 50 wt to blend into the fabric for this particular project.

Close-up of block one using Nocturnal, Icy Mint and Growth Joy

Close-up of block one

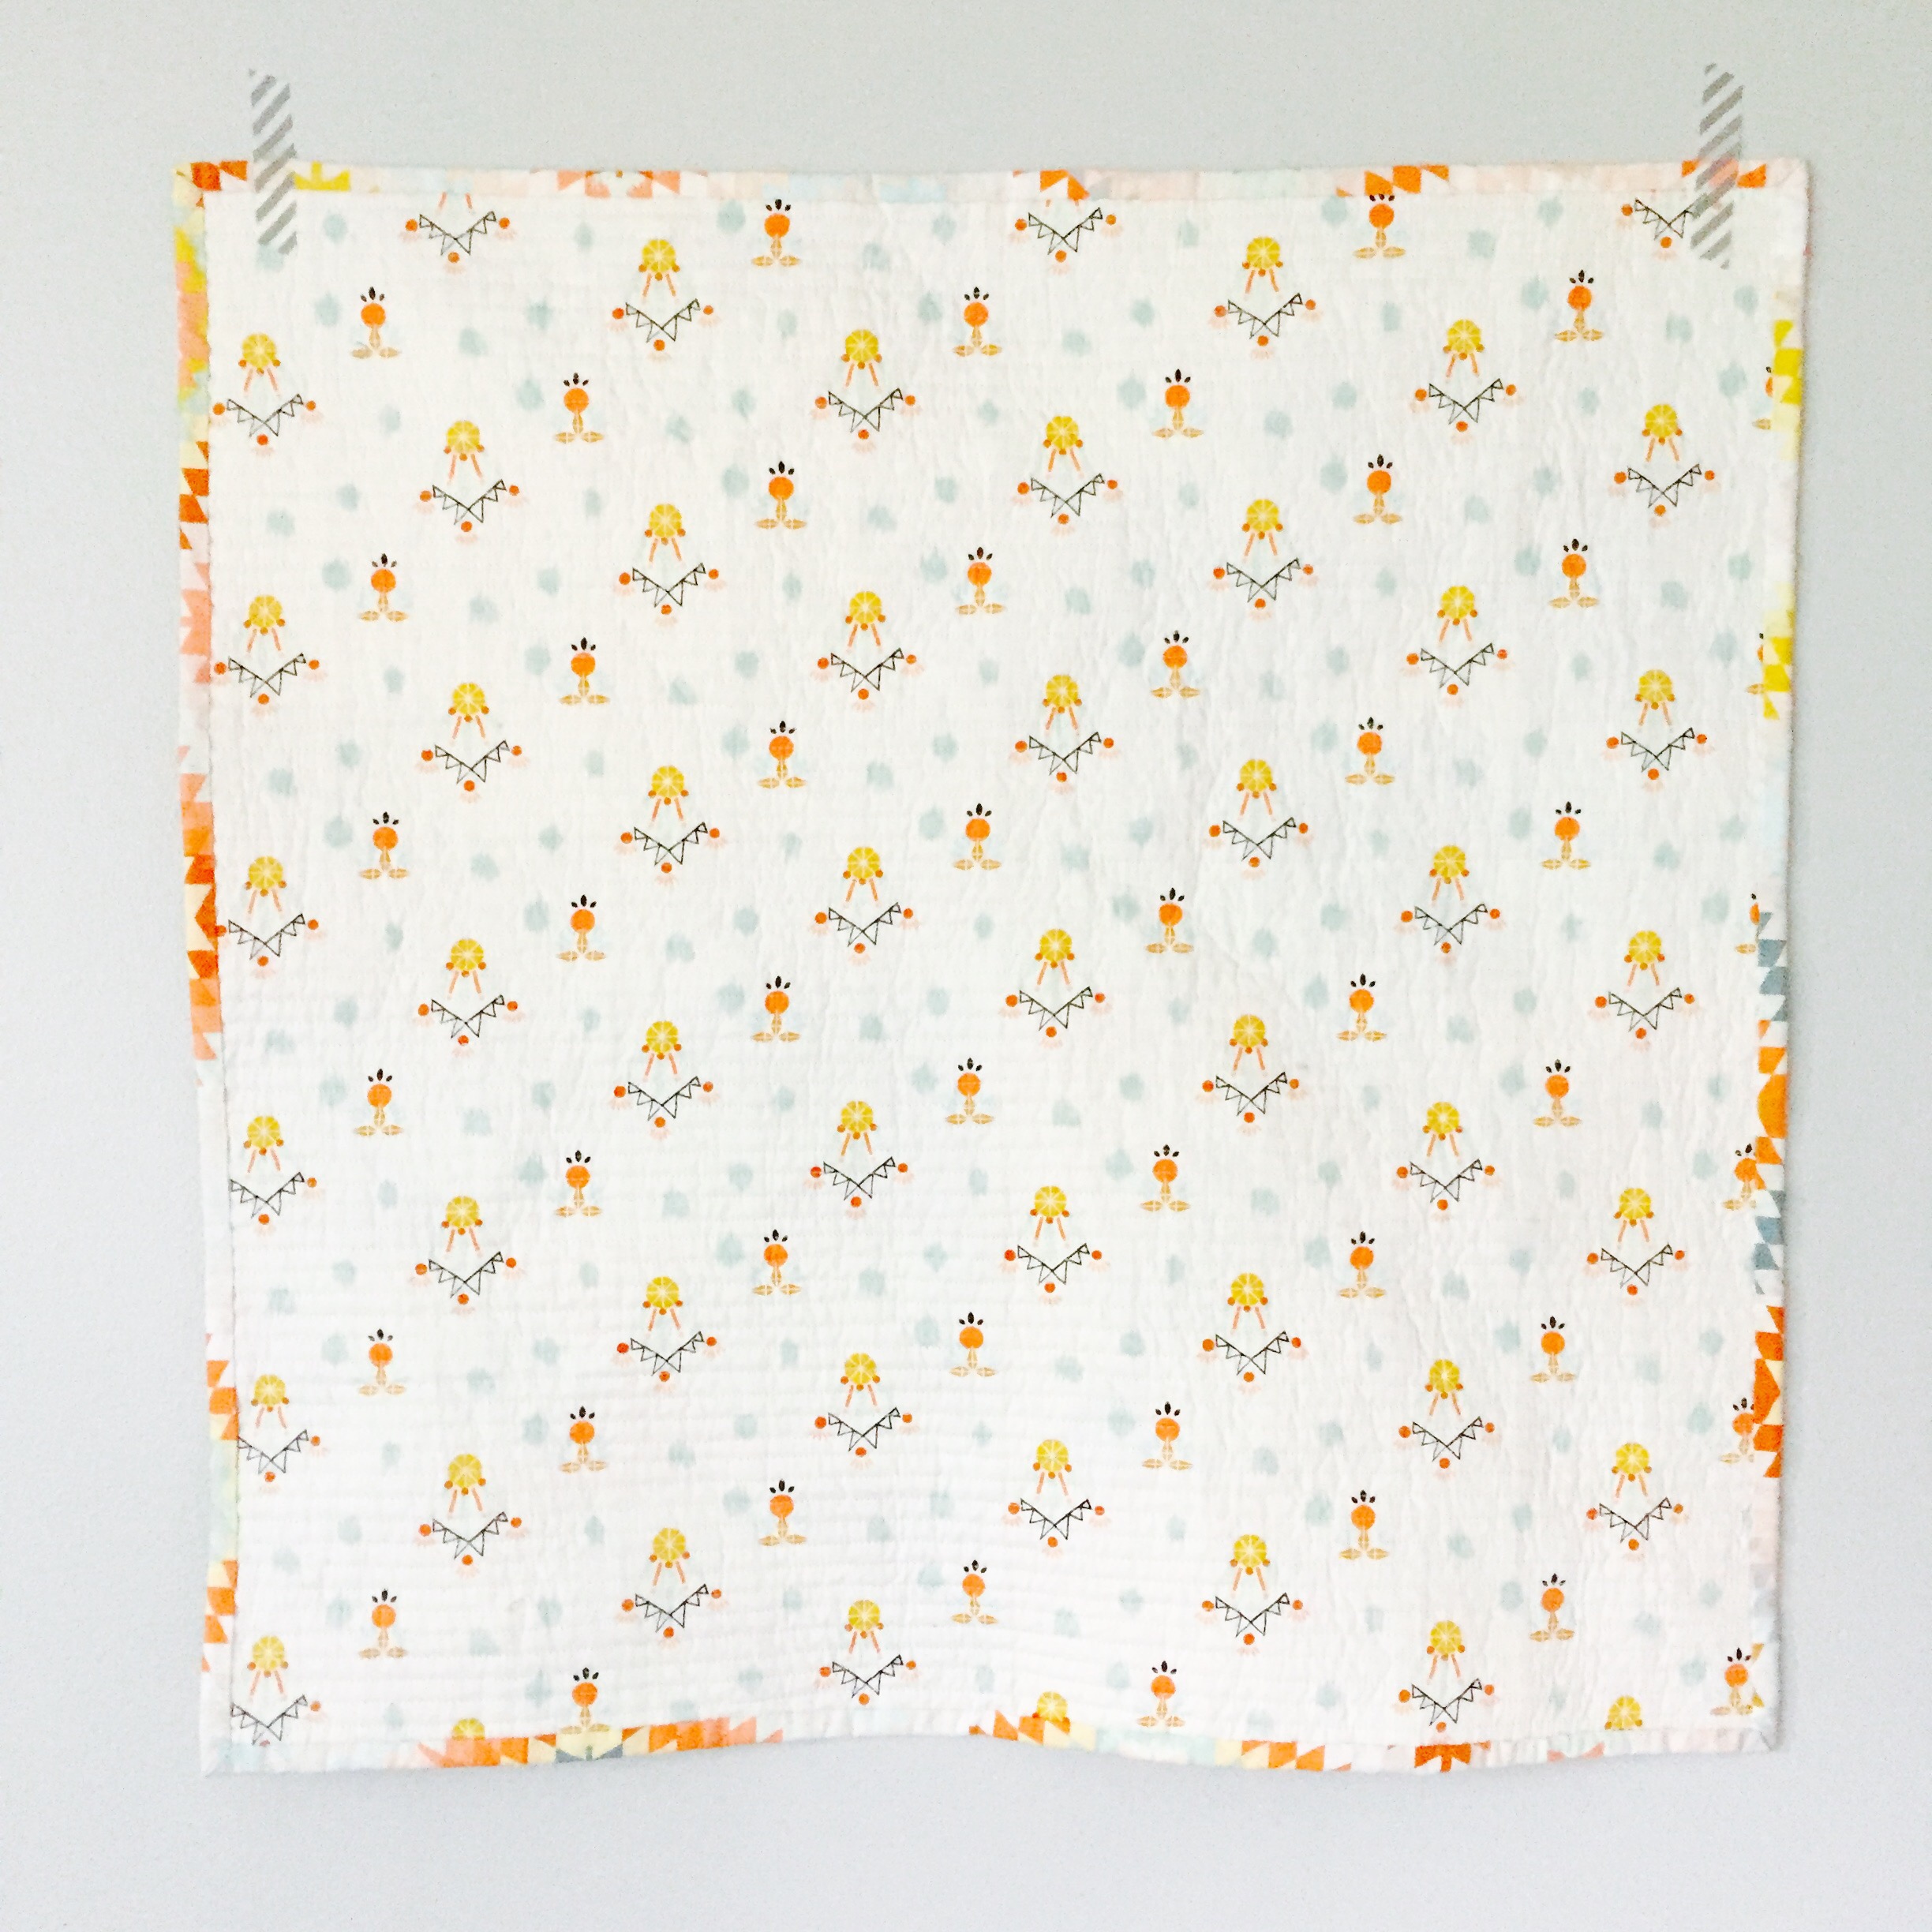
For the backing fabric, Dream-catching Celeste from the Wanderer collection was the best choice.  It is just a beautiful light pattern that really complements the colors in the whole quilt. For the binding,  Serape Dream was selected.  I love all the different colors and how you get a different feel at every inch and angle all around the quilt.

Finished, this mini is 24″ x 24″, so it makes for a quick project (which I like!)  If you are new to HSTs, this would also be a good starter since there are not to many of them.

Close-Up of Metallic Detail


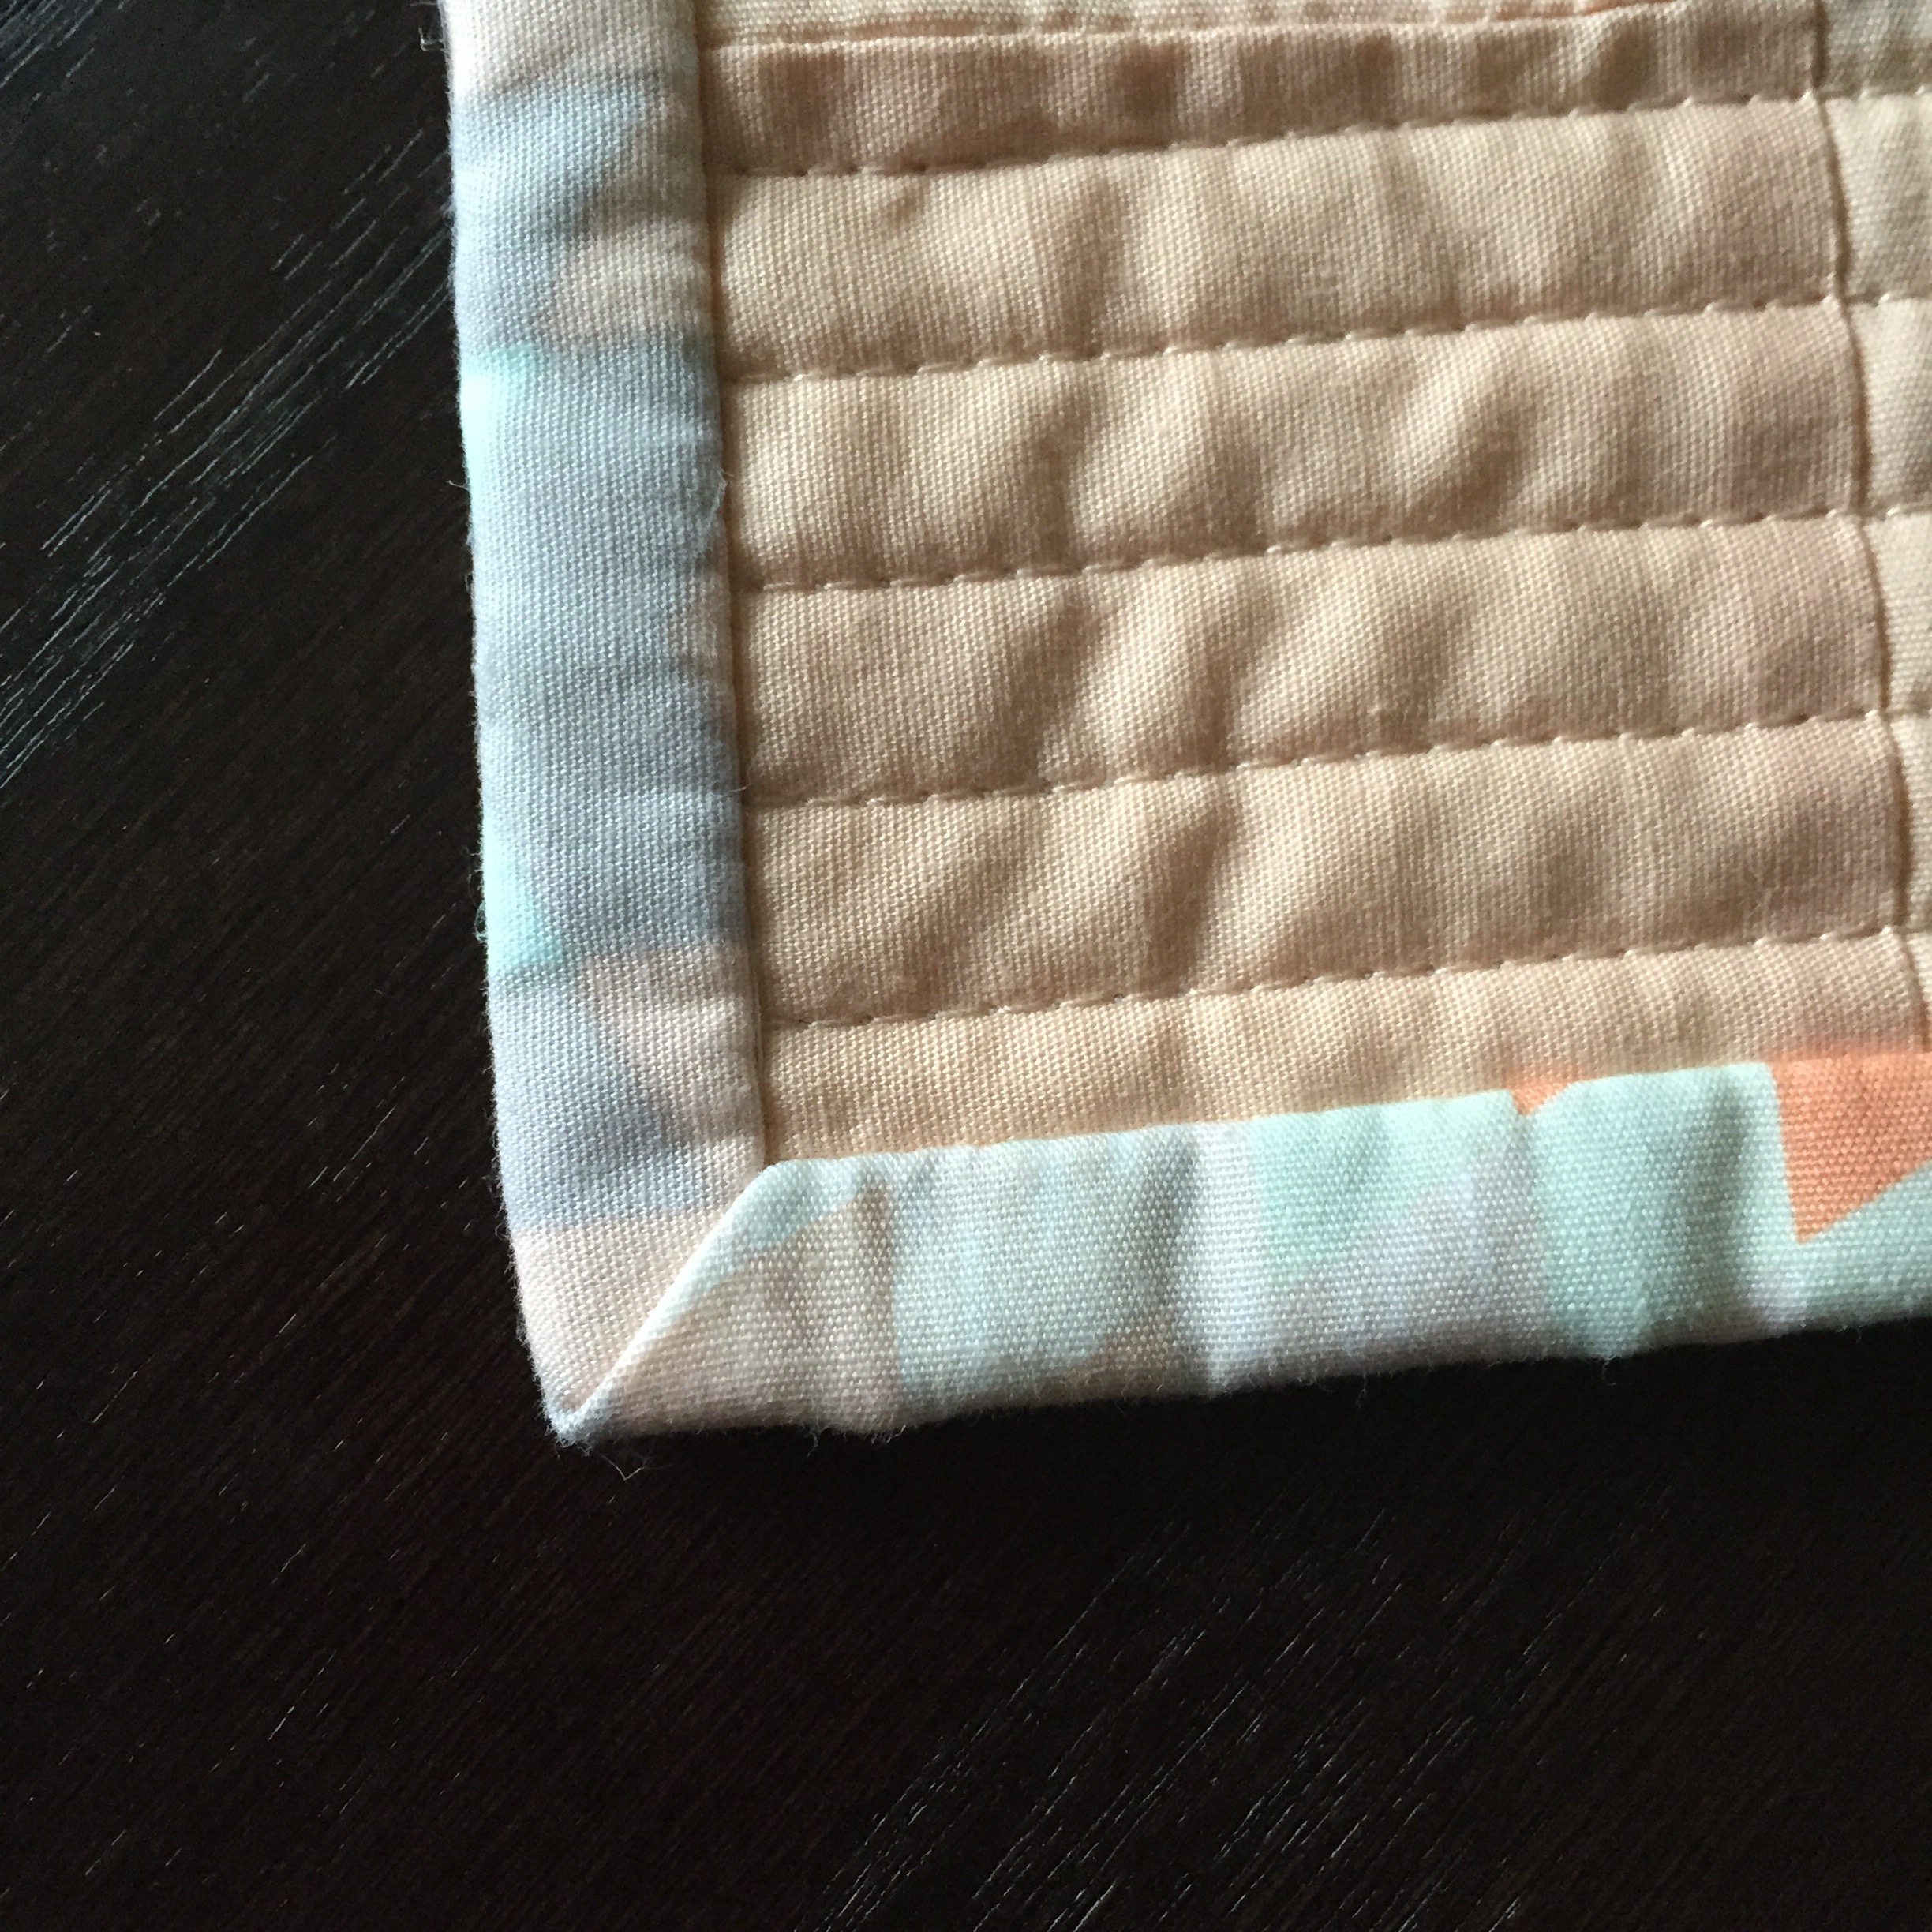
Love a Beautiful Mitered Corner

Love a Beautiful Mitered Corner


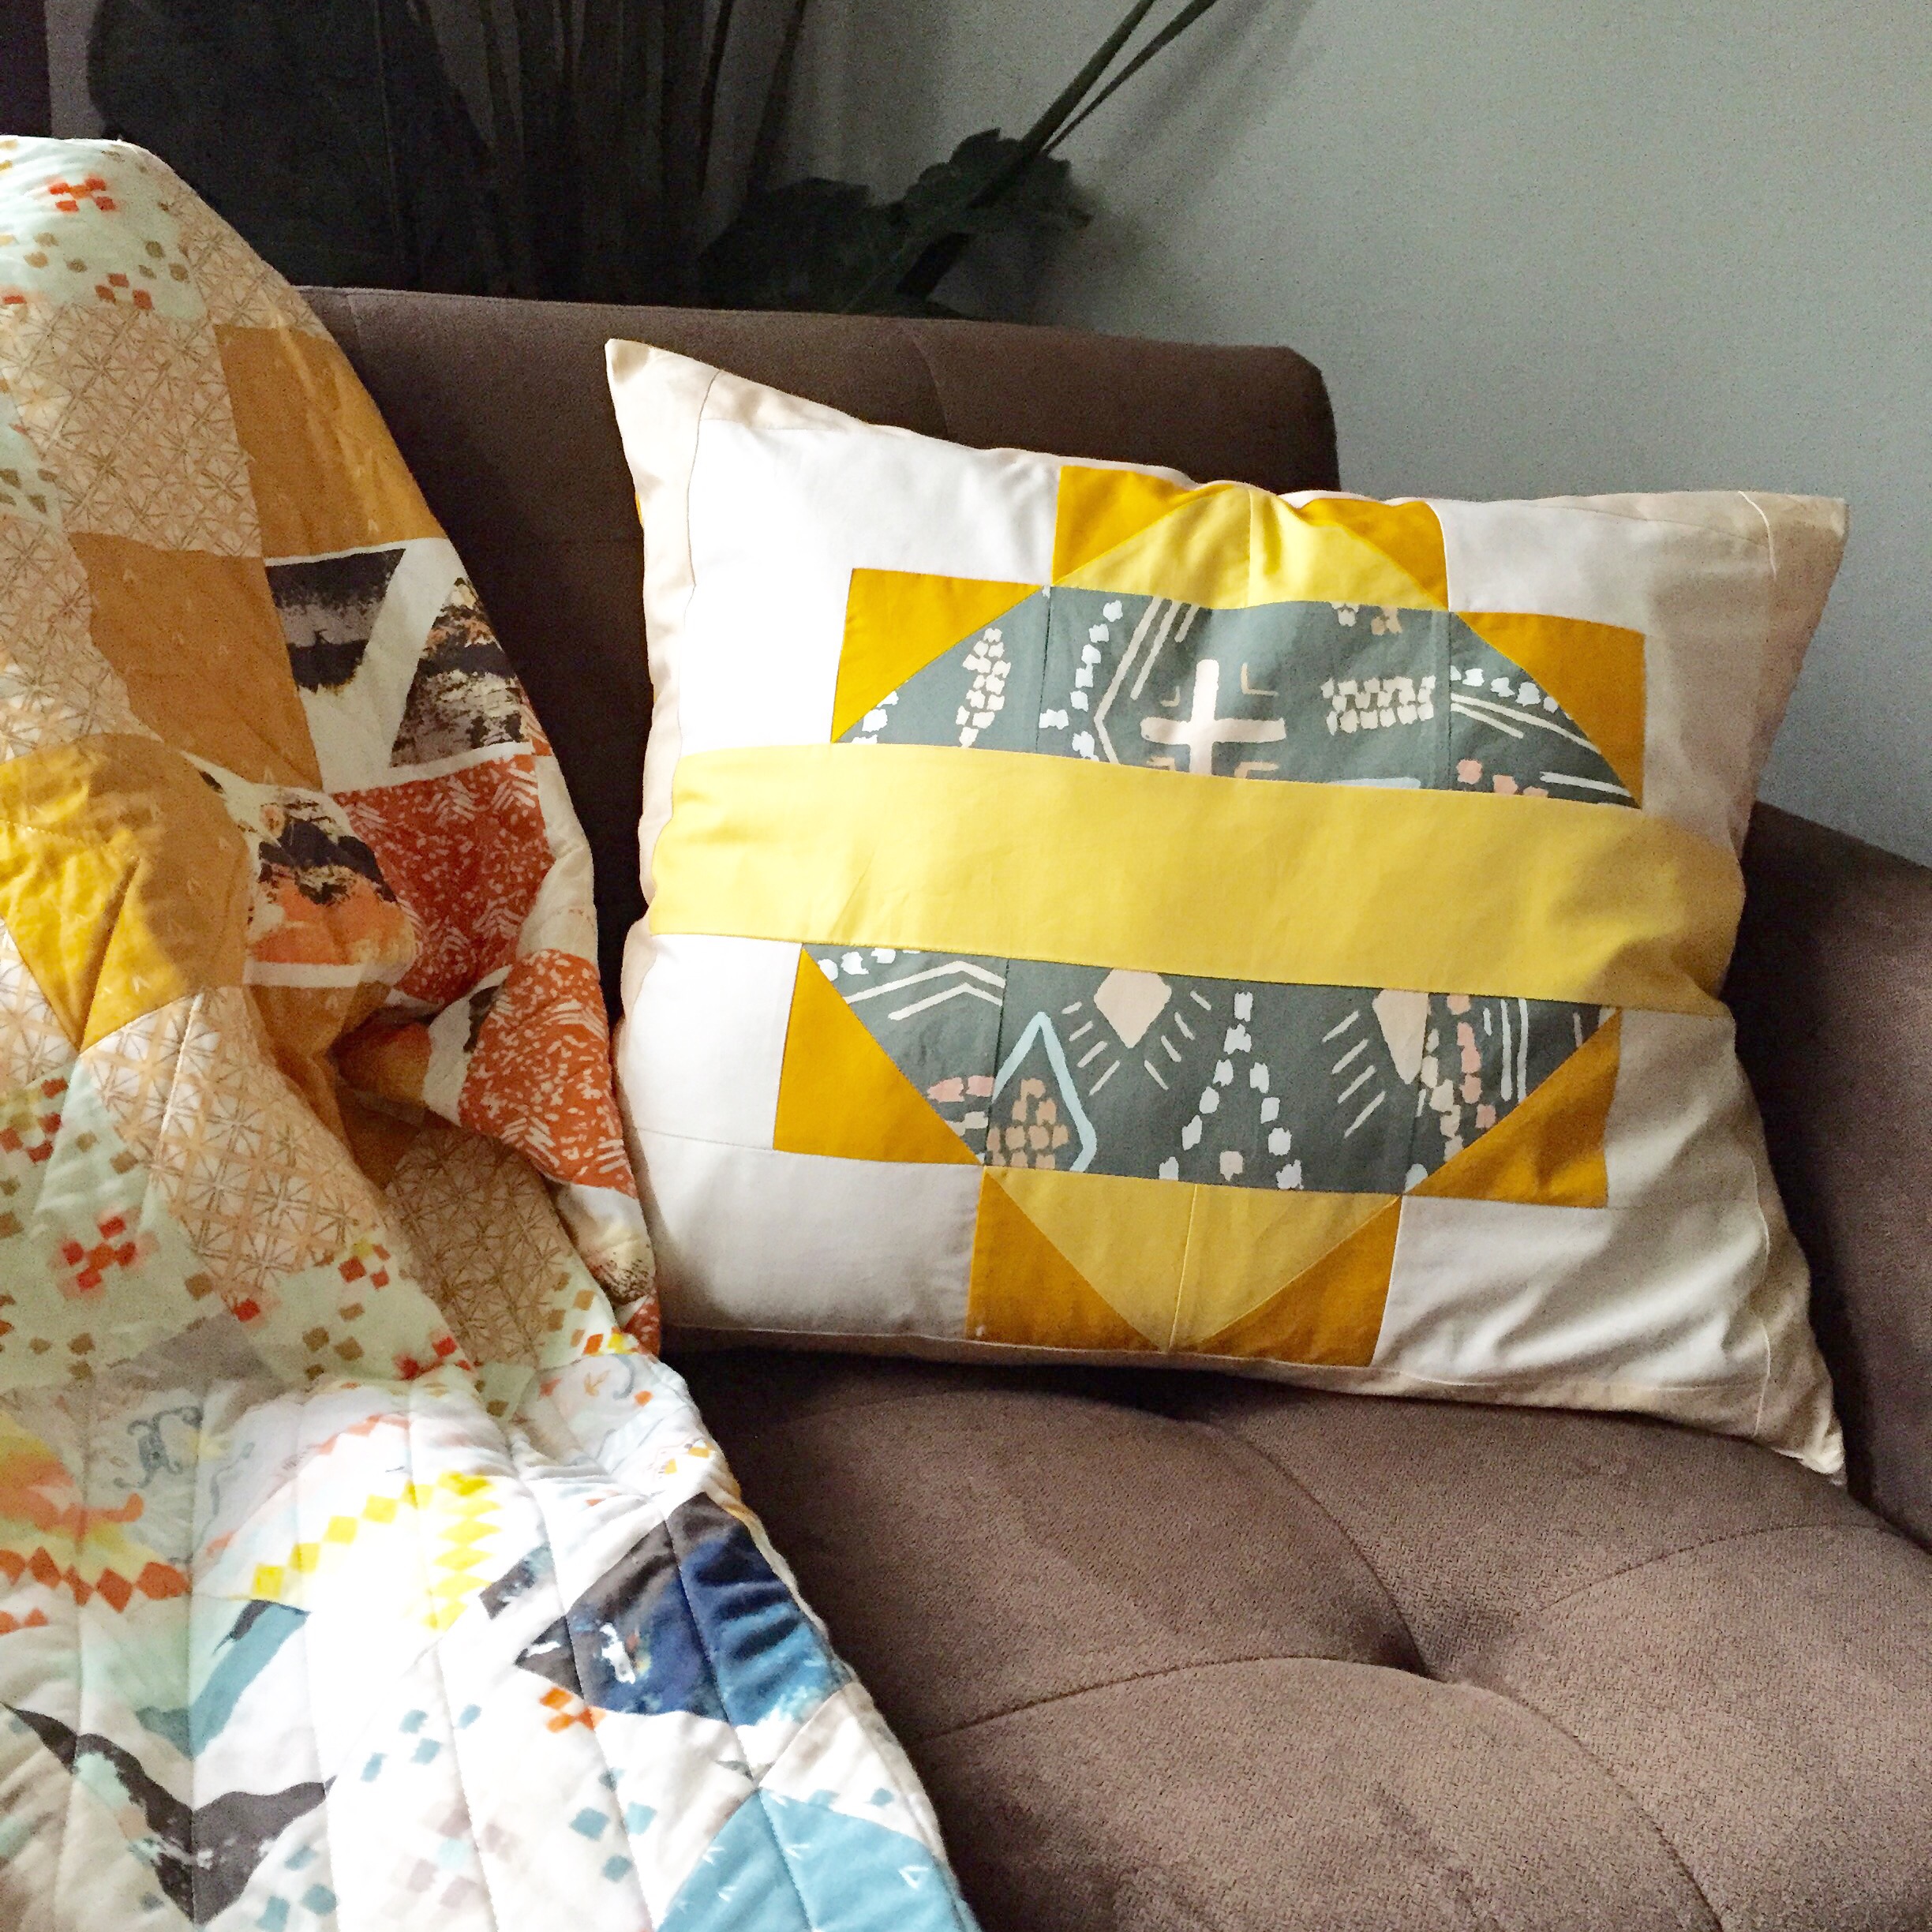
2.) Ancient Lands Pillow

April made the fabric pull on this pillow and it turned out beautifully…No surprise, right?  She is able to use unexpected color combos and make them all work!  I am not usually a yellow/mustard kind of girl (maybe because it blends into my own skin???) so I tend to stay away from these fabrics.  But I think I may start broadening my horizons….

   This pattern is free on Art Gallery’s Blog site and utilizes some HSTs as well.  It’s another great quick beginner project. The fabrics used are Macrame Clay, Growth Stone and Pure Elements Tumeric, Banana Cream, and Linen White.

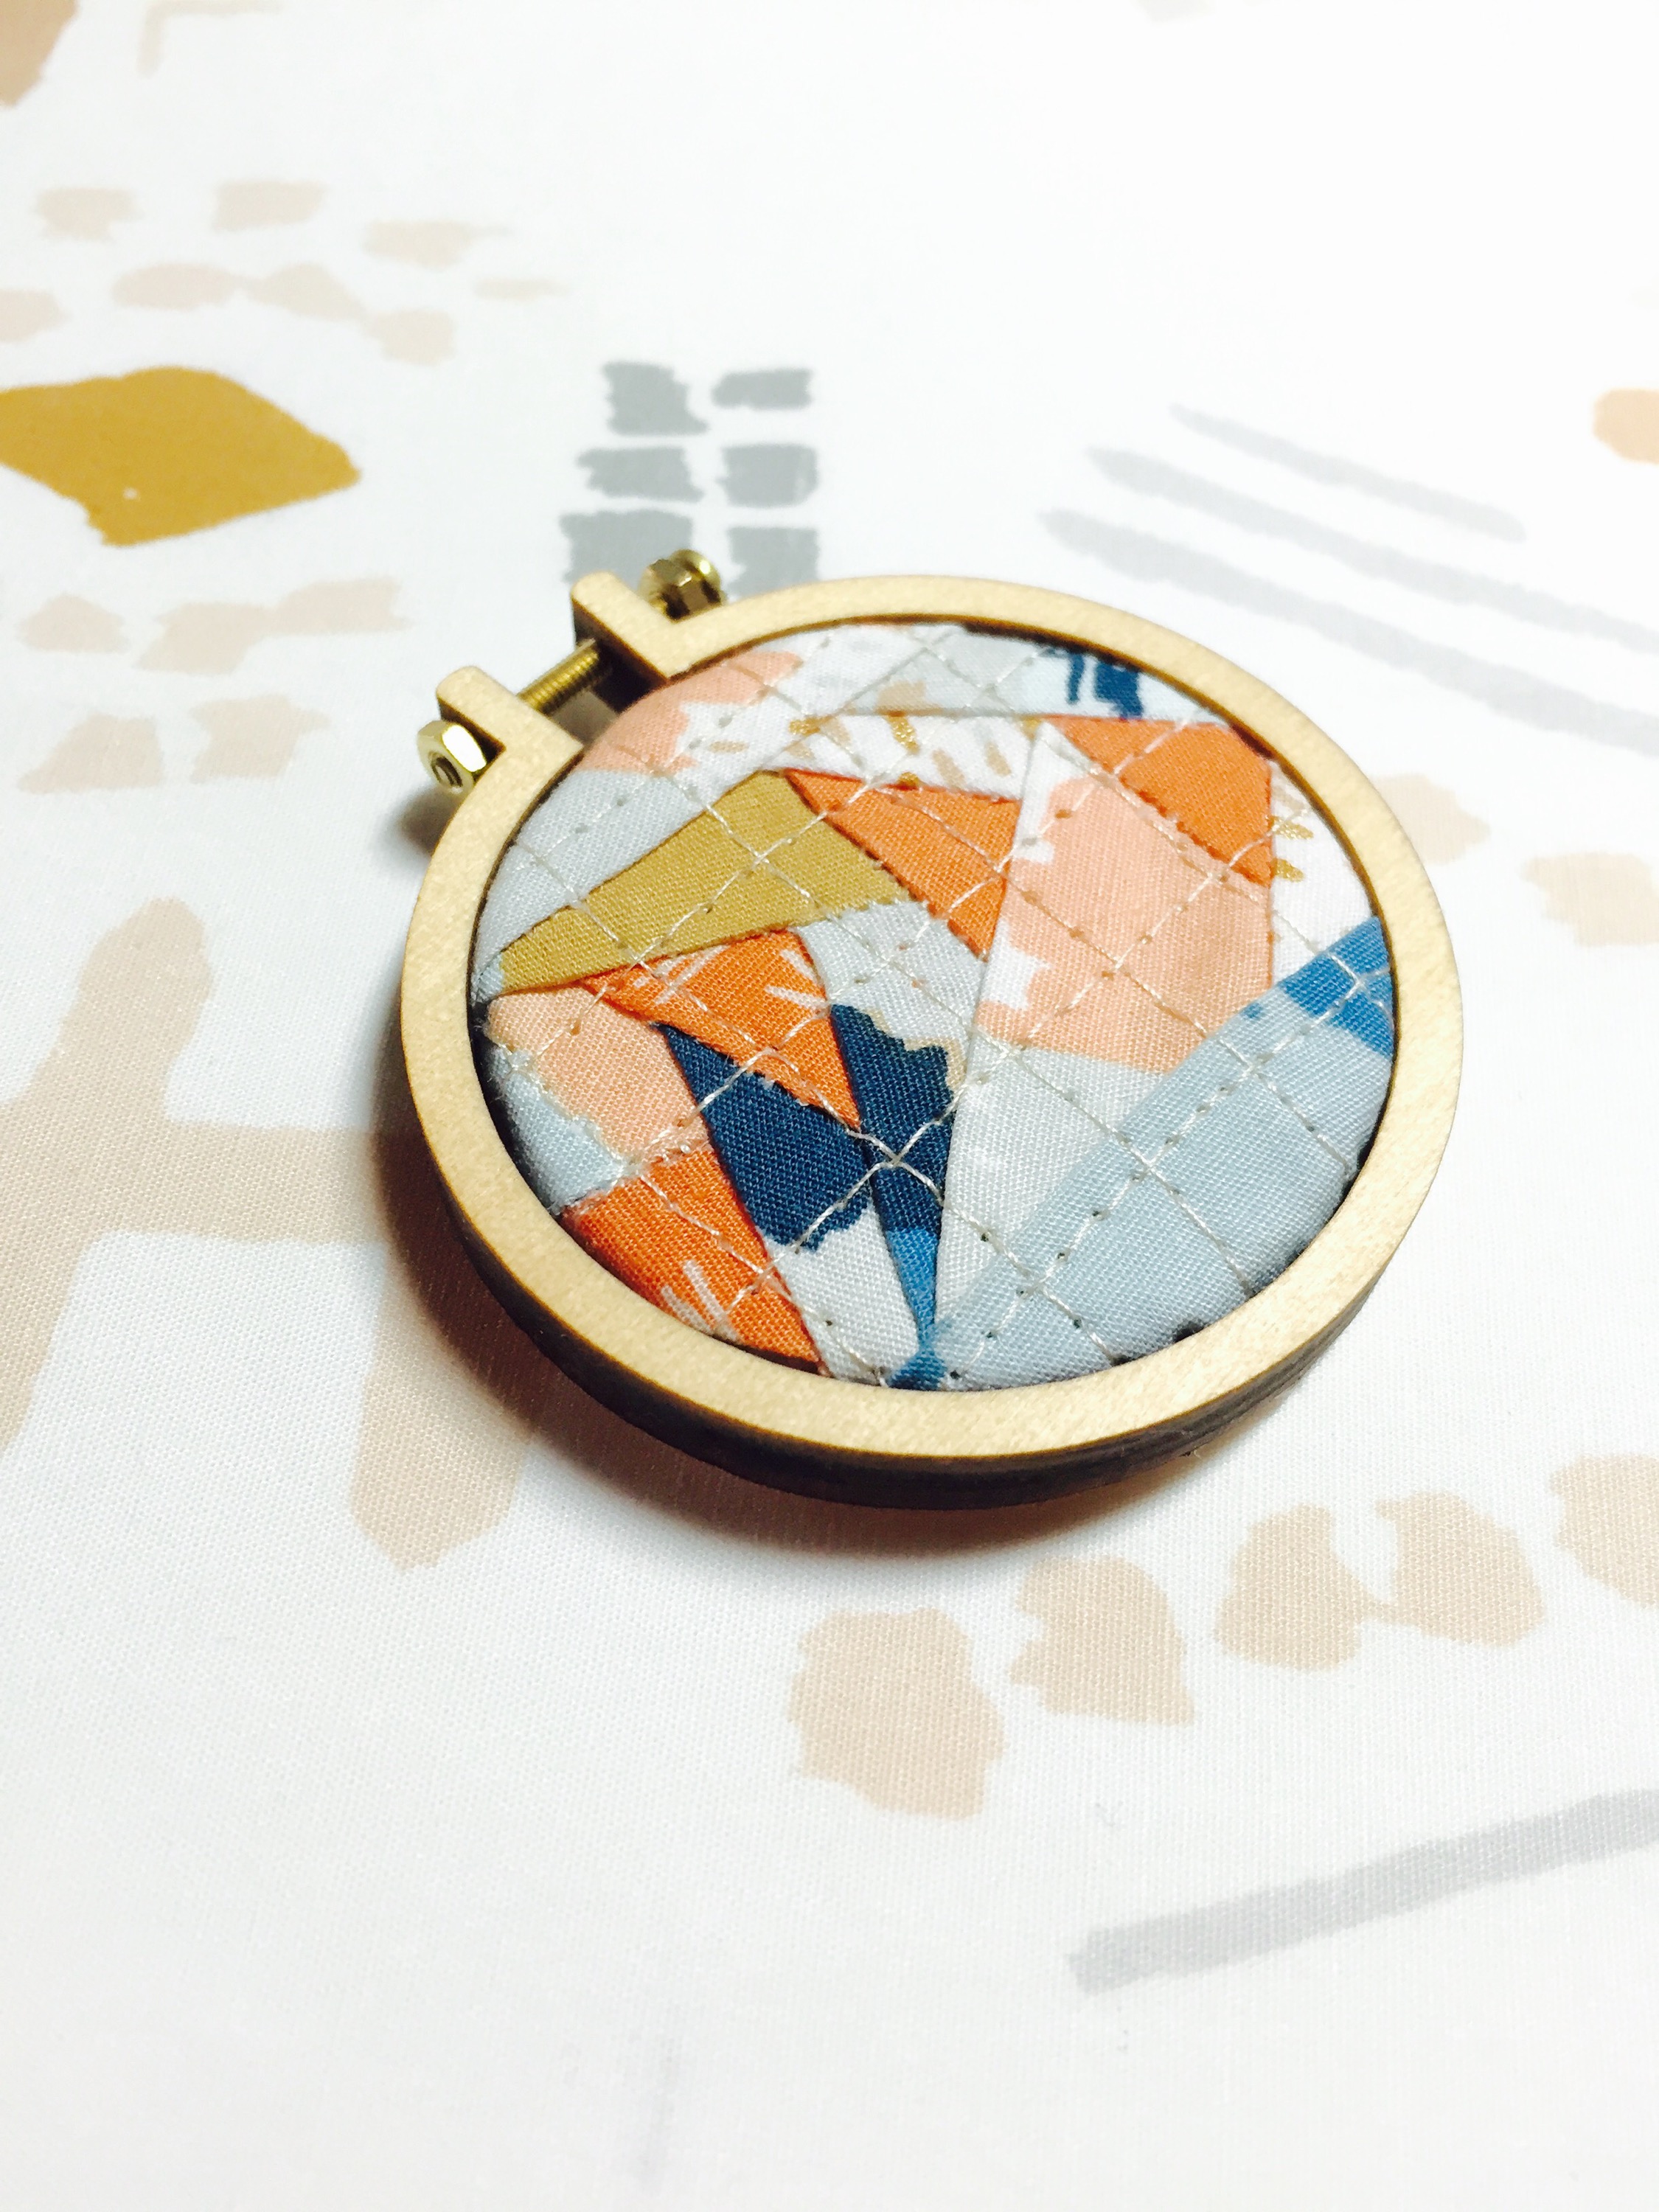
3.) The Geese Go Painting

If you don’t know already, I love Flying Geese, Foundation Paper-Piecing (FPP), and Mini-Embroidery Hoops…all together.  It’s fun to make these little quilt hoops…they are a quick project…trust me!

The quilt pattern is called “Goosing Borders” by Jeli Quilts (of course!) and is a FREEBIE!  This is a great pattern to practice to see if you would like the other patterns by Jeli Quilts (I have a feeling you will…)

I used Growth Joy for the geese and Painting Morale as the background.  After downloading the pattern, the printing was set to 25% of the original image to shrink it down enough to fit into this cute Dandelyne 2.2″/ 5.5cm hoop. An extra 1″ was added at the top and bottom as well.

When making these geese, I usually like them to stand out against a neutral background.  But Bound fabrics has such fantastic imagery and detail that you have to look a bit closer and study the design.  I wanted these geese to do the same…so they were “camouflaged” a bit against the different colors in Painting Morale.  The quilting added to the “camouflage” while helping to keep all the piecing intact.  The thread is the same Aurifil 2312 50 wt used in all of these projects.

#quiltedhoop #miniminihoops

========

If you make any of these projects, please send me project pictures via IG or email. I would love to see them!!!

Happy Stitching!

Cristy
Love You Sew