Plaid Flannel Cargo Duffle

CargoDuffleTitle

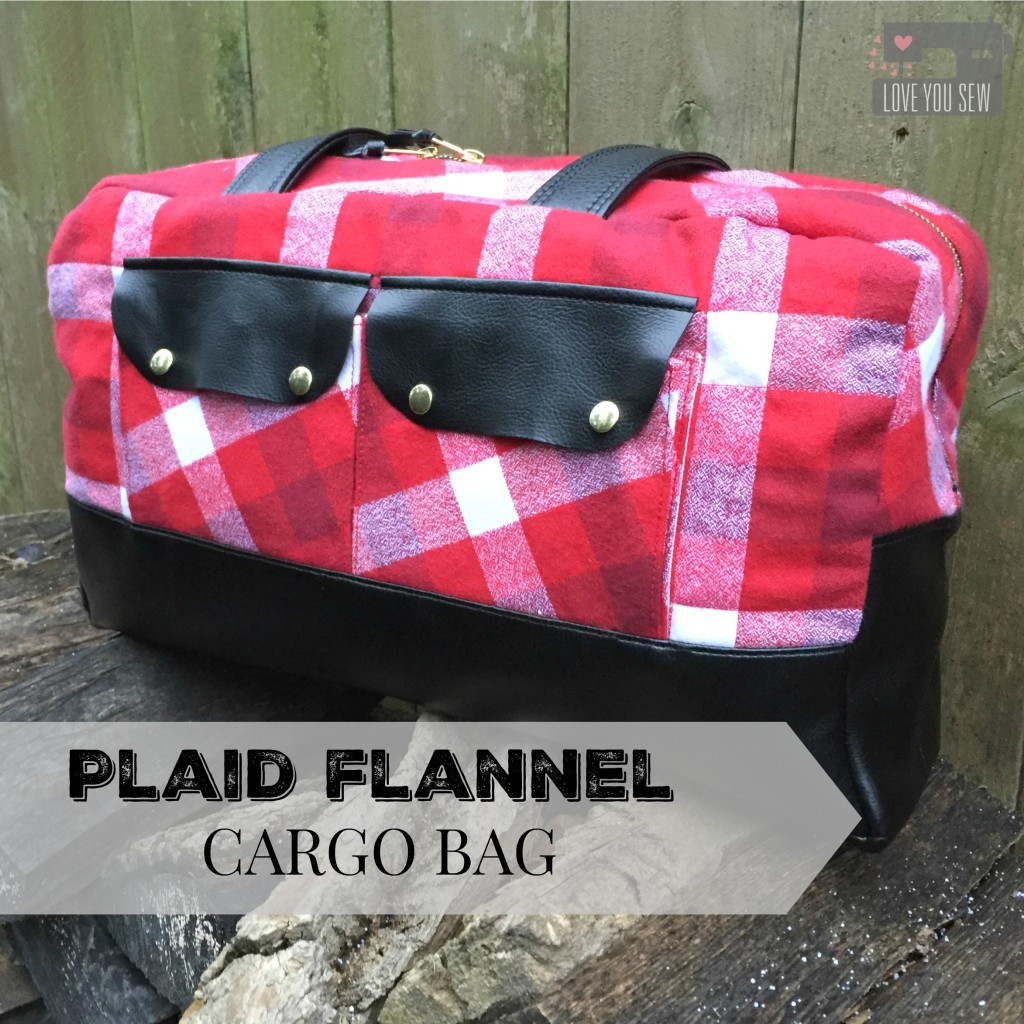
After I made my first Noodlehead Cargo Duffle for Sew Sweetness‘ Pursepalooza shown here, I quickly received a request to have one commissioned.  How many times has that happened to you?  However, the request came from my sister…so you know it turned into a gift instead 😉 Now that Christmas has passed, I can finally show you this version!

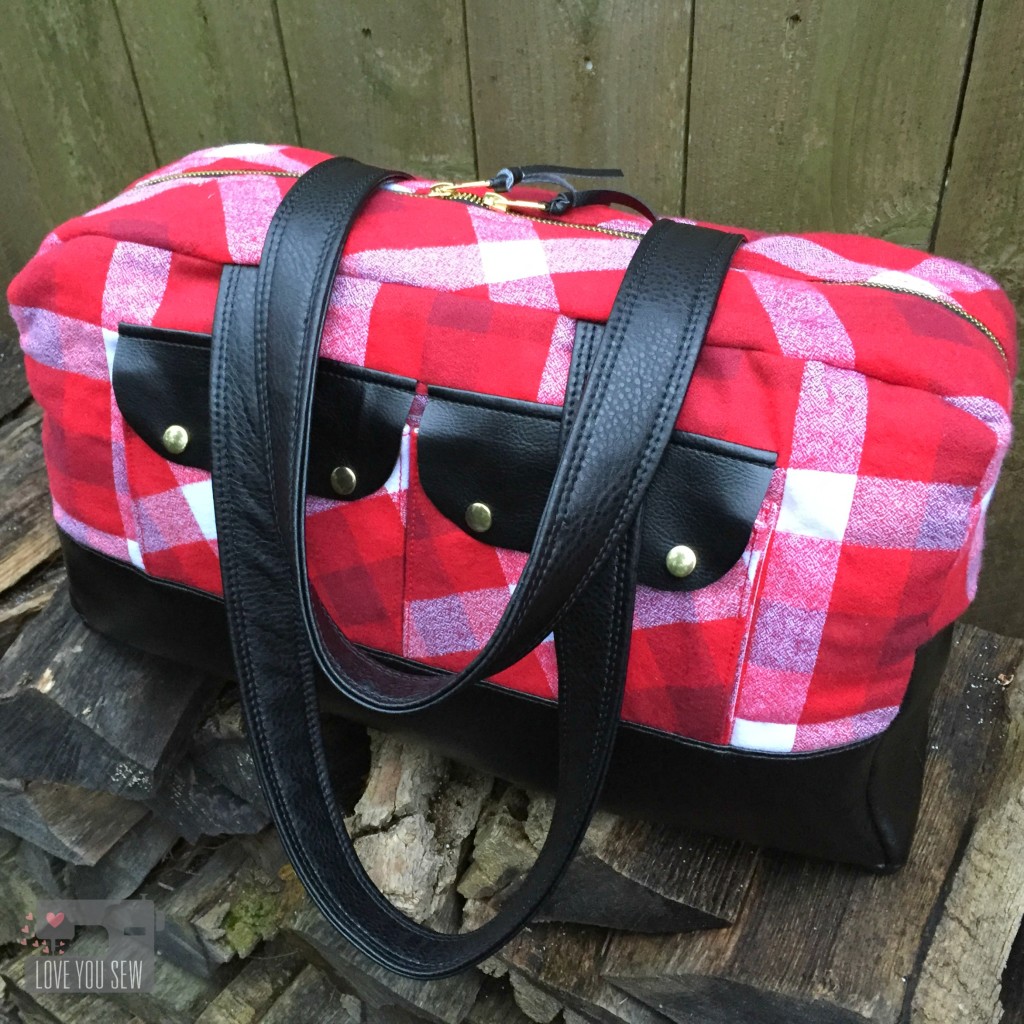
FullProfileWStraps

My sister wanted a plaid flannel just like my original…so of course, I went back to Robert Kaufman’s Mammoth Plaids.  They are just SO soft.  The black vinyl is “suede cloth” purchased from my local JoAnn’s.

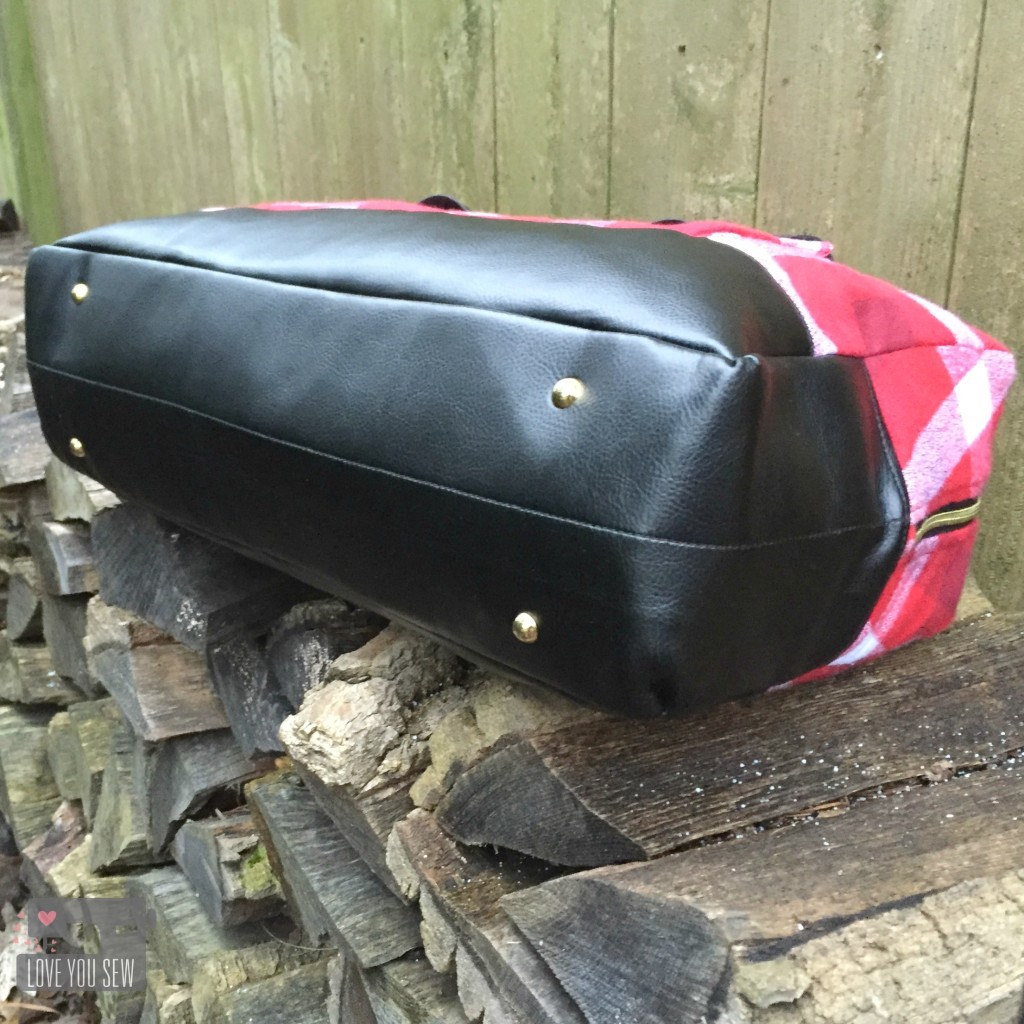
BottomFeet

Purse feet are a great added touch to make a bag look more professional.  These are from Emmaline Bags.  I adjusted the spacing to them vs my original to be a little closer together. They are approximately 14″ apart lengthwise and 1.5″ in from the outer seams.  The pocket snaps are from Tandy Leather.

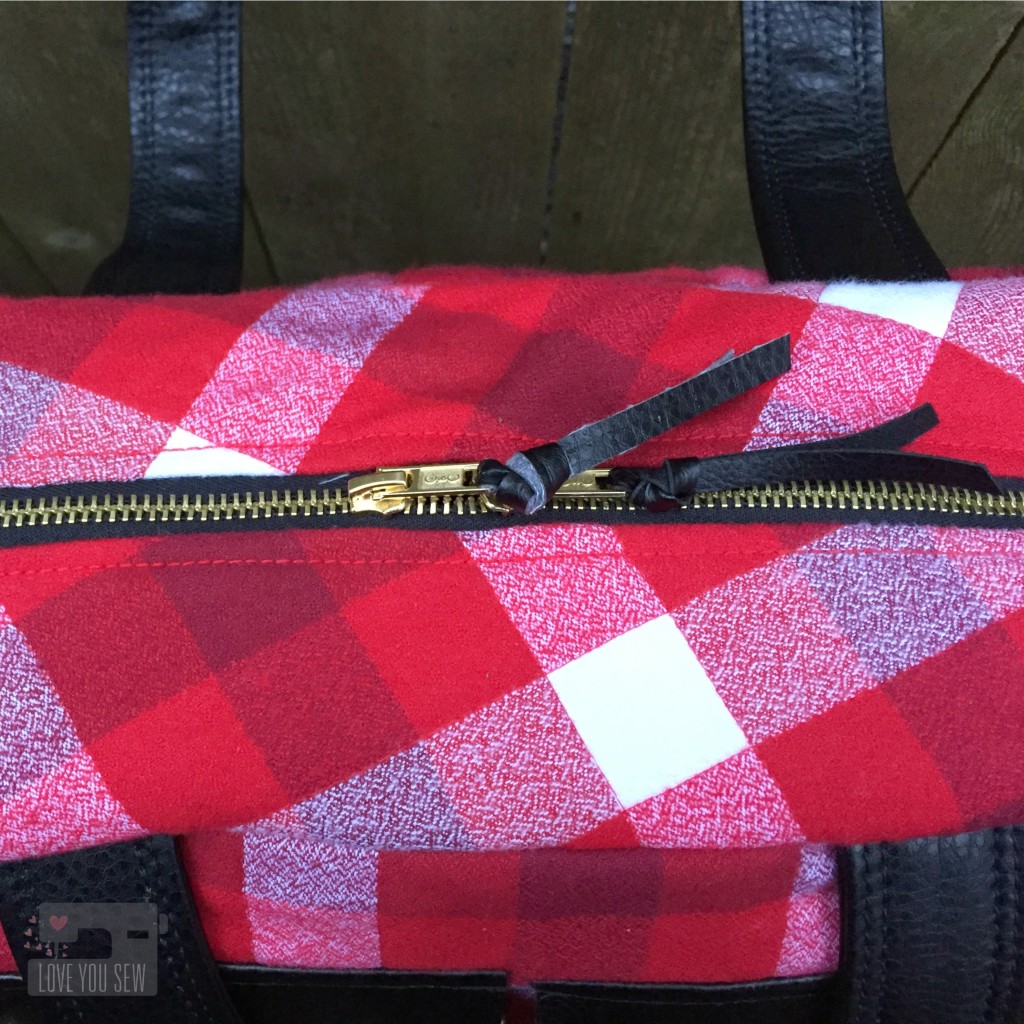
DuffleTop

If I can use a metal zipper on a bag, I always will….they are just so pretty!  The outer zipper is a coverall style by Coats and Clark.  The interior zipper is YKK.

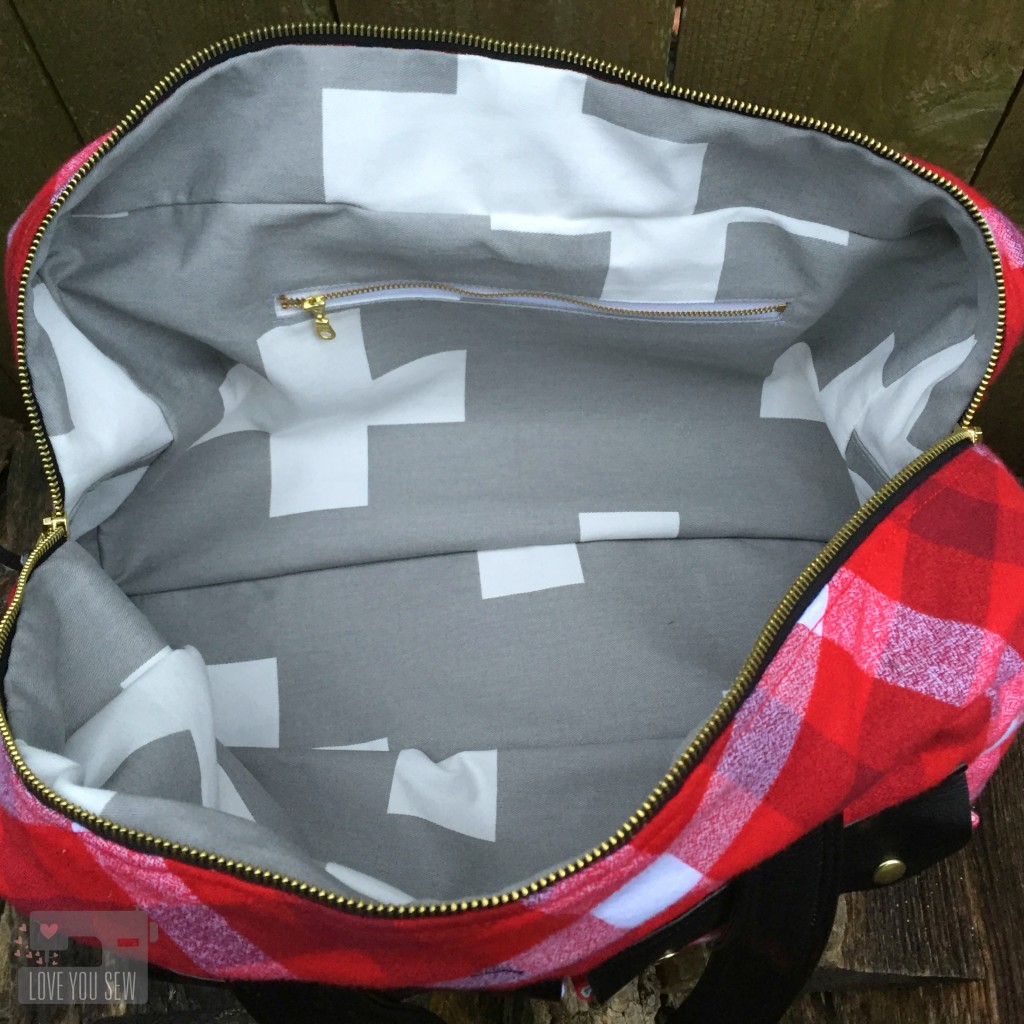
InsideView

The biggest difference with this bag is the interior.  I used this tutorial by Small Town Thread to create a drop-in lining.  I tacked the liner to the bag’s top corners then hand-sewed it to the zipper.  This was just to keep the look clean and keep any extra fabric away from being snagged into the zipper.

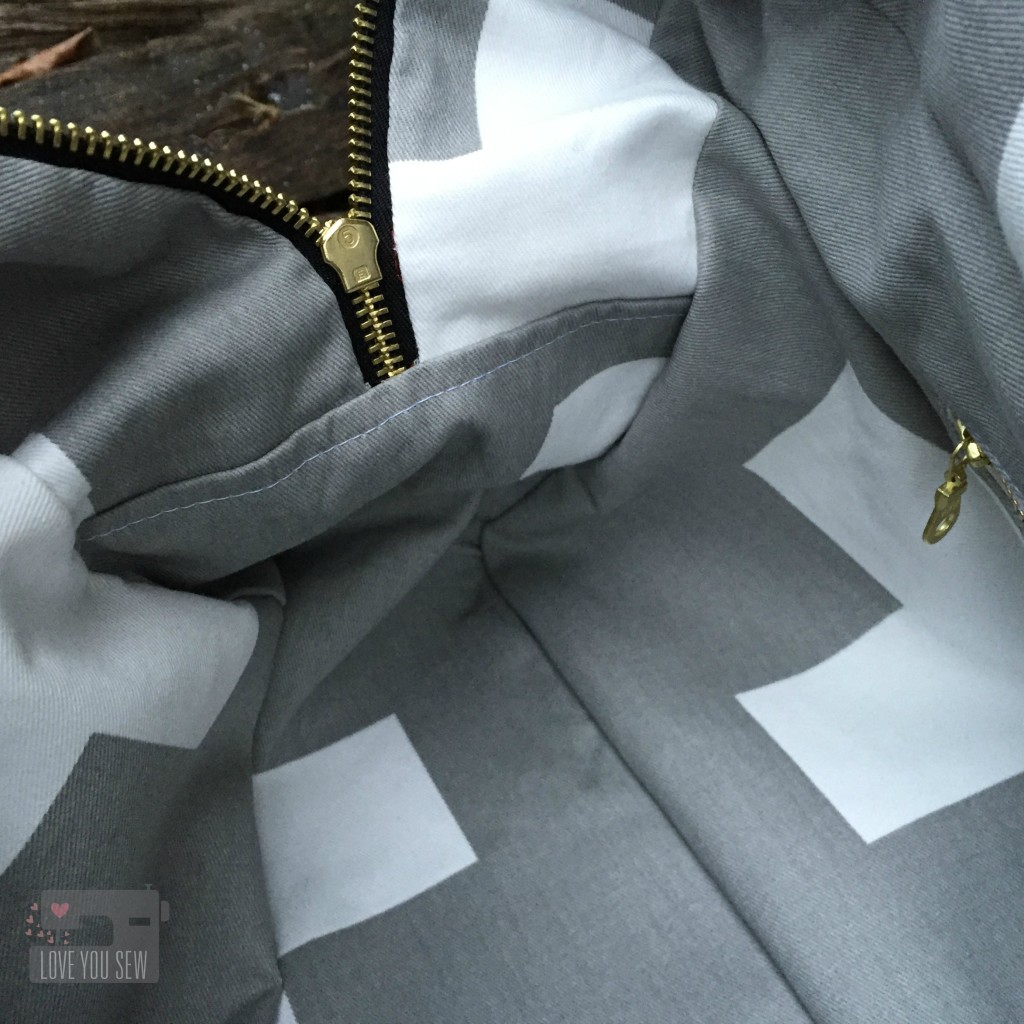
InteriorCloseUp

I use a lot of Premier Prints home dec fabric and this interior fabric is no different.  It is the larger Swiss Cross pattern.  This fabric complements the red and black exterior while echoing the plaid design as well….I really love it 🙂

I’m happy to report my sister loves this bag as well!  She is one of my strongest supporters and also one of my best salespeople.  It is quite flattering that she wanted one of my bags to go alongside all of her designer ones.  Now I’m off to make her another bag….haha!  It never ends, right?!? 😉


xoxo – Cristy
 

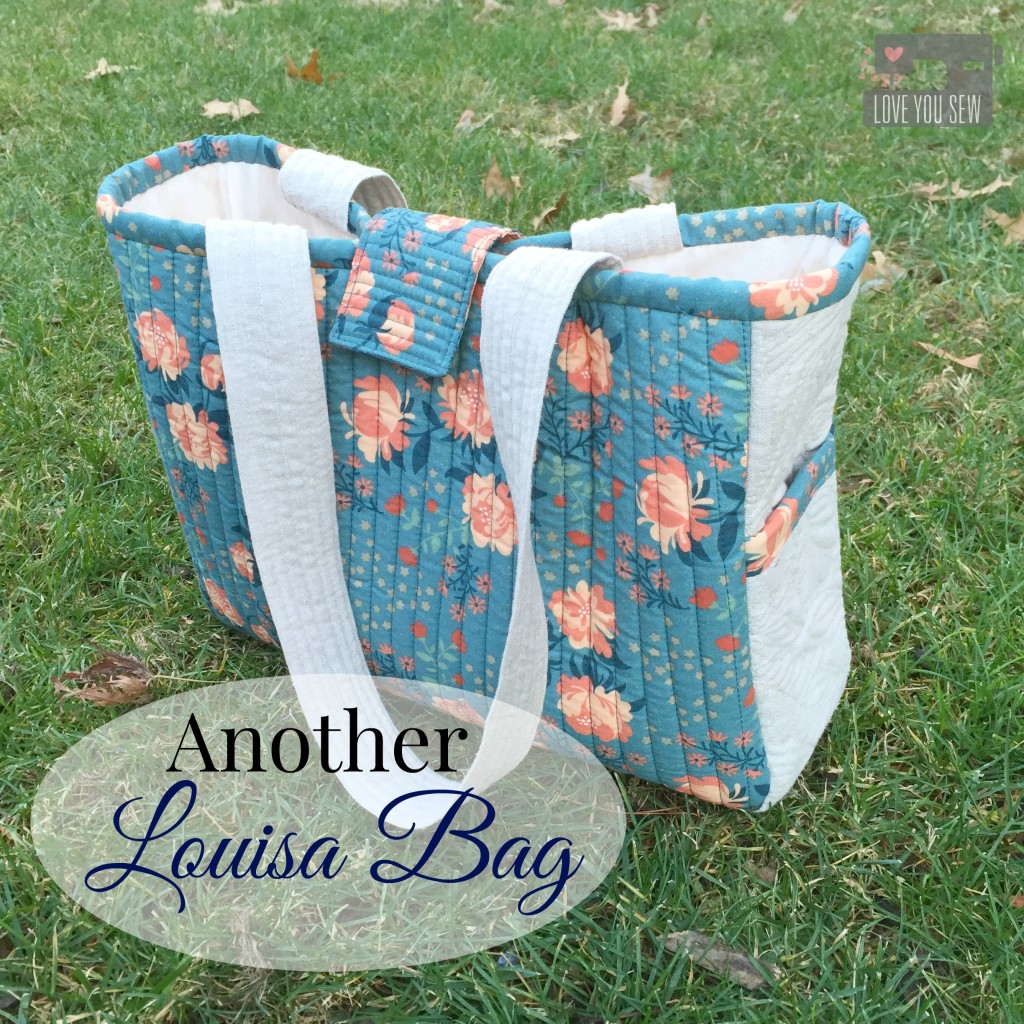
Another Louisa Bag

BirchLouisaBagTitle

As the holidays approached, I knew I wanted to make something special for my sister-in-law.  She lives only 30 minutes away, but we don’t get to see much of each other.  My niece is a rocking athlete and travels all over the state on the weekends.  We usually have to meet on a soccer field to catch up!  But when time allows, she always wants to spend some time with our boys.  It is win-win…she gets some QT and my husband and I get some time to go out.  So that’s why I thought a bag would make a great gift!

LouisaBagFullProfile

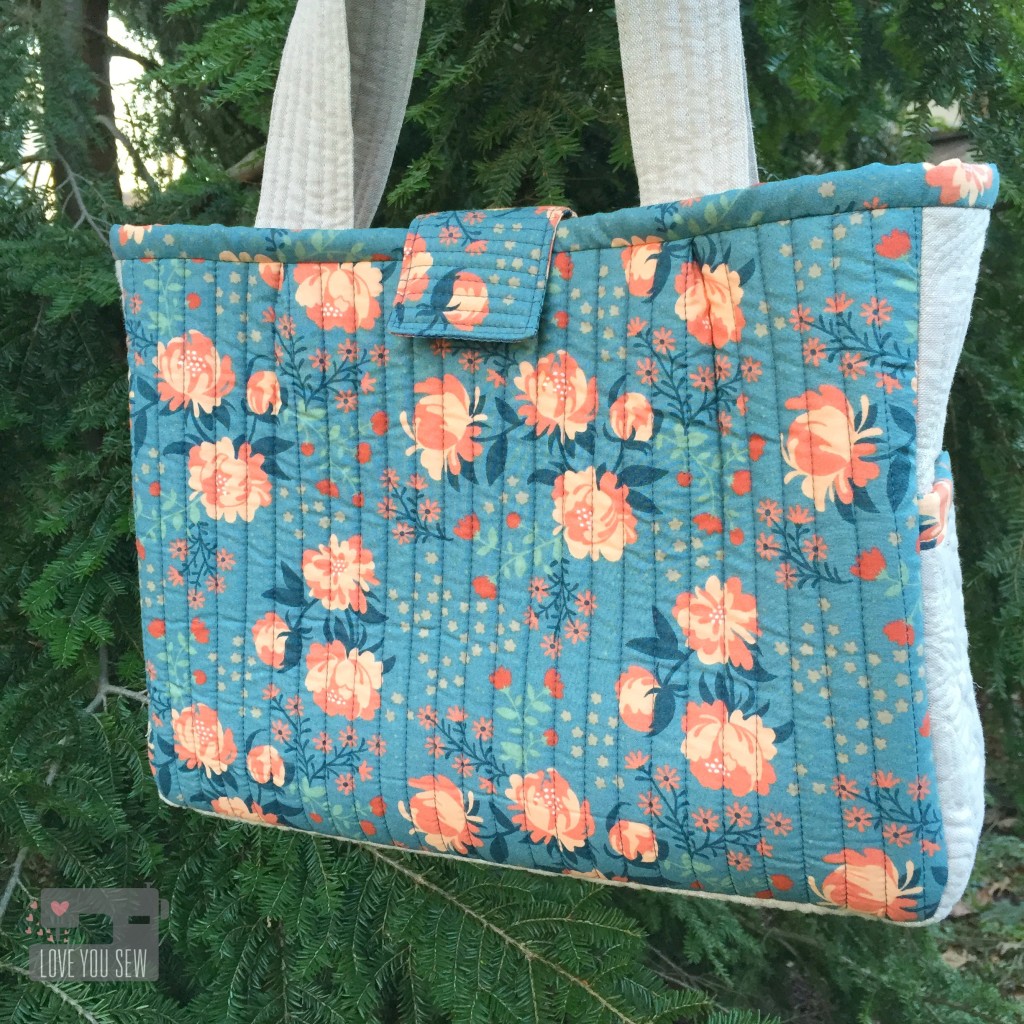
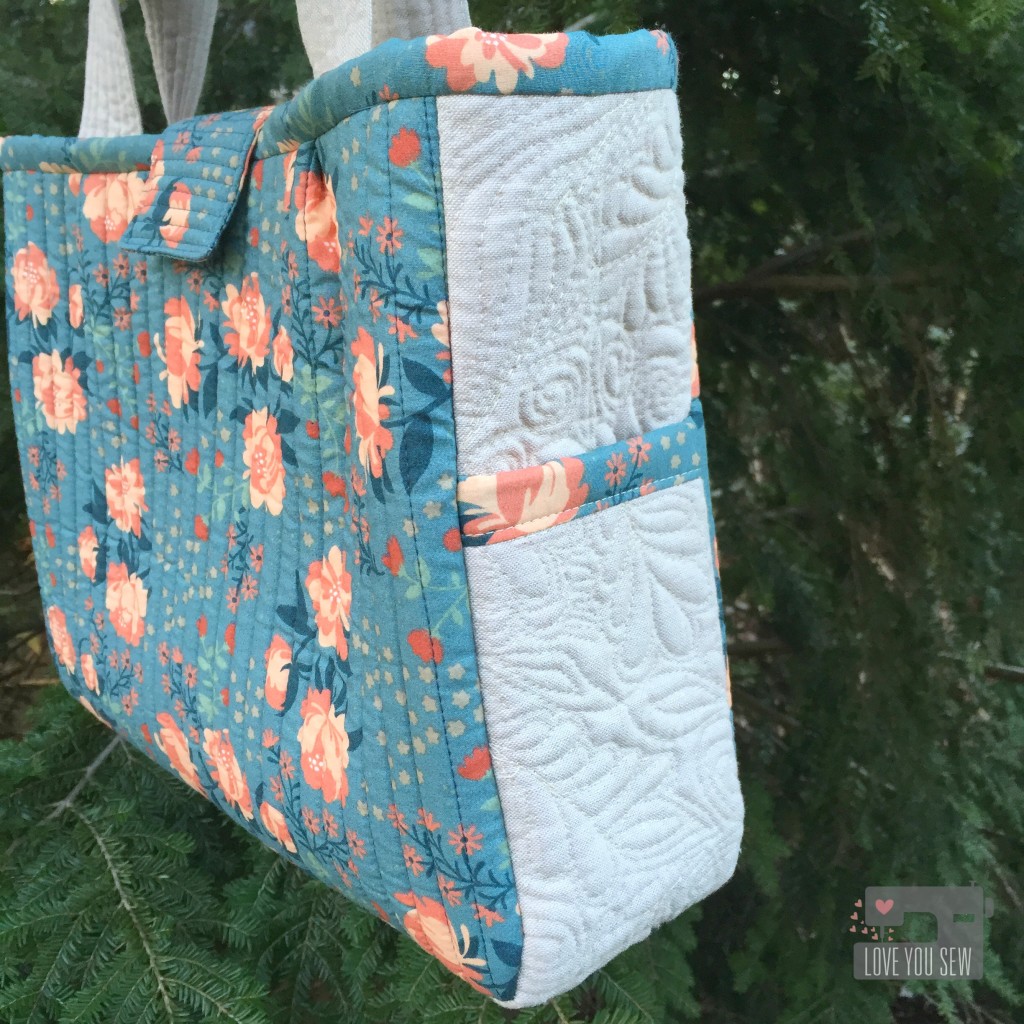
The Louisa Bag by Clover & Violet was the perfect choice.  (You can see the Flying Geese one I made here.)  This pattern is makes for a great mid-size bag to carry all of the essentials without being too overwhelming.  I had this great Acorn Trails Peonies Blue from Birch Organics which I wanted to leave whole.  It’s a beautiful larger print to show-off rather than turn into patchwork.  This exterior fabric was straight-lined quilted with Pellon Flex-Foam for lightweight structure.

TIP: Cut pattern pieces 1″ larger than instructed if you are quilting to the Flex-Foam. Once finished quilting, cut to the proper dimensions.

SideQuilting

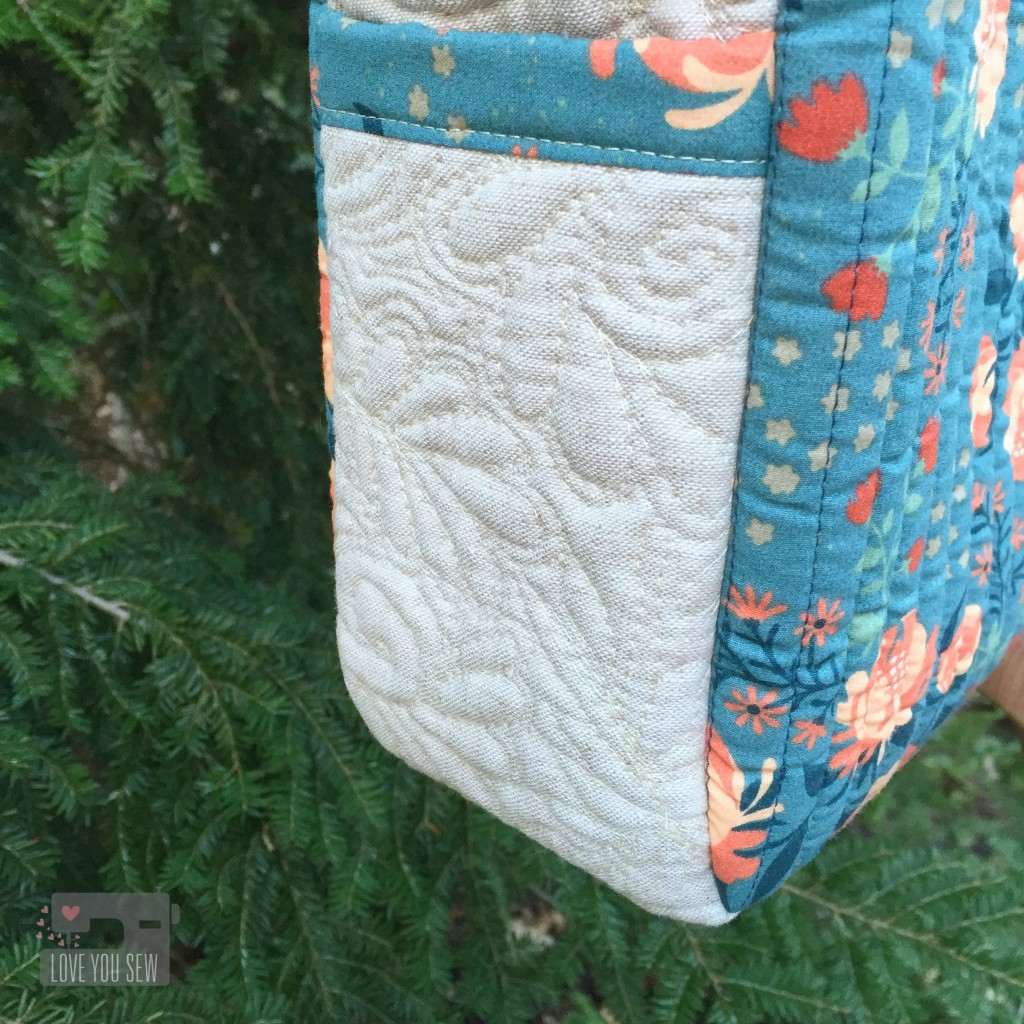
For the sides, I wanted to add more interest since we left the main exterior panels whole cloth.  Essex Linen in Natural was the choice to add quilting upon.  I’m very new to the free-motion-quilting game.  I’ve been practicing for some time, but have been hesitant to actually use it on a real project.  These panels are wide enough to allow some fun design work, but small enough for me to handle as a first project.

SideQuiltingCloseUp

I channeled my inner Angela Walters and went for it…graffiti style without a pattern.  There are some flourishes, swirls, leaves and echoes to fill in all of the space.  I’m please with how it complements with the Peonies on the main panel.  I omitted the side ties to keep the pockets simple and allow the quilting to stand out.

InteriorZipSidePocket

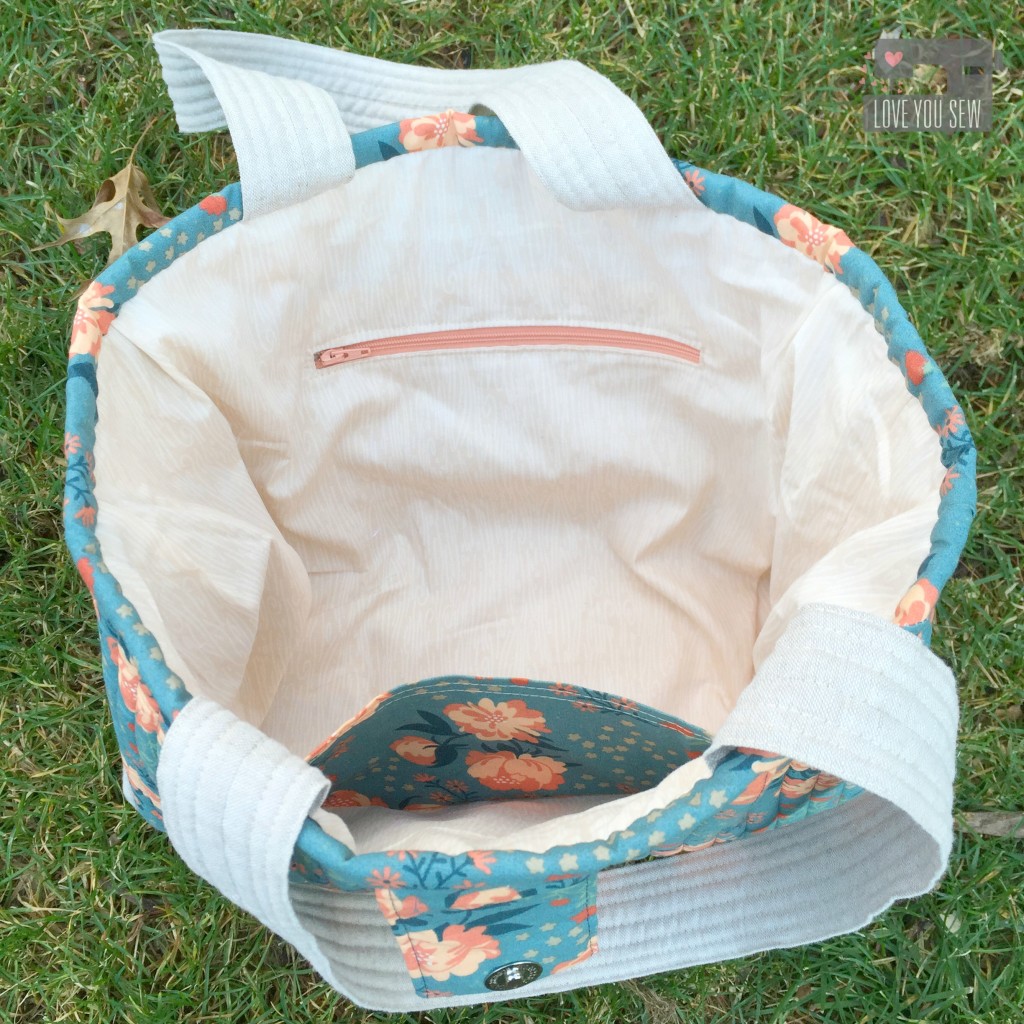
For the interior, I used the soft tones in Wildwood Birch from the Hello Bear line by Bonnie Christine for Art Gallery fabrics.  I was so happy to have a nice peach zipper to match with the exterior fabric….It pays to buy zipper assortments 😉

InteriorSidePocket

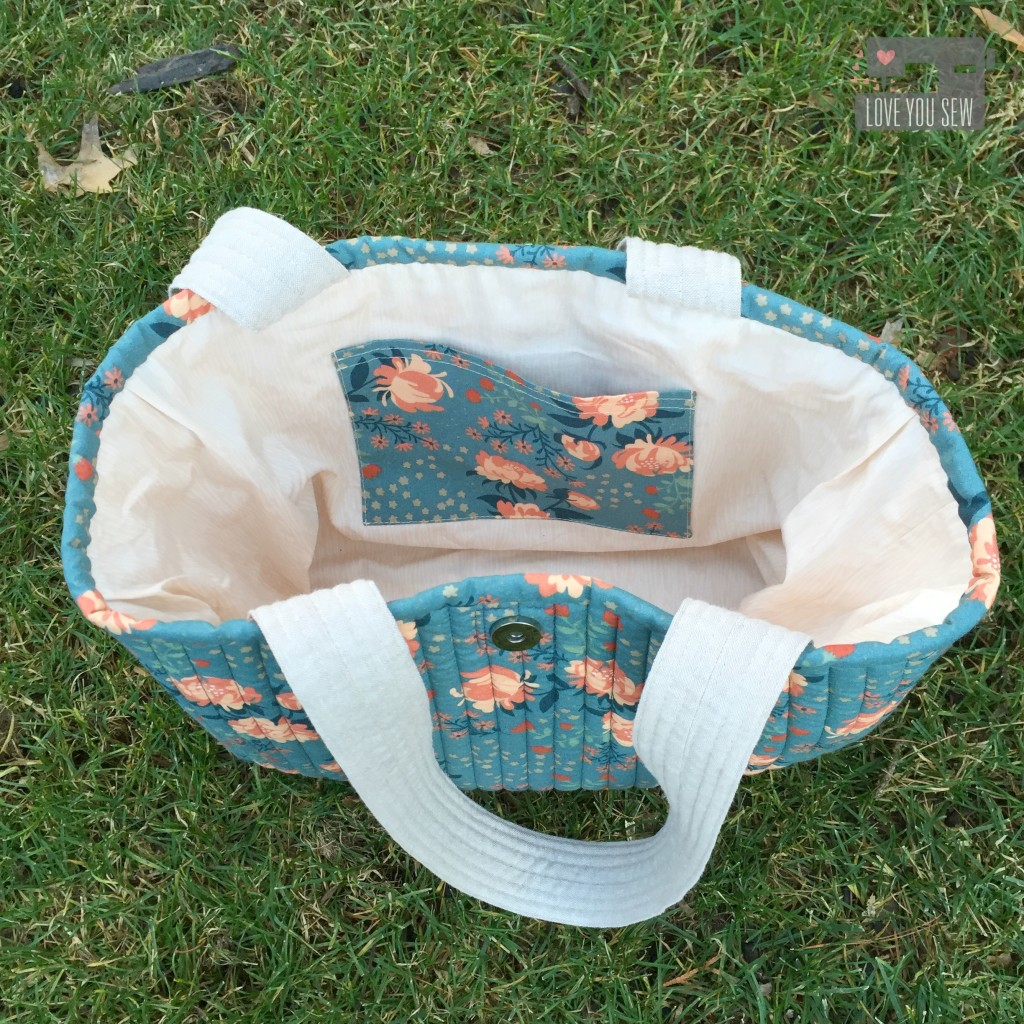
For the flat pocket on the other side of the interior, I use the main fabric to add interest and so my SIL can easily find in when in a pinch.  The straps were quilted with Flex Foam and you can see that they remain very pliable.  I love how this bag turned out.  It’s sophisticated enough to use everyday with that quilty touch 🙂

What handmade gifts did you make this year?


Happy Holidays,

Cristy
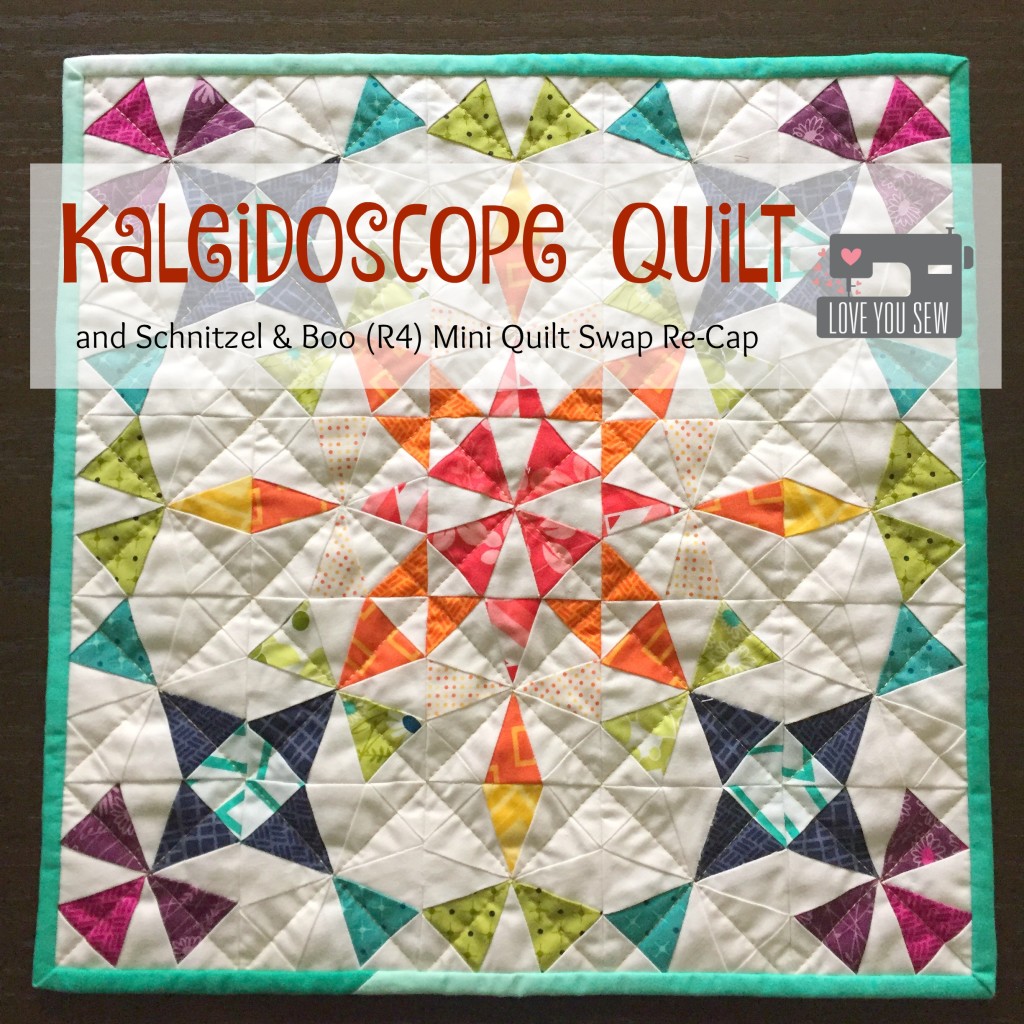
Kaleidoscope Quilt and Schnitzel & Boo (R4) Mini Quilt Swap Re-Cap

KaleidoscopeTitle

The Schnitzel and Boo Mini Quilt Swap was the first swap I followed on Instagram.  I was pouring over the hashtag #schnitzelandboominiquiltswap and trying to figure out what the heck was going on!  This swap has the claim of being the original swap where you are blind partnered (the recipient doesn’t know who is the maker) to make sweet mini quilts and thus, it had over 1000 participants…wow!

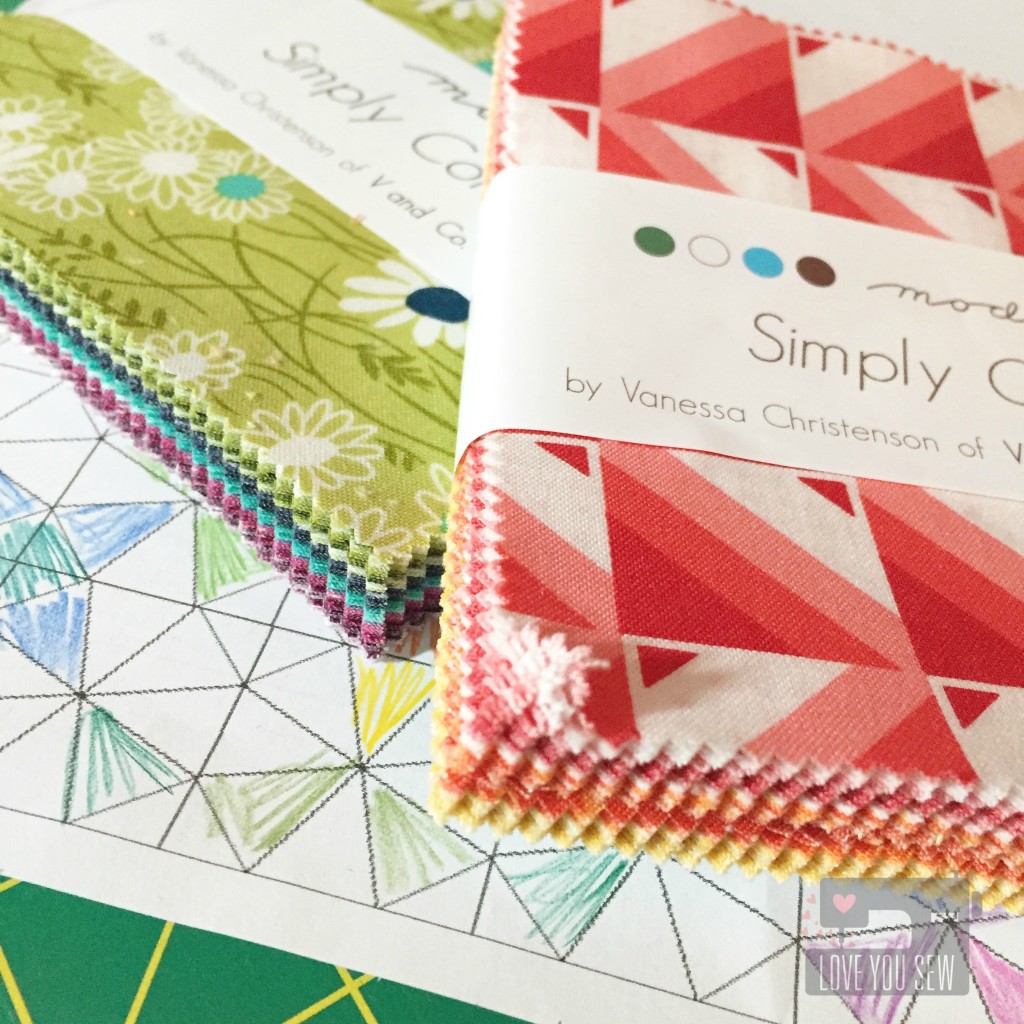
FabricandColoringSheet

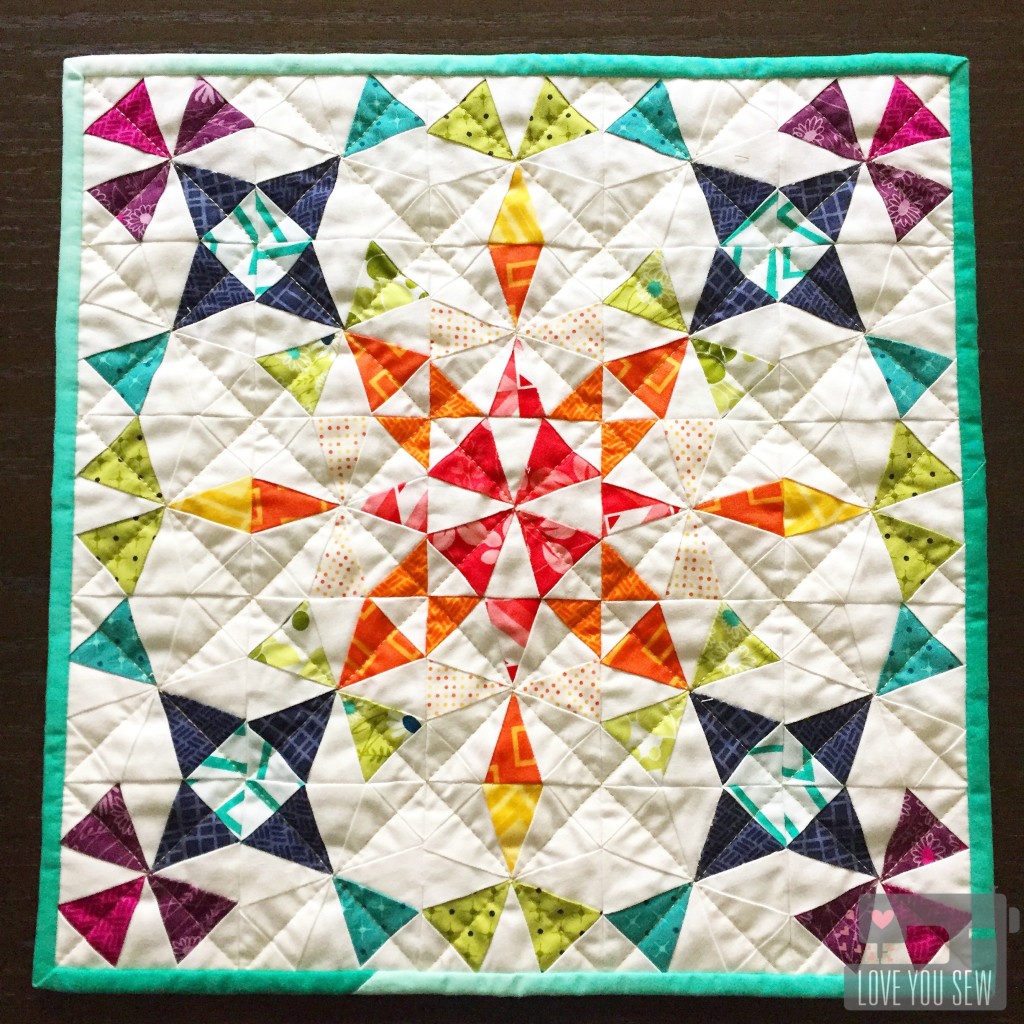
I had the pleasure of making a quilt for someone that liked V & Co fabrics and happened to have charm packs of the newest Simply Colorful and Simply Colorful II lines.  With the popularity of this swap, I felt some pressure to make something pretty nice….so I thought a Kaleidoscope design would be perfect.  It’s very striking and is perfect for some rainbow action 😉

The Kaleidoscope is a traditional paper-pieced pattern I got from Quilter’s Cache.  This is an amazing website with tons of FREE patterns!  The original pattern finishes at a 6″ block.  In order to fit the parameters of a mini, I shrank the pattern to 47% of the original to create a 3″ block. (I don’t know why 50% reduction didn’t work, but a little playing around helped me get to the size I wanted.) To plan out the colors and layout, I used this coloring sheet I found by Debbie Kratovil.  I think every quilt designer should have coloring sheets with their patterns.  They make life SO much easier!

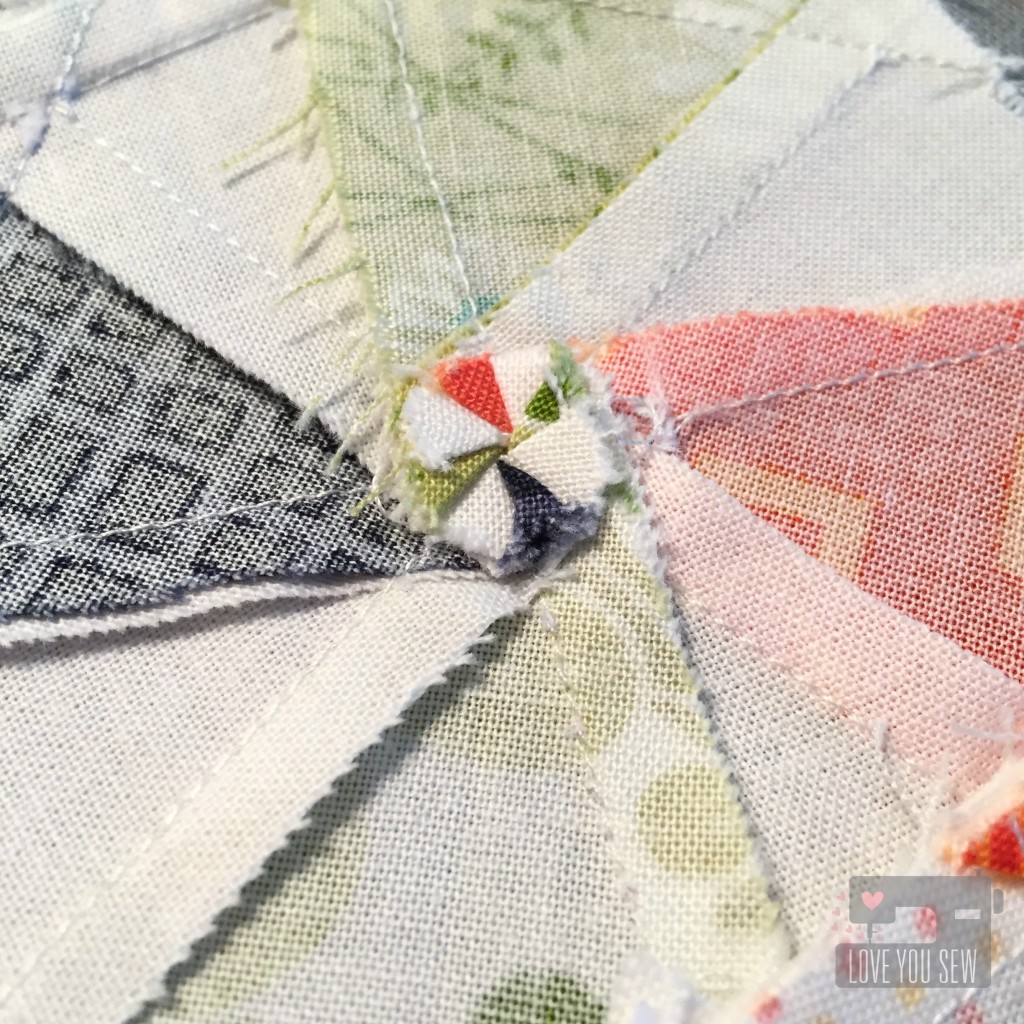
SpiralNestingSeams


TIP: When piecing together the blocks, there is quite a bit of fabric that ends up at the center.  It is quite thick and can be a nuisance to quilt over later.  Initially, I tried to grade the seams and by luck, saw that I could make a little rosette by opening my seams  back a 1/4″ and tuck the seams under as shown above.

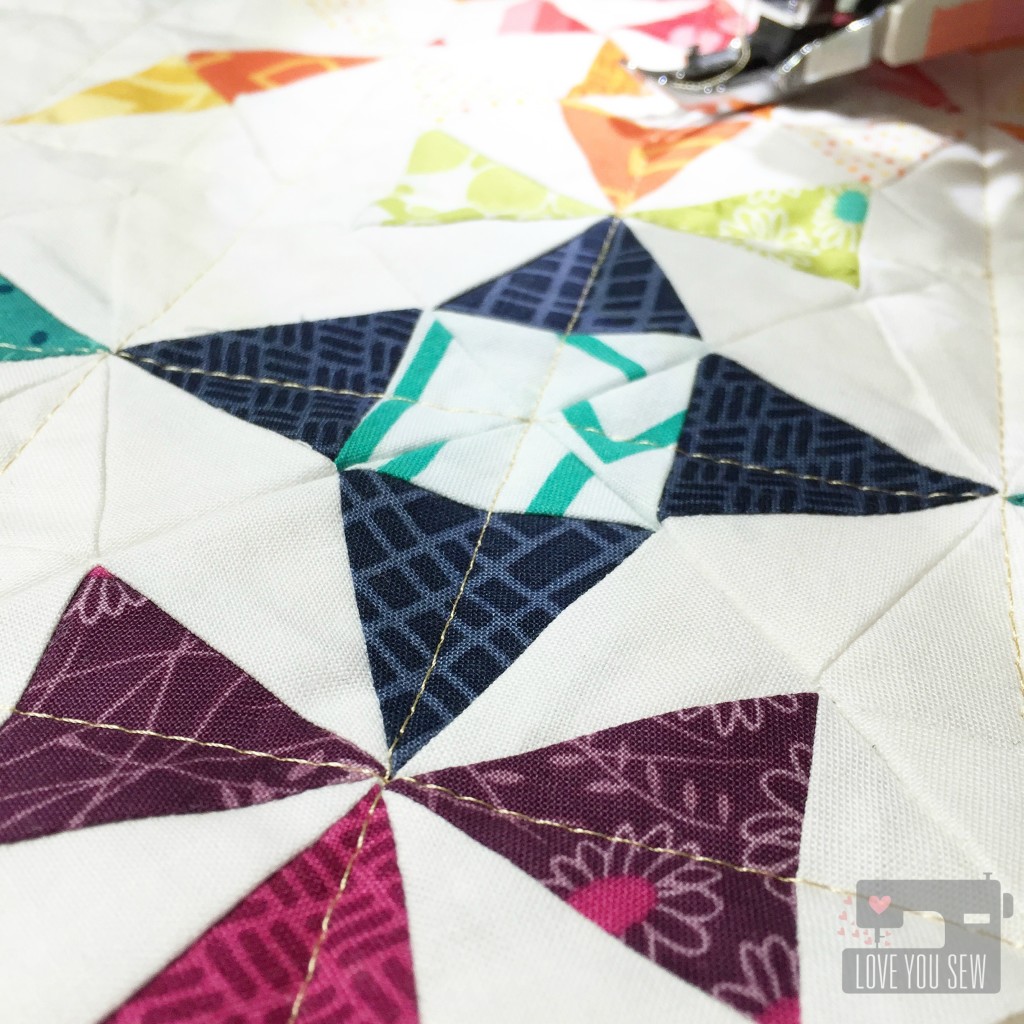
GoldThreadDetail

To finish, I used gold thread to quilt (insert heart eyes emoji!!!)  I just love using metallic thread whenever I can.  It just adds that extra “something” special and matched with the gold dot backing.  For the binding, what else would be better than MORE V & Co…and in Teal Ombre?!?  The ombre was fun to use and made this design really pop.

Complete

Kaleidoscope Quilt – Completed


MiniReceived

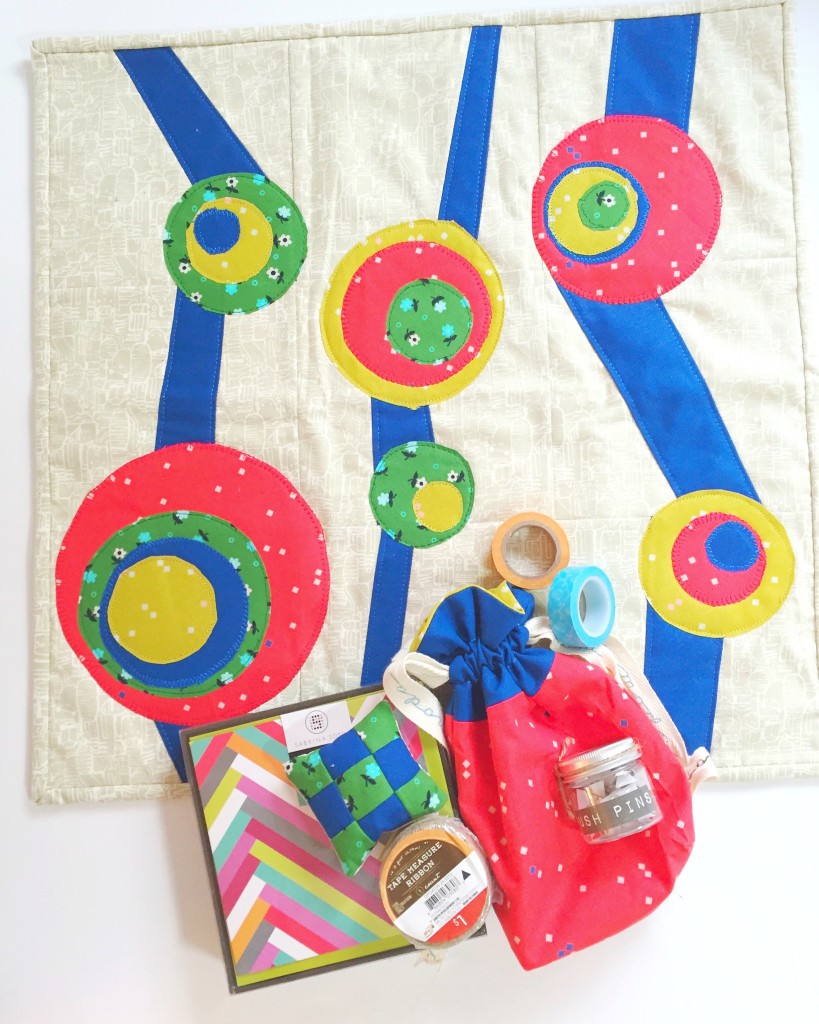
In return for sending off the Kaleidoscope,  I received this beautiful mini with extras from  @amandafech. Isn’t it so fun with the primary palette and appliqué work?  I am 3 for 3 with great swap experiences….all delivered on time with amazing work!  Hopefully, all of you have had positive swap experiences or will decide to join your first one 🙂  They are lots of fun!!!

I’m going to be a swap mama soon so I hope these good vibes carry over 😉


#MakeAQuiltMakeAFriend

Cristy


Dwelling Quilt {Pattern Testing}

DwellingTitle

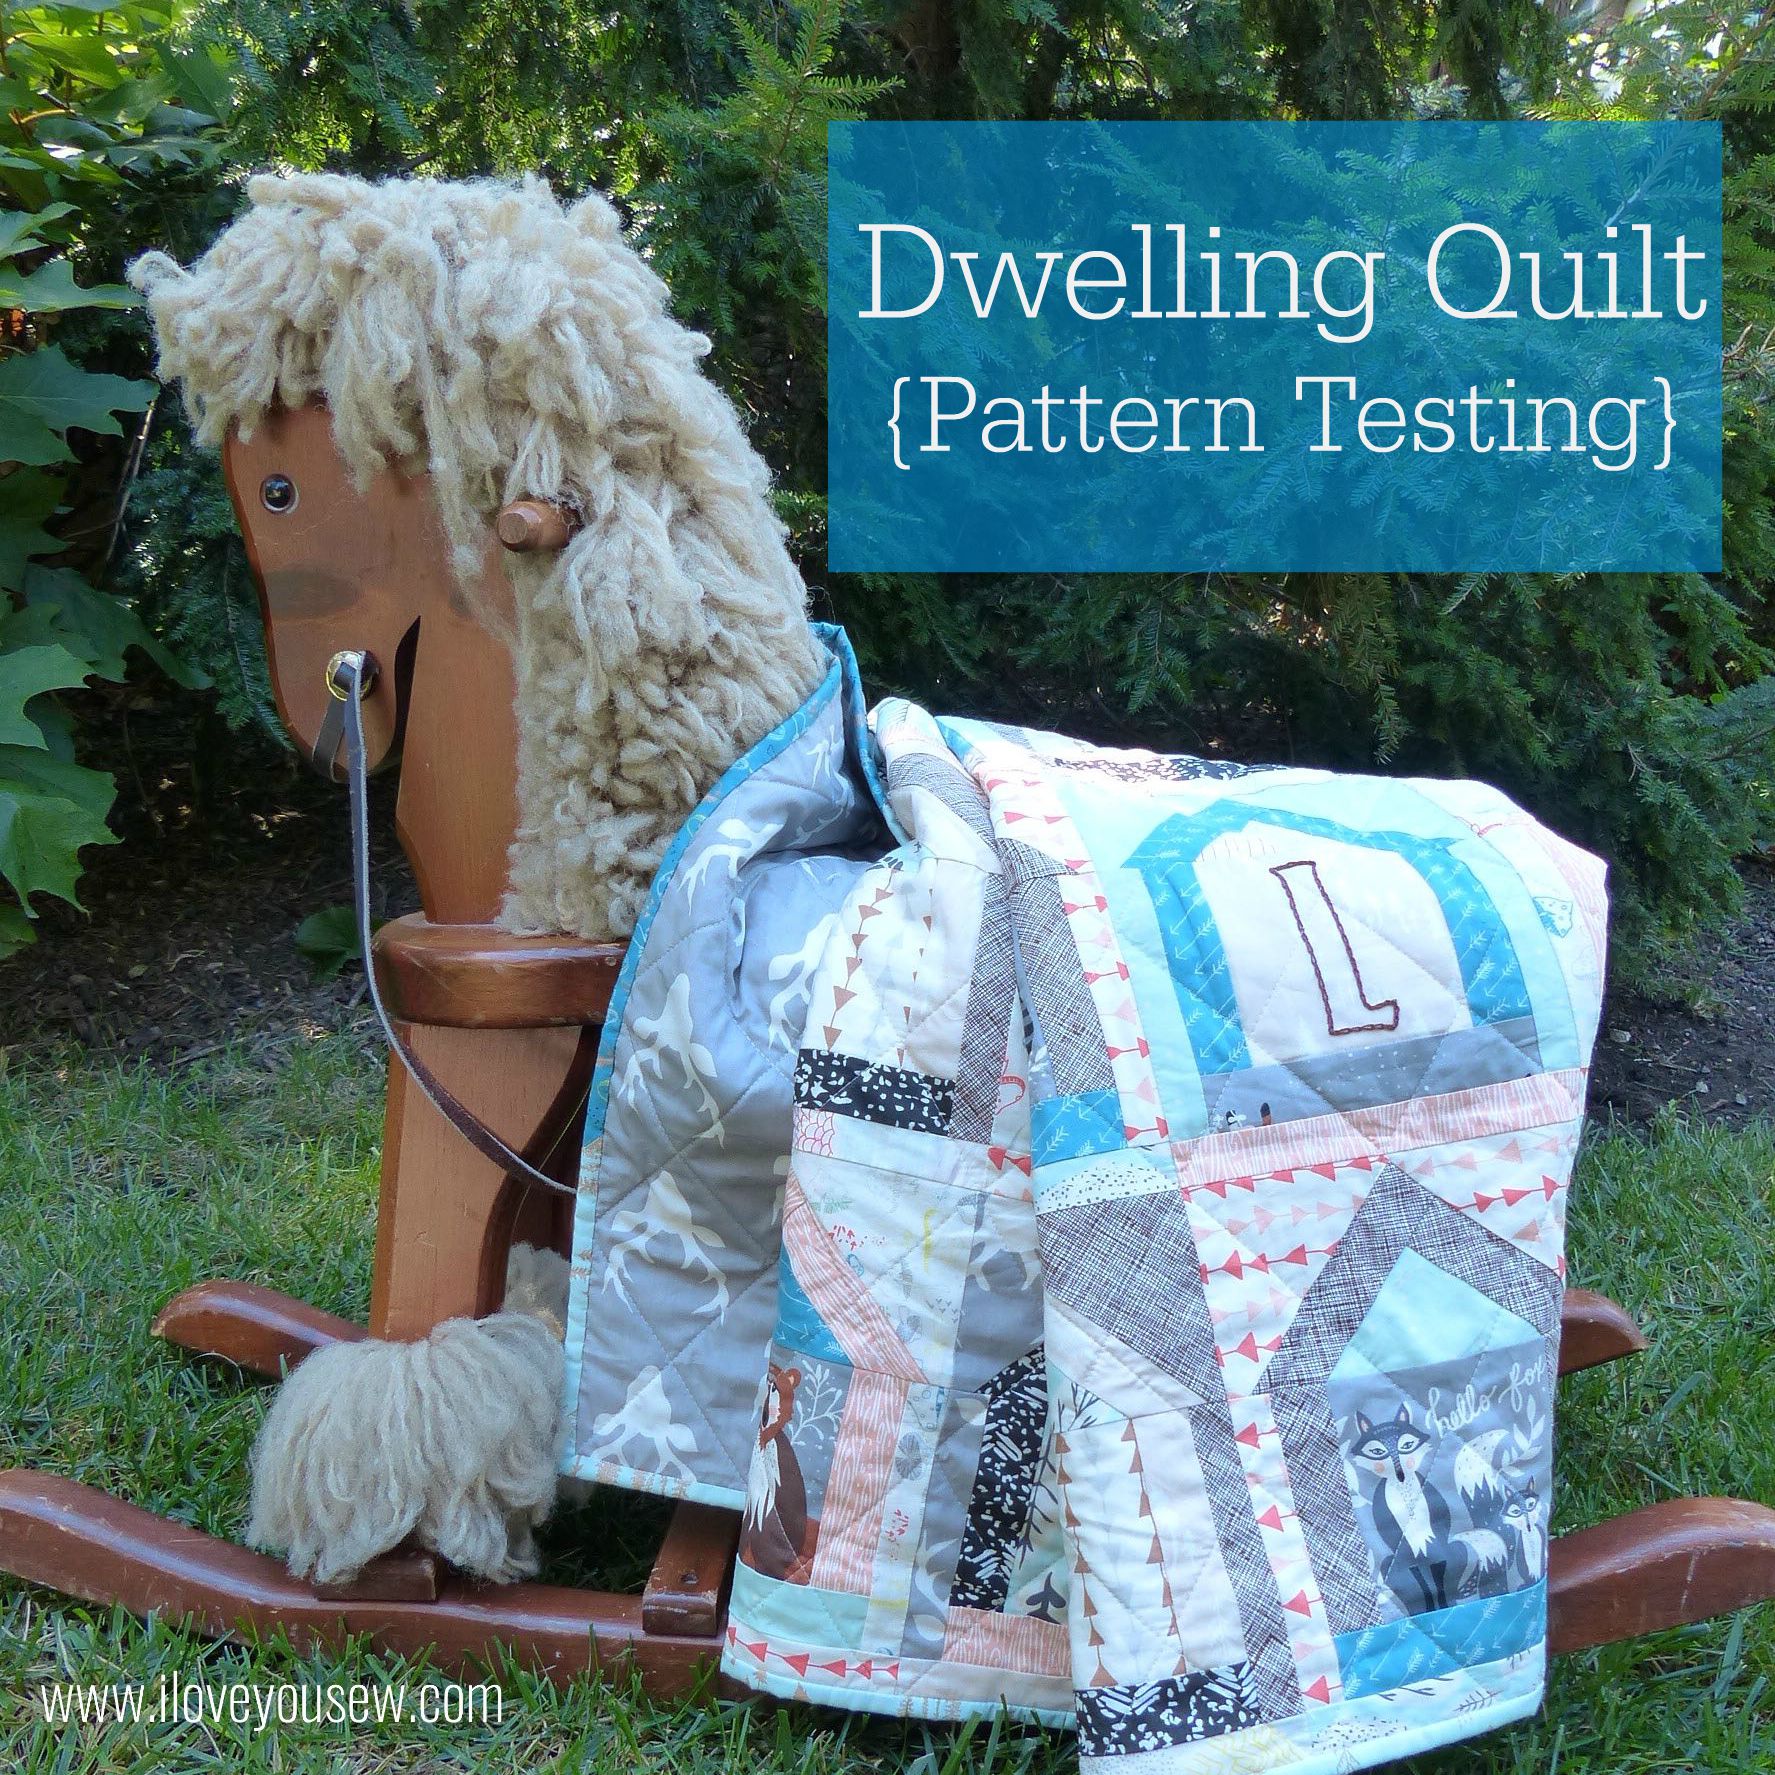
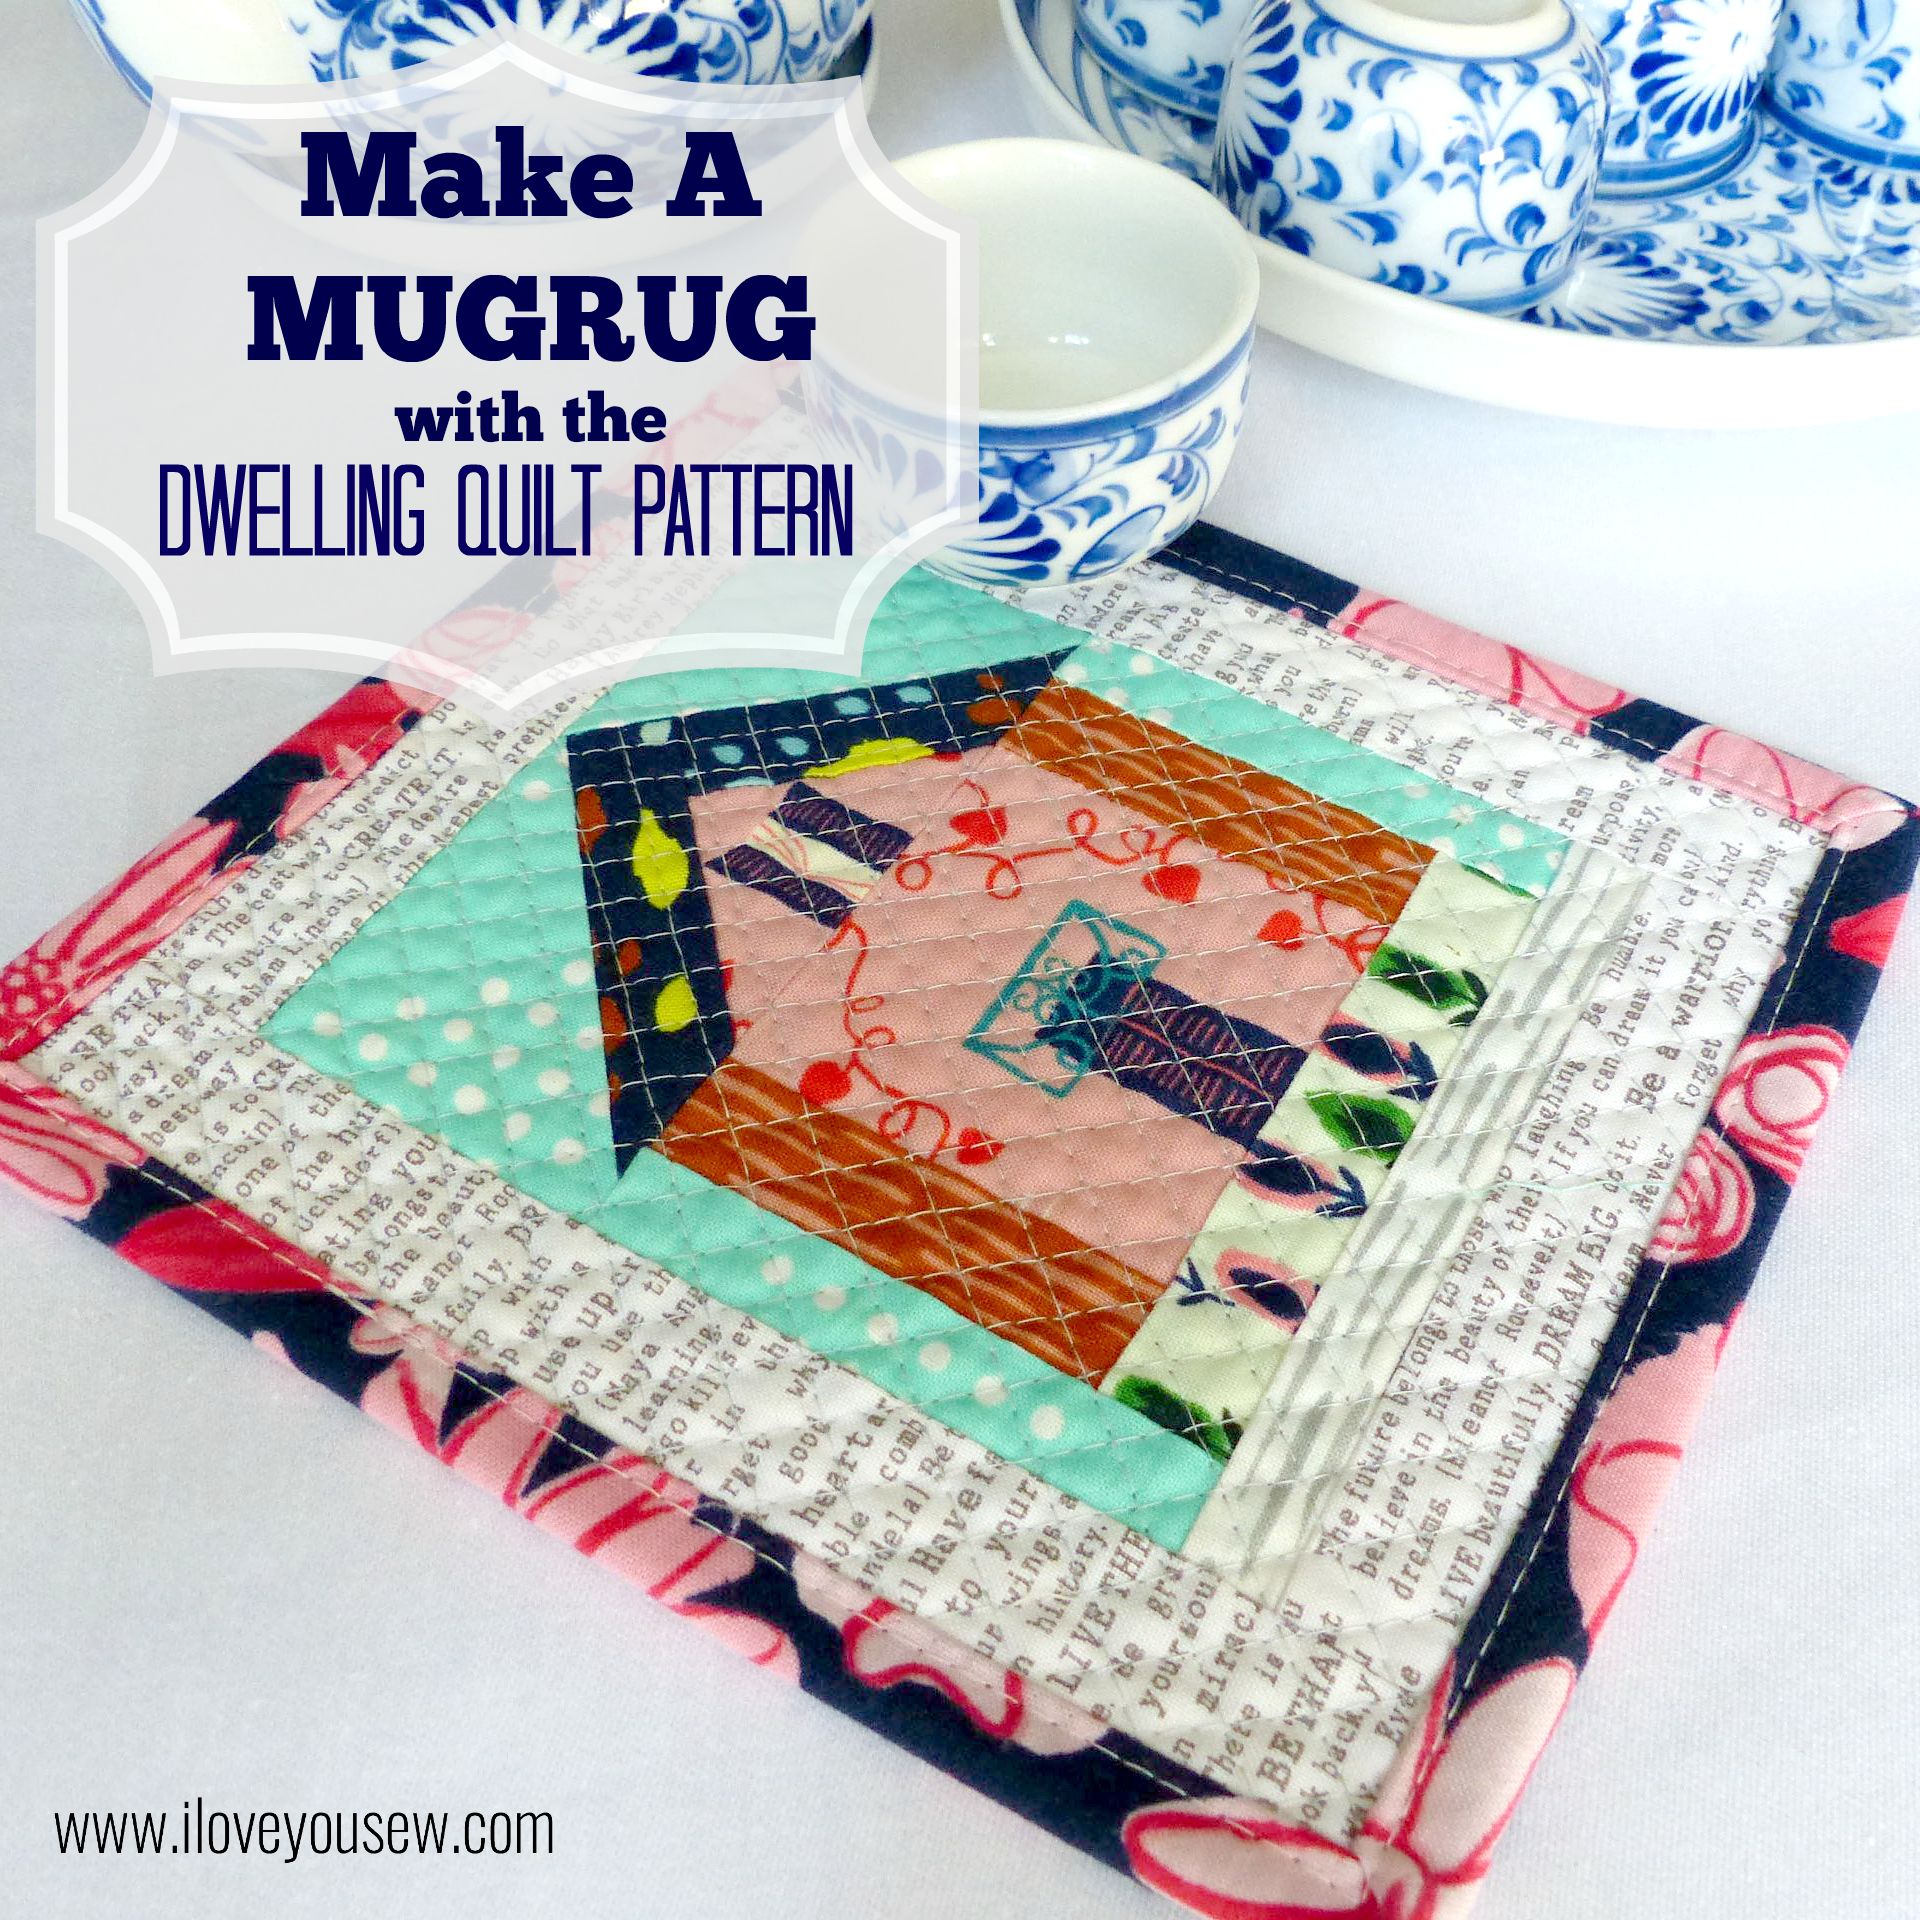
I was holding onto my Hello Bear fabric for awhile, waiting for the right quilt pattern (and baby) to come along.  Well, both happened to coincide recently!  A dear childhood friend recently had a baby boy and Holly Gets Quilty was getting ready to release this Dwelling Quilt Pattern. You can find this Mug Rug I made using the smaller block from the same pattern.


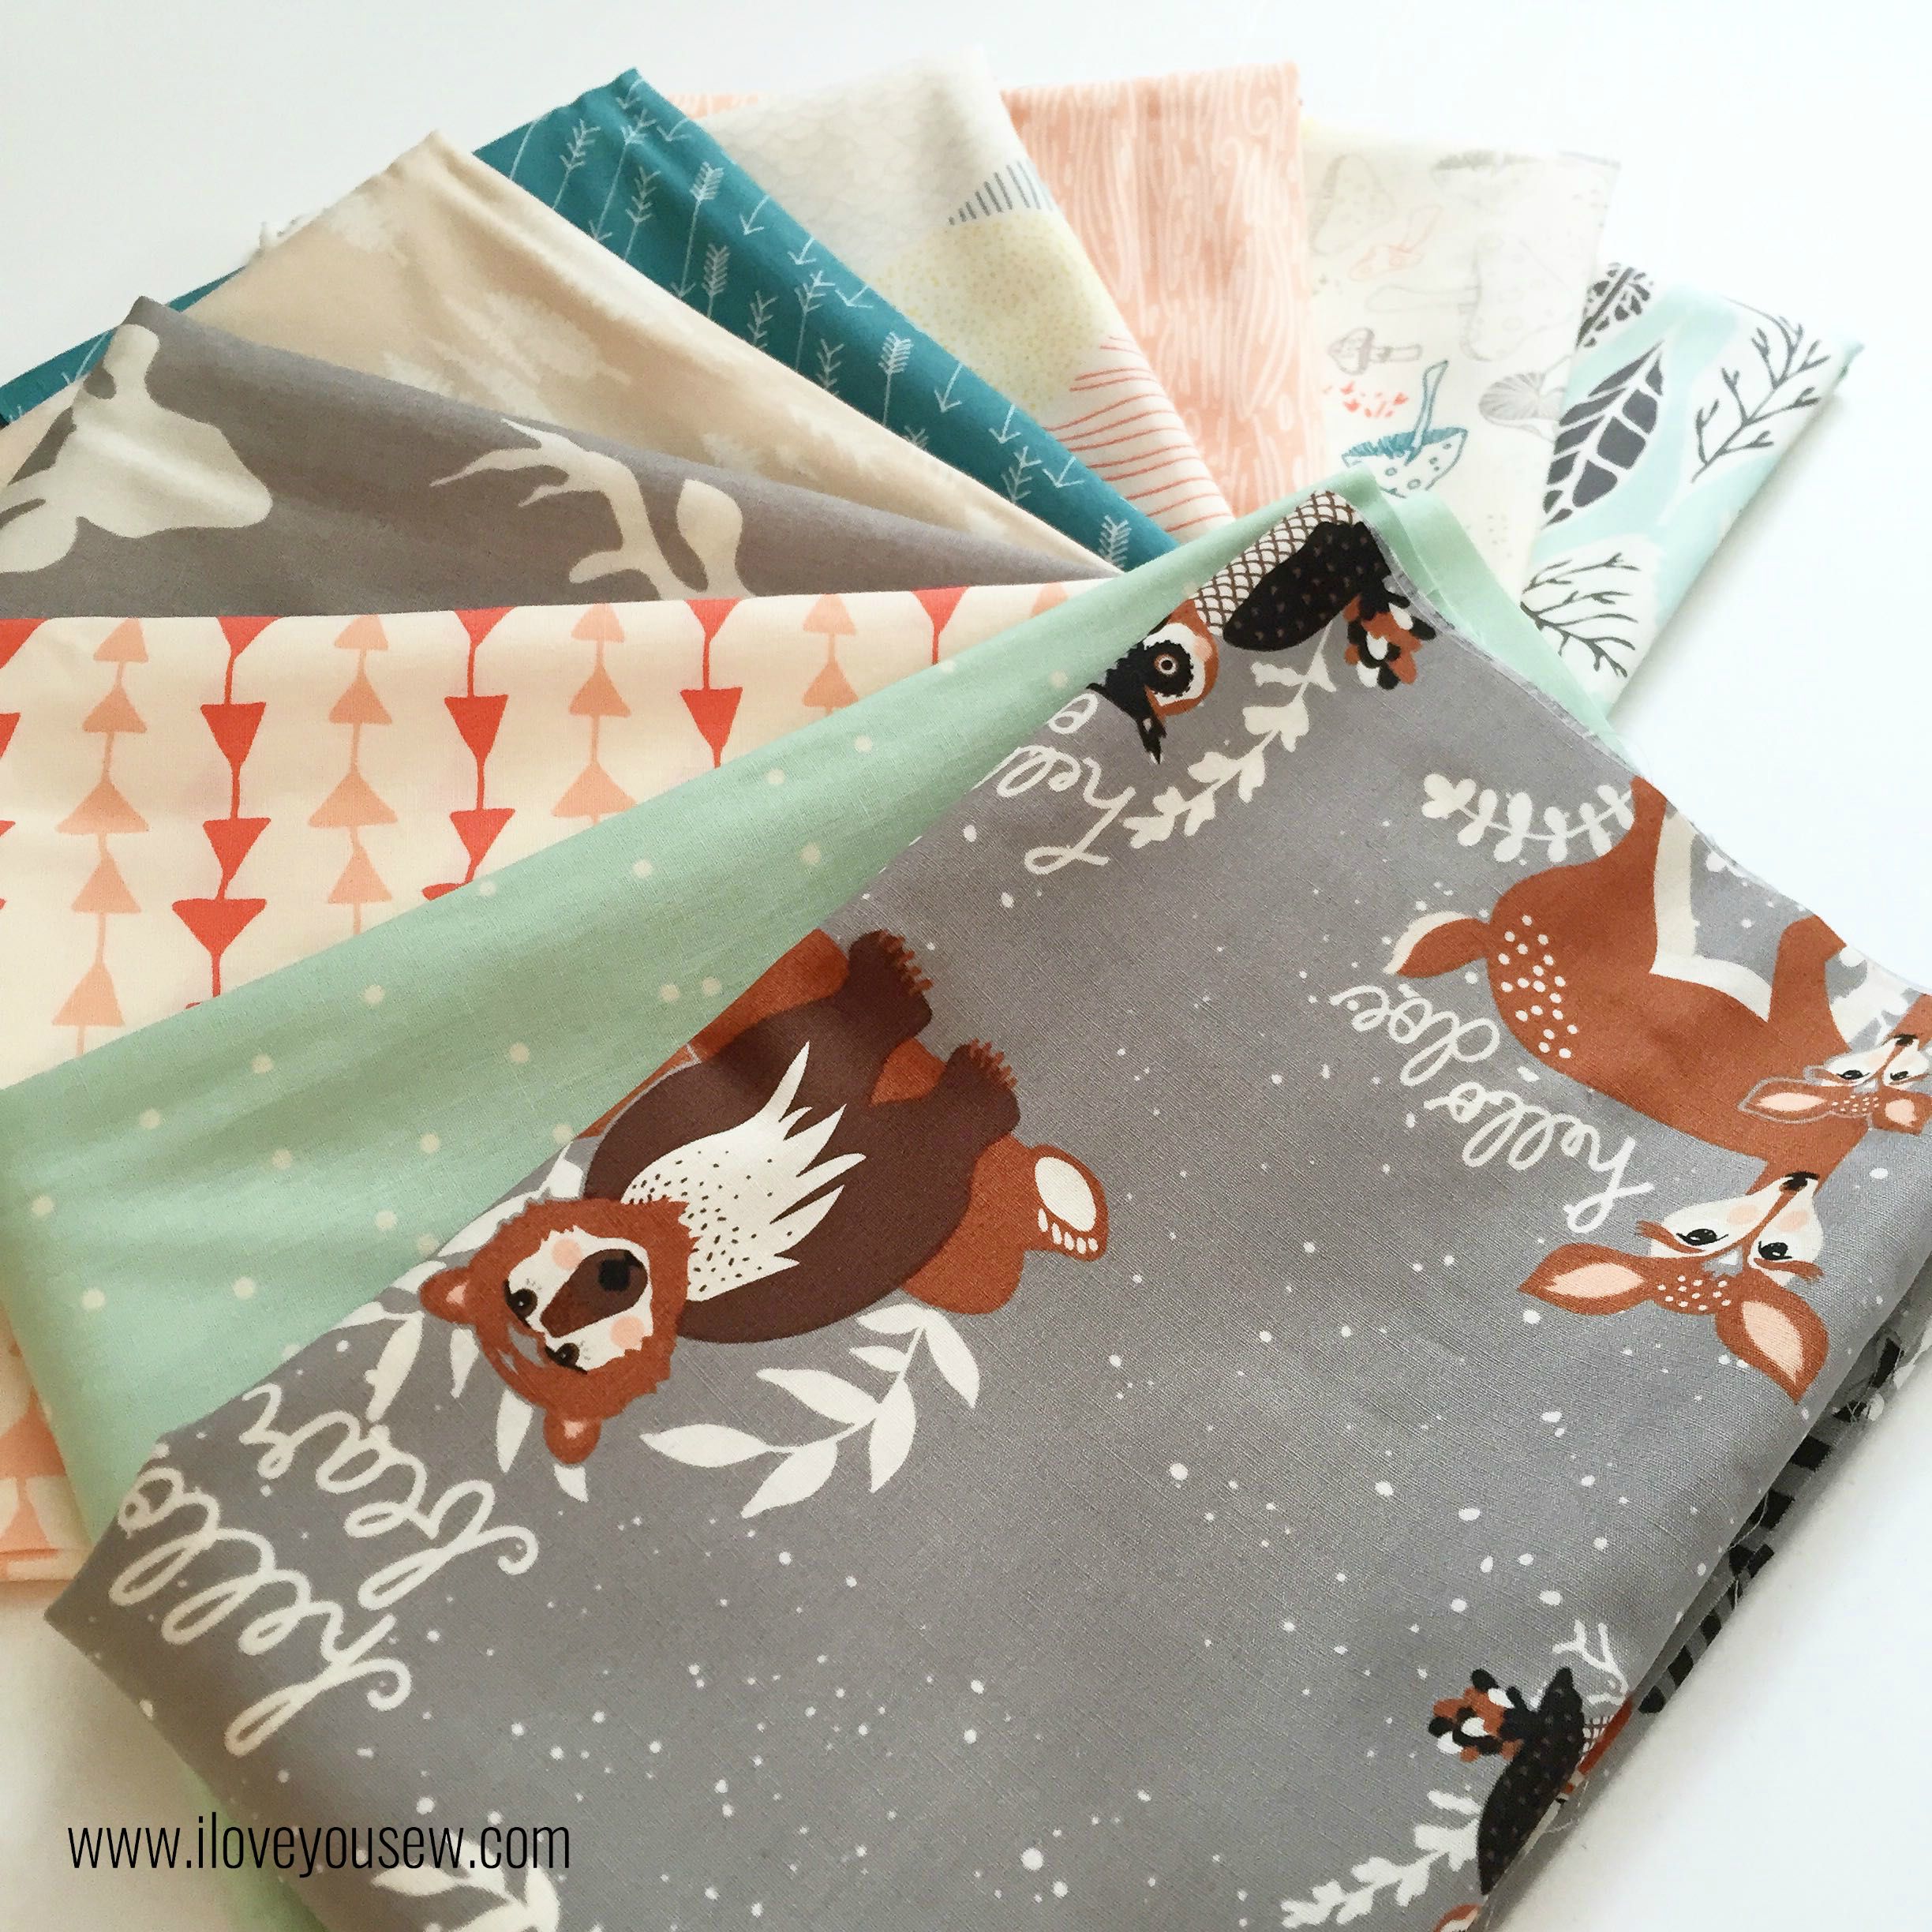
HelloBear

I just love the modern whimsical palette of this collection.  The teal and mint play so wells with the grays and browns.  This is just a beautiful collection for babies and children.  I mean, who can resist these woodland creatures???


Embroidery

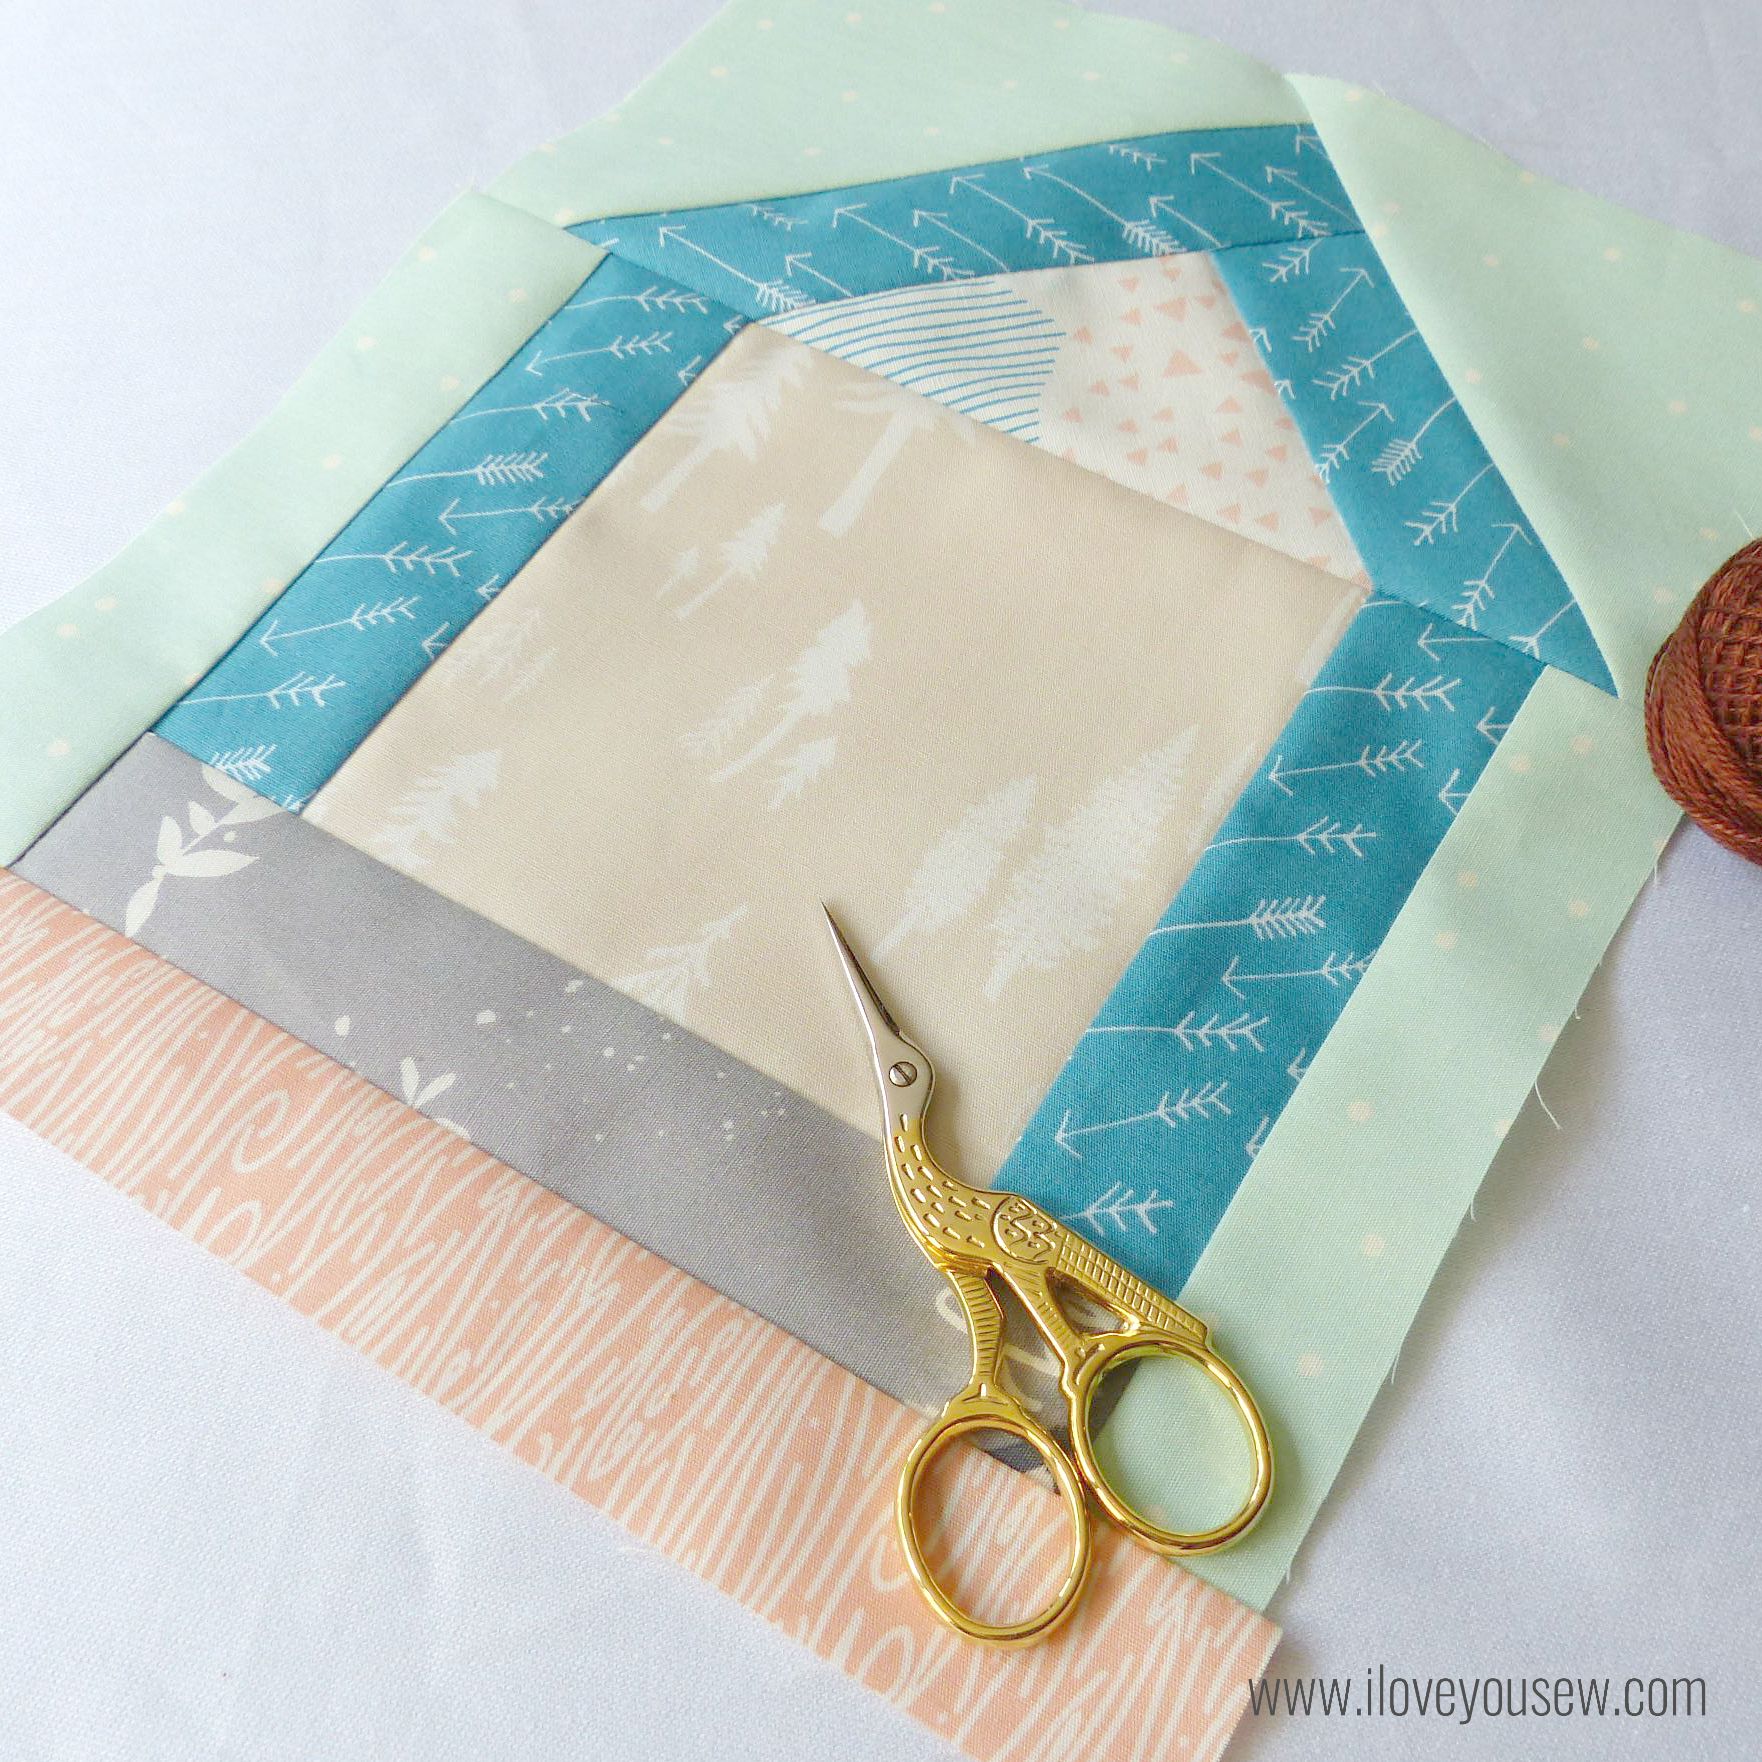
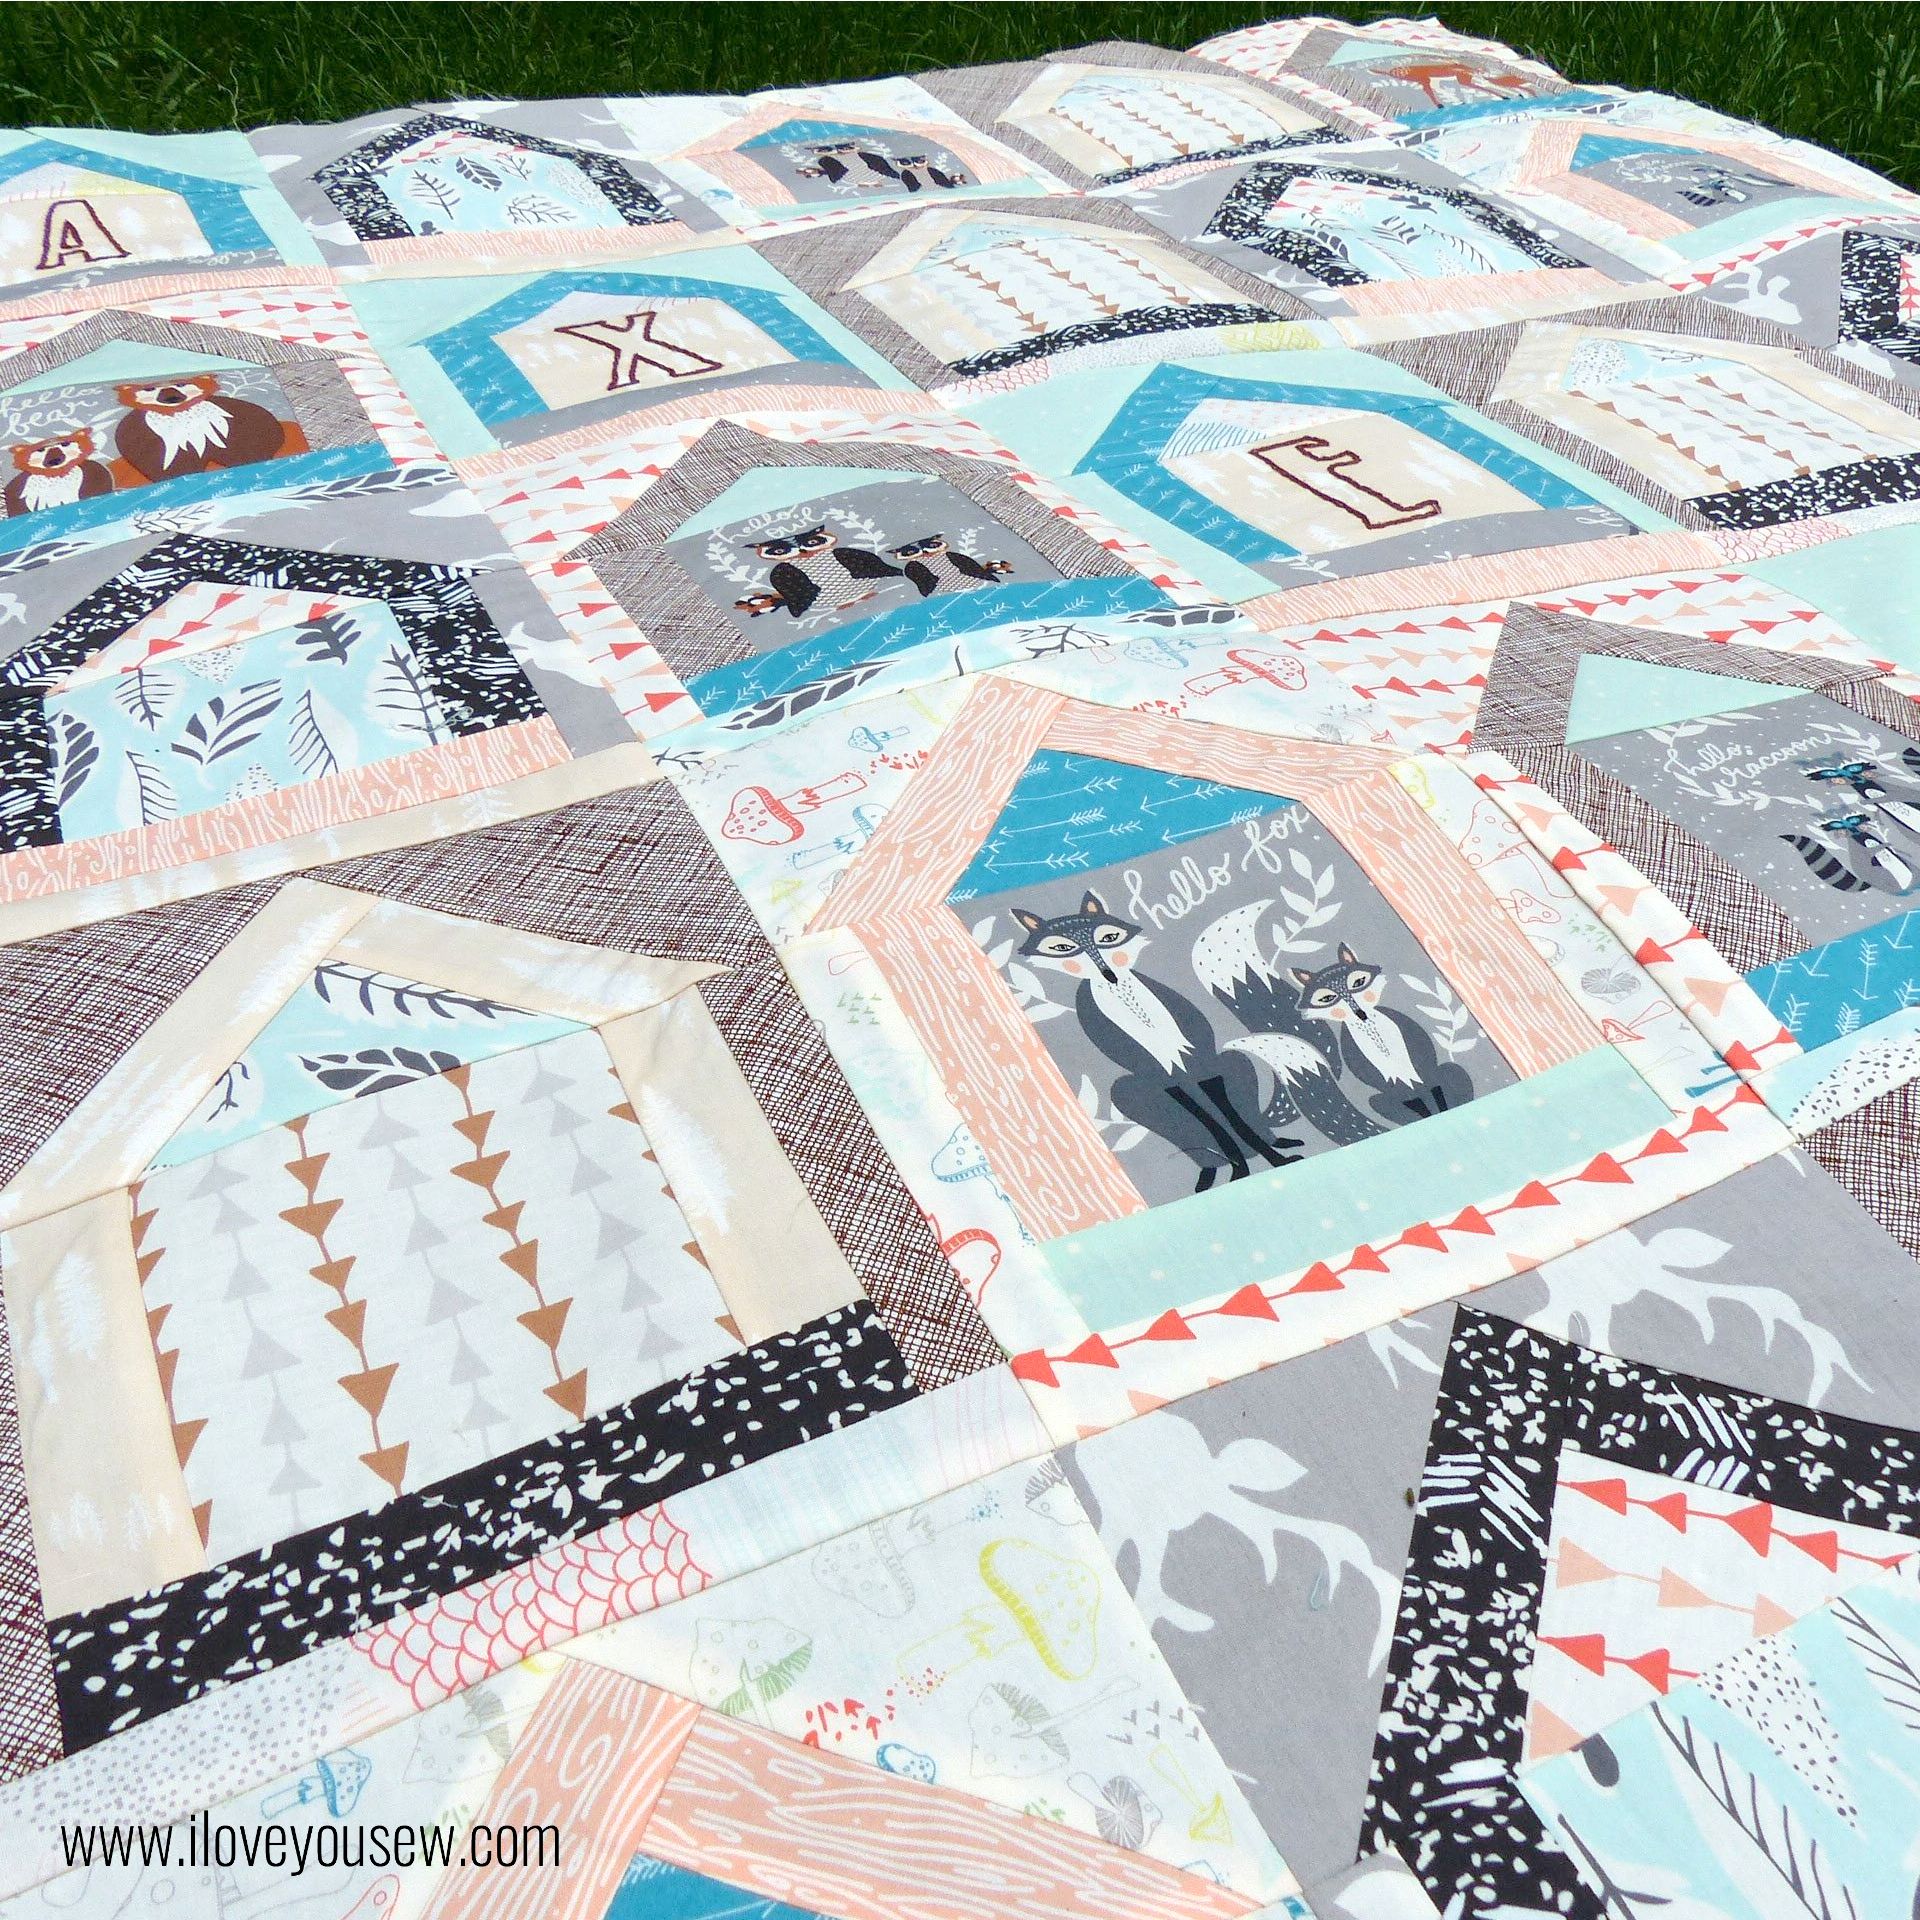
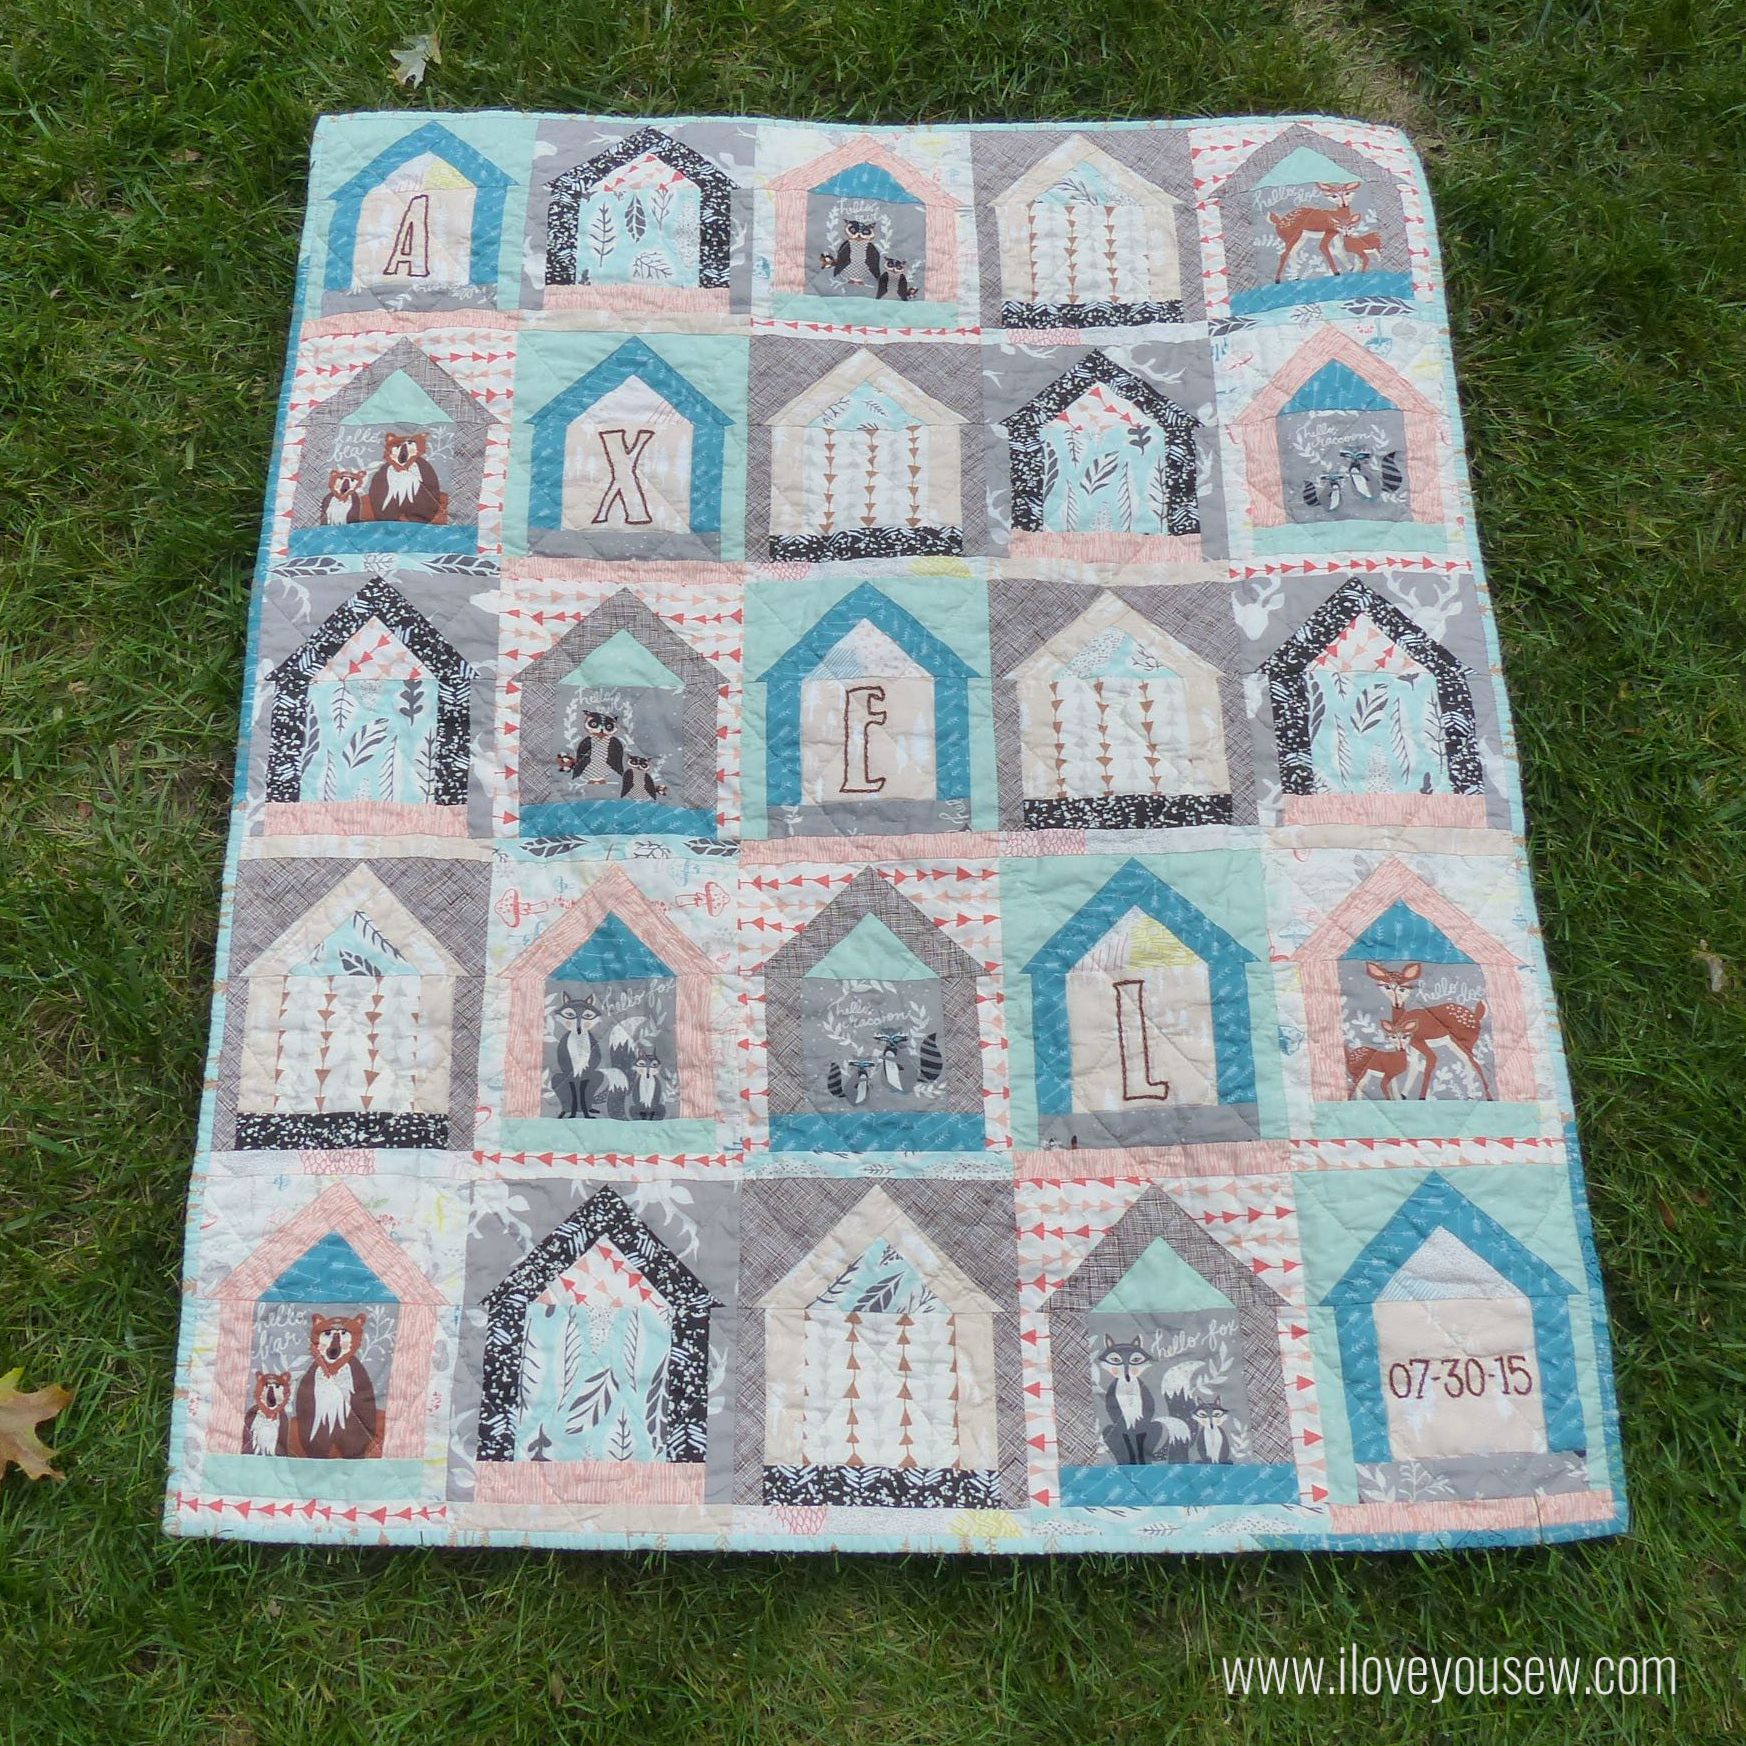
For this quilt, I used the larger of the Dwelling Quilt paper-piecing templates.  It creates a 8″ x 9 3/4″ unfinished block.  I went for a scrappy house look with some fussy cutting for this baby quilt.  Who knows what kind of mess this will be exposed to…so the various colors and patterns works to camouflage any potential incidents  😉

Pieced

This was a 5 x 5 block design which created a 35″ x 43 3/4″ finished baby quilt.

DwellingCloseUp

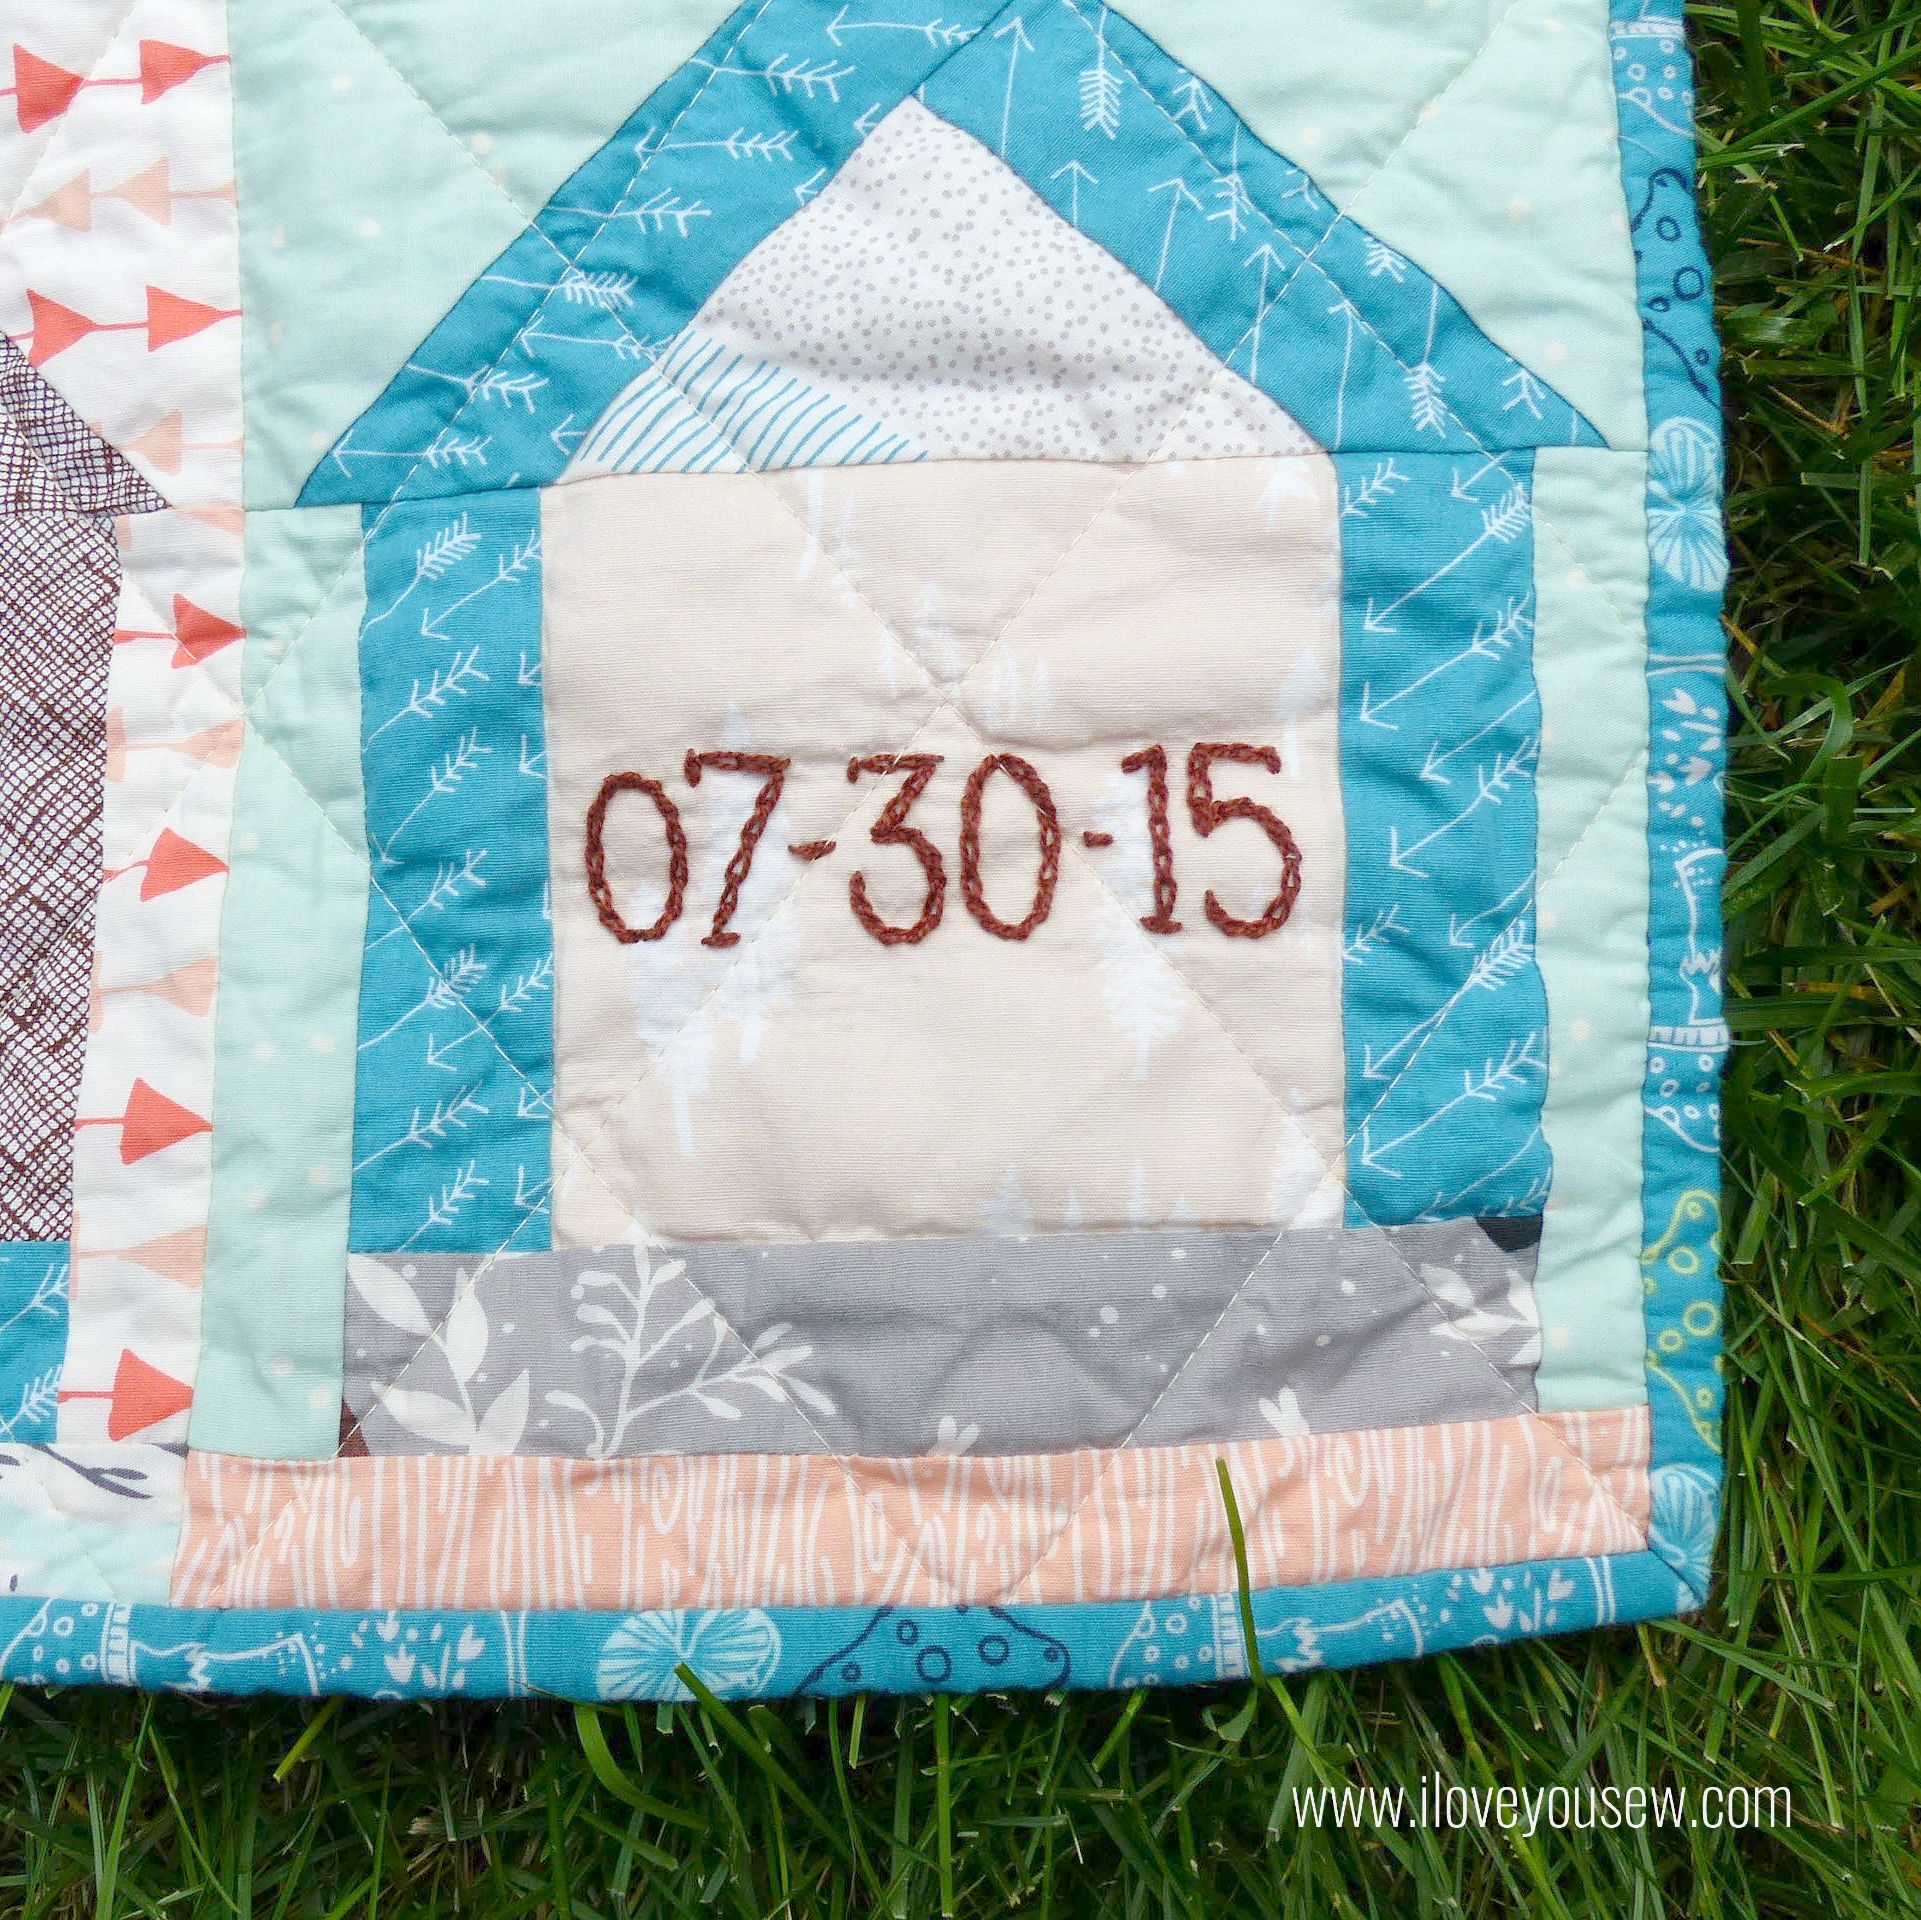
As you can see, I added embroidery to the blocks with Valdani Perle Cotton Size #8 Thread in 171  Rich Brown .  It was fun to add some extra texture and of course, that personal touch.  Hopefully, Baby Axel will love this quilt and appreciate the extra love put into it 😉

EmbroideryCloseUp

To get the embroidery lines, I printed the letters on paper in the Return to Sender font.  I like this font because it was masculine and wide enough to work with this quilt.  The letters were traced onto the fabric using a water-soluble fabric pen along with a bright light source so I could see the letters from underneath the fabric.

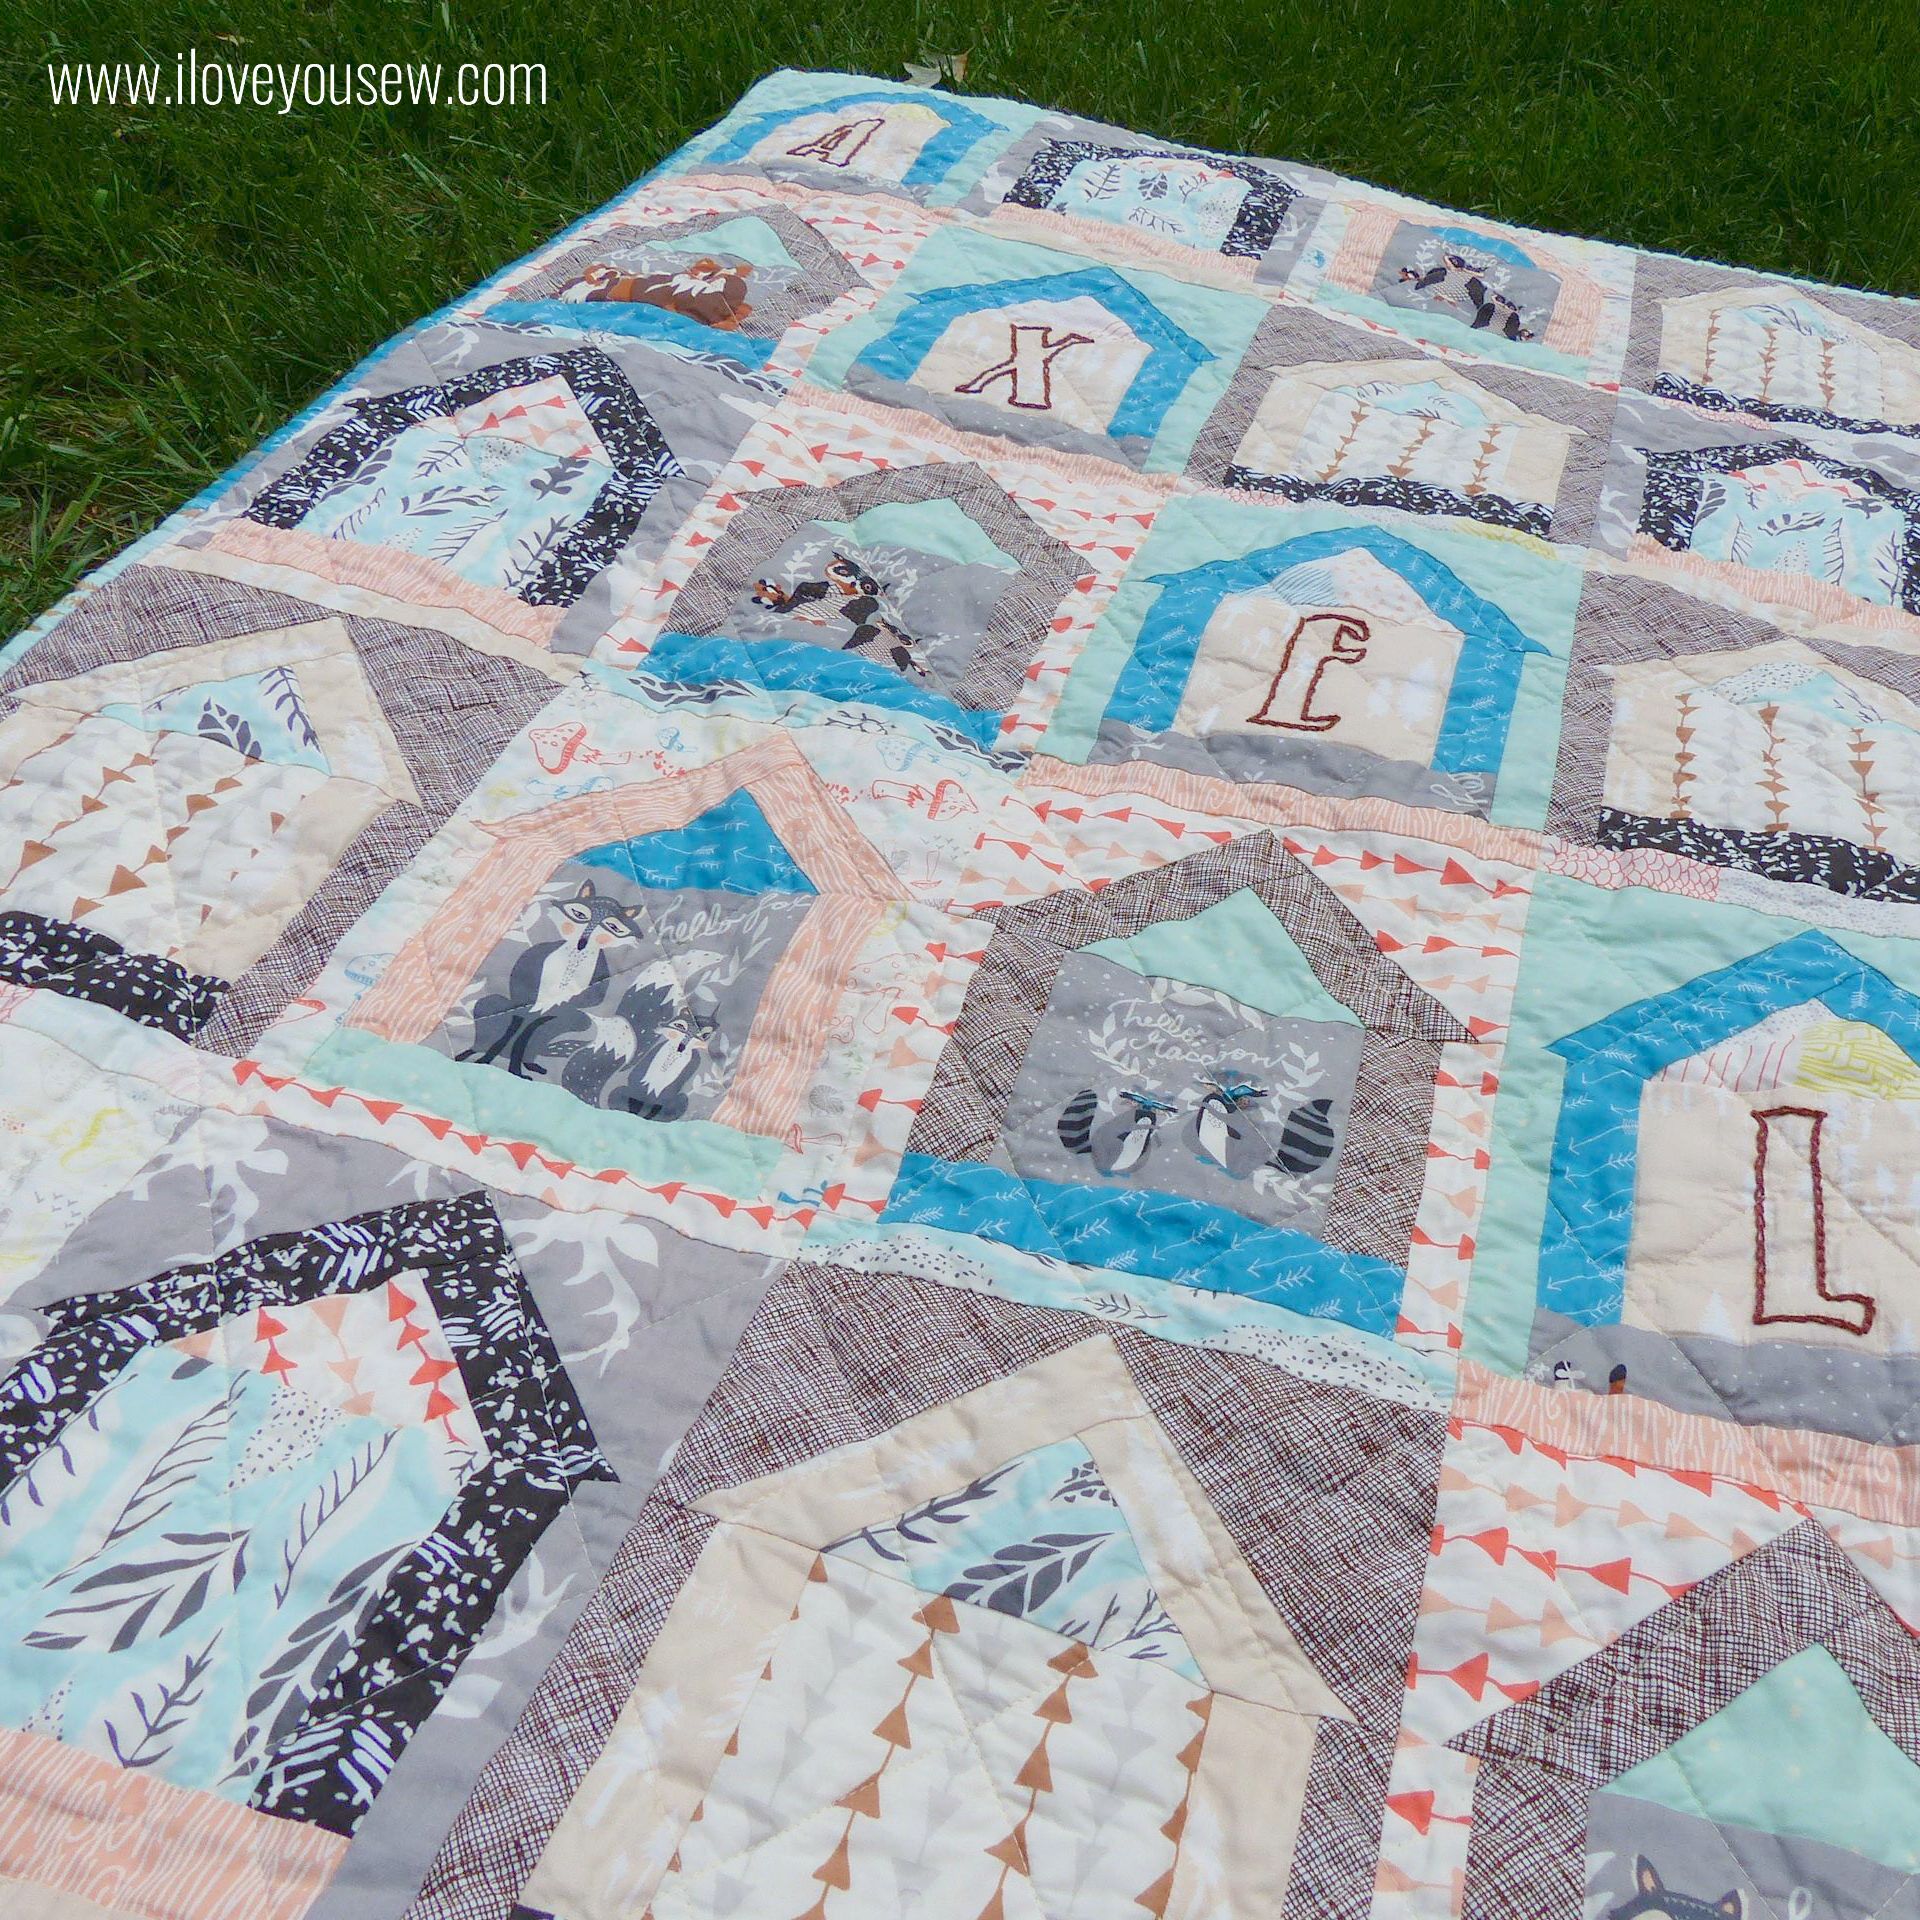
DwellingQuilted

The quilting was straight-line in a diamond configuration with Aurifil 2310 Light Beige for the top and 2615 Aluminum in the bobbin.  Timberland Green was used for the binding with some fun Adventure Springs accented in to keep with the scrappy feel.

BackingCloseUp

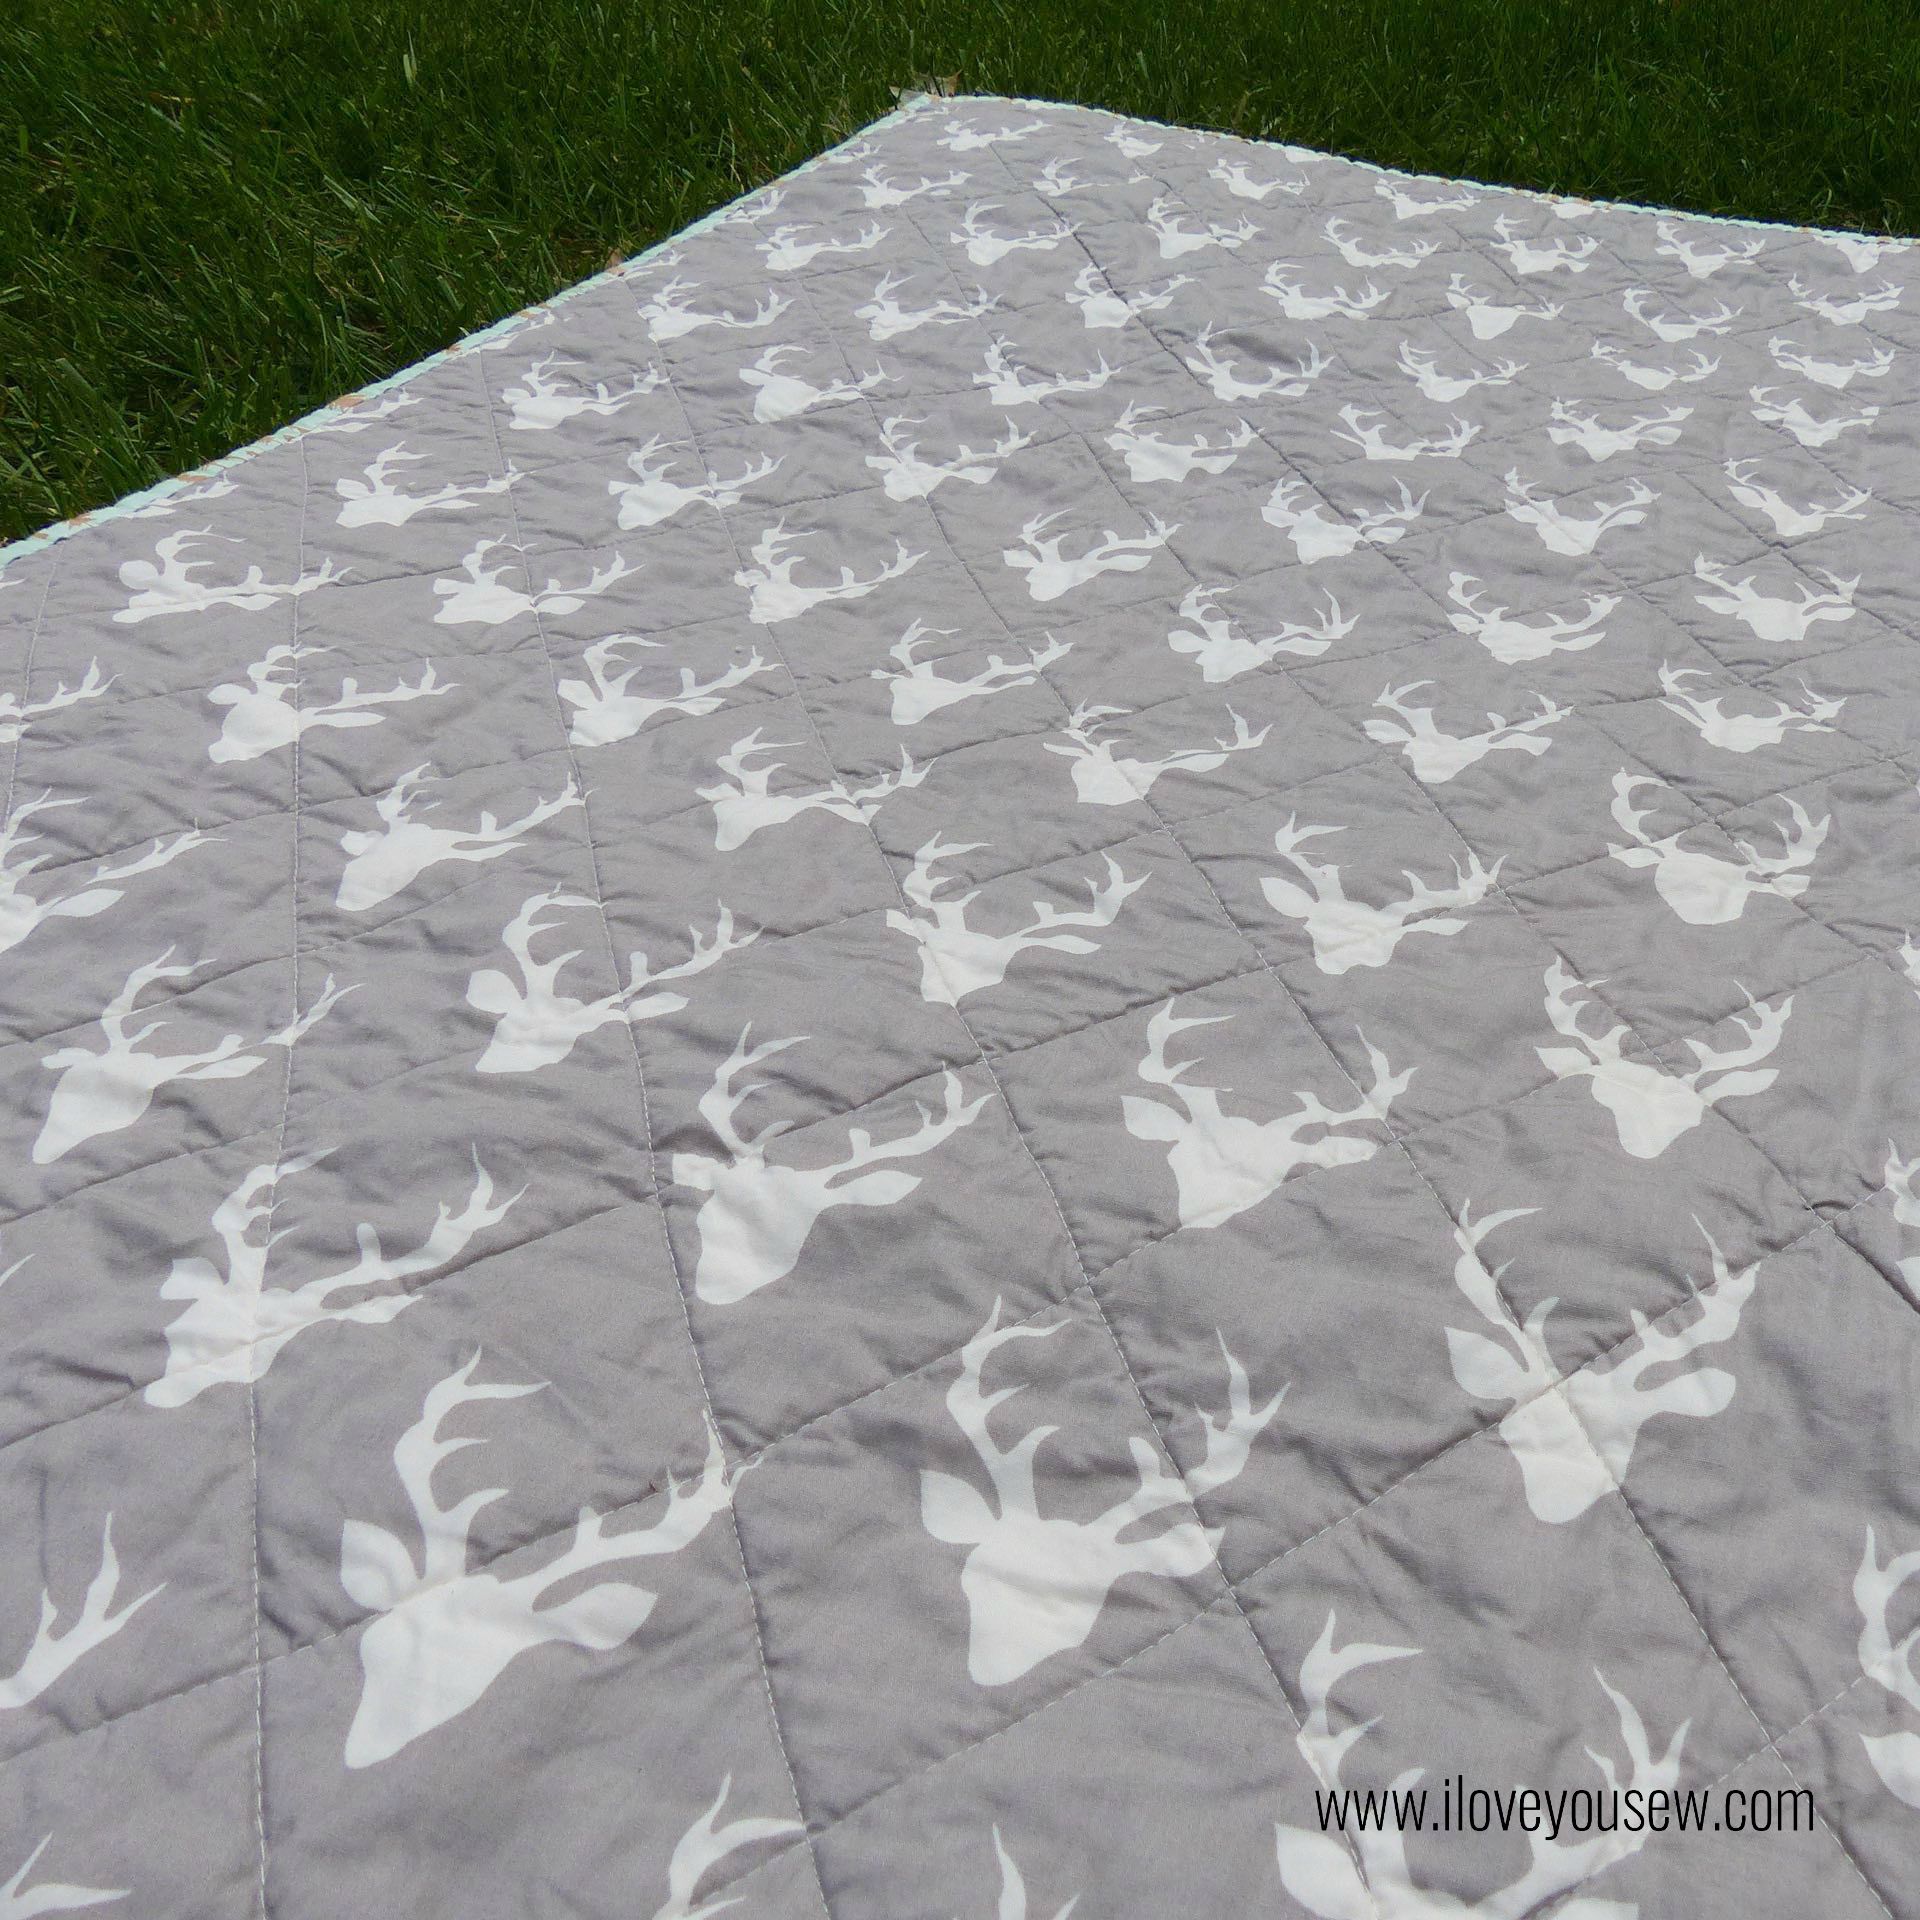
Buck Forest Mist was the perfect backing.  It’s a very masculine print and the gray lends to easy baby management…er….laundry 😉

I can’t wait to see Baby Axel wrapped up and enjoying this quilt 🙂


Happy Stitching,

Cristy


***This post may contain affiliate links for which I do receive a very small commission.  They help keep this site up and running 🙂

Make a Mugrug from the Dwelling Quilt Pattern

P1050776

When Holly Gets Quilty asked for pattern testers for her newest Dwelling Quilt pattern, I couldn’t help but get involved.  I first became familiar with Holly’s patterns through her Squash Blossom pattern I used in the Squash Blossom Bouquet mini.  She makes the most gorgeous quilts and I love how her patterns are so nice and clean…as well as beginner friendly. And this paper-piecing pattern does not disappoint!

IMG_1141

When I received the pattern, I decided to first make the smaller of the two blocks offered.  It measures 4 3/4″ x 5 3/4″ unfinished and I thought it would make for the cutest little mugrug.

IMG_1153

As a single block on its own, I wanted to fussy cut all of the pieces and bring out the literal design to resemble a home.  I dug back into the Cotton + Steel archives and pulled out some Homebody and Hatbox.  These fabrics created the most ideal walls, roof, street and even a little garden!

IMG_1155

1 1/4″ strips were added all around  the block to give a little more area to the block.  I wanted enough room for my larger mugs and even for a little snack 😉  Riley Blake’s newsprint is my favorite text print (out of print, of course…but if someone wants to share any, let me know!) and it goes with the whole house theme, right?

IMG_1156

I used a scrap of cotton batting and more Cotton + Steel for the back to complete the quilt sandwich.  Since you know I’m a straight line quilter, I just cross-hatched the mugrug a 1/4″ apart in a diamond pattern with Auriful 2030 and ….

P1050818

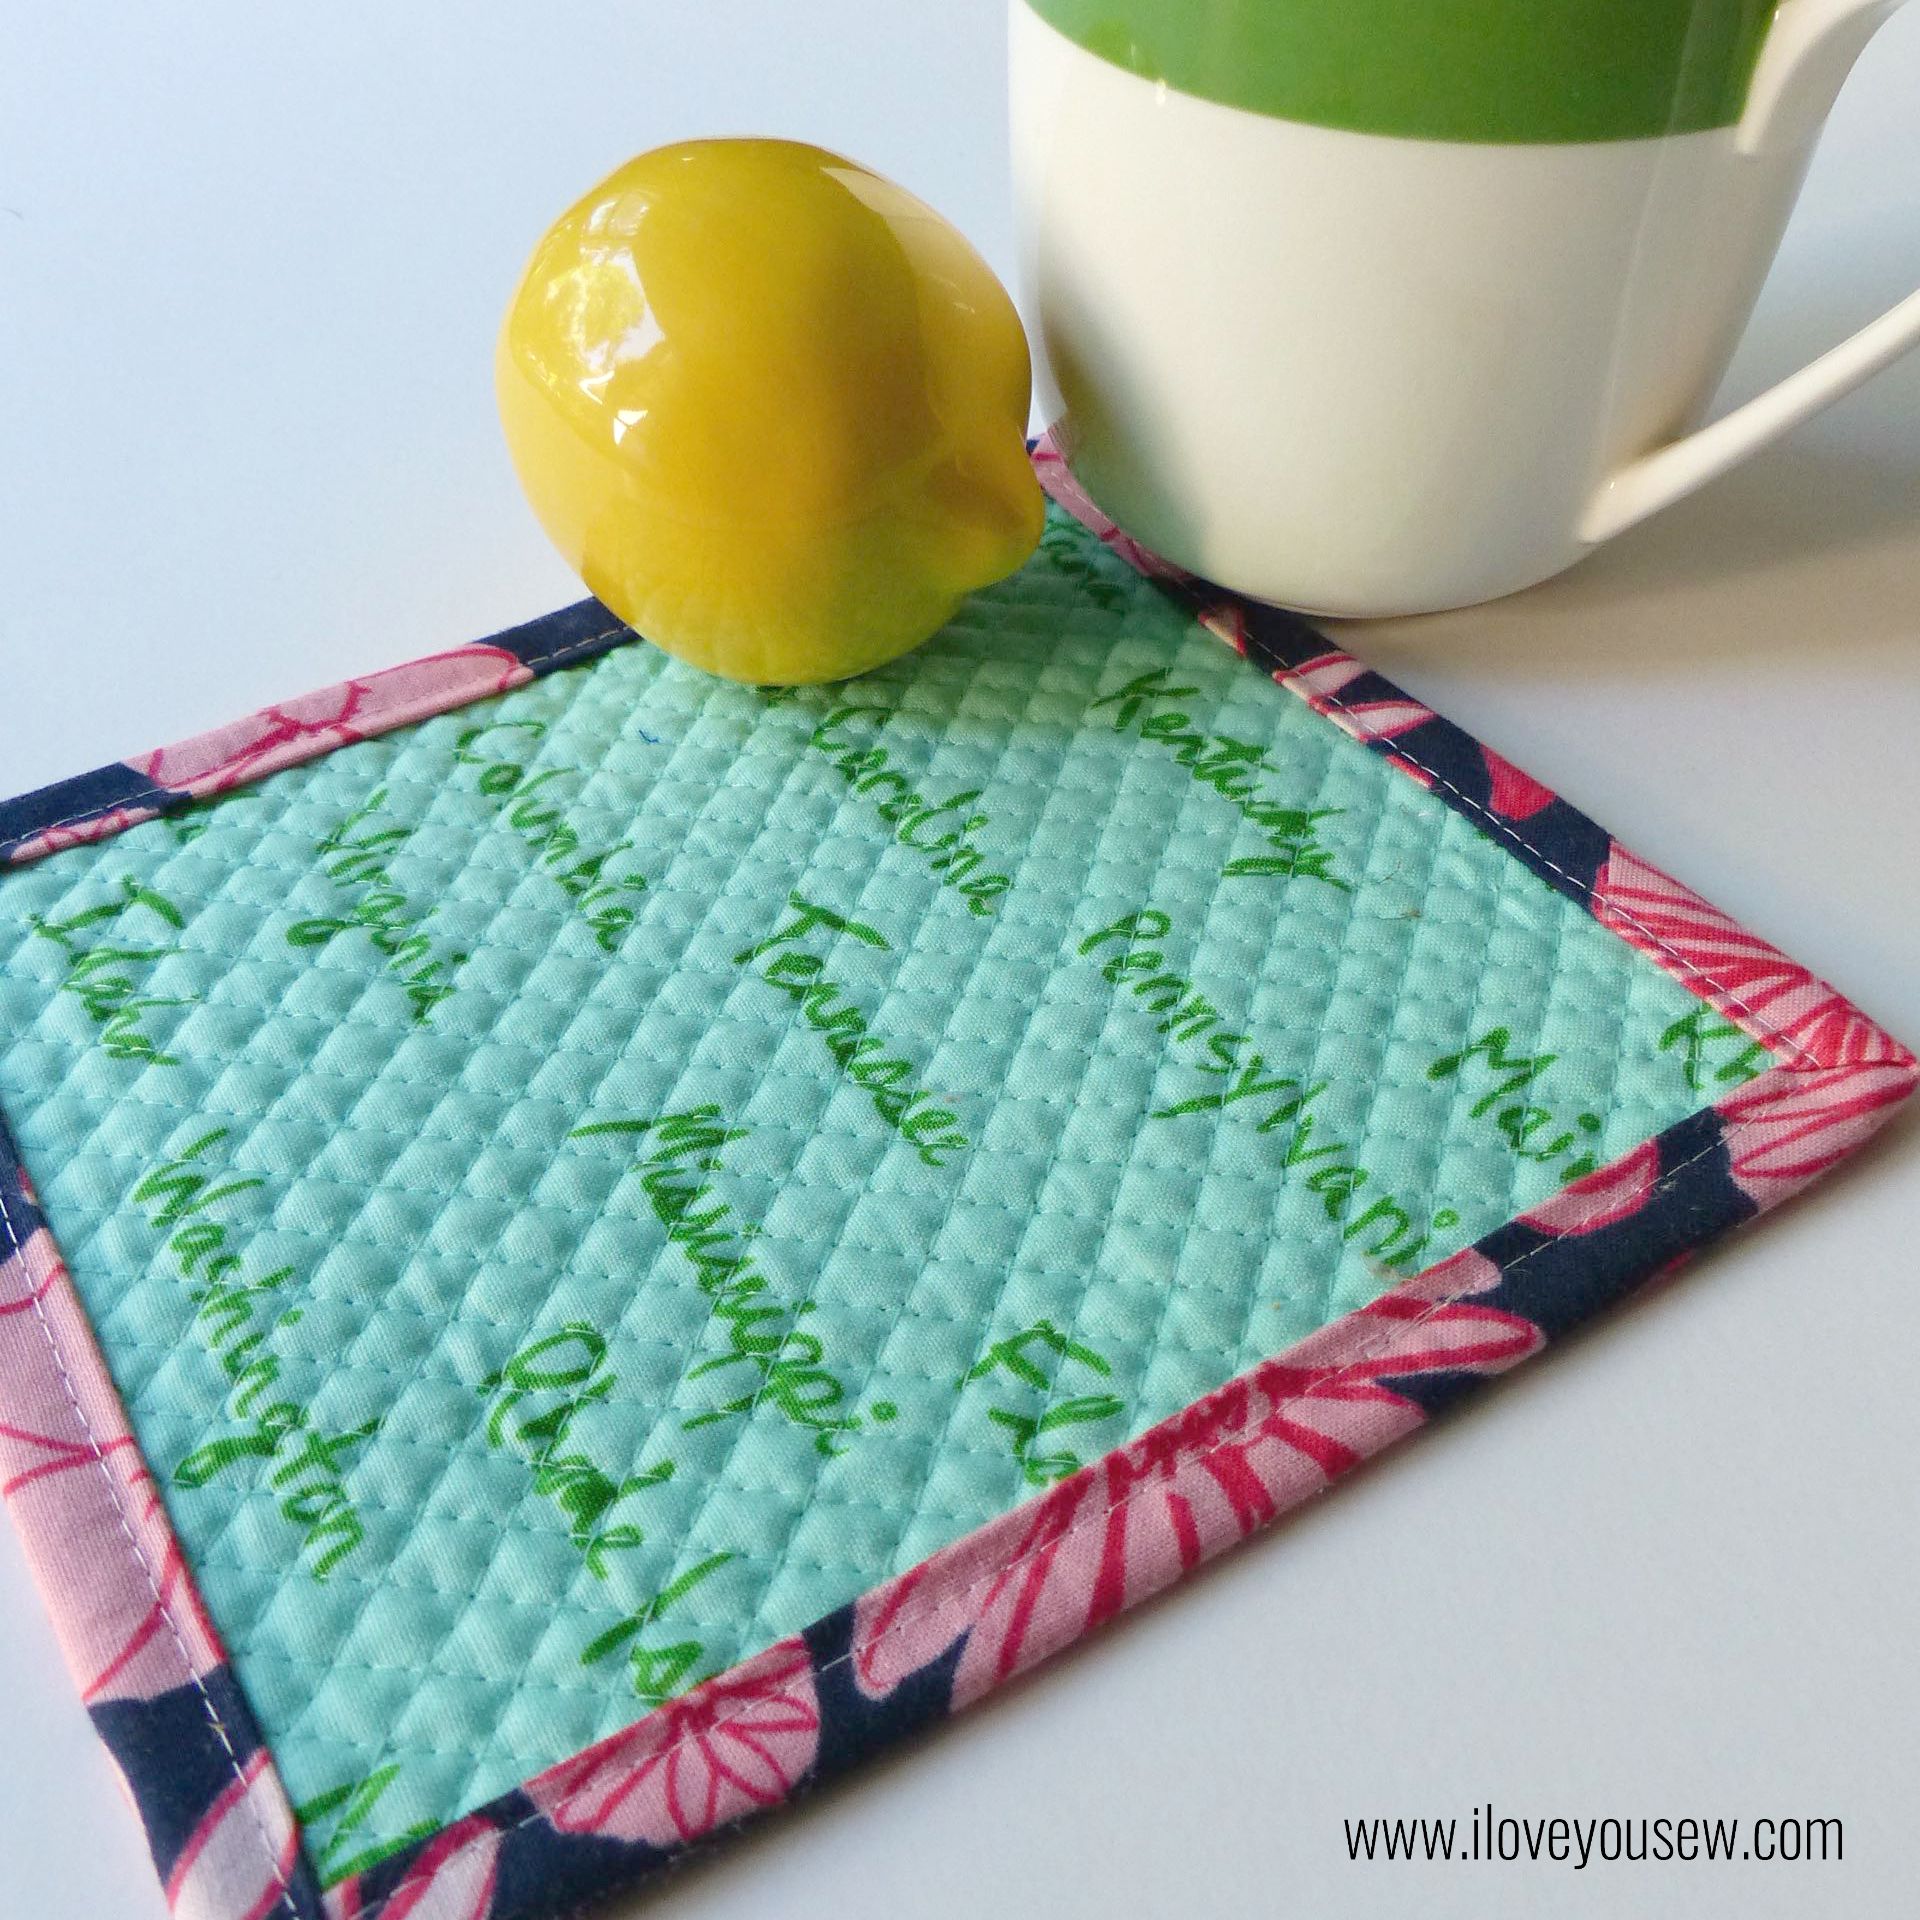
To finish, you know C + S had to be using in the binding too.  Since this was such a small project, I used Cut to Pieces glue binding method to secure the binding into place without the use of Wonder Clips.  It was fast and I top-stitched the binding all around.  I can never get even amounts of the back binding with “stitch-in-the ditch” method, so I sewed about 1/8″ inward to help me with my OCD…

This was a nice quick project you could have completed in an afternoon.  Holly’s Dwelling Quilt pattern is simple and pre-cutting the pieces (measurements provided!) will help cut down on quilt time.  Are you ready to make your mug rug?!?

Check out these Instagram hashtags for more inspiration: #DwellingQuilt #HollyGetsQuiltyPatterns


Hugs and Stitches,

Cristy