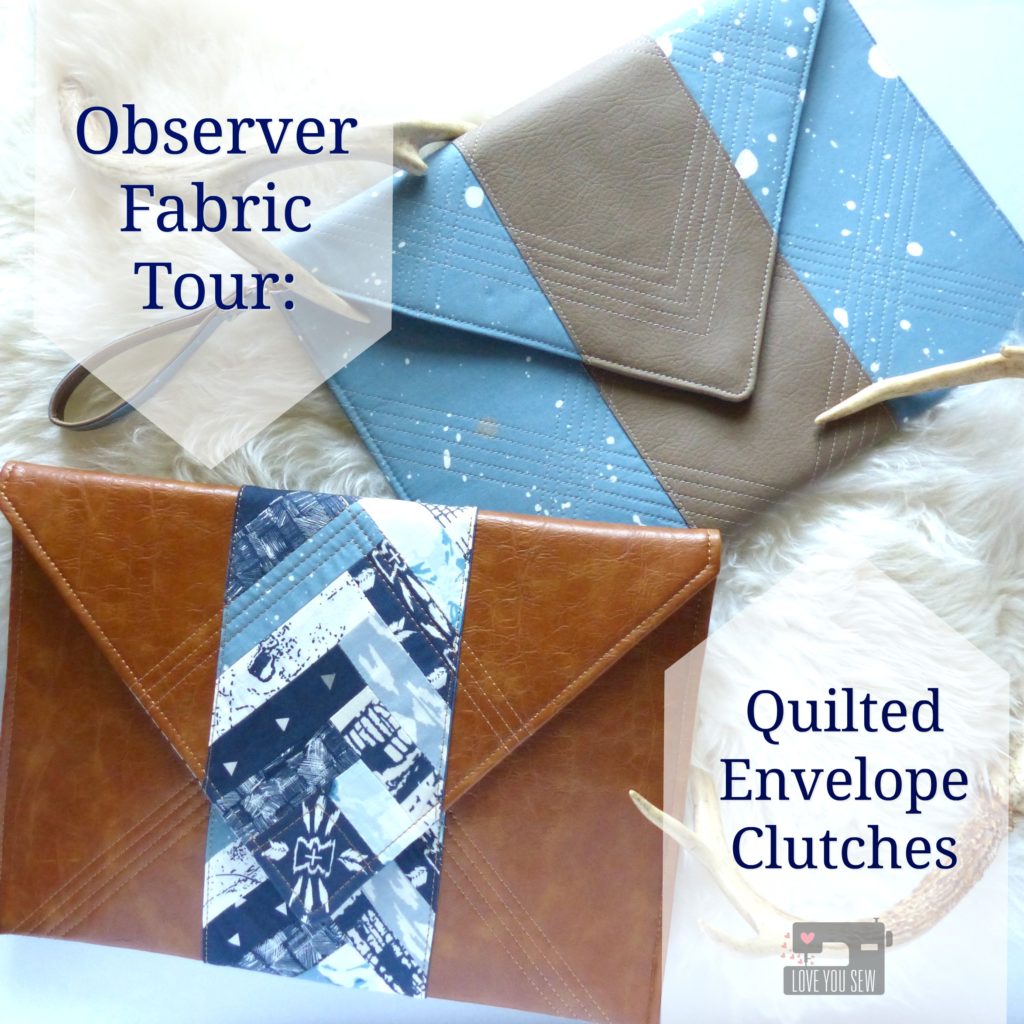
Observer Fabric Tour >> Quilted Envelope Clutches

ObserverBlogTour_Title

It’s here!  It’s here!  The Observer collection by April Rhodes for Art Gallery Fabrics has finally made it way to shops and I’m so happy to show you my projects on the #OBSERVERfabrictour.  In true fashion, April does not disappoint.  These designs come from her own eyes and what she has seen both physically and mentally.  My favorite print is Aerial View…mainly because it was inspired by Columbus, OH (where we both live) and just shows how little we are in such a big world…

Observer-Fabric-Tour

I was very fortunate to play with the early strike-offs for this line, and you can view my other projects in this previous post.

P1060647

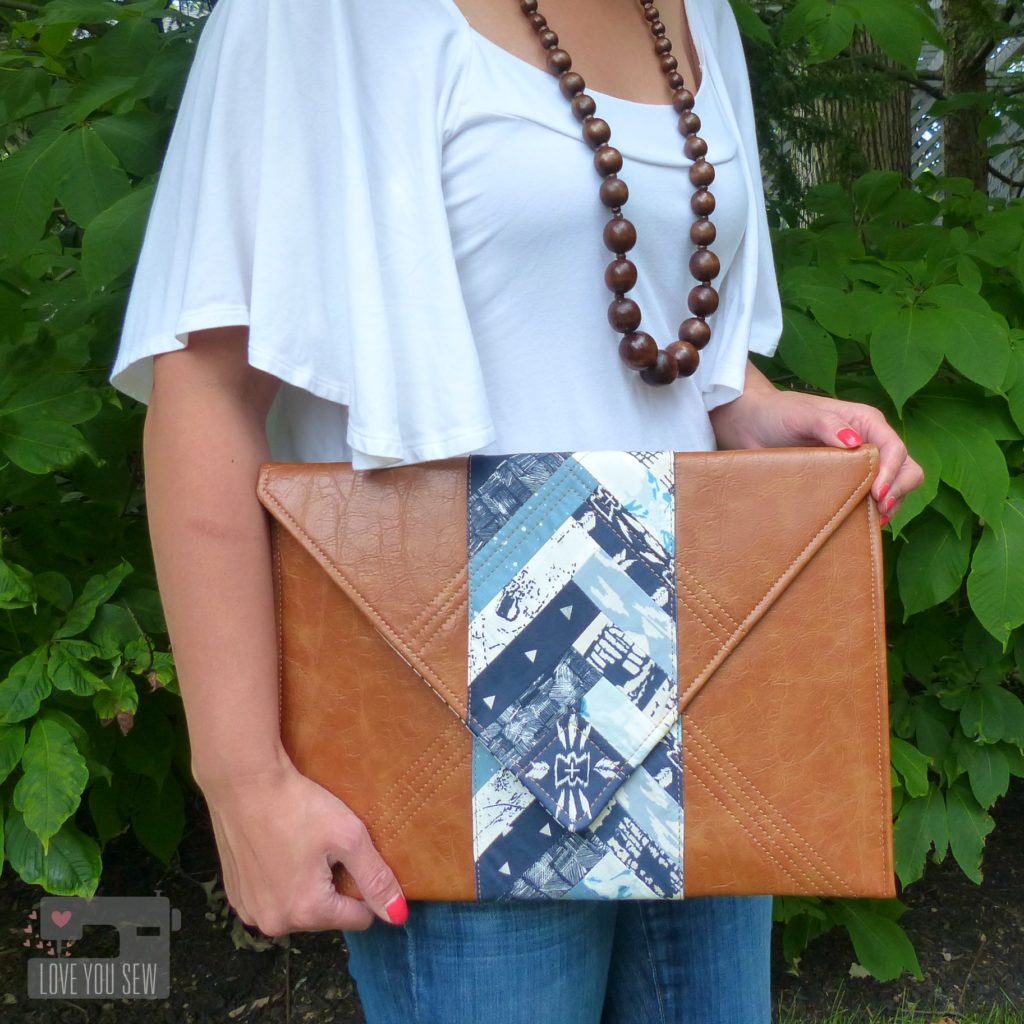
I’m kicking the tour off with these fabulous oversized Envelope Clutches.  Ever since I had swatches of these fabrics in my studio, I was trying to think of what I wanted to make as a personal project.  These curry and sulfur colors mixed with sand and copper play SO well with the indigos, grey-blues and navy.  I fell head-over-heels with this palette and have plans for a dress in Overshot Gold.  With that in mind, I thought a trendy Envelope Clutch would be perfect in the Shard colorway.

P1060617

As a modern quilter, I continually try to show the rest of the world that patchwork and sewing are still “cool.”  Sound familiar, friends???  I thought combining the sophistication of (faux) leather with a simple block would be the perfect marriage of current Boho-Gypsy love and traditional quilting.

IMG_6780

This was initially going to be a one-off creation just for myself, but the sneak peeks on Instagram created such positive feedback, that I knew I HAD to write a pattern for all of you. EDIT:  Tutorial can now be found HERE. 

IMG_6770

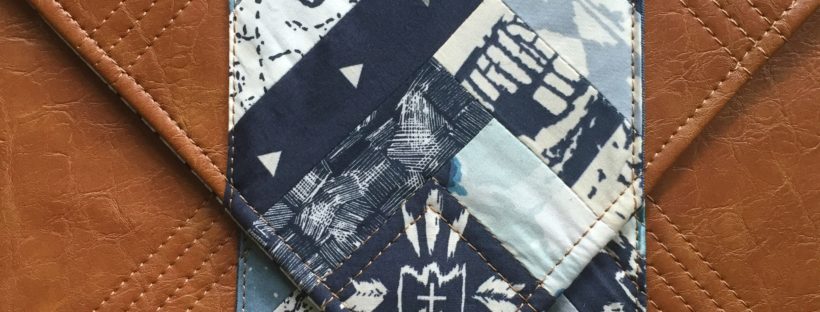
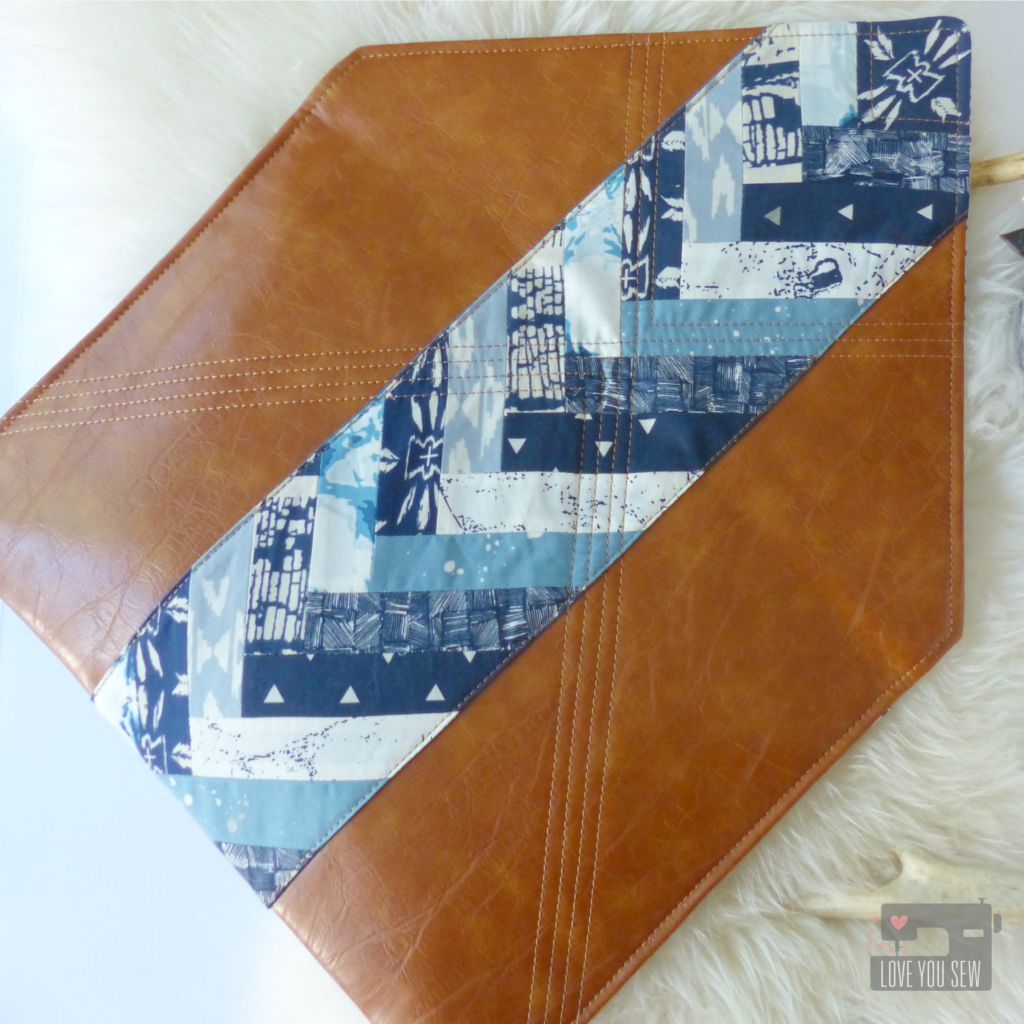
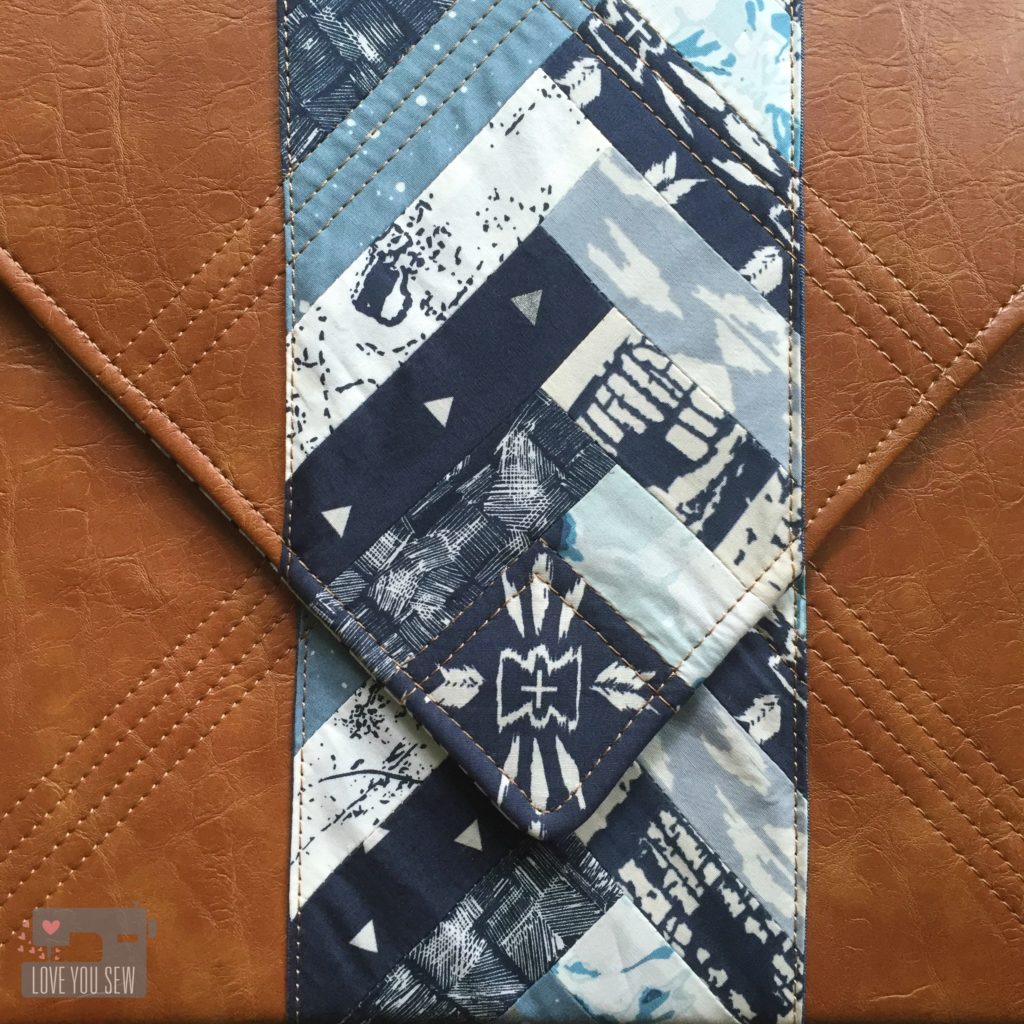
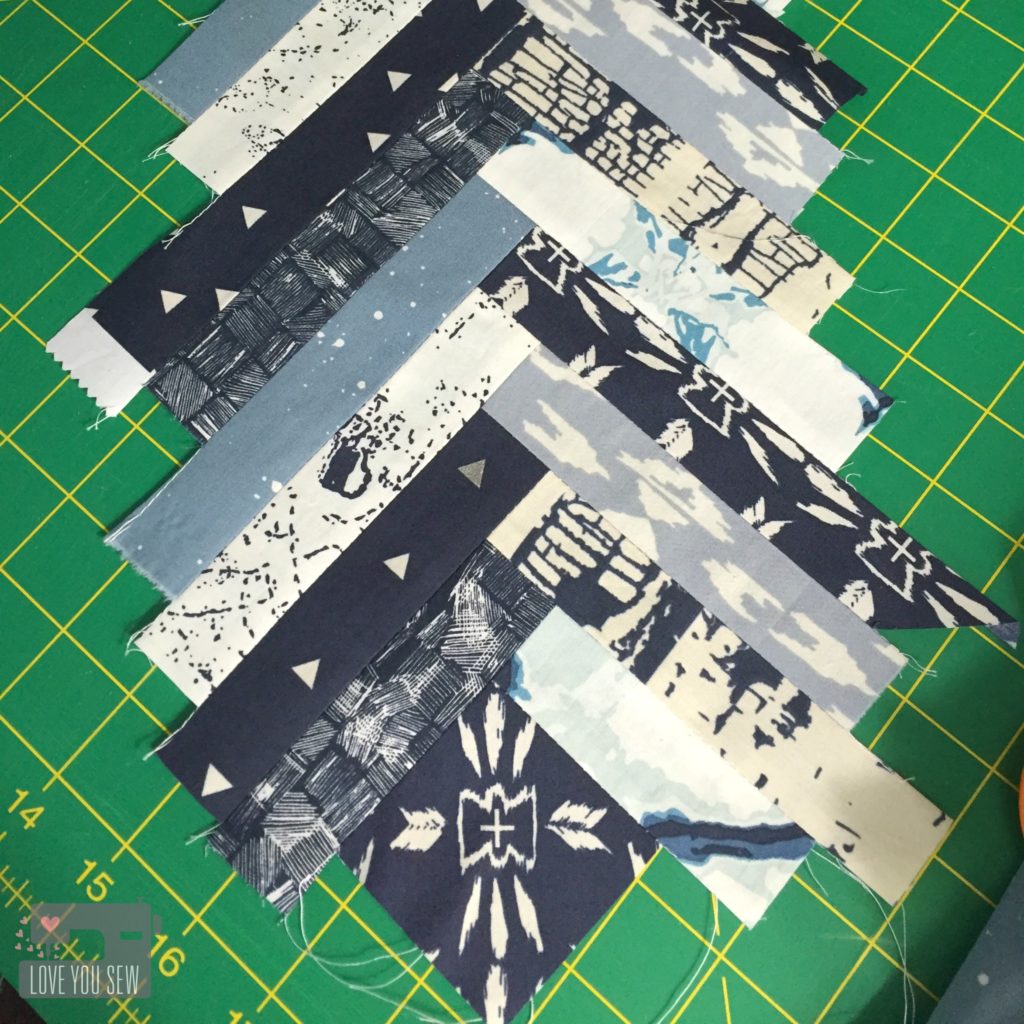
Working with the envelope design, I used a simple half log-cabin pattern to work with the flap’s 90 degree angle.  I used a 2.5″ fussy-cut square from the Homespun Praxis and used various 5″ (or longer) x 1.5″ strips to make a 28″ panel.  The panel was then trimmed to 5.5″ wide.

IMG_6772

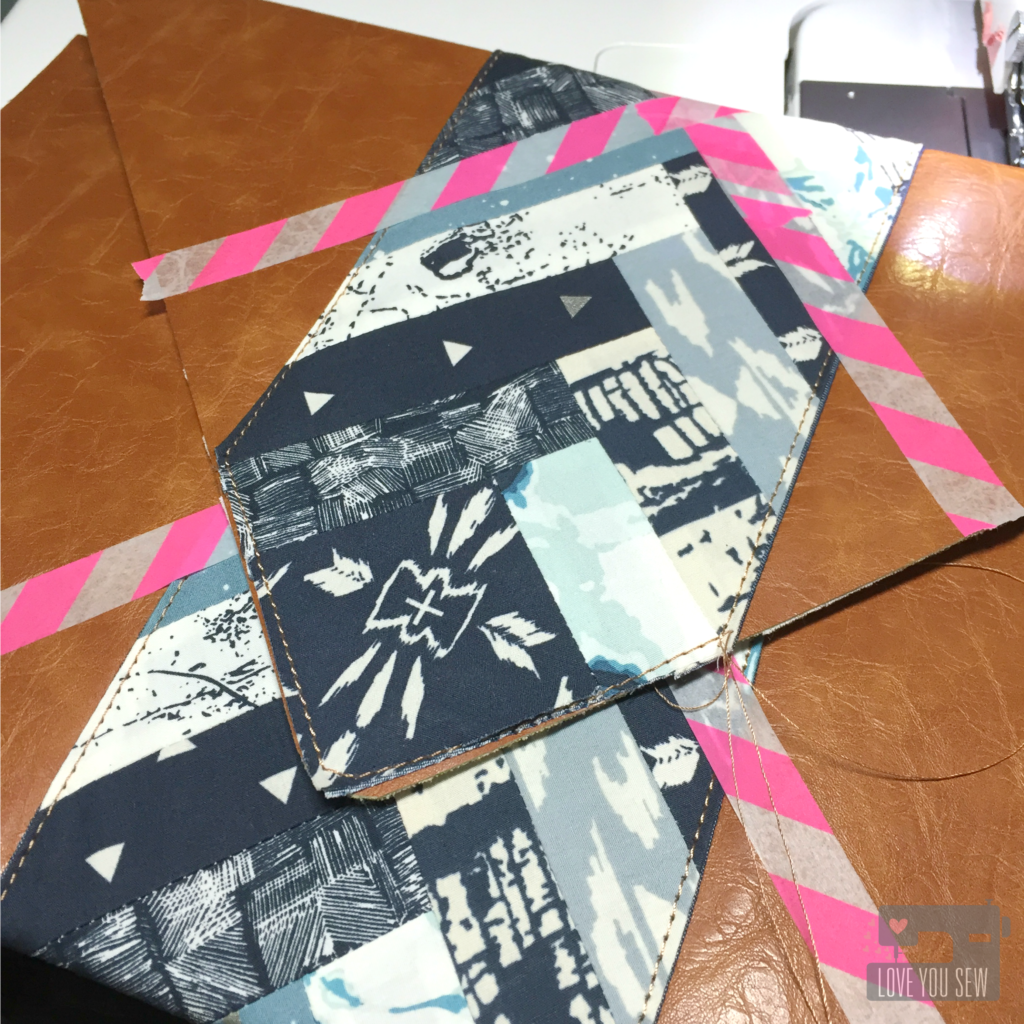
The pieced panel was then sewn onto a coordinating AGF Solid Smooth Denim with right sides together. They were turned out and pressed.  The results are clean even edges which are then top-stitched down onto the (faux) leather.  I used Gütermann upholstery thread which provides a nice raised look and slides well through the leather.  Washi tape was used as the quilting guidelines since pen and chalk can smear.  I followed the lines of the piecing  to create additional texture and add more design detail onto the clutch.

P1060621

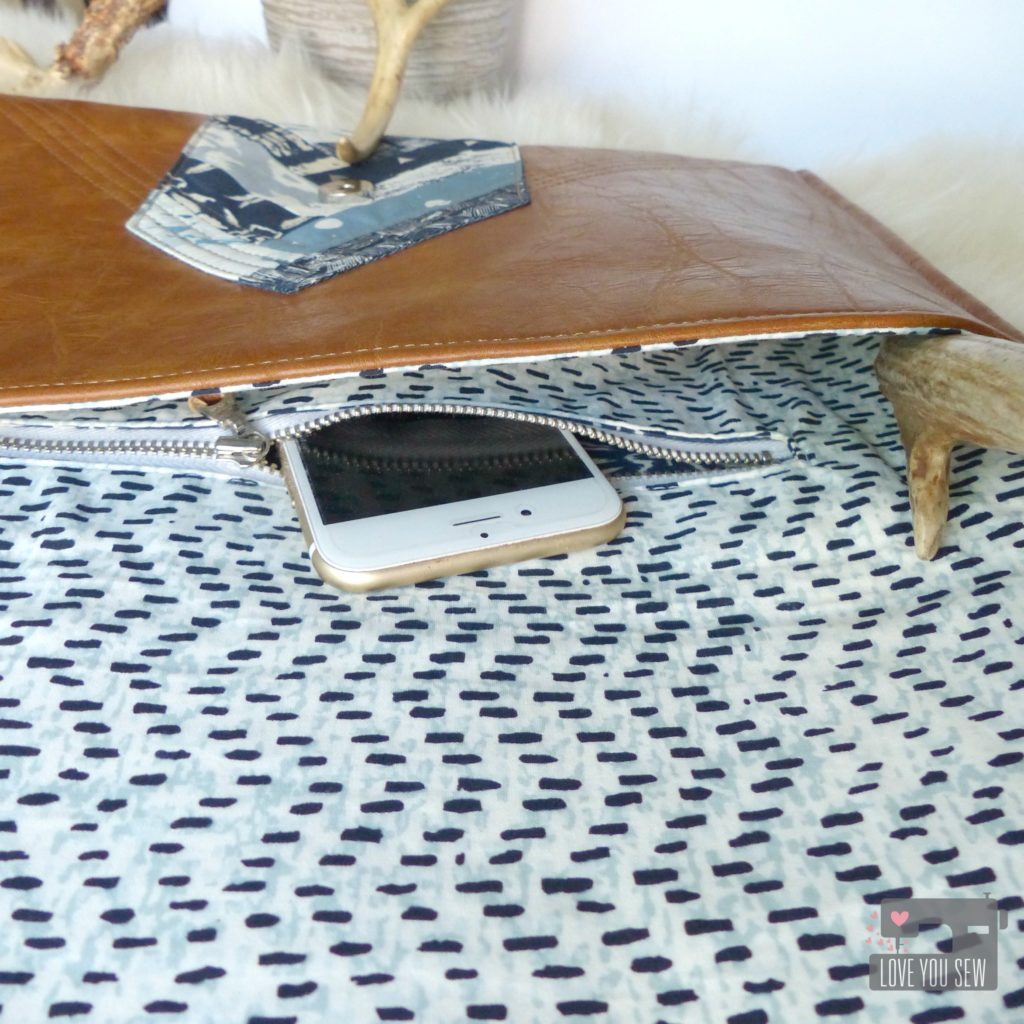
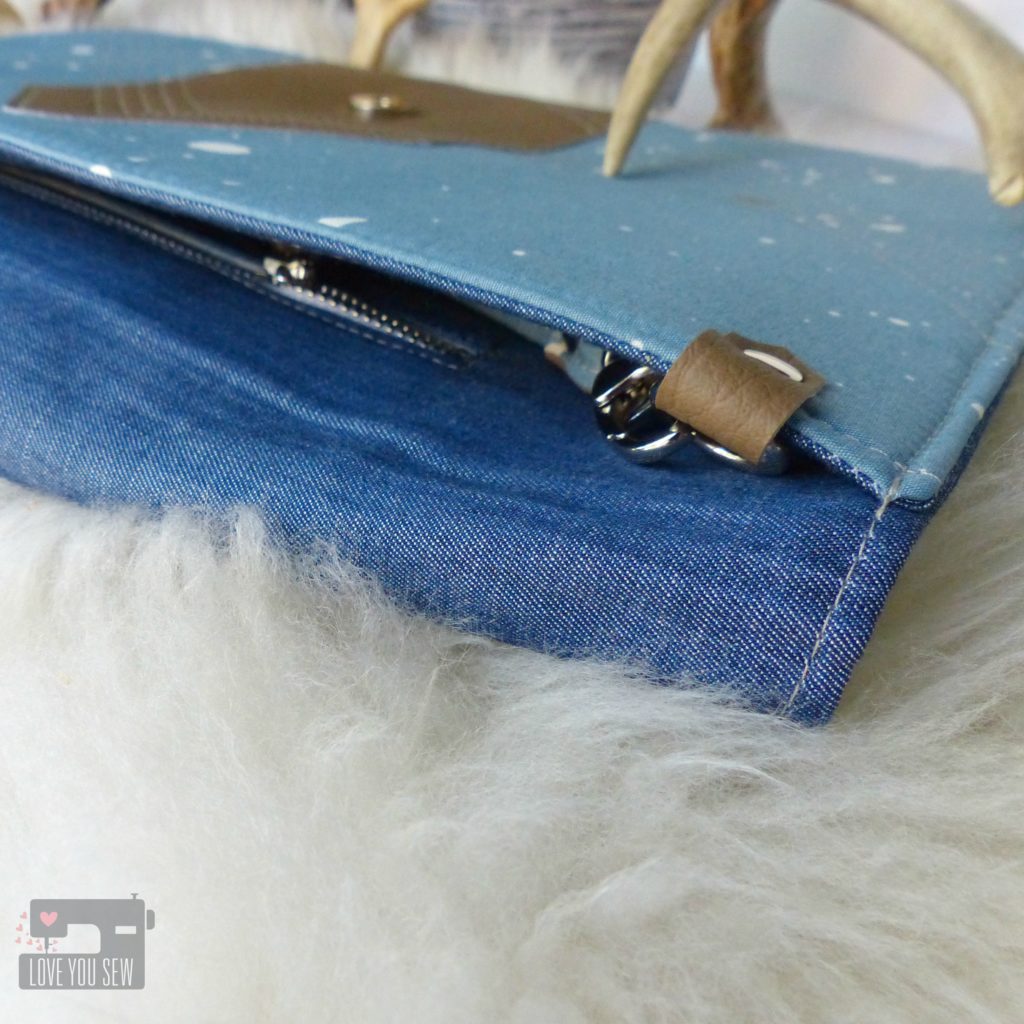
This Envelope Clutch, although oversized to carry a lot of stuff, still needs the basic features of any bag.  The lining is made out of Treadle Tradition with a generous sized pocket using a 9″ metal zipper from Zip It Zippers.  Metal zippers add that extra professional look I just love.

P1060620

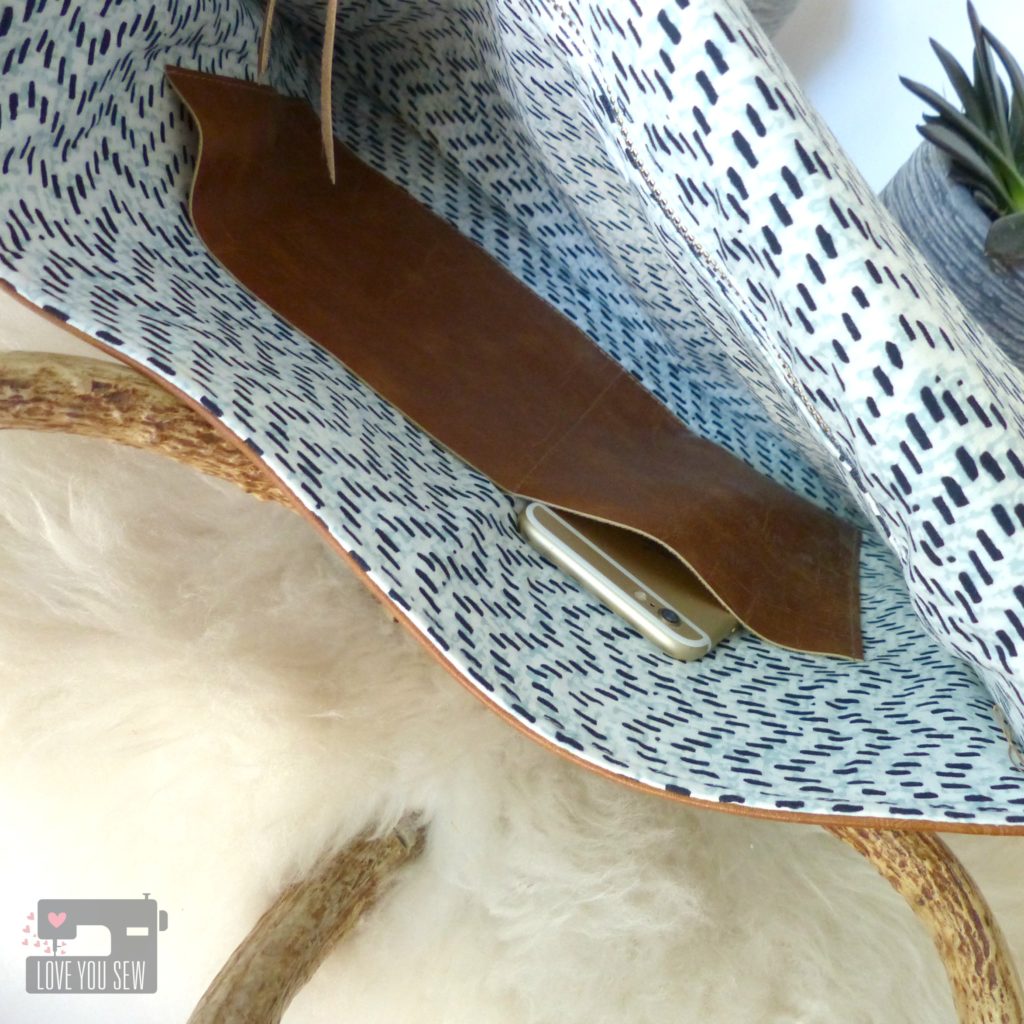
On the opposite side of the lining, I added simple slip pockets.  These are unlined, using leftover leather so there is no fraying.  They were sewn down with unfinished edges.  I just made sure one pocket was the proper size for my cell-phone…priorities, right? 😉

P1060649

Metal snaps were added and now I’m ready to hit the town with my chic boho clutch!

IMG_6880

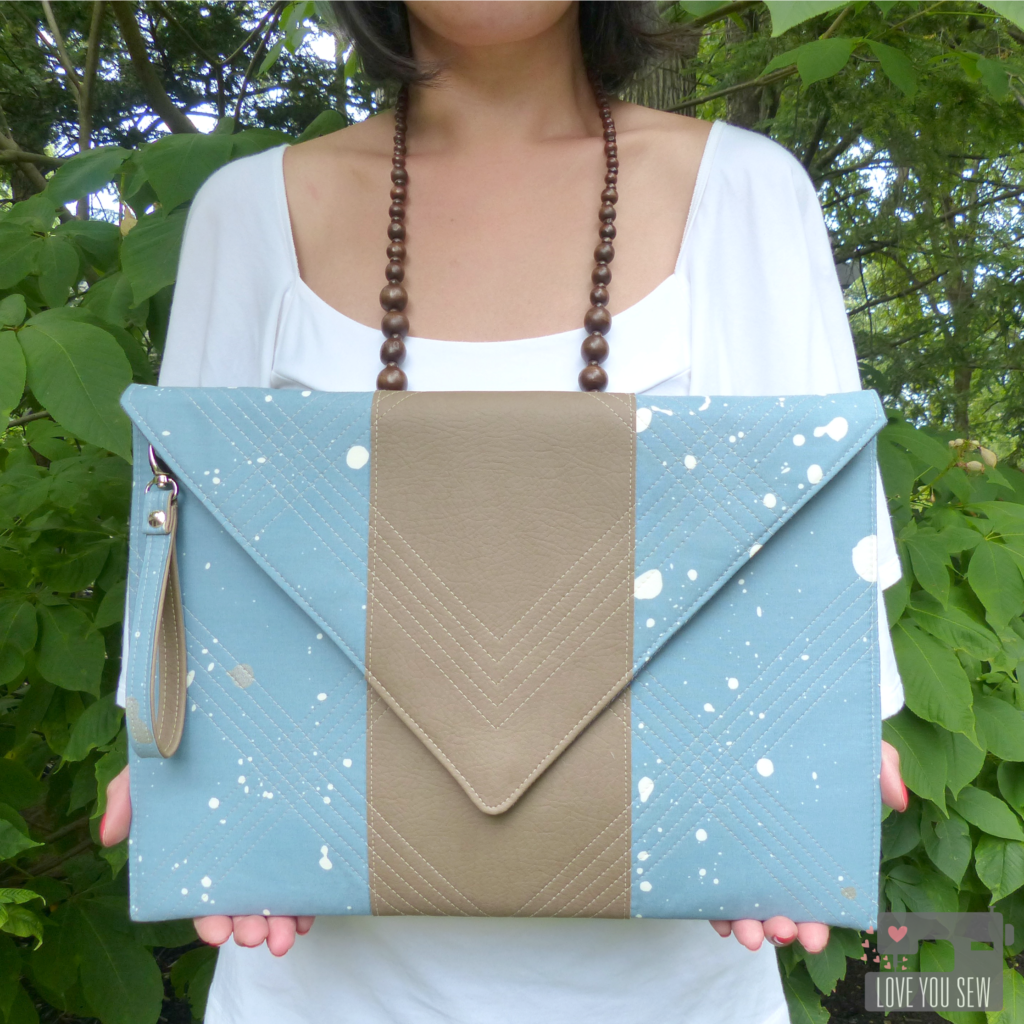
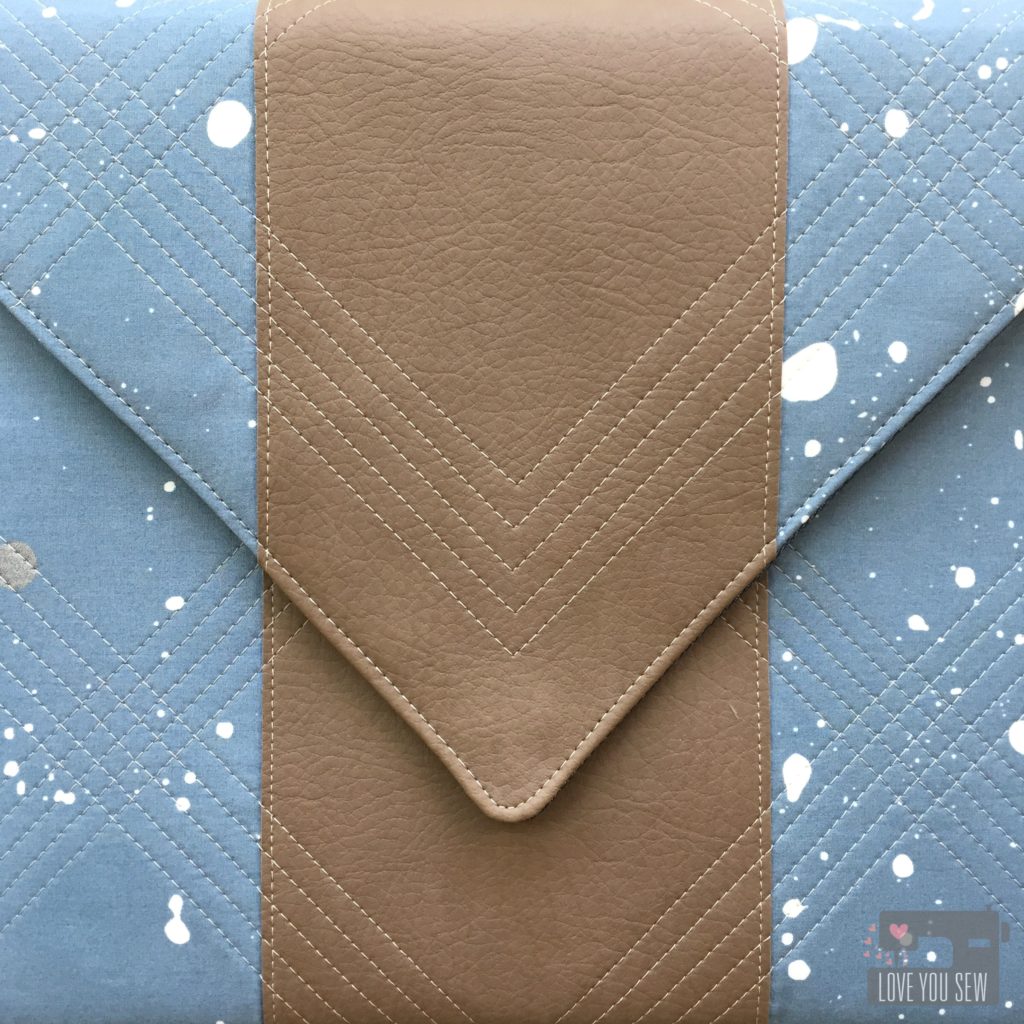
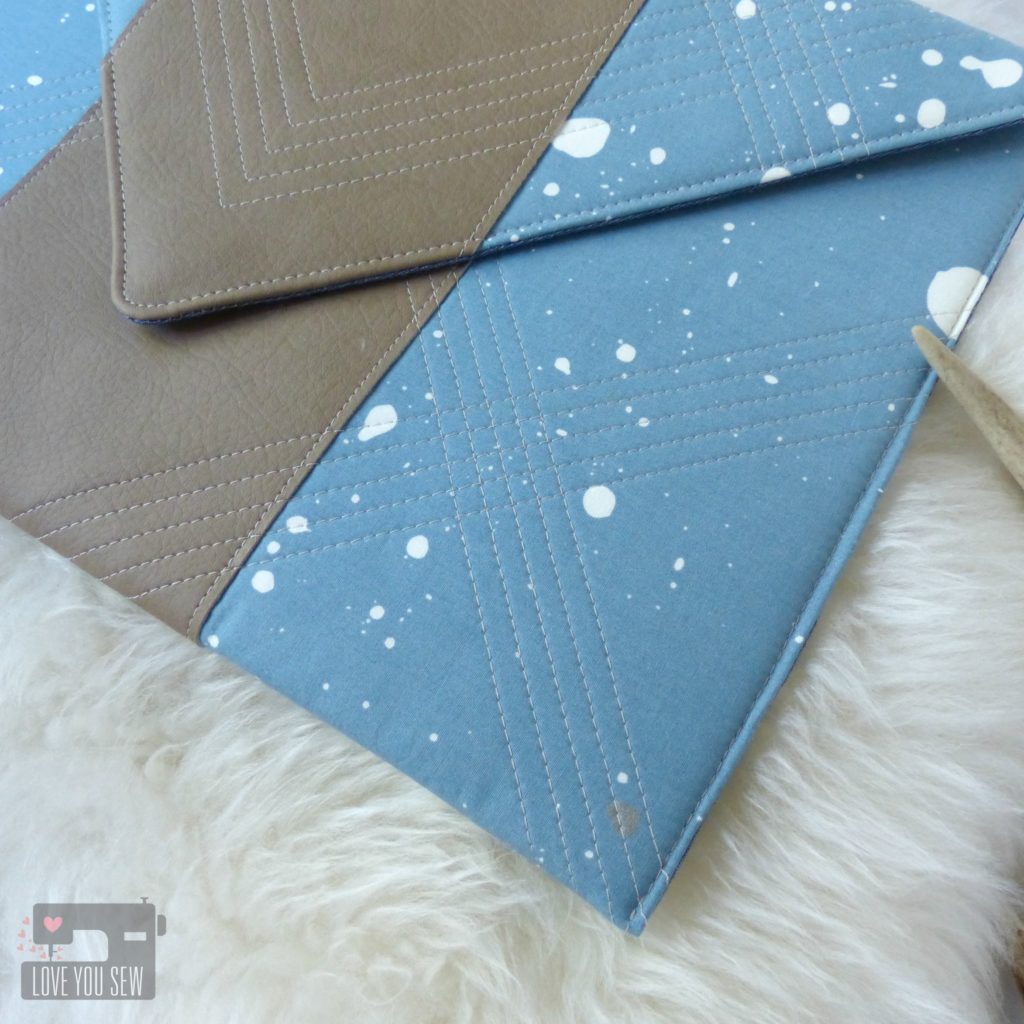
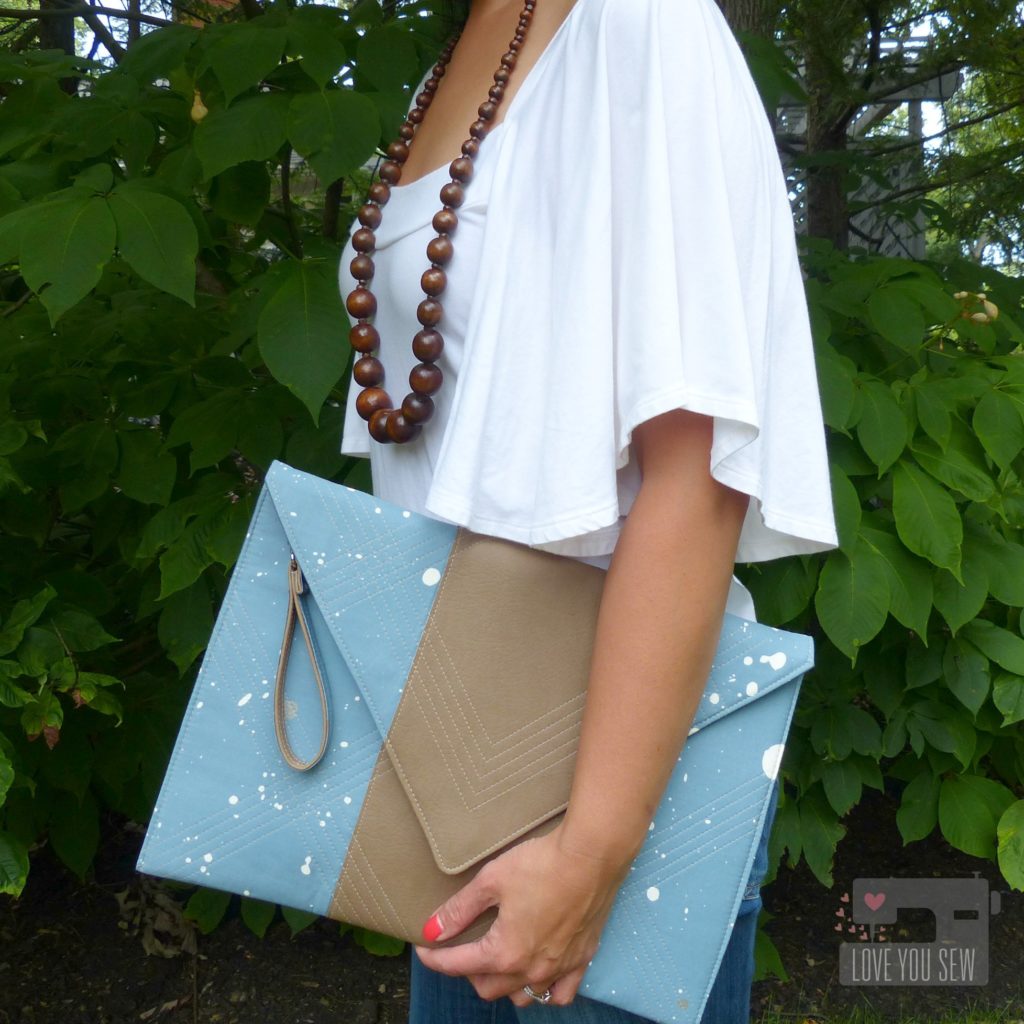
Sewing through faux leather can be a challenge on many domestic machines.  So I wanted to come up with a similar style Envelope Clutch which is MUCH easier to sew.  This design is shown in Speck Stardust and utilizes some fusible fleece with just a single panel of raw-edge faux leather.  I love how this print color reminds me of a perfectly worn pair of jeans and the leather match my favorite fall booties.

P1060626

I wasn’t able to find upholstery thread to match this vinyl, so I used Gütermann Sew-All polyester.  This slides through the faux leather really well and still provides a great look and quilting texture.  I changed up this quilting design to make some fun cross-hatching.  ‘Slow and steady with the walking foot kept the lines straight and even.

P1060628

With this version, I added a wrist strap using hardware from Emmaline Bags and scraps of both the (faux) leather and Speck Stardust.  Using half fabric and half leather is easier to work with rather than trying to sew through multiple layers of leather.

P1060629

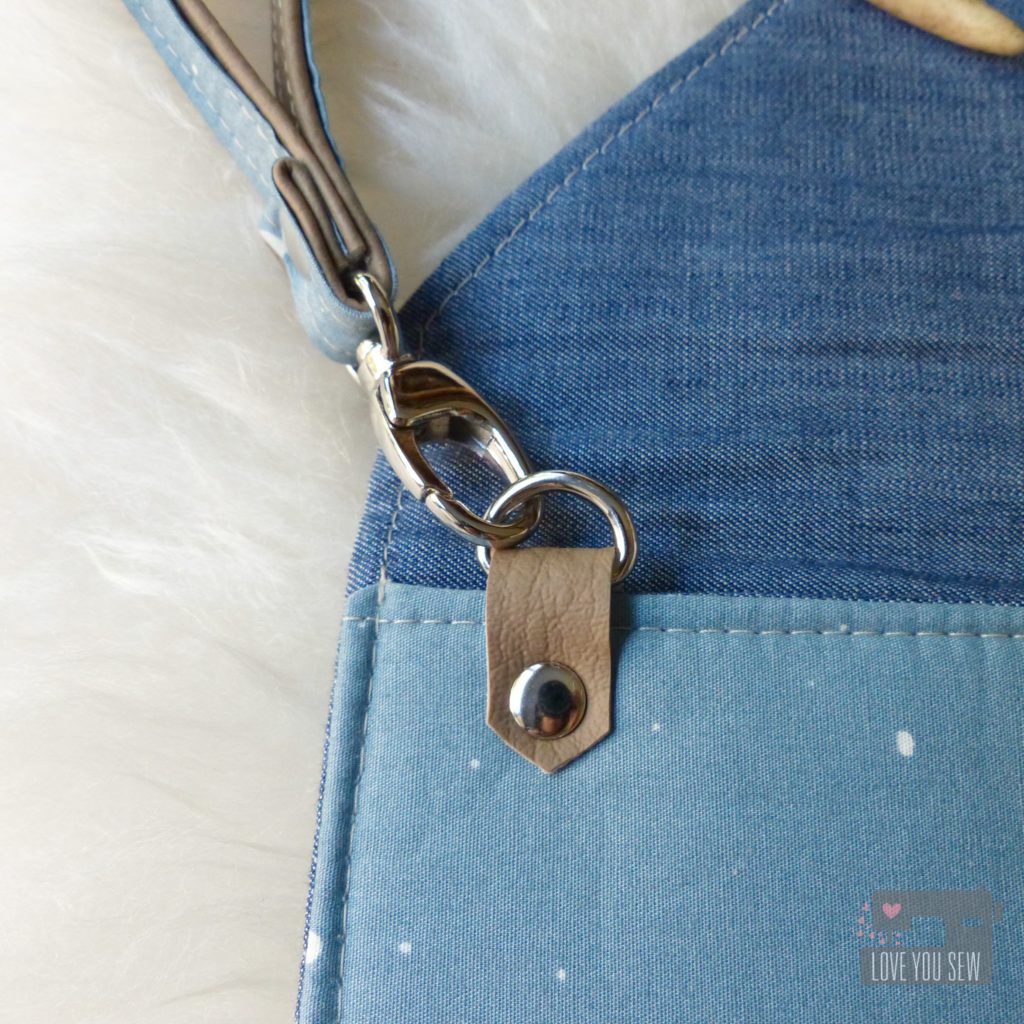
The D-ring was added to the front of the clutch rather than sewn into the side.  This provides the option to be hidden.  It also doubles as a spot to hook your keys.  The lining was made from Indigo Shadow Solid Smooth denim and I created the same zipper pocket one side and two slip pockets on the other.

P1060638

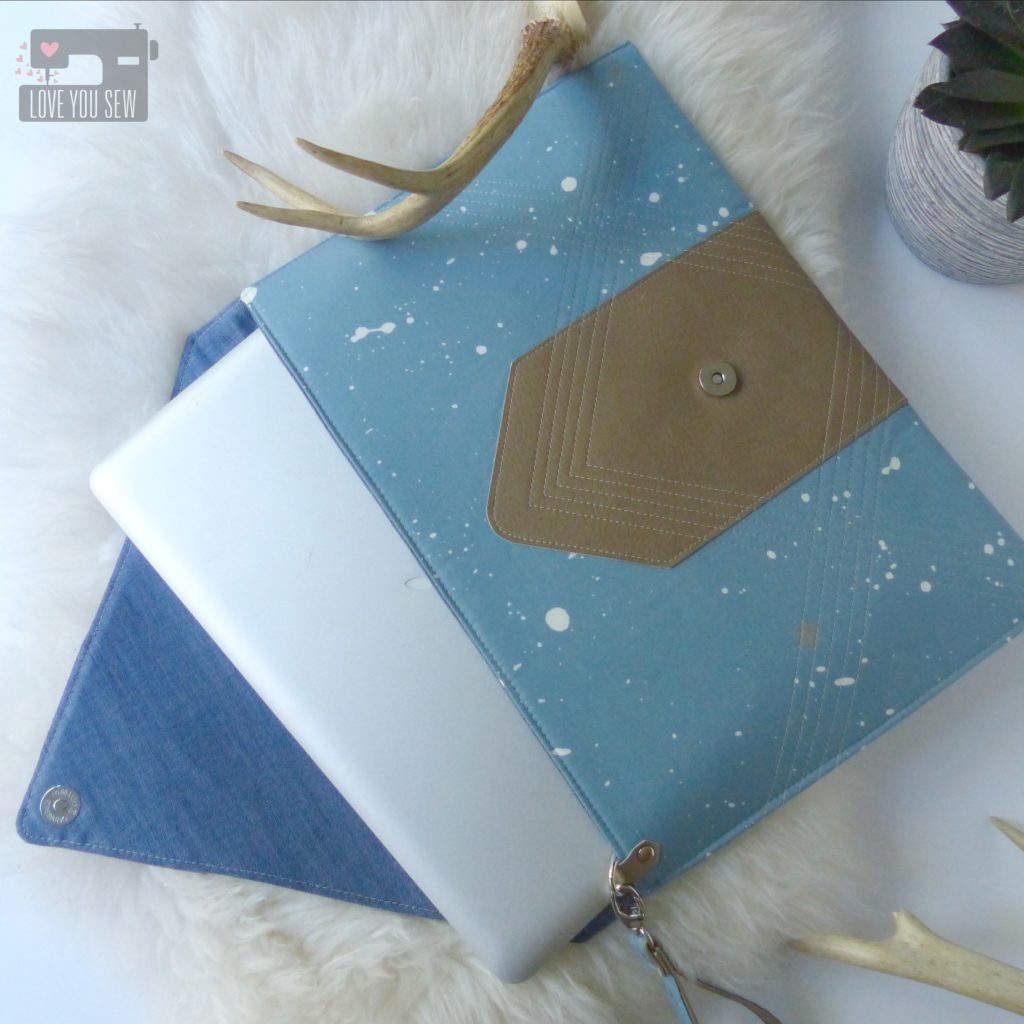
Ironically, this design also fits my laptop.  So with the fusible fleece, this Envelope Clutch can be used as a laptop cover.  The pockets are great for cords and small headphones.

P1060648

I know I’ll be rocking this clutch out on the town with the girls though….

What’s on your project list with Observer?


Make sure to stop by April’s blog to get the up-to-date schedule with 6 weeks full of dreamy inspiration.  The line-up of bloggers is quite impressive 😉  If you need even more ideas, head to Art Gallery Fabric’s Observer Lookbook….you might even recognize someone’s name in there 😉

#ObserverFabrics #ObserverFabricTour #ArtGalleryFabrics #WeAreFabrics


Sew On,

Cristy
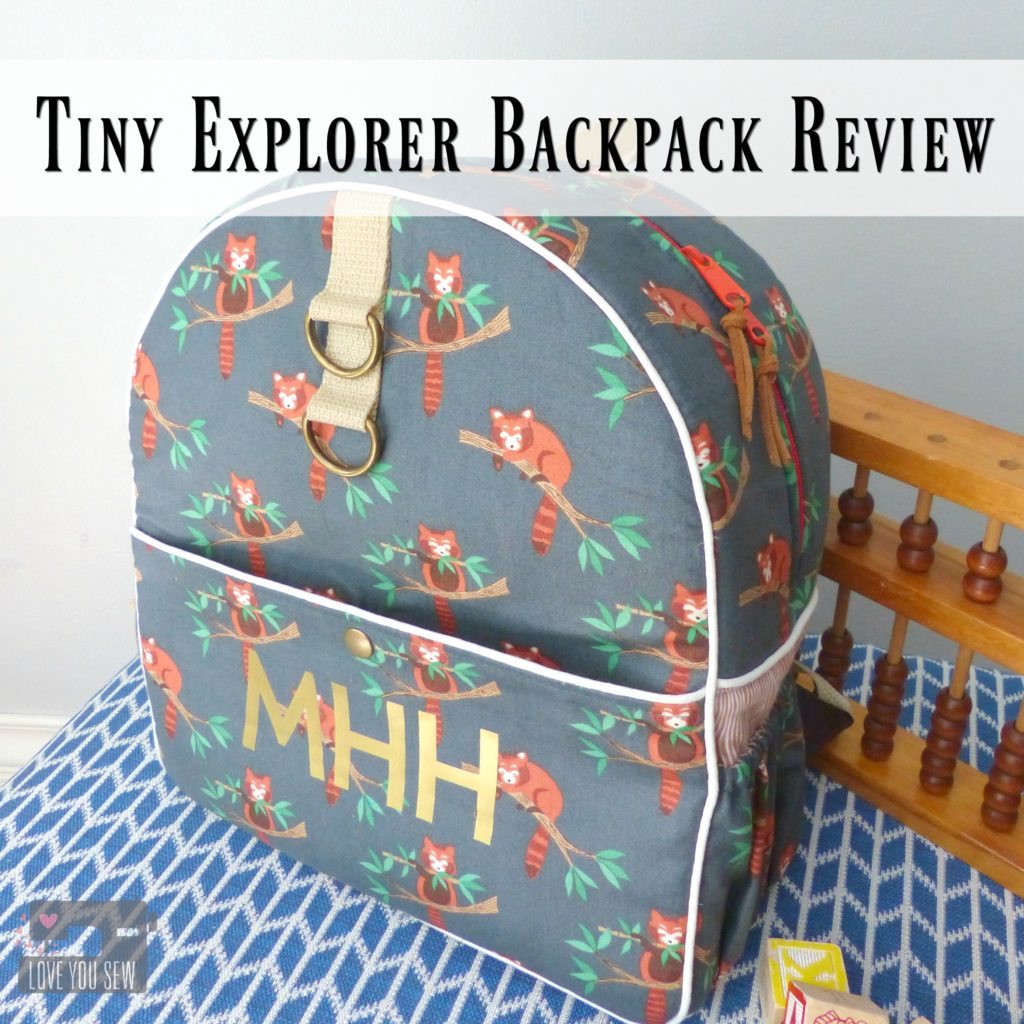
Tiny Explorer Backpack Review

TinyExplorerBackpackTitle

Its’s back-to-school season and that was enough motivation to [finally] get me to blog about the Tiny Explorer Backpack I made all the way back in June for my niece.  I wanted to make something special for her first birthday which she could grow into and use for awhile.

This toddler-size pattern by the fabulous Erin Morris of  Diedel*Bug Handmade, was exactly what I wanted.  If you’ve been sleeping under a rock and don’t know her work, you’ll have to check out her Facebook and Instagram pages.  She makes the most amazing bags and because of this, I knew her own pattern was going to be well written with lots of pictures.  There was no disappointment here!

IMG_5698

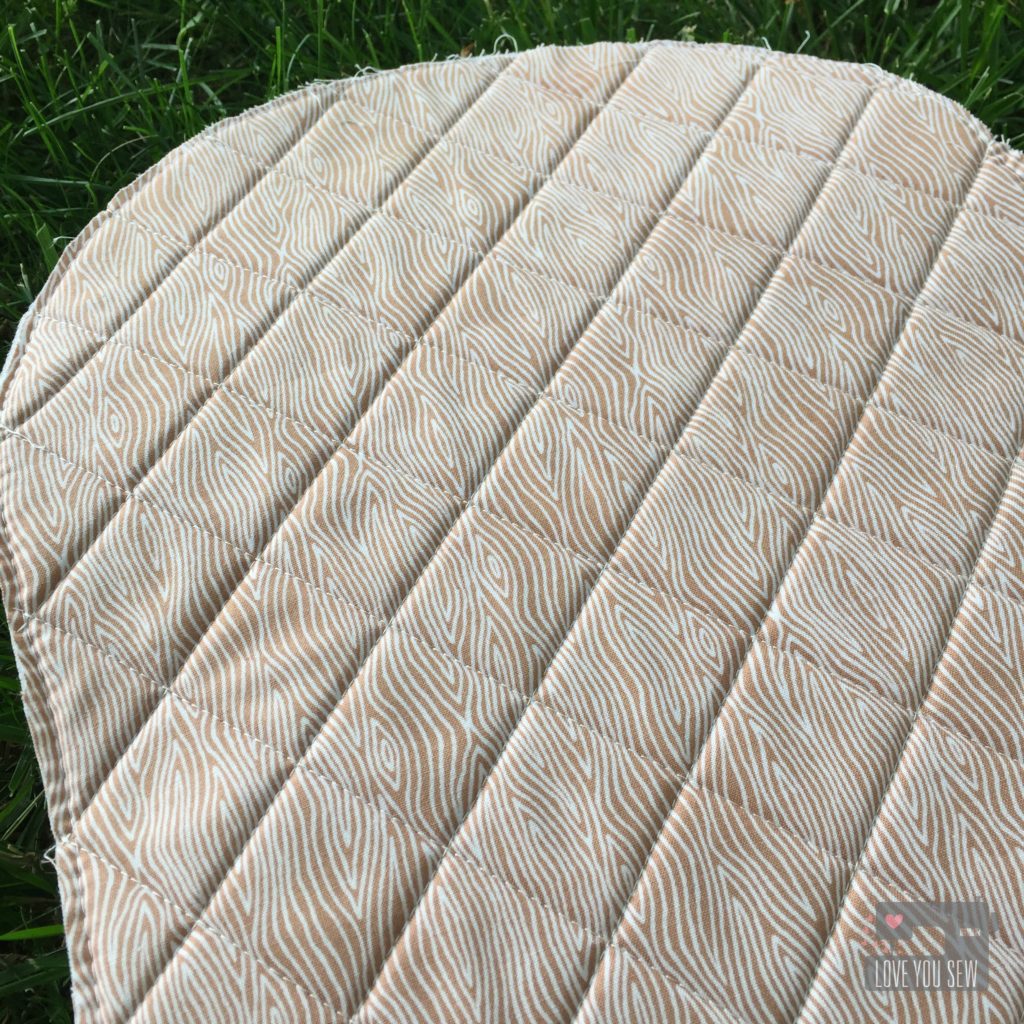
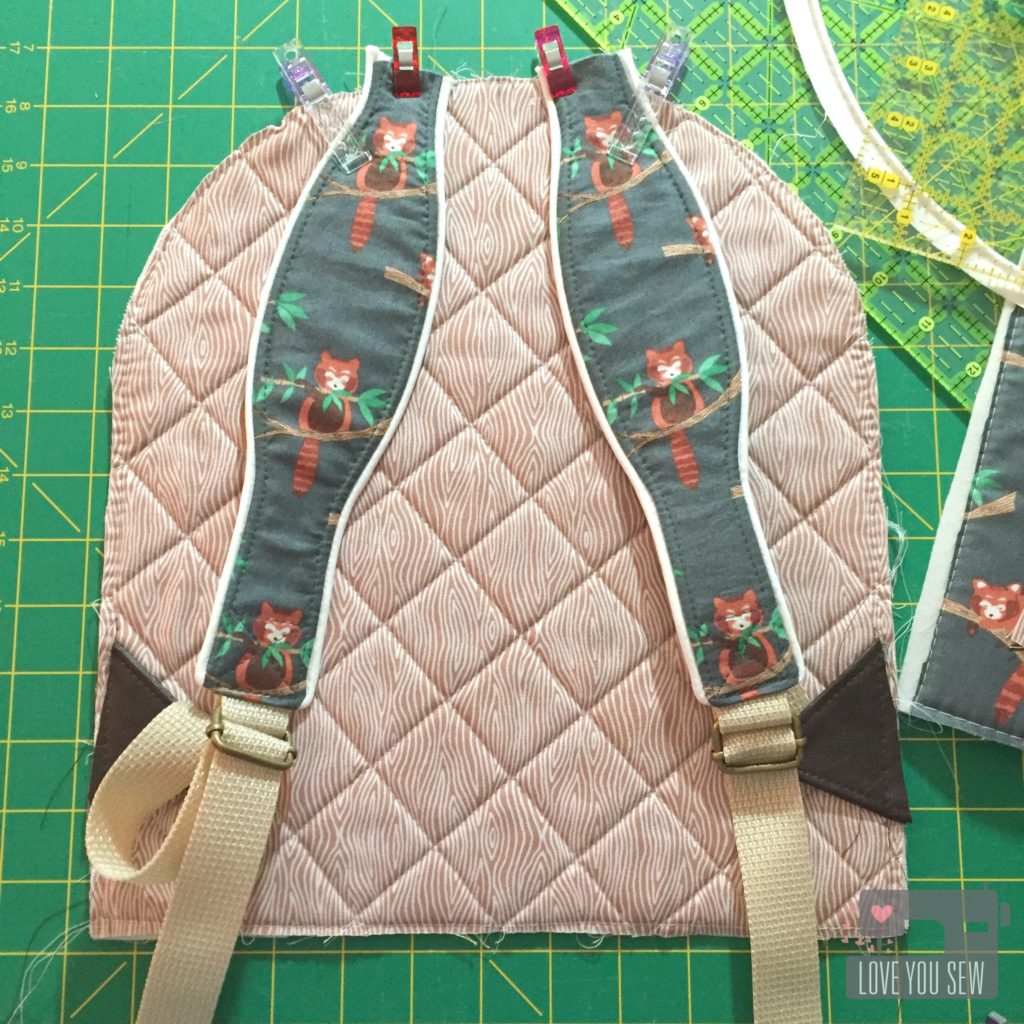
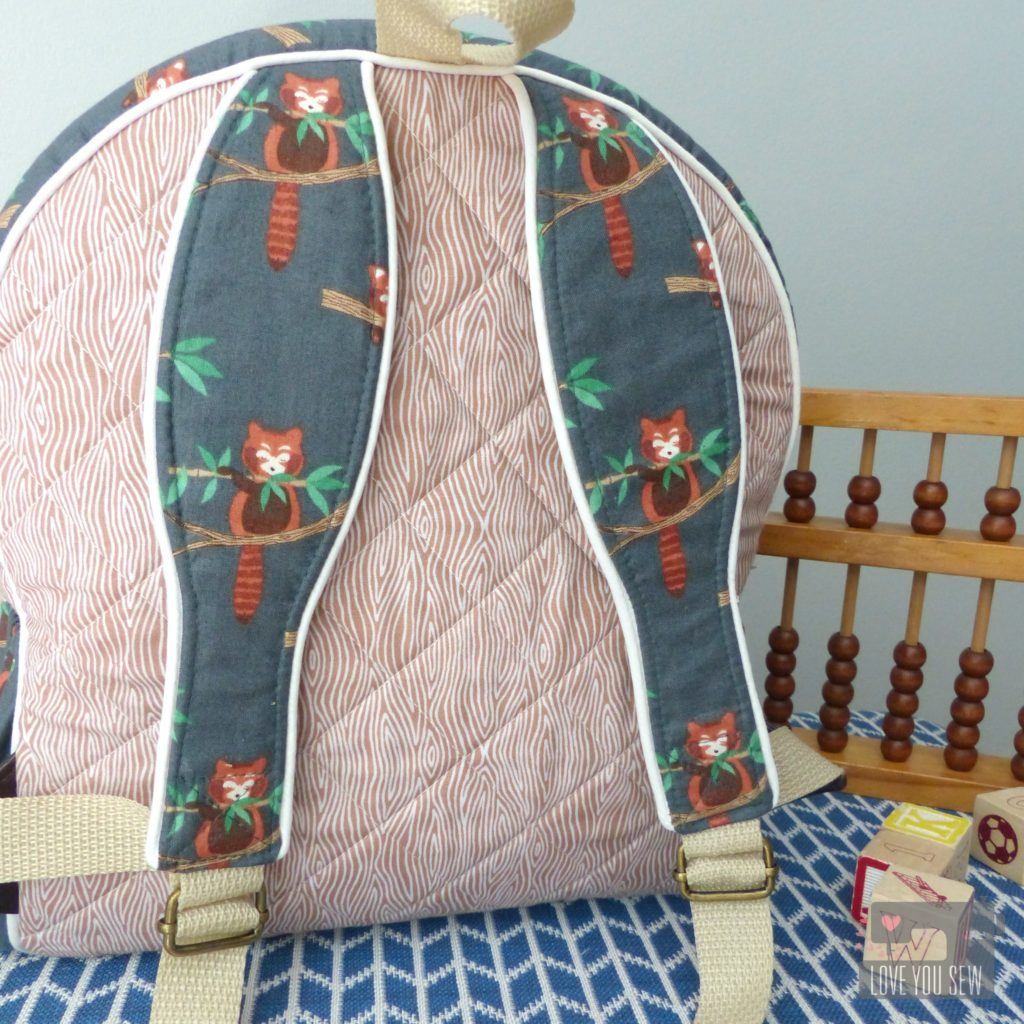
From the get-go, I decided to use Soft & Stable instead of the recommended fusible fleece.  I was inspired by some store bought backpacks to quilt the back for a nice feature but to also cushion the back.  Plus, how can I ever pass up the opportunity to do a little quilting, right?!?

TIP: Cut the back pattern pieces a little larger and quilt.  Then use the pattern template to cut to size since you’ll lose some area depending on how much quilting you do.

IMG_5700

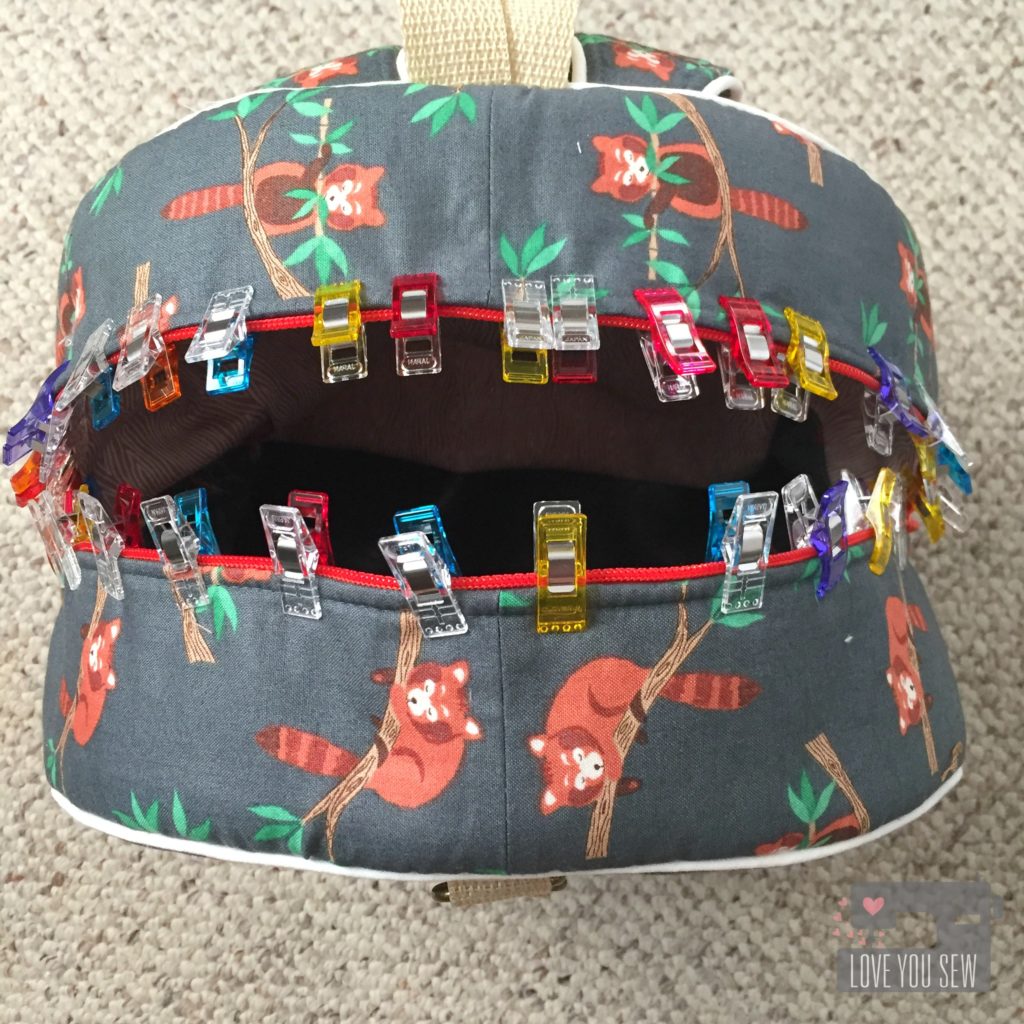
Red pandas are my niece’s favorite animal and I could not resist snatching up this MinShan fabric by Lewis & Irene.  The woodgrain is Gentle Forest by Tea and Sympathy for Studio E Fabrics.

TIP: To keep the fabric nice and tight on the Soft & Stable, baste with 1/4″ seam allowance.  Gently tug on the fabric as you sew to keep it smooth.

IMG_5699

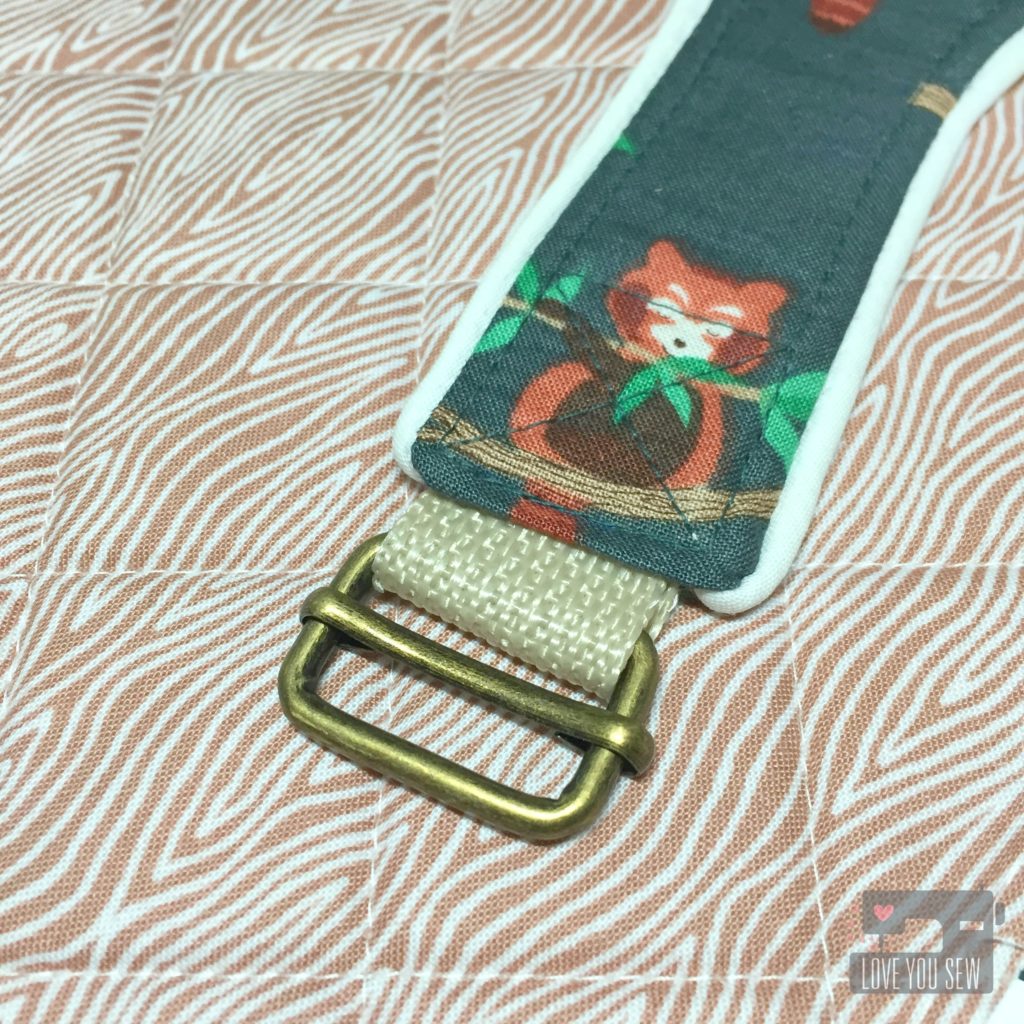
Aren’t these little guys, the cutest?  All hardware was from Emmaline Bags and the webbing was from Joann’s Fabrics.

TIP: Heat seal the ends of the webbing with a lighter before sewing.  My webbing had unraveled at the edges and pulled out after being sewn.  Sealing will prevent this from happening.

P1060497

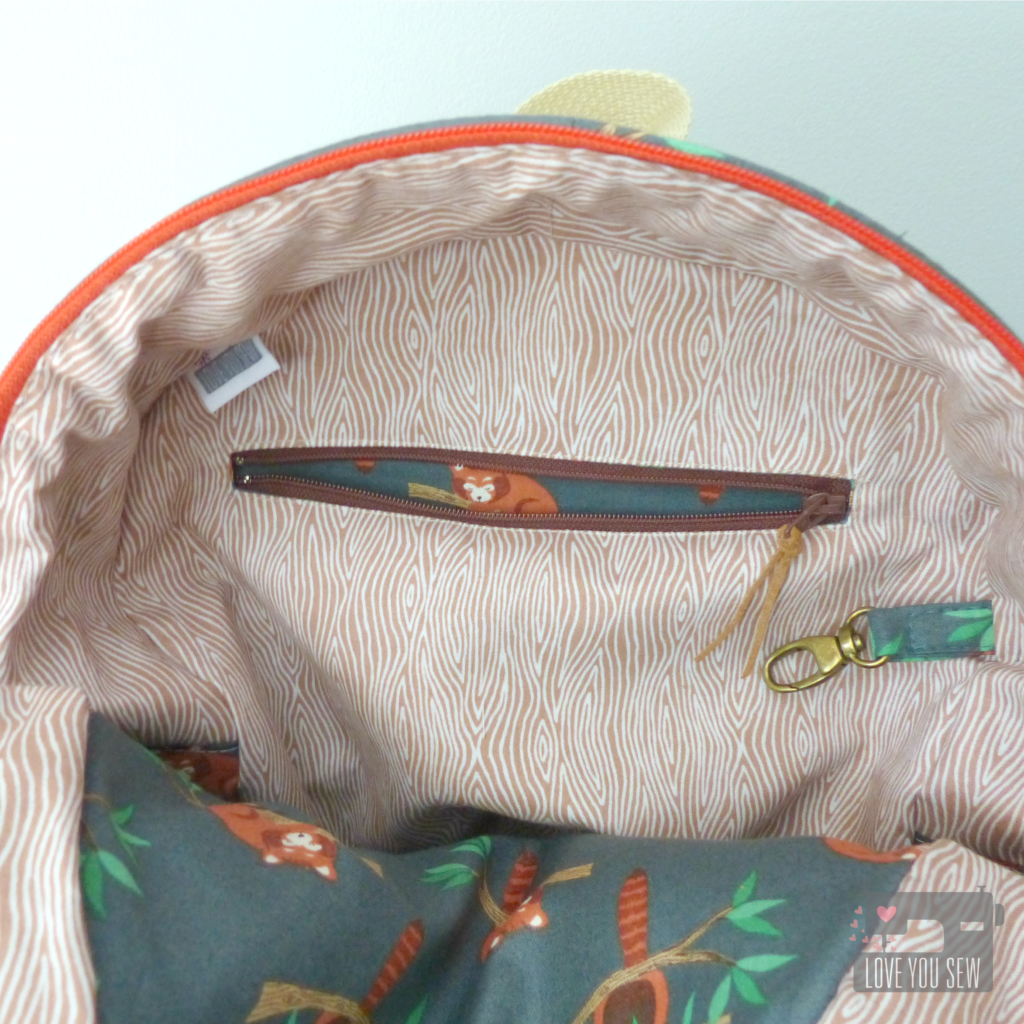
I also used Soft and Stable for the side panels of the bag to keep it’s shape.  As a little toddler, I figure it would be easier to find toys that way.  I added this key fob to the interior in case mom and dad ever need it 😉

TIP:  Add zipper pulls to help little fingers open and close pockets.  I use some leftover suede to complement the fabrics.

P1060495

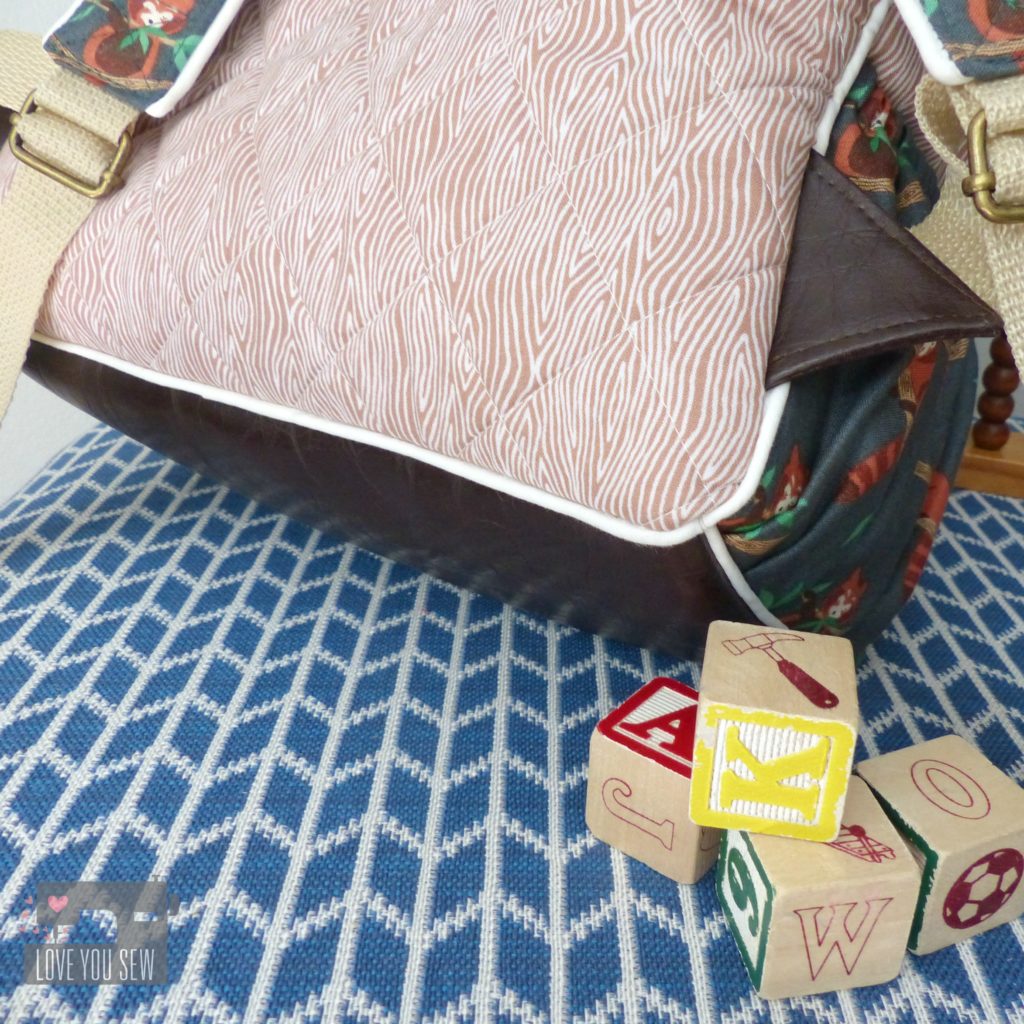
As I assembled the exterior, it was difficult to stitch close enough to the piping through all the layers.  I had to hand-stitch these bottoms corners a little bit to clean them up and make them match.  It might have been a little OCD, but since this was a gift, I just had too!

TopView

With this directional print, you do have to account for a little extra fabric, especially fussy-cutting the shoulder straps and side panels like I did.

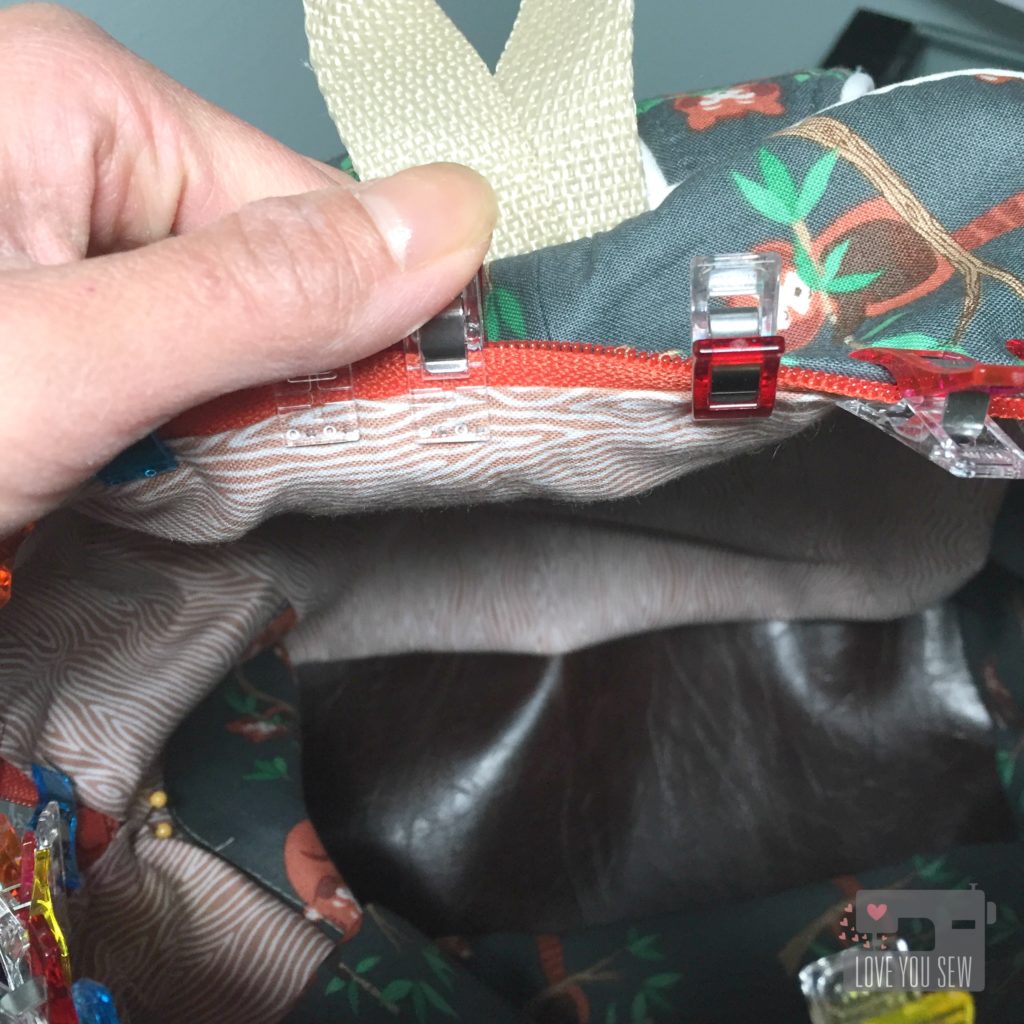
TIP: The entire lining is drop-in.  I used lots of clips to keep it centered and secure before top-stitching it into place.

IMG_5753

With kids, there are always spills, so I used some vegan leather on the bottom to help with easy clean up and for better wear and tear.

TIP: Pull the lining up to just barely cover the zipper stitches.  This way you’re guaranteed to catch it as you top-stitch.

P1060490

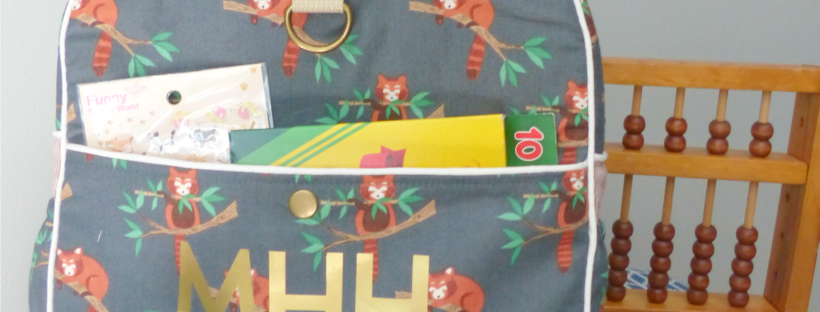
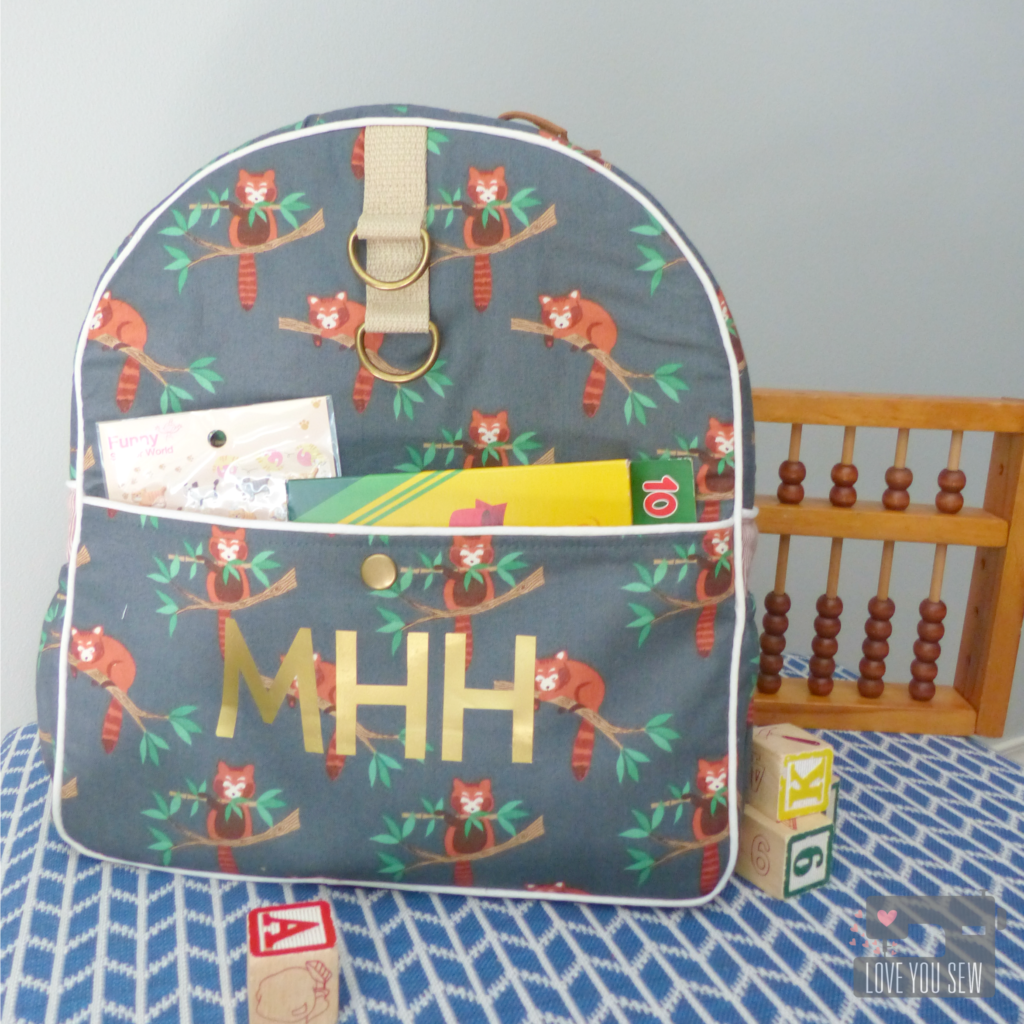
There were three additions made to the front of the bag —  Two D-rings were sewn on with leftover webbing so toys could be clipped on.  I also added a snap to the main exterior pockets to keep little treasures safe.  The most noticeable are my niece’s initials.  I used my Silhouette  Cameo machine to cut the gold heat transfer vinyl.

TIP:  If you would like to add a snap, place it centered 1″ down from the top of the pocket and secure into place before sewing in the lining

TE Sideview

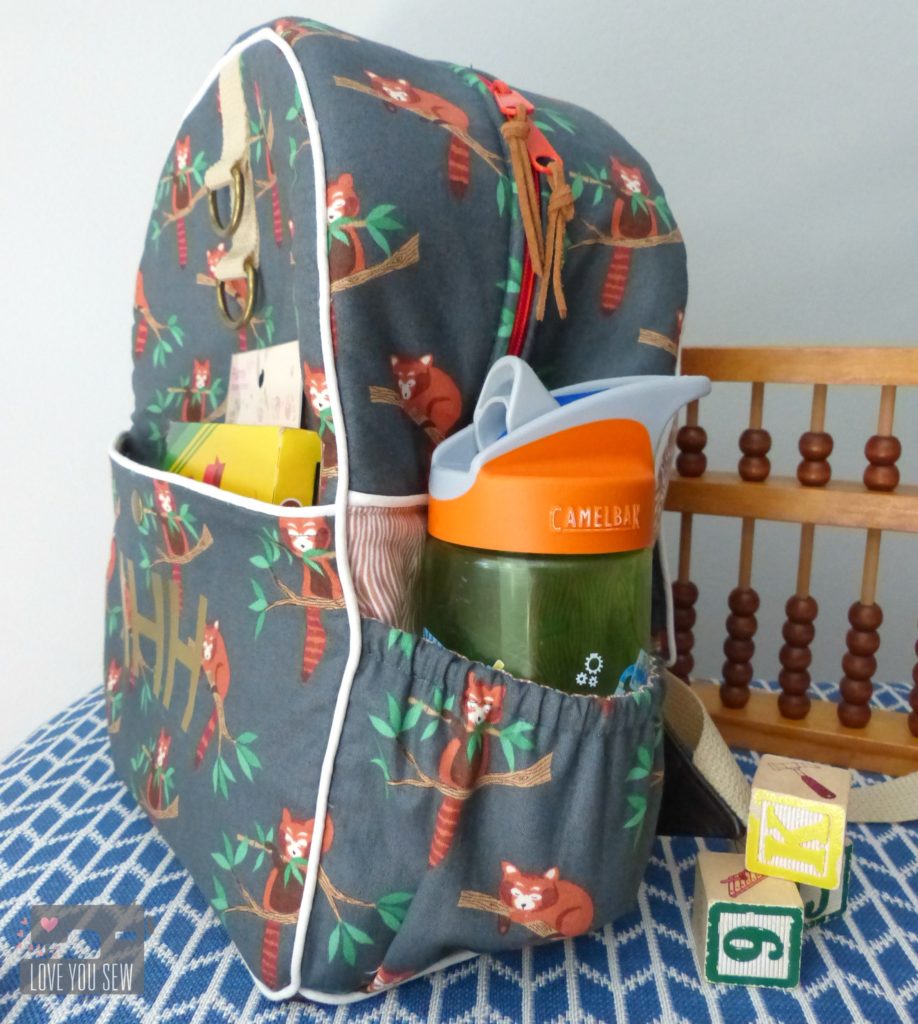
Since I used a long-pull double zipper, I decided to to exclude the zipper tabs.  I also omitted the side pocket binding just to streamline the look a little bit.  Don’t leave the pockets off entirely though…they are great for holding drinks and snacks!

P1060499

Voila!  A fun toddler backpack for my little niece!

MayaBackpack

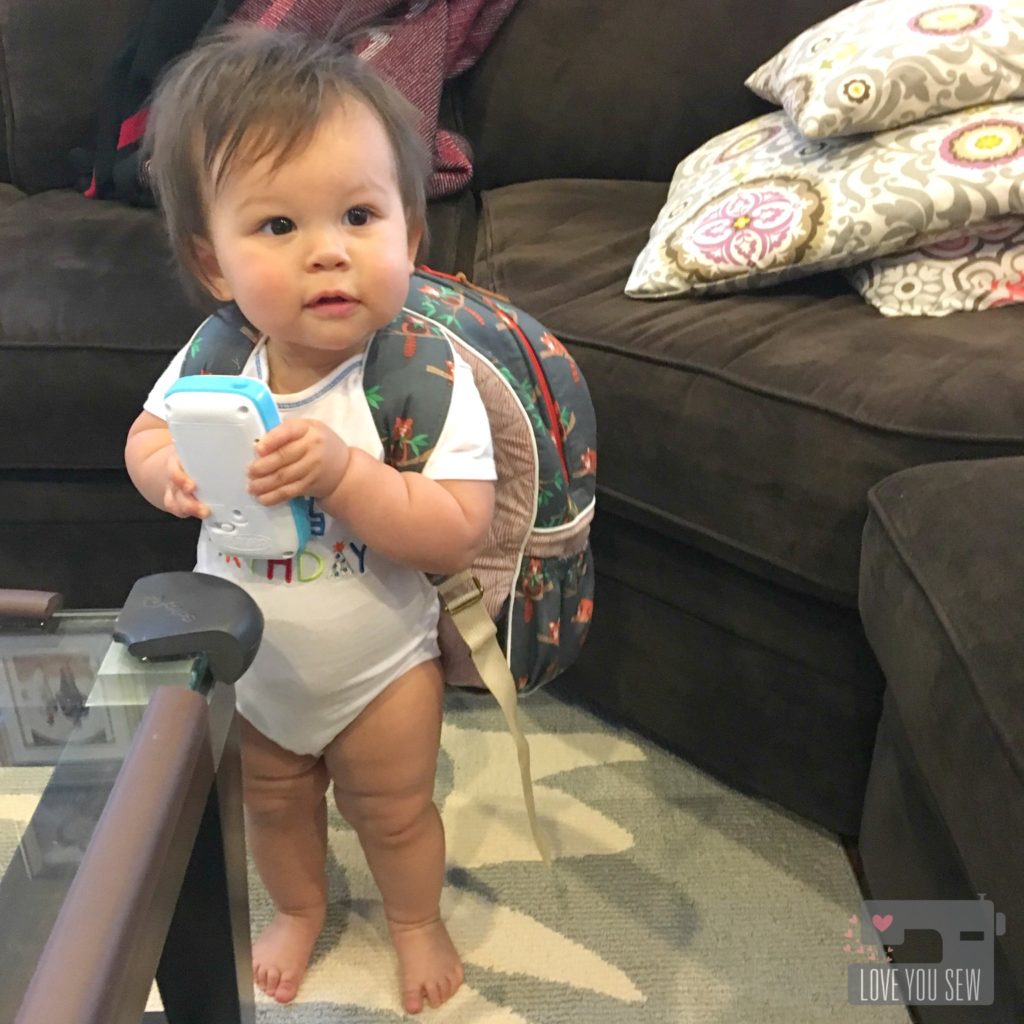
Here is my little munchkin with her bag.  Look at her rolls on rolls! <3  Doesn’t she look like she’s ready to catch some Pokemon 😀


Happy Sewing,

Cristy
 

This was not a sponsored post.  I purchased the pattern and all opinions are my own.

Observer Fabrics Preview

ObserverPreviewTitle

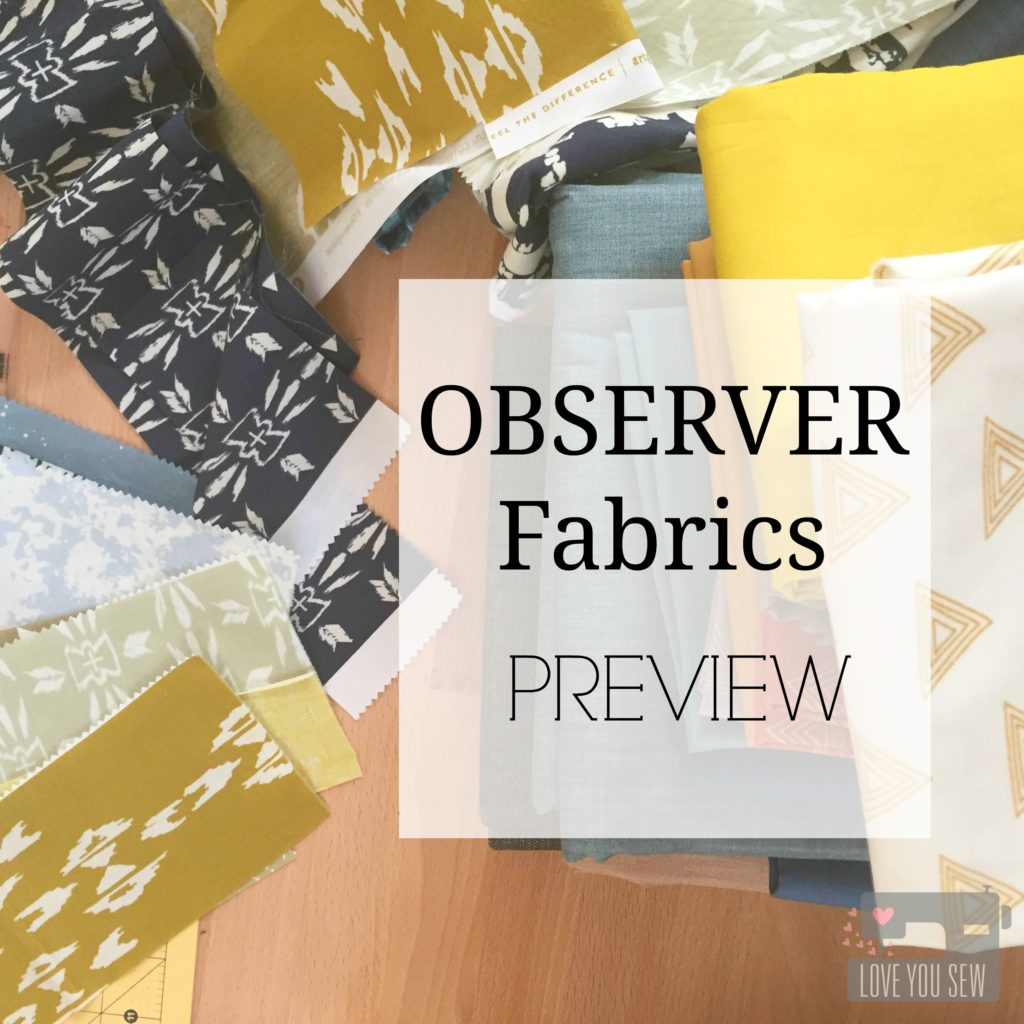
Have you ever seen something out in the wild, and wondered how pretty it would be to freeze that shot and frame it forever?  It’s that moment that is just SO good, you take in that extra long gaze and lose yourself a little…  Well when you’re April Rhodes, you take that extra step into permanence and create Observer fabrics.  It’s a collection of patterns seen out in the world…through the eyes of Miss April, herself.

IMG_4615

It is such an honor to sew with an unreleased collection.  The initial reveal is always exciting, but I love to hear about the inspiration.  That’s why it’s so wonderful to work with April…as we collaborate together, I get to hear the story behind every pattern and every color.  With all of that information, it then allows me to dig a bit deeper in my design wheel well.

IMG_4716

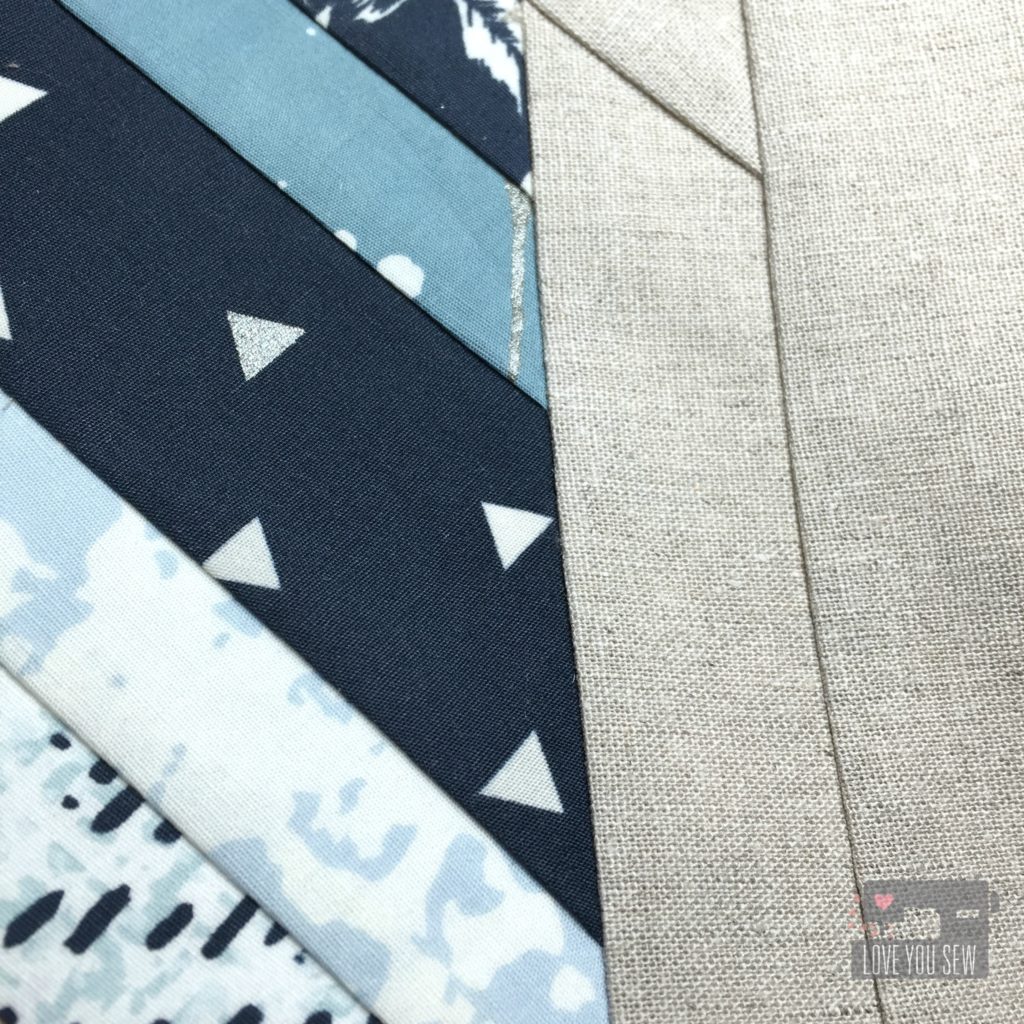
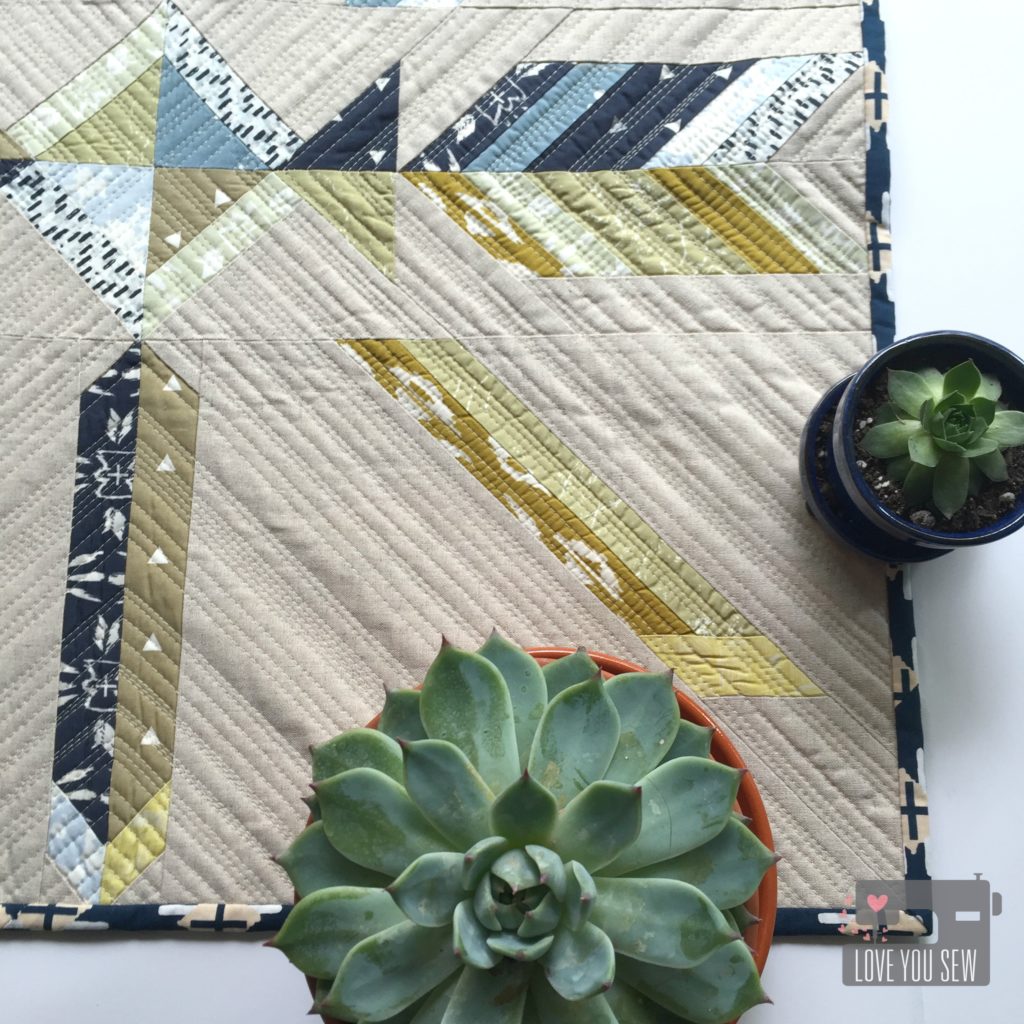
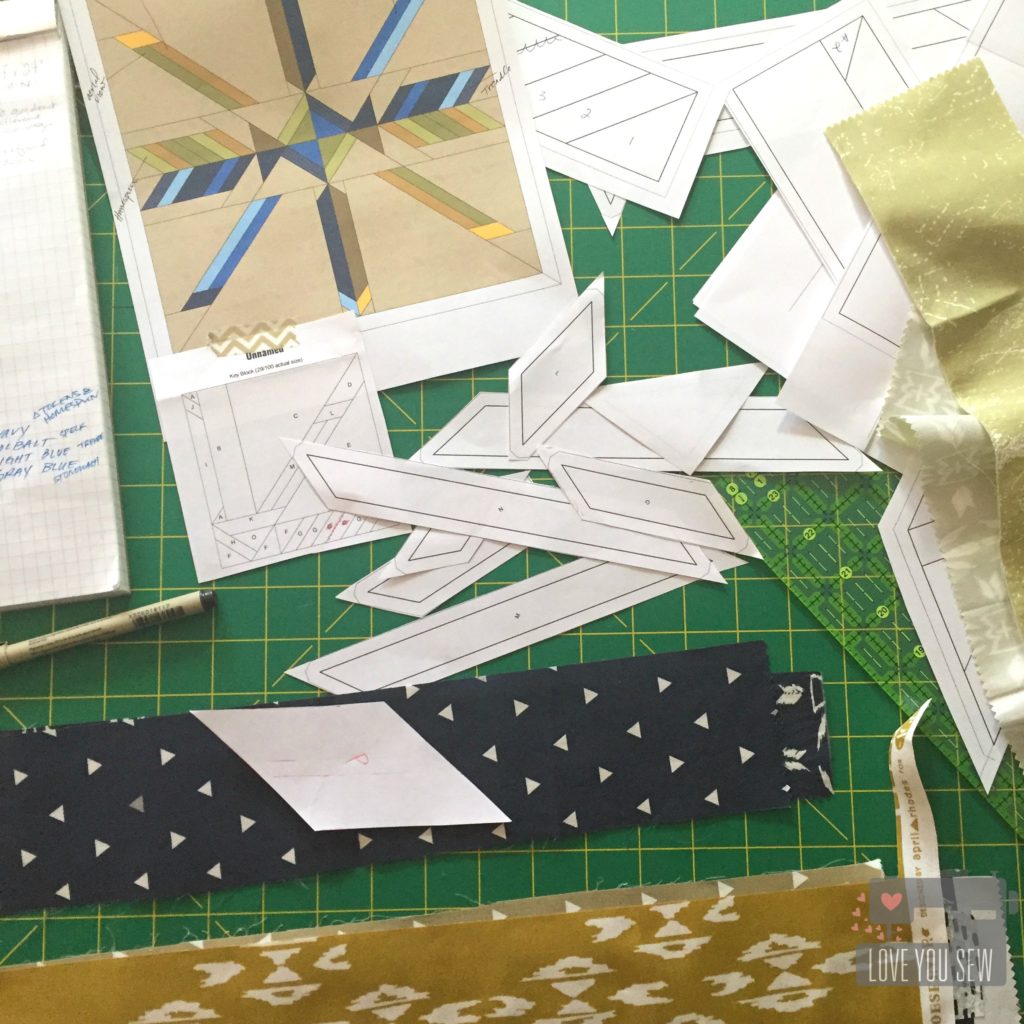
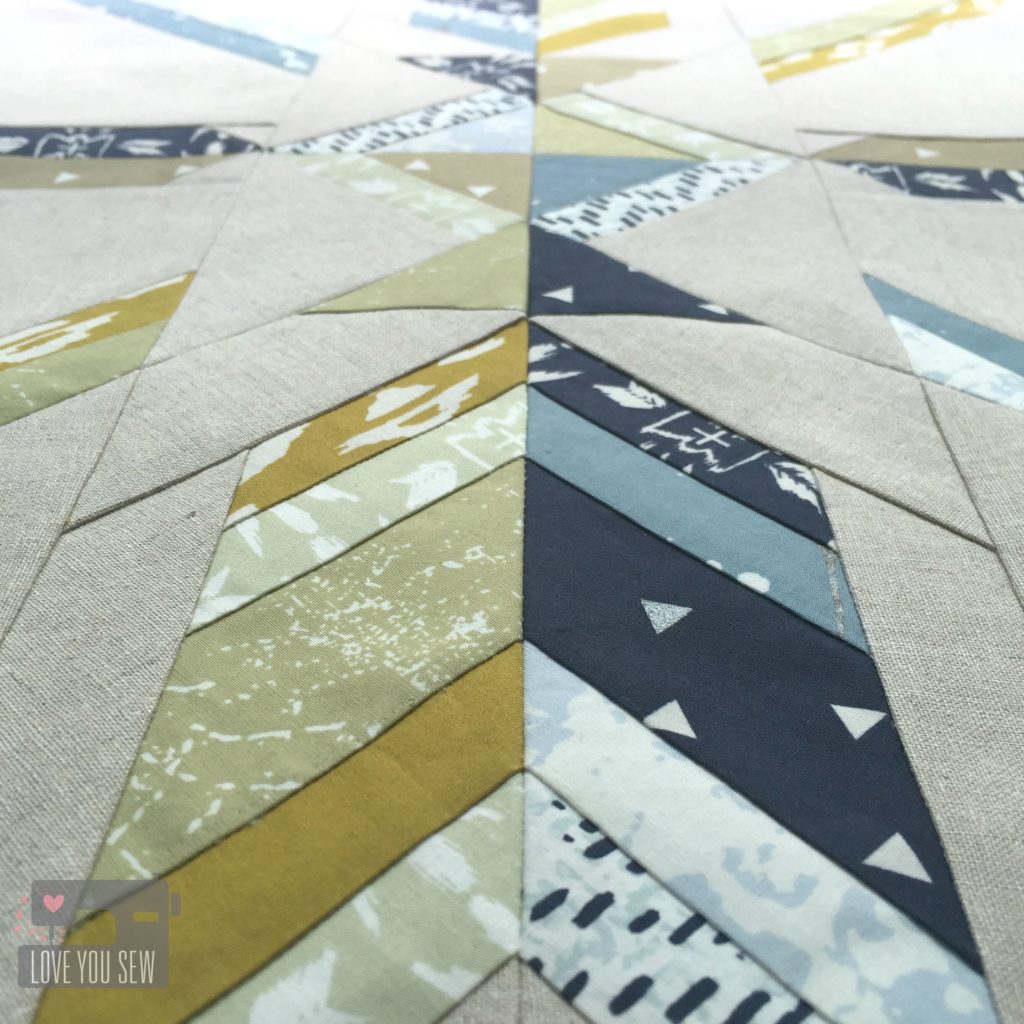
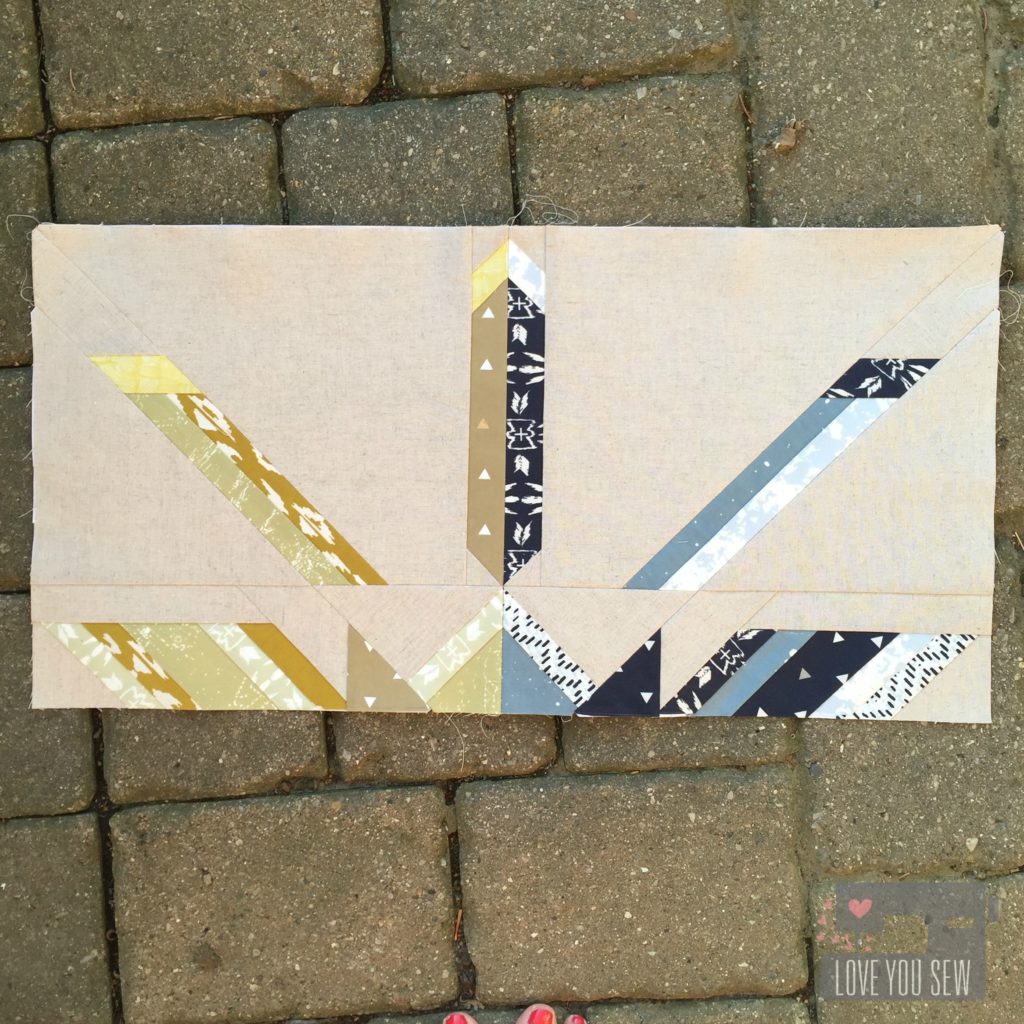
I was immediately inspired by the Homespun print.  It is based off of April’s love of weaving and fiber arts.  The 24″ x 24″ (finished) quilt is paper-pieced  to make every angle and line as sharp as can be. It utilizes mainly 1.5″ strips, making it very scrap friendly.

IMG_4656

With Observer, the prints are either monochromatic or duotone and this quilt was designed to really show off the contrast by using the colorways, exclusively, in each quadrant.

IMG_4655

As you get closer to the fabrics, you can see the little hints of metallic (yaaas!)  With this collection, April incorporated silver which looks amazing against the deep blues.  It’s always hard to photograph metallic, but you can see it in Triangle Tokens and on the Speck Stardust.

IMG_4930

The background is Art Gallery Fabric’s Premium Linen Blend in Soft Sand.  It is such a great texture and color to make the design and colors pop.

IMG_4898

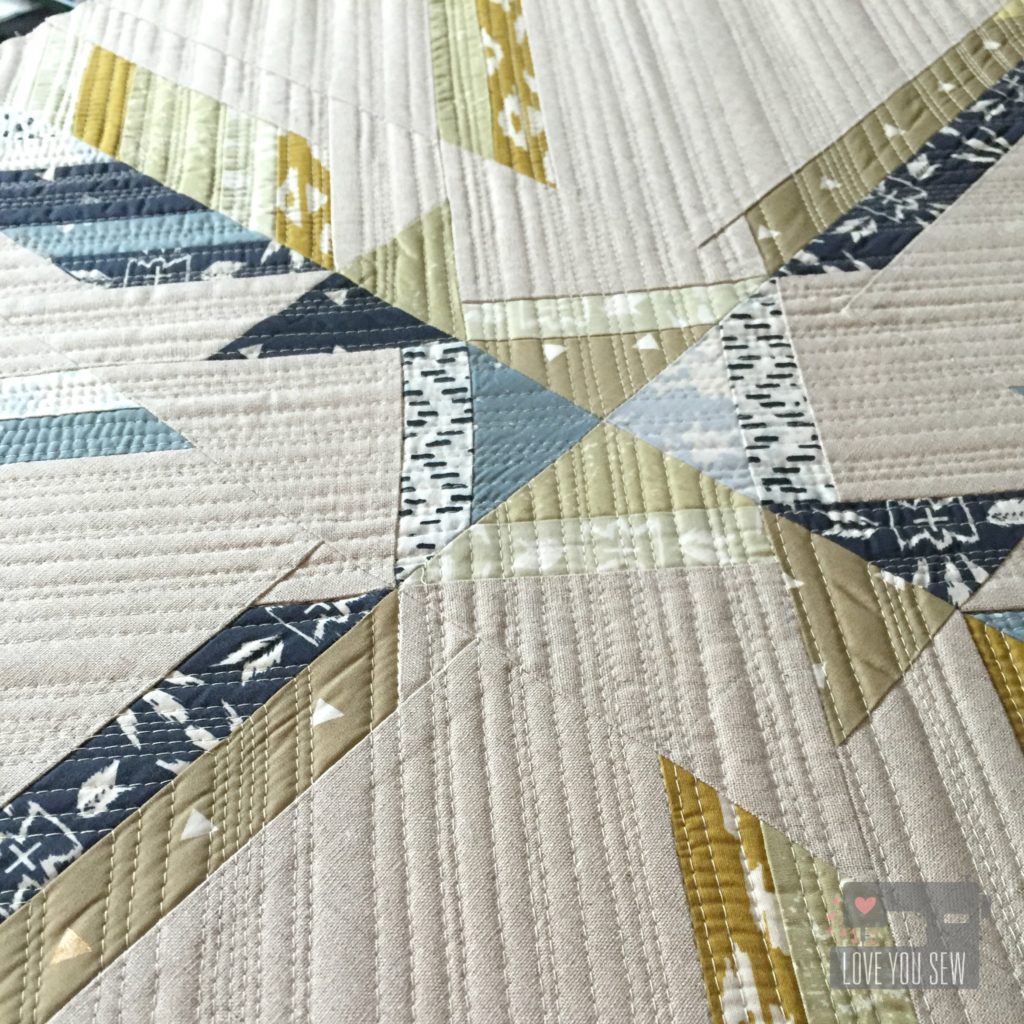
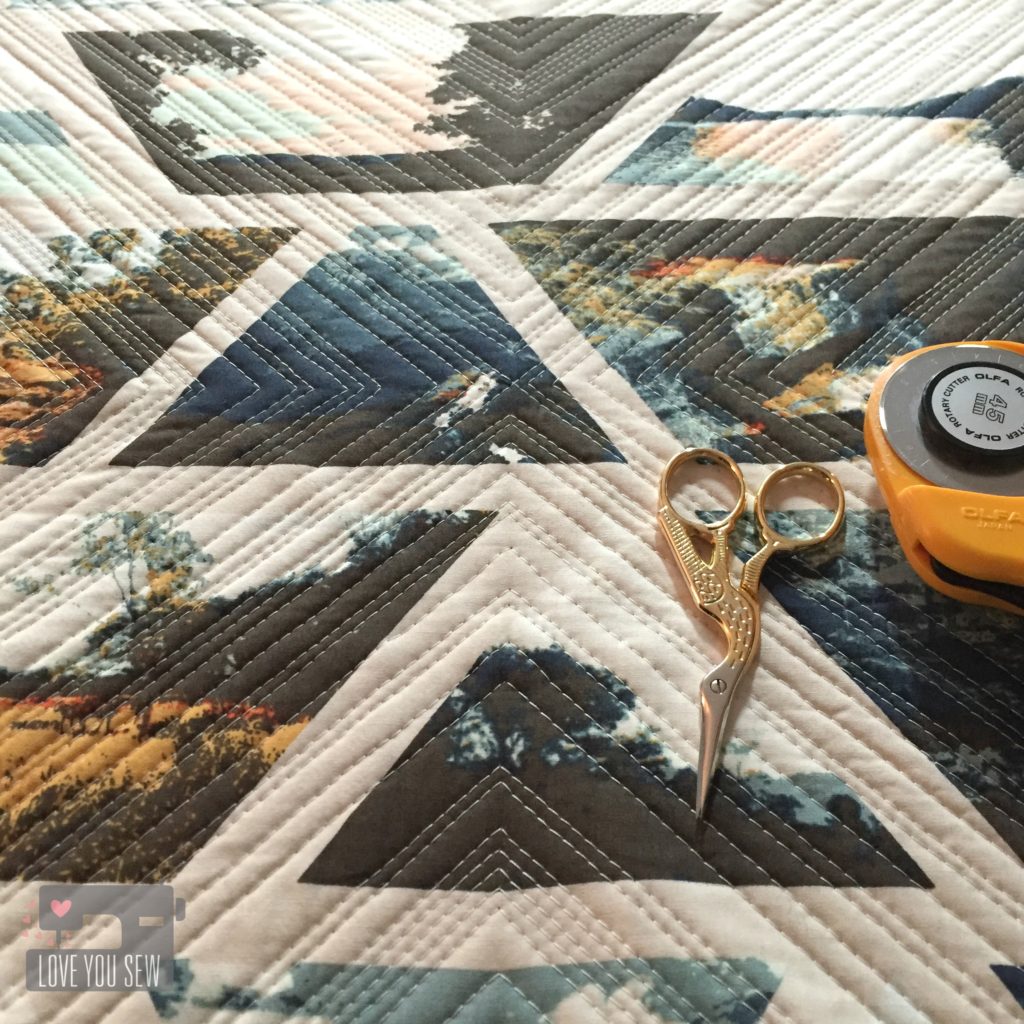
With so much negative space in the piecing, a random application of matchstick quilting was in order using Aurifil 2310. The areas were split into quadrants, like the quilt design, itself.

IMG_4899

The backing was pulled from April’s Wanderer collection.  Wandering Lands Mineral was the perfect print which really complimented all the tones in Observer and it shows off the quilting beautifully.

Stay tuned…this quilt pattern will be available closer to Observer‘s release in August!!!


IMG_4715

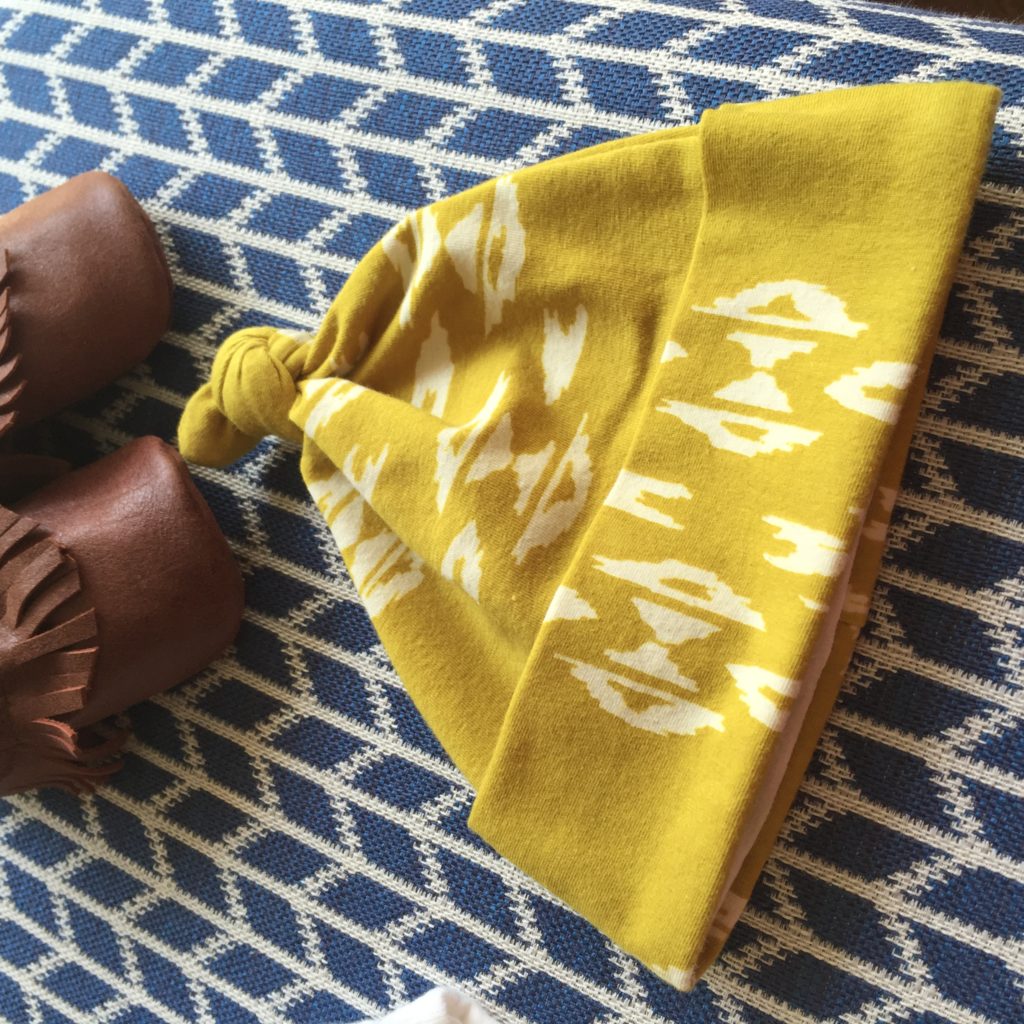
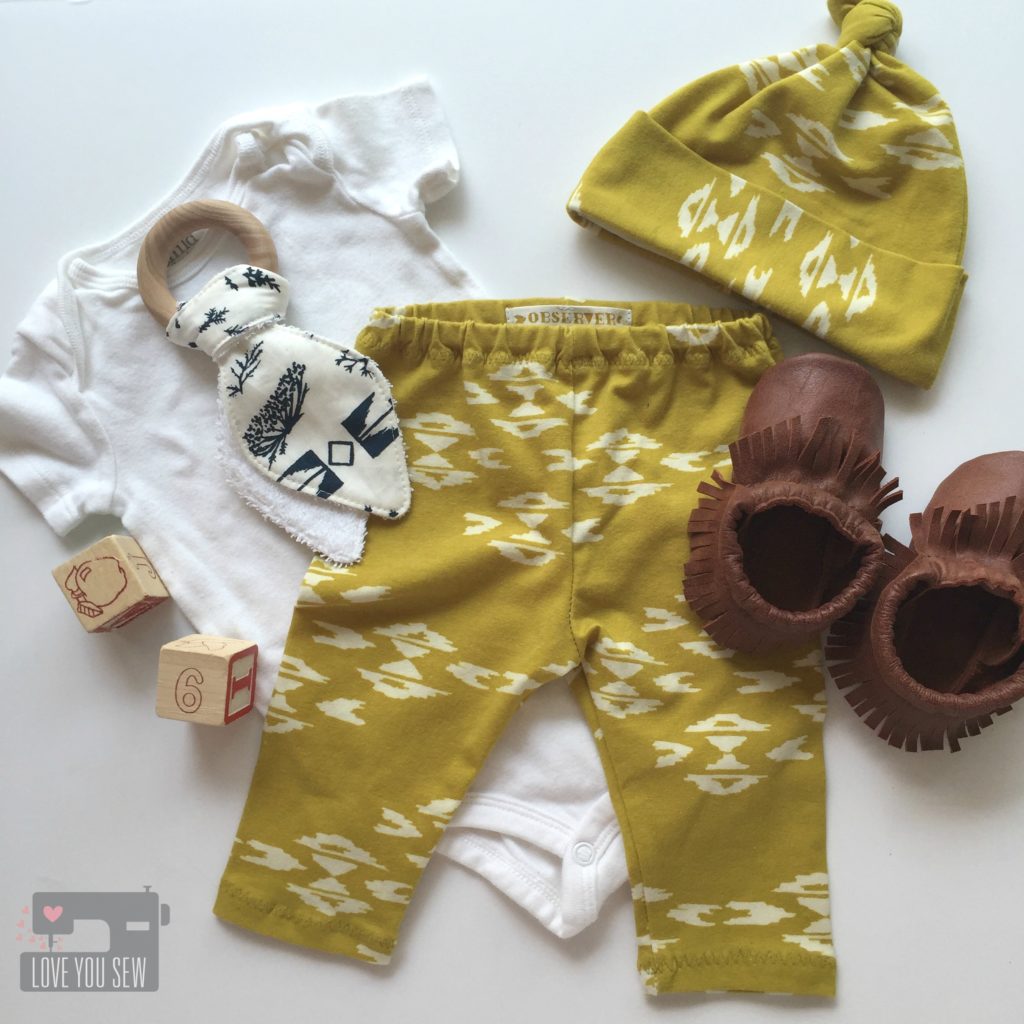
April asked if I would help make some baby leggings as well and how could I not?!?  Ya’ll know babies are my business and LOVE the opportunity to make itty bitty gear.  These leggings are made with Overshot Gold in knit and they are so amazingly soft.  The pattern for the pants are from My Childhood Treasures.

IMG_4711

I drafted a pattern for the hat from an old one I have.  Make it Love it has a great tutorial and pattern which is similar.

IMG_4657

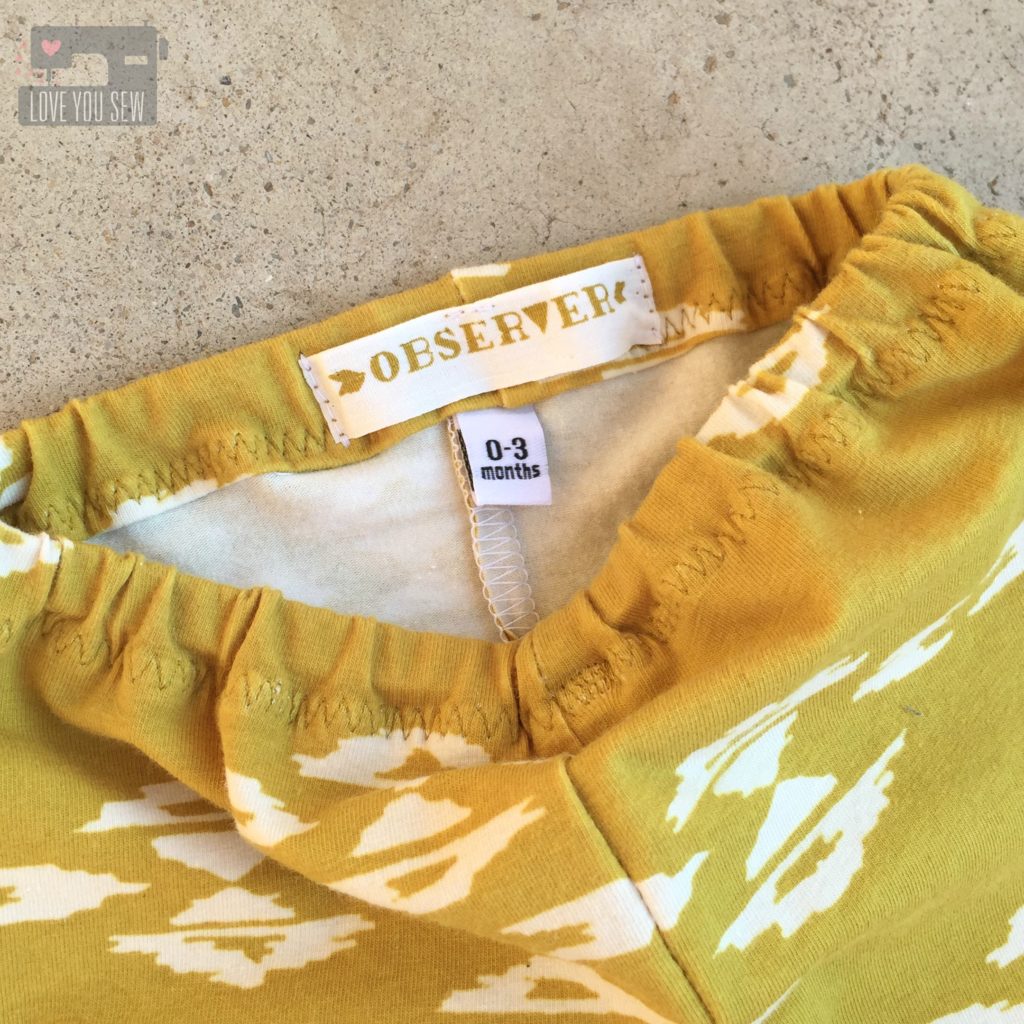
As an added detail, I used the selvage from a woven print on the back of the leggings.  It’s a great way to make a little tag so you know the direction of your hand-made garments.

Aren’t these clothes just perfect for the little bohemian in your life?


IMG_4940

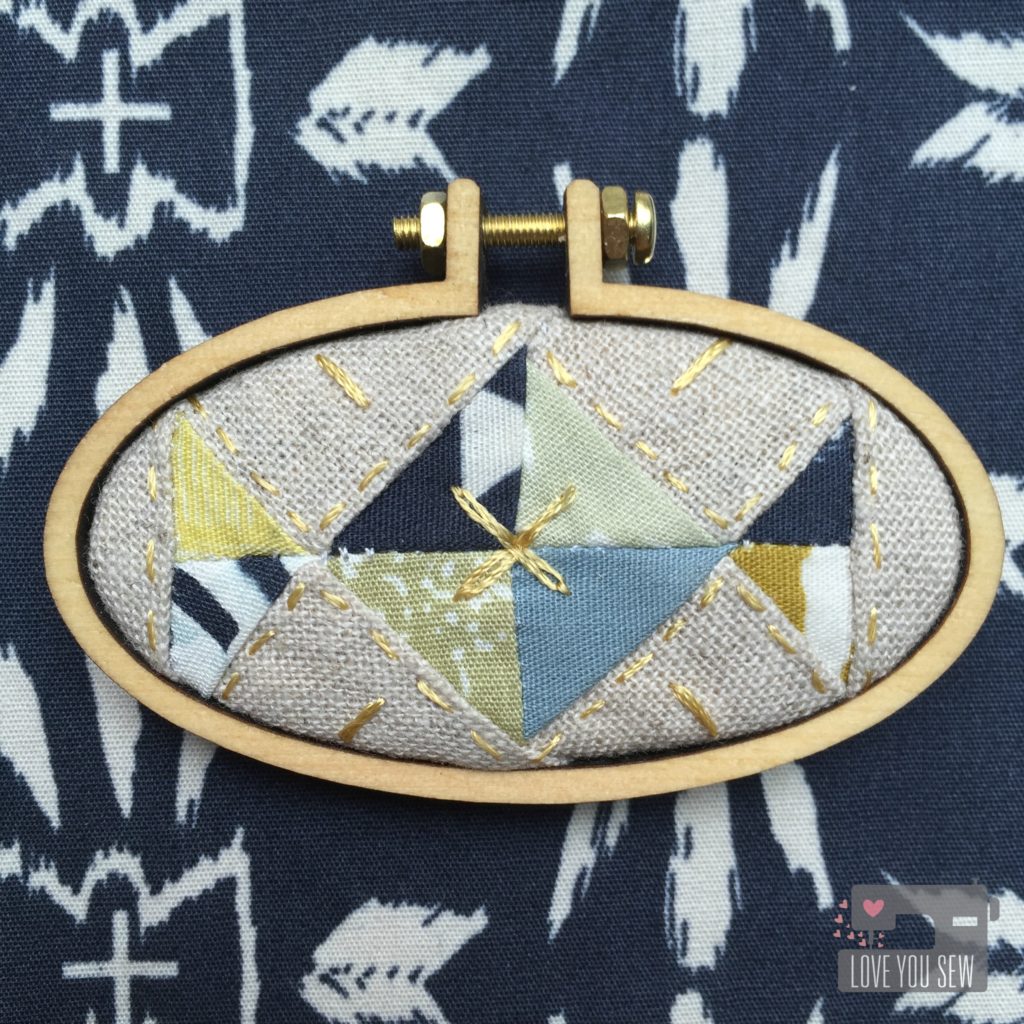
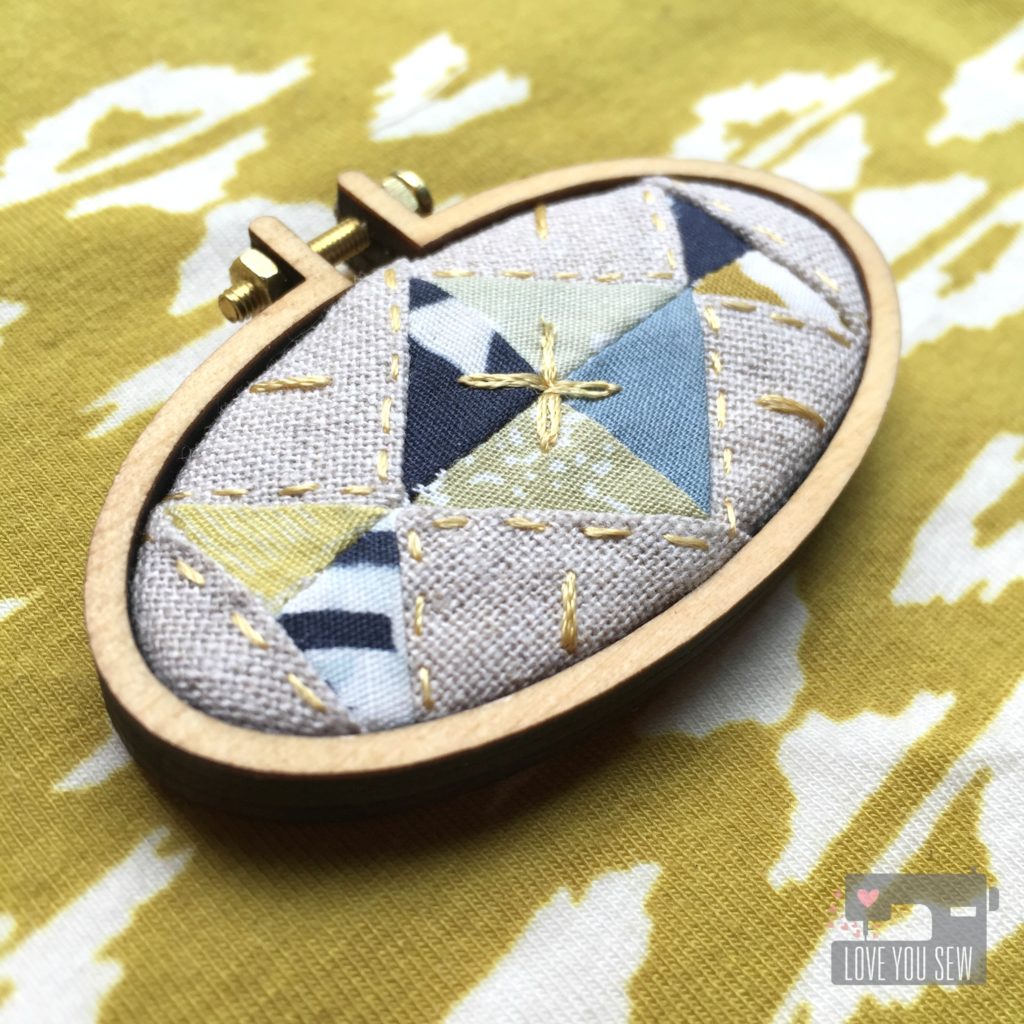
Last, but surely not least, is my mini quilt hoop (measuring about 2.5″ lengthwise.)  Making these quilt hoops has become one of my favorite projects and I cannot help myself when I have such amazing fabric laying around.  I love tiny (who doesn’t?) and love being able to use up every little scrap.

IMG_4943

Of course, I used Dandelyne hoops and chose an oval to make a piece based of the main quilt I designed at the top of the post.  A little gold embroidery thread made this hoop extra special and I love how it turned out.


I hope you enjoyed my little preview of Observer which is due out in August.  Make sure to check out the full collection here.

Do you have any plans for these fabrics?  Please let me know!  I have a few already planned….maybe an envelope clutch, dresses for my nieces, shirts for my boys, and dresses for myself….I could go on and on!


Happy Stitching, Friends!

Cristy
Luna Pants {Pattern Review}

LunaPantsReviewTitle

It’s all about the “jogger” pant these days and even as a stay-at-home-mom, I try to be somewhat hip.  The yoga-pant rut is easy to fall into (rightfully so!) but voile pajamas disguised as the new athleisure look?  Uh, yes please!!!  This is a trend I can definitely follow 😉

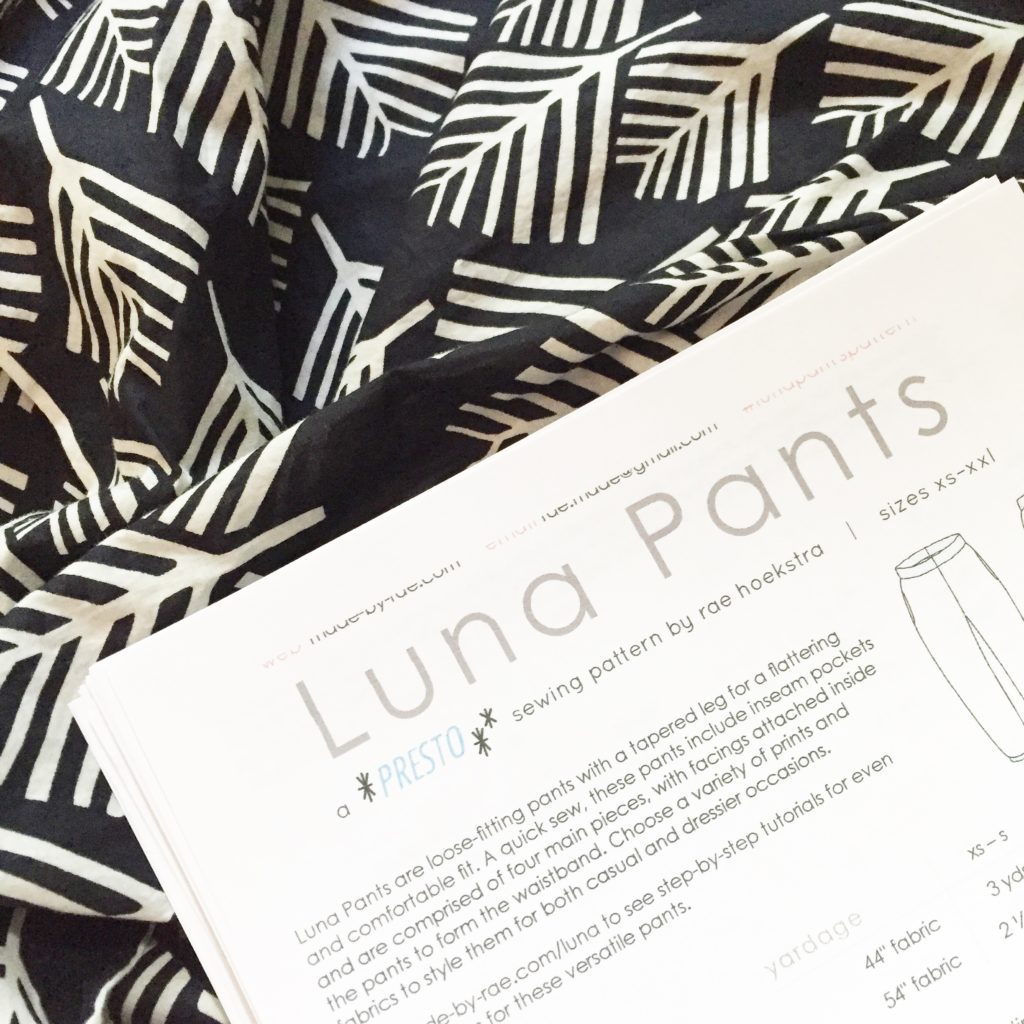
When I saw Made by Rae‘s new Luna Pant pattern, it was exactly what I wanted in a jogger….because it was designed for more drapey wovens like voile, lawn, and rayon.  By making these pants myself, I could slim out the silhouette to tailor to my short stumpy legs.  I am thicker in the thigh area and there are many ready-to-wear jogger styles out there that really accentuate the hips.  Nope, that is definitely not for me!

IMG_5422

The Luna pattern is currently only available as a digital PDF, and as someone who would rather buy the one-piece printed version, this wasn’t so bad taping together.  I love how Rae has several different registration marks on all sides of the printouts to help you match up the pattern.

LP Taking in the leg

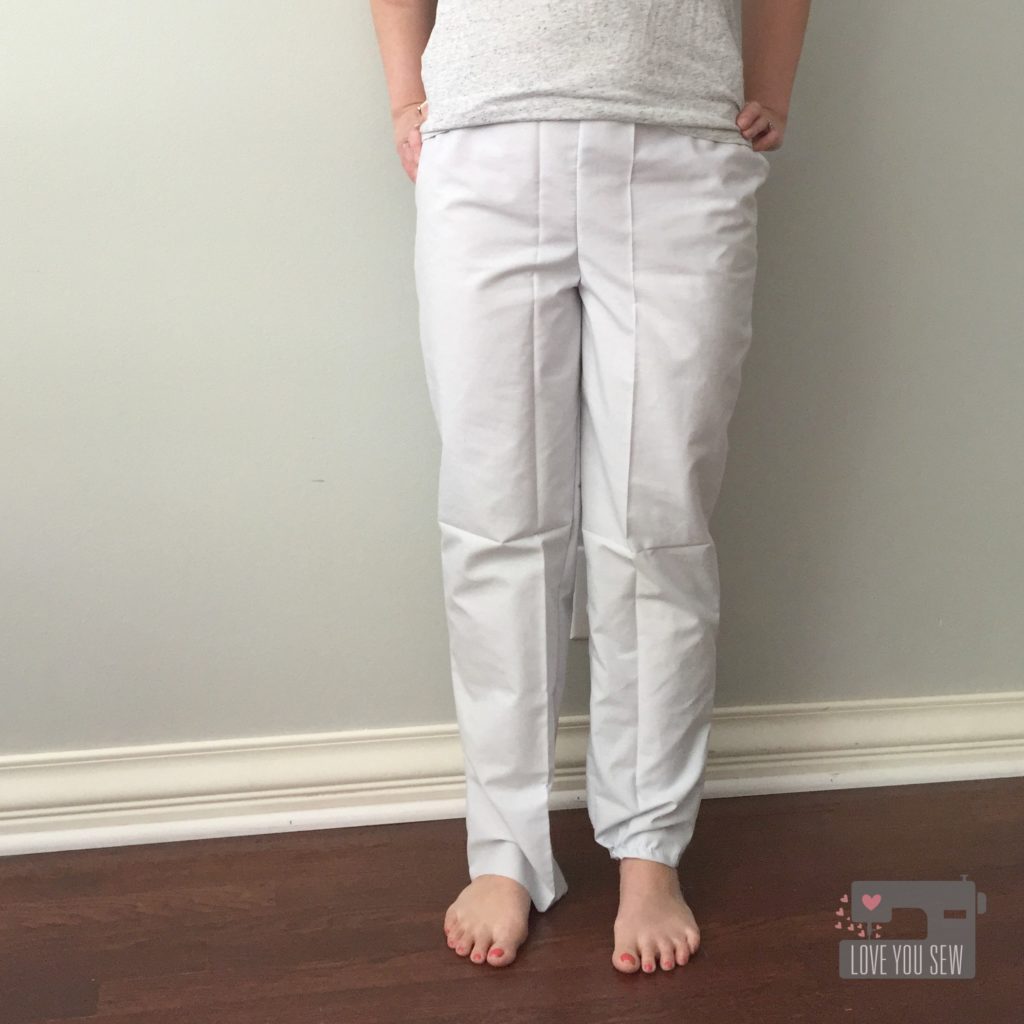
Based on the pattern measurements, I was at the higher spectrum of a small.  I read some other reviews that the fit is pretty generous, so I was comfortable cutting out that size.  After initial fit, I definitely wanted to taper the leg in a little more.  I eased from the hip/pocket into toward the leg about 1/2″ all the way down to the ankle.

LP Muslin

It’s kind of hard to see in this shot, but the right left has been taken in and I had already shortened both legs to fit my 5’3″ frame.  I used a basting stitch at the bottom hem to see how the pant would gather around my ankle.

IMG_5567

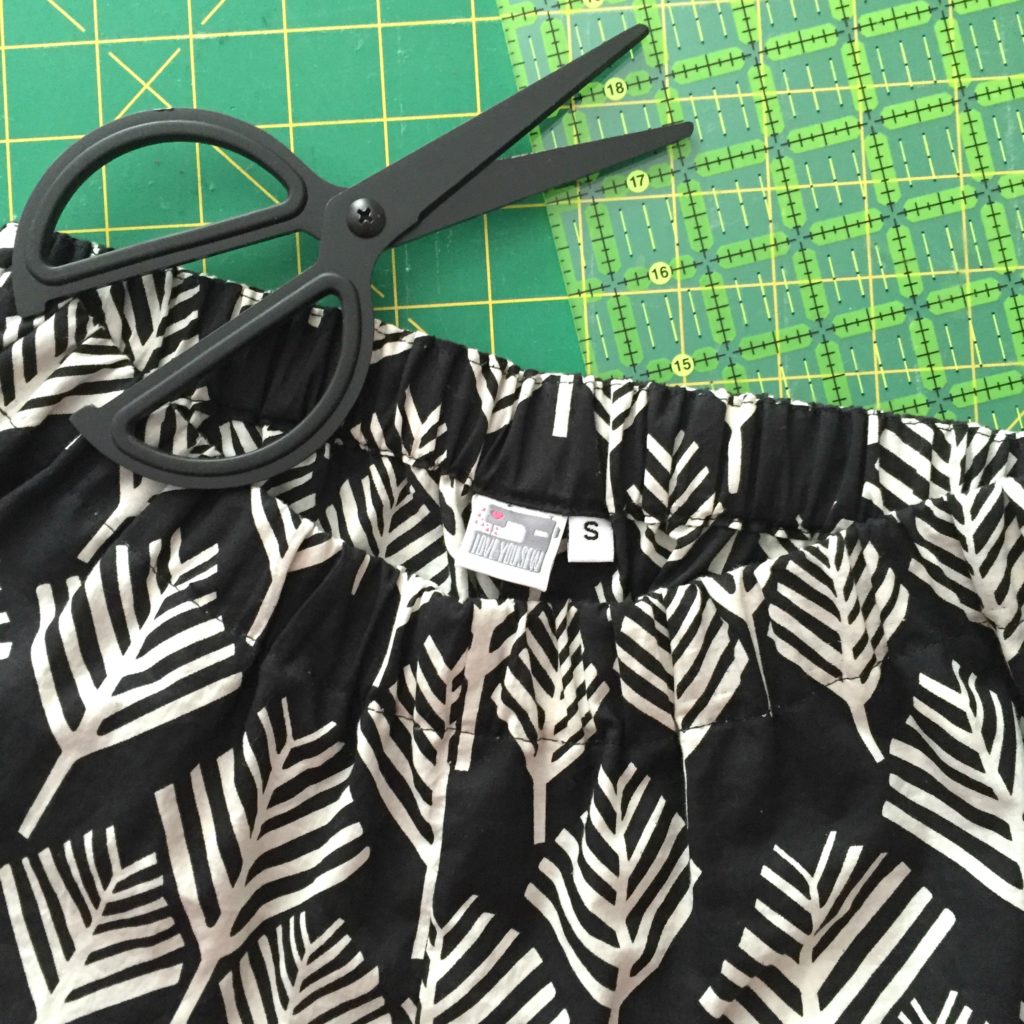
To make sure I had that athleisure look and not a pajama one, I used 1.5″ elastic around the ankles and ended up using the same for the waistband.  The thicker ankle gather just looks more  on trend to me.

IMG_5597

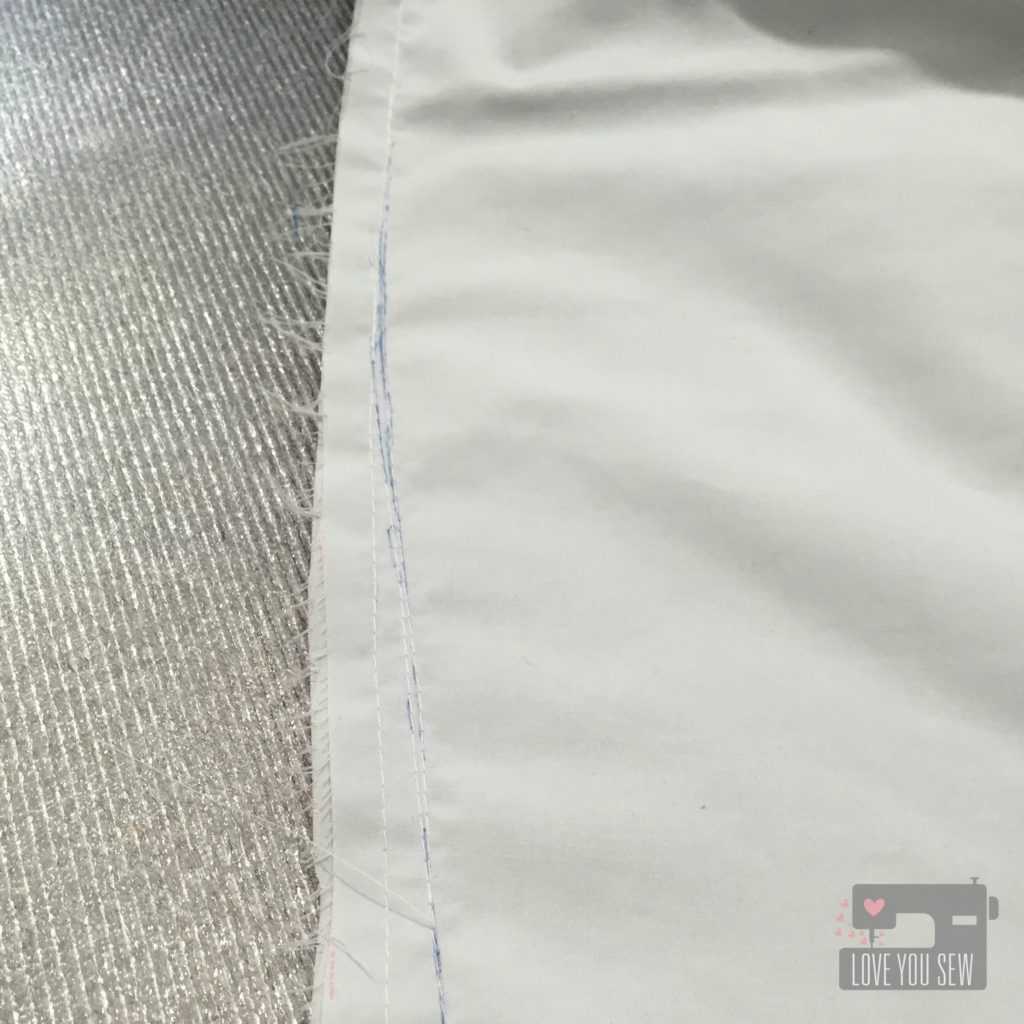
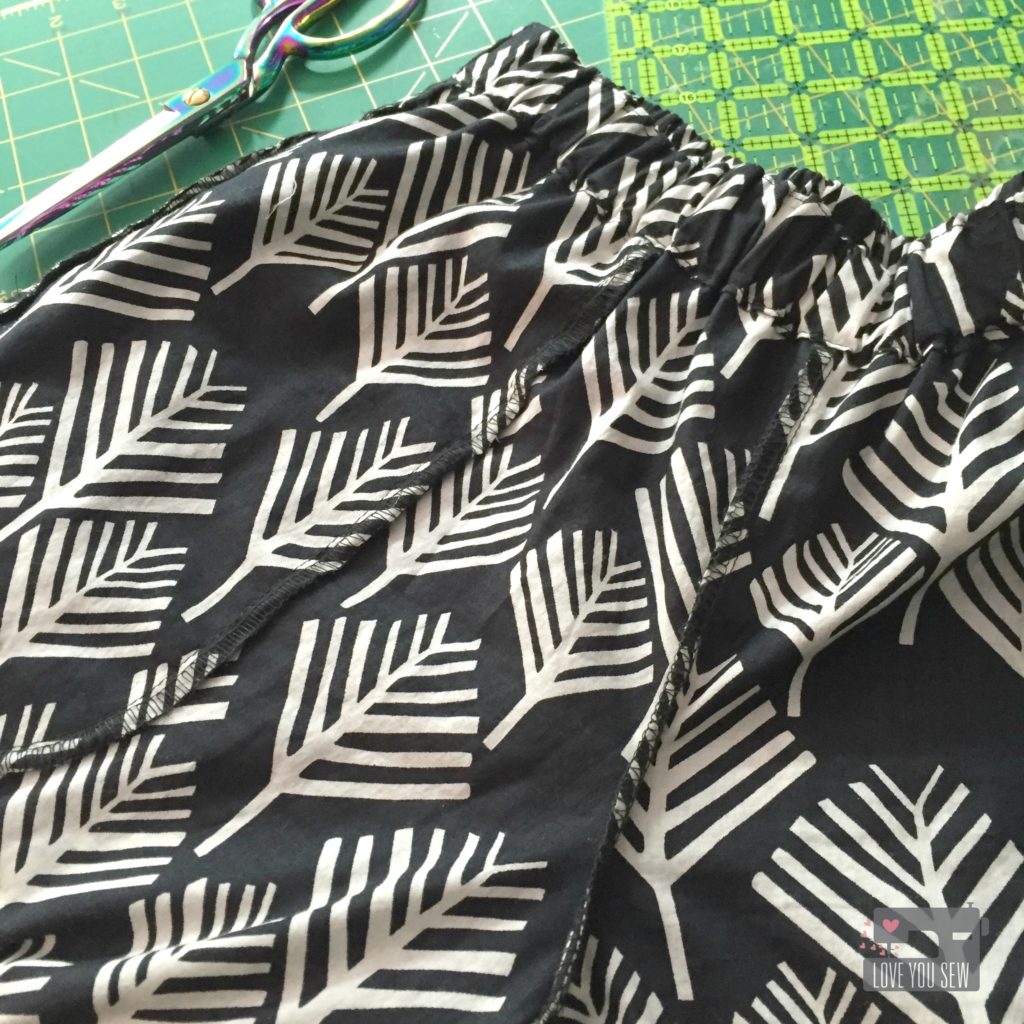
I sewed all the seams on my regular Juki TL-2010Q and finished the raw edges on my hand-me-down Singer Serger.  Changing the threads on my serger is such a pain, but to have the right matching colors, is SO worth the effort.  It really makes the garment look professional.

LP Back Profile

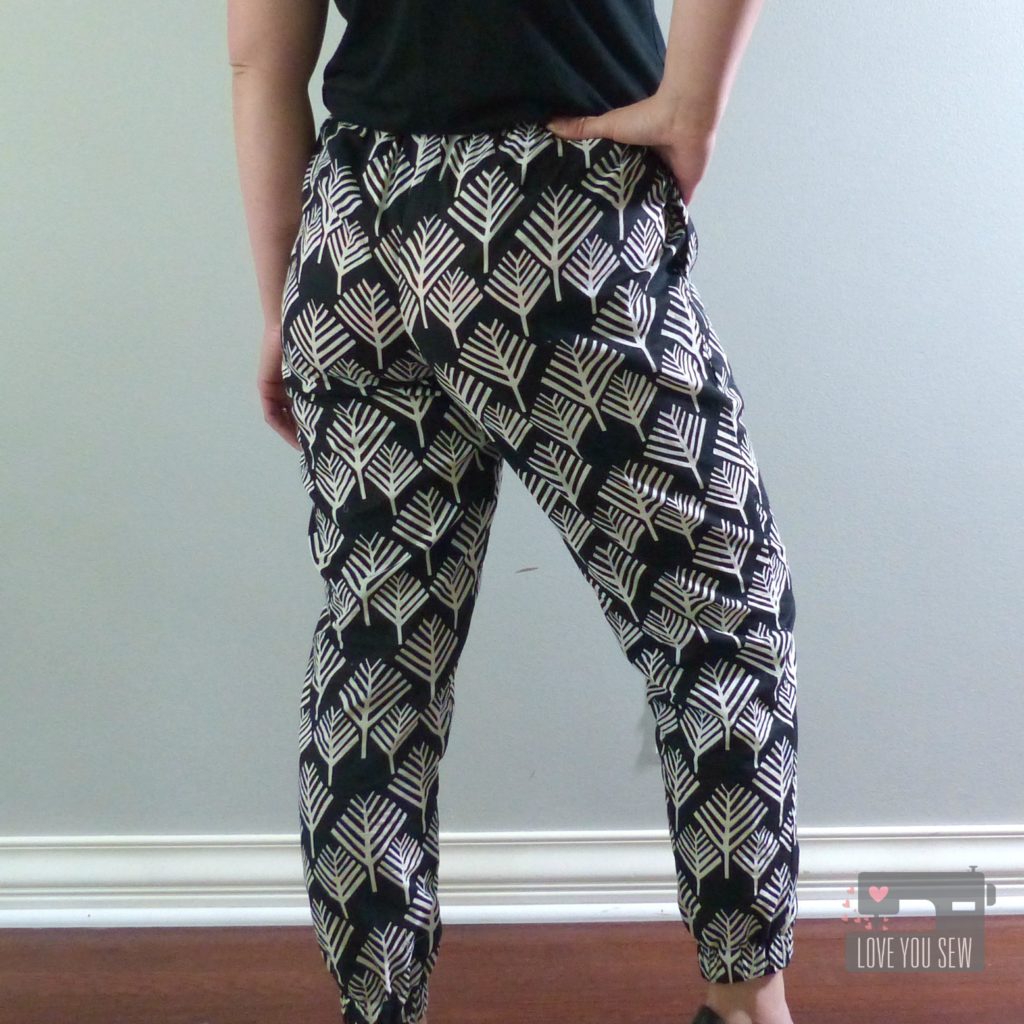
I love the contoured waistband which really allows for a nice gather.  There is room around the seat, but not so much that it would give a saggy rear-end.  You can adjust the gathers around however you like and make a few stitches along the side seams to keep them in place.

LP Styled Casual

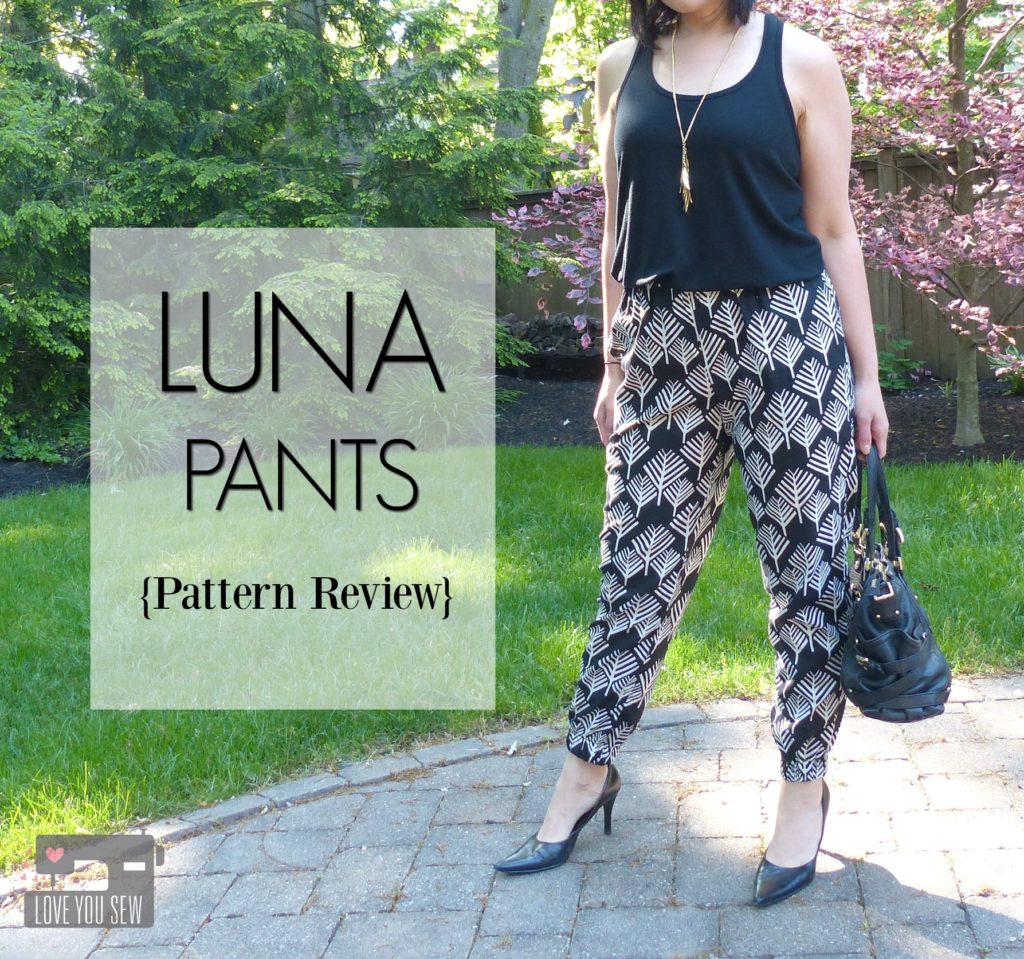
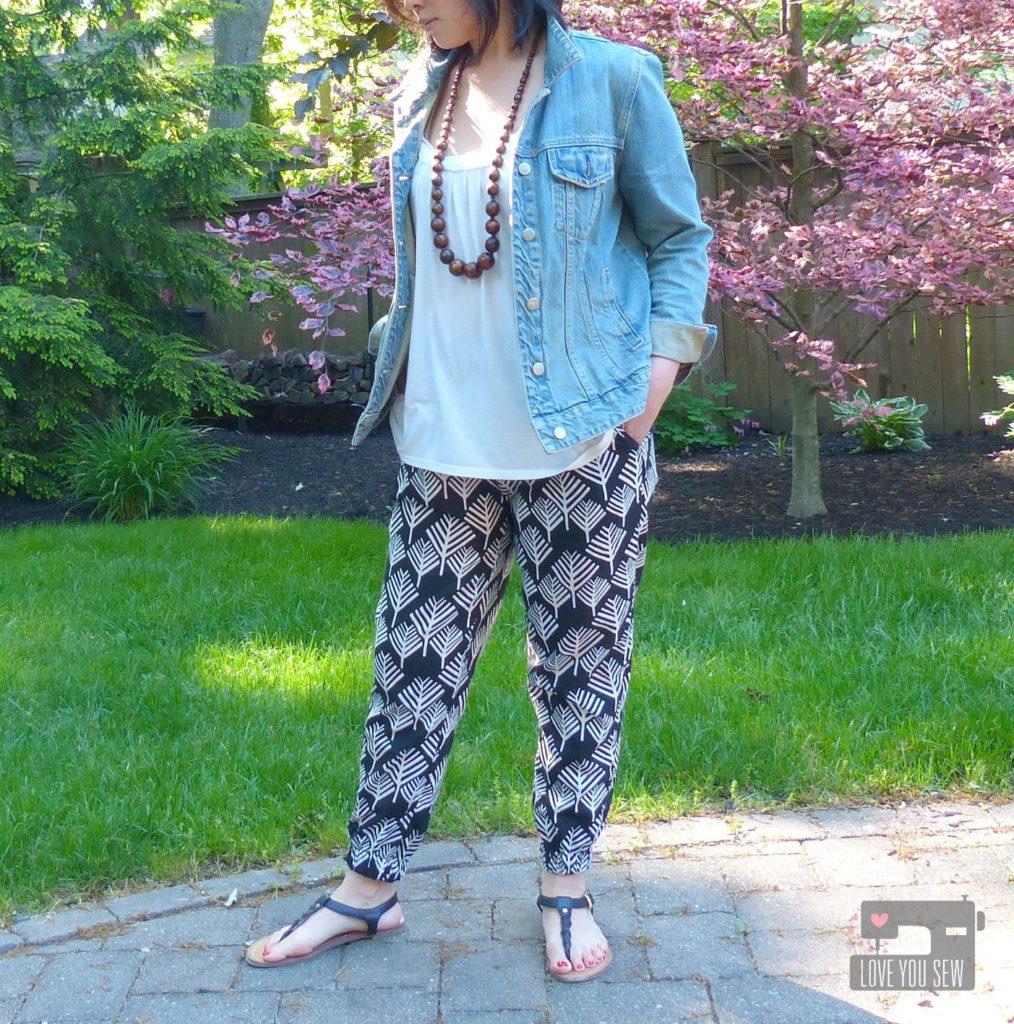
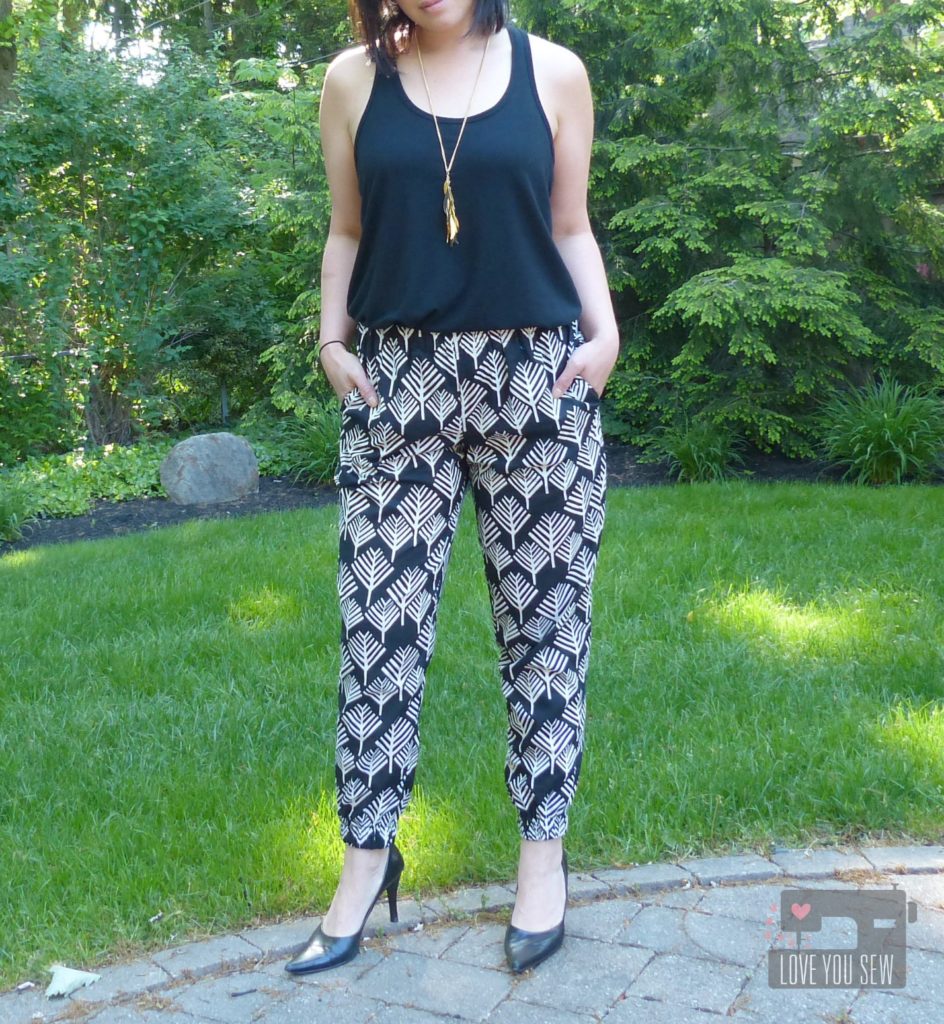
These pants are just magical and so incredibly light.  The Yucca organic voile in Arbol by Leah Duncan for Cloud 9 Fabrics is just amazing for the warmer months ahead.  They can be worn with flat sandals (Merona) and a cute jacket (J.Crew) for just running around town.

LP Styled Dressy

With this black and cream design, the Luna Pants can also be dressed up with heels (Nine West) and this loose tank (Merona) for a jumpsuit look without the jumpsuit hassle (a la having to take off the entire outfit to use the restroom…no thanks!)

The styling possibilities are endless for my secret pajamas!  I’m excited to wear them all summer and make a few extra pairs for lounging…errr…being fashionably hip 😉  What do you think about the jogger trend?


Hugs and Stitches,

Cristy
 

Moss Skirt {Review}

MossSkirtTitle

With all of this great warm weather, I’ve been thinking about adding some new pieces to my wardrobe and skirts are definitely included.  Coincidentally, it is also #MeMadeMay where you show off your handmade clothing on social media all throughout the month.  So…I obviously needed to make one rather than buy one 😉

PatternCover

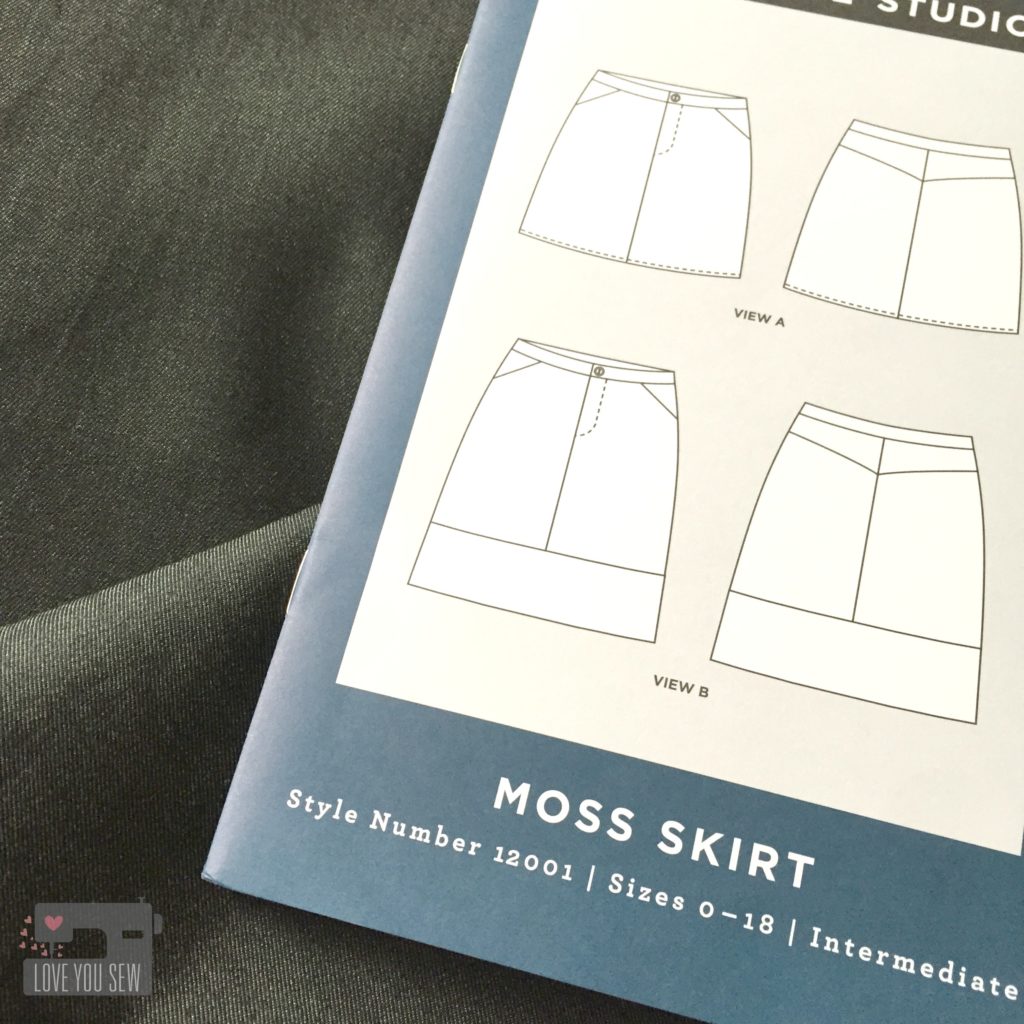
I’ve been casually looking over designs for a few months and wanted a clean silhouette without an elastic waistband.  Although the thought of a zipper scared the bejesus out of me, I still selected Grainline Studio‘s Moss Skirt.  The instructions and pictures are well done and I love how there are great resources on Grainline’s blog in case you get stuck (which of course, I did.)  I also love the two variations with a short mini and knee-length options.

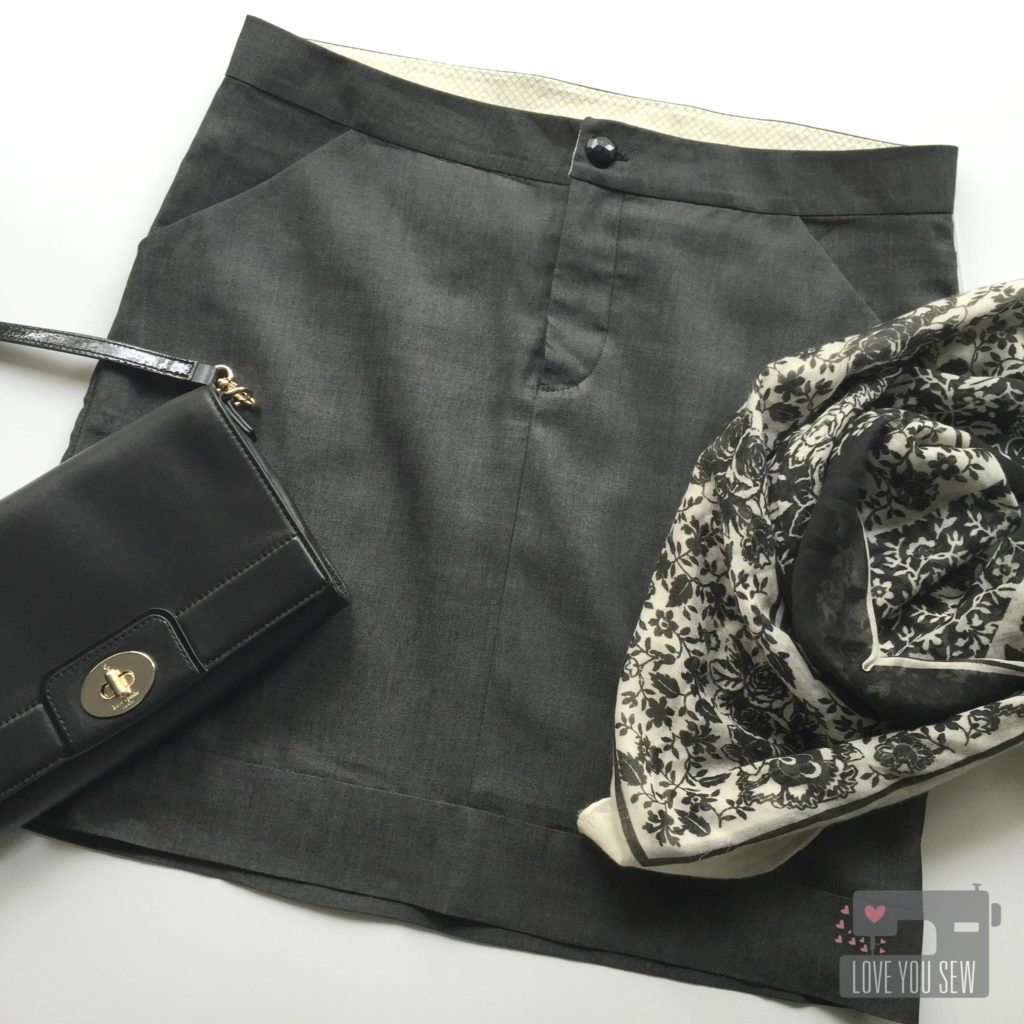
I chose this beautiful Robert Kaufman black denim for my skirt.  It has a lightweight structure and has pretty classy look and feel.  Who can knock the bonus slimming effects of black as well?
ZipperInsertOpen

The body of the skirt came together pretty quickly.  I used a combination of my Juki TL-2010Q to sew the straight seams and then finished with my Singer 150 Anniversary 14T948DS Serger.  If you make a lot of garments, I highly recommend a serger to really make your seams look professional.

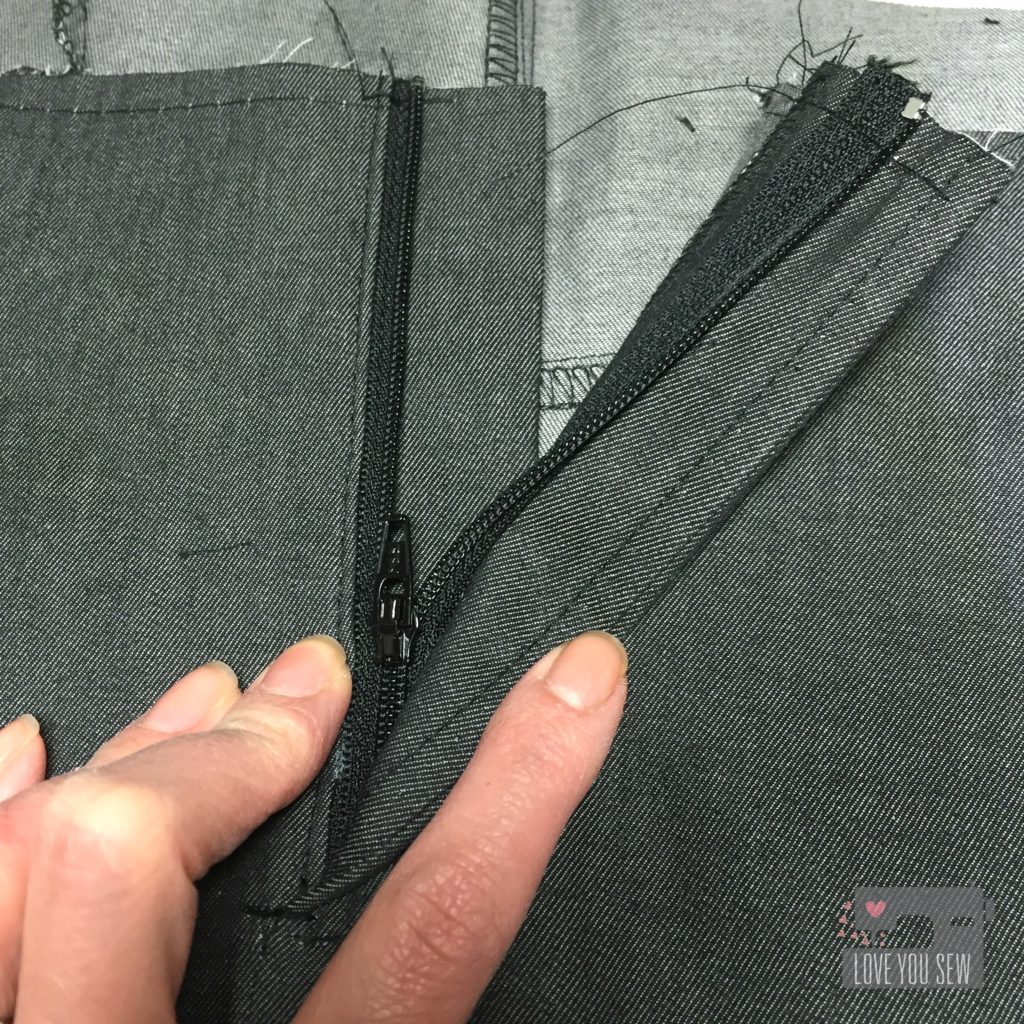
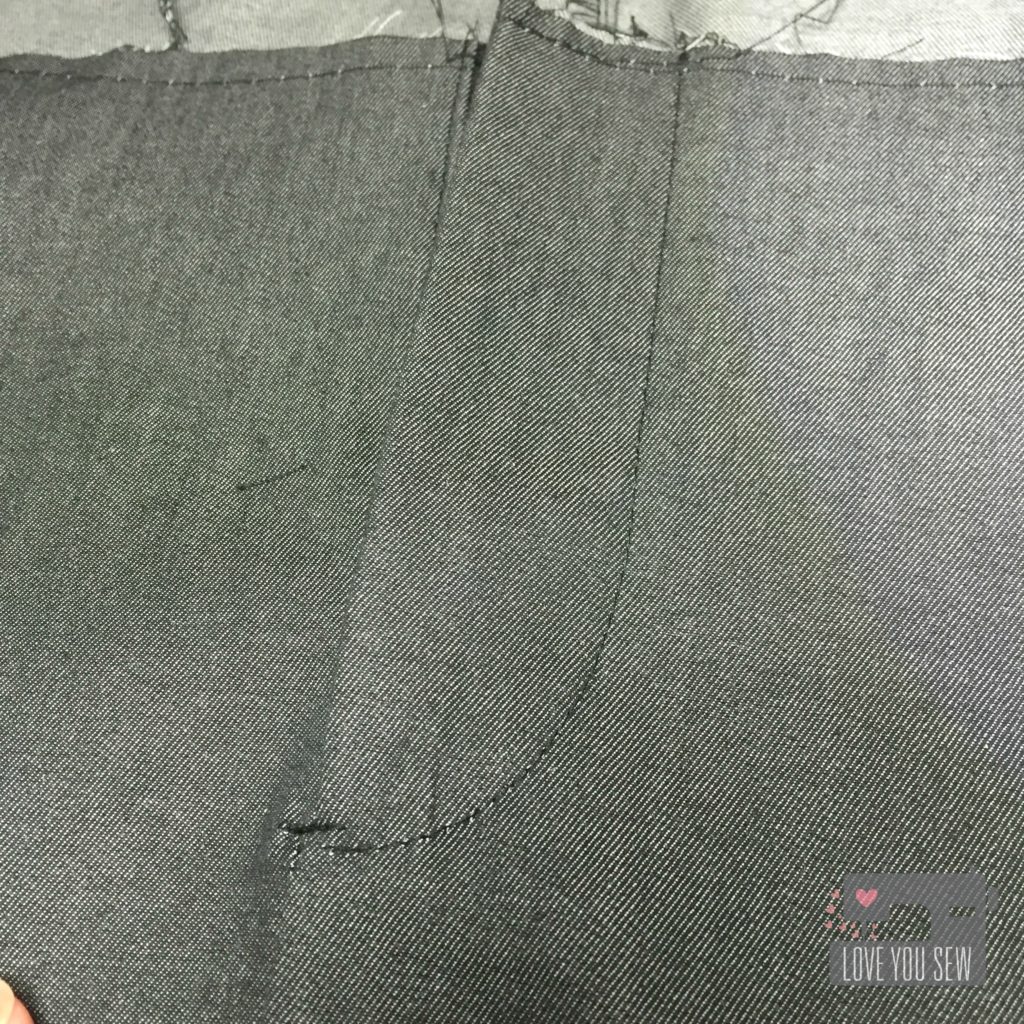
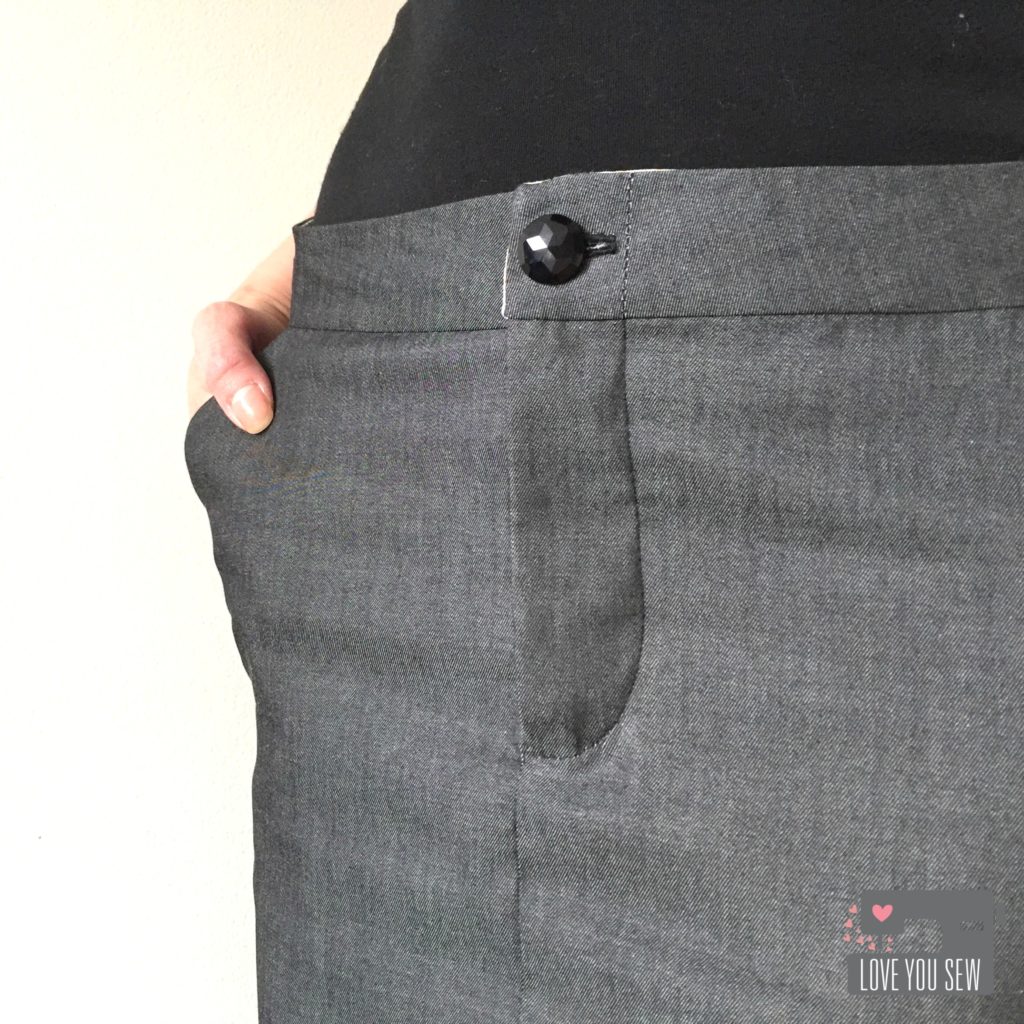
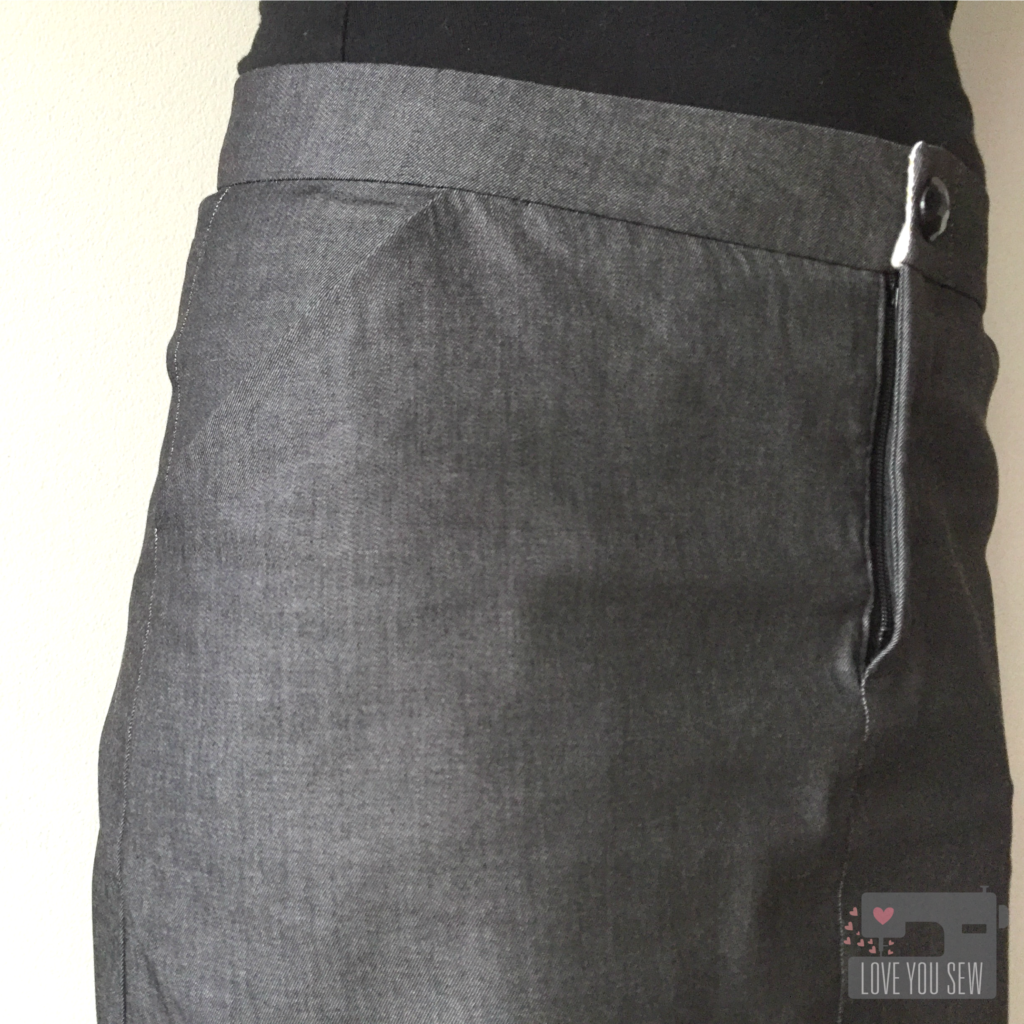
After I got the body and pockets complete, it was onto the zipper insert.  Since this was my first one (ever!) I couldn’t wrap my head around the pattern’s instructions.  Luckily, Grainline has a ton of supplemental resources under “Tutorials”  to help.

ZipperInsertClosed

After looking at the blog’s additional pictures and instructions (about 10 times,) I finally dove in and added the insert.  Instead of basting, I used my favorite Sewline Glue Pen to keep the zipper and fly pieces all in place.  I’m so proud of how this came out…who knew it actually pays off to take your time?  😛

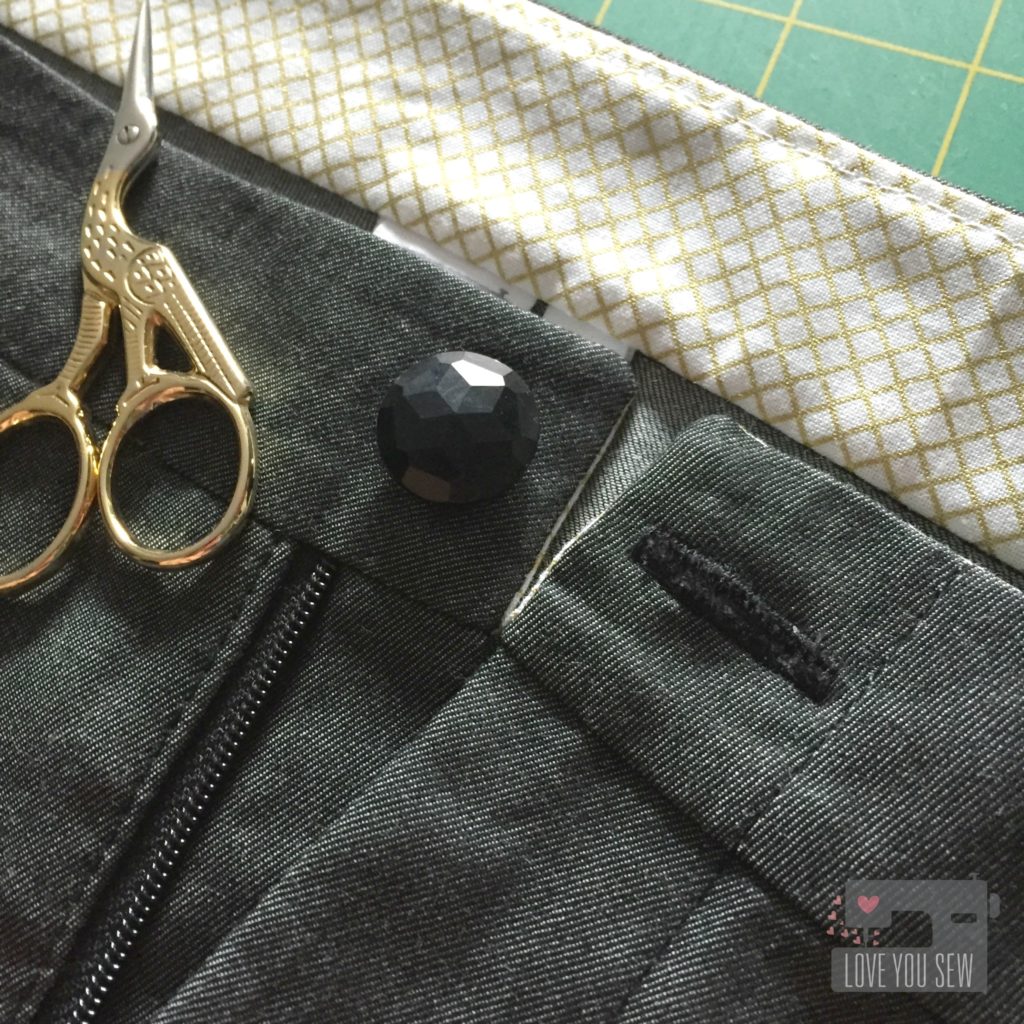
WaistbandButton

I like fun little details like adding this metallic fabric inside the waistband.  It is Remix by Ann Kelle for Robert Kaufman and really adds some flare.  This button is extra special – It is from my mother-in-law’s stash which was passed to me when she moved to a retirement home.  I wanted to make this skirt for Mother’s Day and it was really nice to have something from my MIL because we couldn’t spend the day together.  I think it maybe from a coat because I have about 5 of these pretty gem-like buttons.

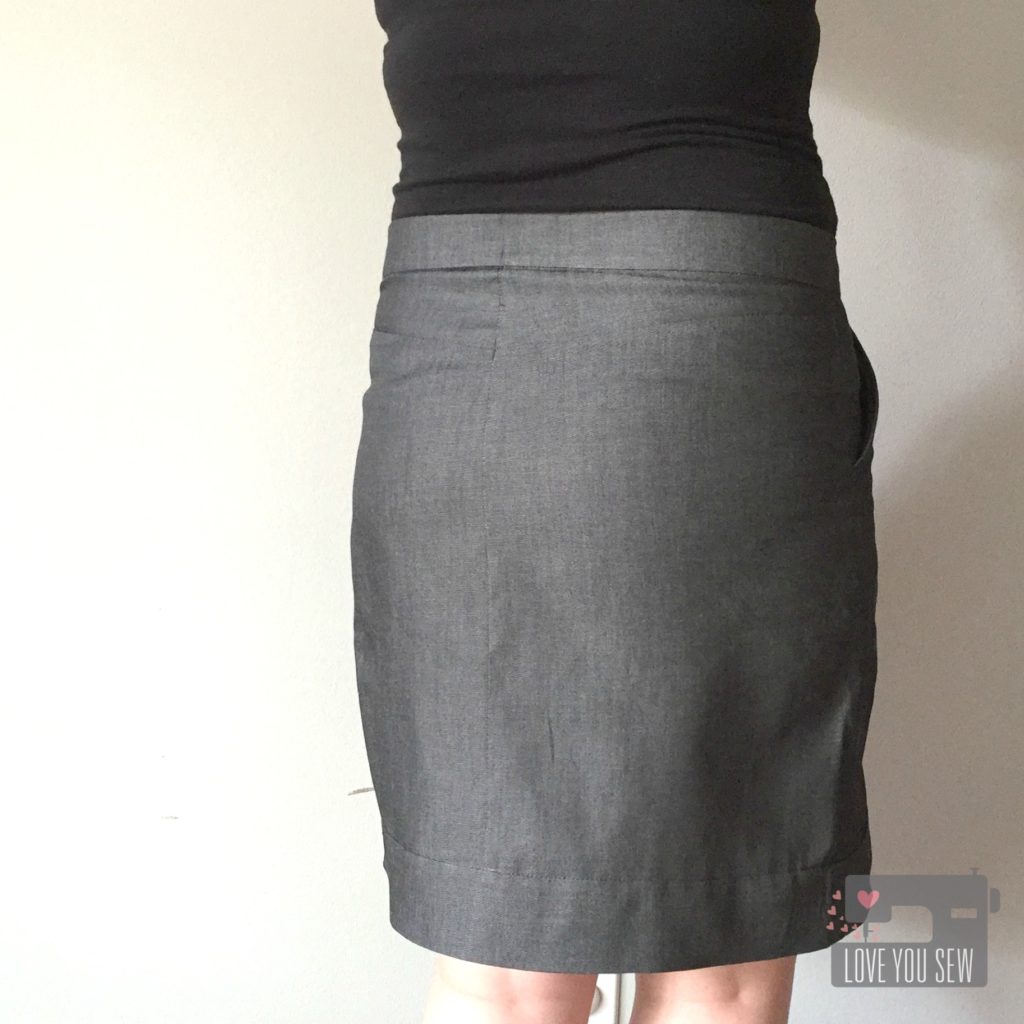
MossSkirtBackview

Before adding the waistband, I adjusted the waist measurement at the back yoke.  (My backside is one size and my waist is another.)  Next time, I’ll wait to serge the center-back seam until after I  tailor it in…just for clean seam.   What I completely forgot to do, was to slightly curve the yoke back down after the adjustment.  You can see the slight fold in the yoke right below the waistband….that should be smooth.

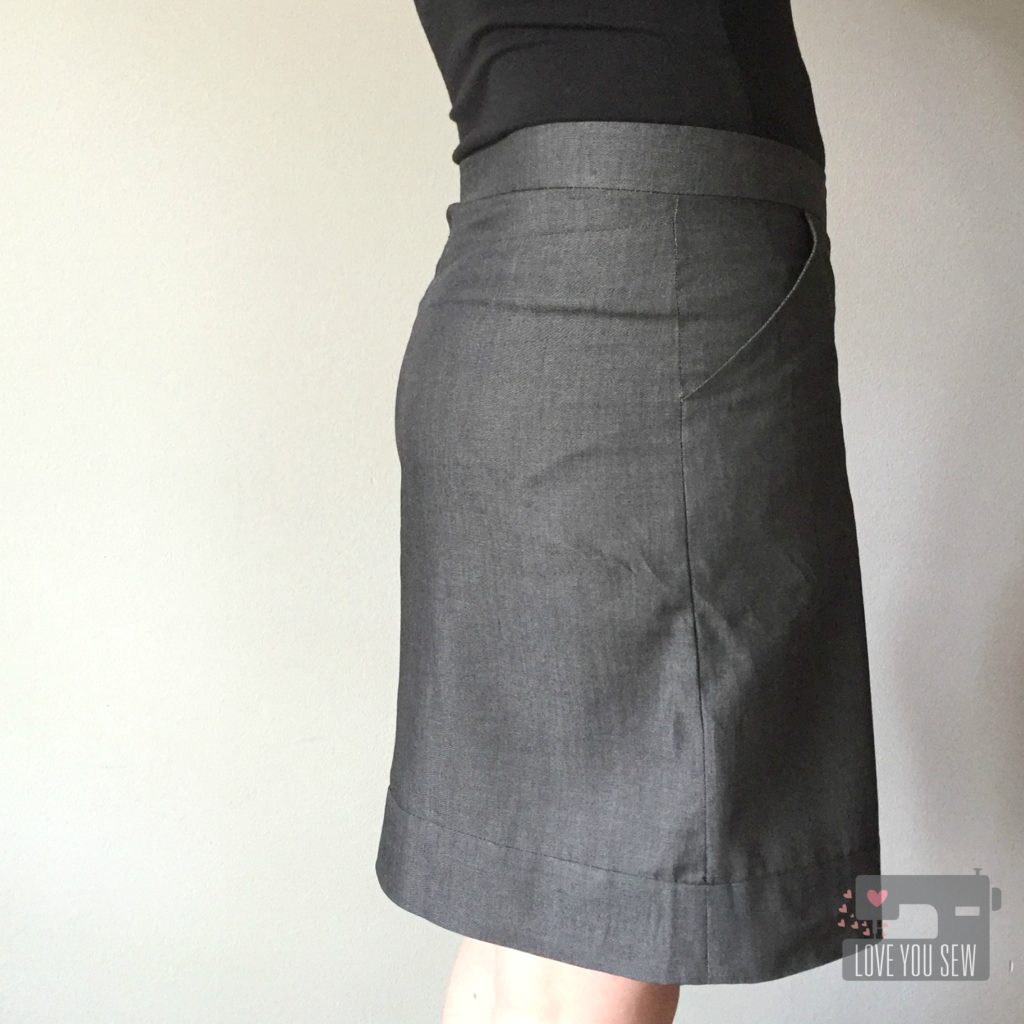
MossSkirtSideview

The other change I made was to decrease my seam allowance to 3/8″ for the waistband to make it slightly wider.  After kids, I enjoy a mid-rise and wider waistbands to keep “everything” in it’s place…hehe.

MossSkirtFrontCloseUp

If you read other reviews, there is a mix of people who are able to use the waistband as written, and others who come up a little short.  I’m still a newbie to garment construction and I fell into the latter group.  Since I adjusted the back yoke, my waistband was only about 1″ too short.  I added the extra length to line up with the fly shield and you would never know there was an issue.  Fortunately, I did not cut my interior waistband facing yet and could adjust to match.

MossSkirtSideCloseUp

The pockets on this skirt are great.  Since I’m a bit more curvy, ready-to-wear pockets tend to poke out and it looks like little wings are flapping out of my hips.  I would have to sew them shut to look somewhat normal, but then have to sacrifice functionality.  These pockets hug to the body and I’m so glad I can actually use them!

MossSkirtStyled

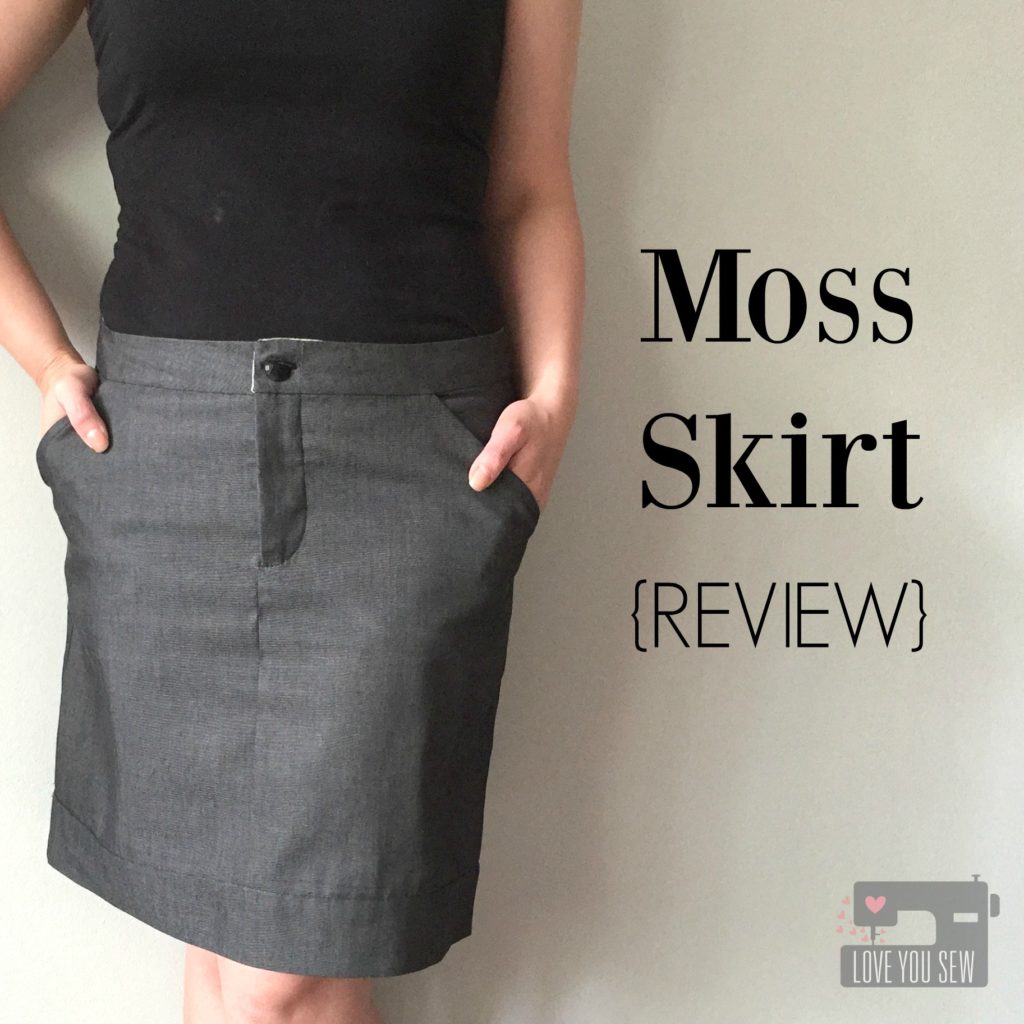
I opted for View B of the Moss Skirt to wear this out to slightly more conservative places, but changed the band to hang only 2 1/4″ down since I’m a shortie (5’3″.)  There are definite plans for some more casual versions with View A for the summer.  Let’s hope I have the time to get them complete before autumn hits!

I really love the clean look of this skirt.  Since I used denim, I debated top-stitching all of the pieces like a pair of jeans, but I’m glad I held back.  This skirt looks really polished as-is and I highly recommend this pattern if that’s the look you want.

Has anyone made this pattern yet?  What is your favorite skirt pattern?


Happy Stitching,

Cristy