Blank Slate Patterns: Fairelith Top Review

As I sew more clothing for myself, I try to create pieces which will last and fit with my existing wardrobe staples.  However, I also find myself looking into fashion trends again.  The 80’s and 90’s have come back again with a mixture of looks.  I didn’t think I would be into high waisted jeans, but I just bought my first pair (after these photos were taken) and LOVE them!  With young kids, you never have to worry about running around with them and accidentally showing off your plumber skills (Eek!)

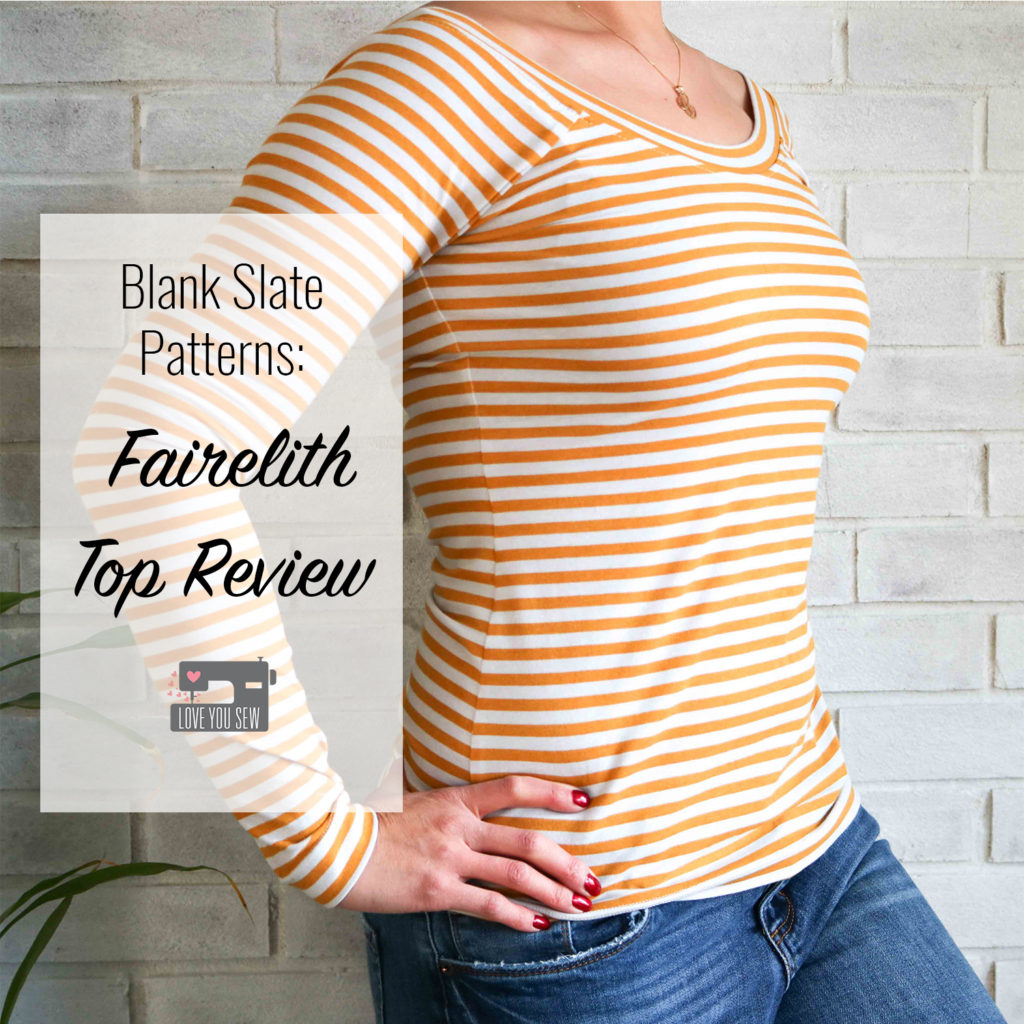
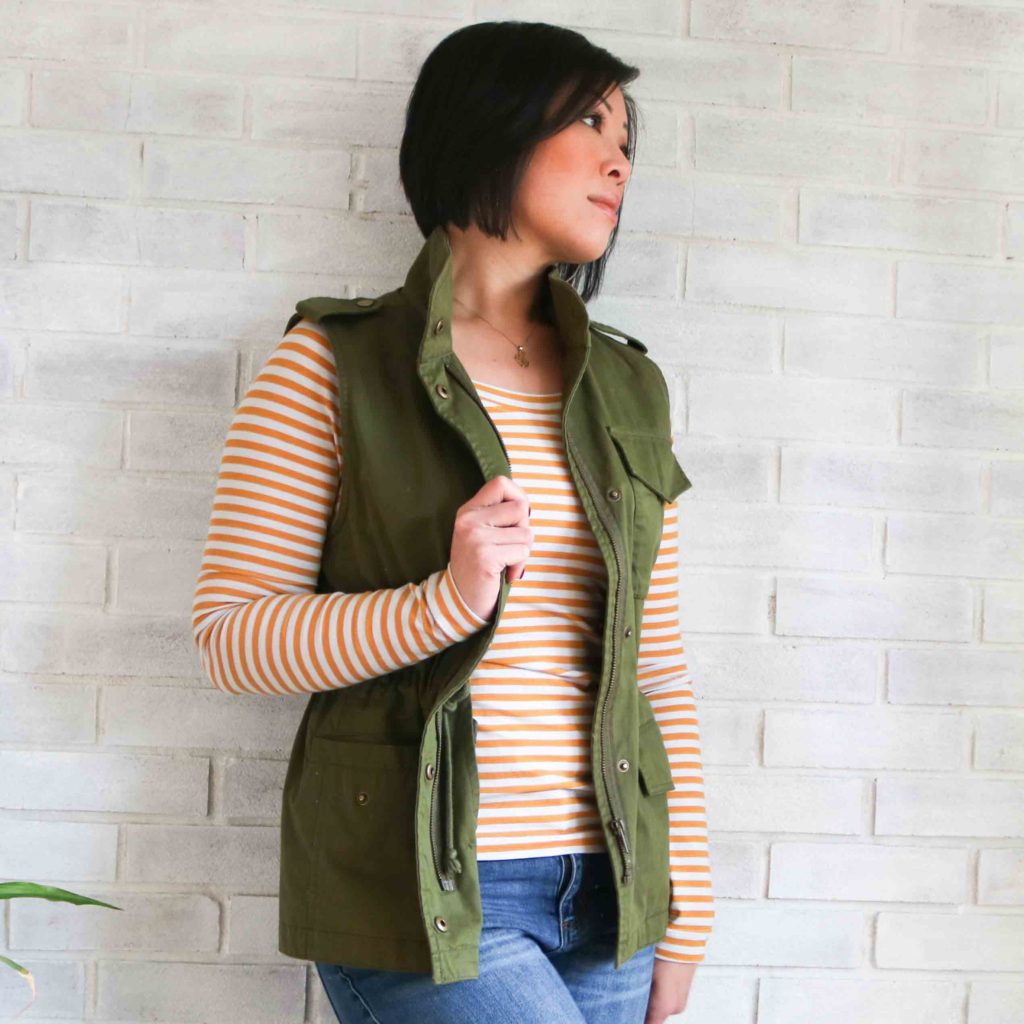
With mid and high-waisted pants taking over, I see so many tops being tucked in.  Overalls are back in a big way, so slender layers are needed.  While taking these all into mind, I thought I could really use a Fairelith Top (aff link) by Blank Slate Patterns in my closet.  This body skimming version was what I was looking for and I knew it would also be perfect tucked in with my Moss Skirts which you can see here and here.

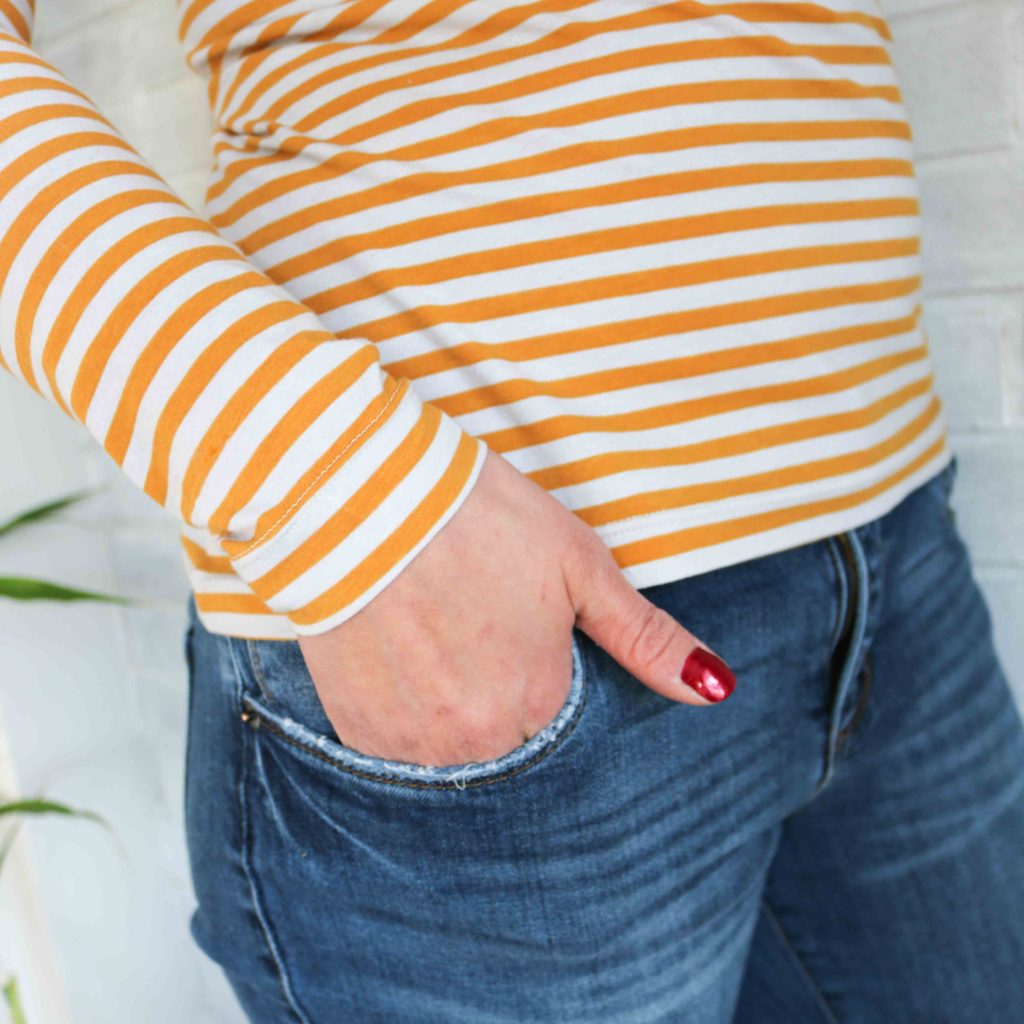
I wanted a little more color in my closet while staying pretty classic, so I chose this fantastic mustard stripe Blake cotton knit jersey (aff link) by Carolyn Friedlander.  It is a great tone with my olive skin and pairs SO well with denim, black and other blues (the predominant colors I wear!)

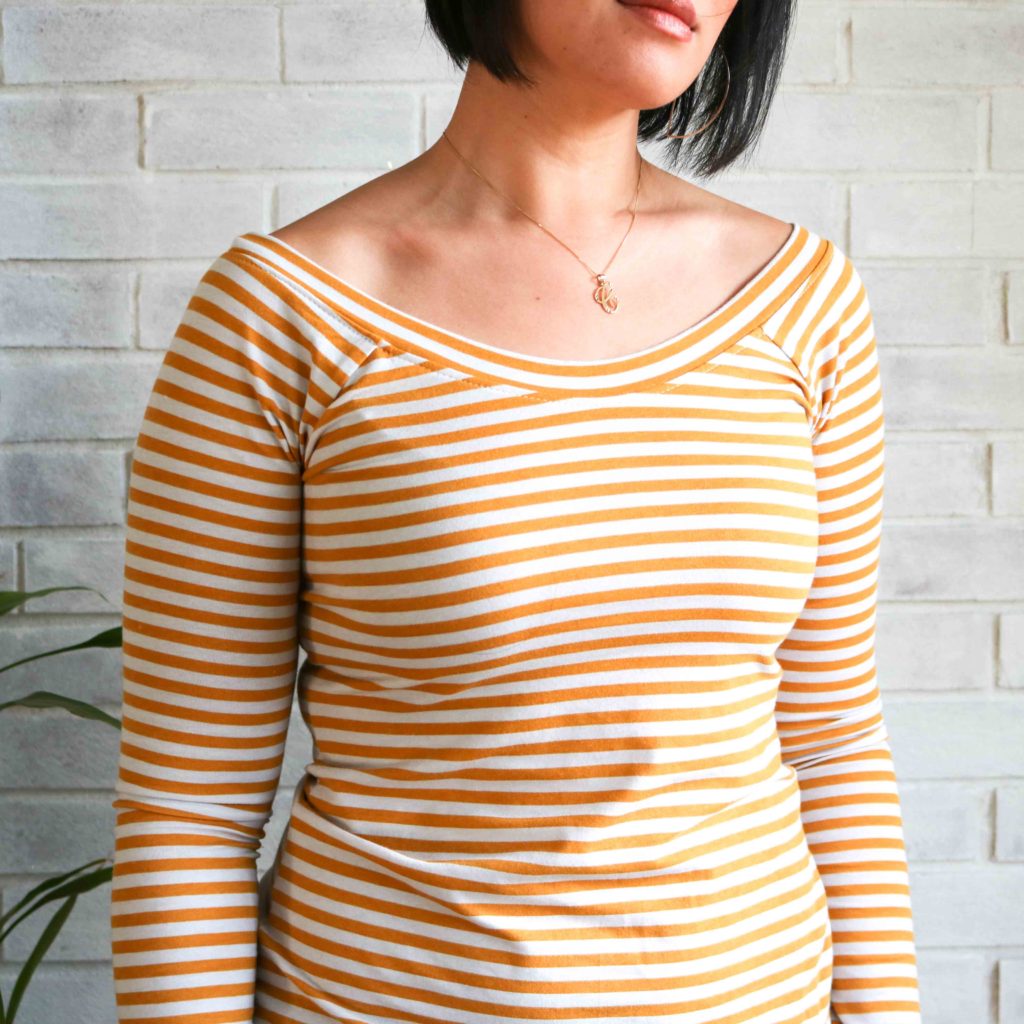
When I first measured myself for this top, it was before the holidays and I cut all my pieces.  But of course the holidays got the best of me and it ended up a wee bit more snug than I would have liked.  :/  Luckily, I was able to get my body back on track so I could share this make with you (a few months later…)  Although, next time, I will definitely make a larger arm.  As I’ve mentioned before, my arms are heavy for RTW based on my waist and bust measurements….so I  should’ve known the arms would be slightly too tight!  You can see all the extra folds around my armpit area.  But it’s my fault for being too anxious and not making a muslin. (Rookie mistake…)   Melly Sews does include instructions to narrow out the neck…so maybe I’ll move up a whole size and then use that adjustment.  (I’ll keep you update and let you know what I do and how the process goes.)

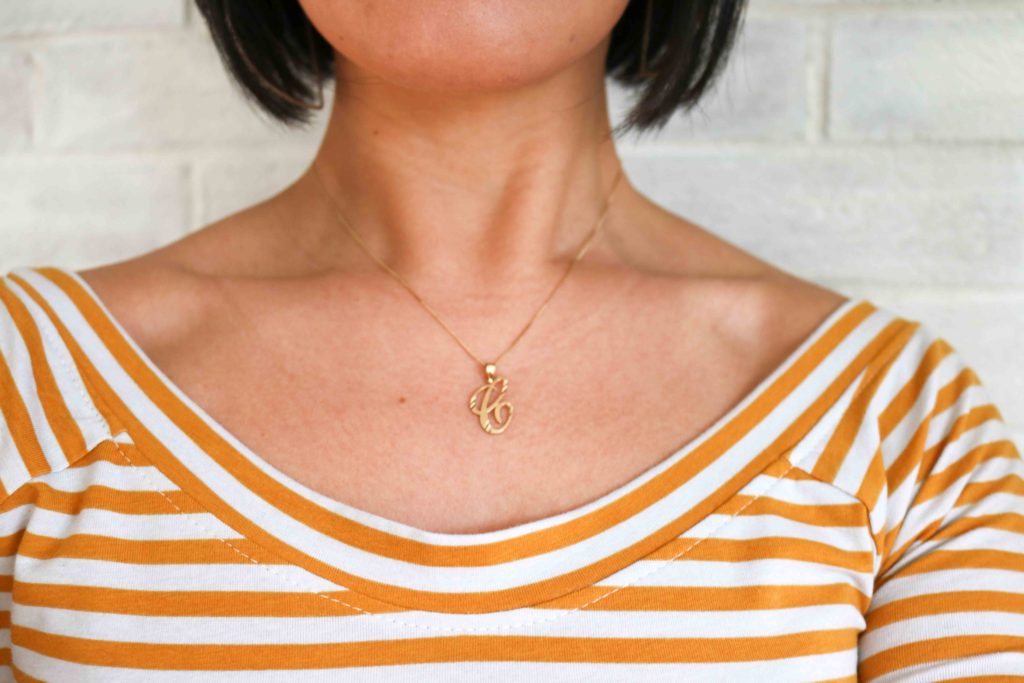
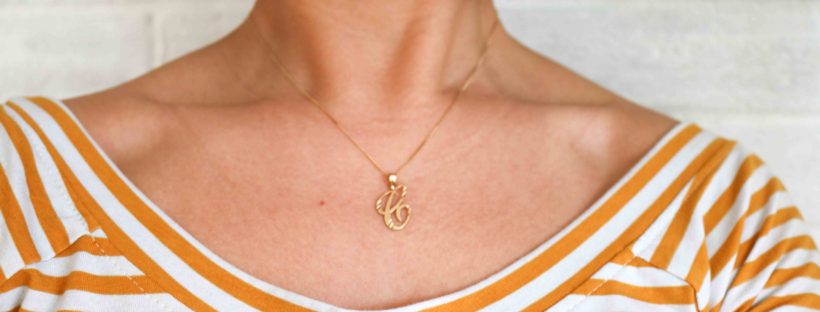
This neckline is just gorgeous, right?  The ballet neckline hits at just the right spots on the shoulders so it’s not falling off.   I love how it shows the collar bone and is perfect for a statement necklace.  Bandana scarves are pretty hot right now and would pair well with this kind of opening.

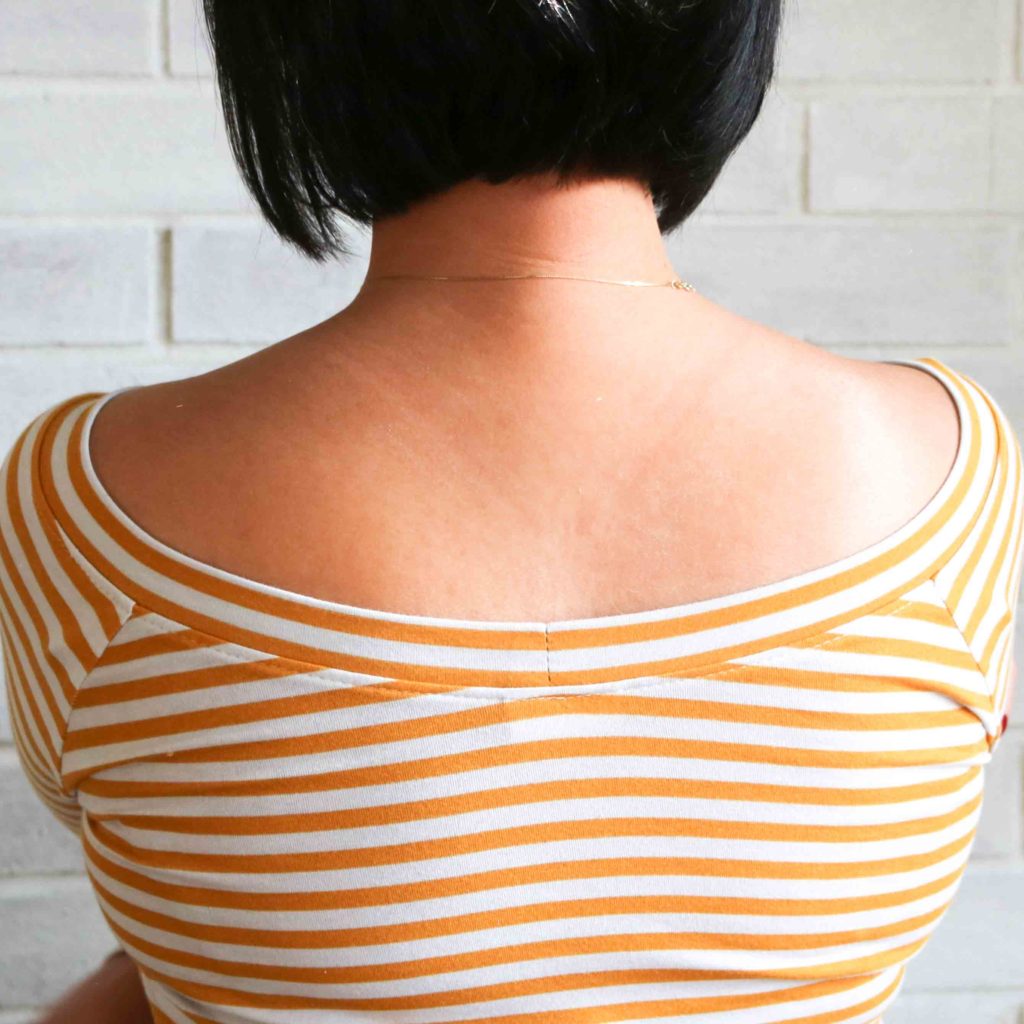
The open neckline continues to the back. With my short hair, this ballet opening highlights my neck well.  I like this different style, which I haven’t seen much in other indie designers.

With a  raglan sleeve, this make comes together quickly.  The hem and sleeves are all pressed under and finished with a twin needle.  I like to use wooly nylon (aff link) in the bobbin for a little extra stretch and comfort with this method.  When sewing, it’s good to leave long thread tails and stretch out the hems afterwards.  This is just in case you have some tension issues and the bobbin thread was pulled too tight.


Even with the puckering around the armpit, I still love the design features of the Fairelith Top (aff link) and can’t wait to make another (with the right adjustments!) The extra folds do not matter to me on a day-to-day basis.  But if you run across the same issue, a jacket or vest like this one above can help you hide it.  Lol.

Happy Sewing Friends!

Cristy
 

2018 Wardrobe Goals :: Make Nine Commitment

If you follow many sewists on Instagram, you probably have seen the hashtags, #MakeNine2018 or #2018MakeNine.  This is an informal challenge to select nine different items to make over the course of the year.  It was first started by @homerowfiberco and has really taken the maker community by storm this new year.  You will see different goals for knitters. quilters, and mine happens to be just for garments.  There is absolutely no pressure and you are accountable for yourself.  This is a fun challenge to start and it’s so motivating to see everyone’s makes!

I’ve been sewing clothes for my kids and occasionally, for myself, over the past 8 years.  However, it’s been the past two years. that I’ve been consciously planning out my handmades.  I have many reasons for sewing my own clothes.  My body fits several different ready-to-wear (RTW) sizes and nothing will ever beat  a custom fit.  I am also trying to step away from the fast fashion industry as much as I can both from the ethical labor and consumption standpoints.

Another big reason for making my own clothes is the financial aspect.  Ever since I quit my corporate job years ago and had a family, my spending habits had to change drastically.  But…I still had that taste for fine fabrics and high quality.  For me to have clothing which will last, I would need those high quality substrates, but would only be able to afford them if I absorbed my own labor costs.  This would allow me to have luxury clothing at a fraction of the retail prices.  Win-win, right?!?

Drum roll, please!  From left to right, top-down, I have chosen the following patterns for a number of different personal reasons.  We all have our own body issues and I’ve thoughtfully chosen these patterns as part of my personal style journey.  The criteria I set for myself are to select patterns (1) I have not sewn up before (2) have more year-round functionality and (3) are wearable with at least three other things in my closet.

  1. The Classic Shirt by Liesl & Co – I am a huge fan of the Oliver & S brand children’s patterns by the same company and had bought this pattern during a sale about a year ago.  I have a hard time finding a relaxed, yet tailored button-down shirt that fits my waist, shoulders and heavier arms.  If I buy RTW to fit my arms, the shoulders are huge and the shirt tends to be boxy.  If I buy to fit my waist and shoulders, my arms are like sausage casings with barely any movement.  I’m excited to make my very first button-down shirt to give me a full range of arm motion while fitting in the shoulders and waist.
  2. Ogden Cami by True Bias – This is another pattern I own and has even been copy shop printed already.   But once the temperatures cooled down here in the Midwest, I moved into craft market mode and left clothing behind.  Now I’m on a mission and I think this silhouette is so flattering…with the relaxed easing around the waist and shallow V-neck.  I just know I’ll be living in these…especially in luxurious rayon!   I have some gorgeous rayon scraps from other projects which have been set aside so I can batch sew a few for the summer.  These will also be great for layering under some cardigans!
  3. Highlands Dress by Allie Olsen – When this pattern first came out, I loved the slim silhouette!  But I try not to buy patterns on first release because of how they look on others. I really have to think about whether the style will really fit me and my lifestyle.  After seeing so many additional versions these past month, I realized I really DO need this in my closet.  I just love how chic the dress looks full-length and I feel like I NEED it for some date nights 😉
  4. Pearl Shift by Greenbee Patterns – Oh gosh…this is probably the oldest pattern I own out of this bunch.  I’ve been holding onto it for probably almost two years now….along with the fabric I bought with it!  I even washed the Robert Kaufman Double-Gauzee Chambray back then and it is softer than it even sounds…  I’ve received many warnings from friends who have made the dress to be aware of the ease.  So, I already know I will size down even though I still want all of the roominess in this dress.  I envision this dress being much more casual and something I could easily slip on to wear out to the farmer’s market or run errands around town.
  5. Sylvie Dress by Christine Haynes – Surprise!  This is yet another pattern I already own.  I’m in need of a more formal little black dress (LBD) because the one I have is a bit old and has been seen by everyone in my circle numerous times.  I still love the one I have, but feel like I need to add another one into the mix.  I’m hoping to find some kind of black on black or primarily black print for a sophisticated look.
  6. Blanc Tee by Blank Slate Patterns (aff link) – I need to stock up on my basic tee collection as my old ones have become either stained or completely stretched out and lost shaping.  I chose this pattern because of the nice scoop neck and cap sleeves.  I will definitely make a few white tees and maybe a few stripes.  These may even get a little vinyl treatment from my Silhouette Cameo.
  7. Chi-Town Chinos by Alina Design Co – The search for the perfect chinos has always been on my radar.  I have a small waist, and thick thighs with a booty to match.  Chinos tend to always have a huge gap for me at the lower back and I use to have the pockets sewn up by a tailor before I sewed myself. The slash pockets would always gape open and make my hips look wider than they are.  I love the olive chino look and like an alternative to denim, but have to go much more relaxed in the leg to avoid my body issues.  I’m hoping to (finally) have a nice tailored pair for a menswear look.  I have a pair of saddle shoes…dying for some cute pants!
  8. Acacia Underwear by Megan Nelson – You know I love a great scrap-busting project and this is perfect for my lighter knits.  I’m also very much interested in being able to make my own undies which have soft elastic that don’t bite into my skin.  With the scraps I have, I also know these will be incredibly soft and I can’t wait to make a few!
  9. Holly (Jumpsuit) Trousers from By Hand London  – Another pattern owned but I knew I wouldn’t get to these until the winter…so I’m just a few months behind. 😉 These wide leg pants just spoke to me with the high rise and the dramatic leg.  I will make a culotte version for the summer, but I really wanted a great pattern which I could later use for a traditional Ao Dai.  This is a tunic and pant combo worn in Vietnam and it’s been on my list to make for years…but I’ve wanted to make a great pant to work with the tunic and I’m hoping this is it.

Have you made a commitment for your #MakeNine2018? Let me know if we have any in common!  Good luck completing your list and I’ll keep you updated on my progress!


Cristy
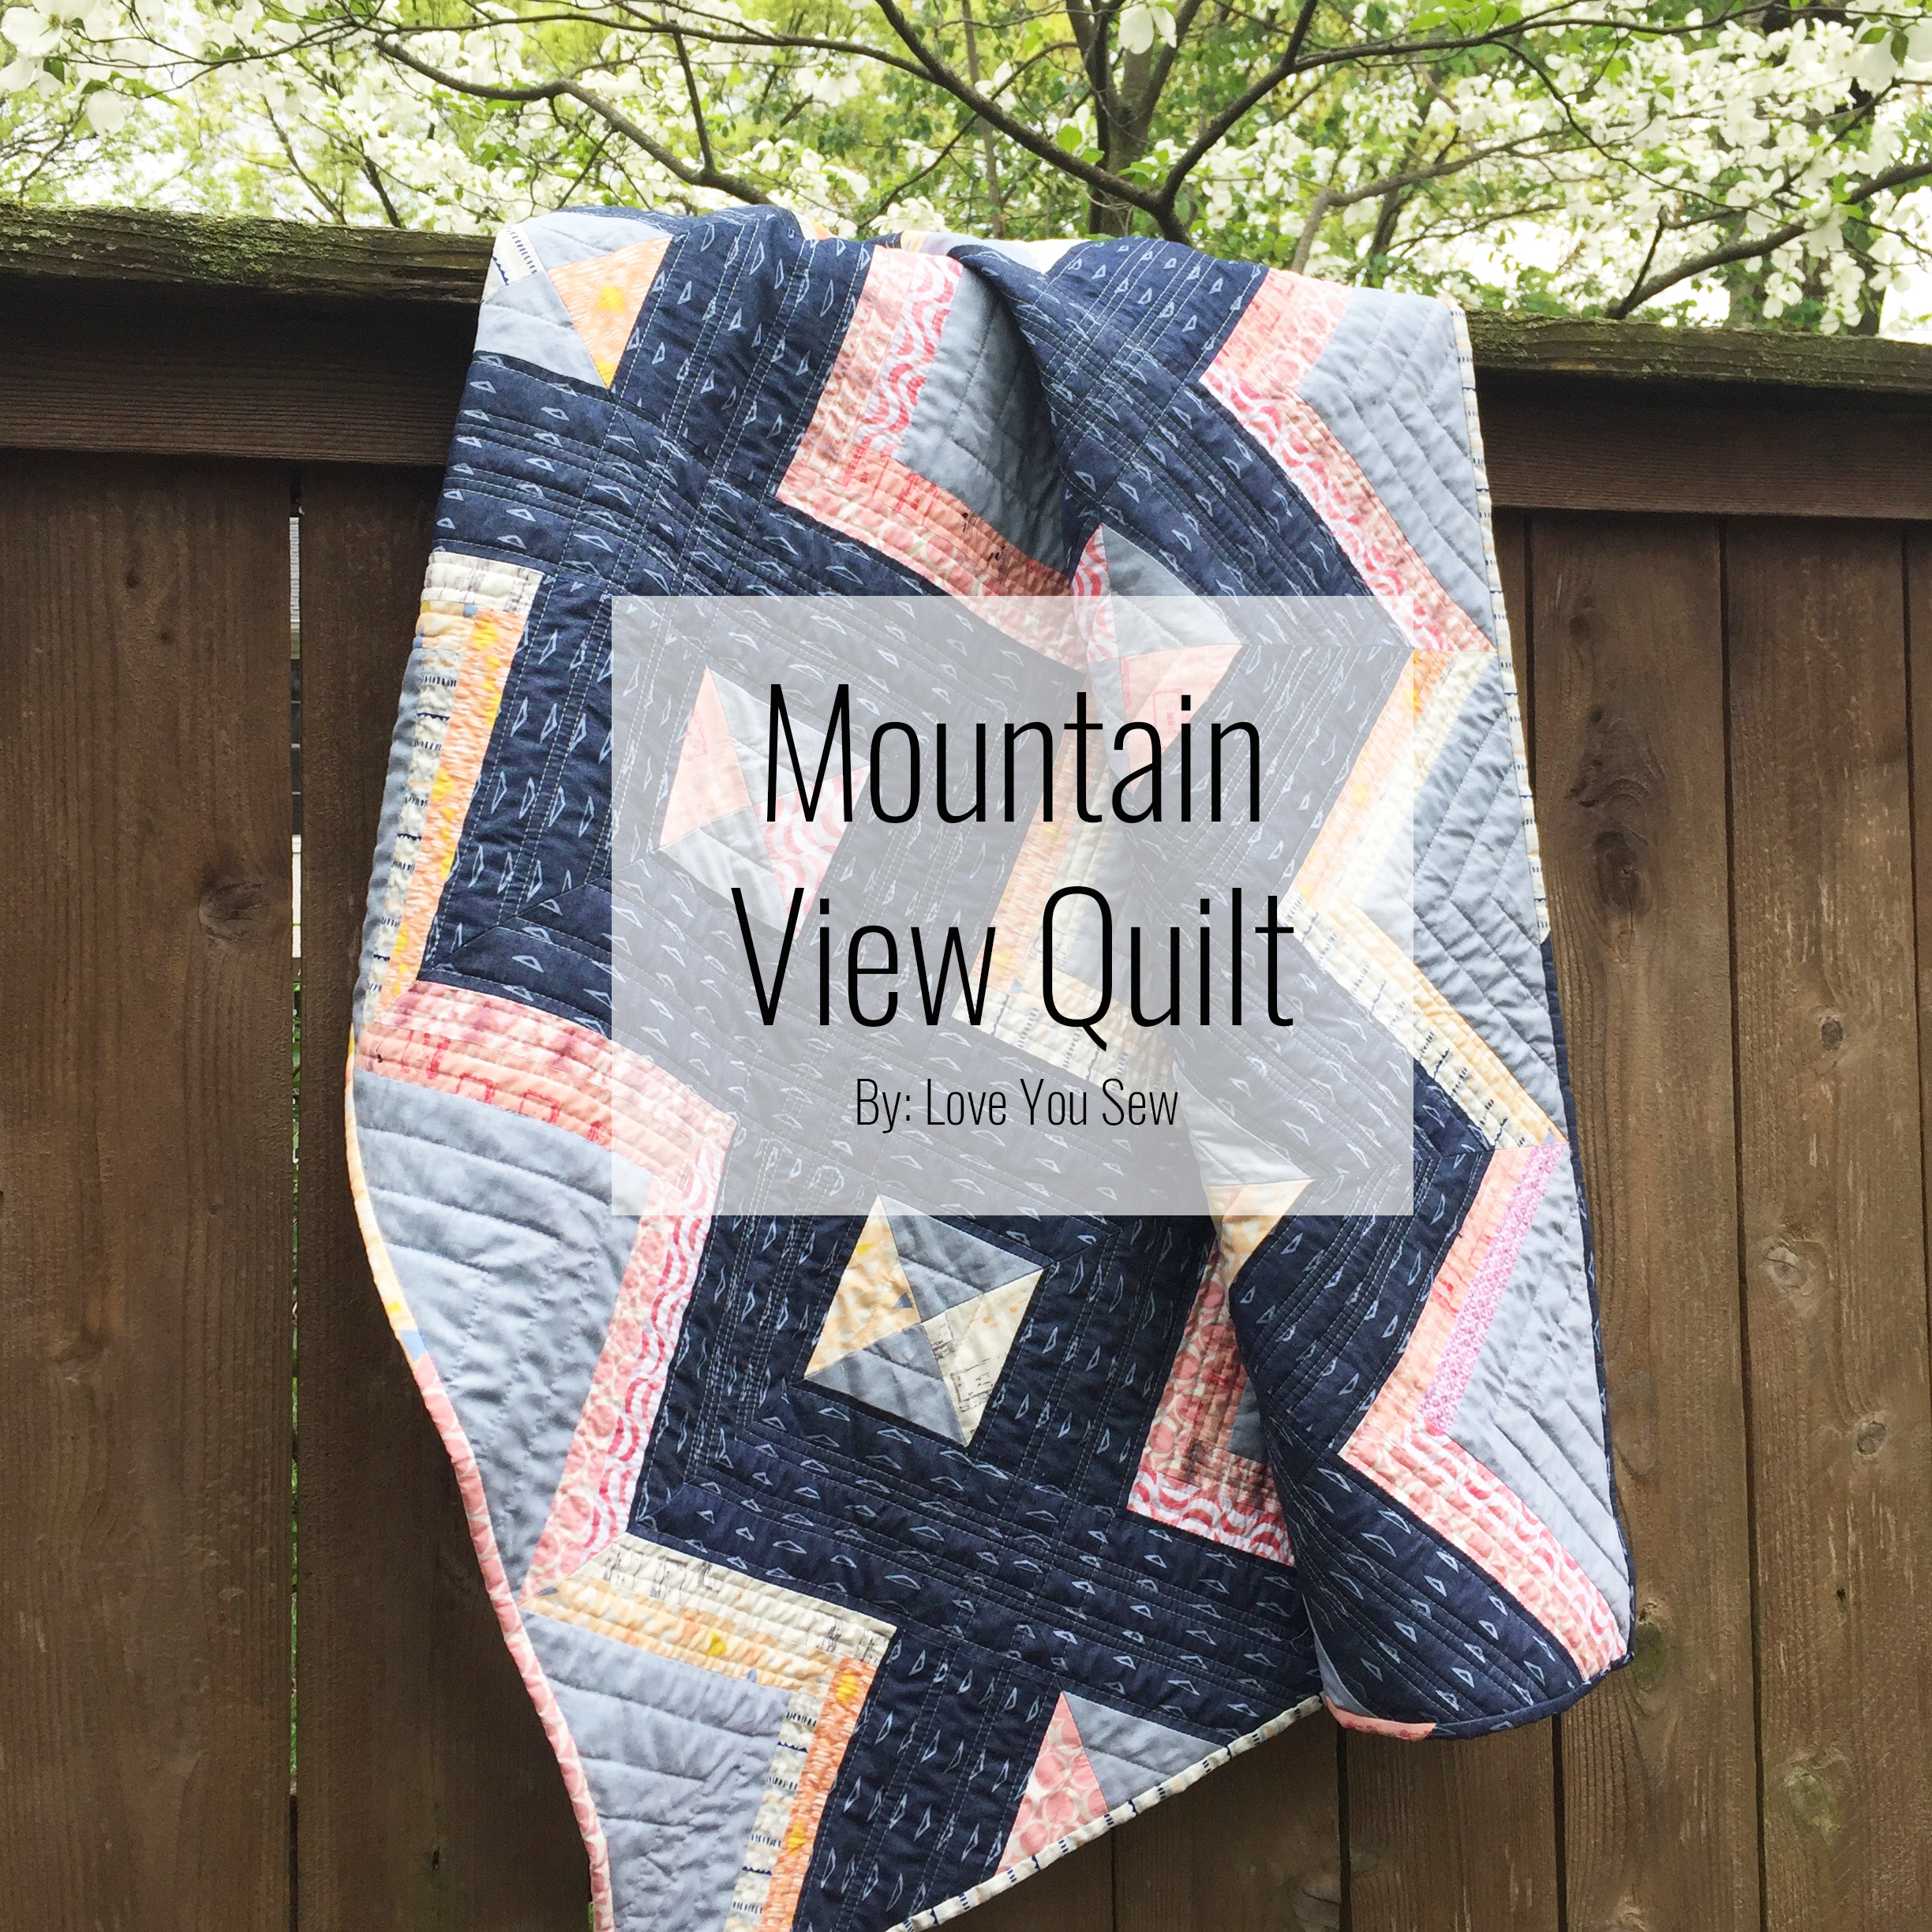
Mountain View Quilt

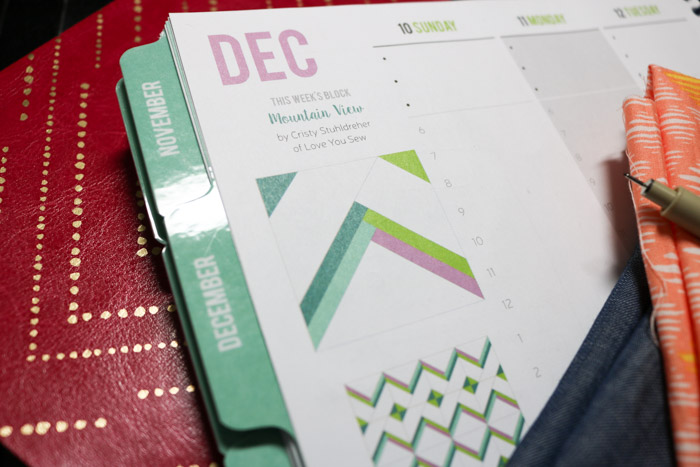
If you are the lucky holder of a 2017 Quilter’s Planner, you might know this is my block week with  “Mountain View.”   If you happened to miss out on the planner, you can still find the instructions to my block here to make your very own Mountain View Quilt and read about the block inspiration.

The Quilter’s planner really helped me organize all my plans with the Project Planner sections.  It’s nice to have a written outline instead of trying to cram everything in my head!  Space is limited there nowadays 🙂

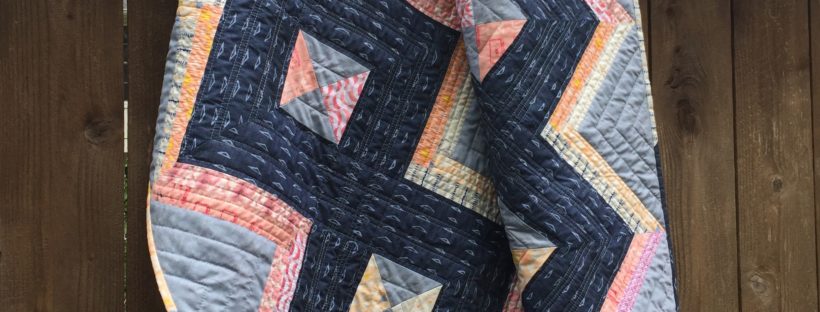
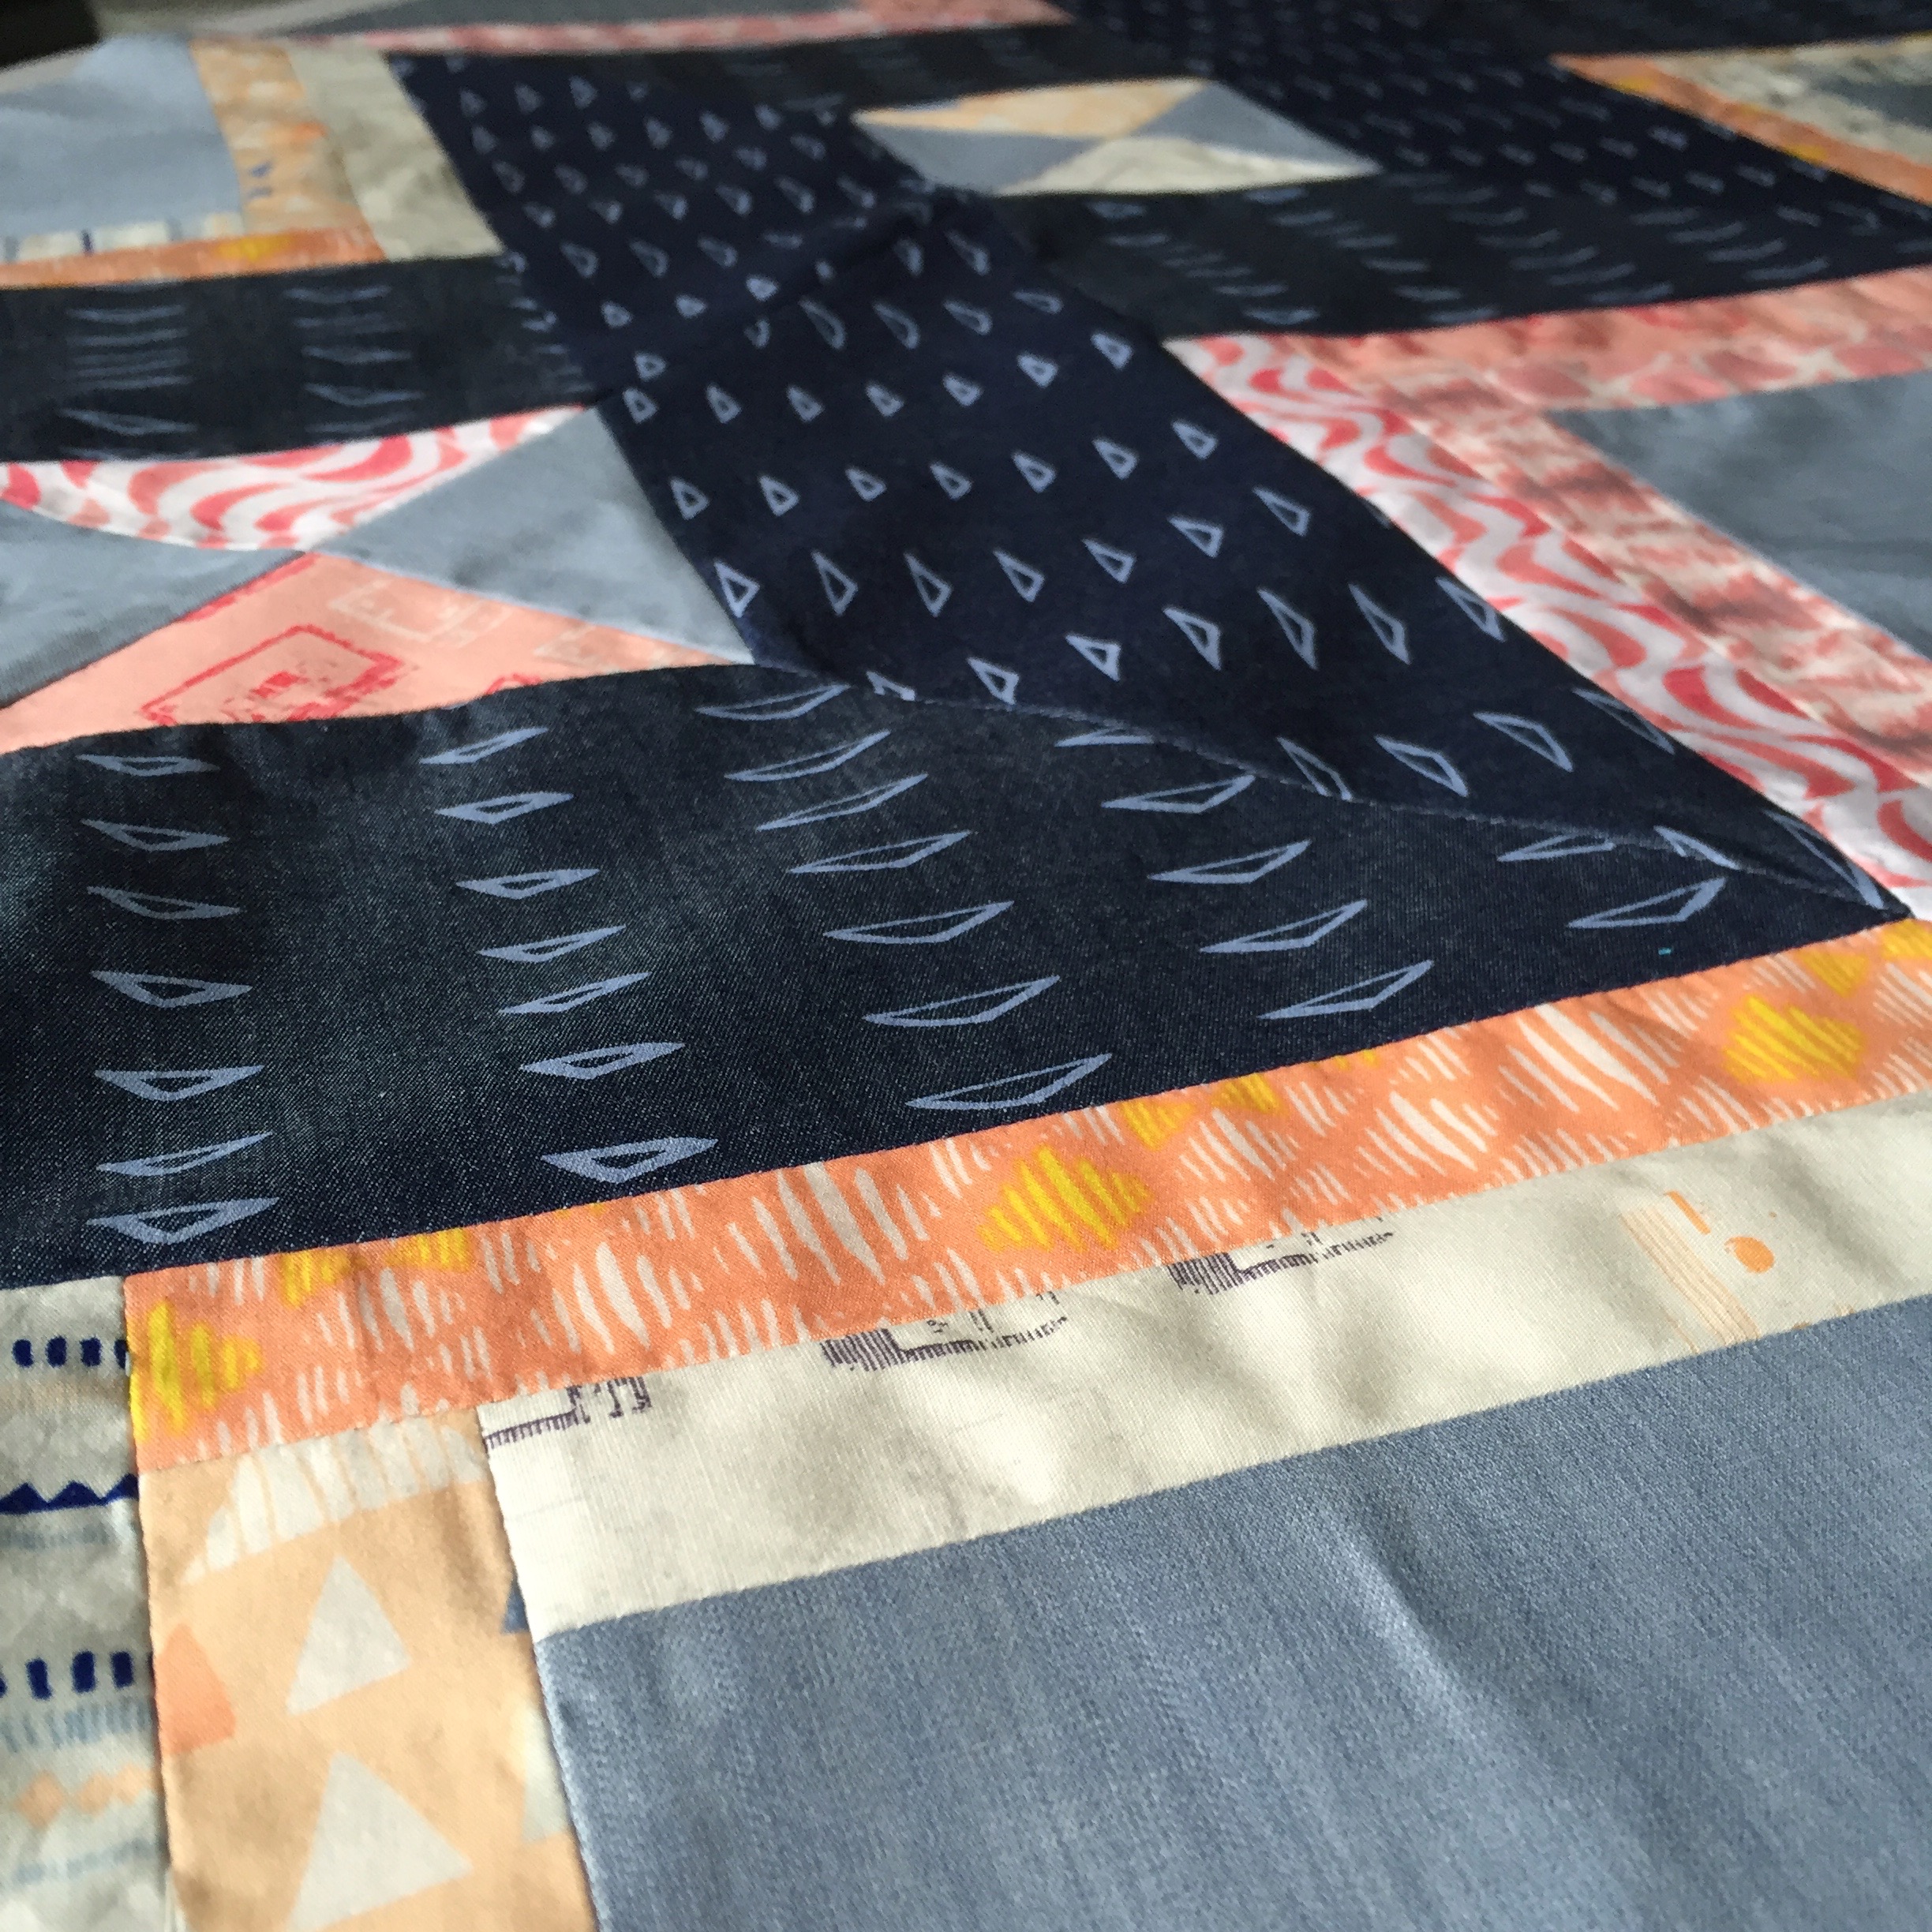
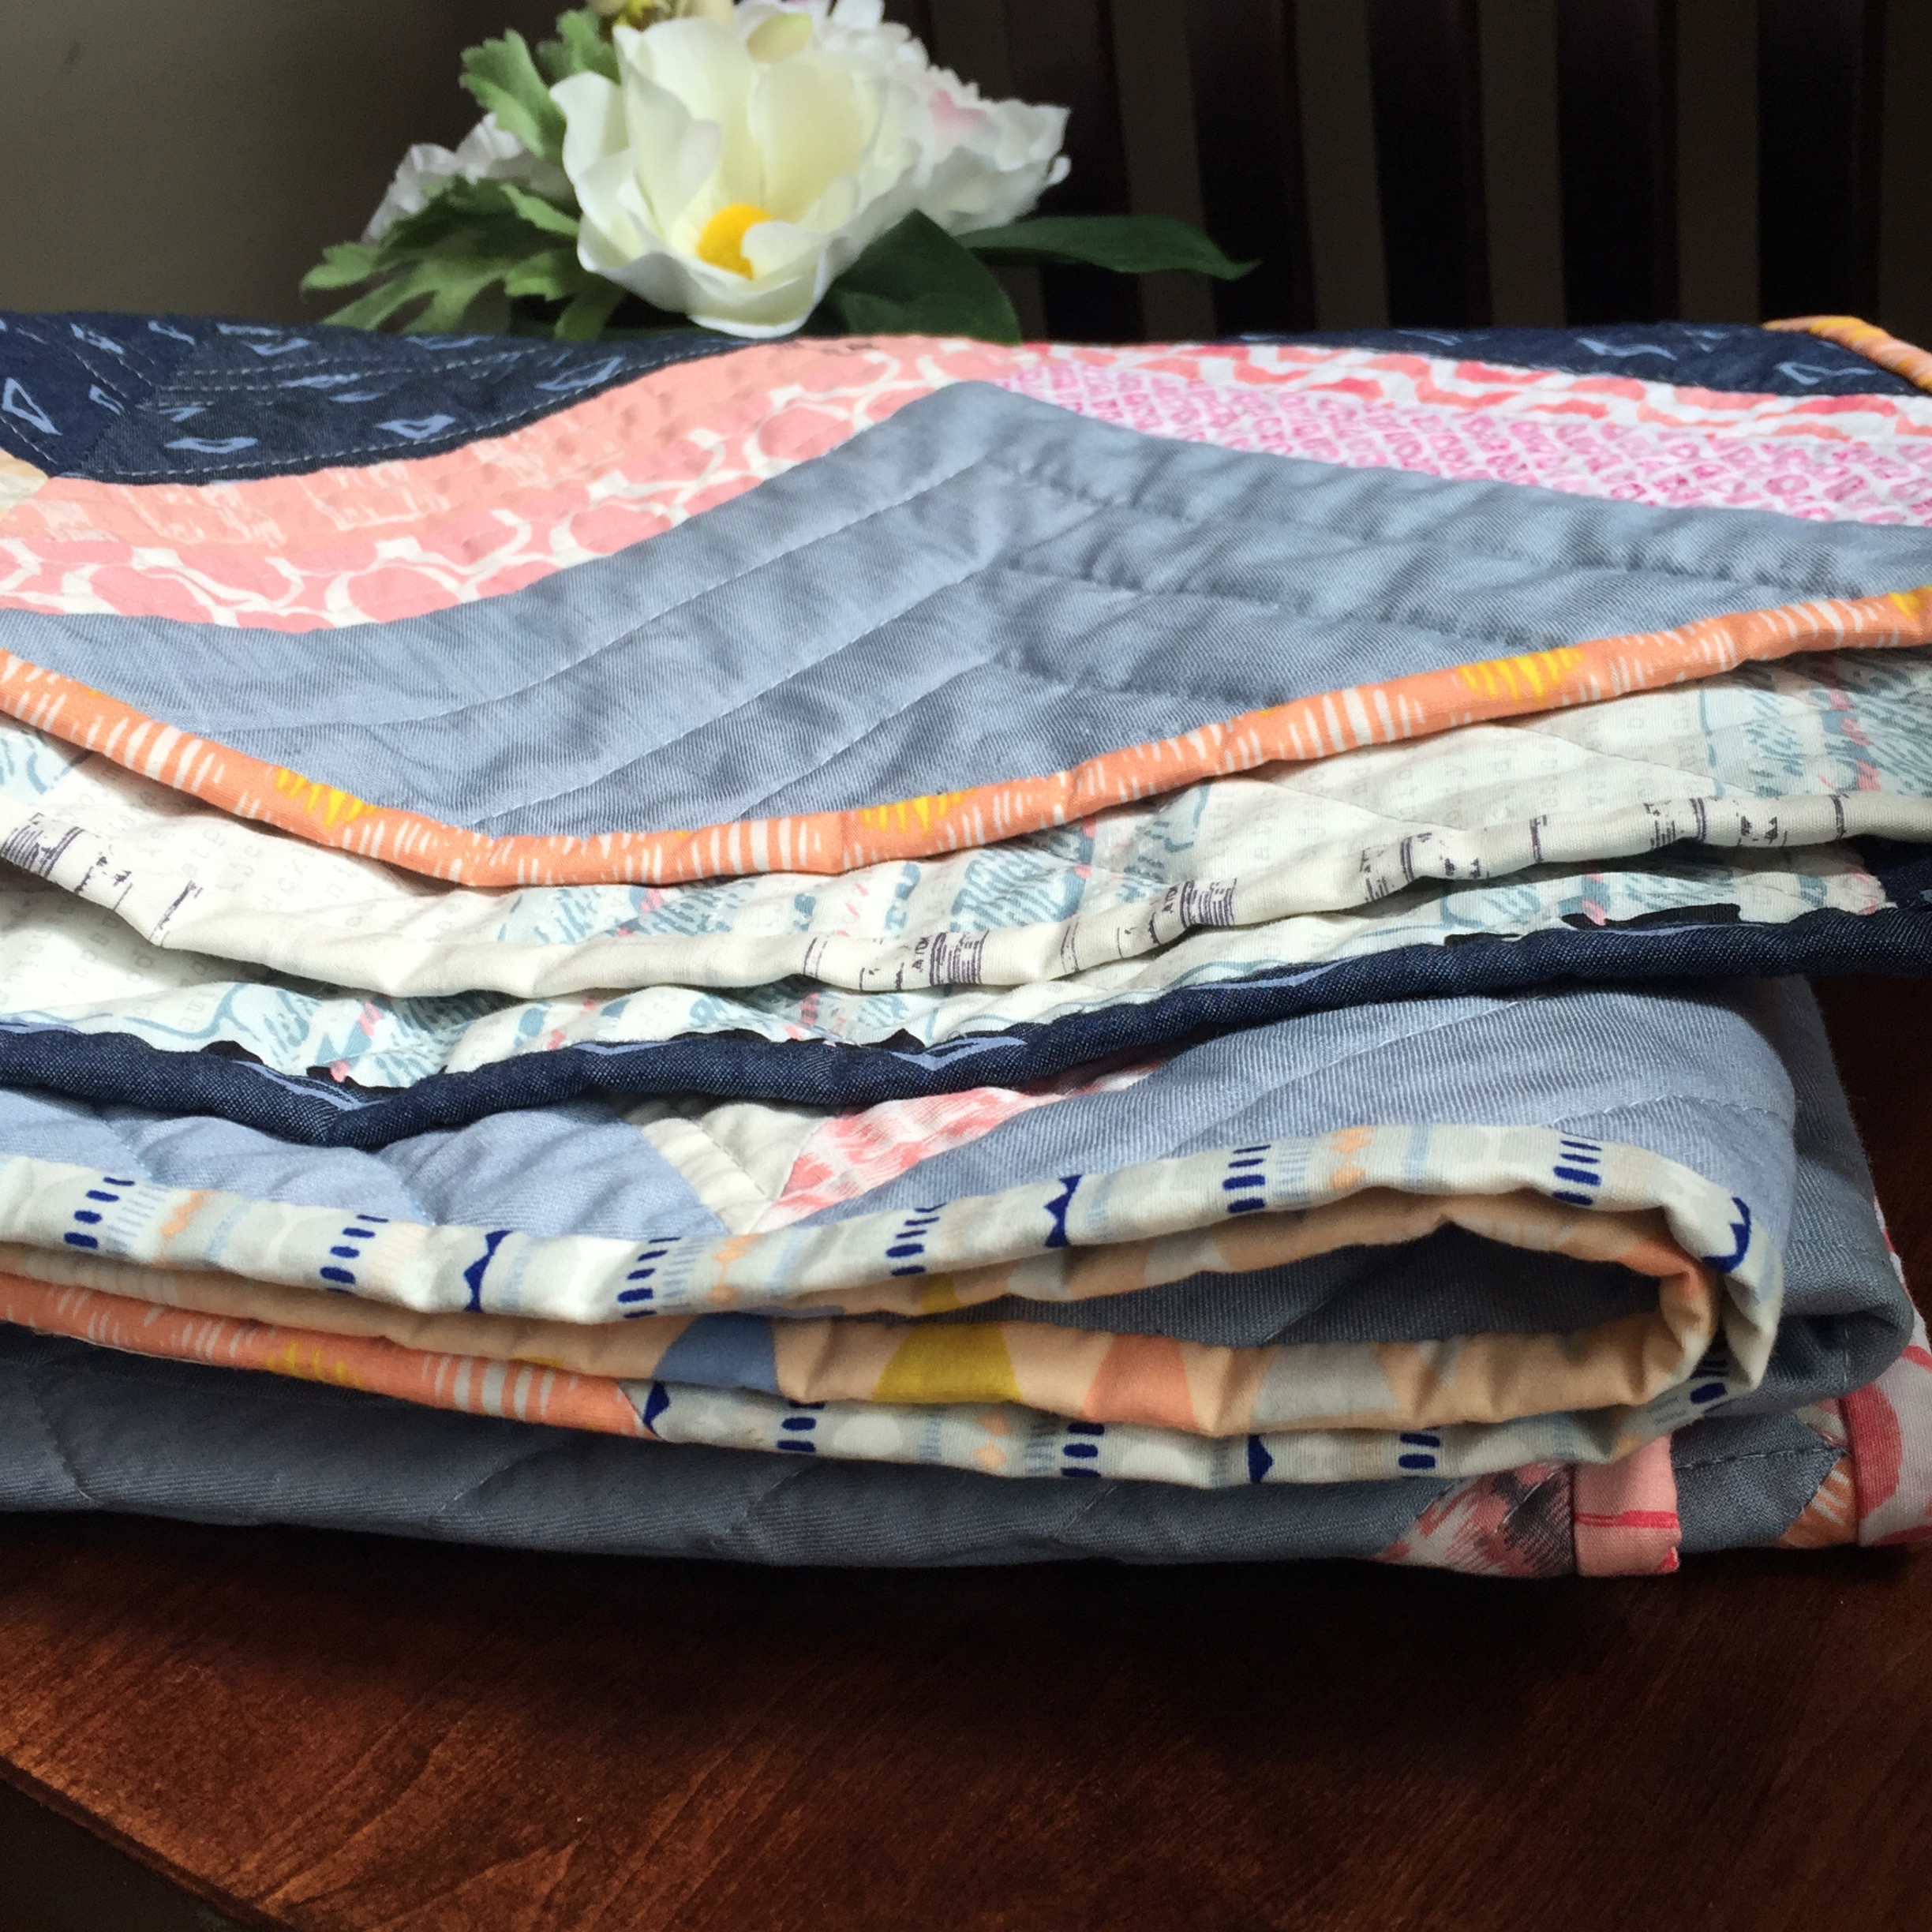
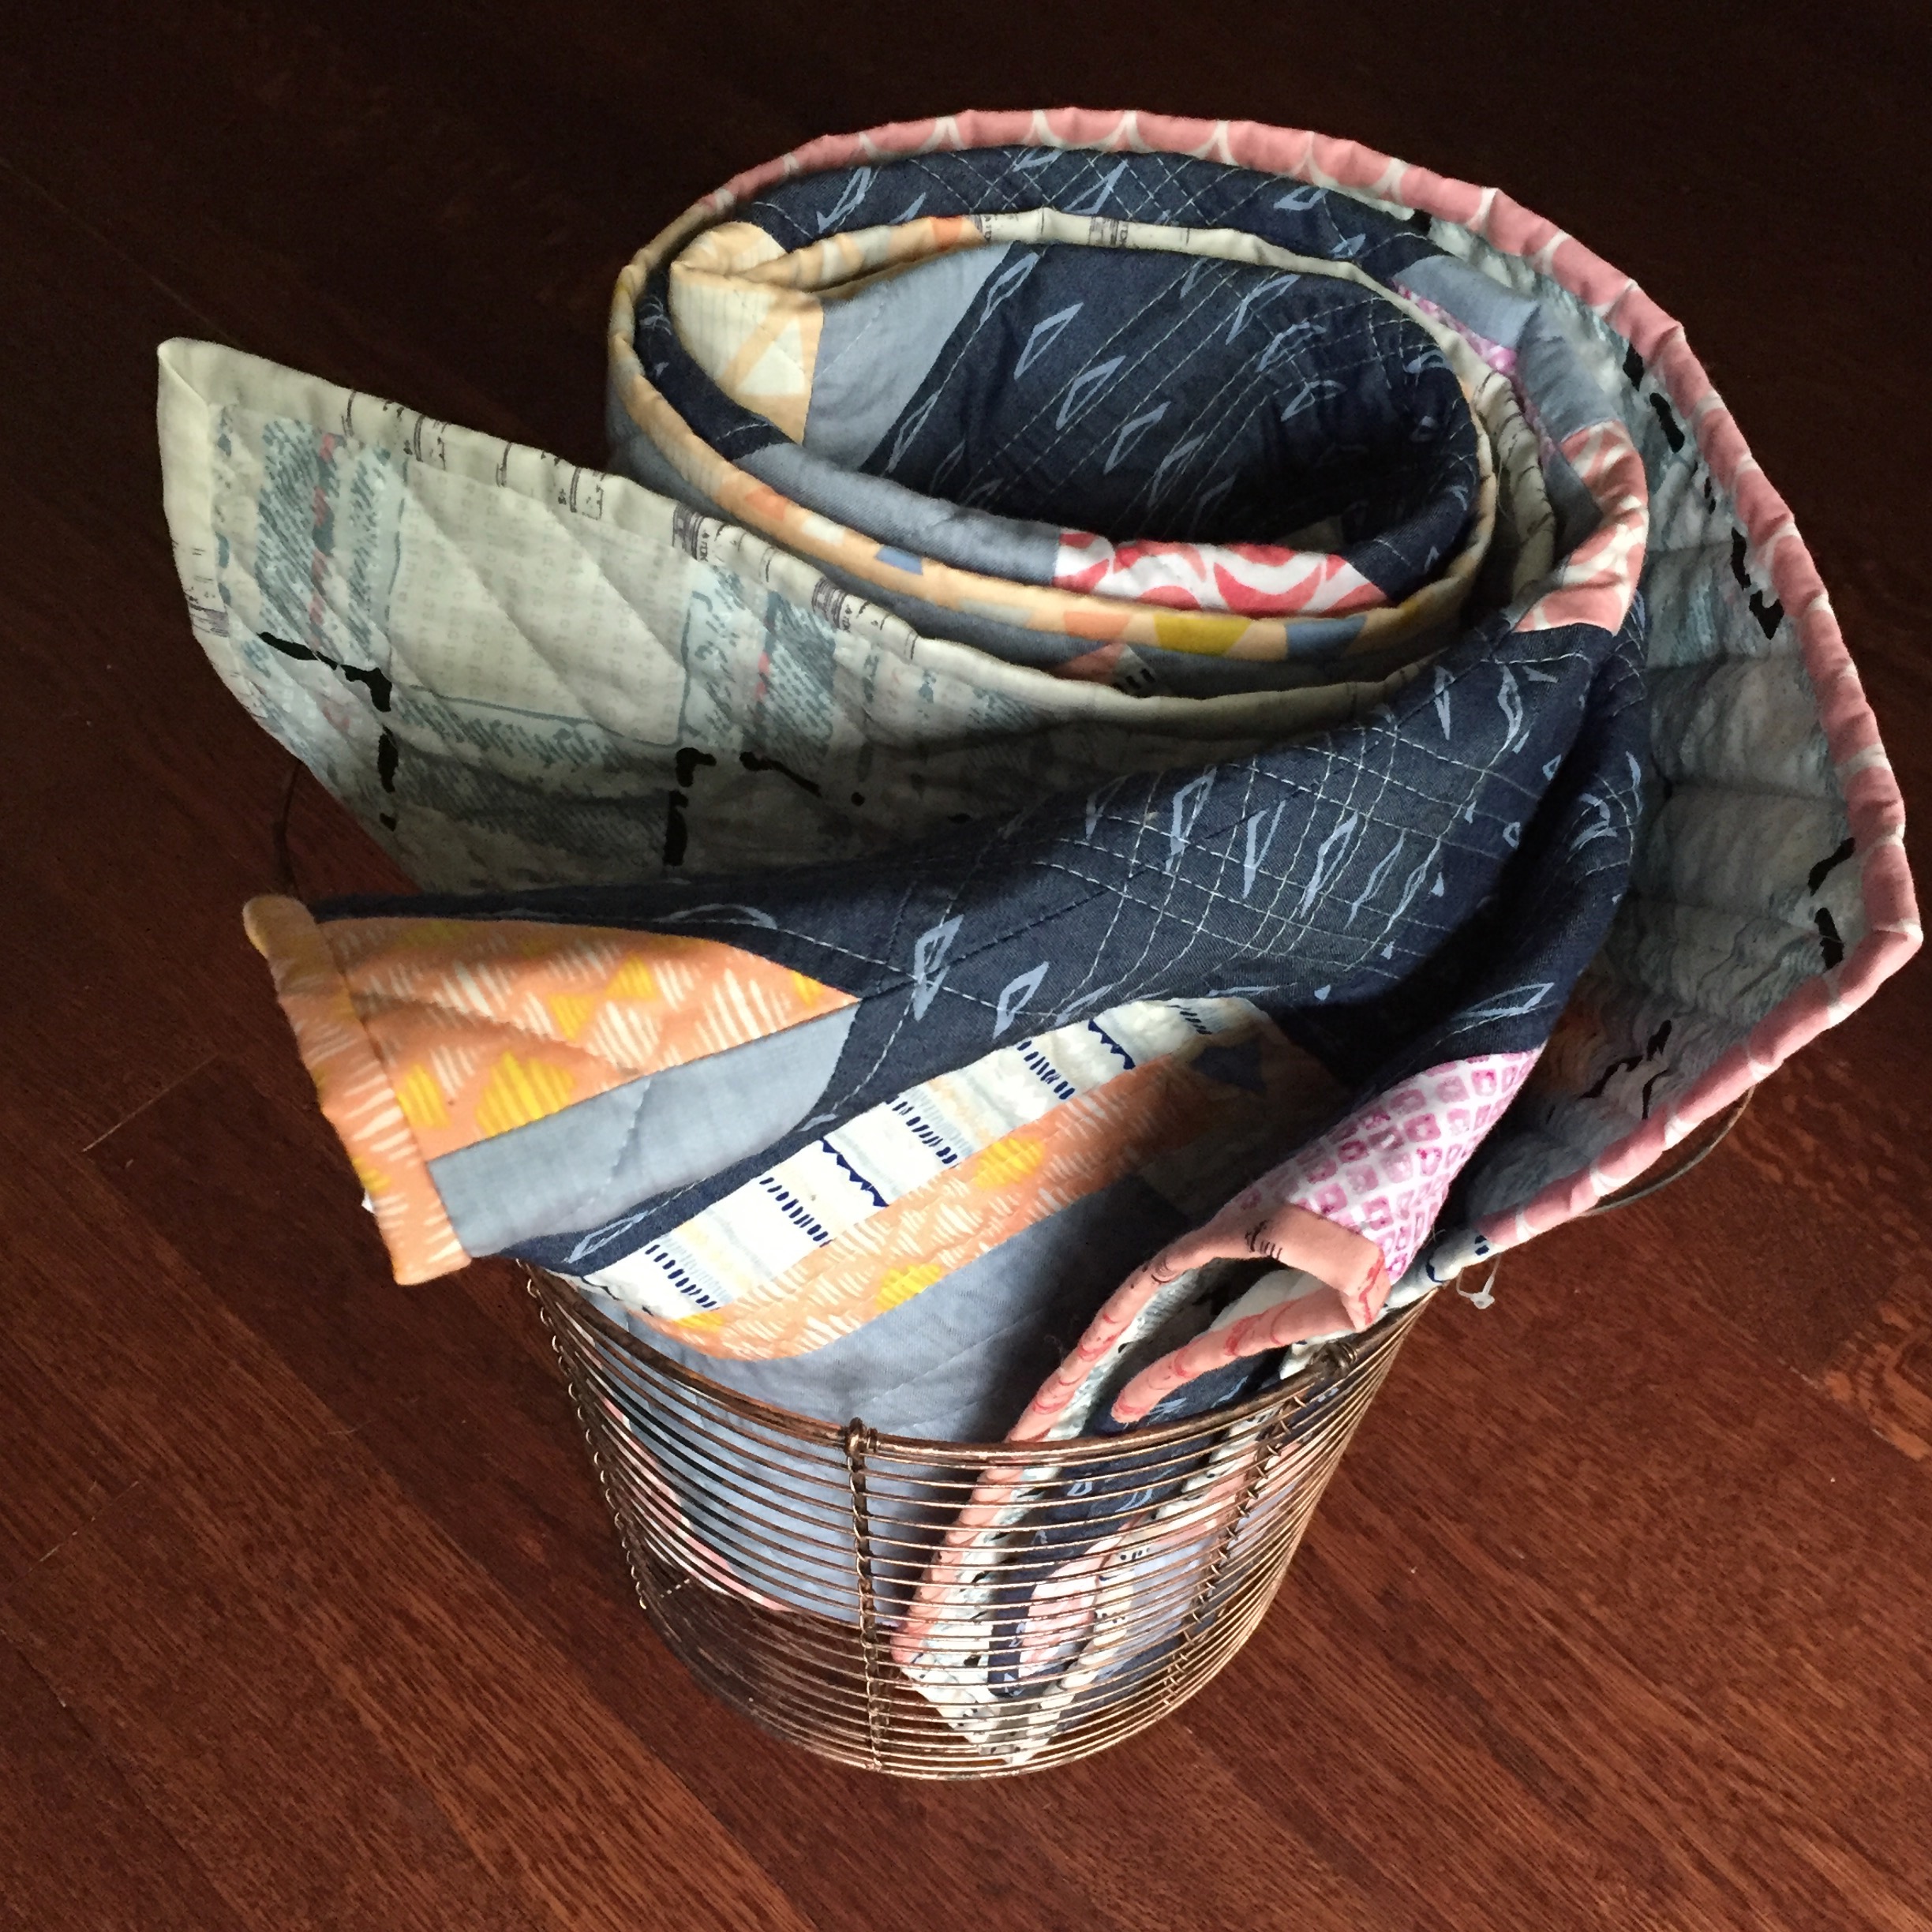
I was lucky to play with some Art Gallery Smooth Denim when it was first released and thought it was perfect for my quilt.  I used the lightweight denim along with some other great assorted Art Gallery prints in peach and pink.


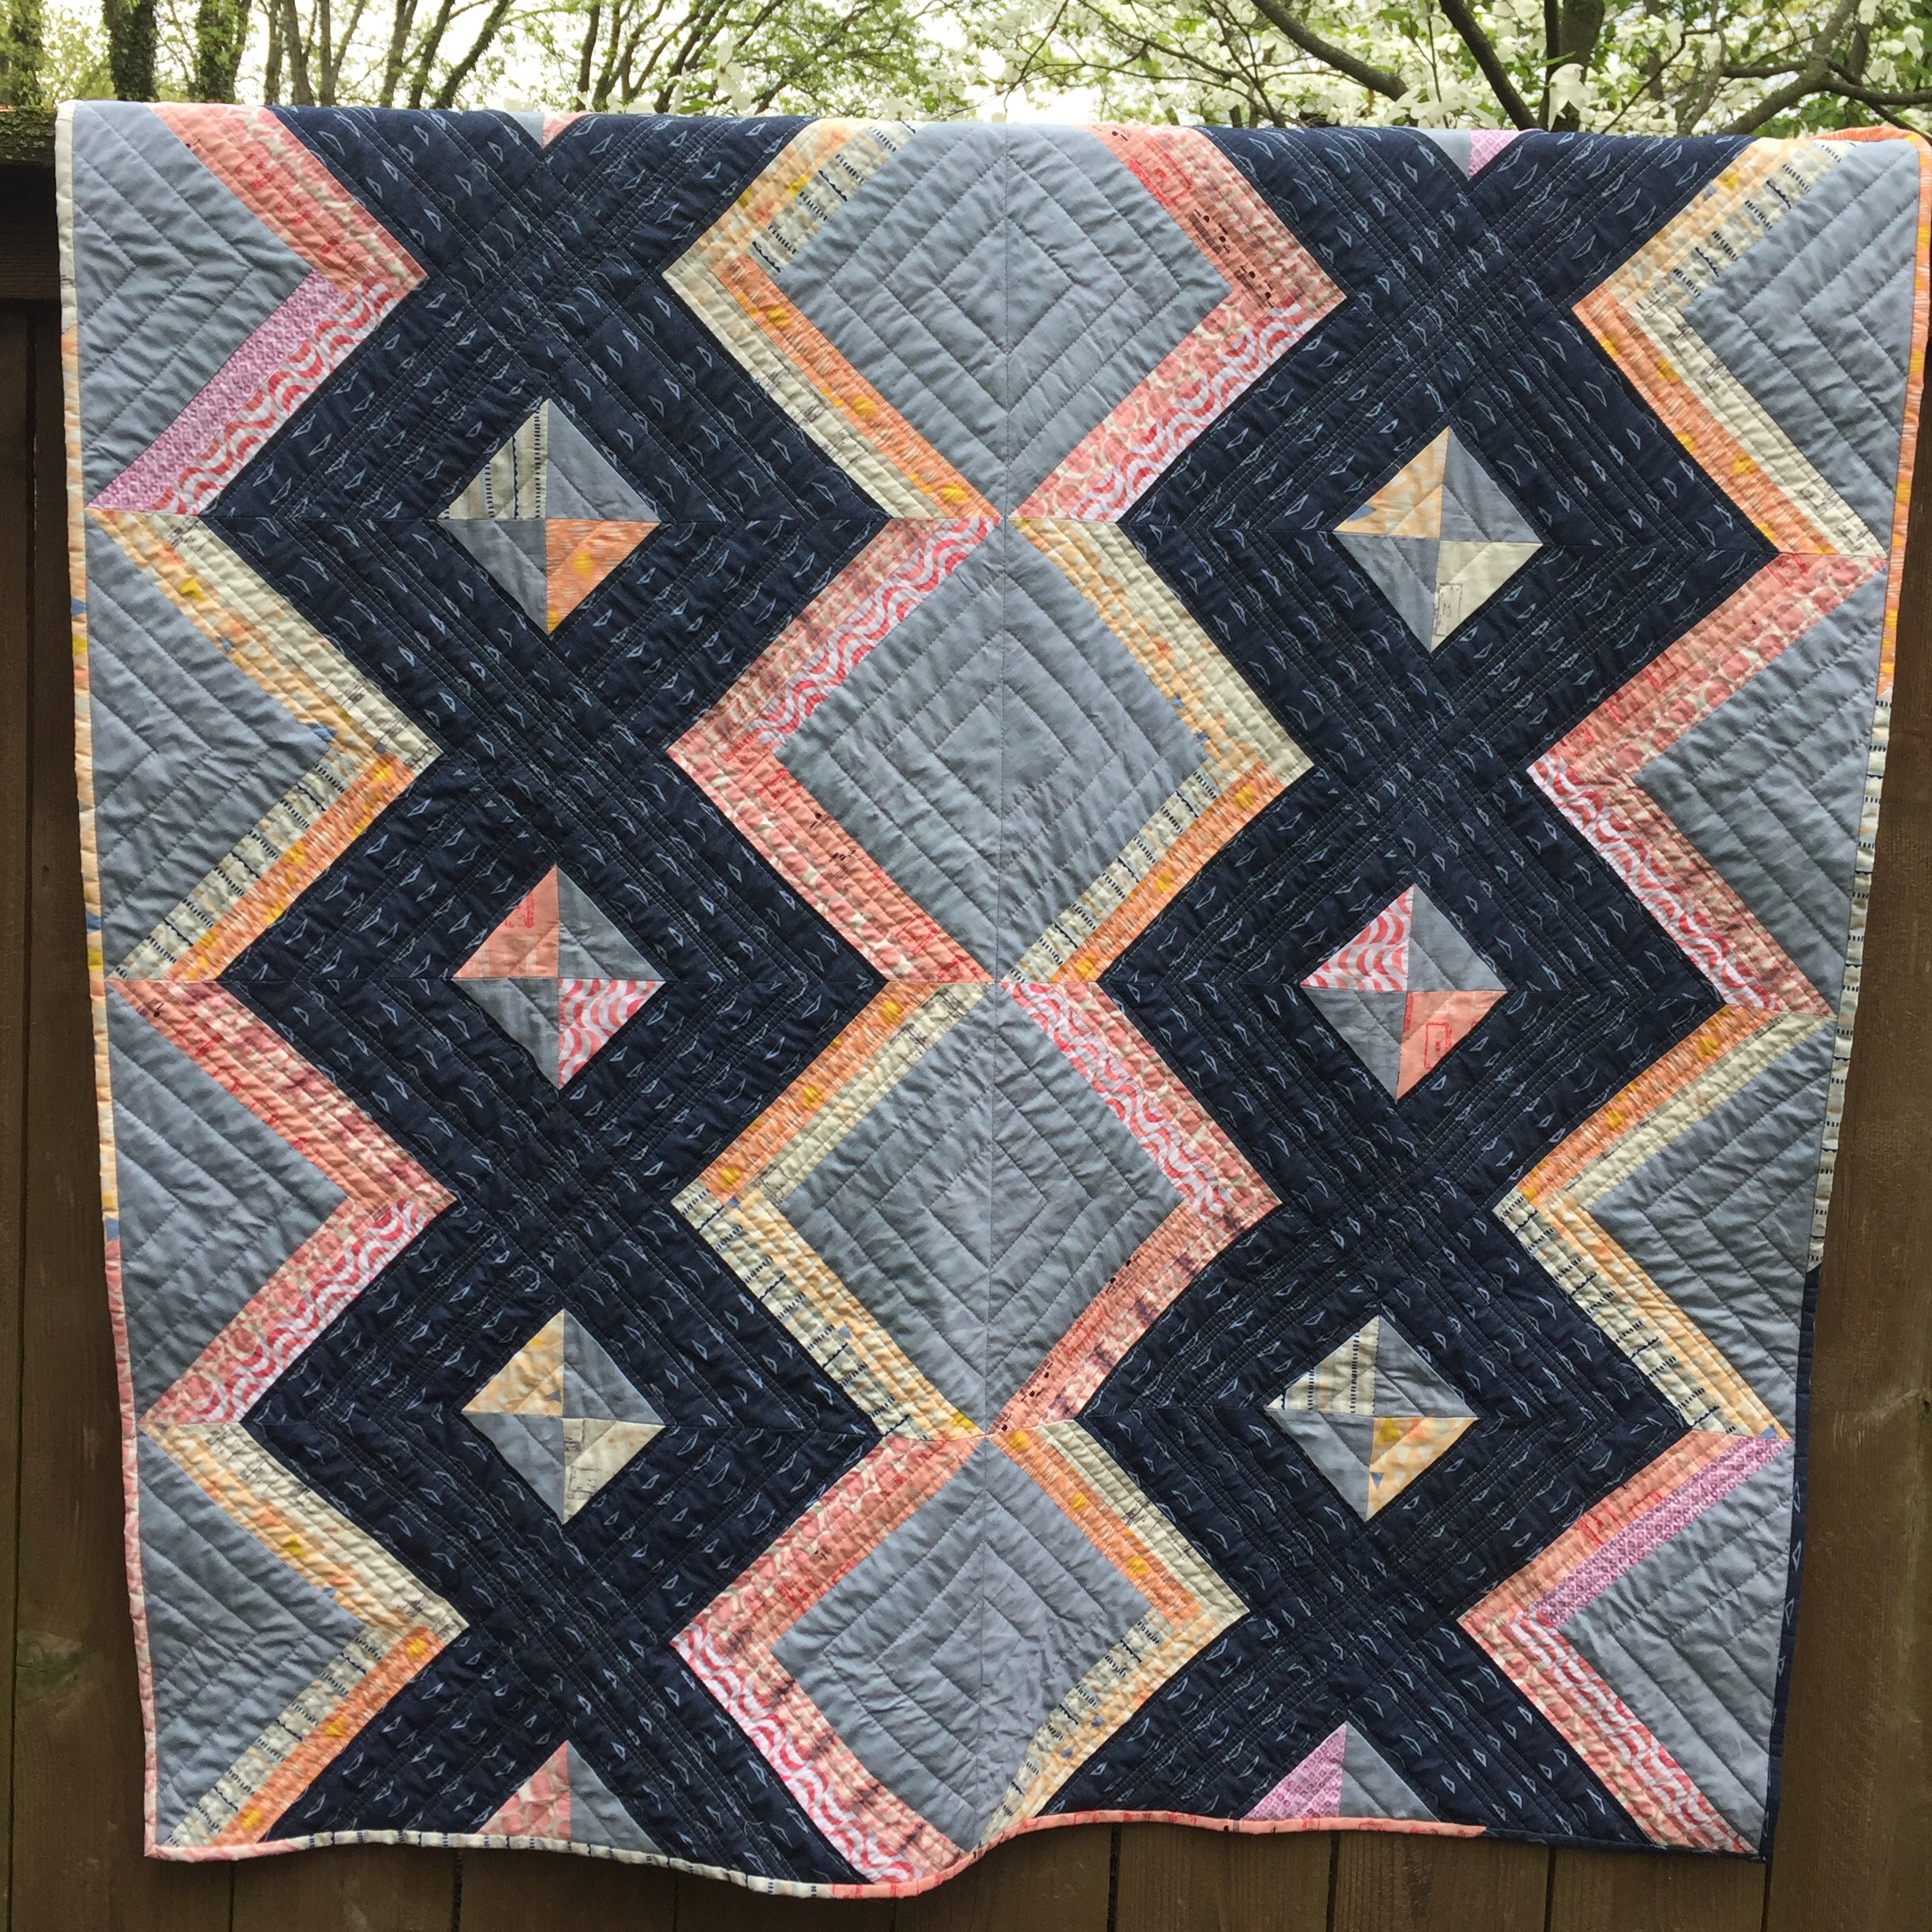
As a lap quilt, the secondary design really comes through and you can see how the profile view (of the single block) becomes an aerial view of the Mountains.  The light blue denim looks like water running through the range and I love how it turned out.

The backing had to be pieced together and I figured it should have some added interest as well.  The extra panel was improvved using scraps and follows the same geometric angles as the front. It’s a nice pop of color against the main backing print.

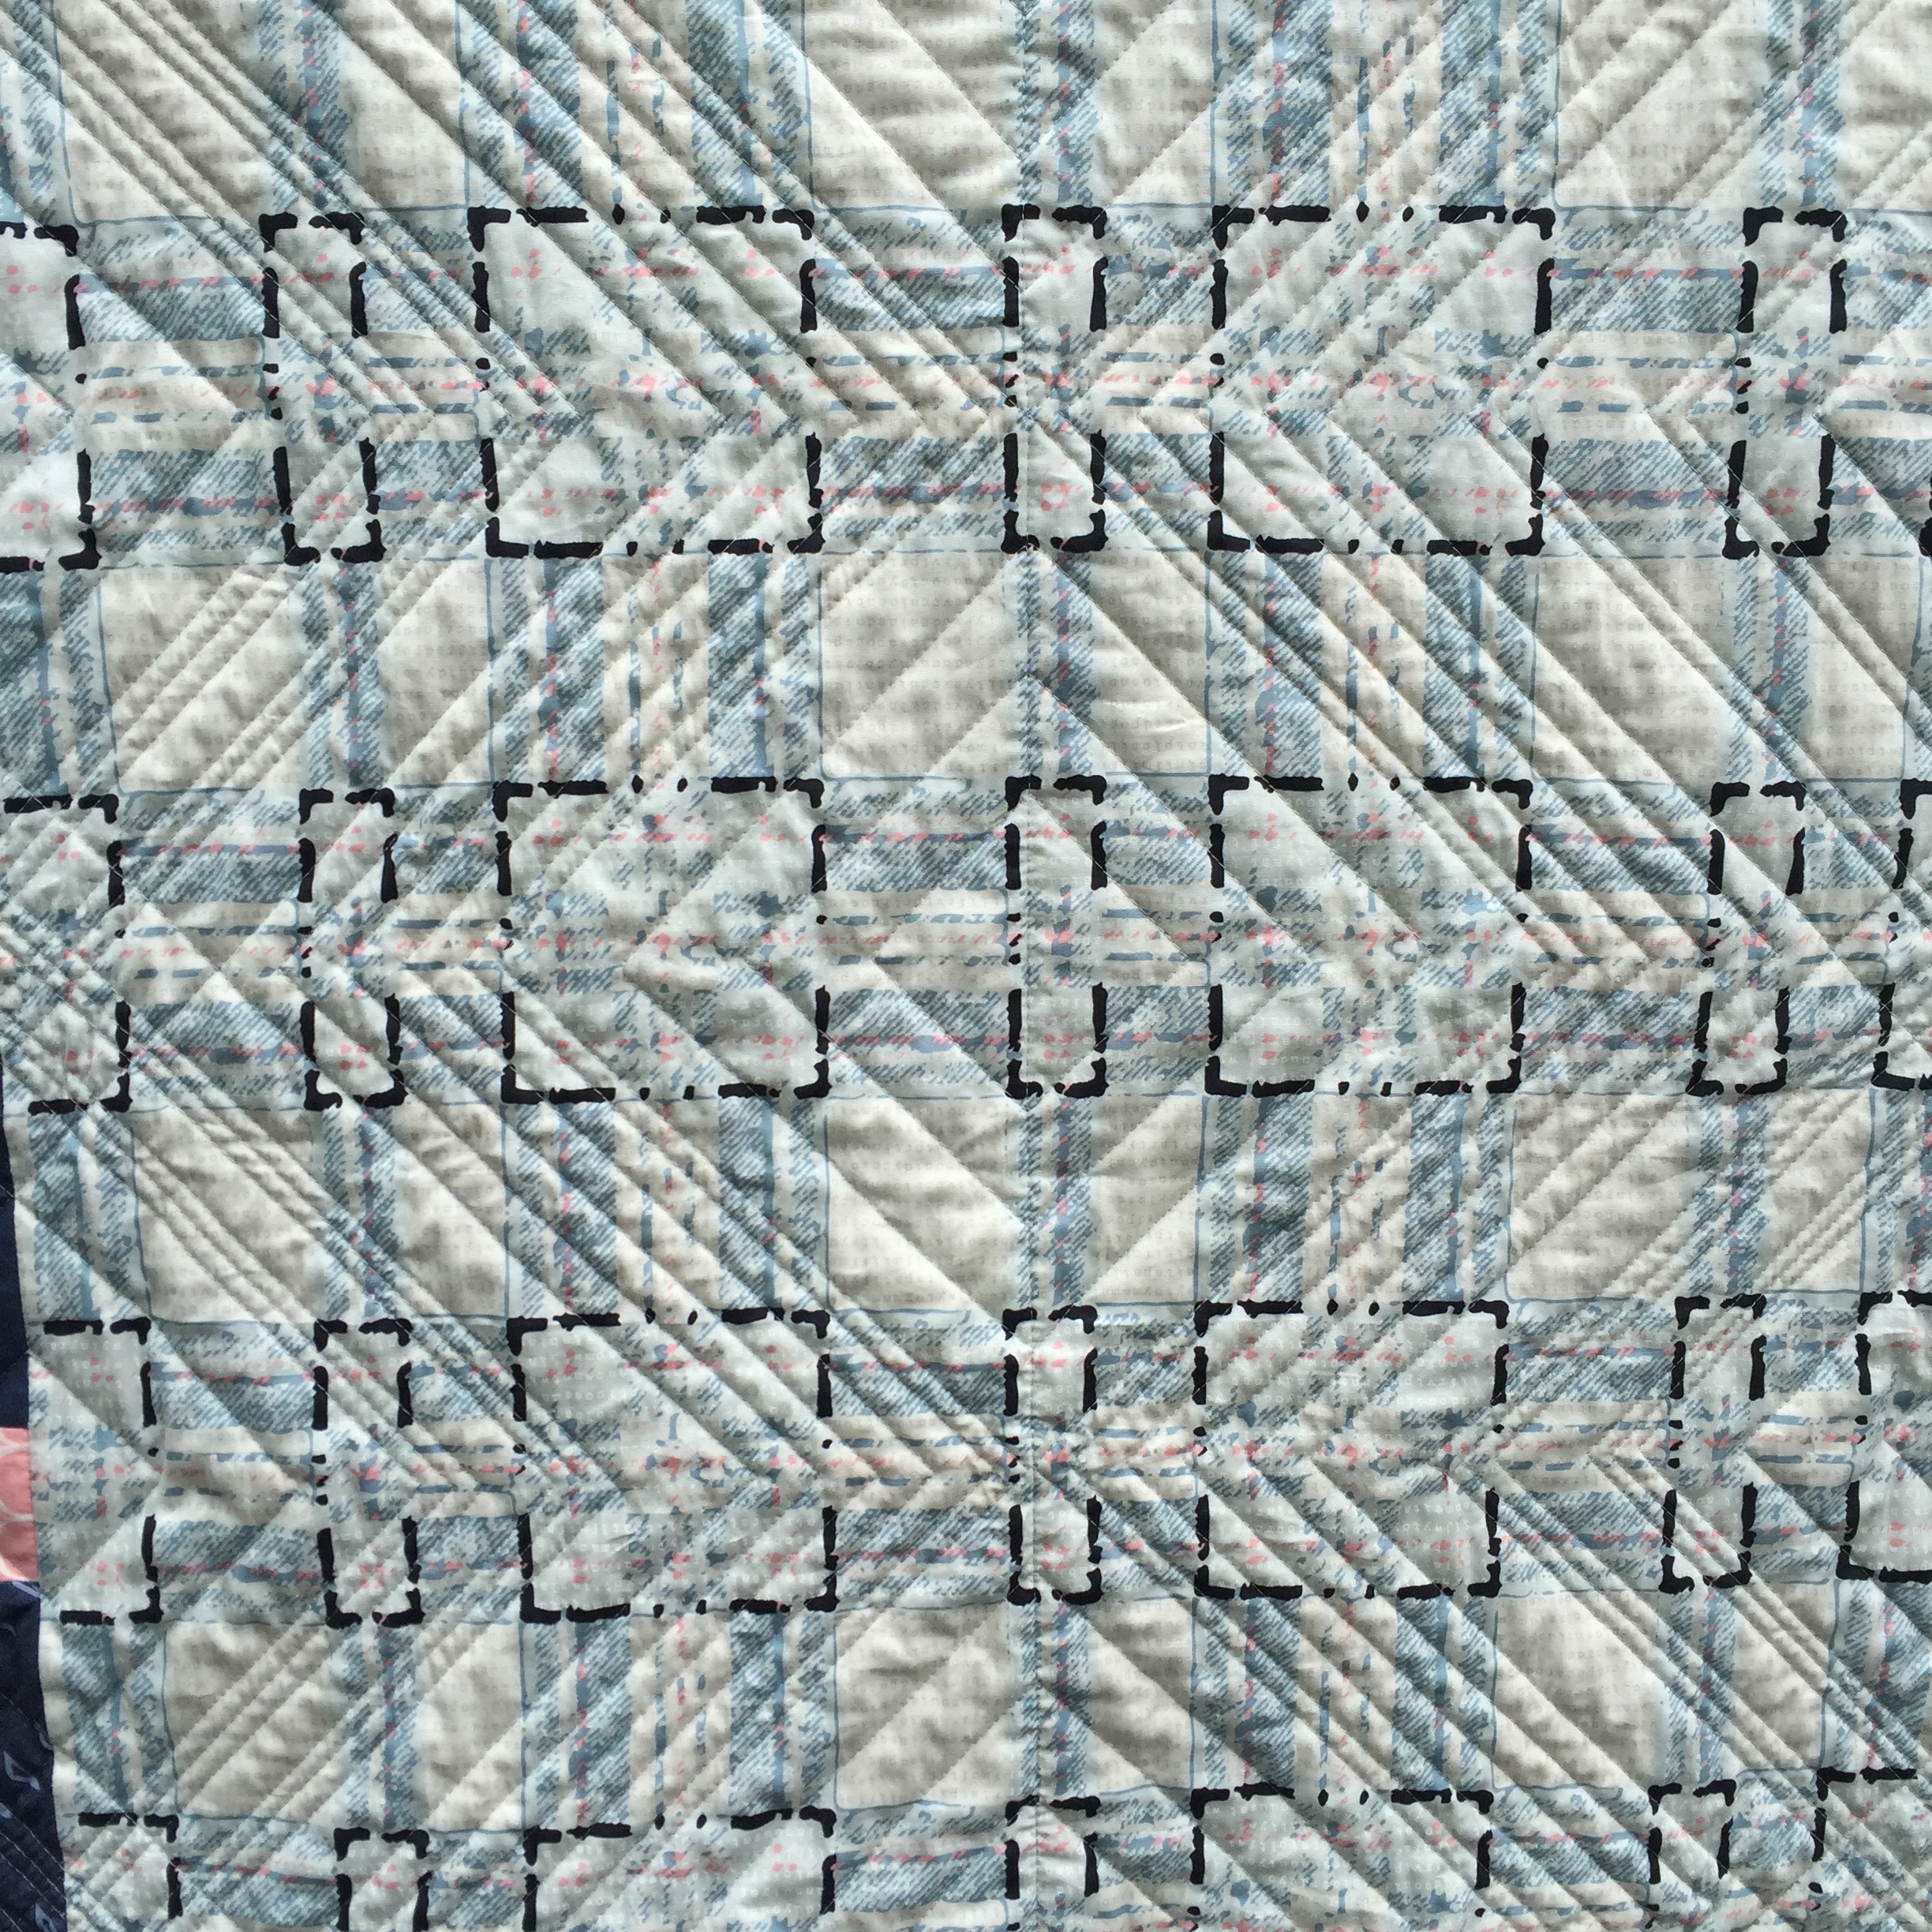
Look at that texture!  Quilting was done on my domestic machine using my walking foot and favorite Aurifil 2021.  I followed the shapes of the piecing and added more density in the darker blue denim.  This backing really shows all the lines.


The binding was also scrappy and pieced together.   As always, I machine attach my binding to the front and spend some couch time with my husband which hand-stitching it to the back.  The colors really complement the denim.

Project  Stats:

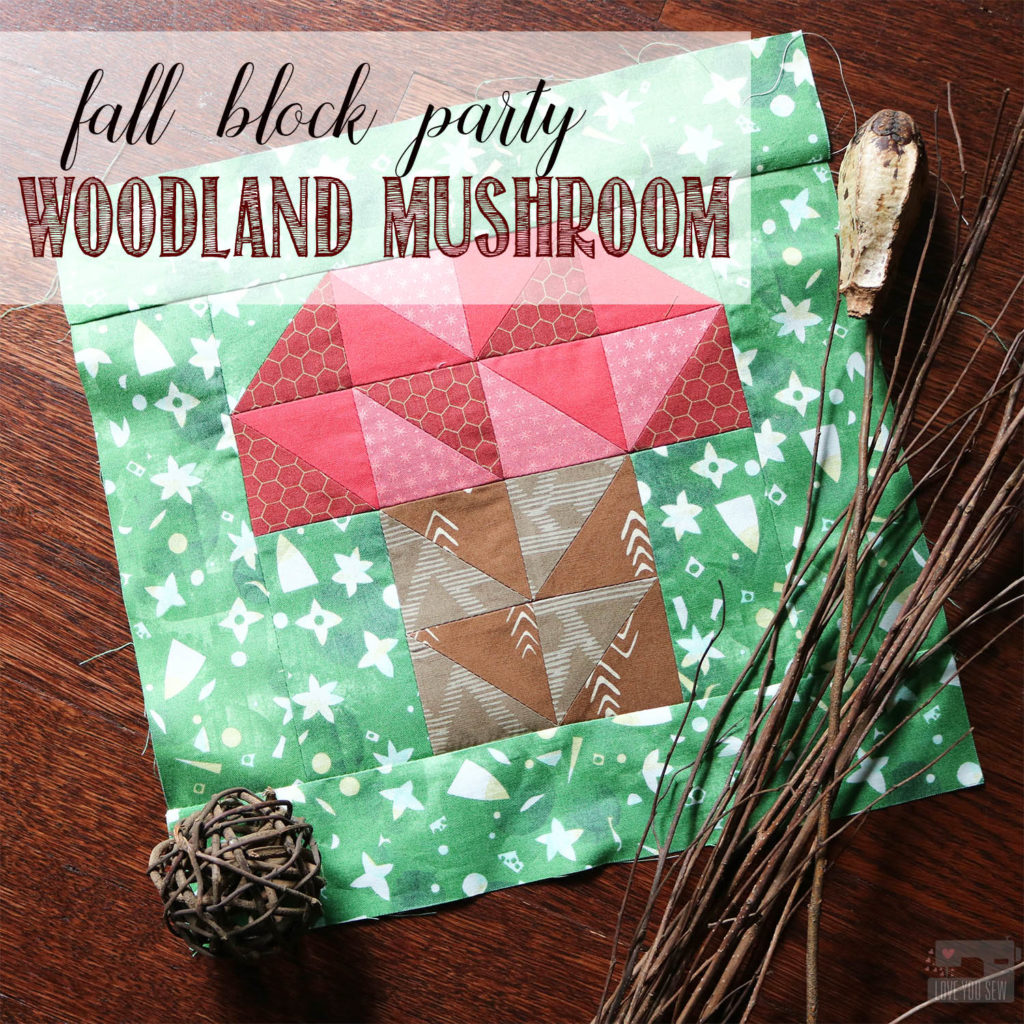
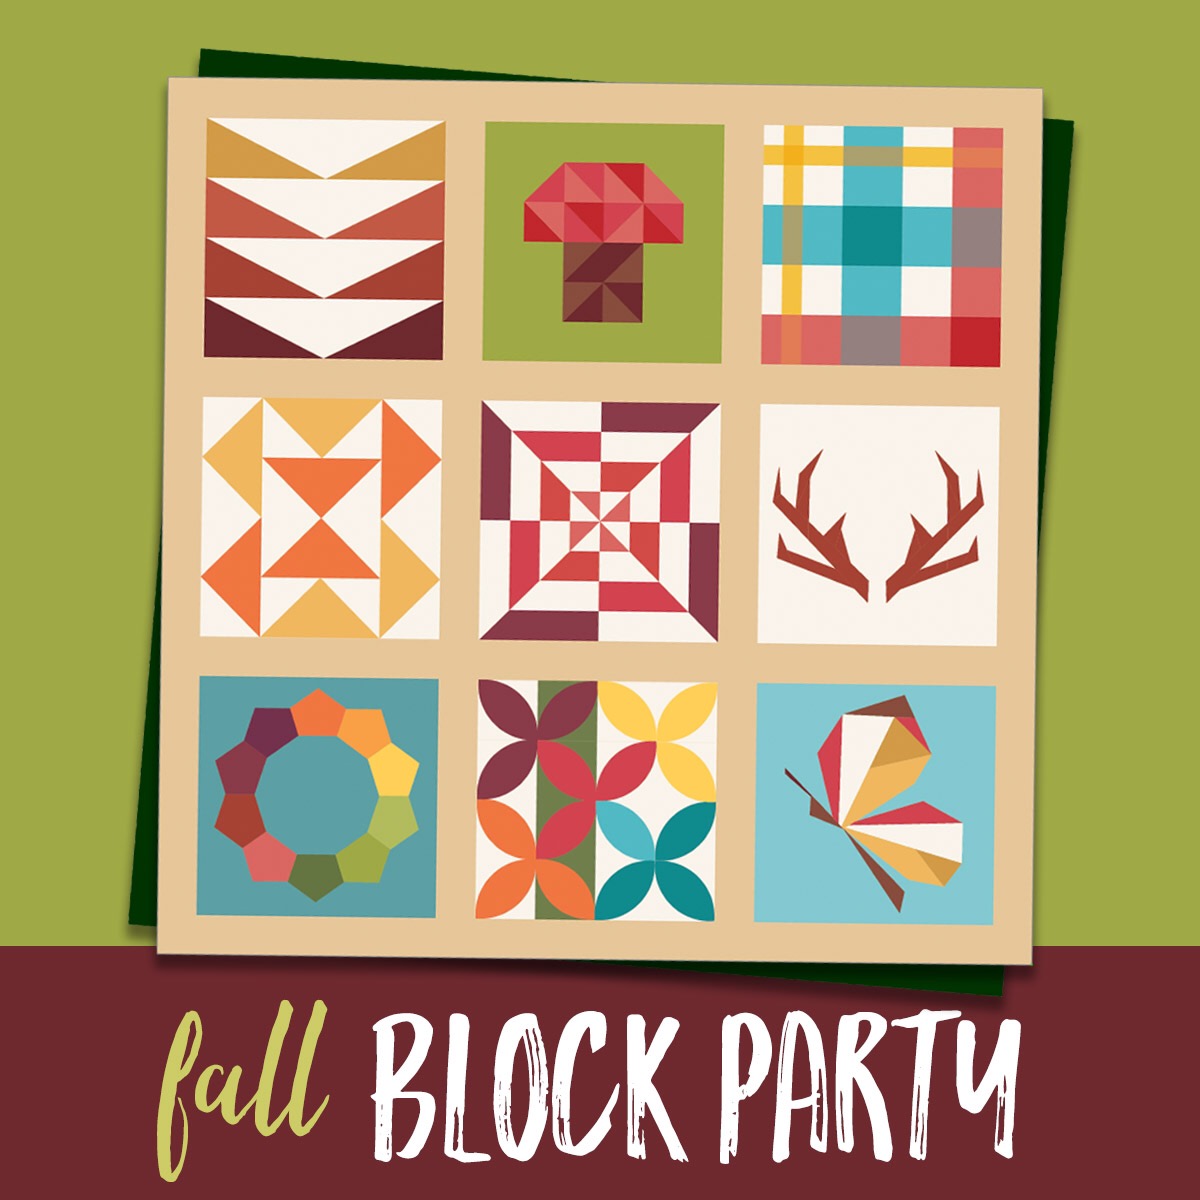
FREE Woodland Mushroom Quilt Block :: Fabric.com Fall Block Party

It’s Week #2 of the 9-week Fabric.com Fall Block Party and I’m ready to take you into the deep woods…  I just love this season with the air getting crisp, the foliage changing colors, and the weather is cool enough for a good long hike.  It’s so much fun to explore the wilderness, especially with my young boys.  We find so many little critters, unique leaves, and lots of different plant-life.  Our own discoveries made me think of the quintessential Woodland Mushroom.

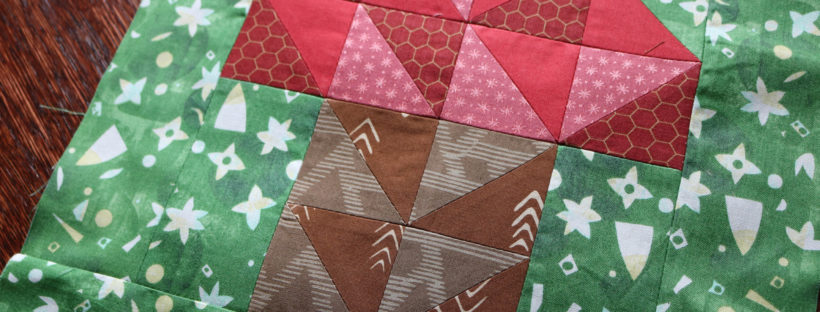
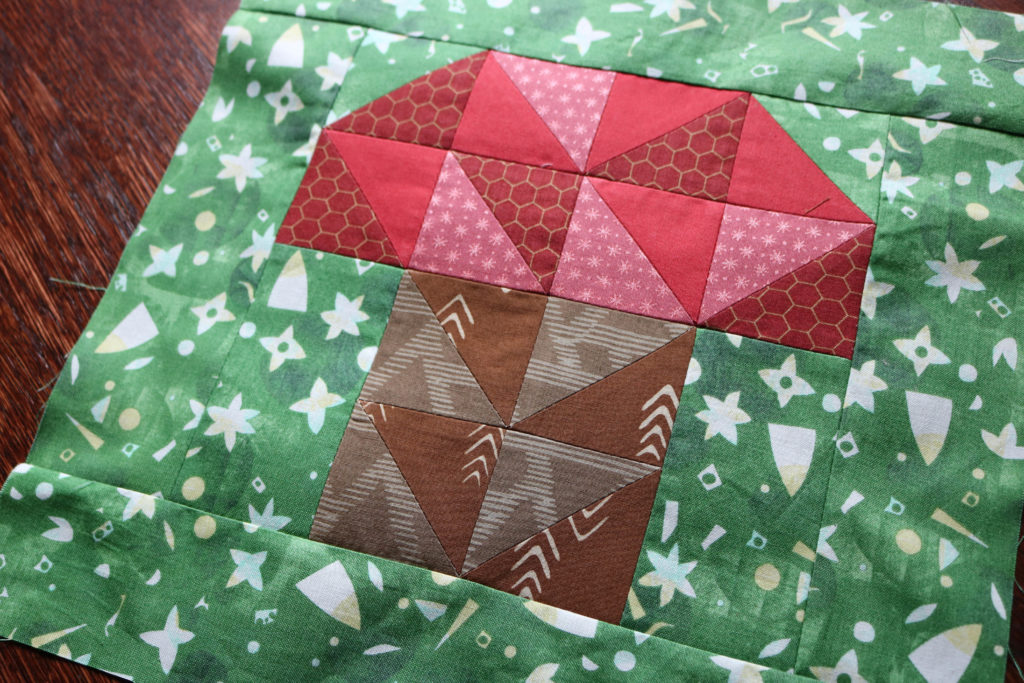
For this design, I wanted a fun scrappy mushroom to go along with all the different colors and textures we see out in nature.  The 12.5″ x 12.5″ (unfinished) block is based mainly on half-square triangles and you will love how just a little rearraging can give your block a new look.

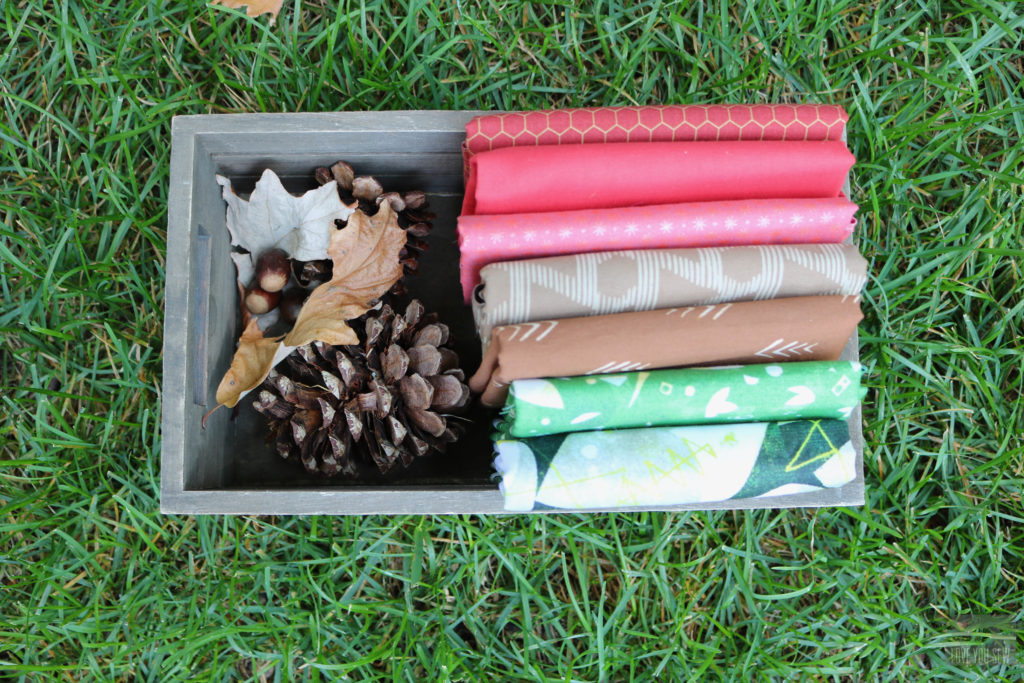
For the Woodland Mushroom, I stuck to the Kona party theme found here, but prints are my key to scrappiness 🙂  These are the fabrics I selected (from top to bottom):

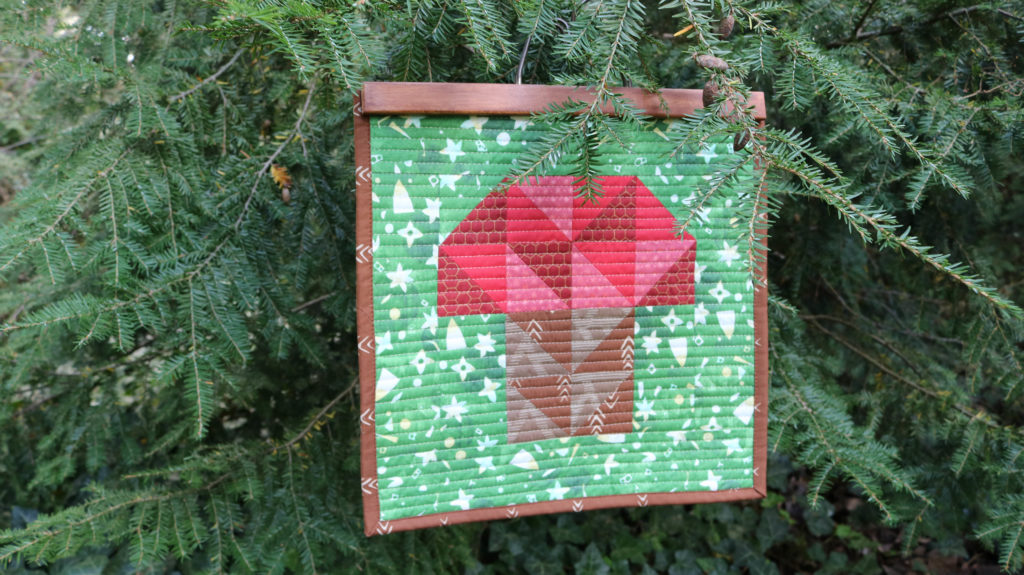
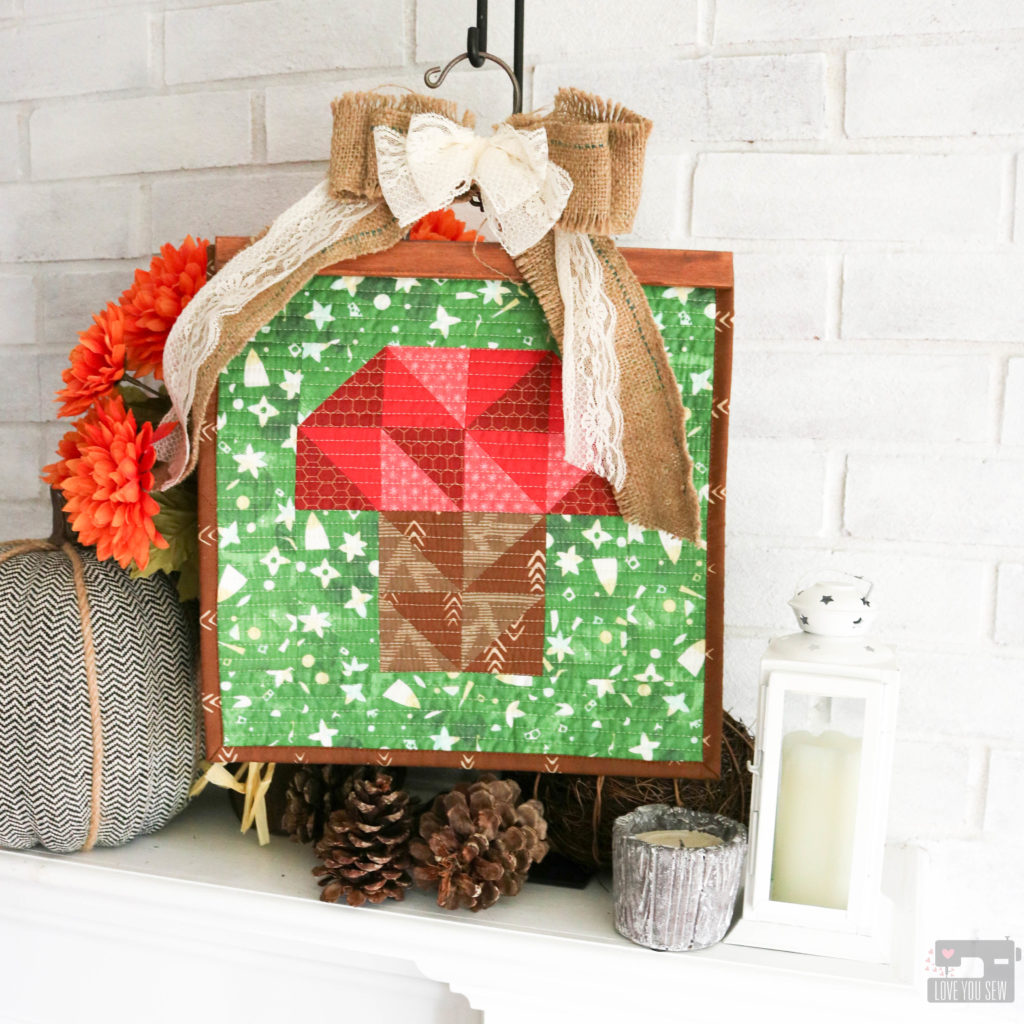
As I was making the block I was thinking of all the ways I could the mushroom as decor….because my house need some help!  I thought of all the fabric signs we see in big box stores with witty sayings all bound together with living picture frames (just a piece of wood at the top and bottom.)  Then it dawned on me to use pant hangers!  I know a lot of you already use them to display blocks, but I thought I would turn it up a notch and refinish a few.

I found these two pant hangers for a total of $0.60 at my local thrift shops.  Both were blonde wood with the same nickel finish on the wire.  With a little fine sandpaper, I took the shine off the entire hanger and used materials I had around the house to refinish it.  A watered down brown acrylic craft paint gave me the “stain” and I happened to have this gorgeous hammered bronze spray paint leftover from another forgotten DIY project.  A few layers of clear coat topped it off to protect the fabric against any paint which may rub off.

The hanger makeover really makes the piece more modern with an industrial rustic feel.  It works well with this fall palette and displays my Woodland Mushroom mini perfectly!  It will be easy to change out mini’s over time and through the different seasons.

Here is the mini displayed with some upcycled “ribbon” cut from a burlap coffee bag and leftover lace from my sister’s wedding.  It is displayed on a mantle with a wreath hanger and helps to bring the random decor I had around the house together.

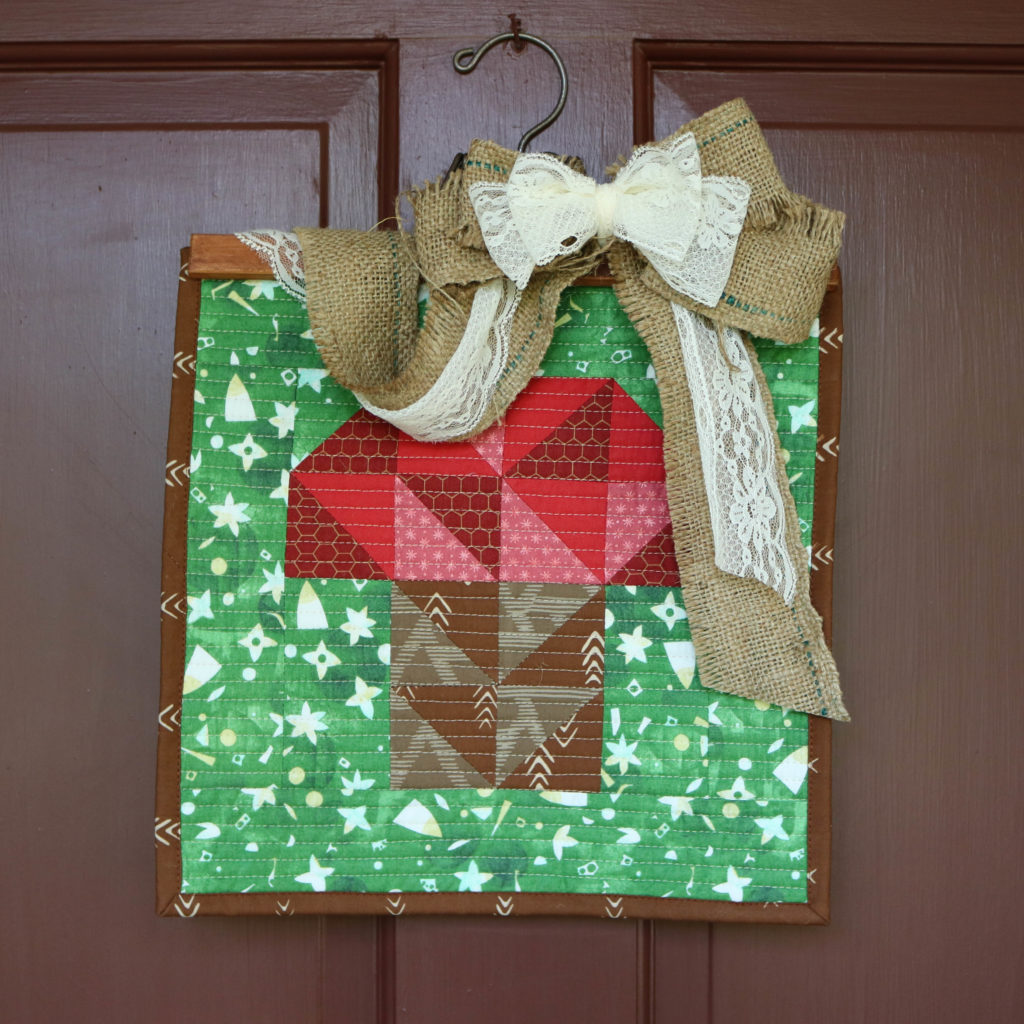
And if mantle or table-scapes aren’t your thing, the pant hanger make it easy to display a mini quilt on your front door.  I think quilts should be the “new” wreaths, don’t you think?  We should get on that movement!

I hope you enjoyed our walk in the woods!  To make your own Woodland Mushroom block, visit Fabric.com’s blog here.


Don’t forget to keep sewing along and follow the rest of these amazing designers and their Fall #fabricdotcomblock party patterns!

Sept 12 – Fall Geese

Kristi Schroeder – Initial K Studio – @initialkstudio

Sept 19 – Woodland Mushroom

Cristy Stuhldreher – Love You Sew – @loveyousew_ (You are here!)

Sept 26 – Mod Tartan

Jenn Rossotti – Ginger Peach Studio – @jennrossotti

Oct 3 – Time Lapse

Christopher Thompson – The Tattooed Quilter – @thetattooedquilter

Oct 10 – Double Windmill

Haley Anderson – Happiness in the Making – @happinessinthemaking

Oct 17 – Antlers

Lisa Hofmann-Maurer – Sew What You Love – @sewwhatyoulove

Oct 24 – Gather

Elise Baek – Elise & Emelie – @eliseandemelie

Oct 31 – Forest Floor

Sarah Thomas – Sariditty -@sariditty

Nov 7 – Flutter By

Nicole Young – Lillyella – @lillyellasworld


Happy Foraging!

Cristy
 

***This post was sponsored by Fabric.com and there are affiliate links.  The block design, instructions and post are my own original work with my own opinions.

Claire Fold-over Clutch :: Pattern Release

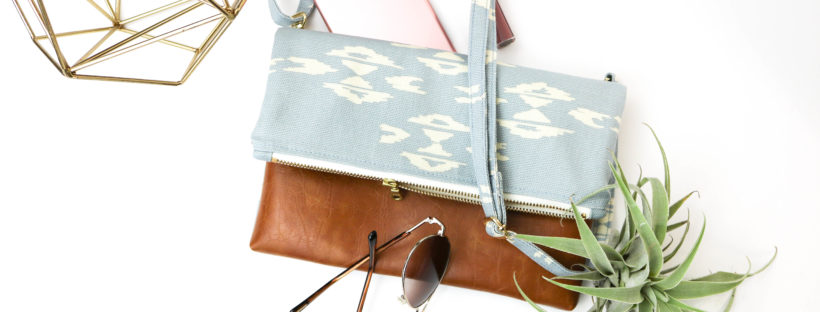
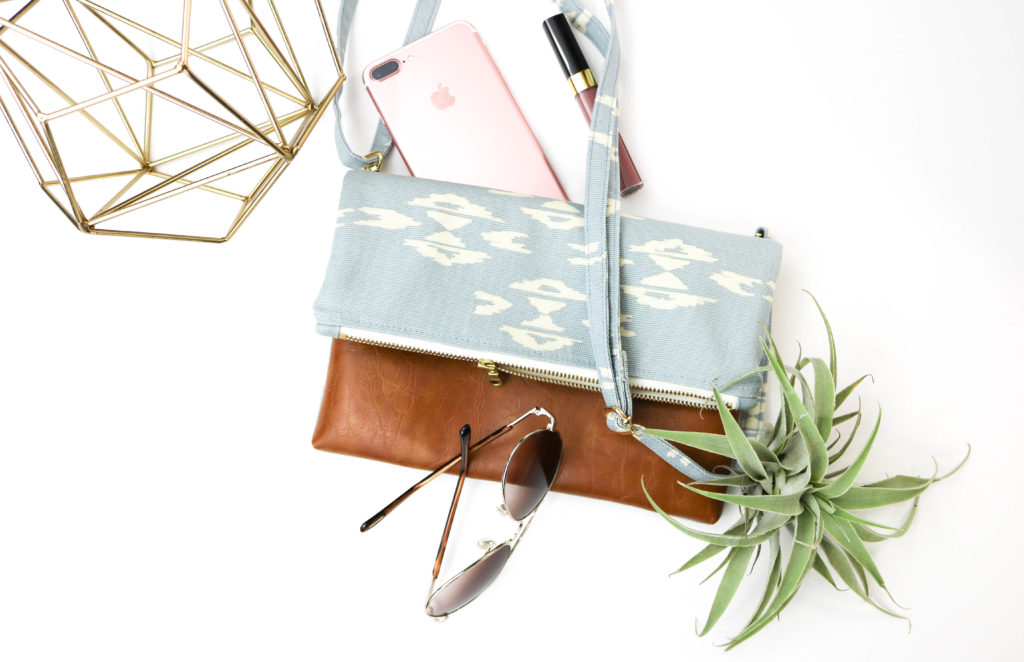
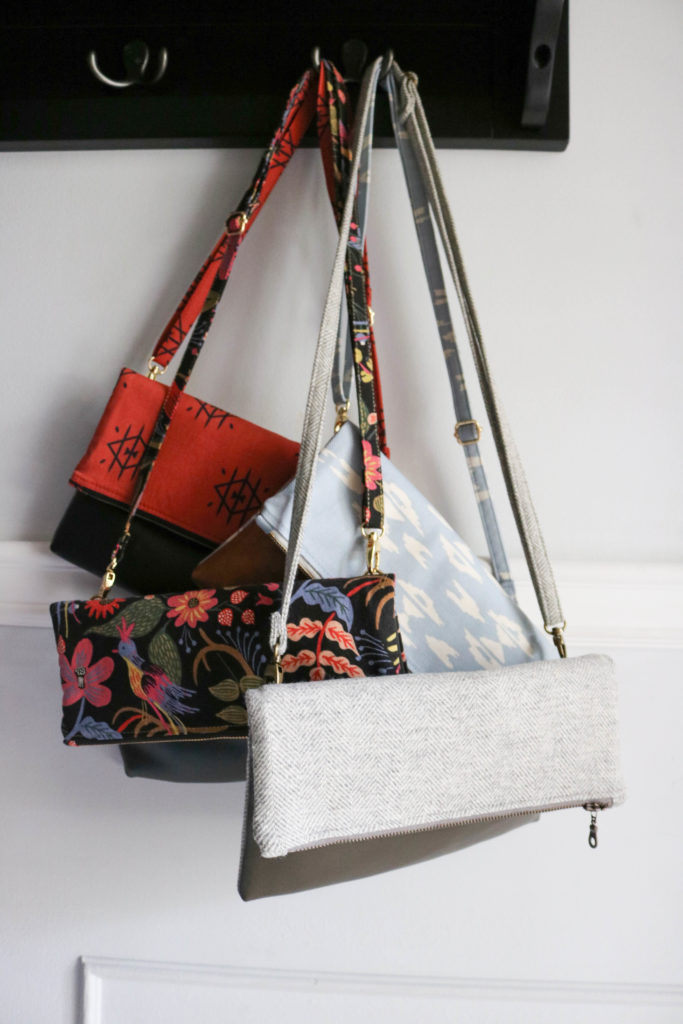
The Claire Fold-over Clutch with cross-body strap is my very first bag pattern release.  ‘Talk about  all the feelings right now!  There is so much to say about this bag, both in it’s functionality and how it just came to be.  If you can bear with me, I’ll dive into both 🙂

Many of you know that I’ve been selling on Etsy for awhile and broke out into local Indie Craft shows just a few years ago.  With the shows, I started to sell more bags to complement my baby accessories and noticed how my wristlets and fold-over clutches were selling over my larger bags.  To differentiate myself from other bag-makers, I had to add some features and finishes to elevate my product…which in turn, became the Claire.

The following are those key features:

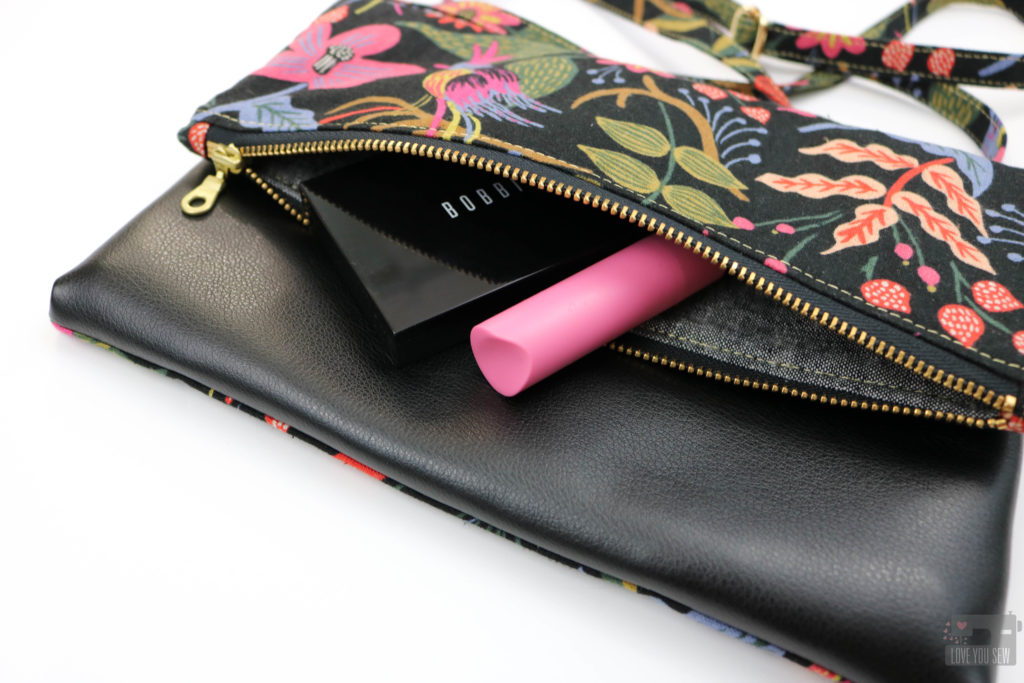
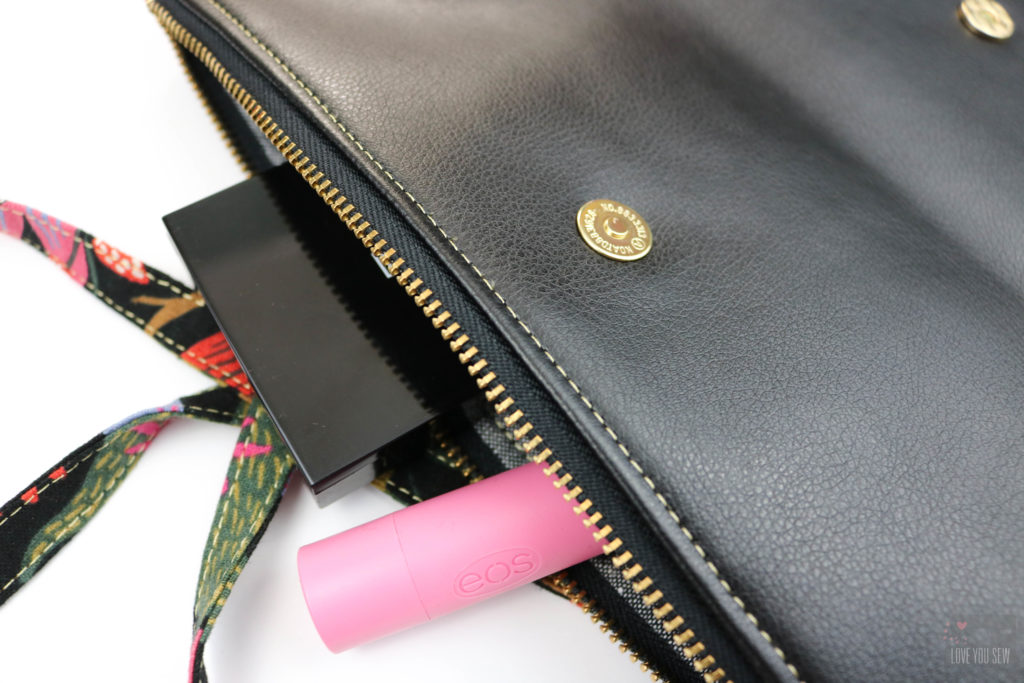
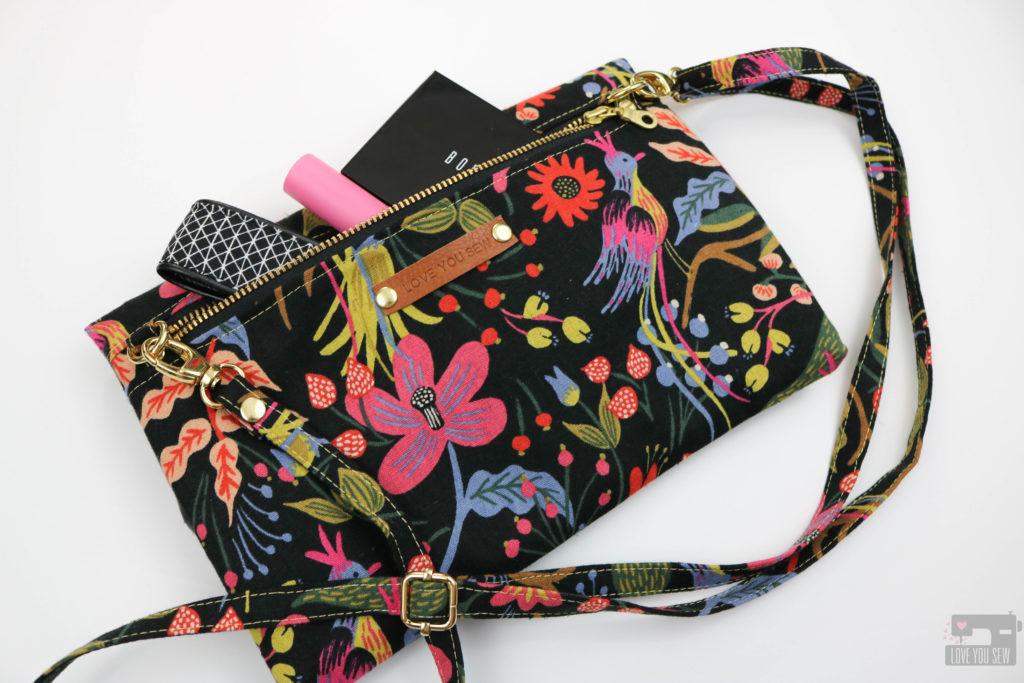
  • Back Pocket – I knew I had to make more of these bags and then a friend came to visit during my holiday sale season.  She had a similar fold-over style bag, but with a front pocket for her phone.  When she reached down and had that immediate accessibility to her phone, the light bulbs were going off.  It seems like we’re all glued to our phones and they just keep getting bigger and bigger…so our back pant pockets are no longer enough.  Since my friend’s bag was by a national manufacturer, there was no easy way I could replicate the front pocket style, but that didn’t mean I couldn’t make a back pocket!

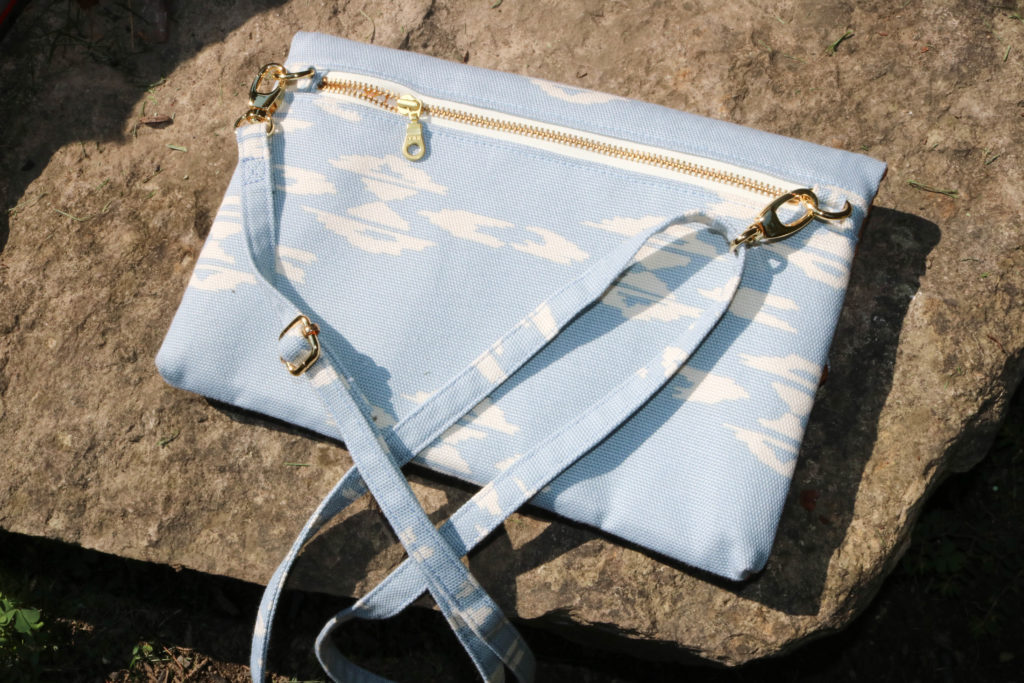
  • Cross-body Strap – I look to my nieces and popular brands for inspiration and I continually see the long straps for the on-the-go millennial and of course, us  busy moms too!  I wanted to make sure it was adjustable and the 60″ strap works for many different body types and all the different occasions in our lives.

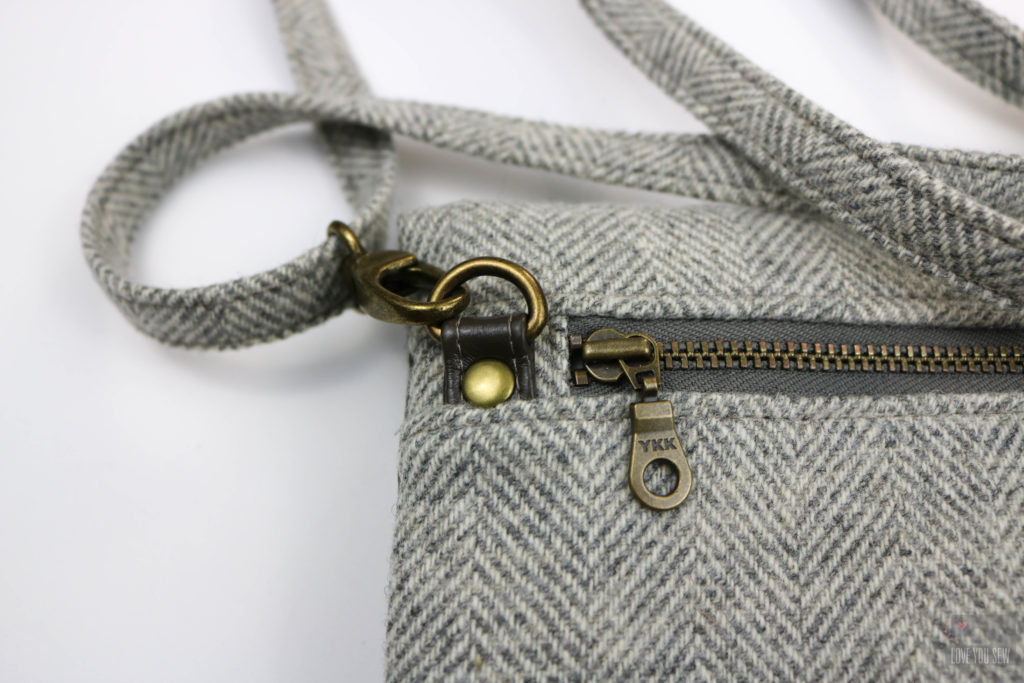
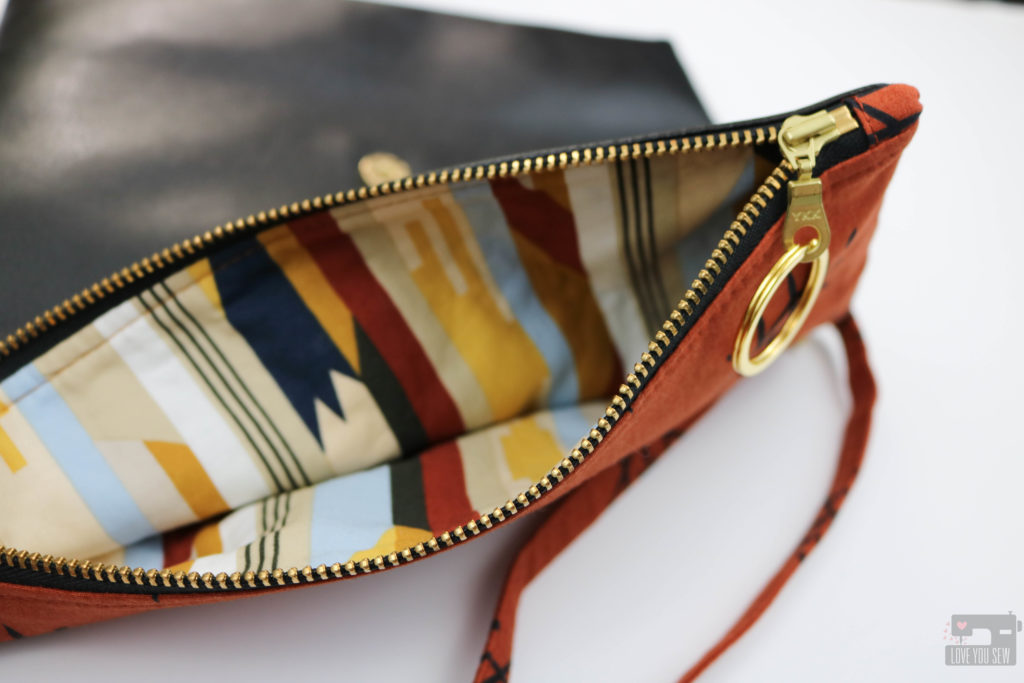
  • Bag to Clutch Versatility – As a clutch, the fold-over style is so cute and I didn’t want hanging side “ears” to get in the way of that classic silhouette.  So the D-rings are set in the back of the bag.

  • Modern and Sleek look – The faux leather panel adds the extra bit of class and style to this bag.  It immediately heightens the looks and your friends will never think you made this bag.

  • Easy to Sew – By keeping the front panel for your accent substrates with either faux leather, cork, or vinyl, you are sewing through the fabric and one layer of the accent.  In other patterns, you can be sewing through 4 layers in addition to the fabric and interfacings.  Not all domestic machines can handle that and I want as many sewists with all different types of machines to be able to make this bag.

  • Interfacing  – I’ve made probably 30 of these bags already…so I’ve played with numerous interfacing combinations.  You want enough structure in the bag, but not too much that it will not fold-over properly.  And most people are like me, we like to use different fabrics and I’ve tried to take the guessing game out when you do decide to switch up.  The interfacing cuts are calculated so you have the strength and structure without having to sew through all of the extra bulk. I’m still looking out for all of my novice sewists 🙂

If you would like to make your own Claire Fold-over Clutch, you can find the pattern in my Etsy and/or my Craftsy shops.

Don’t forget to share your makes on Instagram with #clairefoldoverclutch and #loveyousewpatterns. (Hashtags are the only way I can see your makes if you have a private account!)  I love seeing all of the different versions!


Happy Sewing!

Cristy