Moss Skirt {Review #2}

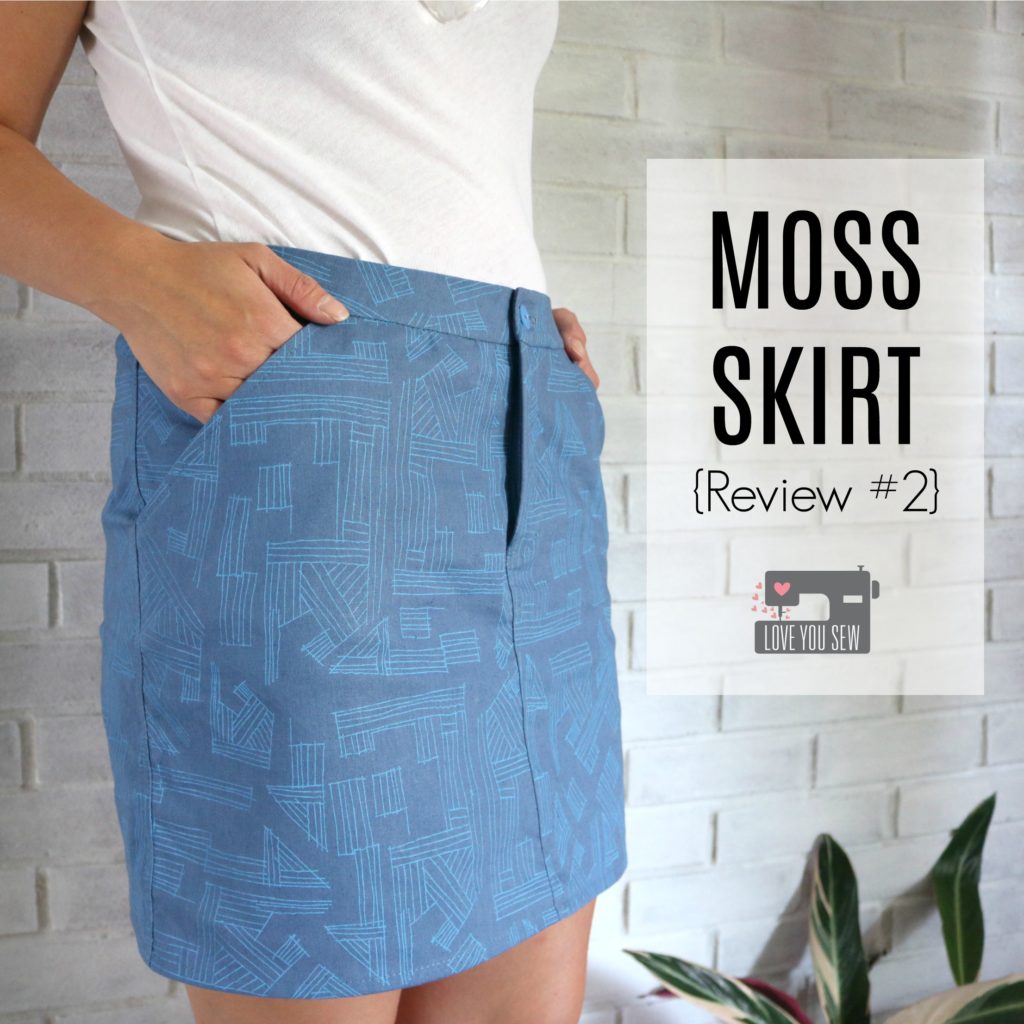
I had my fabric selected for my Moss Skirt by Grainline Studios months ago…hoping to be able to wear it all summer long.  But as you know, life just happens and selfish sewing gets put on the back burner.  This is the second one I’ve made and love it even more than before.  For the first one I made over a year ago, you can read about it here.

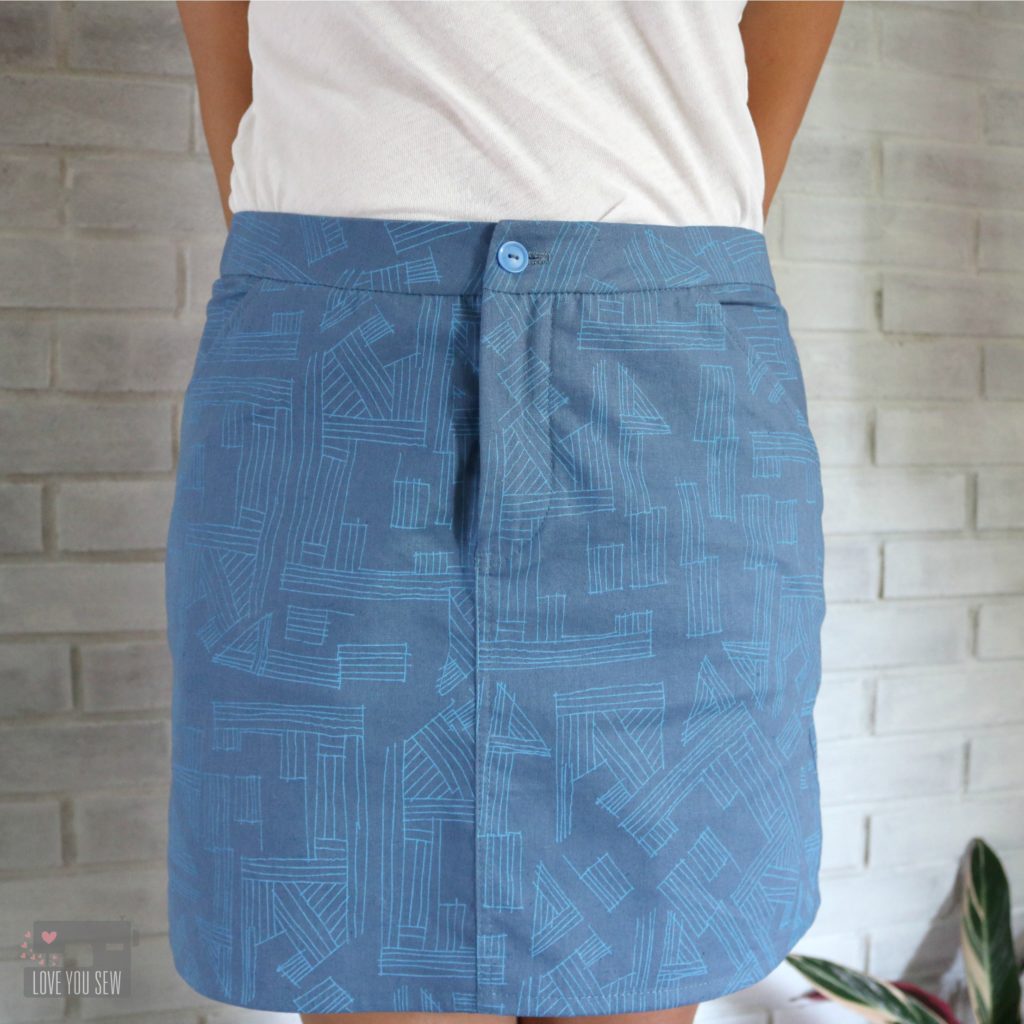
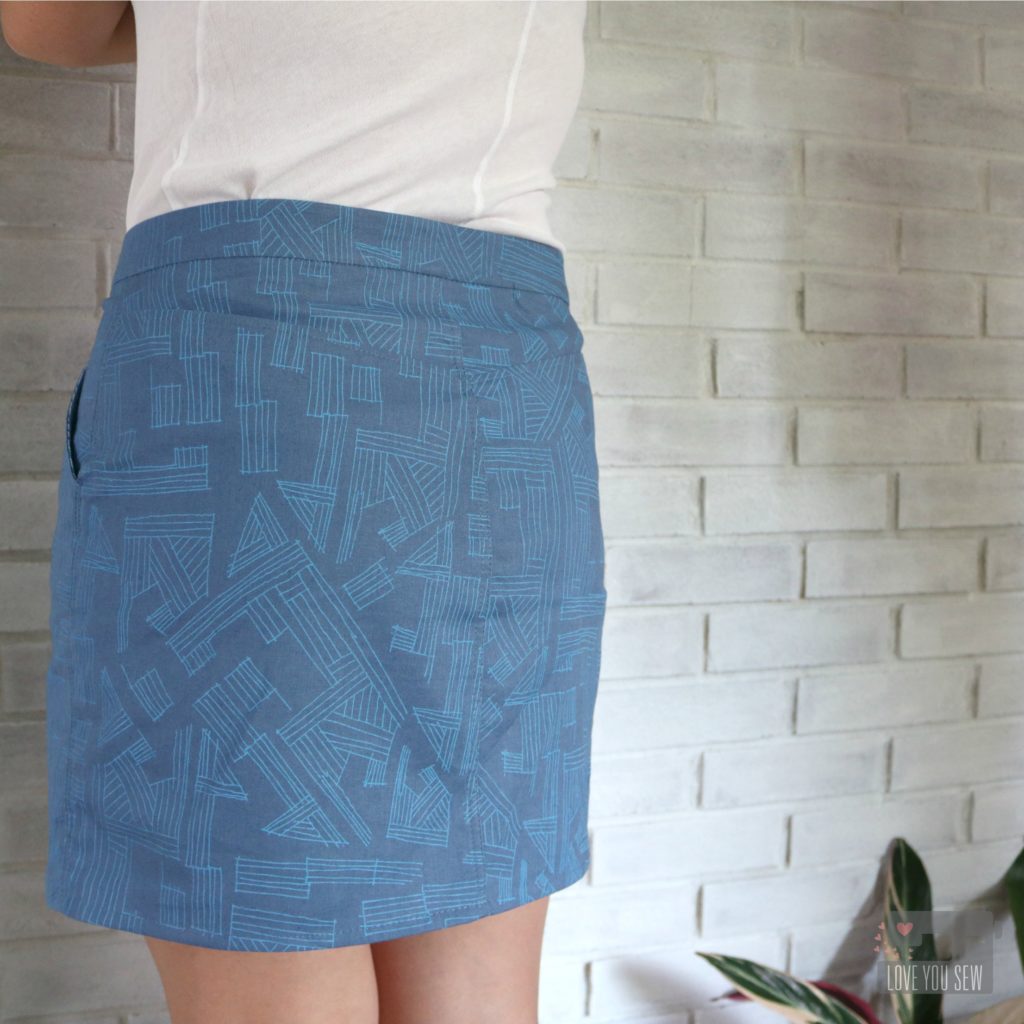
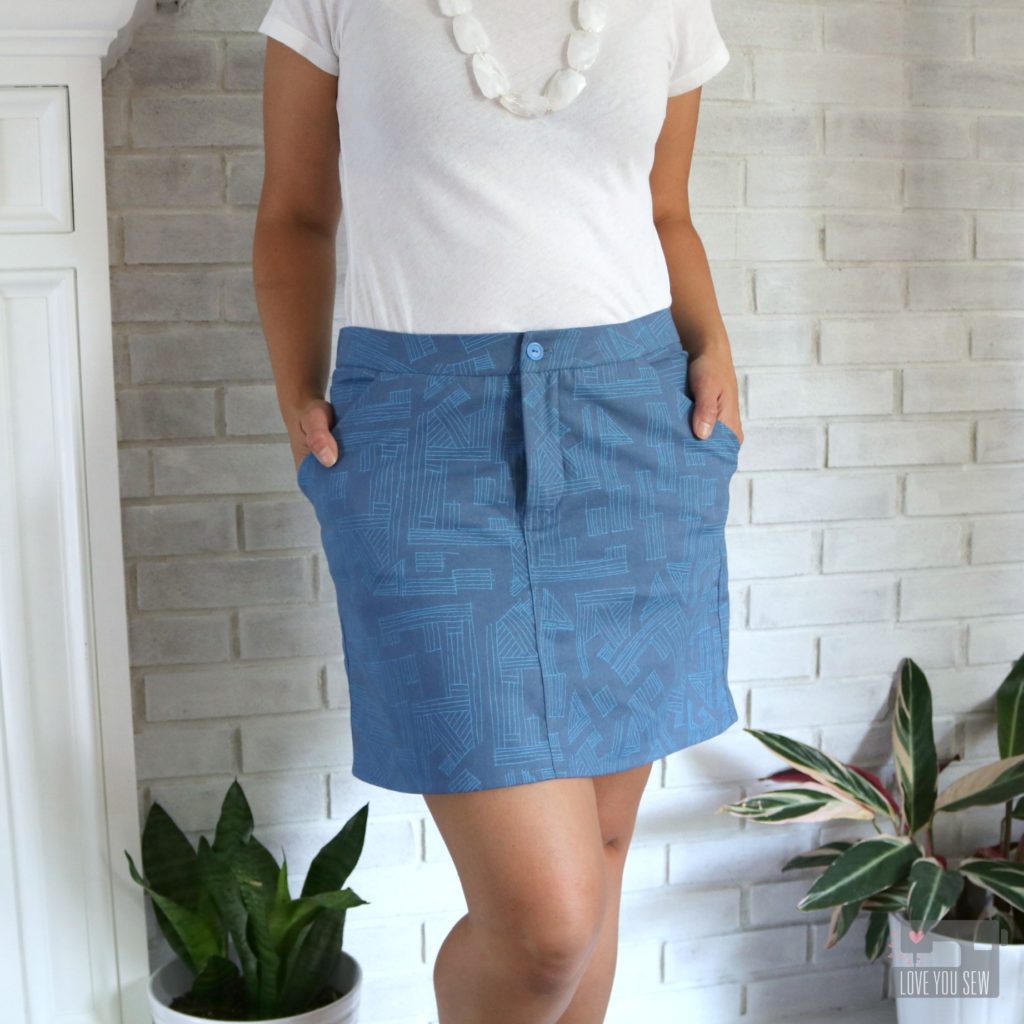
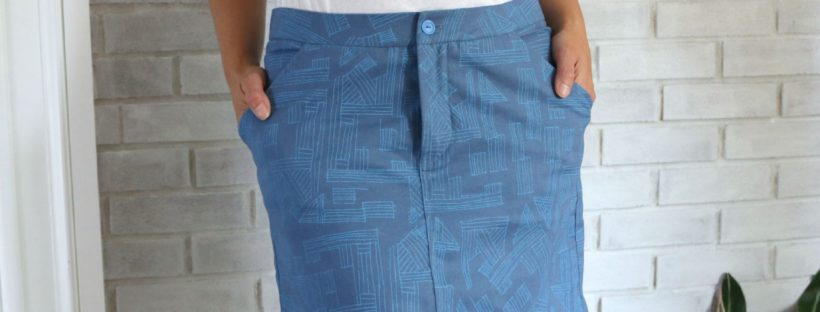
For this version, I used Euclid fabric in Cadet which is a printed linen/cotton blend.  This is slightly heavier than quilting cotton, and makes for the perfect summer weight skirt. With the blend, you get the texture of the linen, but not all the wrinkles. I’m all about less ironing!  By making View A this time, I was able to make this skirt out of one yard of fabric (minus the pockets.)


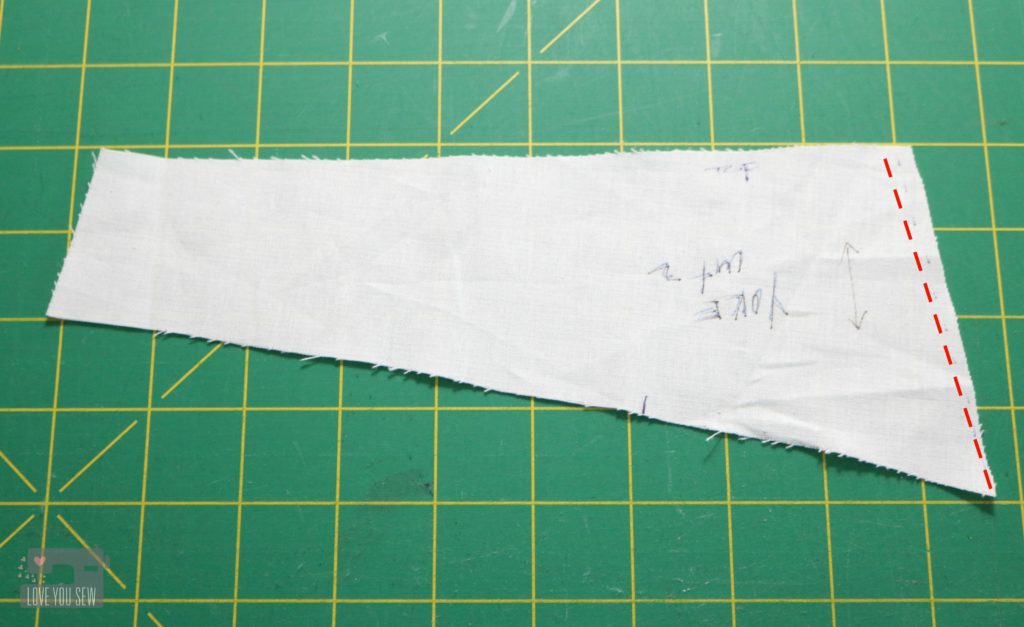
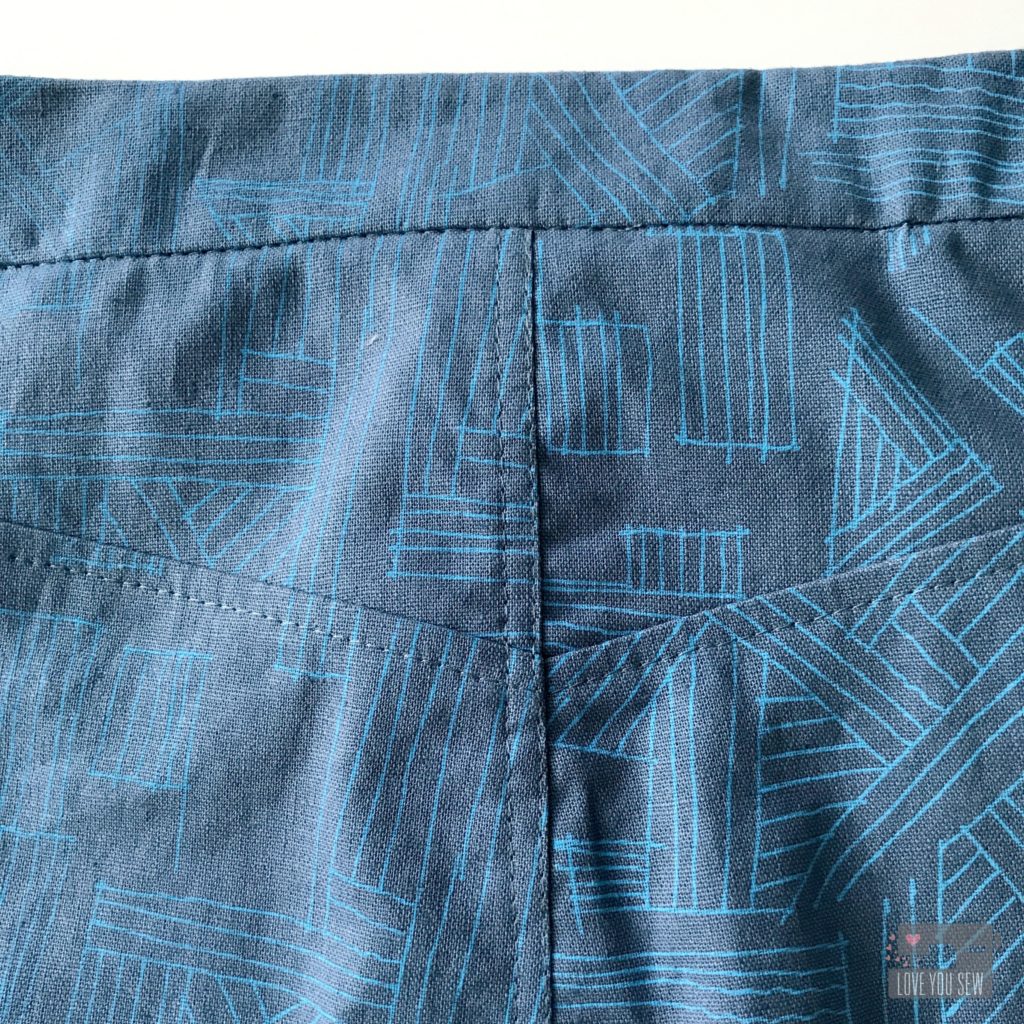
After learning from my first Moss, I knew I had to adjust the back yoke to get rid of the gap. You can see (on the dotted line above) how I cut into the yoke pattern piece on an angle to leave the room for my rear but move the waistline closer to my back.

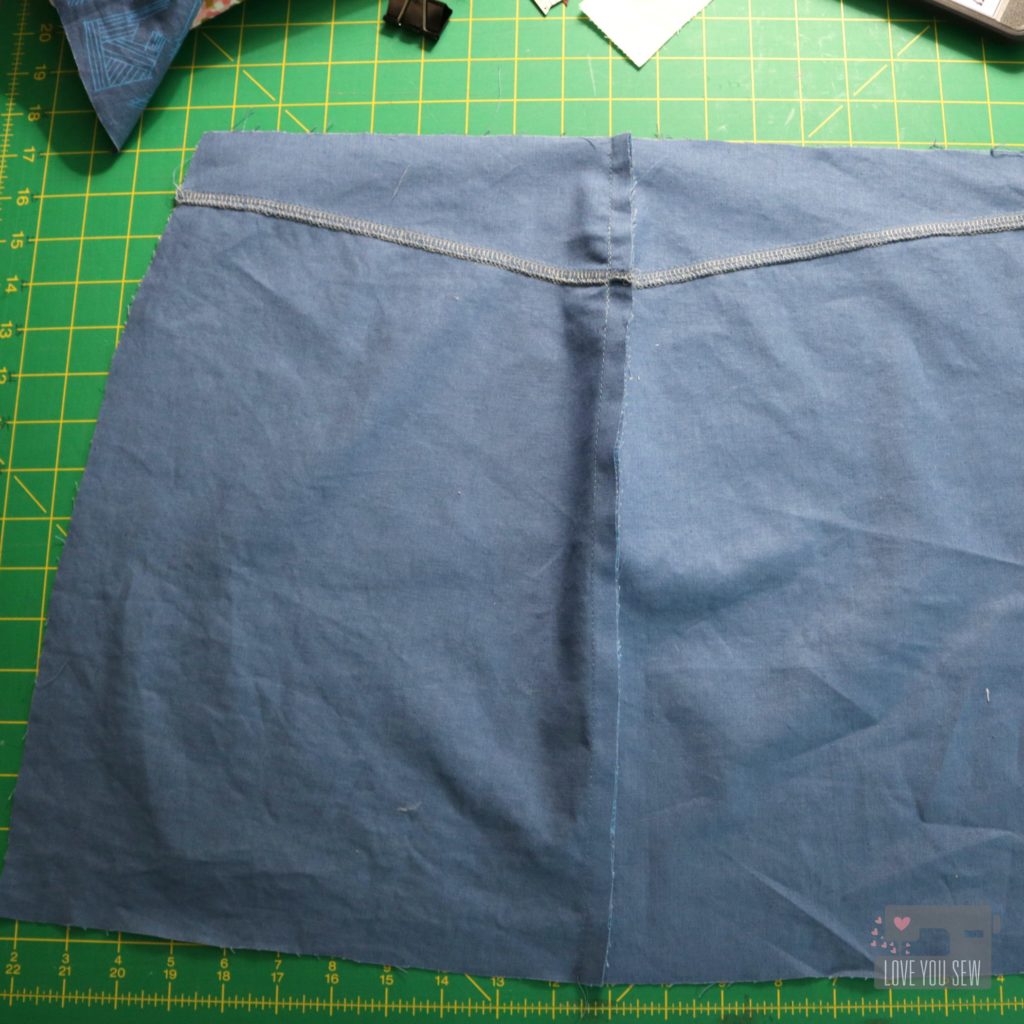
The other other learning was to keep my vertical seams unfinished until I was ready to add the waistband and hem. This allowed me to make just slight tweaks to curve my seams, if needed. Once I was satisfied with fit, I serged my seams.
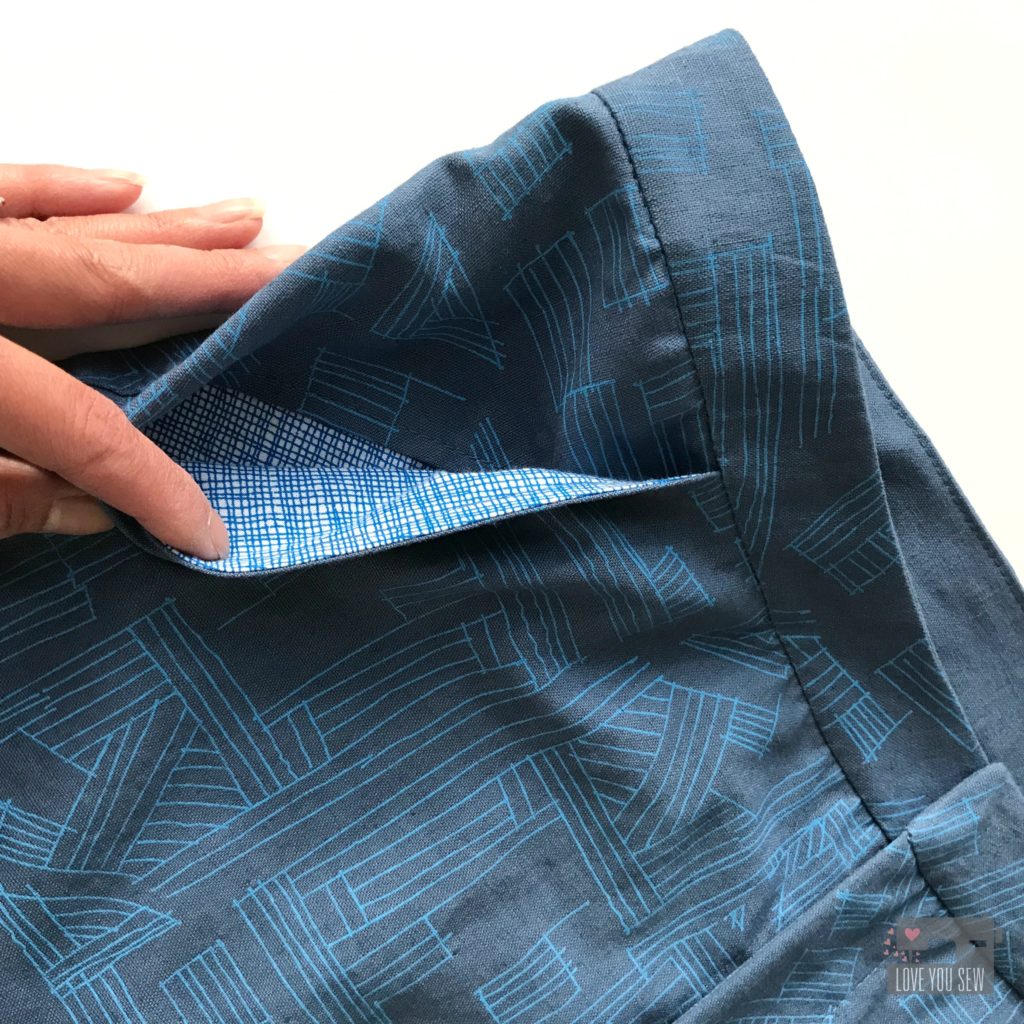

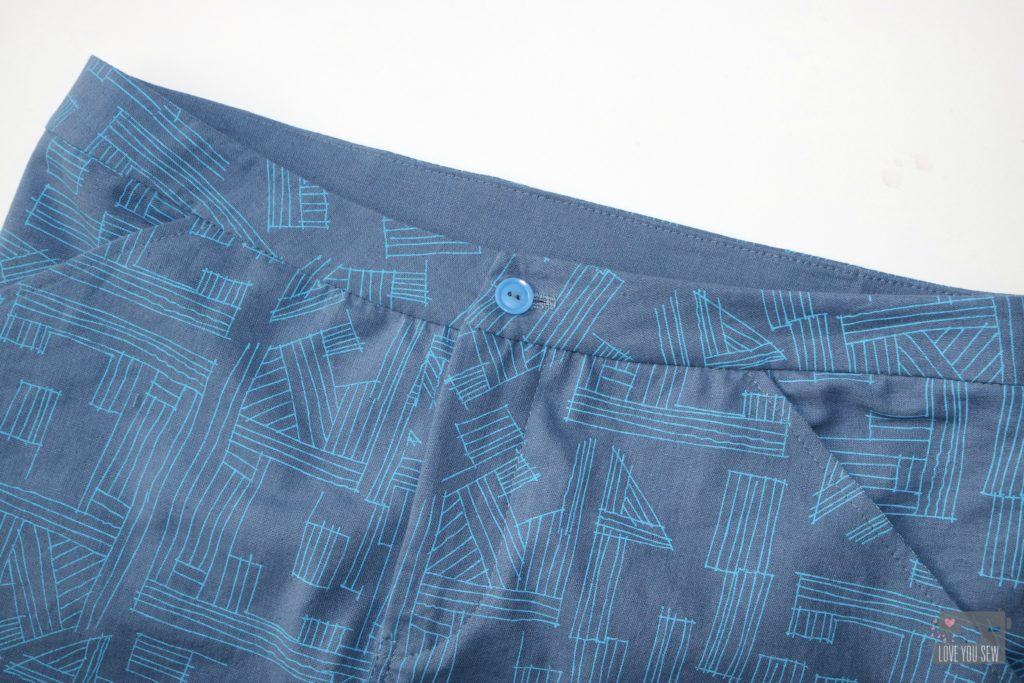
For some fun and to keep the silhouette smooth, I used Architextures Gridlines for my pockets. This allowed me to use some scrap fabric and reduce the bulk if I would’ve kept to the same cotton/linen blend.

As I moved through the pattern pieces, I mimicked the same top-stitching as seen on a pair of ready-to-wear jeans. I love how it turned out! Be sure to increase the stitch length and go slowly to ensure nice straight line.

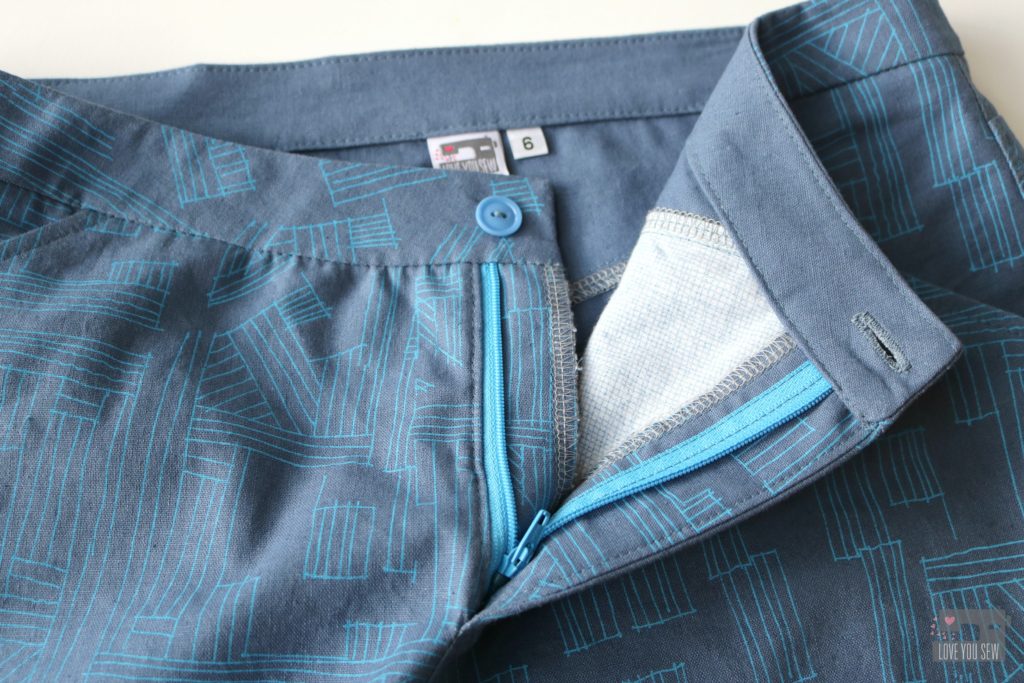
The great thing about making your clothes, not only for the custom fit, is being able to add so many special touches.  Like the pockets, I added a contrasting zipper and button for fun.  The button came from my MIL’s long hoarded collection and it reminds me of her as I wear this new garment.

For the waistband, I decided to machine stitch the inside down verses slip-stitching it as the pattern calls.  I’m a busy mom and I try to machine wash and dry as much as I can.  For me,  a machine stitch would just hold up better with my lifestyle.  This lady does not have time for all that hand-washing!  I pressed the interior band down just wide enough to just cover the seam and stitches.  (If you have any branding or sizing tags, this is the perfect time to pin them in.)  I used a Sewline glue pen to keep the interior waistband in place while I stitched-in-the-ditch along the exterior.  This allows me to just catch the interior band.


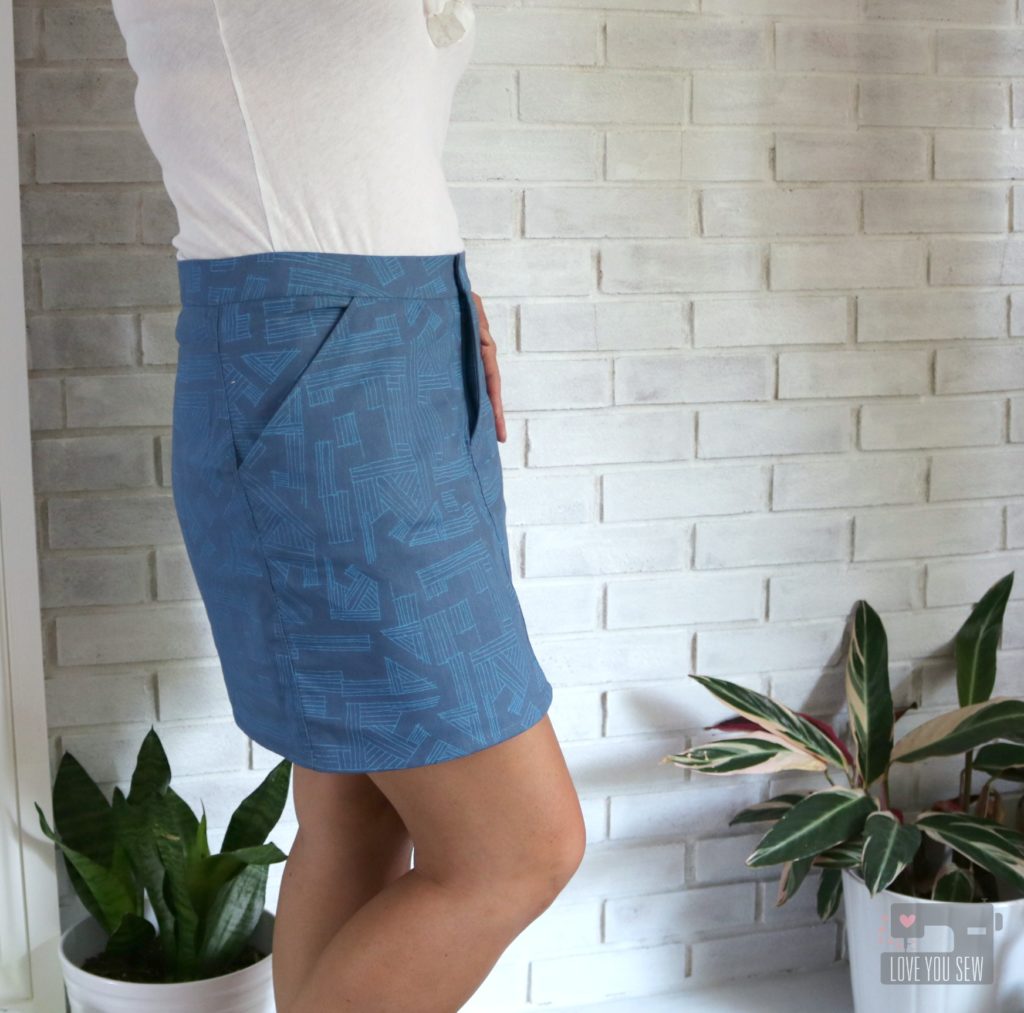
With View A, I hemmed as directed.  This length was perfect on my 5’3″ frame.  It hits a few inches  above the knee, but is perfect for the summer.  If I was any taller, this might be a tad too short for my “mom” lifestyle which requires a lot of bending up and down…and sometimes a bit of unexpected climbing.  🙂

As I’ve been building my handmade wardrobe, I’ve been selective in choosing some slimmer silhouettes for my petite frame.  I am heavier in the arms and legs, thus like to emphasize my waistline.  This is the perfect skirt pattern for just that.  The clean lines and waistband keep everything smooth to draw the eye up and down.  The printing on the fabric is just the right scale to keep everything in place and not over emphasize one part or the other. 😉

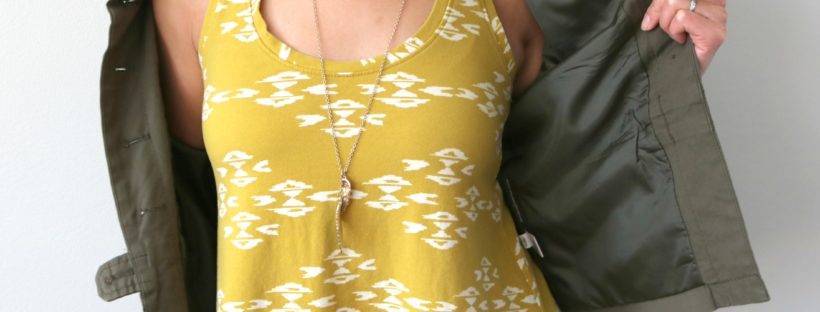
I love how I can pair this skirt with just a white tee and the outfit still looks polished.  I’m hoping to extend this skirt’s life with some heavy tights and cute clogs with a slim long-sleeve tee in the fall. Check out my IG feed to see how it pairs with a yellow and white striped tank and the other outfit pairings!


Project Details:

  • Pattern: Moss Skirt by Grainline Patterns
  • Exterior Fabric: Euclid in Cadet by Carolyn Friedlander for Robert Kaufman Fabrics from Fabric.com
  • Pocket Fabric: Architextures Gridlines in  by Carolyn Friedlander for Robert Kaufman Fabrics
  • Piecing and Top-Stitching Thread: Gutermann 236 polyester
  • Zipper: YKK from ZipIt Zippers
  • Button: Vintage (manufacturer unknown)


Happy Sewing!

Cristy


Please note there are affiliate links.
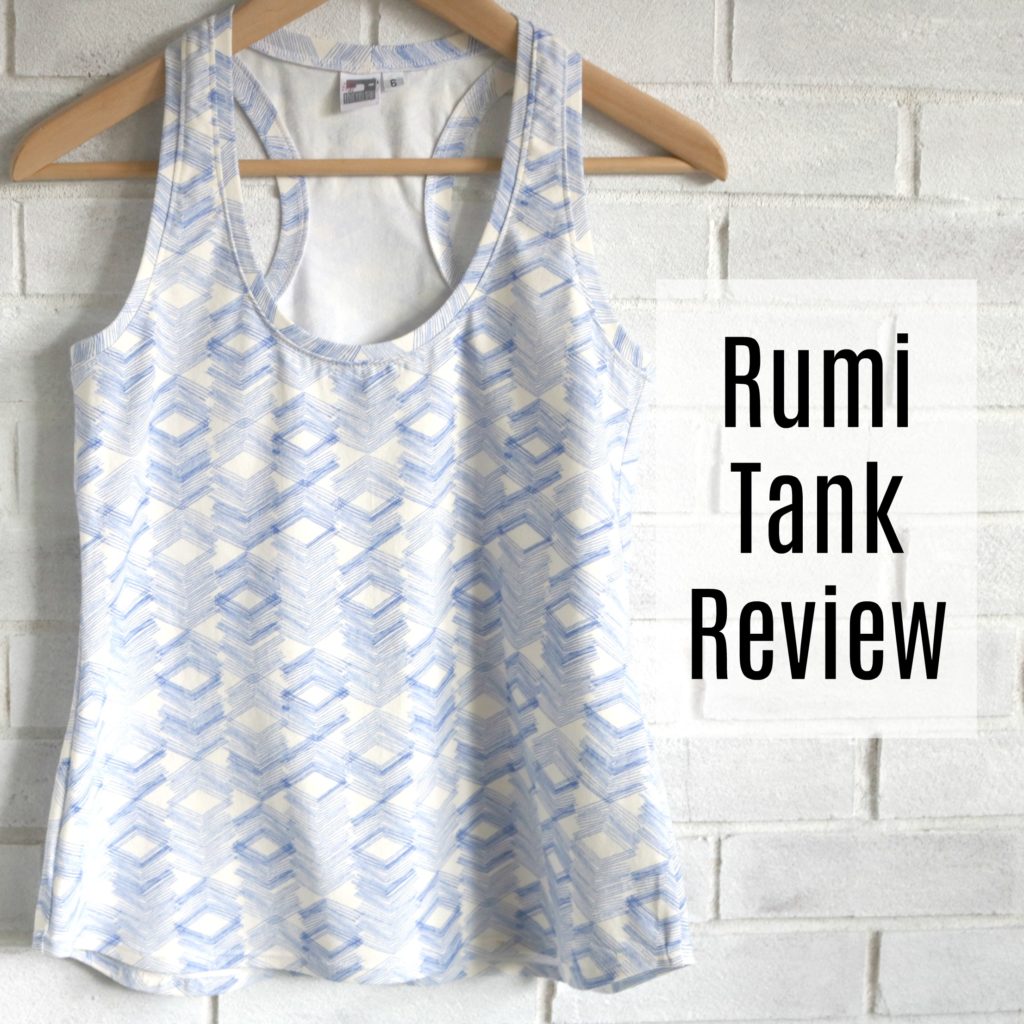
Rumi Tank Review

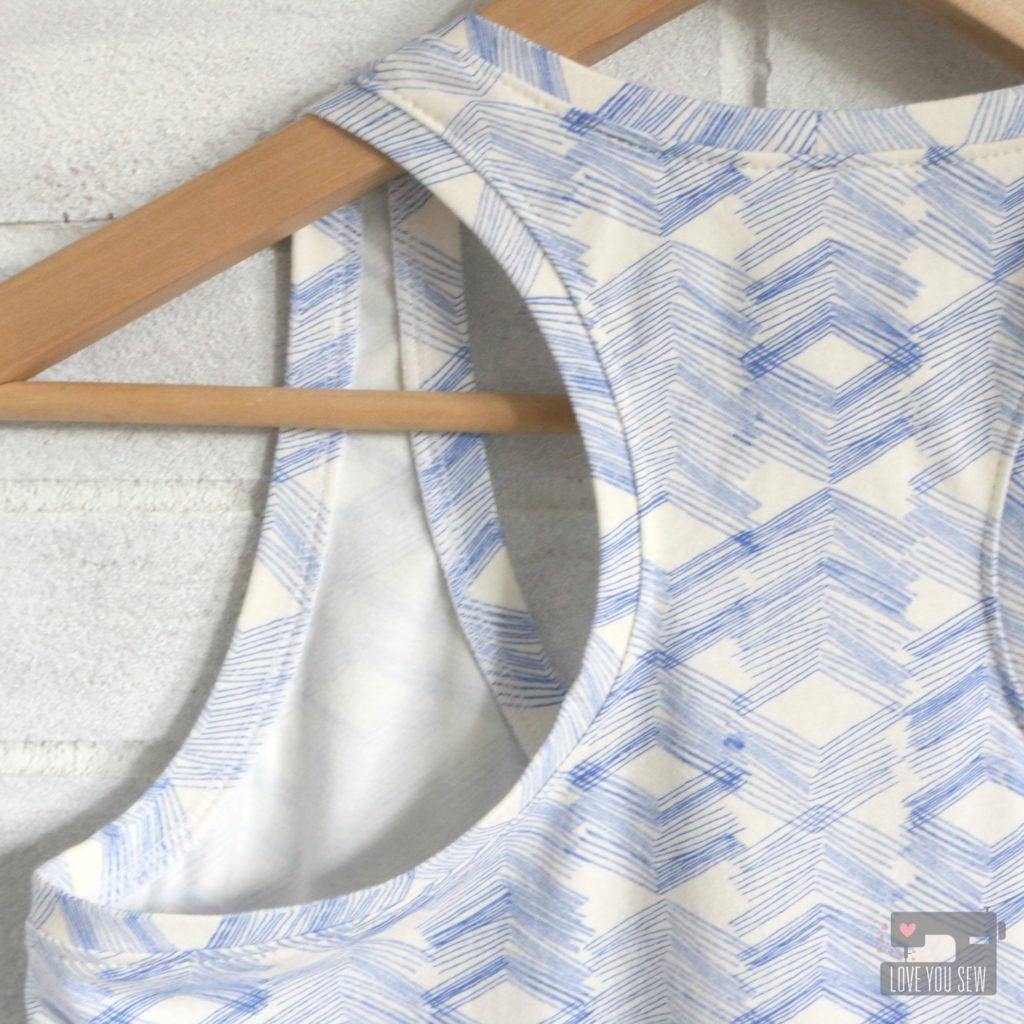
I’m a huge fan of racerback tops. I don’t know if I just have weird sloping shoulders or maybe the wrong bras, but any kind of spaghetti strap I wear, always falls down.  Over the years, its become pretty annoying having to constantly pull the straps back up.  I started to wear mainly racerback bras to combat my issue and then had to find new tank tops that would cover the new strap configuration.

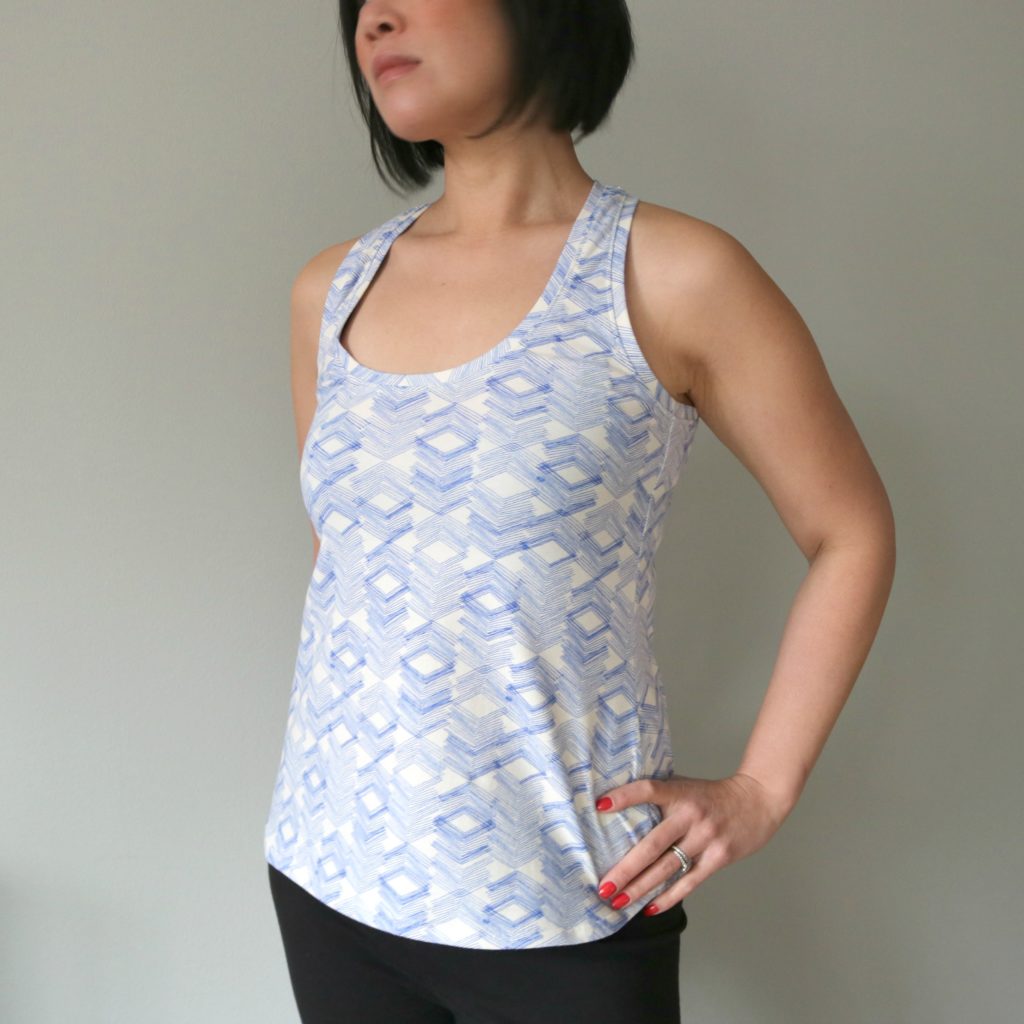
So when Christine Haynes came out with the Rumi Tank pattern, I knew instantly, it was for me.  It’s designed for knits, has a classic versatile shape and is stash friendly. I can get a tank out of less than a yard and have made two tanks that out of pure scraps.  This pattern is a PDF with printing options for a personal printer and copy shop.  I decided to send this pattern to my local big box office supply store (because I had a coupon) for the first time.  Let me say, if given the option, I will always choose copy shop printing.  Taping PDF patterns is just not what I want to spend my time doing.

My first project was just the tank version and I used the Limestone Feel knit by Leah Duncan . I’m between a 6 and an 8 and also a B cup. From the waist up, I cut a 6 and then graded out to the 8 around the hip (to account for my larger rear) and used a 10 in length.

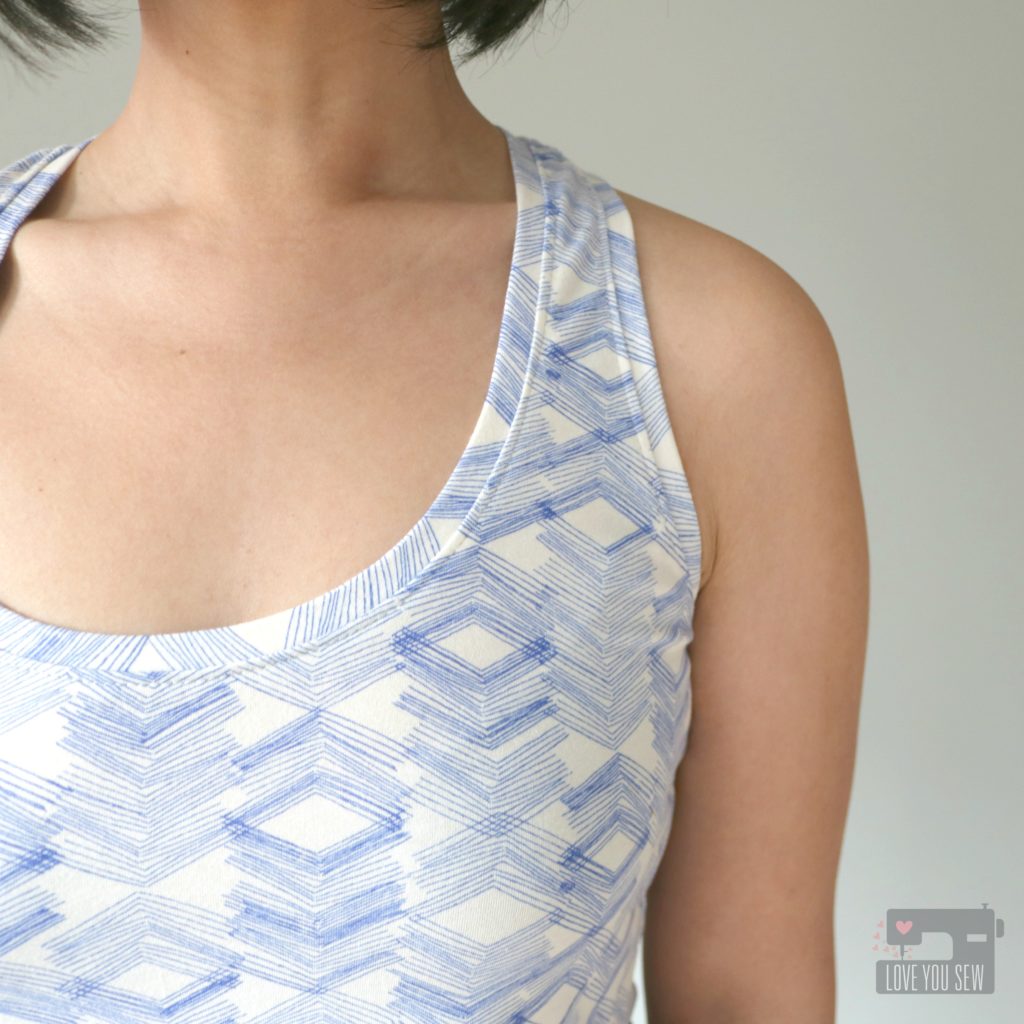
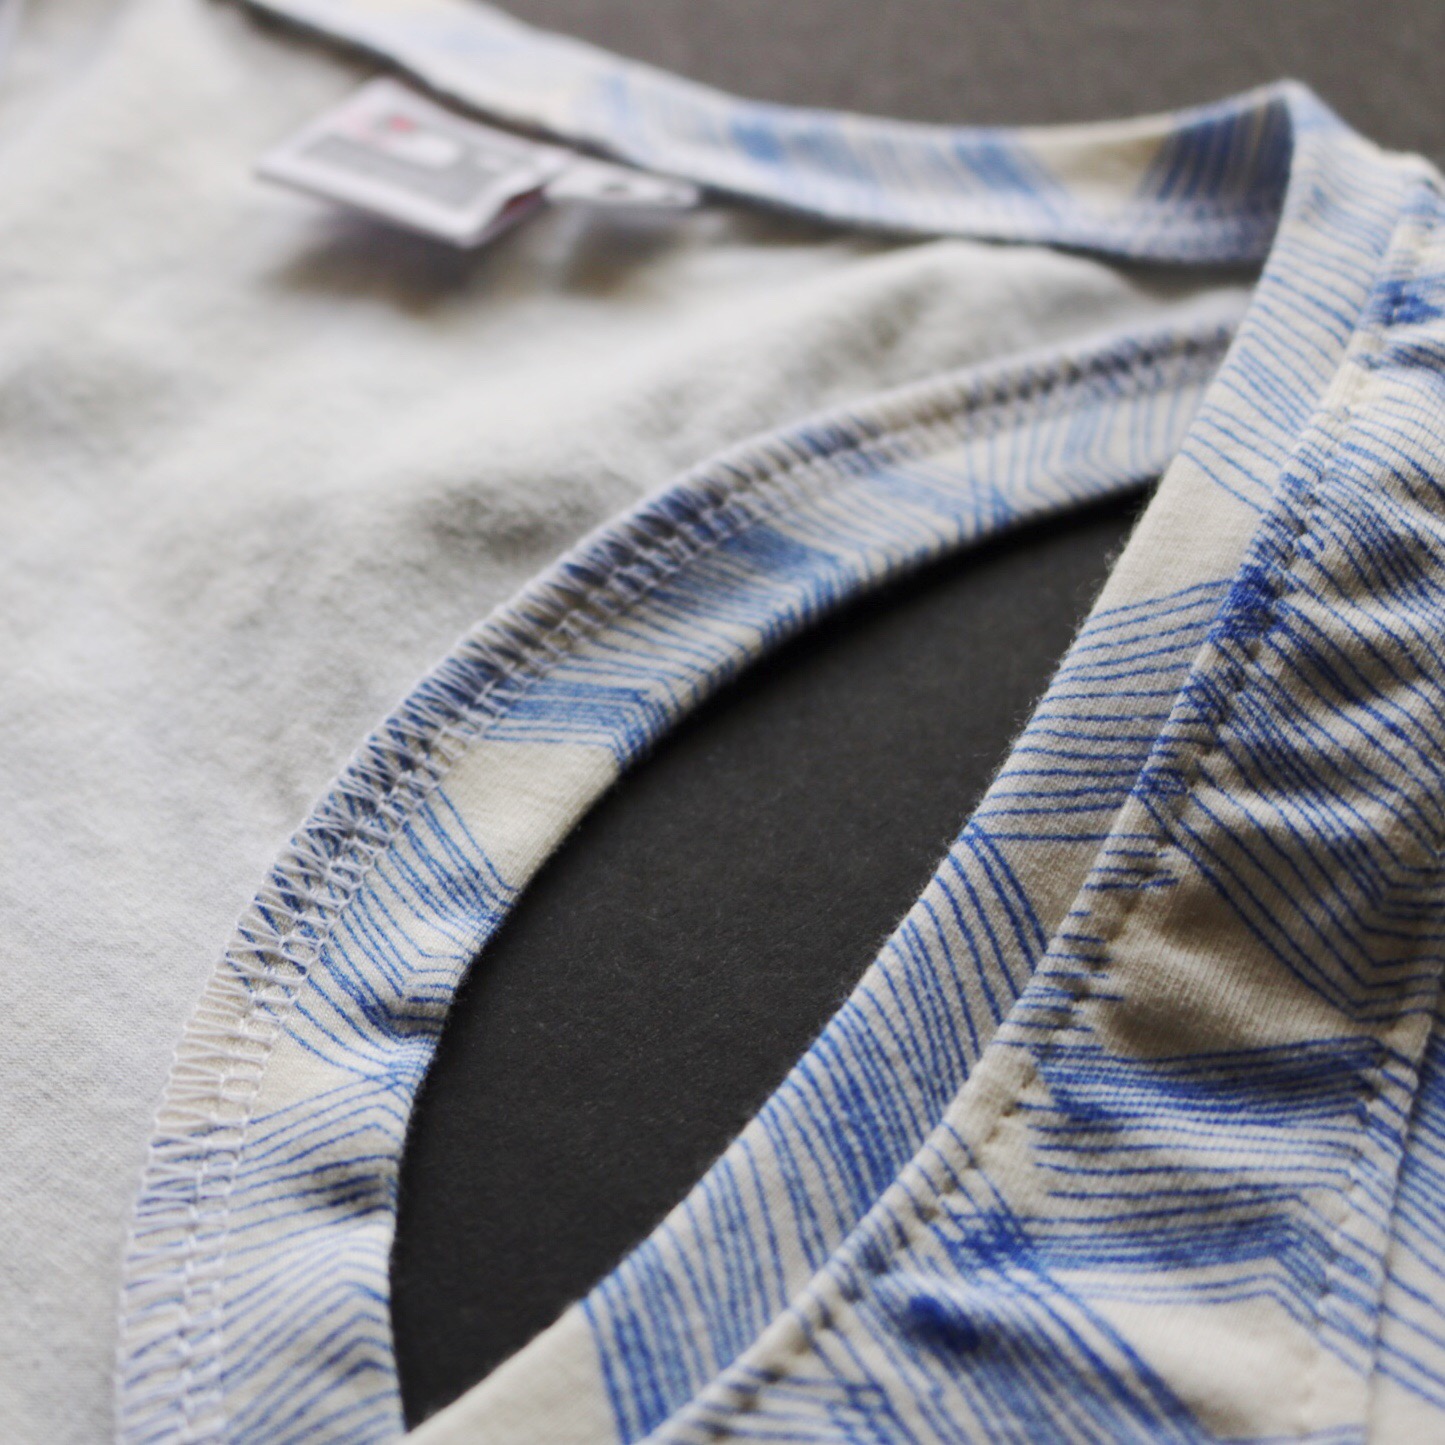
With a serger, the construction of the Rumi Tank was very quick.  However, I made sure to take the time to evenly distribute and pin the neck and armbands for a nice smooth finish. Although not necessary, I do top-stitch (with a ball-point needle!) around the neck and armholes for a professional look and to keep the seam allowance in place.

TIP: I like my garments to even be pretty on a hanger. So, I start and stop all my serging at inconspicuous spots…usually off to one side.

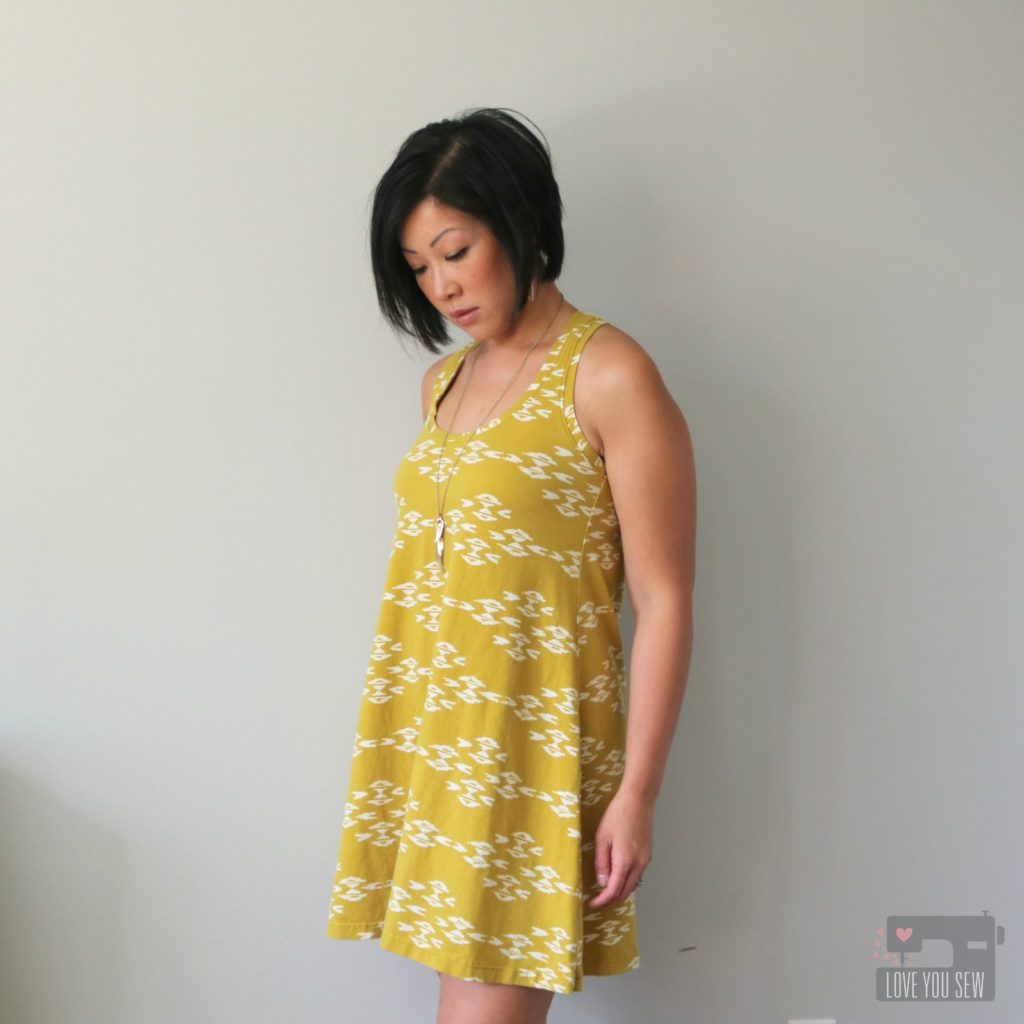
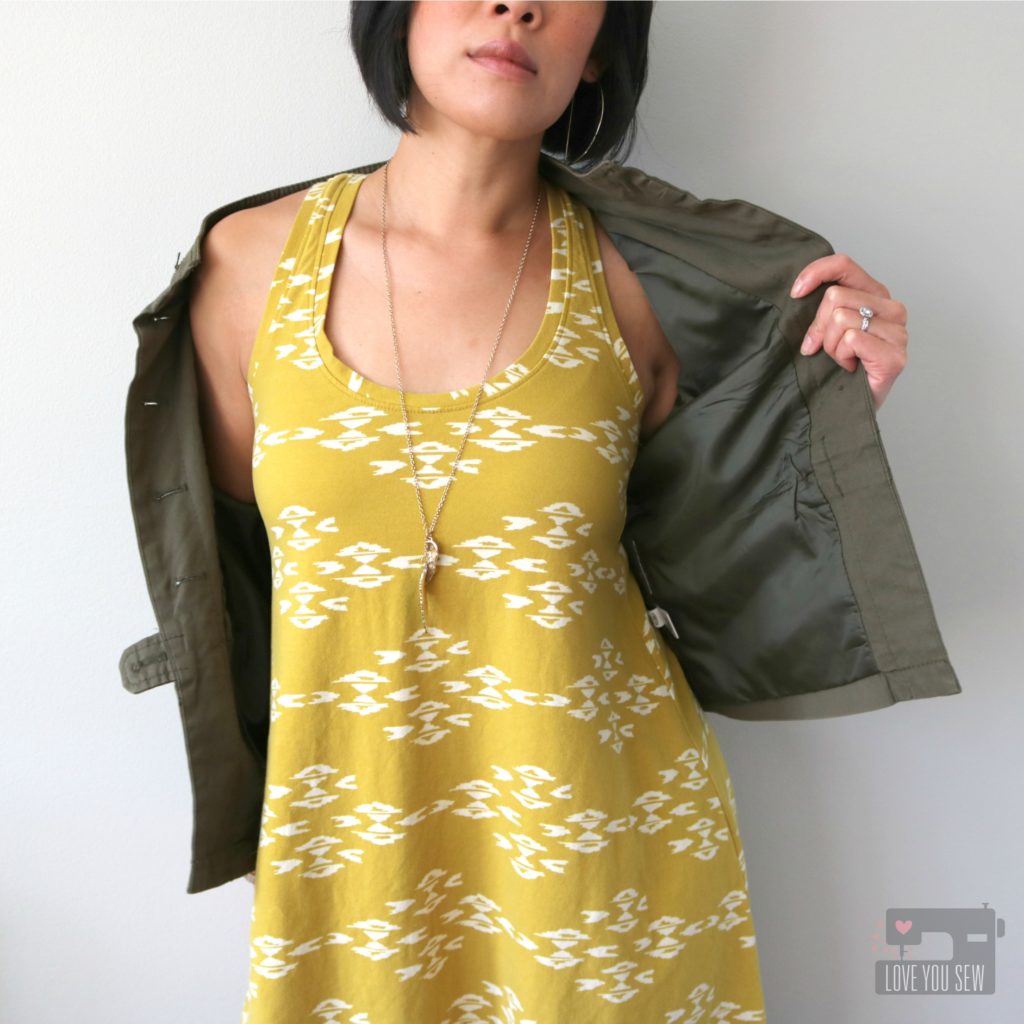
For my second Rumi project, I made the dress version. My family had spring break plans down on Florida and I could use a casual dress to throw over a bathing suit, if needed. April Rhodes’ Observer knit was perfect! I wore it to the beach and back.

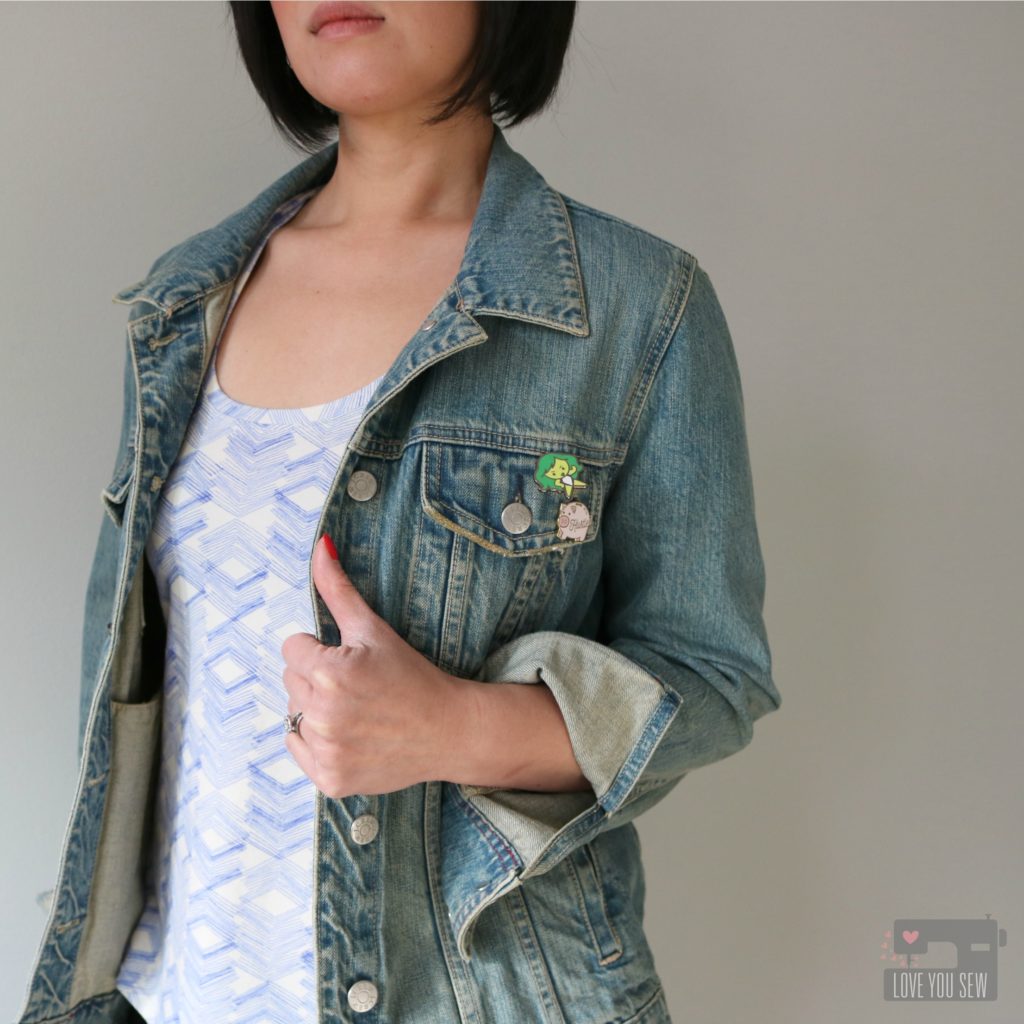
Bonus – This dress can be worn with a jacket and layered over leggings.

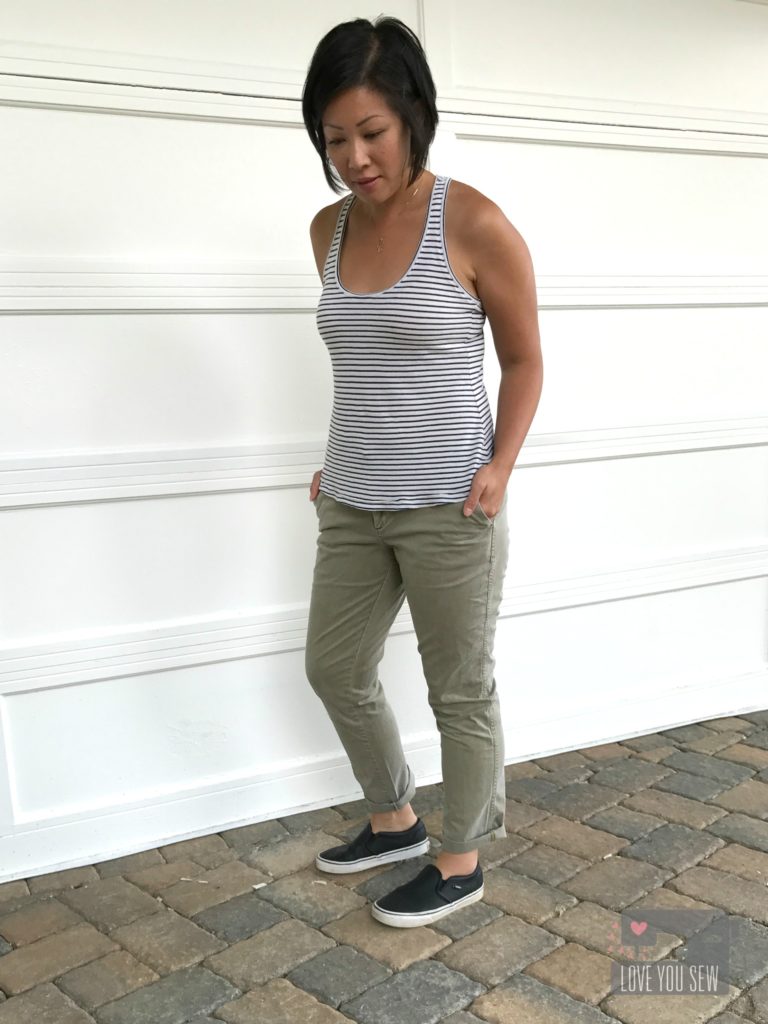
I’ve made two more Rumi tanks to fill in my summer wardrobe. One with a navy and cream skinny stripe I got from a destash and then another in the same Observer knit because I love the print and color so much 🙂 The ease and comfortability with these makes are awesome. I’ve been wearing them with jeans and skirts all summer long.

As we near the autumn and winter months, I plan on sewing a few more tanks and dresses. These will make nice layering pieces under my cocoon cardigans and with some fun tights.  All in all, I think this is a great beginner knit pattern. It’s also perfect if you are working on a handmade capsule. The silhouette is classic and you don’t have to deal with pesky falling straps!


Happy Sewing!

Cristy


This post may contain affiliate links.
Nova Pattern – Blog Tour

Sewing up little girls clothing is one of my favorite things to do.  I don’t have any girls of my own, but I love making them for my nieces and close friends. It’s such a nice change of pace from all the boy patterns I use and I do love “the twirl” when one of my recipients puts on her dress for the first time.  It just fills my heart!

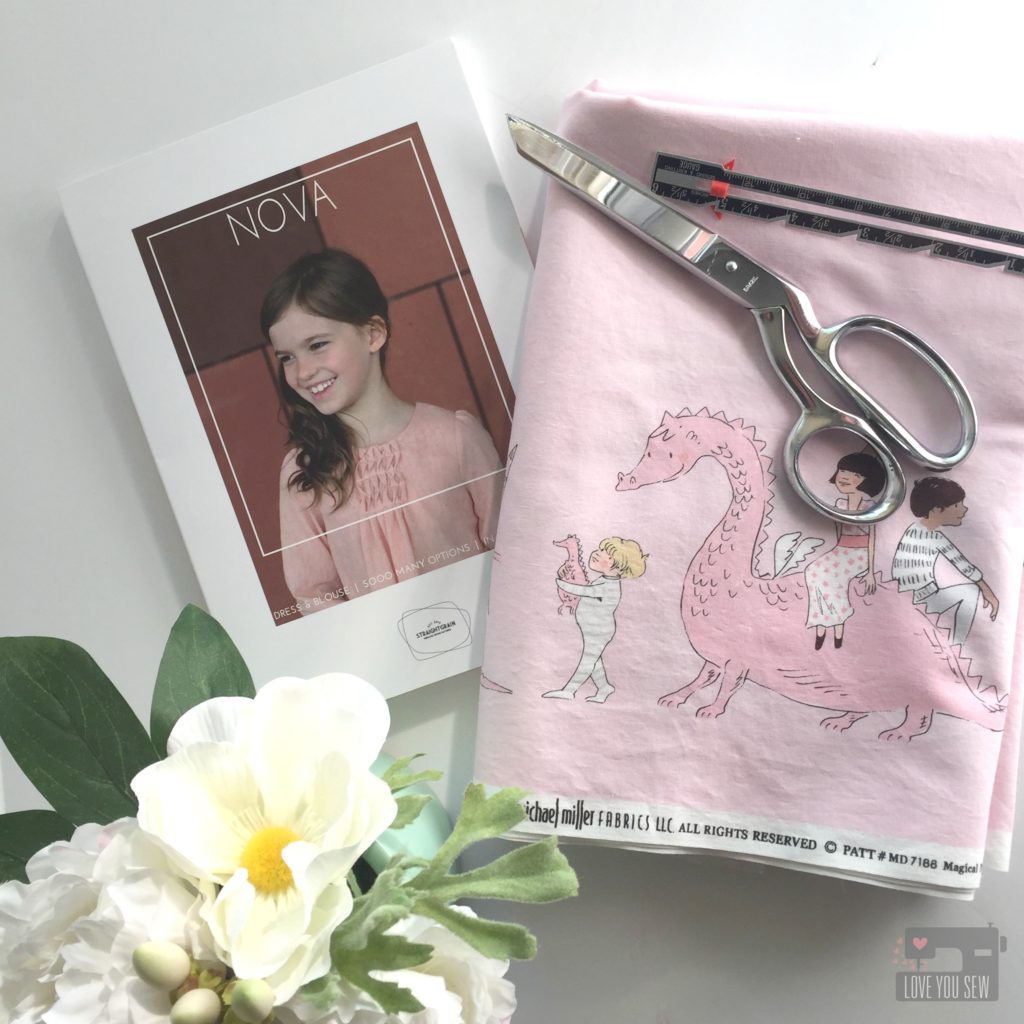
When I make the plunge to purchase a girl’s garment pattern, it has to be versatile and timeless.  I don’t make them as often as other things and I need them to go with all different fabrics.  That’s exactly the style of Nova by Straightgrain Patterns.   It’s a beautiful no-fuss, clean design with lots of options.  The sizes go from 3m – 12 years too…Now that’s what I’m talking about!

The Nova pattern is available in both PDF and paper forms. I’m a paper person, myself, and love the color coded sizing. Many authors will give you color in the PDF but not the paper, so that was a nice surprise to find.  The pattern is also written in both English and Dutch (for any of my Danish friends out there!)

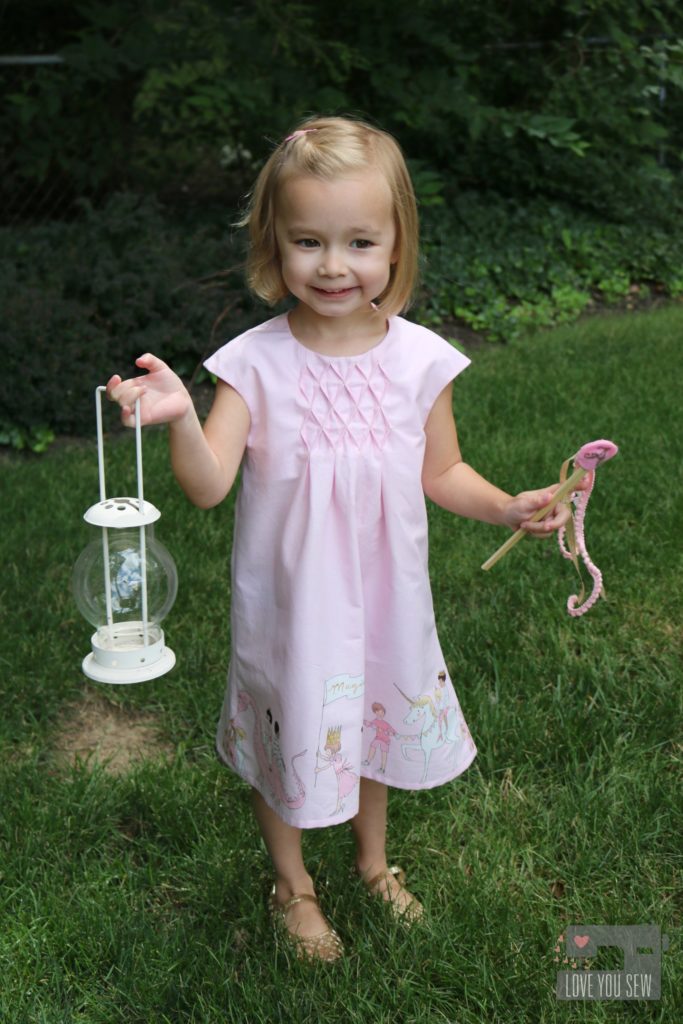
Nova consists of a classic A-line silhouette for woven fabrics.  You can change up the sleeves, the length, back closure, and even collar for a number of different looks. But what makes this pattern really special, are the pleating variations on the front and the back!  All the different pleats are just so amazing and I’m all about that extra texture!
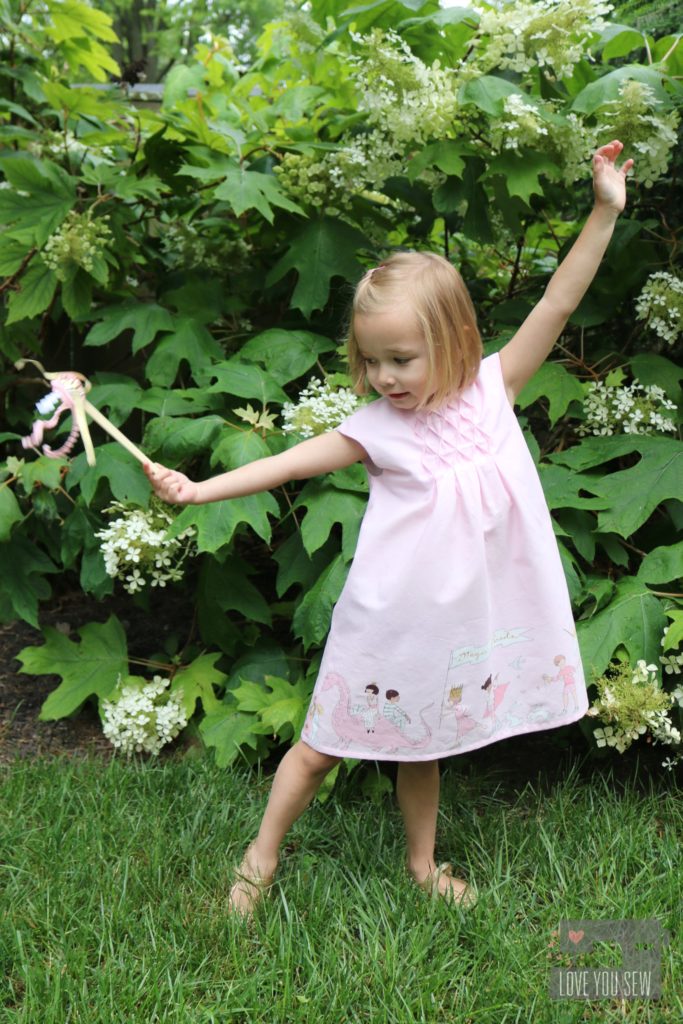
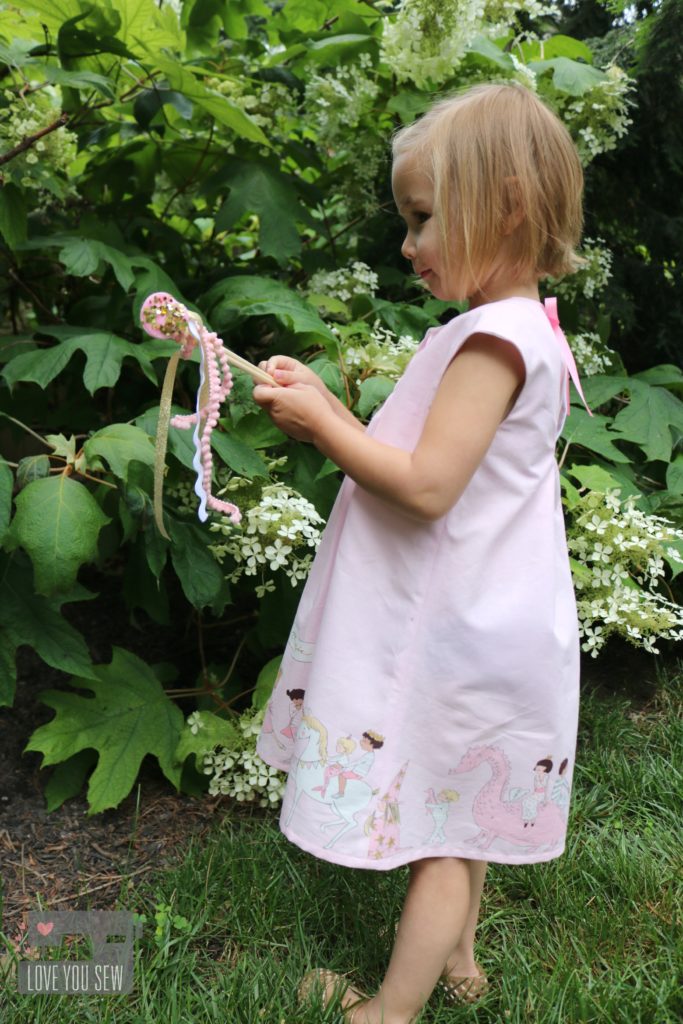
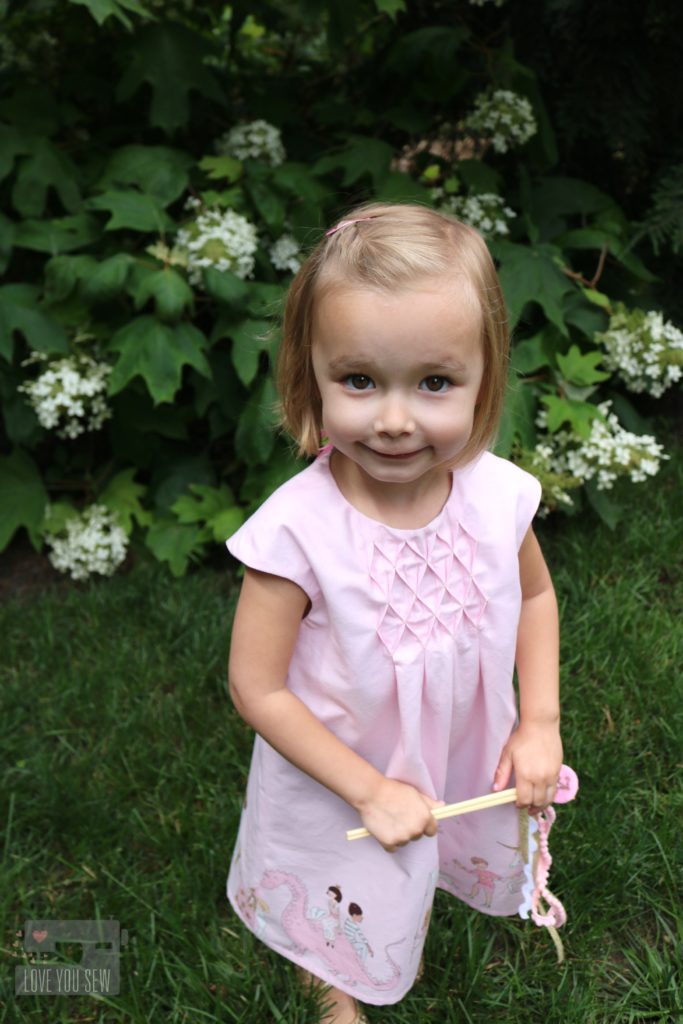
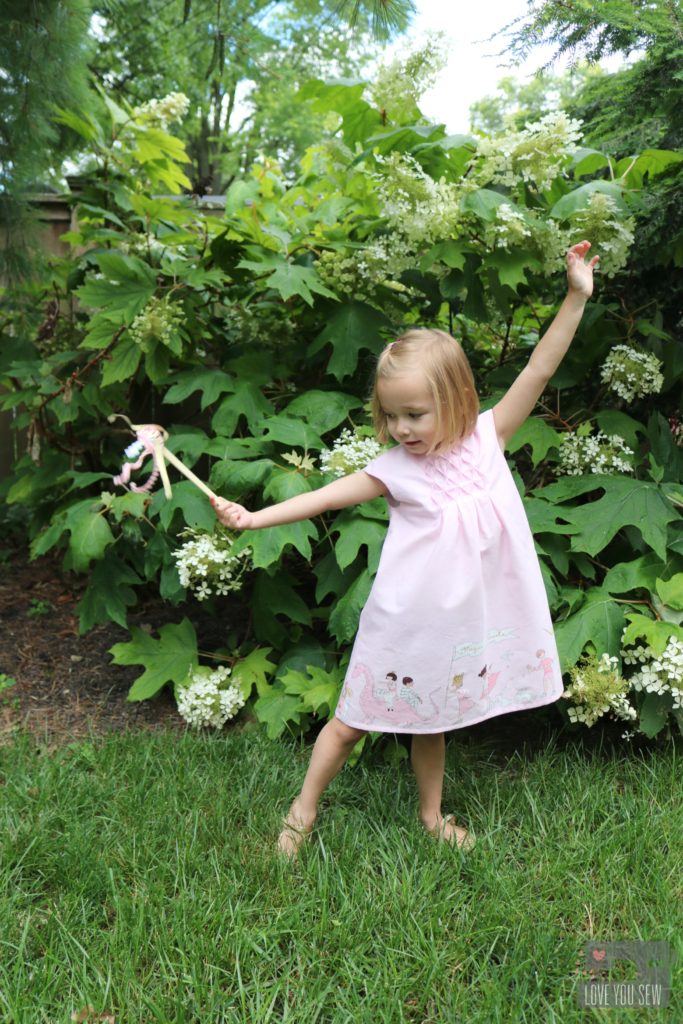
When I received the pattern, I knew the double panel print from Magic! by Sarah Jane was going to be perfect. The parade of magical creatures is so whimsical and such a sweet look at childhood.  The simple solid pink background would really show off that honeycomb smocking.

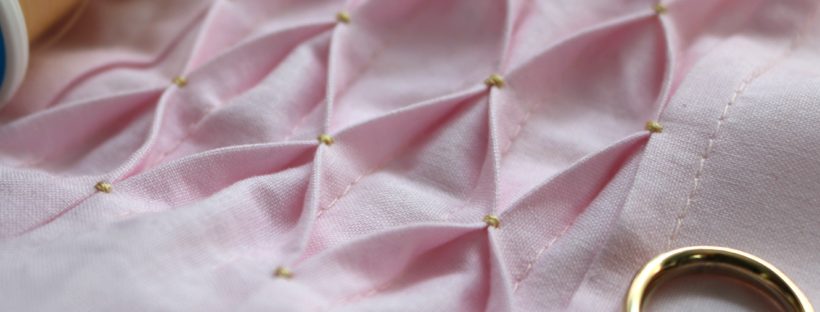
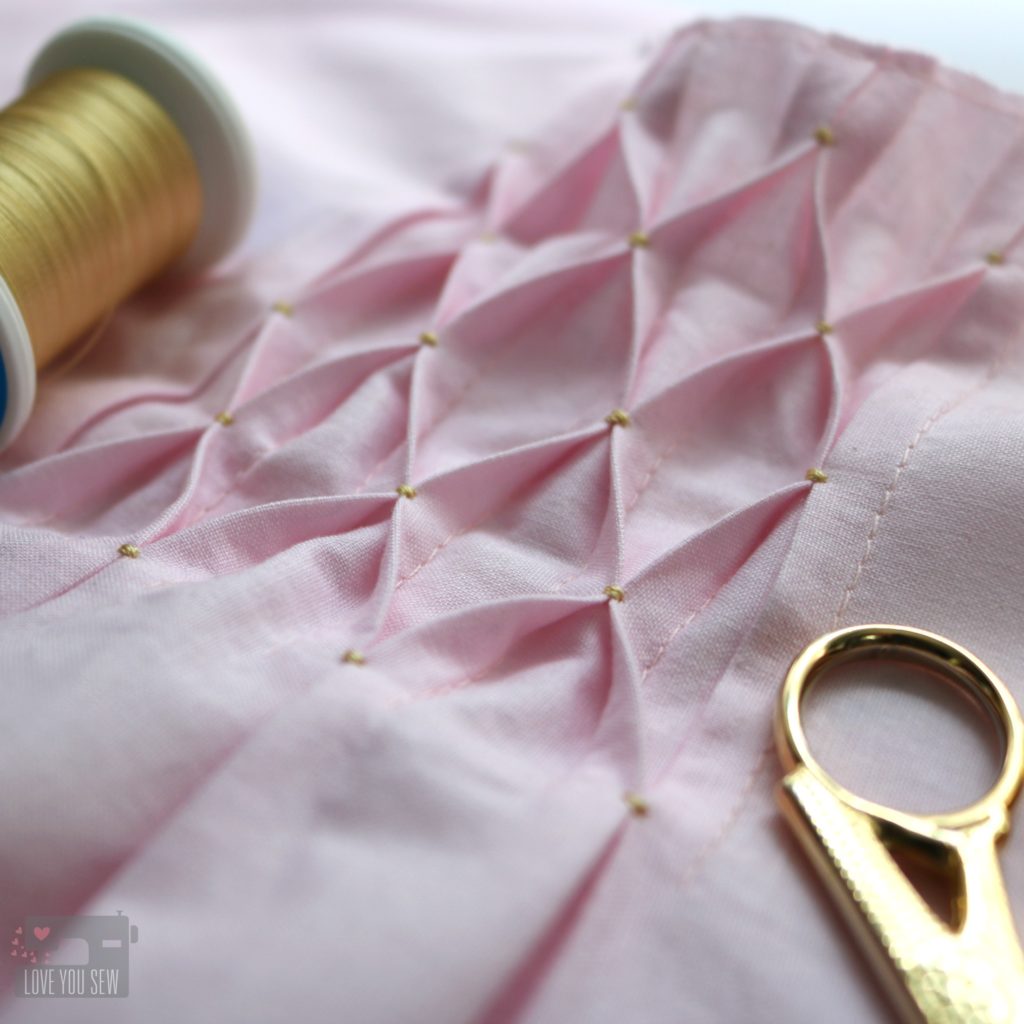
Speaking of…can you believe this was my first time making the honeycombs?  I did have to read and re-read the instructions a few times to wrap my head around the concept.  But luckily, An had a number of great pictures AND a video tutorial to help this newbie.  I made sure to evenly mark my seams, sewed slowly for nice even pleats, and pressed well for a defined shape.  Gold thread really helped to highlight the technique and brings out the metallic details in the fabric.

With the honeycomb detail, I kept the sleeves simple with the cap option. It gives such a nice clean style and the dress can be put on and taken off easily too.

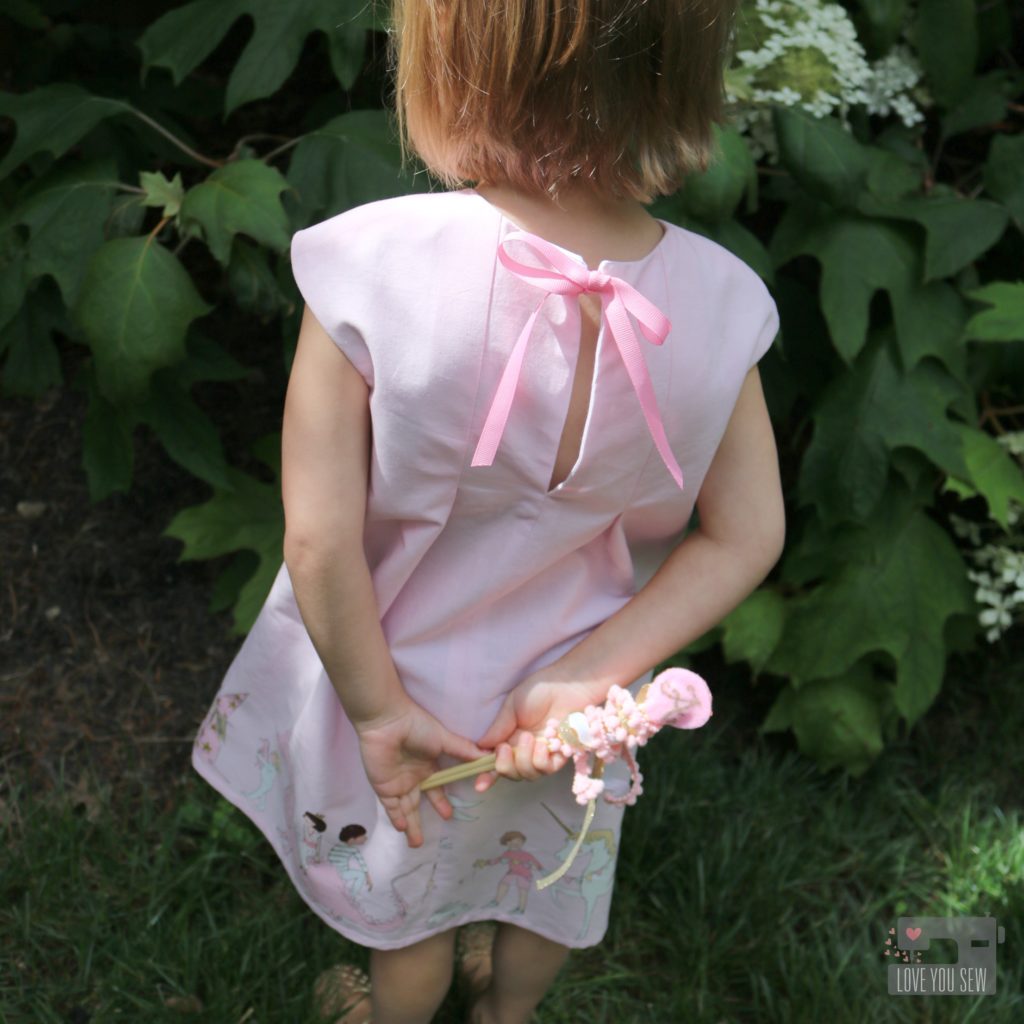
For the back, I opted for the ribbon closure. The fabric is just so sweet that only a bow could work IMO.  I was debating back and forth with ribbon color and settled on a shade that was darker than the body of the dress, but picked up in the print.  It gives the dress some balance and brings your eye up to that keyhole detail.

The Nova was SUCH a fun make. It helped to stretch my comfort level and I learned a new skill in the process…which wasn’t as hard as initially thought! This is another reason I enjoy making little girl dresses. It’s nice to work on my garment skills on a smaller scale…and for a less discriminating audience. Haha.
Project Details:

Make sure to also follow Straightgrain Patterns on Instagram for more inspiration and tutorials to help you along the way.  #novapattern #straightgrainpatterns


Check out the other participants in the Nova tour:

Sisko by MiekeBel’EtoileZowiewo Petrol & Mintsewpony Fairies, Bubbles & Co
Elizabeth LittleMaker Mountain FabricsBetter Dressed Child Just Add FabricMy Petite Sophie
Frances SuzanneI Sew BlancheLily & WoodyMy Minnie Mie
Love You Sew (you are here)- Thread Riding HoodAriane Blog


The Nova pattern was provided by Straightgrain Patterns as part of the blog tour.  All thoughts and opinions are honest and my very own.  

This post contains affiliate links under Project Details

Observer Fabrics Preview

ObserverPreviewTitle

Have you ever seen something out in the wild, and wondered how pretty it would be to freeze that shot and frame it forever?  It’s that moment that is just SO good, you take in that extra long gaze and lose yourself a little…  Well when you’re April Rhodes, you take that extra step into permanence and create Observer fabrics.  It’s a collection of patterns seen out in the world…through the eyes of Miss April, herself.

IMG_4615

It is such an honor to sew with an unreleased collection.  The initial reveal is always exciting, but I love to hear about the inspiration.  That’s why it’s so wonderful to work with April…as we collaborate together, I get to hear the story behind every pattern and every color.  With all of that information, it then allows me to dig a bit deeper in my design wheel well.

IMG_4716

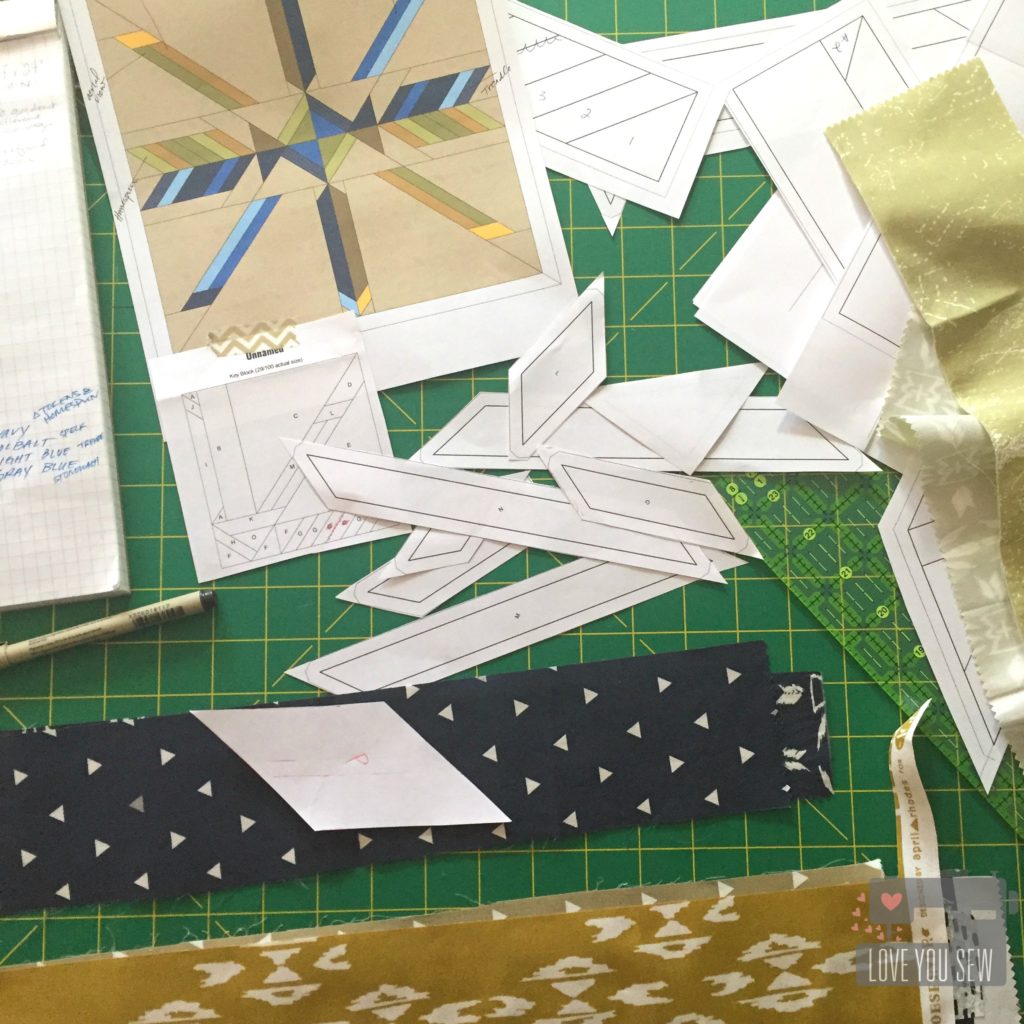
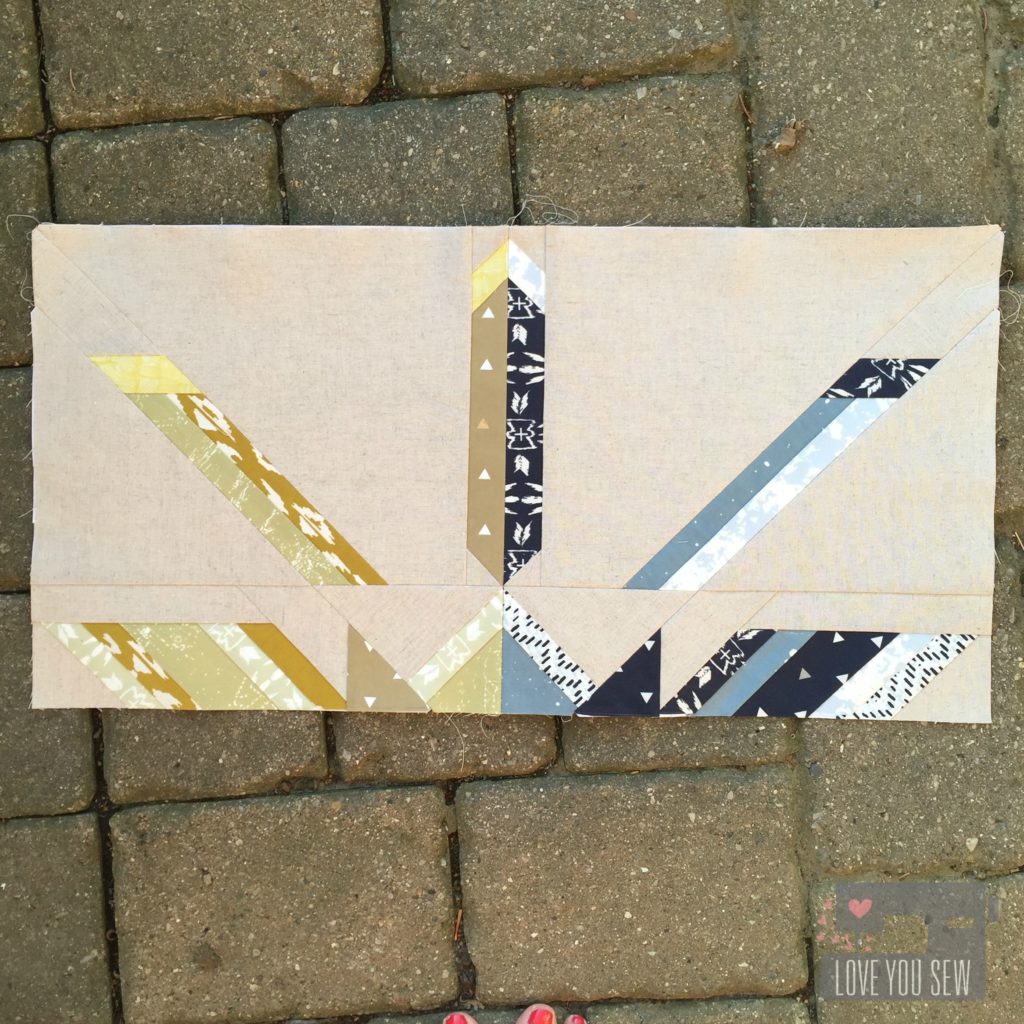
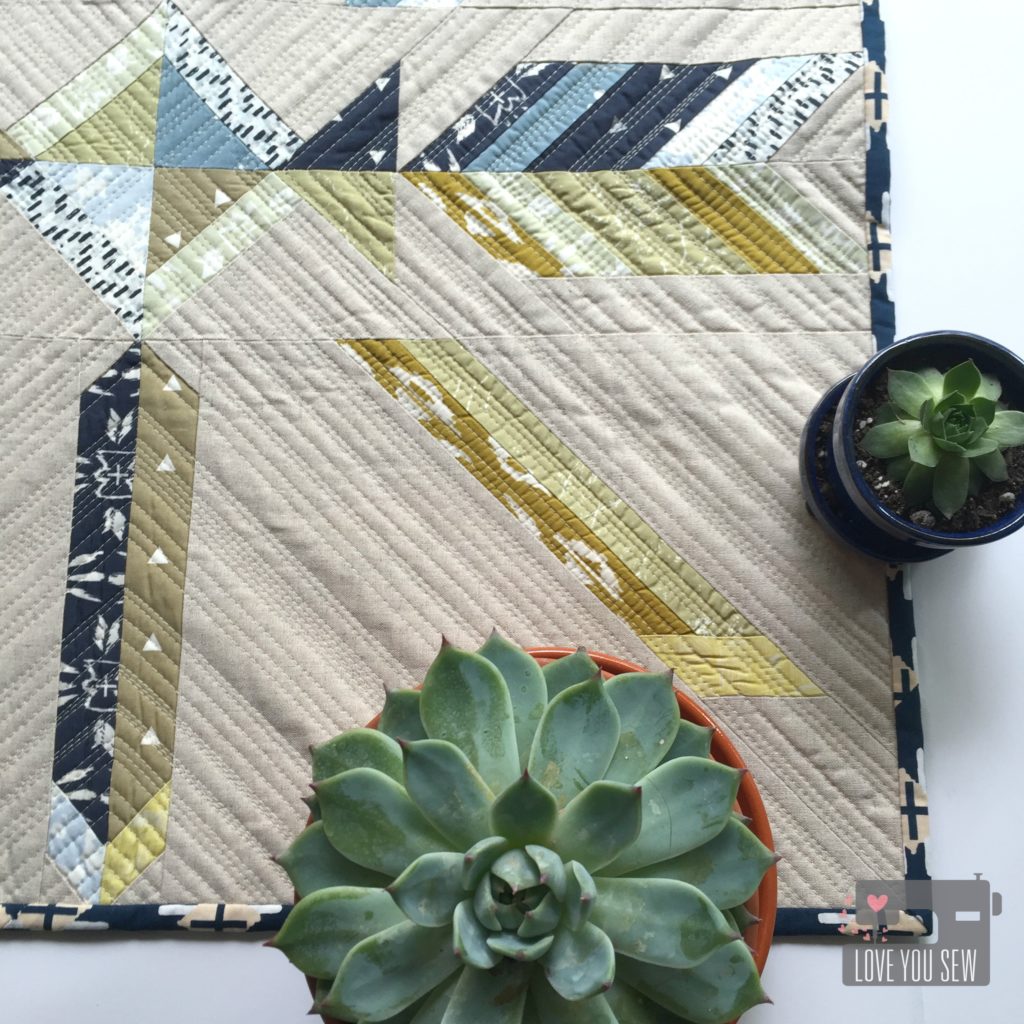
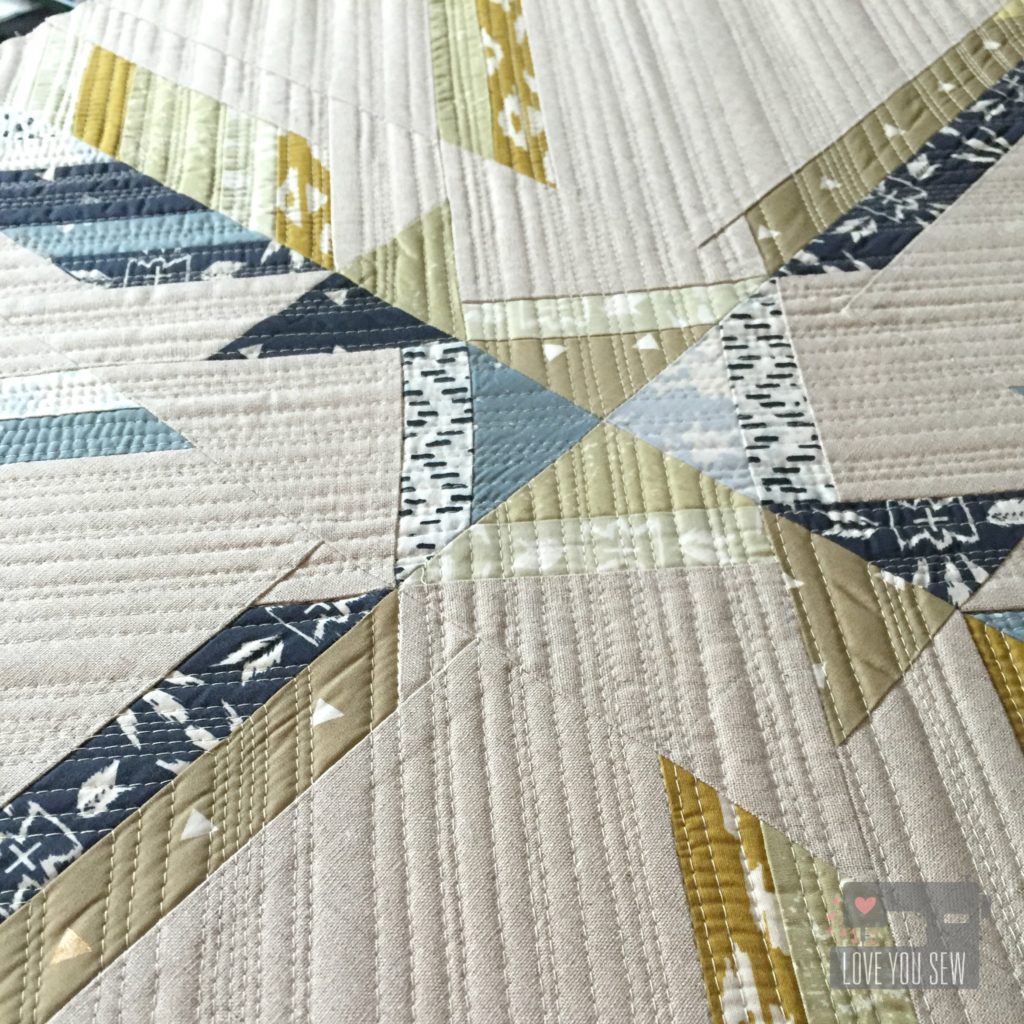
I was immediately inspired by the Homespun print.  It is based off of April’s love of weaving and fiber arts.  The 24″ x 24″ (finished) quilt is paper-pieced  to make every angle and line as sharp as can be. It utilizes mainly 1.5″ strips, making it very scrap friendly.

IMG_4656

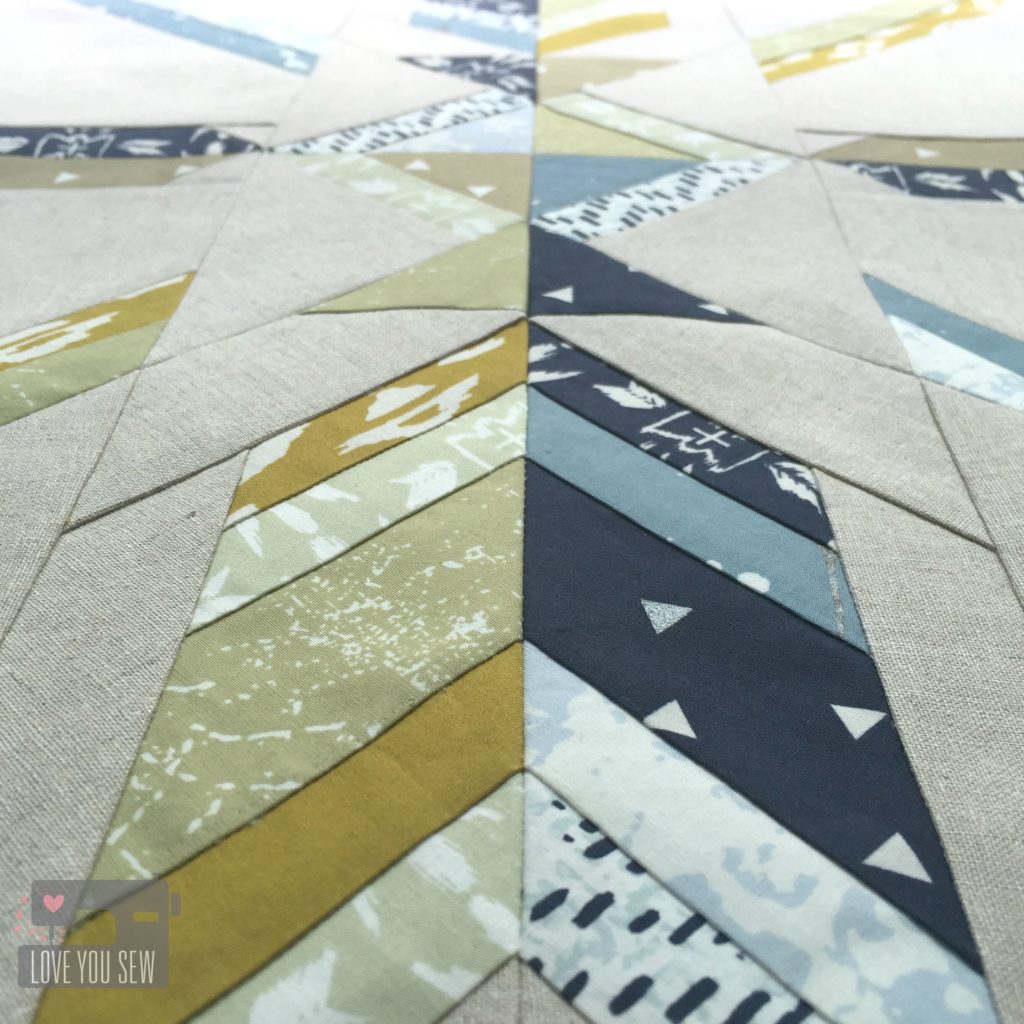
With Observer, the prints are either monochromatic or duotone and this quilt was designed to really show off the contrast by using the colorways, exclusively, in each quadrant.

IMG_4655

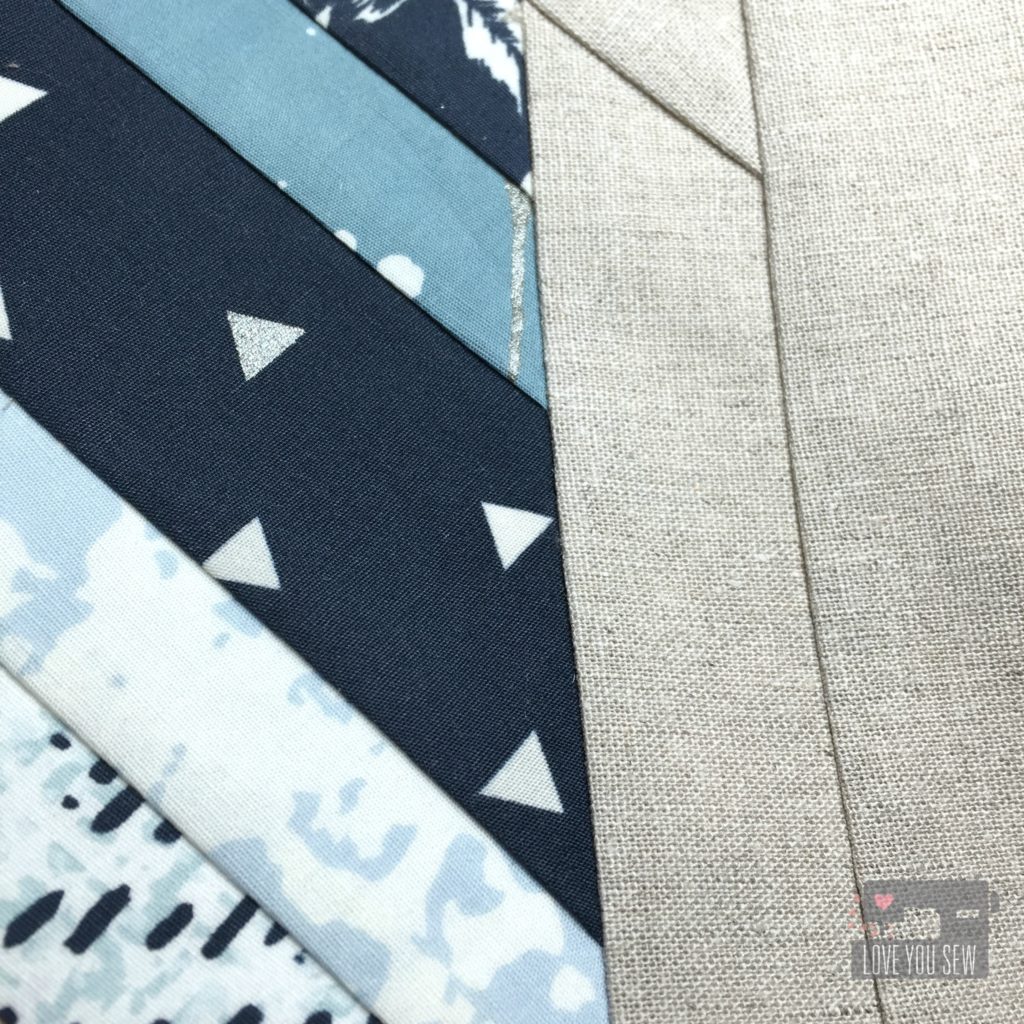
As you get closer to the fabrics, you can see the little hints of metallic (yaaas!)  With this collection, April incorporated silver which looks amazing against the deep blues.  It’s always hard to photograph metallic, but you can see it in Triangle Tokens and on the Speck Stardust.

IMG_4930

The background is Art Gallery Fabric’s Premium Linen Blend in Soft Sand.  It is such a great texture and color to make the design and colors pop.

IMG_4898

With so much negative space in the piecing, a random application of matchstick quilting was in order using Aurifil 2310. The areas were split into quadrants, like the quilt design, itself.

IMG_4899

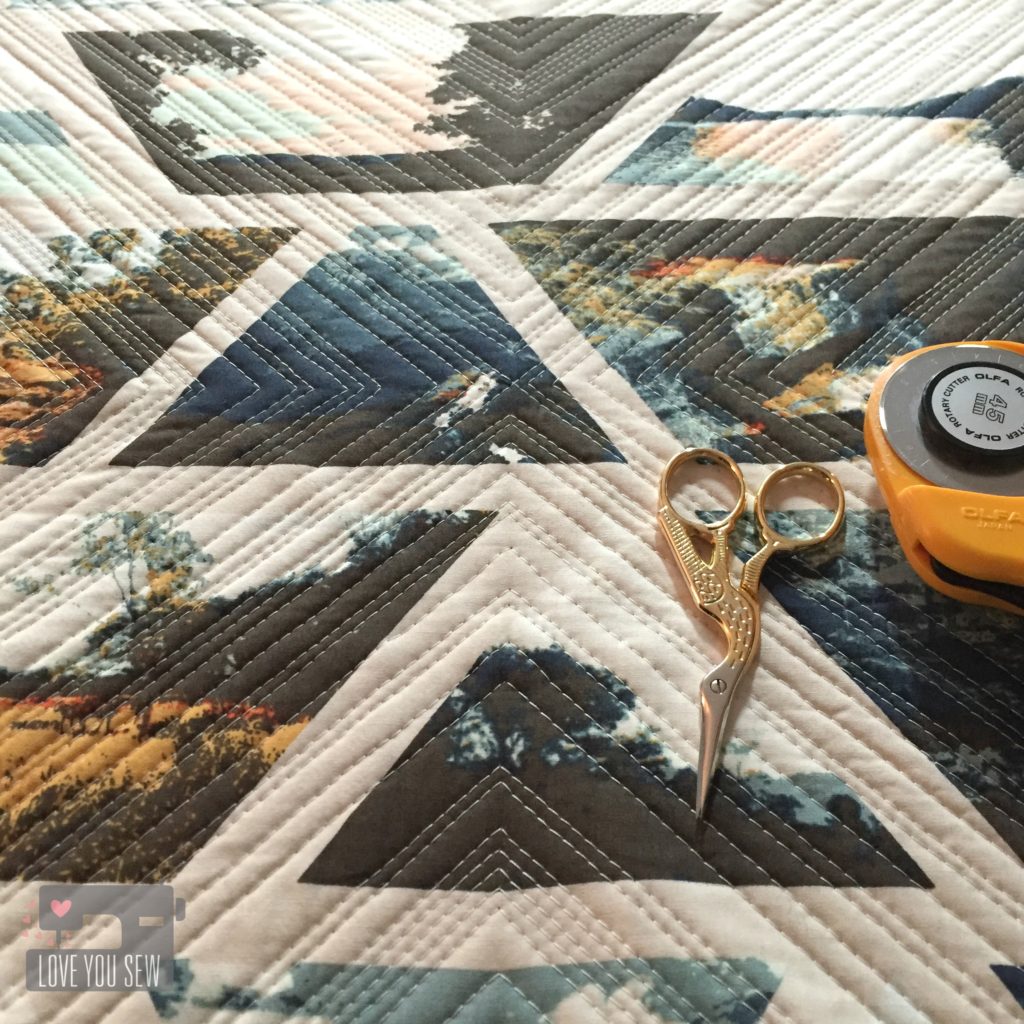
The backing was pulled from April’s Wanderer collection.  Wandering Lands Mineral was the perfect print which really complimented all the tones in Observer and it shows off the quilting beautifully.

Stay tuned…this quilt pattern will be available closer to Observer‘s release in August!!!


IMG_4715

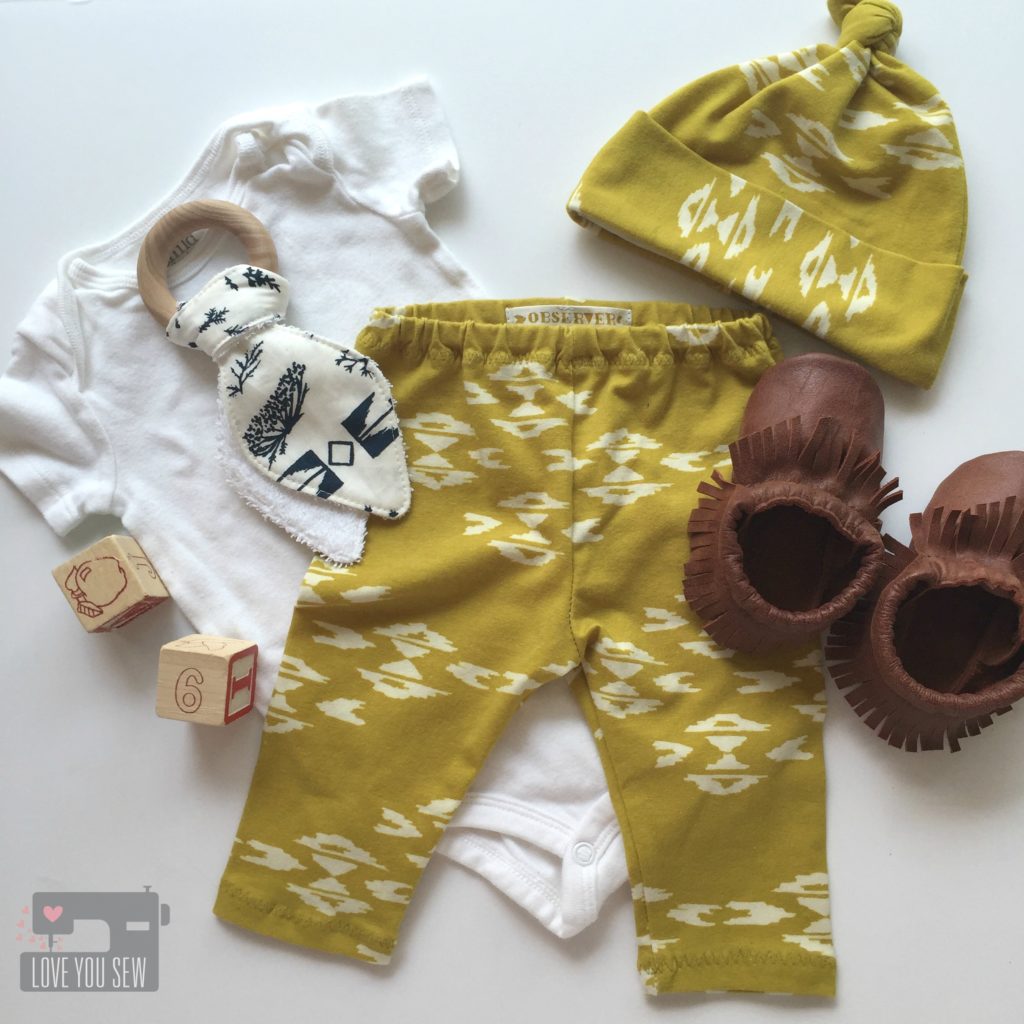
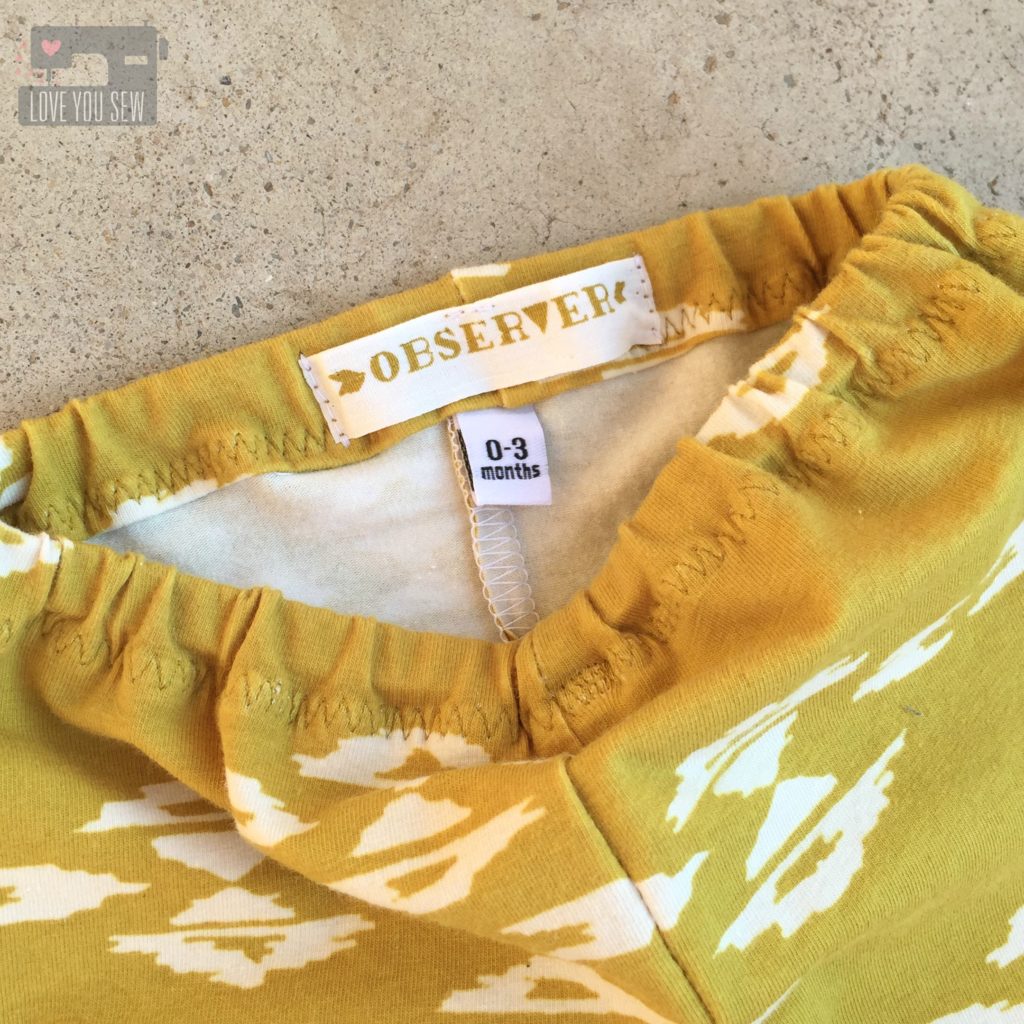
April asked if I would help make some baby leggings as well and how could I not?!?  Ya’ll know babies are my business and LOVE the opportunity to make itty bitty gear.  These leggings are made with Overshot Gold in knit and they are so amazingly soft.  The pattern for the pants are from My Childhood Treasures.

IMG_4711

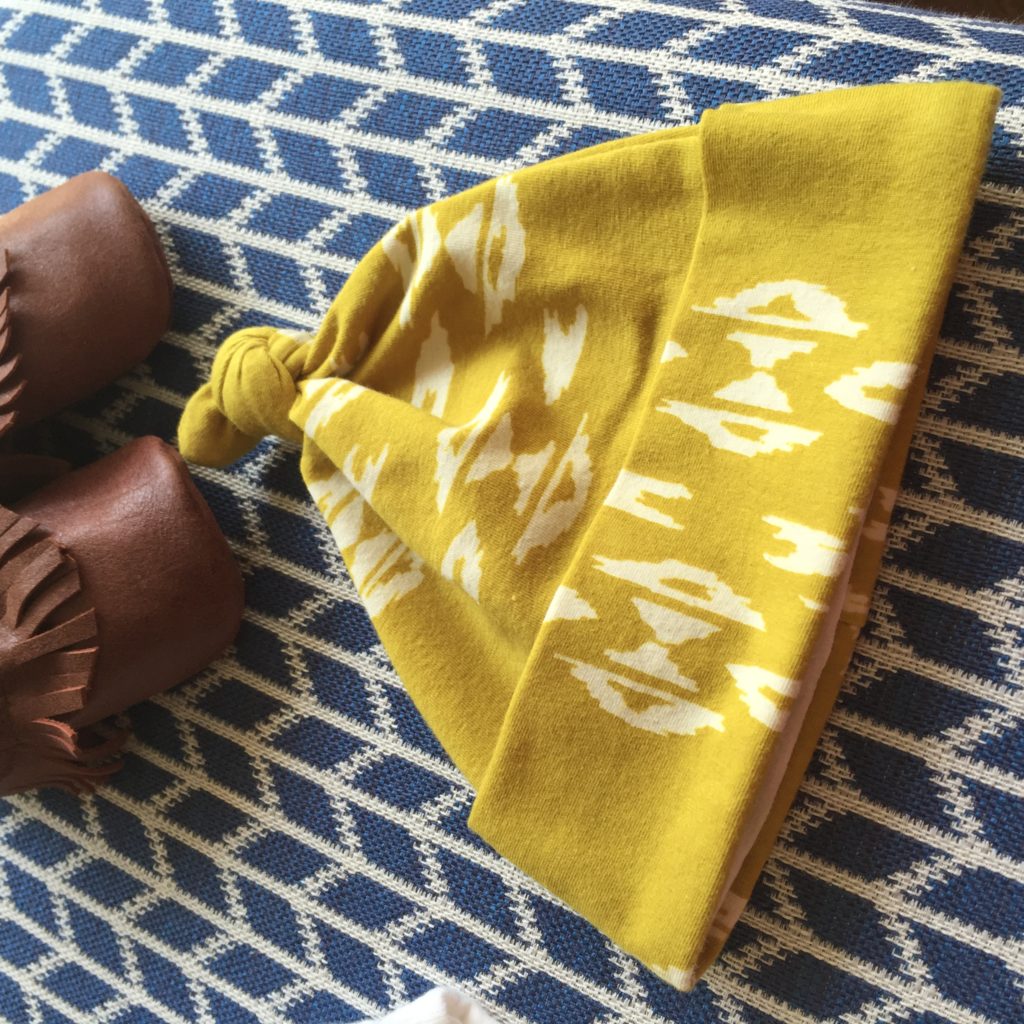
I drafted a pattern for the hat from an old one I have.  Make it Love it has a great tutorial and pattern which is similar.

IMG_4657

As an added detail, I used the selvage from a woven print on the back of the leggings.  It’s a great way to make a little tag so you know the direction of your hand-made garments.

Aren’t these clothes just perfect for the little bohemian in your life?


IMG_4940

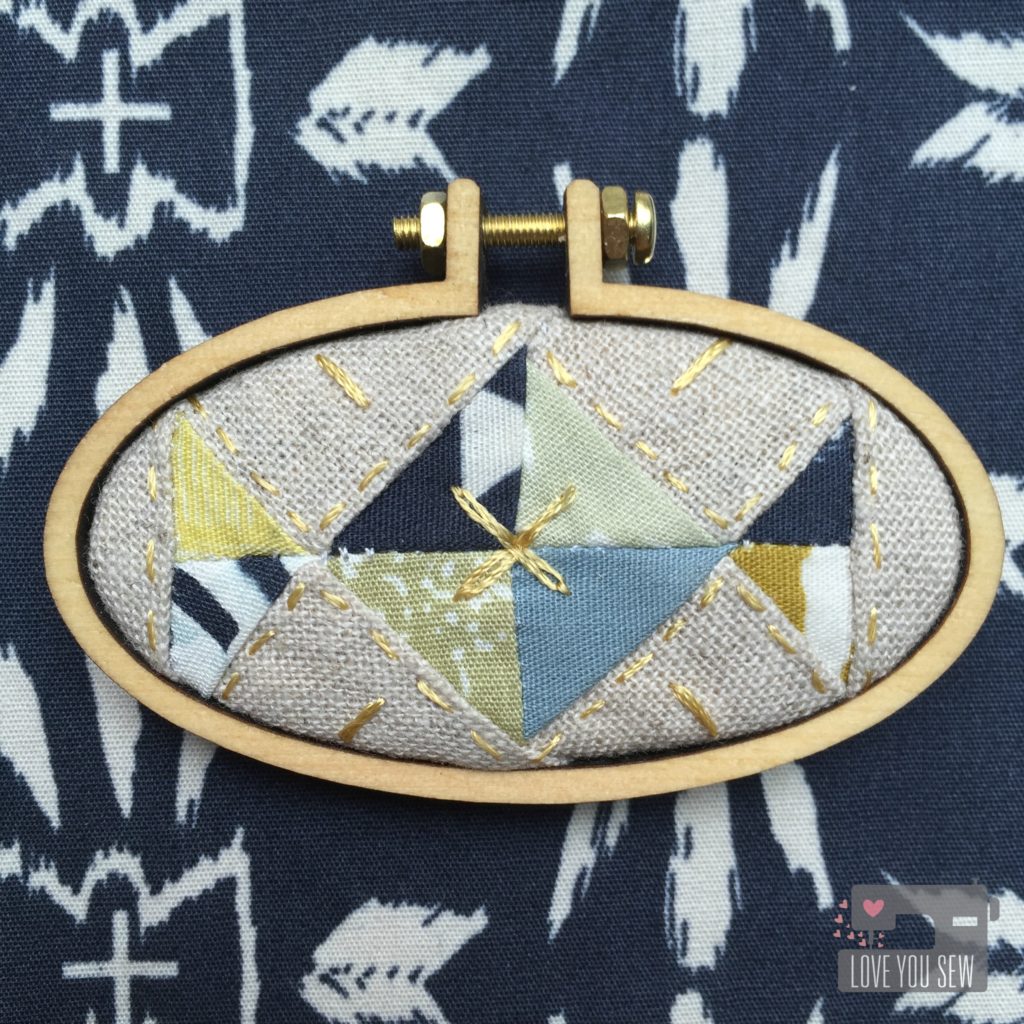
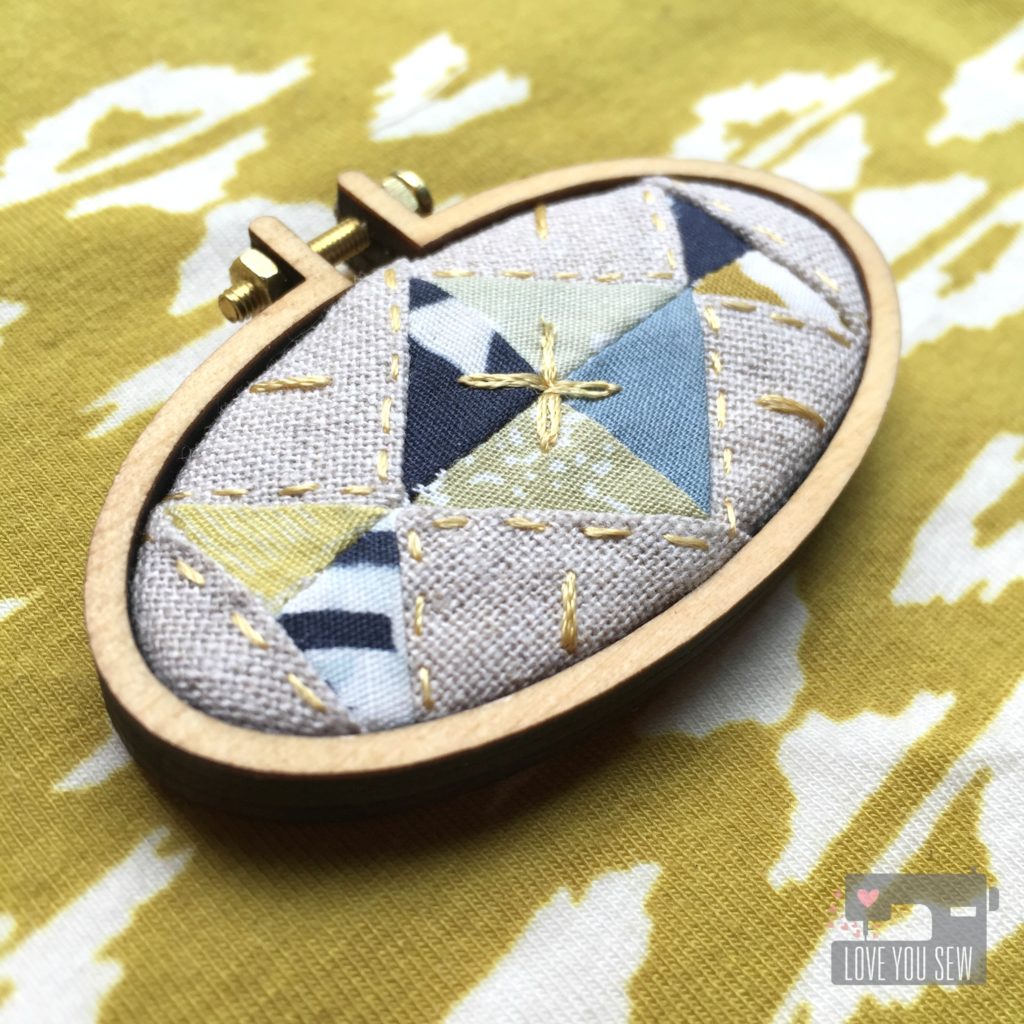
Last, but surely not least, is my mini quilt hoop (measuring about 2.5″ lengthwise.)  Making these quilt hoops has become one of my favorite projects and I cannot help myself when I have such amazing fabric laying around.  I love tiny (who doesn’t?) and love being able to use up every little scrap.

IMG_4943

Of course, I used Dandelyne hoops and chose an oval to make a piece based of the main quilt I designed at the top of the post.  A little gold embroidery thread made this hoop extra special and I love how it turned out.


I hope you enjoyed my little preview of Observer which is due out in August.  Make sure to check out the full collection here.

Do you have any plans for these fabrics?  Please let me know!  I have a few already planned….maybe an envelope clutch, dresses for my nieces, shirts for my boys, and dresses for myself….I could go on and on!


Happy Stitching, Friends!

Cristy

Luna Pants {Pattern Review}

LunaPantsReviewTitle

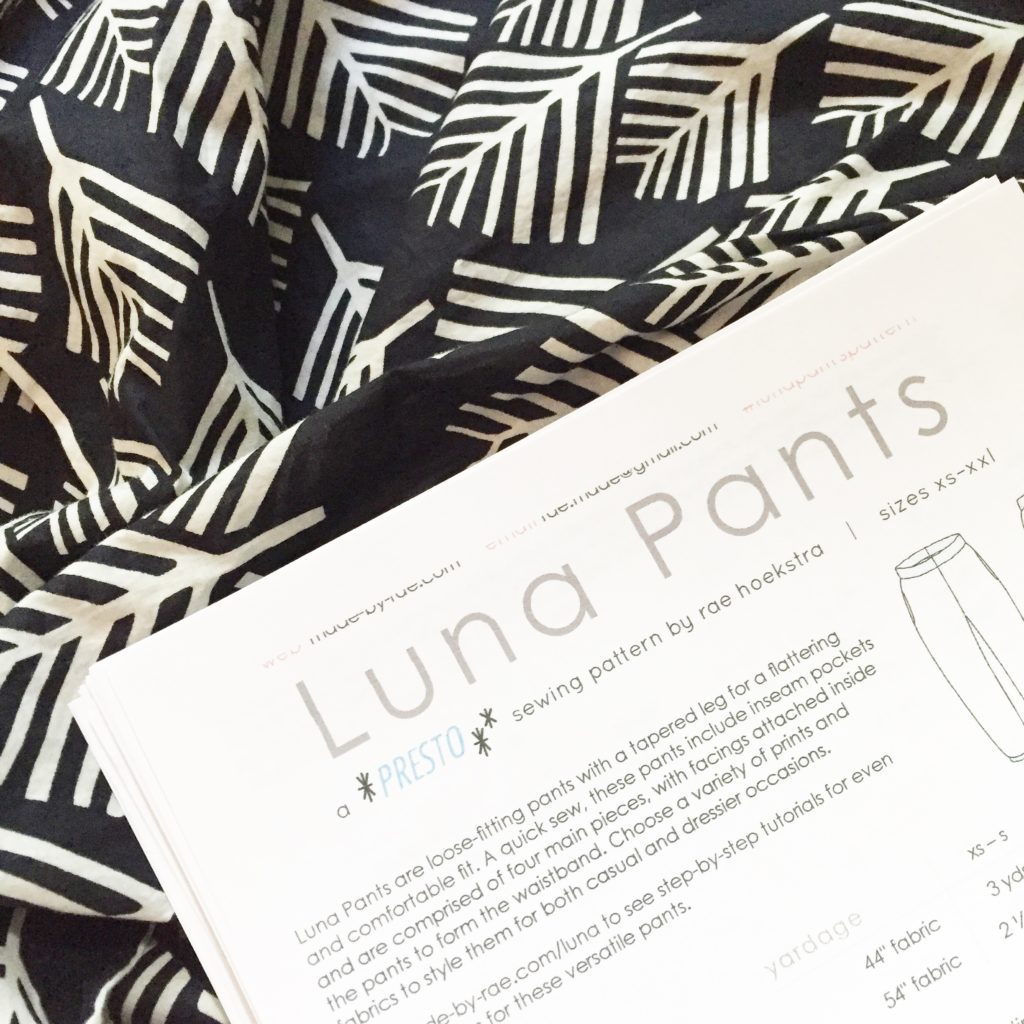
It’s all about the “jogger” pant these days and even as a stay-at-home-mom, I try to be somewhat hip.  The yoga-pant rut is easy to fall into (rightfully so!) but voile pajamas disguised as the new athleisure look?  Uh, yes please!!!  This is a trend I can definitely follow 😉

When I saw Made by Rae‘s new Luna Pant pattern, it was exactly what I wanted in a jogger….because it was designed for more drapey wovens like voile, lawn, and rayon.  By making these pants myself, I could slim out the silhouette to tailor to my short stumpy legs.  I am thicker in the thigh area and there are many ready-to-wear jogger styles out there that really accentuate the hips.  Nope, that is definitely not for me!

IMG_5422

The Luna pattern is currently only available as a digital PDF, and as someone who would rather buy the one-piece printed version, this wasn’t so bad taping together.  I love how Rae has several different registration marks on all sides of the printouts to help you match up the pattern.

LP Taking in the leg

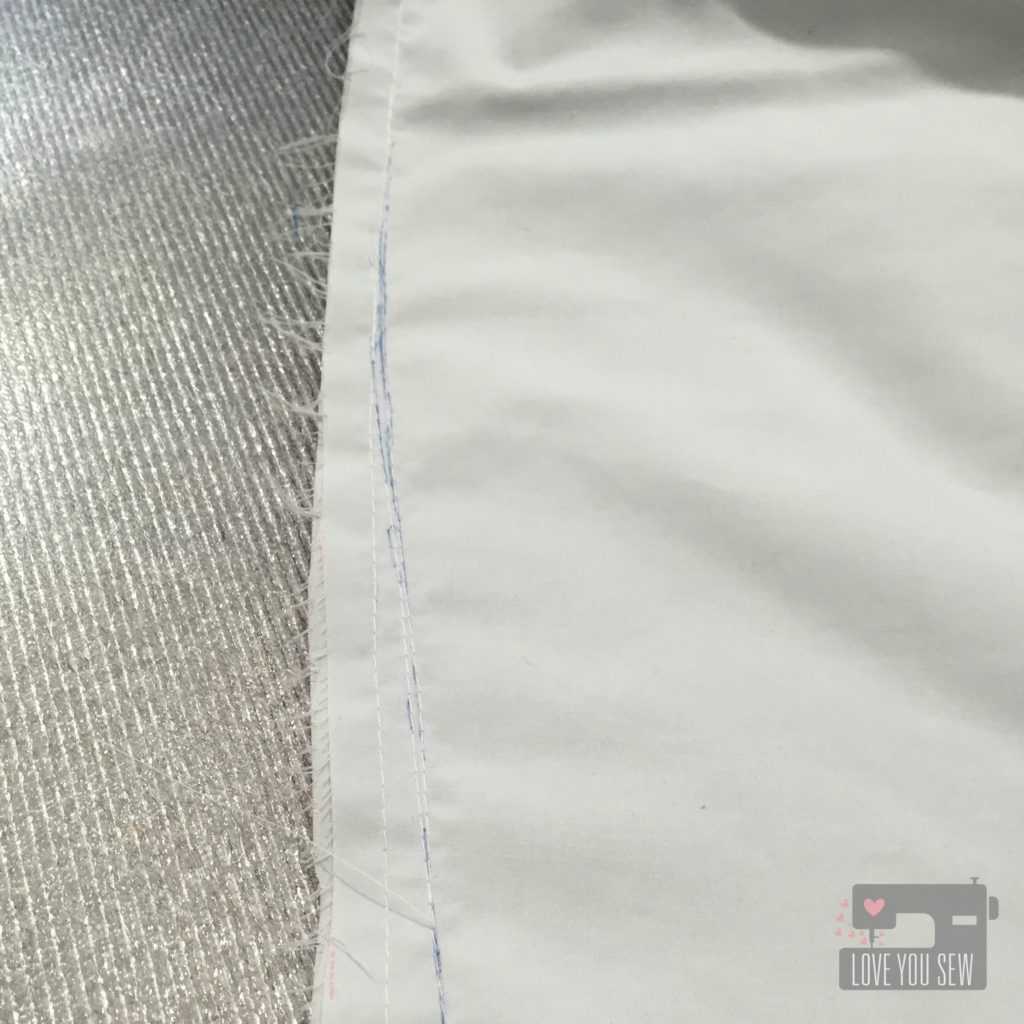
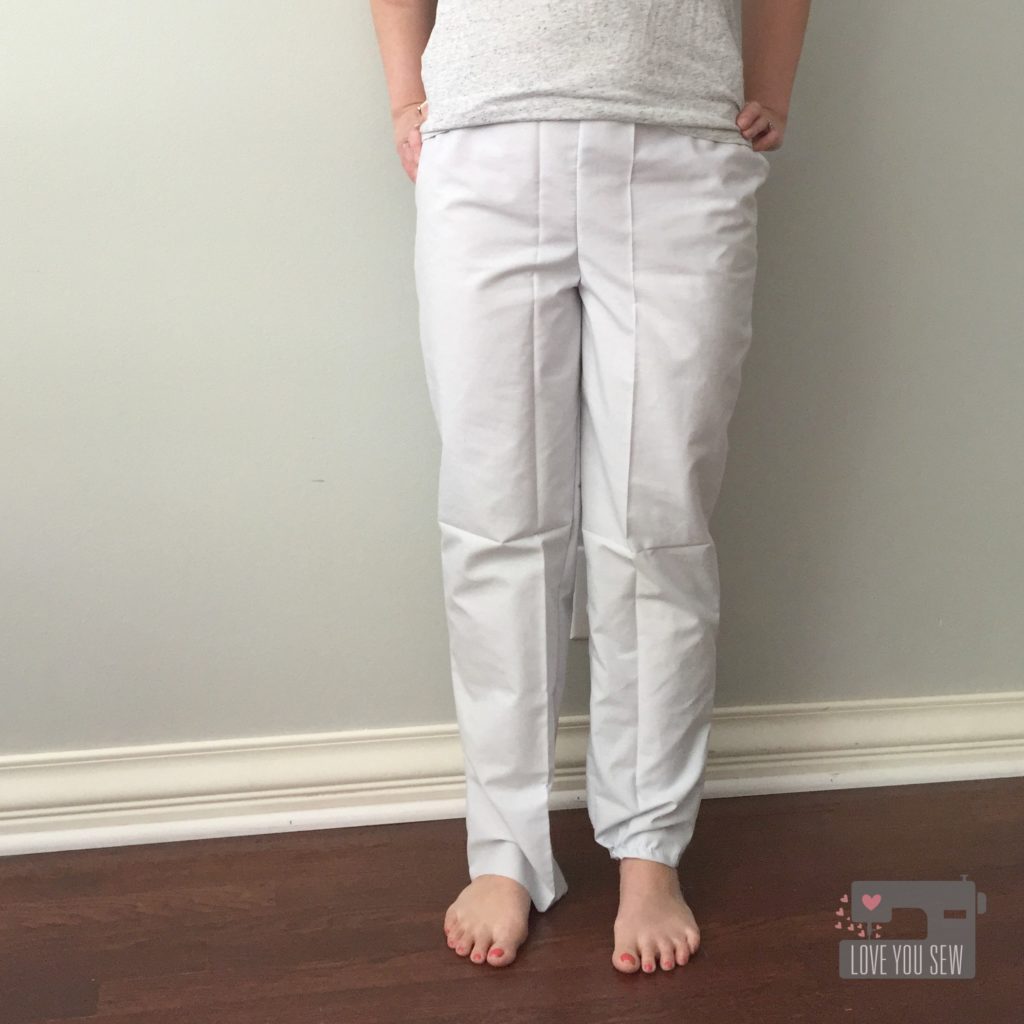
Based on the pattern measurements, I was at the higher spectrum of a small.  I read some other reviews that the fit is pretty generous, so I was comfortable cutting out that size.  After initial fit, I definitely wanted to taper the leg in a little more.  I eased from the hip/pocket into toward the leg about 1/2″ all the way down to the ankle.

LP Muslin

It’s kind of hard to see in this shot, but the right left has been taken in and I had already shortened both legs to fit my 5’3″ frame.  I used a basting stitch at the bottom hem to see how the pant would gather around my ankle.

IMG_5567

To make sure I had that athleisure look and not a pajama one, I used 1.5″ elastic around the ankles and ended up using the same for the waistband.  The thicker ankle gather just looks more  on trend to me.

IMG_5597

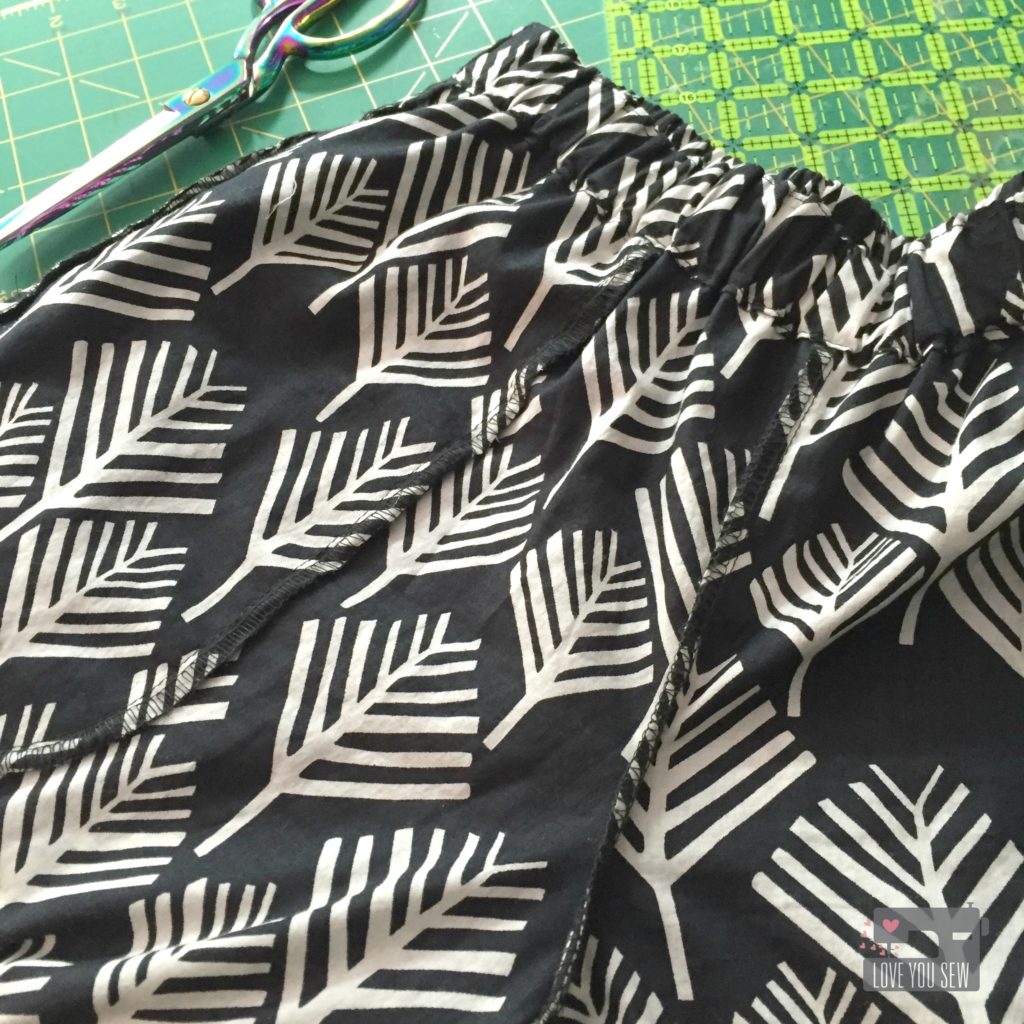
I sewed all the seams on my regular Juki TL-2010Q and finished the raw edges on my hand-me-down Singer Serger.  Changing the threads on my serger is such a pain, but to have the right matching colors, is SO worth the effort.  It really makes the garment look professional.

LP Back Profile

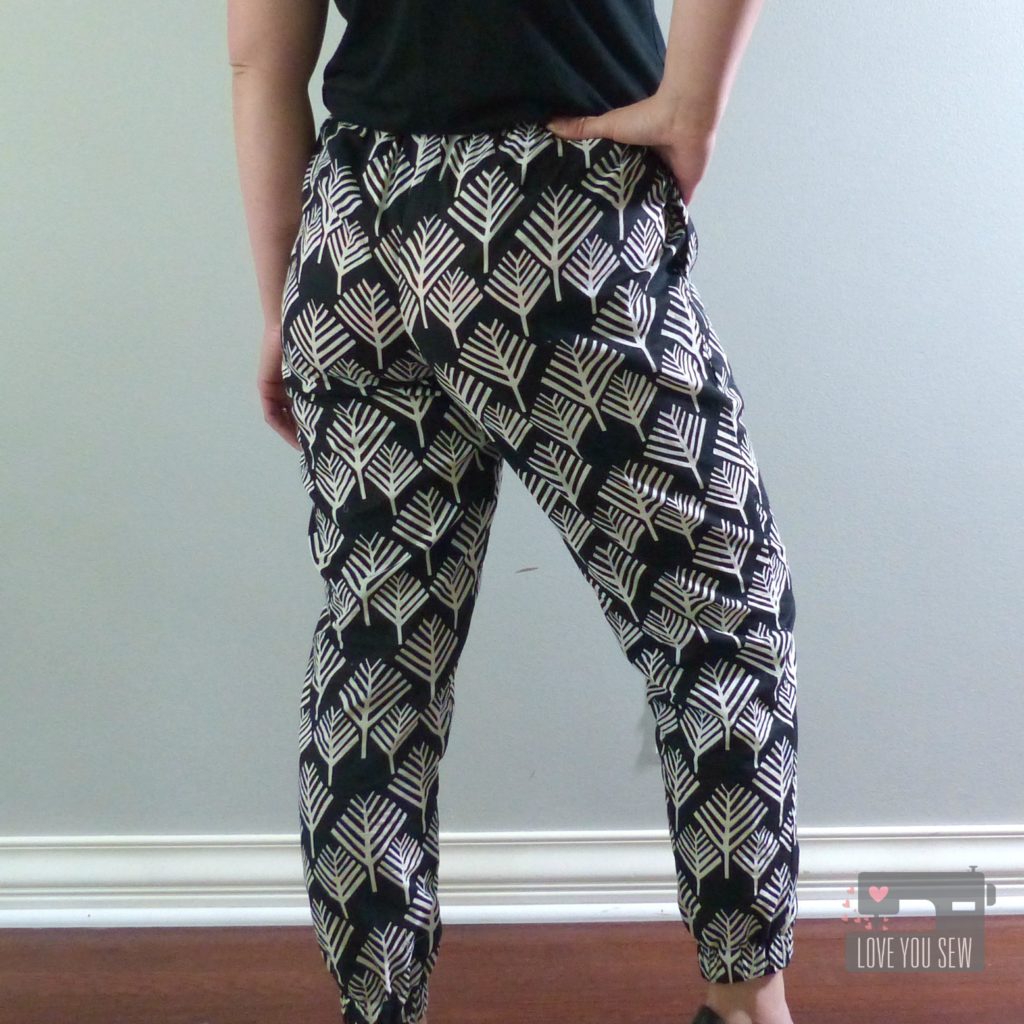
I love the contoured waistband which really allows for a nice gather.  There is room around the seat, but not so much that it would give a saggy rear-end.  You can adjust the gathers around however you like and make a few stitches along the side seams to keep them in place.

LP Styled Casual

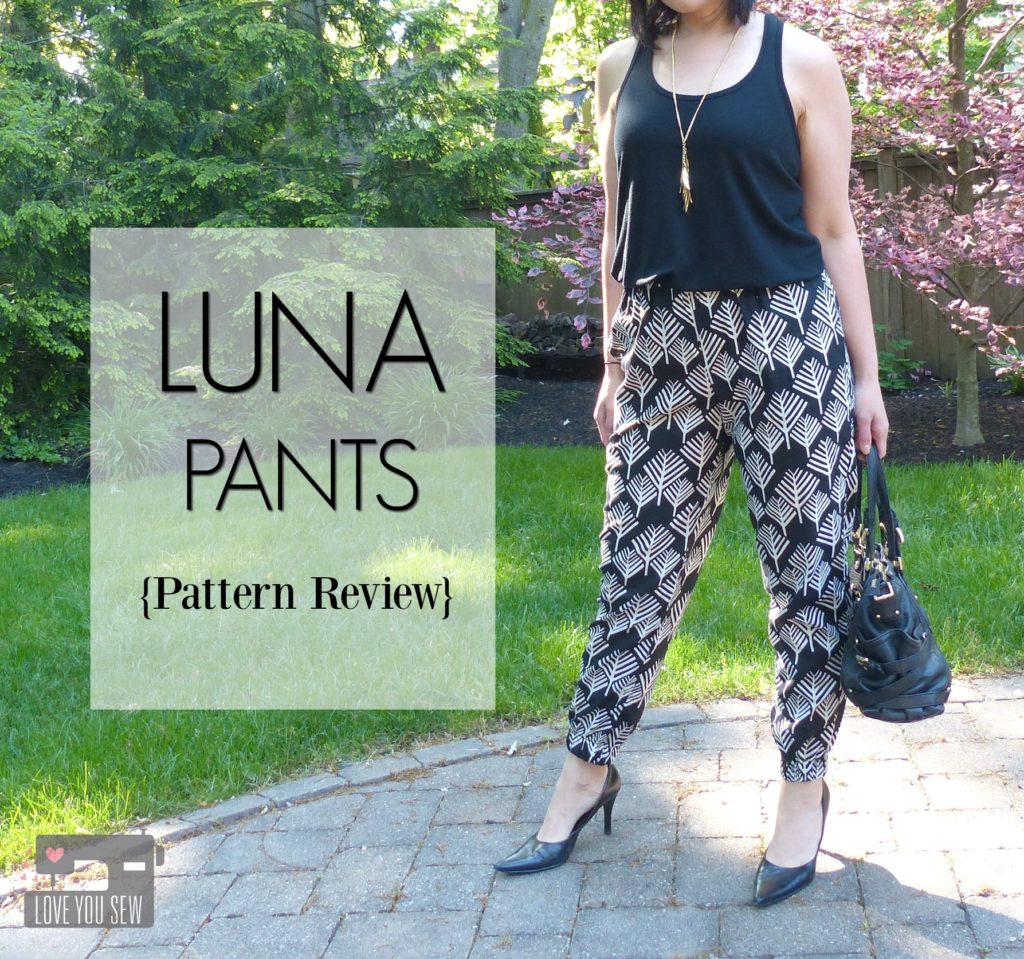
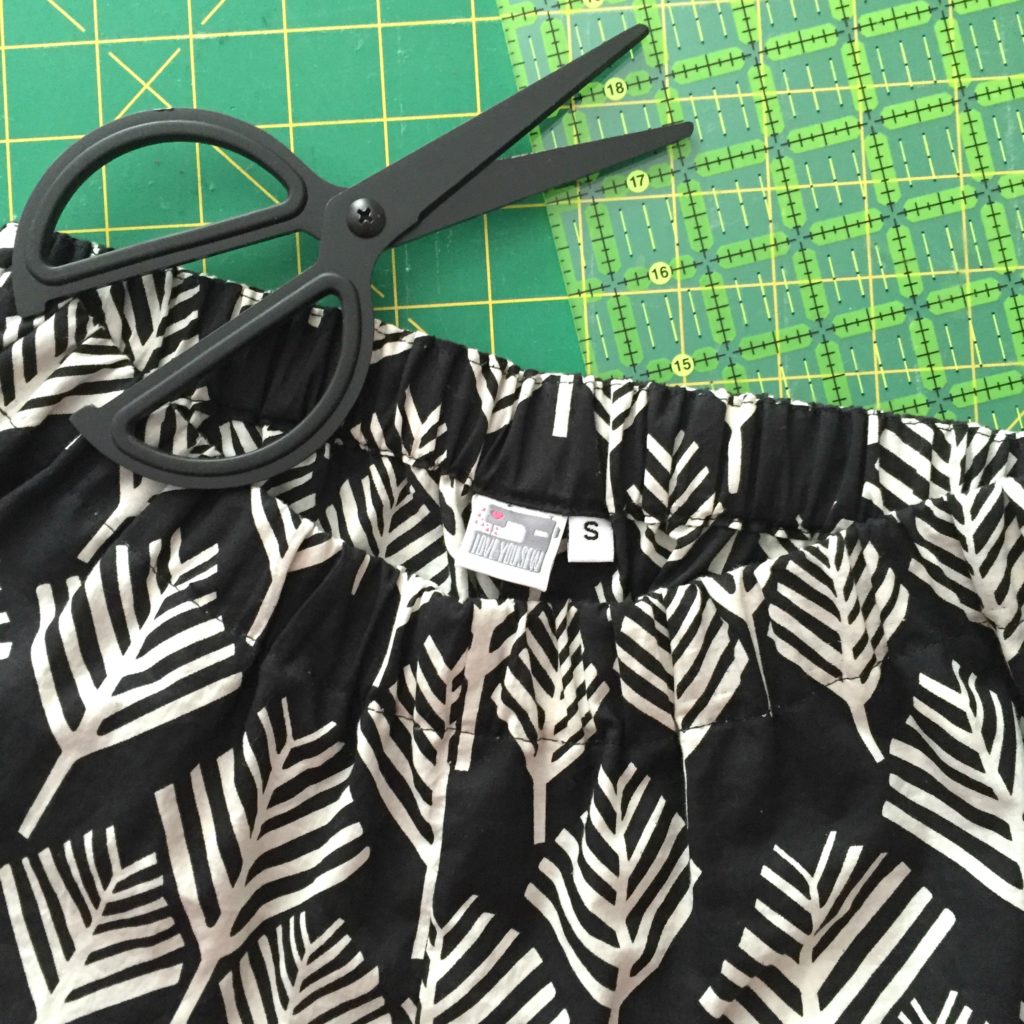
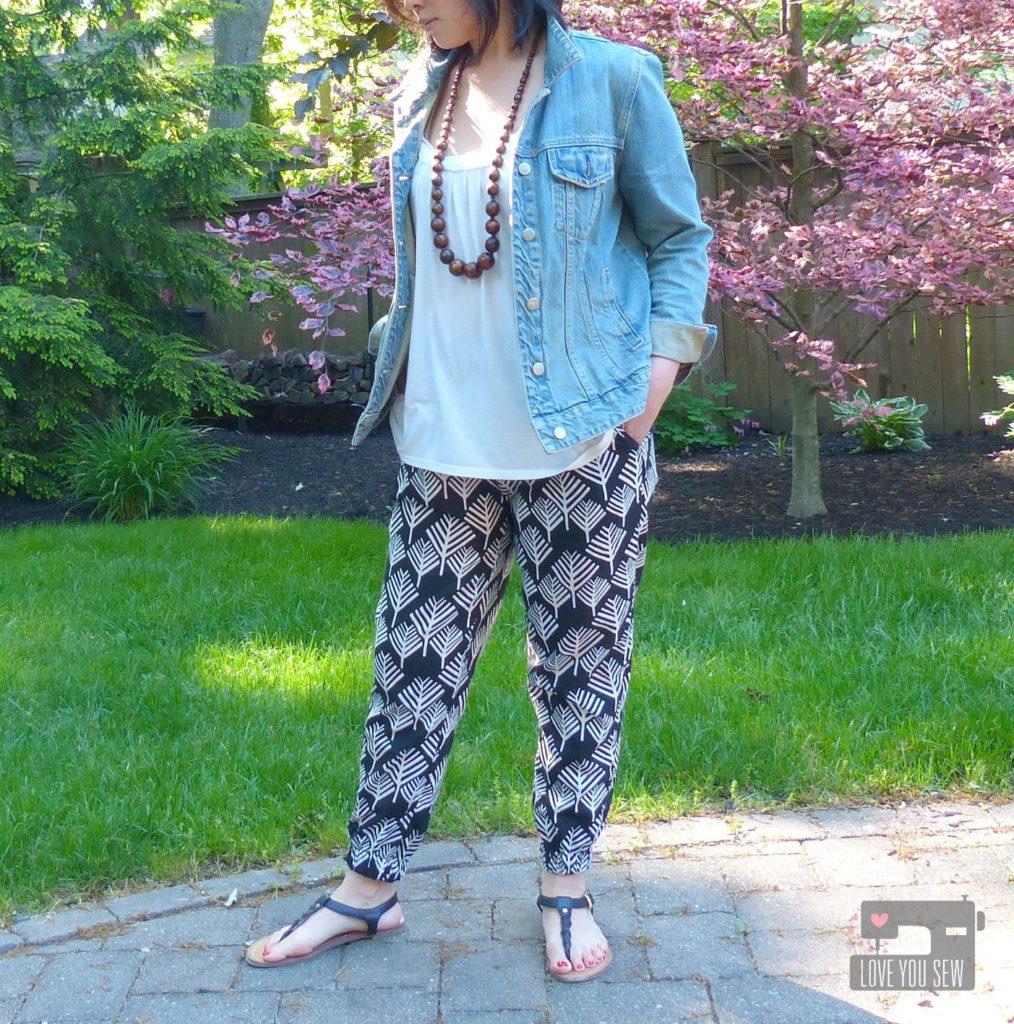
These pants are just magical and so incredibly light.  The Yucca organic voile in Arbol by Leah Duncan for Cloud 9 Fabrics is just amazing for the warmer months ahead.  They can be worn with flat sandals (Merona) and a cute jacket (J.Crew) for just running around town.

LP Styled Dressy

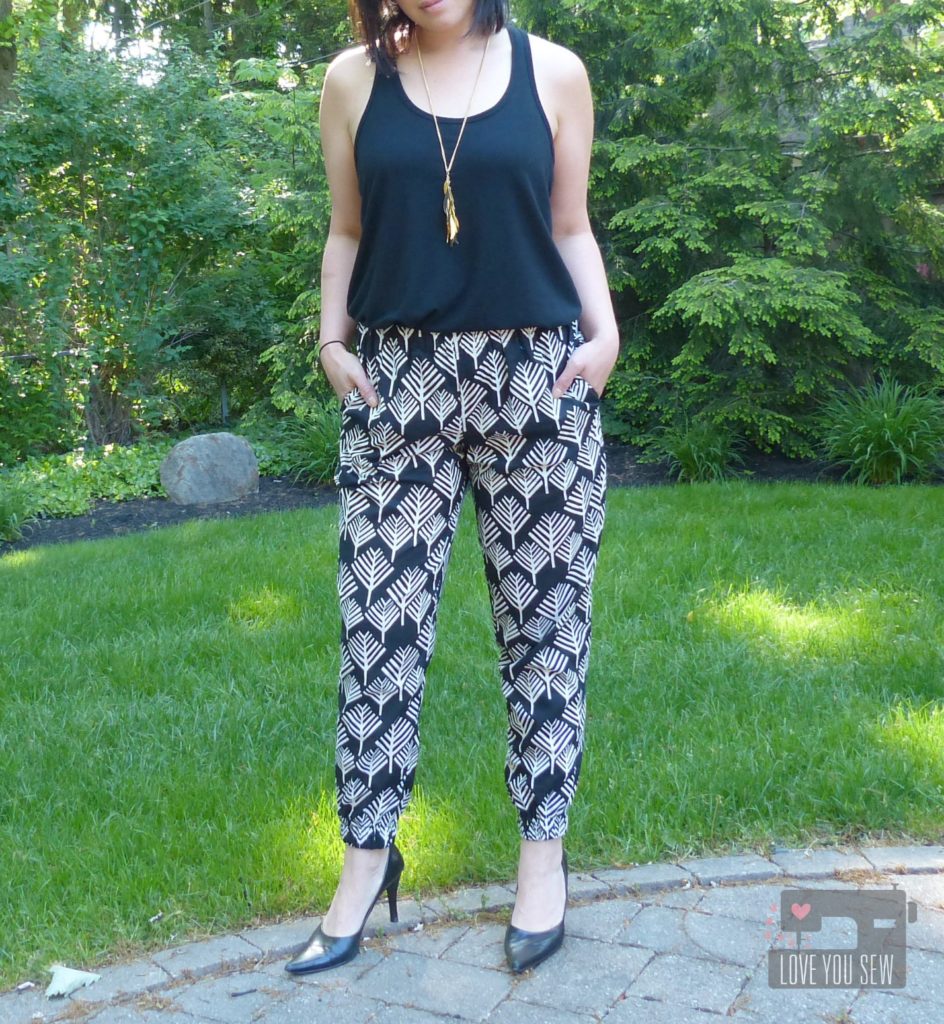
With this black and cream design, the Luna Pants can also be dressed up with heels (Nine West) and this loose tank (Merona) for a jumpsuit look without the jumpsuit hassle (a la having to take off the entire outfit to use the restroom…no thanks!)

The styling possibilities are endless for my secret pajamas!  I’m excited to wear them all summer and make a few extra pairs for lounging…errr…being fashionably hip 😉  What do you think about the jogger trend?


Hugs and Stitches,

Cristy