Chi-Town Chinos with Indiesew

My quest to add more handmade clothing to my closet continues!  Check out my previous Make Nine post with all of my 2018 garment goals here.   I’m so happy to be checking off one of the patterns off my list…and it’s still only February!  The Chi-town Chinos are complete and it certainly wouldn’t be possible without the resources and products from Indiesew.


My handmade wardrobe is still in need of basics which include “non-elastic waist” pants.  Don’t get me wrong, I LOVE an elastic waist, but sometimes you just need a clean and classic pair of trousers.  The Chi-town Chinos are just that with their timeless design and versatility.  This pattern can also be made into a skirt or shorts, and has a number of different pocket options.  For the pants, I needed both the original pattern plus expansion pack #2, which you can find all at Indiesew. If I’m buying a pattern, I like it to go the distance and I appreciate all the options.
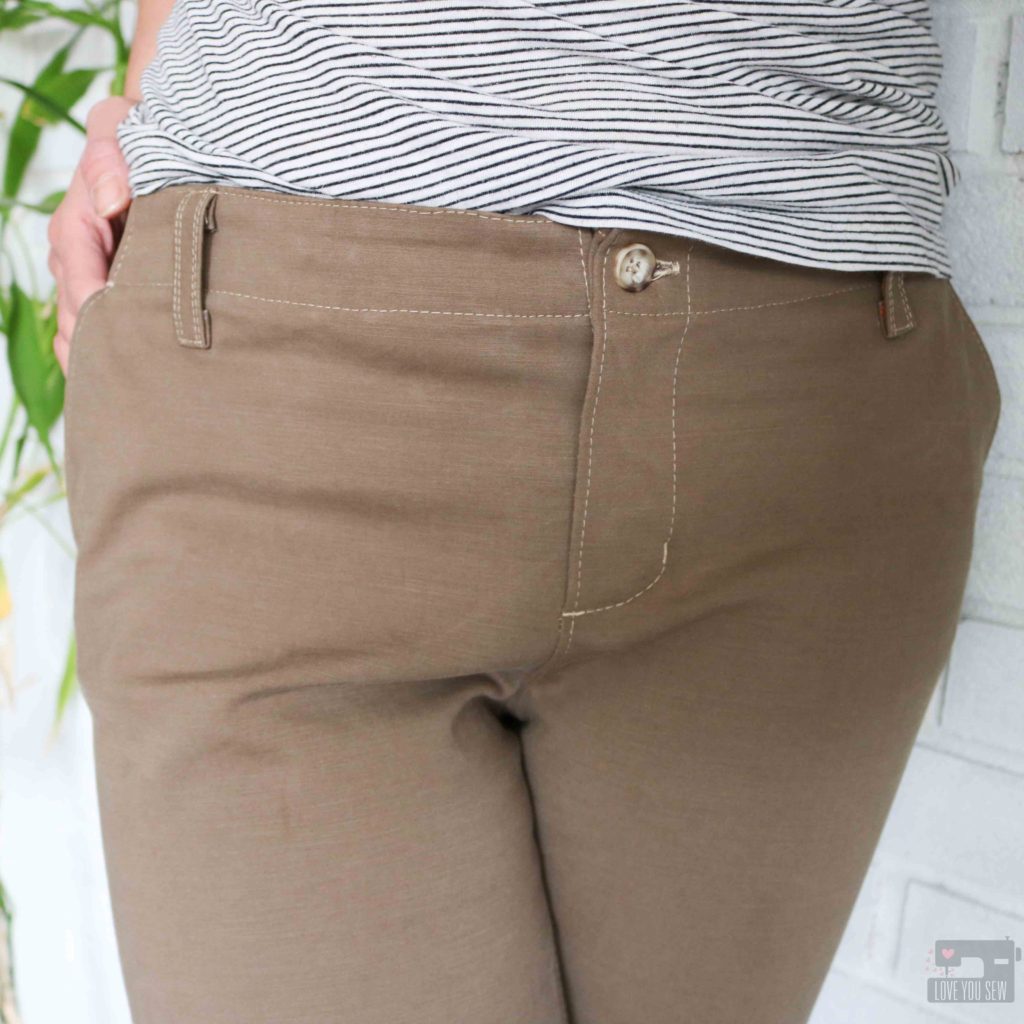

Trousers have been lower on my garment list for awhile.  There is so much more fitting required…especially since I have wider hips and heavier thighs than my waist aka booty issues.  I’ve always been plagued with RTW fit issues, but I’m always up for a challenge.  After making so many tops and skirts, I knew this would have to be next.  Luckily, there is an amazing maker gallery on Indiesew’s website.  Searching hashtags on social media is great for some photos, but I love the in-depth reviews and blog links in the “Creations” section.  It’s SO nice to see the Chi-town Chinos on so many different bodies and read about the adjustments (if any) that each person has made.  There is also a blog post about denim Chi-town Chinos on the website, which you can find here.  With all of these resources,  I felt much more confident about my decision to make the pattern.

I had the pattern selected, but what about the fabric?  Again, the booty issues!  I was thinking I would have to make a possible looser pant with a standard twill, but then Indiesew had just enough of this amazing stretch (!!!) Cotton Sateen Hearth left for the Chinos and I knew I had to grab it.  The 11 oz weight was just what I needed to keep this silhouette looking smooth and structured.  The 20% stretch was going to make fit a bit easier and I know this fabric would be able to keep up with my momming lifestyle (which is chasing…er keeping up with two crazy young boys.)

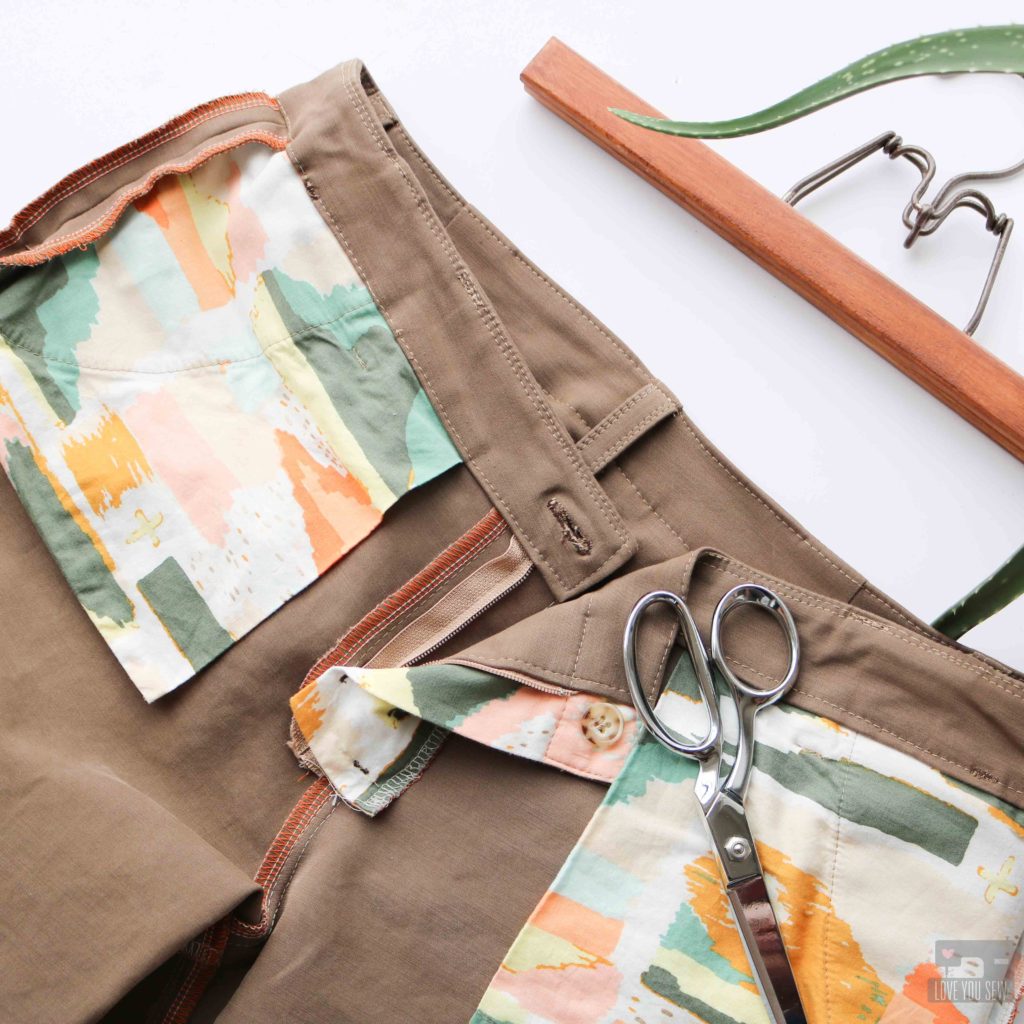
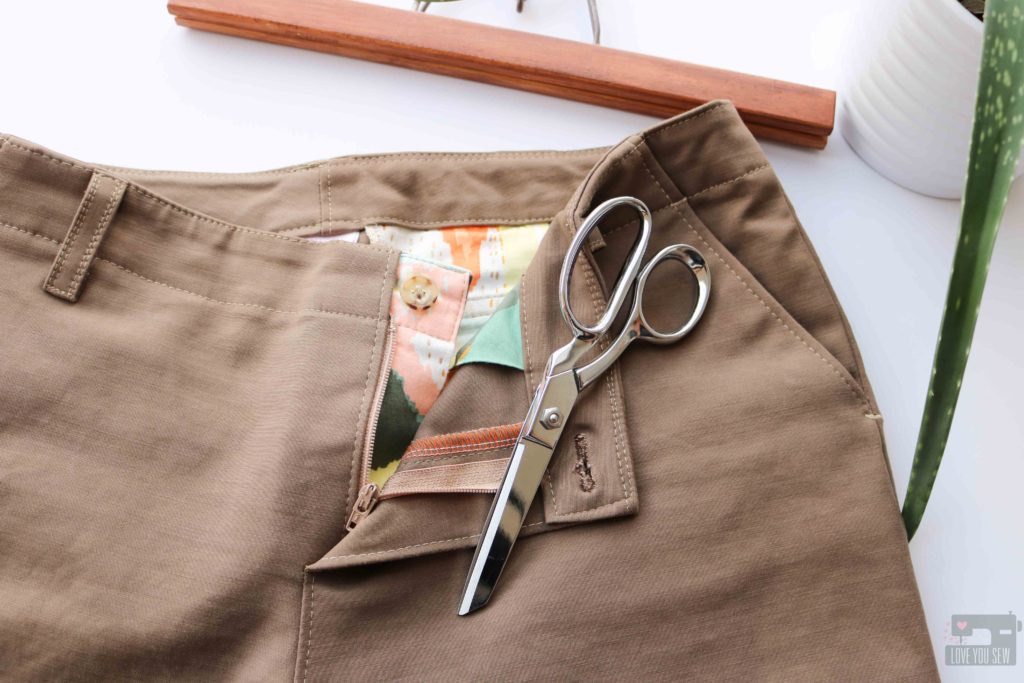
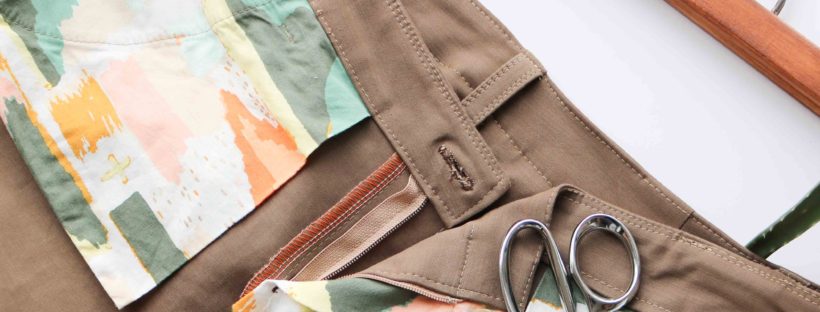
The cotton sateen was a pretty “safe” neutral, so I wanted to have more fun with the pocket bags and fly shield.  I dug out this great fabric from April Rhodes out of my stash and it definitely adds  some great pops of color….there is even some metallic!  Isn’t this the best part of making your own clothes?!?
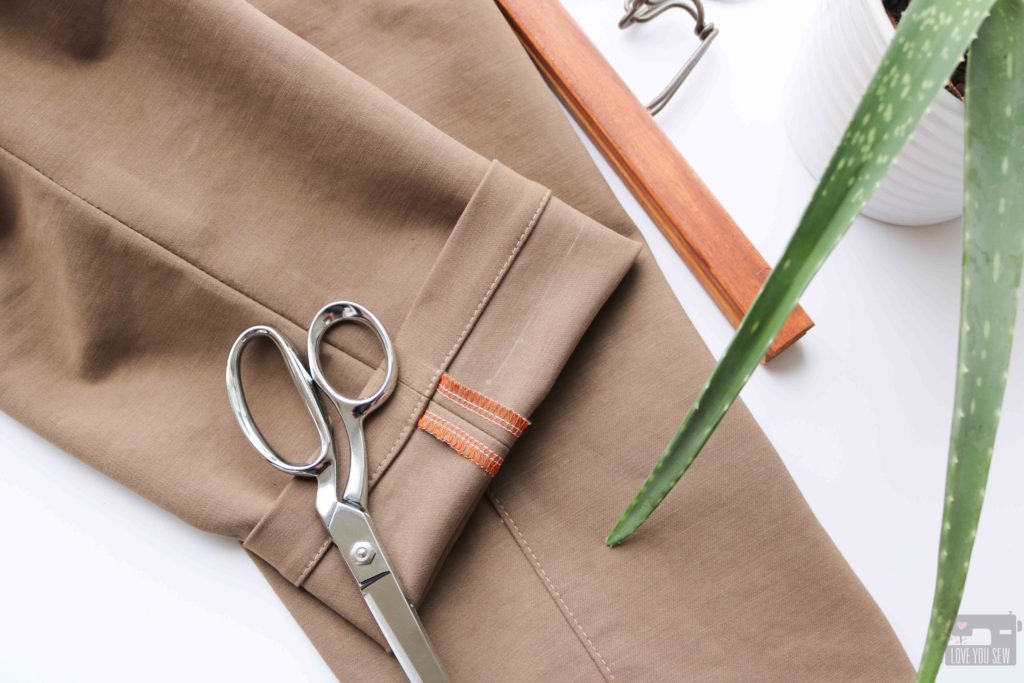
While I was picking out the pocket fabric, I figured I could also have even more fun with my serging.  I used a 4-thread overlock stitch with the stretch cotton sateen and used the contrasting orange in the upper looper.  TIP:  Using the contrast thread in only the upper looper can save on thread.  If you are like me, and only have a handful of serger thread colors, you will only need to purchase the one color.  I used cream in all the other spools and you don’t really see those colors as much.

I debated between a hook and eye or button fly closure.  But it came down to seeing what was available in my notions box…and the button won.  All the buttons are from my MIL’s vintage collection and I always try to use her old stash as much as possible.  I’ve never had to buy a button since I’ve started sewing garments!  She always had something good 🙂

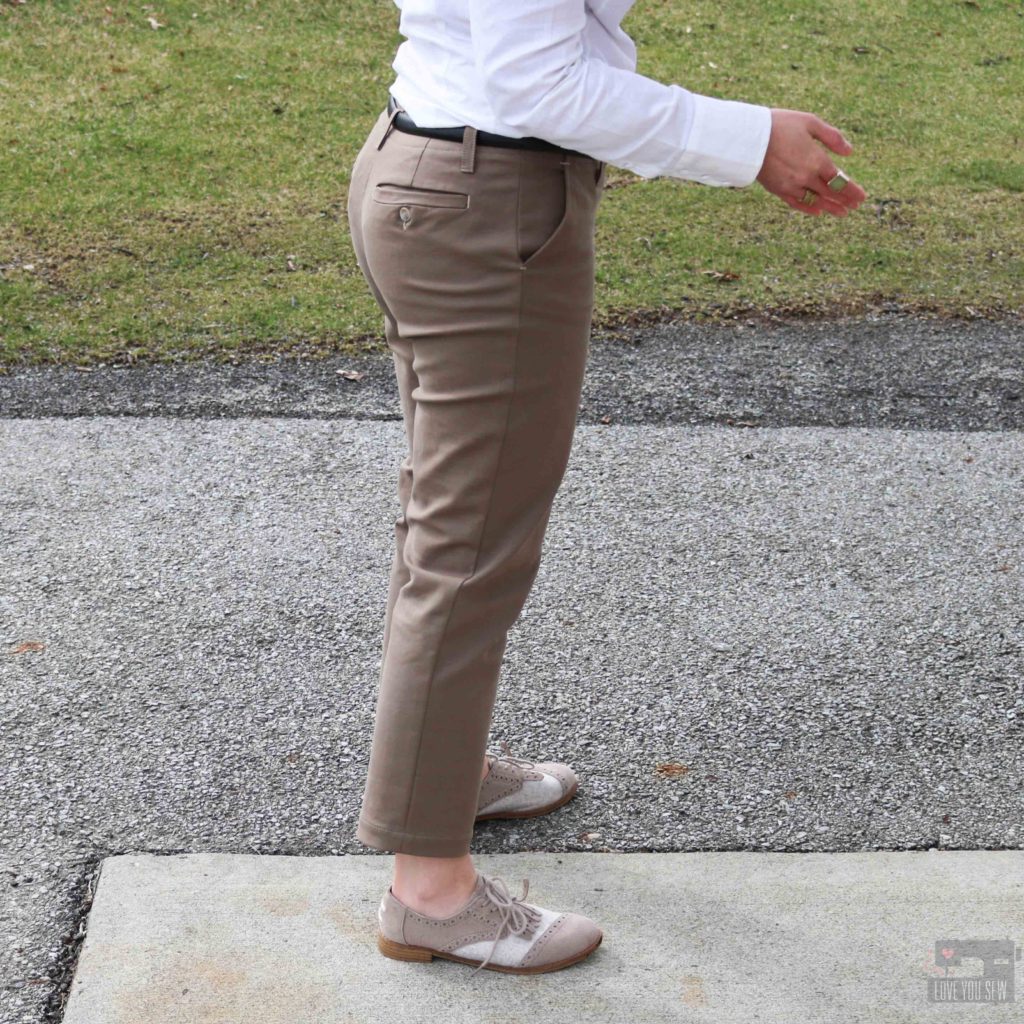
I love how Alina Design & Co designed this pattern with two back darts over the pockets.  Her instructions come with how to make a muslin (don’t skip this step!) which I absolutely loved…not having to actually make the muslin, but in that she told you what pieces you needed.  It relieved me of playing the guessing game trying to figure out the pattern.  The muslin is how I knew I needed a 2 inch waist adjustment.  I sized to fit my hips and then split the adjustment between the two darts.  So one inch came out out both sides.  This made the fit absolutely perfect!

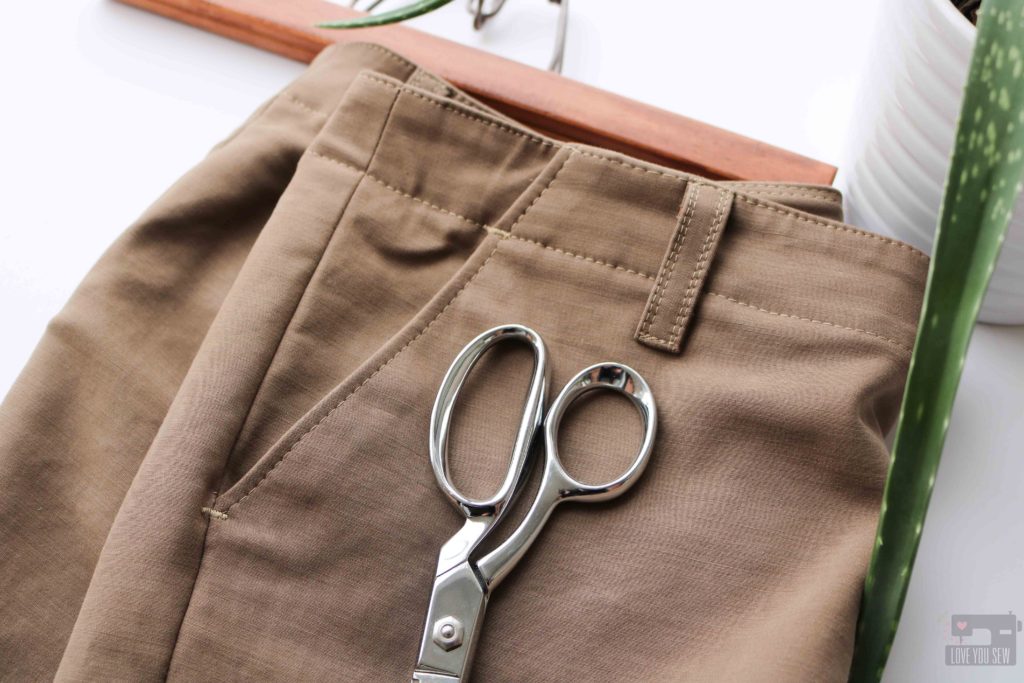
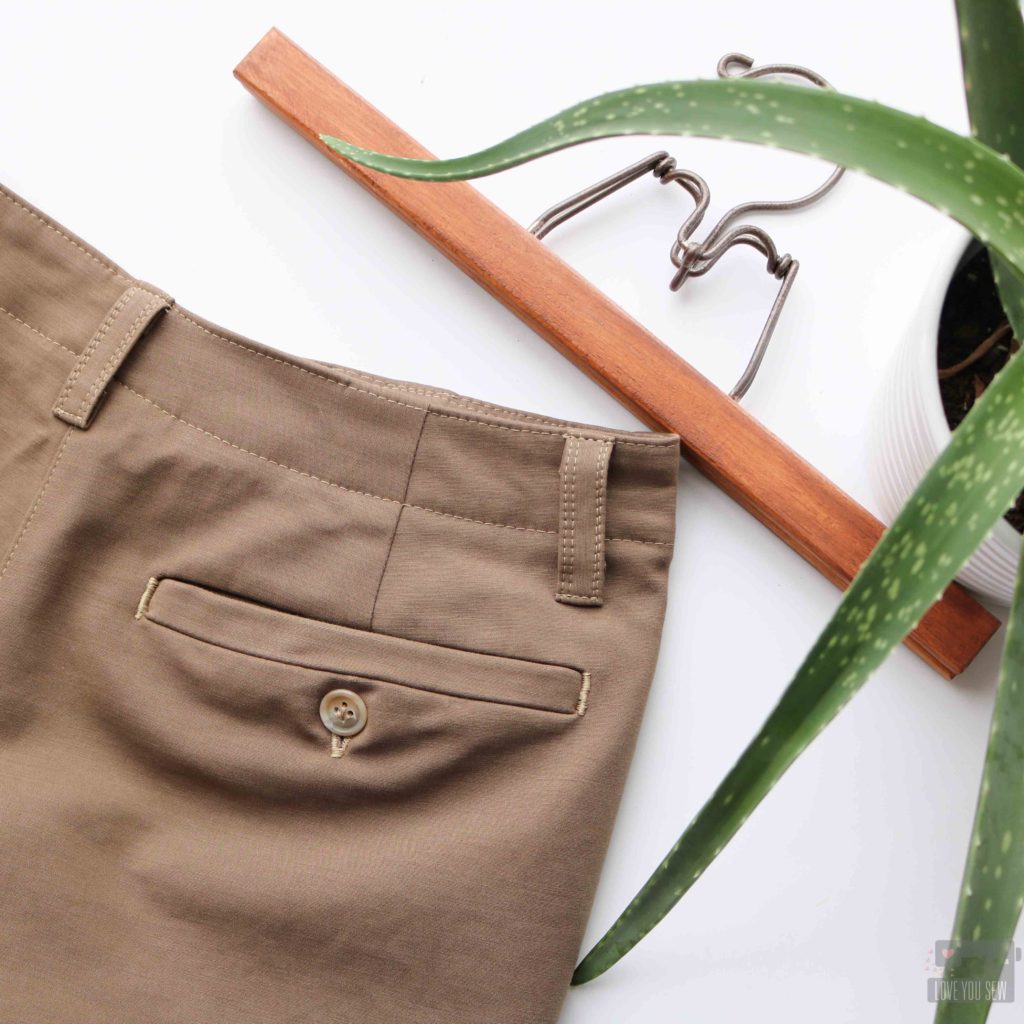
For the back pockets, I opted for the welt design…which was probably the most difficult choice.  This was not the best move on my behalf, but I made it through…  The difficulty came when trying to transfer the pattern lines on a curved 3-D back.  Of course, after I struggled through this, Allie Olsen (the founder of Indiesew) showed how she places pockets on a pressing ham to replicate the shaping.  I wish I’d seen that about a week before it was in her Instagram stories!

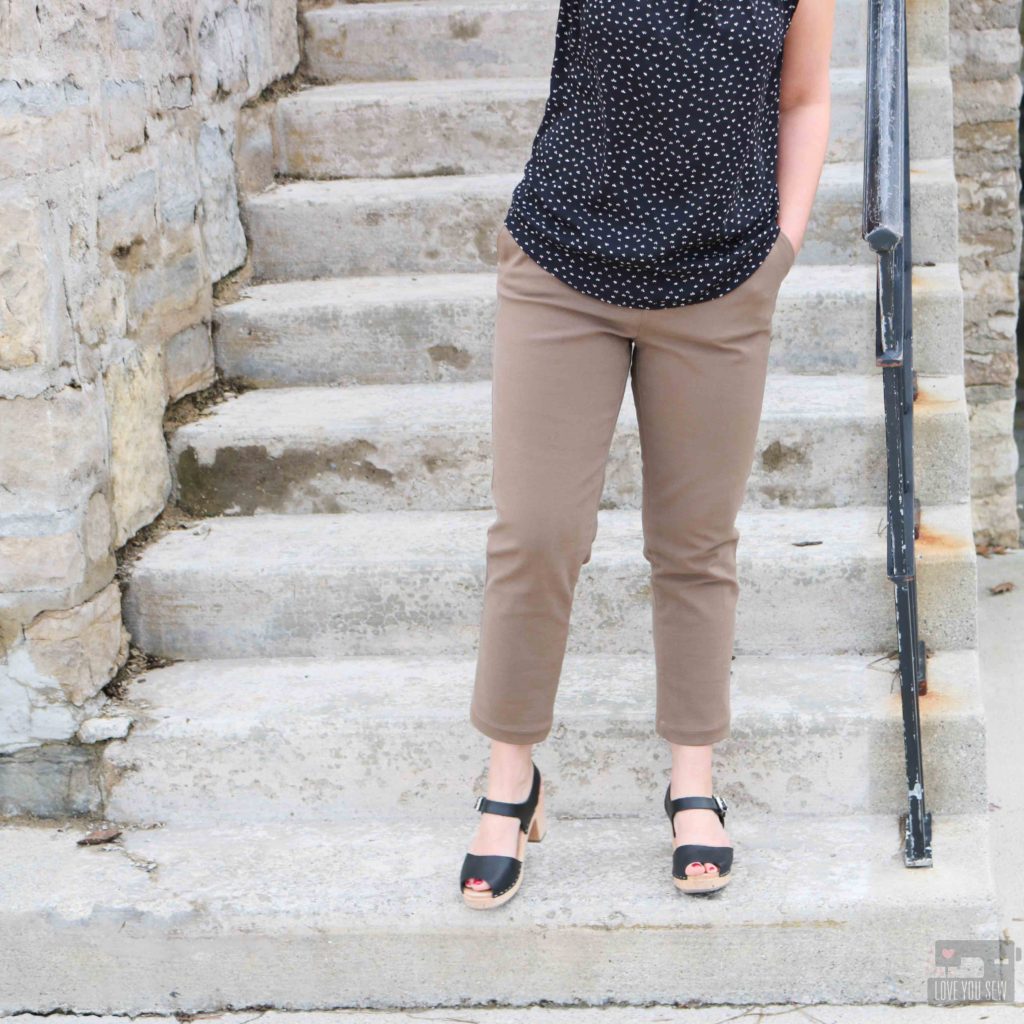
The other major adjustment I made was to hem these to a cigarette pant length (which is right above the ankle.)  I’m only 5’3″ and already made a 2″ length adjustment during muslin time.  But I was torn between a full length (which I could wear in all seasons) or the cigarette length because I do tend to fold up my pants…especially since fashion has really loved the ankle for the past few years.  Luckily, all of my Instagram followers who took my poll, decided the cigarette length was right.  (Thank you!)  I am so pleased with how it came out and how the length makes these pants look so clean.

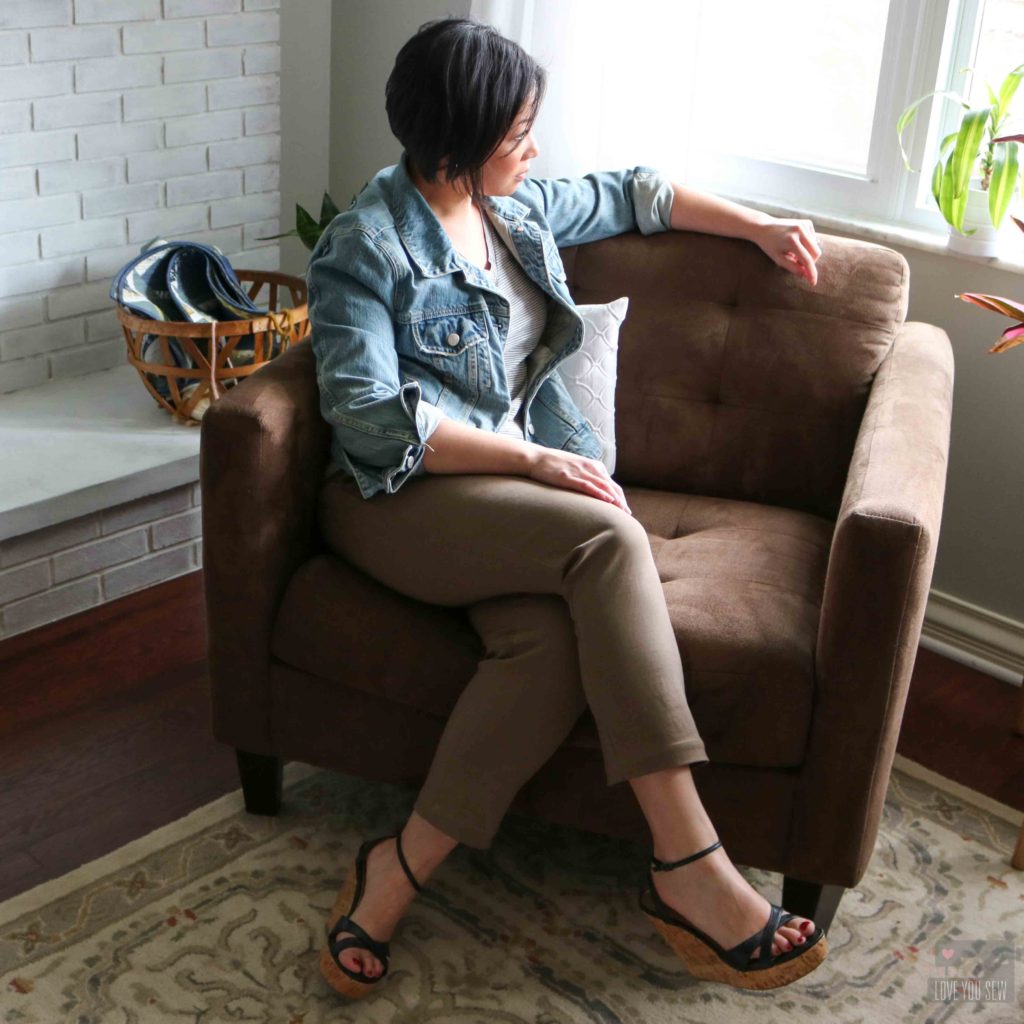
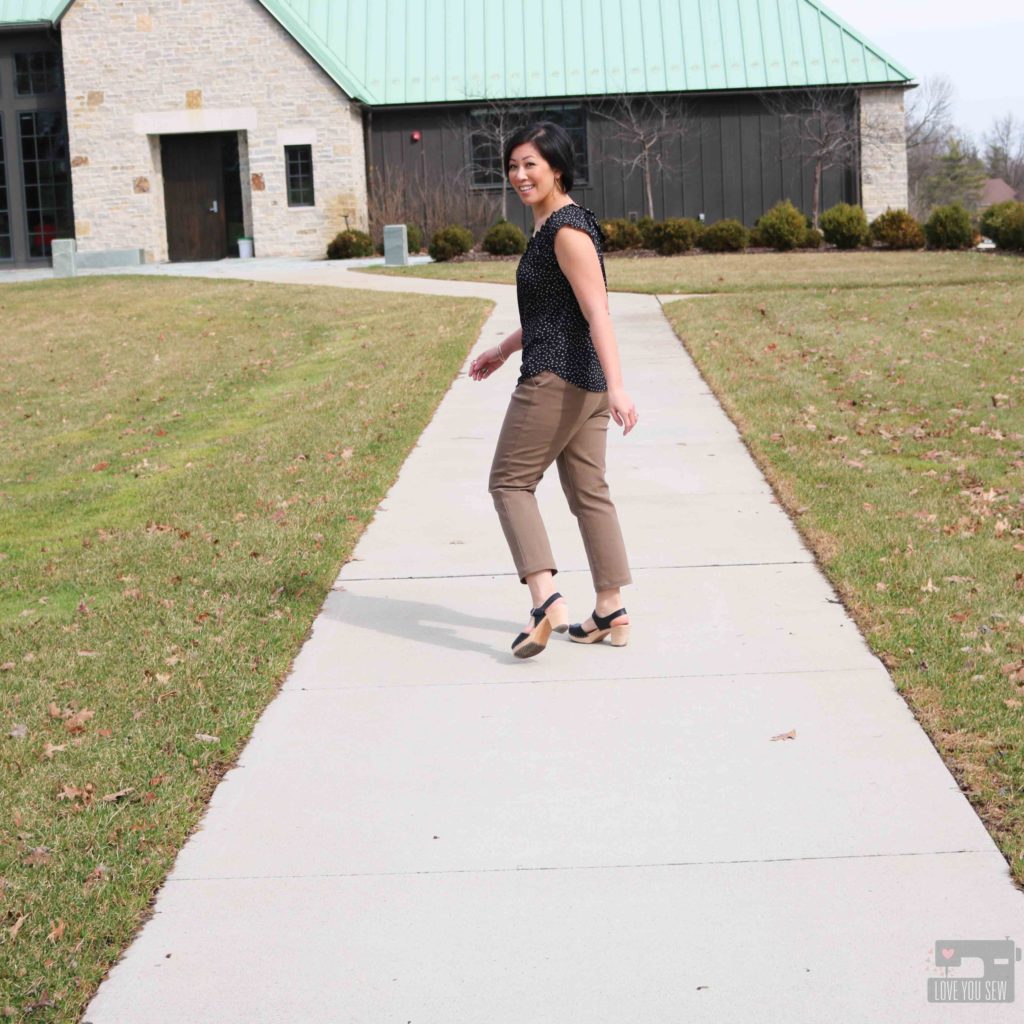
These Chi-town Chinos came out even better than expected.  (The full two weeks I spent on mostly-careful construction paid off!)  The cotton sateen fabric makes them look so stylish and the elastane blend keeps them from wrinkling (Big bonus!!!)  The heavier weight keeps the silhouette lines so well.  I love how this is such a great wardrobe staple and works with so many items in my closet already.  Look how it pairs with a simple striped tee and vintage denim jacket!  This would be great with just a pair of casual sneakers or sandals too.  It would make for a great everyday outfit.

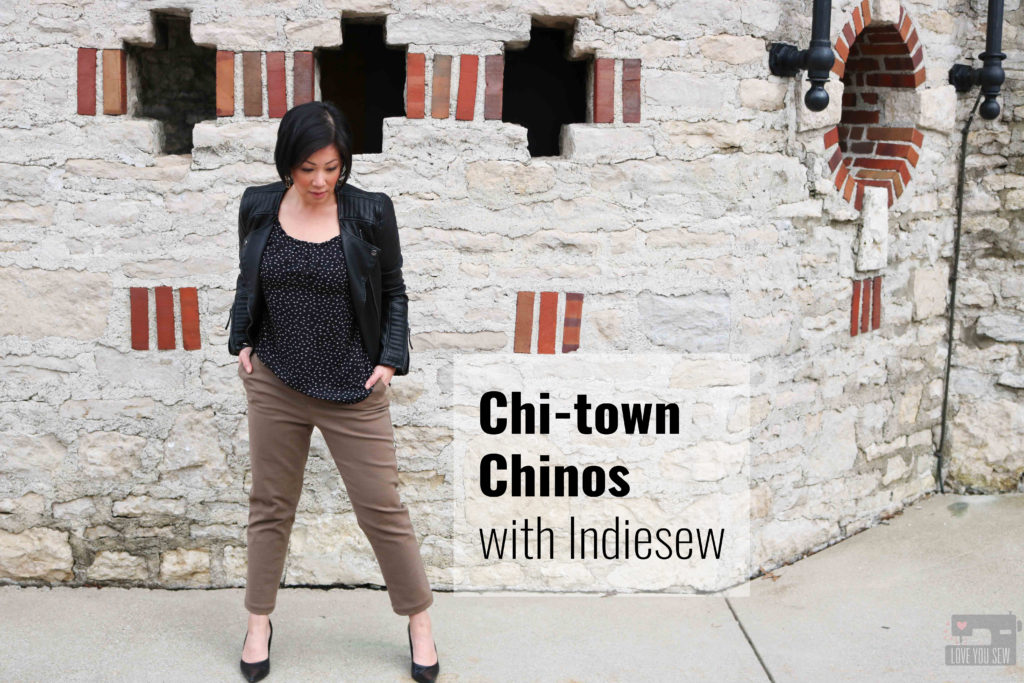
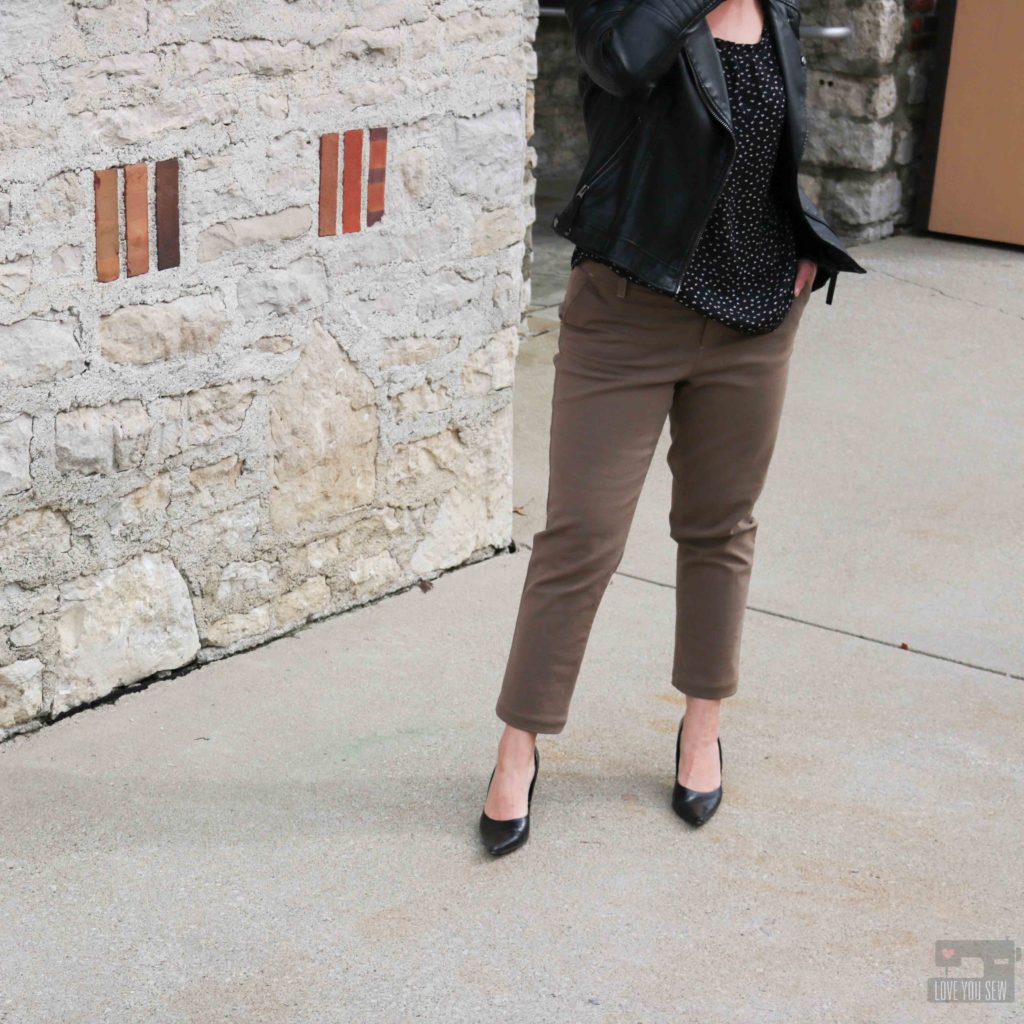
You can take the edge up a notch with some black stilettos and a great faux leather moto jacket.  This is perfect for a night out on the town with the girls or maybe date night instead 😉

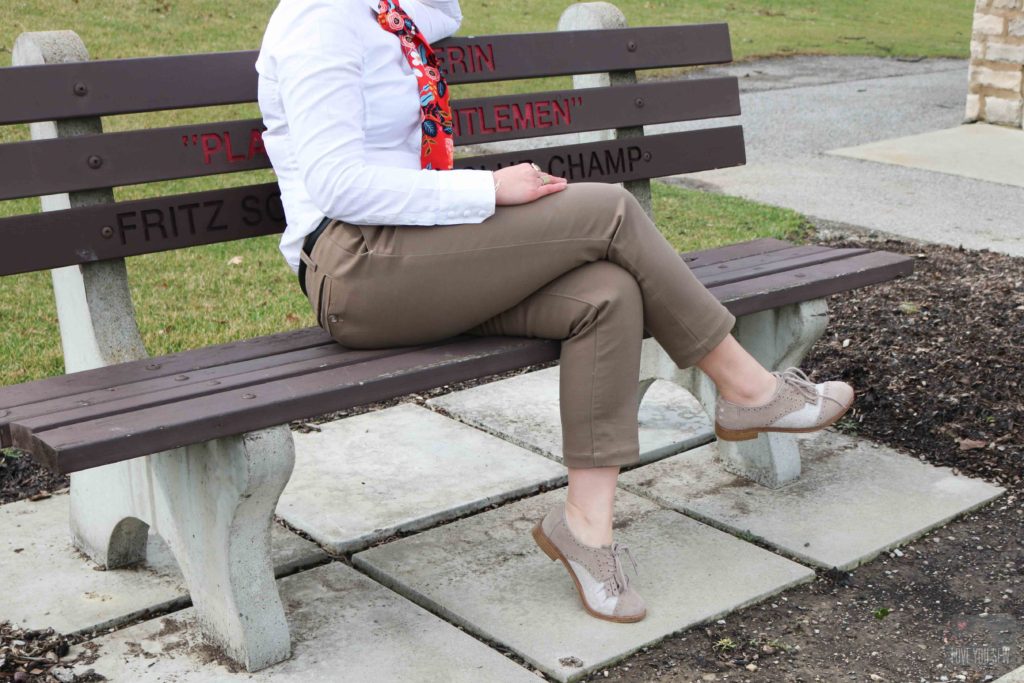
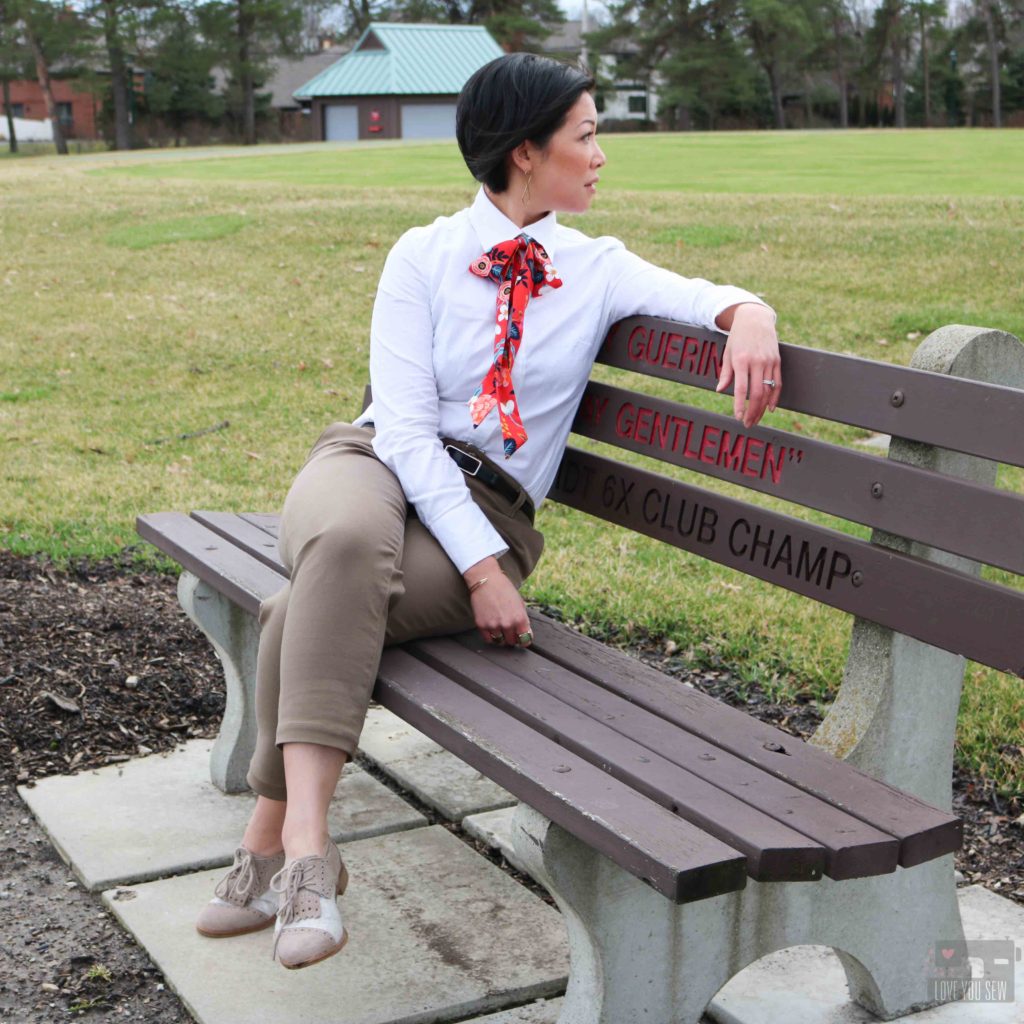
You can also go the dapper route with some wing-tips and a great crisp white button-down shirt.  I’ve always been drawn to menswear styling since my old corporate days, but I love the feminine touch with the pussybow.  You can make your own with the same Rifle Paper Co Floral rayon challis. This outfit would be a great look for business meetings or an extra dirty martini.


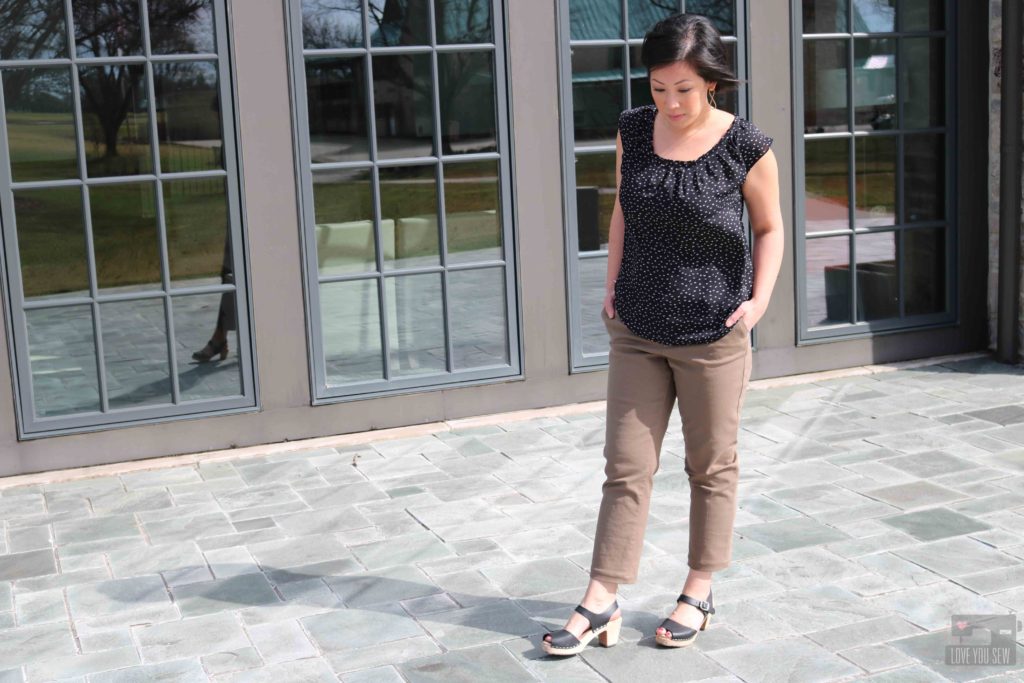
These chinos are just so versatile that just a change of shoes can completely change the look.  I swapped out the stilettos for some Swedish open-toe clogs and now its completely relaxed.  This is great for a coffee-date or brunch with friends.

I hope you enjoy my review of the Chi-town Chino pattern with the personal touches I added, as well as all the styling options.  You better believe I will be adding this make (and others) to Indiesew’s Creations.  I want to help others as that feature had definitely helped me!  Have you checked out that section of the website yet?


Stay Creative, Friends!

Cristy


The Chi-Town Chinos pattern and Cotton Sateen Fabric were both discounted by Indiesew for this blog post.  But as always, the make is my conception and all thoughts and opinions are my own.
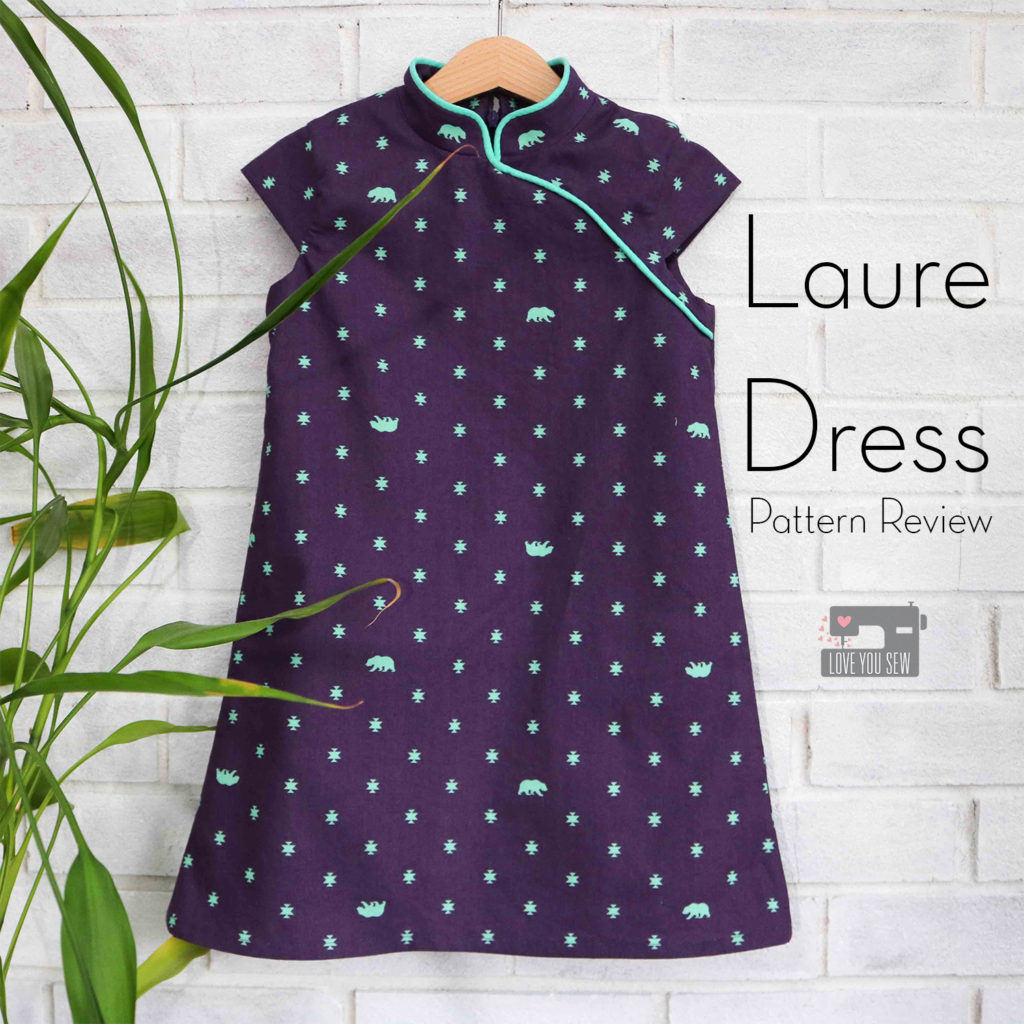
Laure Dress :: Pattern Review

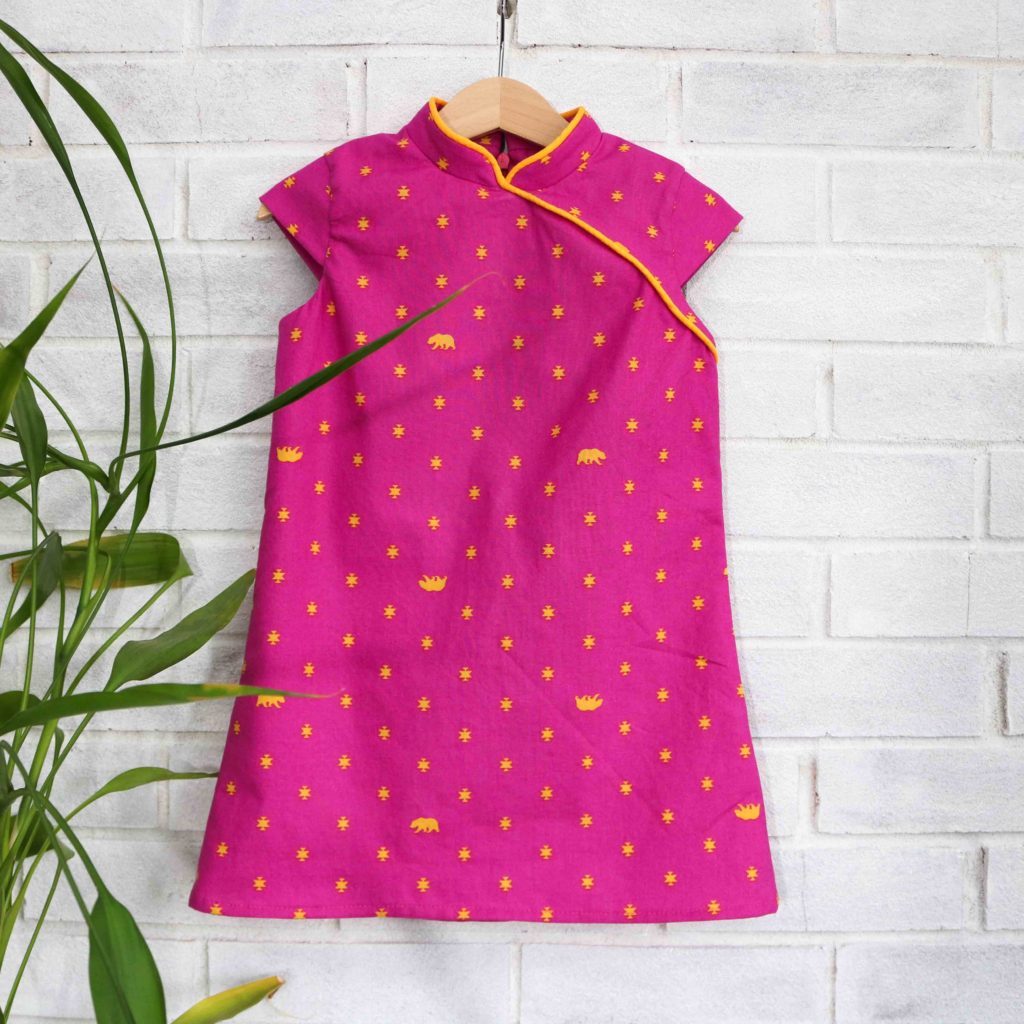
The first pattern I ever saw from Straightgrain Patterns was this Laure Dress in the Quipao version.  I was clicking away on Instagram and stopped in my tracks when I saw this adorable pattern!  Being of Chinese decent myself, these dresses always catch my attention…especially in fresh modern fabrics.  (And yes, I actually own two Quipaos, but in more traditional red and gold brocades.)  Since I don’t have girls of my own, I knew I would one day make these for my nieces…because I’m just the best aunt, you know 😉

Today marks the first day of the 2018 Lunar New Year (Year of the Dog) and I just had to share these with you!  This was such an important and fun time in my house while growing up.  We would have huge feasts and celebrate with lots of fireworks in Philadelphia’s Chinatown.  Now, in Columbus, the celebration is a bit smaller but just as fun as I hope to pass on the traditions to my boys.

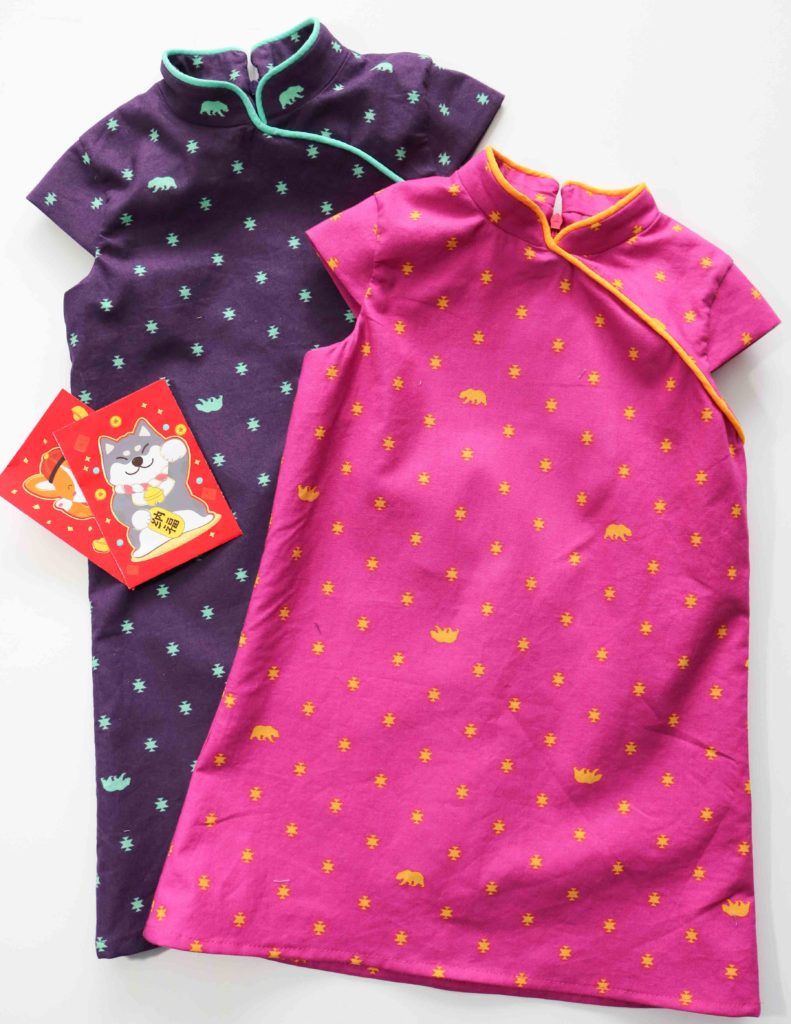
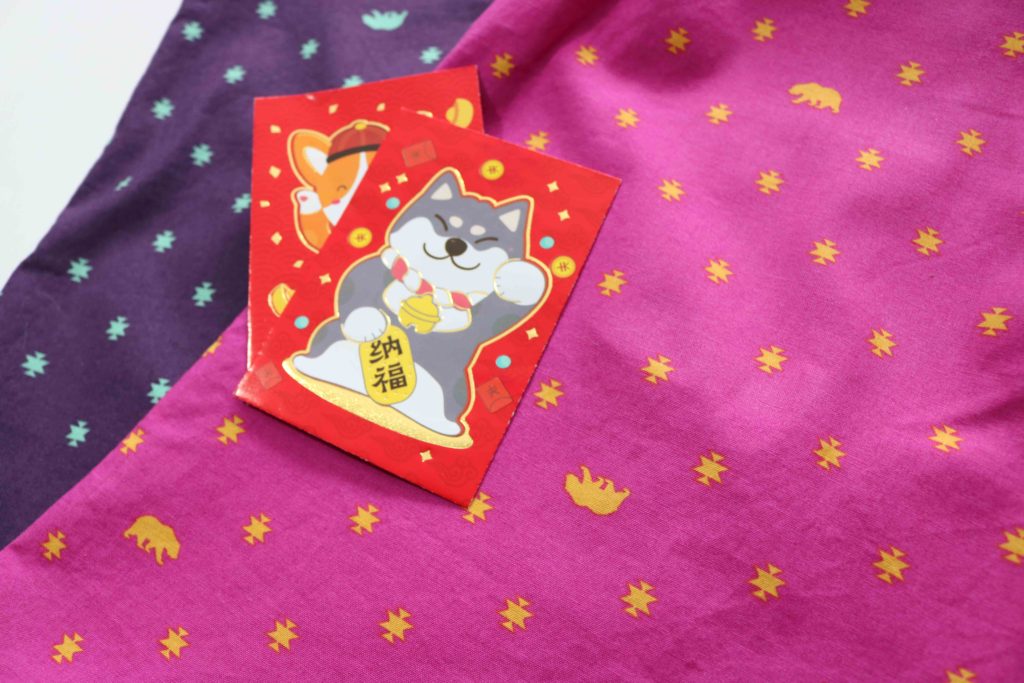
Traditionally, children receive these red envelope filled with money to bring good fortune and health into the new year.  I’m hoping these dresses will also bring them lots of good cheer and love too, since I’m still in love with this Spirit Animal (aff link) fabric by Tula Pink.  Although the good luck color of the new year is red, I thought the girls would get more use out of these great colors and the small scale silhouettes would be perfect to wear all year around.

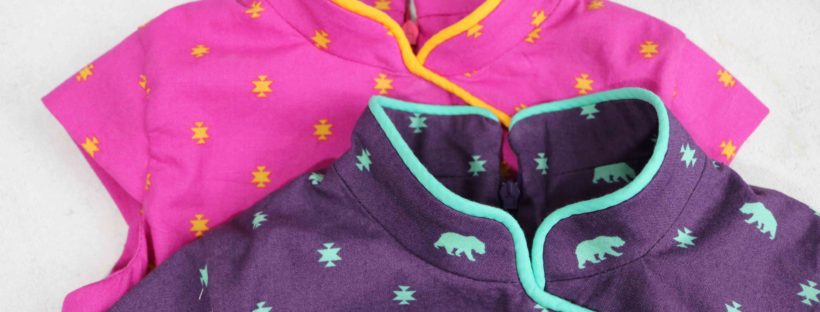
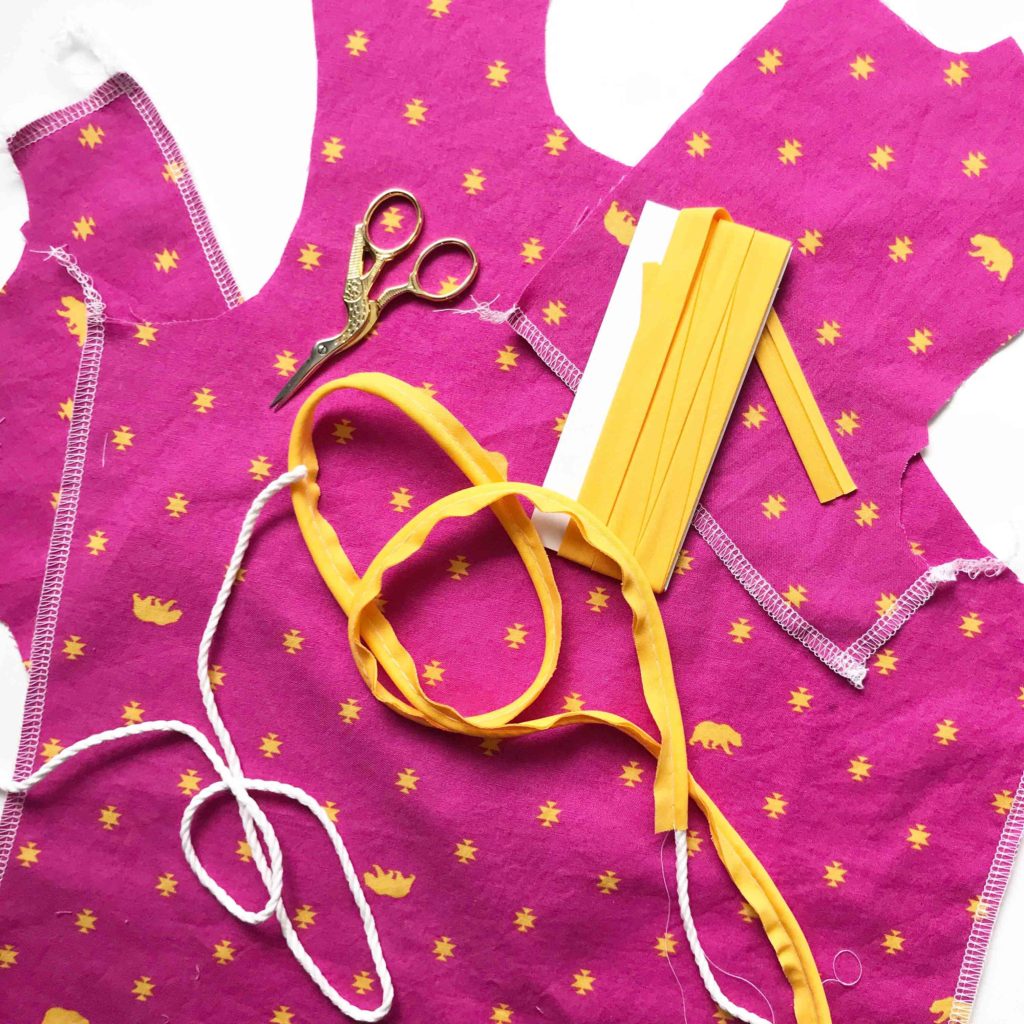
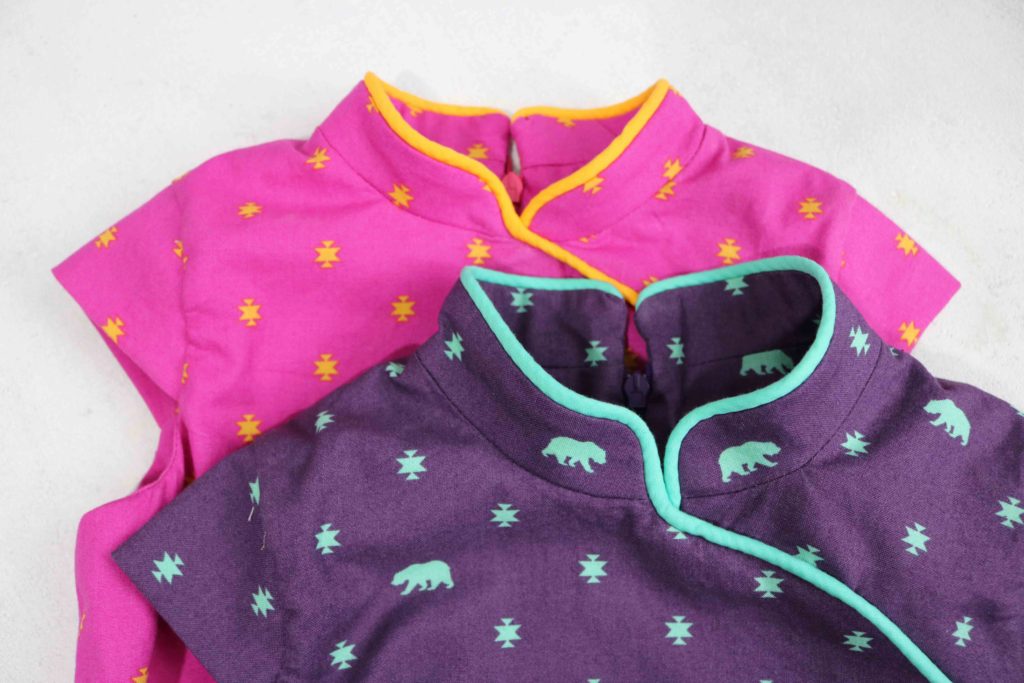
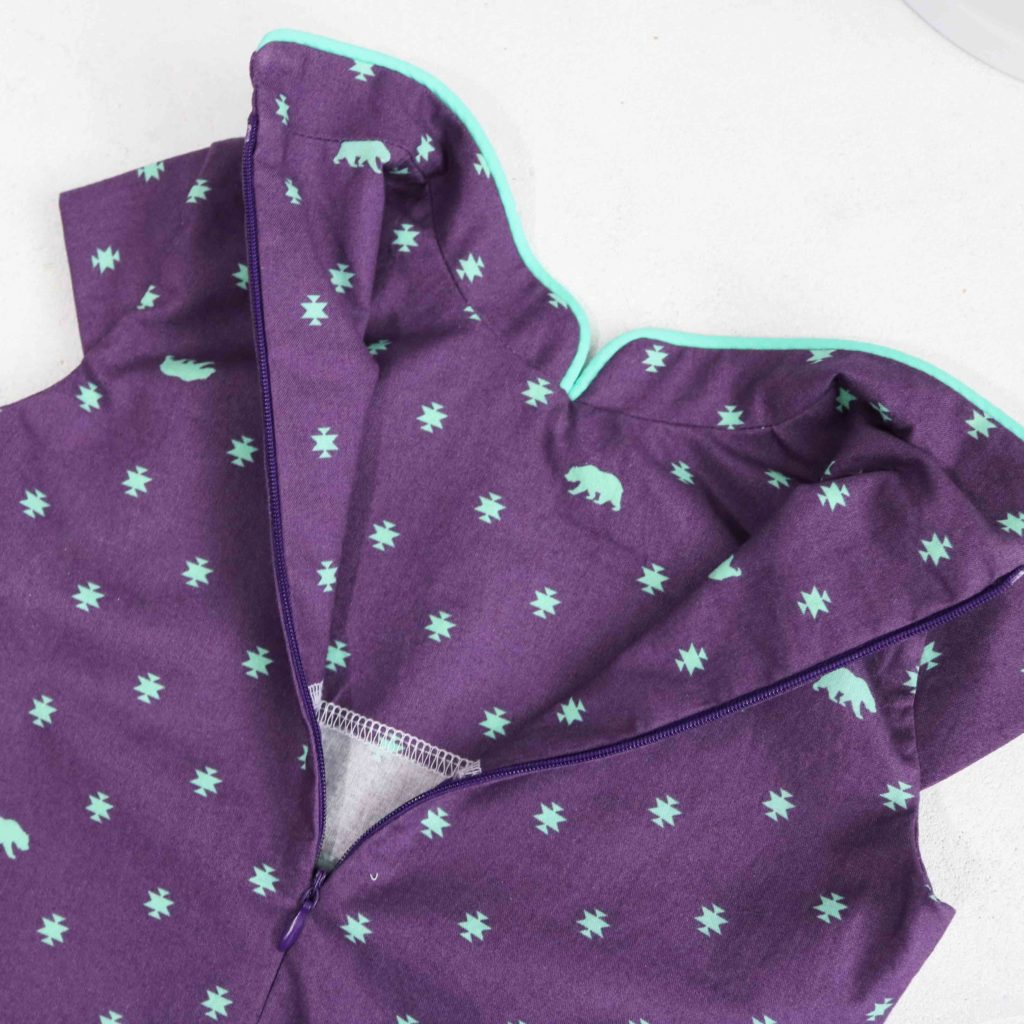
One of the great style features of any Quipao is the piping along the mandarin collar and down the front of the dress.  I knew this was a step I could not skip, but finding the right color in pre-made piping was not easy.  Because of ease and look, I tend to buy pre-made piping from the big-box stores.  (They do a MUCH better job than what I could make!)  With the bright colors, I could not find any piping…  However, I could find pretty close matches when it came to pre-made single fold bias tape.  I used this along with some cotton cording from my stash to make my own piping (reluctantly, of course.)  I don’t have a special foot, so I just use my zipper foot, a basting stitch and tried to sew as close to the cording as possible.

This process adds some time…especially when you’re like me and need two passes to get in close to the cording.  But look at the results!  The piping really highlights the curve of front yoke and brings out the colors in the fabric. *High-five!*

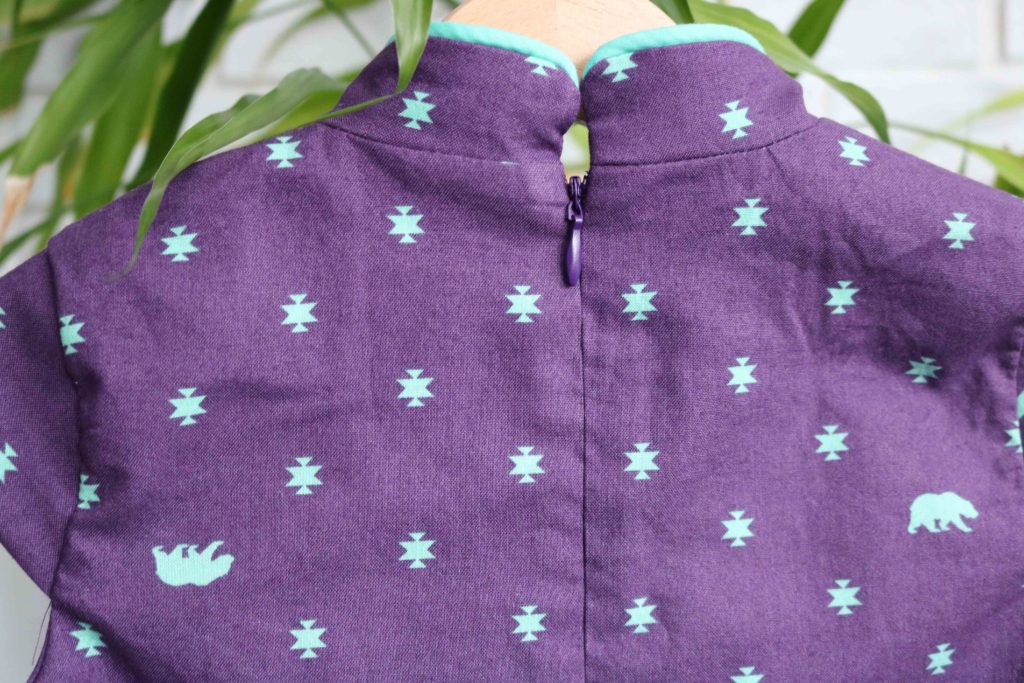
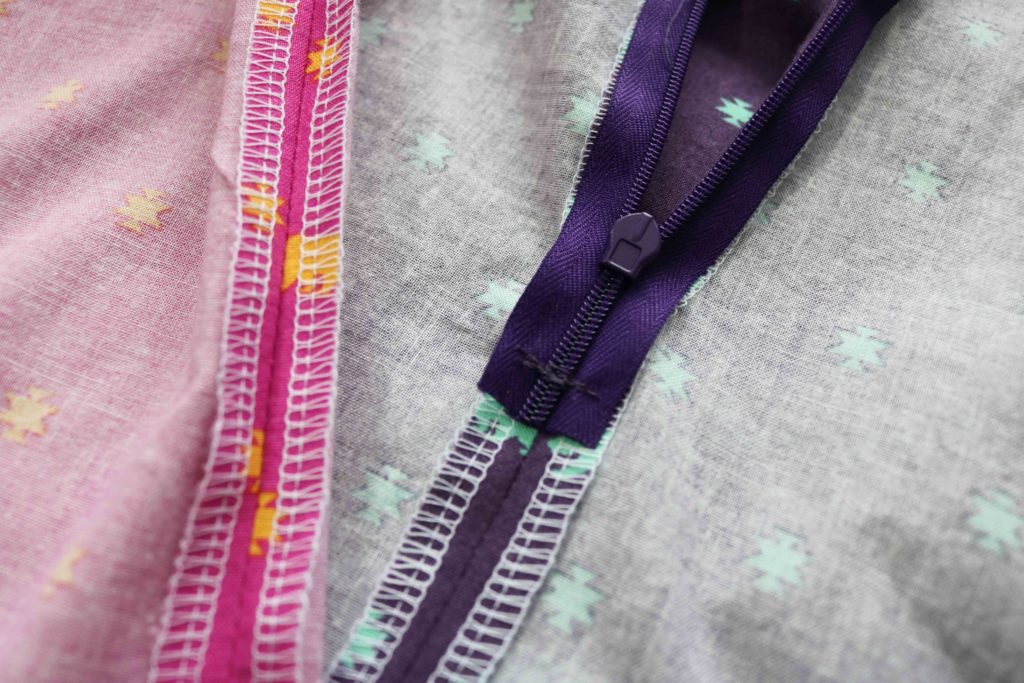
It’s been awhile since I had to insert an invisible zipper, but after a few seam rips, I was able to get pretty close even without a specialized foot.  I used my regular zipper foot and made sure to stitch slowly right in the zipper fold along the teeth.  My awl saved me through this step!

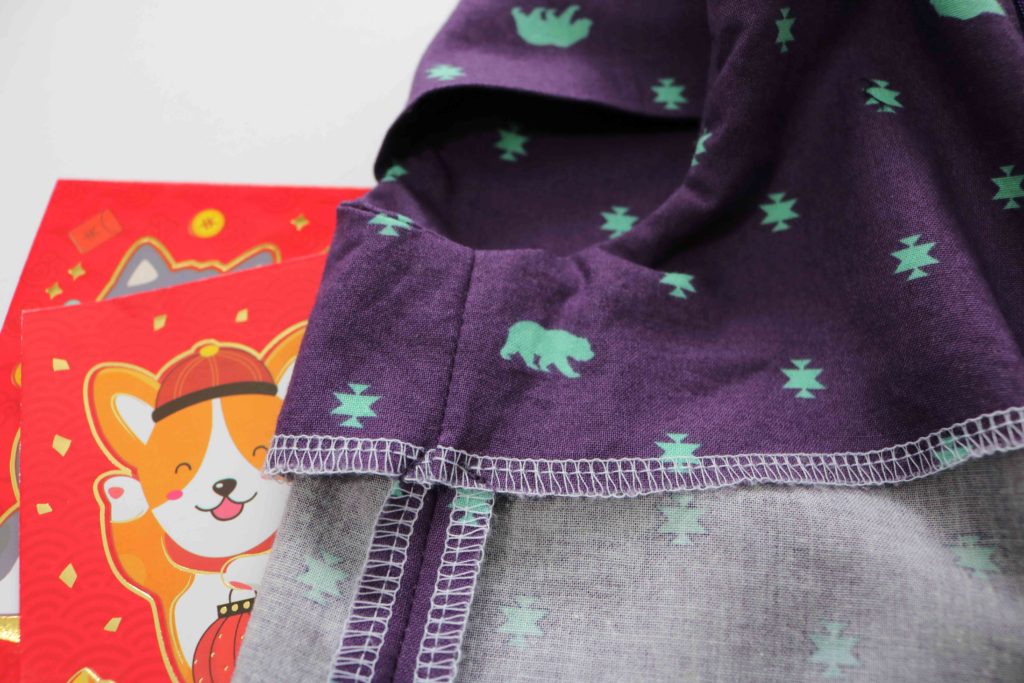
I know you all like to see the guts of my garments, so this is the inside lining of the Laure.  I serged the bottom ends and left most of the inside top seams raw after trimming them down with pinking shears.  The lining hides almost all the seams, so there is no need to serge them after sewing.


The only invisible zipper I could find was about 20″ and the pattern calls for 12″.  I sewed back and forth along the teeth at the 12″ mark and then cut the zipper 1/2″ below that.  To seal up the zipper tape so it doesn’t fray with wear, I use a lighter to flame it juuust until it melts.  You can use a seam sealant like fray check (aff link) if you aren’t comfortable using a lighter.

After giving the dress a final pressing, I secured the lining down by making a few stitches to the side seam allowance.  This helps the armscye stay straight and prevents the lining from flipping up with wear.

I love how the Quipao version of the Laure Dress came out and I can’t wait to make some of the other versions of this pattern. It comes with plenty of other neck, body and skirt options for more looks of the western world 😉  Check out the other options here.

Do you have any special cultural holidays or traditions you share with your family?  I love hearing about what they rest of the world does..tell me about them in the comments!


Happy Lunar New Year, Friends!

Cristy


2018 Wardrobe Goals :: Make Nine Commitment

If you follow many sewists on Instagram, you probably have seen the hashtags, #MakeNine2018 or #2018MakeNine.  This is an informal challenge to select nine different items to make over the course of the year.  It was first started by @homerowfiberco and has really taken the maker community by storm this new year.  You will see different goals for knitters. quilters, and mine happens to be just for garments.  There is absolutely no pressure and you are accountable for yourself.  This is a fun challenge to start and it’s so motivating to see everyone’s makes!

I’ve been sewing clothes for my kids and occasionally, for myself, over the past 8 years.  However, it’s been the past two years. that I’ve been consciously planning out my handmades.  I have many reasons for sewing my own clothes.  My body fits several different ready-to-wear (RTW) sizes and nothing will ever beat  a custom fit.  I am also trying to step away from the fast fashion industry as much as I can both from the ethical labor and consumption standpoints.

Another big reason for making my own clothes is the financial aspect.  Ever since I quit my corporate job years ago and had a family, my spending habits had to change drastically.  But…I still had that taste for fine fabrics and high quality.  For me to have clothing which will last, I would need those high quality substrates, but would only be able to afford them if I absorbed my own labor costs.  This would allow me to have luxury clothing at a fraction of the retail prices.  Win-win, right?!?

Drum roll, please!  From left to right, top-down, I have chosen the following patterns for a number of different personal reasons.  We all have our own body issues and I’ve thoughtfully chosen these patterns as part of my personal style journey.  The criteria I set for myself are to select patterns (1) I have not sewn up before (2) have more year-round functionality and (3) are wearable with at least three other things in my closet.

  1. The Classic Shirt by Liesl & Co – I am a huge fan of the Oliver & S brand children’s patterns by the same company and had bought this pattern during a sale about a year ago.  I have a hard time finding a relaxed, yet tailored button-down shirt that fits my waist, shoulders and heavier arms.  If I buy RTW to fit my arms, the shoulders are huge and the shirt tends to be boxy.  If I buy to fit my waist and shoulders, my arms are like sausage casings with barely any movement.  I’m excited to make my very first button-down shirt to give me a full range of arm motion while fitting in the shoulders and waist.
  2. Ogden Cami by True Bias – This is another pattern I own and has even been copy shop printed already.   But once the temperatures cooled down here in the Midwest, I moved into craft market mode and left clothing behind.  Now I’m on a mission and I think this silhouette is so flattering…with the relaxed easing around the waist and shallow V-neck.  I just know I’ll be living in these…especially in luxurious rayon!   I have some gorgeous rayon scraps from other projects which have been set aside so I can batch sew a few for the summer.  These will also be great for layering under some cardigans!
  3. Highlands Dress by Allie Olsen – When this pattern first came out, I loved the slim silhouette!  But I try not to buy patterns on first release because of how they look on others. I really have to think about whether the style will really fit me and my lifestyle.  After seeing so many additional versions these past month, I realized I really DO need this in my closet.  I just love how chic the dress looks full-length and I feel like I NEED it for some date nights 😉
  4. Pearl Shift by Greenbee Patterns – Oh gosh…this is probably the oldest pattern I own out of this bunch.  I’ve been holding onto it for probably almost two years now….along with the fabric I bought with it!  I even washed the Robert Kaufman Double-Gauzee Chambray back then and it is softer than it even sounds…  I’ve received many warnings from friends who have made the dress to be aware of the ease.  So, I already know I will size down even though I still want all of the roominess in this dress.  I envision this dress being much more casual and something I could easily slip on to wear out to the farmer’s market or run errands around town.
  5. Sylvie Dress by Christine Haynes – Surprise!  This is yet another pattern I already own.  I’m in need of a more formal little black dress (LBD) because the one I have is a bit old and has been seen by everyone in my circle numerous times.  I still love the one I have, but feel like I need to add another one into the mix.  I’m hoping to find some kind of black on black or primarily black print for a sophisticated look.
  6. Blanc Tee by Blank Slate Patterns (aff link) – I need to stock up on my basic tee collection as my old ones have become either stained or completely stretched out and lost shaping.  I chose this pattern because of the nice scoop neck and cap sleeves.  I will definitely make a few white tees and maybe a few stripes.  These may even get a little vinyl treatment from my Silhouette Cameo.
  7. Chi-Town Chinos by Alina Design Co – The search for the perfect chinos has always been on my radar.  I have a small waist, and thick thighs with a booty to match.  Chinos tend to always have a huge gap for me at the lower back and I use to have the pockets sewn up by a tailor before I sewed myself. The slash pockets would always gape open and make my hips look wider than they are.  I love the olive chino look and like an alternative to denim, but have to go much more relaxed in the leg to avoid my body issues.  I’m hoping to (finally) have a nice tailored pair for a menswear look.  I have a pair of saddle shoes…dying for some cute pants!
  8. Acacia Underwear by Megan Nelson – You know I love a great scrap-busting project and this is perfect for my lighter knits.  I’m also very much interested in being able to make my own undies which have soft elastic that don’t bite into my skin.  With the scraps I have, I also know these will be incredibly soft and I can’t wait to make a few!
  9. Holly (Jumpsuit) Trousers from By Hand London  – Another pattern owned but I knew I wouldn’t get to these until the winter…so I’m just a few months behind. 😉 These wide leg pants just spoke to me with the high rise and the dramatic leg.  I will make a culotte version for the summer, but I really wanted a great pattern which I could later use for a traditional Ao Dai.  This is a tunic and pant combo worn in Vietnam and it’s been on my list to make for years…but I’ve wanted to make a great pant to work with the tunic and I’m hoping this is it.

Have you made a commitment for your #MakeNine2018? Let me know if we have any in common!  Good luck completing your list and I’ll keep you updated on my progress!


Cristy

Art Gallery Rayon :: Cookie Blouson Jacket

I’m kicking things off with Art Gallery Fabric‘s Rayon Blog Hop today!  Rayon is their newest substrate and I can’t even tell you how much I luuuurve it.  I was lucky enough to get an advanced preview when April Rhodes release her Heritage Fabrics and I just am obsessed with the drape and feel of this fabric.  You can read more about it here.

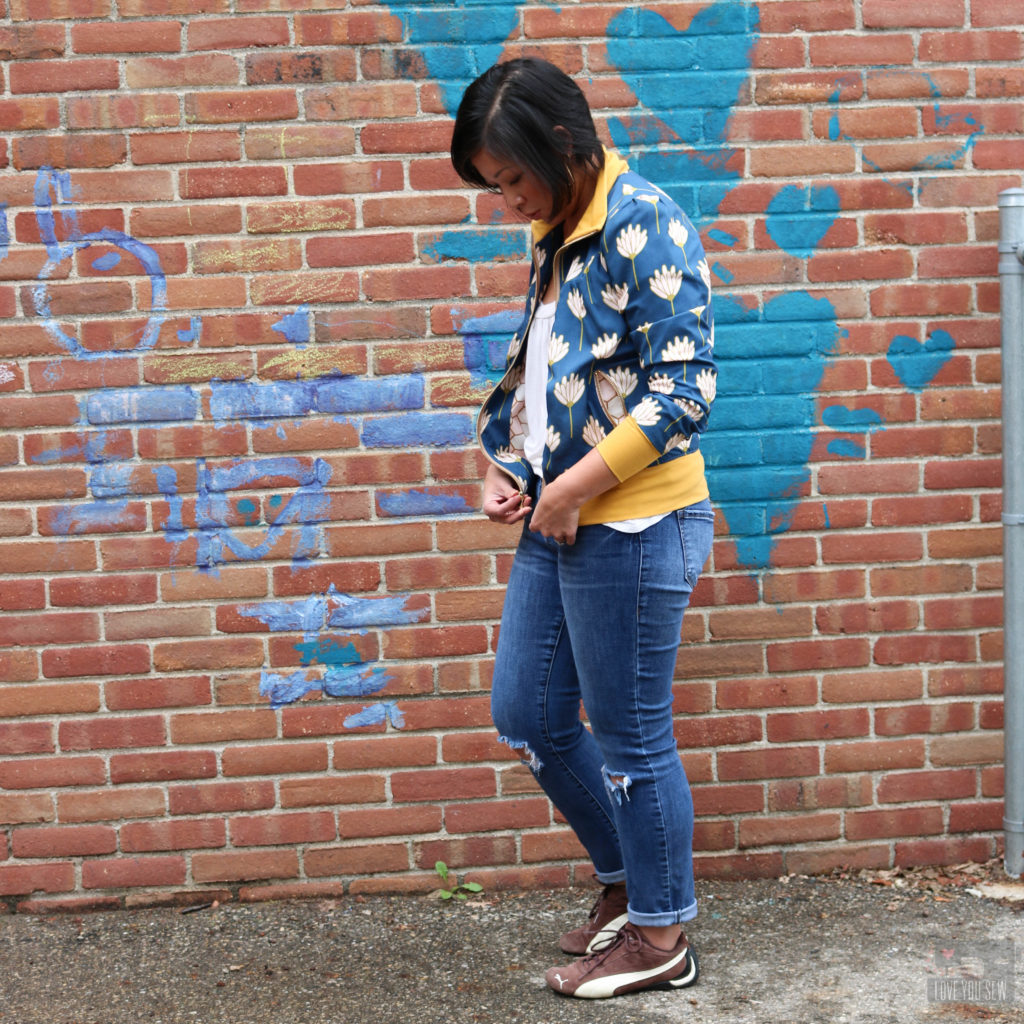
When most people hear “Rayon,” they think of summery dresses or slippery nightgowns.  But in this blog hop, we were tasked to come up with other ways to use the fabric.  As fall was approaching and while I was looking through the fashion blogs, the maker light bulb went off when I started to see bomber jackets.  The 90s fashion trends are back (some I’d rather not relive…) and I thought a fun bomber made of rayon would be perfect to ride the satin and army green trends showing up on the streets right now.  Check out my Pinterest Board here to see my inspirations.

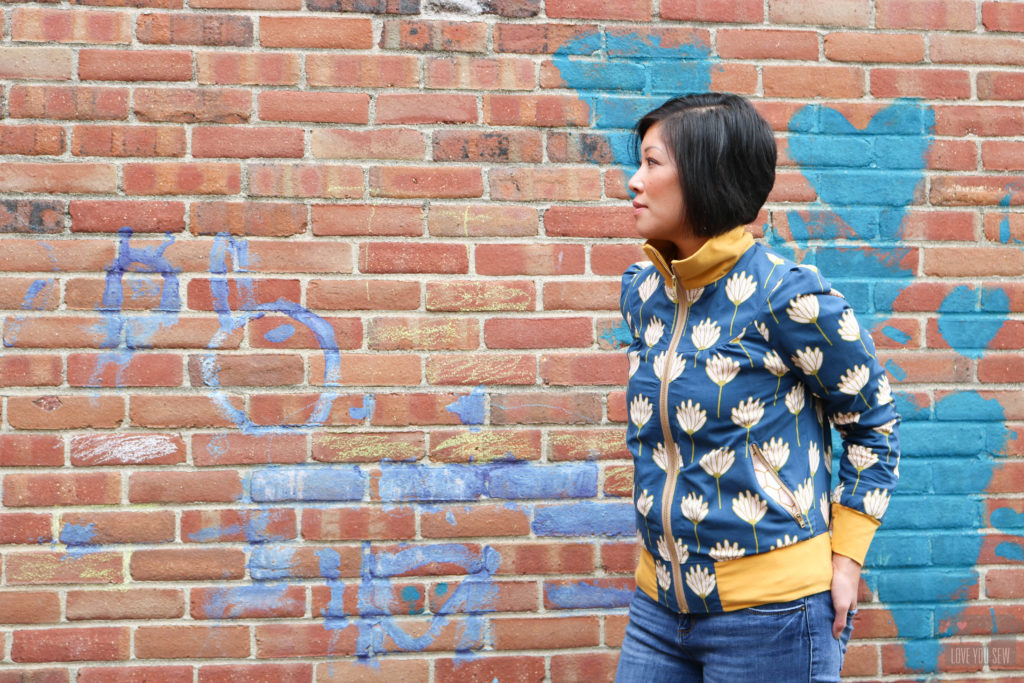
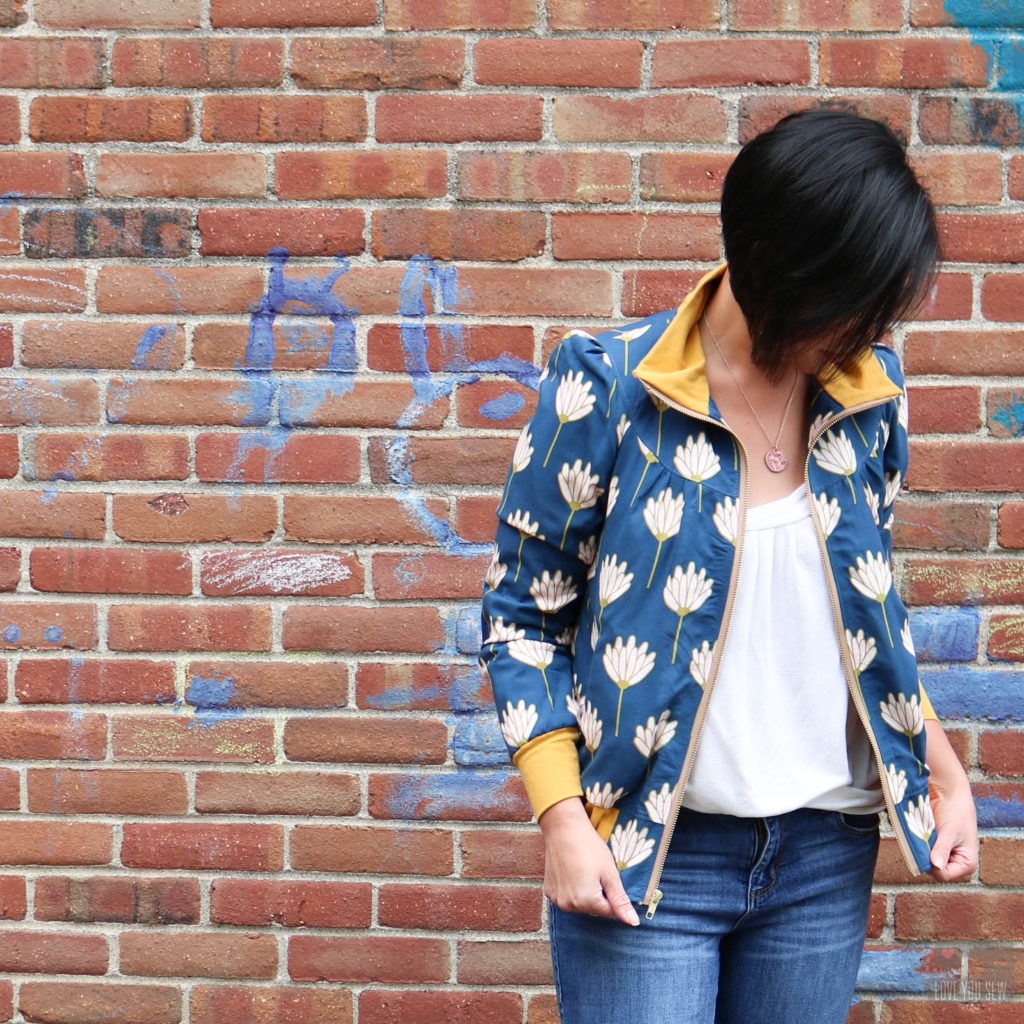
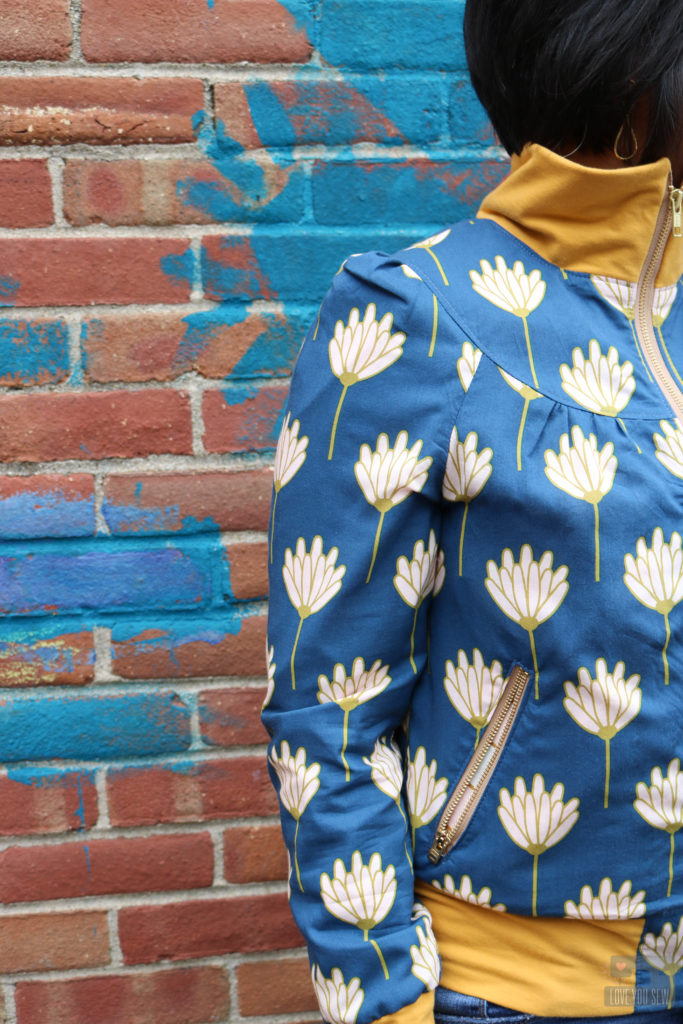
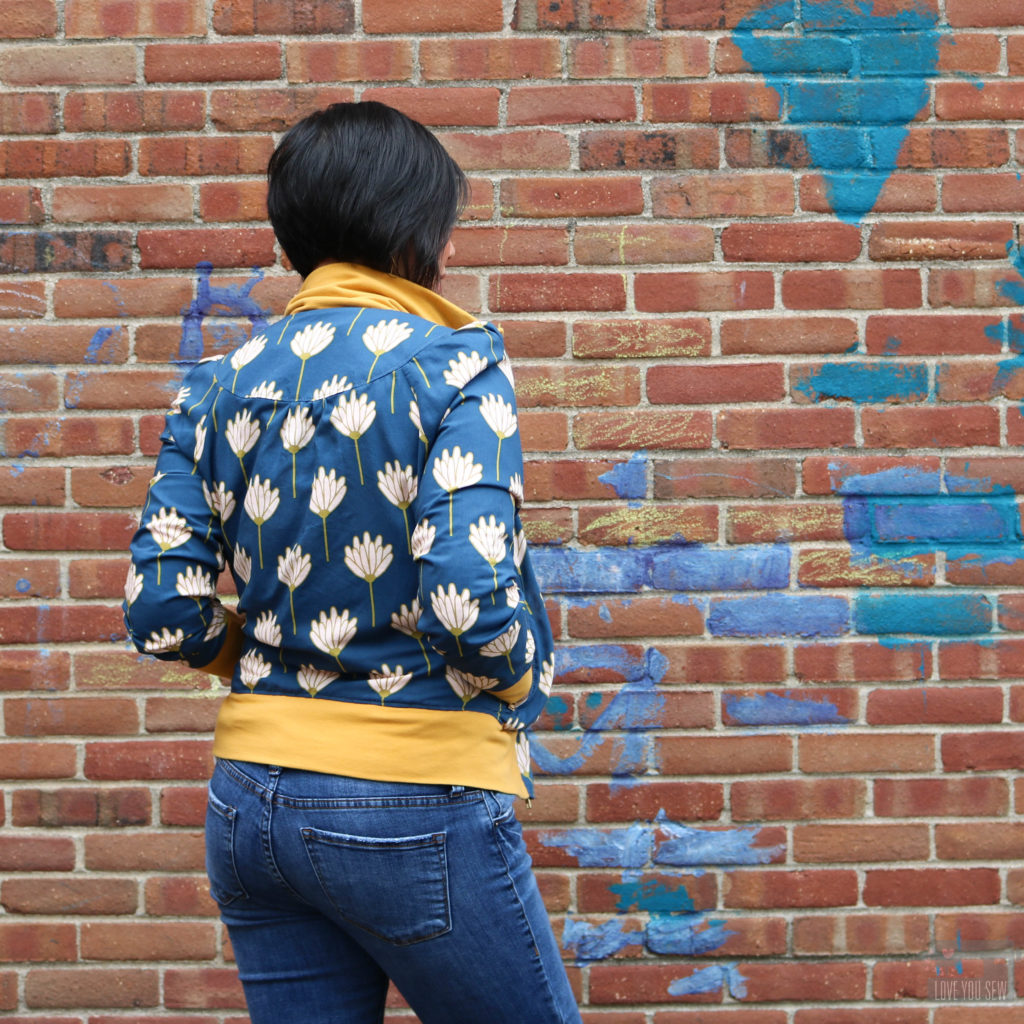
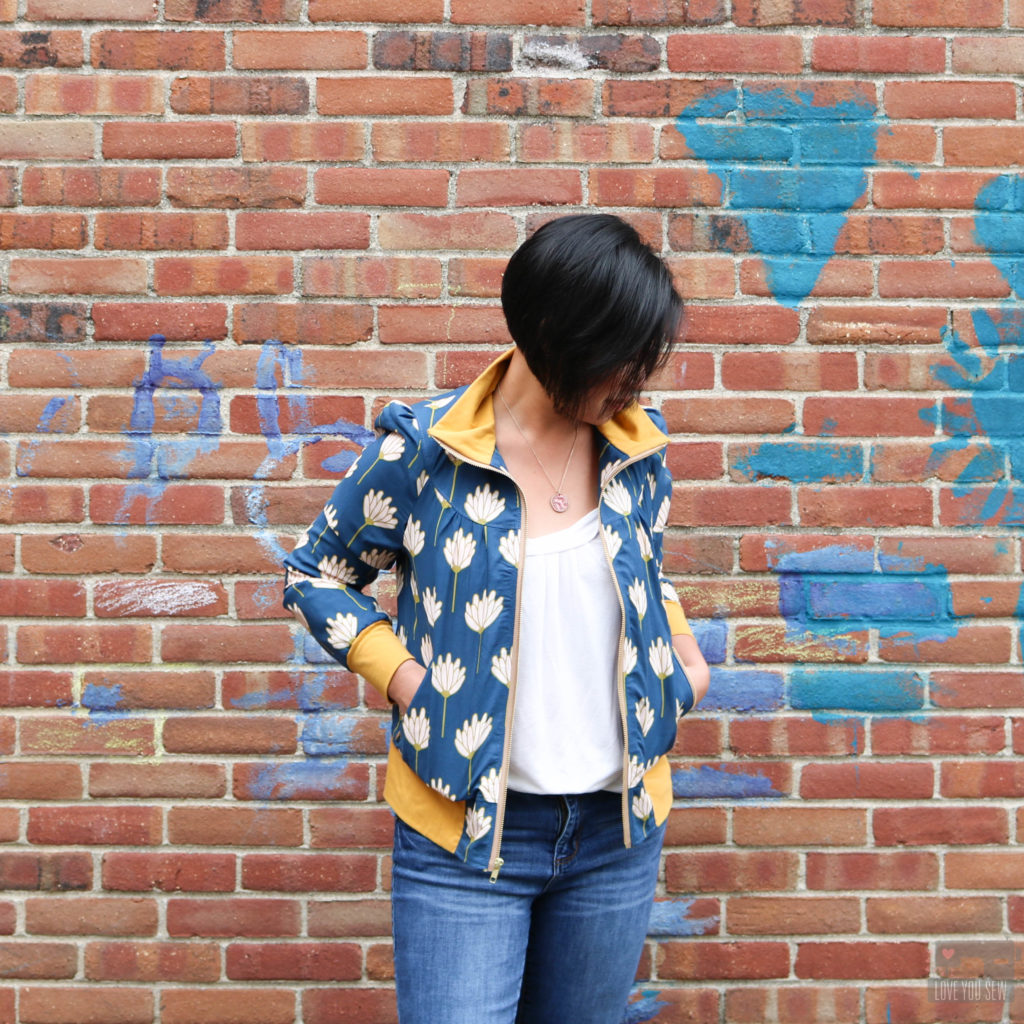
I’ve had my eye on the Cookie Blouson by Waffle Patterns for awhile now.  The design is a great feminine take  on a track jacket with the gathered sleeves and gathered body around the yokes.  Even though it’s a track style versus a bomber, I knew this pattern would give me the same feel…The only difference  is the collar.

I was in-between sizes per the measurements, but after reviewing the finished measurements, I decided to size down for a more fitted look.  With the fabric and bold pattern, this jacket would look great in heels as much as in sneakers 🙂 I wanted to make sure it would be a great jacket to wear indoors and out.

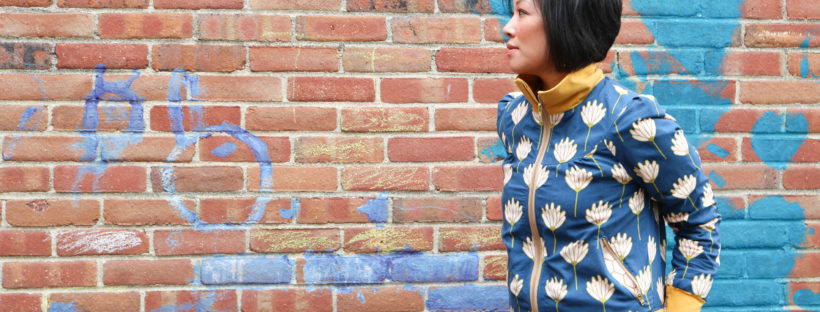
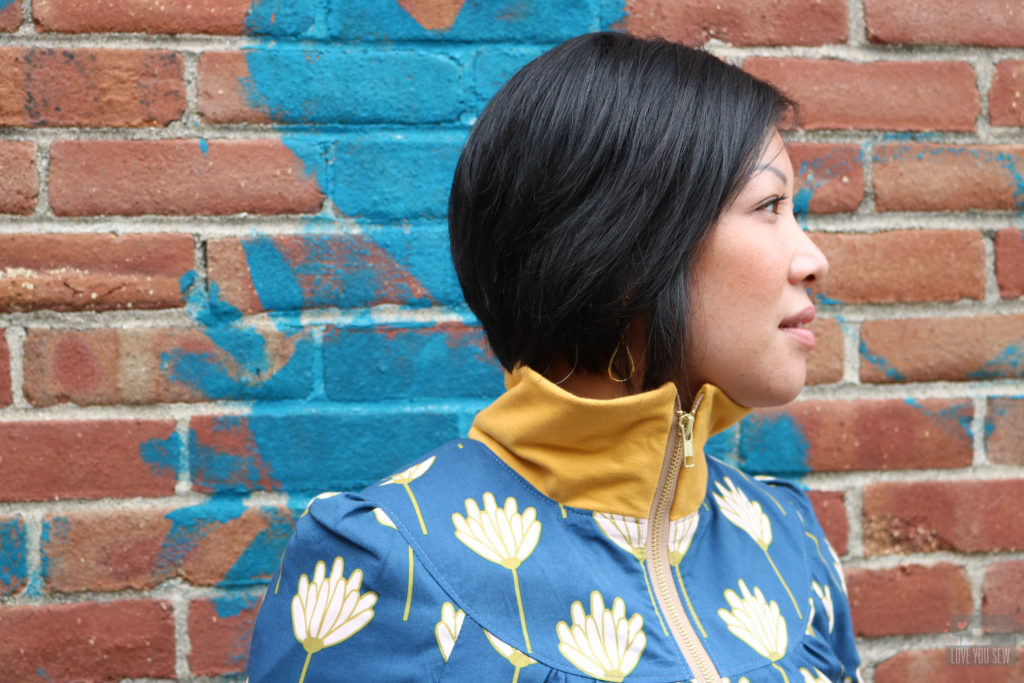
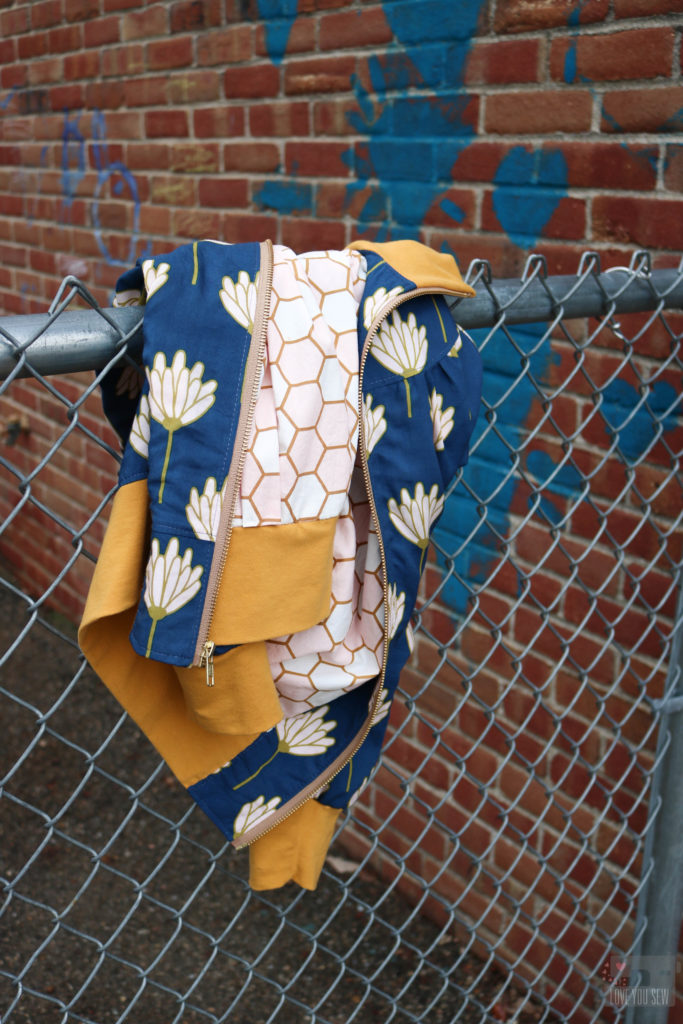
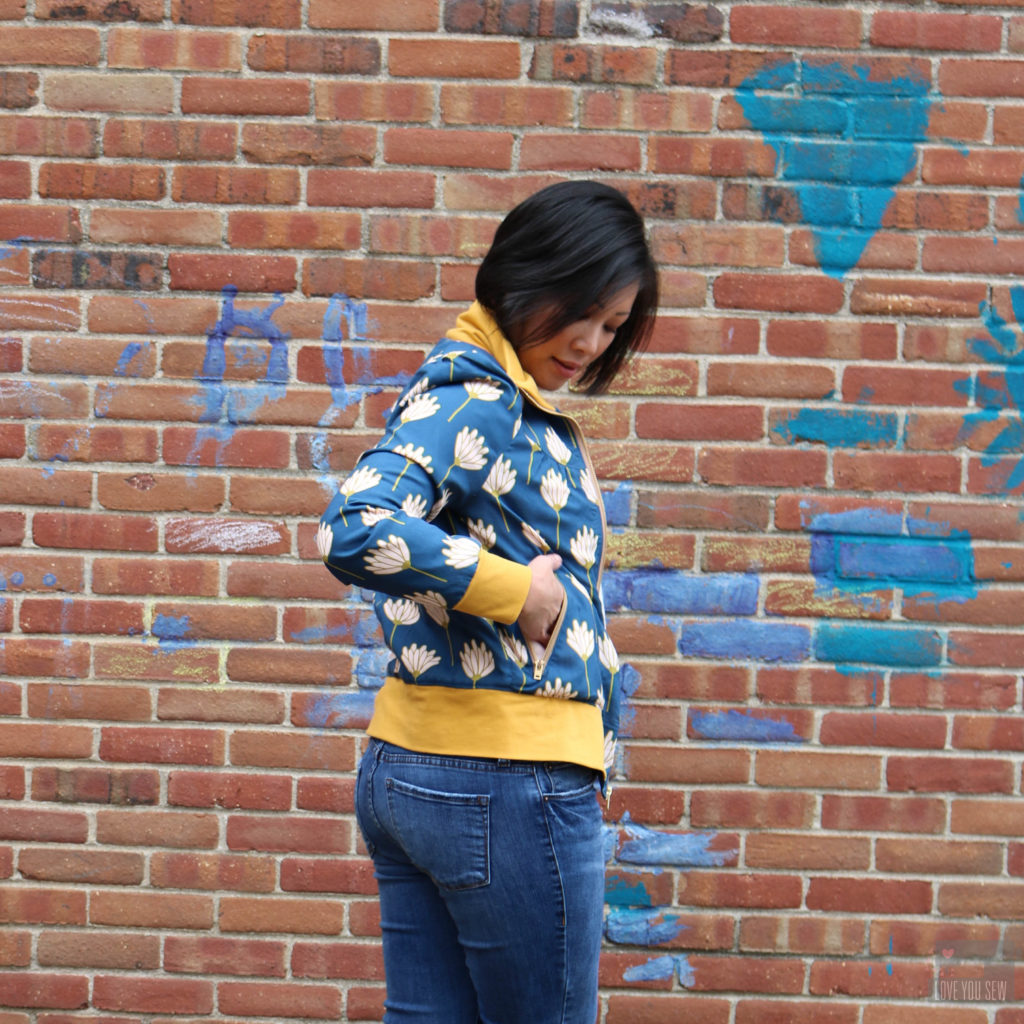
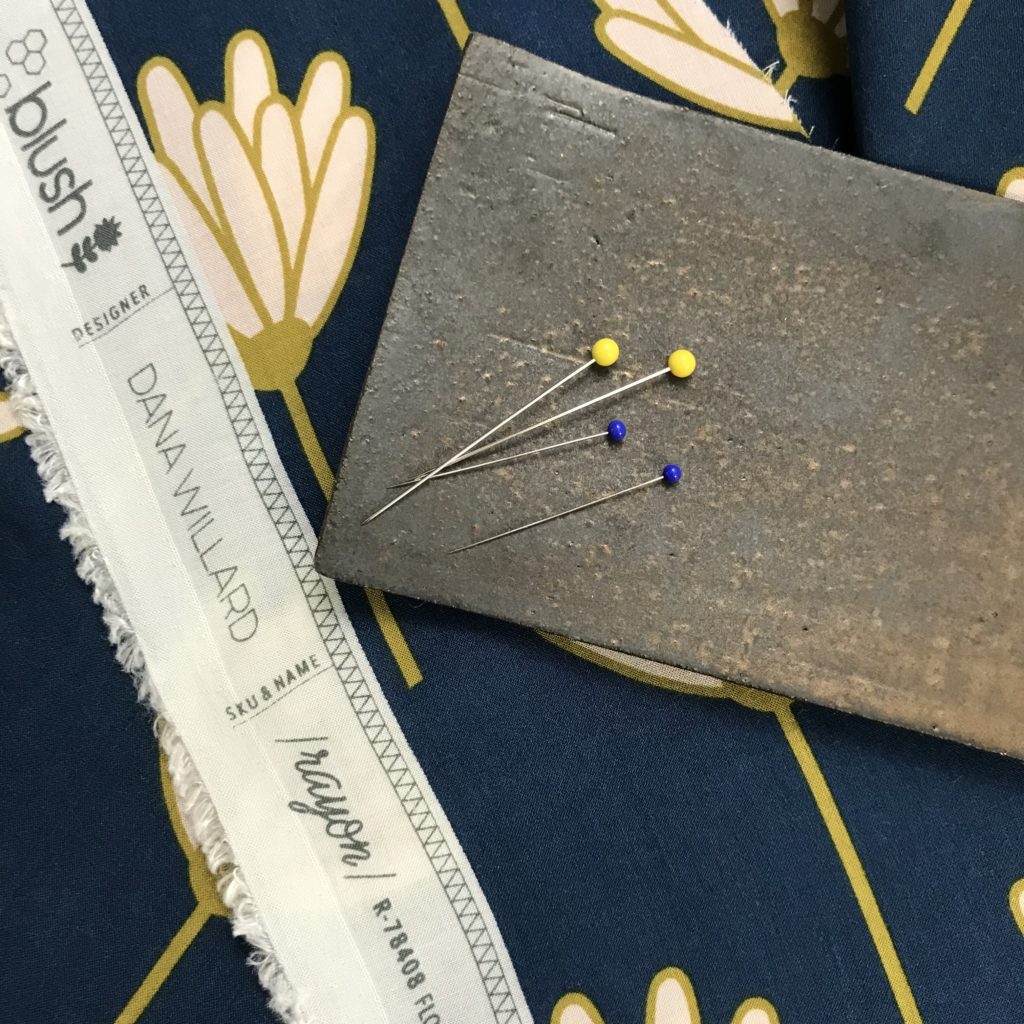
For the right statement fabric, I chose Floret Sunkissed from the Blush fabrics collection by Dana Willard as the shell.  For the interior, I used Hex Rose from the same collection, but in quilting cotton.  AGF Solid Knit in Sahara Sun was a great complementary color to really make this jacket pop and add some fun!

While working through the jacket, it was very important to reinforce the high stress areas since rayon is so delicate.  I used Pellon 906F interfacing around all the metal zippers (due to their extra weight) and even on the exterior yokes to provide some additional structure as well.

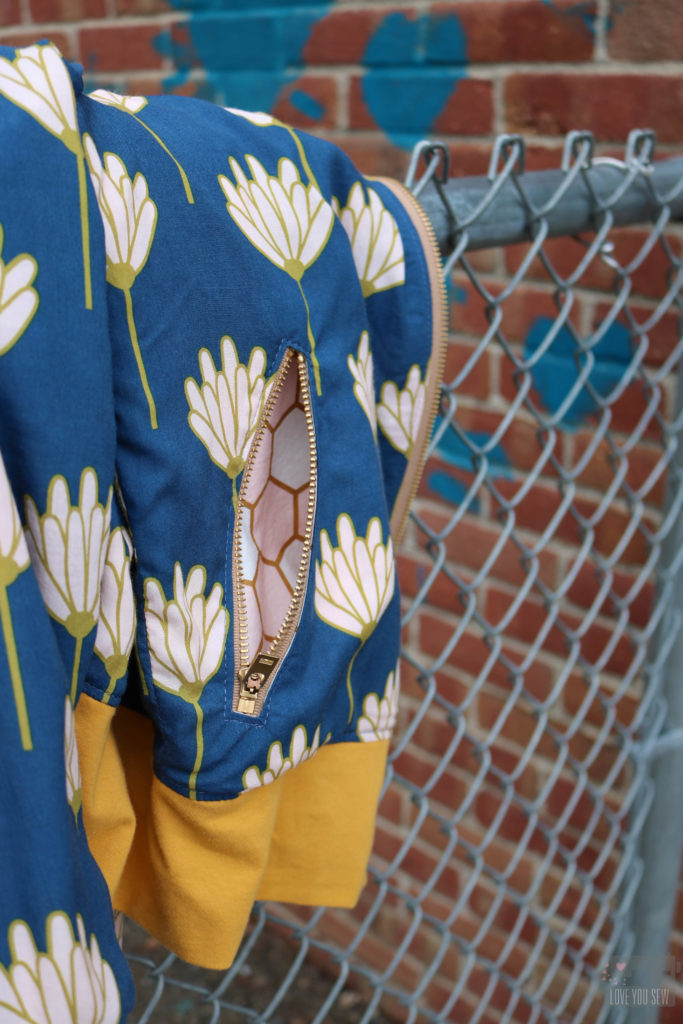
These zipper pockets are such a great detail.  However, the pattern called for a 5″ zipper opening.  After taking 1/2″ allowance away for the zipper head and stopper, I would be left with a 4.5″ opening….which is pretty tight (and I have small hands!)  I increased the opening to 6″ for a little more room to maneuver because I HAVE to use pockets if they are there.

With the track collar, I wanted it to stand up when zipped, but it also needed to handle the weight of the metal zipper.  So I doubled up the layers of the Solid Knit jersey.  Not only does the collar stand up (mission accomplished,) but it keeps my neck extra warm!

For the construction of this jacket, I used Polyester thread throughout for the strength.  A jacket is going to experience a good bit of wear and this thread allows for a bit more give and movement.  However, I used matching Sulky Rayon Thread for all of the top-stitching to match the sheen of the fabric.  I’m pretty hooked on the look of rayon thread….it’s so beautiful!

The Cookie Blouson pattern itself, was not too difficult.  Even with the zippers, I would rate this as advanced beginner.  But then came the lining…   It was a free add-on via a few blog posts by Waffle Patterns.  The pattern designer’s first language is not English, so the translations were a bit rough.   I was pretty frustrated at some points, but made it work.  I would consider the lining at an intermediate level because you are essentially drafting your own pattern pieces.  If I would’ve known this beforehand, I probably would’ve skipped the pattern altogether because I needed a lining with a rayon shell.  But, of course, I love the final product 🙂


I’ve made a handful of Rayon garments, and have a few tips I’d like to share:

  • For accurate cuts, I cut on the floor for an even cutting surface…especially if you are pattern matching.  Any fabric hanging off the edge of a cutting table can pull and distort your cut.
  • Don’t be shy with fabric weights.  This points to the slippery and shifty nature of rayon.  You want an even and accurate cut.  Iron and smooth out your fabric with your fabric aligned and then set the weights down.
  • A small rotary cutter is great to cut out patterns because scissors can cause movement and shifts in your fabric as you cut.  (This doesn’t matter as much if you aren’t pattern matching.)
  • I use ultra fine pins (with the blue heads, shown above) for construction.  The traditional quilting pins (with the yellow heads) are a bit larger and can cause pulls in the fabric.  With the slippery rayon, I also use a lot more pins that I would with cotton – probably twice as many to keep my fabrics aligned together.
Project Summary:

  • Exterior Shell Fabric:  Floret Sunkissed Rayon by Dana Willard for Art Gallery Fabrics
  • Lining Fabric: Hex Rose Quilting Cotton by Dana Willard for Art Gallery Fabrics
  • Accent Knit: Sahara Sun Solid Knit by Art Gallery Fabrics
  • Pattern:  Cookie Blouson by Waffle Patterns
  • Piecing Thread:  Gutermann Polyester
  • Top-Stitching Thread: Sulky Rayon 50 wt
  • Zippers: YKK Brass separating and jeans zippers in Camel by Wawak Sewing Supplies

Don’t forget to stick around all this AND next week for the rest of the #AGFrayonbloghop.  I’m so excited to check out all of the projects alongside you!

Monday, October 9 – Cristy @loveyousew_ (you are here!)

Tuesday, October 10– Nicole @modernhandcraft

Wednesday, October 11 – Sarah @sariditty

Thursday, October 12 – Jesy @needle_ink_and_thread

Friday, October 13 – Danyella @madesewmodern

Monday, October 16 – Nichole @wildboho

Tuesday, October 17 – Cynthia @cnytz51

Wednesday, October 18 – Vicki @orchidowlquilts

Thursday, October 19 – Amanda @pinkmandarinhandmade

Friday, October 20 – Jenn @jennrossotti


I hope you have found some inspiration or just enjoy some fabric eye-candy!  Do you have a rayon project lined up or on the wishlist?  I’d love to hear what you would make.


Happy Sewing Friends!

Cristy


***This post was sponsored by Art Gallery Fabrics.  While the fabric was provided for the post, the ideas, execution and post are all my own work and words.  Please also note there are affiliate links which help run this blog.  Thanks for your support!

Feliz Pattern Blog Tour

I love Straightgrain patterns.  That’s it…’just gonna put it out there.  You know I can’t stop making girls’ dresses and An’s designs are always at the top of my list.  She creates children’s garment patterns with beautiful clean lines and they are just so chic!  You can read about my previous Nova dress here

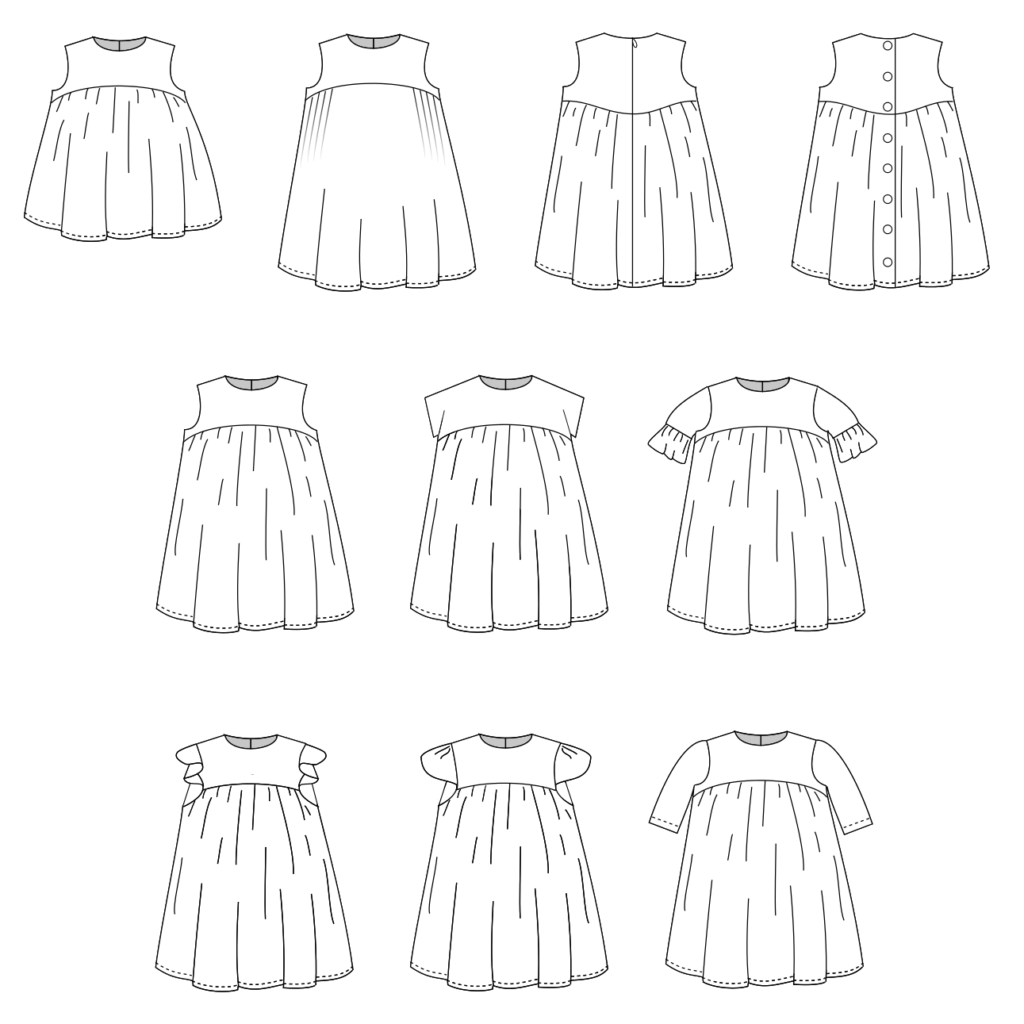
Straightgrain patterns always includes several variations to give you a number of different styles and the Feliz is not different. You can choose from a PDF or paper pattern from her online store here.  With the pattern, you can make a tunic or dress with 6 different sleeve options, two different back closures, and two different skirts.  It’s great to get so much versatility out of one pattern and I think An’s are a great value for all which she provides.

Of course, I picked the dress version. I make all my dresses as gifts (since I’m a boy mom) and dresses count as a full outfit 🙂 It makes me happy to work on a tiny garments (purely because of the cute factor) and my nieces are happy to get some custom clothes.

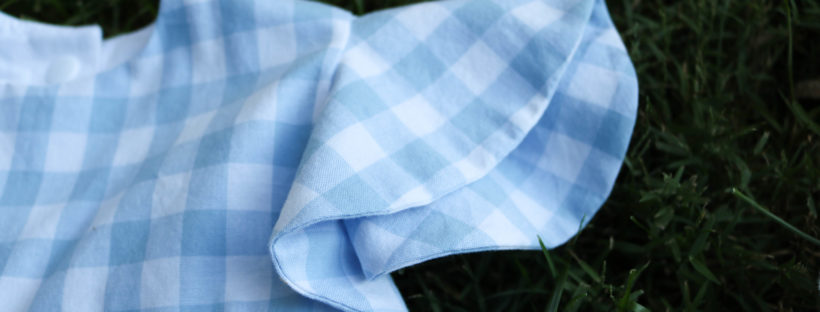
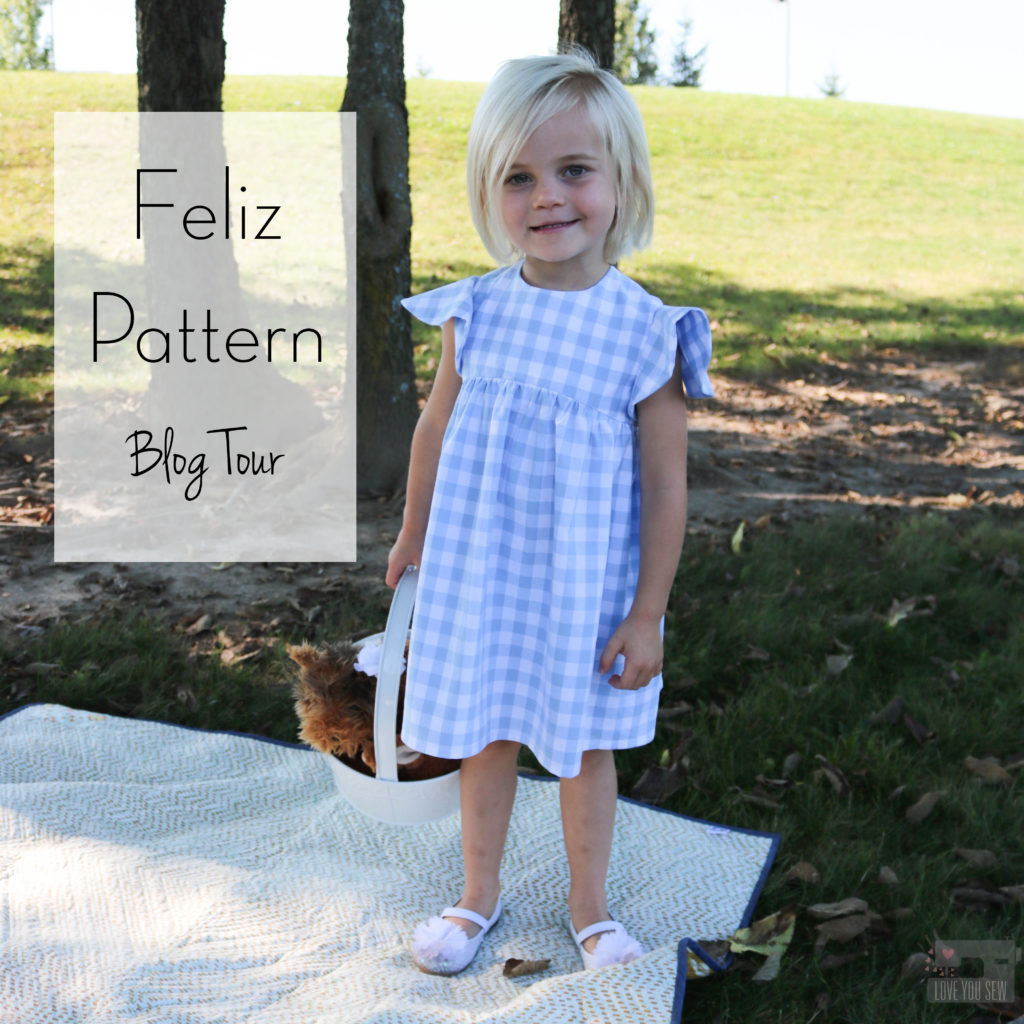
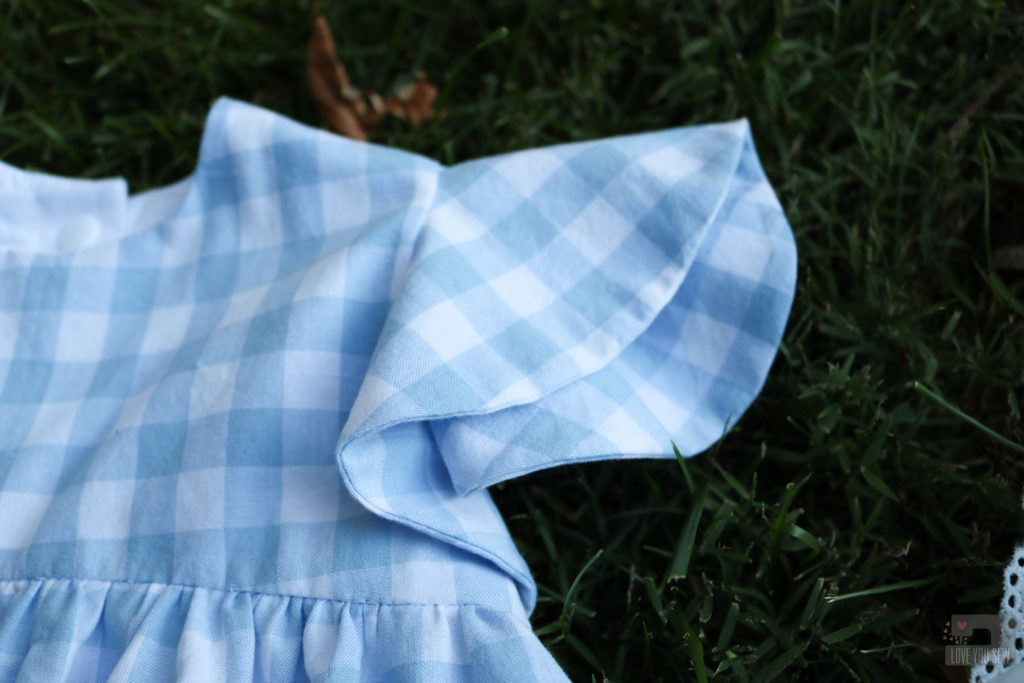
Did you see the flutter sleeve options?  SO cute!!! The soft waves are so feminine and really soften out this silhouette. It was hard for me to choose between the narrow and wide options. But I settled on the wider for just a little more arm coverage.

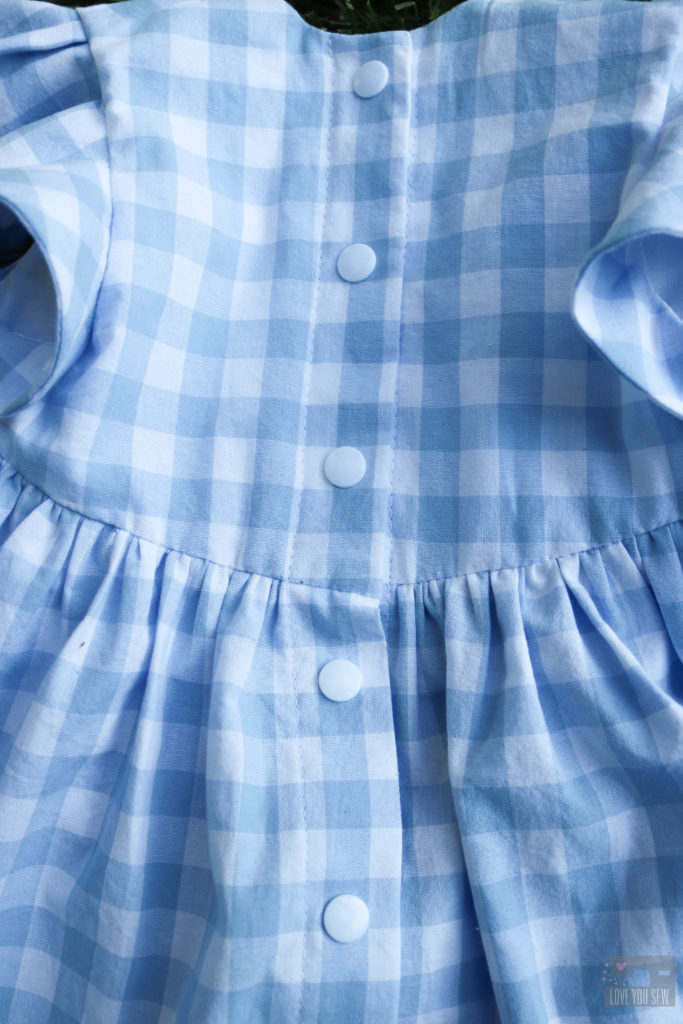
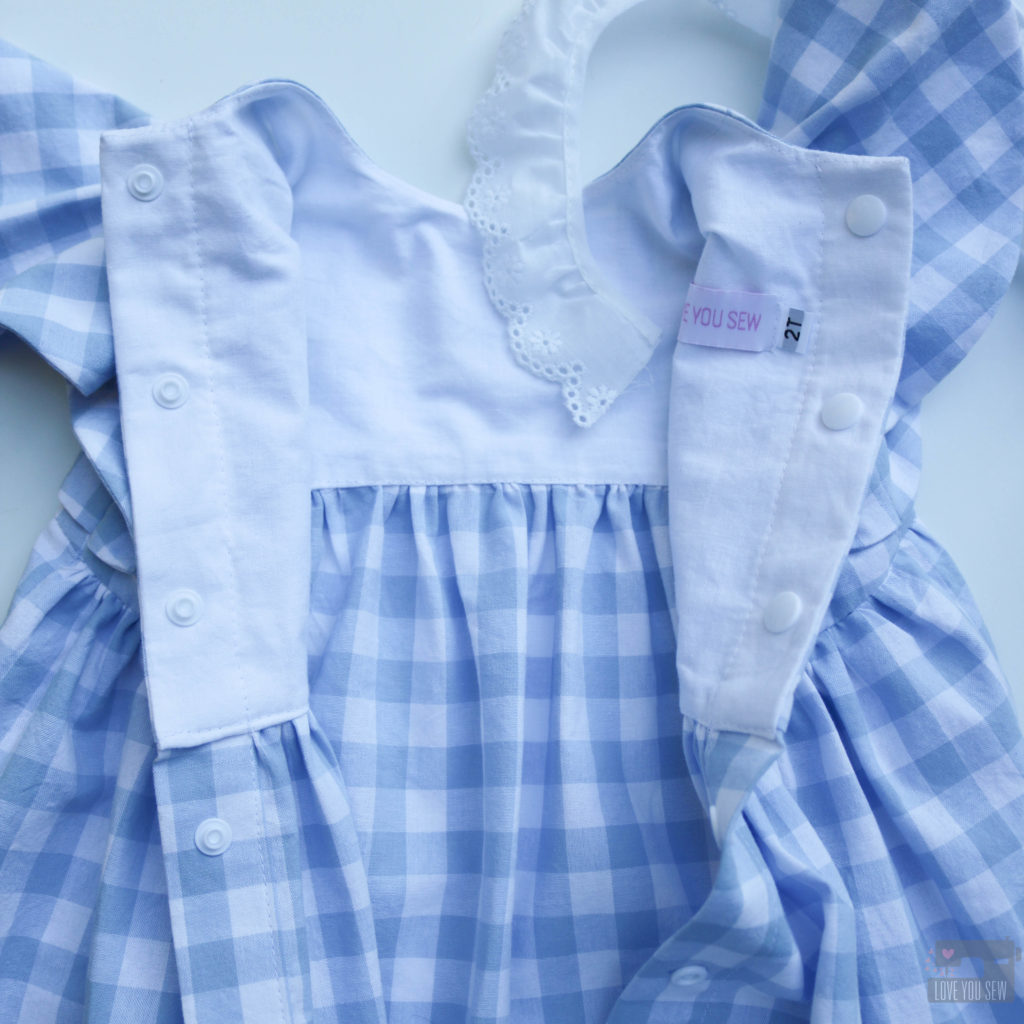
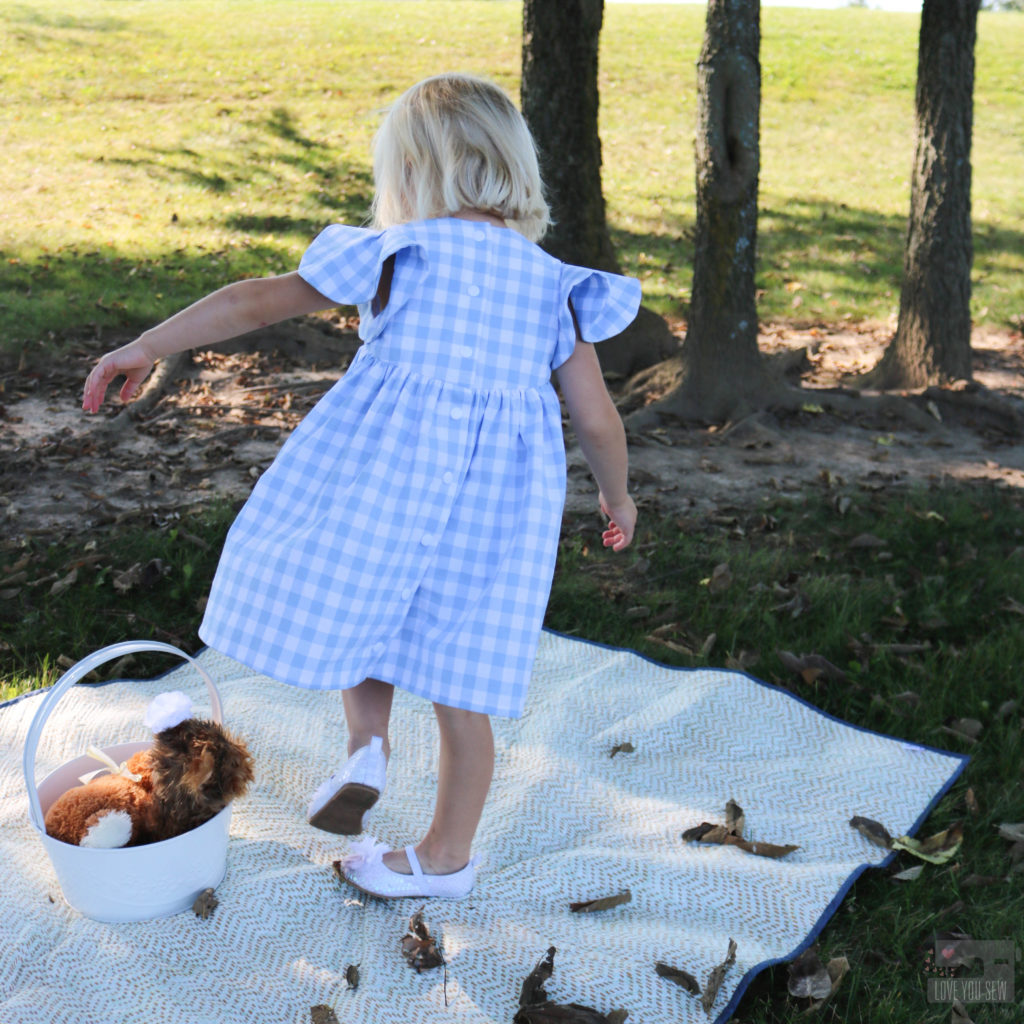
With the back of the Feliz dress, I knew I wanted to make a button closure. But instead of buttons, I used KAM snaps. I have quite a collection in my stash and they make for very quick dressing and undressing.


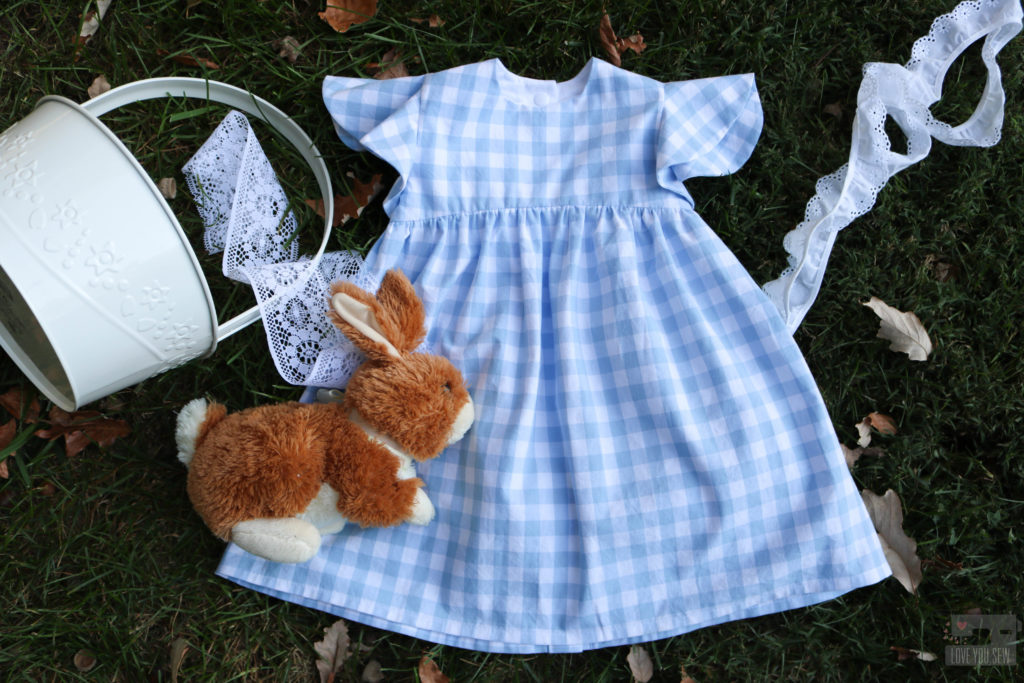
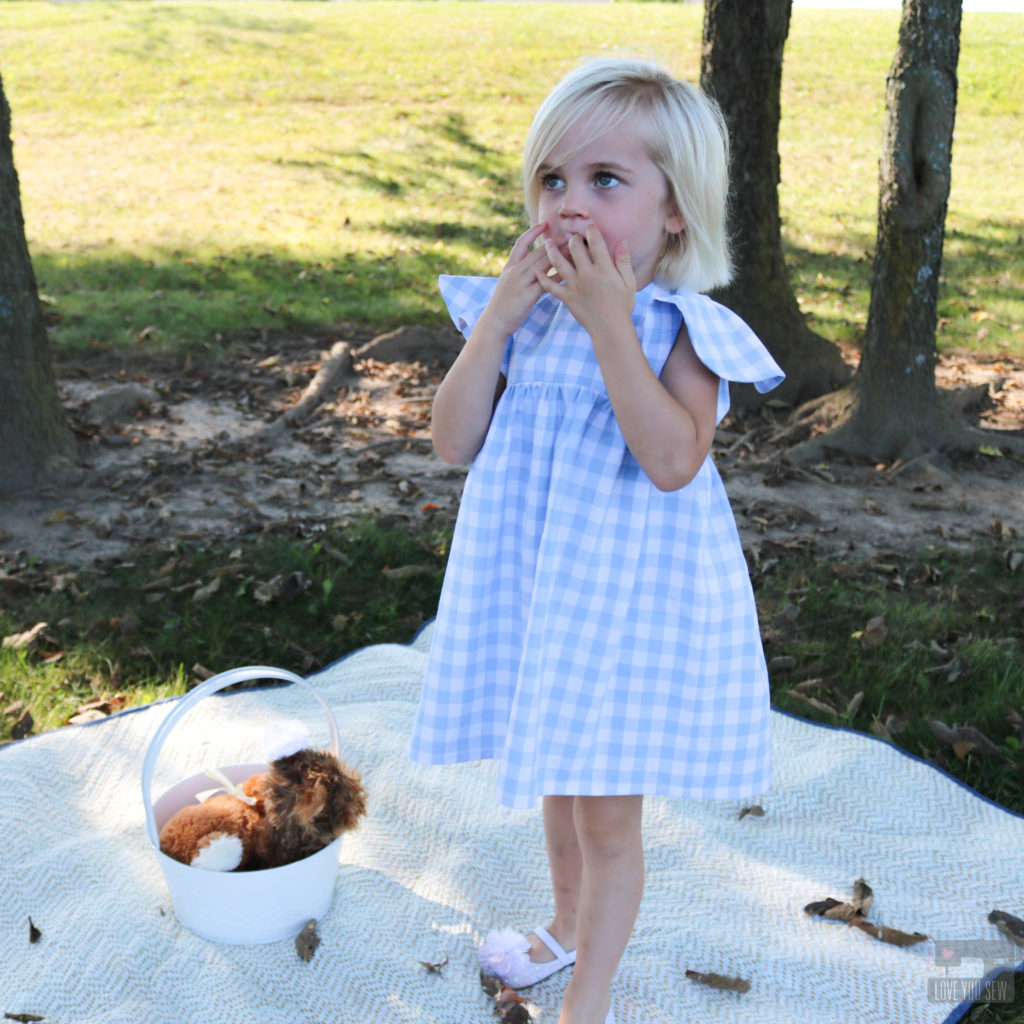
I happened to have Cotton and Steel’s yarn dyed gingham in Sky and was able to make this dress with just one yard of it!  There wasn’t enough left for lining, but Kona Snow worked in perfectly.  I’m so glad I saved the fabric from becoming a scarf (like I initially planned) because the Feliz is just the such a darling pattern and pairs well with this sweet fabric.

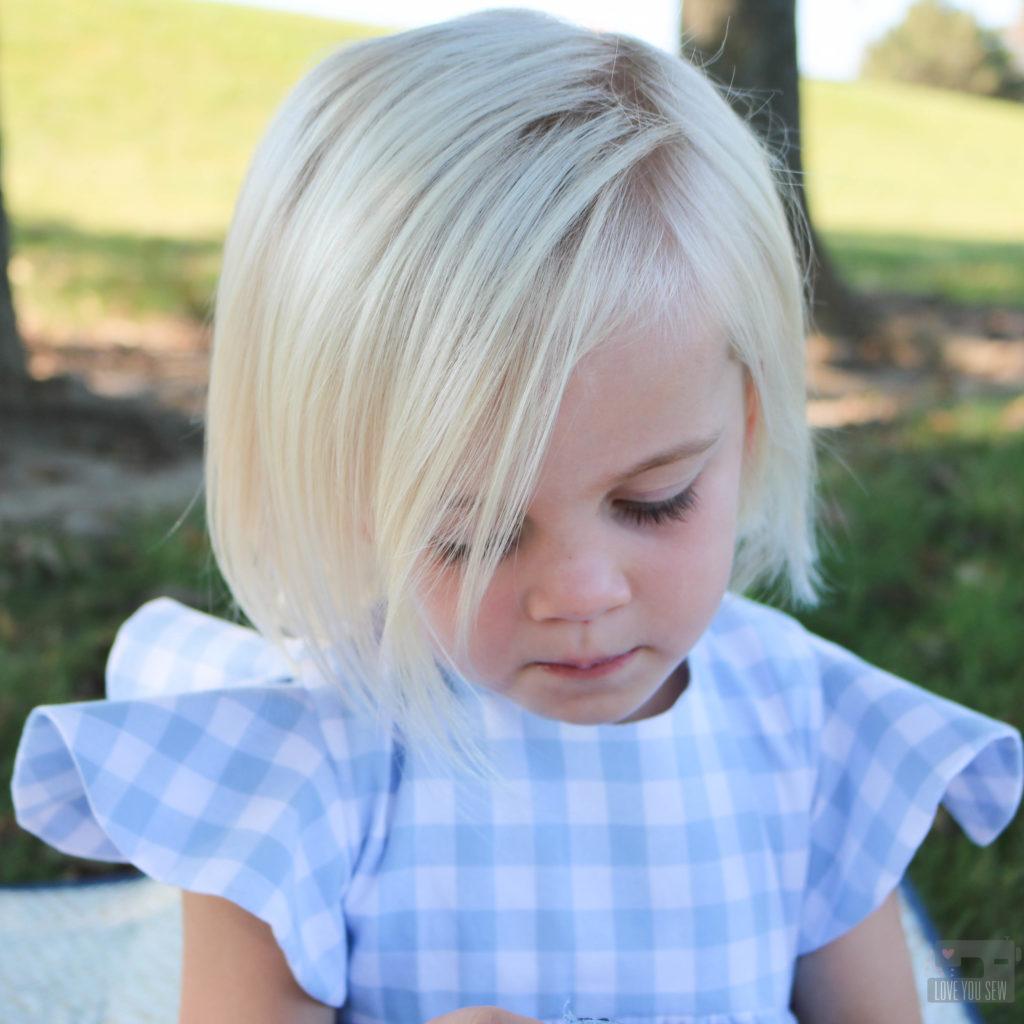
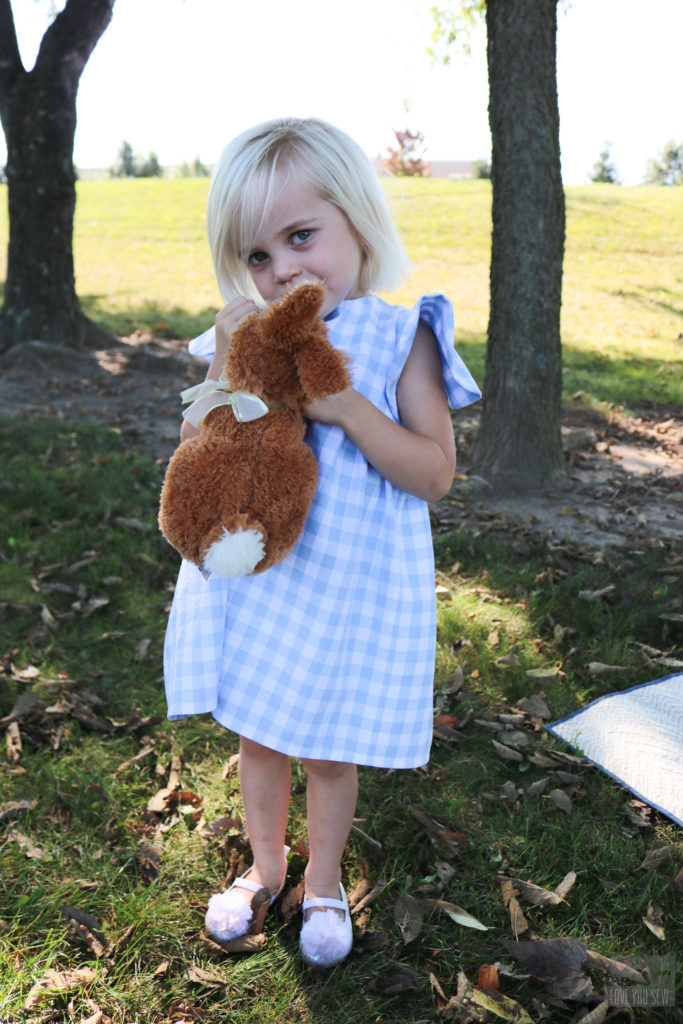
I think my model agrees! She would not take off this dress after our photo shoot.  Can you blame her at all?  I’m thinking I need some gingham love in my wardrobe soon…

The sizing is spot on with this pattern.  My model is a 3T for length, but is still pretty slim, so the 2T fit her well…and of course, I pre-washed all the fabric so there is no surprise shrinkage.  The dress hits her at just the right spot on the knees and is the perfect for some playtime!


I like the lift on the sleeves with a woven fabric.  It adds a little more drama 🙂  But if you used something lighter, like a double-gauze, it would be more draped.

I really love the versatility of this pattern and can’t wait to make a few more!  What combo would you make?

If you need even more Feliz eye-candy, please check out #felizpattern on social media and visit all the bloggers part of the blog tour:

Happy Sewing Friends!
Cristy