Hawthorne Threads Roam Fabric Blog Hop

blog hopWhen Hawthorne Threads asked me to participate in this blog hop for Roam, I just about jumped out of my seat!  I had the pleasure of working with some of their digitally printed fabric for my niece’s nursery bedding so I already knew just how lovely this fabric would be.

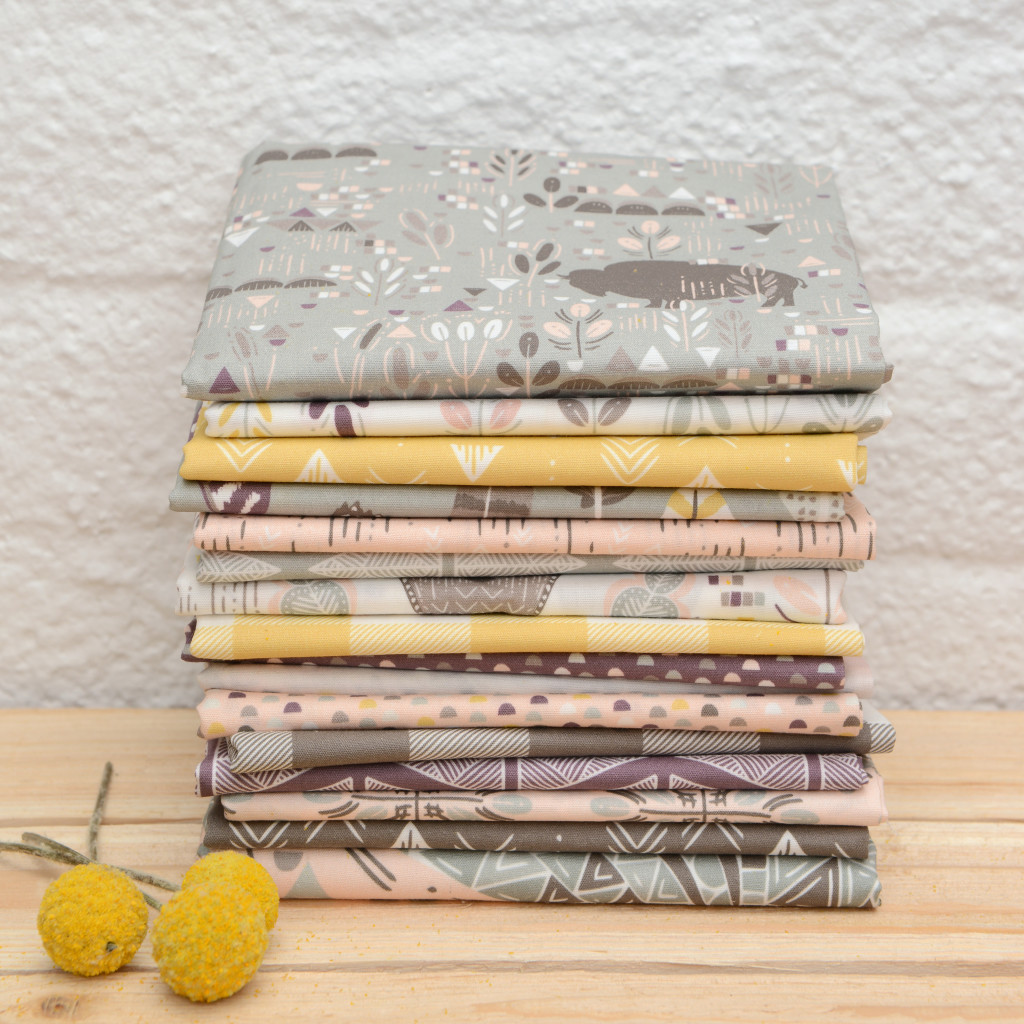
Roam is a soft, dreamy rustic collection in both a Dawn and Dusk palette.  I tend to lean toward blues when I select fabric, but for some reason I couldn’t resist playing with the Dusk fabrics.  There is something about the earthly yellows, purples and pinks that is just so incredibly soothing…

I Love You Sew-4

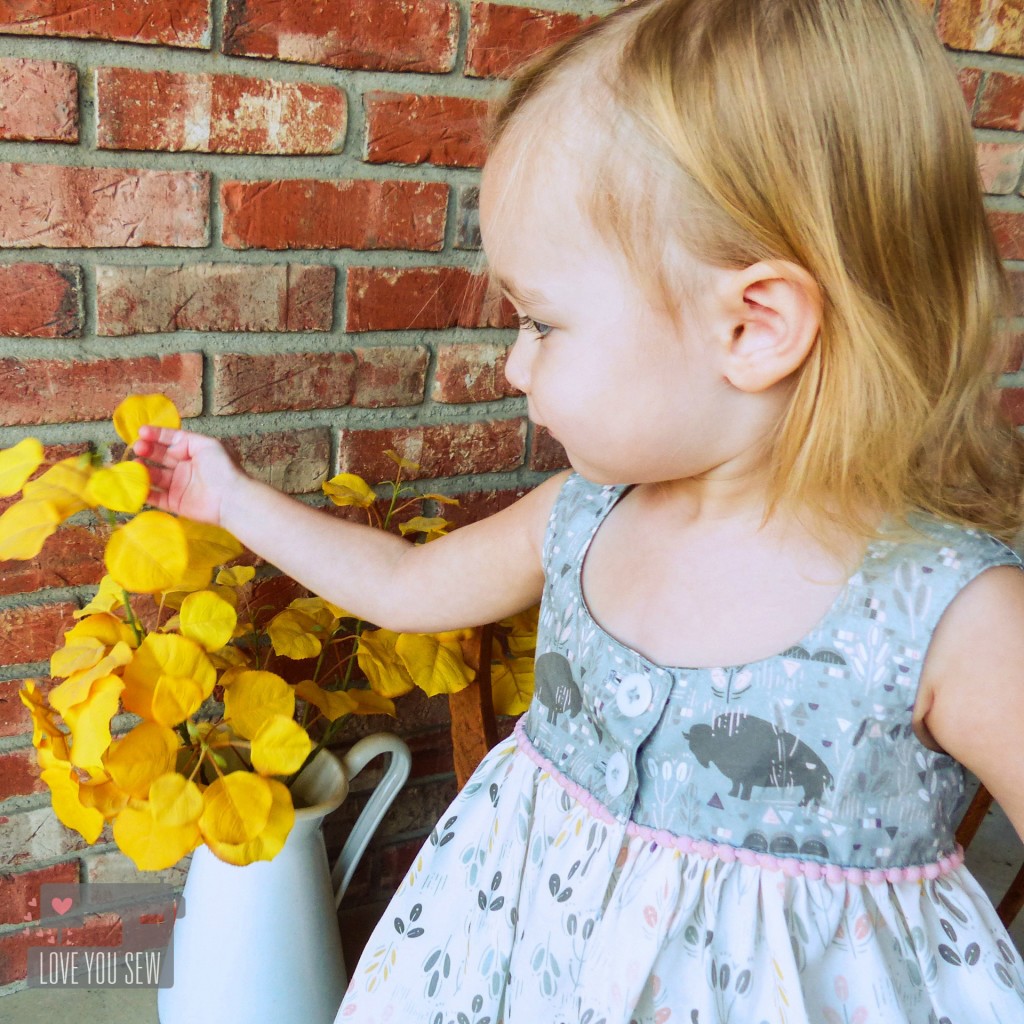
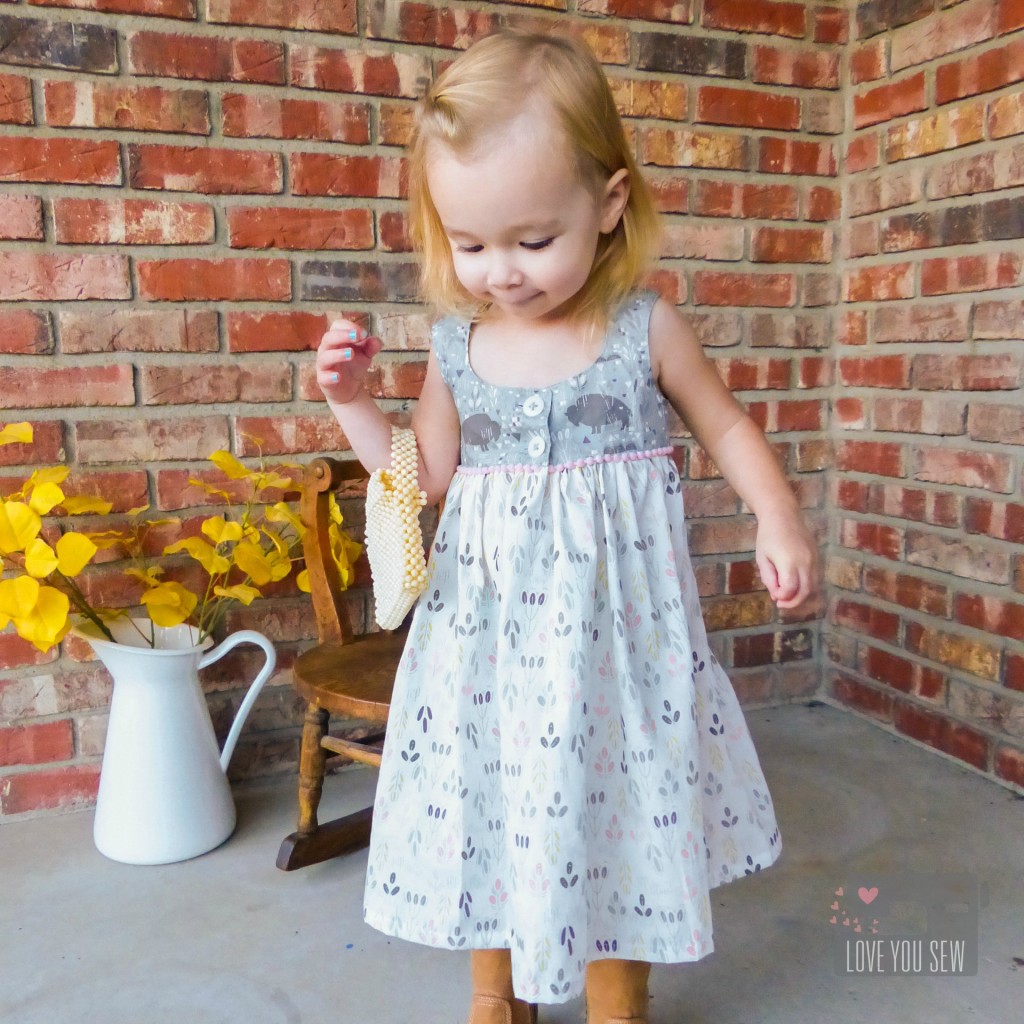
I selected The Plains in Sage and Prairie Flowers in Dusk to make the Desert Rose Dress by Caila Made.  This is such a cute dress pattern for toddlers and the Roam fabric was just a perfect playful fit for the design.

I Love You Sew-1

With the contrasting top and skirt, I couldn’t help but add a little extra pink pom-pom action….because…who can resist, right?!?  If you have not worked with pom-pom trim before, I suggest basting it in before you attached the top to the skirt.  It makes it MUCH easier to attach and stay even as you sew!
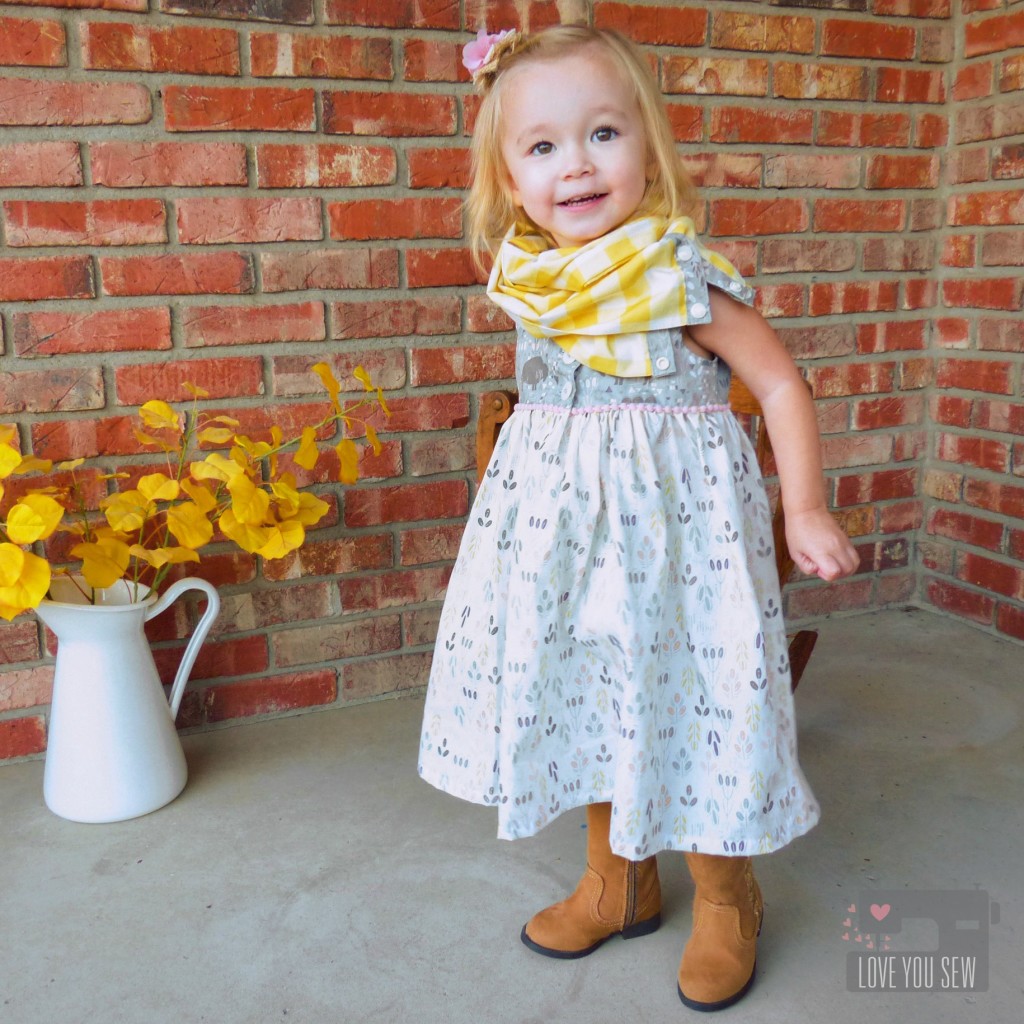
I Love You Sew-2Along with the dress, I made a Side-Snap Infinity Scarf.  The Buffalo Plaid in Honey is such a gorgeous coordinate.  I love how it picks up the yellow from the skirt and adds a hip stylish look for a little one.  The best part is the side snap placket which allows you to wrap the scarf without having to slip it over those big heads 😉
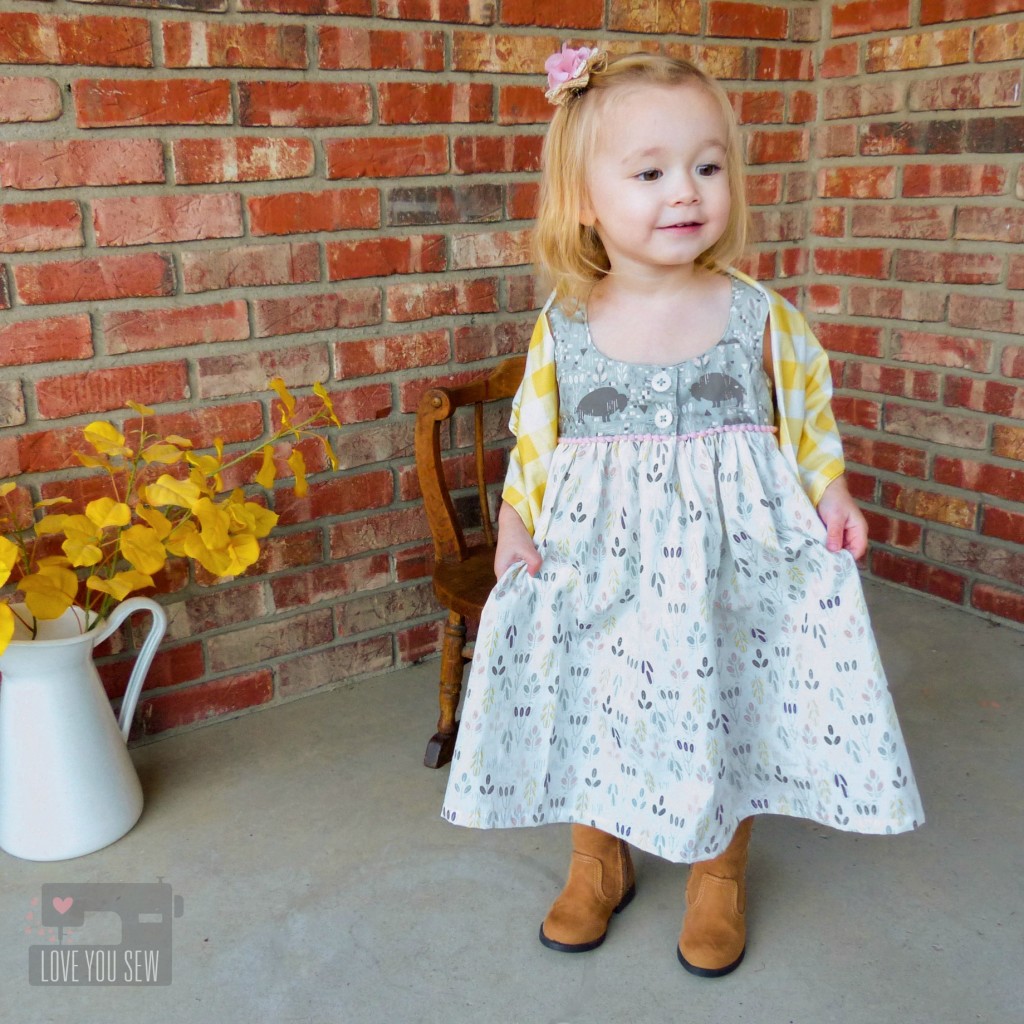
I Love You Sew-3You can also play with how you attach the scarf to change the look.  Snap it right in the middle and fold it over allows the scarf to work as a caplet.  If you use all the snaps, the scarf can stand up better to ensure full neck coverage on chilly days.  If you leave the snaps undone, you get a cute little shawl as shown.  Now who doesn’t love a multi-tasking accessory?!?

SideSnapScarfTutorial

To make the Side-Snap Infinity Scarf:

  • Use 1/3 – 1/2 yards of 42-44″ wide main fabric (depending on how much volume you would like.)
  • Fold the fabric with right sides together and sew down the length creating a long tube.
  • Pull the fabric so right sides are facing out and press
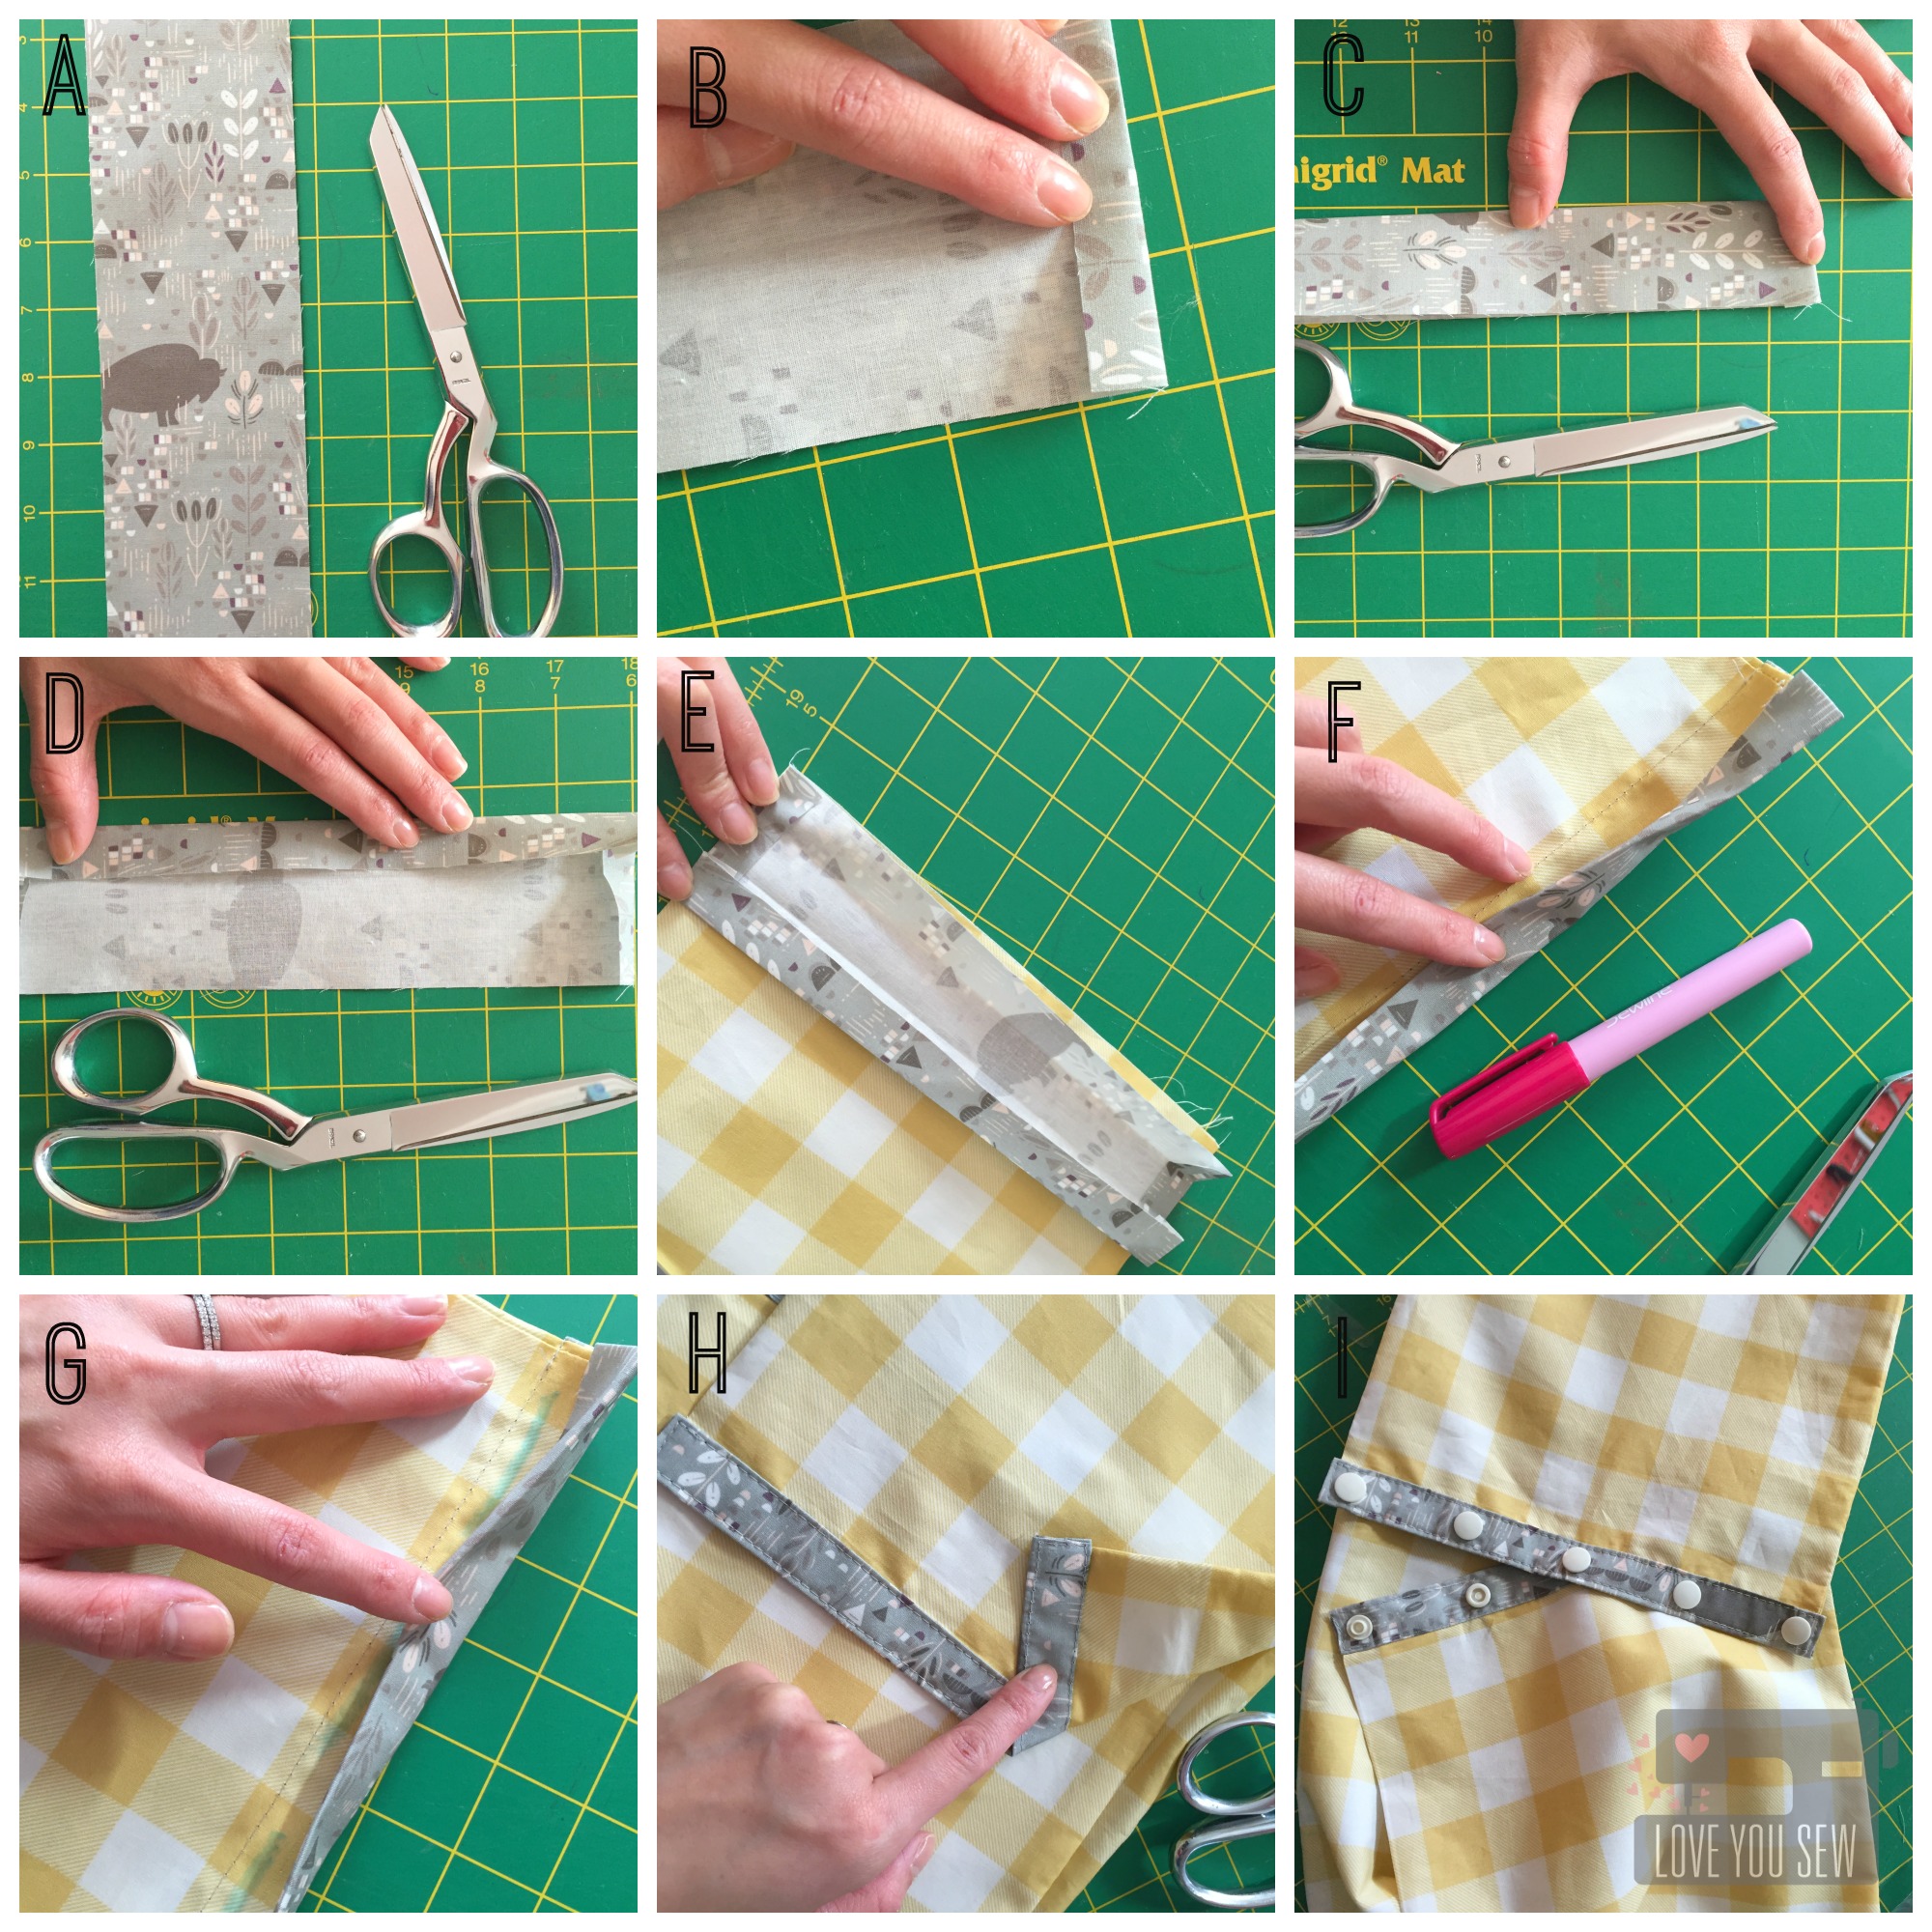
  • For the placket – {A} Take the accent fabric, cut (2) 3″ x 10″ strips (if using 1/2 yd for main fabric) OR cut (2) 3″ x 7″ strips (if using 1/3 yd for main fabric)
  • {B} On the short sides of the accent strips, fold a 1/2″ hem and press on both sides
  • {C} Fold in half length-wise and press.  {D} Open and fold lengthwise again but match the sides to the center line.  Press and make sure you keep a nice rectangle shape with sharp corners.
  • {E} Attach the placket by sewing in the the first crease of the placket closest to the end of the scarf tube.
  • {F} Flip the scarf over and sandwich the open end of the main fabric tube in-between the opening of the placket.  Top-stitch all around with a 1/8″ seam allowance {H.}  Repeat for the other side of the scarf. TIP: Use some washable fabric glue to keep the placket in place as you top-stitch
  • {I} Add plastic snaps such as these KAM ones by marking 5 sets approximately 2 1/4″ apart (for 1/2 yd scarf.) *Yes, I know that one left snap was incorrectly attached, but I didn’t realize it until all the pictures were already taken. It’s been fixed since 😉

Dusk Giveaway Bundle Image

***Giveaway is closed***  Now who’s ready for the giveaway??? Comment with how you would like to use this Dusk color-way for a chance to win the entire fat quarter bundle!  This is open internationally and a winner will be announced once the blog hop is complete.  Make sure to visit everyone on the hop for beautiful ideas and additional chances to win this gorgeous fabric!!!

The complete Hawthorne Threads Roam Blog Hop Schedule:
Tuesday, December 1st – Fabric Mutt
Wednesday, December 2nd – Coffee + Thread
Thursday, December 3rd – Love You Sew
Friday, December 4th – Olivia Jane Handcrafted
Saturday, December 5th – Hawthorne Threads


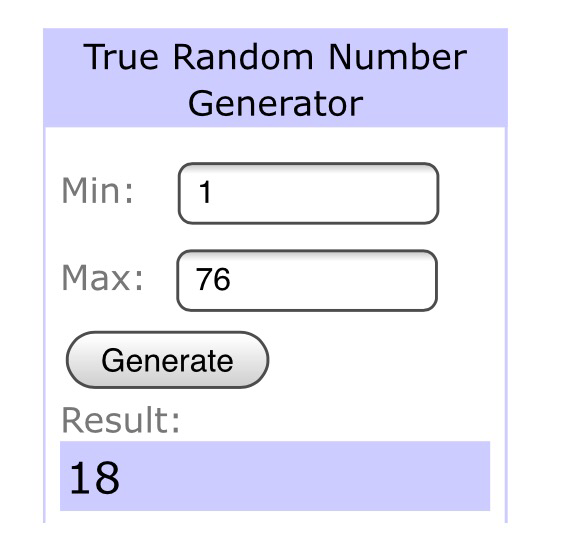
12/15/2015 Update – Randomly Selected Winner is  Veronique Oudard!  Congratulations!!!
 

Hugs & Stitches,

Cristy


***The blog hop was sponsored and fabric was provided by Hawthorne Threads.  All opinions  are my own and have not been influenced by outside parties.
A Traveling Quilt {The Start}

geesetitle

I was late to the Instagram game, but have completely fallen in love with the community spirit on this media platform.  Who knew there were so many other sewists out there….like me?!?  You follow people, start to “heart” posts, then make comments.  All of a sudden you are asked by one of your IG friends to be part of a “Traveling Quilt” group.  And this is where I am today.

To be perfectly honest, I had never heard of a “Traveling Quilt” until I was asked (or maybe I was tagged) by the hostess.  Of course, I “Googled” it before committing and am so glad I did.  Have any of you been a part of a group like this or something similar?

It is a group of quilters who start off making one block per person.  It then gets shipped off to another member and you in return, receive one that you add upon.  This happens every month on a rotation until you have a completed quilt top.  The size of each block depends on the number in your group (11 in mine) and what size quilt you ultimately want in the end (a throw.)

After seeing inspiration posts (#EpicTravelingQuilt2016) and what my group started to work on, I knew I needed something good.  I quickly realized that my first block needed to be REALLY good and well thought out because it was going to set the tone for everyone else to follow.  So…I pushed it off…

geese

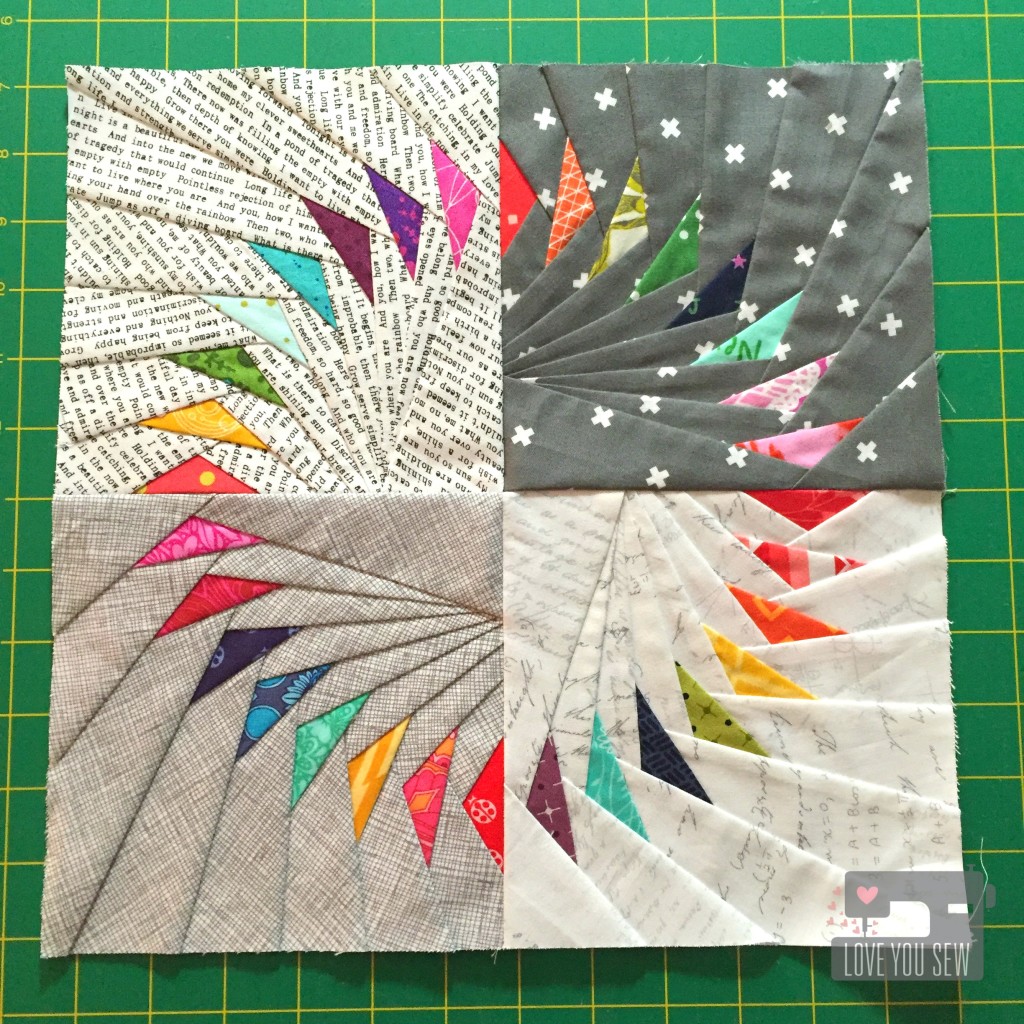
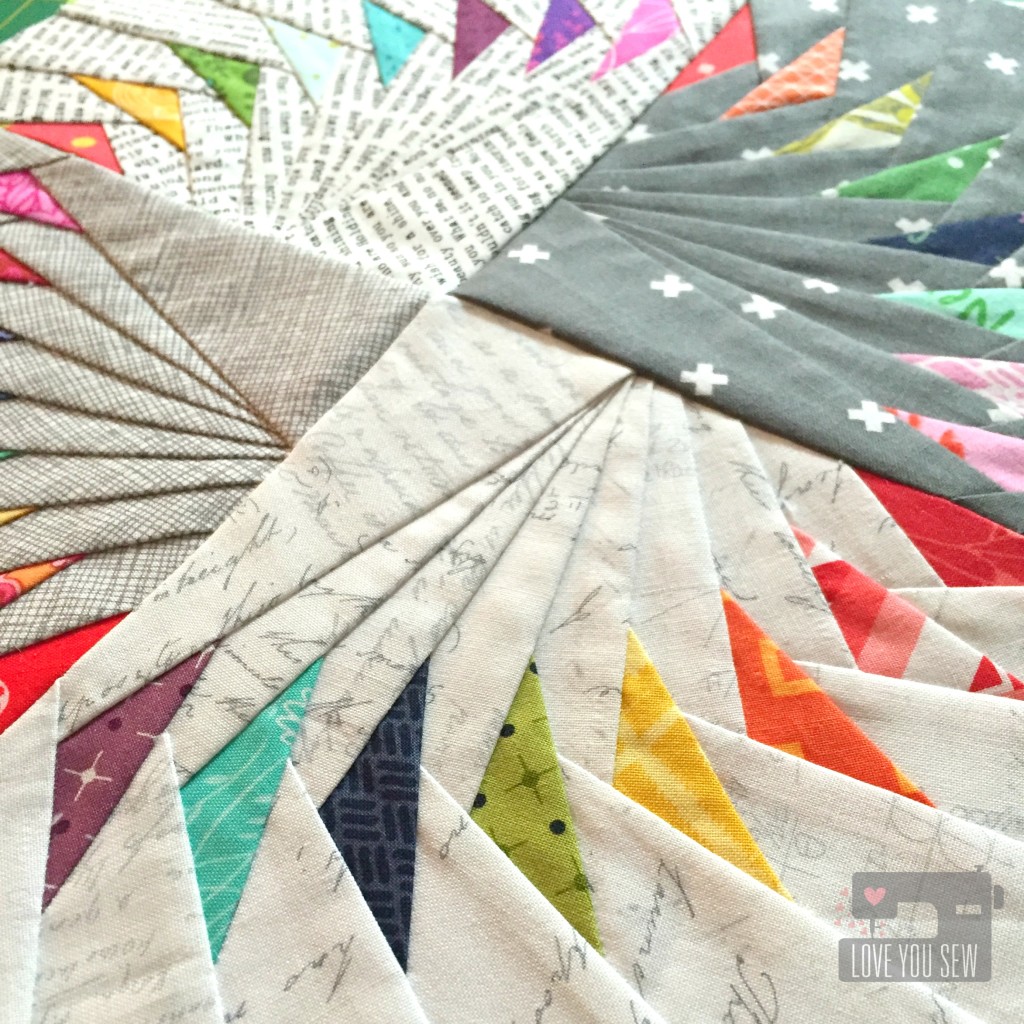
Many time inspiration just strikes at me and I will know what to do in that lightning flash.  That’s pretty much what happened…and the pressure of being a week off from ship time 😉  I decided to use one of JeliQuilts patterns (again!) but this time it was Juicy Goosey.  At first, I wanted to use something different, but then there was a reason I’m always so drawn to these circles of flying geese….they’re my style and that needs to be represented in this first block!

geesecloseup

I used many of my favorite designers with bright saturated colors.  This was not only because the fabrics are SO pretty, but I wanted to give all my group members something for which to work.  I’d rather the focus be on the effort and design rather than having to go out and order new fabric just for my quilt.  We only have a month turnaround for each block, so I thought it was pretty important to have my inspiration block be easily companioned….or so I hope!

This is just the start of a year-long process and I’m happy to know that I will be touching and adding to 10 people’s quilts along the way.  This will be lots of fun and I hope to update you periodically on the progress.  Wish me luck!


Stitchin’ It Real,

Cristy


Bohemian Fringe Cross-Body Bag


BohoFringeBagTitle

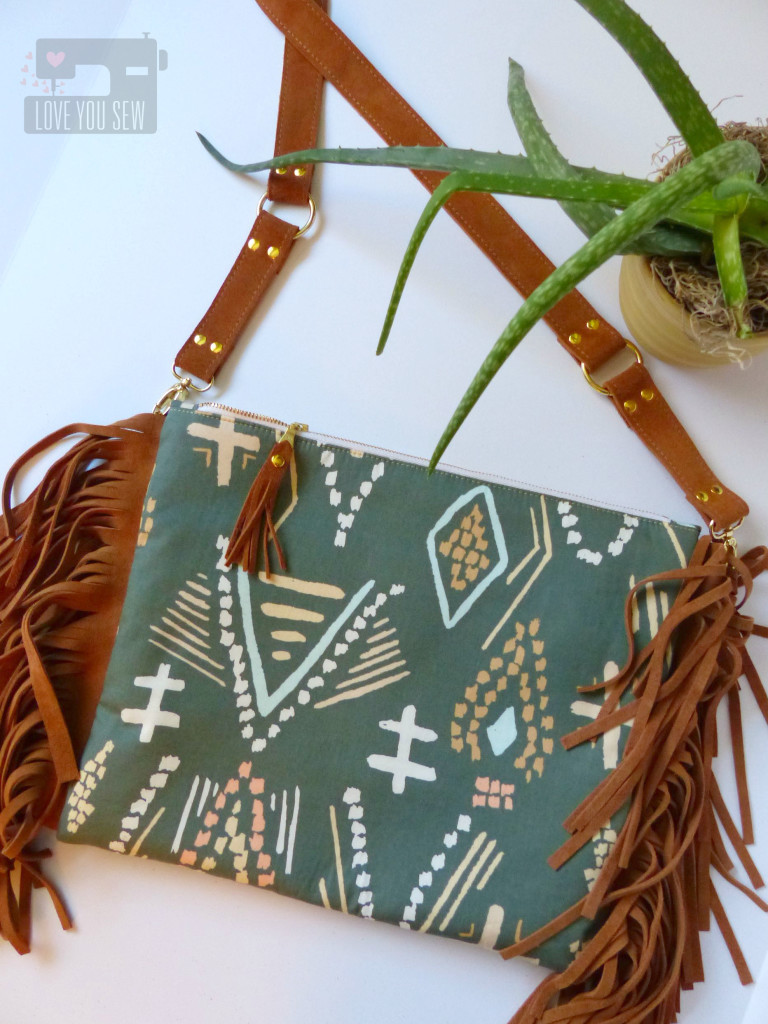
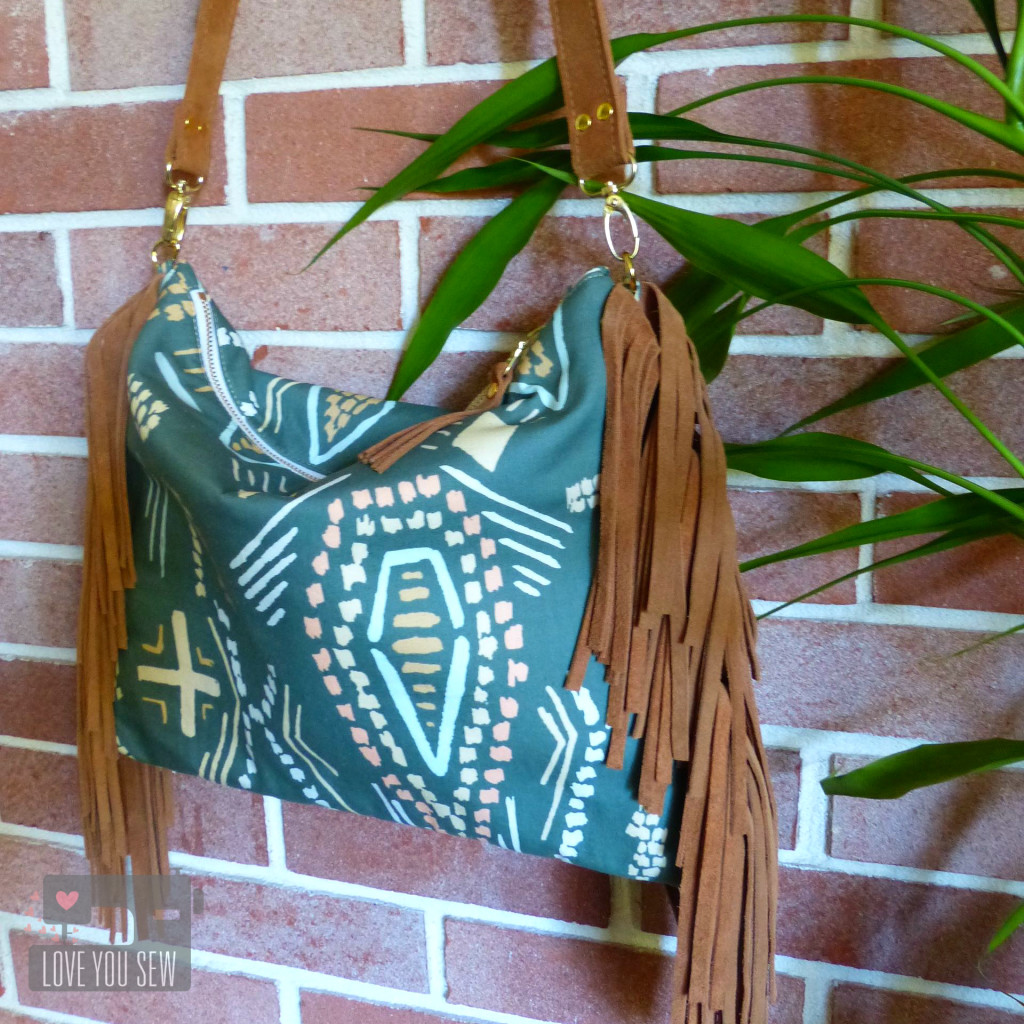
If you haven’t noticed already, I’ve been really getting into bag-making.  I’ve used leather (both faux and real) and now I get to add some suede into the repertoire.  Ever since I got to play with Bound Fabrics for Spring Quilt Market, I’ve had my eye on this Macrame print.  I’ve been meaning  to make a bag with it ever since the line came out, but you know how selfish projects just get pushed to the side for others…  When Art Gallery Fabrics announced a Bound Fabric Bag Challenge, I knew it was my time to finally make my purse!

FullProfileFlat

I was inspired by a bag I saw in Banana Republic.  It had the fun fringe on the side and was a generous size for a mama-on-the-go.  The only thing it lacked was an interesting print to make it really pop.  April RhodesBound Fabrics were the perfect options for this style of bag.  She creates optimal Bohemian Chic designs.

FabricCloseUp

Initially, I wanted a lighter camel colored leather for the fringe and strap.  I stopped by Tandy Leather here in Columbus to see if they could help.  It turned out large pieces of suede were on sale that day and how could I beat $20 for the skin?  I could have easily spent way more on the idea I had in my head.  It’s good to be flexible and I am SO happy with the results!

InteriorZipper

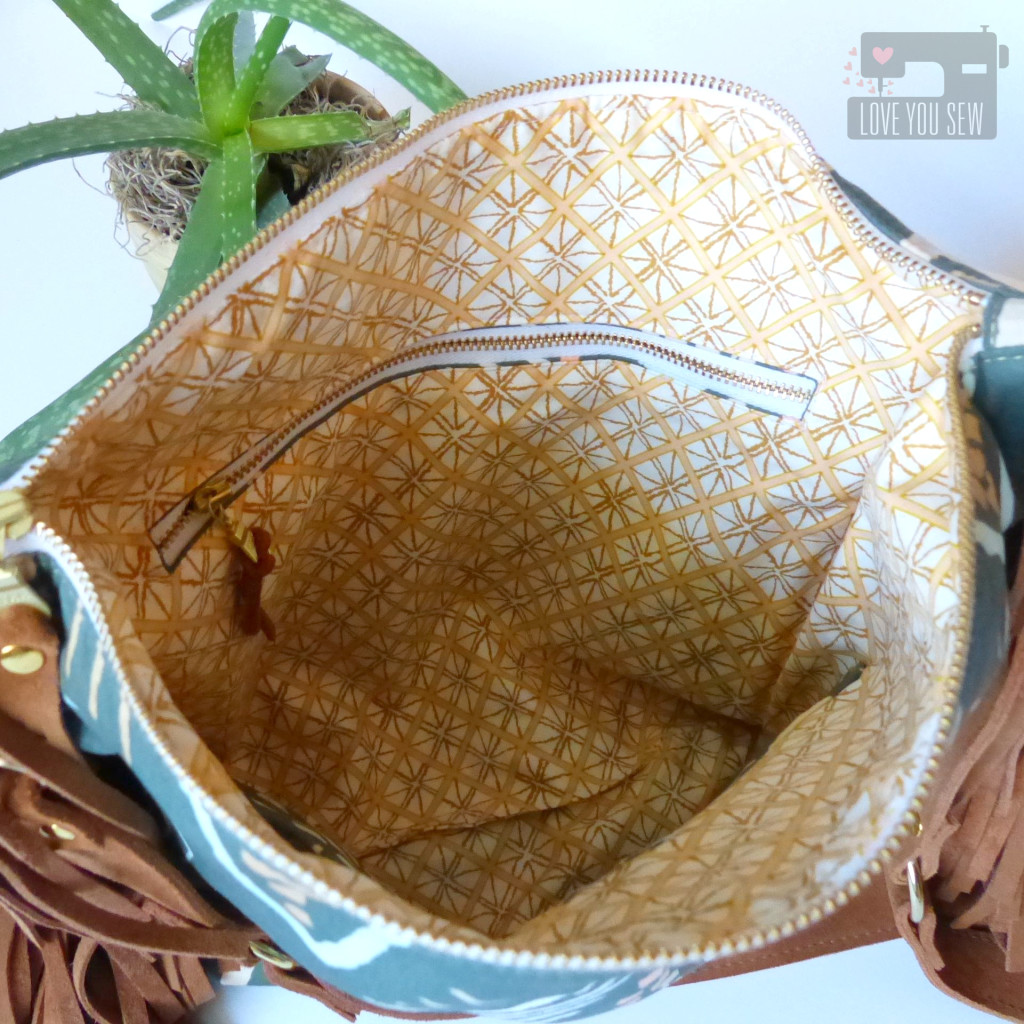
For the construction of the bag, I use Pellon Thermolam and SF-101 to give some structure, but still allow for that slouchy-relaxed look that comes with Boho style.  For the interior, I used Diamond Cloth Cereus and added a nice big pocket with a brass zipper.  Although they are not as smooth as plastic zippers, I just cannot pass the opportunity of using a beautiful brass one.

InteriorPockets

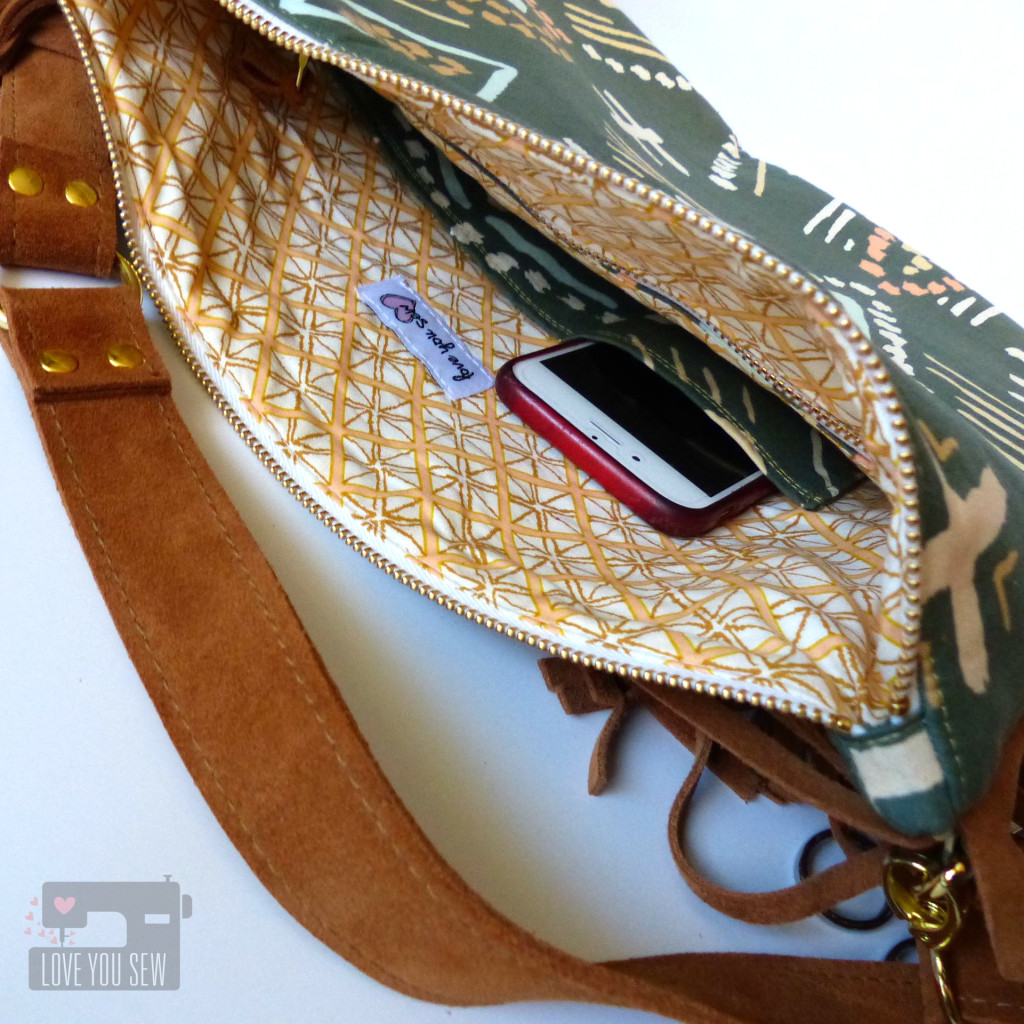
On the other side of the interior, I added a small pocket for my smart phone and an extra pocket for all the other small knick-knacks I bury in my purses.  I’ve learned that I need the phone pocket most of all in bags….especially since I like these over-sized styles.  ‘Having this one tiny feature alleviates a lot of headaches trying to find my “life-line!”

HarwareCloseUp

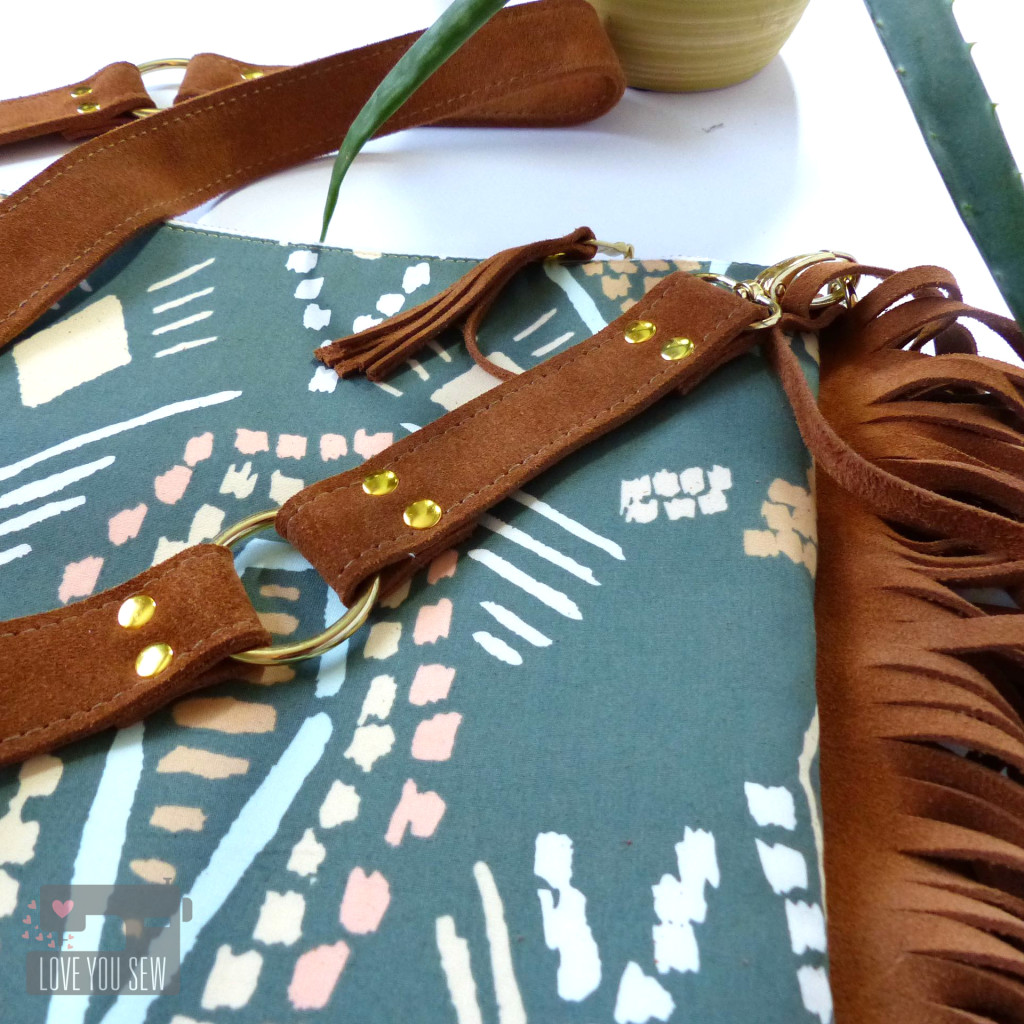
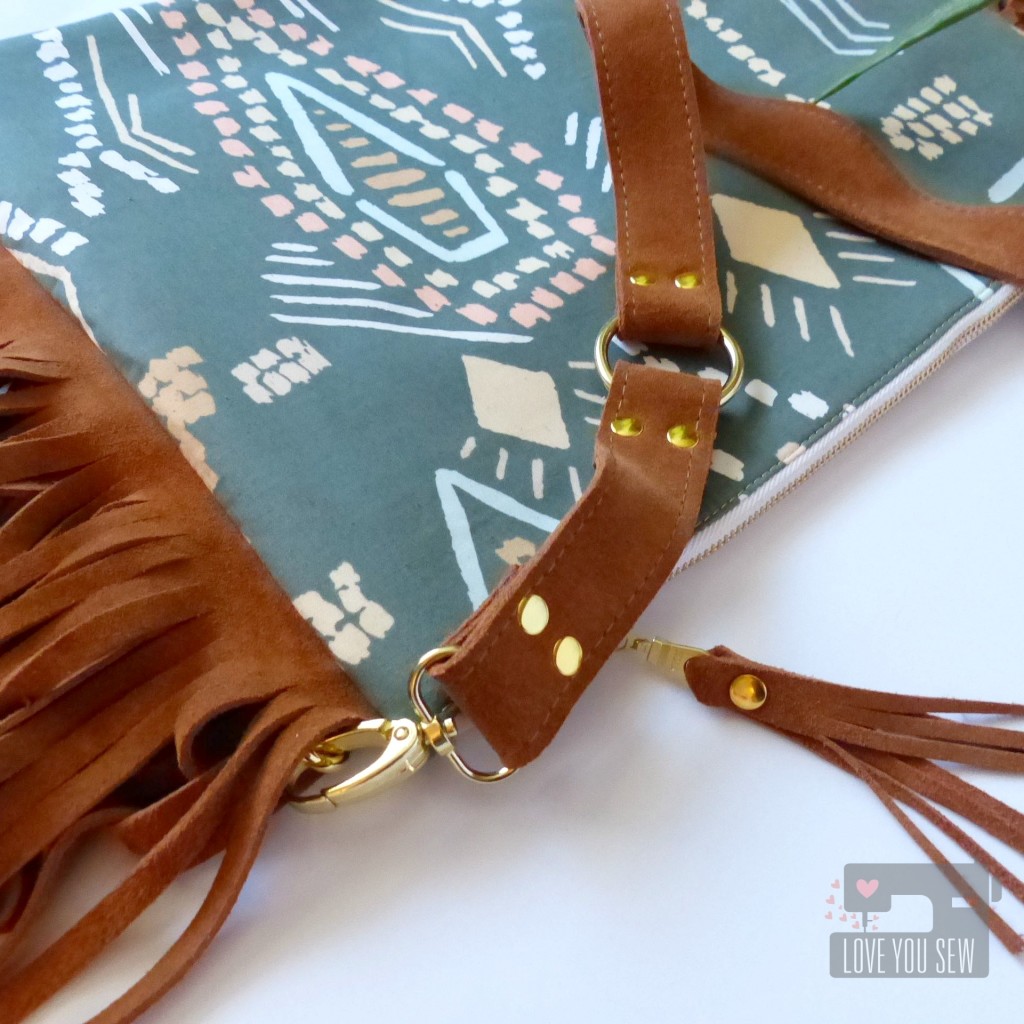
All of the hardware is from Emmaline Bags and adding the rivets were not as difficult as I thought they would be.  It’s important to have a good leather punch and the right anvils for the job.  The guys at Tandy Leather helped me get set with the right supplies.

Like with my Cargo Duffle, I used Gutterman Top-Stitch thread to make my straps.  I just love that  professional look of the thicker thread.  It takes time to work out the tension, but worth it in the end!

CloseUpHanging

If you get the chance, can you please help me with the Bound Challenge?  You can head over to Art Gallery’s Pinterest board here.  If you “heart” my post, I will earn a point and then if you “re-pin” it, I will earn an additional point.  Please make sure you do so through Art Gallery’s board so the “hearts” and “re-pins” are recorded.  ***Update: Contest is over*** Thank you so much to all who voted!!!!

The prizes will help me keep a stock of fabric and notions so my projects and posts can keep coming to you 🙂  And you know I like to giveaway too…..

Crossing my fingers (and zippers!)

Cristy

***This post may contain affiliate links for which I may receive a small compensation upon your completed purchase. These help keep the site up and running.

Fall Fabric Pumpkin Decor

Fall Fabric Pumpkin Decor

I know I’m a little late…but it’s still before Halloween….so Happy Fall, friends!  From lattes to lights, you can find everything in pumpkin form this time of year.  So, how about some fun Fall Fabric Pumpkin decor?

Last year, I found this great tutorial from Fiskars to make a Pumpkin Pincushion on Pinterest.  I had a bunch of random JoAnn’s fabric scraps and wanted to have some new autumnal accessories for my home without having to buy them.  (Nice when that can actually happen, right???)

Fabric Pumpkin

Instead of using the 6″ circle pattern (4″ diameter,) I enlarged the circle to a 9″ diameter and then to a 12″ diameter.  This was a simple adjustment with a compass to draw up the circles.  TIP: You can use some household bowls that are roughly around the same size as templates.

Fall Fabric Pumpkin

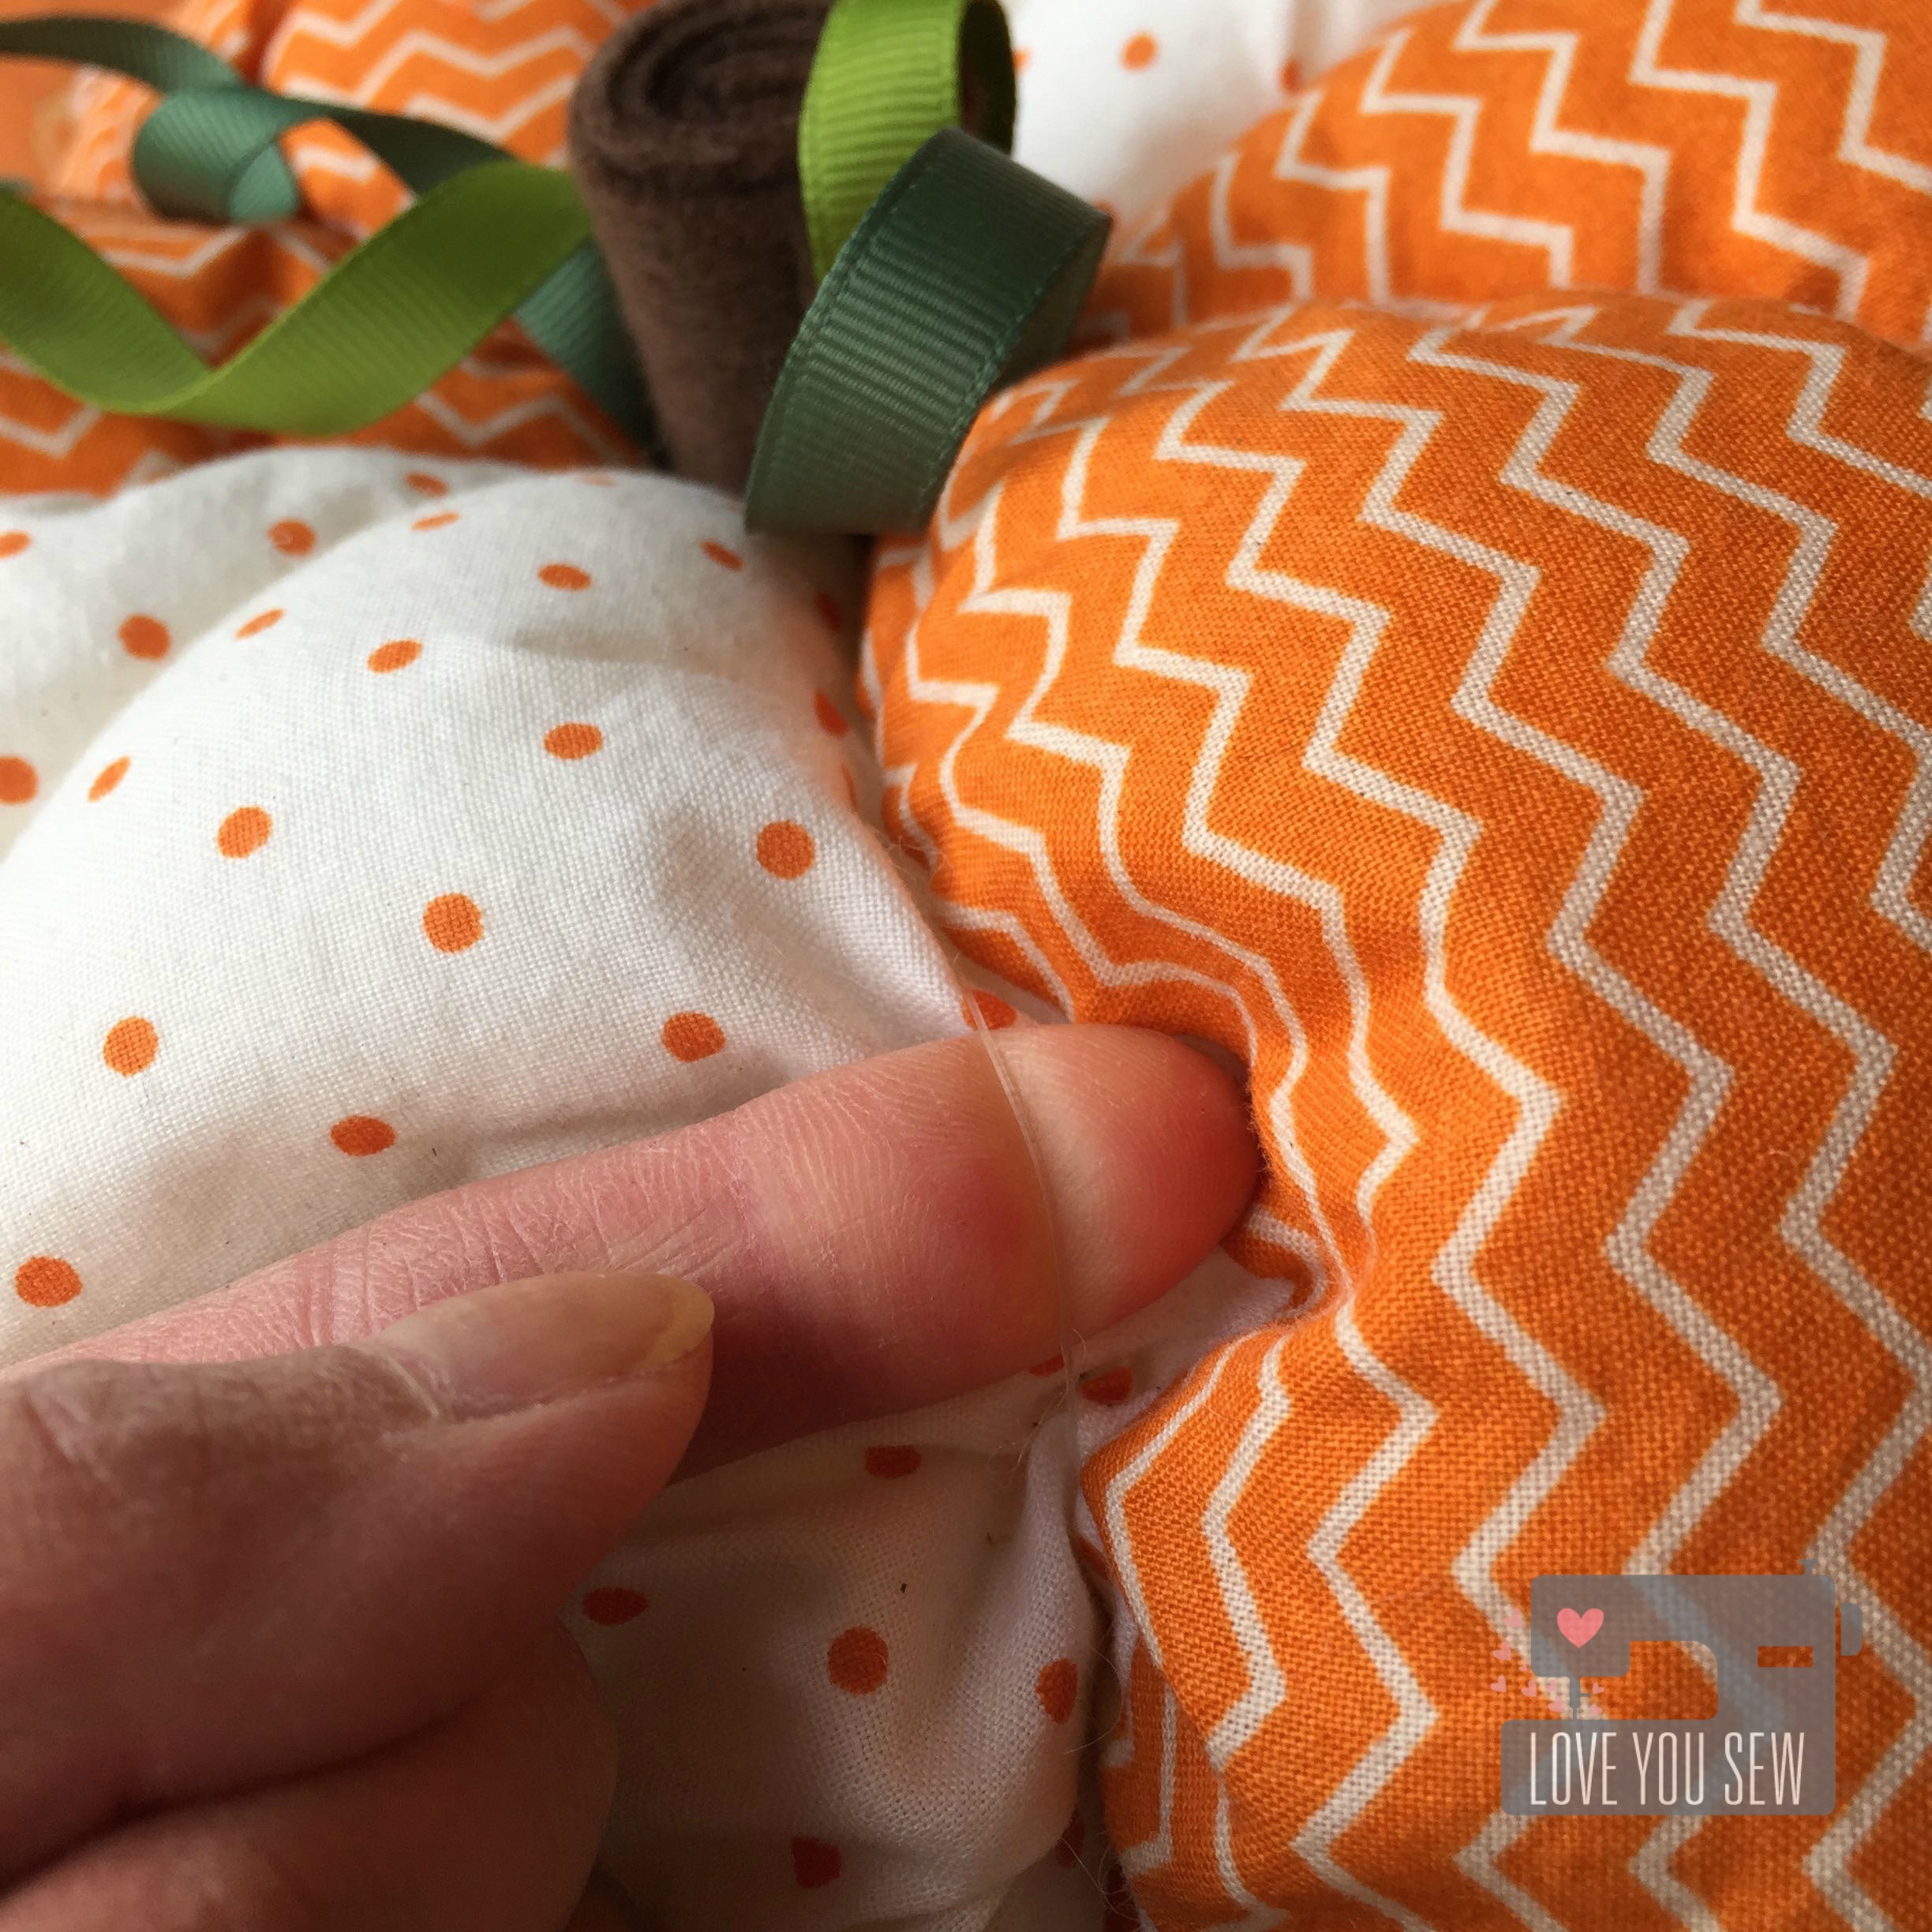
Instead of embroidery thread (which I didn’t have on-hand,) I used good old fishing line with a large-eye needle to make the ribs.  TIP:  Start sewing from the top of the pumpkin.  There will be large knots from the fishing line which can be secured and hidden by the stem later.

Fabric Pumpkin with Ribbon Detail

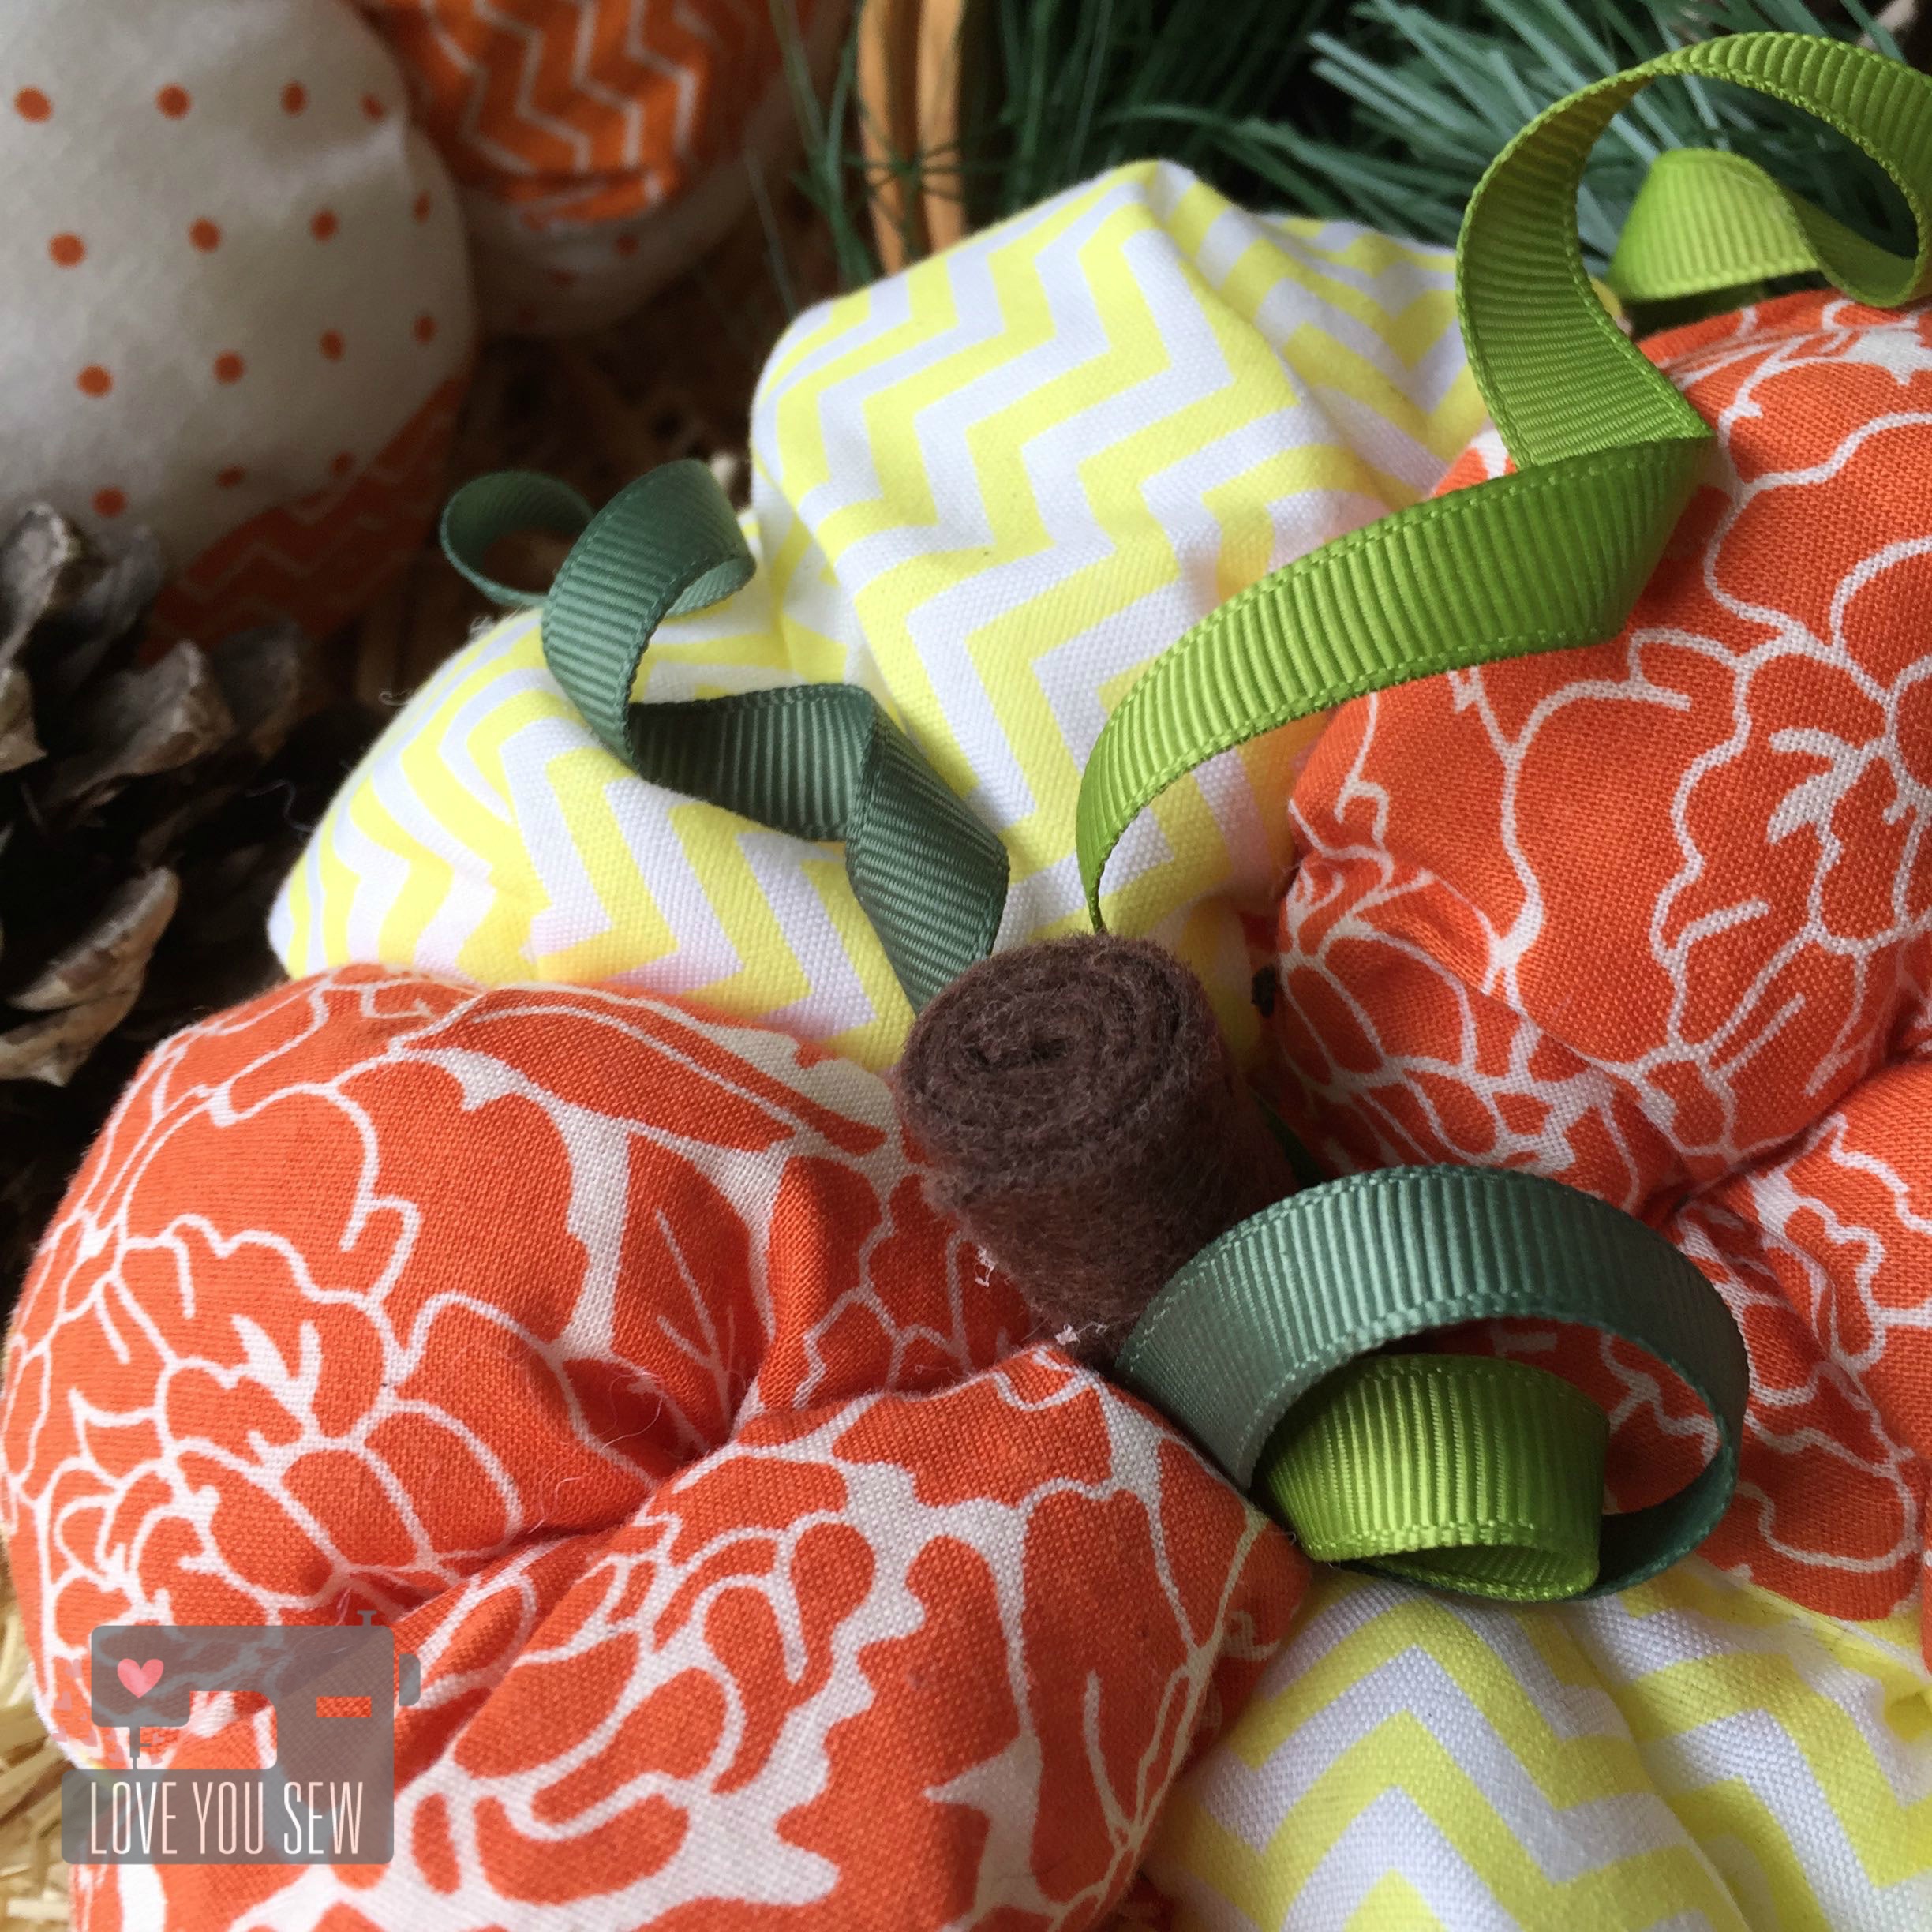
For the stem, I hot-glued a 2″ x 4″ piece of craft felt into a tight rolled cigar and then set aside to cool.  With two different colors of 1/2″ ribbon, I created the “leaves” with loops; securing them with hot-glue in the center of the pumpkin.  The “tendrils” are just wound ribbon with small dots of hot-glue securing them directly on the fabric.  Lastly, the stem is glued in the center to hide the fishing line knots and the ends of the ribbon.

I have several of these pumpkins that adorn my mantle and dining room table.  They are so festive and it brings me so much joy that they are hand-made.  What decor do you love in the fall for your home?


Happy Stitching!

Cristy


*** This post may contain affiliate links.  They help keep this site running 🙂

Dwelling Quilt {Pattern Testing}

DwellingTitle

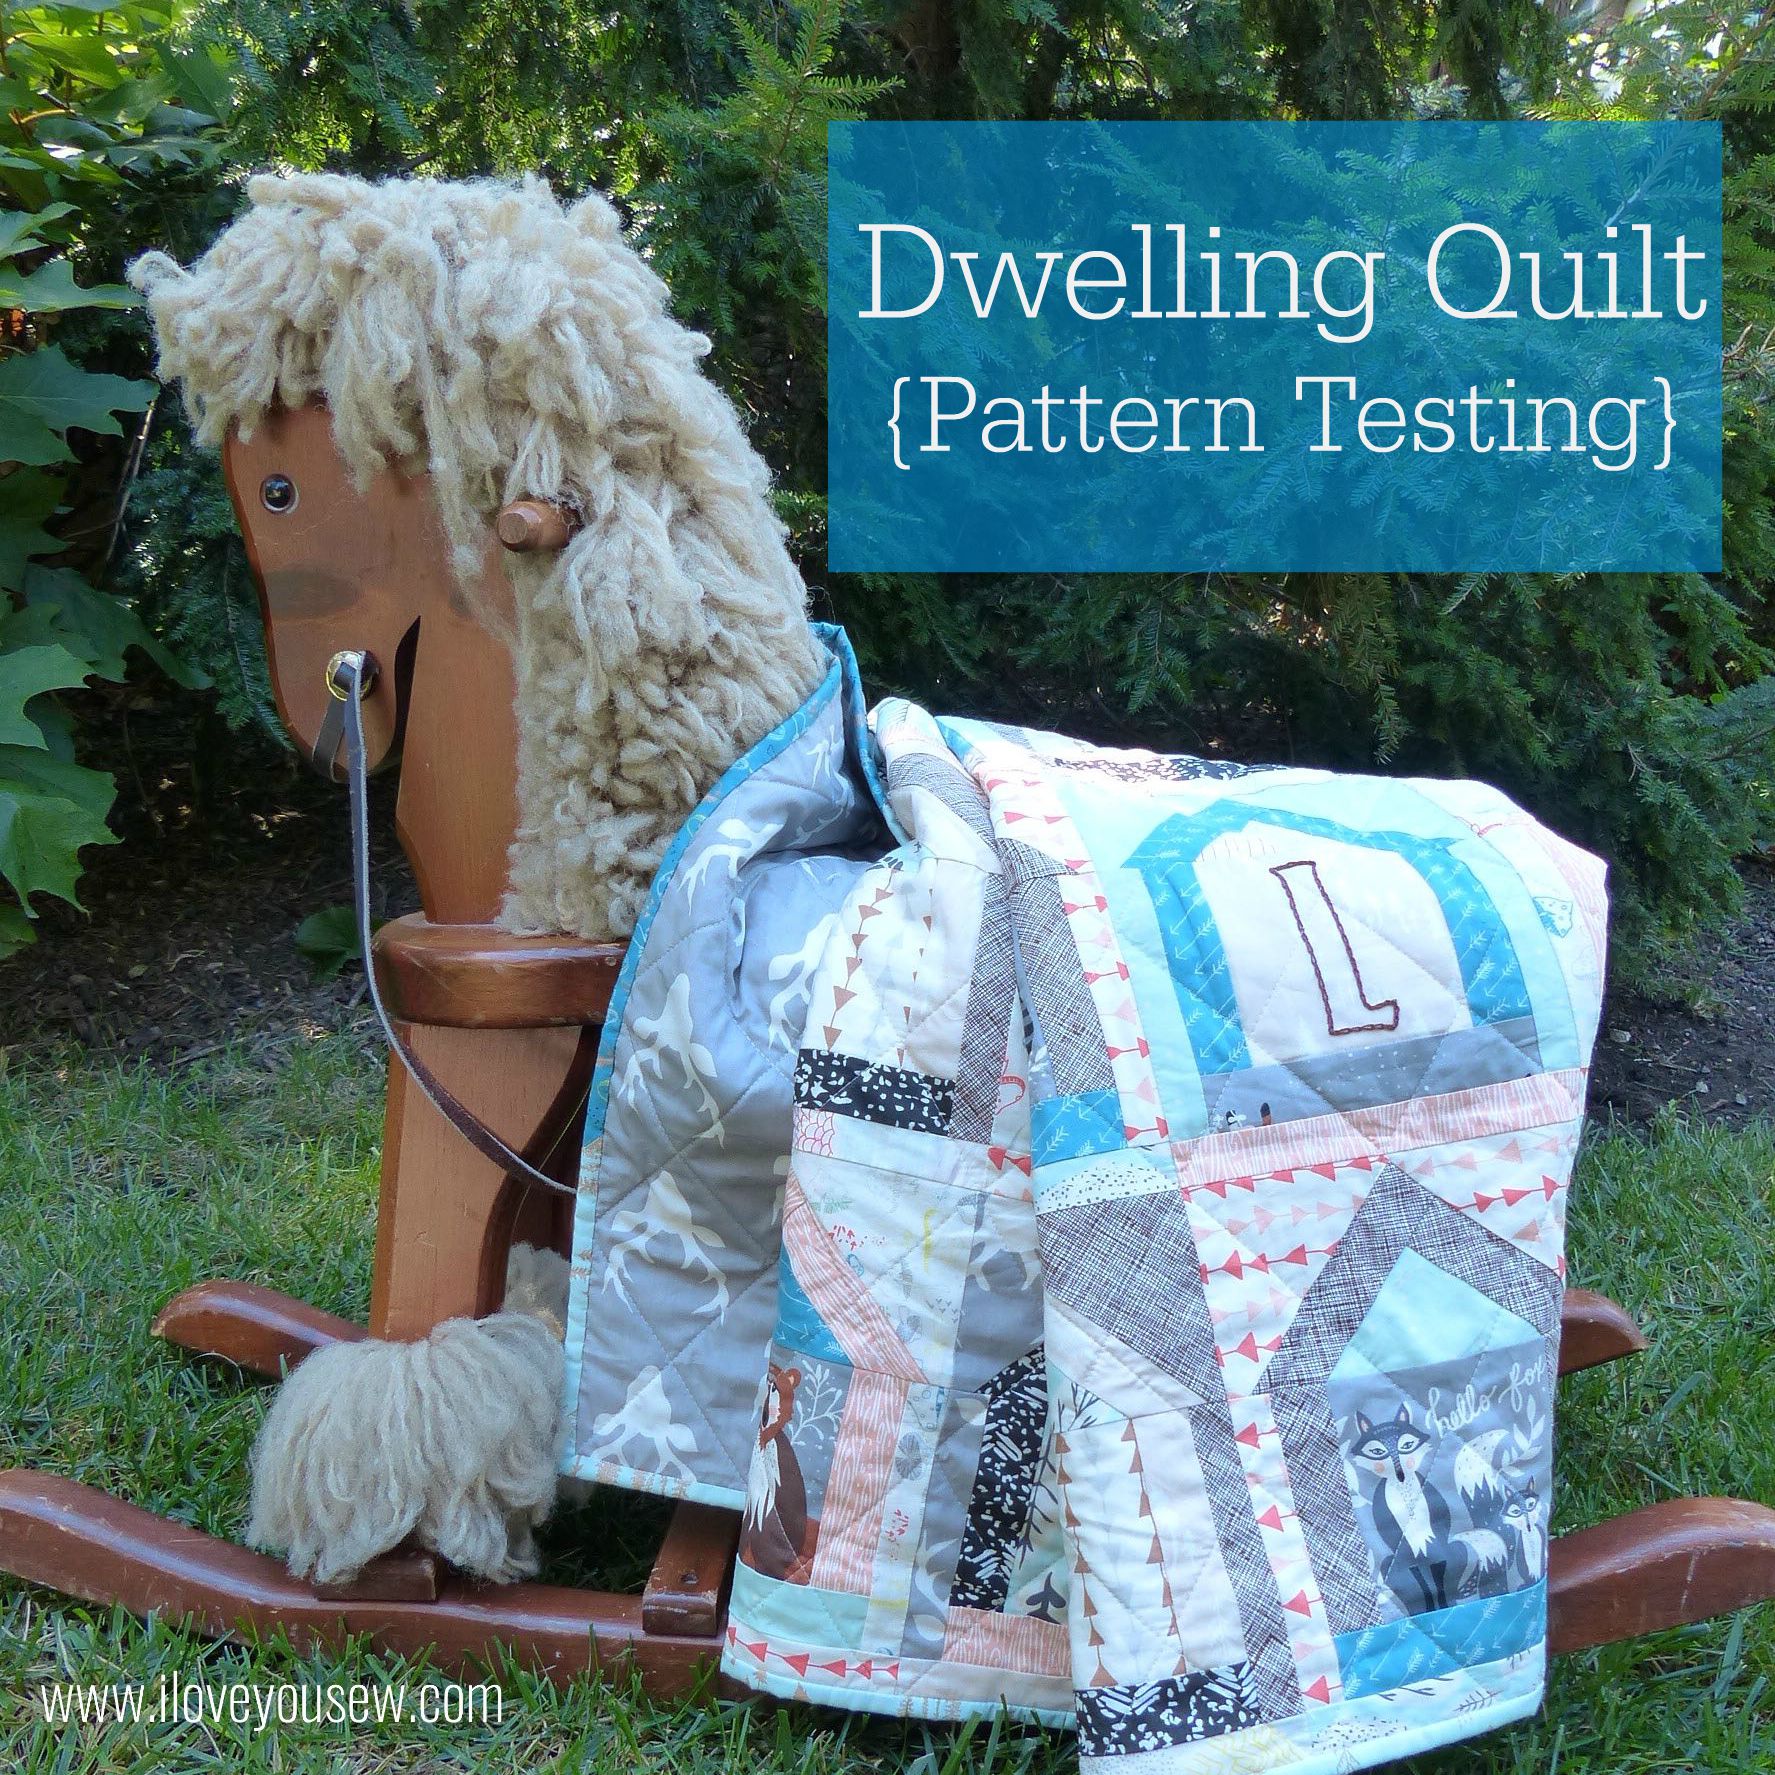
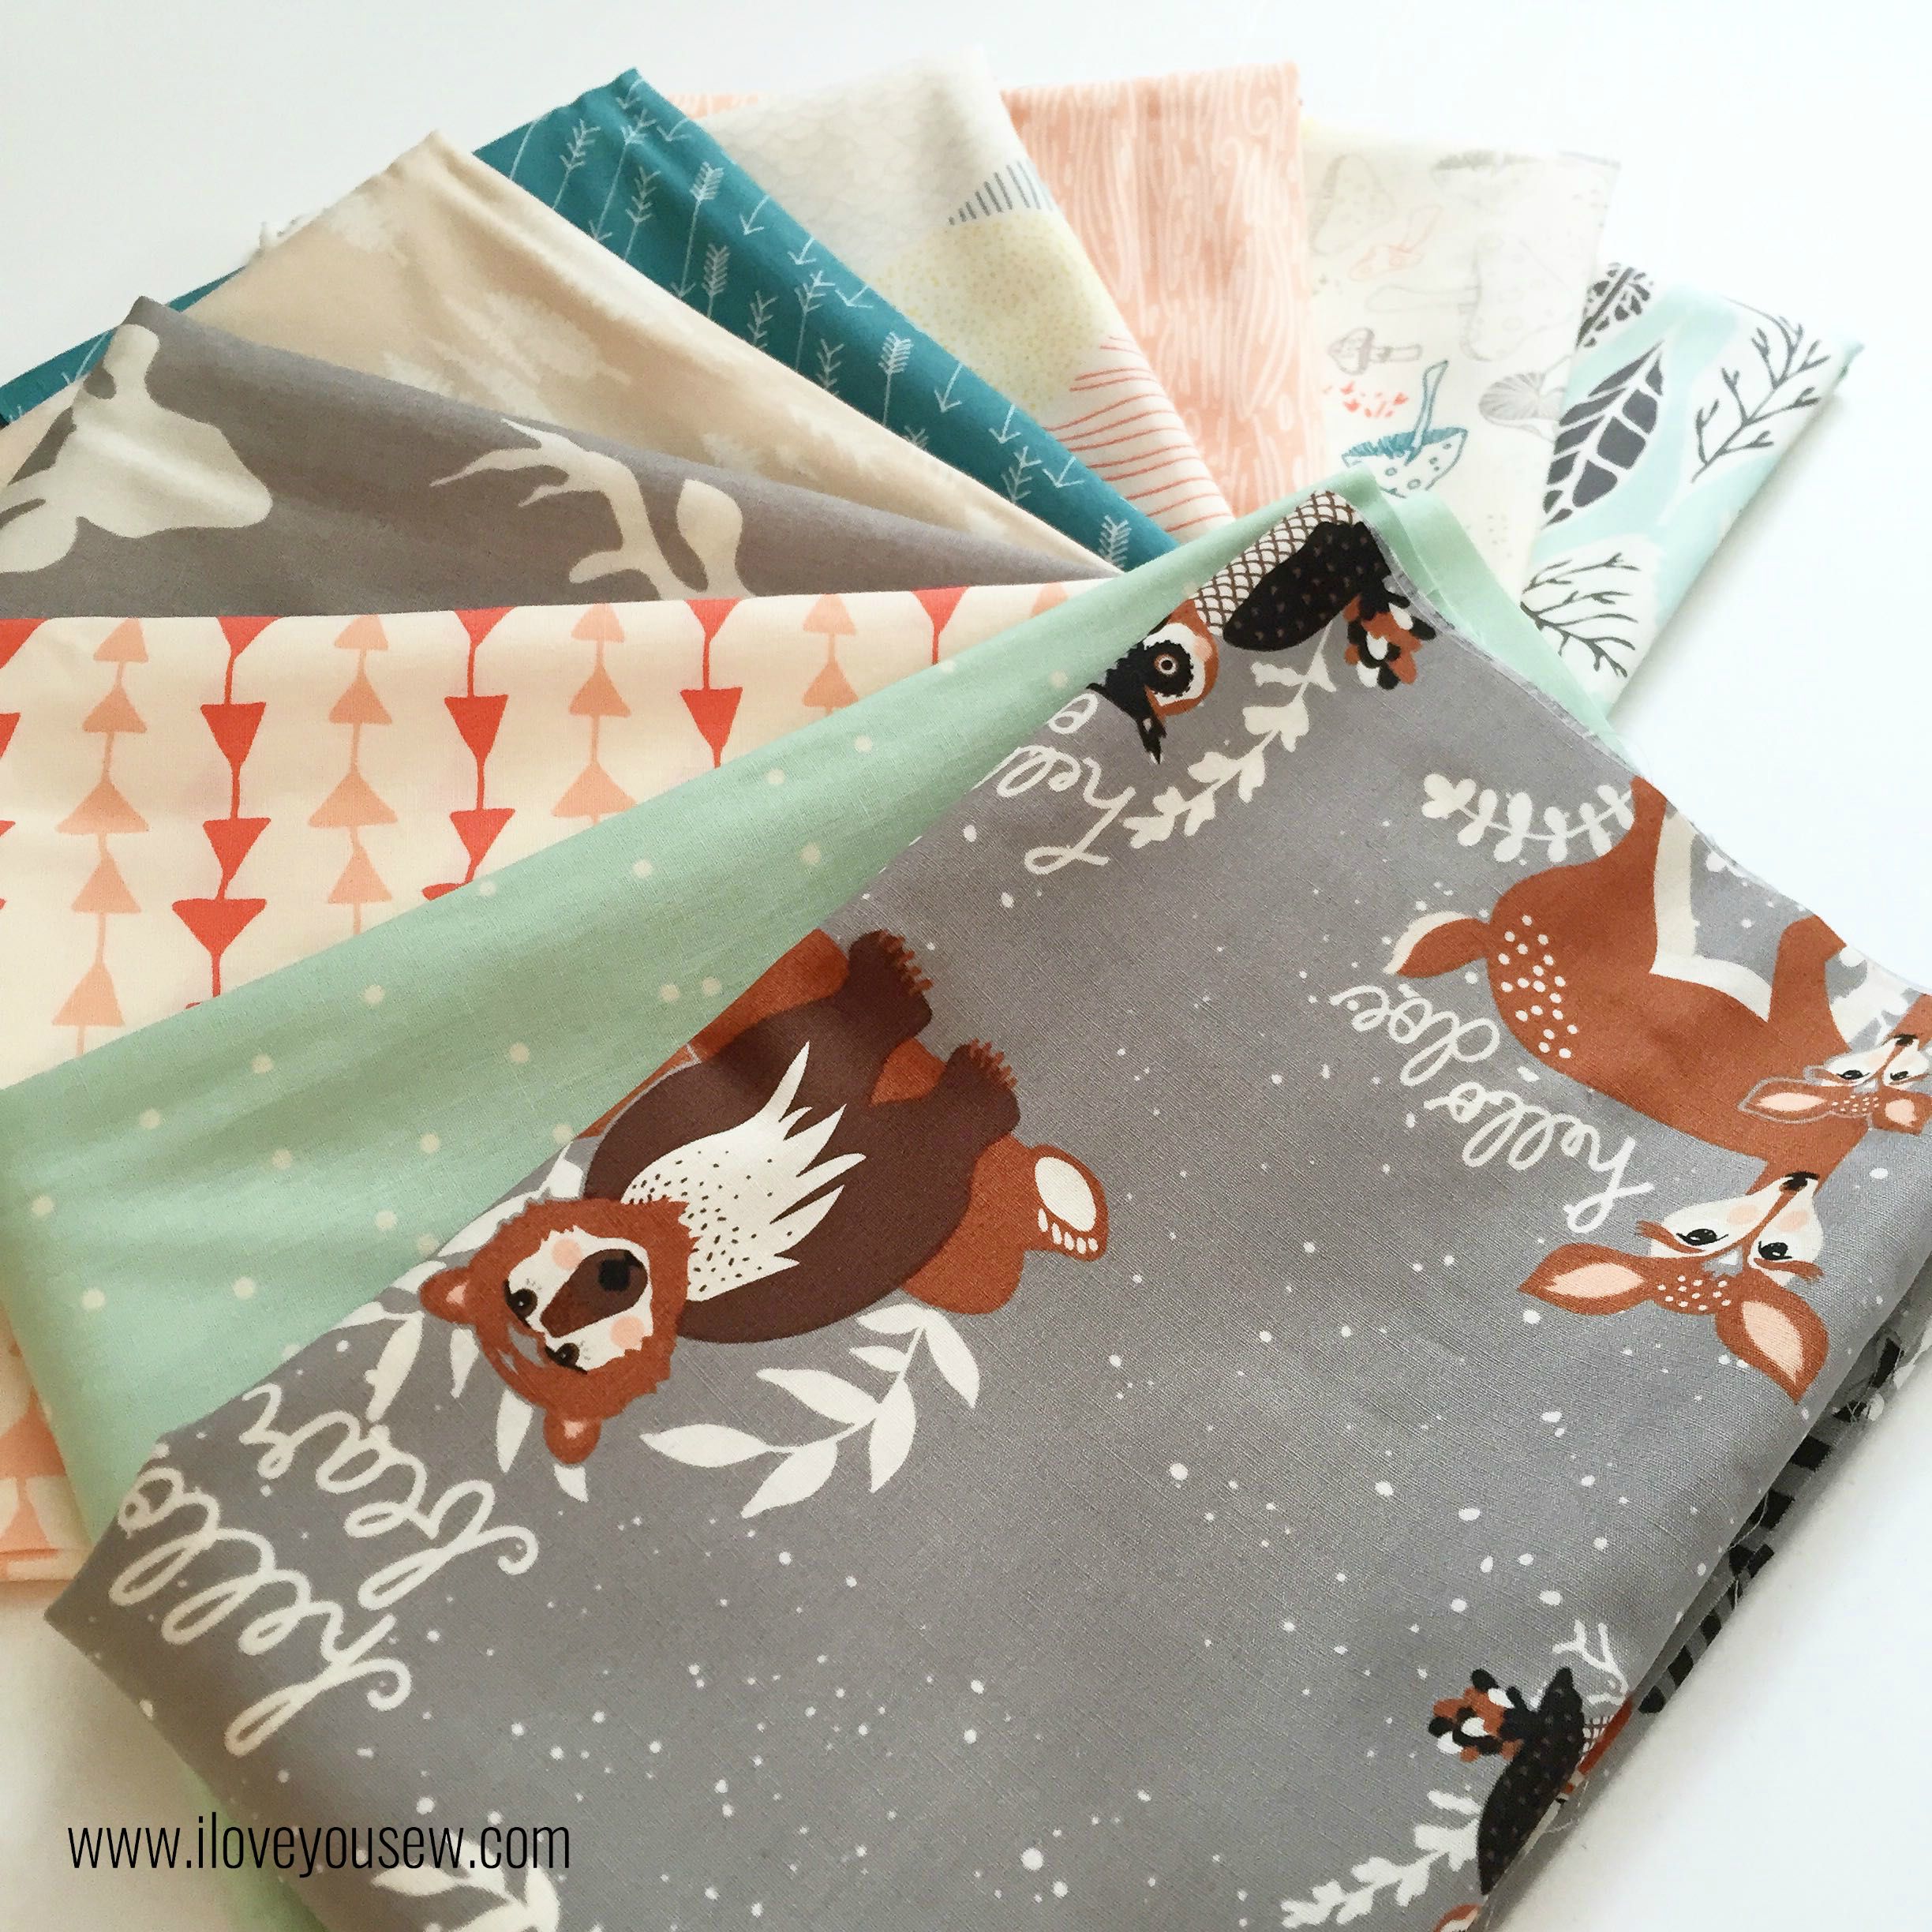
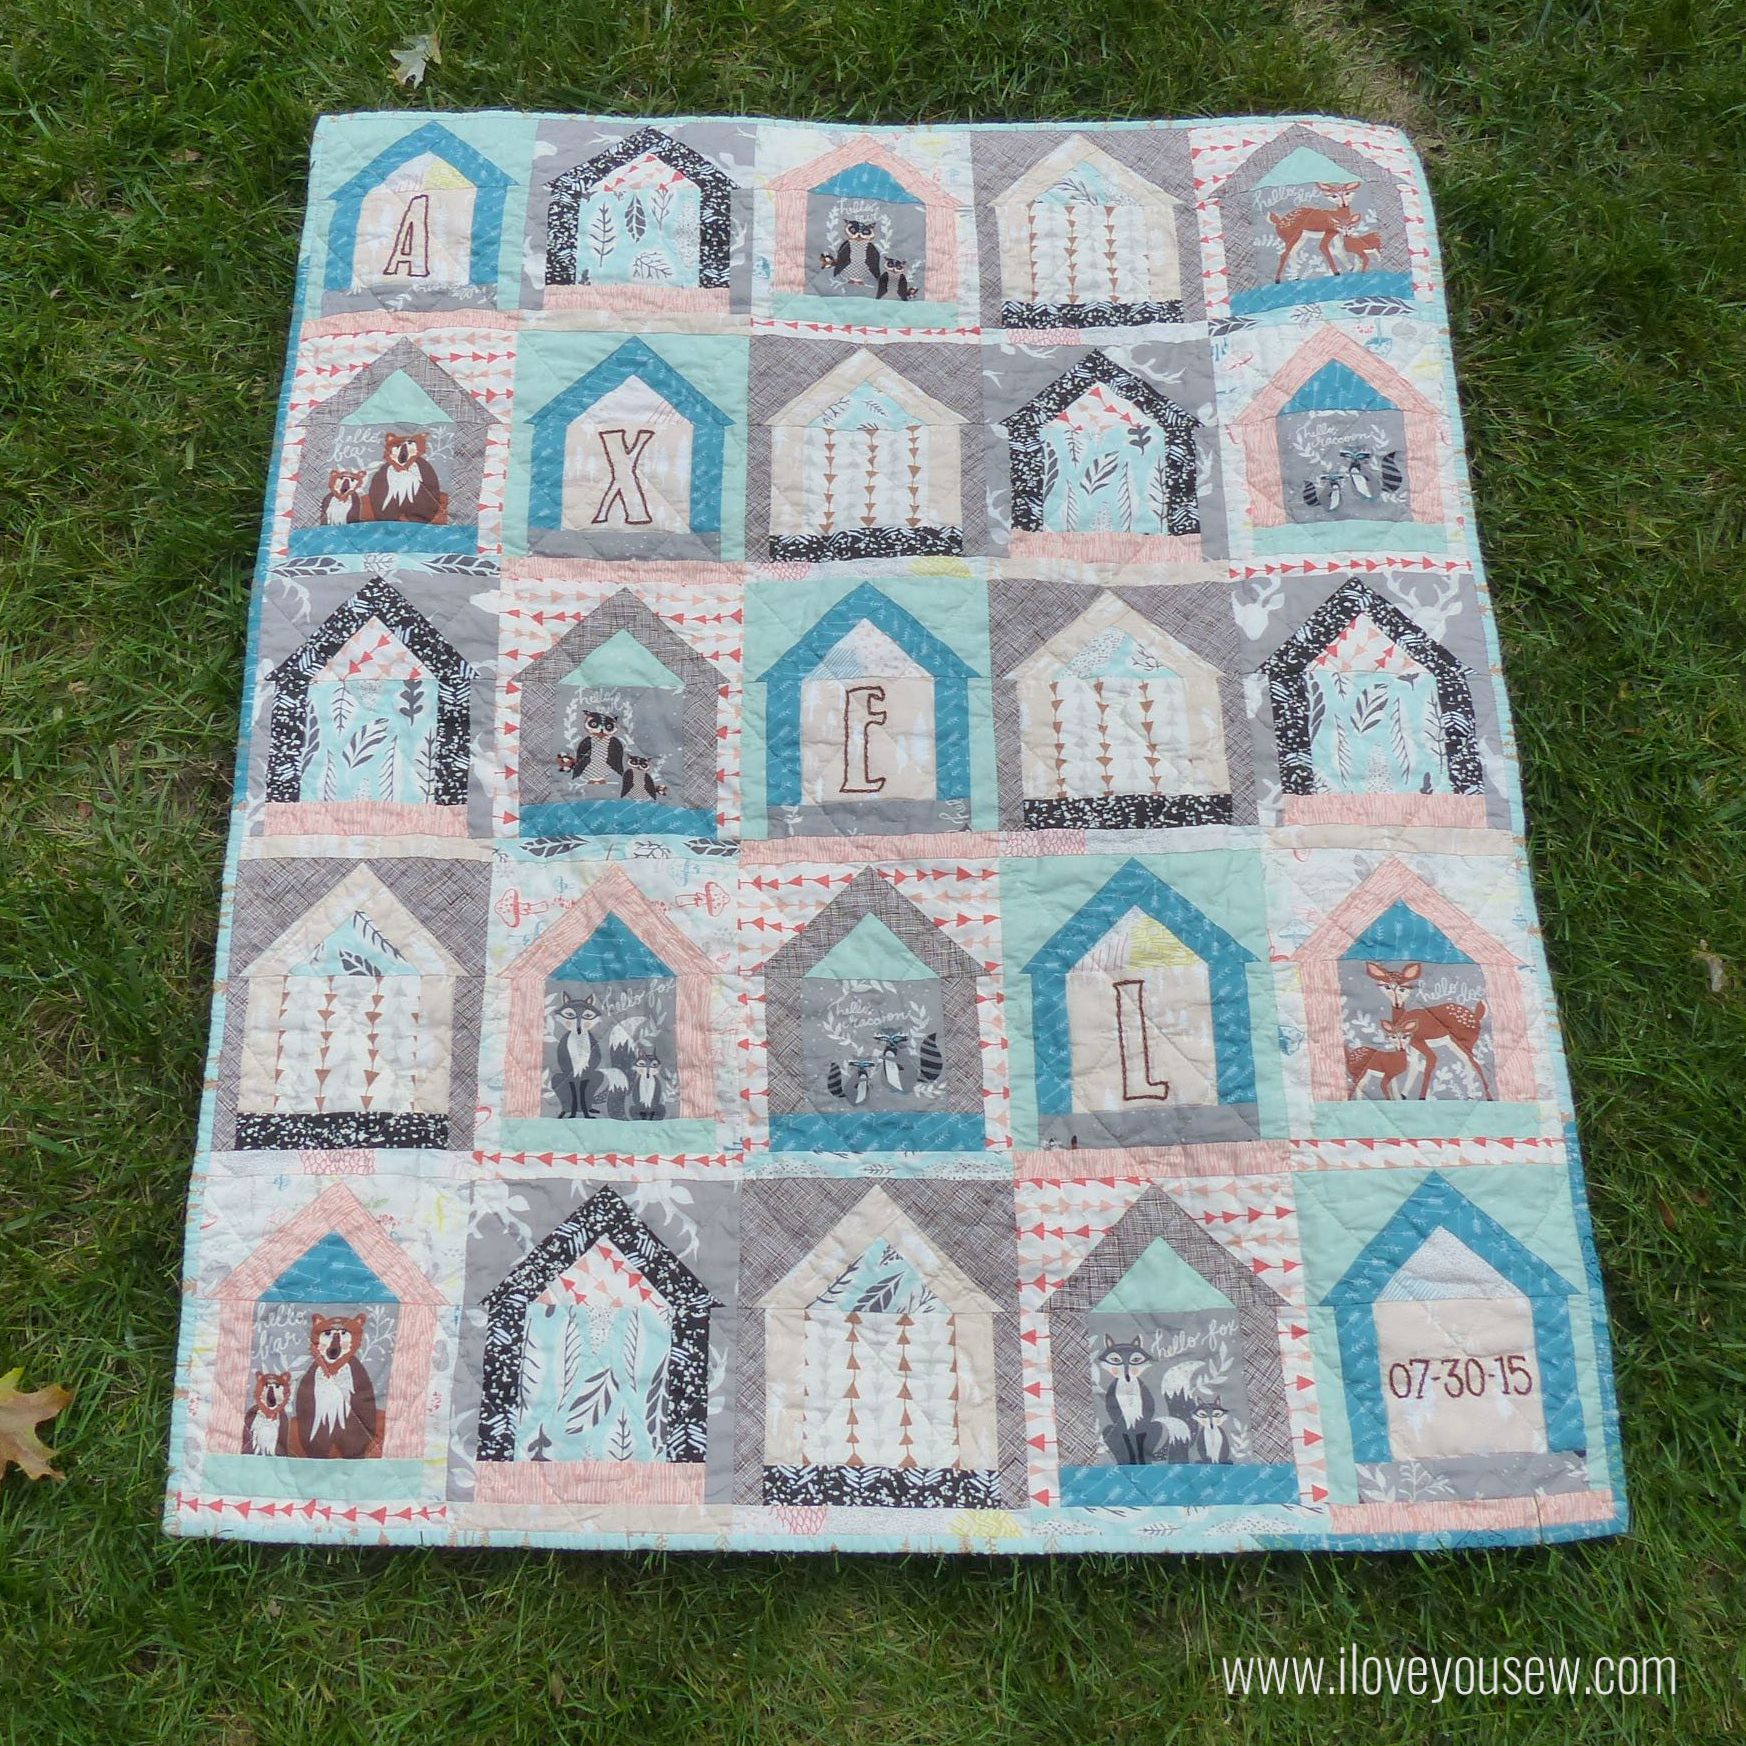
I was holding onto my Hello Bear fabric for awhile, waiting for the right quilt pattern (and baby) to come along.  Well, both happened to coincide recently!  A dear childhood friend recently had a baby boy and Holly Gets Quilty was getting ready to release this Dwelling Quilt Pattern. You can find this Mug Rug I made using the smaller block from the same pattern.


HelloBear

I just love the modern whimsical palette of this collection.  The teal and mint play so wells with the grays and browns.  This is just a beautiful collection for babies and children.  I mean, who can resist these woodland creatures???


Embroidery

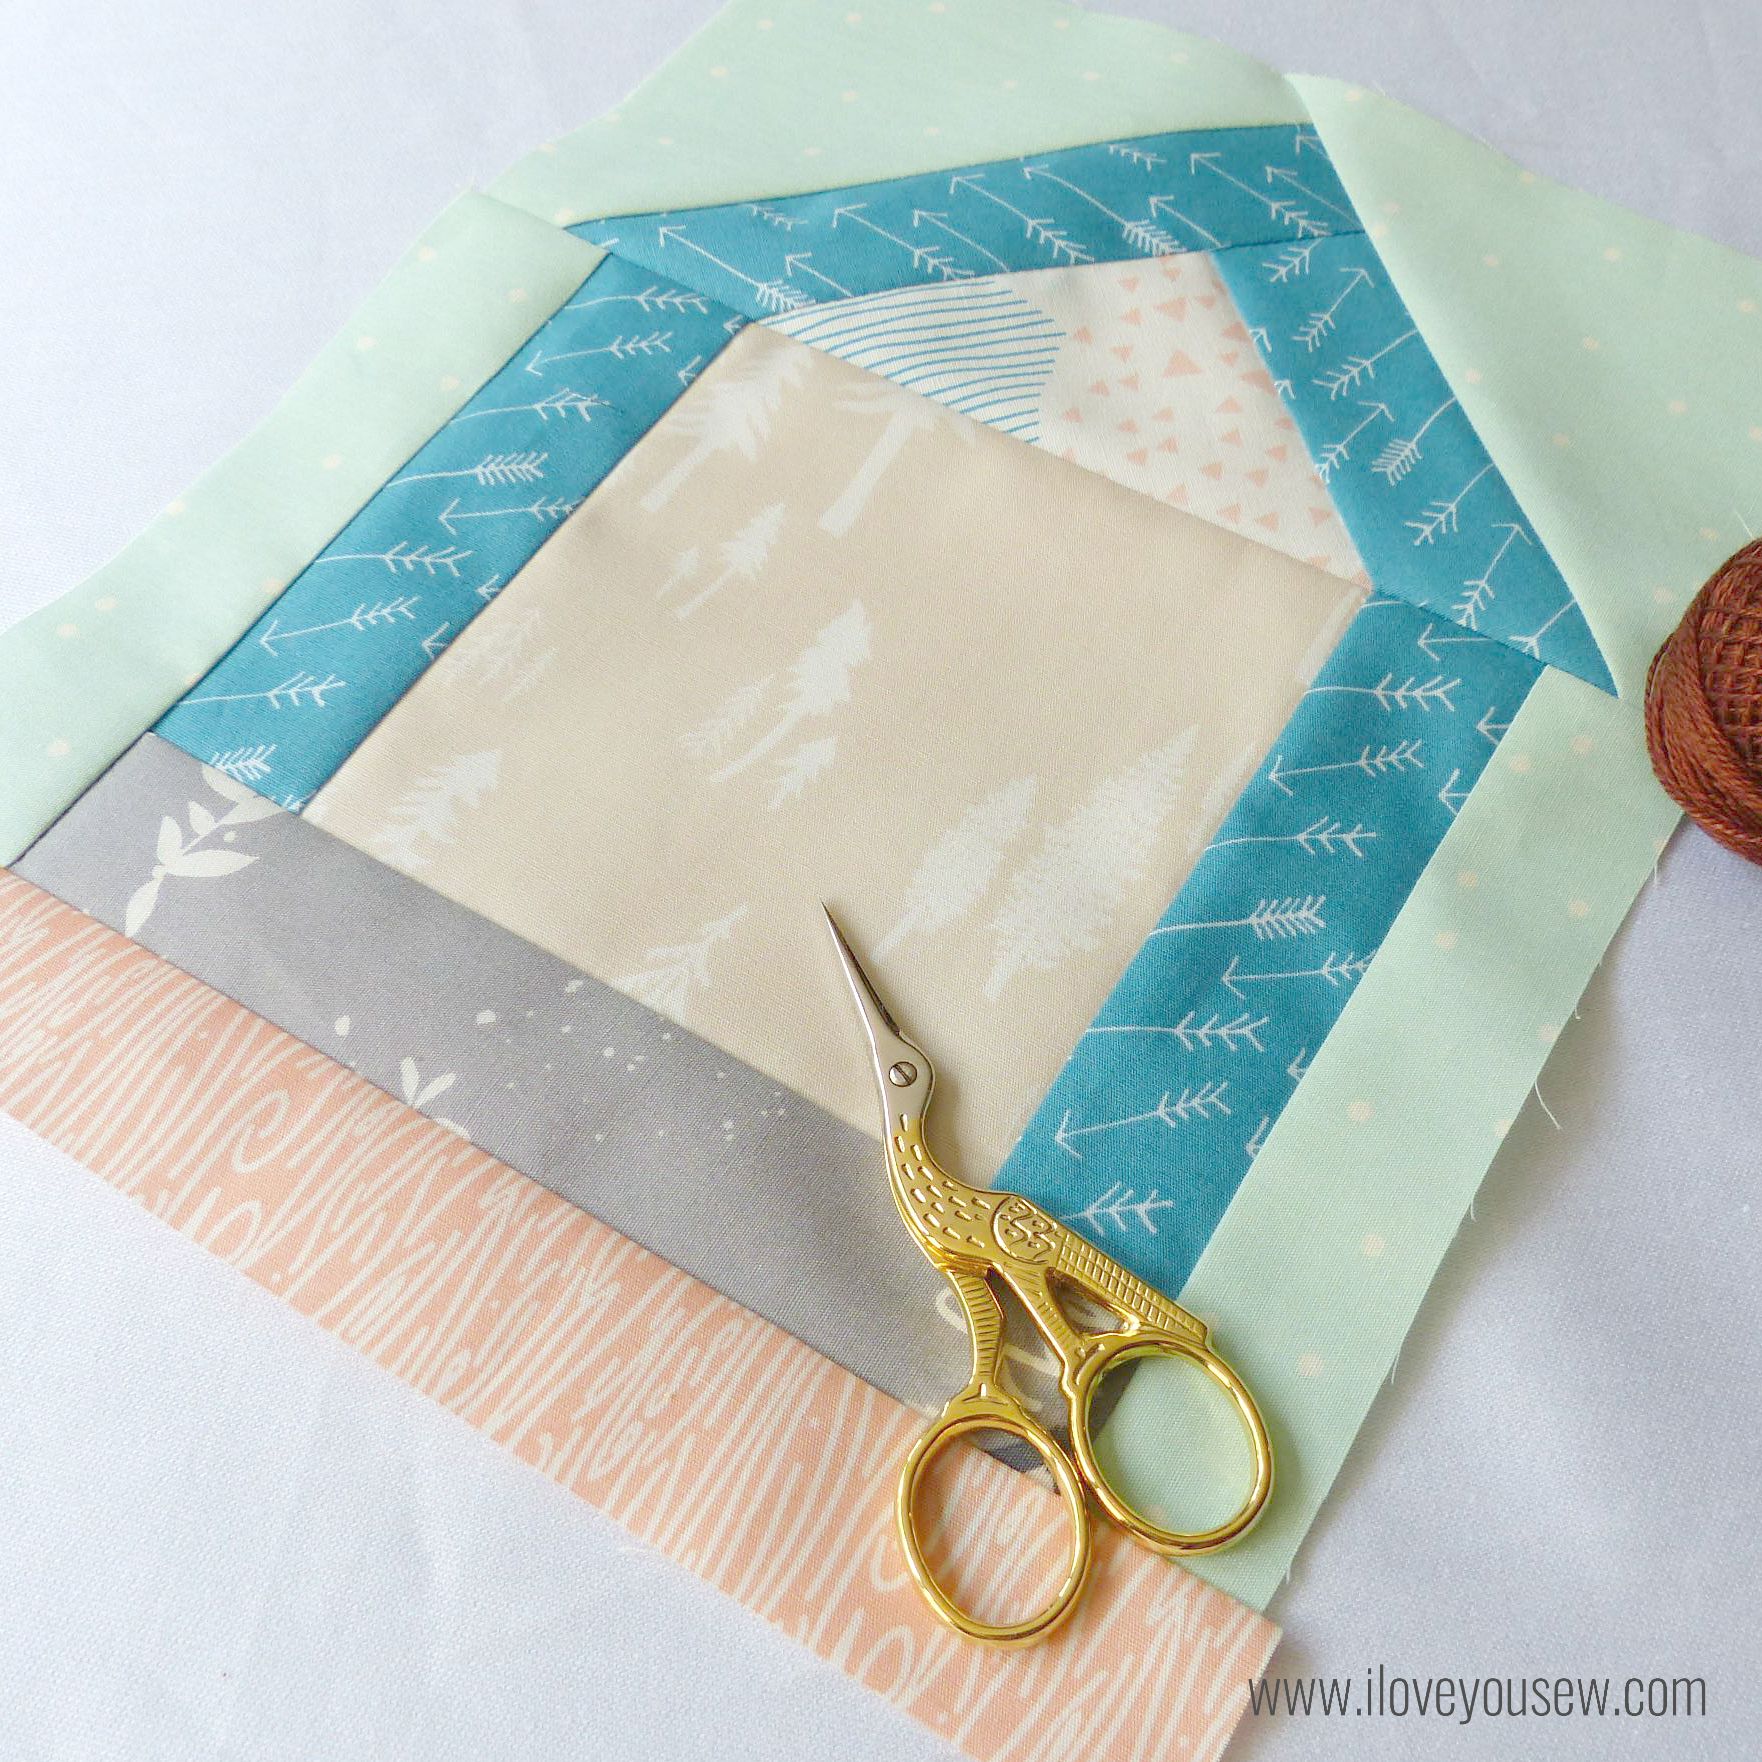
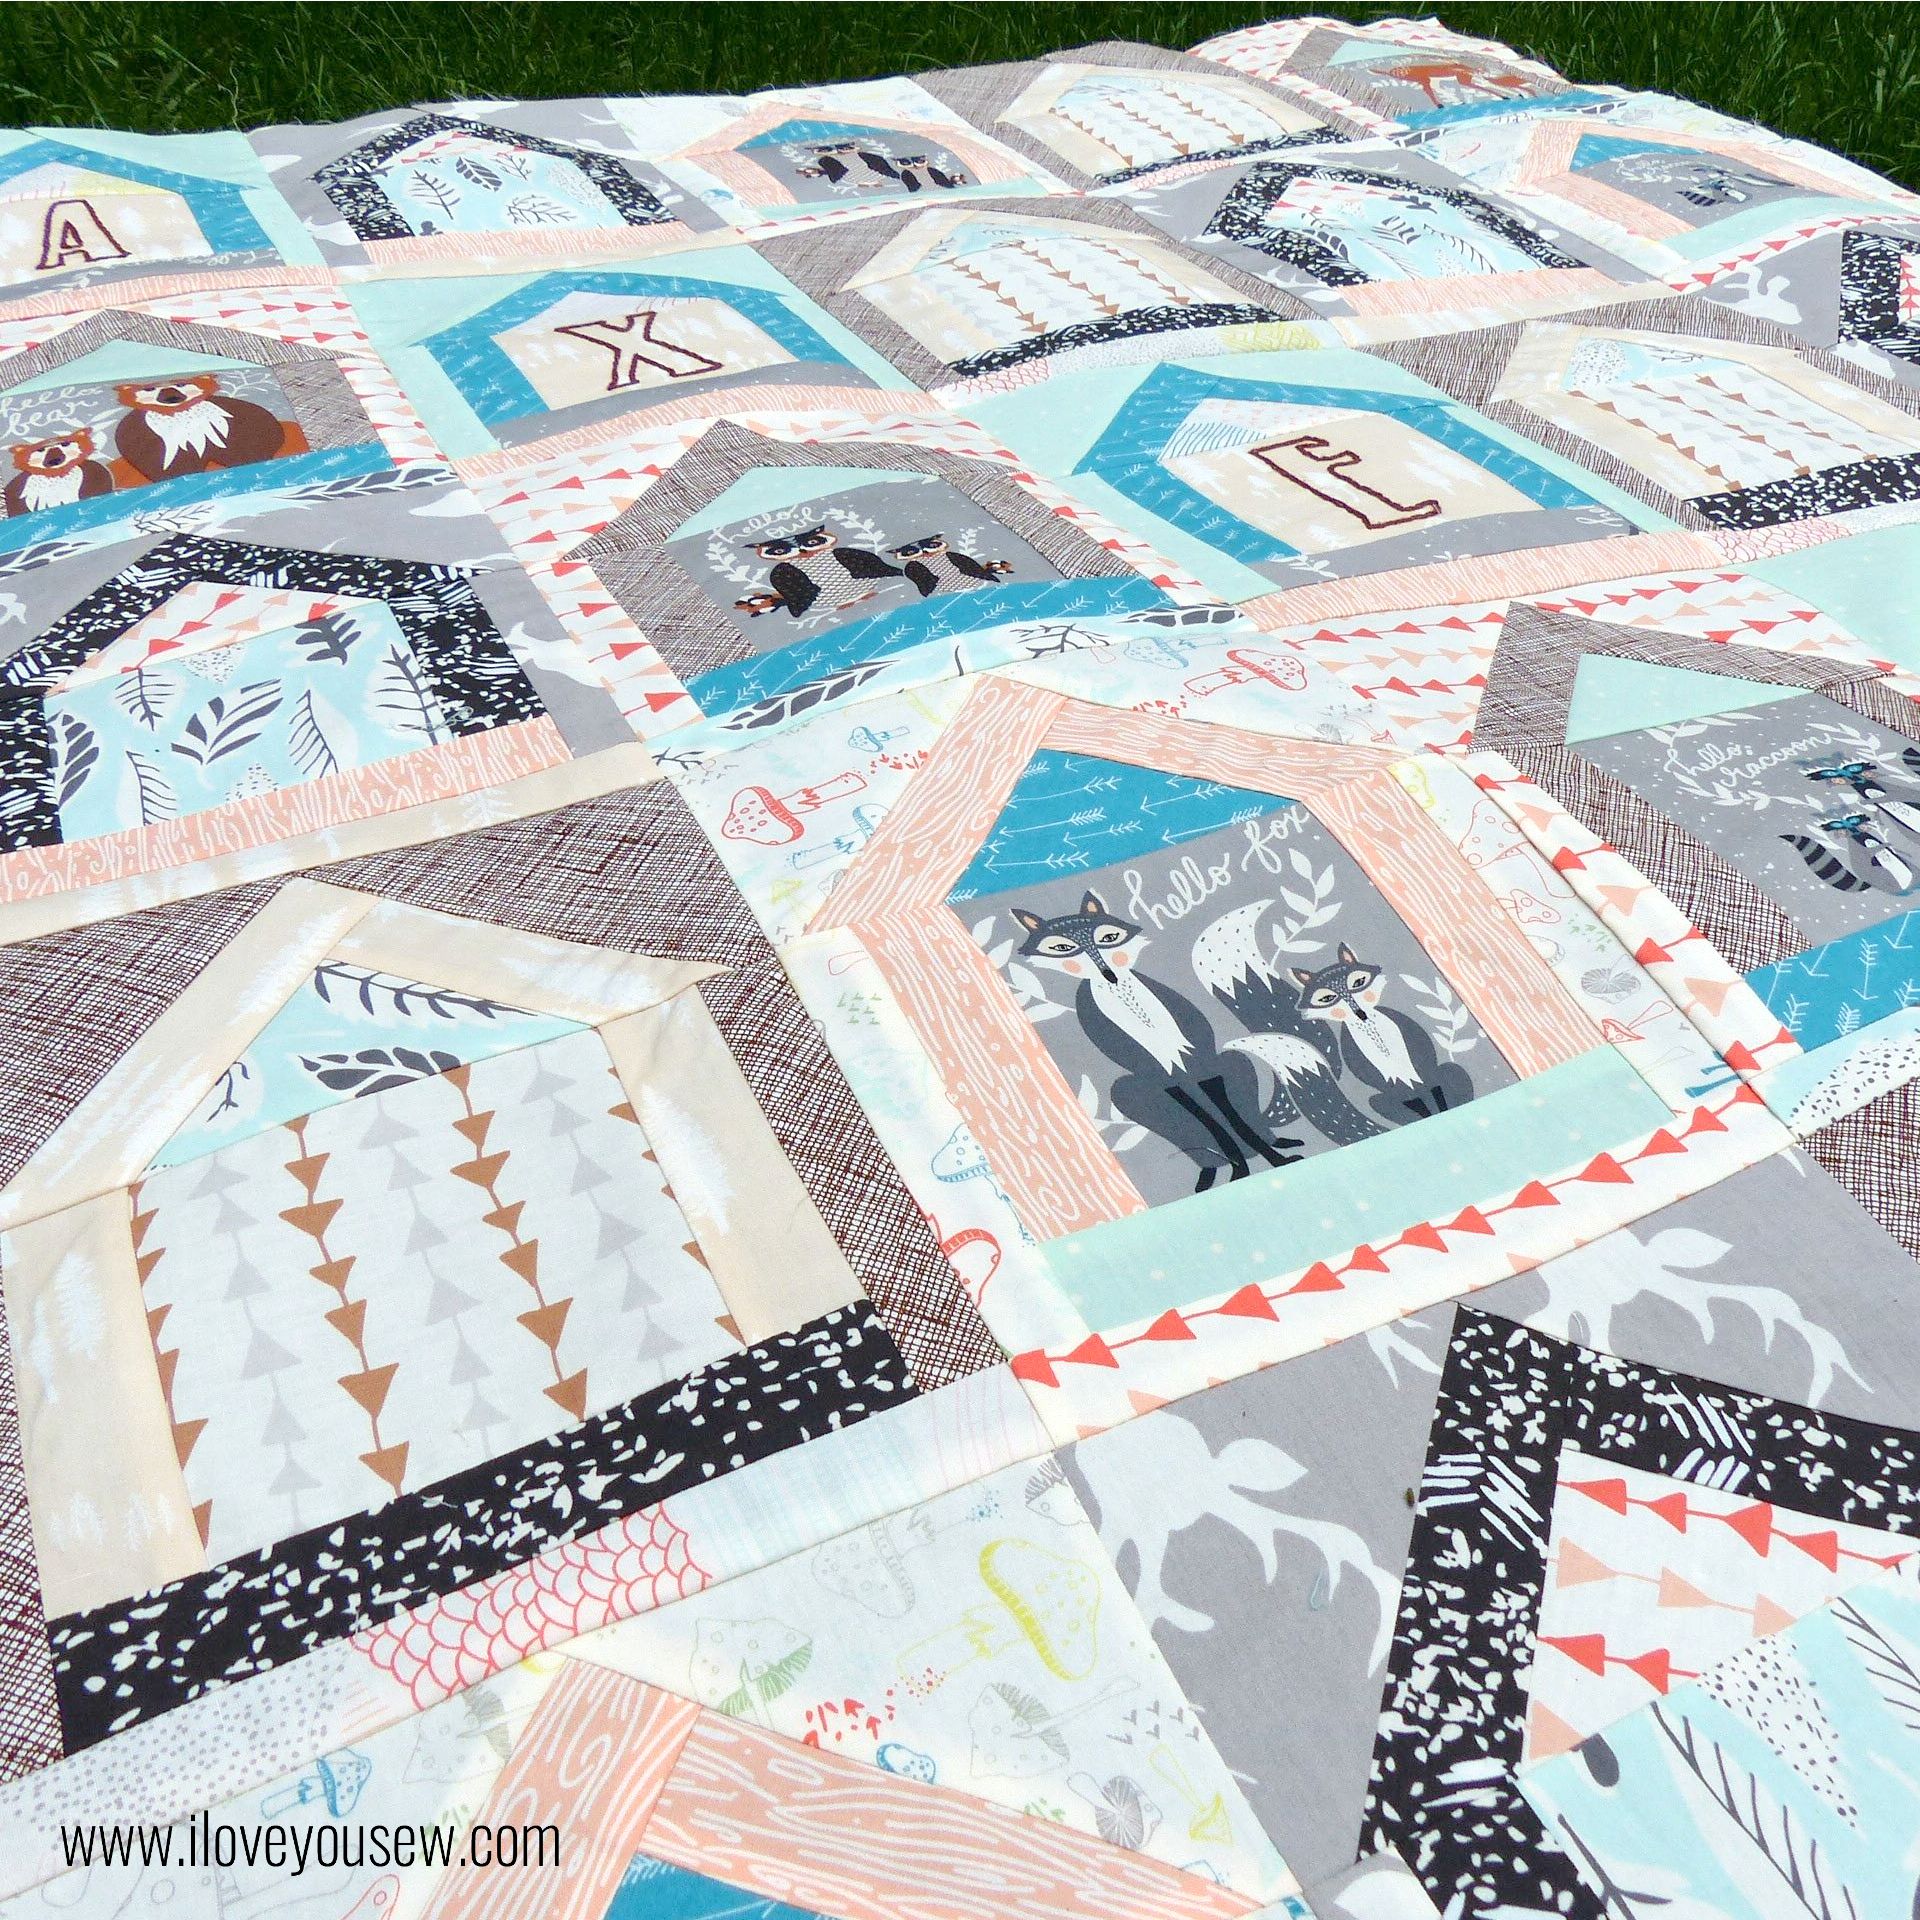
For this quilt, I used the larger of the Dwelling Quilt paper-piecing templates.  It creates a 8″ x 9 3/4″ unfinished block.  I went for a scrappy house look with some fussy cutting for this baby quilt.  Who knows what kind of mess this will be exposed to…so the various colors and patterns works to camouflage any potential incidents  😉

Pieced

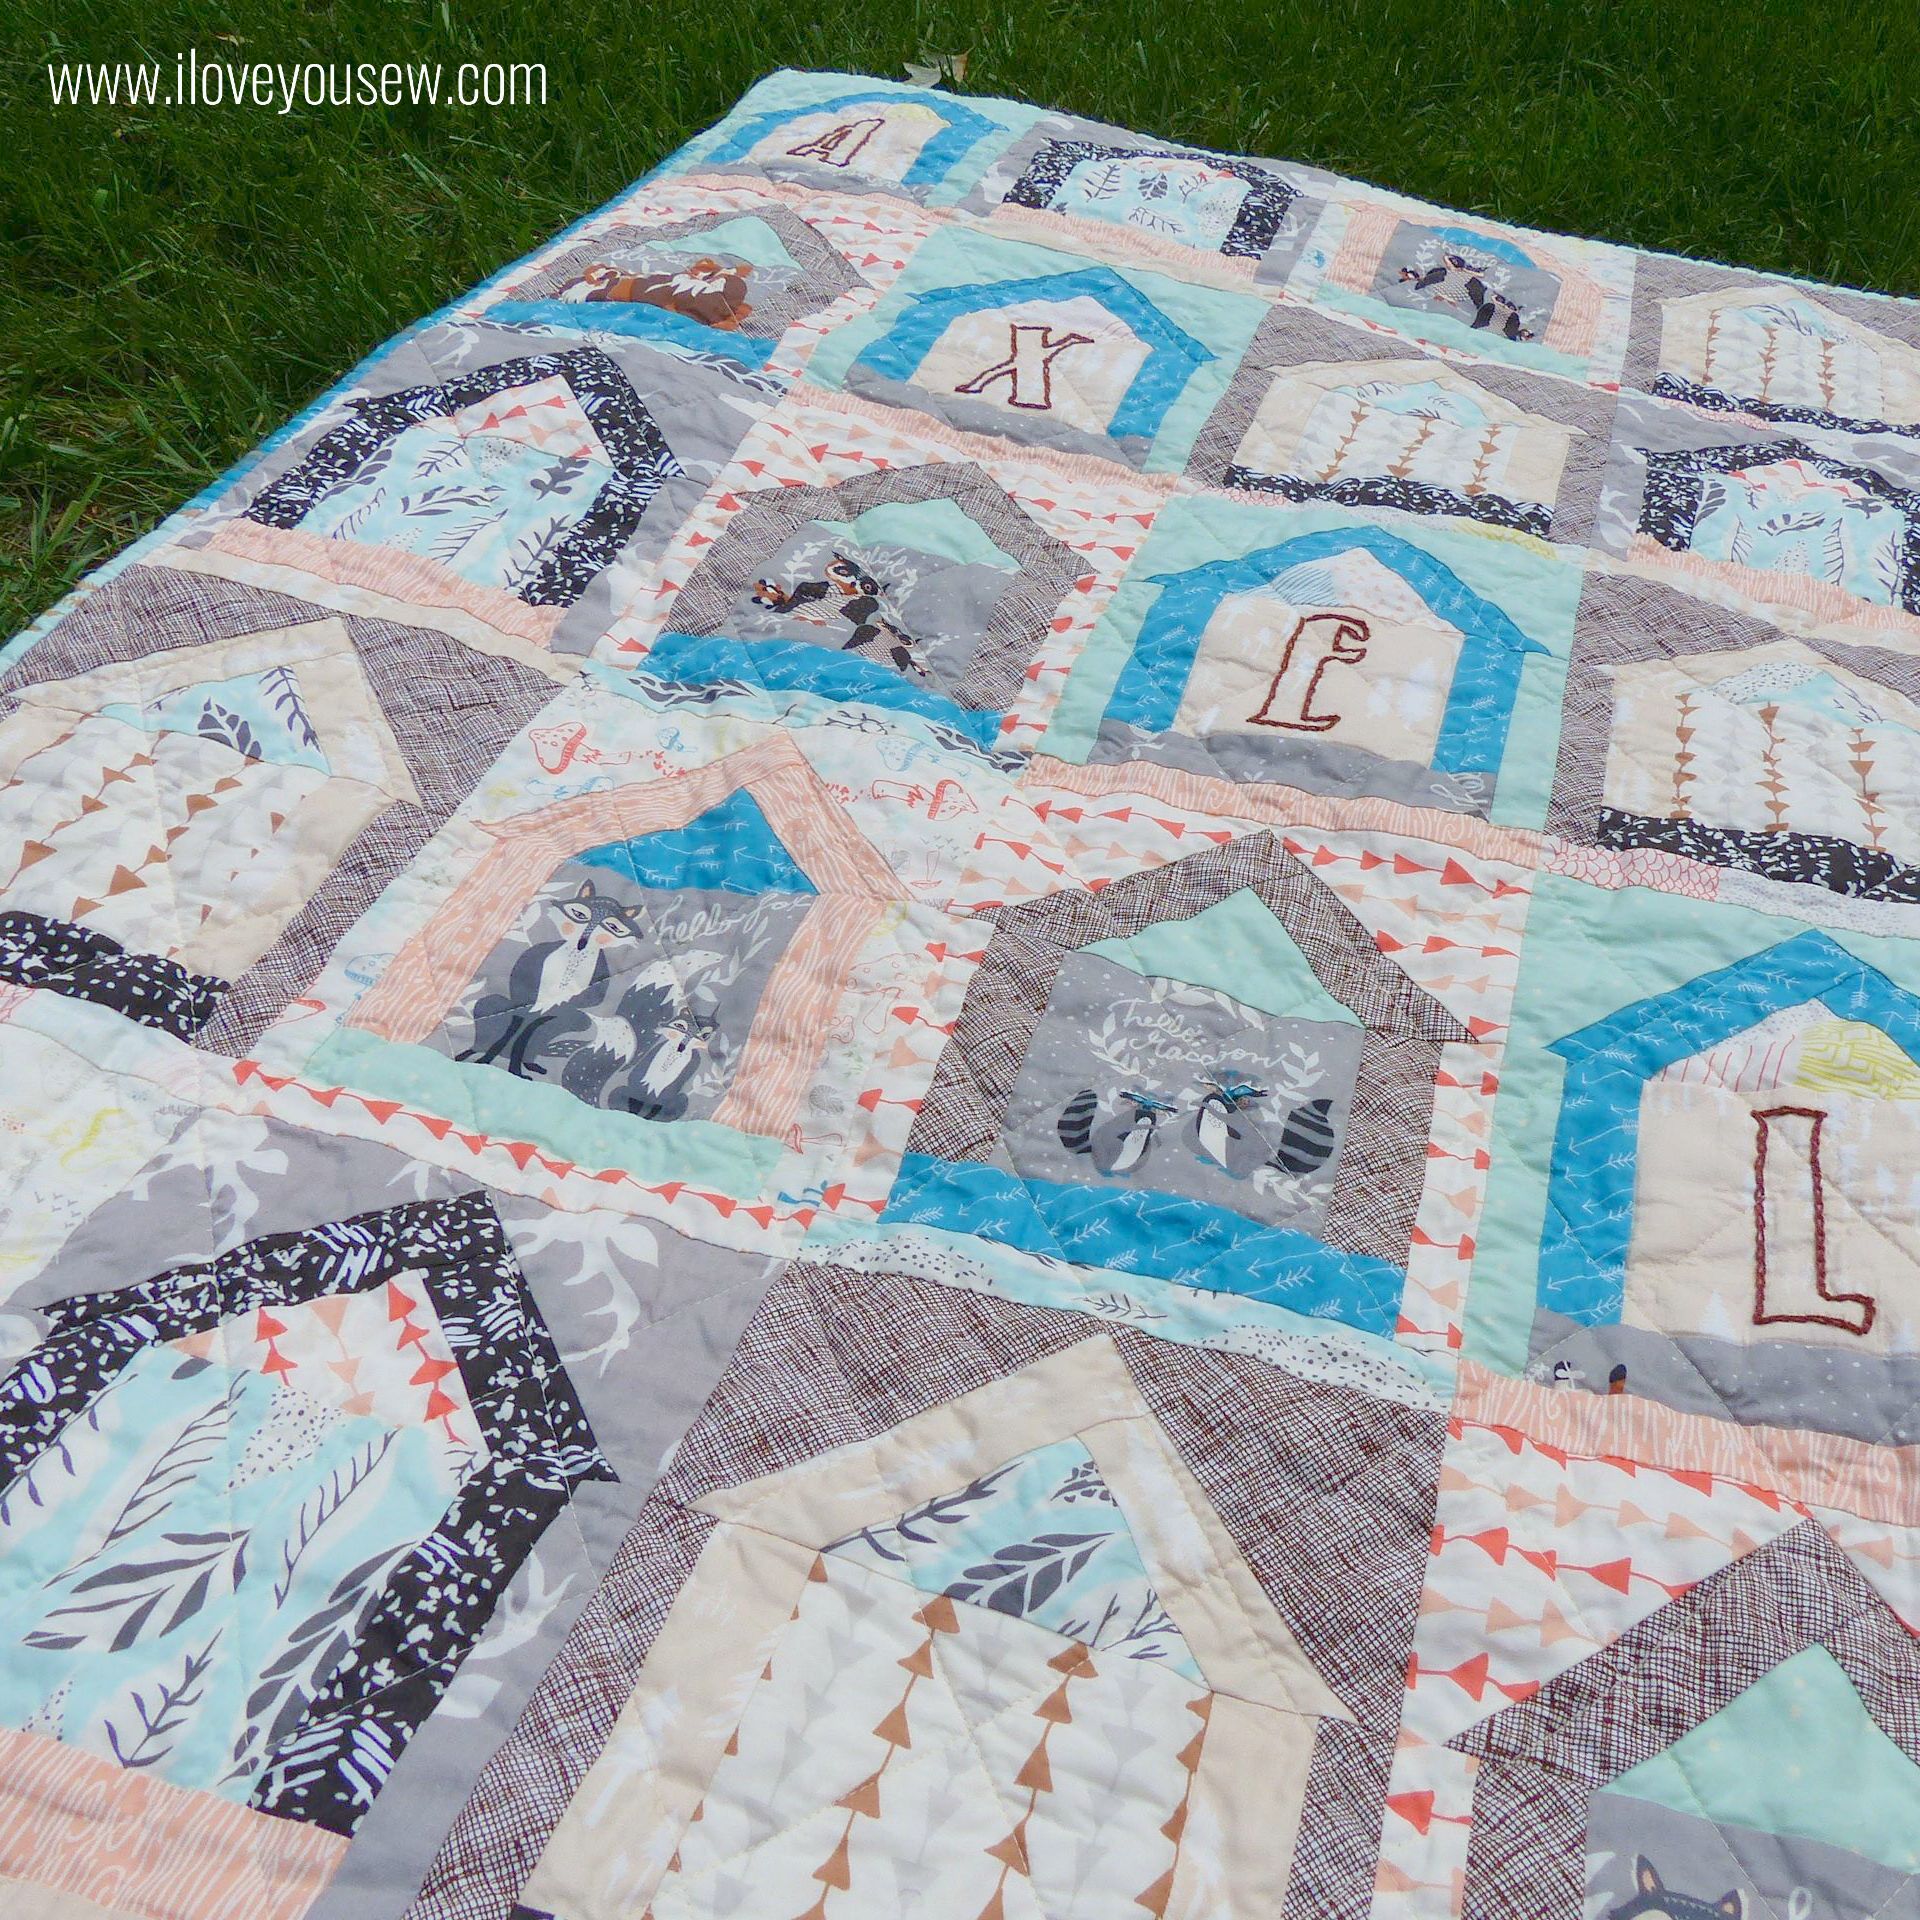
This was a 5 x 5 block design which created a 35″ x 43 3/4″ finished baby quilt.

DwellingCloseUp

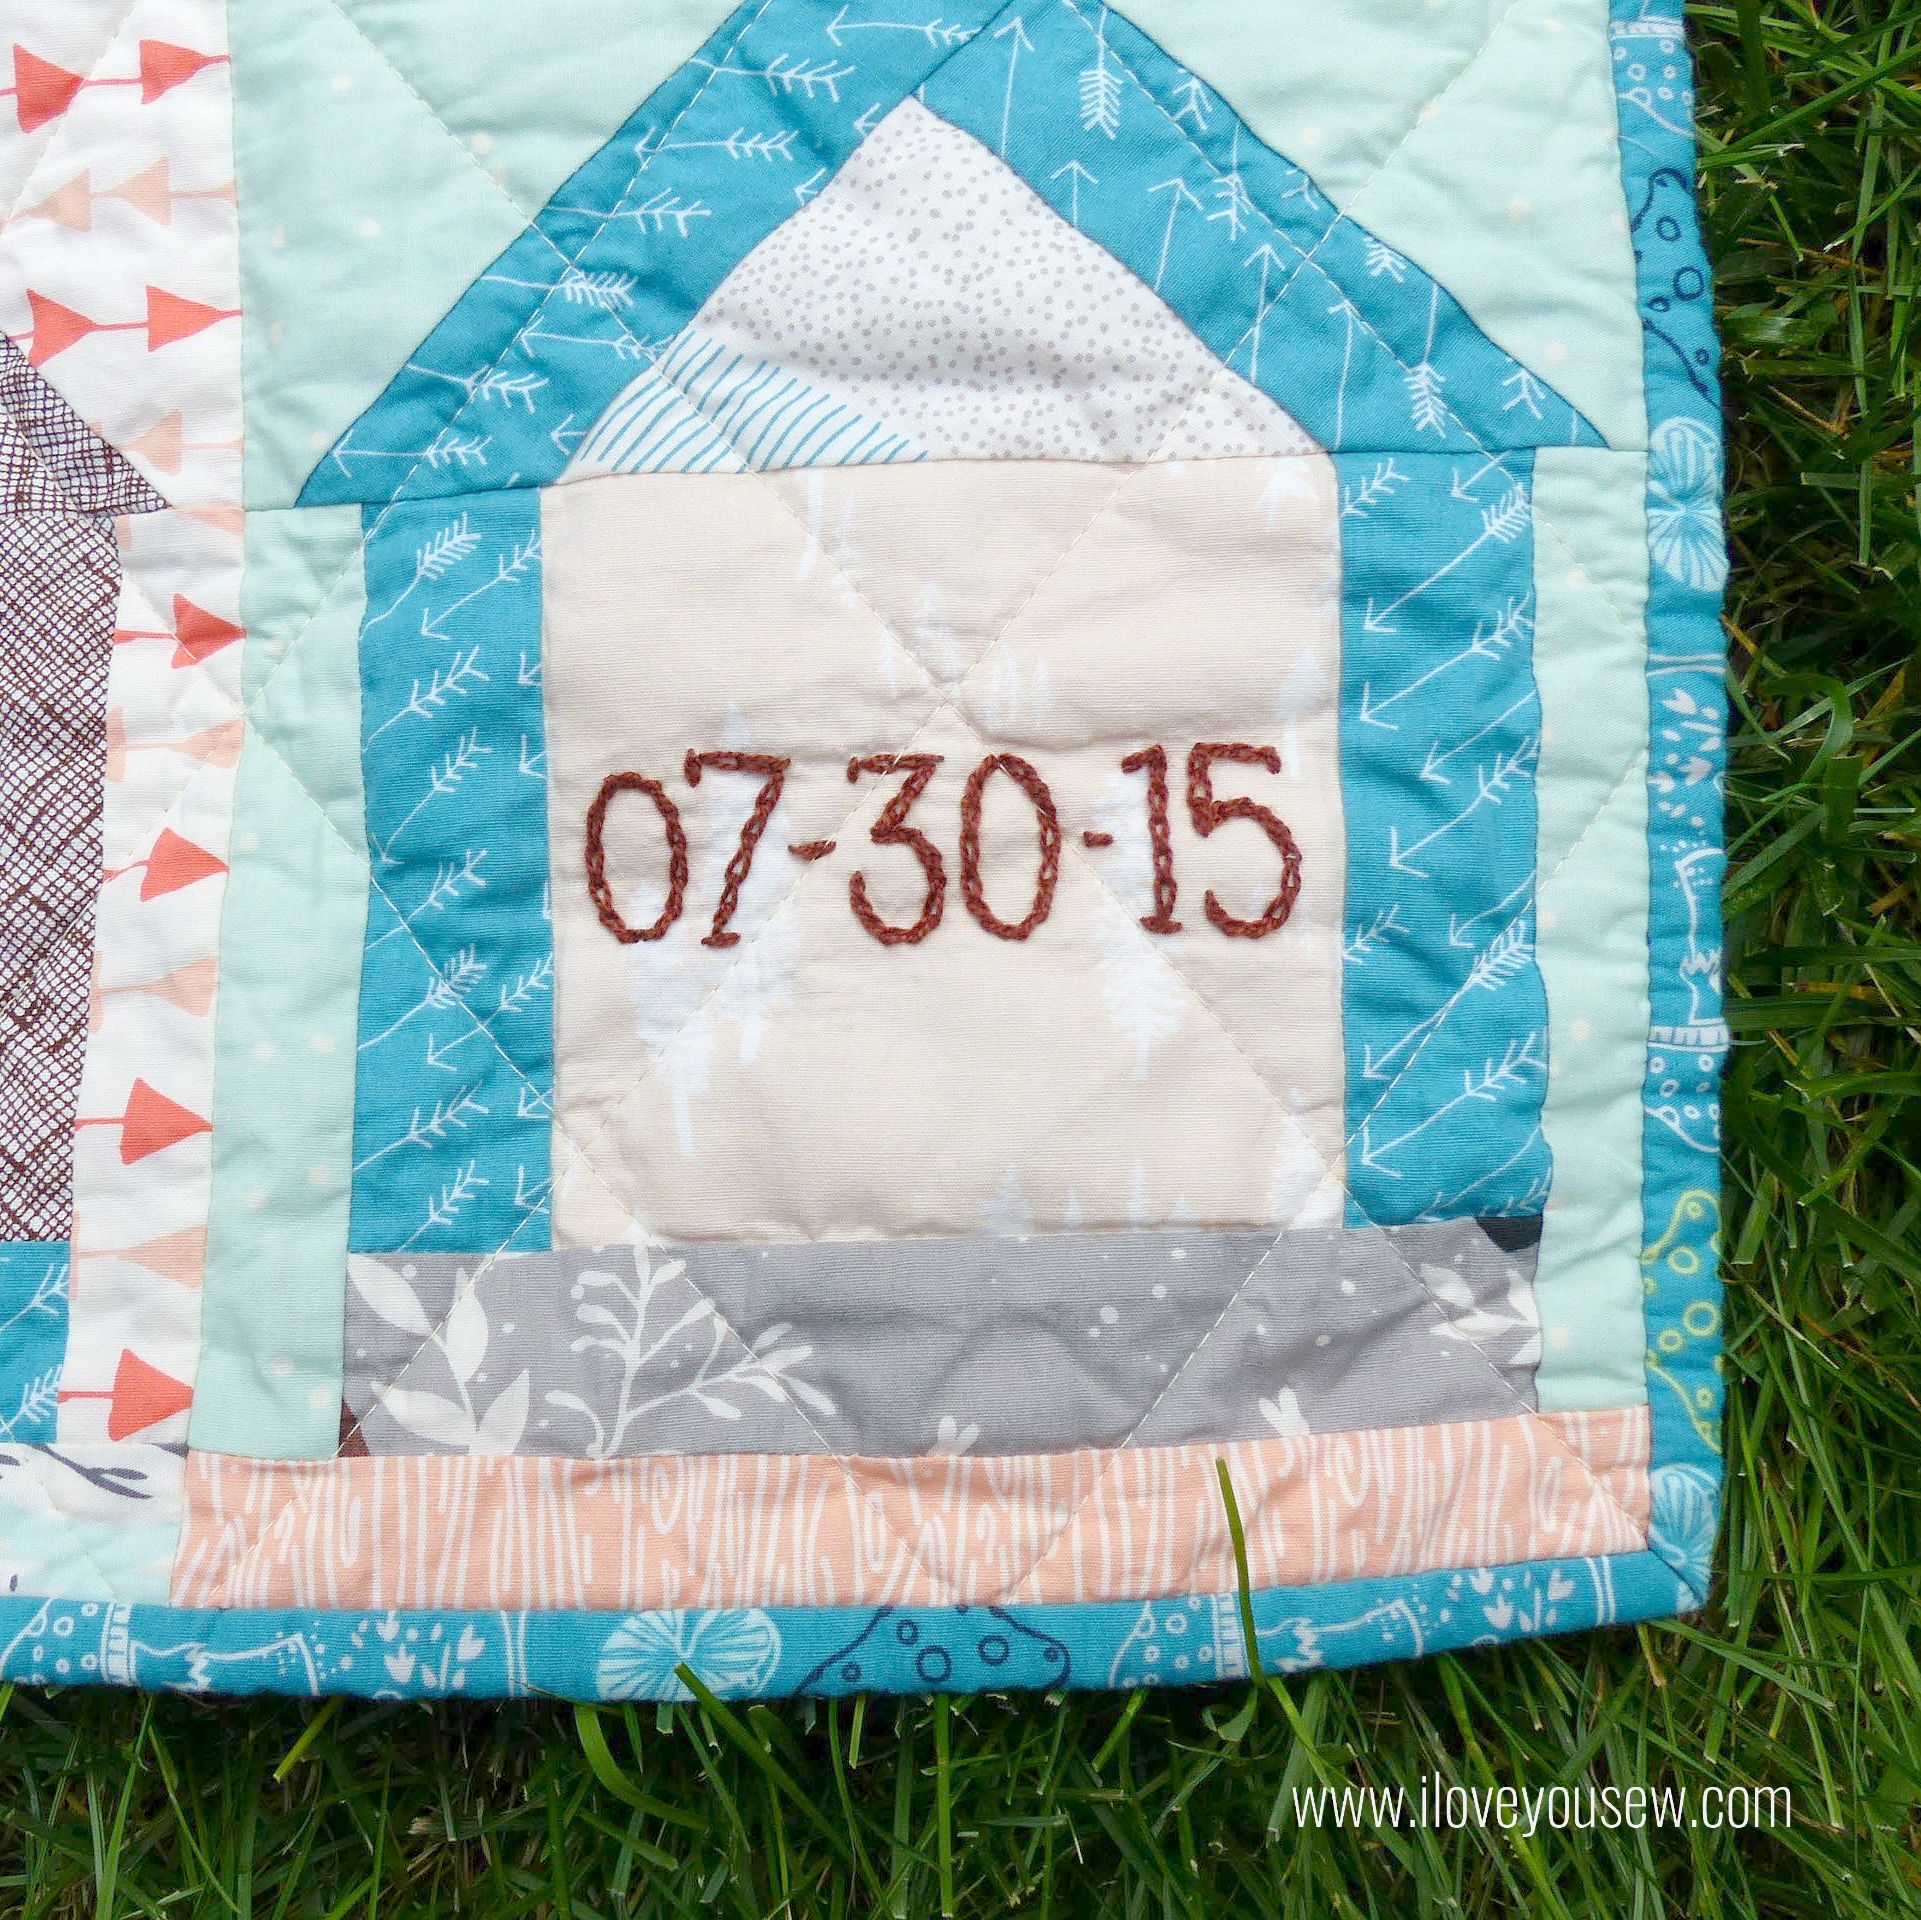
As you can see, I added embroidery to the blocks with Valdani Perle Cotton Size #8 Thread in 171  Rich Brown .  It was fun to add some extra texture and of course, that personal touch.  Hopefully, Baby Axel will love this quilt and appreciate the extra love put into it 😉

EmbroideryCloseUp

To get the embroidery lines, I printed the letters on paper in the Return to Sender font.  I like this font because it was masculine and wide enough to work with this quilt.  The letters were traced onto the fabric using a water-soluble fabric pen along with a bright light source so I could see the letters from underneath the fabric.

DwellingQuilted

The quilting was straight-line in a diamond configuration with Aurifil 2310 Light Beige for the top and 2615 Aluminum in the bobbin.  Timberland Green was used for the binding with some fun Adventure Springs accented in to keep with the scrappy feel.

BackingCloseUp

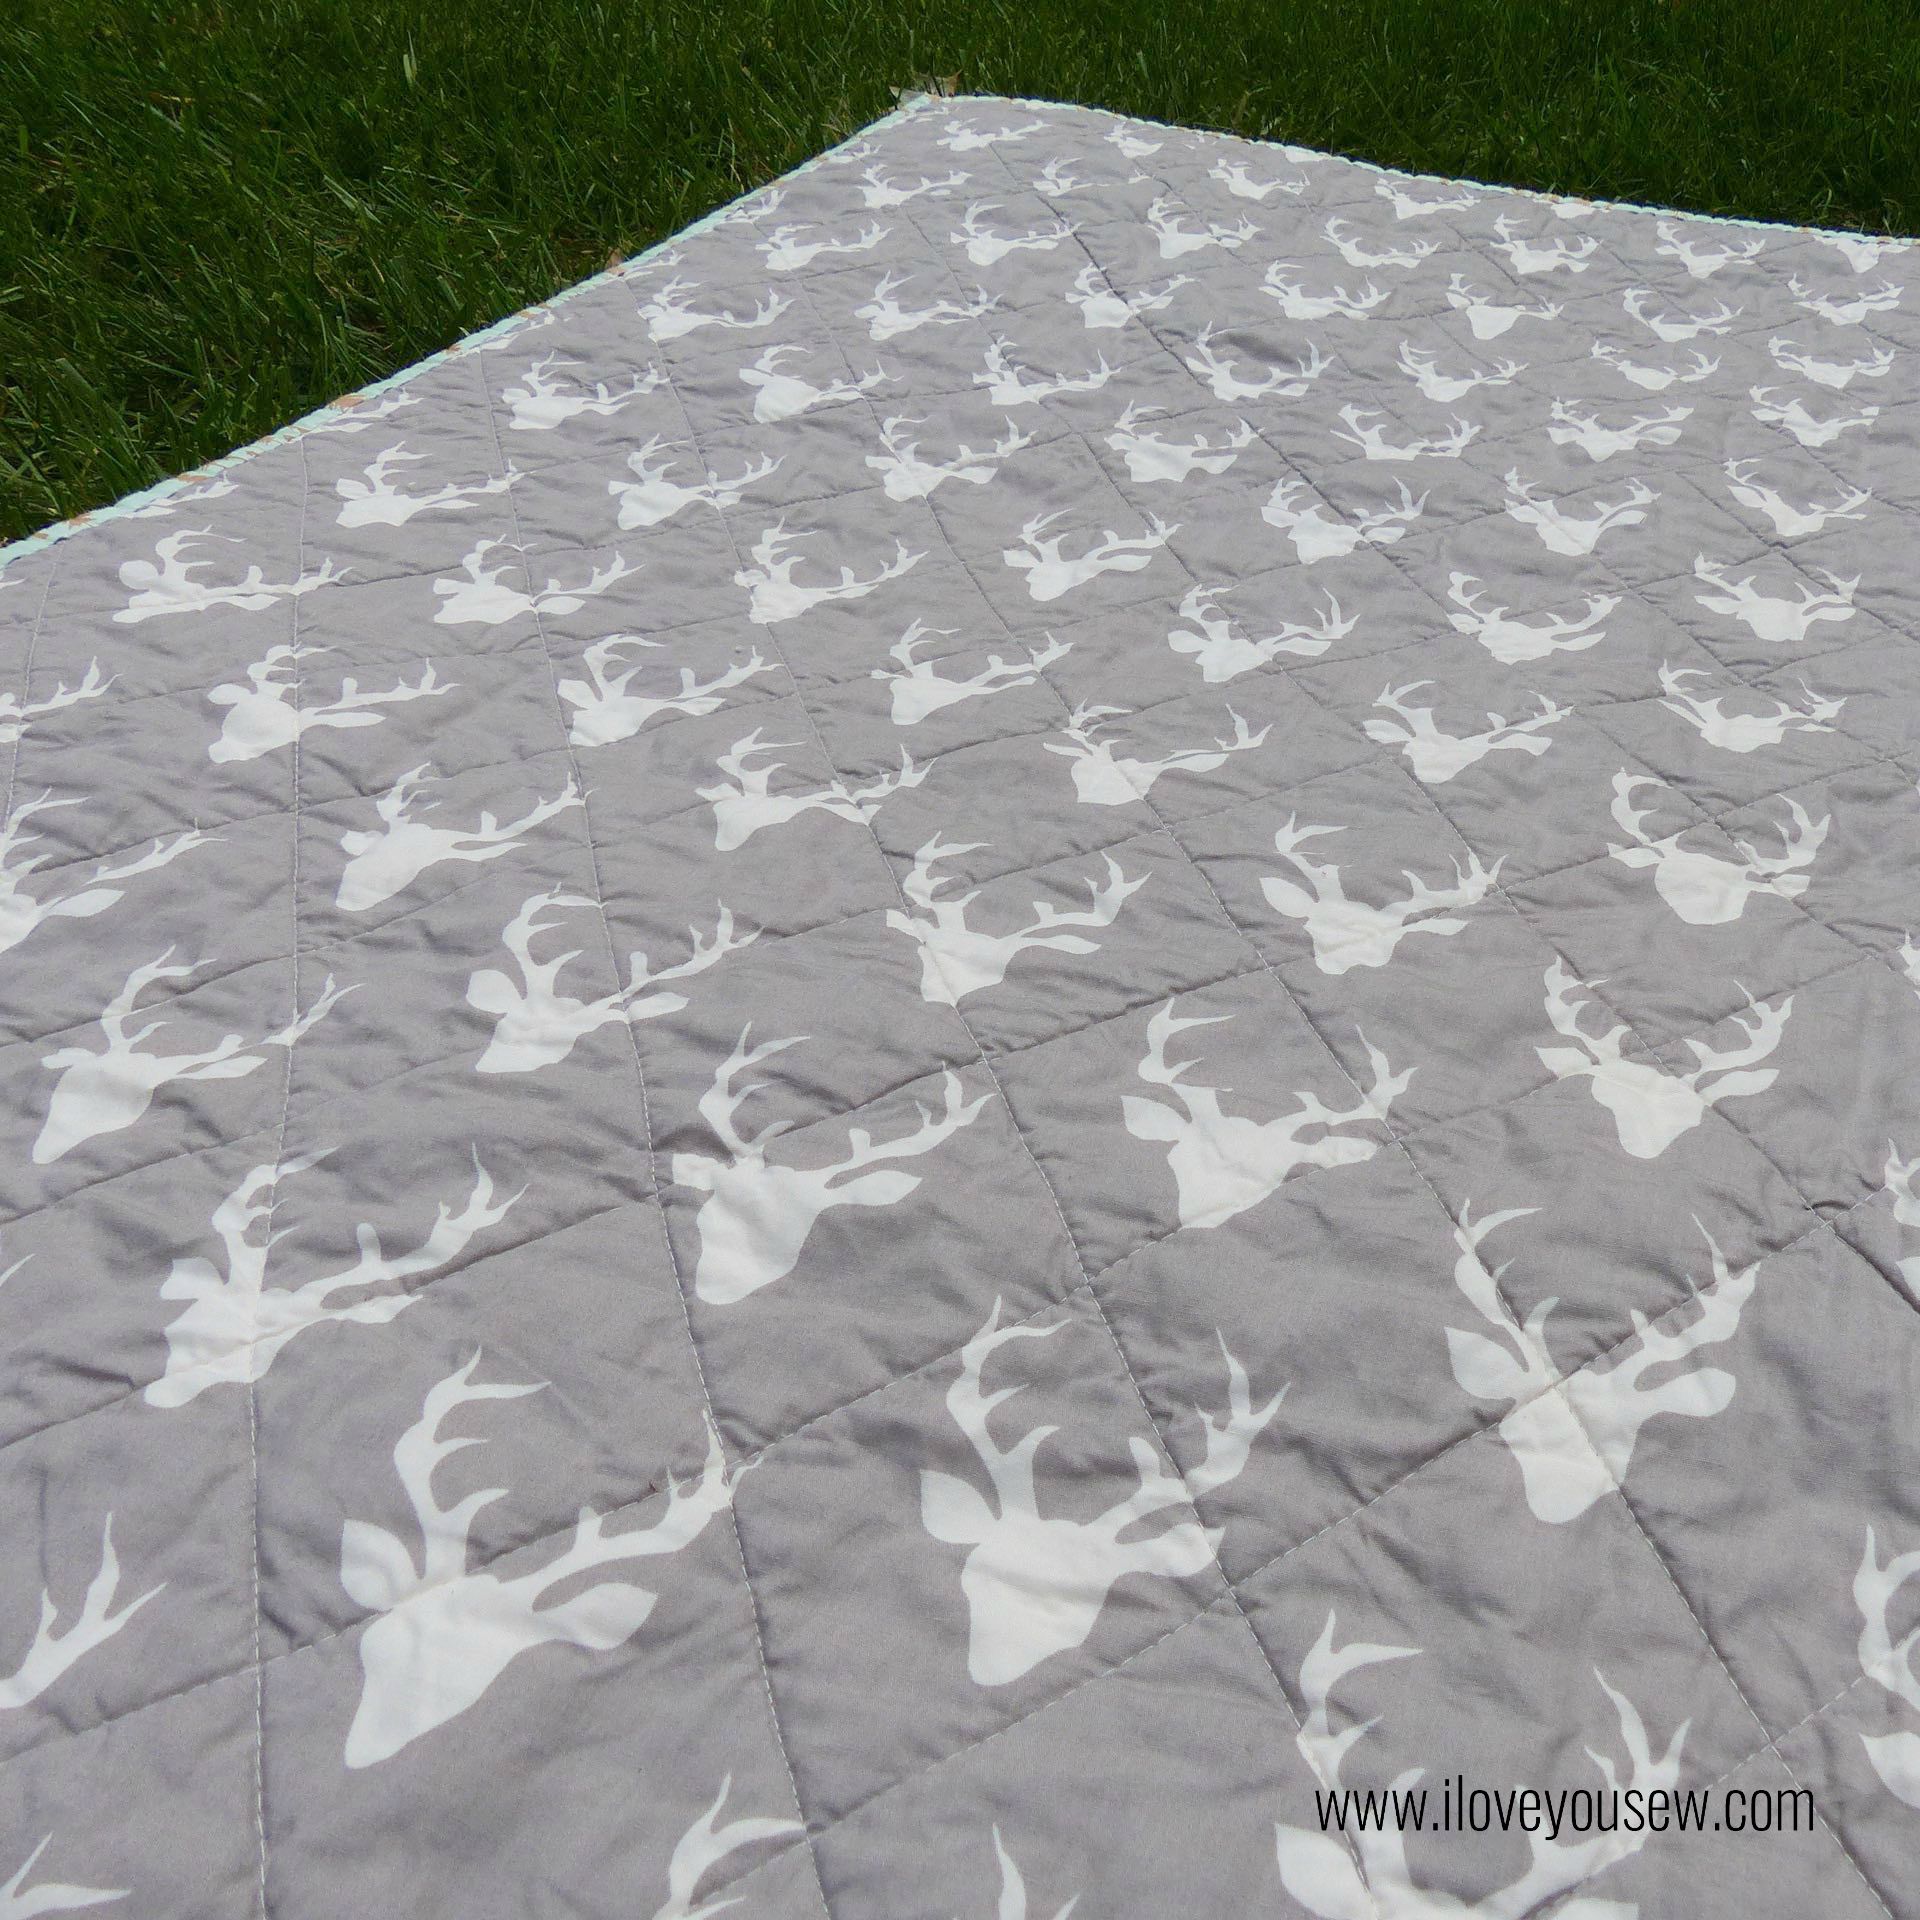
Buck Forest Mist was the perfect backing.  It’s a very masculine print and the gray lends to easy baby management…er….laundry 😉

I can’t wait to see Baby Axel wrapped up and enjoying this quilt 🙂


Happy Stitching,

Cristy


***This post may contain affiliate links for which I do receive a very small commission.  They help keep this site up and running 🙂