Simple Zipper Bag Sew-Along

Zipper Pouch Sew Along

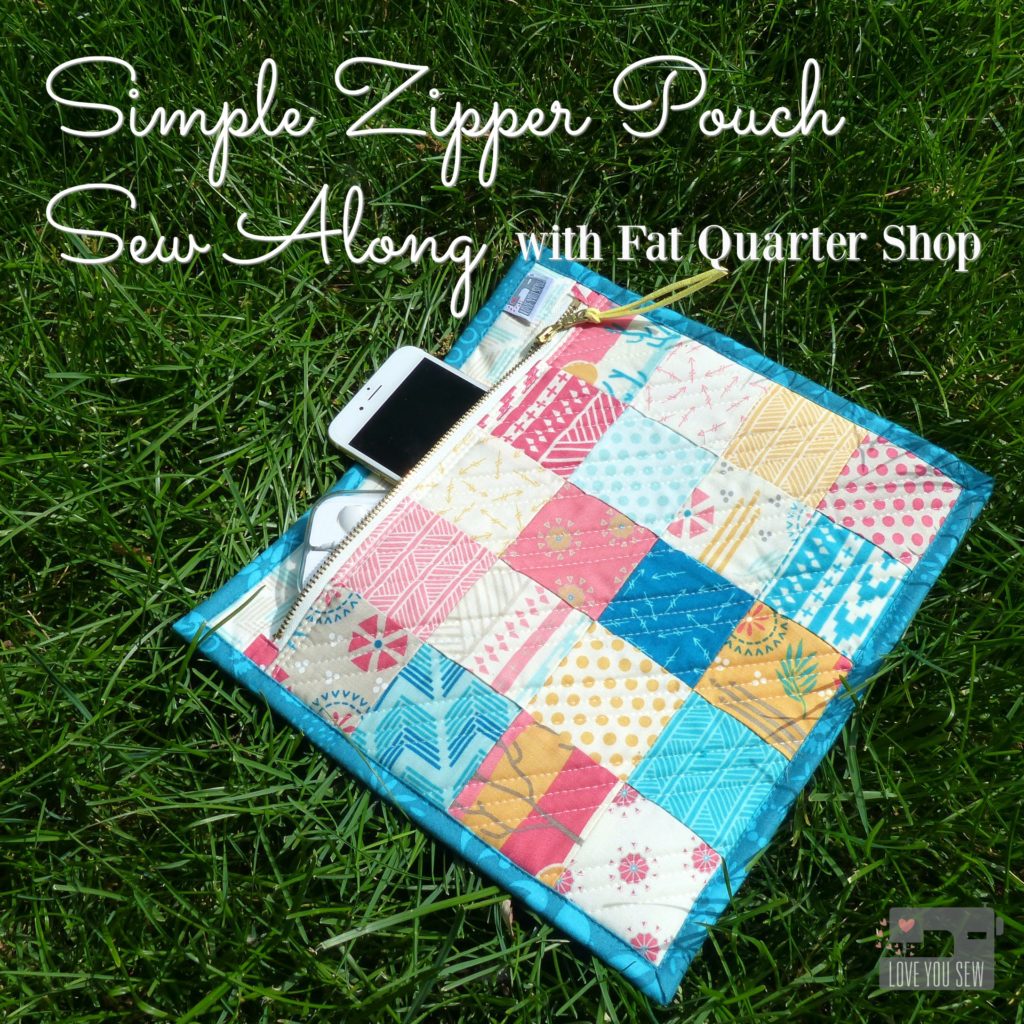
Who loves a great stash-busting project?  Well, Kimberly Jolly of Fat Quarter Shop, along with Sherri McConnell of A Quilting Life, have a great new tutorial of a super simple patchwork zipper pouch.  This project is also mini-charm friendly which makes it even easier.  Check out their easy to follow video below.

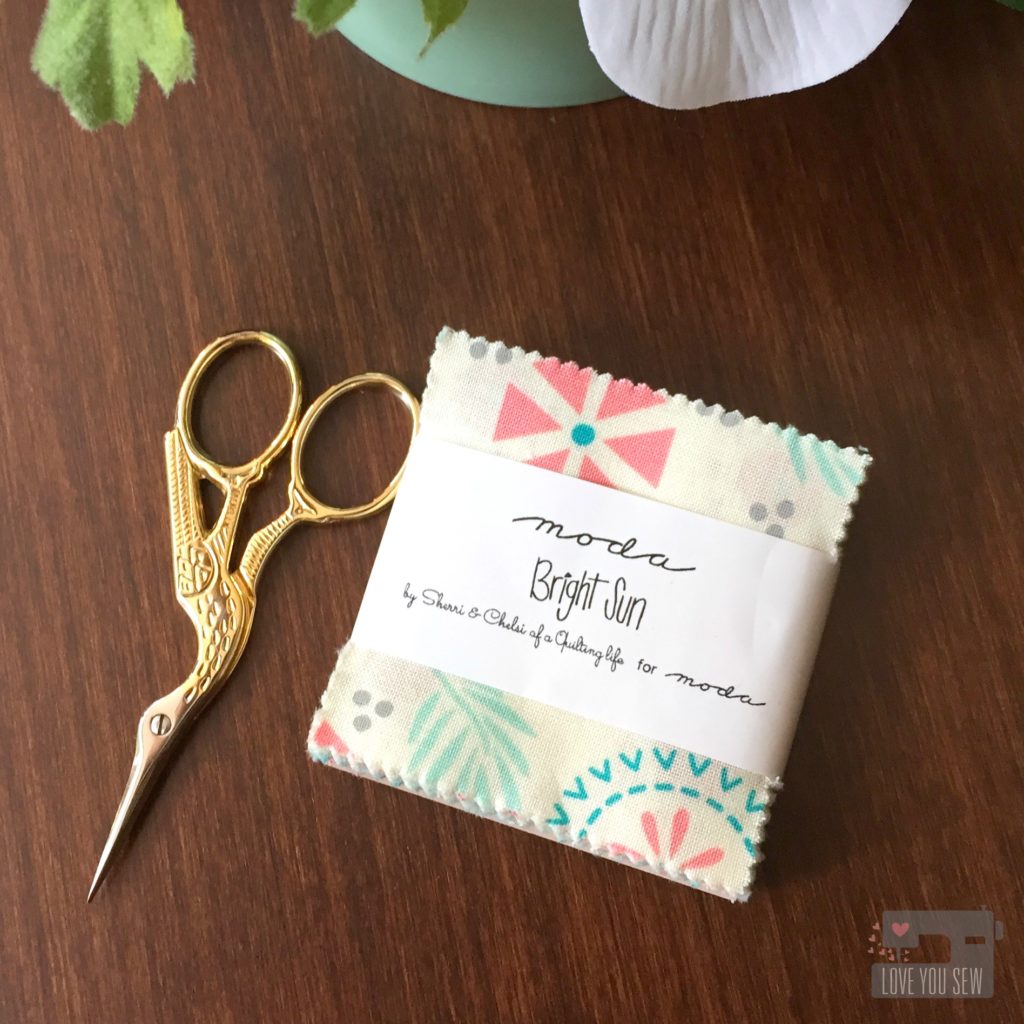
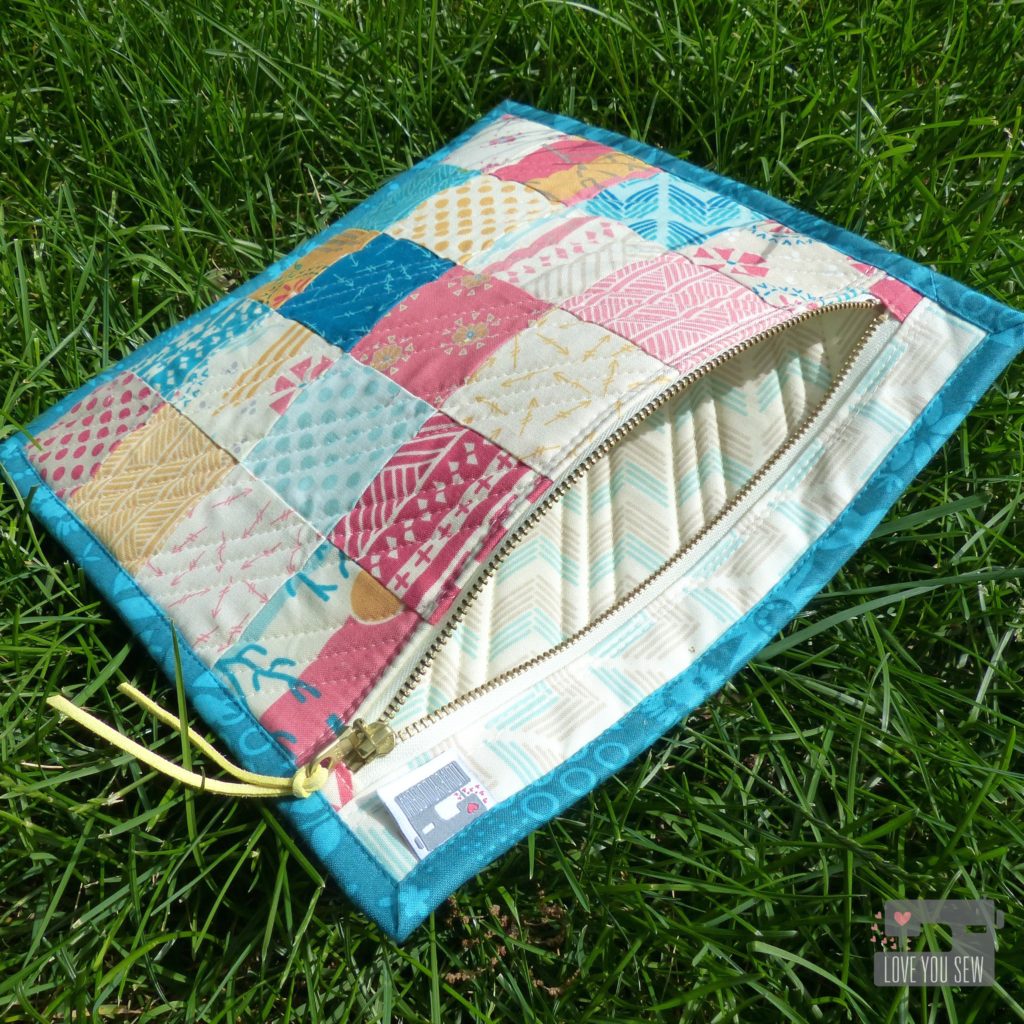
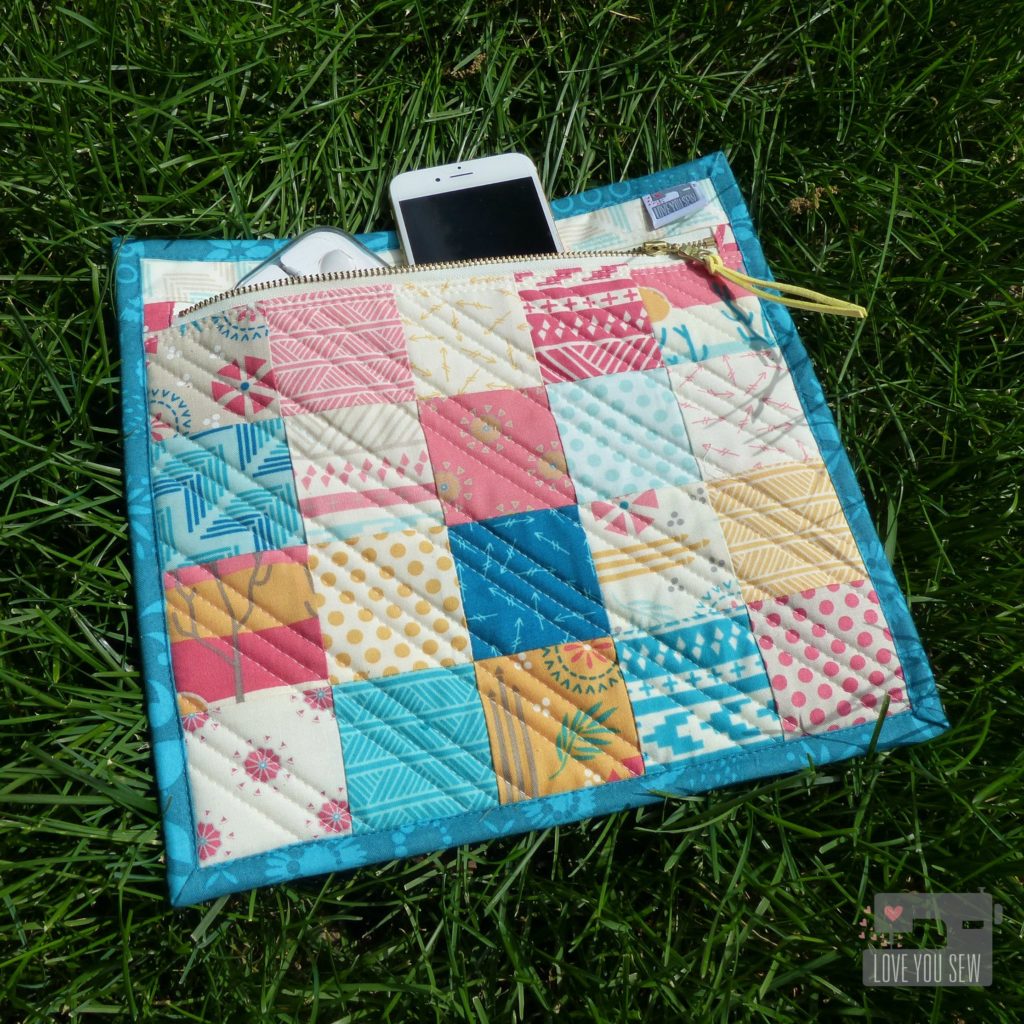
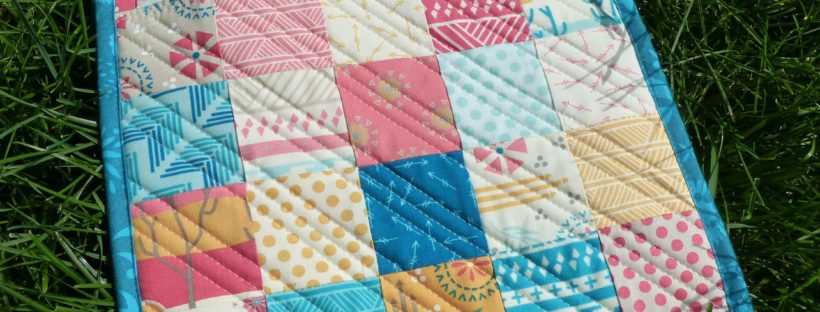
I went the mini-charm route and used Bright Sun, also by Sherri, for Moda Fabrics.  With the unofficial start of summer this week, I thought these fun and cheery fabrics were perfect for the pouch.

Charmpack

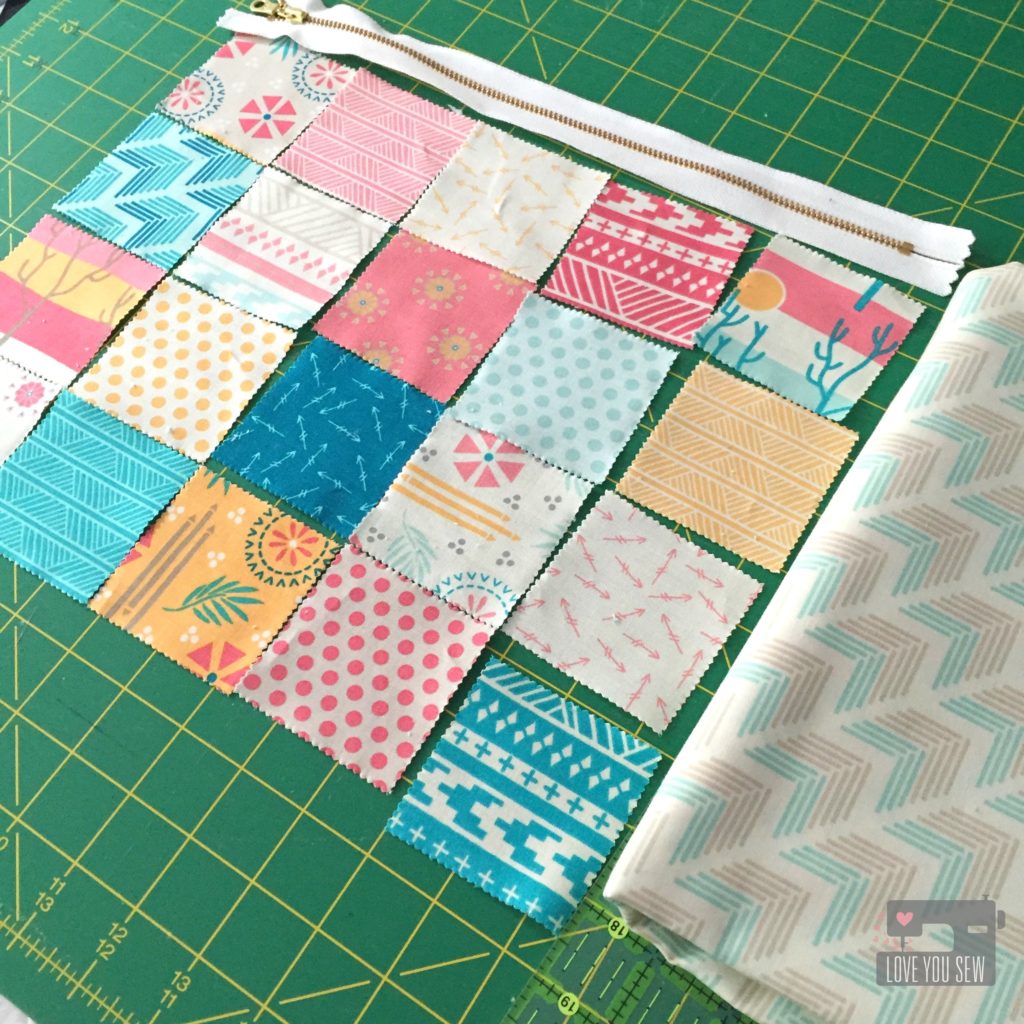
This charm pack had 42 prints which is more than enough for two large pouches.  (I have plans to make a second one as a future gift!)  After a little playtime, I settled on this arrangement and had the Dusk on Bisque print already in my stash.  So I used that for my backing, linings, and zipper top.

Layout

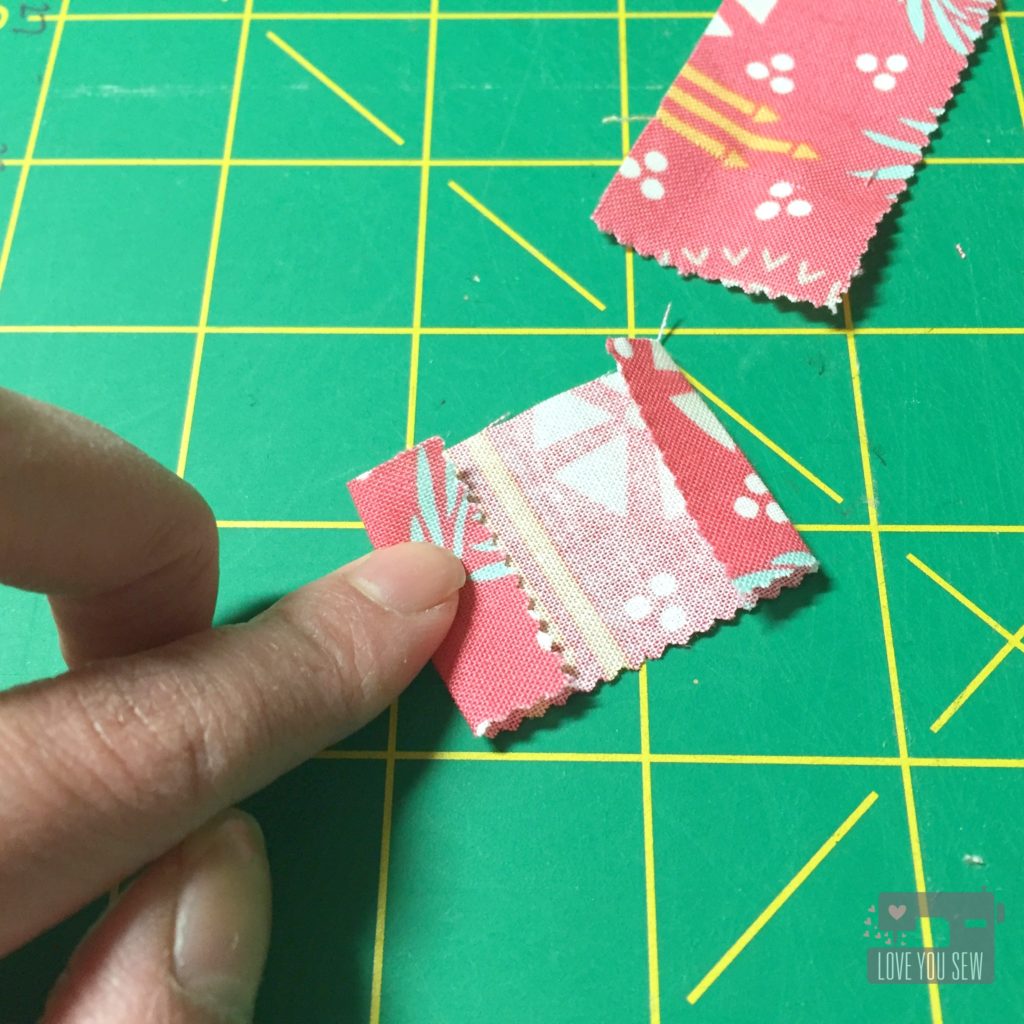
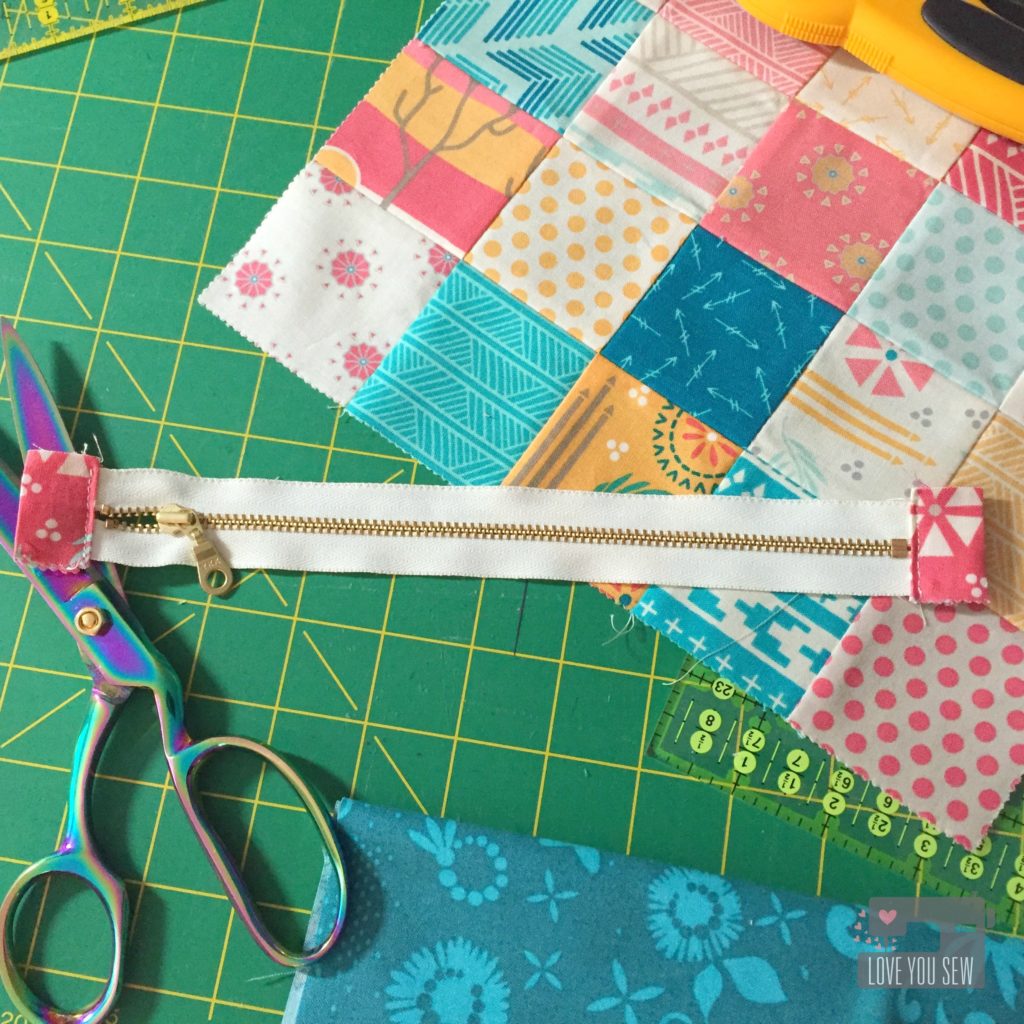
For this pouch, I thought I would have a little fun and add a metal brass zipper for some flare.  I used a 10″ metal one.  This length is a little short for the pouch, so I needed to add tabs on both ends to account for it.   I cut a mini-charm square in half to make each tab.

Zipper Tabs

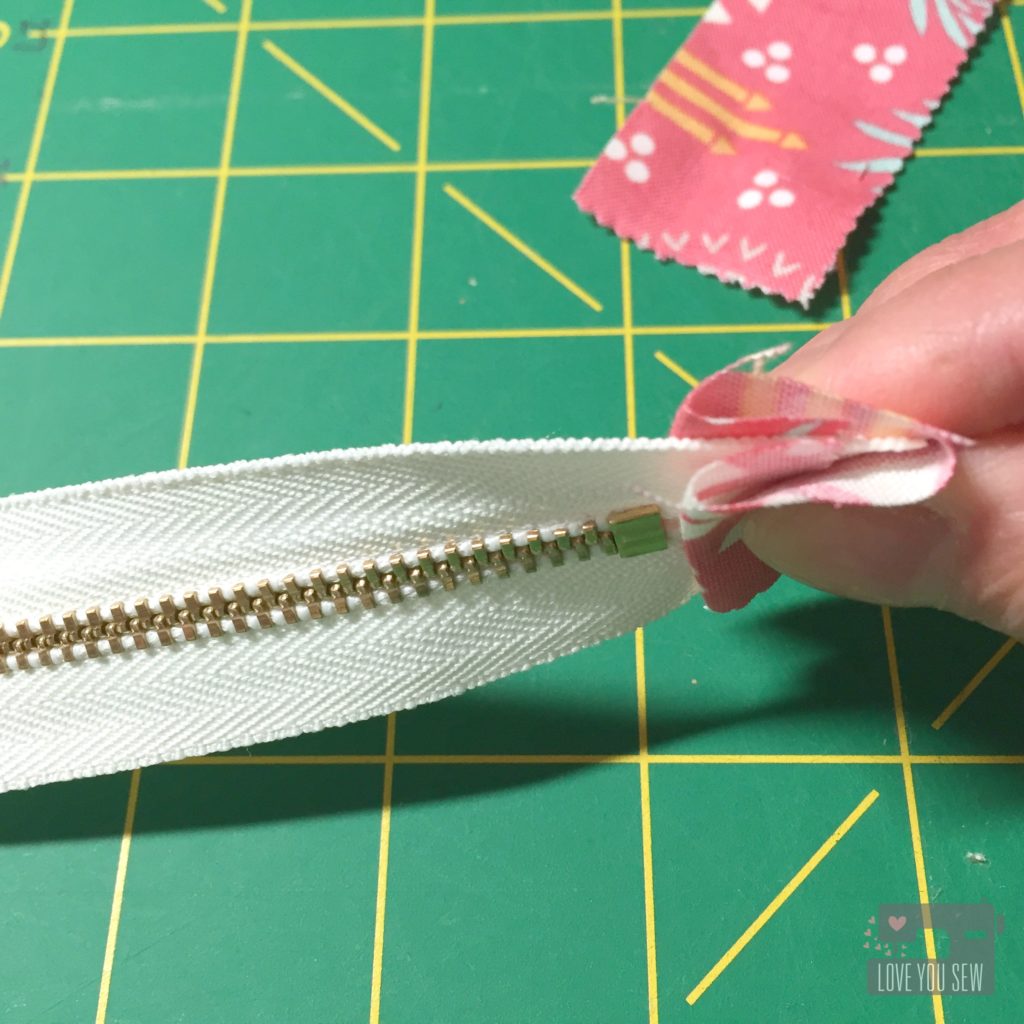
With each half charm, I folded down both short-ends of the tabs by 3/8″ and then in half to sandwich around the zipper.

Zipper End

I sewed on the tabs with a zipper foot, making sure to get both the top and bottom of the tab sandwich.

Zipper Tabs Complete

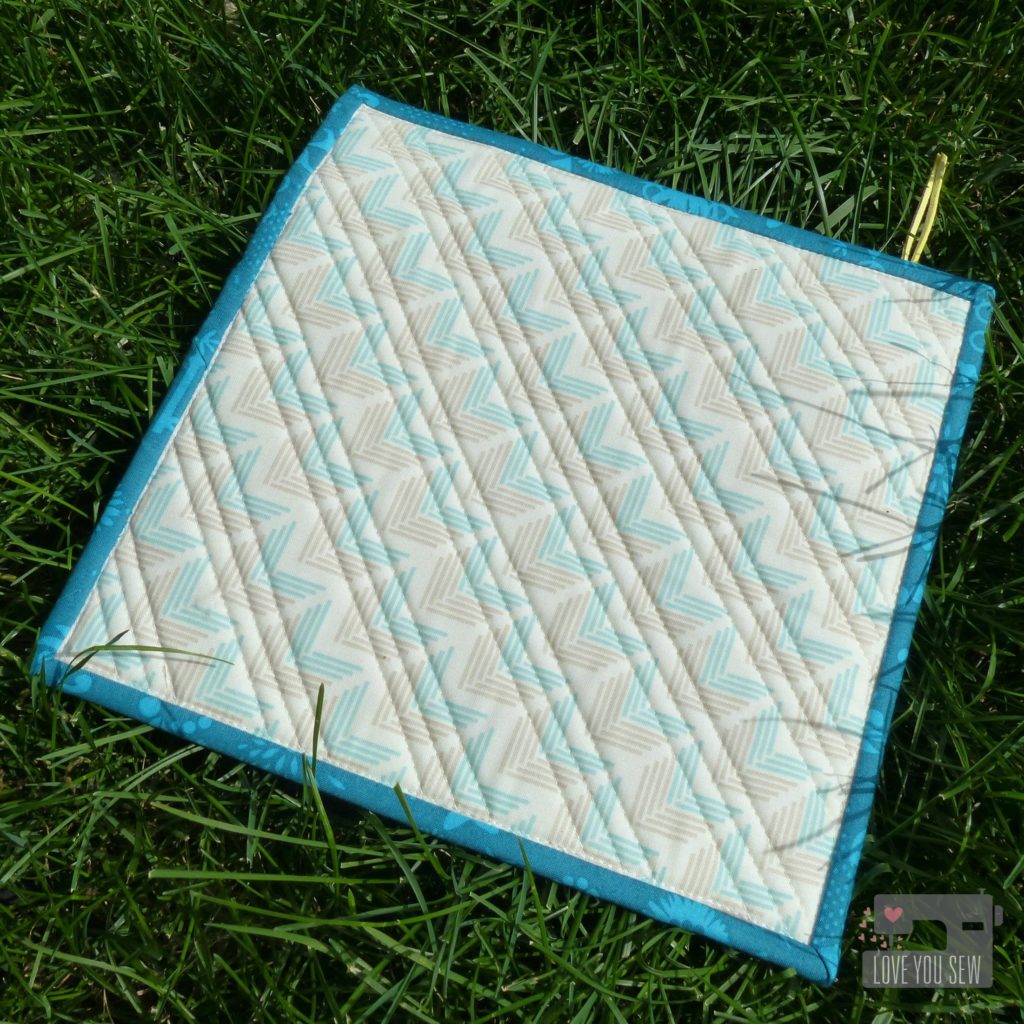
For the quilting, I used trusty Aurifil 2021 to sew straight diagonal lines on the front patchwork and on the backing.  The simple straight lines keep with the fun modern fabrics.  With such a small piece of quilting, I used some basting spray to keep all the layers from shifting.  It makes for faster work than pinning 😉

Back Profile

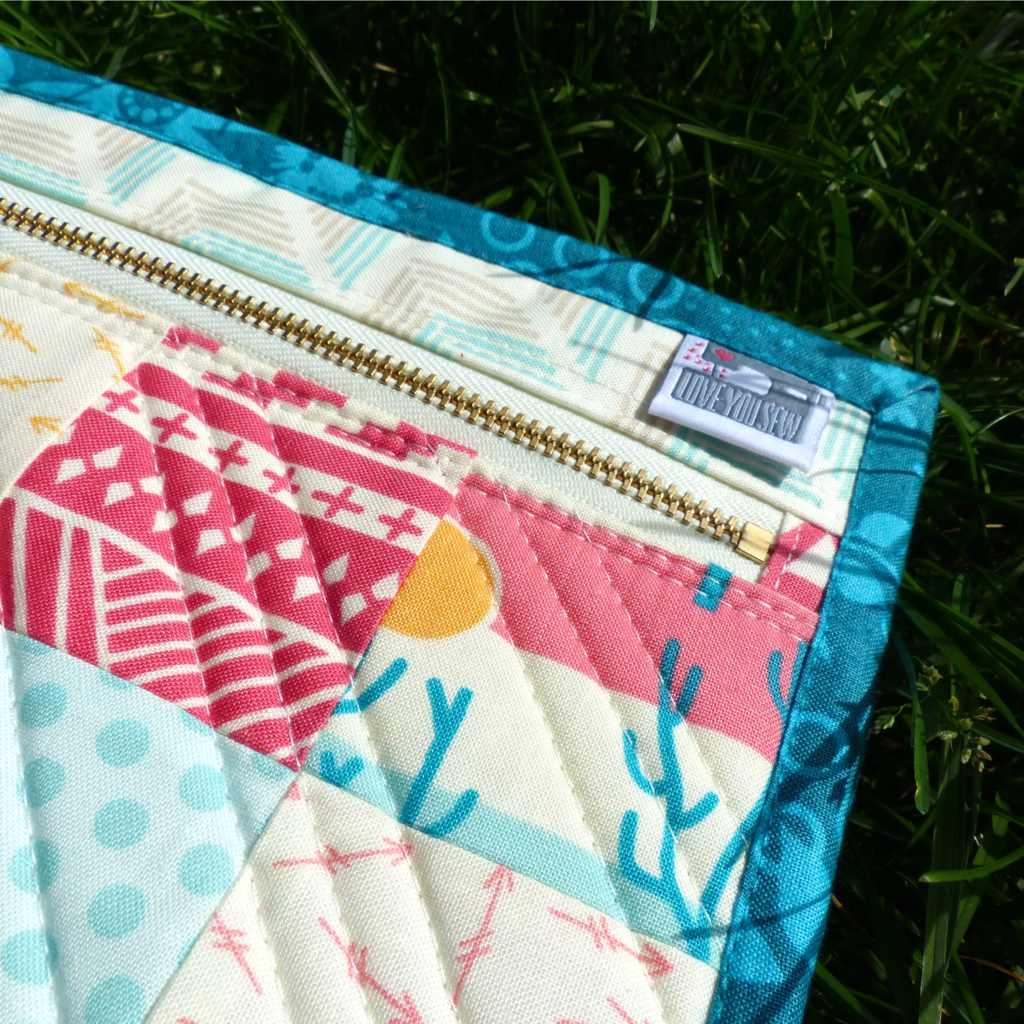
As I machine bound the pouch with Alison Glass‘s Corsage fabric, I added one of my labels in the front which can double as a key ring fob for more versatility.

Label Close Up

On the zipper, I omitted the fabric pull and instead, used some faux suede cording I had on-hand.  I thought the additional punch of yellow worked with the pouch better than more of the same background and interior fabric.

Interior

I love the structure and feel of the quilted Soft and Stable which make for a nice durable pouch.  It is perfect for personal electronics and/or for books you want to carefully protect.

Front Profile

The simplicity of this project and use of scraps makes it a MUST sew for any traveler this summer!  Do you have any fun vacation destination(s) coming up?

Don’t forget to visit all of the Simple Zipper Pouch Sew-Along bloggers below for more ideas:

Tina from Emily Ann’s Kloset
Jessee from An Art School Dropout’s Life
Erin from Why Not Sew?
Kitty from Night Quilter
Leanne from She Can Quilt
Vanessa from Lella Boutique
Amanda from Jedi Craft Girl
Sherri from A Quilting Life
Cristy from Love You Sew (you are here)
Leslie from Seasoned Homemaker
Tiffany from Tiny Seamstress


Happy Sew Along,

Cristy


This post was sponsored by Fat Quarter Shop and I was compensated for time and materials.
Mountain View – 2016 Paintbrush Studio New Block Blog Hop

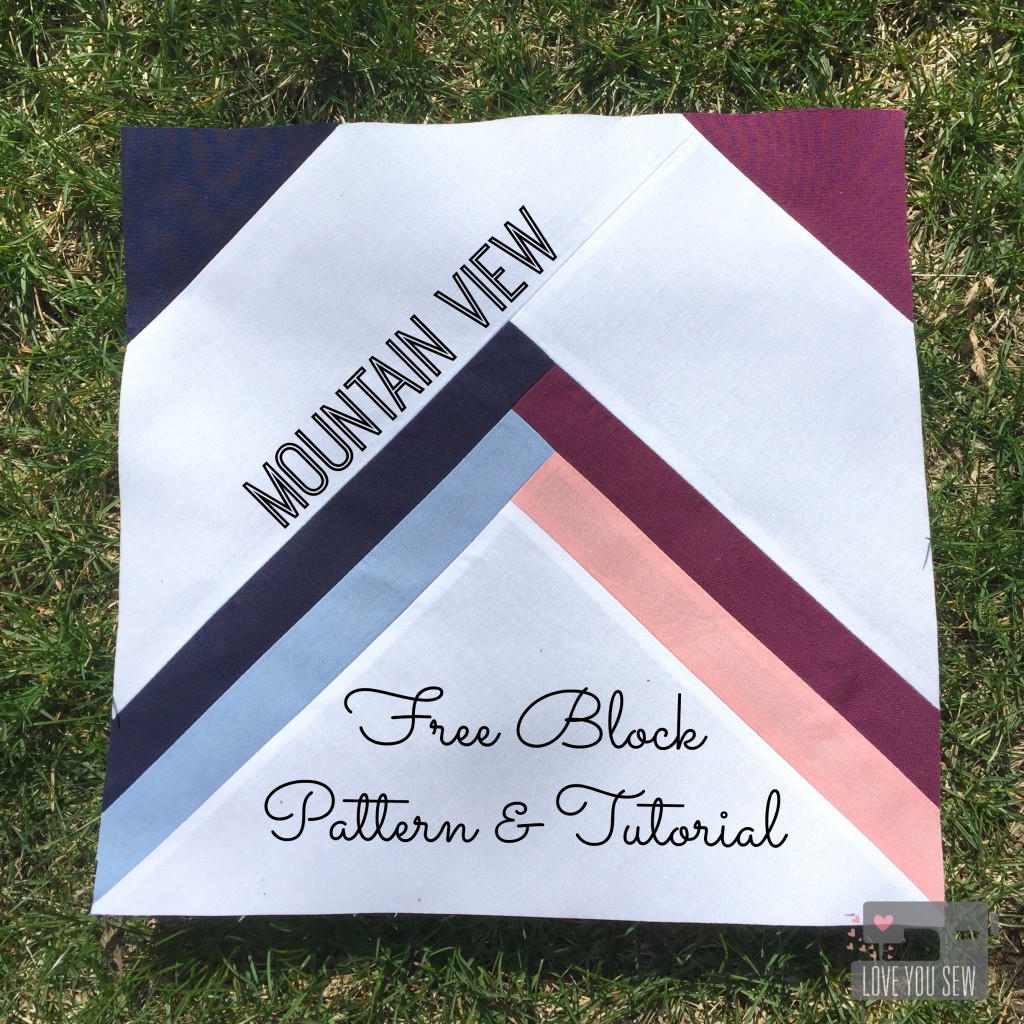
Mountain View Title

Welcome to the 2016 Paintbrush Studio New Block Blog Hop!  During the next three days, you will see a flurry of uniquely designed 12″ x 12″ (finished) quilt blocks.  The best part?  These are all FREE patterns!  For a full list of participants, please visit the host of each day’s hop:
Monday, March 28th – Yvonne @Quilting Jetgirl

Tuesday, March 29th – Cheryl @Meadow Mist Designs

Wednesday, March 30th – Stephanie @Late Night Quilter

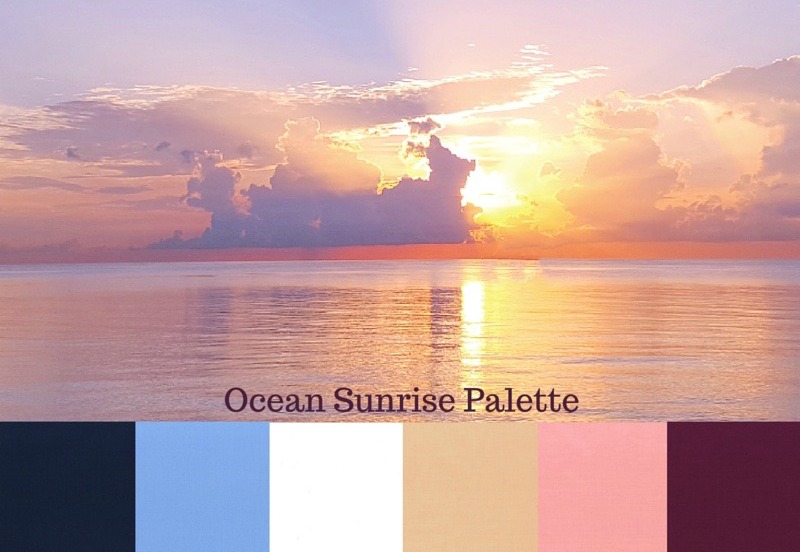
Ocean Sunrise Palette

The challenge with this blog hop, was to use at least 3 colors of Painter’s Palette Solids in the Ocean Sunrise bundle.  You can find all the details of the chosen colors here.  Do you use your quilts on the beach or by the water?
 

Mountain view Block

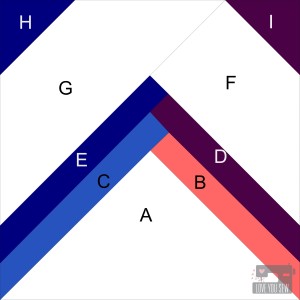
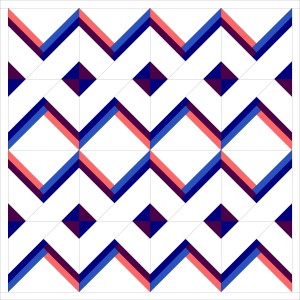
This call to design a new block was indeed a challenge for me.  I usually always have a design idea that’s been brewing in my head.  However, this time I was drawing up blanks.  I played with many ideas until I saw a sun catcher with this similar design.  It really inspired me with it’s simple lines like ones in Log Cabin style quilts.  But this block is set apart by it’s angles and the negative space produces a great chain design.

Mountain View Block Labeled

v2

As with all sewing projects, please read through full instructions before beginning. 

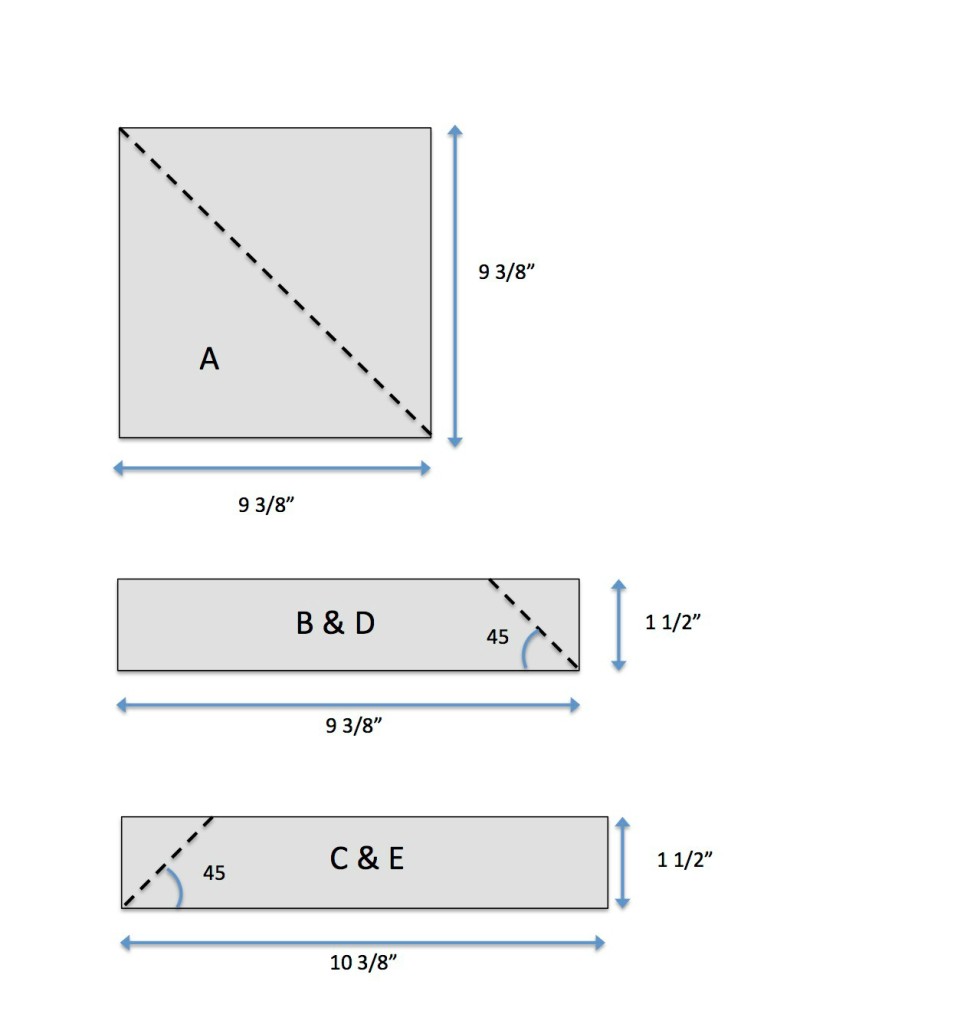
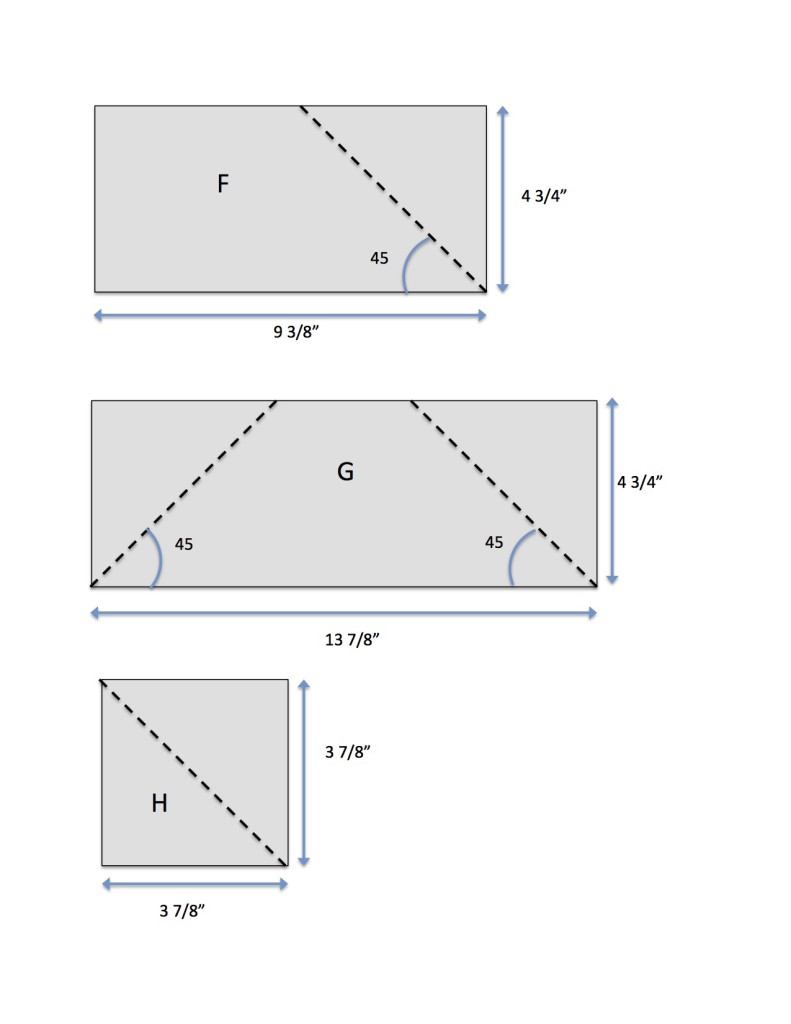
Cutting instructions:

Below are illustrations of every piece of the block.  The dotted line represents where you cut.  A large quilting rule with 45 degree angles is required.  Please see block illustration above for reference.  TIP:  Check and double-check your angle placement on printed fabric before cutting.a


MV cuttingpiecing Instructions

Please note a 1/4″ seam allowance

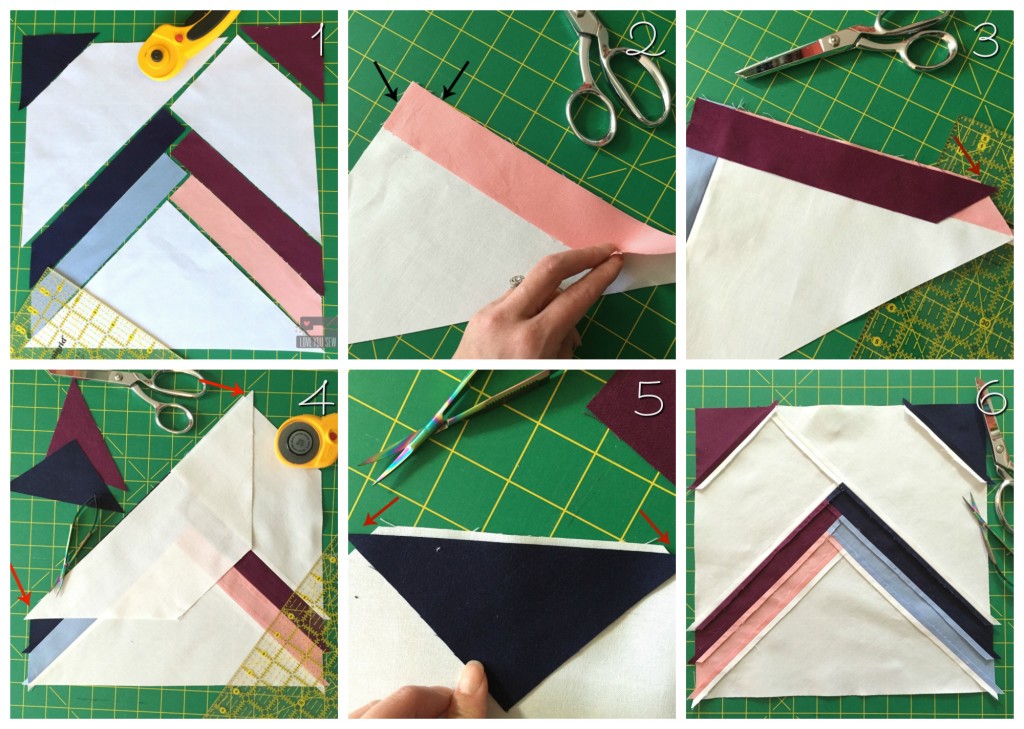
Mountain View Piecing Collage

  1. Layout the block with your intended fabric placement
  2. Line up the short edge of piece B to piece A right-sides together (RST) and sew down the long side. Repeat for piece C but on the opposite side.
  3. Line up the short edge of piece D to ABC.  You should have a 1/4″ overhang off the block. Repeat for piece E of the opposite side and then add piece F.
  4. Line up the long-side of piece G to ABCDEF.  You will have 1/4″ overhangs on both sides of the trapezoid.
  5. Line up the long-sides of H to each corner.  You will have 1/4″ overhangs on both sides of the triangle.
  6. Make sure to press all seams out as you go and you will have a nice flat back as shown.

Trim the block to 12 1/2″ square.

Additional Quilt variations:

With the play of colors and negative space, there are quite a few different ways you can lay this quilt block.  Here a just a few other ideas.

v5

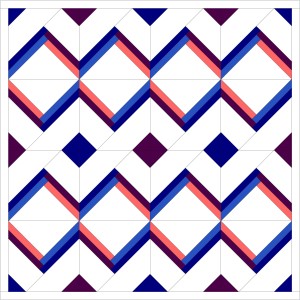
This placement puts the “chain” in the center of the quilt and you can play with the smaller triangle (H) to get solid squares in between.

v4

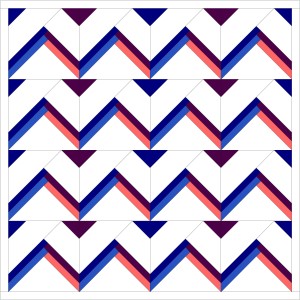
This variation plays with the chevron you can create.  Leave the smaller triangles (H) colored, and you get an arrowhead look or leave them the same color as your background to let the chevron stand on it’s own.


Visit Painter’s Studio’s blog, Inspired by Fabric and/or Quilting Jetgirl (two separate giveaways) to get your chance to win a whole HALF-YARD bundle of Ocean Sunrise!!! {Edit – Giveaway closed}

IMG_4386

 Don’t forget to get additional FREE quilt block designs and tutorial by visiting the following:

Host: Yvonne @Quilting Jetgirl

Jess @Quilty Habit

Silvia @A Stranger View

Cristy @Love You Sew

Kelly @Quilting It Out

Renee @Quilts of a Feather

Bernie @Needle and Foot

Terri Ann @Childlike Fascination

Chelsea @Patch the Giraffe

Mary @Quilting is in my Blood

Diana @Red Delicious Life

Sarah @123 Quilt

Thank you for visiting and I hope you get to try out this block along with all of the others on the 2016 Painter’s Studio New Block Blog Hop!

Happy Stitching,

Cristy


This blog hop was sponsored by Painter’s Studio.  The quilt design, tutorial and all opinions are original and my own.

Coastline Blog Tour {Swim Cover-Up}

WornSideProfile3

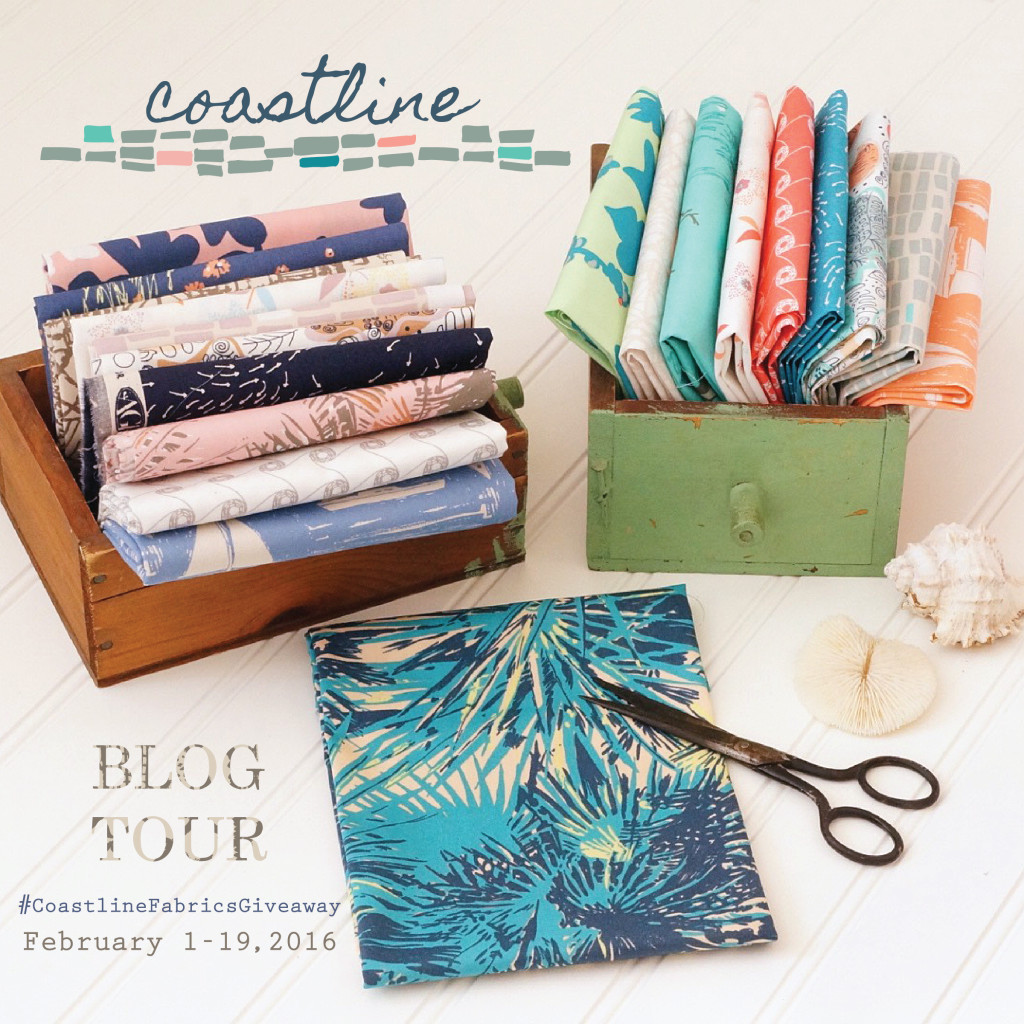
The Coastline Blog Tour has been well underway and I’m so happy to be a part of it!  Coastline by Sharon Holland for Art Gallery Fabrics is just stunning.  The cooler color way, Northshore, reminds me of my times down in Jersey.  I spent a lot of time as a child and even more in my 20’s.  When I was just out of college, I rented beach houses with friends and live there on the weekends…Oh the memories!  The warmer color way, Southshore, sends me to the other side of the country.  It reminds me of SoCal…along Huntington and Newport Beaches.  The fabrics are warm and very soothing…They are laid-back and relaxed.  Whichever fabrics you select, Coastline is certainly going to transport you somewhere special.

Coastline Blog Tour Banner with date-01

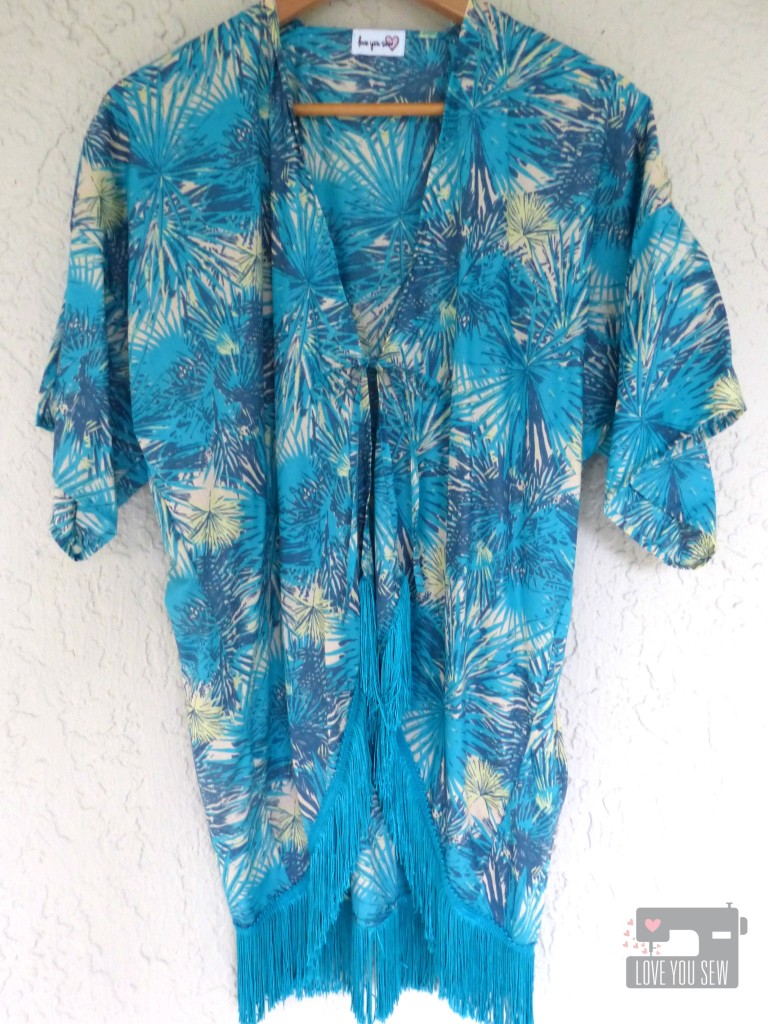
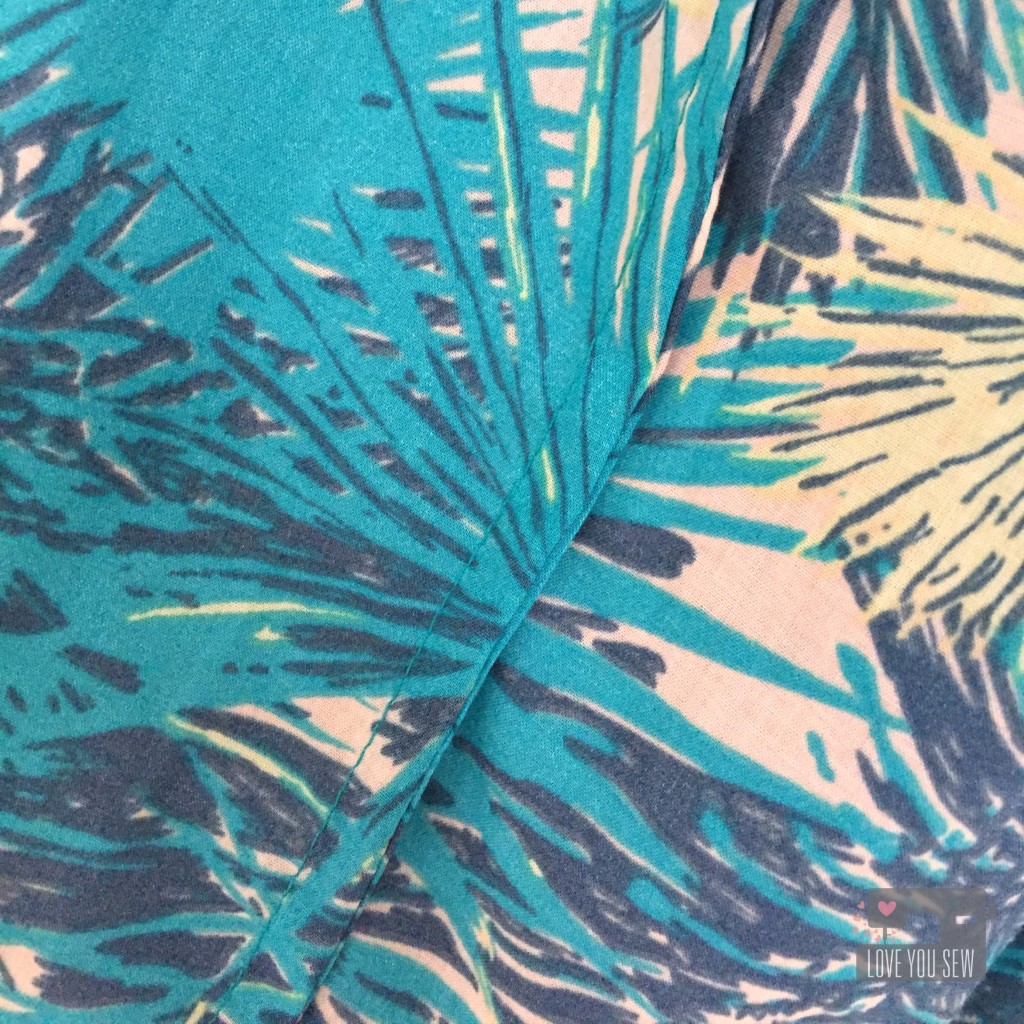
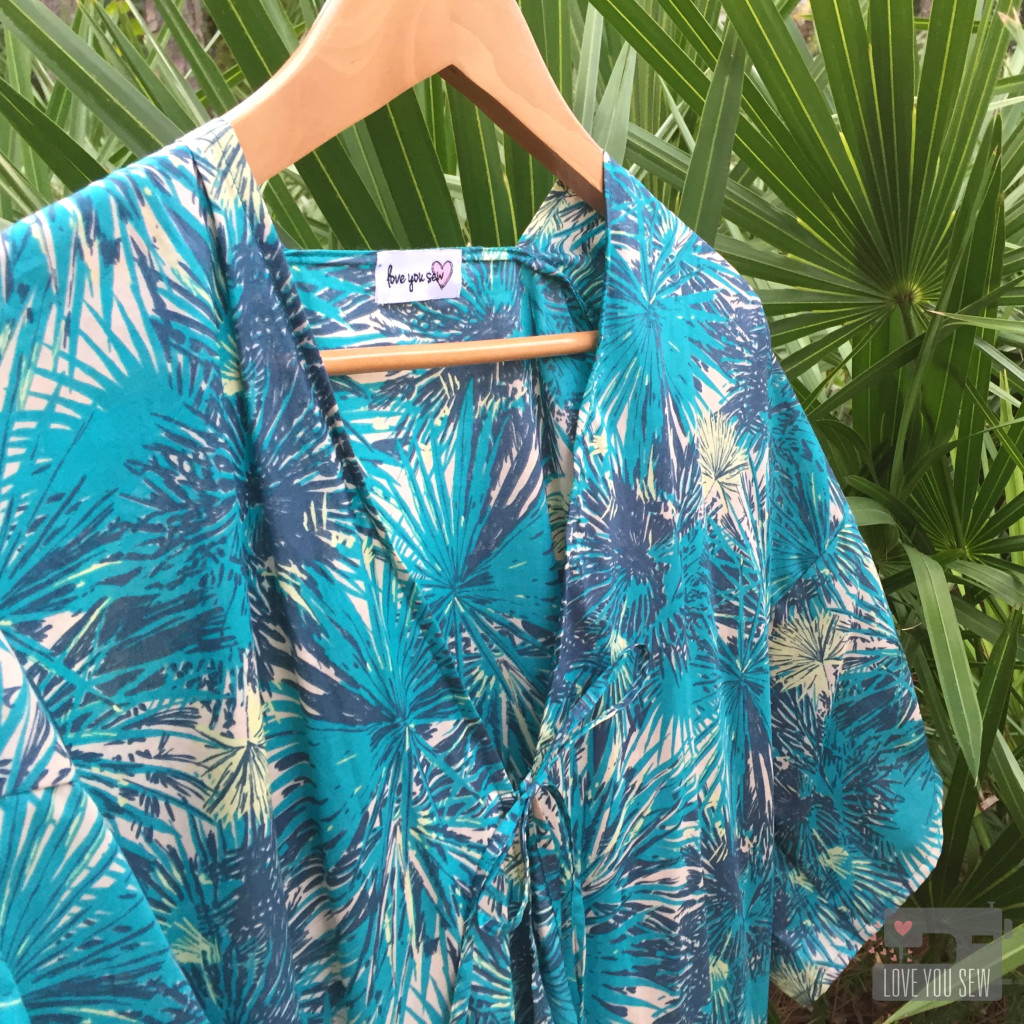
When I found out I was going to sew for this tour, I was immediately drawn to the Tropical Breeze voile.  The palms with the layers of teal and navy are so chic and beautiful.  I have used Art Gallery’s voiles before and I just love the feel and drape of the fabric.  It’s light, airy and dries quickly…making it the perfect choice for a Swim Cover-up.

FullProfile

To make the Cover-up, I used fellow Art Gallery designer, Sew Caroline‘s FREE Kimono pattern found here.  It’s a very simple garment to make given that its a one-size fits most pattern.  To make it appropriate to for the beachside and to add some sass, I made a few alterations 🙂

FringeCloseup

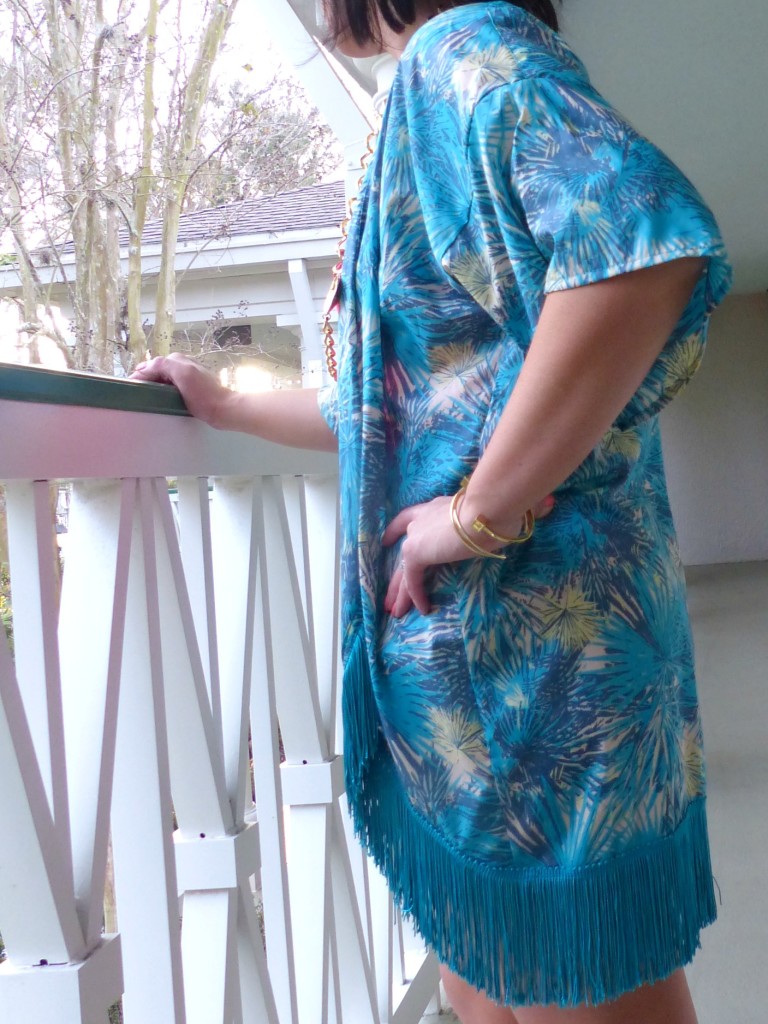
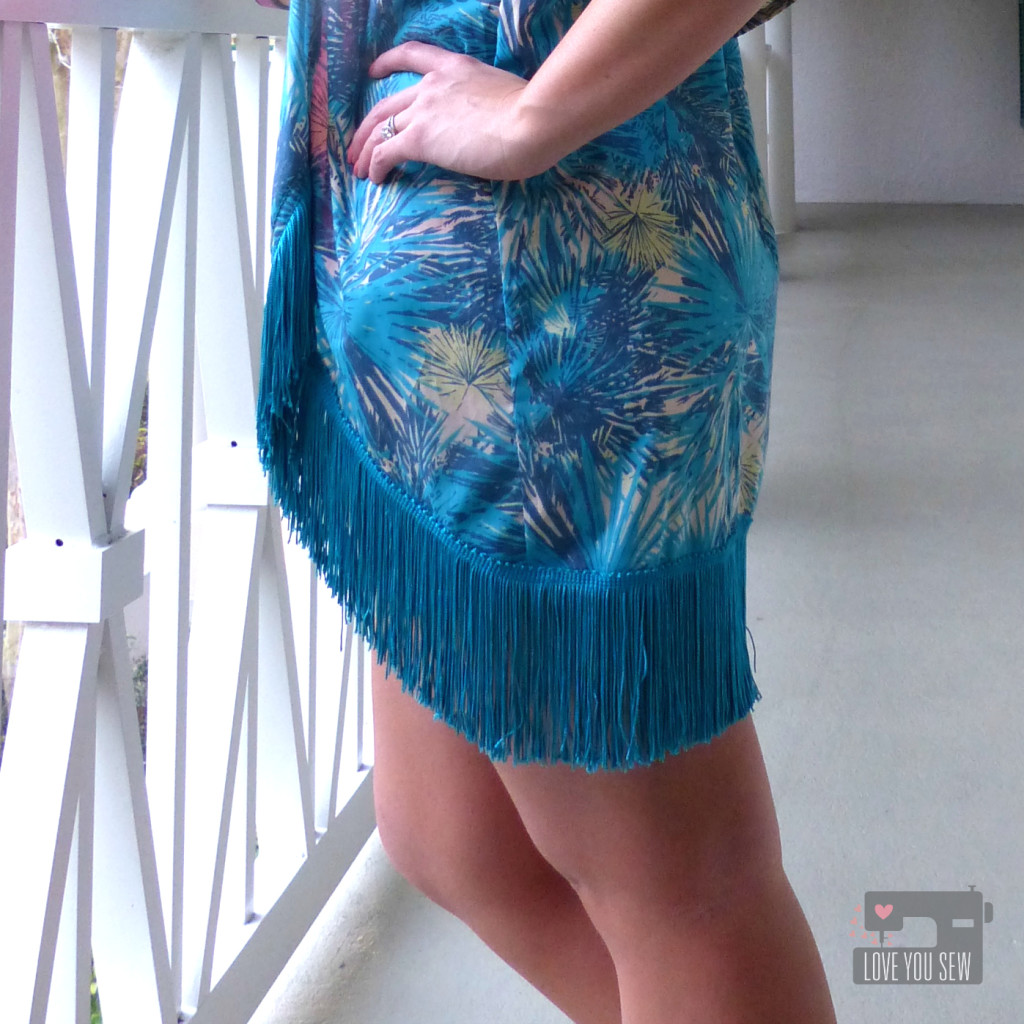
The most noticeable is the dropped hem-line and fringe.  Five inches was added to the front and back pattern pieces to hide my bum and upper thighs.  (Age and babies have caught up to me so I wanted to keep those areas under wraps!)  I’m only 5’3″, so if you are taller or shorter, you may want to adjust length accordingly.  The hem was then gradually cut up to the front opening to provide a smooth slope upward.

HangingFringeCloseup

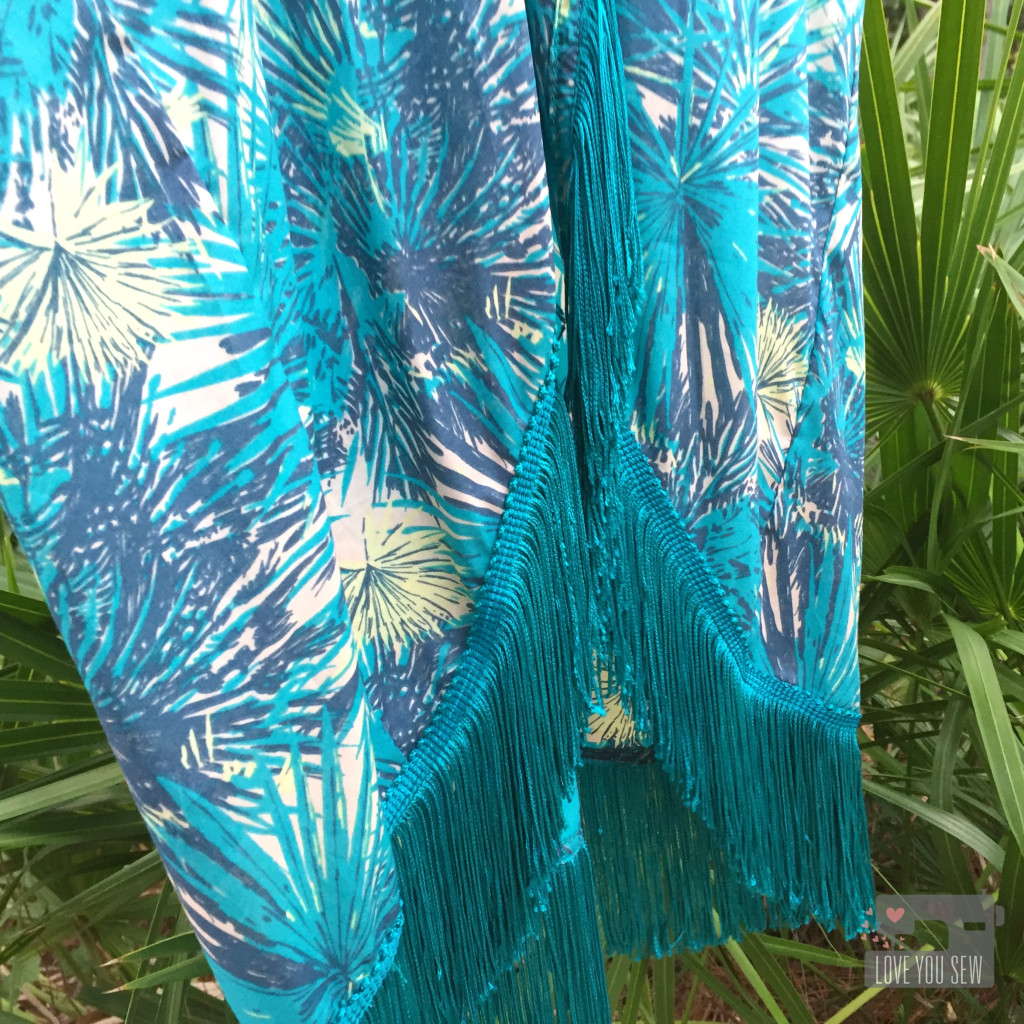
Along the hem, I added fringe…because who doesn’t love fringe?!?  It adds fun and playful movement to the Cover-up and the weight helps it stay in place when those ocean breezes come along.  I found this 4.5″ fringe at my local JoAnn’s and still can’t believe there was a perfect color match there!  I battled between encasing the fringe in the hem or showing off the top.  As you can see, I decided to sew the fringe right on top of the finished hem.  It adds some nice texture and dimension.

FrontCloseUp

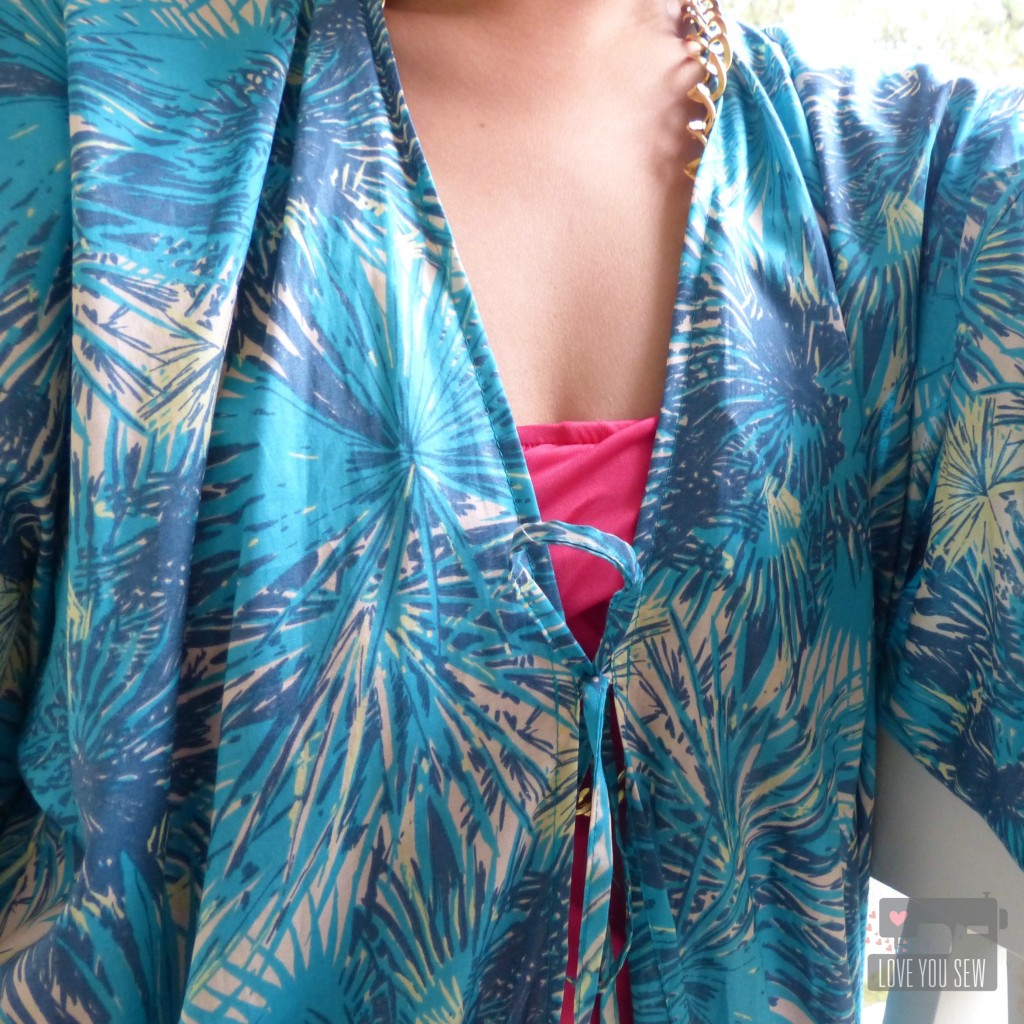
To keep some modesty, I also added a tie right at the bust line.  I used my 1/4″ Bias tape maker to create two 16″ long ties.  Now “things” can stay put 😉

FinishedFrench Seam

Since this Cover-up would be thrown over beach chairs and worn open often, I wanted the seams to have a nice clean look and did not care to see serger stitches.  I opted for french seams  and added an additional 1/8″ all around each pattern piece to accommodate the change.  If you are unfamiliar with french seams, Grainline Studios has a great tutorial found here.

FrontCloseupPalms

The sleeves were kept simple to balance out the fringe.  No trim was used and I just folded the hem under by 1/4″.  If you have issues folding the voile, you can sew a 1/4″ seam to help the fabric fold itself over.

This stylish Swim Cover-up is exactly what I need for the warmer months ahead.  I can already here the beach calling for me!

Coastline Blog Tour Giveaway-01

Now onto some more fun stuff….

:: Want to WIN the Full Fat-Quarter Bundle of Coastline?  Find out all the details on Sharon’s Blog here

:: Looking for more Coastline projects?  Head over to the Look Book here and/or the full line-up of the Blog Tour here.

:: Don’t forget to visit to visit Color Girl Quilts on Monday for another gorgeous Coastline project and if you missed yesterday’s post by the Simple Life Pattern Company, you can find it here.

I hope you are having fun on the Coastline Blog Tour and have found some inspiration!


Hugs and Stitches,

Cristy


Vera Quilt Pillow

VeraQuiltTitle

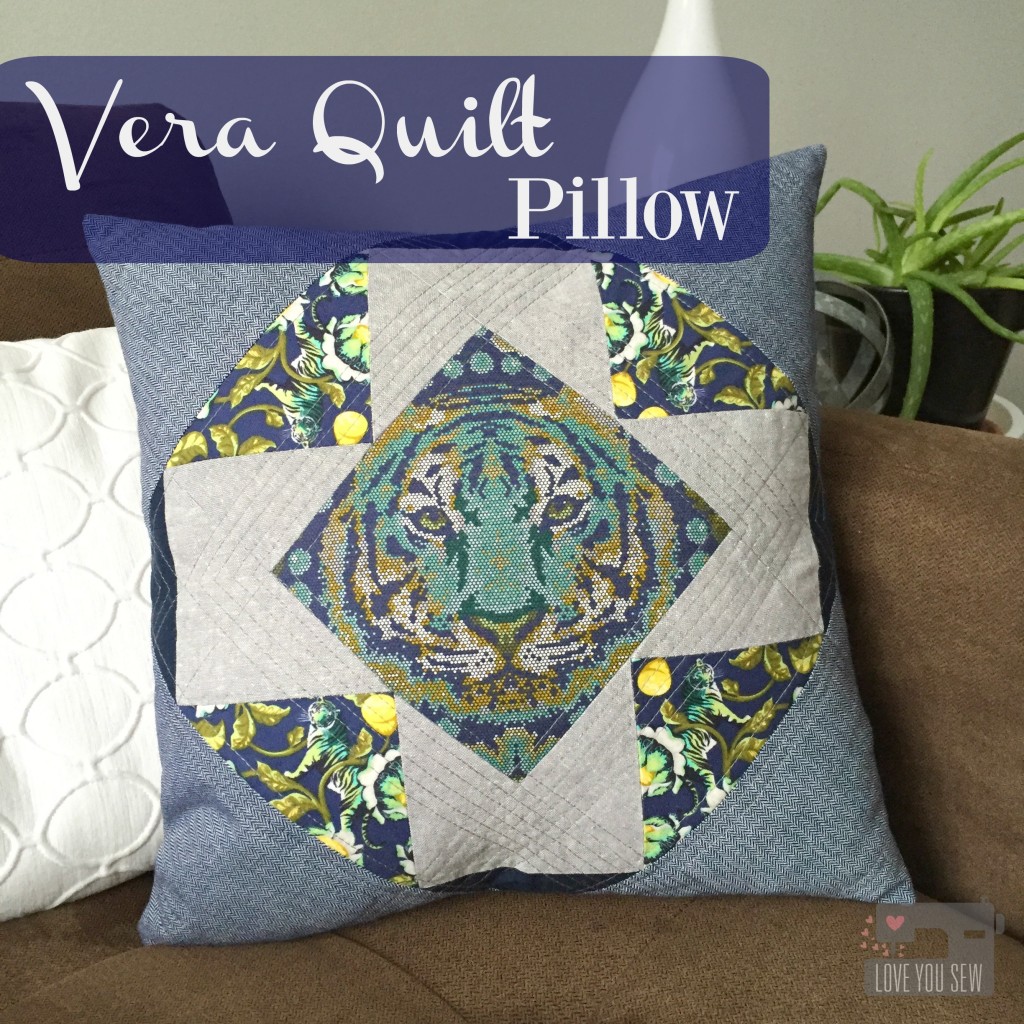
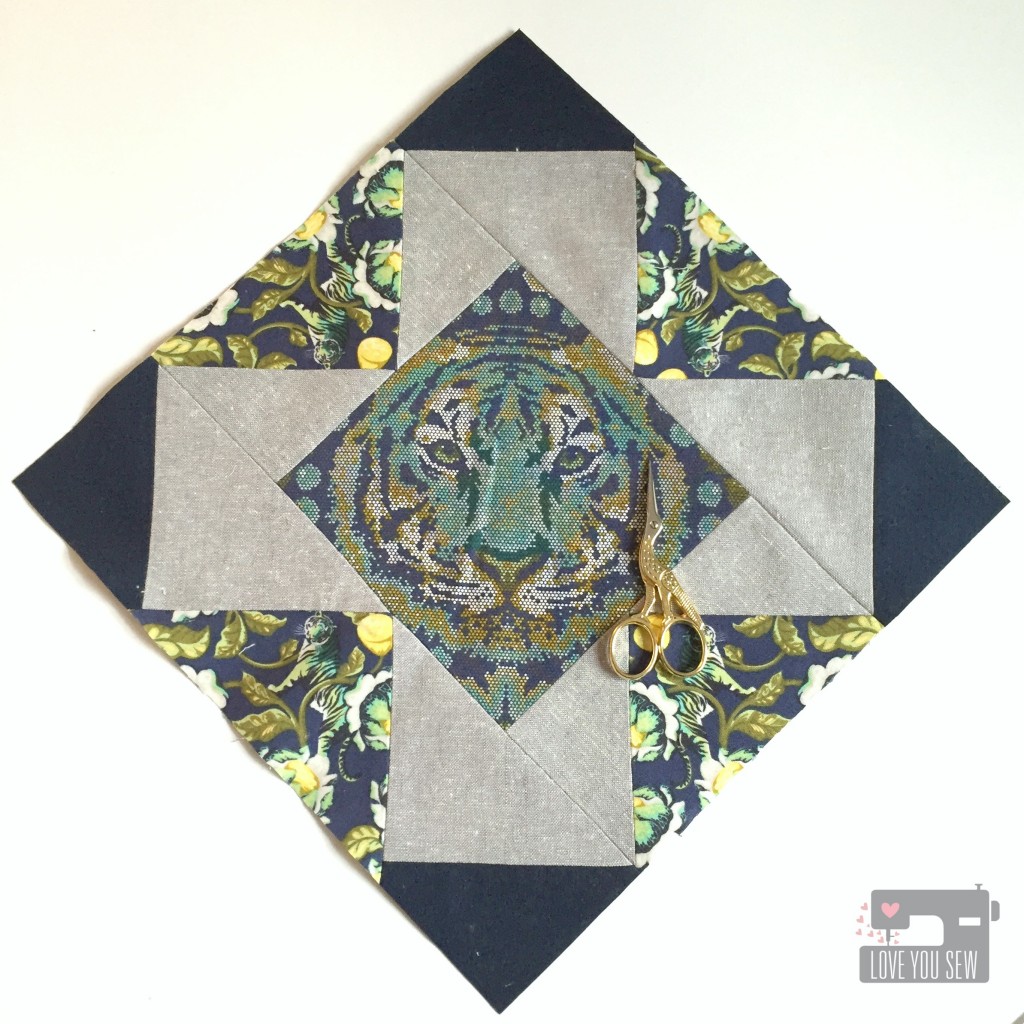
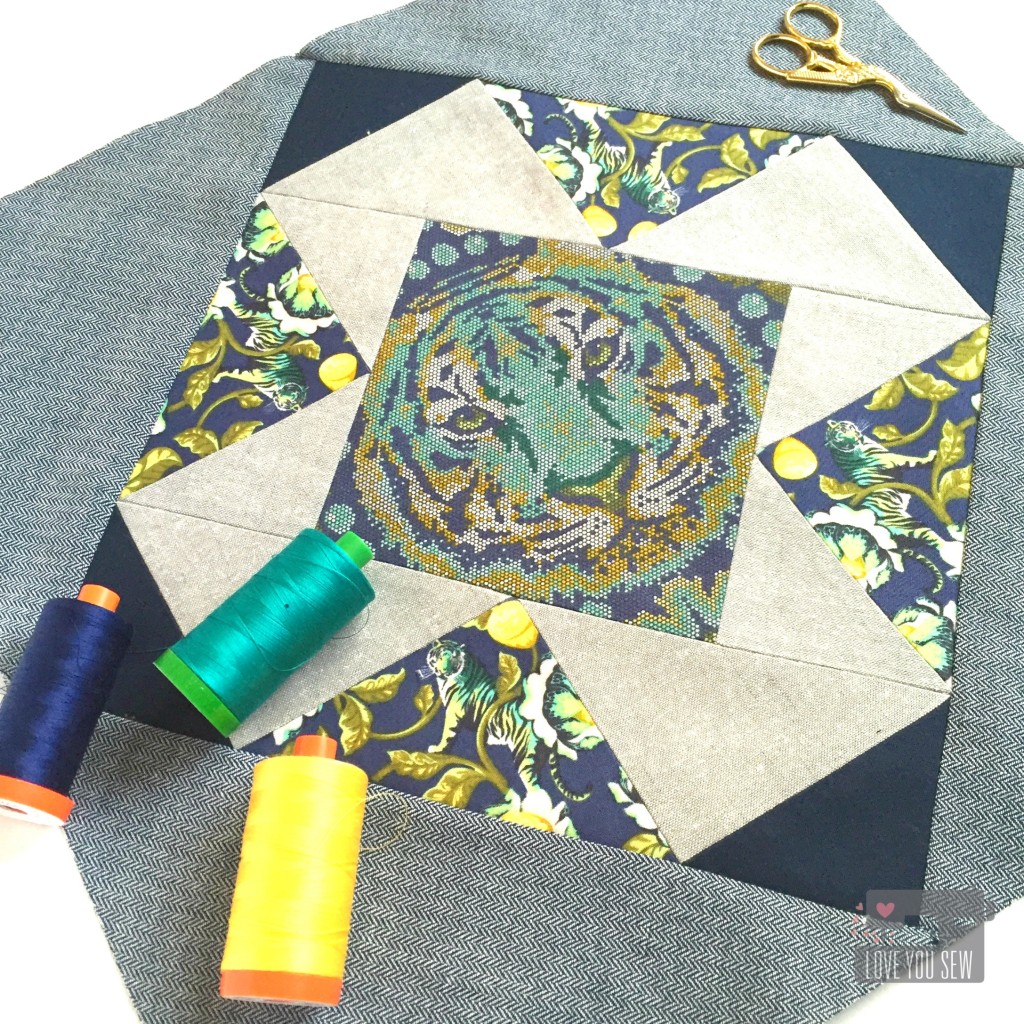
I had the pleasure of doing some pattern testing again for the lovely Becca Bryan of Bryan House  Quilts.  This time it was for her new Vera Quilt which you can find here.  This is a fabulous pattern that allows you to showcase larger prints and gives you the ability to blend fabrics of one block into the next.  This gives the quilt a really unique overlapping look….AND it’s fat-quarter friendly!

BlockwoCorners

The Vera comes with instructions to make four various size quilts, including a mini.  I decided to make the mini and turn it into a pillow for the house.

BlockComplete

The center square of the Vera Quilt was the perfect size to capture Tula Pink’s Crouching Tiger .  I used some more Tigers, Kona Cotton and Essex Yarn Dyed Linen on the border geese.  For the setting corners, Robert Kaufman Herringbone chambray was used to keep this pillow masculine.  I’ve been using this chambray on everything lately…what’s one of your stash staples?

QuiltingCloseUp

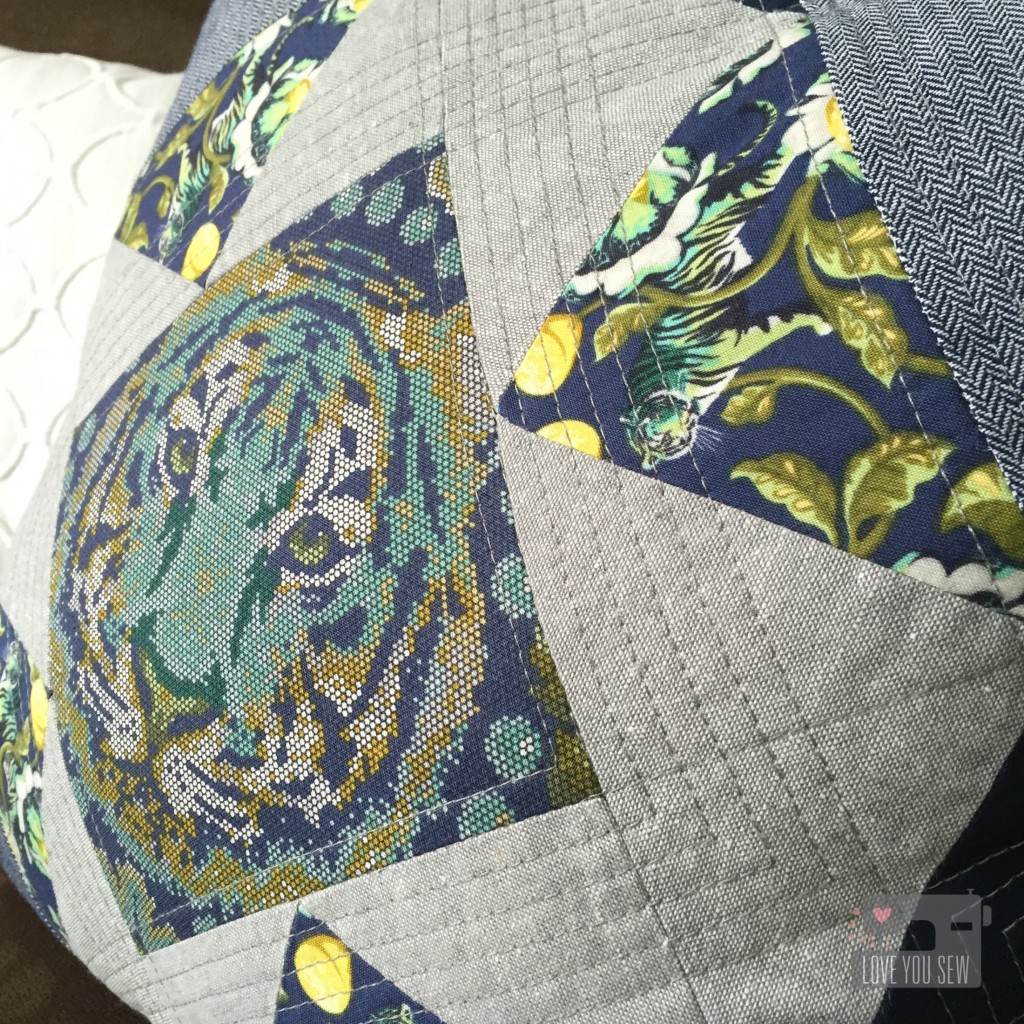
I use Aurifil 2615 for all of the piecing and quilting.  To highlight the center tiger, I echoed quilted all around and left some random spacing for extra interest…straight-line quilting doesn’t have to be boring 😉

This pillow was a quick sew and I can’t wait to make a full quilt soon!


Hugs and Stitches,

Cristy


The Vera Quilt pattern was provided by Bryan House Quilts for testing.  All materials were purchased by myself and all opinions are my own.


Another Louisa Bag

BirchLouisaBagTitle

As the holidays approached, I knew I wanted to make something special for my sister-in-law.  She lives only 30 minutes away, but we don’t get to see much of each other.  My niece is a rocking athlete and travels all over the state on the weekends.  We usually have to meet on a soccer field to catch up!  But when time allows, she always wants to spend some time with our boys.  It is win-win…she gets some QT and my husband and I get some time to go out.  So that’s why I thought a bag would make a great gift!

LouisaBagFullProfile

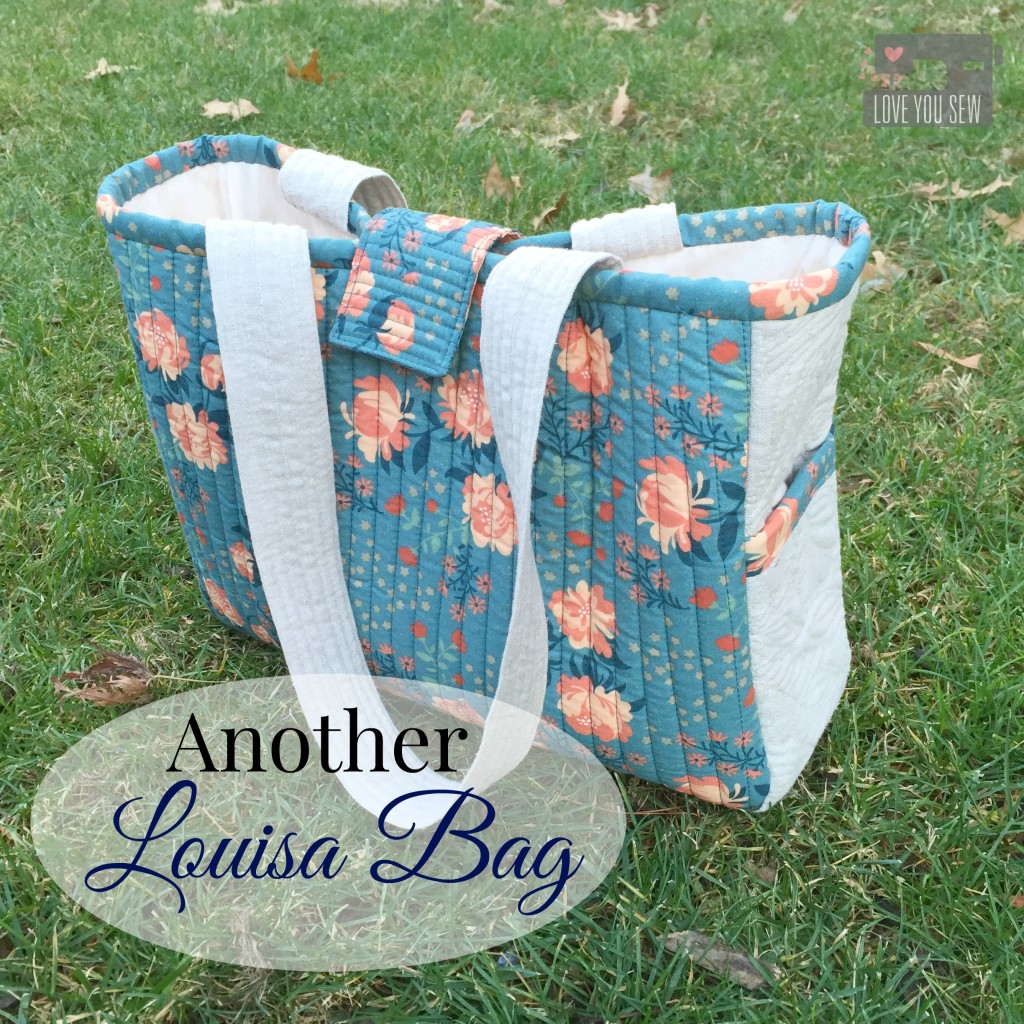
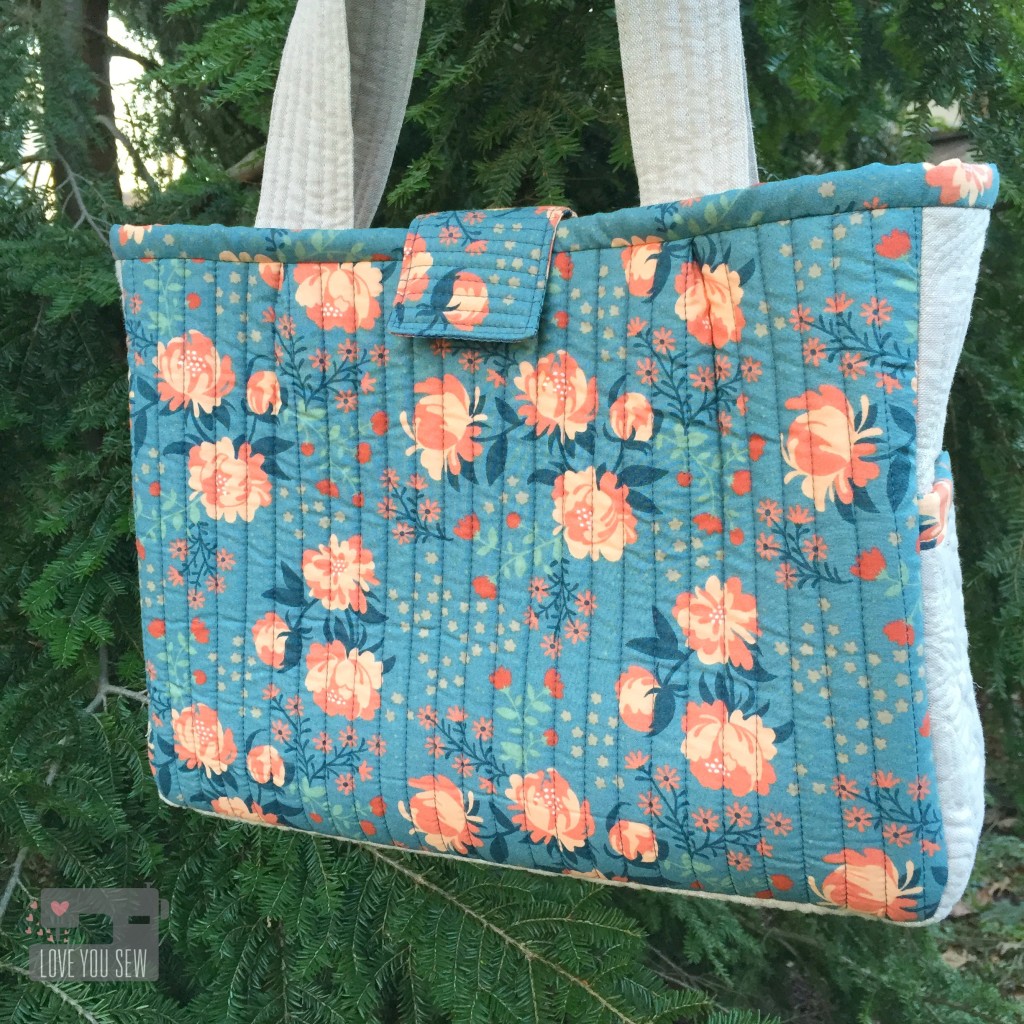
The Louisa Bag by Clover & Violet was the perfect choice.  (You can see the Flying Geese one I made here.)  This pattern is makes for a great mid-size bag to carry all of the essentials without being too overwhelming.  I had this great Acorn Trails Peonies Blue from Birch Organics which I wanted to leave whole.  It’s a beautiful larger print to show-off rather than turn into patchwork.  This exterior fabric was straight-lined quilted with Pellon Flex-Foam for lightweight structure.

TIP: Cut pattern pieces 1″ larger than instructed if you are quilting to the Flex-Foam. Once finished quilting, cut to the proper dimensions.

SideQuilting

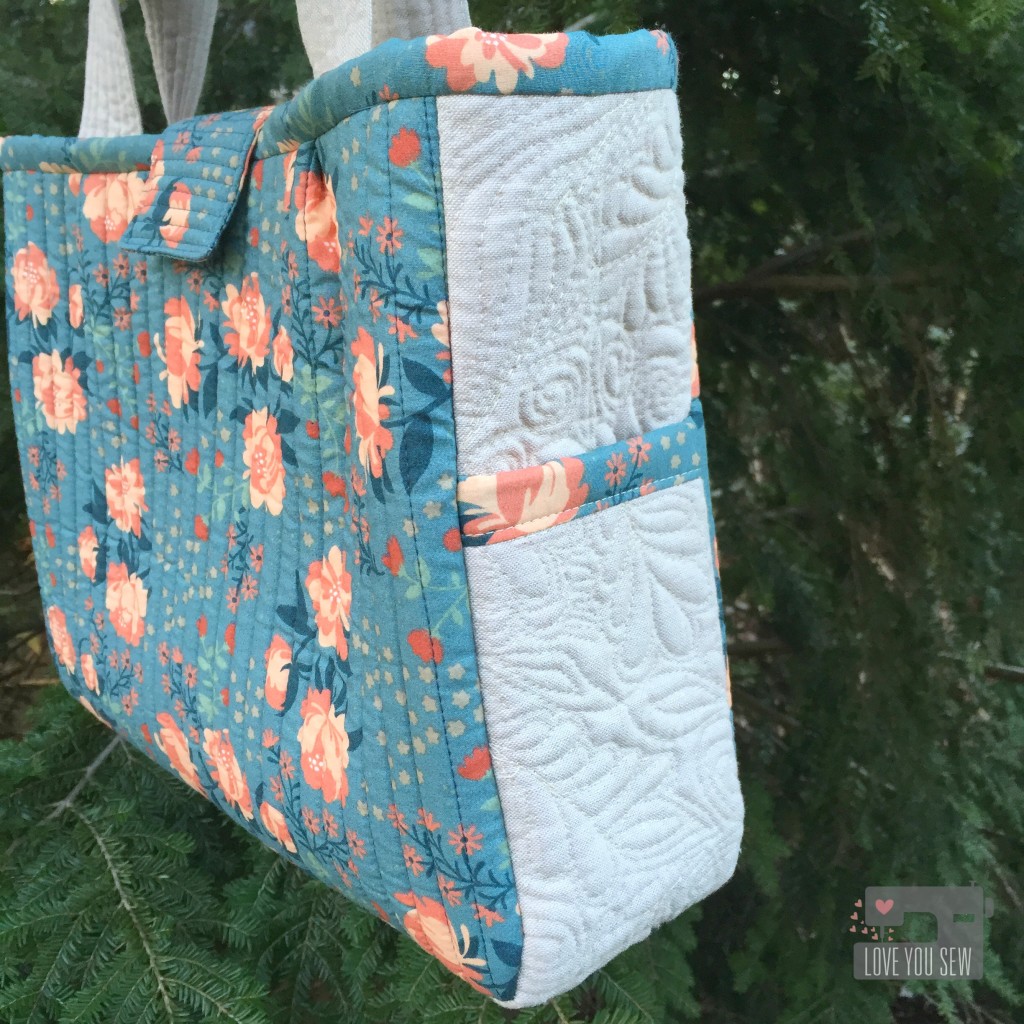
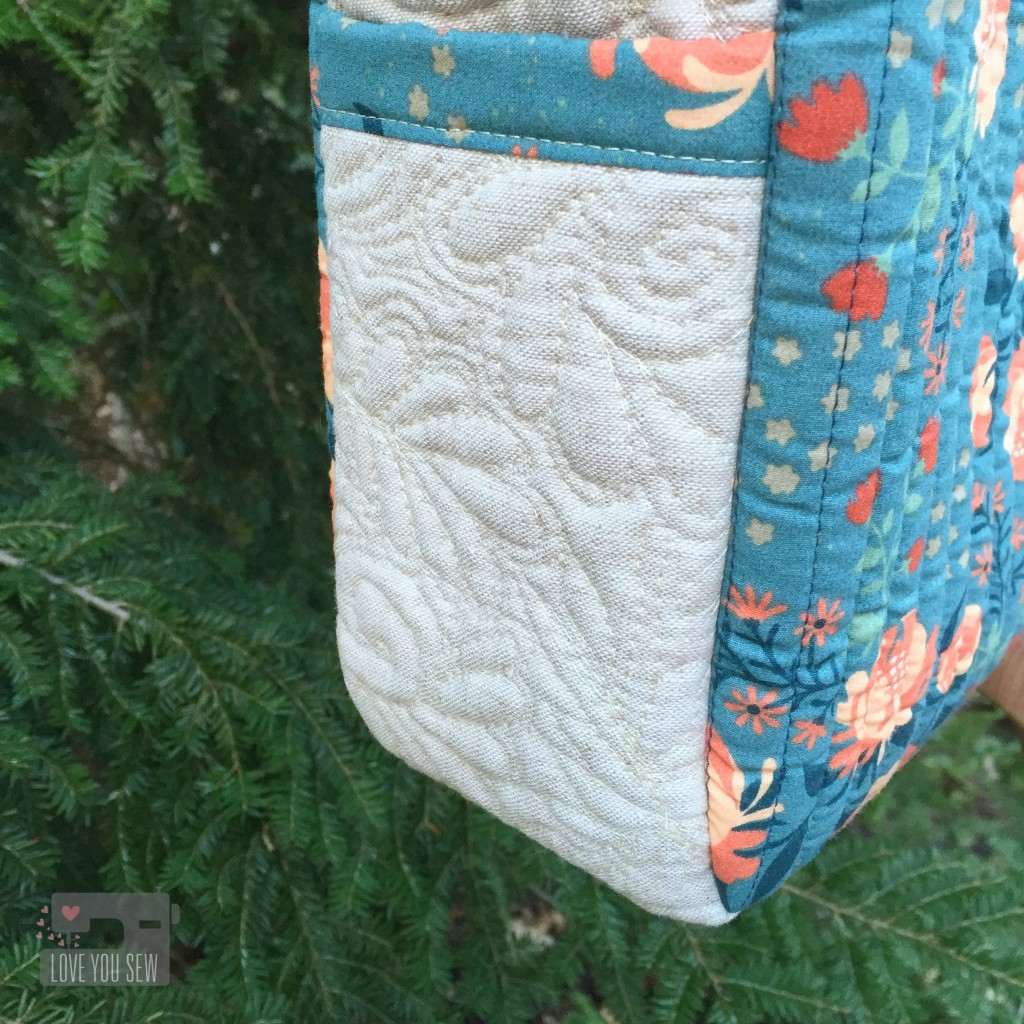
For the sides, I wanted to add more interest since we left the main exterior panels whole cloth.  Essex Linen in Natural was the choice to add quilting upon.  I’m very new to the free-motion-quilting game.  I’ve been practicing for some time, but have been hesitant to actually use it on a real project.  These panels are wide enough to allow some fun design work, but small enough for me to handle as a first project.

SideQuiltingCloseUp

I channeled my inner Angela Walters and went for it…graffiti style without a pattern.  There are some flourishes, swirls, leaves and echoes to fill in all of the space.  I’m please with how it complements with the Peonies on the main panel.  I omitted the side ties to keep the pockets simple and allow the quilting to stand out.

InteriorZipSidePocket

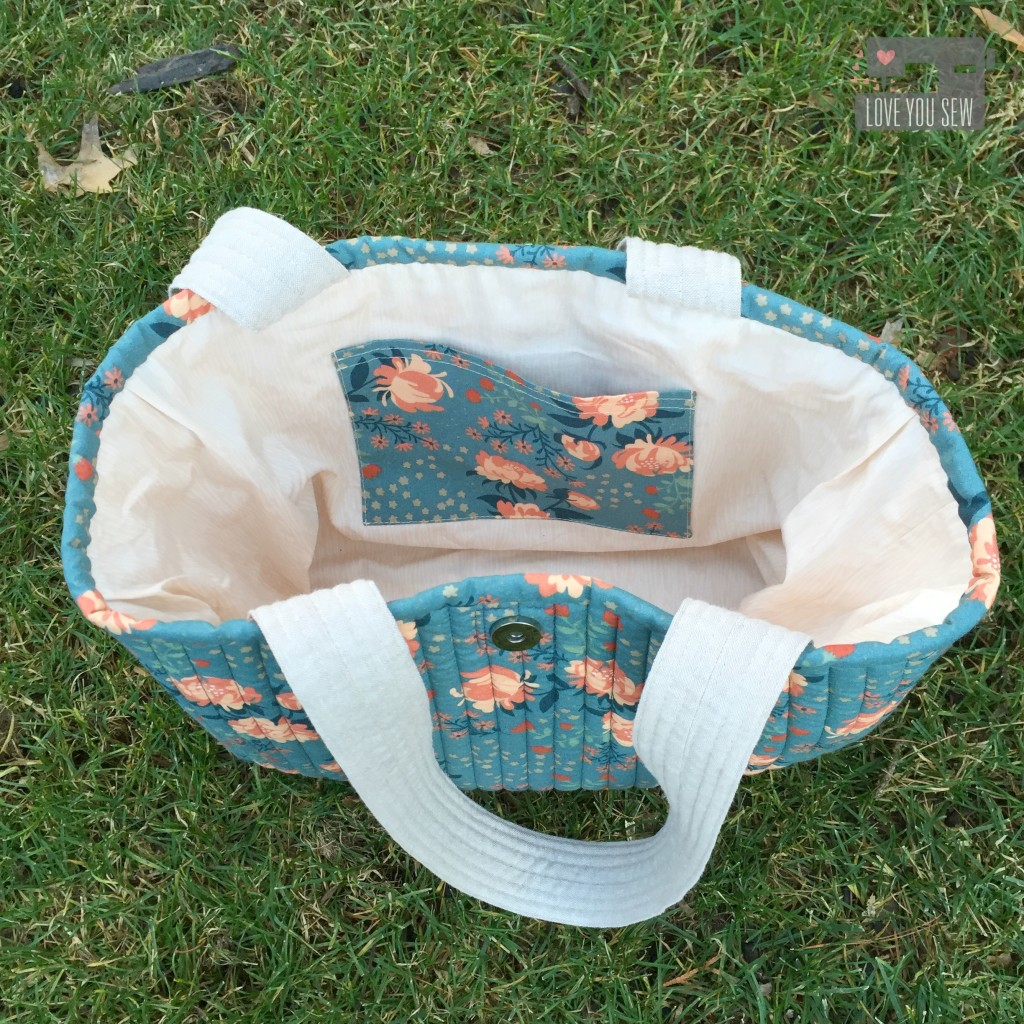
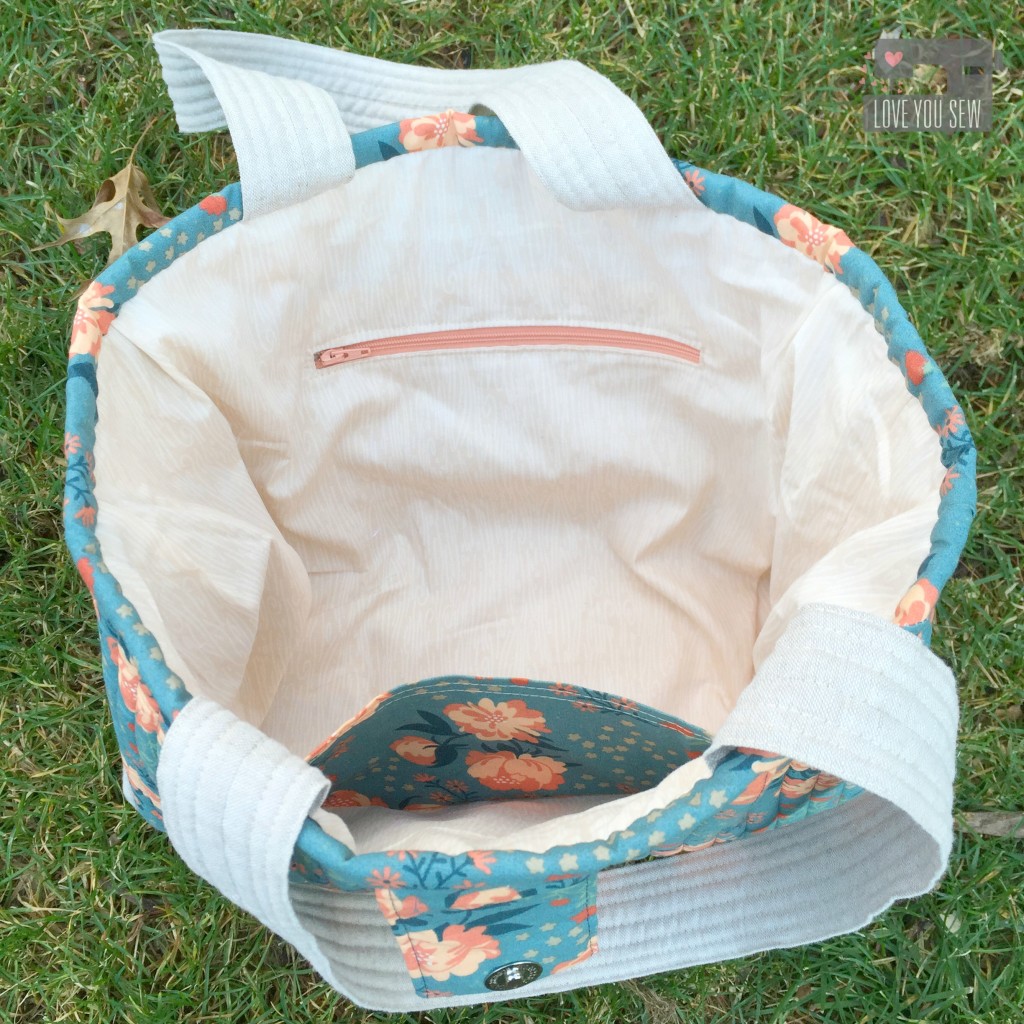
For the interior, I used the soft tones in Wildwood Birch from the Hello Bear line by Bonnie Christine for Art Gallery fabrics.  I was so happy to have a nice peach zipper to match with the exterior fabric….It pays to buy zipper assortments 😉

InteriorSidePocket

For the flat pocket on the other side of the interior, I use the main fabric to add interest and so my SIL can easily find in when in a pinch.  The straps were quilted with Flex Foam and you can see that they remain very pliable.  I love how this bag turned out.  It’s sophisticated enough to use everyday with that quilty touch 🙂

What handmade gifts did you make this year?


Happy Holidays,

Cristy