Art Gallery Rayon :: Cookie Blouson Jacket

I’m kicking things off with Art Gallery Fabric‘s Rayon Blog Hop today!  Rayon is their newest substrate and I can’t even tell you how much I luuuurve it.  I was lucky enough to get an advanced preview when April Rhodes release her Heritage Fabrics and I just am obsessed with the drape and feel of this fabric.  You can read more about it here.

When most people hear “Rayon,” they think of summery dresses or slippery nightgowns.  But in this blog hop, we were tasked to come up with other ways to use the fabric.  As fall was approaching and while I was looking through the fashion blogs, the maker light bulb went off when I started to see bomber jackets.  The 90s fashion trends are back (some I’d rather not relive…) and I thought a fun bomber made of rayon would be perfect to ride the satin and army green trends showing up on the streets right now.  Check out my Pinterest Board here to see my inspirations.

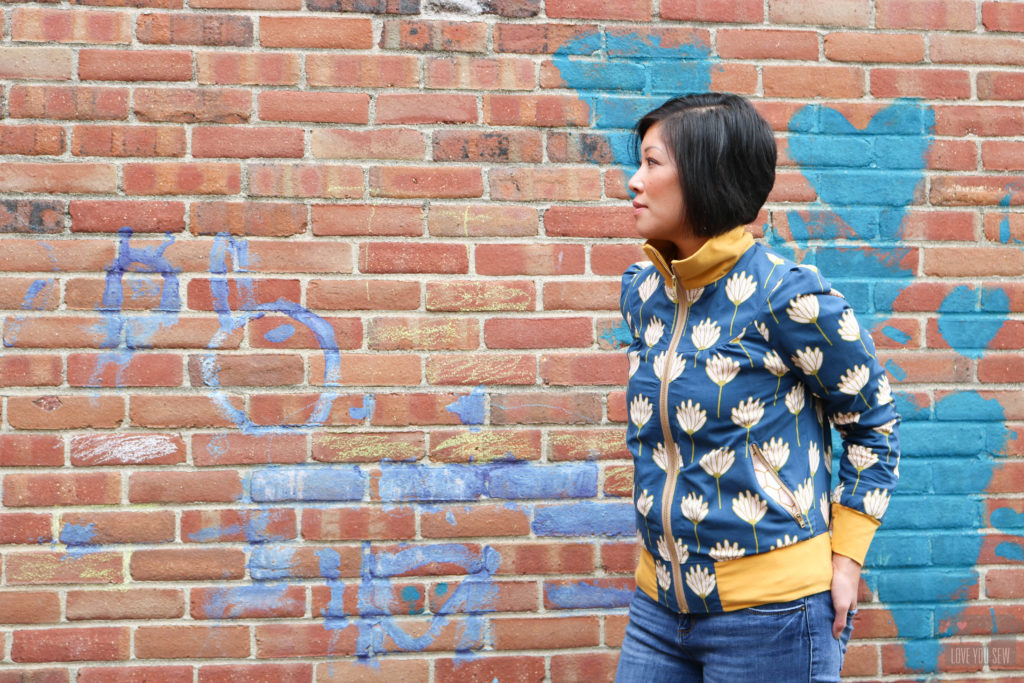
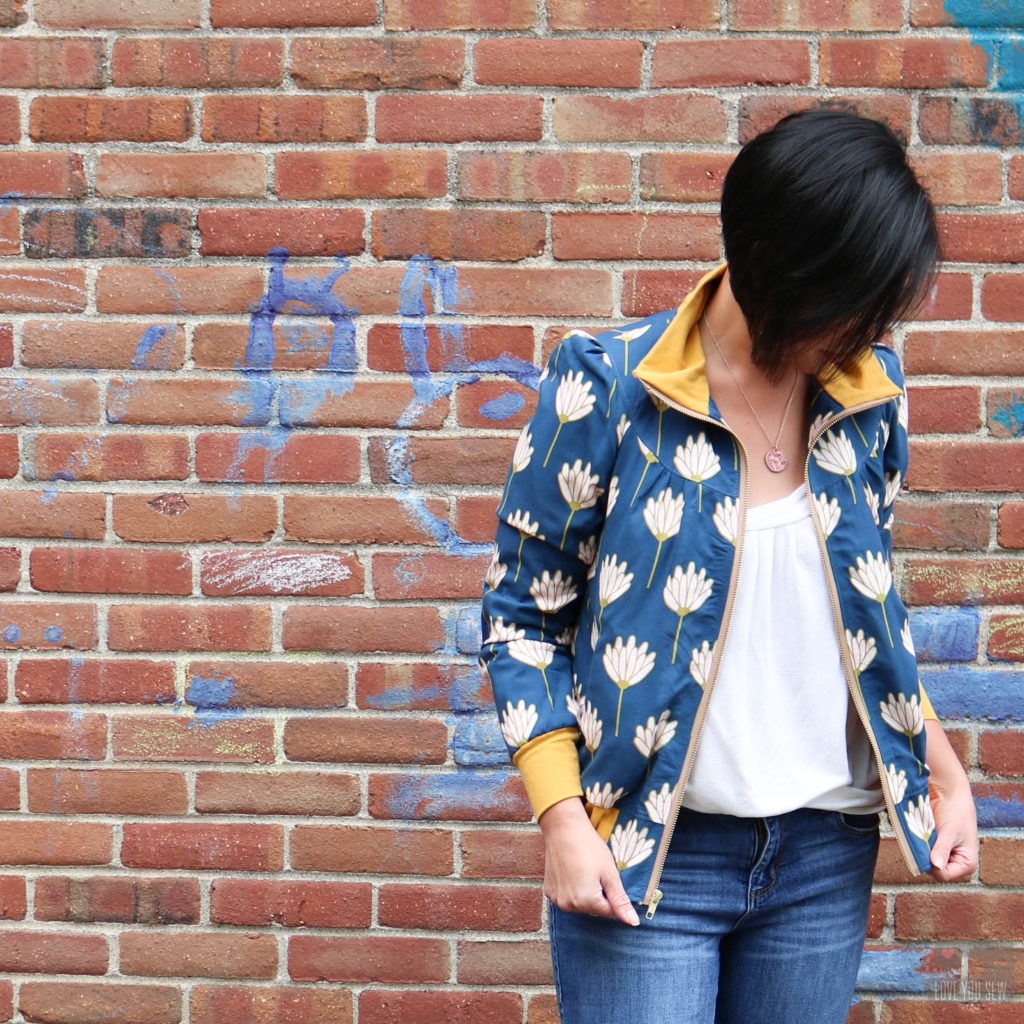
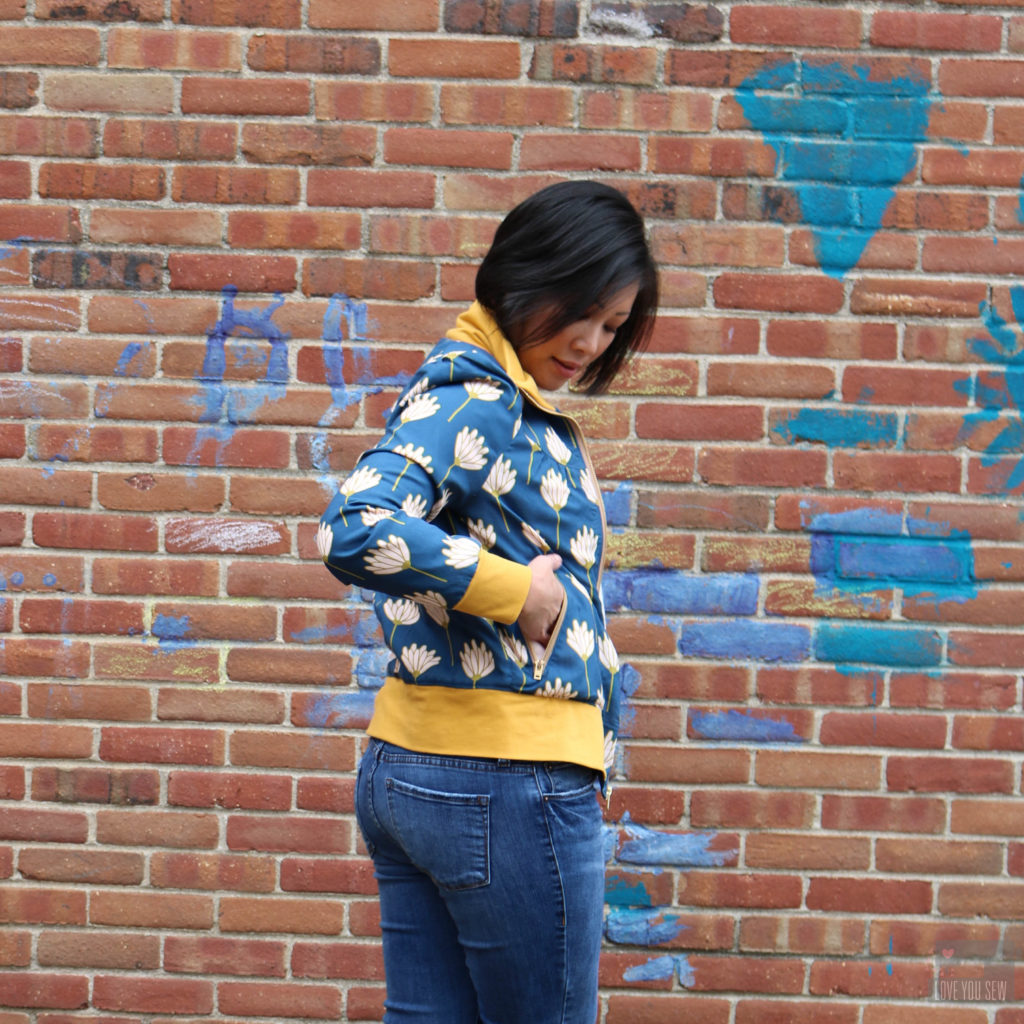
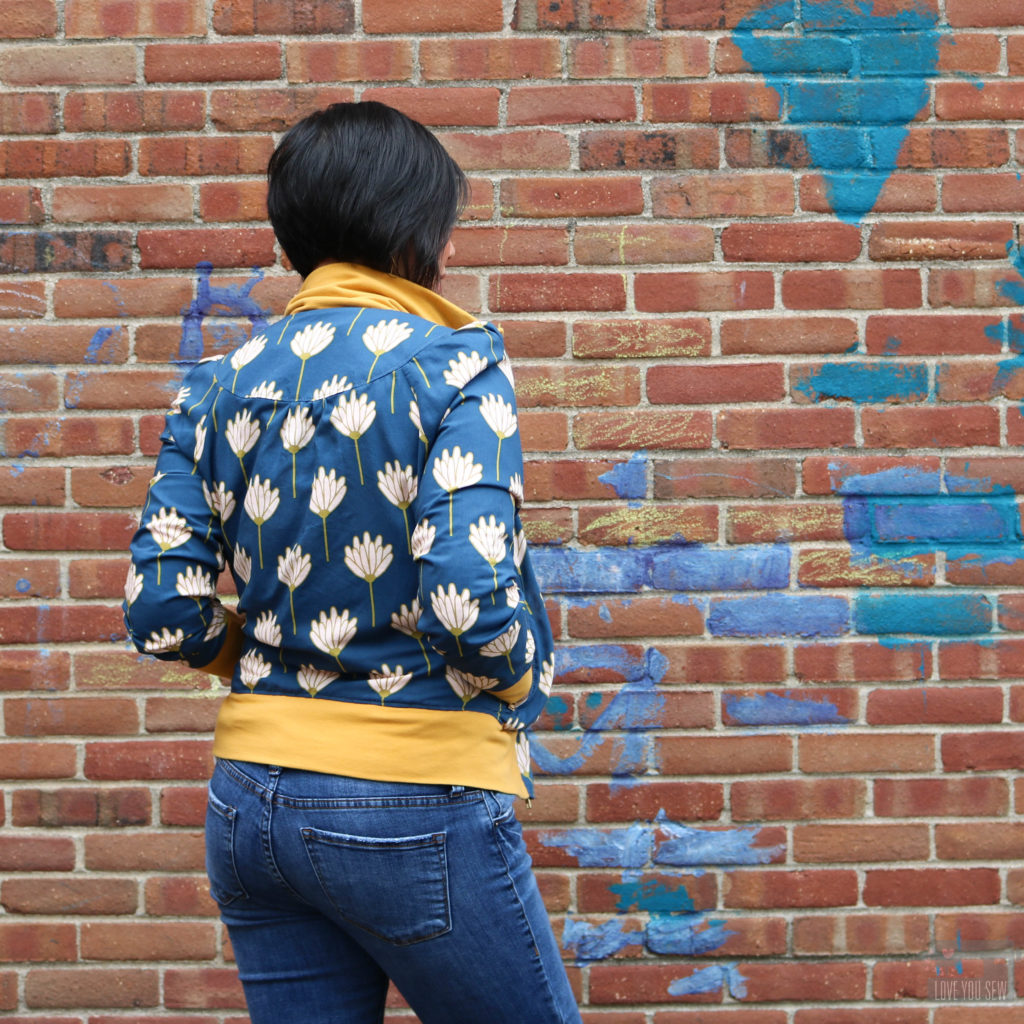
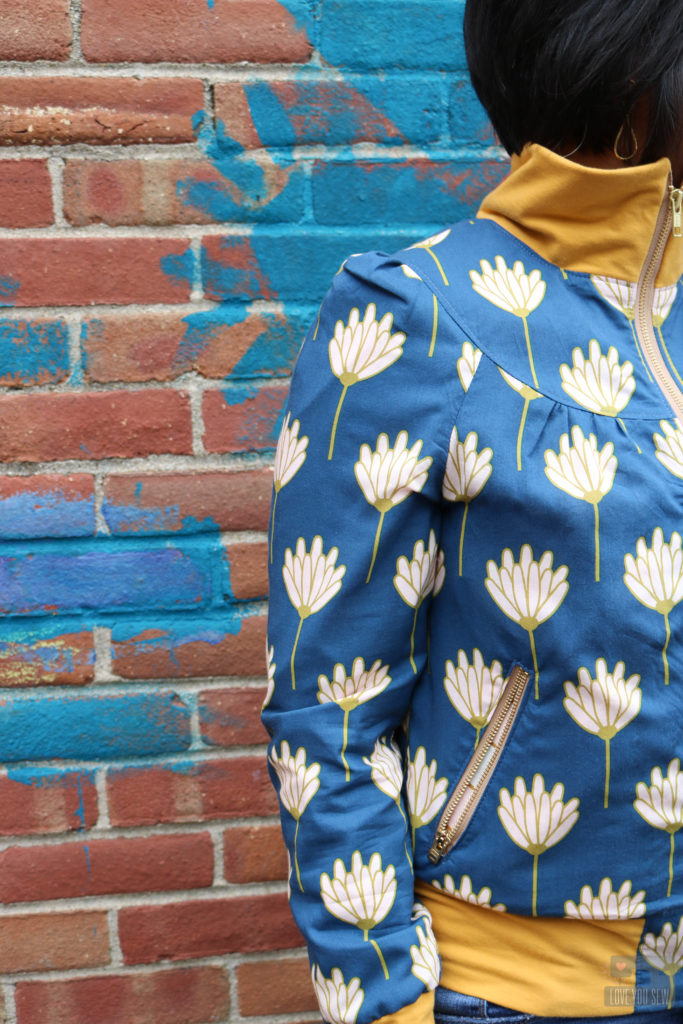
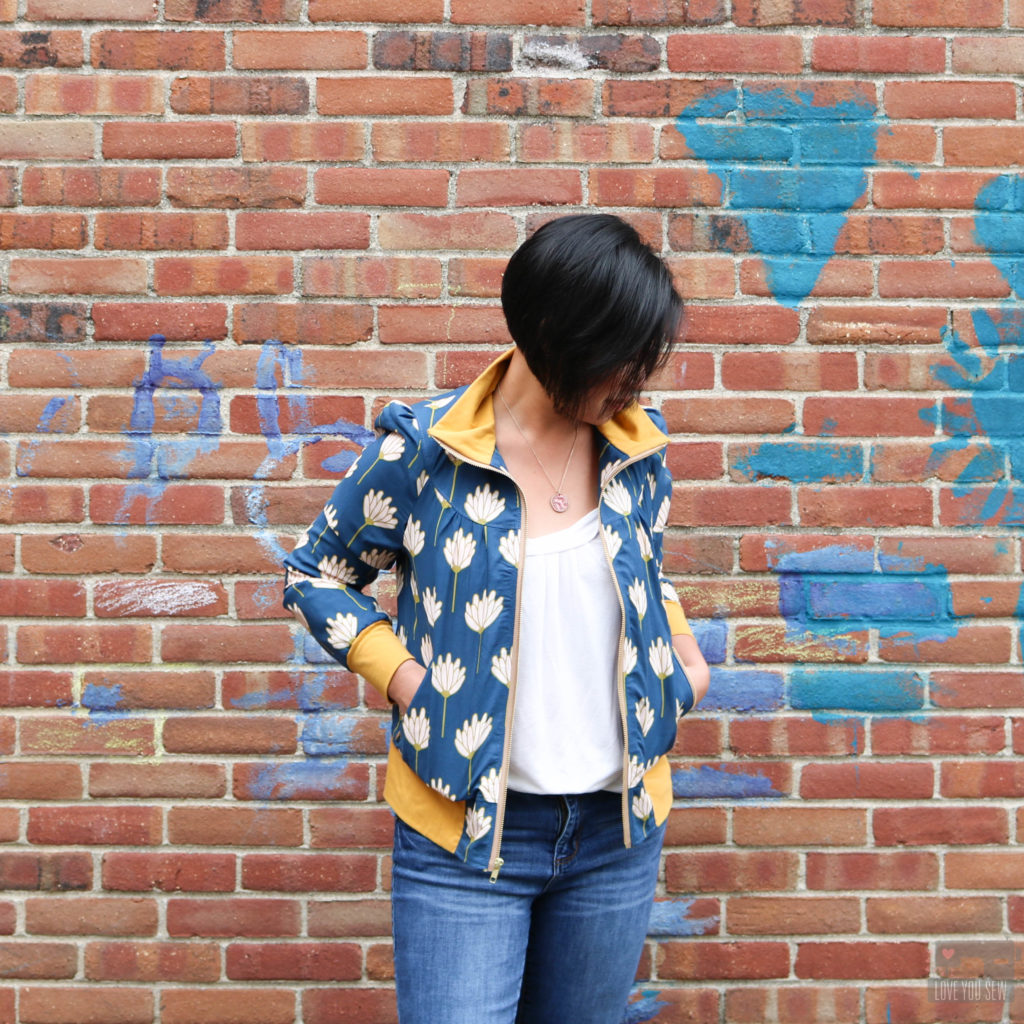
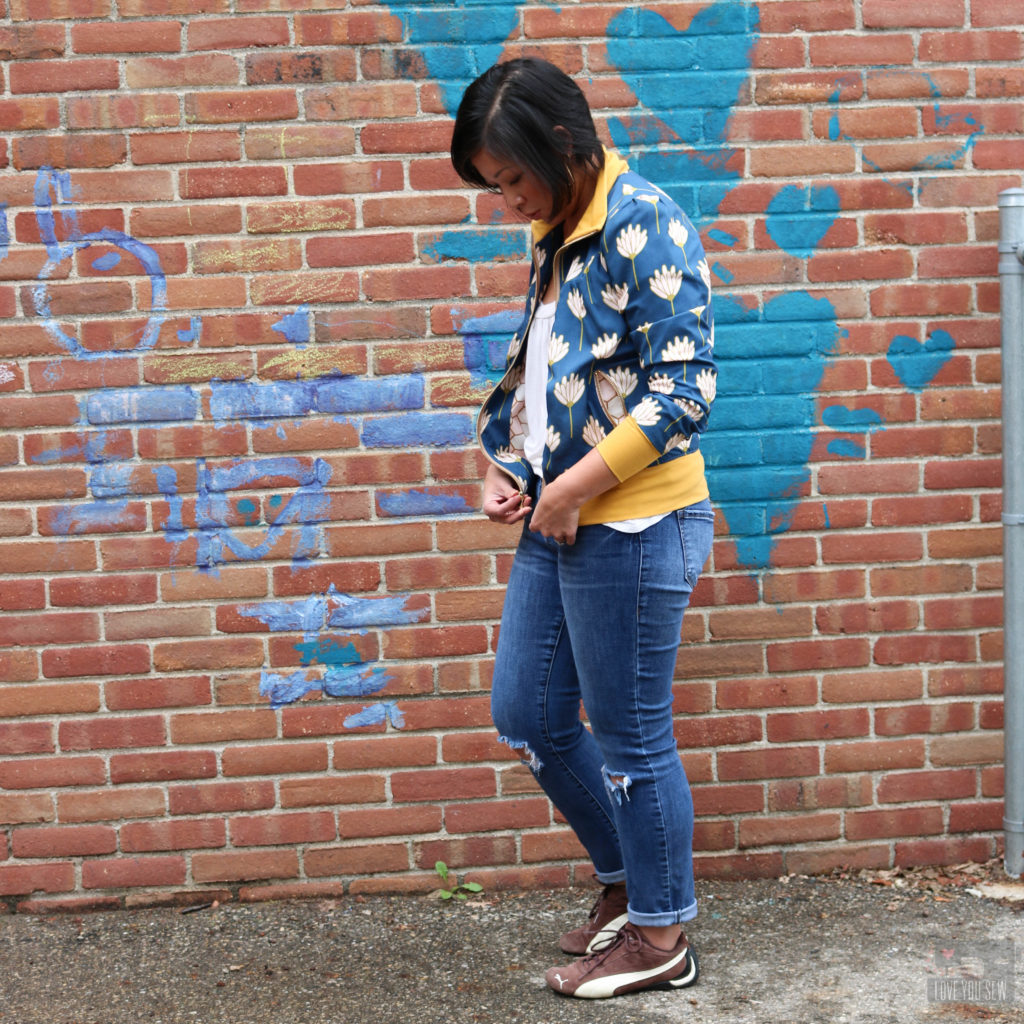
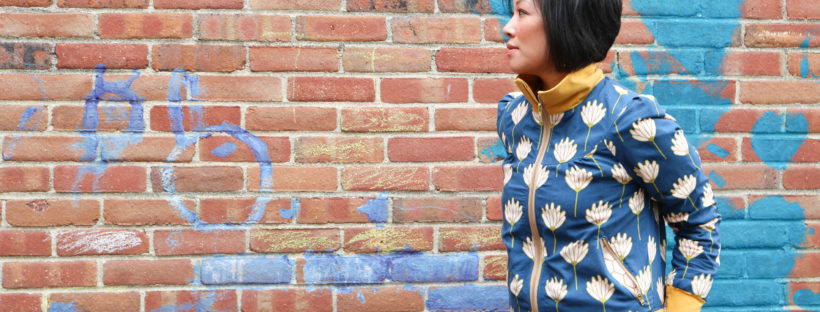
I’ve had my eye on the Cookie Blouson by Waffle Patterns for awhile now.  The design is a great feminine take  on a track jacket with the gathered sleeves and gathered body around the yokes.  Even though it’s a track style versus a bomber, I knew this pattern would give me the same feel…The only difference  is the collar.

I was in-between sizes per the measurements, but after reviewing the finished measurements, I decided to size down for a more fitted look.  With the fabric and bold pattern, this jacket would look great in heels as much as in sneakers 🙂 I wanted to make sure it would be a great jacket to wear indoors and out.

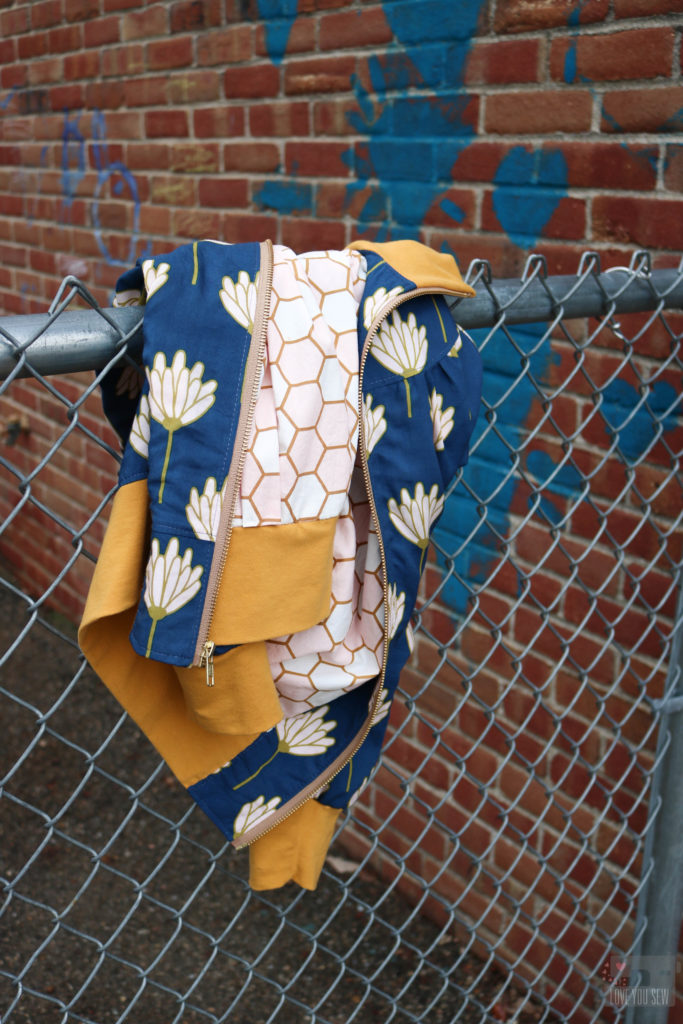
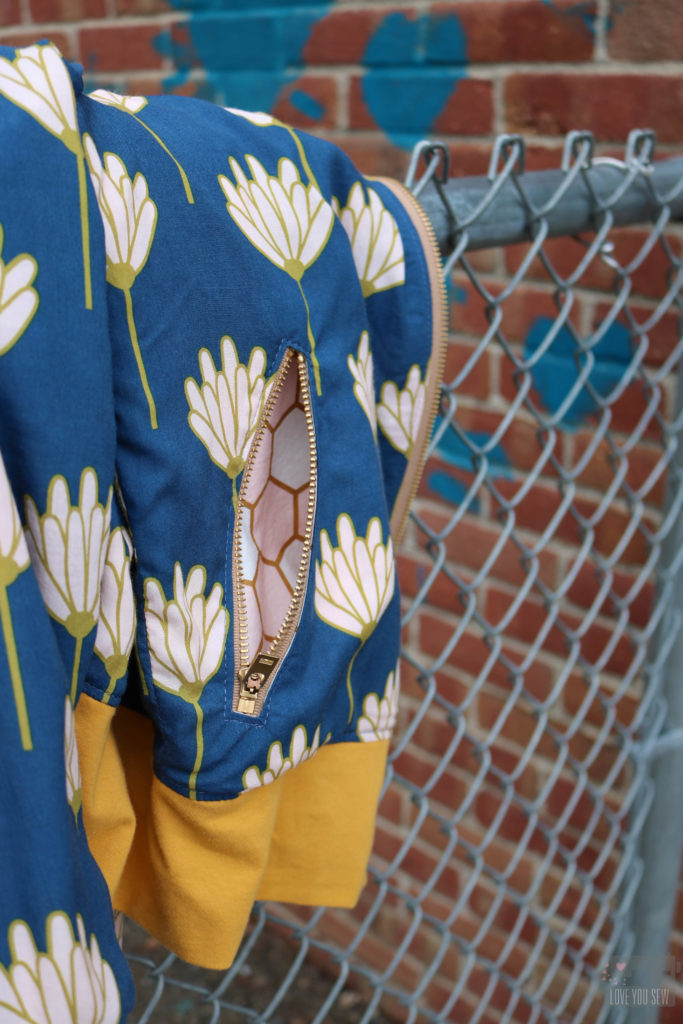
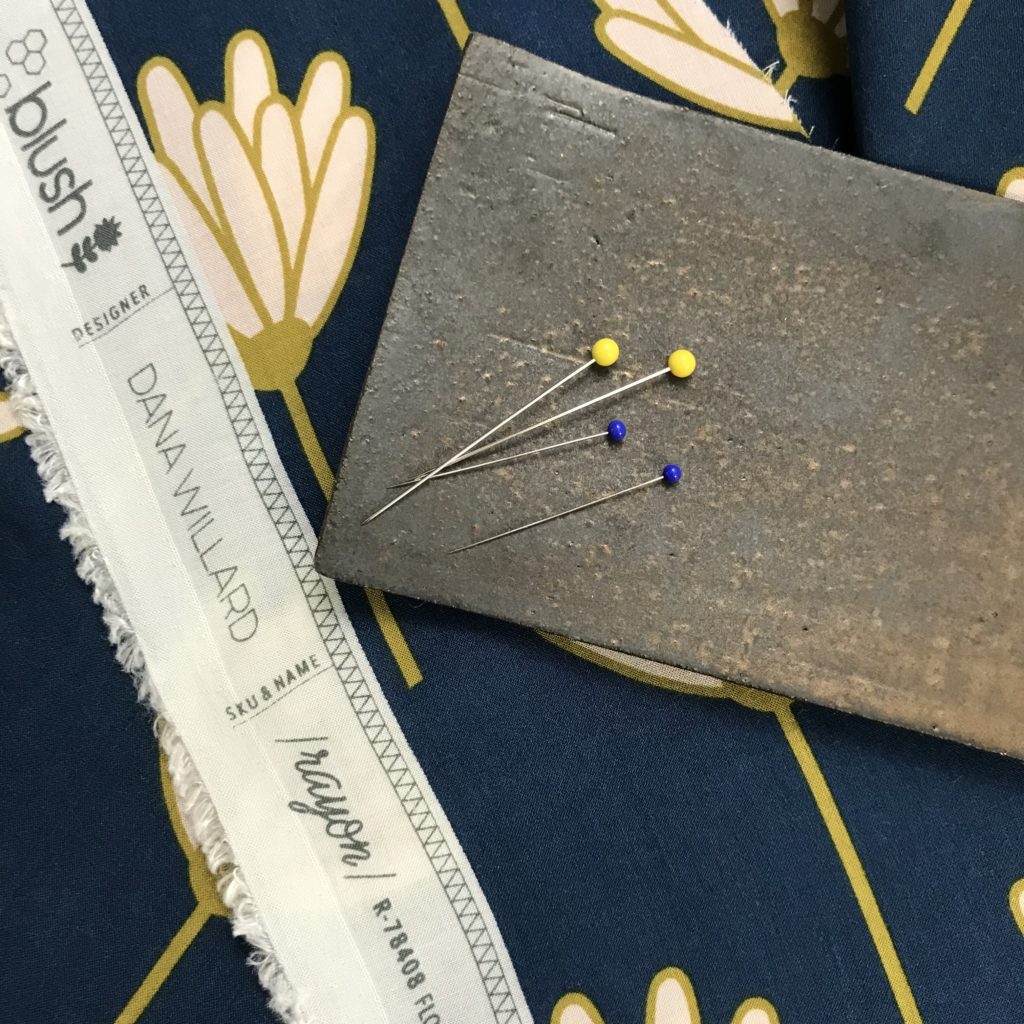
For the right statement fabric, I chose Floret Sunkissed from the Blush fabrics collection by Dana Willard as the shell.  For the interior, I used Hex Rose from the same collection, but in quilting cotton.  AGF Solid Knit in Sahara Sun was a great complementary color to really make this jacket pop and add some fun!

While working through the jacket, it was very important to reinforce the high stress areas since rayon is so delicate.  I used Pellon 906F interfacing around all the metal zippers (due to their extra weight) and even on the exterior yokes to provide some additional structure as well.

These zipper pockets are such a great detail.  However, the pattern called for a 5″ zipper opening.  After taking 1/2″ allowance away for the zipper head and stopper, I would be left with a 4.5″ opening….which is pretty tight (and I have small hands!)  I increased the opening to 6″ for a little more room to maneuver because I HAVE to use pockets if they are there.

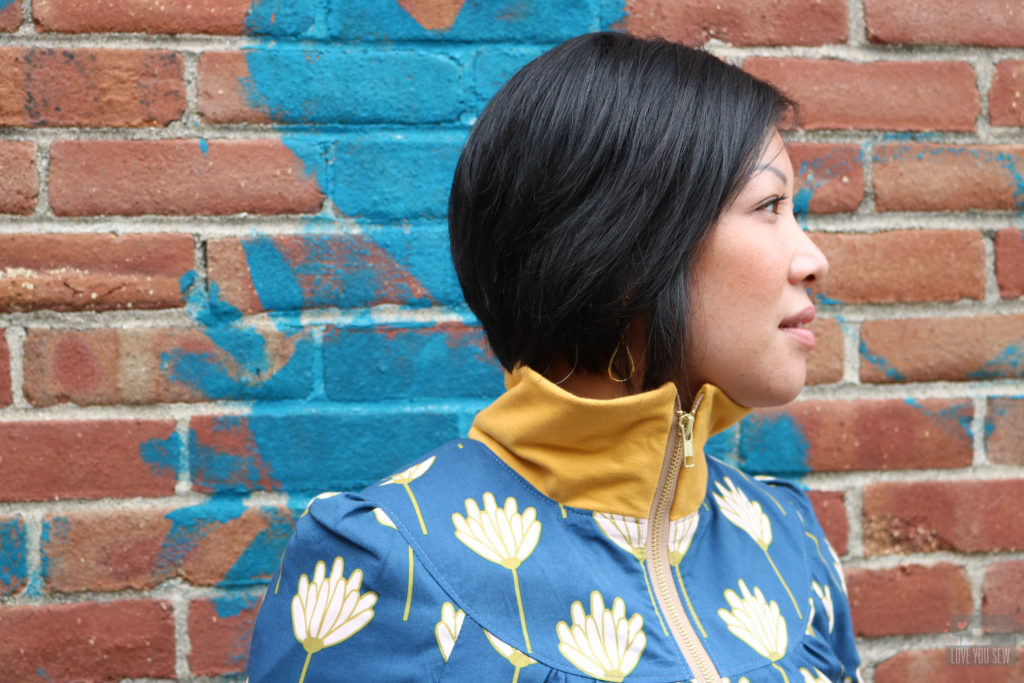
With the track collar, I wanted it to stand up when zipped, but it also needed to handle the weight of the metal zipper.  So I doubled up the layers of the Solid Knit jersey.  Not only does the collar stand up (mission accomplished,) but it keeps my neck extra warm!

For the construction of this jacket, I used Polyester thread throughout for the strength.  A jacket is going to experience a good bit of wear and this thread allows for a bit more give and movement.  However, I used matching Sulky Rayon Thread for all of the top-stitching to match the sheen of the fabric.  I’m pretty hooked on the look of rayon thread….it’s so beautiful!

The Cookie Blouson pattern itself, was not too difficult.  Even with the zippers, I would rate this as advanced beginner.  But then came the lining…   It was a free add-on via a few blog posts by Waffle Patterns.  The pattern designer’s first language is not English, so the translations were a bit rough.   I was pretty frustrated at some points, but made it work.  I would consider the lining at an intermediate level because you are essentially drafting your own pattern pieces.  If I would’ve known this beforehand, I probably would’ve skipped the pattern altogether because I needed a lining with a rayon shell.  But, of course, I love the final product 🙂

I’ve made a handful of Rayon garments, and have a few tips I’d like to share:

  • For accurate cuts, I cut on the floor for an even cutting surface…especially if you are pattern matching.  Any fabric hanging off the edge of a cutting table can pull and distort your cut.
  • Don’t be shy with fabric weights.  This points to the slippery and shifty nature of rayon.  You want an even and accurate cut.  Iron and smooth out your fabric with your fabric aligned and then set the weights down.
  • A small rotary cutter is great to cut out patterns because scissors can cause movement and shifts in your fabric as you cut.  (This doesn’t matter as much if you aren’t pattern matching.)
  • I use ultra fine pins (with the blue heads, shown above) for construction.  The traditional quilting pins (with the yellow heads) are a bit larger and can cause pulls in the fabric.  With the slippery rayon, I also use a lot more pins that I would with cotton – probably twice as many to keep my fabrics aligned together.

Project Summary:

  • Exterior Shell Fabric:  Floret Sunkissed Rayon by Dana Willard for Art Gallery Fabrics
  • Lining Fabric: Hex Rose Quilting Cotton by Dana Willard for Art Gallery Fabrics
  • Accent Knit: Sahara Sun Solid Knit by Art Gallery Fabrics
  • Pattern:  Cookie Blouson by Waffle Patterns
  • Piecing Thread:  Gutermann Polyester
  • Top-Stitching Thread: Sulky Rayon 50 wt
  • Zippers: YKK Brass separating and jeans zippers in Camel by Wawak Sewing Supplies

Don’t forget to stick around all this AND next week for the rest of the #AGFrayonbloghop.  I’m so excited to check out all of the projects alongside you!

Monday, October 9 – Cristy @loveyousew_ (you are here!)

Tuesday, October 10– Nicole @modernhandcraft

Wednesday, October 11 – Sarah @sariditty

Thursday, October 12 – Jesy @needle_ink_and_thread

Friday, October 13 – Danyella @madesewmodern

Monday, October 16 – Nichole @wildboho

Tuesday, October 17 – Cynthia @cnytz51

Wednesday, October 18 – Vicki @orchidowlquilts

Thursday, October 19 – Amanda @pinkmandarinhandmade

Friday, October 20 – Jenn @jennrossotti


I hope you have found some inspiration or just enjoy some fabric eye-candy!  Do you have a rayon project lined up or on the wishlist?  I’d love to hear what you would make.


Happy Sewing Friends!

Cristy


***This post was sponsored by Art Gallery Fabrics.  While the fabric was provided for the post, the ideas, execution and post are all my own work and words.  Please also note there are affiliate links which help run this blog.  Thanks for your support!
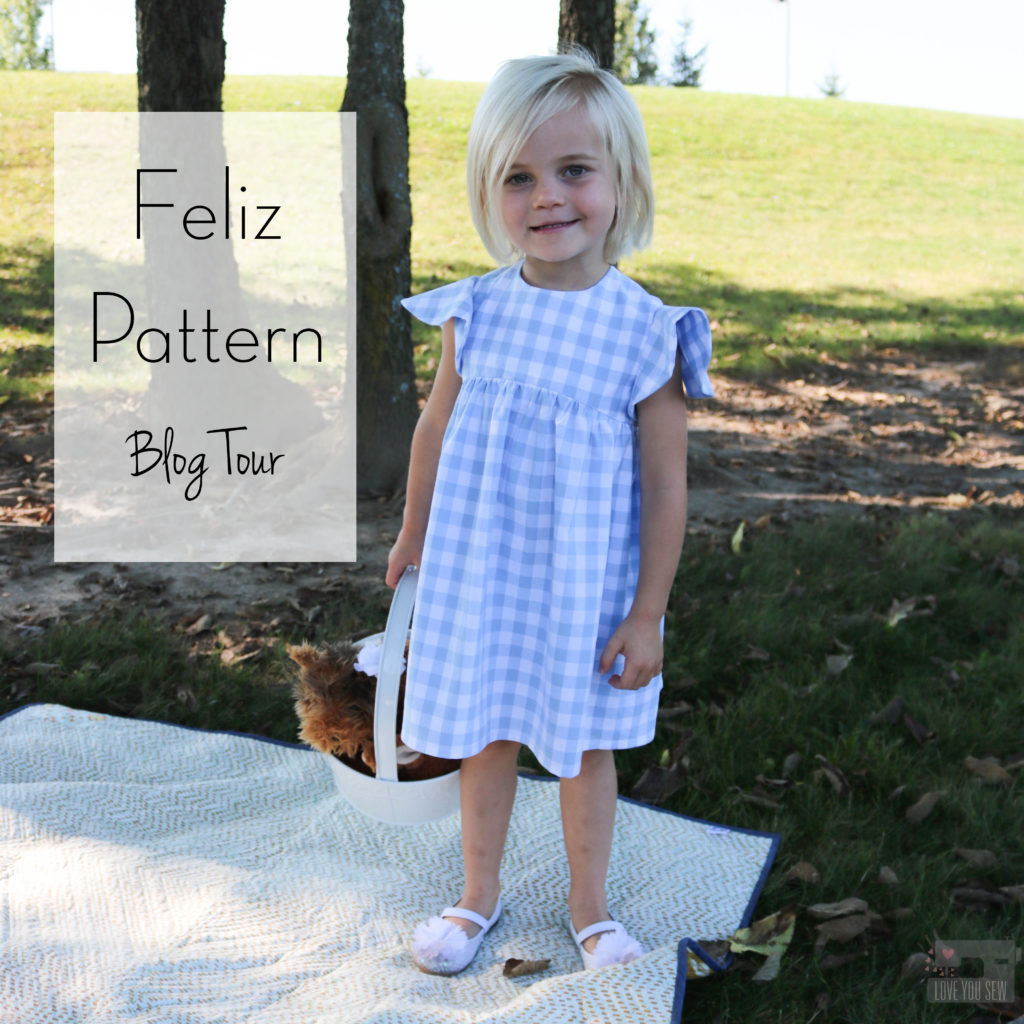
Feliz Pattern Blog Tour

I love Straightgrain patterns.  That’s it…’just gonna put it out there.  You know I can’t stop making girls’ dresses and An’s designs are always at the top of my list.  She creates children’s garment patterns with beautiful clean lines and they are just so chic!  You can read about my previous Nova dress here

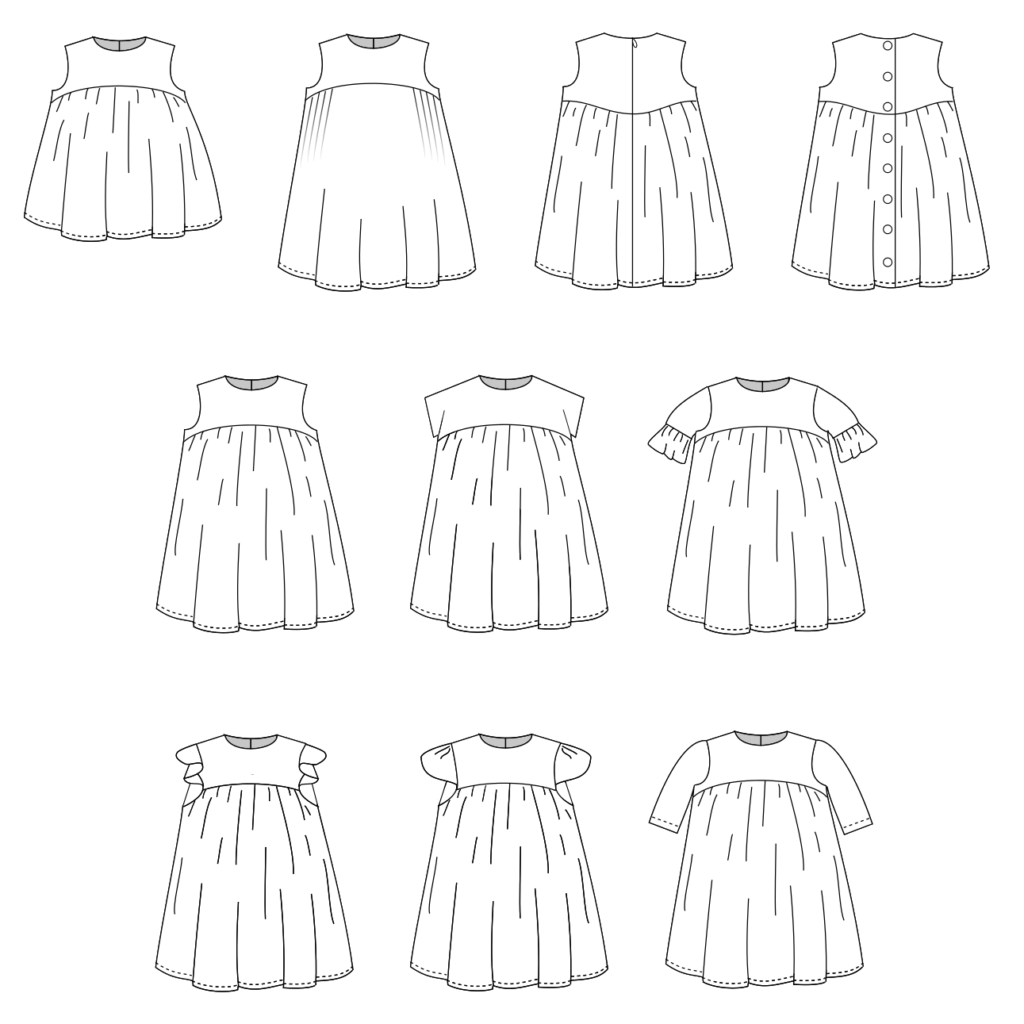
Straightgrain patterns always includes several variations to give you a number of different styles and the Feliz is not different. You can choose from a PDF or paper pattern from her online store here.  With the pattern, you can make a tunic or dress with 6 different sleeve options, two different back closures, and two different skirts.  It’s great to get so much versatility out of one pattern and I think An’s are a great value for all which she provides.

Of course, I picked the dress version. I make all my dresses as gifts (since I’m a boy mom) and dresses count as a full outfit 🙂 It makes me happy to work on a tiny garments (purely because of the cute factor) and my nieces are happy to get some custom clothes.

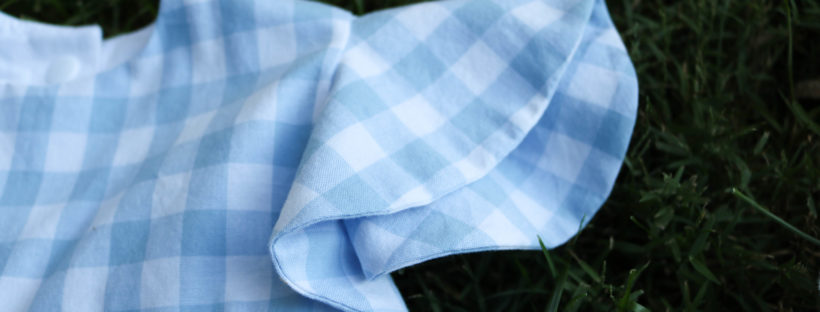
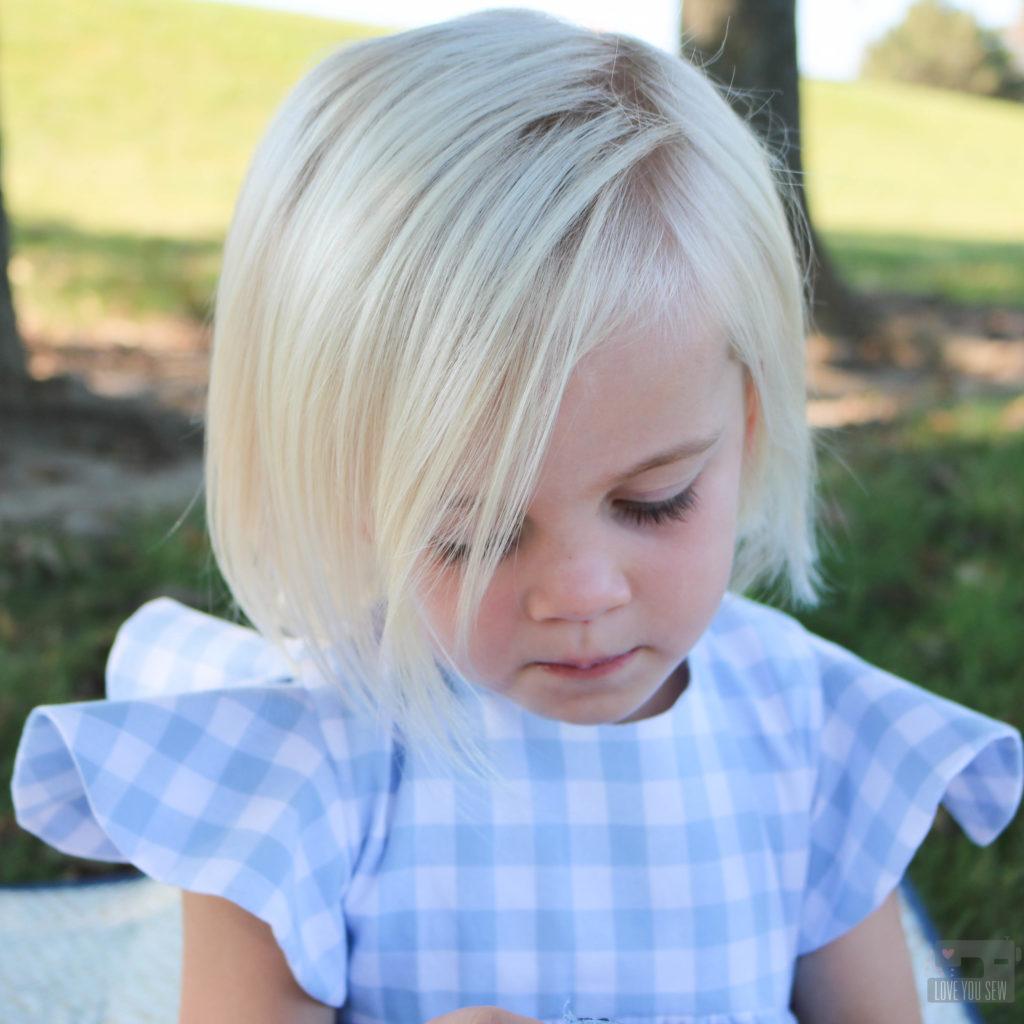
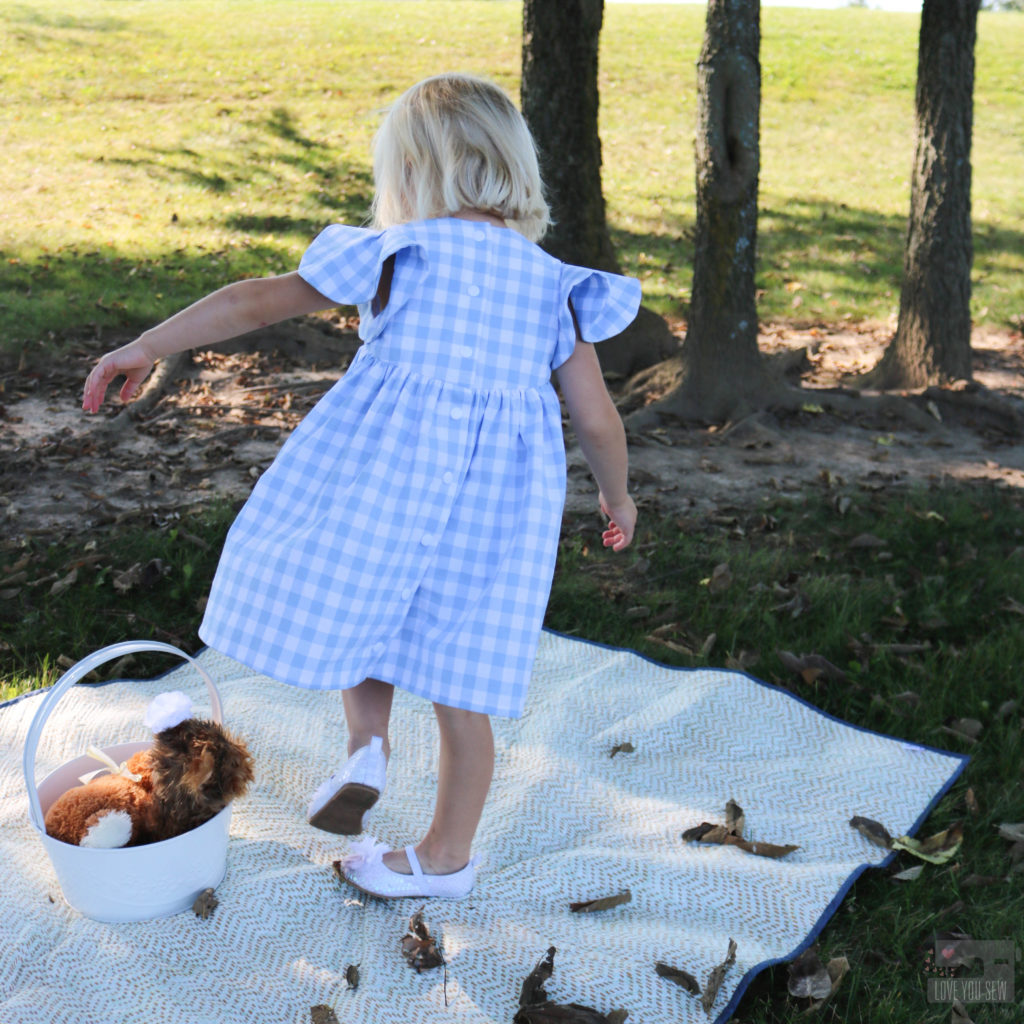
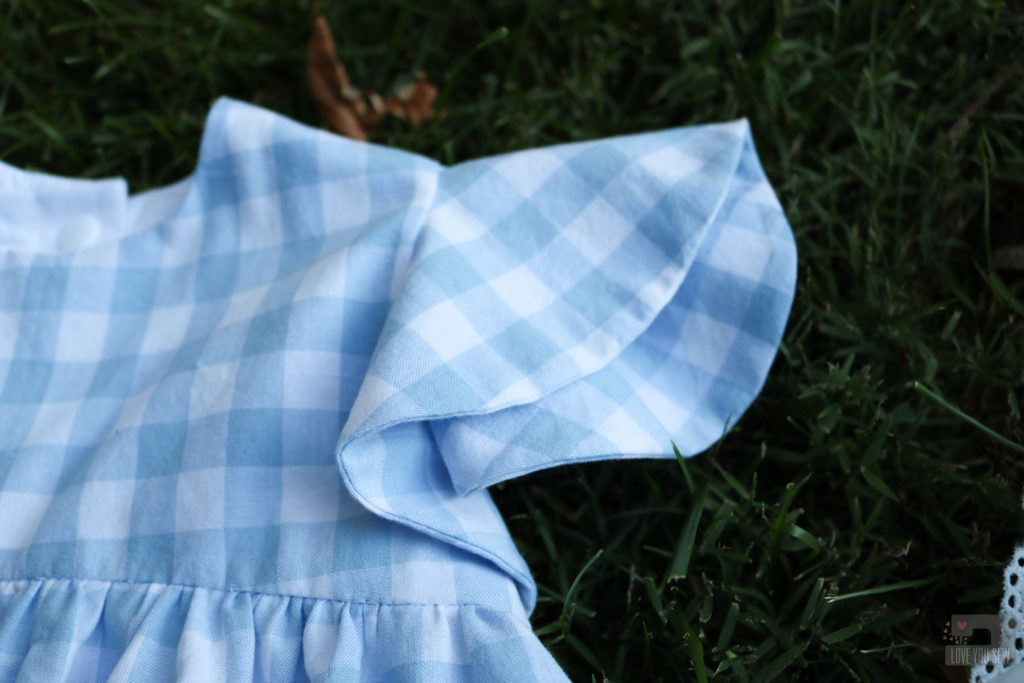
Did you see the flutter sleeve options?  SO cute!!! The soft waves are so feminine and really soften out this silhouette. It was hard for me to choose between the narrow and wide options. But I settled on the wider for just a little more arm coverage.

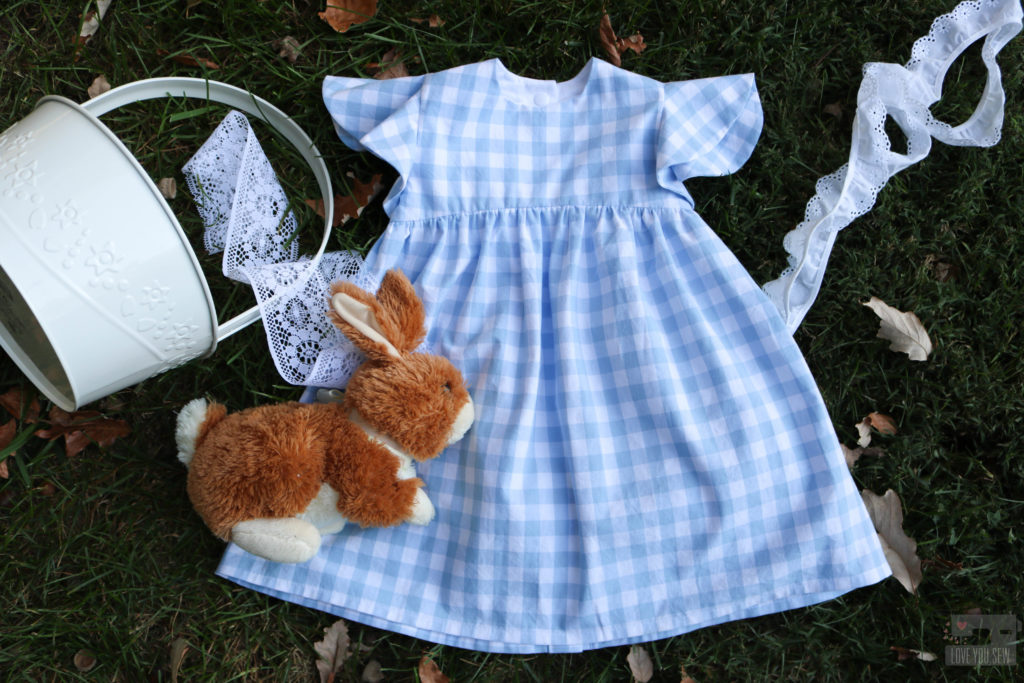
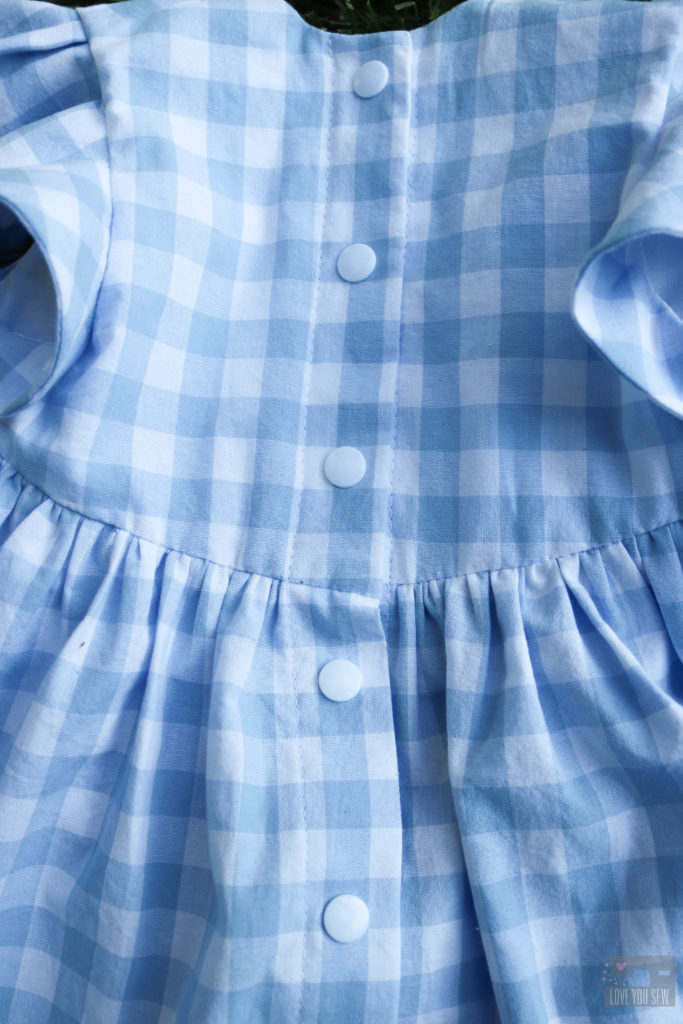
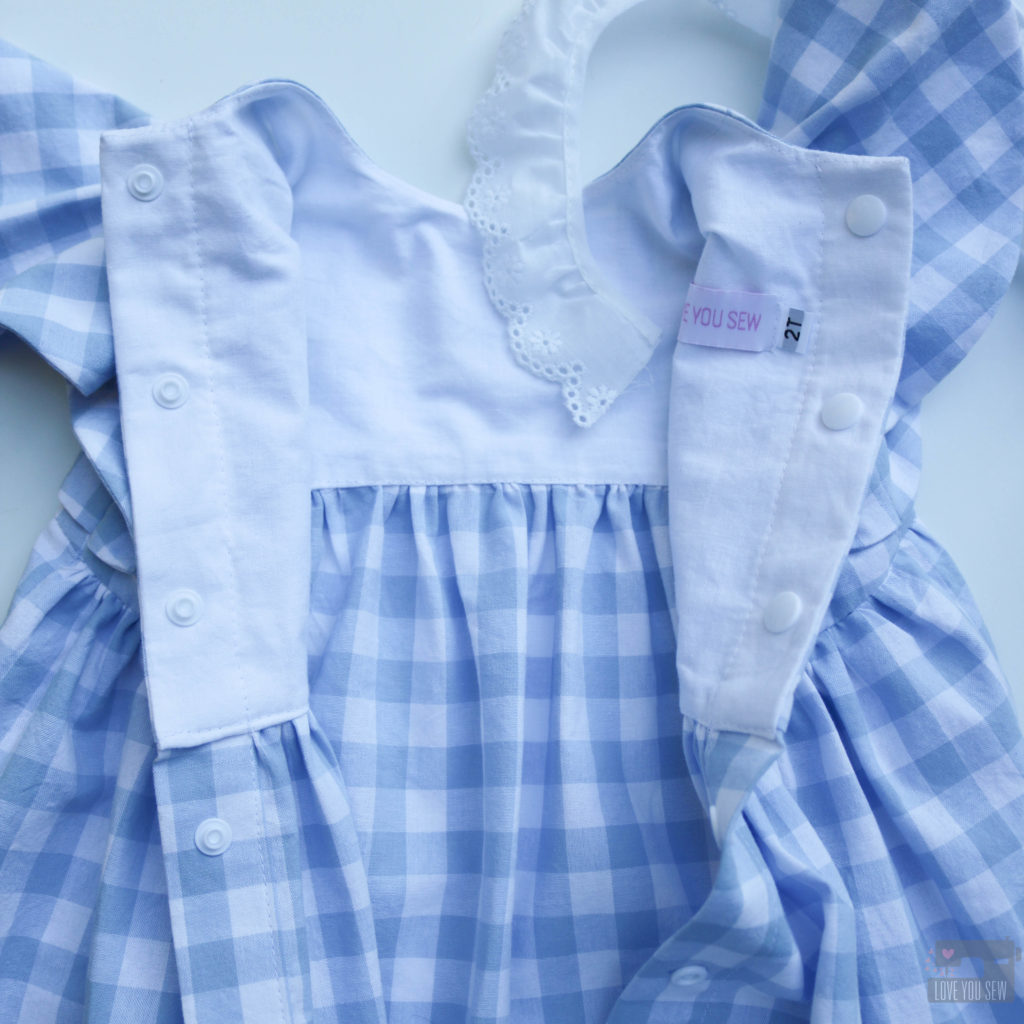
With the back of the Feliz dress, I knew I wanted to make a button closure. But instead of buttons, I used KAM snaps. I have quite a collection in my stash and they make for very quick dressing and undressing.


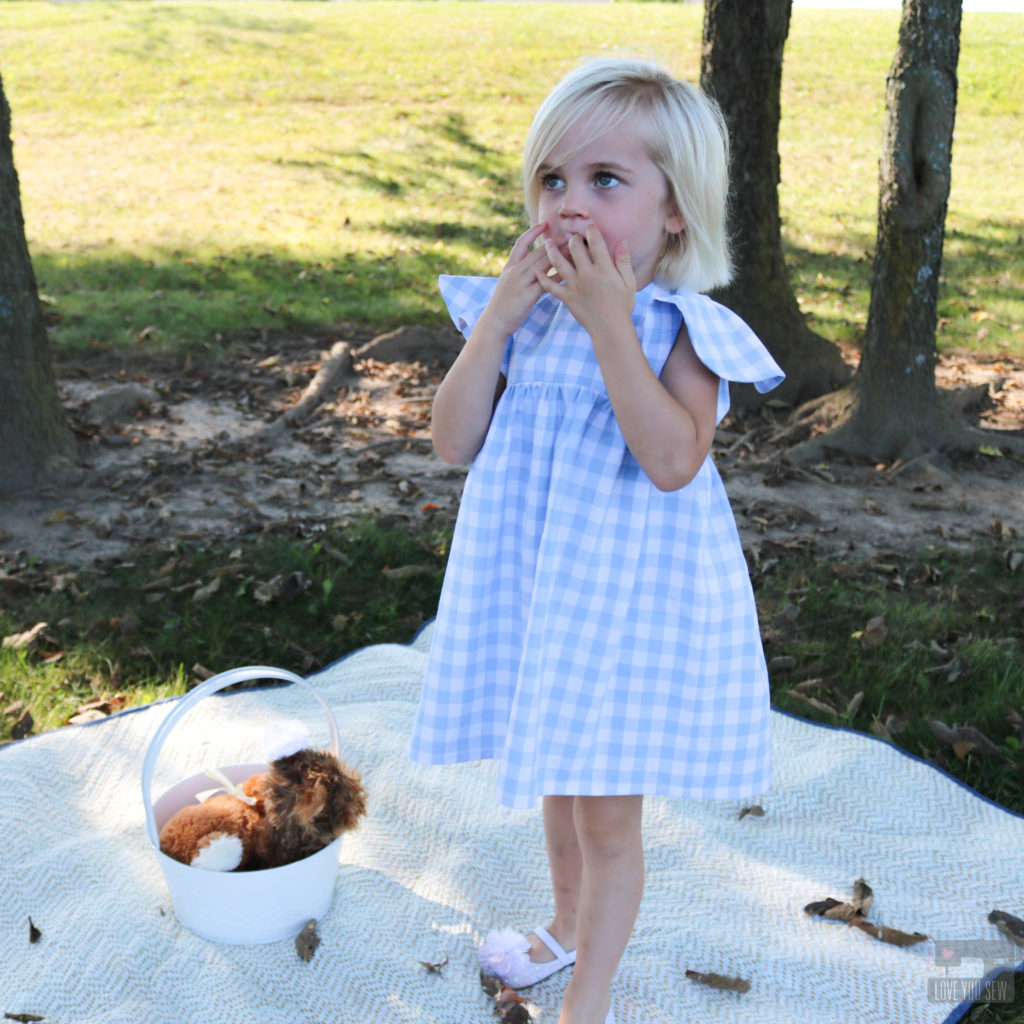
I happened to have Cotton and Steel’s yarn dyed gingham in Sky and was able to make this dress with just one yard of it!  There wasn’t enough left for lining, but Kona Snow worked in perfectly.  I’m so glad I saved the fabric from becoming a scarf (like I initially planned) because the Feliz is just the such a darling pattern and pairs well with this sweet fabric.

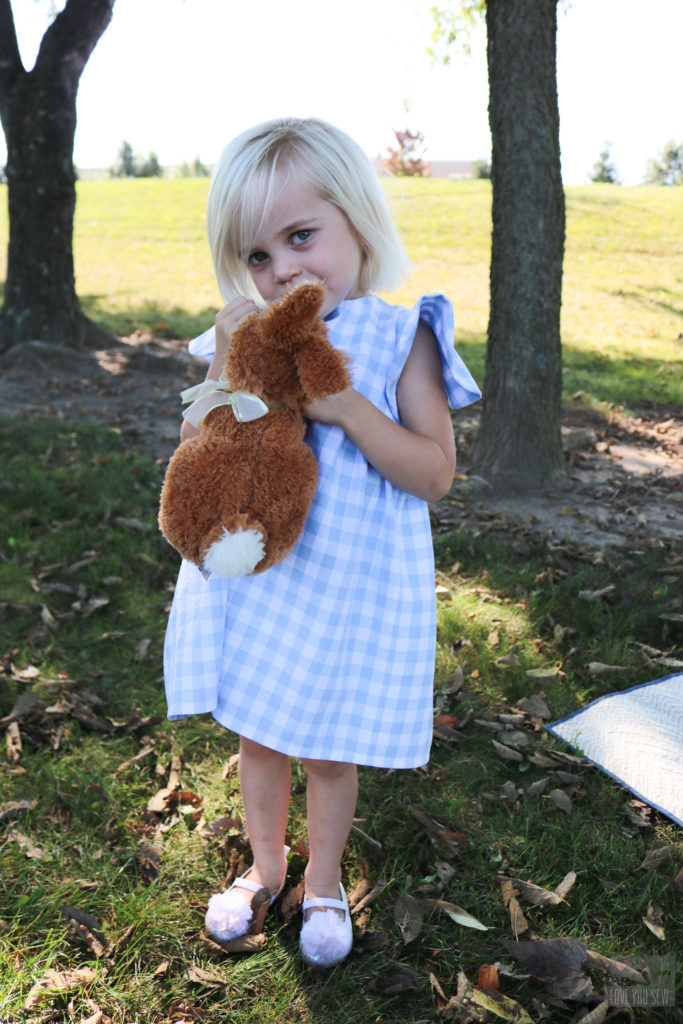
I think my model agrees! She would not take off this dress after our photo shoot.  Can you blame her at all?  I’m thinking I need some gingham love in my wardrobe soon…

The sizing is spot on with this pattern.  My model is a 3T for length, but is still pretty slim, so the 2T fit her well…and of course, I pre-washed all the fabric so there is no surprise shrinkage.  The dress hits her at just the right spot on the knees and is the perfect for some playtime!


I like the lift on the sleeves with a woven fabric.  It adds a little more drama 🙂  But if you used something lighter, like a double-gauze, it would be more draped.

I really love the versatility of this pattern and can’t wait to make a few more!  What combo would you make?

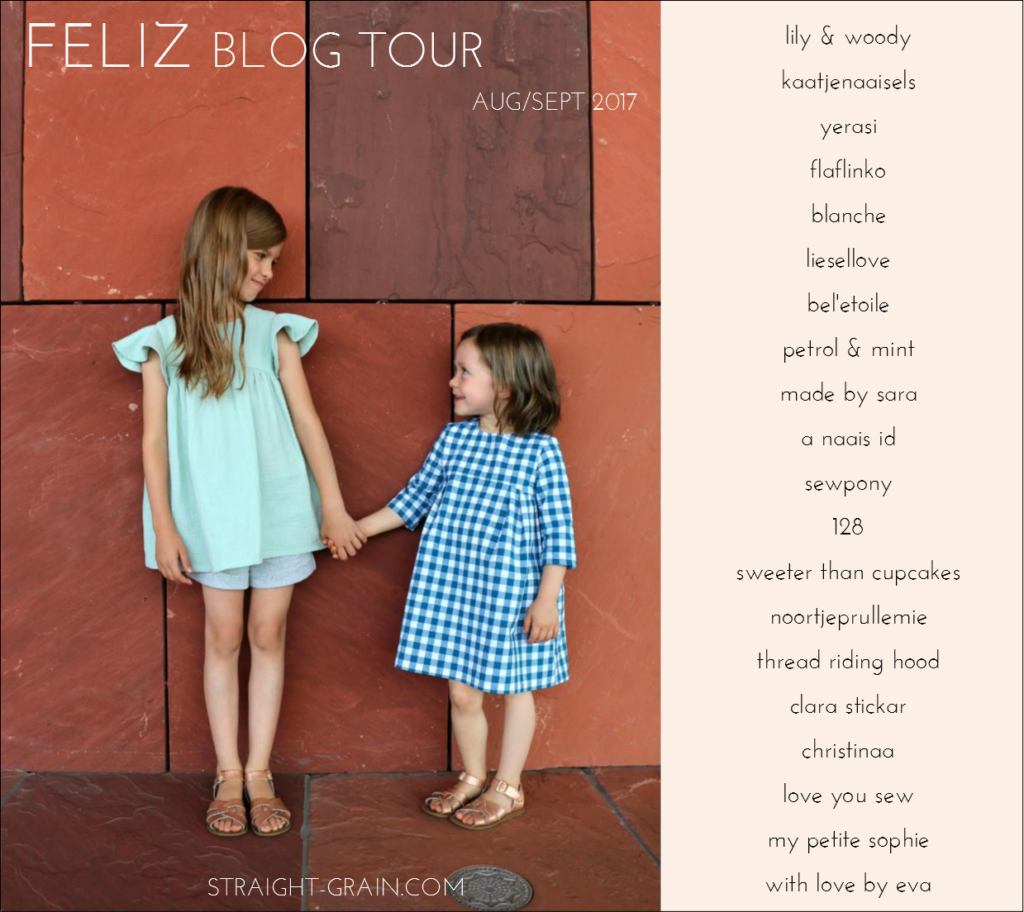
If you need even more Feliz eye-candy, please check out #felizpattern on social media and visit all the bloggers part of the blog tour:

Happy Sewing Friends!
Cristy

Moss Skirt {Review #2}

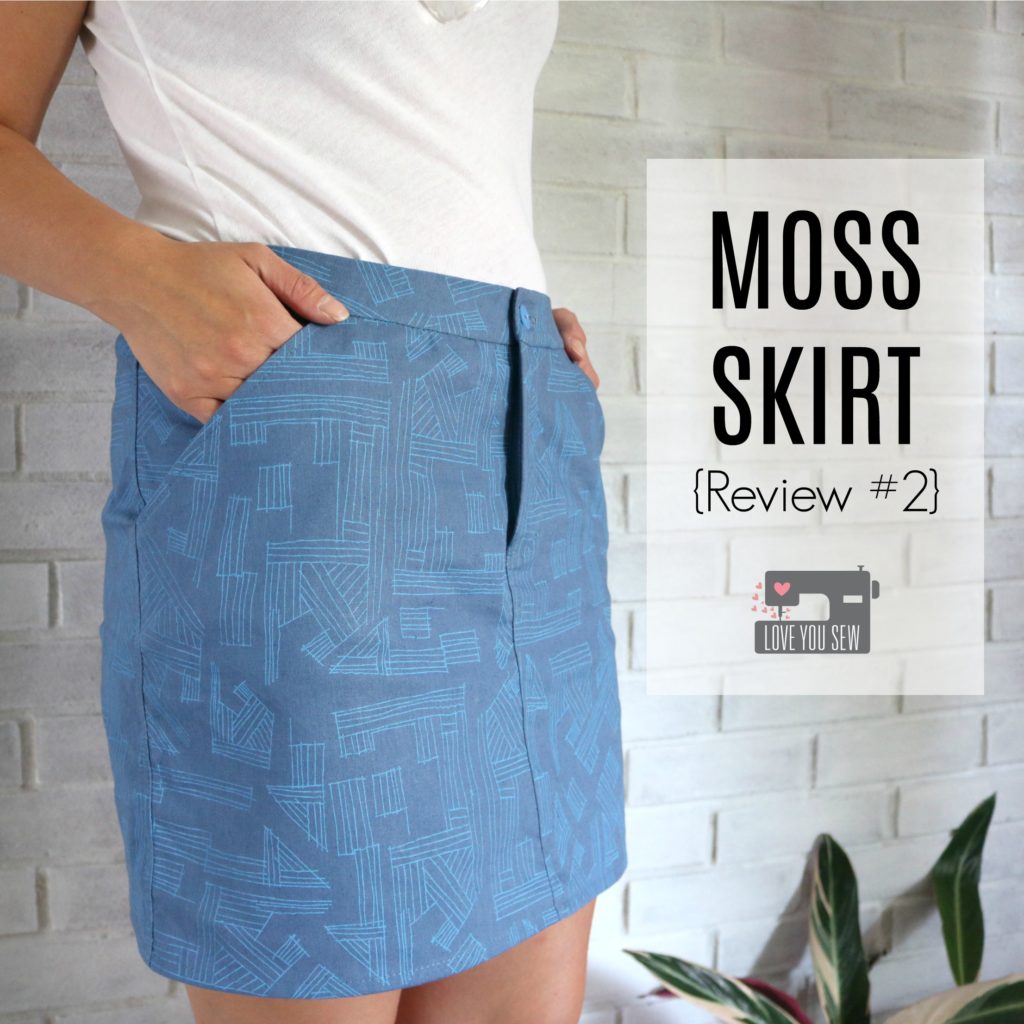
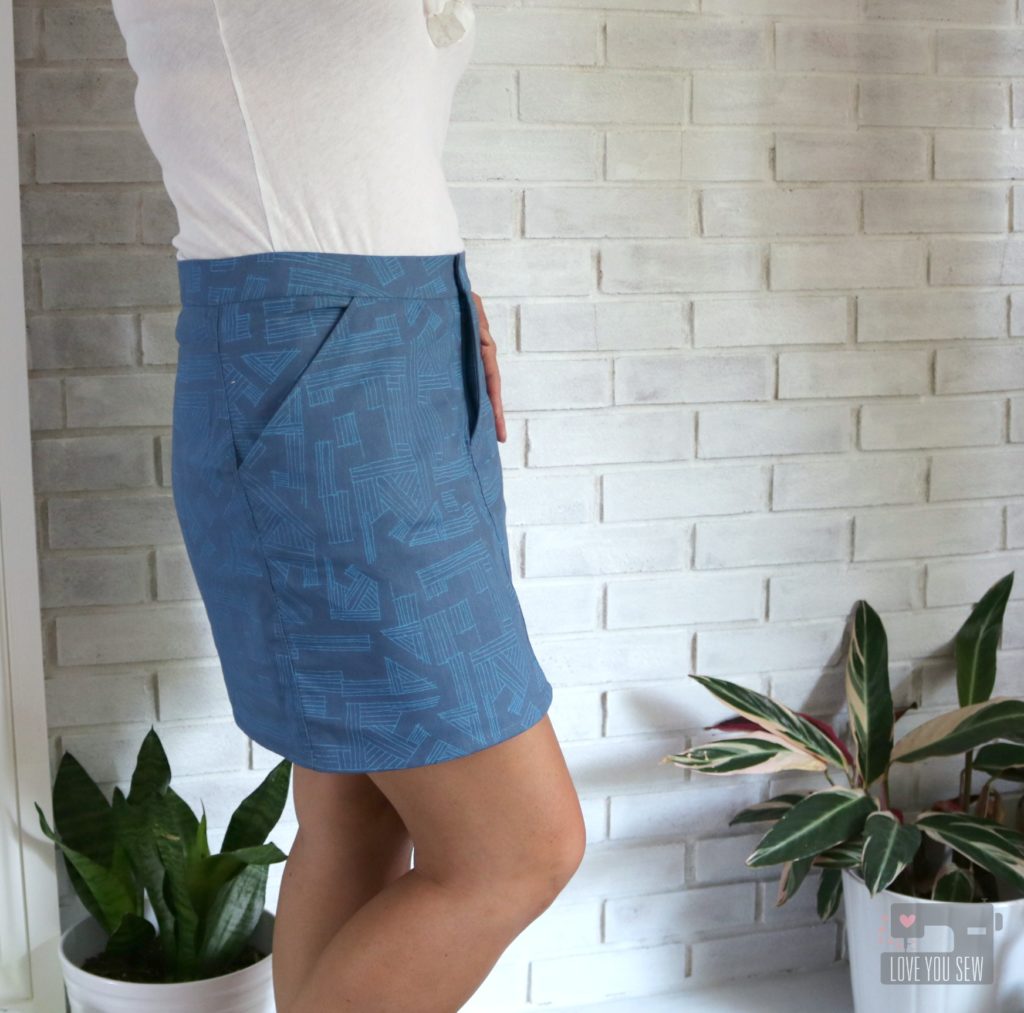
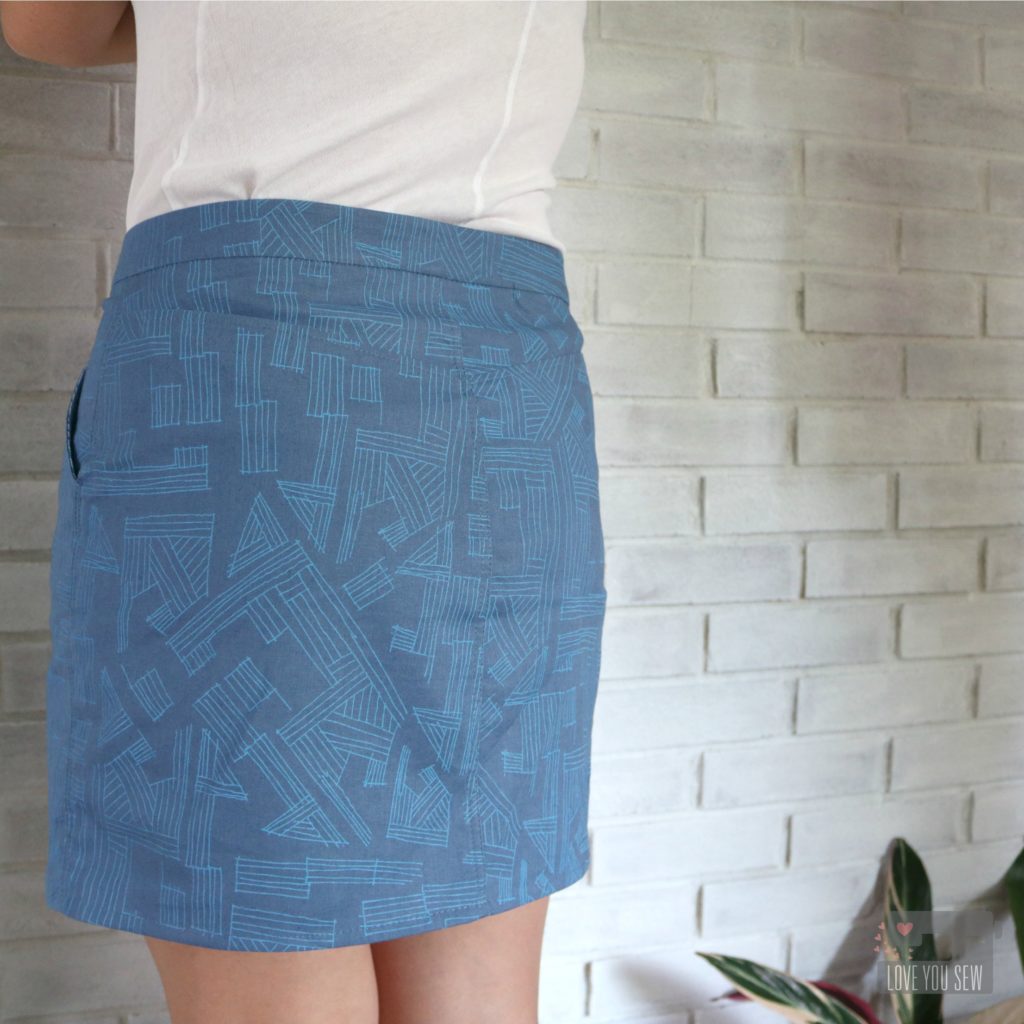
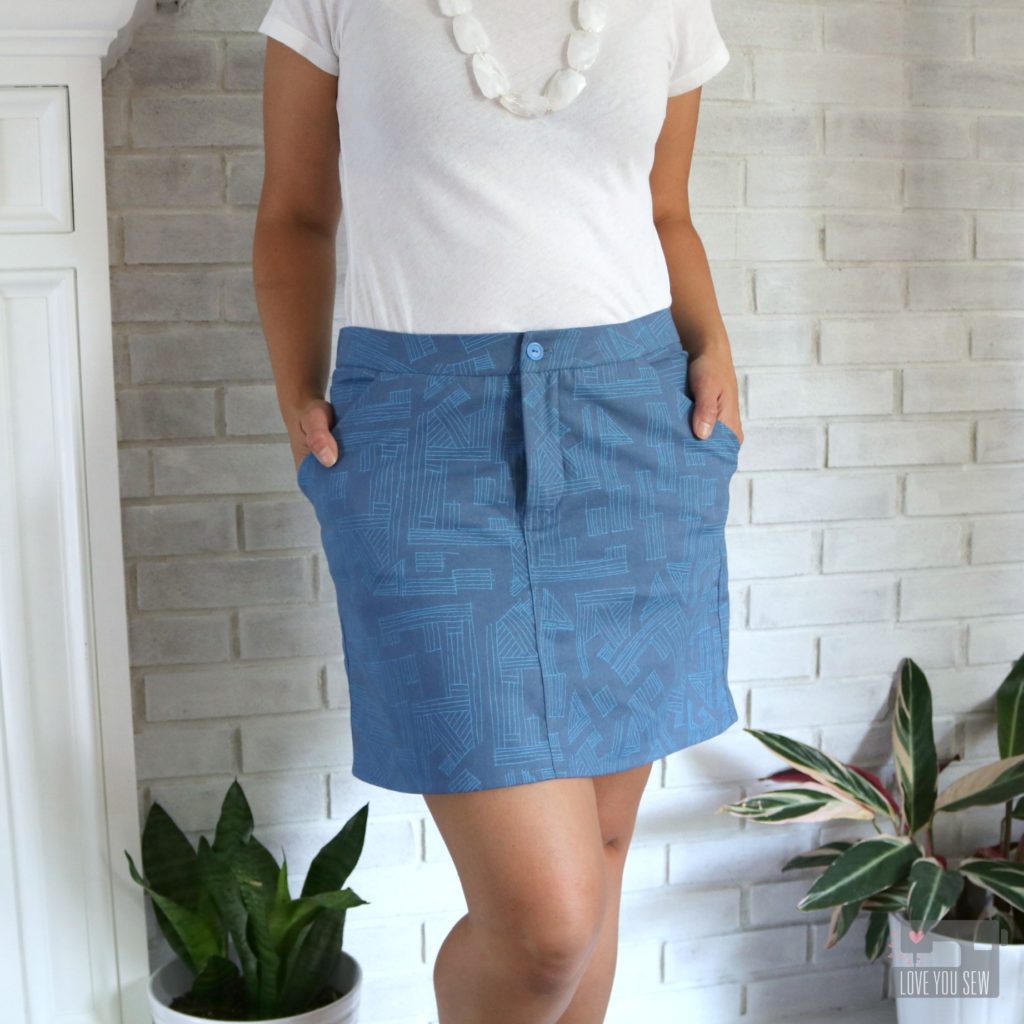
I had my fabric selected for my Moss Skirt by Grainline Studios months ago…hoping to be able to wear it all summer long.  But as you know, life just happens and selfish sewing gets put on the back burner.  This is the second one I’ve made and love it even more than before.  For the first one I made over a year ago, you can read about it here.

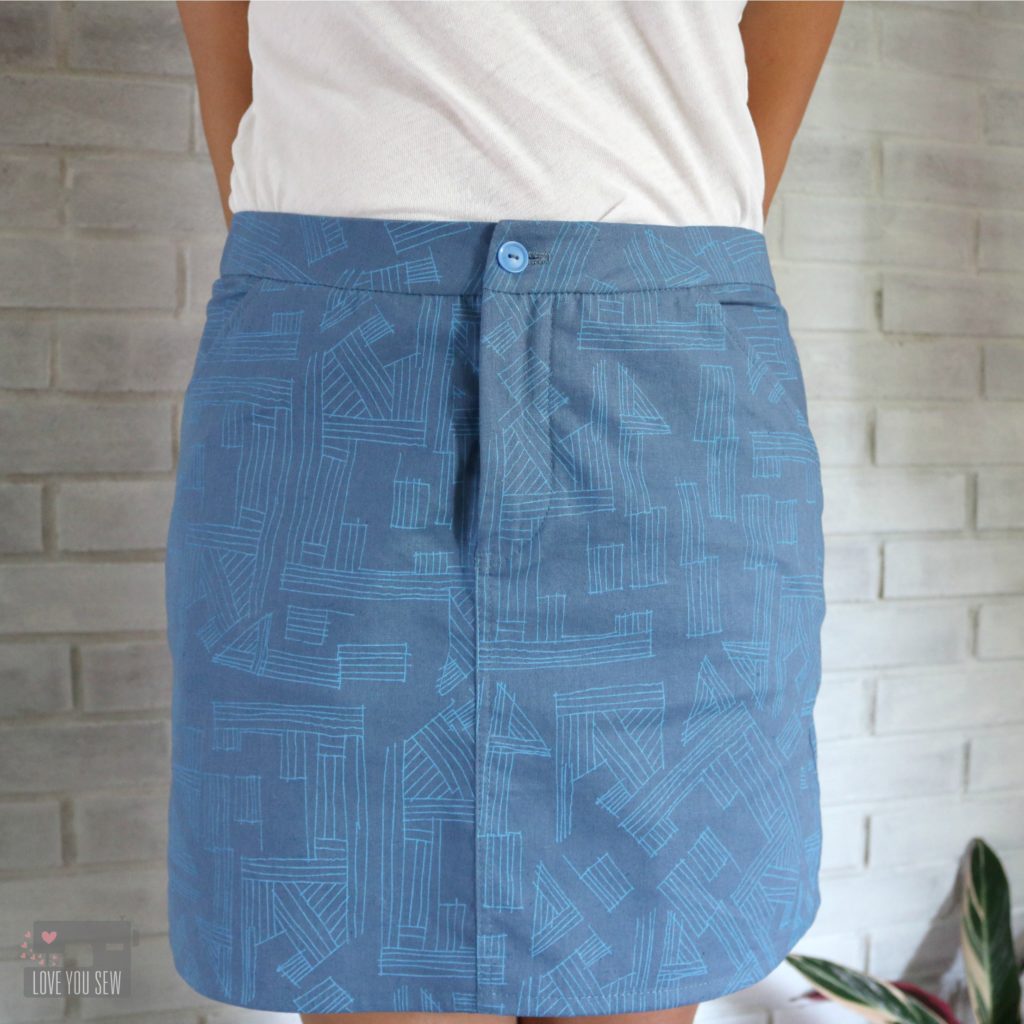
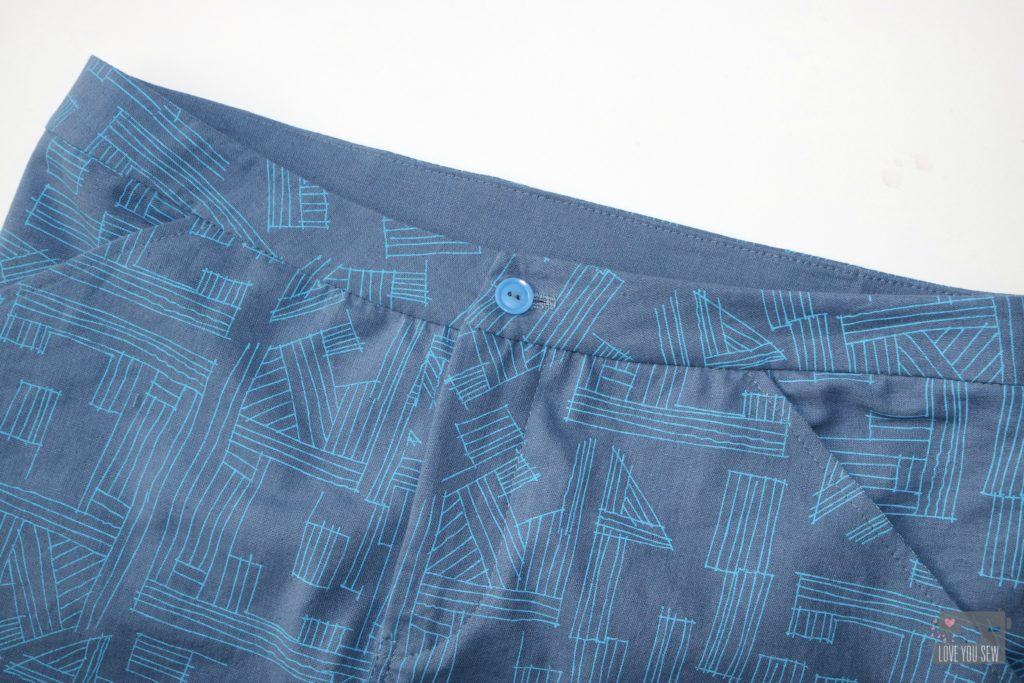
For this version, I used Euclid fabric in Cadet which is a printed linen/cotton blend.  This is slightly heavier than quilting cotton, and makes for the perfect summer weight skirt. With the blend, you get the texture of the linen, but not all the wrinkles. I’m all about less ironing!  By making View A this time, I was able to make this skirt out of one yard of fabric (minus the pockets.)


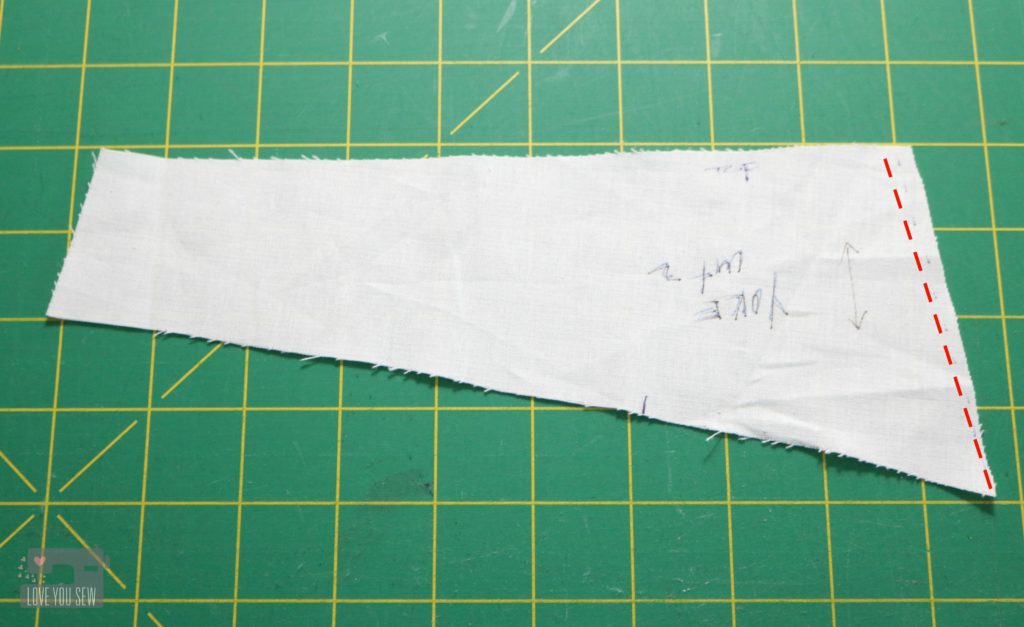
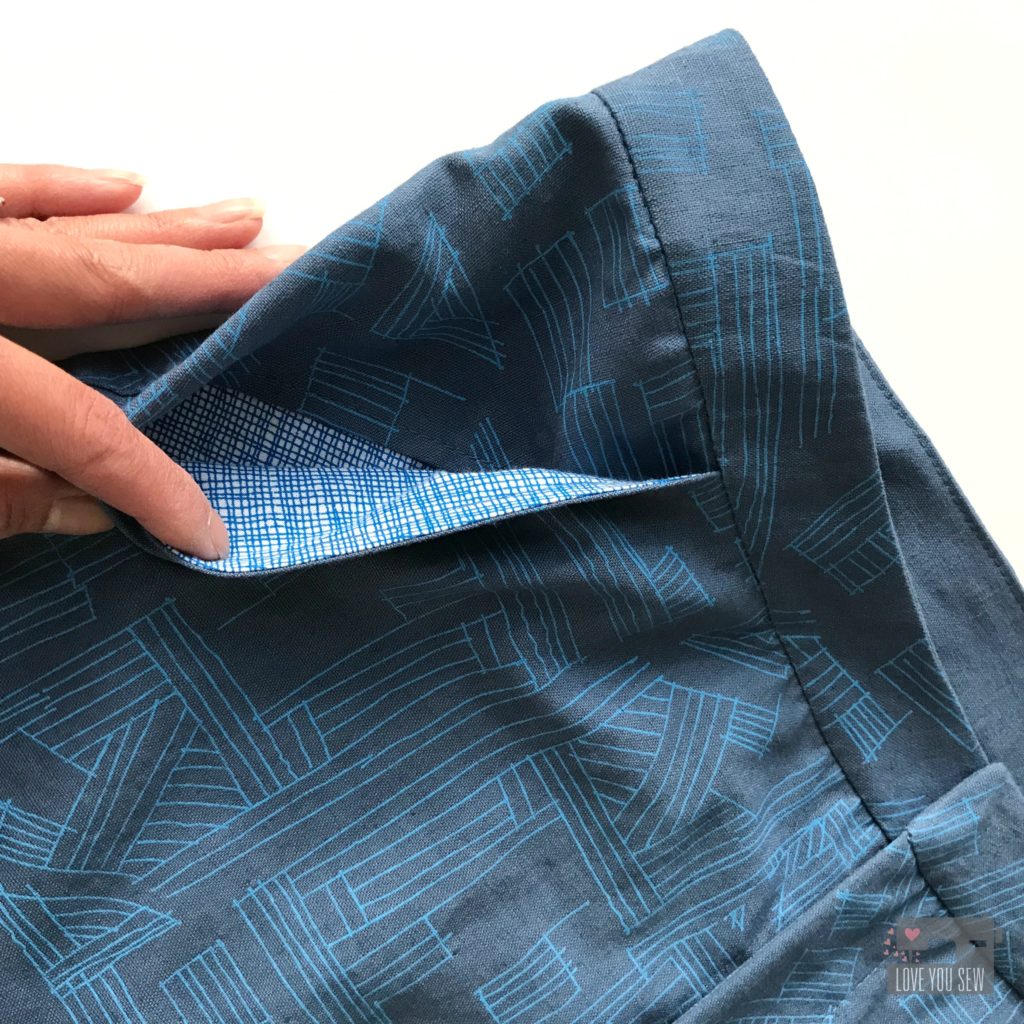
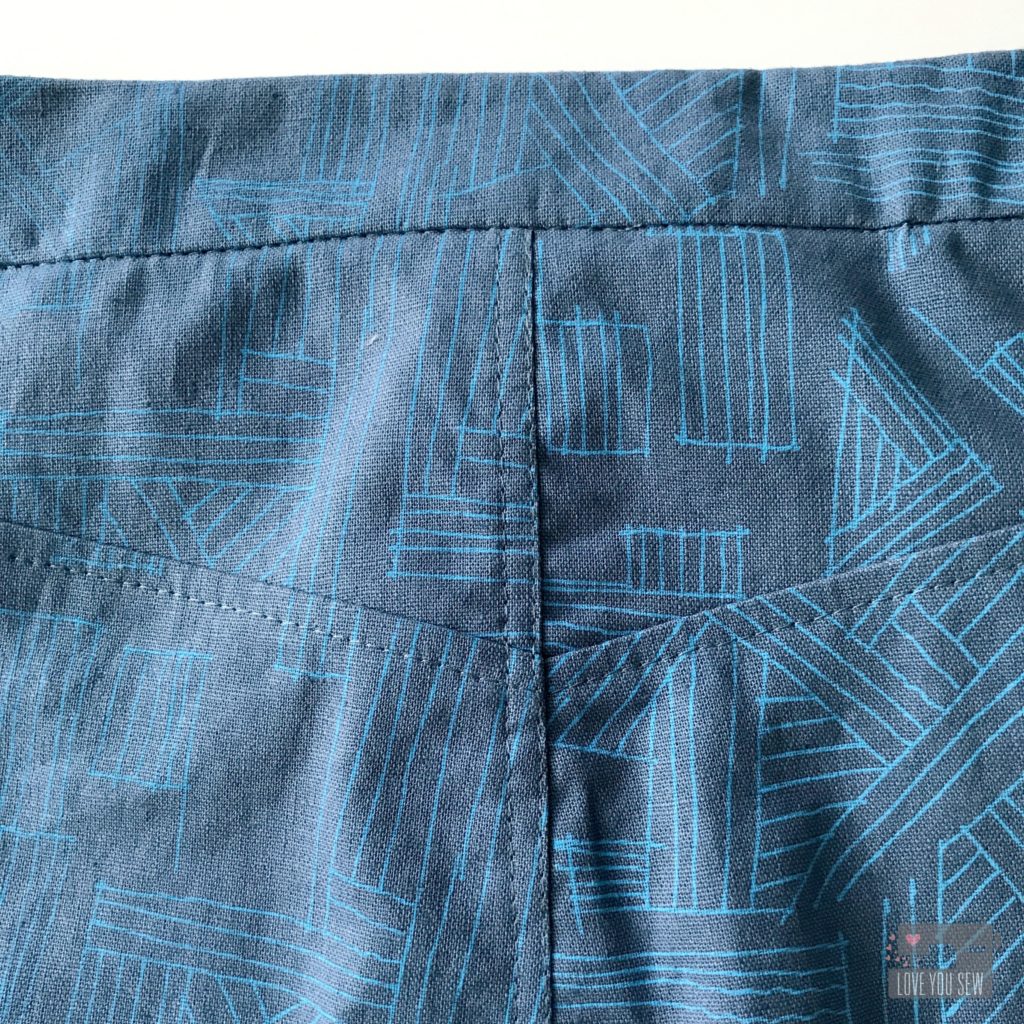
After learning from my first Moss, I knew I had to adjust the back yoke to get rid of the gap. You can see (on the dotted line above) how I cut into the yoke pattern piece on an angle to leave the room for my rear but move the waistline closer to my back.

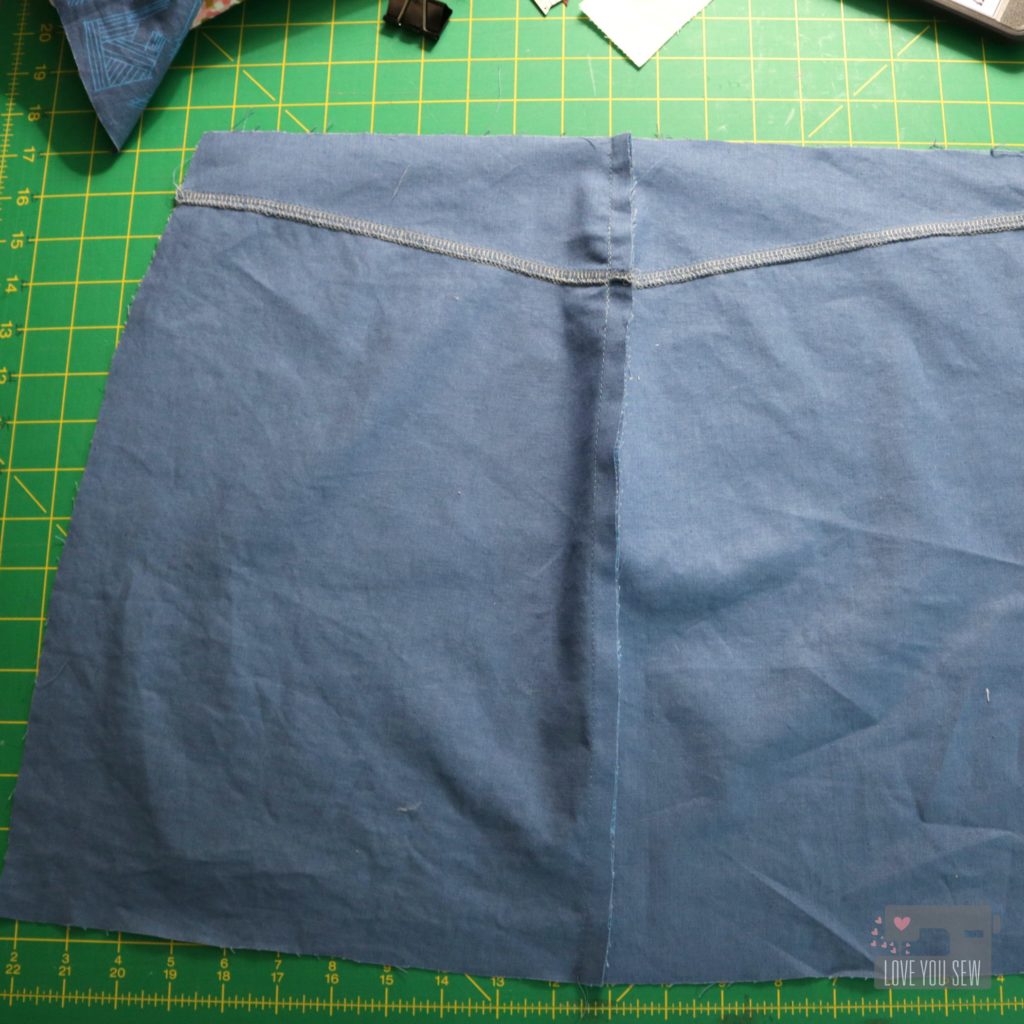
The other other learning was to keep my vertical seams unfinished until I was ready to add the waistband and hem. This allowed me to make just slight tweaks to curve my seams, if needed. Once I was satisfied with fit, I serged my seams.


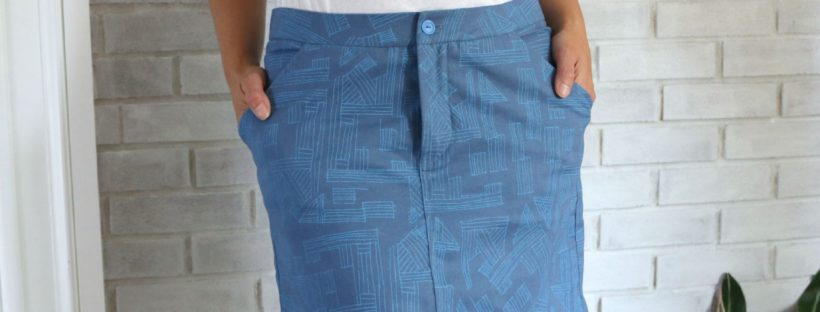
For some fun and to keep the silhouette smooth, I used Architextures Gridlines for my pockets. This allowed me to use some scrap fabric and reduce the bulk if I would’ve kept to the same cotton/linen blend.

As I moved through the pattern pieces, I mimicked the same top-stitching as seen on a pair of ready-to-wear jeans. I love how it turned out! Be sure to increase the stitch length and go slowly to ensure nice straight line.

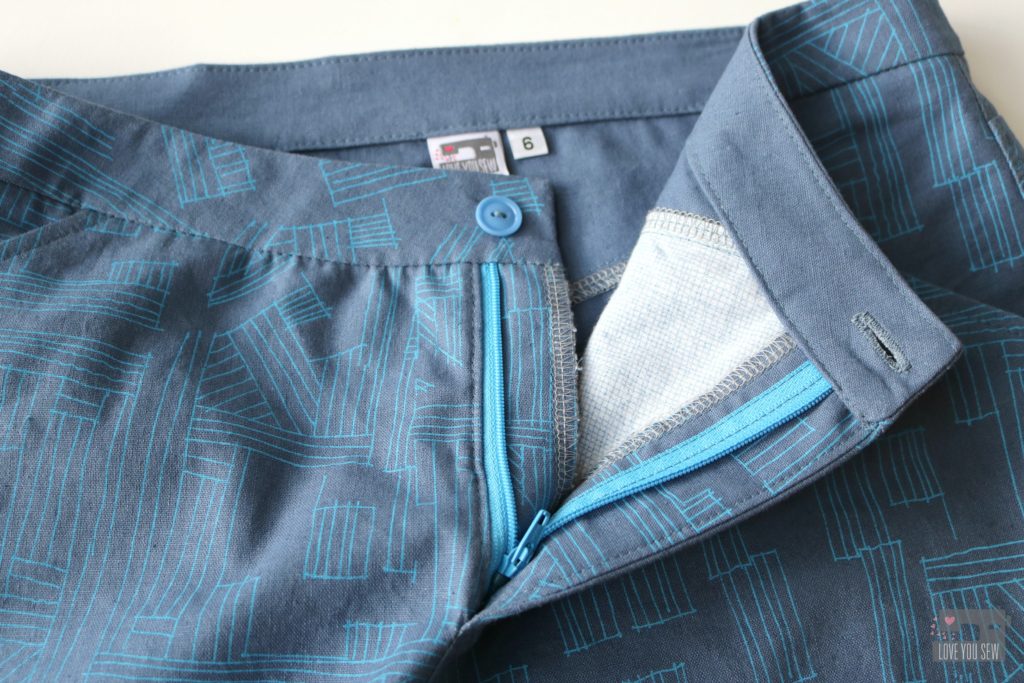
The great thing about making your clothes, not only for the custom fit, is being able to add so many special touches.  Like the pockets, I added a contrasting zipper and button for fun.  The button came from my MIL’s long hoarded collection and it reminds me of her as I wear this new garment.

For the waistband, I decided to machine stitch the inside down verses slip-stitching it as the pattern calls.  I’m a busy mom and I try to machine wash and dry as much as I can.  For me,  a machine stitch would just hold up better with my lifestyle.  This lady does not have time for all that hand-washing!  I pressed the interior band down just wide enough to just cover the seam and stitches.  (If you have any branding or sizing tags, this is the perfect time to pin them in.)  I used a Sewline glue pen to keep the interior waistband in place while I stitched-in-the-ditch along the exterior.  This allows me to just catch the interior band.


With View A, I hemmed as directed.  This length was perfect on my 5’3″ frame.  It hits a few inches  above the knee, but is perfect for the summer.  If I was any taller, this might be a tad too short for my “mom” lifestyle which requires a lot of bending up and down…and sometimes a bit of unexpected climbing.  🙂

As I’ve been building my handmade wardrobe, I’ve been selective in choosing some slimmer silhouettes for my petite frame.  I am heavier in the arms and legs, thus like to emphasize my waistline.  This is the perfect skirt pattern for just that.  The clean lines and waistband keep everything smooth to draw the eye up and down.  The printing on the fabric is just the right scale to keep everything in place and not over emphasize one part or the other. 😉

I love how I can pair this skirt with just a white tee and the outfit still looks polished.  I’m hoping to extend this skirt’s life with some heavy tights and cute clogs with a slim long-sleeve tee in the fall. Check out my IG feed to see how it pairs with a yellow and white striped tank and the other outfit pairings!


Project Details:

  • Pattern: Moss Skirt by Grainline Patterns
  • Exterior Fabric: Euclid in Cadet by Carolyn Friedlander for Robert Kaufman Fabrics from Fabric.com
  • Pocket Fabric: Architextures Gridlines in  by Carolyn Friedlander for Robert Kaufman Fabrics
  • Piecing and Top-Stitching Thread: Gutermann 236 polyester
  • Zipper: YKK from ZipIt Zippers
  • Button: Vintage (manufacturer unknown)


Happy Sewing!

Cristy


Please note there are affiliate links.

Rumi Tank Review

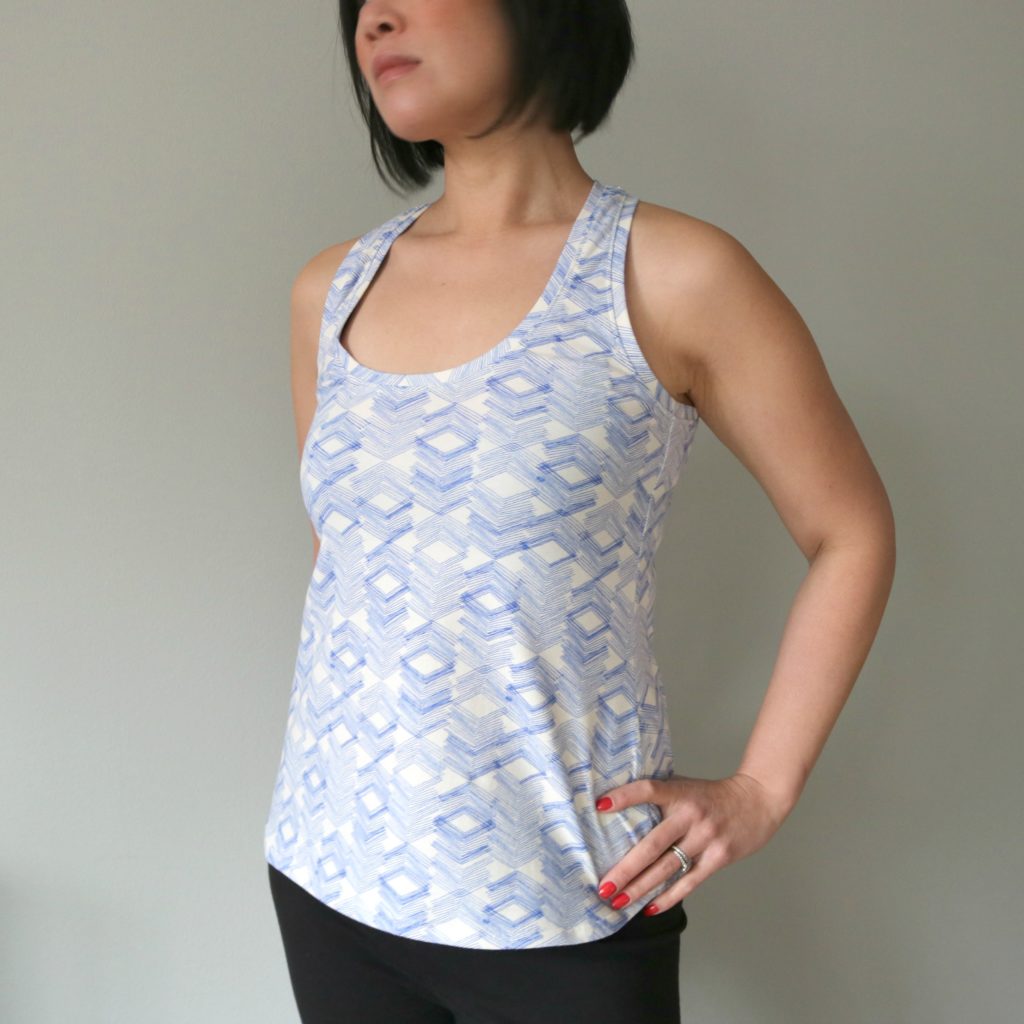
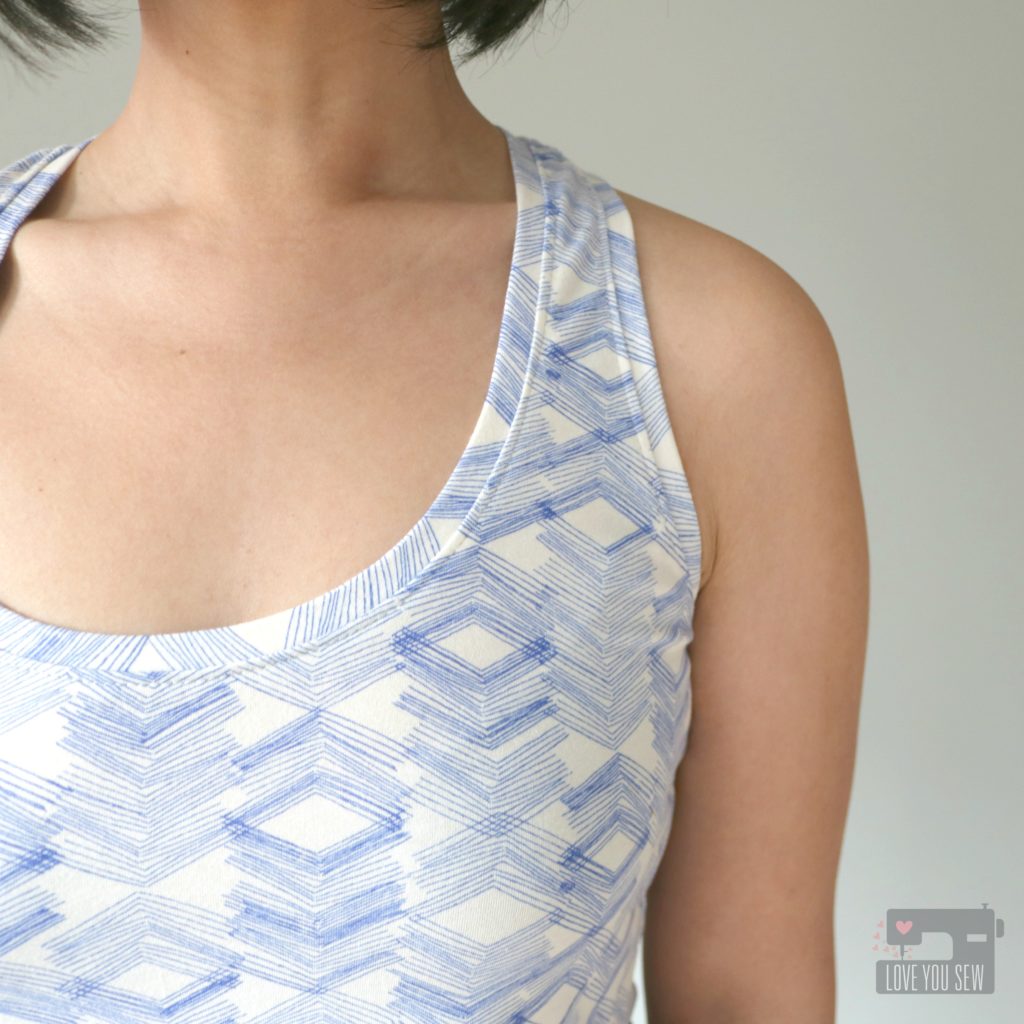
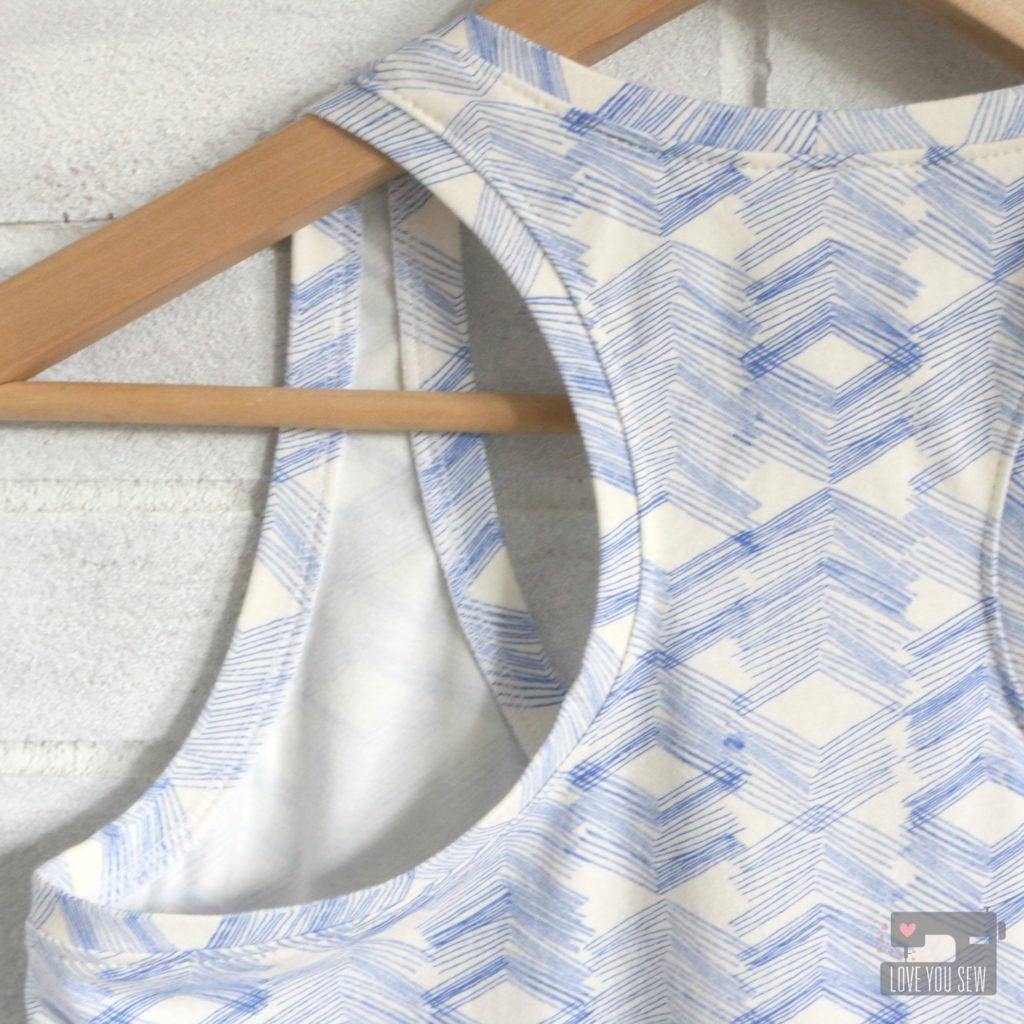
I’m a huge fan of racerback tops. I don’t know if I just have weird sloping shoulders or maybe the wrong bras, but any kind of spaghetti strap I wear, always falls down.  Over the years, its become pretty annoying having to constantly pull the straps back up.  I started to wear mainly racerback bras to combat my issue and then had to find new tank tops that would cover the new strap configuration.

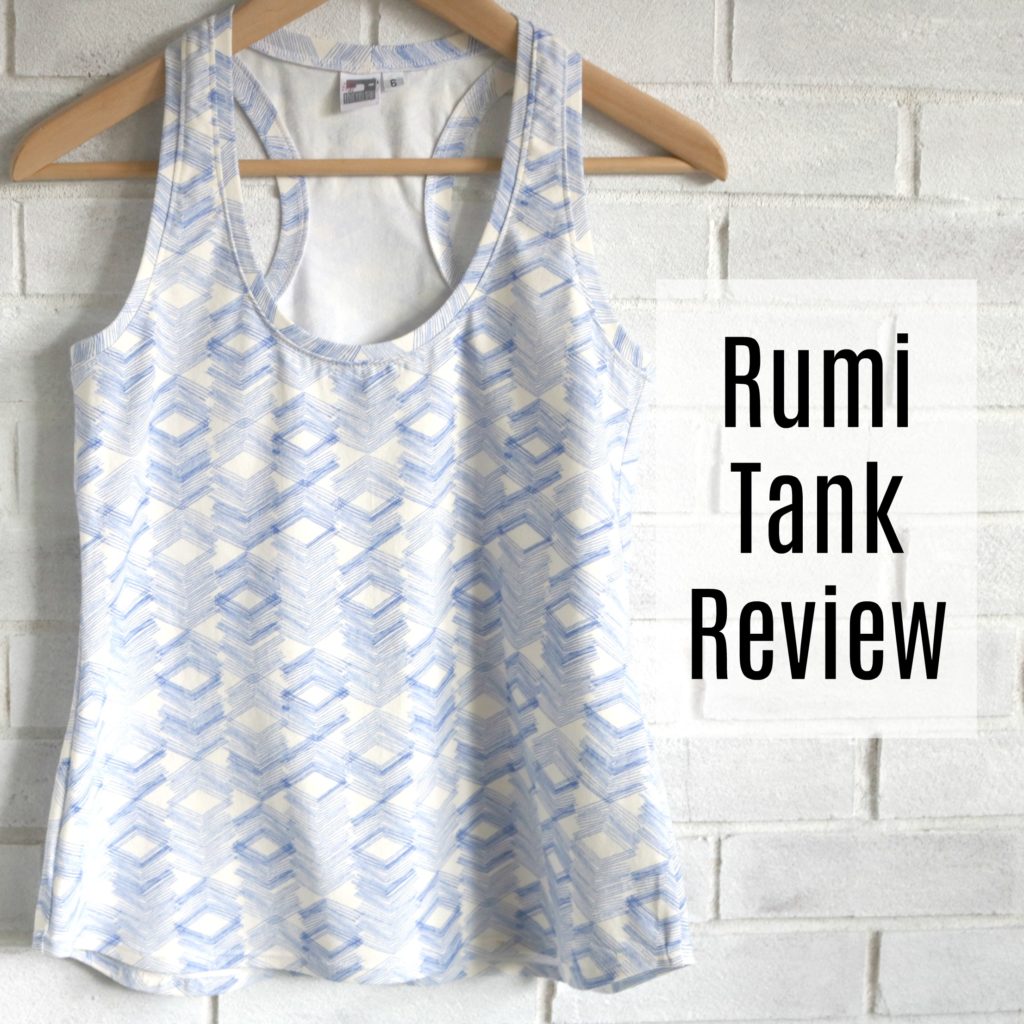
So when Christine Haynes came out with the Rumi Tank pattern, I knew instantly, it was for me.  It’s designed for knits, has a classic versatile shape and is stash friendly. I can get a tank out of less than a yard and have made two tanks that out of pure scraps.  This pattern is a PDF with printing options for a personal printer and copy shop.  I decided to send this pattern to my local big box office supply store (because I had a coupon) for the first time.  Let me say, if given the option, I will always choose copy shop printing.  Taping PDF patterns is just not what I want to spend my time doing.

My first project was just the tank version and I used the Limestone Feel knit by Leah Duncan . I’m between a 6 and an 8 and also a B cup. From the waist up, I cut a 6 and then graded out to the 8 around the hip (to account for my larger rear) and used a 10 in length.

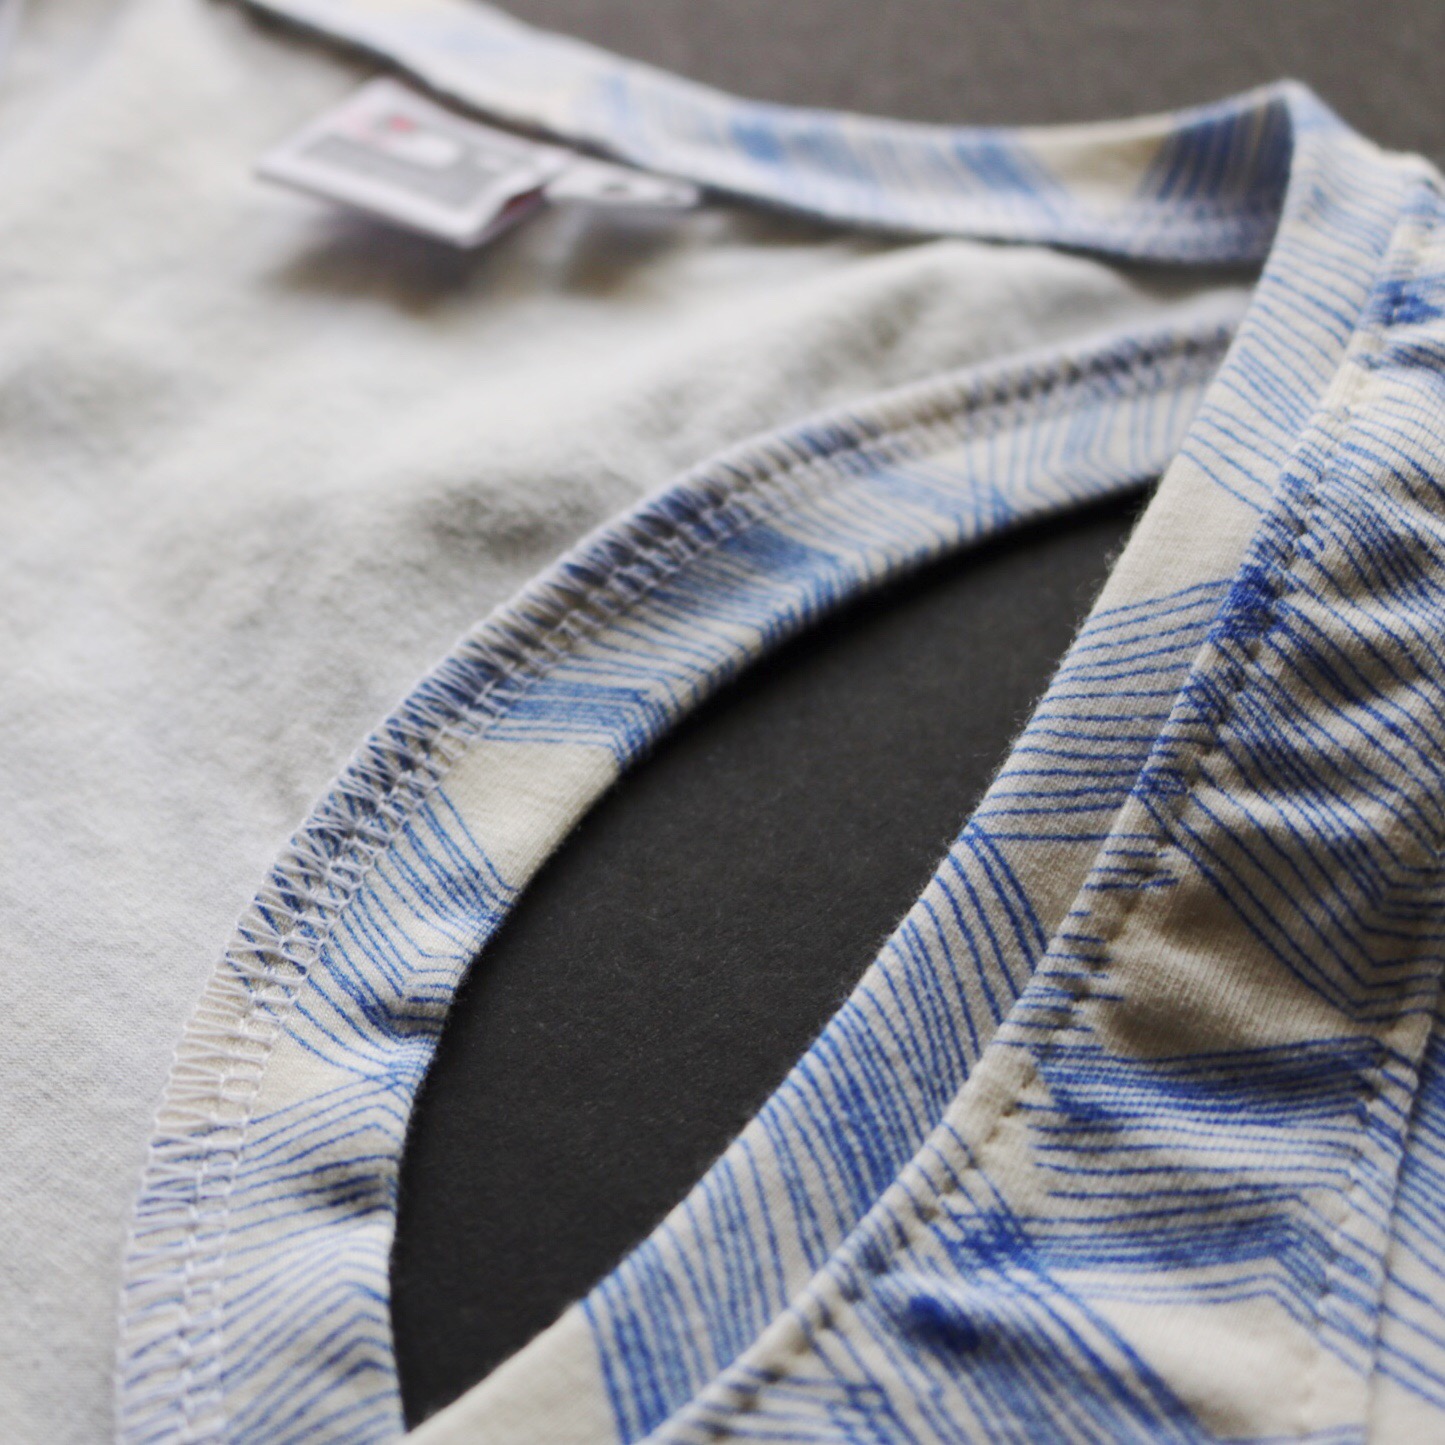
With a serger, the construction of the Rumi Tank was very quick.  However, I made sure to take the time to evenly distribute and pin the neck and armbands for a nice smooth finish. Although not necessary, I do top-stitch (with a ball-point needle!) around the neck and armholes for a professional look and to keep the seam allowance in place.

TIP: I like my garments to even be pretty on a hanger. So, I start and stop all my serging at inconspicuous spots…usually off to one side.

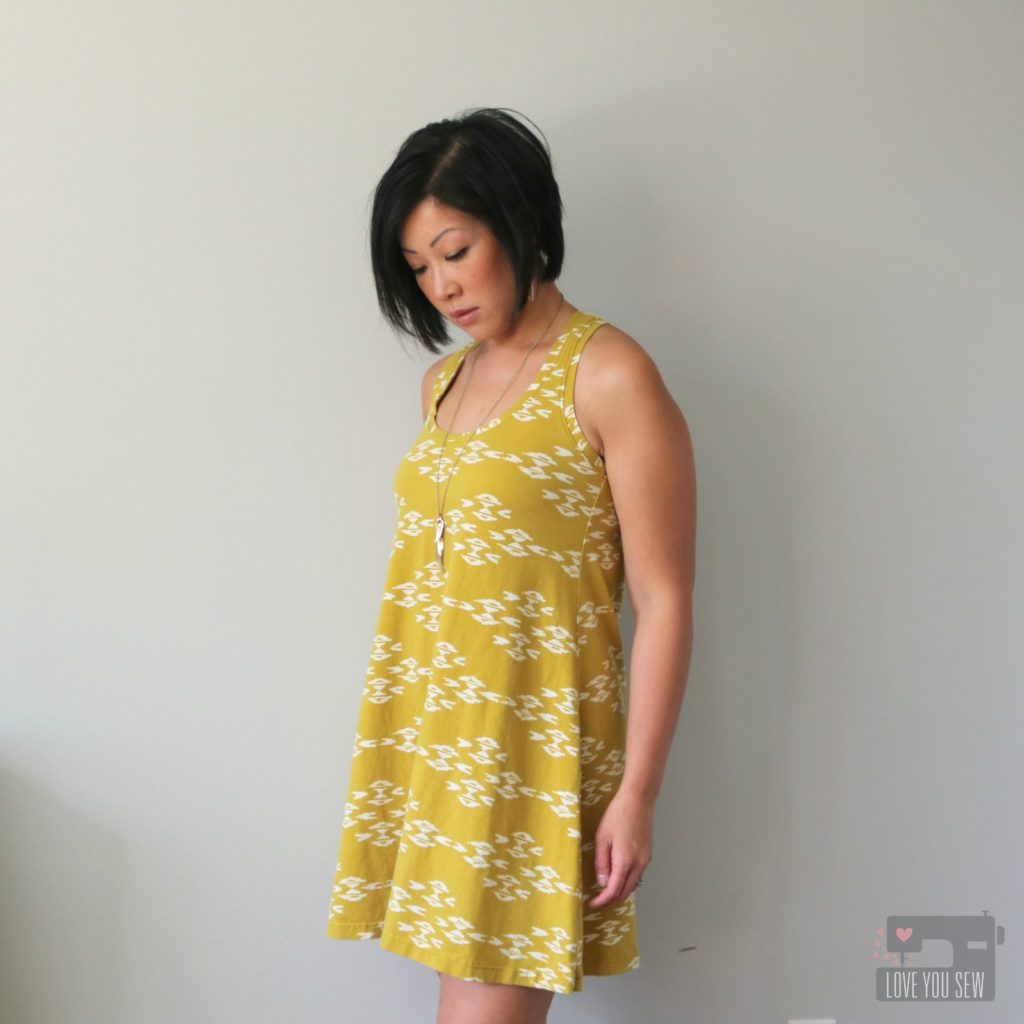
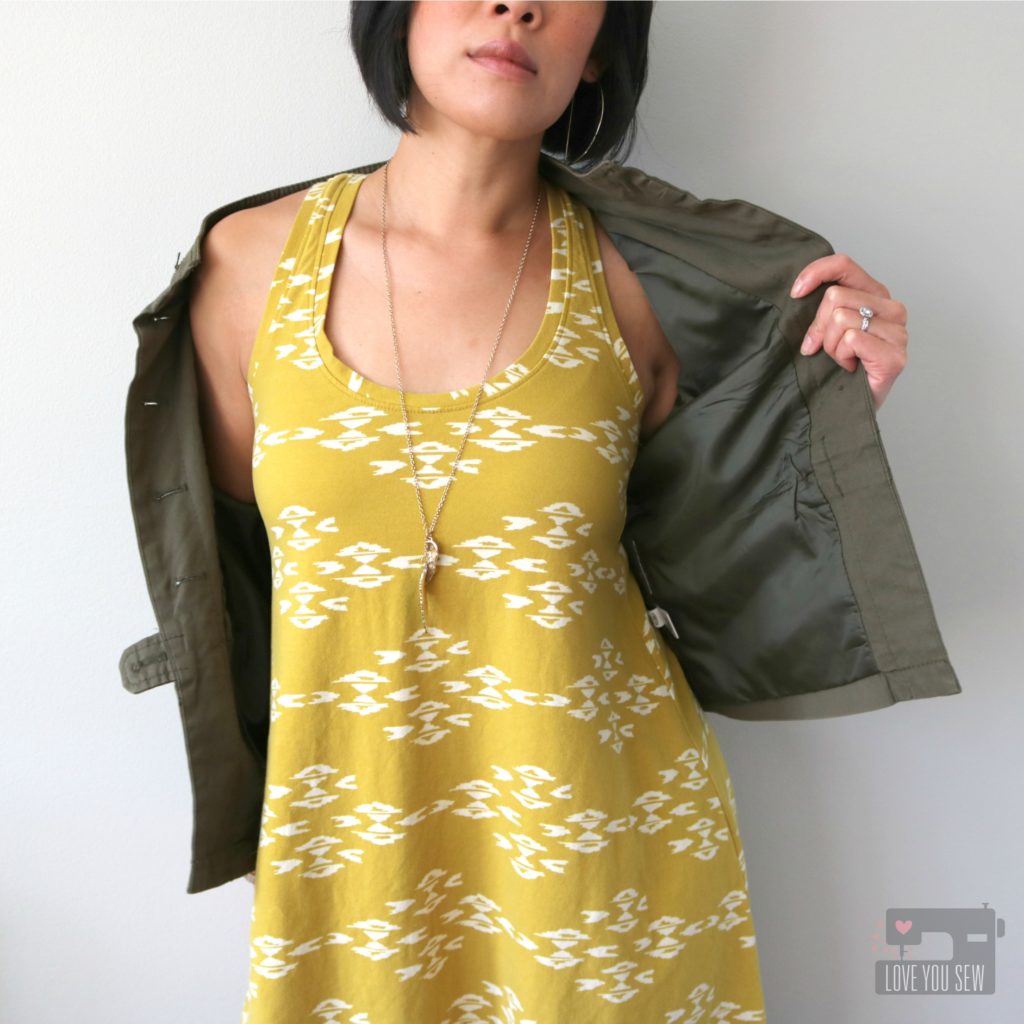
For my second Rumi project, I made the dress version. My family had spring break plans down on Florida and I could use a casual dress to throw over a bathing suit, if needed. April Rhodes’ Observer knit was perfect! I wore it to the beach and back.

Bonus – This dress can be worn with a jacket and layered over leggings.

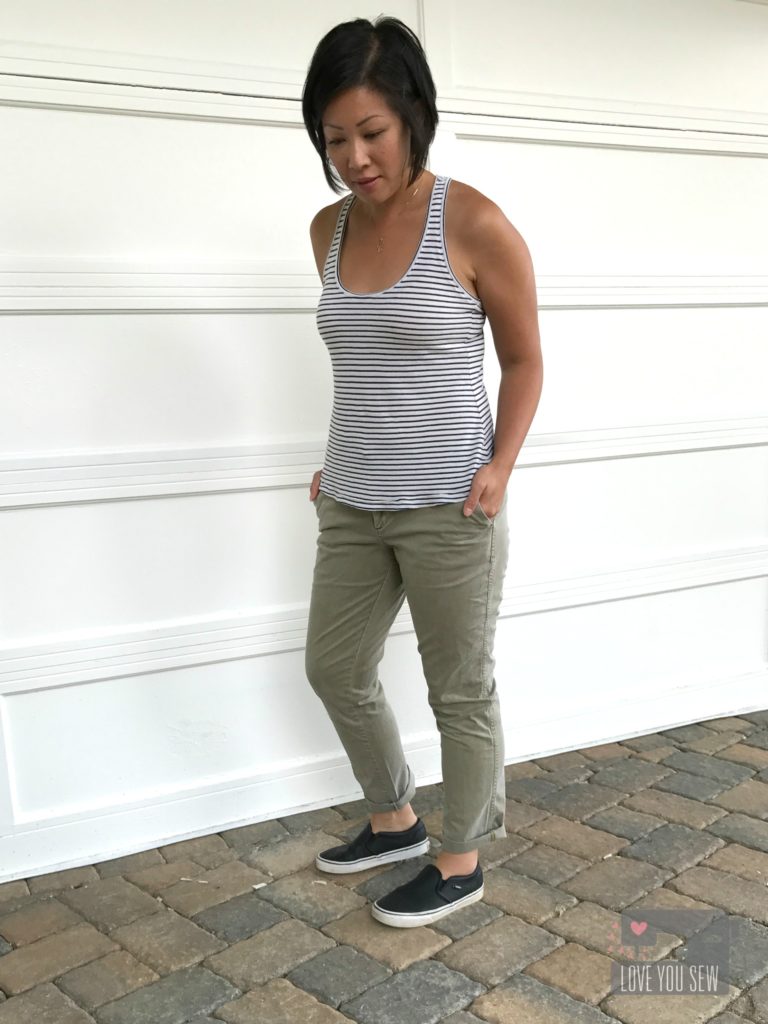
I’ve made two more Rumi tanks to fill in my summer wardrobe. One with a navy and cream skinny stripe I got from a destash and then another in the same Observer knit because I love the print and color so much 🙂 The ease and comfortability with these makes are awesome. I’ve been wearing them with jeans and skirts all summer long.

As we near the autumn and winter months, I plan on sewing a few more tanks and dresses. These will make nice layering pieces under my cocoon cardigans and with some fun tights.  All in all, I think this is a great beginner knit pattern. It’s also perfect if you are working on a handmade capsule. The silhouette is classic and you don’t have to deal with pesky falling straps!


Happy Sewing!

Cristy


This post may contain affiliate links.

Nova Pattern – Blog Tour

Sewing up little girls clothing is one of my favorite things to do.  I don’t have any girls of my own, but I love making them for my nieces and close friends. It’s such a nice change of pace from all the boy patterns I use and I do love “the twirl” when one of my recipients puts on her dress for the first time.  It just fills my heart!
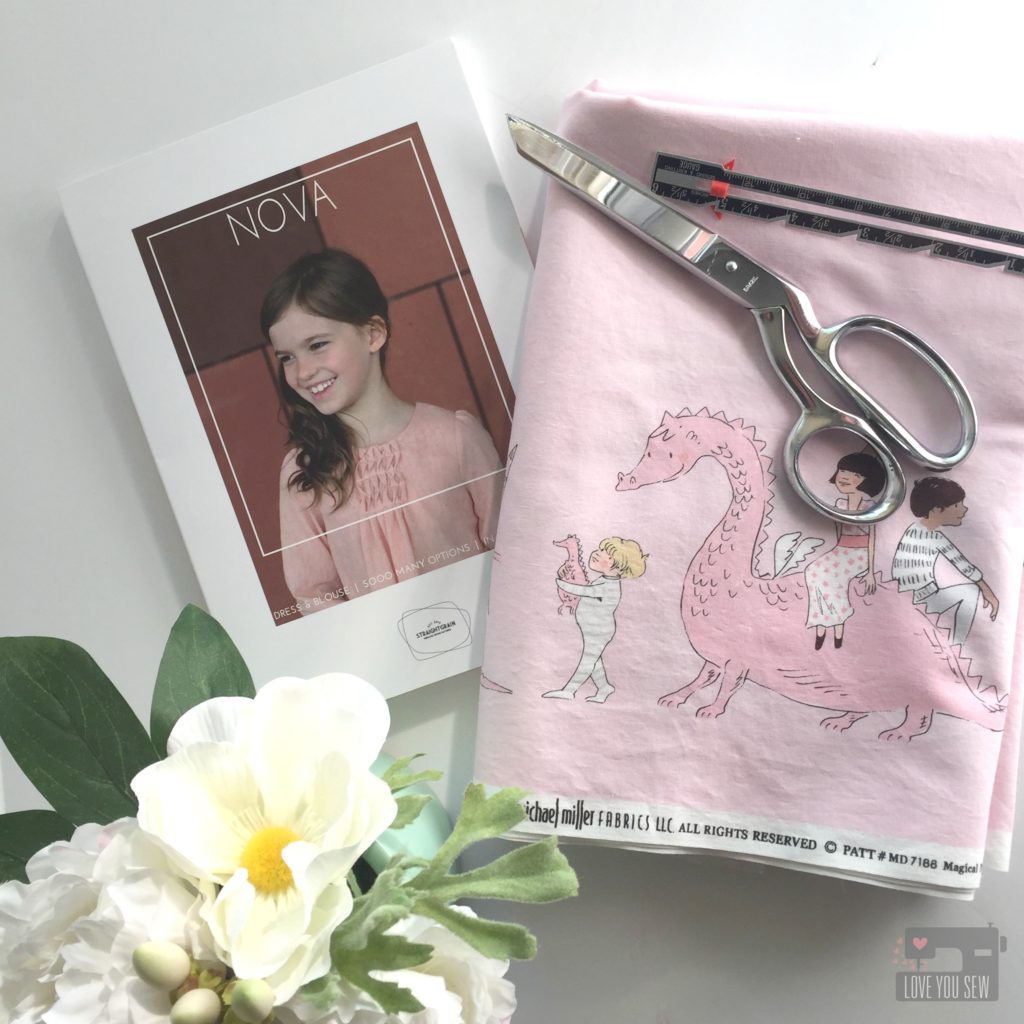
When I make the plunge to purchase a girl’s garment pattern, it has to be versatile and timeless.  I don’t make them as often as other things and I need them to go with all different fabrics.  That’s exactly the style of Nova by Straightgrain Patterns.   It’s a beautiful no-fuss, clean design with lots of options.  The sizes go from 3m – 12 years too…Now that’s what I’m talking about!
The Nova pattern is available in both PDF and paper forms. I’m a paper person, myself, and love the color coded sizing. Many authors will give you color in the PDF but not the paper, so that was a nice surprise to find.  The pattern is also written in both English and Dutch (for any of my Danish friends out there!)

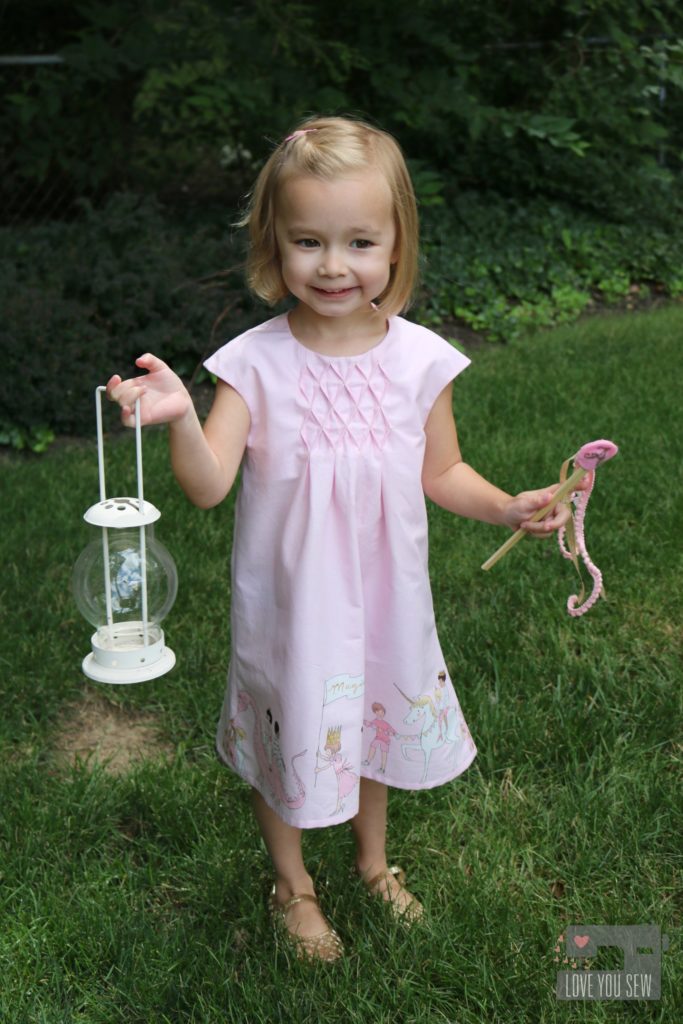
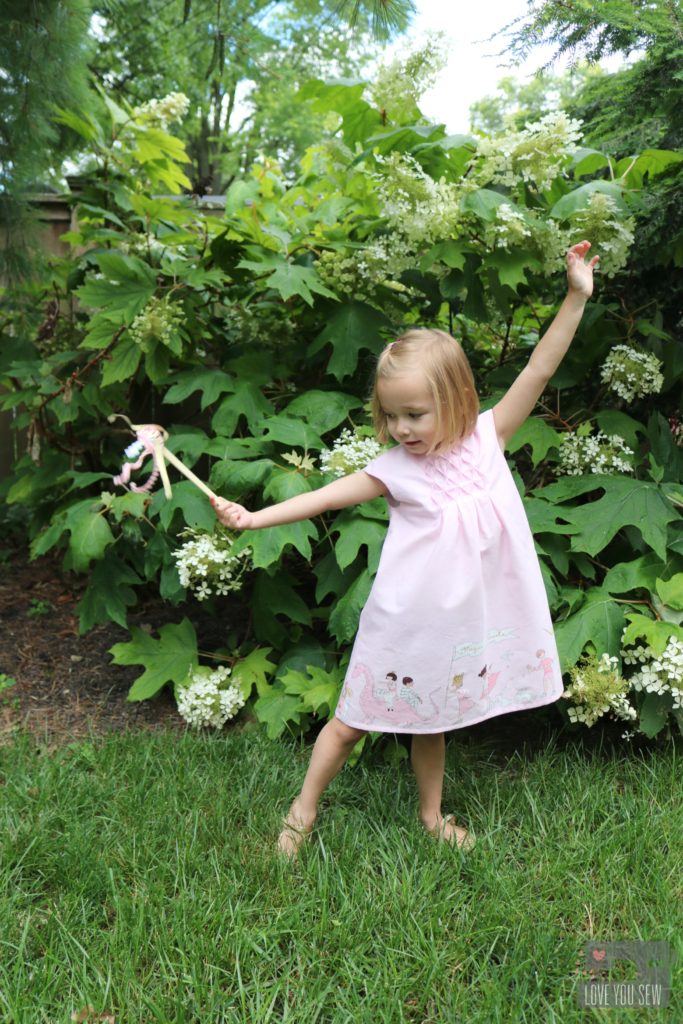
Nova consists of a classic A-line silhouette for woven fabrics.  You can change up the sleeves, the length, back closure, and even collar for a number of different looks. But what makes this pattern really special, are the pleating variations on the front and the back!  All the different pleats are just so amazing and I’m all about that extra texture!
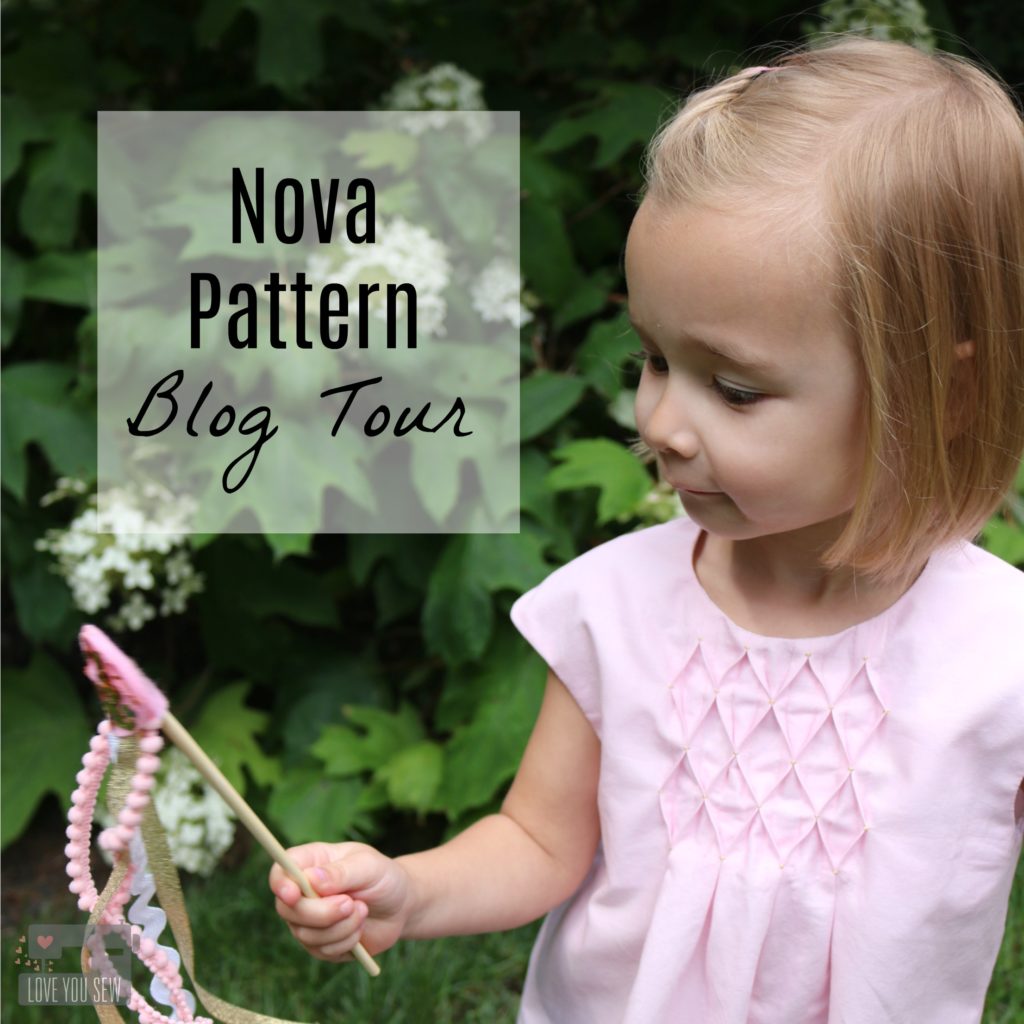
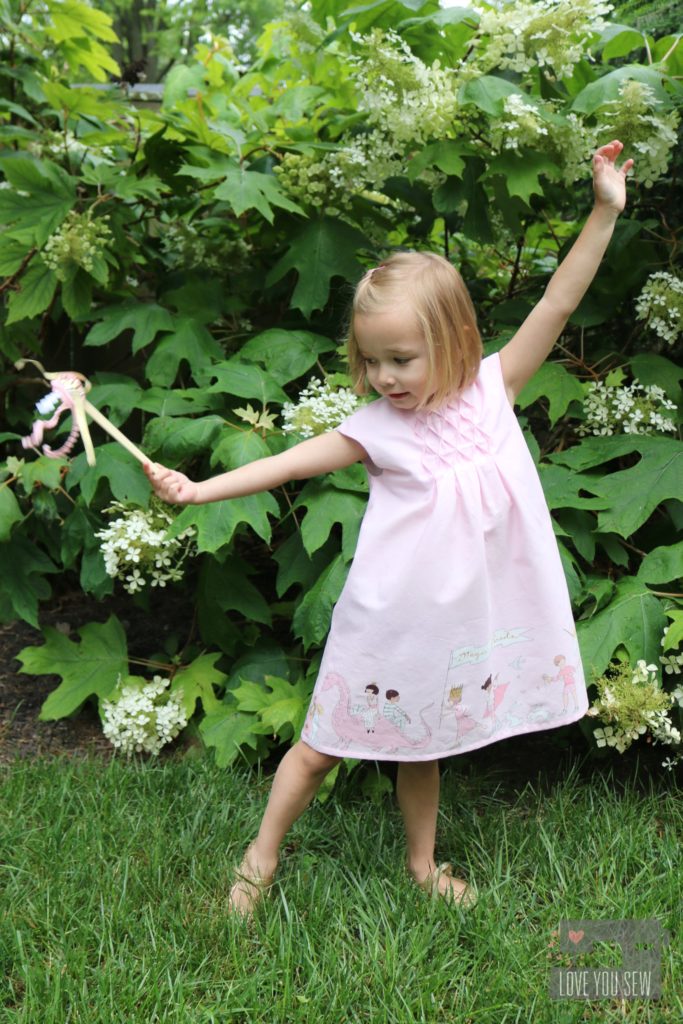
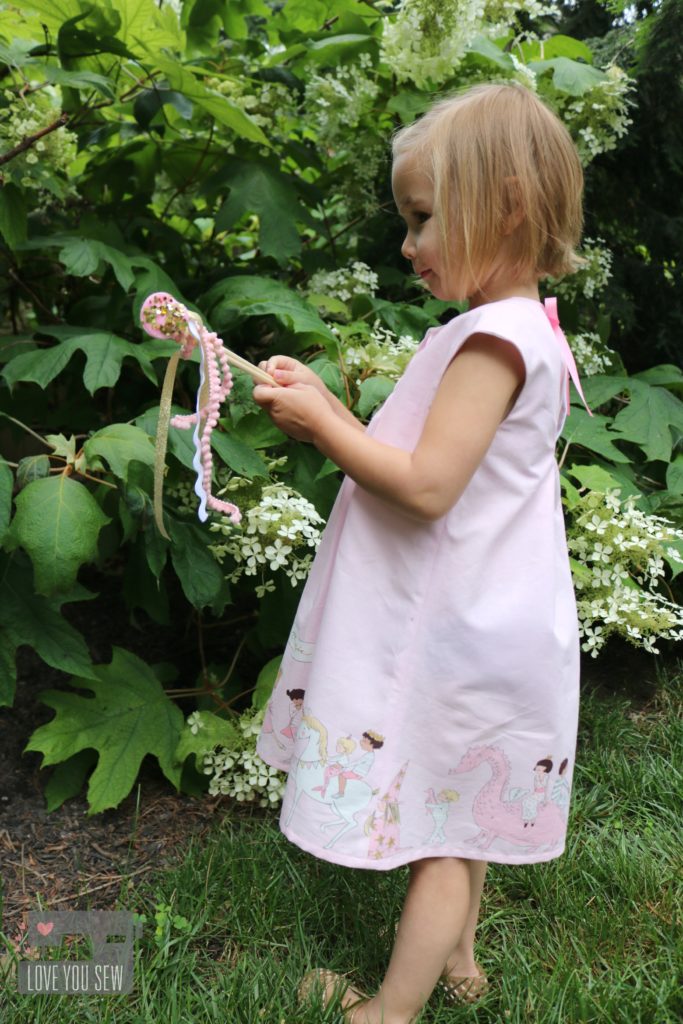
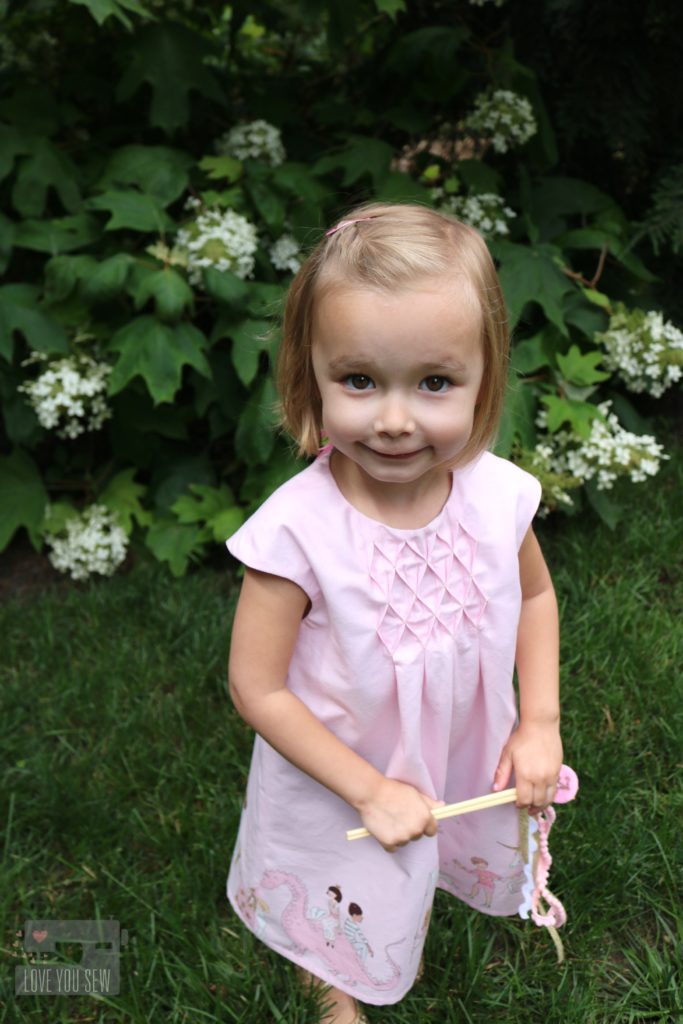
When I received the pattern, I knew the double panel print from Magic! by Sarah Jane was going to be perfect. The parade of magical creatures is so whimsical and such a sweet look at childhood.  The simple solid pink background would really show off that honeycomb smocking.

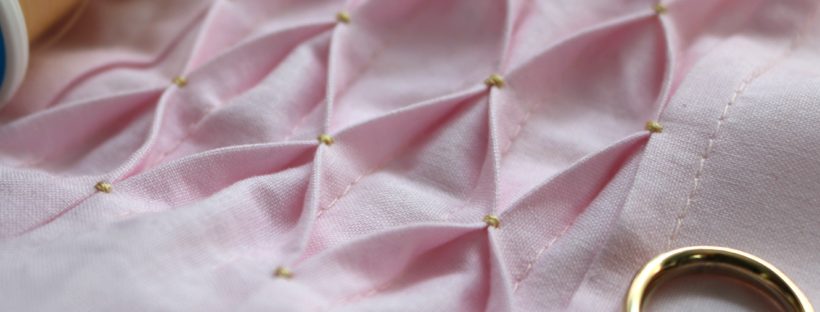
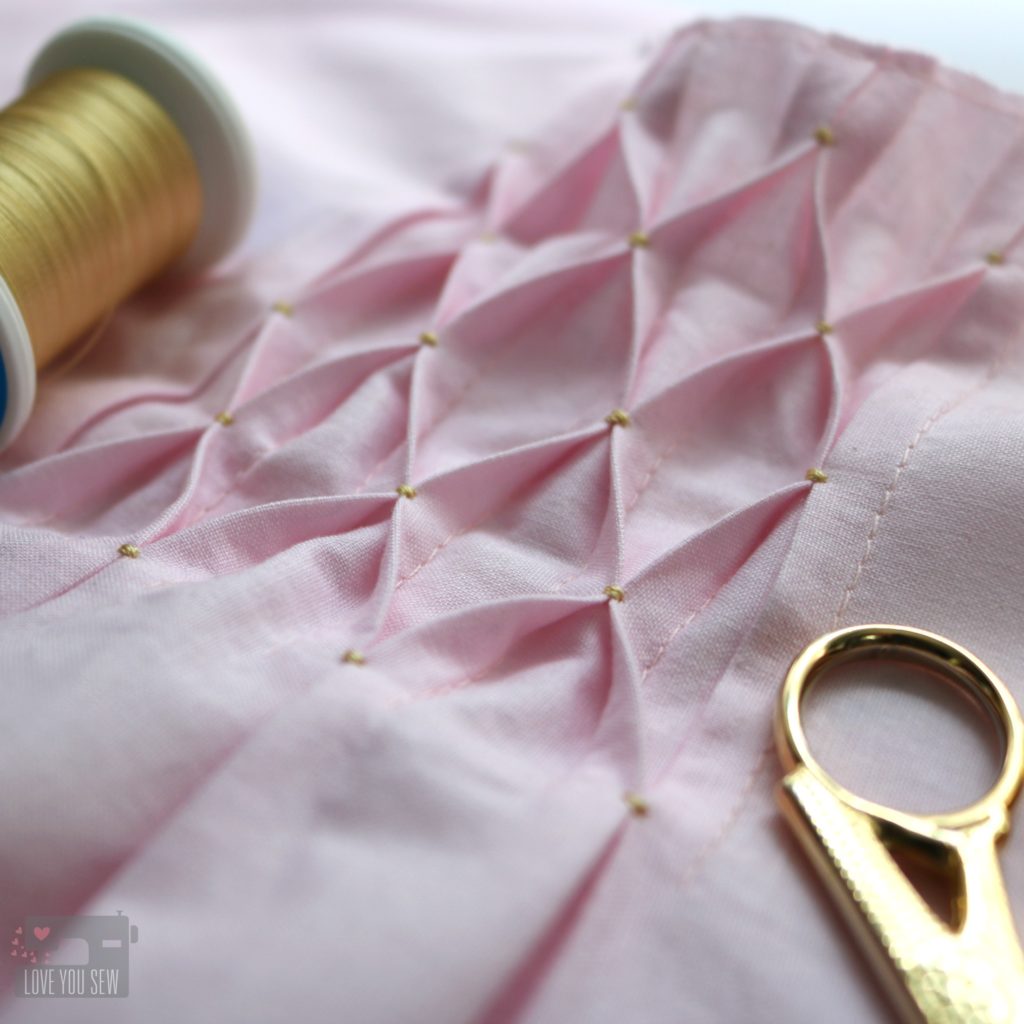
Speaking of…can you believe this was my first time making the honeycombs?  I did have to read and re-read the instructions a few times to wrap my head around the concept.  But luckily, An had a number of great pictures AND a video tutorial to help this newbie.  I made sure to evenly mark my seams, sewed slowly for nice even pleats, and pressed well for a defined shape.  Gold thread really helped to highlight the technique and brings out the metallic details in the fabric.

With the honeycomb detail, I kept the sleeves simple with the cap option. It gives such a nice clean style and the dress can be put on and taken off easily too.

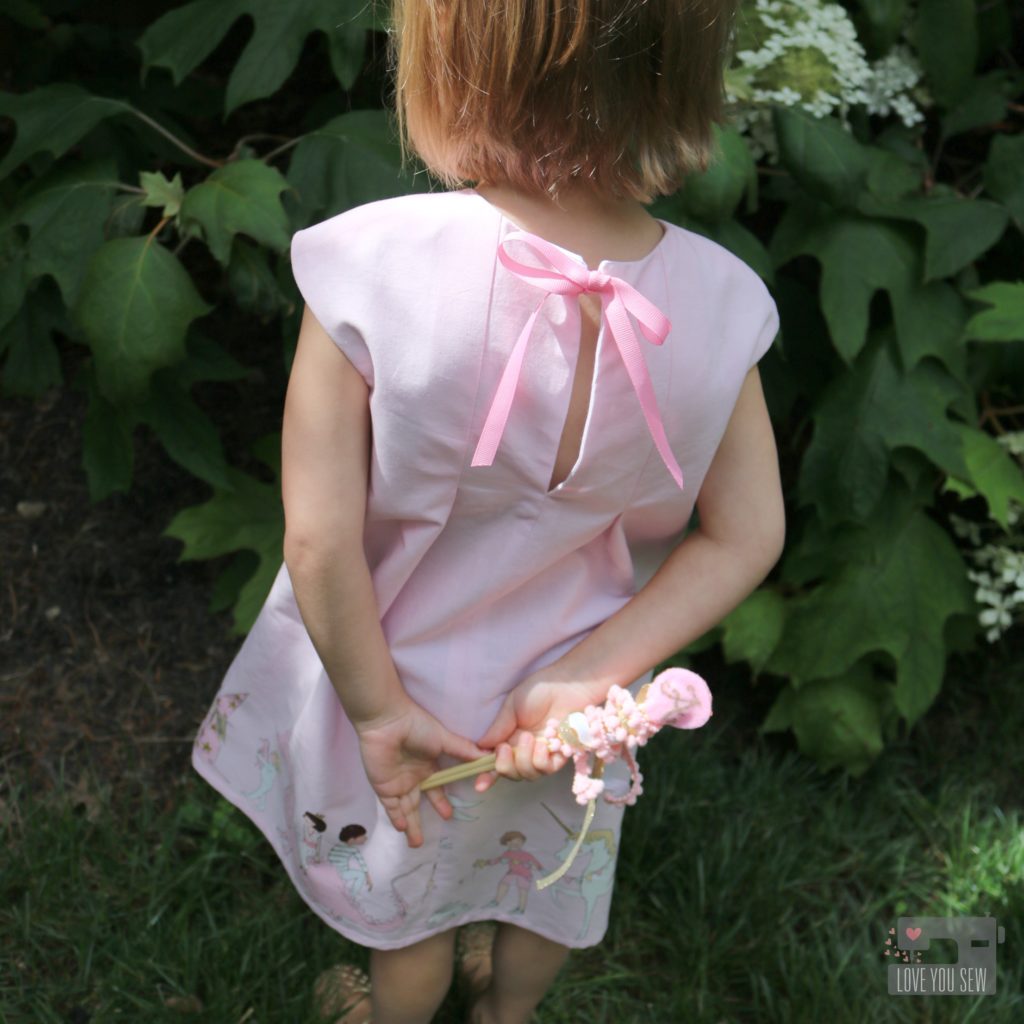
For the back, I opted for the ribbon closure. The fabric is just so sweet that only a bow could work IMO.  I was debating back and forth with ribbon color and settled on a shade that was darker than the body of the dress, but picked up in the print.  It gives the dress some balance and brings your eye up to that keyhole detail.

The Nova was SUCH a fun make. It helped to stretch my comfort level and I learned a new skill in the process…which wasn’t as hard as initially thought! This is another reason I enjoy making little girl dresses. It’s nice to work on my garment skills on a smaller scale…and for a less discriminating audience. Haha.

Project Details:

Make sure to also follow Straightgrain Patterns on Instagram for more inspiration and tutorials to help you along the way.  #novapattern #straightgrainpatterns


Check out the other participants in the Nova tour:

Sisko by MiekeBel’EtoileZowiewo Petrol & Mintsewpony Fairies, Bubbles & Co
Elizabeth LittleMaker Mountain FabricsBetter Dressed Child Just Add FabricMy Petite Sophie
Frances SuzanneI Sew BlancheLily & WoodyMy Minnie Mie
Love You Sew (you are here)- Thread Riding HoodAriane Blog


The Nova pattern was provided by Straightgrain Patterns as part of the blog tour.  All thoughts and opinions are honest and my very own.  

This post contains affiliate links under Project Details