Chalk and Paint Fabrics Blog Tour {Crimson and Clover Traincase}


Traincase Full Profile A

Welcome to the kick-off for the Chalk and Paint Fabrics Blog Tour!  I am so happy to share my project with these new Art Gallery fabrics with you.  Sew Caroline has quite an amazing line-up ahead for the next few weeks and I know each blogger will have something amazing with Chalk and Paint.

Logo-PNG2

I have been a long-time admirer of Sew Caroline‘s garment patterns (umm..hello, Kimono Jacket..here and here…)   It is no exception when it comes to her fabrics.  All of her collections are youthful and so fun.  But this newest line has a more muted pastel palette, which I just adore!

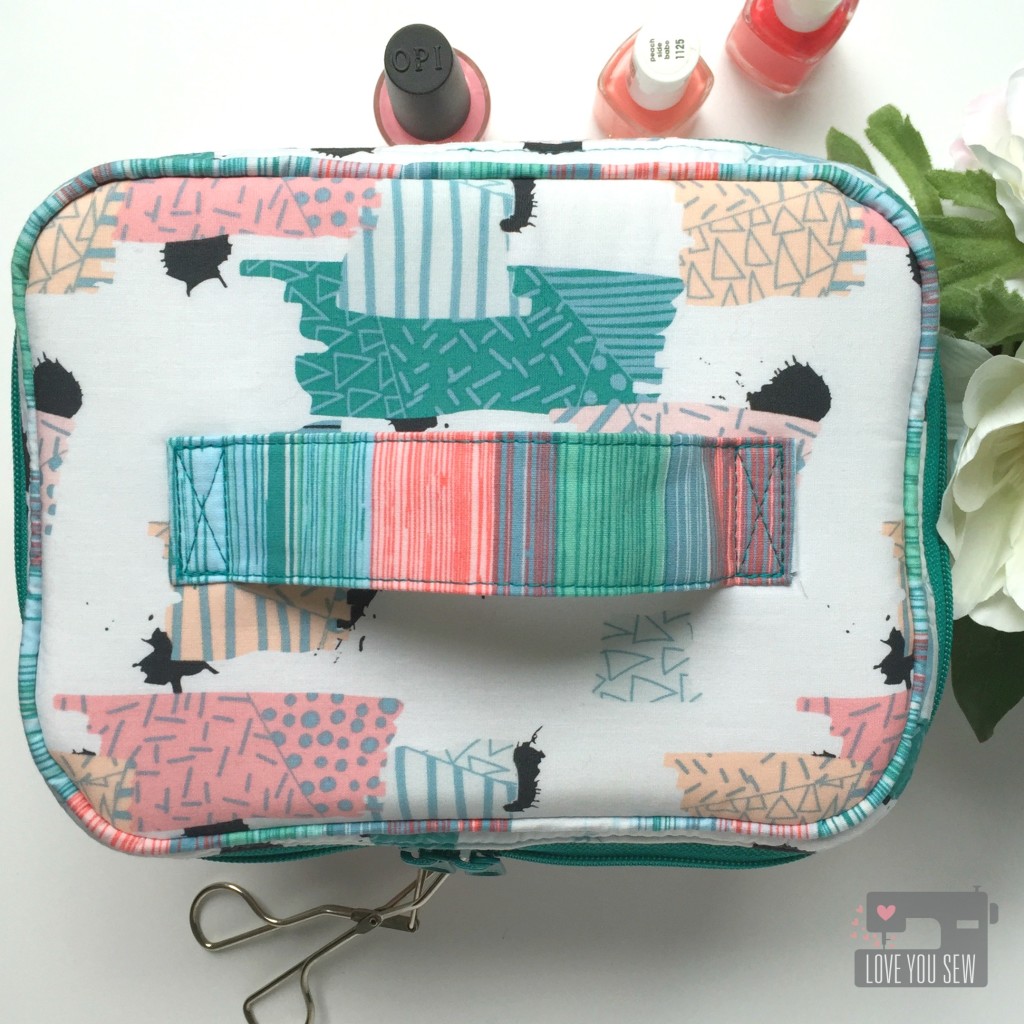
Traincase Top

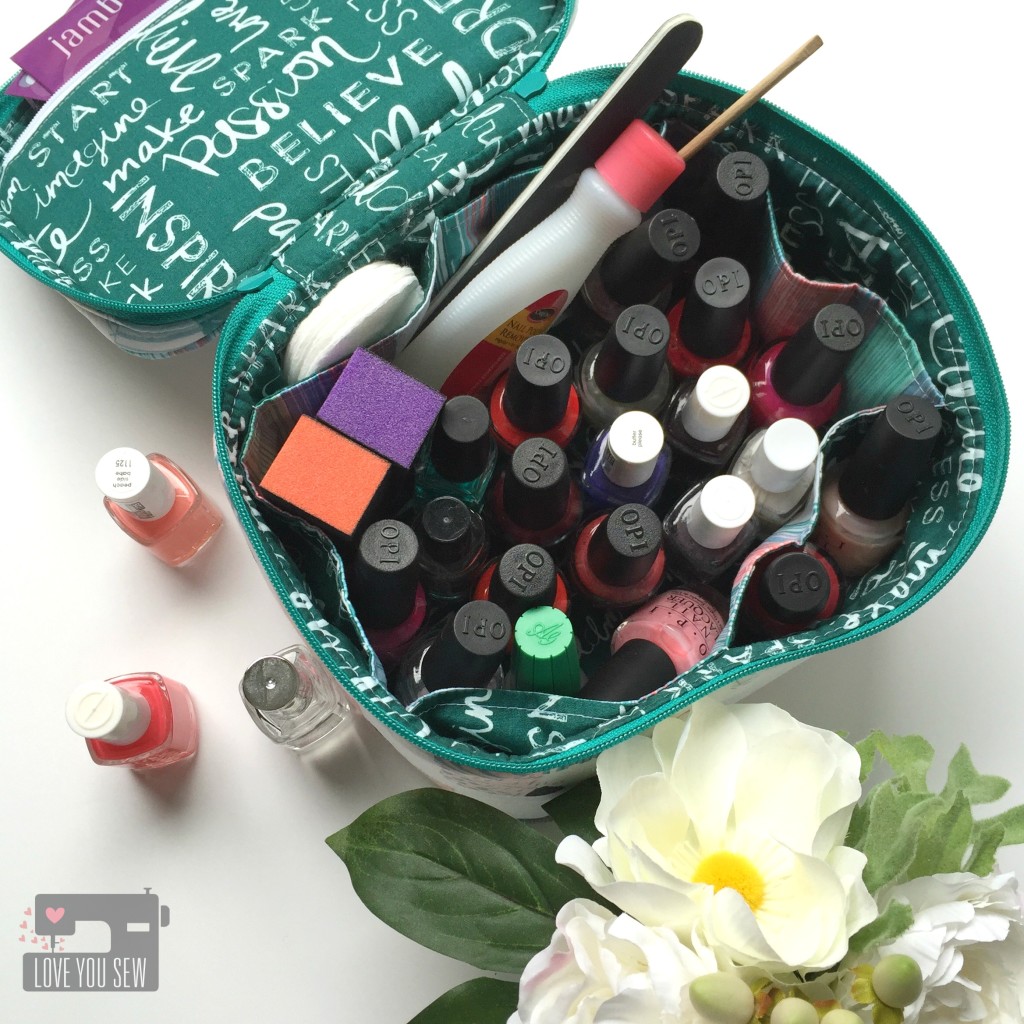
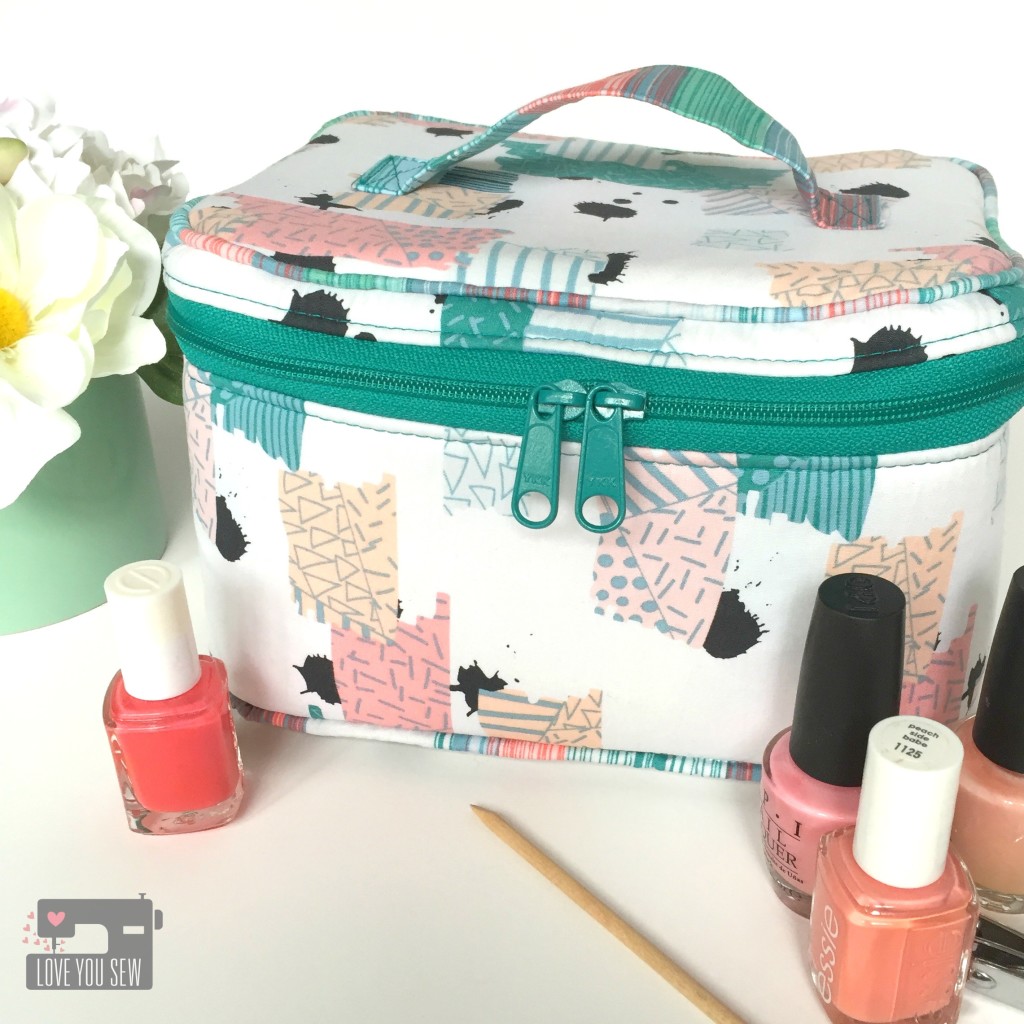
When I saw Untaped Splatter Frost, I knew it was going to be my next Crimson and Clover Travelcase (pattern by Sew Sweetness.)  I love this case because it holds everything…and it’s not even the larger size.  The interior side pockets are so nice for organization and lord knows I need all the help I can get!

Traincase Open Full Polishes

As I was sewing this bag, I realized why I put the two together….it was my sewn version of a Caboodle!  This exterior fabric has an 80’s vibe and being the child of immigrant parents, I never had one.  “What..a shoebox wasn’t good enough to hold your junk?”  They never understood the need for adolescent acceptance…haha.

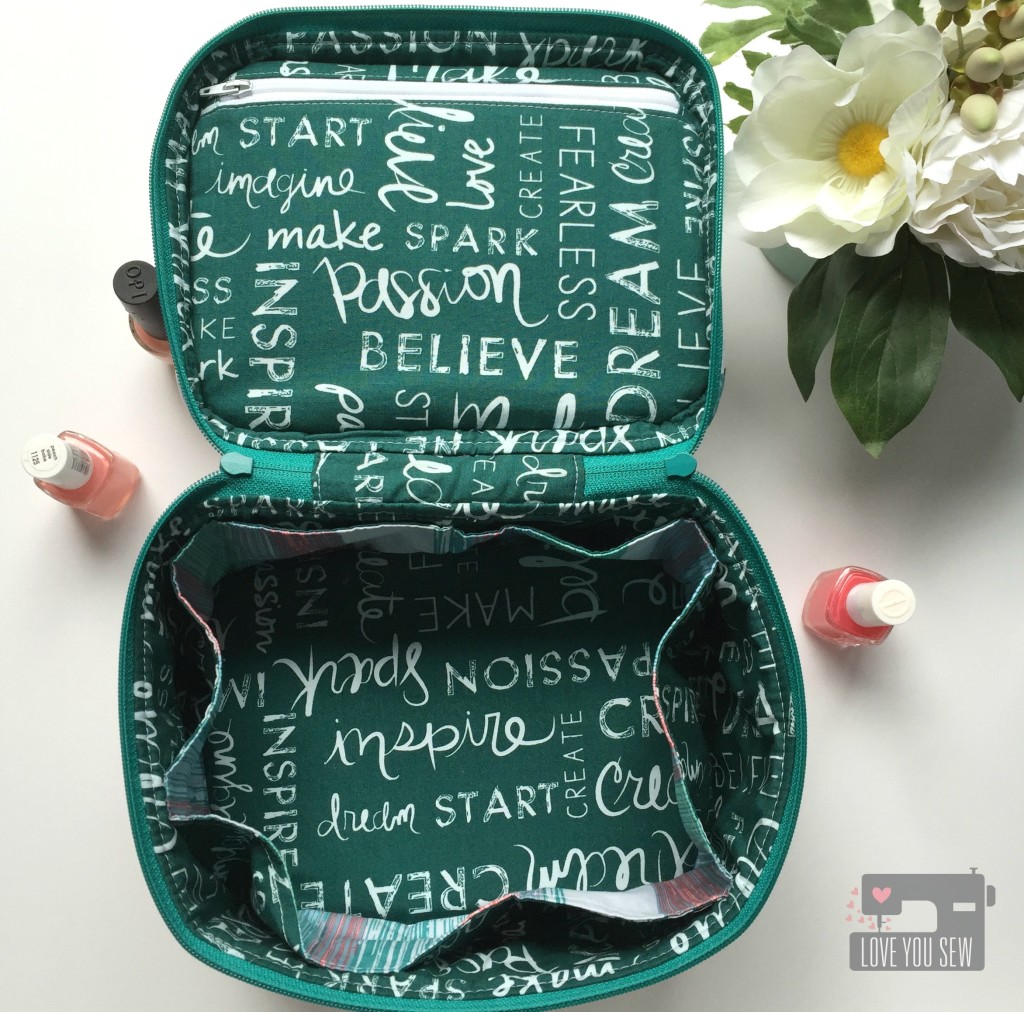
Traincase Open Empty

For the interior, I used Writings on Boards as a darker complement to hide any spills or smudges which may occur (yes, I know myself well.)  How cute is this text fabric, right?  I love the inspirational words to welcome me every time I open this bag.

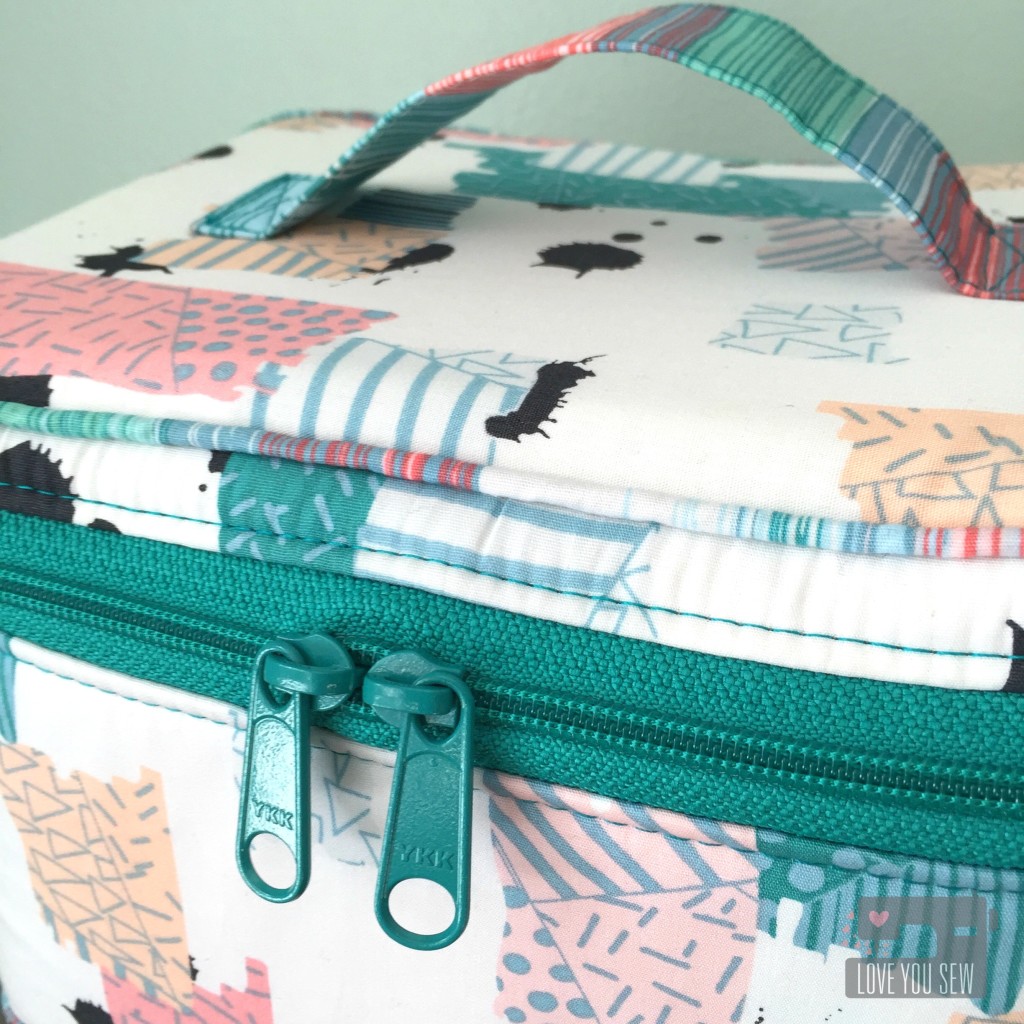
Traincase Front Zipper CloseUp

For the piping, handle and interior pocket accents, I used Dripping Paint Cooling.  You get so much color and texture in such a small amount of yardage, that it was just perfect for that extra “pop.”  Now…I think my “Caboodle” is pretty rad, isn’t it? 😉

Don’t forget to visit all of these amazing blogs for more Chalk and Paint projects!

Cristy // Love You Sew –> Right here!

Katie // The Simple Life

Jenn // Quilts and Conversations

Robin // Pattern Revolution

Alicia // Love Knot Photo

Holly // Holly Gets Quilty

Chris // The Tattooed Quilter

Alexis // My Sweet Sunshine

Adrianna // Hey June Handmade

Taylor // Taylor Made Creates

Casey // Casey Taylor Threads

Hayley // Welcome to the Mouse House

Giveaway-Graphic

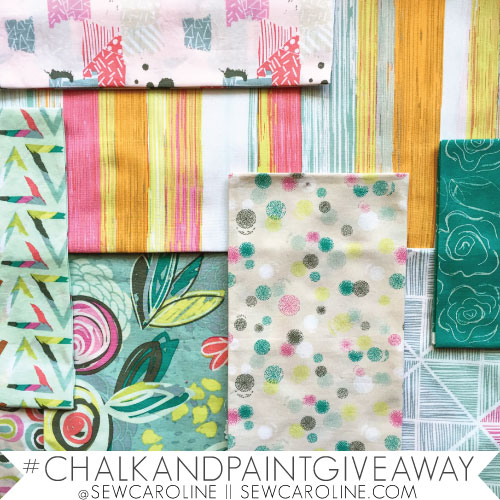
What would you make with the Chalk and Paint collection?  You have a chance to WIN a Full FQ Bundle on Instagram by (re)posting your favorite image from the blog tour using #chalkandpaintgiveaway and tagging @sewcaroline. (Full Details are on Caroline’s blog.)


Good luck!


***This post may contain affiliate links which help me on the back end to fund this site.  Compensation is only through your own purchase. 
Coastline Blog Tour {Swim Cover-Up}

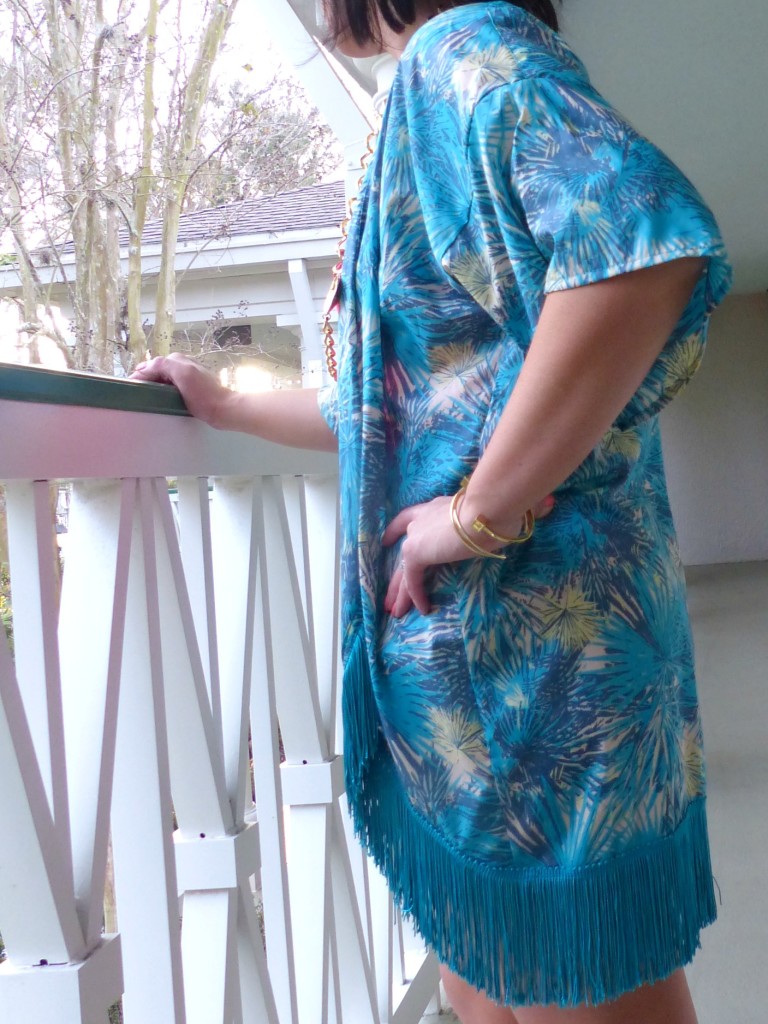
WornSideProfile3

The Coastline Blog Tour has been well underway and I’m so happy to be a part of it!  Coastline by Sharon Holland for Art Gallery Fabrics is just stunning.  The cooler color way, Northshore, reminds me of my times down in Jersey.  I spent a lot of time as a child and even more in my 20’s.  When I was just out of college, I rented beach houses with friends and live there on the weekends…Oh the memories!  The warmer color way, Southshore, sends me to the other side of the country.  It reminds me of SoCal…along Huntington and Newport Beaches.  The fabrics are warm and very soothing…They are laid-back and relaxed.  Whichever fabrics you select, Coastline is certainly going to transport you somewhere special.

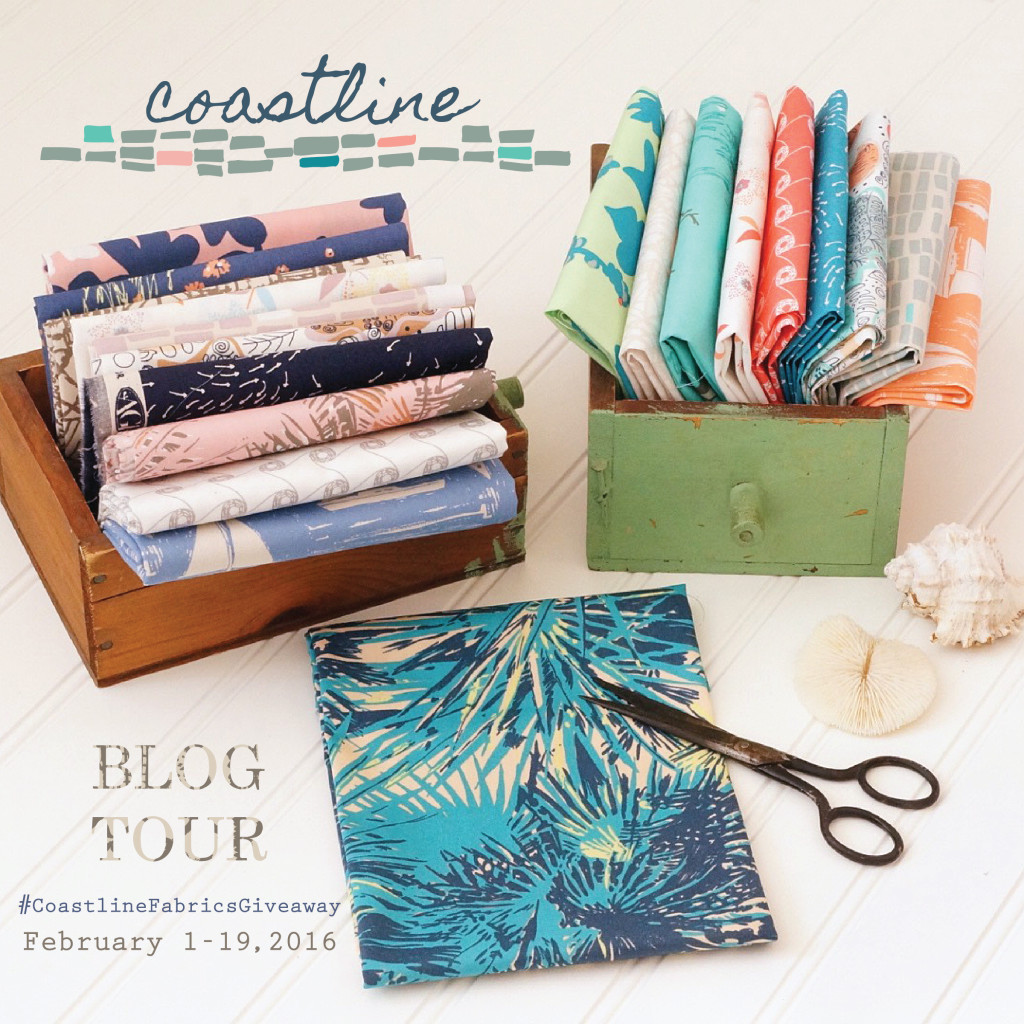
Coastline Blog Tour Banner with date-01

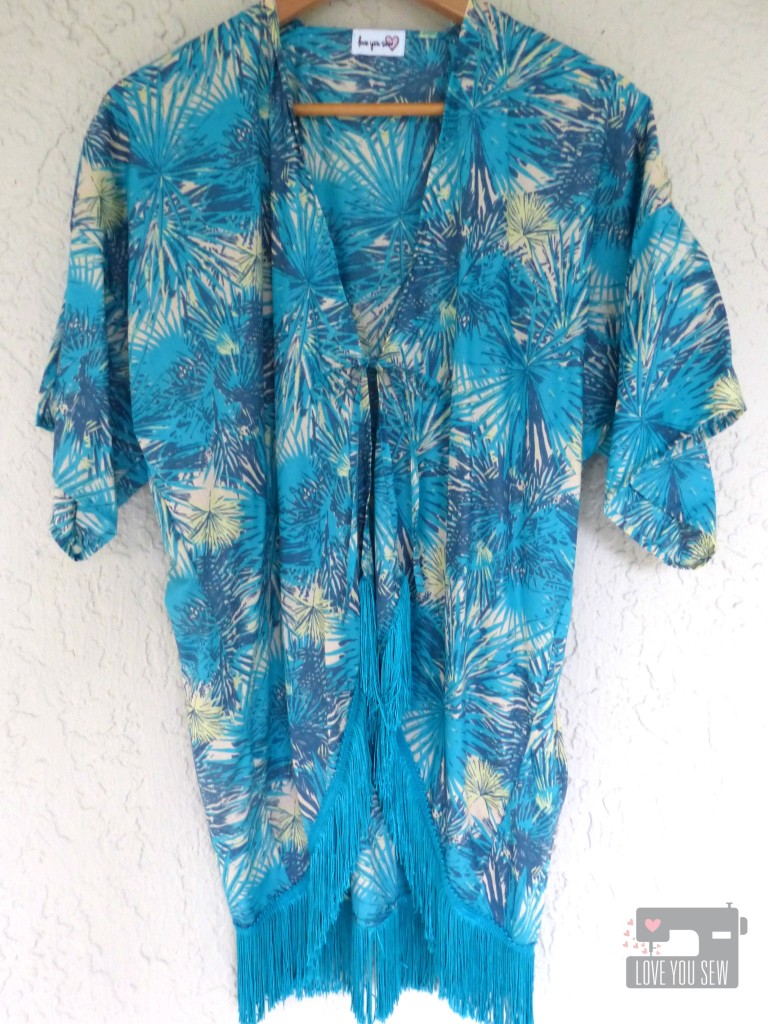
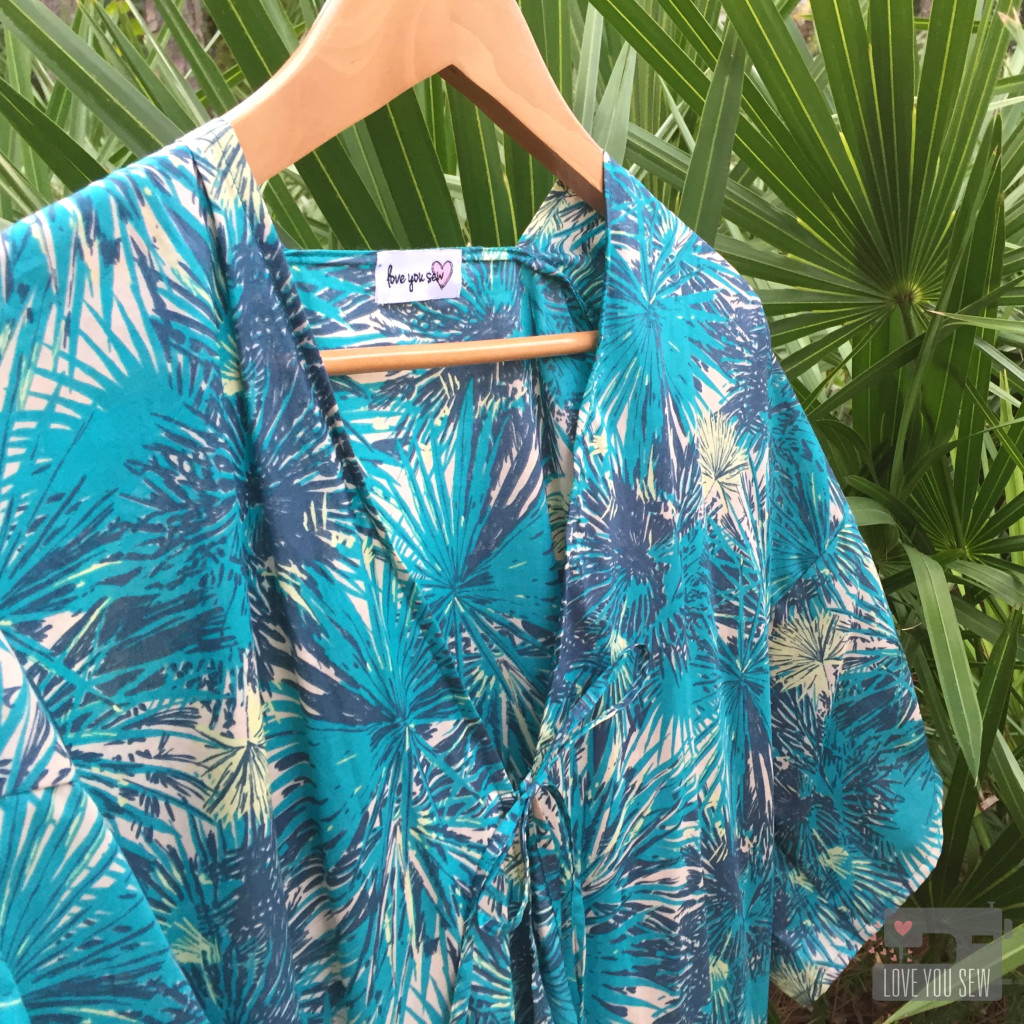
When I found out I was going to sew for this tour, I was immediately drawn to the Tropical Breeze voile.  The palms with the layers of teal and navy are so chic and beautiful.  I have used Art Gallery’s voiles before and I just love the feel and drape of the fabric.  It’s light, airy and dries quickly…making it the perfect choice for a Swim Cover-up.

FullProfile

To make the Cover-up, I used fellow Art Gallery designer, Sew Caroline‘s FREE Kimono pattern found here.  It’s a very simple garment to make given that its a one-size fits most pattern.  To make it appropriate to for the beachside and to add some sass, I made a few alterations 🙂

FringeCloseup

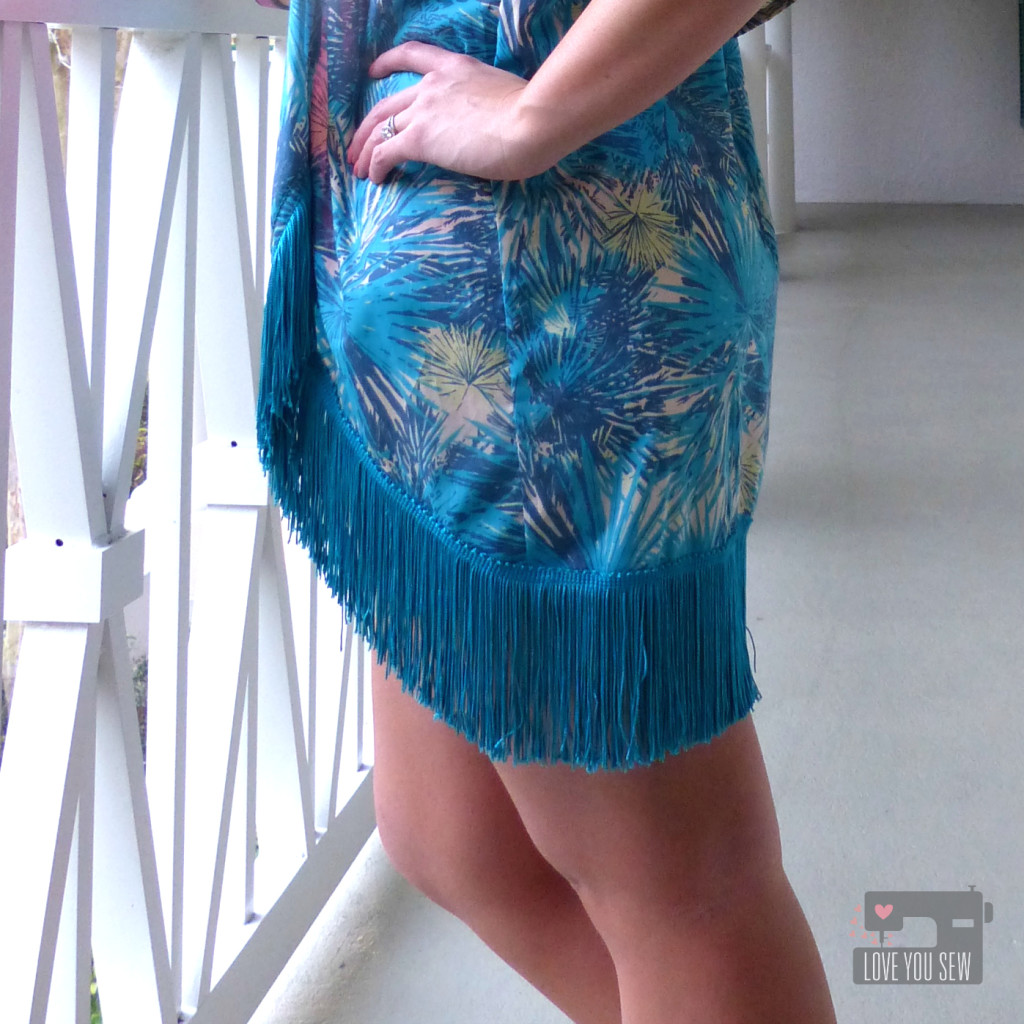
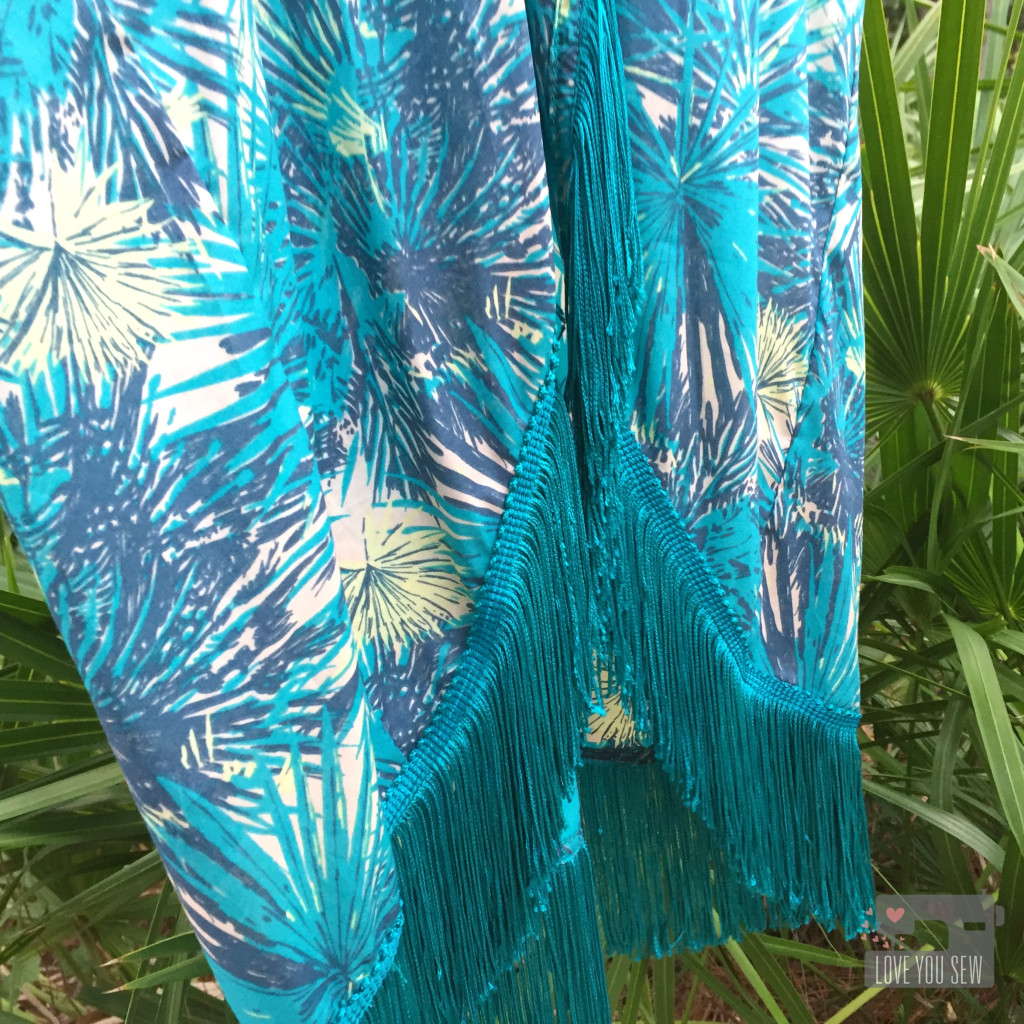
The most noticeable is the dropped hem-line and fringe.  Five inches was added to the front and back pattern pieces to hide my bum and upper thighs.  (Age and babies have caught up to me so I wanted to keep those areas under wraps!)  I’m only 5’3″, so if you are taller or shorter, you may want to adjust length accordingly.  The hem was then gradually cut up to the front opening to provide a smooth slope upward.

HangingFringeCloseup

Along the hem, I added fringe…because who doesn’t love fringe?!?  It adds fun and playful movement to the Cover-up and the weight helps it stay in place when those ocean breezes come along.  I found this 4.5″ fringe at my local JoAnn’s and still can’t believe there was a perfect color match there!  I battled between encasing the fringe in the hem or showing off the top.  As you can see, I decided to sew the fringe right on top of the finished hem.  It adds some nice texture and dimension.

FrontCloseUp

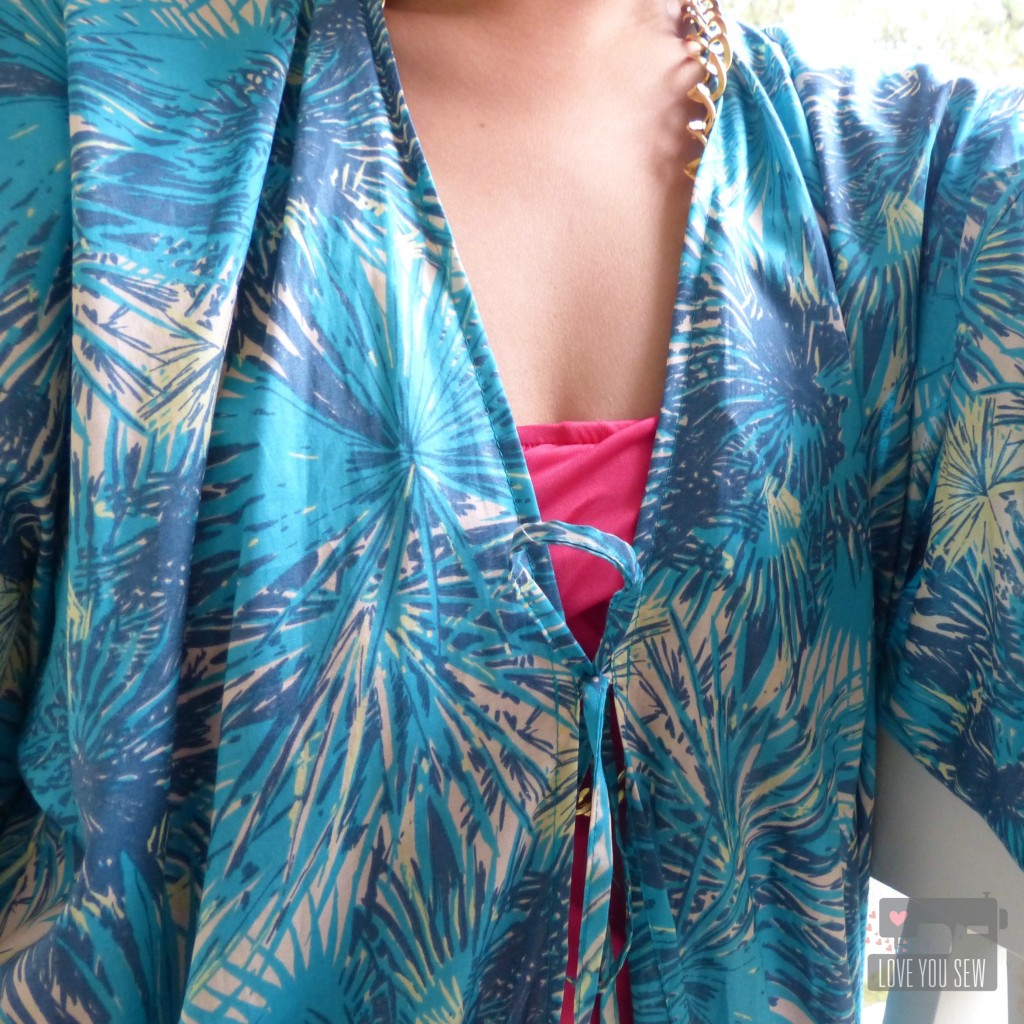
To keep some modesty, I also added a tie right at the bust line.  I used my 1/4″ Bias tape maker to create two 16″ long ties.  Now “things” can stay put 😉

FinishedFrench Seam

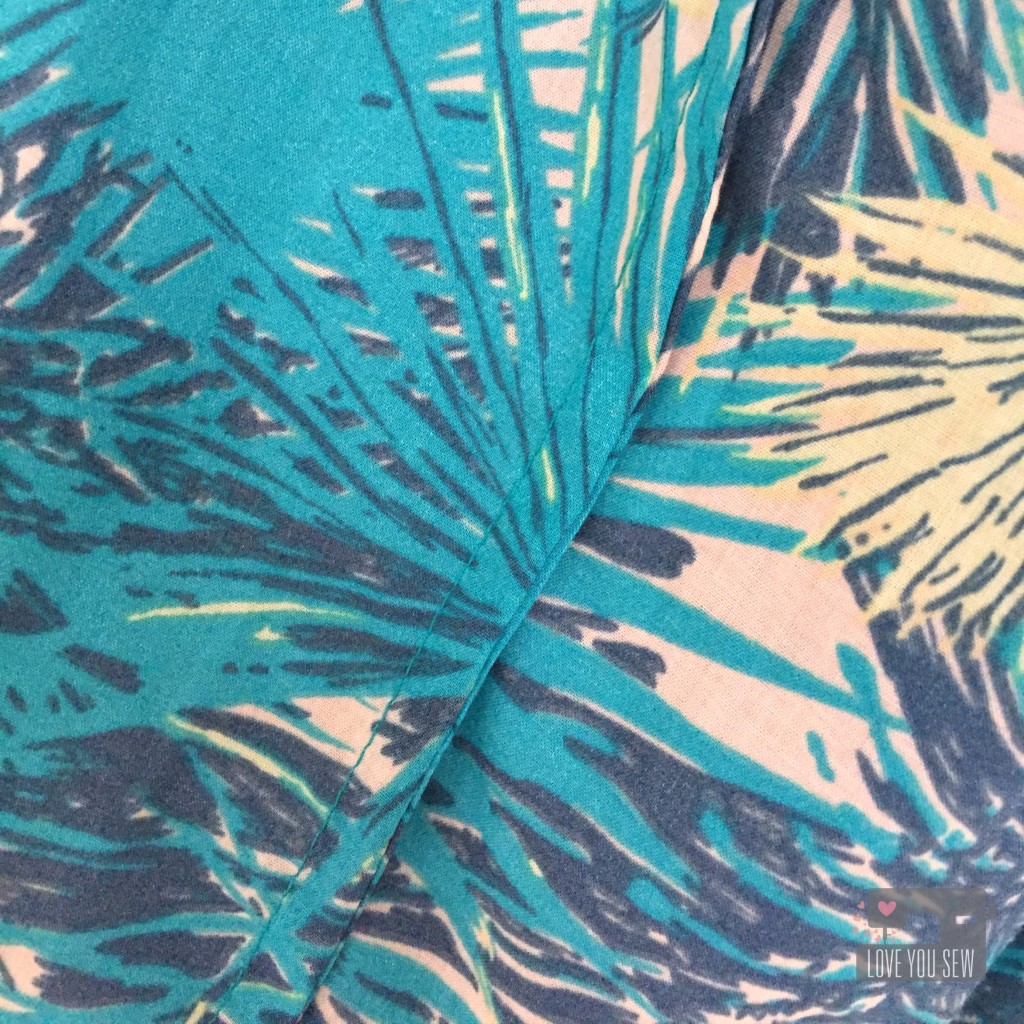
Since this Cover-up would be thrown over beach chairs and worn open often, I wanted the seams to have a nice clean look and did not care to see serger stitches.  I opted for french seams  and added an additional 1/8″ all around each pattern piece to accommodate the change.  If you are unfamiliar with french seams, Grainline Studios has a great tutorial found here.

FrontCloseupPalms

The sleeves were kept simple to balance out the fringe.  No trim was used and I just folded the hem under by 1/4″.  If you have issues folding the voile, you can sew a 1/4″ seam to help the fabric fold itself over.

This stylish Swim Cover-up is exactly what I need for the warmer months ahead.  I can already here the beach calling for me!

Coastline Blog Tour Giveaway-01

Now onto some more fun stuff….

:: Want to WIN the Full Fat-Quarter Bundle of Coastline?  Find out all the details on Sharon’s Blog here

:: Looking for more Coastline projects?  Head over to the Look Book here and/or the full line-up of the Blog Tour here.

:: Don’t forget to visit to visit Color Girl Quilts on Monday for another gorgeous Coastline project and if you missed yesterday’s post by the Simple Life Pattern Company, you can find it here.

I hope you are having fun on the Coastline Blog Tour and have found some inspiration!


Hugs and Stitches,

Cristy


Hawthorne Threads Roam Fabric Blog Hop

blog hopWhen Hawthorne Threads asked me to participate in this blog hop for Roam, I just about jumped out of my seat!  I had the pleasure of working with some of their digitally printed fabric for my niece’s nursery bedding so I already knew just how lovely this fabric would be.

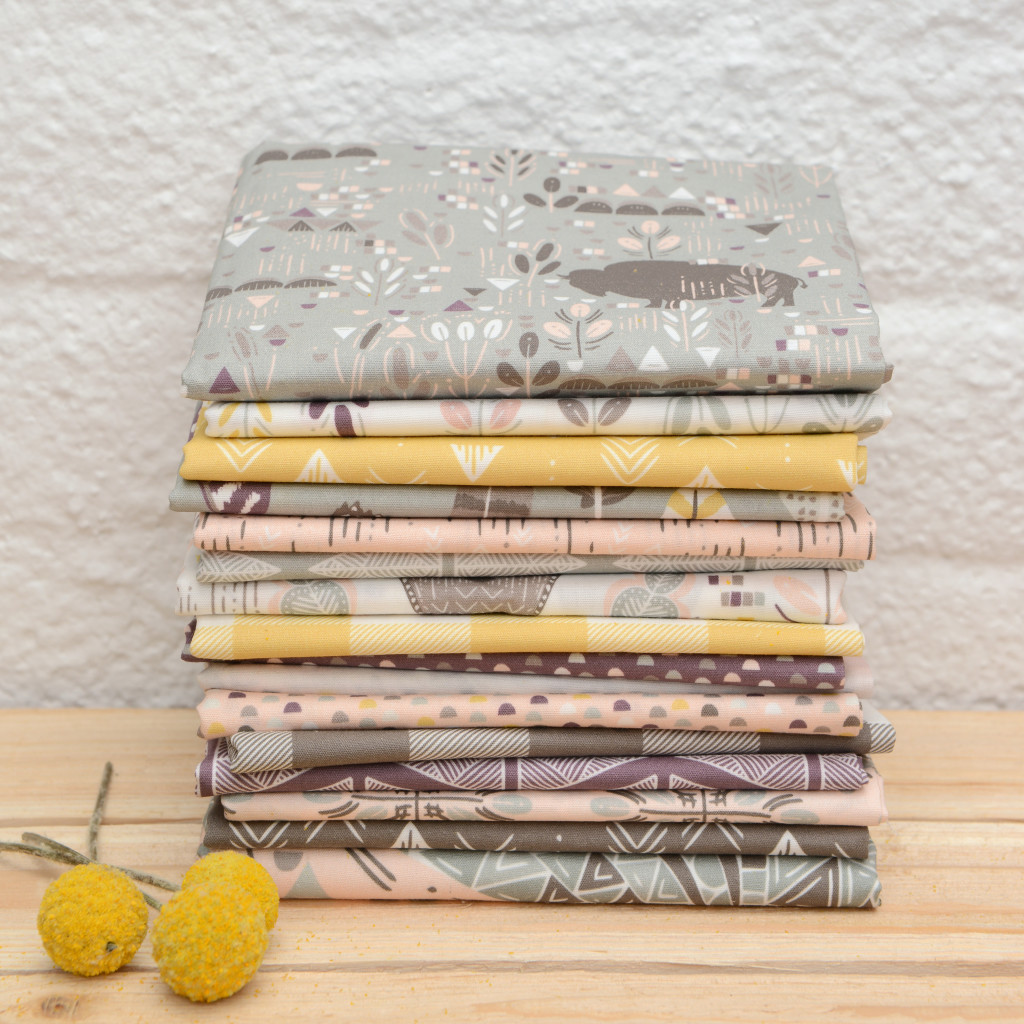
Roam is a soft, dreamy rustic collection in both a Dawn and Dusk palette.  I tend to lean toward blues when I select fabric, but for some reason I couldn’t resist playing with the Dusk fabrics.  There is something about the earthly yellows, purples and pinks that is just so incredibly soothing…

I Love You Sew-4

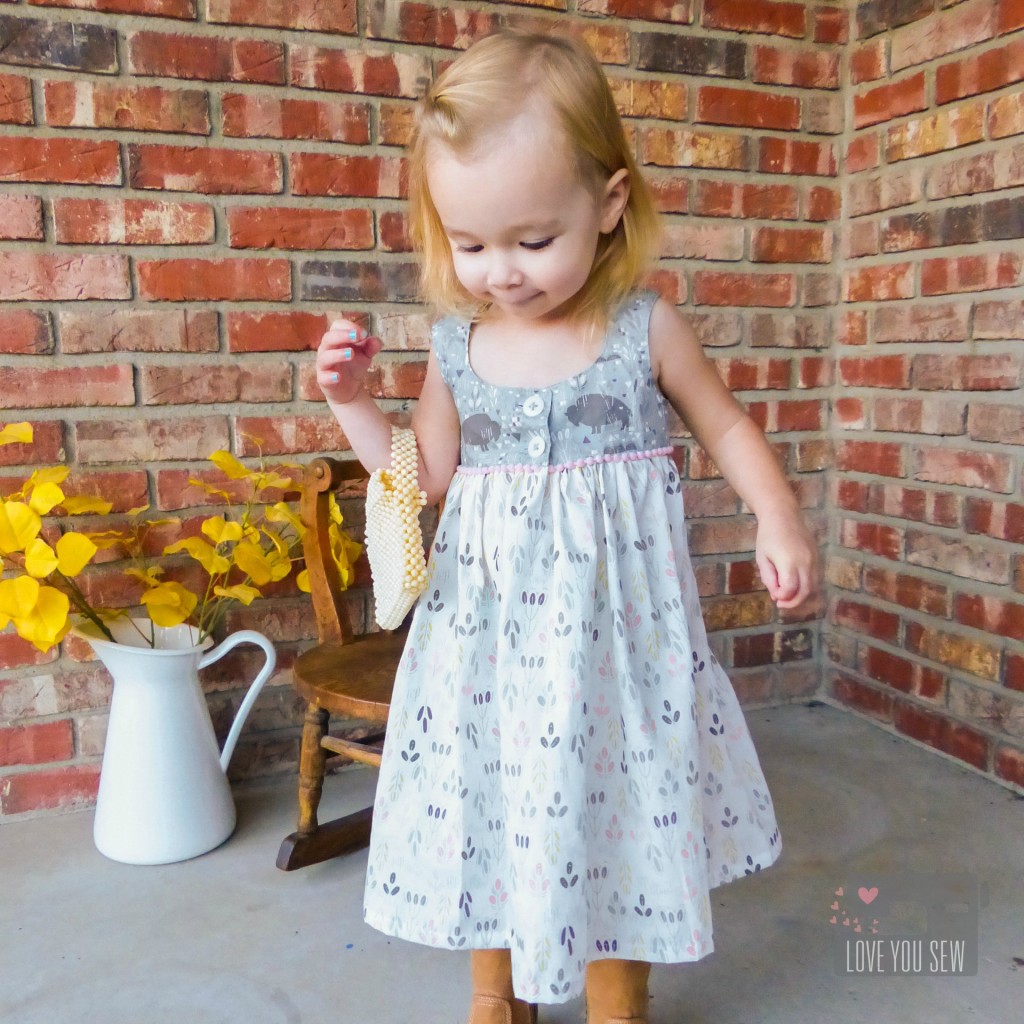
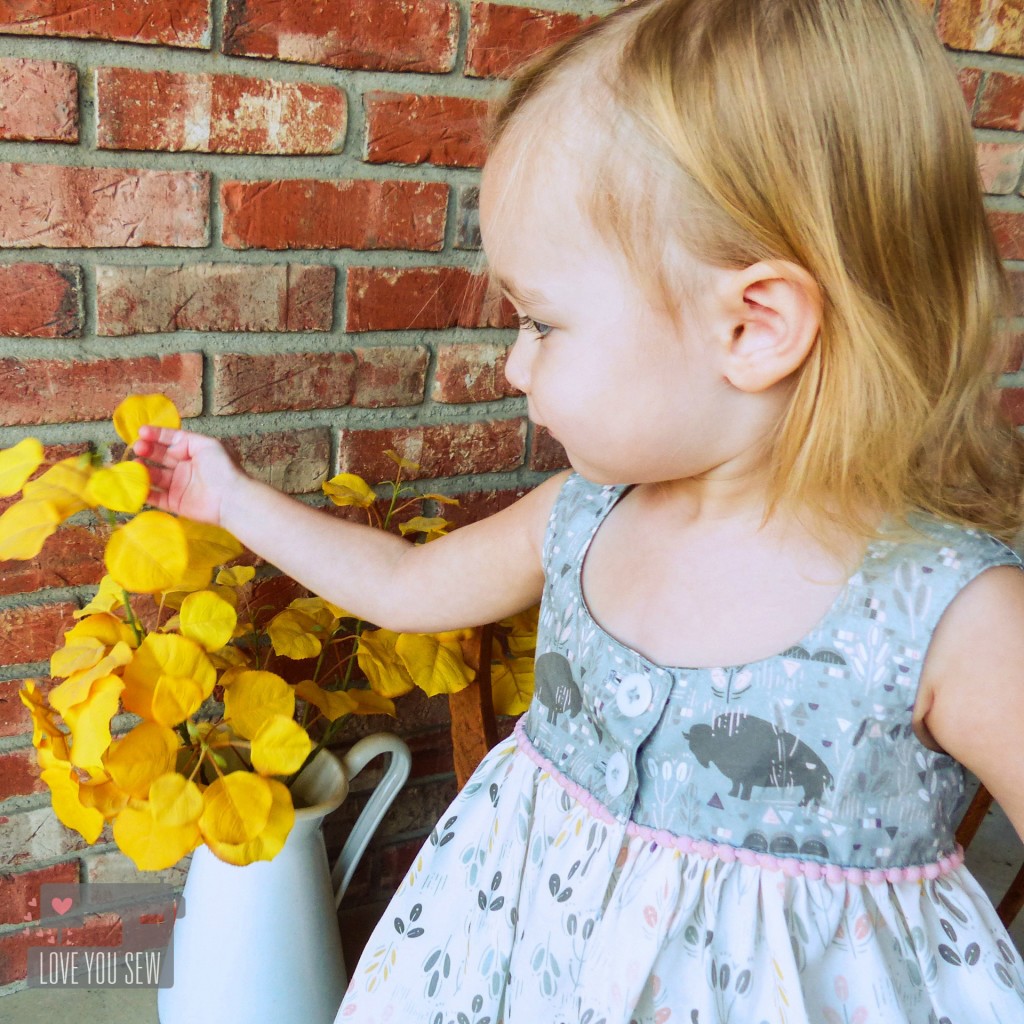
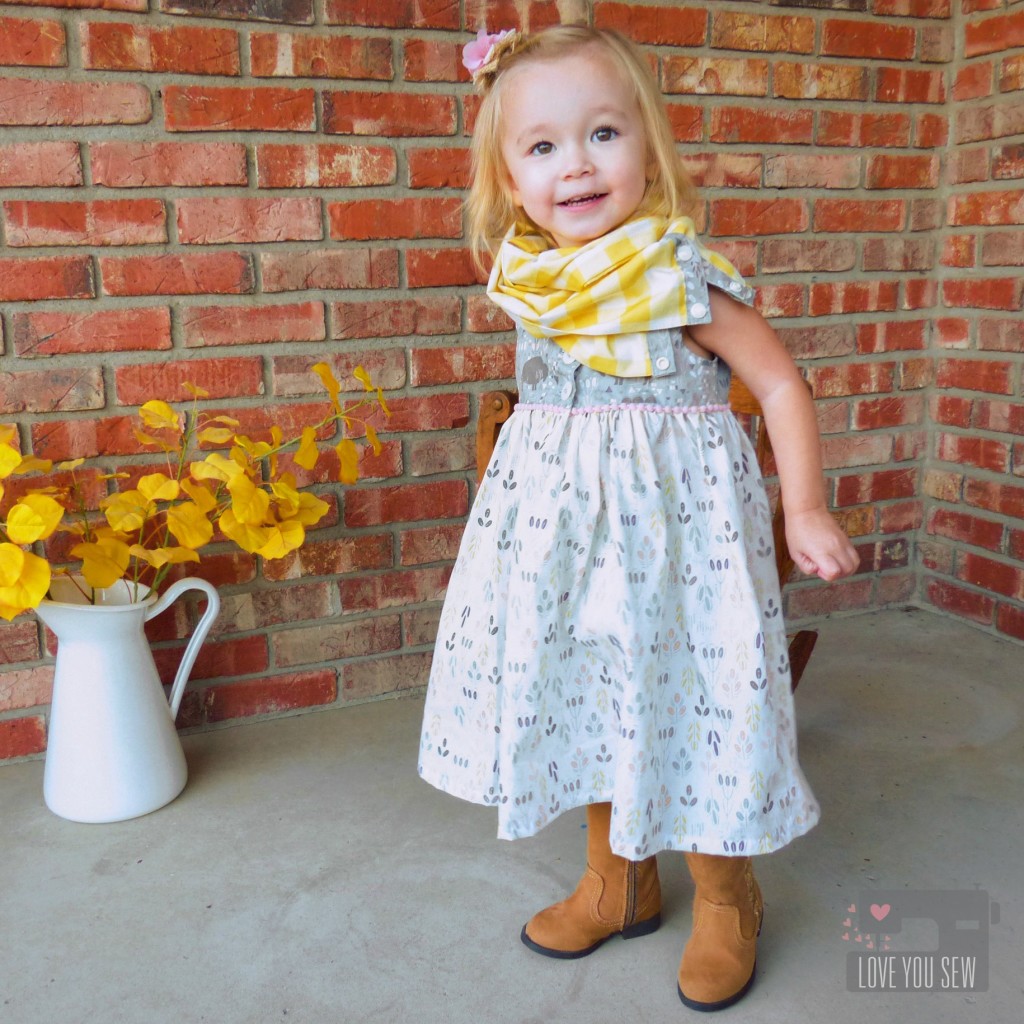
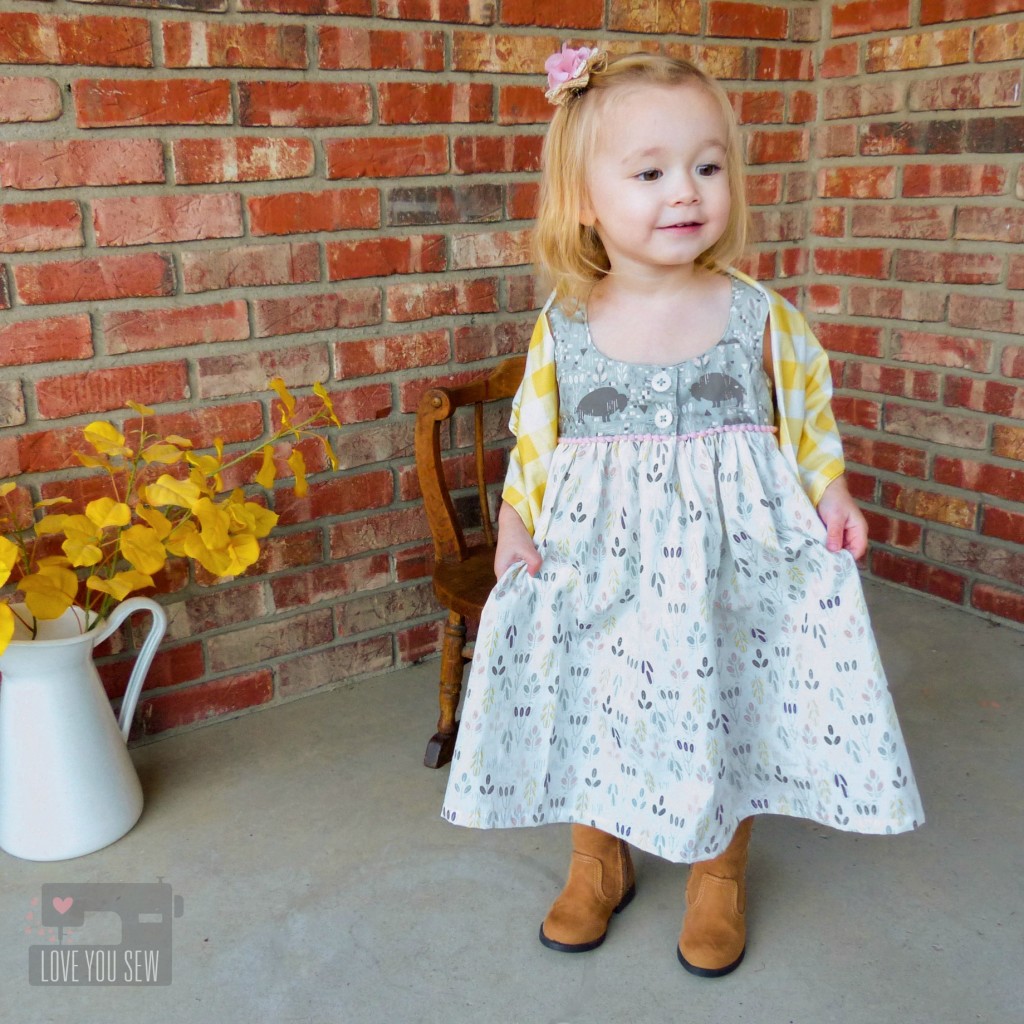
I selected The Plains in Sage and Prairie Flowers in Dusk to make the Desert Rose Dress by Caila Made.  This is such a cute dress pattern for toddlers and the Roam fabric was just a perfect playful fit for the design.

I Love You Sew-1

With the contrasting top and skirt, I couldn’t help but add a little extra pink pom-pom action….because…who can resist, right?!?  If you have not worked with pom-pom trim before, I suggest basting it in before you attached the top to the skirt.  It makes it MUCH easier to attach and stay even as you sew!

I Love You Sew-2Along with the dress, I made a Side-Snap Infinity Scarf.  The Buffalo Plaid in Honey is such a gorgeous coordinate.  I love how it picks up the yellow from the skirt and adds a hip stylish look for a little one.  The best part is the side snap placket which allows you to wrap the scarf without having to slip it over those big heads 😉

I Love You Sew-3You can also play with how you attach the scarf to change the look.  Snap it right in the middle and fold it over allows the scarf to work as a caplet.  If you use all the snaps, the scarf can stand up better to ensure full neck coverage on chilly days.  If you leave the snaps undone, you get a cute little shawl as shown.  Now who doesn’t love a multi-tasking accessory?!?

SideSnapScarfTutorial

To make the Side-Snap Infinity Scarf:

  • Use 1/3 – 1/2 yards of 42-44″ wide main fabric (depending on how much volume you would like.)
  • Fold the fabric with right sides together and sew down the length creating a long tube.
  • Pull the fabric so right sides are facing out and press
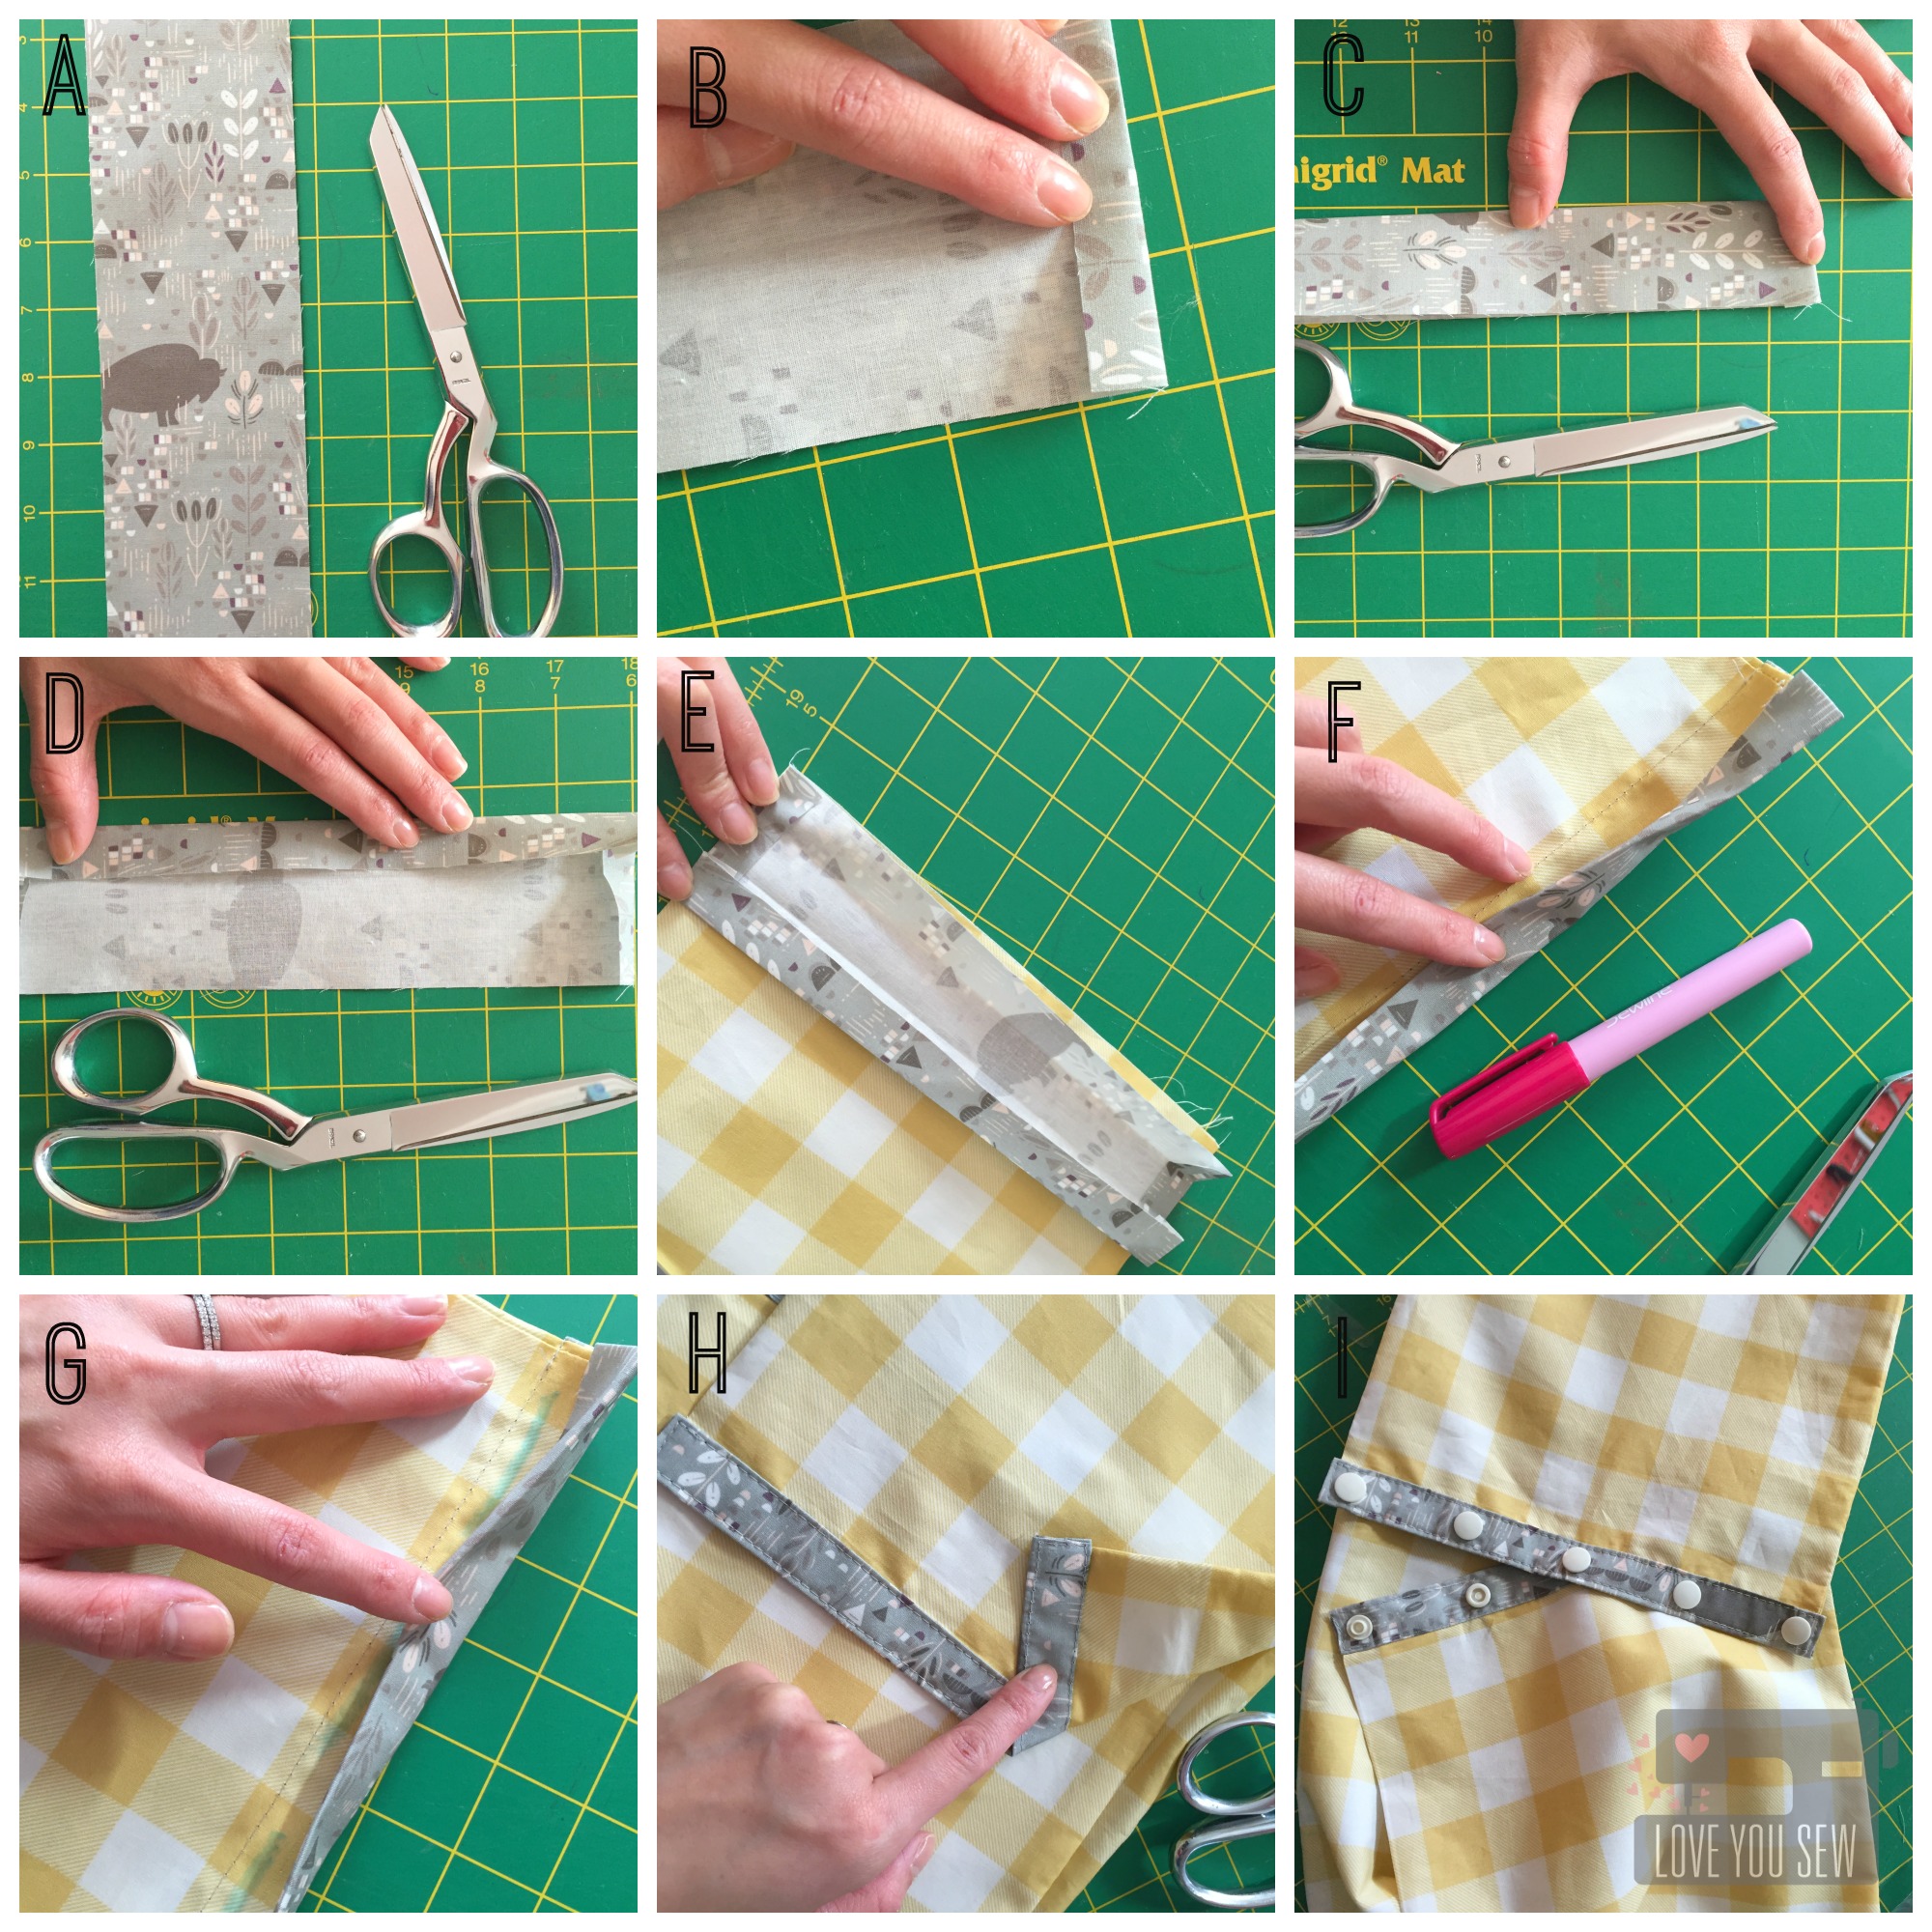
  • For the placket – {A} Take the accent fabric, cut (2) 3″ x 10″ strips (if using 1/2 yd for main fabric) OR cut (2) 3″ x 7″ strips (if using 1/3 yd for main fabric)
  • {B} On the short sides of the accent strips, fold a 1/2″ hem and press on both sides
  • {C} Fold in half length-wise and press.  {D} Open and fold lengthwise again but match the sides to the center line.  Press and make sure you keep a nice rectangle shape with sharp corners.
  • {E} Attach the placket by sewing in the the first crease of the placket closest to the end of the scarf tube.
  • {F} Flip the scarf over and sandwich the open end of the main fabric tube in-between the opening of the placket.  Top-stitch all around with a 1/8″ seam allowance {H.}  Repeat for the other side of the scarf. TIP: Use some washable fabric glue to keep the placket in place as you top-stitch
  • {I} Add plastic snaps such as these KAM ones by marking 5 sets approximately 2 1/4″ apart (for 1/2 yd scarf.) *Yes, I know that one left snap was incorrectly attached, but I didn’t realize it until all the pictures were already taken. It’s been fixed since 😉

Dusk Giveaway Bundle Image

***Giveaway is closed***  Now who’s ready for the giveaway??? Comment with how you would like to use this Dusk color-way for a chance to win the entire fat quarter bundle!  This is open internationally and a winner will be announced once the blog hop is complete.  Make sure to visit everyone on the hop for beautiful ideas and additional chances to win this gorgeous fabric!!!

The complete Hawthorne Threads Roam Blog Hop Schedule:
Tuesday, December 1st – Fabric Mutt
Wednesday, December 2nd – Coffee + Thread
Thursday, December 3rd – Love You Sew
Friday, December 4th – Olivia Jane Handcrafted
Saturday, December 5th – Hawthorne Threads


12/15/2015 Update – Randomly Selected Winner is  Veronique Oudard!  Congratulations!!!


Hugs & Stitches,

Cristy


***The blog hop was sponsored and fabric was provided by Hawthorne Threads.  All opinions  are my own and have not been influenced by outside parties.