Minikin Sidewinder Review – Plus Drop-In Lining Hack

It is no secret I love Sew Sweetness patterns by Sara Lawson.  I’ve come to really trust her instructions and I love all the innovative ways Sara constructs her bags.  She has written quite a few patterns and has a nice variety of large bags down to small accessories.  You can read about a few of my makes below:

  • Aeroplane Bag – here
  • Crimson and Clover Traincases – here and here
  • Trompe le Monde Bag – here
  • Appaloosa Bag – here

Right before Halloween, Sew Sweetness released a whole collection of 12 small accessory pouches and bags called the Minikins.  These were all designed to be quick sews which use mostly fat quarters.  There are many bags patterns out there which can take several hours and even days to complete.  Sometimes you just need to be able to complete a project in one sitting to feel accomplished and these definitely do just that.

The real bonus is that this pattern collection also comes with 12 step-by-step videos!  How amazing is that?!?  These are great if you are a novice or even like me, who may need help around a few steps.  It’s great to watch them just to pick up some of Sara’s tricks.

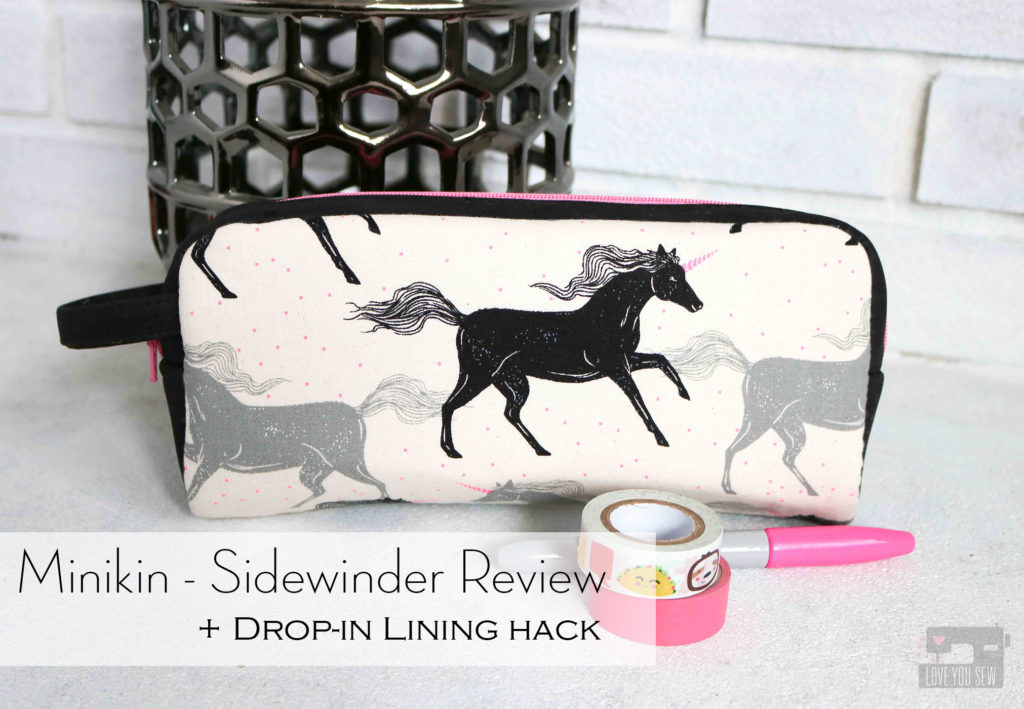
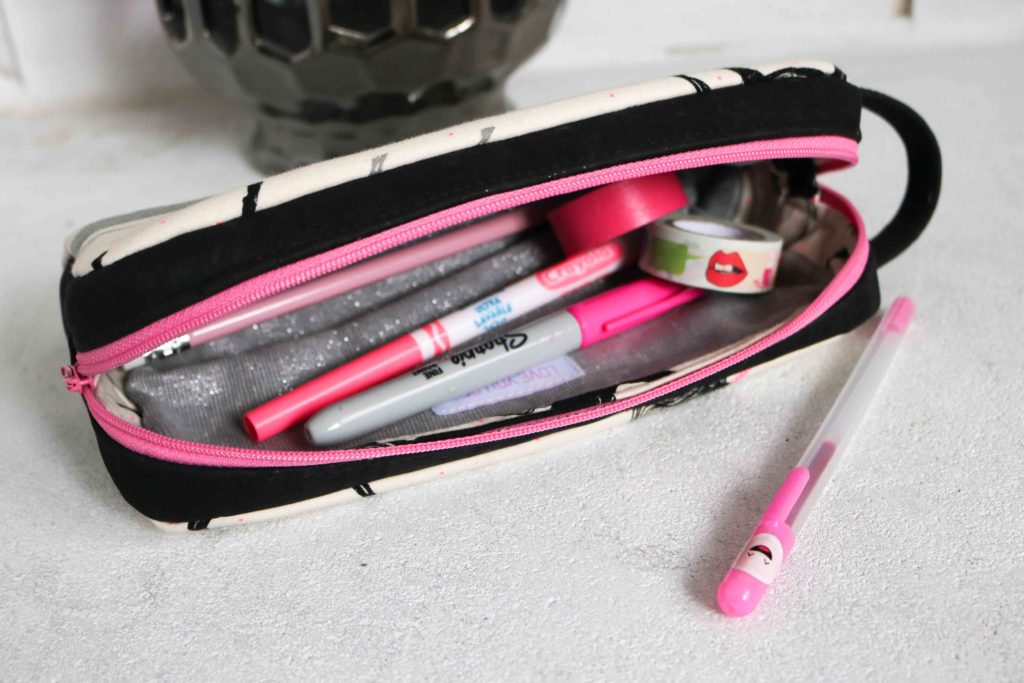
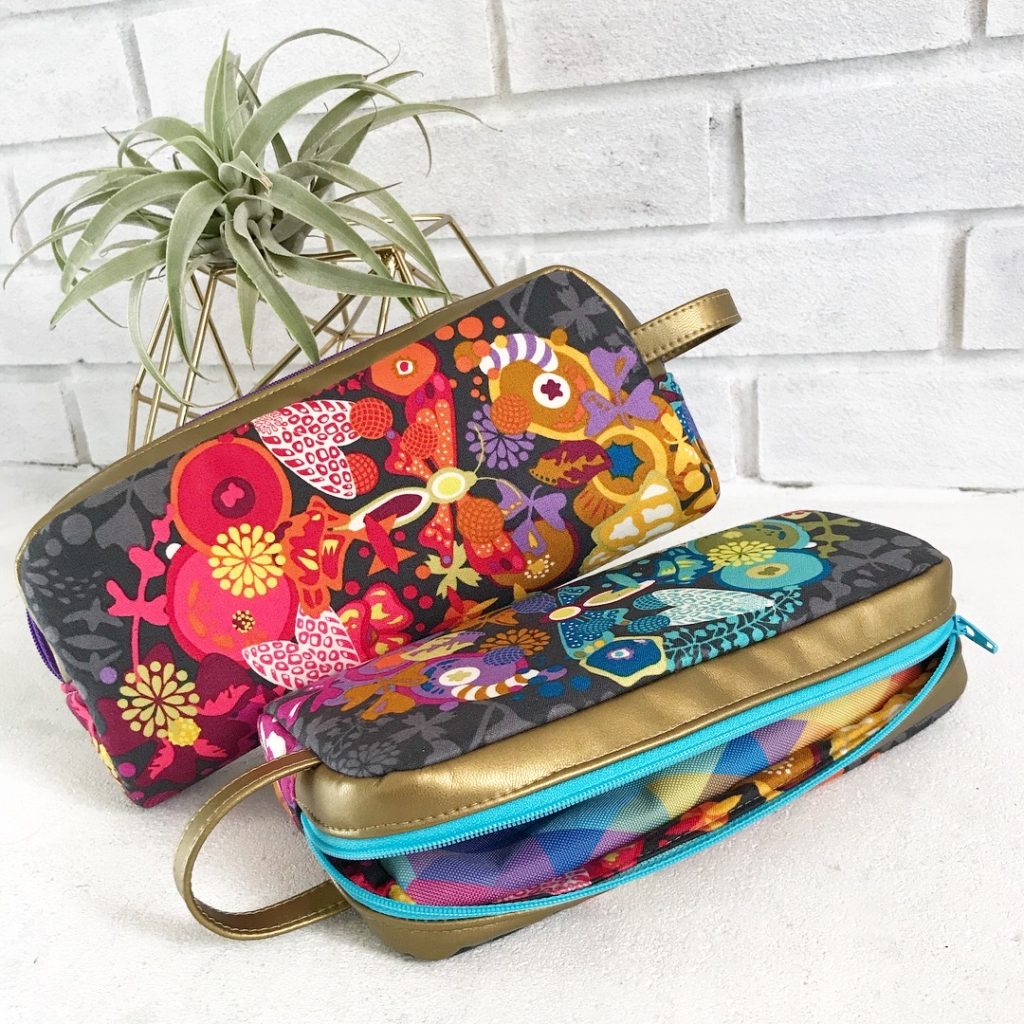
It was so hard to pick which Minikin I would make first.   But since I was heading into heavy craft market mode, I wanted this project to be THE quickest.  So, I selected the Sidewinder because of the curved-no seam-bottom.   This looked perfect for someone short on time and you just need non-directional fabric.  (For these unicorns, I did piece together the exterior because of the direction.)

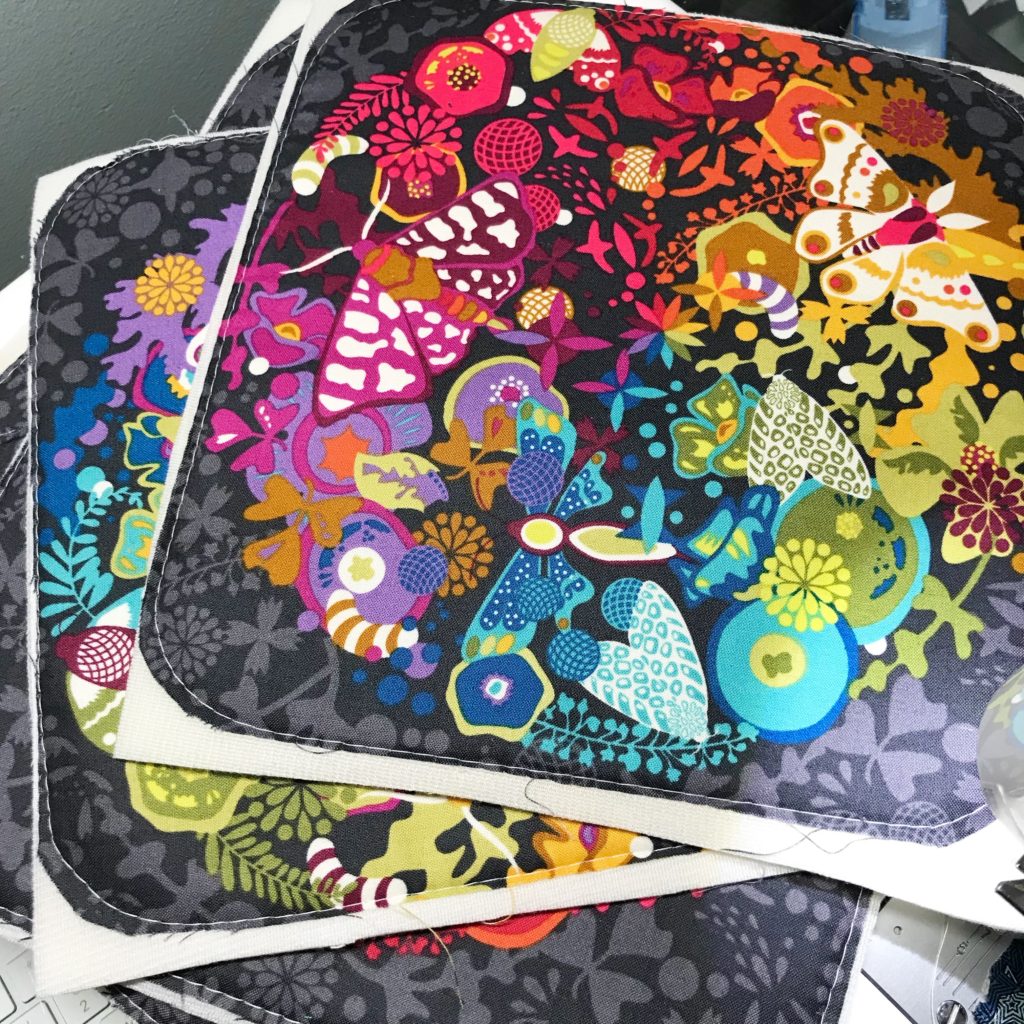
For all of my Sidewinders, I used the recommended Annie’s Soft and Stable, but also interfaced all the quilt cotton (exterior and interior with Pellon SF101 for added structure.)  The Pellon SF101 on the exterior fabric helps prevent extra stretching and puckering when basting with the Soft and Stable.

For all of the gussets, I used either cork or faux leather, all found in the Sew Sweetness shop.  It’s nice to find so many substrates all in one place.  (Gotta love that flat-rate shipping too!)  It helps amplify the bag design and really make them look professional with cork or faux leather.  The corners get a little tricky, but you can muscle through it and use Sara’s technique in her video.

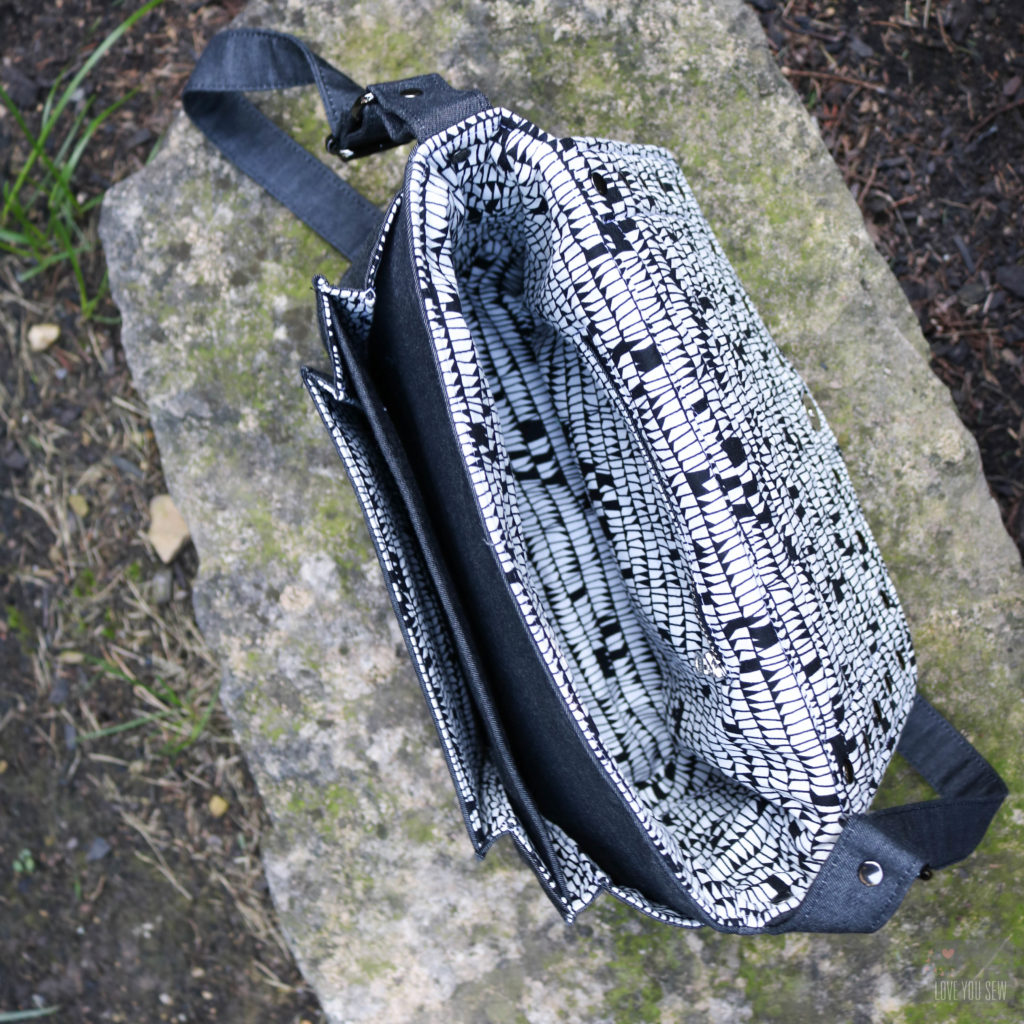
This pattern and some of the other Minikins make use of a drop-in lining.  This is when the lining and bag exterior are constructed separately and then joined together (usually through top-stitching around the zipper.)  Even with all the bags as I have made….I’m terrible at attaching  drop-in linings!  I can’t get my seams to match up so my stitching consistently catches all of the lining…grrr…  I tried pins and even glue basting the linings.  But when I have to maneuver around end of the zippers, something always manages to shift.  I’ve also spent an absurd amount of time trying to hand-sew in the linings…and this girl just doesn’t have time for that!  So, that’s why I devised my own lining hack.

{Edited to reference the step #’s per Sidewinder instructions.}

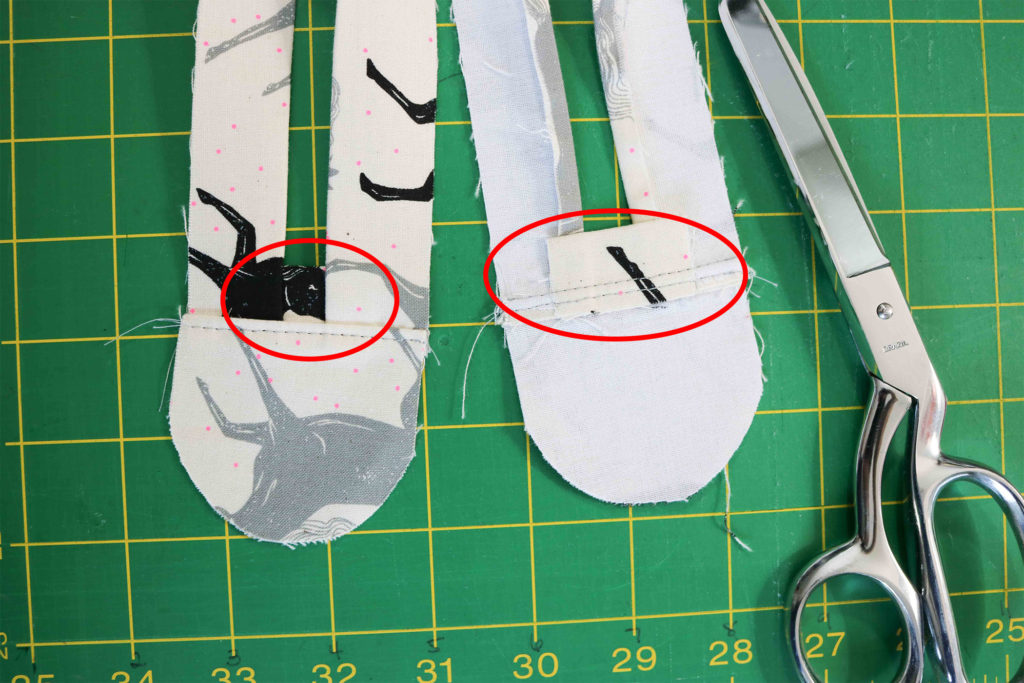
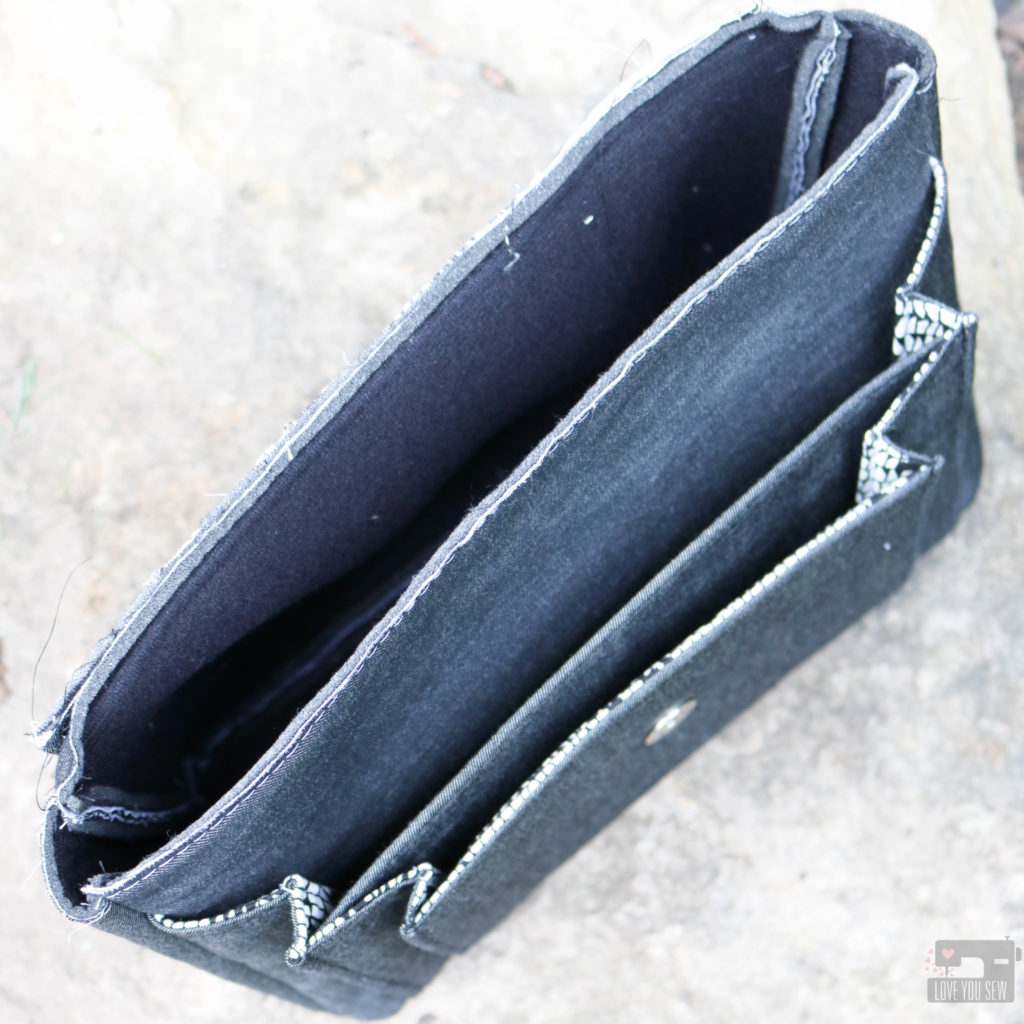
In step #5, skip the top-stitching.  Complete step #7 per instructions, stopping before you top-stitch the Lining Side Panel down.  With left over scraps, I cut approximately (2) 3″x1.5″ rectangles and folded each in half lengthwise.  Each rectangle was centered and placed behind the zipper openings as shown in the red oval. Continue with the instructions to top-stitch the Lining Side Panel, along with these extra rectangles.
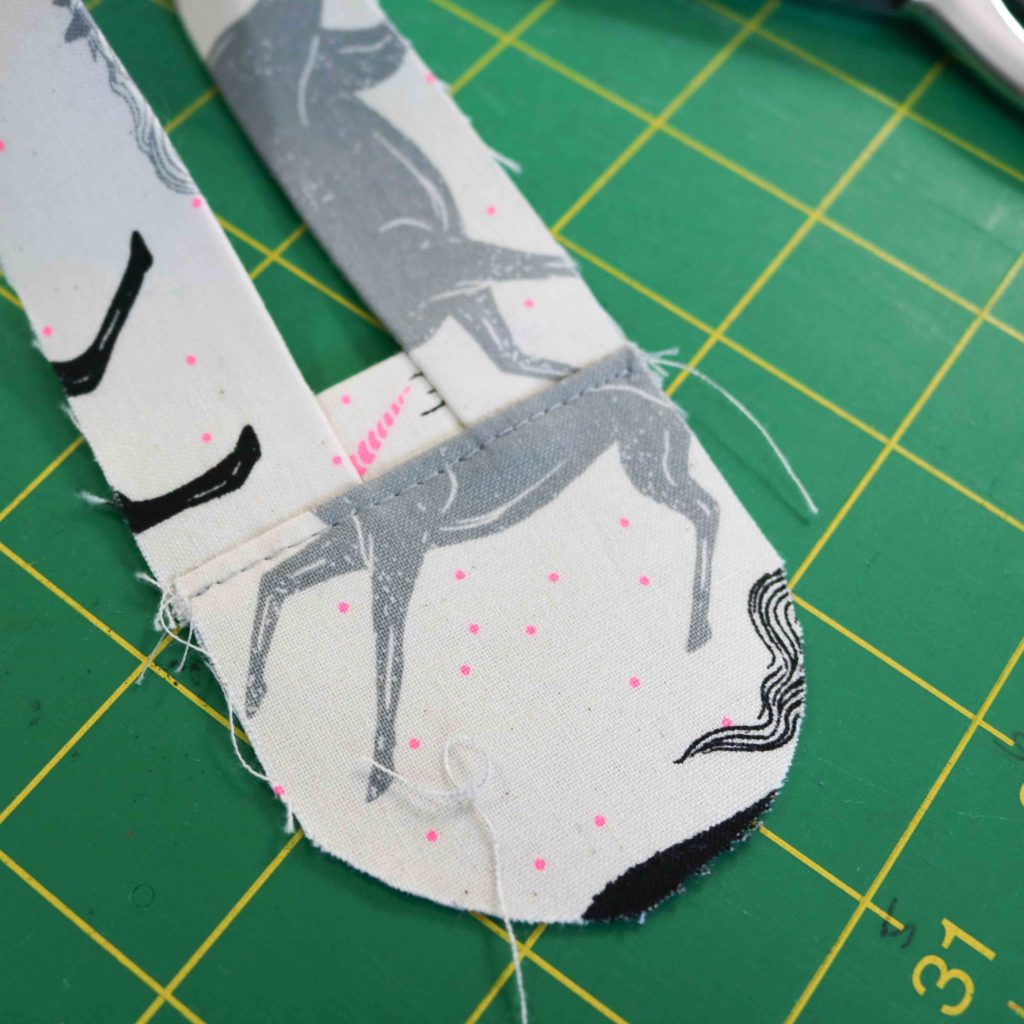
This method provides me with about 1/2″ of extra lining for my stitching to catch on either side of the zipper.  The rest of the lining and exterior are completed as instructed.
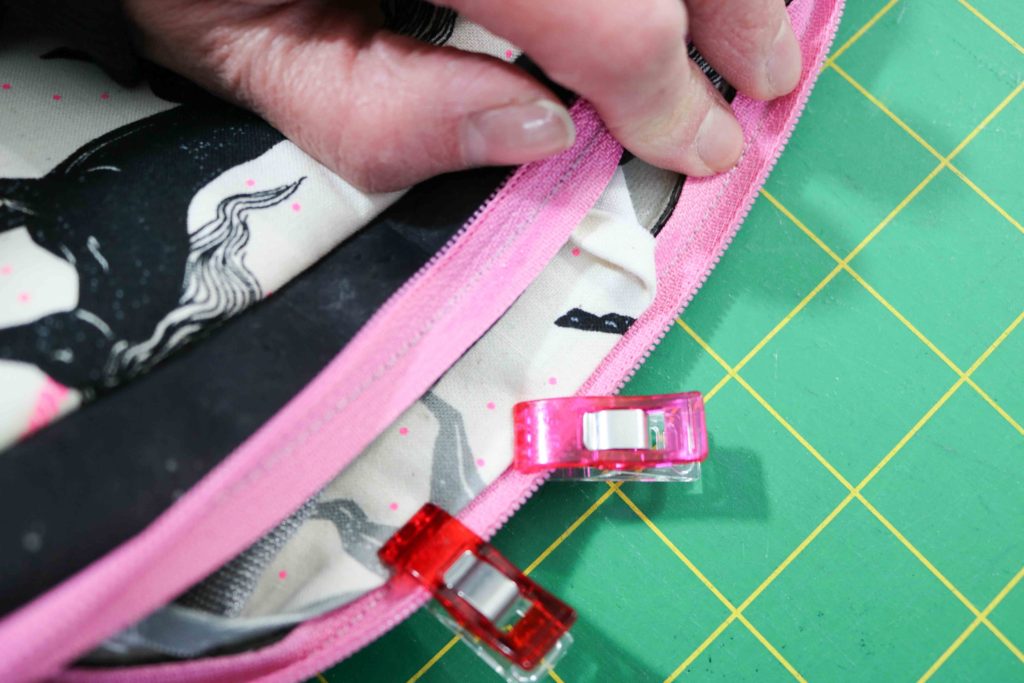
As personal preference, I glue baste the lining to just barely covering my zipper stitches and use clips to hold them into place until the glue dries.
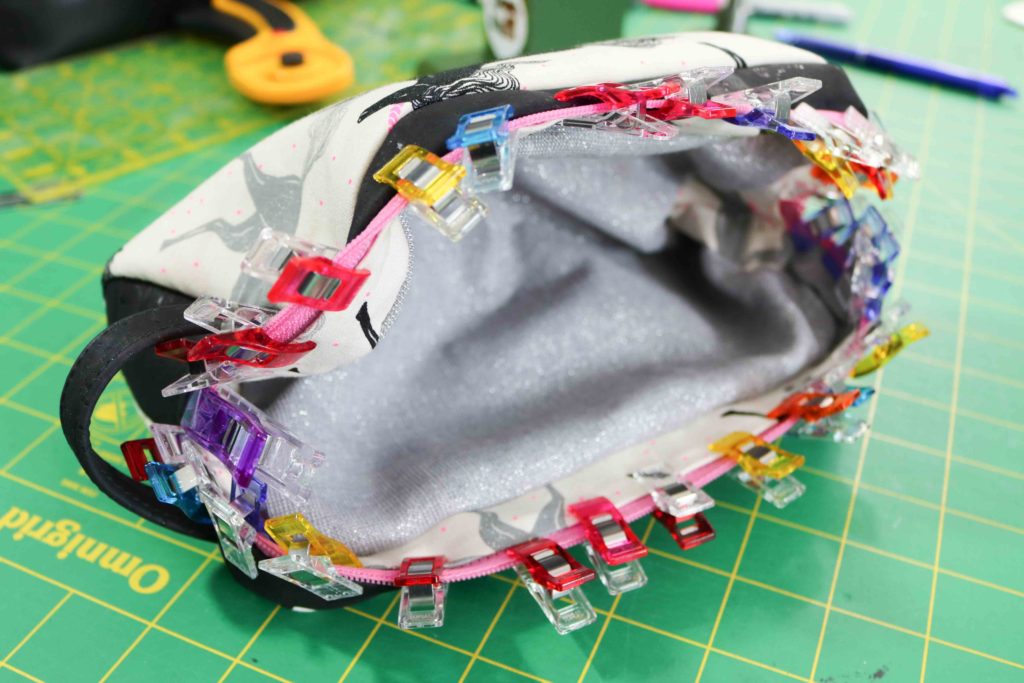
 There is no such thing as too many clips, right?!?
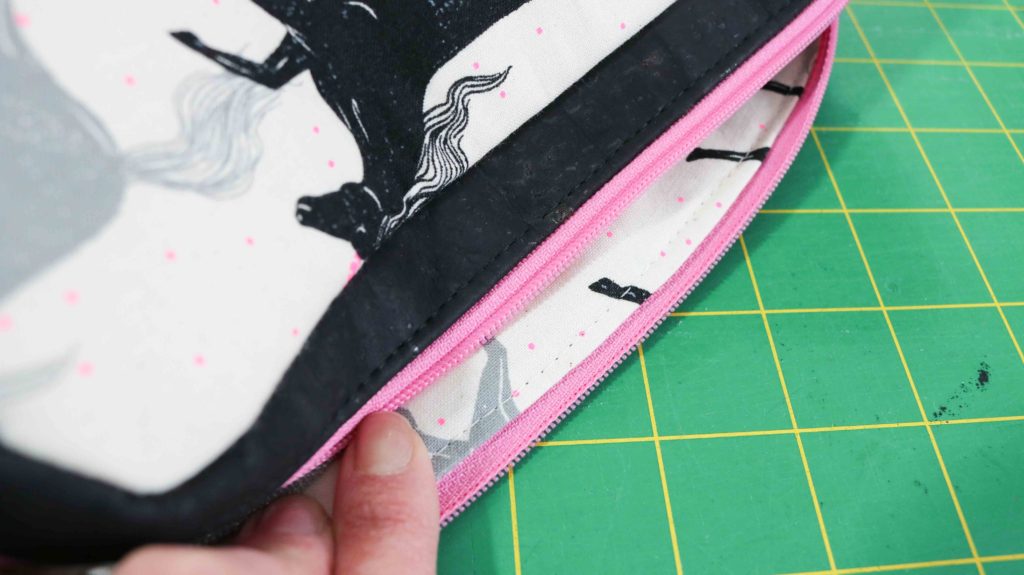
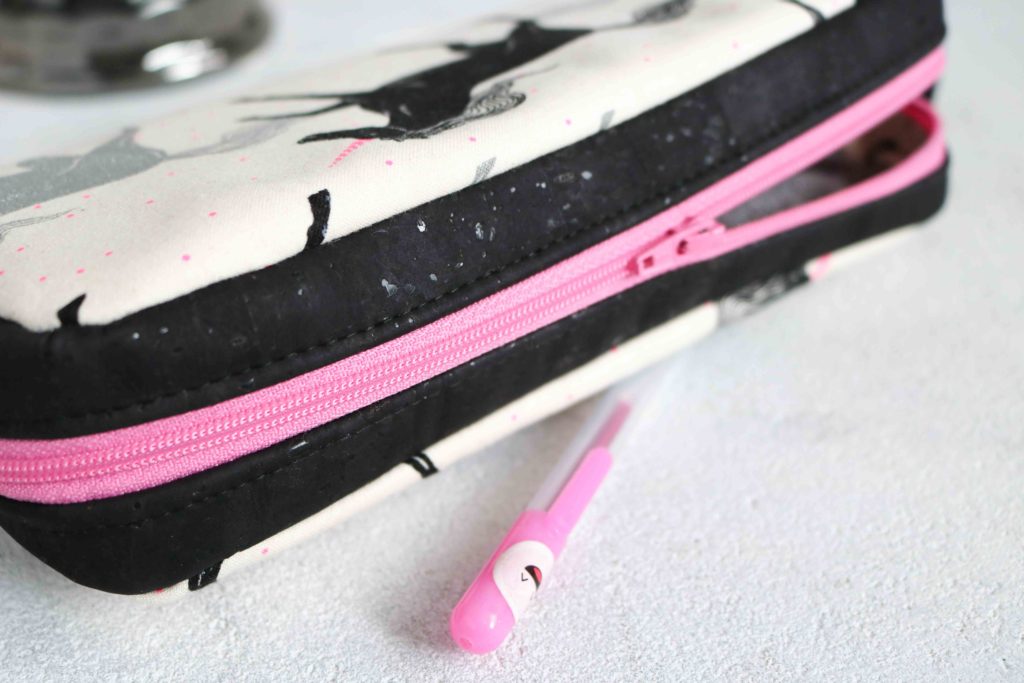
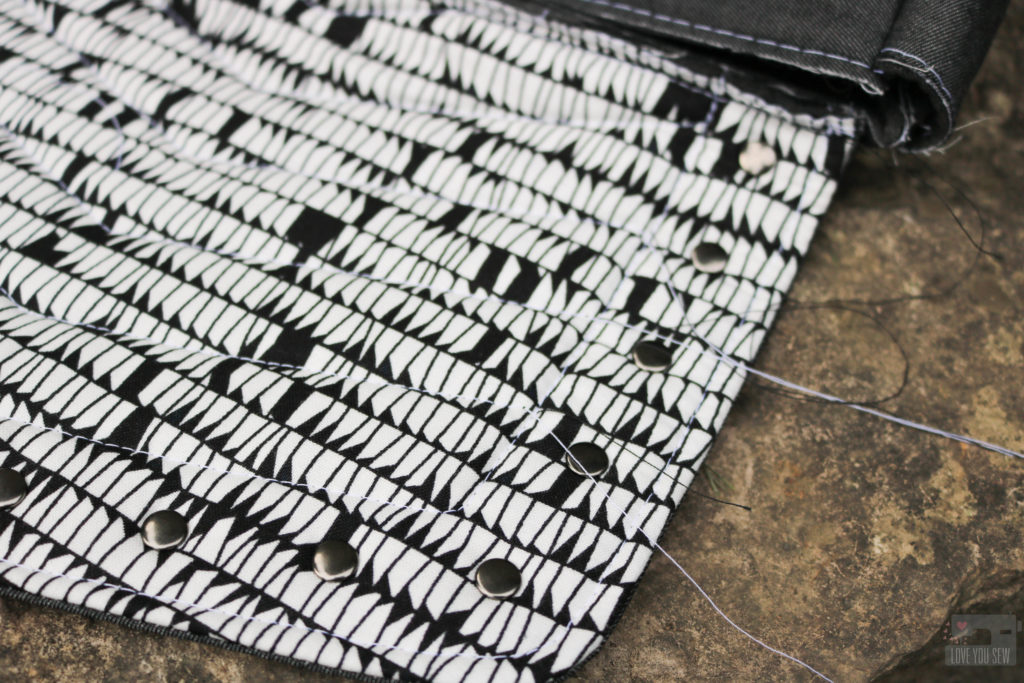
With a larger needle (16,) I top-stitch around the zipper with the exterior panels facing out.  You can see how it catches the lining below.  Using a thread to match the lining helps to hide any wonkiness 😉
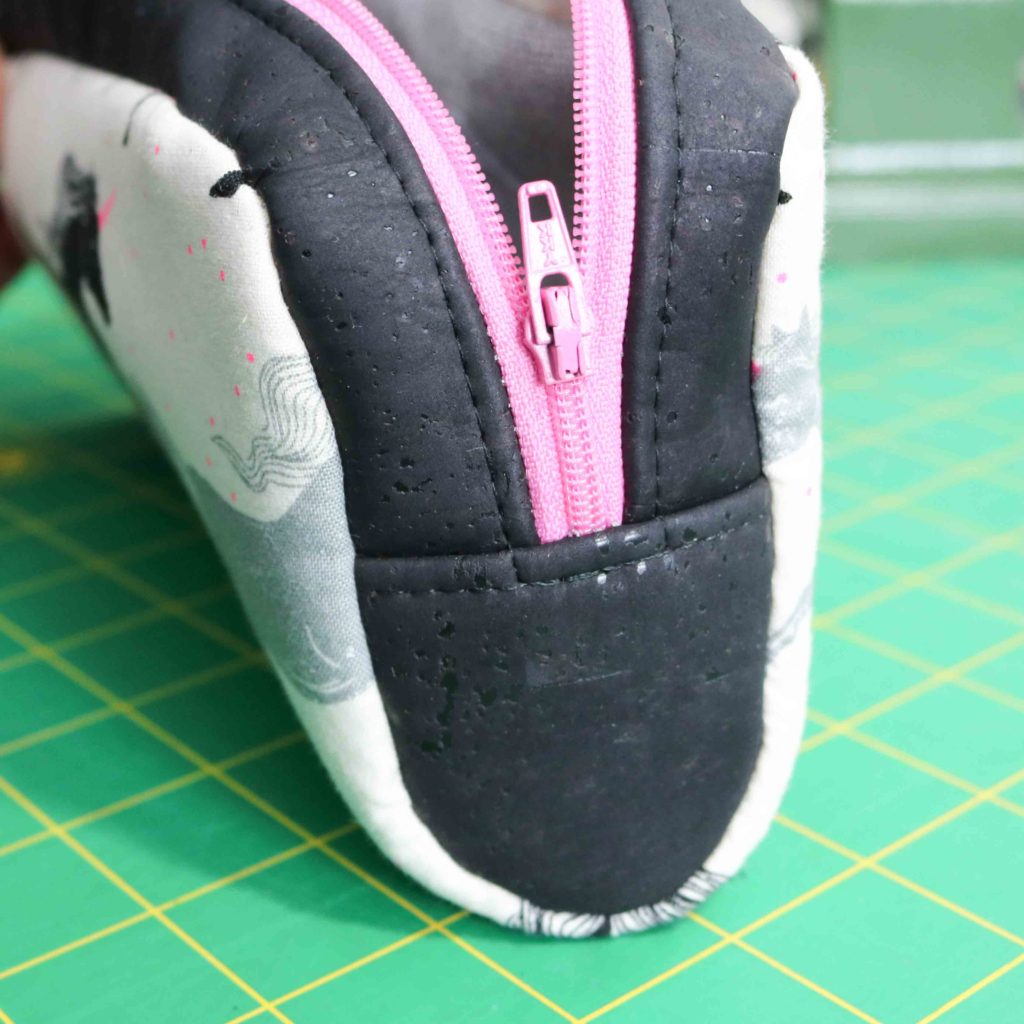
I use this method to have one line of stitching versus the method in the pattern.  Personally, I like the cleaner look, but there is no structural difference.  I’ve seen others create two parallel lines of stitching for a nice detail as well.
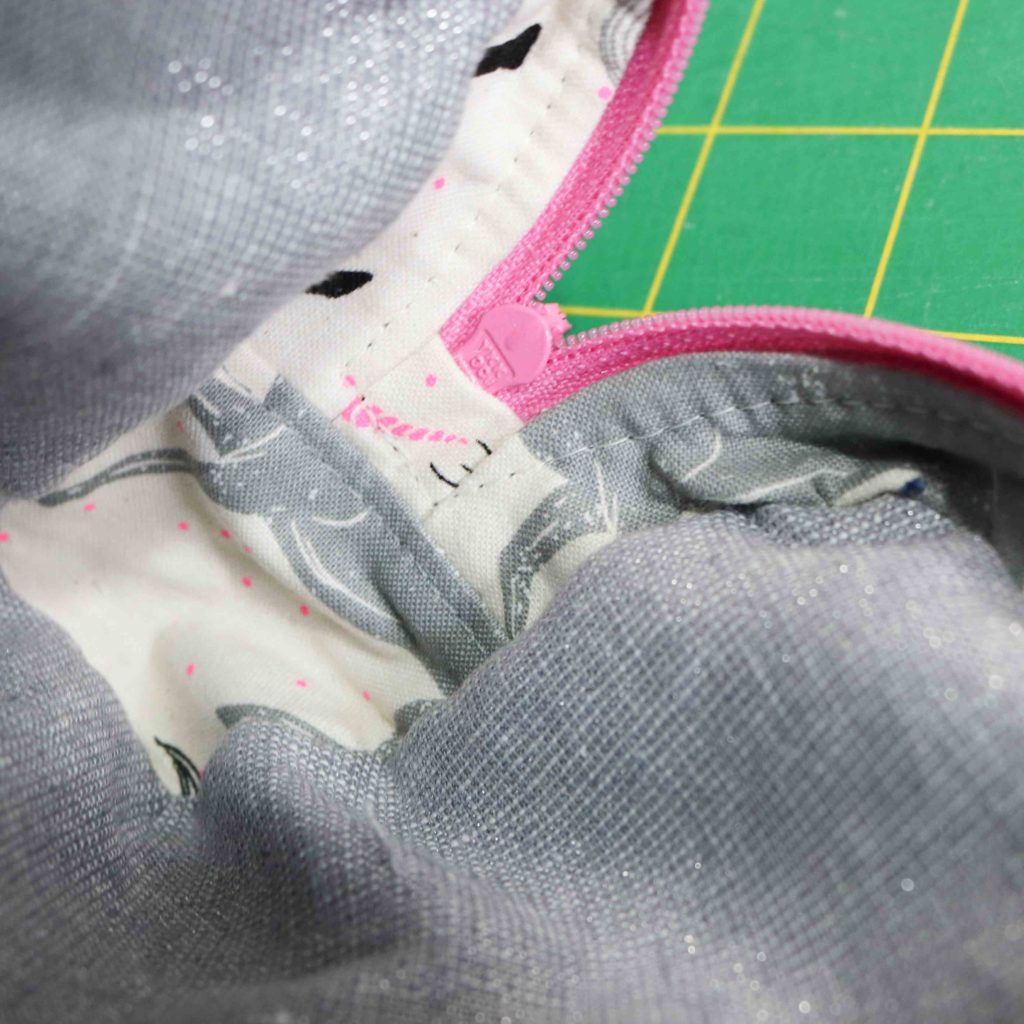
 You can see at the zipper ends, my sewing isn’t perfect, but I am able to always secure the entire lining no matter how much wrestling I have to do with a bag. The extra lining fabric give me a nice cushion!
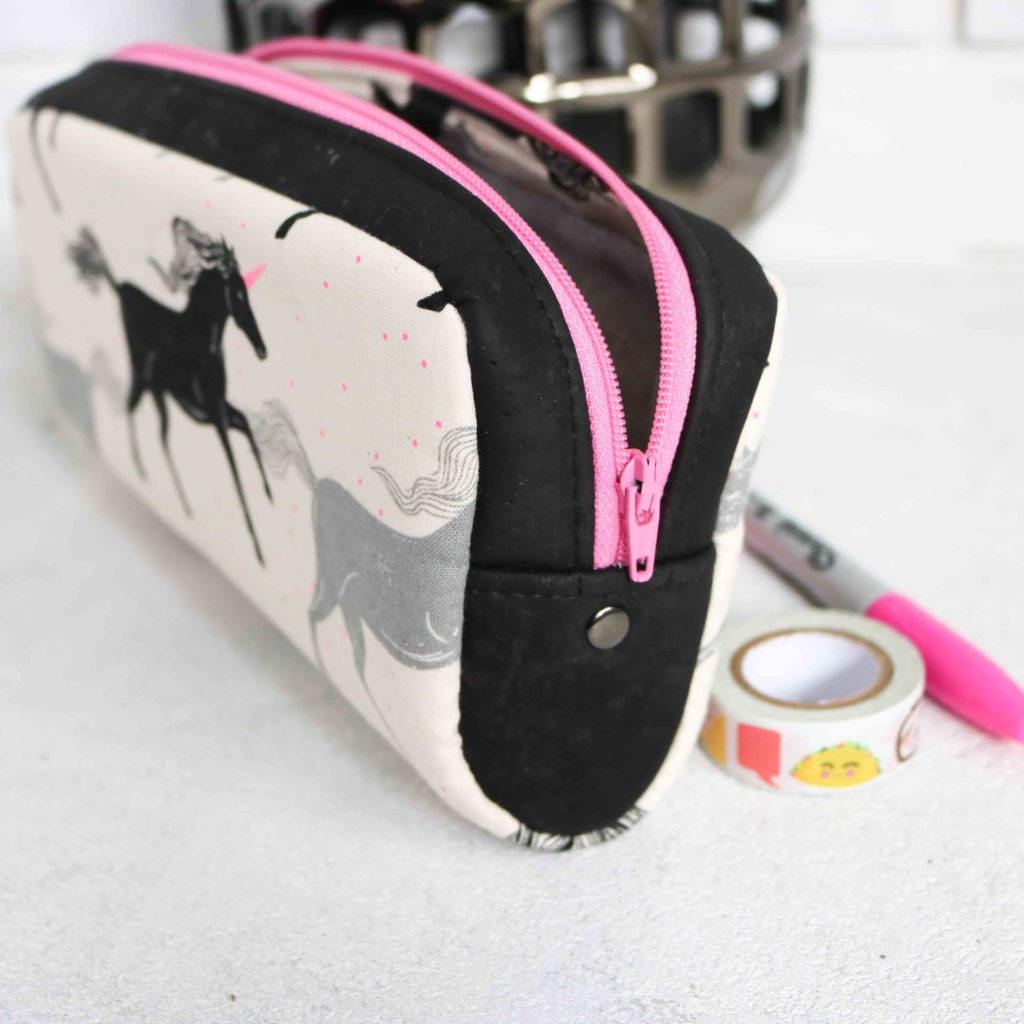
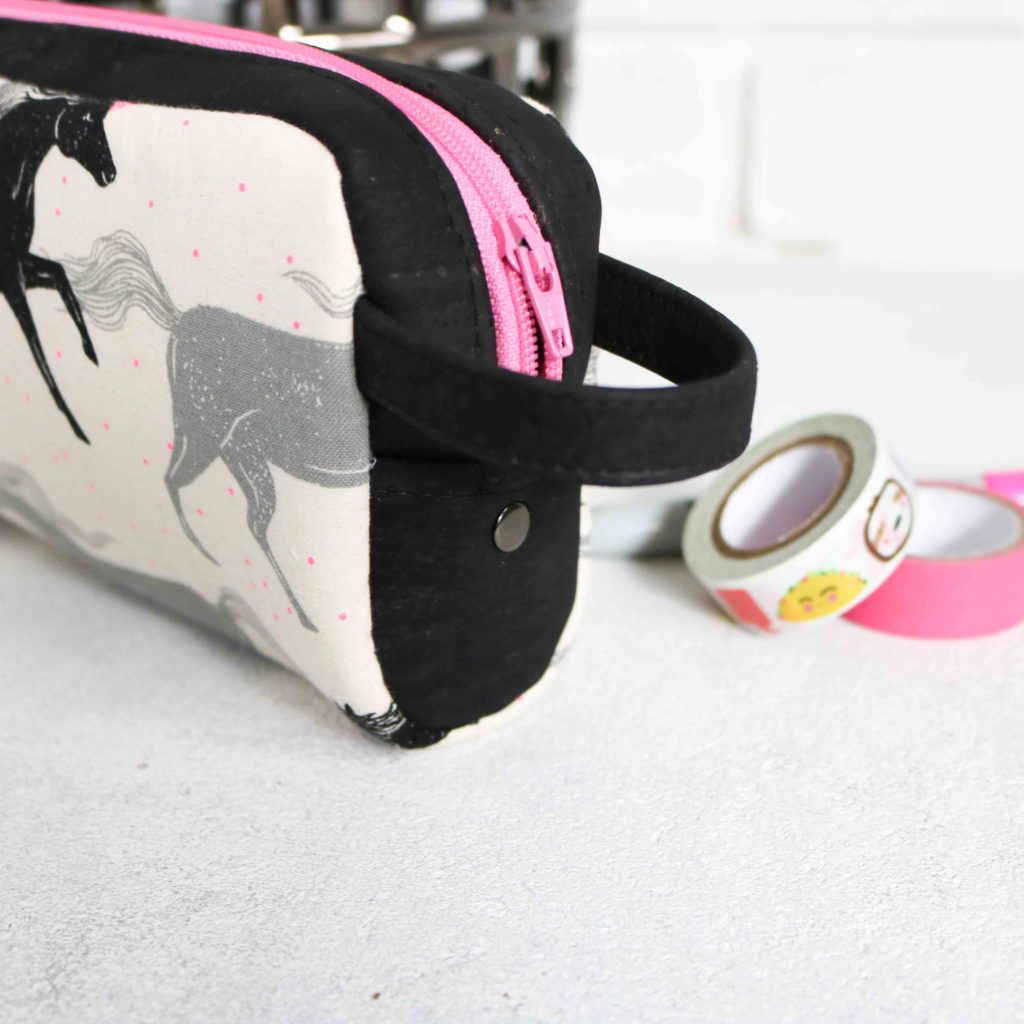
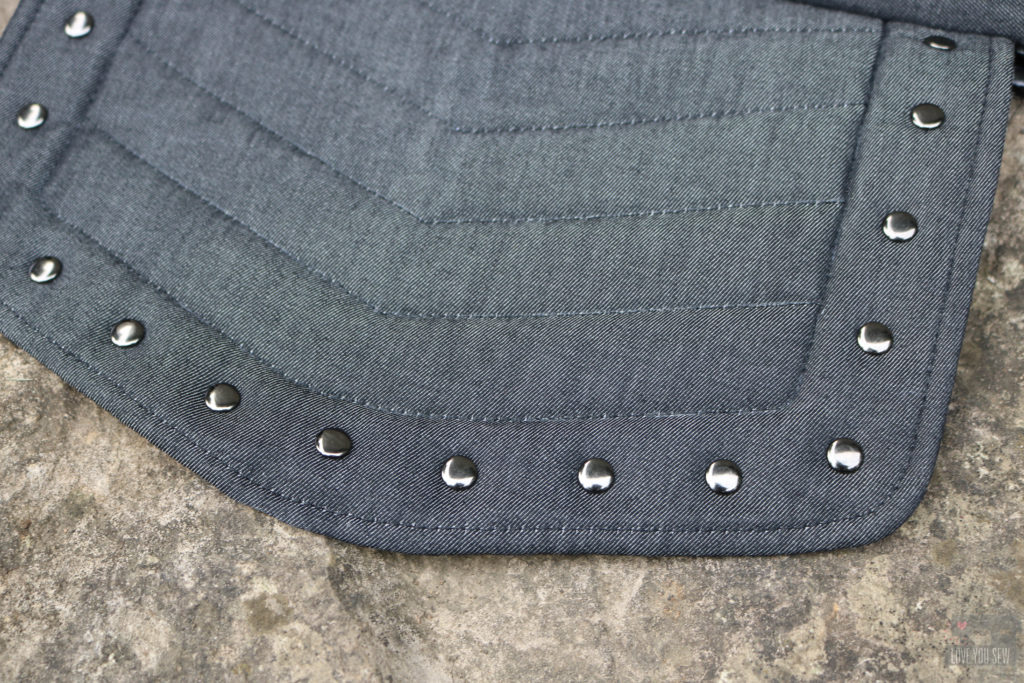
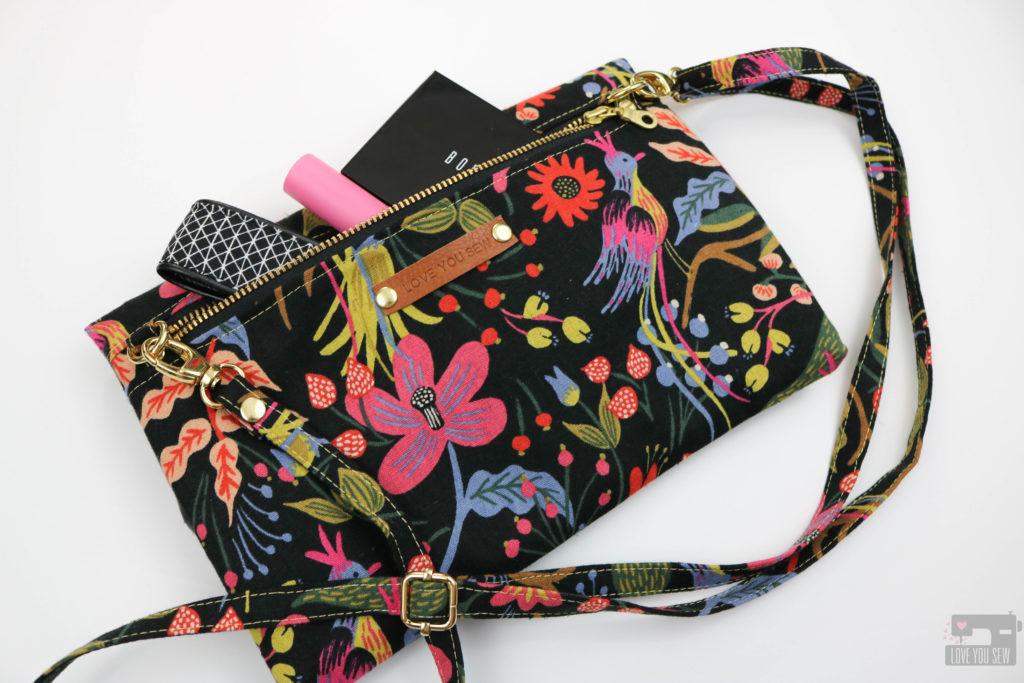
I finished the Sidewinder with just a rivet to add a little extra polish to the pouch.  A little hardware goes a long way to make your project look professional.
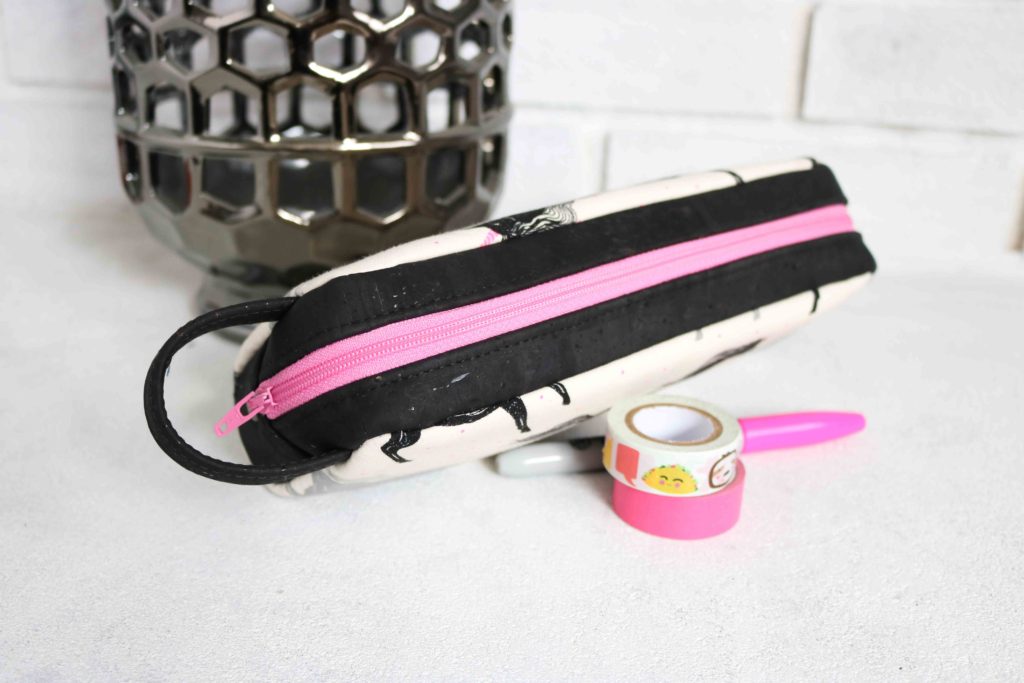
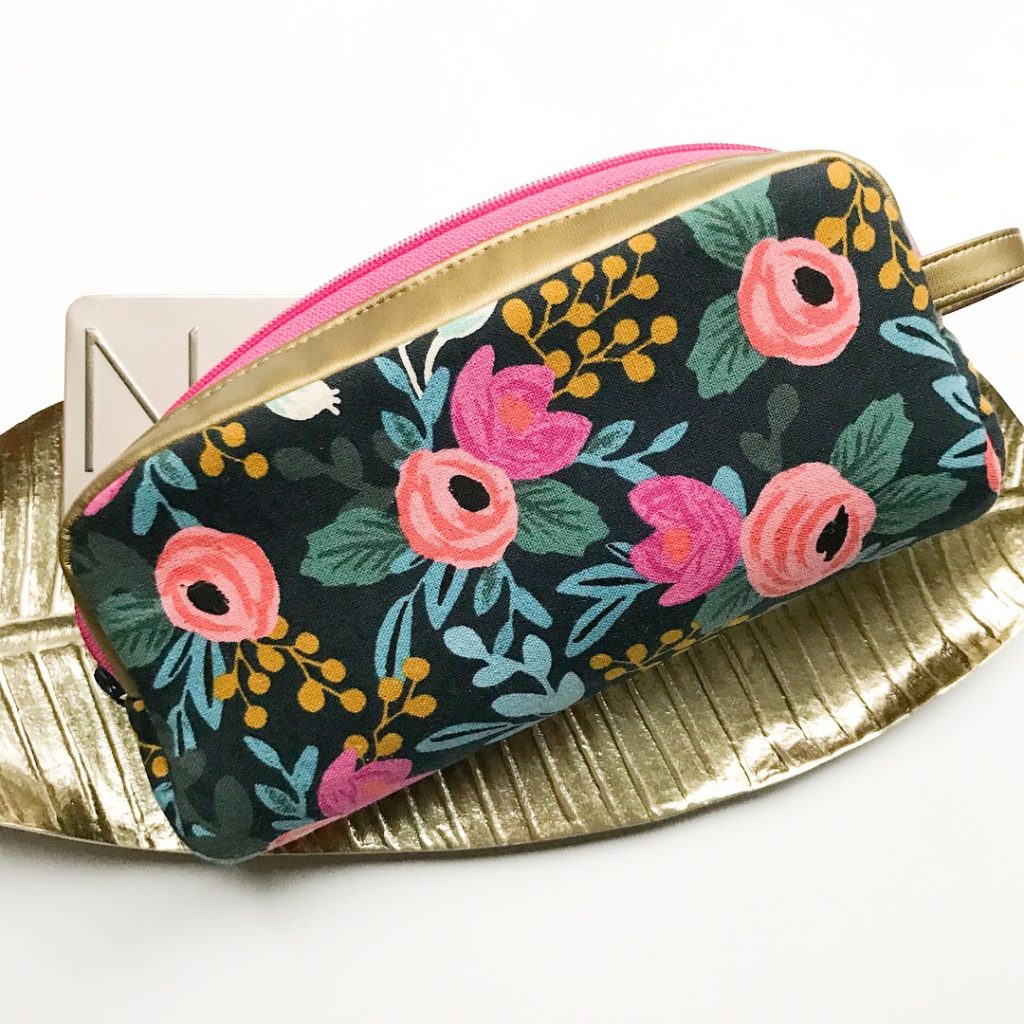
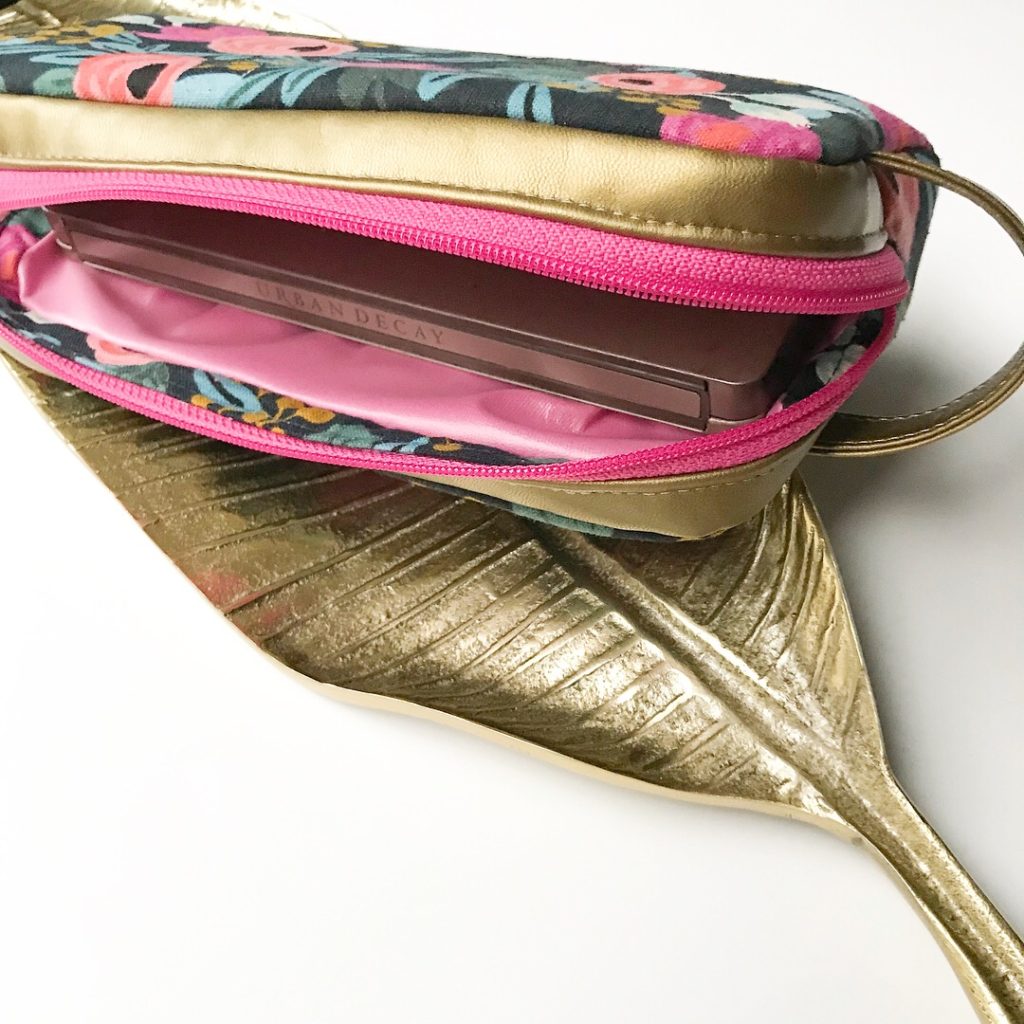
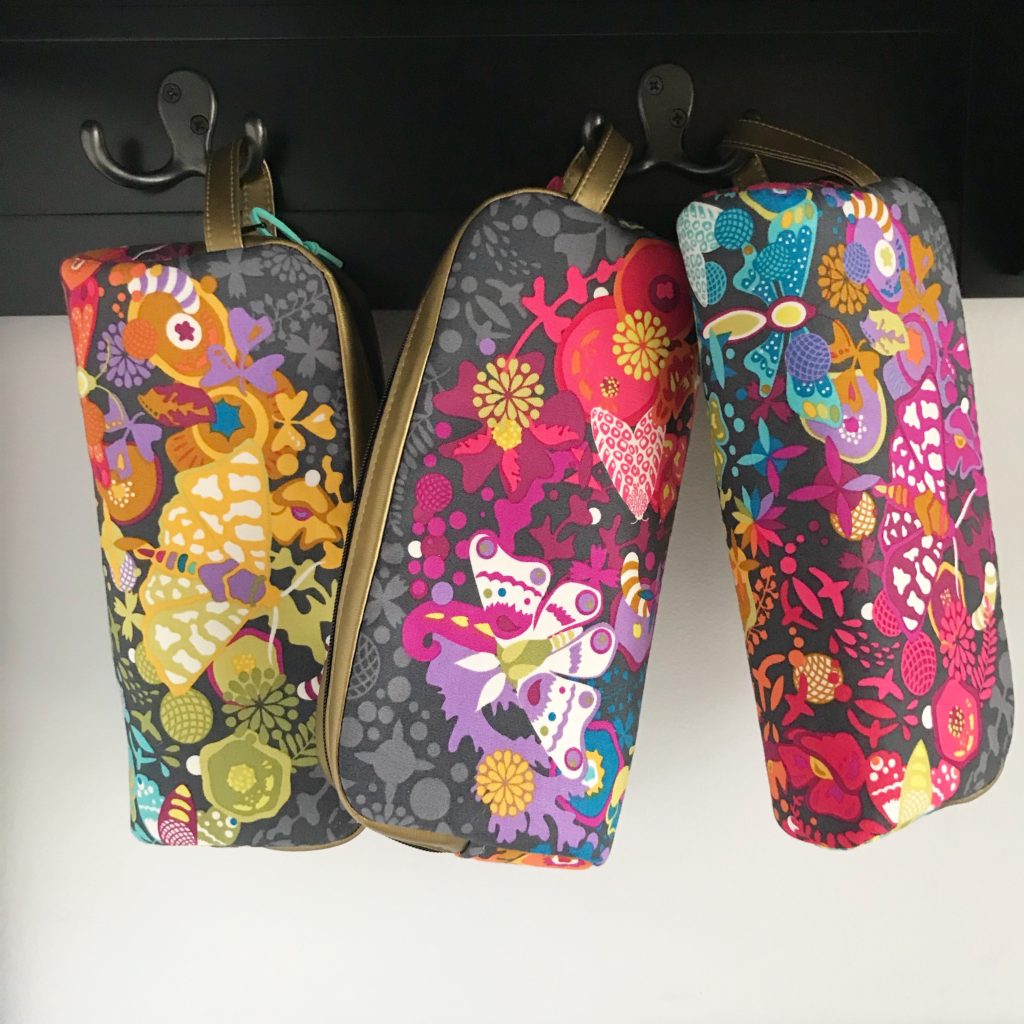
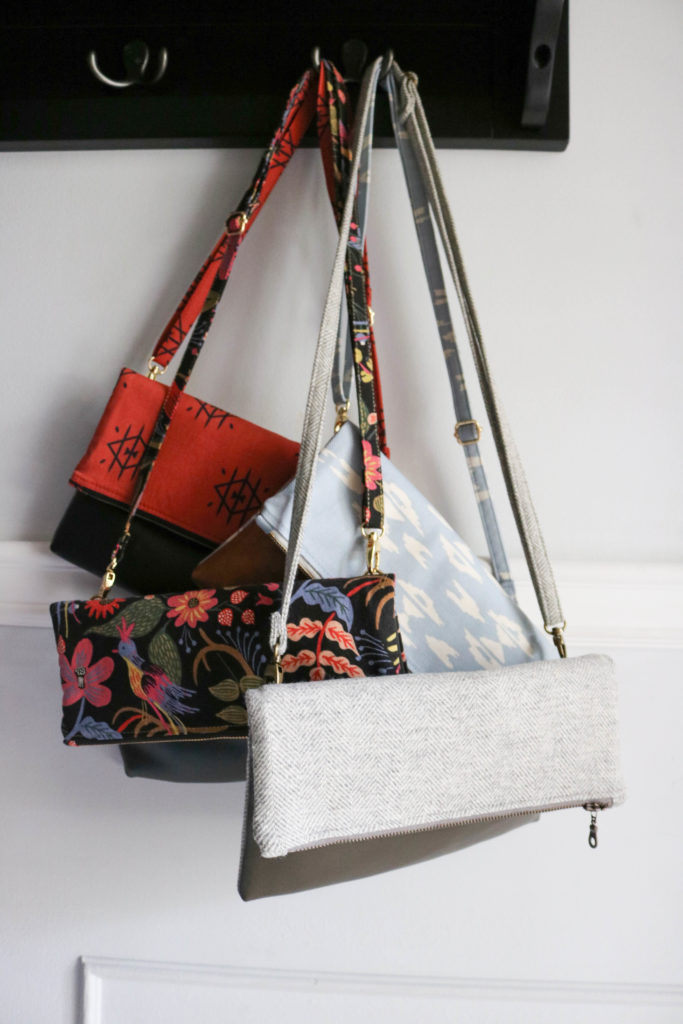
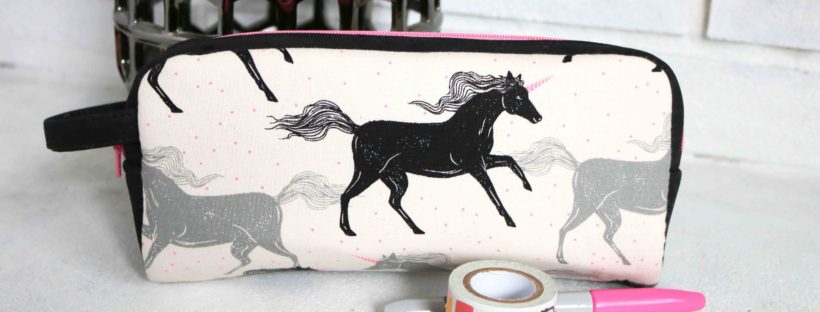
This is great fast sew that has so much visual appeal for being a “pouch.”  It definitely set my products apart from other craft market vendors and I’m SO happy for that!  Check out a few of my different versions below.


Project Details:


Have you tried out the Minikins yet?  I hope you like my drop-in lining hack and let me know how it works for you,  if you decide to try it out!


Keep Sewing Along,

Cristy


Please note this post DOES include affiliate links and I have received the pattern free as part of being a Sew Sweetness bag tester.  I was not required to write a blog post and you know all words are my own.  
 

Appaloosa Bag – Pattern Review

A few months ago, I had the amazing opportunity of taking one of Sara Lawson’s bag-making classes…at my local quilt shop!  I’ve been trying to attend one of her retreats for awhile and was so glad she came to Columbus. Sara designs some pretty fantastic bags and accessories through her business, Sew Sweetness.  The Aeroplane bag was one of my first names and you can read about it here.

We have worked together in the past and I have a few guest posts on her blog.  There is one from Purse-Palooza which you can read about here.  I also wrote a review on a Craftsy Tailoring class which you can read about here. Sara is such a sweet and humble person but she’s such a rockstar to us bagineers!

I have to admit, the Appaloosa bag (aff link) would not have been my choice for a class with Sara.  But I completely understand the bag we make has to be done in the time allotted, which was about 6 hrs.  However, I found it as my own personal challenge to try to make this pattern, more “me.”

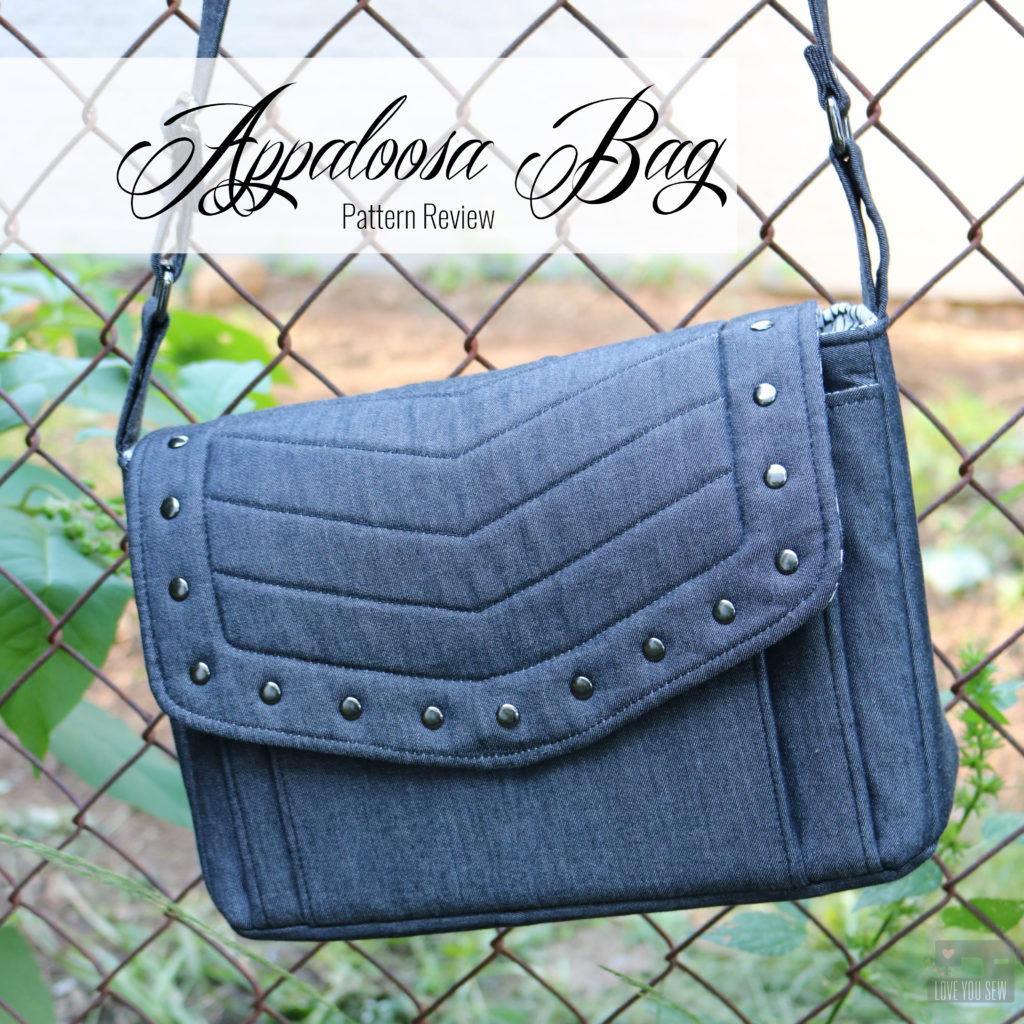
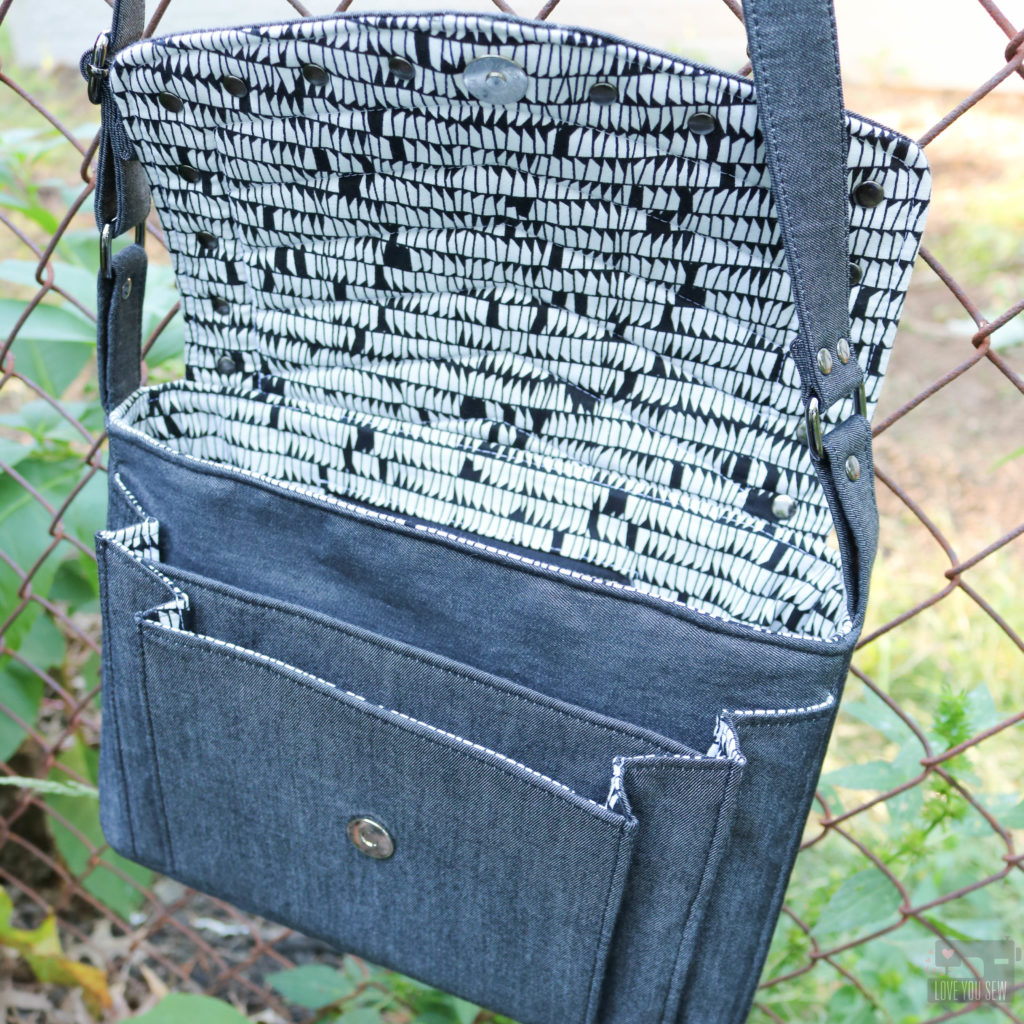
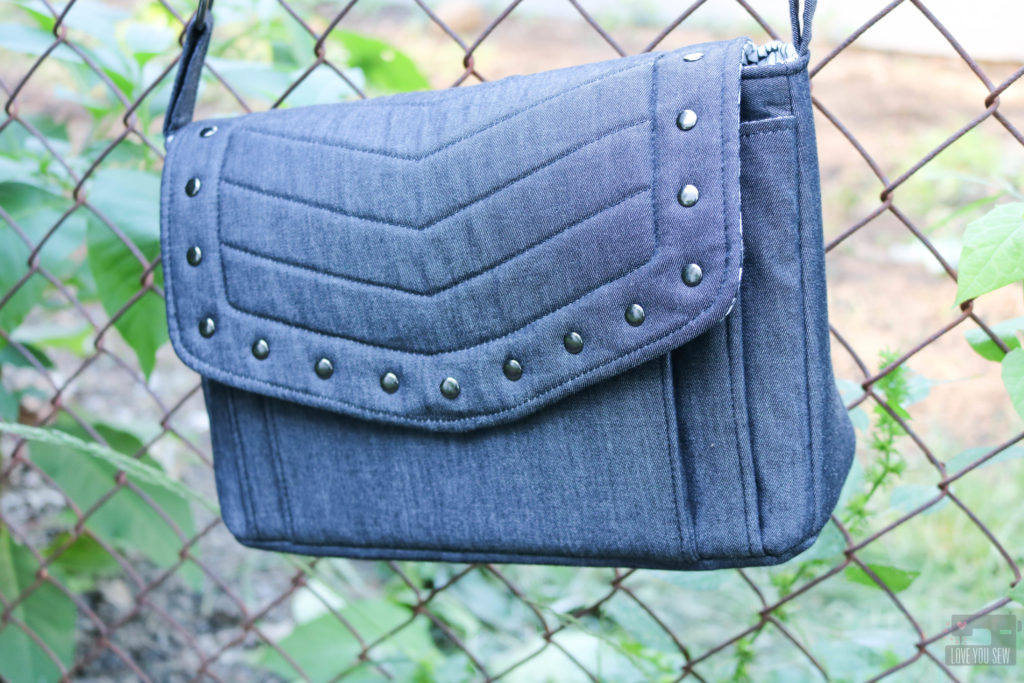
I used a light weight black denim by Robert Kaufman as my main fabric with Carolyn Friedlander’s Euclid as the lining.  This would keep the bag modern and pretty versatile with any wardrobe.  And since I was using the black denim, I made sure to use black Soft and Stable in the construction of the bag.  Otherwise, you run the risk of the natural colored foam peeking though the needle holes.

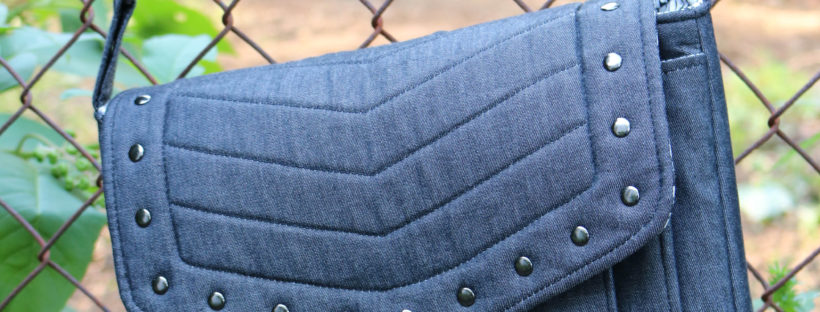
With the black denim being pretty plain, I just had to do a little bag quilting. (You know me!) I took some inspiration from current Rebecca Minkoff bags to try to pull off something very modern and on-trend.  With the pattern calling for all of the Soft and Stable, I knew the texture would be perfect on this bag.  I made a simple herringbone design using my favorite Chalk-pencil.  You can still see the marks on the picture above.  The lines just erase right off when you are finished.

Like most other quilting, I made sure to use my walking foot and created long thread tails to hide later on.  I used all Gutermann polyester thread.

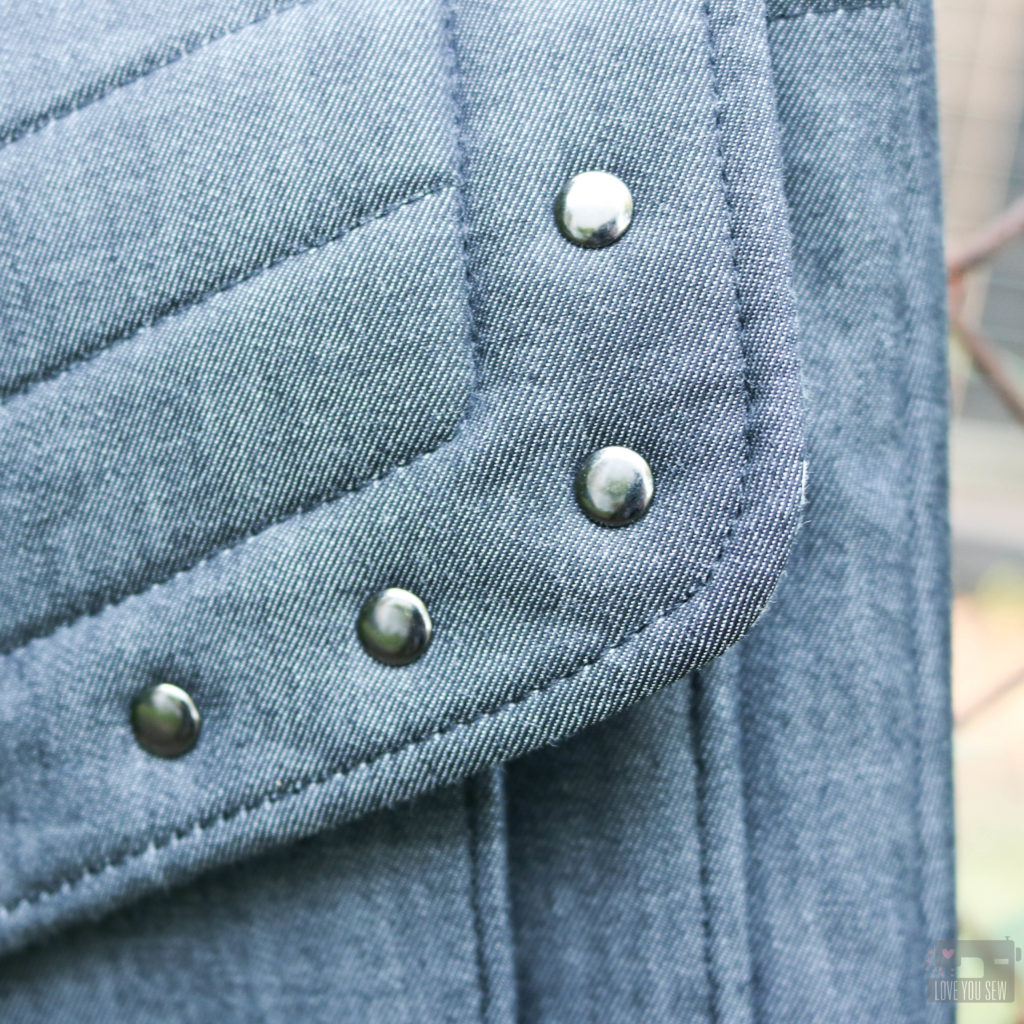
I used rivets all around the border of the flap to add the extra “edge” on this bag.  Initially, I was going to use nickel hardware (because that’s what I had on-hand,) but Sara helped me decide on the gunmetal and just wait to finish my bag later.  Yeah…that was a pretty good decision.

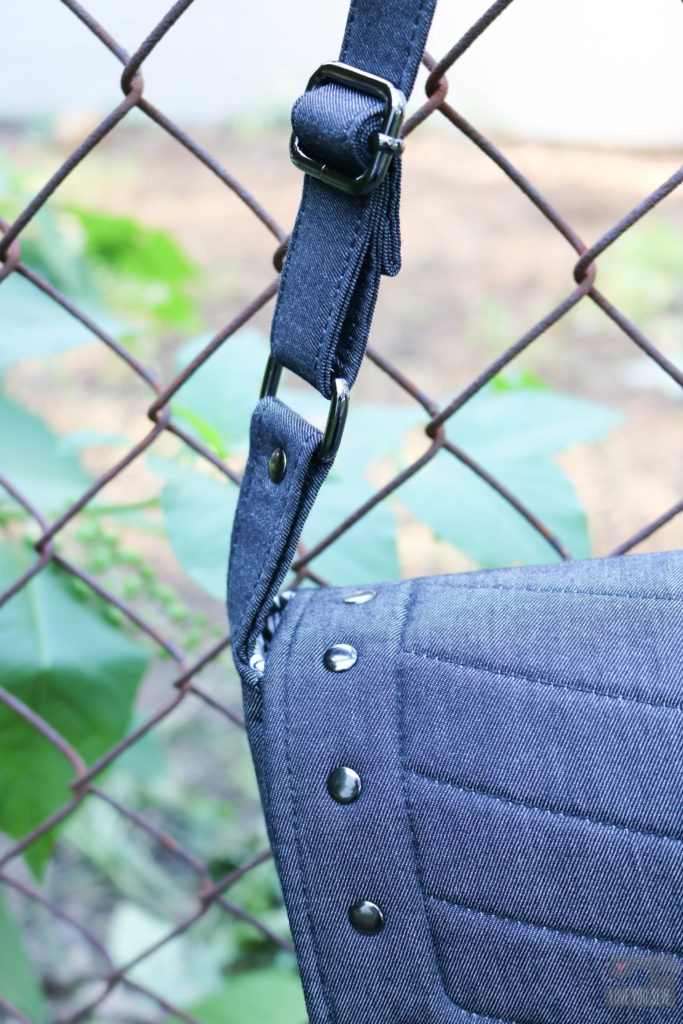
The slider and rectangle rings were quickly ordered and boy…do they make the bag.  🙂  The gunmetal really works with the feel I was going for with this bag.

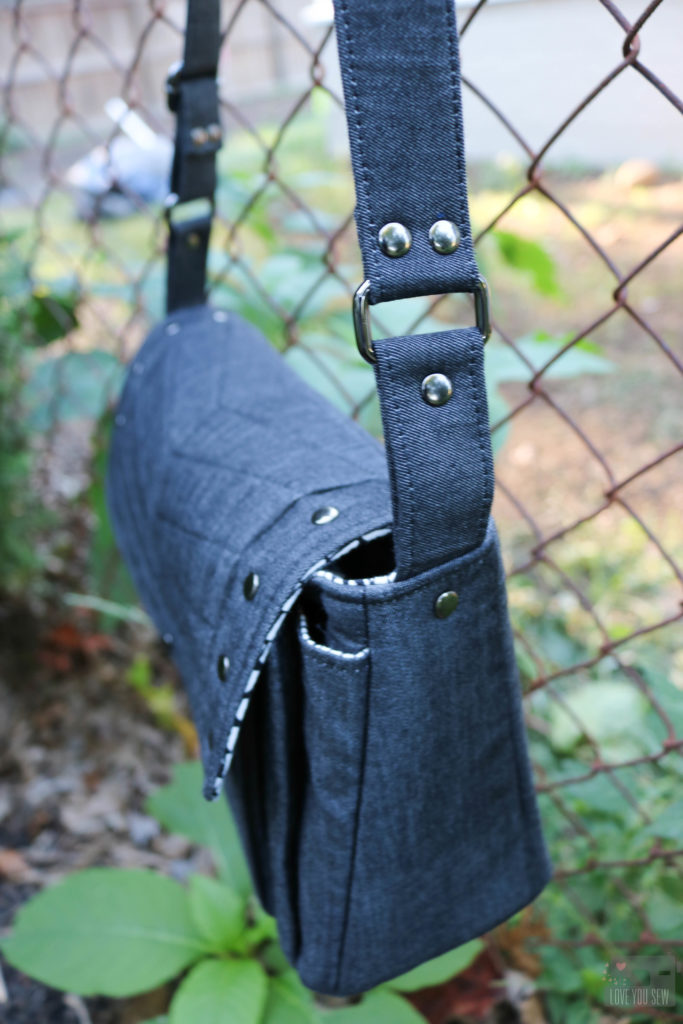
So….of course, I added a few extra rivets around to balance out the front flap.  Also, I made two strap extenders instead of just one.  After having the bag sit around waiting for the hardware, I thought I would use this more as a cross-body than an under-the-arm bag.  It just works more with my lifestyle with active young kids.

Having Sara around to instruct and so many nice bagineers to assist, the Appaloosa came together so quickly.  We definitely didn’t need the full 6 hours at all.  The most challenging part was just sewing through all the layers of the front accordion pockets to the sides of the bag.  I would definitely recommend some large needles and to hand-crank it if needed.

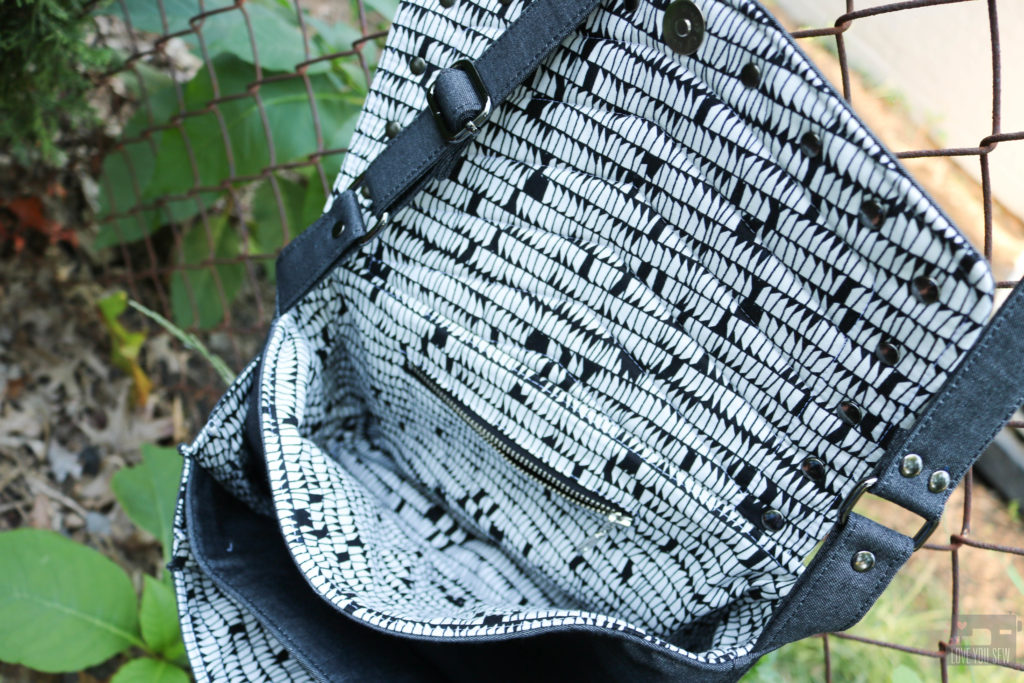
I love the multiple pockets in the front of the bag…and there is still another zip pocket in the main compartment.  Since I used a metal zipper, I did run into the issue of having to shorten and adjust the one had even though it was a 9″ as called for in the pattern.

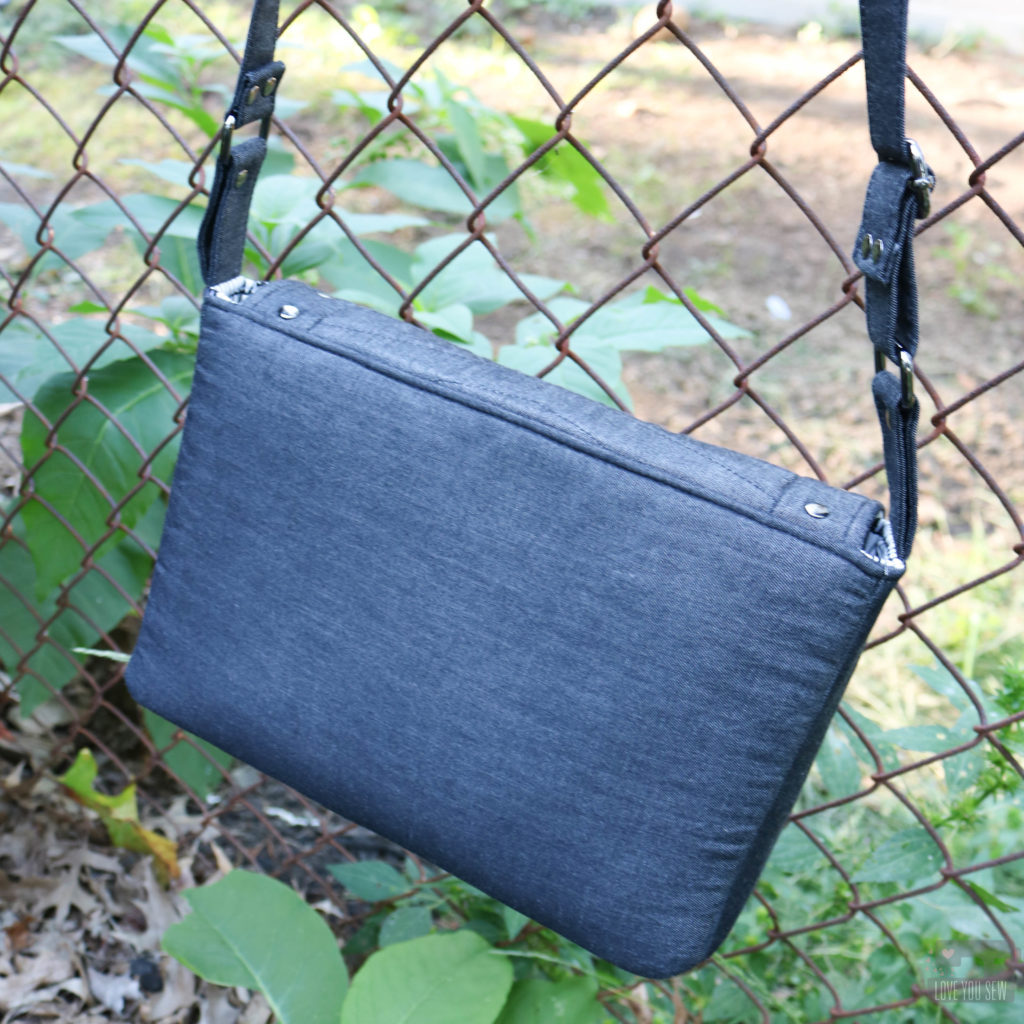
The back of the Appaloosa is nice and smooth.  With all the pockets on the front, you really don’t need anything on the back.  Although….once I get my new black leather labels, this bag will definitely get one toward the top-center of the back.

Verdict – I love this design!  Initially, it wasn’t for me, but I made it my own.  It made me think out of the box a little bit and now I want to go through all the patterns I own and take a look at each one differently and how I can own each one.  It’s amazing what the fabric and some hardware can do to completely change up a bag.
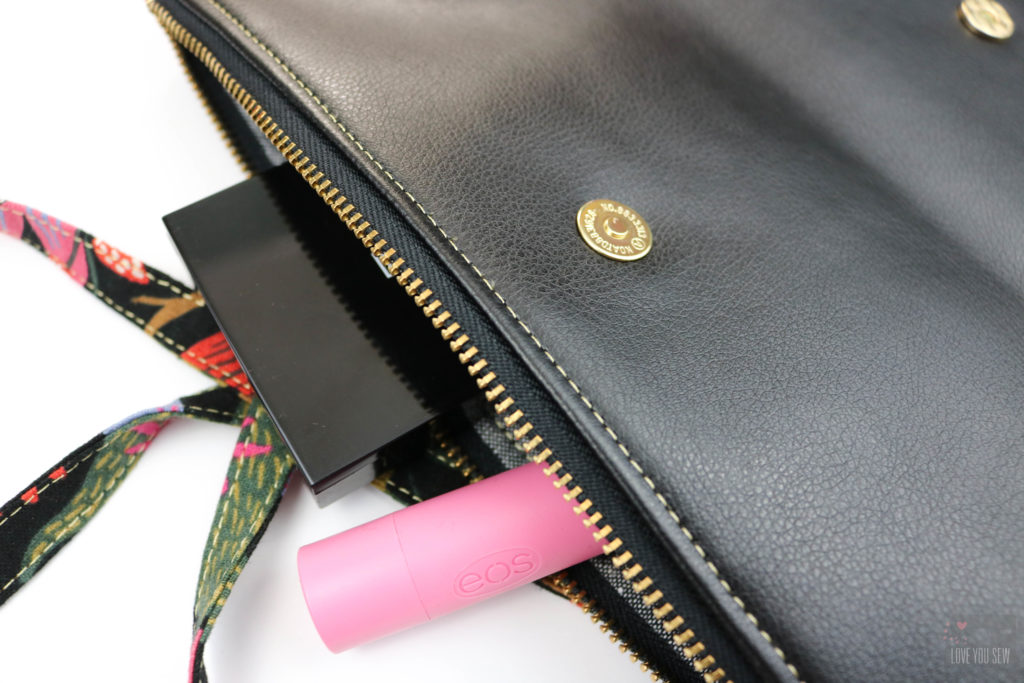
For the Appaloosa bag, you can purchase the pattern and/or the instructional video here.


Please note there are affiliate links in this post.  I will only ever link to products I have used myself  and as always give you the real deal in my opinions and experiences.

Claire Fold-over Clutch :: Pattern Release

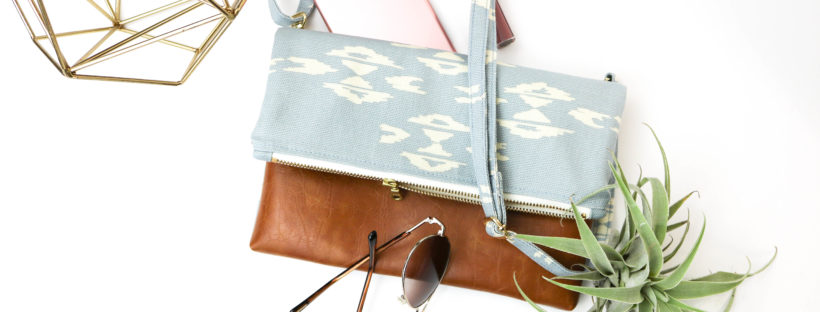
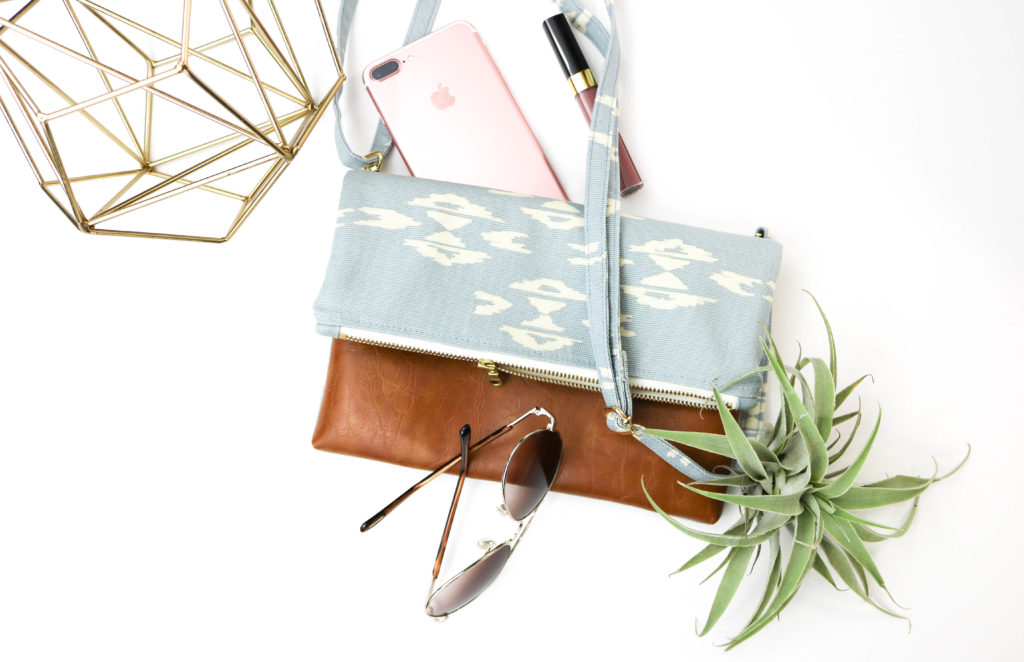
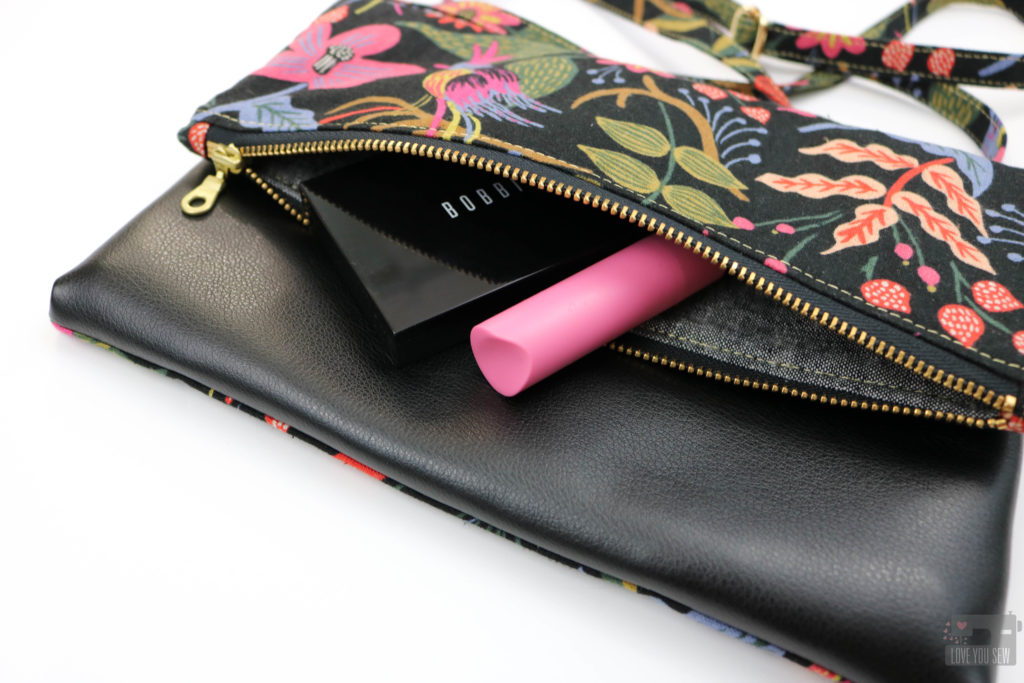
The Claire Fold-over Clutch with cross-body strap is my very first bag pattern release.  ‘Talk about  all the feelings right now!  There is so much to say about this bag, both in it’s functionality and how it just came to be.  If you can bear with me, I’ll dive into both 🙂

Many of you know that I’ve been selling on Etsy for awhile and broke out into local Indie Craft shows just a few years ago.  With the shows, I started to sell more bags to complement my baby accessories and noticed how my wristlets and fold-over clutches were selling over my larger bags.  To differentiate myself from other bag-makers, I had to add some features and finishes to elevate my product…which in turn, became the Claire.

The following are those key features:

  • Back Pocket – I knew I had to make more of these bags and then a friend came to visit during my holiday sale season.  She had a similar fold-over style bag, but with a front pocket for her phone.  When she reached down and had that immediate accessibility to her phone, the light bulbs were going off.  It seems like we’re all glued to our phones and they just keep getting bigger and bigger…so our back pant pockets are no longer enough.  Since my friend’s bag was by a national manufacturer, there was no easy way I could replicate the front pocket style, but that didn’t mean I couldn’t make a back pocket!
  • Cross-body Strap – I look to my nieces and popular brands for inspiration and I continually see the long straps for the on-the-go millennial and of course, us  busy moms too!  I wanted to make sure it was adjustable and the 60″ strap works for many different body types and all the different occasions in our lives.

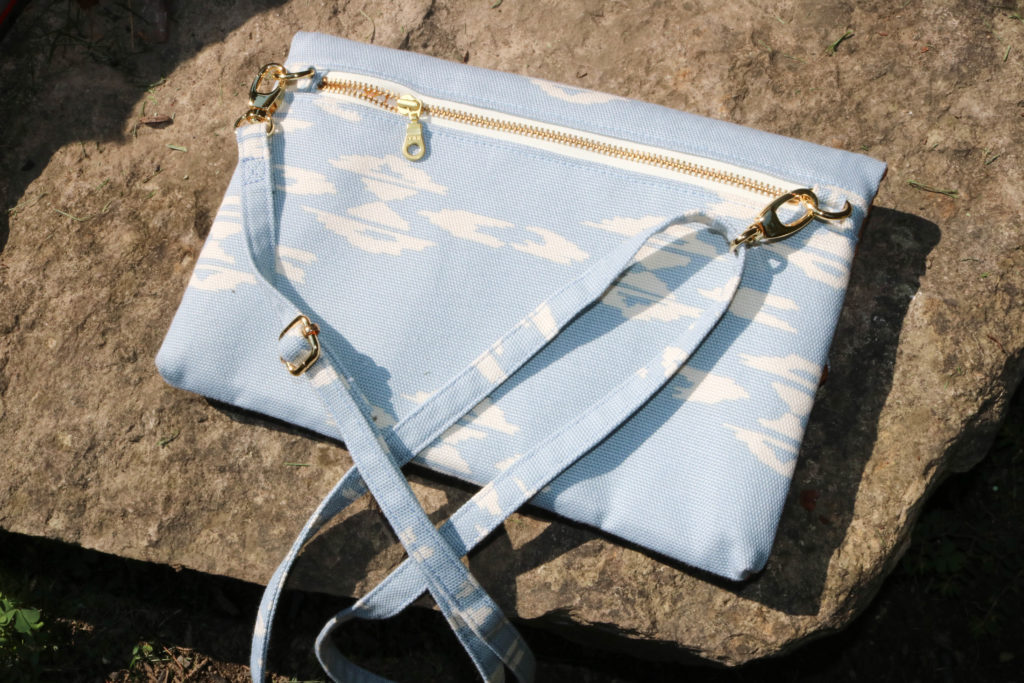
  • Bag to Clutch Versatility – As a clutch, the fold-over style is so cute and I didn’t want hanging side “ears” to get in the way of that classic silhouette.  So the D-rings are set in the back of the bag.

  • Modern and Sleek look – The faux leather panel adds the extra bit of class and style to this bag.  It immediately heightens the looks and your friends will never think you made this bag.

  • Easy to Sew – By keeping the front panel for your accent substrates with either faux leather, cork, or vinyl, you are sewing through the fabric and one layer of the accent.  In other patterns, you can be sewing through 4 layers in addition to the fabric and interfacings.  Not all domestic machines can handle that and I want as many sewists with all different types of machines to be able to make this bag.

  • Interfacing  – I’ve made probably 30 of these bags already…so I’ve played with numerous interfacing combinations.  You want enough structure in the bag, but not too much that it will not fold-over properly.  And most people are like me, we like to use different fabrics and I’ve tried to take the guessing game out when you do decide to switch up.  The interfacing cuts are calculated so you have the strength and structure without having to sew through all of the extra bulk. I’m still looking out for all of my novice sewists 🙂

If you would like to make your own Claire Fold-over Clutch, you can find the pattern in my Etsy and/or my Craftsy shops.

Don’t forget to share your makes on Instagram with #clairefoldoverclutch and #loveyousewpatterns. (Hashtags are the only way I can see your makes if you have a private account!)  I love seeing all of the different versions!


Happy Sewing!

Cristy


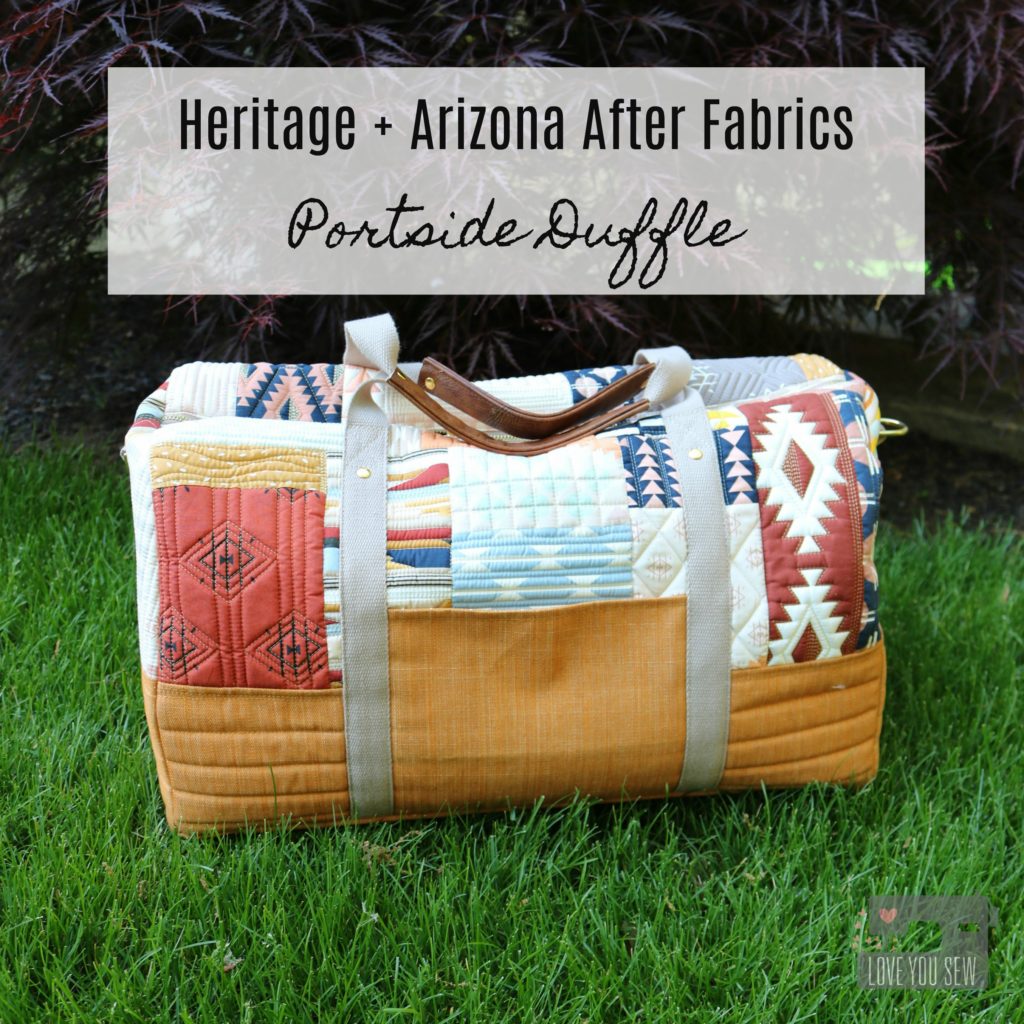
Heritage and Arizona After Fabrics :: Portside Duffle

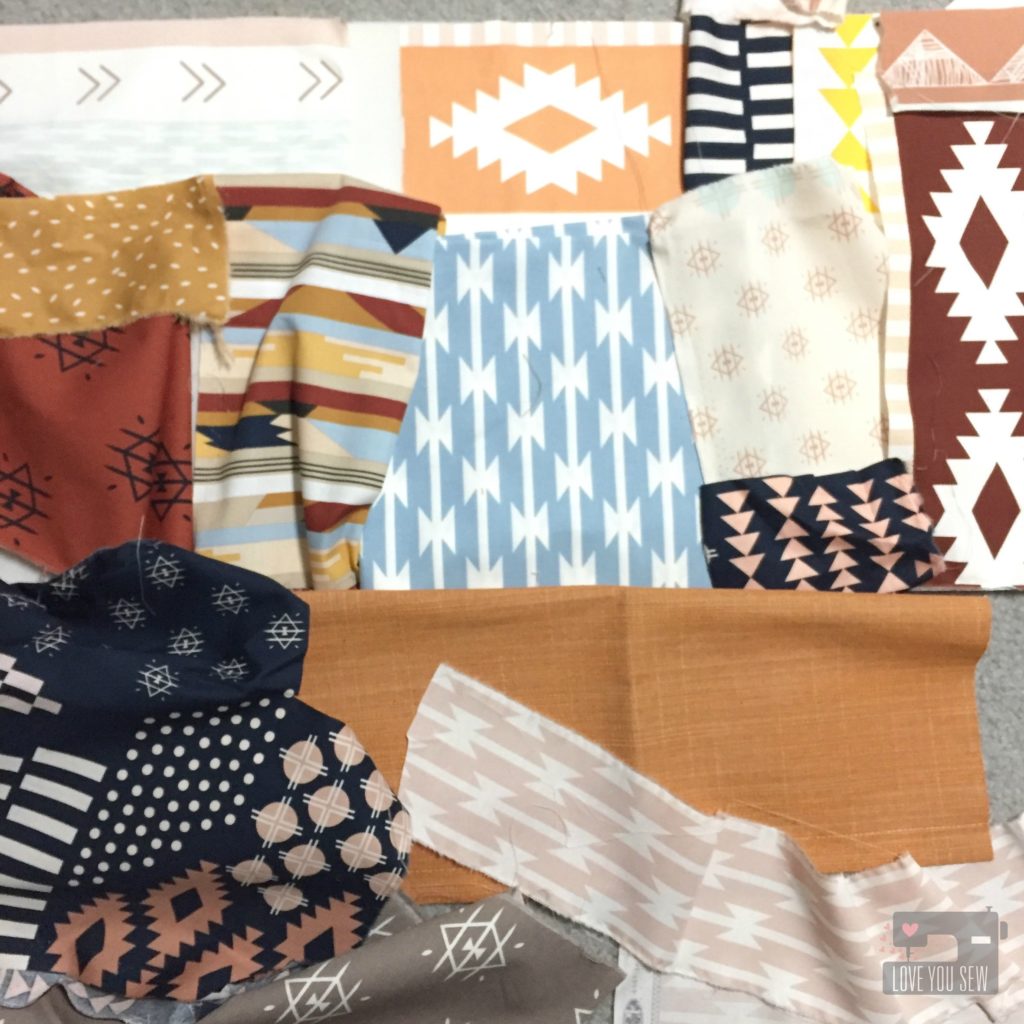
April Rhodes has done it again.  She has just dropped not one, but TWO new fabric collections with Art Gallery Fabrics.  Arizona After is a gorgeous extension of April’s inaugural Arizona line with some new prints and some recolored with soft dusty pink and blues along with some deep rust and mustard.  The color combos she puts together are always so striking.  Heritage fabrics consists of garment focused substrates…including the new RAYON.  With April’s clothing patterns, she has always been a designer who knows scale for the quilters and the garment sewist alike.  It’s the perfect collection for the me-made makers!

Beyond the fabrics, April’s inspiration for the collections is just so touching.  The way she talks about her family and memories of her father and grandmother is just pure love.  Truly awesome. I love how a lot of the designs were just a part of April’s everyday life and over time, have been permanently imprinted in her head.  To bring these images to life brings so much light to her eyes and it’s been amazing to witness it all. These fabrics are just gorgeous and I’m happy she’s shared them with all of us….because whoa, right?!?

When I was asked to make a bag for April’s Spring Quilt Market Booth, I (of course) agreed.  She has become a dear friend and I will always help her, as she has helped me in so many ways.  April asked me to make a larger duffle and suggested a quilt-as-you-go method for easy patchwork because with Market…comes some tight deadlines.  I got to immediate work, but quickly realized I had to Turn. It. Up.

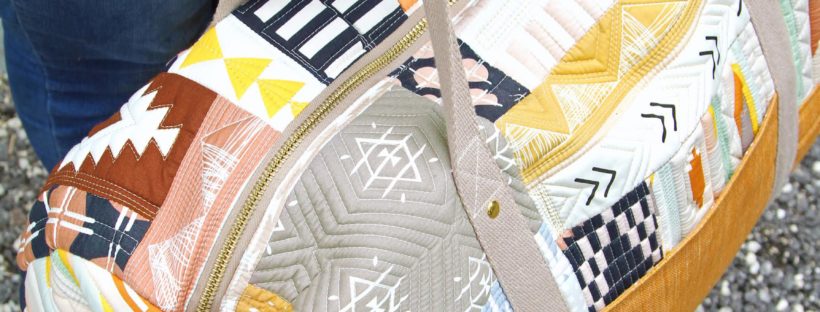
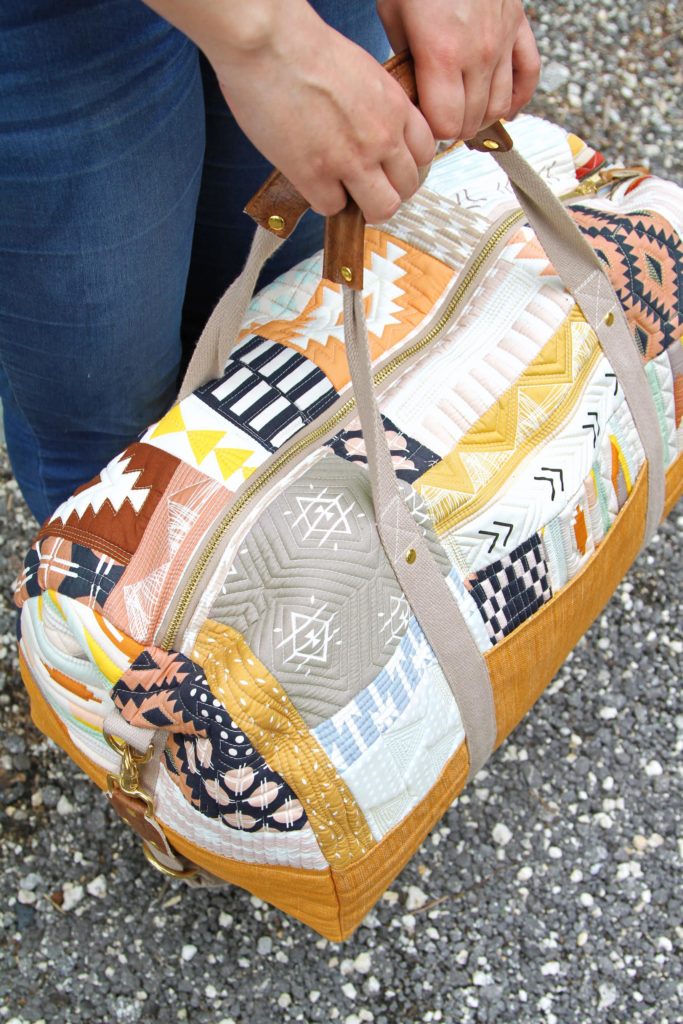
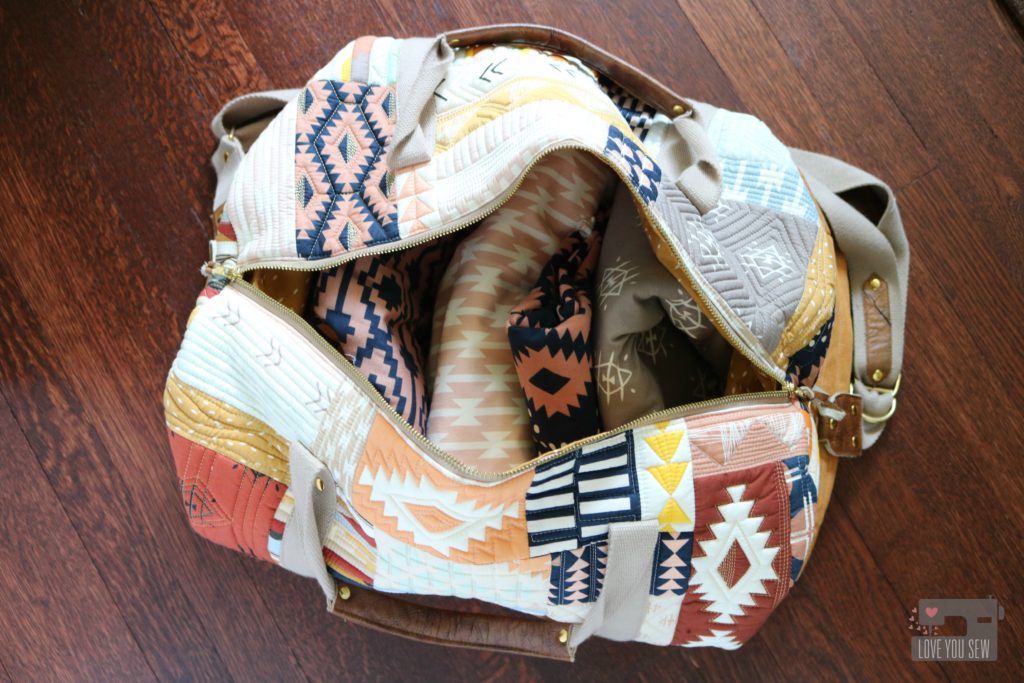
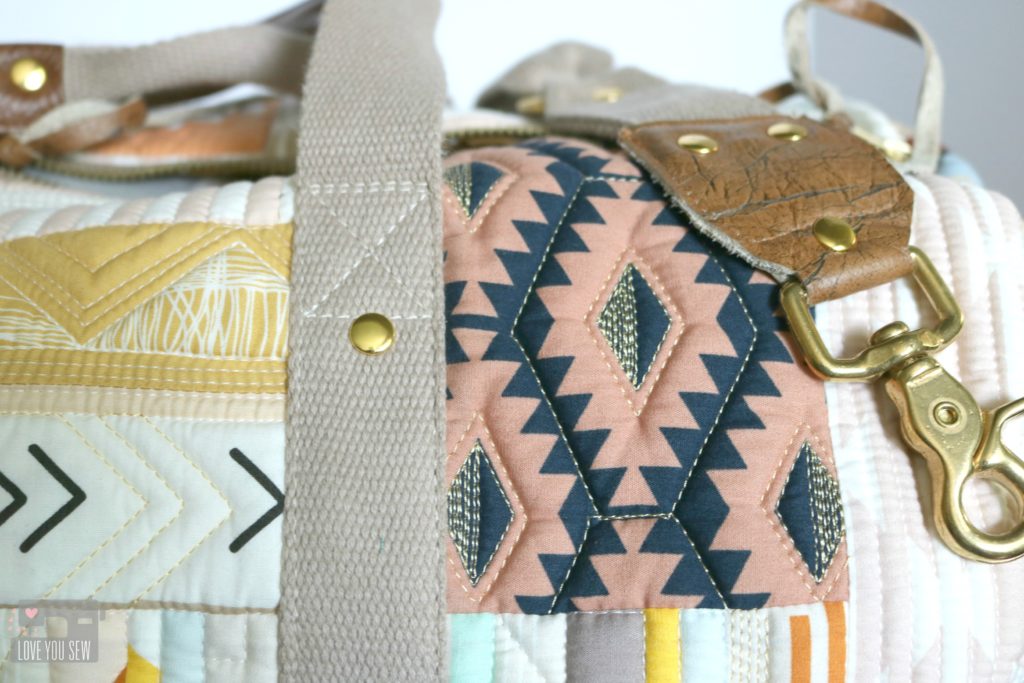
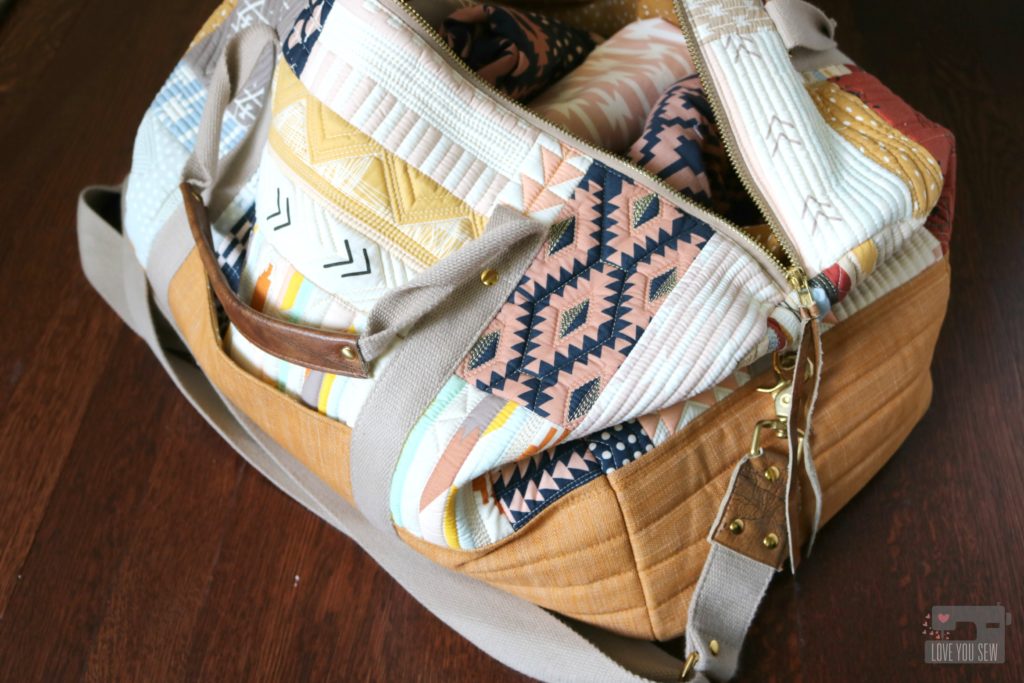
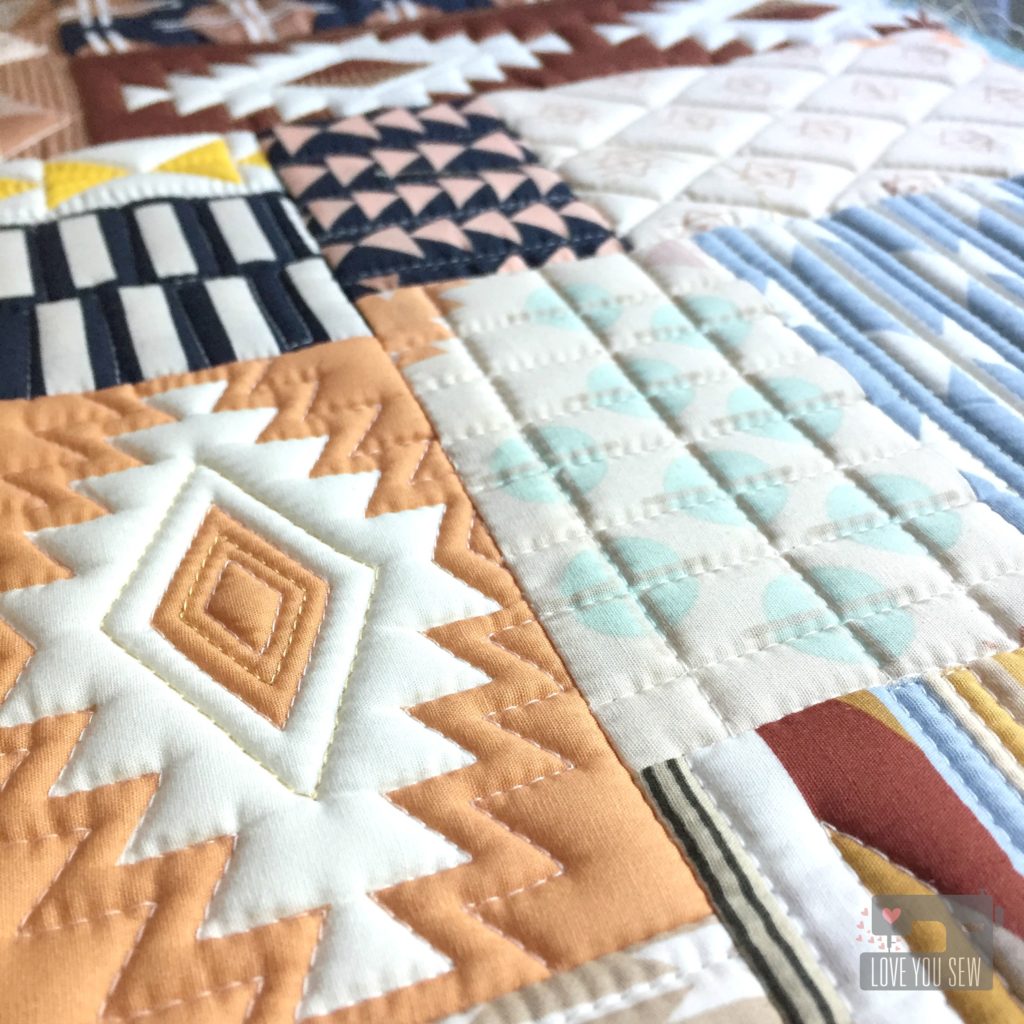
All 14 quilt cottons in the Arizona After collection was used to make the Portside Duffle Bag by Grainline Studios.  It’s the perfect bag to showcase these fabrics with all that surface area.  I loved playing with all the color combos while mixing and even deconstructing, some of the prints.

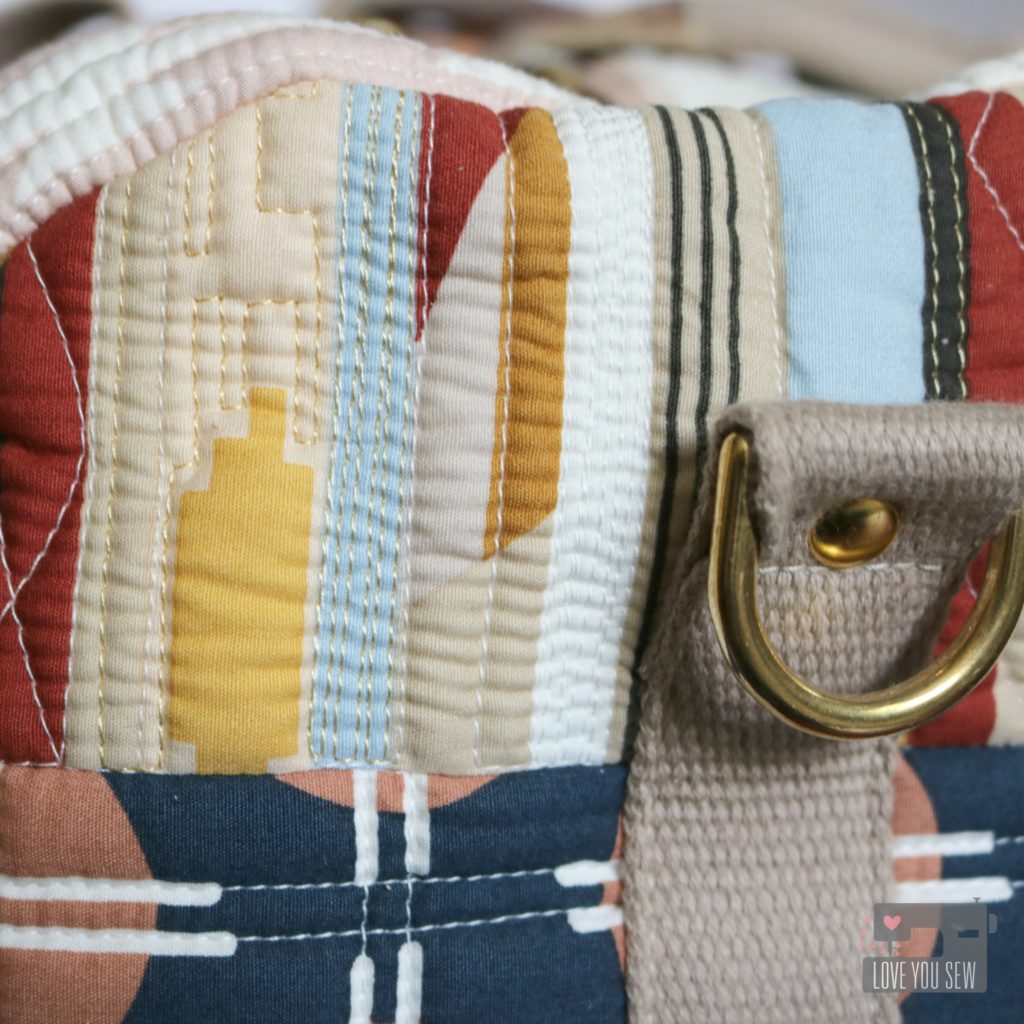
Once I started to quilt with my walking-foot on the Soft and Stable, that texture just got me.  I knew I had to add more and more quilting…and change up the designs with each print. Then it dawned on me….ooooh, metallic thread would be A-mazing with this palette.  The gold really brings out the colors and I’m so happy with how it turned out. TIP: Cut a larger piece of soft and stable than the pattern requires. Quilt and then cut to size. Don’t forget to baste those edges!

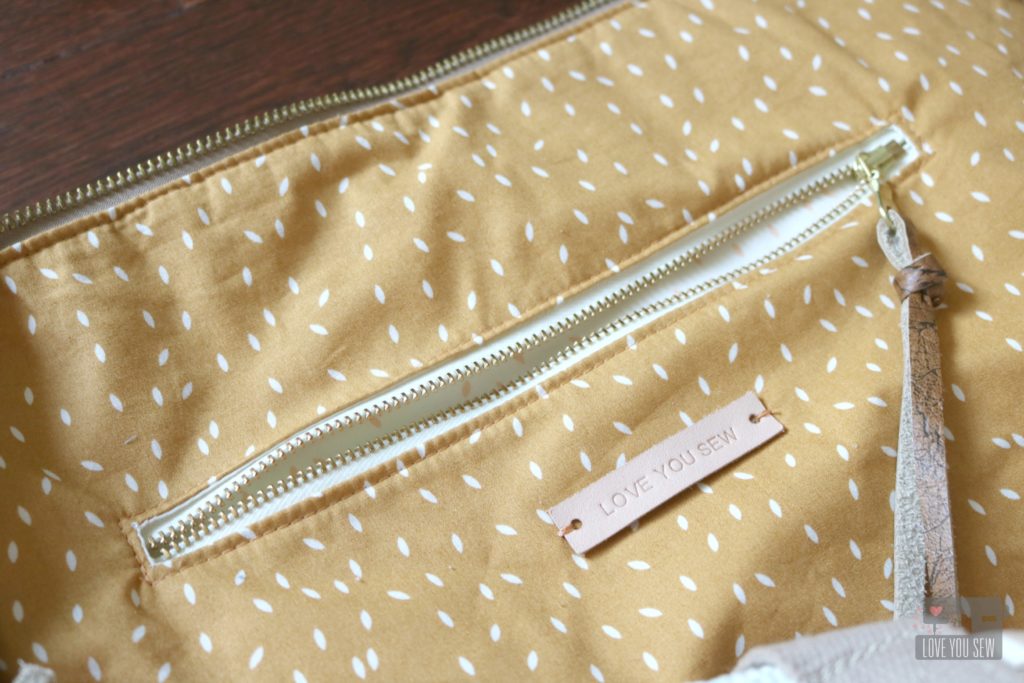
Art Gallery’s textured denim in Canyon Sunset was the perfect complement to Arizona After and is a nice durable fabric for the bottom accent of the duffle bag.  On the inside, I used the Scattered Wood print and added an additional zip pocket…because we can always use some extra pockets.  I love the look of brass zippers and with the gold thread, this combo obviously had to happen.

For more texture and to turn this bag up another notch, I used hardware from ARmercantile combined with some leather from my sacred stash.  Guitar-inspired bag straps are popping up all-over the place and I just had to add that look to this duffle.  The added rivets bring out more of the brass and help round out the look.  Who says a quilted bag can’t be modern and on-trend?  I love being able to combine my love of quilting with my love of bag-making….and the gorgeous fabric definitely helps.  Thank you Arizona After for the inspo!

Make sure to check back on April’s blog and Instagram all throughout July for the up-to-date info on the Blog Tour.  Next up will be an Instagram loop on July 5th and I heard there maybe prizes involved 😉

Last, but not least, don’t forget to tag #heritagefabrics and #arizonaafterfabrics with all of your makes.  I can’t wait to see all of them!

Project Summary:


Fabric and pattern for the Arizona After + Heritage Blog Tour was provided.  There are affiliate links in the Project Summary.


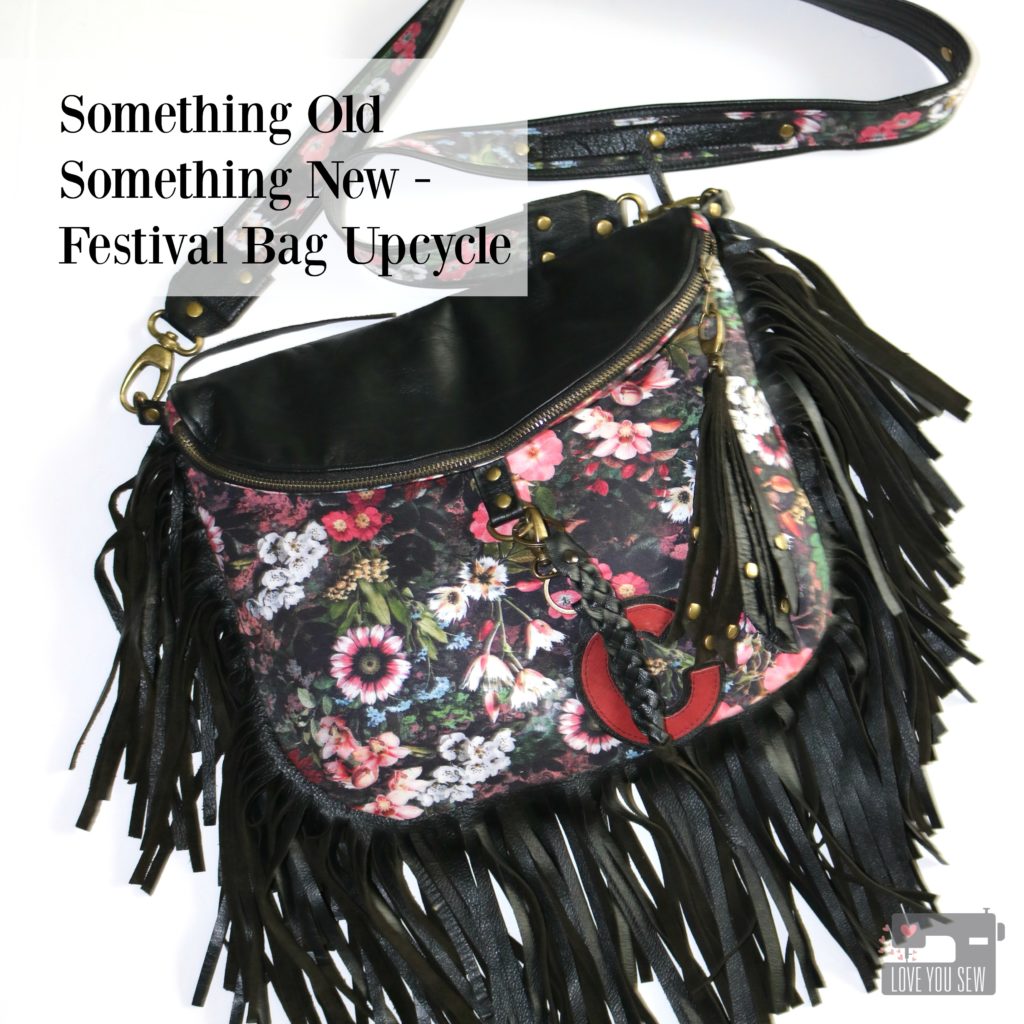
Something Old Something New – Festival Bag Upcycle

I’m a fan of fashion.  But as a mom (and as a work-at-home one,) there isn’t much motivation to step past the yoga pants and a clean (smelling) tee most days.  I do admit, when I can get my act together, it does make me feel good to step out of my slip-on Vans.  Now that both my kids are in school,  I’ve been making a conscientious effort to bring my fashion game back – nothing crazy, but pulled together looks using cues from today’s trends.  Like Boho.

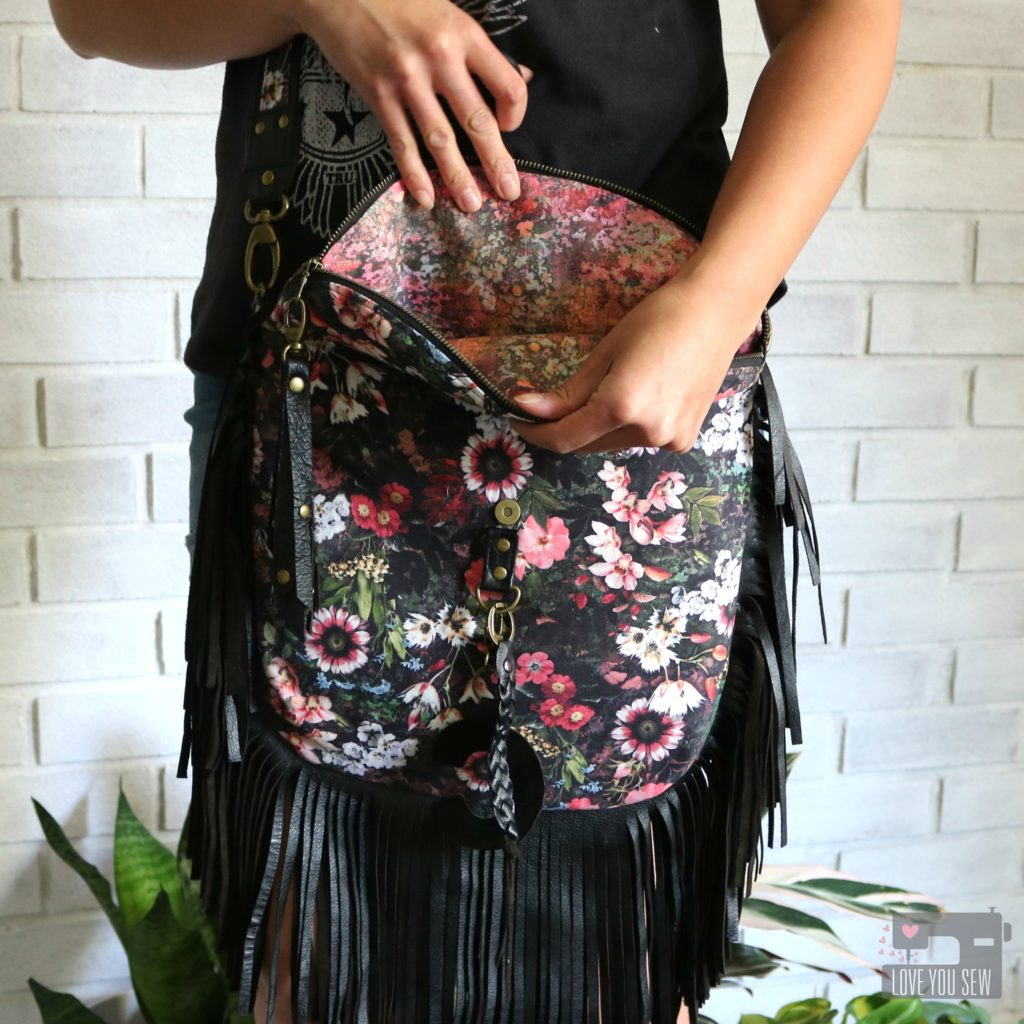
I love the relaxed (aka loose fitting) style of Bohemian fashion.  I grew up near the Philadelphia Folk Festival so I saw a lot of 70’s hippie clothes and I love the laid back vibe.  Pair that with my urban life in the city for 10+ years and the result is this “Festival Bag.”  It’s an edgier take on Boho with the dark floral, leather and antique brass hardware.

When RJR Fabrics asked me to work with some of their new fabrics, this Reverie line pretty much blew my mind.  I tend to work with more graphic prints, but the photo-realistic imagery in these Digiprints are amazing.  The best part, is that these fabrics feel JUST like their other high quality quilt cottons so you know you are working with the good stuff.

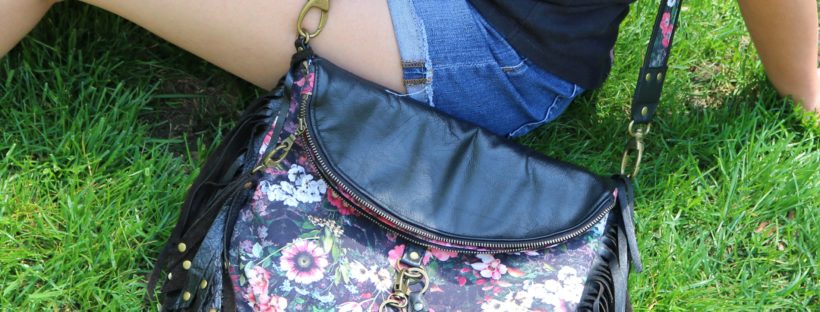
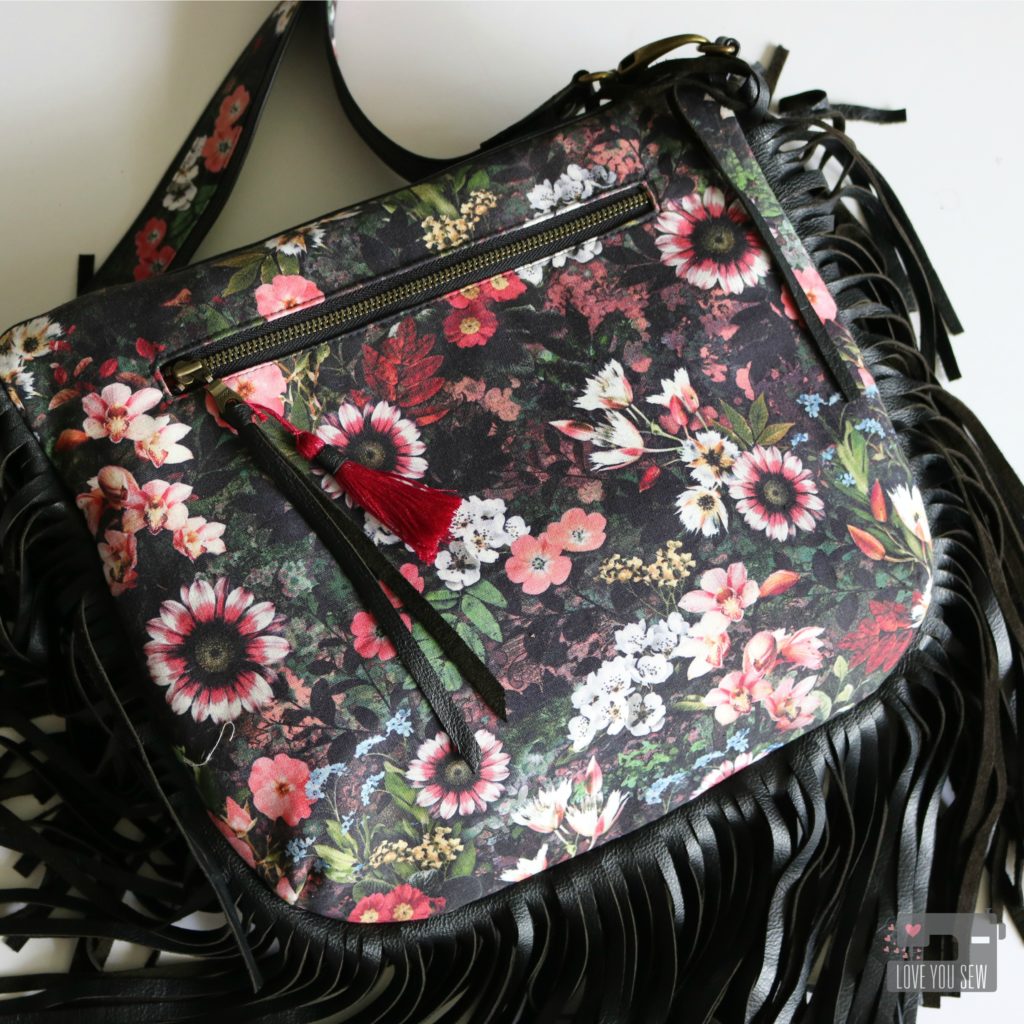
This Floral Fantasy print with the the dark background is just gorgeous. I love the style contrast of soft flowers with the intense black (which is how I like to mix up my own closet.)  I like combining hard elements with something very soft and feminine. I also like a mix of textures. So this soft quilt cotton HAD to be paired with some leather and lots of hardware, right?

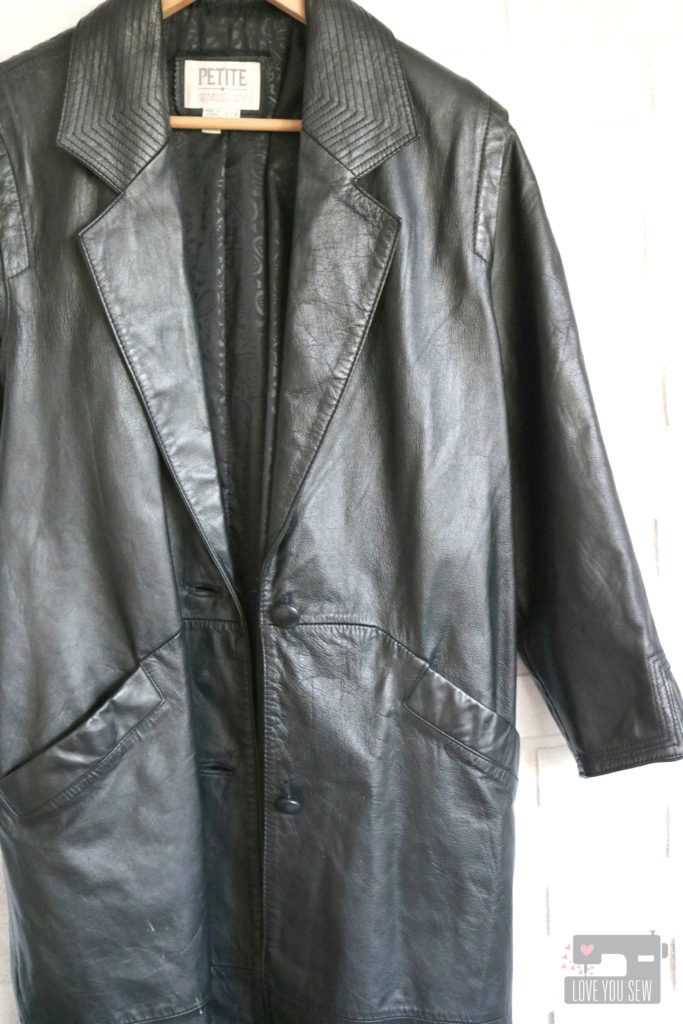
My mom knew I was upcycling old leather coats and gave me this great long duster about a year ago. I’m happy to finally use it.  This coat is such a great upcycle coat because of its size and the design. Too bad the shape…errr…lack of….just doesn’t work now. There are so many large pieces of leather to use in any project.  I used about 70% of this coat and I might use the rest on a future clutch…

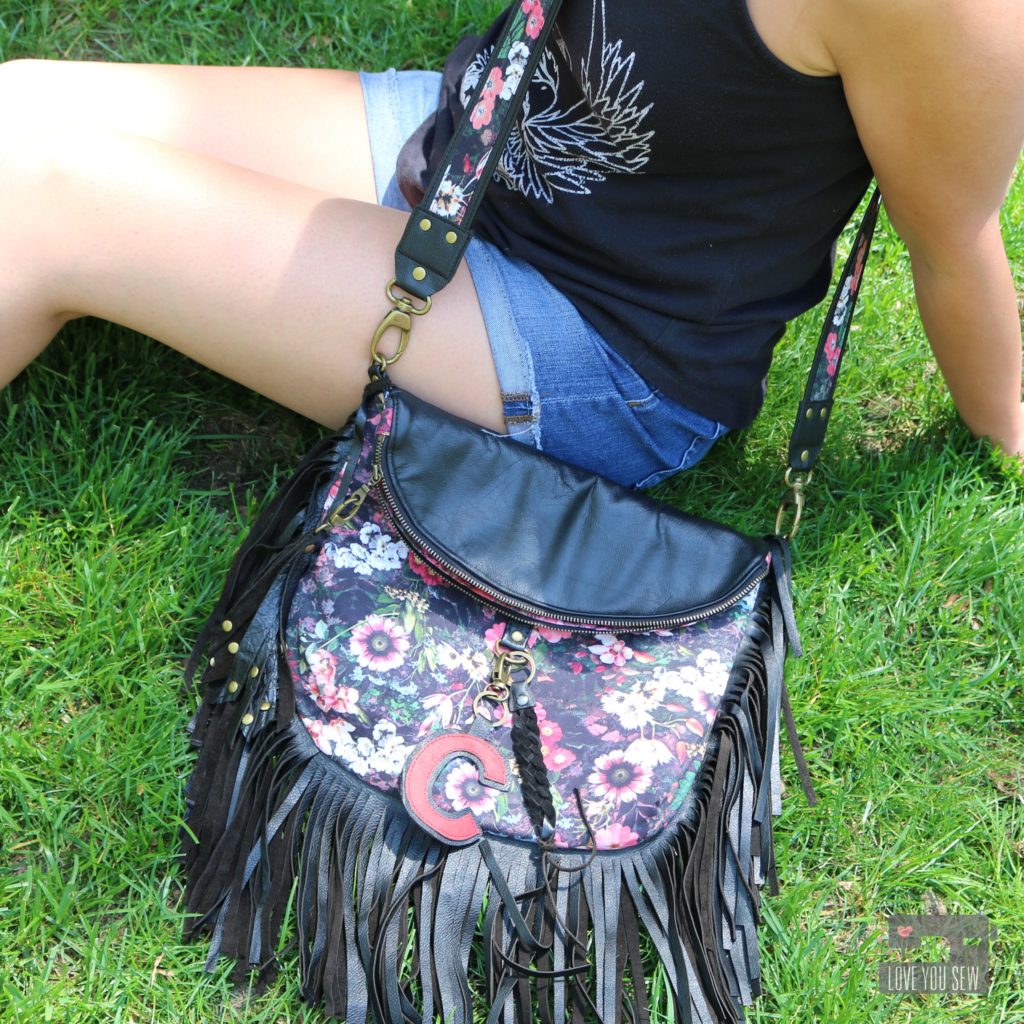
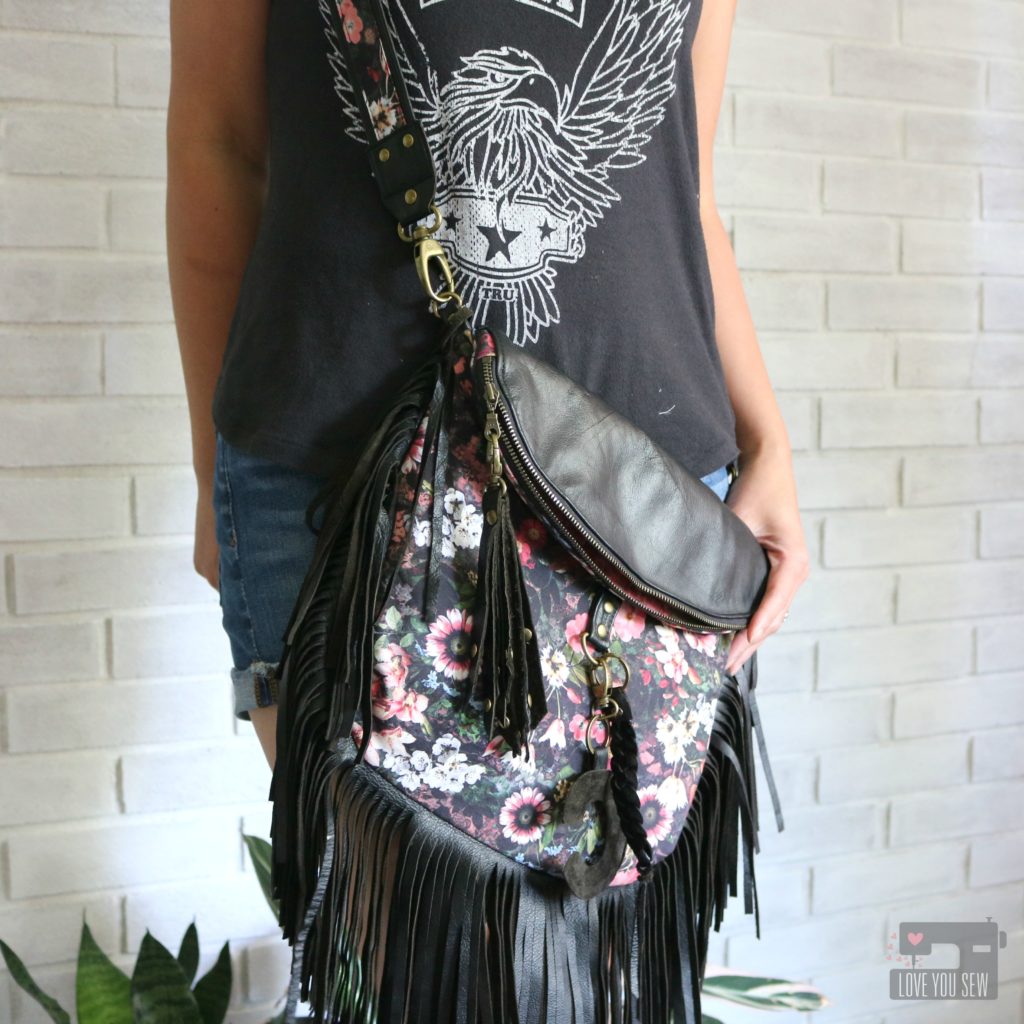
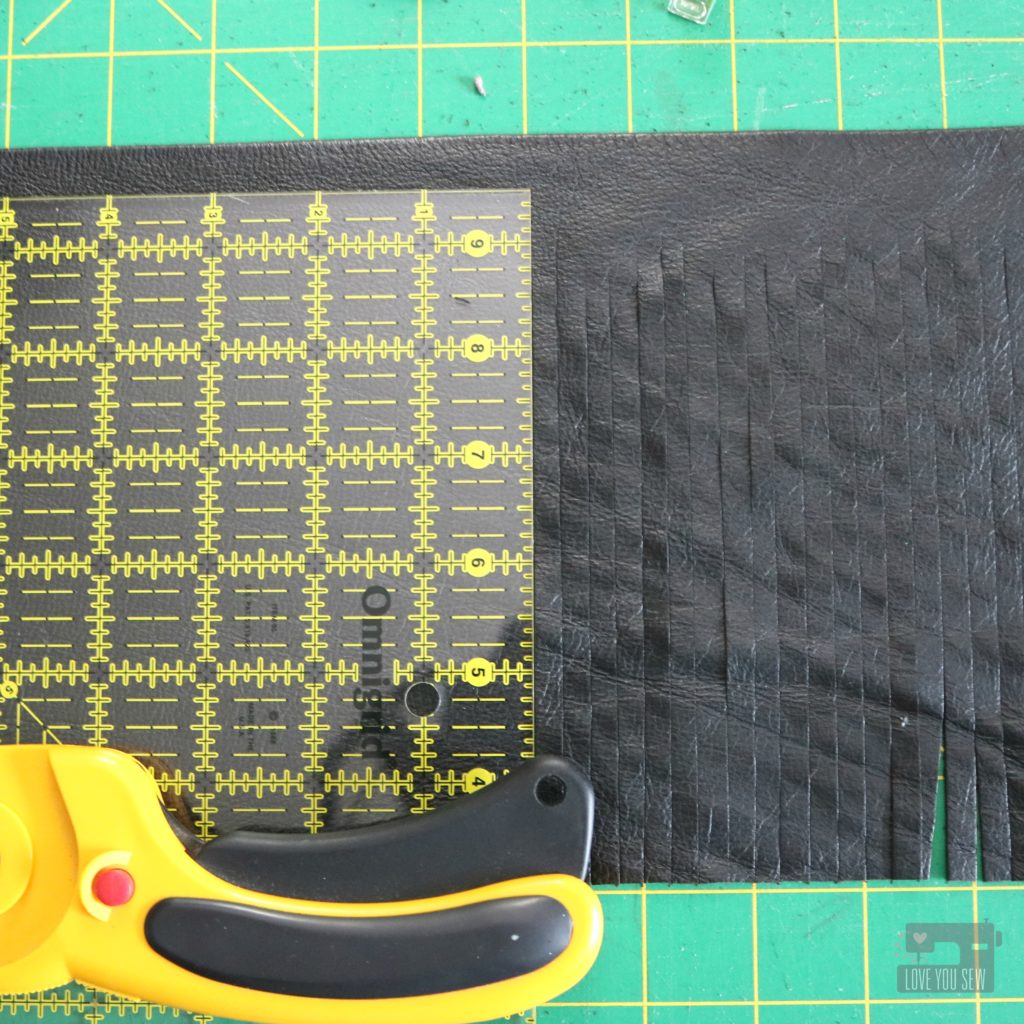
The larger pieces were all cut into 1/4″ fringe and double-layered all around the bag. Fringe is one of my favorite things in a bag.  It’s so much fun to walk and feel the swing of the leather. The pieces add movement and life to everyday running around.

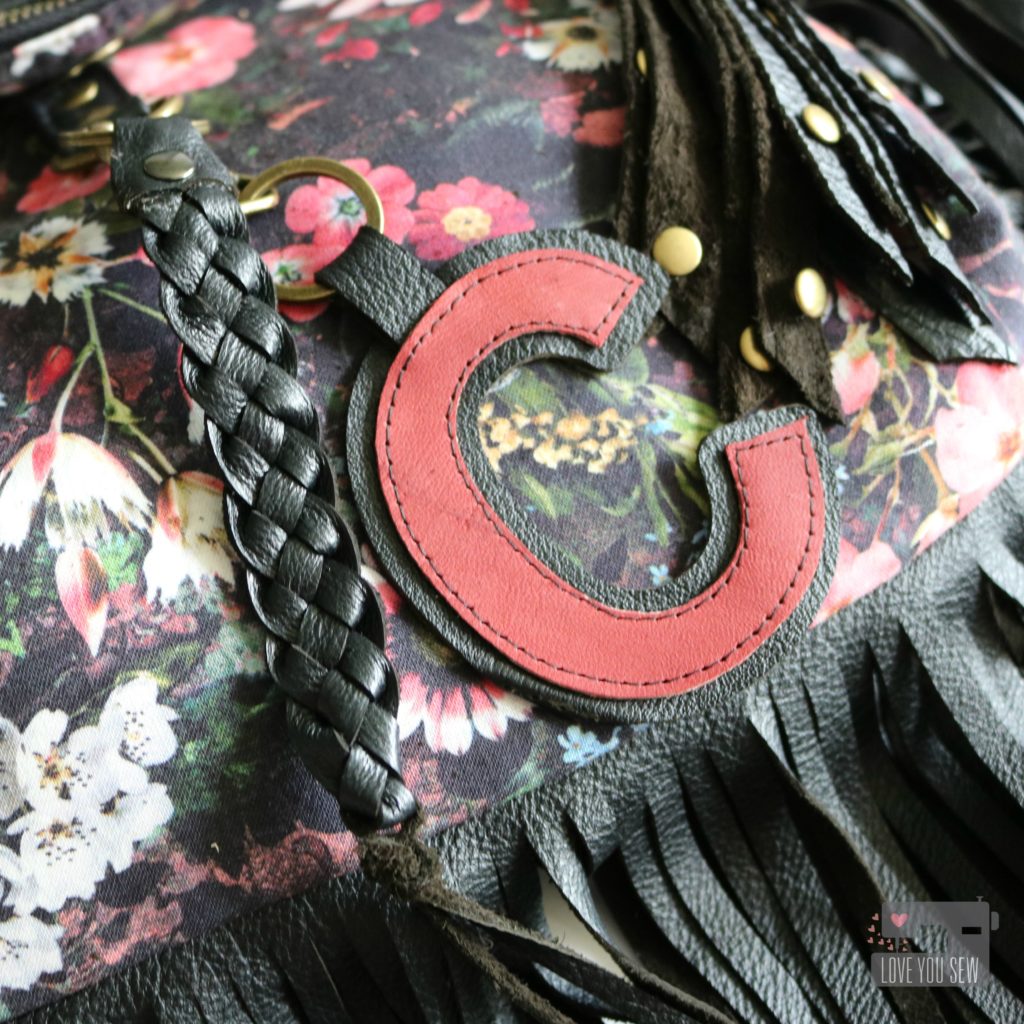
More leather was added to the top flap and I saved all the scraps. They are great to use in zipper pulls and bag charms. You can see I made some tassels and added lots of rivets. I also used my Silhouette Cameo to cut out my intials. Long skinny scraps can be turned into beautiful braids like this one as well.

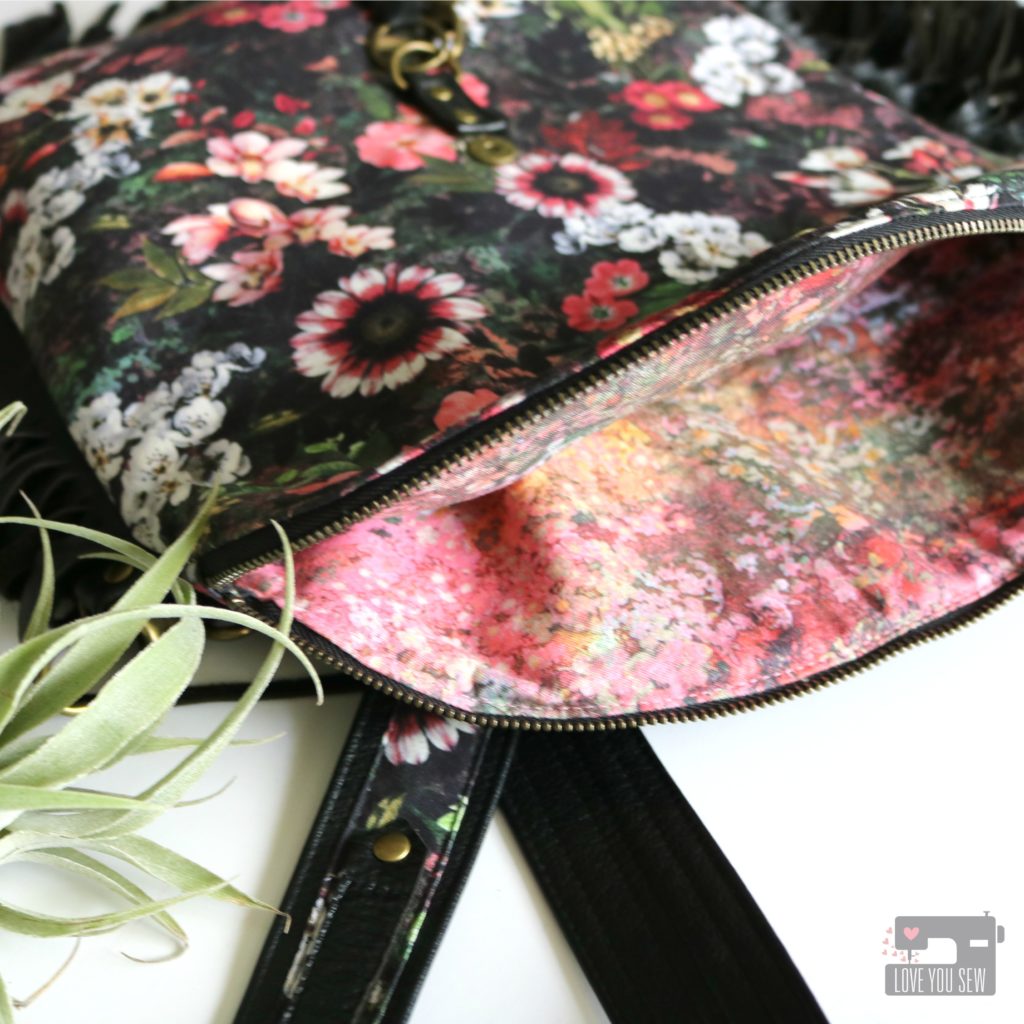
On the inside of the bag, there is more Reverie with the Mirage in Bloom print. It is the perfect complement to this style bag. It is a mottled floral which gives a very contemporary feel with the more muted tones.

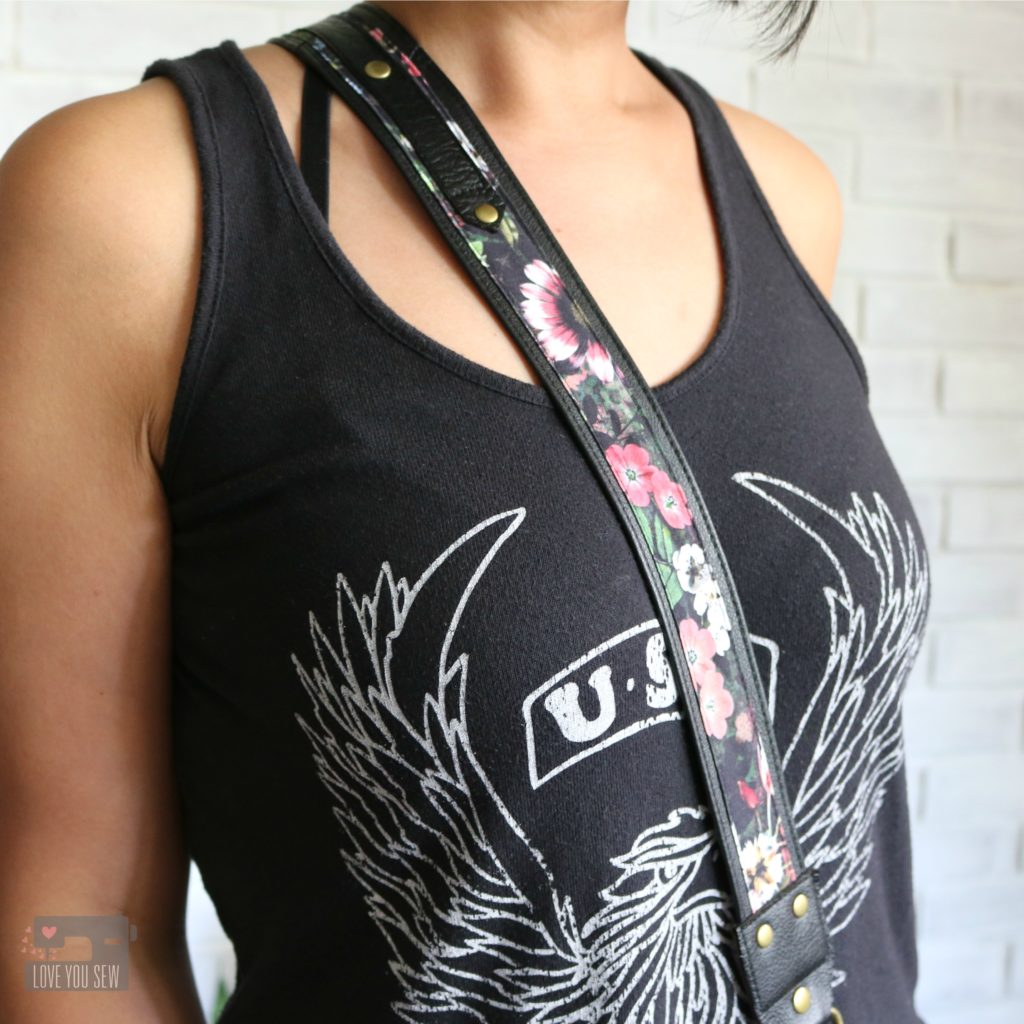
With spring music festivals in the news, I decided to make the bag strap differently than I usually would. Taking inspiration from the bands themselves, I modeled the strap after guitar ones. The leather strap is about 1 1/2″ wide with Floral Fantasy on top and another layer of leather all stitched in place with added rivet accents.

I am so in love with how this strap and bag turned out. I can’t wait to “rock” it all summer long.


Project Details:


This post may contain affiliate links.  Any compensation received helps to keep this blog running.