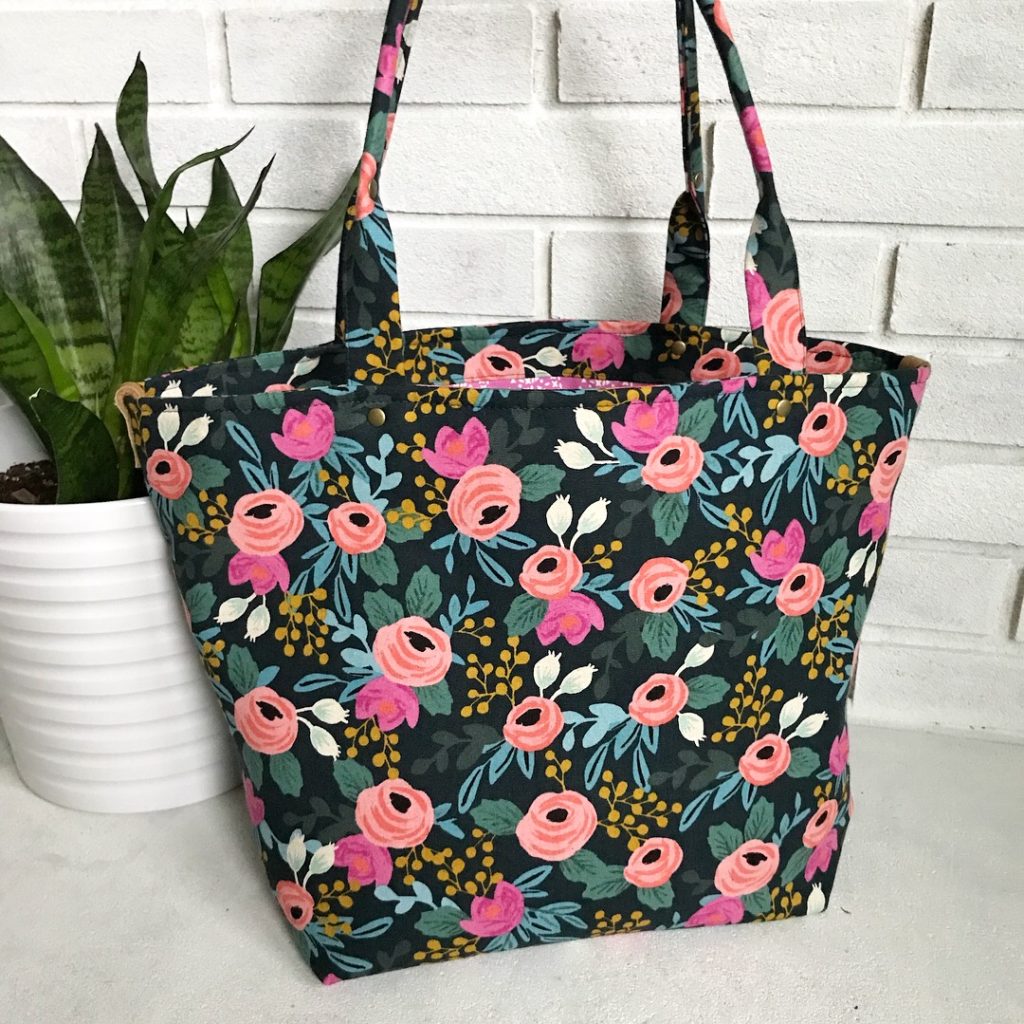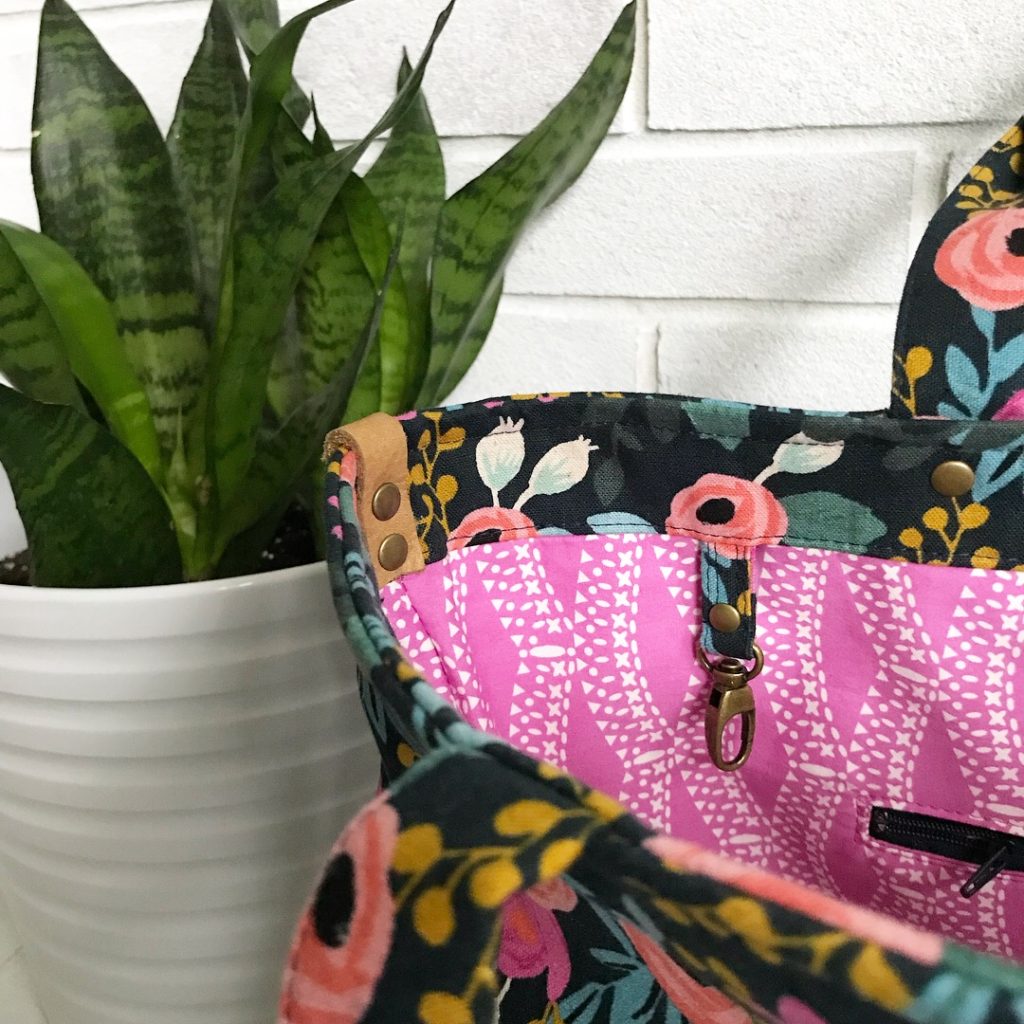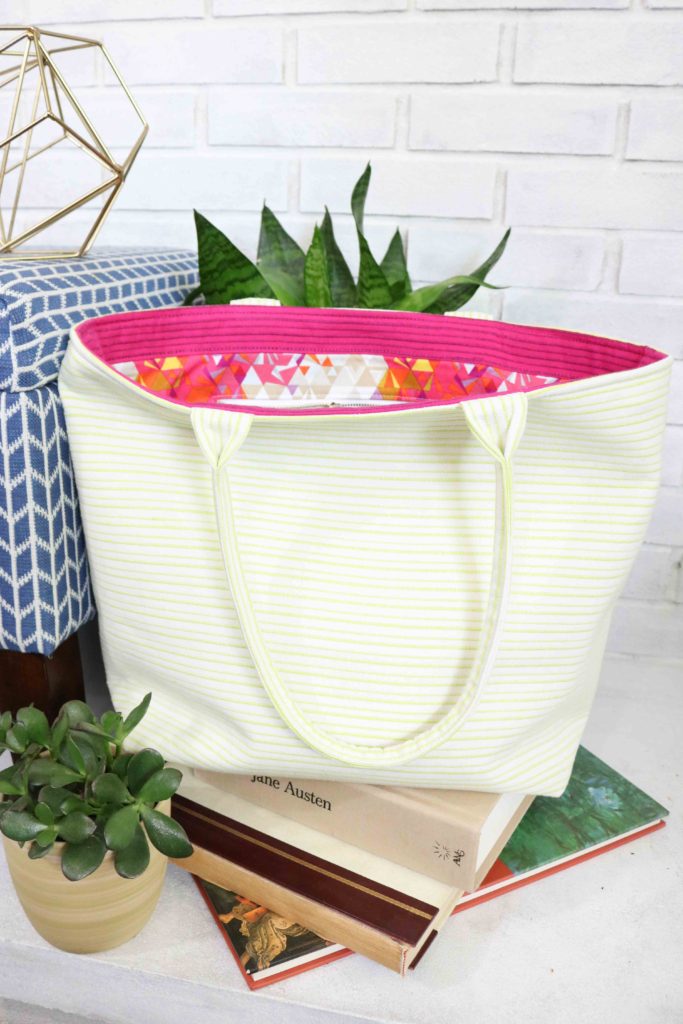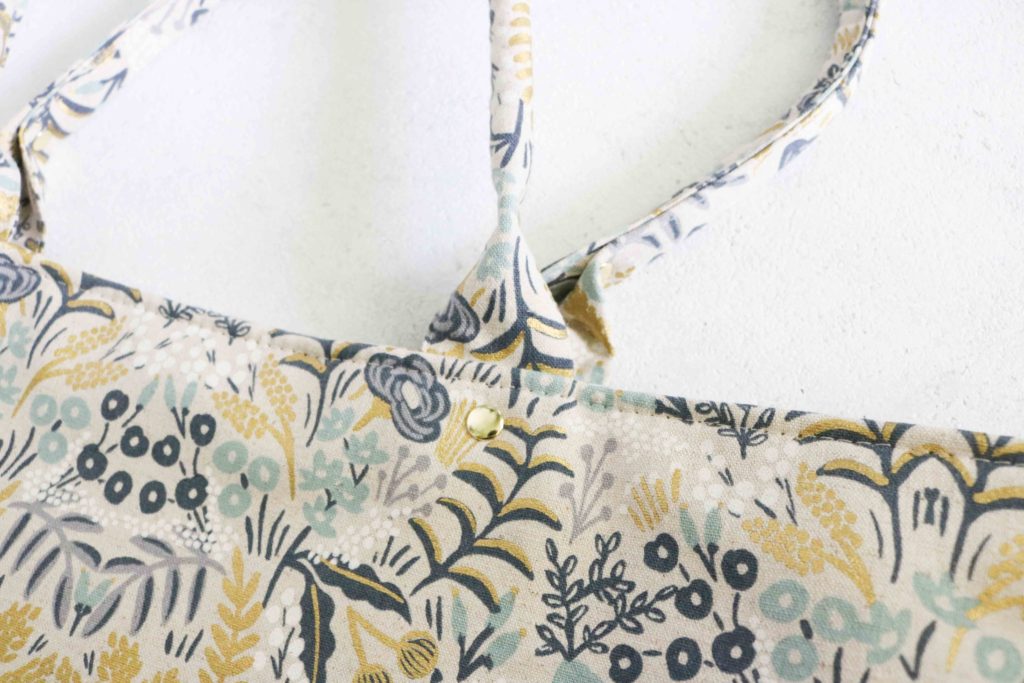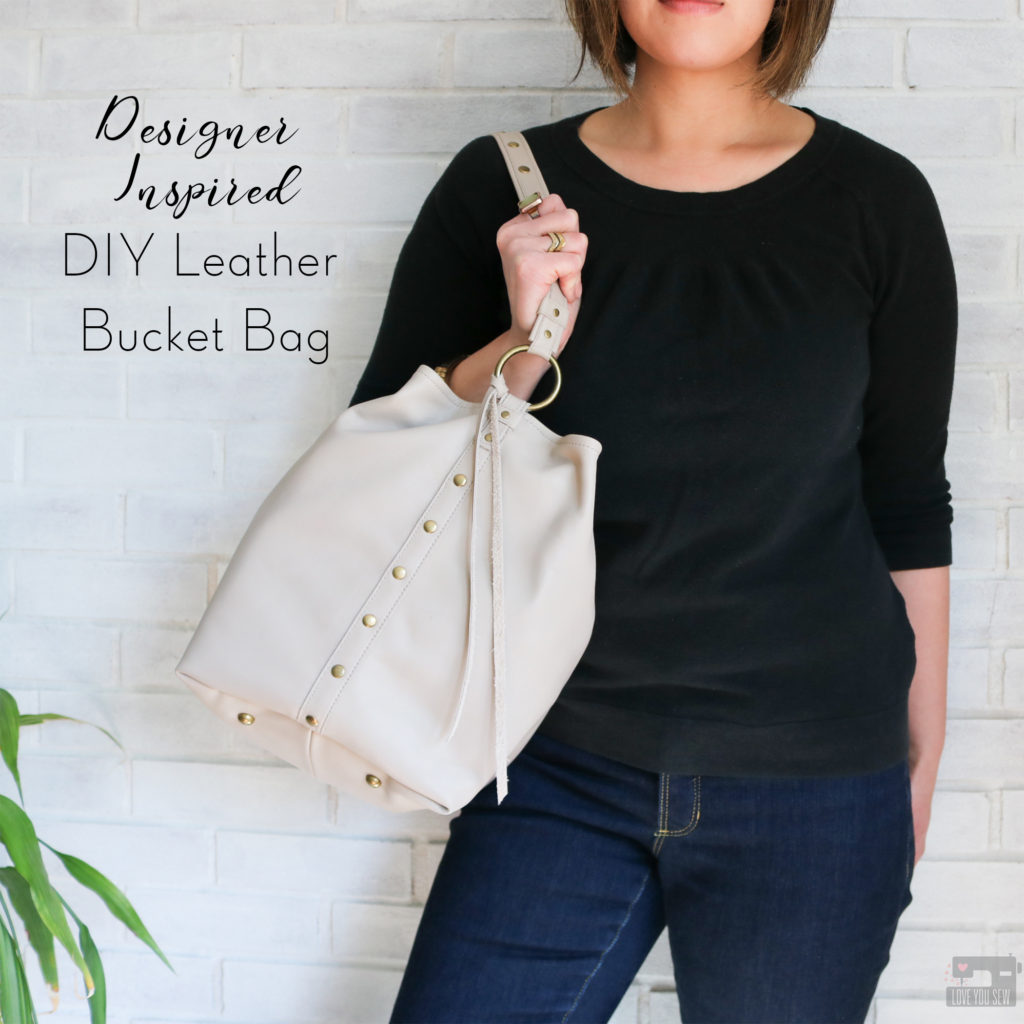
Designer Inspired DIY Leather Bucket Bag

Even though it’s snowing as I write this (thanks Ohio weather,) I can’t help but think about spring and all of my wardrobe planning ahead.  I do love my cozy sweatshirts and thick sweaters, but I am SO ready for all of this blustery cold weather to go away!  Before I even get started on my warmer weather garments, I was already thinking about accessories with the help of my friends over at Measure – A Fabric Parlor.
If you don’t know about Measure, it’s a beautiful shop in Savannah, GA which sells incredibly unique fabrics like African wax prints, designer overstocks, and hand painted leather.  I am fortunate enough to be one of the Measure Makers, a group of inspirational sewists working with all the gorgeous products at the shop.  When I was asked to work with their fabrics, it was the leather which caught my attention first.  I have a deep love for sewing with leather and not all fabric shops carry it.
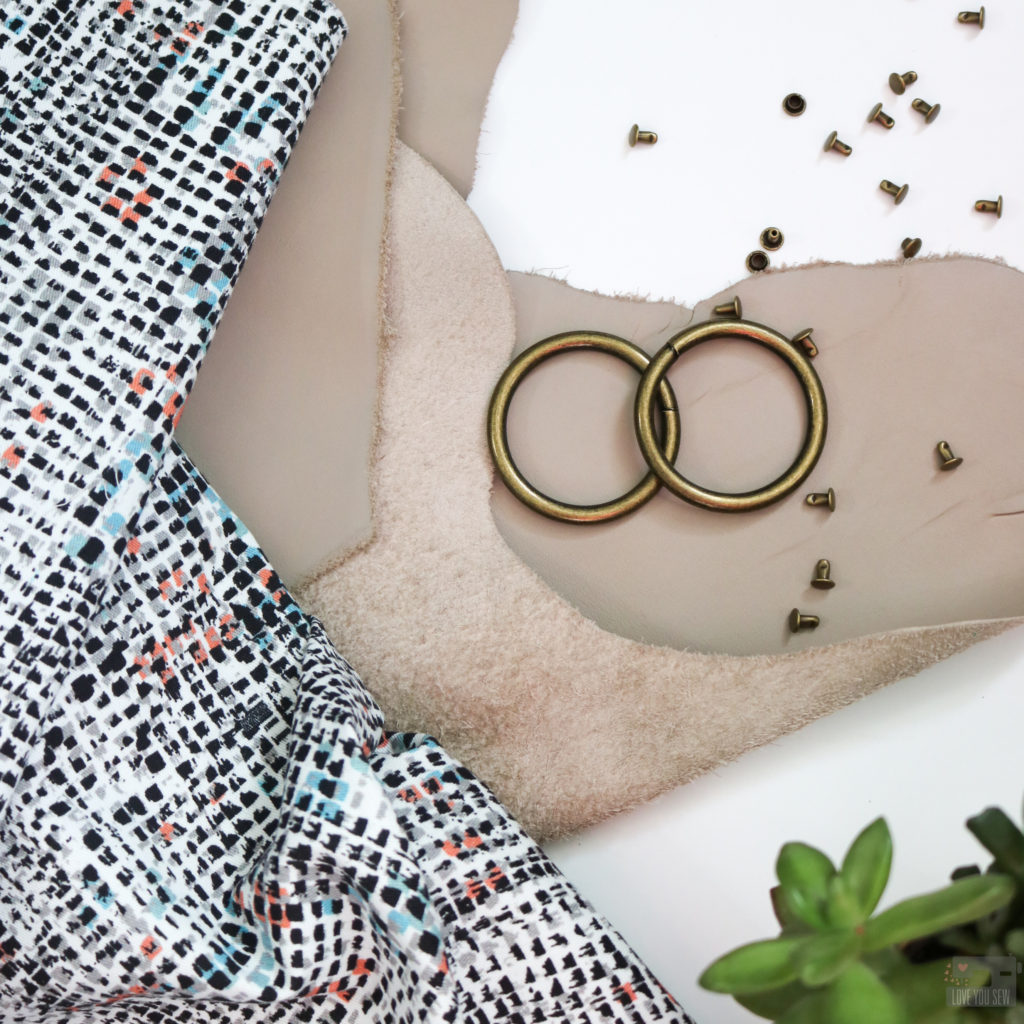
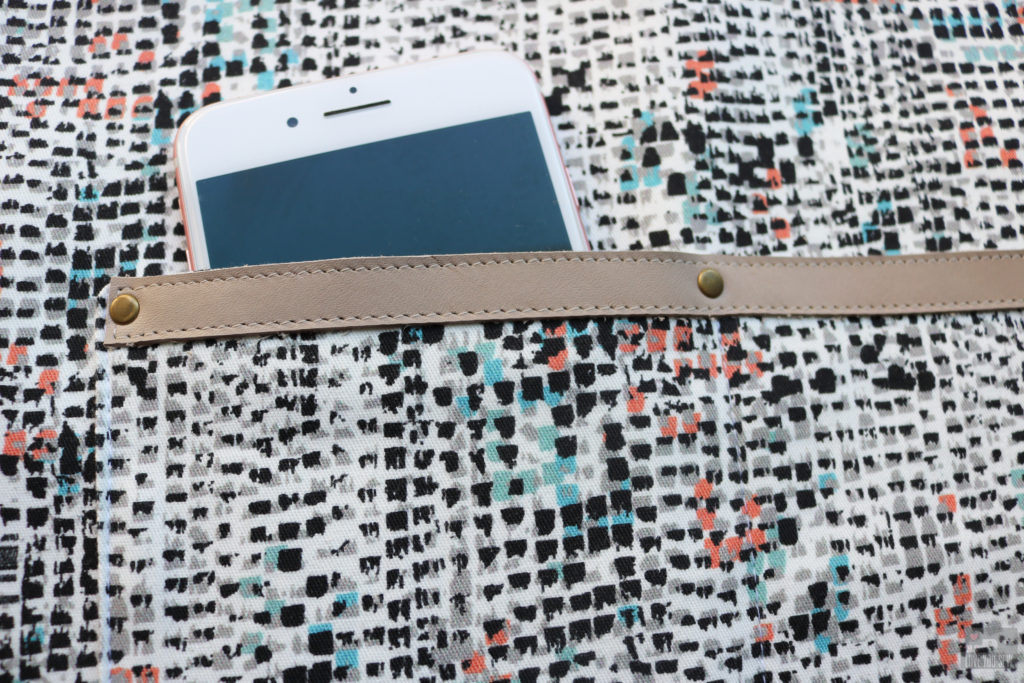
When I saw this Glazed Cowhide (#12023,) I knew the taupe color would be the perfect neutral for the spring…especially once I bring all the color back into my clothes.  Since I make a lot of bags out of quilt cottons and canvases, my bags all tend to have some kind of print and it would be nice to have something solid again.  With that said, I still am always jonesing for something fun and this graphic Abstract Check on stretch cotton twill (shown above) was what I needed for the lining.  I like a busy print to hide my mess and punches of coral and aqua are a great complement to the taupe.
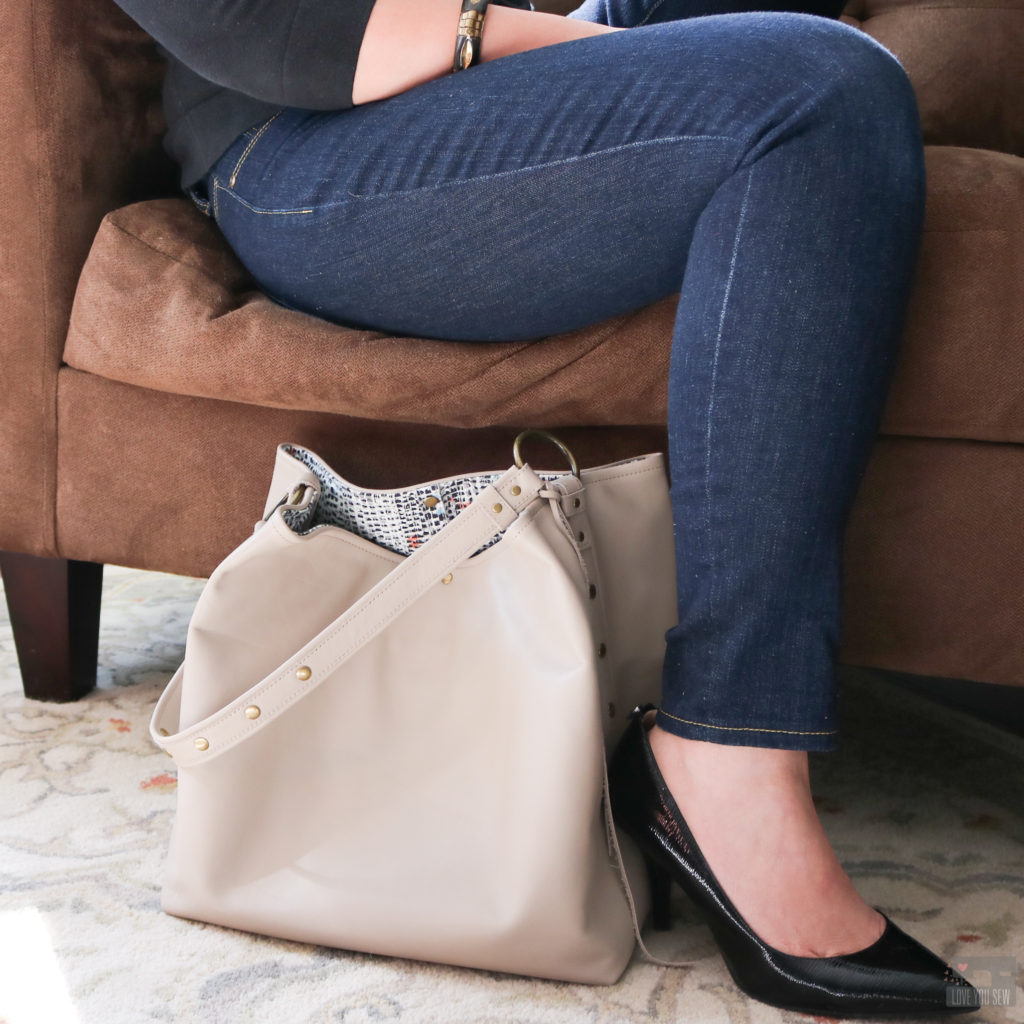
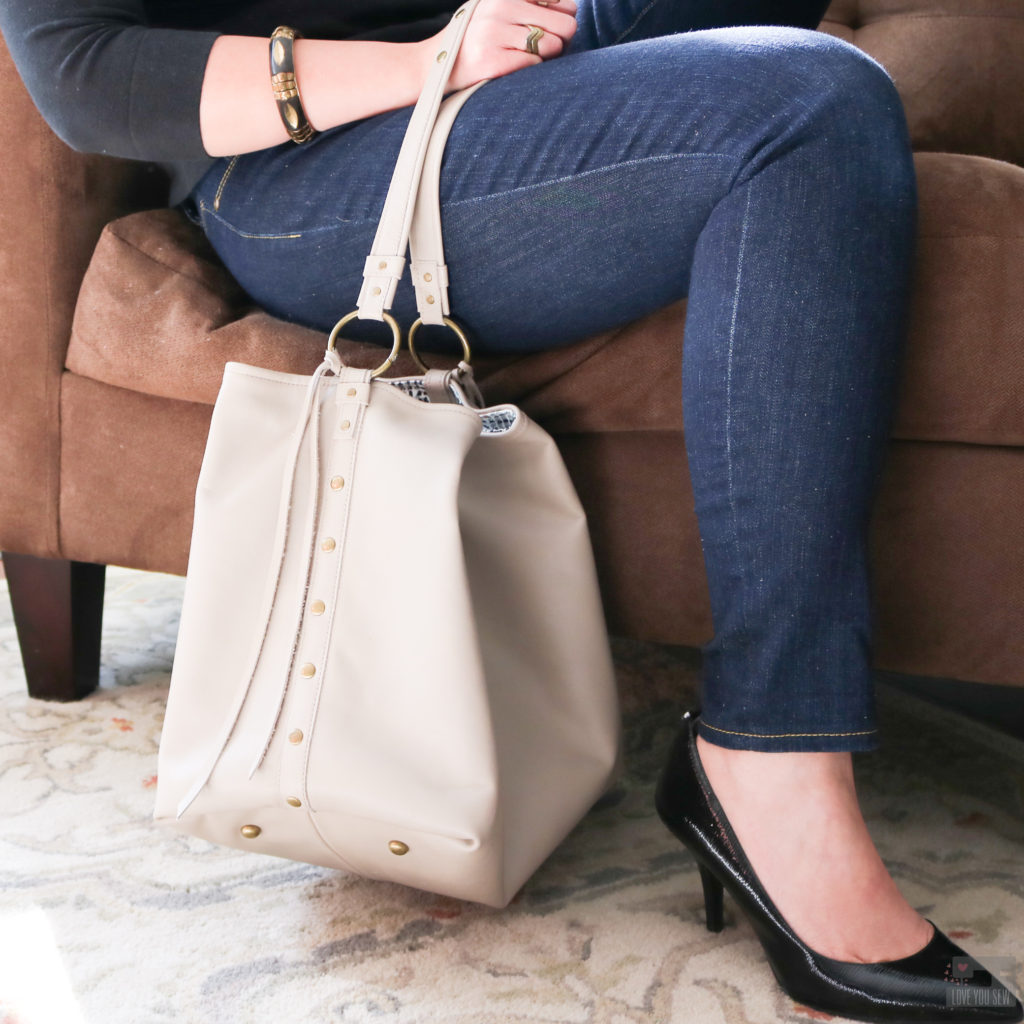
My inspiration for this bag came straight off the runway….literally just one month ago.  I saw Rebecca Minkoff tease some photos on her instagram of the Kate Medium Bucket Bag and I was done.  I love the smooth solid leather of the bag mixed with the hardware and thick chain strap.  It is just so classy, but I always dig a hard edge and the Kate bag is just that….along with a $350 price tag!
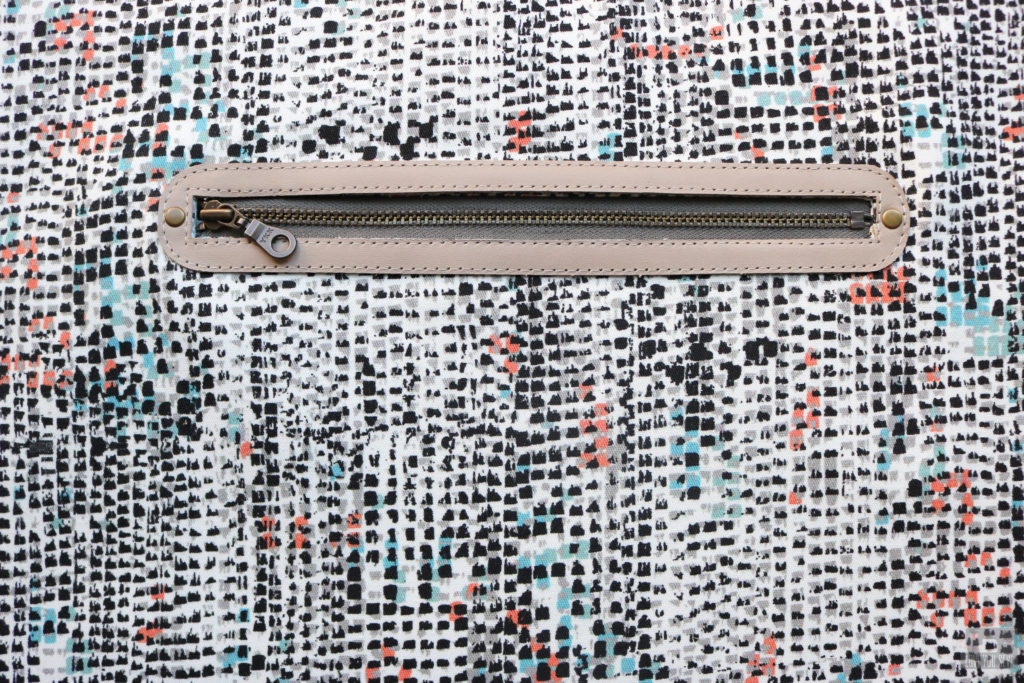
Well, I knew I would NOT be buying that bag, but could make something pretty darn close.  I used the shape of the bucket bag as my jump-off point and made sure to add a lining which is not in the RM version.  I know Rebecca Minkoff is a multi-million dollar company, but who doesn’t want pockets in her bag???  As standard practice for almost all of my bags, I added a roomy zipper pocket along with a divided slip pocket for my phone.
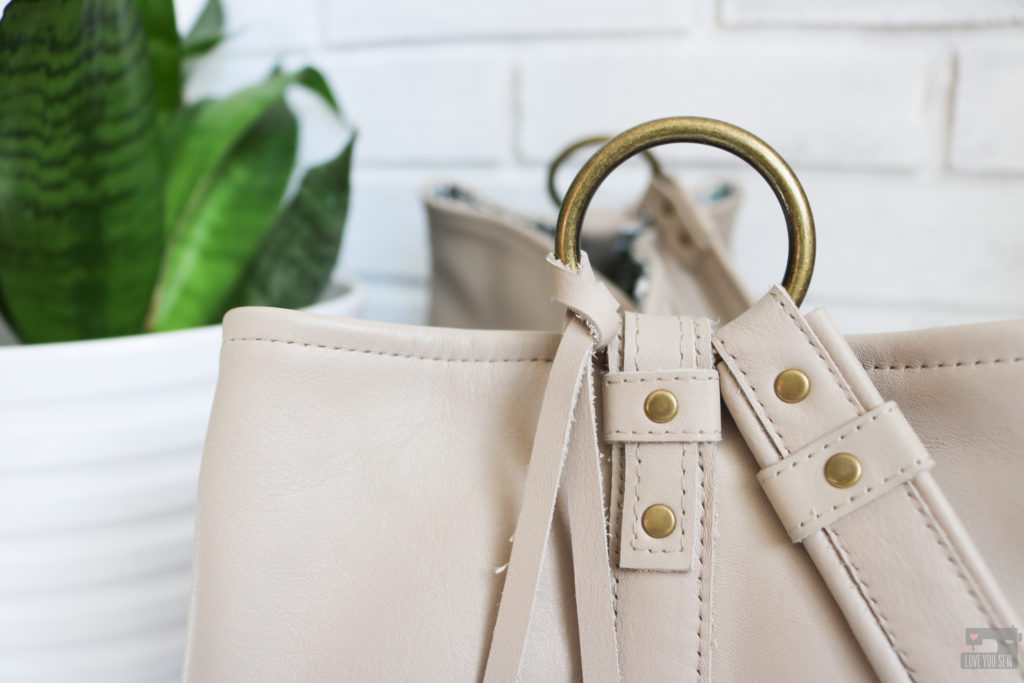
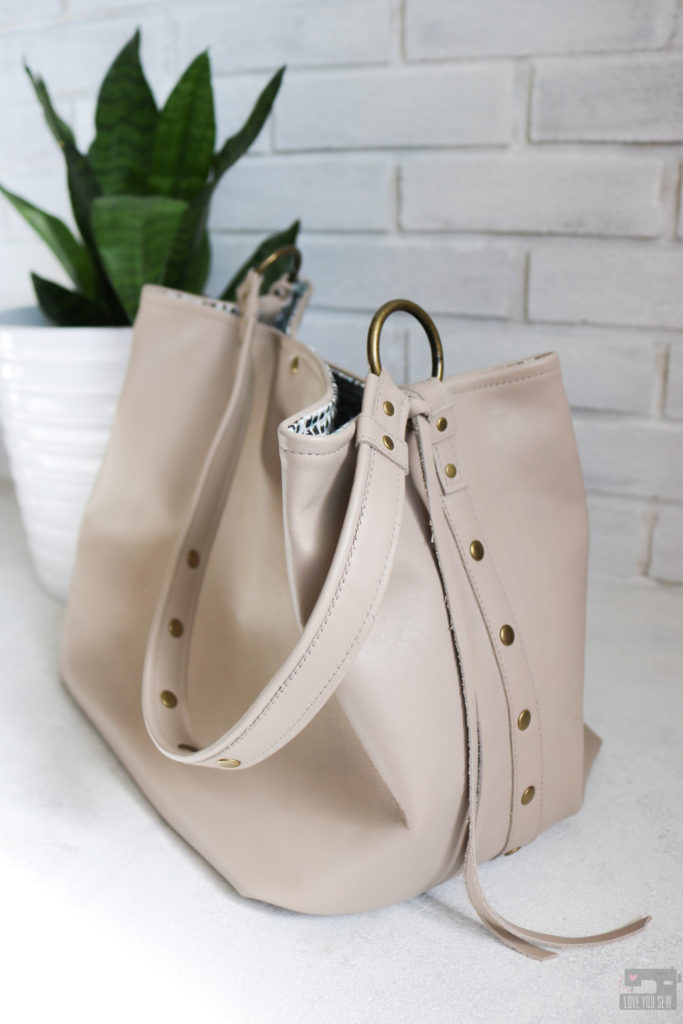
I already had these great circle rings in my stash and wanted to have the same look as my inspiration bag with them anchored high on the sides.  This was a bit tricky because I needed them to stand up and also deal with a lot of strain.  So you can see in the picture how I doubled up on leather to keep the ring in place while adding more strength.
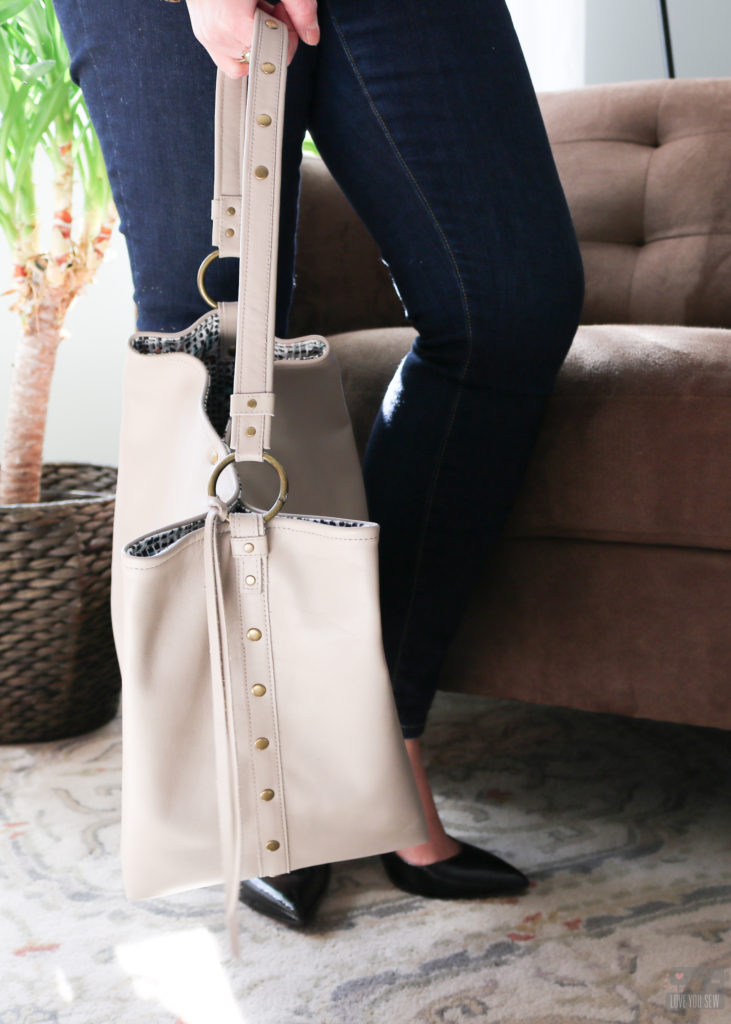
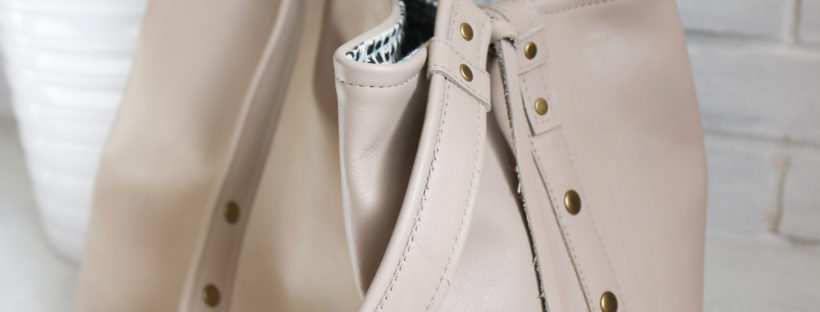
The other feature I loved from the Kate bag was the hardware along the side seam.  It looks like RM used stud buttons and with industrial production, was able to go directly through the seams.  I, however, used just rivets and through a little illusion, moved my rivet line about 1/4″ over so the holes would be punch through the body and not the seam.
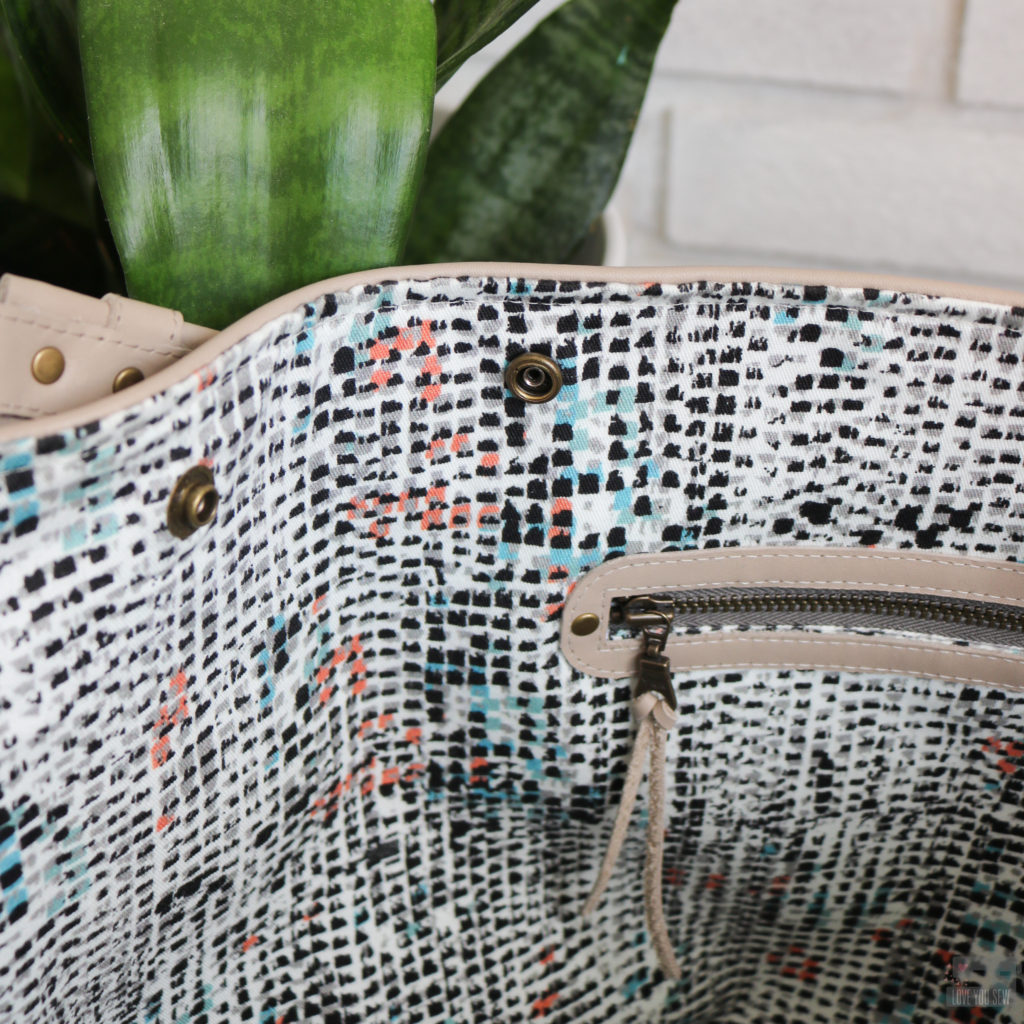
Since I based my bag dimensions all on all of the inspo pictures and description, my bag looks a bit larger and wasn’t laying the way a bucket bag should.  The center was collasping into itself and so I knew I needed to create that structure.  I was already 90% finished with the bag at this point, but luckily I could dig through the lining and add some interior snaps.  I feel great when my years of “collecting” random hardware pays off!
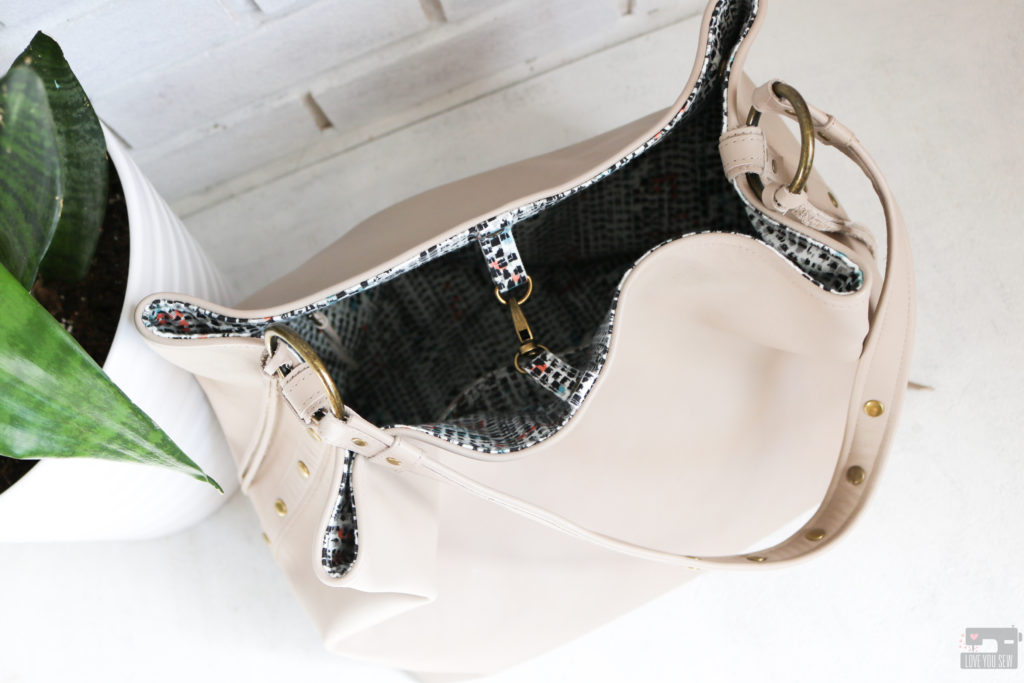
The snaps along with the swivel clasp and d-ring (as part of my original design) gave my DIY bucket bag the exact shape I was trying to mimic.  Thank goodness because I’m not sure what I would have done as an alternative…maybe just kept a ton of stuff in my bag to keep it full??
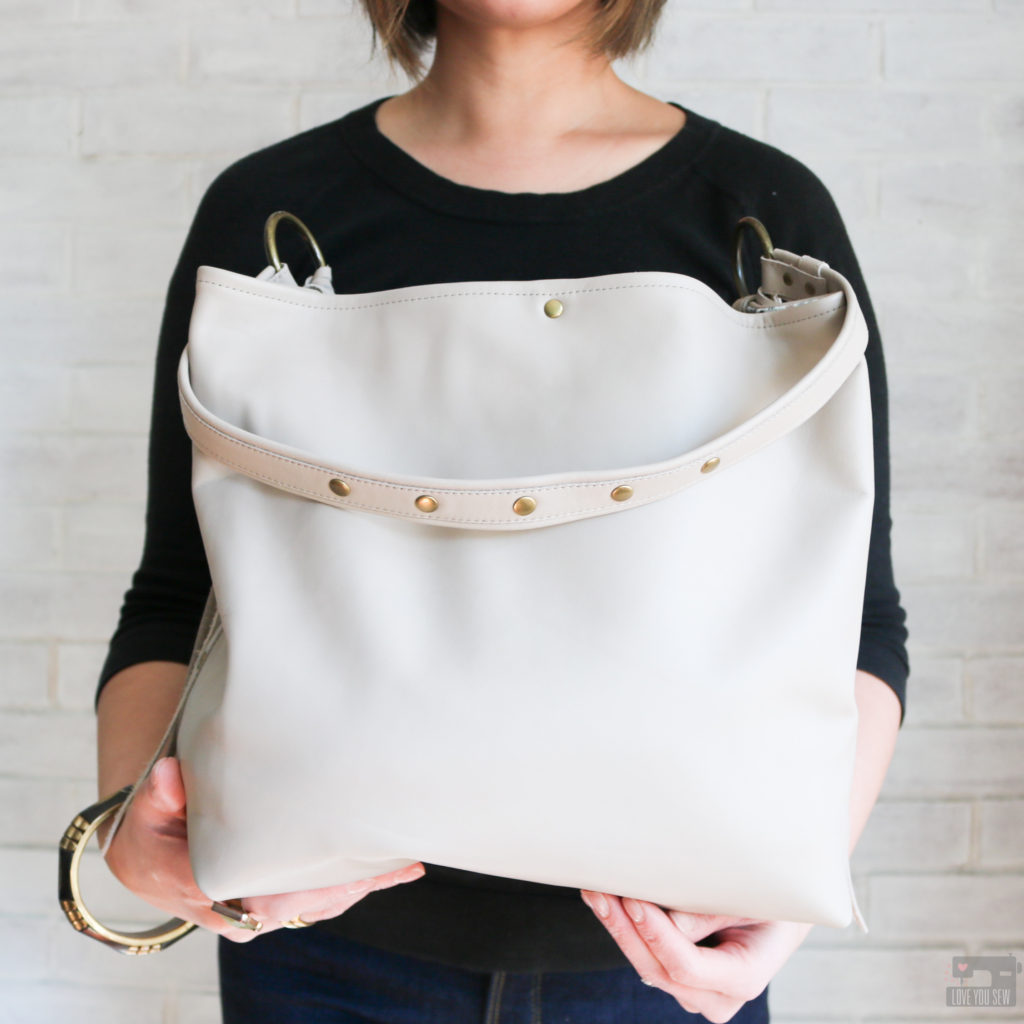
While I didn’t have a big chain for my bag strap, I decided to bring up the look of the side seams with the top-stitching and rivets.  Using rivets all along the strap looked a bit too much IMO and so I edited to just five along the top of the strap.  This allows enough negative space to come through and balance with the plain front of the bag.
I had a lot of fun adding hardware all over my bag, but I did not overlook adding some protective feet.  After all of this work and the hours put into my bag, I knew I had to take care of this beautiful leather.  Adding feet on the bottom of the bag helps dirt stay off and protects the bag from potential floor scuffs.  It also looks gorgeous and is a nice hidden detail.
Tips

While I was able to get through this project on my domestic sewing machine, make sure to check if your machine can handle the layers on scraps, first with hand cranking and then sloooooowly taking it stitch by stitch.  Thinner leathers are easier to handle than thicker hides, but you can hammer and even shave your leather to make it thinner.  You may need to increase stitch length and adjust tension to compensate.


Project Details:

How do you think I did with using designer inspiration to make my own leather bag?  I hope you are able to find your own runway inspo this spring!


Happy Sewing!

Cristy


Leather and Fabric were provided by Measure for this post and as part of participation as a Measure Maker.  The project idea is completely original and all thoughts/opinions are my own. There maybe affiliate links with the Project Details.  Any compensation as part of purchases through these links help to host, secure, and maintain this website.  Thanks for your support!


Sonata Abbey Backpack

Abbey Convertible Backpacks with Sonata Fabrics

Happy New Year! Amy Sinibaldi is not wasting anytime bringing joy and beauty into the new year. She has a brand new fabric collection, Sonata, with an ode (pun intended) to classical music by Ludwig van Beethoven. Like Amy’s previous collections, these fabrics feature the most beautiful and delicate artwork. I love how her drawings are set against some sharp pinks and dreamy complementing blues with this release.

Abbey Backpack by Love You Sew with Sonata Fabrics

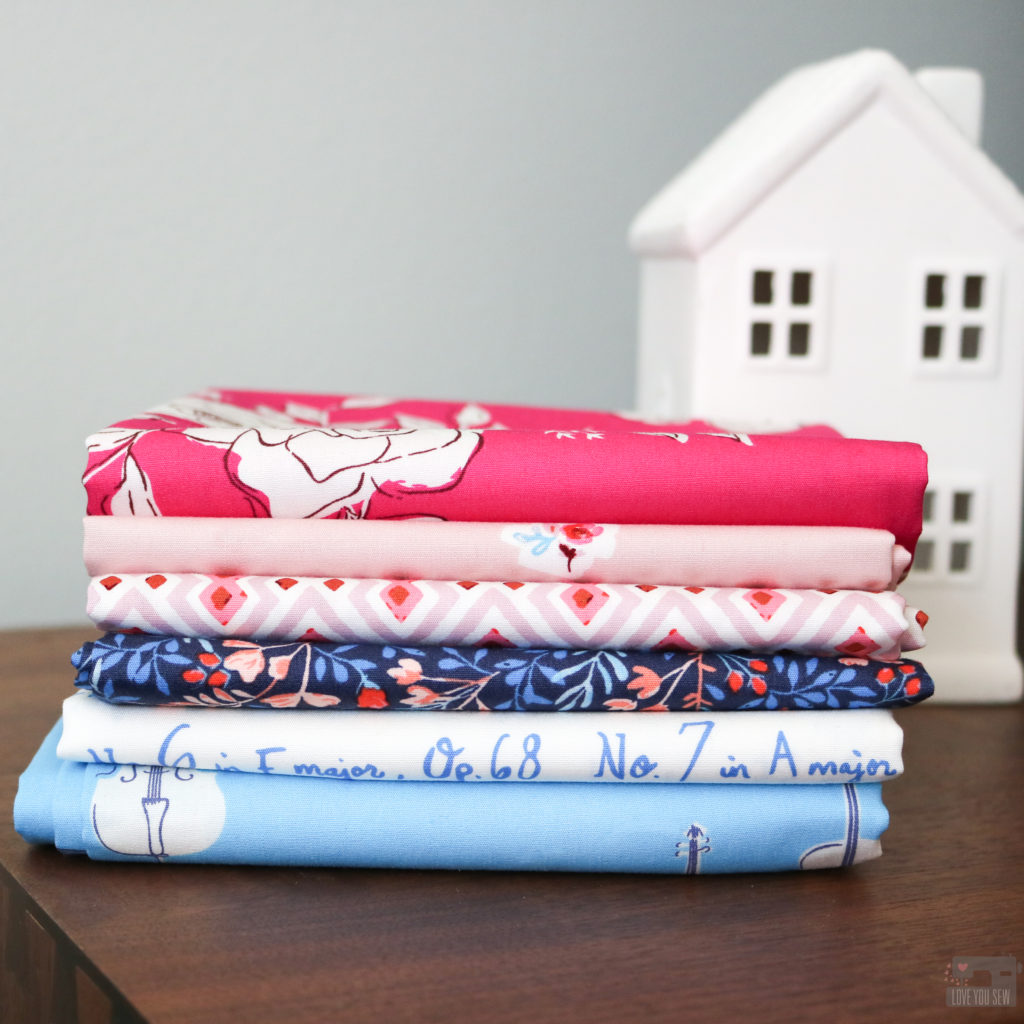
When I first laid eyes on these fabrics, I knew they would be perfect for my next bag pattern, the Abbey Backpack (estimated release in early spring.) These fabrics are so sweet and darling, that I had to pari them with my pint-sized mini bag. I chose the following fabrics from the collection (from top to bottom:)

Abbey Backpack by Love You Sew with Sonata Fabrics

When I first drafted this pattern, I though it would be a one-off design as a present for one of my nieces. But with the power of social media, you convinced me to turn my design into the Abbey Backpack. It’s been over a year since I made the first and only one…so trying to remember all that I did was a bit tough…

Abbey Backpack by Love You Sew with Sonata Fabrics

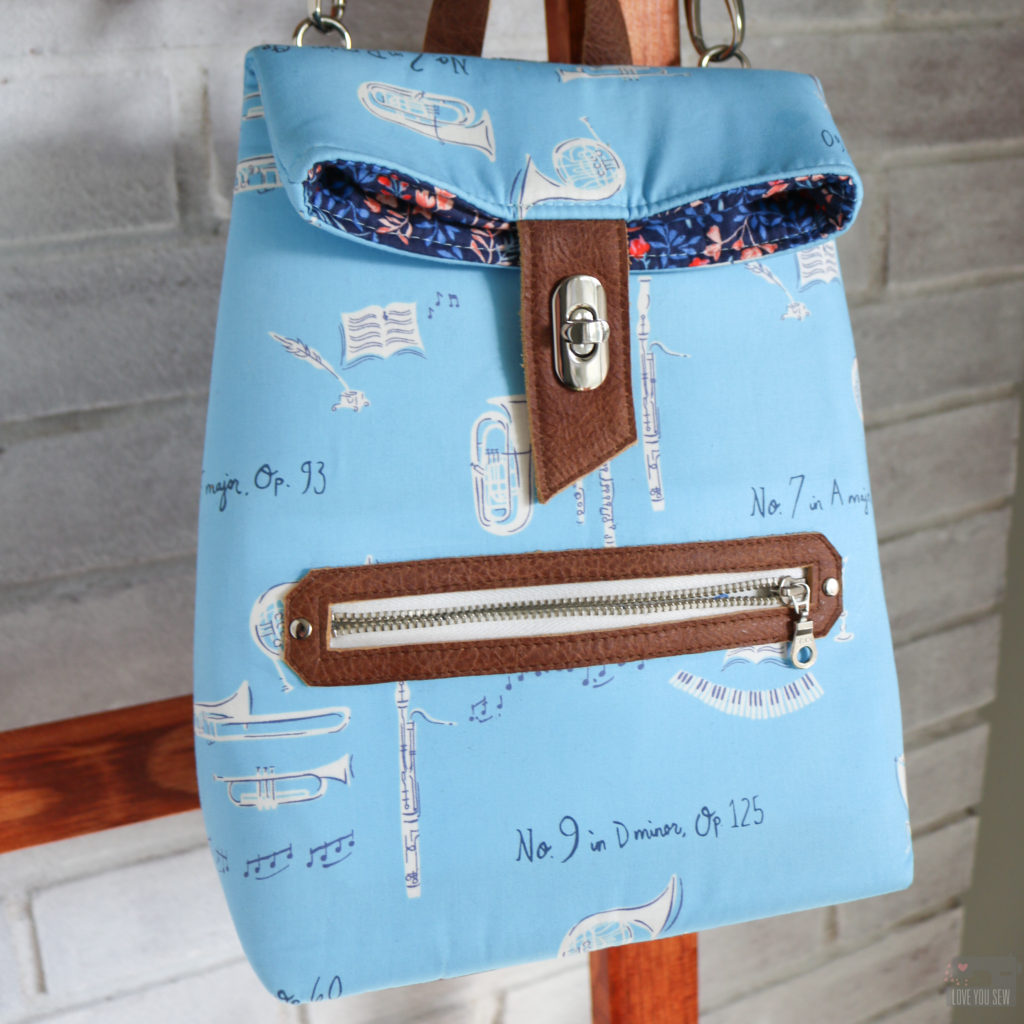
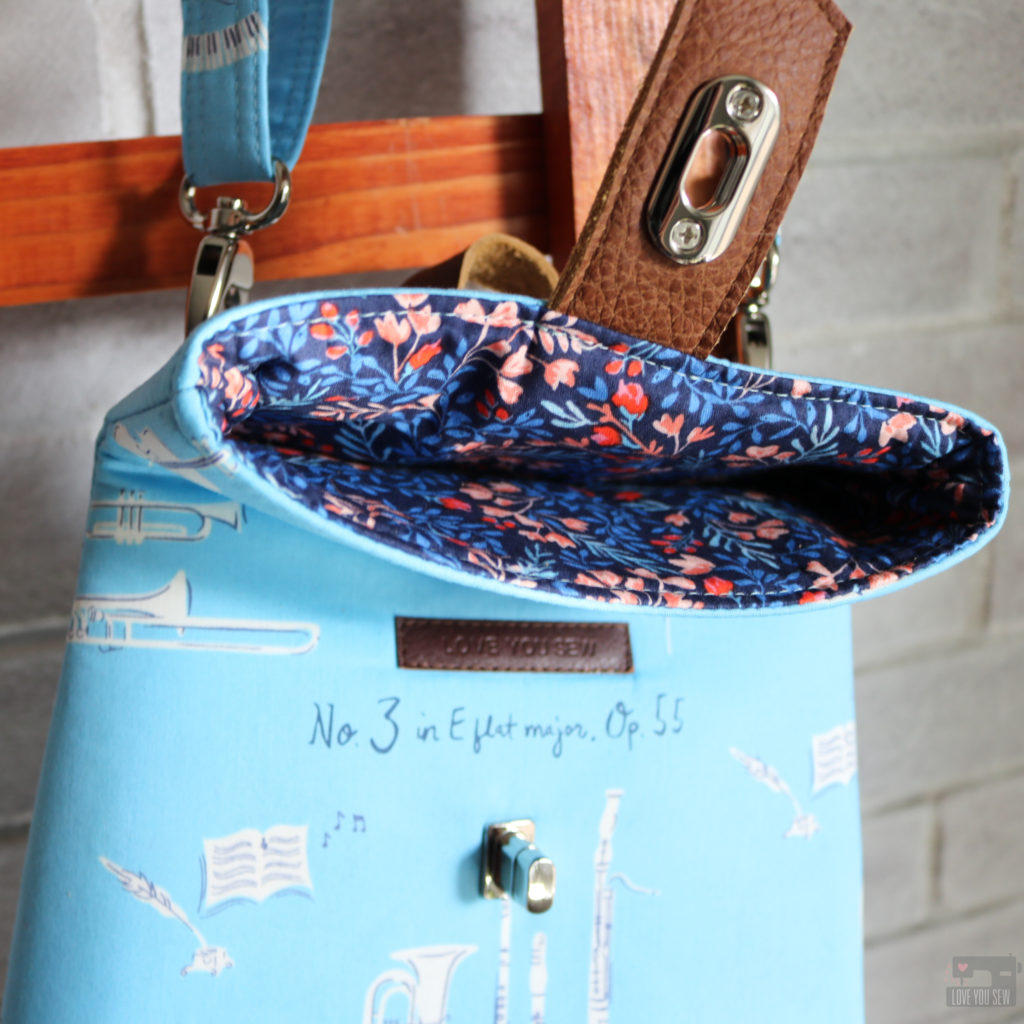
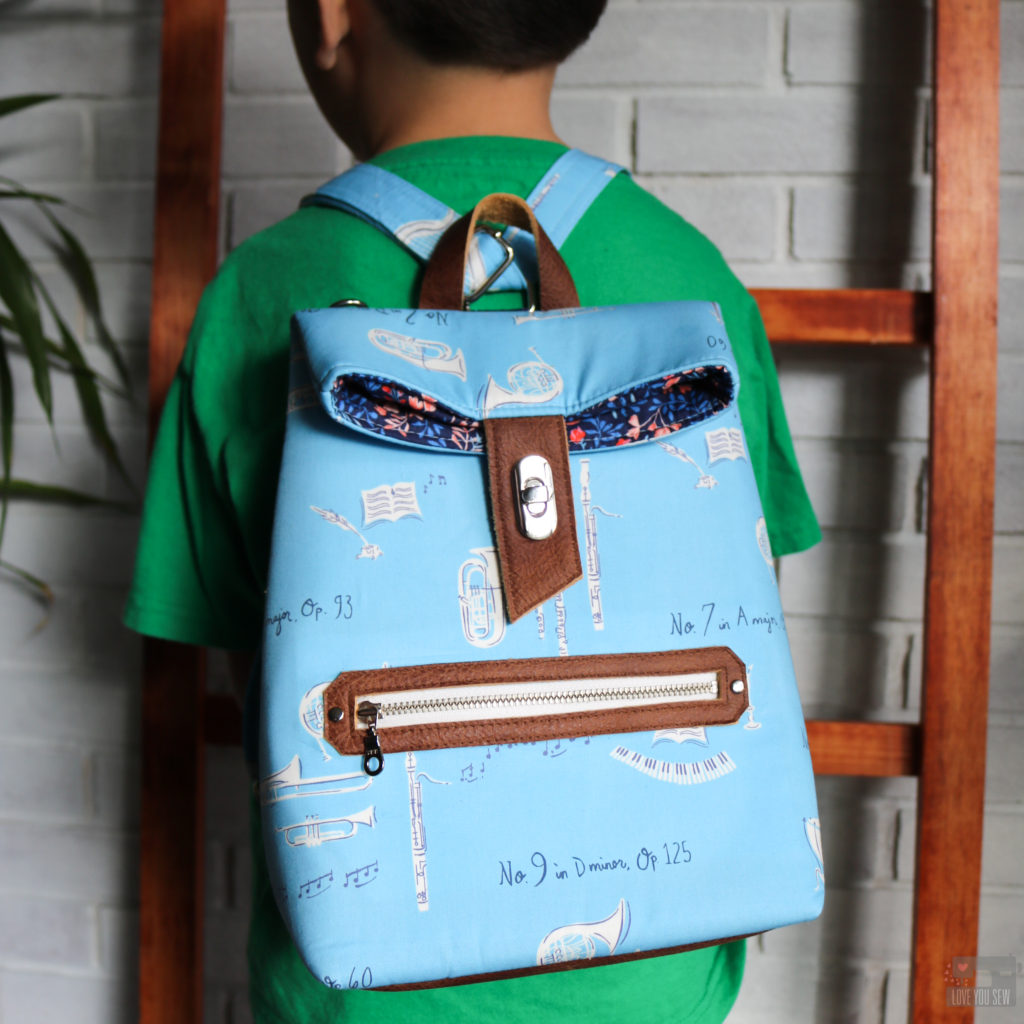
But I love a good challenge and like to play around with textures and techniques. With the blues of Sinfonie in Danube, I knew I wanted to make this bag a bit more masculine and added leather accents including this bit to frame the front zipper…and did you see the instruments?!?! In LOVE!

Abbey Backpack by Love You Sew with Sonata Fabrics

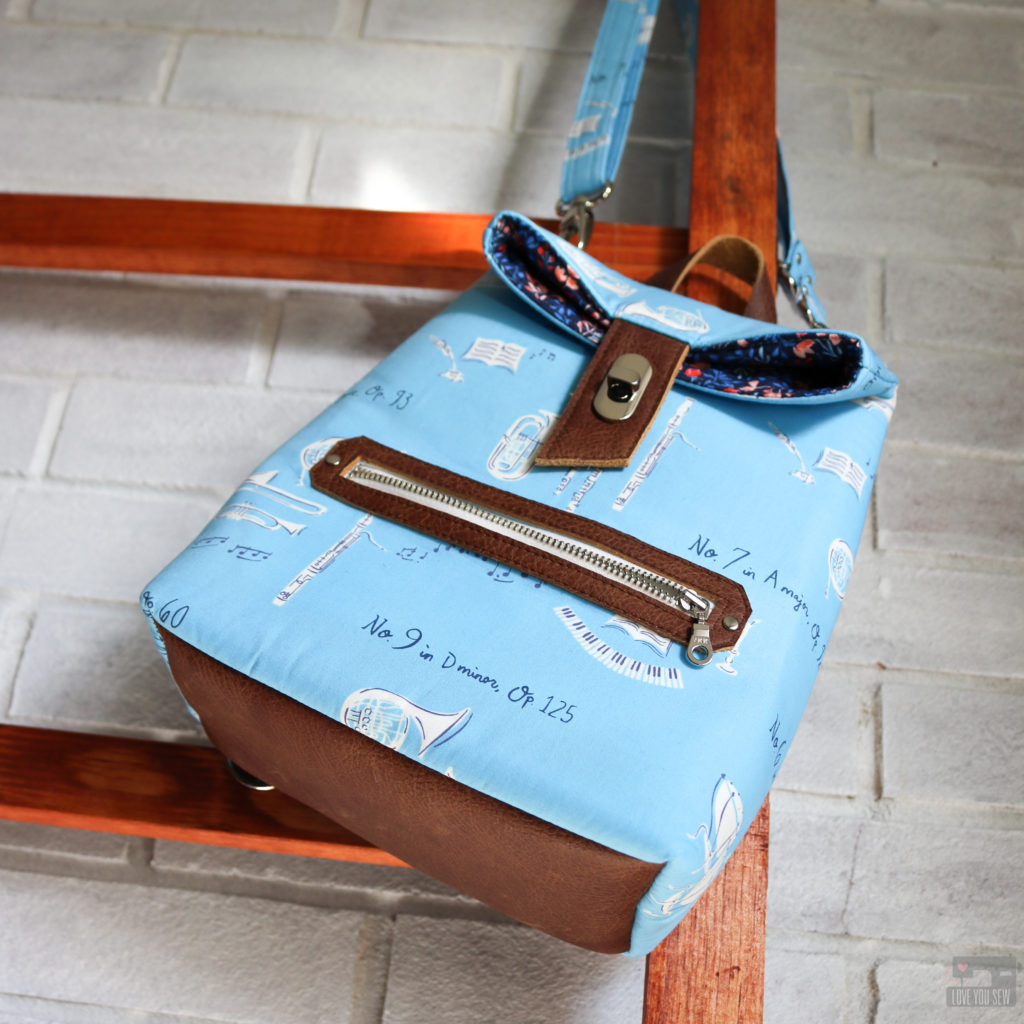
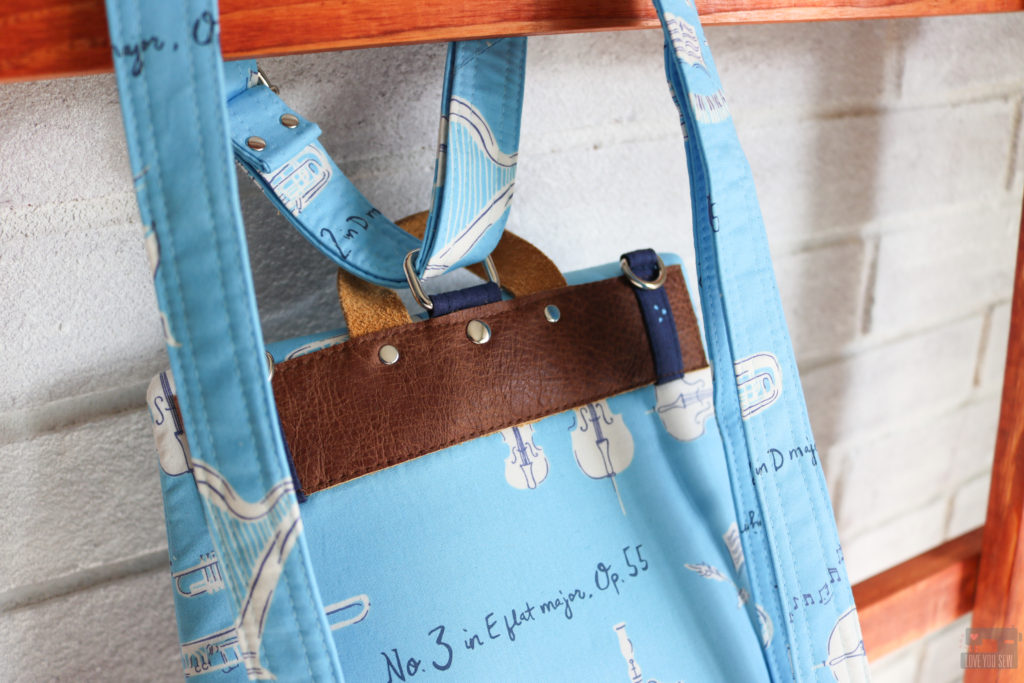
This deep cocoa brown leather was just a beautiful contrast…So I used it on the handle, on the back, the bag closure, and even on the base to help protect the contents.

Abbey Backpack by Love You Sew with Sonata Fabrics

For my bags, I always love a good lining with some personality. Floral No. 9 Bold is just that. The coral and orangey-red flowers really pop against the navy background.

Abbey Backpack by Love You Sew with Sonata Fabrics

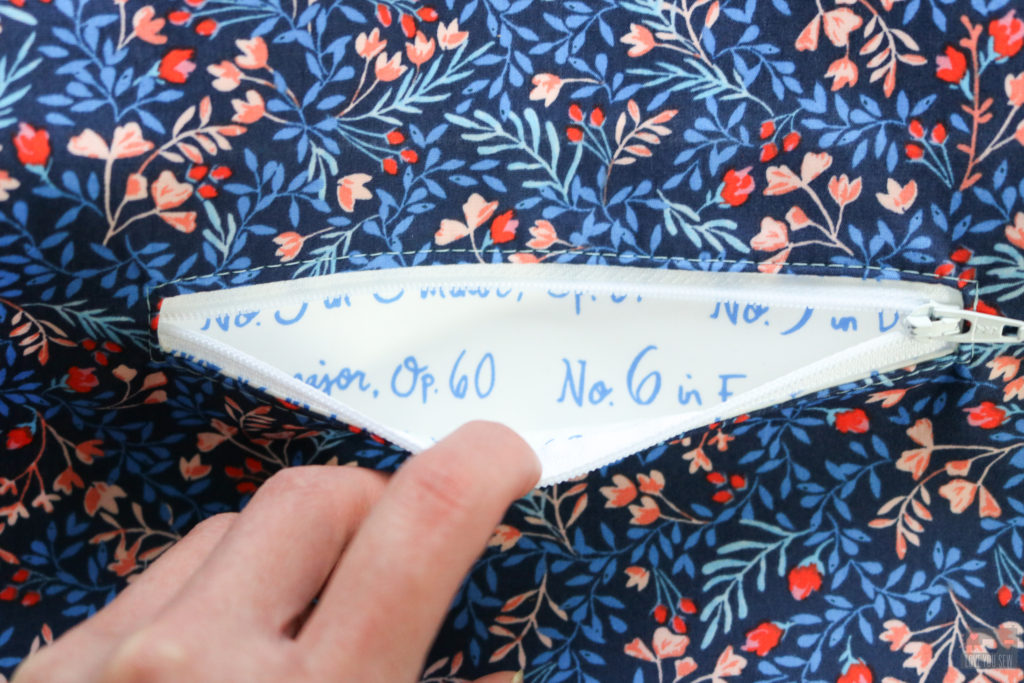
I also love a surprise in the pockets. When digging around, it’s nice to have pockets a different fabric from the lining so you can see where to put your belongings…amirite? 1812 is an elegant low volume print and perfect pocket lining.

Abbey Backpack by Love You Sew with Sonata Fabrics

As with most of my plans, there is always a change. I snuck in some of the Ink Thunder print with all of the hardware connectors to break up the free space on the leather and the exterior print.

Abbey Backpack by Love You Sew with Sonata Fabrics

Since I designed this backpack for my young niece, this bag is smaller than your typical schoolbag, but still is great for all ages. Here is my (soon-to-be) 6 year old son modeling the Abbey.

Abbey Backpack by Love You Sew with Sonata Fabrics

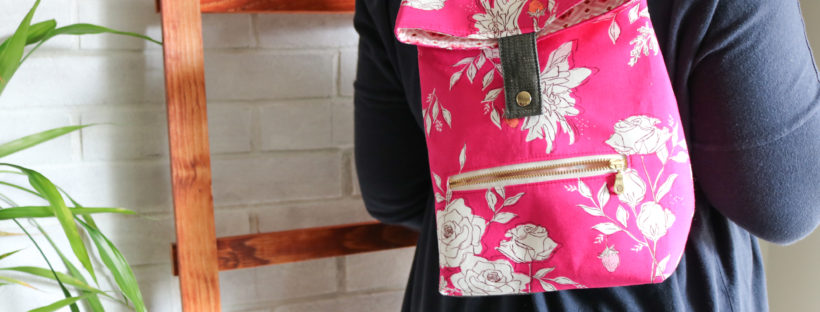
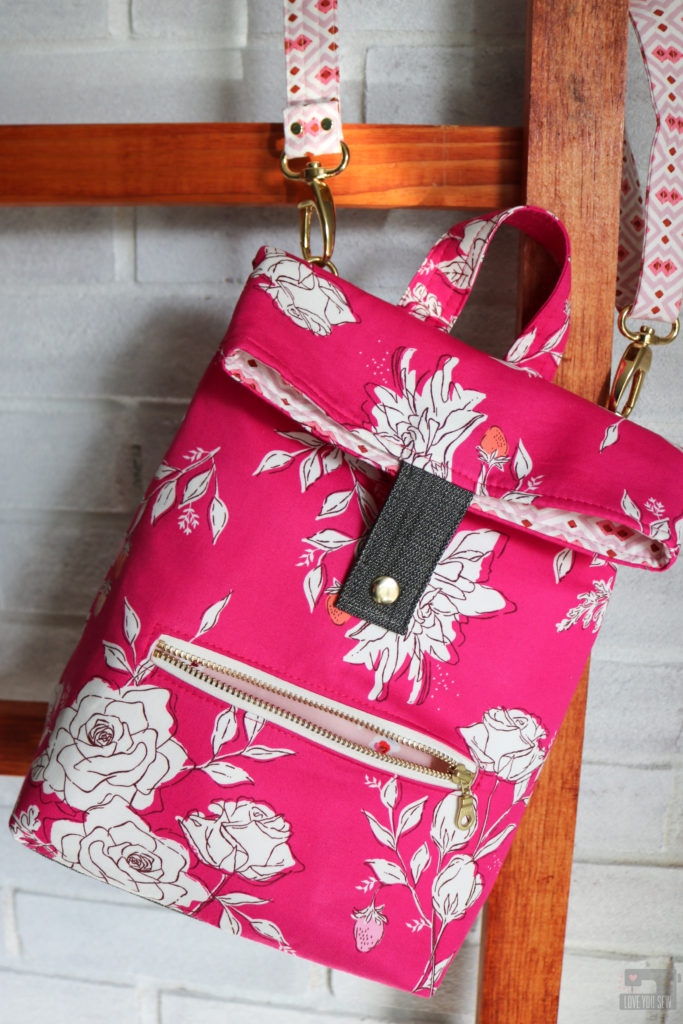
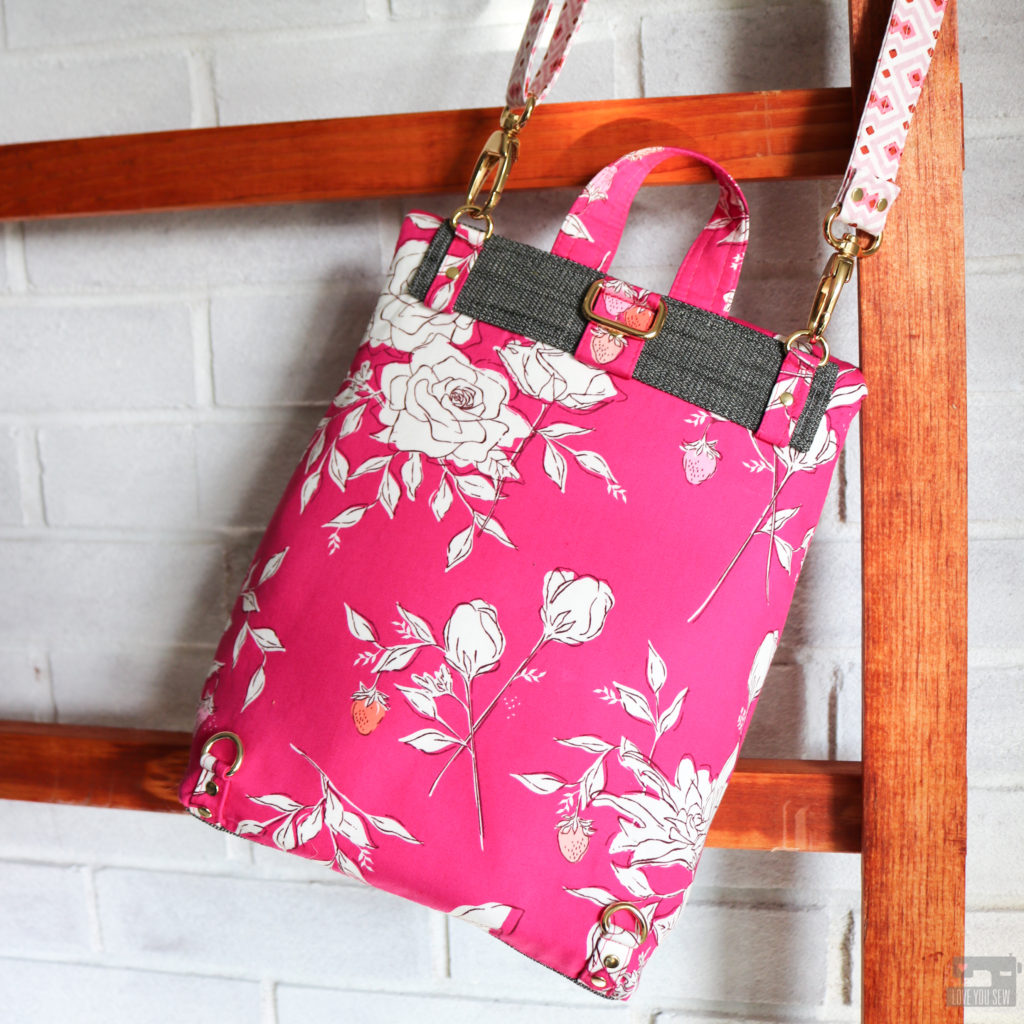
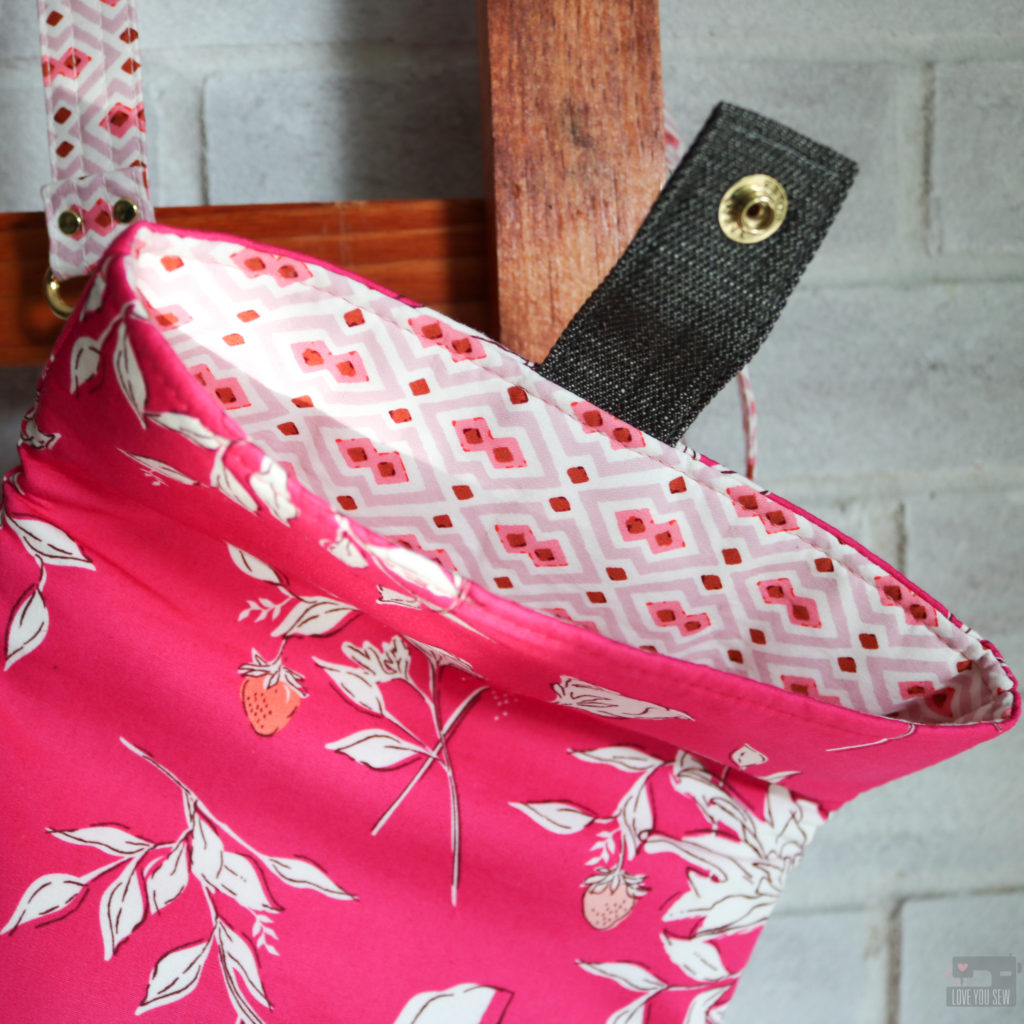
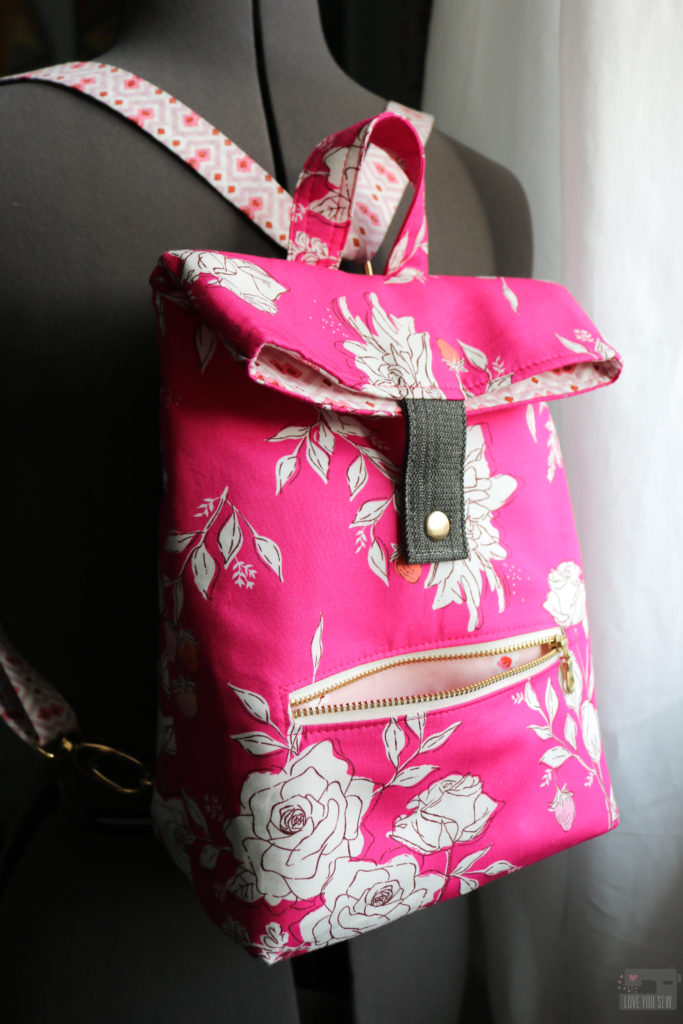
With two separate color ways found in Sonata fabrics, I couldn’t help but also make two bags! I changed up many of the details to give the same bag, a completely different feel — including switching up where the strap connects on the Pastoral Magenta (with the itty-bitty strawberries!)

Abbey Backpack by Love You Sew with Sonata Fabrics

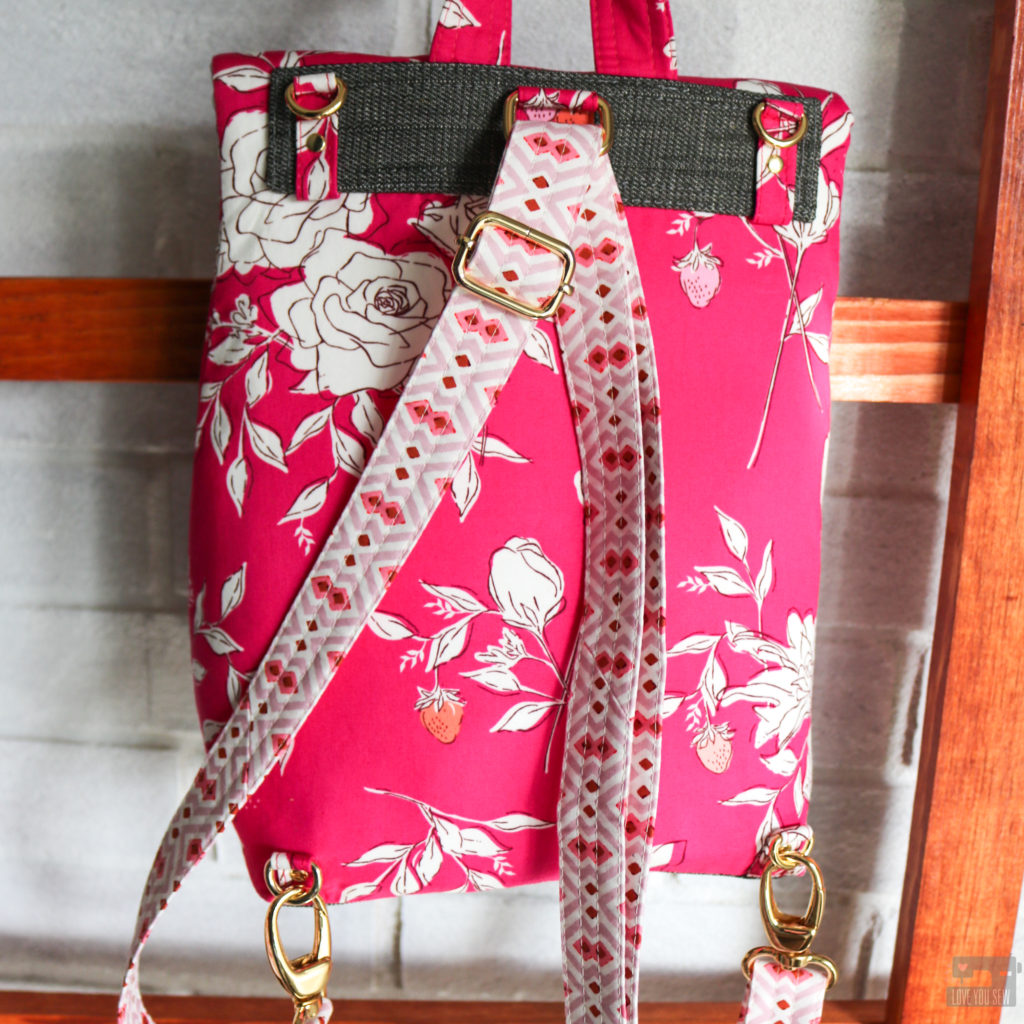
With the swivel clasps changed from the bottom D-rings to the top ones, the Abbey Backpack is now a cross-body bag! The adjustable slider allows you to change up the length of the strap for backpack or handbag use.

Abbey Backpack by Love You Sew with Sonata Fabrics

To change it to a backpack again, you detach the swivel clasps, adjust the strap length, fish it through the middle rectangle ring, and hook the swivel clasps back onto the bottom D-rings. Ta-da!

Abbey Backpack by Love You Sew with Sonata Fabrics

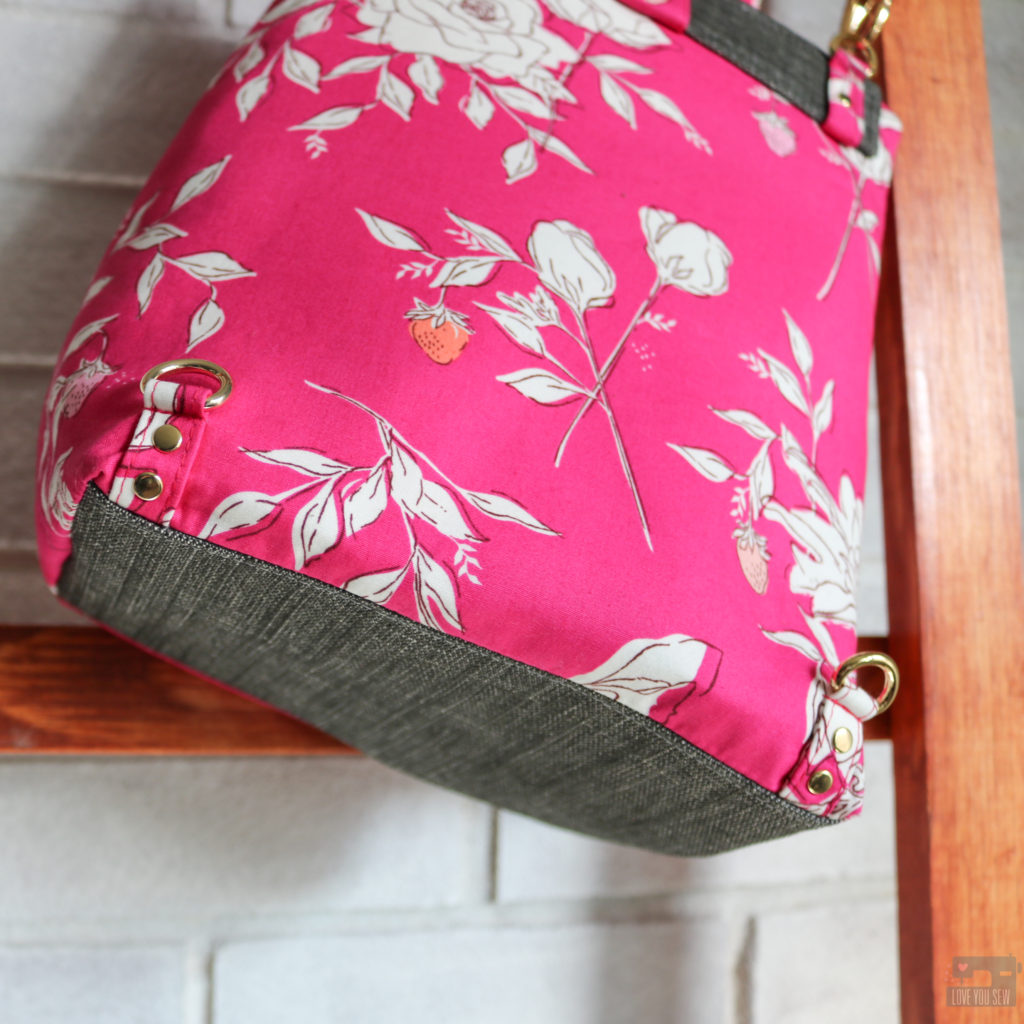
As the contrast substrate, I used AGF’s Solid Textured Denim in Evergreen Slate to line the bottom of both the exterior and interior of the Abbey Backpack. Since not everyone sews with leather, it’s nice to show another fabric like denim.

Abbey Backpack by Love You Sew with Sonata Fabrics

I loved Octet as the lining of the bag so much, I ended up using it also for the strap. The contrasting fabrics make the backpack so much more fun this way.

Abbey Backpack by Love You Sew with Sonata Fabrics

It was hard to photograph, but you know I got the Josephine Poetic in as my contrast pocket lining. You can see the pocket against this amazing magenta and the solid background shows again the Octet lining.

Abbey Backpack by Love You Sew with Sonata Fabrics

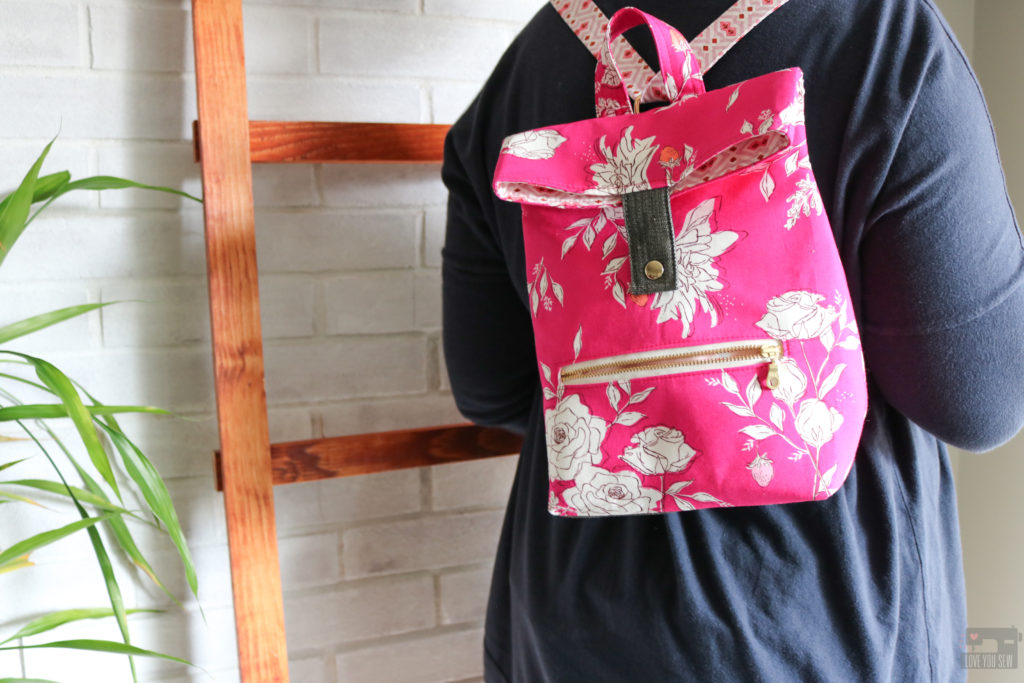
Look! The Abbey is just big enough so you can rock it as well. This is great light backpack for day-tripping or just running around town. When you get tired of taking it on and off, switch to a cross-body. How’s that for service? 😉

I hope you enjoyed some of my experimentation and thoughts on bag details. I’m not sure what will stay and what will go once the backpack pattern is published, at this moment. Let me know in the comments what you love the most, so I make sure to include it!

Don’t forget to swing by Amy’s blog to catch the whole Sonata Showcase. There are some incredible makes!

Happy Sewing, friends!

Cristy


Fabrics for this post were provided by Amy Sinibaldi as part of the Sonata Showcase.  All thoughts, opinions, and Abbey backpack design are my own.

Disco Double Zip by Love You Sew

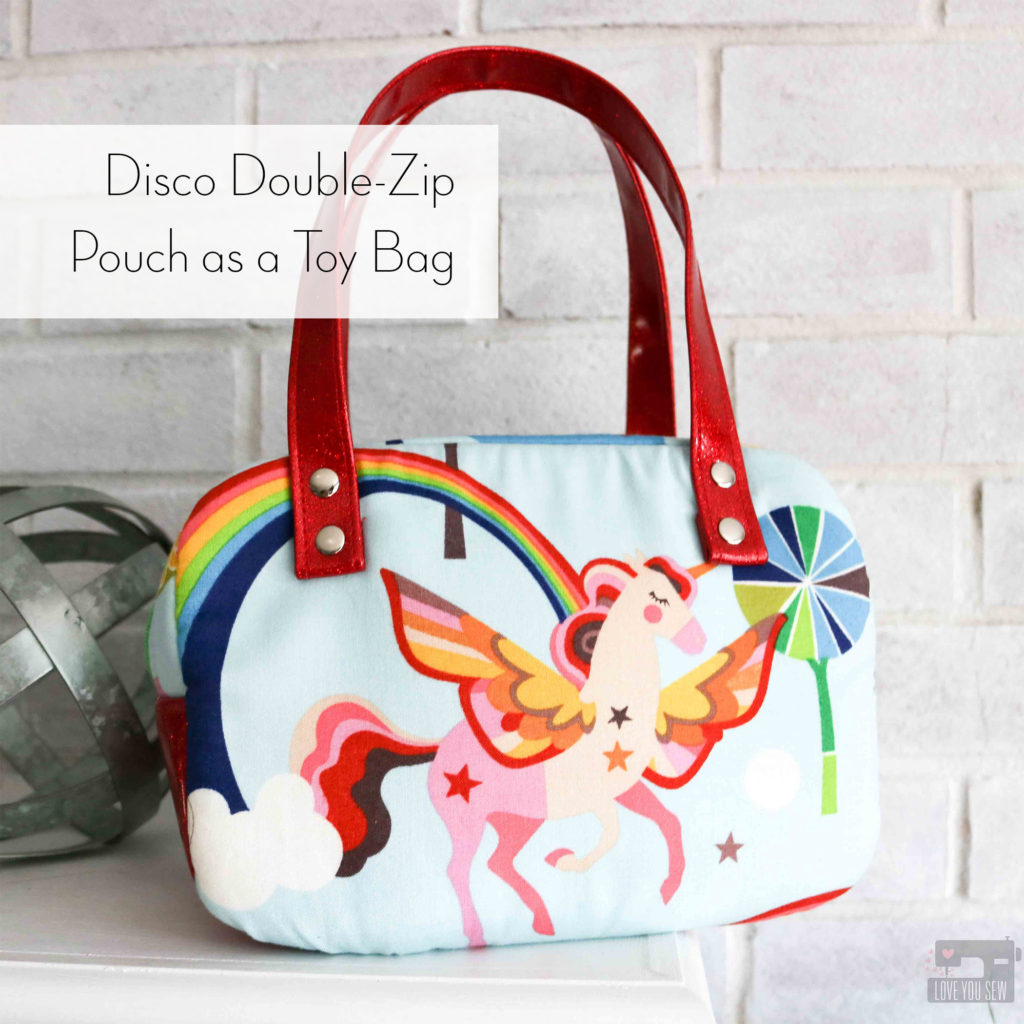
Gift Idea: Disco Double-Zip Pouch as a Toy Bag

It’s holiday gift-giving season already and I’ve been thinking about my handmade line-up for awhile now.  I don’t know if I’m just getting better at planning or if the consumer marketing seems to be pushing earlier.  It’s probably the latter, right?!?  So, I’m going to try to show you some of my favorite handmade gift ideas through the blog and on Instagram (without leading to any spoilers for my family!) to help inspire handmade for the holidays!

Fortunately, Sew Sweetness just released Season 2 of her Minikin patterns.  This collection includes 13 patterns (many with multiple sizes) and accompanying videos.  If you didn’t know already, I’m a huge fan of these patterns and love how unique they are.  (You can check out my Sidewinder from Season One here.)  The Minikins offer such a great variety of patterns and I love having the library of patterns available when I need a gift.

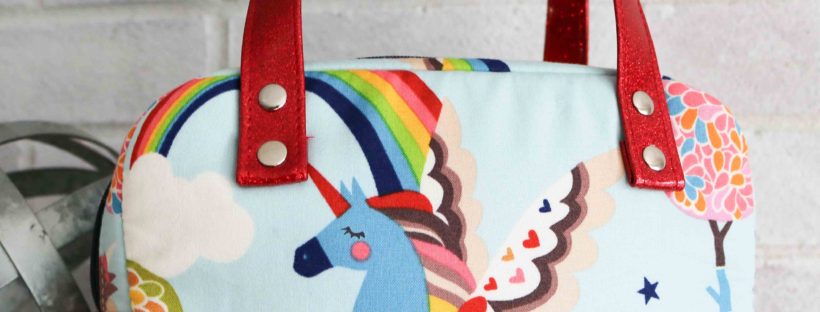
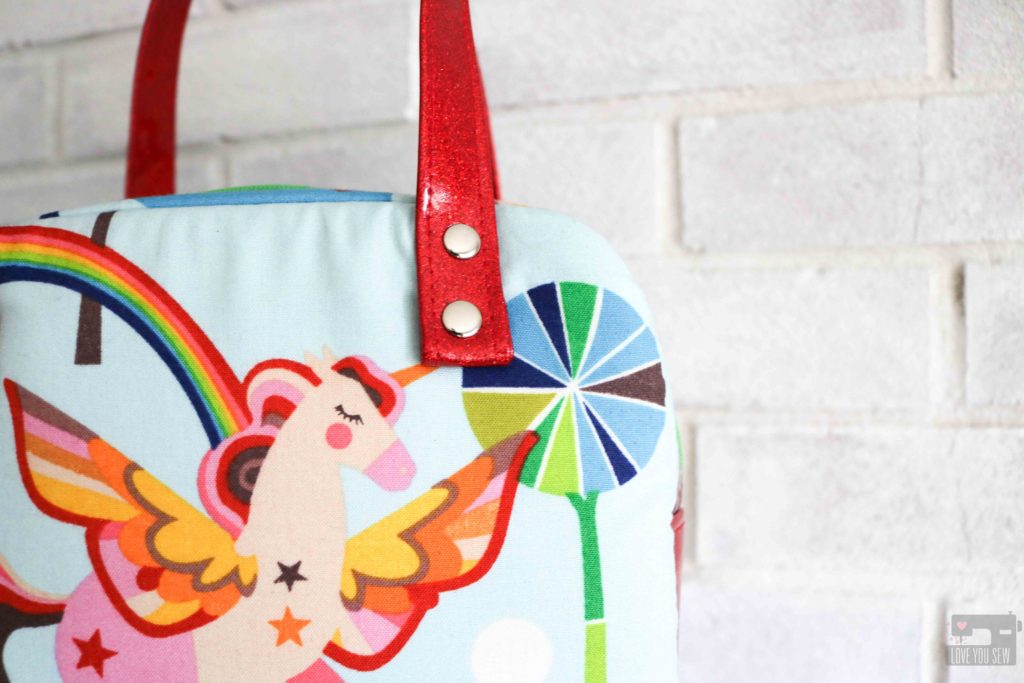
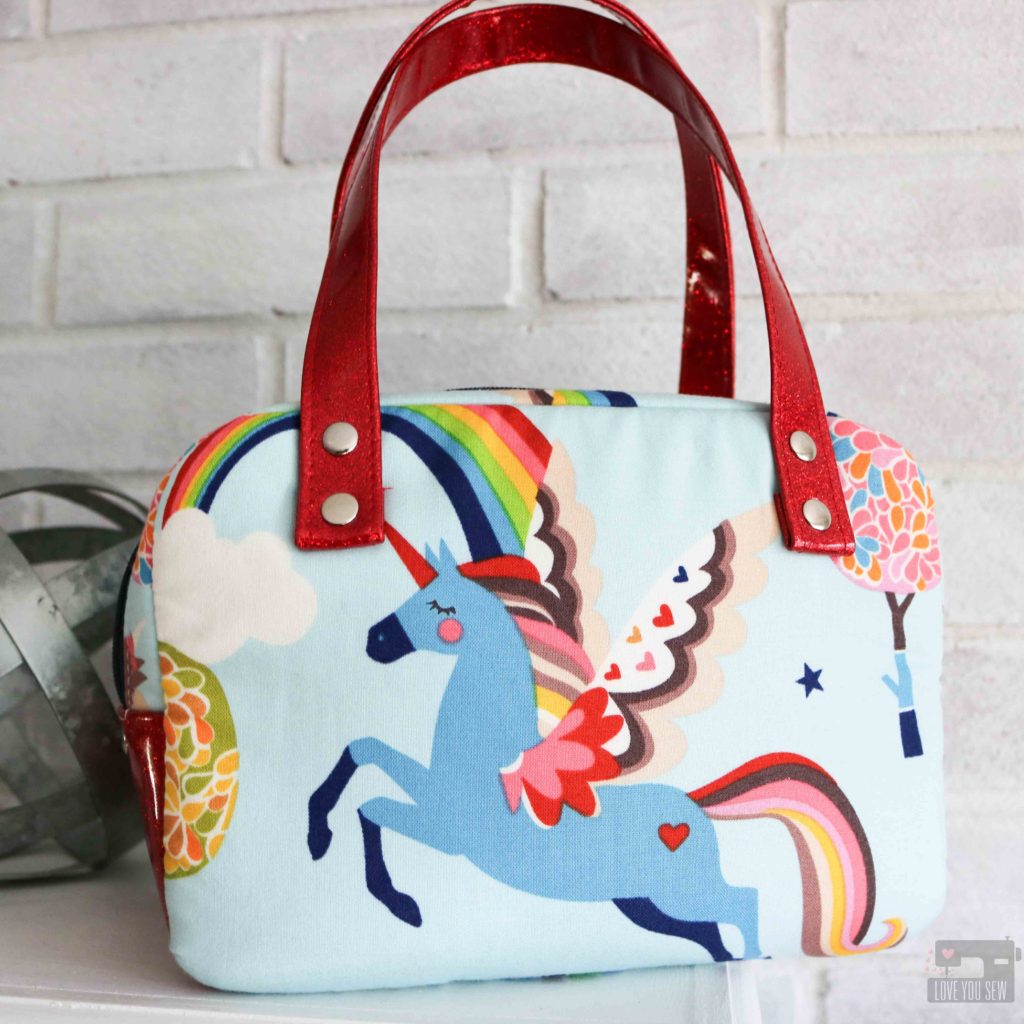
My youngest son was invited to birthday party for a little girl about a month ago.  It’s hard as a boy-mom trying to figure out what’s popular, so I figured handmade is the best way to never have the same gift as another guest.  Luckily, I had this great Alexander Henry Unicorn fabric already in my stash, because we know ALL girls (young and old) love Unicorns 😉  The Disco Double-Zip Pouch, even in the small size, provided great side panels to show off these magical creatures.

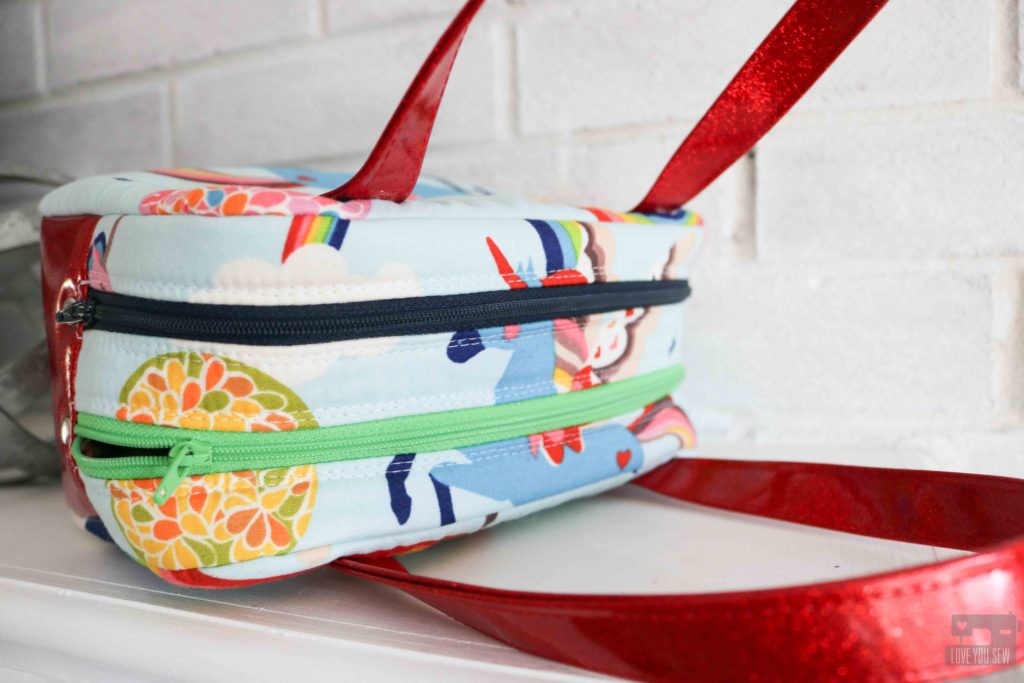
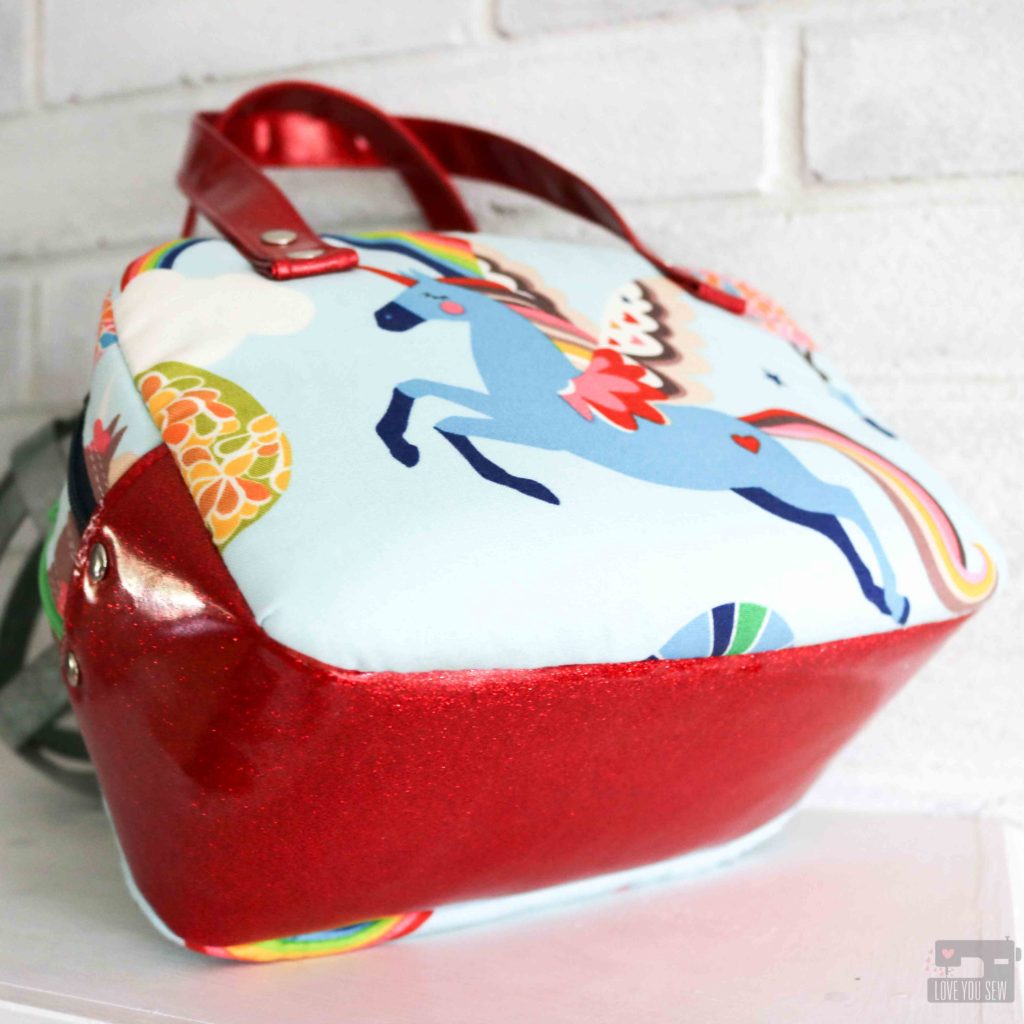
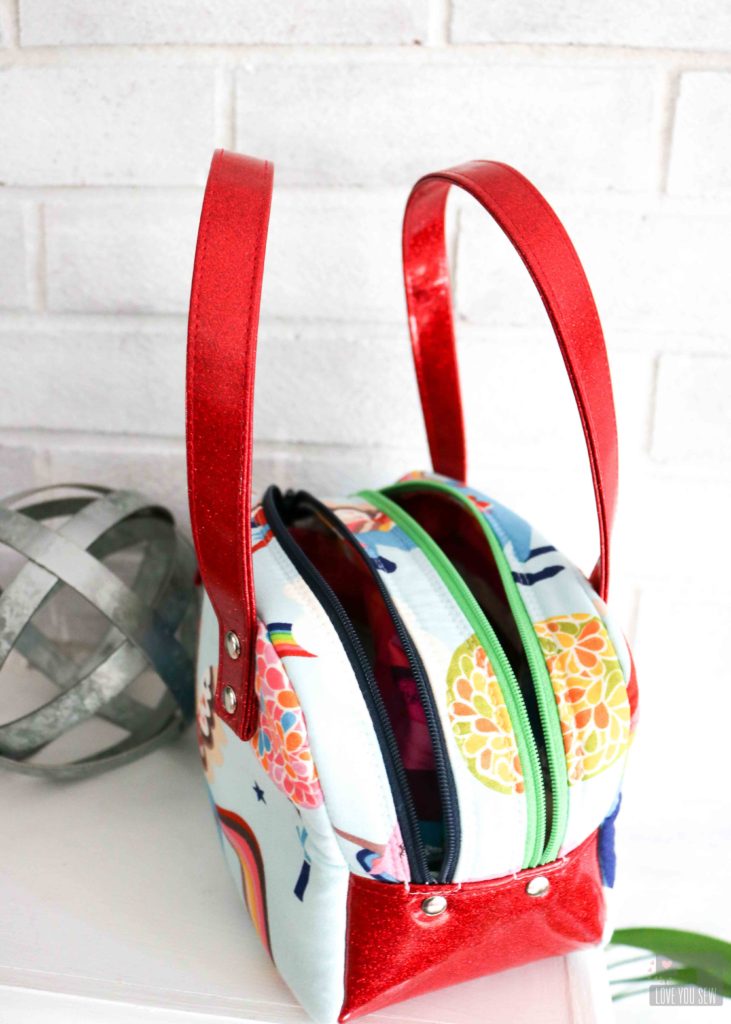
To really make this bag special, I used Red Glitter Vinyl on the bottom gusset to add some sparkle.  Although the vinyl is thin, it is still stiff and required a bit of wrestling along with a lot of clips.  You will need to make quite a few extra cuts into the seam allowance to sew around the curve of the side panels.  But, it’s all worth it!

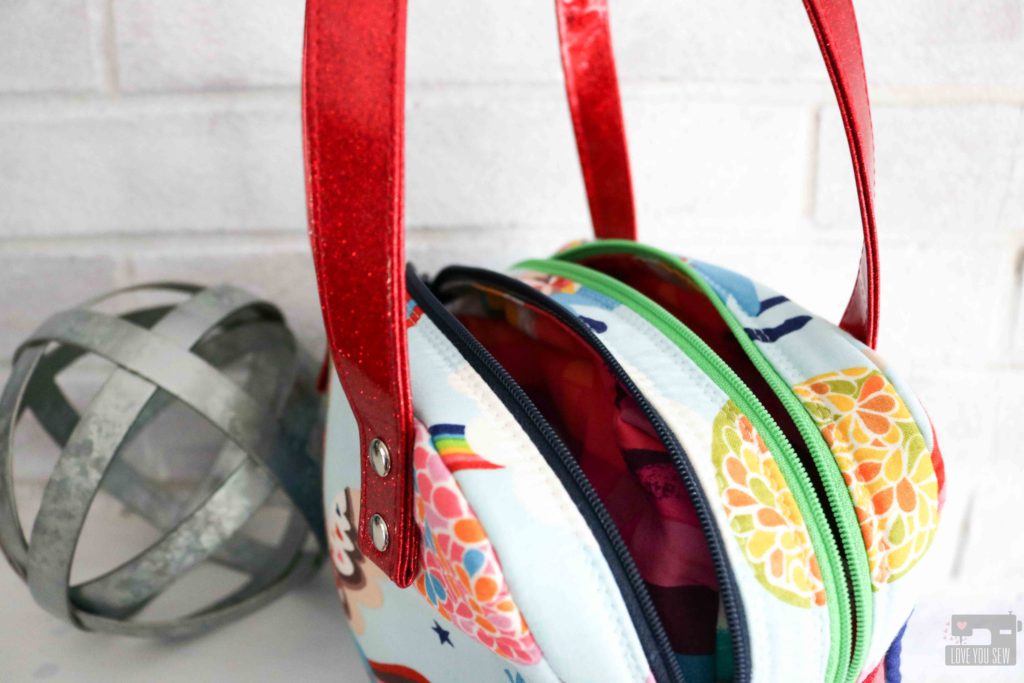
When I first decide on this pattern, I figured this pouch would be great to carry little knick-knacks and maybe some markers.  But I quickly realized the compartments were bigger than what I imagined in my head.  My son’s friend could carry a lot of her toys in these generous pockets.  So, I thought adding straps would make the Disco Double-Zip more like a little carry-all.

I omitted the side handle and cut (2) 3′ x 18″ strips of the vinyl,  folded them lengthwise into fourths and sewed up both sides to create the straps.  Each short end was folded up by 1/2″, placed 1 1/2″ down from the top edge and 1 1/2″ in from the left/right of each side panel.   Tip: Use a Teflon foot and a larger needle to get through the layers of vinyl.

Since the straps were an afterthought, I used rivets to attach them to the bag.  But you could sew them on before attaching the zipper gusset to the side panels.  I also used the rivets on the Glitter Vinyl at the end of each zipper to give the bag a more professional look.

Disco Double Zip by Love You Sew

The mom of the birthday girl told me this bag was such a hit and her daughter carries it around everywhere!  My son’s friend loved the Unicorns mixed with all the sparkle and she is so happy that she can put so much in her own little bag.  I call that a success and hope you have someone who could appreciate a Disco Double-Zip Pouch just as much!

Project Stats:


Happy Holiday Sewing!

Cristy


This post may contain affiliate links for which I may receive compensation after a purchase has been made.  This helps fund the website and keeps the content rolling.  Thank you always for the support!
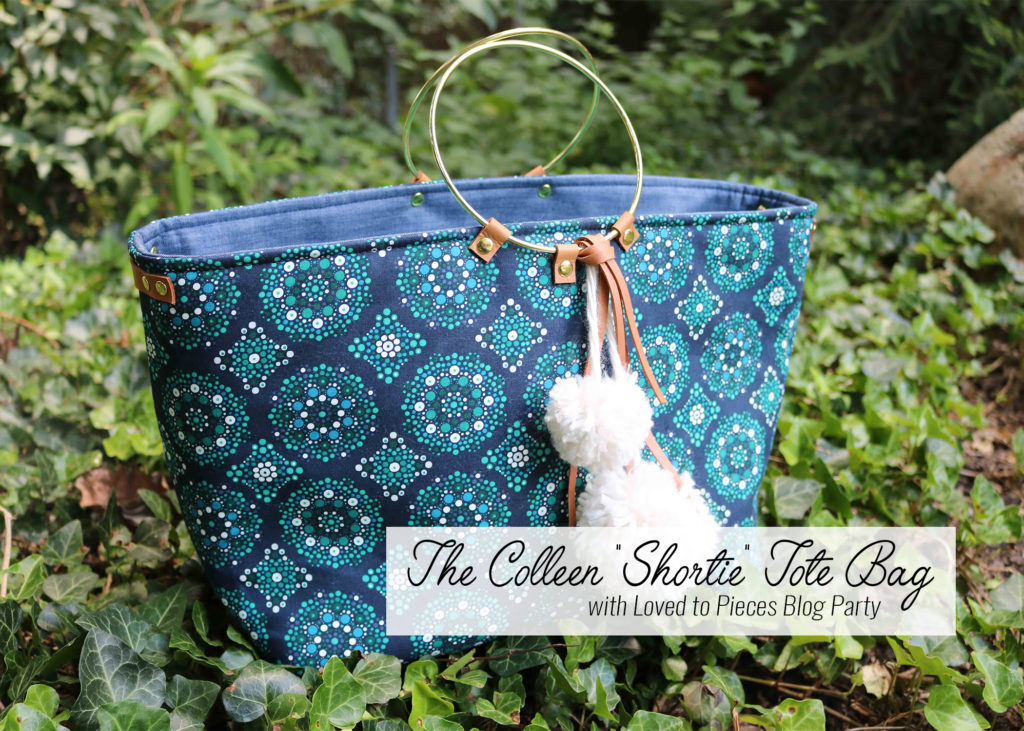
Colleen “Shortie” Tote Bag with Loved to Pieces Blog Party

When Mathew Boudreaux (aka Mister Domestic) throws a party, you know it’s gonna be big and fabulous!  And this Blog Party is living up to all the hype with over three weeks of amazing projects using Mathew’s debut fabric collection, Loved to Pieces.  I’m so honored to be a part of all the festivities, so I thought I would bring my new Colleen Tote along for the ride.

Loved to Pieces is a beautiful fabric collection inspired by Mathew’s love of English paper piecing and his sweet daughter’s love of florals.   I love the mix of blues and teals complemented with sharp pinks for a lot of fun.  There is a great mix of quilt cottons, rayons, and knits for all kinds of great projects. For more inspiration, you can view the look book here.

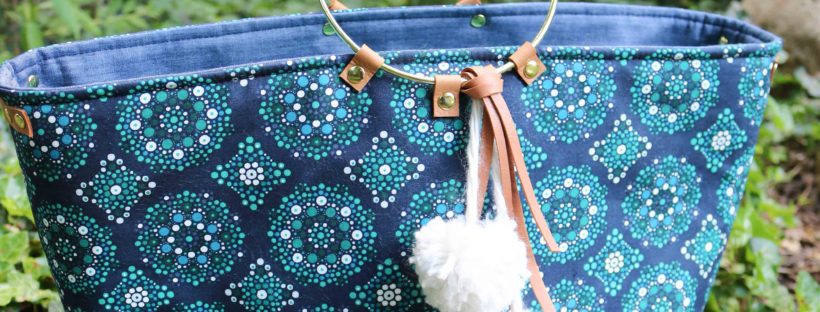
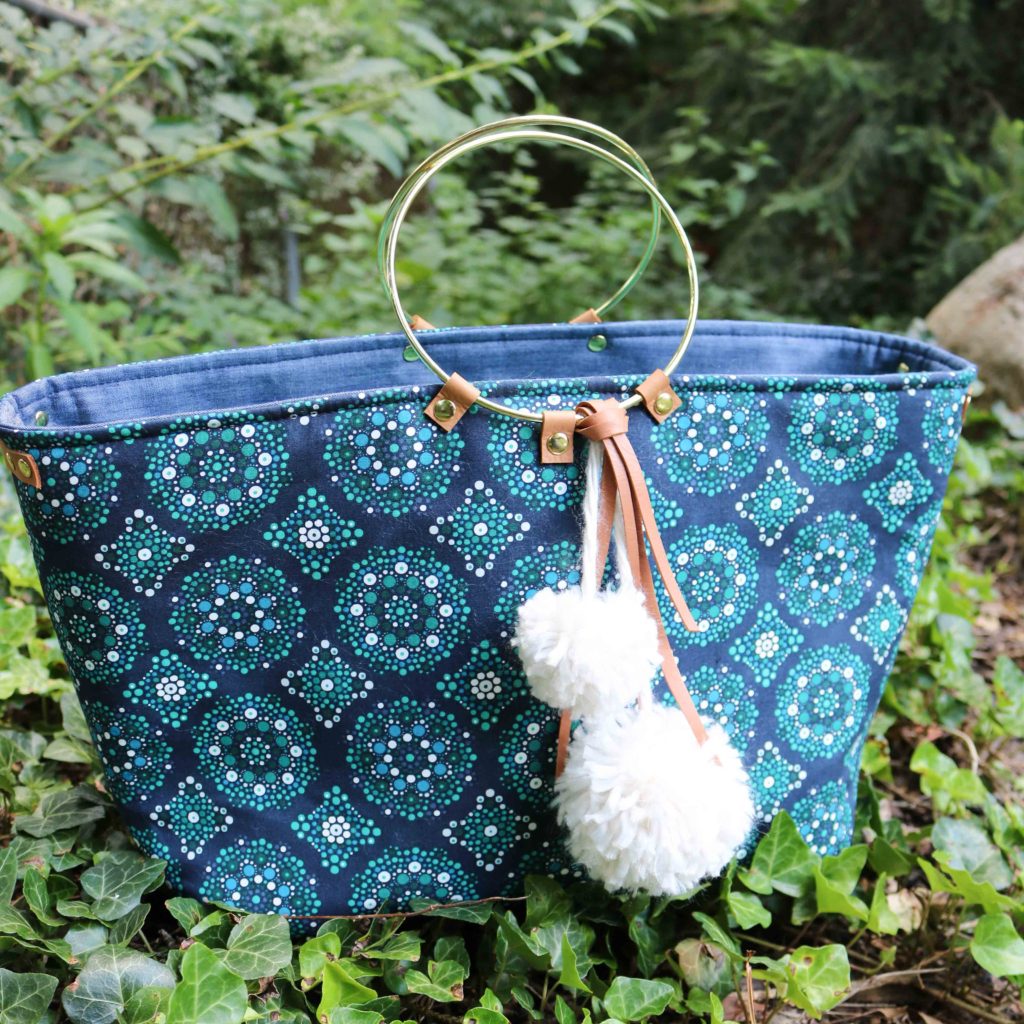
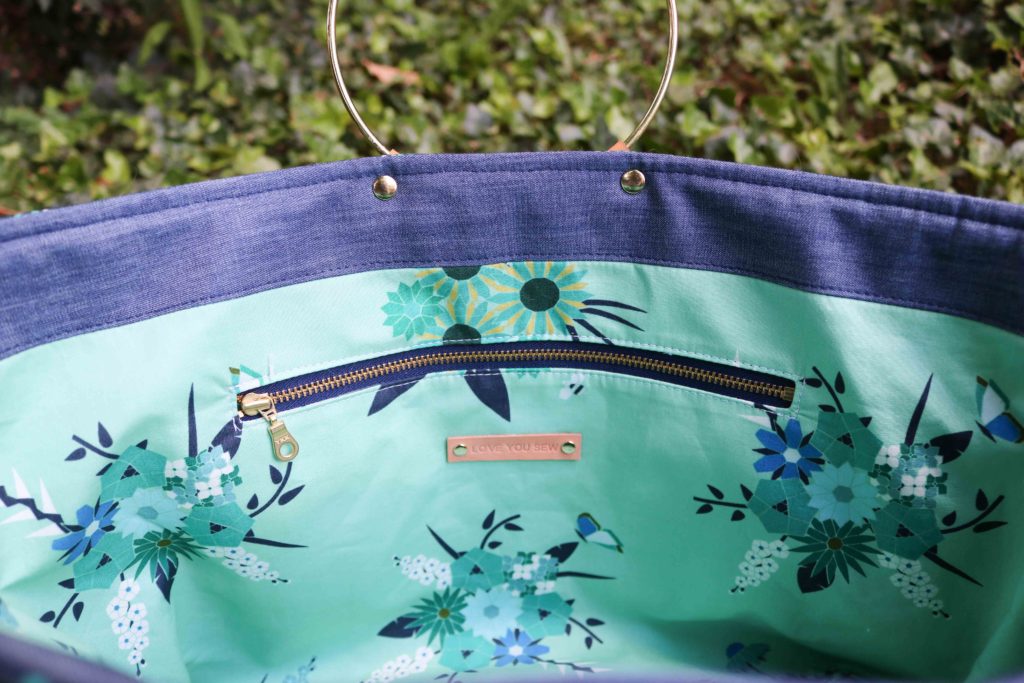
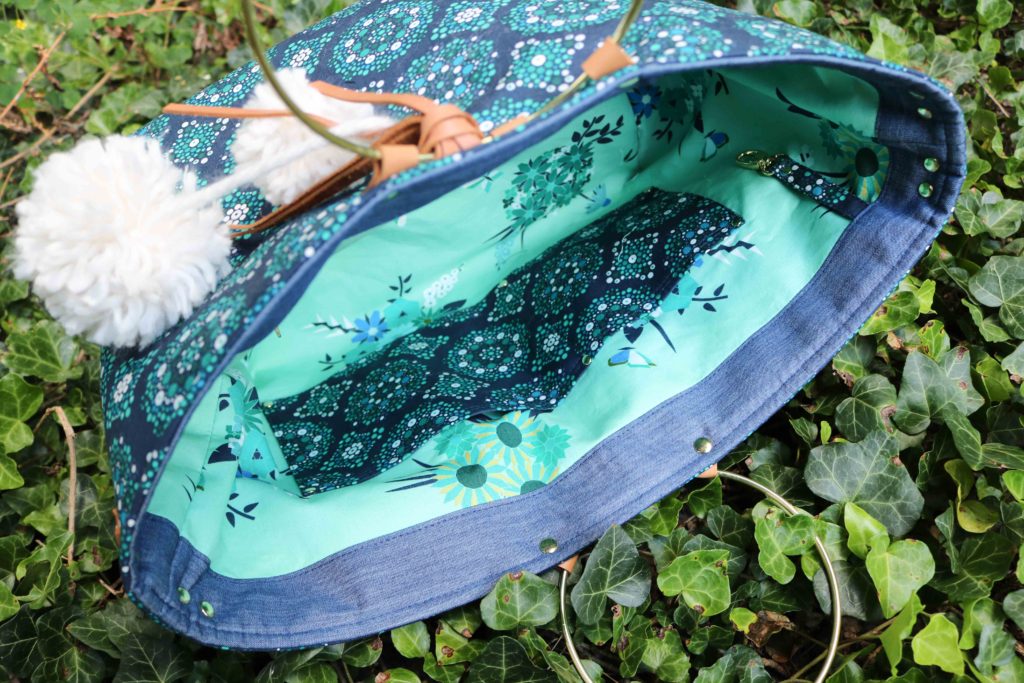
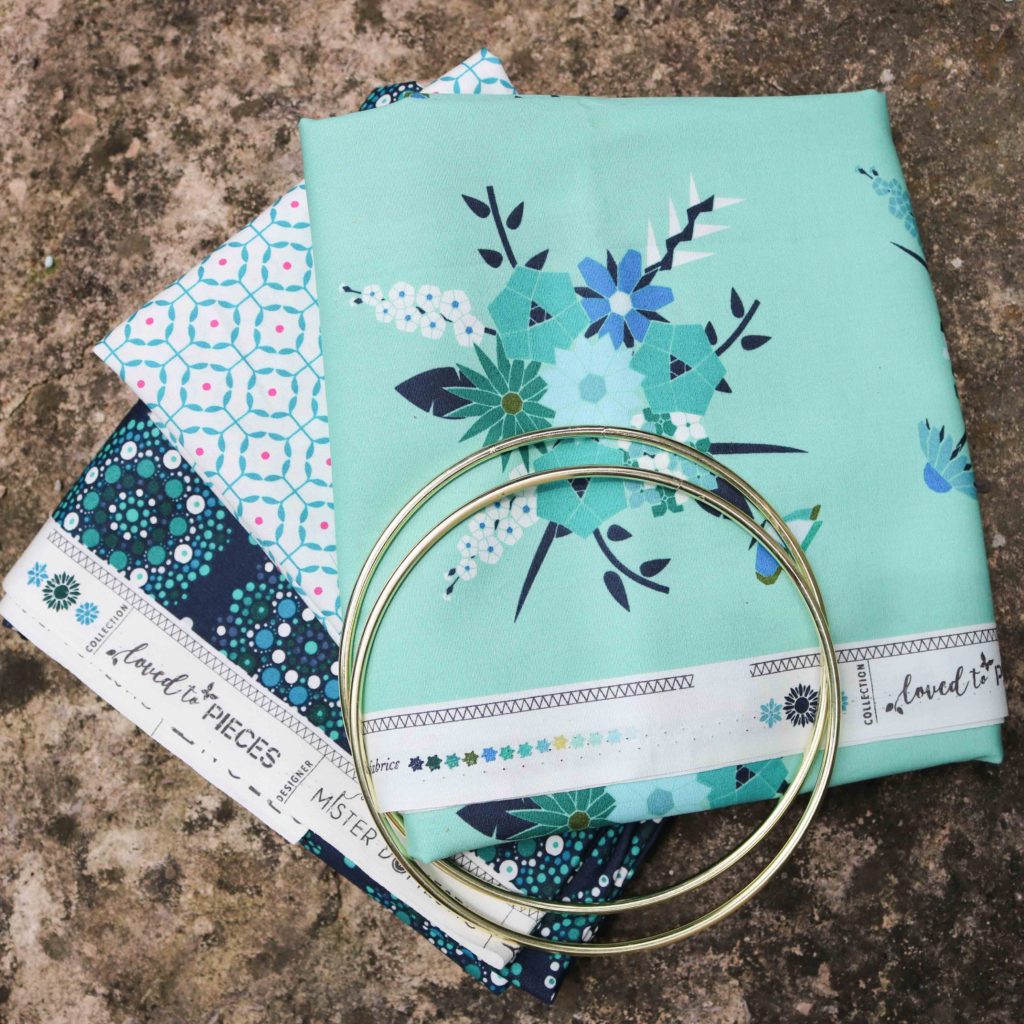
For my Colleen Tote, I wanted to go for a chic look and let the print stand on it’s own. For the exterior, I selected Mandala Drops Midnight with it’s striking and hypnotic design.  Plus, it’s a nice dark print that’s perfect for the exterior of a bag to hide any dirt or debris.  I like the linings to pop a bit, so  Pieced Bunches Cool was ideal with the gorgeous geometric florals.  The pinks in the collection are such a nice complement and I had to add a bit of Reap and Sew Light inside the zipper pocket.  Finally, the interior contrast band is Art Gallery Fabric’s Indigo Shadow Smooth Denim.

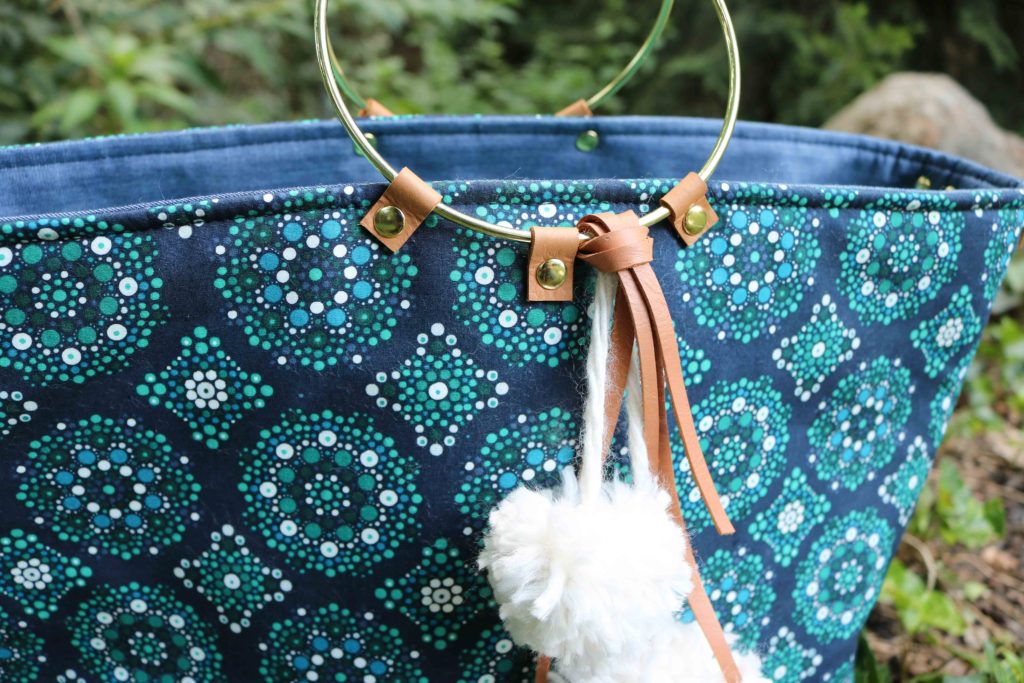
I’ve been seeing brass metal rings all over the handmade and fashion world for a little while now.  They are used in macrame weavings, dreamcatchers, floral arrangements and I saw heavy usage of this accent in handbags this past spring.  I was so inspired and I knew I had to add this unique hardware to one of my own bags.

These rings have a solid 5″ diameter and would make fantastic bag handles.  However, to use the rings as handles, I knew I couldn’t make a huge heavy bag.  So I decided to make a “shortie” version of my Colleen Tote pattern.  This entailed shortening the exterior, linings, and coordinated woven interfacings all by 3″.  The zipper pocket was then shortened by 6″ overall.

Instead of using fusible fleece, I used Soft and Stable to keep the bag more structured.  This was in order to hold the weight of the rings and to keep them upright.  The exterior had to be basted 1/4″ all around  the pattern piece to keep the fabric nice and smooth.  The Soft and Stable really  makes the bag look so polished.

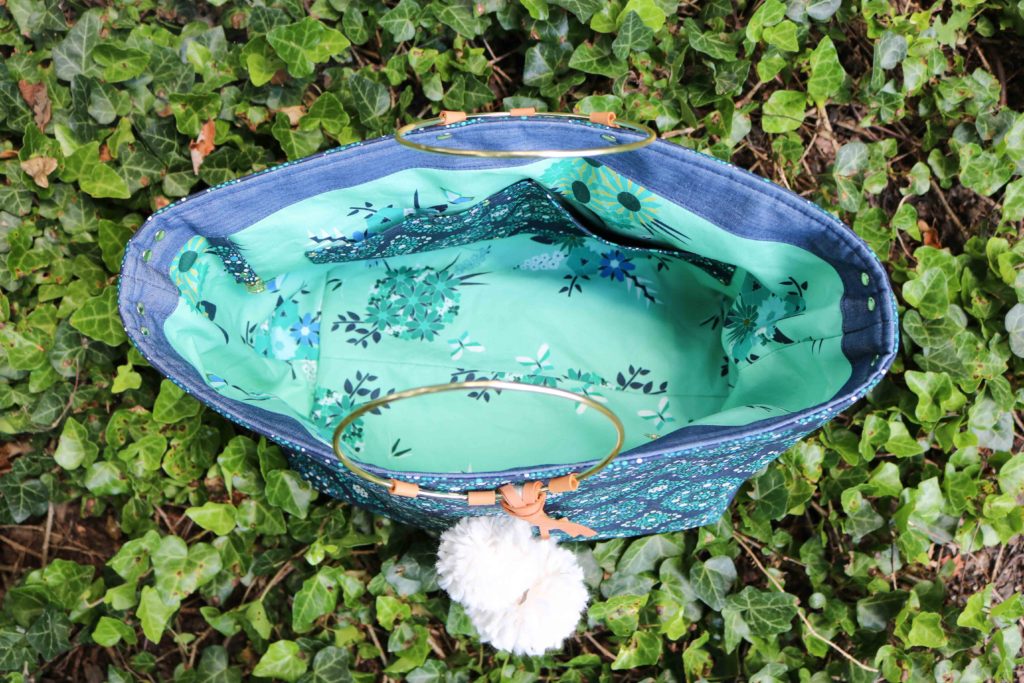
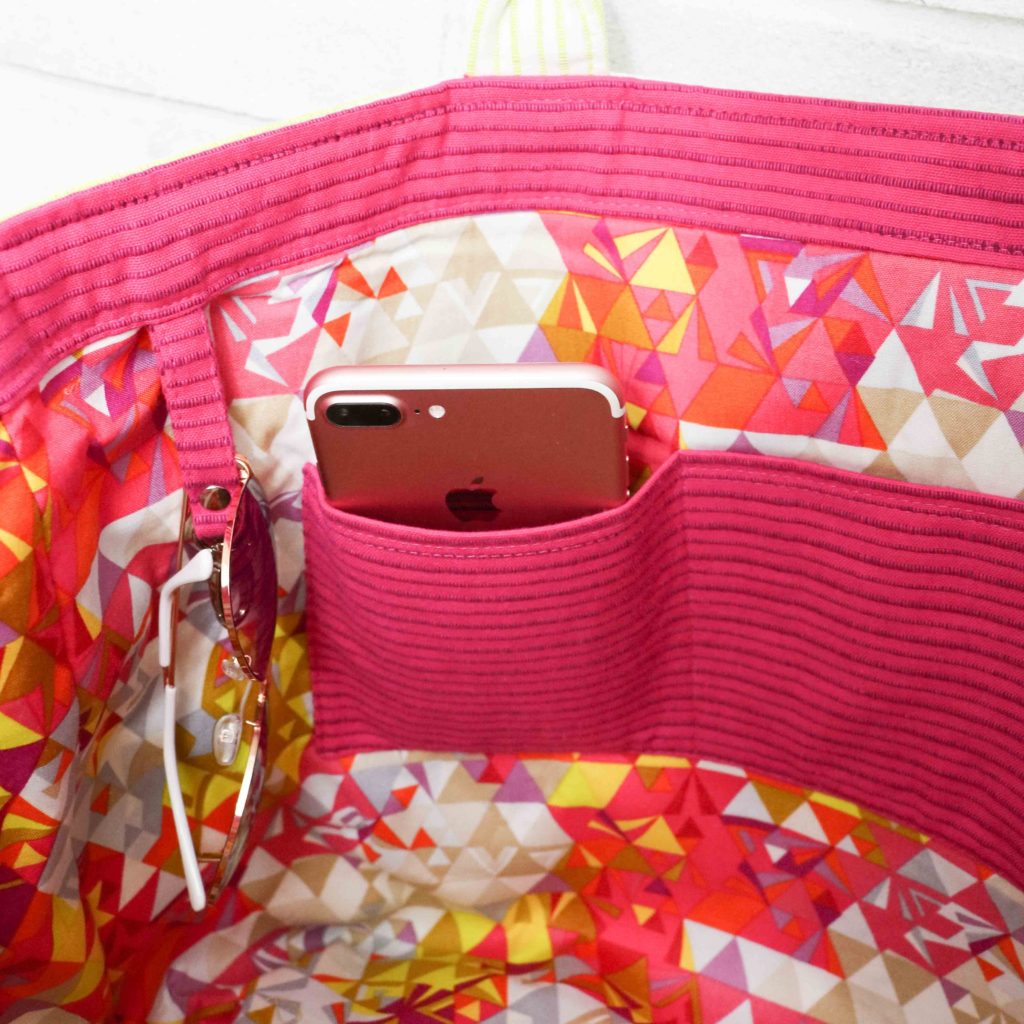
Everything else in the pattern was all kept the same (minus the handles, of course.) There is still a nice roomy slip pocket for your phone and sunglasses and the zipper pocket to tuck away the essentials.  The fob is essential to keeping those keys in check!

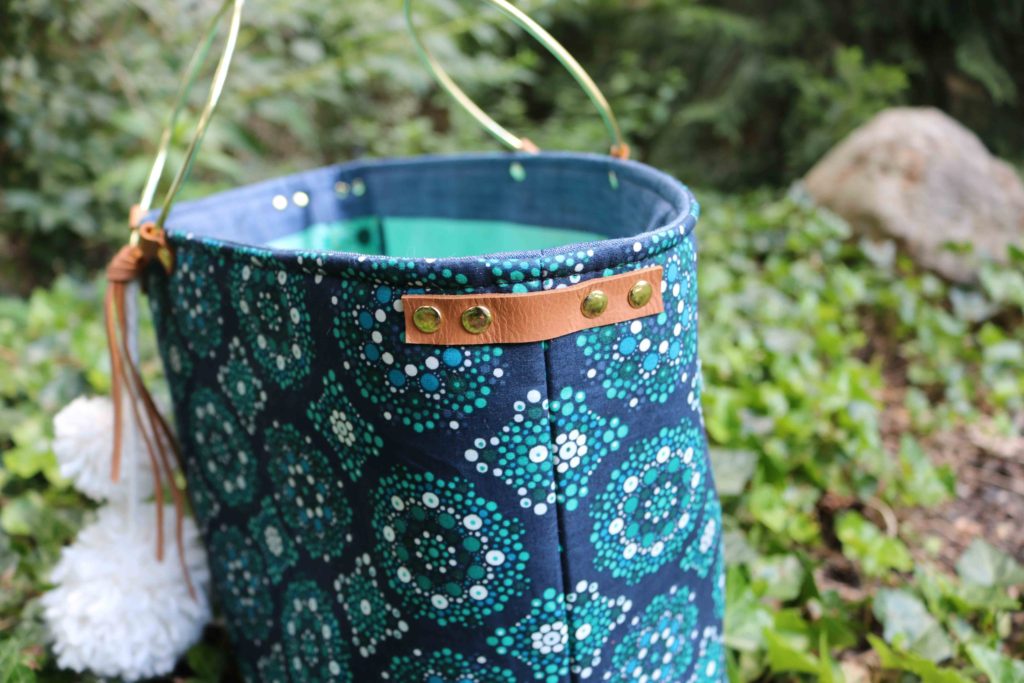
These rings could have been stitched into place, but I opted to used leather and rivets to add more texture and interest.  The ring was first secured with the center rivet while the exterior panel was still flat and not sewn on the sides.  Once the tote was completely finished, I then added the other rivets to the left and right of the initial one.  This is why you can only see two rivets on the lining for each handle.

I added some extra leather and rivets to balance out all the hardware around the handles.  With a  nice clean exterior, I decided to add just a little more fun and to keep this bag on trend with some pom-poms and leather lacings (all using scraps from my stash of crafting goodies!)

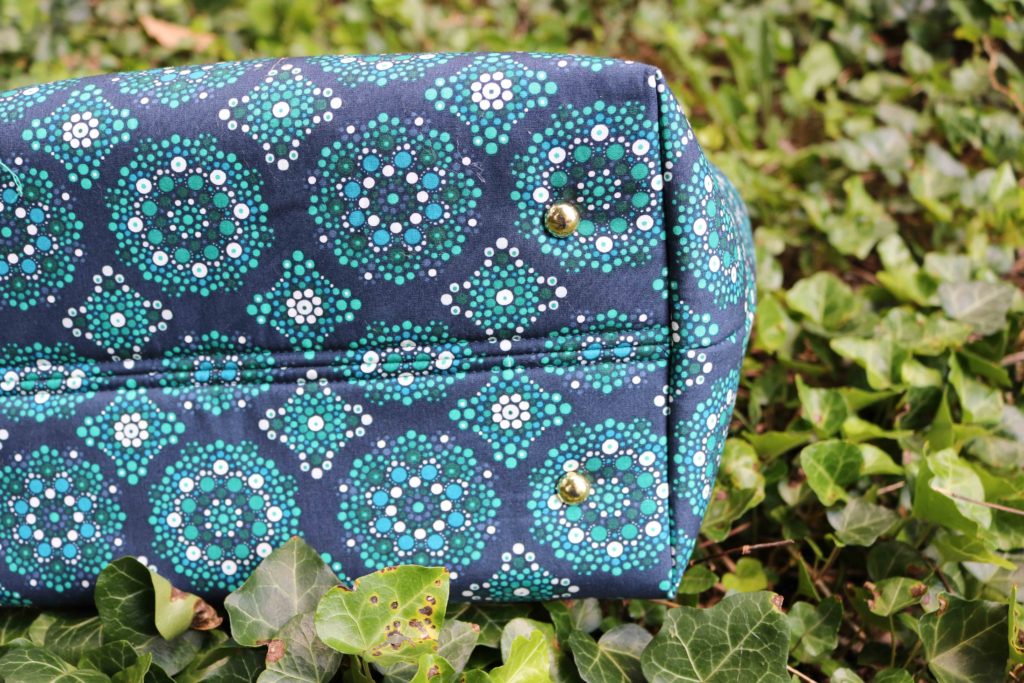
Last, but certainly not least, is the Colleen’s bottom.  With the ring handles, this is not a bag you just sling over a chair back.  So, I make sure to take care of this lady by added some shiny shoes.  Whether the tote has to sit on another chair or (heaven forbid) the floor, she will be protected!


Project Details:


For the full Loved to Pieces Blog party line-up, check out:


Thanks for visiting and partying with me here!  Don’t forget to head over to Mister Domestic’s Instagram feed to see how you can win a bundle of these delicious fabrics!

Happy Sewing,

Cristy


Fabric was provided for the blog post.  However, the project conception and all opinions are my own.  Please note there maybe affiliate links for which I may receive a nominal commission if you make a purchase.  This helps keep the website ticking along.  Thanks always for your continued support!
Colleen Tote :: Pattern Release


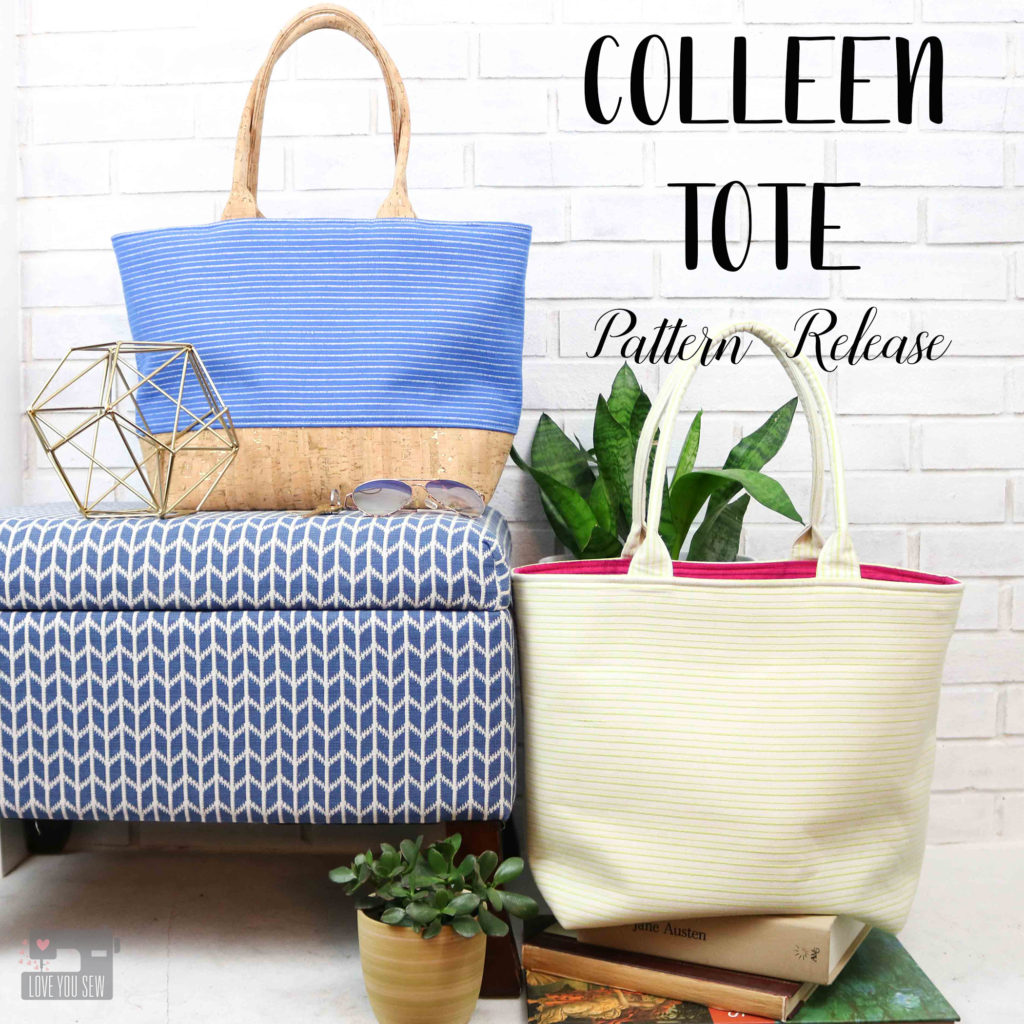
It’s been quite a journey, but I have finally written my Colleen Tote bag pattern! If you’ve been following me on Instagram, you know I’ve been making this bag for well over a year now, but always tweaked the design every time I made it.  As a newbie designer, I just wasn’t comfortable enough to bring it out to the sewing market.  There were people were asking me about the pattern every time I posted a new iteration and I kept pushing it off until…I finally told myself to get out of my own head and just write it!
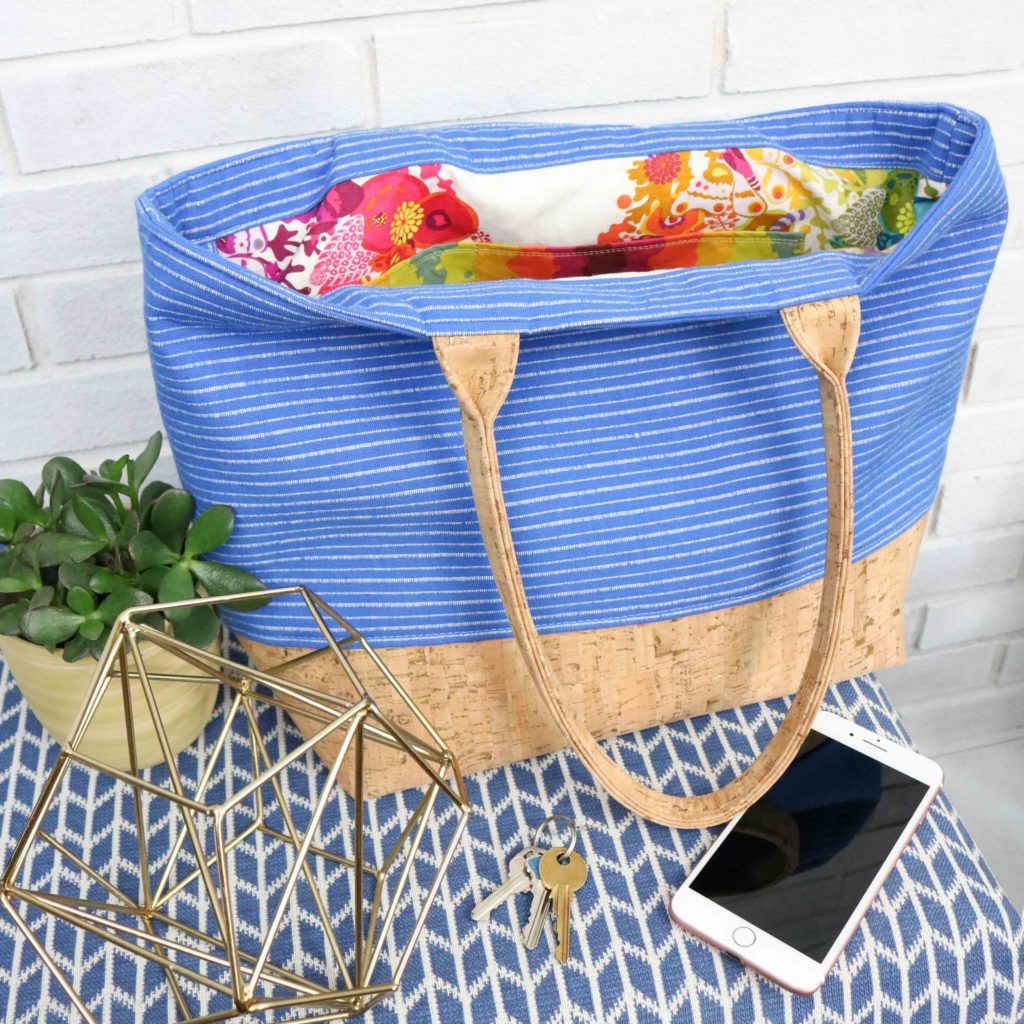
The Colleen Tote was designed to be the classic open tote bag to carry a large number of things. The clean design makes it versatile enough for any occasion…and allows you the creative freedom for customization.  I’m thinking a quilted block maybe in the works 😉   You can use the tote for the beach, as a work bag (large enough for a laptop,) a diaper bag or just a throw-all-your-junk-in bag.  There are so many possibilities.


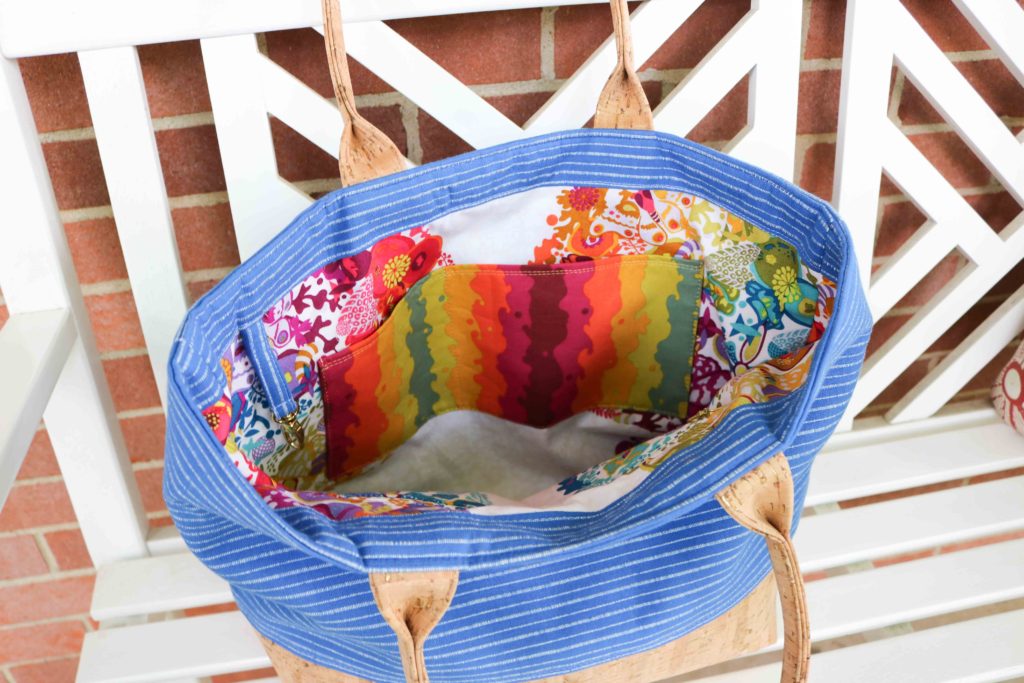
With a roomy open compartment, I made sure to add in a zipper pocket to keep personal items secure and an easy-access slip pocket for a phone and chapstick.  You can also see the fun, yet functional interior band.  This adds deign interest while giving extra support for the weight of the rolled handles.

The next feature added was a trusty key fob.  I have a car with the keyless ignition, so I find myself actually losing my keys or leaving them in my car more than I’d like to admit….so I made sure to add in this feature to quickly allow me to click my keys onto the tote.  The other thing I find myself doing is fishing around for my sunglasses.  I tend to just throw them in my bag, so I made the key fob double duty.  You can hang your glasses through the loop to more easily find and locate your sunnies!
Original Tote Pattern

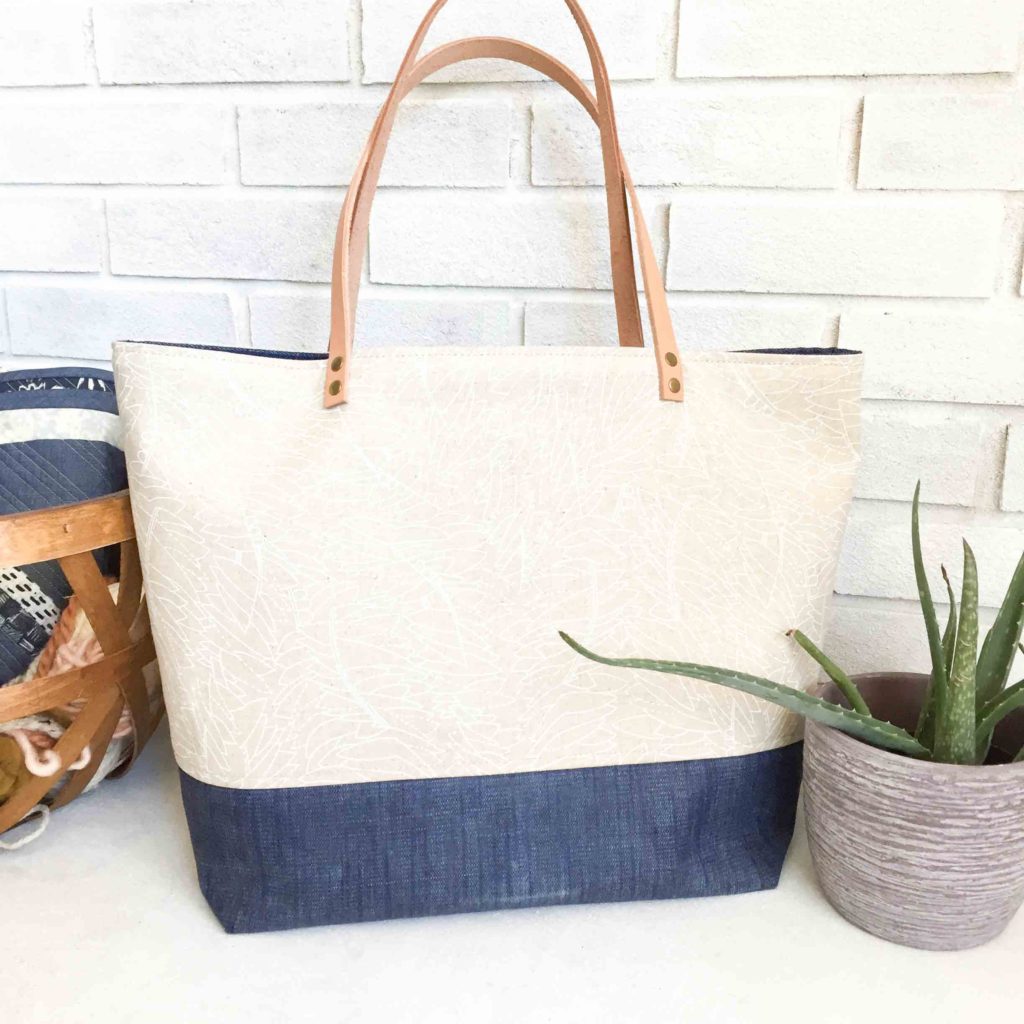
When I first made what would turn into the Colleen, I was testing out waxed canvas and learning to make my own.  I figured a tote would be a great use for this fabric treatment.  I drafted a VERY simple tote with very light interfacing and didn’t even even really create a sturdy bottom.  I cut leather straps and attached them with rivets as shown above.  But this was just the jump off…

Customer Order

Later on,  one of my very best and loyal customers asked me to make a “plain” tote bag as she called it with just one fabric for the exterior without any contrasting bottom or the leather handles.  It’s a joke between us now…because she knows I do not make “plain.”

Beautiful Leather and Rivet Enhancements

That’s when I suggested some rolled handles to make the tote a bit more interesting instead of just flat sewn-in ones.  And of course, I jazzed it up with some rivets and leather accents.  With this special request came the second view of the Colleen along with the rolled handles.

As I worked on the design, I played with different interfacing combinations and thought a combo of woven plus fusible fleece works for me.  If you would like something more rigid, yet soft, some foam would be perfect.  However, the weight of the bag does get heavy….especially when you start to add your own stuff inside.  Peltex lines the base to make the Colleen sturdy and you can swap it out with needlepoint plastic if that’s more to your liking.

The handles are secured down with two rows of top-stitching, but you can opt to use rivets in place of the second row of stitching.  The extra bit of hardware makes this pattern look so chic and professional.

Additionally, rivets can be added to the handles for strength and for a little more jazz.  These are all fun ideas to help bring your Colleen Tote up a notch!

As part of the release this week, you can purchase the Colleen Tote digital PDF pattern for 20% off in my Etsy shop. Additionally, you can also get my Claire Foldover Crossbody bag on sale as well! (Sale good through July 2, 2018.)


Happy Sewing Friends!

Cristy