Padded Laptop Tutorial by Love You Sew

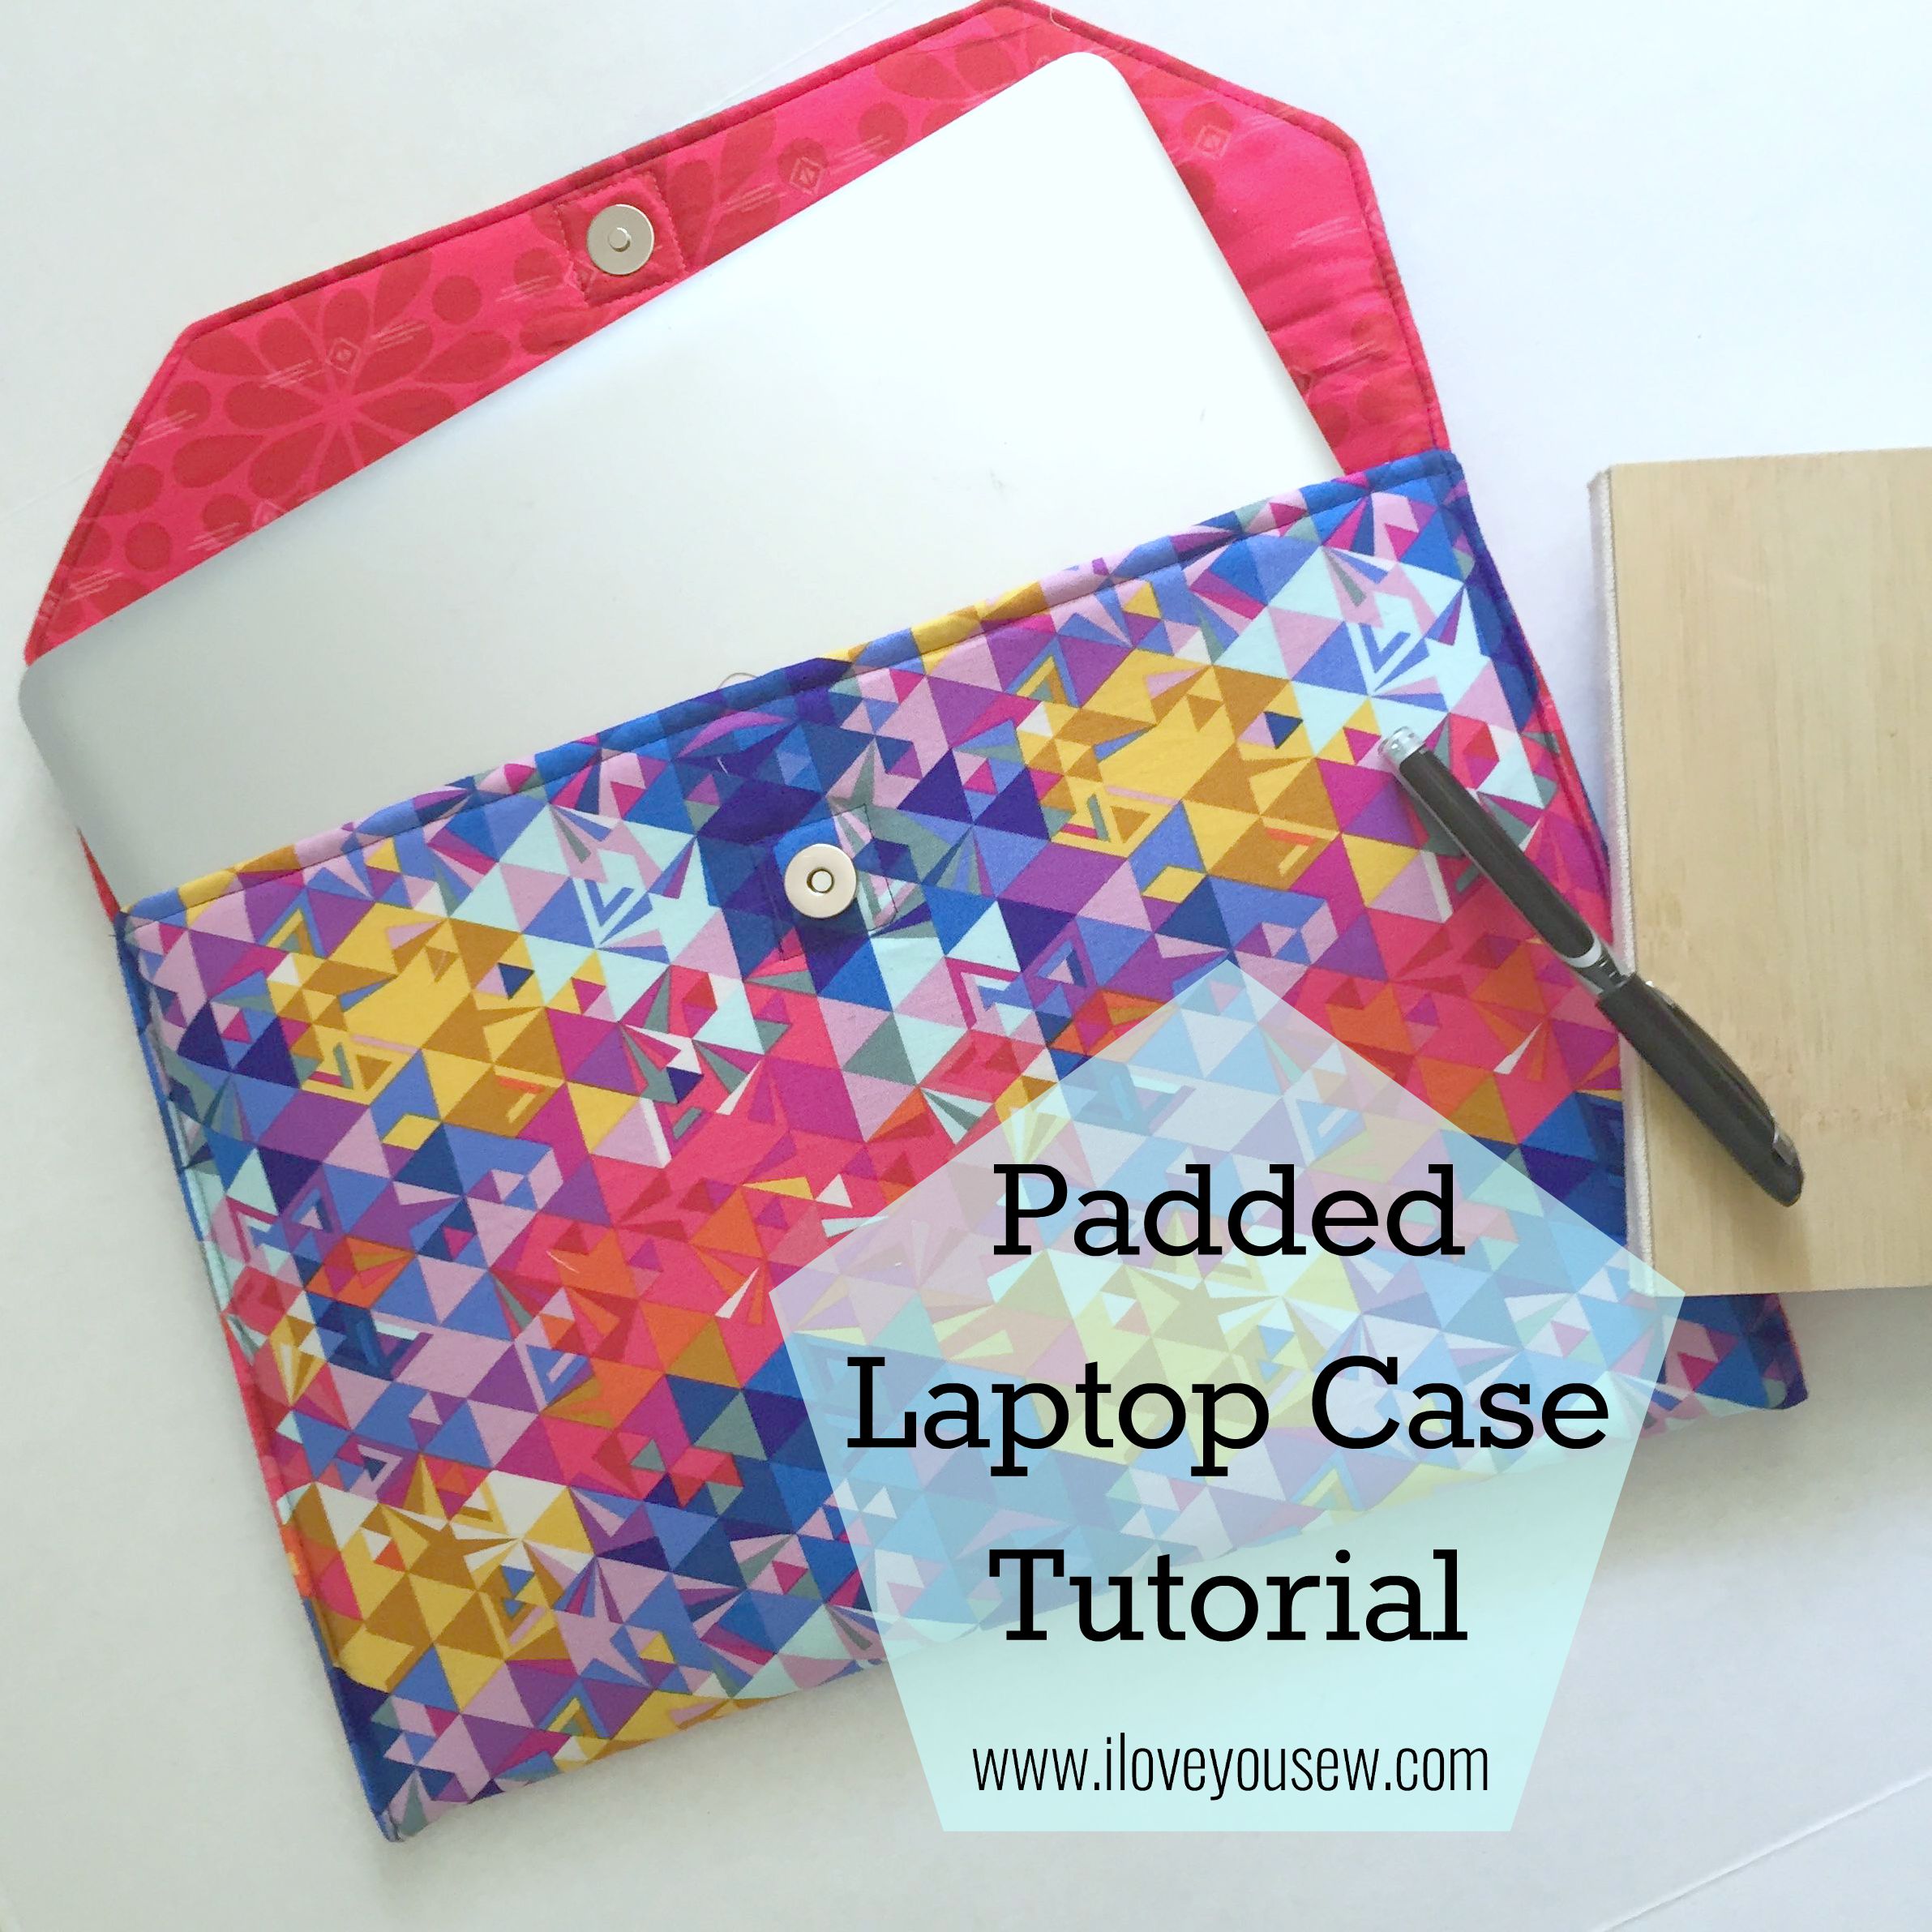
Padded Laptop Case Tutorial

LaptopCaseTitle

Today, I’m going to share my own pattern for a padded laptop case.  Every time I’ve had to travel, I’ve thought of how much I needed a cover for my MacBook.  But with our recent trip to the lake, I actually made one…the night before we left…in true procrastinator style.  How many times have you done something like that???

*Please read through all steps before starting.  Cutting dimensions are based on a 13″ Apple Macbook Pro (approx. 12.75″L x 9″W x  0.75″H)

Supplies:

  • 1/2 yd of Exterior Fabric
  • 1/2 yd of Lining Fabric
  • 1/2 yd of Pellon Flex-Foam or Annie’s Soft & Stable
  • 1/4 yd of Mid to Heavyweight Interfacing
  • 1 set of Magnetic Snaps
  • 3 sets of KAM Snaps
  • Coordinating Thread
  • Rotary Cutter and Cutting Board
  • Fabric Scissors

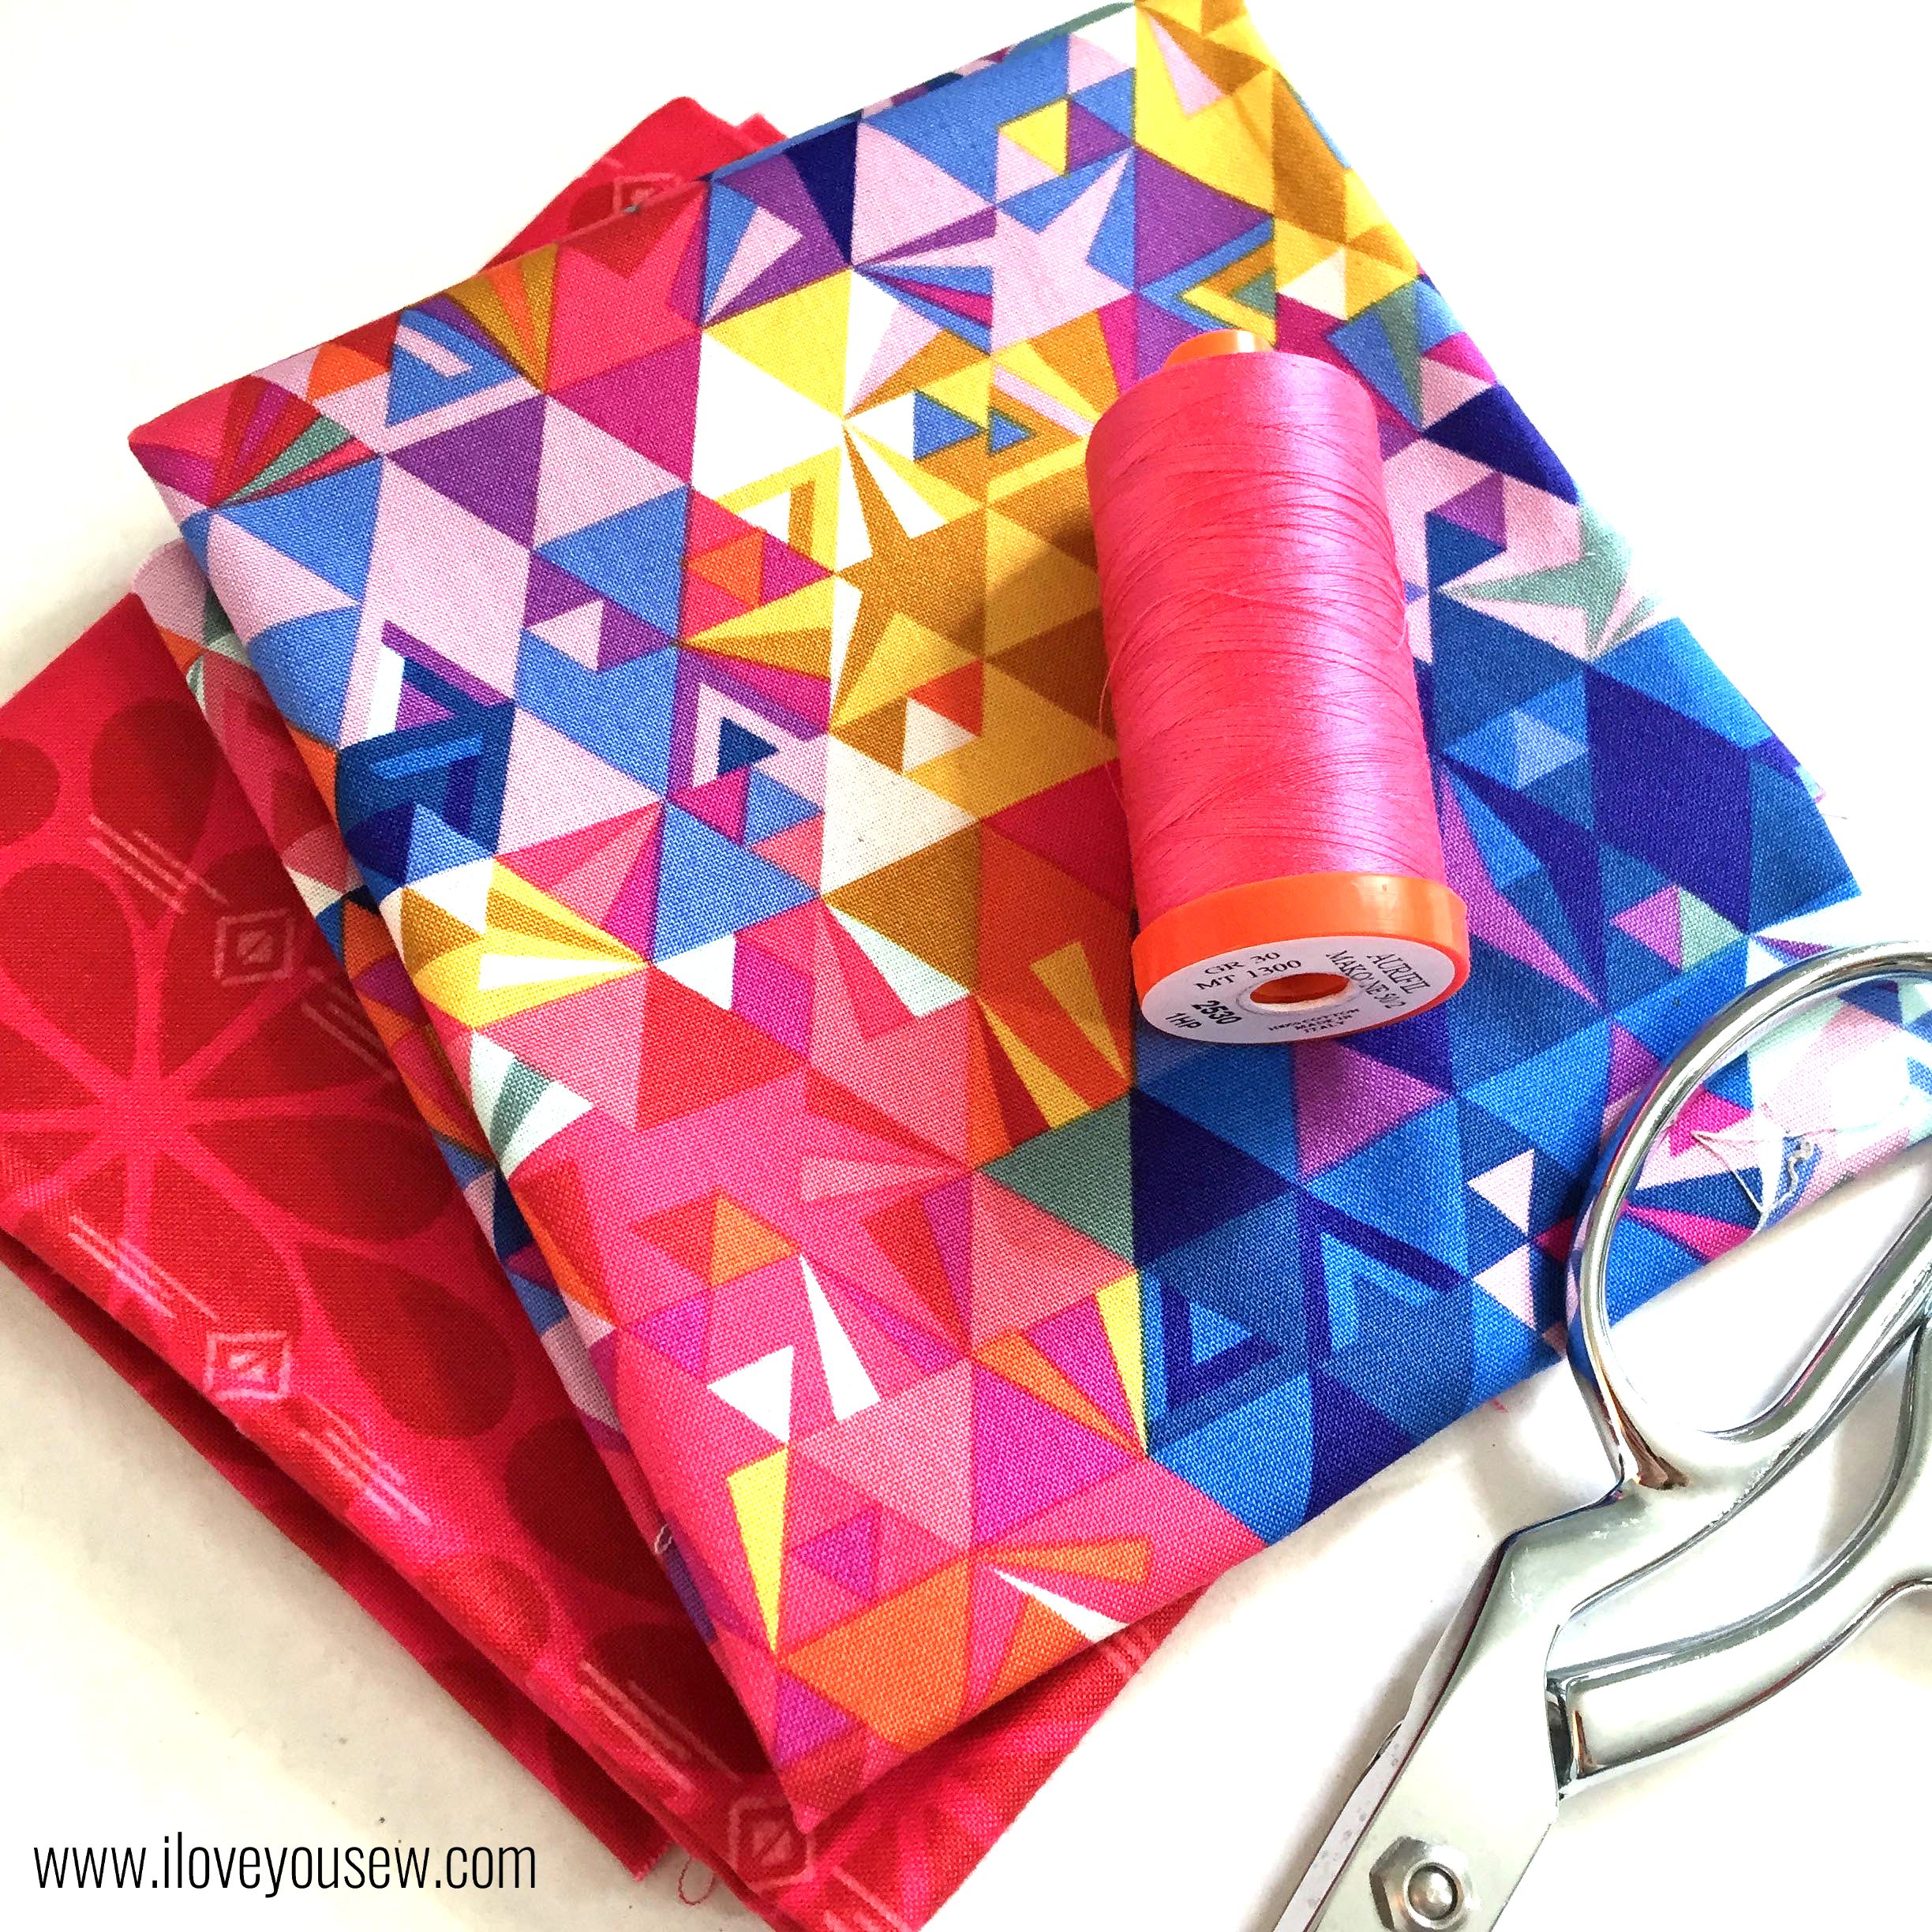
01LaptopFabricPull

If you follow me on IG, I made my personal one with Alison Glass‘s Geometry in Sunset (as shown) but with Mercury in blue as the pocket and the Historical Fiction in Gold print for the lining.  Luckily, my niece saw what I made and wanted one for her very own.  How did she know I also wanted to write a tutorial? She selected Geometry and I had a bunch of Historical Fiction in Strawberry in my stash to match. I love this vibrant combination.


Cutting Requirements:
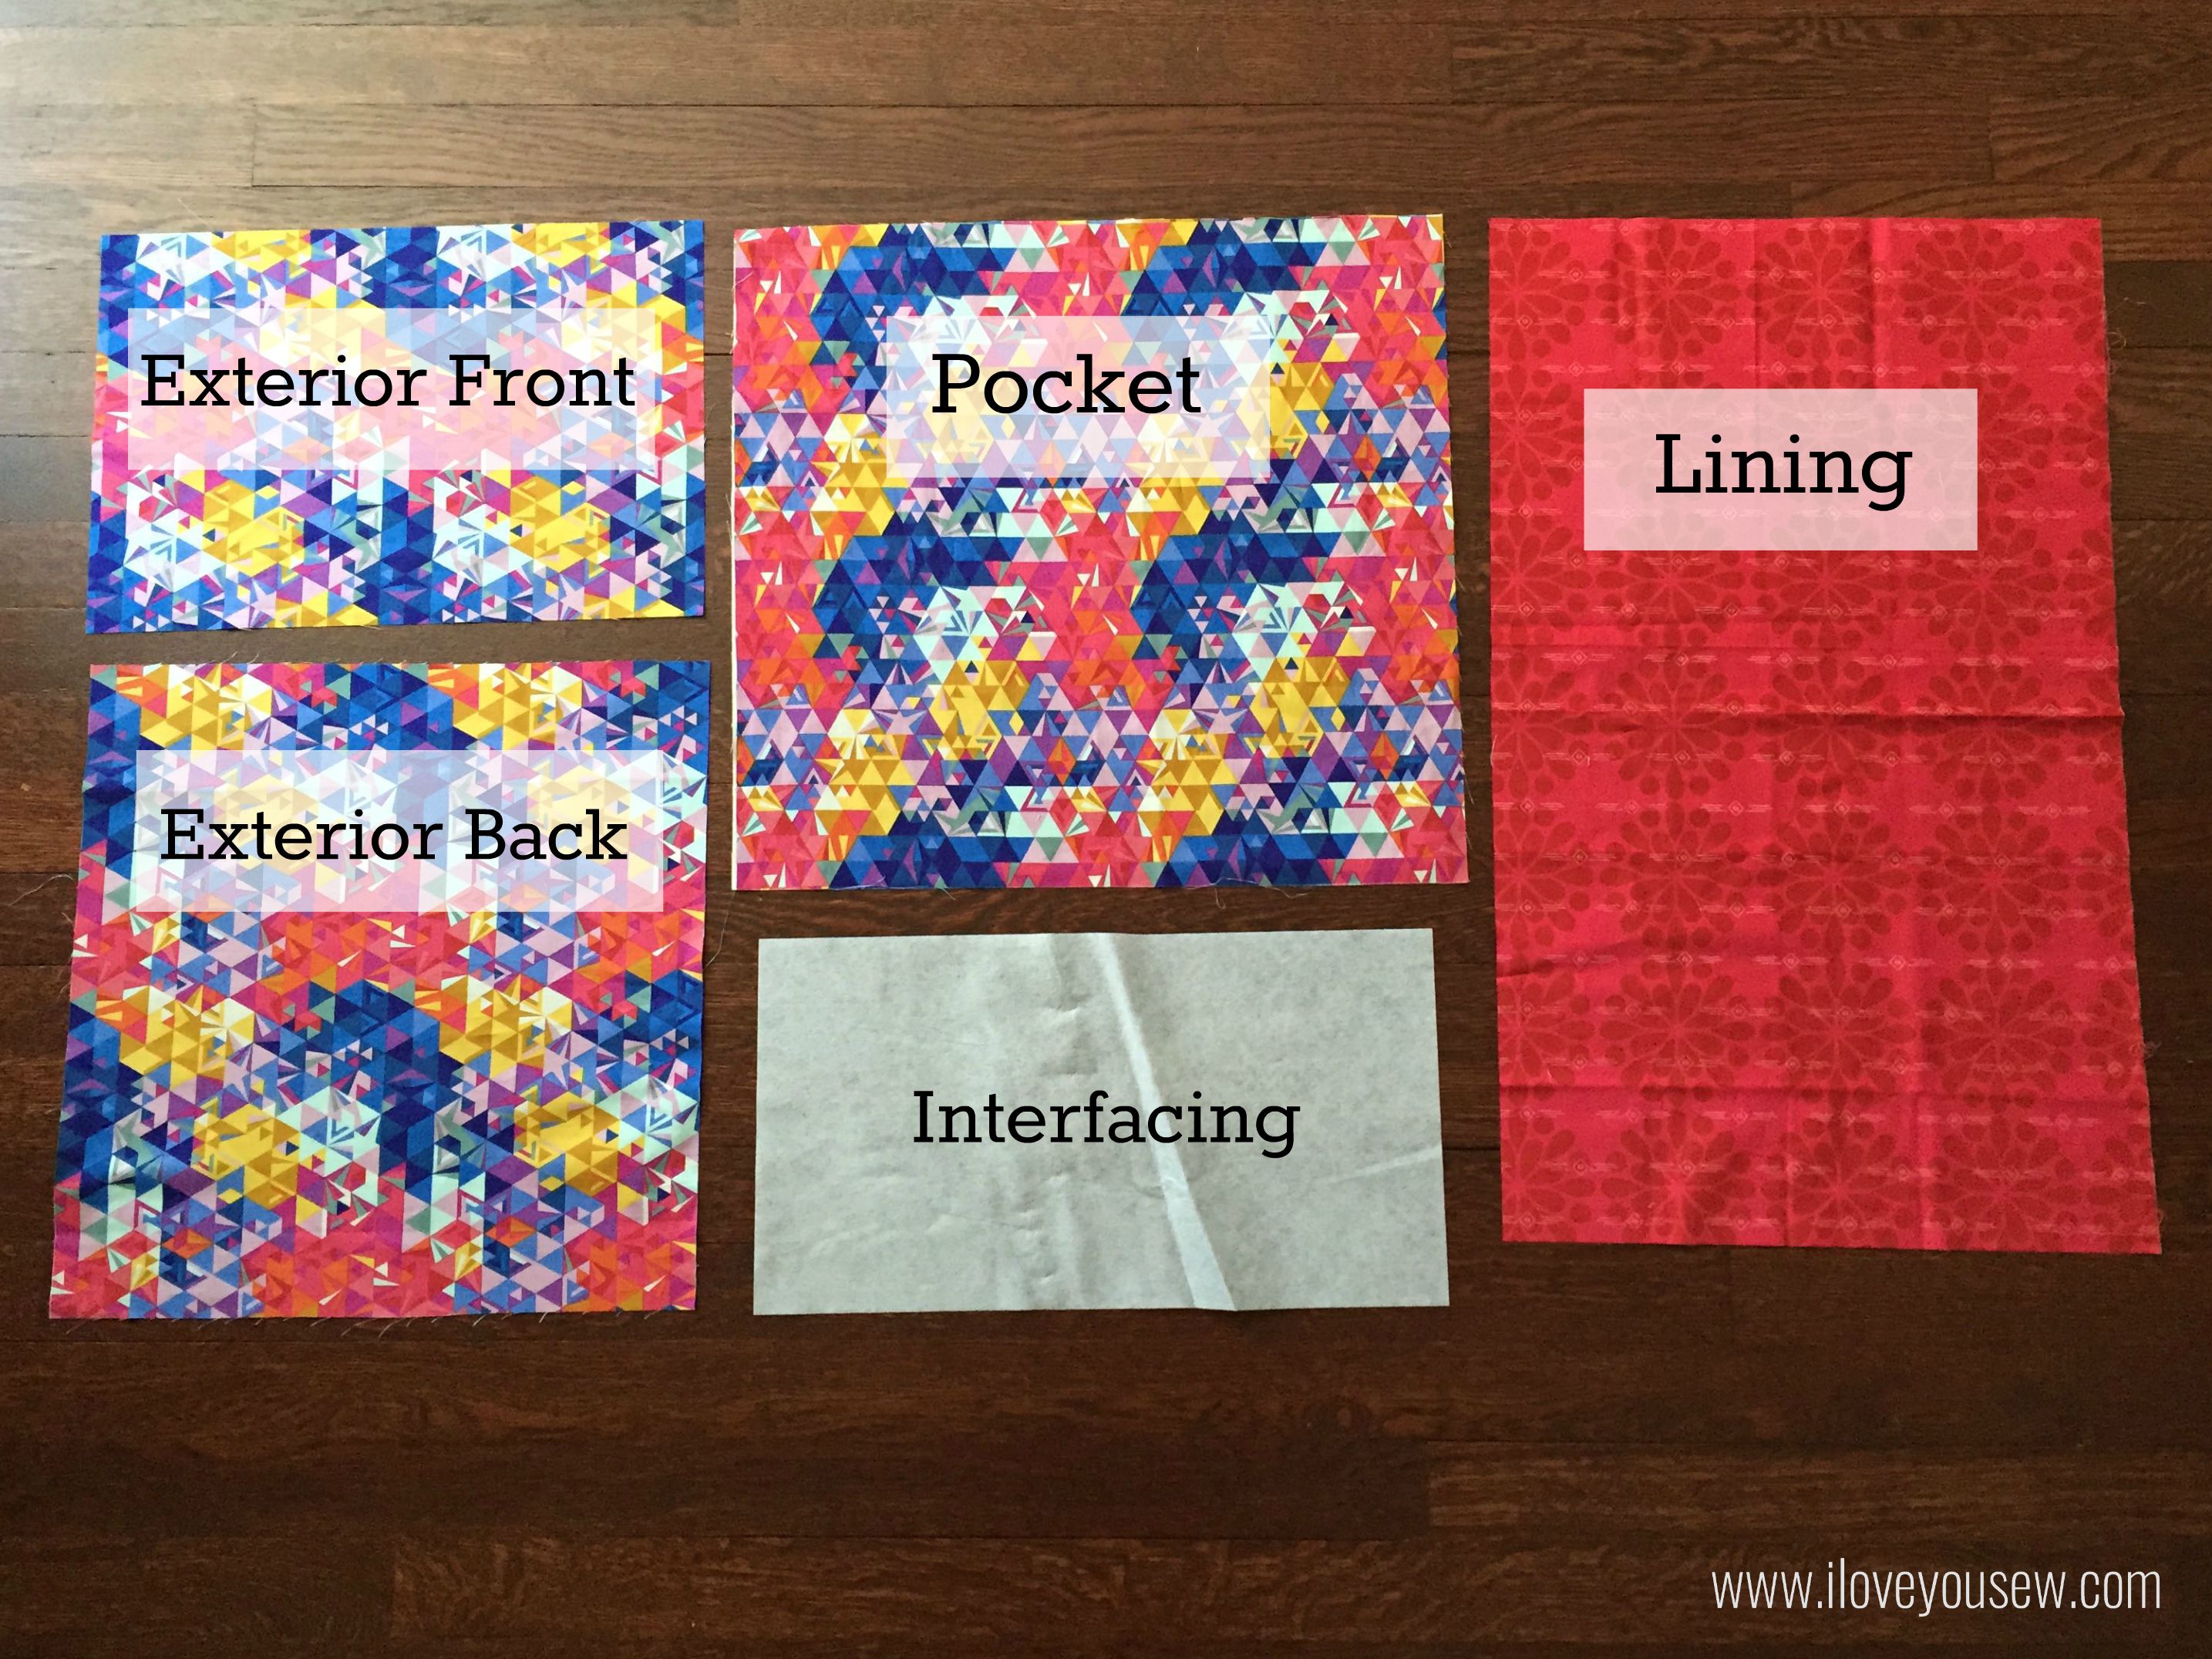
02LaptopPatternCut*Please note all measurements are for a 13″ Apple Macbook Pro.

  • Cut from Exterior Fabric (L x W):
    • Front – 15.75″ x 10.75″
    • Back – 15.75″ x 16.25″
    • Pocket – 17.75″ x 18.75″
  • Lining – 15.75″ x 26.5″
  • Interfacing  – 17.25″ x 9″
  • Flex-Foam 15.25″ x 26″ (not pictured)

Instructions:

03InterfacingonPocket

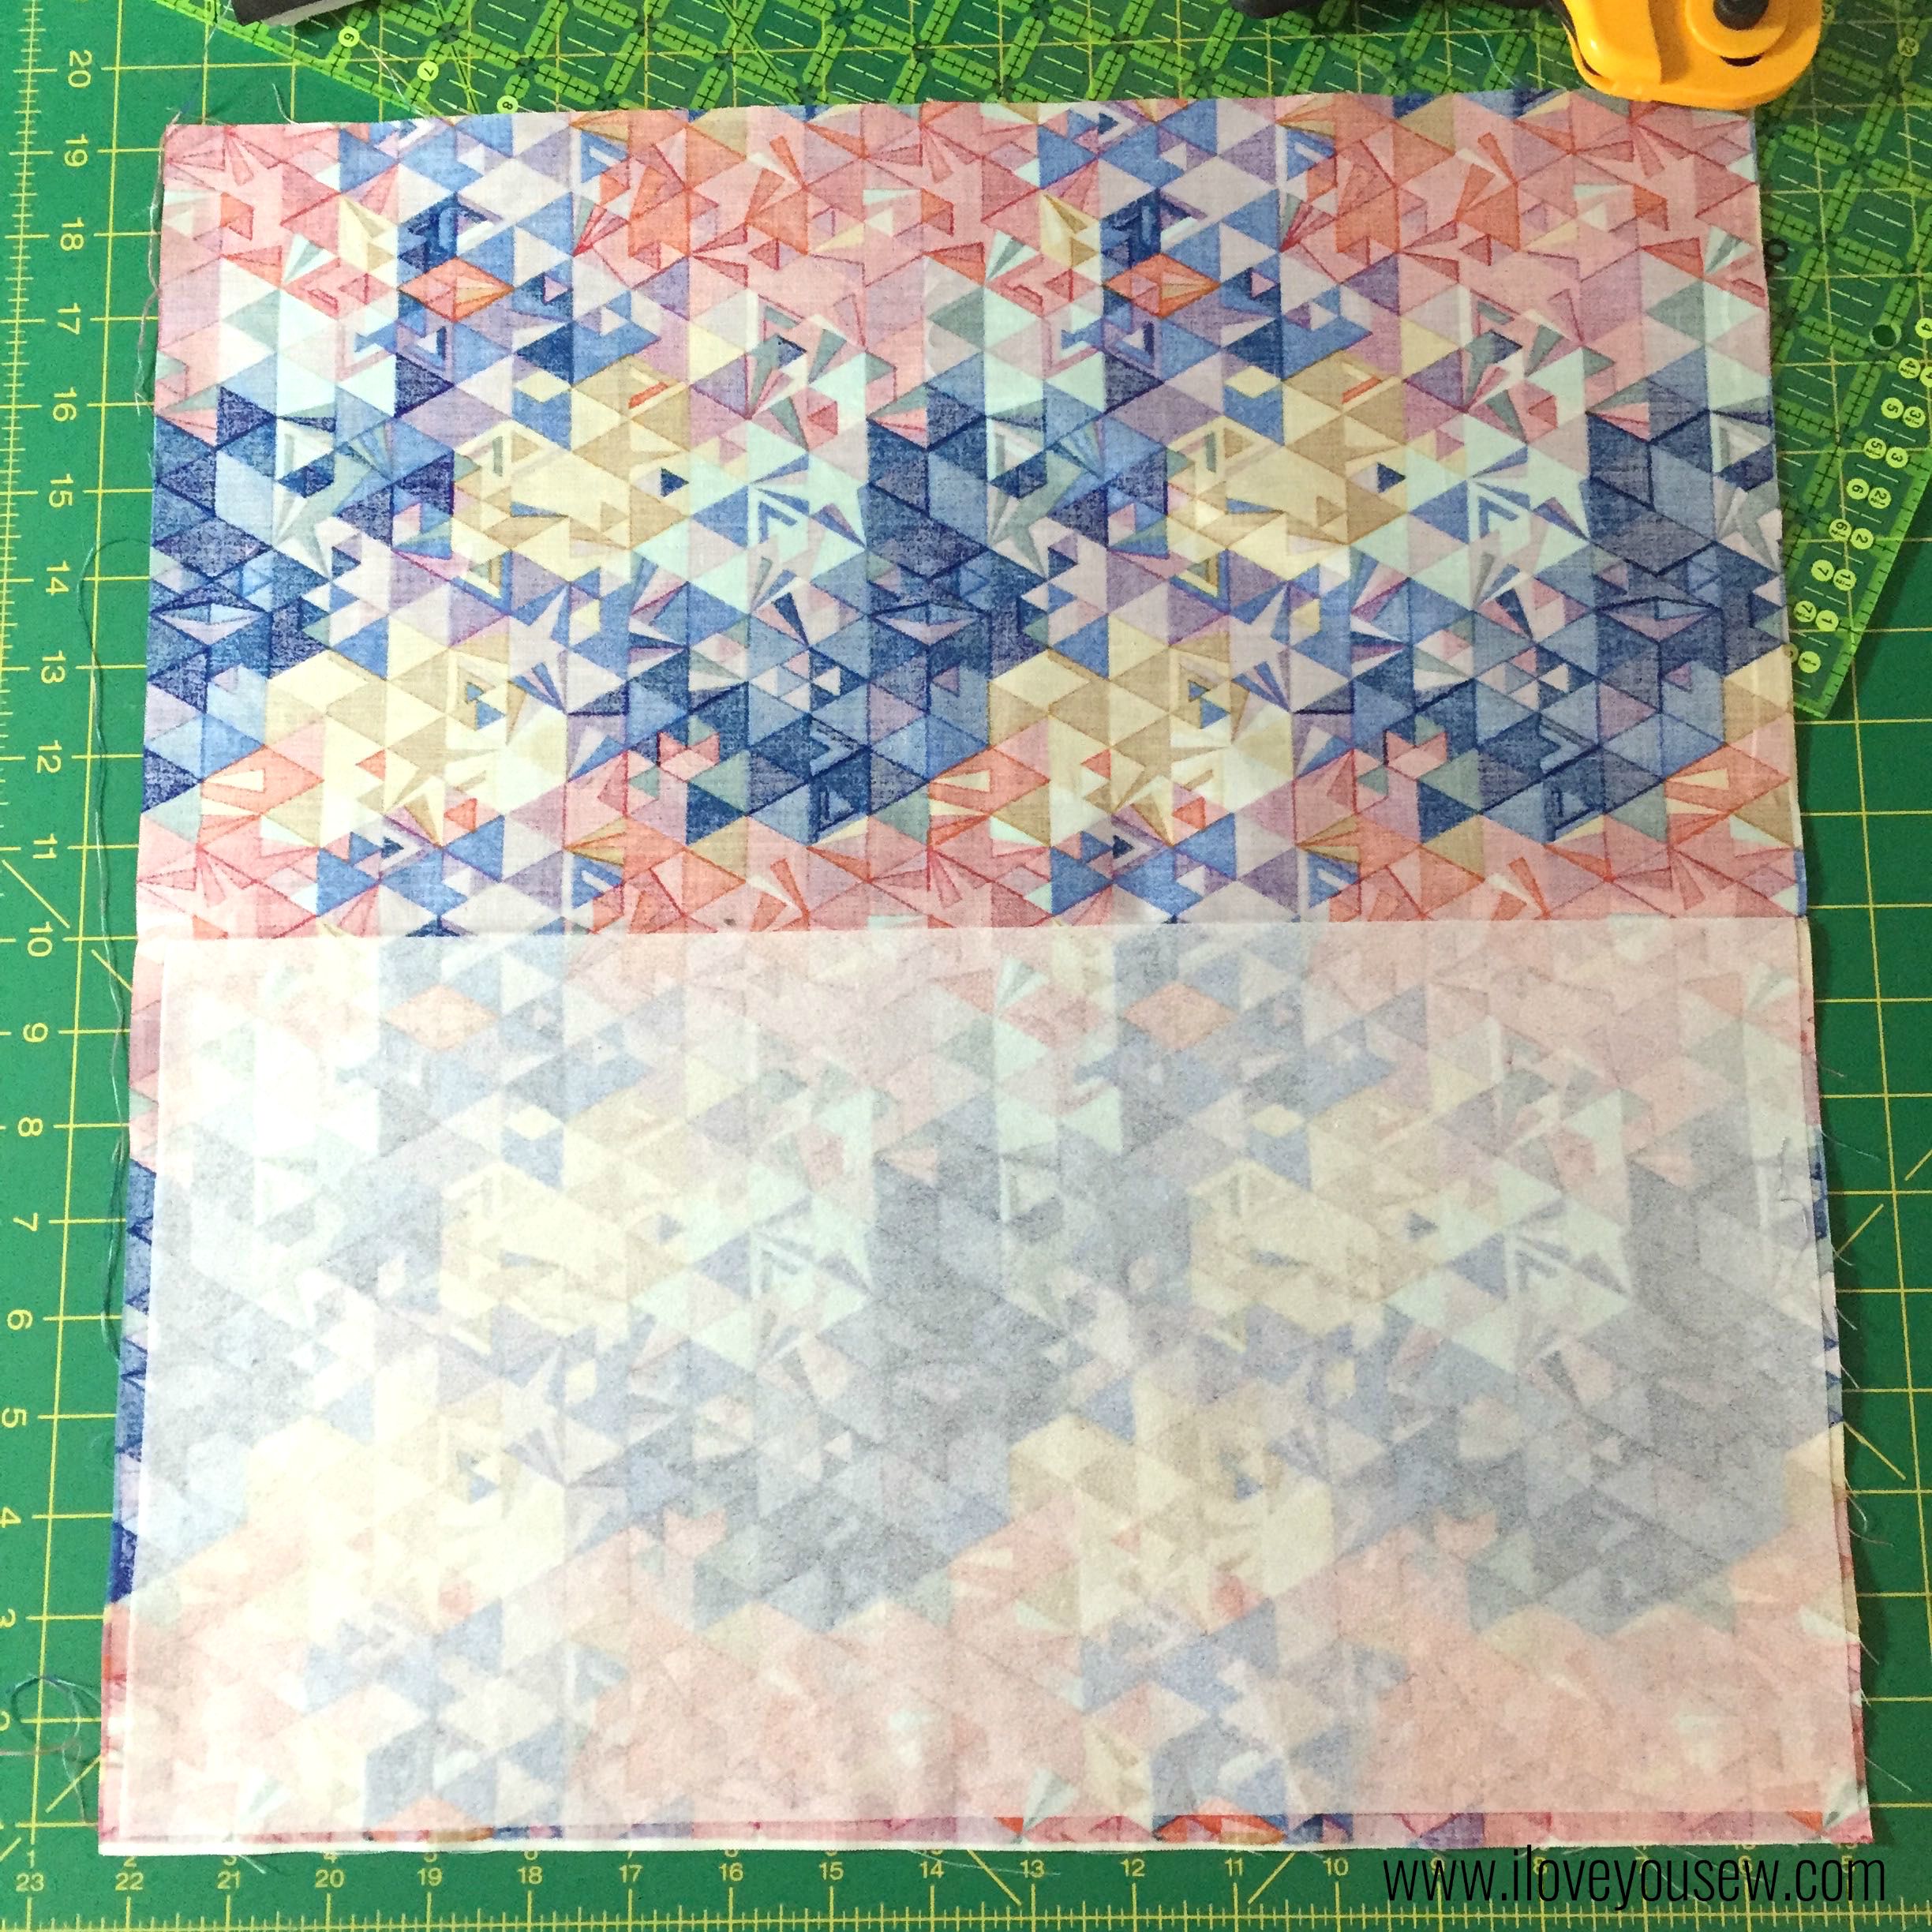
Lay Pocket right-side facing down (17.75″ at the top) and fuse the interfacing to the bottom half according to the manufacturer’s instructions.  There should be a 1/4″ seam allowance all around the interfacing.


04PocketCloseup

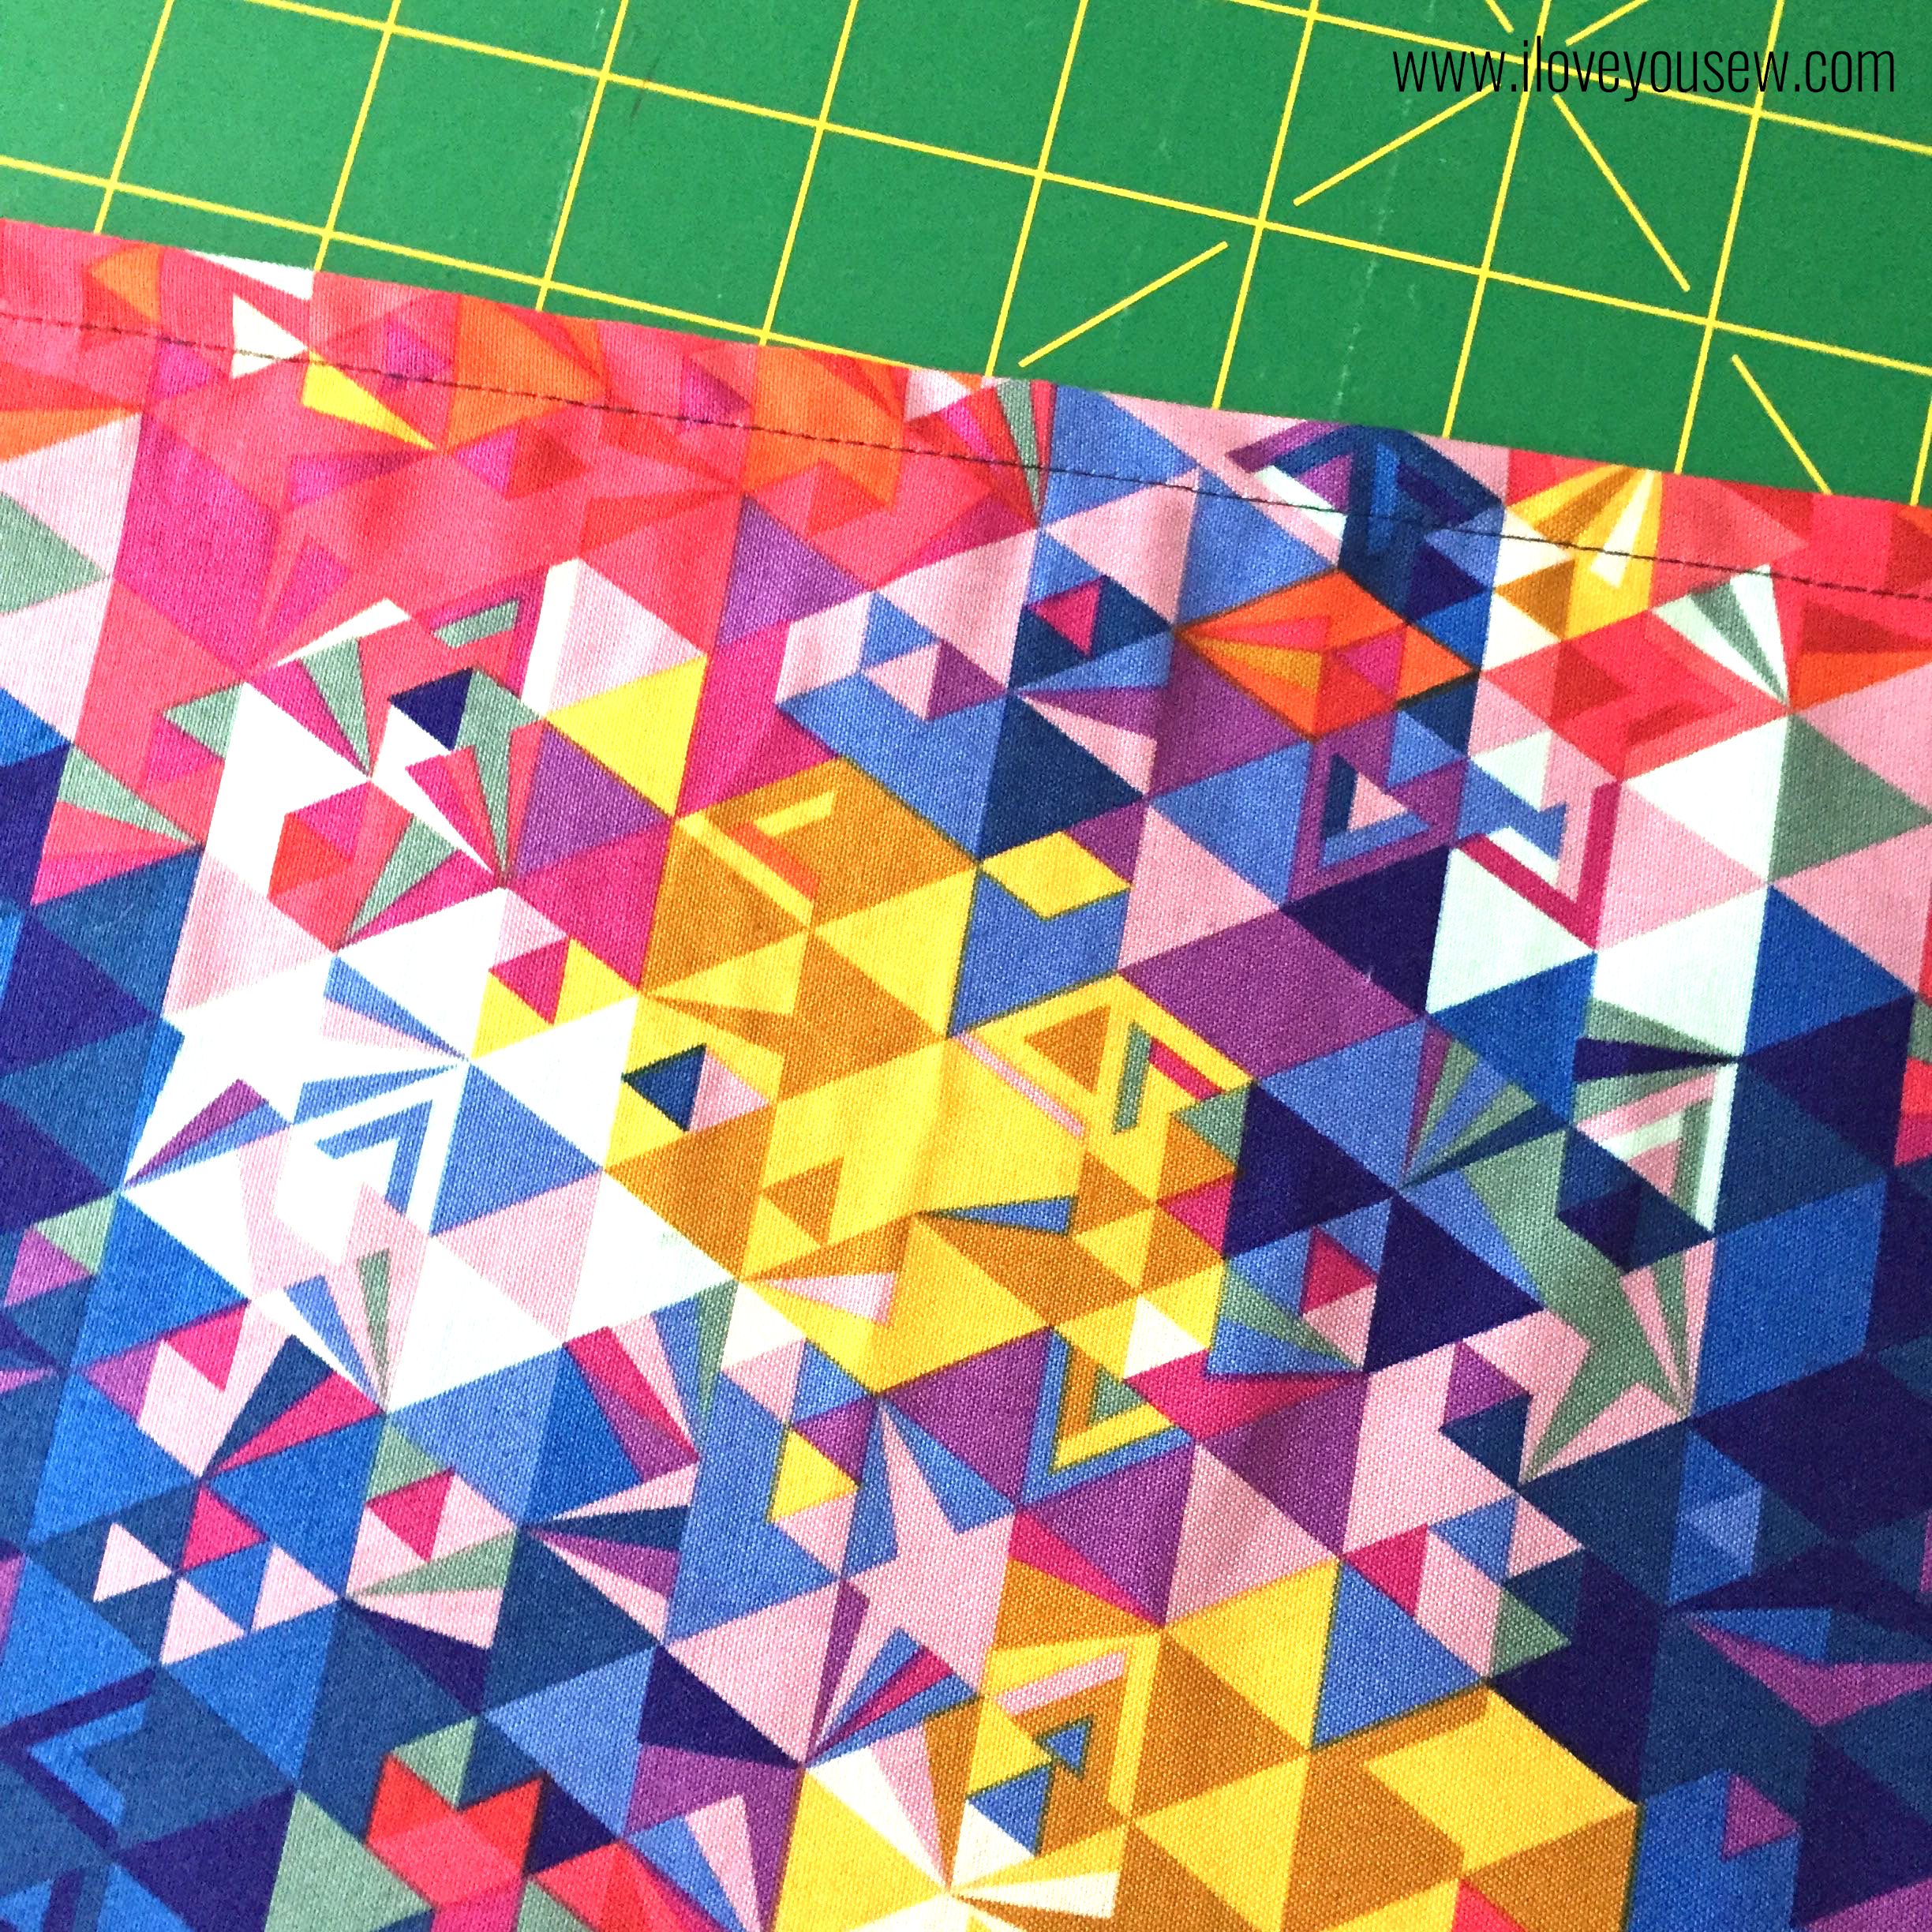
Fold the pocket in half, wrong sides together, so the interfacing is sandwiched in between the Pocket fabric.  Press with iron and sew a 1/2″ seam along the fold to keep all pieces in place. Set aside.


05NotchFlap1

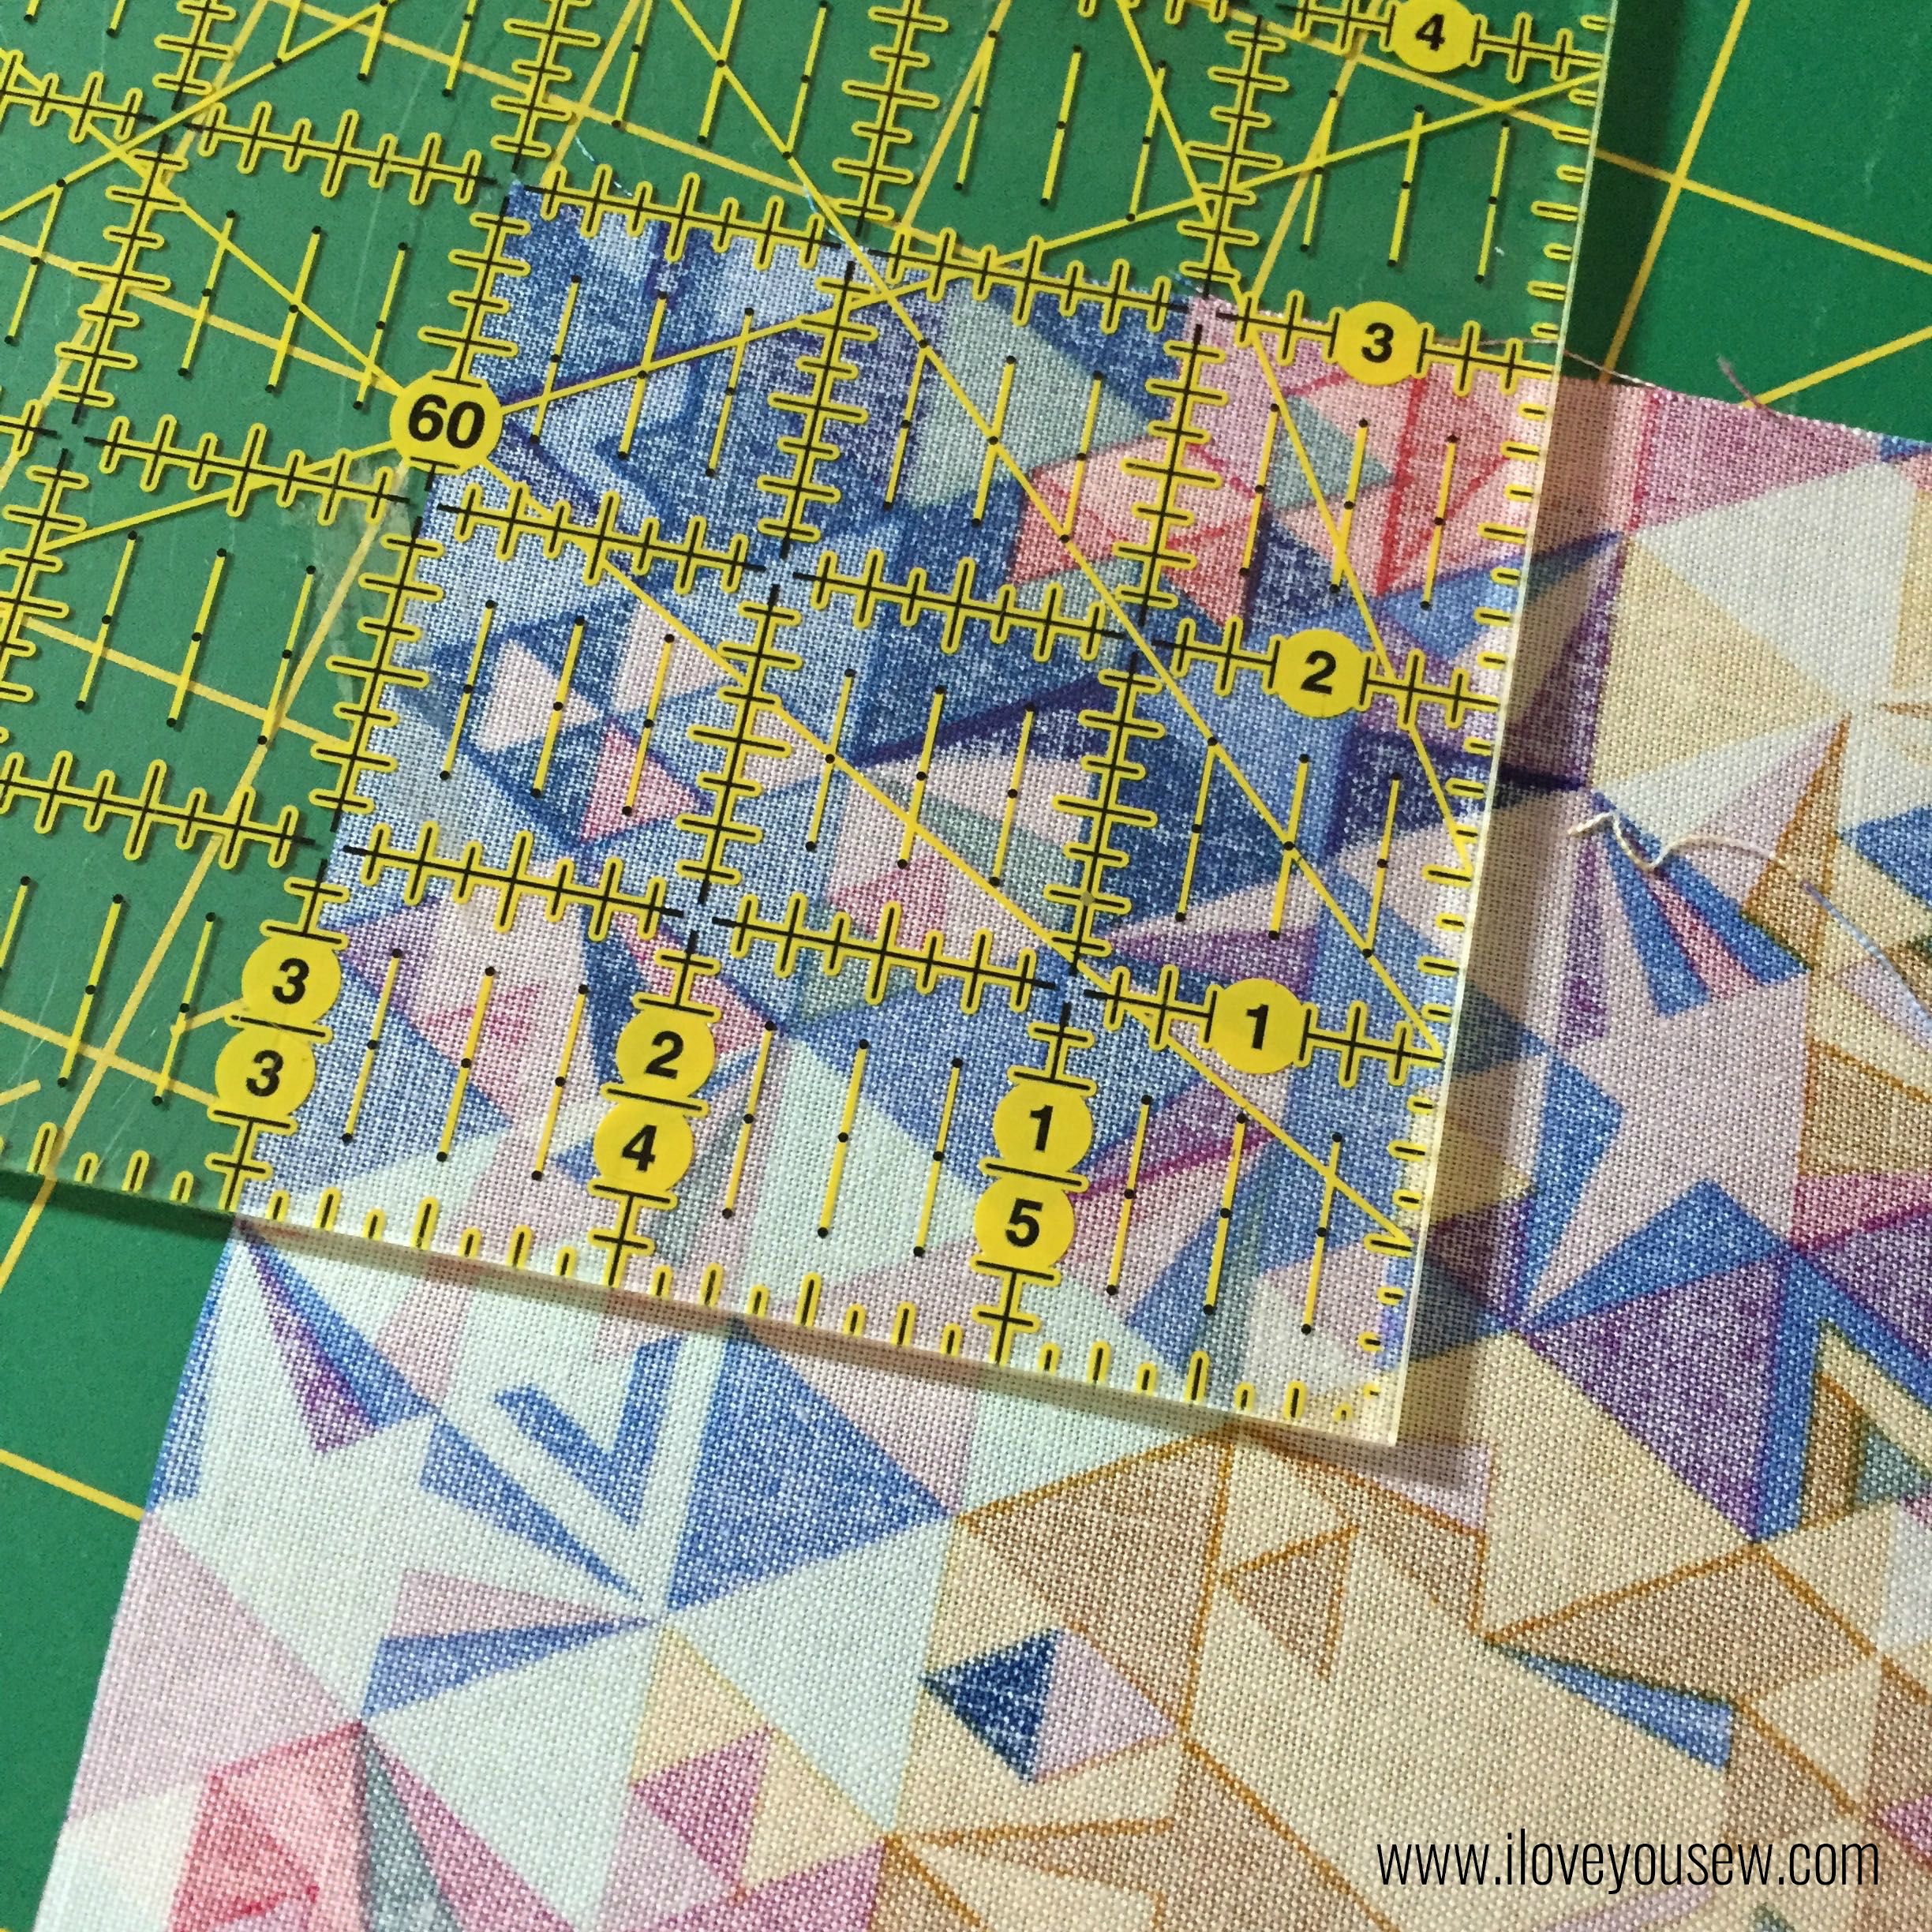
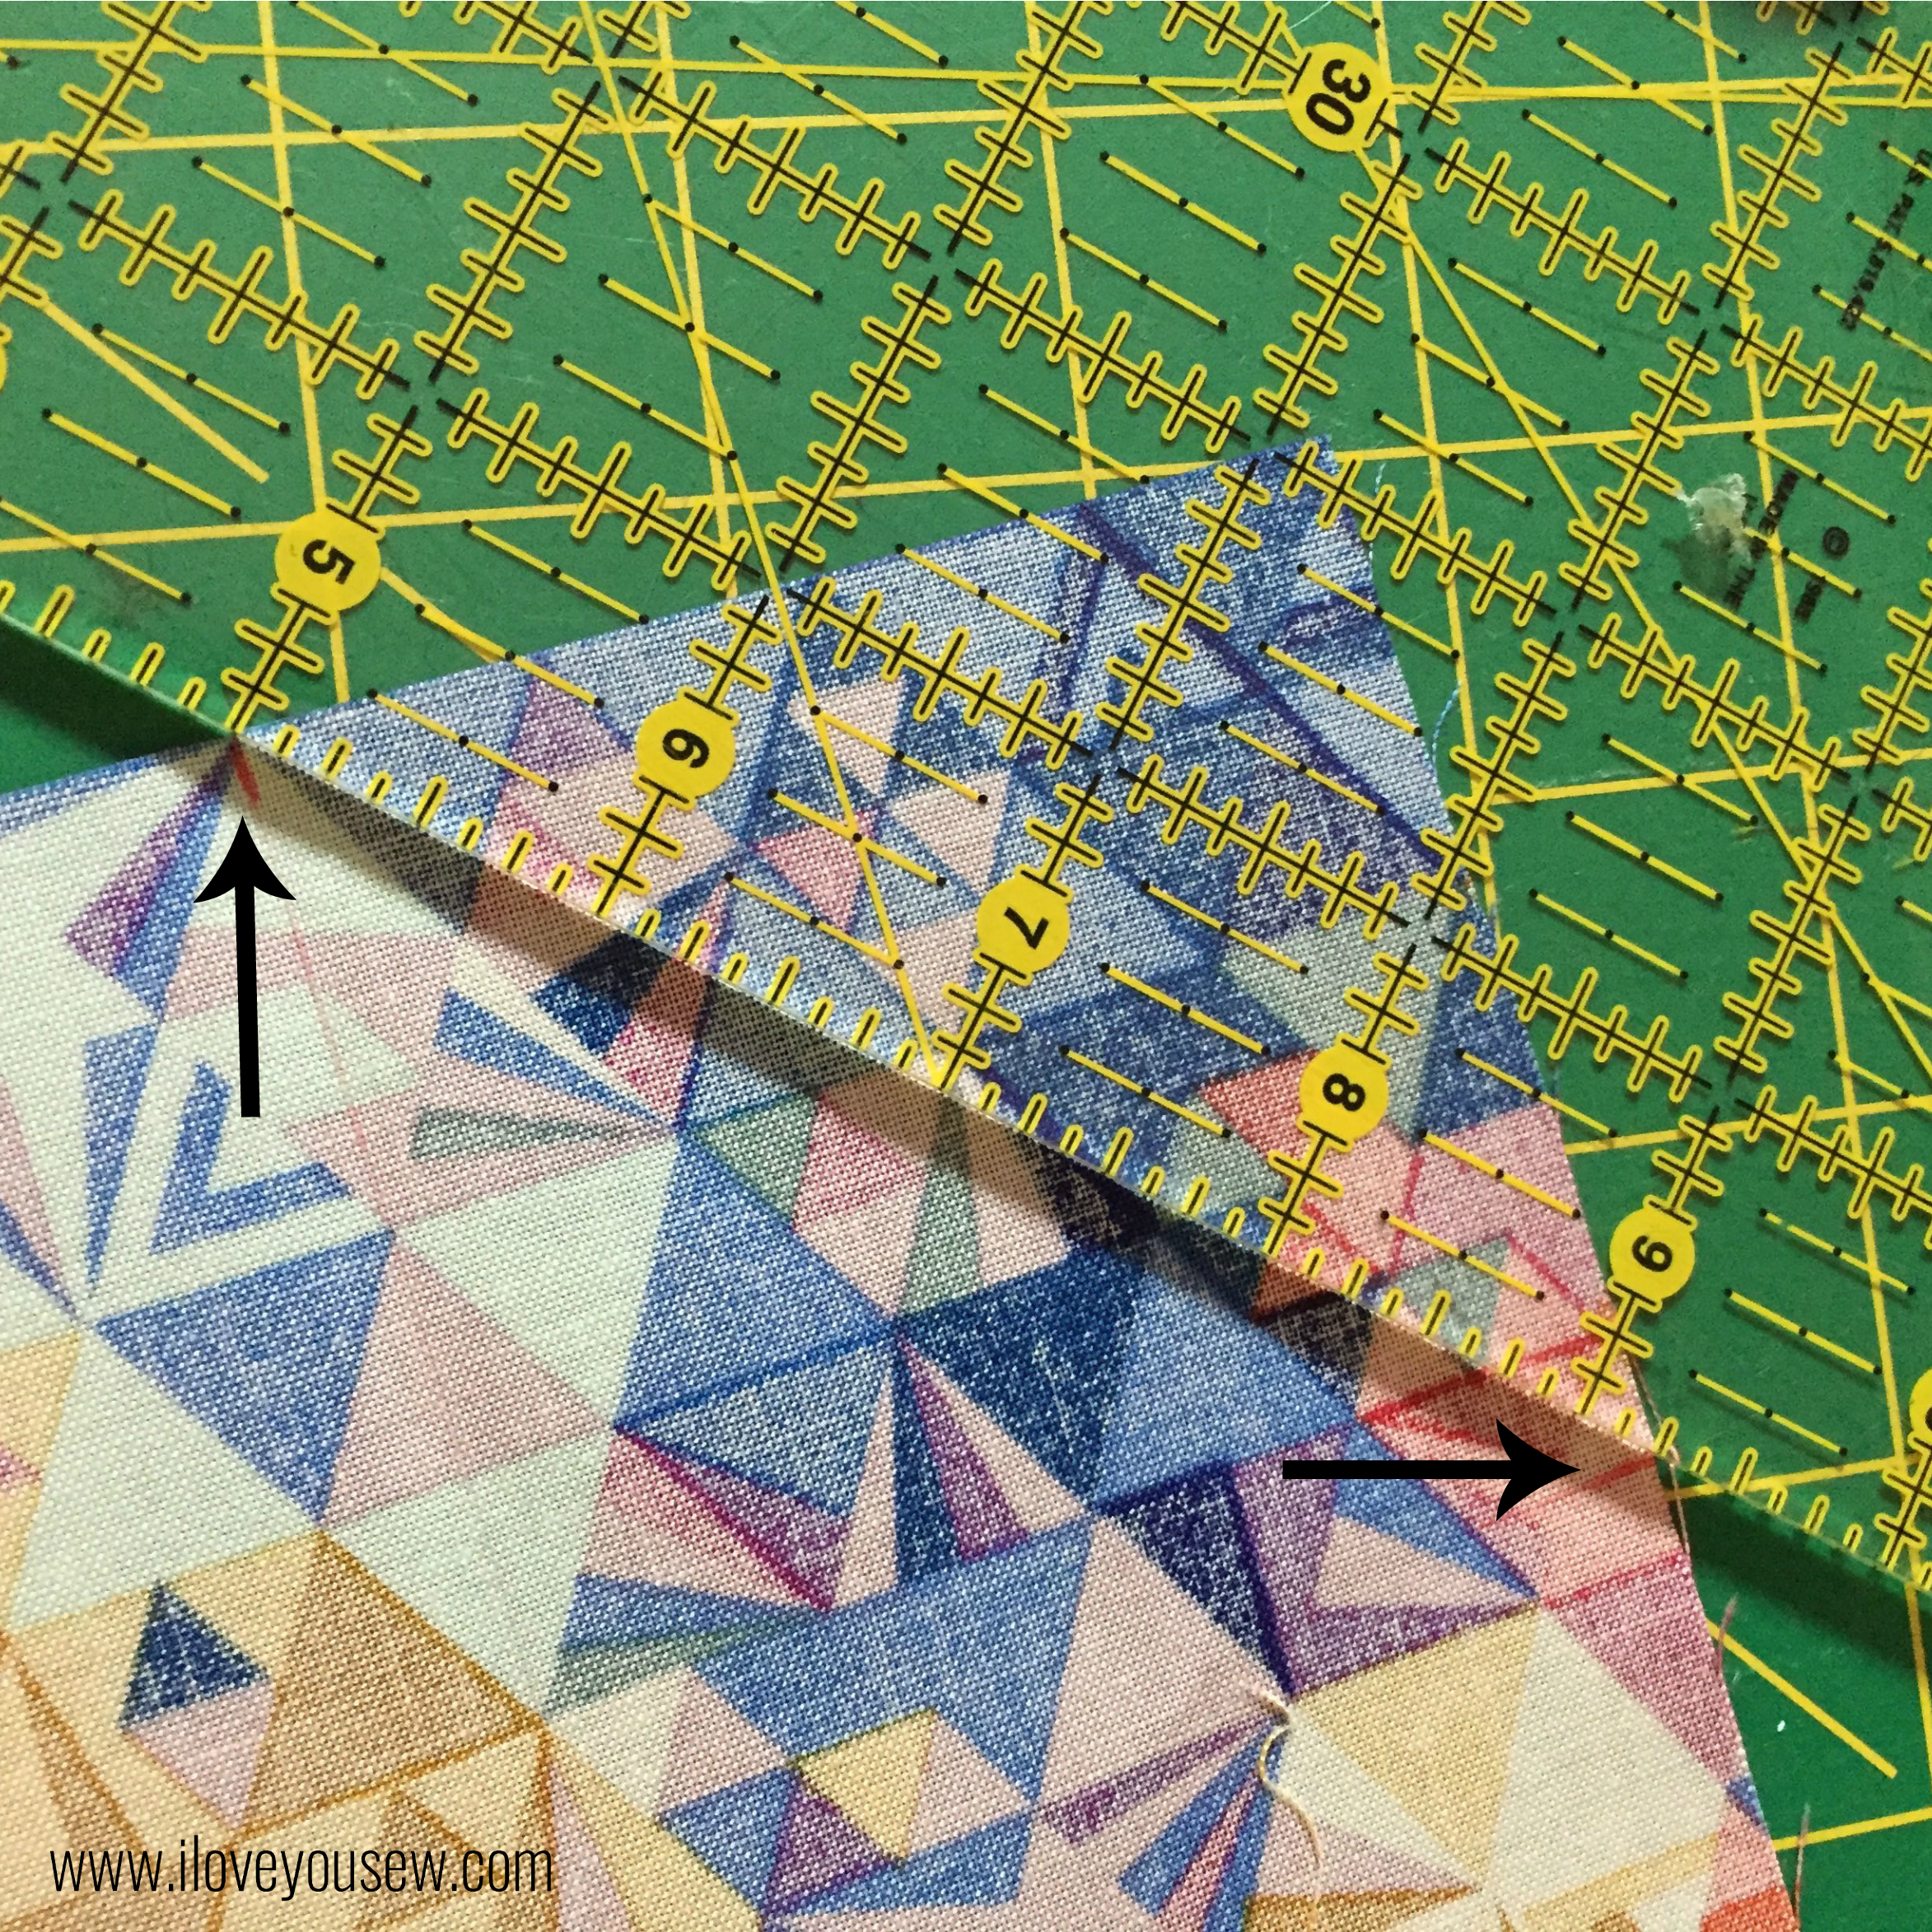
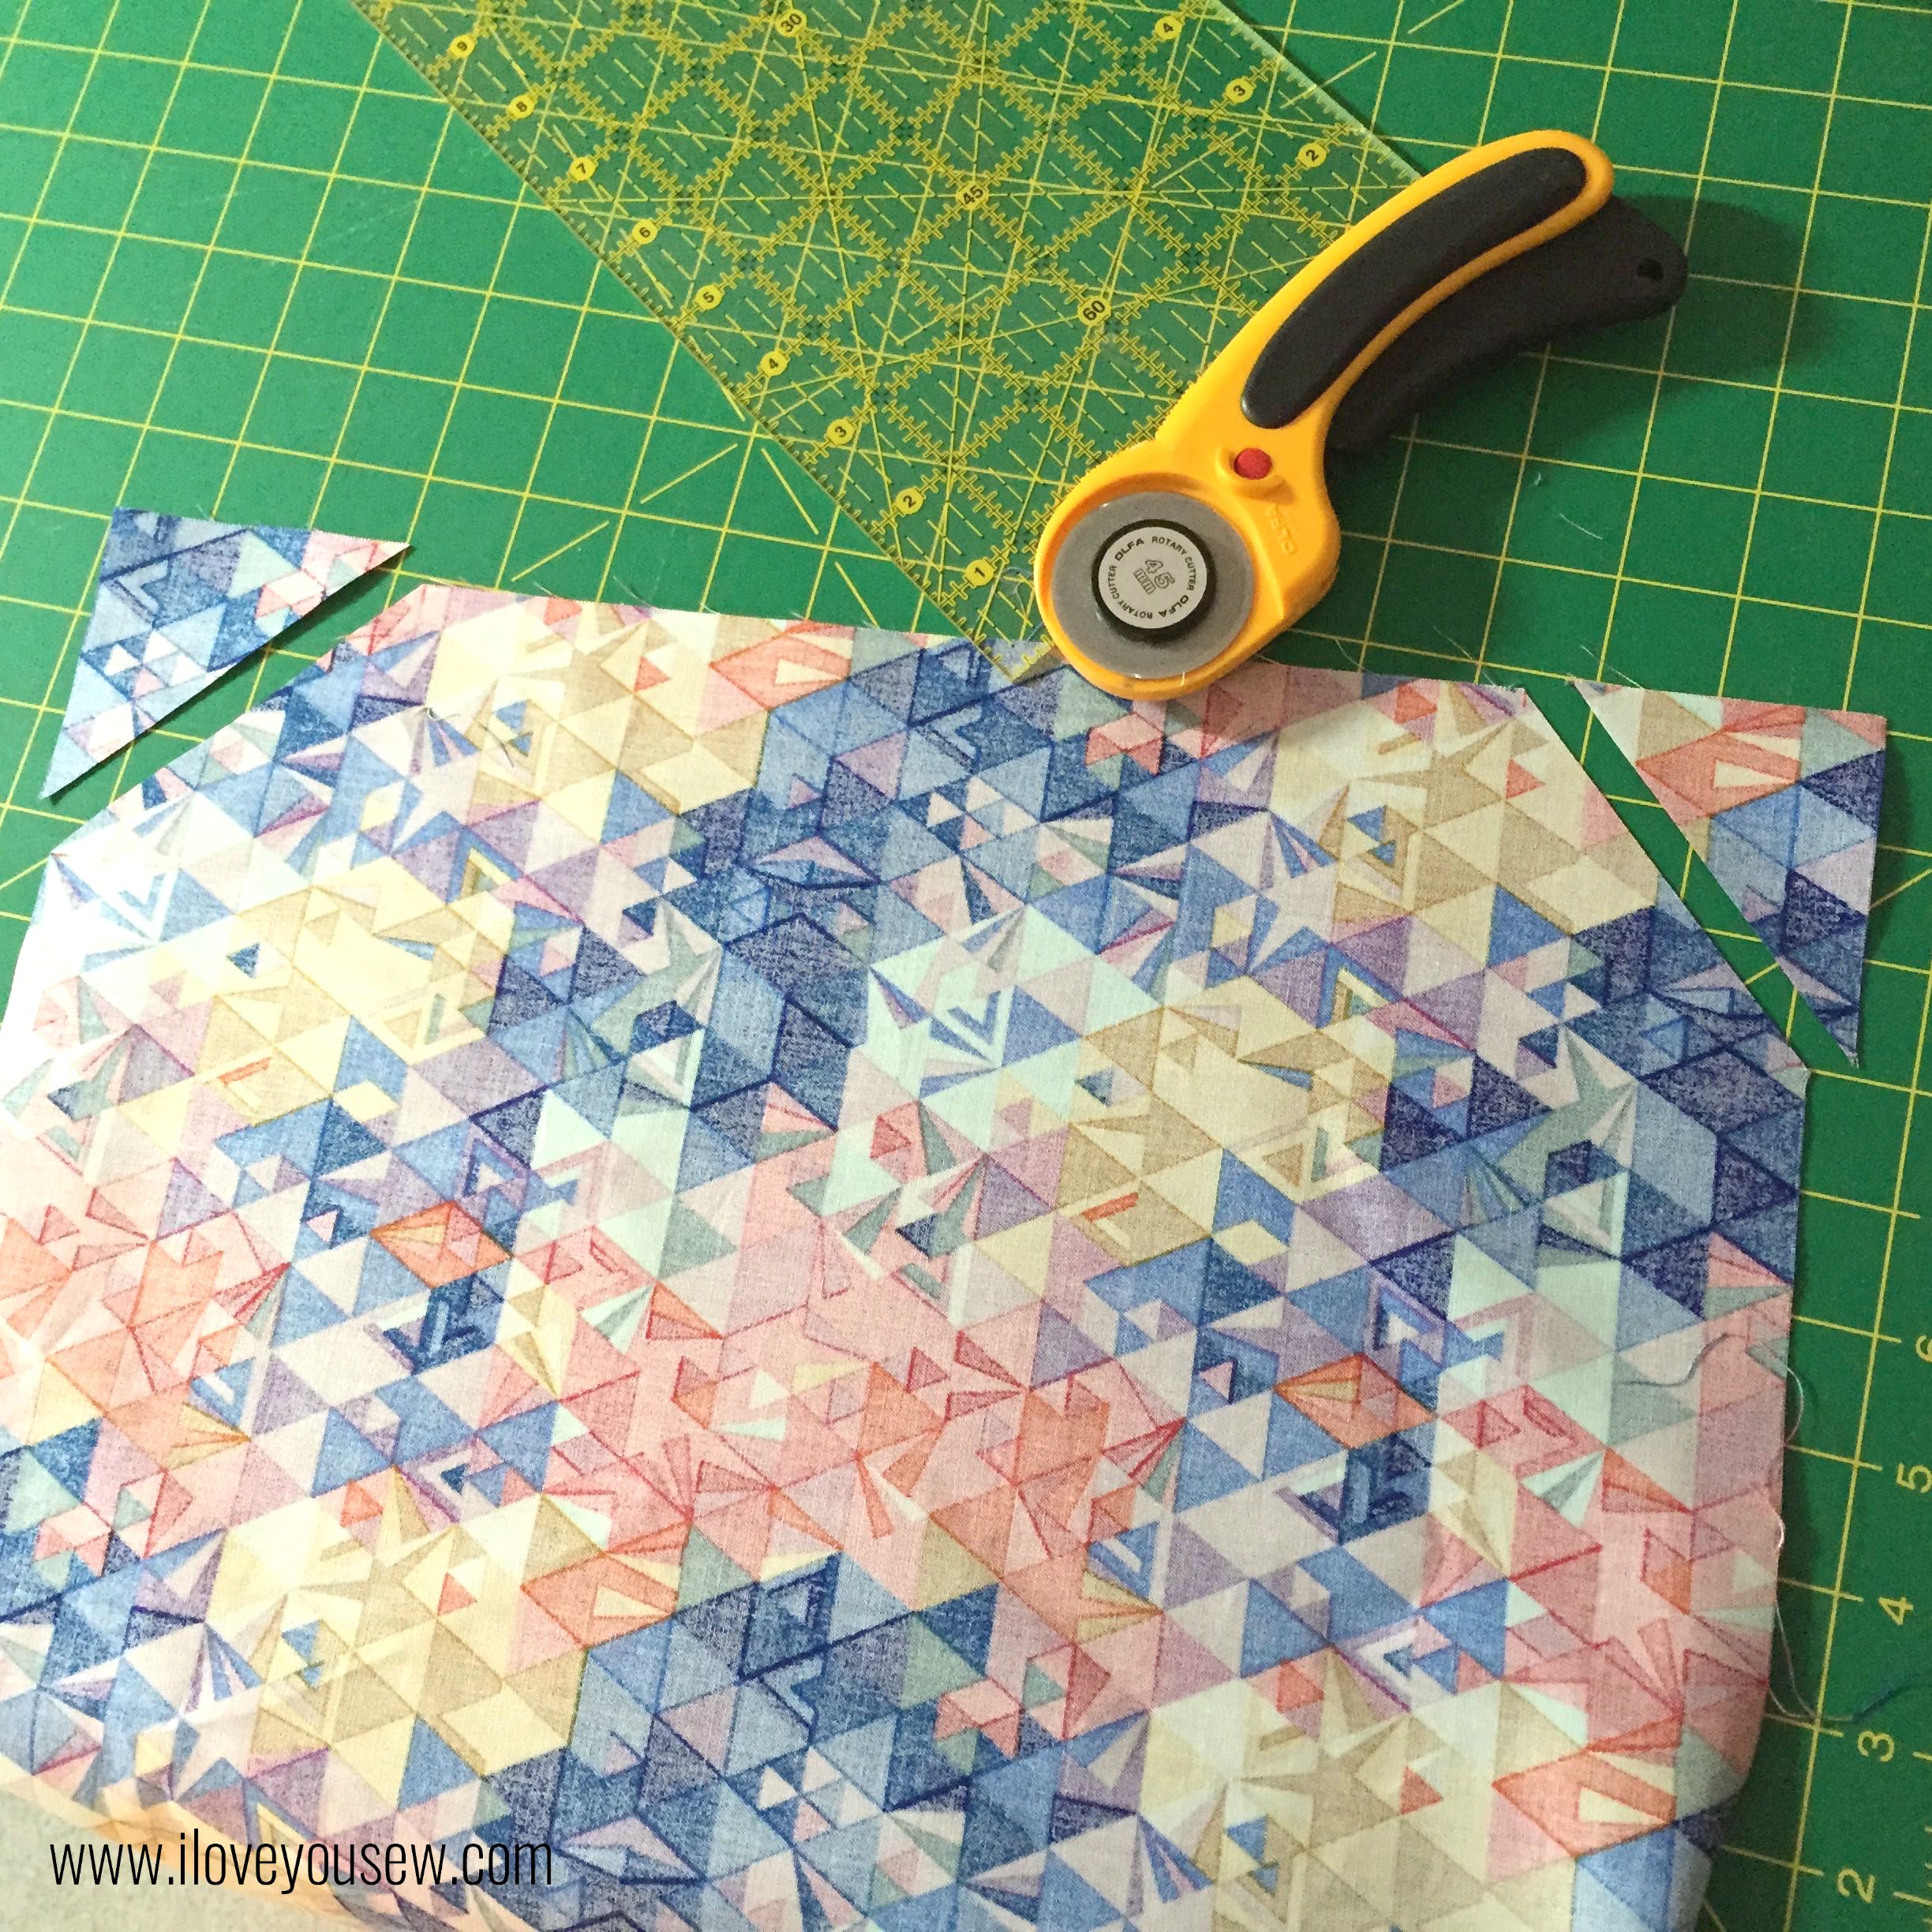
Take the Exterior Back fabric and hold it with the 15.75″ side along the top.  Measure 3″ in from both of the top corners and mark.


07NotchFlap3

Connect the two marks and cut off each corner.


09NotchFlap5

Repeat for the lining and Flex-Foam.


13Basting

Center the Lining (wrong side) on top of Flex-Foam and baste the two layers together.  Set aside.  TIP: Baste from the center out toward the edges. This helps pull the lining taut.


16PocketBasting

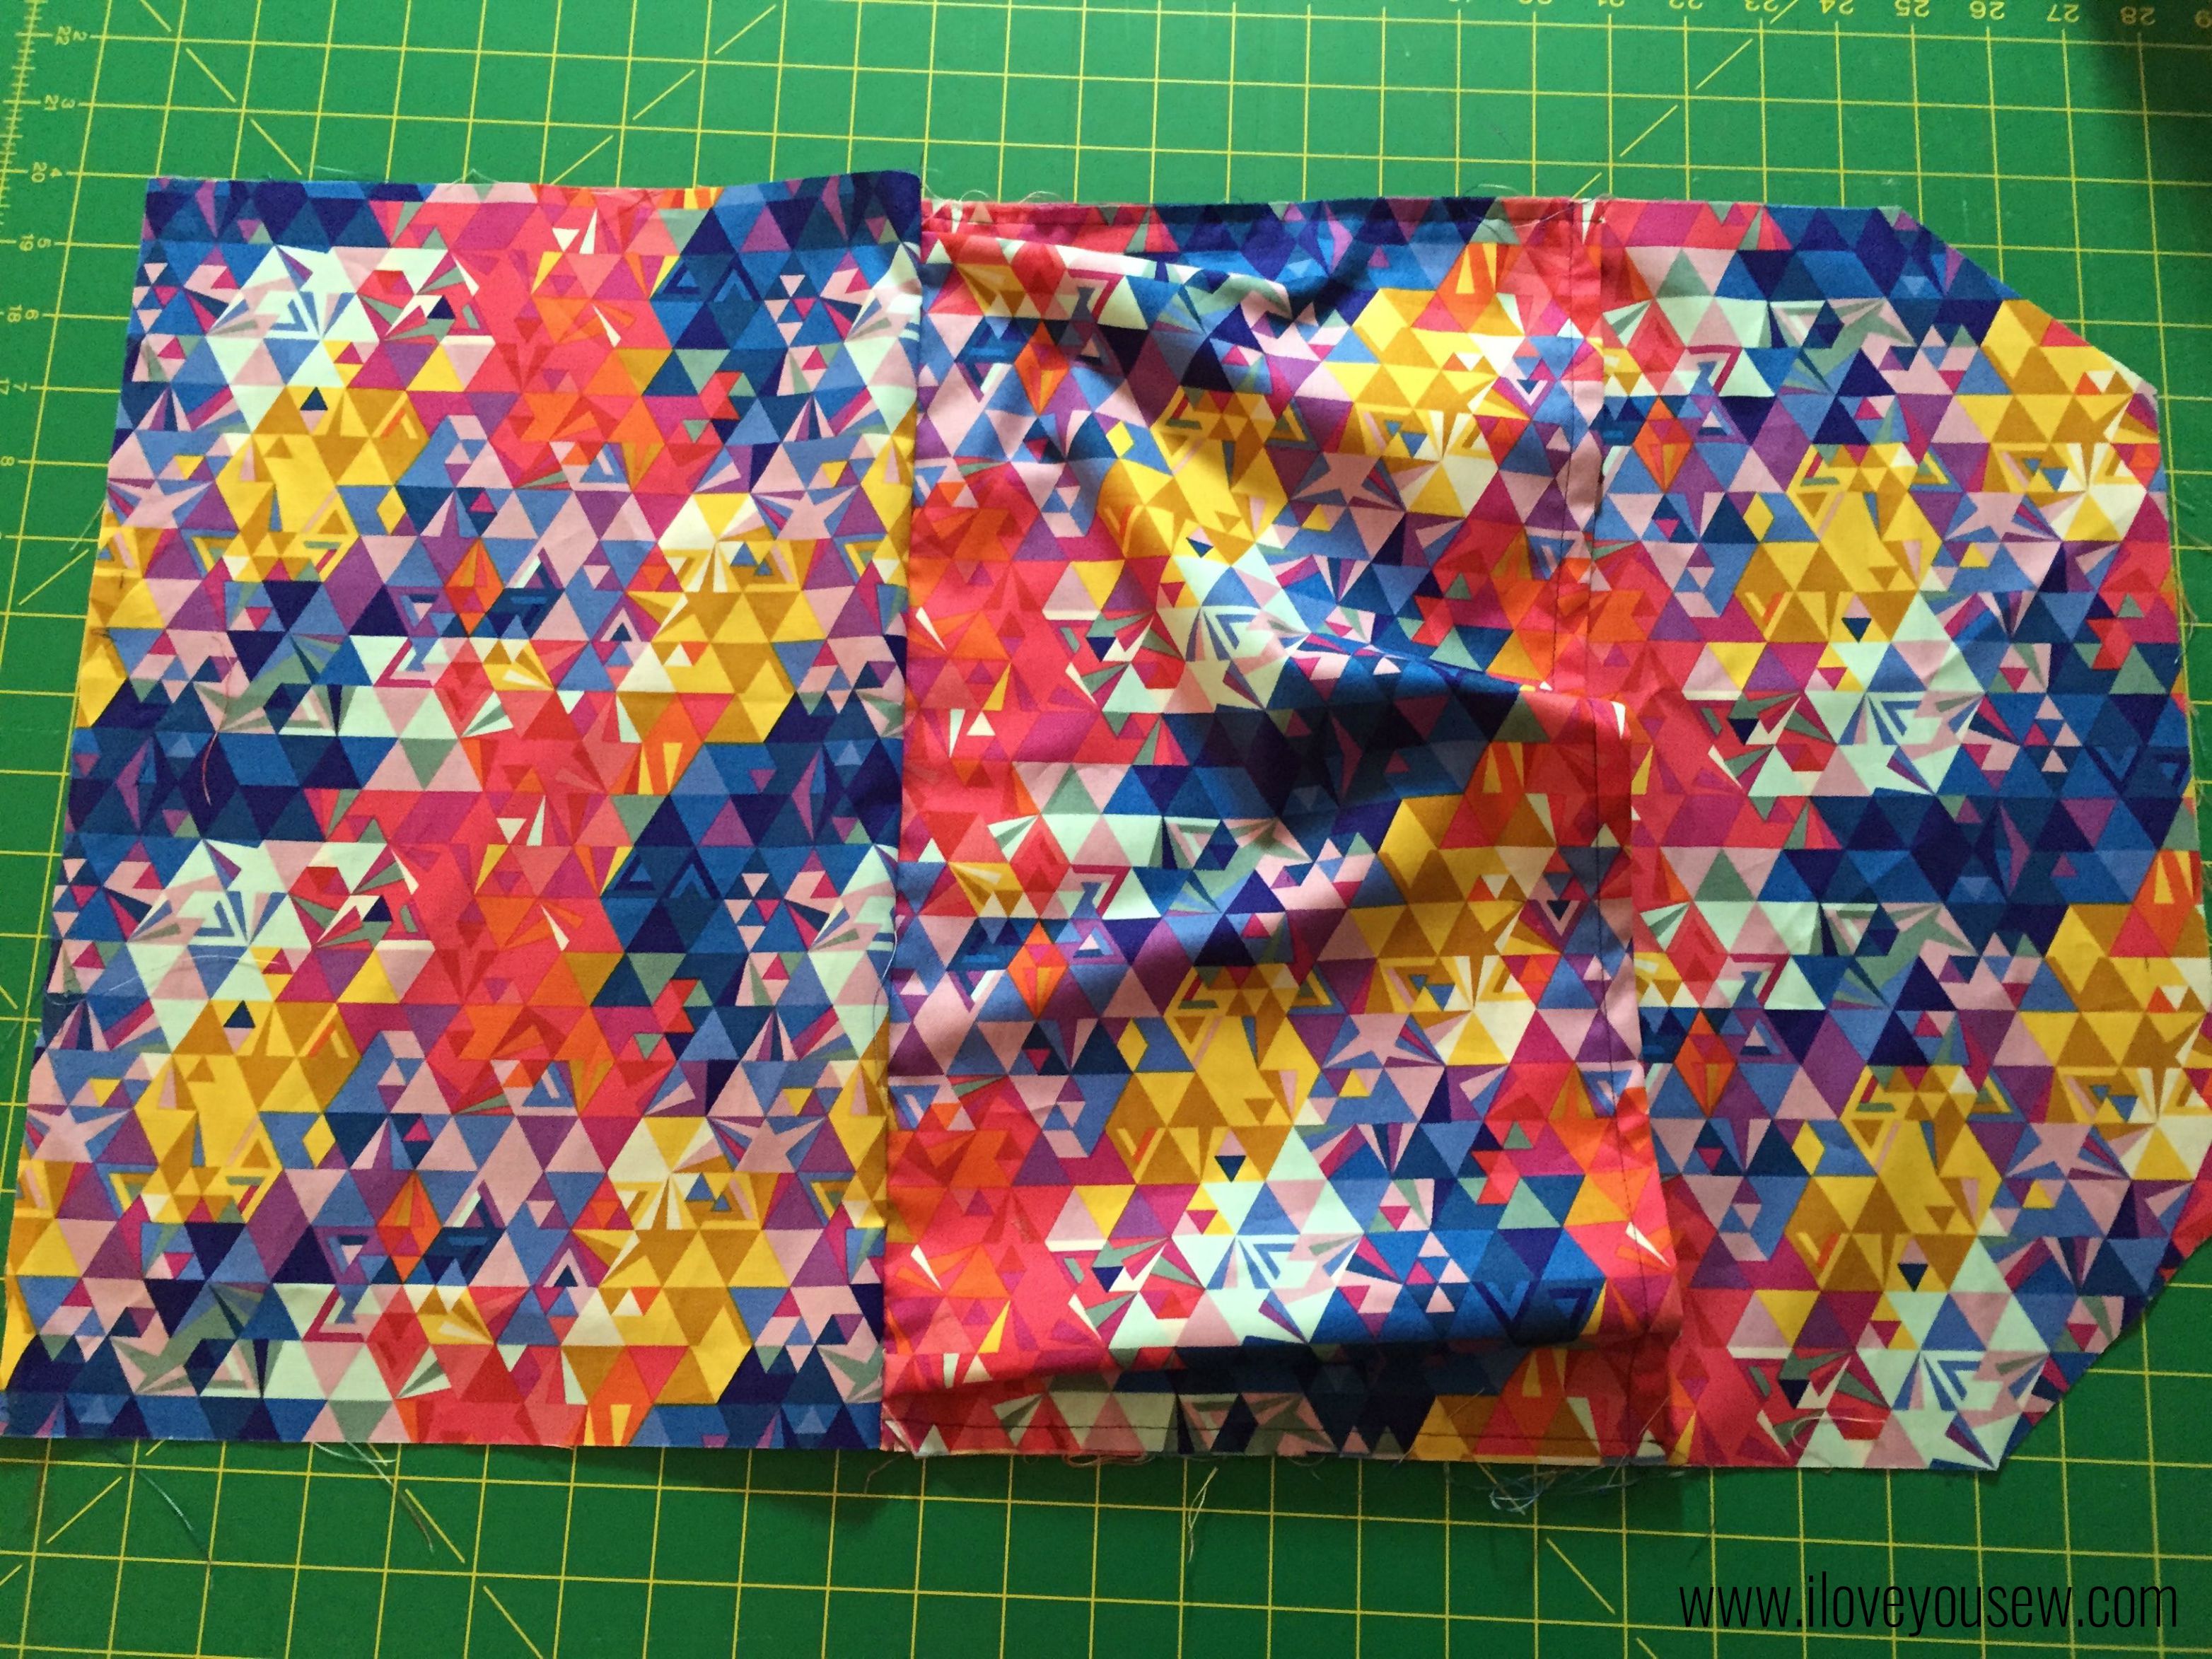
Center the pocket on the right-side of the Exterior Back.  Take the over-hang fabric and make a pleat approximately 1″ in (so it doesn’t get sewn into the lining later on.) [Edited to add: Repeat on other side.] Baste the pocket onto the Exterior Back with a 1/4″ seam allowance.
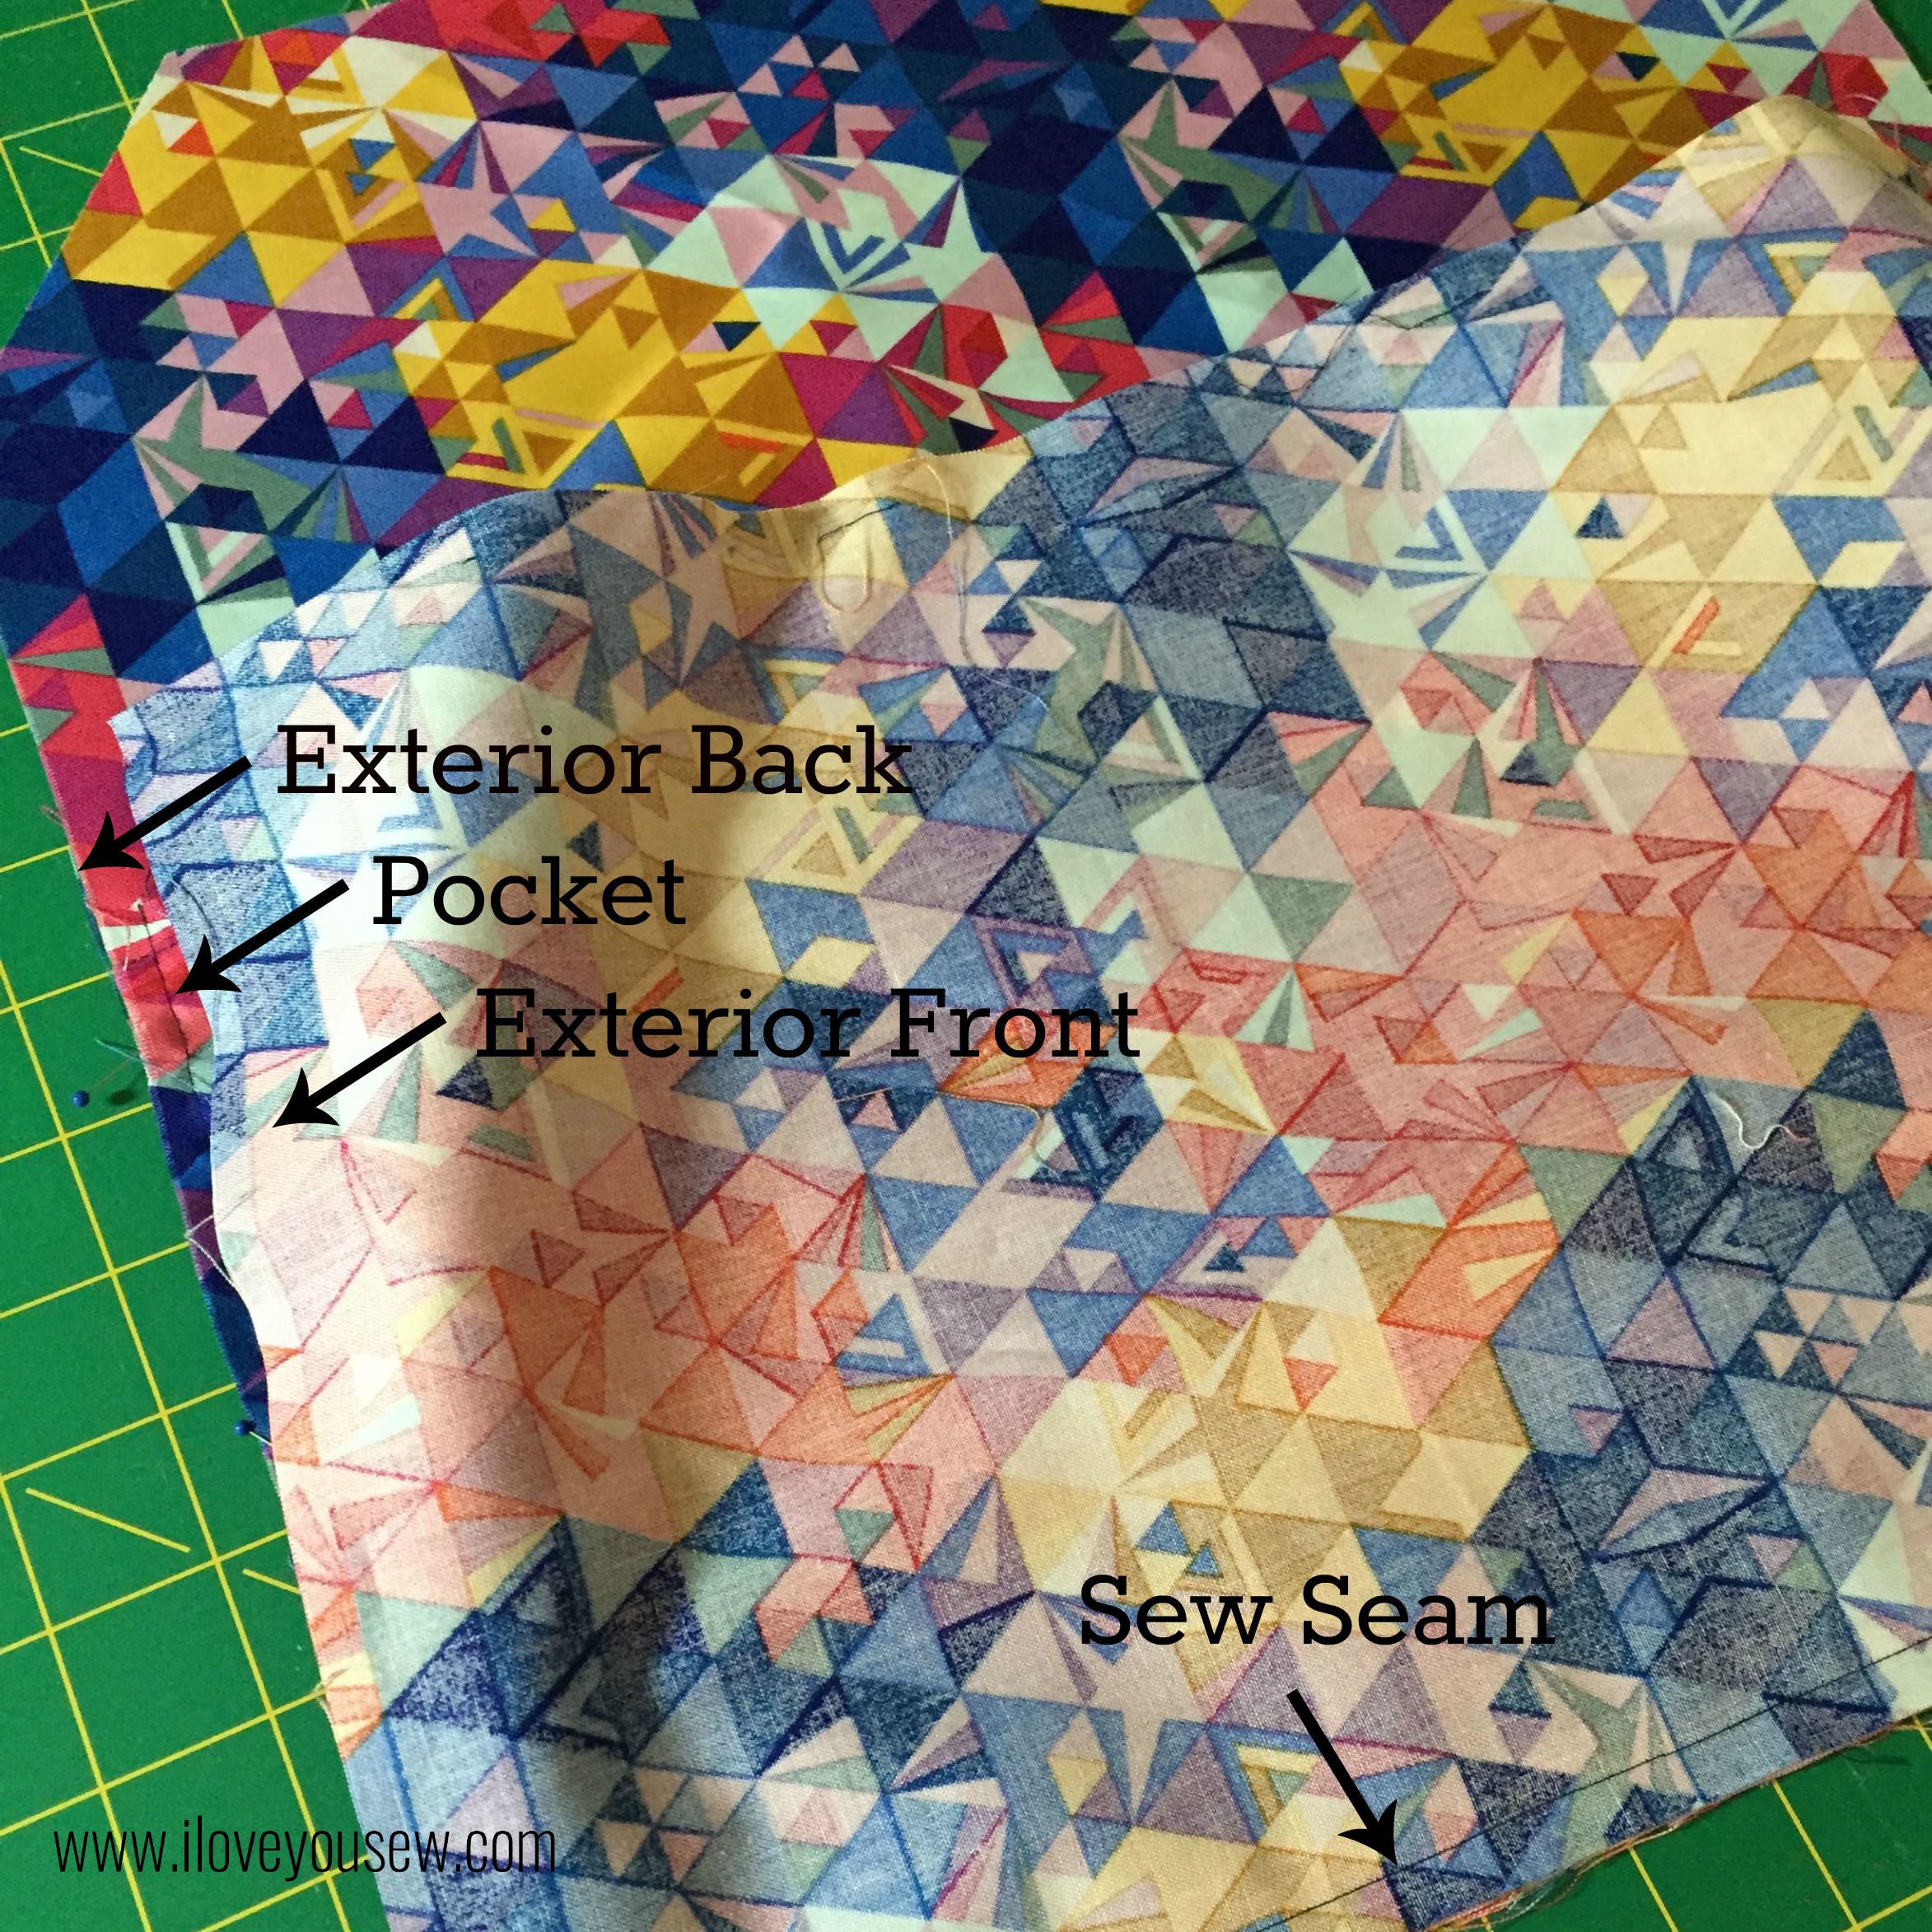
 

17AddFront
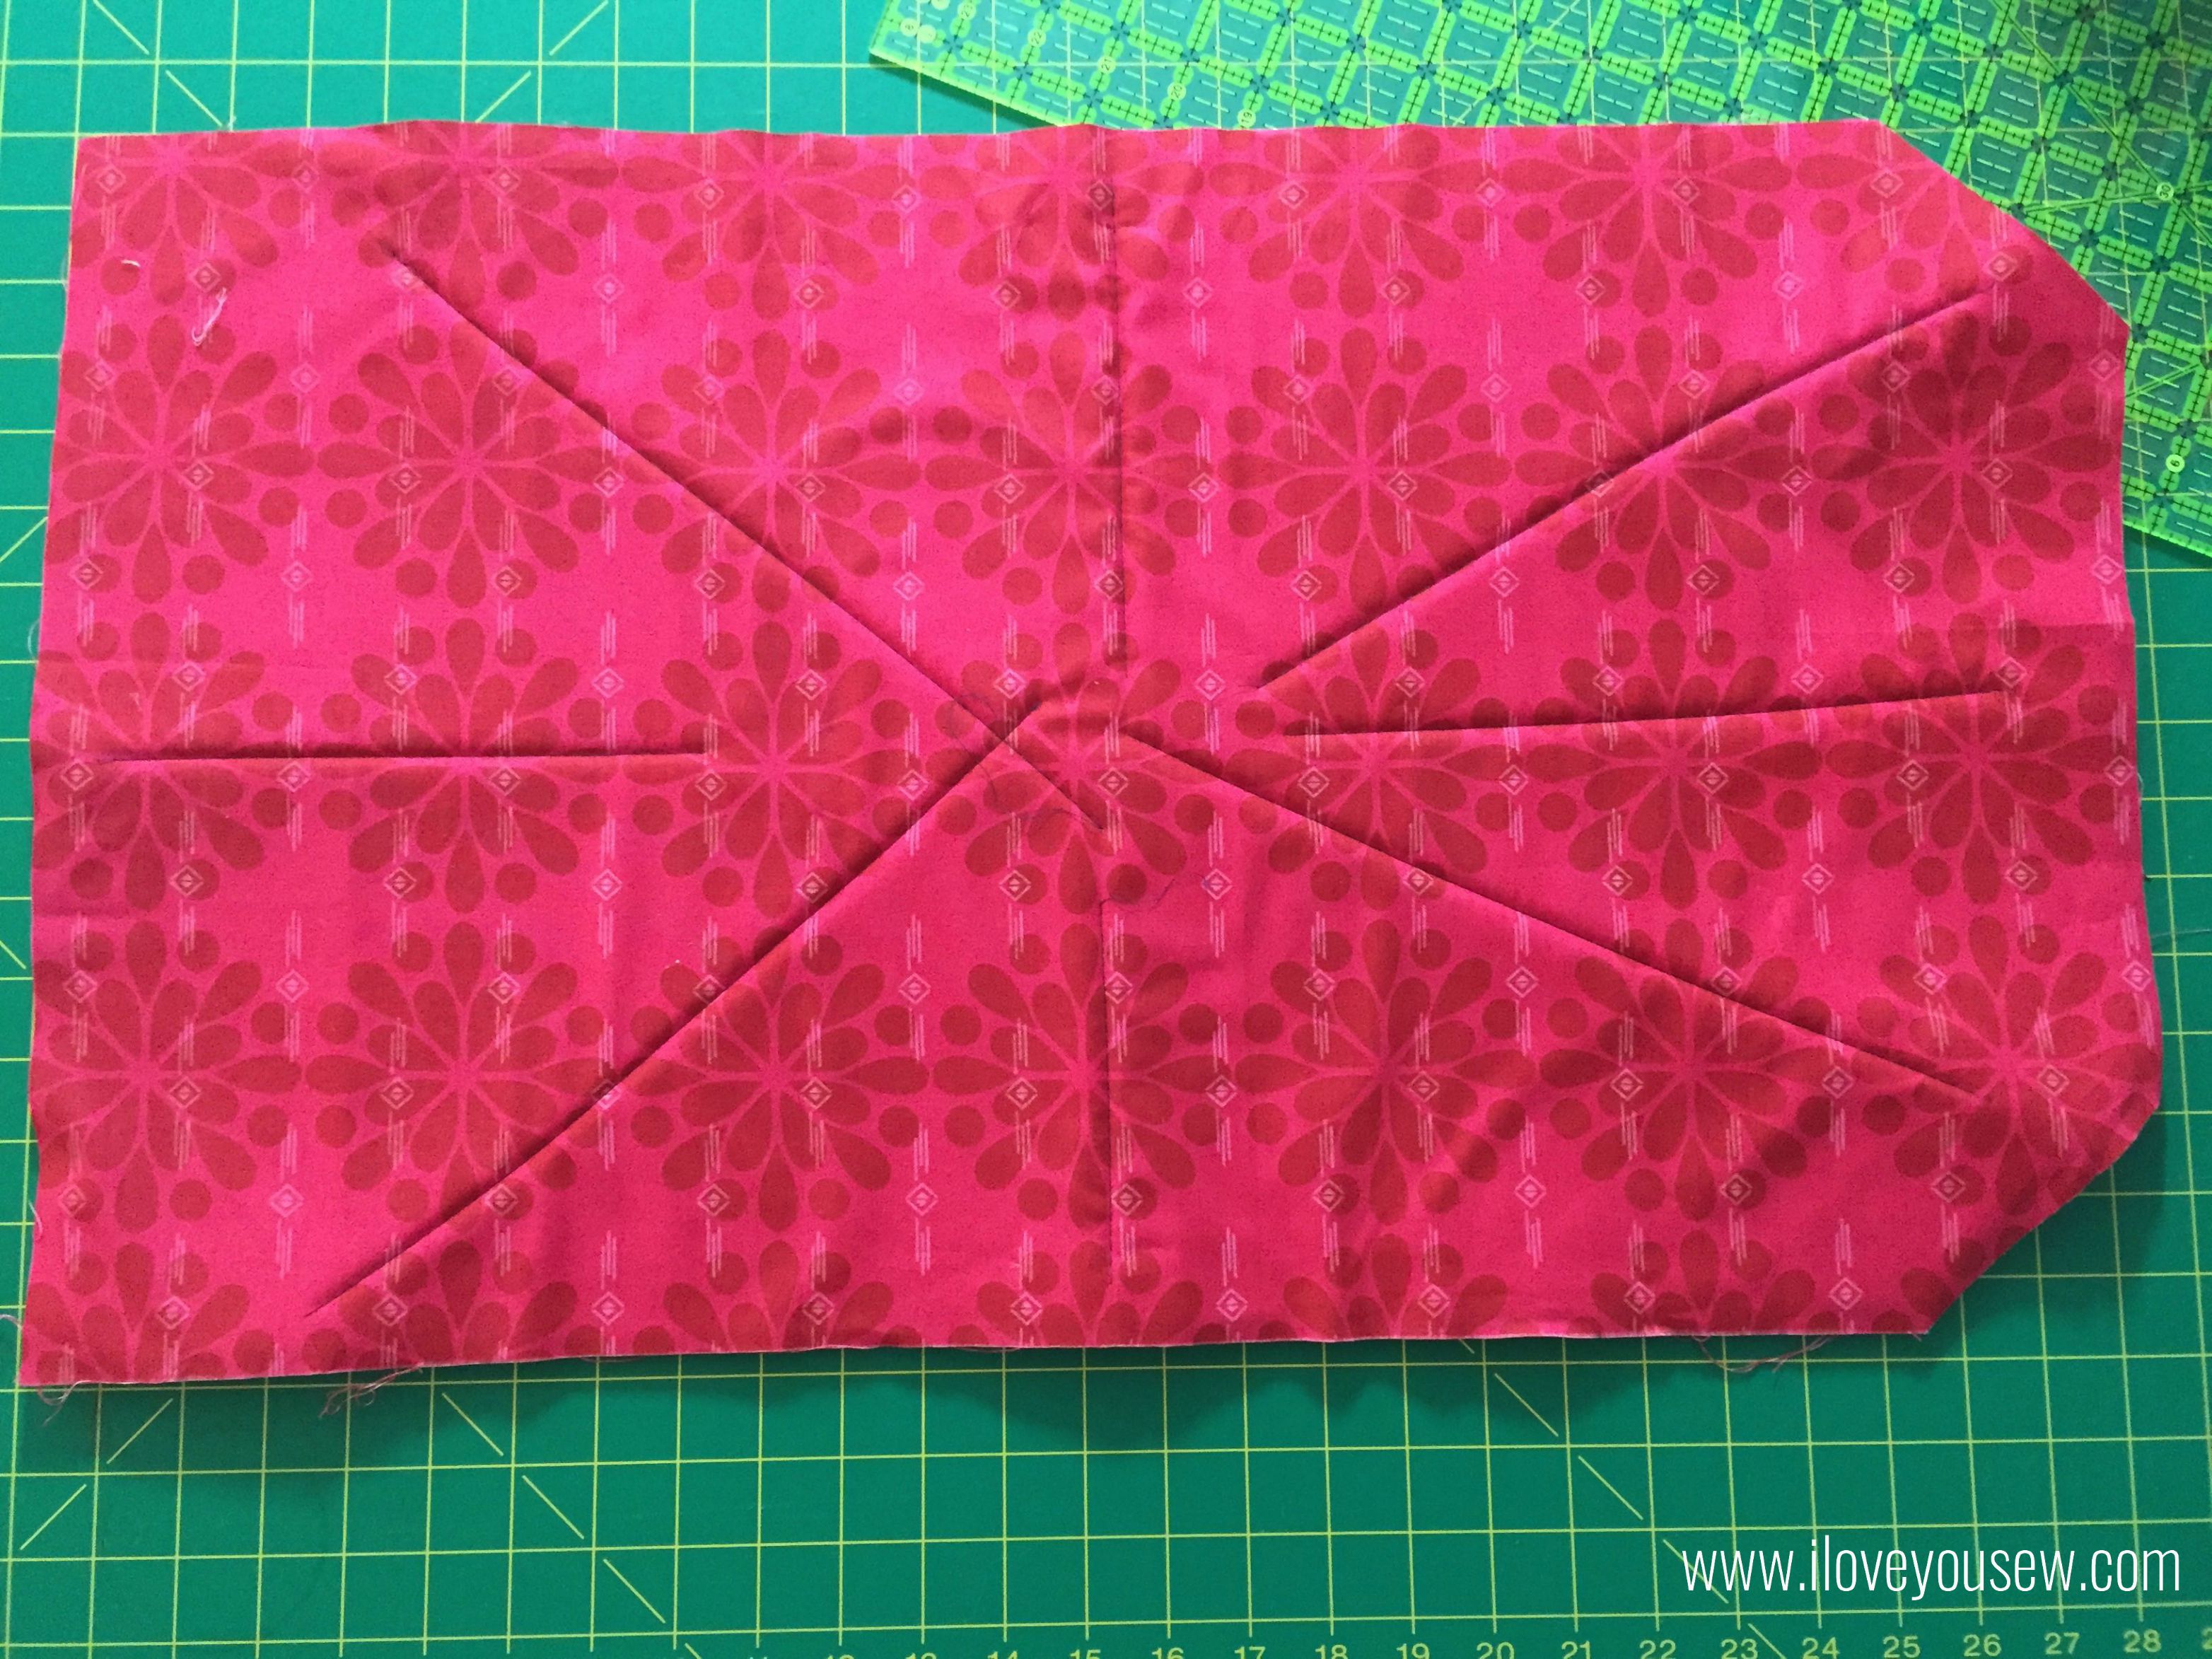
Sew the Exterior Front to the Exterior Back/Pocket right sides together on the short side creating the entire exterior cover.


18ExteriorComplete

Open and press seam open.  Exterior should look like picture above.


Mark Snap

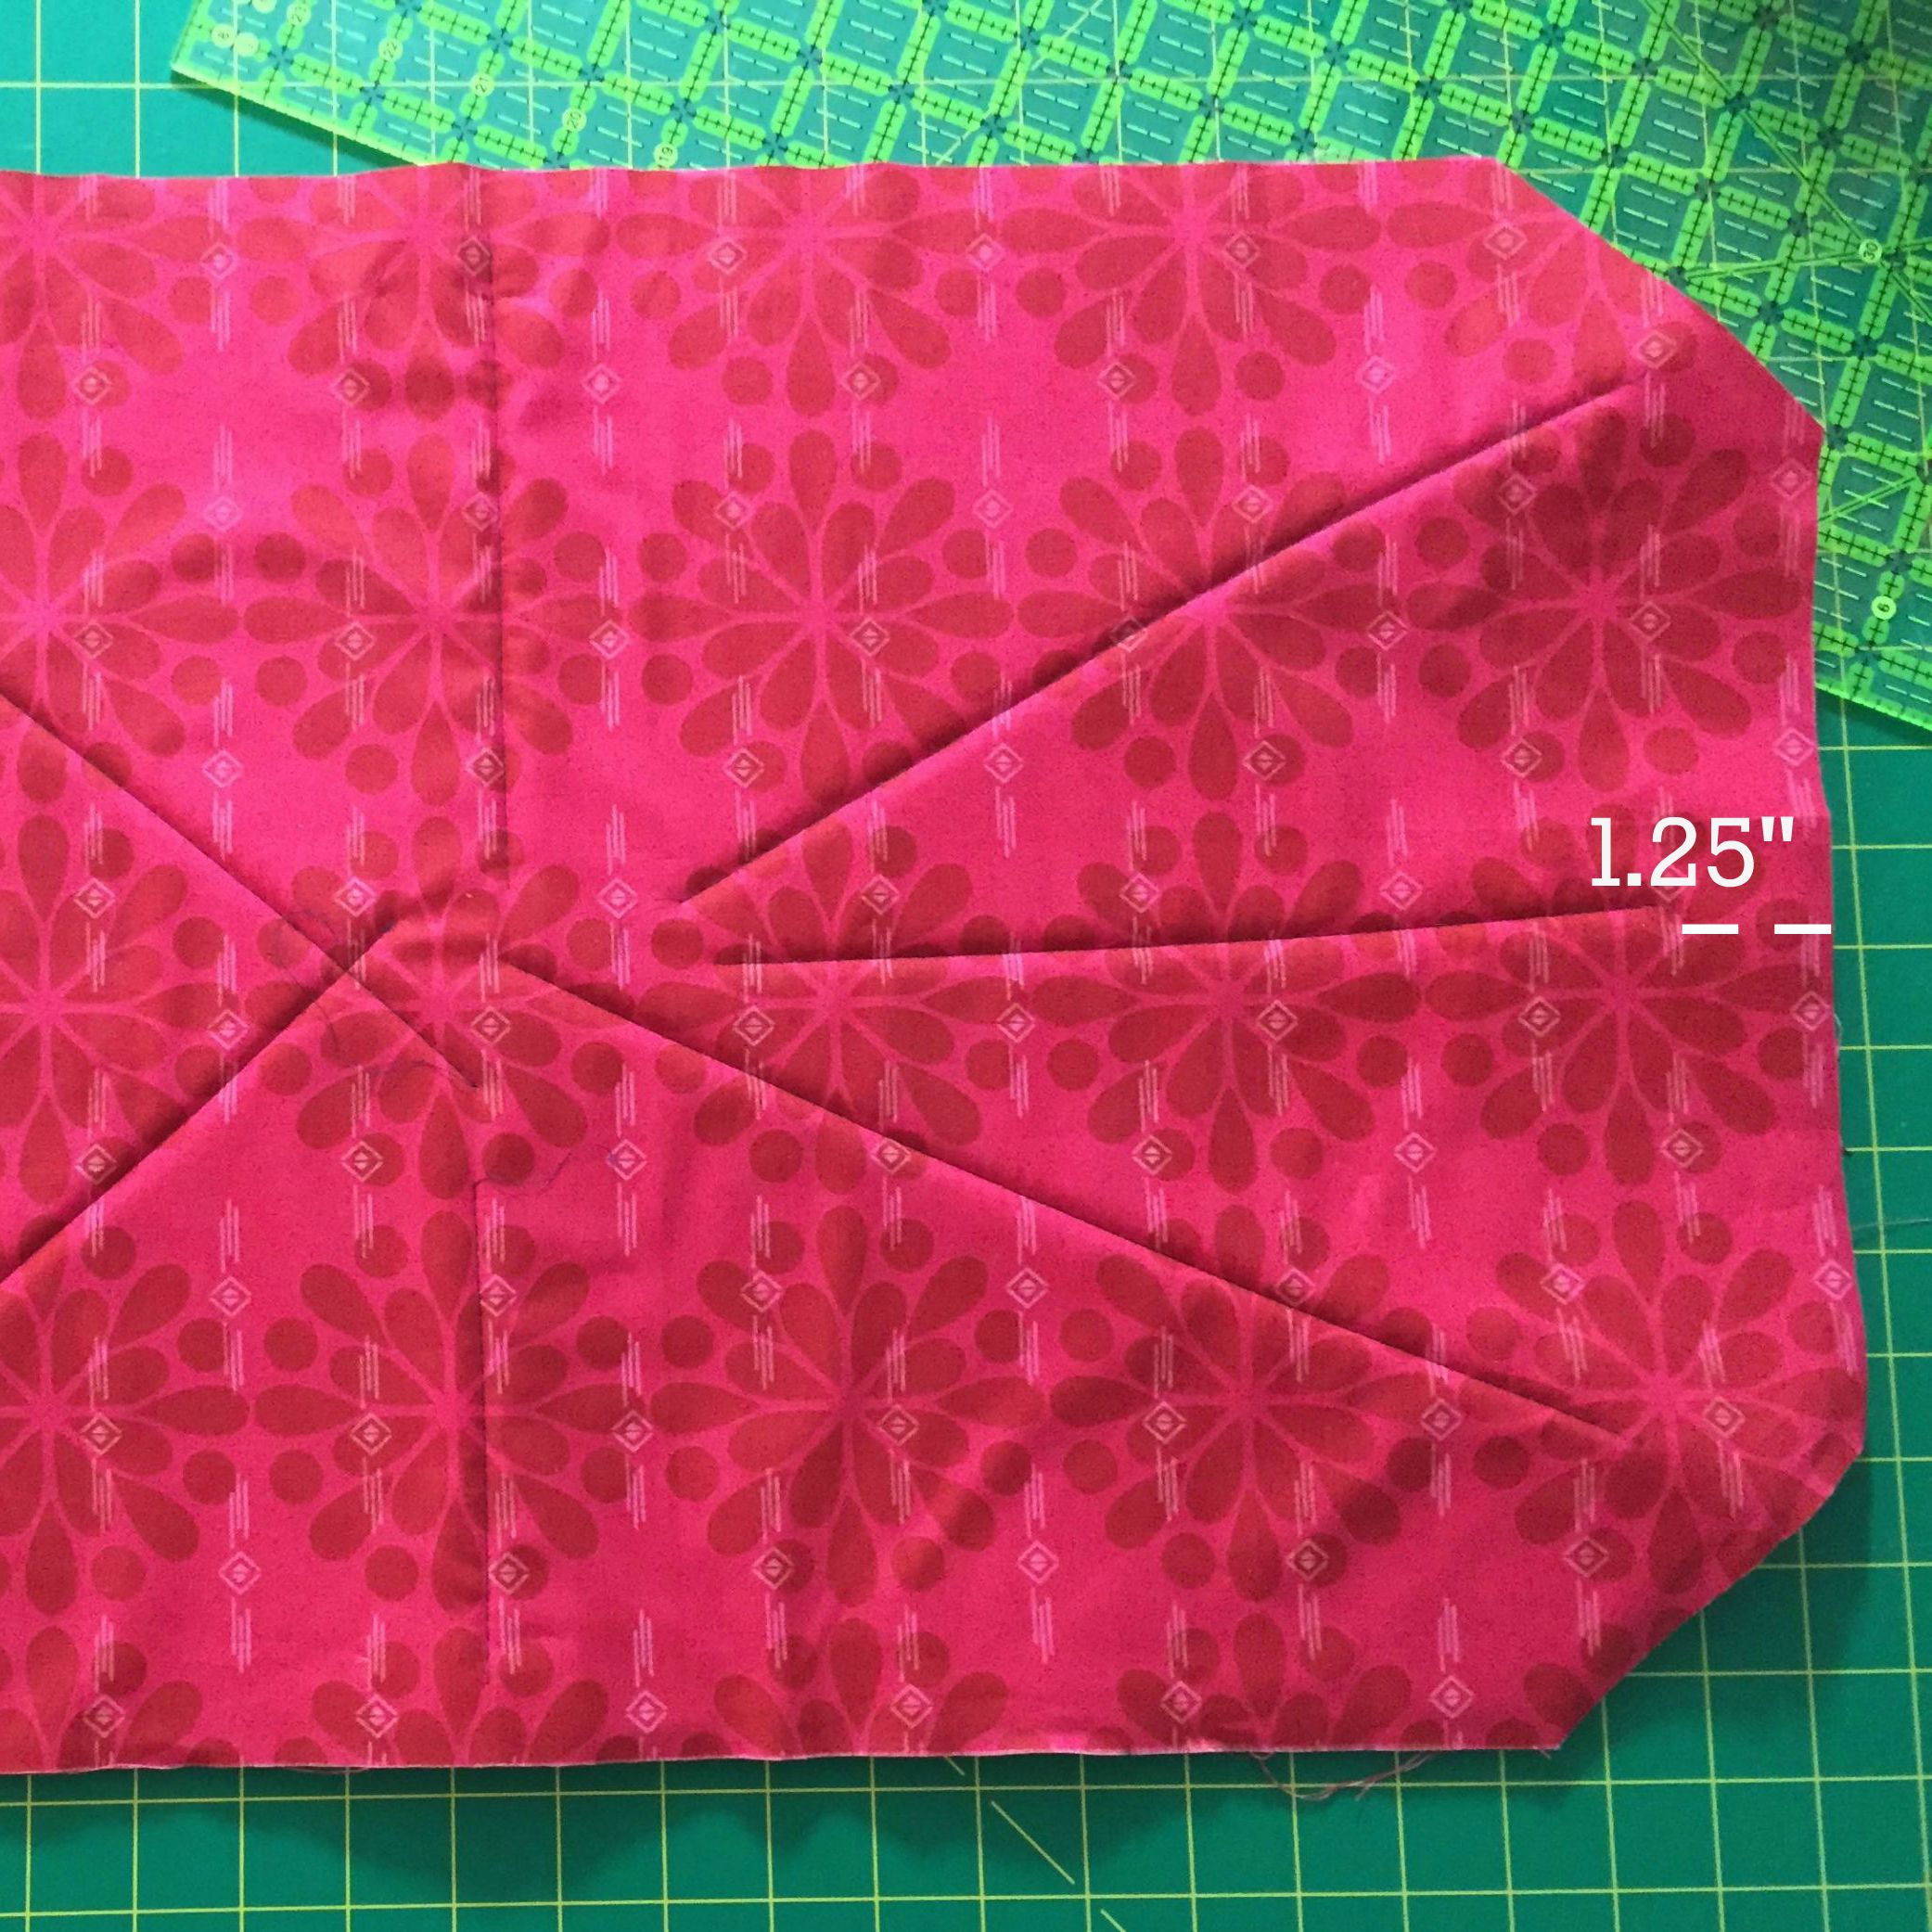
From the top of the Lining, fold the sides together to find the center.  Mark down 1.25″ and attach the magnetic snap according to the manufacturer’s instructions.


19AttachLining


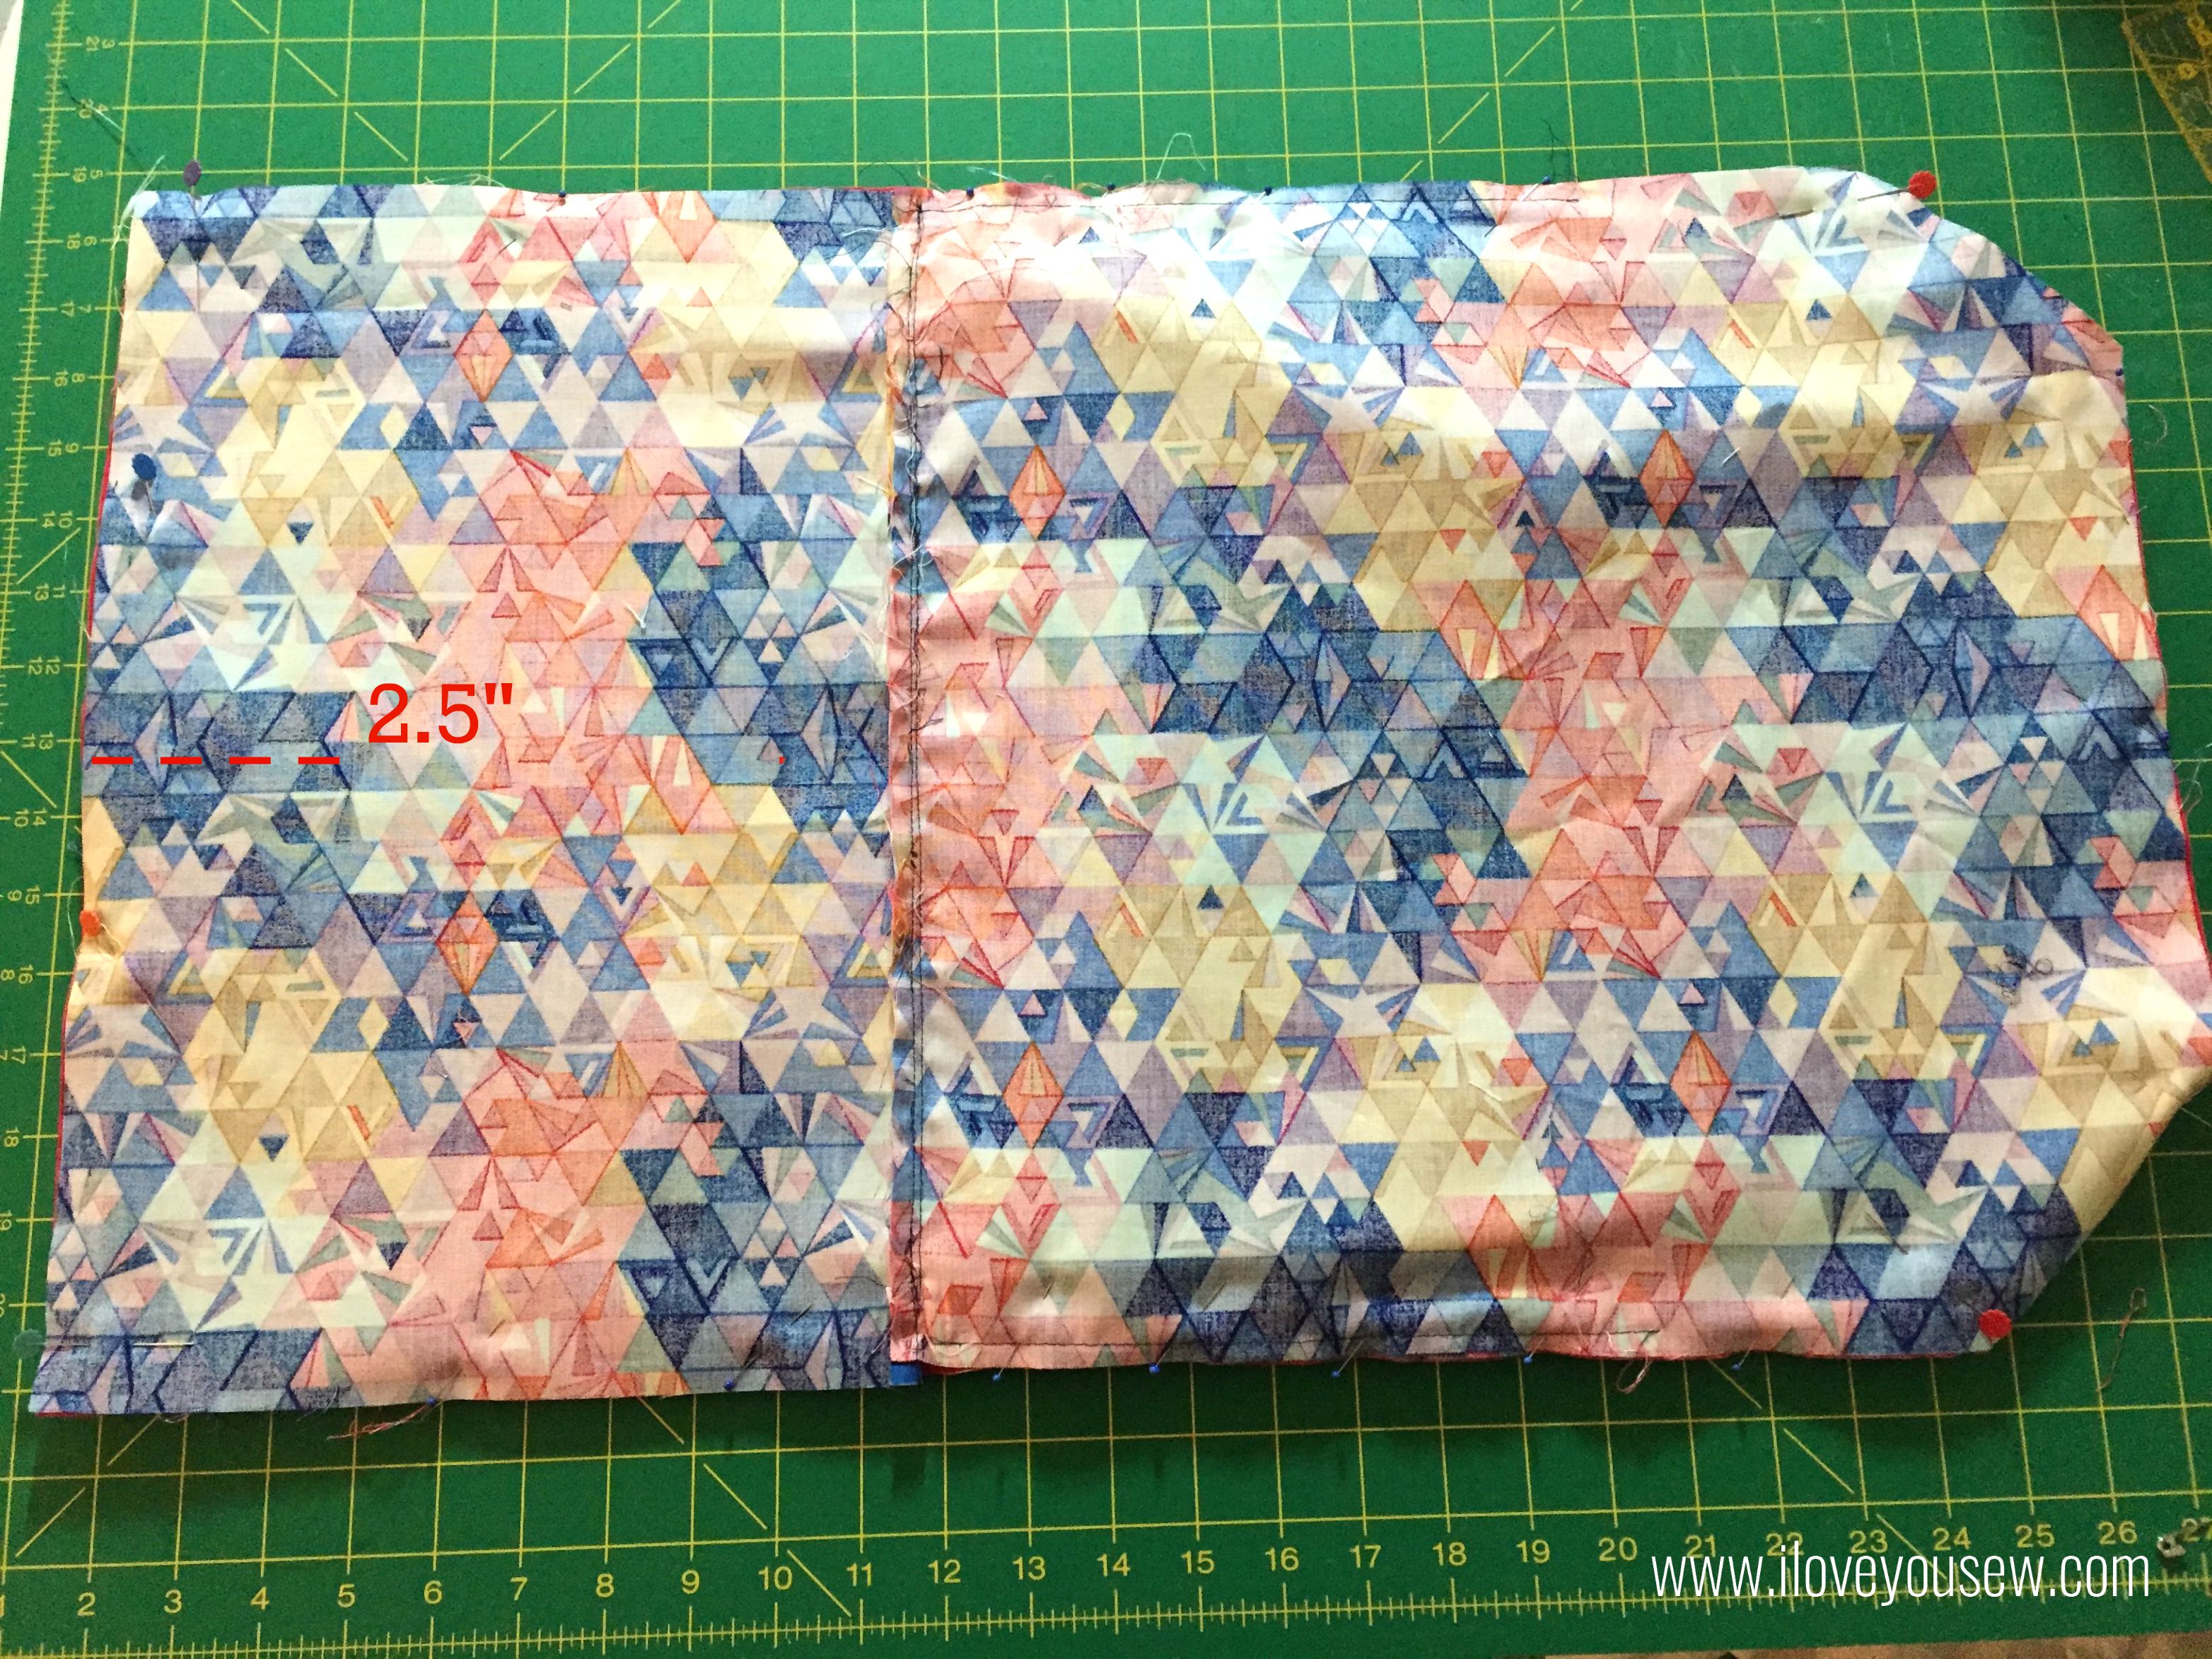
On the bottom of the Completed Exterior, find the center.  Mark down 2.5″ from that point to attach the other half of the snap set.  TIP: Fuse a piece of scrap interfacing on the wrong side of the fabric where you will attach the snap.  This helps provide a layer of durability.

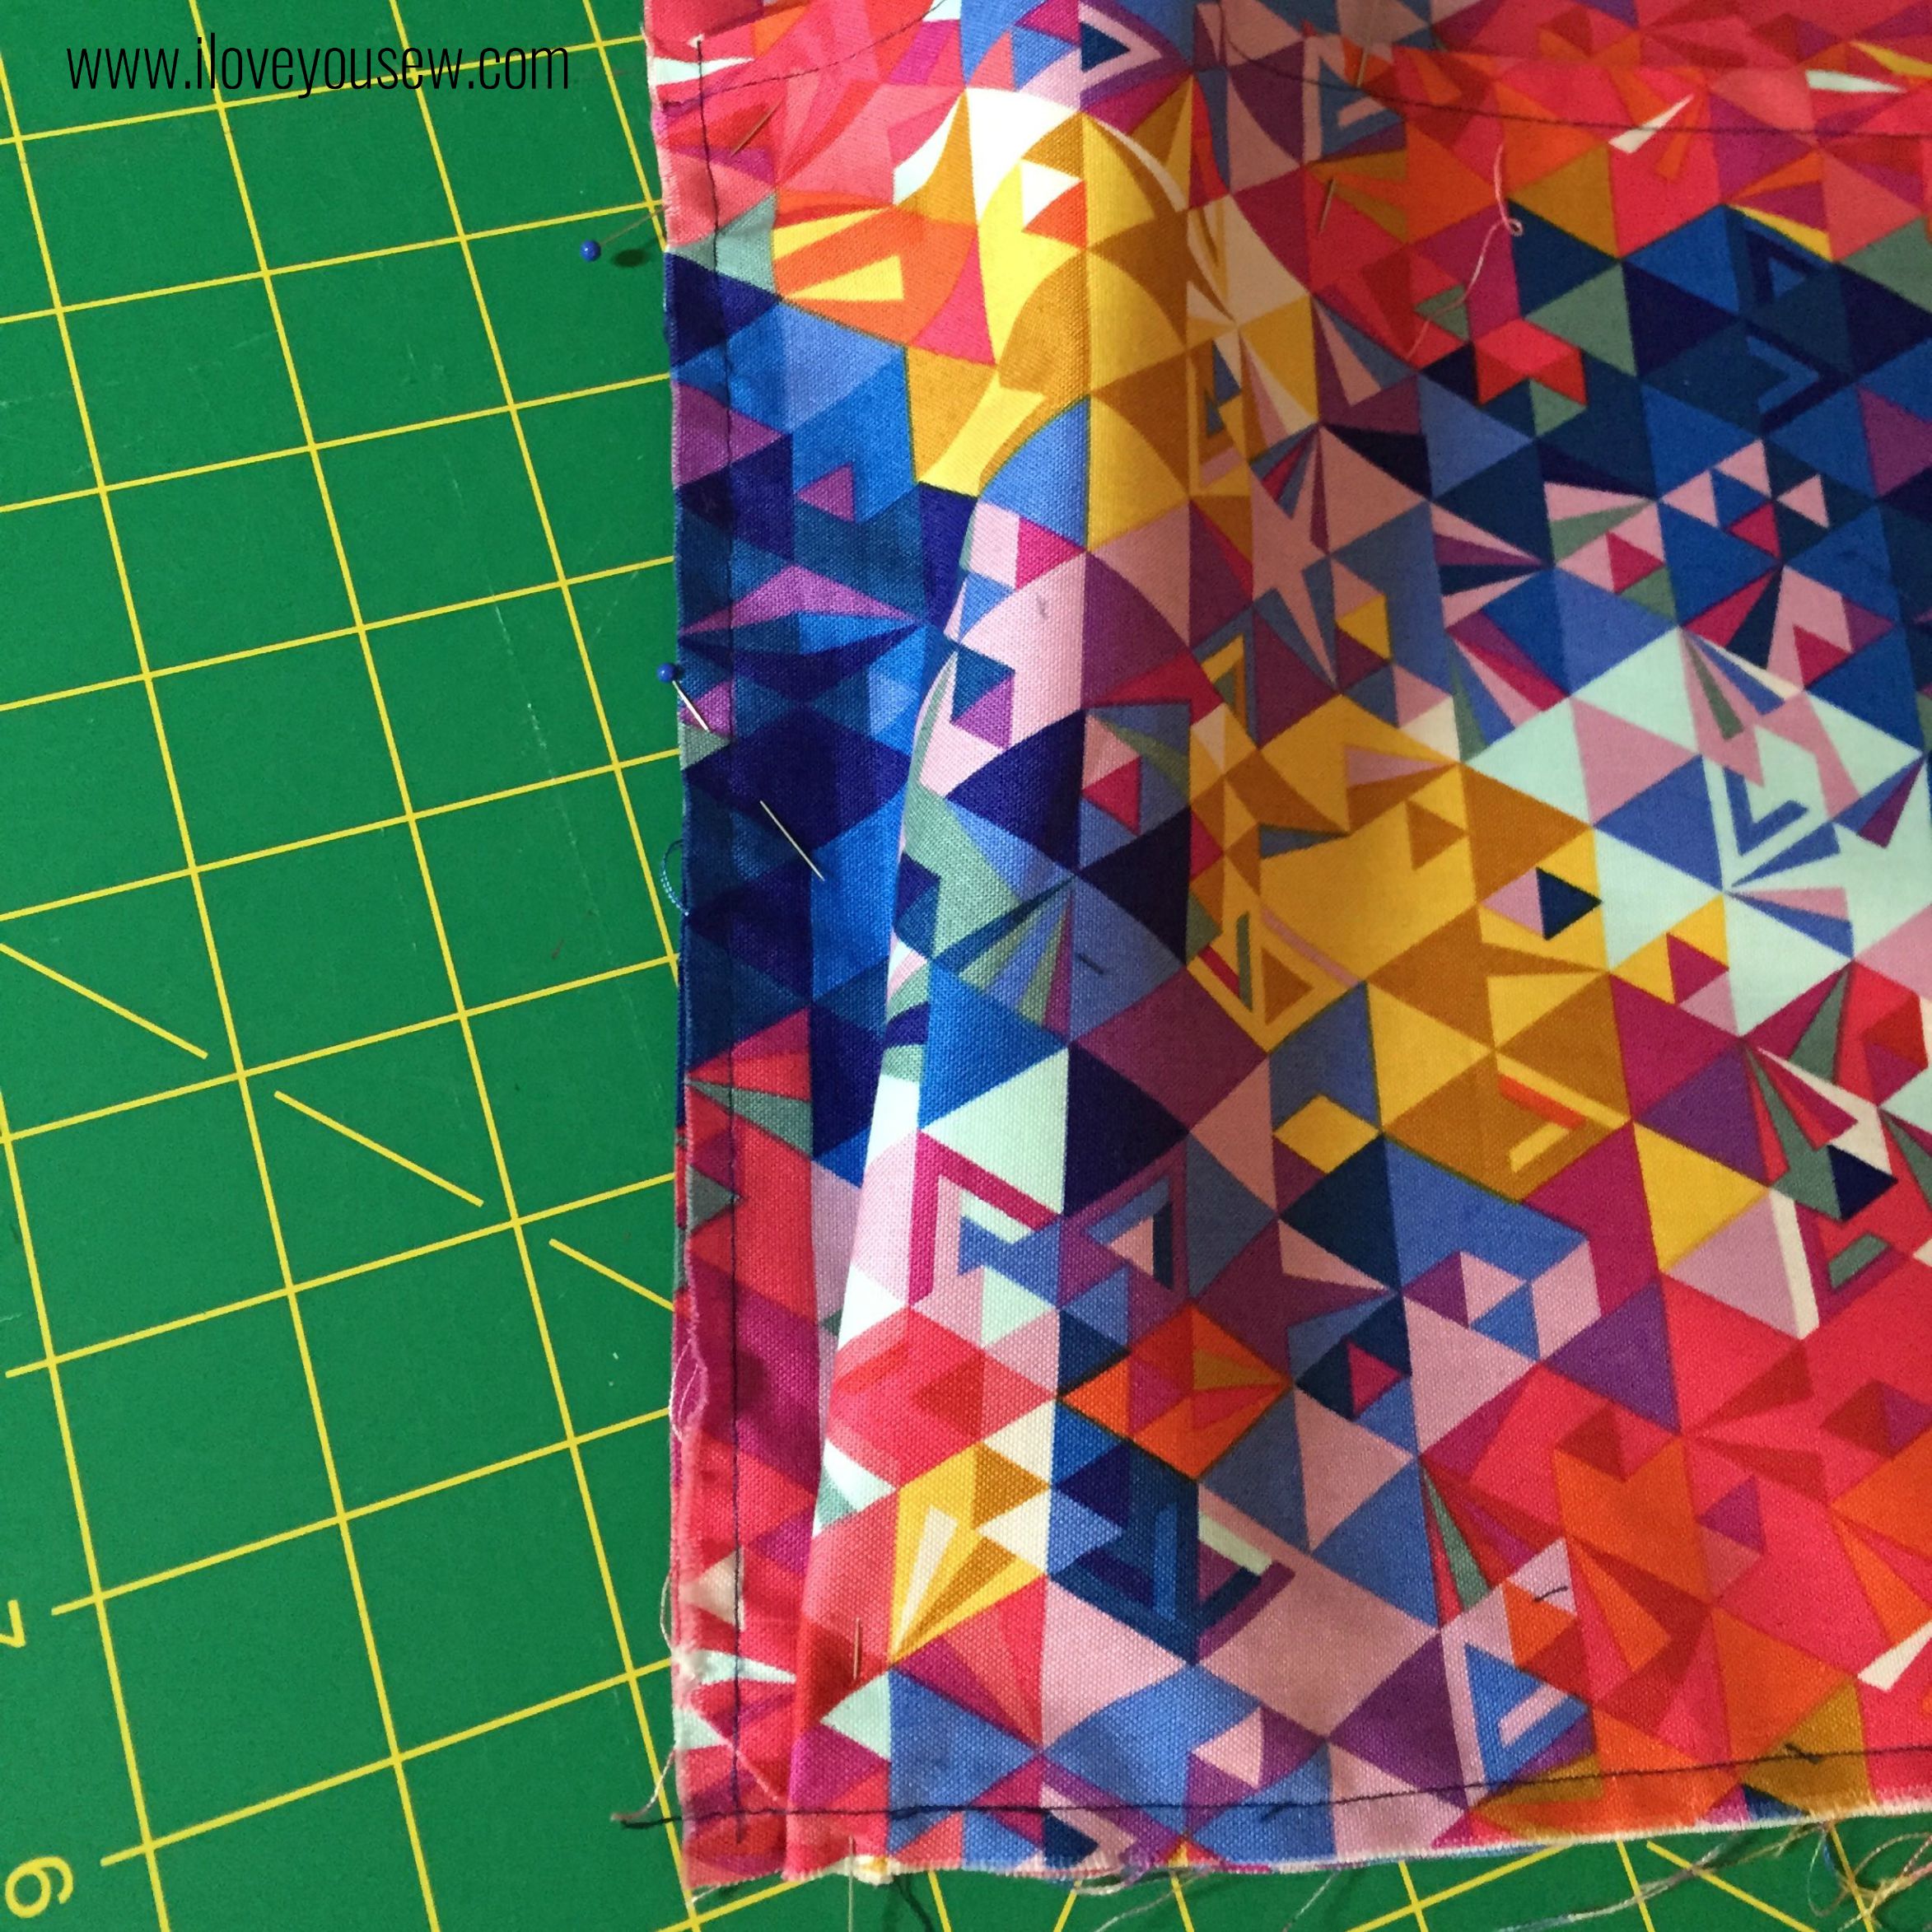
With right sides together, sew the Exterior to the Lining with 3/8″ seam allowance leaving approximately 5″ opening to turn.  Notch the corners. Remove basting threads.

Turn the Laptop cover out and push out the corners.  Press well.


24Complete

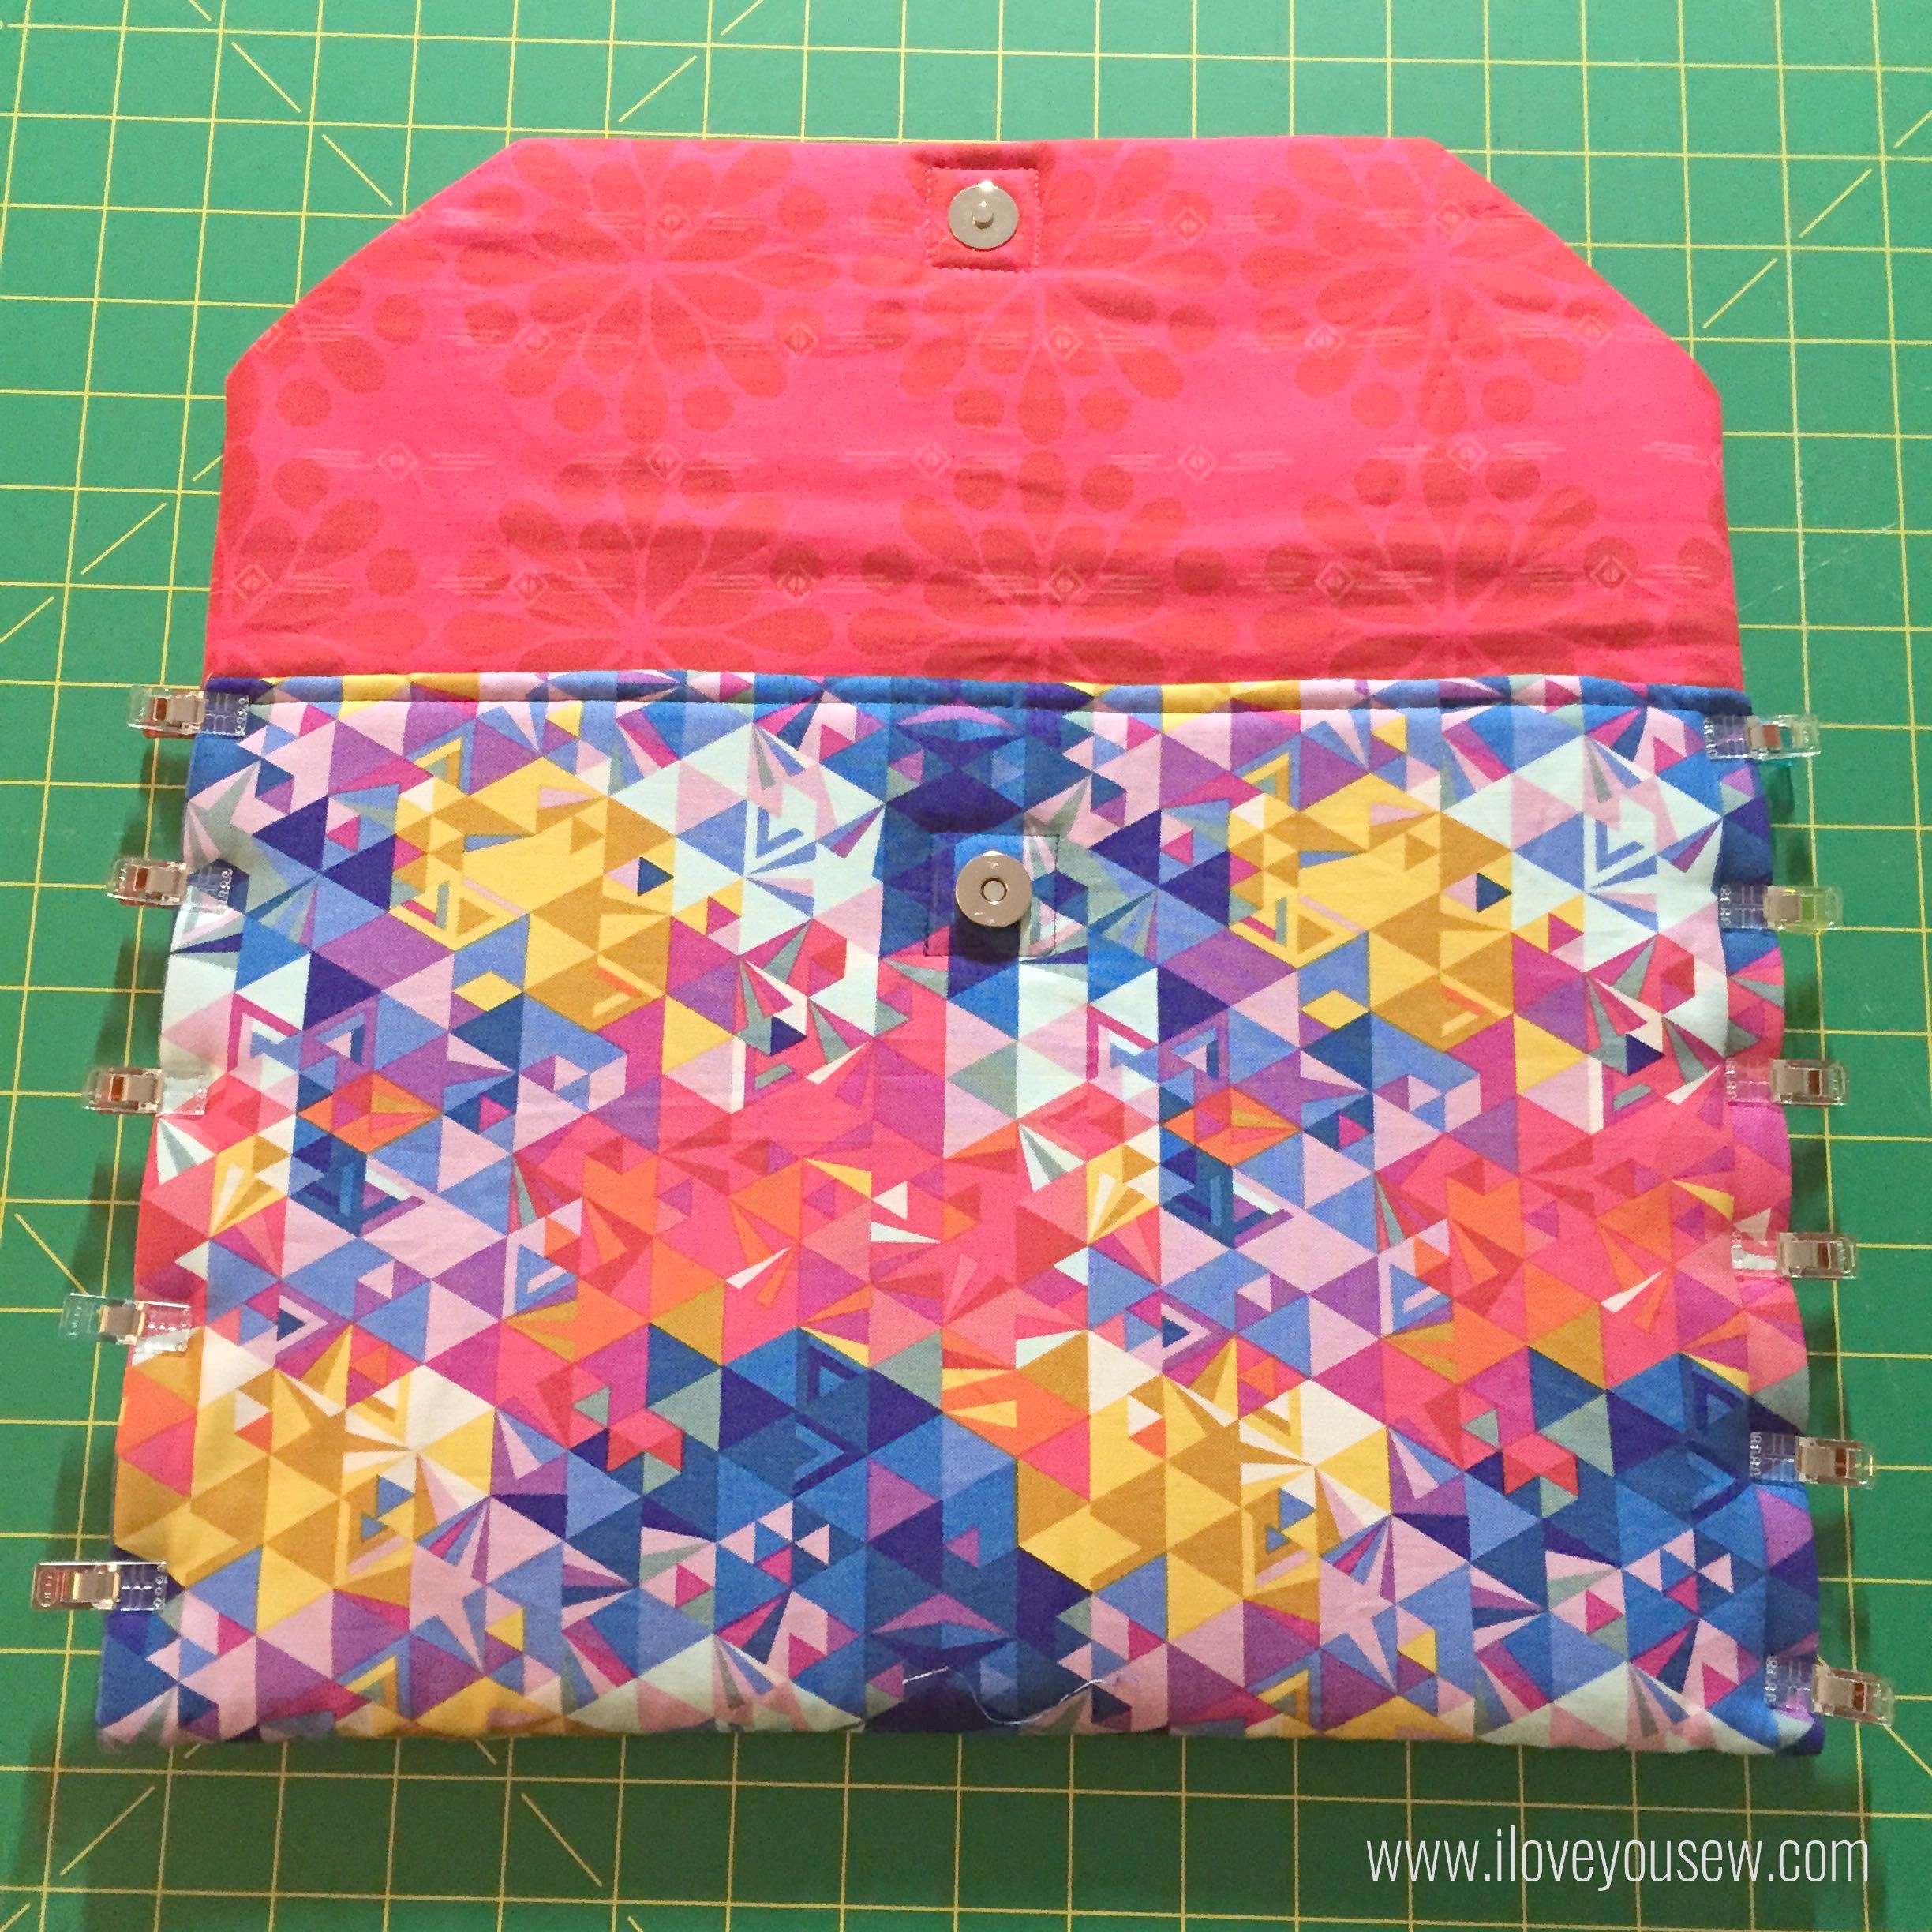
Sew a square around the magnetic snaps with about 1/4″ clearance all around.  This helps secure the snap into place.

Sew a 1/4″ seam along the bottom edge of the laptop case.

Fold the front of the cover up along the sewn seam and clip into place.  Starting from one bottom corner, sew all around the case with 1/8″ seam allowance to create the main compartment for the laptop.

20 SideSnap

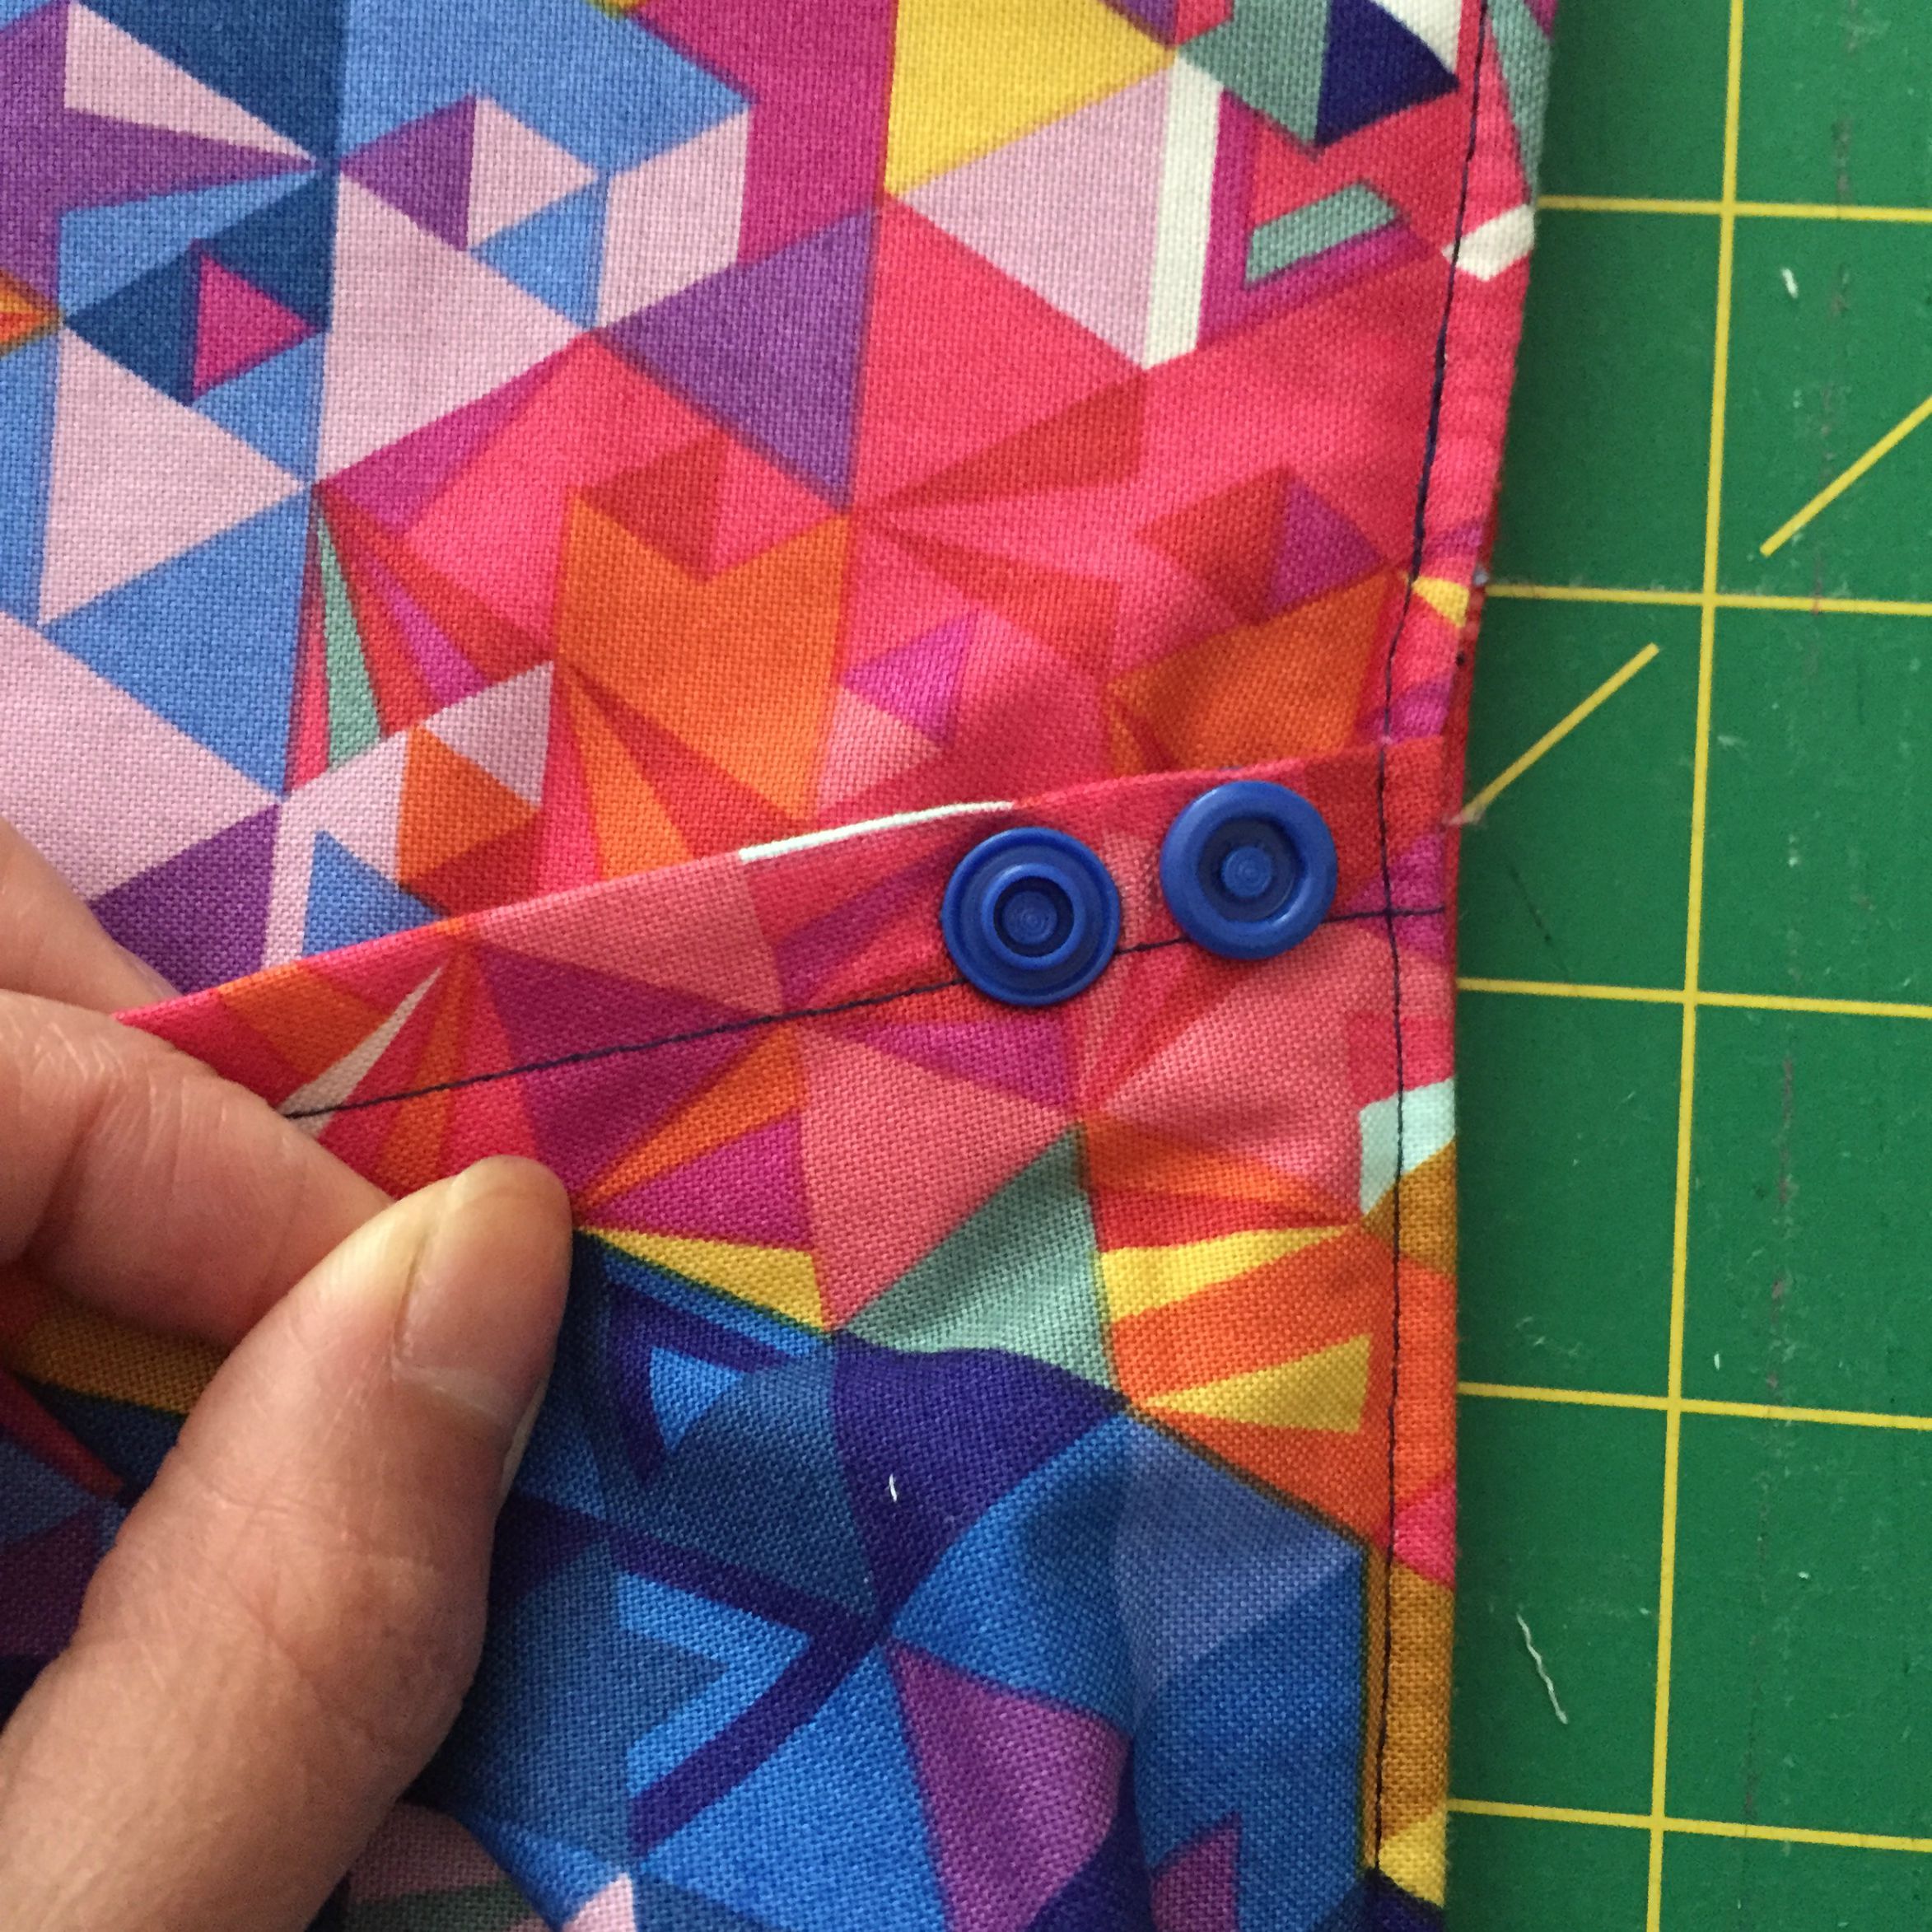
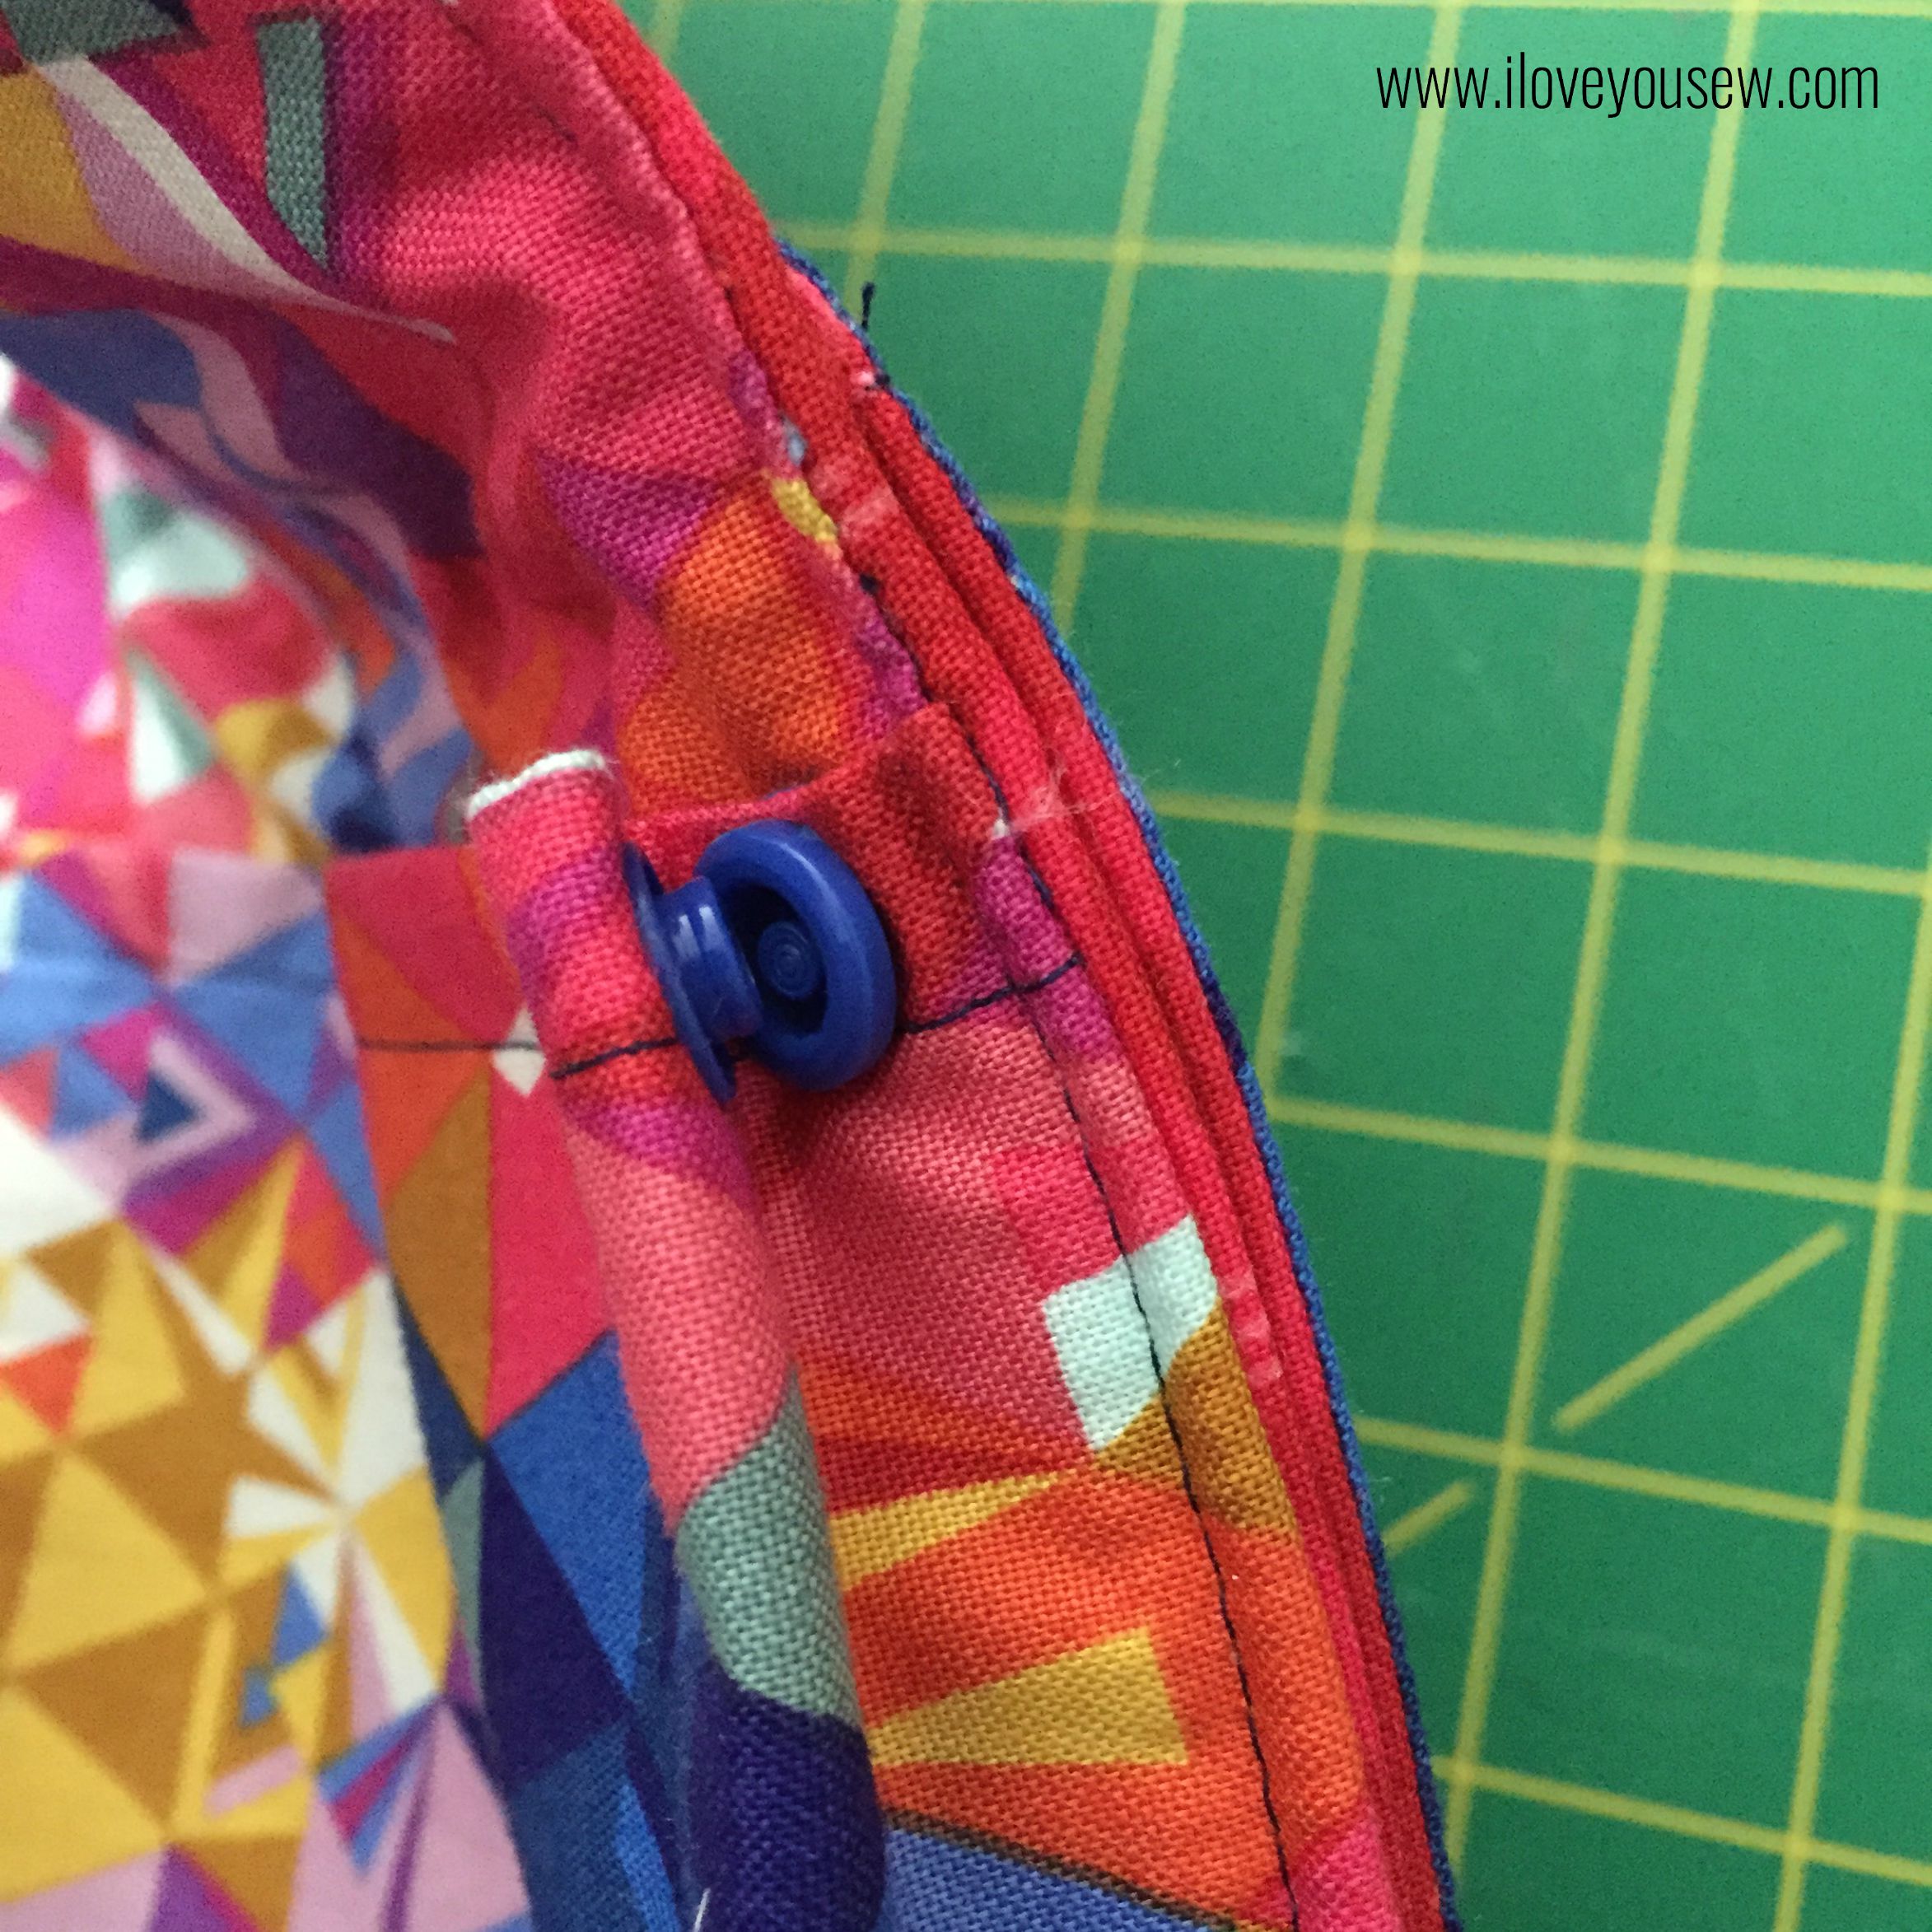
Follow the pleat on the pocket and finger press the fabric to mark where you will attach the KAM snaps.  The female and male ends will be right next to each other.


21SideSnapTogether

This will secure the pleat but gives the pocket more room to hold your cords and other goodies.  Repeat on the other pleat.

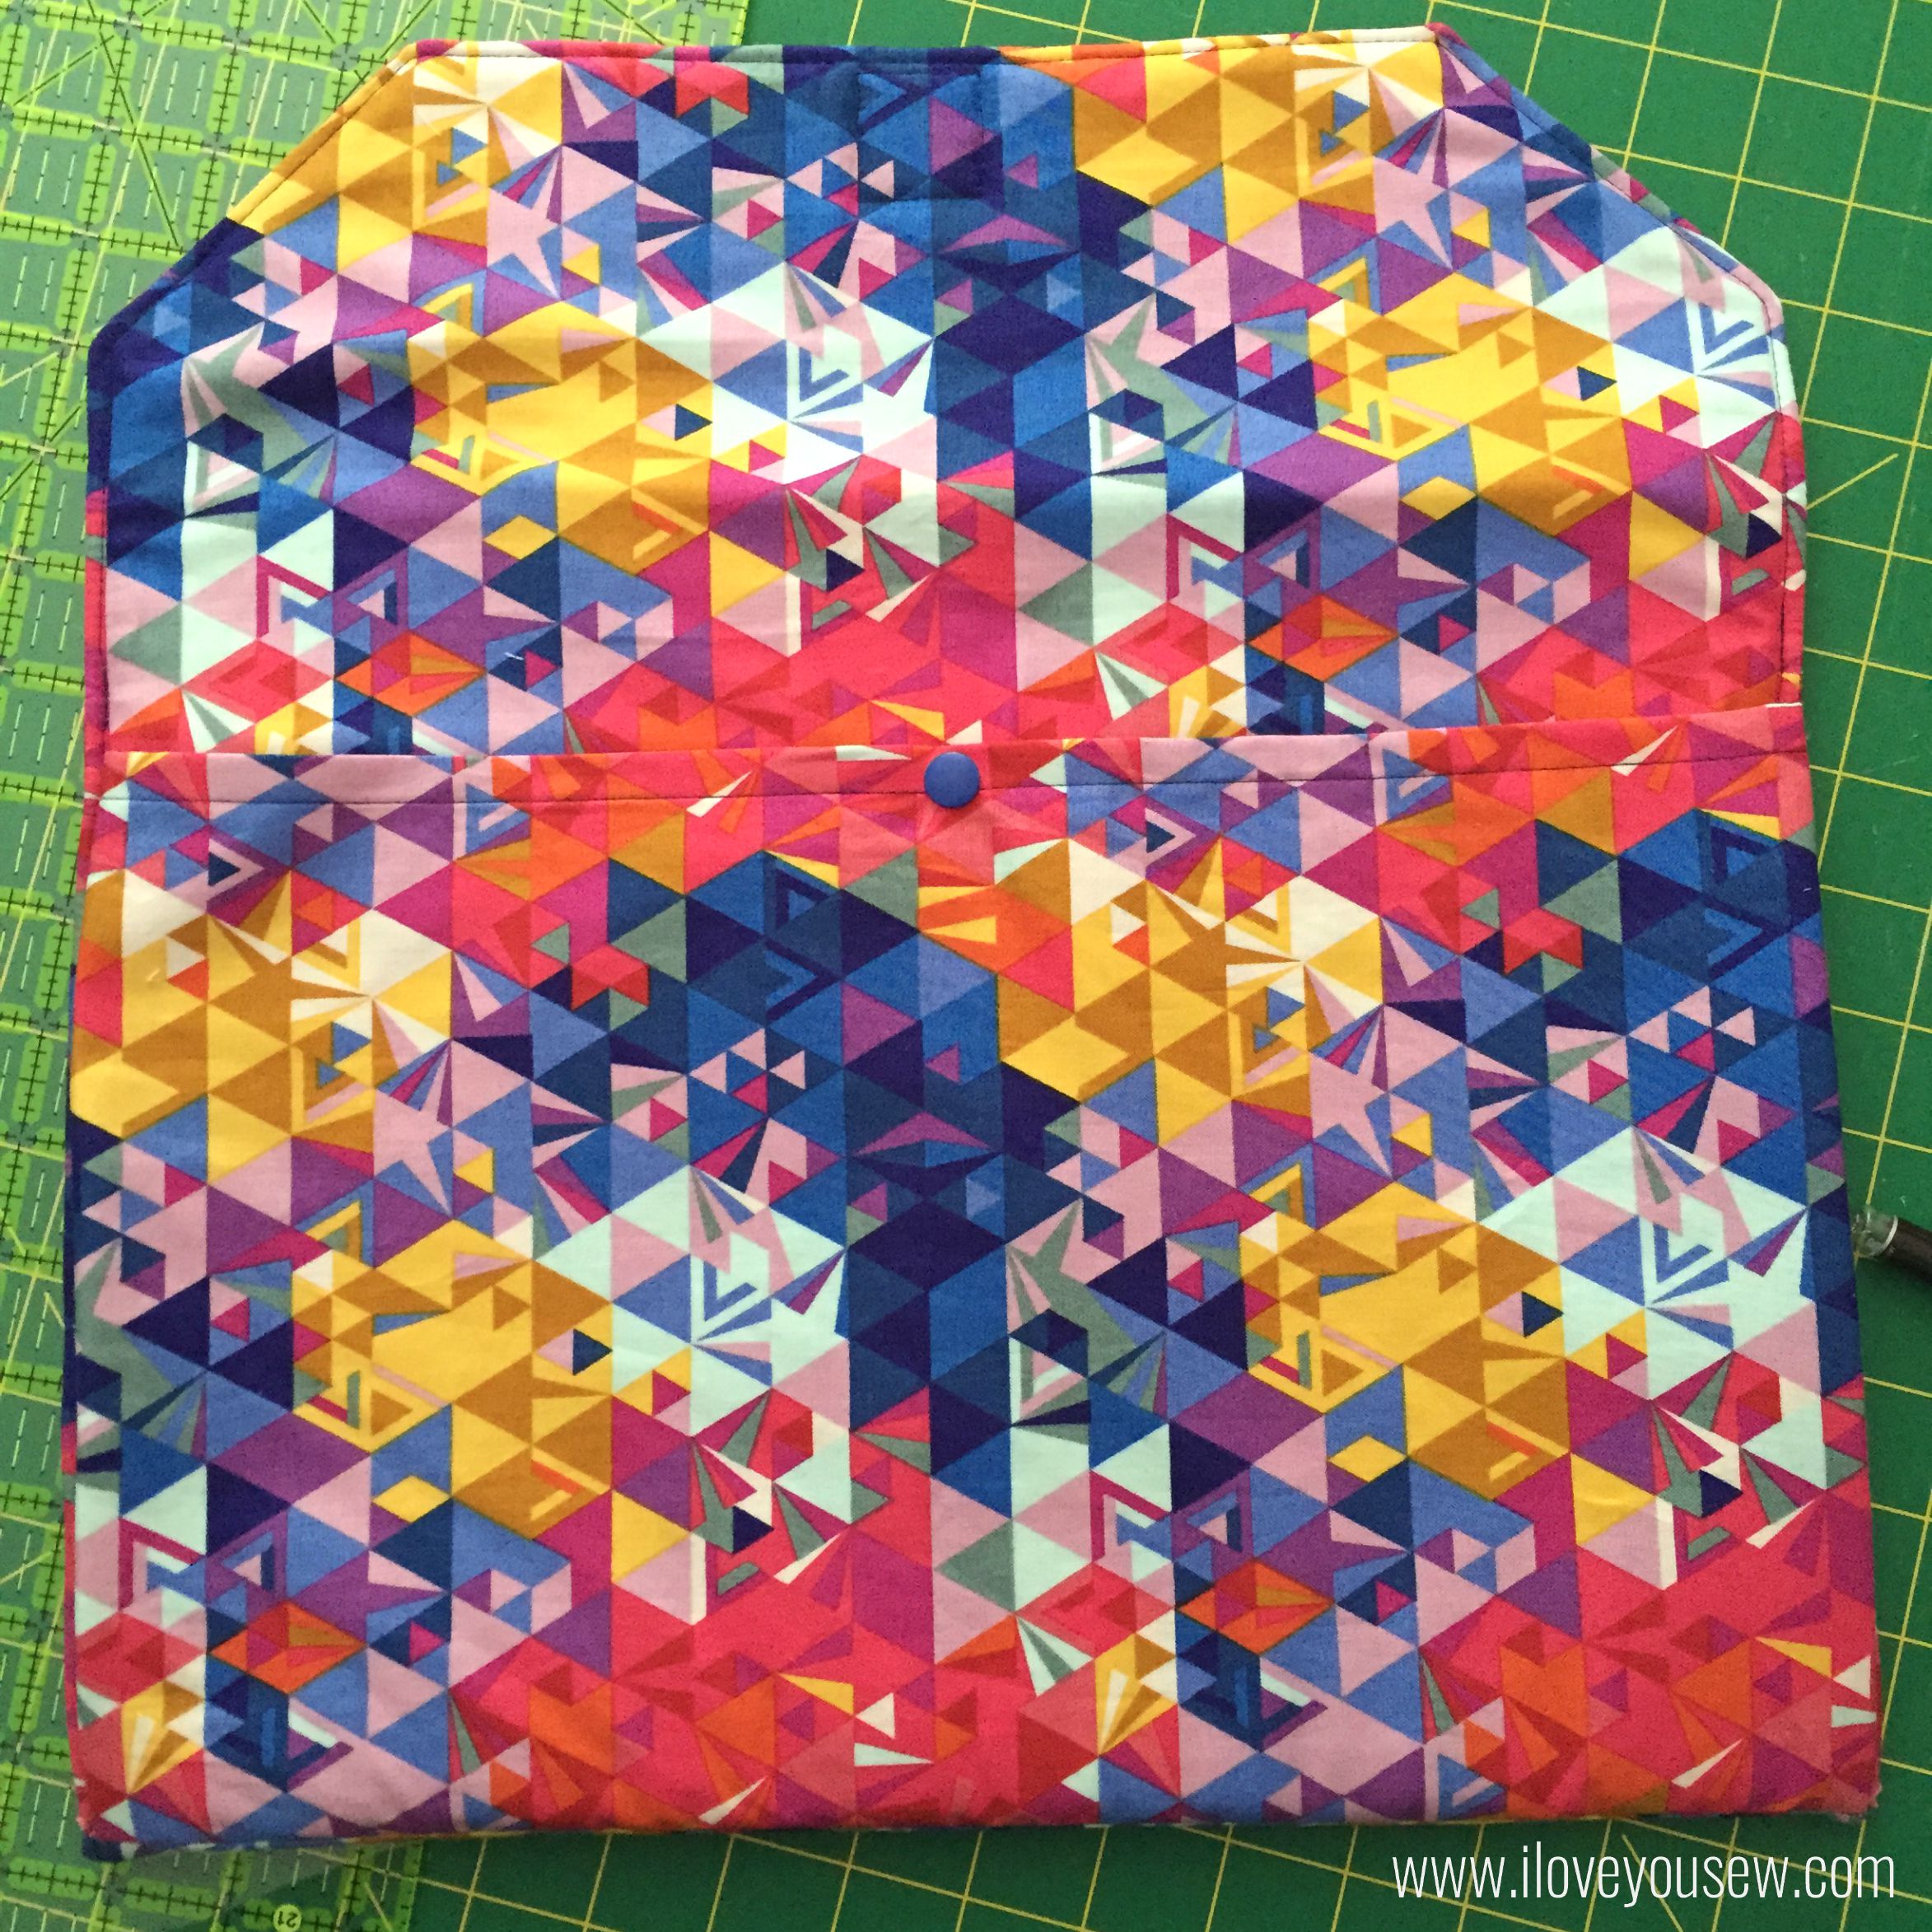
23BackwSnaps


Find the center of the pocket and add one more snap about 1/2″ down from the opening.  Find where the snap meets the body of the case, mark and add the other snap.  The pocket opening should lie completely flat when all snaps are fastened.

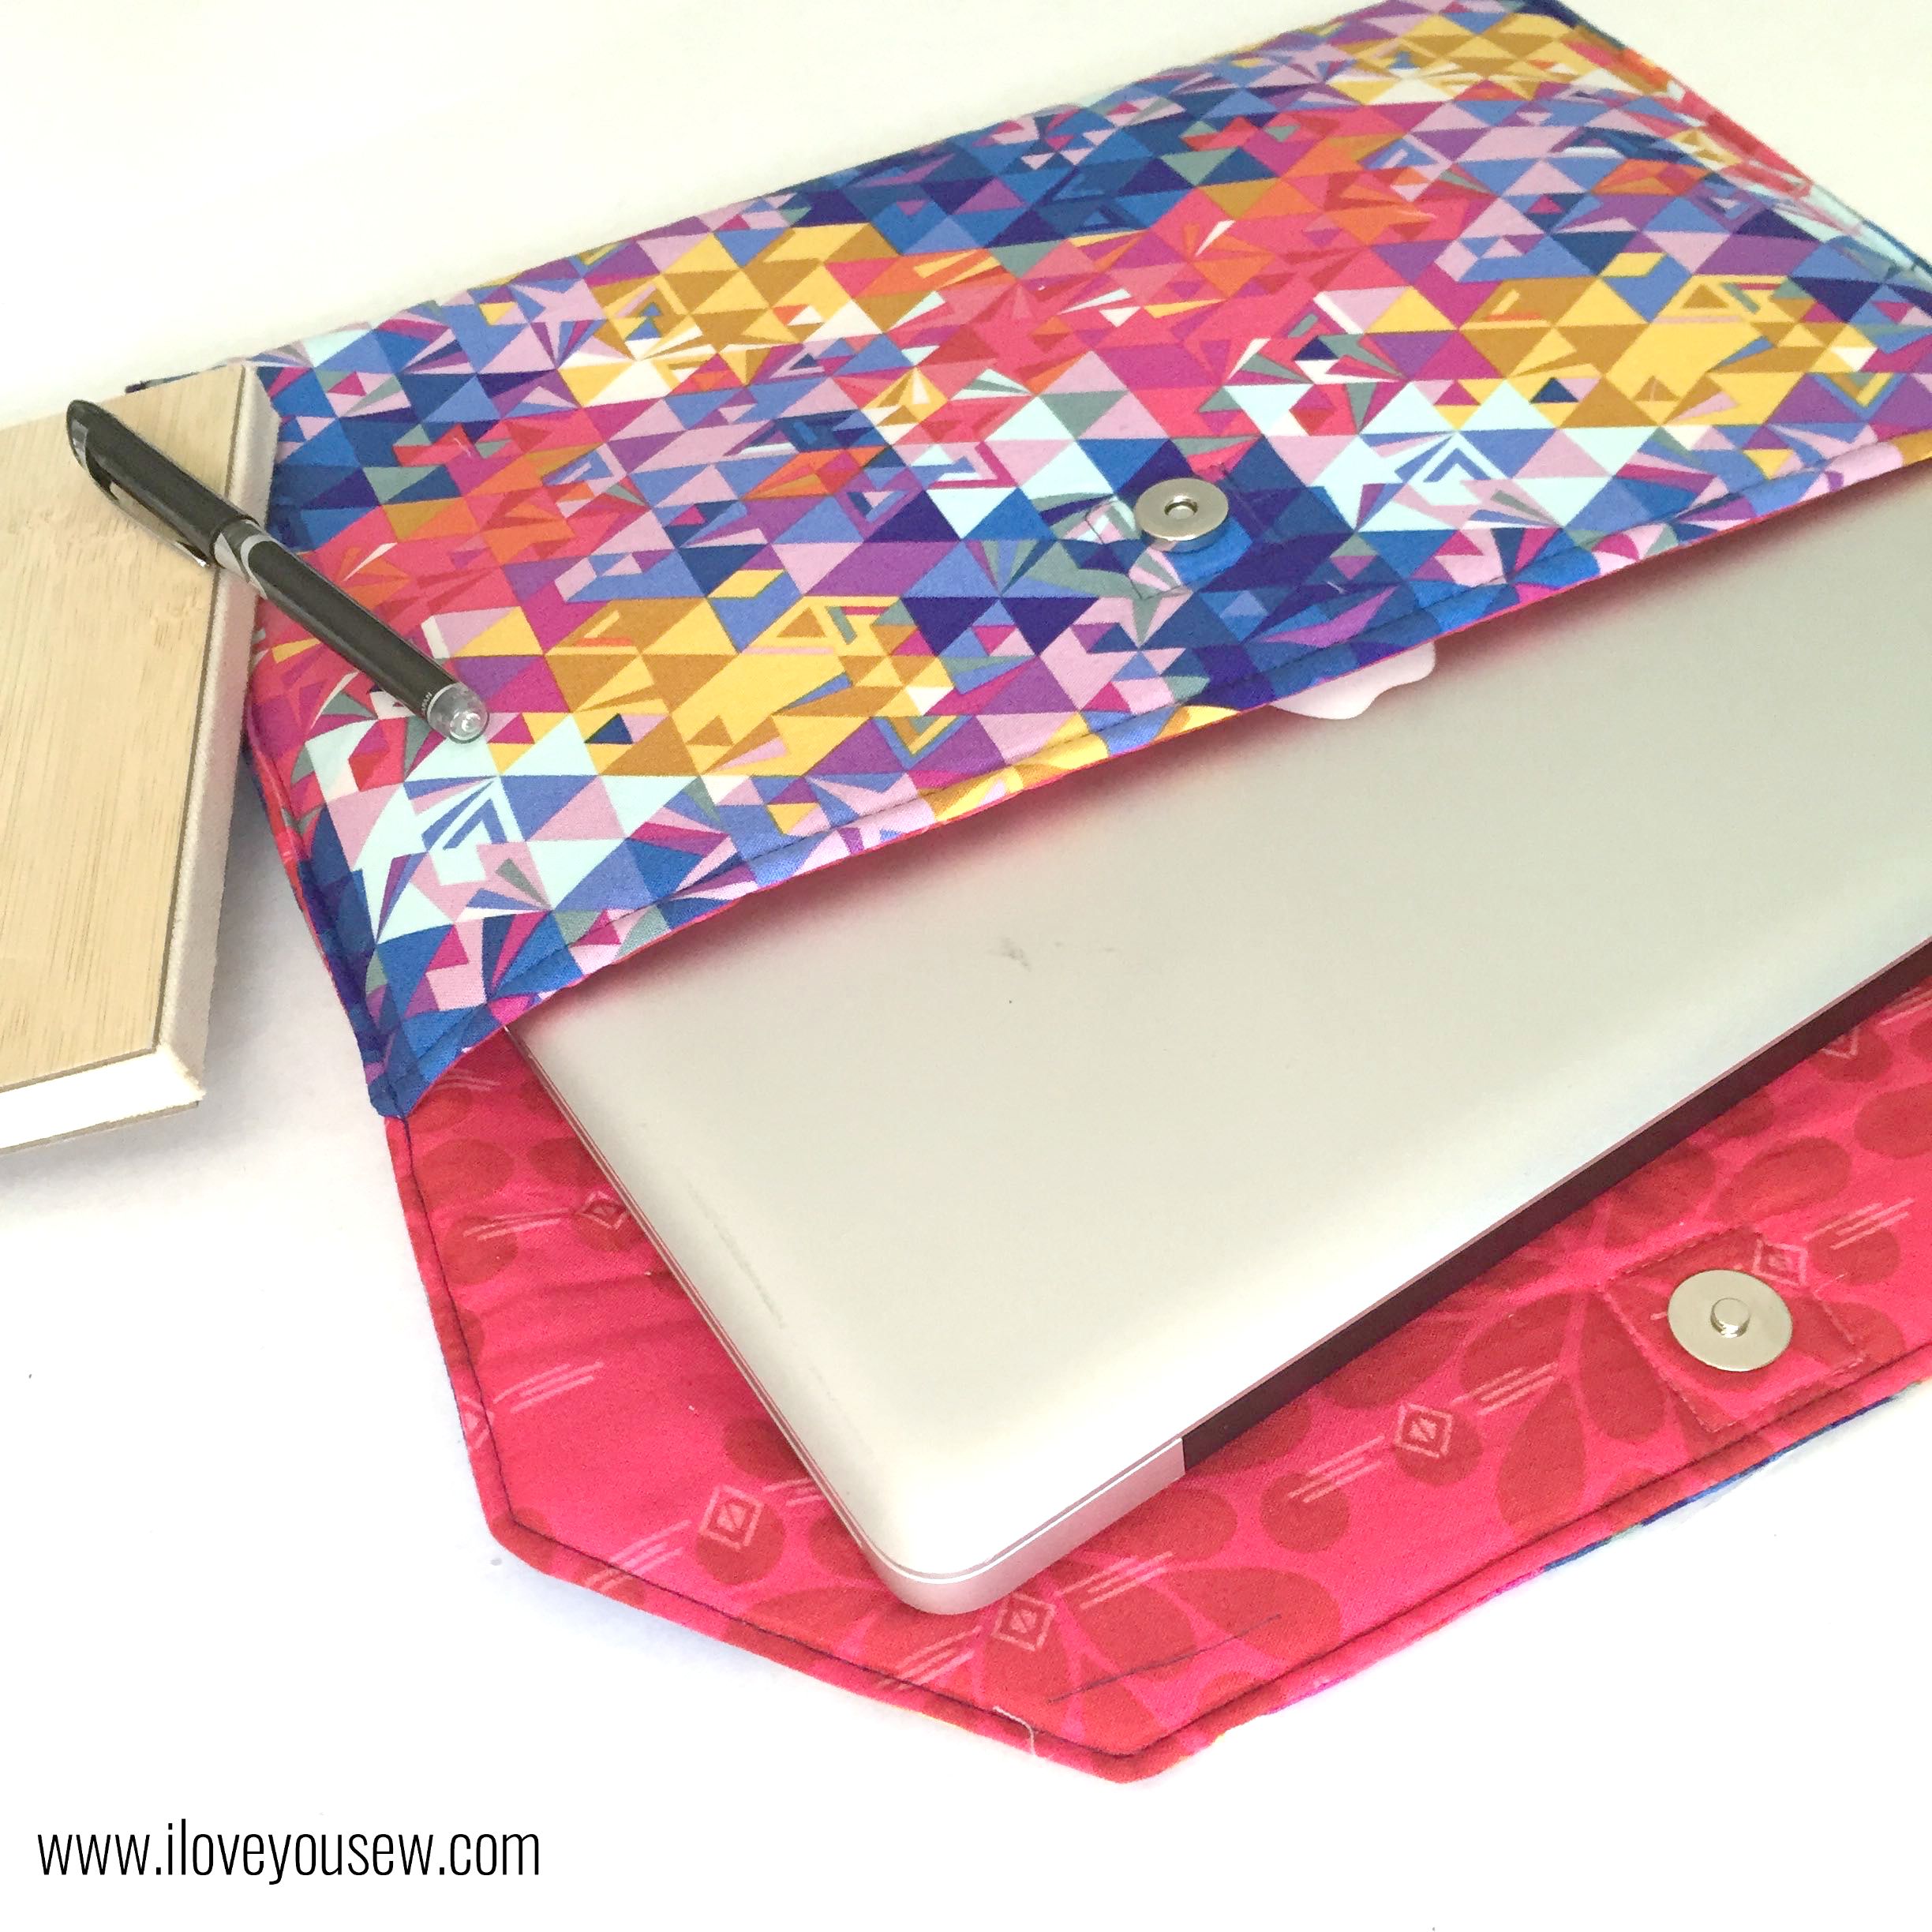
22CompletewLaptop

And there you have it – a beautiful cushioned case for your baby to travel!

Please let me know if you have any questions (I’m new to pattern writing) and please tag me on Instagram if you make one. #loveyousewlaptopcase  #loveyousewpatterns


Happy Sewing!

Cristy


This post may contain affiliate links for which I do receive a small compensation…It helps me keep this site running 🙂
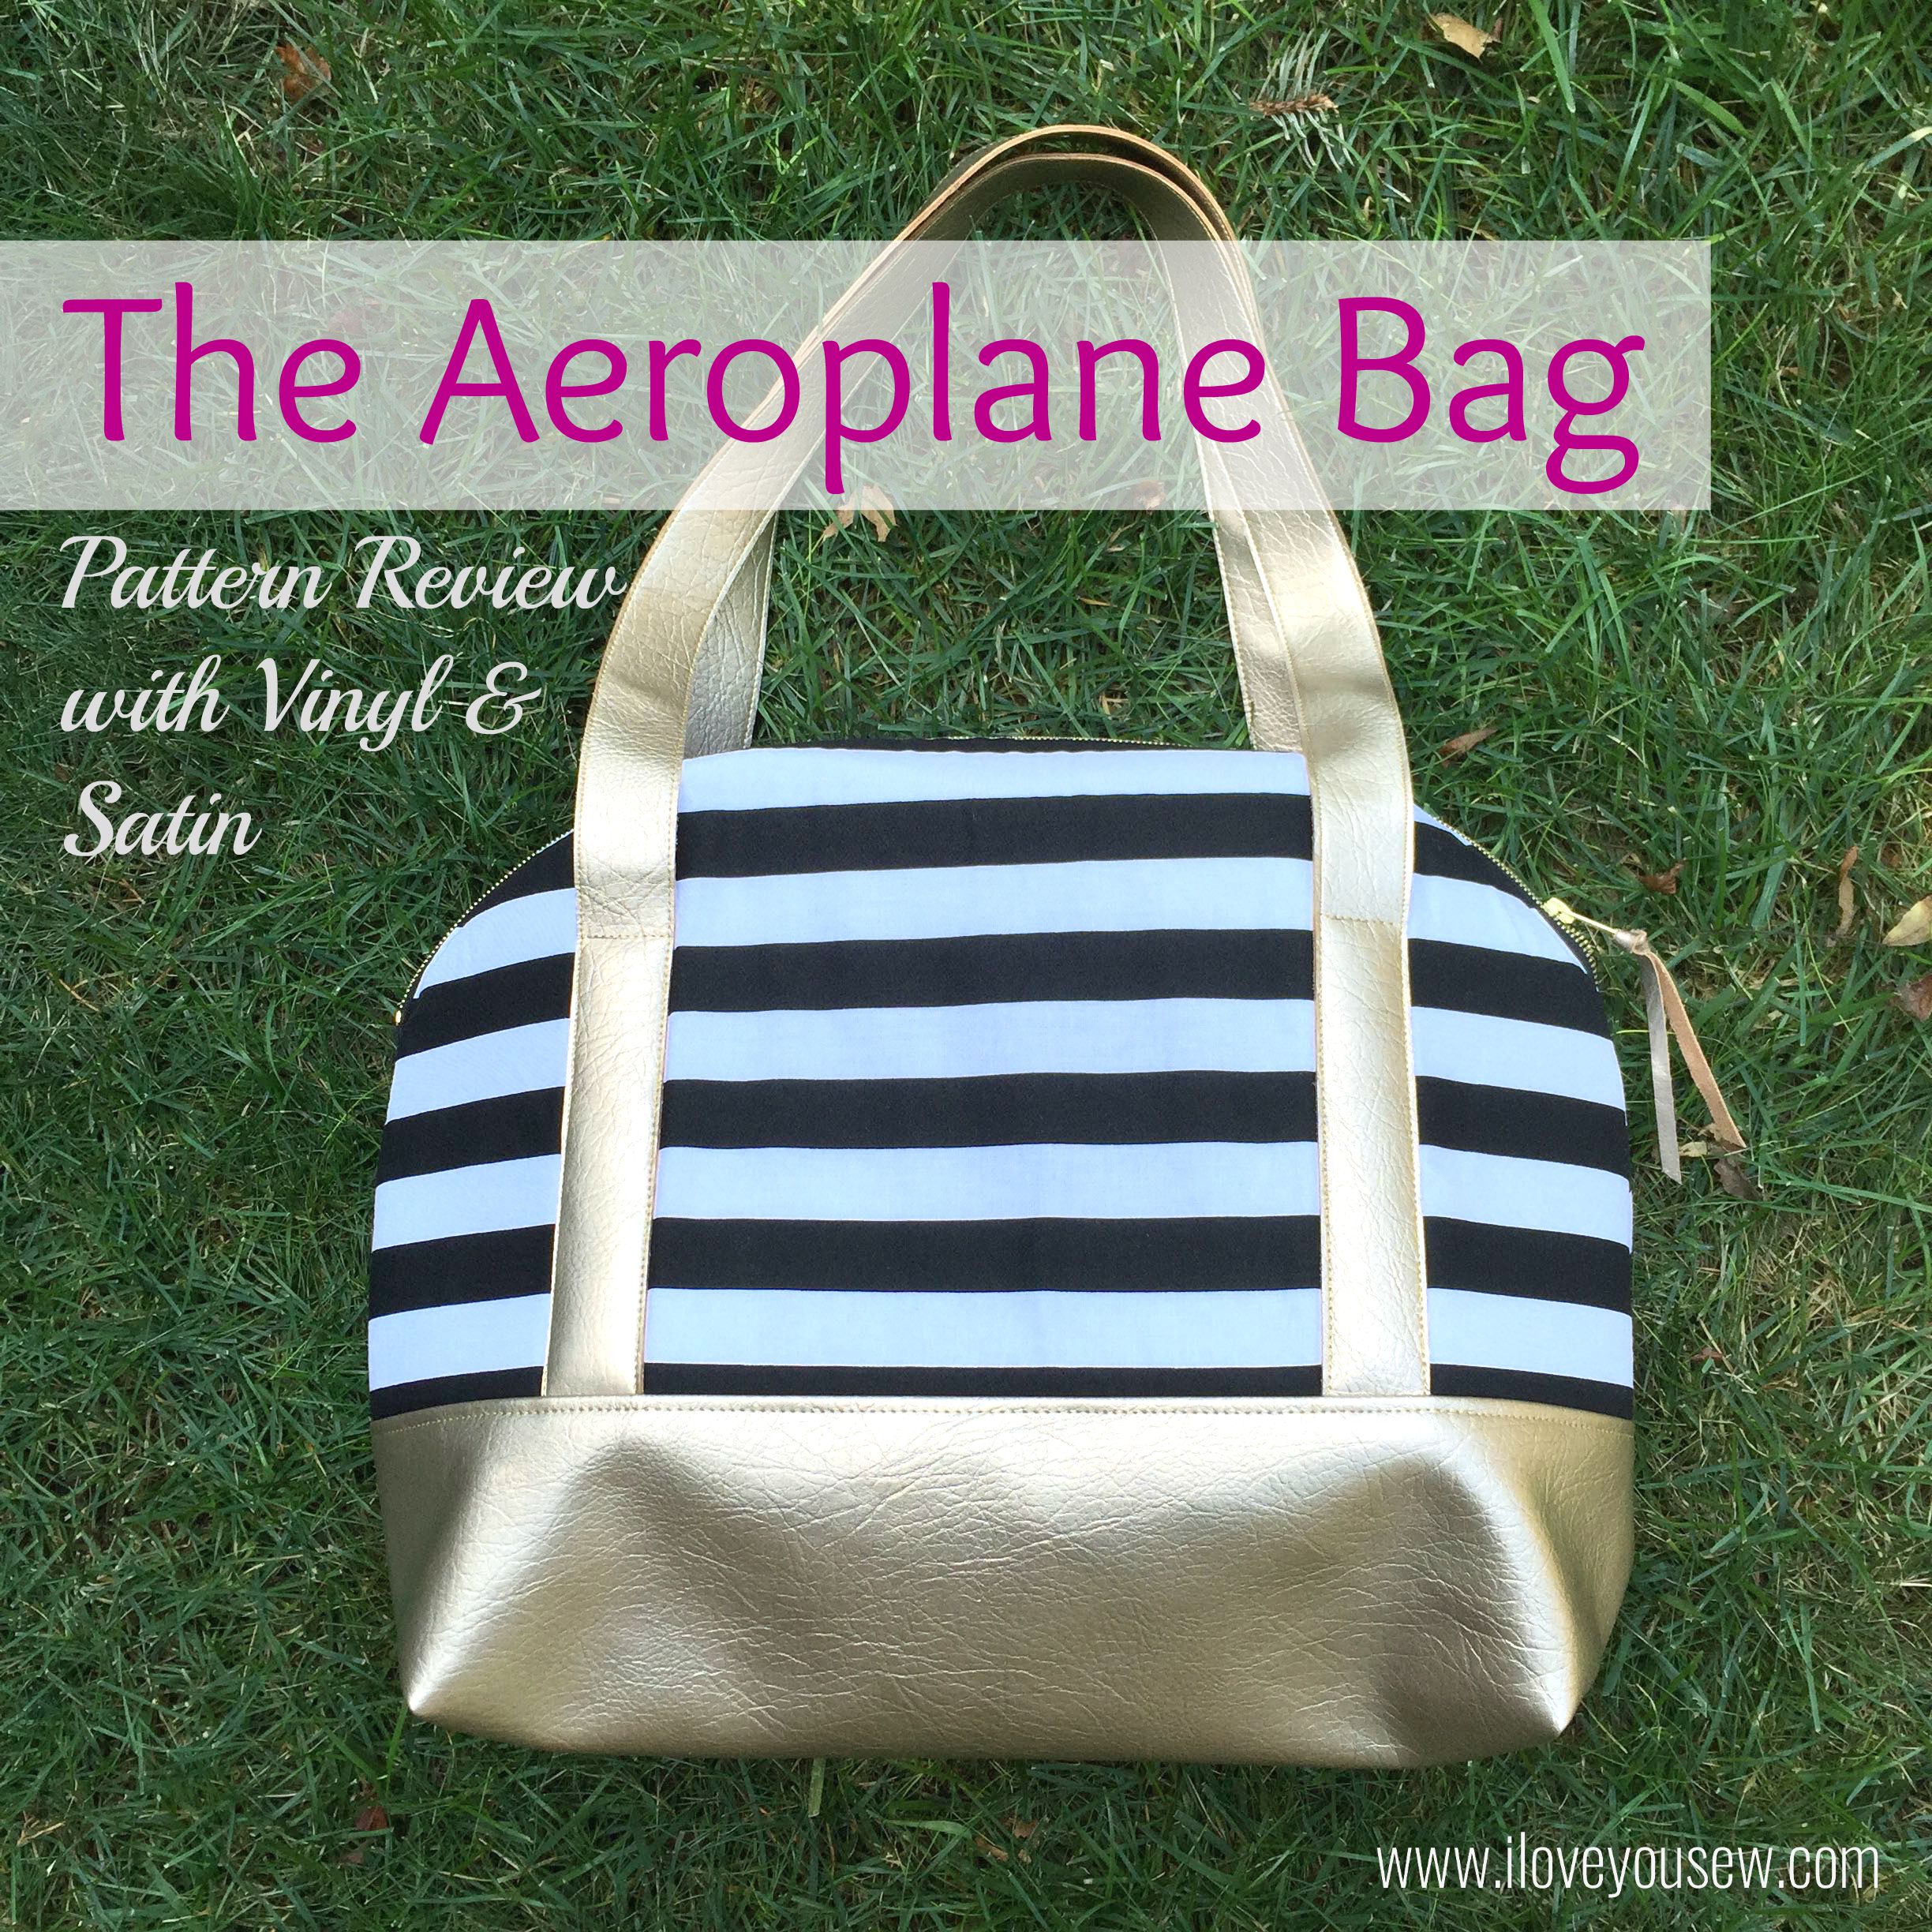
Aeroplane Bag: Pattern Review with Vinyl & Satin

AeroplaneTitle

I know there are a ton of pattern reviews on Sew Sweetness‘ beloved Aeroplane Bag, but I REALLY love how the gold metallic vinyl (pleather), bold stripes and teal satin turned out!  I was debating if it deserved a post, but after so much love on IG, I decided to share what I made and what I learned on the way 🙂


AeroplaneFabricPull

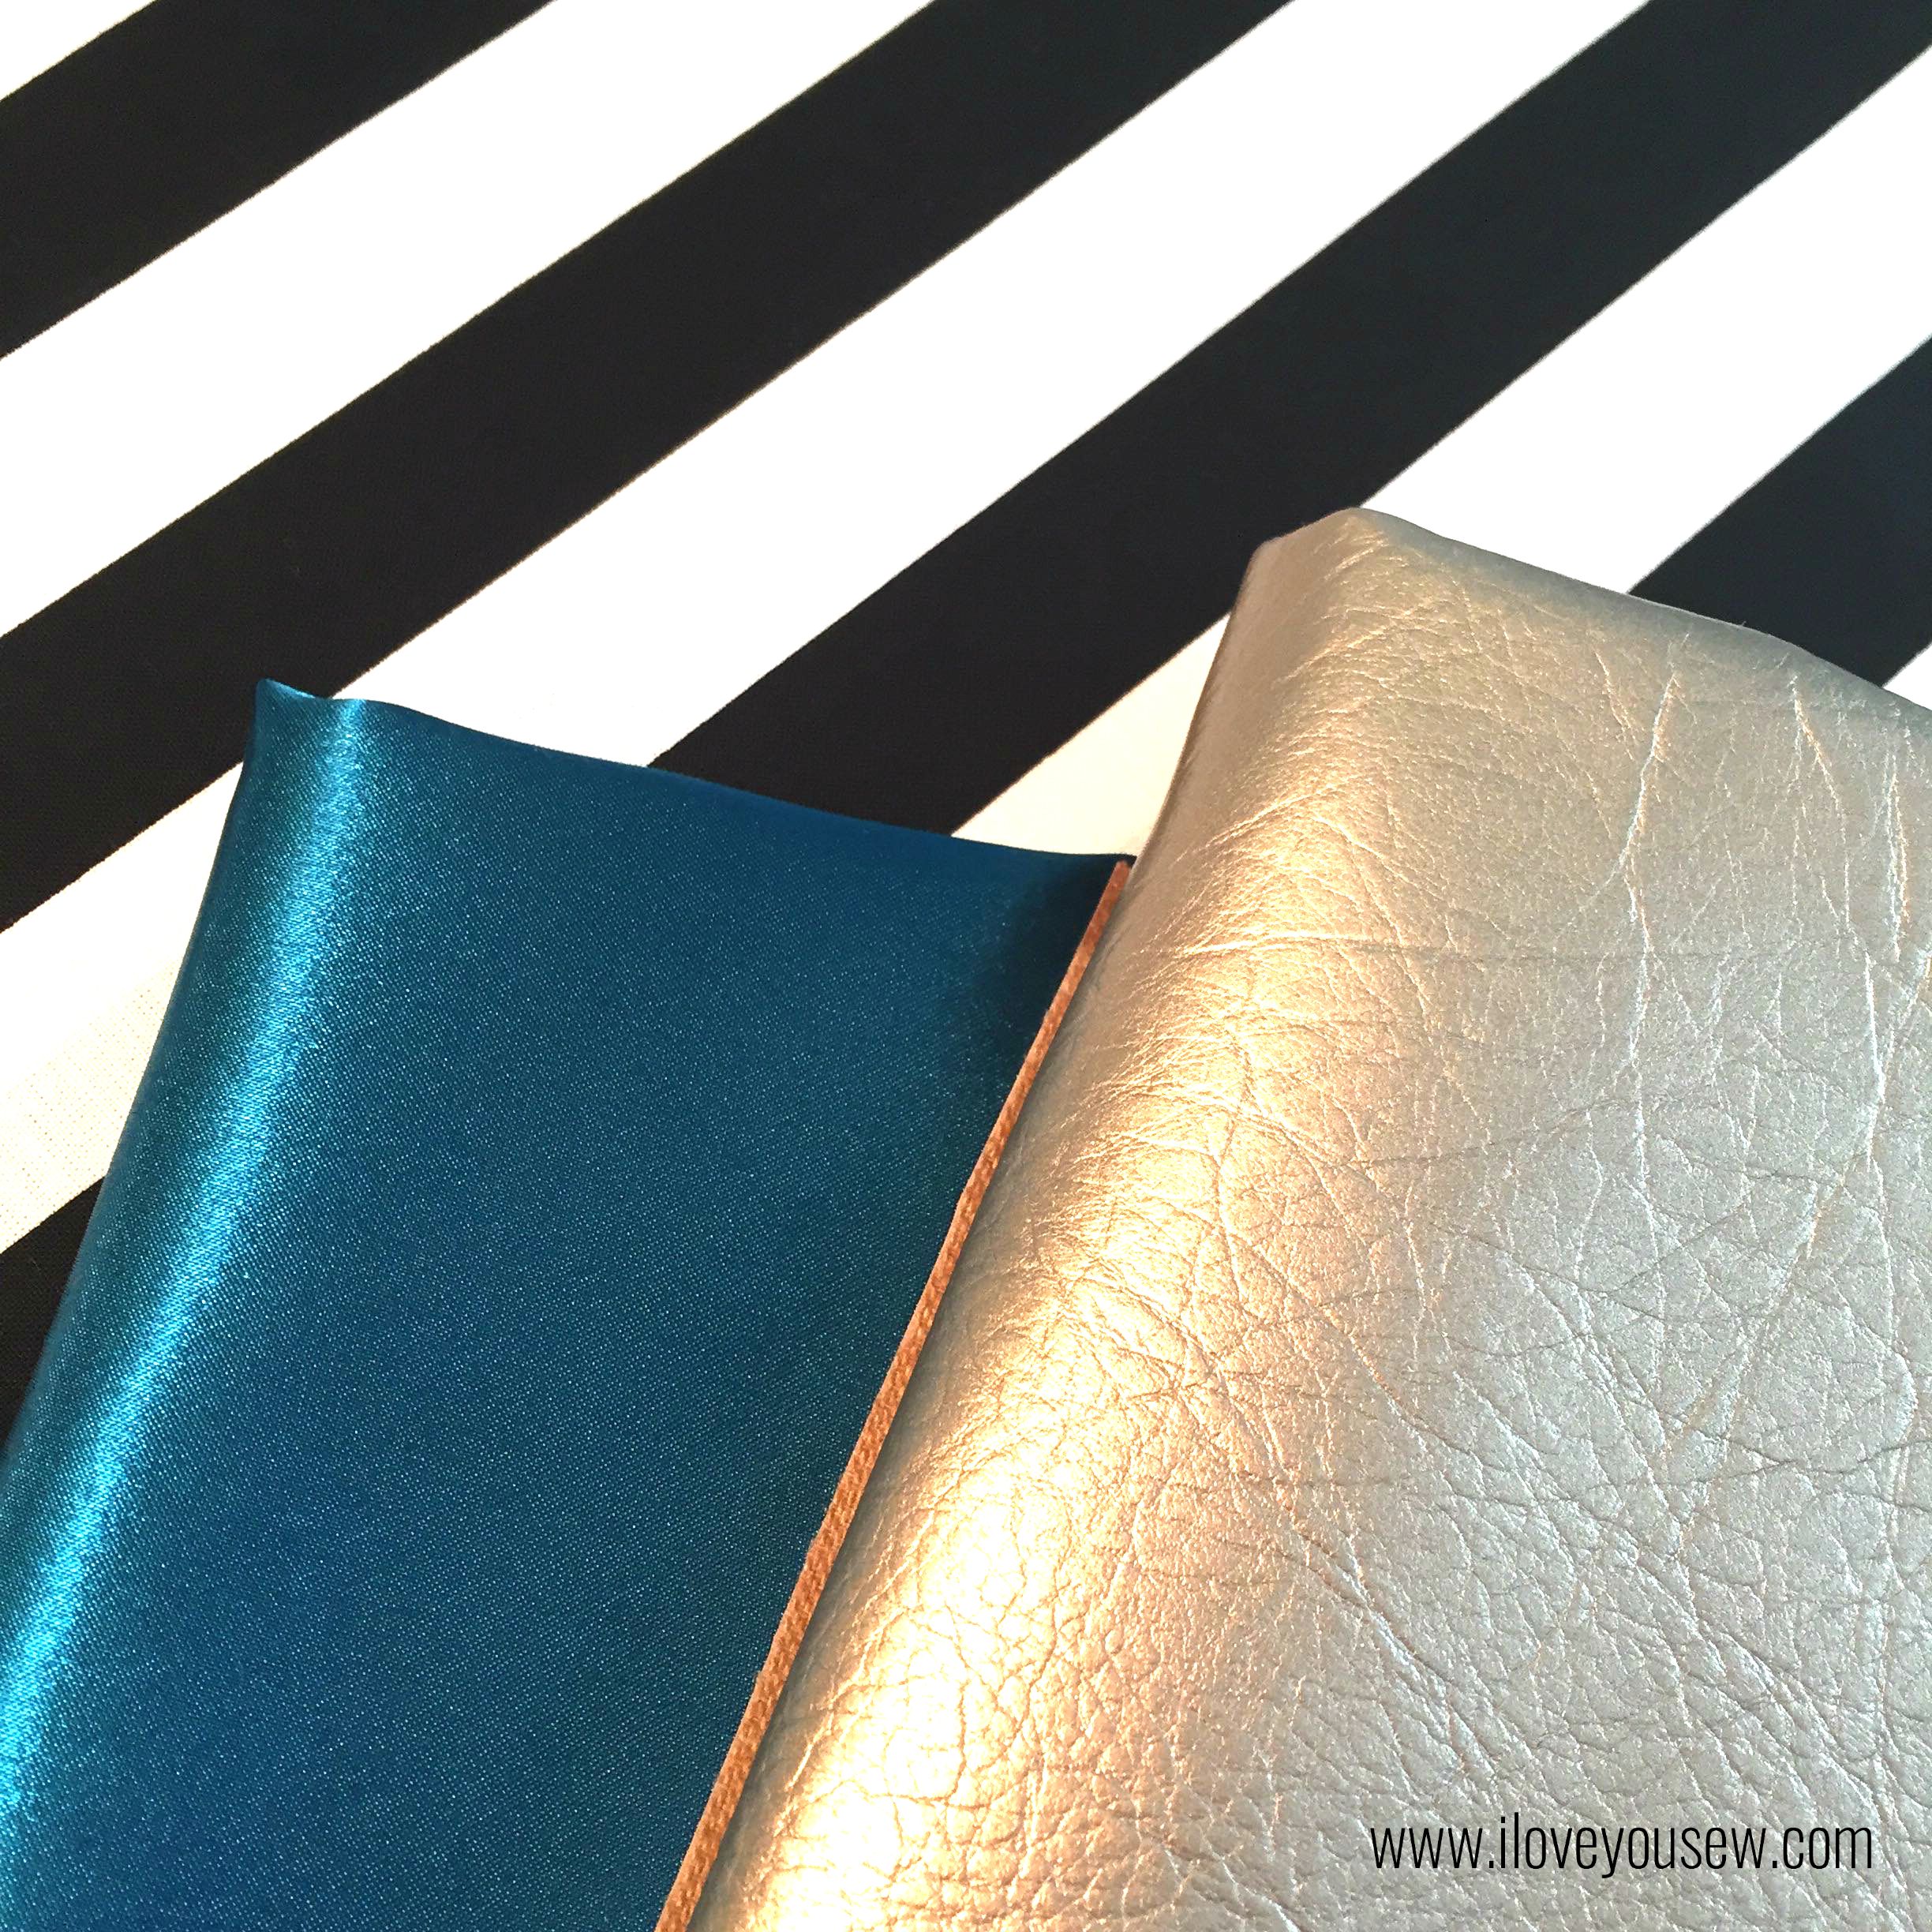
This fabric pull was inspired by my good friend over at Platopoo.  We made a crafty trade – she made me some awesome vinyl cut t-shirts and I would make her a custom bag.  I love a good barter…don’t you???  Well, her business cards are black and white stripes with some gold accents and I wanted to kick up this bag a notch, so we came up with this great combination:


StrapsandBottomSewn

Vinyl Strap Collage


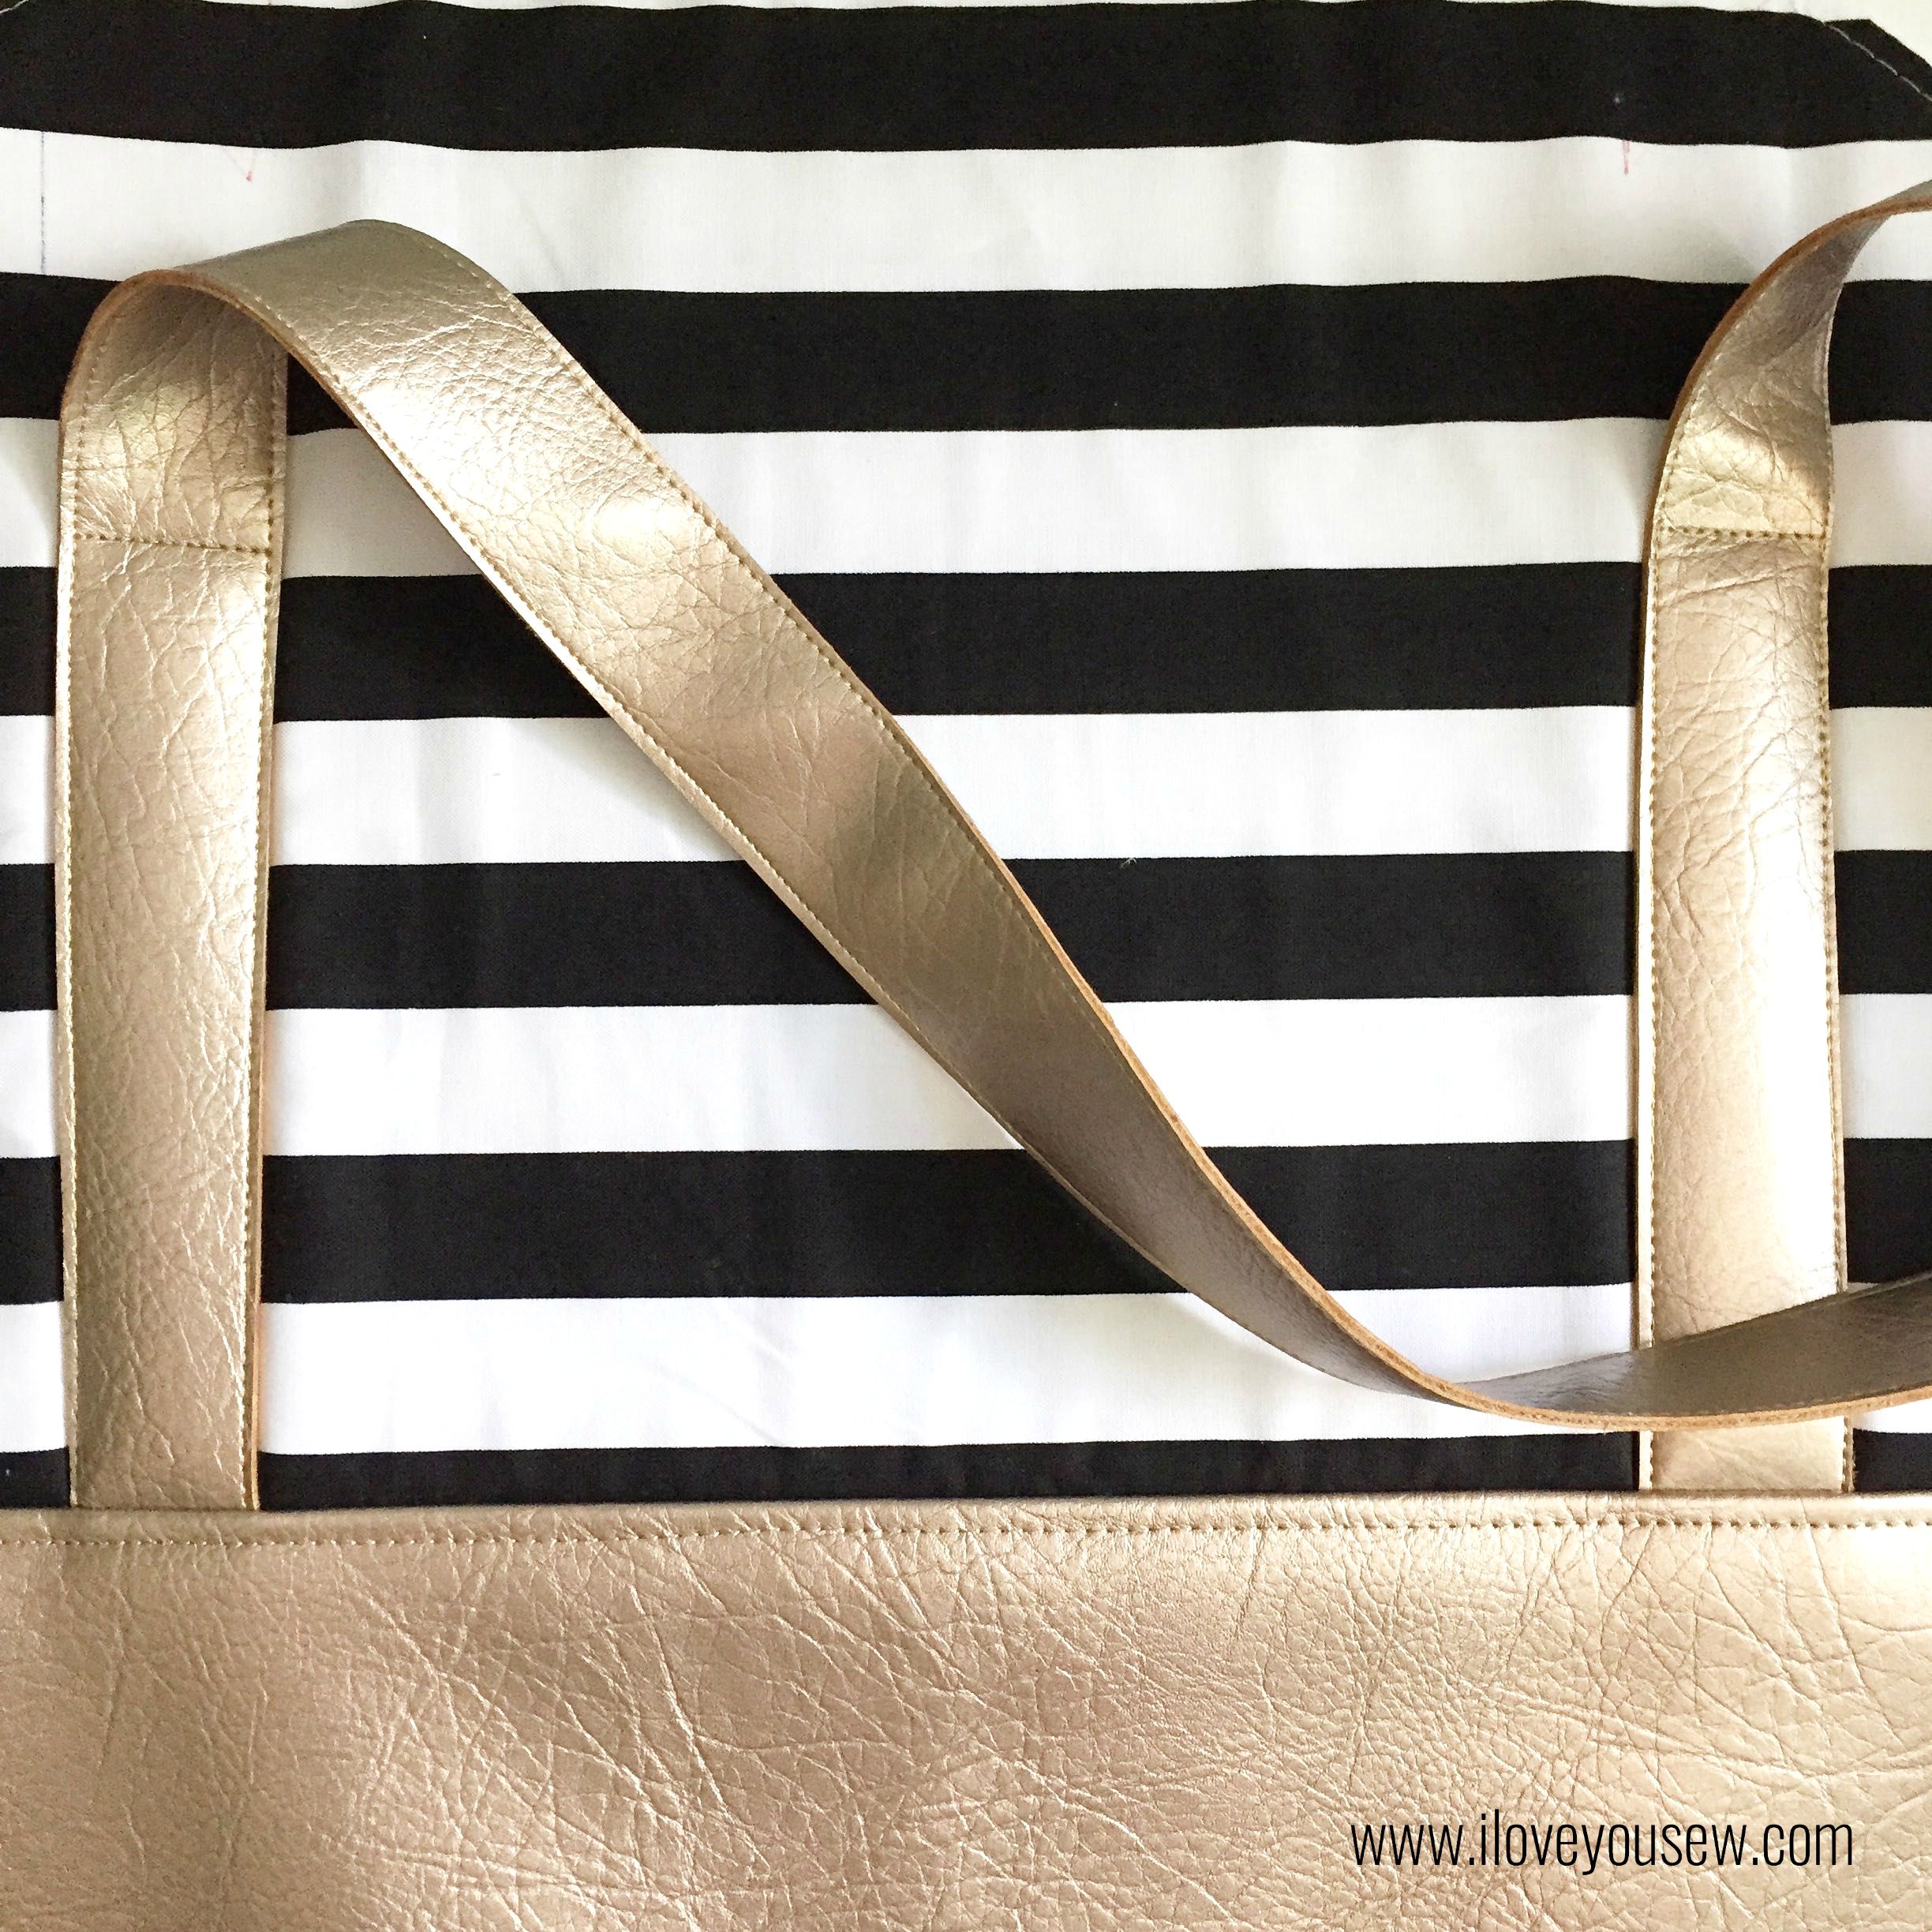
Since I was using the vinyl for the bottom and straps, there were a few adjustments that had to be made:

  • Omit the strap interfacing
  • Cut 2 straps to 1.5″ width. Since the WOF (width of fabric) on the vinyl is 54″, the straps were then cut to 42″ in length
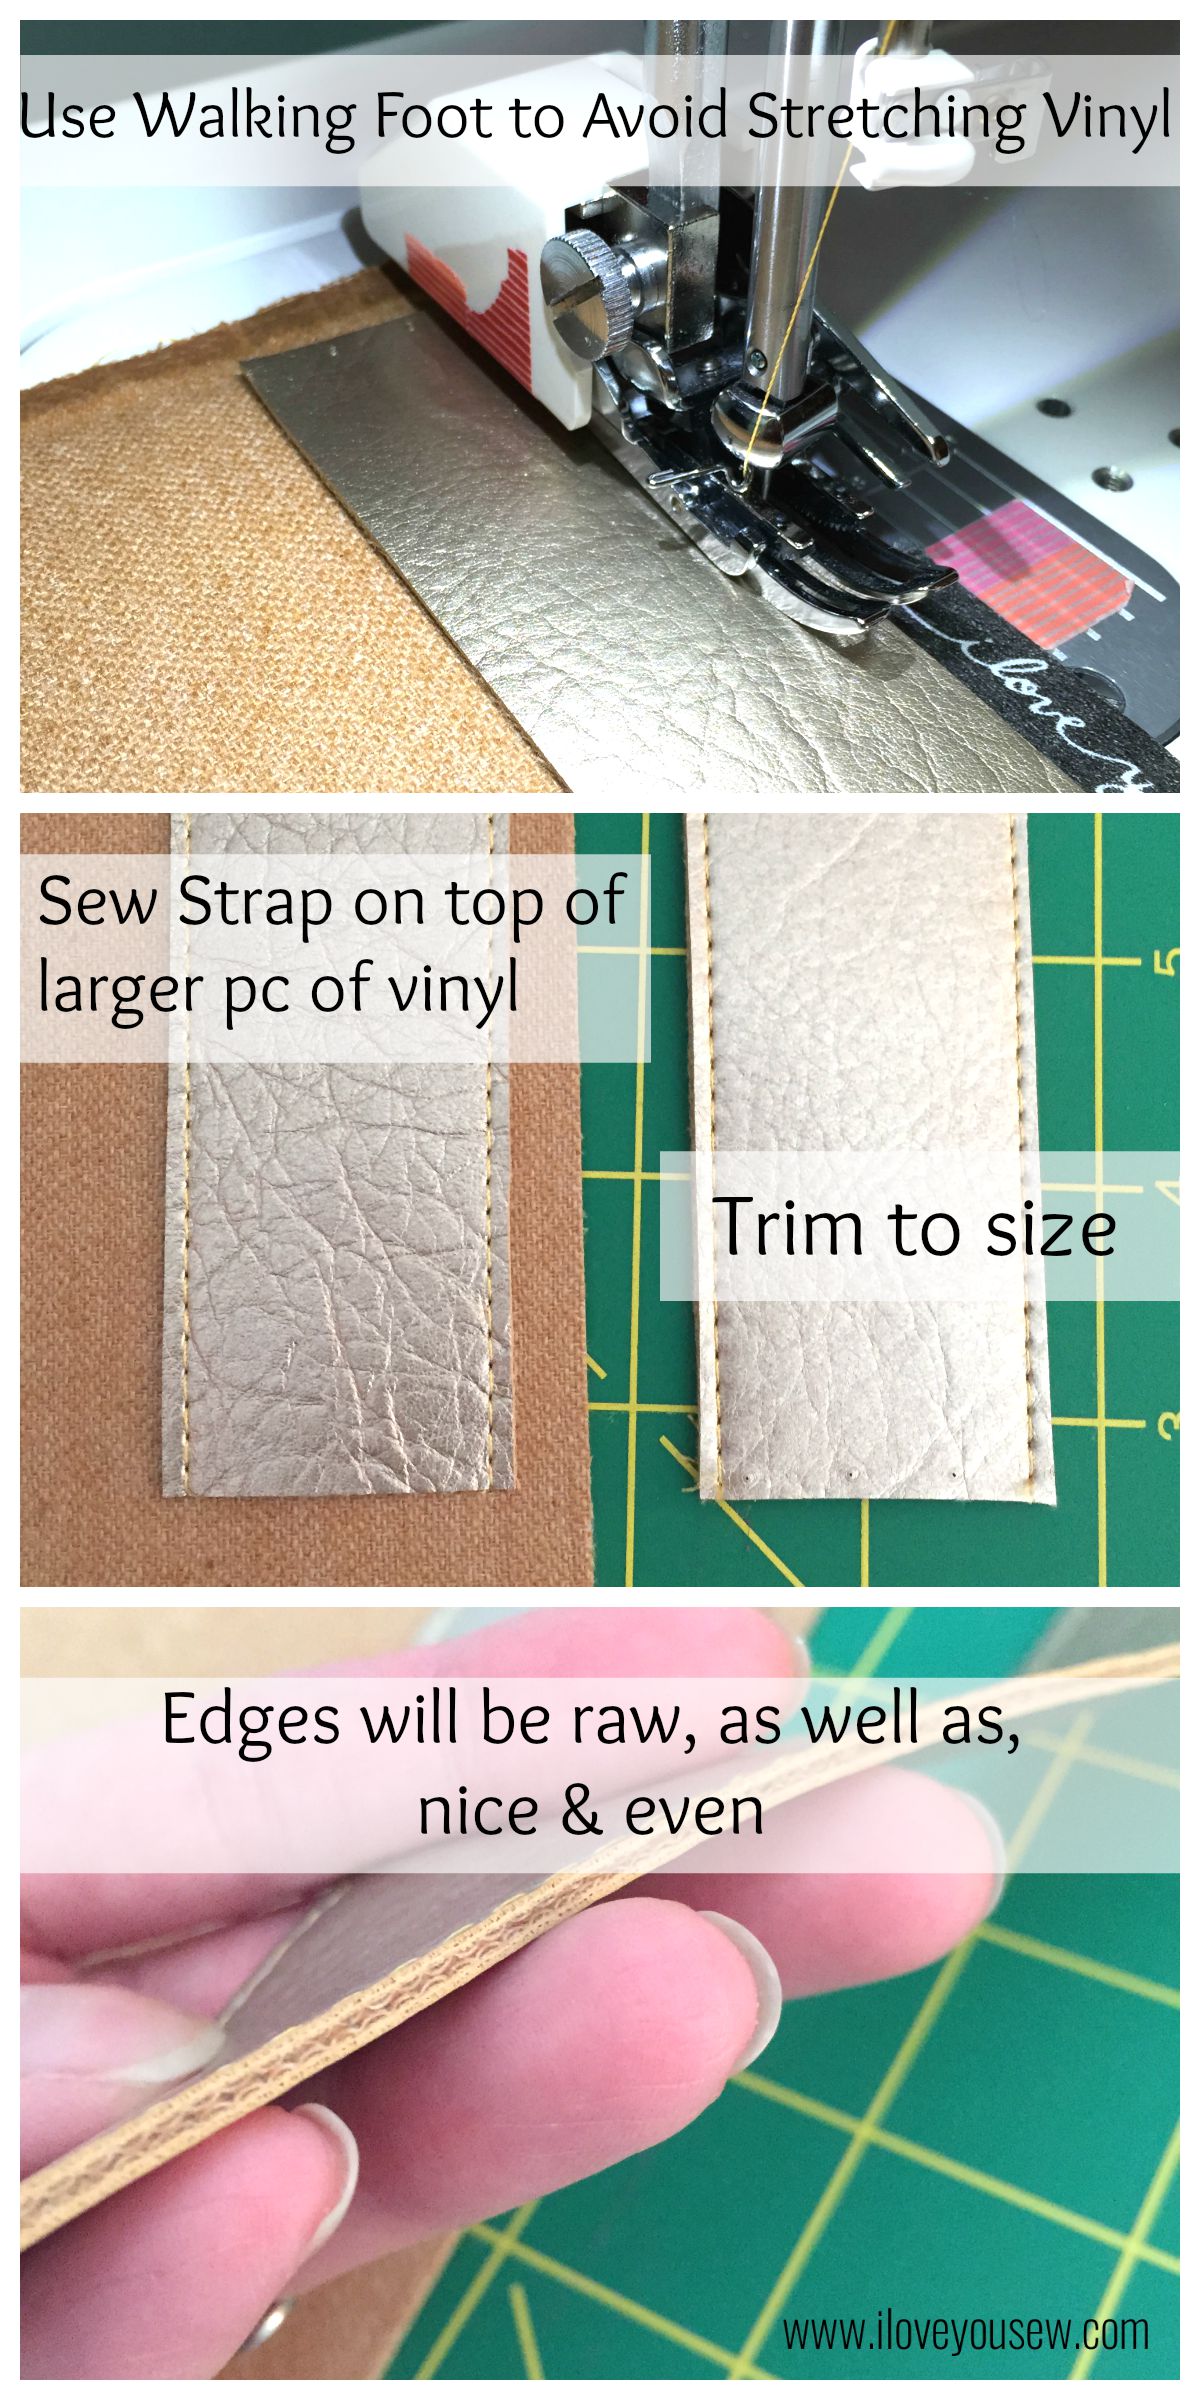
  • TIP: Take one 1.5″ x 42″ strap and sew it onto a larger piece of vinyl. Sew with 1/8″ seam allowance.  Trim the excess of the larger piece to size. Repeat with 2nd strap. (This allows you to have even top and bottom strap pieces.)
  • Be sure to use your walking foot to not stretch out the vinyl
  • Edges of the straps will be raw. You can use some permanent fabric glue or Fray-Check to “seal” the sides if you wish.  Some vinyls do fray the slightest bit over time…


ZipperGrill

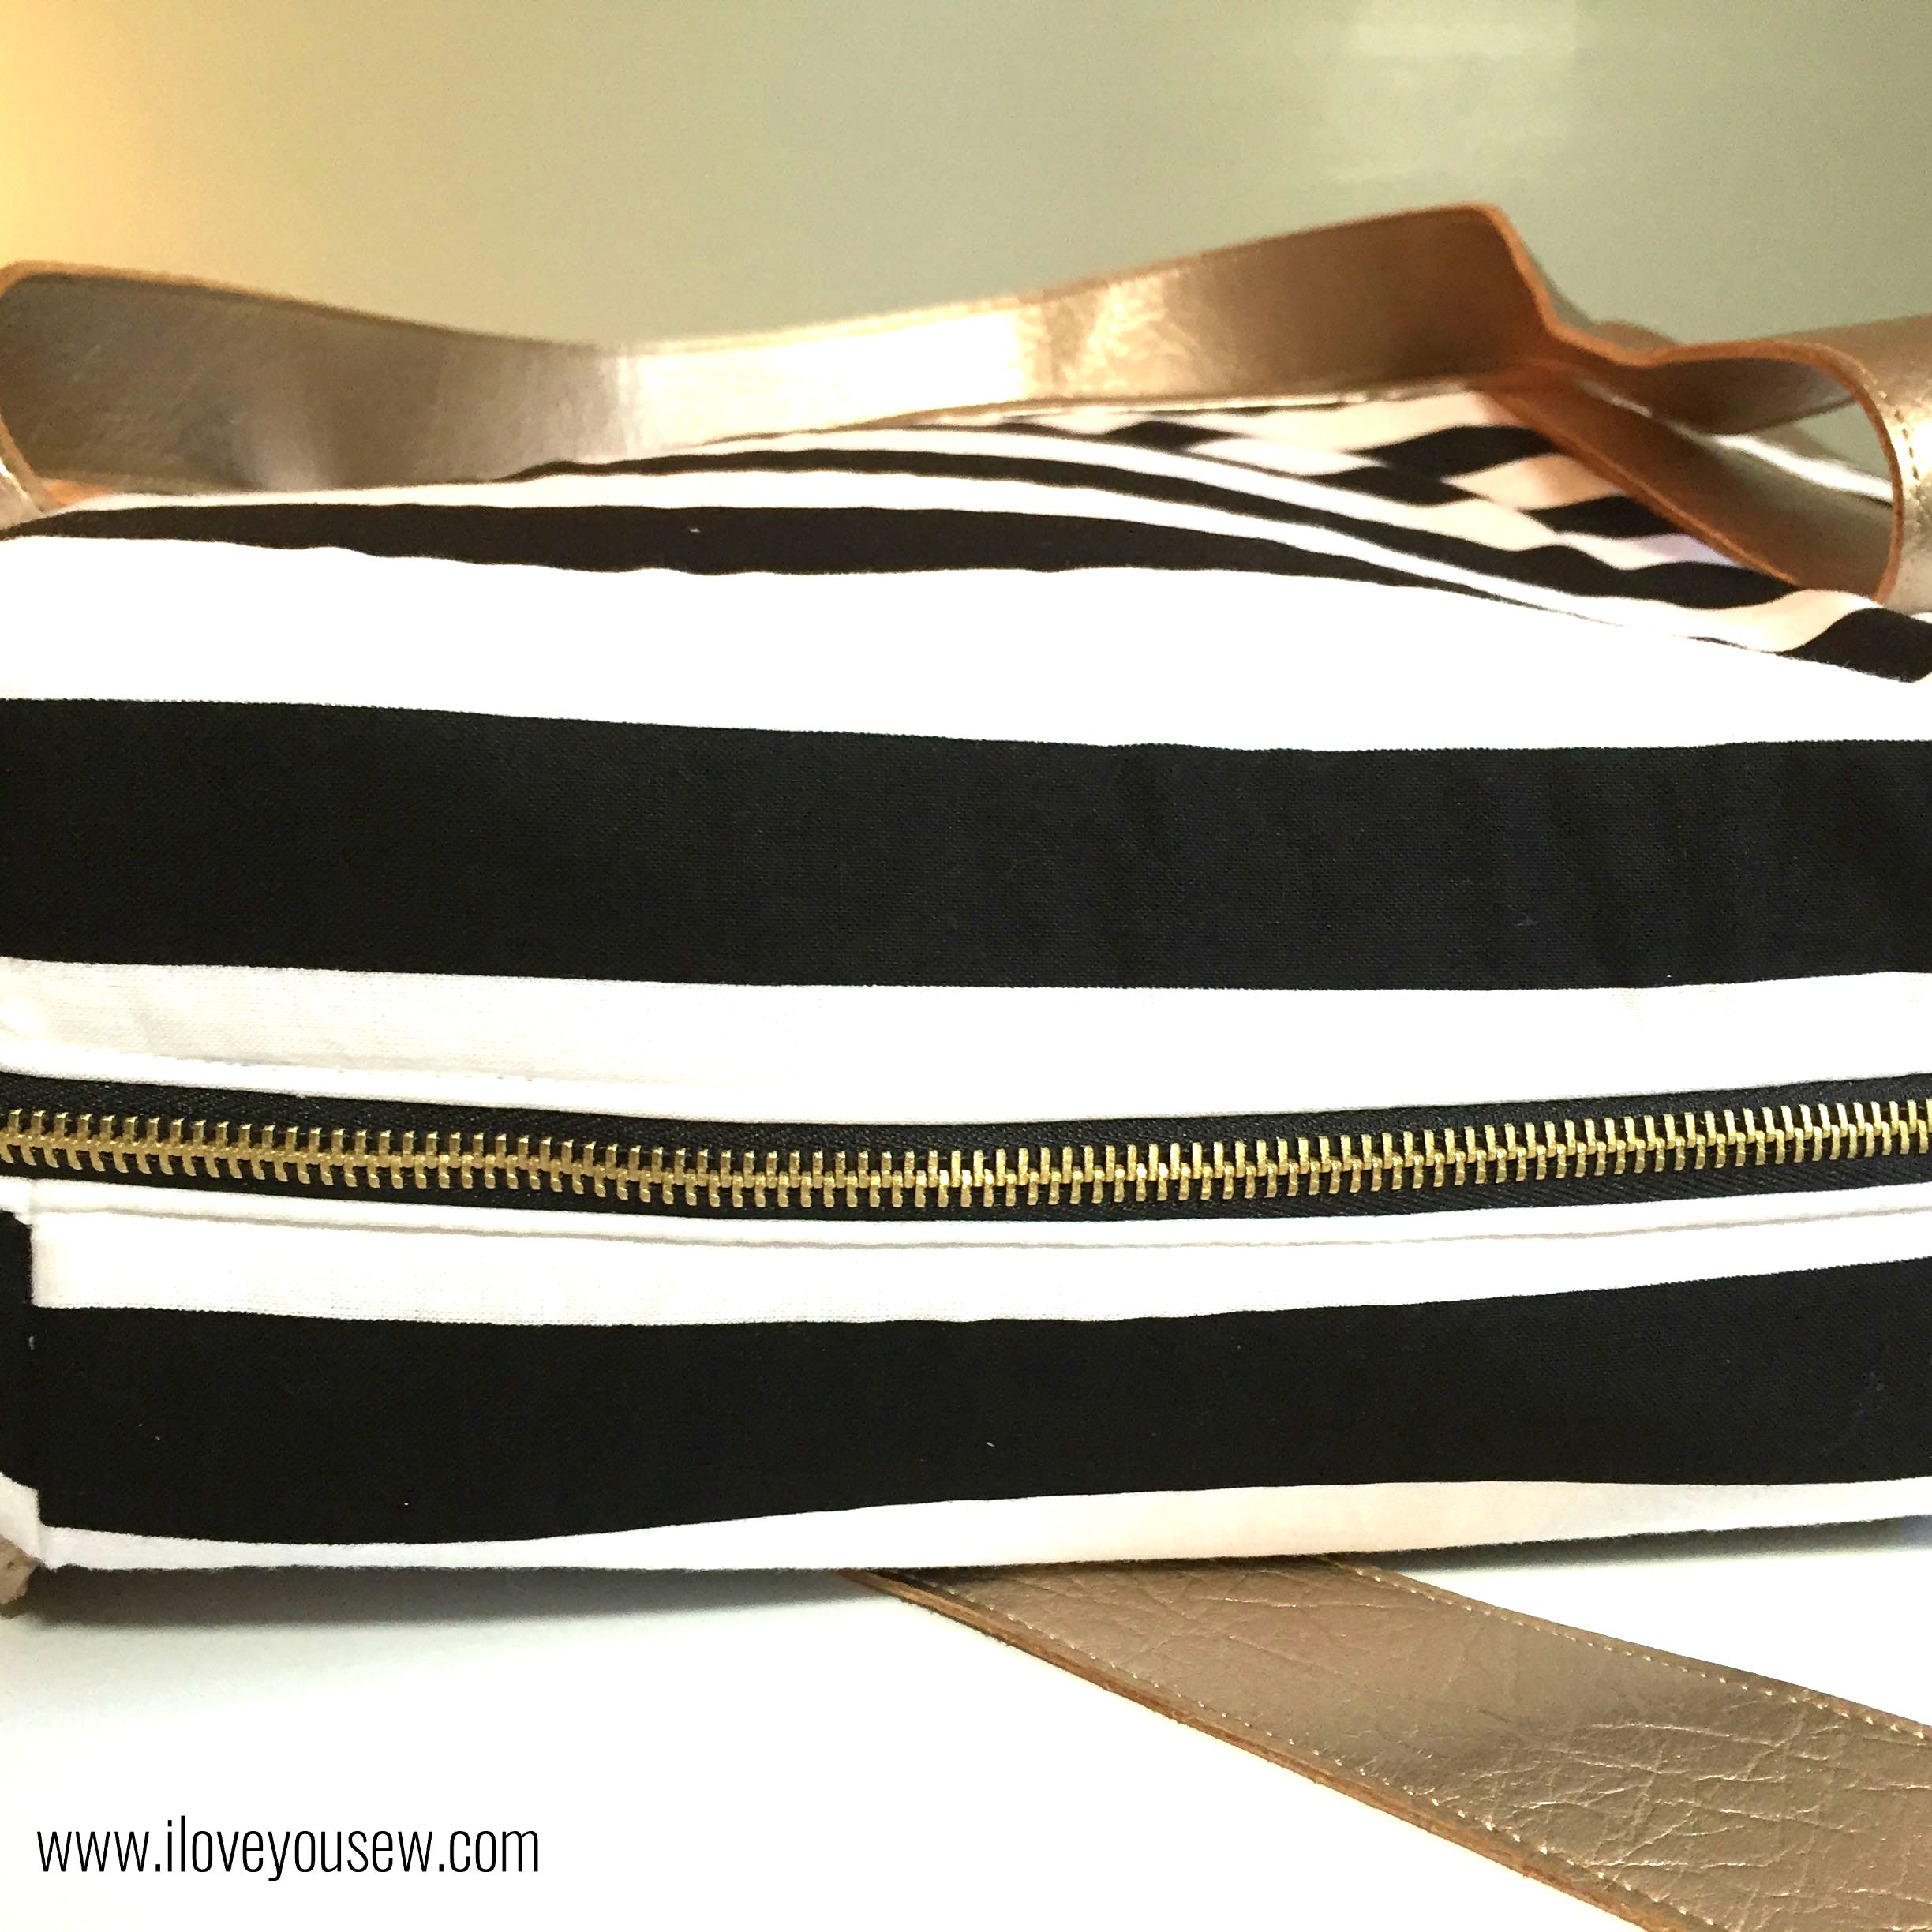
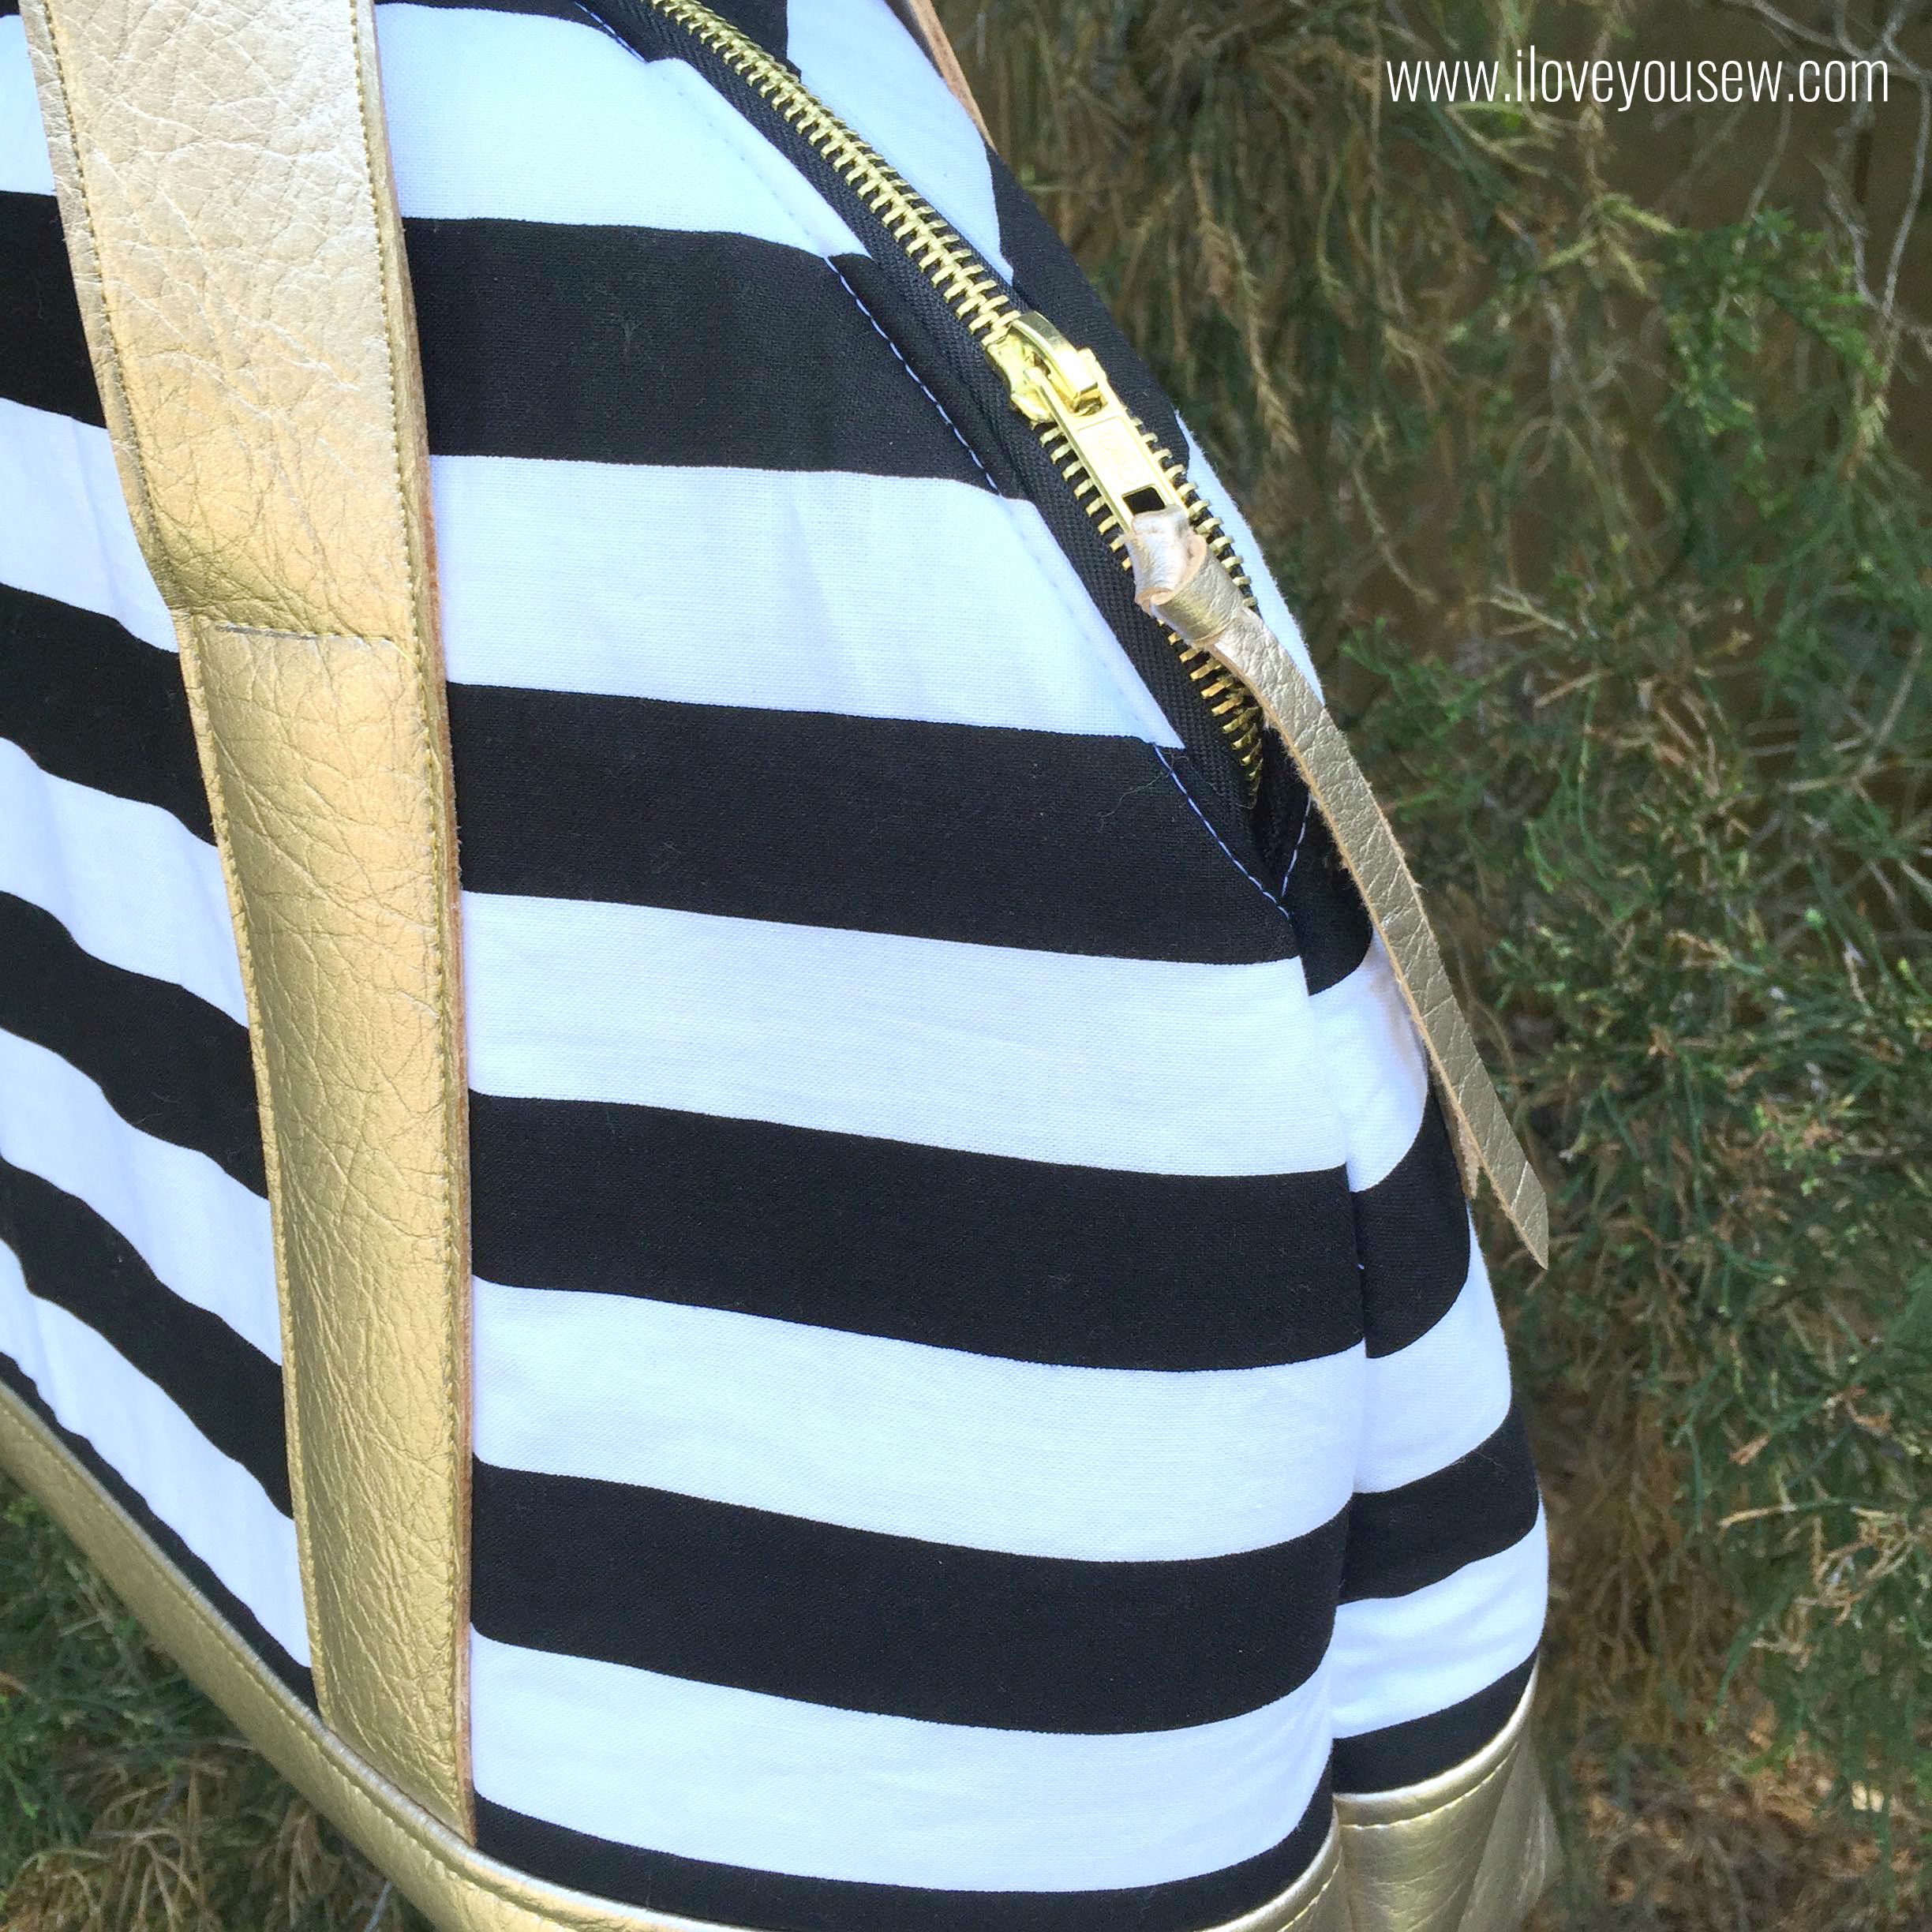
Another detail to amp up this bag was the zipper.  I found this great black one with brass teeth at JoAnn’s as well.  It matches perfectly with the pleather and adds that extra professional look.

TIP – I used my walking foot to topstitch over the zipper.  There is quite a lot of volume between the exterior, lining and Flex-Foam (used in place of Soft & Stable.) This allowed me to get more even stitches without having to tug on the fabric as much.


CloseUpZipper

Additionally, I cut off 1/4″ by about 8″ of scrap vinyl to add a pull on the zipper.  Again, this little detail helps make the bag look more polished and pulls in more of the metallic look.  Plus, those little pulls are never long enough!


Interior

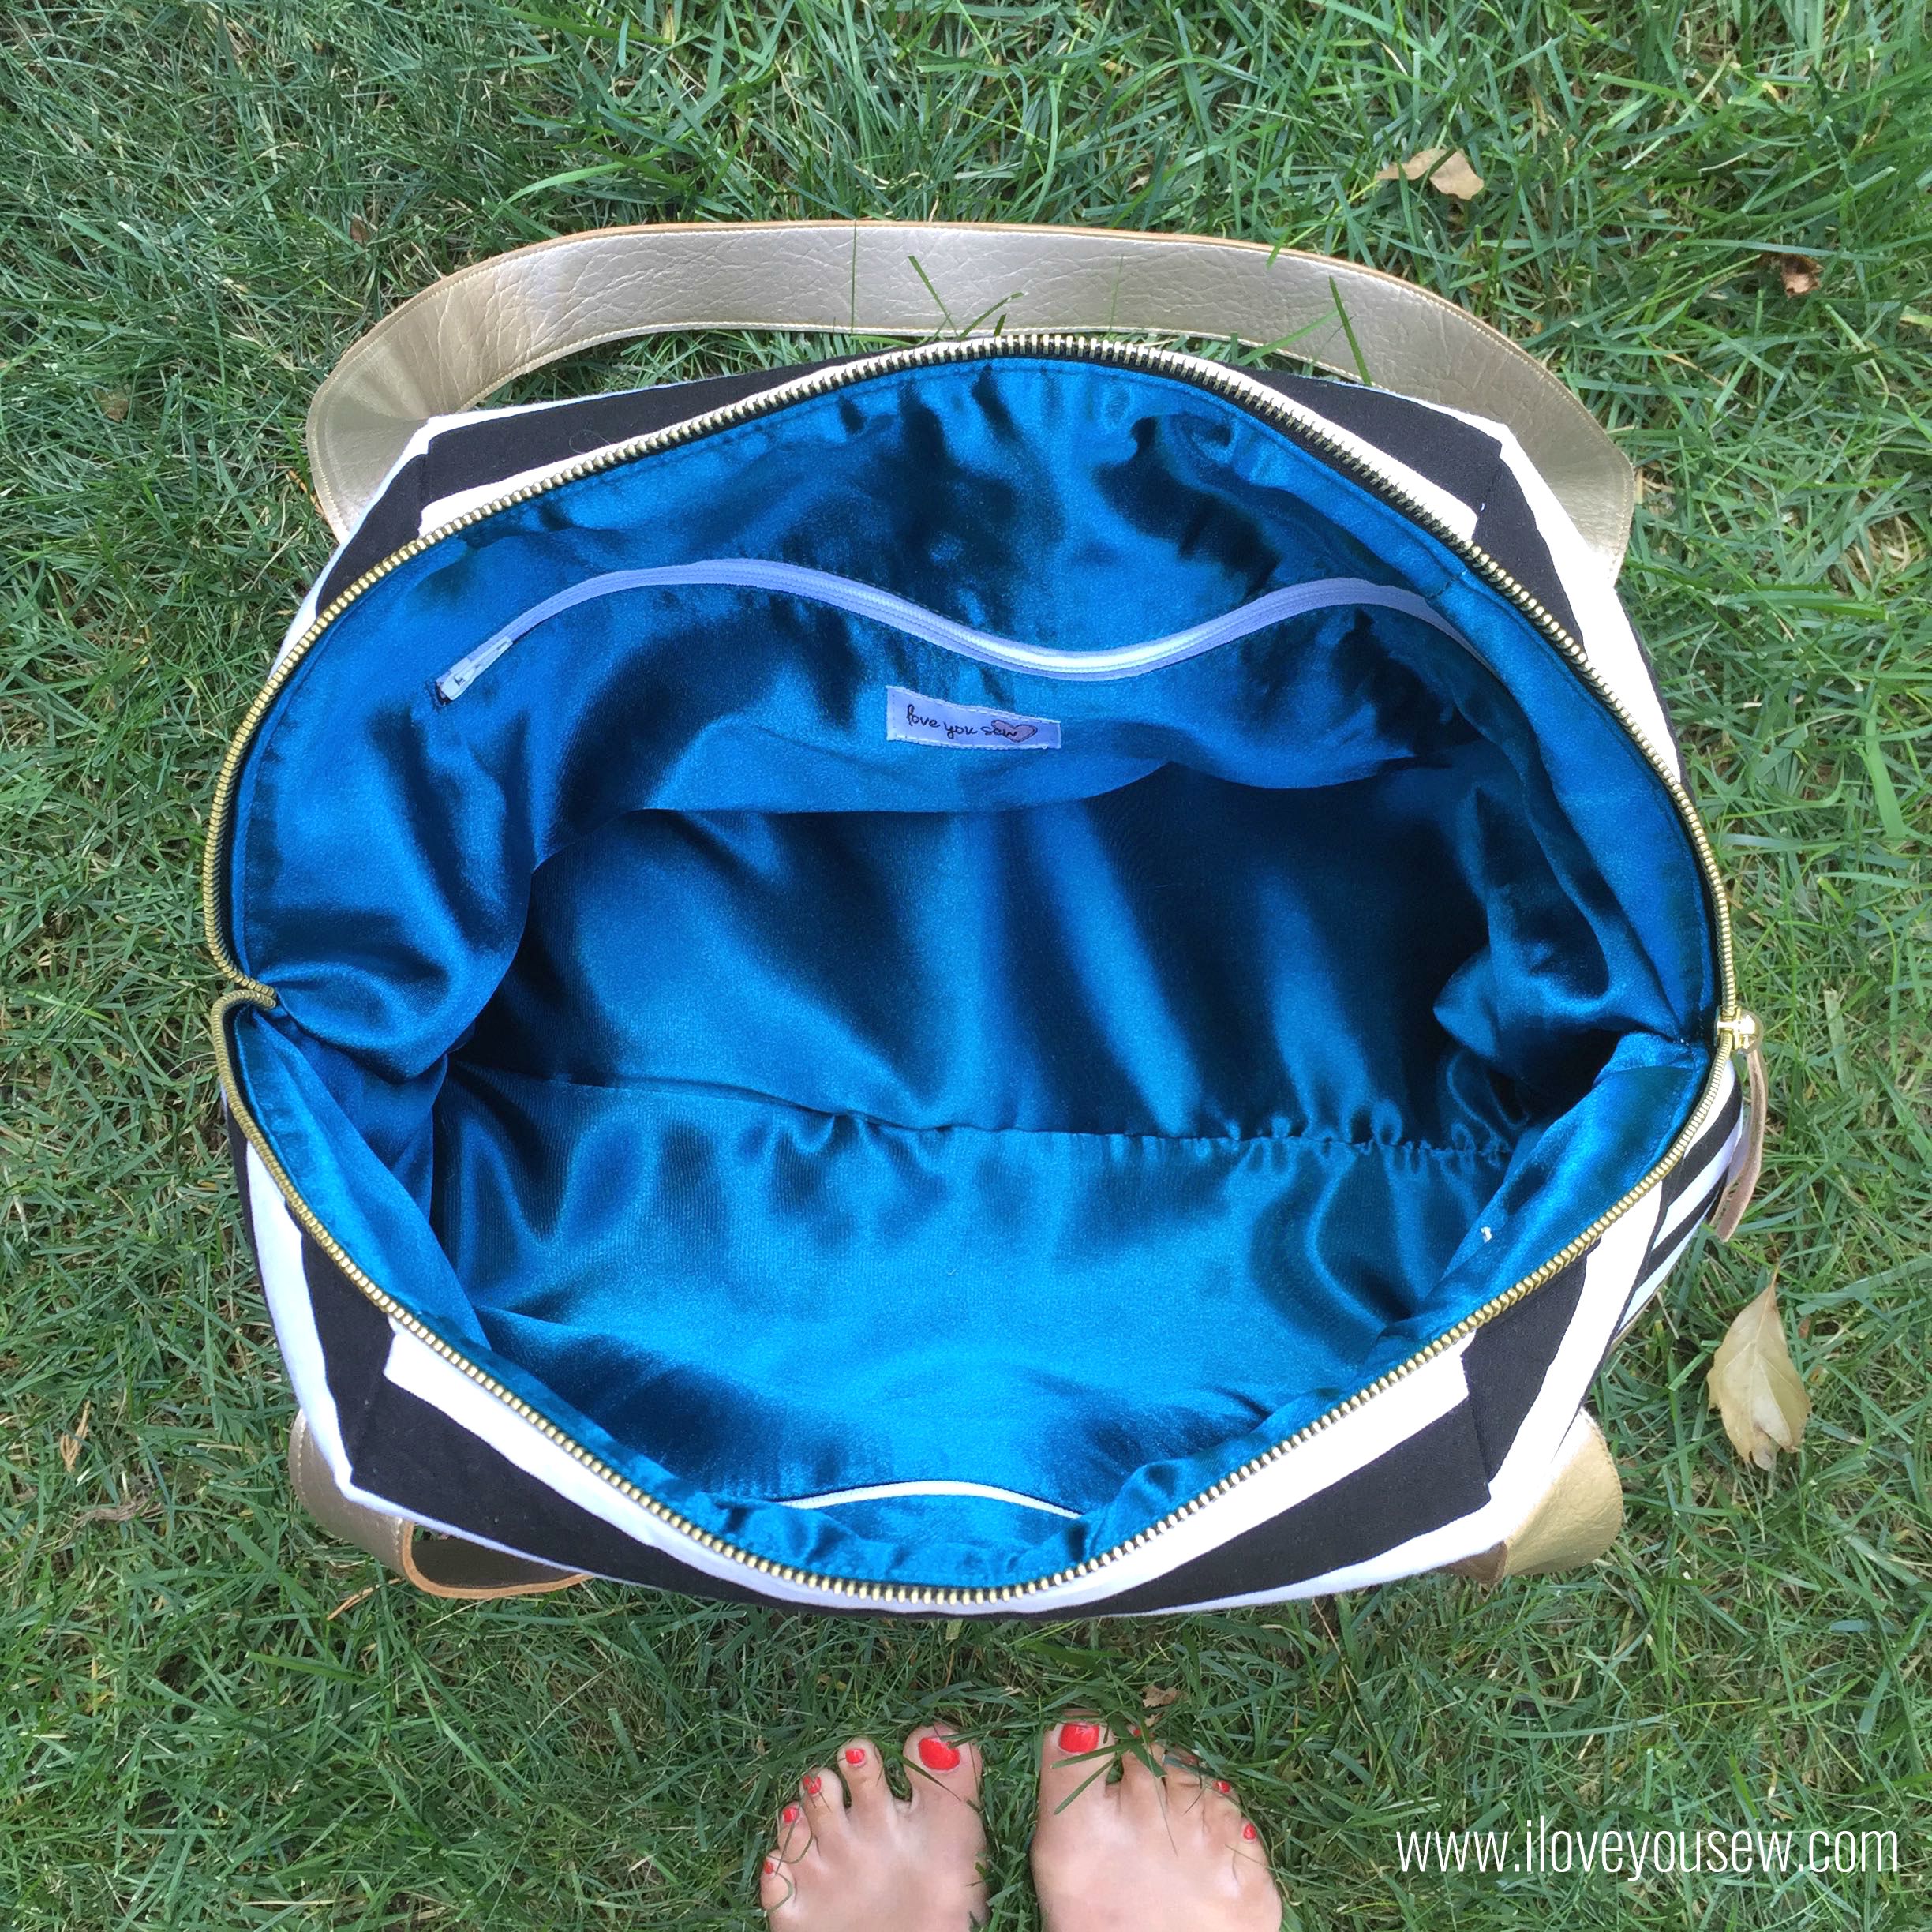
Do you like the satin interior? I am digging this pop of color and the change in texture for the interior.  I also love the 14″ zippered pockets.  They are generous in size to hide lots of goodies.  The only thing I wished I had were brass zippers for these pockets. (I got the wrong size from the store and was not going back anytime soon…I was already there twice in one week!)  They would have completed the look, for sure…

TIP – Cut the Shape-Flex larger than the interior pattern and fuse it onto the satin before cutting. The satin is delicate and can unravel pretty easily.  It is easier to handle if you iron the interfacing on first.

OpenTop

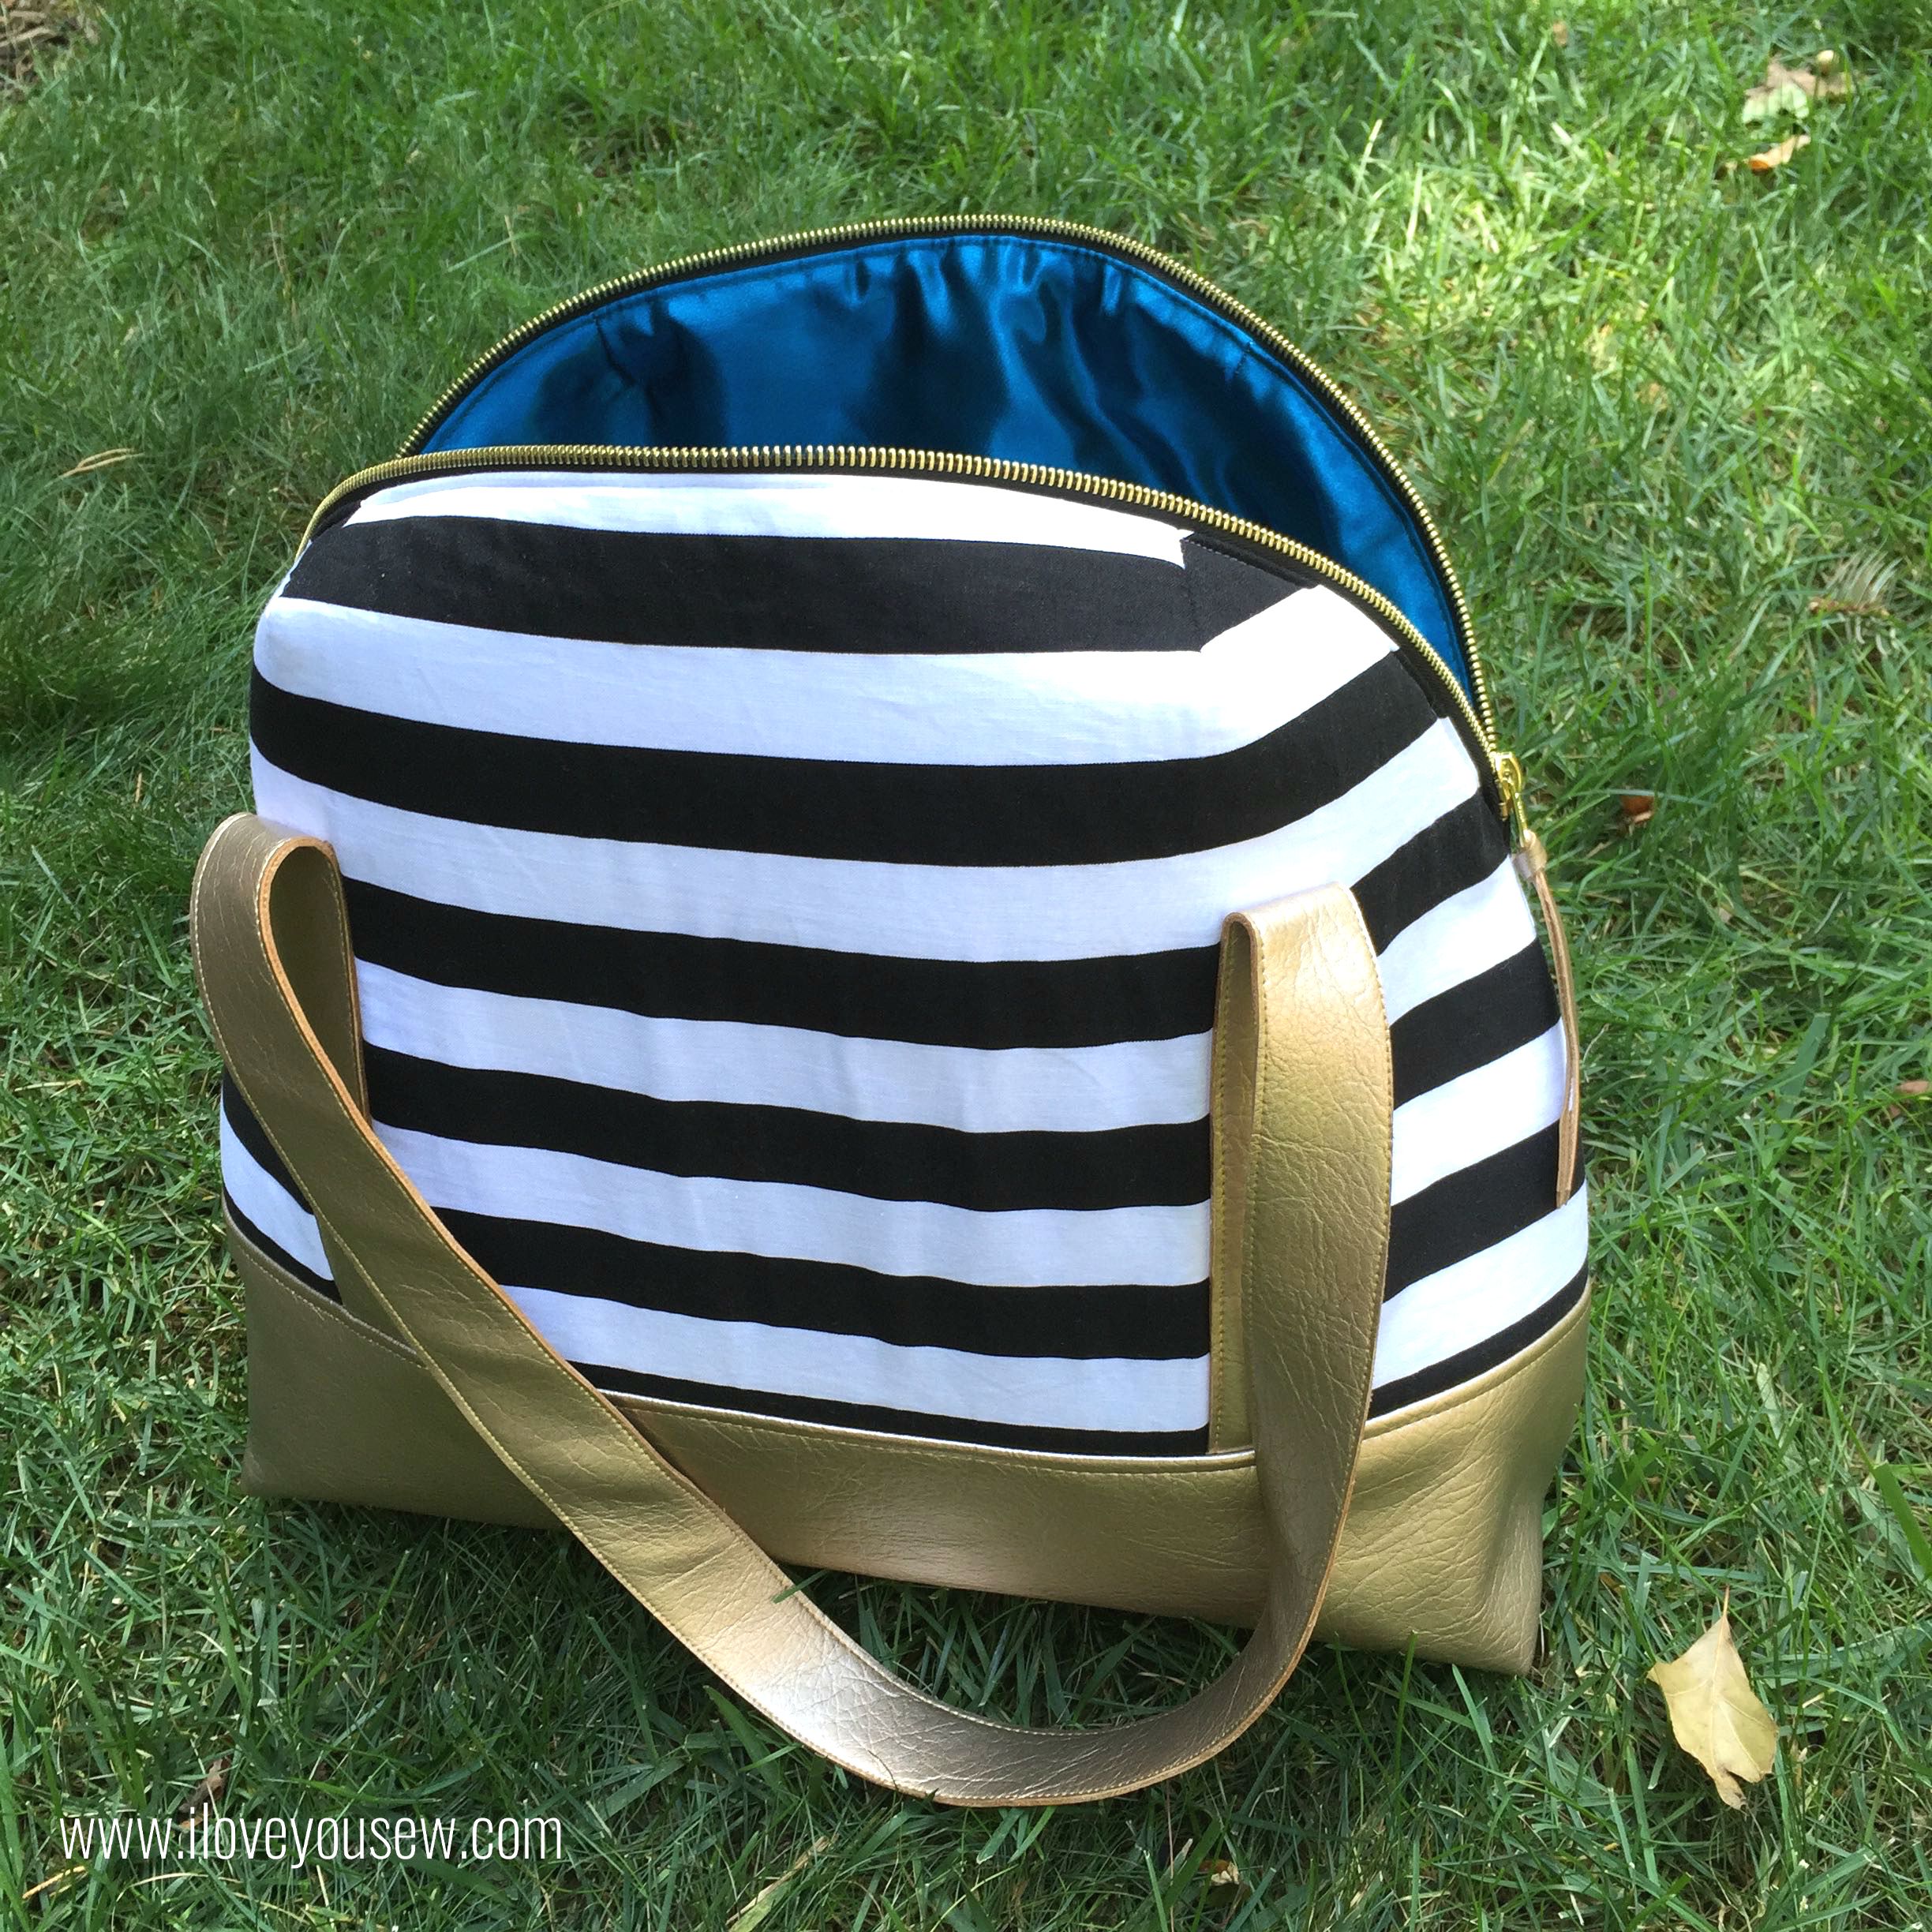
I love the wide opening of this design.  There is ample space to get your weekend gear into this bag….and this is just the “regular” size.  I can’t wait to try out the “long” pattern!

BagonTree

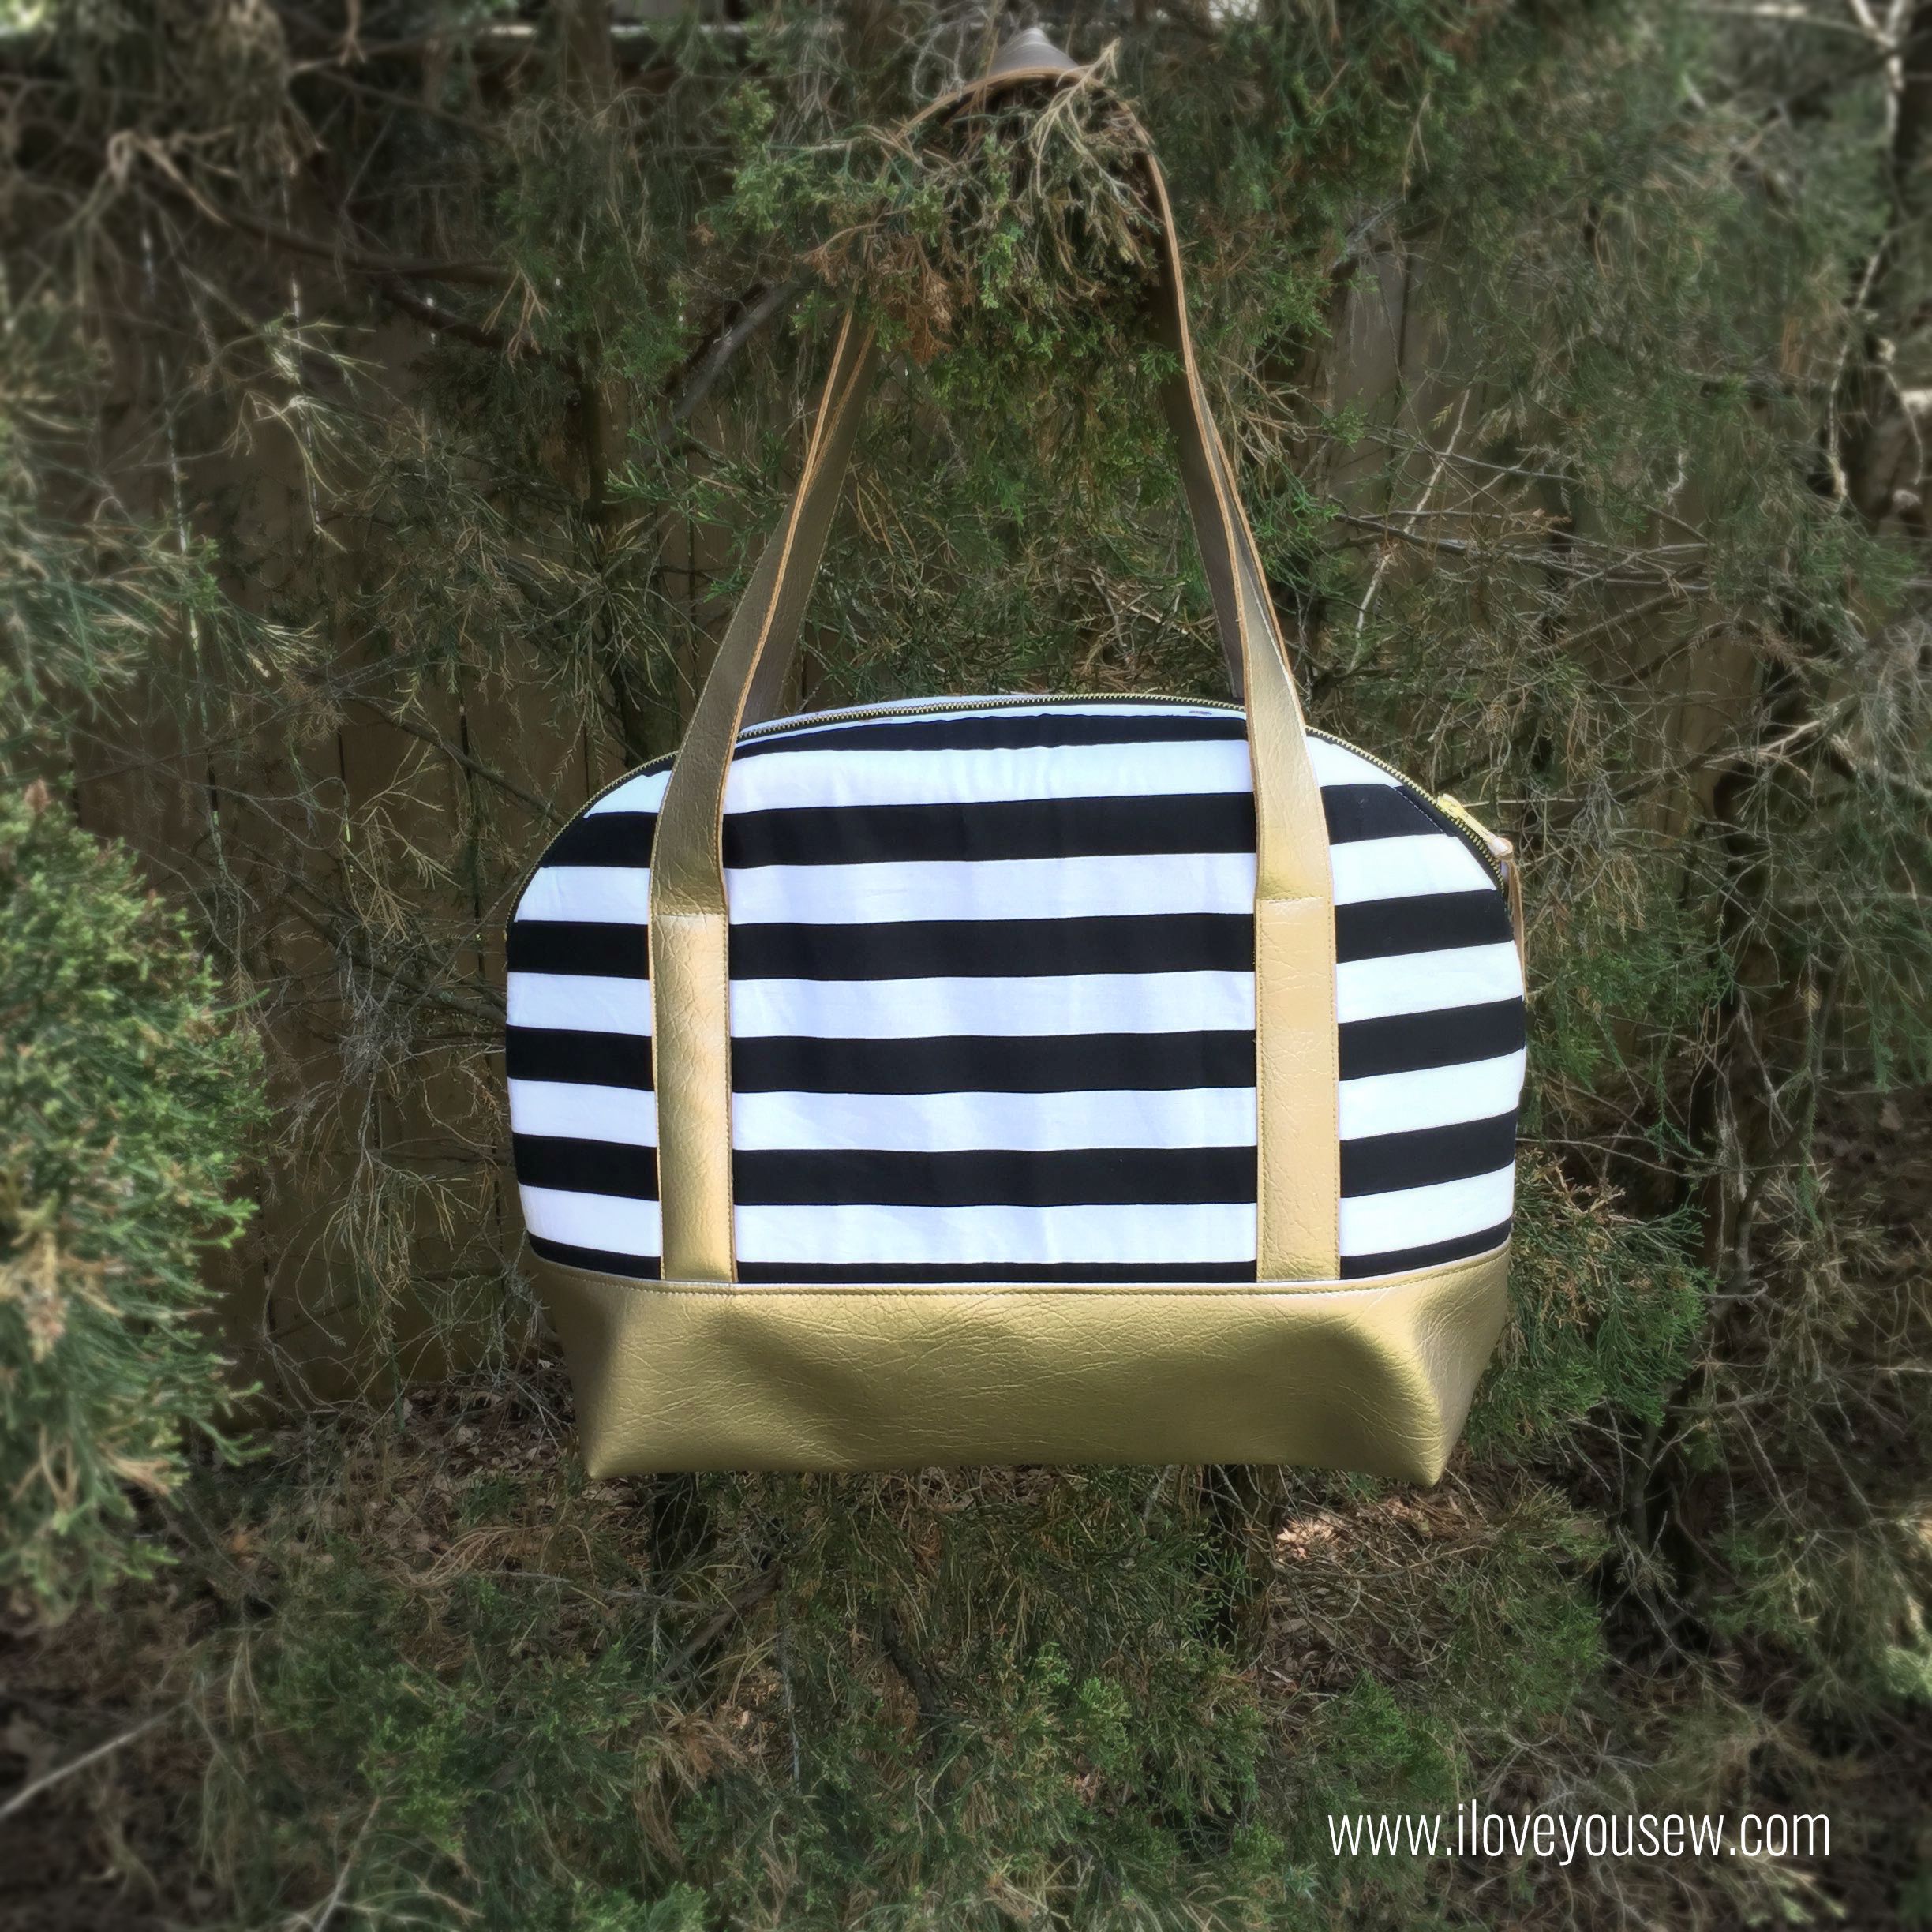
This was a fun project but definitely at the confident beginner to intermediate level.  Be sure to check if your machine can handle up to 6 layers of vinyl and Peltex at a time. I have a Juki TL-2010Q that can sew through with a Heavy Duty Organ Needle, but I still broke one needle in the process!

It’s going to be sad when I have to part with this baby, but at least I can make more 😉


The Newest Aeroplane Bag Fan,

Cristy


This post may contain affiliate links for which I do receive a small compensation…It helps me keep this site running 🙂
Louisa Bag Tour

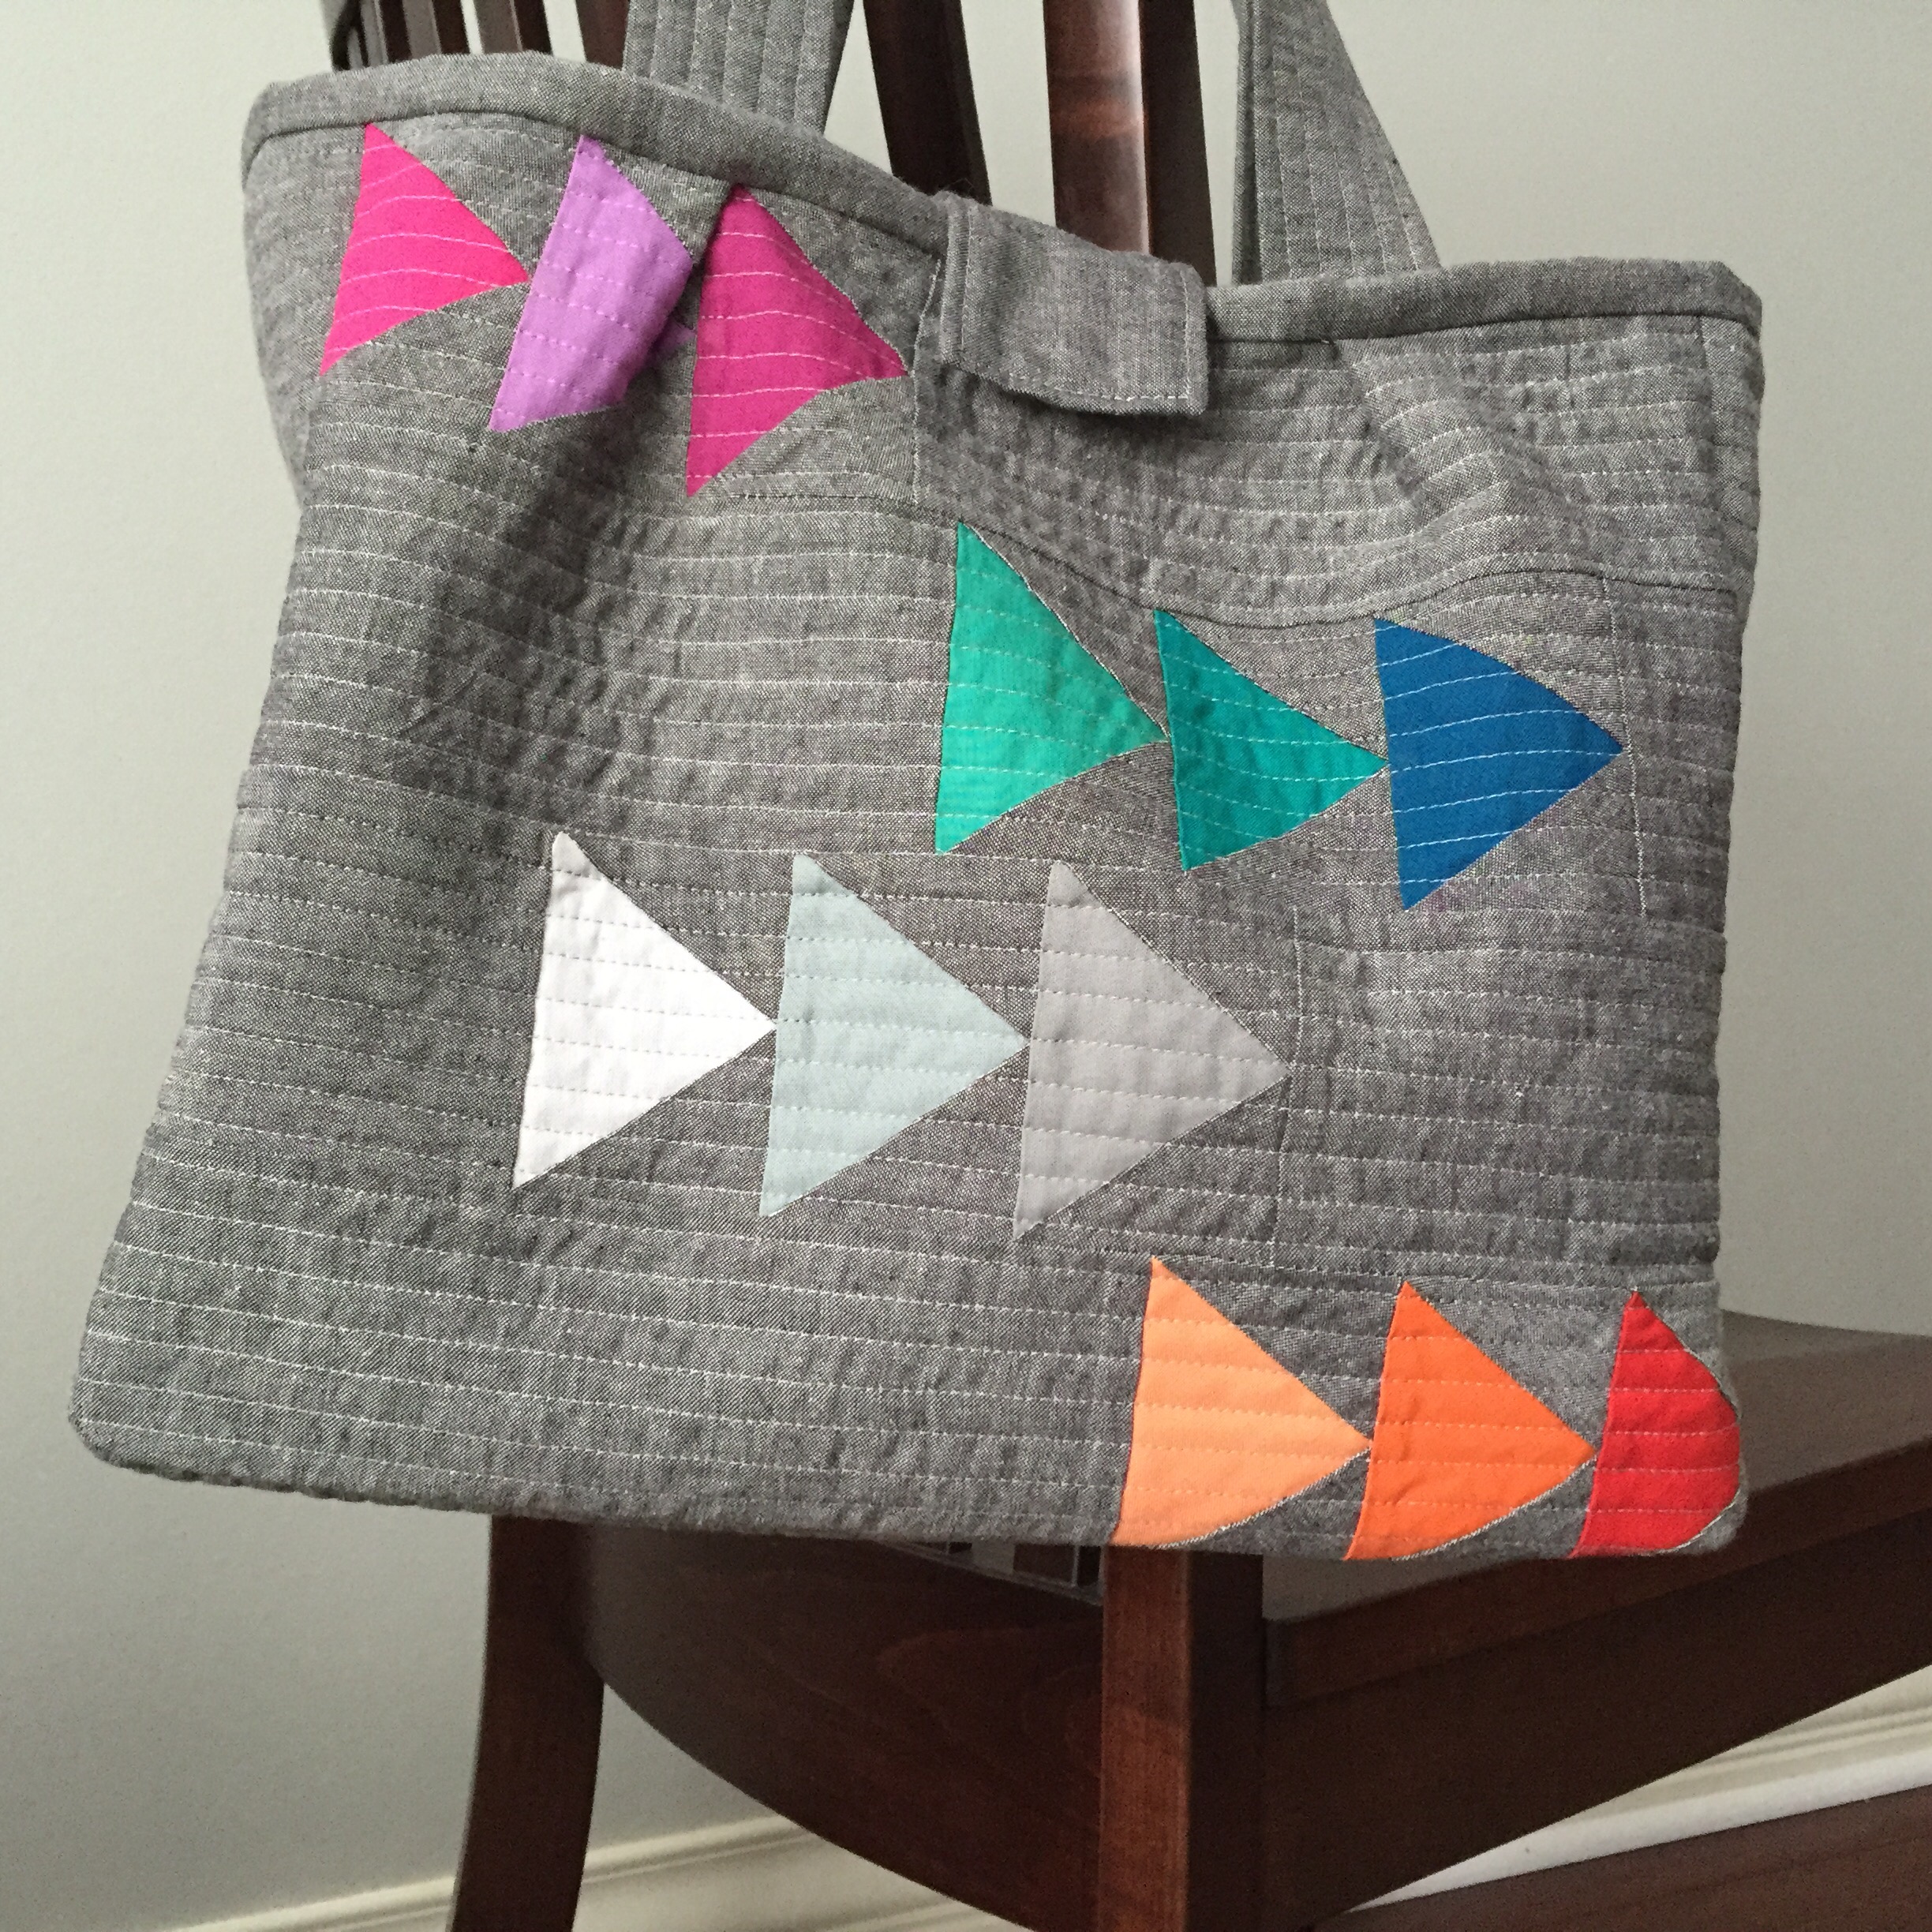
Front View Louisa Bag

I had the distinct pleasure of being a part of Clover & Violet’s Louisa Bag IG Tour.

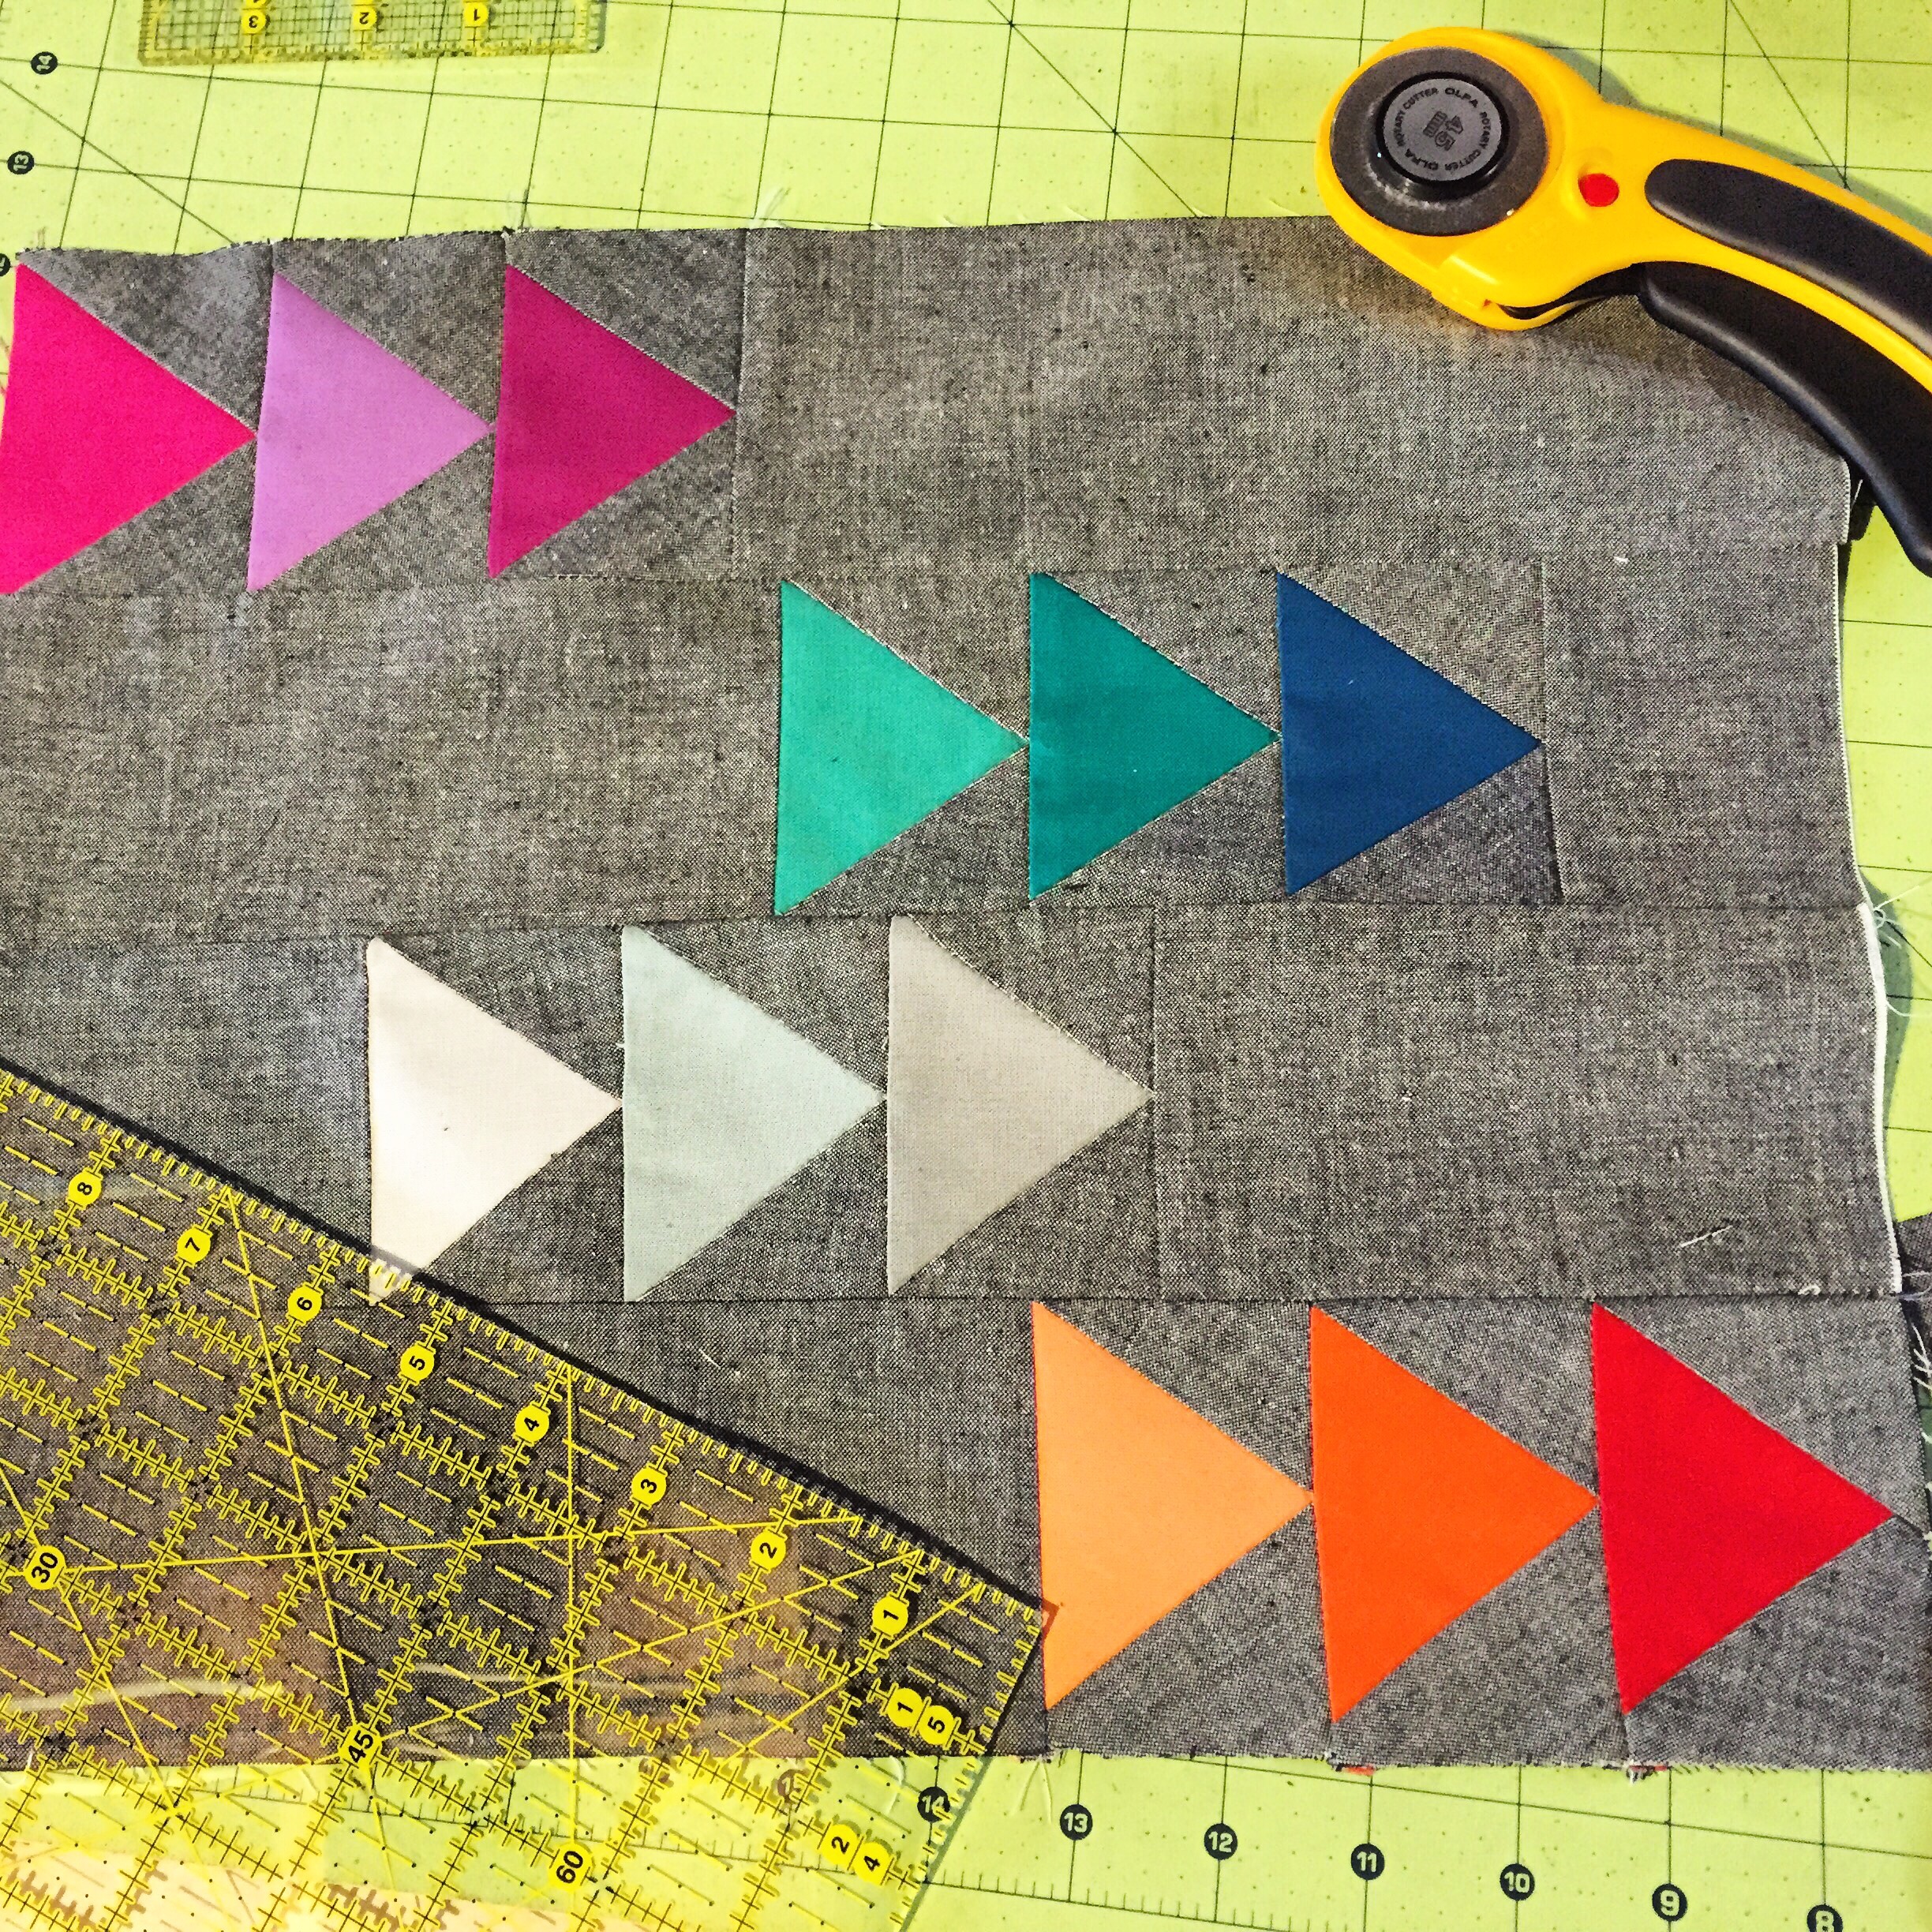
As with the majority of C & V’s patterns, they are all “quilty” in style. I wanted to stay true to their design but add my own modern touch 😉 I thought flying geese would be perfect…especially in bright Kona cotton solids! To make sure the colors would pop, I paired the solids with my trusty friend, Andover Black Chambray for a clean, chic look.

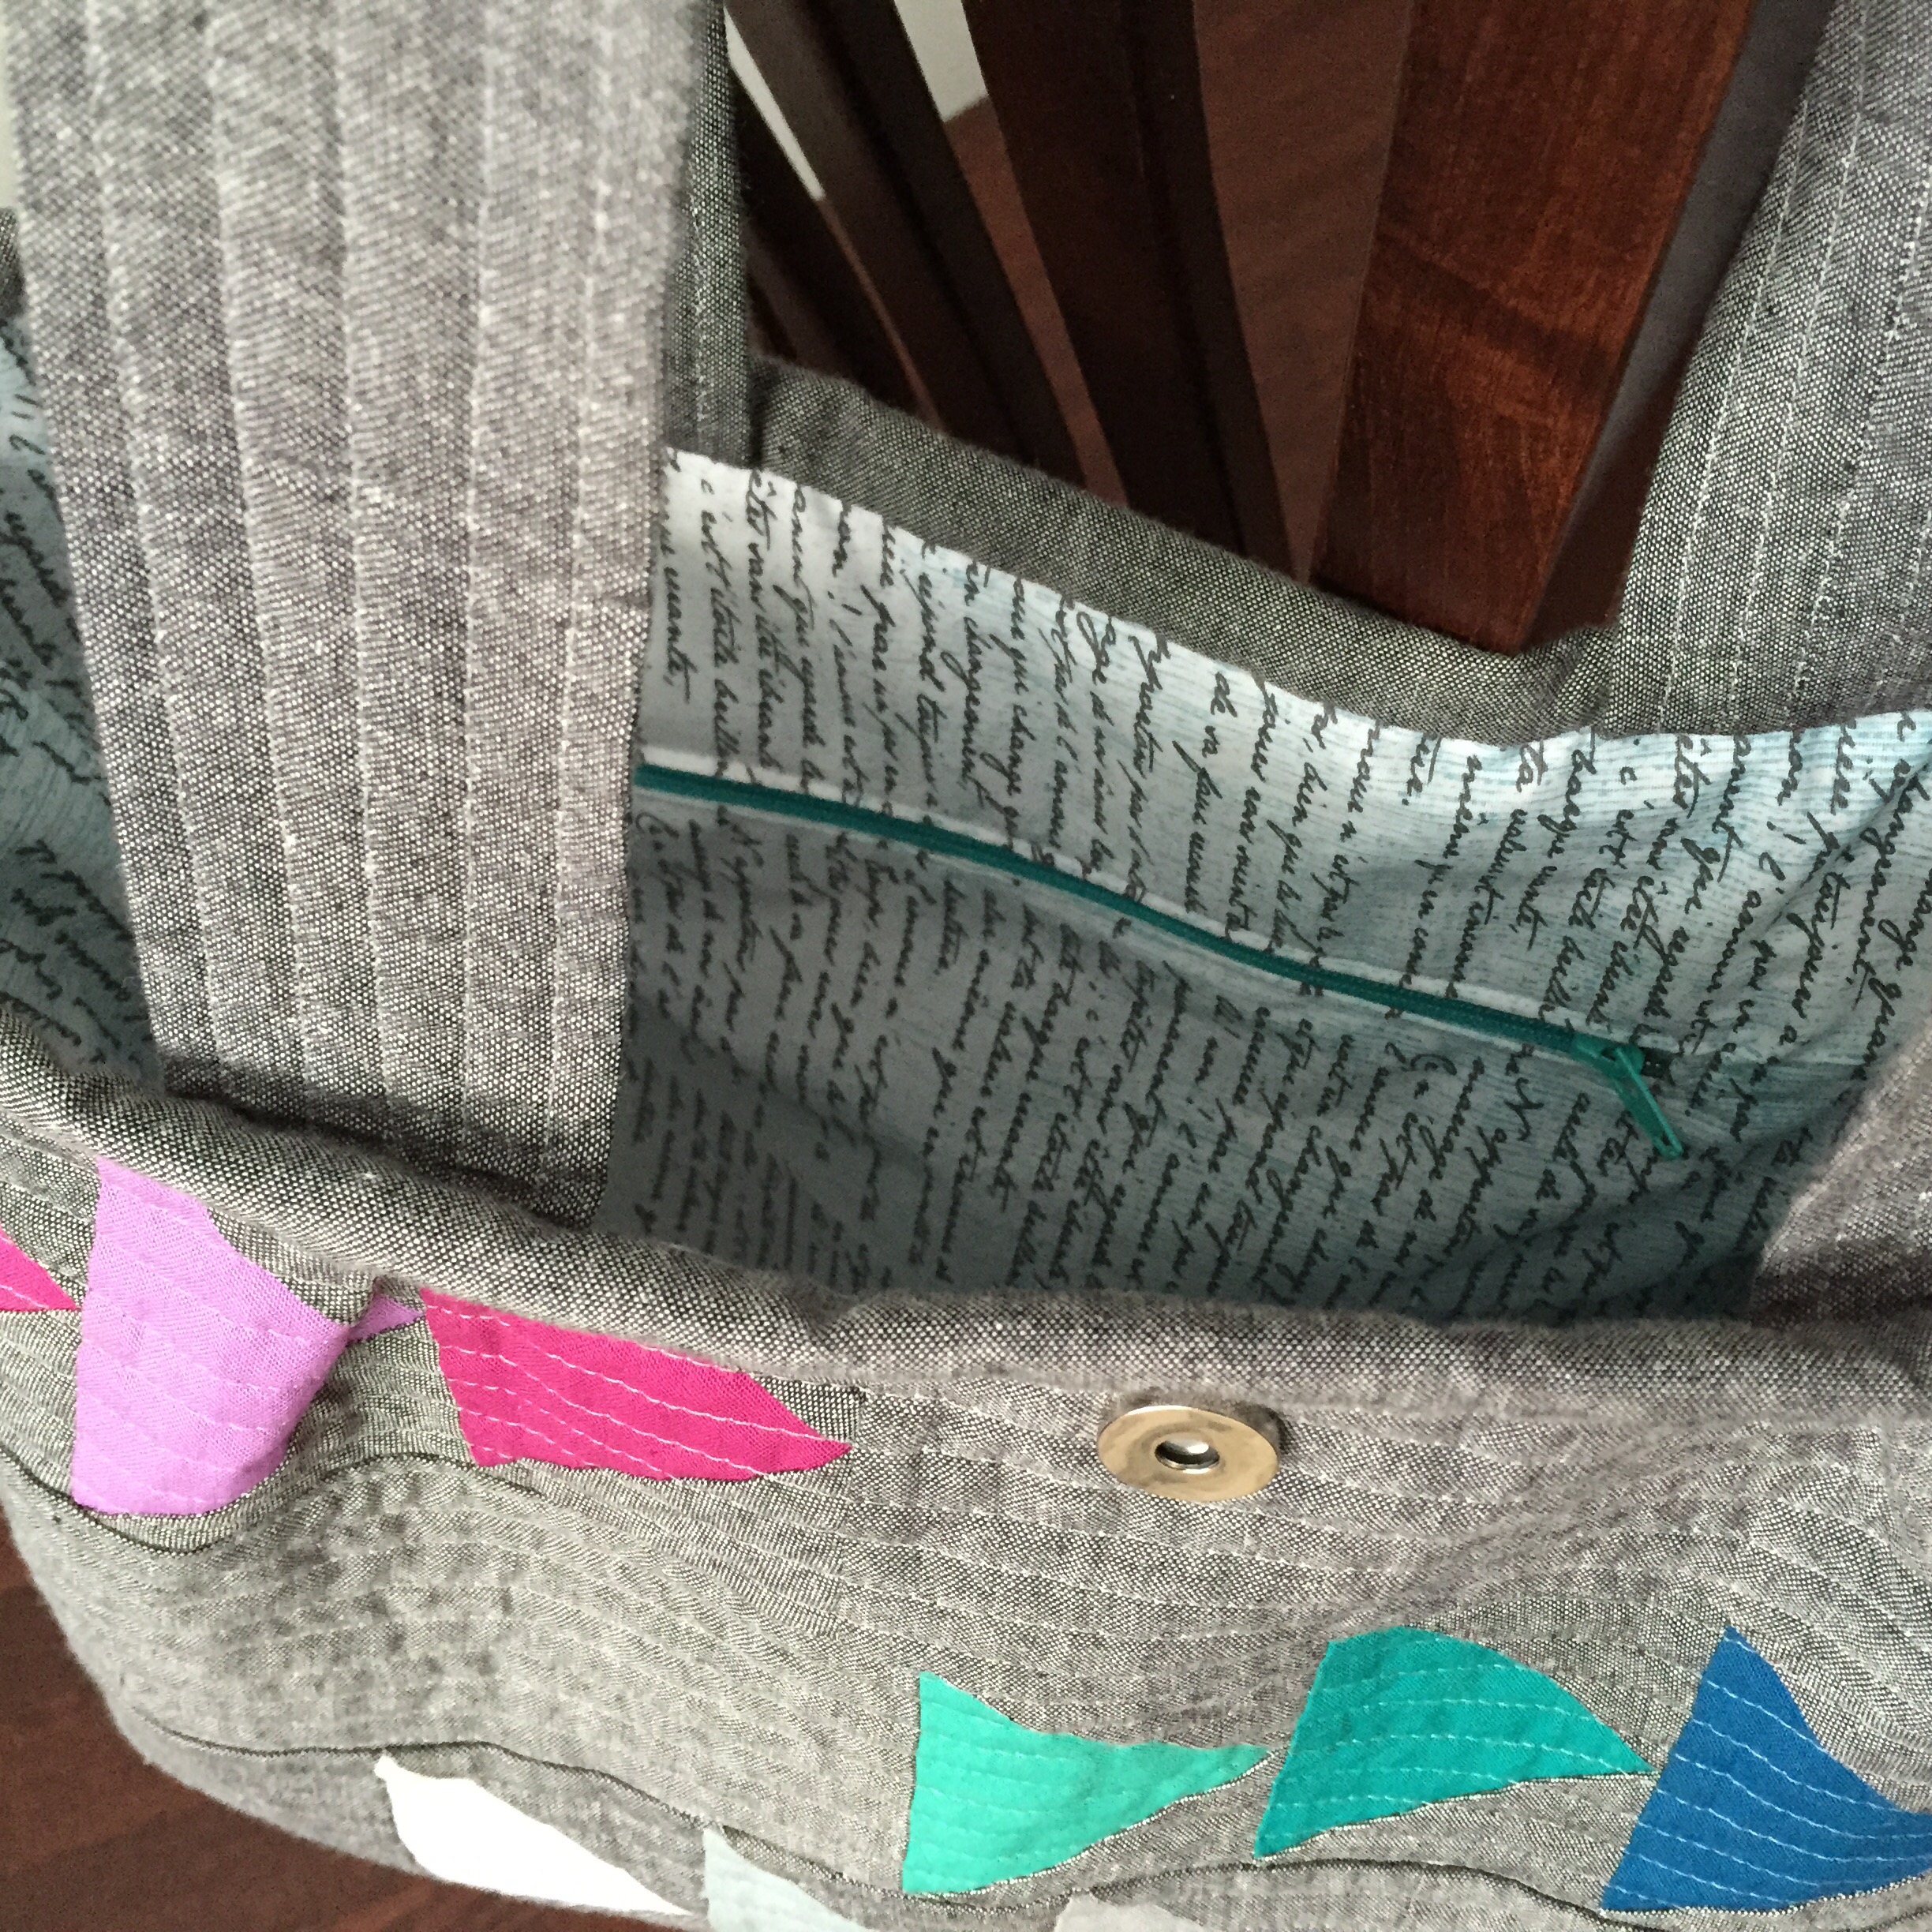
 The inside fabric was simple low-volume Telegrammes Ciel from the collection, Cherie, designed by Frances Newcombe for Art Gallery Fabrics.

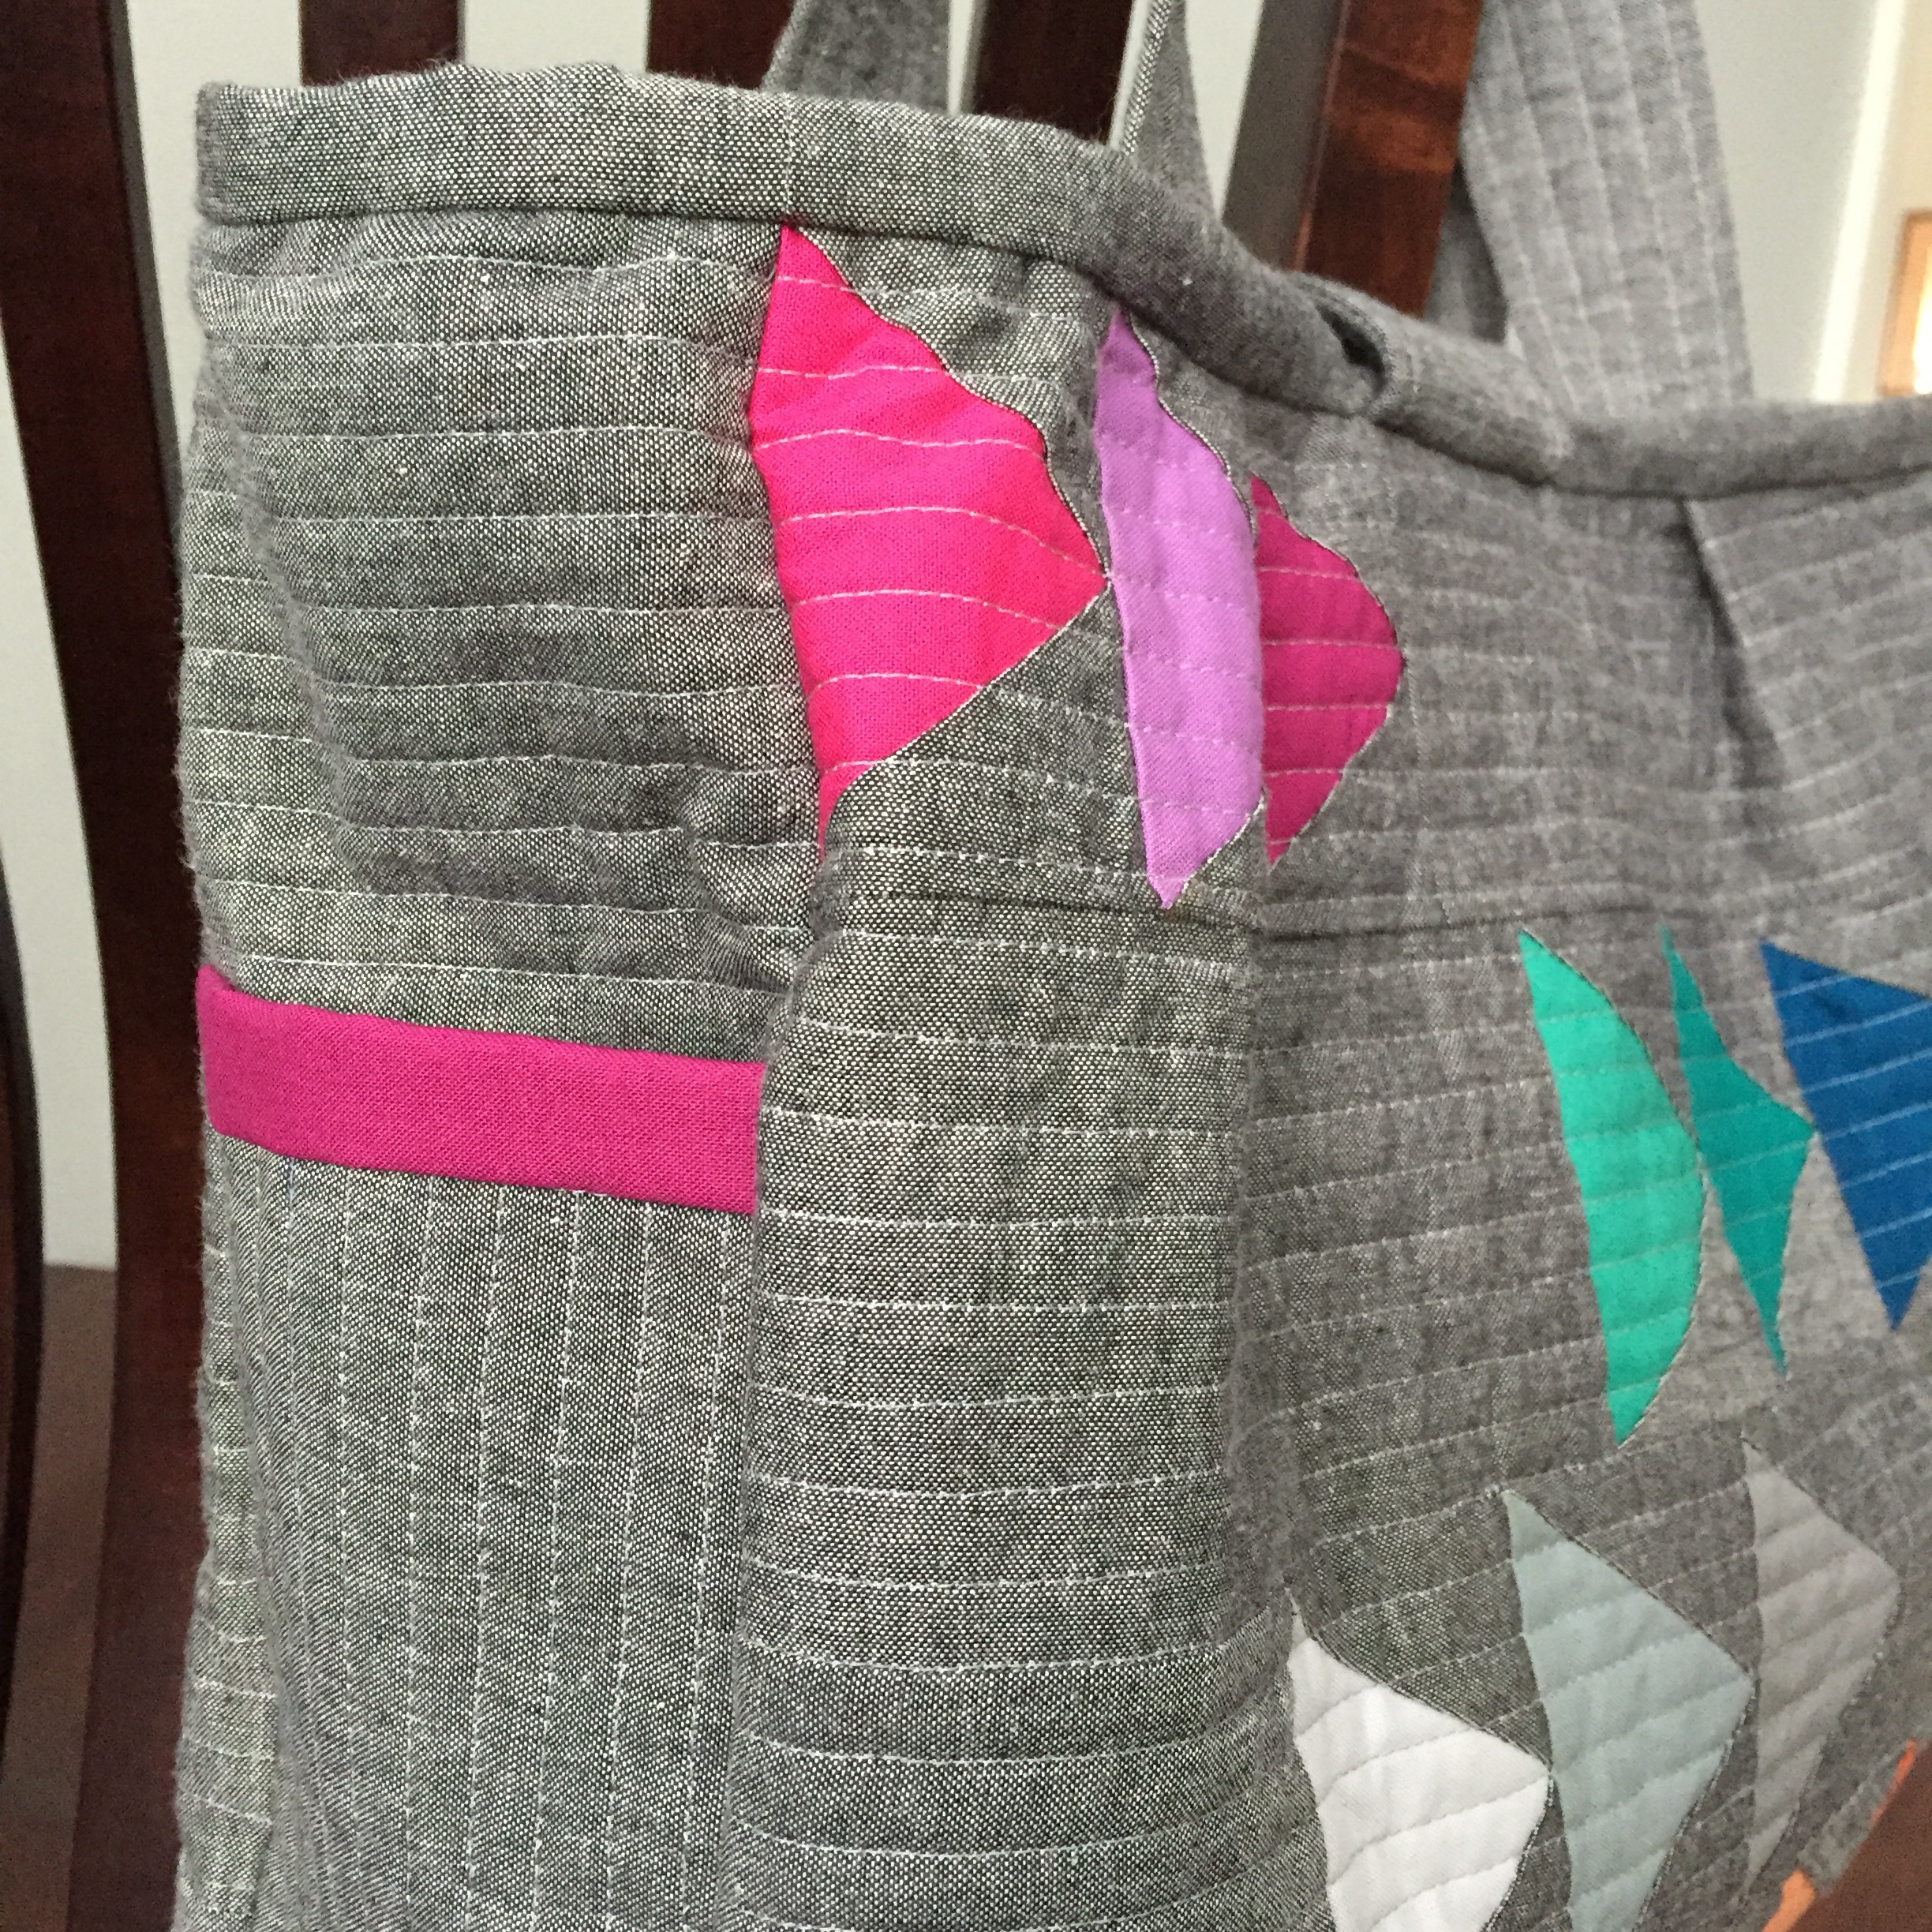
Side view

I stayed pretty true to the pattern. The only adjustments made were the placement of the Geese blocks so they would be a bit more scattered and even. The side ties were omitted and extra was used Kona on the side pockets for some more color. The panels were straight-line quilted with Aurifil 2605 gray to blend through the chambray and solids.

You can see other versions of this bag here and on Instagram with #louisabag and @cloverandviolet.

Hugs and Stitches,

Cristy

Love You Sew
The pattern was provided by C&V for the IG bag tour. All material was purchased and selected by myself. All opinions and comments are my own and have not been influenced by 3rd parties.